Beaded Bag Charms – A Handmade Summer
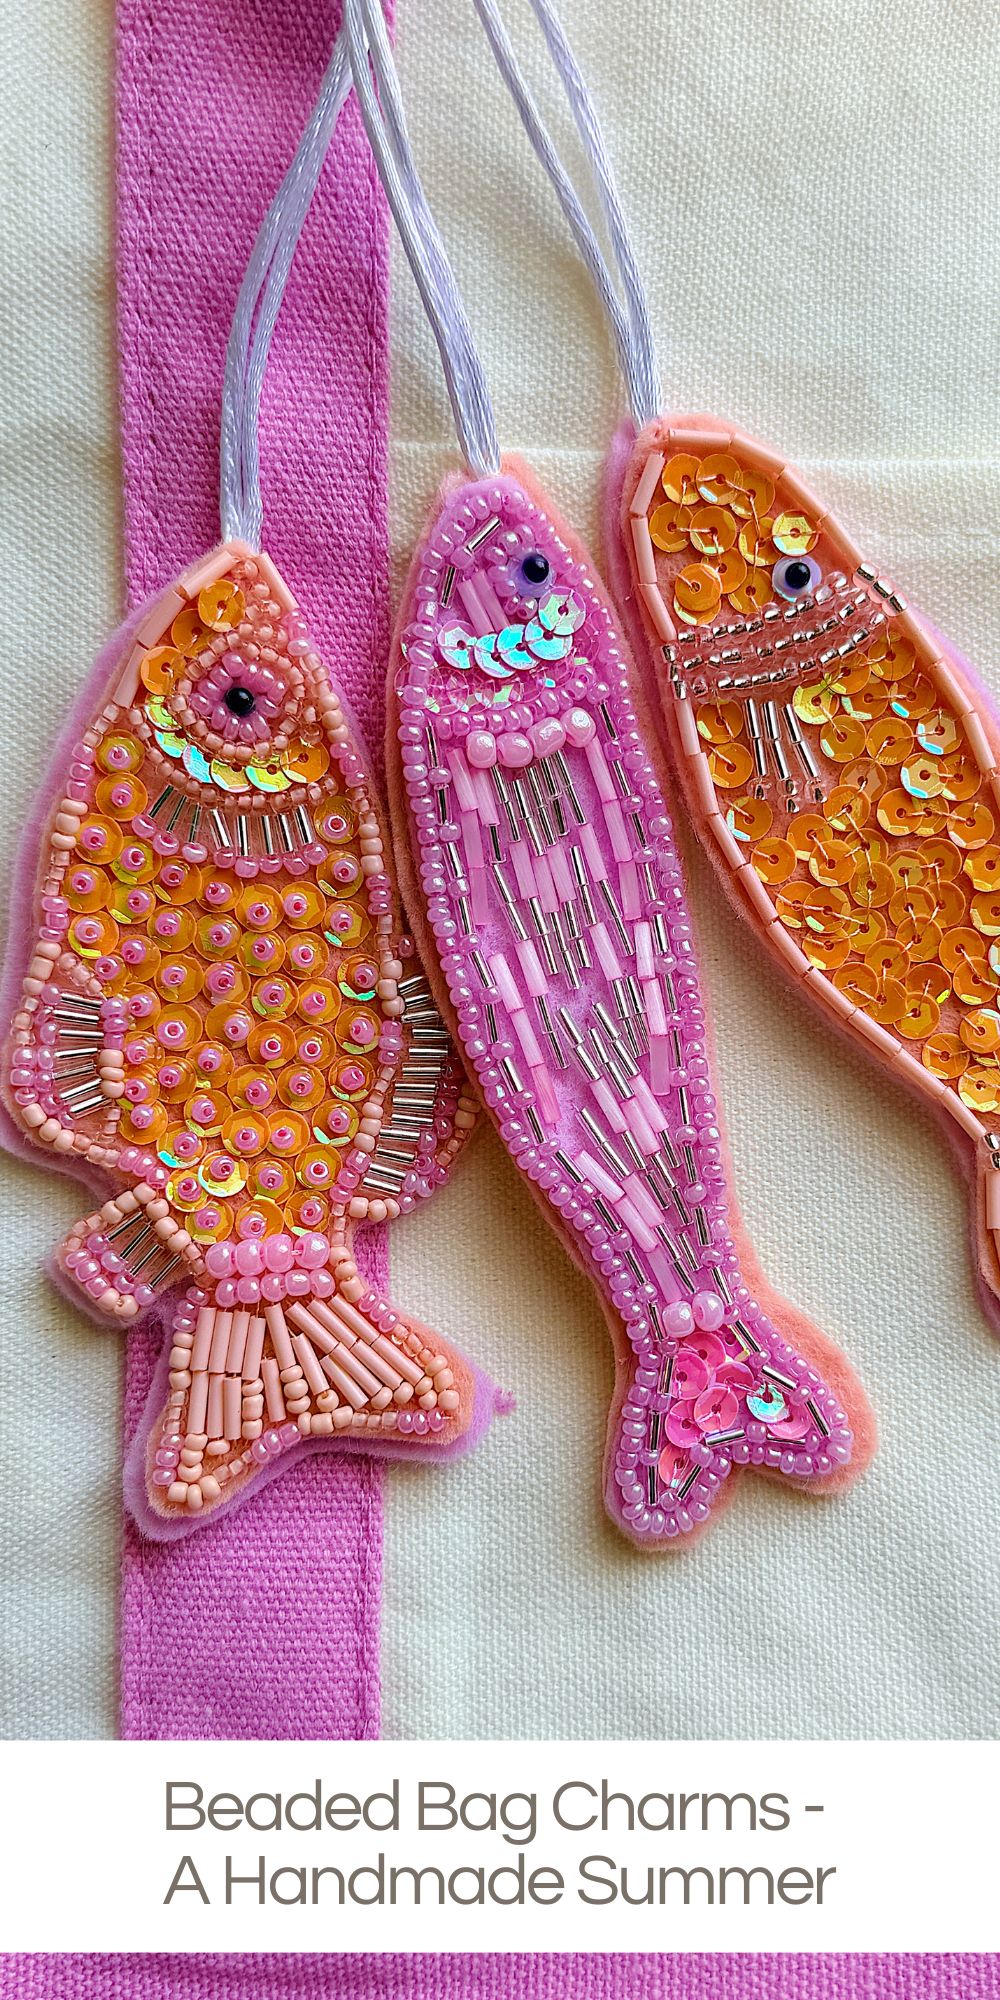
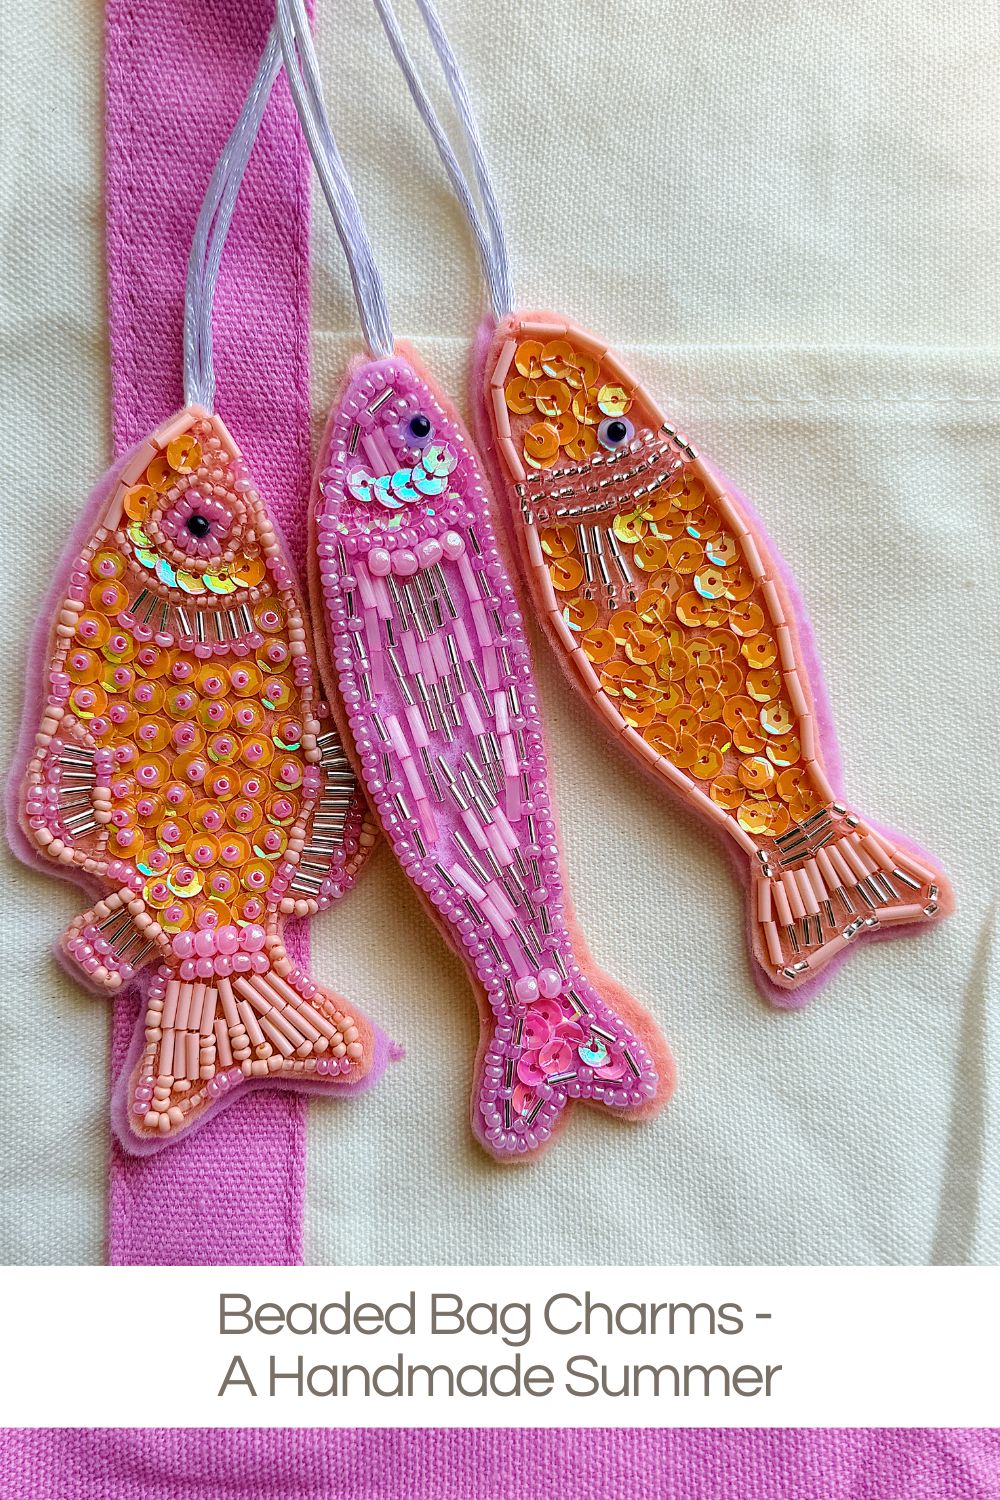
If you’ve been looking for a fun way to add personality to your favorite tote bag, you’ll love these Beaded Bag Charms.
This colorful project is the perfect combination of creativity and sparkle, using seed beads, sequins, tube beads, and felt to create handmade accessories that look like they came from a boutique. Whether you sew every bead, as I did, or choose the quicker glue-on method, these charming bag tags are a wonderful way to personalize your bags or create thoughtful handmade gifts.
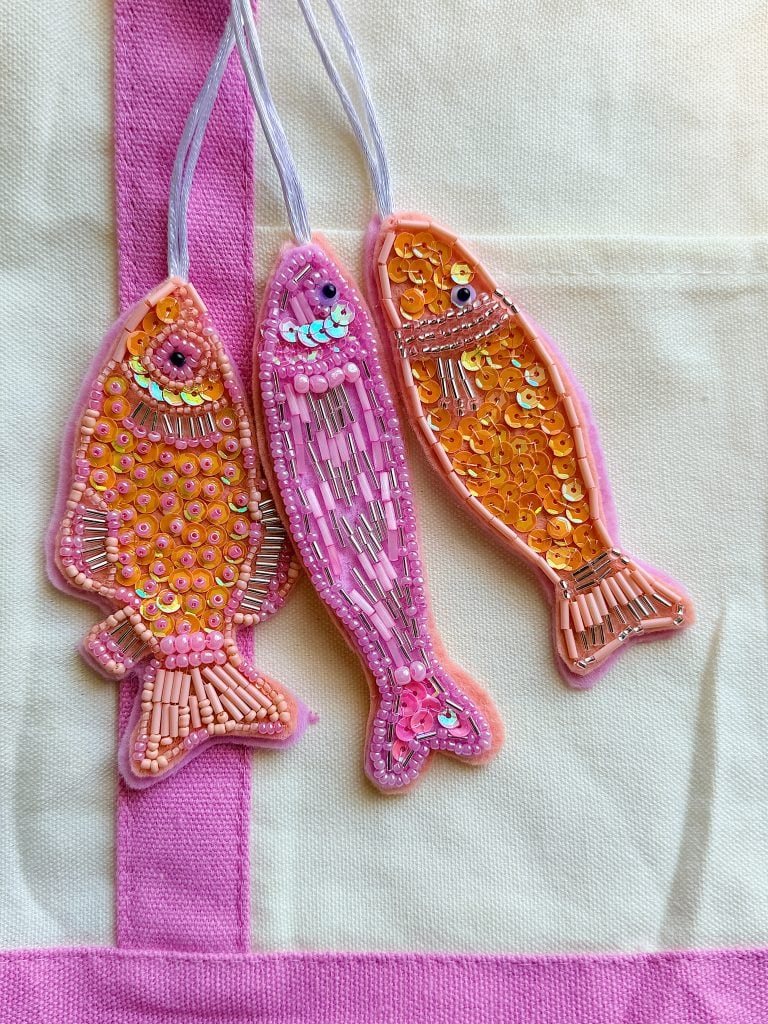


Beaded Bag Charms
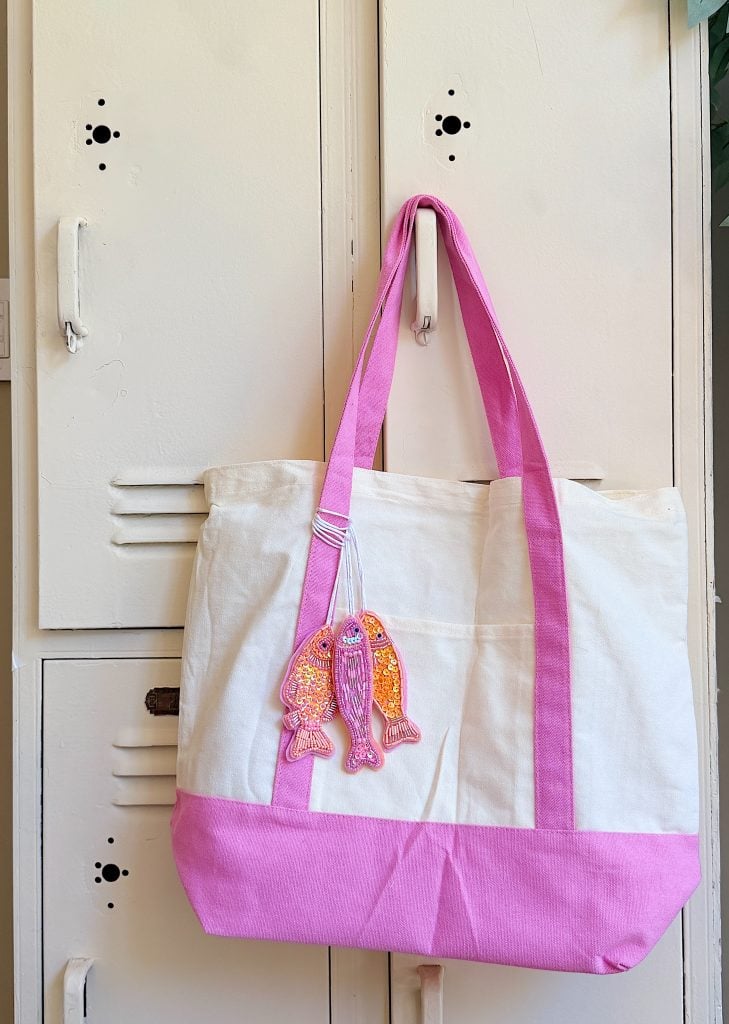
There is something incredibly satisfying about taking a handful of tiny beads, sequins, and felt and turning them into something that looks like it belongs in a boutique.
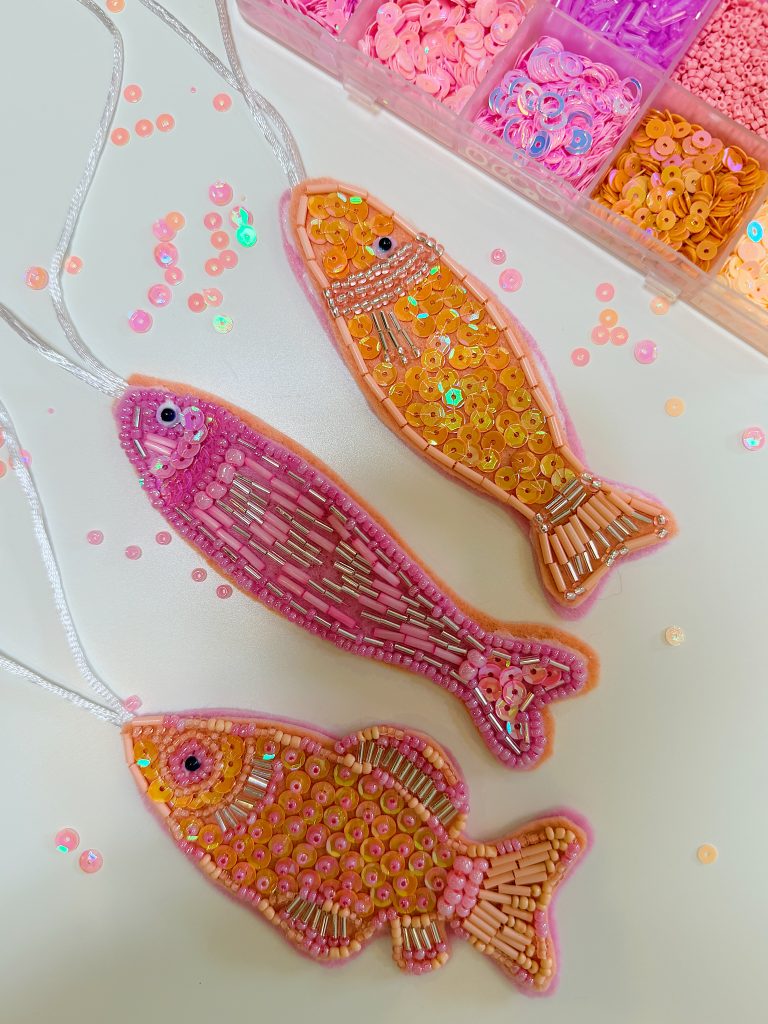
When I finished making my polymer clay bag charms a few weeks ago, I thought I was done making accessories for my bags. But then I stumbled across some gorgeous hand-beaded bag tags and knew I had to try making my own. Before long, my craft table was covered in felt, seed beads, sequins, bugle beads, and every shade of pink, peach, orange, and coral imaginable.
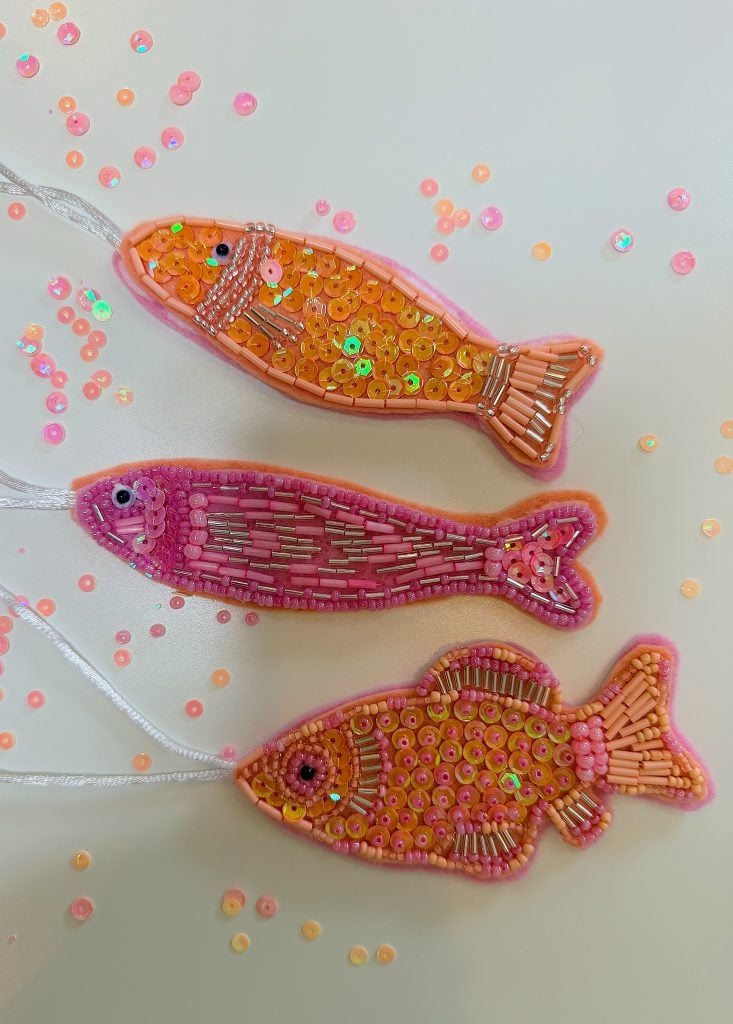
Today I am sharing the final project in my A Handmade Summer series, and I can’t think of a better way to wrap up months of handmade creativity. These beaded bag charms are colorful, whimsical, completely customizable, and they are made entirely by hand.
In just a few weeks, we’ll begin A Handmade Fall, and I already have so many fun projects planned. But first, let’s celebrate summer with one last colorful craft.
Why I Love These Beaded Bag Charms
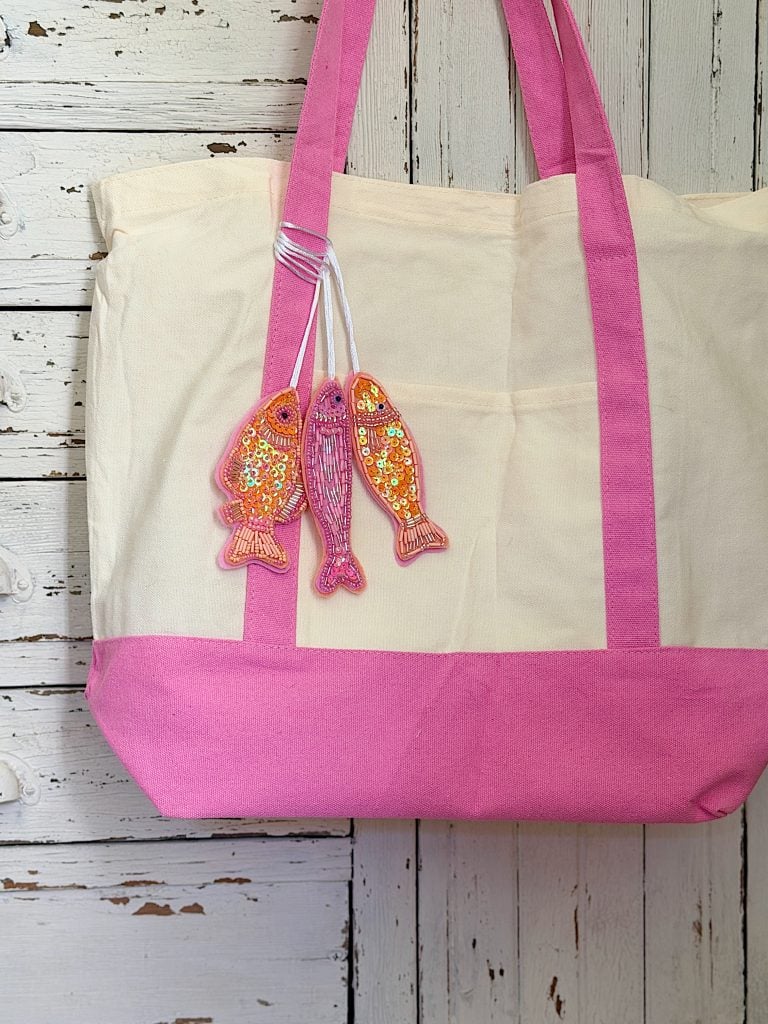
One of my favorite things about handmade gifts is that no two are ever exactly alike. Every bead, every sequin, and every stitch makes each finished piece unique.
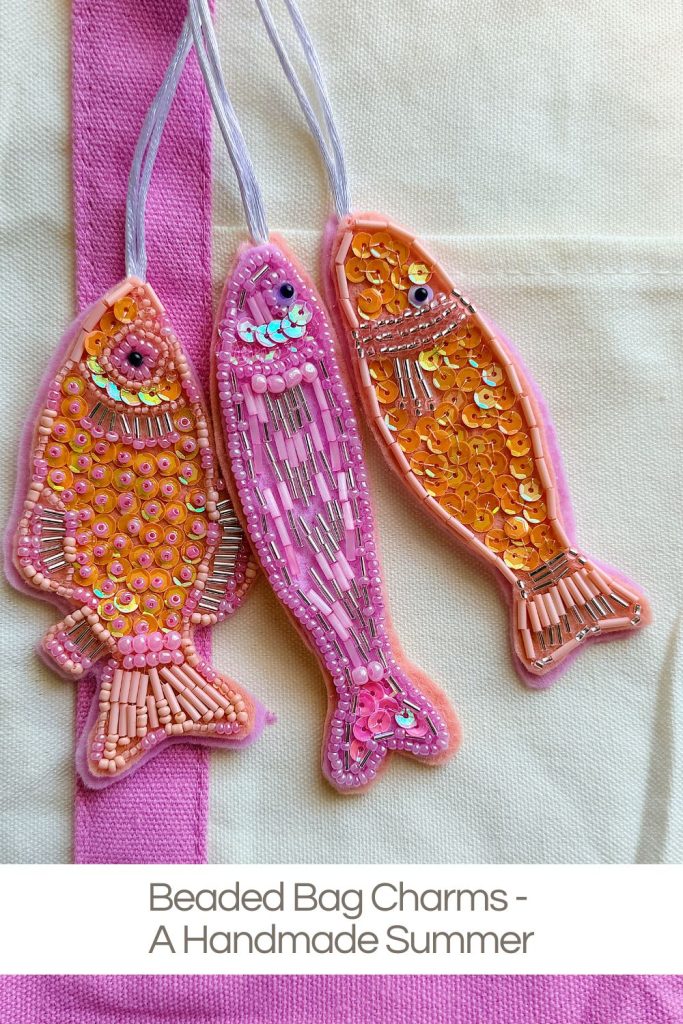
These fish bag charms were inspired by my love of colorful summer accessories. They look adorable hanging from beach bags, tote bags, backpacks, cosmetic bags, or even gift baskets. They would also make wonderful party favors, teacher gifts, stocking stuffers, or craft night projects.
The finished charms have a wonderful handmade feel but also look surprisingly elegant thanks to the sparkle from the beads and sequins.
The Inspiration
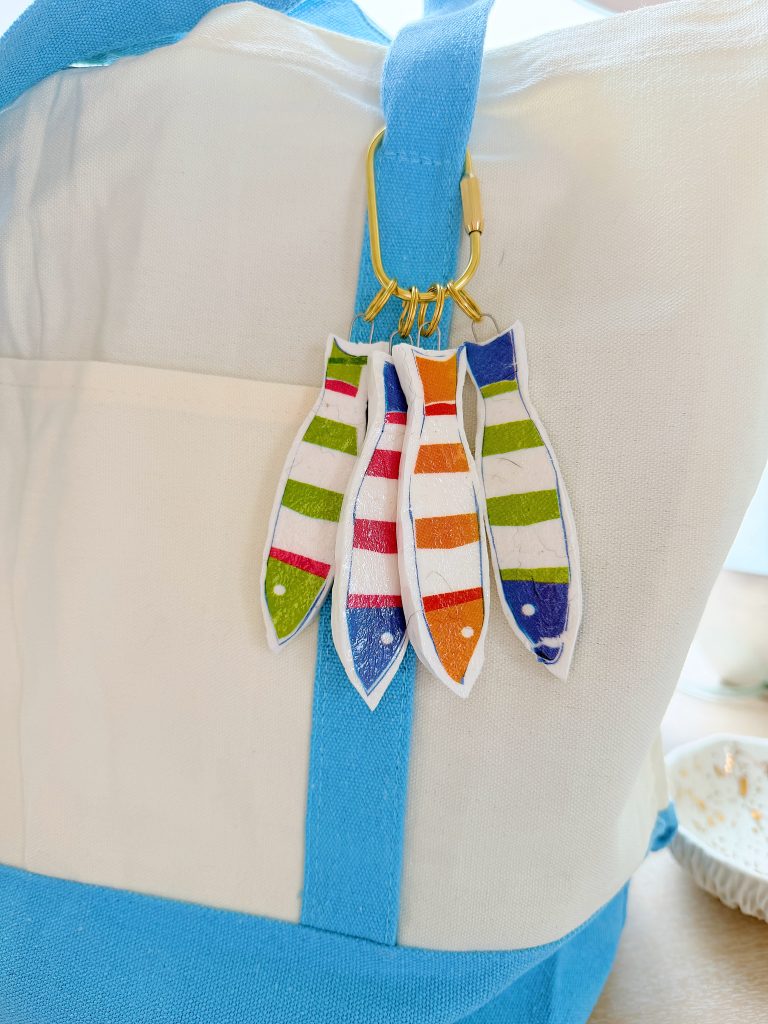
A few weeks ago I made my clay bag charms using decorative paper napkins. I absolutely loved how they turned out, and apparently you did too because so many of you asked if I had more bag charm ideas.
Instead of using clay again, I decided to try something completely different.
Beading.
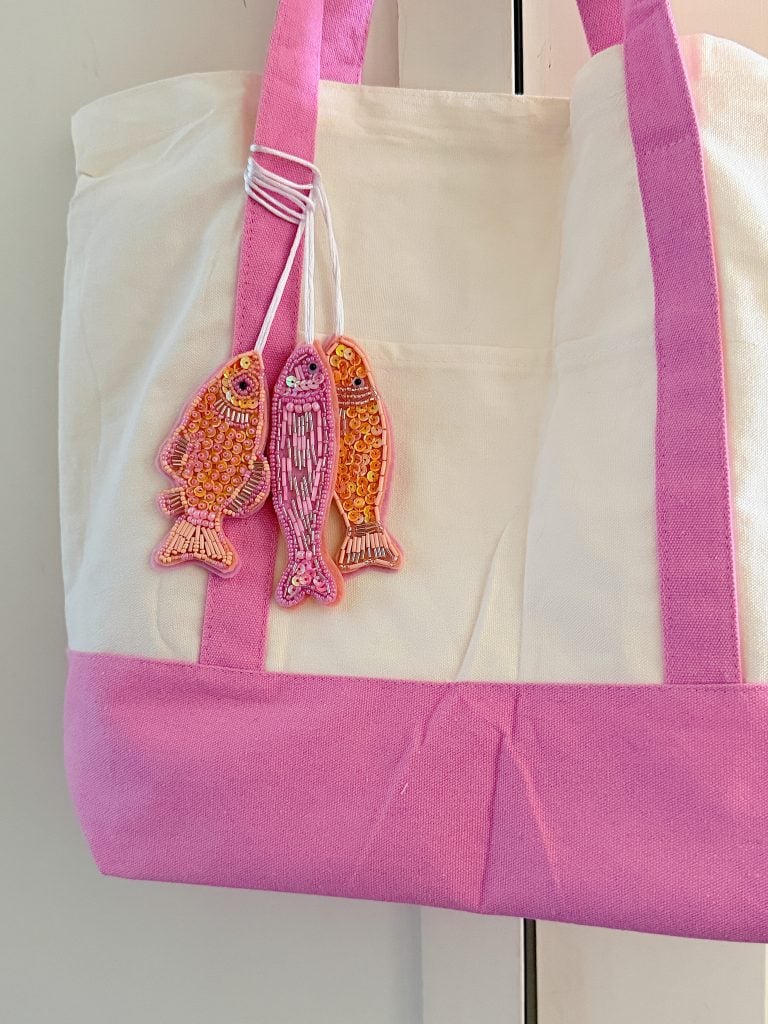
I’ve admired hand-beaded ornaments and accessories for years but had never attempted anything this detailed before. While it definitely takes patience, it is much easier than it looks.
And honestly?
I found it incredibly relaxing.
Once I started stitching beads onto the felt, I didn’t want to stop.
On this blog, I may sometimes use affiliate links, which means I earn a small commission if you make a purchase through the link. The price will be the same whether you use the affiliate link or go directly to the vendor’s website using a non-affiliate link.
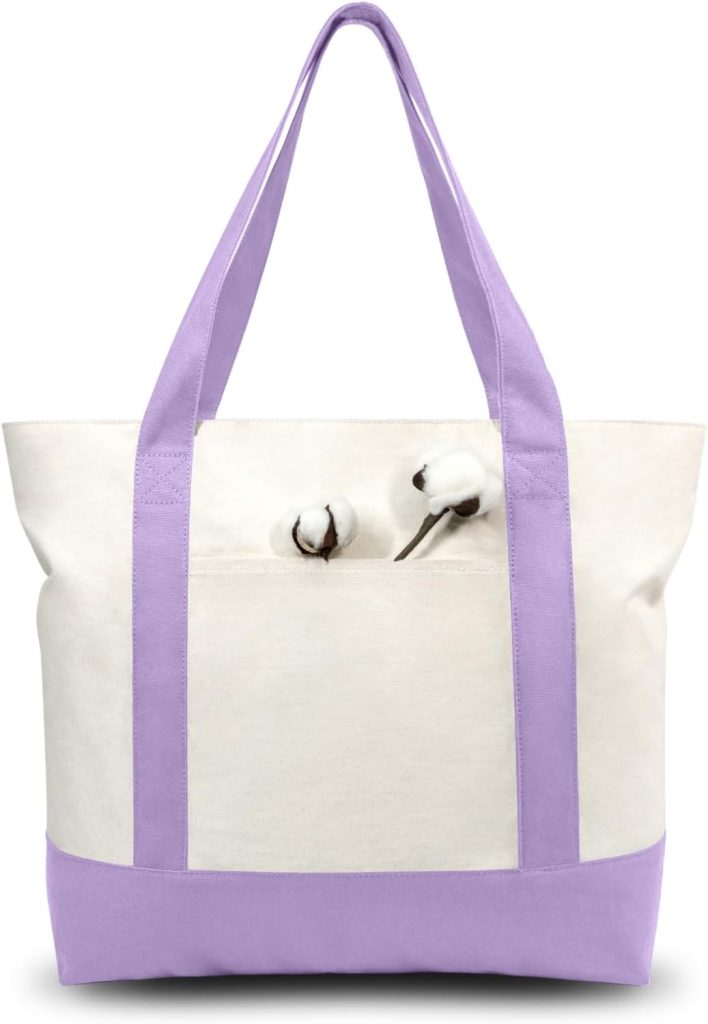
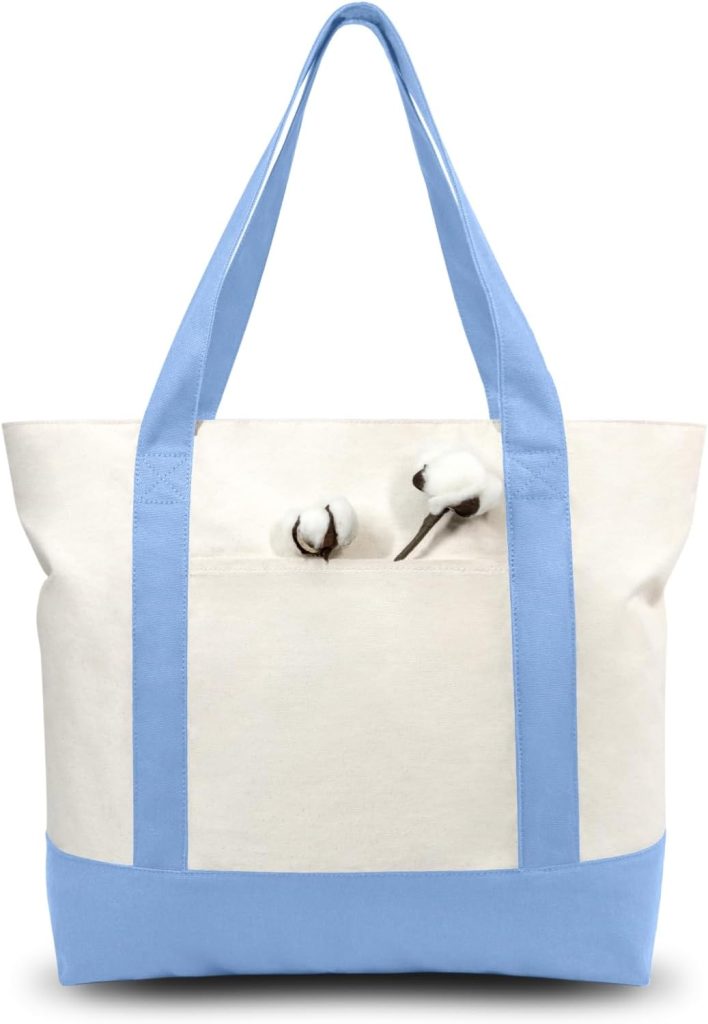
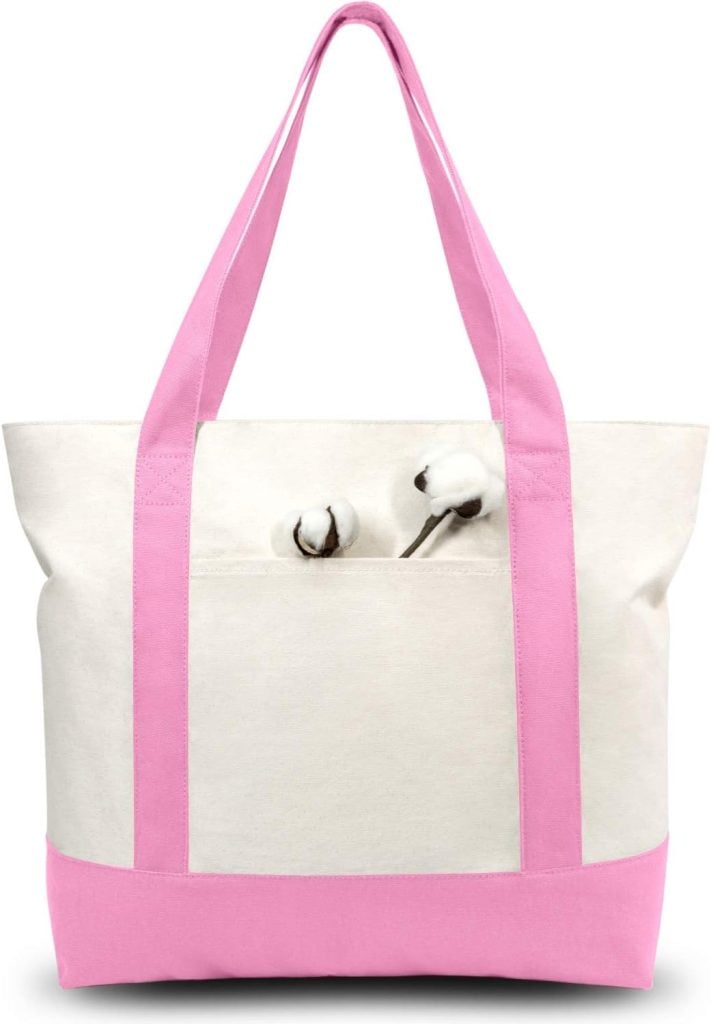
Supplies
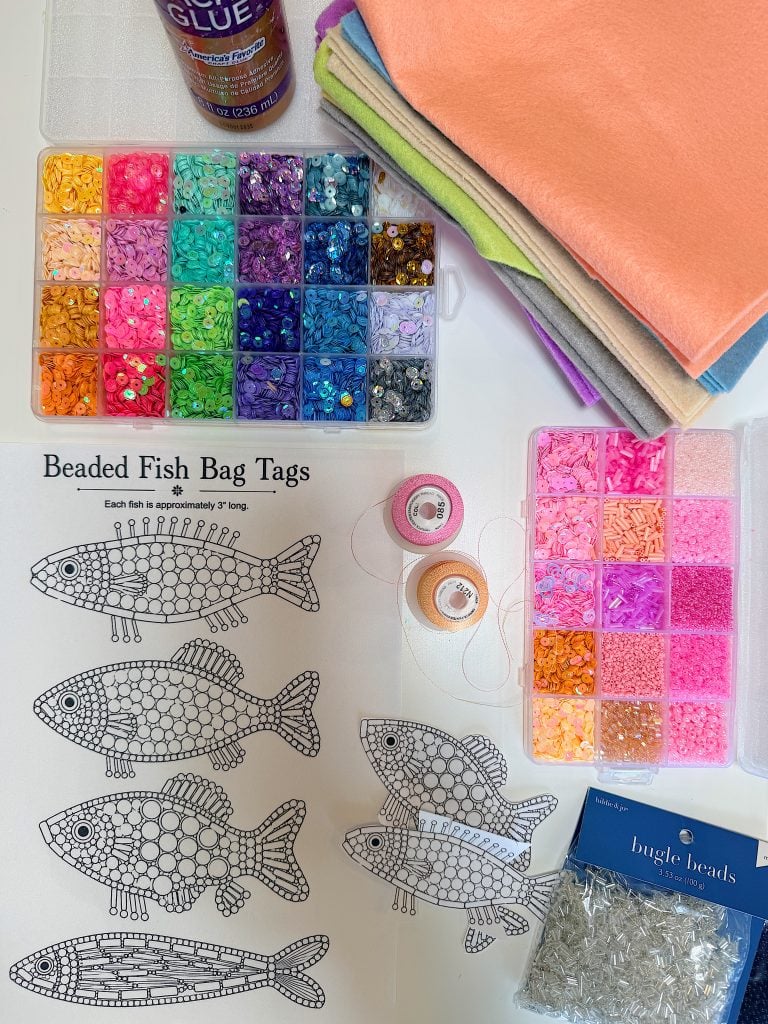
Here’s everything I used.
- Wool blend felt
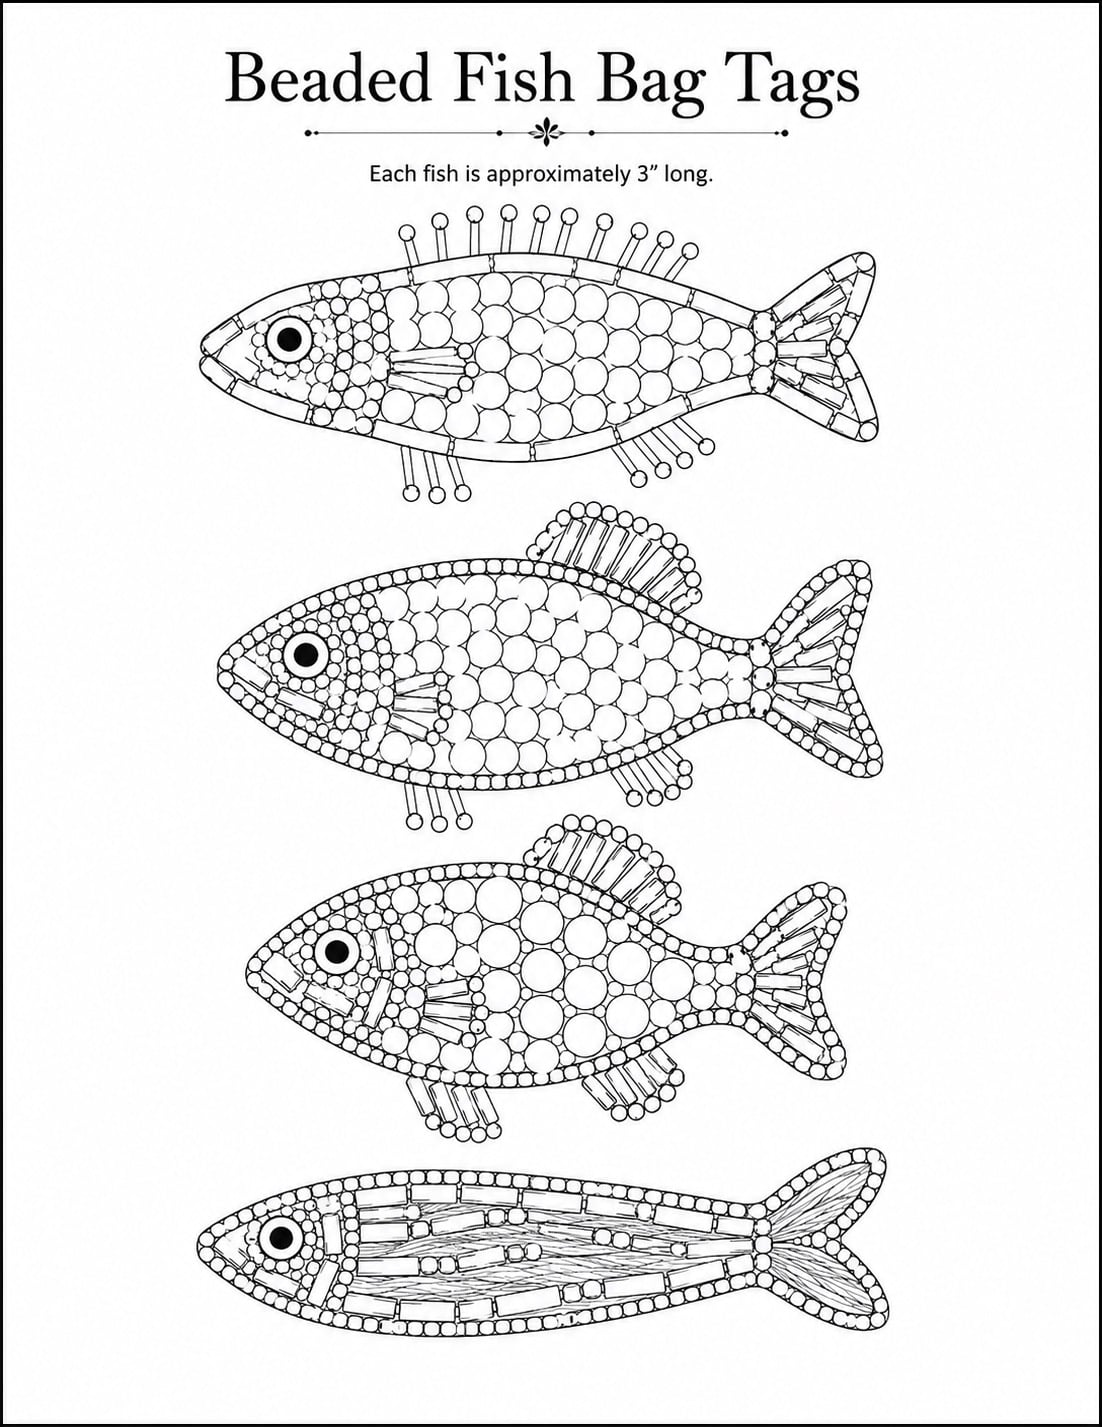
- Printed fish templates (see below)
- Seed beads in several sizes
- Tube (bugle) beads
- Sequins
- Small accent beads
- Beading needle
- Strong beading thread (I used embroidery thread)
- Fabric scissors
- Craft glue
- Lightweight iron-on stabilizer
- Twine or cording for hanging
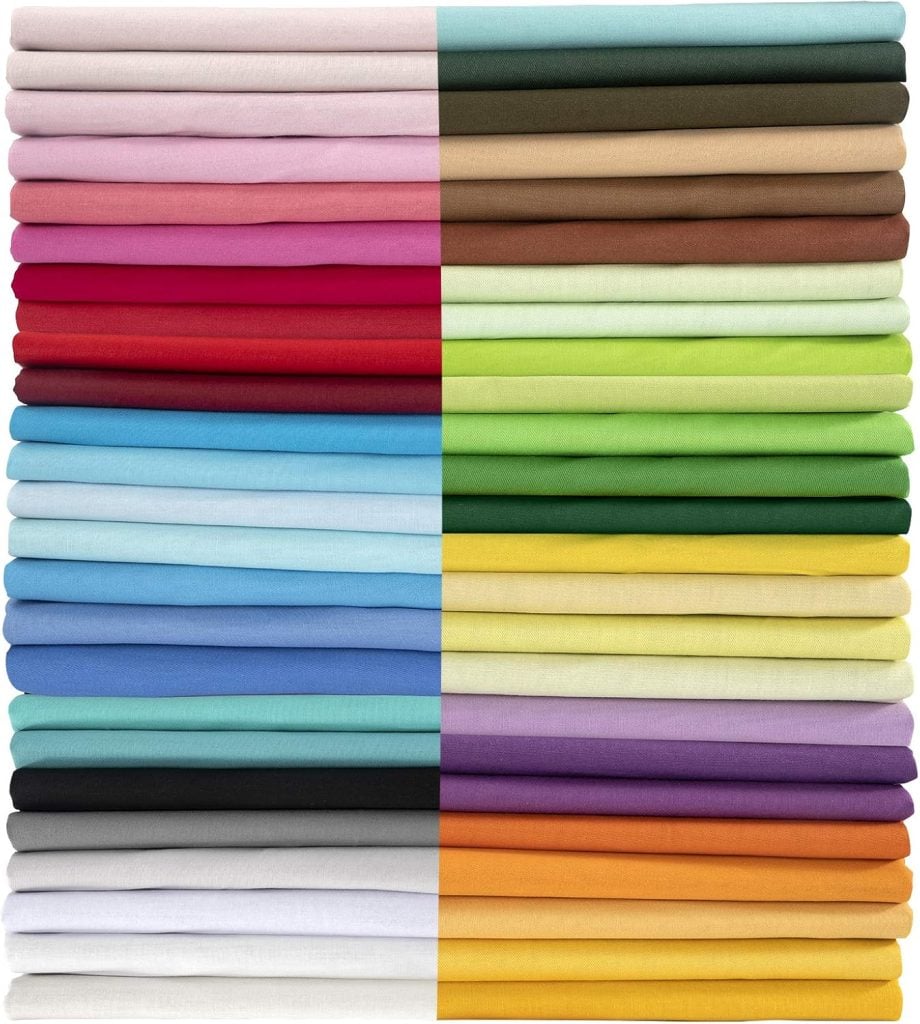
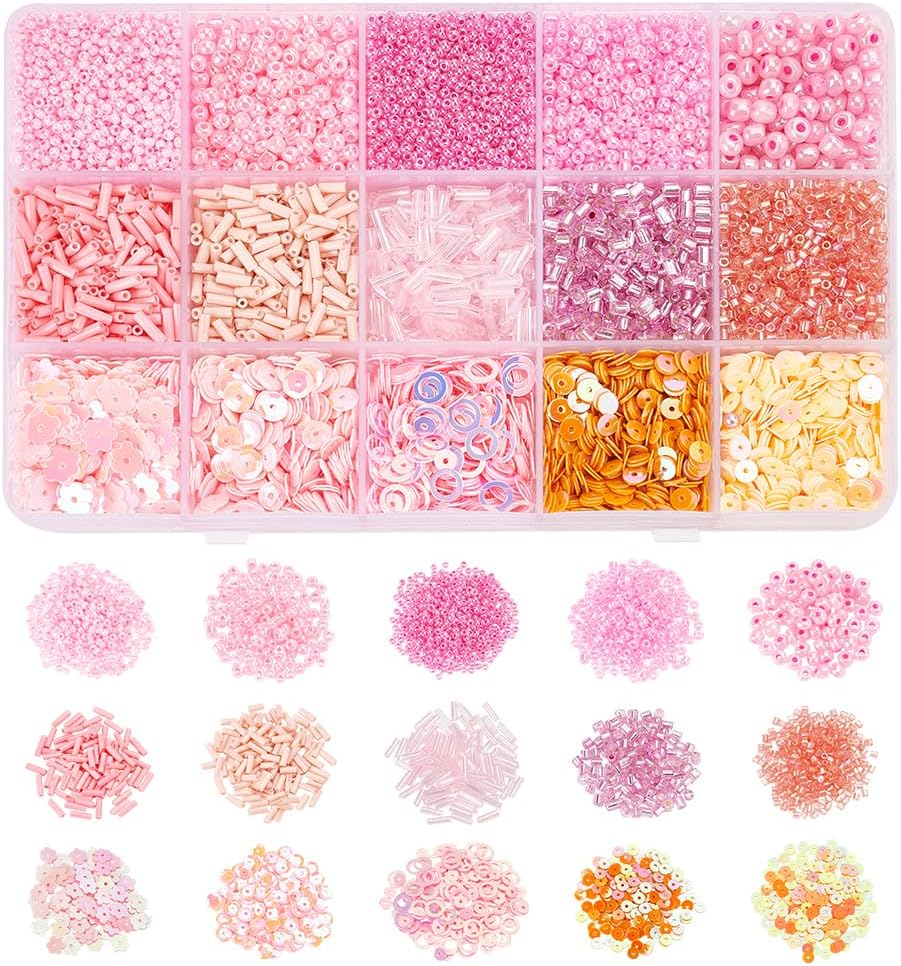
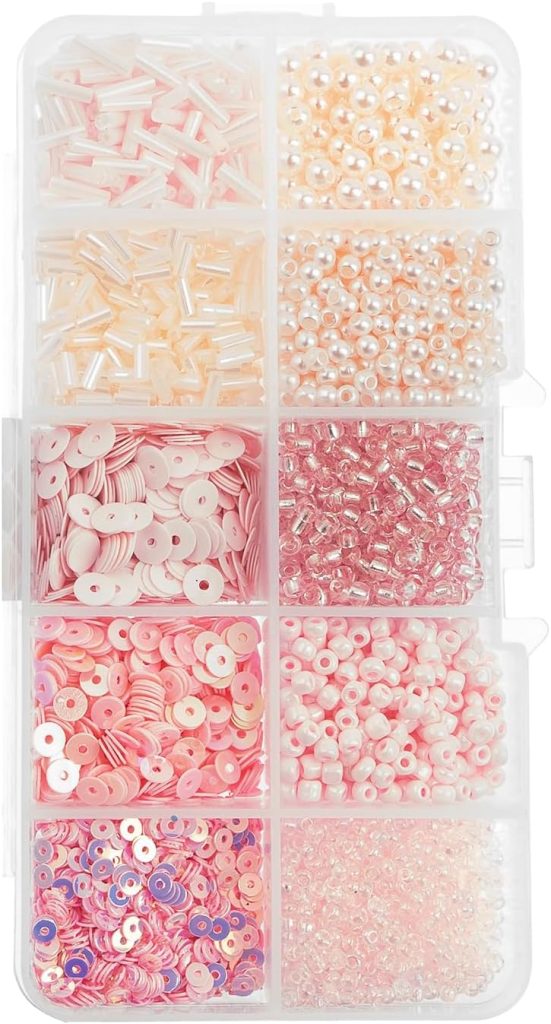
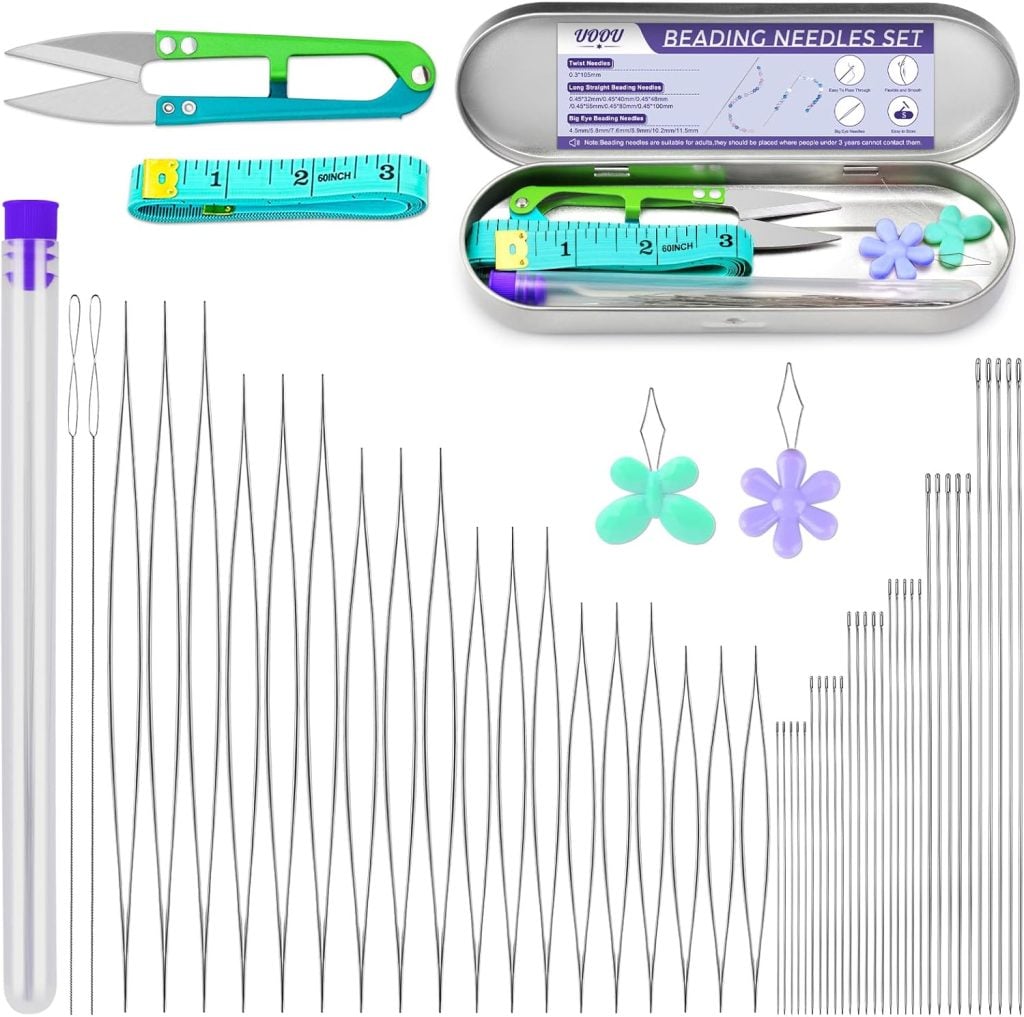
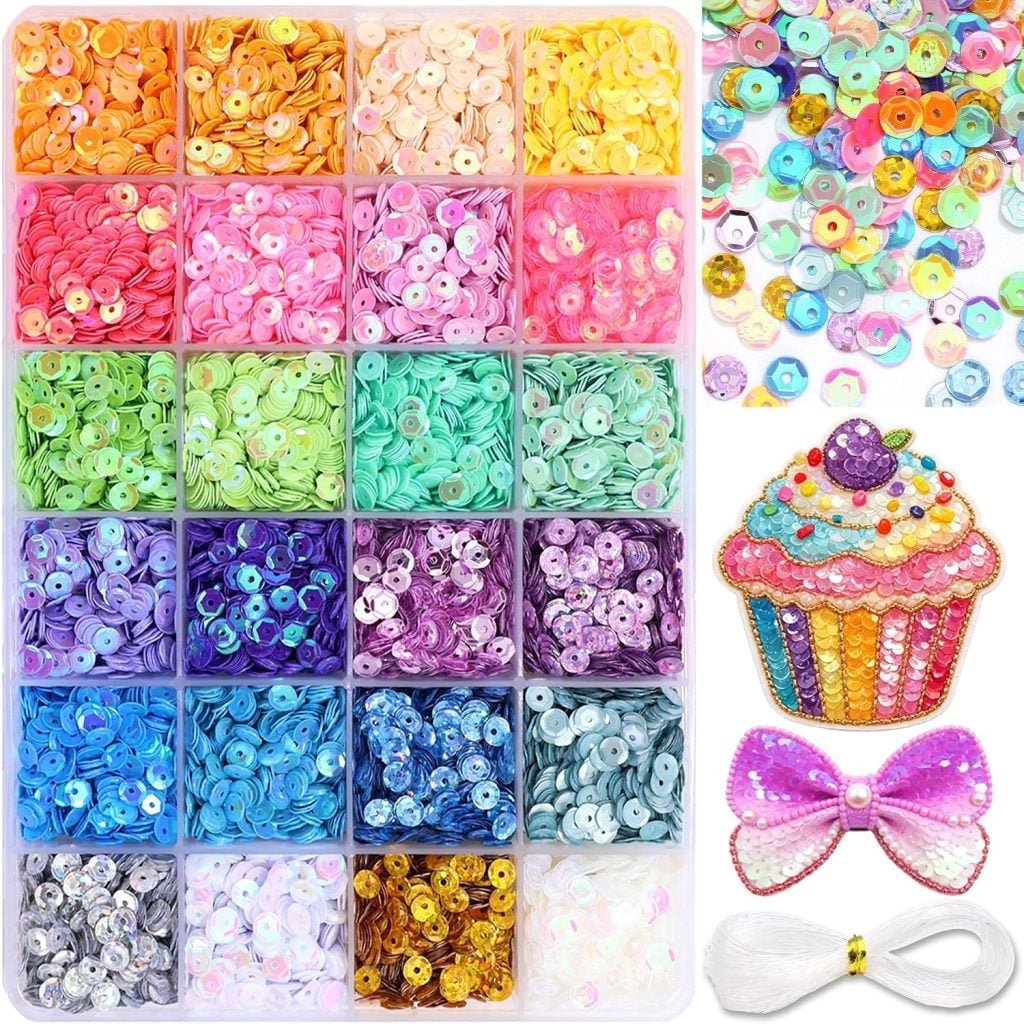
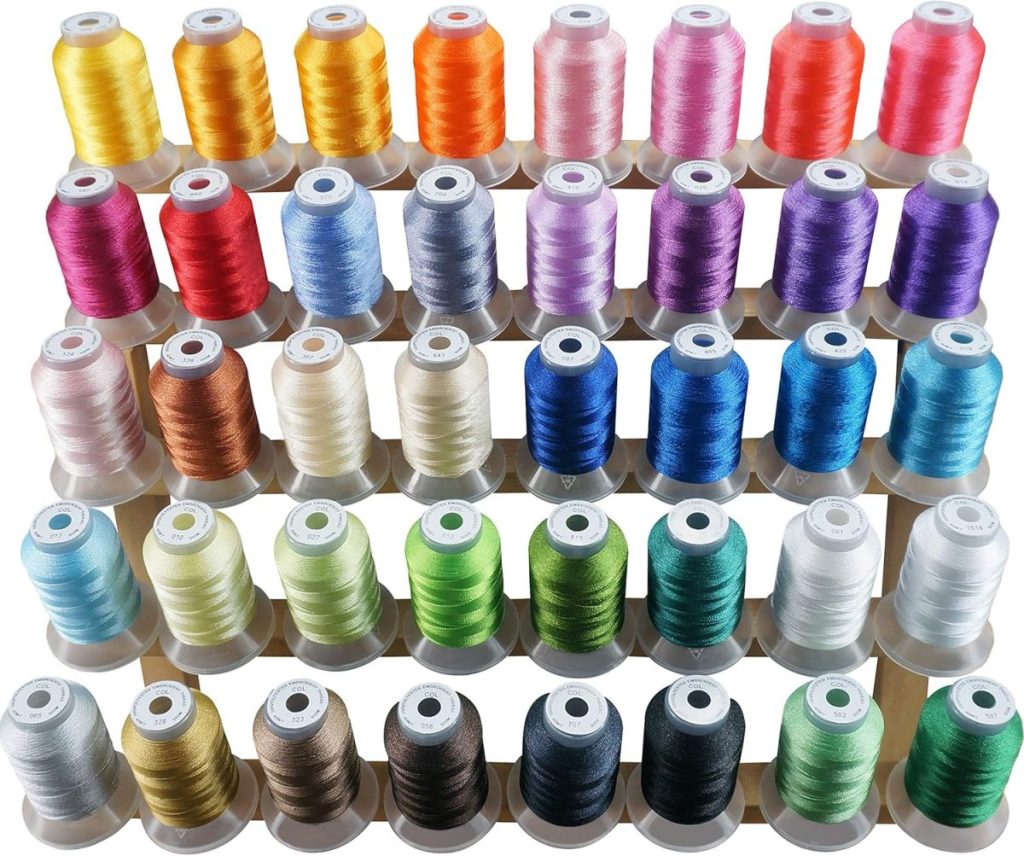
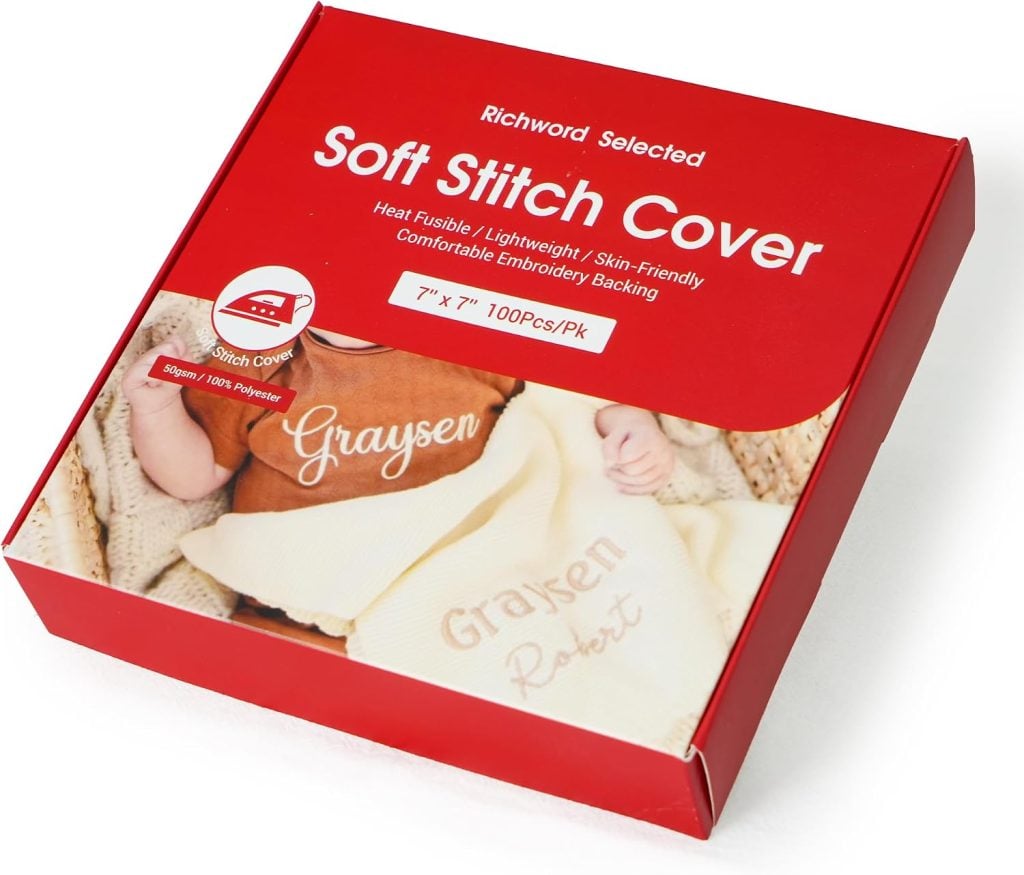
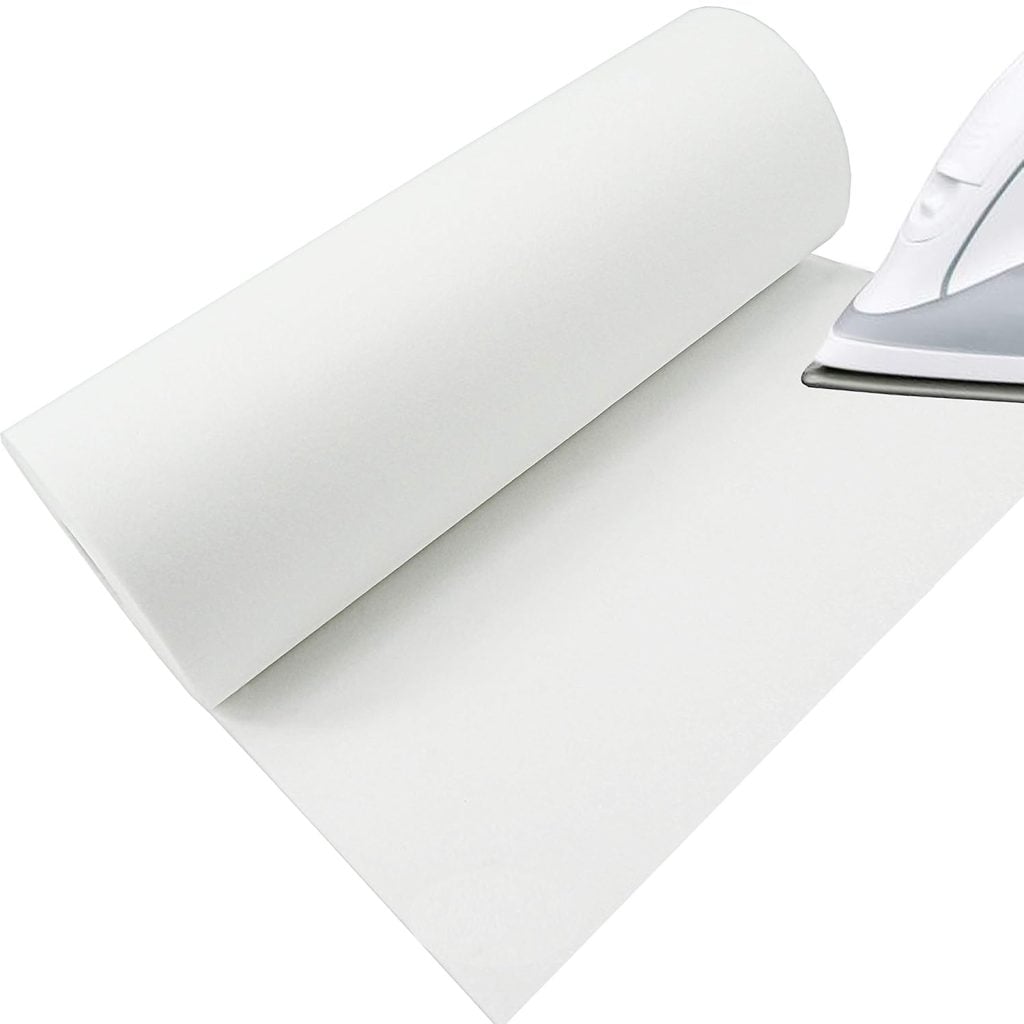
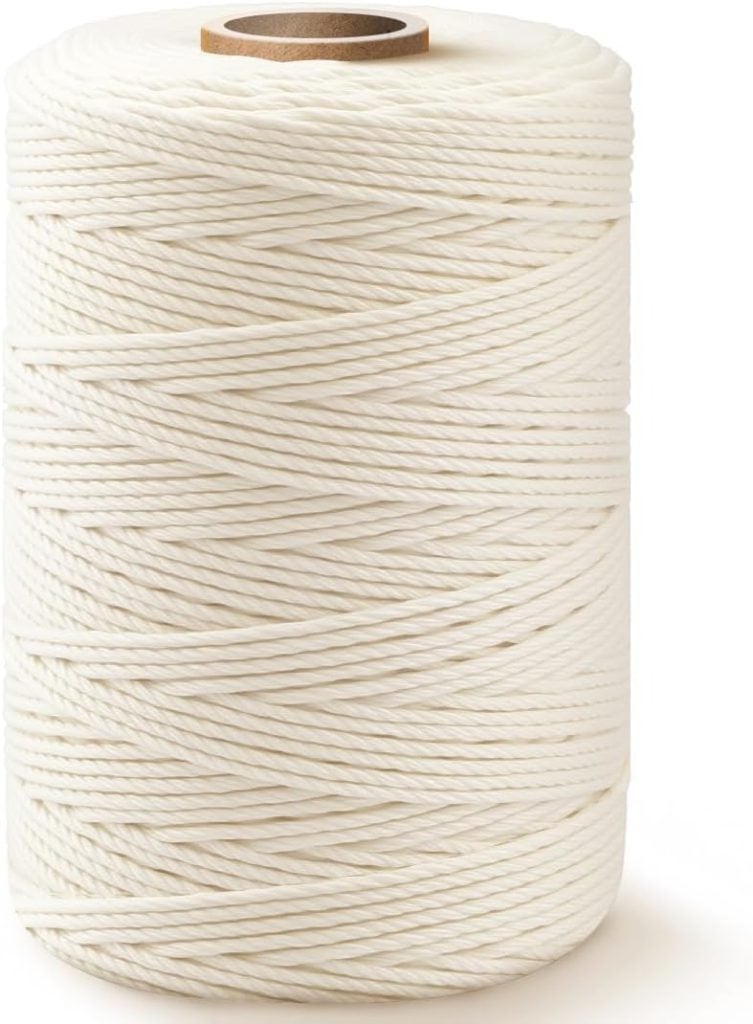
The fun part is mixing different bead shapes and finishes. I used matte beads, shiny beads, bugle beads, sequins, and even tiny transparent beads to add sparkle and texture.
Step One: Print Your Template
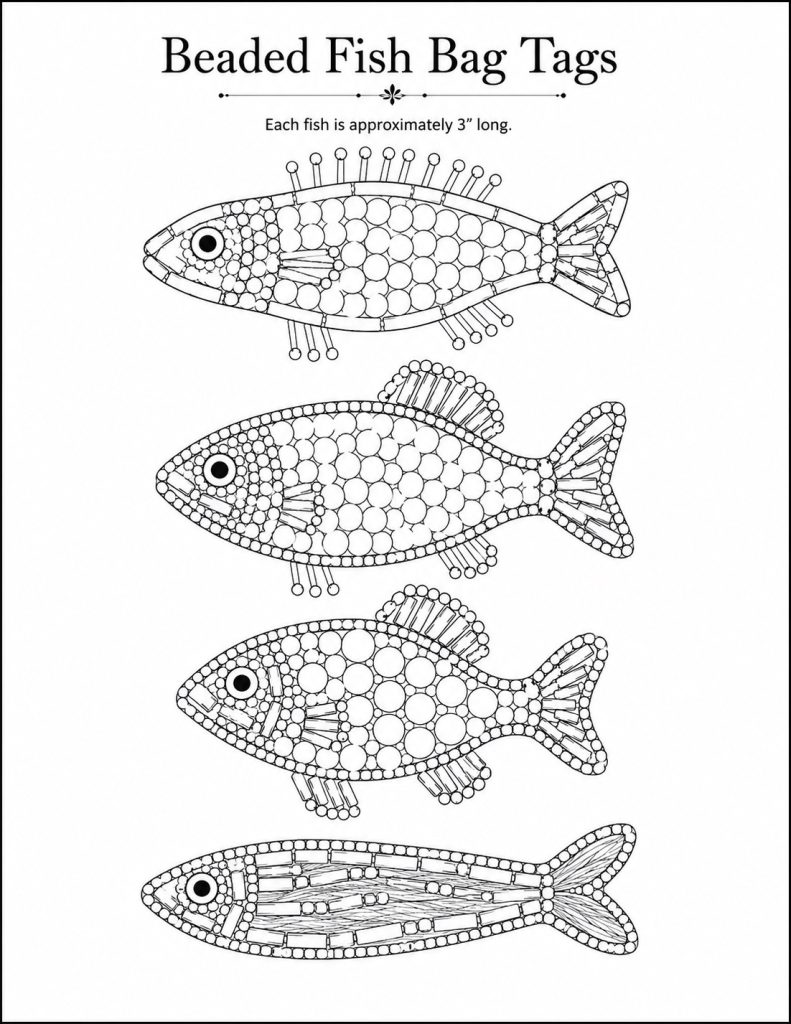
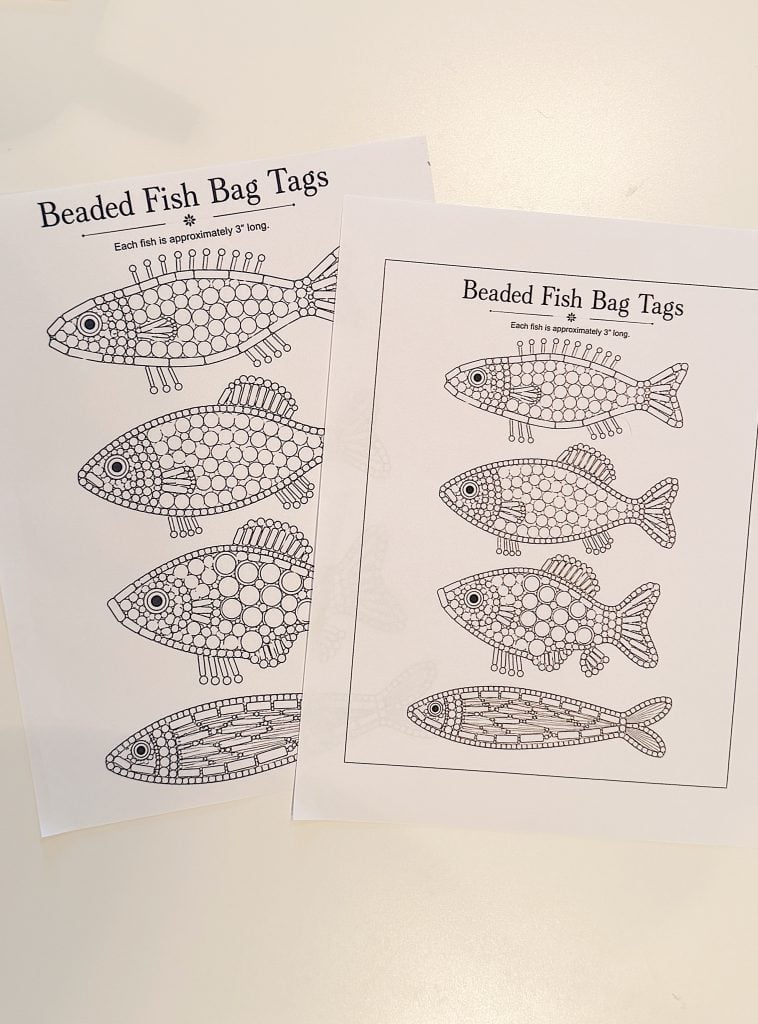
I designed several fish templates that are approximately three inches long. Each design has circles and lines showing where the different beads can be placed.
The template isn’t meant to be followed exactly. Think of it as a guide. You can substitute different bead sizes or even create your own patterns as you work.
I simply printed the template and cut out the fish I wanted to make. It printed much larger than I wanted, so I printed the file at 75% to reduce the size.
Download the file below.
Step Two: Cut the Felt
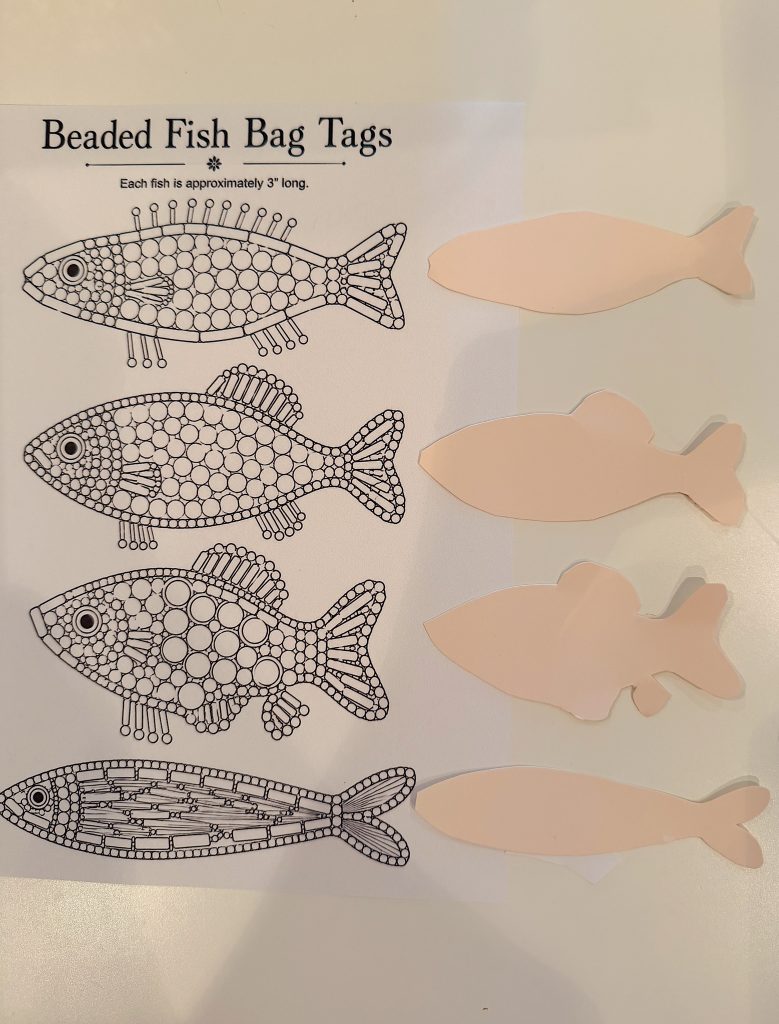
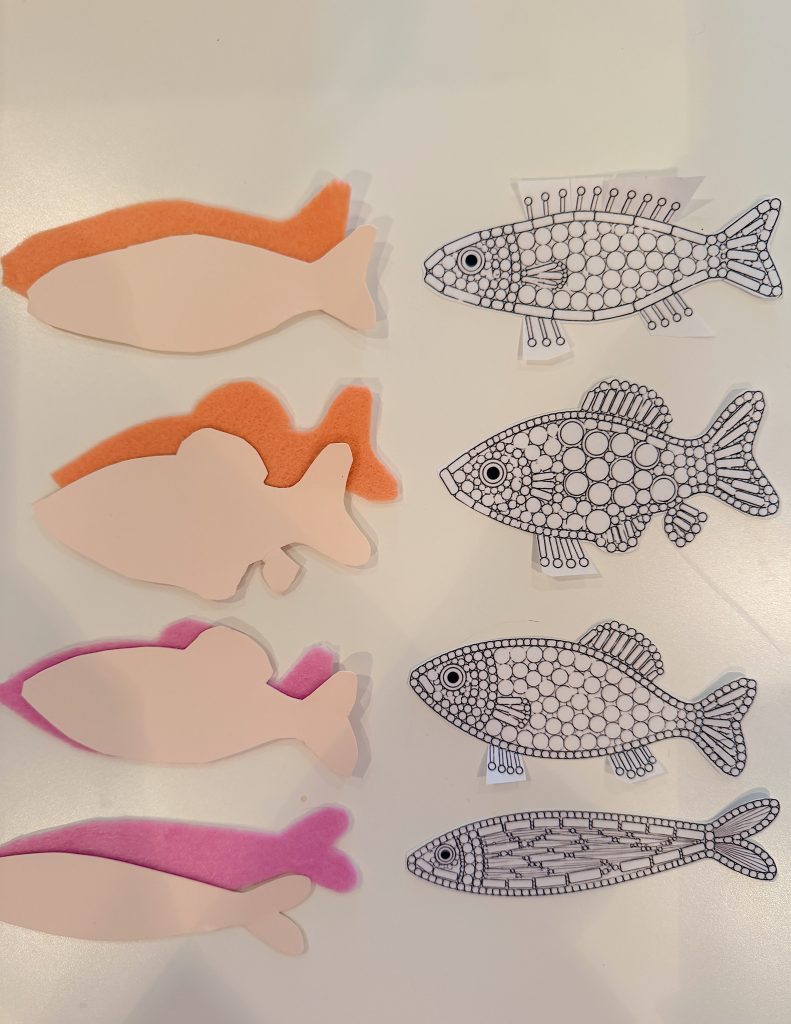
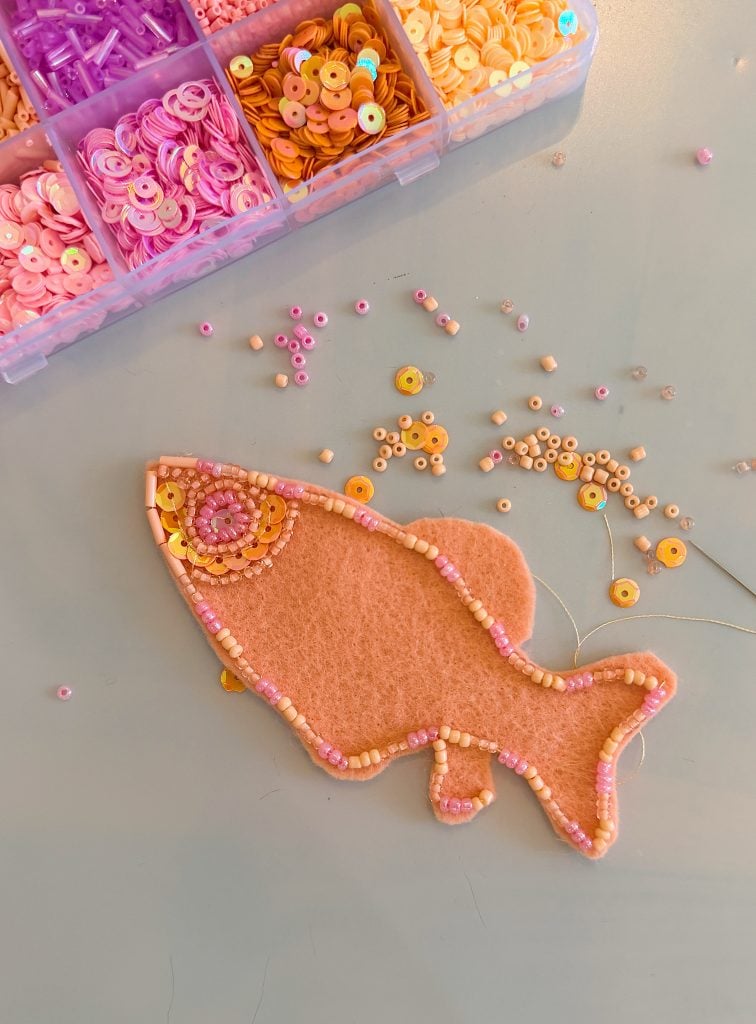
Using the fish template, I cut out another template from cardstock. Next, I cut out the fish from pink and orange felt.
I chose soft shades of pink and peach because they remind me of summer sunsets.
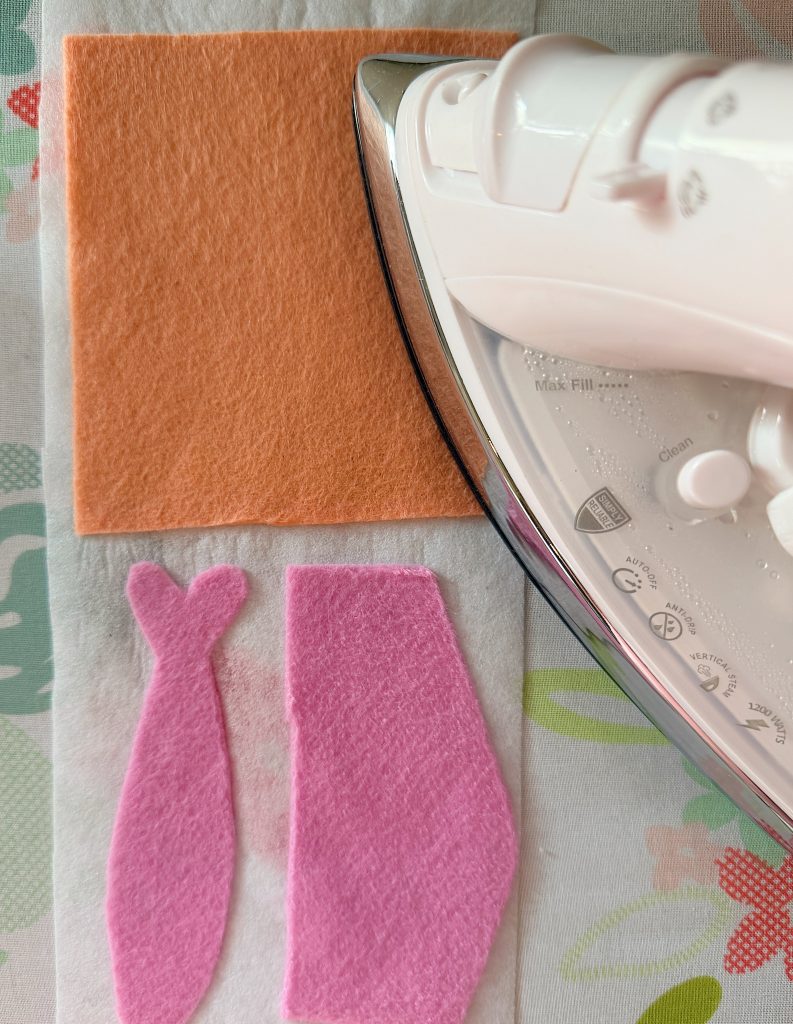
After cutting the felt, I fused a lightweight stabilizer to the back.
This step makes a huge difference.
The stabilizer gives the felt much more body so it doesn’t stretch or distort while you’re sewing hundreds of beads onto the surface. The finished tag also feels much sturdier.
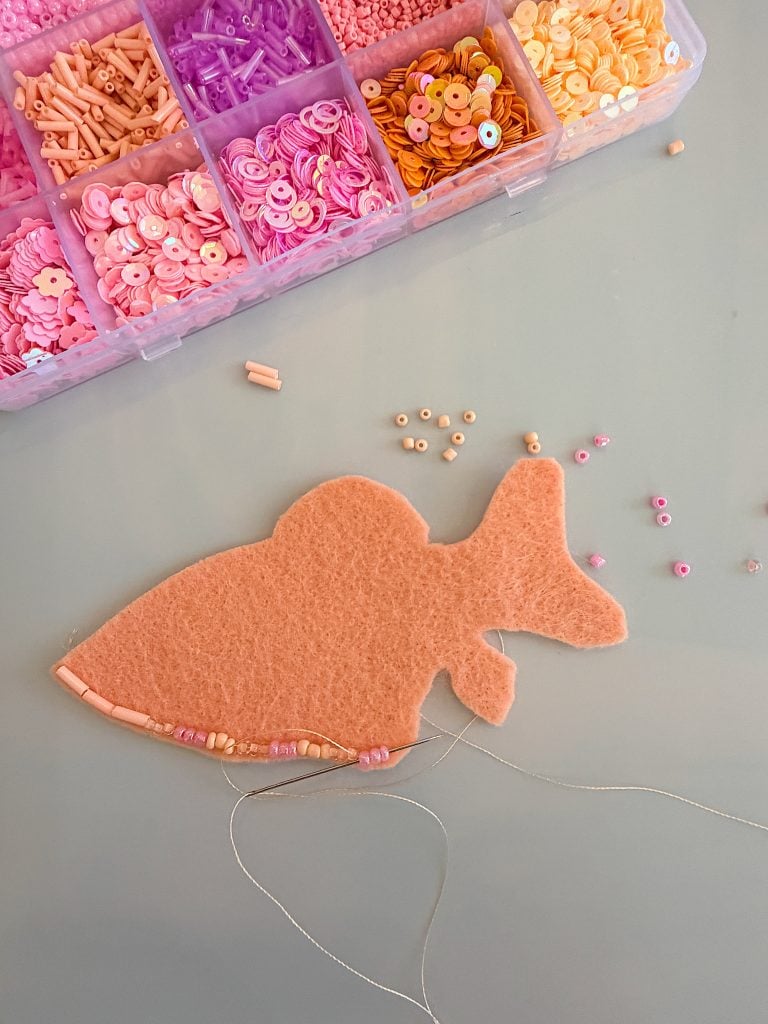
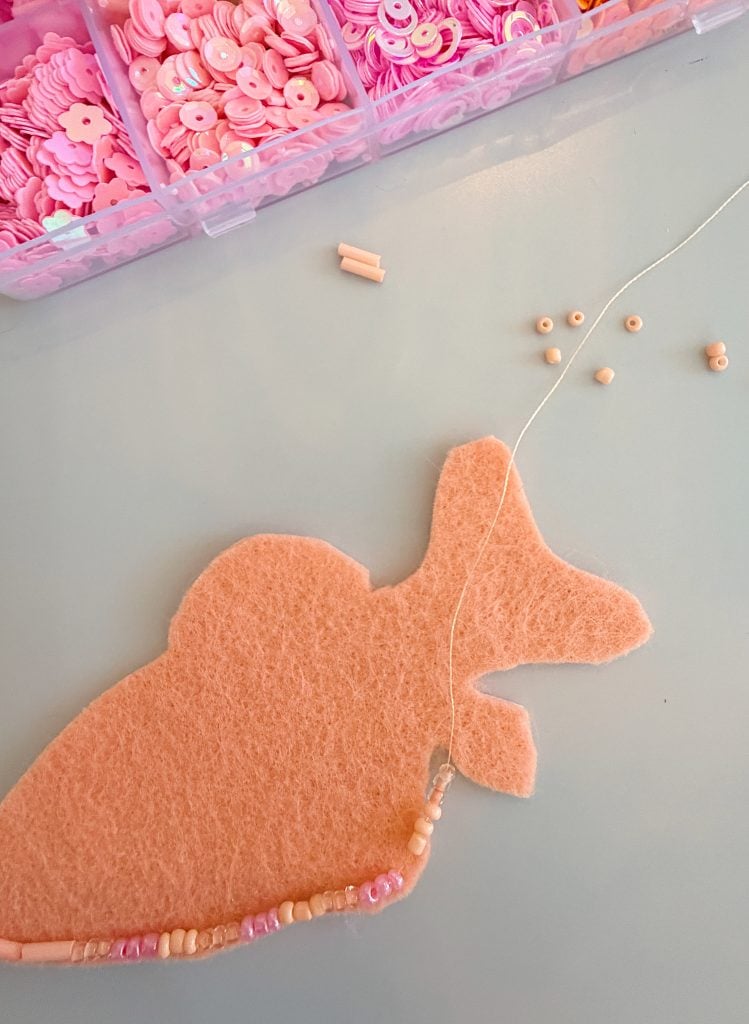
Step Three: Begin Beading
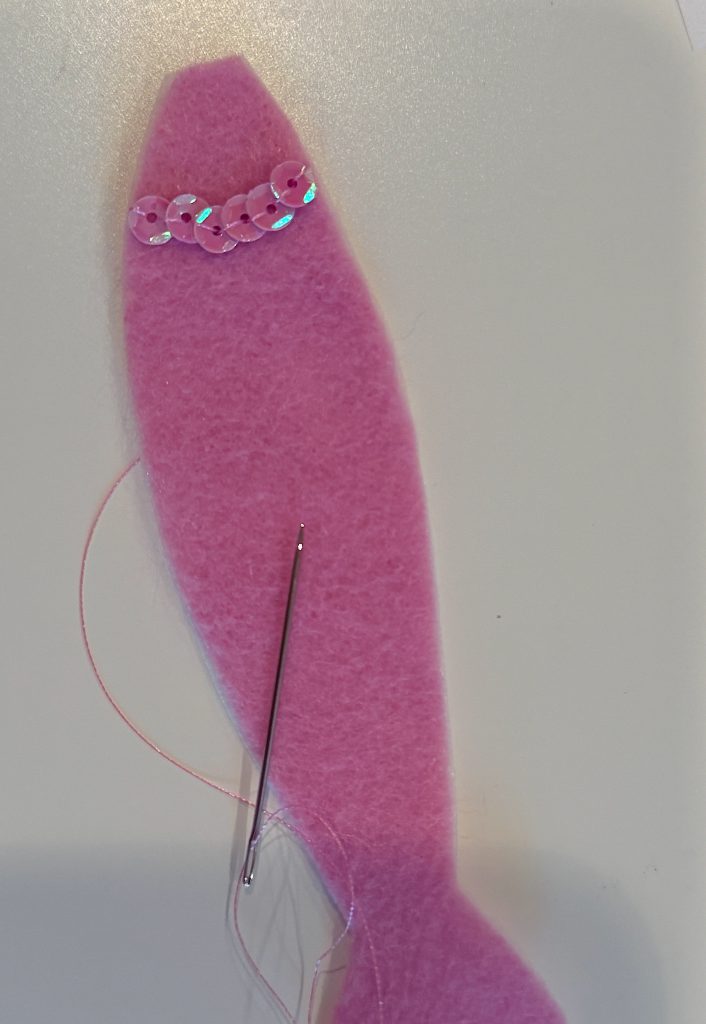
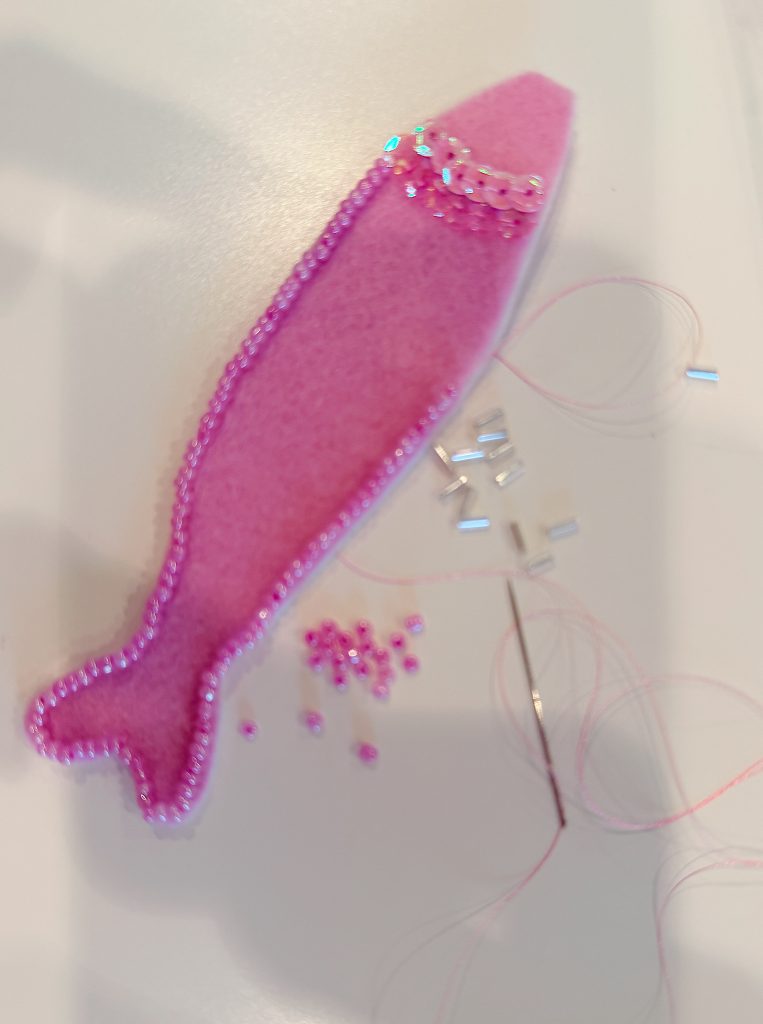
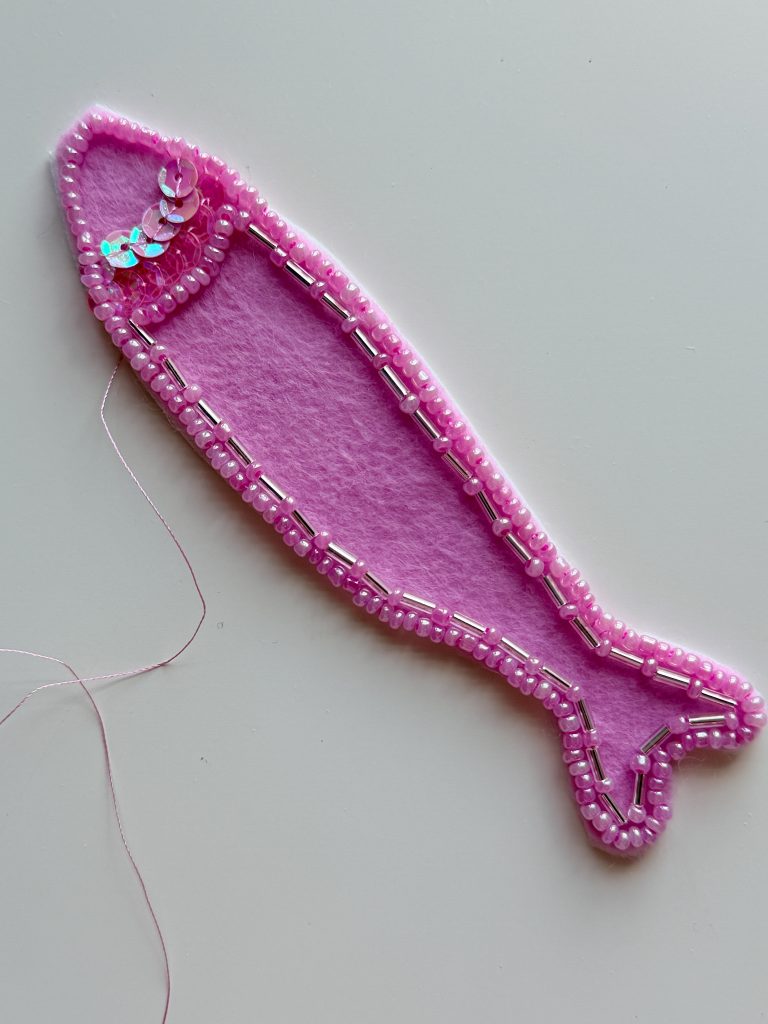
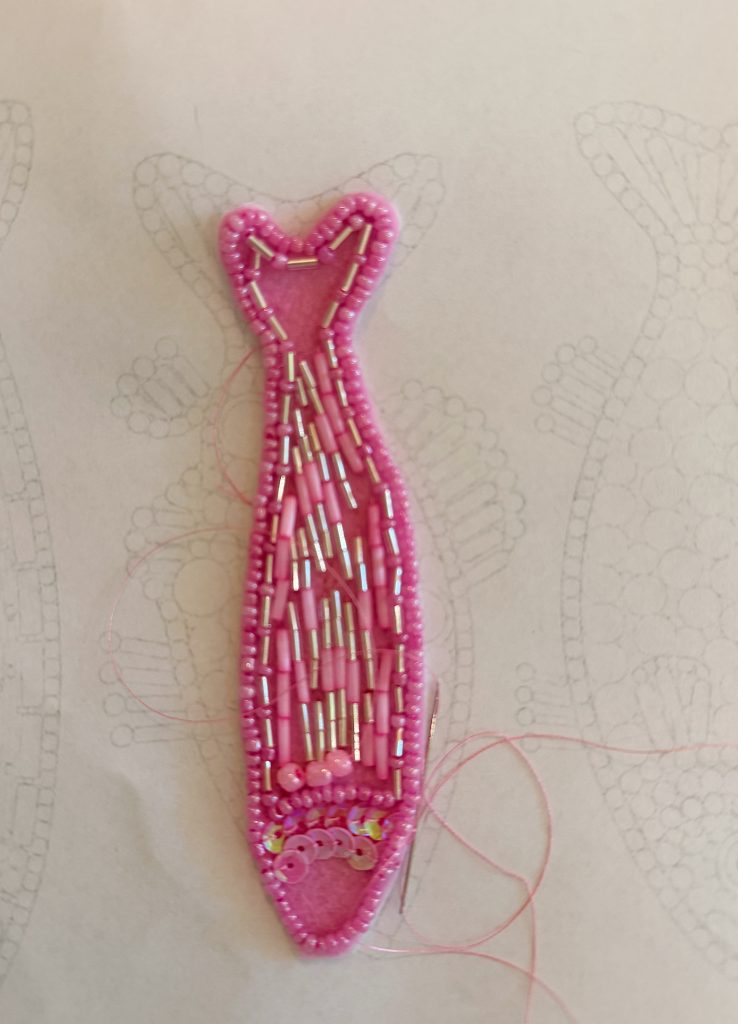
This is where the magic begins.
Start along one edge of the fish and work your way around the outside.
I used combinations of:
- Seed beads
- Tube beads
- Tiny spacer beads
The outer border creates a finished edge and provides a guide for filling in the rest of the design.
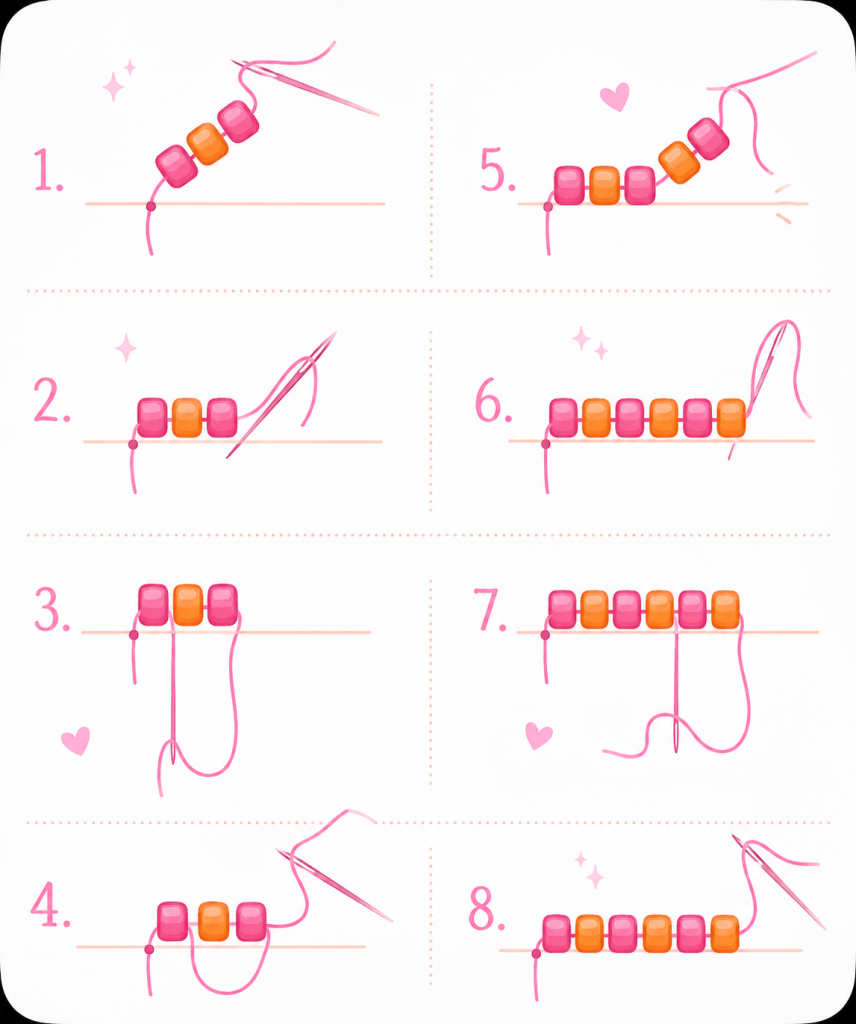
My Best Tip
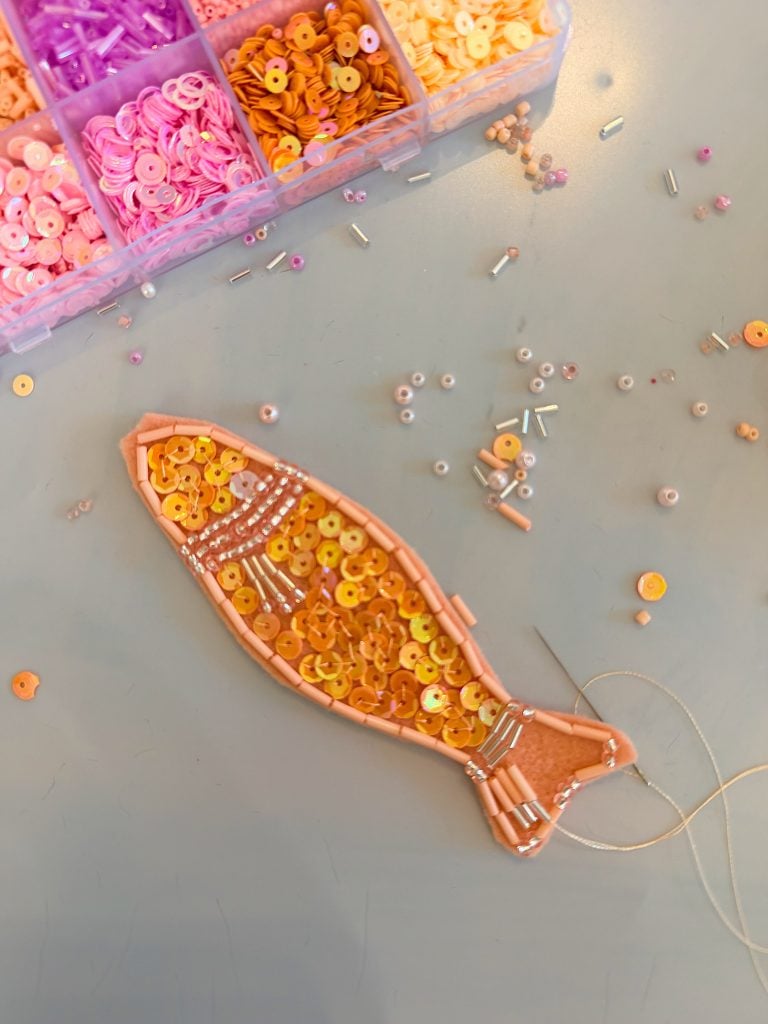
Whenever you add several beads at once, don’t simply stitch them down at both ends.
In addition, stitch through the beads again at the halfway point and anchor them to the felt.
This keeps long rows of beads from shifting or lifting away from the fabric.
It also gives the finished tag a much more professional appearance.
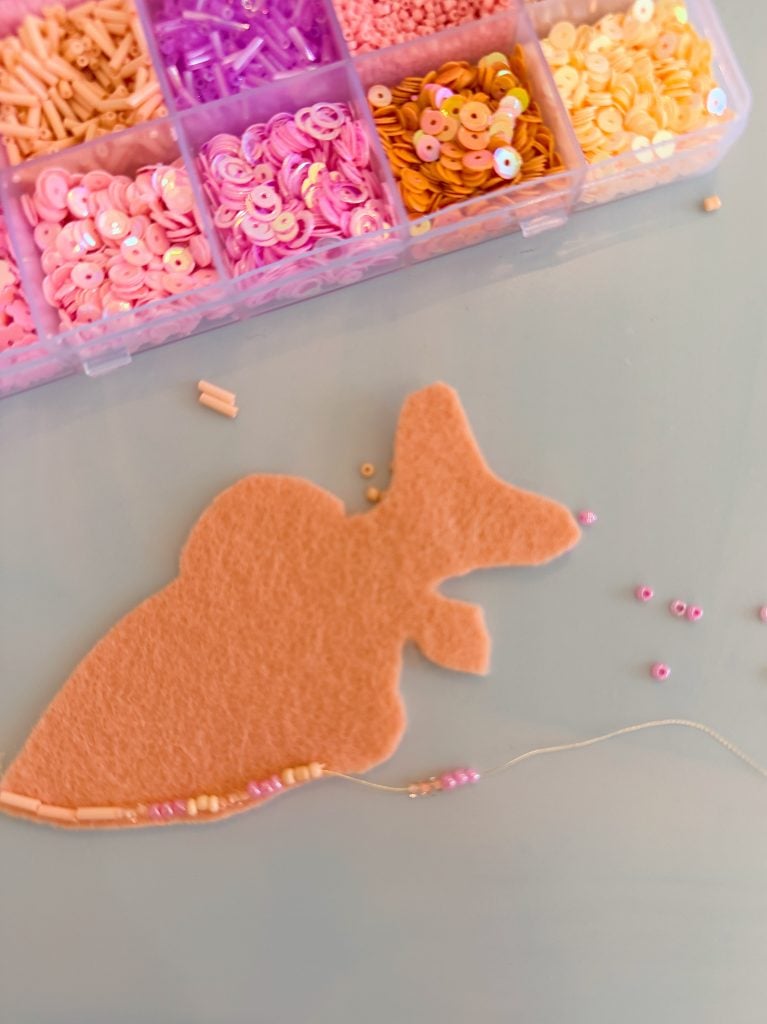
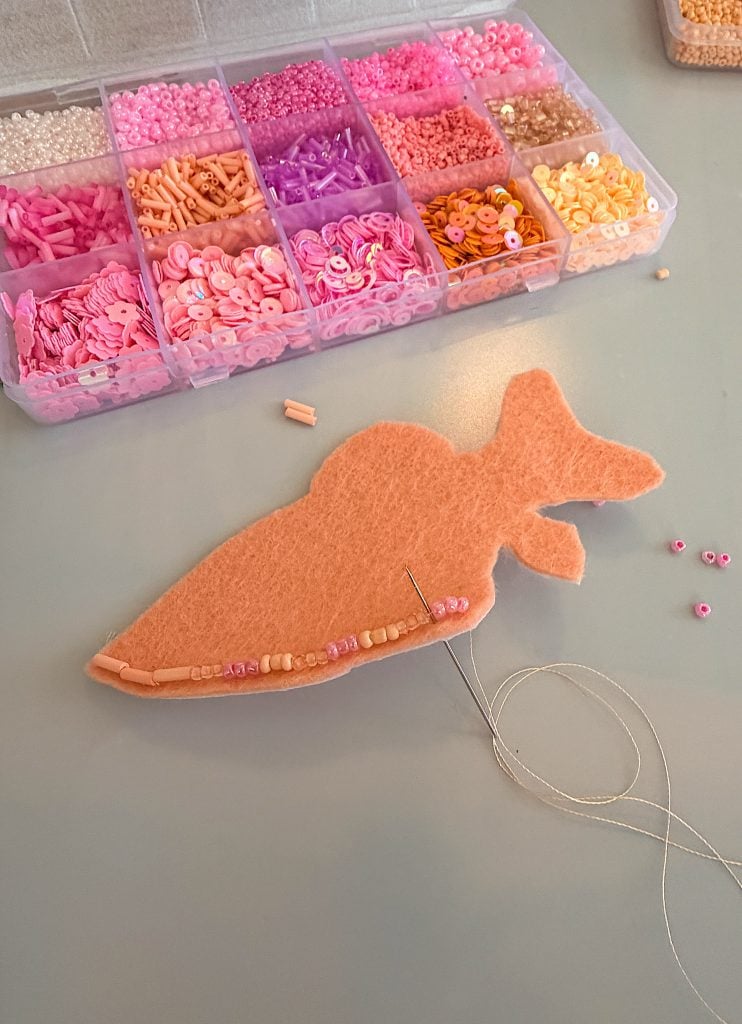
I created an illustration of how to make the overlapping stitch. I shared how to do it with three beads and with five.
Filling the Design
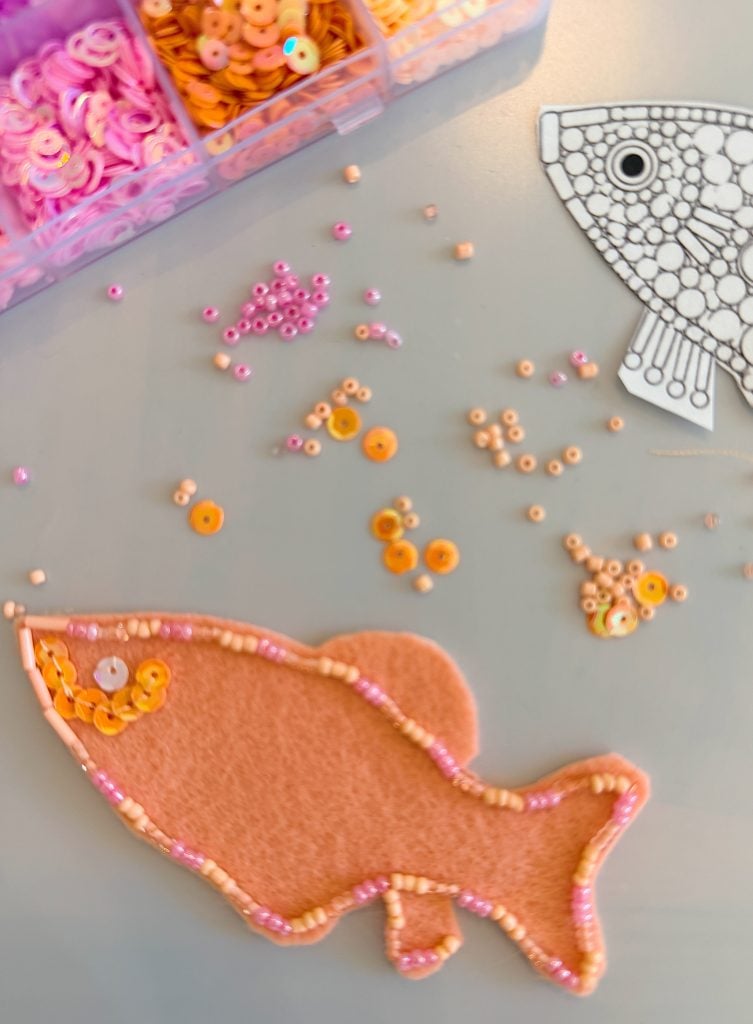
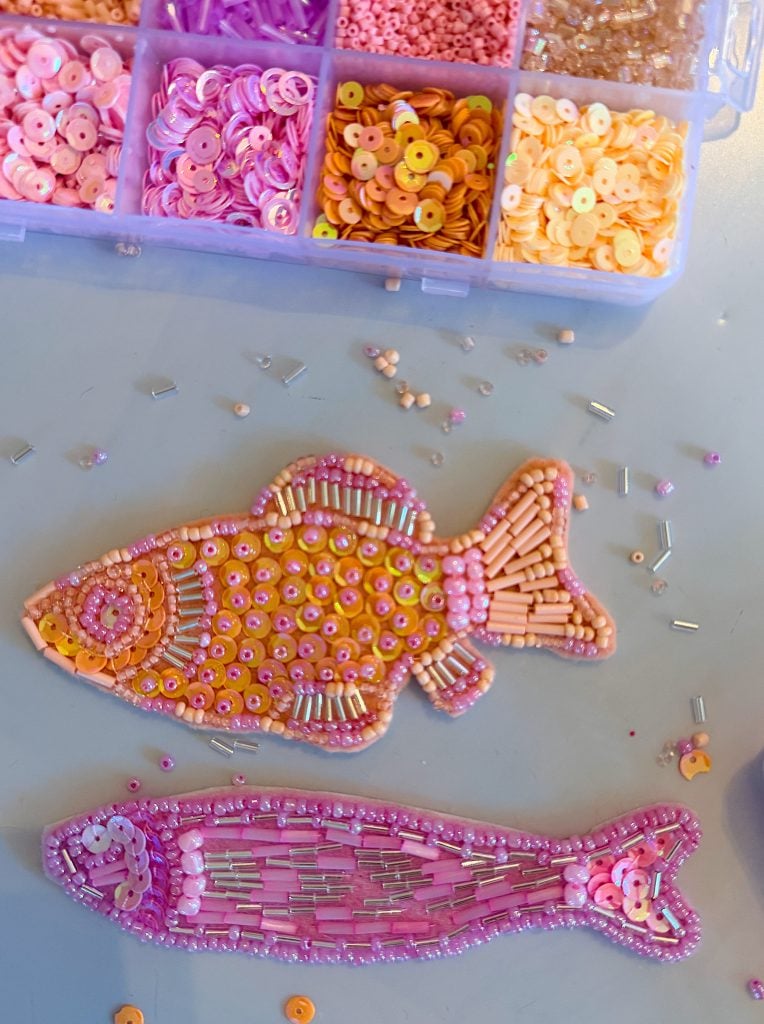
Once the outline is finished, start filling the fish.
This is where you can really get creative.
One fish might be mostly sequins.
Another can feature bugle beads.
One can be covered with tiny seed beads.
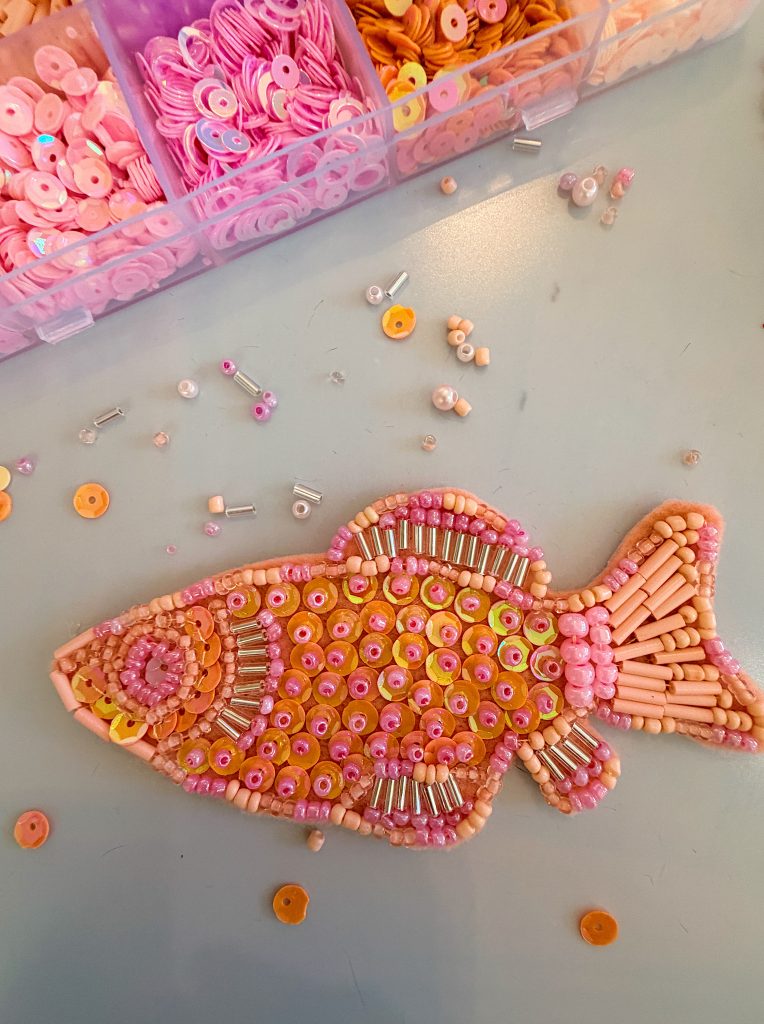
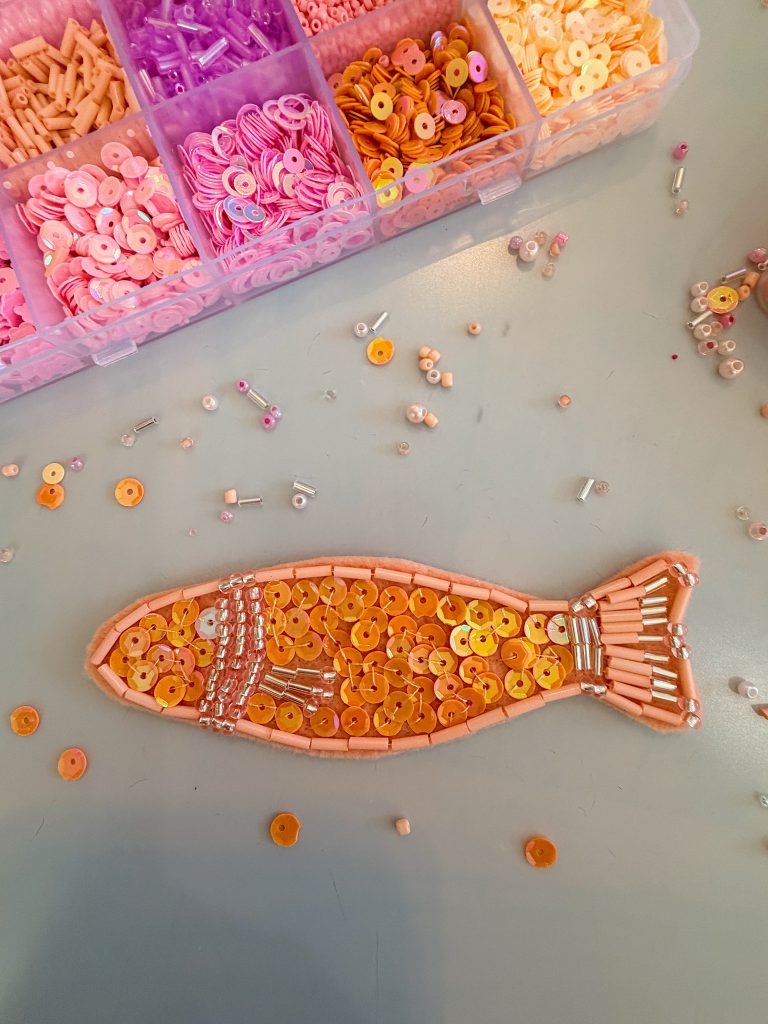
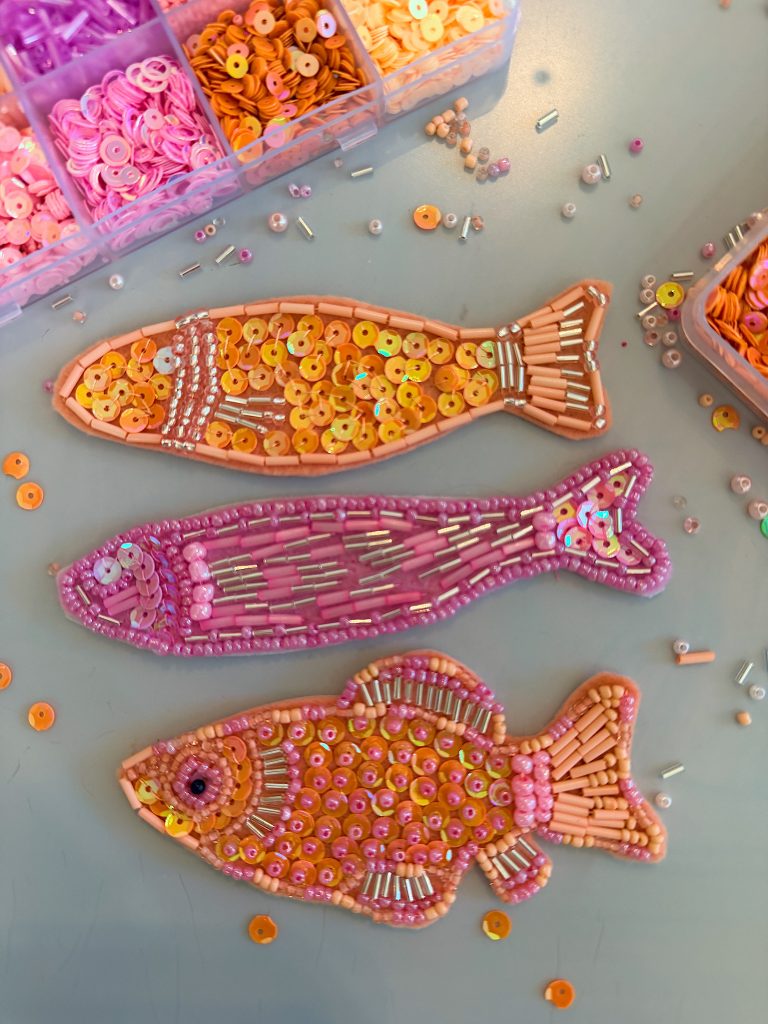
The larger circles in my template are perfect places for sequins, while the long narrow areas work beautifully with tube beads.
Mixing bead sizes gives the fish wonderful texture and sparkle.
I also love using tiny clear beads between larger beads because they almost disappear while helping everything lie flat.
Don’t Forget to Knot
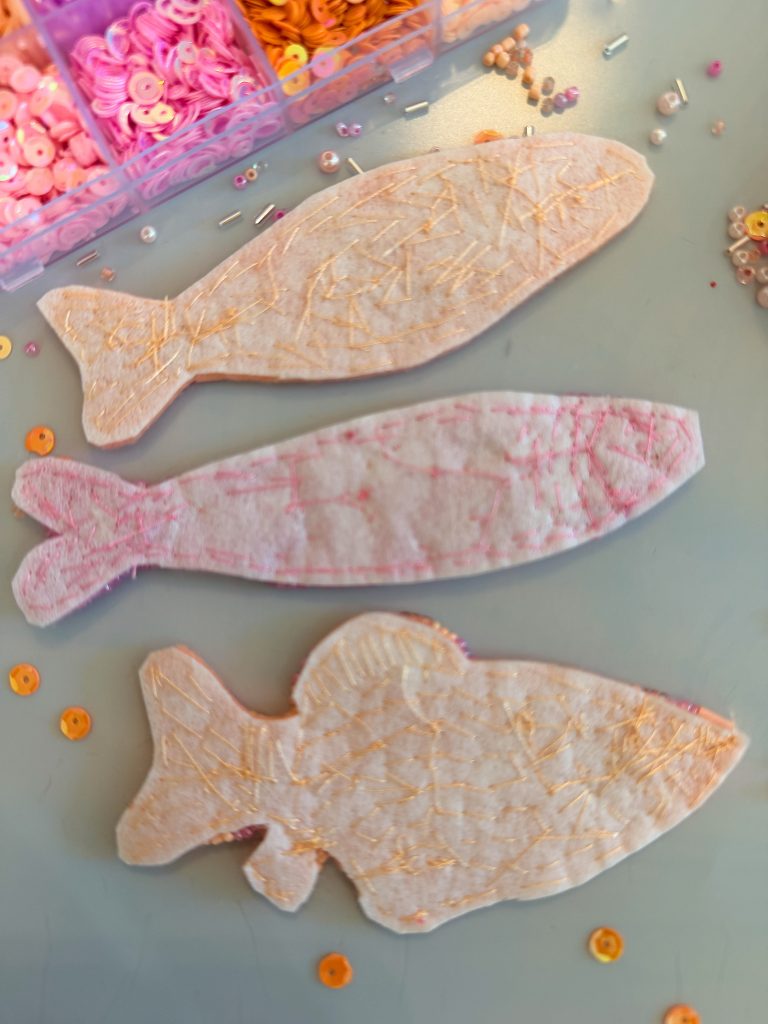
This is probably the most important tip in the entire project.
Whenever you begin a new thread, tie several secure knots on the back of the felt.
When your thread is getting short, don’t try to squeeze out one more row of beads.
End the thread.
Tie several knots.
Then begin again with fresh thread.
These bag tags will be handled frequently, so you want everything to stay securely attached.
Taking an extra minute to knot the thread well is absolutely worth it.
Hand Sewing vs. Gluing
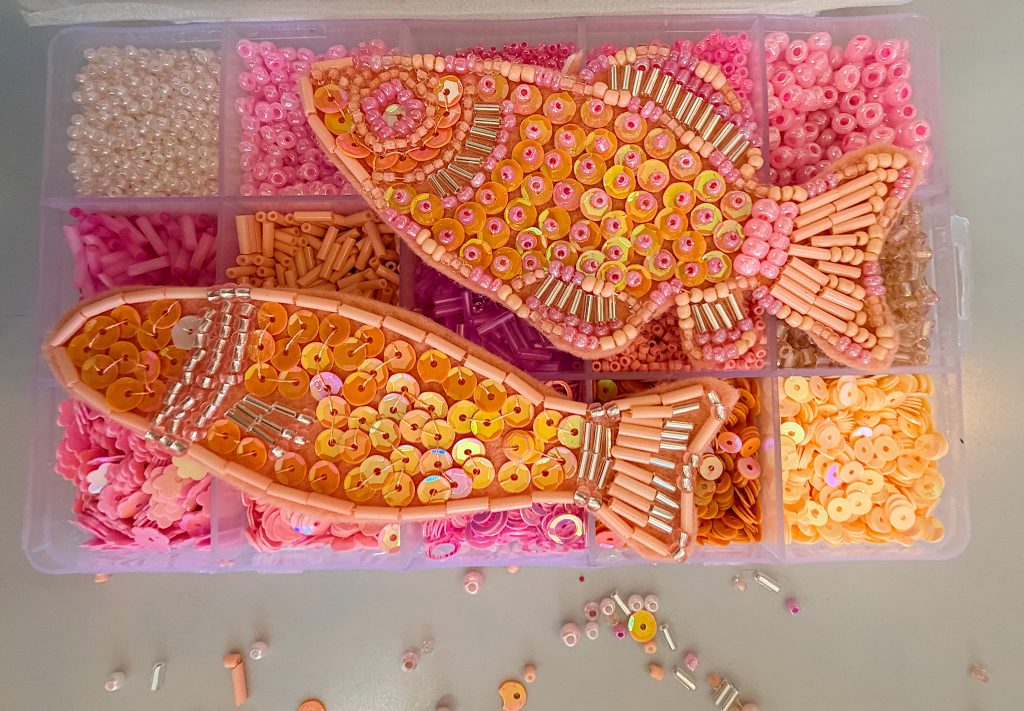
Every bead on my finished fish was hand sewn.
(Oops! There was one exception … the black eye. I thought I had purchased black beads, but I ended up with ones without holes. So I used a bit of glue to attach it. )
Hand sewing definitely takes time, but I love how secure the beads feel and how beautifully they lay against the felt.
If you’re making these with children or simply want a quicker version, you can absolutely glue the beads instead.
A strong fabric glue or jewelry adhesive works very well.
You can even combine both methods by sewing the larger design elements and gluing smaller accent beads.
Finishing the Back
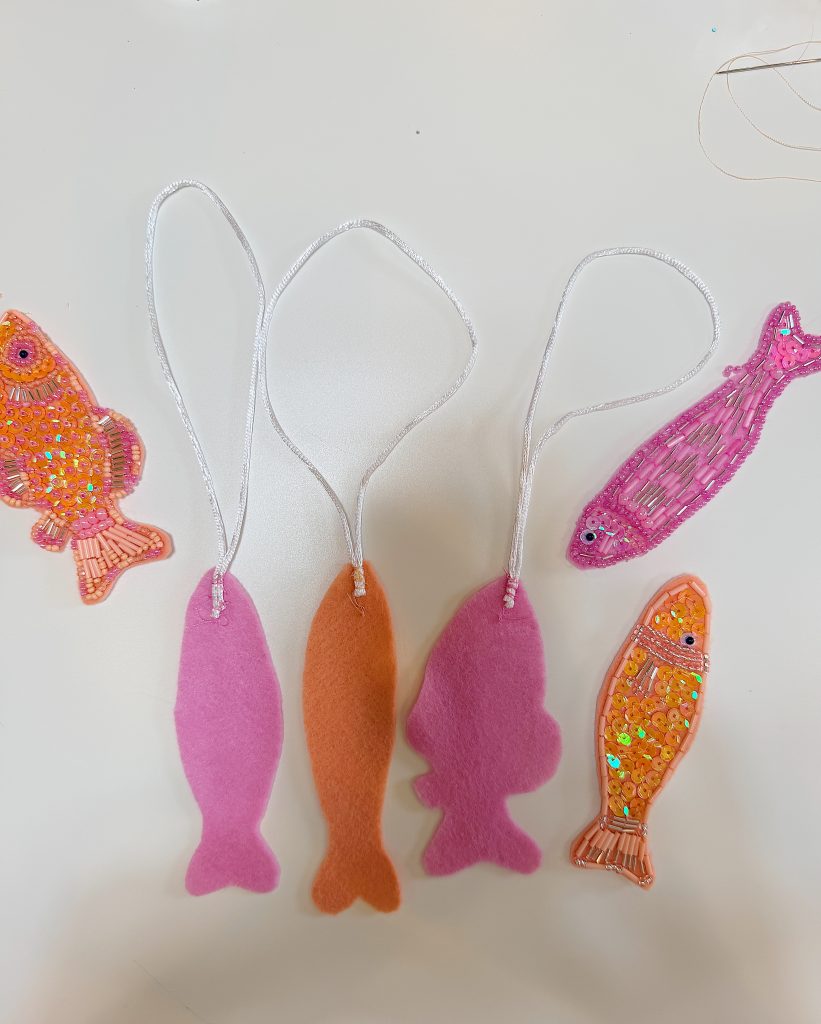
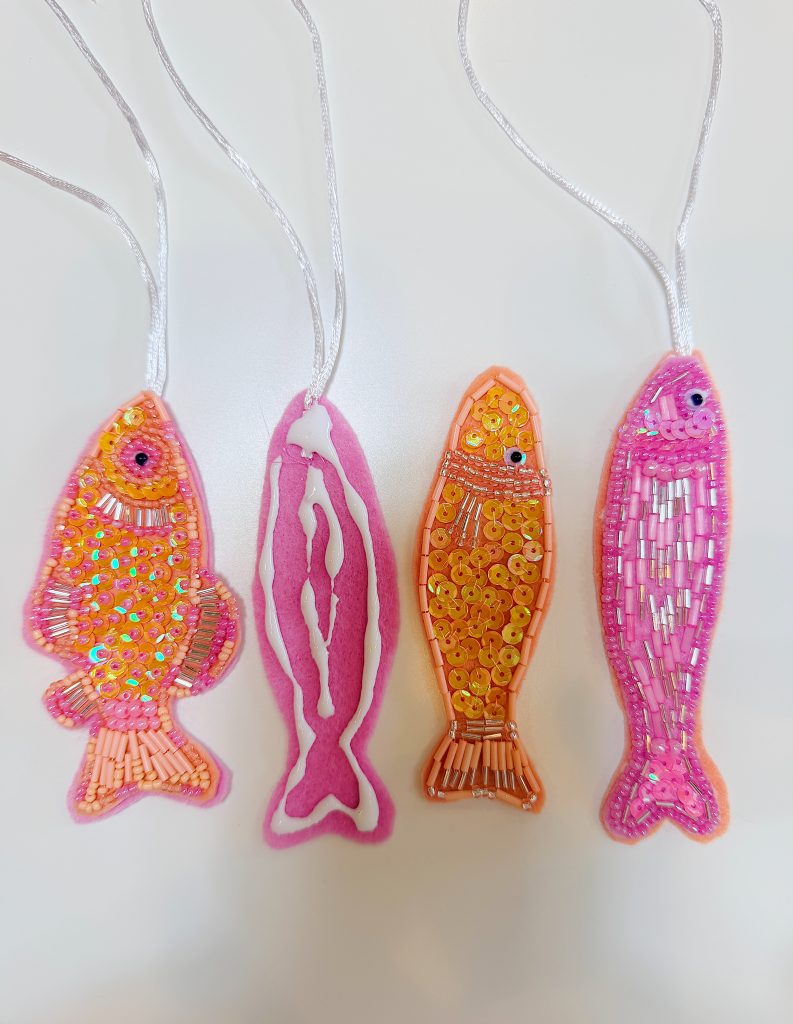
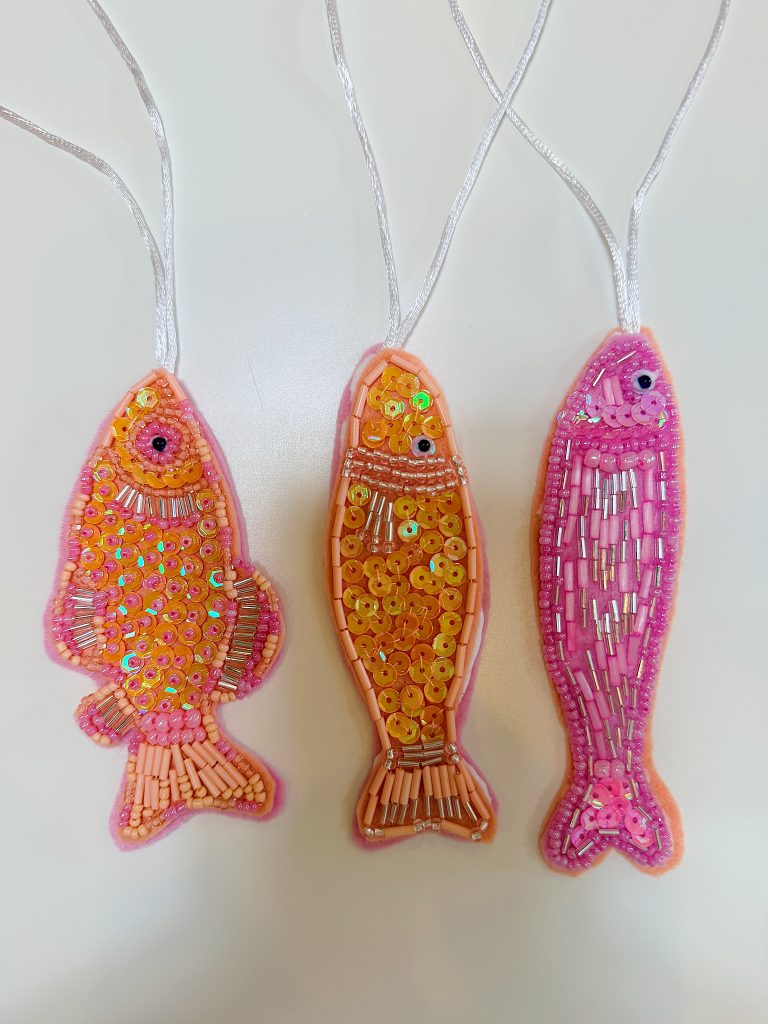
Once all of the beading is complete, it’s time to finish the bag tag.
Cut a second piece of felt that is just slightly larger than the original fish.
Before attaching it, place a folded piece of twine at the top to create a hanger.
Glue the backing felt onto the stitched side, securing the twine between the two layers.
The slightly larger backing completely hides the stitches while giving the ornament a clean, finished edge.
It also makes the bag tag feel thicker and more substantial.
Why I Love Handmade Projects Like This
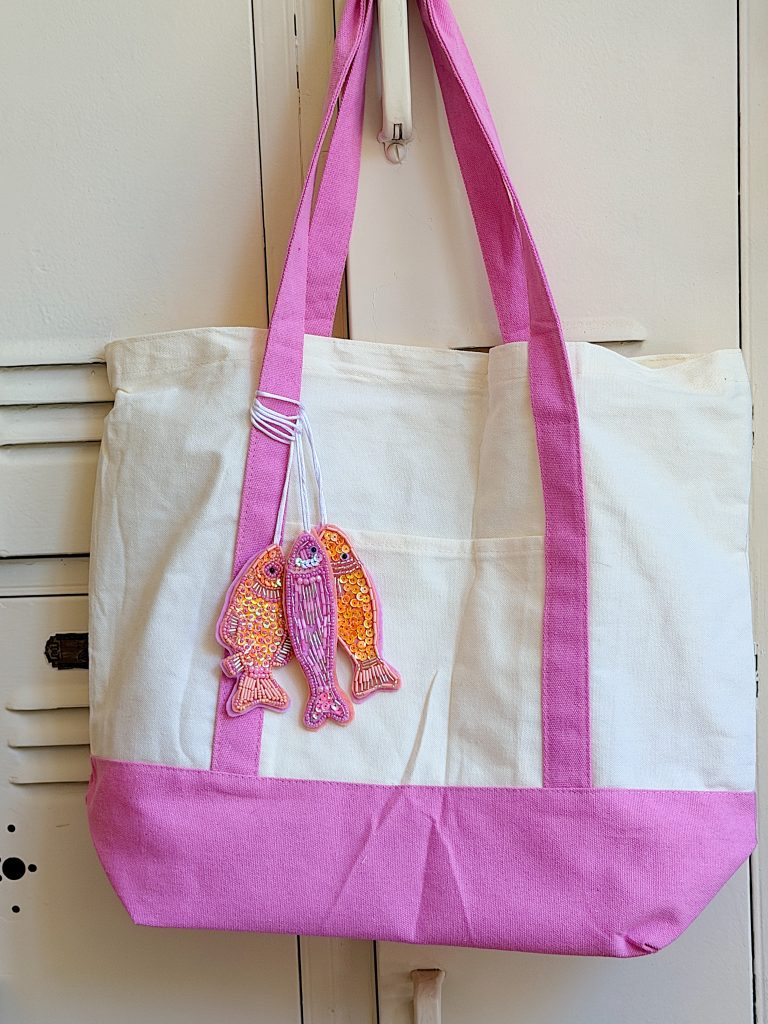
People often assume handmade means simple.
I think projects like these prove exactly the opposite.
These bag tags look like something you would discover in a lovely little boutique while traveling.
Yet they’re made with inexpensive supplies and a little patience.
The best part is that you can customize every single one.
Change the colors.
Use holiday themes.
Add initials.
Make beach, Christmas, Halloween, or even sports-themed bag tags.
The possibilities are endless.
Perfect Gift Ideas
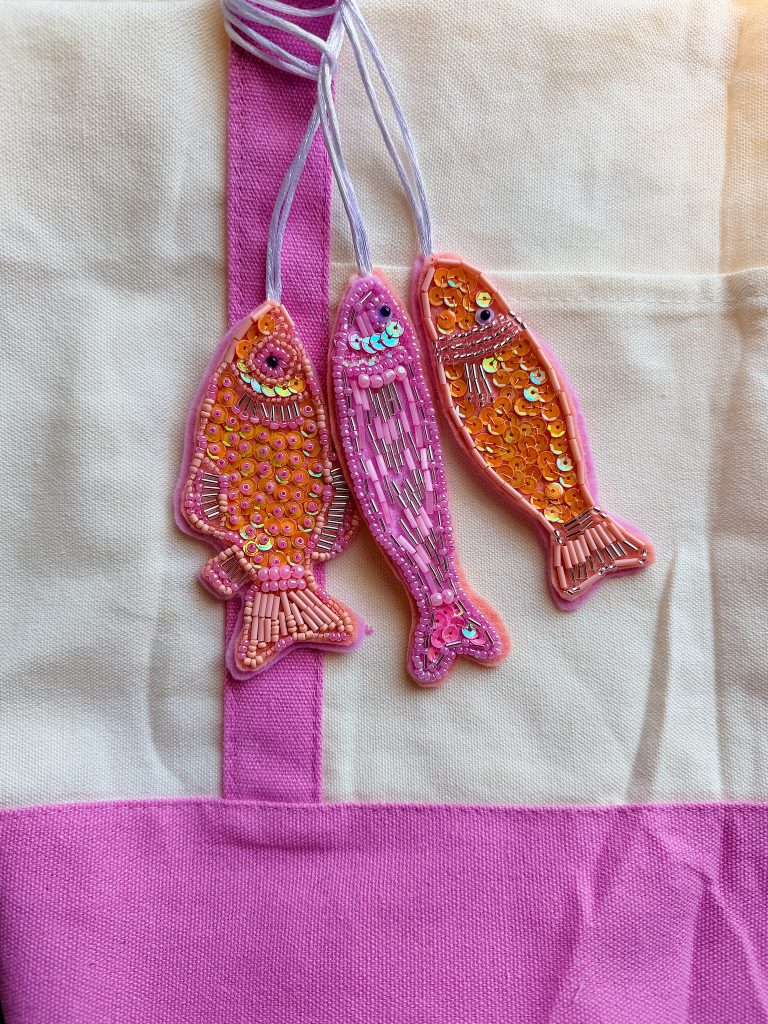
These beaded bag tags would be wonderful:
- Attached to gift bags
- Tied onto wrapped presents
- Added to backpacks
- Hanging from cosmetic bags
- On beach totes
- As stocking stuffers
- Teacher gifts
- Craft night projects
- Girls’ weekend favors
- Holiday ornaments
I already have several friends requesting their own.
A Few Final Tips
Before you begin, sort your beads into small containers.
Keep your thread lengths fairly short so they don’t tangle.
Good lighting makes a huge difference.
Don’t rush.
These are the kinds of projects that are meant to be enjoyed one stitch at a time.
I found myself reaching for these each evening because they were relaxing to make.
Wrapping Up A Handmade Summer
It feels a little bittersweet writing the final post in my A Handmade Summer series. Over the past few months, we’ve painted, embroidered, sewn, worked with clay, made pillows, quilted bags, created polymer clay charms, and now finished with these beautiful beaded bag tags.
I honestly think this may be one of my favorite series I’ve ever shared because every project encouraged us to slow down and create something beautiful with our own hands.
And while summer is winding down, I promise the creativity isn’t.
In just a few weeks I’ll be kicking off my brand-new A Handmade Fall series, and I already have so many cozy, colorful, and creative projects planned. Think pumpkins, autumn colors, handmade gifts, seasonal décor, and lots of new ideas for your craft room.
Until then, I hope these beaded bag tags inspire you to pull out your beads, gather your felt, and make something that is completely your own.
After all, the best handmade projects aren’t about perfection. They’re about enjoying the process, trying something new, and creating something that makes you smile every time you see it hanging from your favorite bag.
How to Follow Along With A Handmade Summer
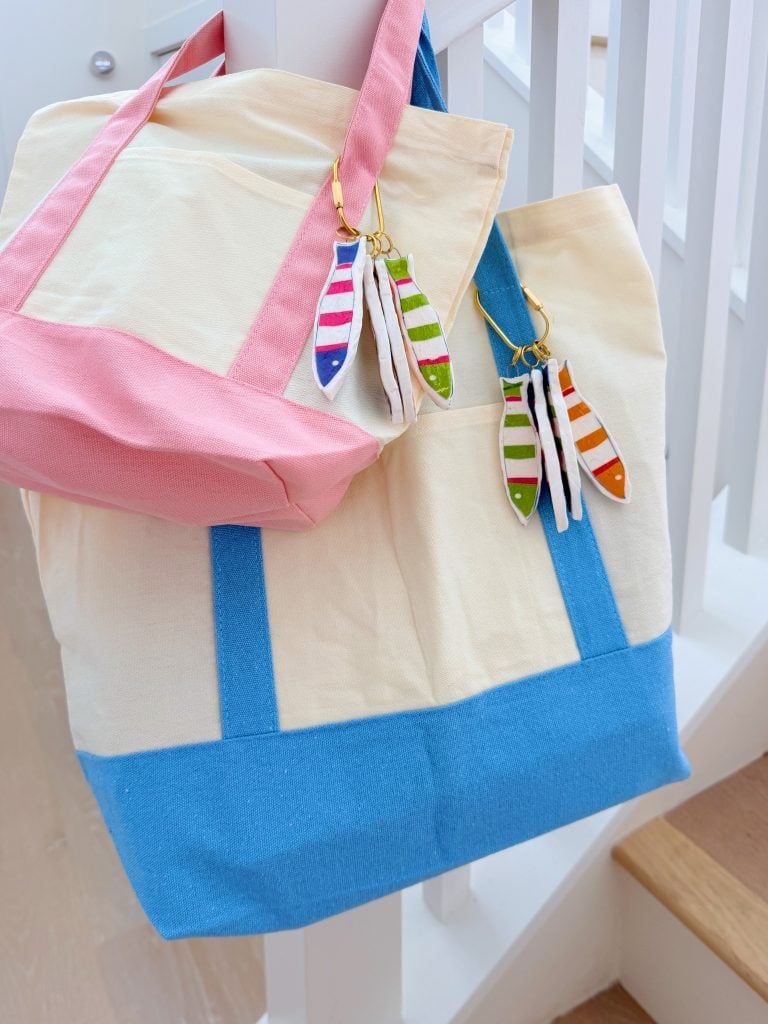
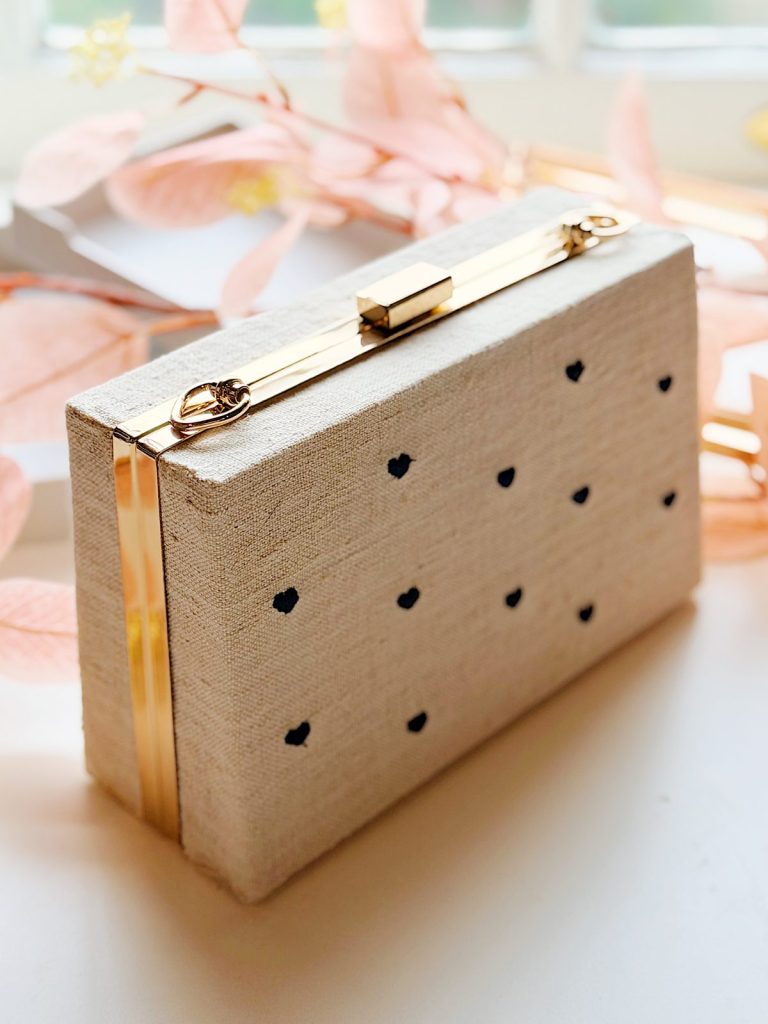
Here are all of the A Handmade Summer craft projects so far.
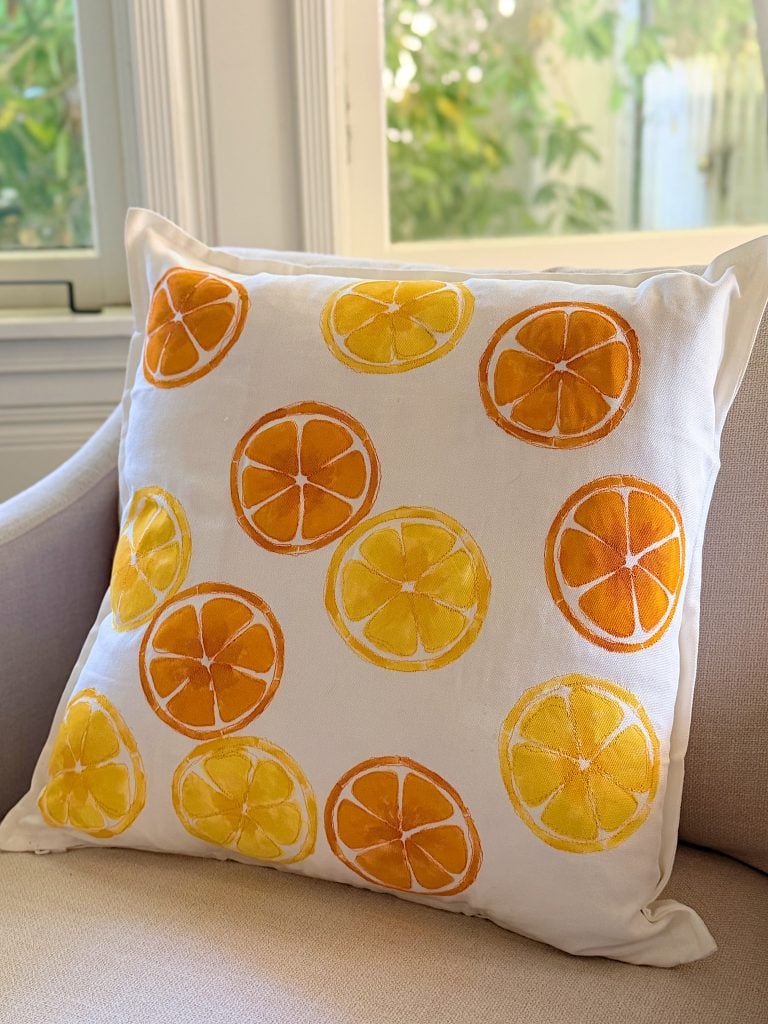
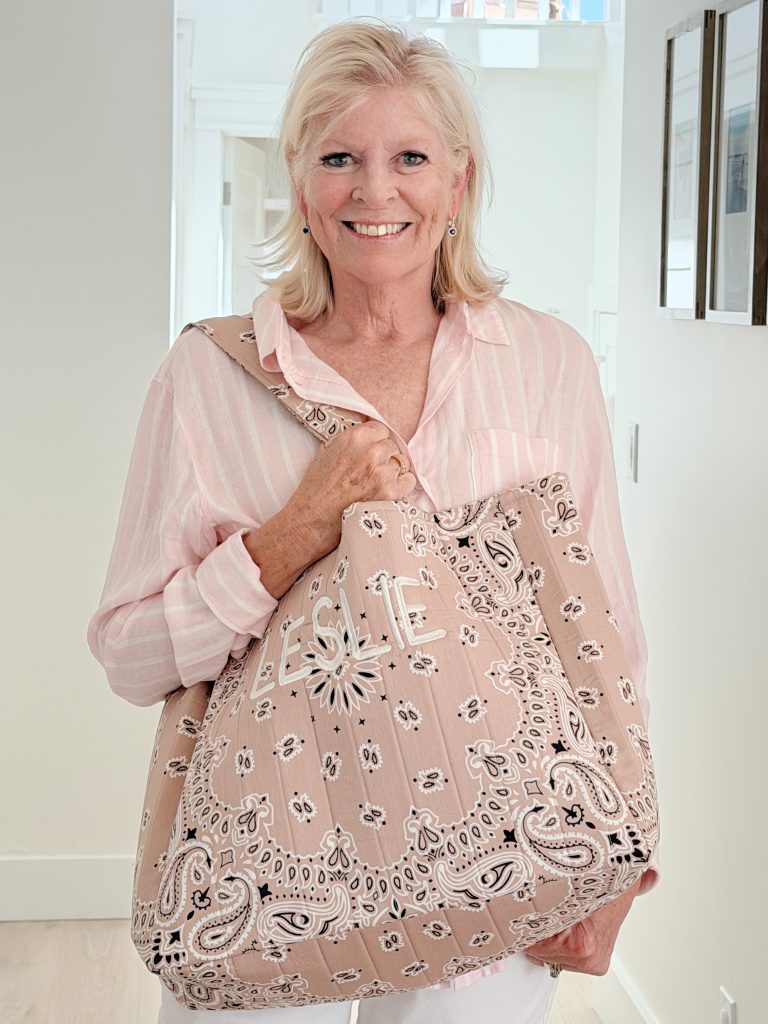
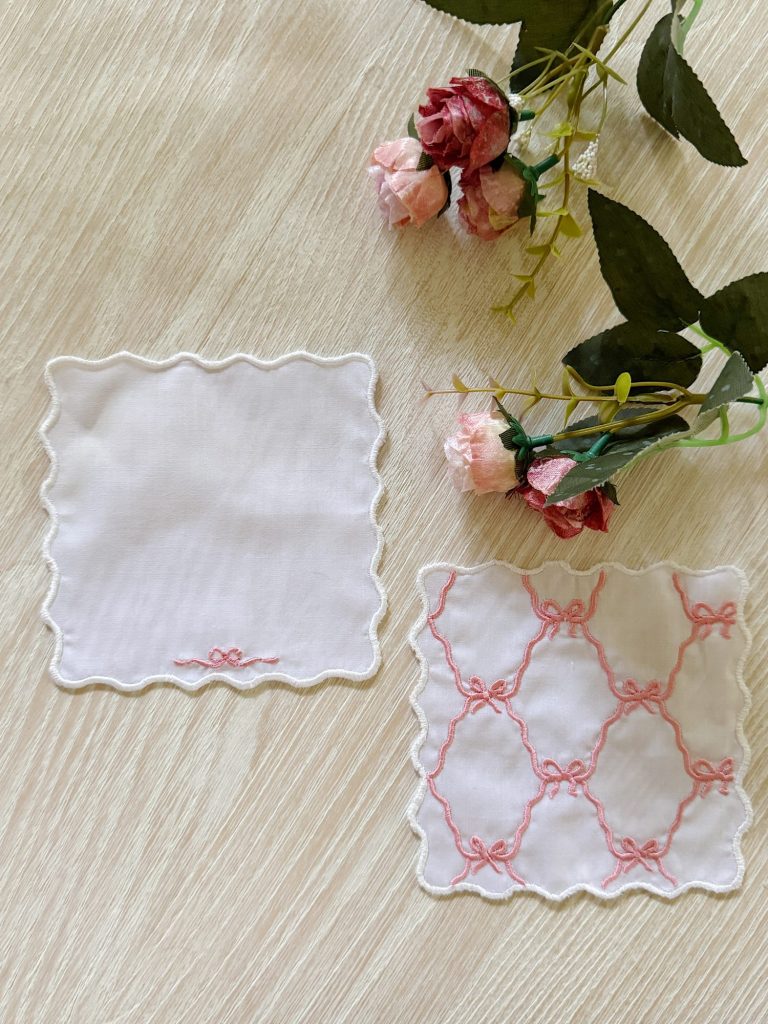
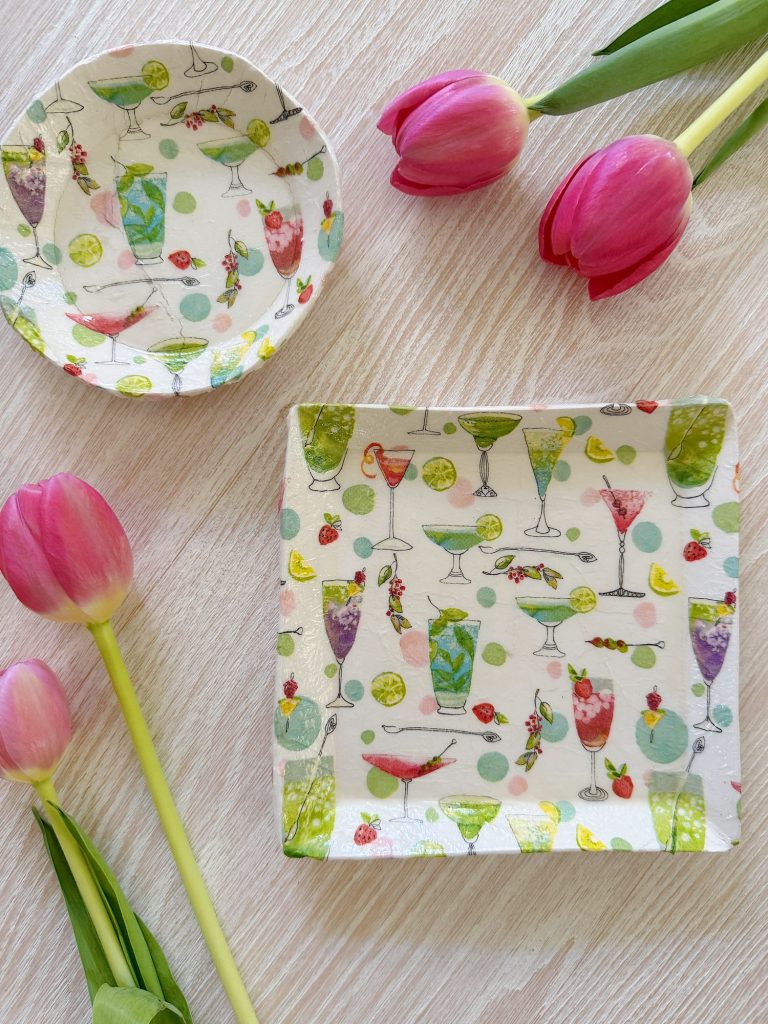
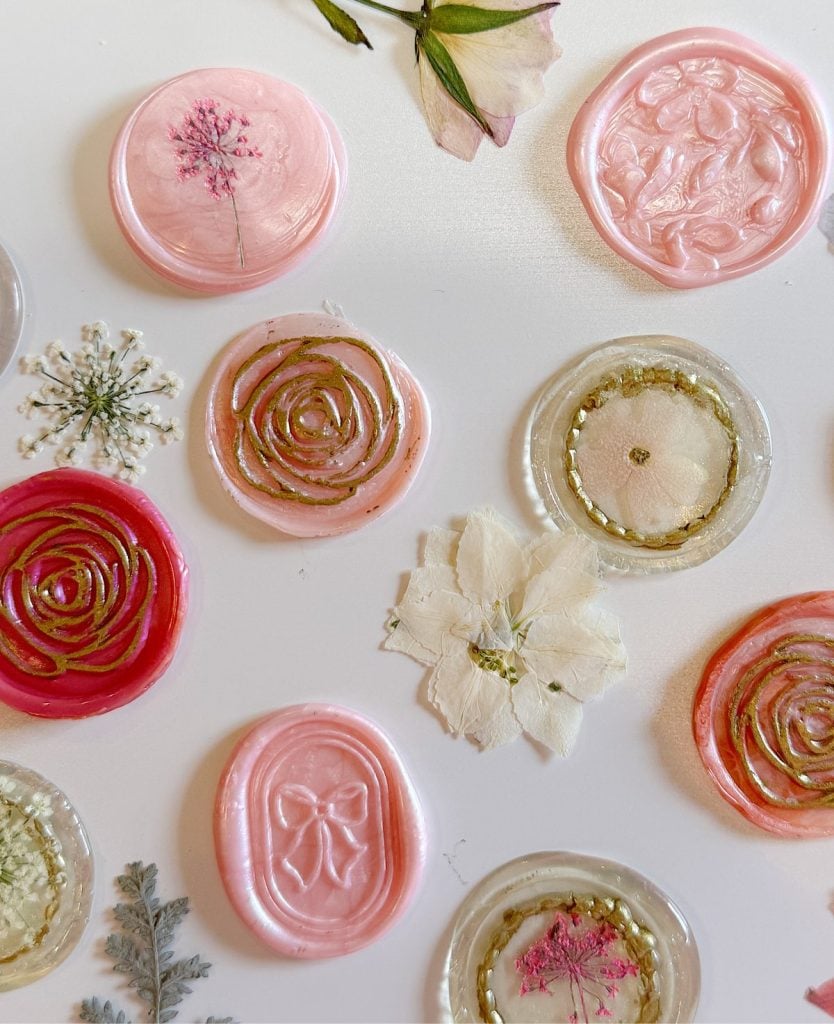
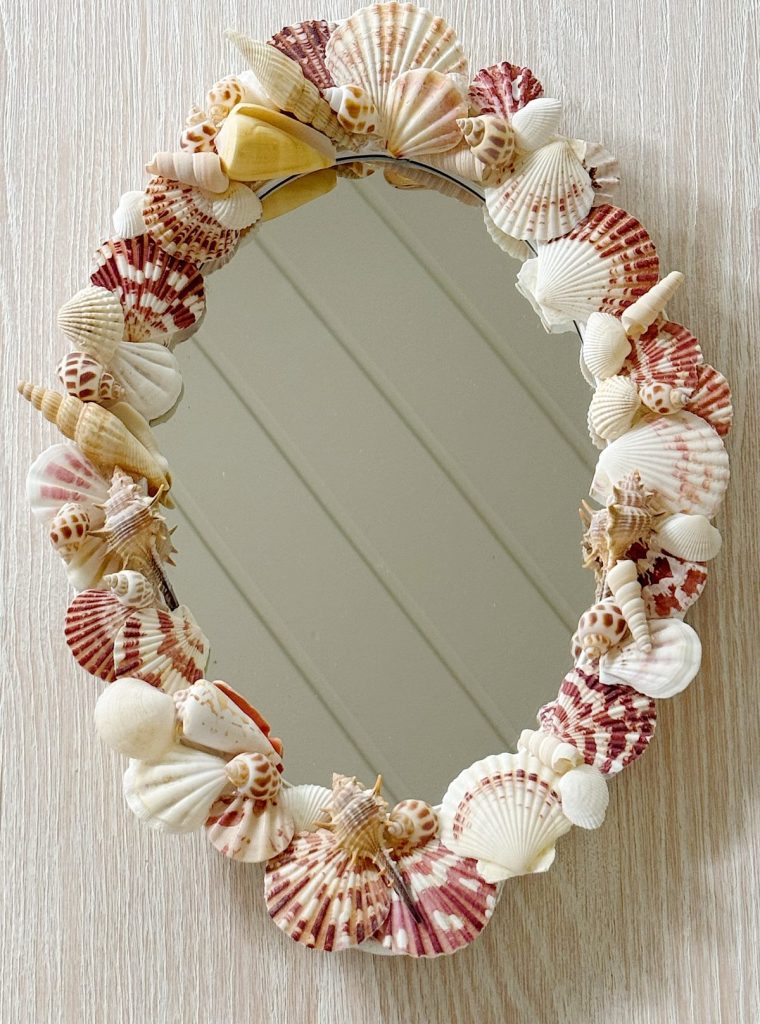
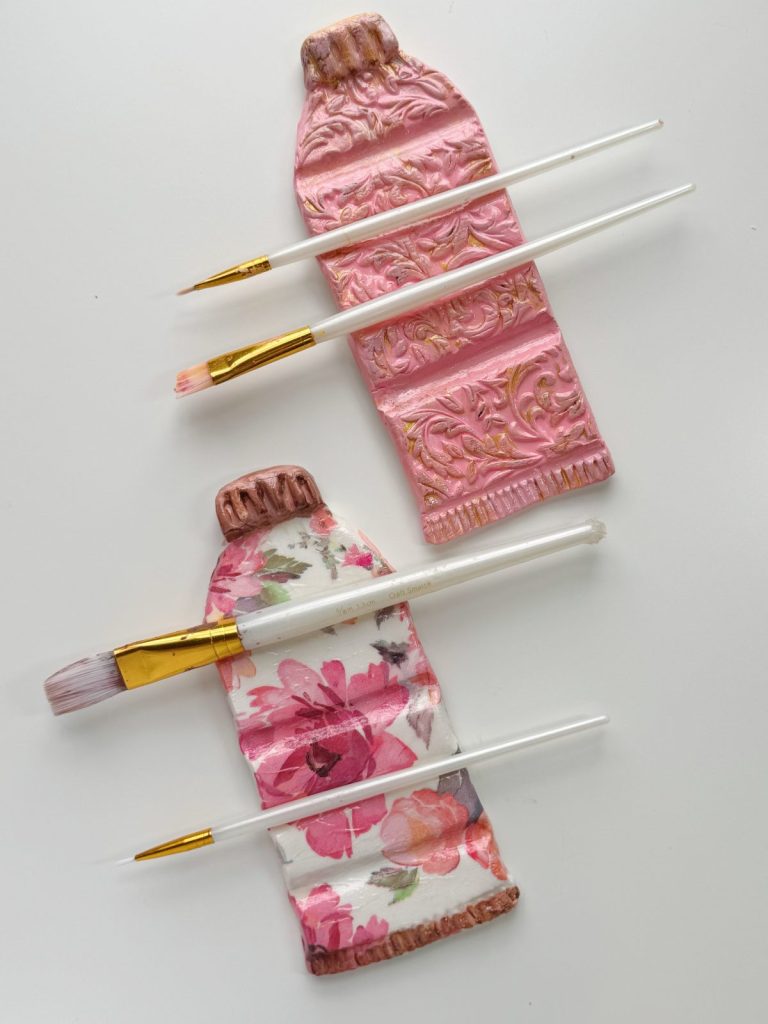
Each week, a new summer craft will be shared here on the blog. I will also be sharing behind-the-scenes moments, progress videos, and finished projects on Instagram so you can see each craft come to life.
You can jump in at any point. There is no need to start at the beginning or complete every project. Choose the ones that speak to you and make them your own.
Latest Posts
-
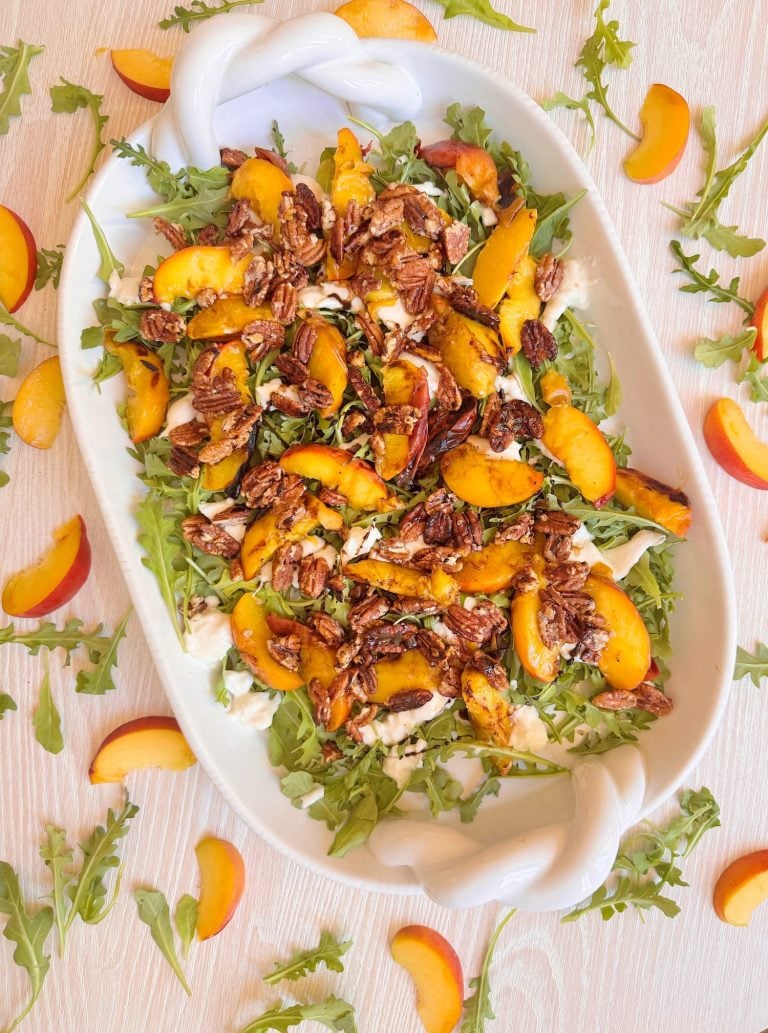
Grilled Peach Burrata Salad with Honey Balsamic Drizzle
Some recipes just taste like summer. You know the kind—fresh, colorful, effortless, and bursting with flavor. One of my absolute favorites this season is this Grilled Peach Burrata Salad with Honey Balsamic Drizzle. It’s everything I love in a summer dish: sweet peaches, creamy cheese, peppery greens, and a drizzle of sweet-and-tangy goodness. It’s elegant…
-
My Obsession with Hand-Building Clay Pottery Ideas
For the past year, I have enjoyed one of the most rewarding creative experiences I’ve had in a long time: hand-building clay pottery ideas. What started as a curiosity quickly turned into a full-blown passion, and I’m thrilled to share the joy, challenges, and surprising things I’ve learned throughout this journey. Let’s just say, I’m…
-
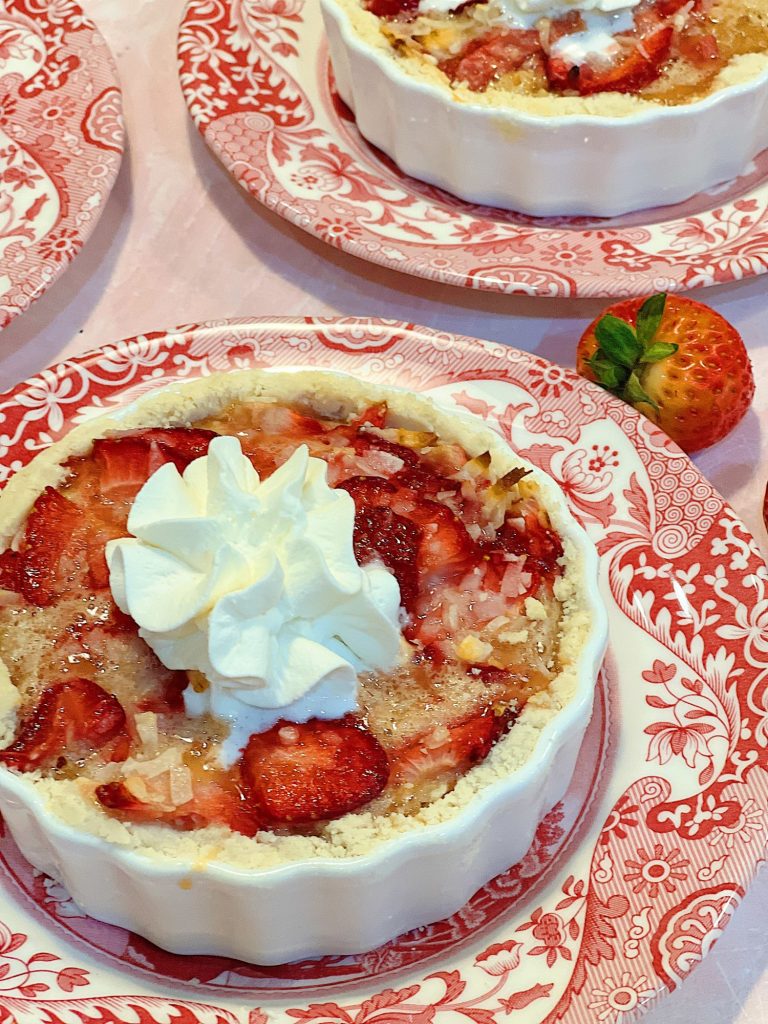
Strawberry Coconut Mini Tart Recipe
It’s time to whip up some summer desserts! And what better way to celebrate than my irresistible Strawberry Coconut Mini Tart Recipe? Ah, summer – the season of sunshine, flip-flops, and the vibrant burst of flavors that only fresh berries can offer. When those juicy, plump strawberries are in season, it’s time to get creative…
-
The Truth About Being “Crafty” – Mondays in the Craftroom
One of the most common things people say to me is, “I’m just not crafty.” But the truth is that creativity isn’t something you’re born with. It’s something you learn. Today I’m sharing why being crafty has much less to do with talent and much more to do with curiosity, practice, and simply being willing…
My Recent Instagram Posts

You can pin the image below to your boards on Pinterest (click the Pin button in the top left corner) or follow me on Pinterest!
For more real-time updates, follow me on Instagram @My100YearOldHome