A Citrus Pillow – A Handmade Summer
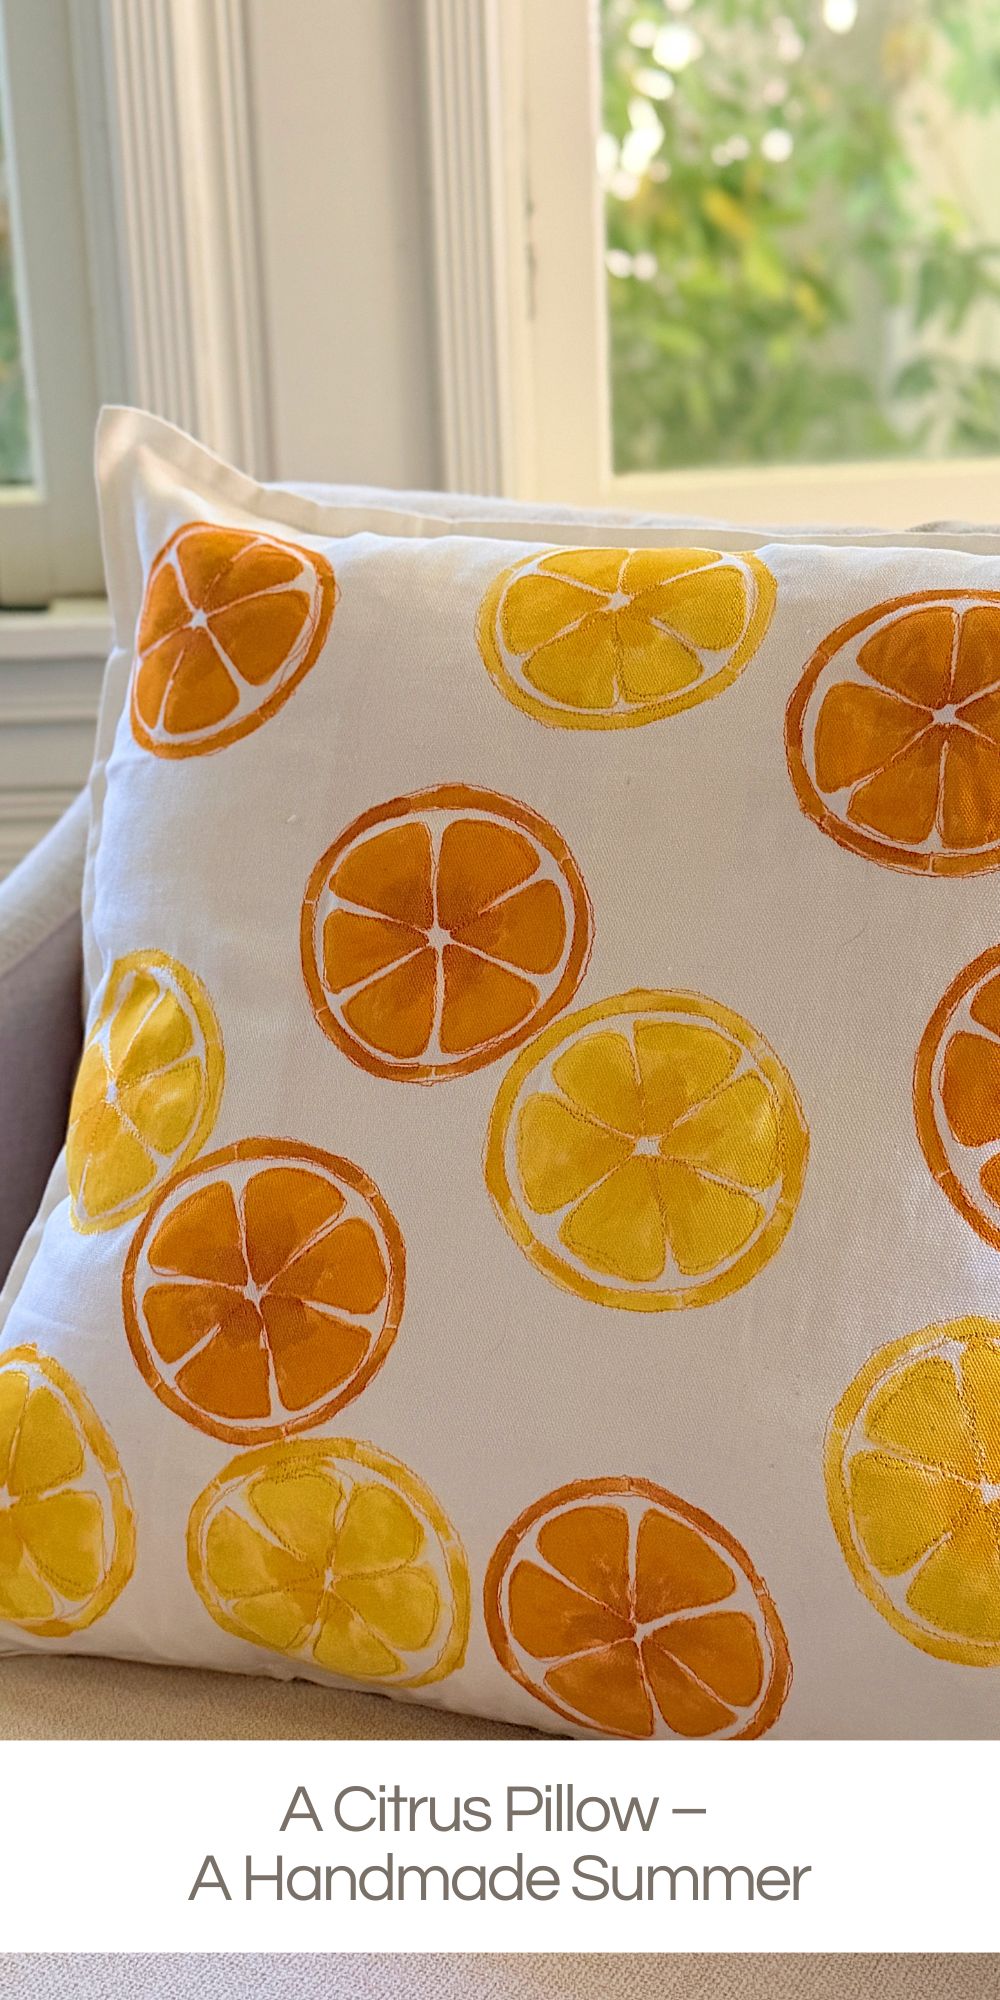
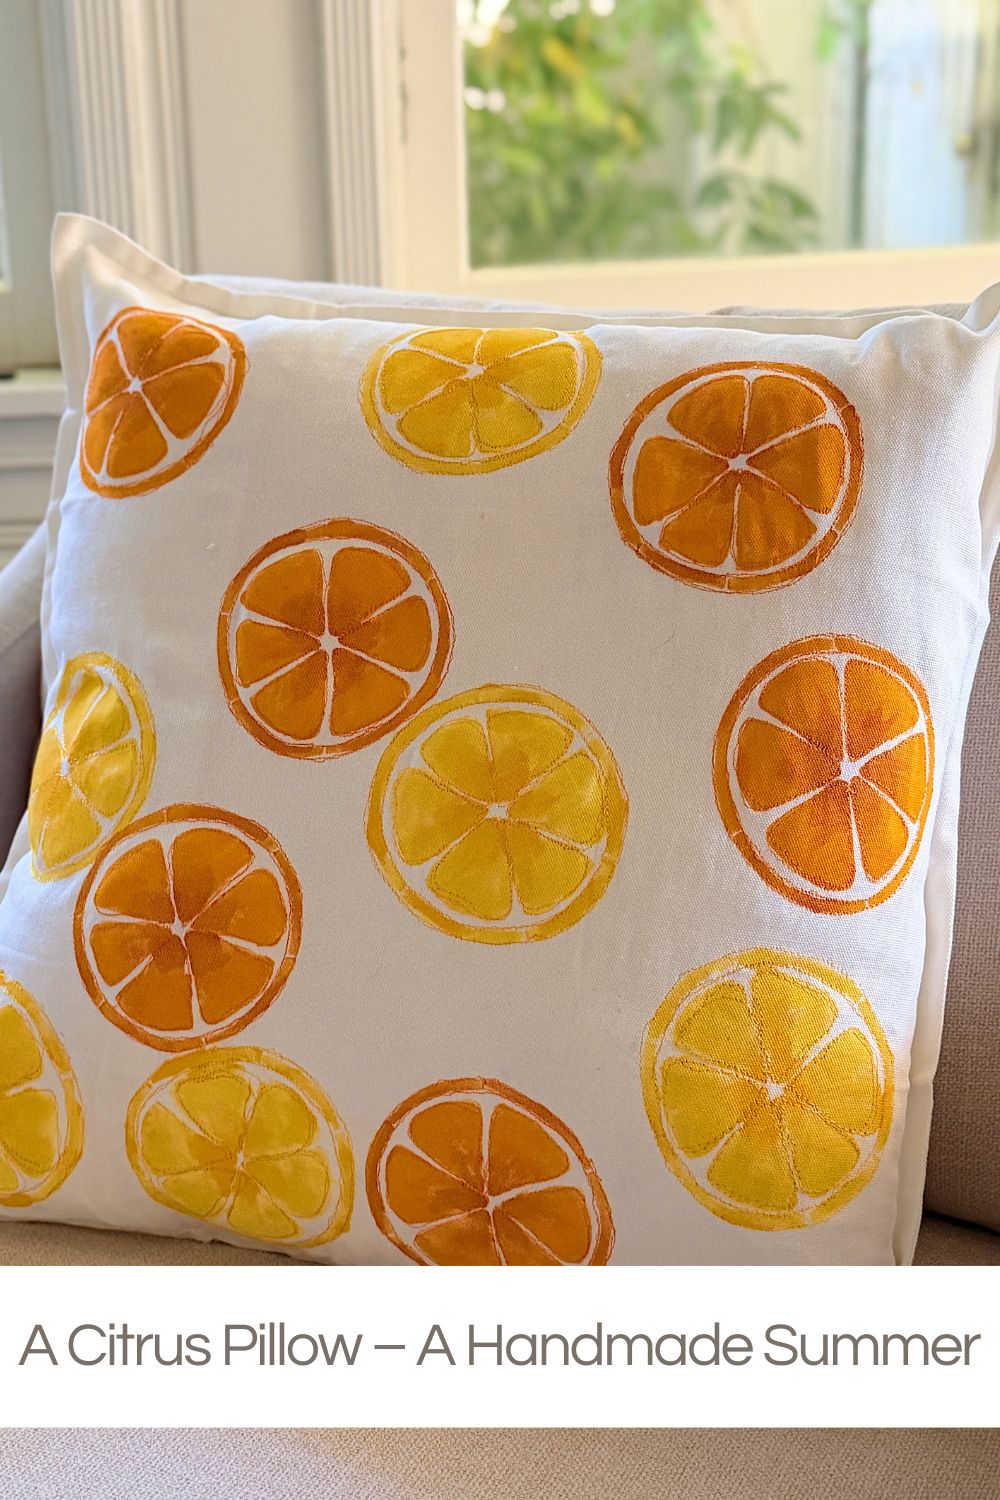
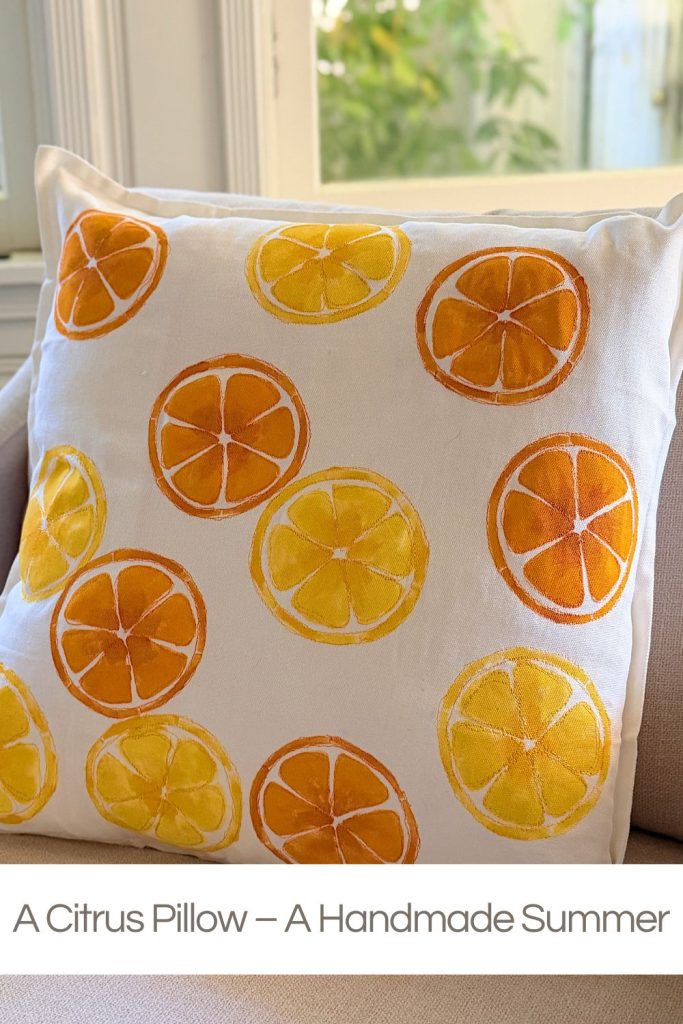
A handmade pillow is one of the easiest ways to add a fresh, custom touch to your home, and this cheerful citrus design is perfect for summer.
Using a simple white pillow cover, a citrus stencil, acrylic paint, and a little free-motion embroidery, you can create a one-of-a-kind accent pillow that looks boutique-made without spending a fortune. If you’ve been looking for a fun afternoon craft that combines painting and sewing, this bright and colorful project is sure to become one of your favorite handmade summer creations.


A Citrus Pillow
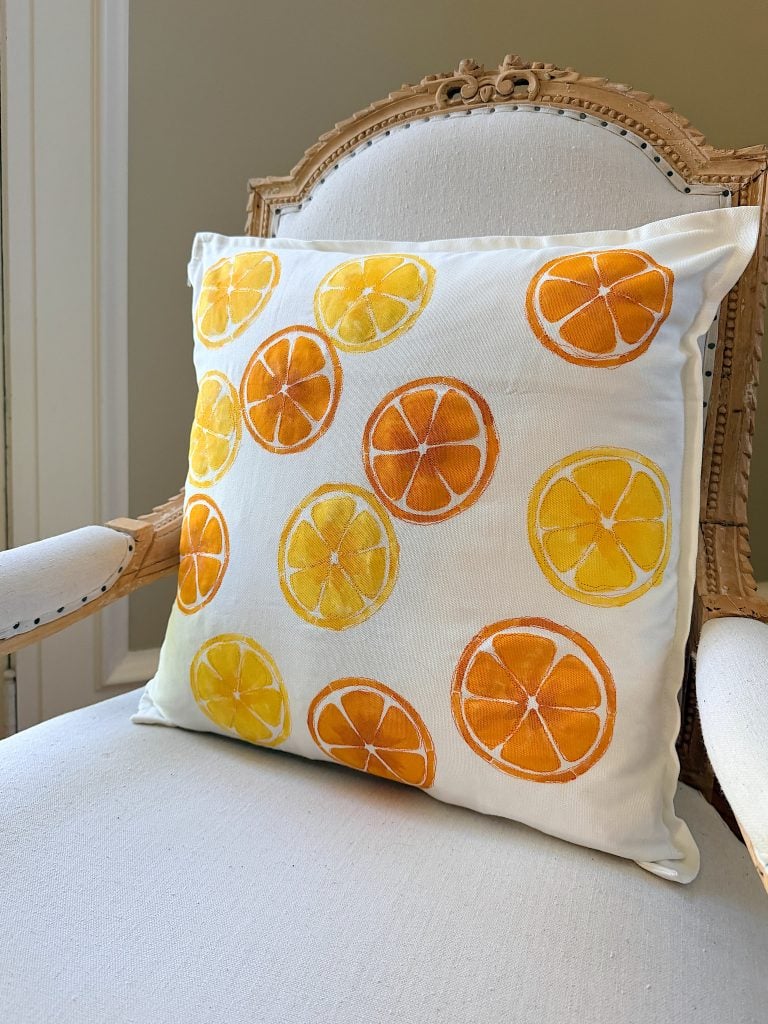
There is something about citrus that instantly says summer. Lemons and oranges are cheerful, colorful, and just plain happy. Every time I see them, I think of fresh lemonade, sunny afternoons on the patio, and easy entertaining with friends.
So when I was looking for my next project in my A Handmade Summer series, I knew I wanted to create something bright and fresh that anyone could make.
The best part? This pillow looks complicated. But it’s not.
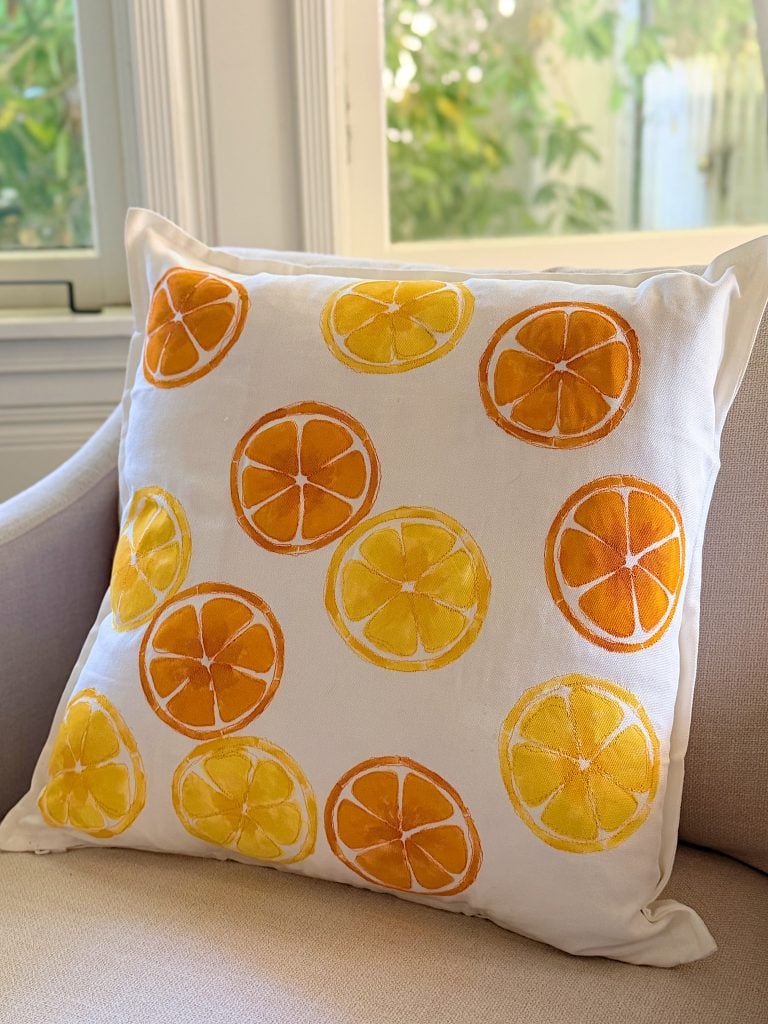
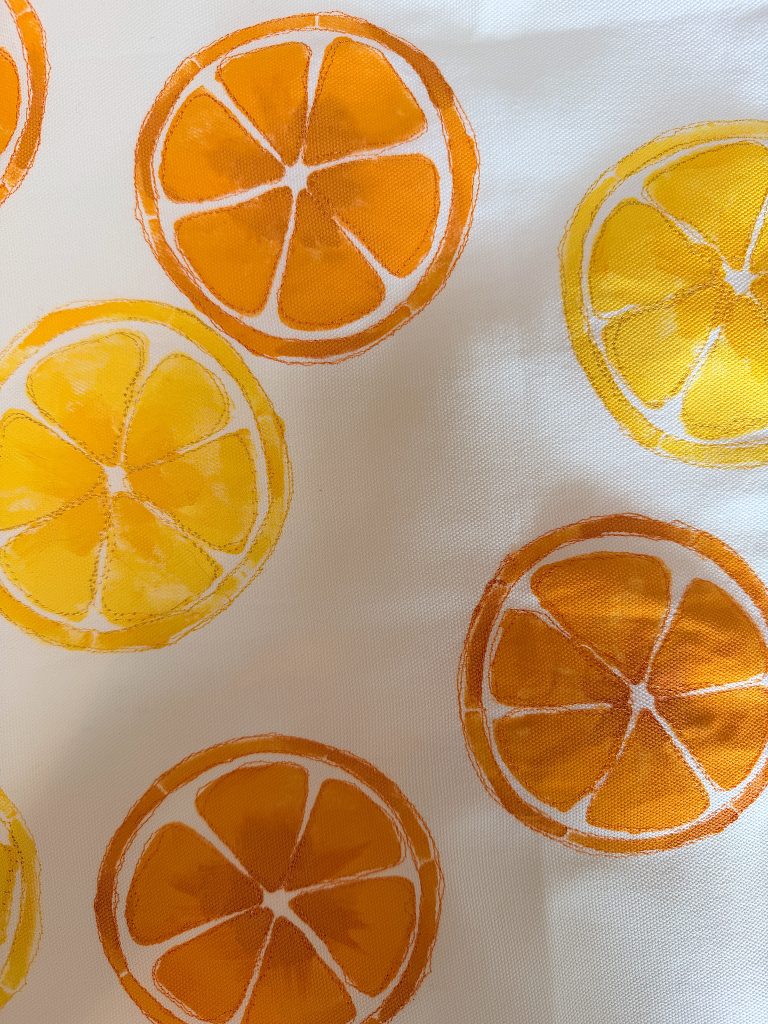
I started with a simple white pillow cover, added painted citrus slices with an inexpensive stencil, and then finished the design with free-motion embroidery. The embroidery is what transforms this from a painted pillow into something that looks custom and handmade. Those stitched outlines add texture, dimension, and just enough detail to make every citrus slice stand out.
This project came together in an afternoon, and I already know I’m going to make more in different colors.
Why I Love This Project
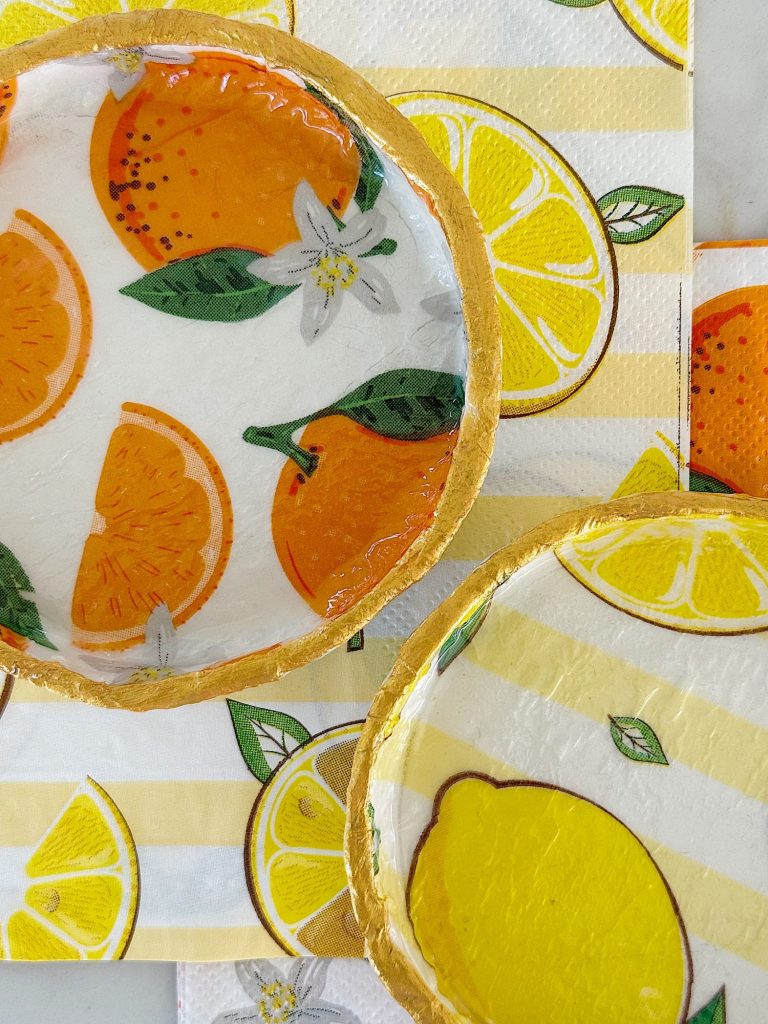
I love projects that combine multiple crafts. Whenever I can paint and sew on the same project, I’m happy.
This pillow combines:
- Fabric painting
- Stenciling
- Free-motion embroidery
Each technique is very simple on its own, but together they create a pillow that looks much more detailed than the actual amount of work involved.
It also uses inexpensive supplies, which makes it perfect whether you’re decorating your own home or making a thoughtful handmade gift.
Supplies You’ll Need
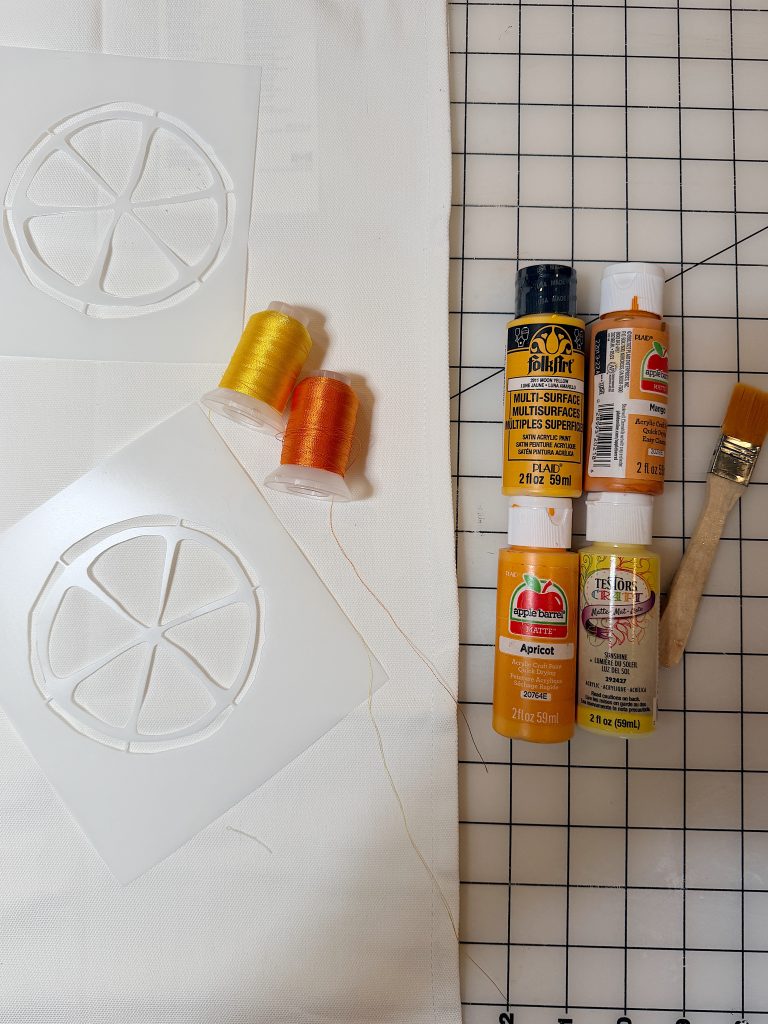
- White pre-made pillow cover
- Citrus slice stencil
- Yellow acrylic craft paint
- Orange acrylic craft paint
- Small flat paintbrush
- Sewing machine capable of free-motion stitching (most machines can!)
- Free-motion embroidery or darning foot
- Orange embroidery thread
- Golden yellow embroidery thread
- Pillow insert
On this blog, I may sometimes use affiliate links, which means a small commission is earned if you purchase via the link. The price will be the same whether you use the affiliate link or go directly to the vendor’s website using a non-affiliate link.
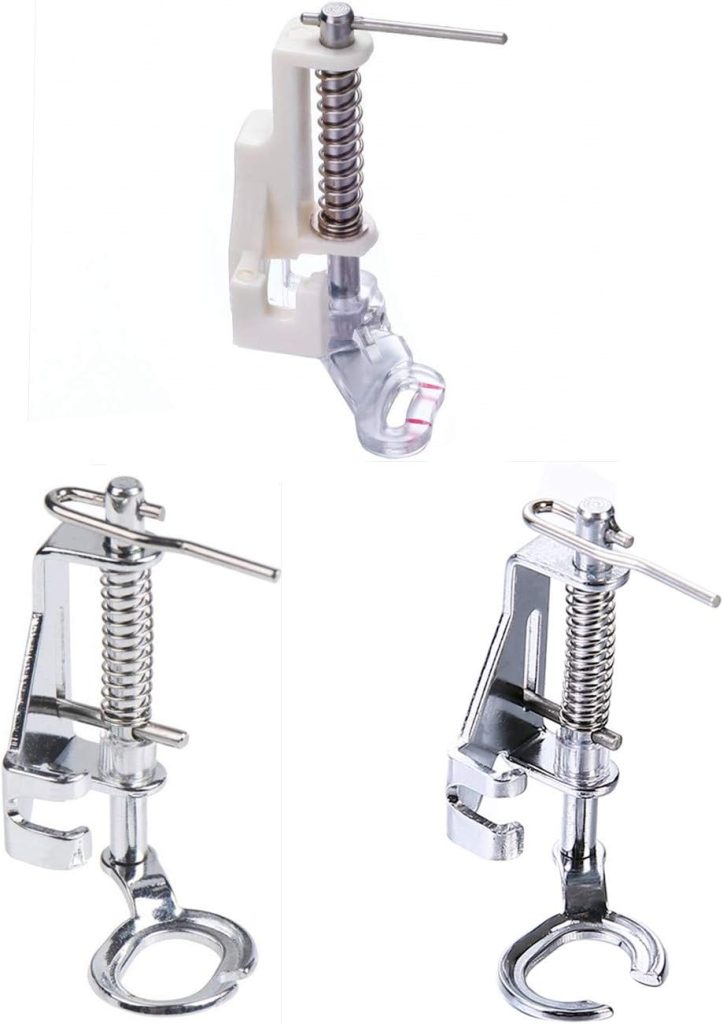
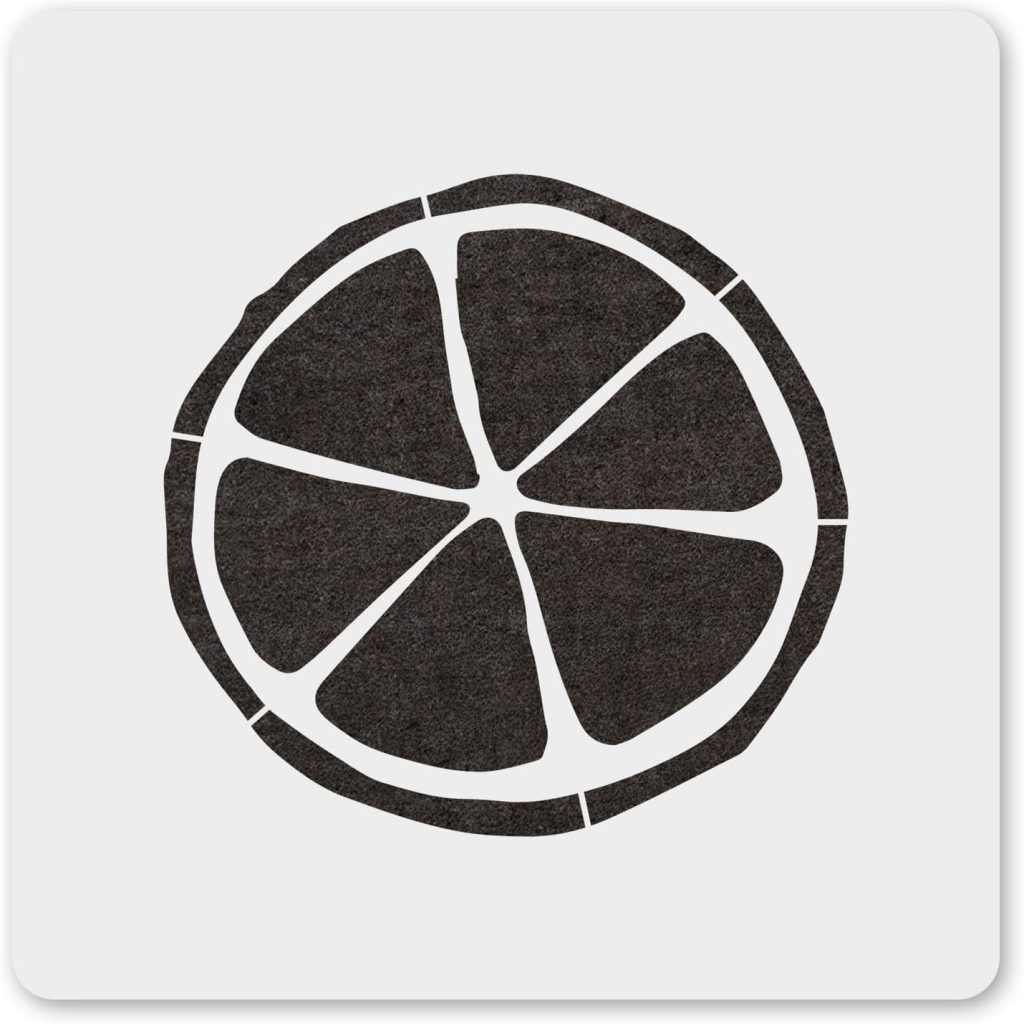


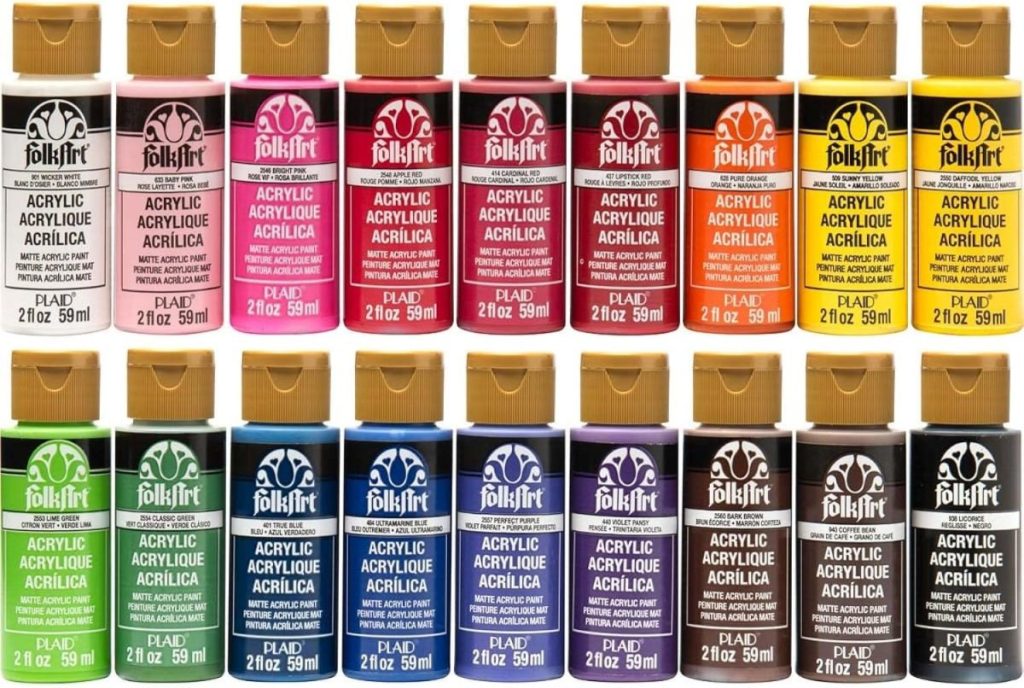
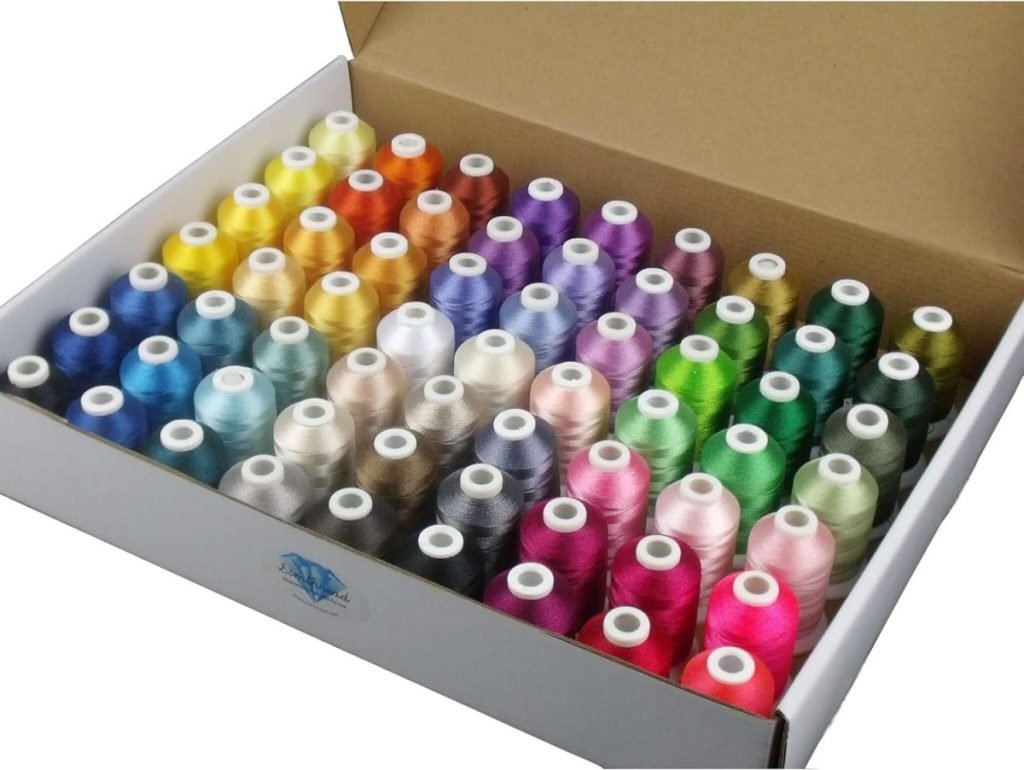
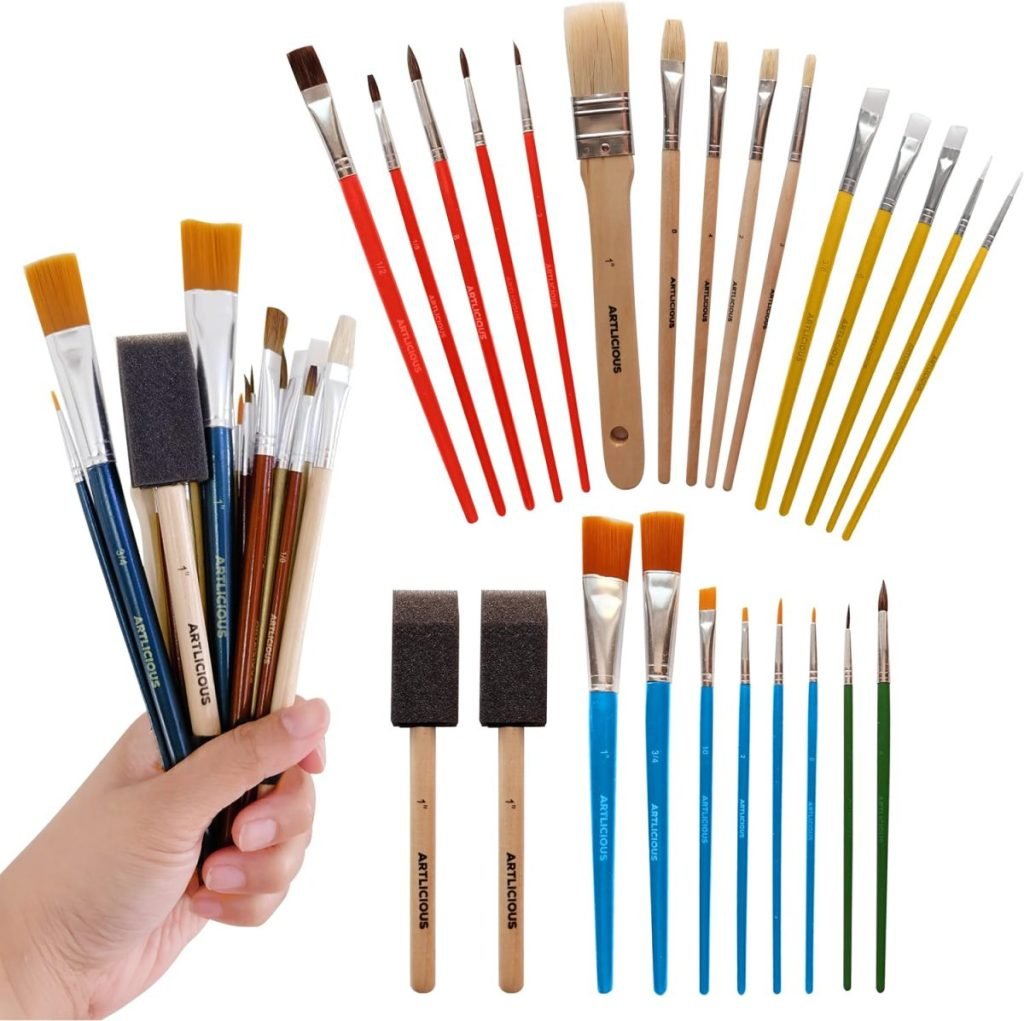
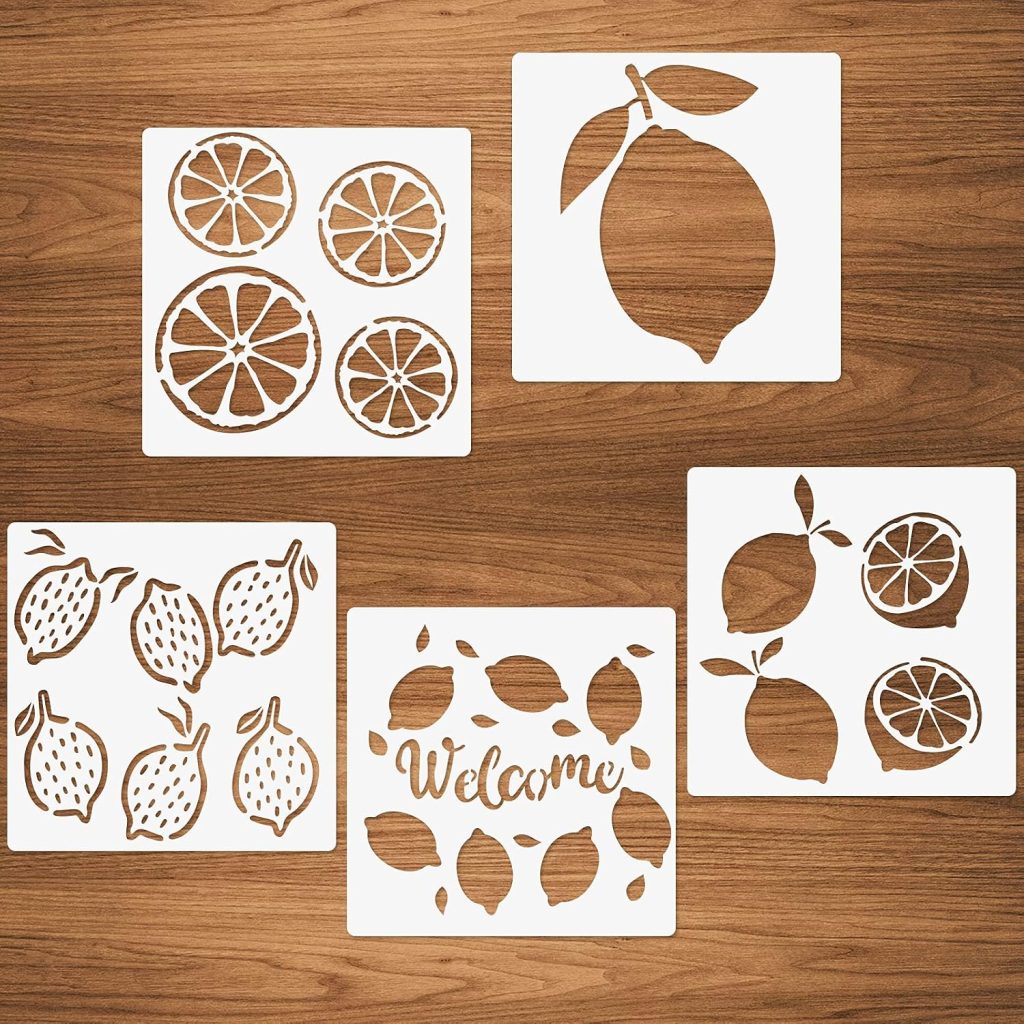


Please note: My lemon slice stencil was lost in transit, so I made my own using the design from the one I bought and my Cricut machine. A new stencil arrived after I made the craft!
Step One: Plan Your Design
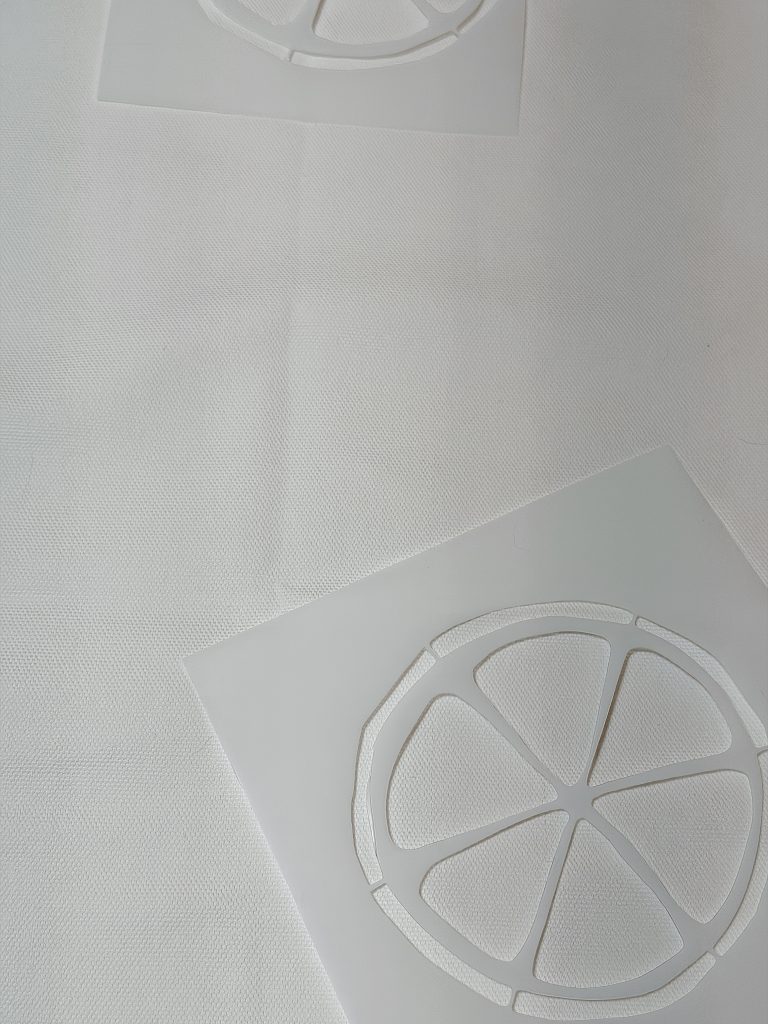
One thing I love about using a stencil is that there are no rules.
I didn’t measure.
I didn’t mark.
Instead, I simply laid the stencil on the pillow until I liked the arrangement.
Some citrus slices overlap visually.
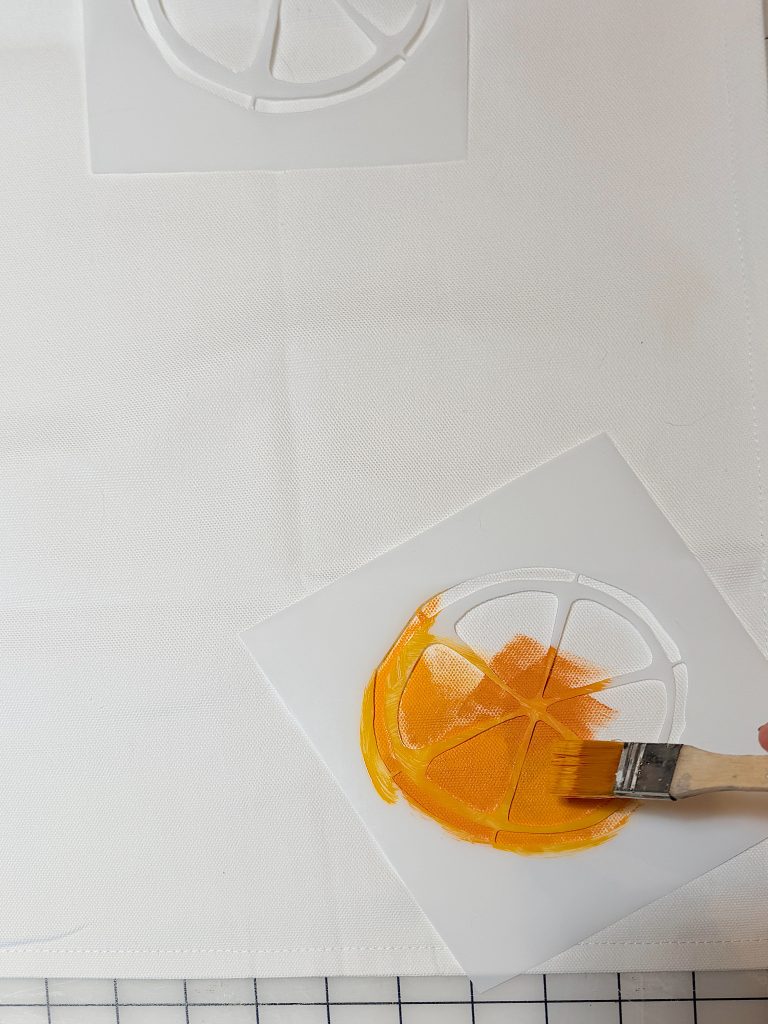
Some are turned slightly.
And some are yellow.
Others are orange.
The variety makes the finished pillow feel playful instead of perfectly symmetrical.
I recommend stepping back every few stencils to make sure your design feels balanced across the pillow.
Step Two: Paint the Citrus
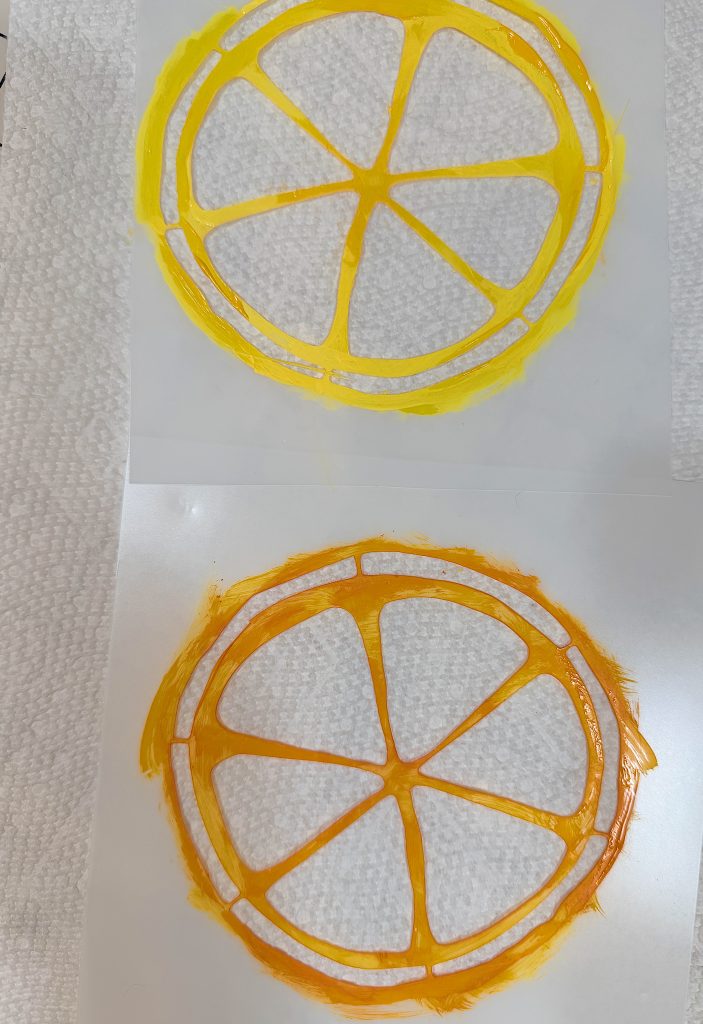
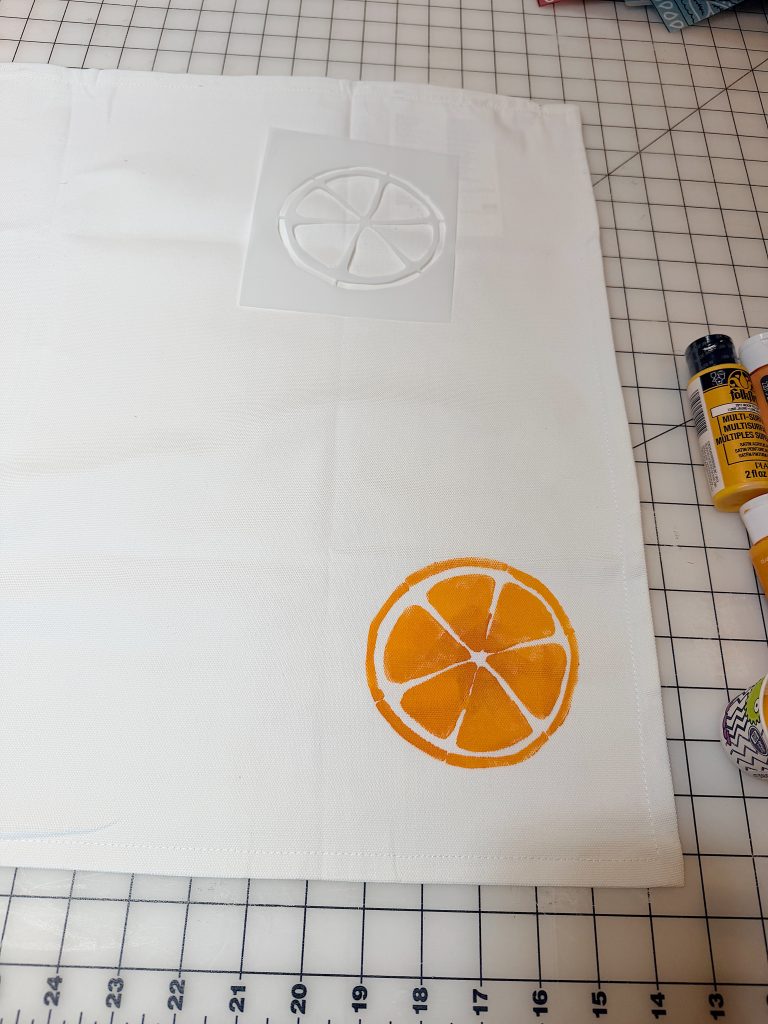
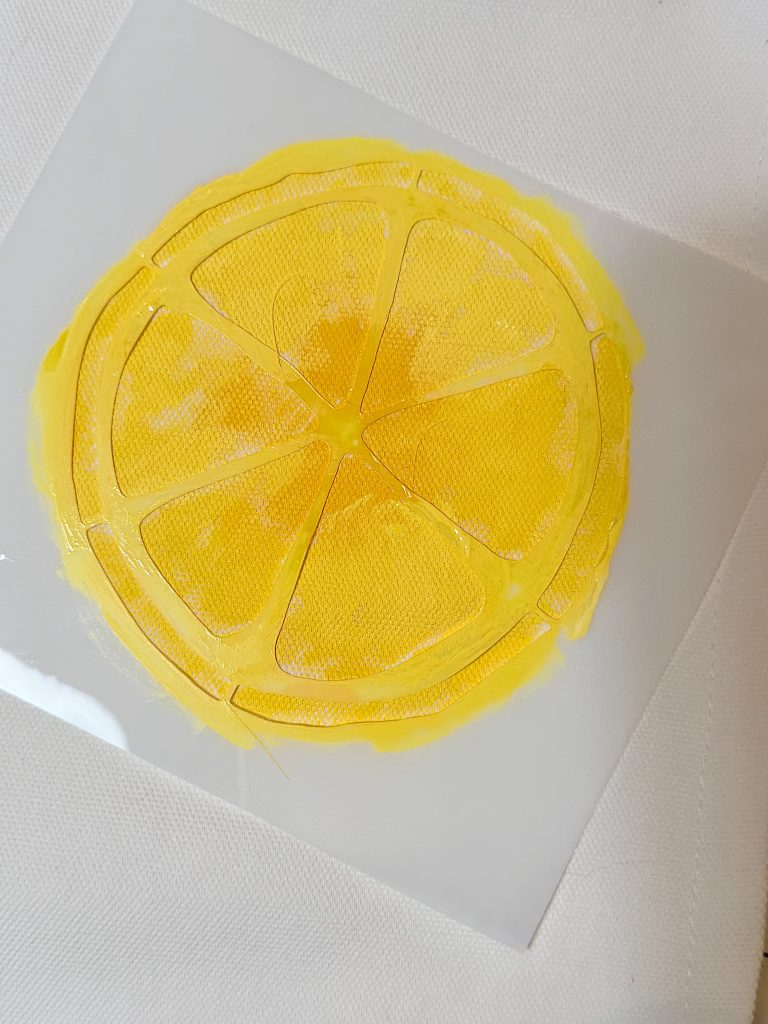
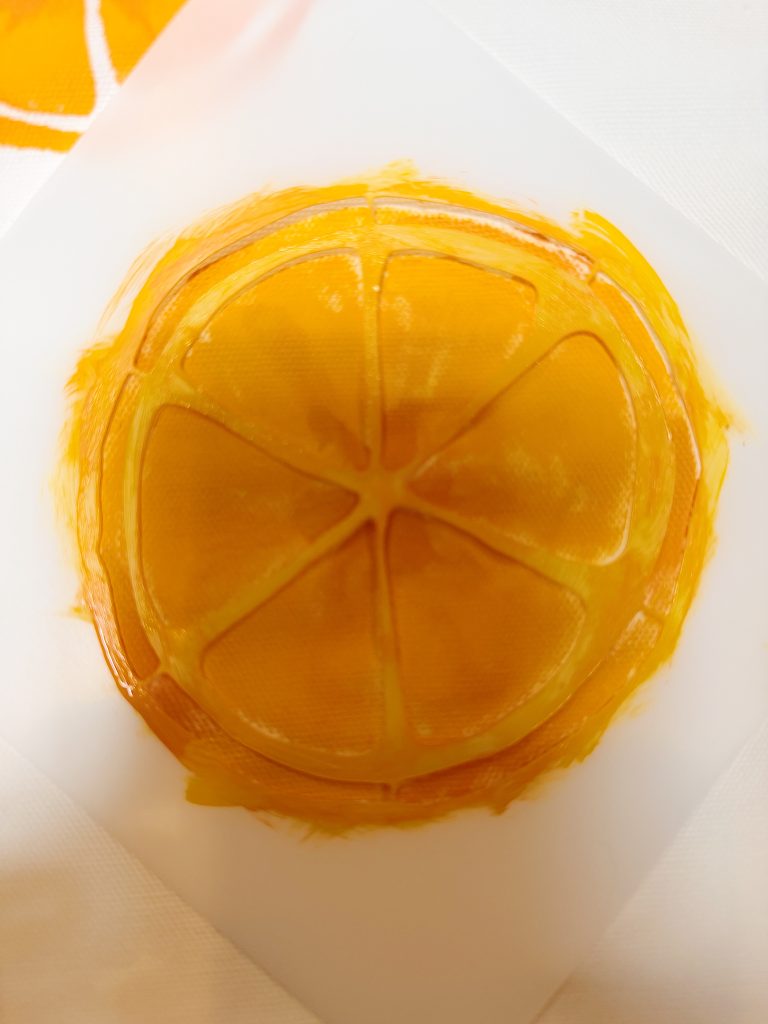
Once I had the stencil where I wanted it, I held it firmly against the fabric and painted each citrus slice.
Rather than using only one shade, I alternated between bright yellow and bright orange.
This creates the feeling of lemons and oranges mixed together.
The trick is to use very little paint on your brush.
Too much paint can seep underneath the stencil.
I used light coats and brushed from the outside toward the center, allowing the stencil to create crisp edges.
If you want more coverage, let the first coat dry for a few minutes, then add another light coat.
The painted citrus immediately brightened the plain white pillow.
At this point, it was already cute.
But the embroidery would make it special.
Let the Paint Dry Completely
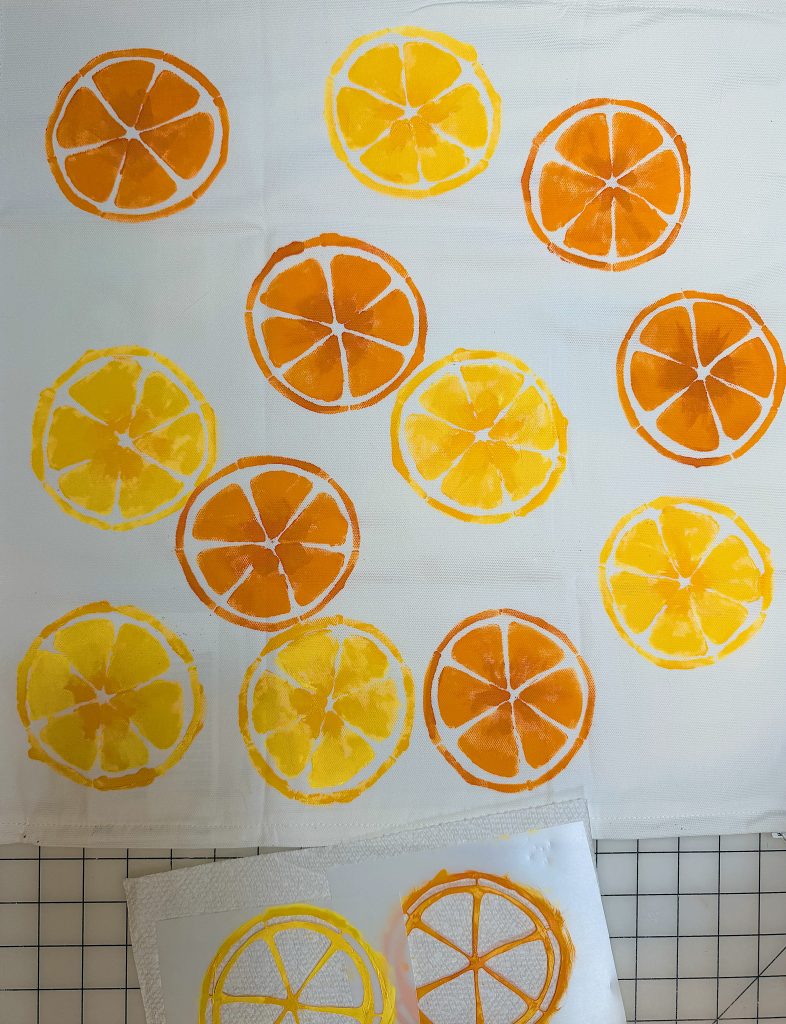
Before moving to the sewing machine, allow the paint to dry thoroughly.
Depending on the paint you use, this may take several hours.
Some fabric paints require heat-setting.
Because I used acrylic craft paint, I let it dry overnight before stitching.
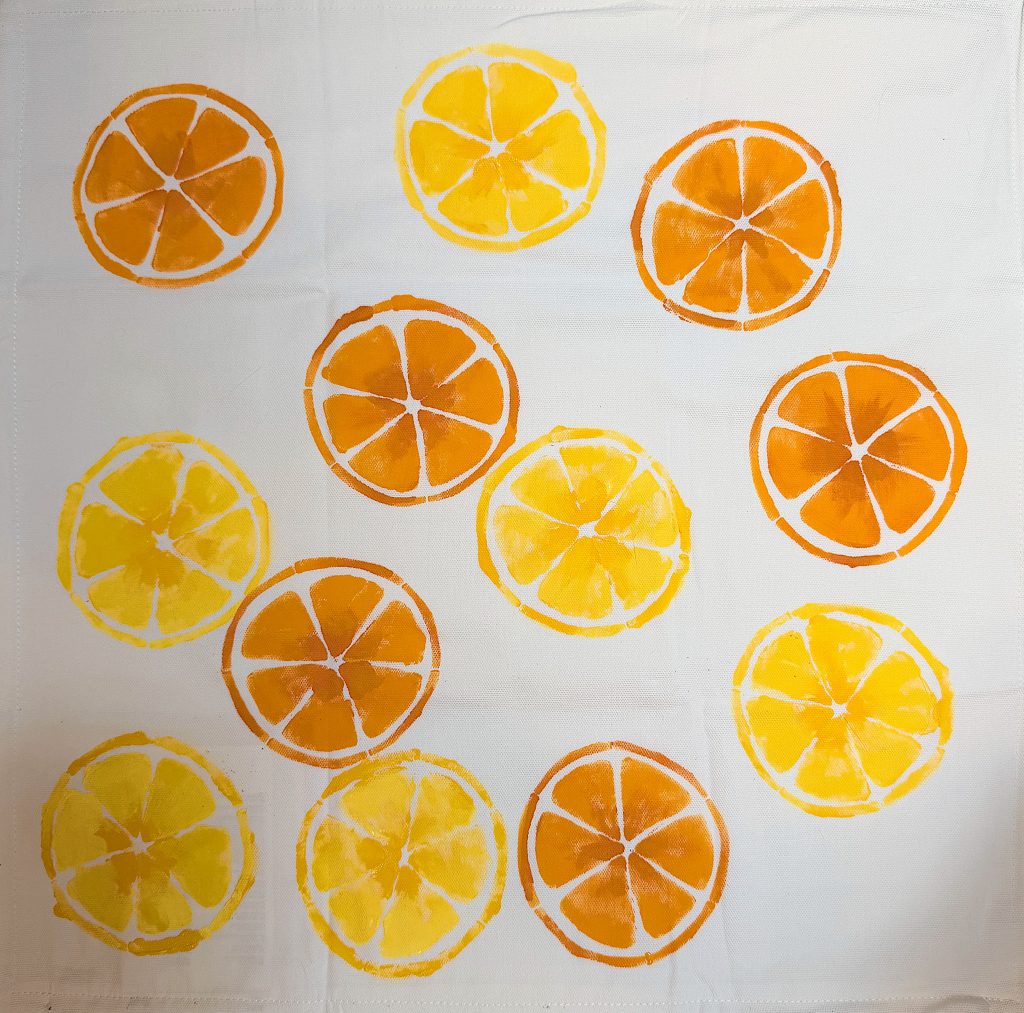
Dry fabric feeds much better through the sewing machine than damp fabric.
Why I Added Free-Motion Embroidery
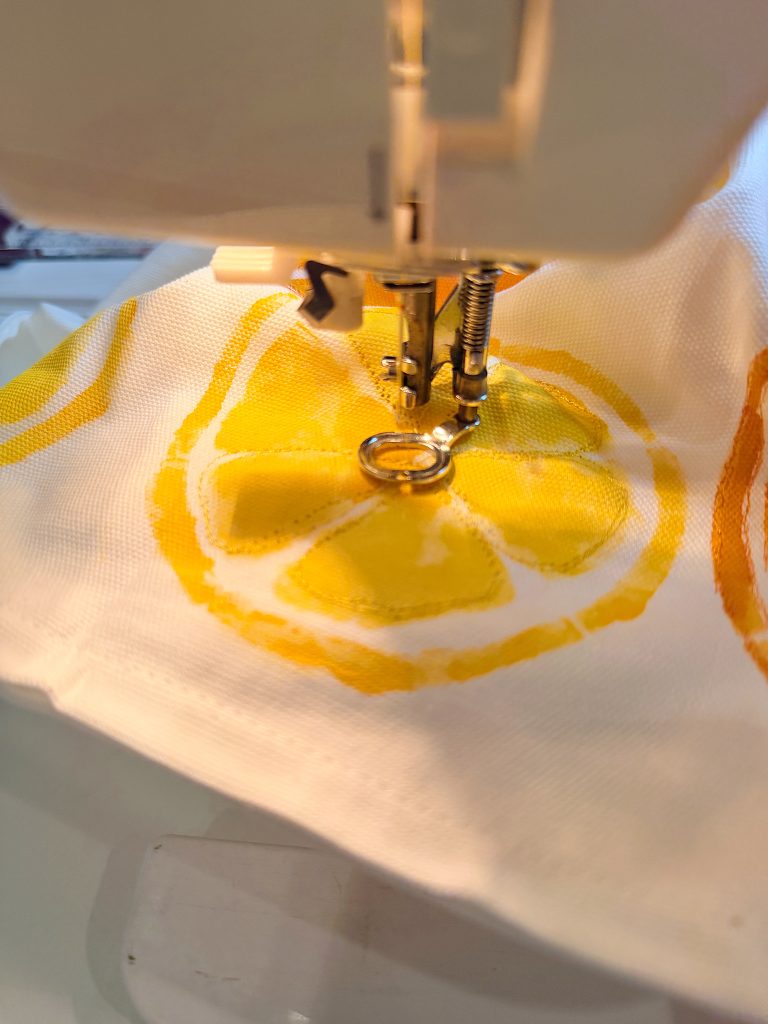
The painted citrus looked great.
But it also looked a little flat.
I wanted the slices to have dimension.
That’s where free-motion embroidery comes in.
Instead of letting the sewing machine move the fabric automatically, you become the one guiding it.
Think of it almost like drawing with thread.
You move the pillow in every direction while the needle stitches continuously.
The result is a stitched outline that follows every curve naturally.
It isn’t supposed to look perfectly precise.
In fact, the tiny imperfections are exactly what make free-motion embroidery so charming.
What Is Free-Motion Embroidery?
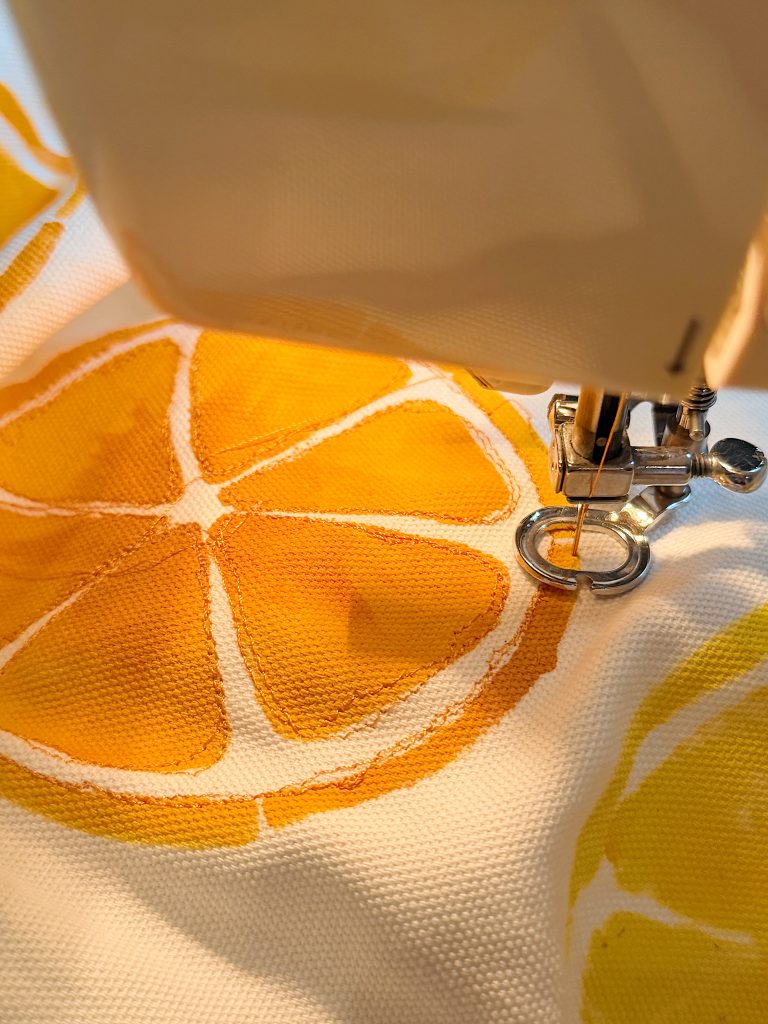
If you’ve never tried free-motion embroidery before, don’t let the name intimidate you.
It’s much easier than it sounds.
Normally, your sewing machine’s feed dogs pull the fabric straight through the machine.
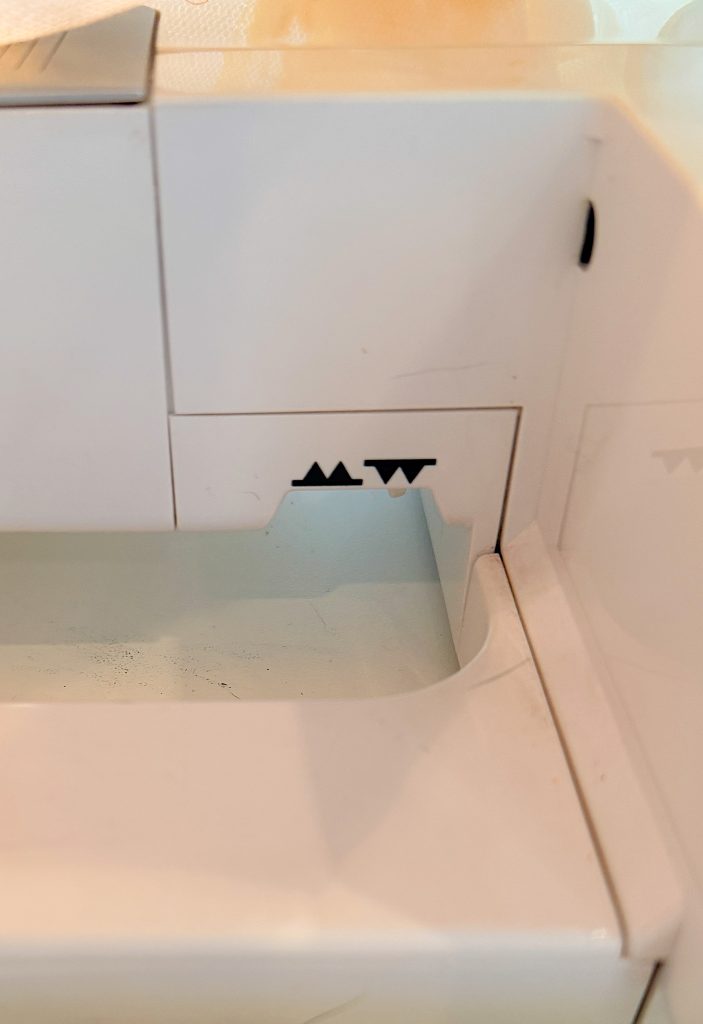
For free-motion stitching, you lower the feed dogs (or cover them, depending on your machine) so the fabric no longer moves automatically.
You then install a free-motion or darning foot.
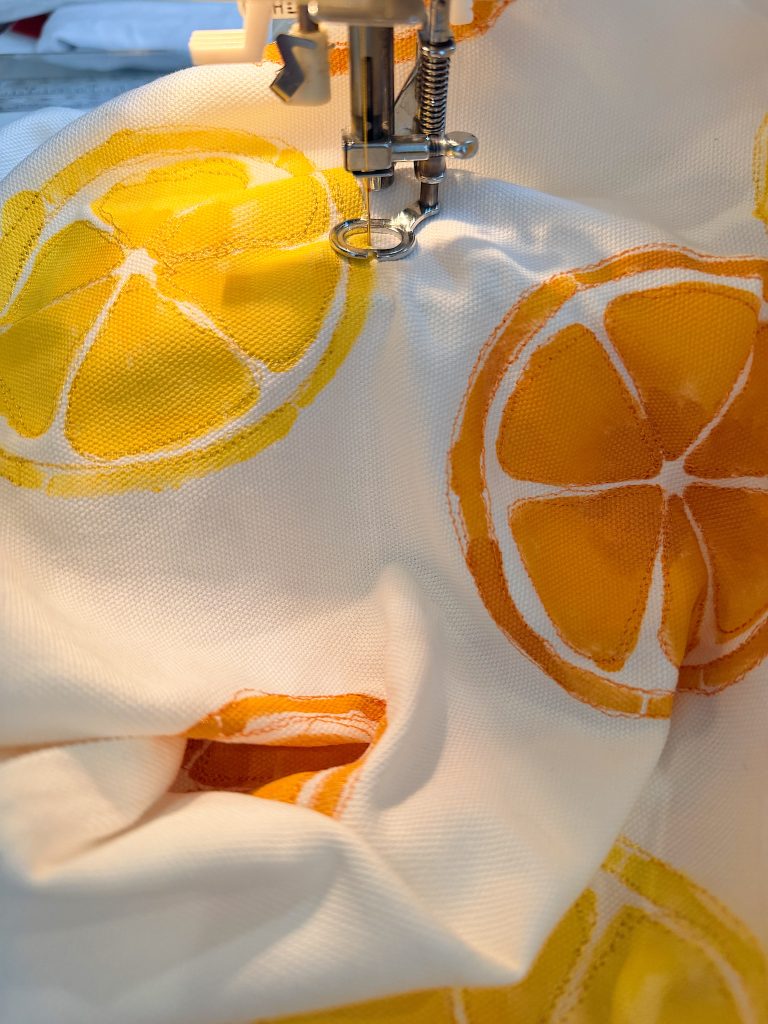
As the needle moves up and down, you guide the fabric with your hands in any direction you choose.
You’re literally drawing with thread.
You can create:
- lettering
- flowers
- outlines
- quilting
- doodles
- decorative stitching
Once you get comfortable with the movement, it’s incredibly relaxing.
My Favorite Tips for Free-Motion Stitching
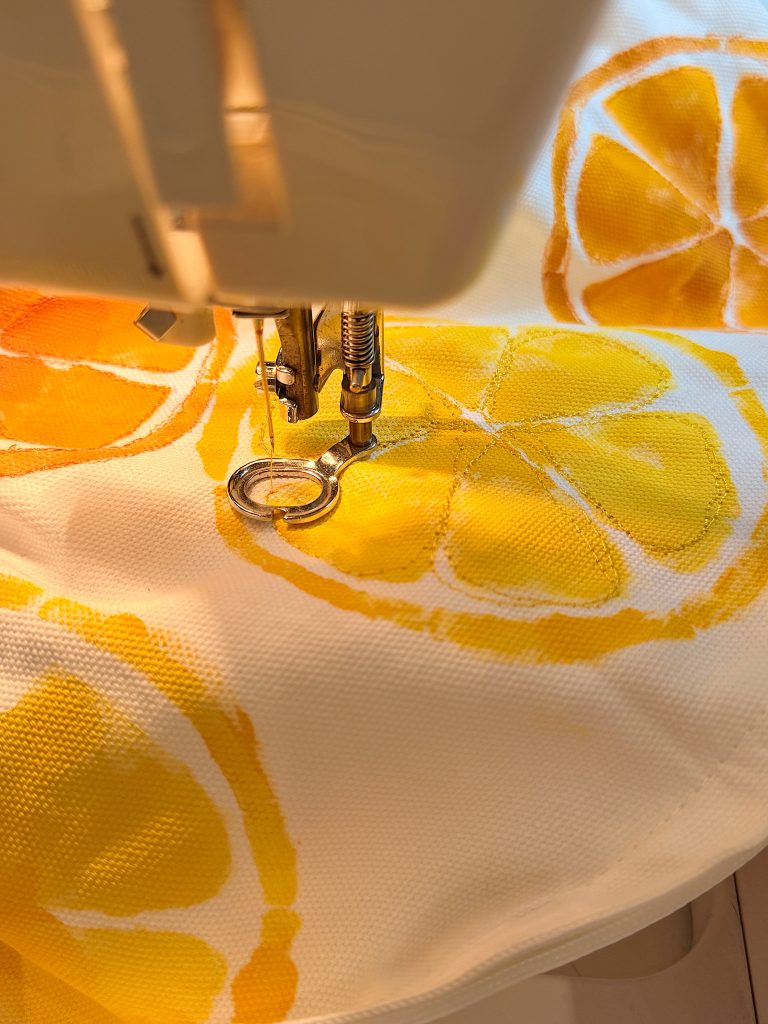
Start slowly.
You don’t need to sew quickly to get beautiful results.
Keep your hands relaxed and move the pillow smoothly.
Practice on a scrap of fabric before sewing your pillow.
Choose thread that coordinates with your painted design.
For my lemons, I selected a deep golden yellow thread.
For the oranges, I used a darker orange thread.
That darker outline creates beautiful contrast without overpowering the painted citrus.
One Very Important Tip
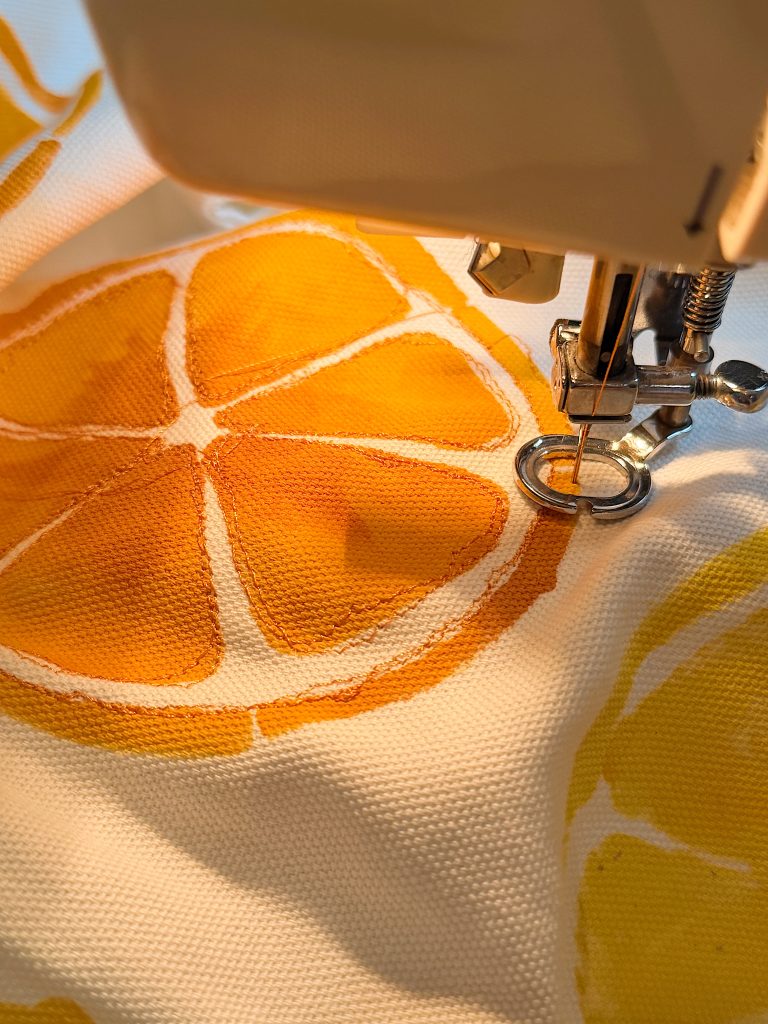
Since you’re stitching on a finished pillow cover, remember that it has two layers of fabric.
As you’re moving the pillow around under the needle, be very careful not to accidentally stitch through the back of the pillow cover.
I always slide my hand inside the pillow cover before I begin stitching to separate the front and back layers.
That little step saves a lot of frustration later!
Stitch Around Every Segment
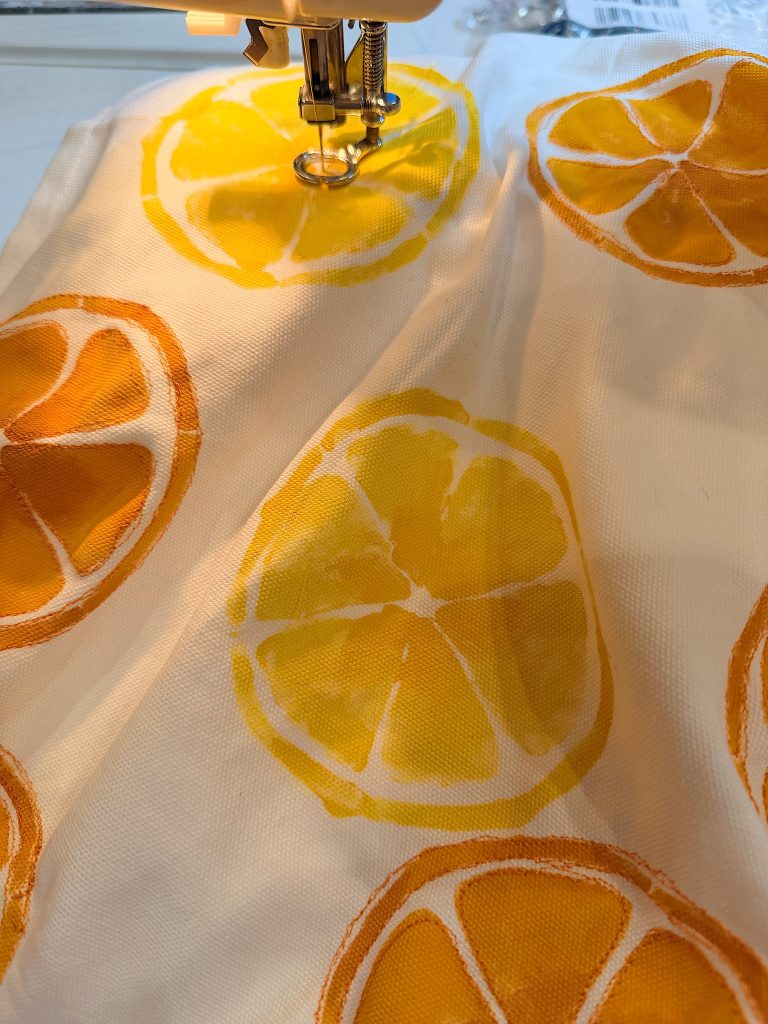
Rather than outlining only the outside circle, I stitched every section of each citrus slice.
The embroidery follows:
- the outside rind
- each wedge
- the center
Those extra stitched lines make the citrus slices look much more realistic.
Don’t worry if your stitching isn’t identical from one slice to another.
The handmade look is part of the charm.
The Finished Pillow
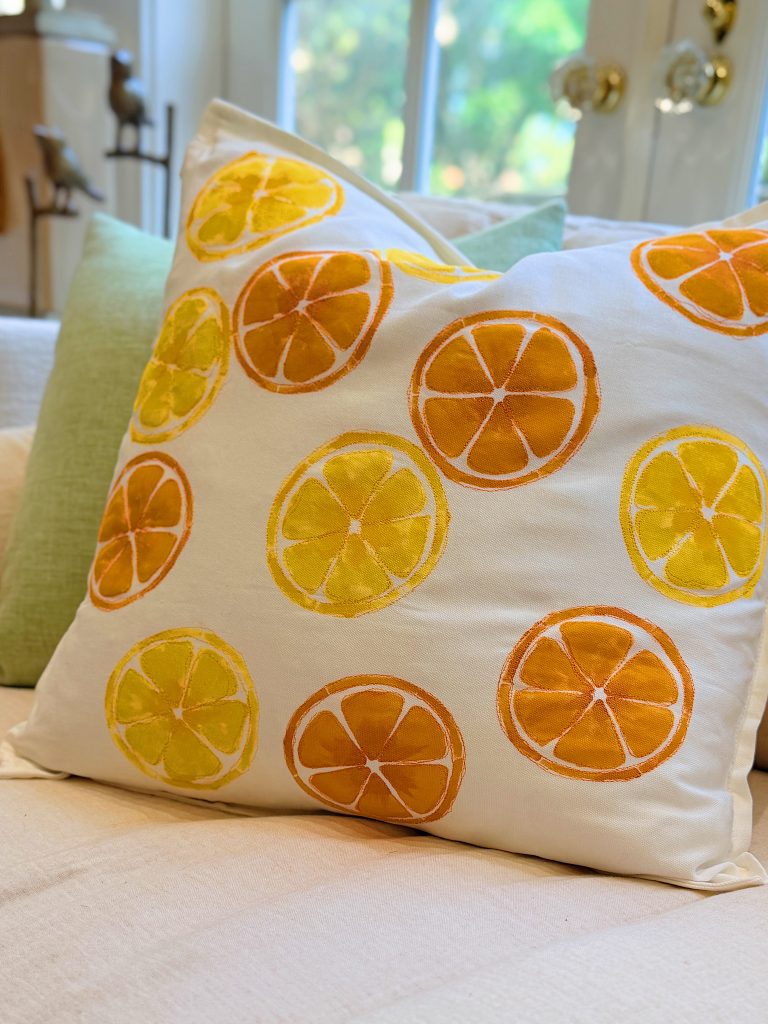
As soon as I finished the last stitched outline, I knew this pillow was staying in our house for the rest of the summer.
It adds exactly the cheerful pop of color I wanted.
It looks wonderful on a sofa, an accent chair, or even on a bed layered with white linens.
Because the pillow starts with a neutral white background, it mixes beautifully with almost any decorating style.
Whether your home is coastal, cottage, farmhouse, traditional, or modern, this little bit of citrus fits right in.
Ways to Customize This Pillow
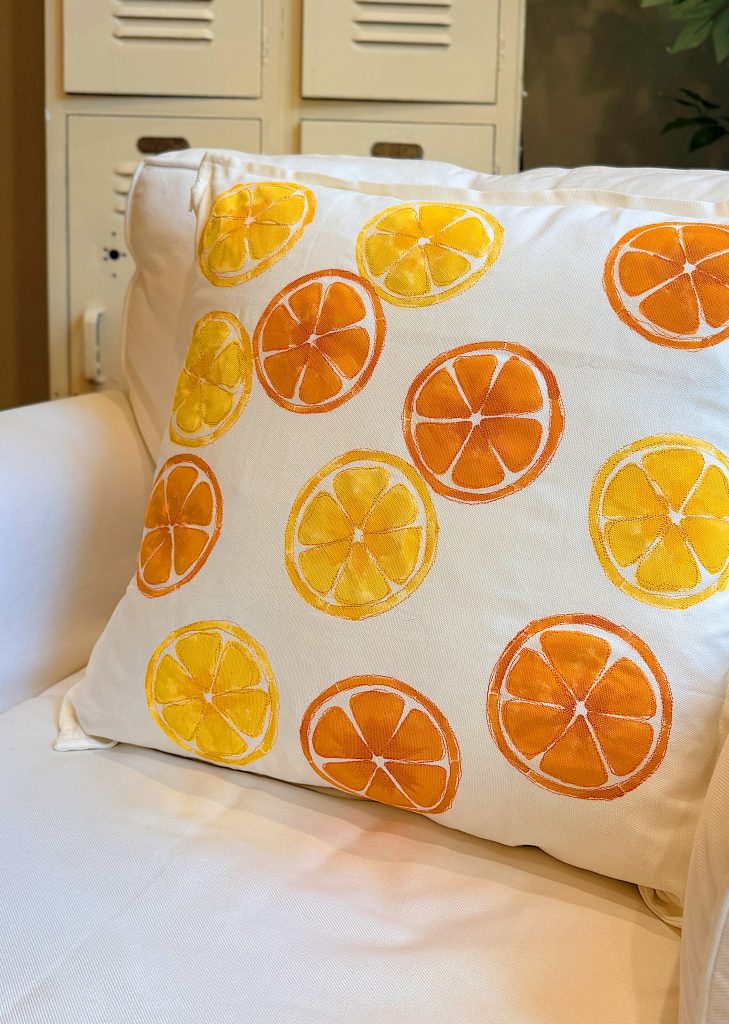
One of my favorite things about stencils is how easily they can be personalized.
You could create:
- All lemons
- All oranges
- Pink grapefruit
- Limes
- Mixed citrus
- Oversized citrus slices
- Tiny scattered citrus



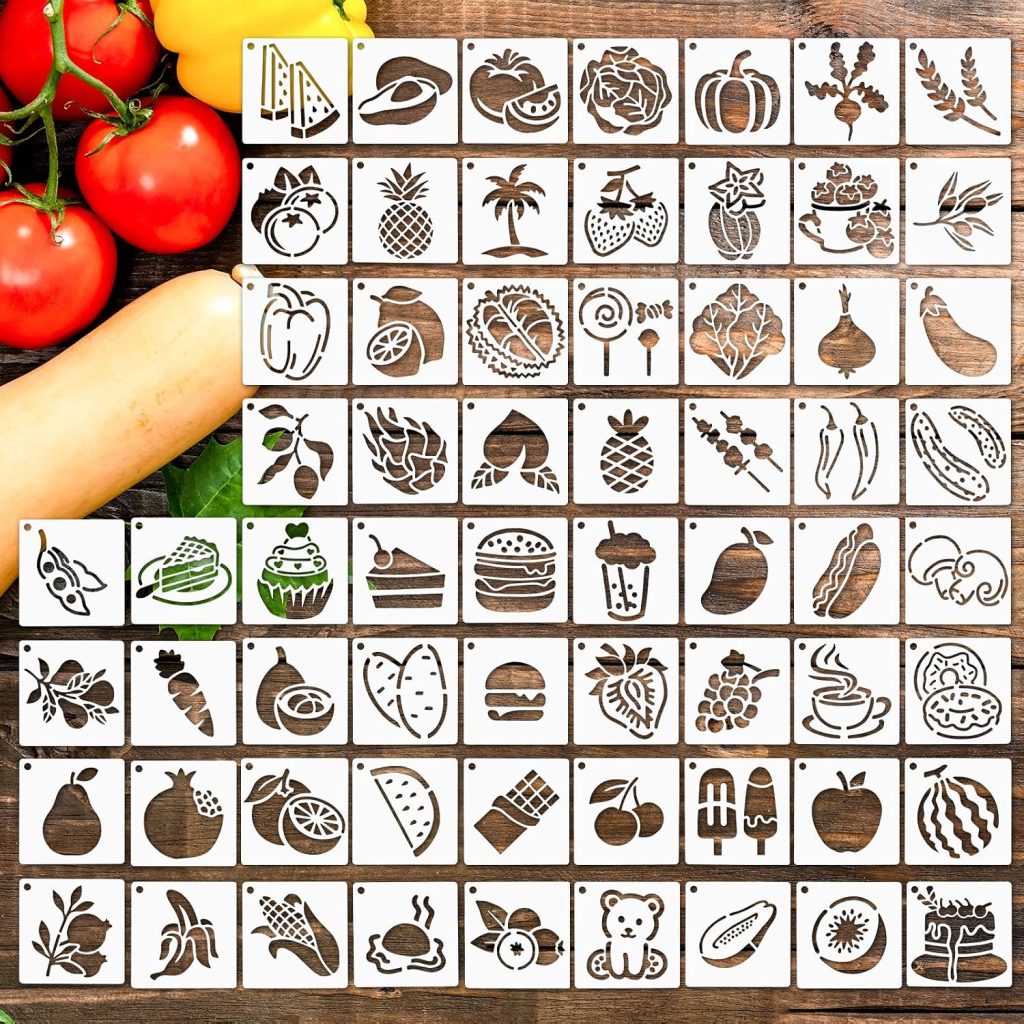
You could even make matching napkins, placemats, or a table runner using the same stencil.
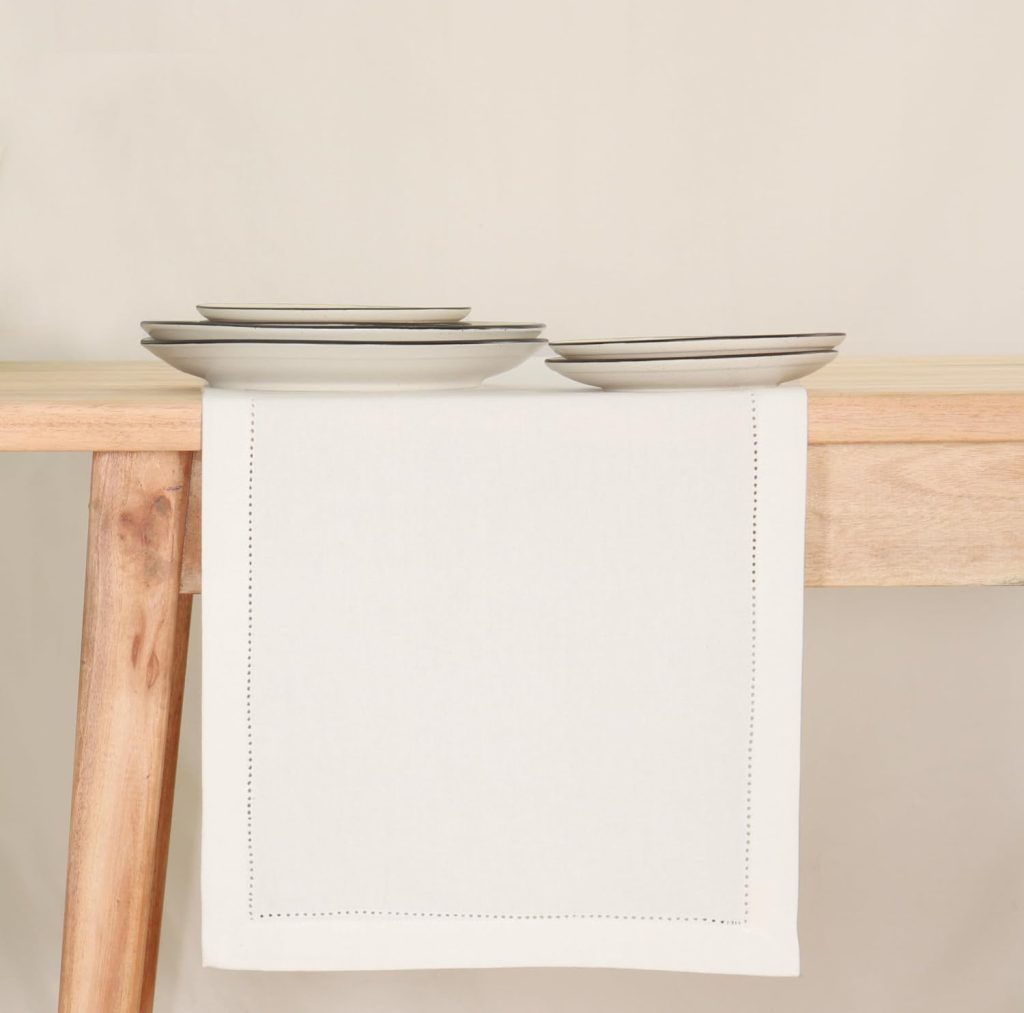
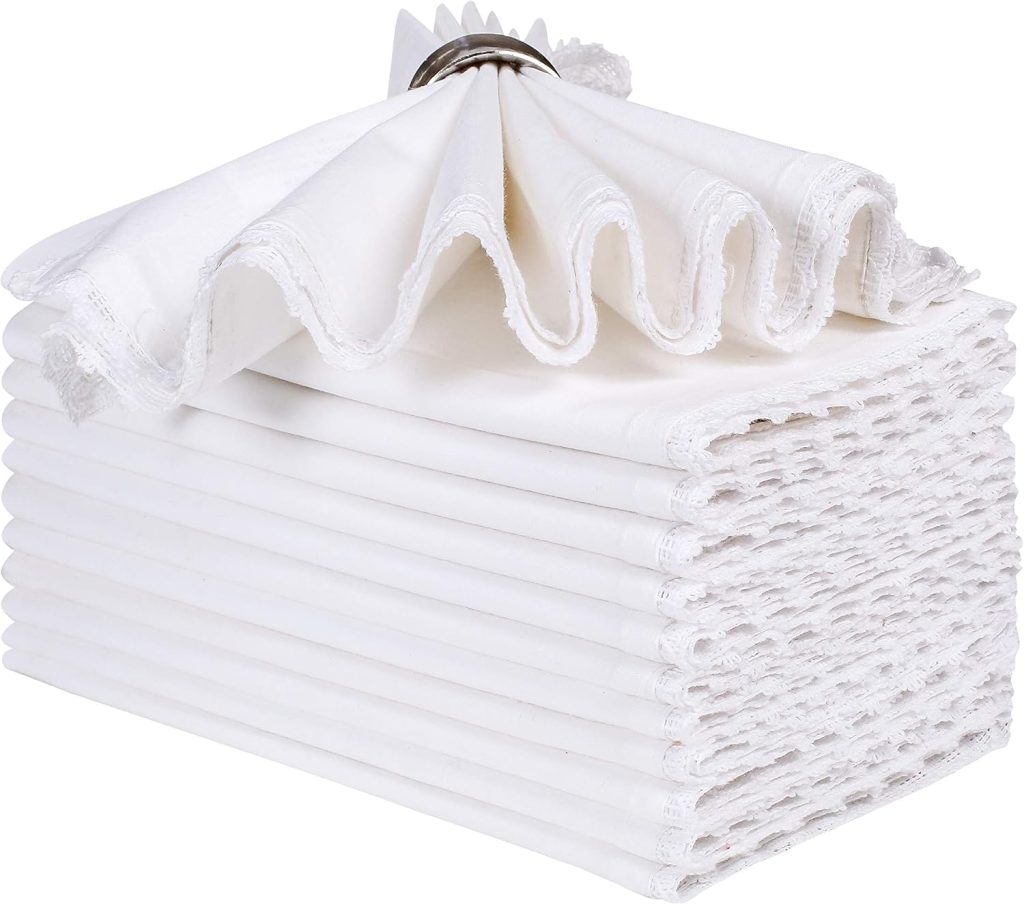
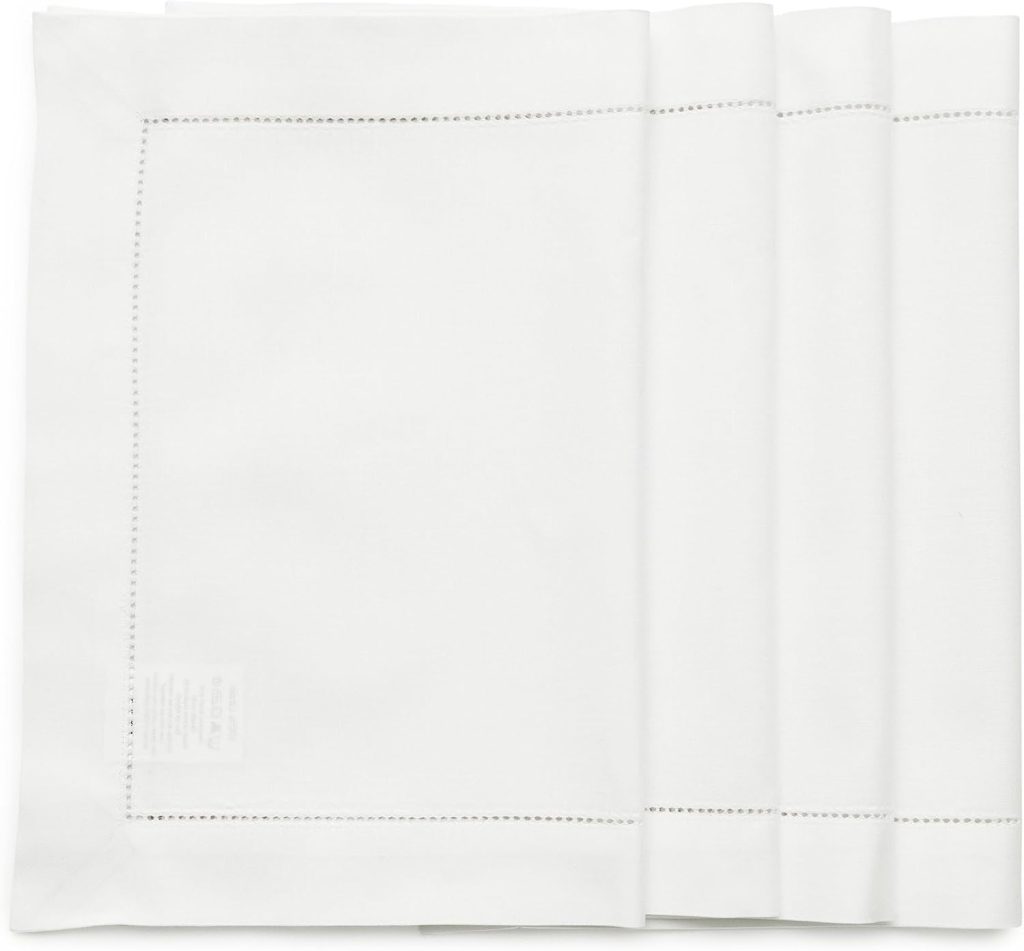
I may have already started thinking about that!
Why Handmade Is Always Worth It
One of the reasons I started my A Handmade Summer series was to encourage all of us to try approachable projects.
This pillow is the perfect example.
It doesn’t require expensive supplies.
It doesn’t require years of sewing experience.
And yet, when it’s finished, it looks like something you would happily buy in a boutique.
Those are my favorite kinds of projects.
The ones that surprise you.
The ones that make people ask, “Wait…you made that?”
Those are the projects that keep me coming back to my craft room.
This citrus pillow certainly did that for me.
Now every time I walk past it, it makes me smile. And isn’t that exactly what summer decorating should do? Bright colors, a little creativity, and something handmade that reminds you how much fun it is to make something beautiful with your own two hands.
I have a feeling this won’t be my last citrus project. In fact, I already have a few more ideas brewing in my craft room. Stay tuned! 🍋🍊
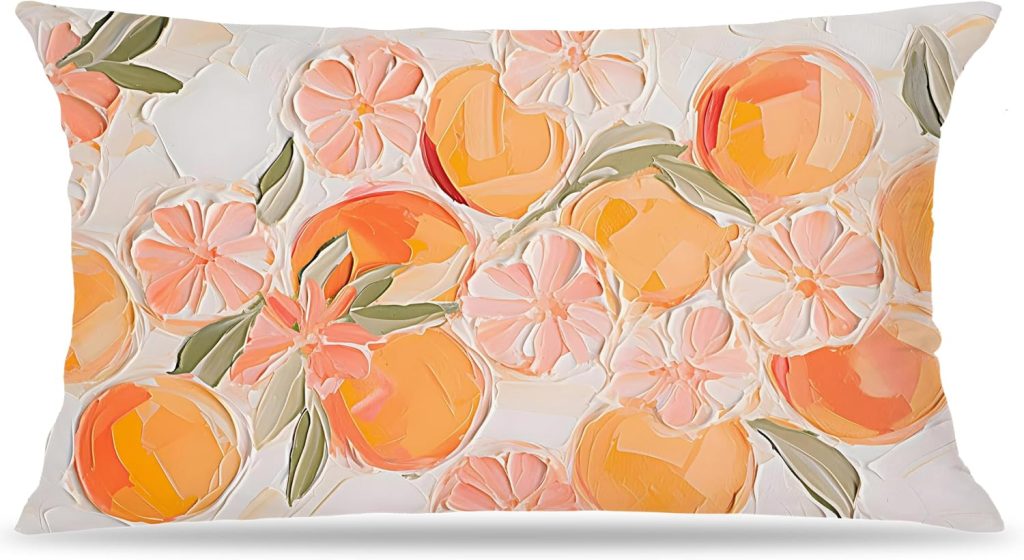

How to Follow Along With A Handmade Summer
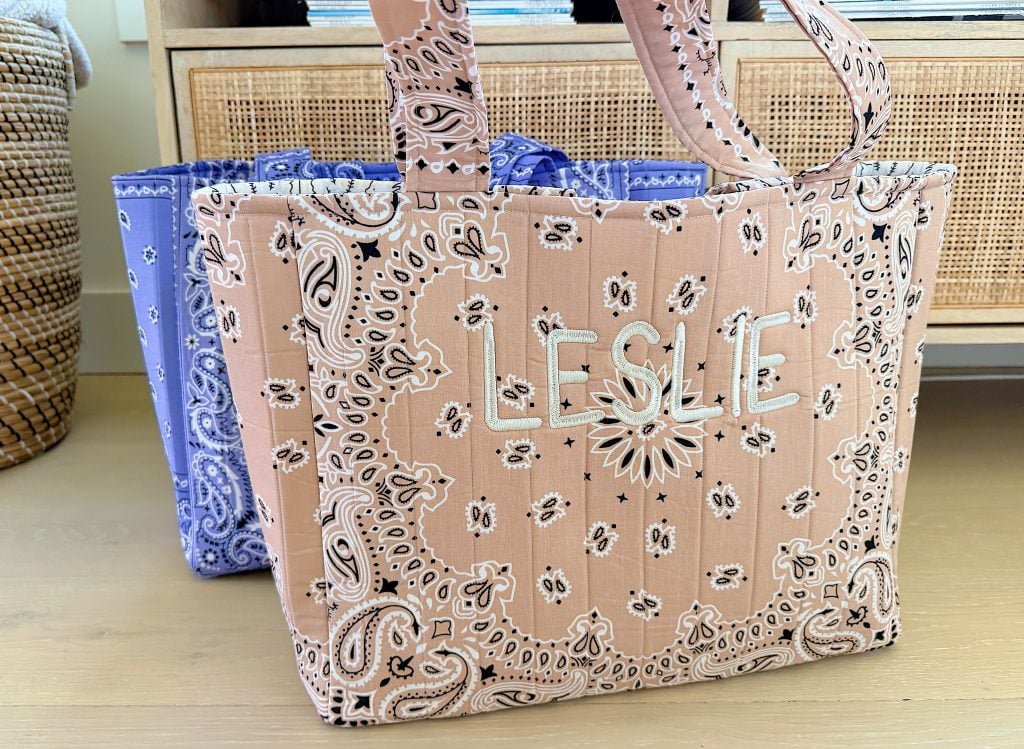
Each week, a new summer craft will be shared here on the blog. I will also be sharing behind-the-scenes moments, progress videos, and finished projects on Instagram so you can see each craft come to life.
You can jump in at any point. There is no need to start at the beginning or complete every project. Choose the ones that speak to you and make them your own.
If you love seasonal crafting, this series is designed to inspire you throughout spring.
Here are all of the A Handmade Summer craft projects so far.
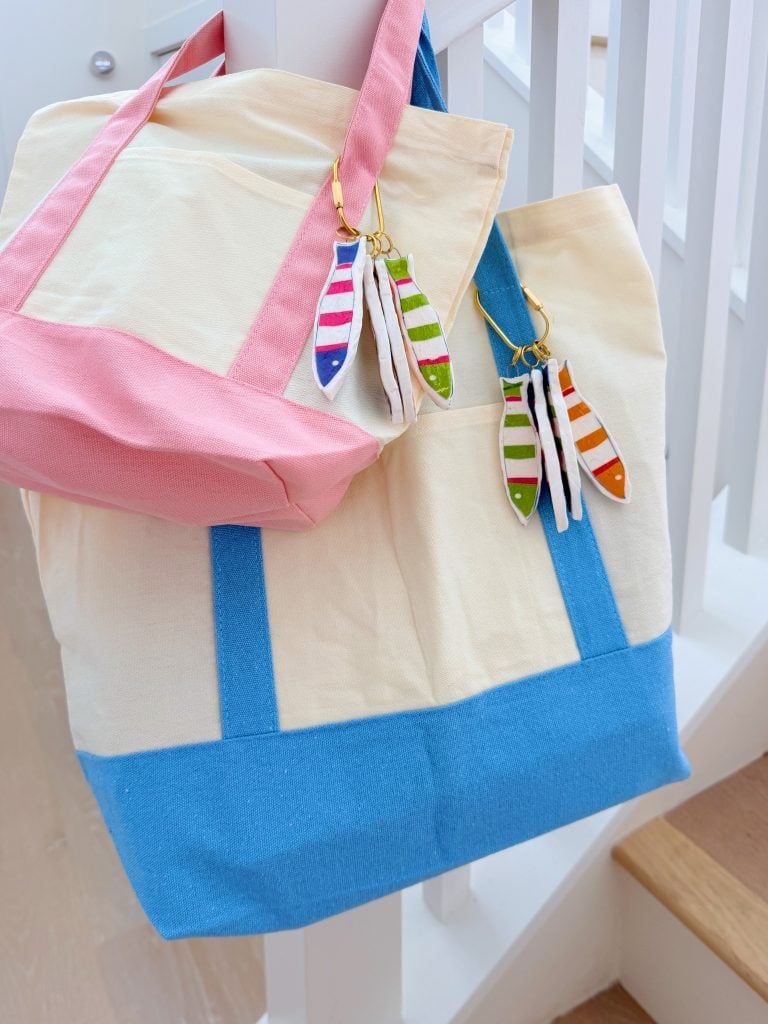
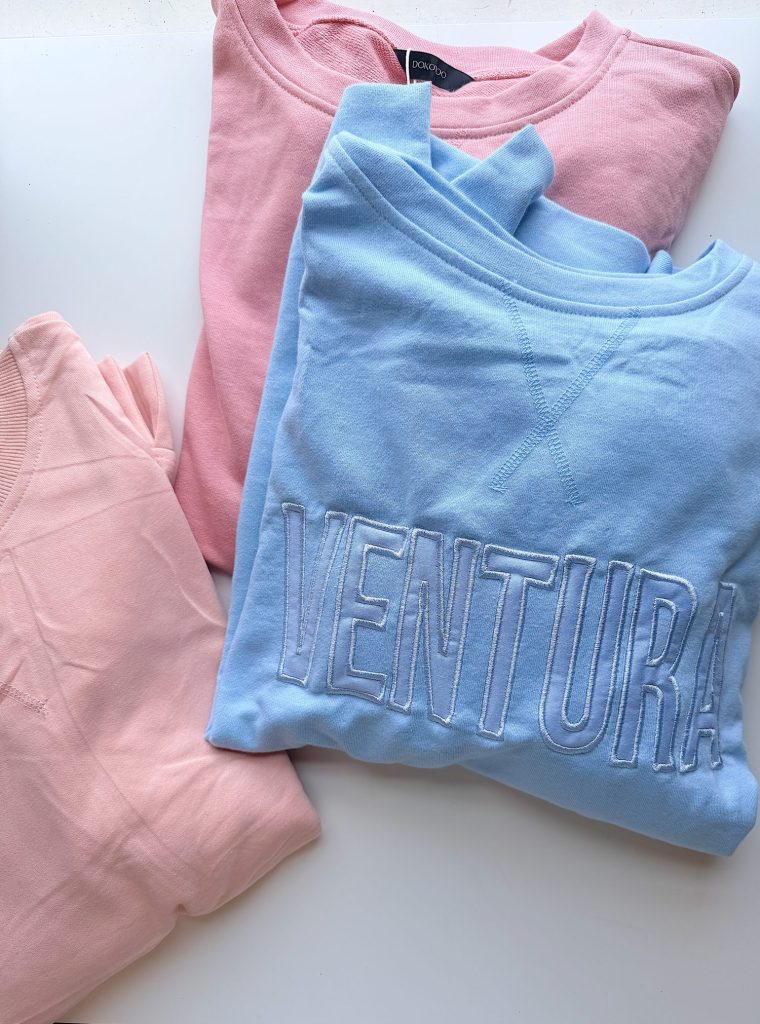
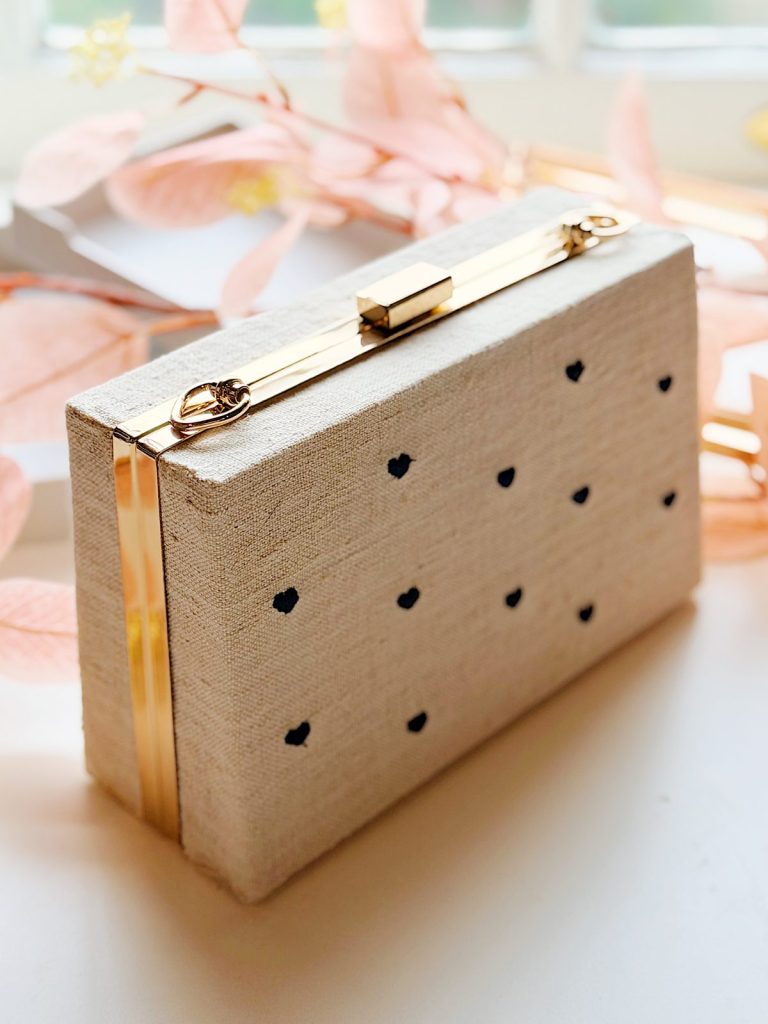
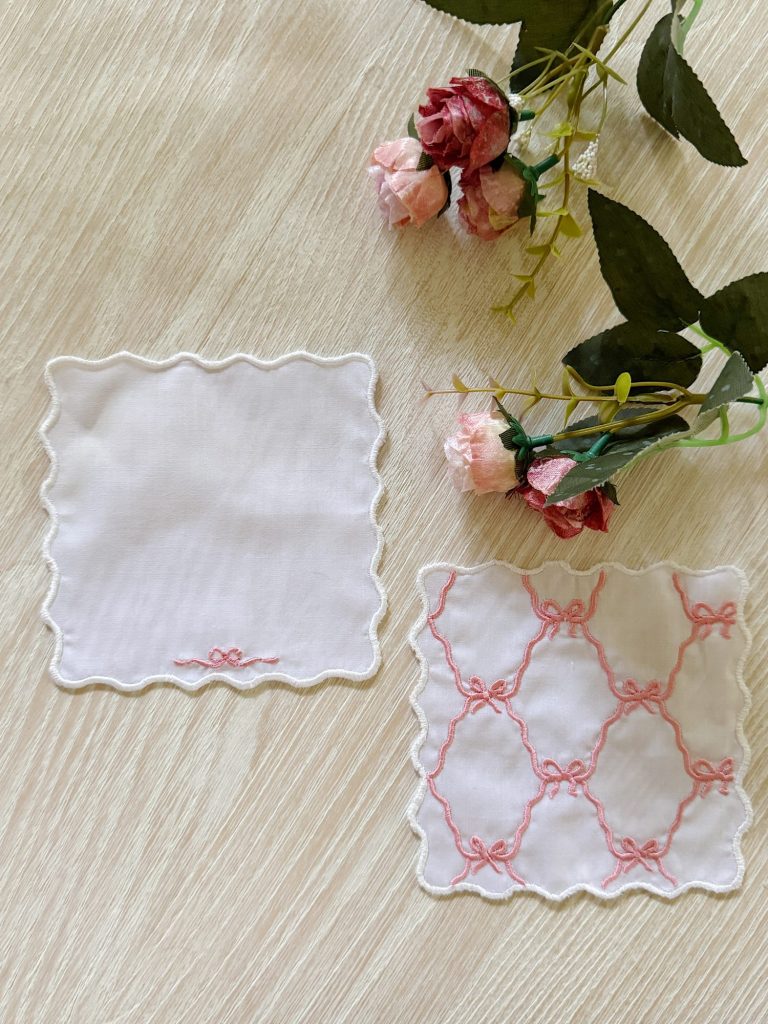
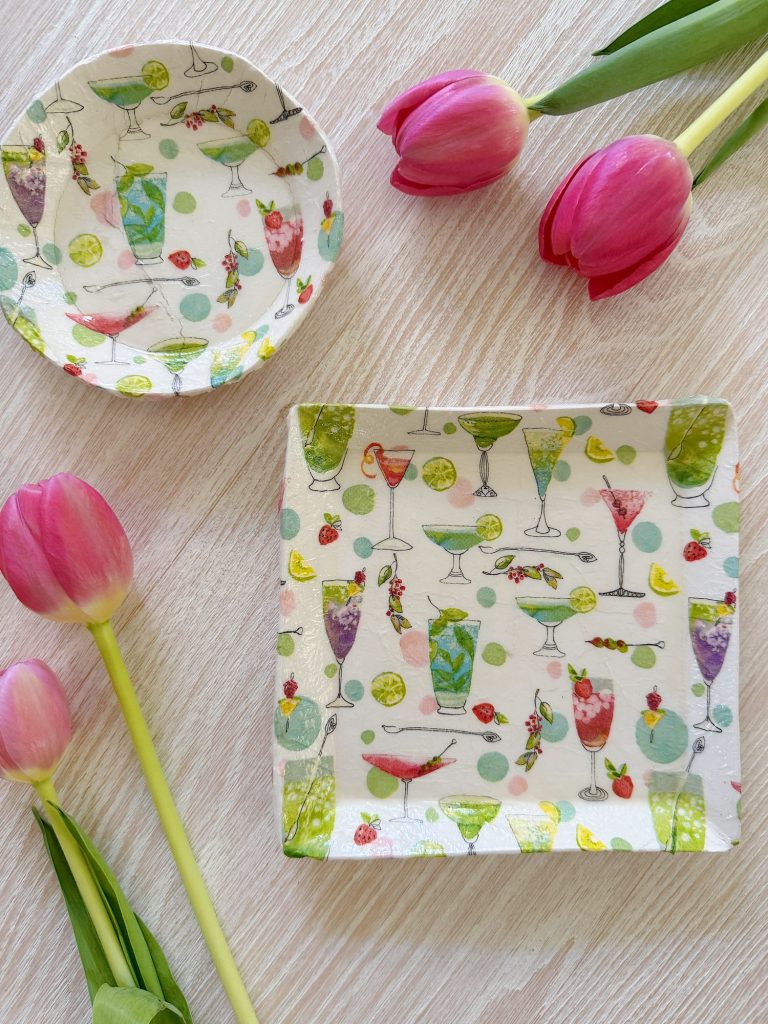
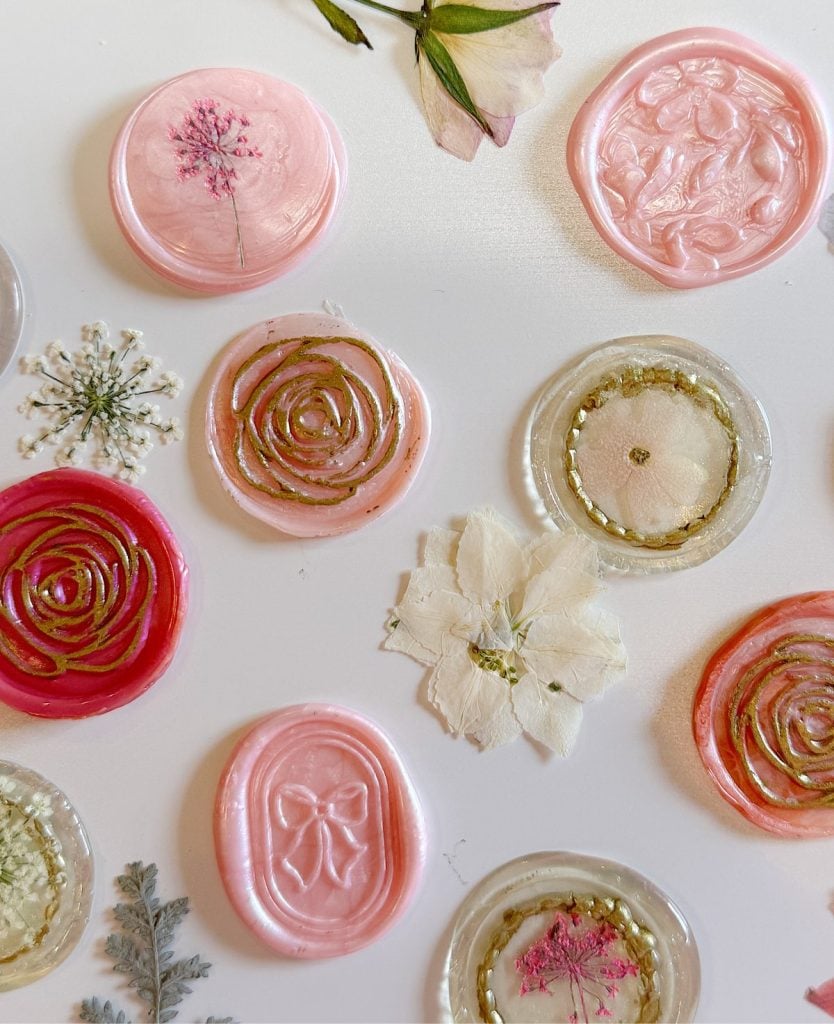
Here are all of the A Handmade Summer craft projects so far. I can’t wait to share all twelve, which means next week is the last summer one!
Latest Posts
-
Pink Lemonade Pie
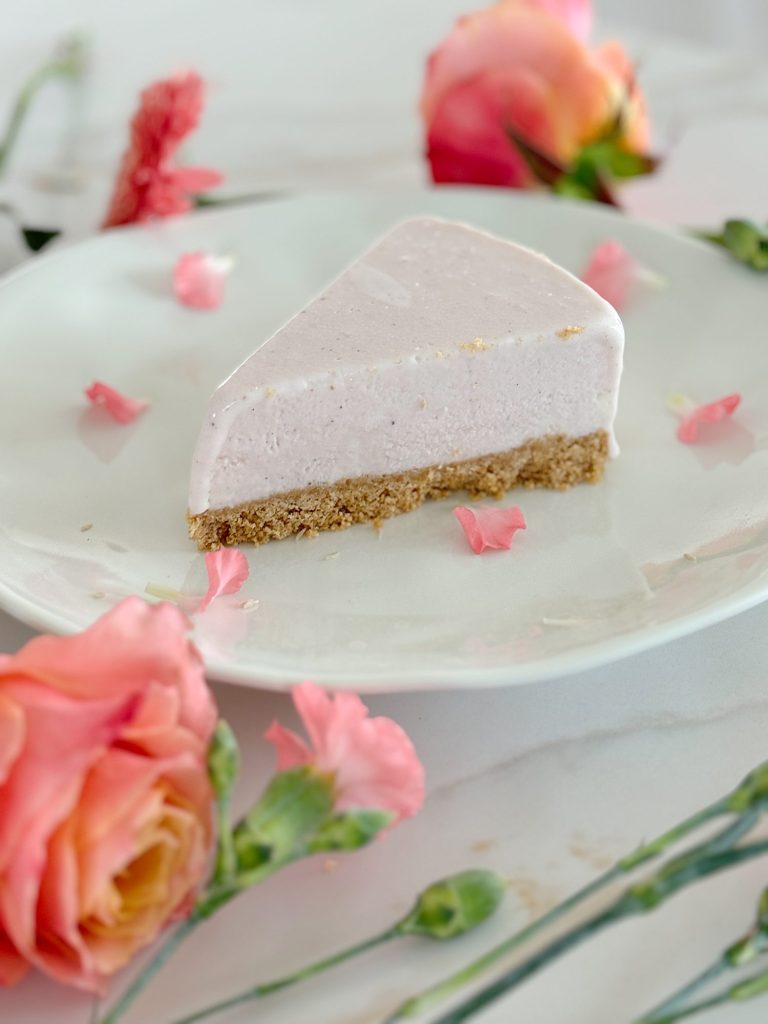
Summer is the season for refreshing and light desserts, and what could be better than a tangy, creamy, and perfectly chilled Pink Lemonade Ice Cream Pie? This delightful dessert is perfect for hot days, picnics, barbecues, or any summer gathering. Its vibrant color and mouthwatering flavor will surely be a hit for kids and adults….
-
DIY Pressed Flowers
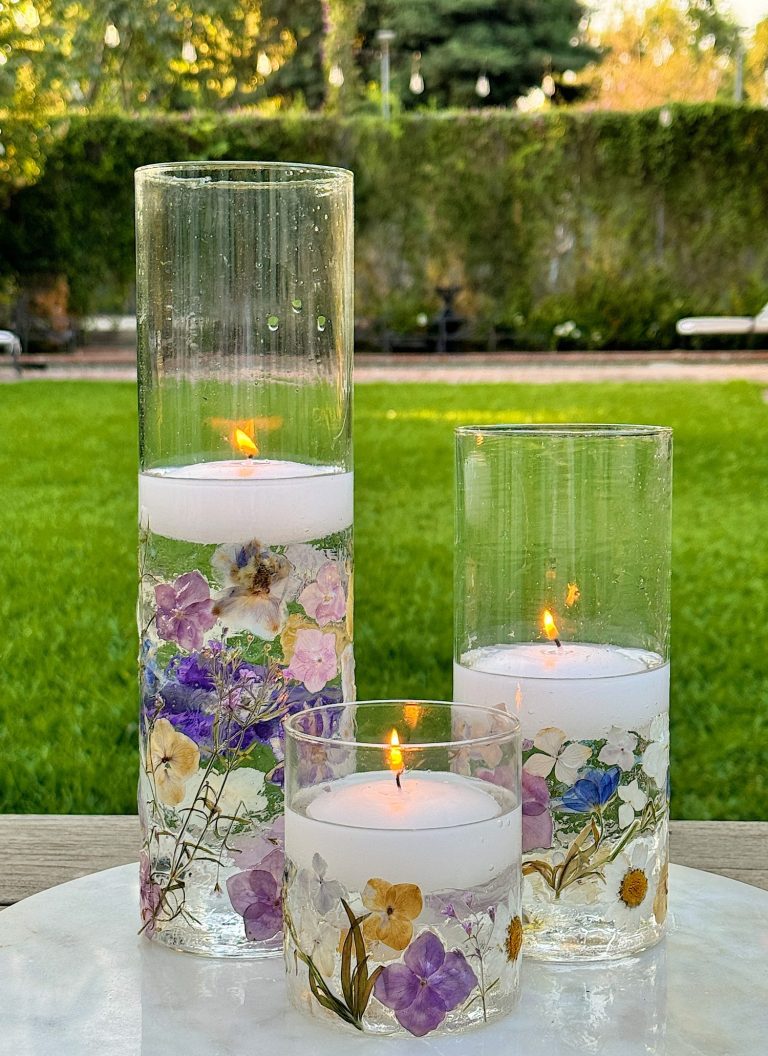
DIY pressed flowers are a beautiful and charming addition to any home decor. When made into candle holders, they are stunning. These delicate creations bring a touch of nature indoors and can be customized to fit any style or occasion. Whether you want to create a romantic centerpiece, a whimsical decoration, or a unique gift,…
-
How to Make Strawberry Shortcake Ice Cream Sandwiches
Today, I am sharing my strawberry shortcake ice cream sandwiches. It’s strawberry season, so what could be better? These strawberry shortcake ice cream sandwiches are easy to make and taste amazing. Can you think of anything better for a hot summer day?
-
What’s on My Summer Craft Room Table Now – Mondays in the Craft Room
If you’ve ever wondered what my craft room really looks like in the middle of a busy creative season, today is your lucky day. Spoiler alert: it isn’t picture-perfect! Right now I have embroidery projects, sewing projects, and supplies covering just about every work surface, and I wouldn’t have it any other way. Today I’m…
My Recent Instagram Posts

You can pin the image below to your boards on Pinterest (click the Pin button in the top left corner) or follow me on Pinterest!
For more real-time updates, follow me on Instagram @My100YearOldHome