Homemade Fun with Wax Seals – A Handmade Summer
There is something about wax seals that feels timeless, creative, and surprisingly relaxing to make.
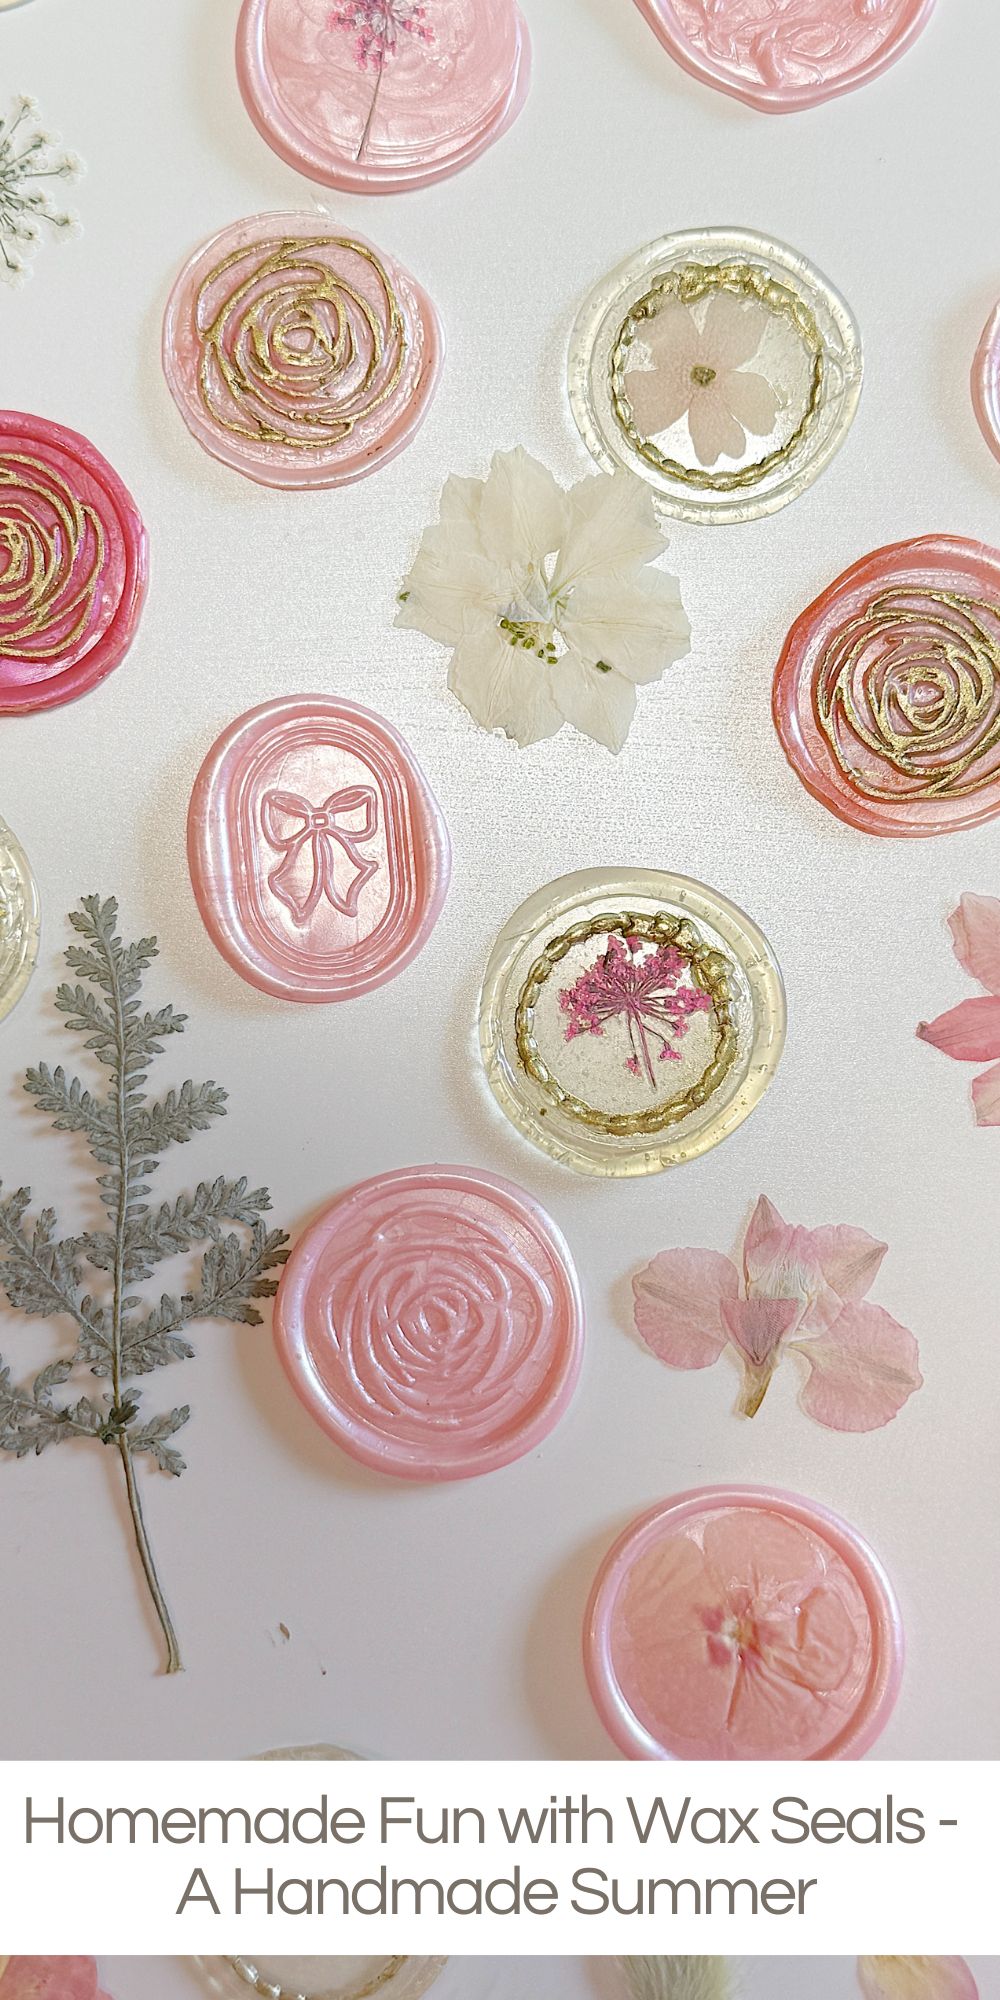
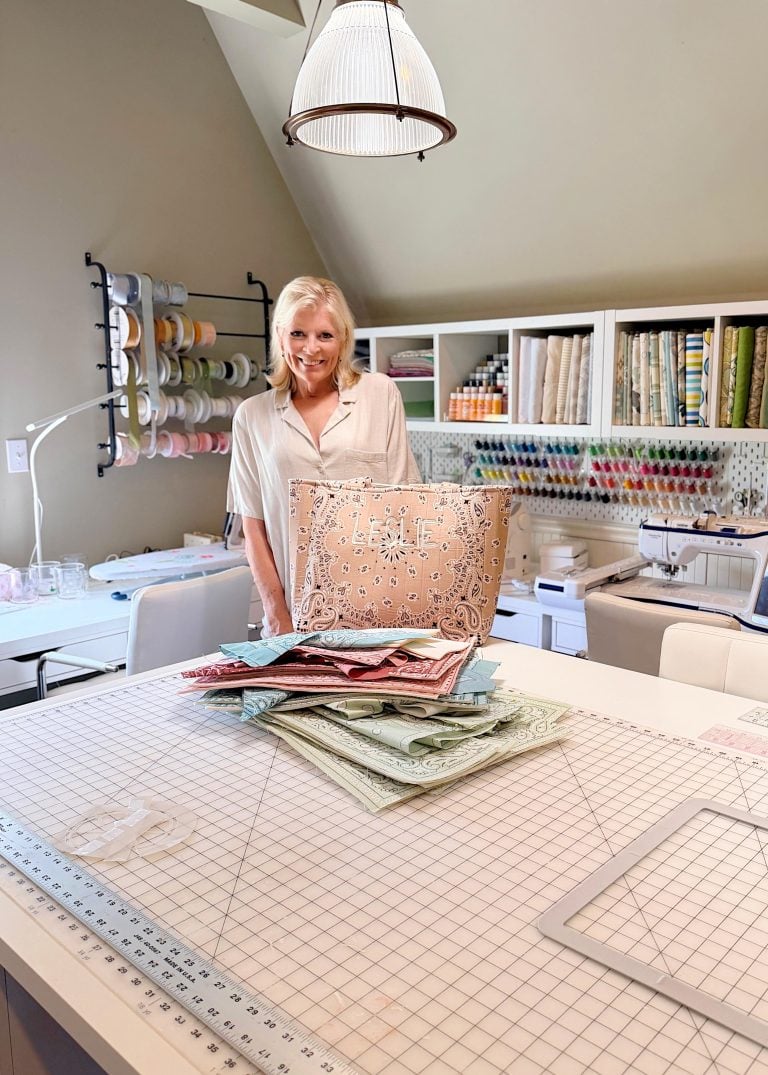
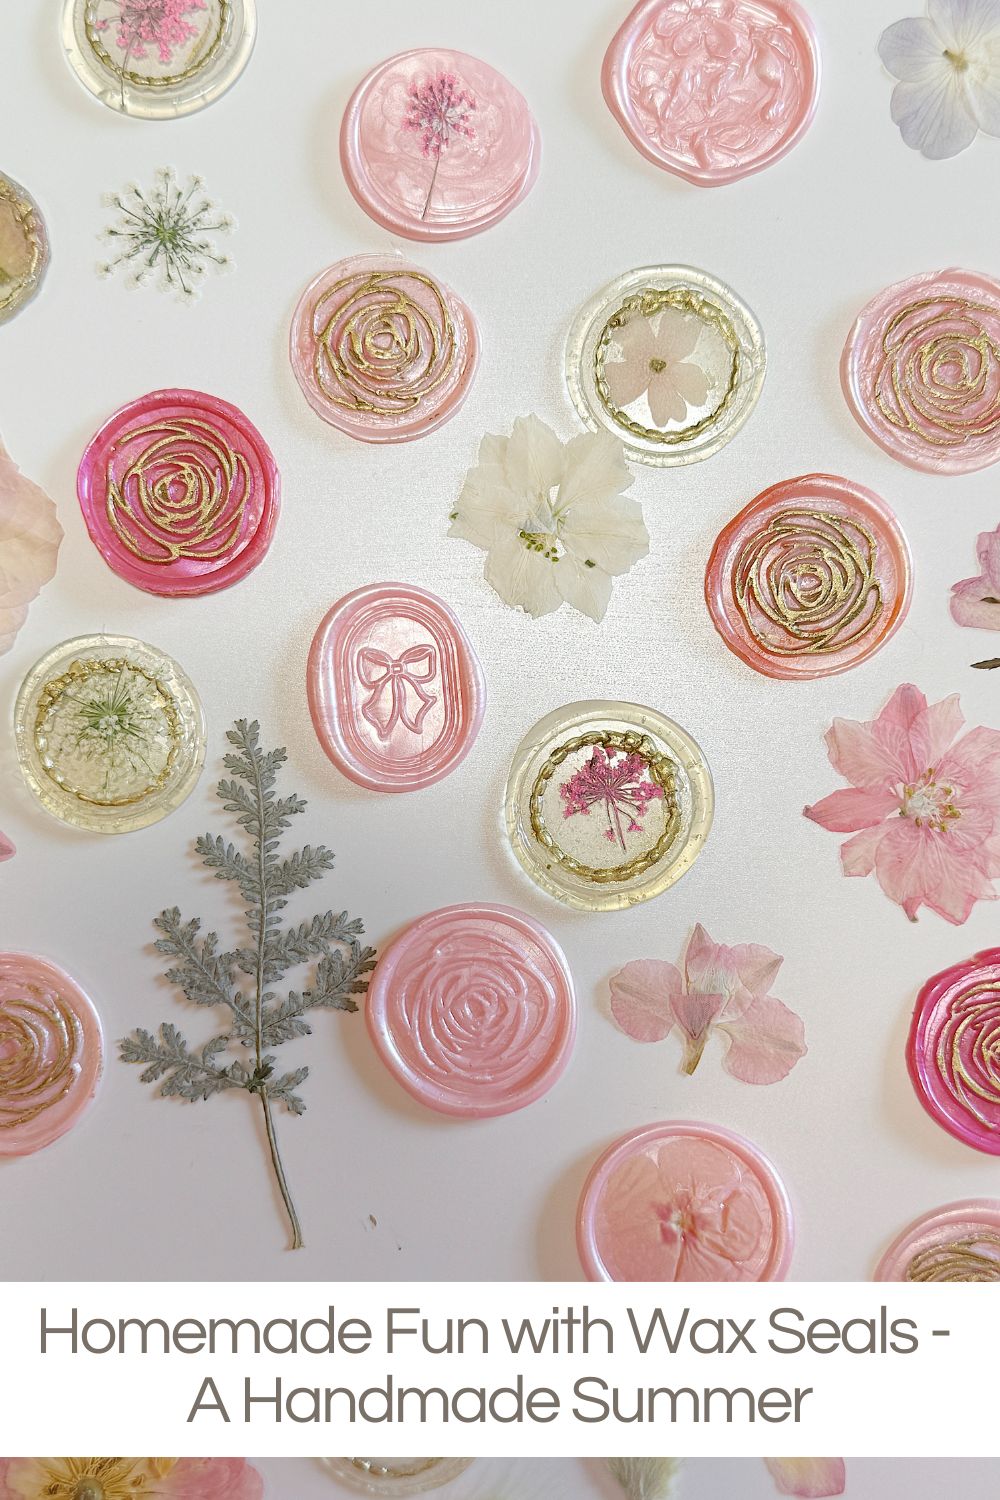
For this week’s edition of A Handmade Summer, I experimented with homemade wax seals using traditional sealing wax, hot glue, floral stamps, pressed flowers, and even metallic accents.


Fun with Wax Seals

What started as a simple craft quickly turned into one of my favorite summer projects because the possibilities are endless.
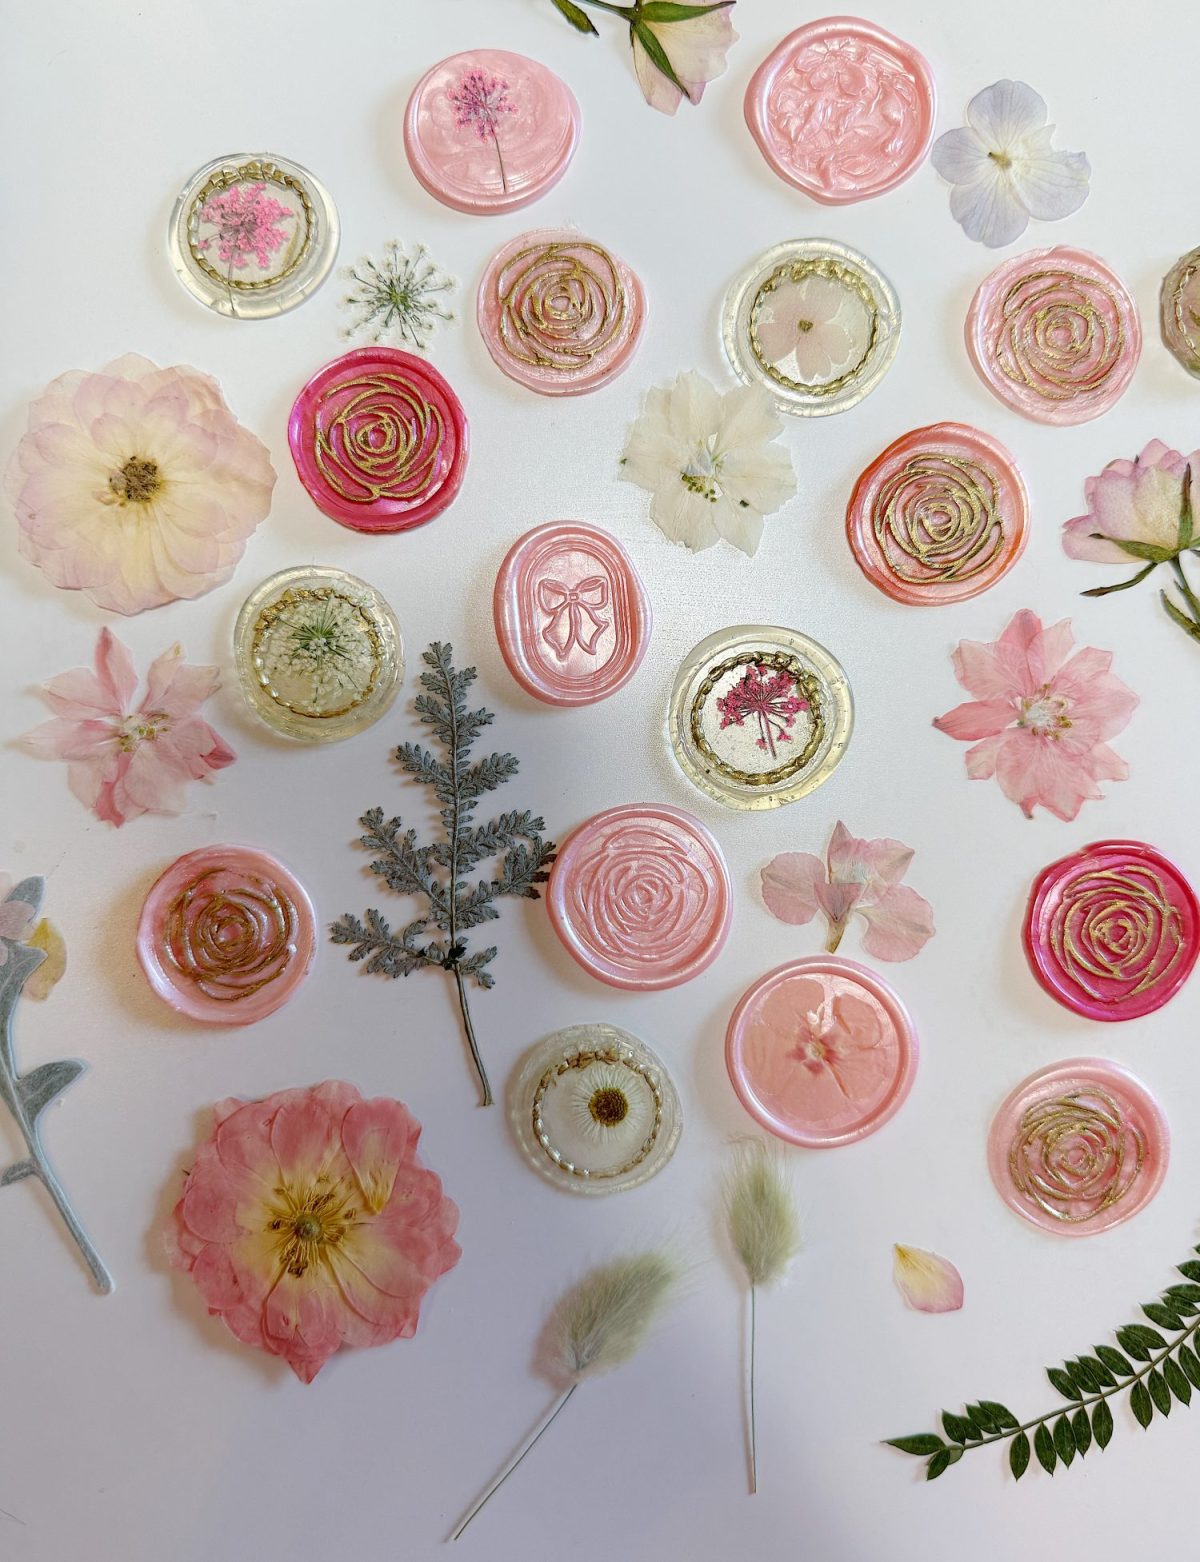
I made three completely different styles of wax seals, and honestly, I cannot stop thinking of new ways to use them. They are beautiful on menus, envelopes, gift tags, place cards, party favors, scrapbook pages, and even wrapped around napkins for entertaining.
The best part is that if you make them in advance, you can store them in a little box and use them whenever you need a special finishing touch.
Why I Love Making Wax Seals

One of the reasons I love crafting is that small handmade details can make everyday things feel extra special. Wax seals are exactly that kind of detail.
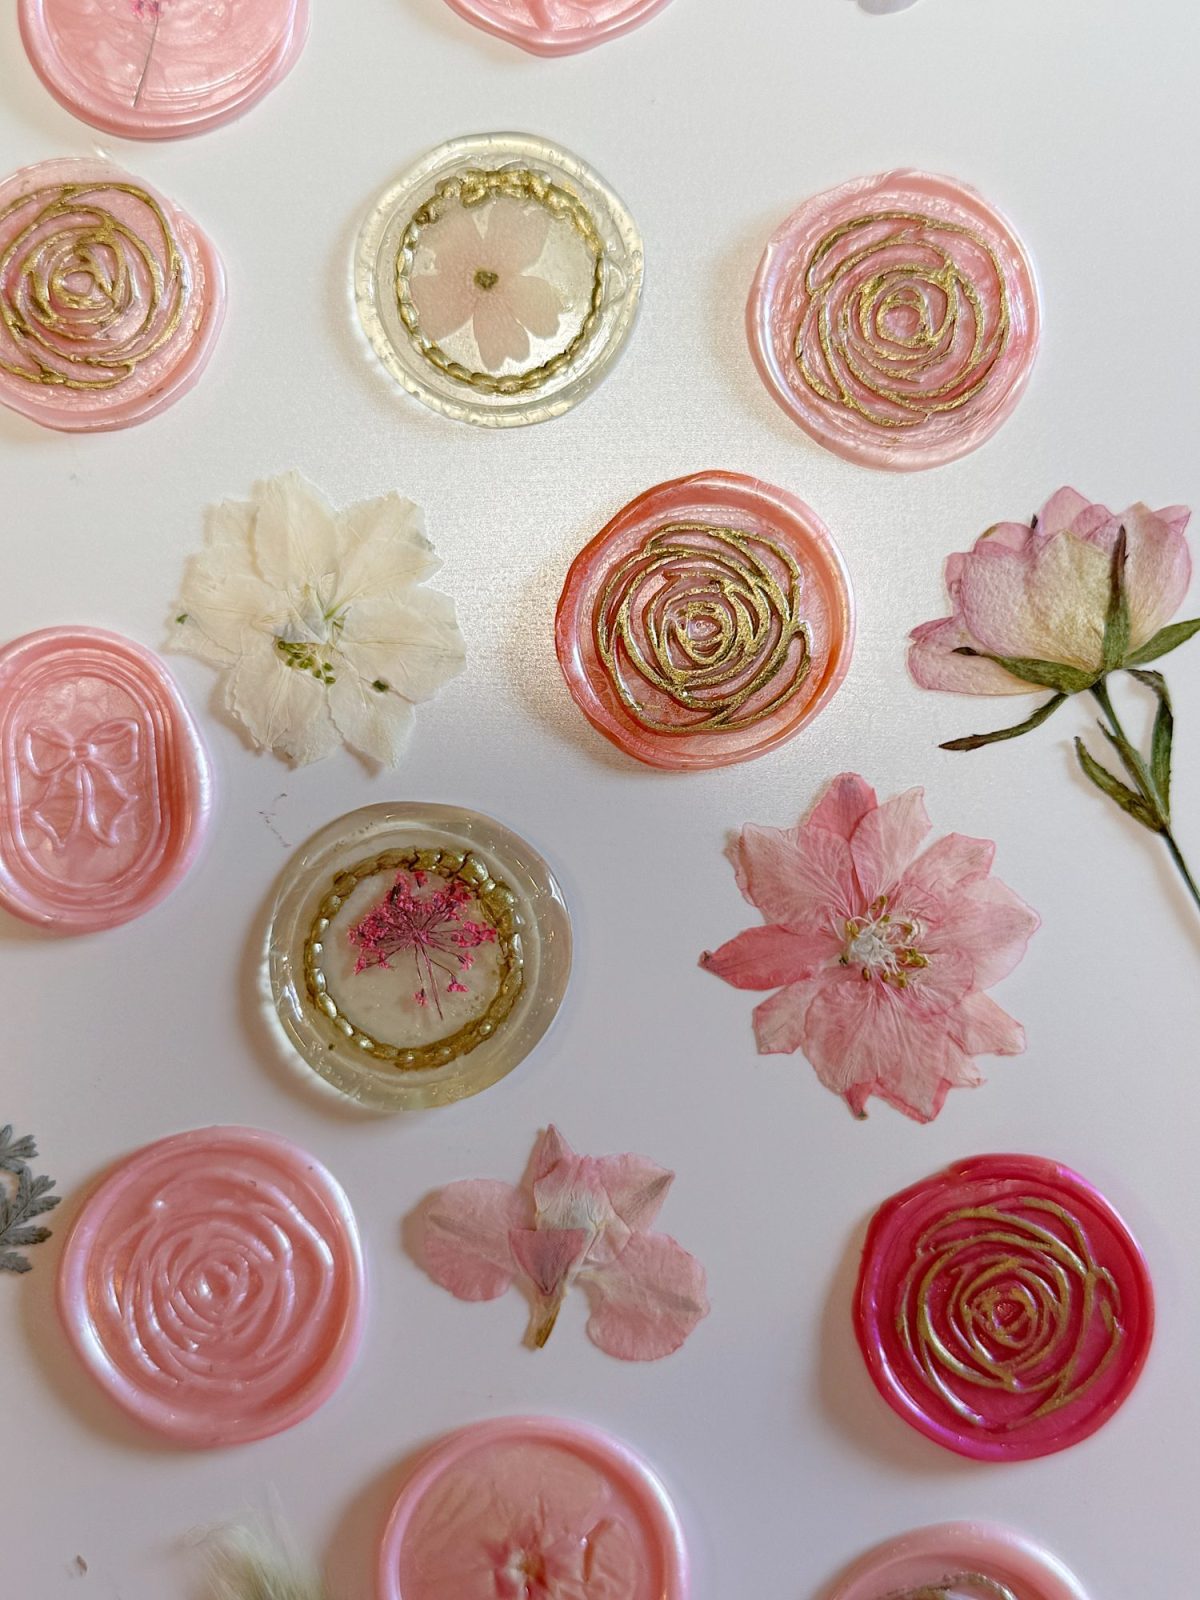
They add texture, color, and personality to almost anything. I also love that every single seal looks slightly different. Some are glossy and smooth. Others have organic edges or tiny pressed flowers embedded inside. Even the imperfect ones end up looking beautiful.
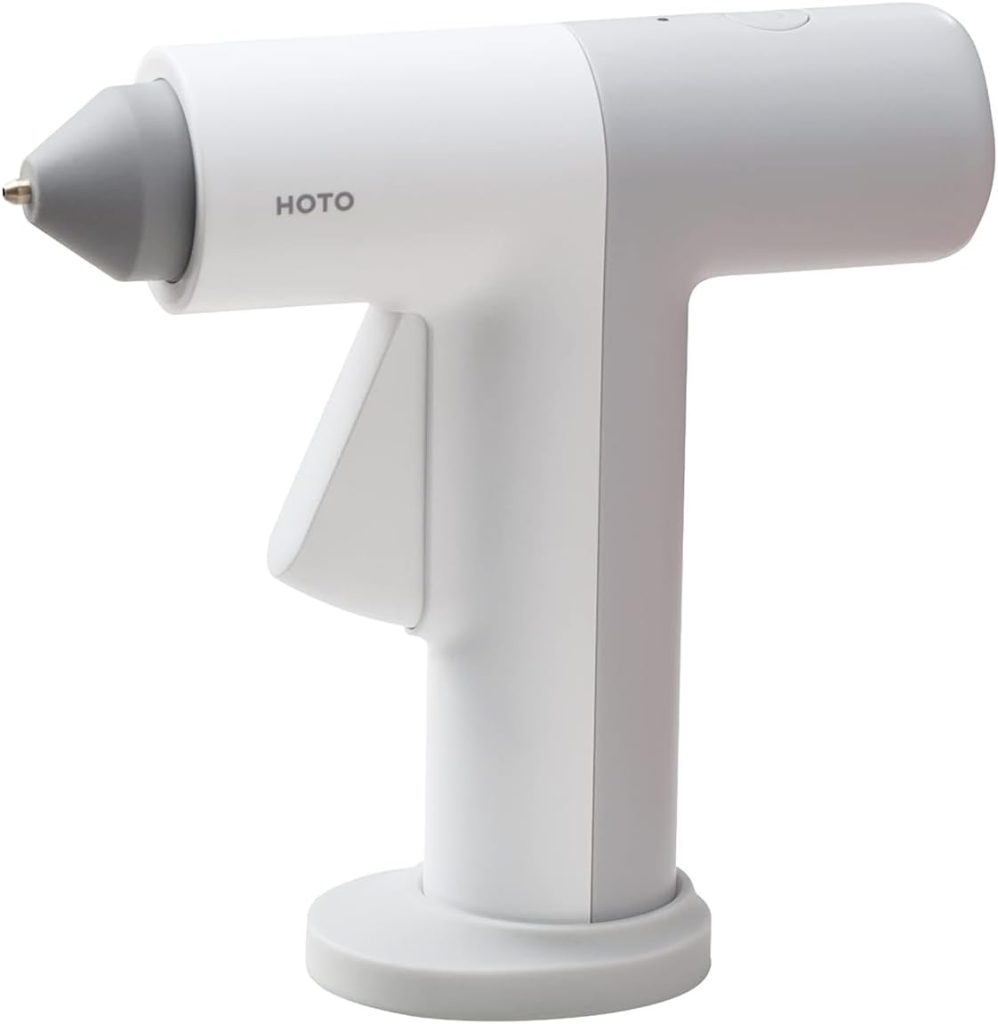
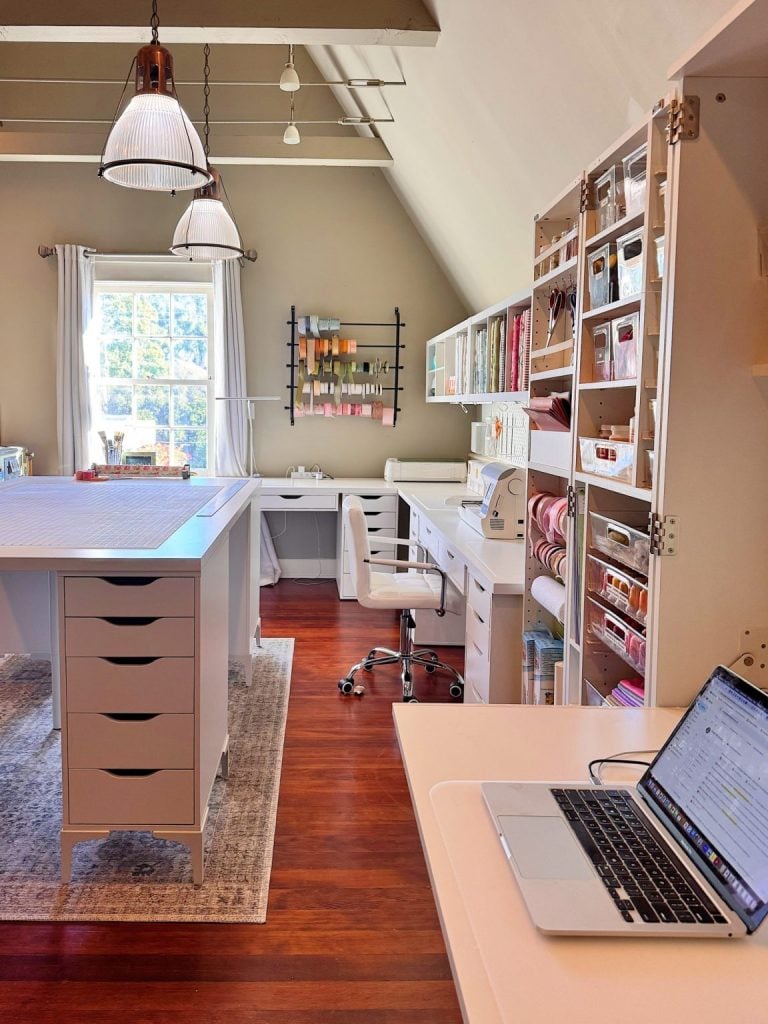
This project also feels very approachable. You do not need expensive supplies or special equipment to get started. In fact, many of the seals I made were created using a hot glue gun and silicone molds.
And if you love crafts that can be completed while sitting at a table with music playing and a cup of coffee nearby, this is definitely one of them.
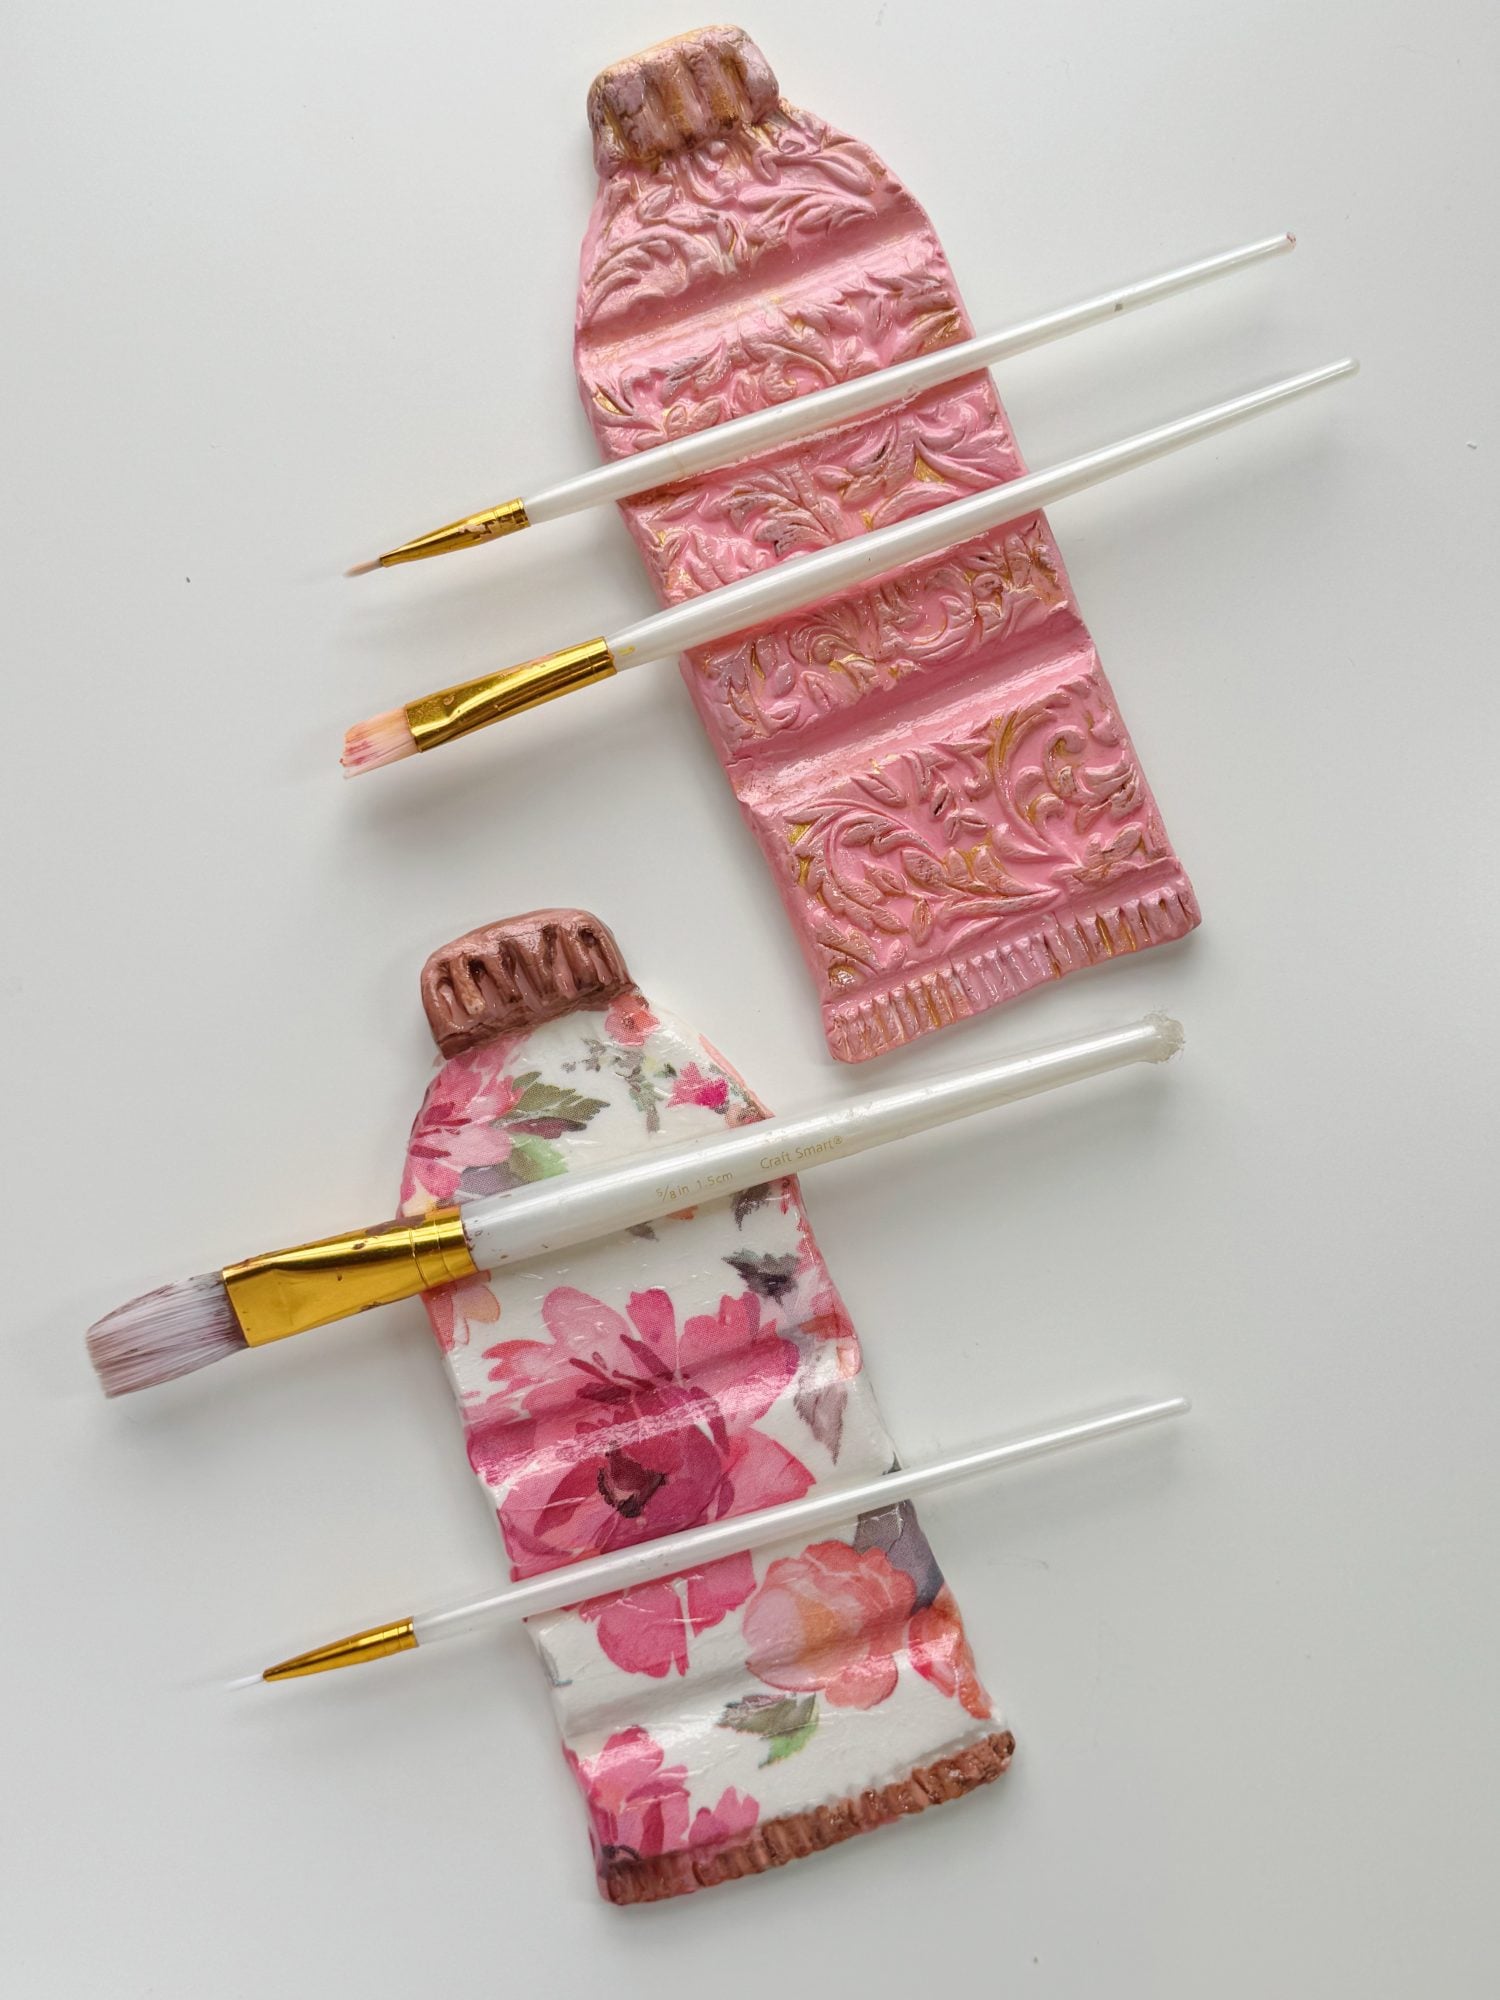
The Two Types of Wax Seals I Made
For this project, I experimented with two completely different techniques.
Traditional Wax Seal Stamps
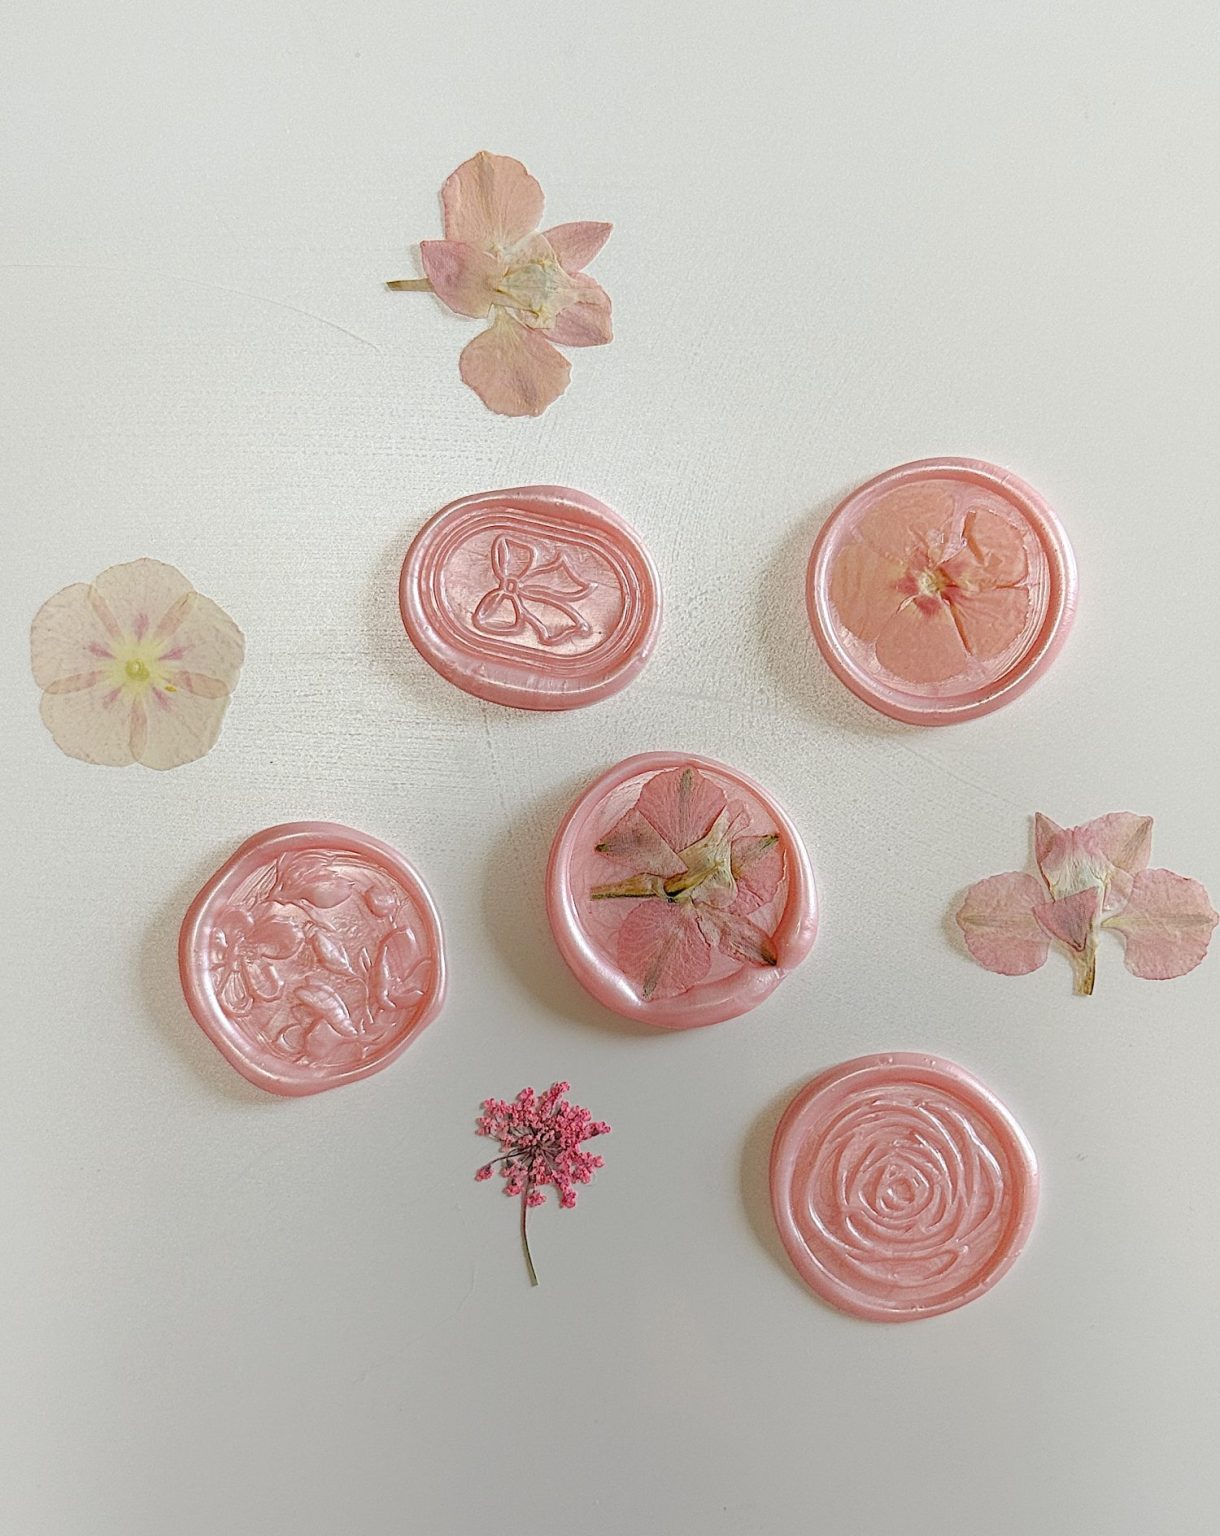
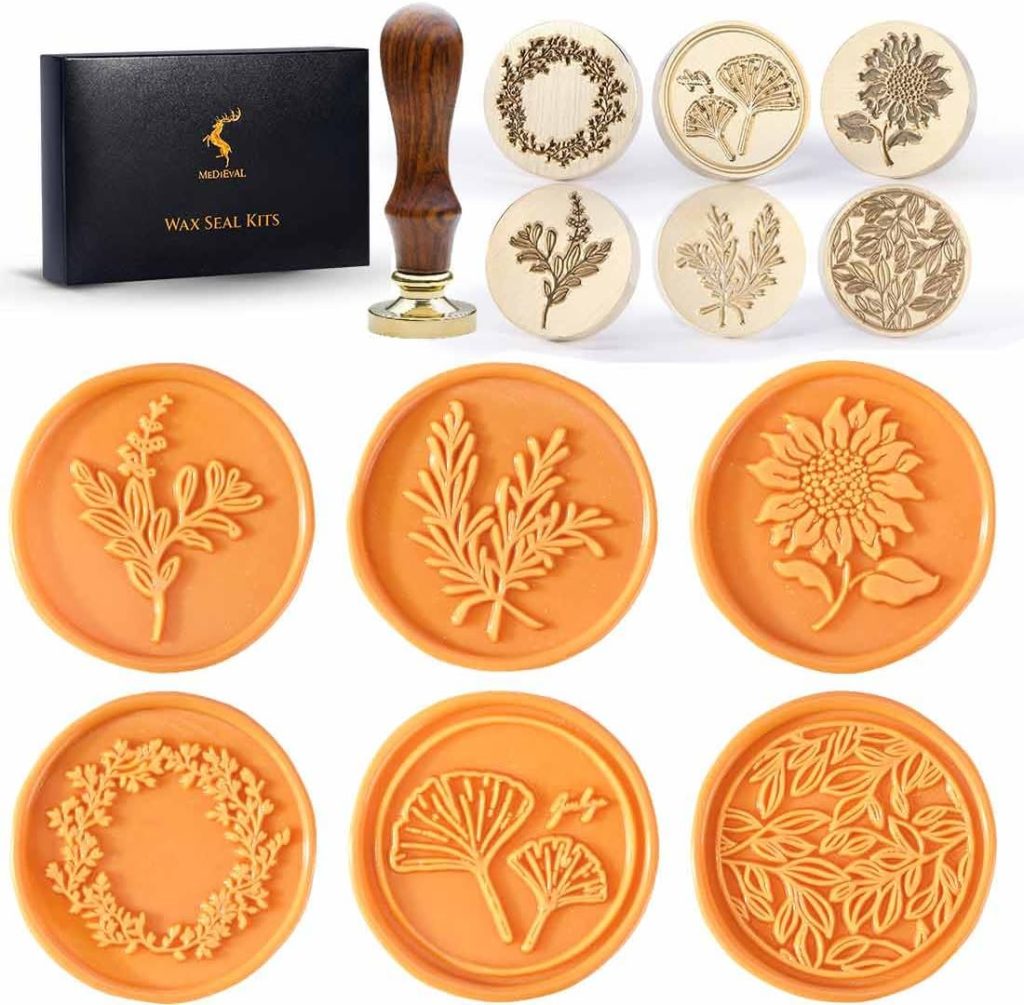
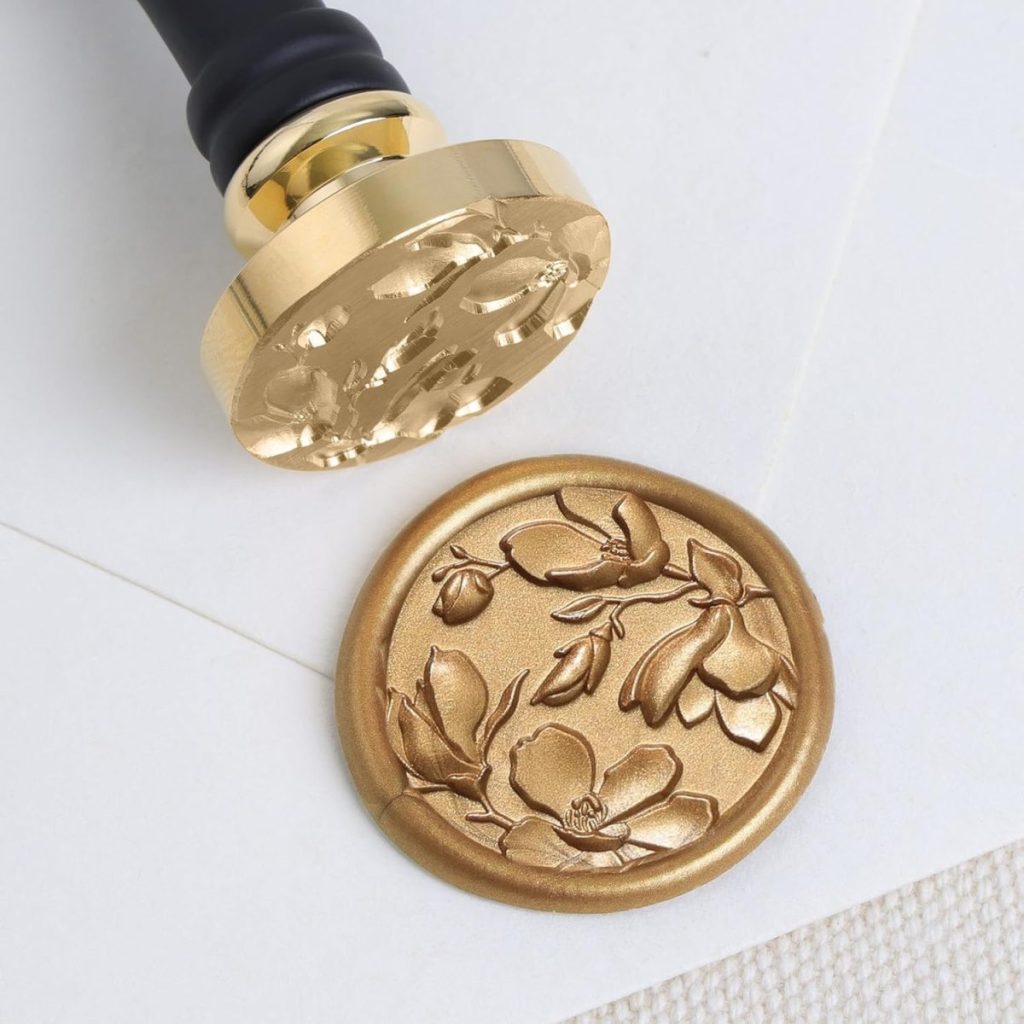
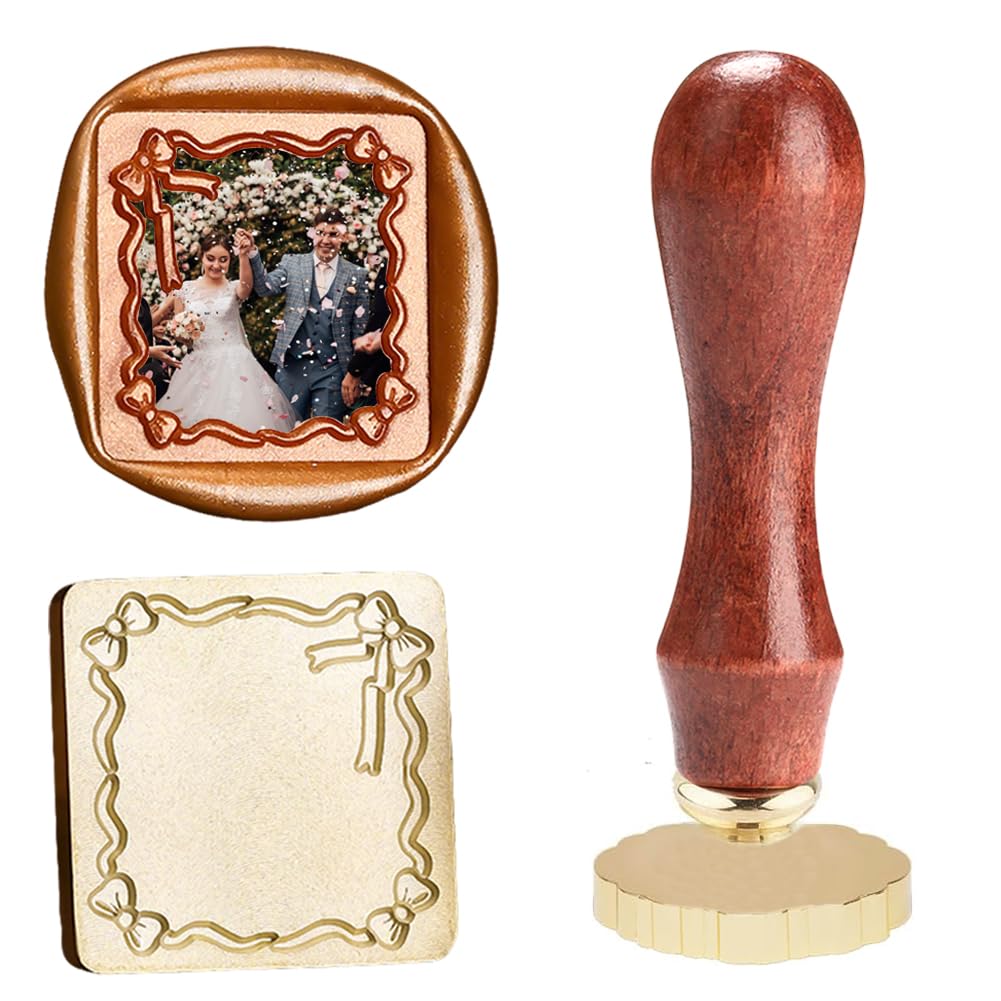
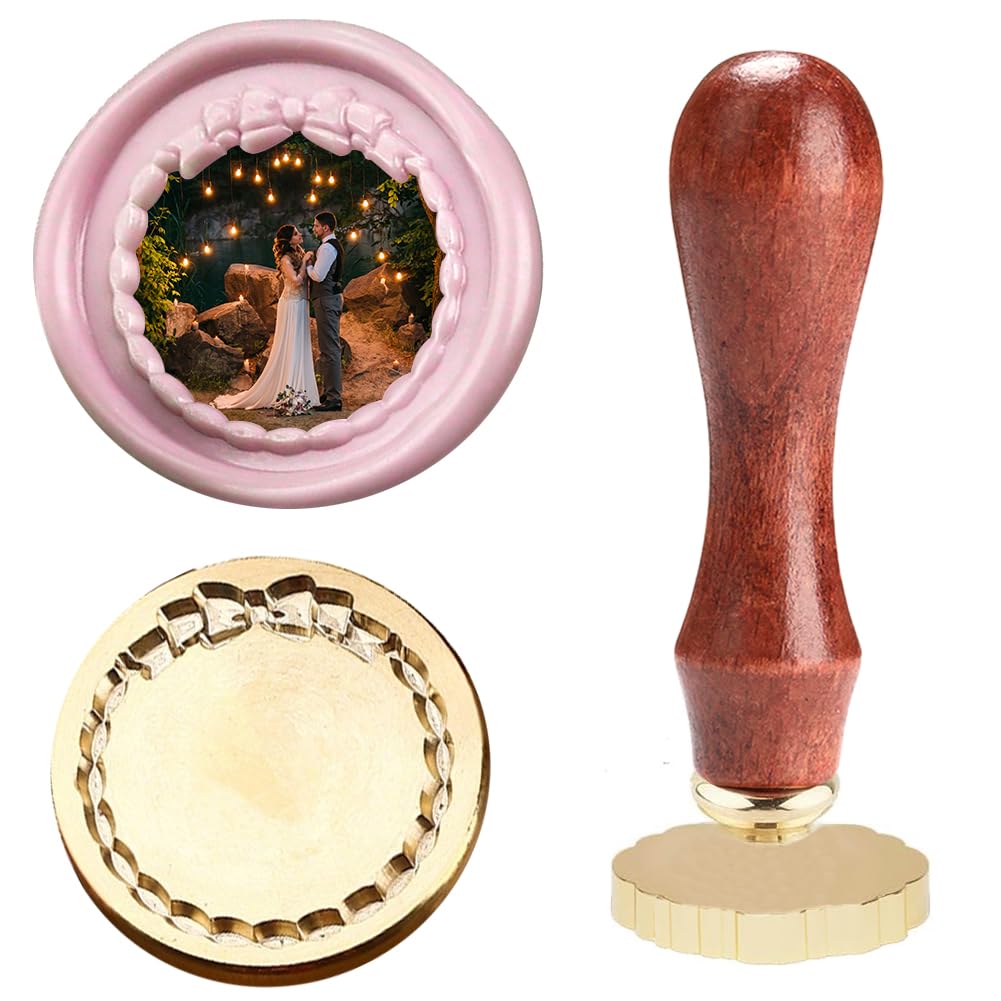
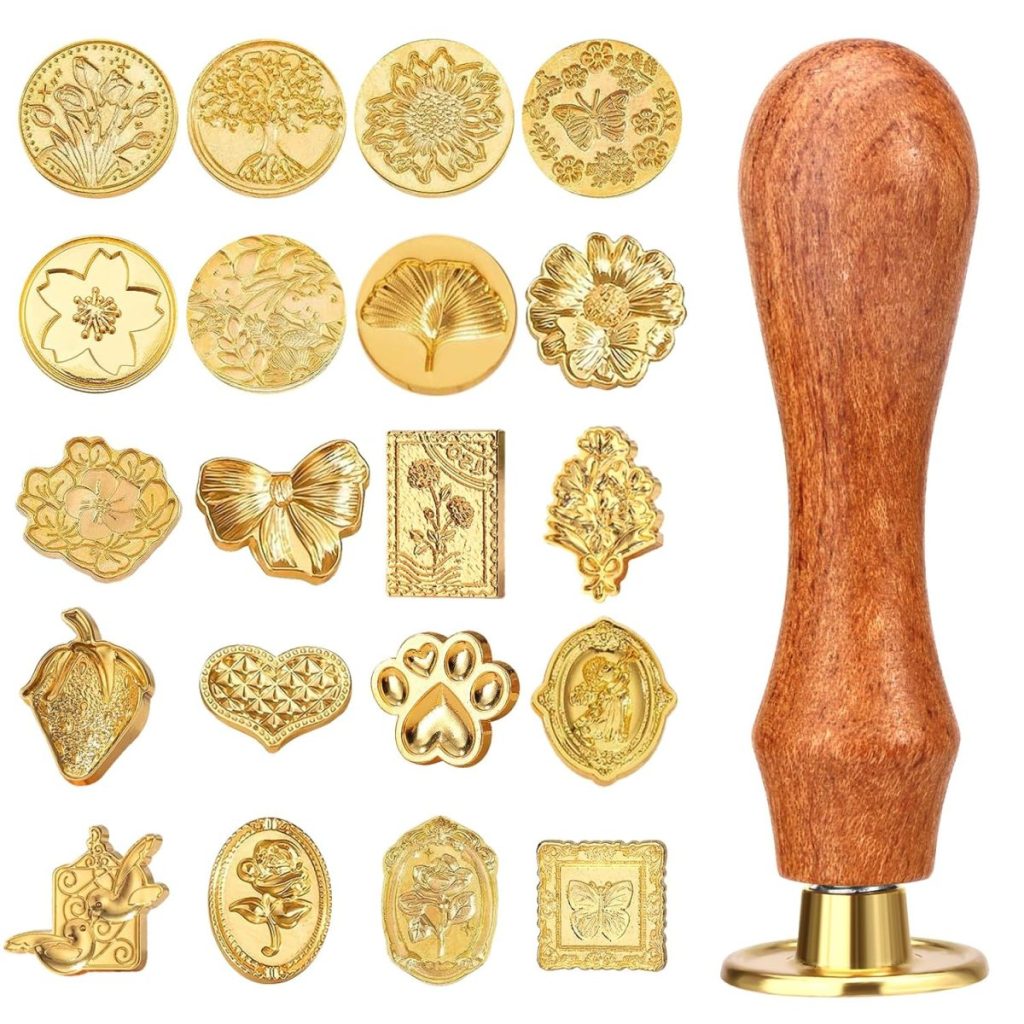
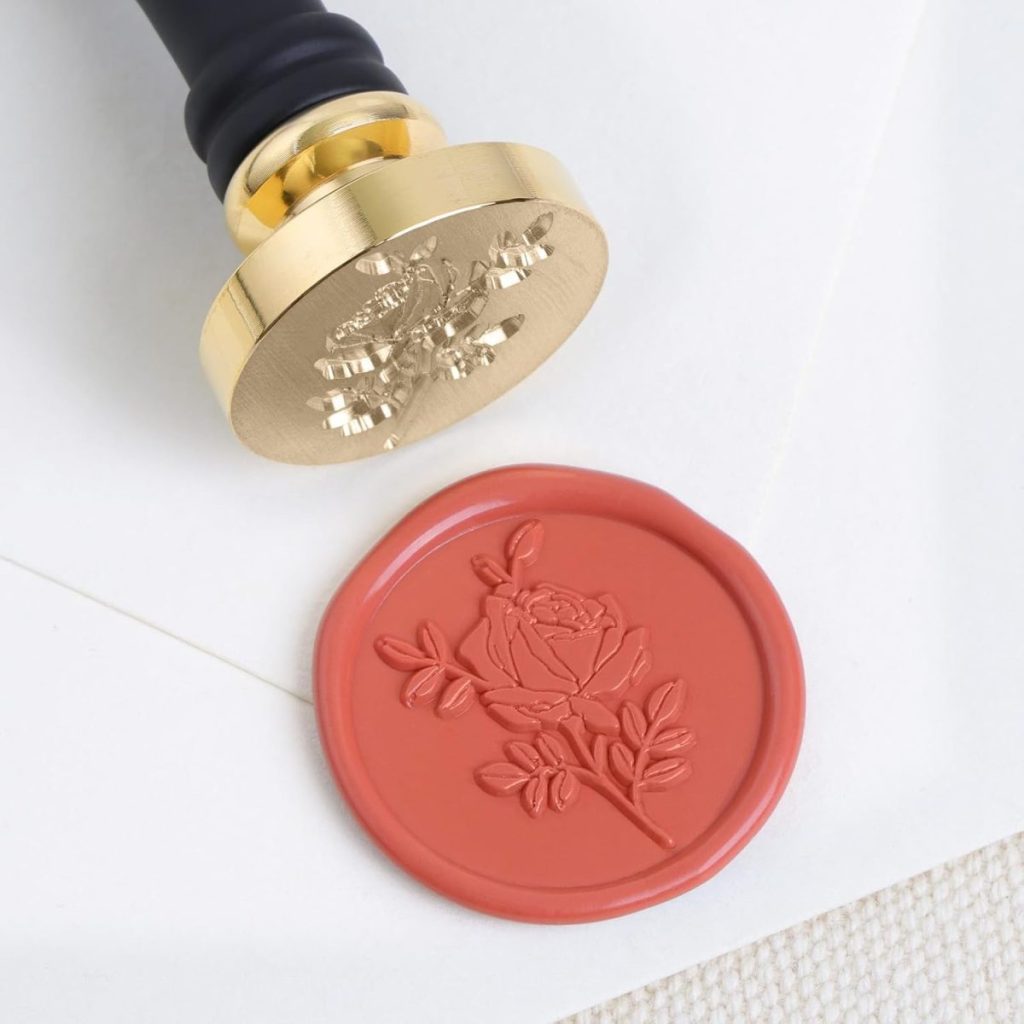
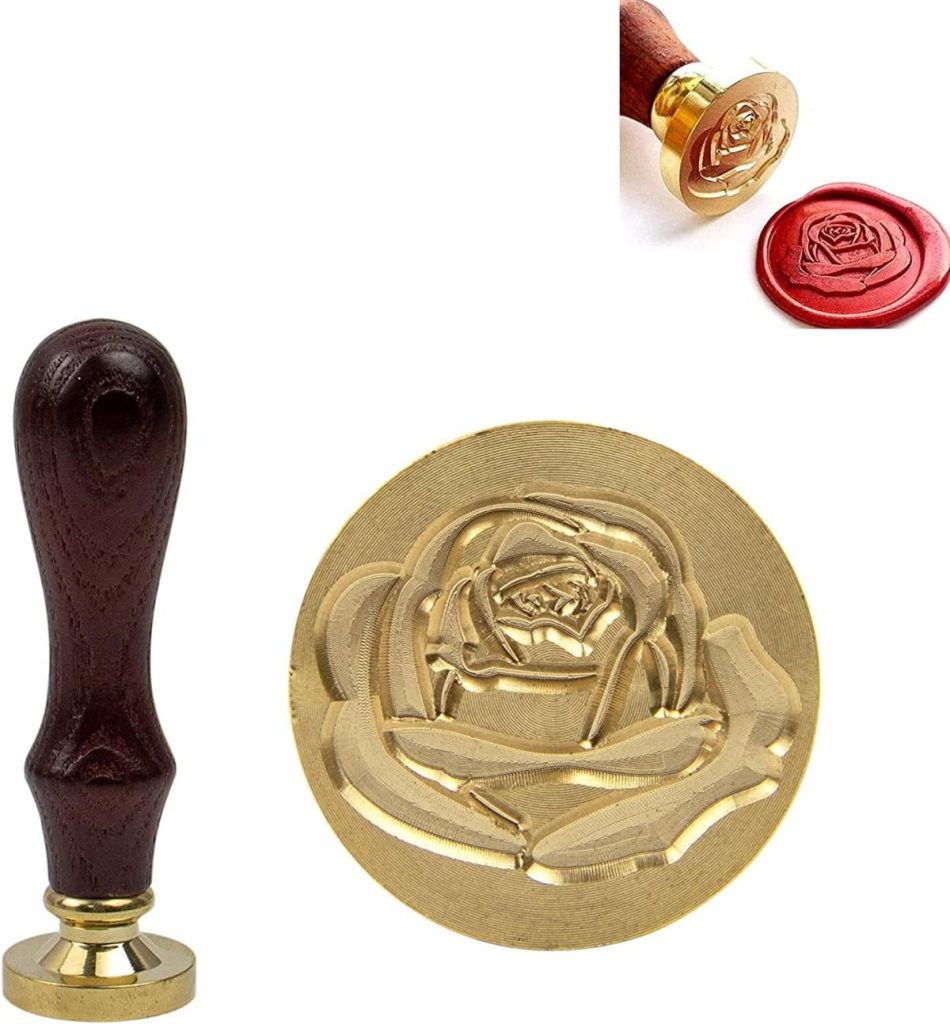
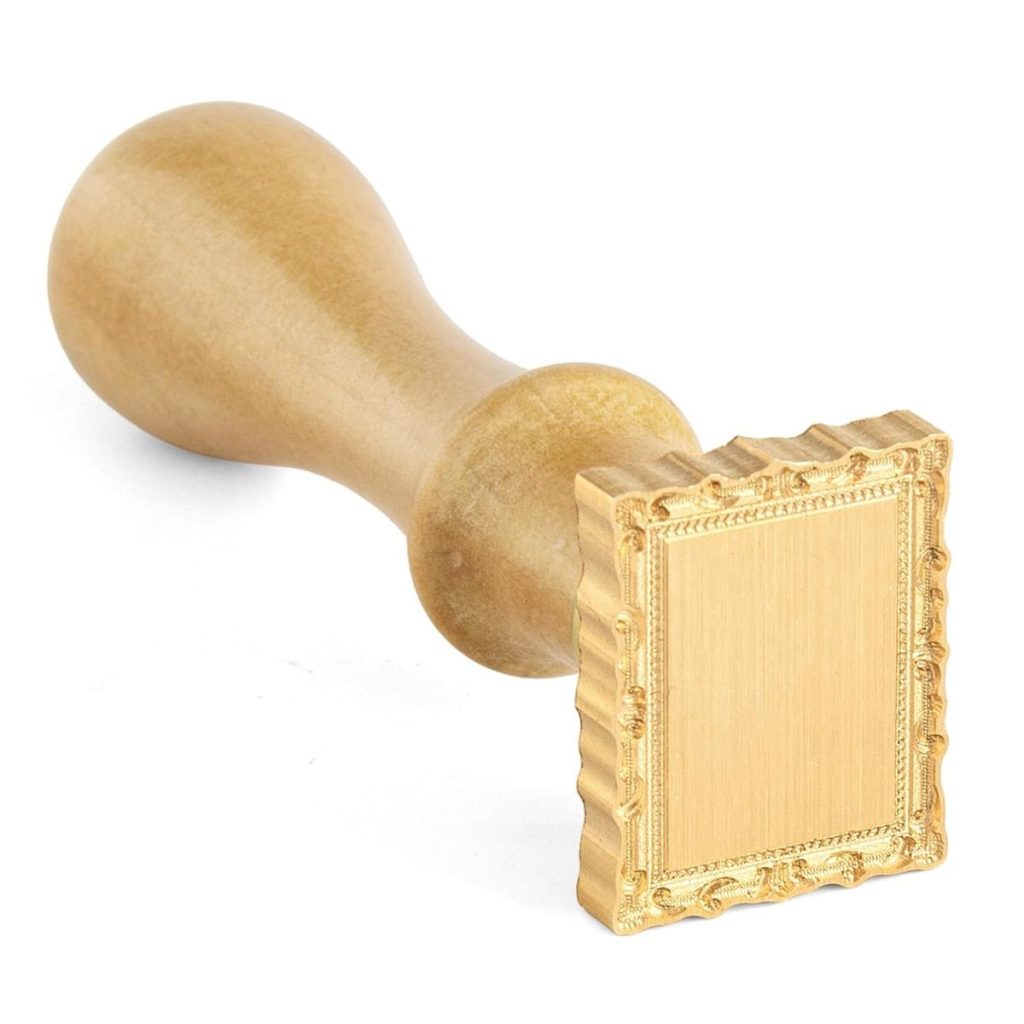
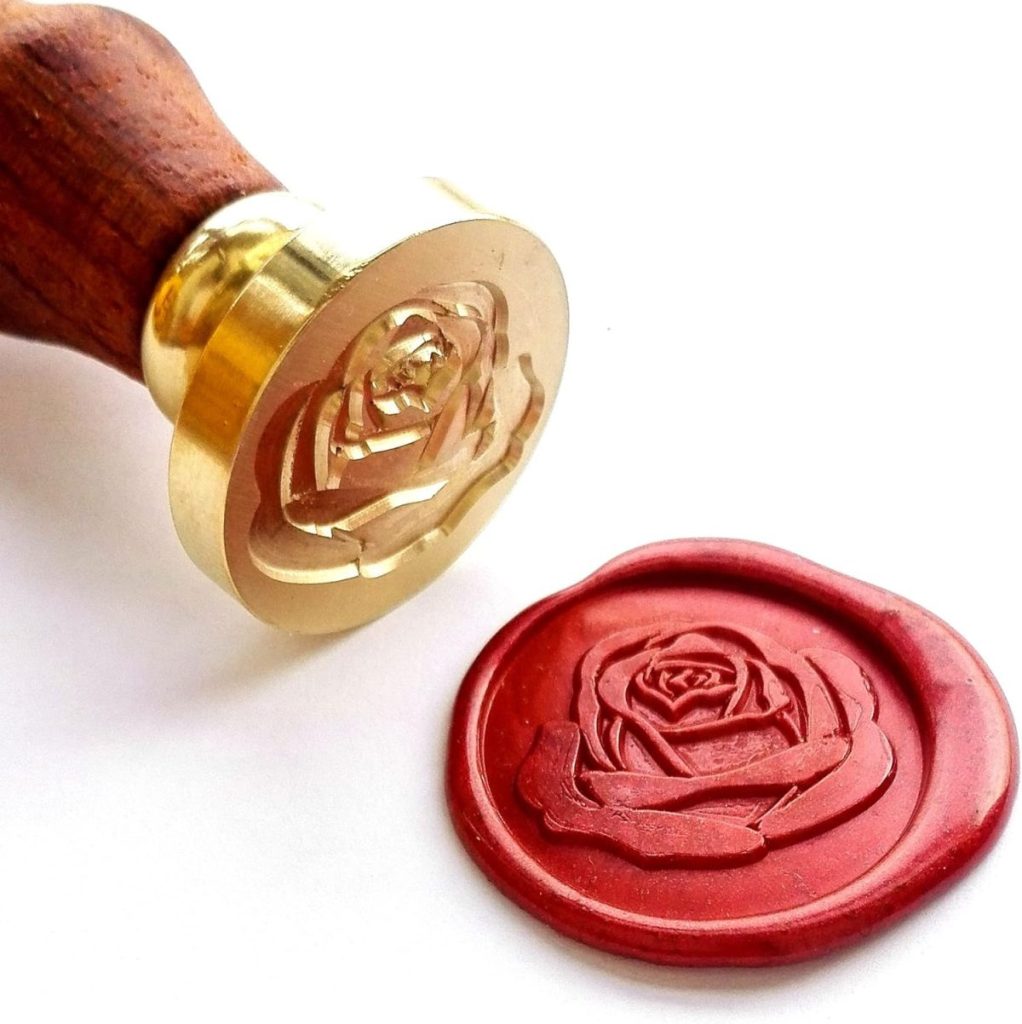
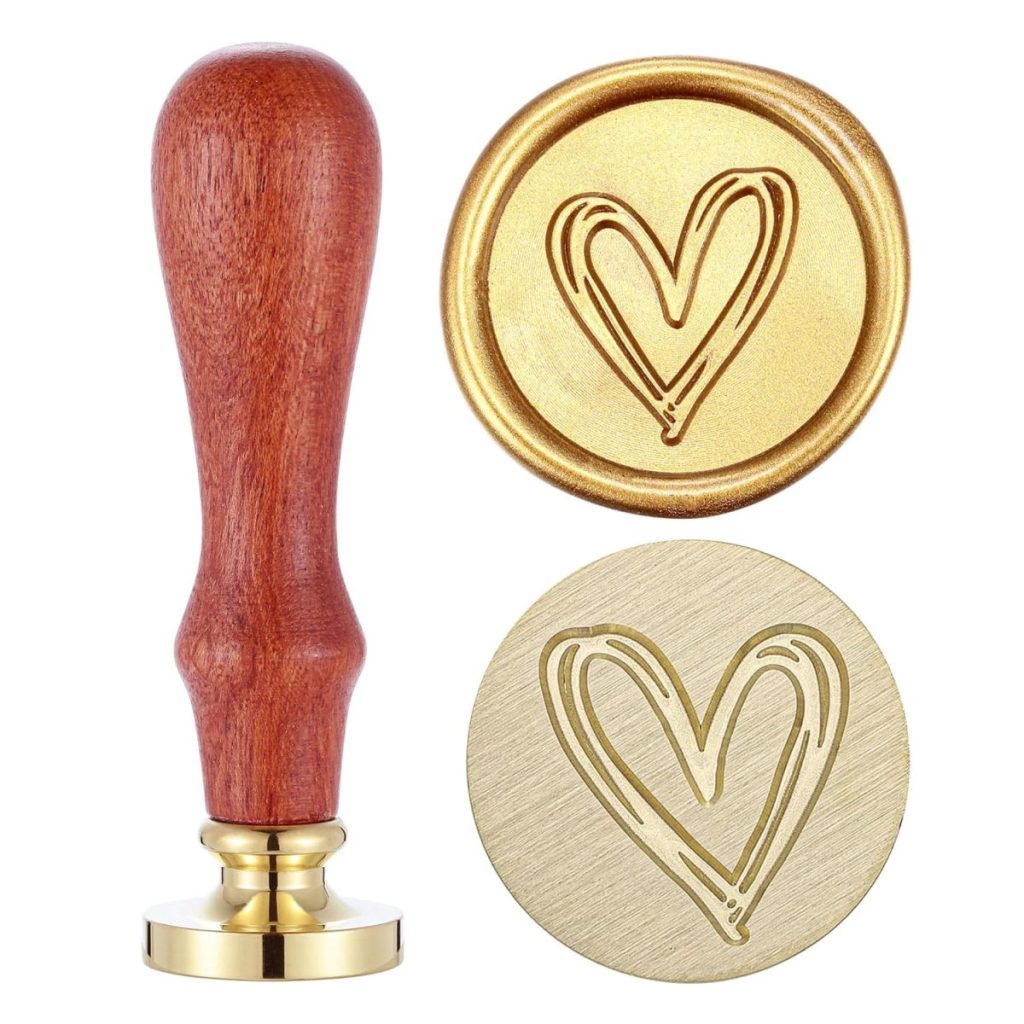
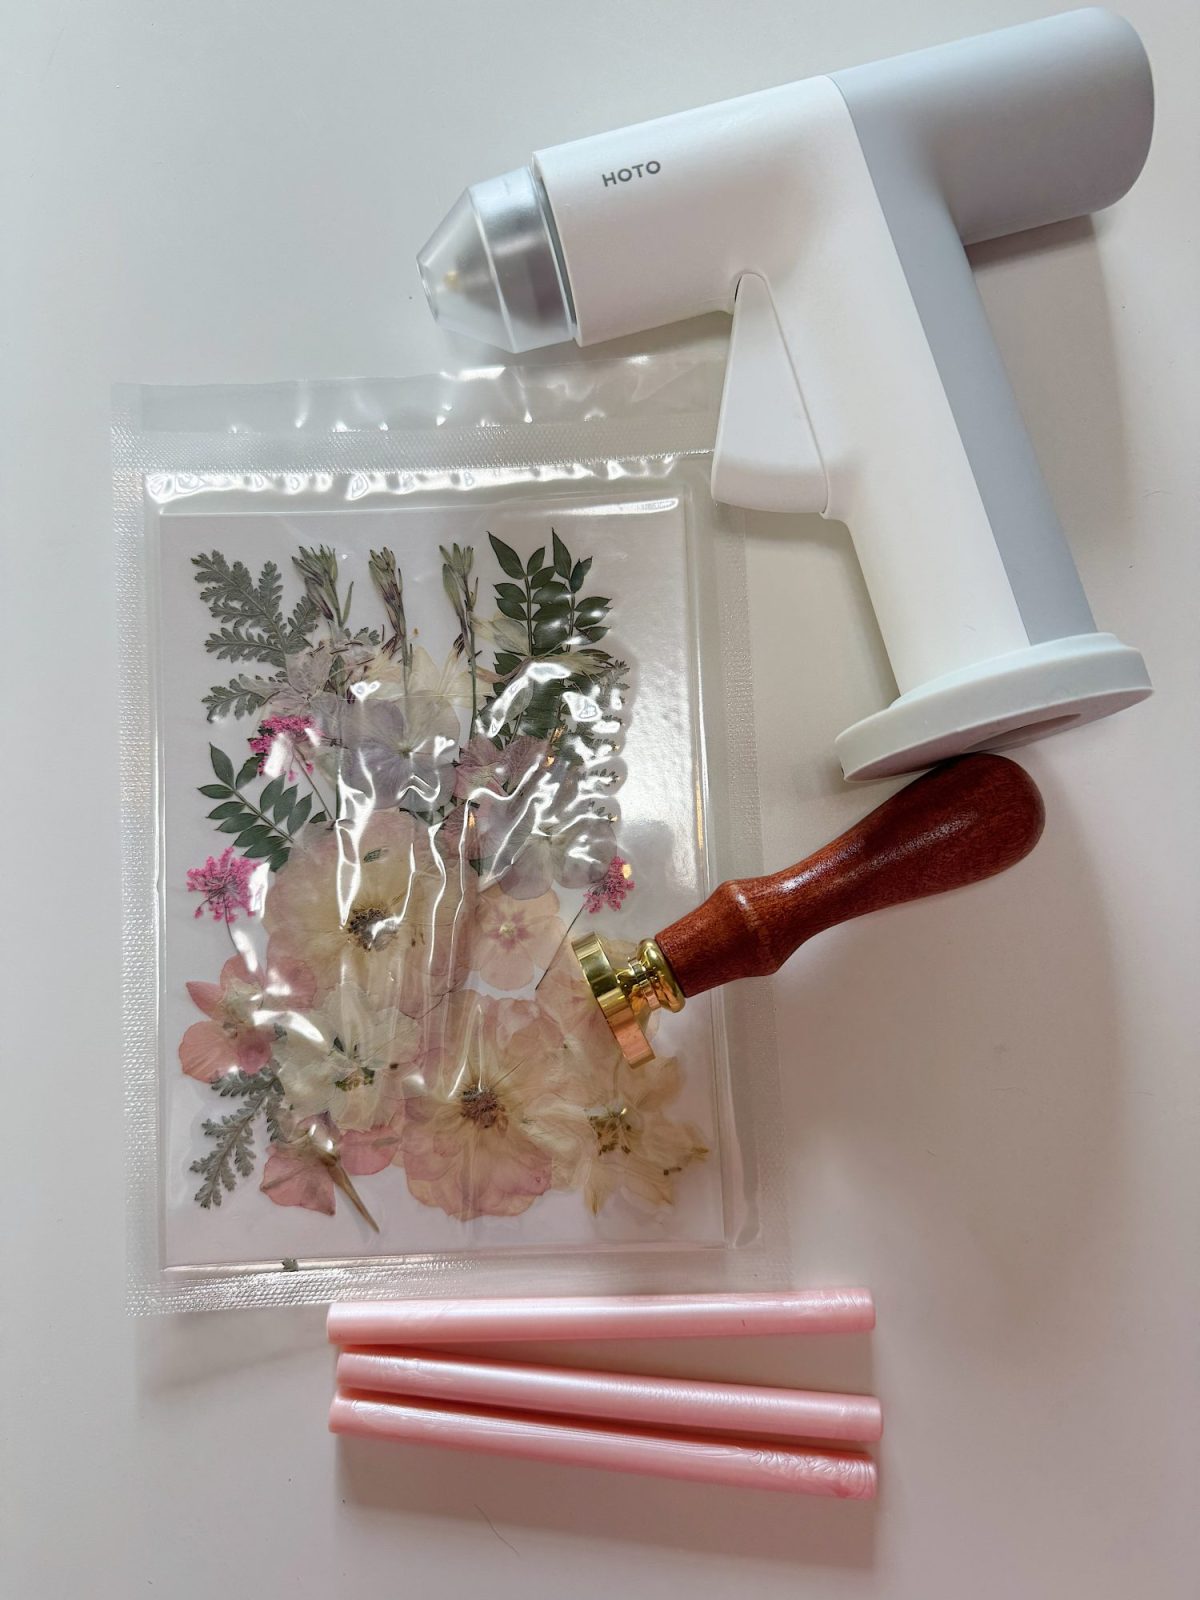
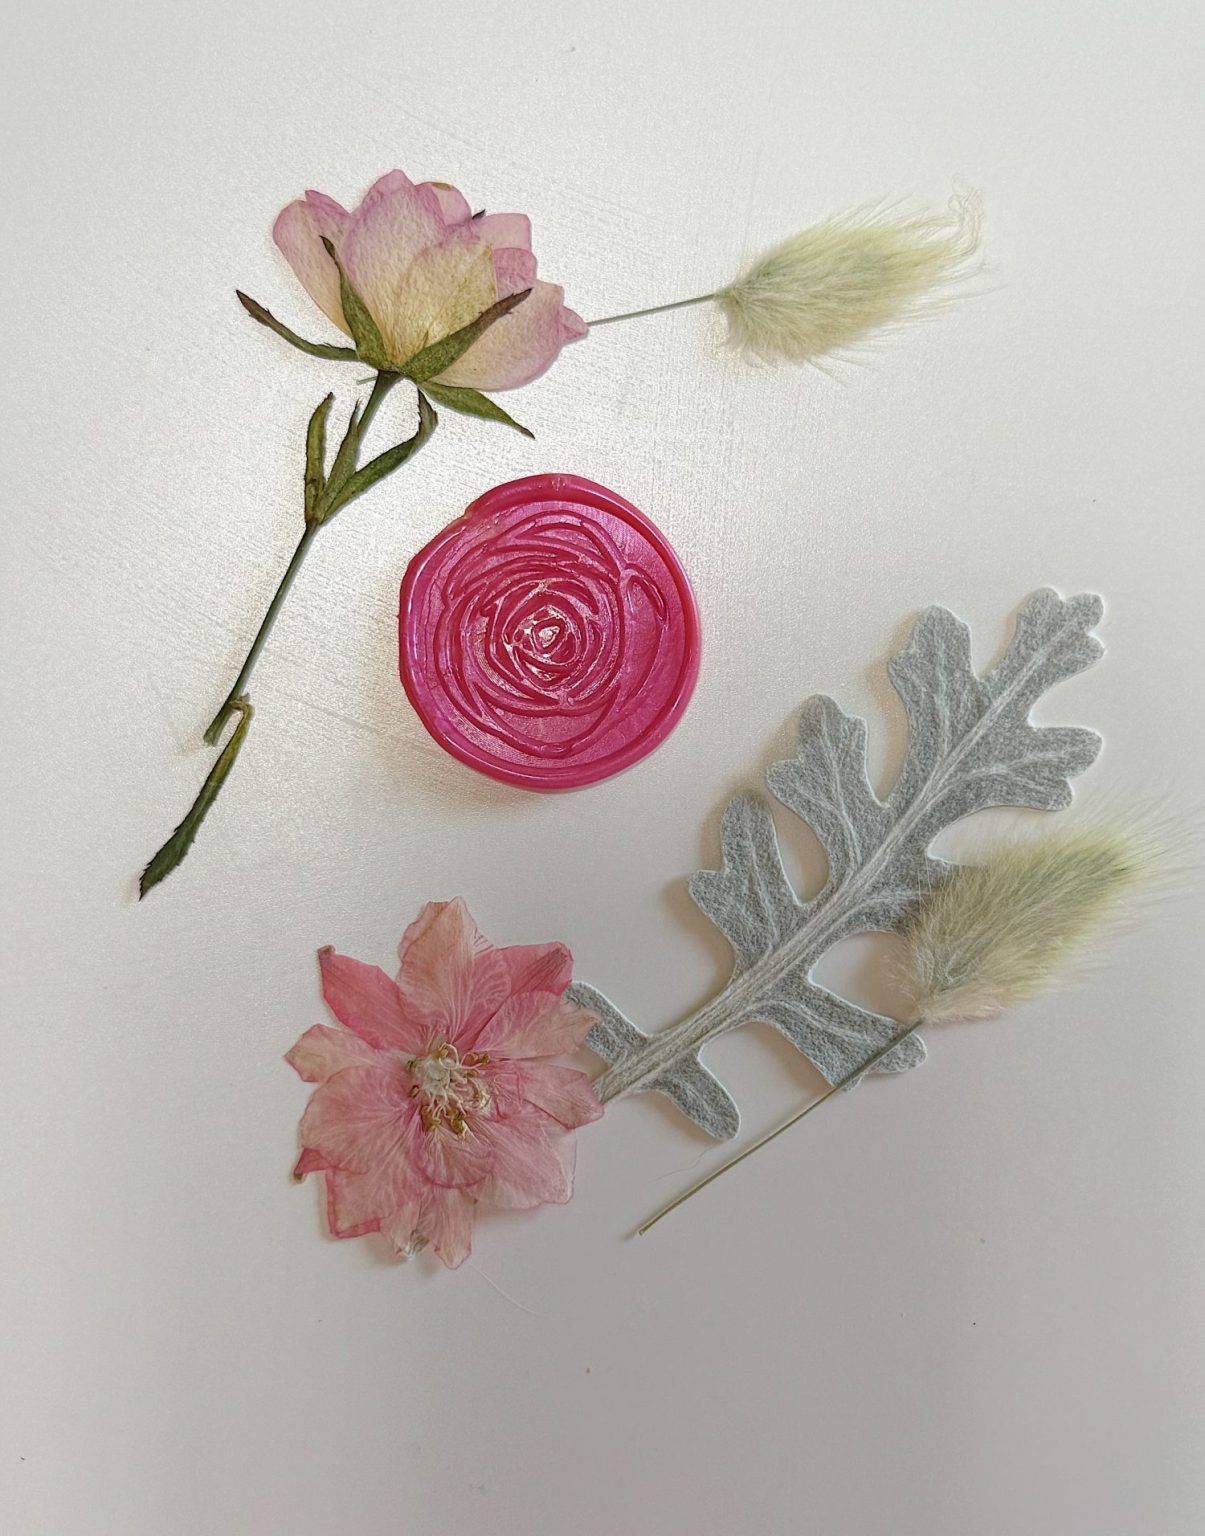
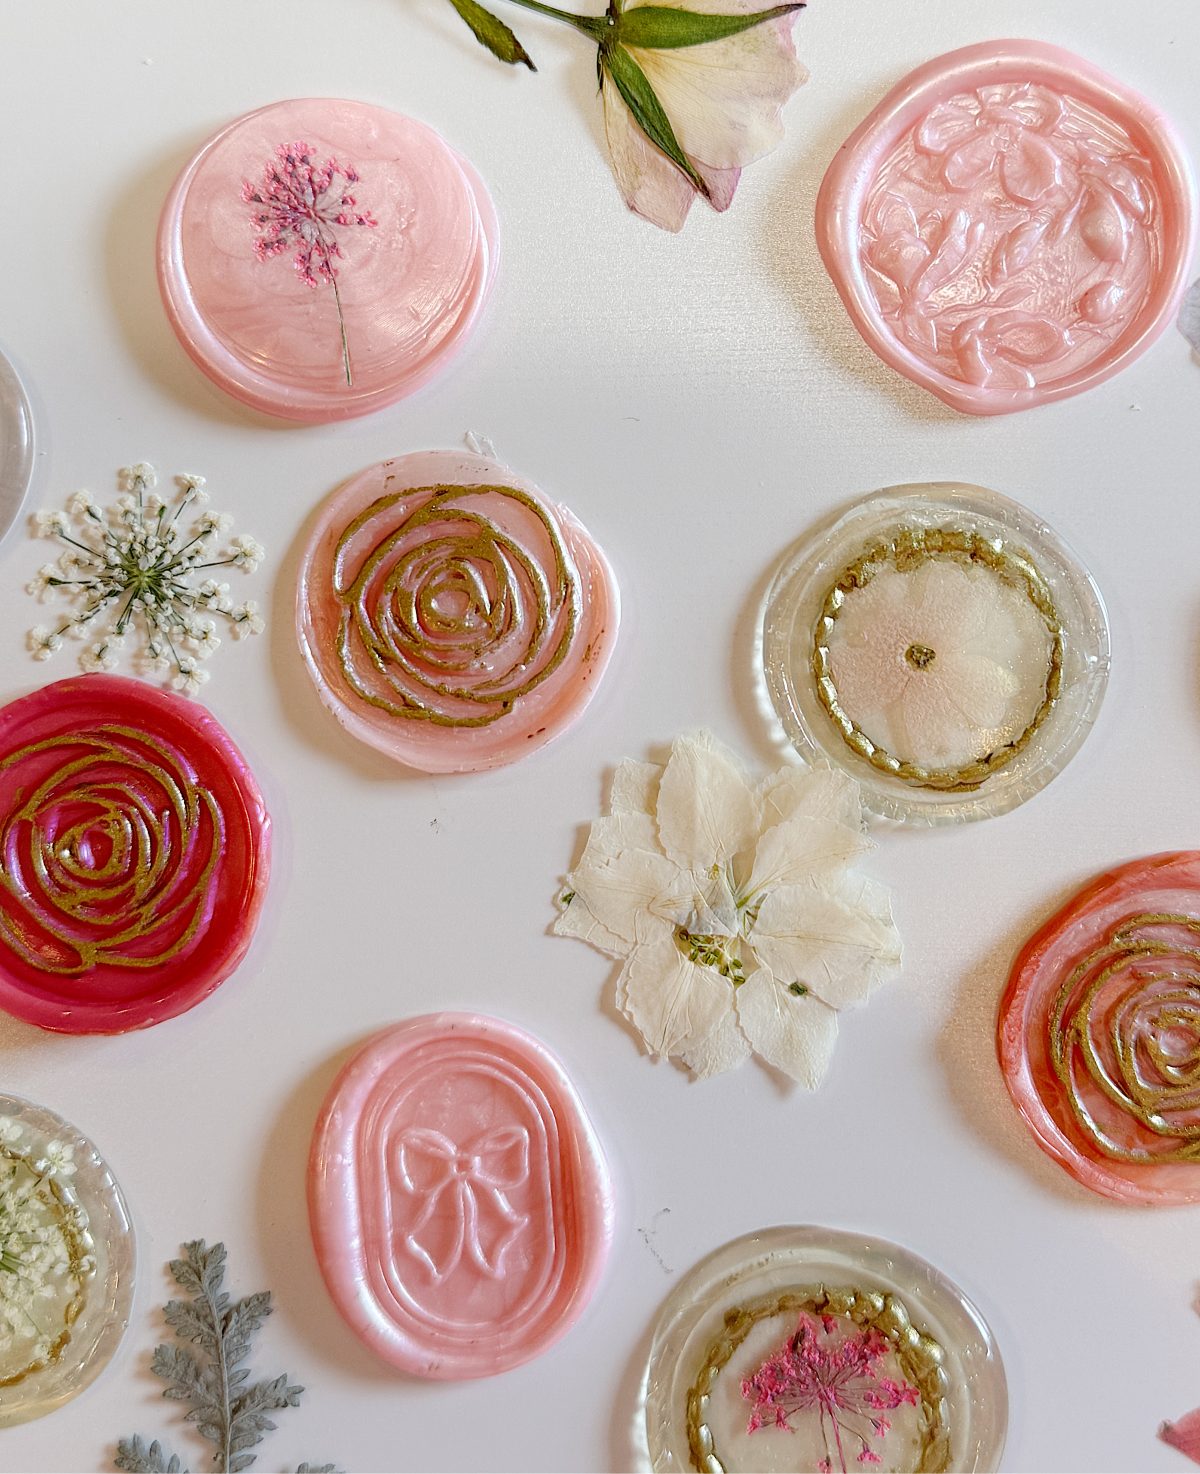
The first type used classic wax seal sticks (for a glue gun) and brass seal stamps. I melted pearl pink and soft blush wax onto parchment paper and pressed the stamp directly into the melted wax.
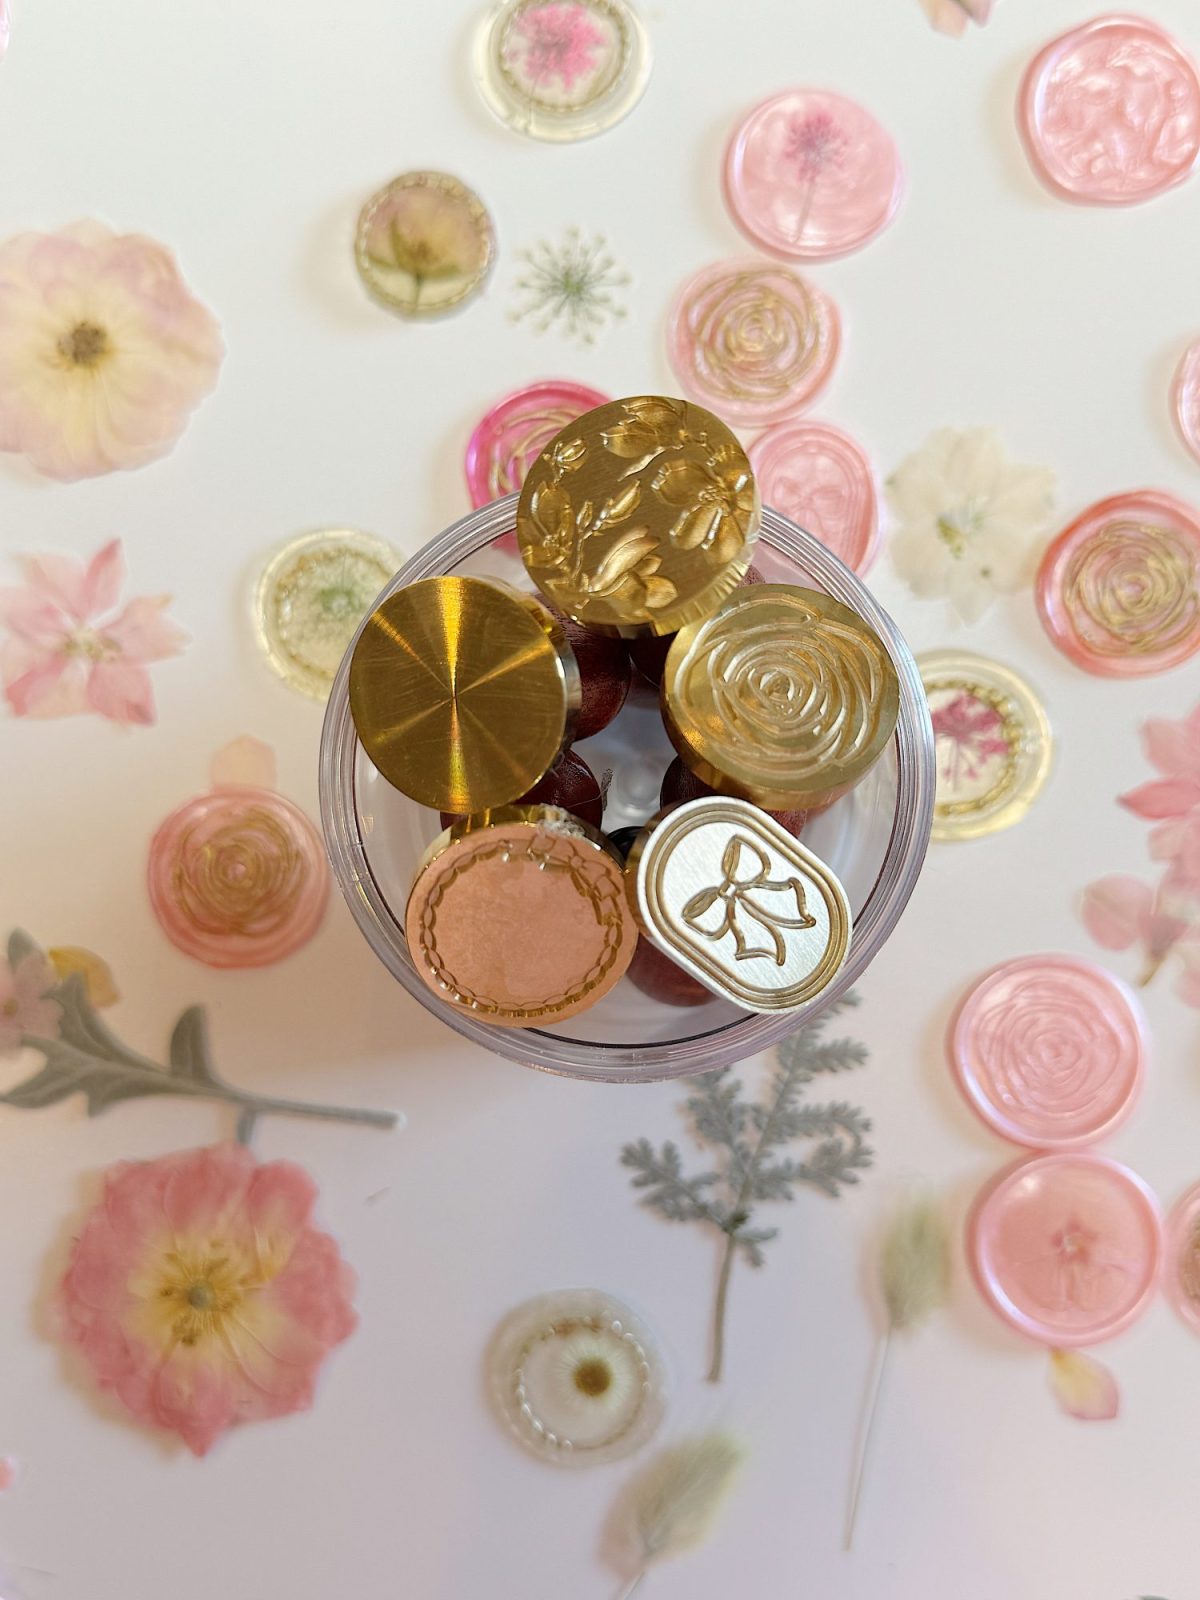
Some of the stamps featured floral or bow designs, while others had elegant frames or simple rose patterns. I love how refined and vintage these look.
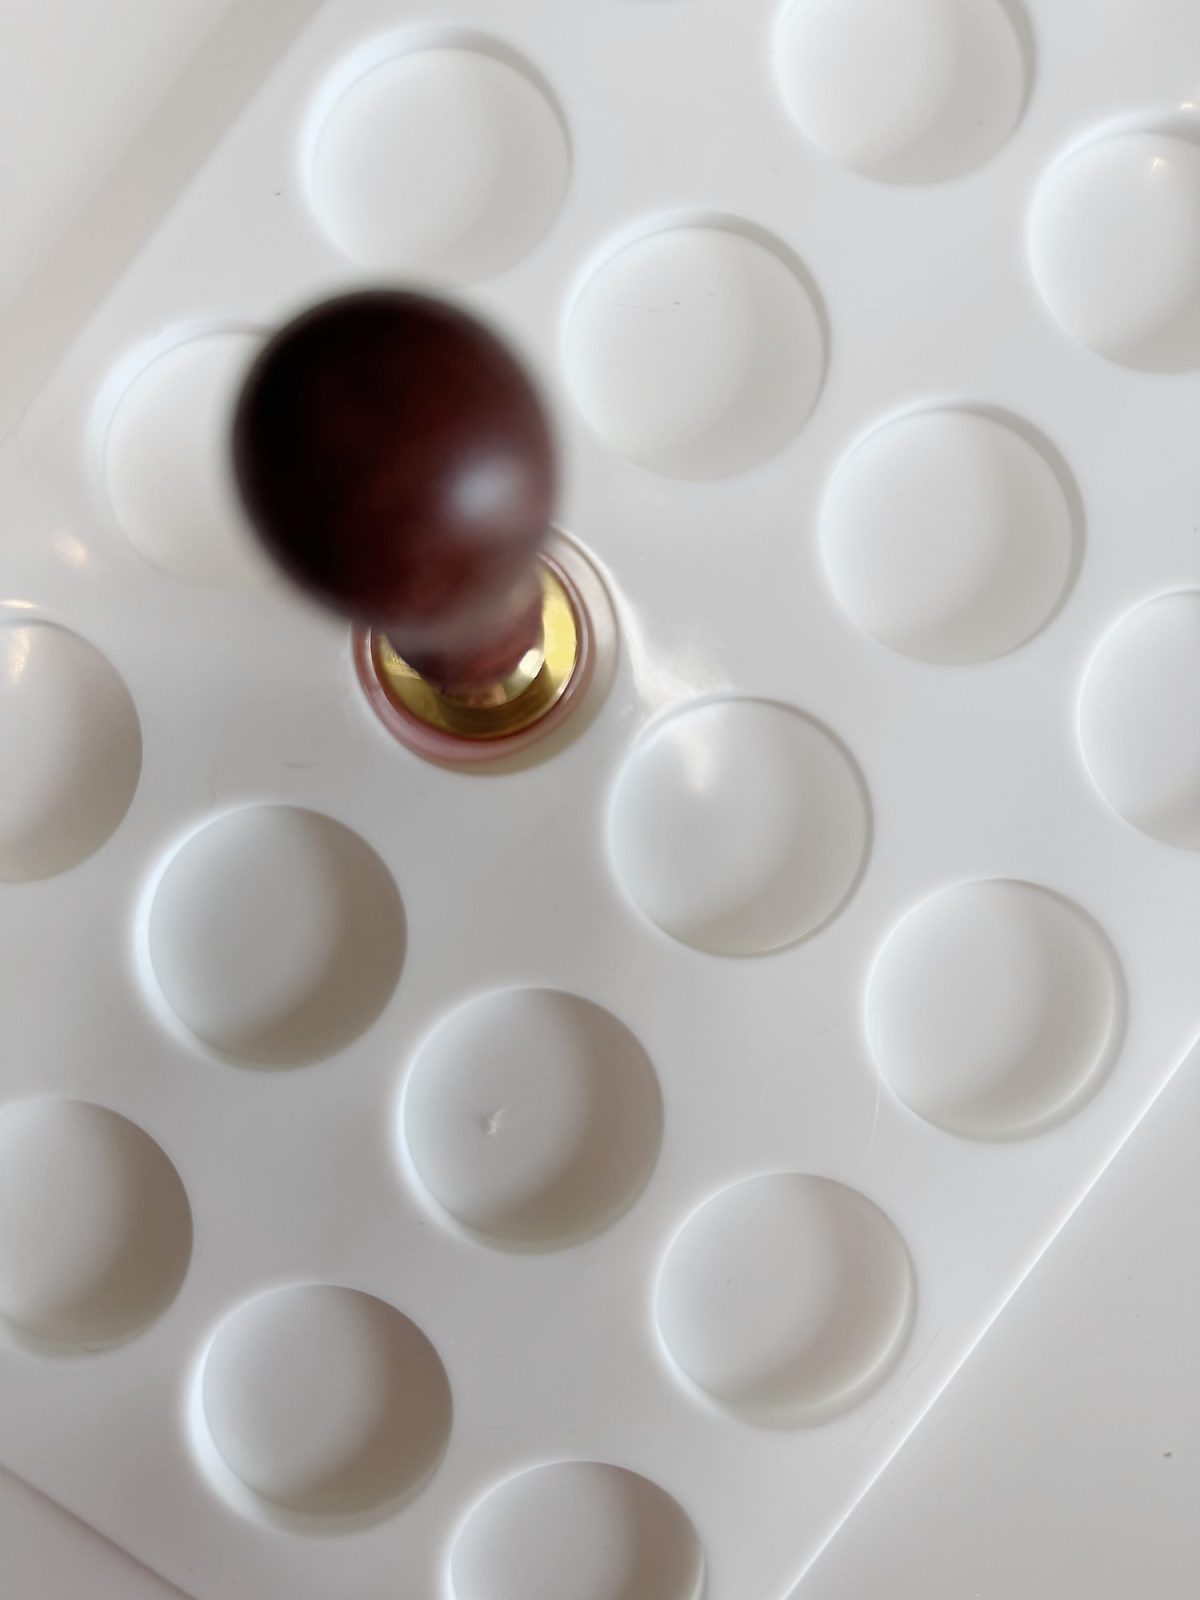
One trick that really helped was using a silicone wax seal mold with perfectly shaped circles. Instead of pouring wax freehand, I filled the circular wells first and then stamped the wax while it was still warm. This created much cleaner edges and a much more professional shape.
Honestly, the mold completely changed the results.
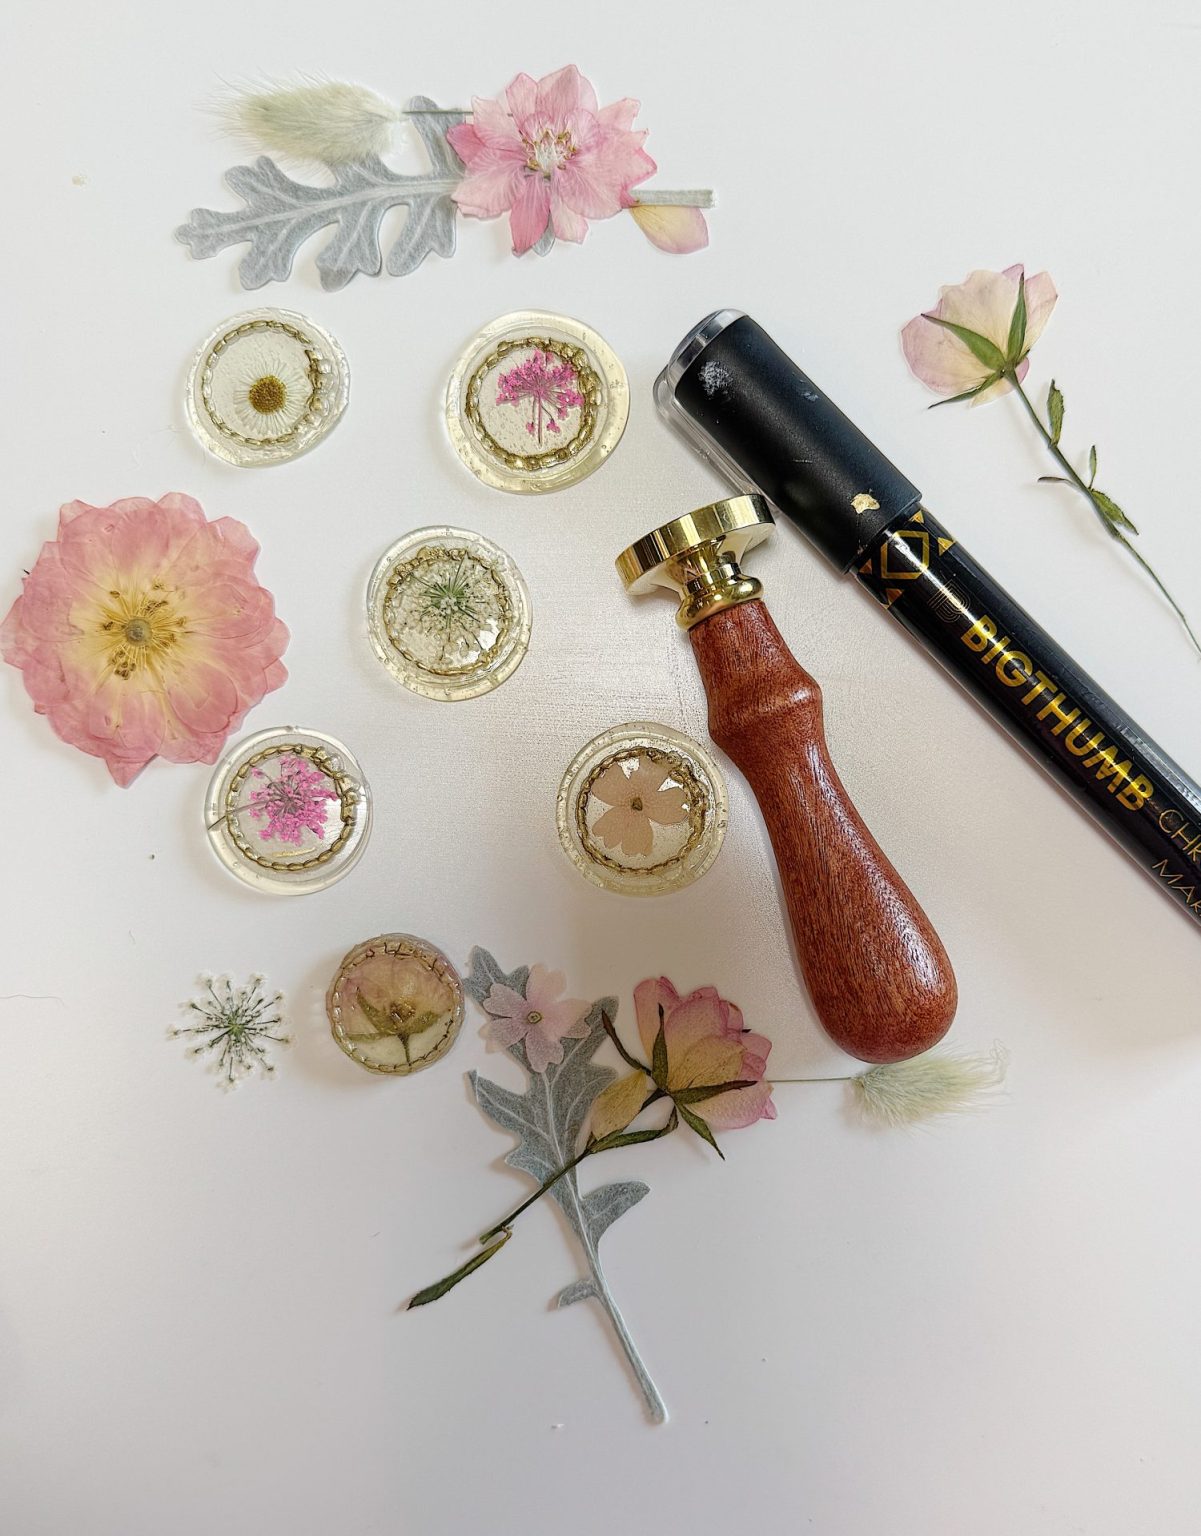
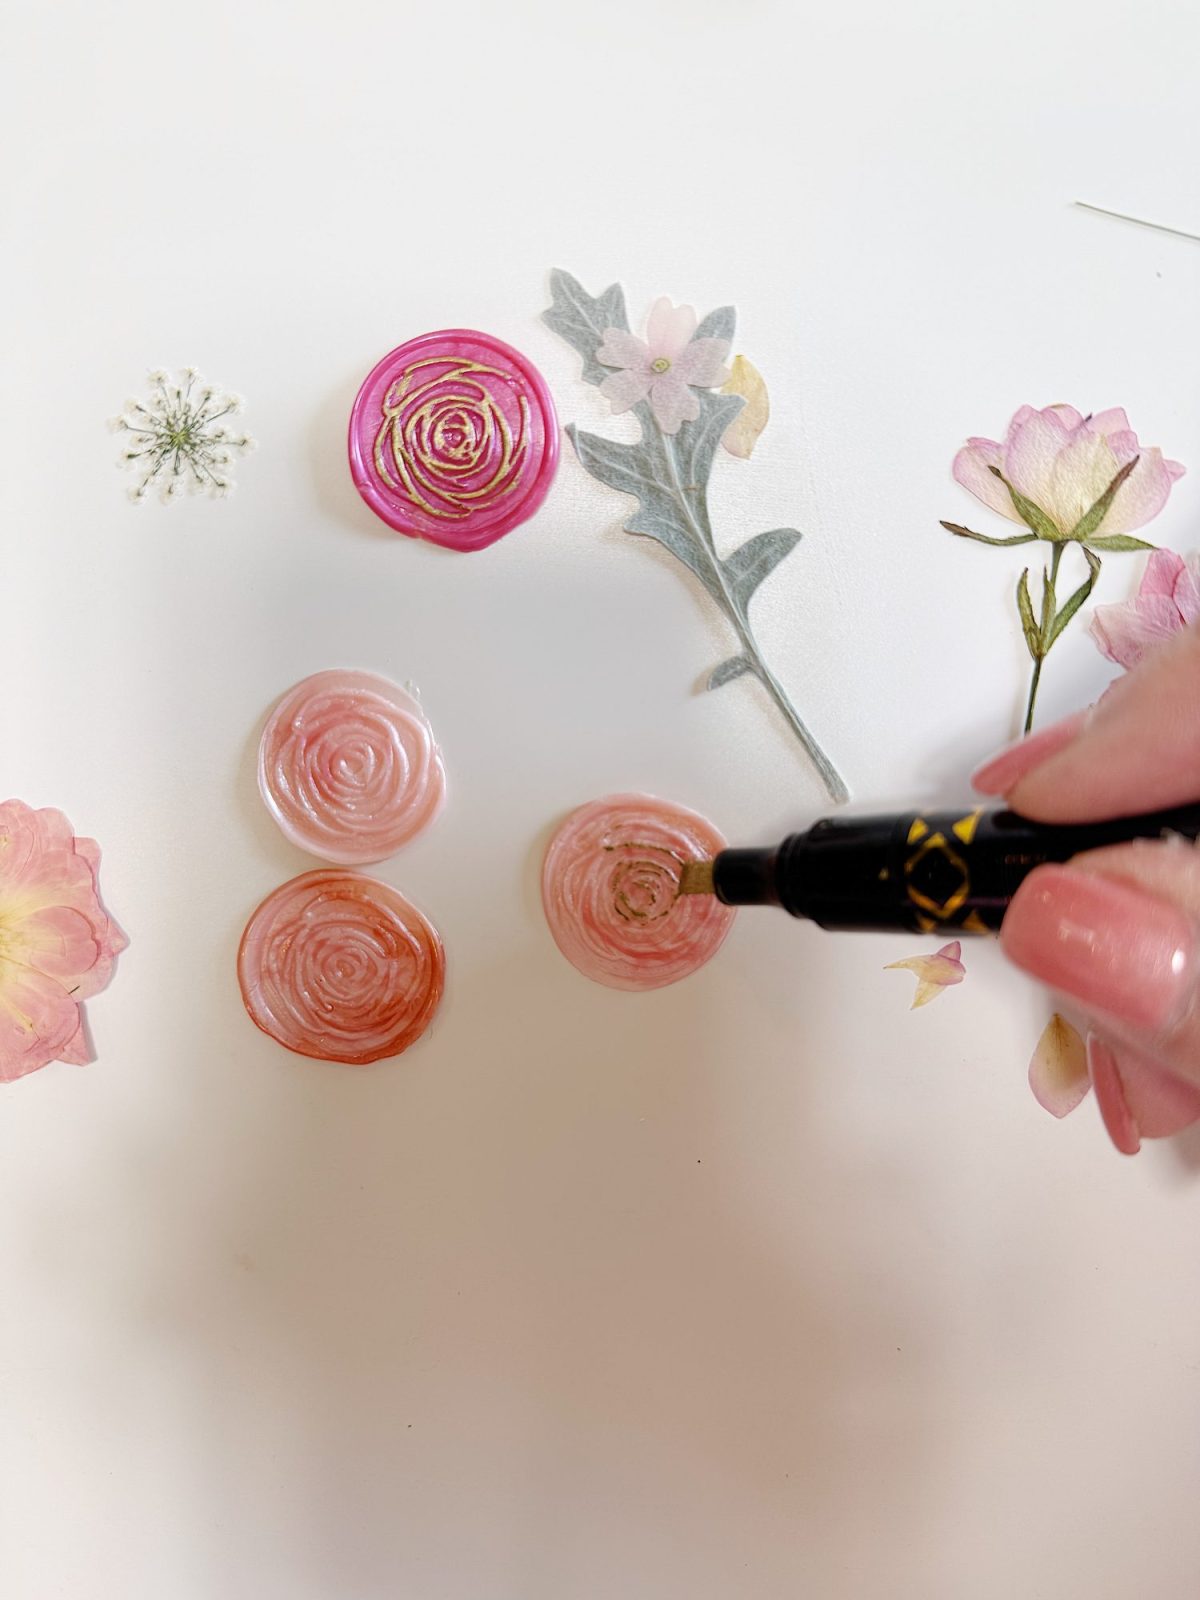
Hot Glue Wax Seals with Pressed Flowers
The second style became my favorite almost immediately.
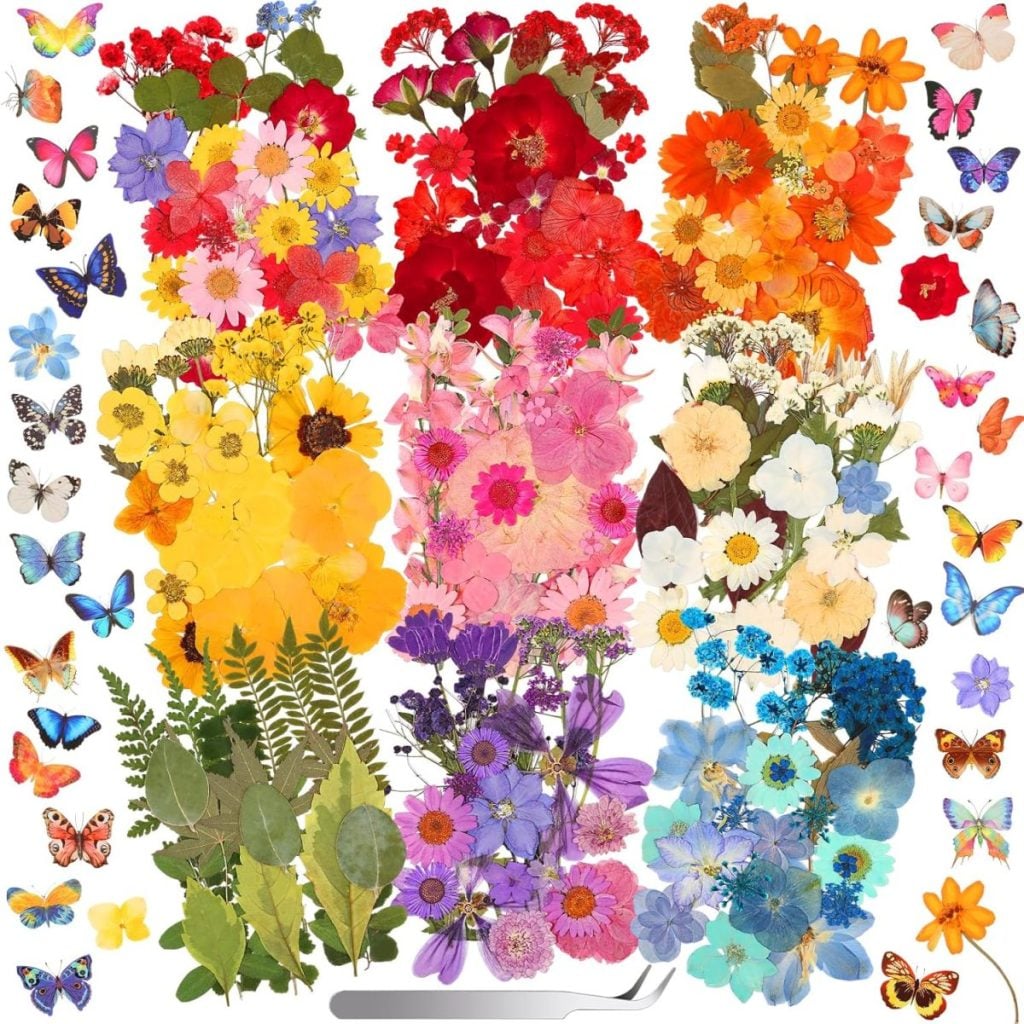
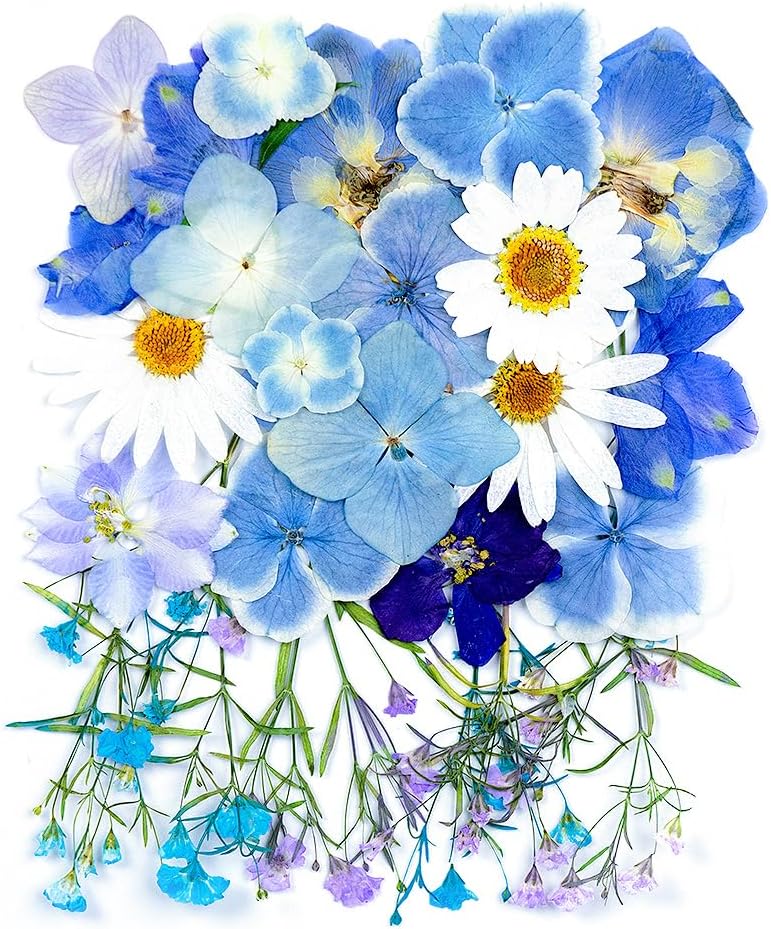
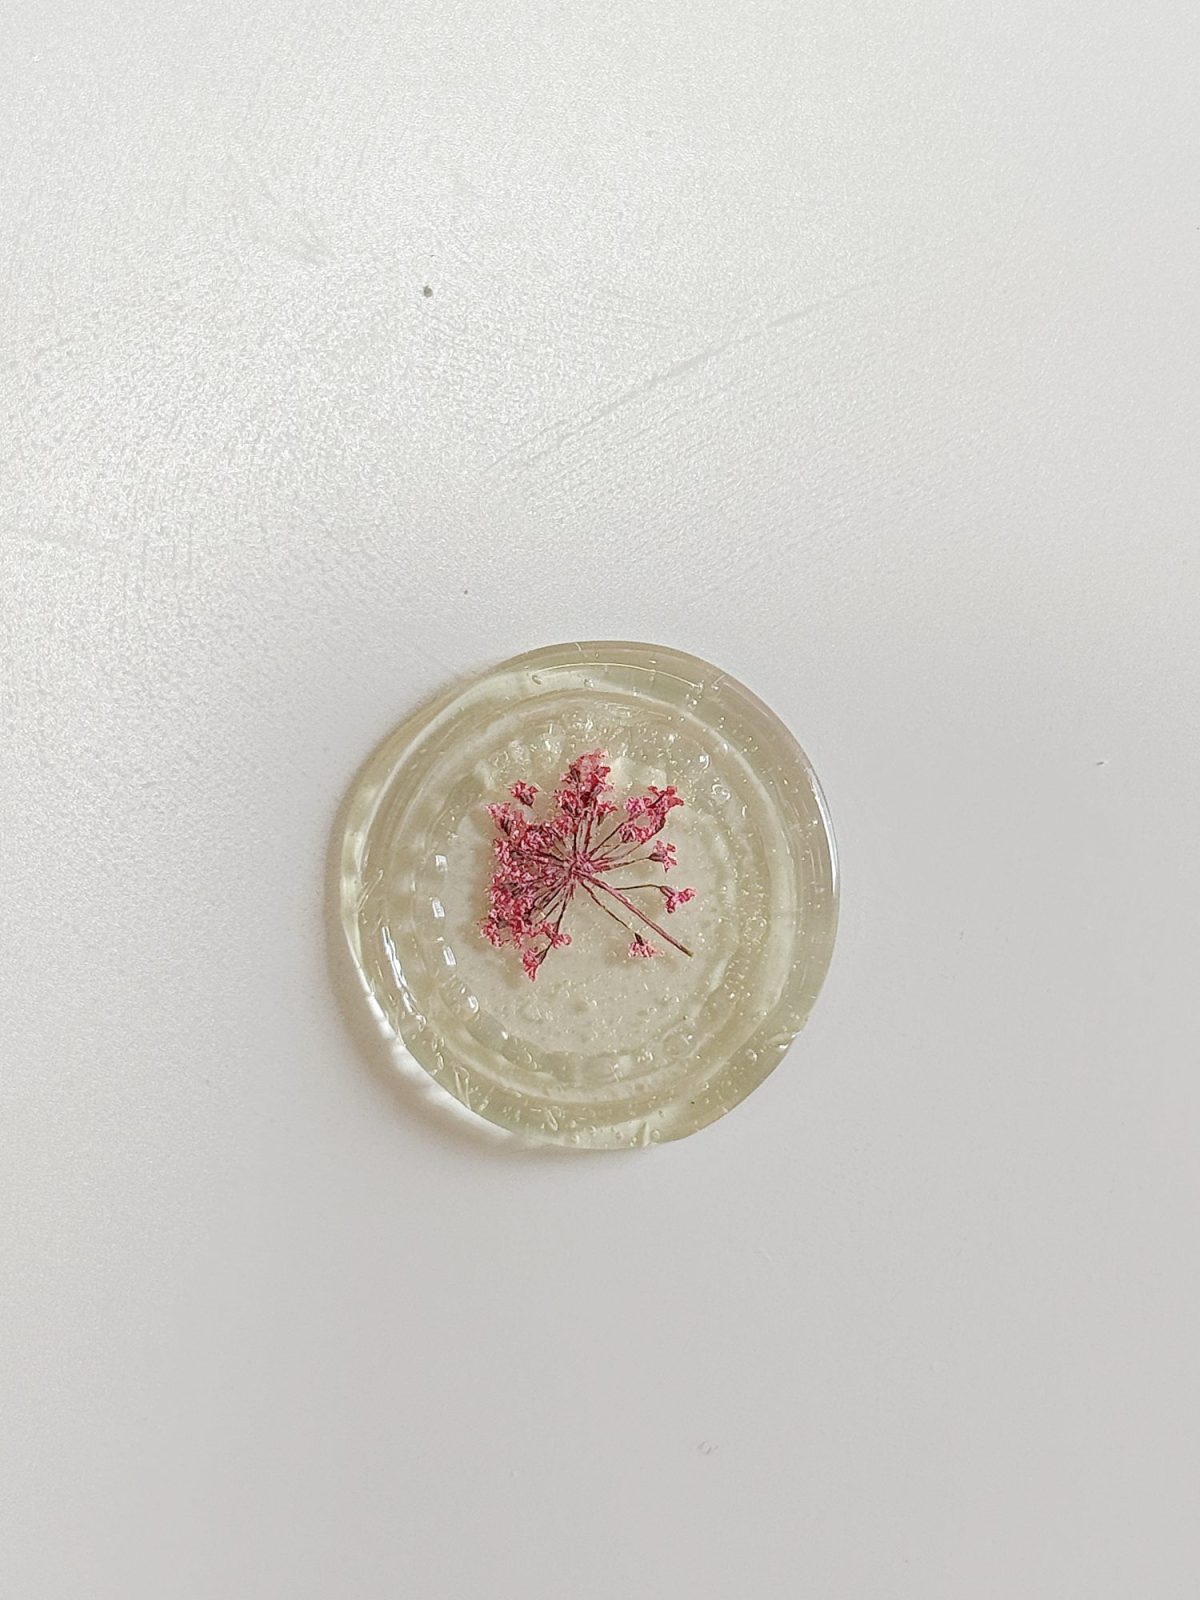
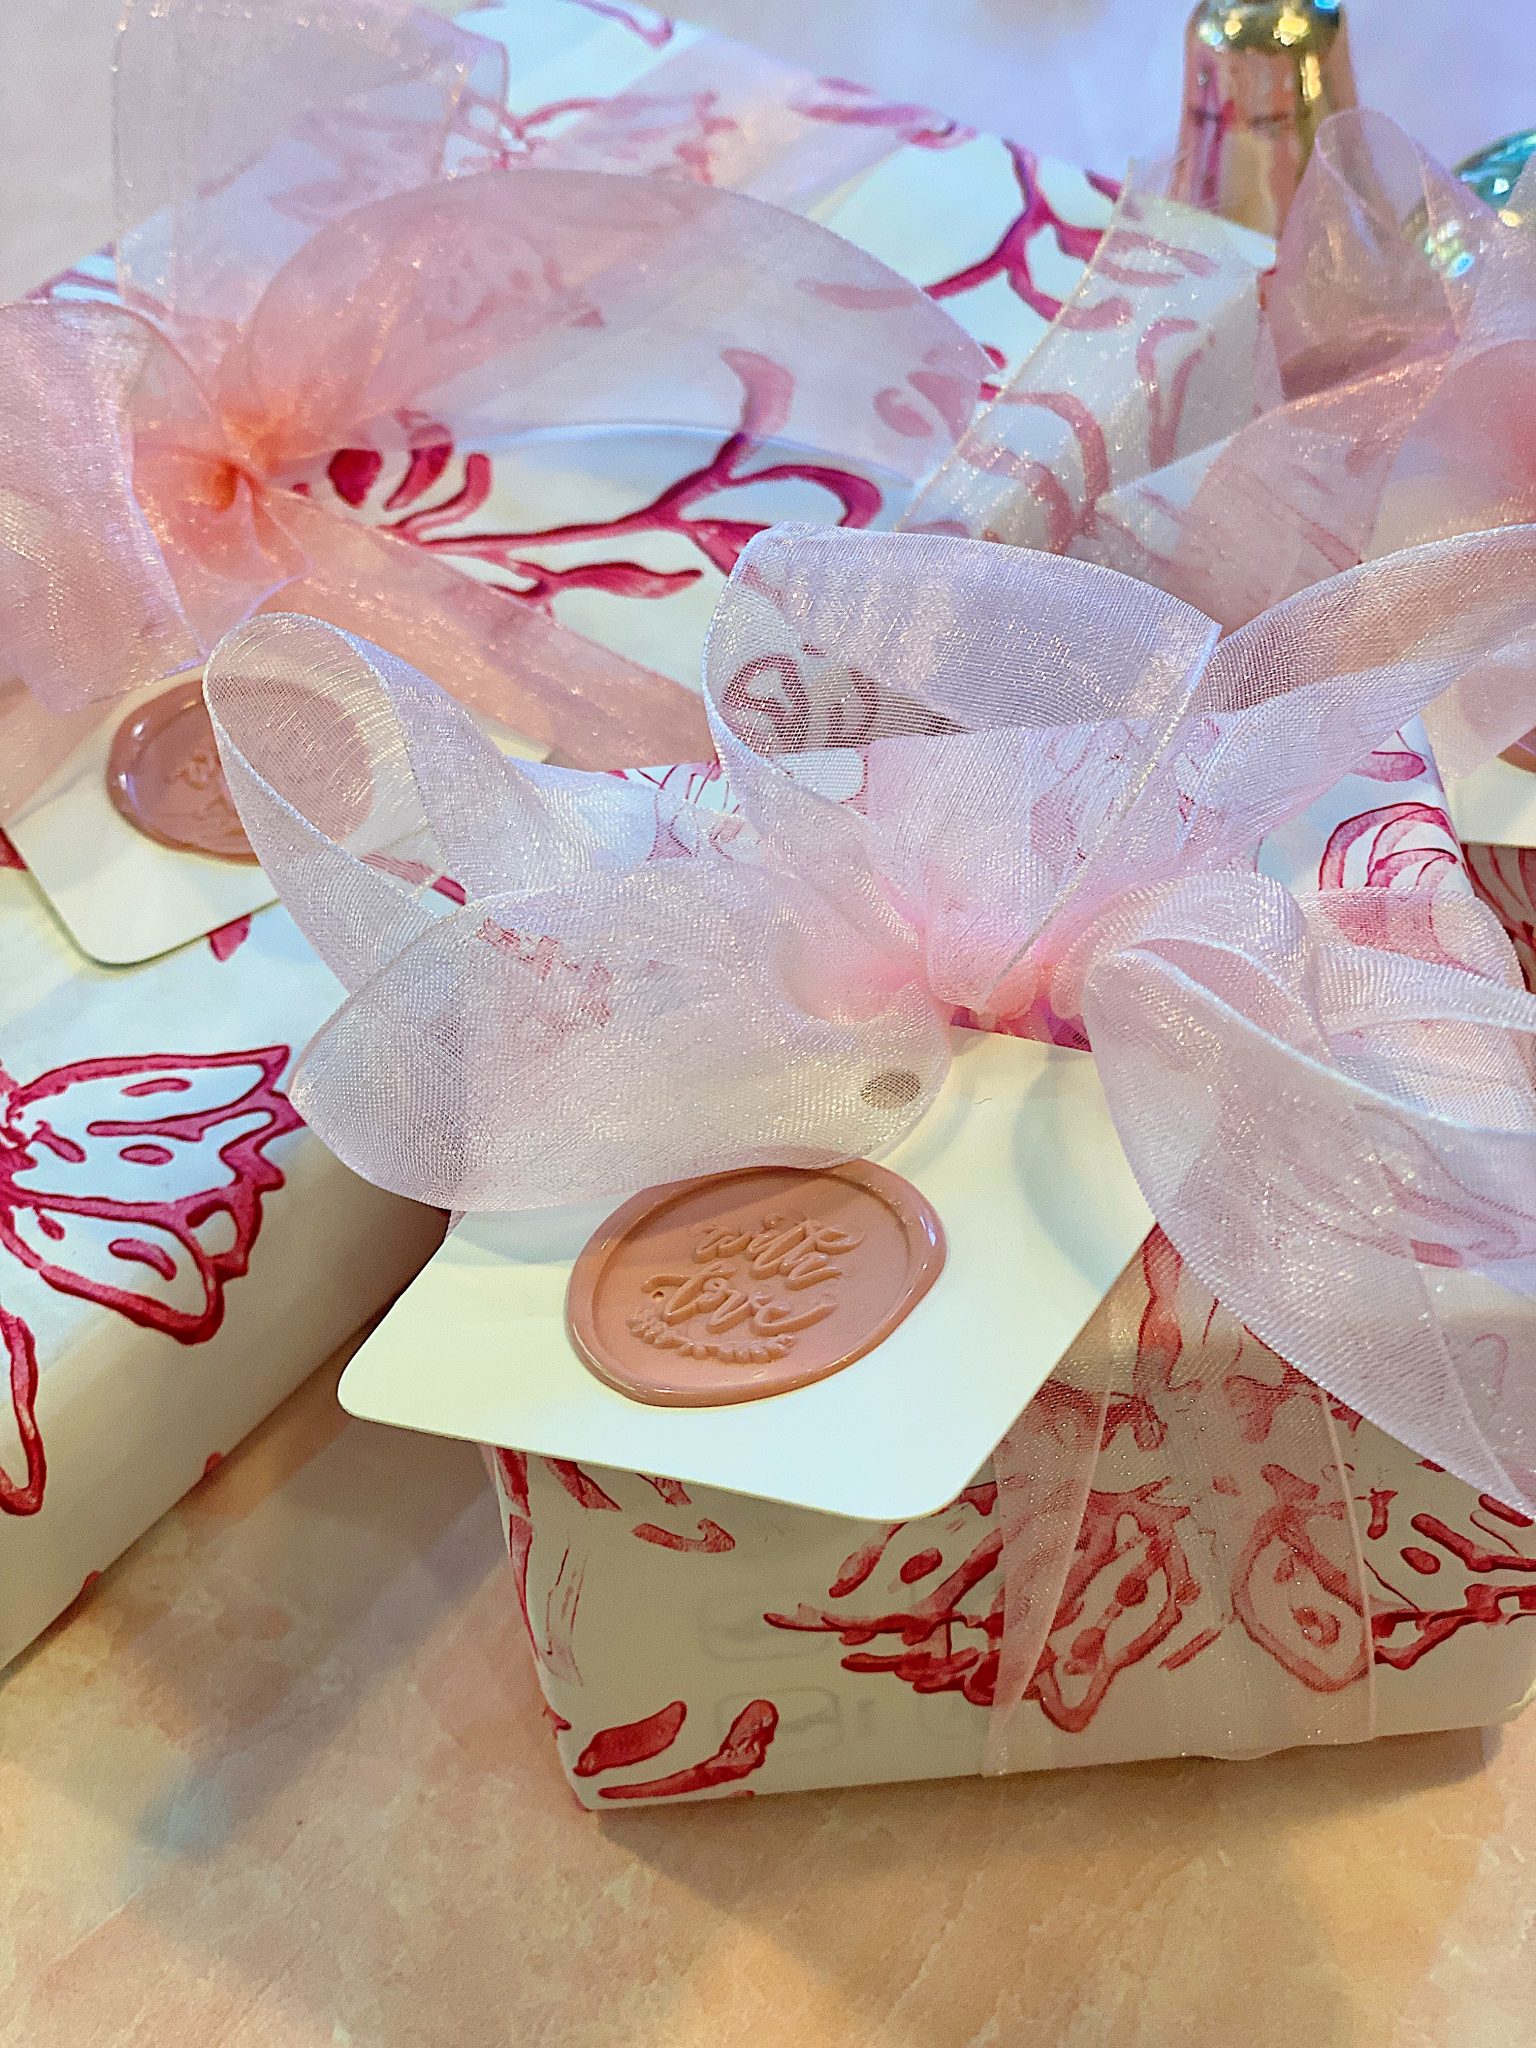
I applied clear hot glue with my glue gun to the silicone molds, then pressed tiny flowers directly onto the wax before stamping. Some flowers were delicate pink blooms, while others were tiny white florals or little pressed greenery.
The flowers become trapped inside the translucent wax and look almost like tiny pieces of pressed botanical art.
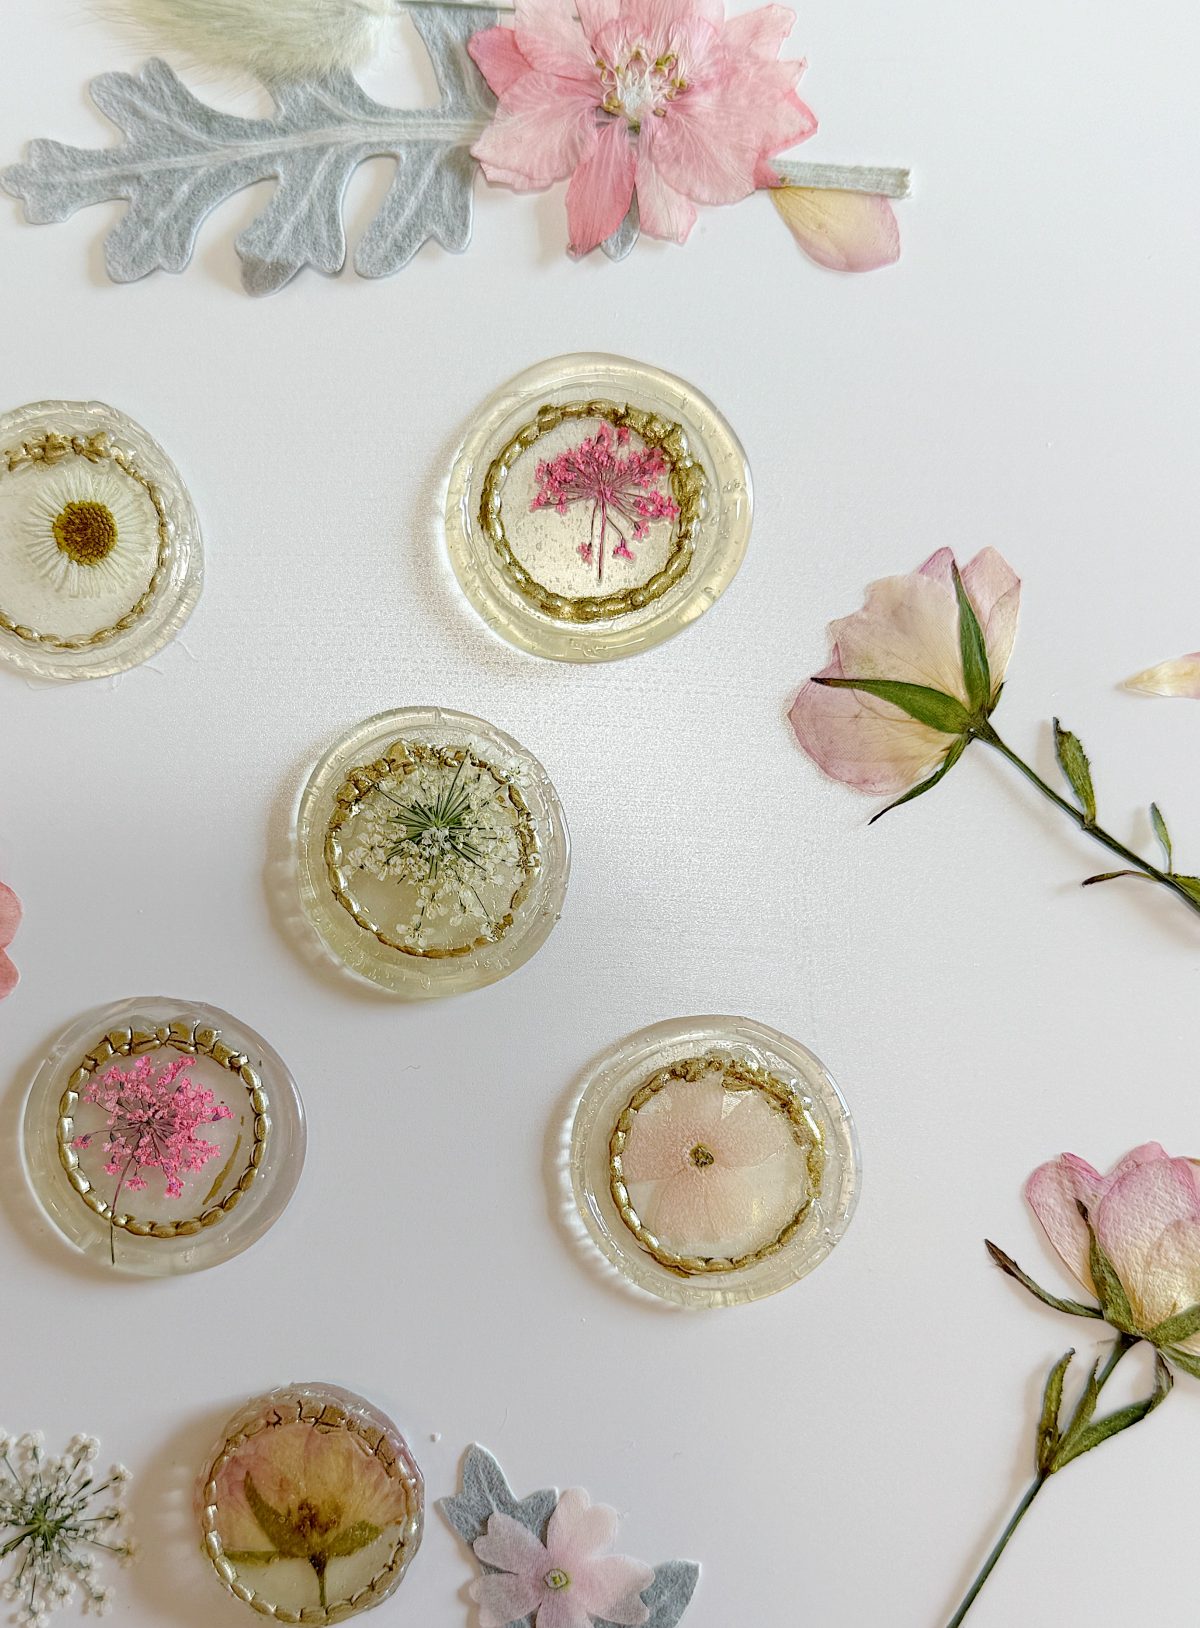
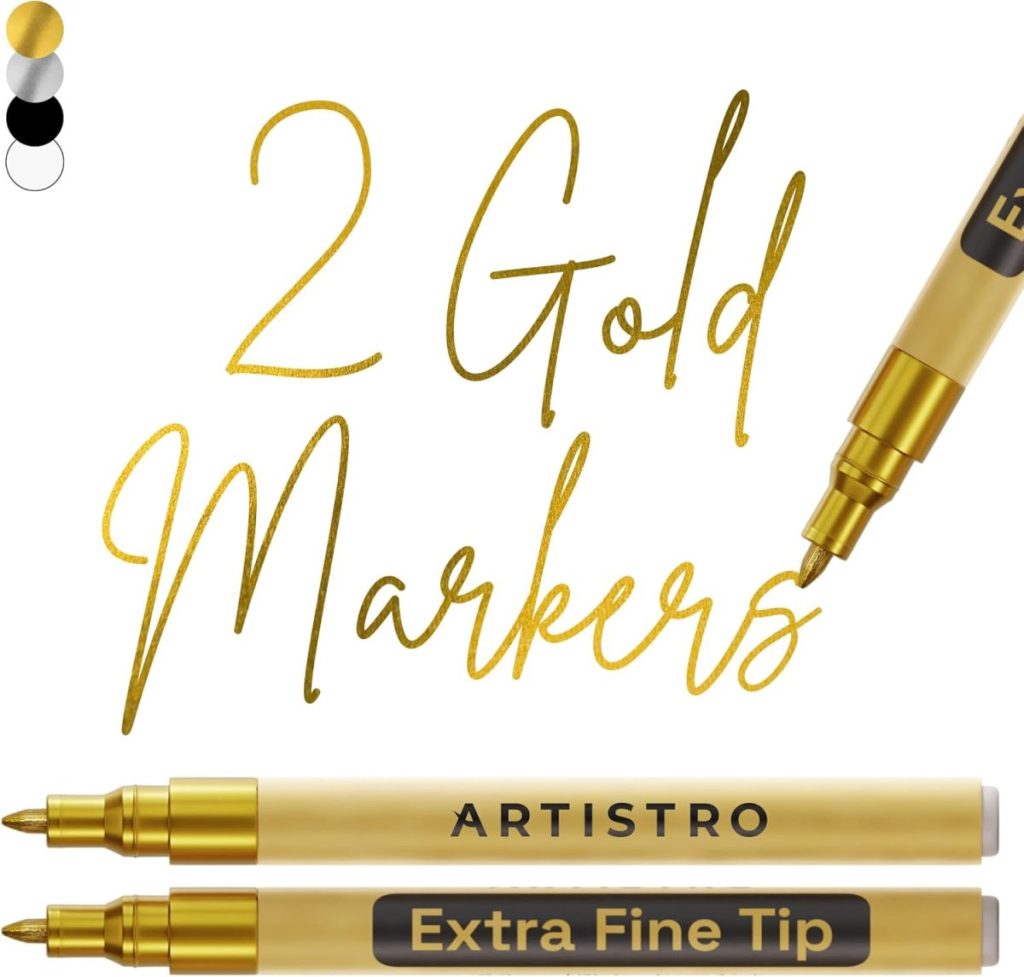
For a few of the seals, I added decorative gold trim around the edge of the stamp design. I used a gold flat marker to gently highlight the raised areas of the floral stamps after the wax had cooled.
That tiny detail completely transformed the seals. The gold catches the light beautifully, giving them a more finished, elegant look.
The clear glue seals became the perfect base for pressed flowers because the petals show through so beautifully. The pink glue seals looked more modern and playful, especially when paired with rose stamps and floral impressions.
I especially love these for summer entertaining because they feel romantic and soft without looking overly formal.
My Favorite Supplies
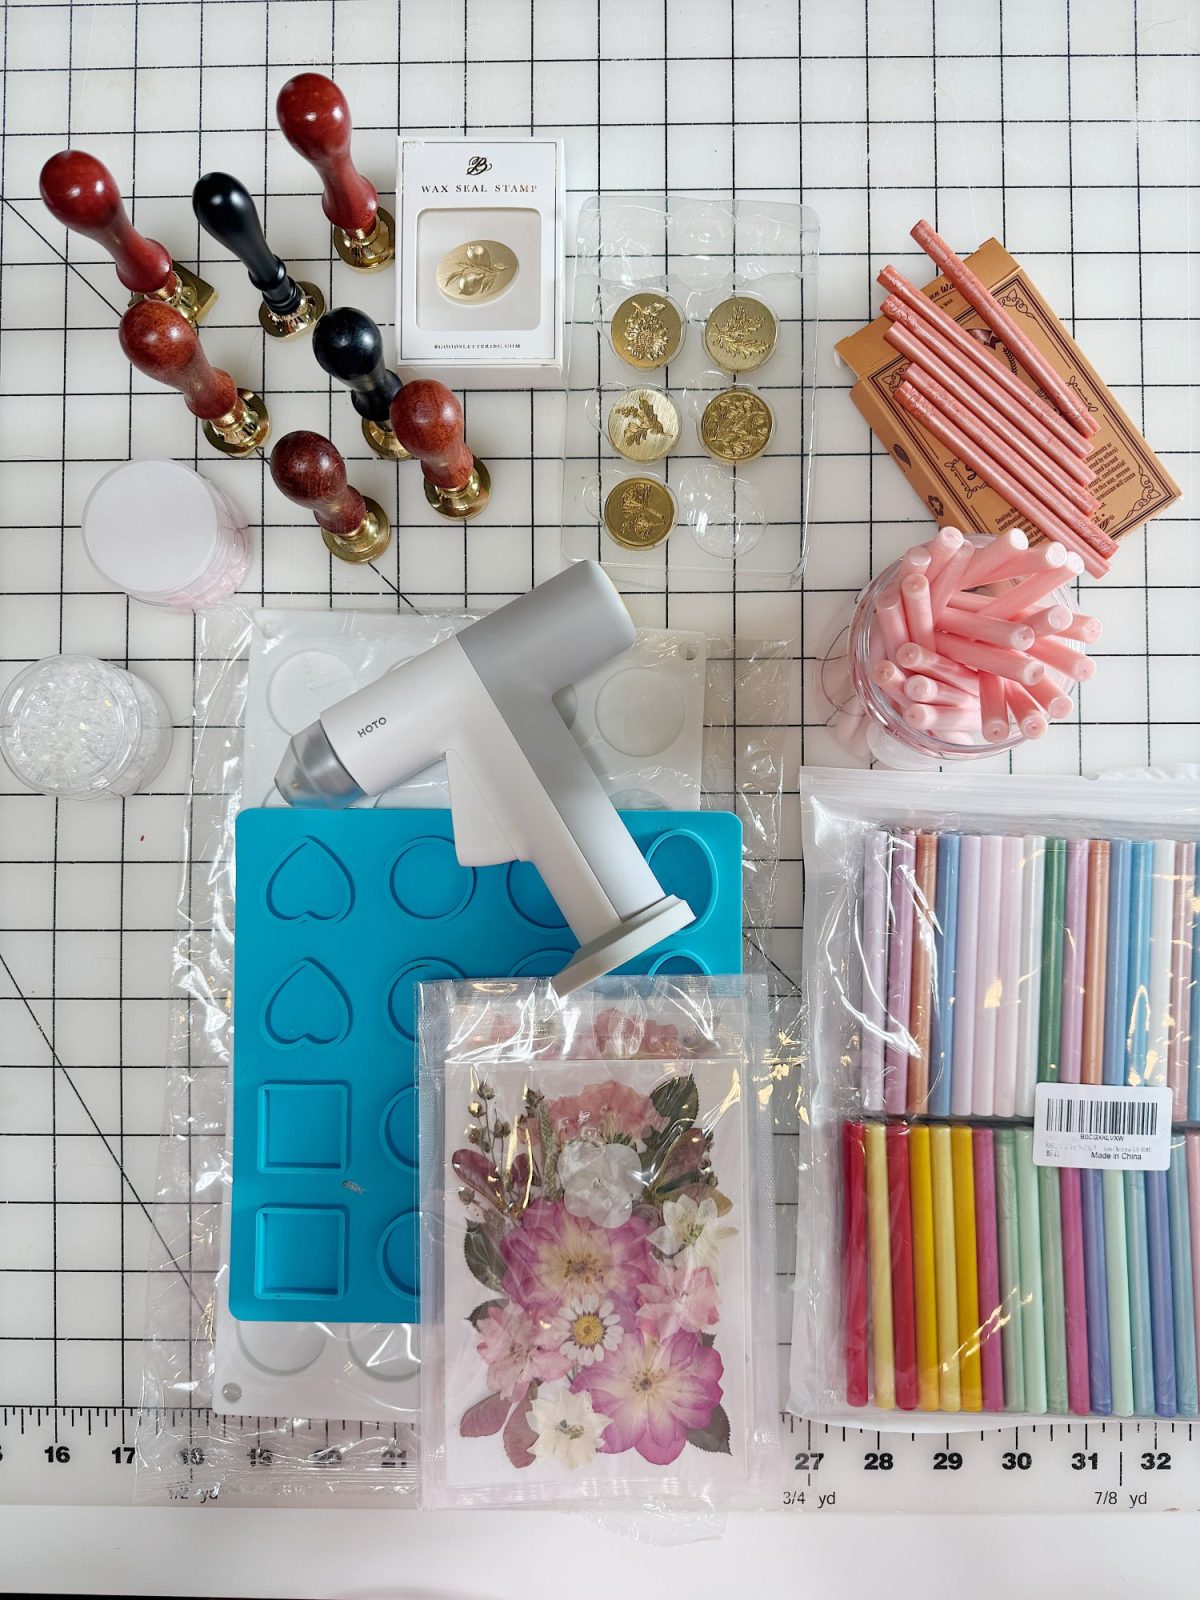
One thing I learned quickly is that a few good tools make all the difference.
Here are the supplies I used most:
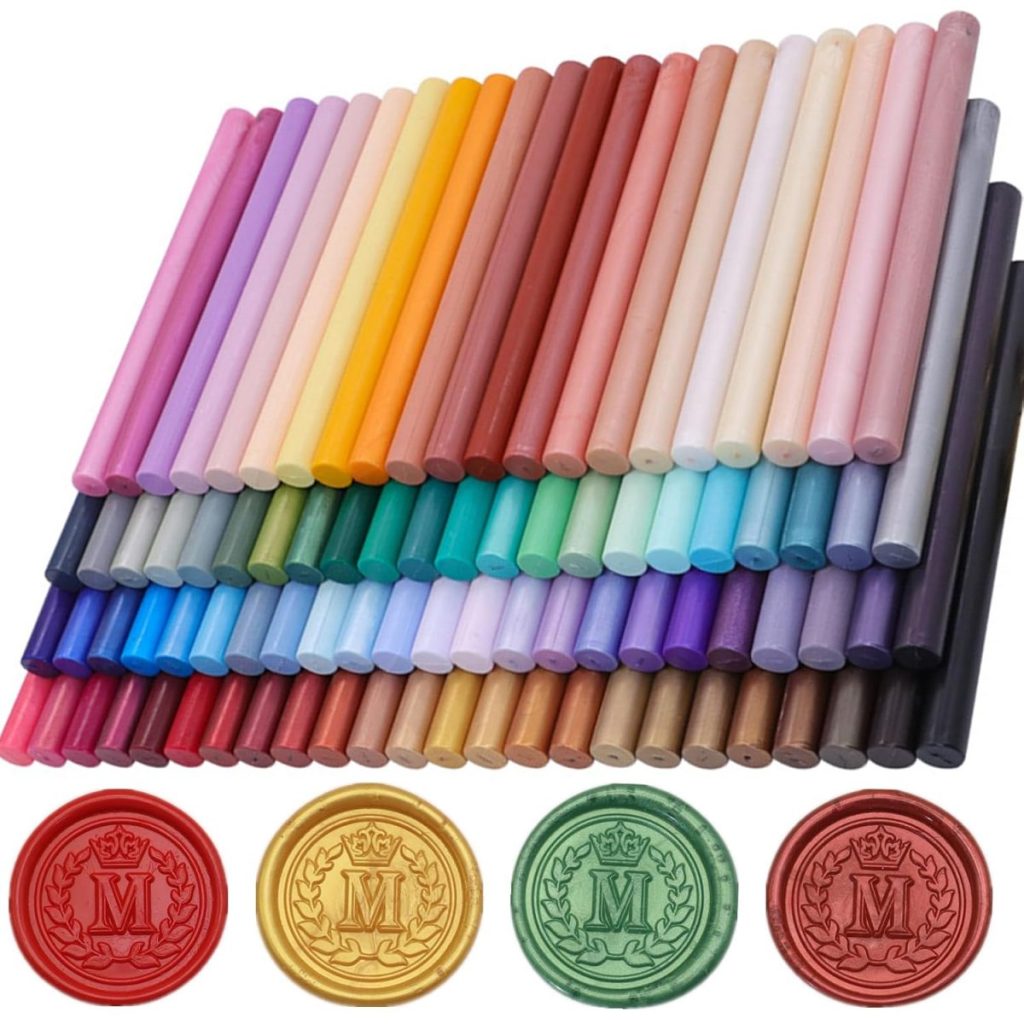
- Wax seal stamps in floral, rose, and frame designs
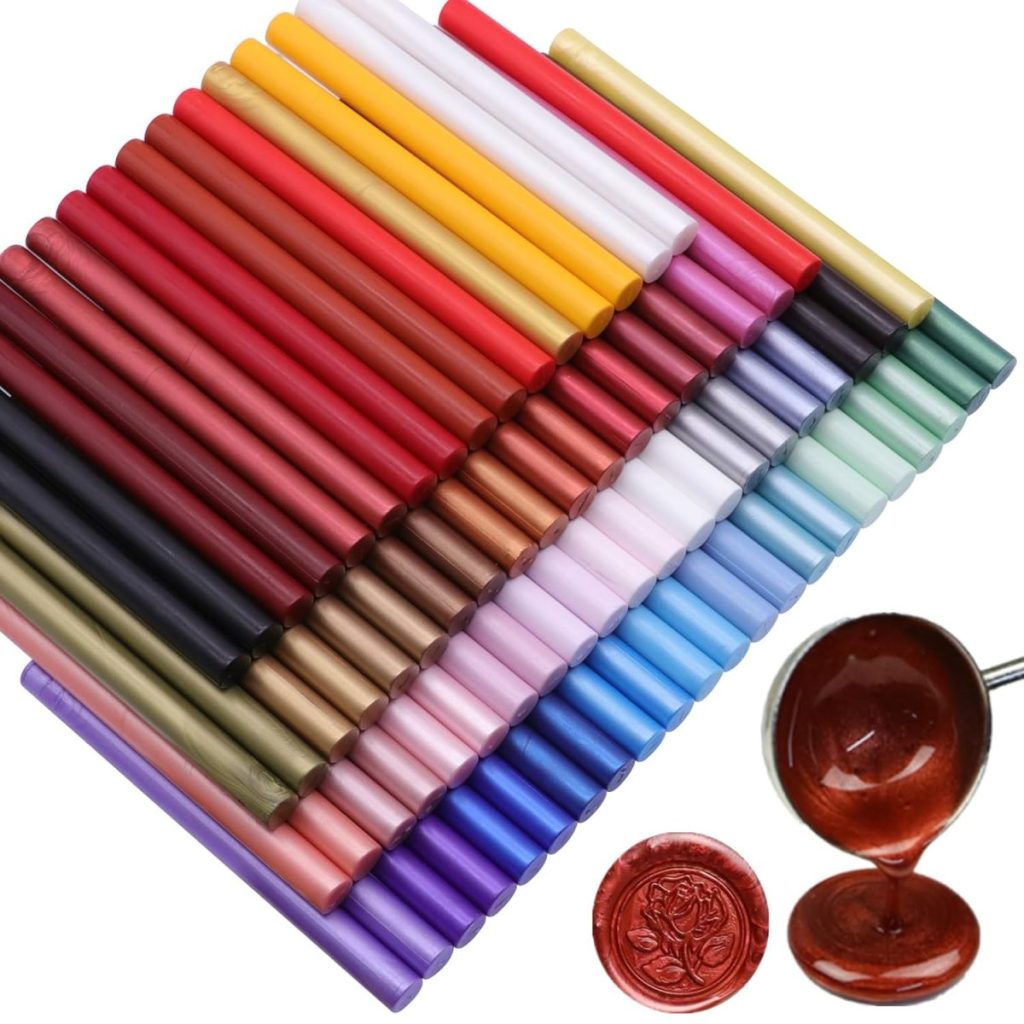
- Pearlized sealing wax sticks
- Clear hot glue sticks
- A glue gun
- Silicone wax seal molds with circular wells
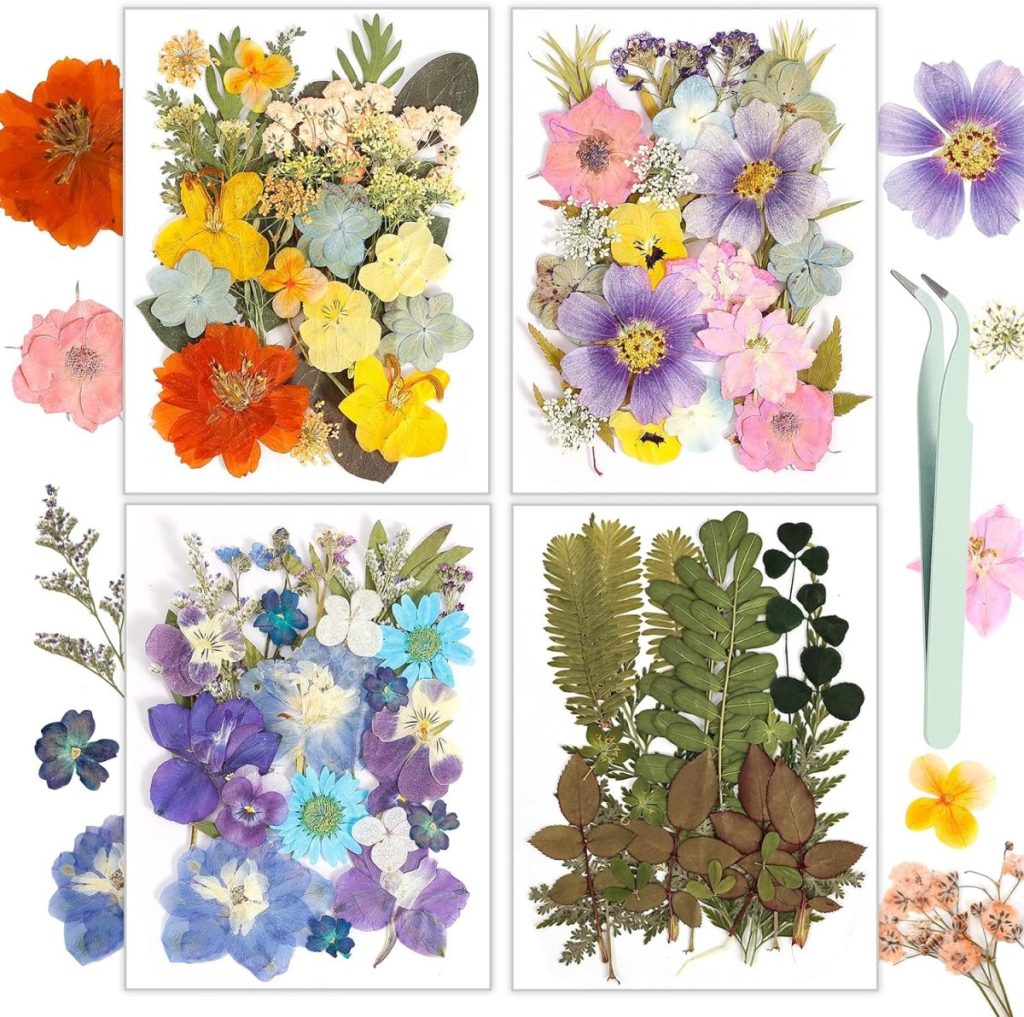
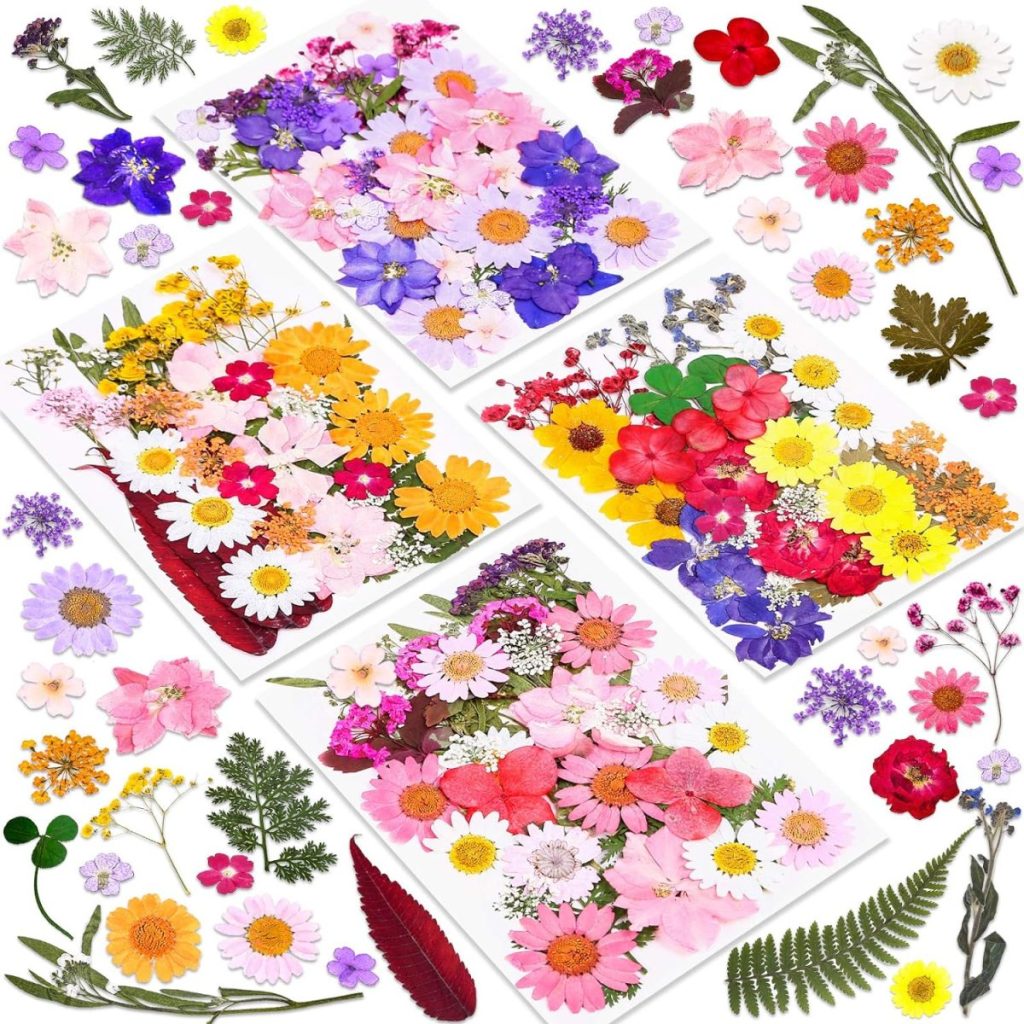
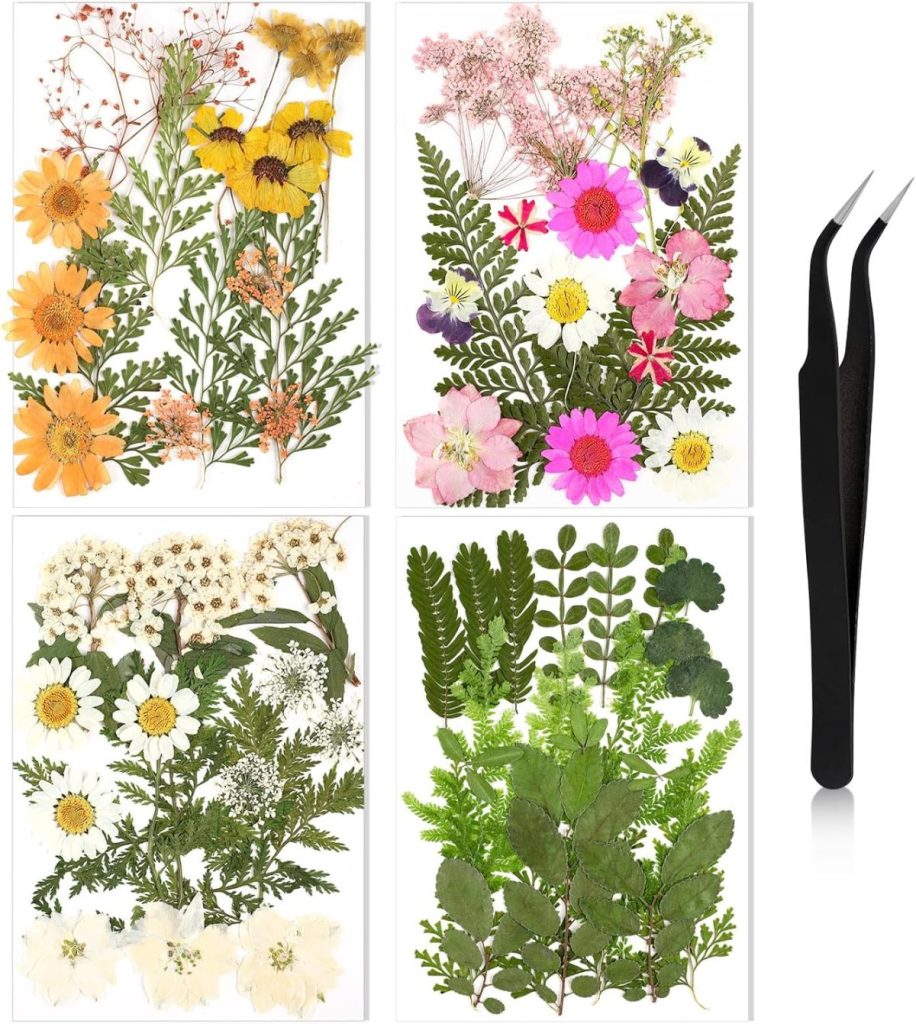
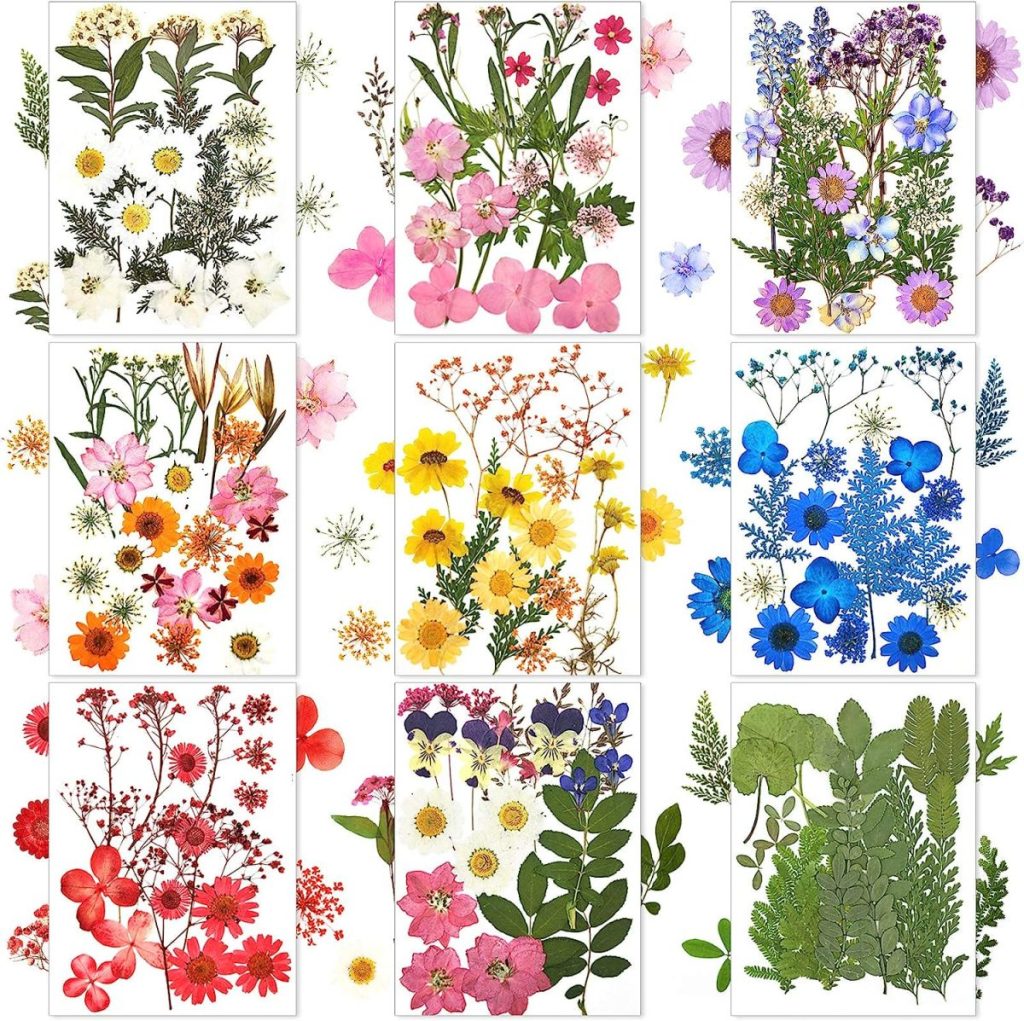
- Pressed flowers and tiny dried botanicals
- A gold metallic flat marker
- Double-sided adhesive stickers
- Parchment paper
On this blog, I may use affiliate links, which means I earn a small commission if you make a purchase via the link. The price will be the same whether you use the affiliate link or go directly to the vendor’s website using a non-affiliate link.
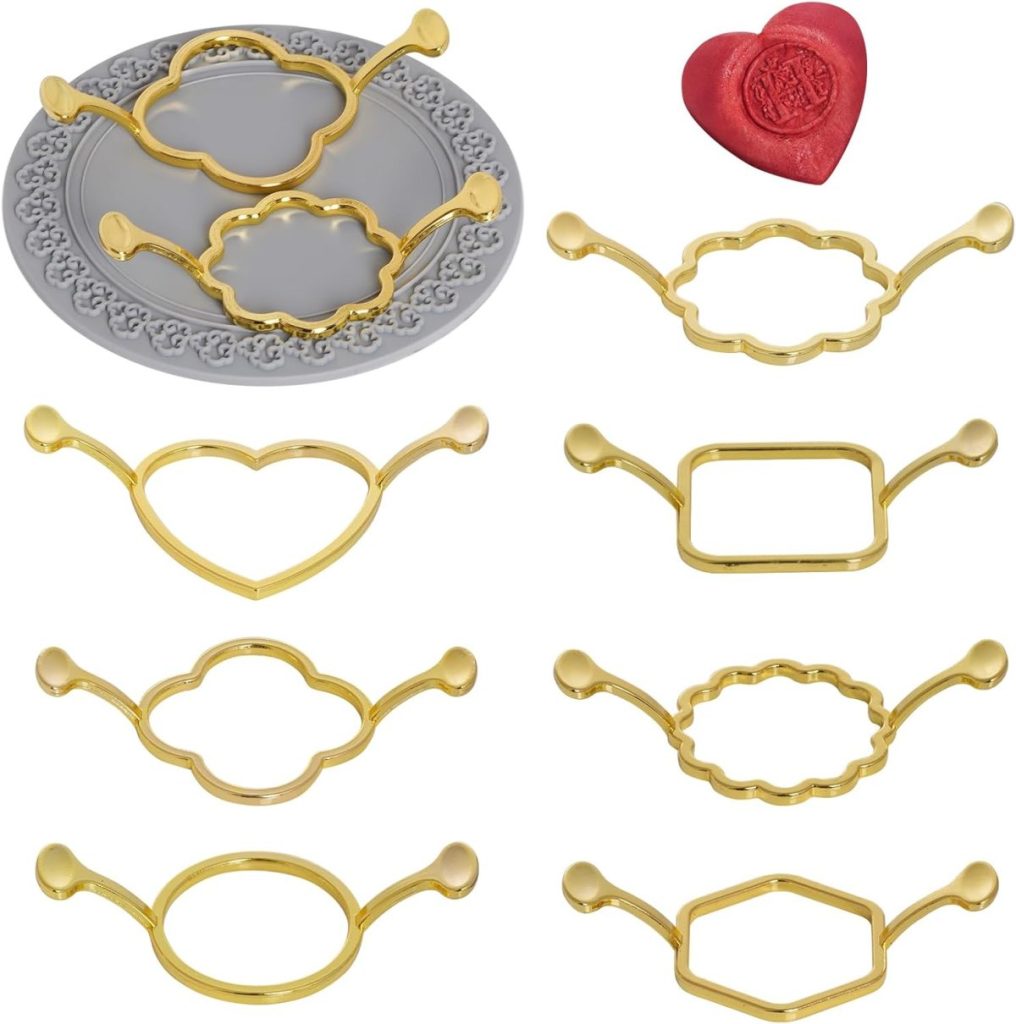
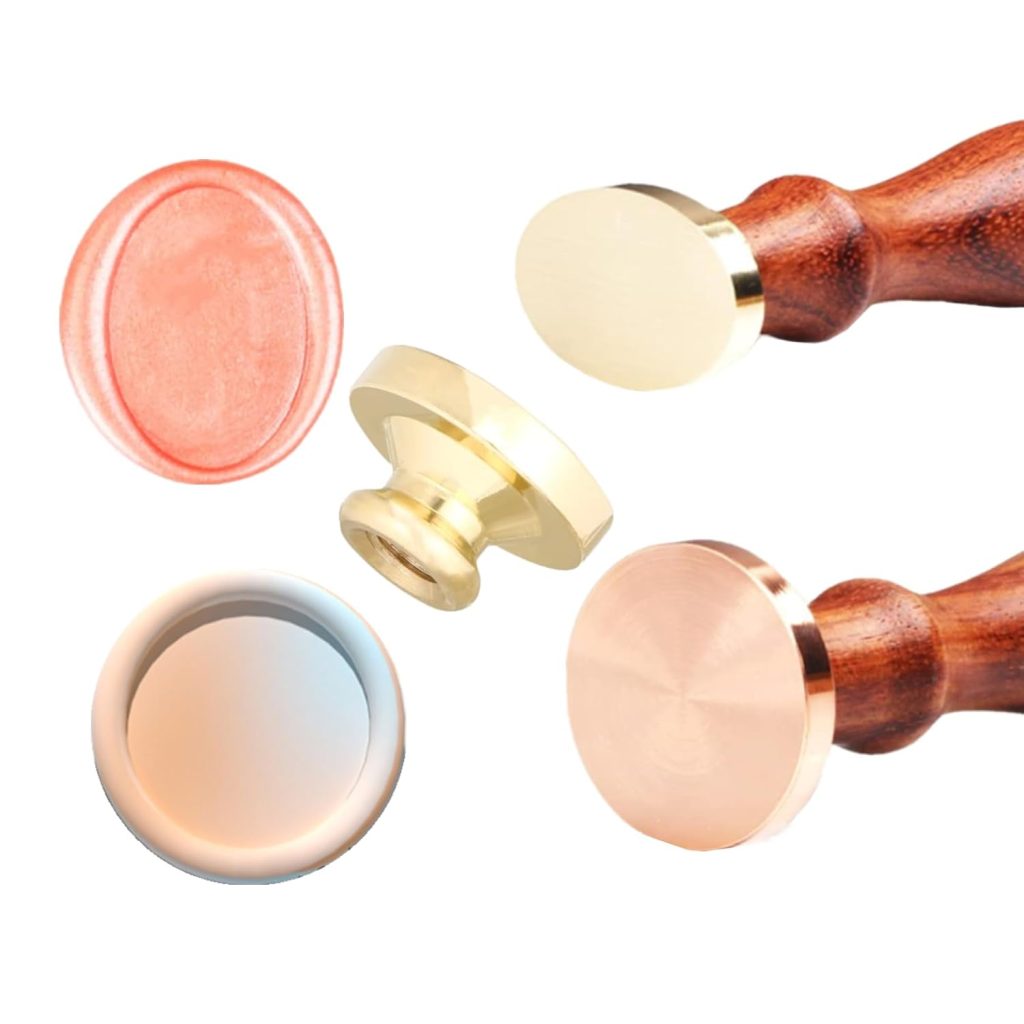

I especially recommend the silicone mold. It helps create seals that are uniform in size and shape, and it makes the entire process easier.
The pressed flowers were another favorite. Tiny flowers work best because larger blooms can prevent the stamp from making a deep impression.
How I Made the Wax Seals
The process was surprisingly simple.
First, I prepared all of my materials ahead of time. I organized the flowers by size and color and laid out the different wax stamps so I could work quickly once the wax was melted.
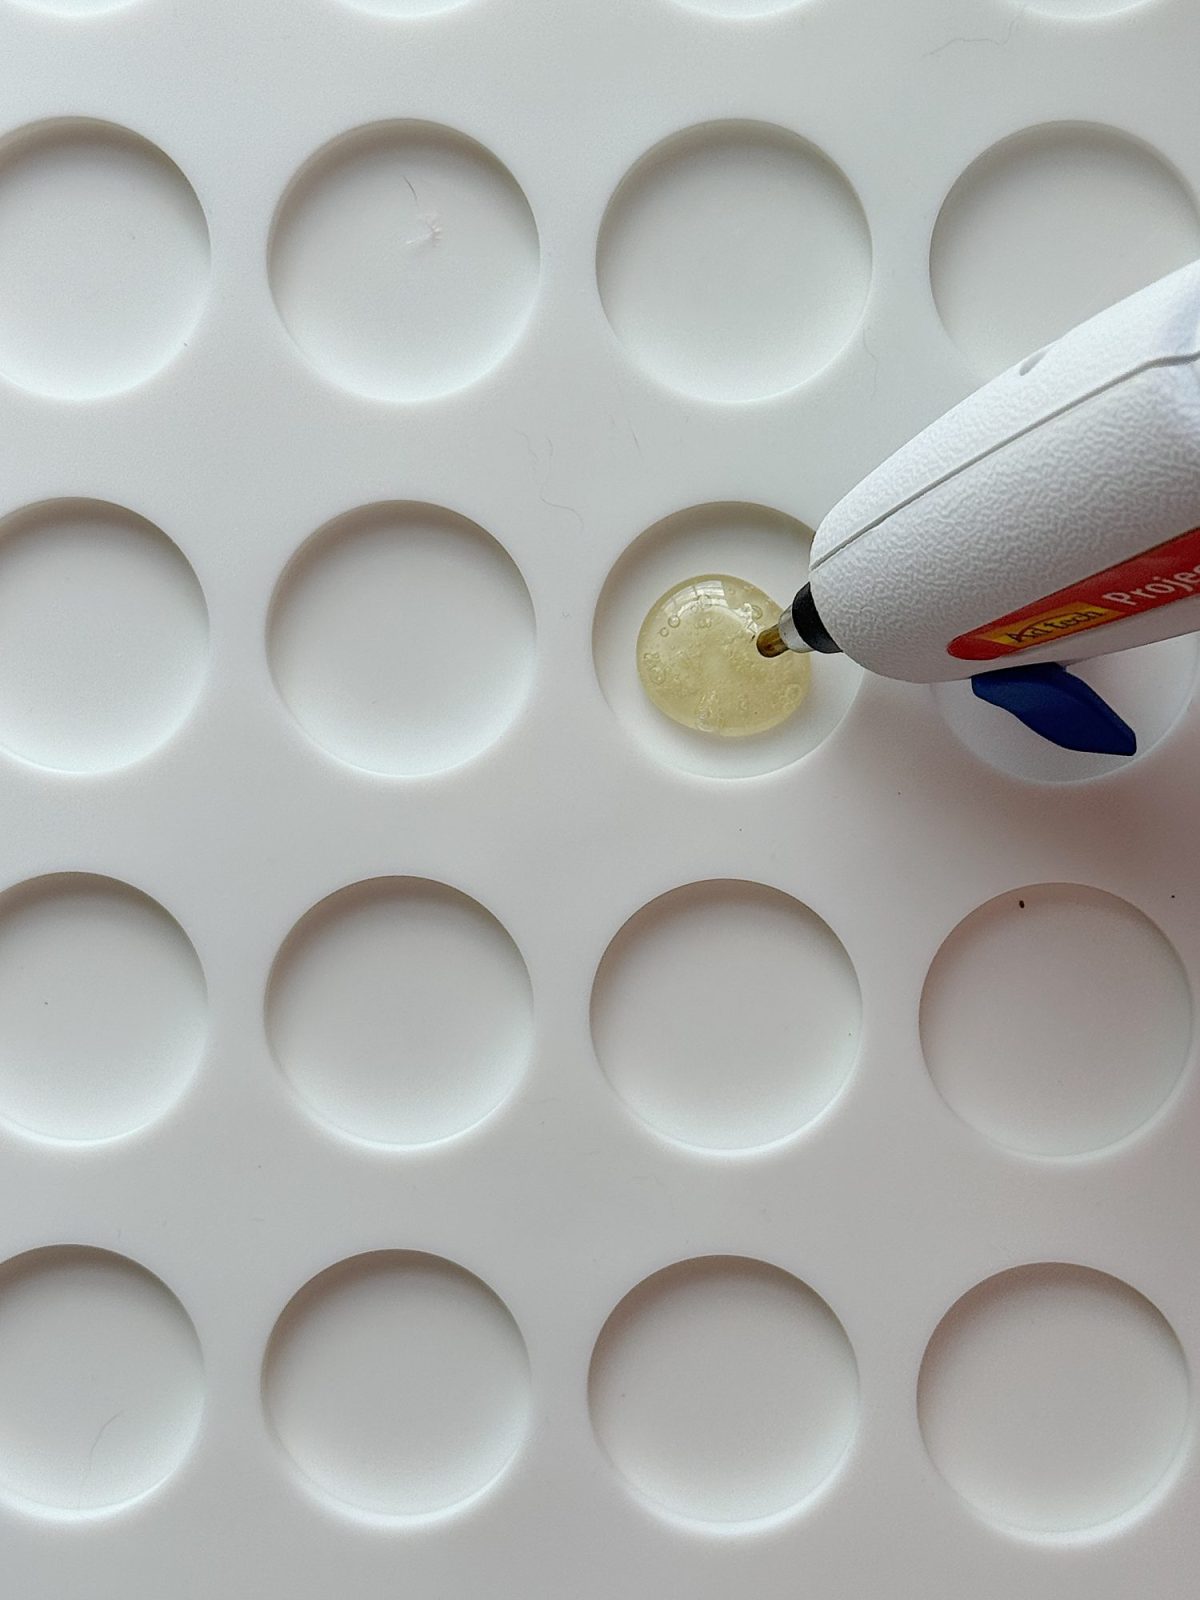
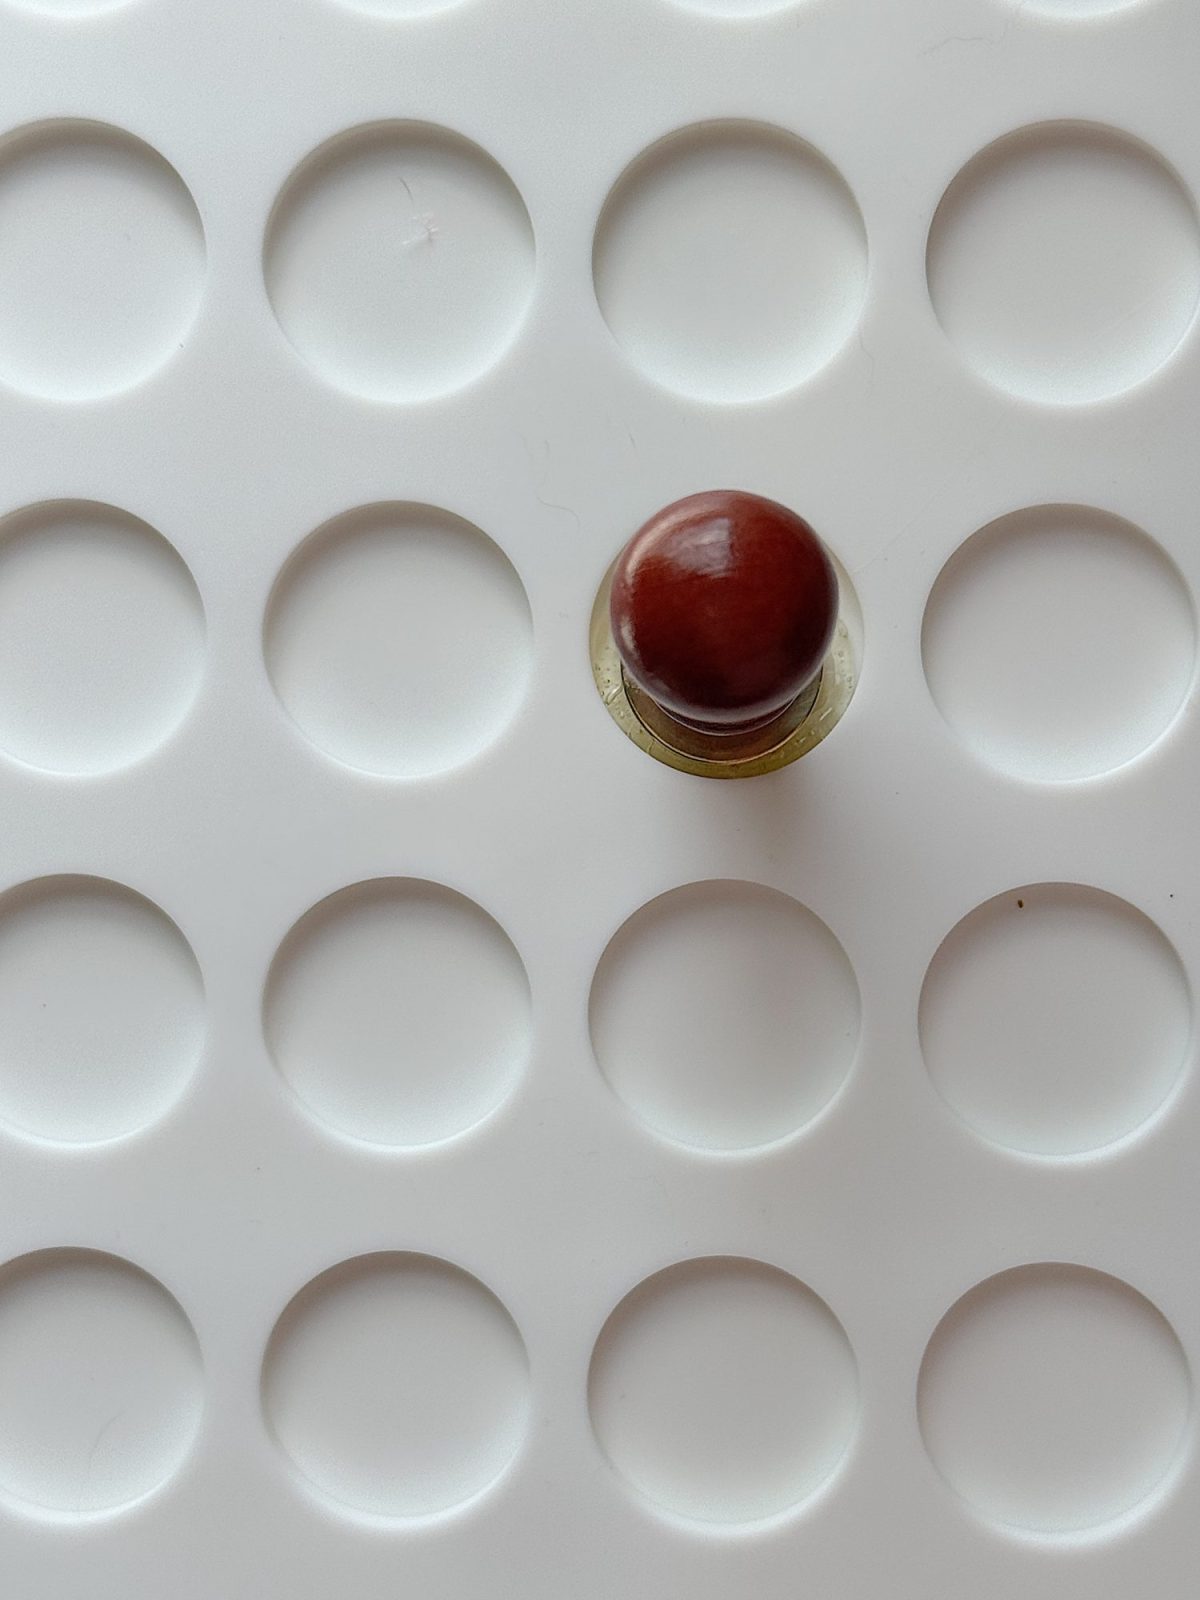
For all of the seals, I melted the wax directly into the silicone mold circles with my glue gun. Once the wax puddle was ready, I gently placed any flowers onto the surface and then pressed the stamp into the warm wax.
The trick is timing.

If the wax is too hot, the stamp can slide around. If it cools too much, the impression will not be deep enough.
After about 15 to 20 seconds, I carefully removed the stamp and let the seal cool completely before lifting it from the mold.
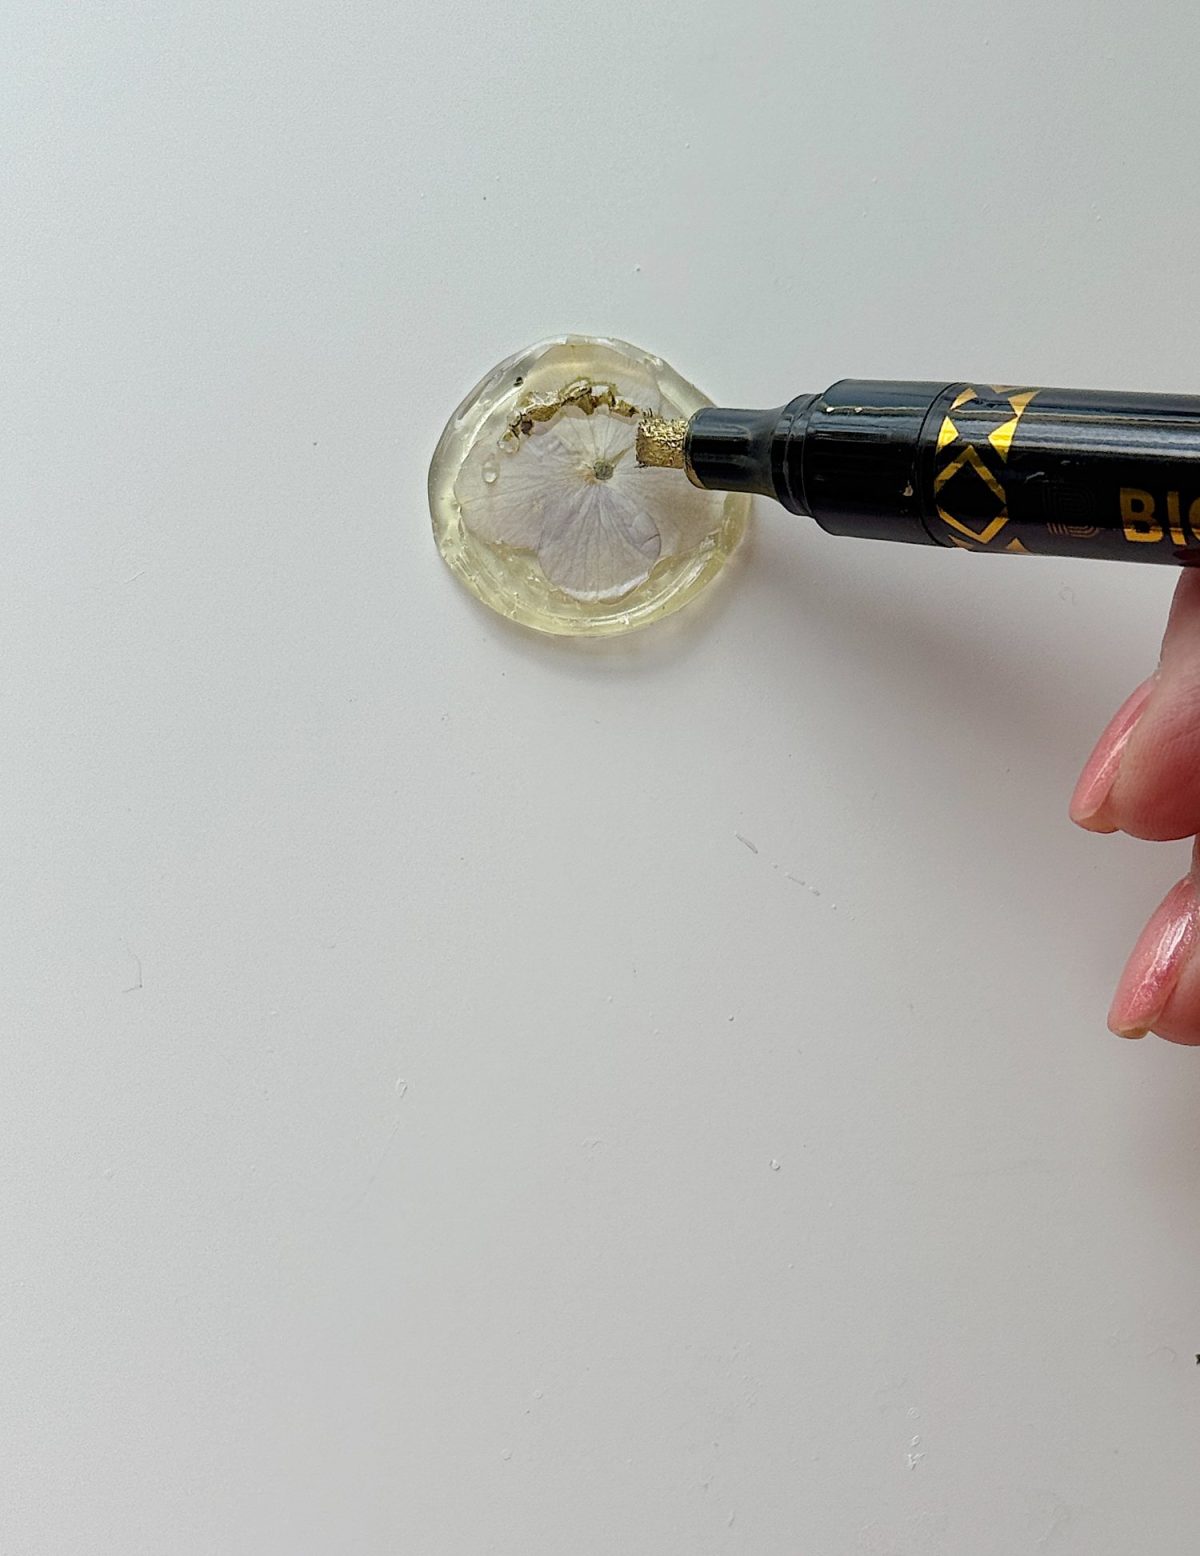
For the gold detailing, I waited until the seals were fully cooled and then lightly brushed the raised portions with the metallic marker.
It is such a simple step, but it makes the designs stand out beautifully.
Creative Ways to Use Wax Seals
This might be my favorite part because there are so many possibilities.
I prefer to make the seals ahead of time and store them in a small container until I need them. Then I attach them using either glue dots, double-sided stickers, or hot glue, depending on the project.
Here are some of my favorite ideas:
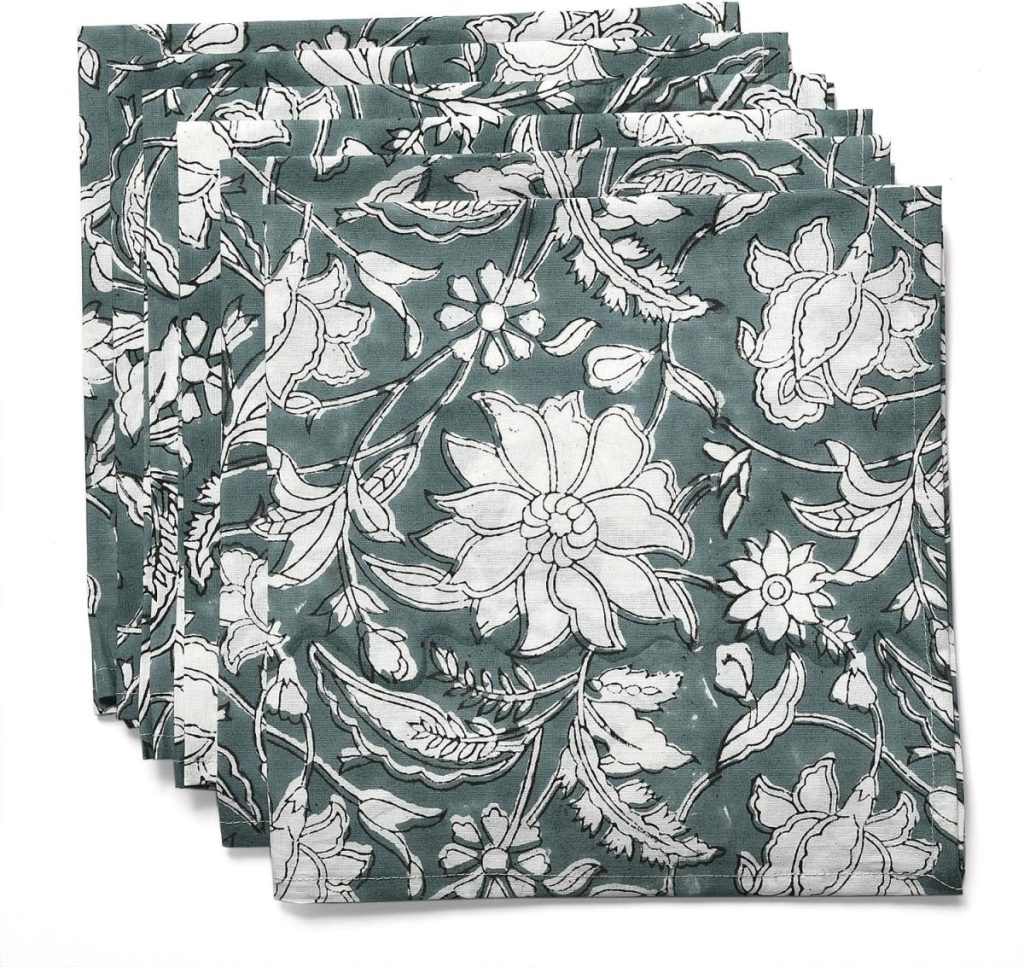
Menus and Place Cards
Wax seals instantly elevate a dinner table. I especially love attaching them to folded menus or handwritten place cards for summer dinners.
The floral seals are perfect for garden parties, bridal showers, or outdoor entertaining.

Envelopes and Invitations
Of course, this is the traditional use, but it never gets old.
The seals look beautiful on invitations, thank-you notes, holiday cards, or even simple handwritten letters.
Gift Wrapping
Adding a wax seal to ribbon or twine makes even simple wrapping feel luxurious.
I especially love attaching them to handmade gift tags.
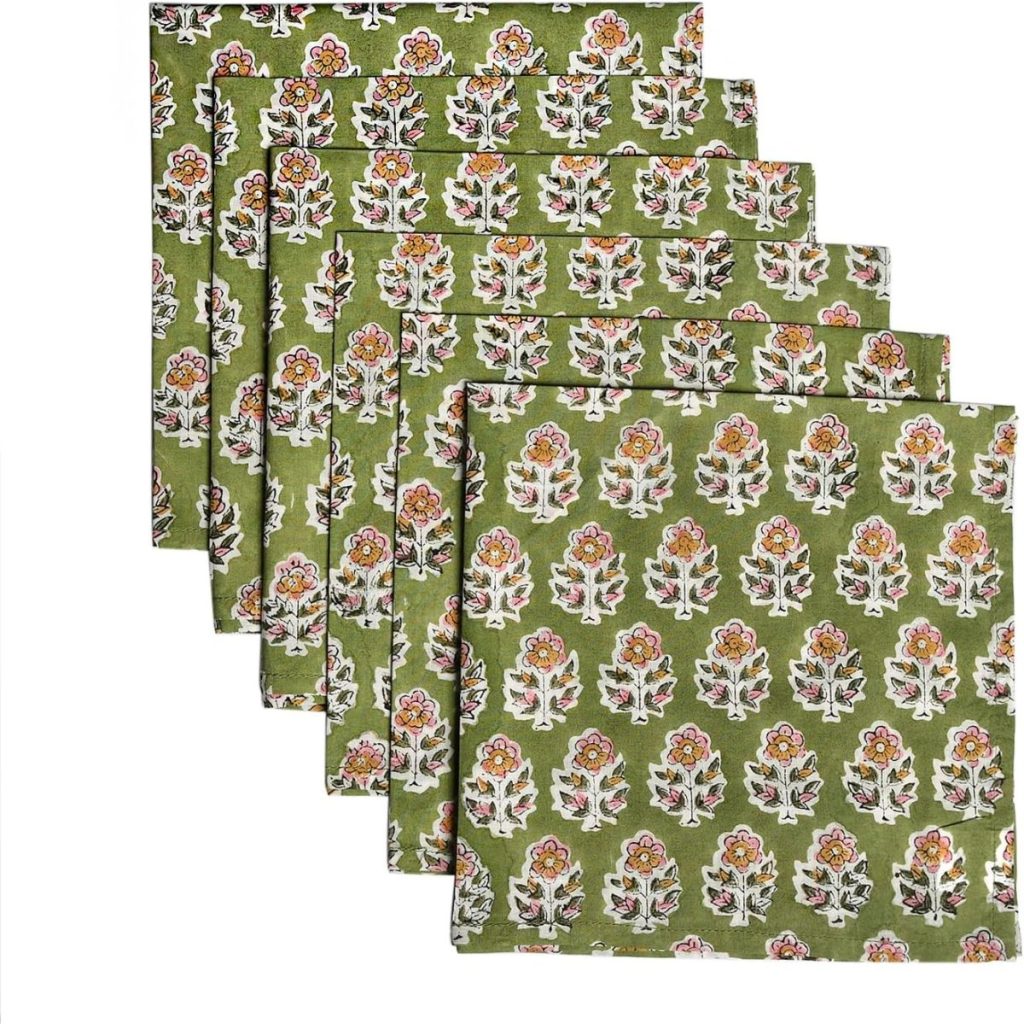
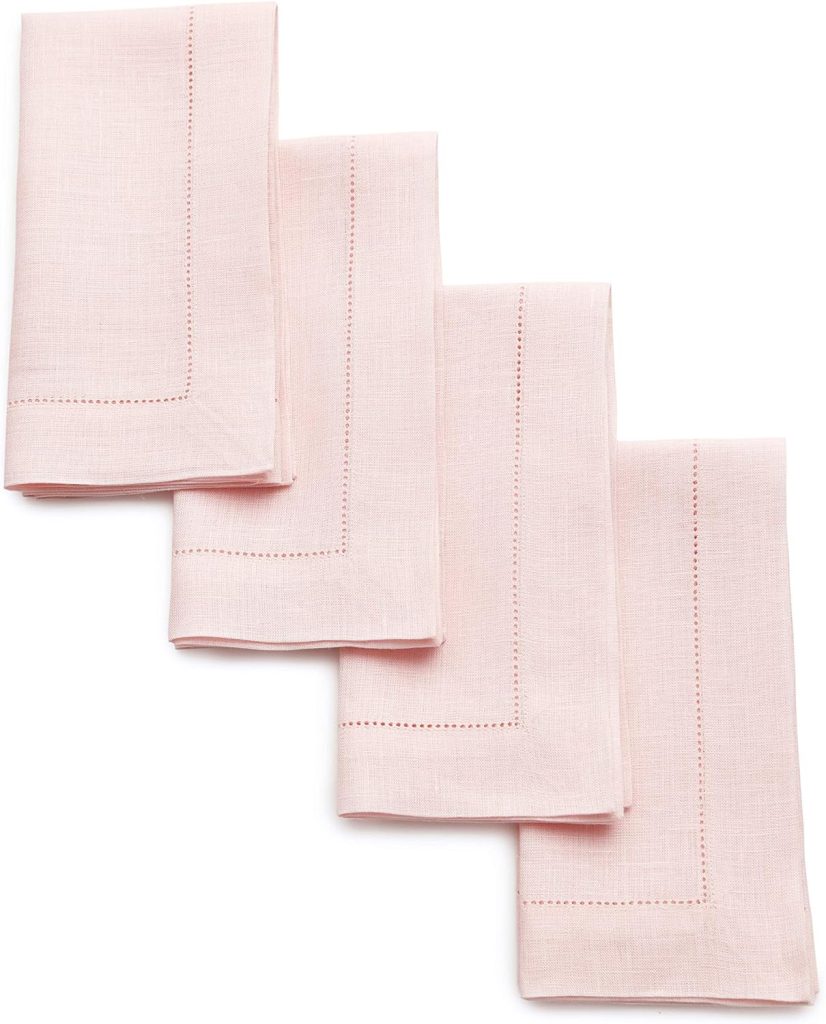
Napkin Wraps
This is one of my favorite entertaining ideas.
Wrap a linen napkin with ribbon or paper and attach a wax seal in the center. It looks elegant and handmade at the same time.
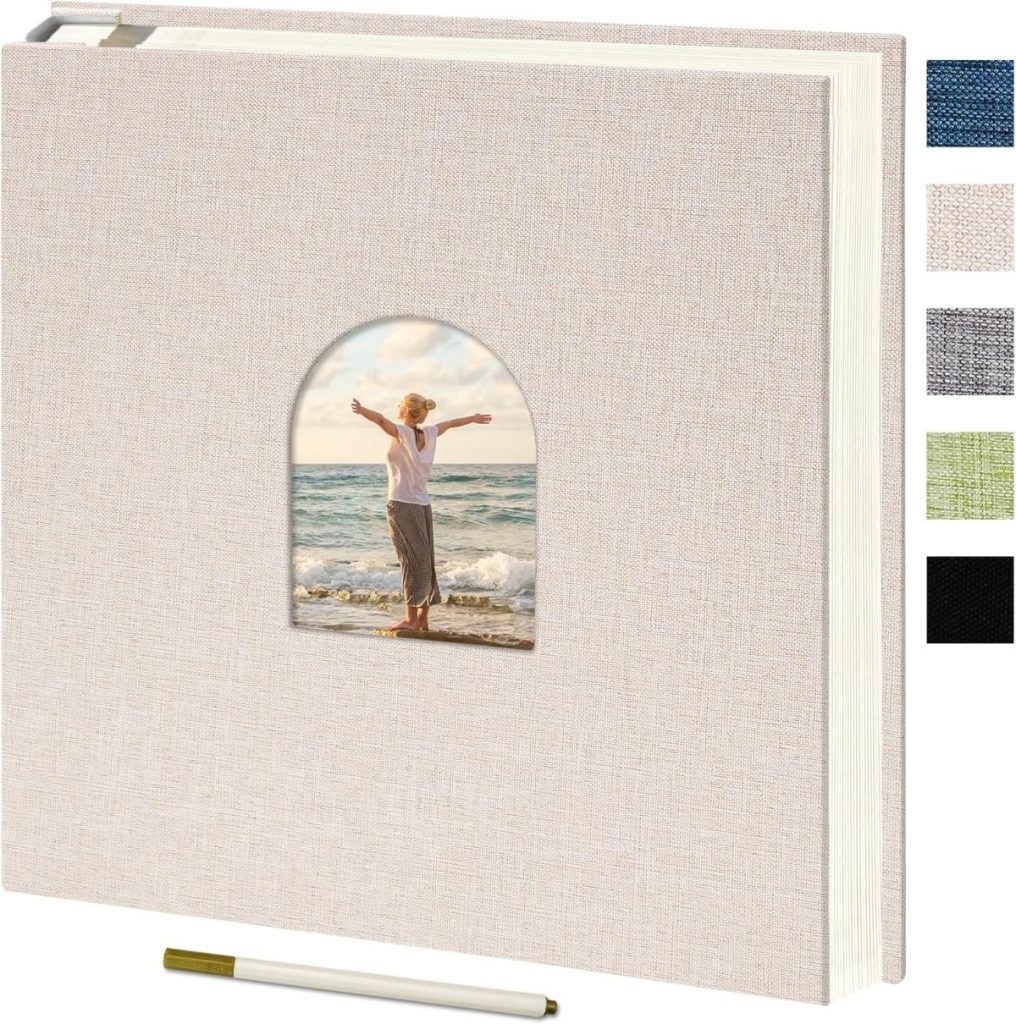
Scrapbooks and Journals
The pressed flower versions are especially pretty in journals or memory books.
Party Favors
Wax seals are beautiful on favor bags, boxes, or small treat packages.
They add personality without requiring much effort.
What Worked Best
After making quite a few seals, I definitely discovered a few tricks.
Using smaller flowers creates cleaner impressions.
The silicone molds help tremendously with shaping.
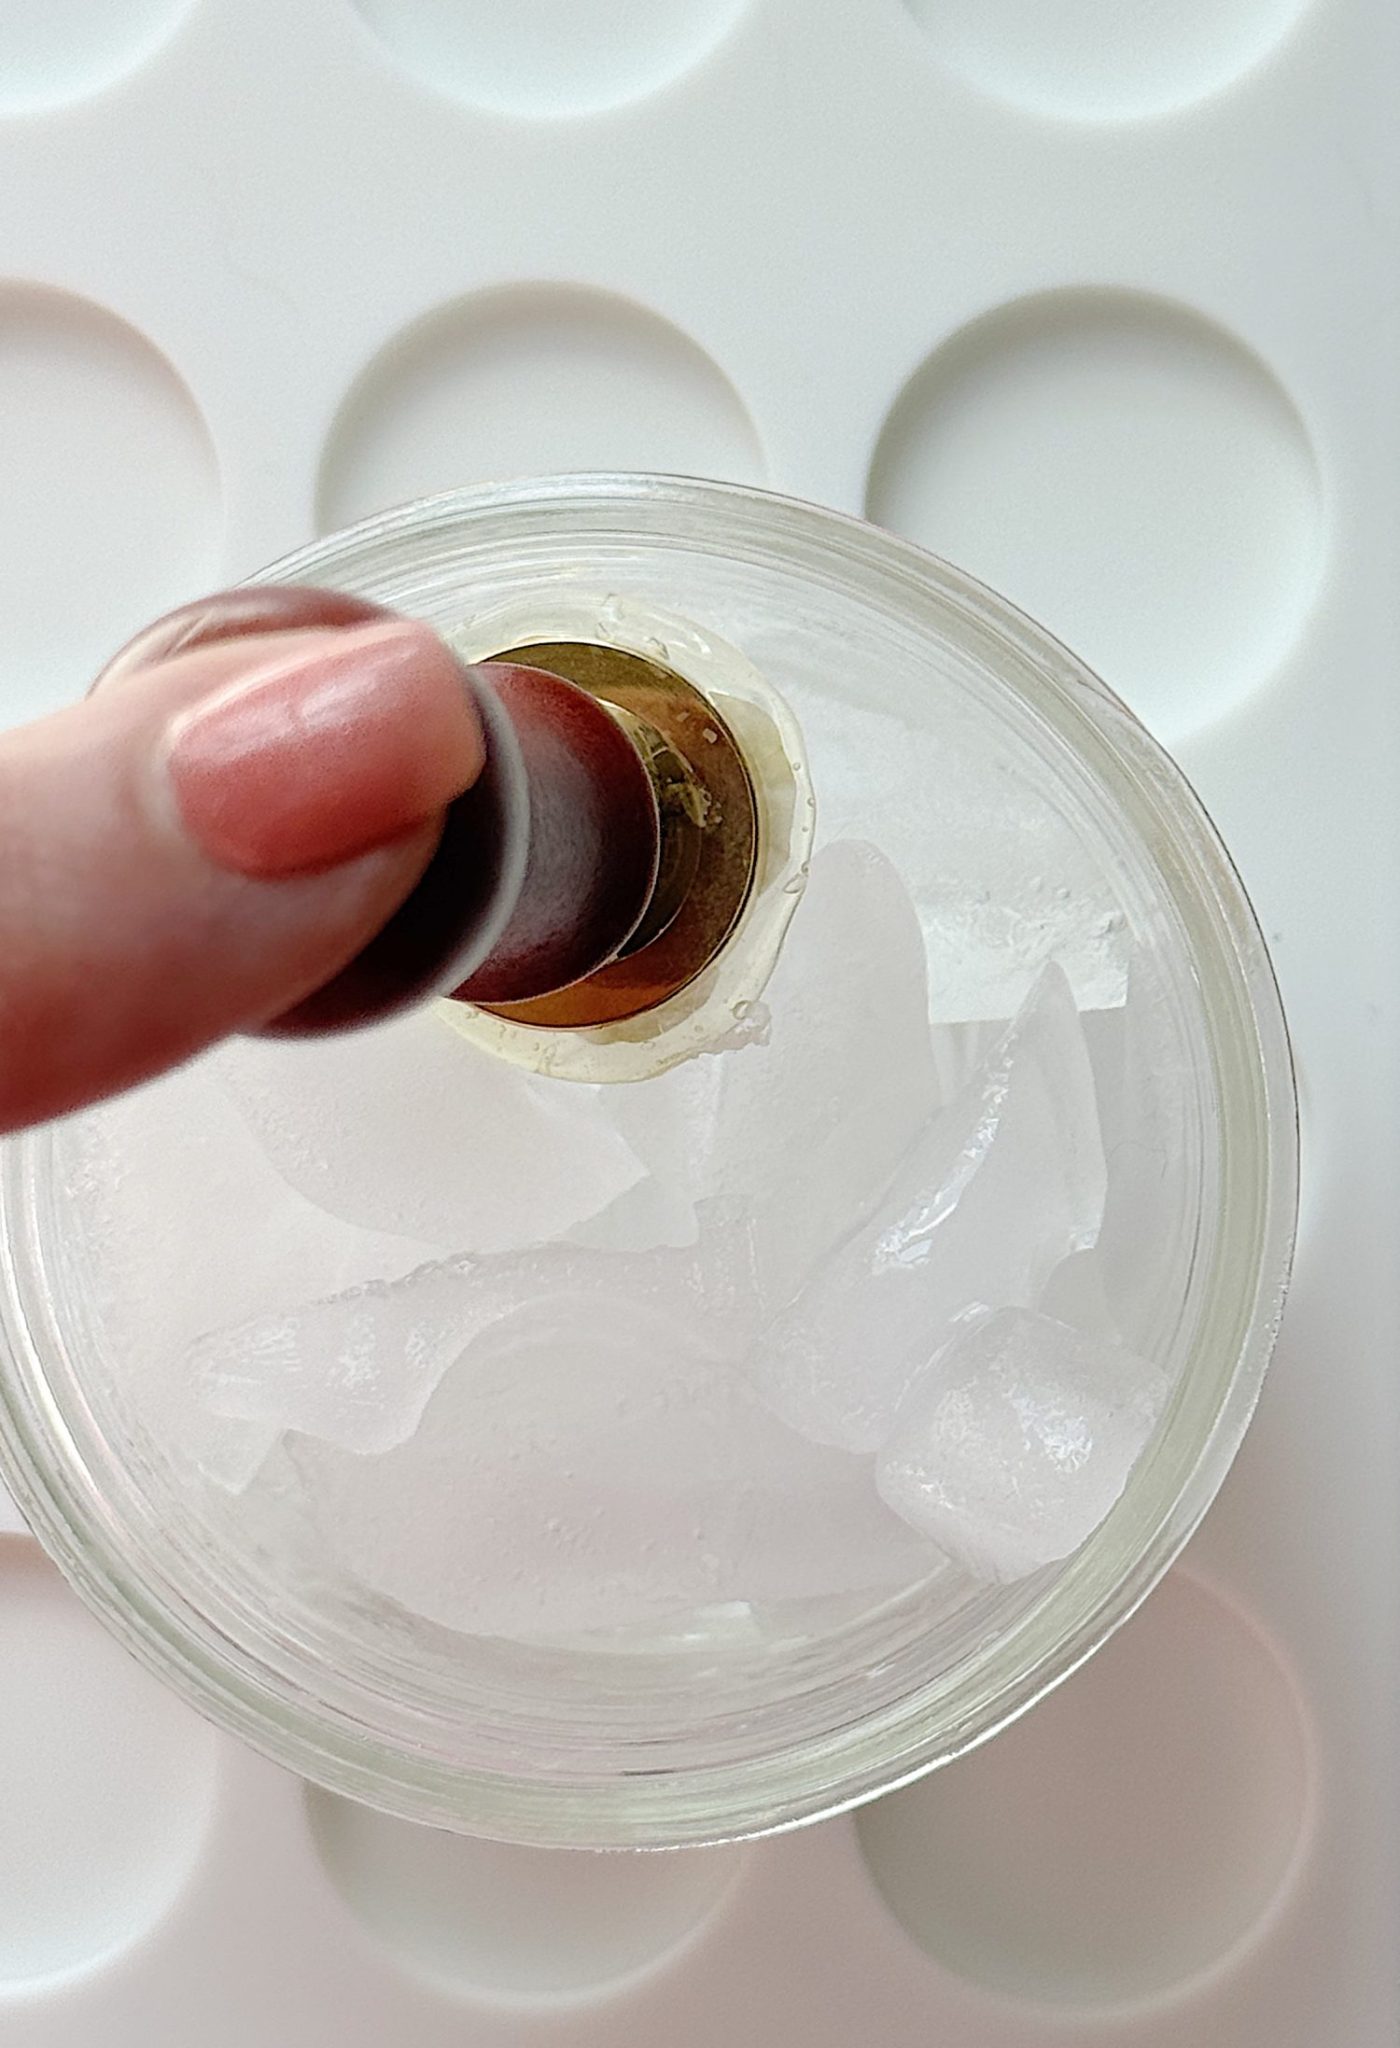
Use a small container of ice to cool the stamp when using hot glue. It will be easier to remove the stamp.
Allowing the wax to cool slightly before stamping gives the best results.
And the gold metallic marker is absolutely worth using.
It highlights the details without overpowering the design.
I also learned that layering different pink tones creates really beautiful results. Some of my favorite seals combined soft blush with brighter pink wax for a more dimensional look.
Why This Craft Feels Perfect for Summer
There is something about these soft floral colors and botanical details that feels especially right for summer crafting.
The pressed flowers remind me of garden blooms, outdoor entertaining, and romantic summer tablescapes.
This project also feels relaxing in the best possible way. There is no pressure for perfection. Every seal turns out slightly differently, which honestly adds to the charm.
And because the seals can be used later for so many different projects, crafting them feels productive too.
I already know I will be using these all summer long for dinners, gifts, menus, and entertaining.
Final Thoughts
Sometimes the simplest crafts become the most inspiring.
These homemade wax seals were incredibly fun to make, and I love that each one feels like a tiny piece of art. Whether you use traditional wax, hot glue, pressed flowers, or metallic details, the results are beautiful and endlessly versatile.
I especially love that they can be created in advance and stored until needed. That makes them perfect for entertaining, gift wrapping, and summer celebrations.
And honestly, once you start making them, it is very hard to stop.
How to Follow Along With A Handmade Summer
Each week, a new spring craft will be shared here on the blog. I will also be sharing behind-the-scenes moments, progress videos, and finished projects on Instagram so you can see each craft come to life.
You can jump in at any point. There is no need to start at the beginning or complete every project. Choose the ones that speak to you and make them your own.
If you love seasonal crafting, this series is designed to inspire you throughout the summer.
Here are all of the A Handmade Summer craft projects so far. I can’t wait to share all twelve.
Latest Posts
-
Grilled Peach Burrata Salad with Honey Balsamic Drizzle
Some recipes just taste like summer. You know the kind—fresh, colorful, effortless, and bursting with flavor. One of my absolute favorites this season is this Grilled Peach Burrata Salad with Honey Balsamic Drizzle. It’s everything I love in a summer dish: sweet peaches, creamy cheese, peppery greens, and a drizzle of sweet-and-tangy goodness. It’s elegant…
-
My Obsession with Hand-Building Clay Pottery Ideas
For the past year, I have enjoyed one of the most rewarding creative experiences I’ve had in a long time: hand-building clay pottery ideas. What started as a curiosity quickly turned into a full-blown passion, and I’m thrilled to share the joy, challenges, and surprising things I’ve learned throughout this journey. Let’s just say, I’m…
-
Strawberry Coconut Mini Tart Recipe
It’s time to whip up some summer desserts! And what better way to celebrate than my irresistible Strawberry Coconut Mini Tart Recipe? Ah, summer – the season of sunshine, flip-flops, and the vibrant burst of flavors that only fresh berries can offer. When those juicy, plump strawberries are in season, it’s time to get creative…
-
The Truth About Being “Crafty” – Mondays in the Craftroom
One of the most common things people say to me is, “I’m just not crafty.” But the truth is that creativity isn’t something you’re born with. It’s something you learn. Today I’m sharing why being crafty has much less to do with talent and much more to do with curiosity, practice, and simply being willing…
My Recent Instagram Posts

You can pin the image below to your boards on Pinterest (click the Pin button in the top left corner) or follow me on Pinterest!
For more real-time updates, follow me on Instagram @My100YearOldHome
Thanks for sharing this! I got some of the supplies to do this last year and have done nothing. This is my inspiration. I didn’t know about the silicone molds though. I think I will get that too. The flowers added in are really pretty.
That makes me so happy! You are going to have fun with this.
Leslie