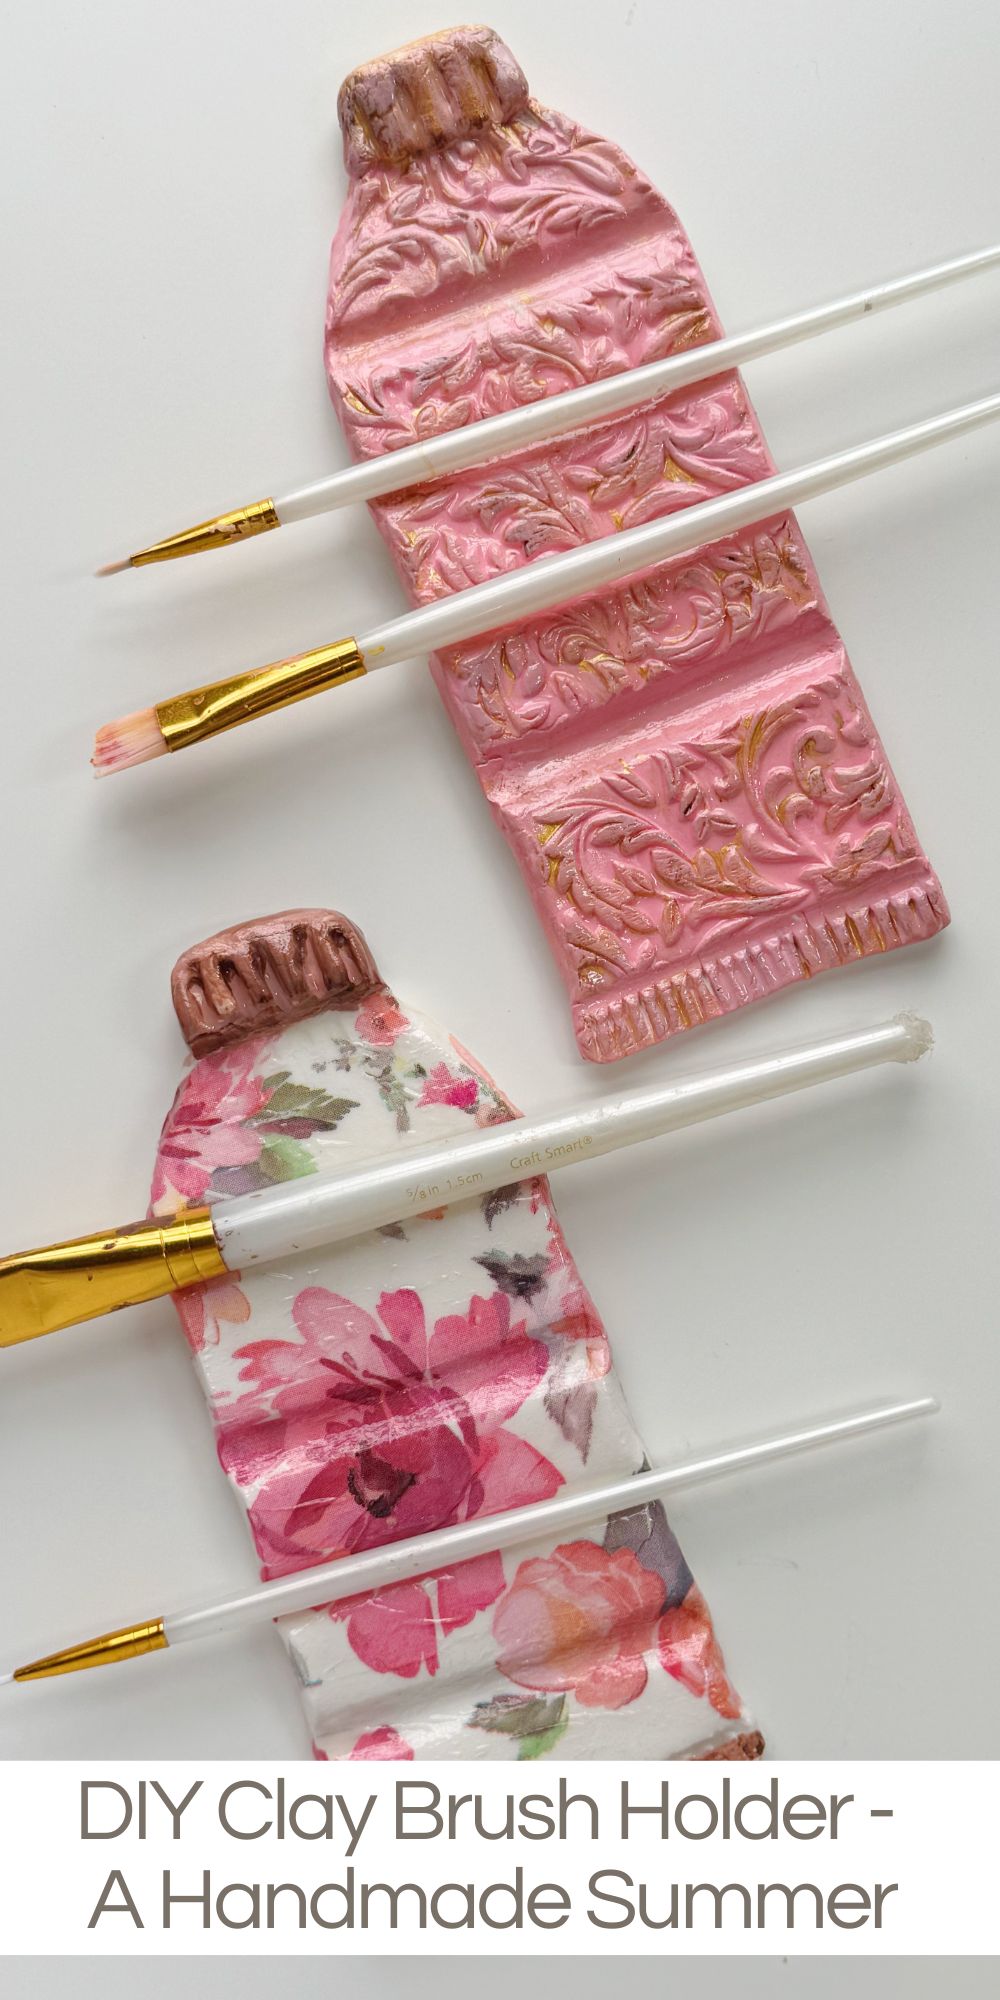
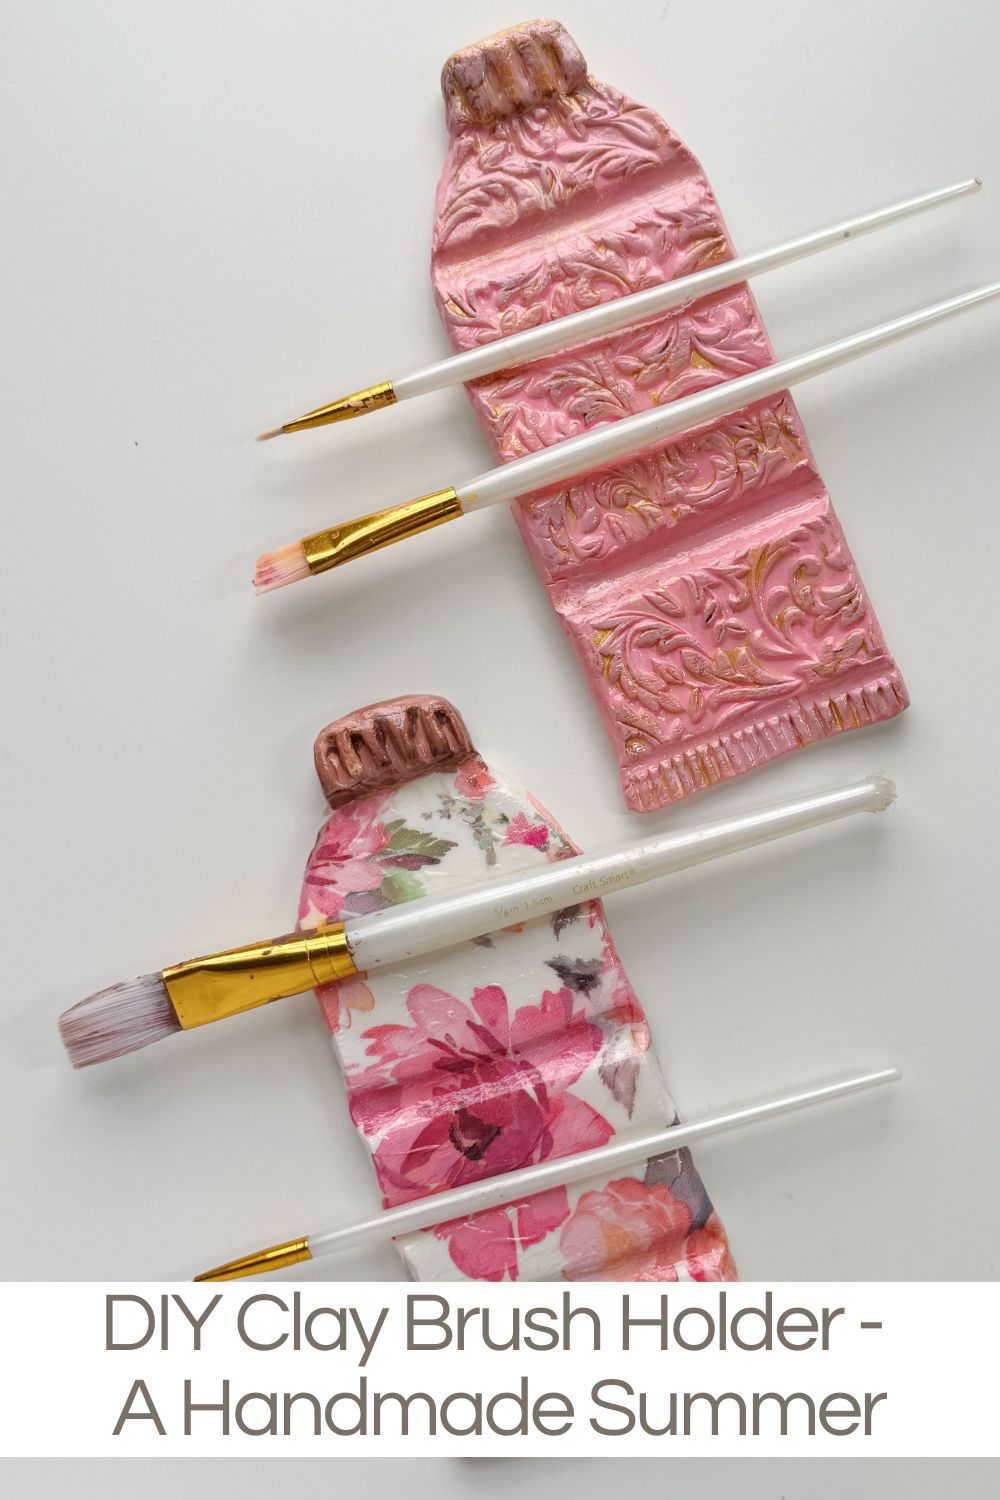
DIY Clay Brush Holder – A Handmade Summer
This clay brush holder is one of the easiest and most useful projects I have ever made for my craft room.
This project is part of my new Handmade Summer series, where I share simple, creative ideas you can use every day, and this clay brush holder is the perfect place to start.


DIY Clay Brush Holder

There is something so satisfying about starting a brand new creative series, and A Handmade Summer might be my favorite one yet.
Summer crafting feels lighter, more playful, and a little more relaxed, which is exactly why I wanted to begin this series with a project that is not only beautiful but also incredibly useful. Today I am sharing the very first project: a handmade clay brush holder. I have to tell you, this is one of those simple ideas you will use every single time you sit down to create.
If you paint, craft, decoupage, or work with glue or glaze, then you already know how often you need a place to set down a wet brush. I used to balance mine on the edge of a bowl or paper towel, and it was never ideal.
Brushes would roll, drip, or leave marks where I did not want them. So I decided to make something that solves that problem and also looks beautiful sitting on my craft table.
This clay brush holder is one of the easiest and most rewarding projects I have made in a long time. It is functional and customizable, and you can design it in so many ways to match your style or your craft room.
Why Every Crafter Needs a Brush Holder
Before I made these, I did not realize how often I needed one. Now I use mine constantly. Whether I am painting, working with Mod Podge, glazing clay, or even using adhesives, I always have a wet brush in my hand.
Having a designated place to set it down keeps my workspace clean and organized.
The holder’s shape keeps the brush slightly elevated, so the bristles are not sitting in a puddle of paint or glue. It also prevents brushes from rolling off your table, which has definitely happened to me more than once.
But beyond function, I also love that this is something you can make yourself. It turns a very practical tool into something that feels personal and beautiful.
Materials You Will Need
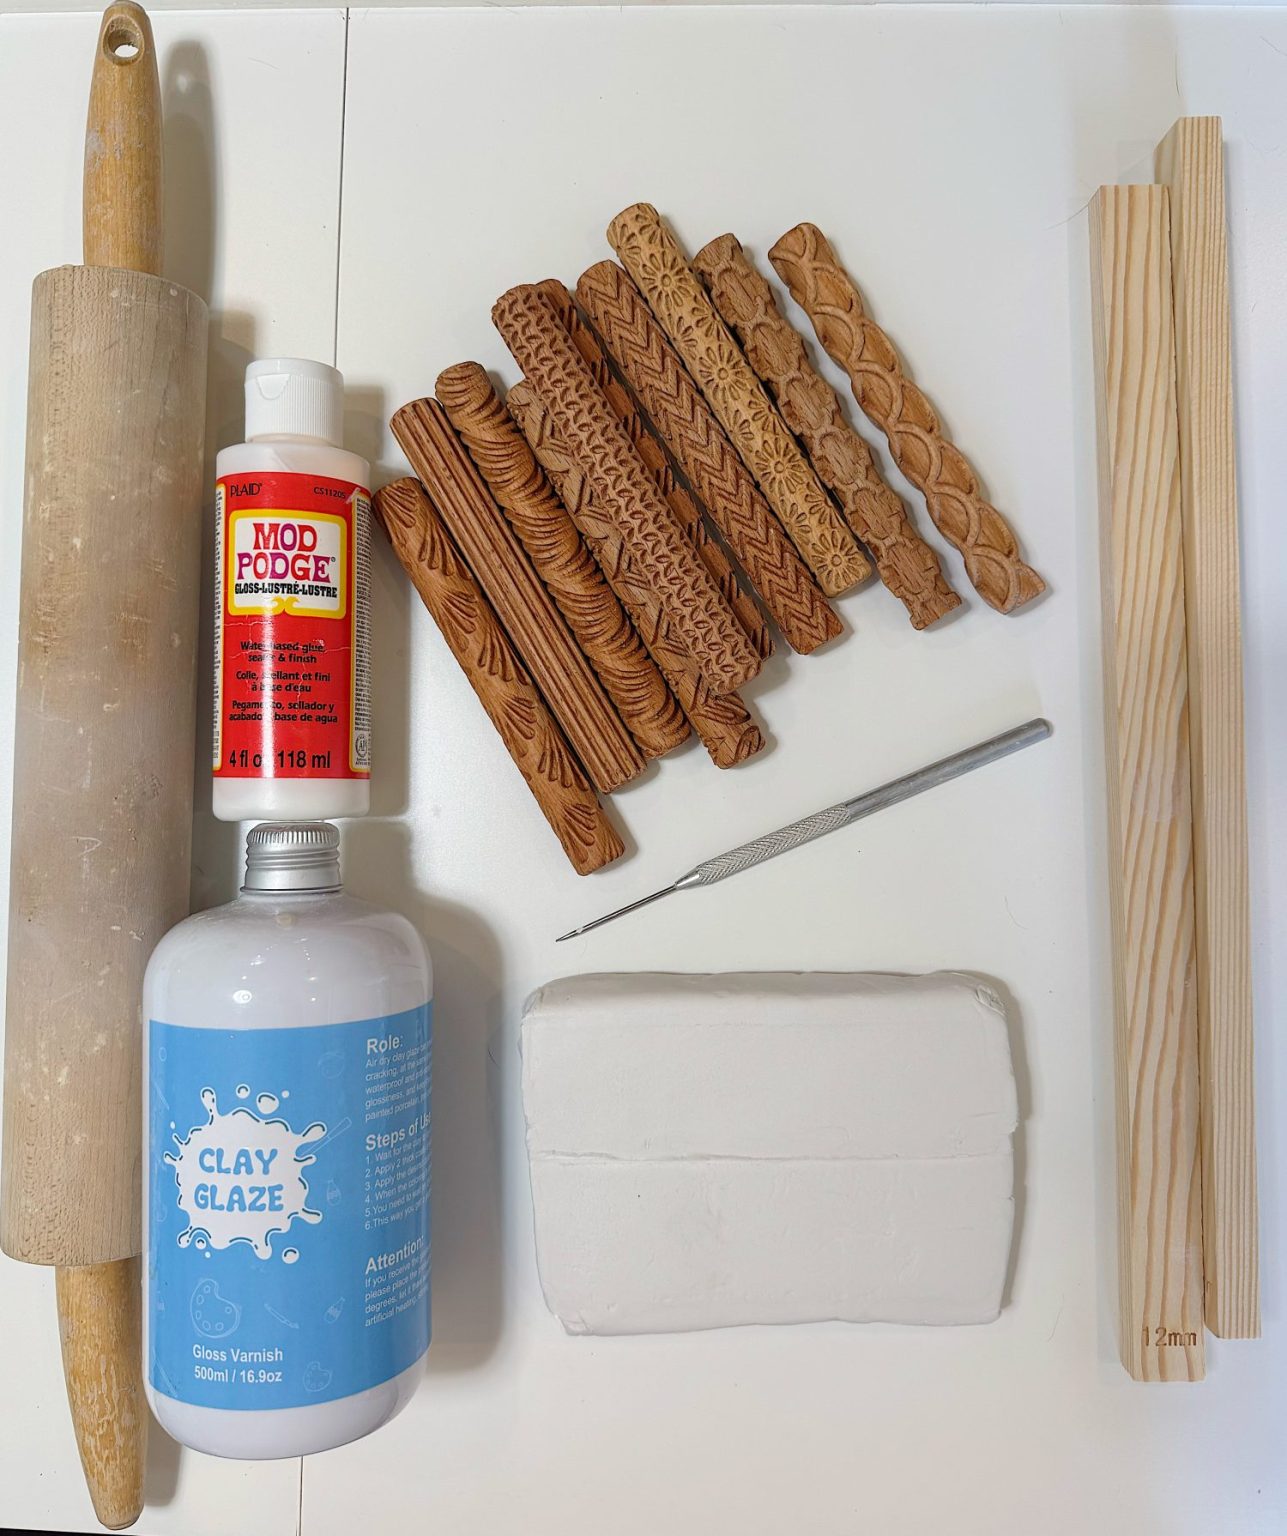
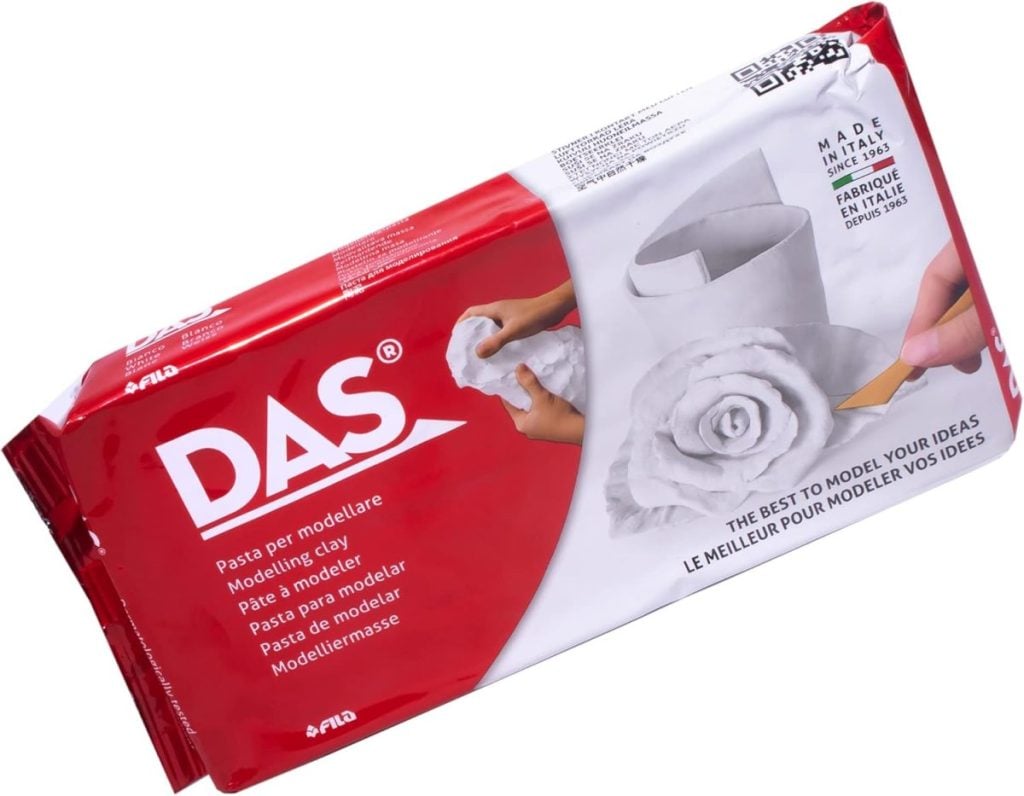
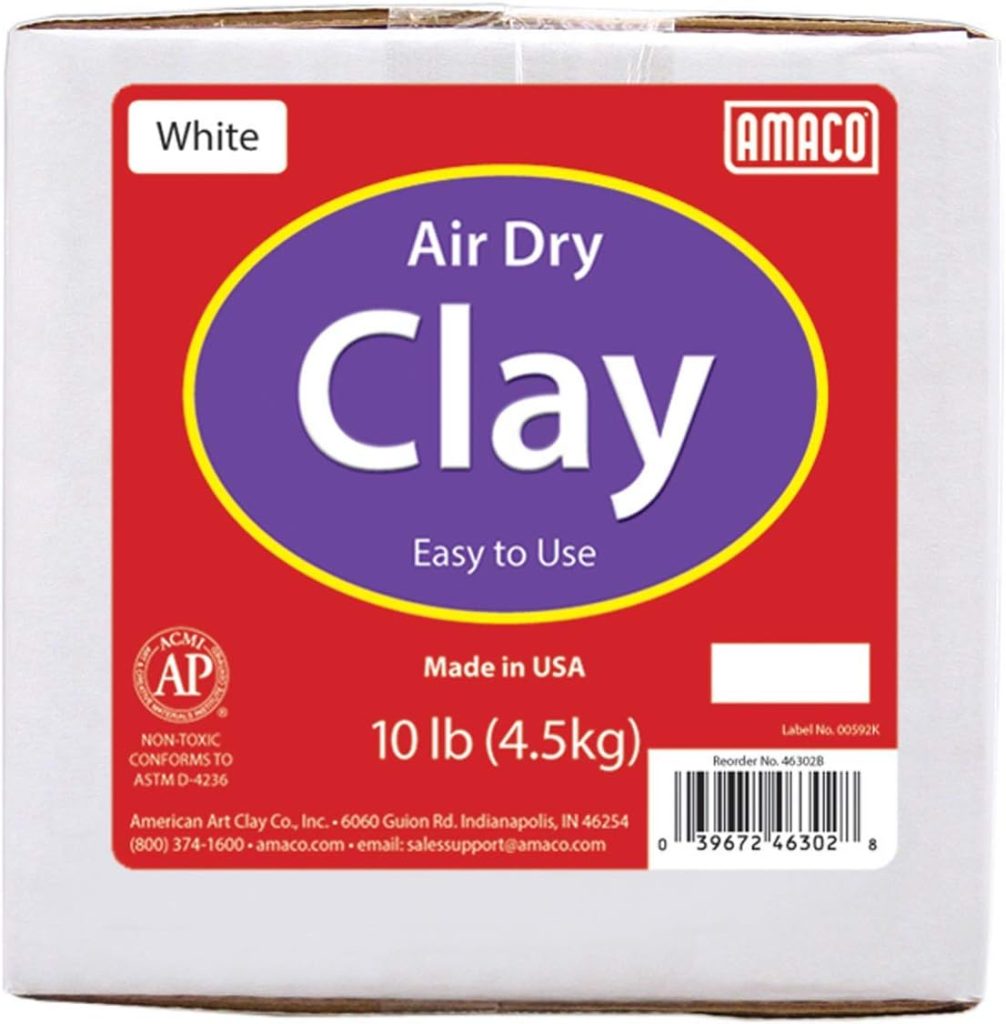
- Air dry clay
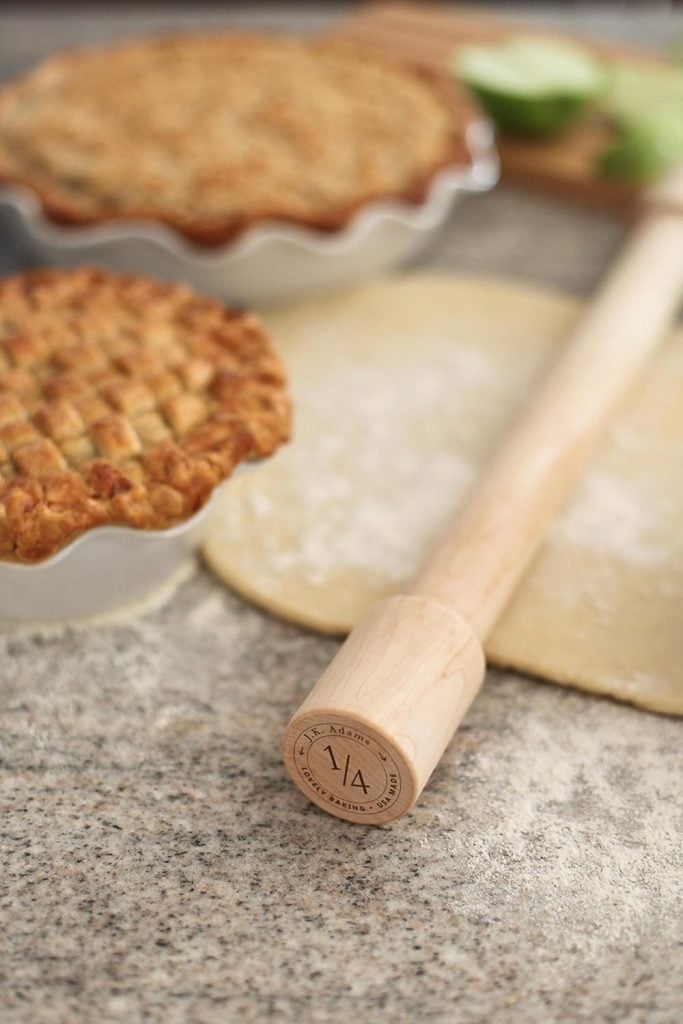
- Rolling pin
- Textured roller or rolling pin
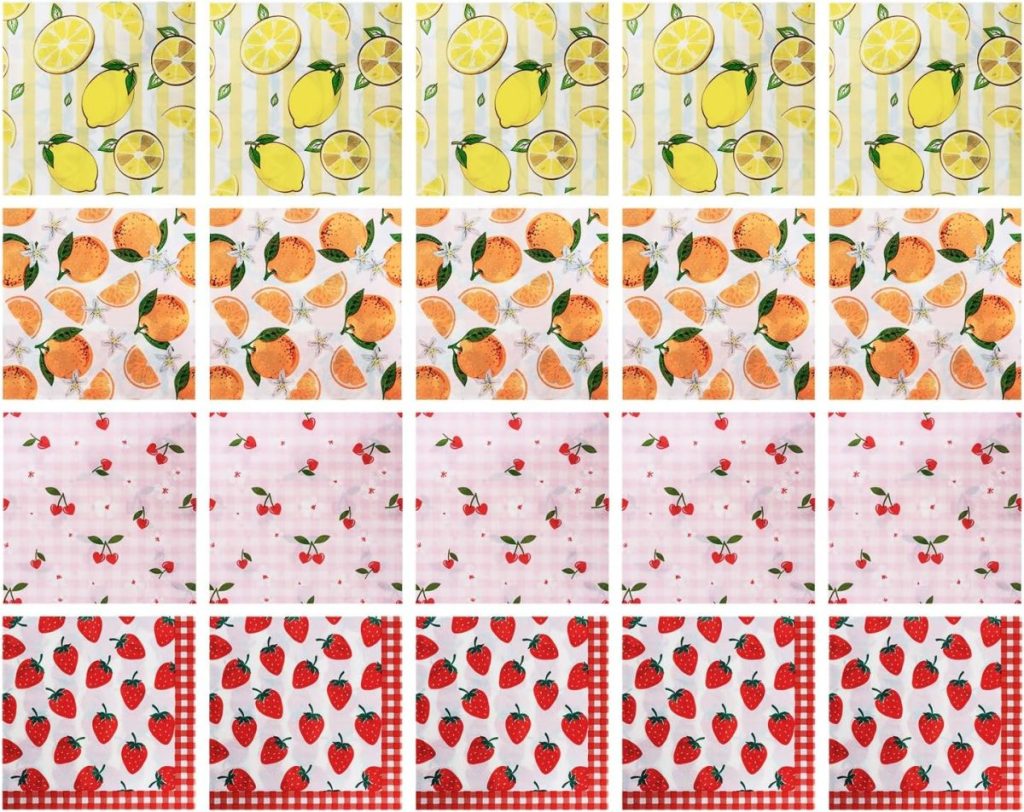
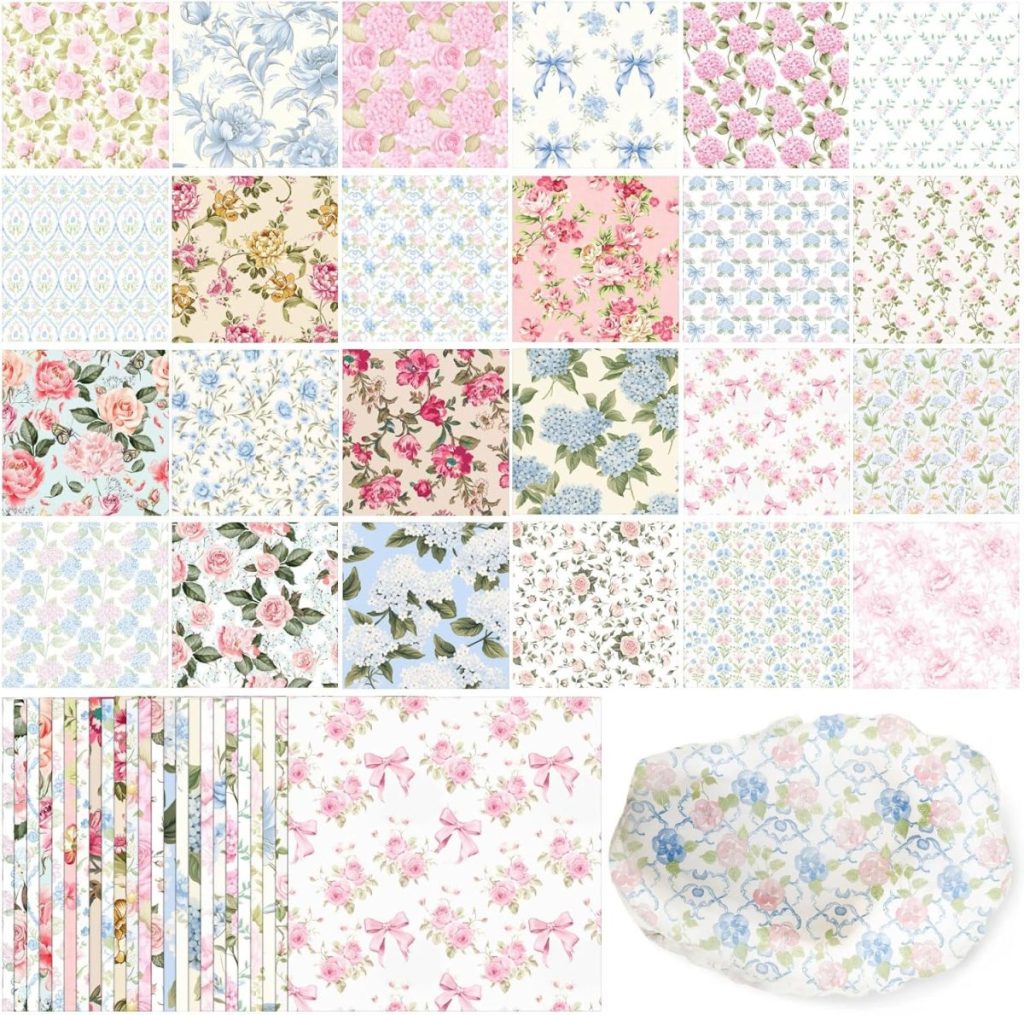
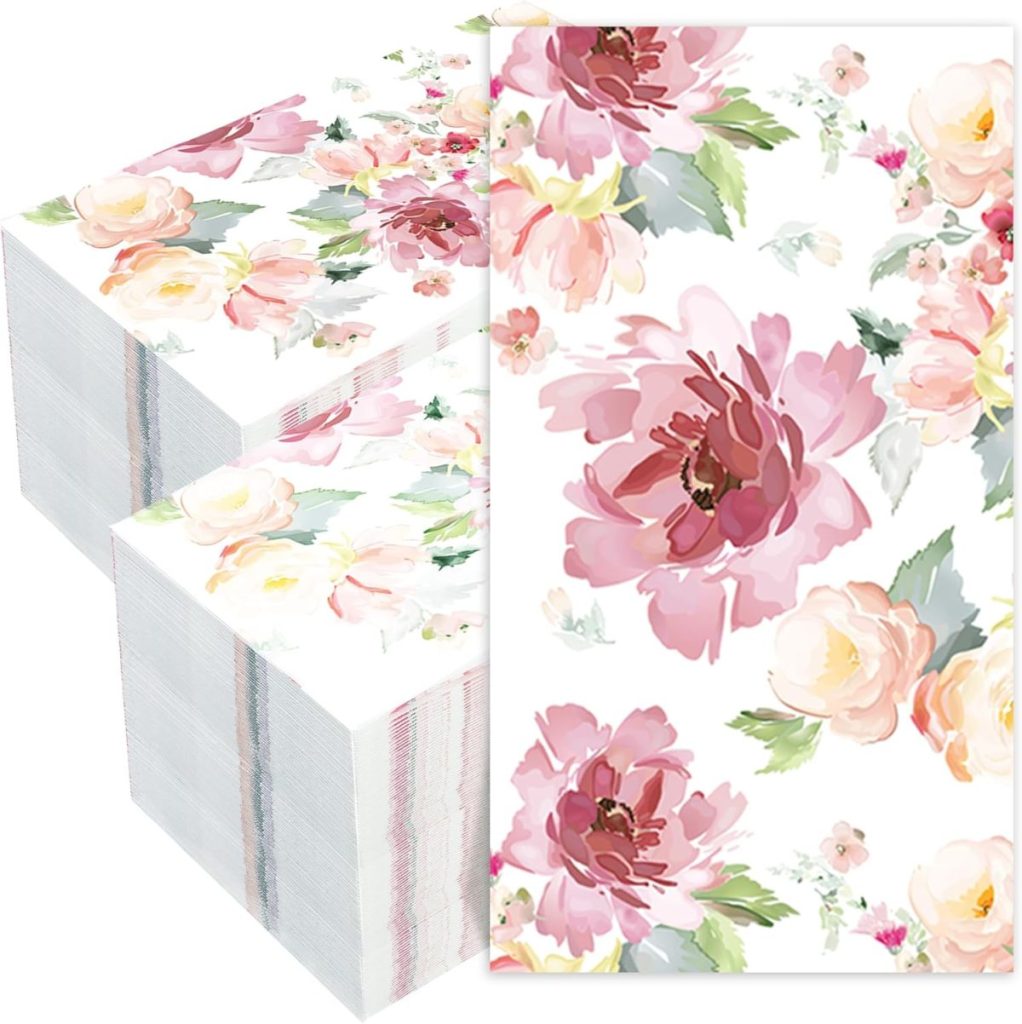
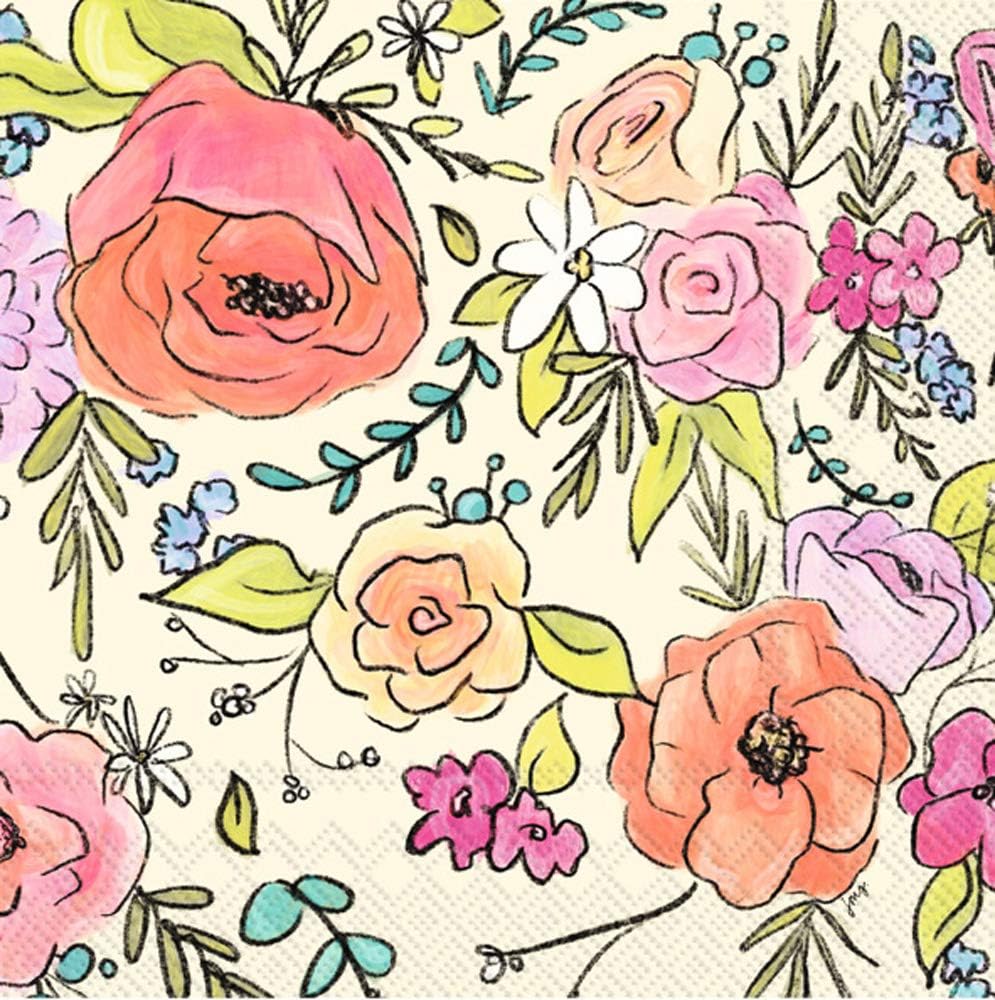
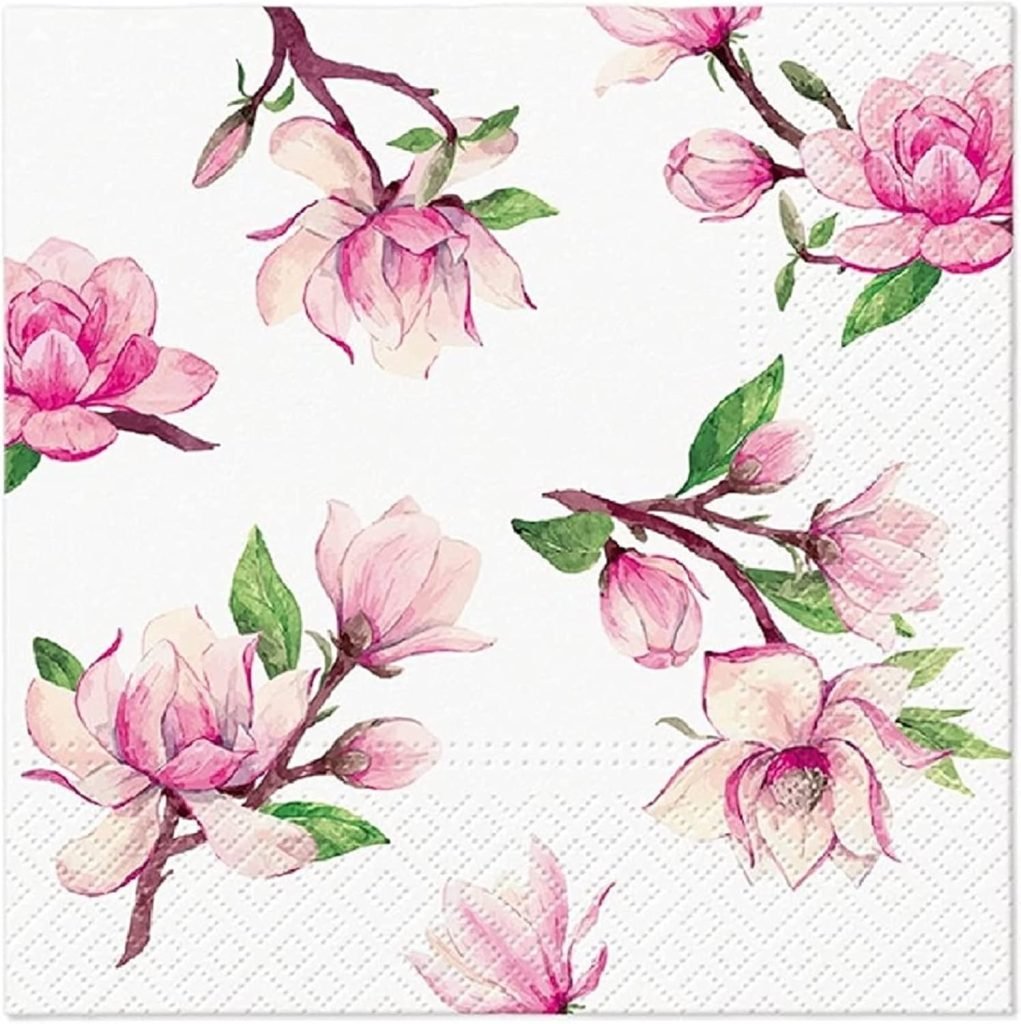
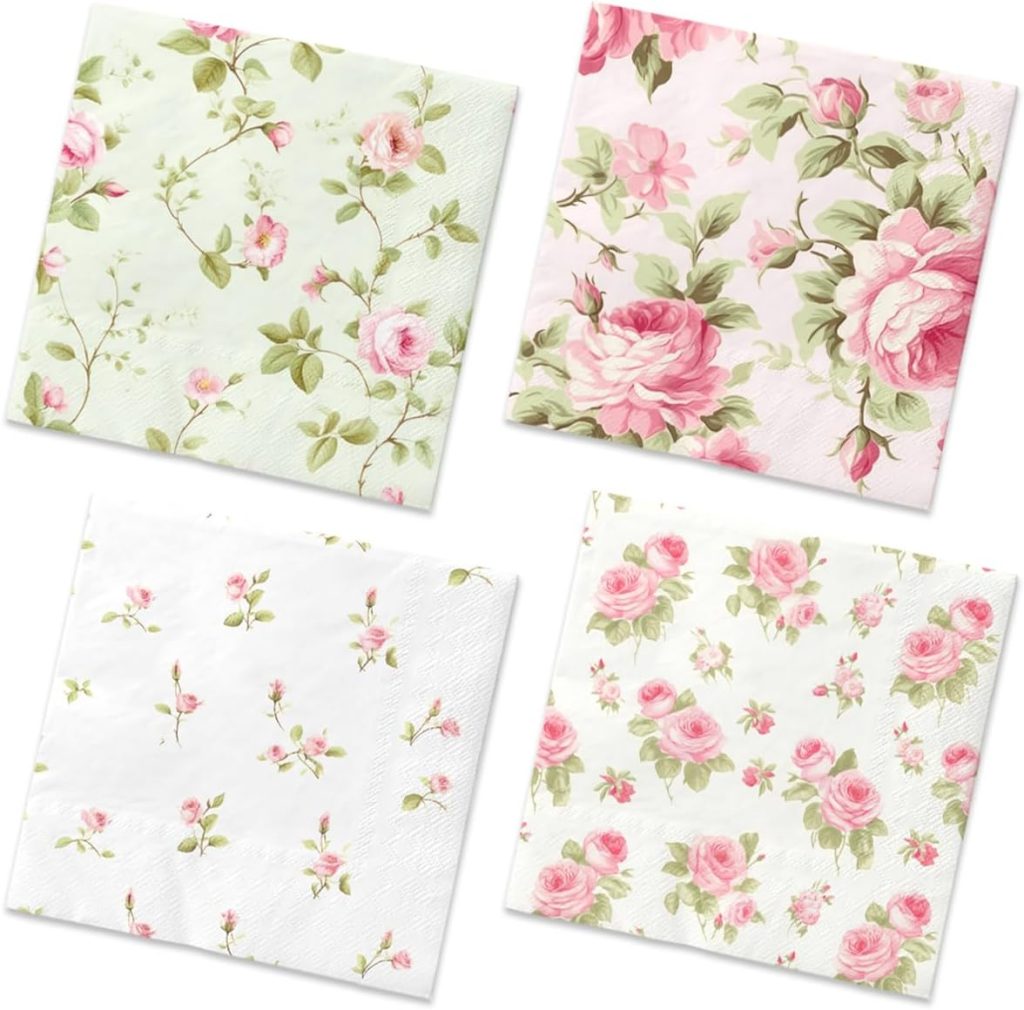
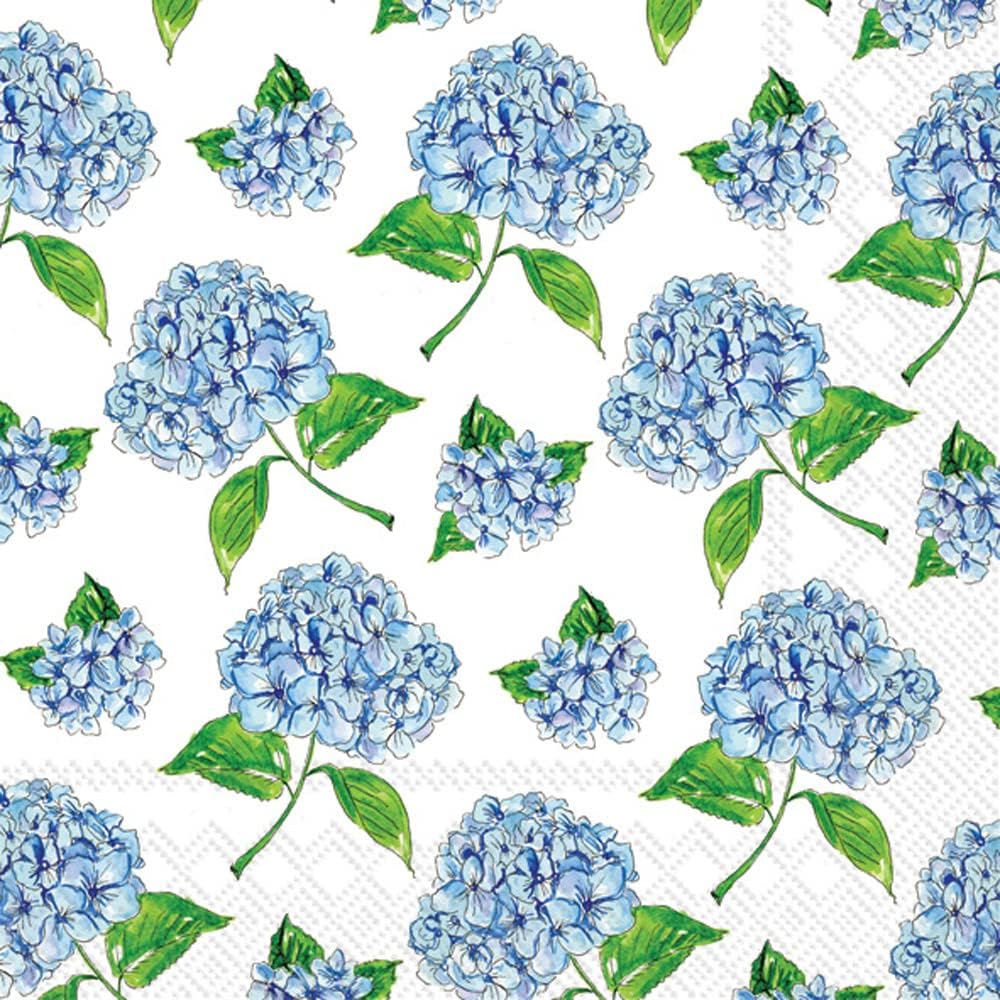
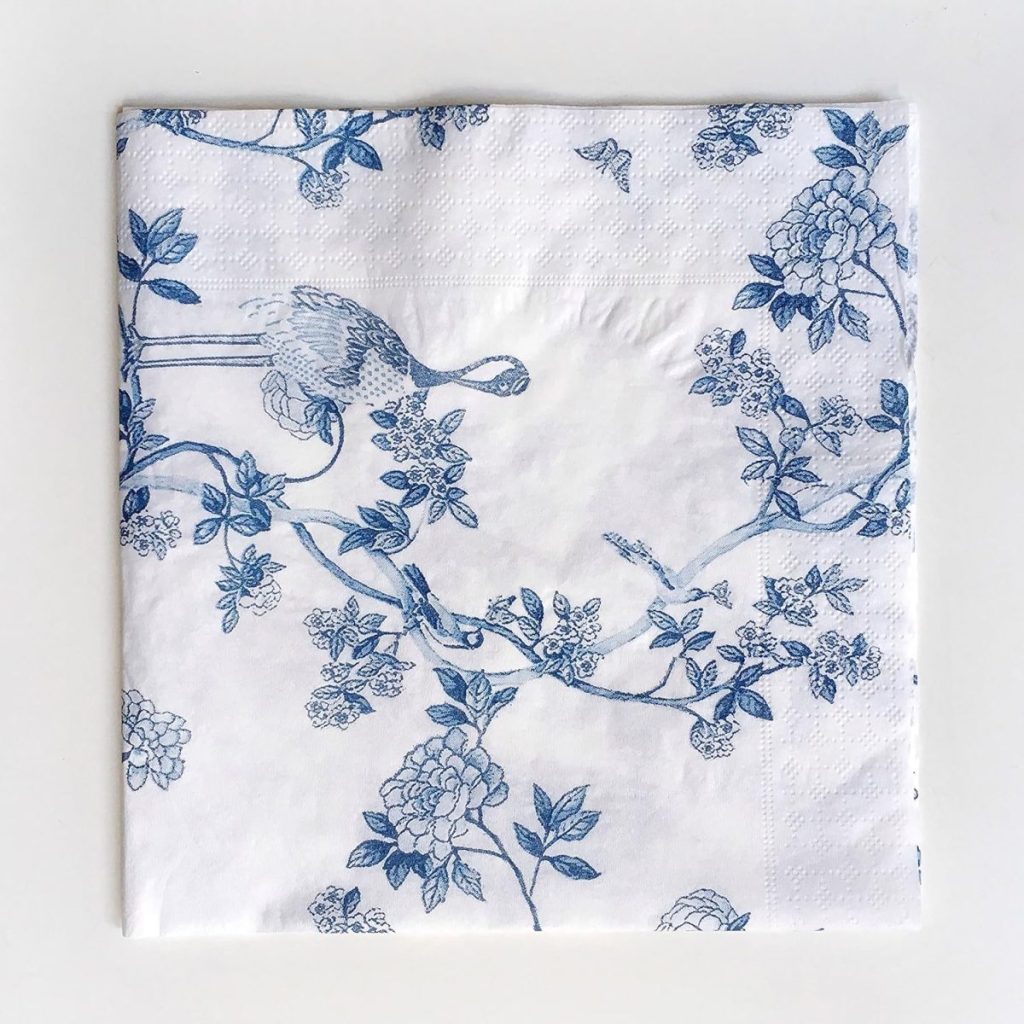
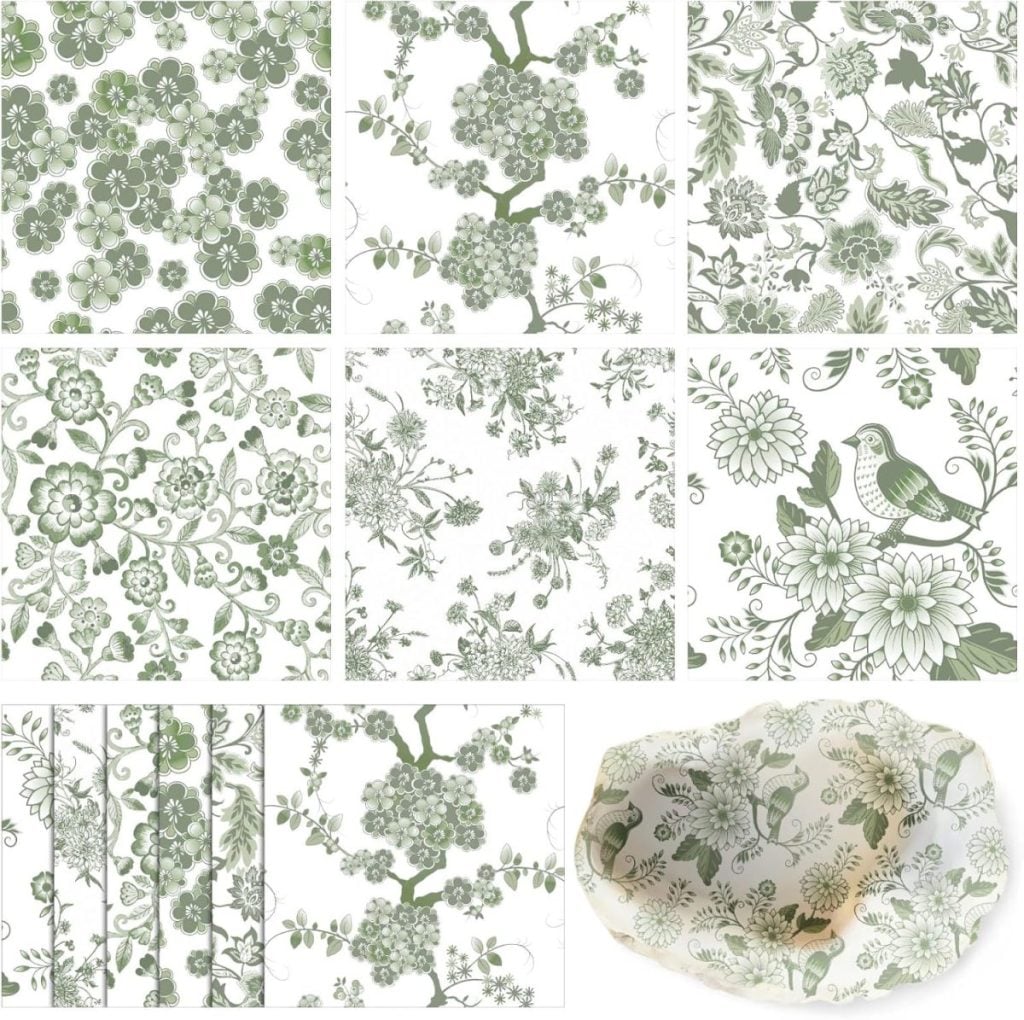
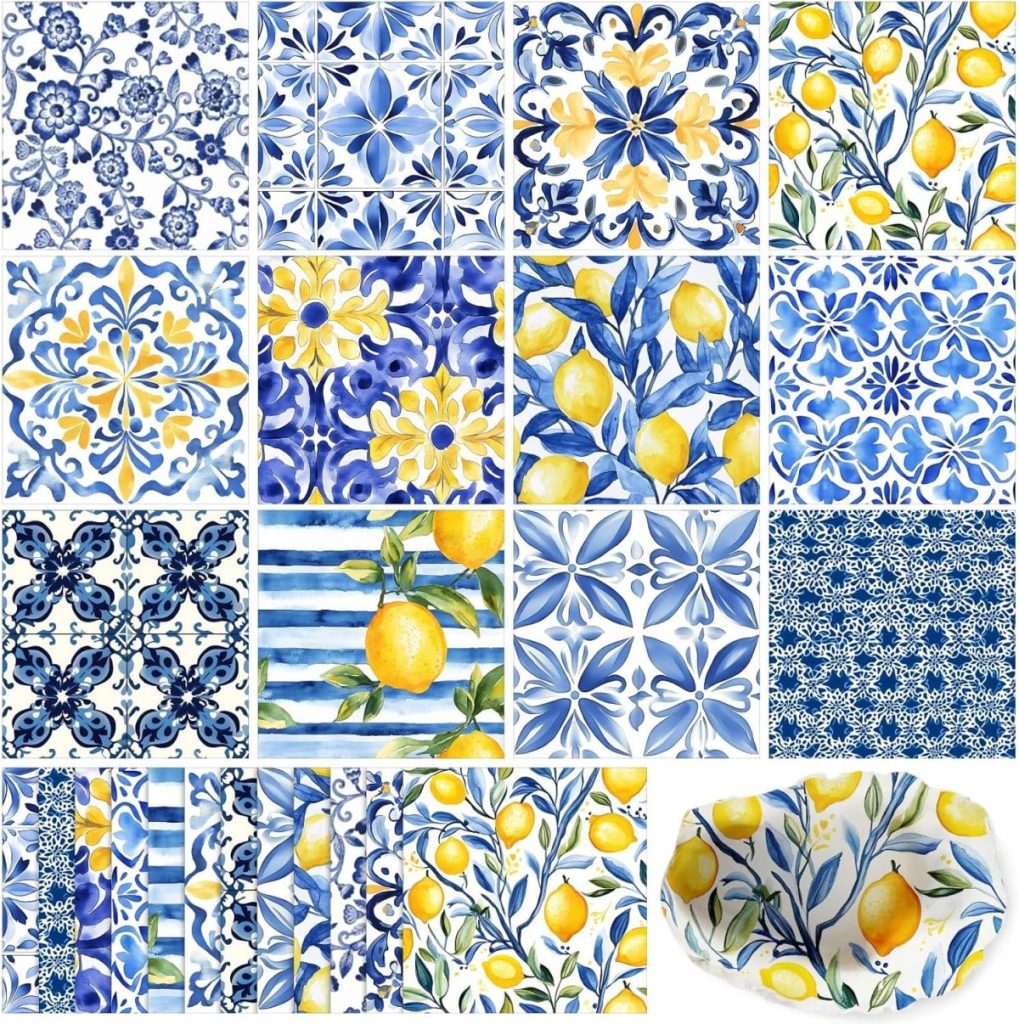
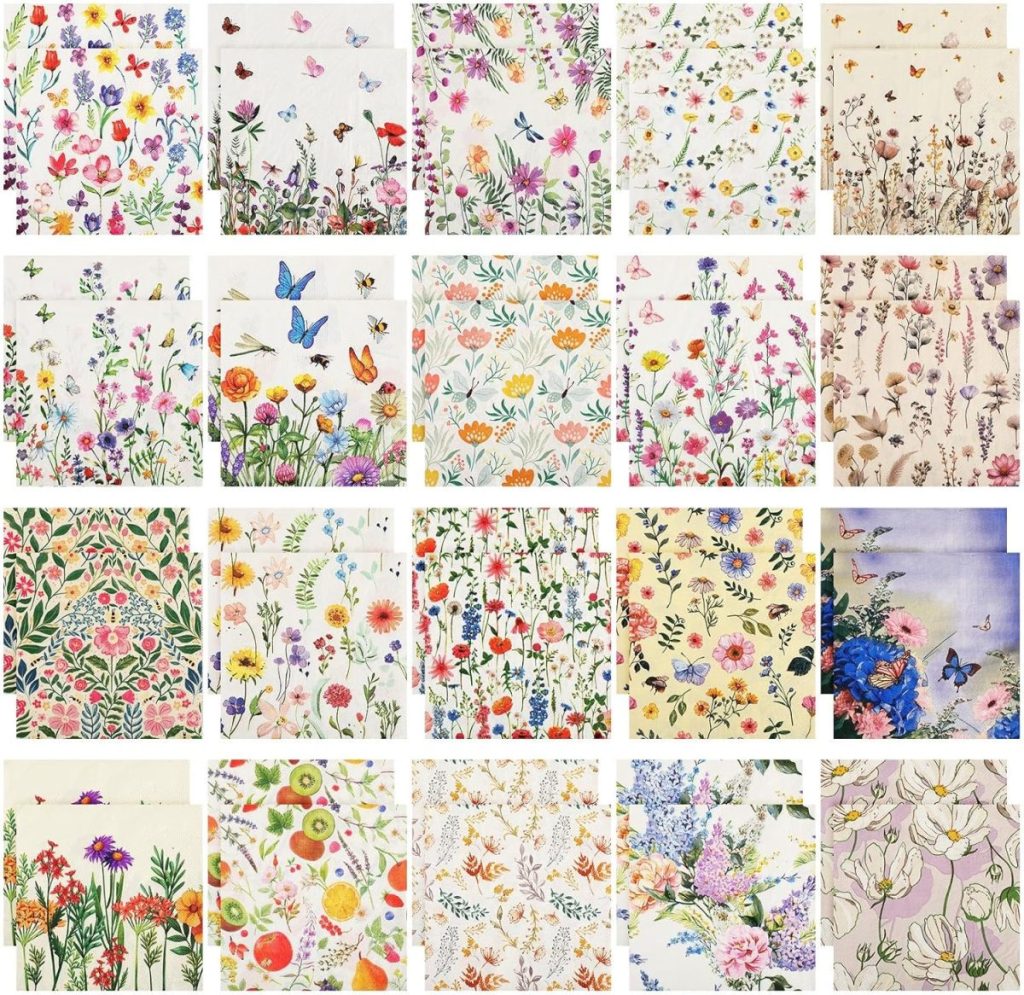
- Paper napkins for decoupage
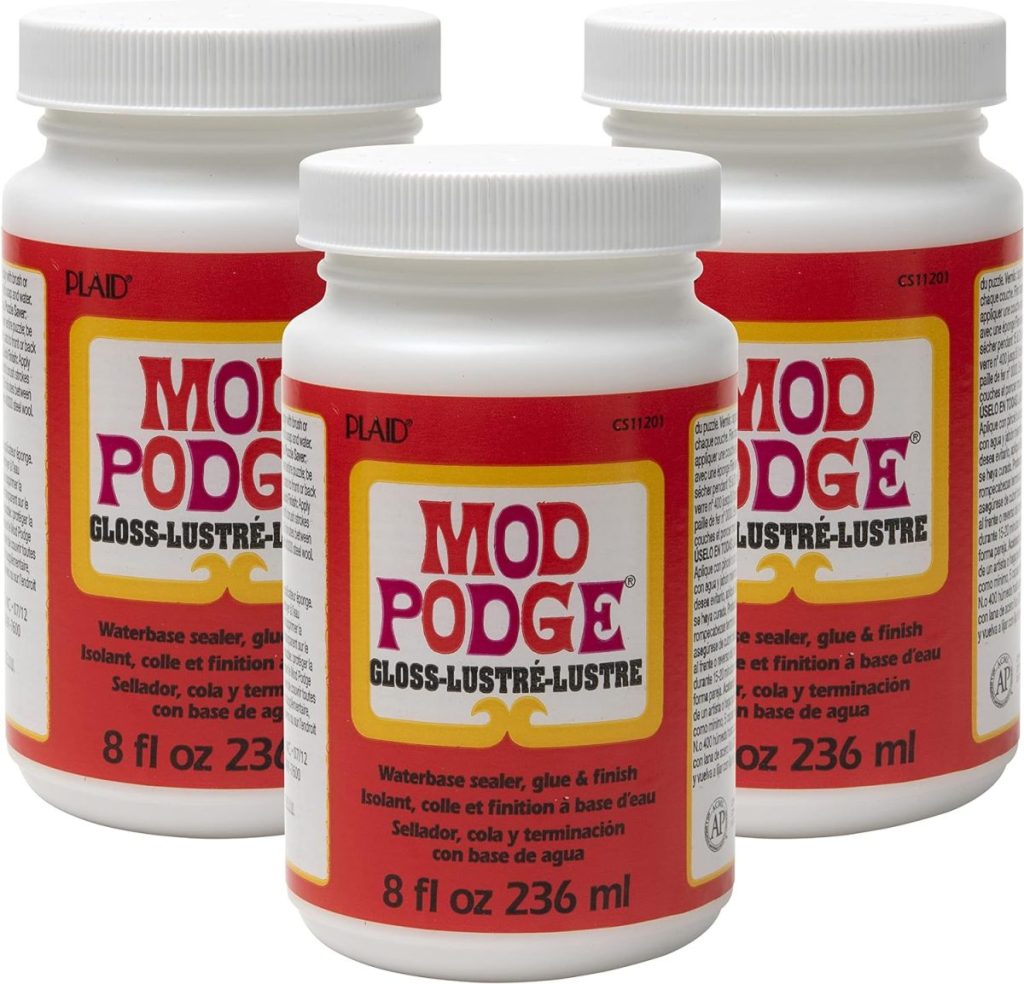
- Mod Podge
- Clay Glaze sealer
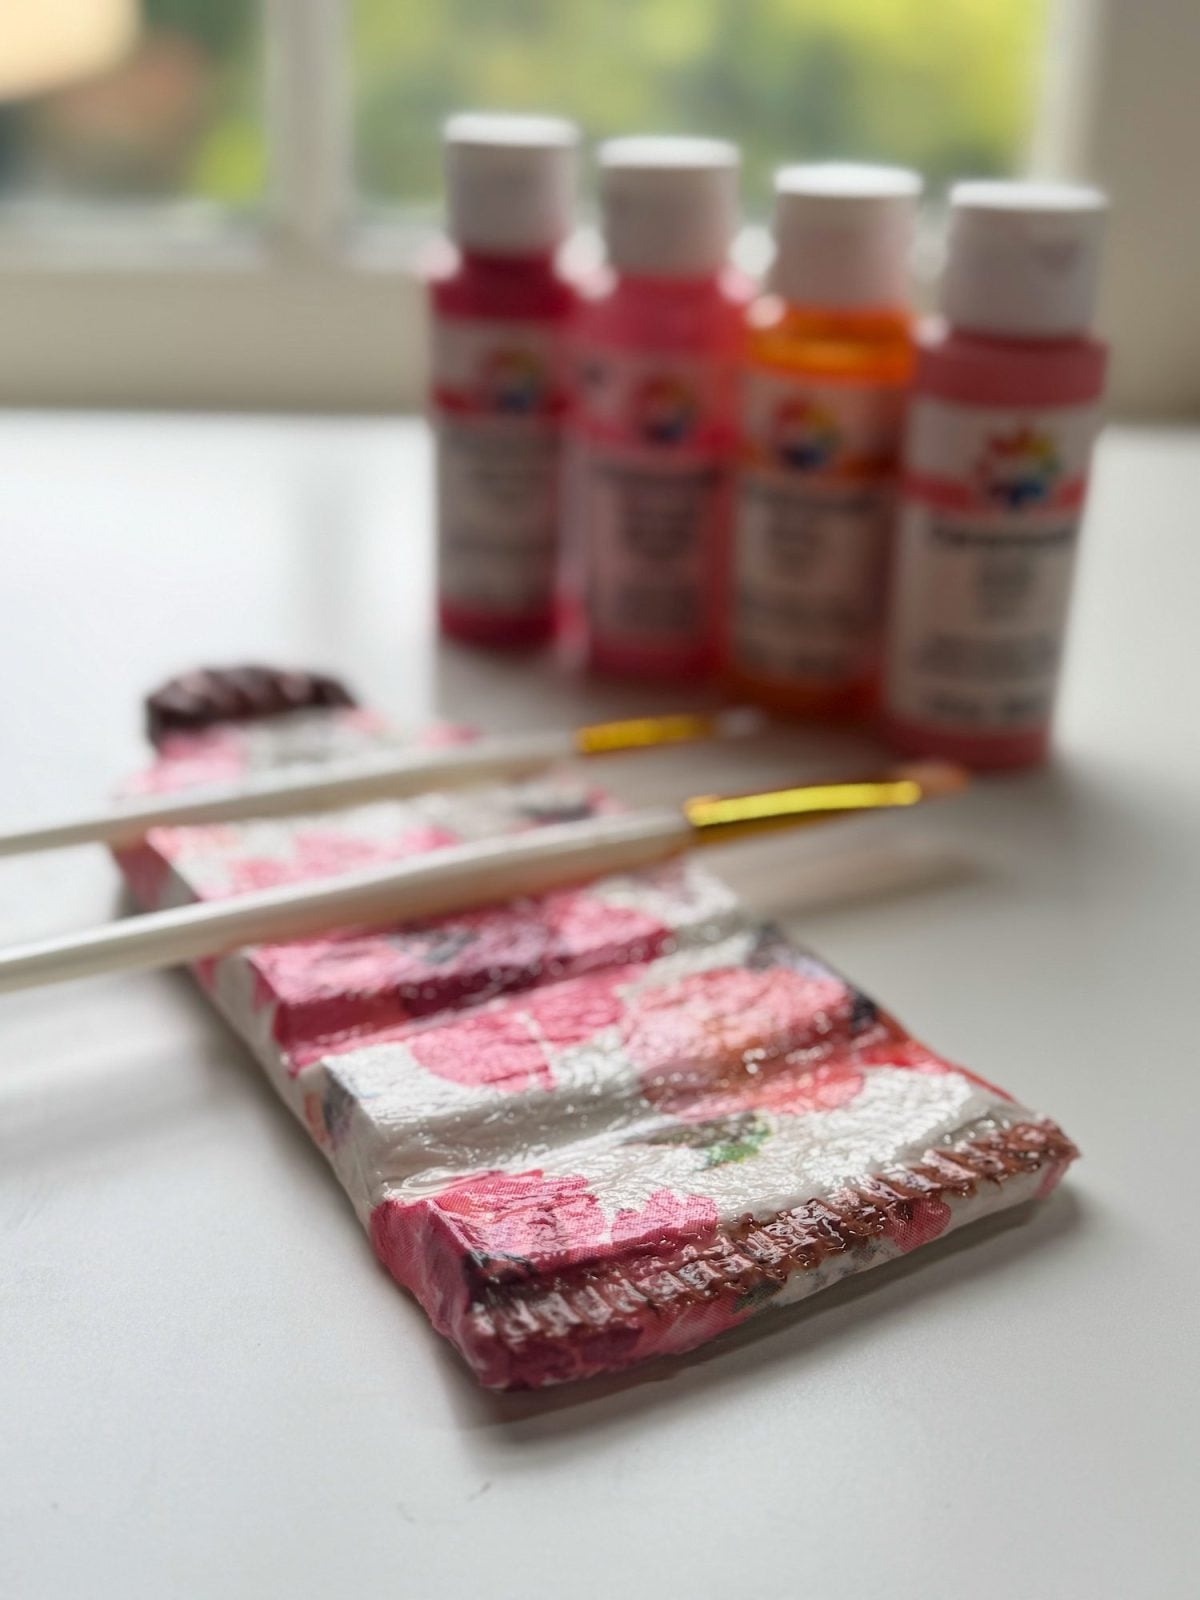
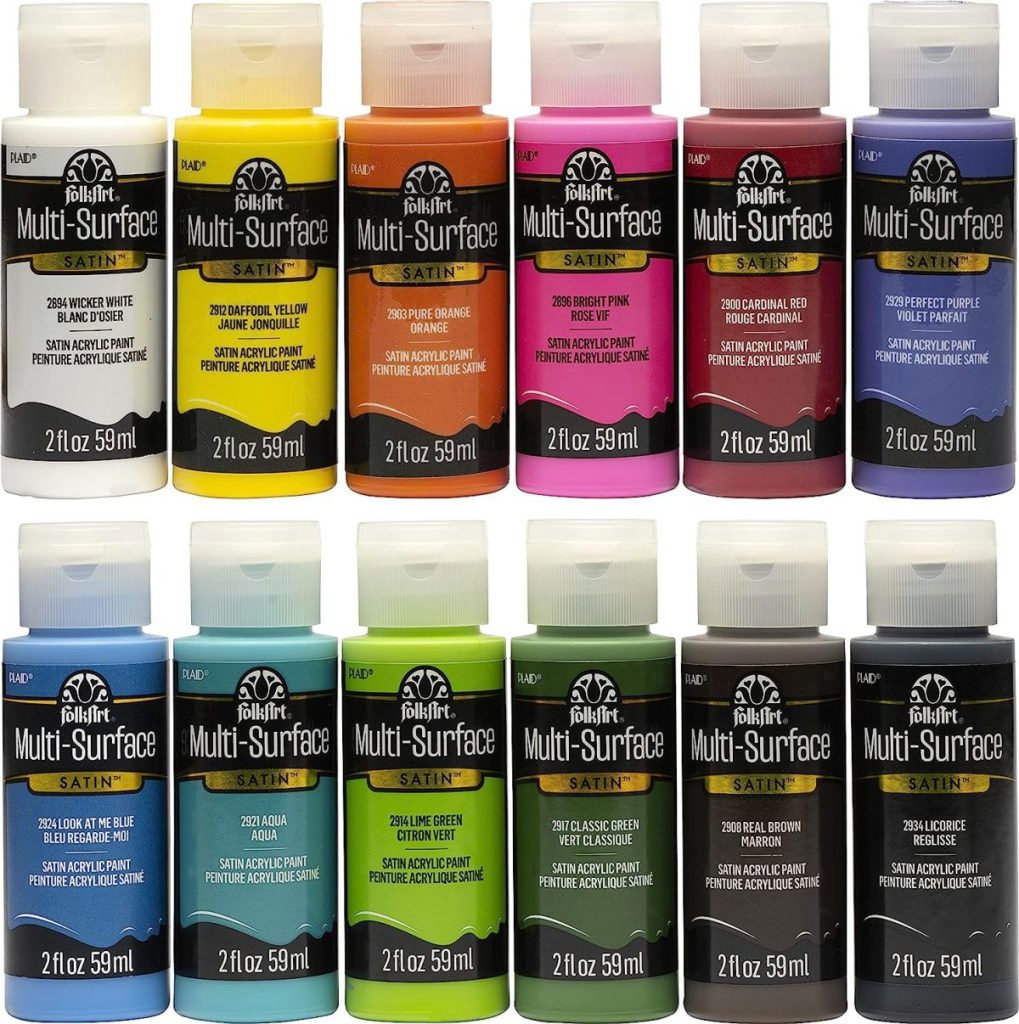
- Acrylic paint
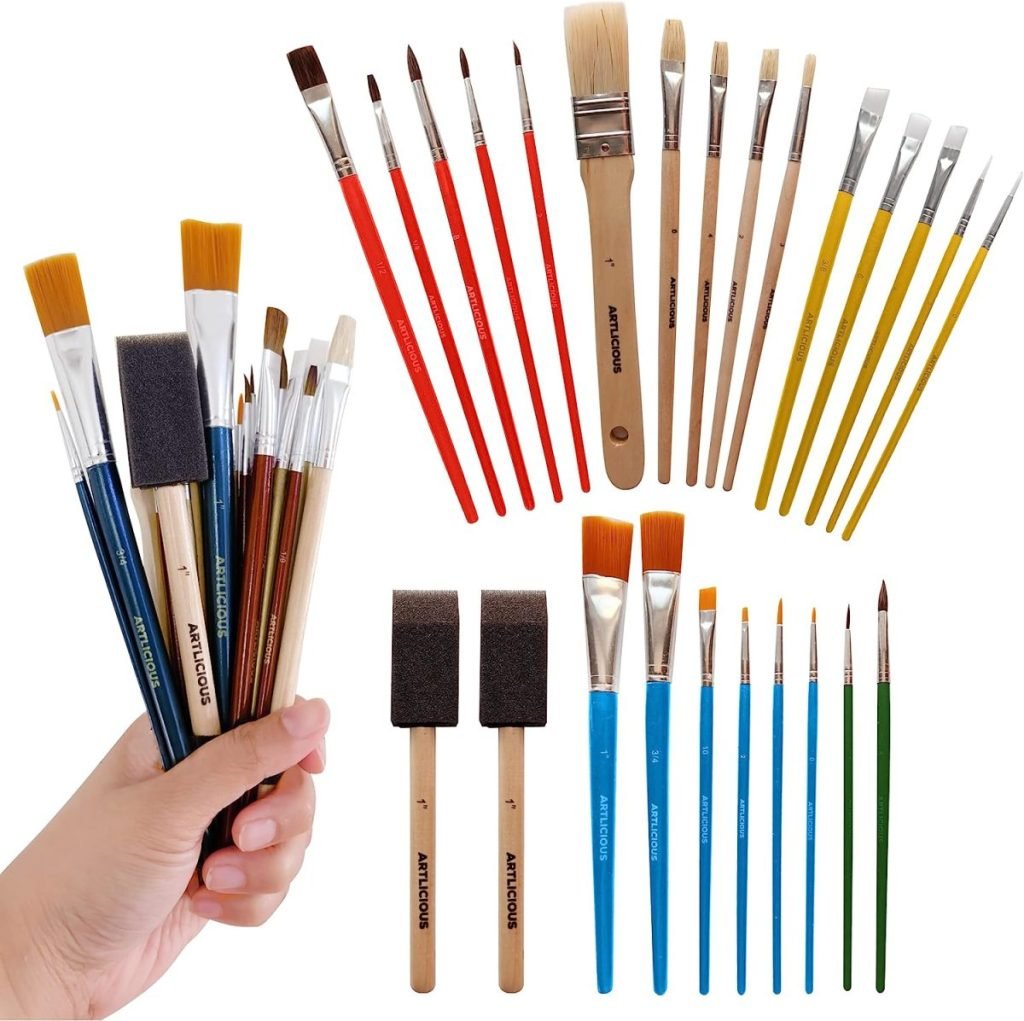
- Paintbrush
- Water
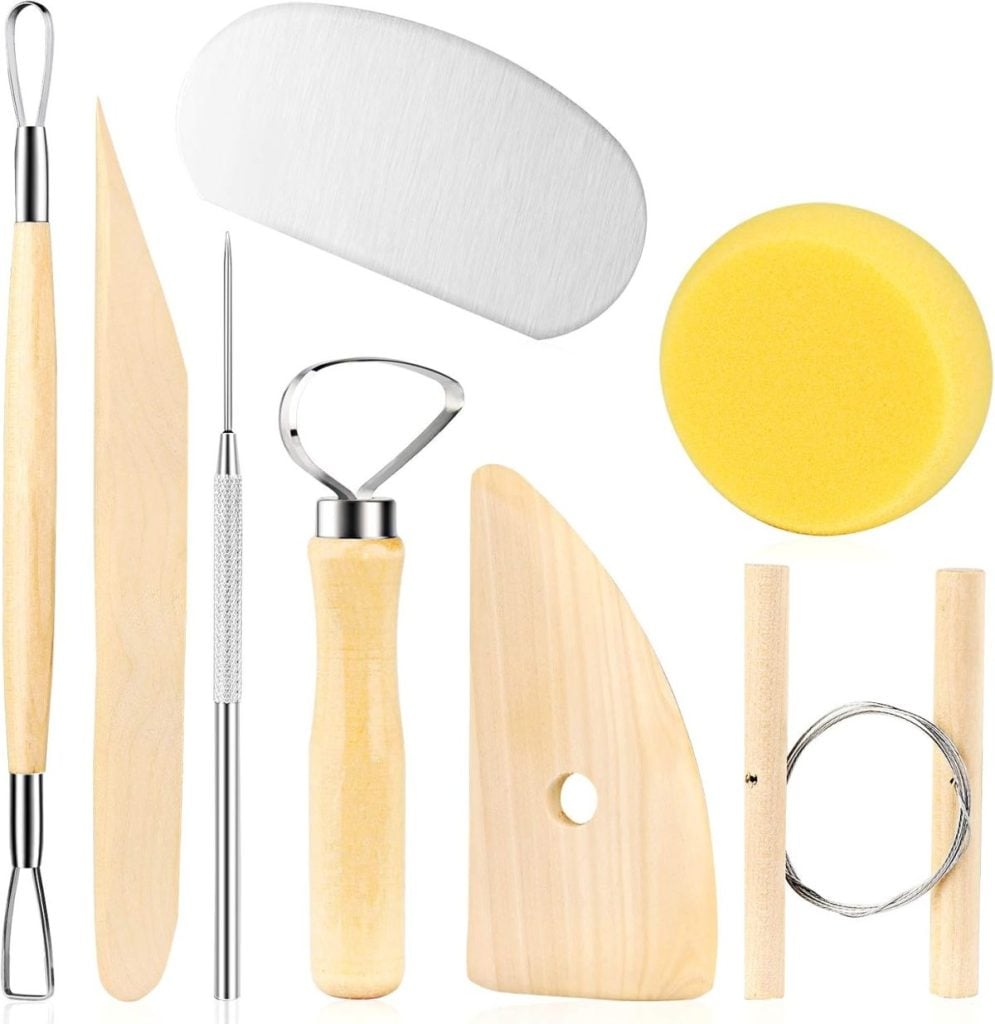
- Knife or clay cutting tool
I may use affiliate links on this blog, which means I earn a small commission if you make a purchase through them. The price will be the same whether you use the affiliate link or go directly to the vendor’s website using a non-affiliate link.


That is it. No kiln, no complicated tools, and no special equipment required.
The napkin choices are endless!

How I Made My Brush Holders
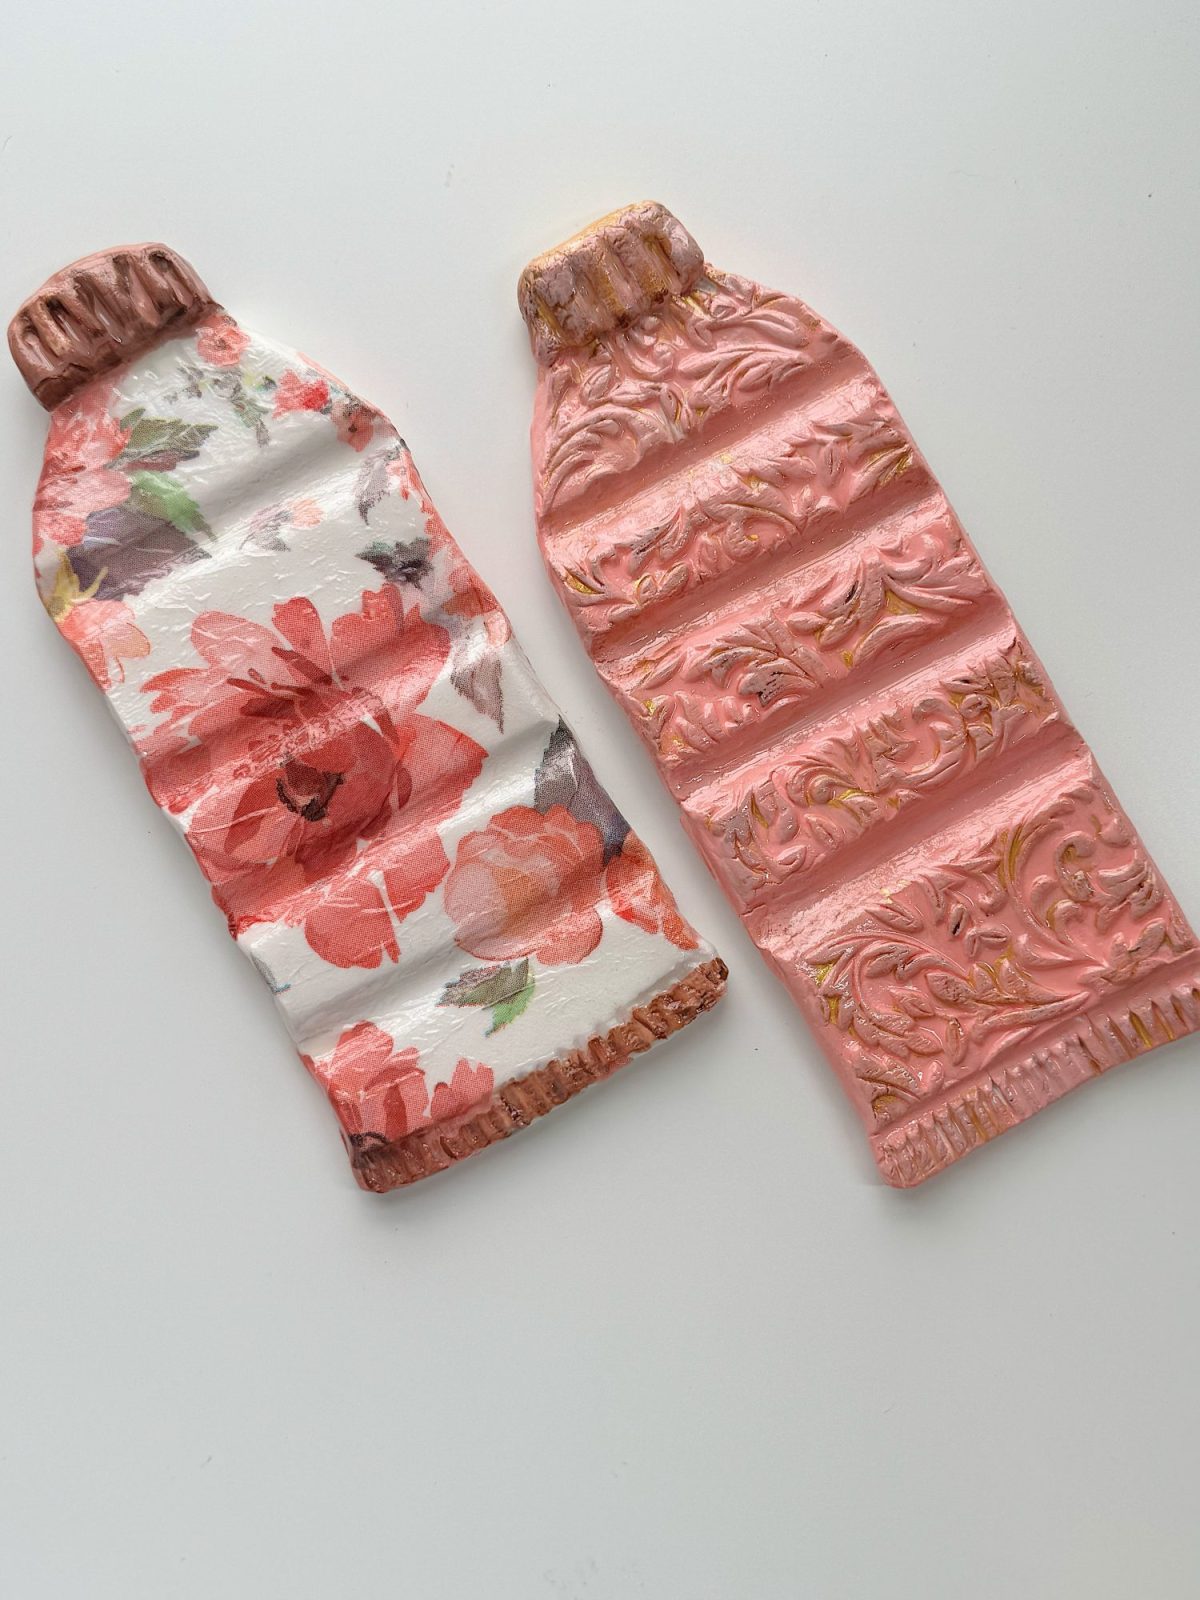
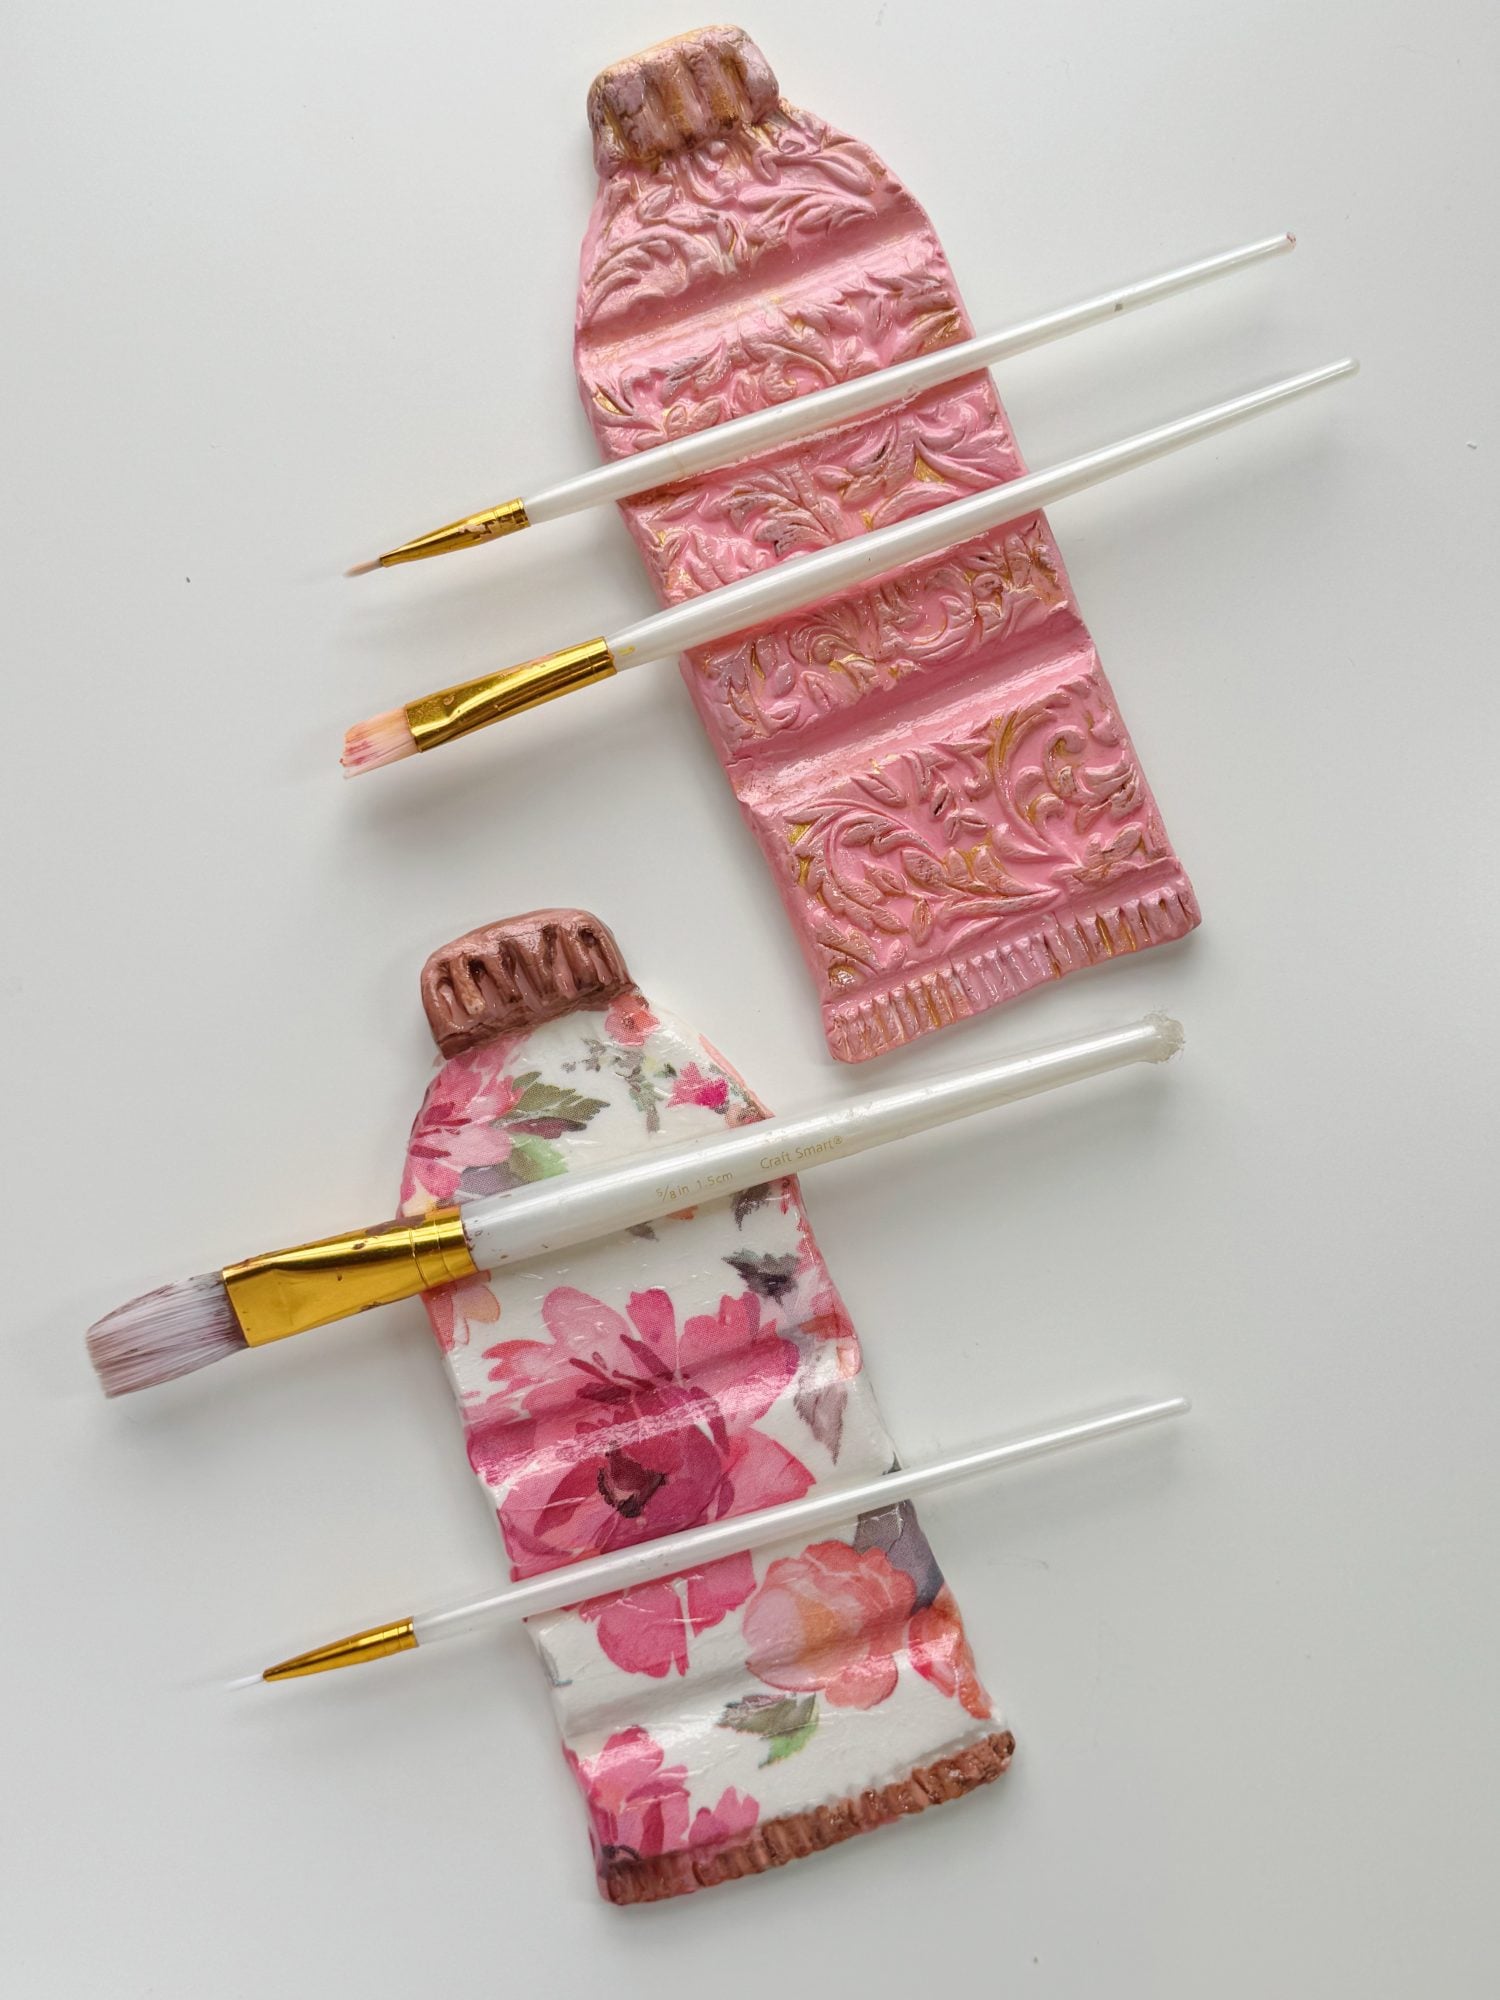
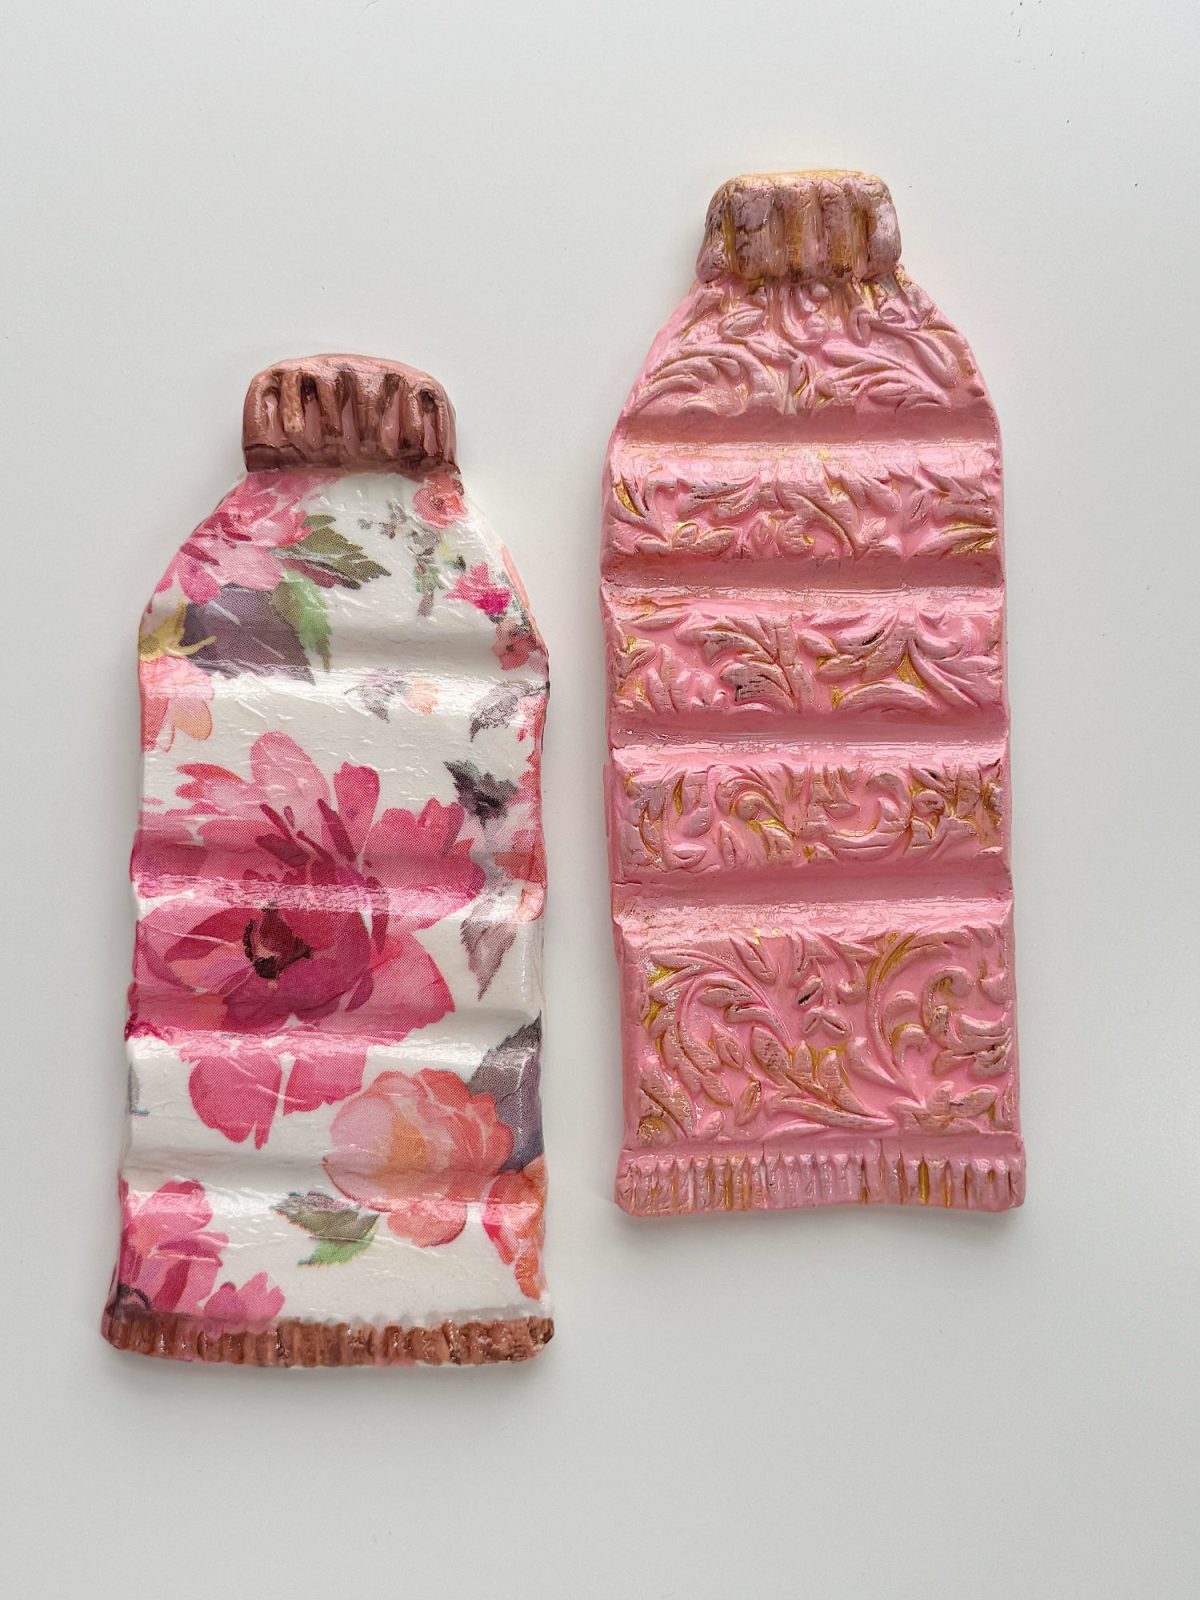
I made two different styles, and I love them both for completely different reasons.

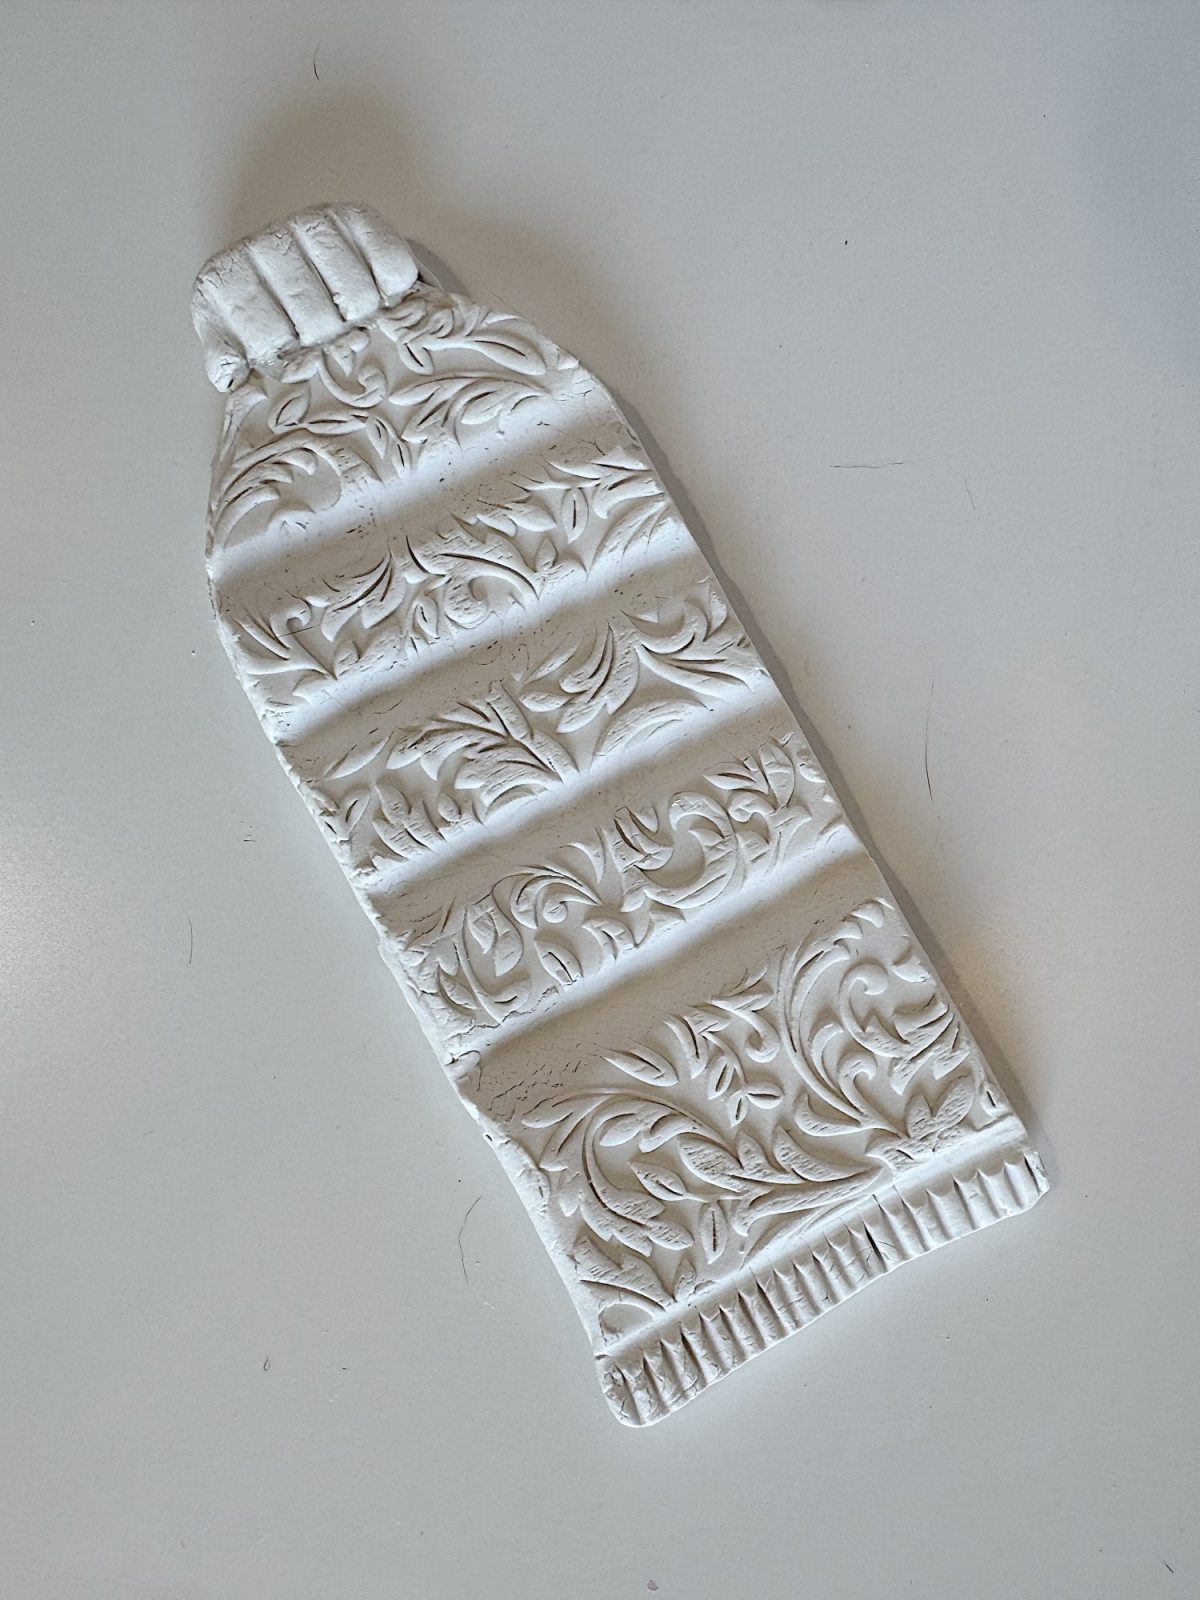
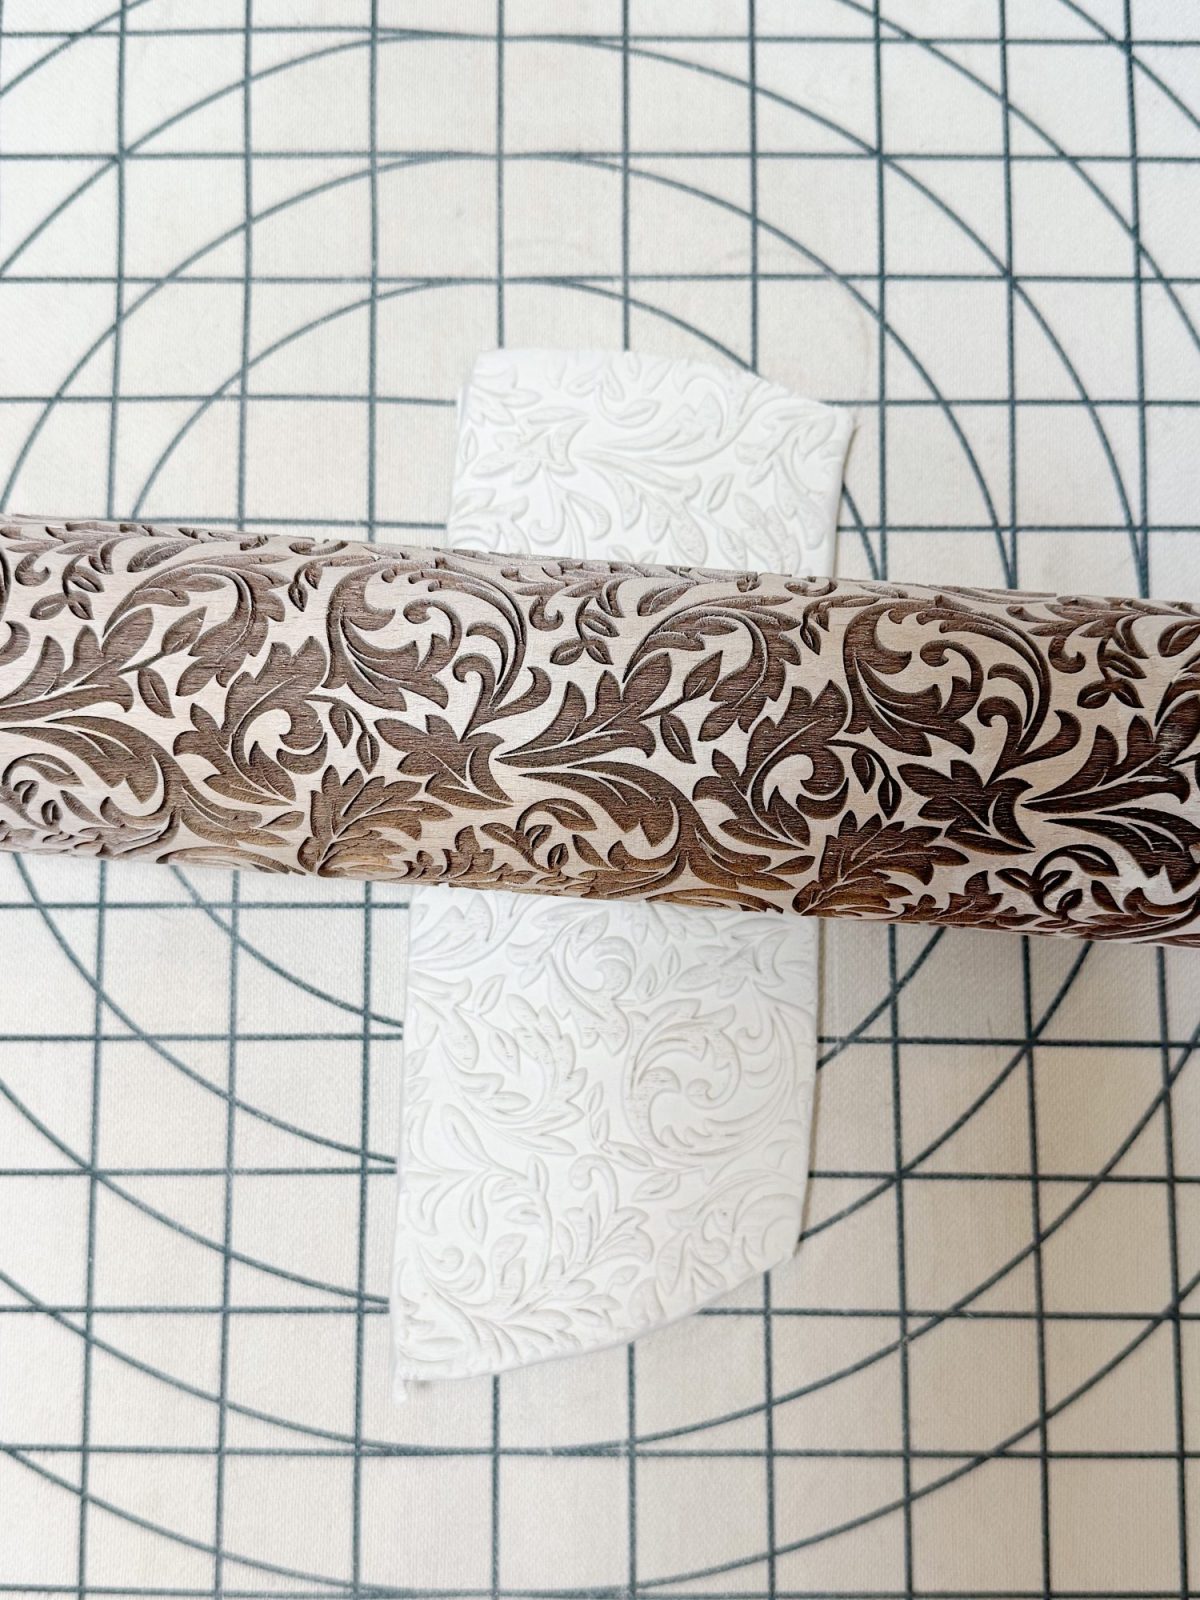
The first one was created using a textured roller. After rolling out the clay to an even thickness, I rolled the textured tool across the surface to create a raised pattern.
This is one of my favorite techniques because it adds dimension and interest without requiring any painting or additional steps later.
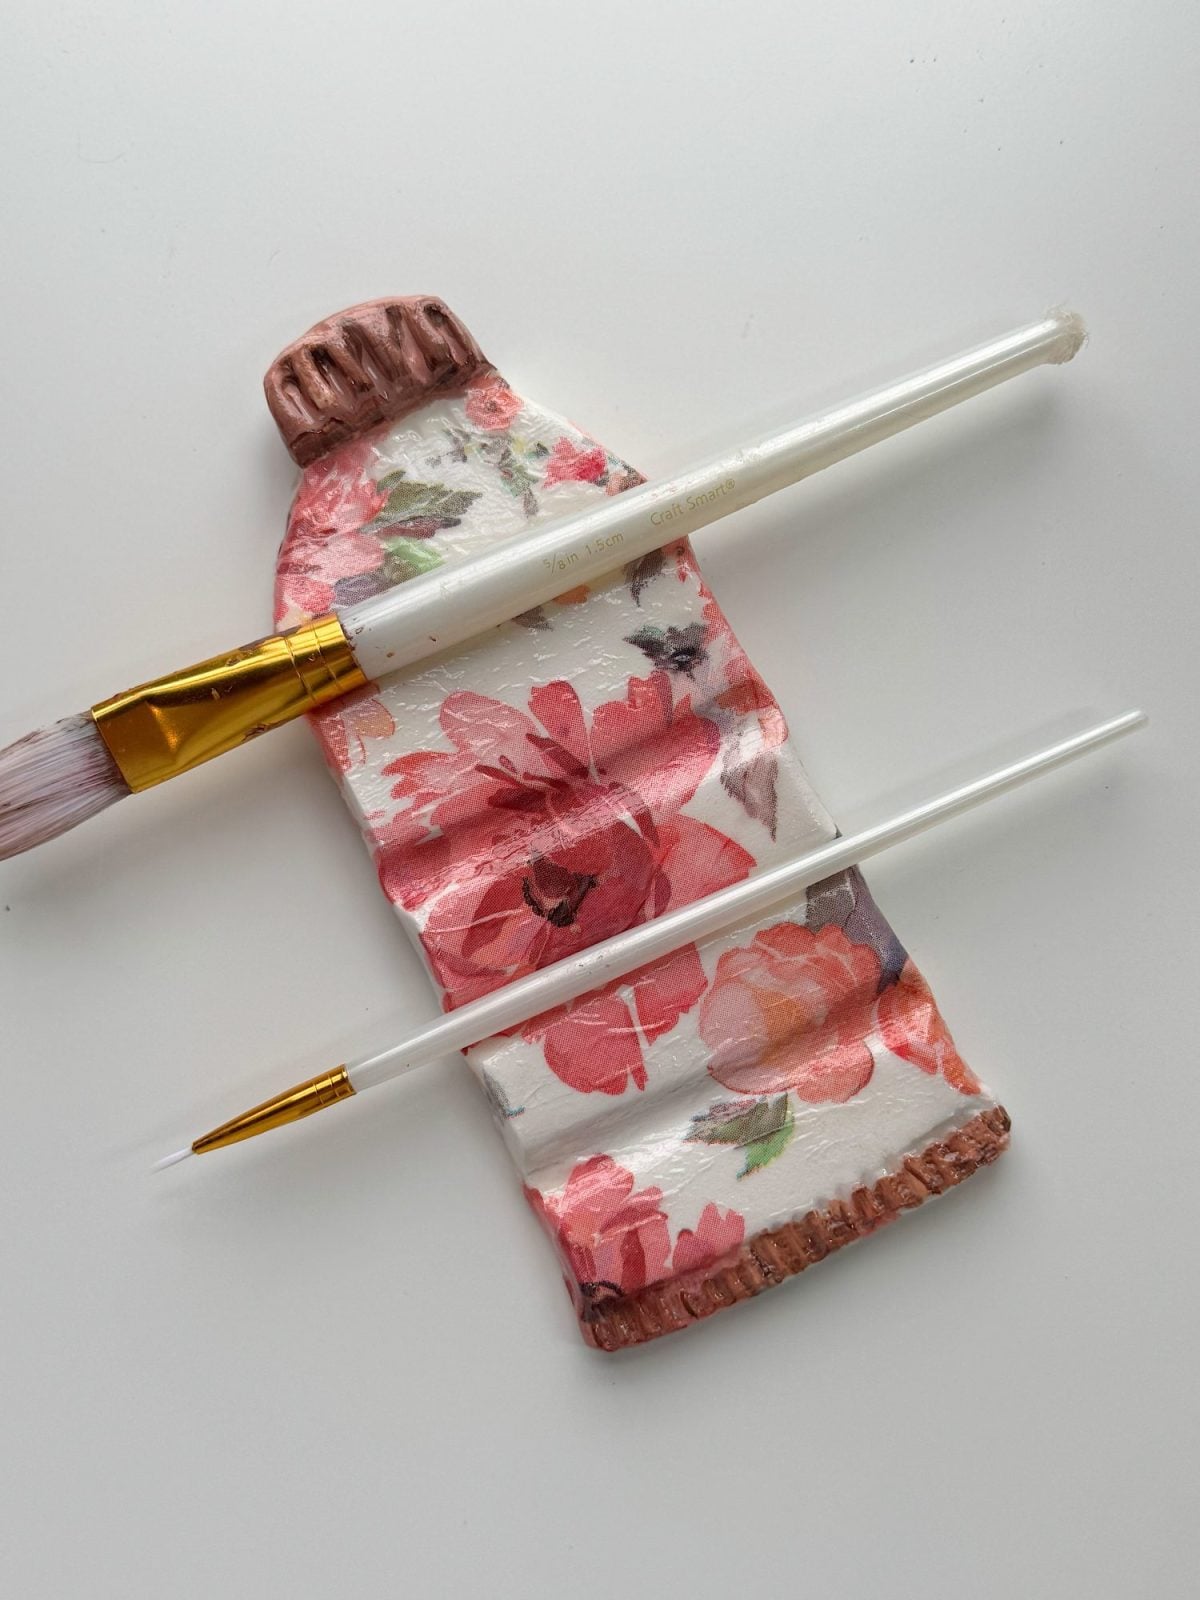
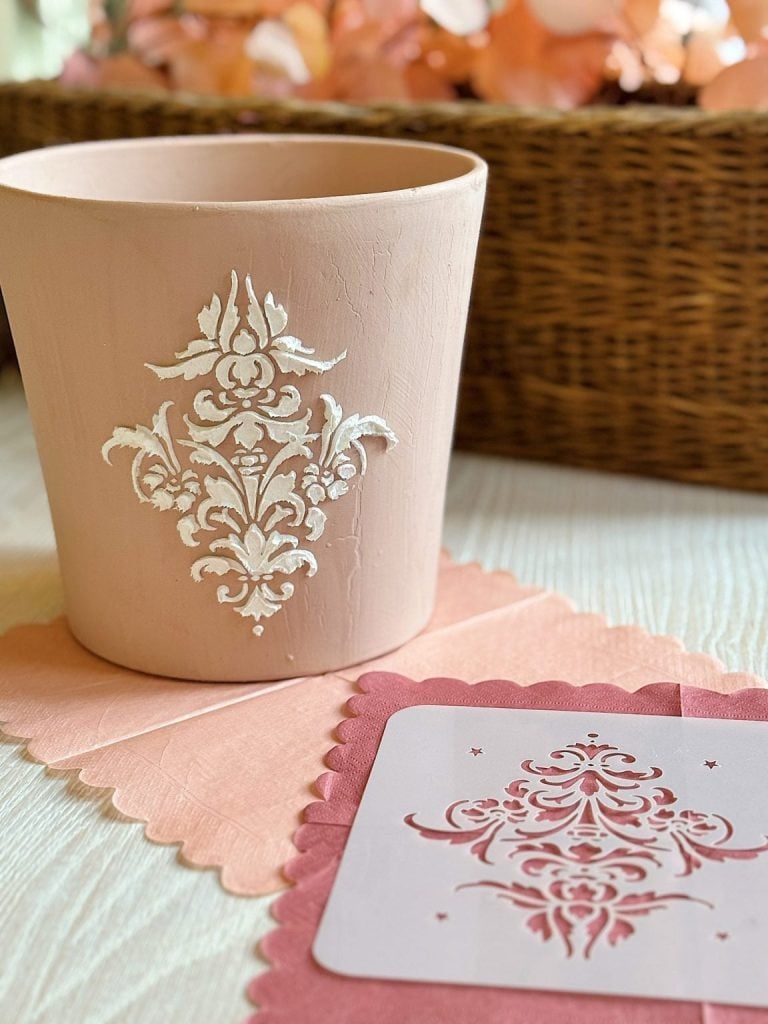
The second brush holder was made using a paper napkin design. If you have followed me for a while, you know how much I love decoupage with paper napkins.
The designs are beautiful, delicate, and incredibly easy to apply.
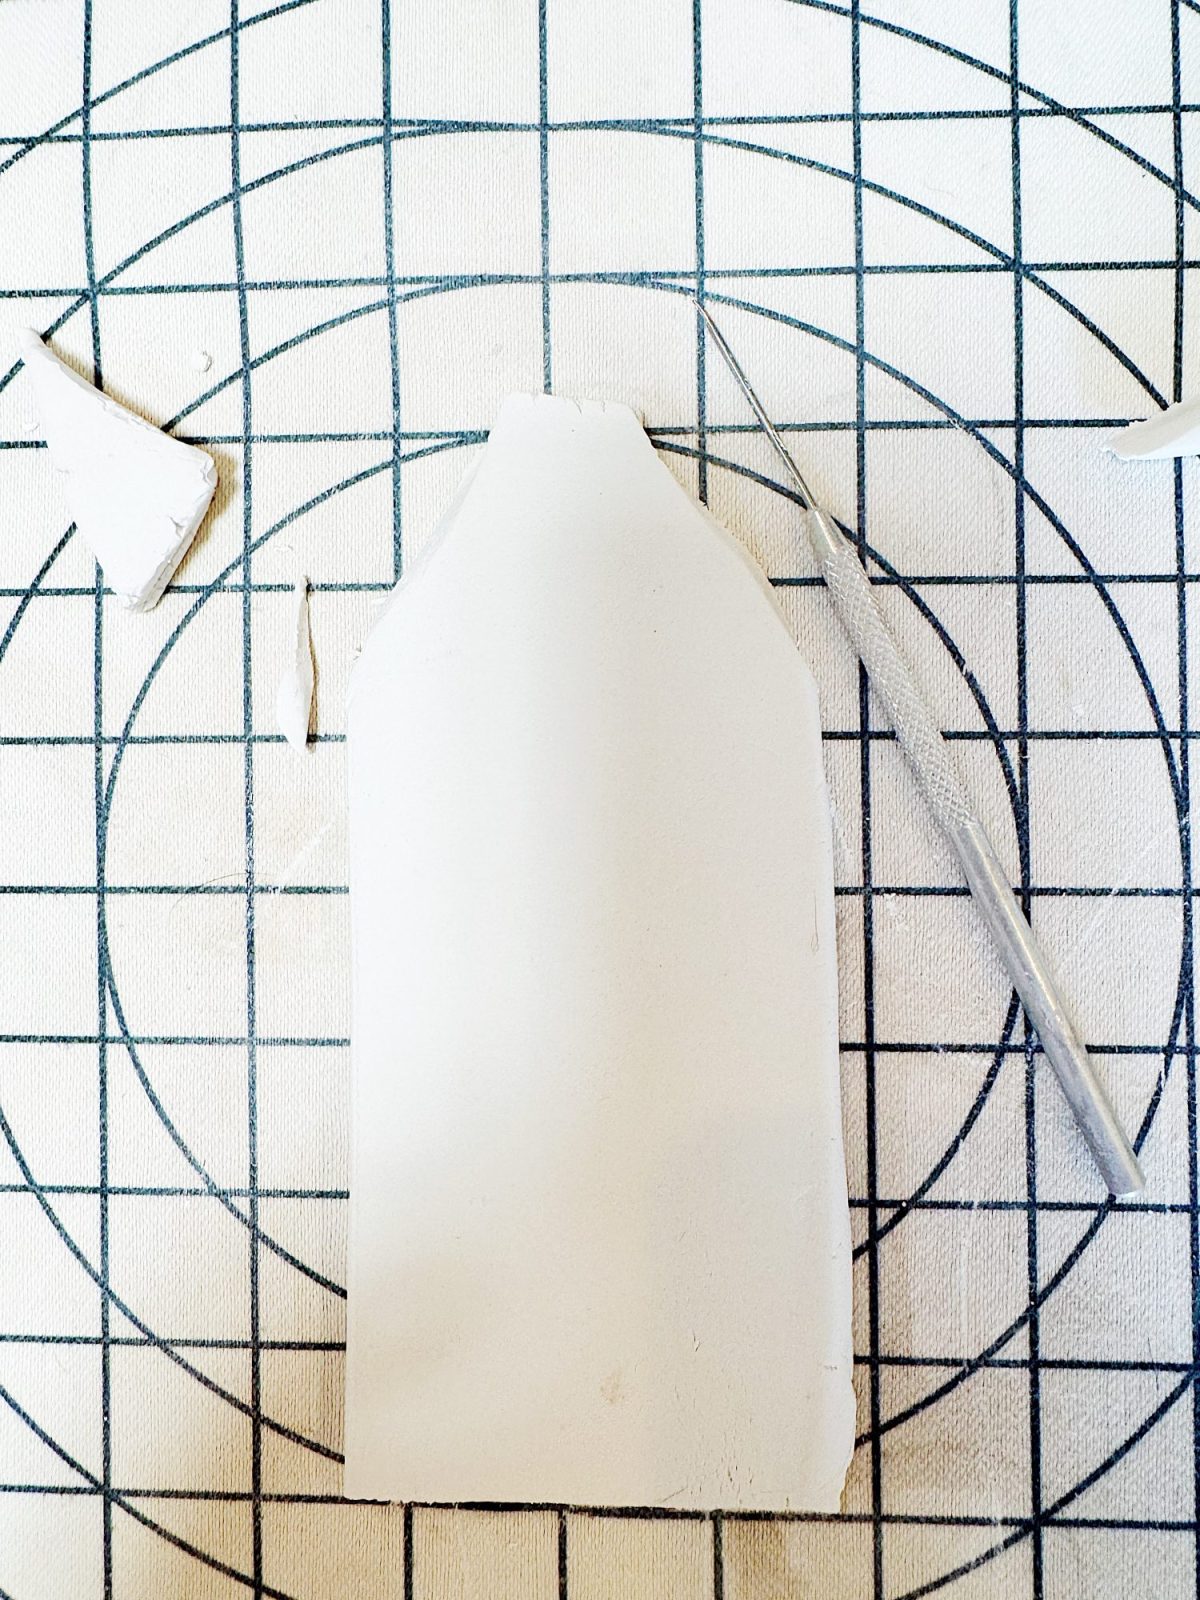
Once the clay was rolled out, I cut the shape of the brush holder. I wanted something that would gently curve and hold the brush in place, so I shaped the clay over a rounded surface to give it that slight lift. This is what creates the functionality of the holder.
How to Make a Clay Brush Holder
Step 1: Roll Out the Clay
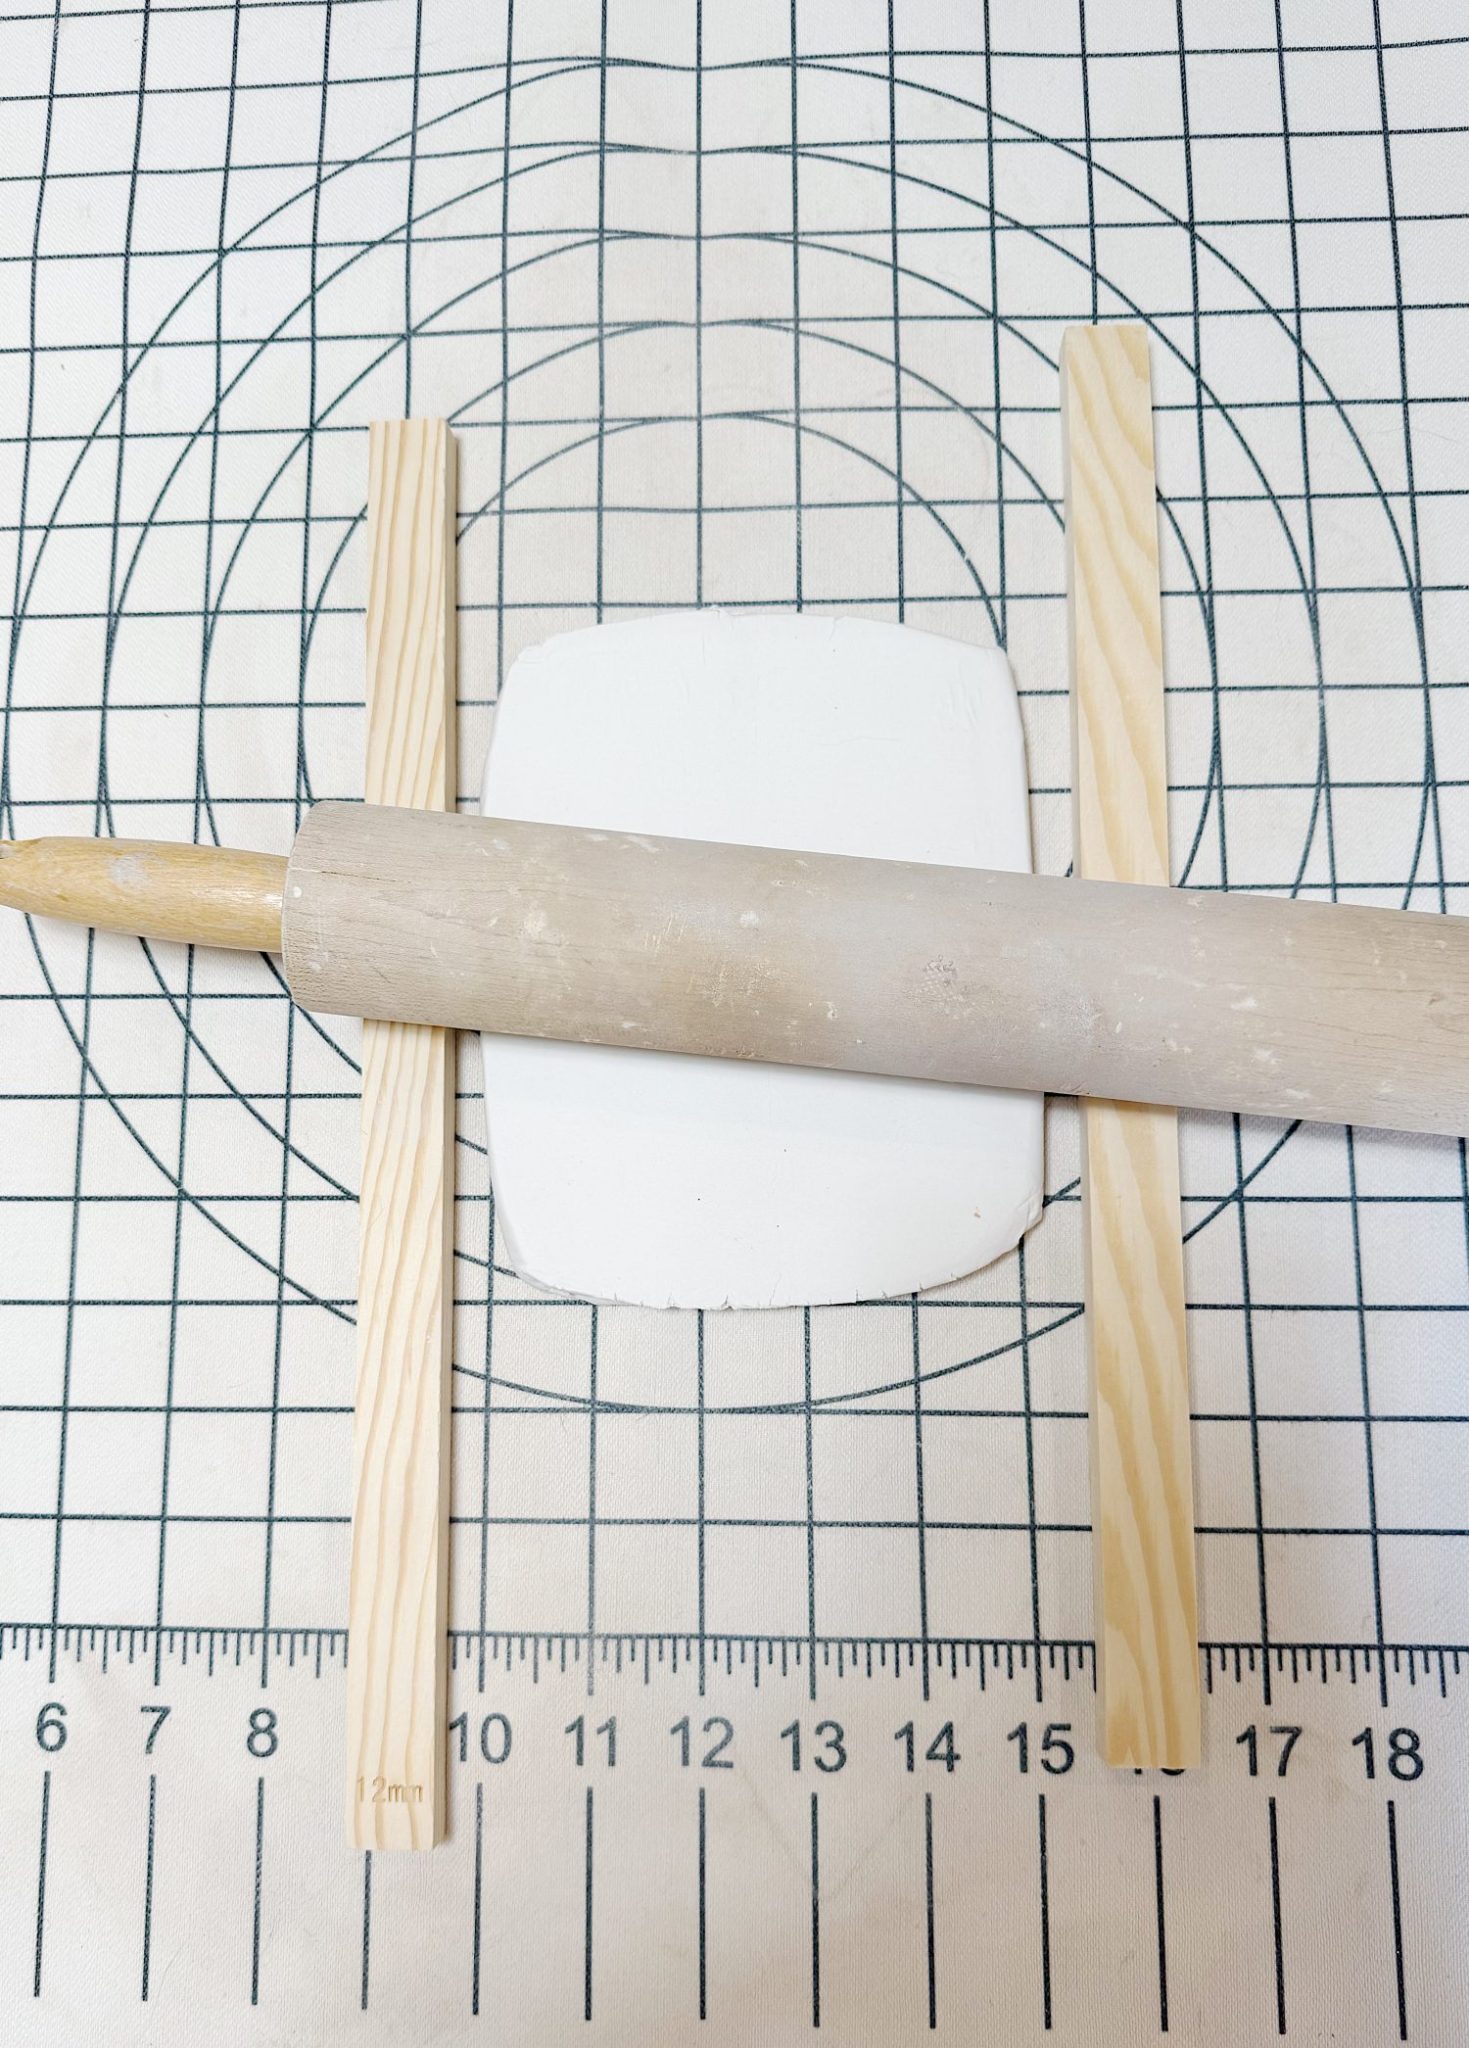
Start with a piece of air-dry clay and roll it out to an even thickness, about 1/4″ thick. Try to keep the surface smooth and even.
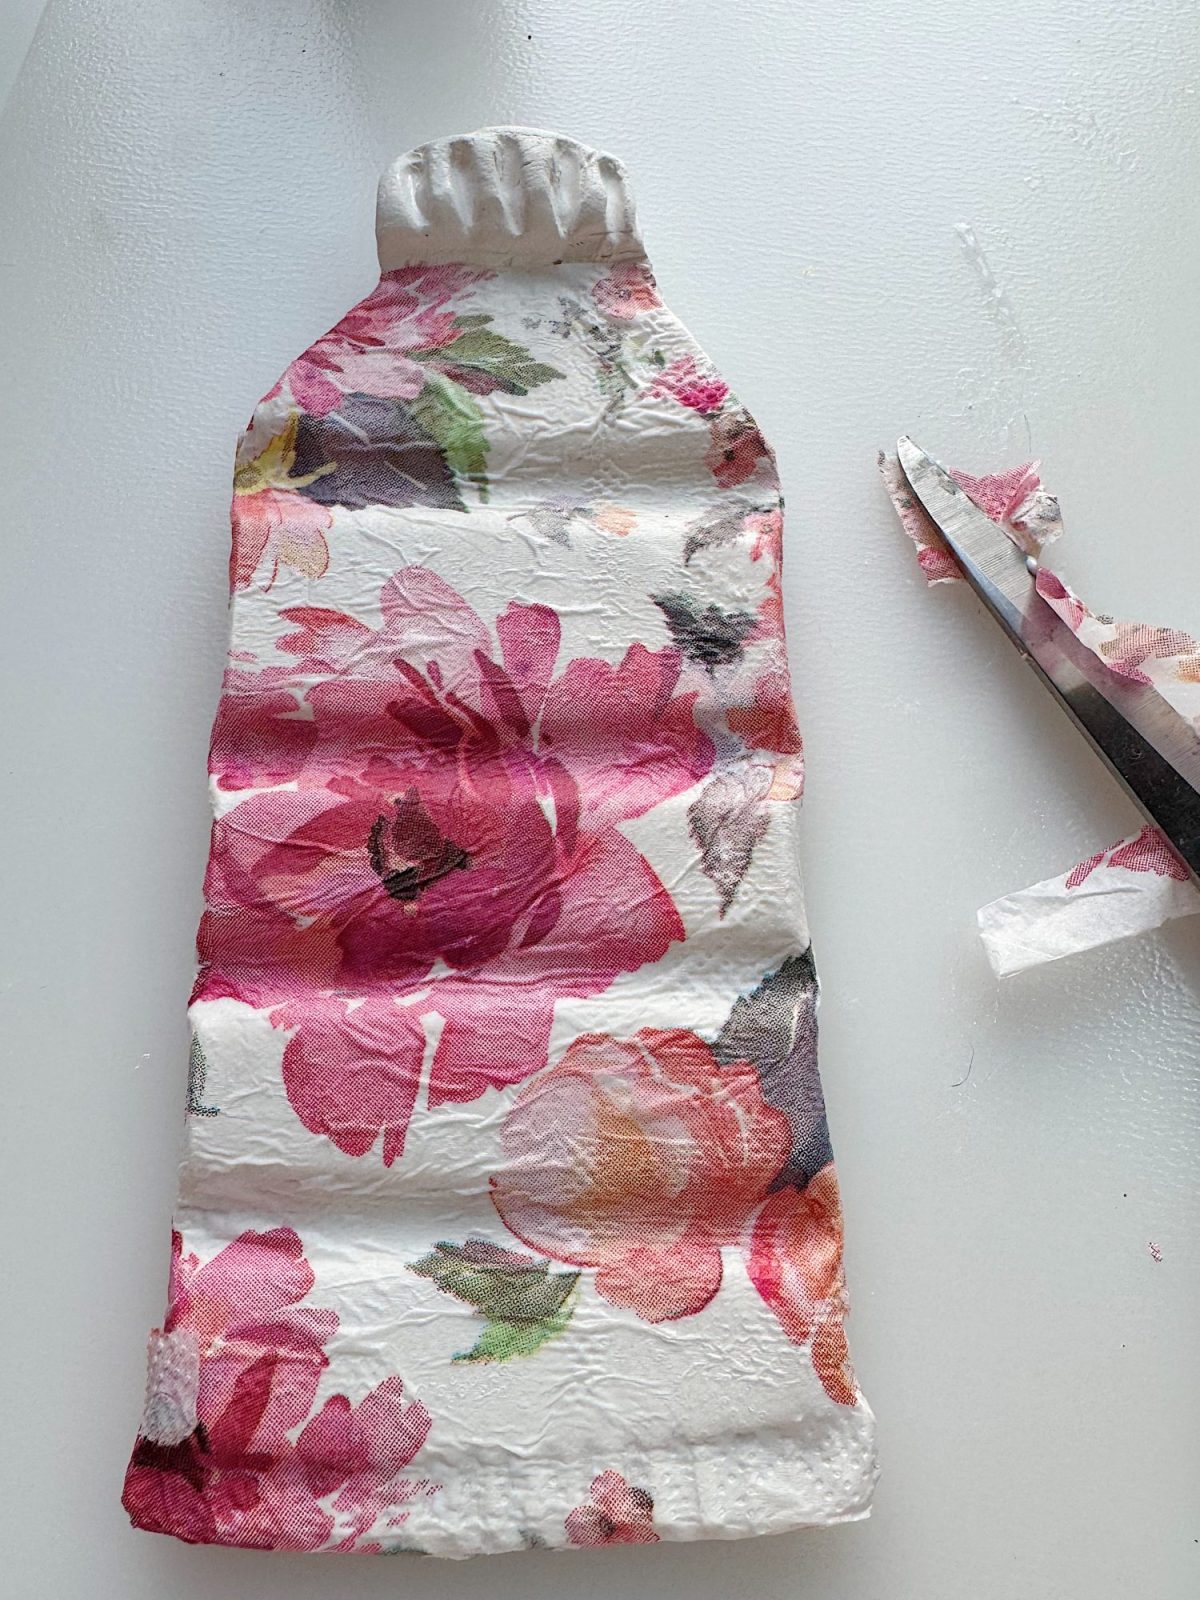
Step 2: Cut the Shape
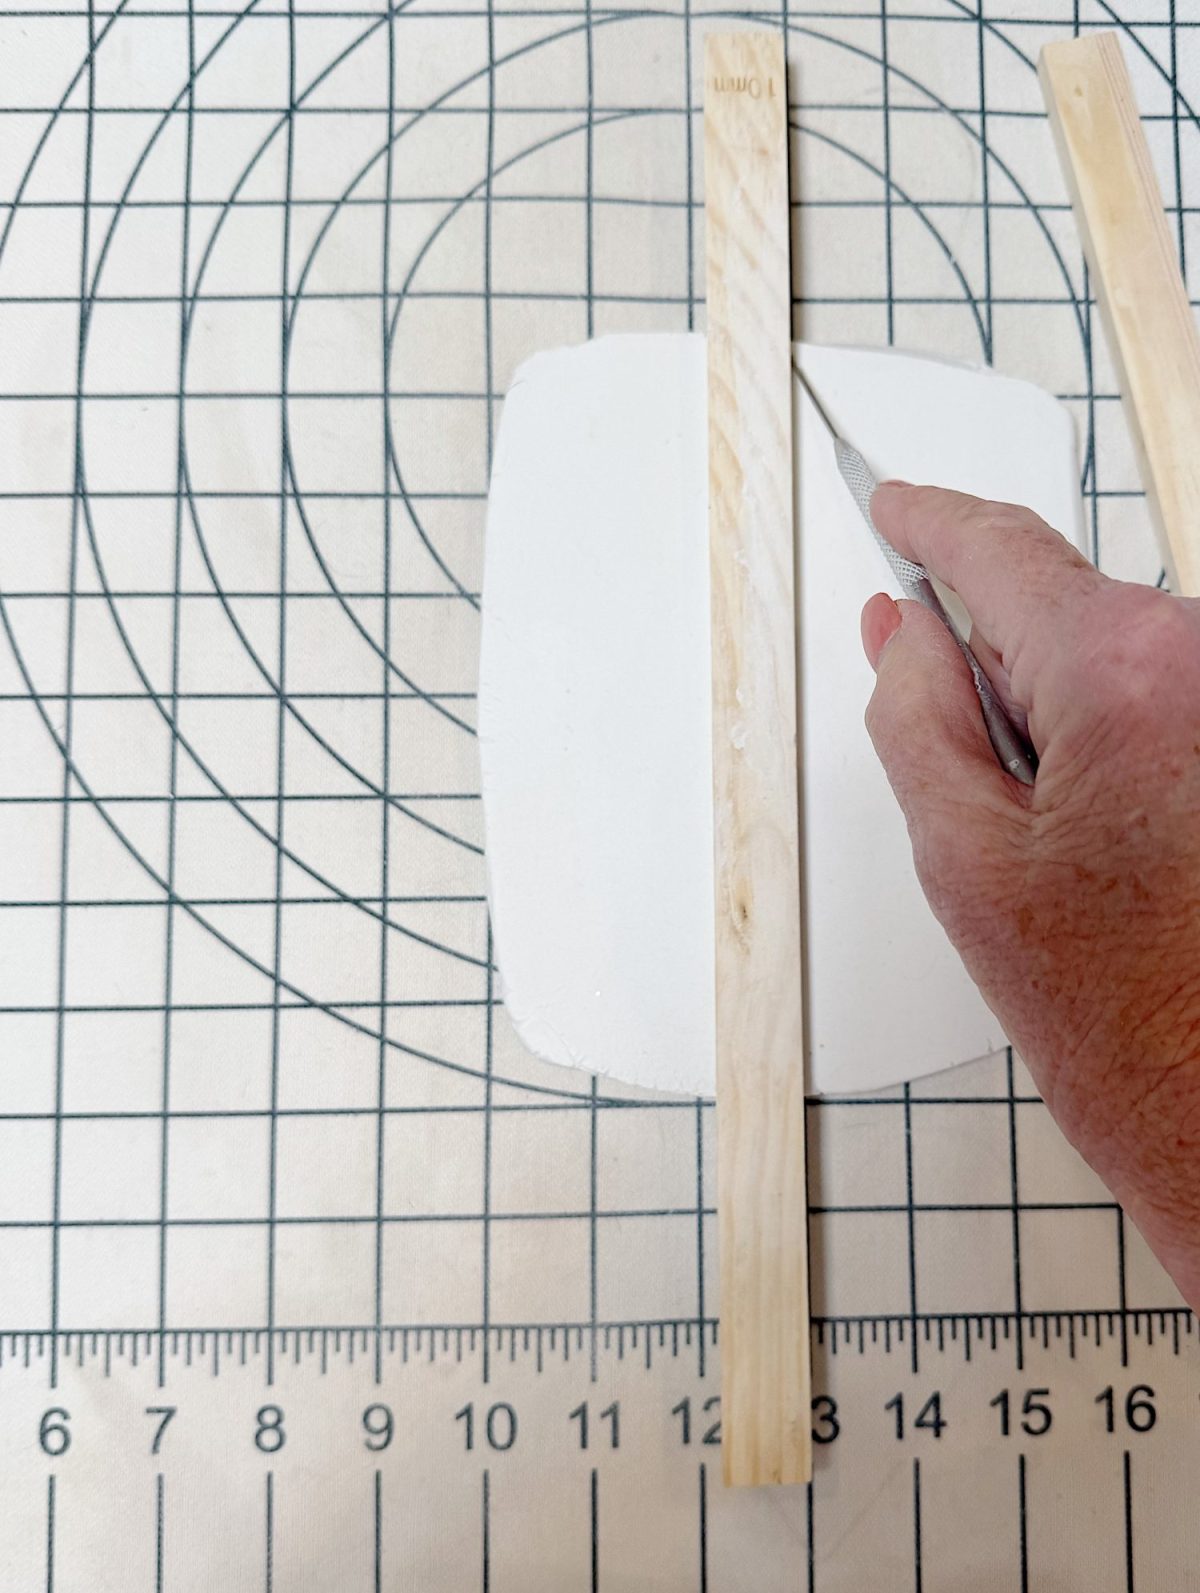
Cut the clay into a long brush-holder shape. I made mine look a bit like a paint tube, but you can also make a simple rectangle with rounded ends.
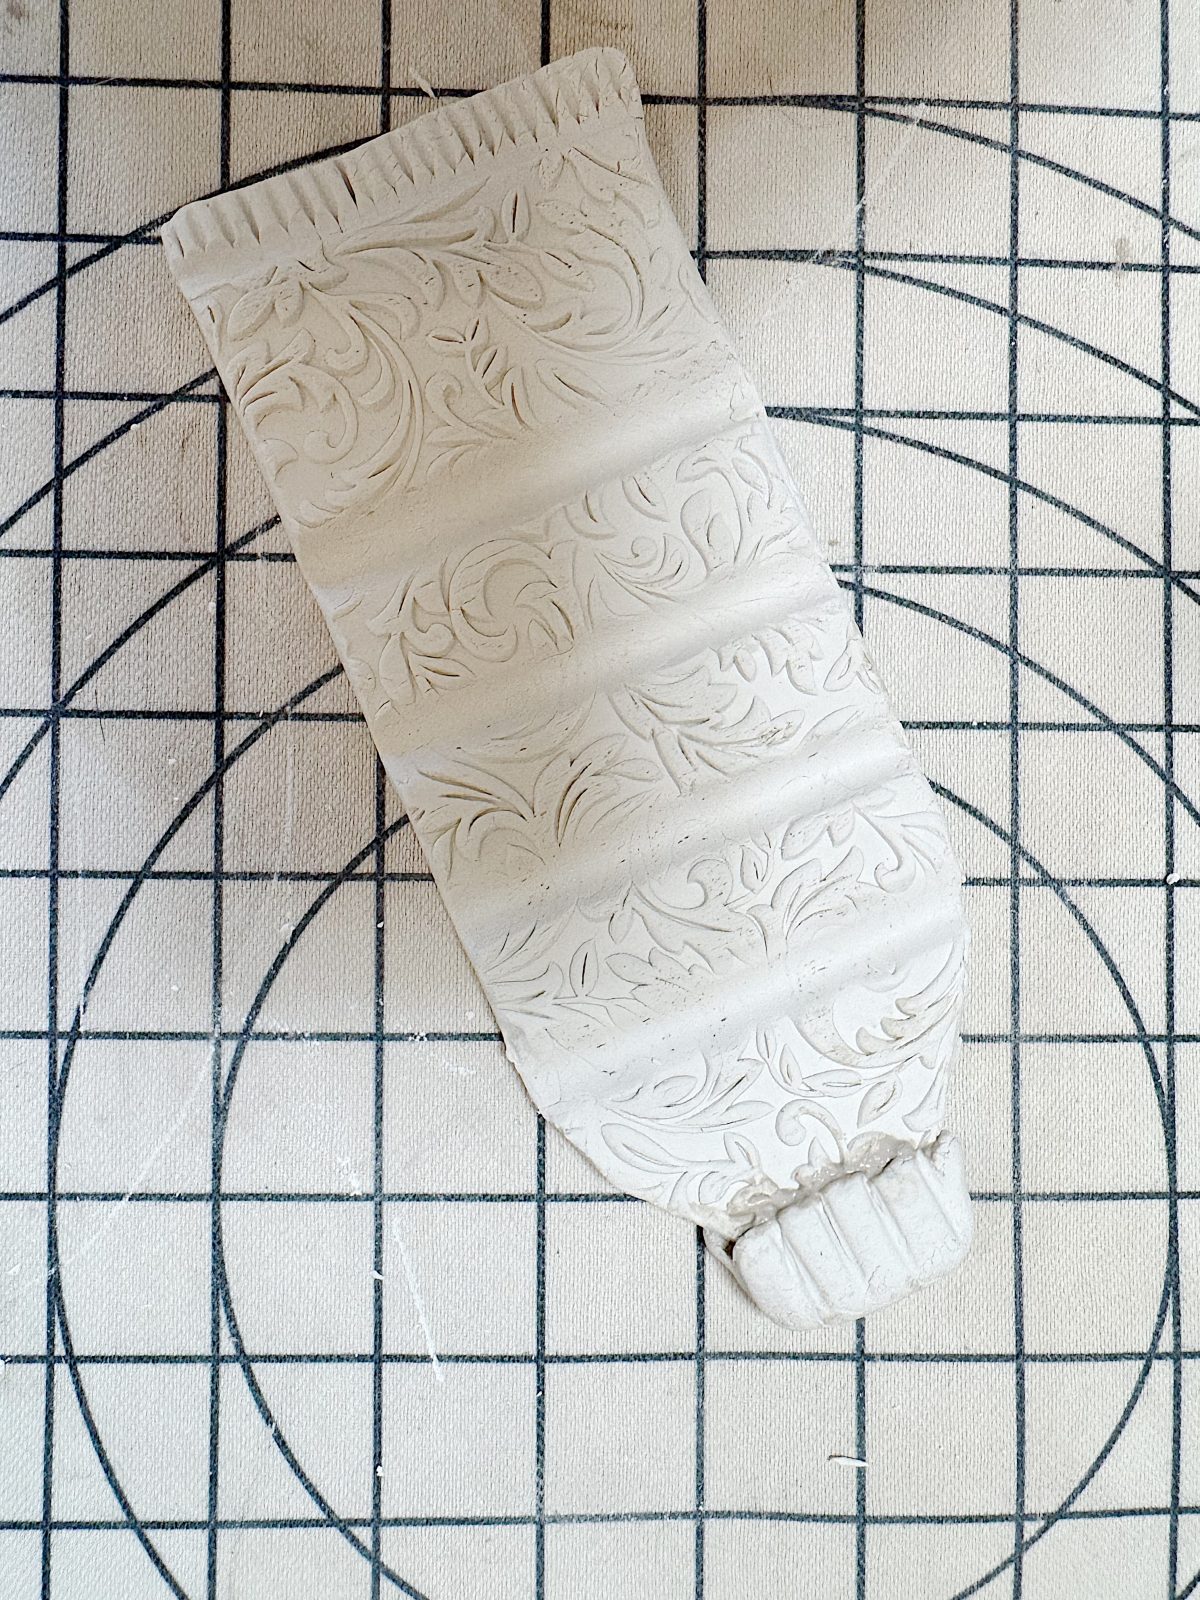
Step 3: Add Texture or Design
For a textured version, roll a textured roller over the clay before shaping it.
For a napkin design, leave the clay smooth and add the napkin later after the clay dries.
Step 4: Create the Brush Ridges

Gently press two or three horizontal ridges across the clay. These raised sections will hold your brush in place and keep it from rolling.
Since I often use larger brushes, I made one with larger indentations.
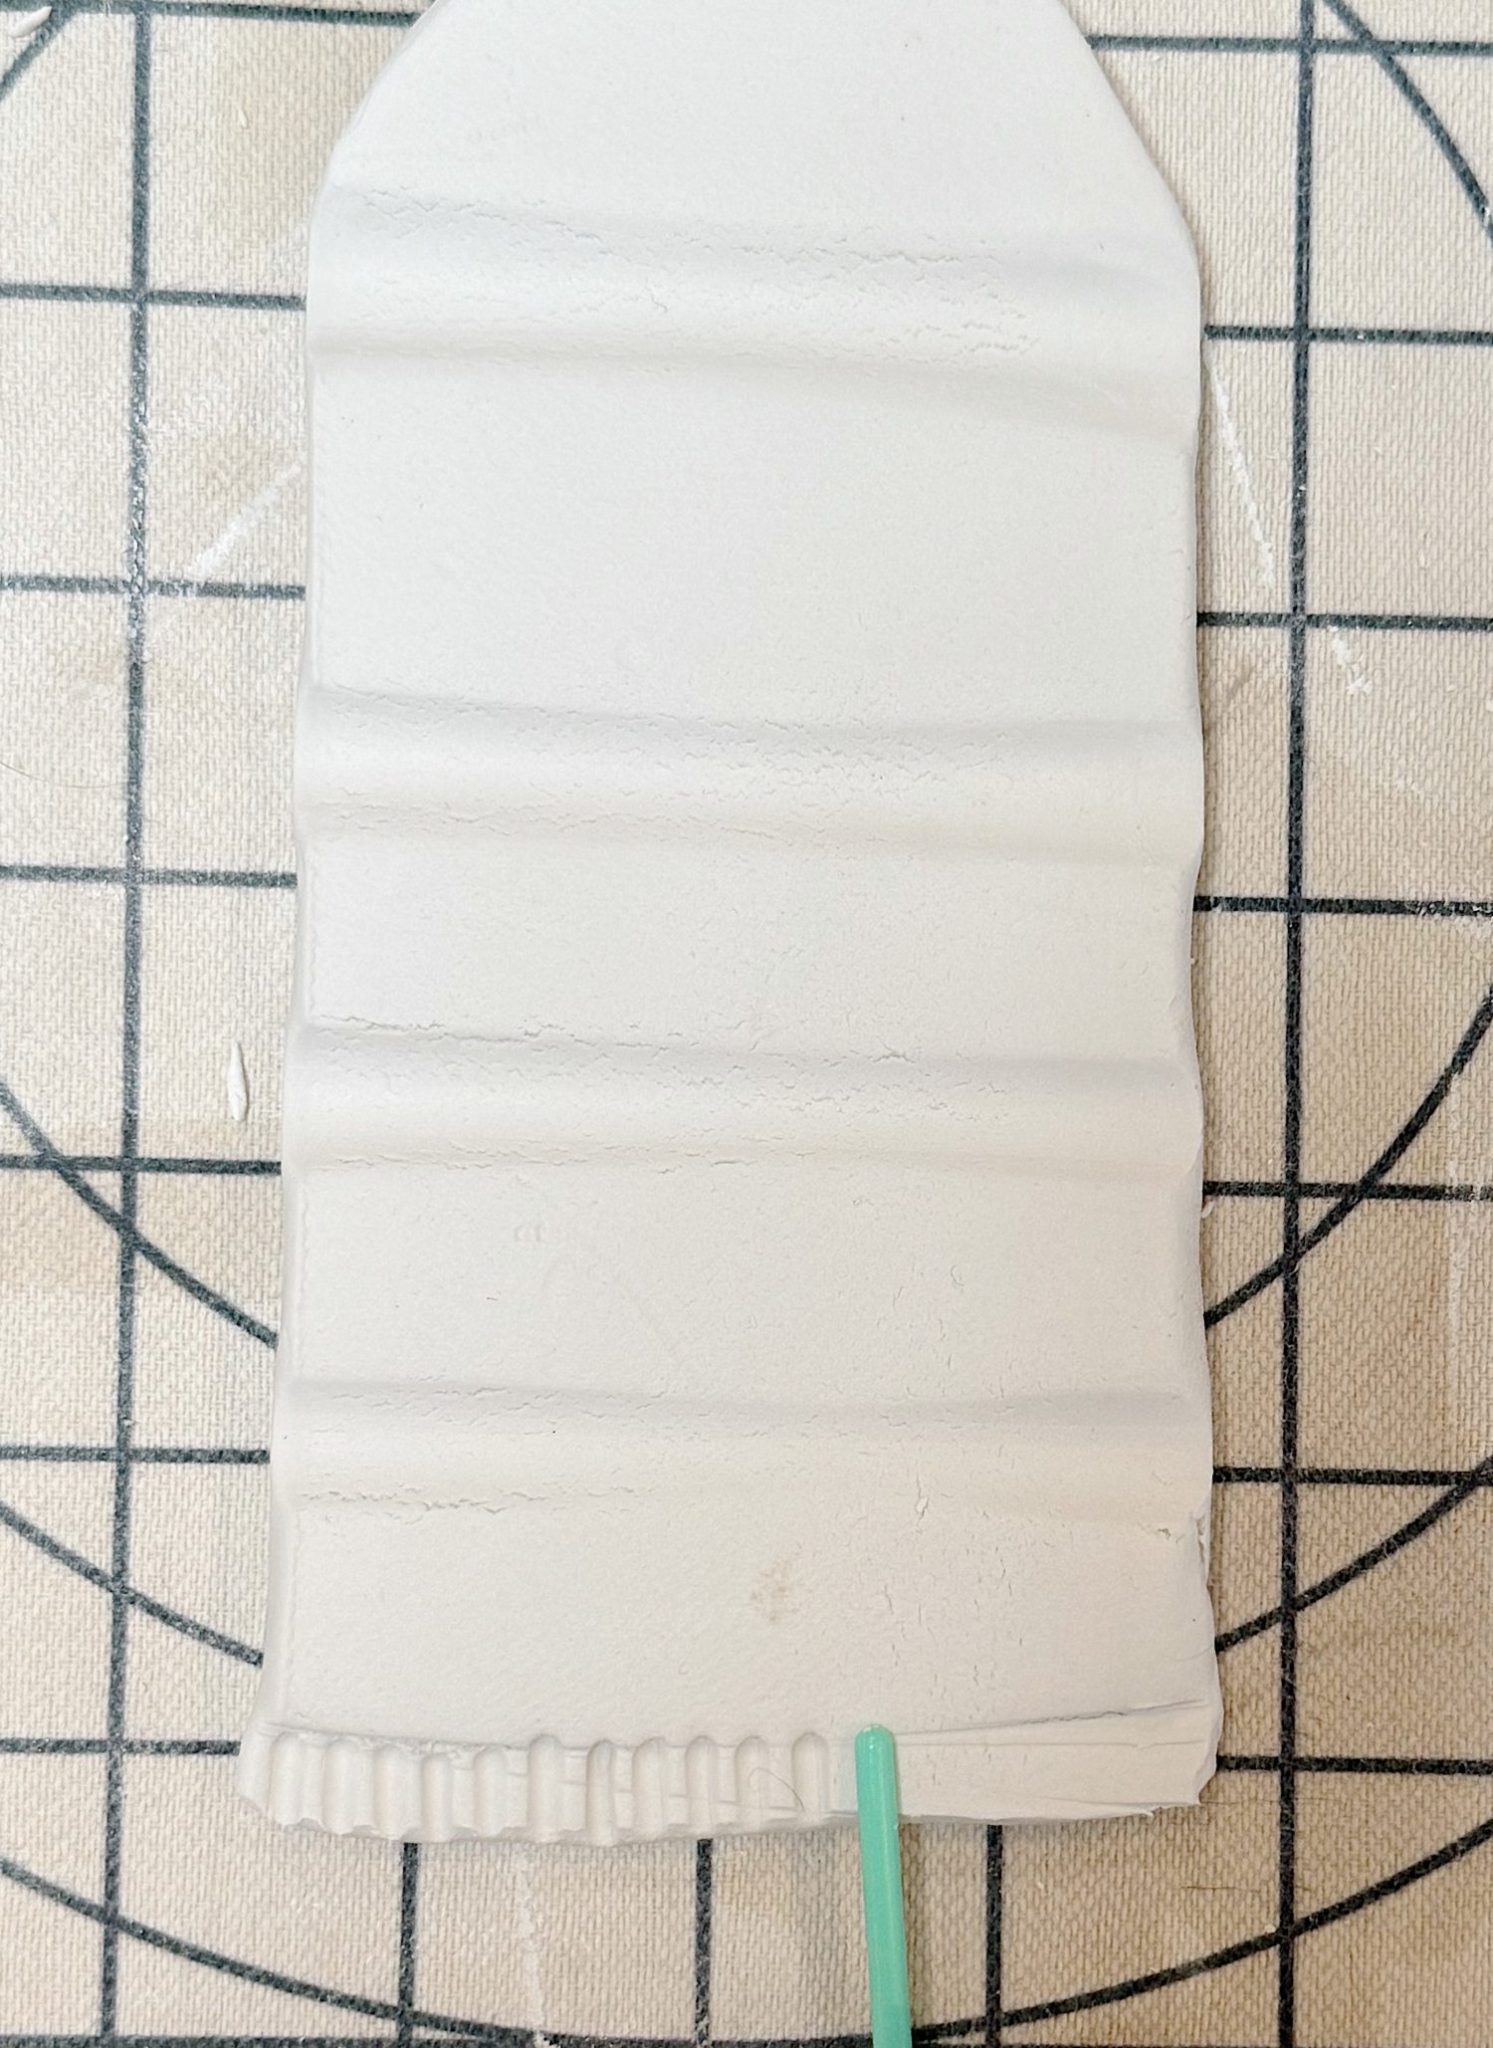
Step 5: Add the Top Cap
Slightly curve the clay to give it a gentle lift. You can shape it over a small rolling pin, bottle, or rounded surface. Add the top to the paint holder.
Step 6: Let It Dry
Allow the clay to dry completely according to the package directions. This usually takes 24 to 48 hours. You can also bake the clay at 250 degrees for about 20 minutes to speed up drying.
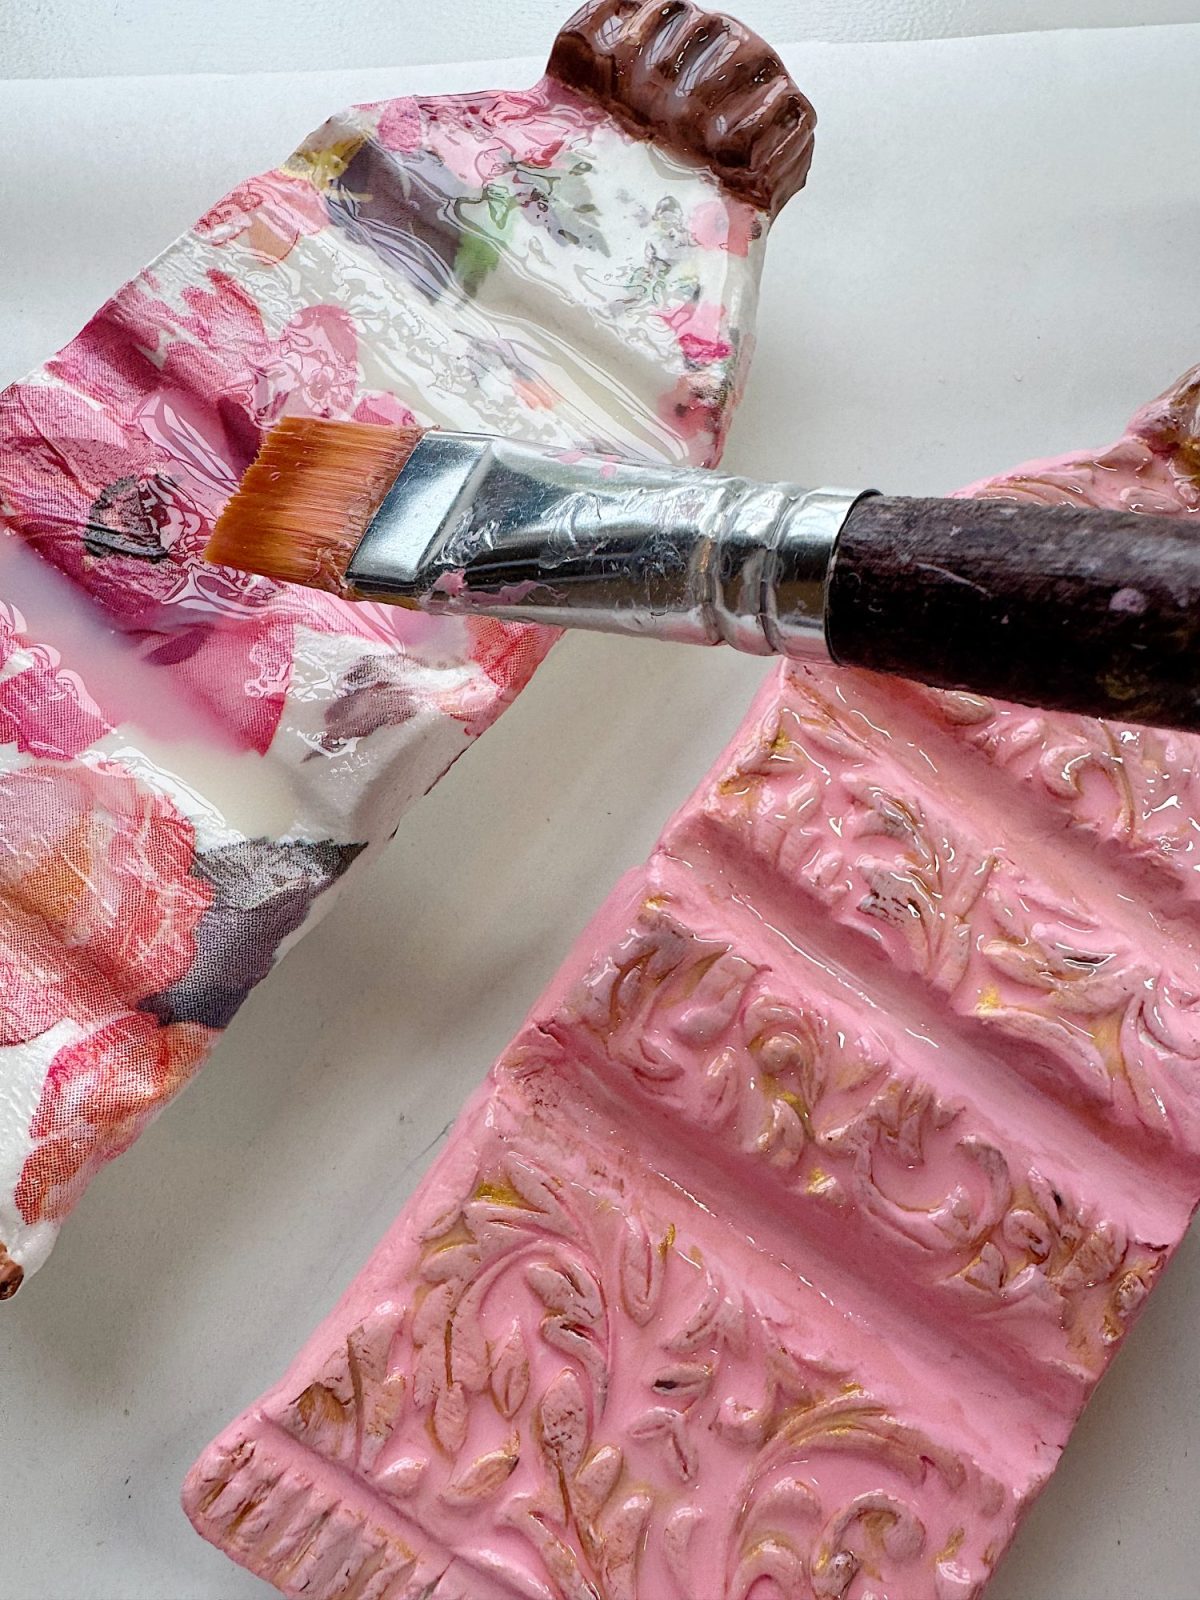
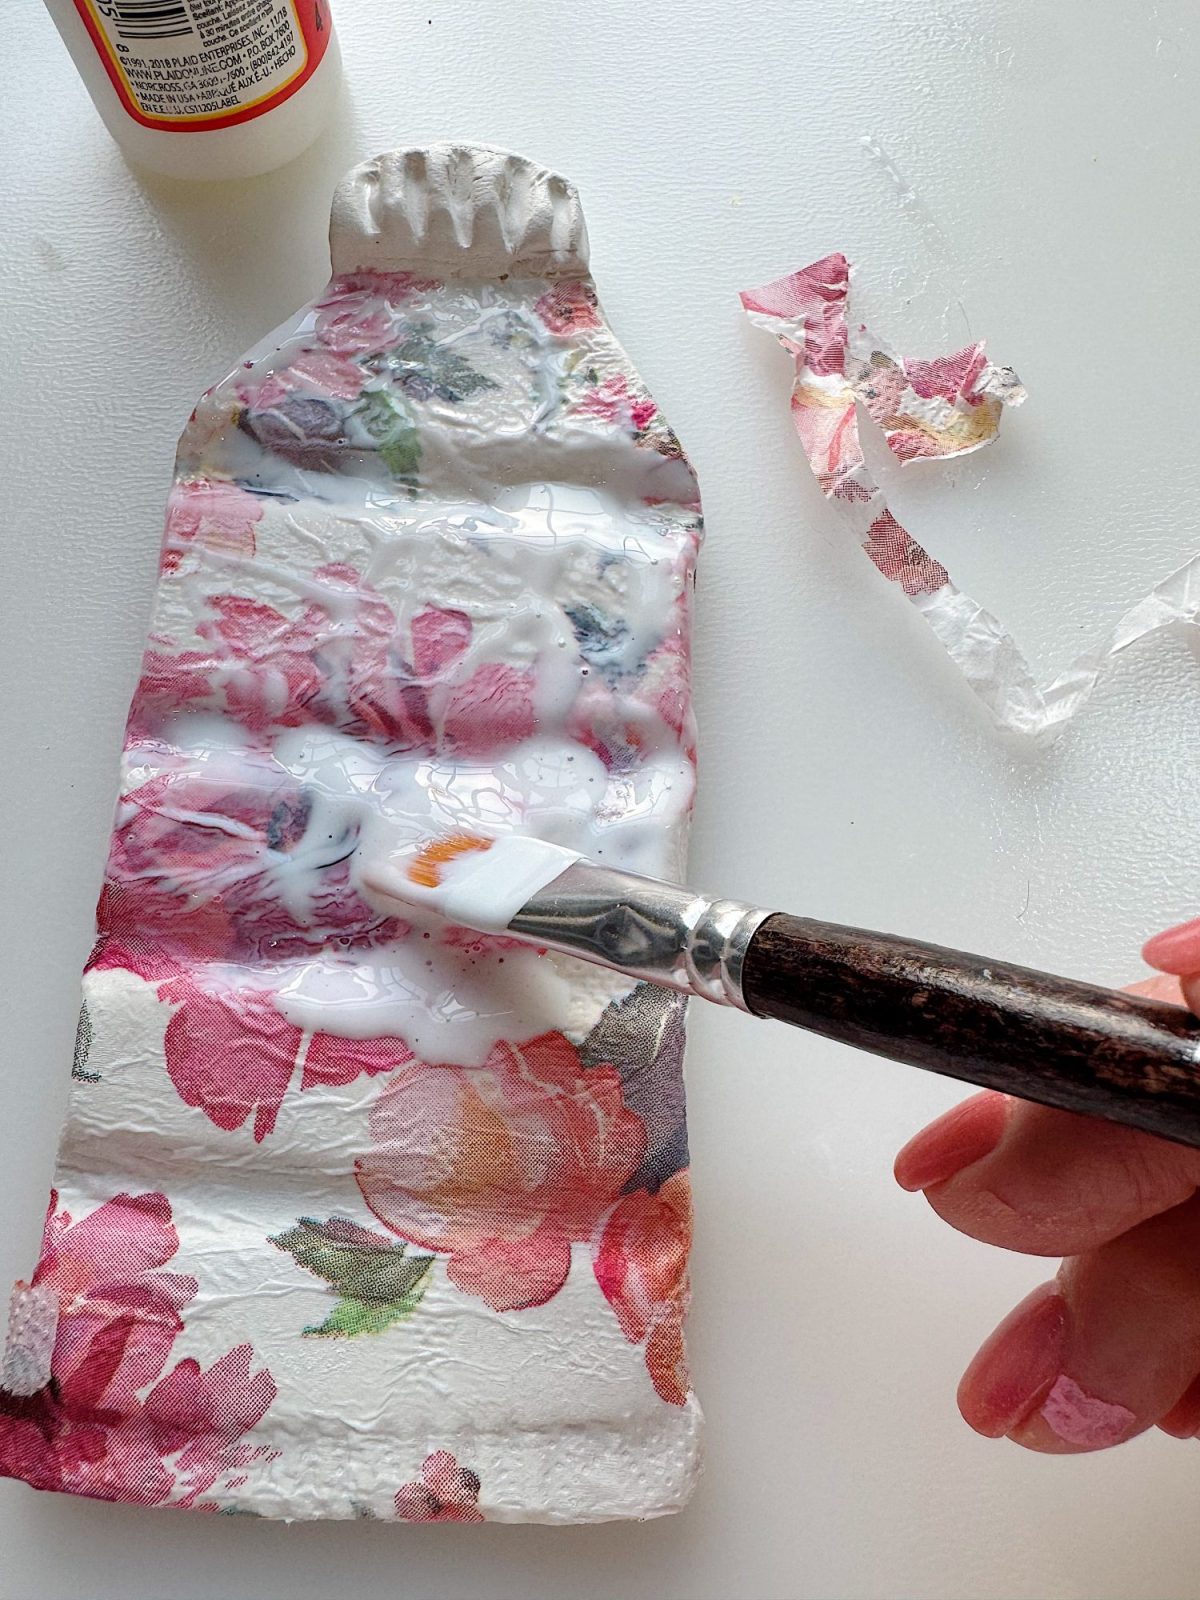
Step 7: Add the Napkin Design
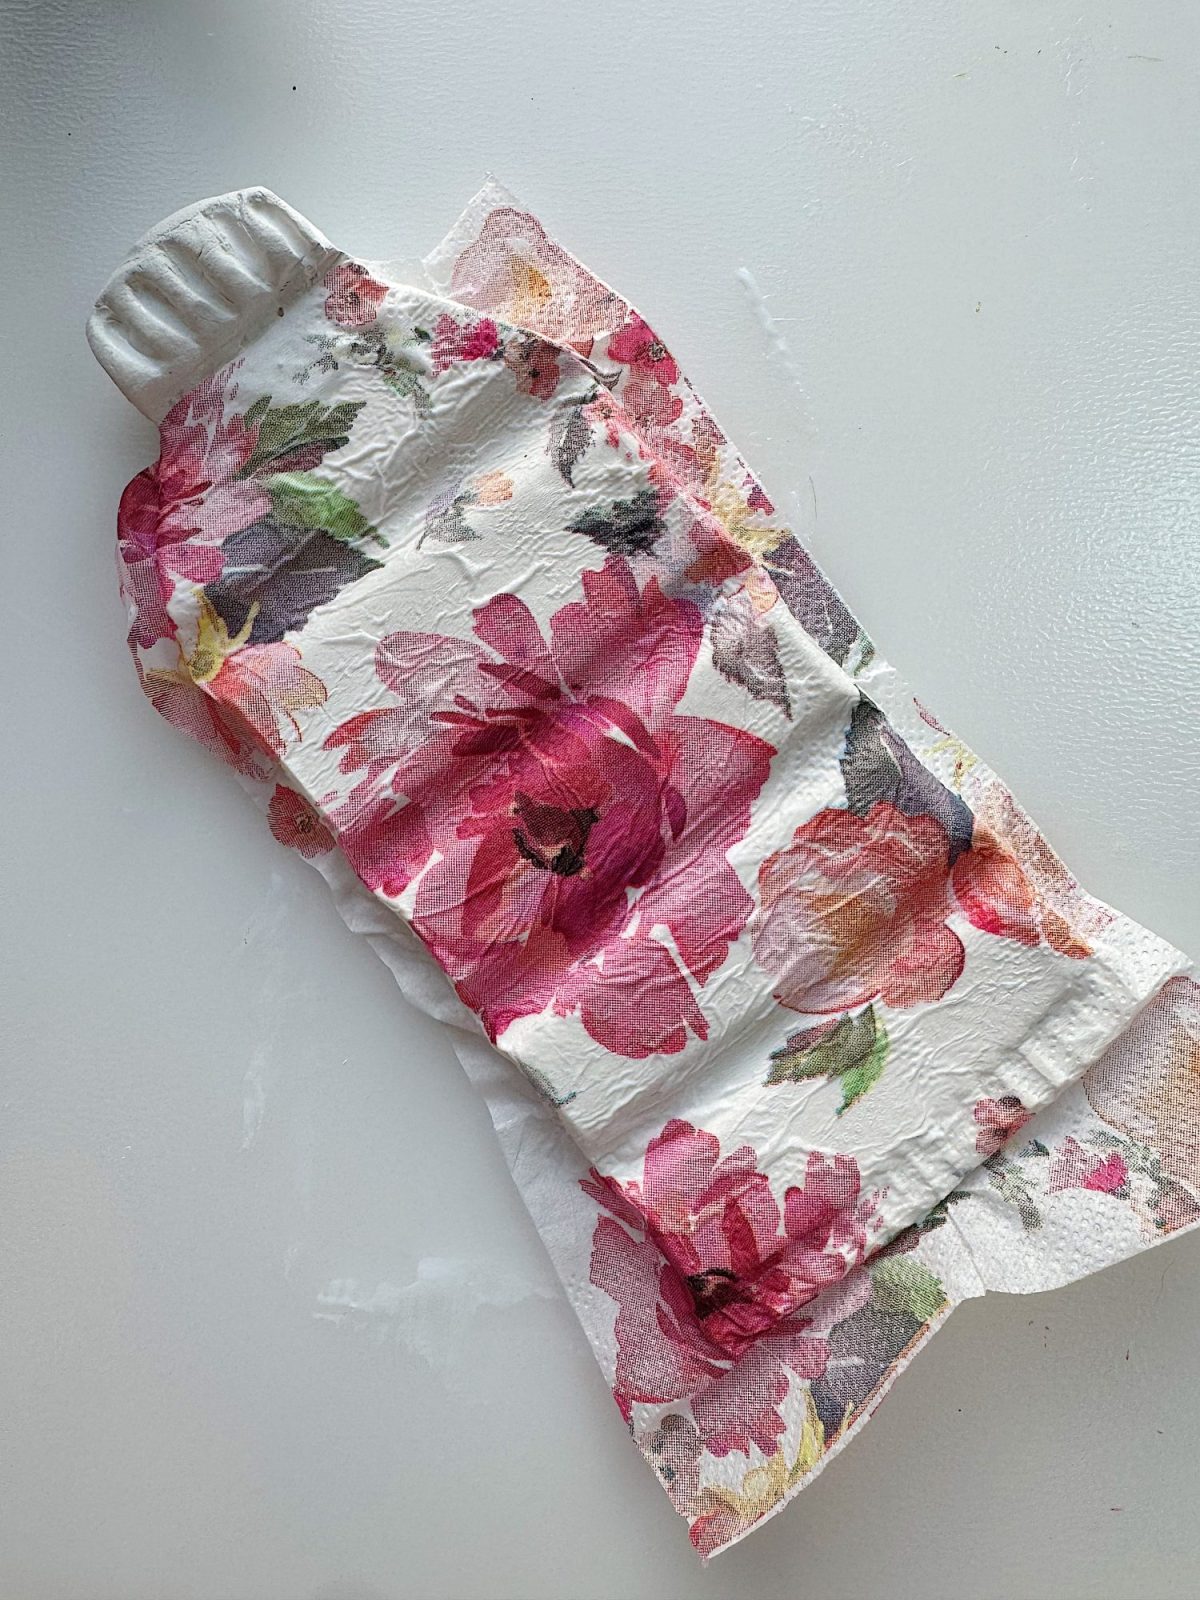
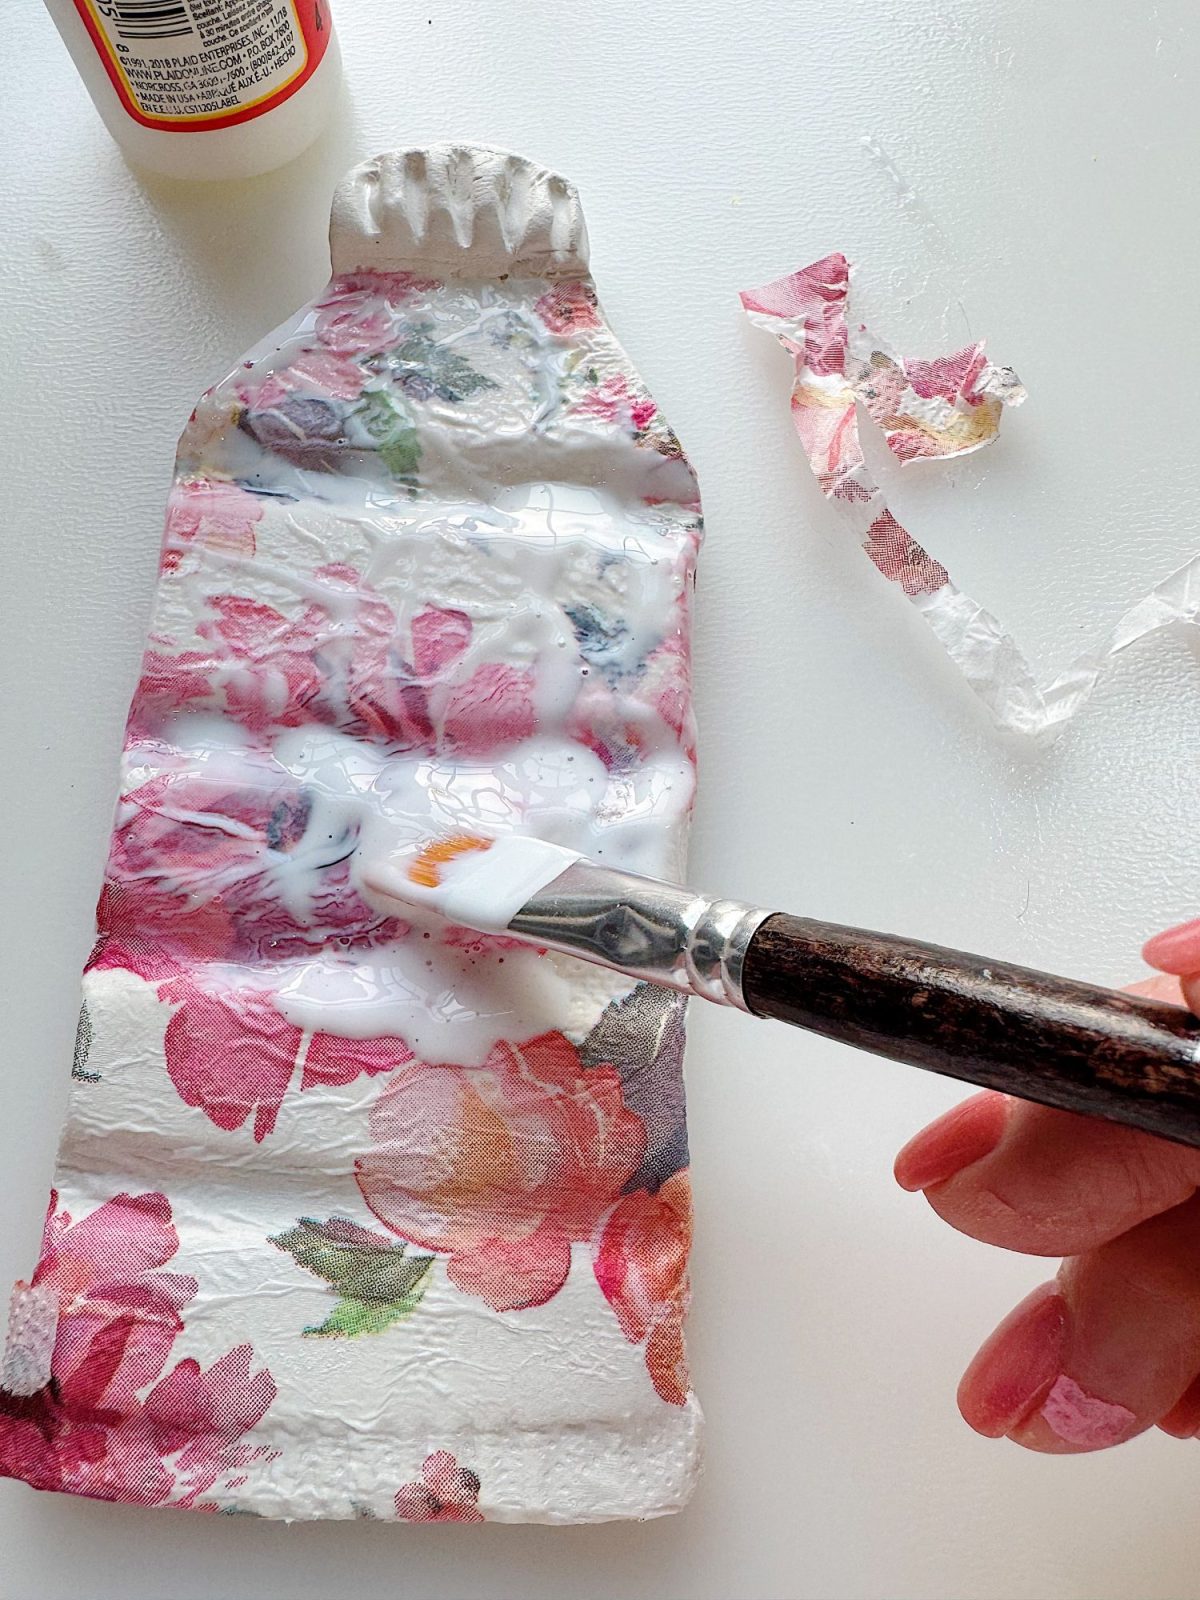
If using a paper napkin, separate the top printed layer. Brush Mod Podge onto the dry clay, place the napkin on top, smooth gently, and seal with another thin coat.
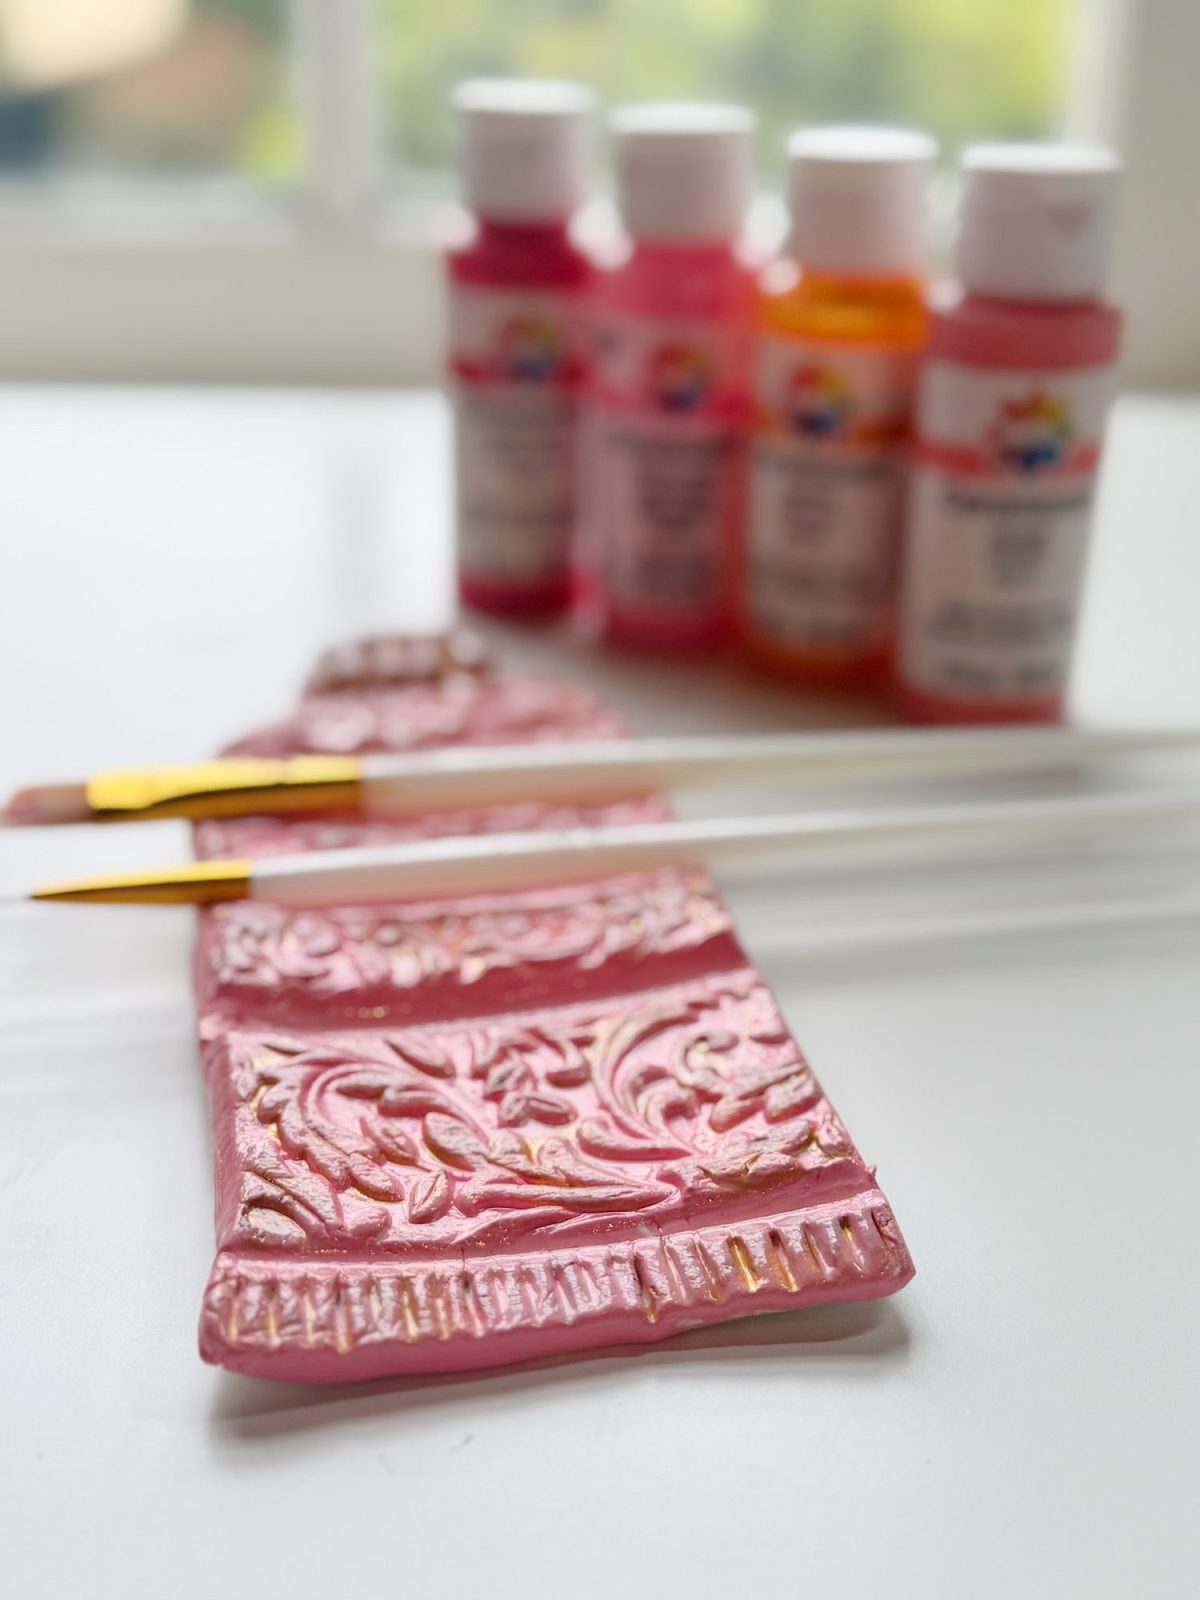
Step 8: Paint the Textured Design
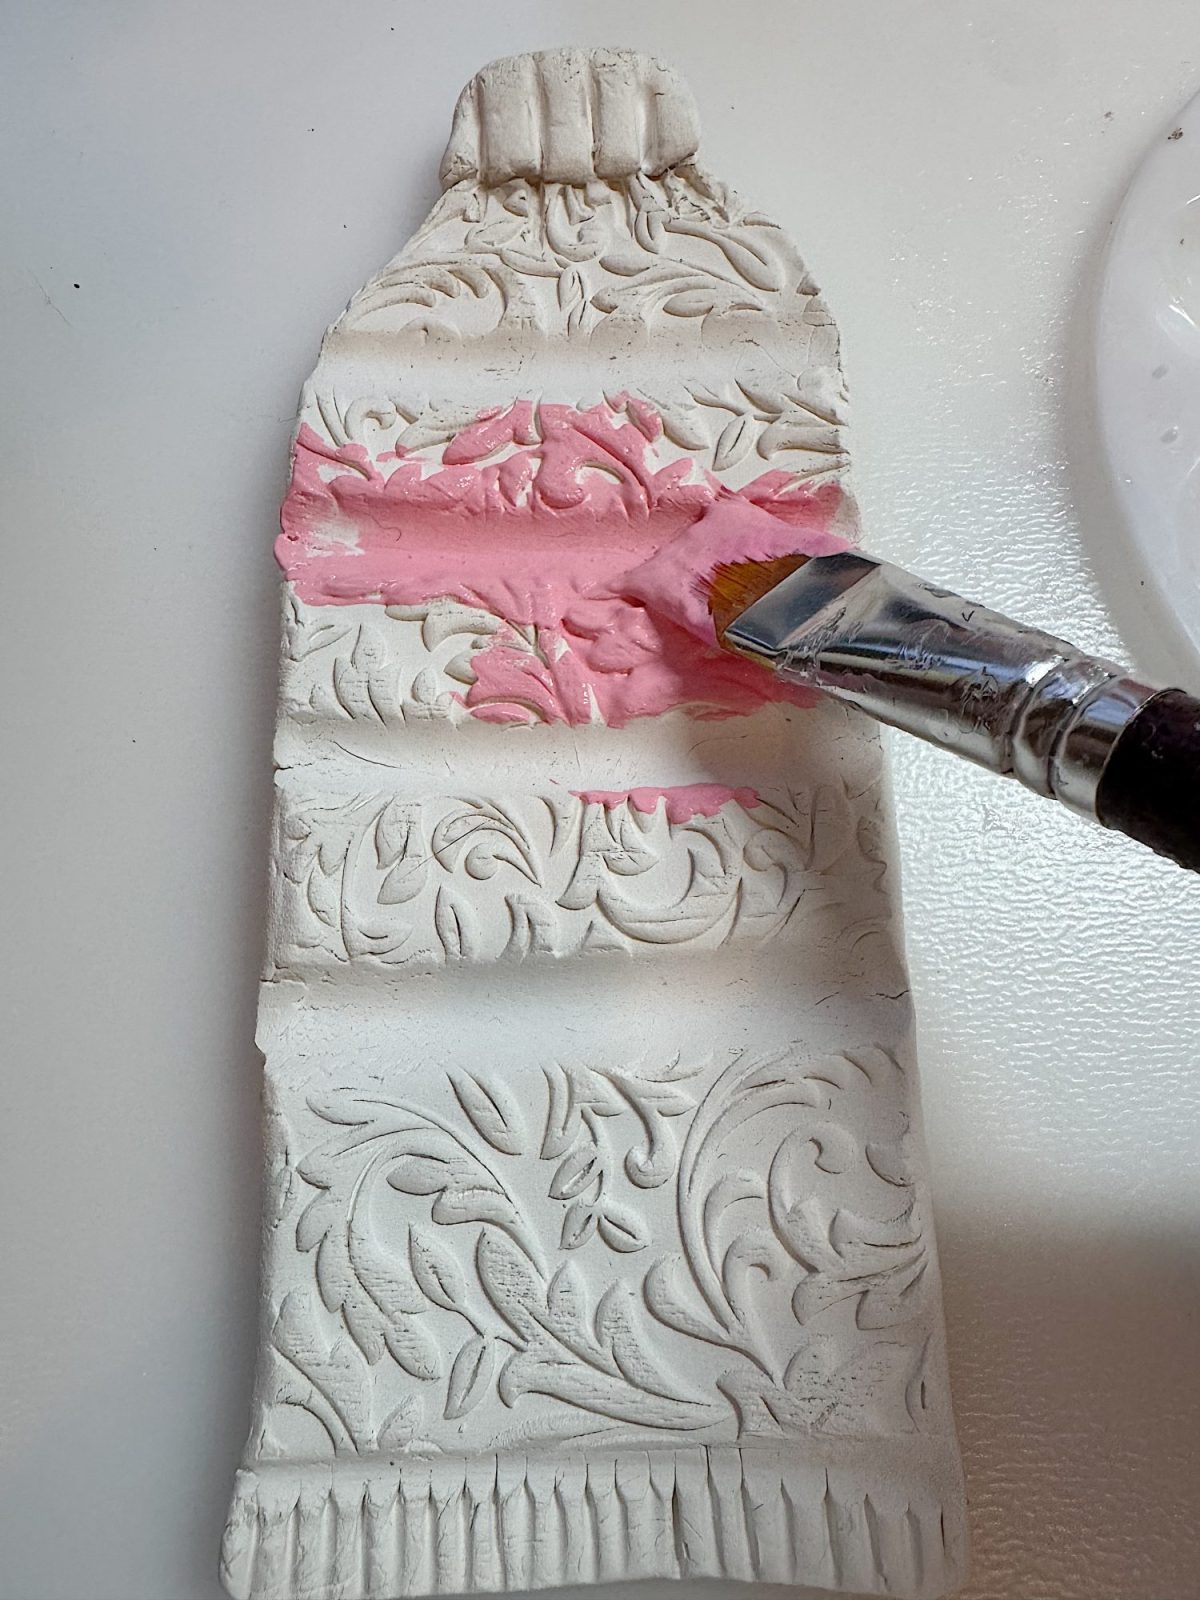
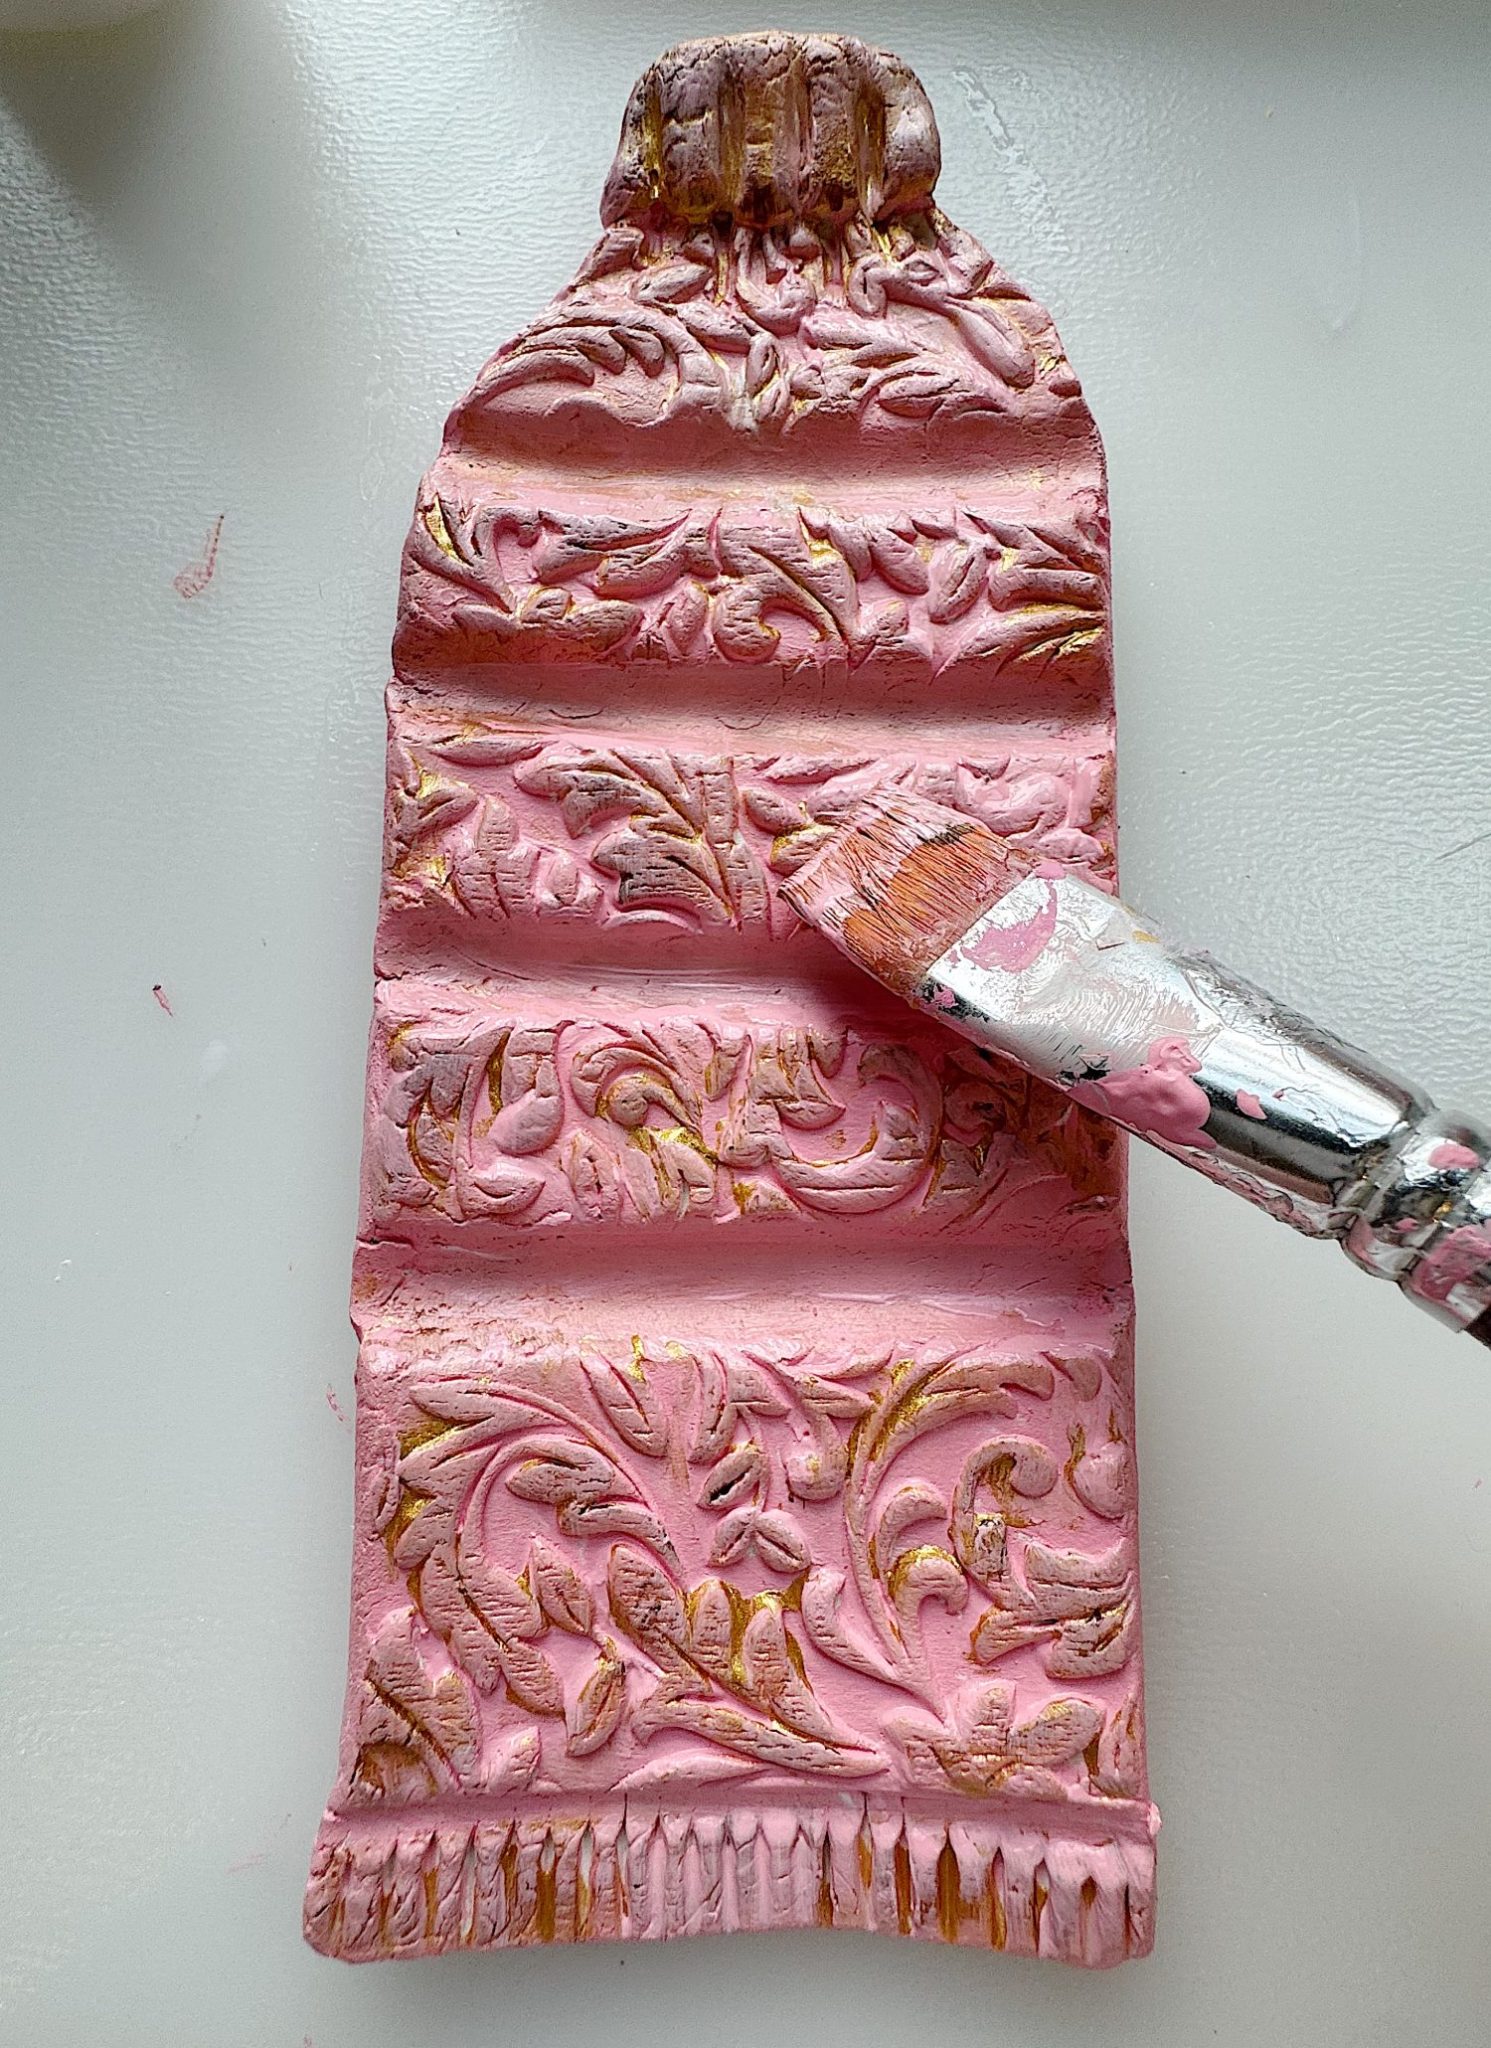
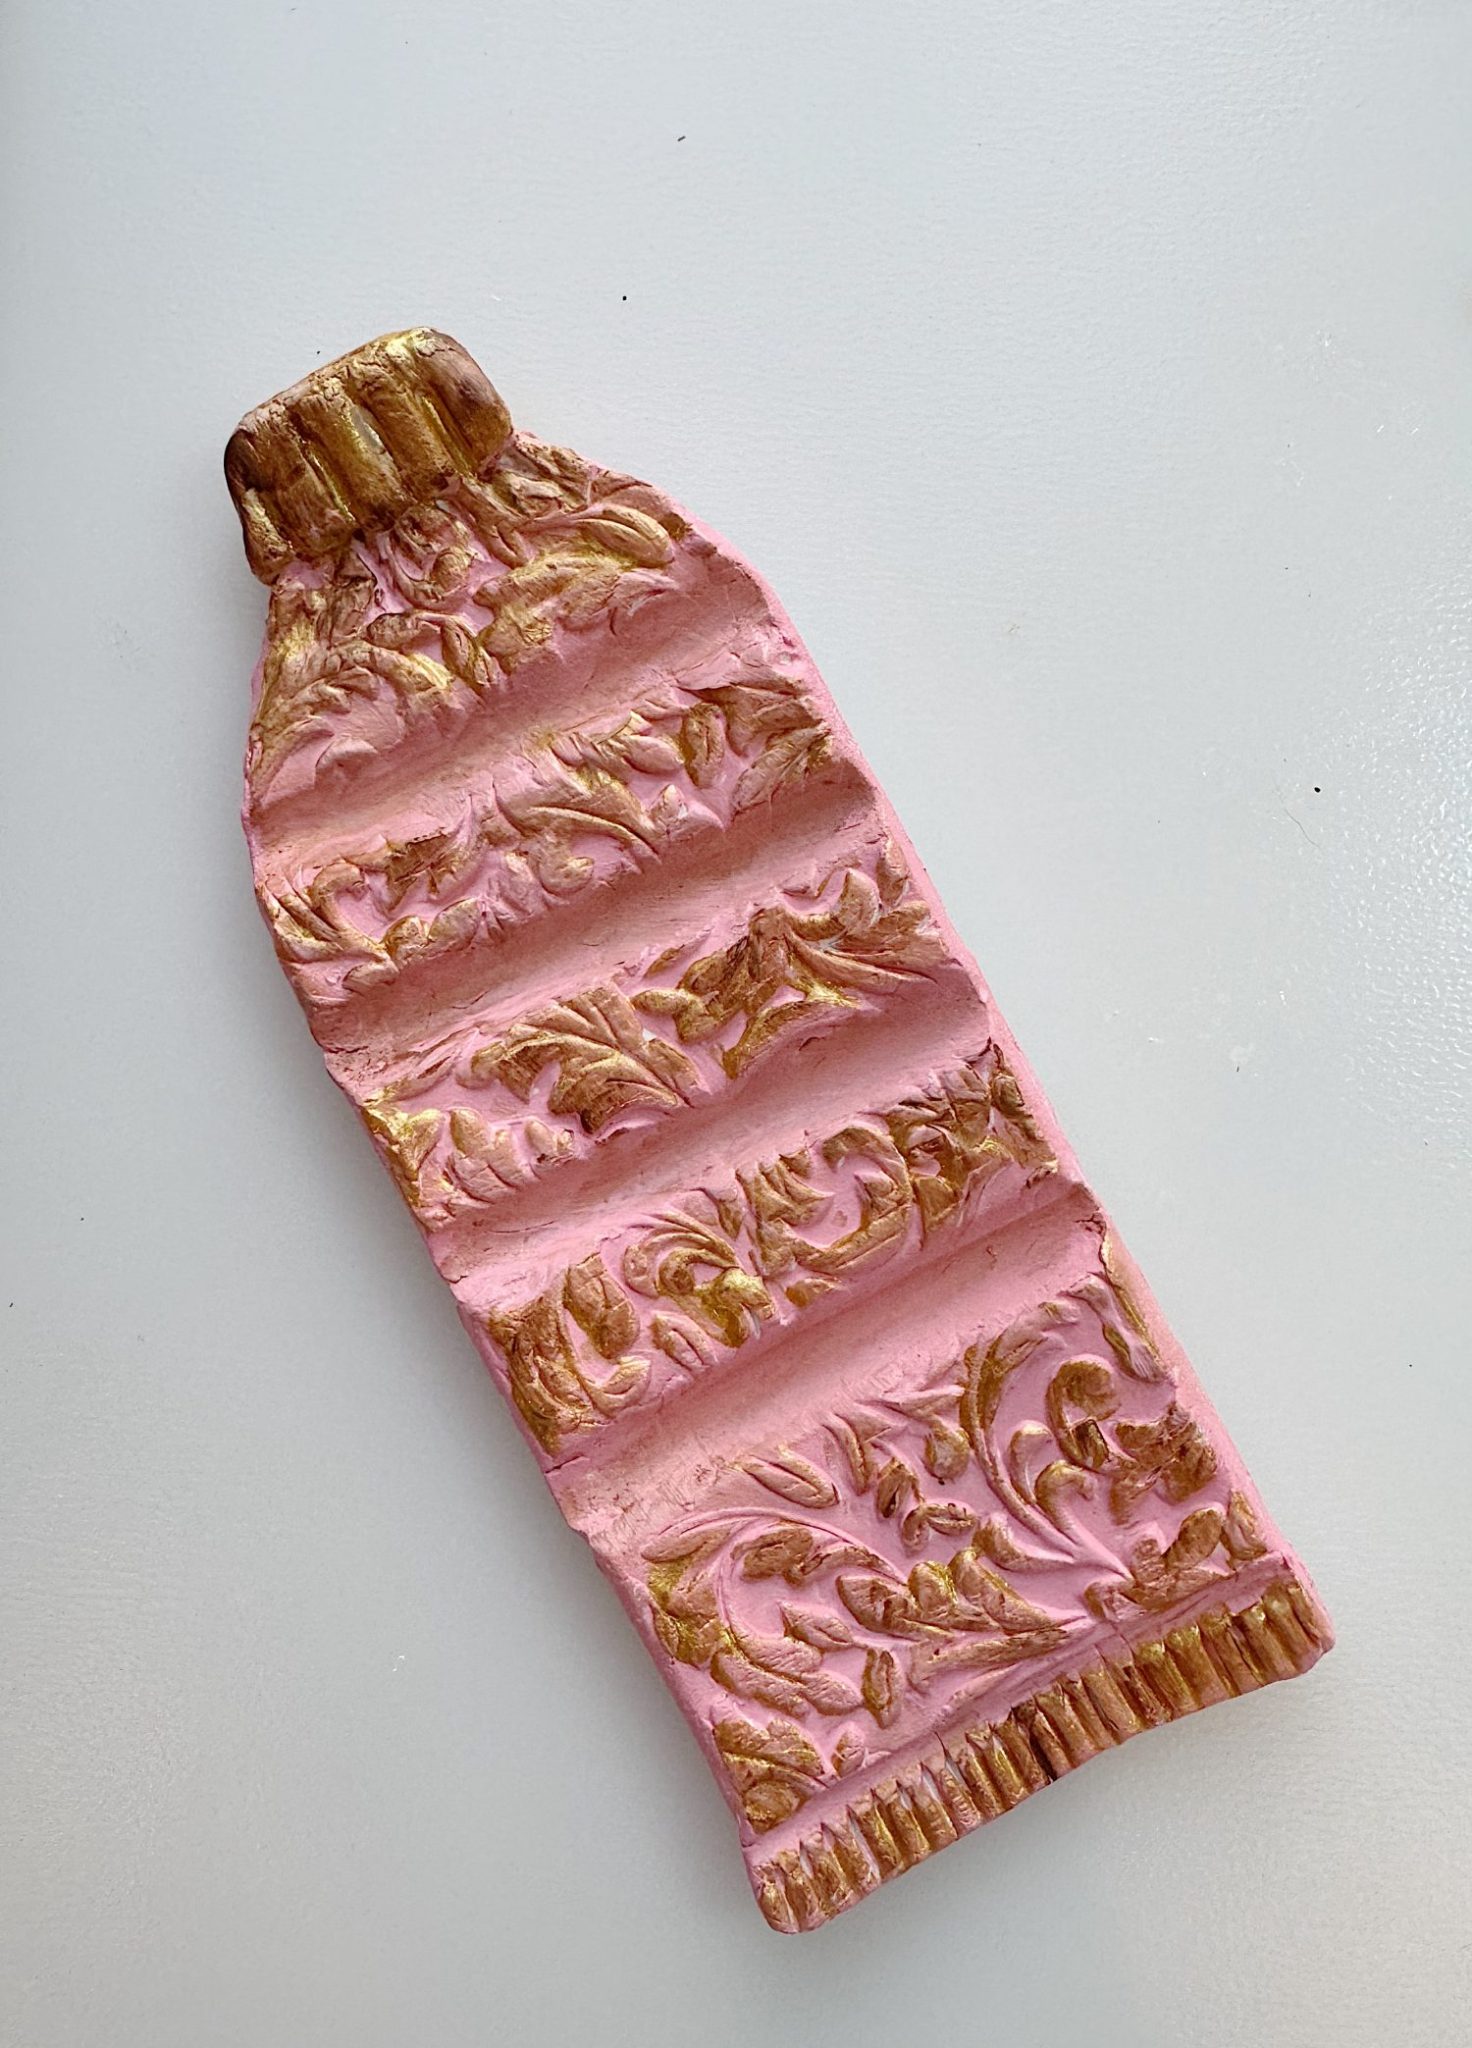
I painted the holder one color and then added a metallic color to the top edges of the textured design.
Step 9: Seal With Clay Glaze
Once everything is dry, brush on Clay Glaze. This protects the surface and allows the brush holder to be used with wet paint.
Step 10: Let It Cure
Let the glaze dry completely before using. Once finished, your clay brush holder is ready for your craft table.
Why Clay Glaze Is a Game Changer
If you have not used Clay Glaze before, you need to.
This step is what makes these brush holders not only beautiful but also usable. The glaze seals the surface and creates a protective finish so you can safely use them with wet paint, glue, or any other medium.
Without the glaze, the clay would absorb moisture and could become damaged over time. With it, the surface becomes durable, slightly glossy, and easy to clean.
It is what transforms this from a decorative piece into a functional tool.
Design Options and Variations
One of the best things about this project is how customizable it is.
You can keep it simple with texture, as I did with the roller design. This gives a more neutral, elevated look that works in any craft space.
Or you can go bold with color and pattern using napkins. Florals, vintage prints, coastal designs, or even seasonal themes would all be beautiful.
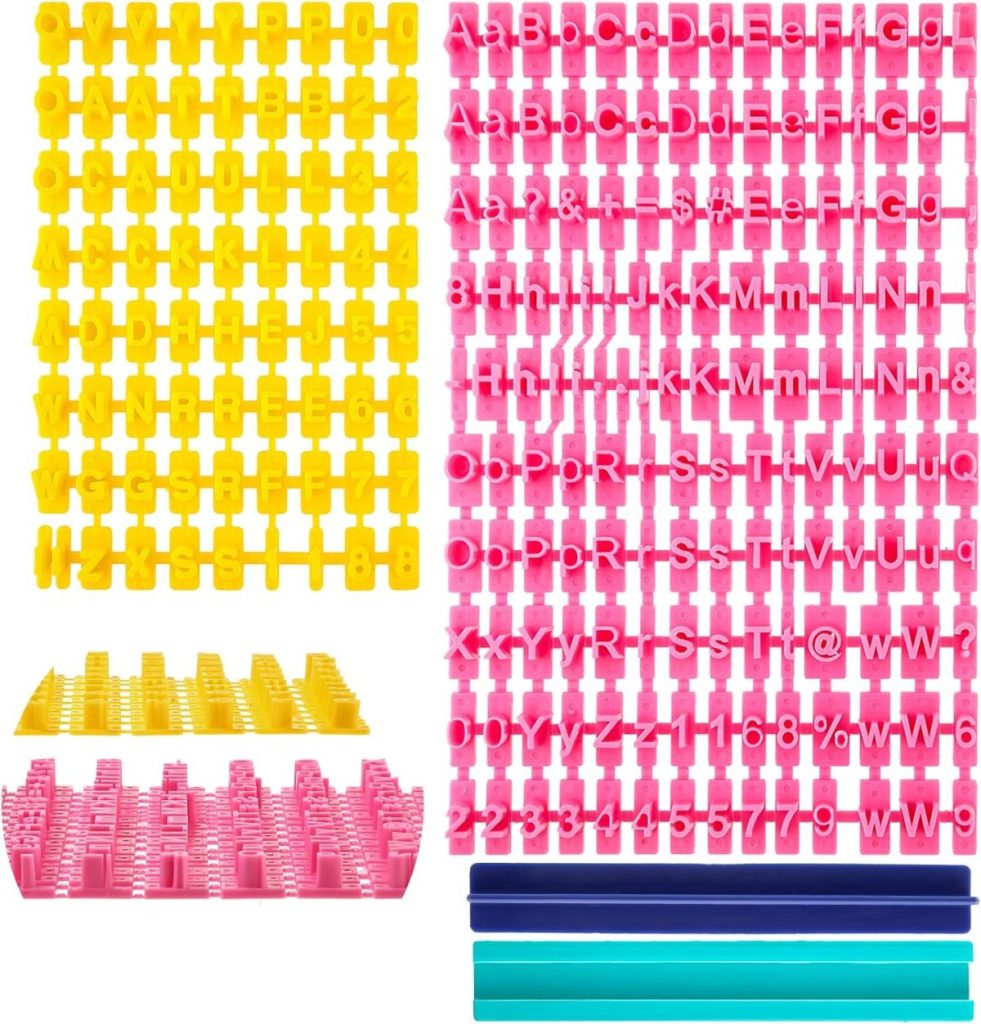
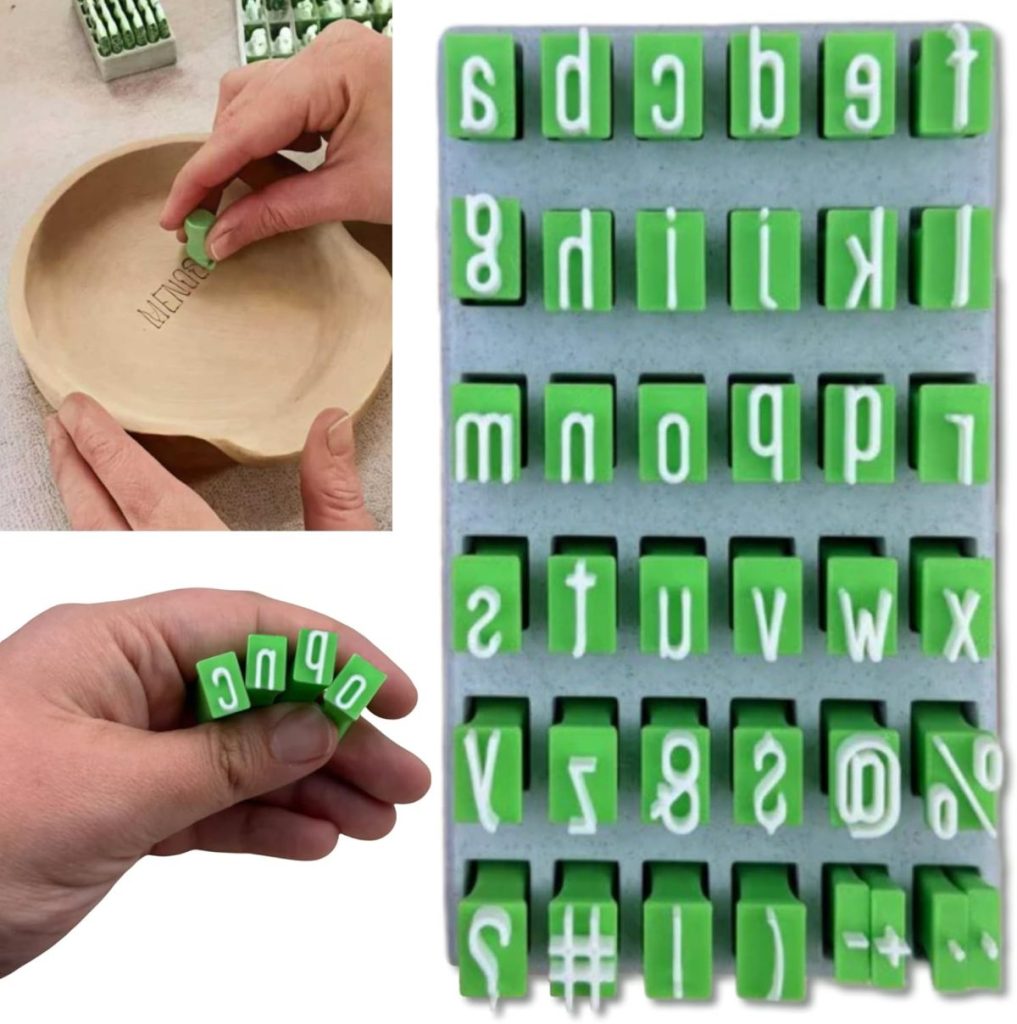
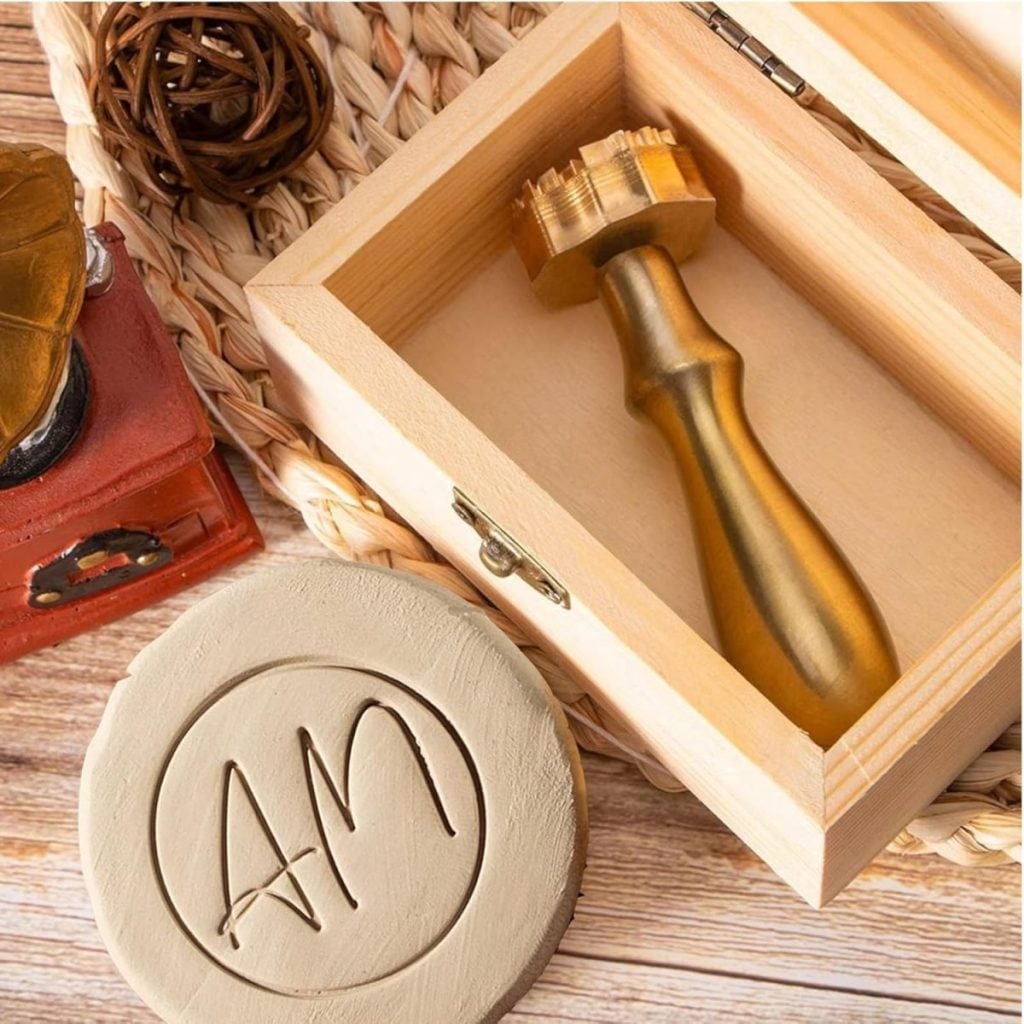
You could also personalize these by adding initials, favorite motifs, or even small stamped words into the clay before it dries.
This would make a wonderful handmade gift for any creative person in your life.
Why This Is the Perfect First Project for A Handmade Summer
When I started planning this series, I knew I wanted projects that were approachable, practical, and fun.
This brush holder checks all of those boxes. It is easy enough for beginners, but still satisfying for experienced crafters. It uses minimal materials, does not require a kiln, and can be completed fairly quickly.
But most importantly, it is something you will actually use.
That is something I am focusing on this summer. Projects that are not just beautiful, but that become part of your everyday creative routine.
I have so many fun ideas planned for this series, and I cannot wait to share them with you.
How to Follow Along With A Handmade Summer
Each week, a new spring craft will be shared here on the blog. I will also be sharing behind-the-scenes moments, progress videos, and finished projects on Instagram so you can see each craft come to life.
You can jump in at any point. There is no need to start at the beginning or complete every project. Choose the ones that speak to you and make them your own.
If you love seasonal crafting, this series is designed to inspire you throughout the summer.
Here are all of the A Handmade Summer craft projects so far. I can’t wait to share all twelve.
A Few Mother’s Day Gift Ideas…
Latest Posts
-
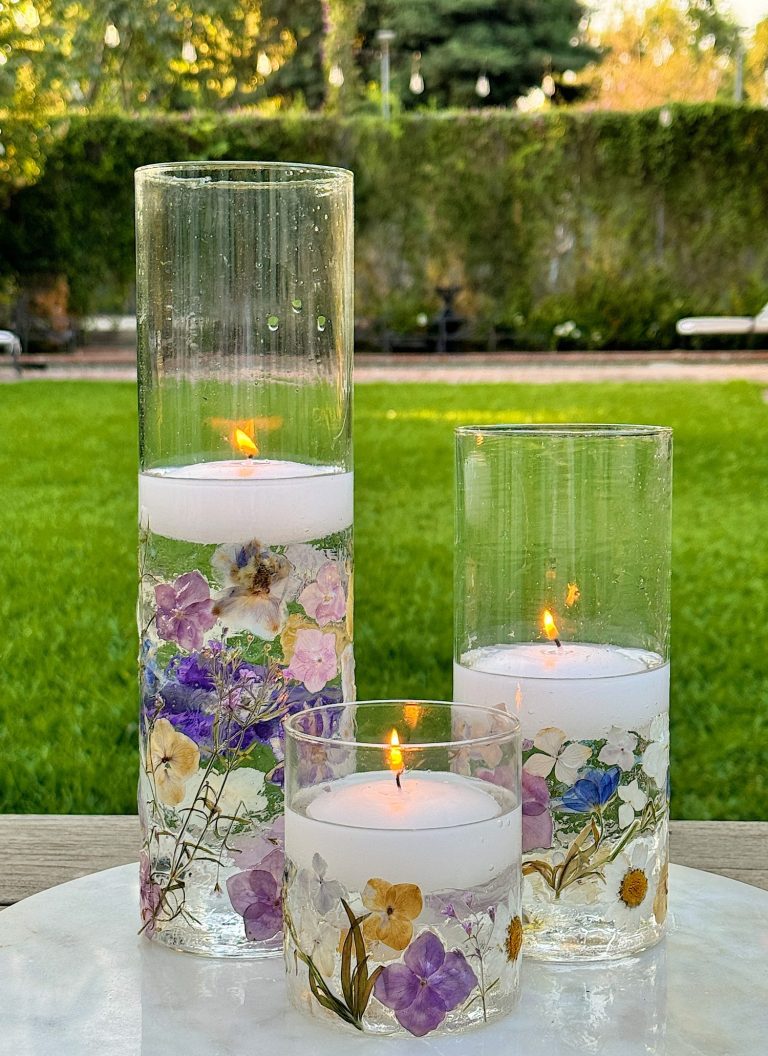
DIY Pressed Flowers
DIY pressed flowers are a beautiful and charming addition to any home decor. When made into candle holders, they are stunning. These delicate creations bring a touch of nature indoors and can be customized to fit any style or occasion. Whether you want to create a romantic centerpiece, a whimsical decoration, or a unique gift,…
-
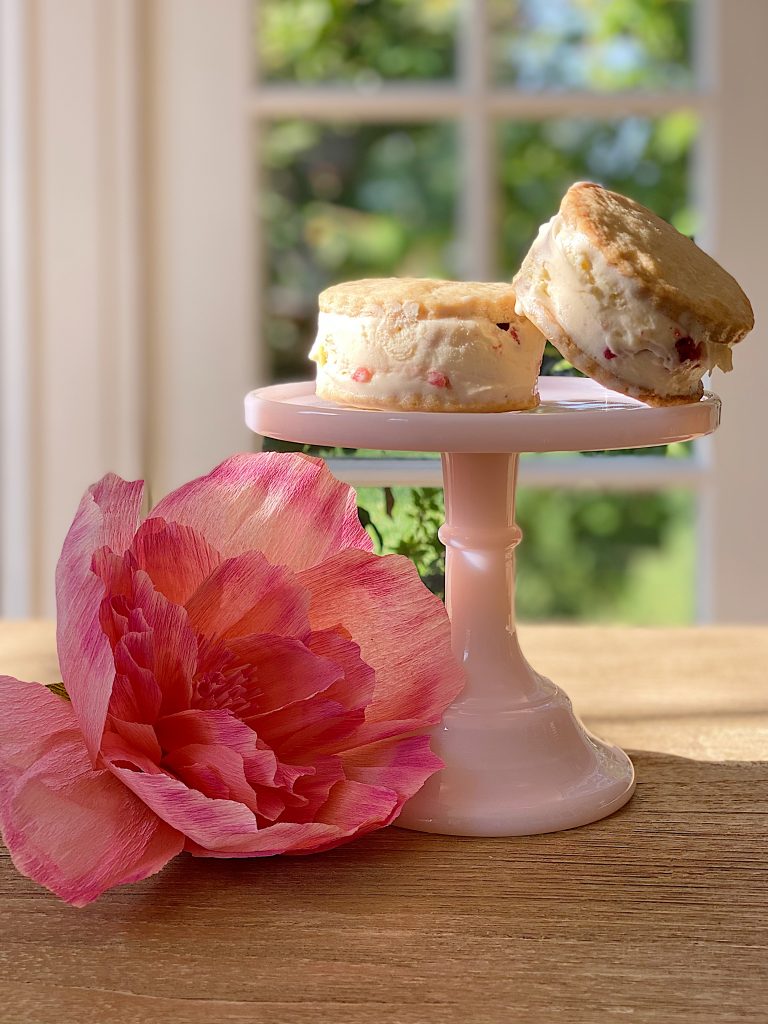
How to Make Strawberry Shortcake Ice Cream Sandwiches
Today, I am sharing my strawberry shortcake ice cream sandwiches. It’s strawberry season, so what could be better? These strawberry shortcake ice cream sandwiches are easy to make and taste amazing. Can you think of anything better for a hot summer day?
-
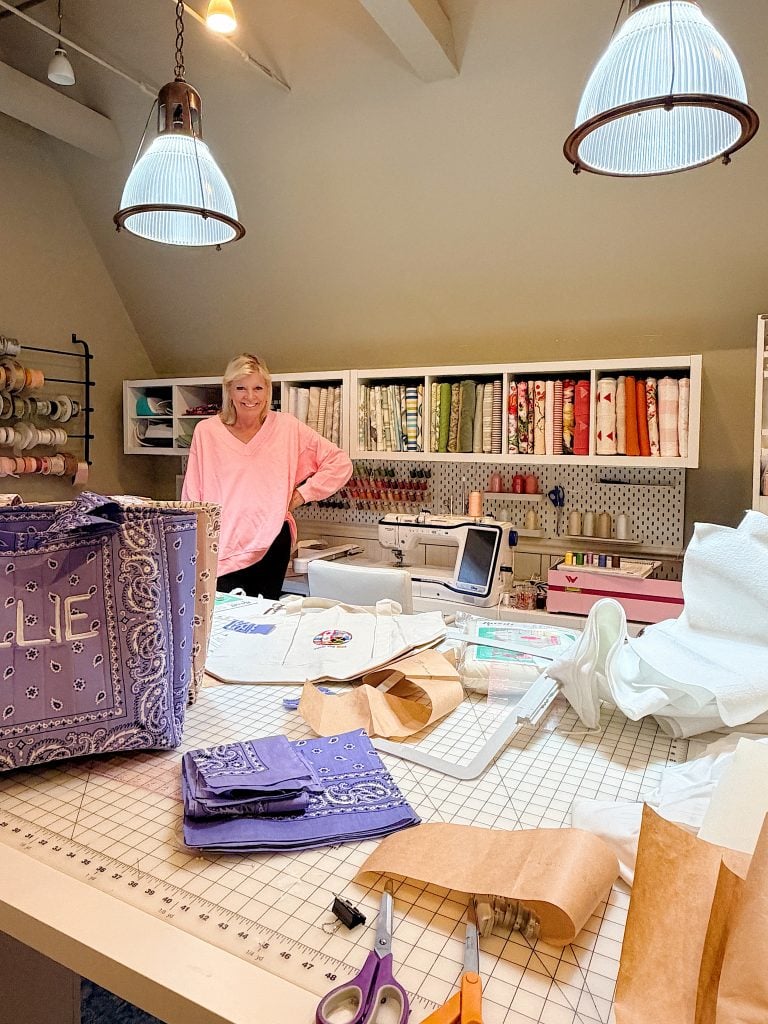
What’s on My Summer Craft Room Table Now – Mondays in the Craft Room
If you’ve ever wondered what my craft room really looks like in the middle of a busy creative season, today is your lucky day. Spoiler alert: it isn’t picture-perfect! Right now I have embroidery projects, sewing projects, and supplies covering just about every work surface, and I wouldn’t have it any other way. Today I’m…
-
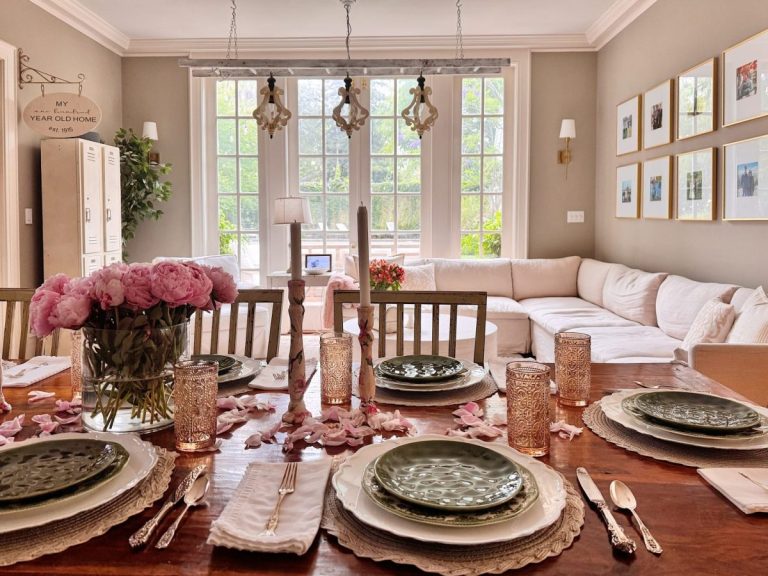
The Best Summer Decor Finds and Sunday Morning Coffee
I have been decorating our home for summer, and I don’t remember having this much fun decorating with summer decor. I love our home’s lighter, brighter feel and have spent days thinning things out to make it more comfortable! We are also celebrating the dads in our family, and I wanted to wish everyone a…
My Recent Instagram Posts

You can pin the image below to your boards on Pinterest (click the Pin button in the top left corner) or follow me on Pinterest!
For more real-time updates, follow me on Instagram @My100YearOldHome
Oh Leslie, I love this craft!! I can’t wait to try this with my granddaughter and little nieces. My nieces stenciled your Christmas wreath onto our window last November. What fun!!! We’re rehabbing a house and I’m going to have a craft area again!! I’m going to use your craft room as my model! Thank you for all of the wonderful things you bring to us!!
Thank you so much for sharing this. You made my day!
Leslie