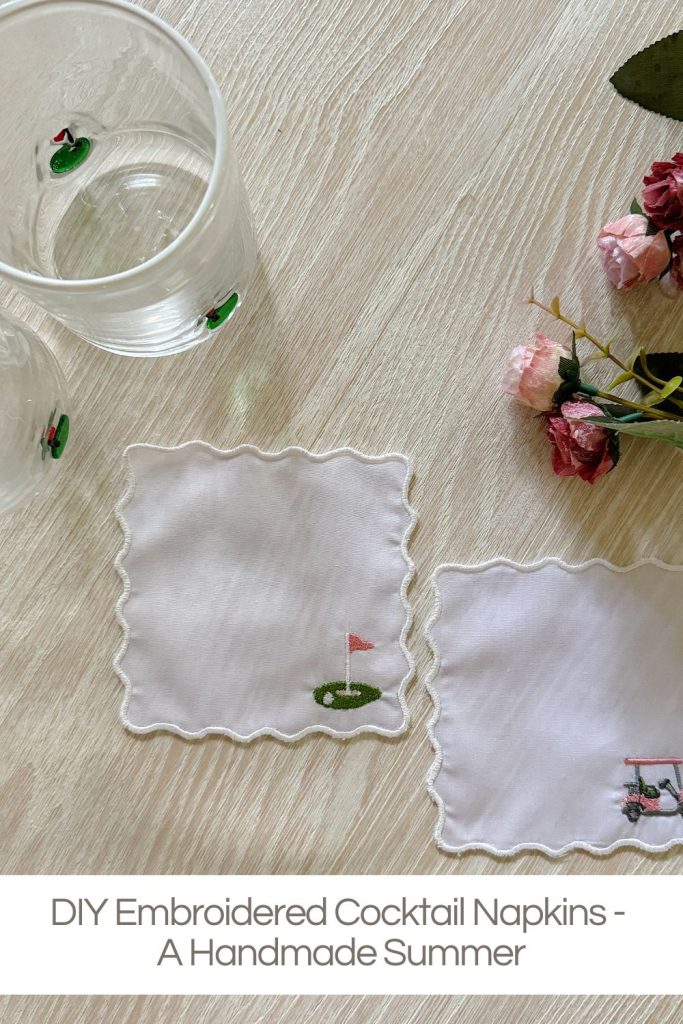
DIY Embroidered Cocktail Napkins – A Handmade Summer
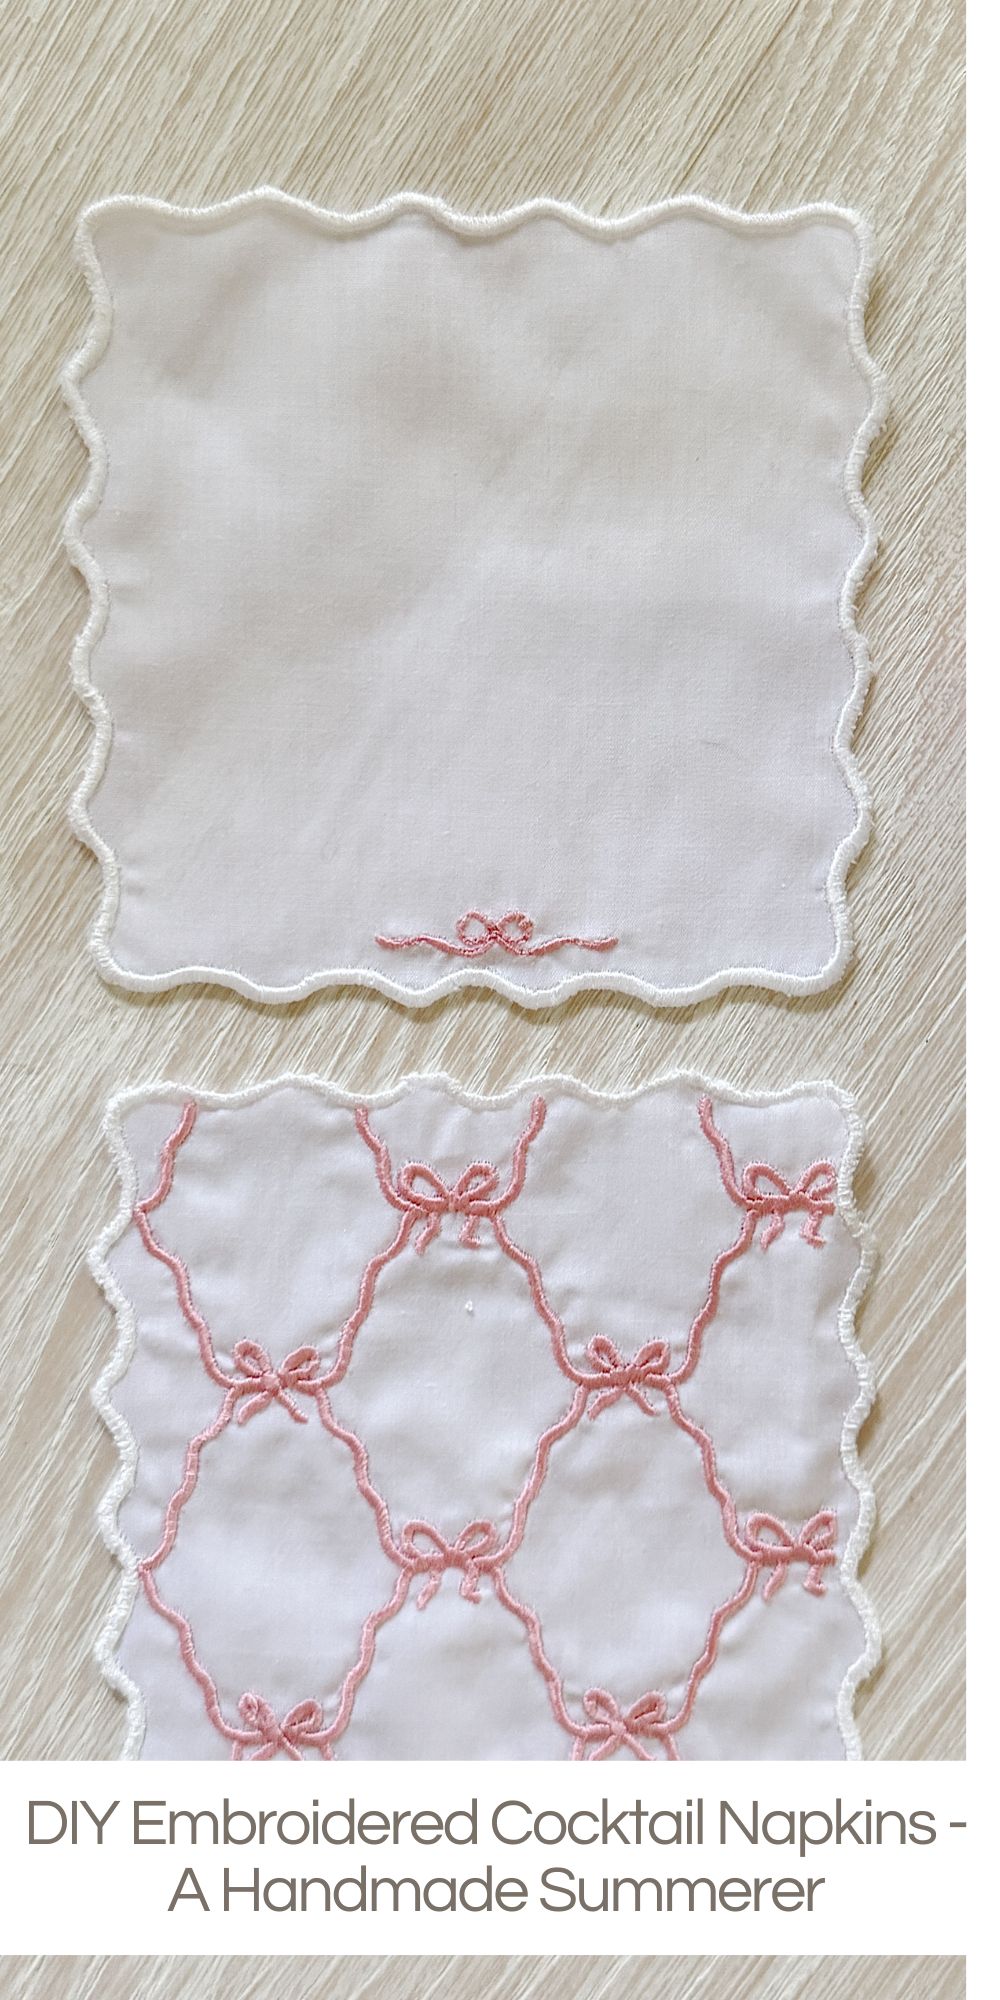
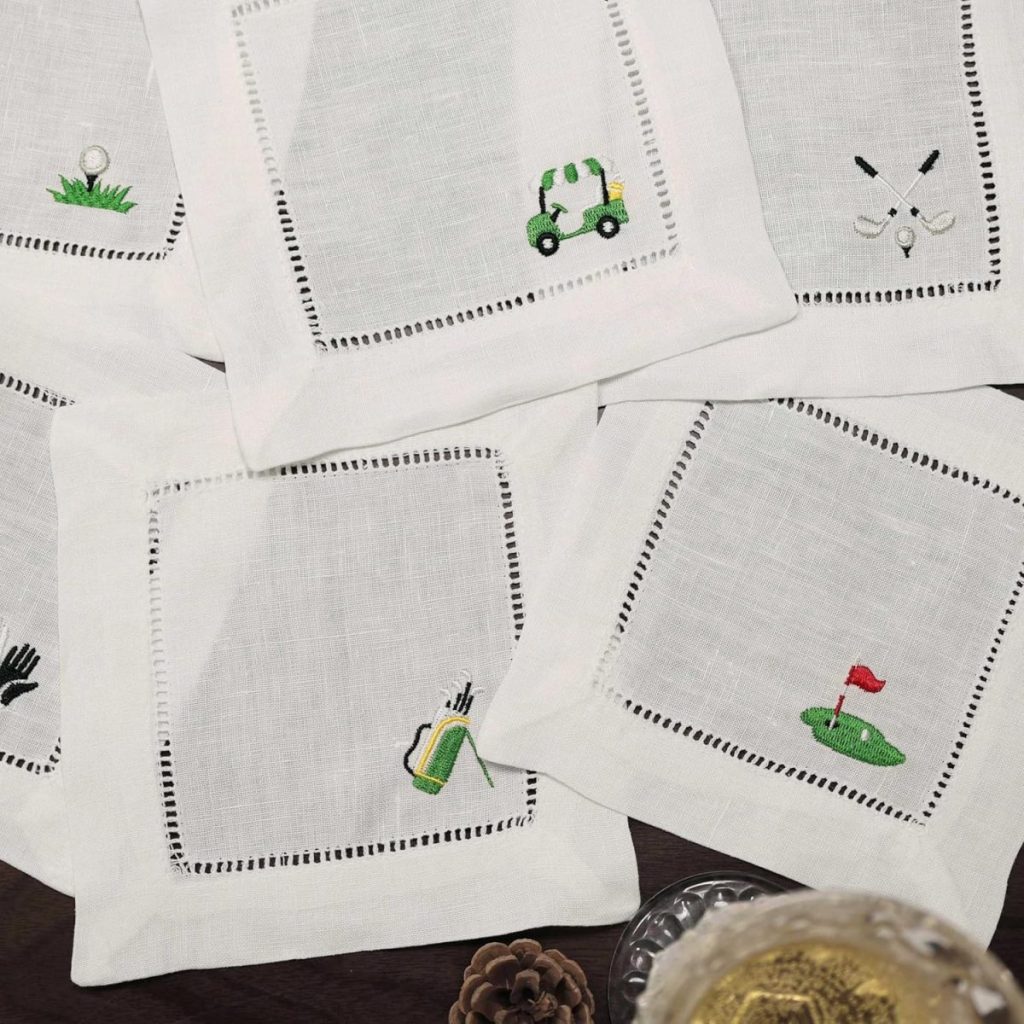
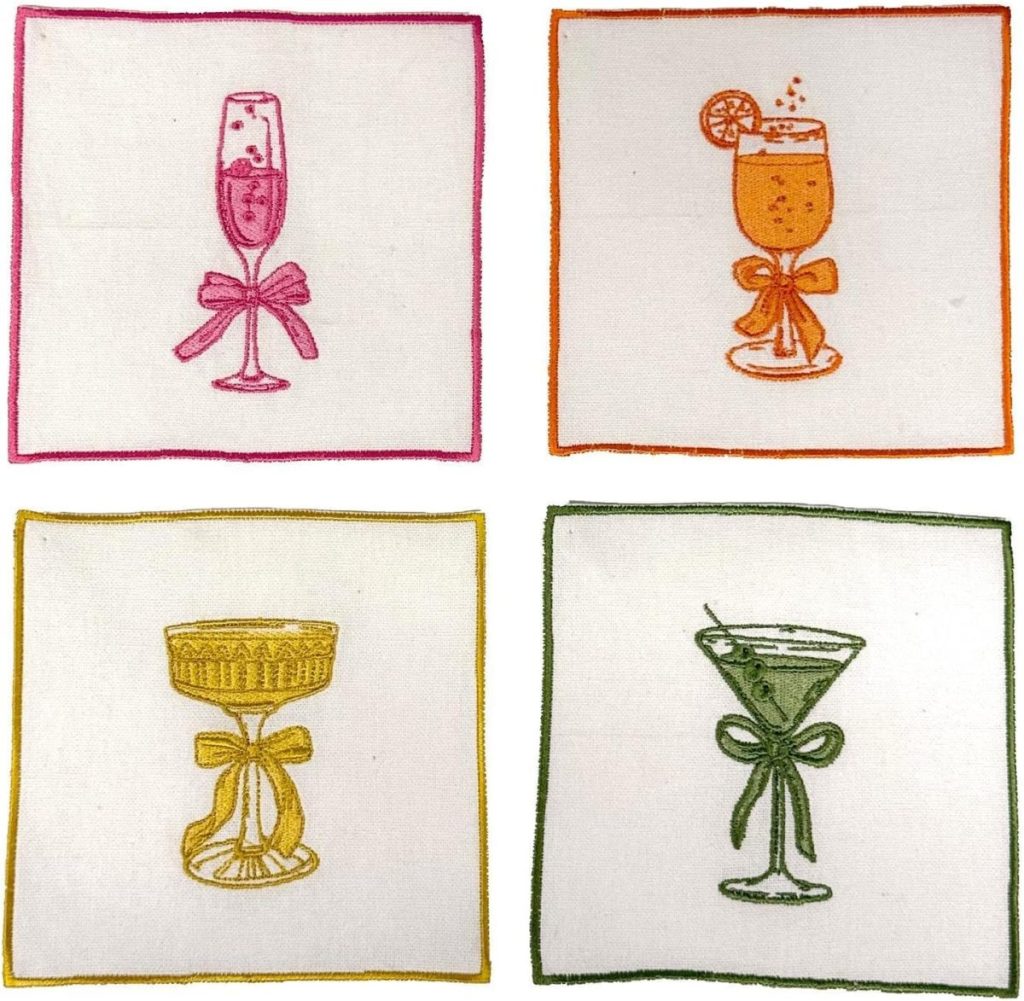
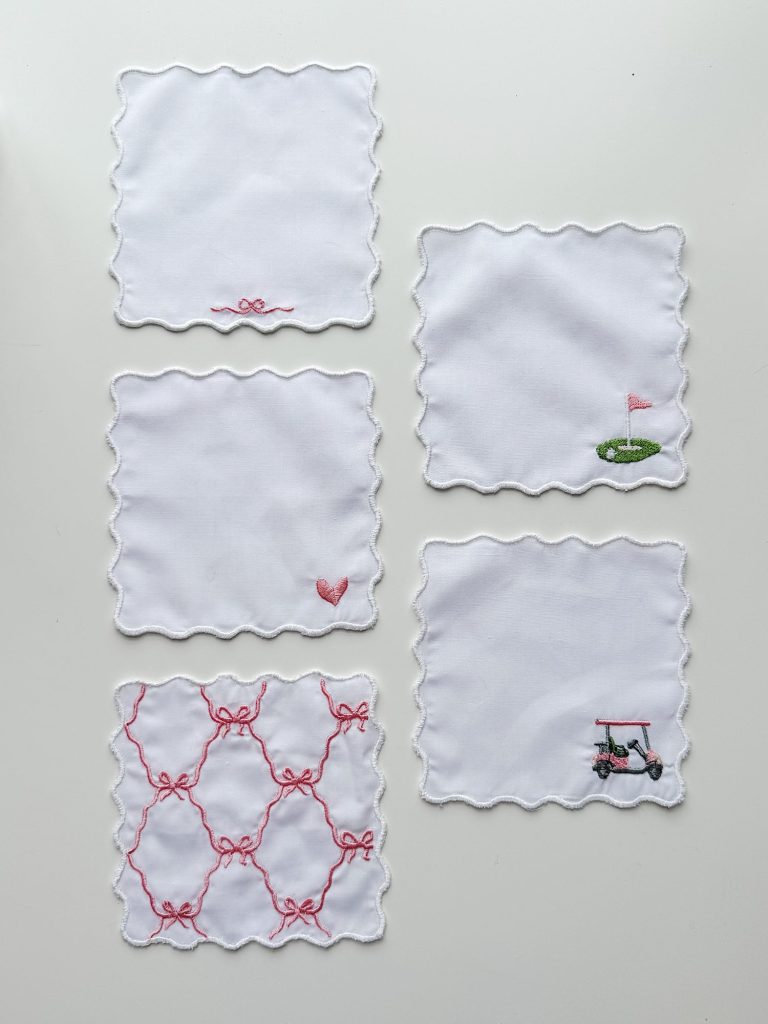
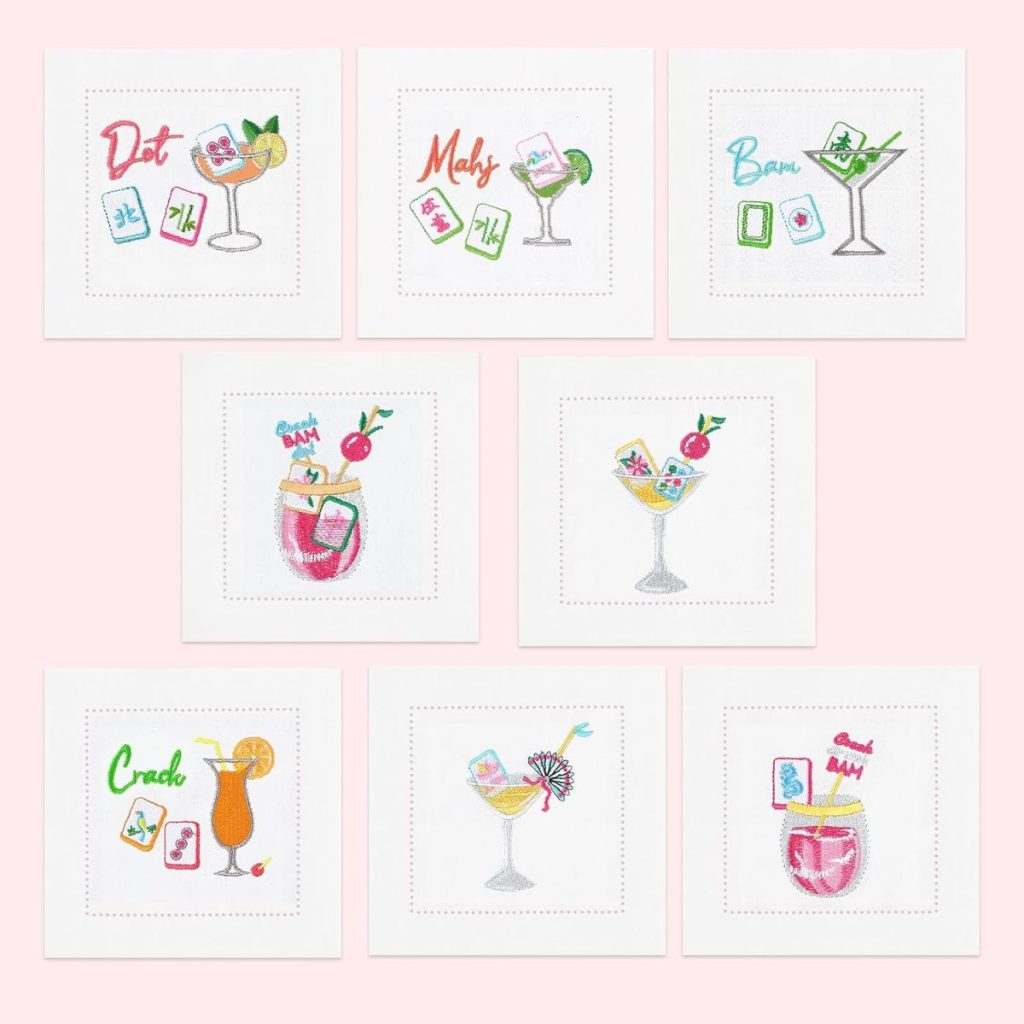
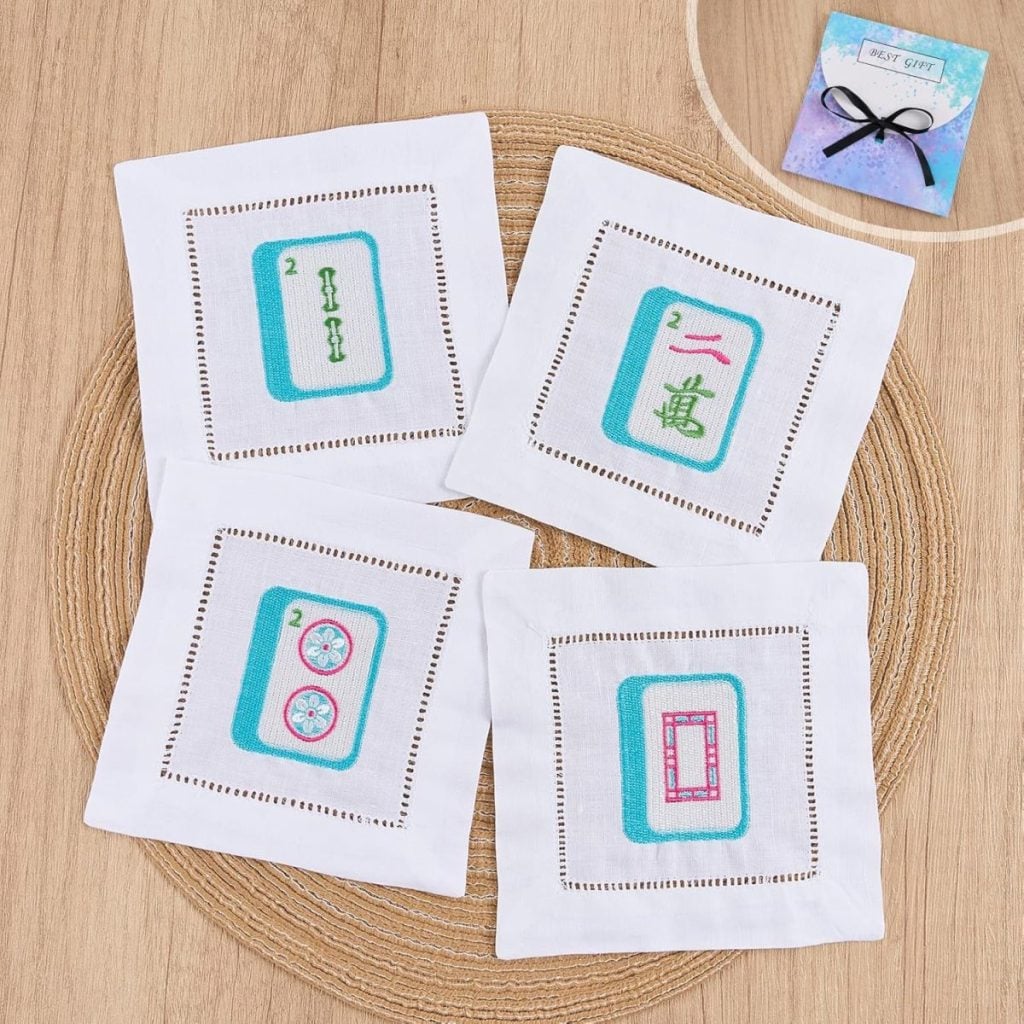
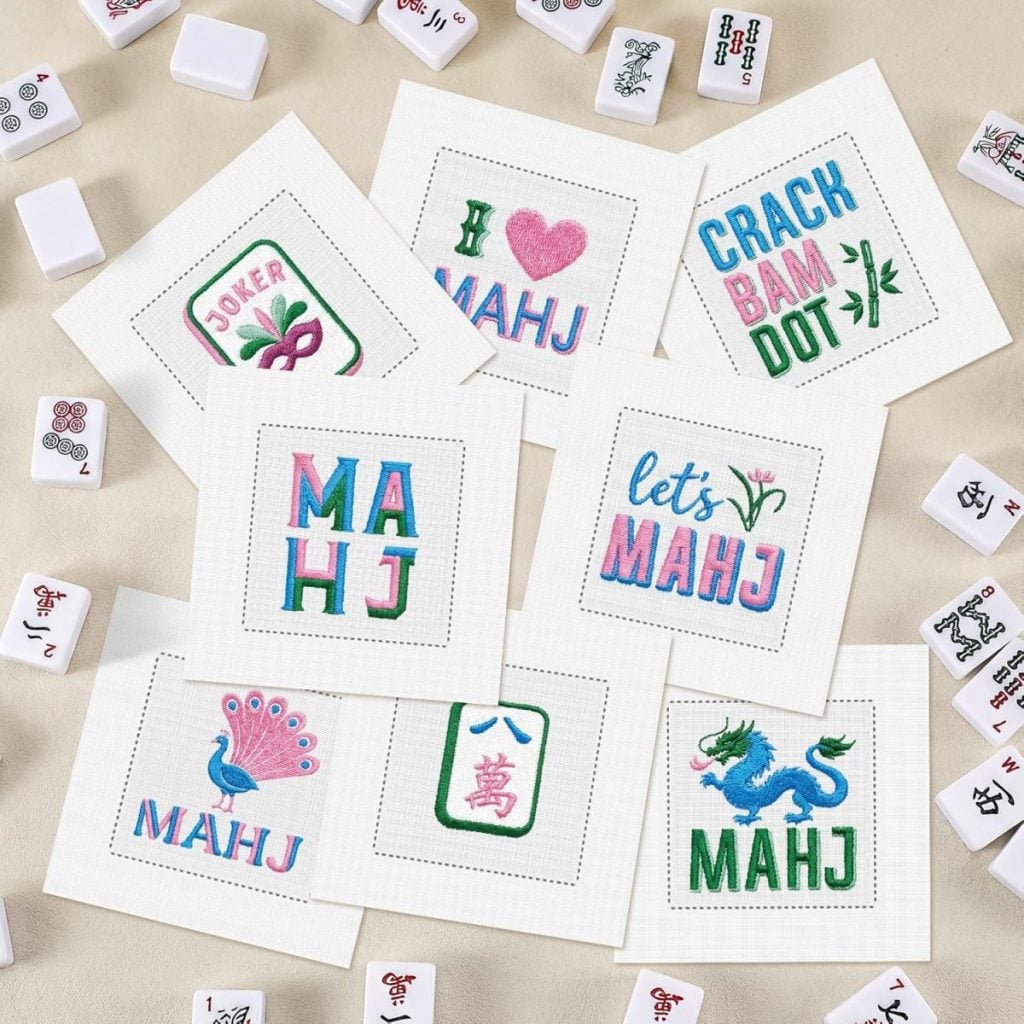
This week for A Handmade Summer, I created the cutest embroidered cocktail napkins inspired by my favorite iconic cocktail glasses featuring bows, hearts, and golf motifs.
But instead of purchasing expensive hemstitched napkins, I decided to make my own. Not only was this project surprisingly easy, but the finished cocktail napkins look beautifully custom and perfectly coordinate with my glasses for summer entertaining. If you love embroidery, handmade details, and creative entertaining projects, this might become your new favorite DIY.


DIY Embroidered Cocktail Napkins
There is something about summer entertaining that always inspires me to make the little details feel extra special. Whether it is setting a pretty table, creating handmade decorations, or adding thoughtful touches for guests, I love finding ways to make gatherings feel personal and memorable.
This week for A Handmade Summer, I made the most adorable embroidered cocktail napkins to match my favorite iconic cocktail glasses, and honestly, I cannot stop smiling every time I see them.
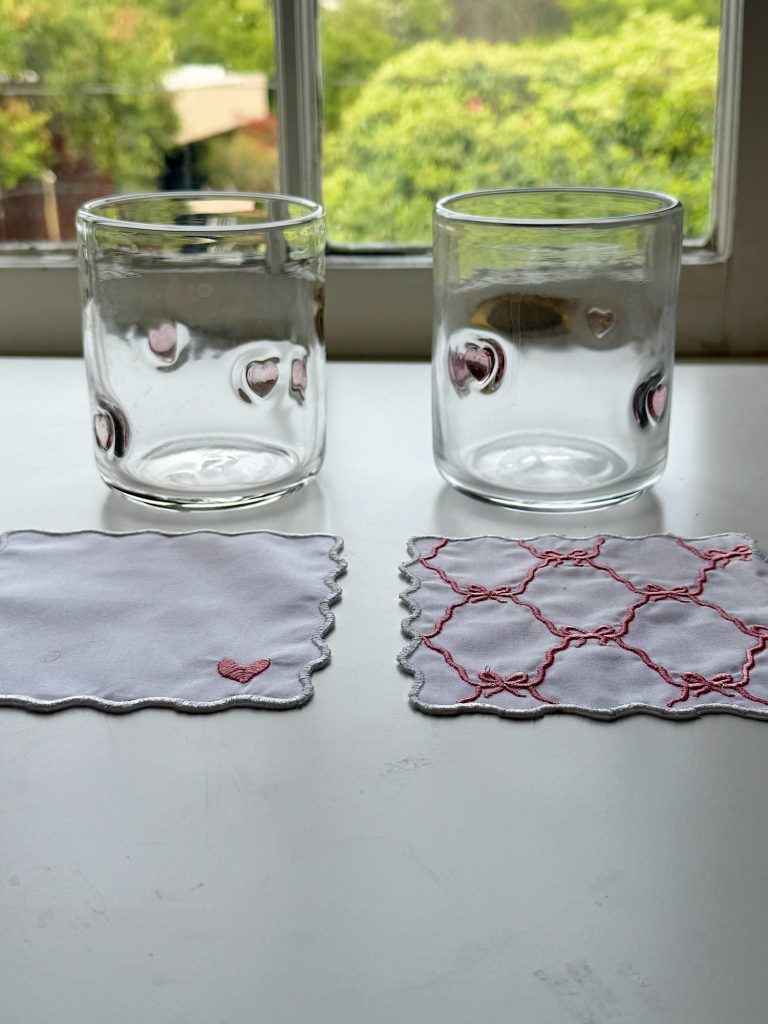
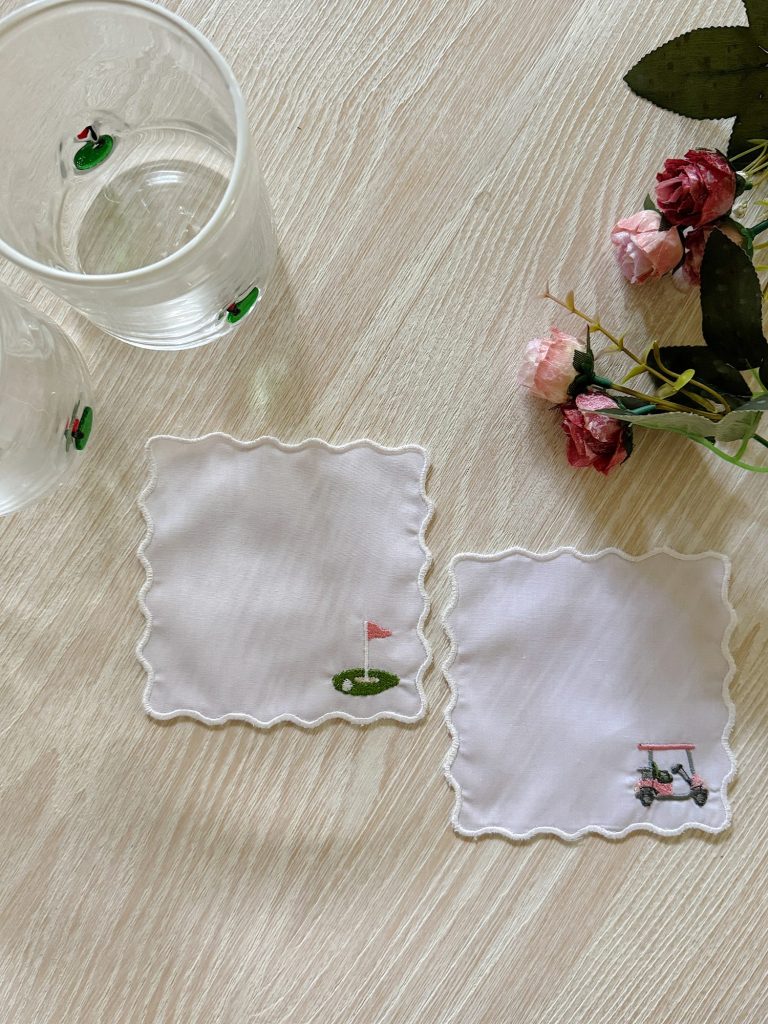
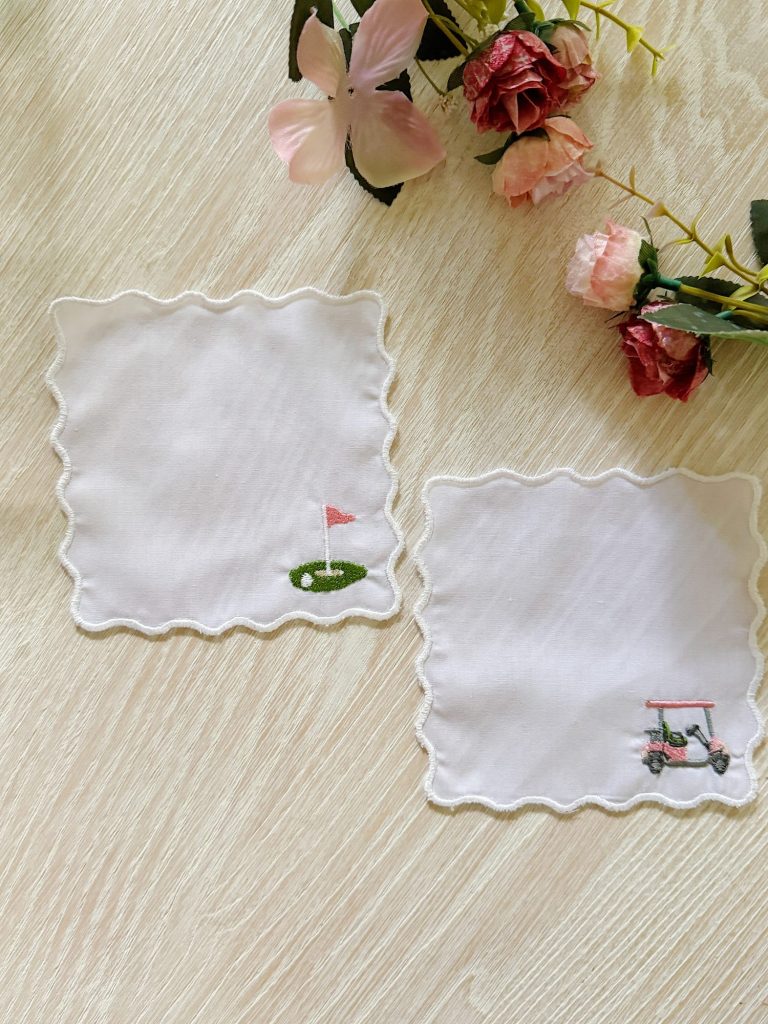
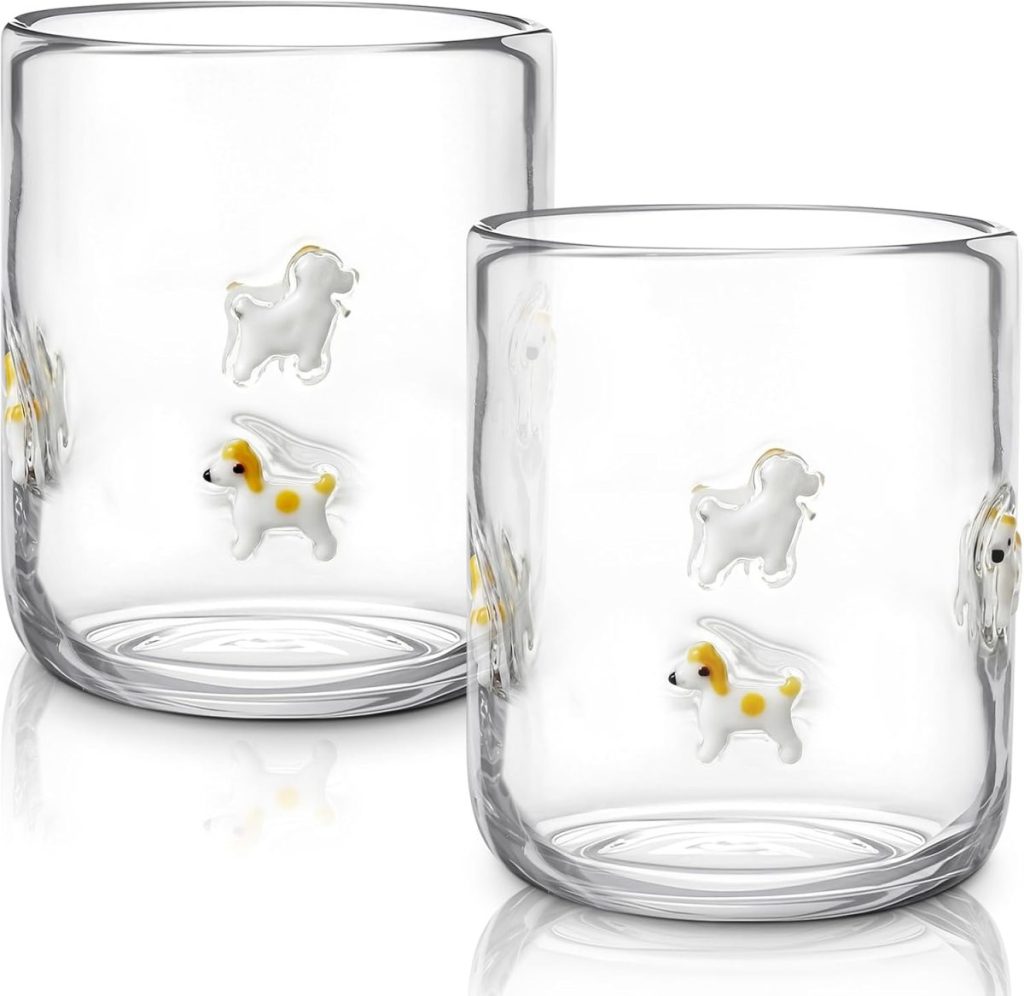
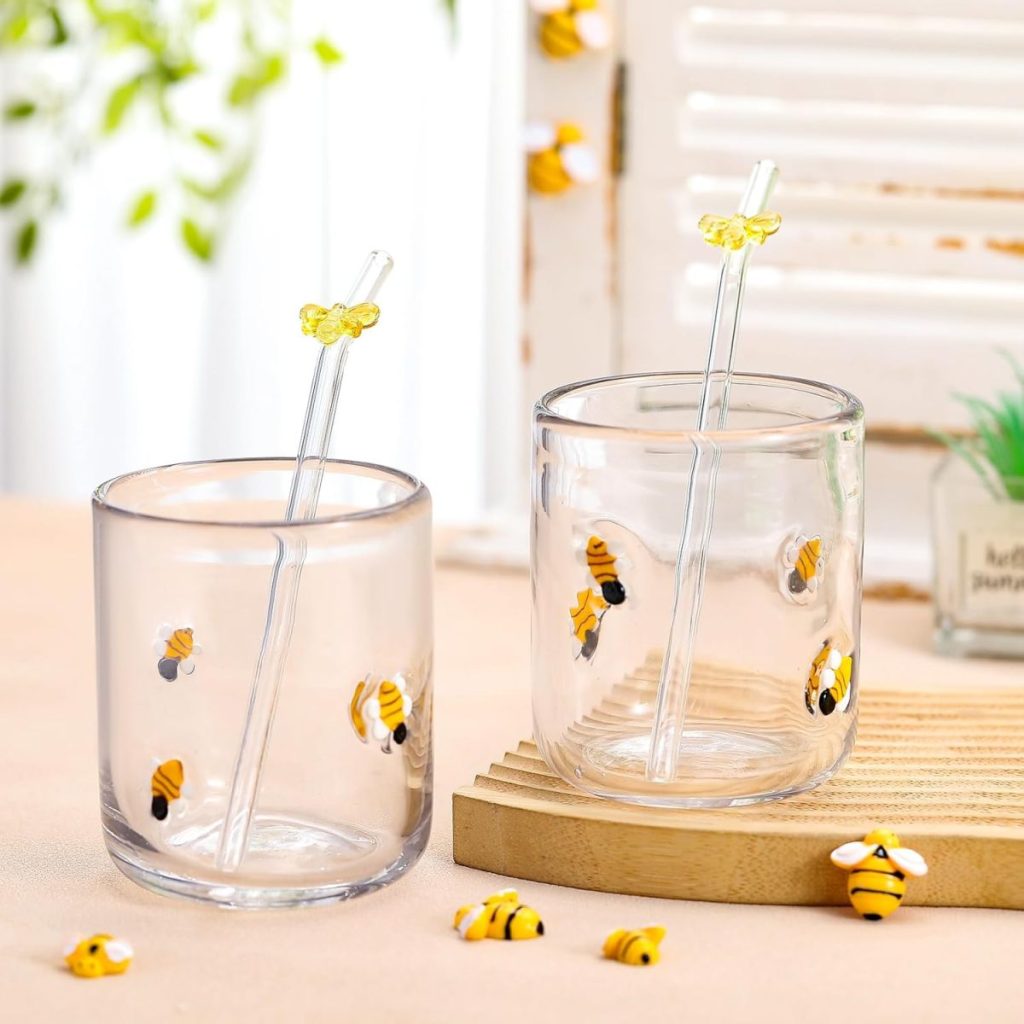
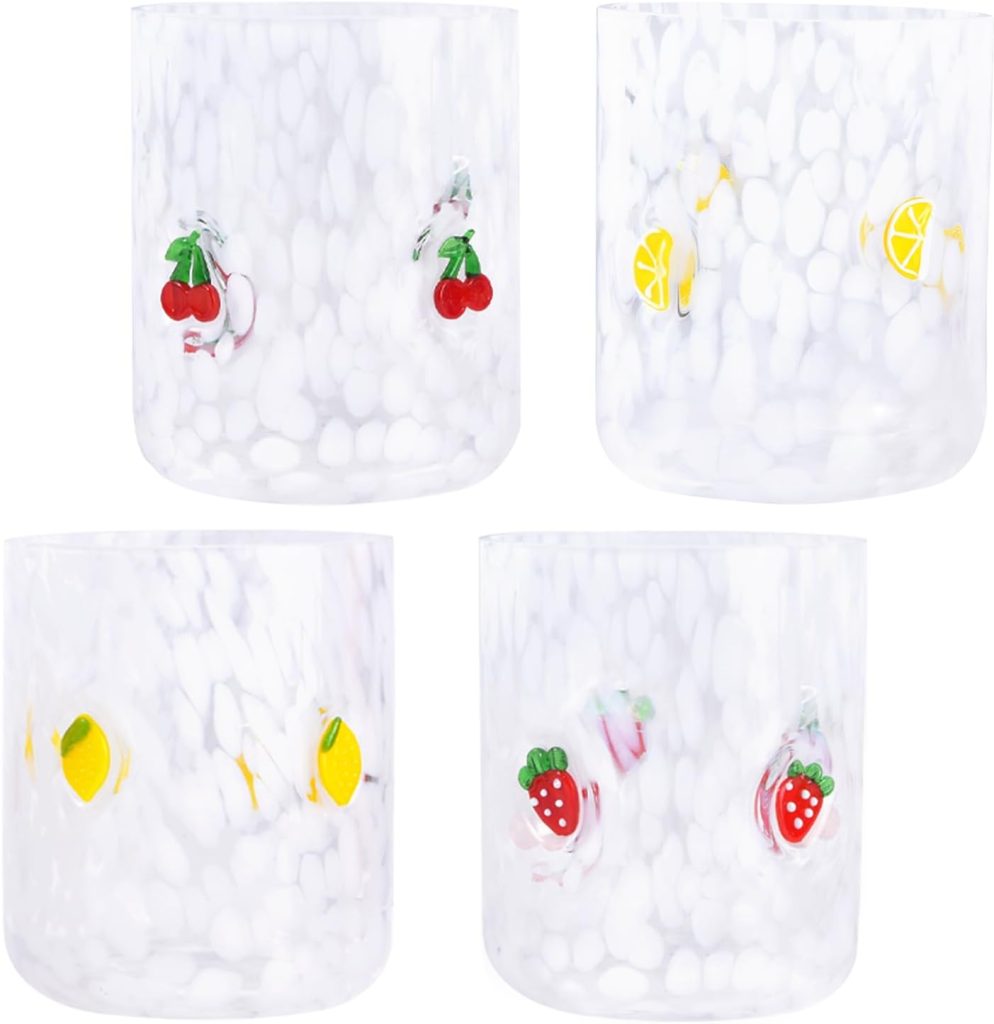
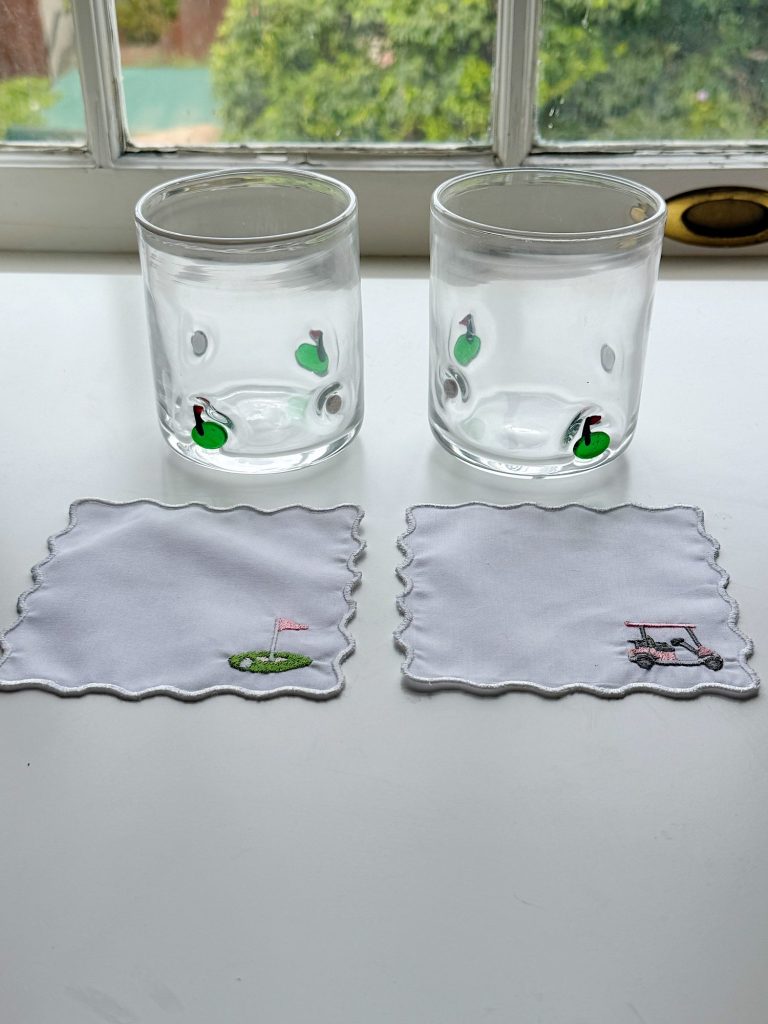
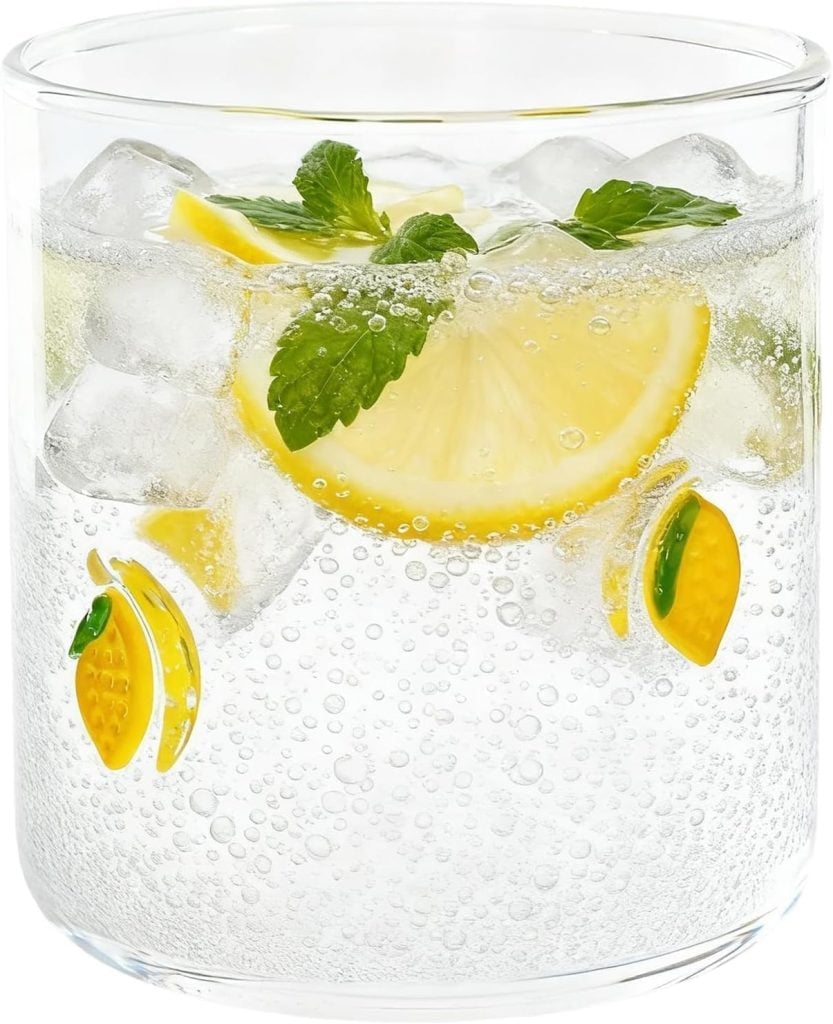
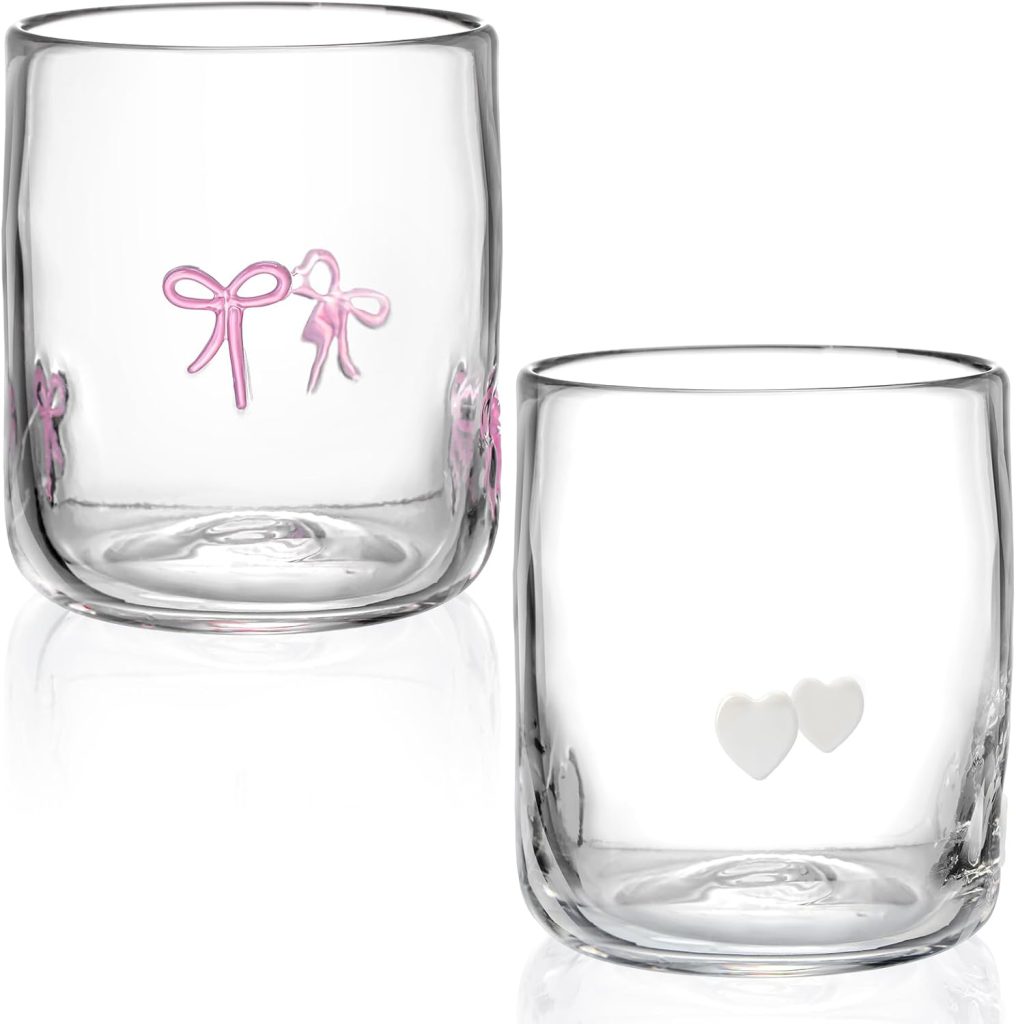
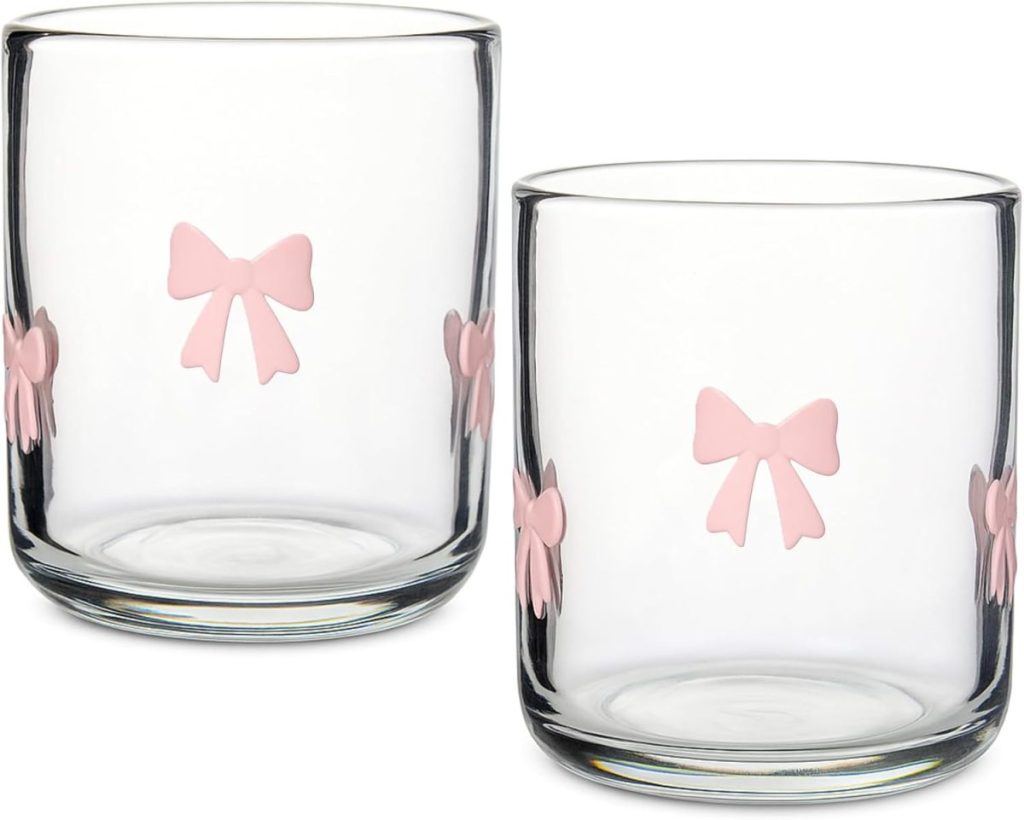
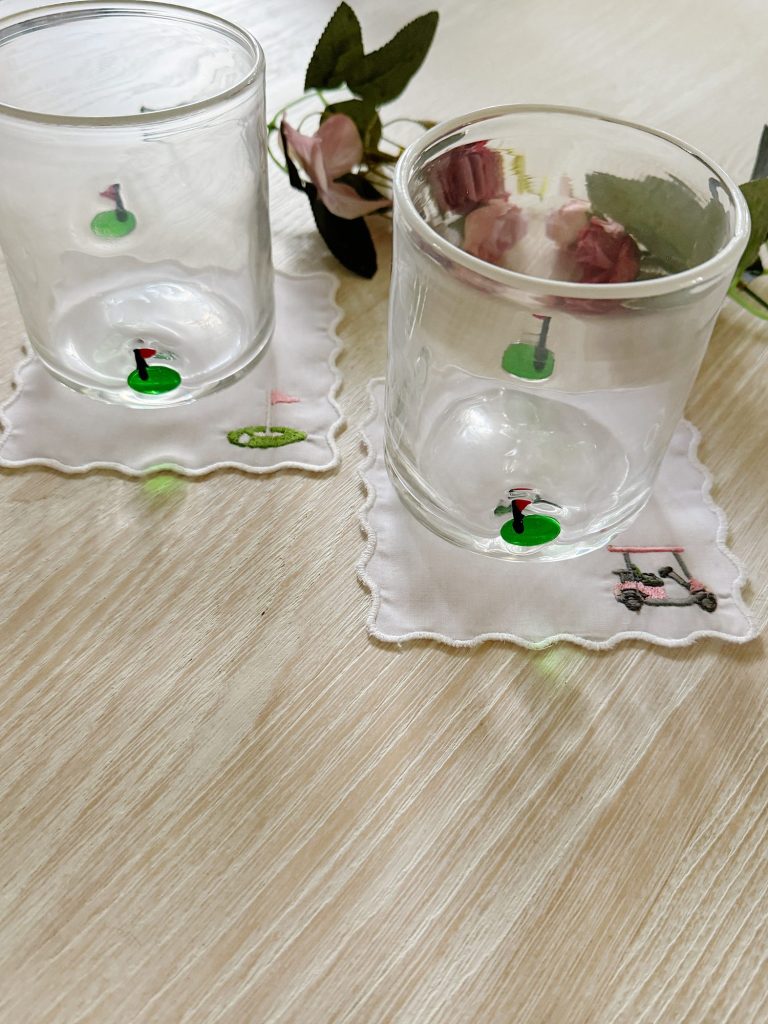
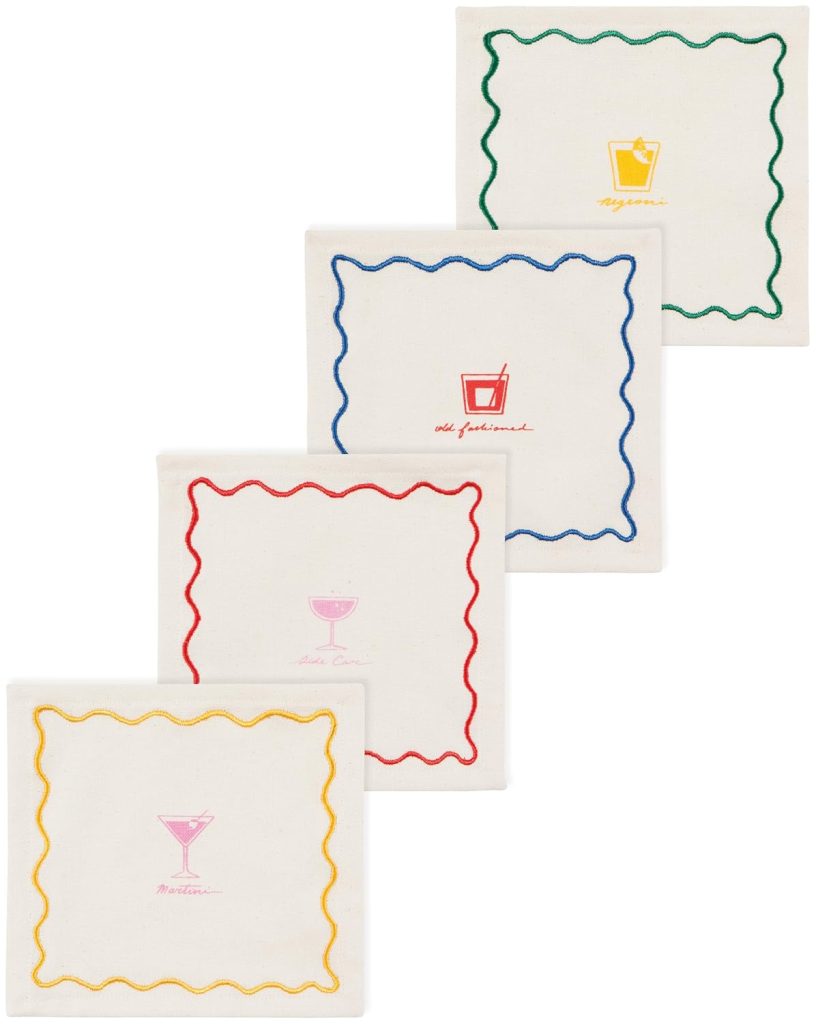
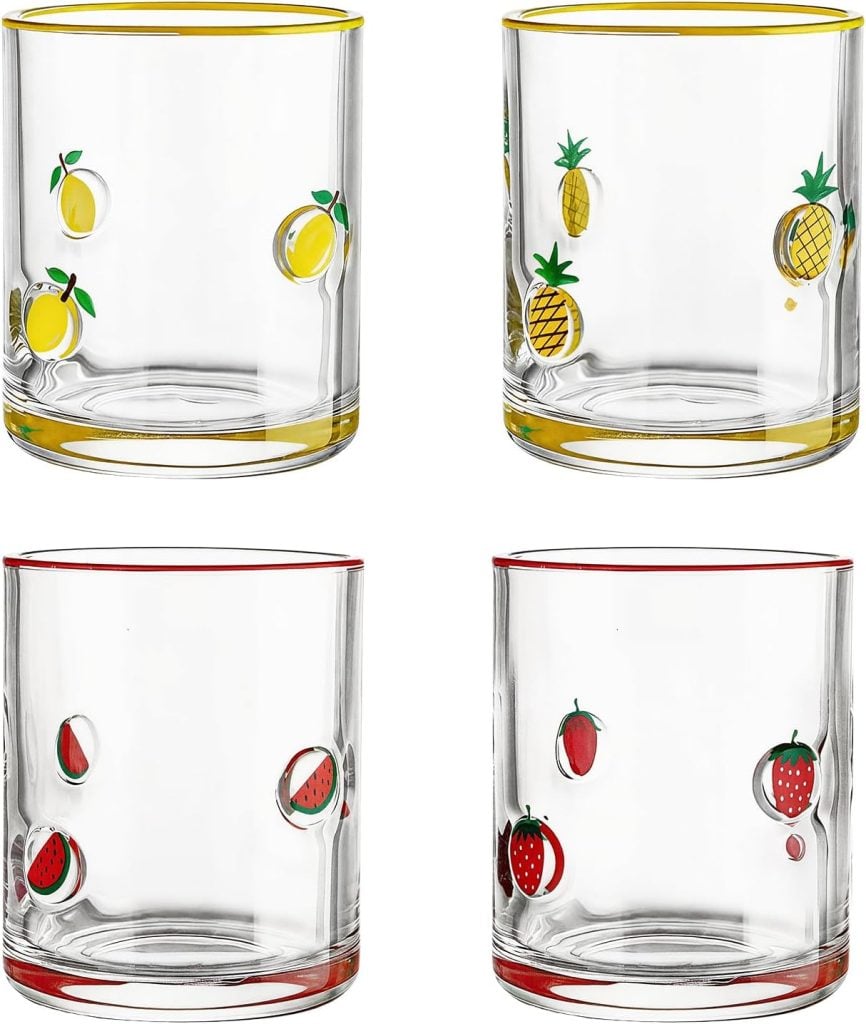
I have three sets of glasses with fun, embroidery-inspired icons, including bows, hearts, and golf motifs. Every time I used them, I kept thinking how cute it would be to have matching cocktail napkins.
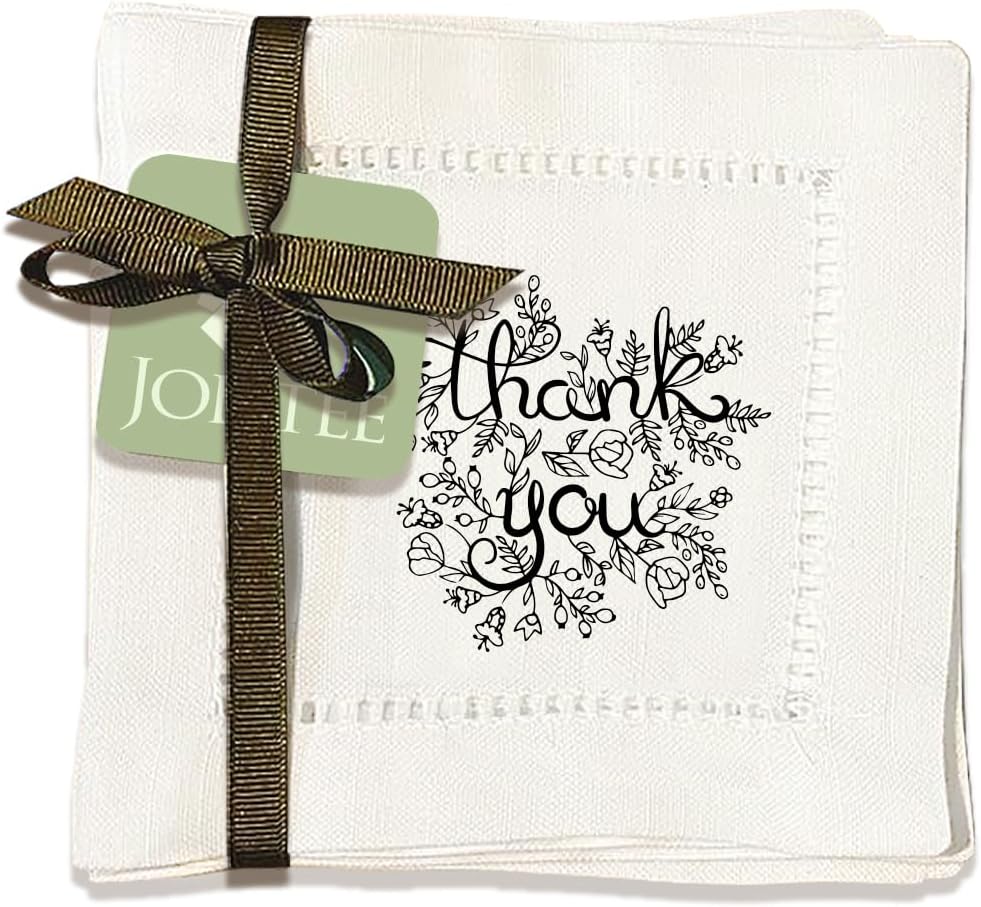
At first, I considered ordering custom embroidered hemstitched napkins online, but they are surprisingly expensive, especially when making multiple sets.
So I decided to make my own.
And guess what?
They were so much easier to make than I expected.
Not only did they turn out beautifully, but making your own embroidered cocktail napkins costs so much less than purchasing pre-made hemstitched napkins. Once I realized how simple the process was, I knew I would be making more for every season, holiday, and entertaining theme imaginable.
These cocktail napkins feel custom, elevated, and incredibly charming, yet they are actually very beginner-friendly if you have an embroidery machine.
Why I Love Handmade Embroidered Cocktail Napkins
One of my favorite things about handmade projects is creating something that feels unique and thoughtful.
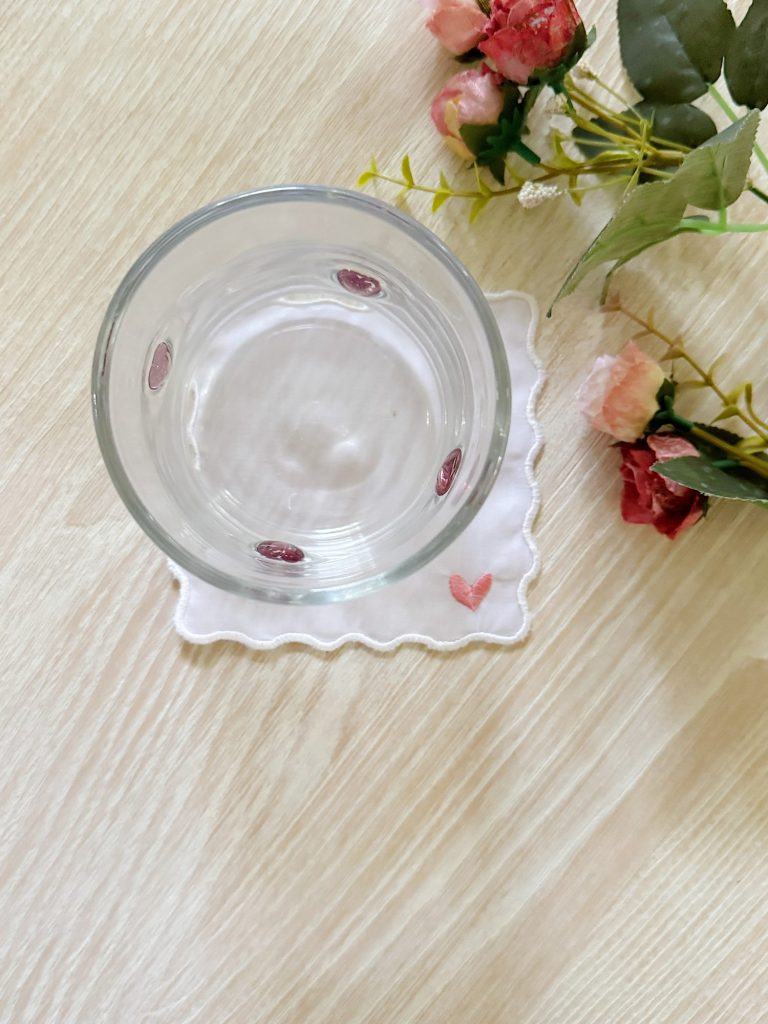
Cocktail napkins are one of those little details guests always notice.
They instantly make drinks feel more festive and intentional, whether you are hosting a book club, a summer dinner party, a happy hour on the patio, or a casual gathering with friends.
And because these napkins coordinate perfectly with my glasses, they almost feel like something from a boutique gift shop or specialty entertaining store.
But they are handmade.
Which makes them even better.
I especially love that these can be customized endlessly:
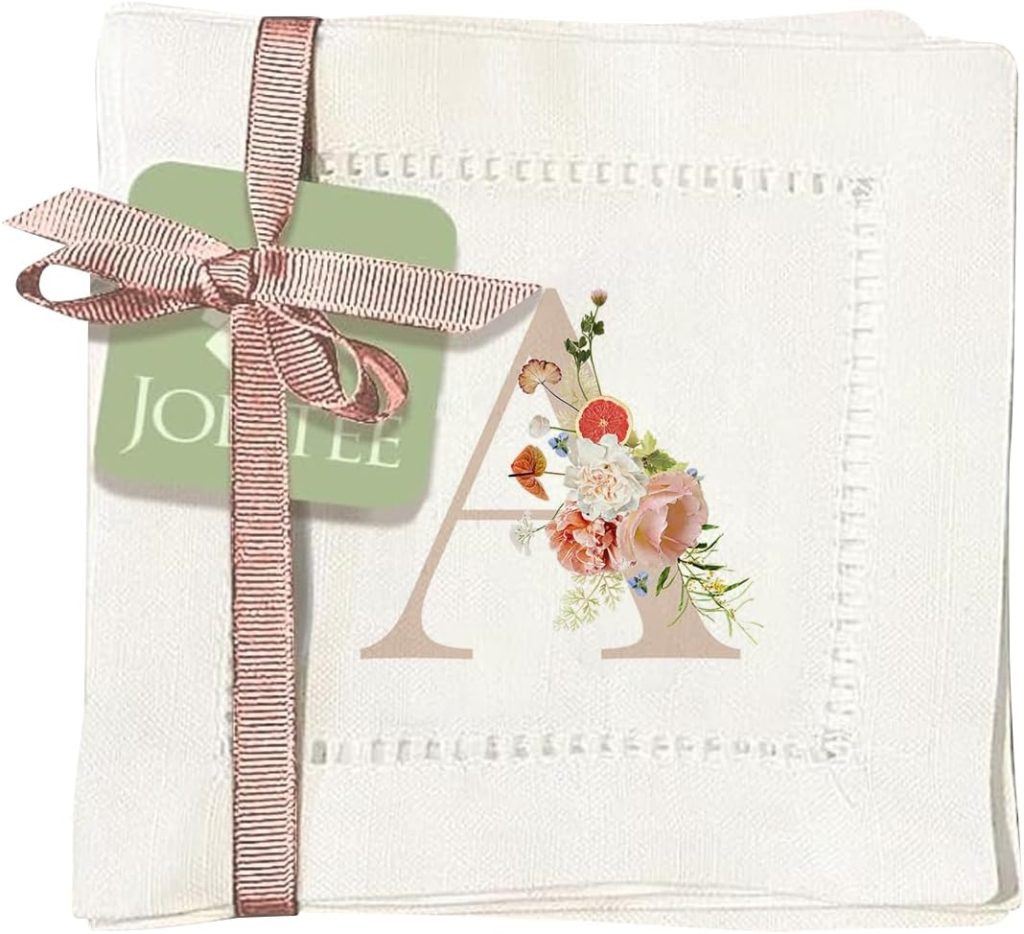
- monograms
- holiday themes
- flowers
- seasonal icons
- beach motifs
- sports themes
- wedding gifts
- hostess gifts
Honestly, once you start making embroidered cocktail napkins, it becomes hard to stop.
Why I Decided to Make My Own Napkins
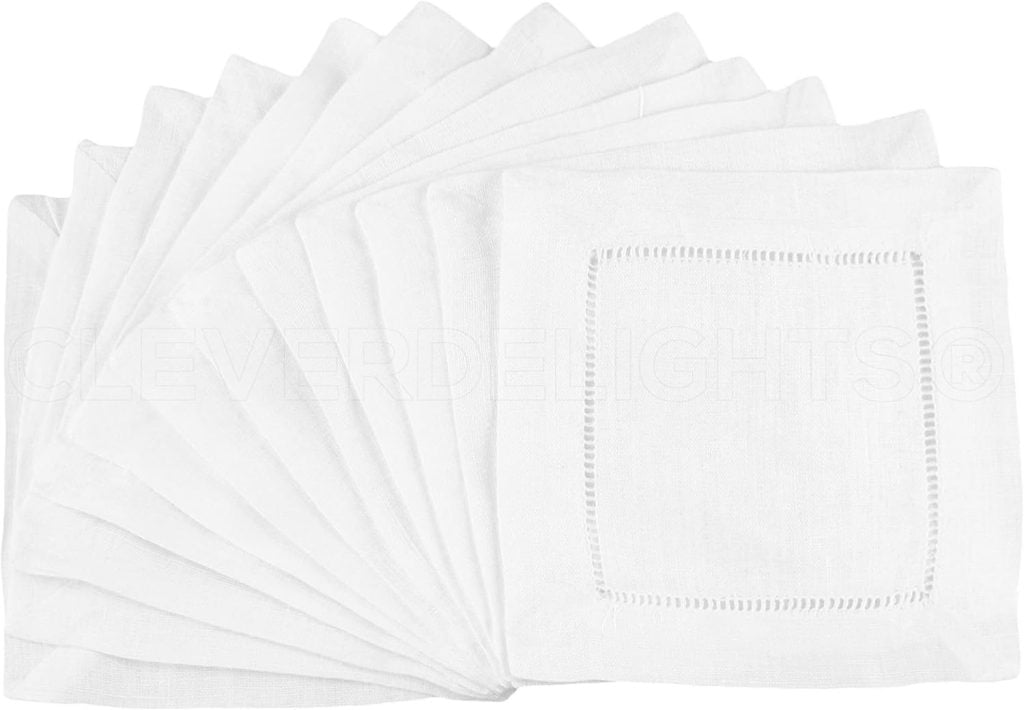
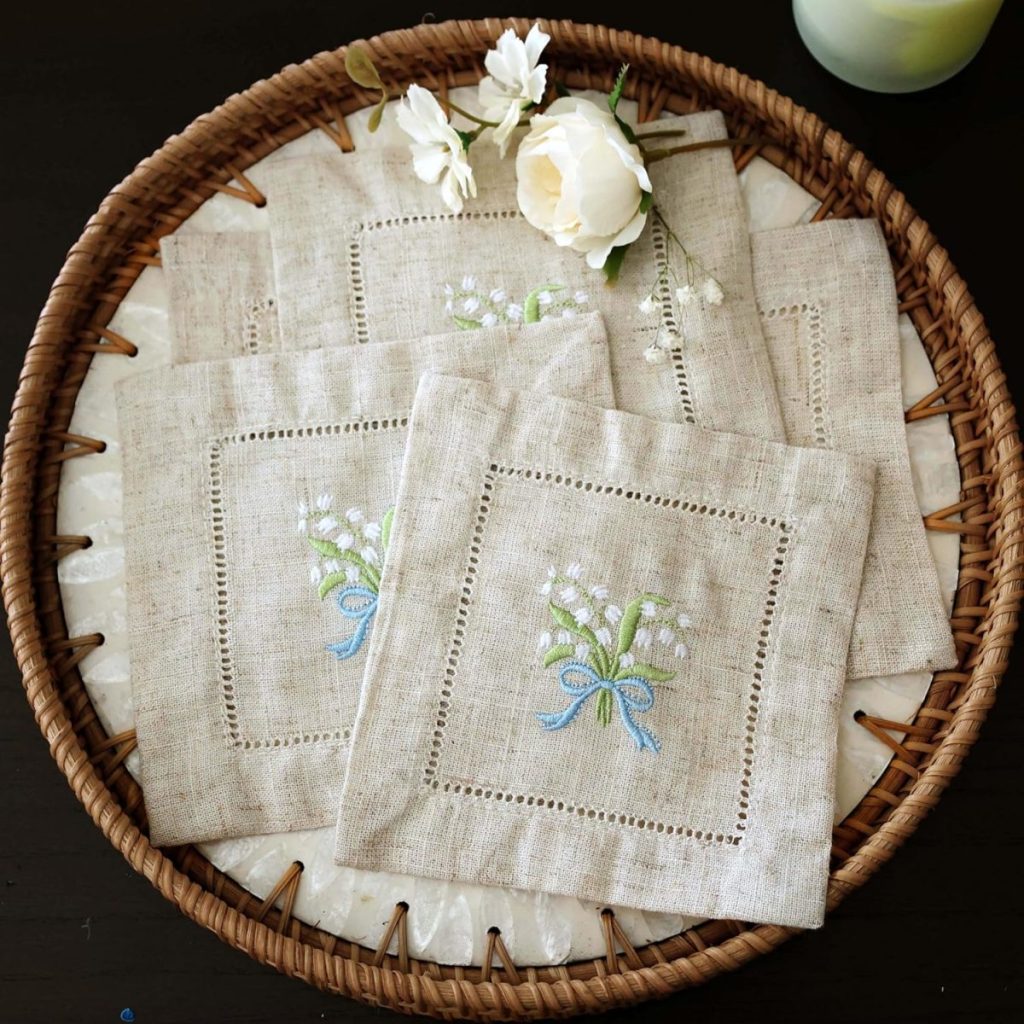
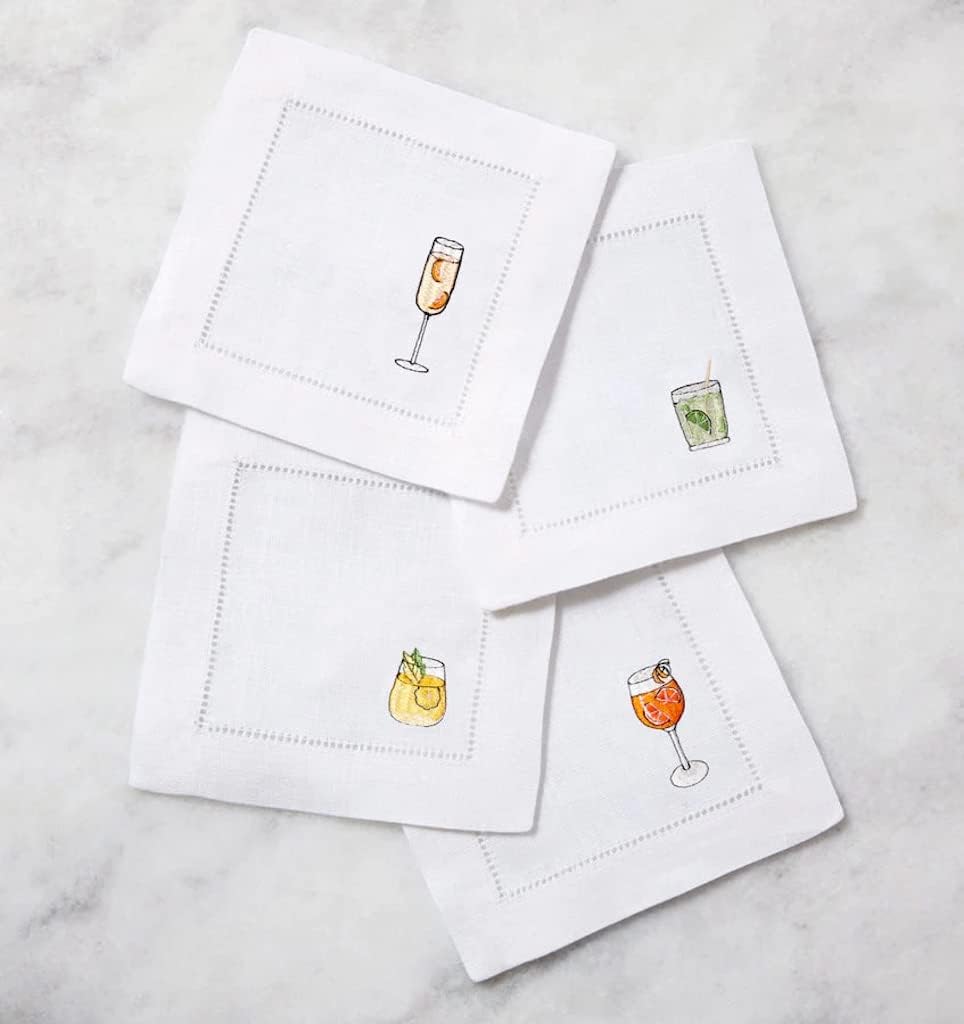
Traditionally, embroidered cocktail napkins are made from hemstitched linen napkins purchased ready-made.
While they are beautiful, they can also be very expensive, especially if you need several sets.
So this time, I decided to try something completely different.
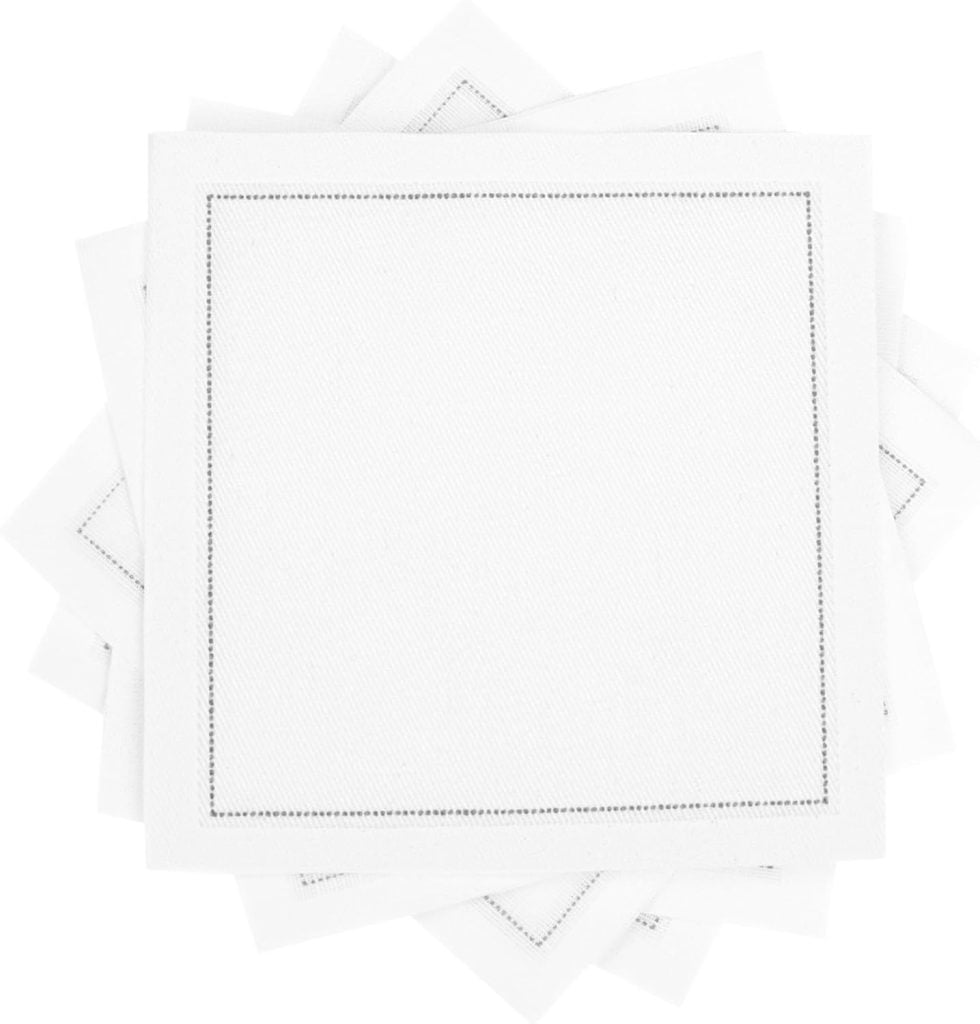
Instead of purchasing finished cocktail napkins, I made the napkins entirely from scratch using:
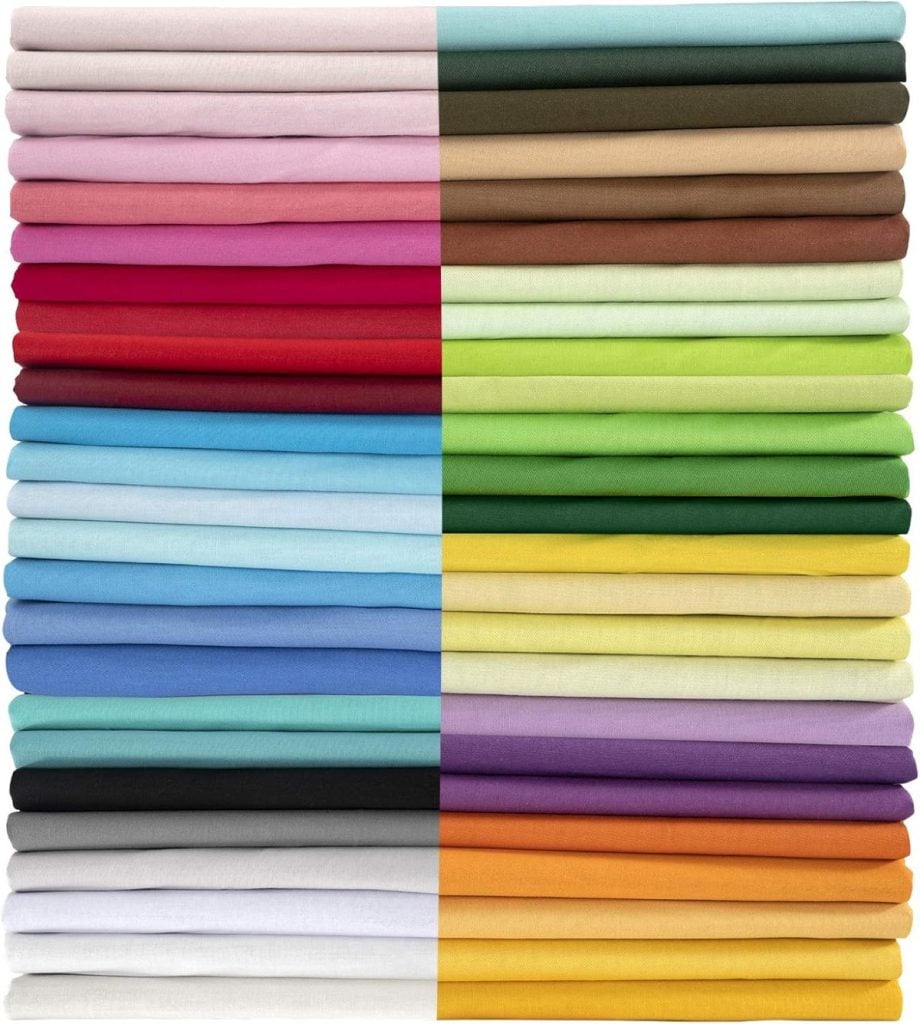
- white cotton fabric
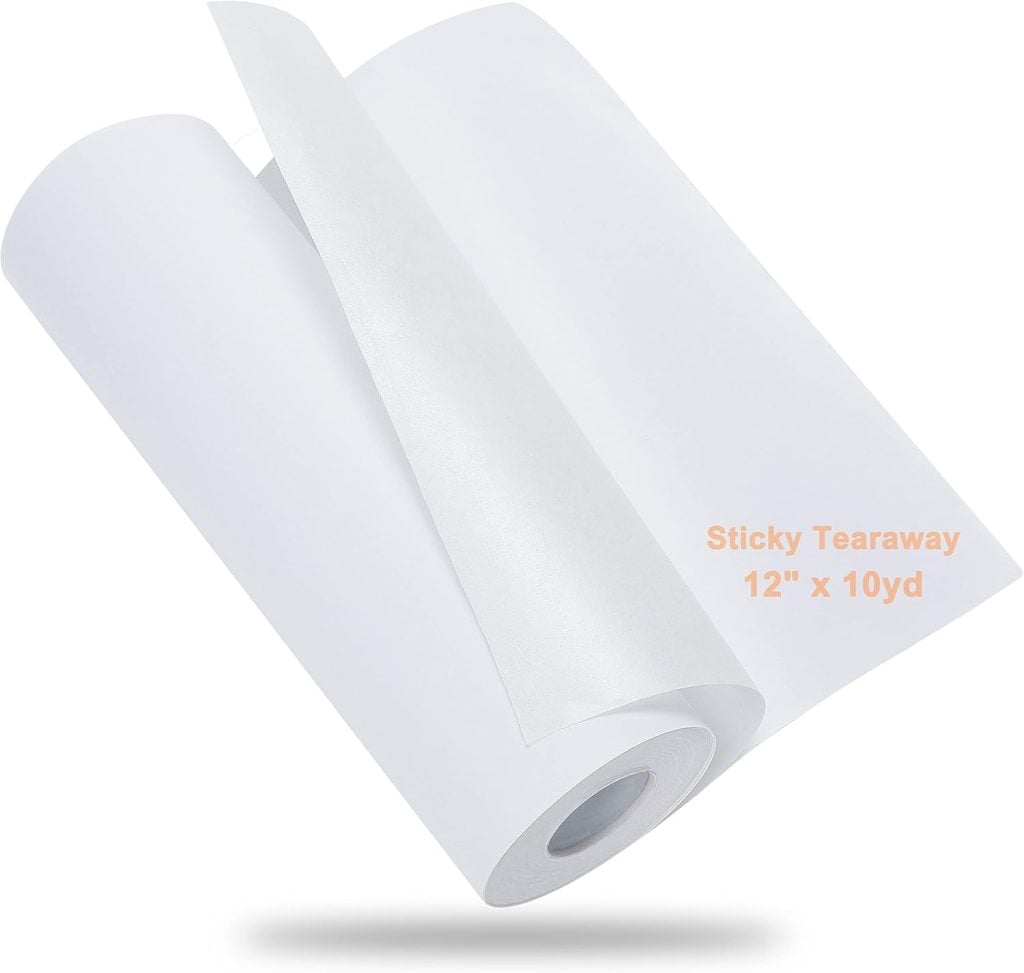
- tear-away stabilizer
- spray adhesive
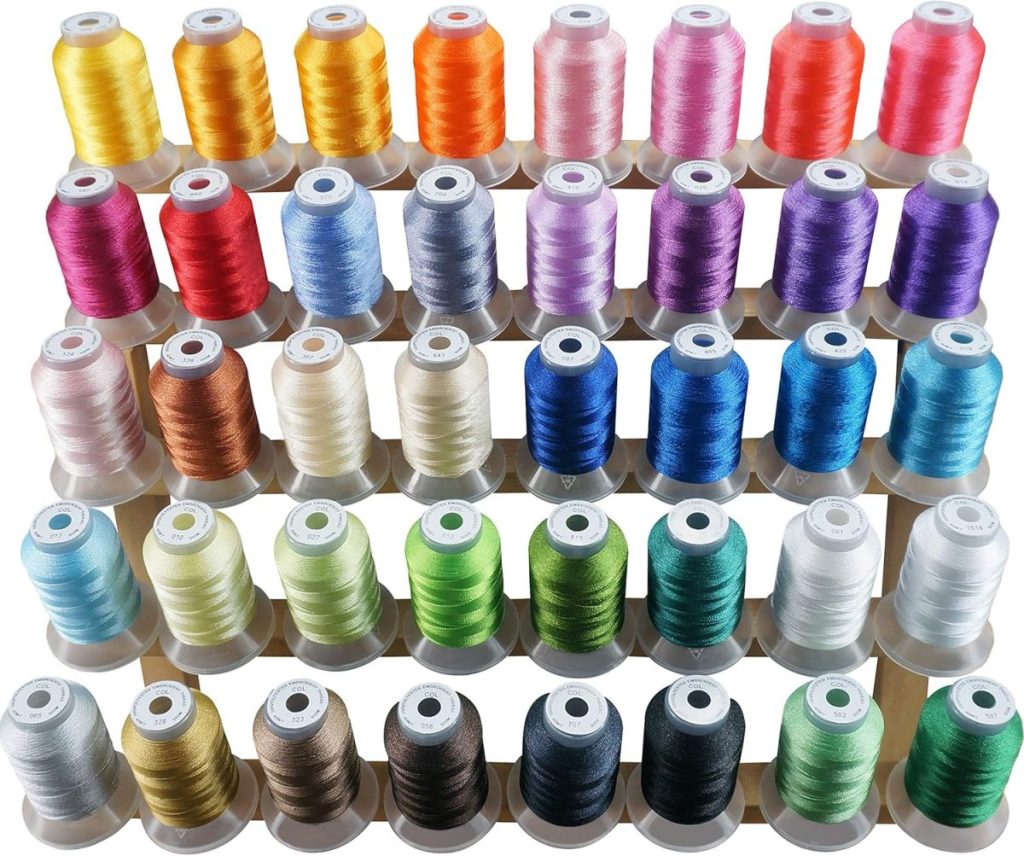
- embroidery thread
And honestly, I may never buy pre-made cocktail napkins again.
Making them yourself is:
- easier
- faster
- much less expensive
- fully customizable
And the finished result looks incredibly professional.
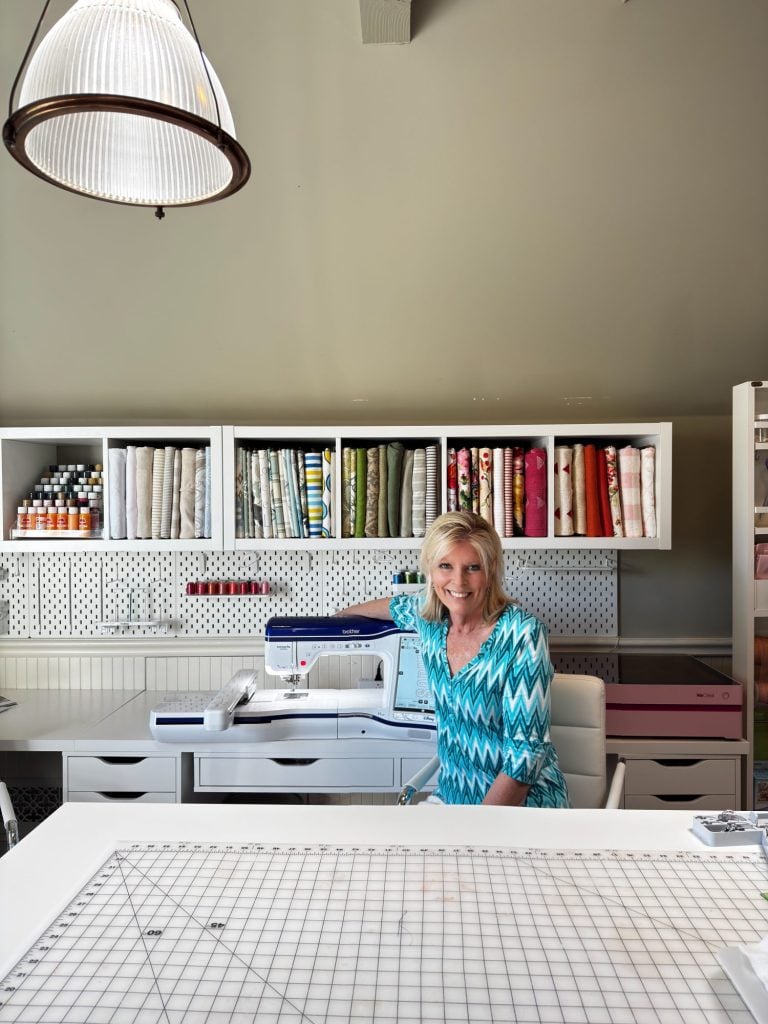
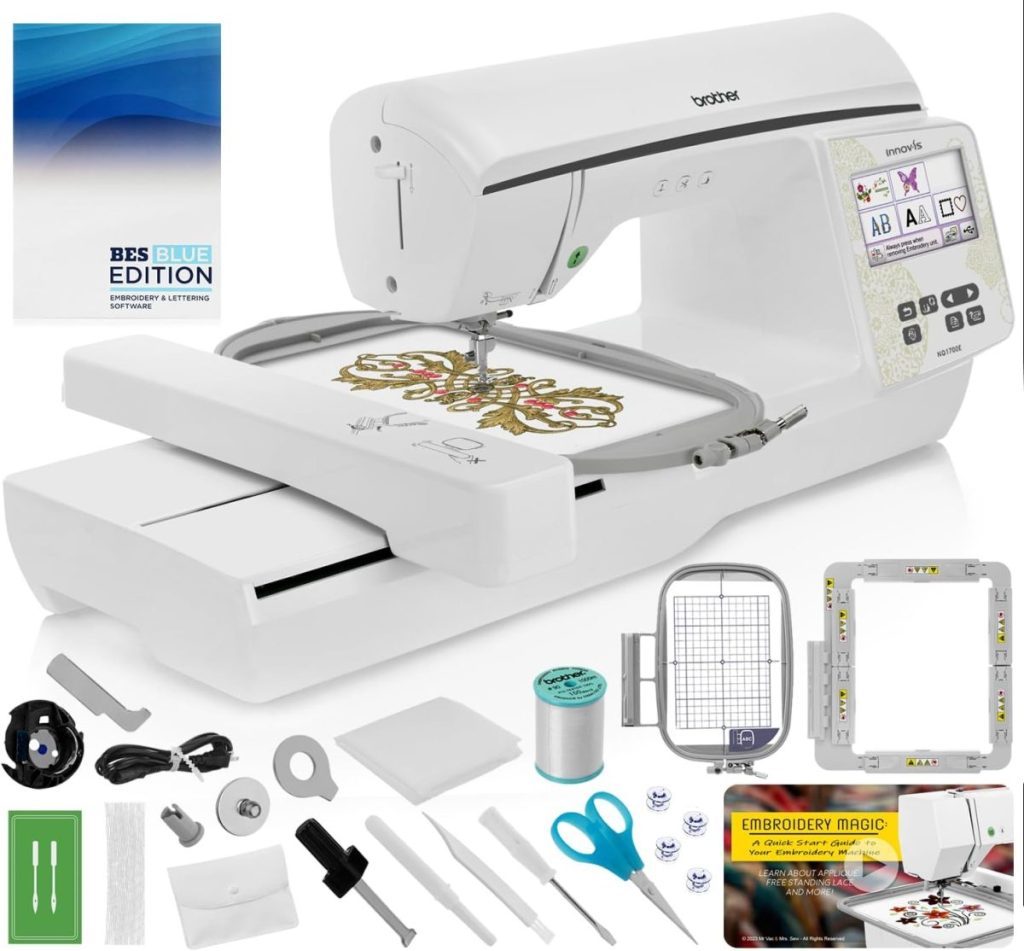
Of course, I used my amazing Brother Dream Machine. I love that every time I take on a new project, I learn so many new things! This machine can do everything. Hehe.
I bought a pre-owned Brother Dream Machine from a local dealer and saved a lot of money. If you want a similar new machine, the Brother Stellaire 2 Innov-is XE2 Disney Embroidery Machine – 14″ x 9.5″ Field Size is the most similar. The Brother PE900 is the most similar to my PE770.
The Embroidery Design That Makes This So Easy
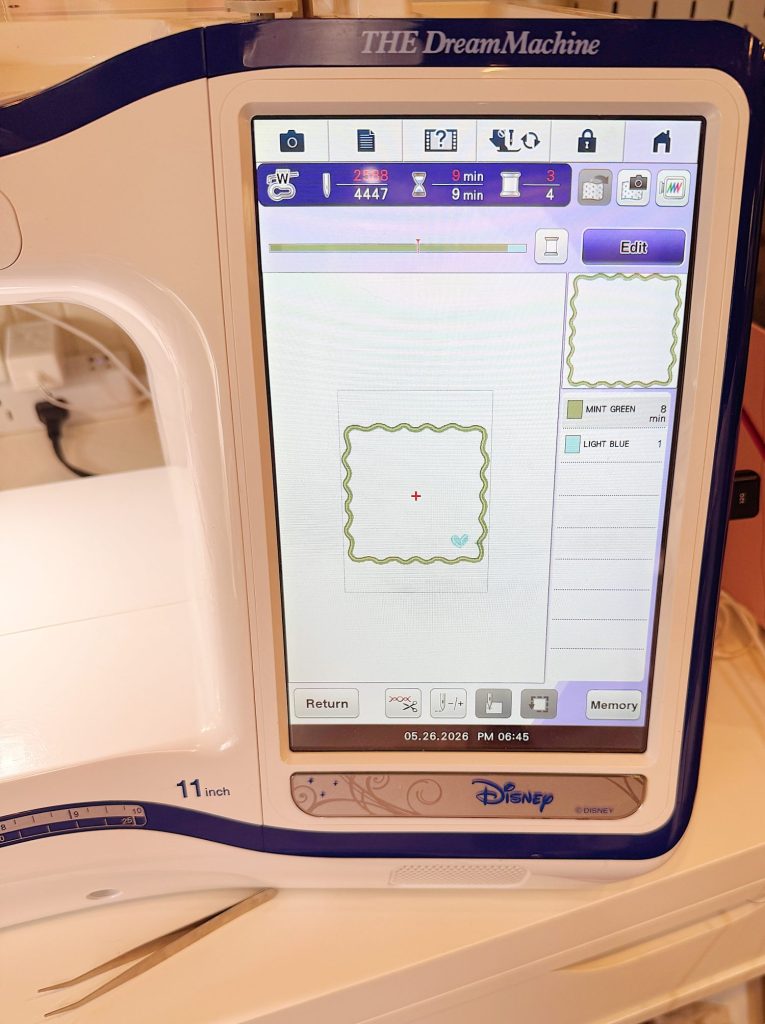
The real magic of this project is the embroidery design itself.
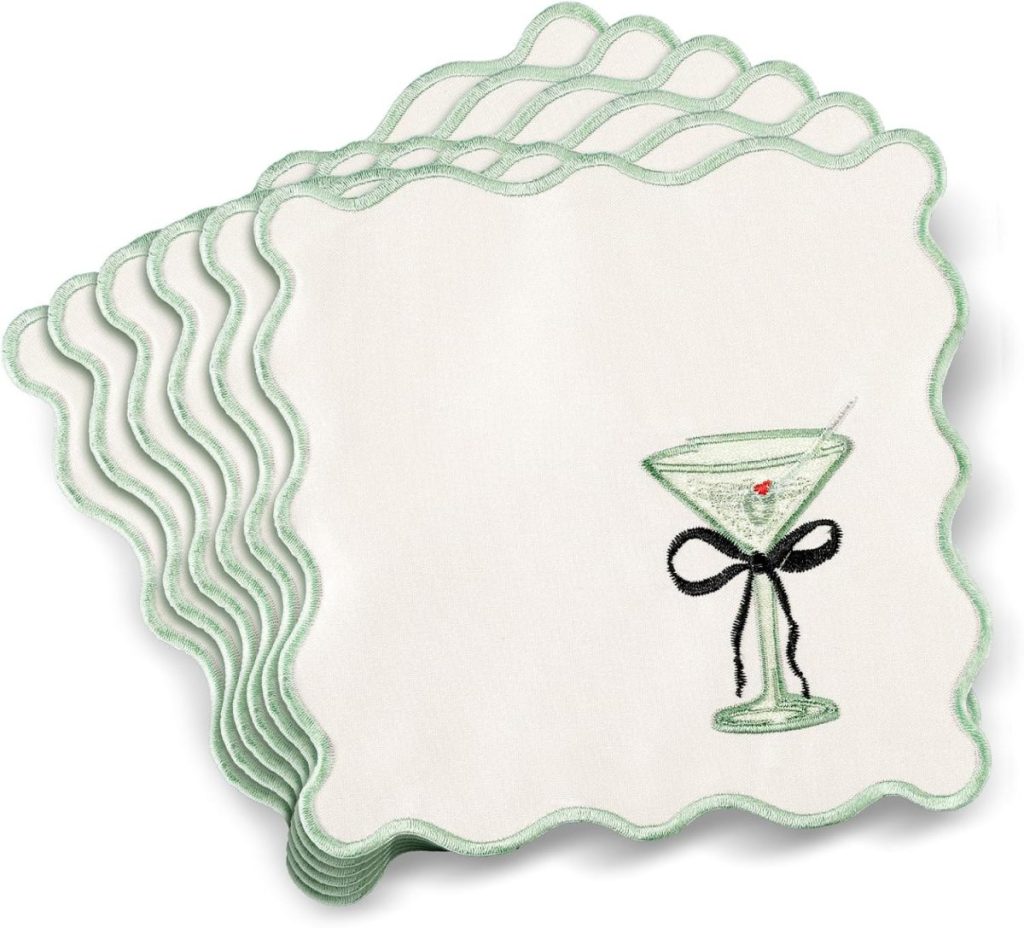
I downloaded an Appliqué Scallop Edge Border Embroidery Design for a Cocktail Napkin, and it completely simplified the entire process.
The embroidery file includes three stitch steps:
- A placement stitch
- A tack-down stitch to hold the fabric
- A satin stitch border around the edge
That is it.
The embroidery machine essentially creates the napkin for you.
I love projects where the embroidery design does the hard work because it makes even more advanced-looking projects feel approachable.
Supplies You Need
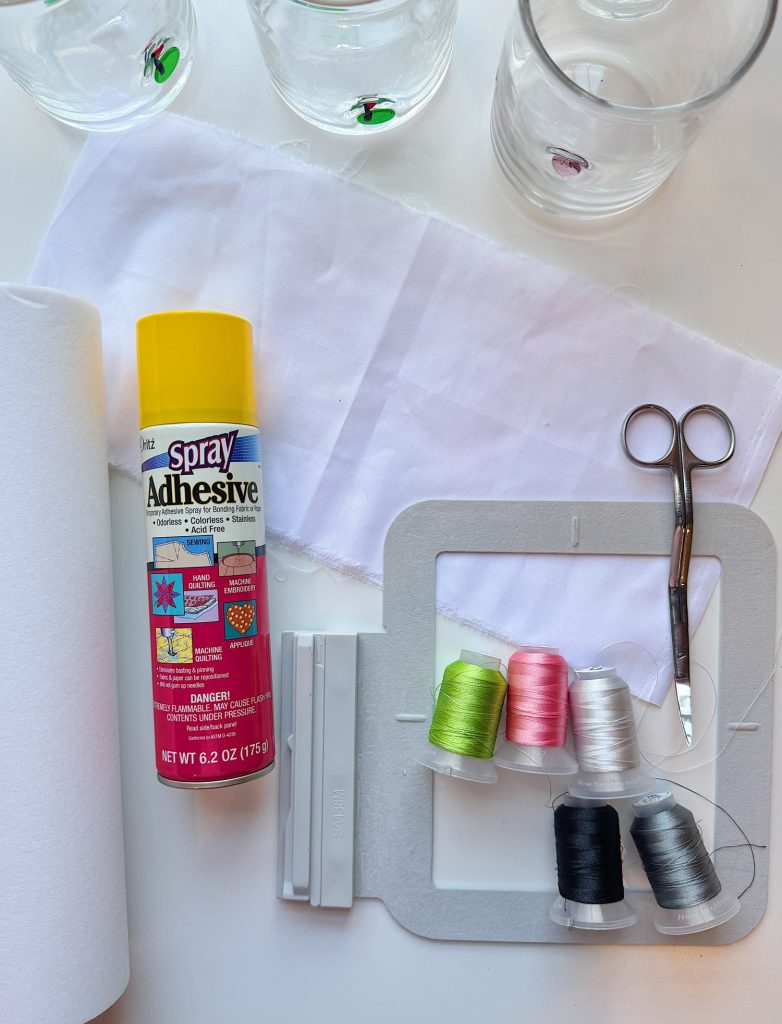
Here is everything I used to make my cocktail napkins:
- White cotton fabric
- Tear-away stabilizer
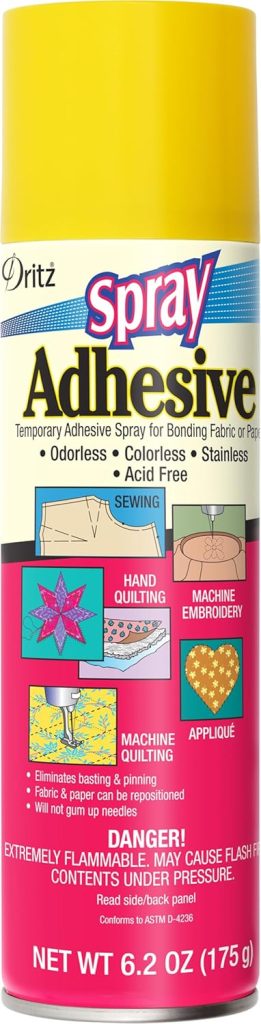
- Temporary spray adhesive
- Embroidery thread
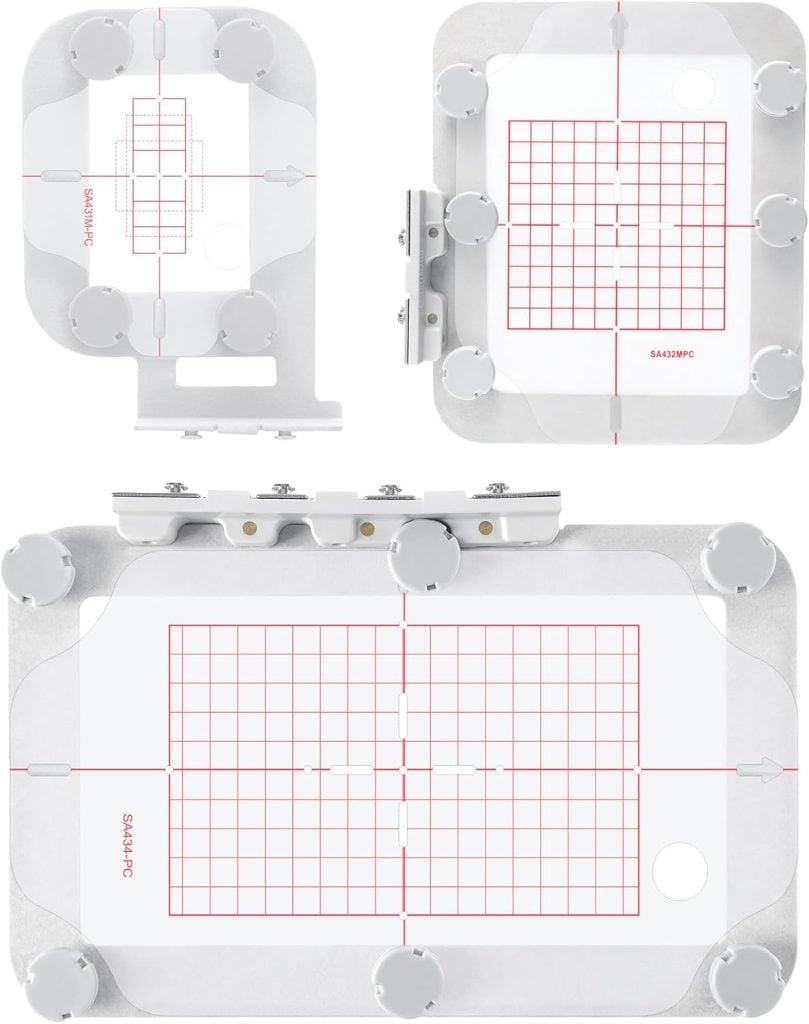
- Embroidery machine
- Embroidery hoop
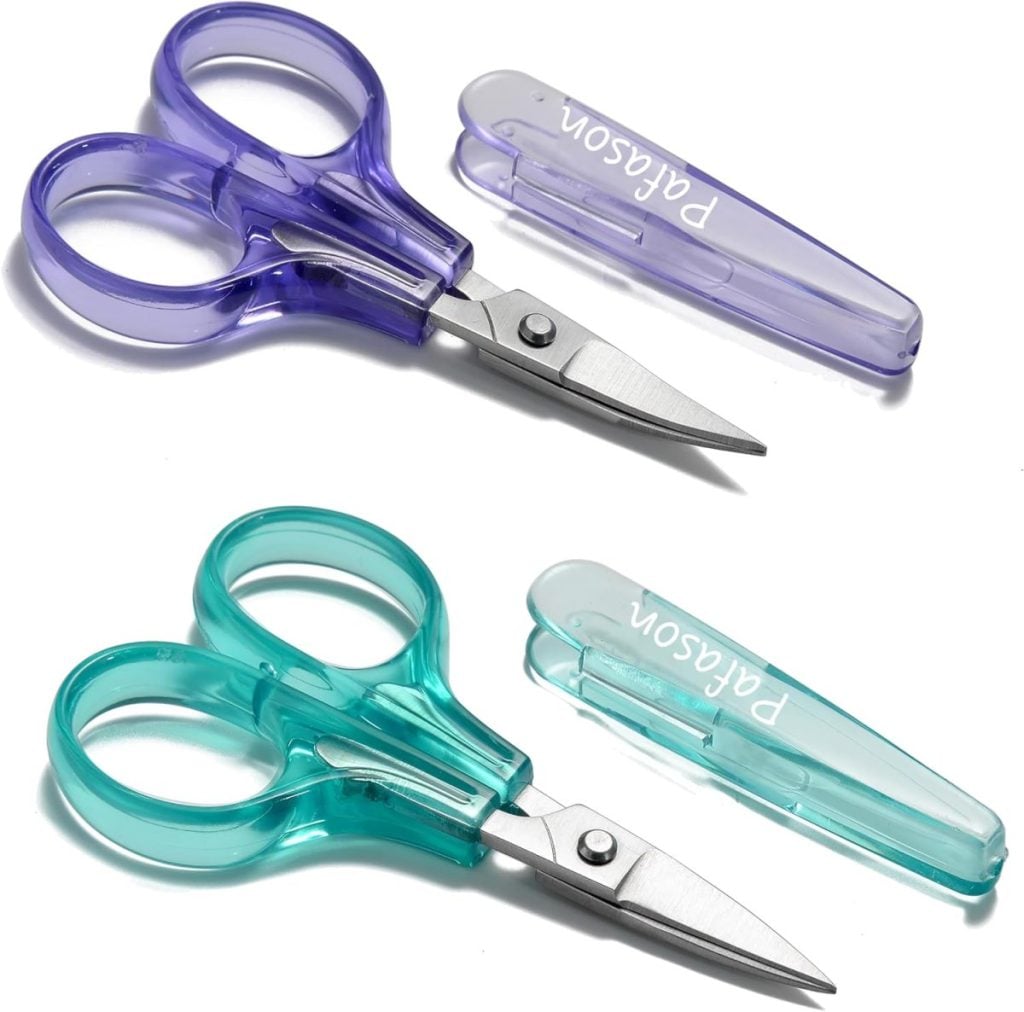
- Small embroidery scissors
- Iron
- Embroidery design files
- Icon embroidery designs
I may use affiliate links on this blog, which means I earn a small commission if you make a purchase through them. The price will be the same whether you use the affiliate link or go directly to the vendor’s website using a non-affiliate link.

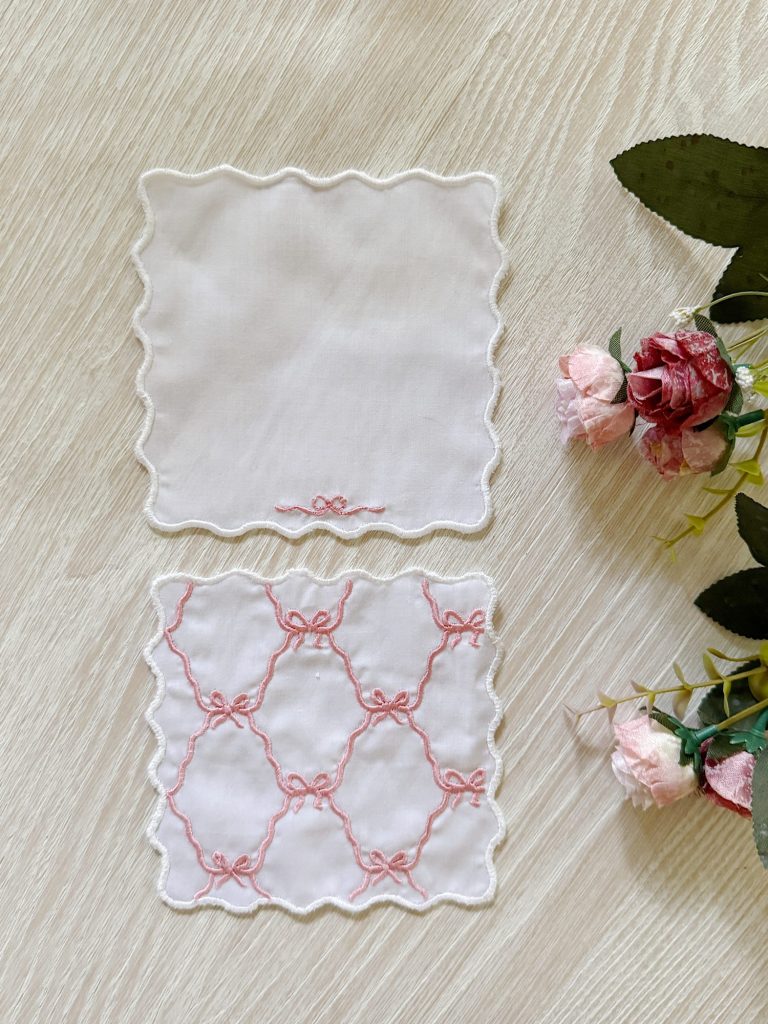
For my icon designs, I stitched:
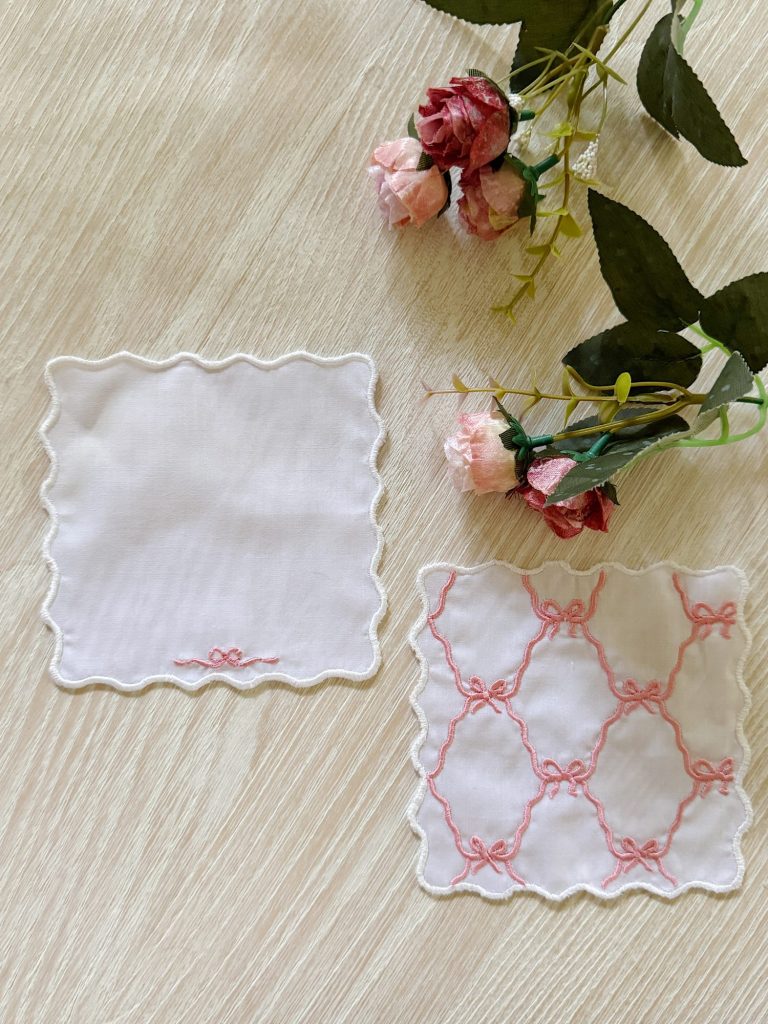
- bows
- hearts
- golf motifs
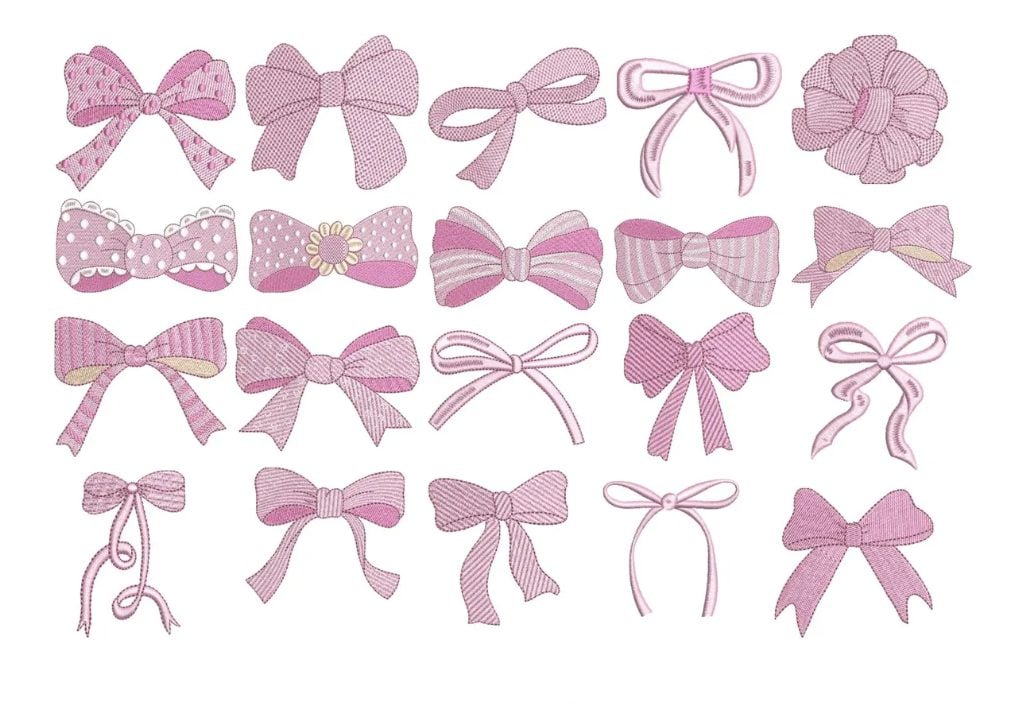


to coordinate with my favorite cocktail glasses.
How to Make Embroidered Cocktail Napkins

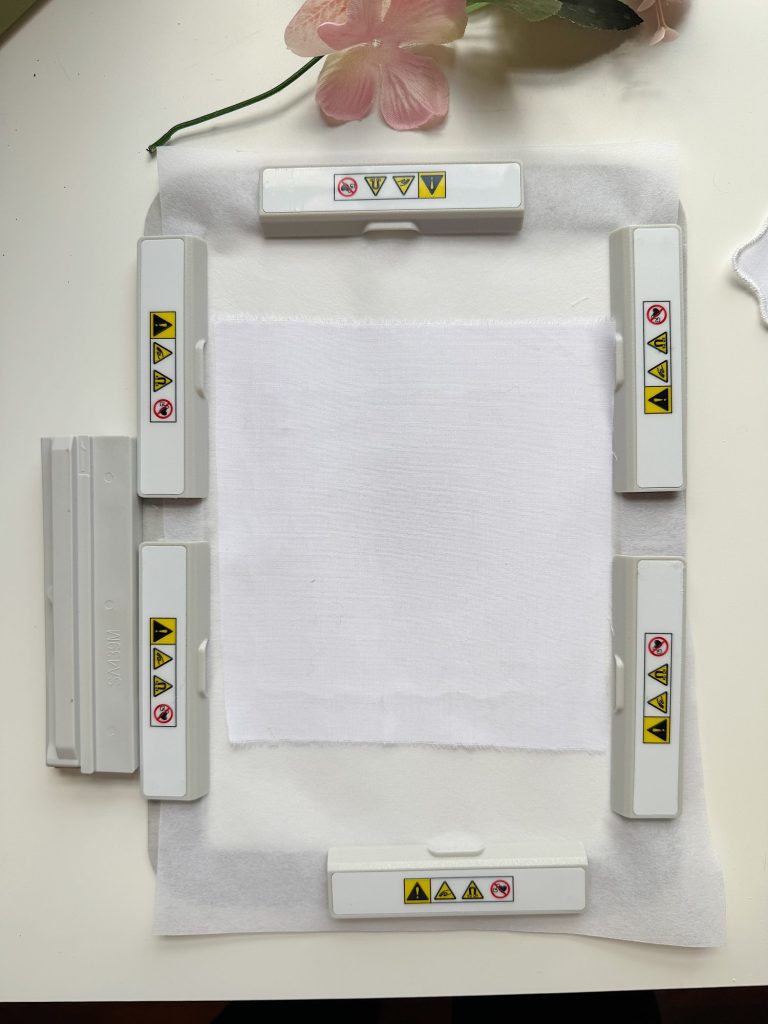
Step One: Hoop the Stabilizer
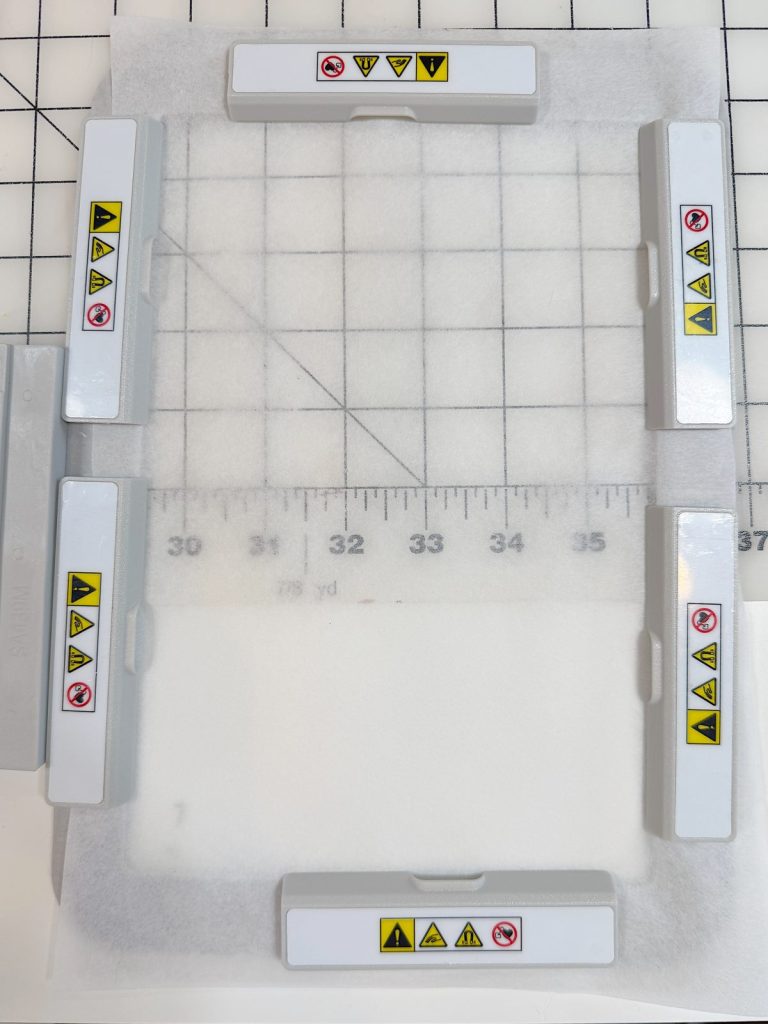
The first step is to hoop the tear-away stabilizer in your embroidery hoop.
You will not hoop the fabric yet.
The stabilizer provides the structure needed while the machine creates the scalloped napkin edge.
Once the stabilizer is hooped, place the hoop into your embroidery machine and begin stitching the first step.
This creates the placement stitch.
The placement stitch is essentially your guide for where the fabric will go.
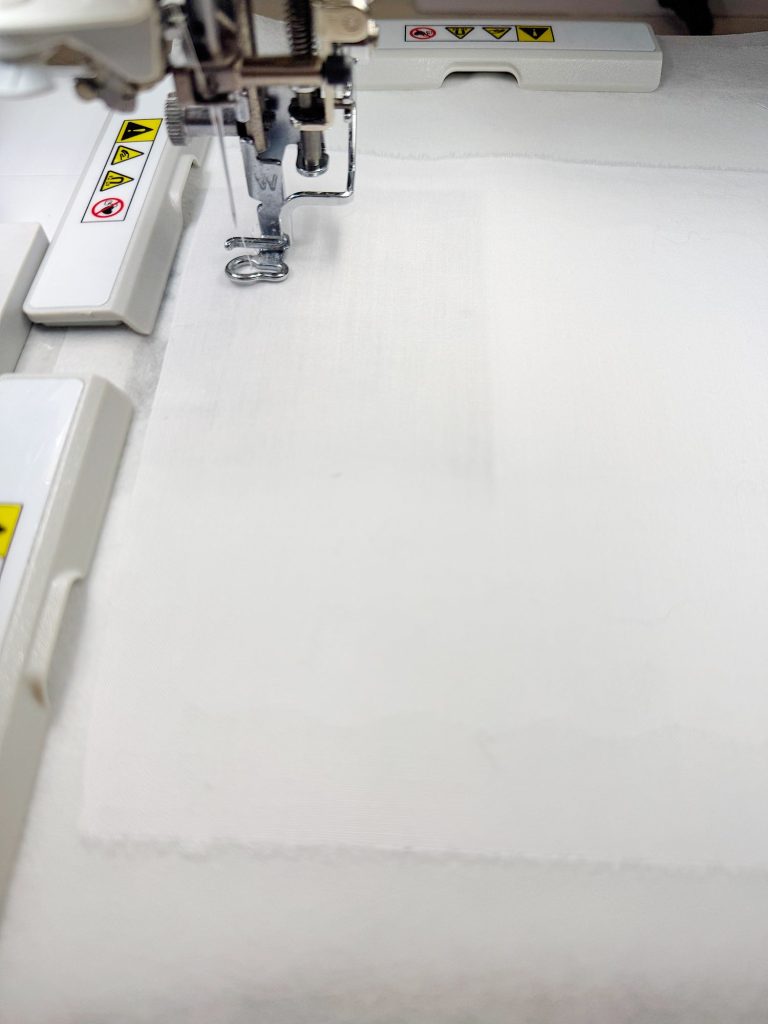
Step Two: Add the Fabric
Next, lightly spray the back of your cotton fabric with temporary spray adhesive.
Carefully place the fabric over the placement stitch area.
The spray adhesive keeps the fabric from shifting while the embroidery machine stitches.
This part is surprisingly easy.
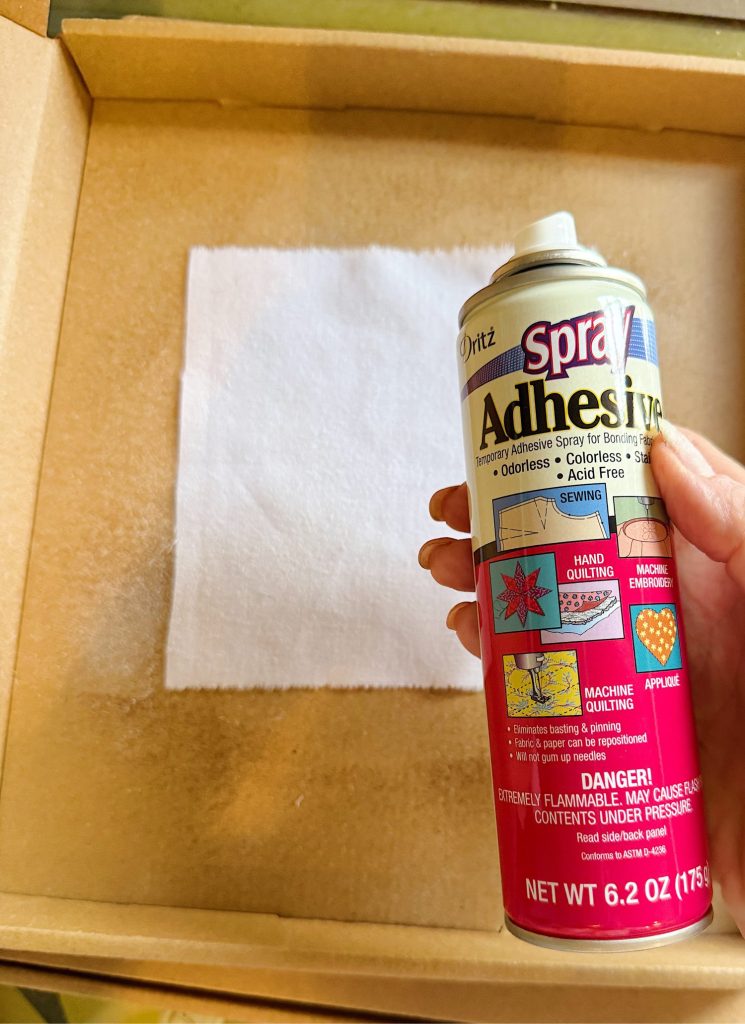
Return the hoop to the embroidery machine and stitch the second step, which secures the fabric to the stabilizer.
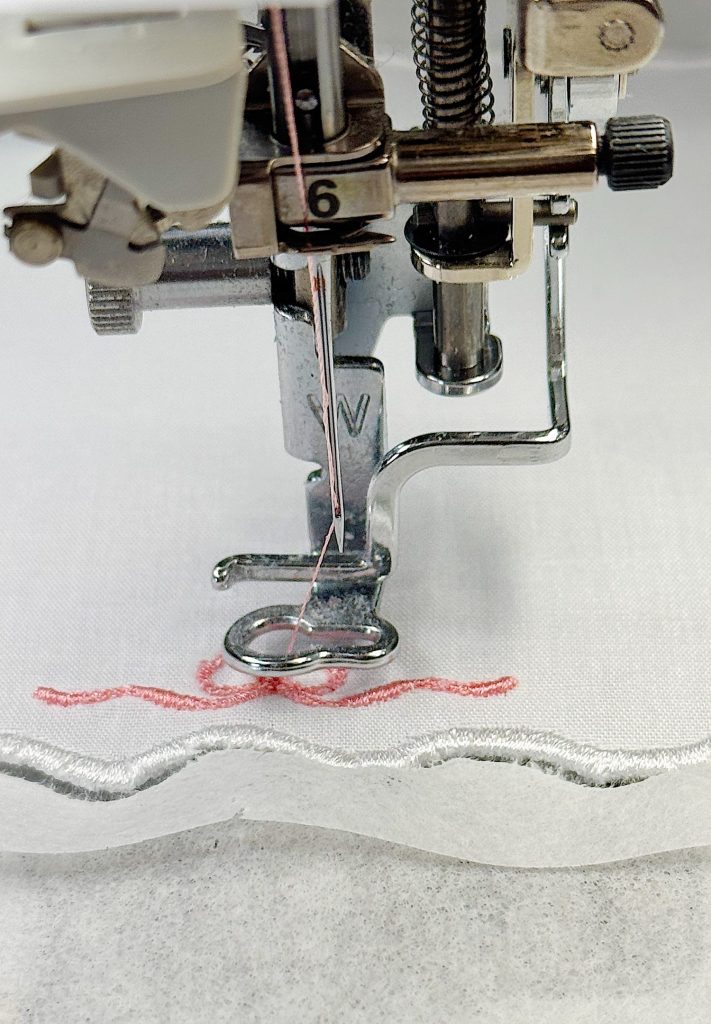
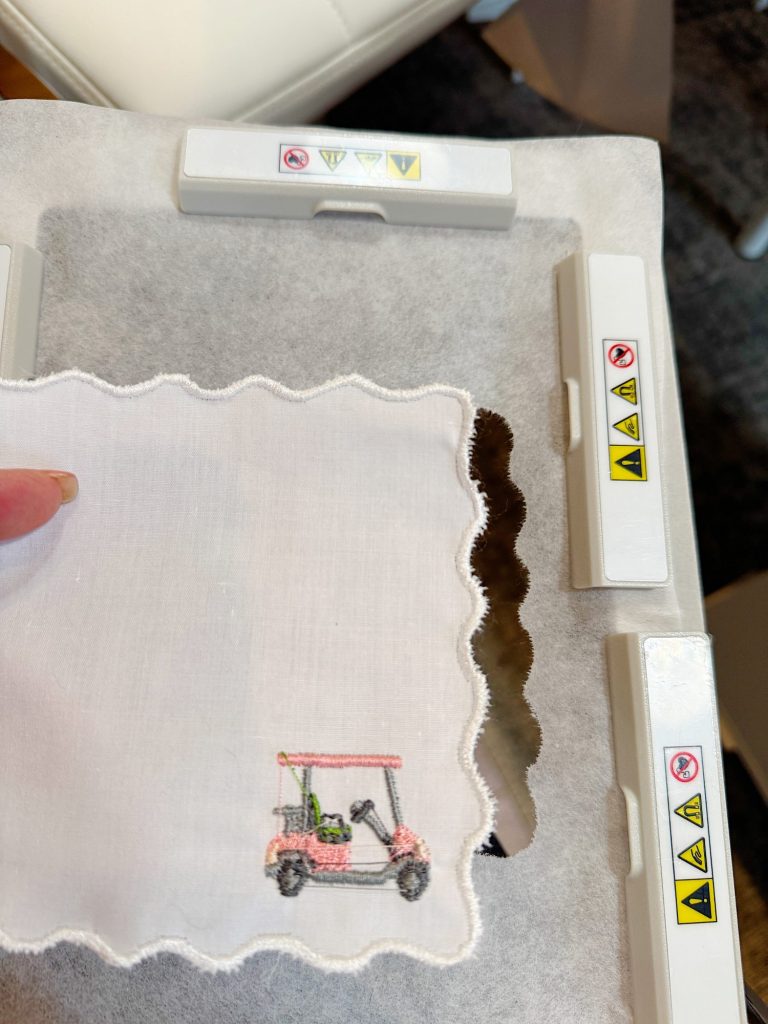
Step Three: Trim the Fabric
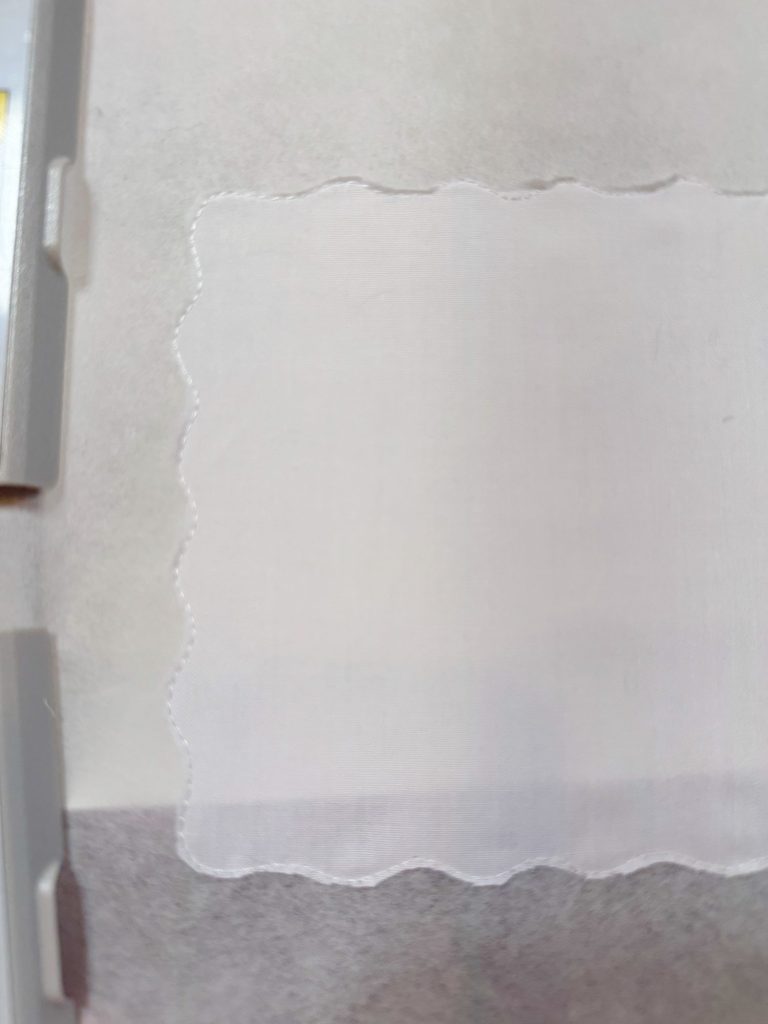
Once the placement stitch is complete, remove the hoop from the machine.
Using small embroidery scissors, carefully trim the fabric as close as possible to the stitched outline.
This step creates the clean scalloped edge.
Take your time here because neat trimming makes a huge difference in the finished result.
But do not worry about perfection.
The satin stitch border will cover the raw edge beautifully.
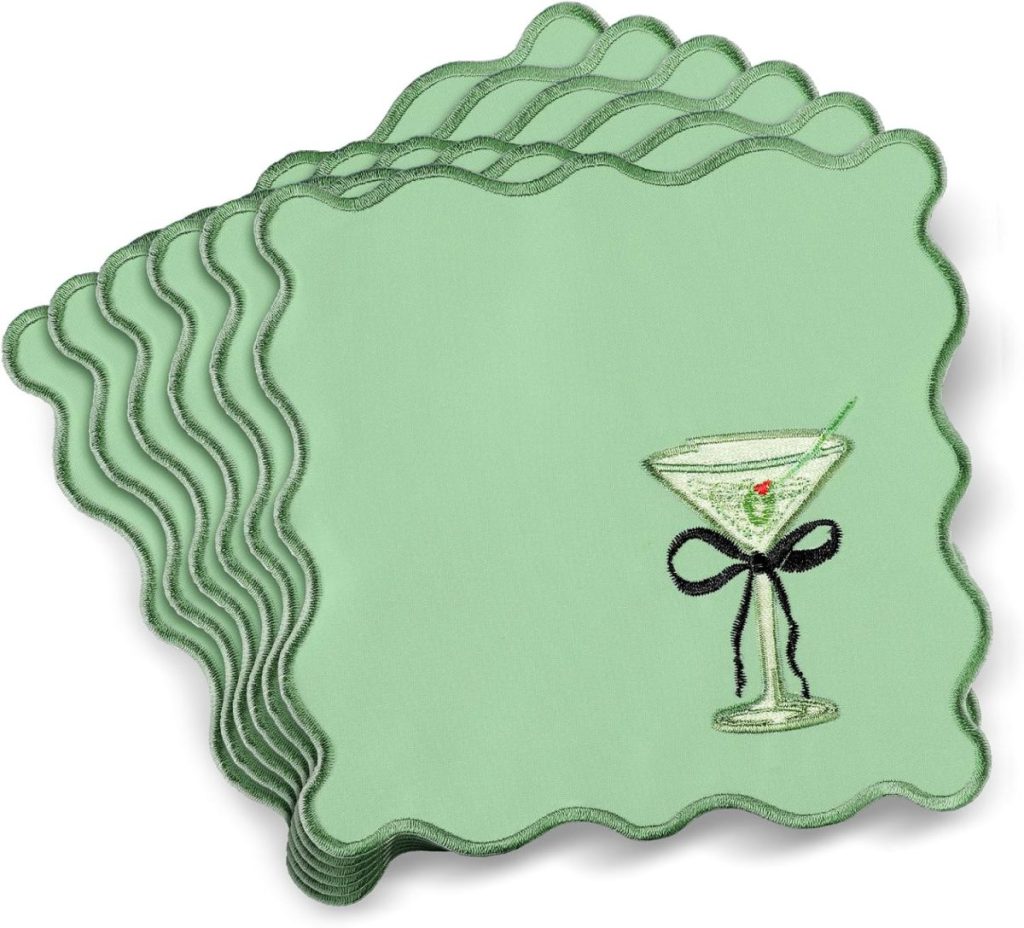
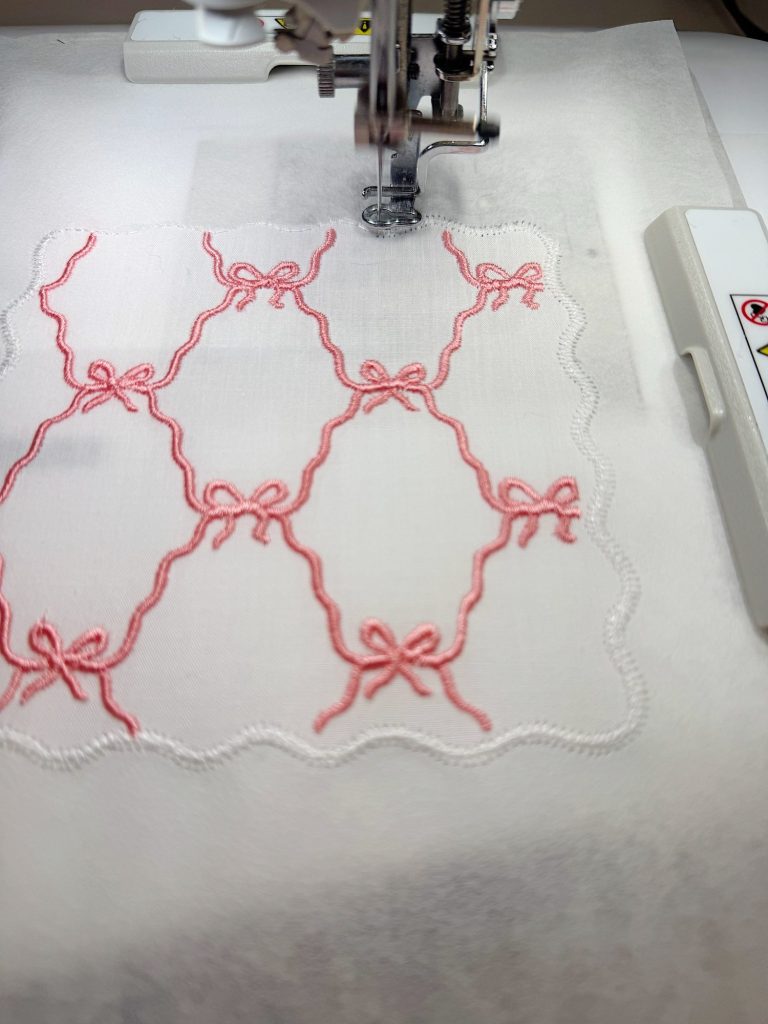
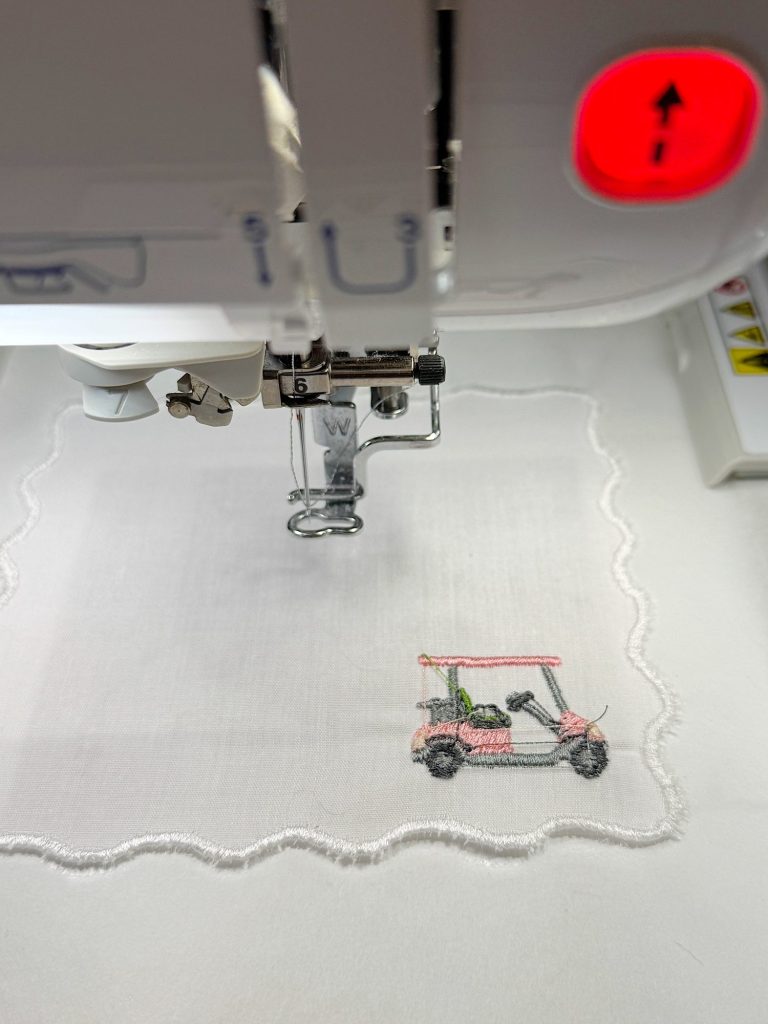
Step Four: Stitch the Satin Border
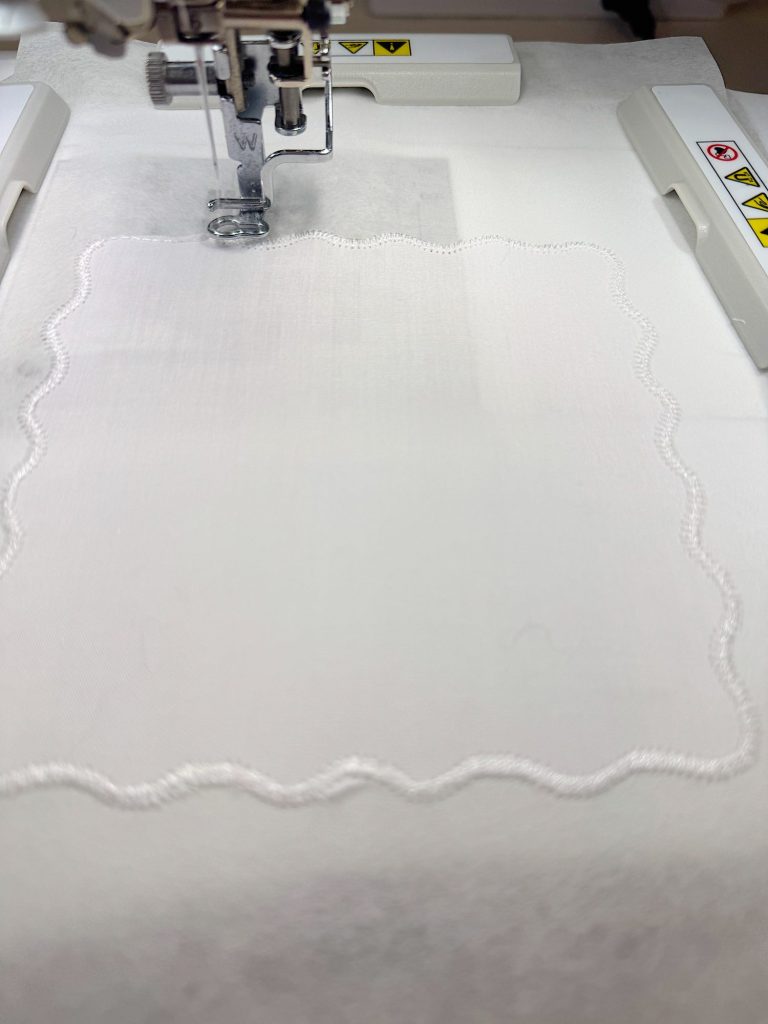
Return the hoop to the embroidery machine and begin the satin stitch border.
This is the step where the napkin truly comes to life.
The satin stitching creates the polished finished edge around the cocktail napkin and makes it look professionally made.
I honestly love watching this part stitch out because it transforms a simple square of fabric into something so elegant.
Step Five: Embroider the Design
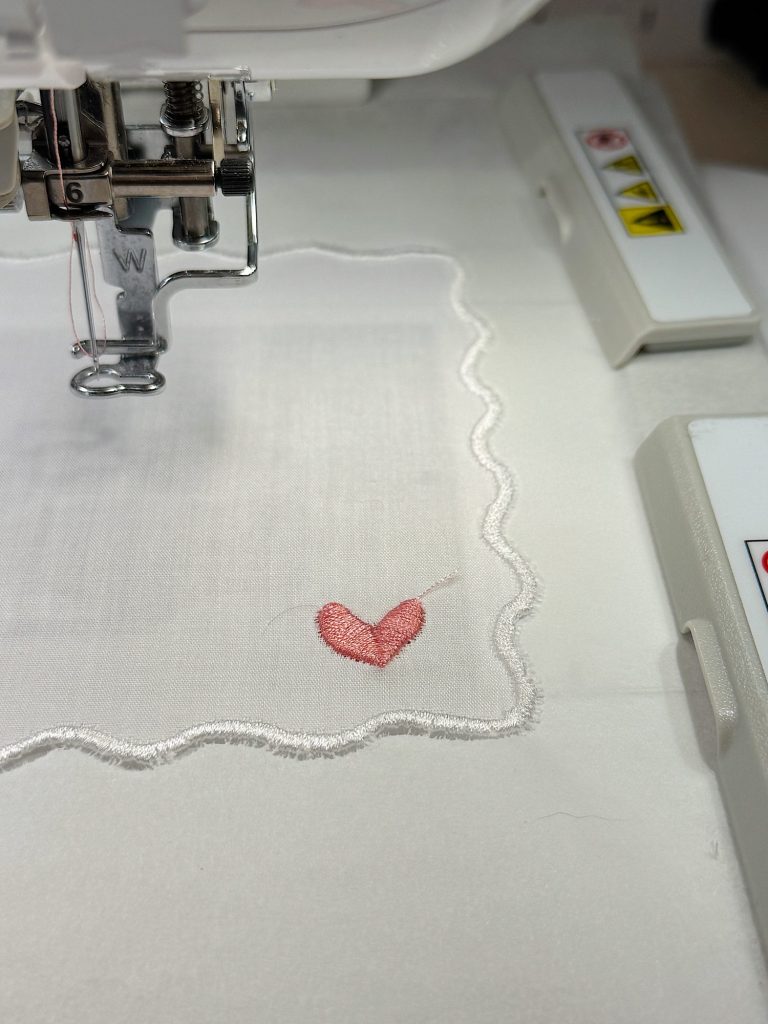
Once the napkin border is complete, stitch the icon design in the center.
This was my favorite part because each design coordinated perfectly with my cocktail glasses.
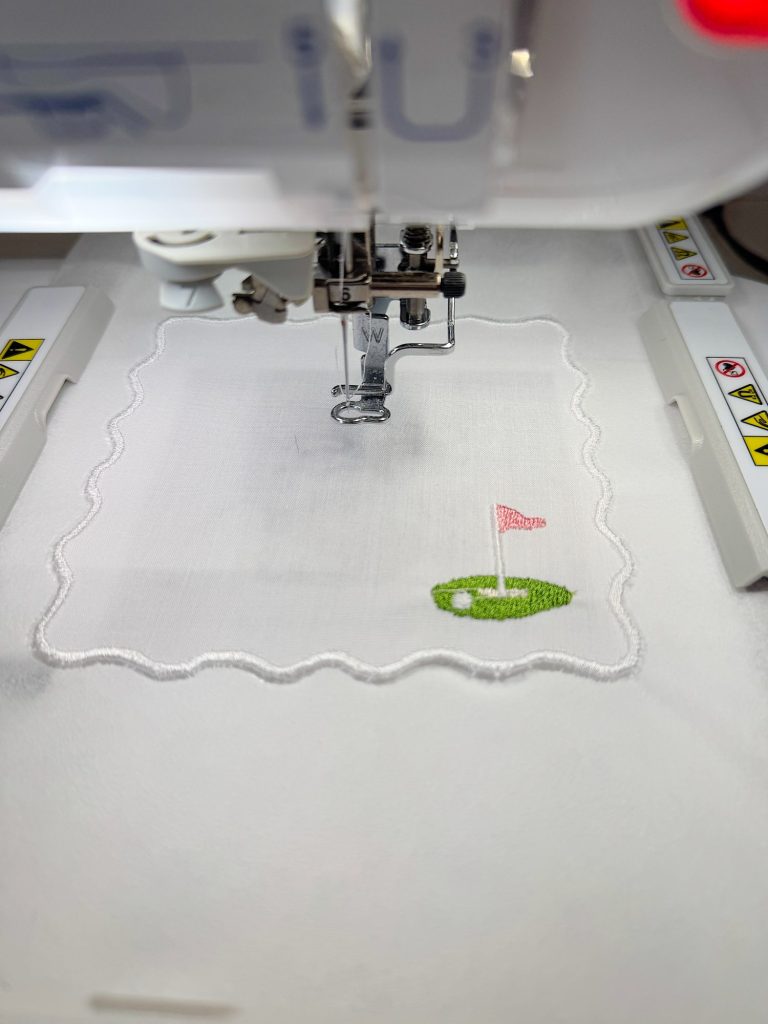
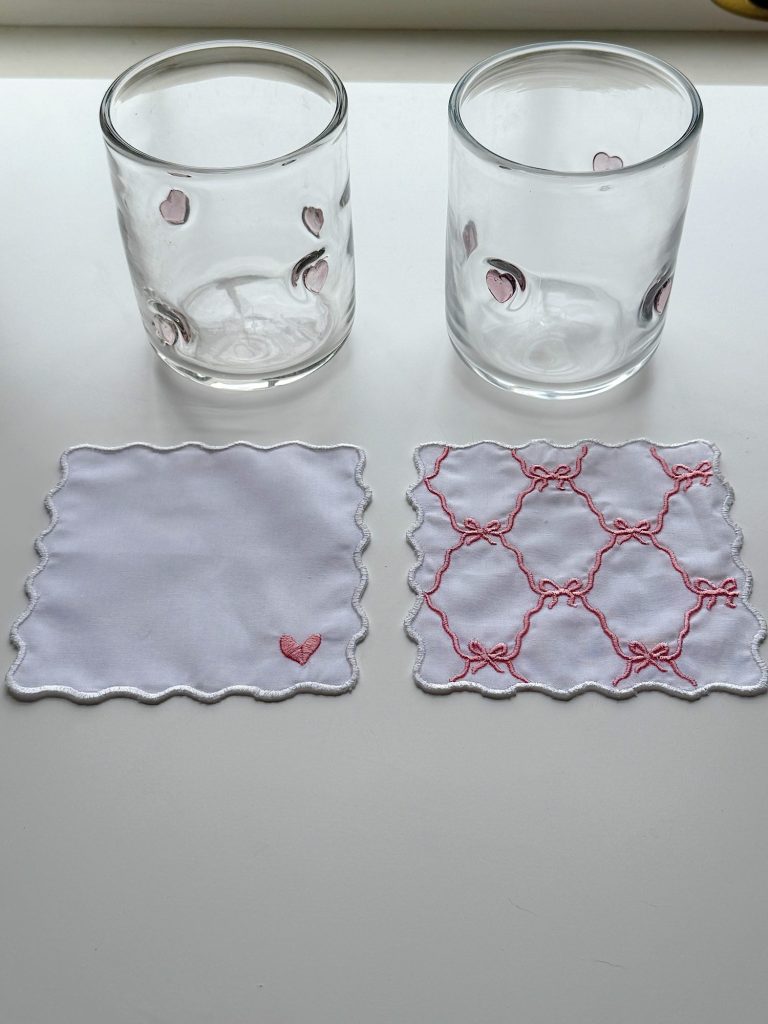
I created:
- bow napkins
- heart napkins
- golf napkins
And they all turned out so adorable.
The matching sets feel incredibly custom and fun for entertaining.
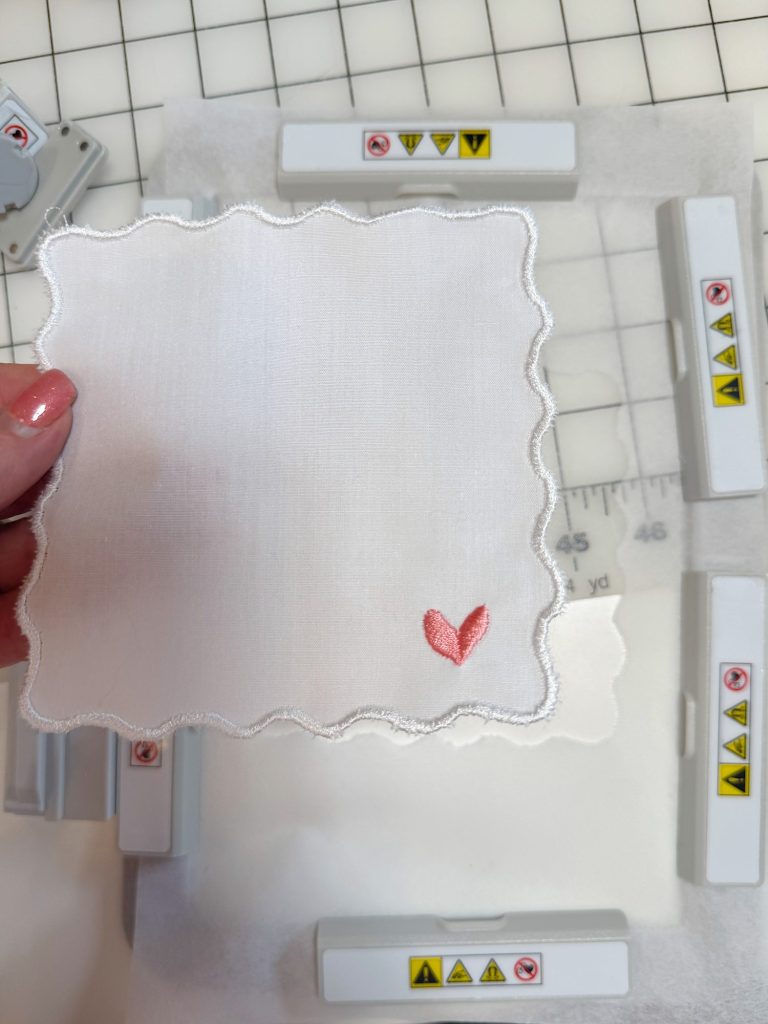
Finishing the Napkins
Once the embroidery is complete:
- remove the napkin from the hoop
- gently tear away the stabilizer
- clip any loose threads
- use the edge of an iron to remove any remaining thread marks (you can also use a lighter but I am too afraid I might burn them!)
The final pressing step makes such a difference.
Suddenly, the napkins look crisp, polished, and ready for entertaining.
And honestly, they look expensive.
Why This Project Is So Worth It
I absolutely love projects that combine creativity with practicality.
These cocktail napkins are:
- useful
- beautiful
- washable
- reusable
- customizable
And because they are handmade, they feel much more personal than anything store-bought.
I also love that this project feels approachable.
Sometimes embroidery projects can feel intimidating, especially if they involve complicated appliqué or multiple hoopings.
But this project is surprisingly straightforward.
Once you make one napkin, the rest come together very quickly.
Endless Ideas for Future Cocktail Napkins
Now that I have made these, my mind is racing with ideas for future sets.
Can you imagine:
- Christmas cocktail napkins
- beach-themed napkins
- monogrammed sets
- pumpkin napkins for fall
- wedding gifts
- birthday cocktail sets
- tennis or pickleball motifs
- patriotic summer sets
The possibilities are endless.
And because they are inexpensive to make, you can create multiple seasonal collections without spending a fortune.
Handmade Details Make Entertaining Special
One thing I have learned over the years is that guests remember thoughtful details.
Not perfection.
Not elaborate meals.
And not expensive decorations.
They remember how your home felt.
A handmade cocktail napkin paired with a matching glass may seem like a small thing, but those little details create warmth and personality.
And honestly, that is what entertaining is all about.
Creating moments that feel welcoming, creative, and joyful.
Final Thoughts
This may be one of my favorite projects from A Handmade Summer so far because it combines entertaining, embroidery, and handmade details in such a fun and practical way.
I love that these cocktail napkins:
- look boutique-made
- cost much less than store-bought versions
- coordinate perfectly with my glasses
- can be customized endlessly
Most importantly, they were fun to make.
And if a craft project is both beautiful and enjoyable, I consider that a huge success.
Now, excuse me while I go plan an entire summer cocktail party around embroidered napkins.
How to Follow Along With A Handmade Summer
Each week, a new spring craft will be shared here on the blog. I will also be sharing behind-the-scenes moments, progress videos, and finished projects on Instagram so you can see each craft come to life.
You can jump in at any point. There is no need to start at the beginning or complete every project. Choose the ones that speak to you and make them your own.
If you love seasonal crafting, this series is designed to inspire you throughout the summer.
Here are all of the A Handmade Summer craft projects so far.

Latest Posts
-
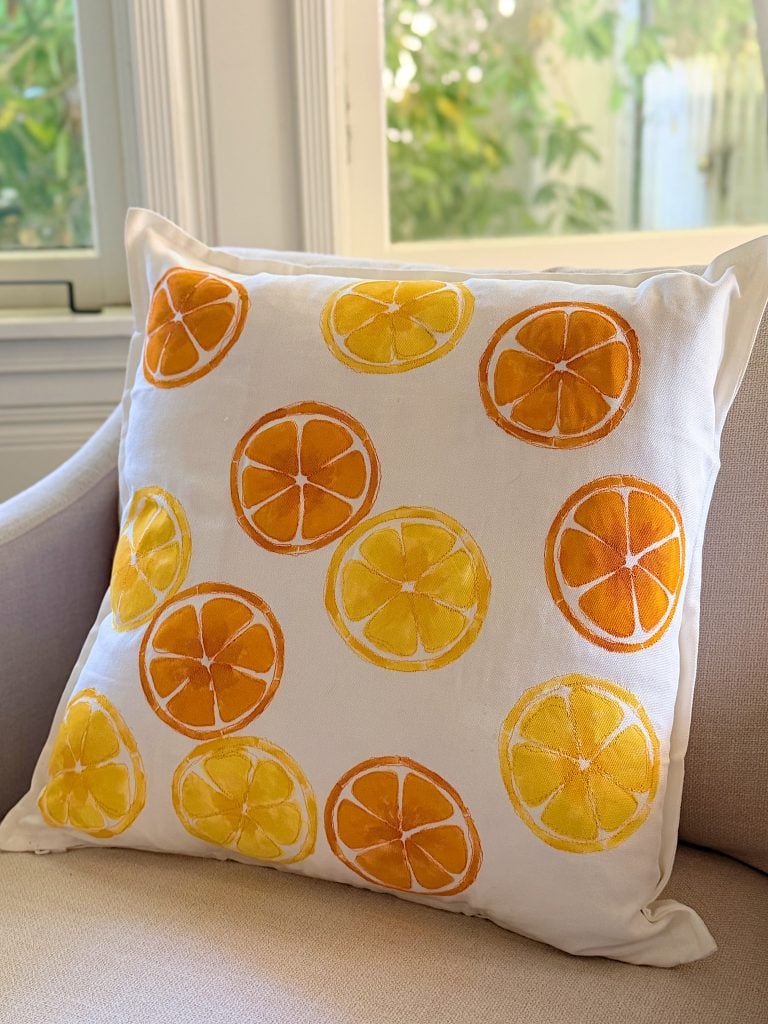
A Citrus Pillow – A Handmade Summer
A handmade pillow is one of the easiest ways to add a fresh, custom touch to your home, and this cheerful citrus design is perfect for summer. Using a simple white pillow cover, a citrus stencil, acrylic paint, and a little free-motion embroidery, you can create a one-of-a-kind accent pillow that looks boutique-made without spending…
-
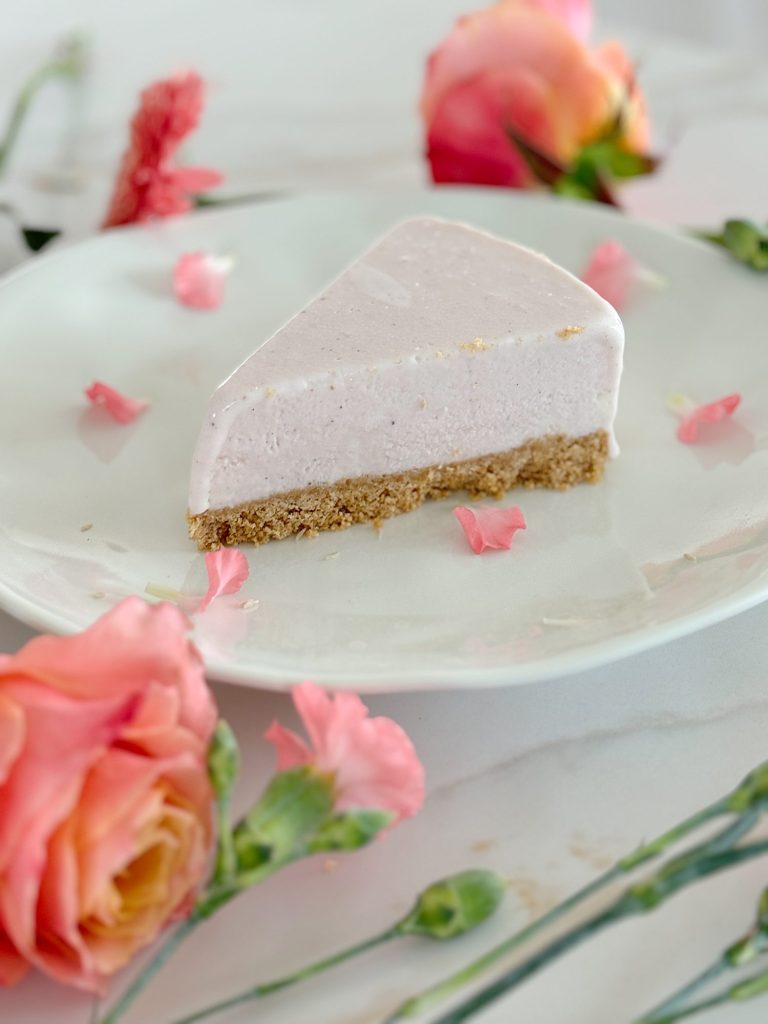
Pink Lemonade Pie
Summer is the season for refreshing and light desserts, and what could be better than a tangy, creamy, and perfectly chilled Pink Lemonade Ice Cream Pie? This delightful dessert is perfect for hot days, picnics, barbecues, or any summer gathering. Its vibrant color and mouthwatering flavor will surely be a hit for kids and adults….
-
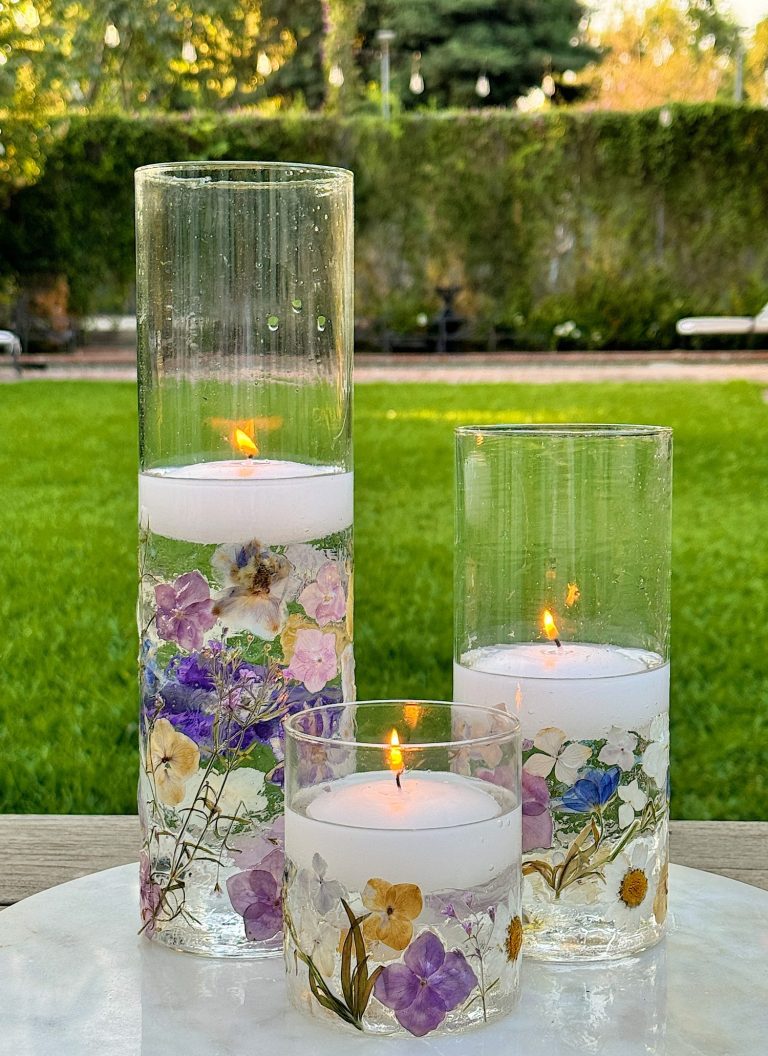
DIY Pressed Flowers
DIY pressed flowers are a beautiful and charming addition to any home decor. When made into candle holders, they are stunning. These delicate creations bring a touch of nature indoors and can be customized to fit any style or occasion. Whether you want to create a romantic centerpiece, a whimsical decoration, or a unique gift,…
-
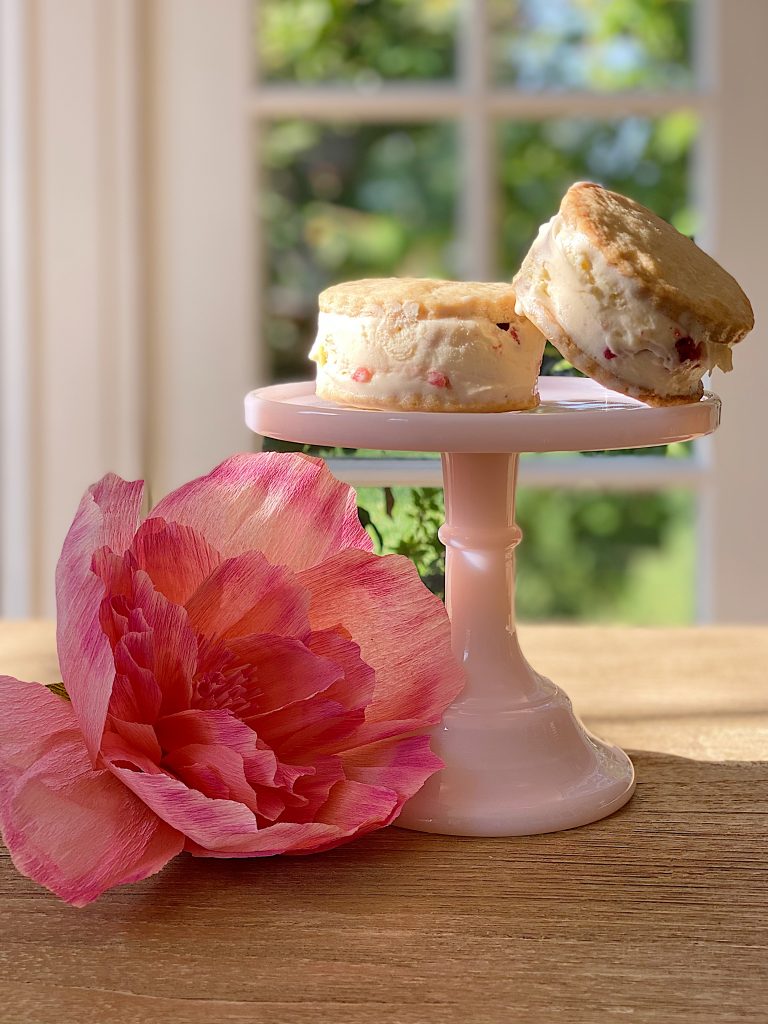
How to Make Strawberry Shortcake Ice Cream Sandwiches
Today, I am sharing my strawberry shortcake ice cream sandwiches. It’s strawberry season, so what could be better? These strawberry shortcake ice cream sandwiches are easy to make and taste amazing. Can you think of anything better for a hot summer day?
My Recent Instagram Posts

You can pin the image below to your boards on Pinterest (click the Pin button in the top left corner) or follow me on Pinterest!
For more real-time updates, follow me on Instagram @My100YearOldHome