Embroidery Gifts for Friends – A Handmade Summer


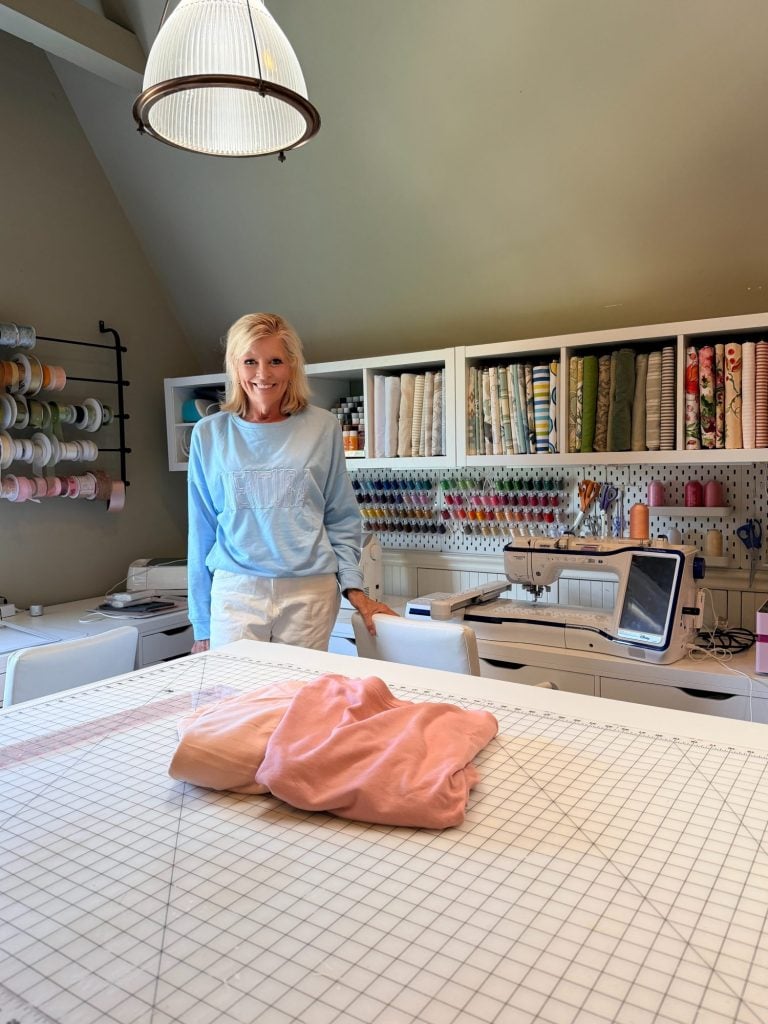
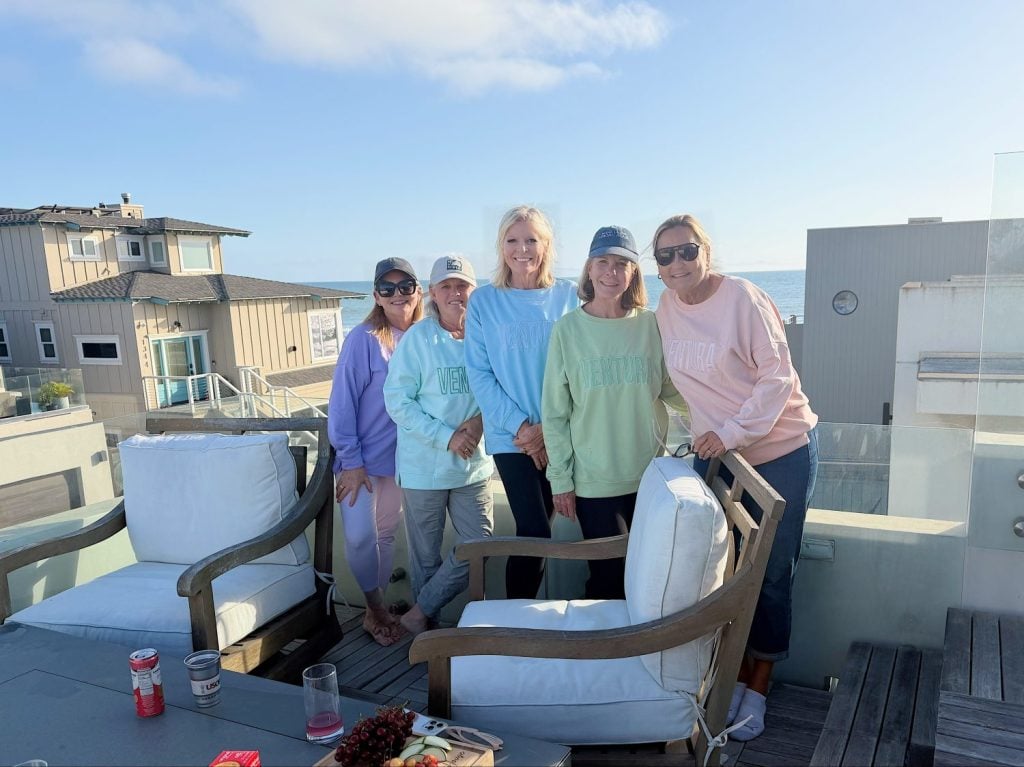
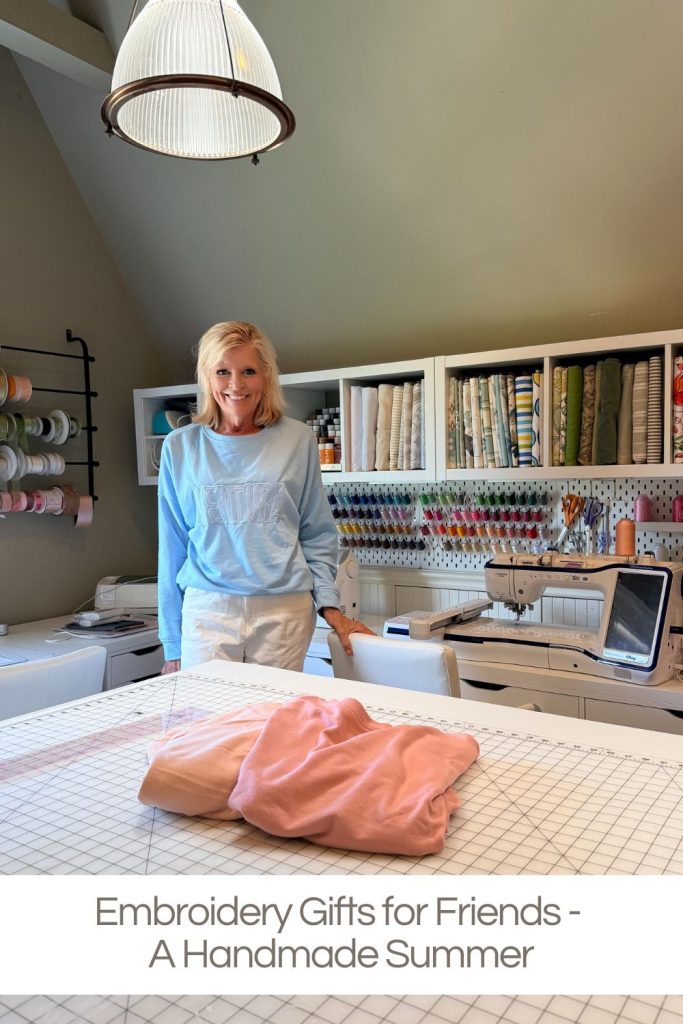
For our recent girls’ weekend in Ventura, I surprised my friends with matching embroidery gifts … sweatshirts featuring the word Ventura, our beach house location.
Not only were they a fun keepsake from our beach getaway, but they also became my first appliqué embroidery project. The first sweatshirt definitely came with a learning curve, but once I mastered the process, I couldn’t stop.


Embroidery Gifts for Friends
One of my favorite things about hosting friends at our beach house is finding a small way to make the weekend extra special. Whether it’s a welcome basket, a themed dinner, or a handmade gift, I love creating something that helps everyone remember our time together.
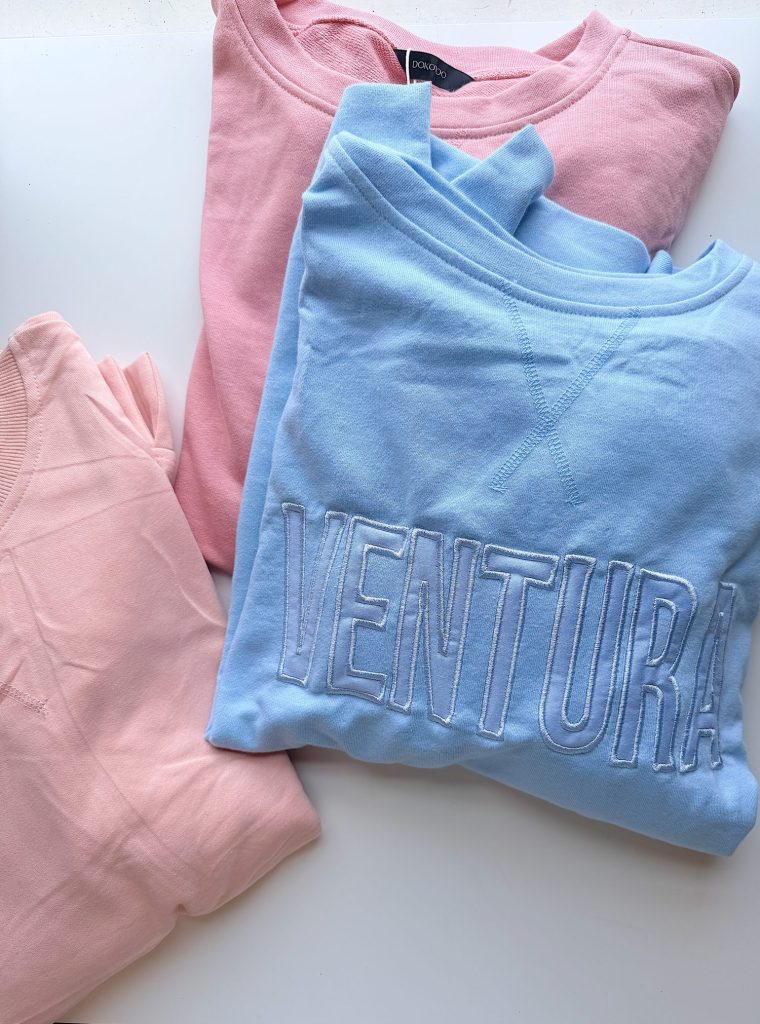
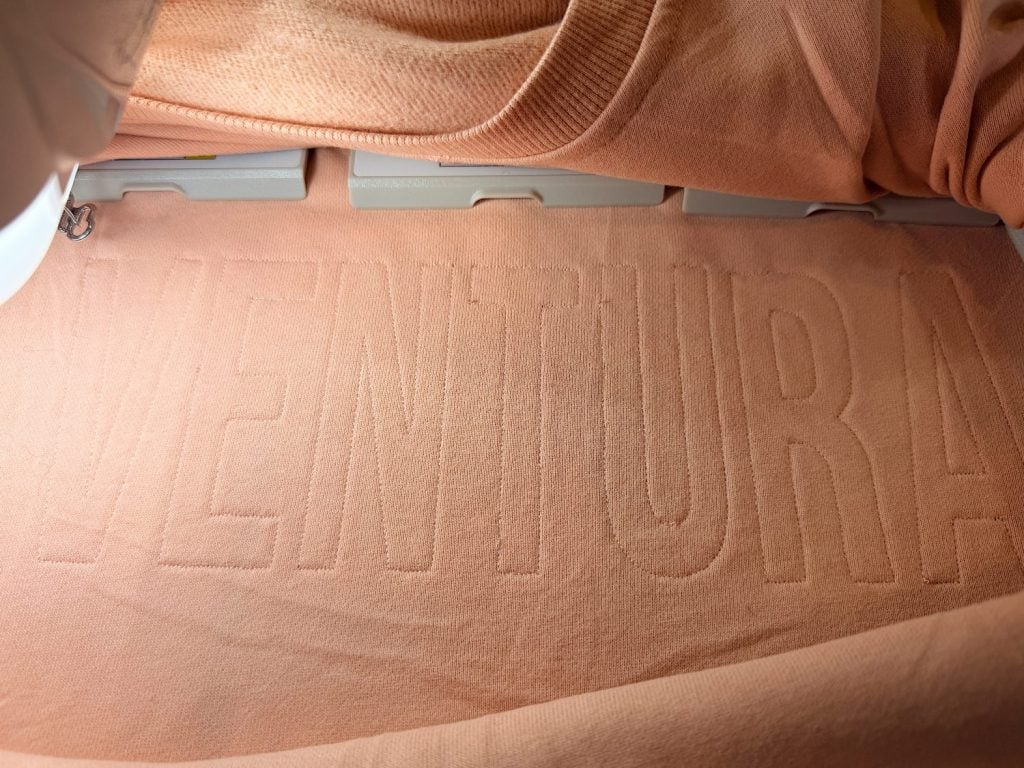
For our recent girls’ weekend in Ventura, I decided to make matching embroidered sweatshirts for everyone. I had a vision of soft pastel sweatshirts with the word “Ventura” stitched across the front, something comfortable to wear while drinking coffee on the deck, walking along the beach, or enjoying a sunset with friends.
What I didn’t realize when I started was that I would also be teaching myself a brand-new embroidery technique.
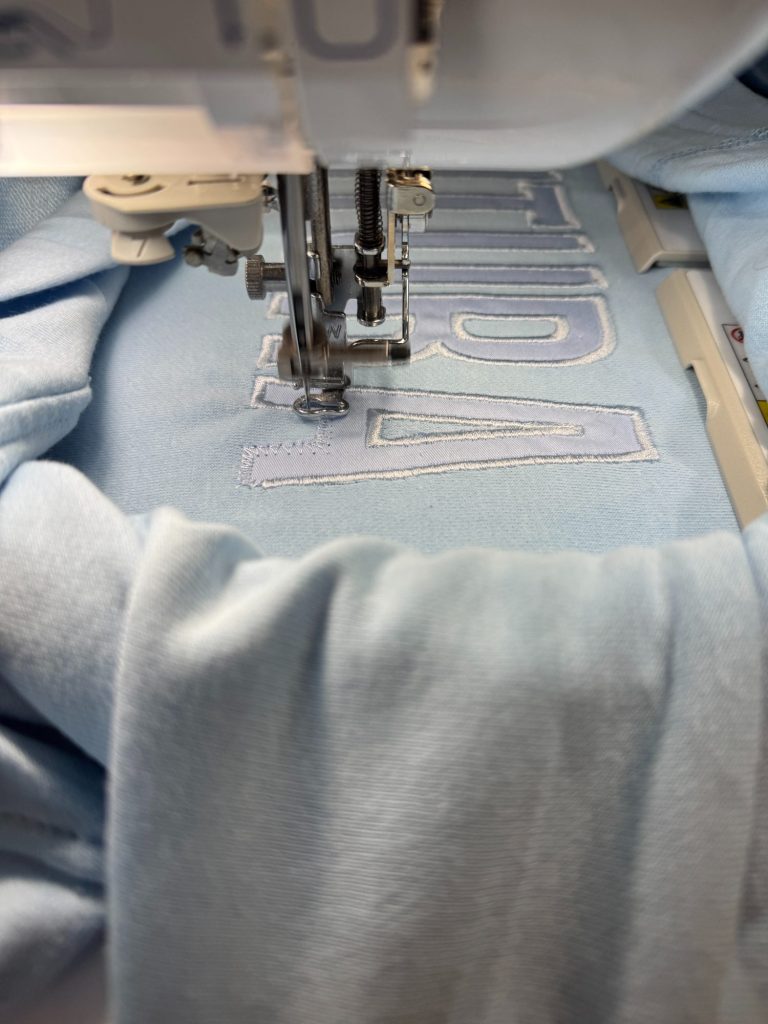
This project became my first experience with appliqué embroidery.
And naturally, once I learned how to do it, I immediately found a project that required me to make six of them.
Isn’t that always how crafting works?
The first sweatshirt definitely came with a learning curve. There was a bit of uncertainty, a lot of double-checking, and a few moments where I wondered if I was doing everything correctly. But by the time I finished the last sweatshirt, I was completely hooked.
The results were even better than I imagined.
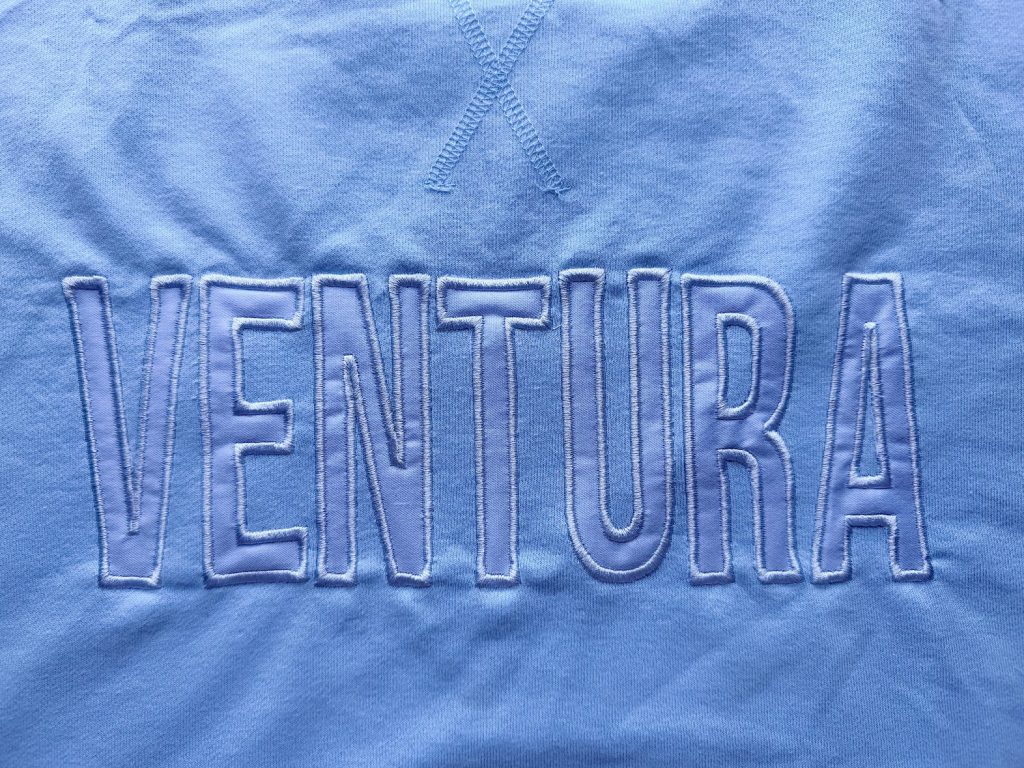
Why I Chose Tone-on-Tone Appliqué
One of my favorite trends right now is tone-on-tone embroidery.
Instead of creating high contrast between the sweatshirt and the design, the appliqué fabric closely matches the sweatshirt color. The result is soft, sophisticated, and surprisingly elegant.
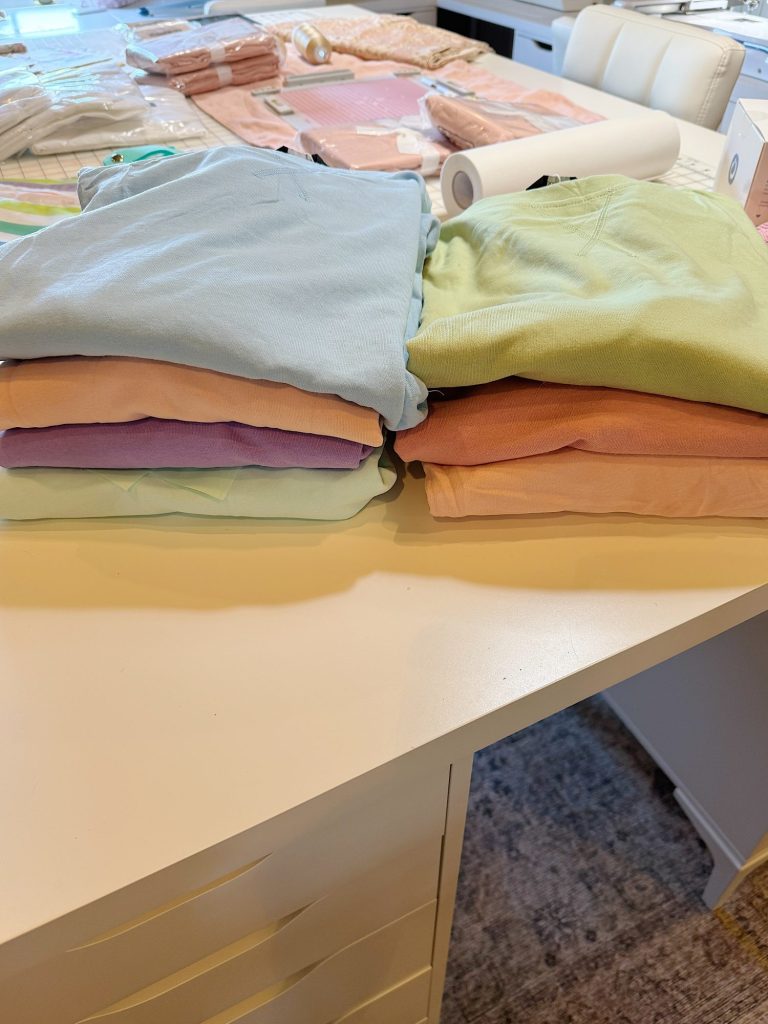
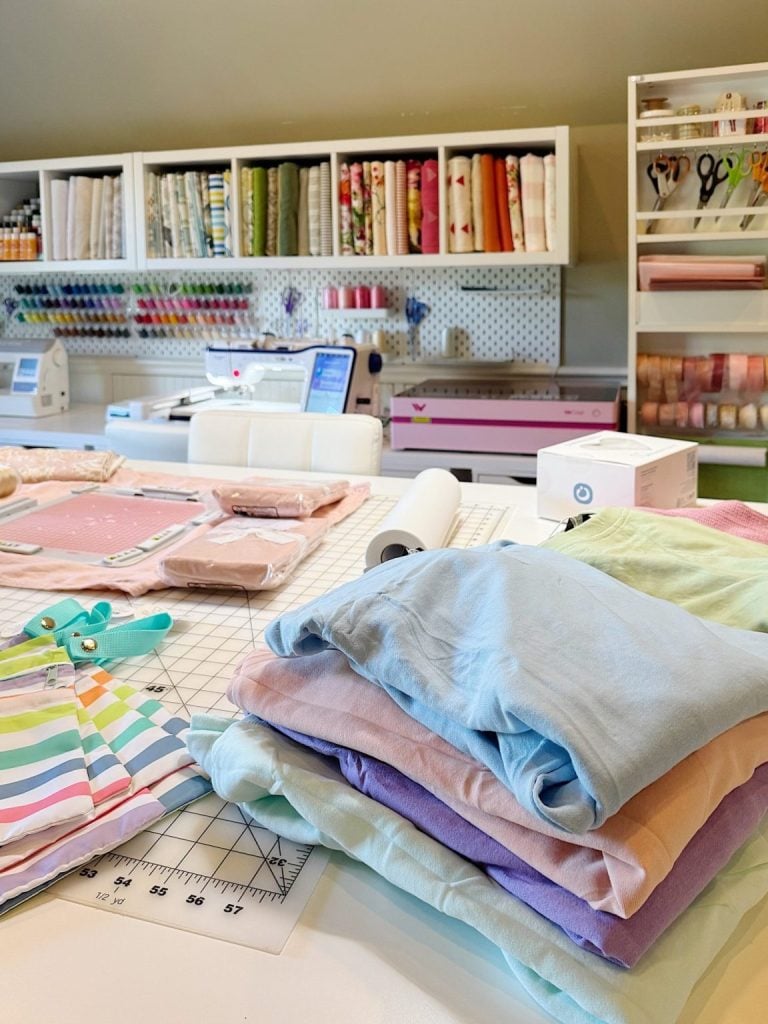
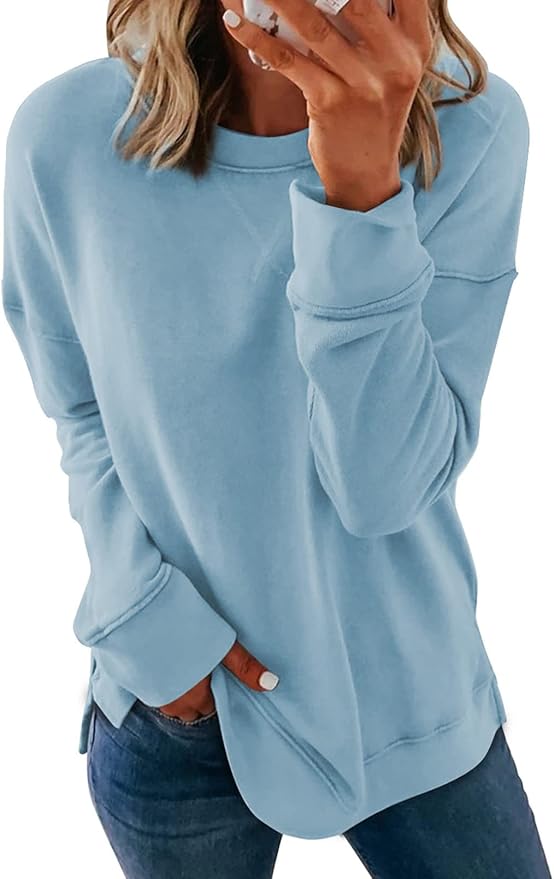
For this project, I purchased sweatshirts in beautiful pastel colors:
- Soft blue
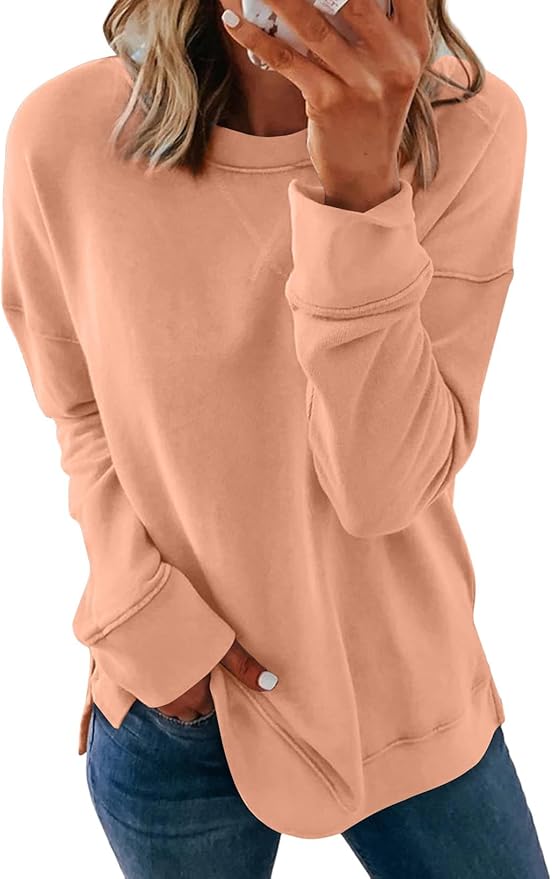
- Pale pink
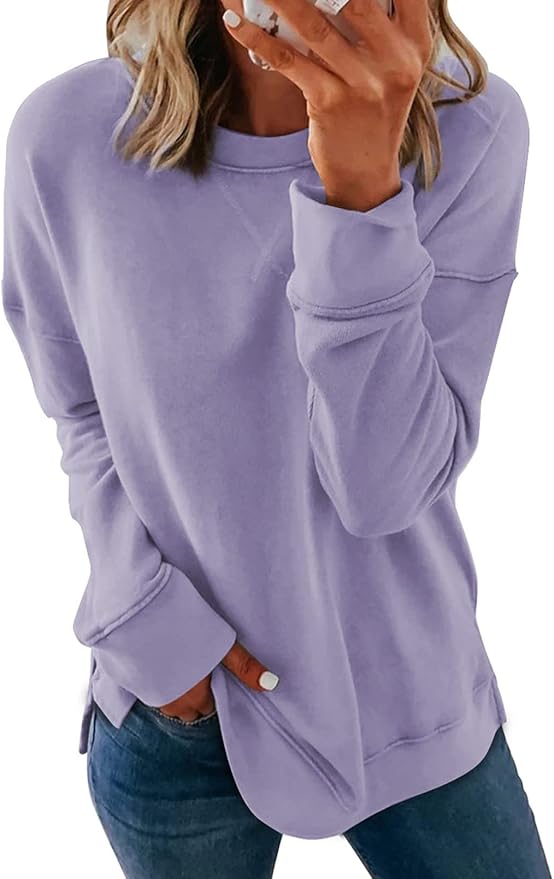
- Lavender
- Mint green
Then something magical happened.
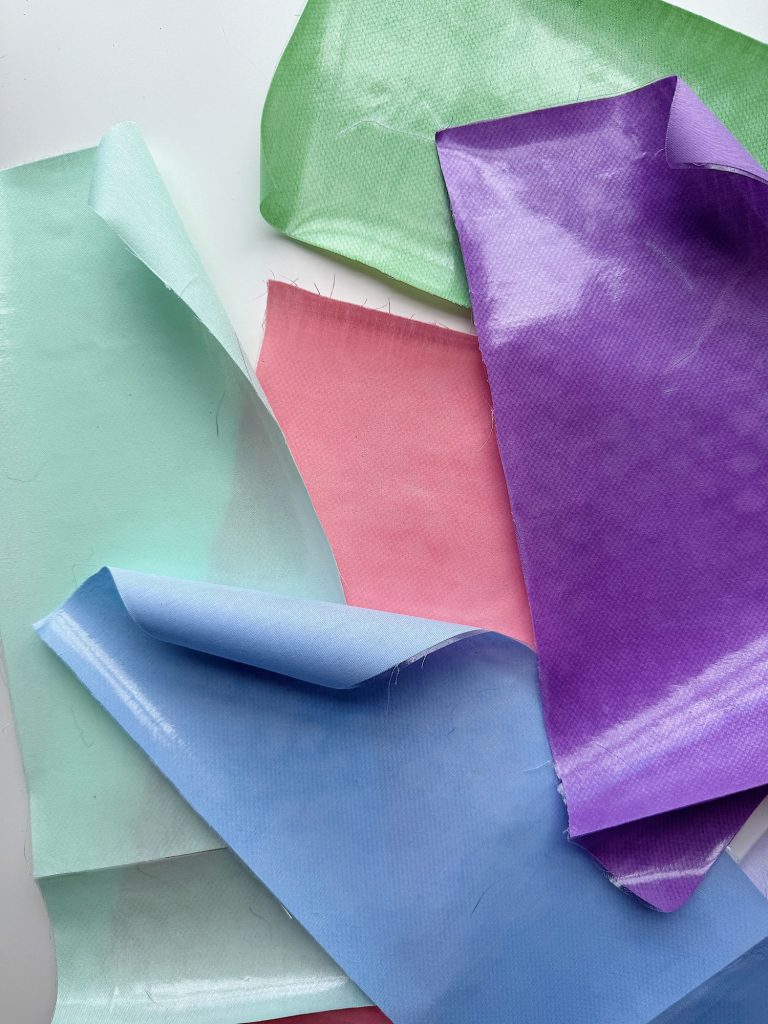
Months ago, I had purchased several packs of cotton fabric squares and tucked them away in my craft room. They were ten-inch squares that I had planned to use for a future project.
When I pulled them out, I couldn’t believe my luck.
Every single sweatshirt had a nearly perfect fabric match.
The blue sweatshirt matched a blue cotton square.
The pink sweatshirt matched a pink square.
The lavender sweatshirt matched a lavender square.
The mint sweatshirt matched a mint square.
Honestly, I felt like I had won the crafting lottery.
The matching fabrics created exactly the look I wanted. The appliqué lettering stood out just enough while still maintaining that soft monochromatic style.
What Is Appliqué Embroidery?
If you’ve never tried appliqué embroidery before, it’s actually much easier than it looks.
Appliqué embroidery combines fabric and embroidery to create a dimensional design.
Instead of filling large areas with thread, you use fabric to fill the shape and embroidery stitches to secure and finish the edges.
The result is:
- Less stitching
- Faster embroidery time
- Beautiful texture
- Professional-looking results
It’s also an excellent way to use fabric scraps.
And once you learn the process, you’ll start seeing opportunities for appliqué everywhere.
Supplies Needed
For this project, I used:
- Sweatshirts
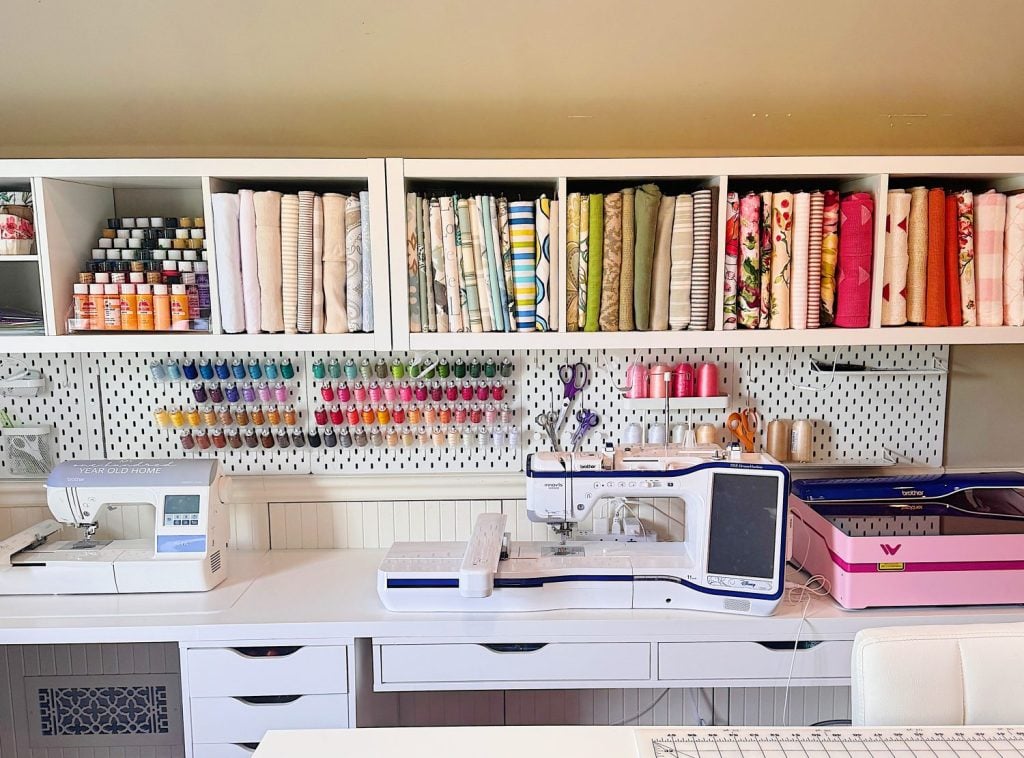
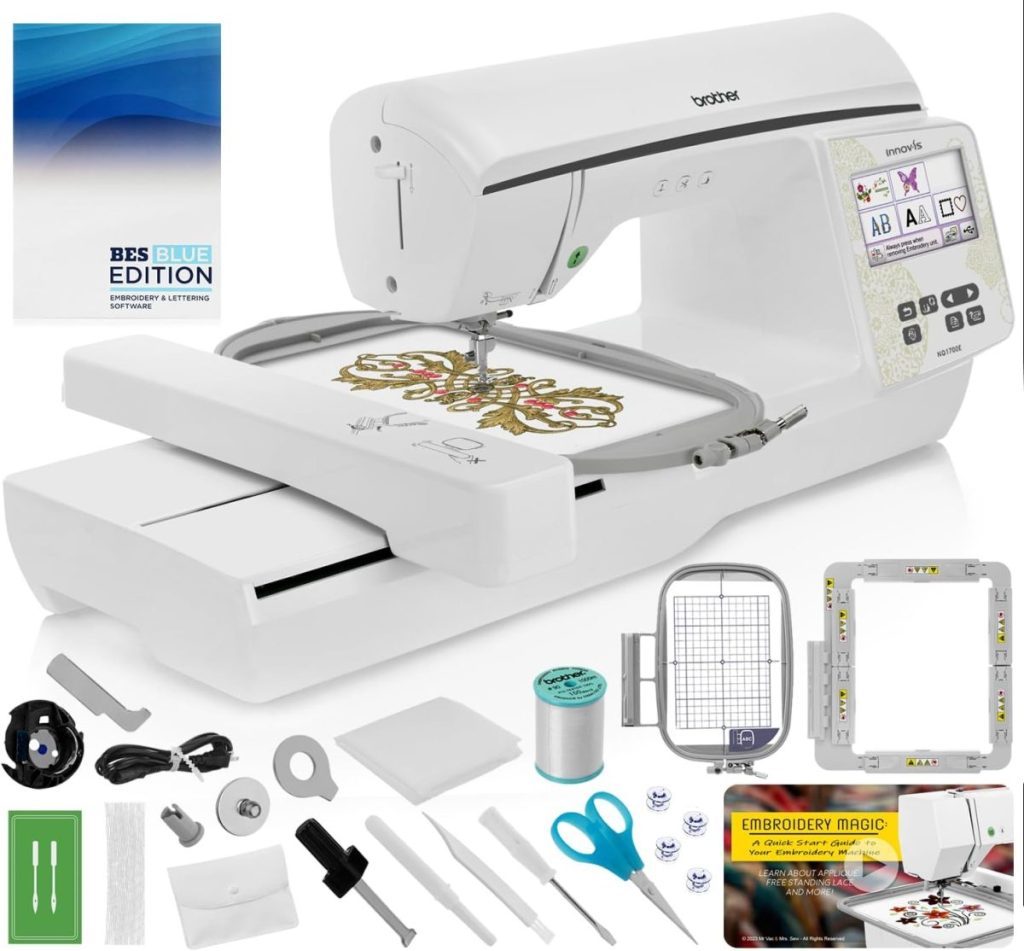
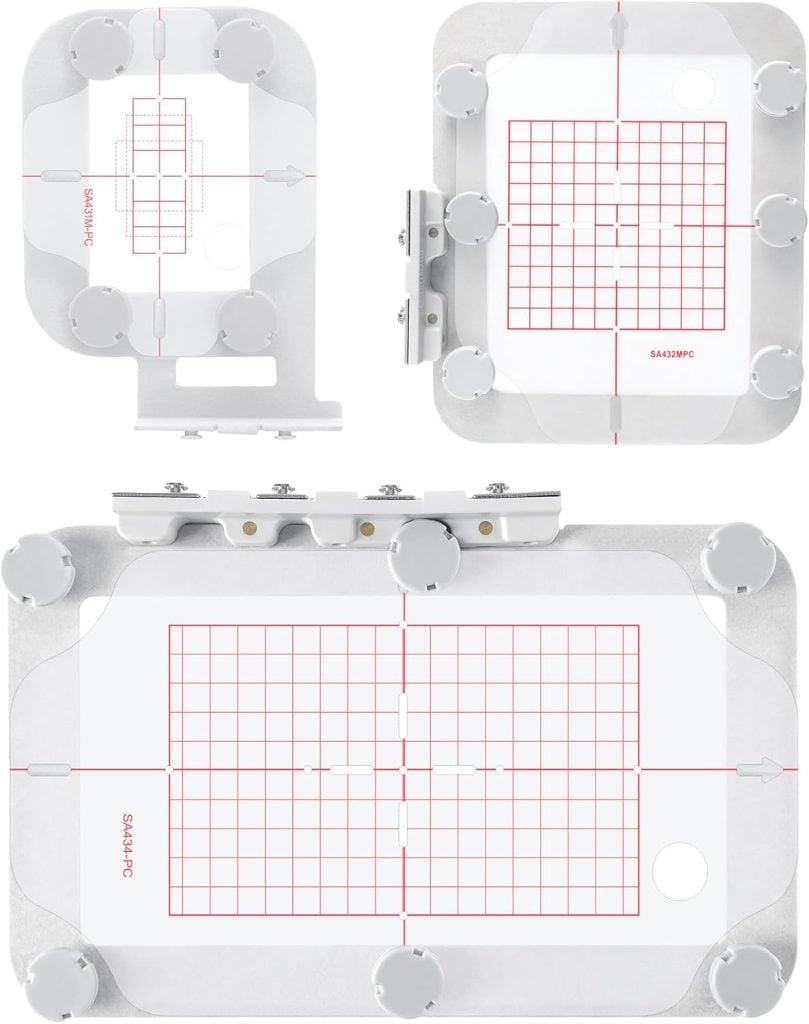
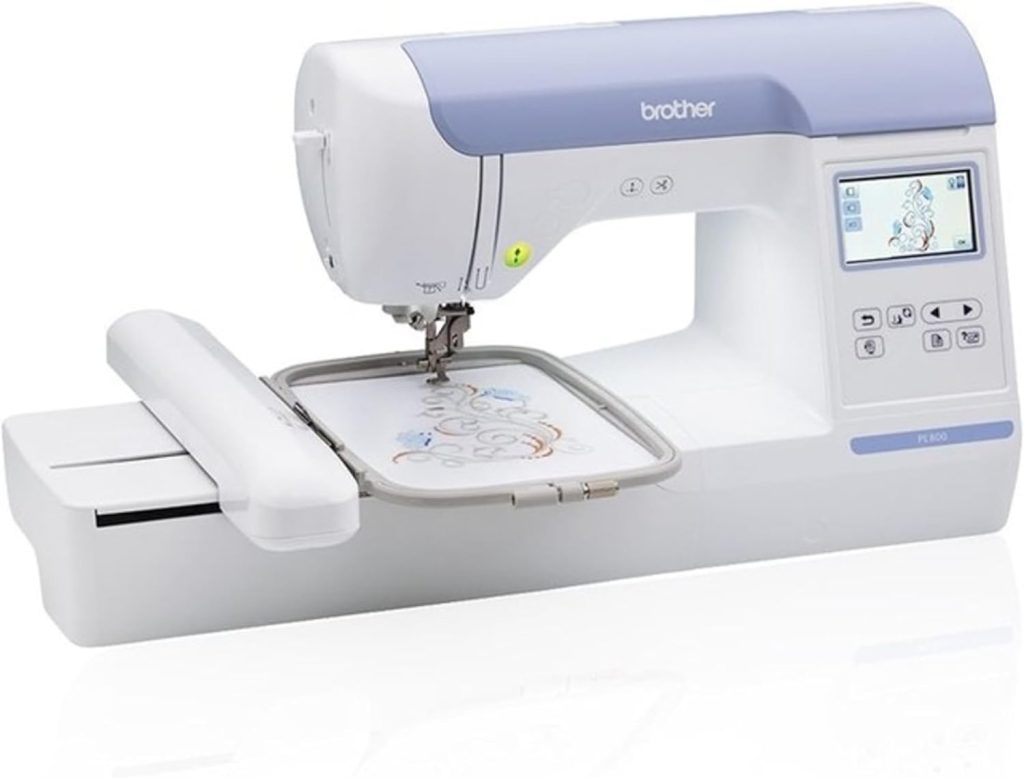
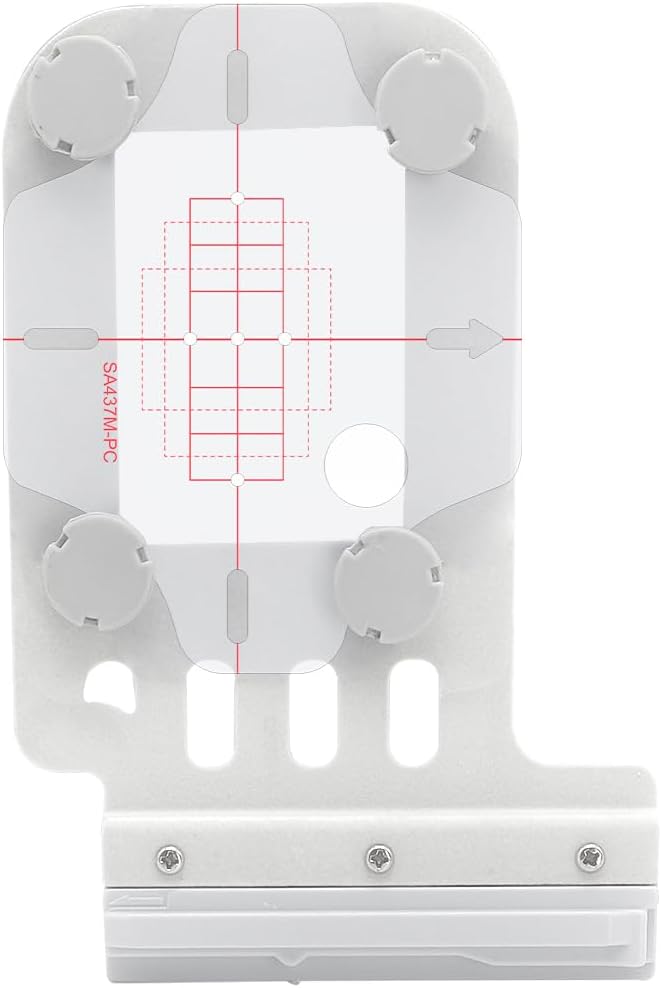
- Embroidery machine
- Embroidery stabilizer
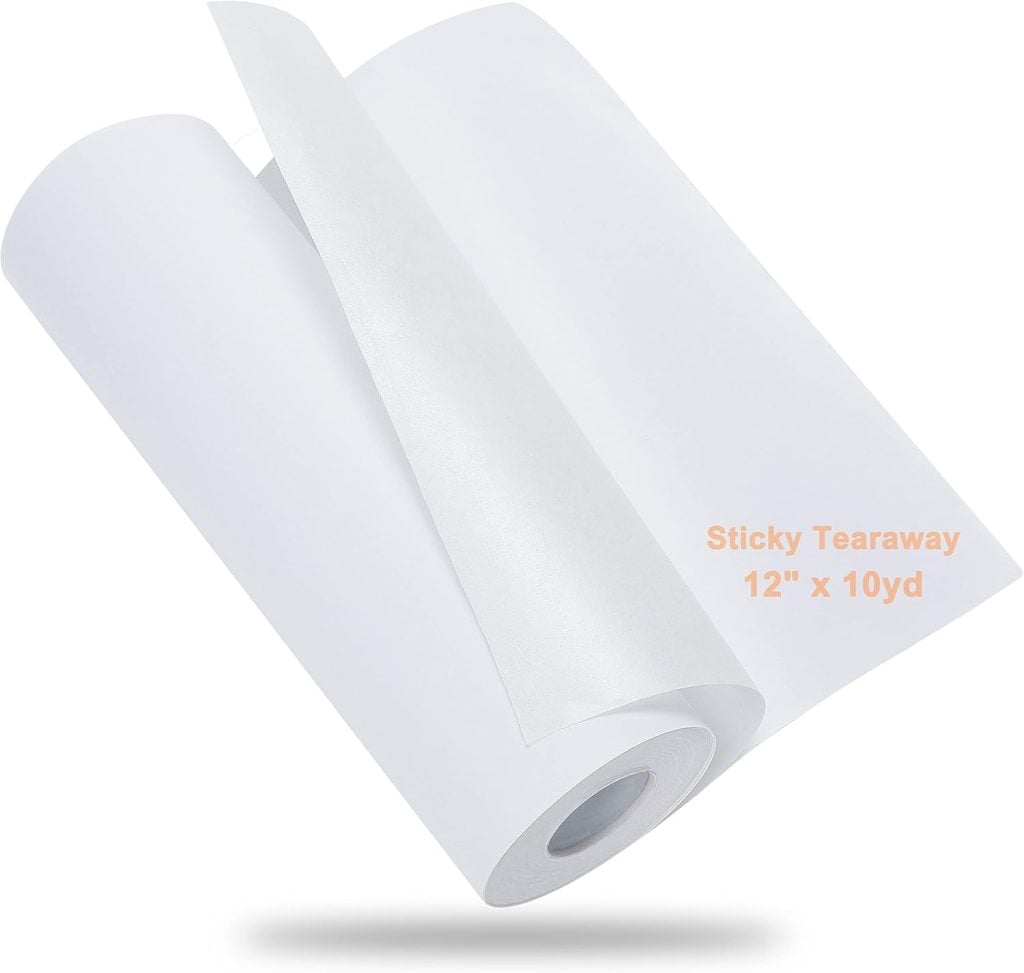
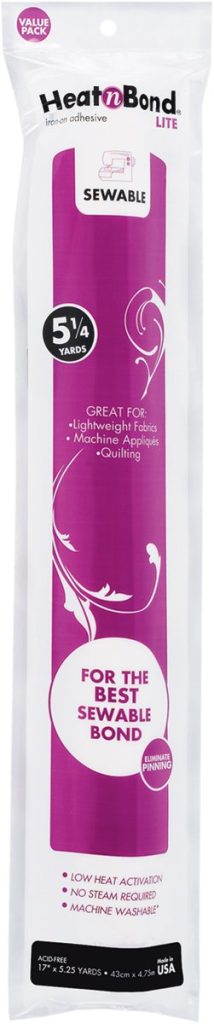
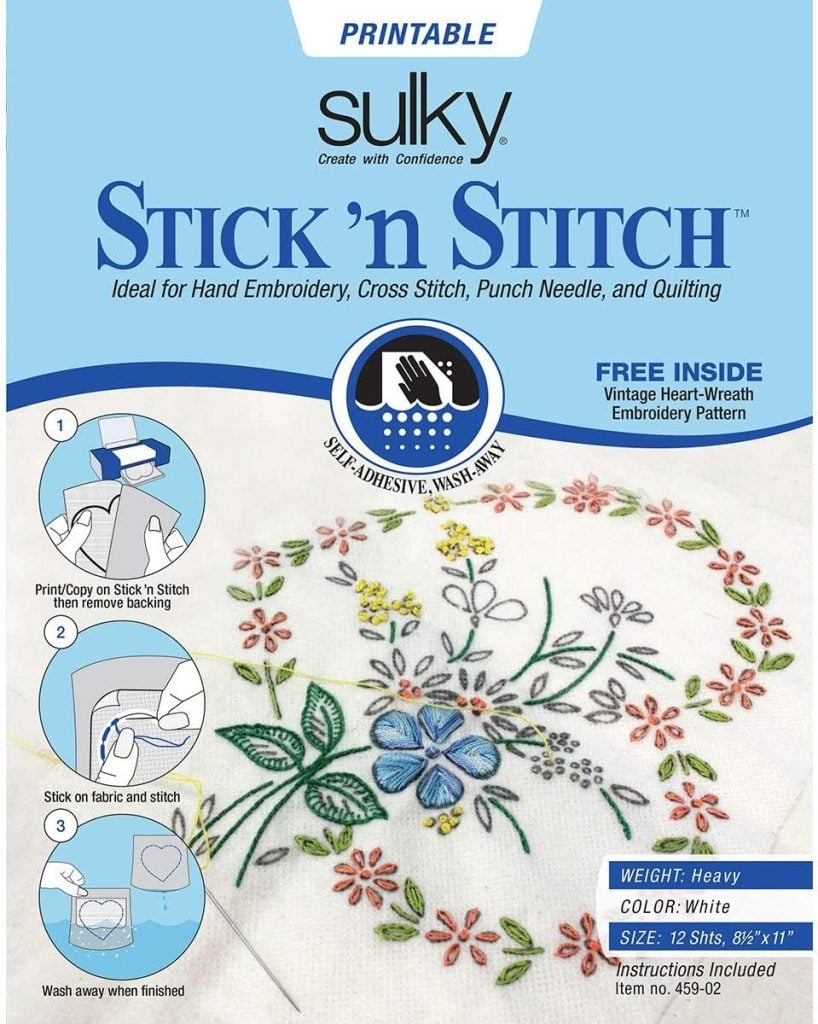
- HeatnBond Lite Iron-On Stabilizer
- Cotton fabric pieces
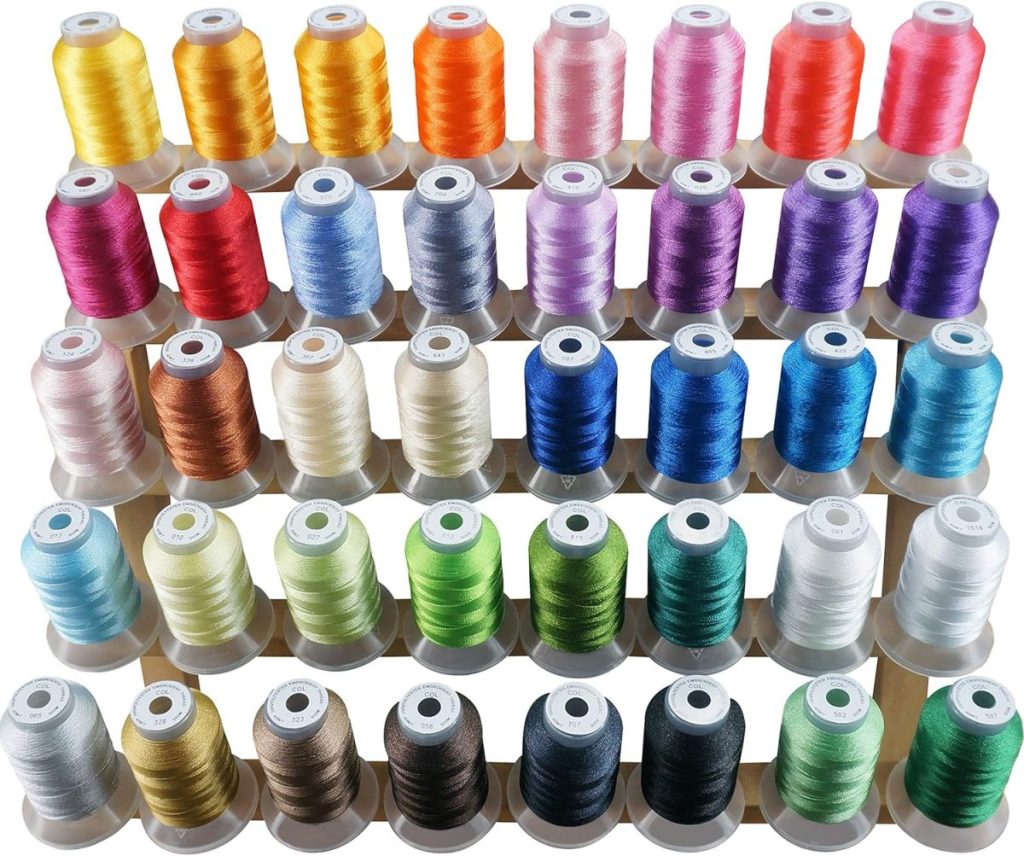
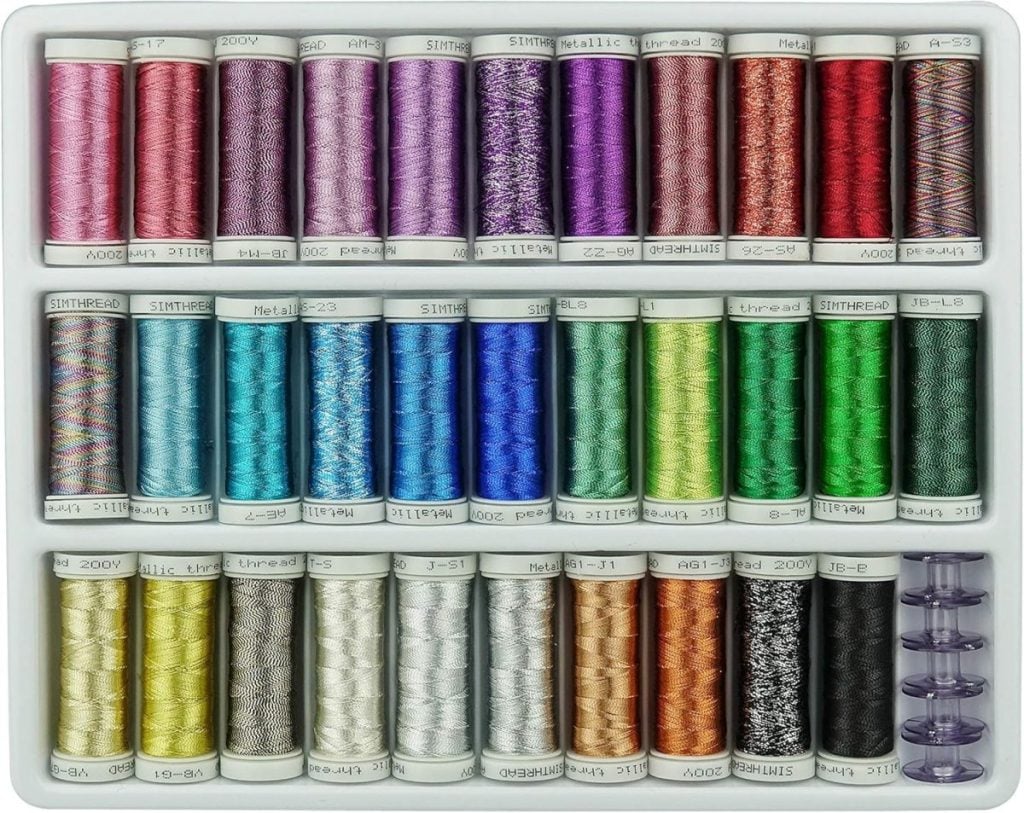
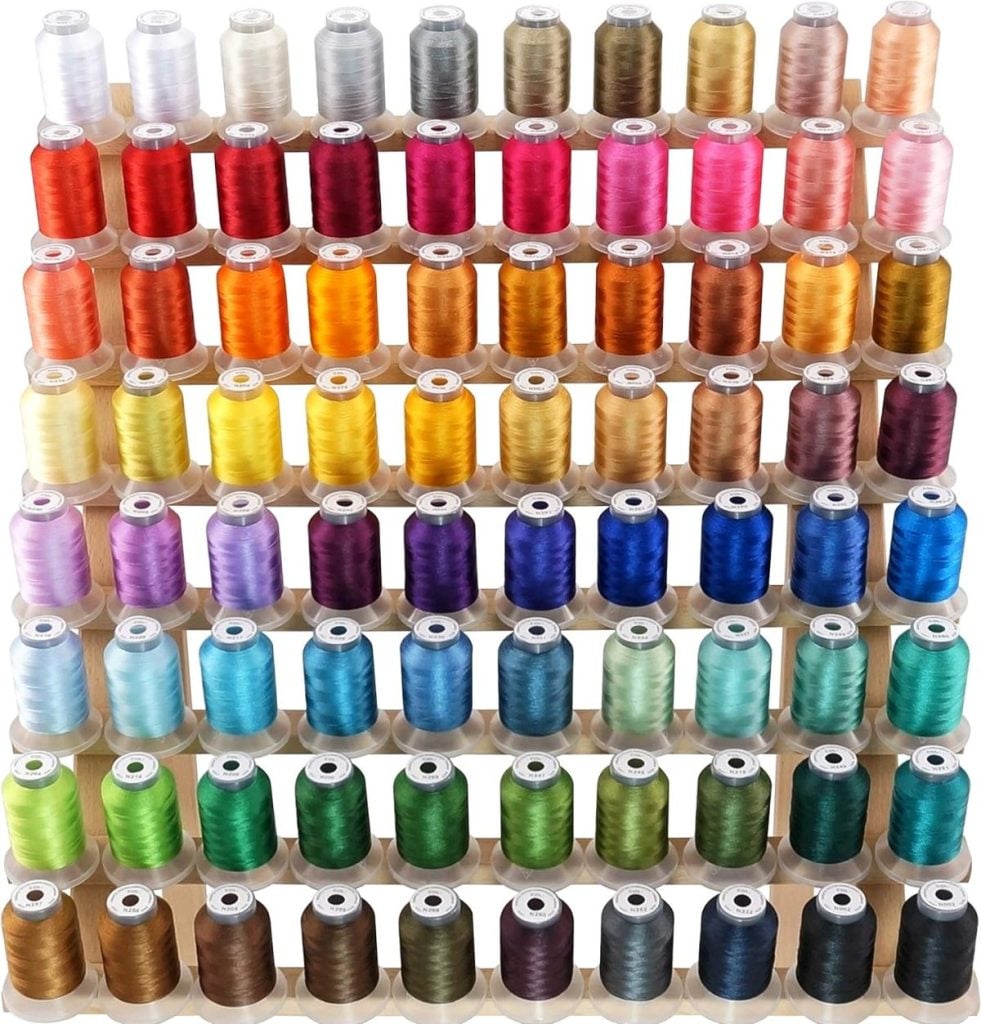
- Embroidery thread
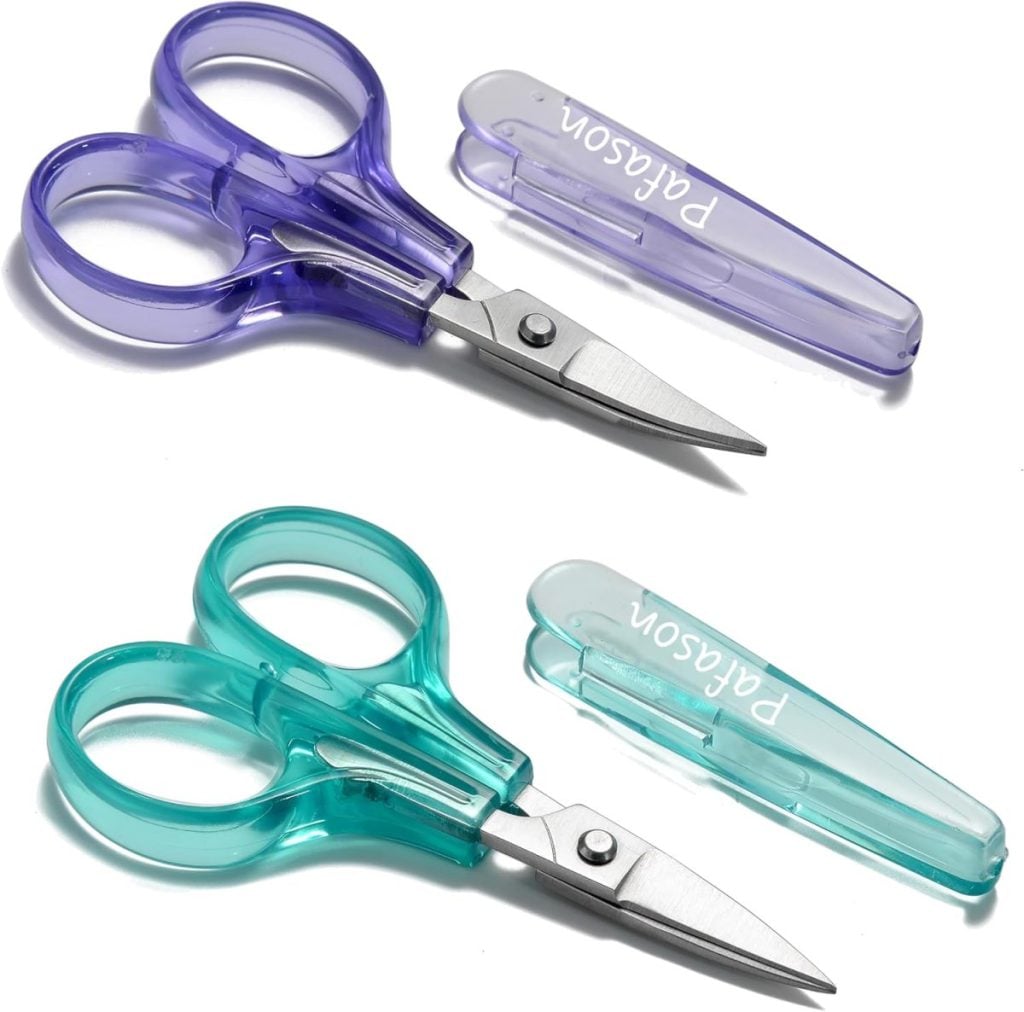
- Sharp embroidery scissors
- Embroidery design file
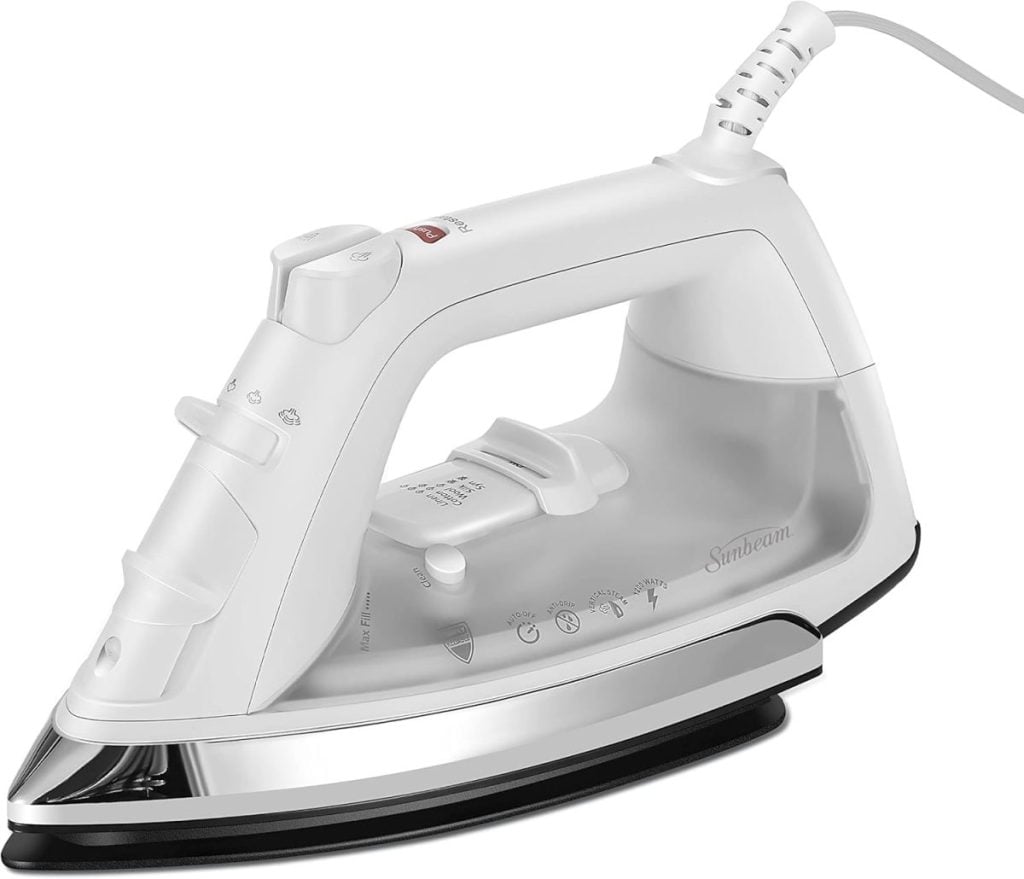
- Iron
I may use affiliate links on this blog, which means I earn a small commission if you make a purchase through them. The price will be the same whether you use the affiliate link or go directly to the vendor’s website using a non-affiliate link.
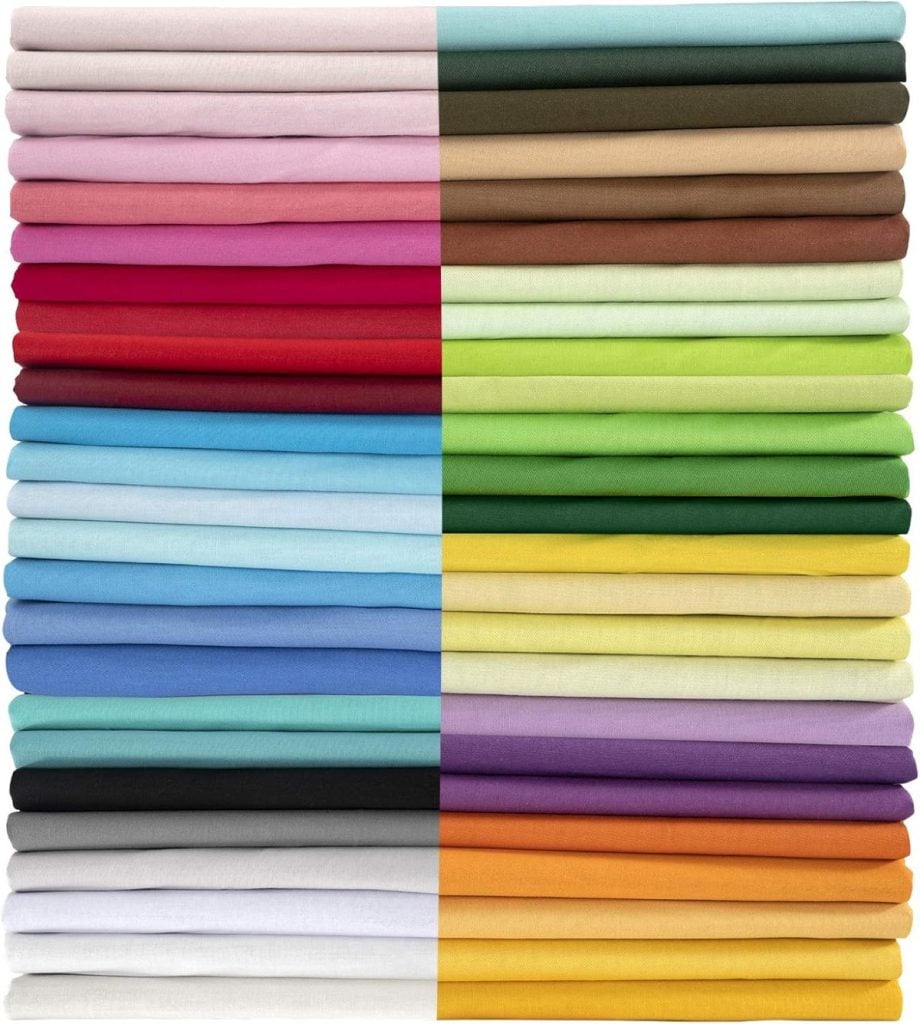

The key to success is choosing fabric that complements the garment.
I love the soft tone-on-tone look, and it still amazes me that the cotton fabric squares I bought months ago matched the sweatshirt colors perfectly. Today I’m sharing how I made these handmade gifts and the simple appliqué technique that made them possible.
Since I wanted a subtle look, I selected fabrics that matched the sweatshirt colors as closely as possible.
The Three-Step Appliqué Process
What surprised me most about appliqué embroidery is how straightforward it really is.
At its core, appliqué embroidery is a three-step process. Each step happens with the fabric in the hoop. You can remove the hoop from the machine, but do not remove the item from the hoop.
All appliqué embroidery designs come with three built-in steps.
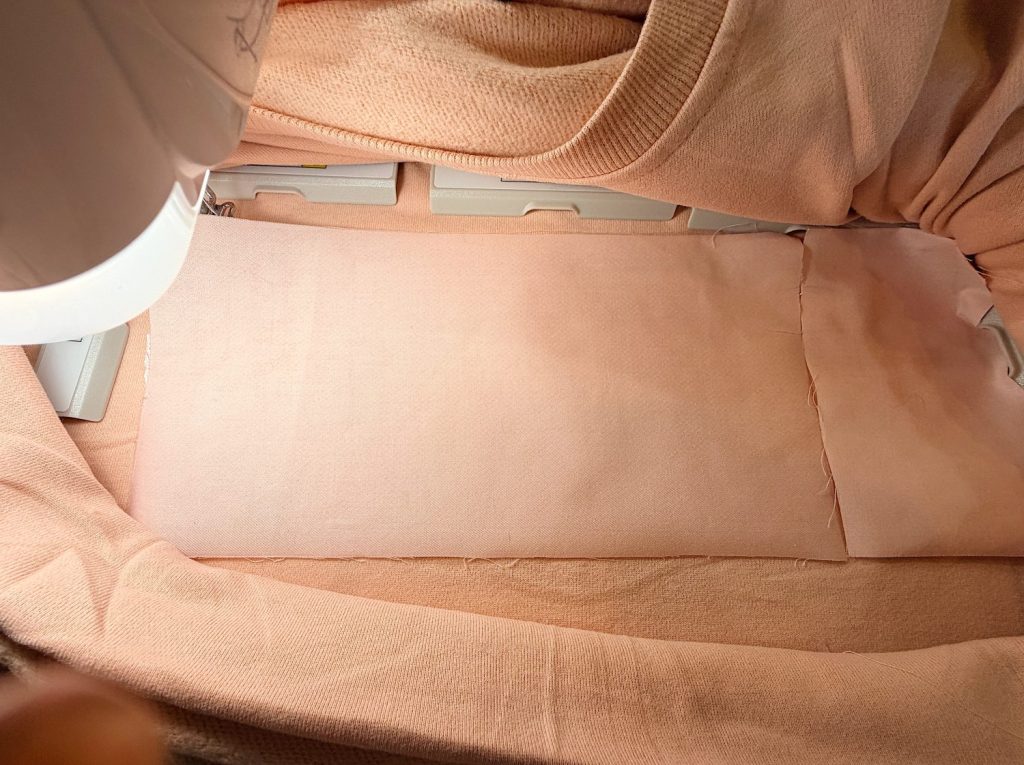
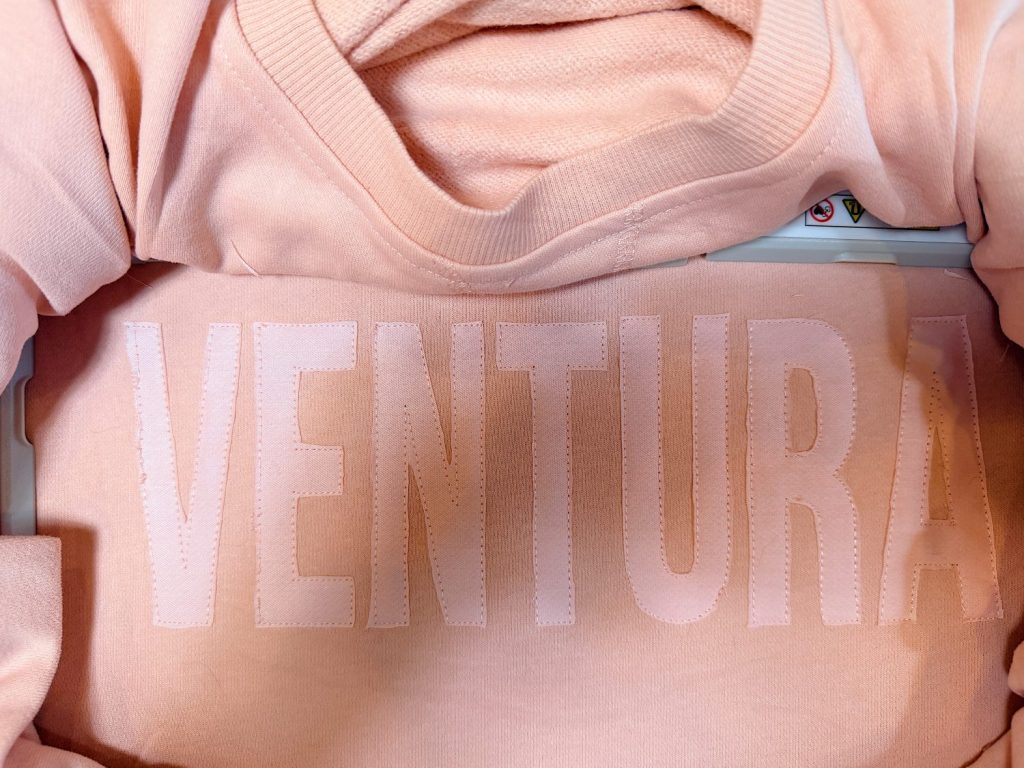
Step One: Stitch the Placement Line
First, hoop your stabilizer and sweatshirt.

Then place the hoop in the machine, and the embroidery machine begins by stitching a placement line.
This outline shows exactly where the appliqué fabric will be positioned.
Think of it as a roadmap.
The placement line removes all of the guesswork and tells you precisely where the fabric belongs.
When I stitched my first sweatshirt, I found myself checking everything three times because I didn’t want to make a mistake.
Thankfully, the machine makes this step incredibly easy.
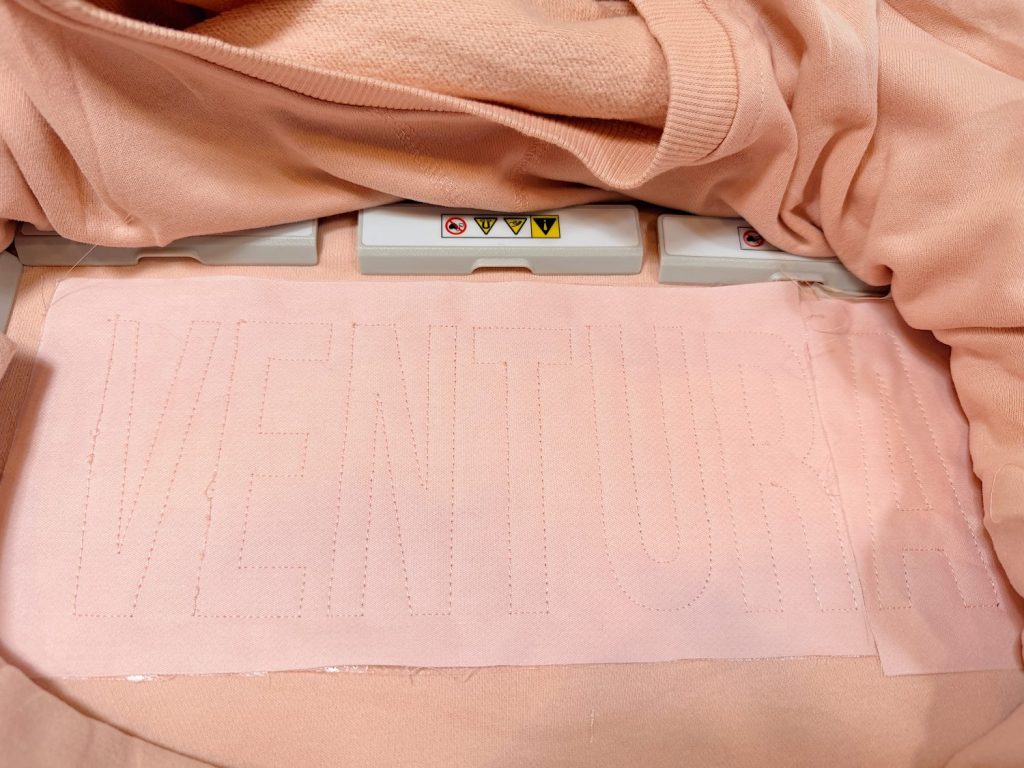
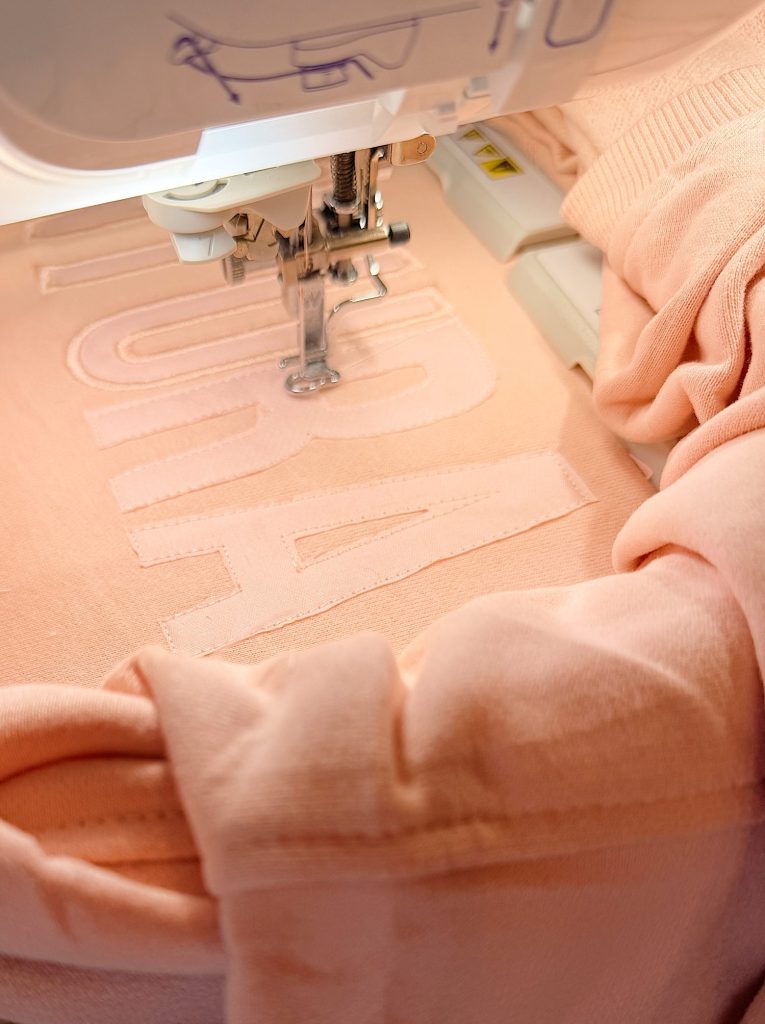
Step Two: Place the Fabric and Run the Tack-Down Stitch
Once the placement line is complete, place your appliqué fabric over the stitched outline.
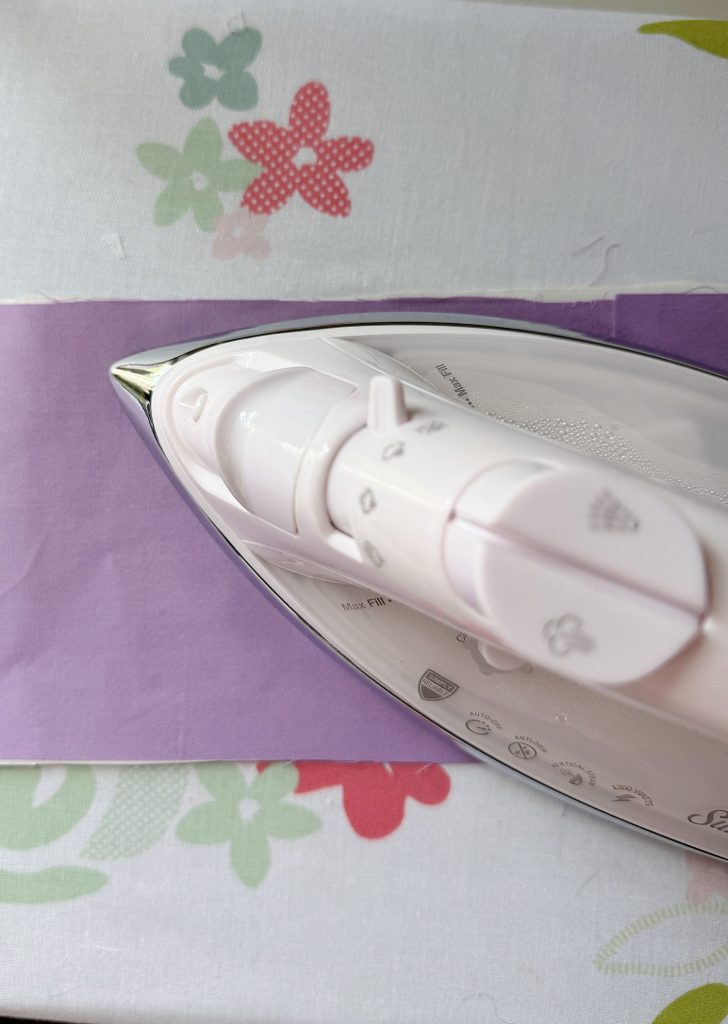
First, you need to add HeatnBond Lite Iron-On Stabilizer to the fabric. This will prevent the fabric from unraveling on the edges. Just iron it on and then peel off the backing.
Make sure the fabric completely covers the entire shape.
Next, run the tack-down stitch. This is the same stitch you used in the first step, so it repeats on top of the original stitches.
This stitch secures the appliqué fabric to the sweatshirt.
At this point, everything starts to make sense.
You can clearly see the design beginning to take shape.
Then comes the part that feels slightly terrifying the first time you do it.
Step Three: Trim the Excess Fabric
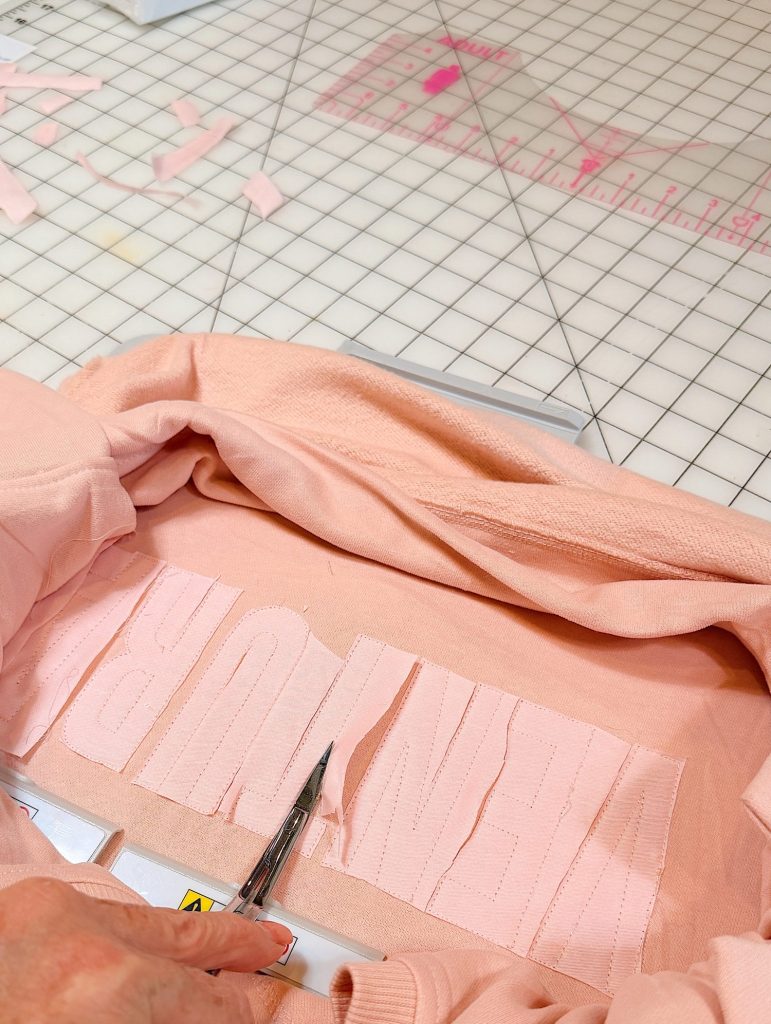
After the tack-down stitch is complete, remove the hoop from the machine. (But do not remove the fabric from the hoop!)
Using sharp embroidery scissors, carefully trim away the excess fabric as close to the stitching line as possible.
This step requires patience.
You want to trim close enough to create clean edges while avoiding cutting the stitching itself.
The first time I did this, I was nervous.
Very nervous.
I kept thinking:
“What if I accidentally cut the sweatshirt?”
“What if I trim too much?”
“What if I ruin everything?”
Fortunately, none of those things happened.
And after the first sweatshirt, I realized it wasn’t nearly as difficult as I had imagined.
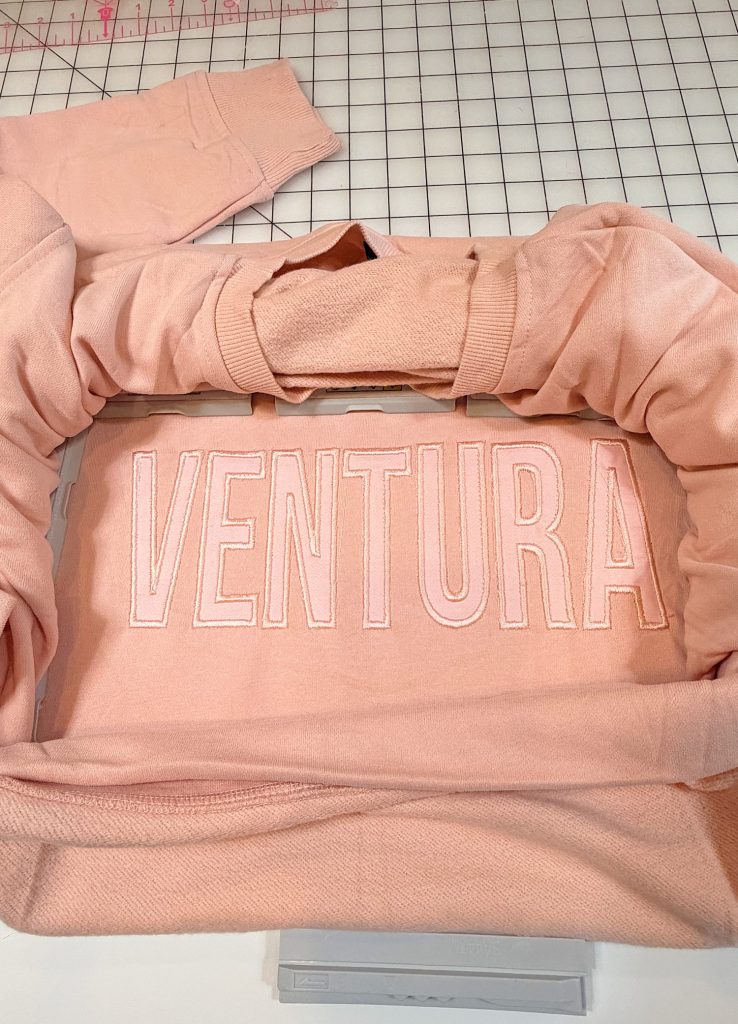
Step Four: Run the Finishing Stitch
Okay, technically, this is the fourth step.
But it’s the most satisfying one.
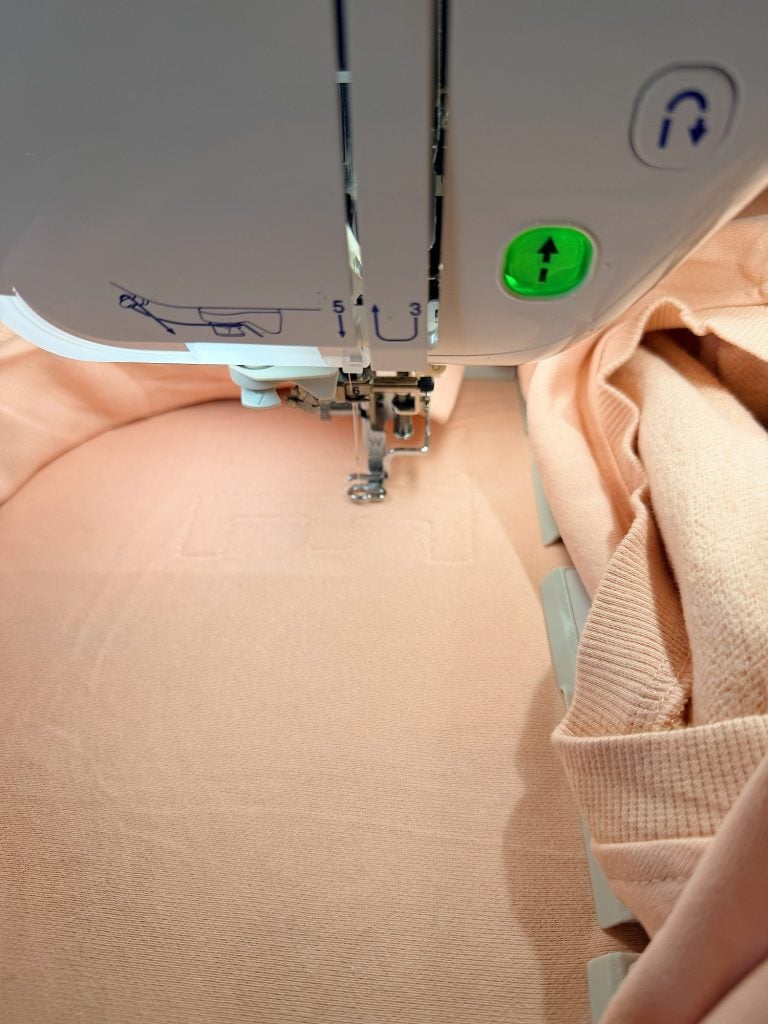
Place the hoop back into the embroidery machine and run the finishing stitch.
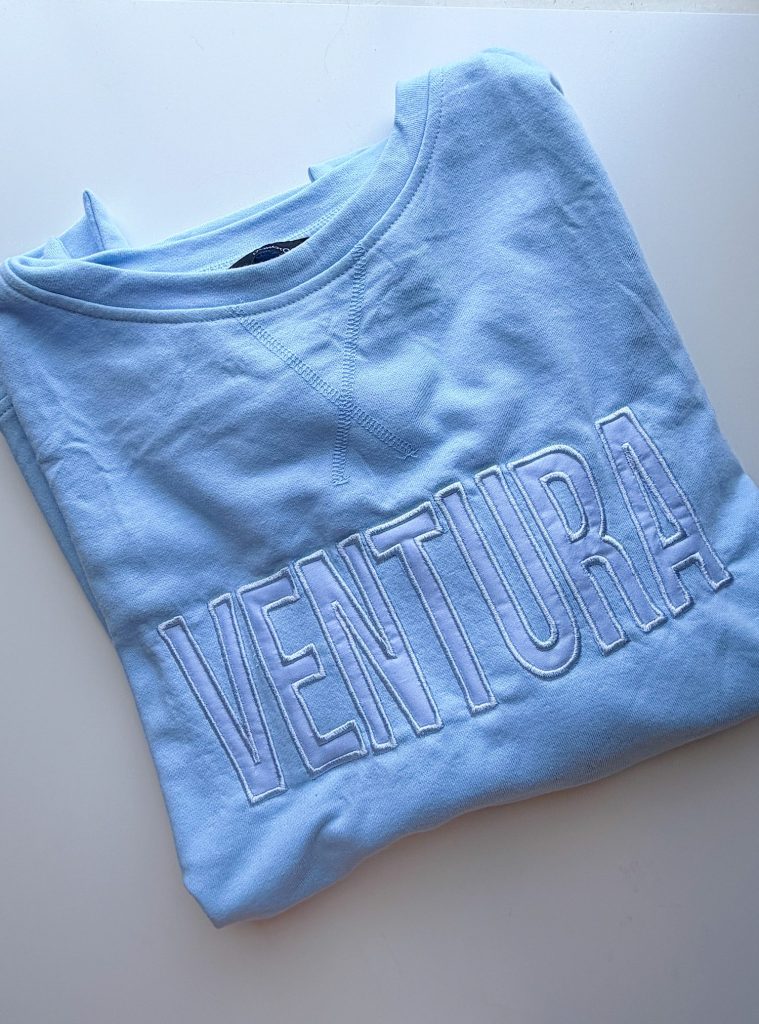
This final embroidery stitch covers all of the raw fabric edges and creates a polished, professional appearance.
Suddenly, the design looks complete.
The finishing stitch transforms the appliqué from a rough shape into beautiful lettering.
The last thing you need to do is gently remove the stabilizer from the back of the sweatshirt.
It’s one of those crafting moments that feels a little magical.
The First Sweatshirt

My first sweatshirt took significantly longer than the others.
Not because the machine was slow.
Because I was learning.
I watched every stitch. I checked every step. Then I read the instructions multiple times.
I probably spent more time worrying than actually embroidering.
But that’s part of learning something new.
Every new technique feels intimidating at first. Then suddenly it doesn’t. By the time I finished the first sweatshirt, I felt confident enough to move on to the next one.
And then the next.
And then the next.
Six Sweatshirts Later
What started as a learning experience quickly became a production line.
I needed six sweatshirts as the girls’ weekend was approaching.
There was no turning back.
One by one, the sweatshirts came together.
Blue.
Pink.
Lavender.
Mint.
Each one looked a little different, yet they all worked beautifully together.
The monochromatic appliqué lettering gave them a coordinated look without feeling overly matched.
That’s exactly what I had hoped for.
The Big Reveal
One of the best parts of the weekend was giving my friends the sweatshirts.
Seeing everyone’s reaction made every minute of stitching worthwhile.
They immediately put them on.
And suddenly there we were, standing on the deck overlooking the ocean, wearing our matching Ventura sweatshirts.
It felt like the perfect souvenir for our girls’ weekend.
Not something purchased in a gift shop.
Something handmade. Something personal. And something created specifically for that weekend together.
Why I Love Handmade Gifts
I’ve always believed that handmade gifts tell a story.
Every stitch. Every fabric choice. And every little decision becomes part of the gift.
Could I have bought sweatshirts for everyone?
Of course.
But making them myself felt so much more meaningful.
Every time one of my friends wears her sweatshirt, she’ll remember our beach weekend in Ventura.
And every time I see mine hanging in my closet, I’ll remember the laughter, the long conversations, the beach walks, and the beautiful time we shared together.
Tips for First-Time Appliqué Embroiderers
If you’ve been thinking about trying appliqué embroidery, here are a few tips:
- Start with a simple design.
- Use sharp embroidery scissors.
- Choose fabric that doesn’t fray excessively.
- Don’t rush the trimming step.
- Trust the process.
- Practice on scrap fabric if you’re nervous.
Most importantly, don’t let the trimming scare you.
That was the step I worried about most, and it ended up being much easier than expected.
Final Thoughts
This project reminded me why I love learning new creative skills.
There’s something exciting about stepping outside your comfort zone and discovering a technique you’ve never tried before.
Appliqué embroidery had been on my list for a long time, and now I’m wondering why I waited so long.
The process is straightforward, the results are beautiful, and the design possibilities are endless.
Of course, now that I’ve learned how to do it, my mind is racing with ideas.


Beach sweatshirts.
Holiday sweatshirts.
Grandkid sweatshirts.
Travel bags.
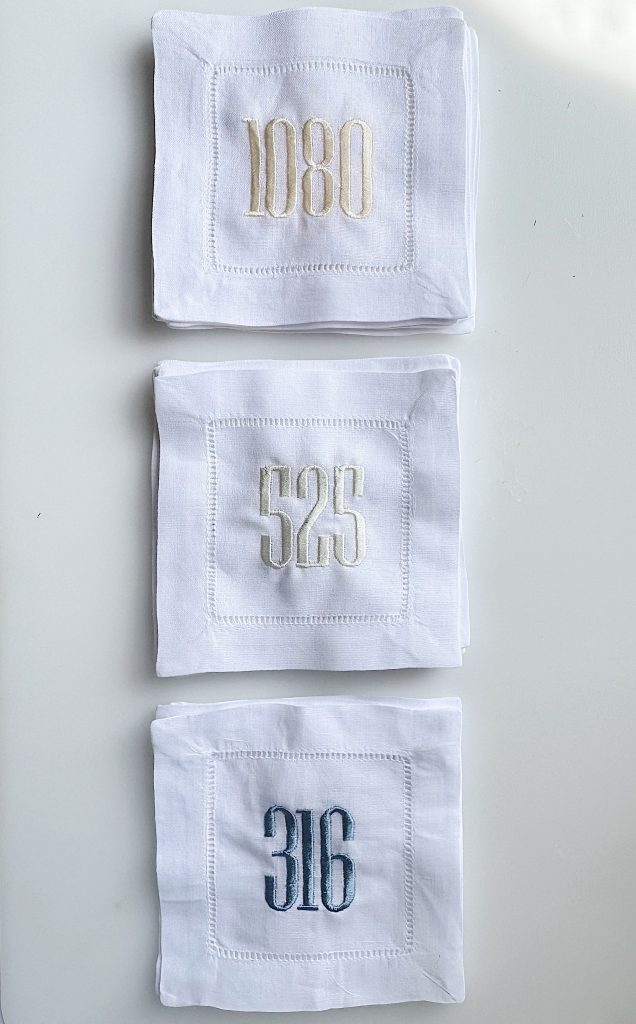
Monogrammed gifts.
I have a feeling this is just the beginning of my appliqué embroidery journey.
And if you’re looking for a fun summer project, I highly recommend giving it a try. You might just find yourself making six of them, too.
How to Follow Along With A Handmade Summer
Each week, a new spring craft will be shared here on the blog. I will also be sharing behind-the-scenes moments, progress videos, and finished projects on Instagram so you can see each craft come to life.
You can jump in at any point. There is no need to start at the beginning or complete every project. Choose the ones that speak to you and make them your own.
If you love seasonal crafting, this series is designed to inspire you throughout the summer.
Here are all of the A Handmade Summer craft projects so far.
Latest Posts
-
How to Use Paper Clay
I discovered a new product for paper crafting! Paper clay is very easy to use, and I can’t wait to share my DIY pot. I have made many clay crafts before, but I have to be honest, until a while ago, I wasn’t even aware of paper clay. The best news? Paper clay was fun…
-
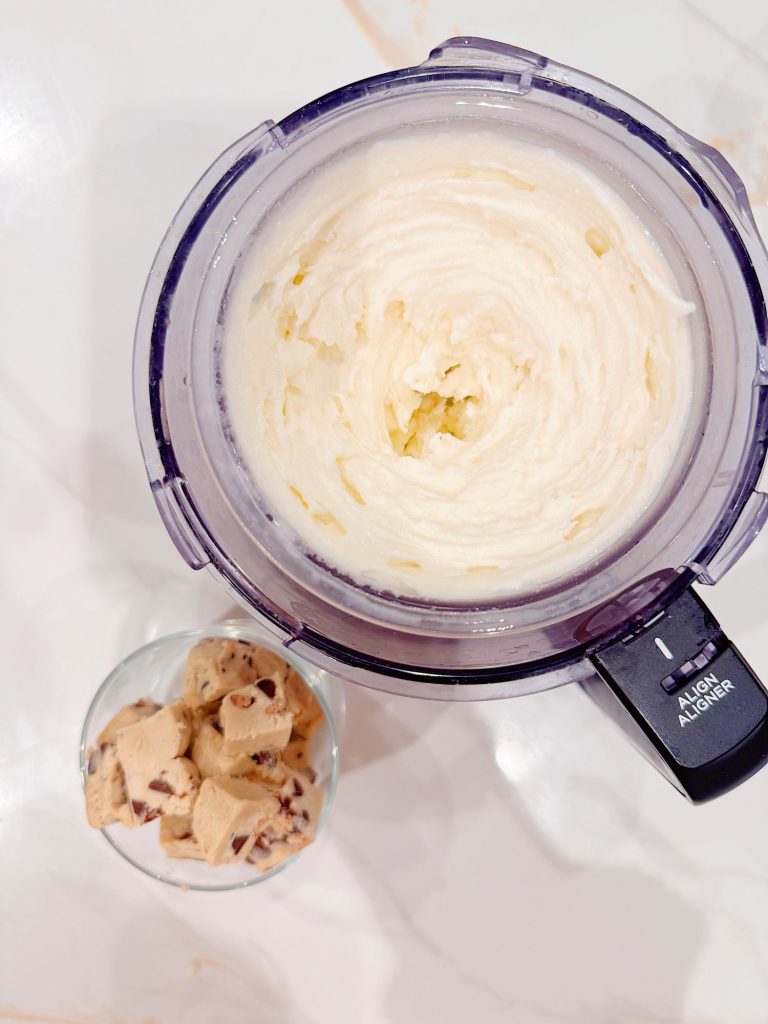
My Favorite Ninja Creami Protein Ice Cream
Let’s talk about one of my favorite kitchen gadgets: the Ninja Creami. And my favorite protein ice cream! If you haven’t discovered this magic machine yet, you need to know that it is the appliance that has completely changed the way I make frozen desserts and drinks at home. Whether you’re into healthy treats, indulgent…
-
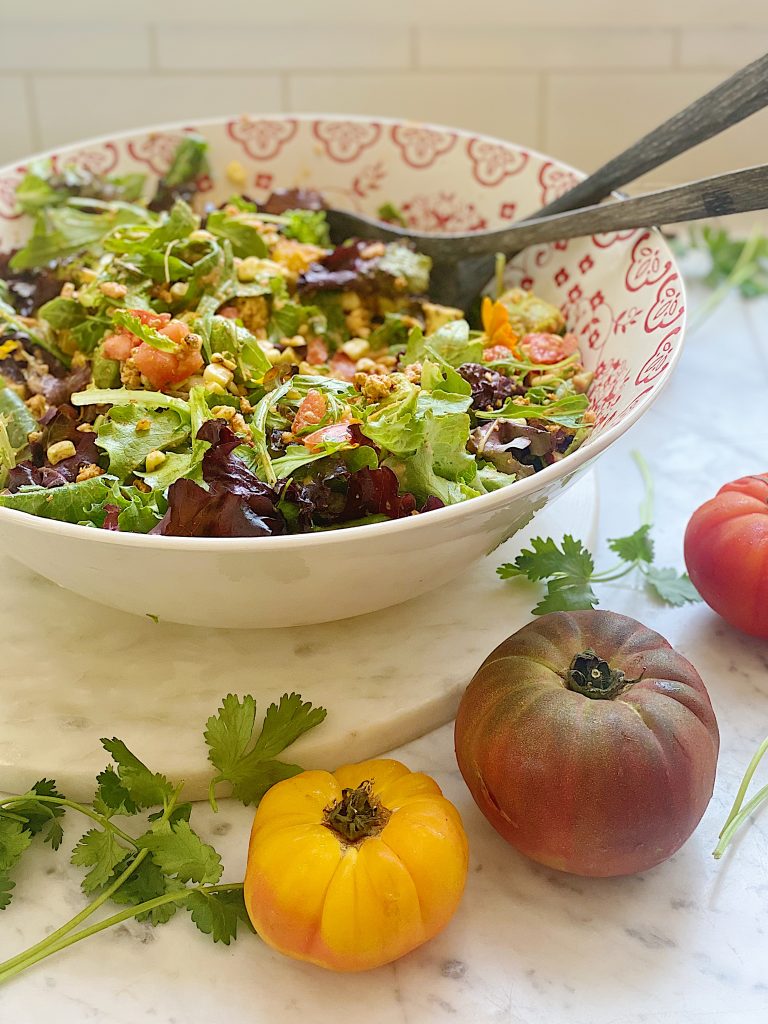
The Best Salads – Summer Chicken Recipes
Summer salads are one of my favorite foods. Today, I am sharing my three favorite all-summer chicken salad recipes. Chicken is a versatile, affordable protein you can enjoy all summer. Check out these recipes for fresh and fun ideas—there’s something for everyone. Enjoy!
-
The Best Paper Napkin Crafts – Mondays in the Craft Room
Paper napkin crafts are among my favorite ways to create beautiful handmade projects without spending a fortune or requiring advanced artistic skills. It’s amazing how a simple decorative paper napkin can transform clay, terra cotta, ornaments, pumpkins, and so much more into something that looks hand-painted. Today I’m sharing some of my favorite paper napkin…

My Recent Instagram Posts

You can pin the image below to your boards on Pinterest (click the Pin button in the top left corner) or follow me on Pinterest!
For more real-time updates, follow me on Instagram @My100YearOldHome
What a great idea and a fun gift! I love the tone on tone concept and think it is beautiful. I don’t usually wear clothes with something emblazoned across the chest but I might try this. Did you experience any trouble keeping each shirt hooped while you trimmed? Hooping is my biggest nightmare! Getting it just so and then struggling with the hoop is so frustrating. And when I tried the magnetic hoops, my SE2000 seemed to go wonky at times if the embroidery design went near the edge where a magnet was. Any suggestions are welcomed.
I have to admit I love the tone on tone. It’s subtle and yet the design is great. It’s funny that the solid cotton fabric squares I had bought had every color I needed! As far as the hoops, I assume you have the right hoop for your machine. So you have the right frame size selected on your machine? If you don’t then you could have the issues you mentioned. I did notice that the frame sizes of the magnetic hoops are sometimes a bit different than the standard sizes. Double check that and see if it works. So far I haven’t had any problems. I do know that my machine won’t let me embroider of my design is too big for the hoop size. So I sometimes have to make it a bit smaller to actually embroider it. Let me know if this helps.
L
I absolutely love the tone on tone, and in fact might even try a subtle mixed pattern on pattern (VERY subtle…. )…. I also love that you did the name of your lovely town (which we visited on a family vacation many years ago) rather than names. Especially for children, when I do personalizations, I try to do words that inspire, or fun phrases, or a symbol like stars, flowers or geometric designs, because when something esp for a child, has a name it is very awkward to pass on to siblings or cousins or friends and they grow out of things like clothes, or even step stools SO fast and the things are so beautiful and crafted with love… they deserve long lives to be enjoyed by many. I love the crafts you post and how you make them so accessible, giving us so much motivation. THANK YOU! You are the best!!
That is such a great idea. Thank you.
Leslie
You did an excellent job! I love them!
Do the sweatshirts run true to size?
Yes they do. And they are so soft!
Leslie