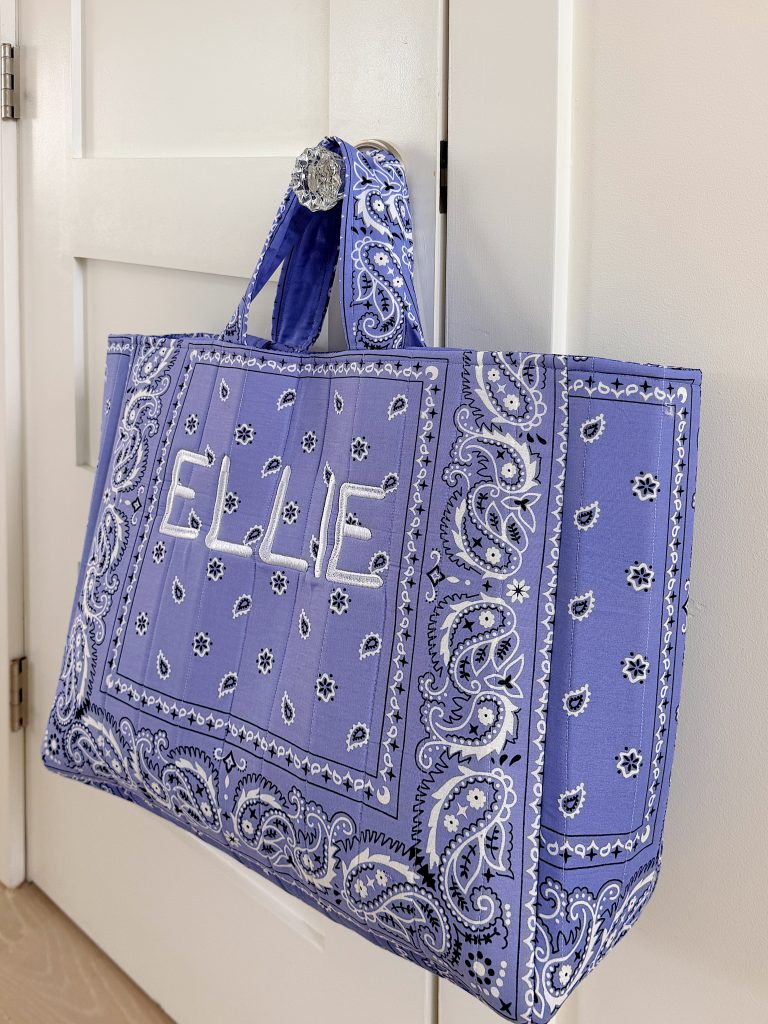
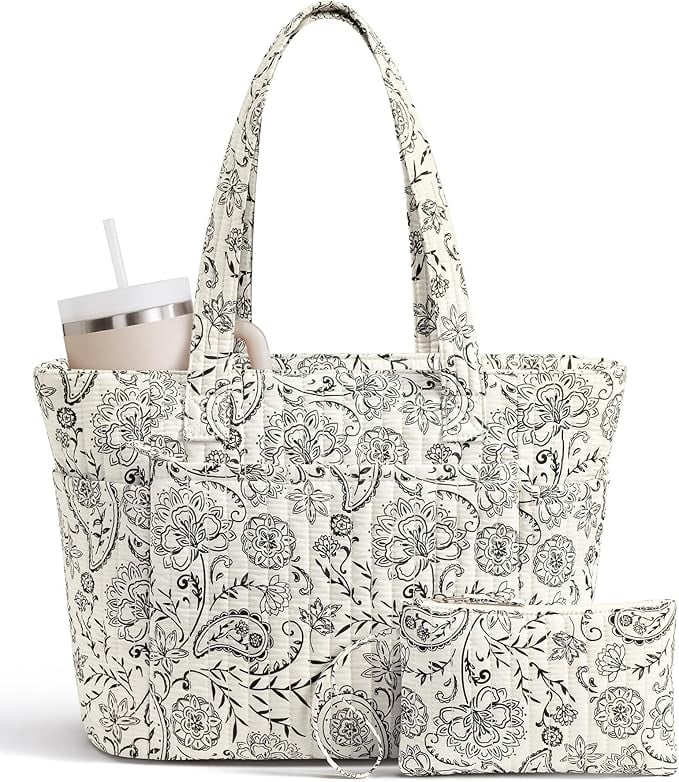
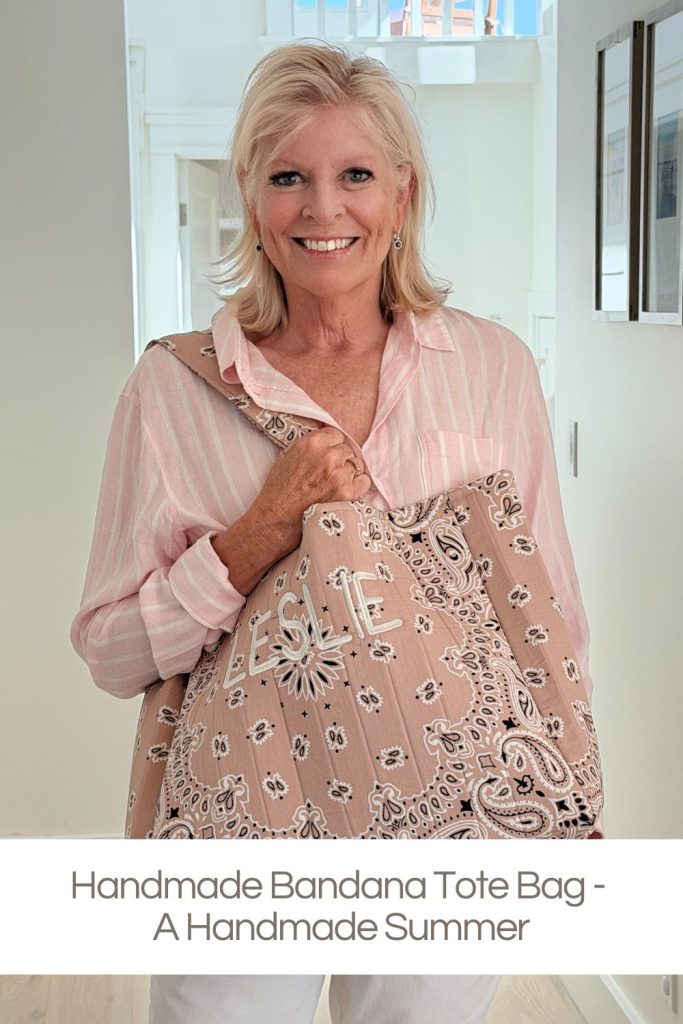
Handmade Bandana Tote Bag – A Handmade Summer
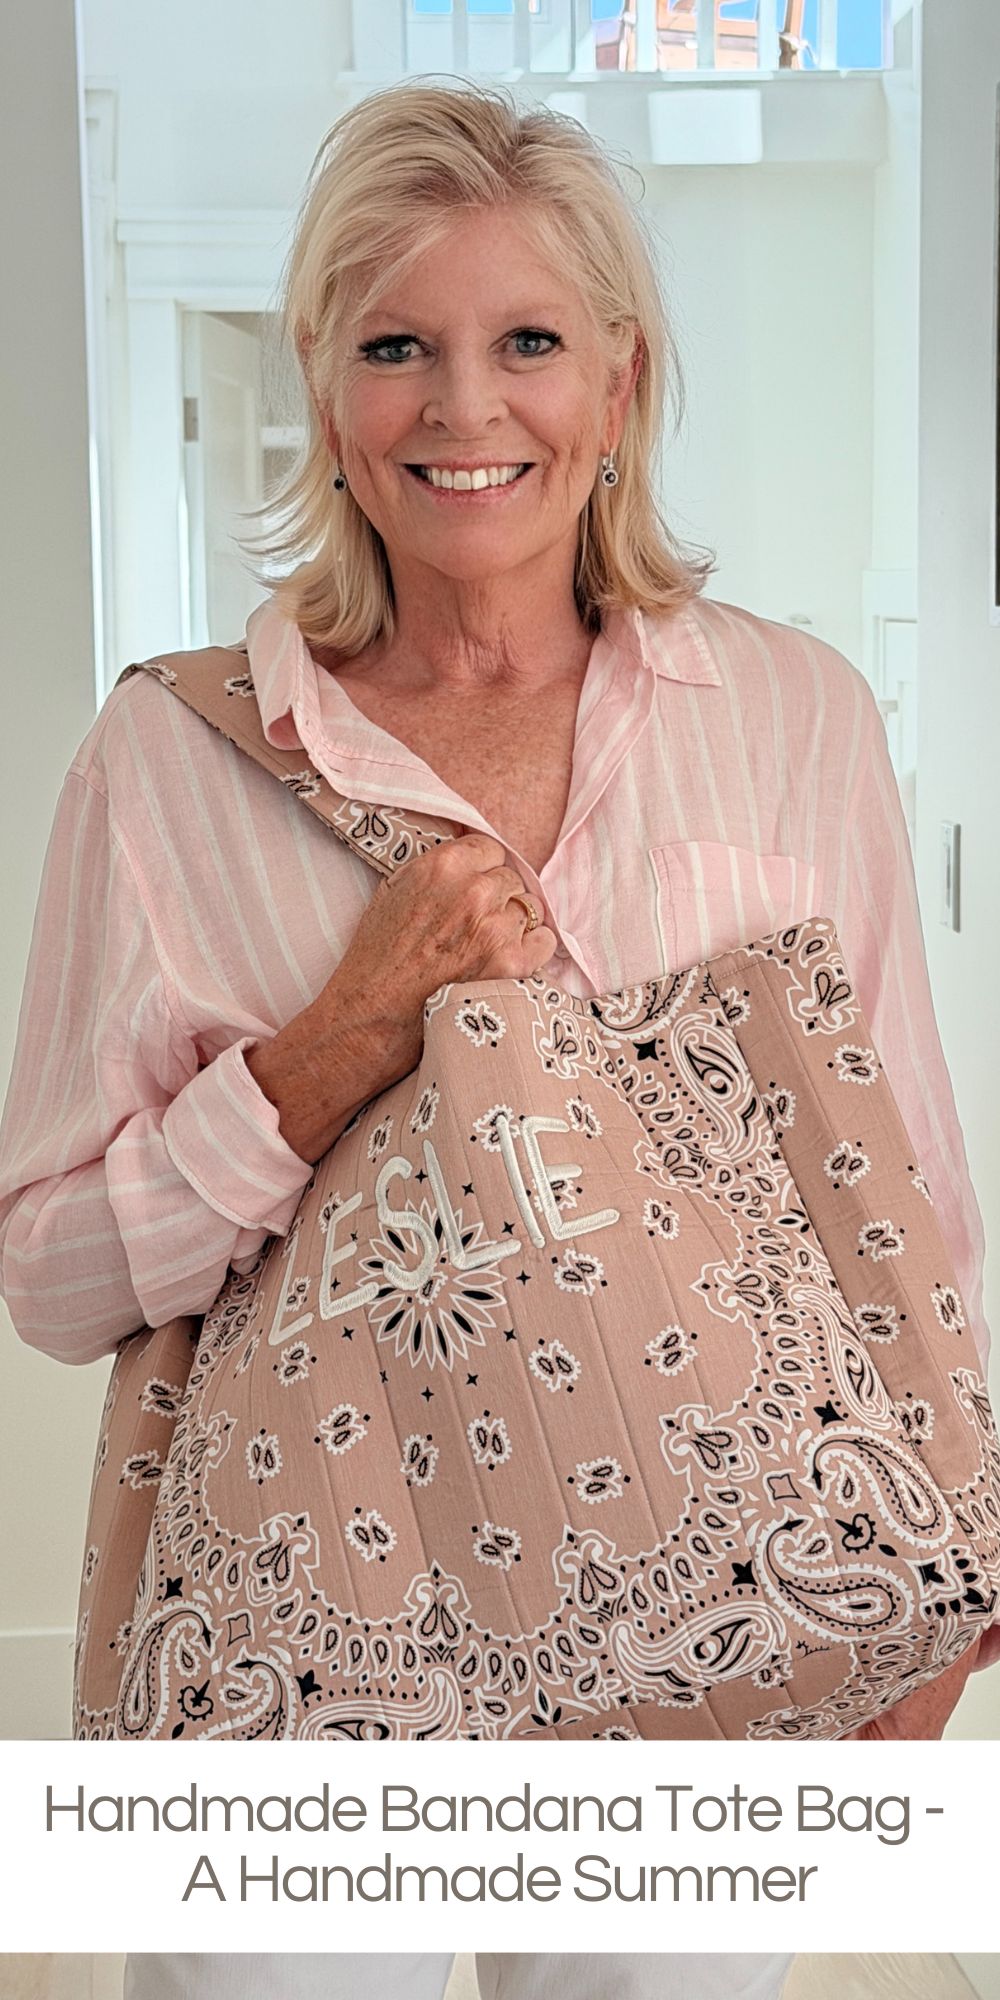
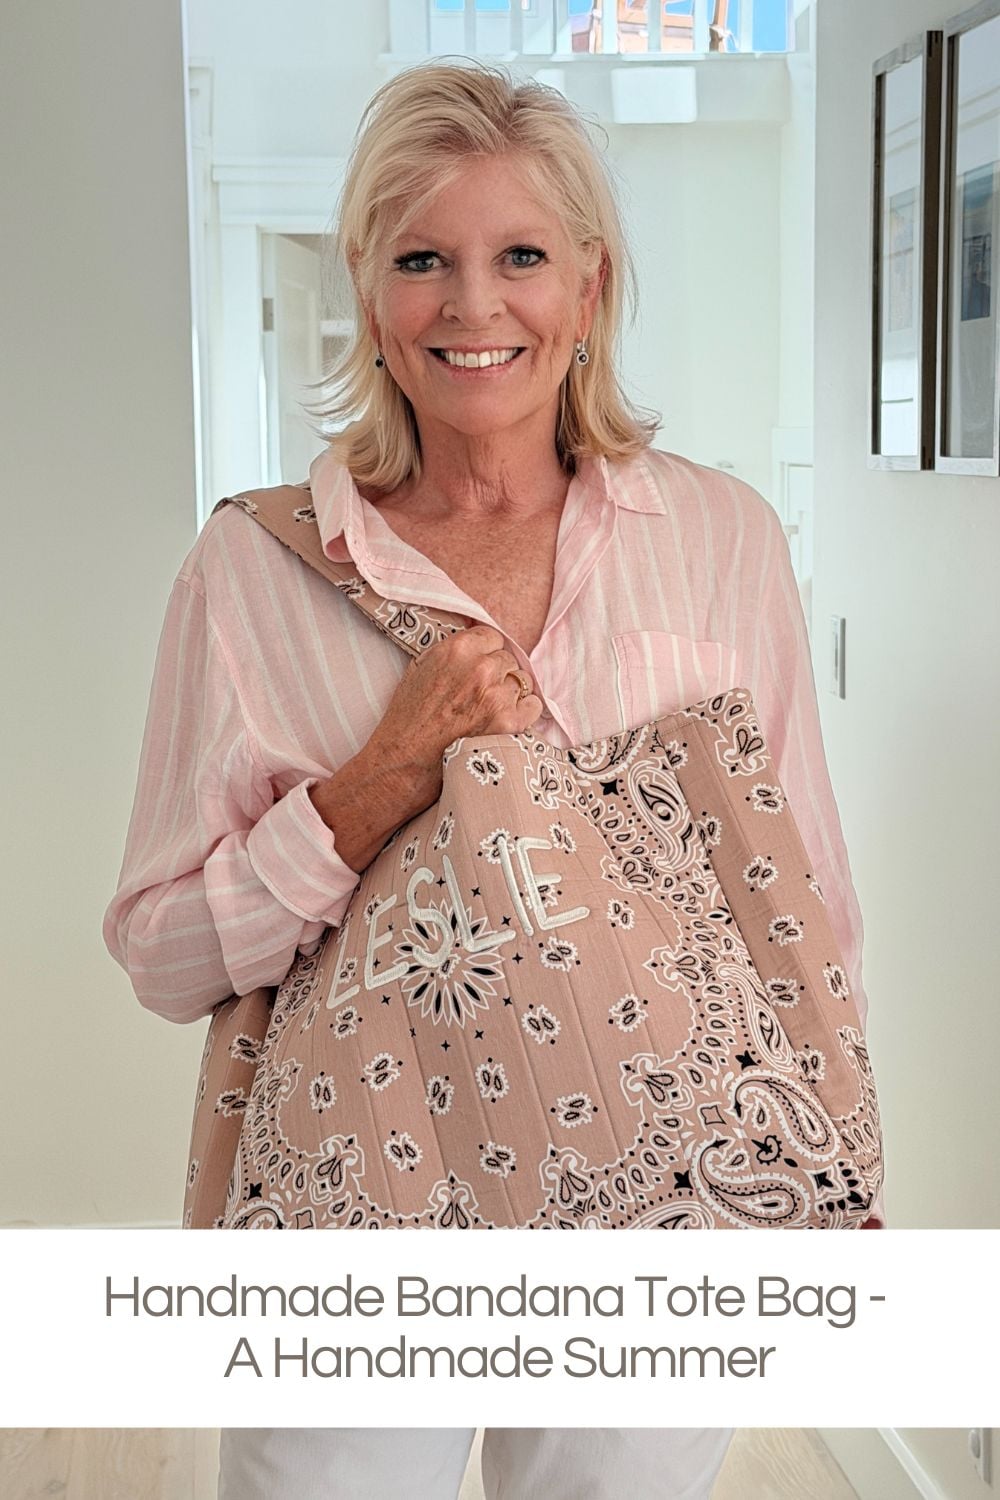
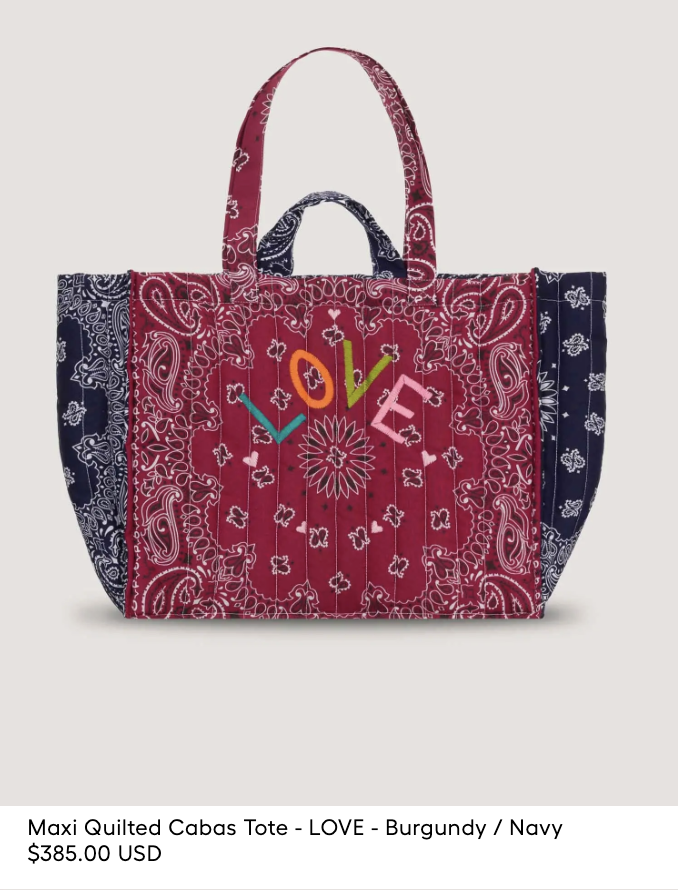
Bandana tote bags are one of the hottest accessories this summer, but when I saw one selling for $385, I knew I had to make my own!
This quilted version is fun to sew, to customize, and perfect for everything from beach days to farmers’ markets. I love mine so much that I’m even thinking about making a limited collection to sell. You’ll have to tell me what you think! Today I’m sharing exactly how I made it so you can sew one for yourself, too.


Bandana Tote Bag
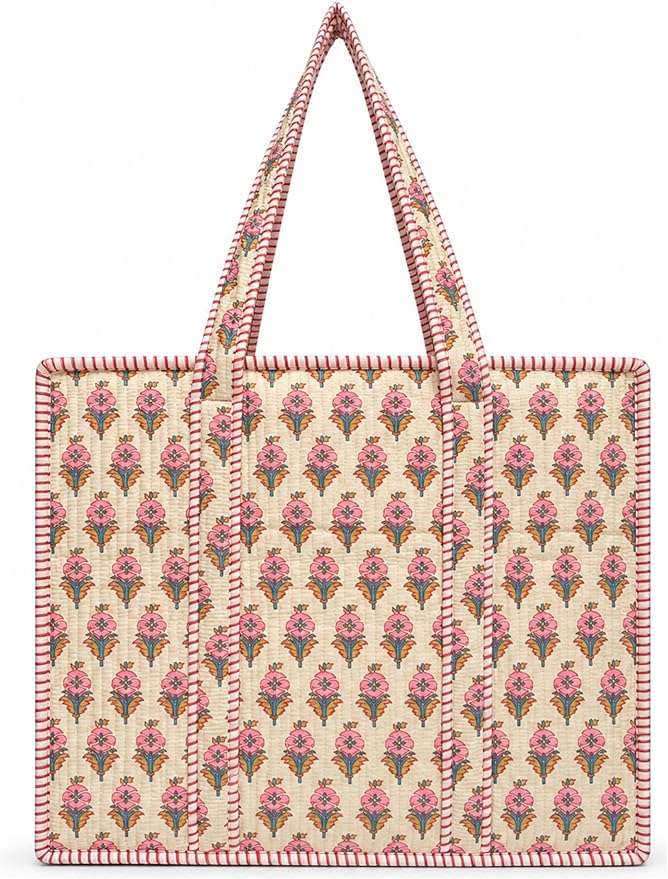
Bandana tote bags are everywhere right now, and I completely understand why. They are colorful, casual, and quilted, with that effortless vintage look that somehow works with everything from jeans and a T-shirt to a summer dress. They are the perfect bag for farmers’ markets, beach days, weekend getaways, and everyday errands.
But here’s the part that made me laugh.
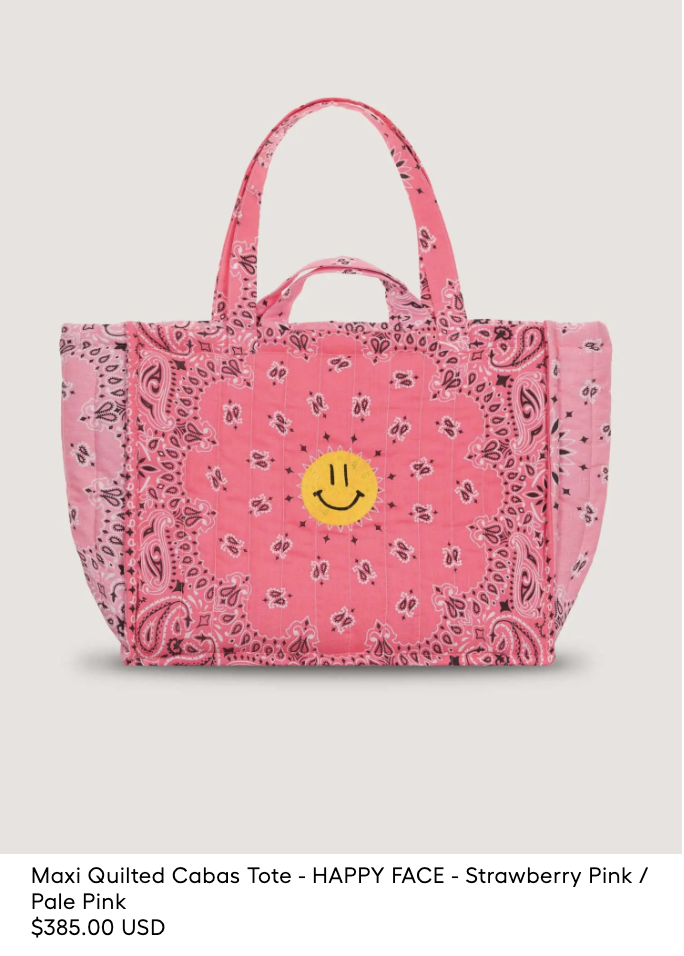
One of the most popular versions is from Call It By Your Name, and it sells for $385.
You know me. The minute I saw that price, I didn’t think, “I should buy one.” I thought, “I can make one!”
So that’s exactly what I did.
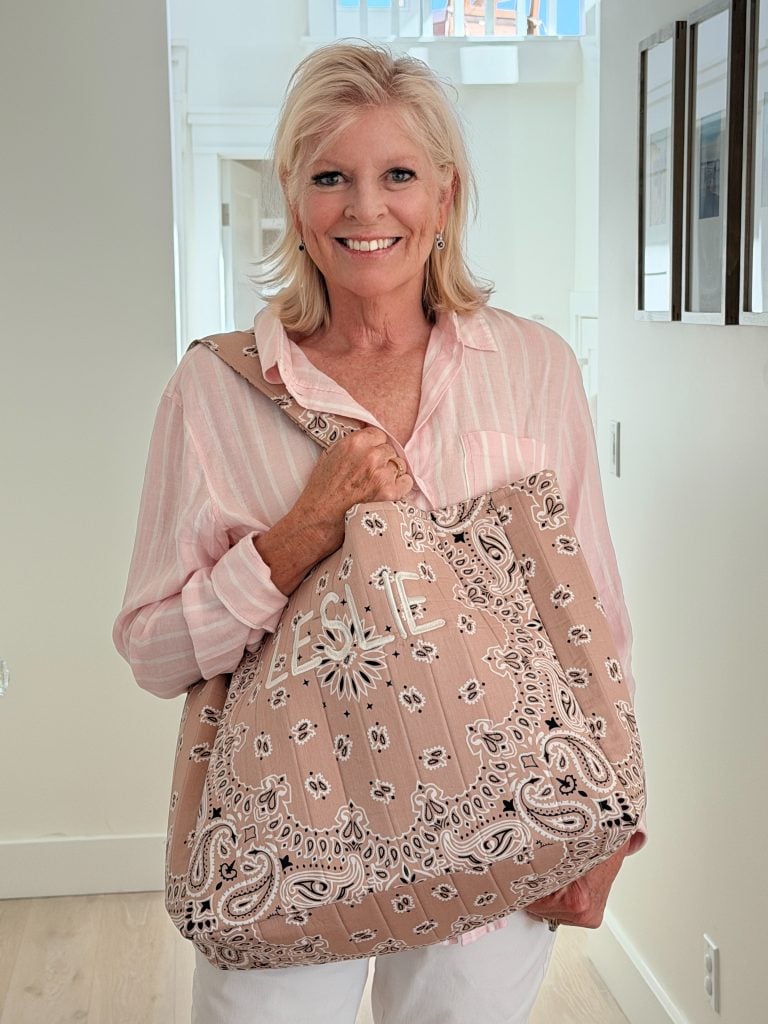
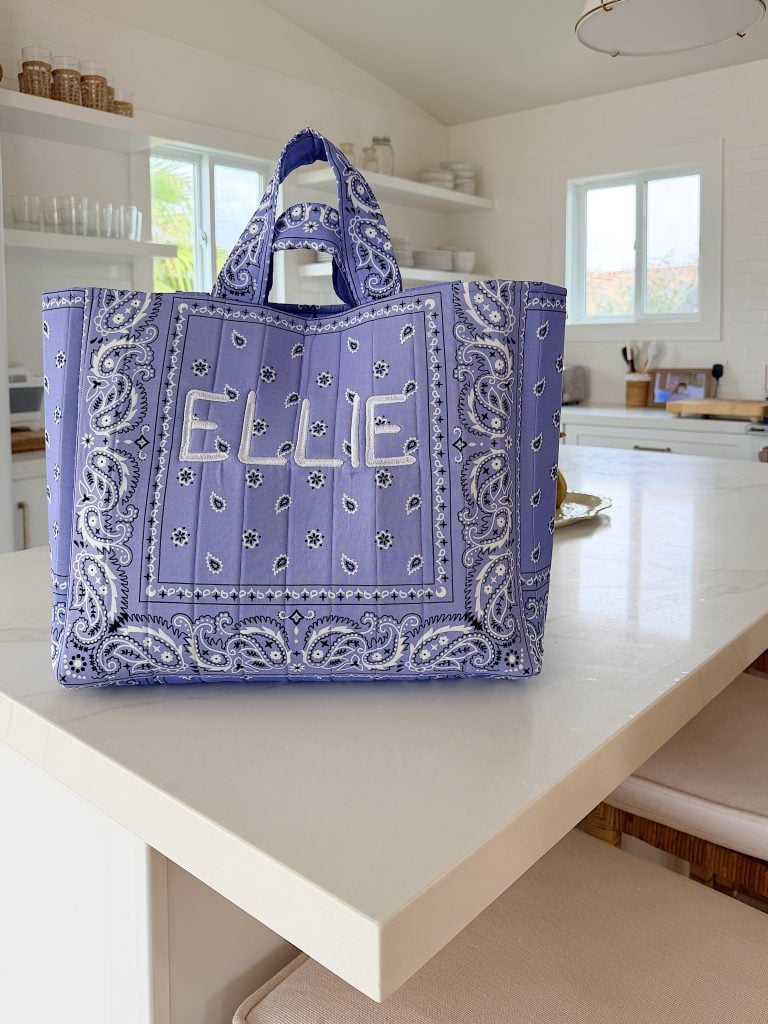
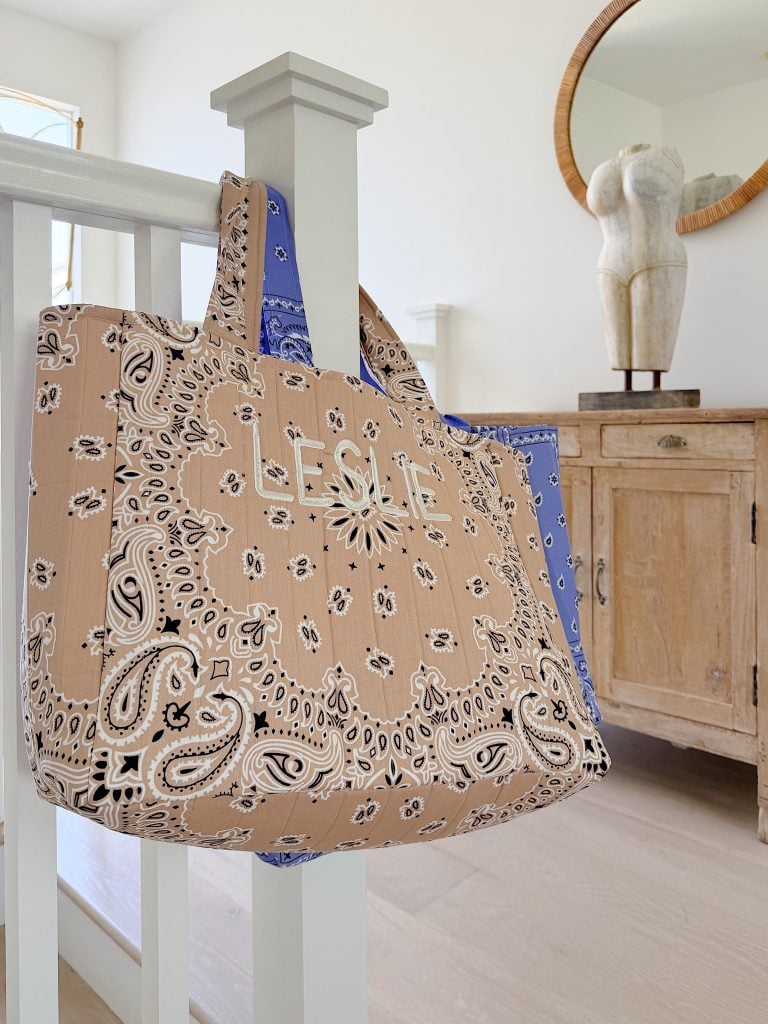
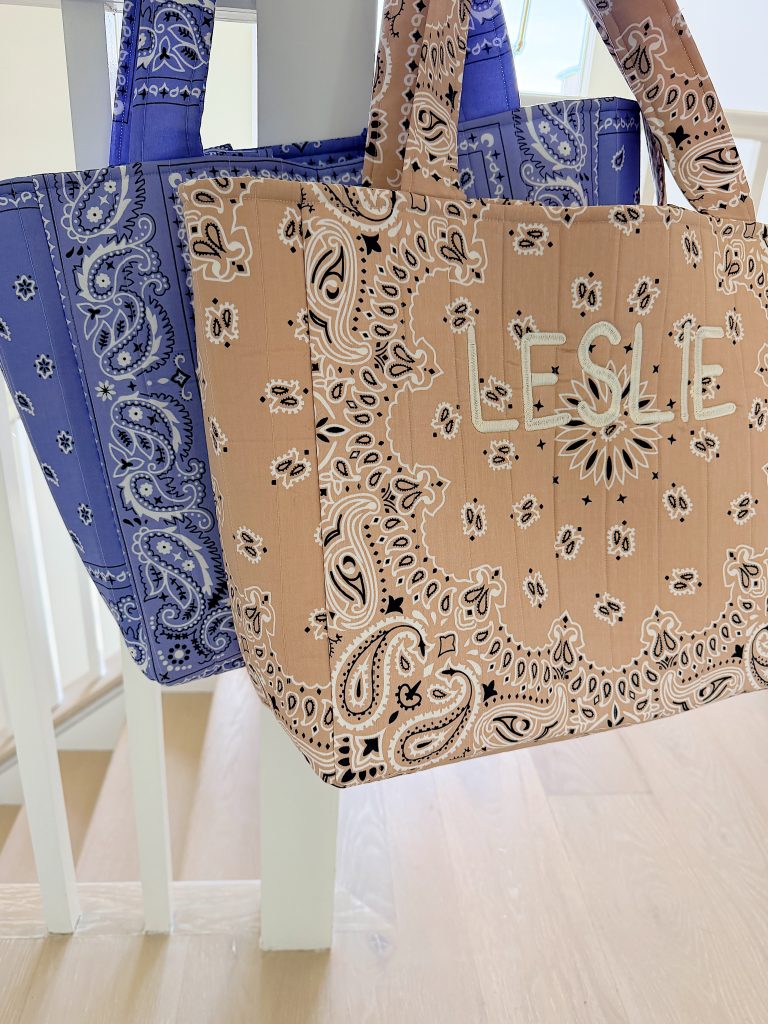
I created my own quilted Bandana Tote Bag, and honestly, I love it even more because I made it myself. Better yet, it’s surprisingly easy to sew, especially if you’ve done even a little quilting.
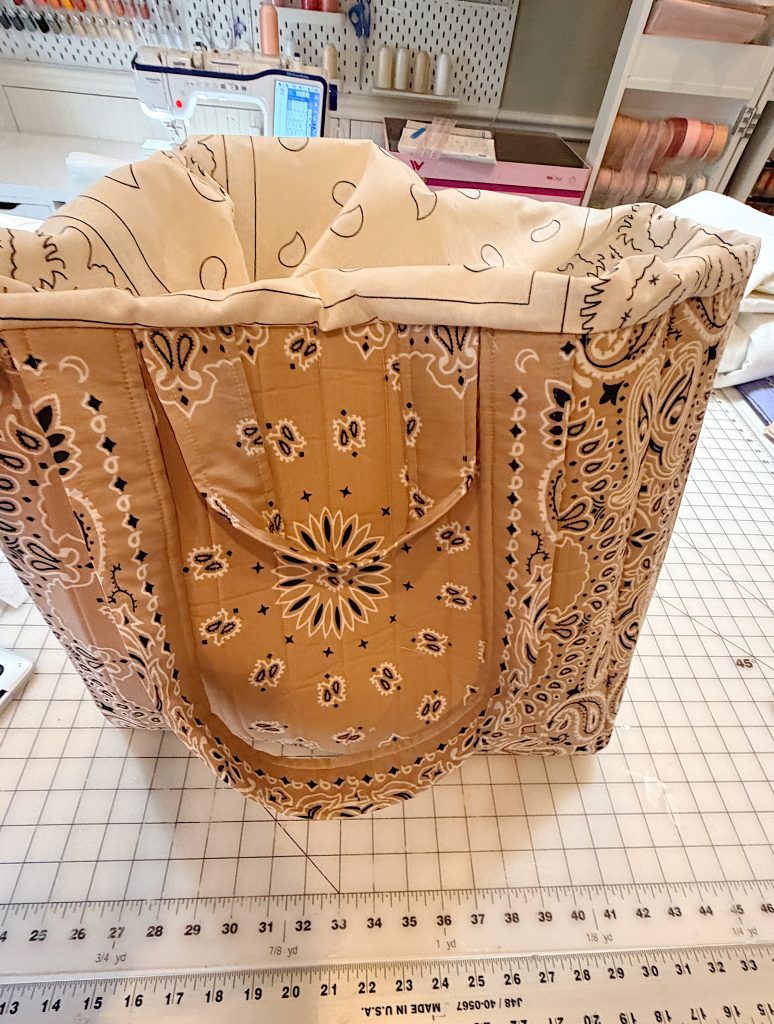
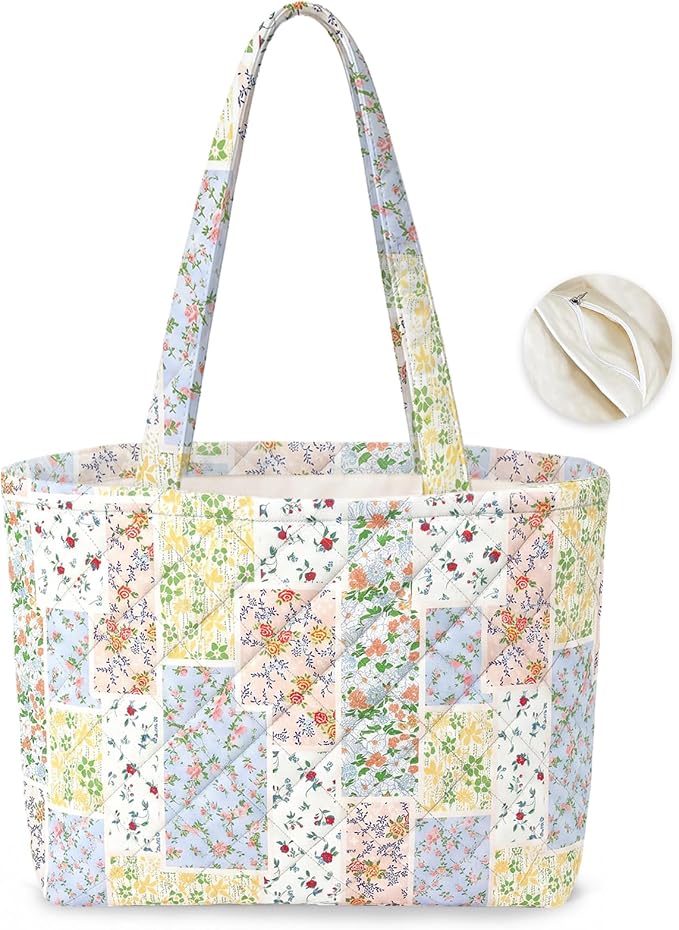
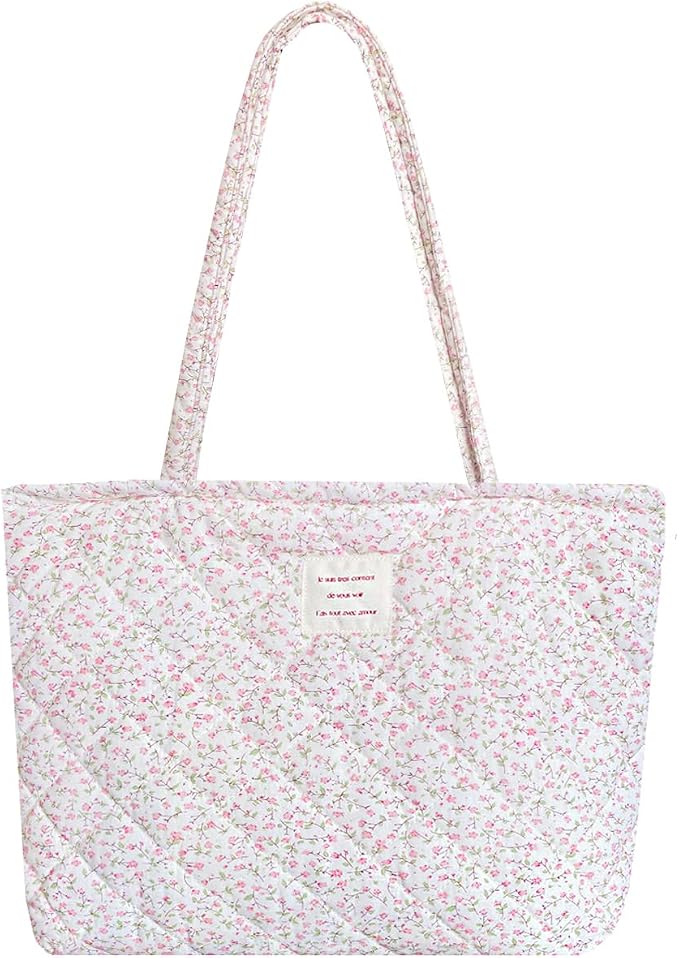
The quilted bandanas give the bag structure, the inside is fully lined, and the finished bag is sturdy enough to carry everything from craft supplies to groceries to towels for a day at the beach.
This has quickly become one of my favorite projects in A Handmade Summer, and I have a feeling it might become one of yours too.
Why I Love This Bag
What makes this tote so special is the fabric.
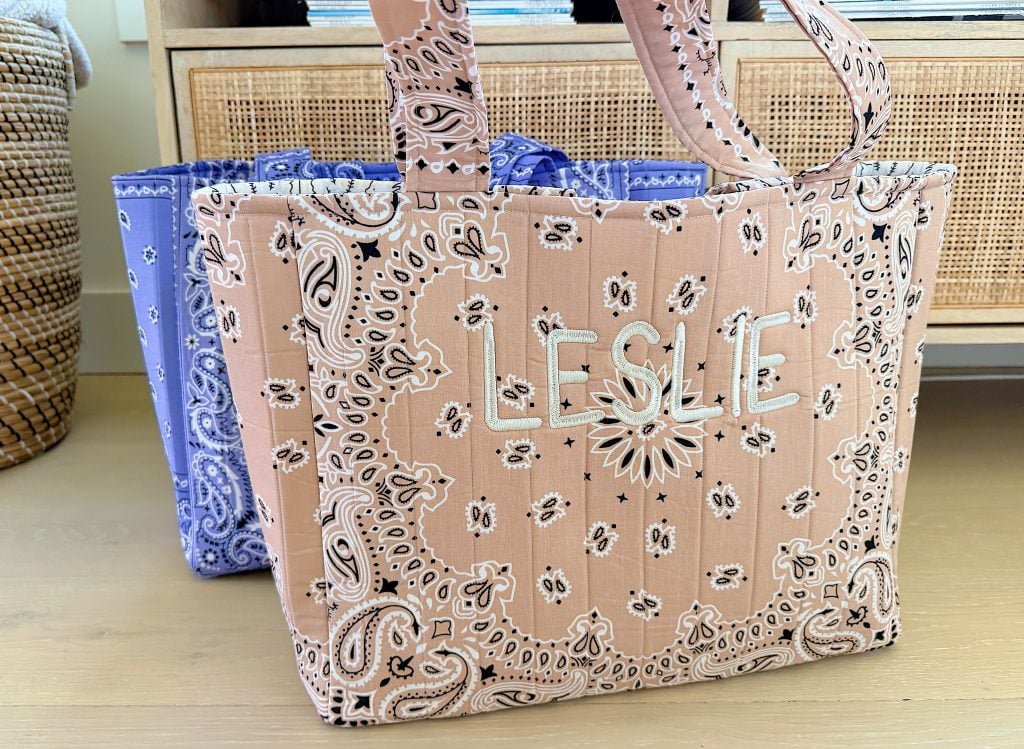
Bandanas have been around forever, but when you quilt them together with batting and use them as the outside of a bag, they suddenly look fresh and modern.
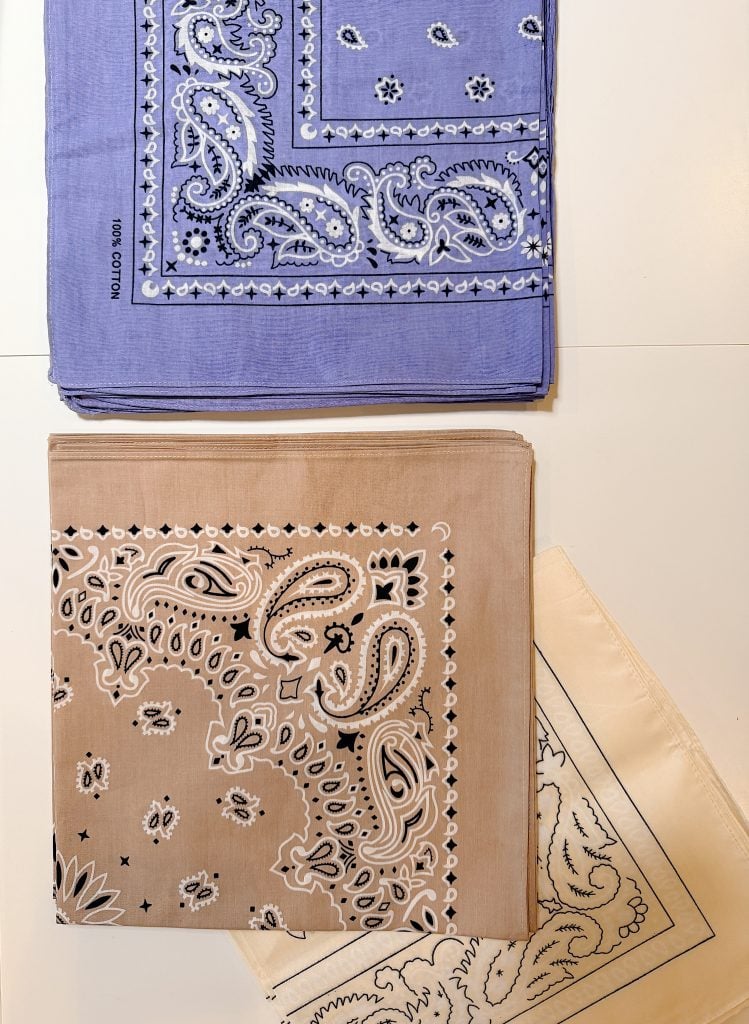
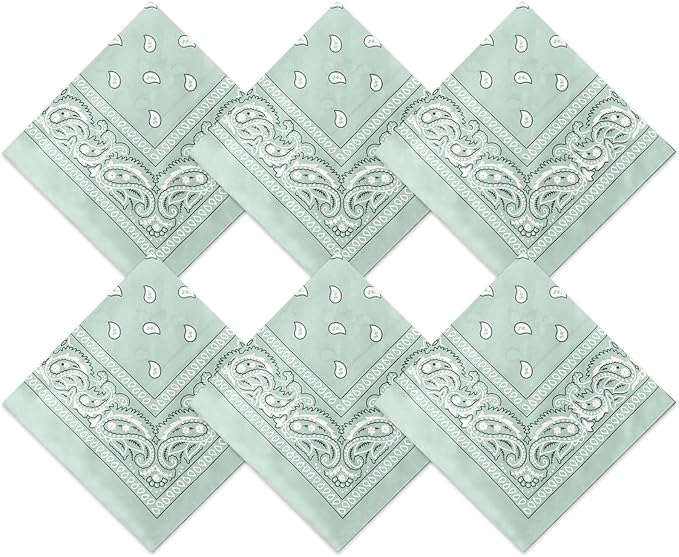
I also love that every bag turns out differently. You can use classic red, navy, black, or pink bandanas, mix several colors together, or even coordinate them with the season. The possibilities are endless.
Since bandanas are inexpensive, this project also costs a fraction of what designer versions sell for. I love that I can make one for myself, another for a friend, and maybe even a few for Christmas gifts without spending a fortune.
Supplies
For one tote bag, you will need:
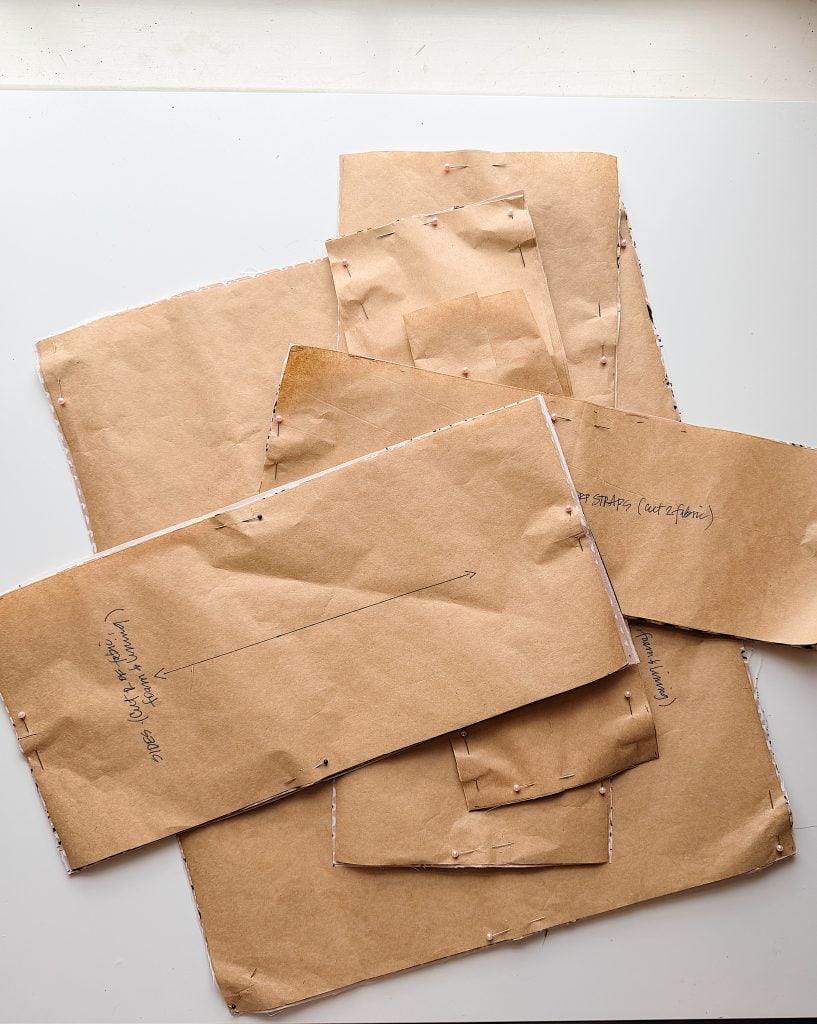
- Butcher paper or interfacing (to cut a pattern)
- 9 – 10 cotton bandanas (22″ x 22″) or, if using a different lining color, five of the outside color and four of the lining color.
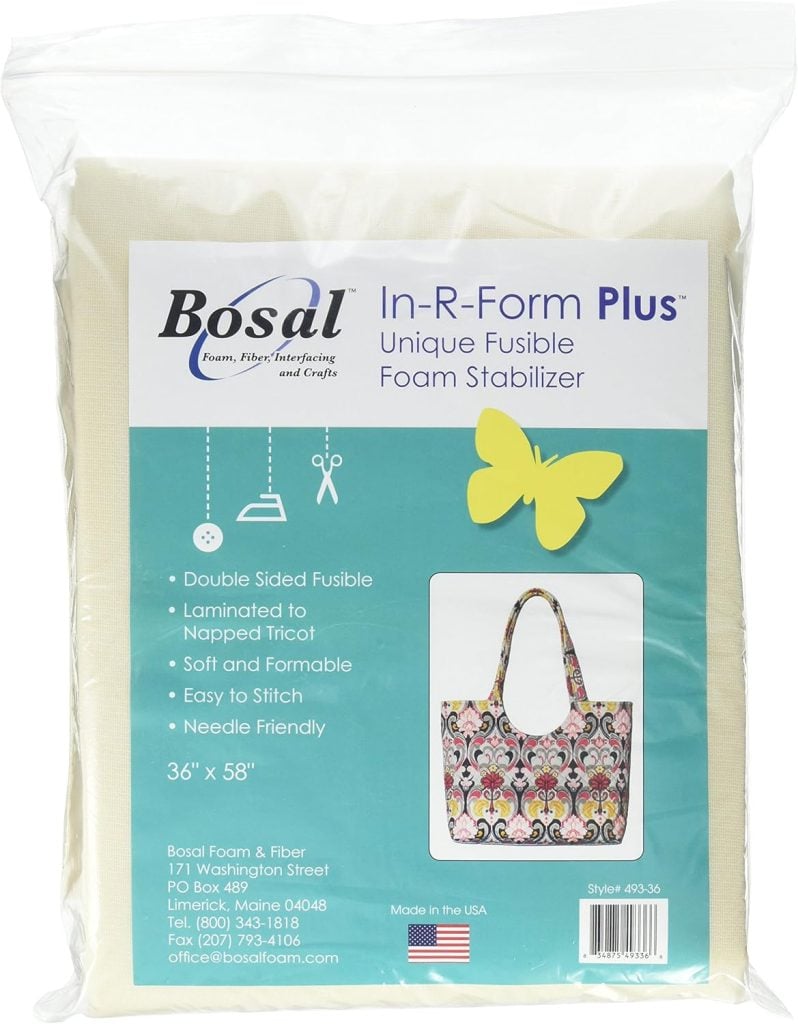
- Bosal In-R-Form Single Sided Fusible 1 yard Foam Stabilizer (36″ x 58″)
- 1/4 yd Cotton Batting (for straps)
- Coordinating thread
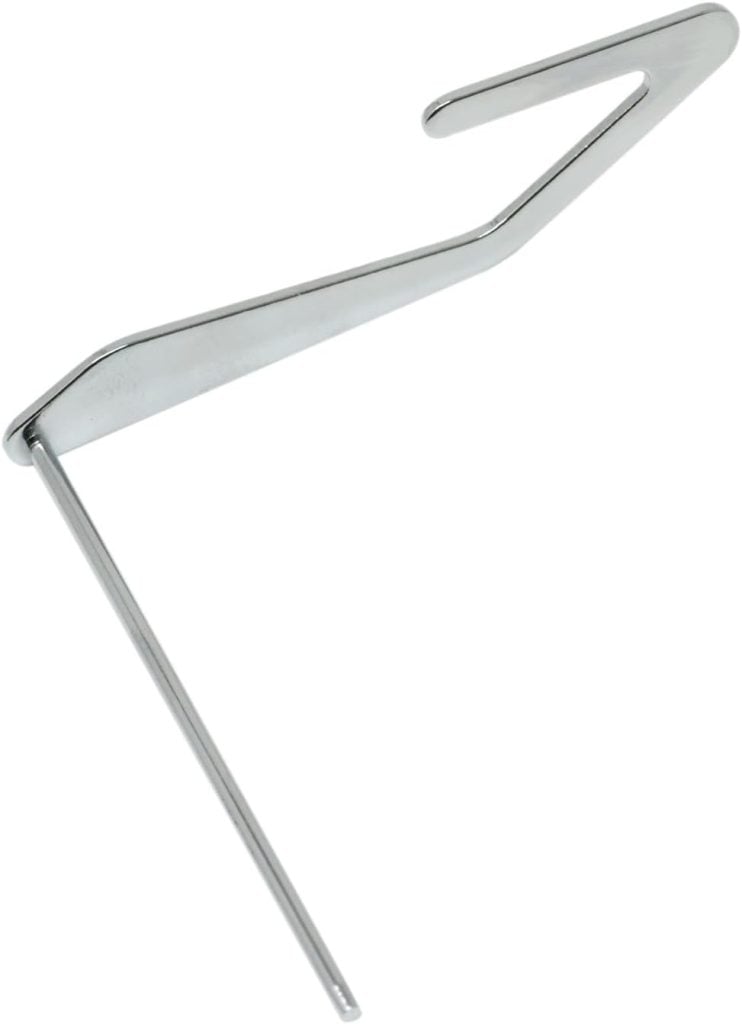
- Honbay Quilting Guide Bar for Brother/Singer/Janome
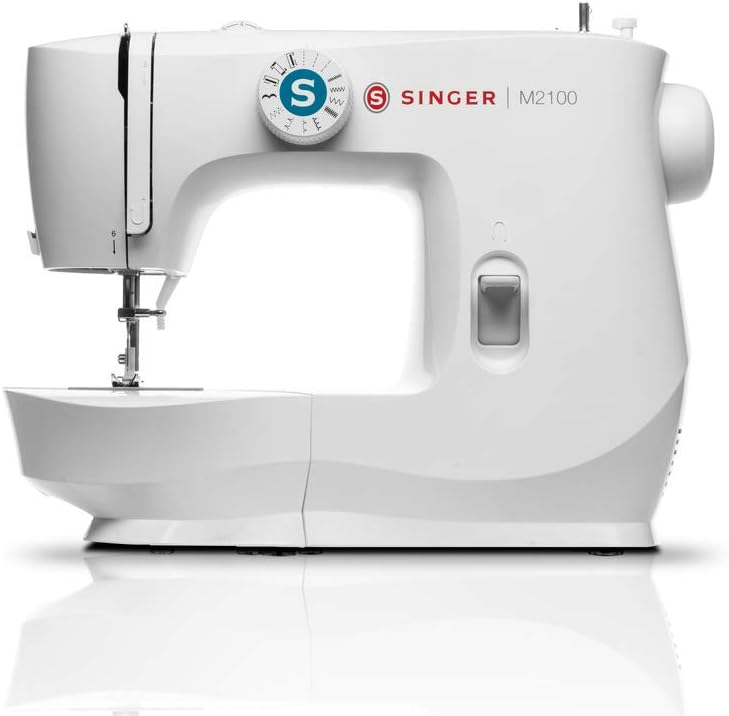
- Sewing machine
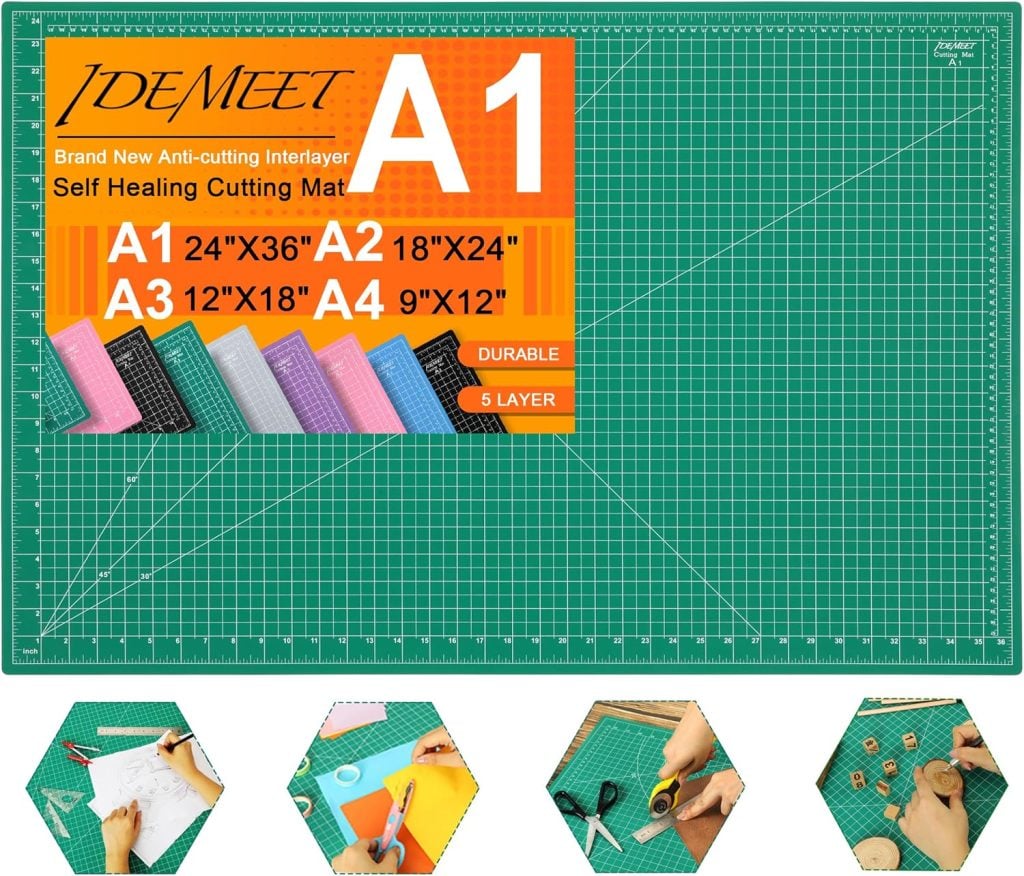
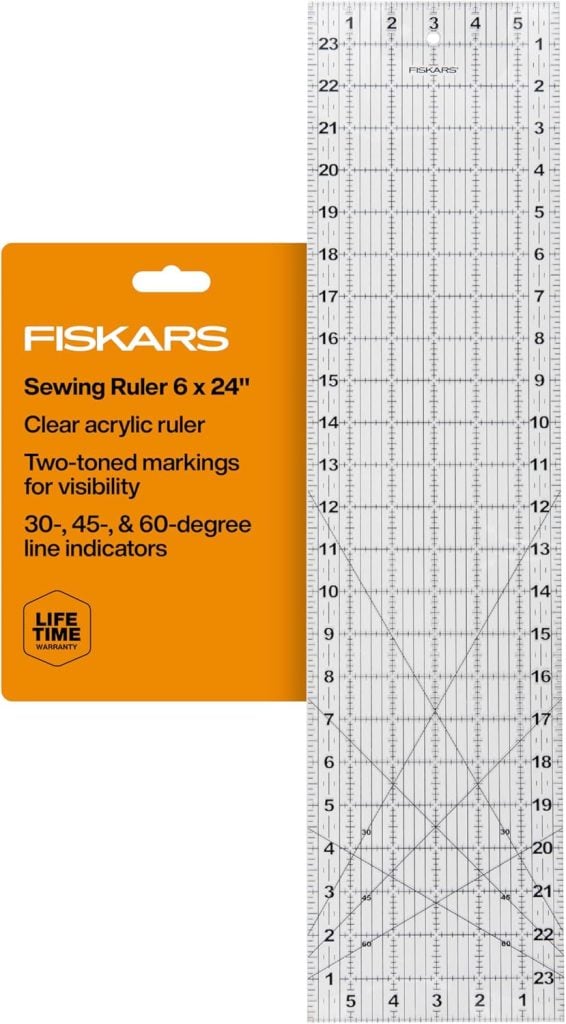
- Quilting ruler
- Rotary cutter (or scissors)
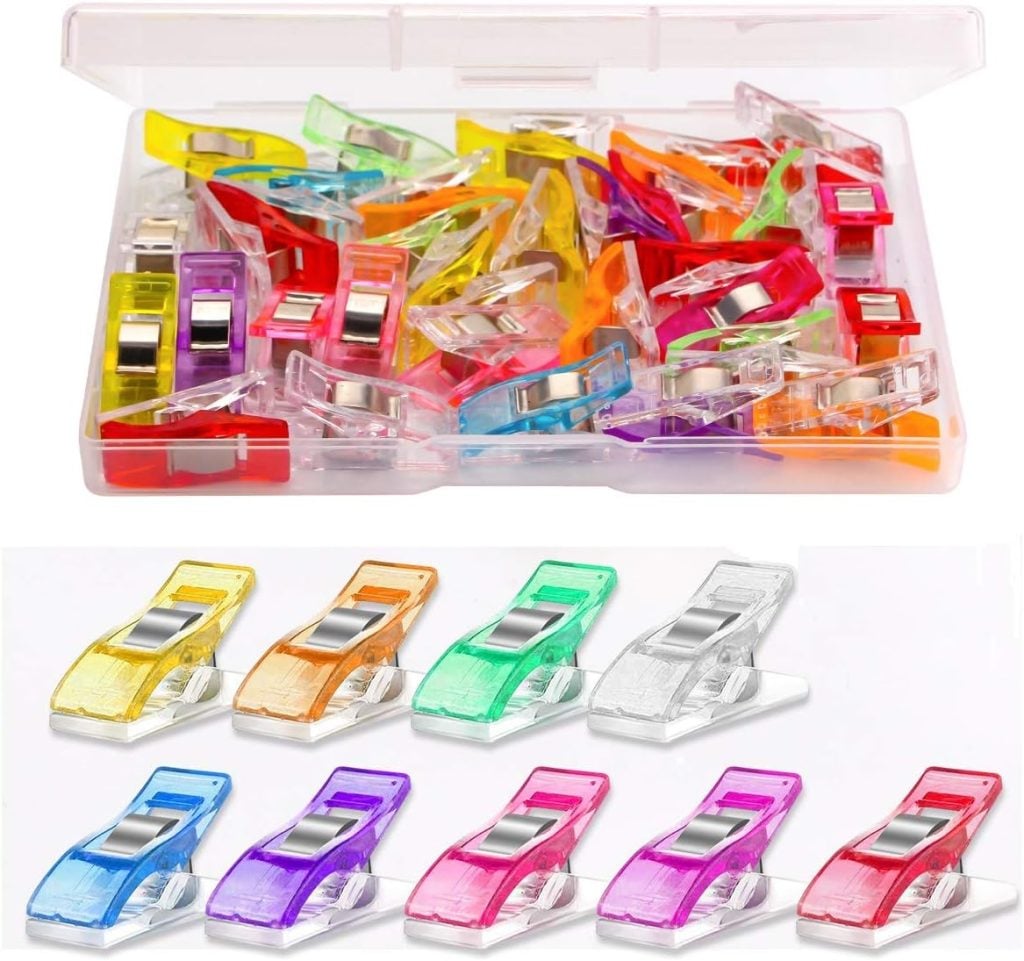
- Fabric clips or pins
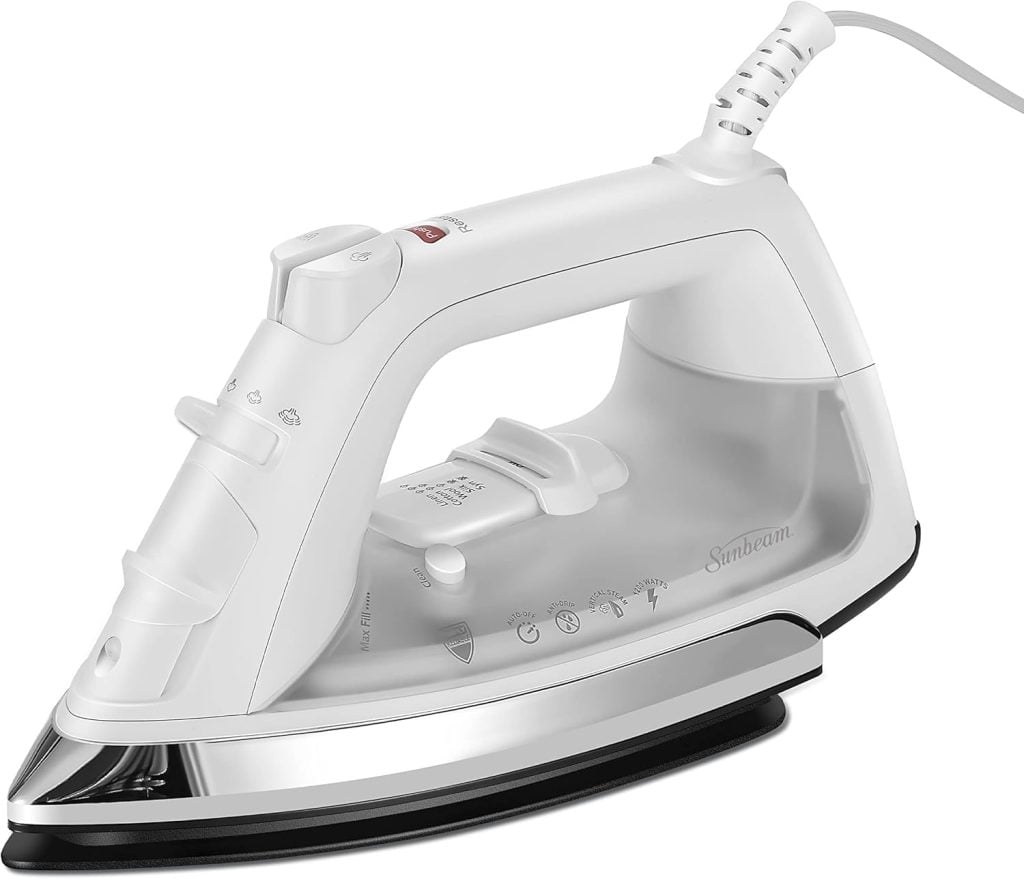
- Iron
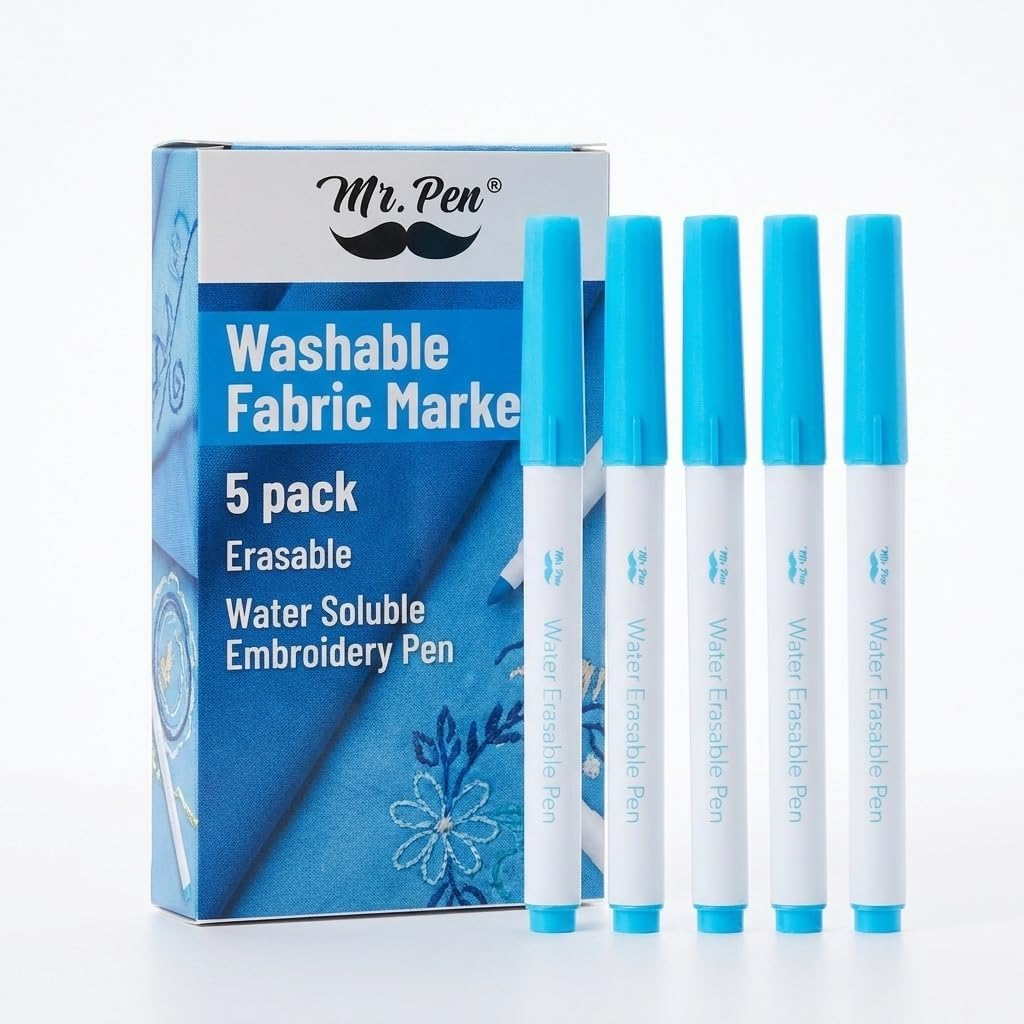
- Fabric marker
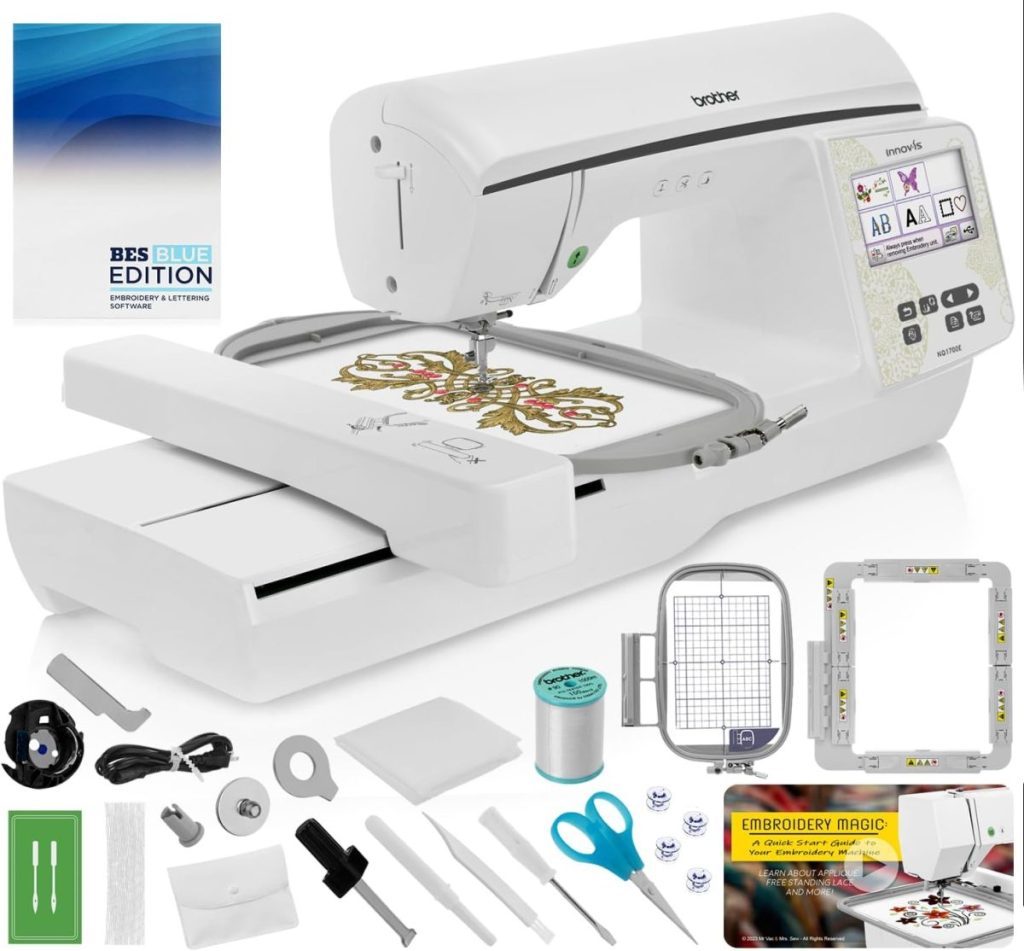
- Embroidery machine and thread (if you want to personalize it)
I may sometimes use affiliate links on this blog, which means I earn a small commission if you make a purchase through them. The price will be the same whether you use the affiliate link or go directly to the vendor’s website using a non-affiliate link.

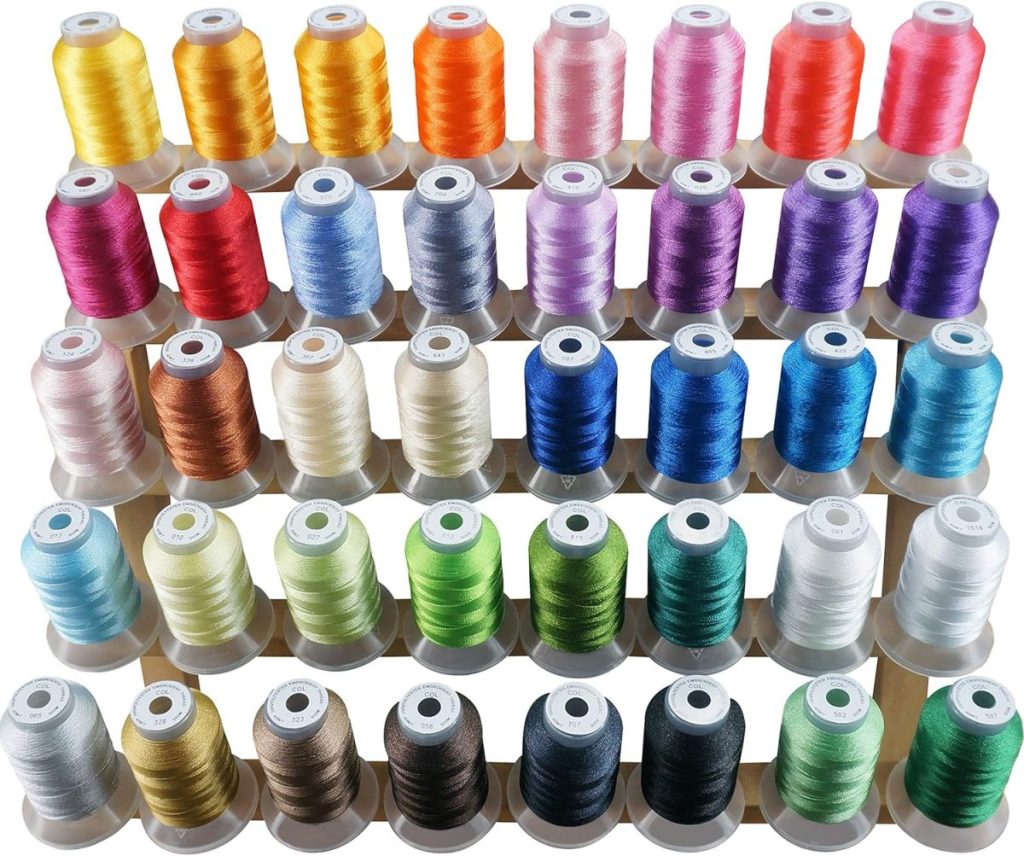

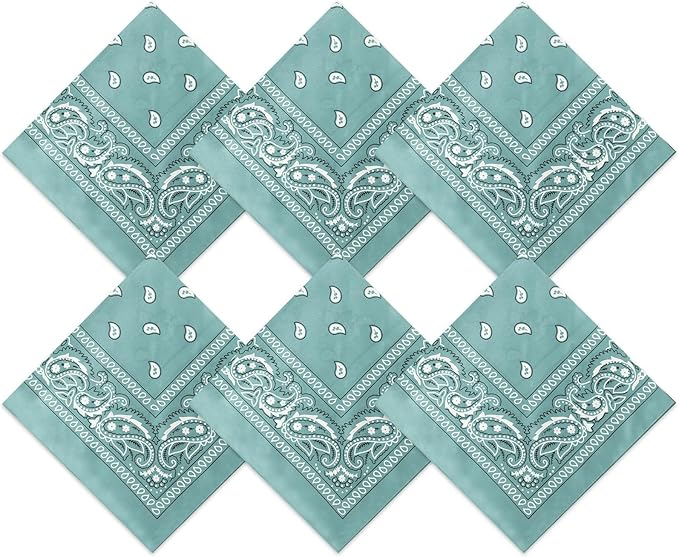
All the Prettiest Bandanas to Choose From!
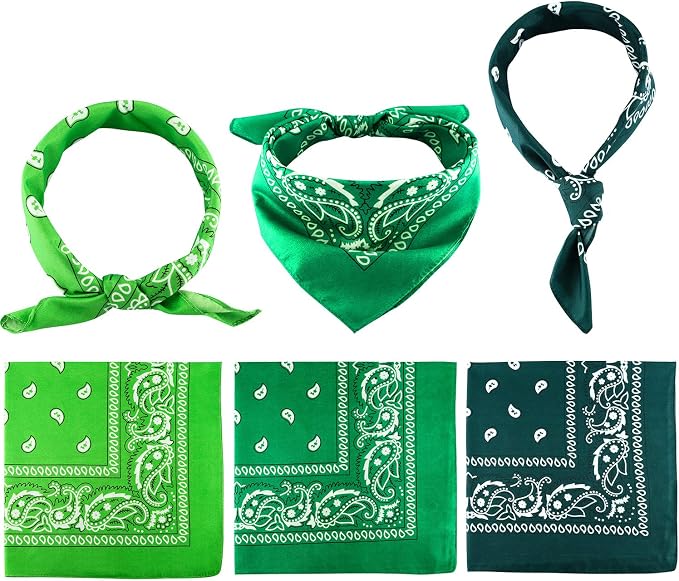
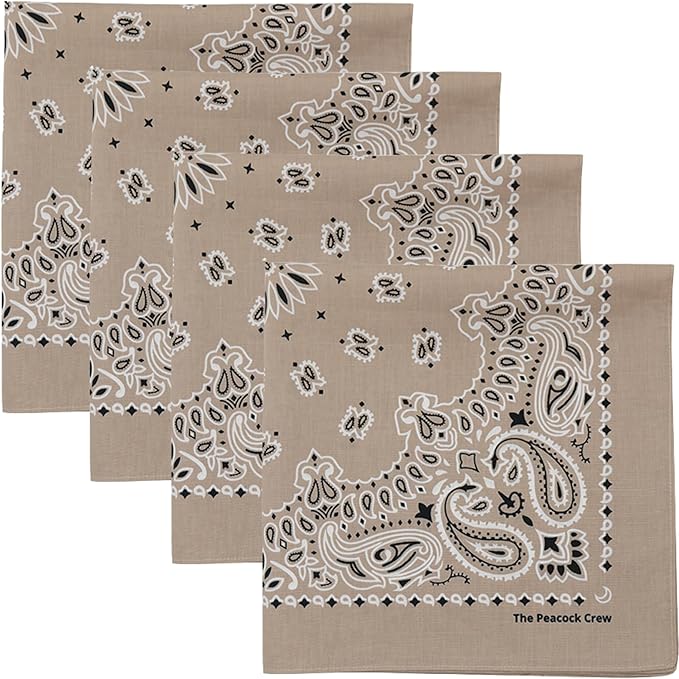
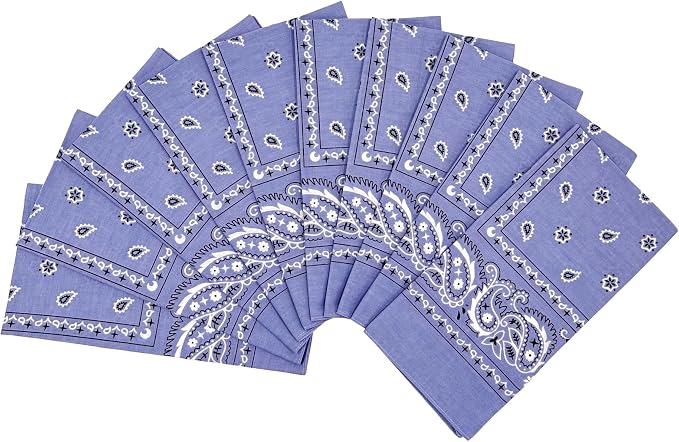

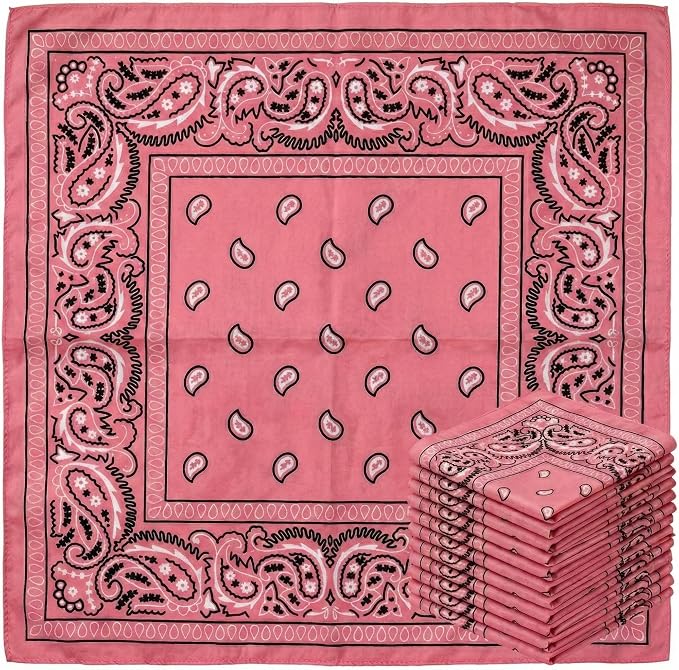
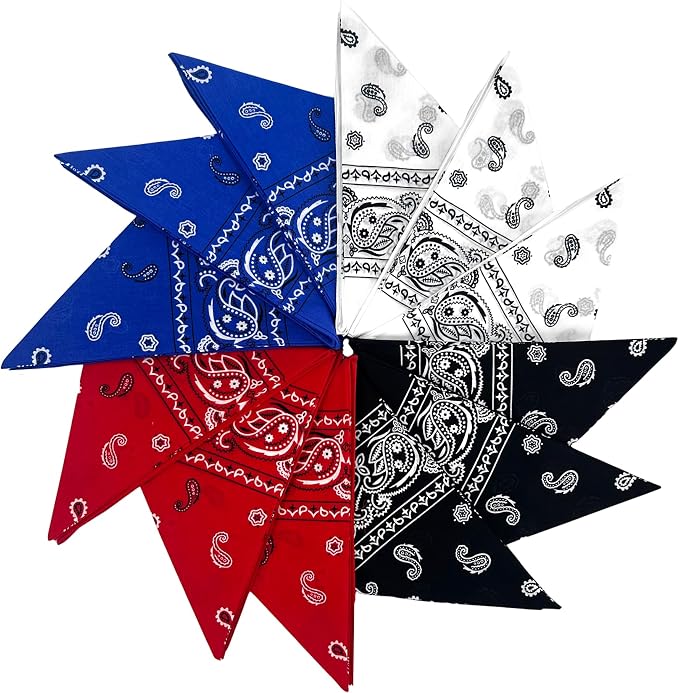

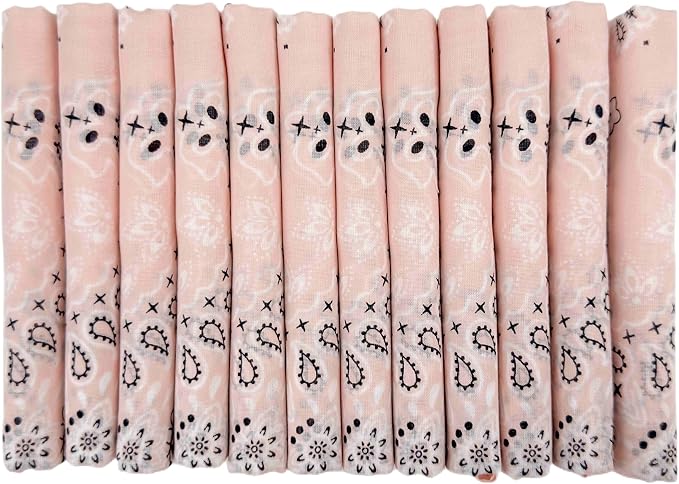
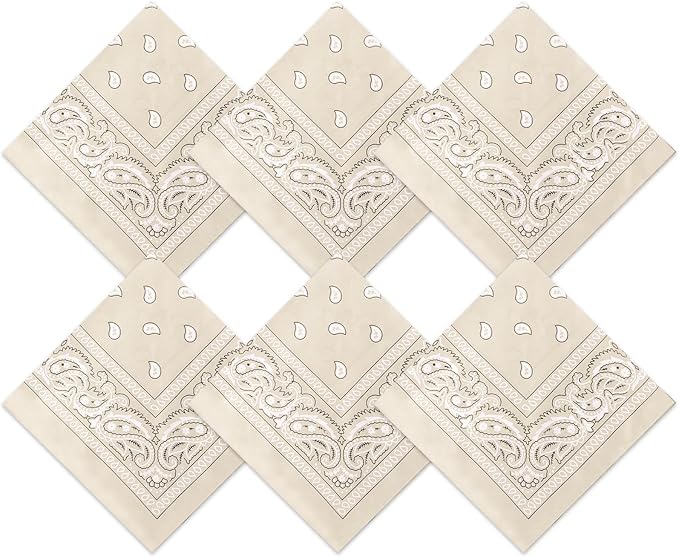
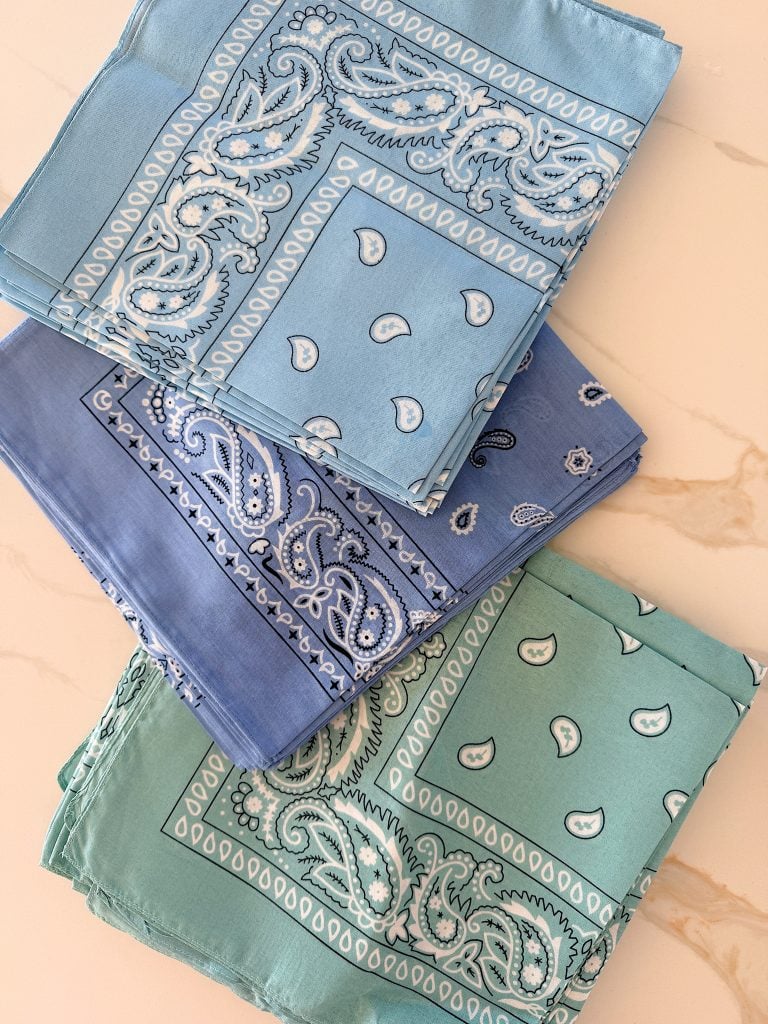
Wouldn’t these bandanas make gorgeous bags?

Finished Size
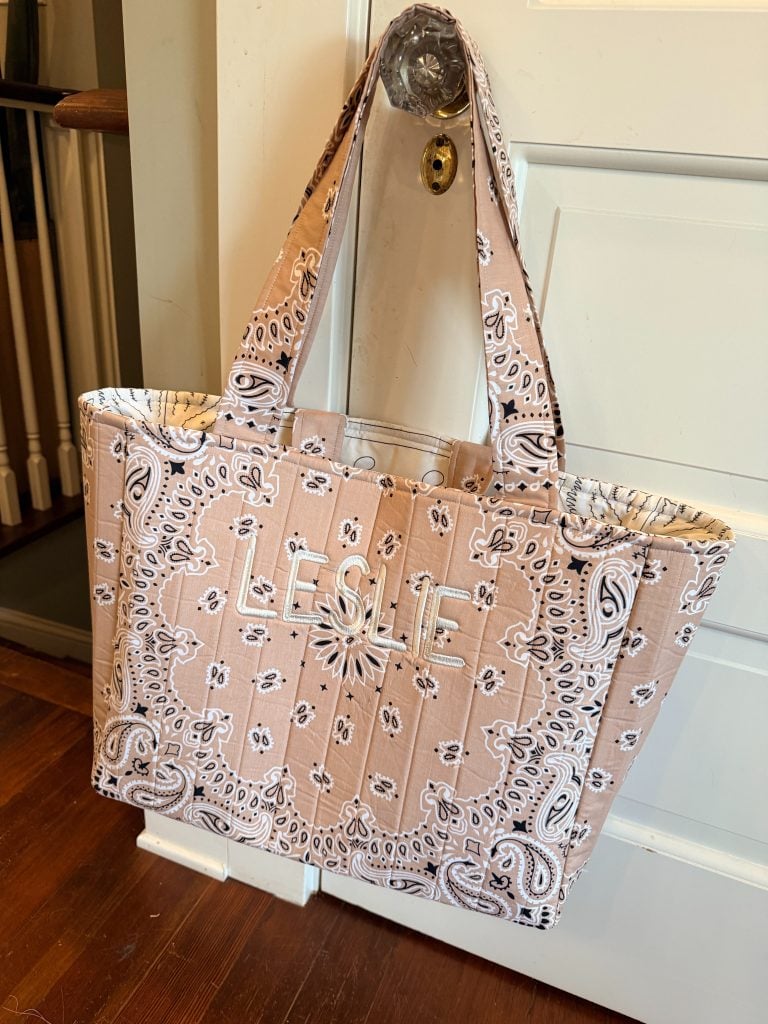
My finished tote measures approximately:
- 17″ wide
- 13″ tall
- 6″ deep
It’s the perfect everyday size without feeling bulky.
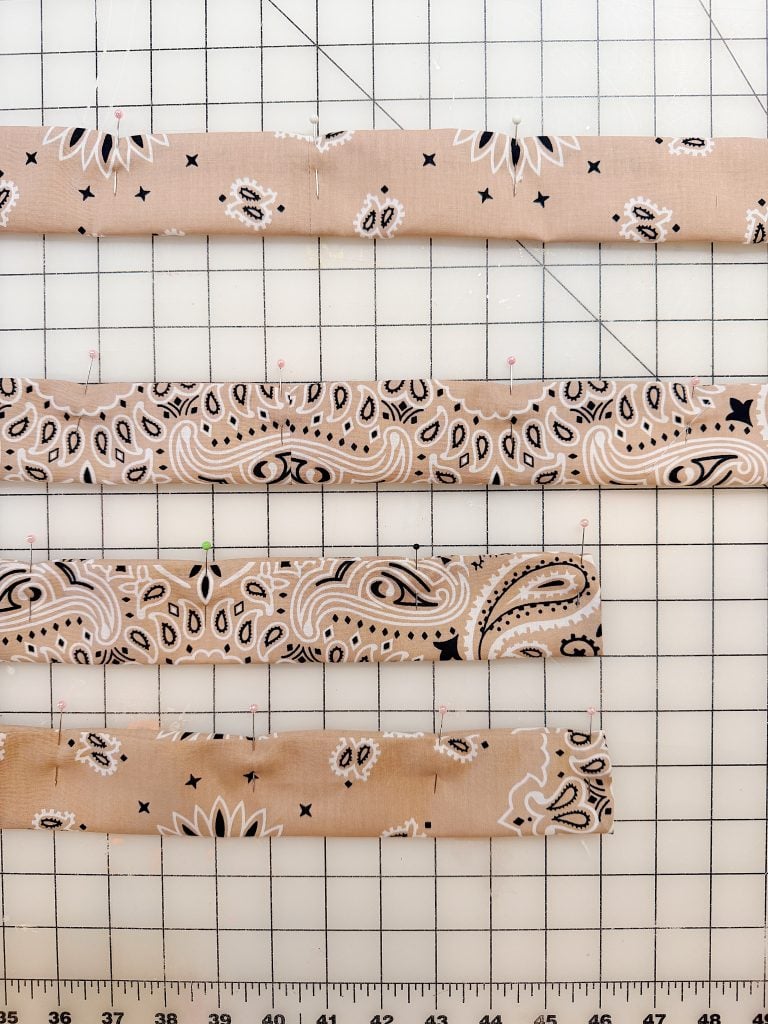
Cut Your Pieces
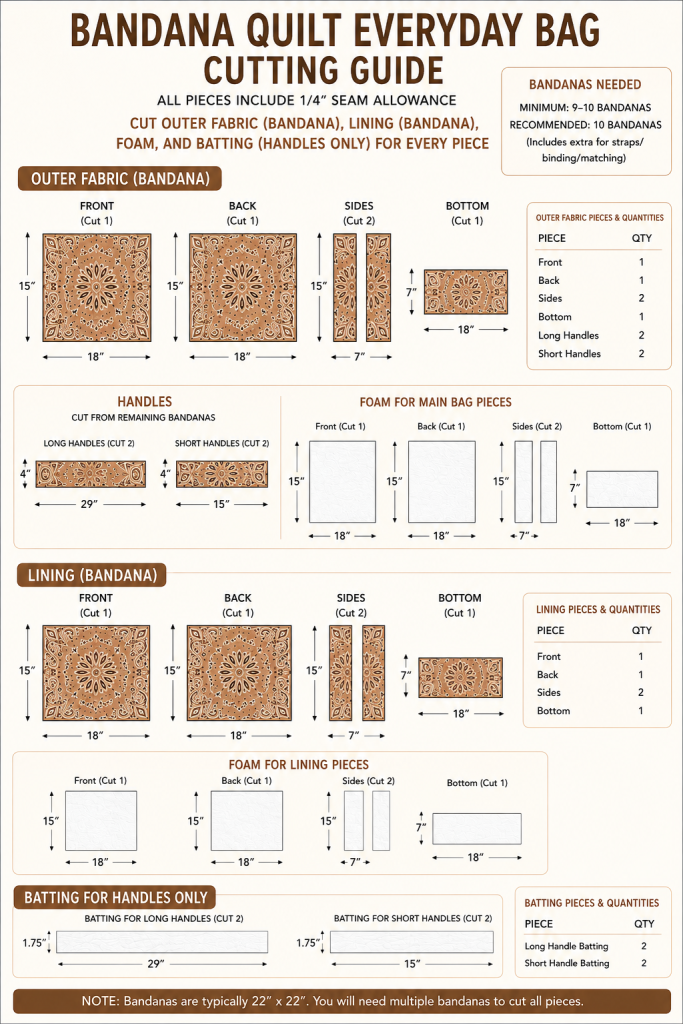
Using the cutting guide, cut the following pieces as a pattern. The front, back, sides, bottom, short and long straps, and short and long batting. I cut mine out of butcher paper.
Outer Bandana
- Front: 18″ x 15″ (cut 1)
- Back: 18″ x 15″ (cut 1)
- Sides: 7″ x 15″ (cut 2)
- Bottom: 18″ x 7″ (cut 1)
- Long Handles: 5″ x 15″ (cut 4) – two are sewn together to make long handles
- Short Handles: 5″ x 15″ (cut 2)
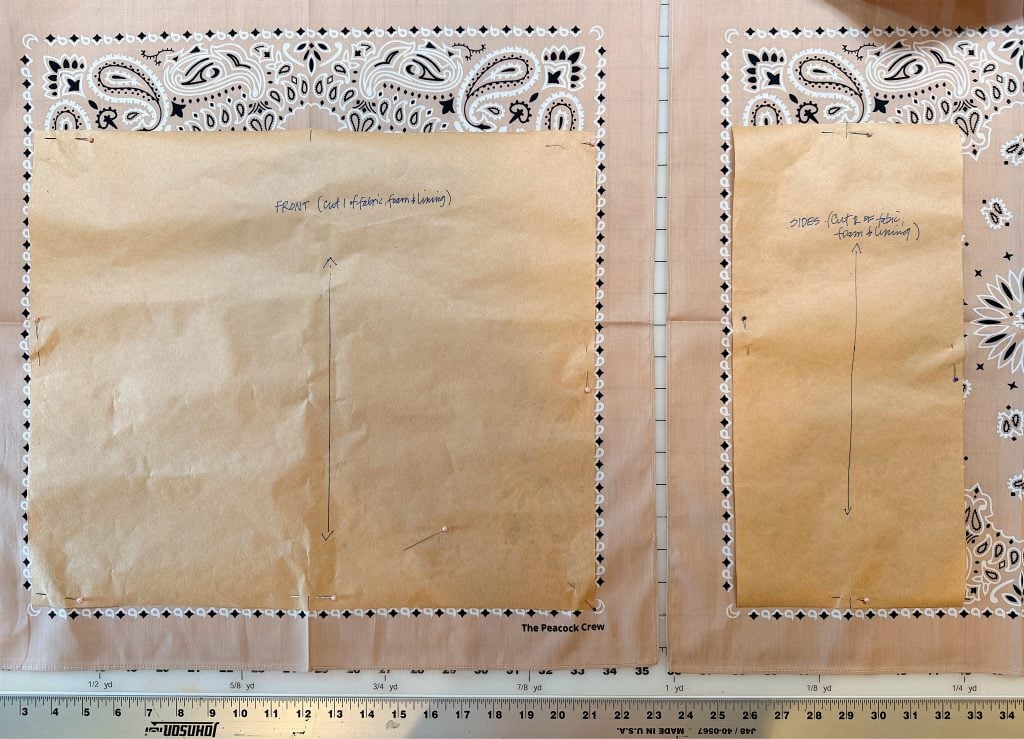
Lining Bandana
Cut identical pieces for the front, back, sides, and bottom.

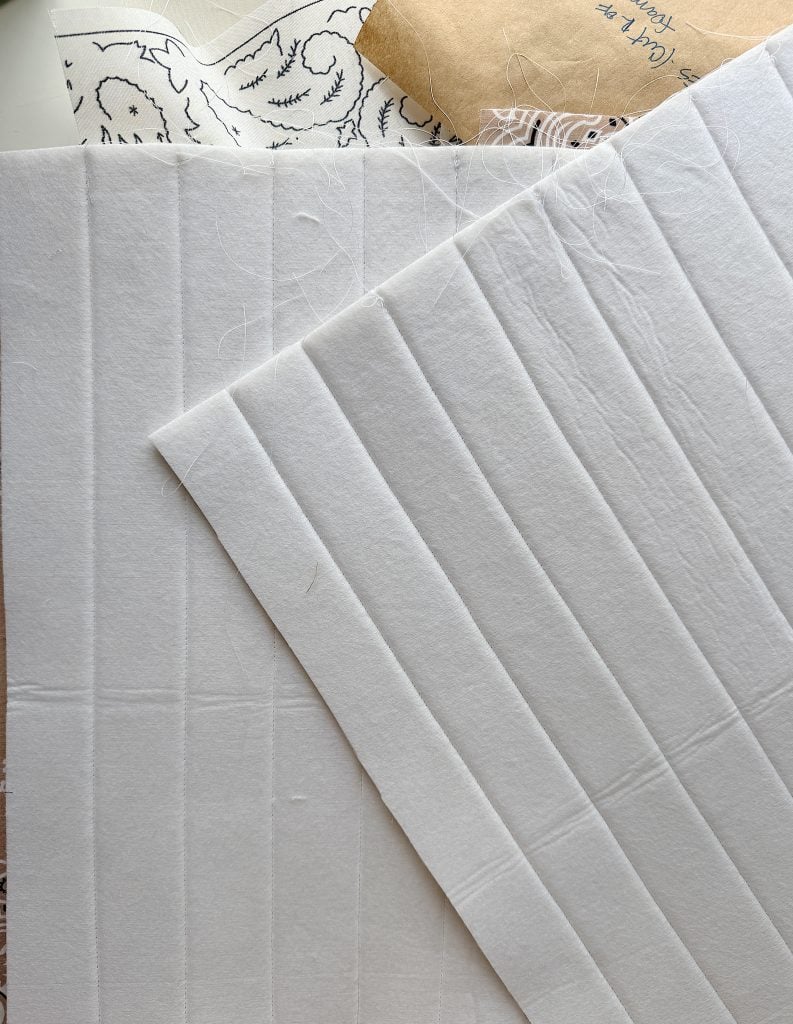
Single Sided Fusible Foam Stabilizer
Cut batting for:
- Front
- Back
- Two sides
- Bottom
Batting
- Two long handles – 1.75″ x 29″ – cut
- Two short handles – 1.75″ x 15″
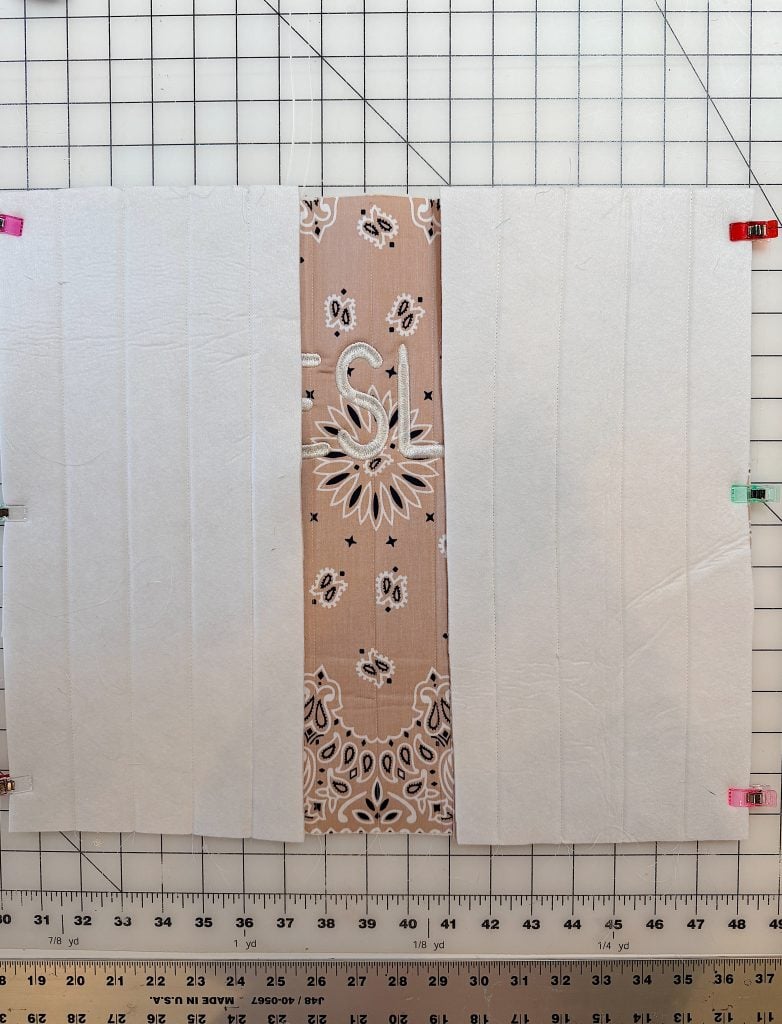
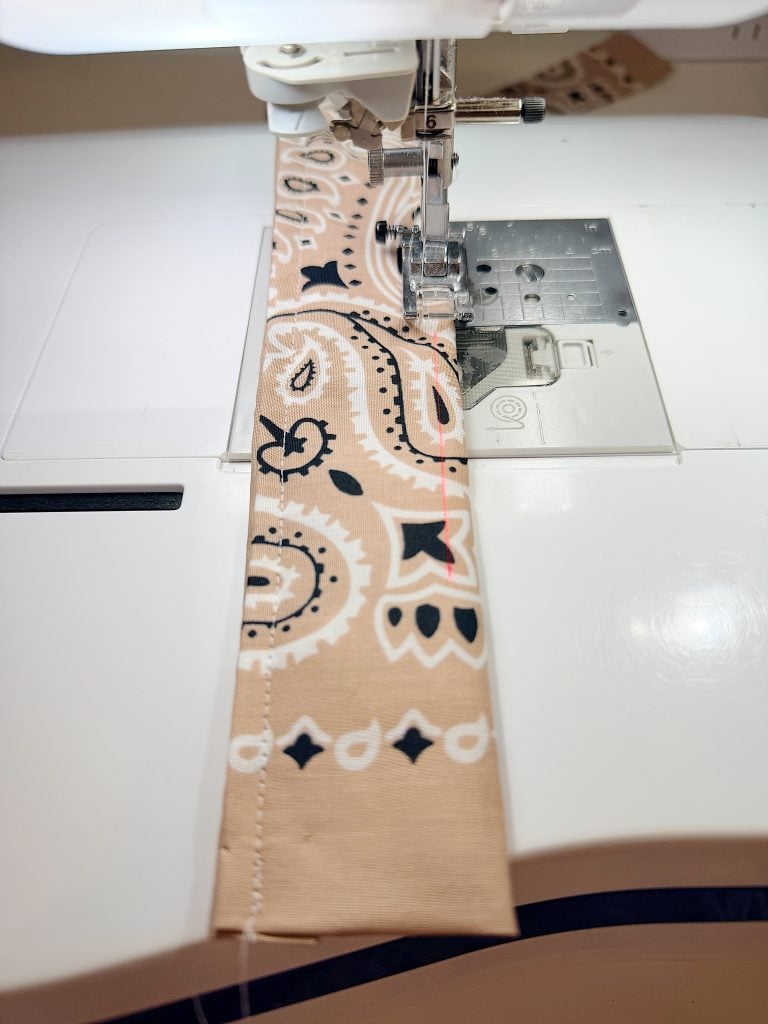
Quilt Every Piece
This step takes a little time, but it’s my favorite part because you can watch the bag come together.
Before you begin assembling the bag, you’ll quilt the outer pieces to give them structure and that beautiful designer look.
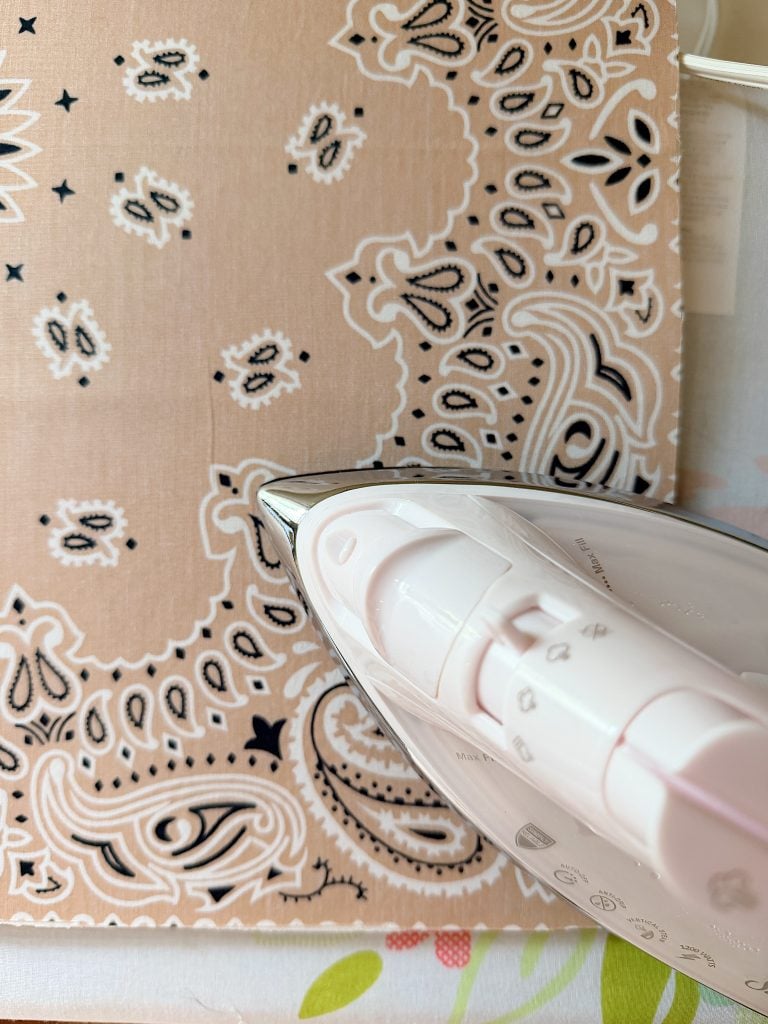
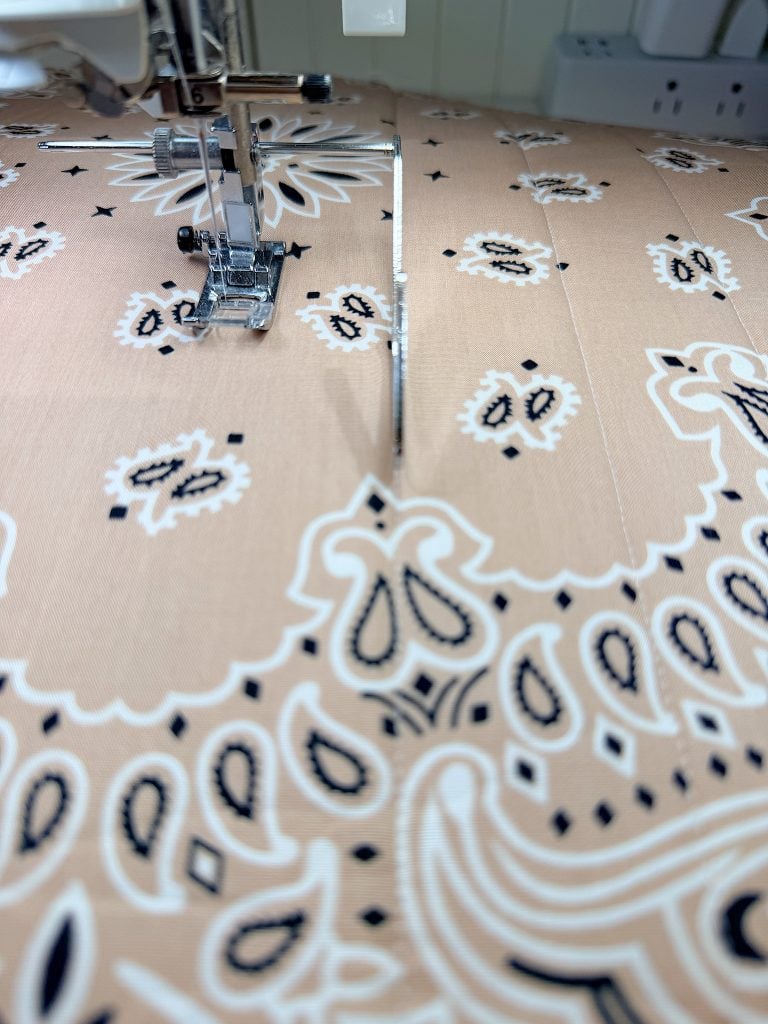
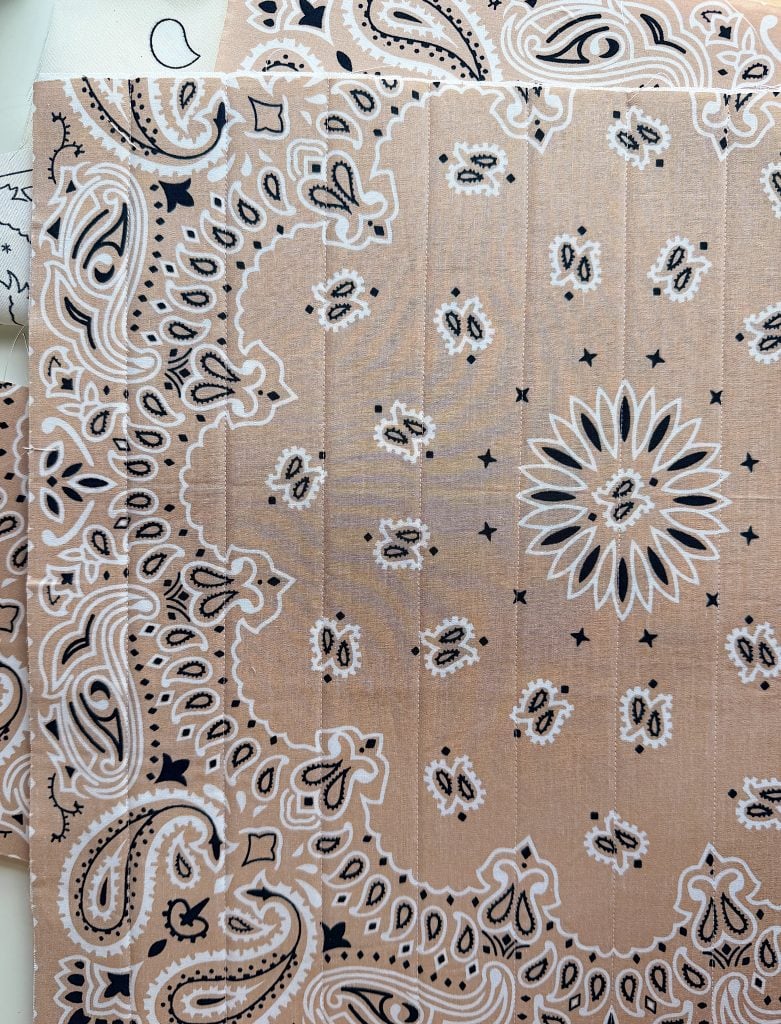
Cut the fusible foam to match the front, back, side, and bottom pieces, then iron the fusible side directly to the wrong side of each outer bandana piece, following the manufacturer’s instructions.
Once the foam is securely fused, quilt straight vertical lines approximately 1½ inches apart across each piece. This simple quilting adds stability and creates the signature quilted texture that makes these bags so special.
The lining pieces are not quilted. They are sewn separately and attached later during the bag’s final assembly for a clean, fully lined finish.
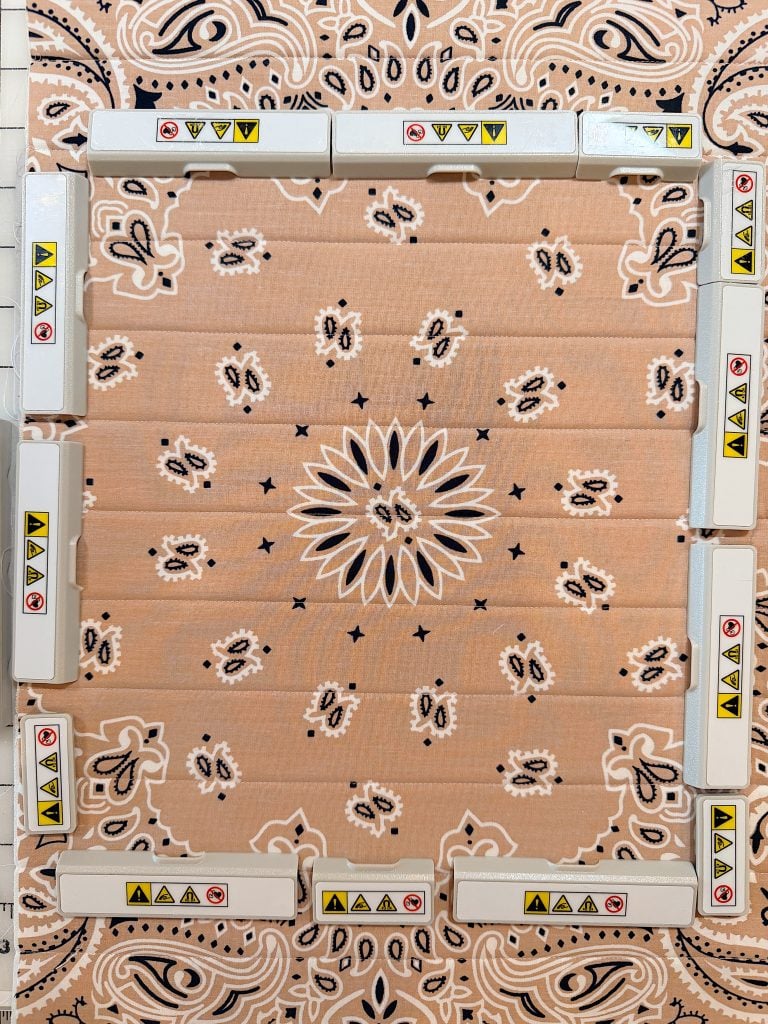
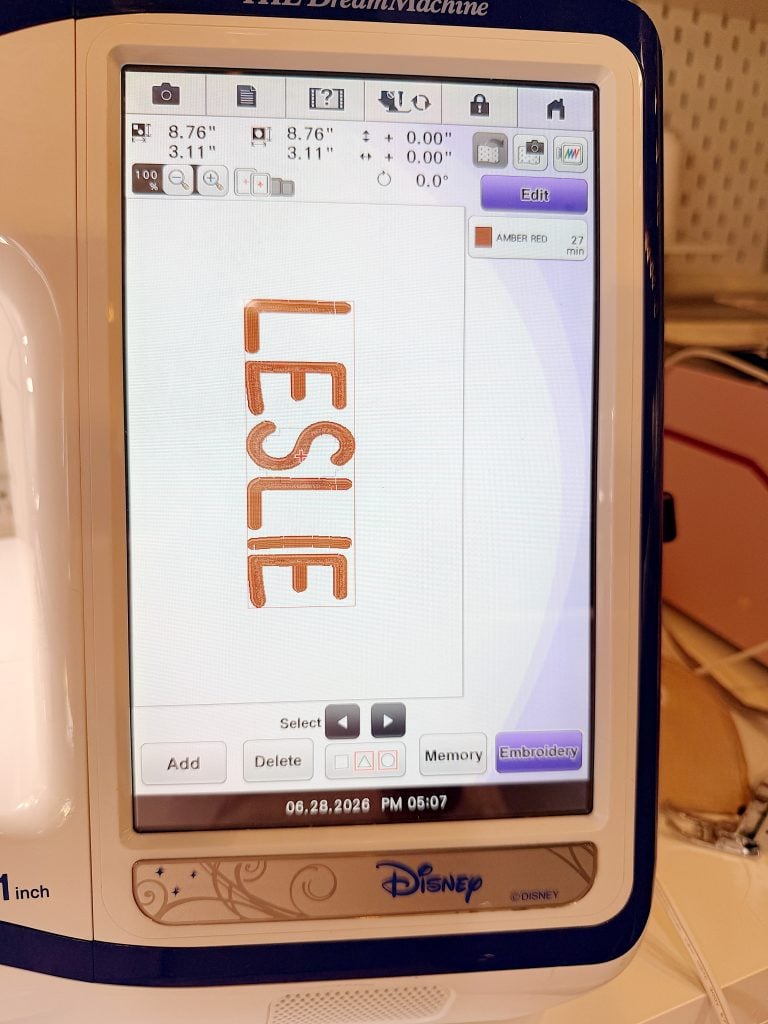
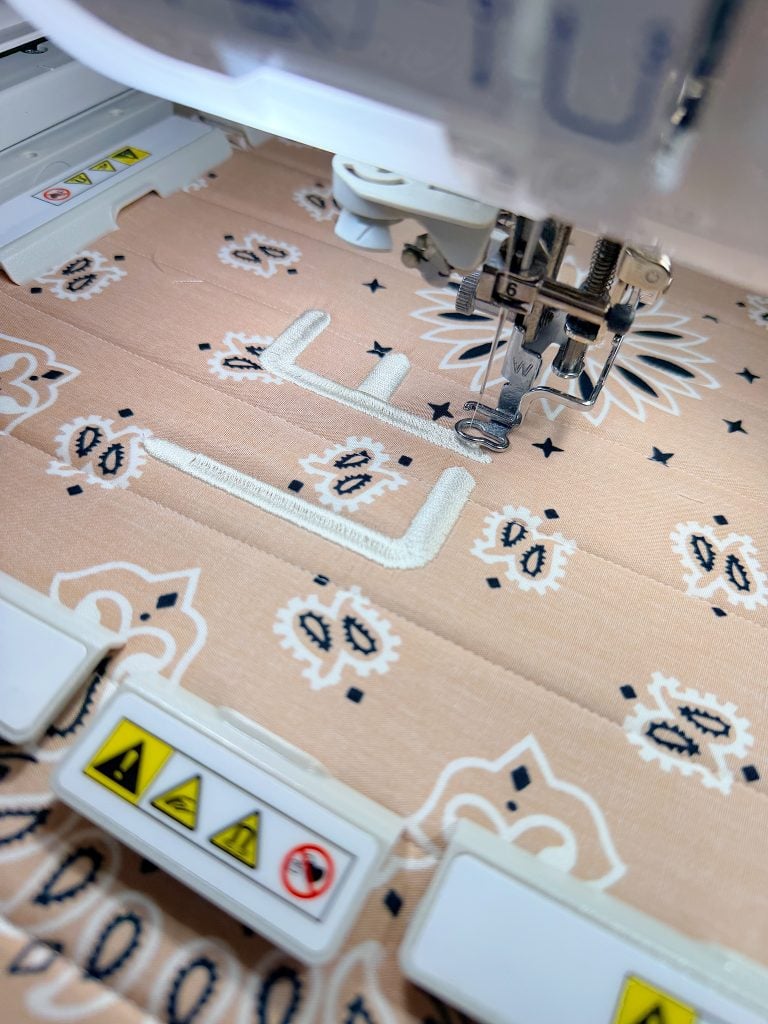
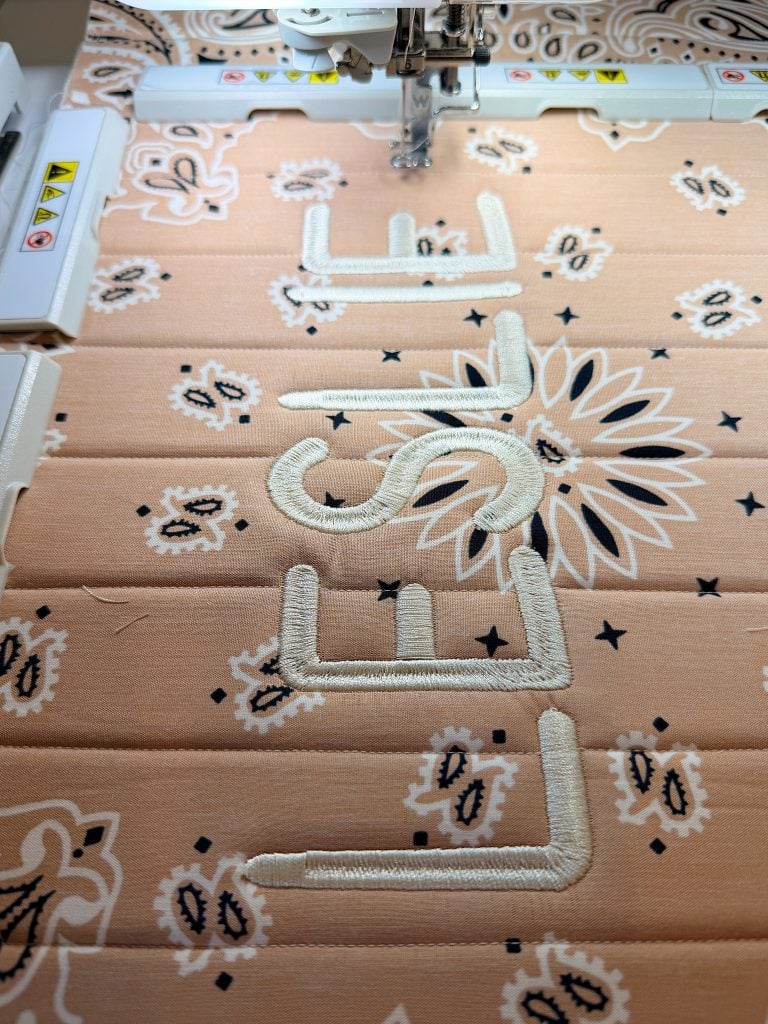
Embroider the Bag
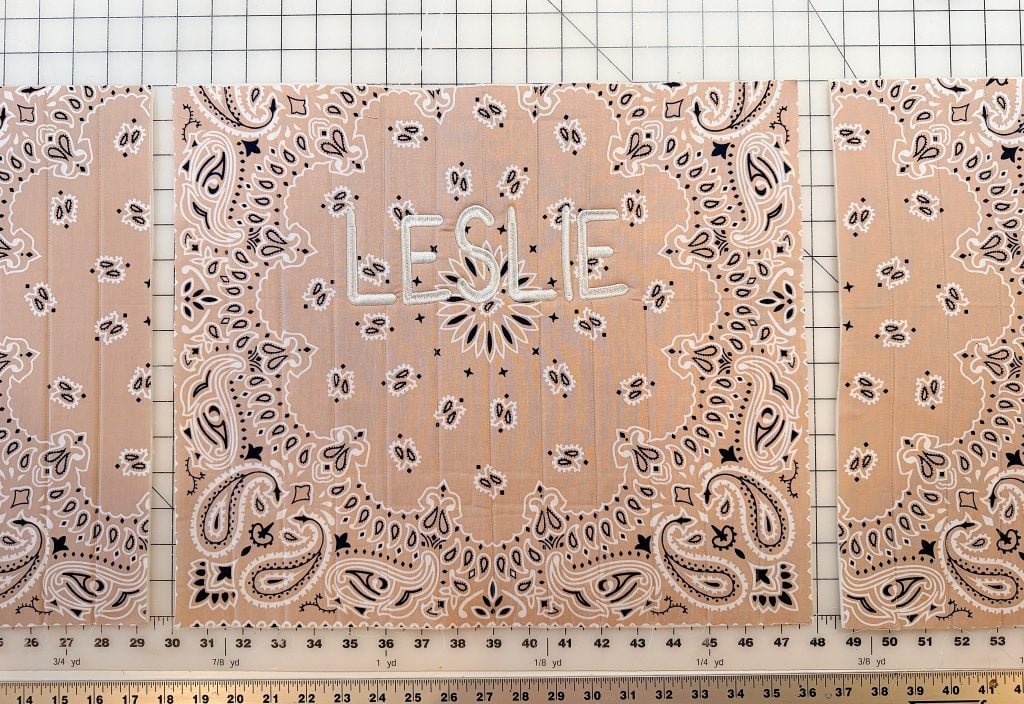
Embroider a name, logo, or esign on the front side of the bag. I used the font OLD MILL for my bag.
Assemble the Bag
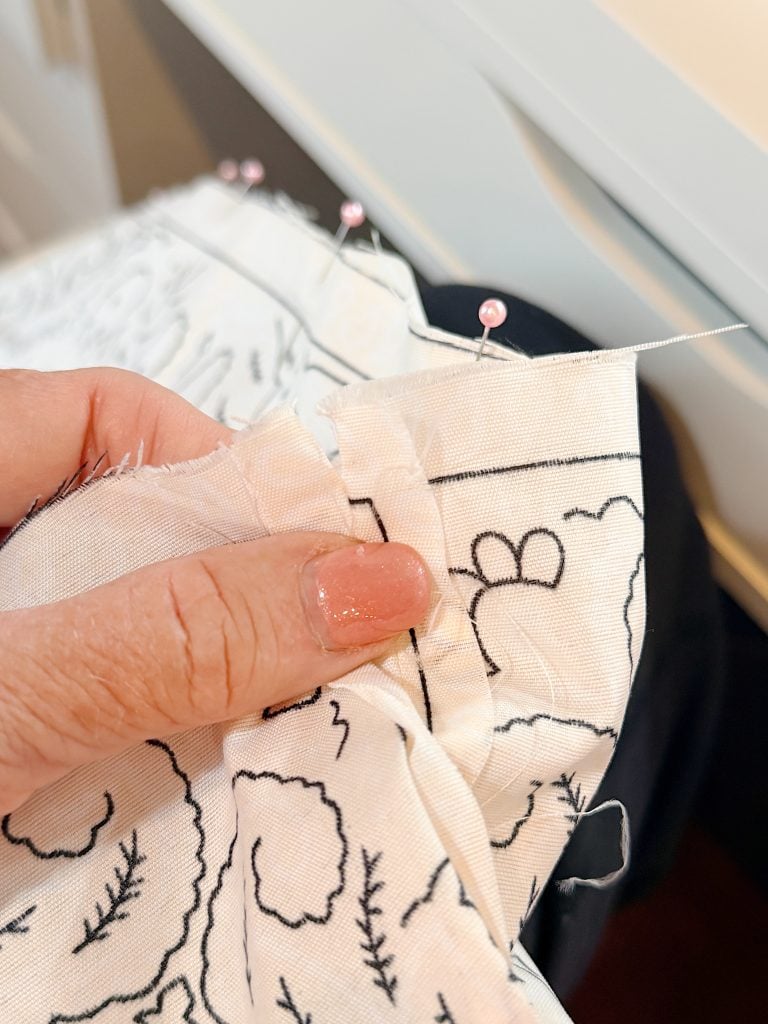
Begin by sewing one side panel to the front panel with right sides together. To make adding the bottom piece easier, I left 1/4″ open on all four seams on the bottom of the bag. (Do the same with the lining)
Repeat with the second side.
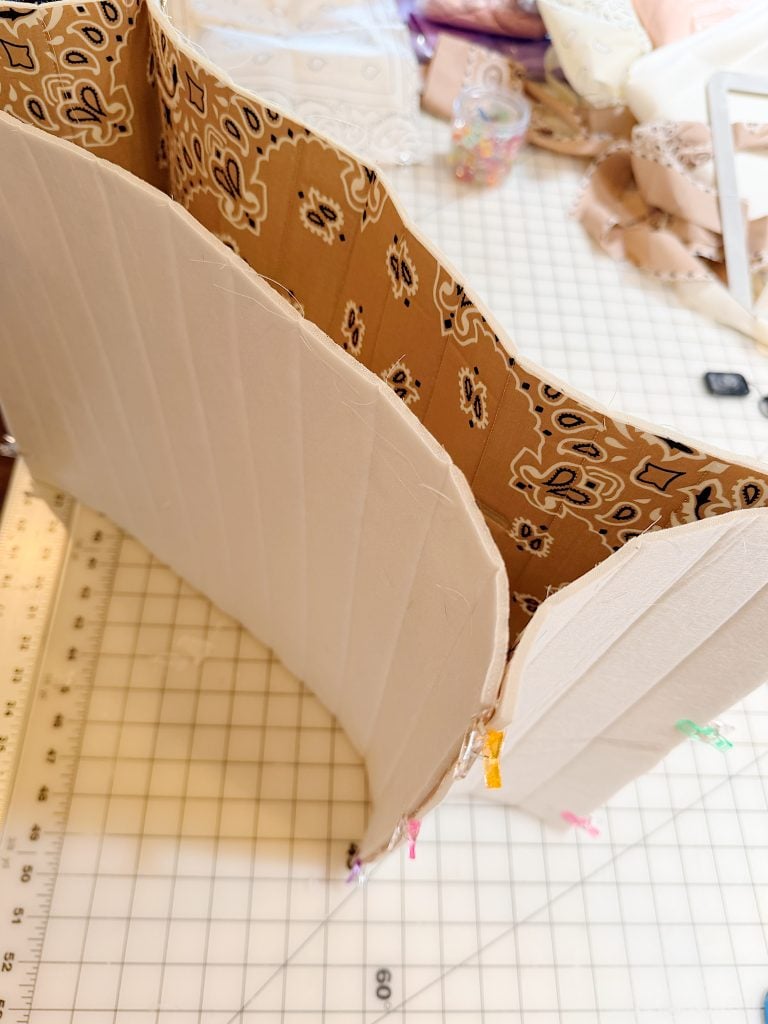
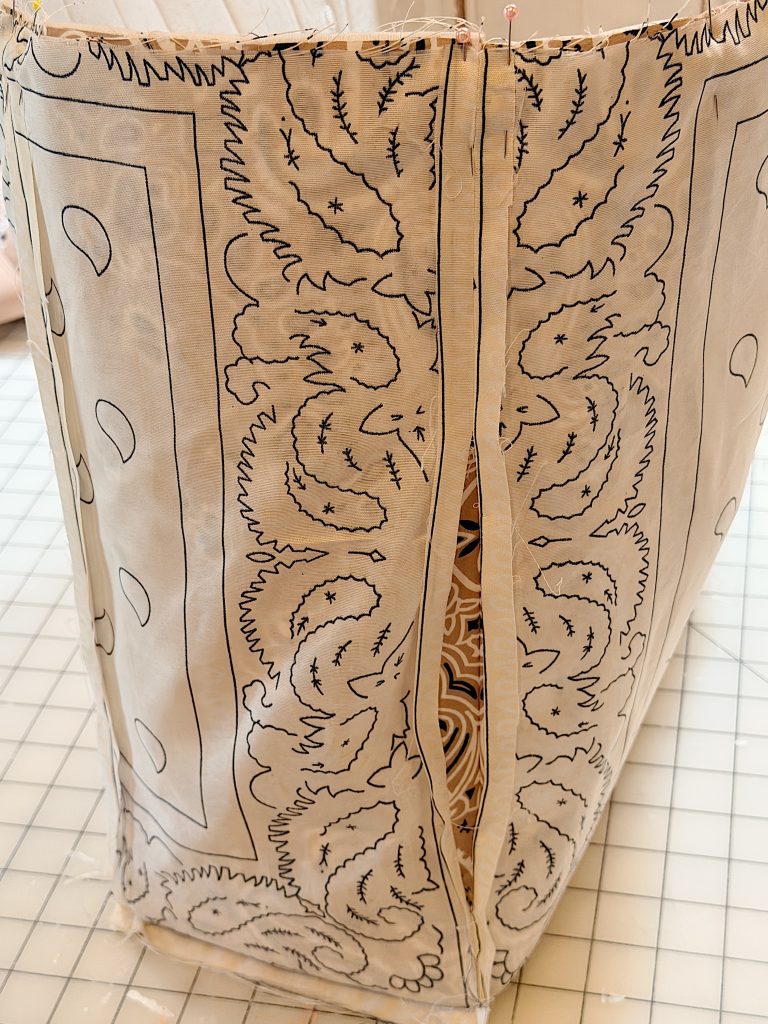
Now attach the back panel, creating a large fabric tube.
Everything starts looking like a bag at this point, which is always exciting.
Next, pin the bottom piece to the bag, matching all corners carefully. The 1/4″ opening in the seam on the front, back, and sides allows you to open up the matching seams and make a perfect fit for sewing.
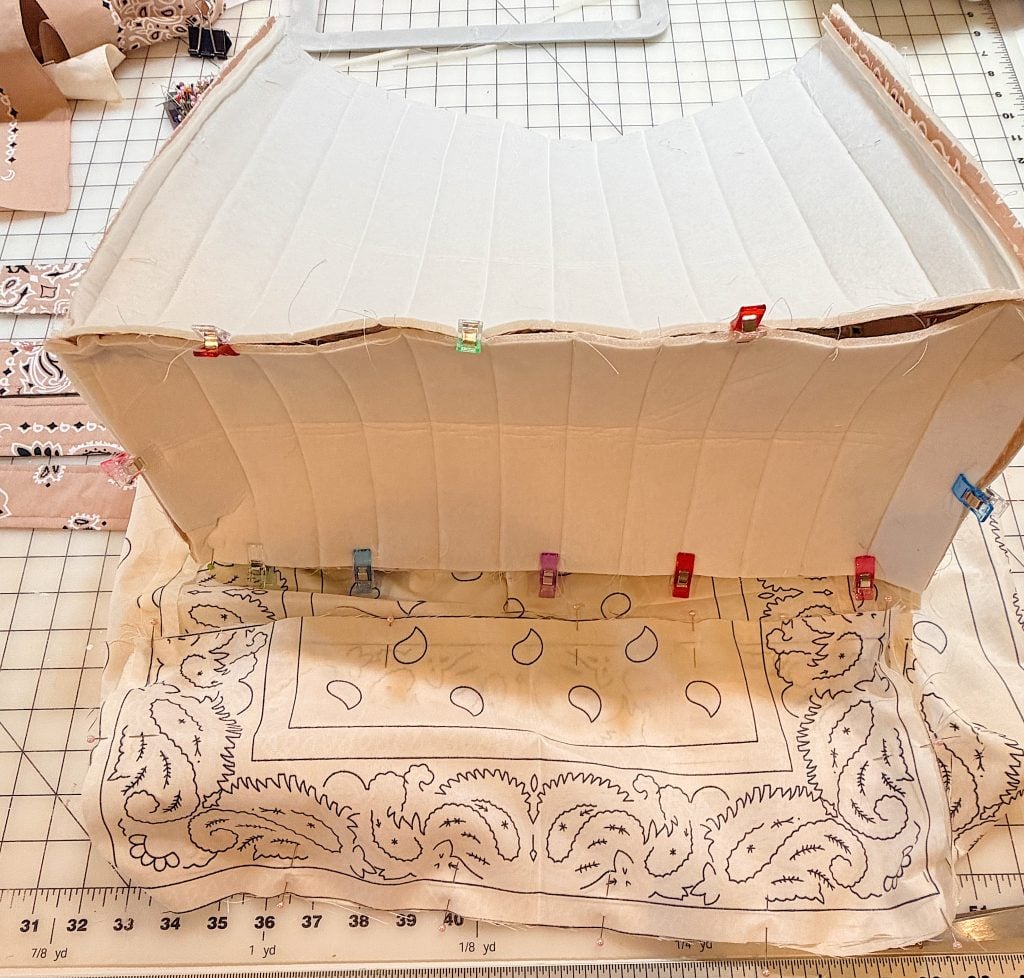
Sew all the way around using a ¼-inch seam allowance.
Turn the outer bag right side out and set it aside.
Make the Handles
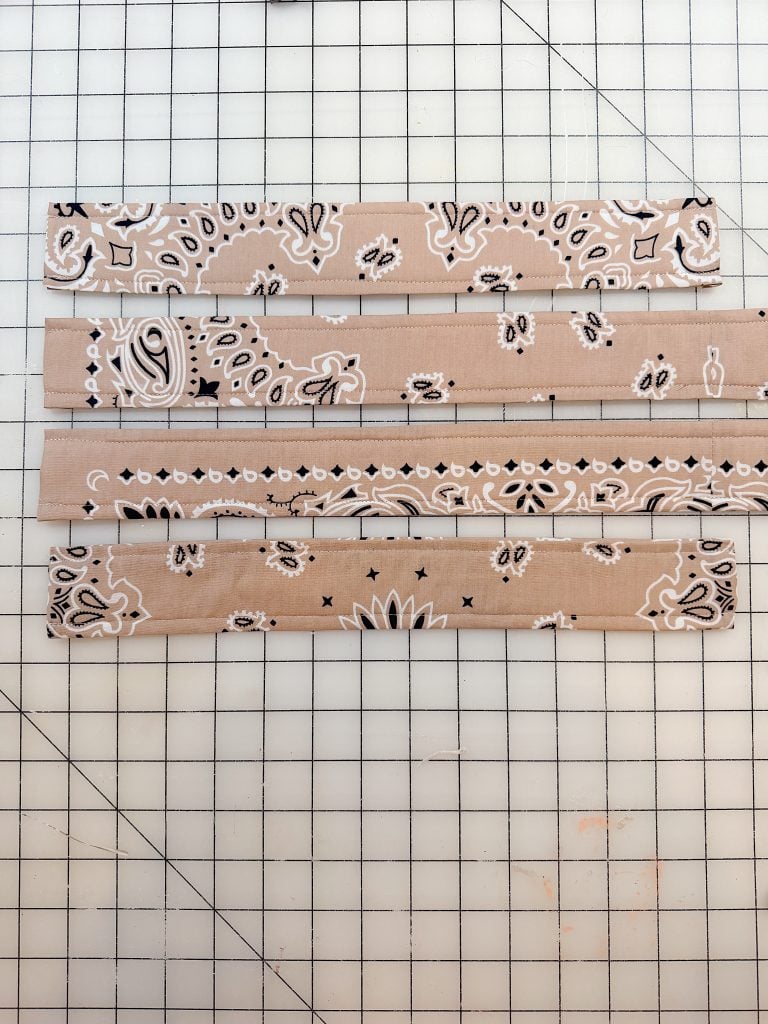
The tote has both shoulder straps and shorter hand-carry handles.
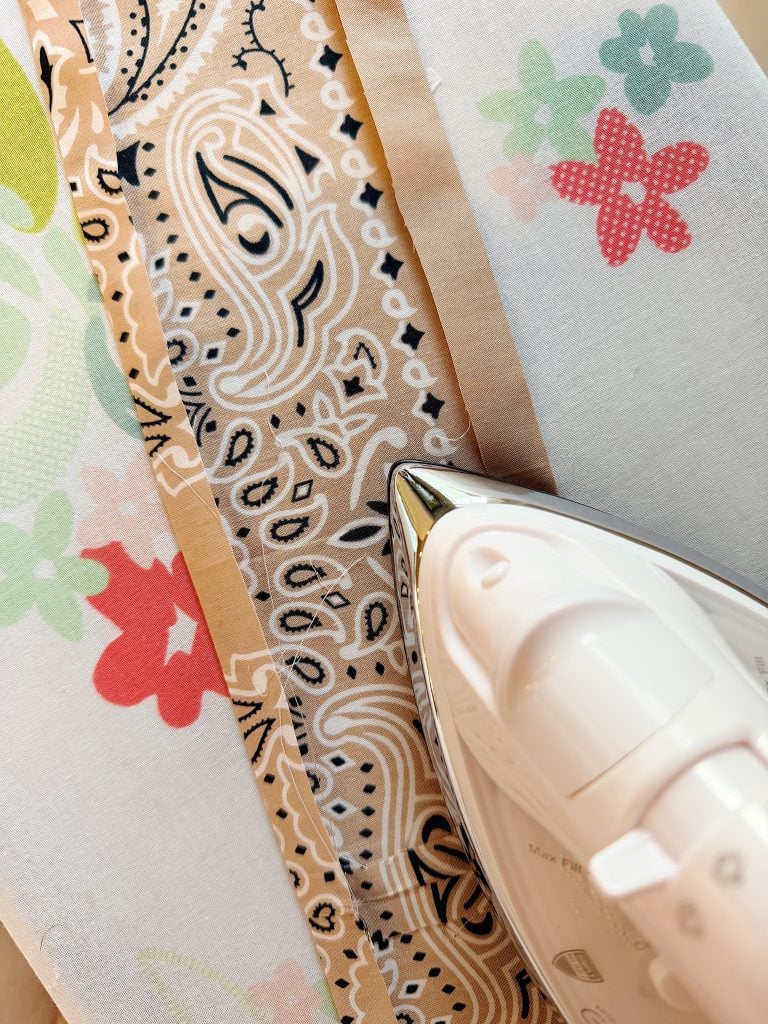
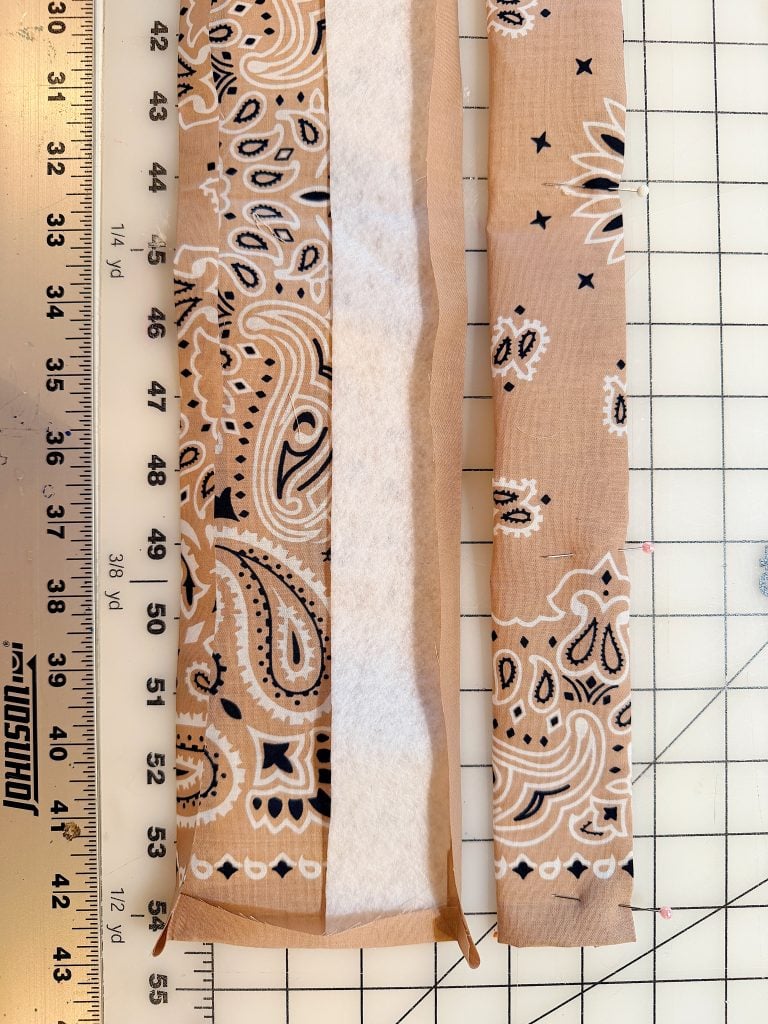
Sew two of the long handles together on the short side, right sides together.
Fold each long side of the handle lengthwise and press 3/8″.
Insert the batting and fold over one edge to close the seam. Don’t worry if some of the batting folds too. Top stitch 1/4″ along the long edge on both sides.
Attach the Handles
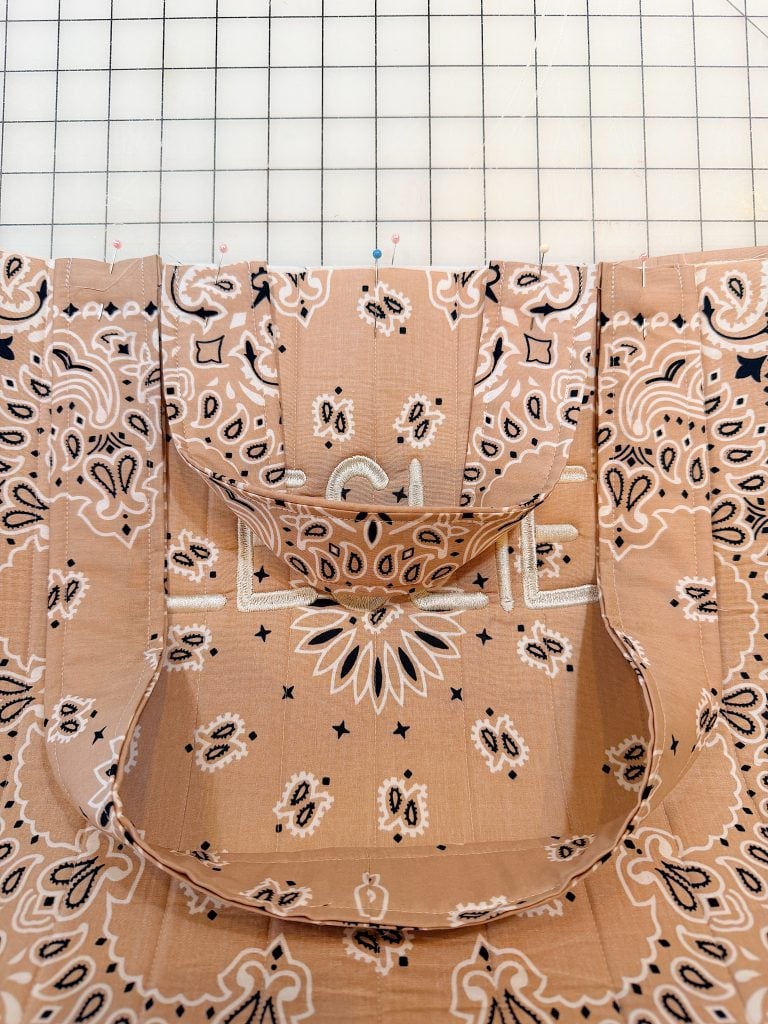
Measure the center of the top of the bag, and attach the short handle about 2 inches in from the center.
Place the top of the long handle approximately 1/4″ inch next to the short handles.
Pin securely.
Make the Lining
Repeat the exact same construction steps using the lining pieces.
The only difference is that you’ll leave a 6 to 8-inch opening in the side seam.
You’ll use this opening to turn the finished bag later.
Finish the Bag
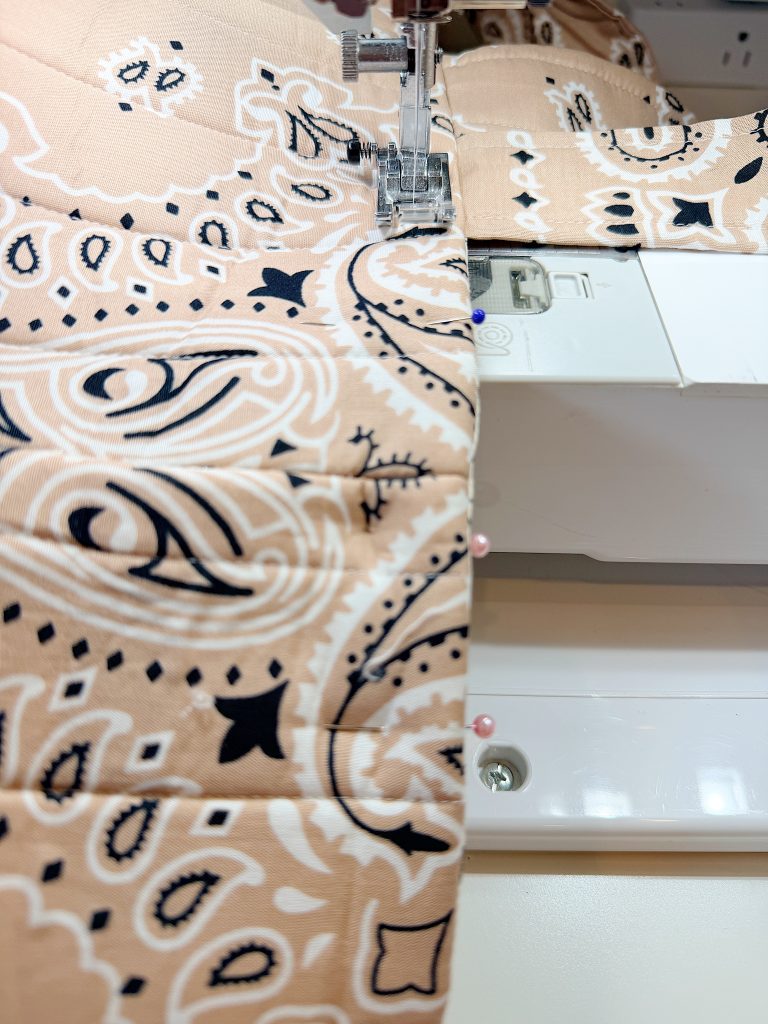
Place the outer bag inside the lining with right sides together. Match the side seams and pin around the top edge.
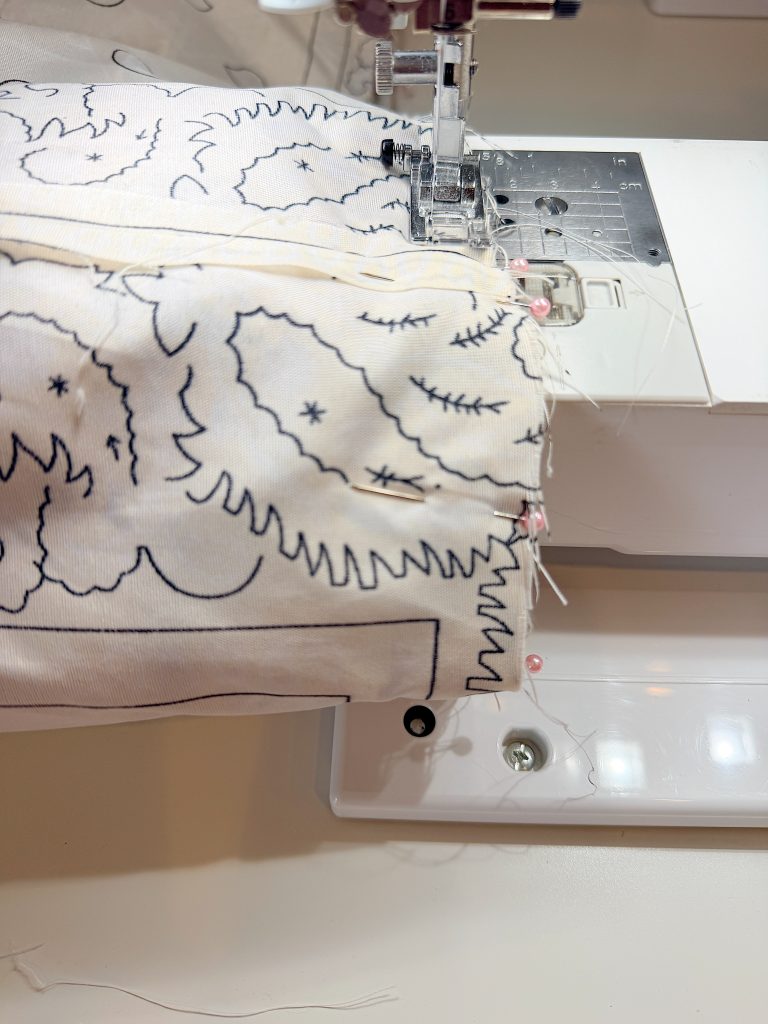
Sew completely around the opening. Sew a double seam over the bag handles. This extra stitching makes the bag incredibly strong.
Pull the bag through the opening in the lining. Push the lining down inside the tote.
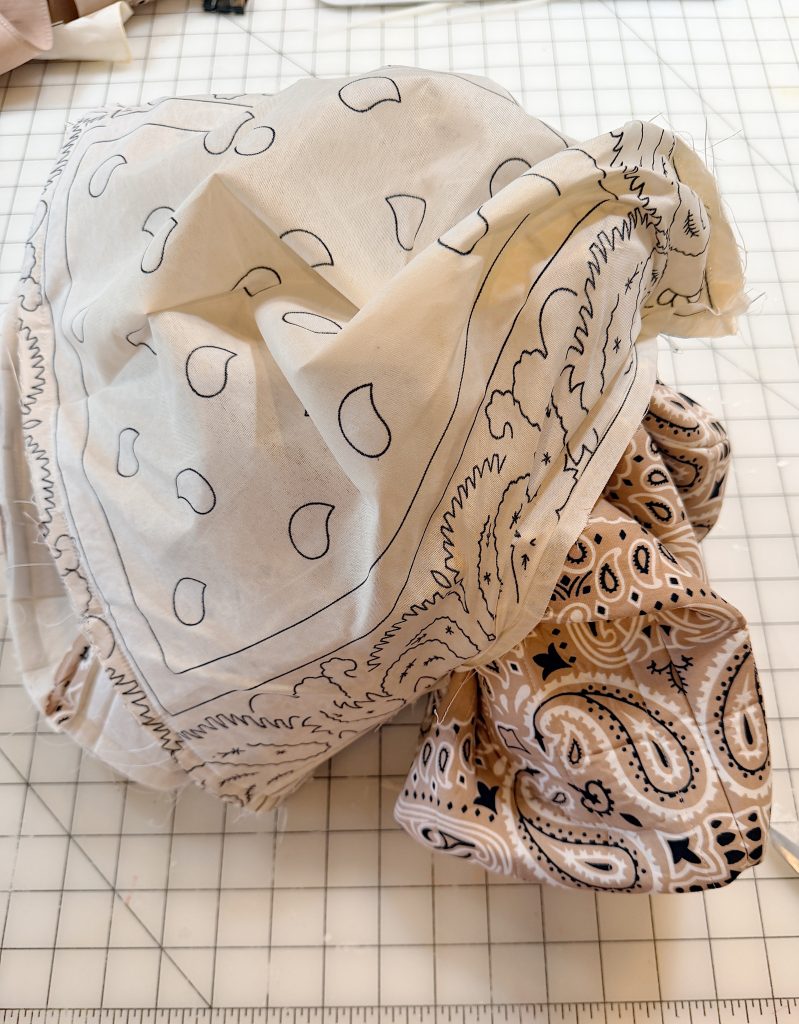
Close the opening in the lining with a ladder stitch or machine stitch.
Give the bag one final press and topstitch around the top edge.
And just like that…
Your beautiful quilted Bandana Tote Bag is finished!
Ways to Personalize Your Tote
One of my favorite things about sewing is adding little details that make a project uniquely yours.
Here are a few fun ideas:
- Embroider your initials.
- Add a favorite quilt label inside.
- Sew on vintage patches.
- Mix different colored bandanas.
- Add decorative machine embroidery.
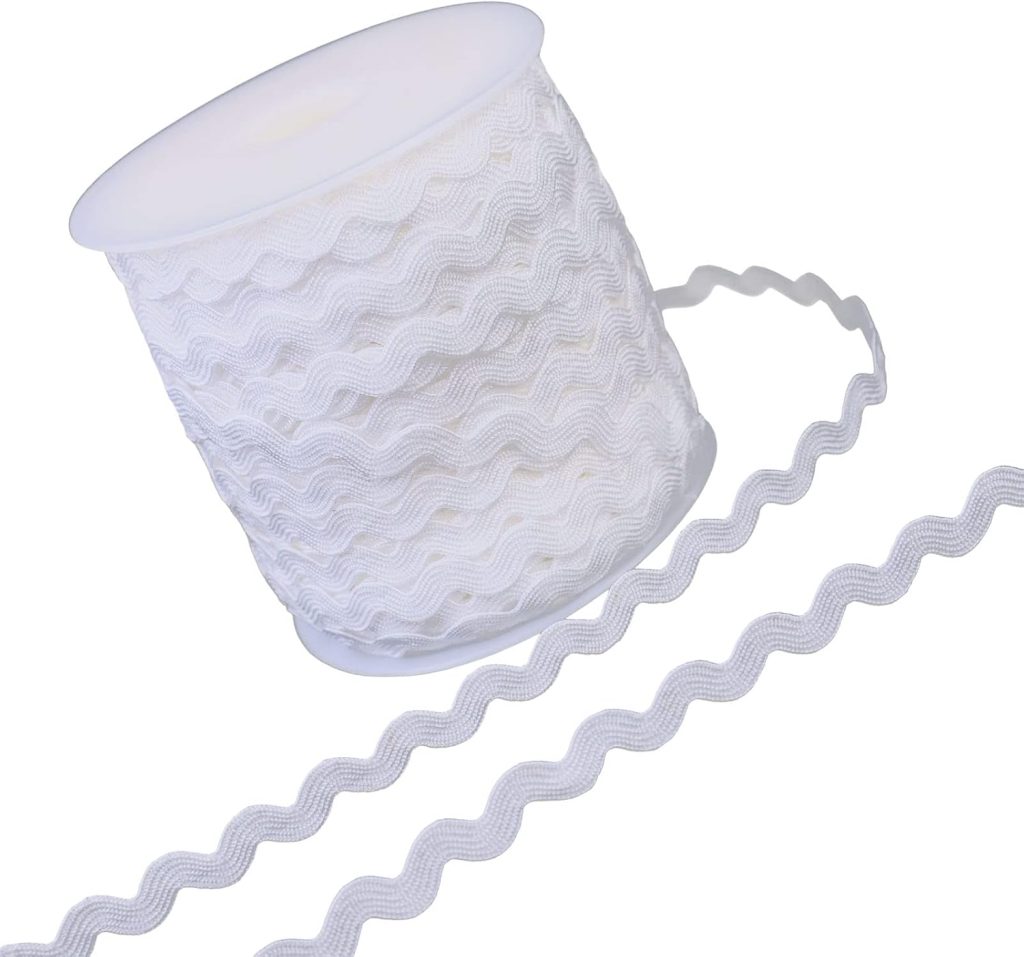
- Stitch on lace or ric-rac trim.
- Include an inside pocket.
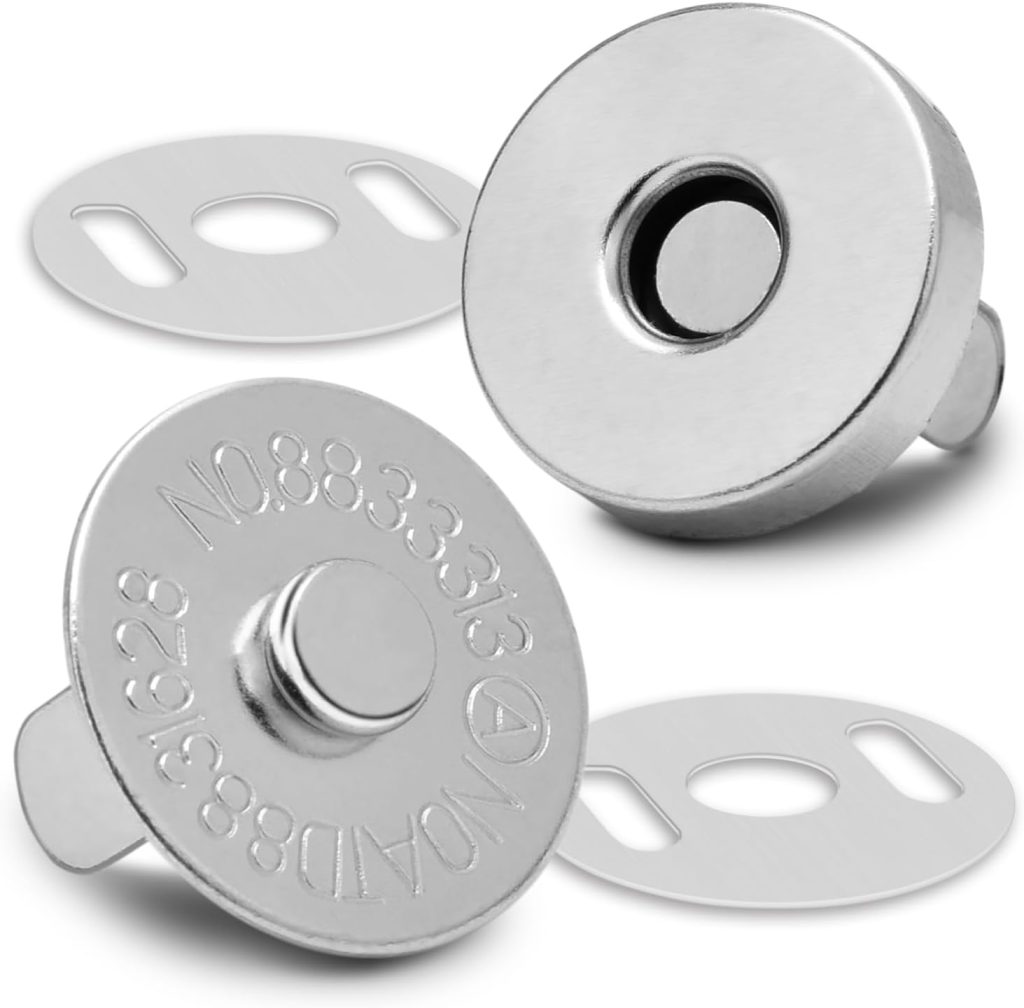
- Add a magnetic snap closure.
No two bags will ever look exactly alike.
Why This Bag Is Worth Making
I love sewing projects that become part of everyday life.
This isn’t the kind of bag you’ll admire from a shelf.
You’ll actually use it.
Take it to the beach.
Fill it with yarn.
Carry your quilting supplies.
Use it for groceries.
Pack it for road trips.
I’ve already found myself reaching for mine almost every day.
And every time I do, I smile because I know I made it myself.
Sure, I could have bought the designer version.
But where’s the fun in that?
Making something with your own hands is always more rewarding, and in this case, a whole lot less expensive too.
Is This a Good Idea? Or Am I Crazy?
As if making one wasn’t enough, I’ve been thinking about taking this project one step further. What if I made a limited collection of 20 custom Bandana Tote Bags and offered them for sale?
Each one would be handmade by me, personalized how you want, with carefully selected bandanas and unique details, so no two bags would ever be exactly alike. I think it could be such a fun way to share my love of handmade projects with all of you.
But before I start sewing, I’d love to hear what you think! Is this something you’d be interested in? Leave me a comment and let me know. If there’s enough interest, I just might make it happen!
How to Follow Along With A Handmade Summer
Each week, a new spring craft will be shared here on the blog. I will also be sharing behind-the-scenes moments, progress videos, and finished projects on Instagram so you can see each craft come to life.
You can jump in at any point. There is no need to start at the beginning or complete every project. Choose the ones that speak to you and make them your own.
If you love seasonal crafting, this series is designed to inspire you throughout the summer.
Here are all of the A Handmade Summer craft projects so far.
Latest Posts
-
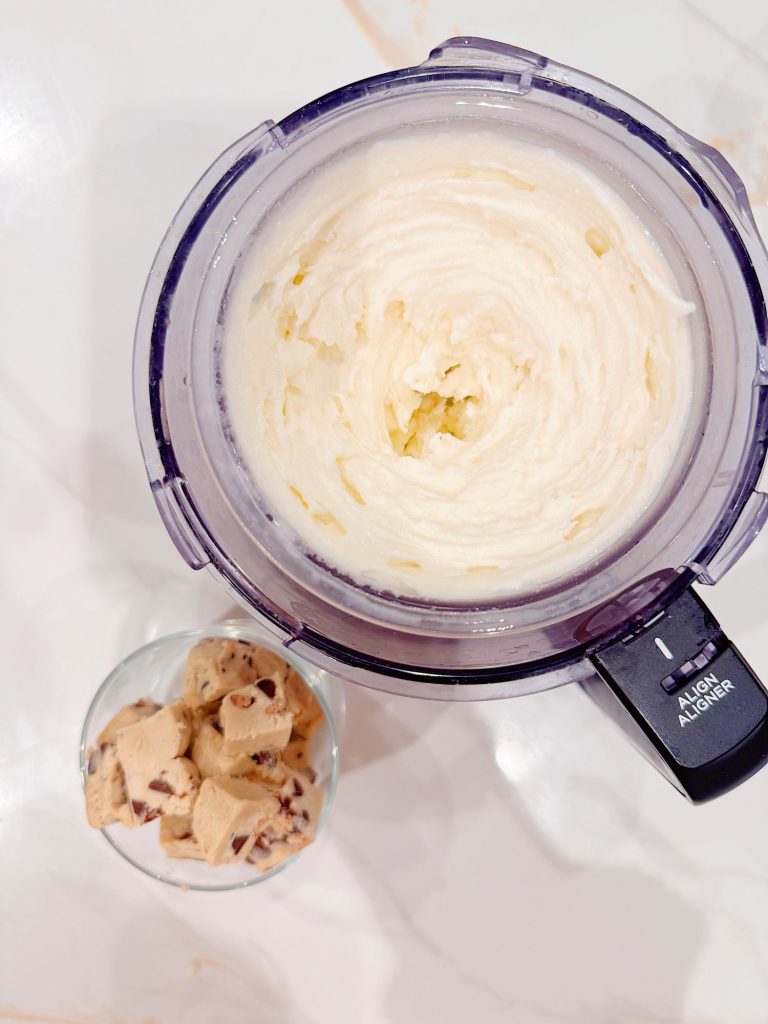
My Favorite Ninja Creami Protein Ice Cream
Let’s talk about one of my favorite kitchen gadgets: the Ninja Creami. And my favorite protein ice cream! If you haven’t discovered this magic machine yet, you need to know that it is the appliance that has completely changed the way I make frozen desserts and drinks at home. Whether you’re into healthy treats, indulgent…
-
The Best Salads – Summer Chicken Recipes
Summer salads are one of my favorite foods. Today, I am sharing my three favorite all-summer chicken salad recipes. Chicken is a versatile, affordable protein you can enjoy all summer. Check out these recipes for fresh and fun ideas—there’s something for everyone. Enjoy!
-
The Best Paper Napkin Crafts – Mondays in the Craft Room
Paper napkin crafts are among my favorite ways to create beautiful handmade projects without spending a fortune or requiring advanced artistic skills. It’s amazing how a simple decorative paper napkin can transform clay, terra cotta, ornaments, pumpkins, and so much more into something that looks hand-painted. Today I’m sharing some of my favorite paper napkin…
-
Weekend Trips and Sunday Morning Coffee
This summer has been one of my favorites, as our weekends have been filled with family, dear friends, and little adventures that have reminded me how wonderful it is to simply get away for a few days. I’m also sharing some of the handmade hostess gifts I’ve been creating in my craft room because nothing…
My Recent Instagram Posts

You can pin the image below to your boards on Pinterest (click the Pin button in the top left corner) or follow me on Pinterest!
For more real-time updates, follow me on Instagram @My100YearOldHome
Love these bags. So cute.
Thanks Connie. I loved making them!
Leslie
I love the idea and think it is adorable. I’ve been making zip pouches for cosmetics and pencils and such for our grands. I’ve thought about using a couple of the bright bandanas my hubby uses for handkerchiefs to create those. It would be cute to coordinate a cosmetic zip pouch or coin pouch or ear bud pouch with the tote by using the lining color for the pouches. Or could make multicolored pouches and just let the fabric and a monogram or whimsical embroidery design tie it all together. Of course, in some cultures a bandana is used to signify gang affiliation. So, the more expensive scarf versions would be better in areas where that is the case. I am probably going to steal this idea and make a set of coordinating bags!
Steal away my friend! That’s why I share so many ideas.
Leslie
Beautiful tote, and where do we sign up for a personalized tote??? Glad I went on down to bottom of the page.
Me too! I am going to start planning the 20 totes very soon!
Hi Leslie
Just wanted to let you know how much I enjoy your blog.
I had so much fun making the 4th of July t shirts with my grandchildren! Zoey, 5 years and her brother, Ryland, 4 years! They turned out so adorable!
We plan to wear them tomorrow… me and my family! We made 7 shirts.
Happy 4th to you and your family. Thank you for sharing everything you do!
Thanks Debra. You have no idea how happy that makes me. Happy 4th!
Leslie
These bags are just the idea I needed for Christmas gifts! Your idea arrived just in time! I have started picking some lucious bandana color combinations.
Thank you for your great instructions!
We are neighbors – I am close to Tyler
Carla
This makes me so happy! They will make the best gifts.
Leslie