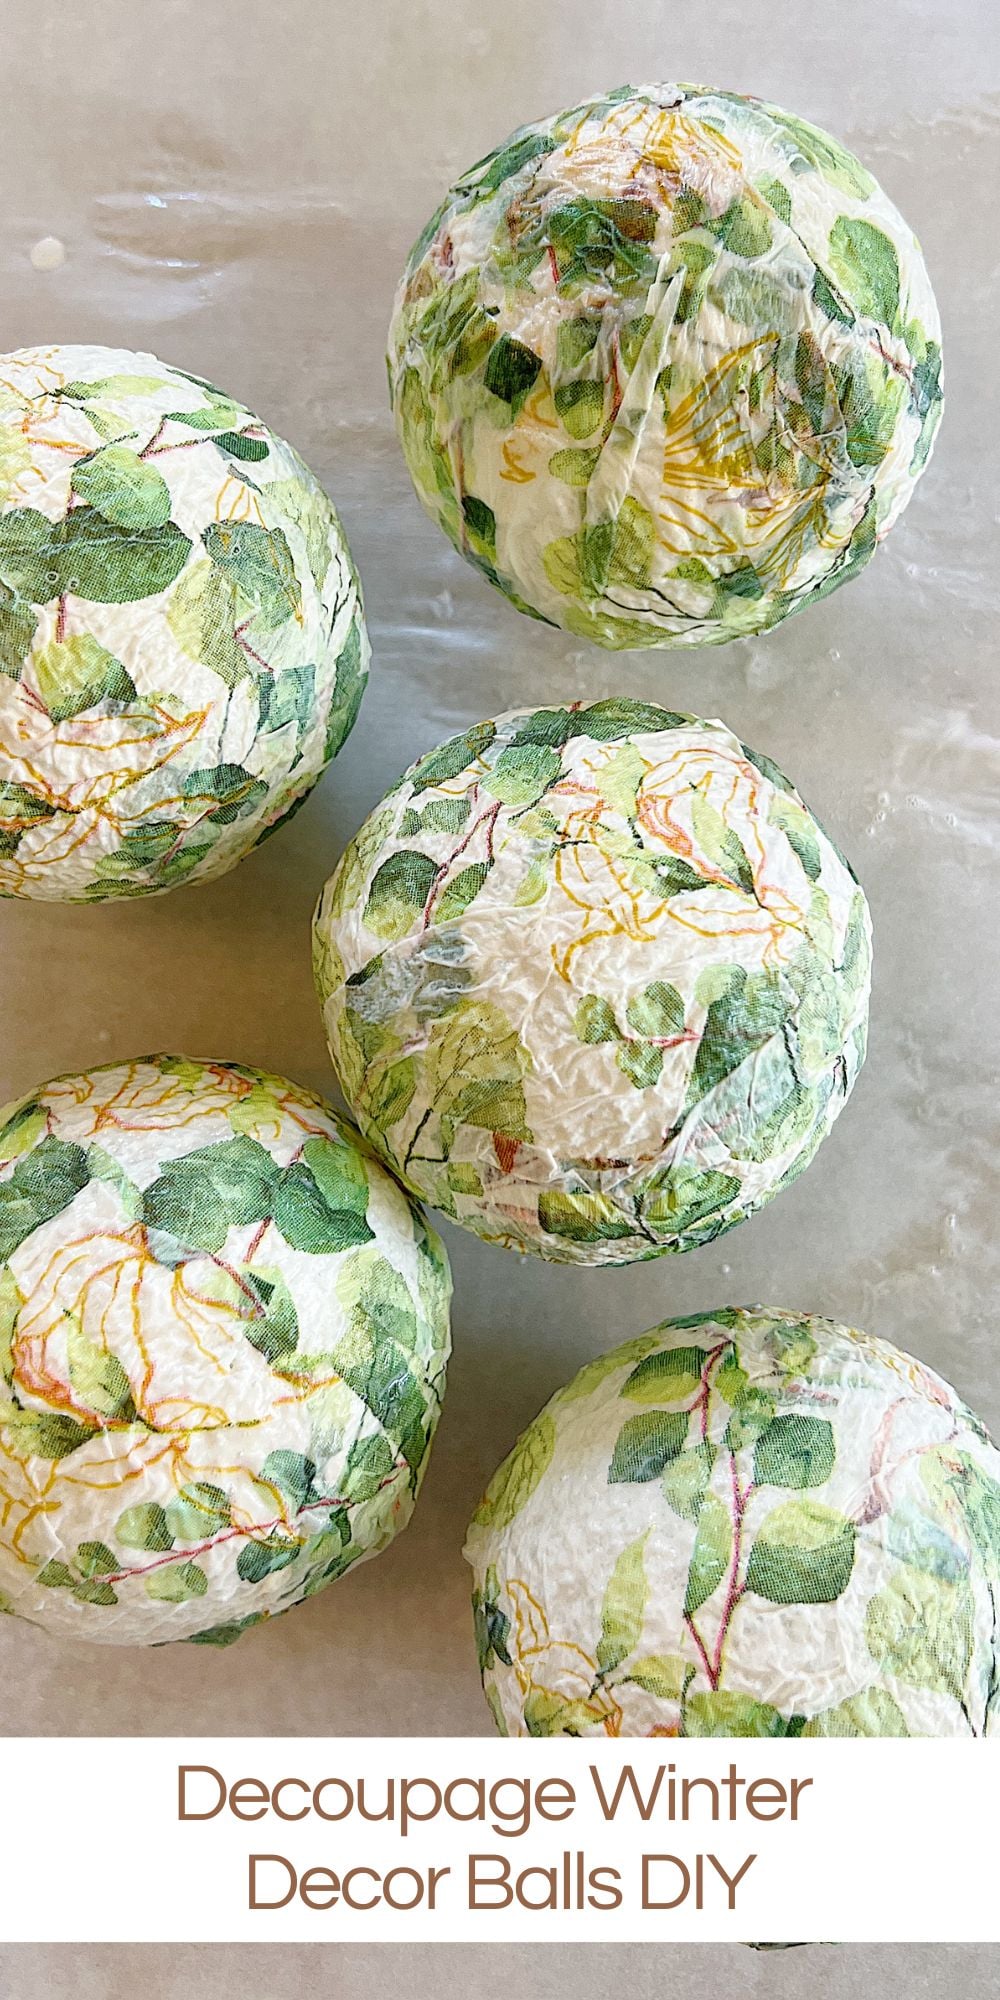
Decoupage Winter Decor Balls DIY
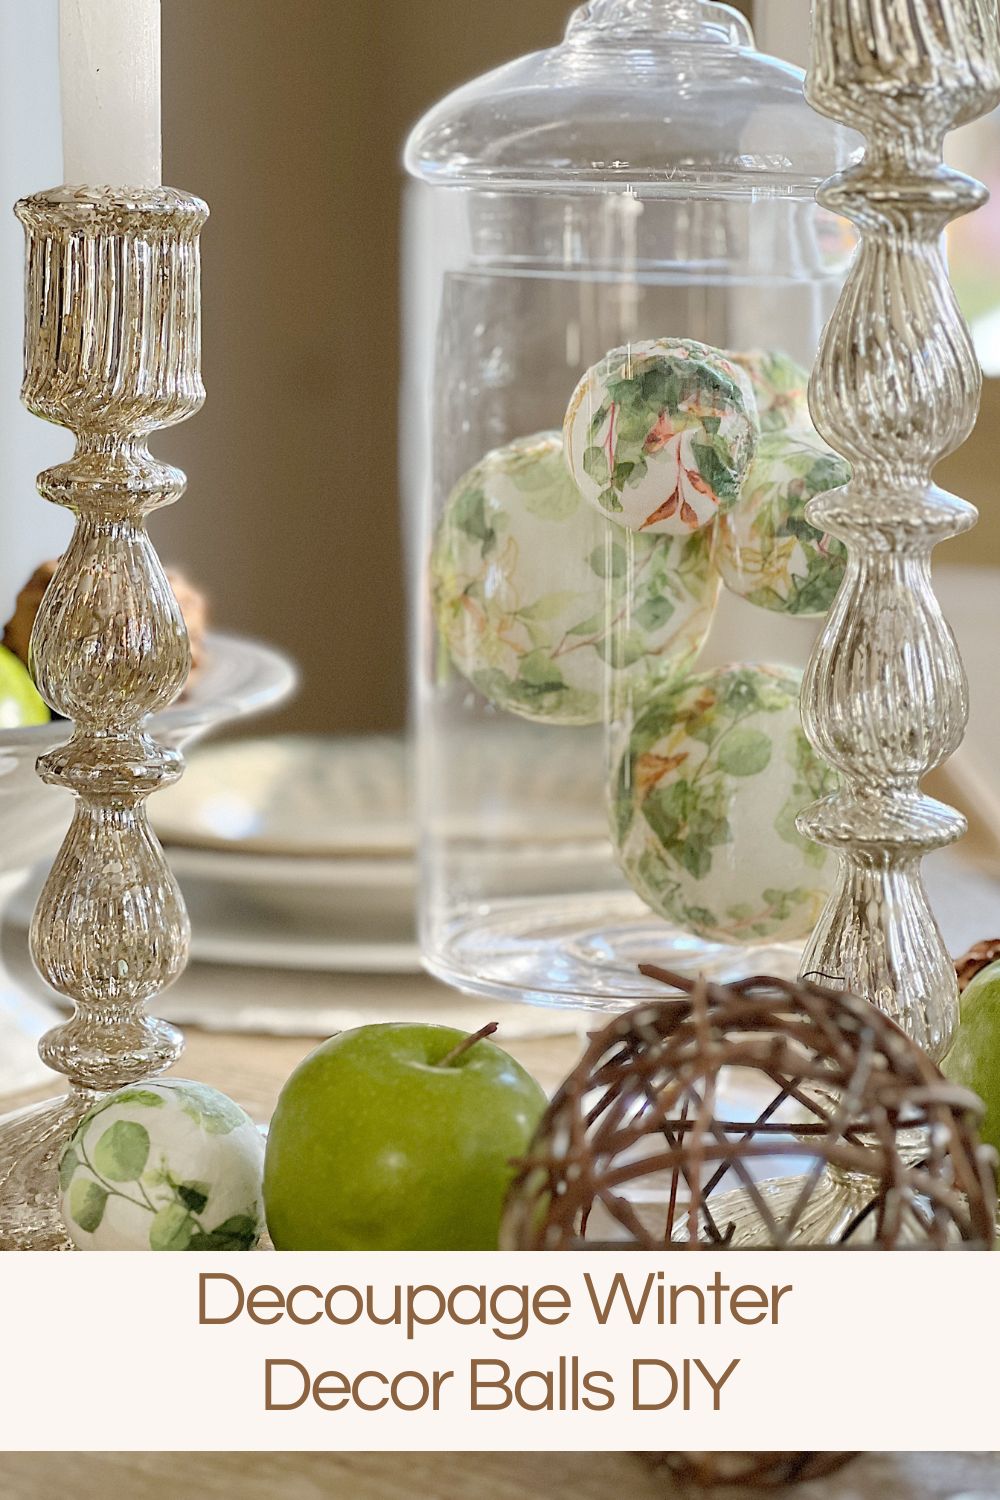
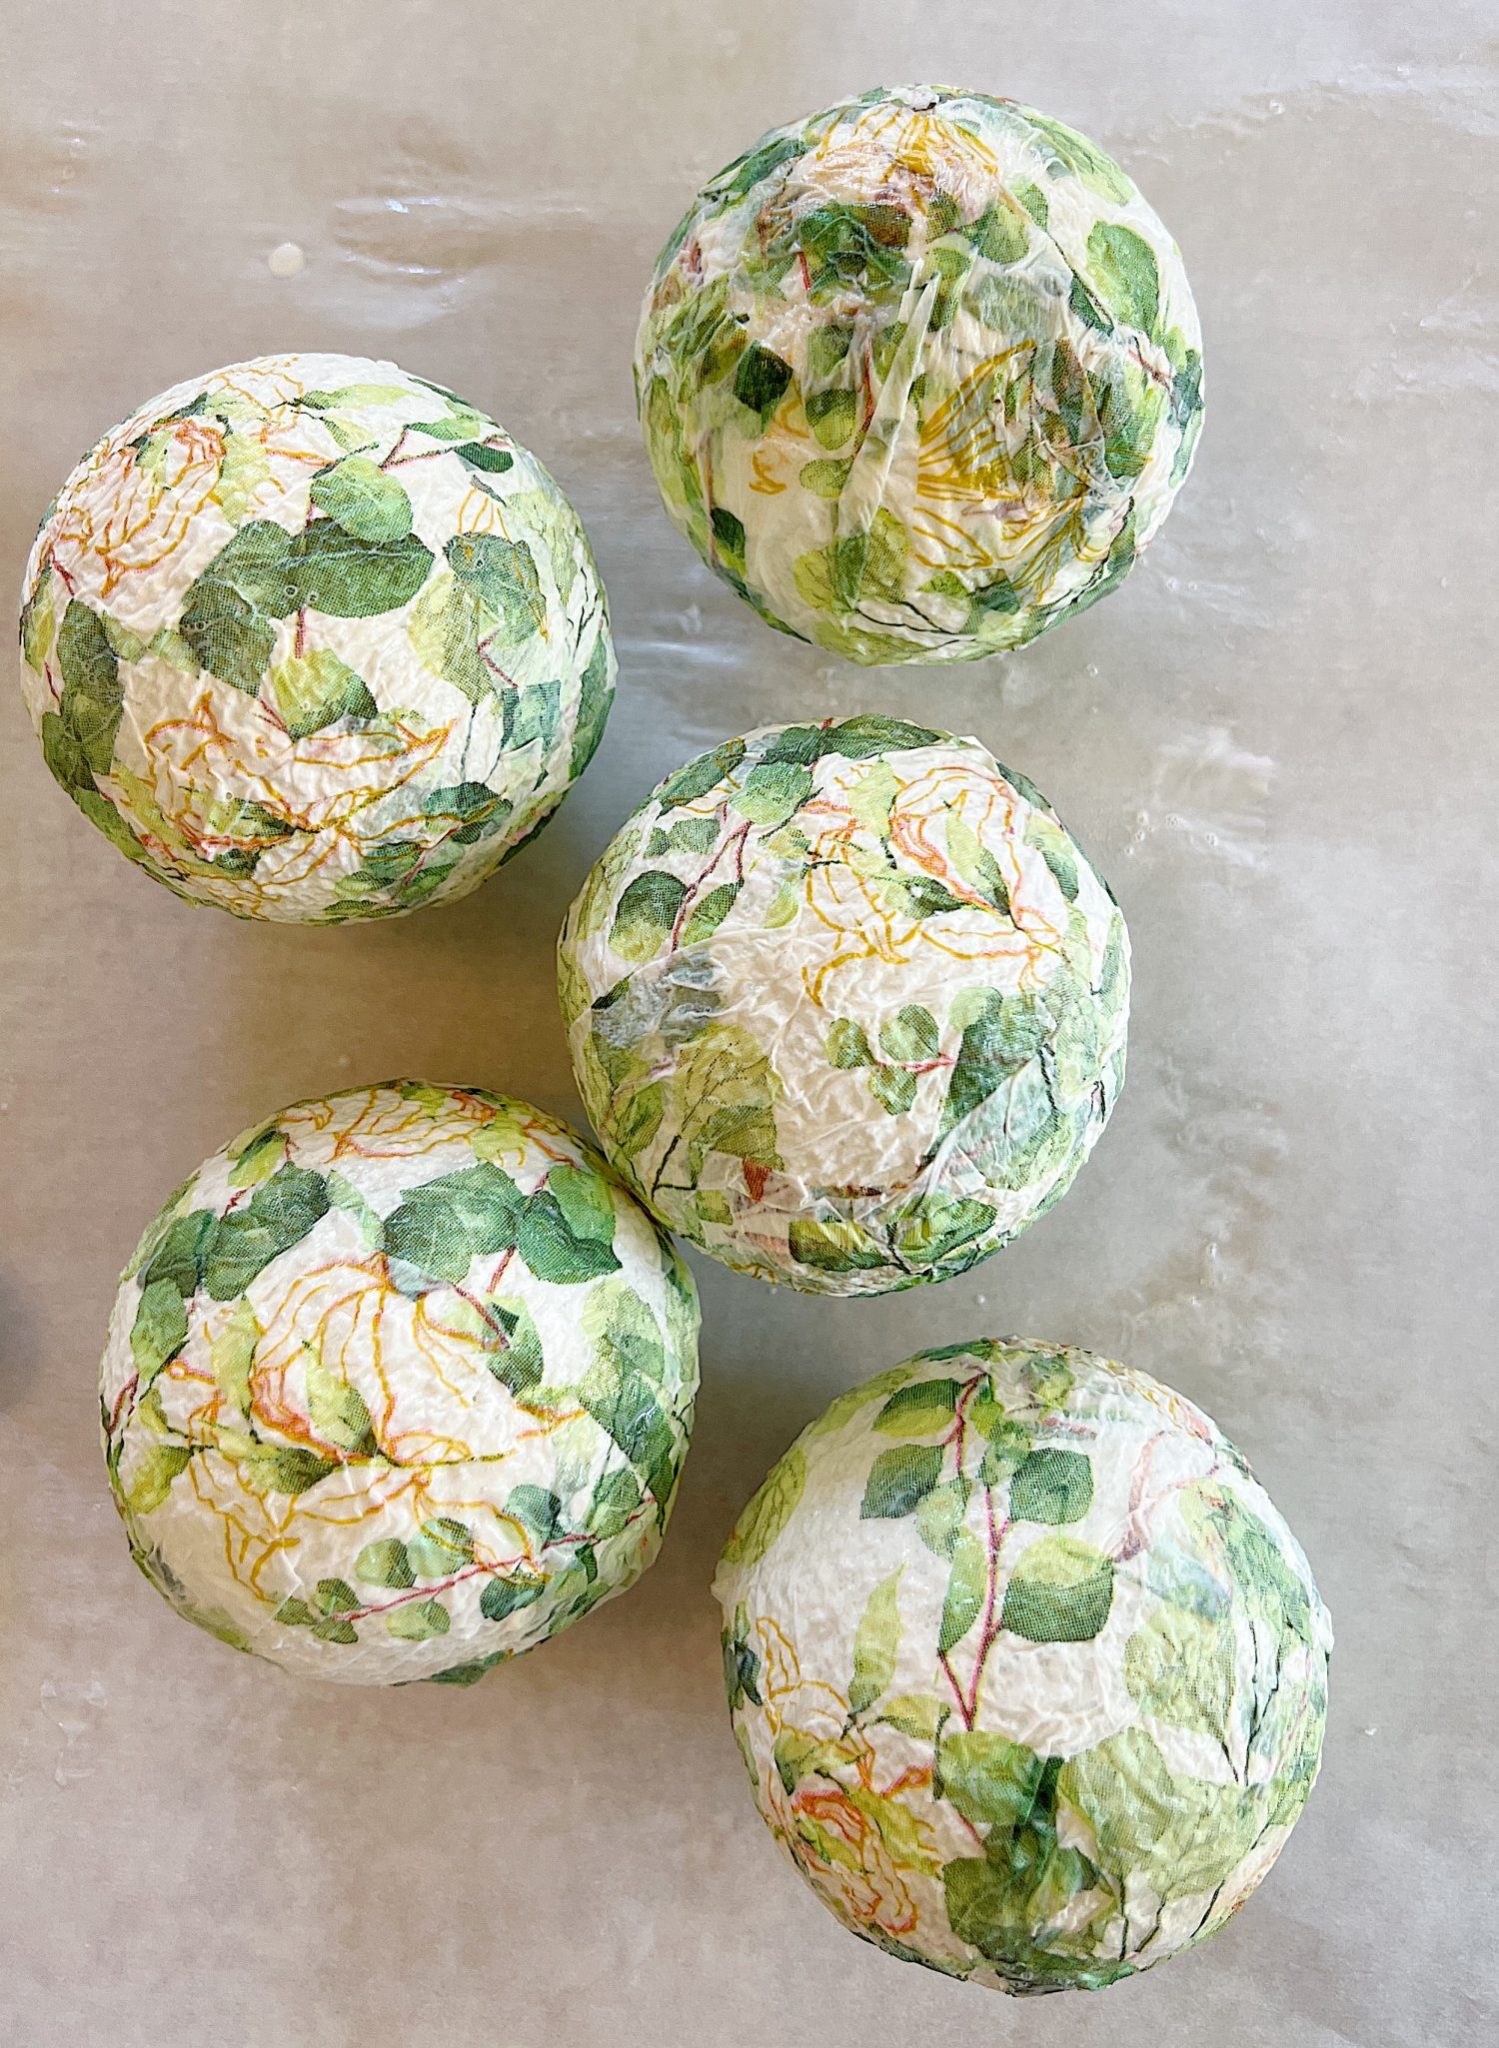
Decoupage is one of my favorite crafts because it is easy, inexpensive and always looks amazing. Look at what I made to use for winter decor!
One of the great things about decoupage is that it is a very versatile art form. You can use it to decorate just about anything, the possibilities are endless! Today, I am sharing a very fun and easy decoupage DIY. Are you ready to get creative?


How to Make Decoupage Winter Decor Balls
Covering styrofoam balls with paper napkins is a simple and easy process. Here are the steps to do it:
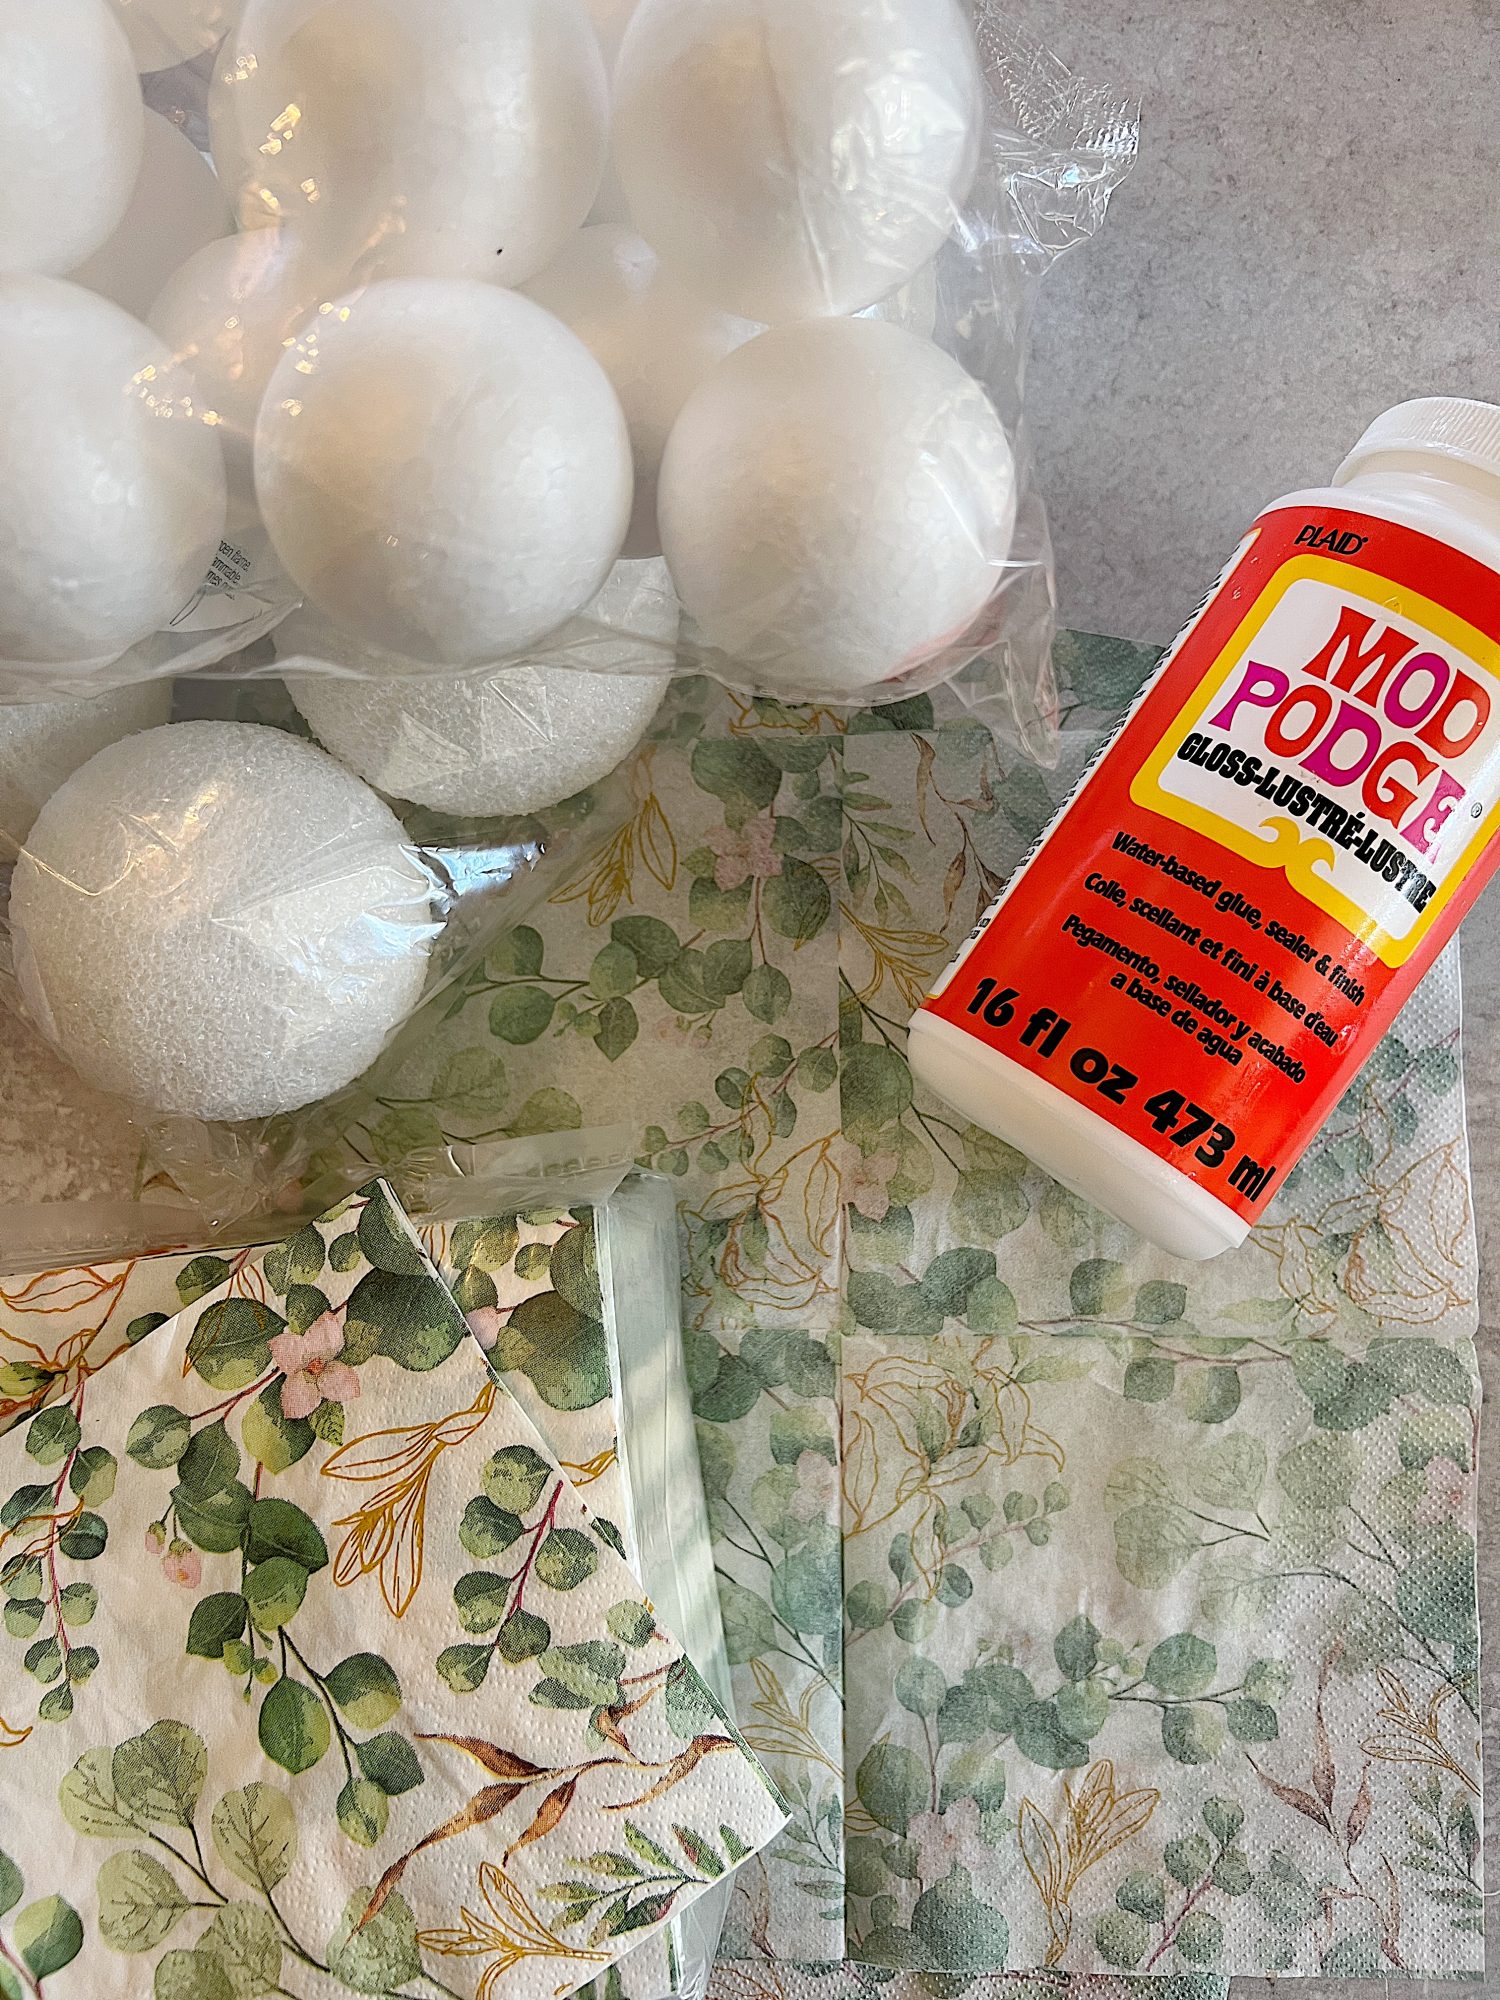
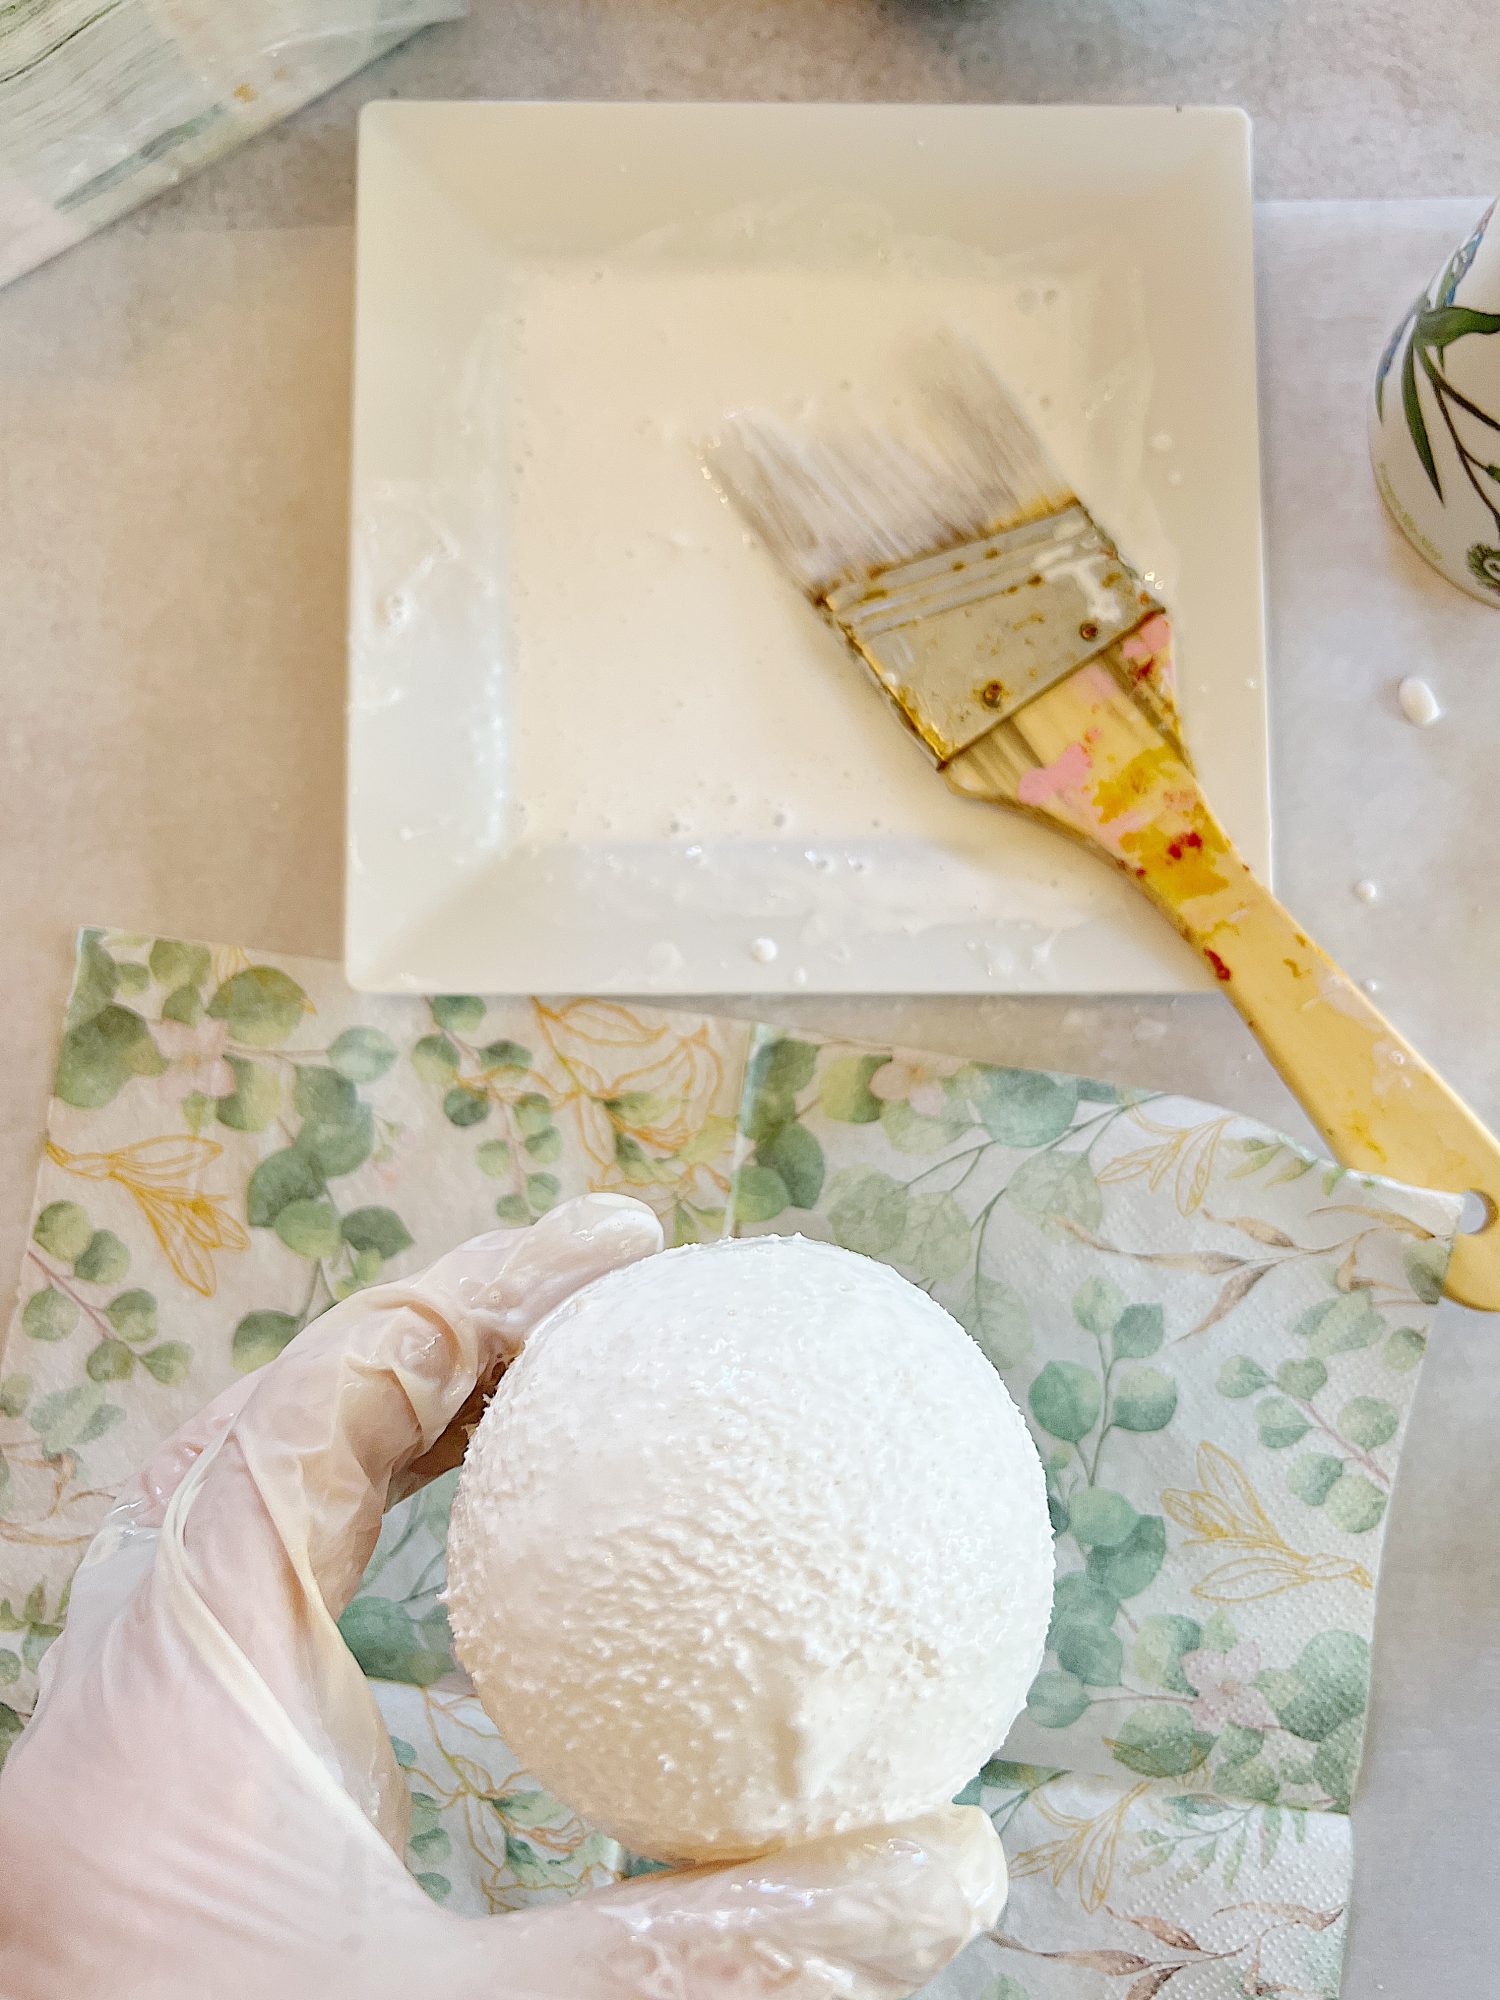
- one – Gather the materials. You will need styrofoam balls in various sizes, I used 2″, 3″, and 4″ styrofoam balls, paper napkins, mod podge, (you can also use white craft glue), and scissors.
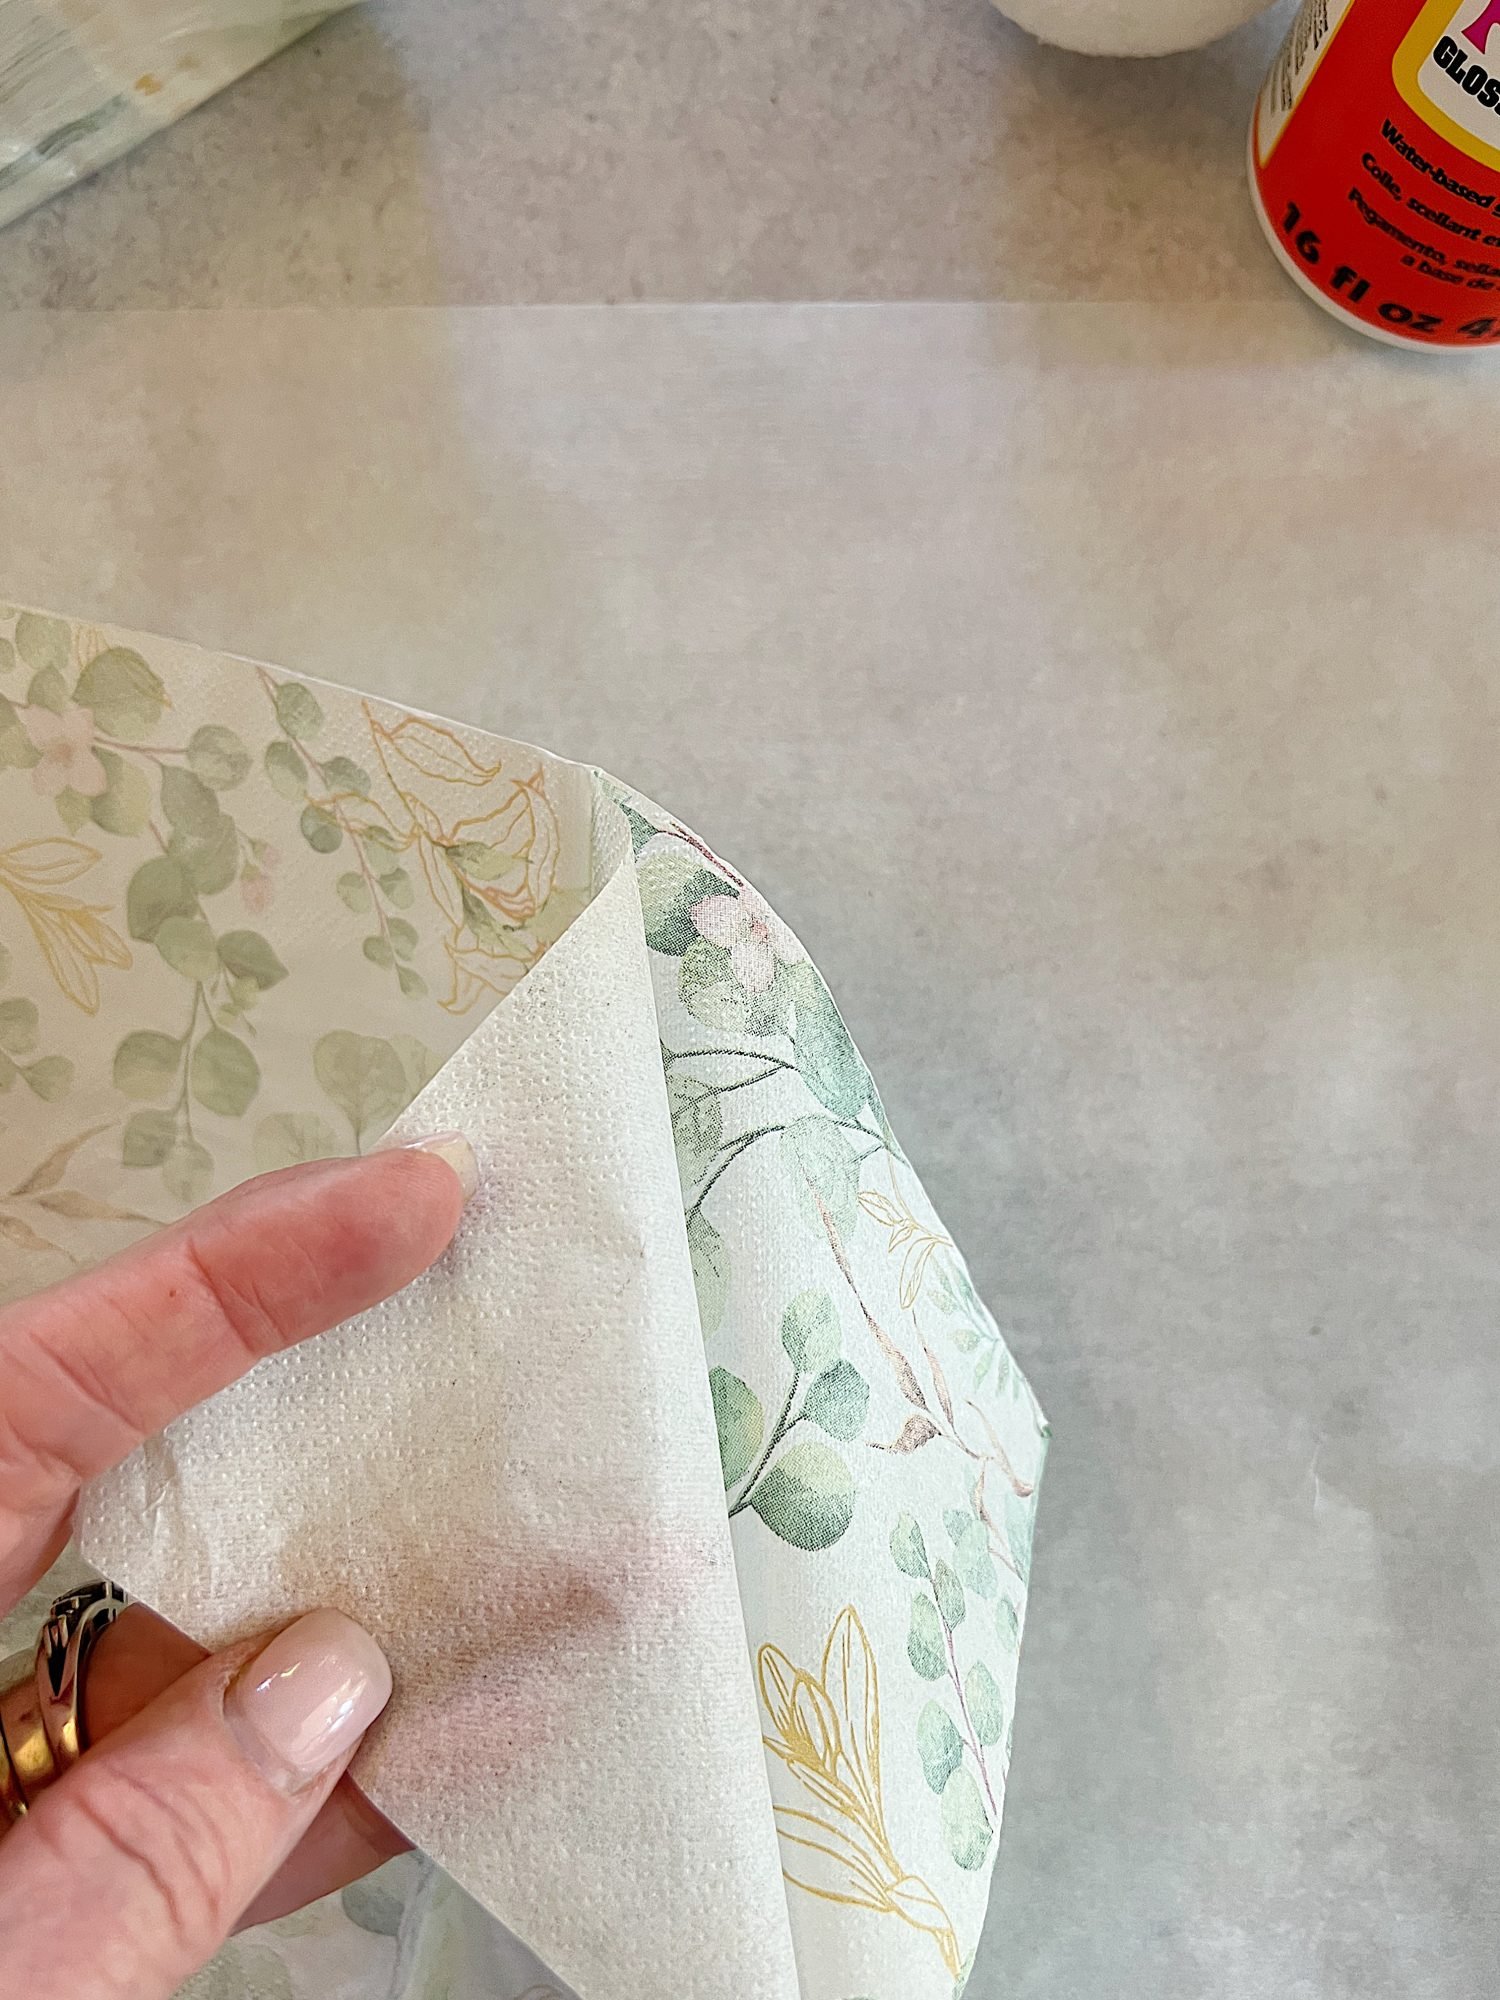
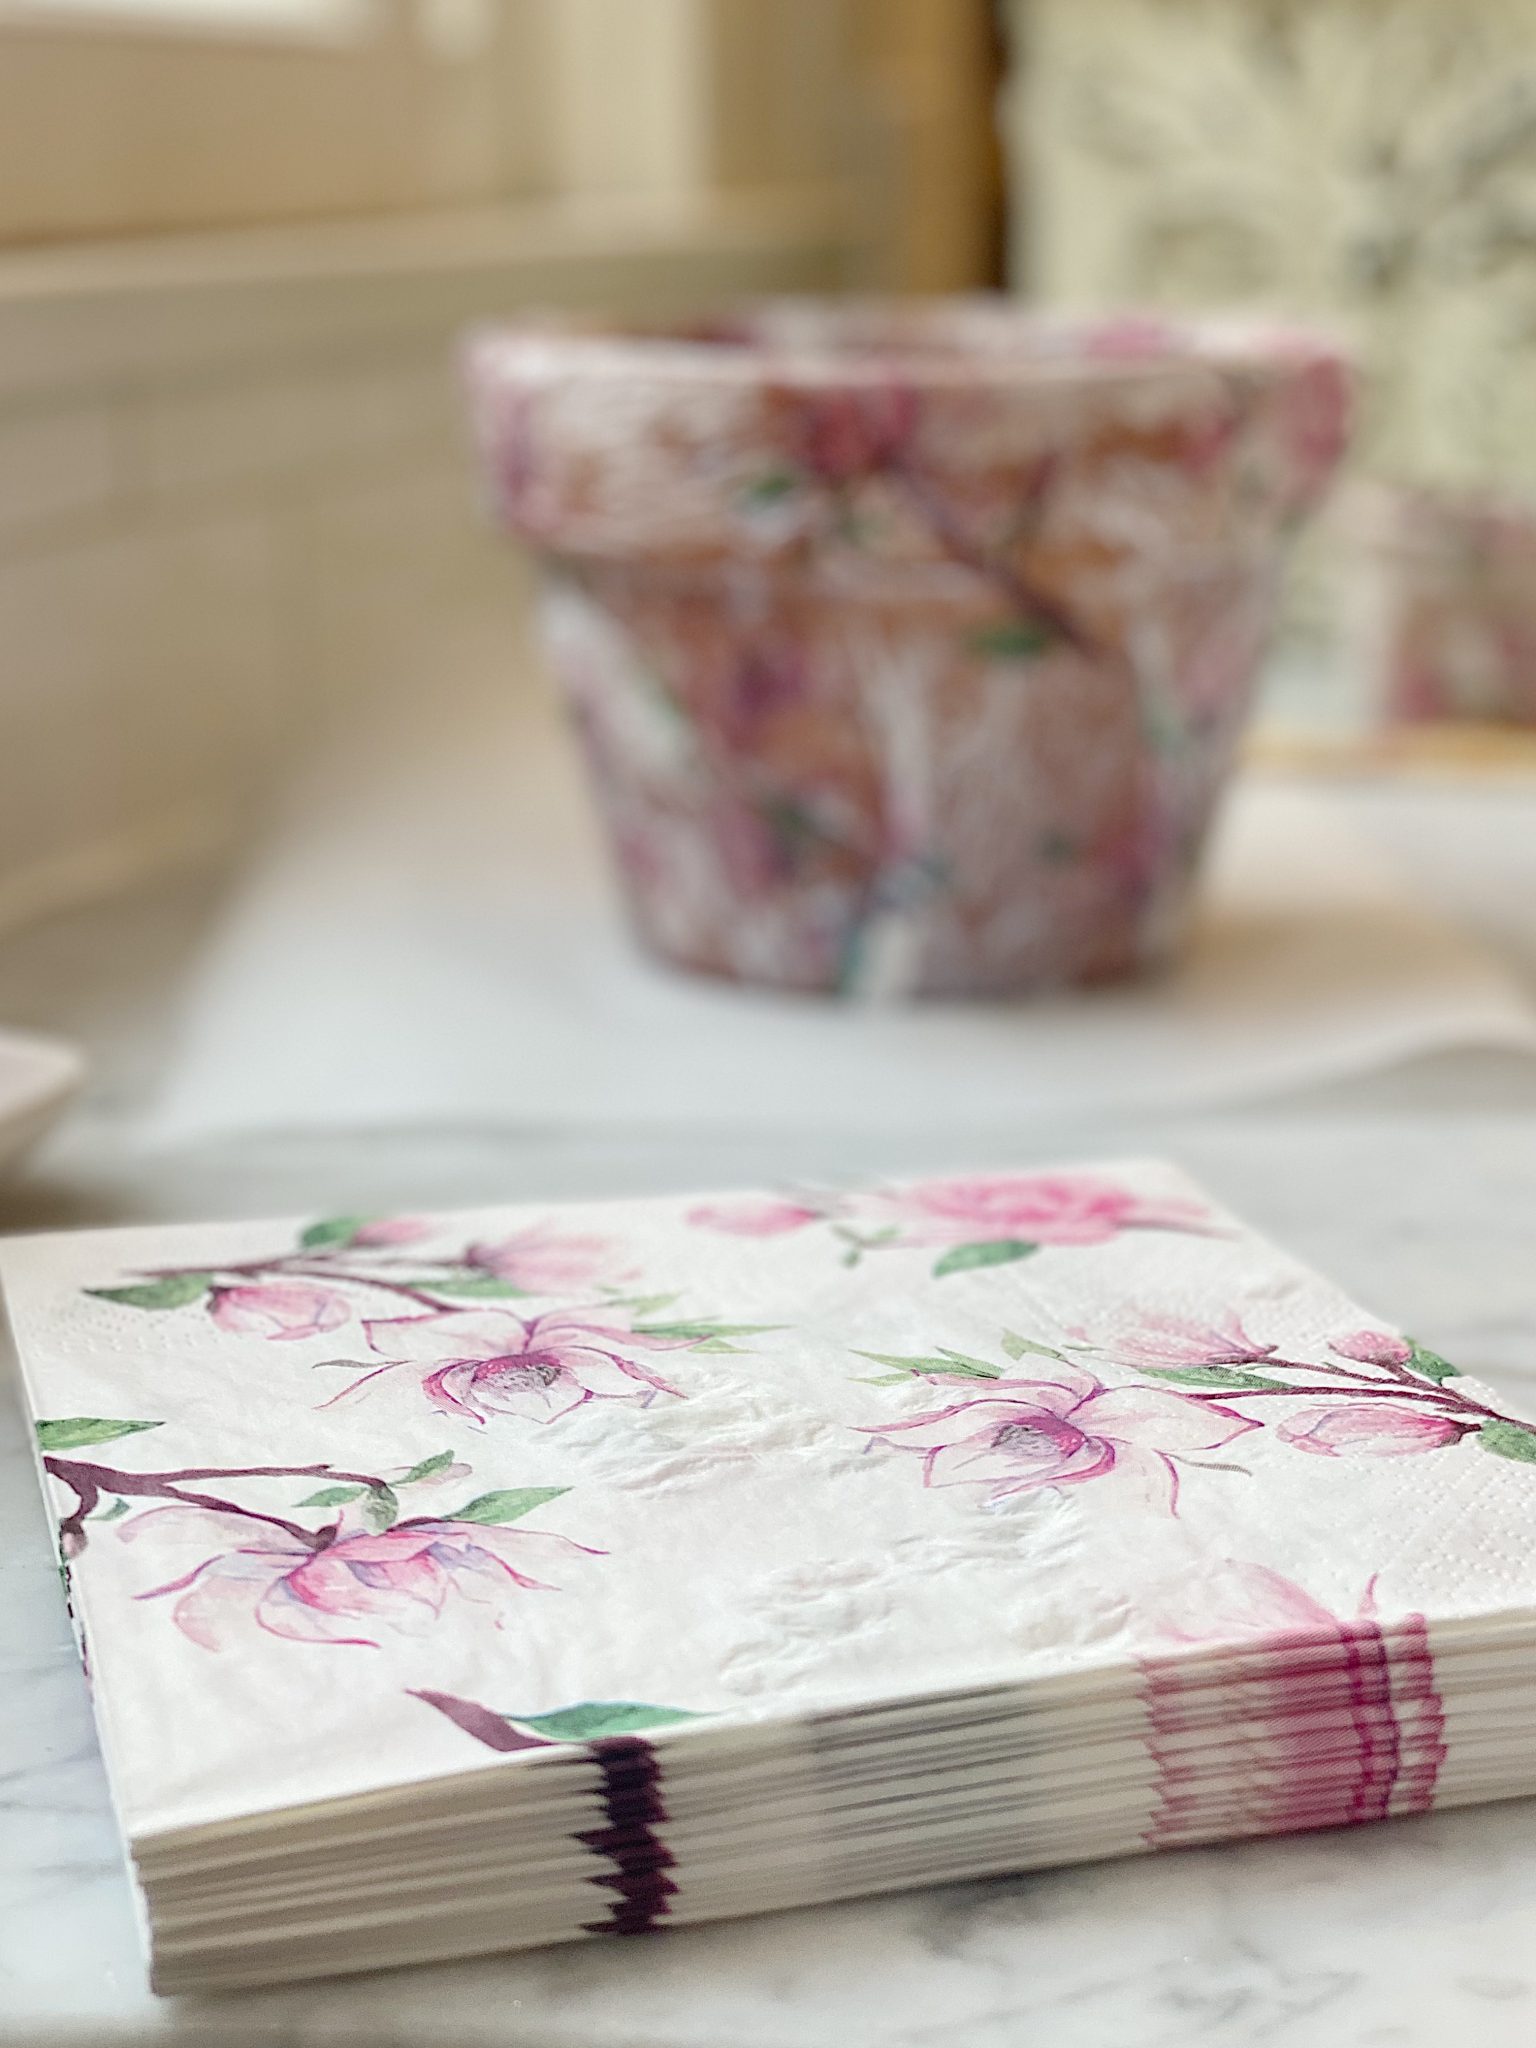
- two – Prepare the napkins: Open the napkins and separate the layers. Use only the layer of the napkin with the pattern, discarding the other.
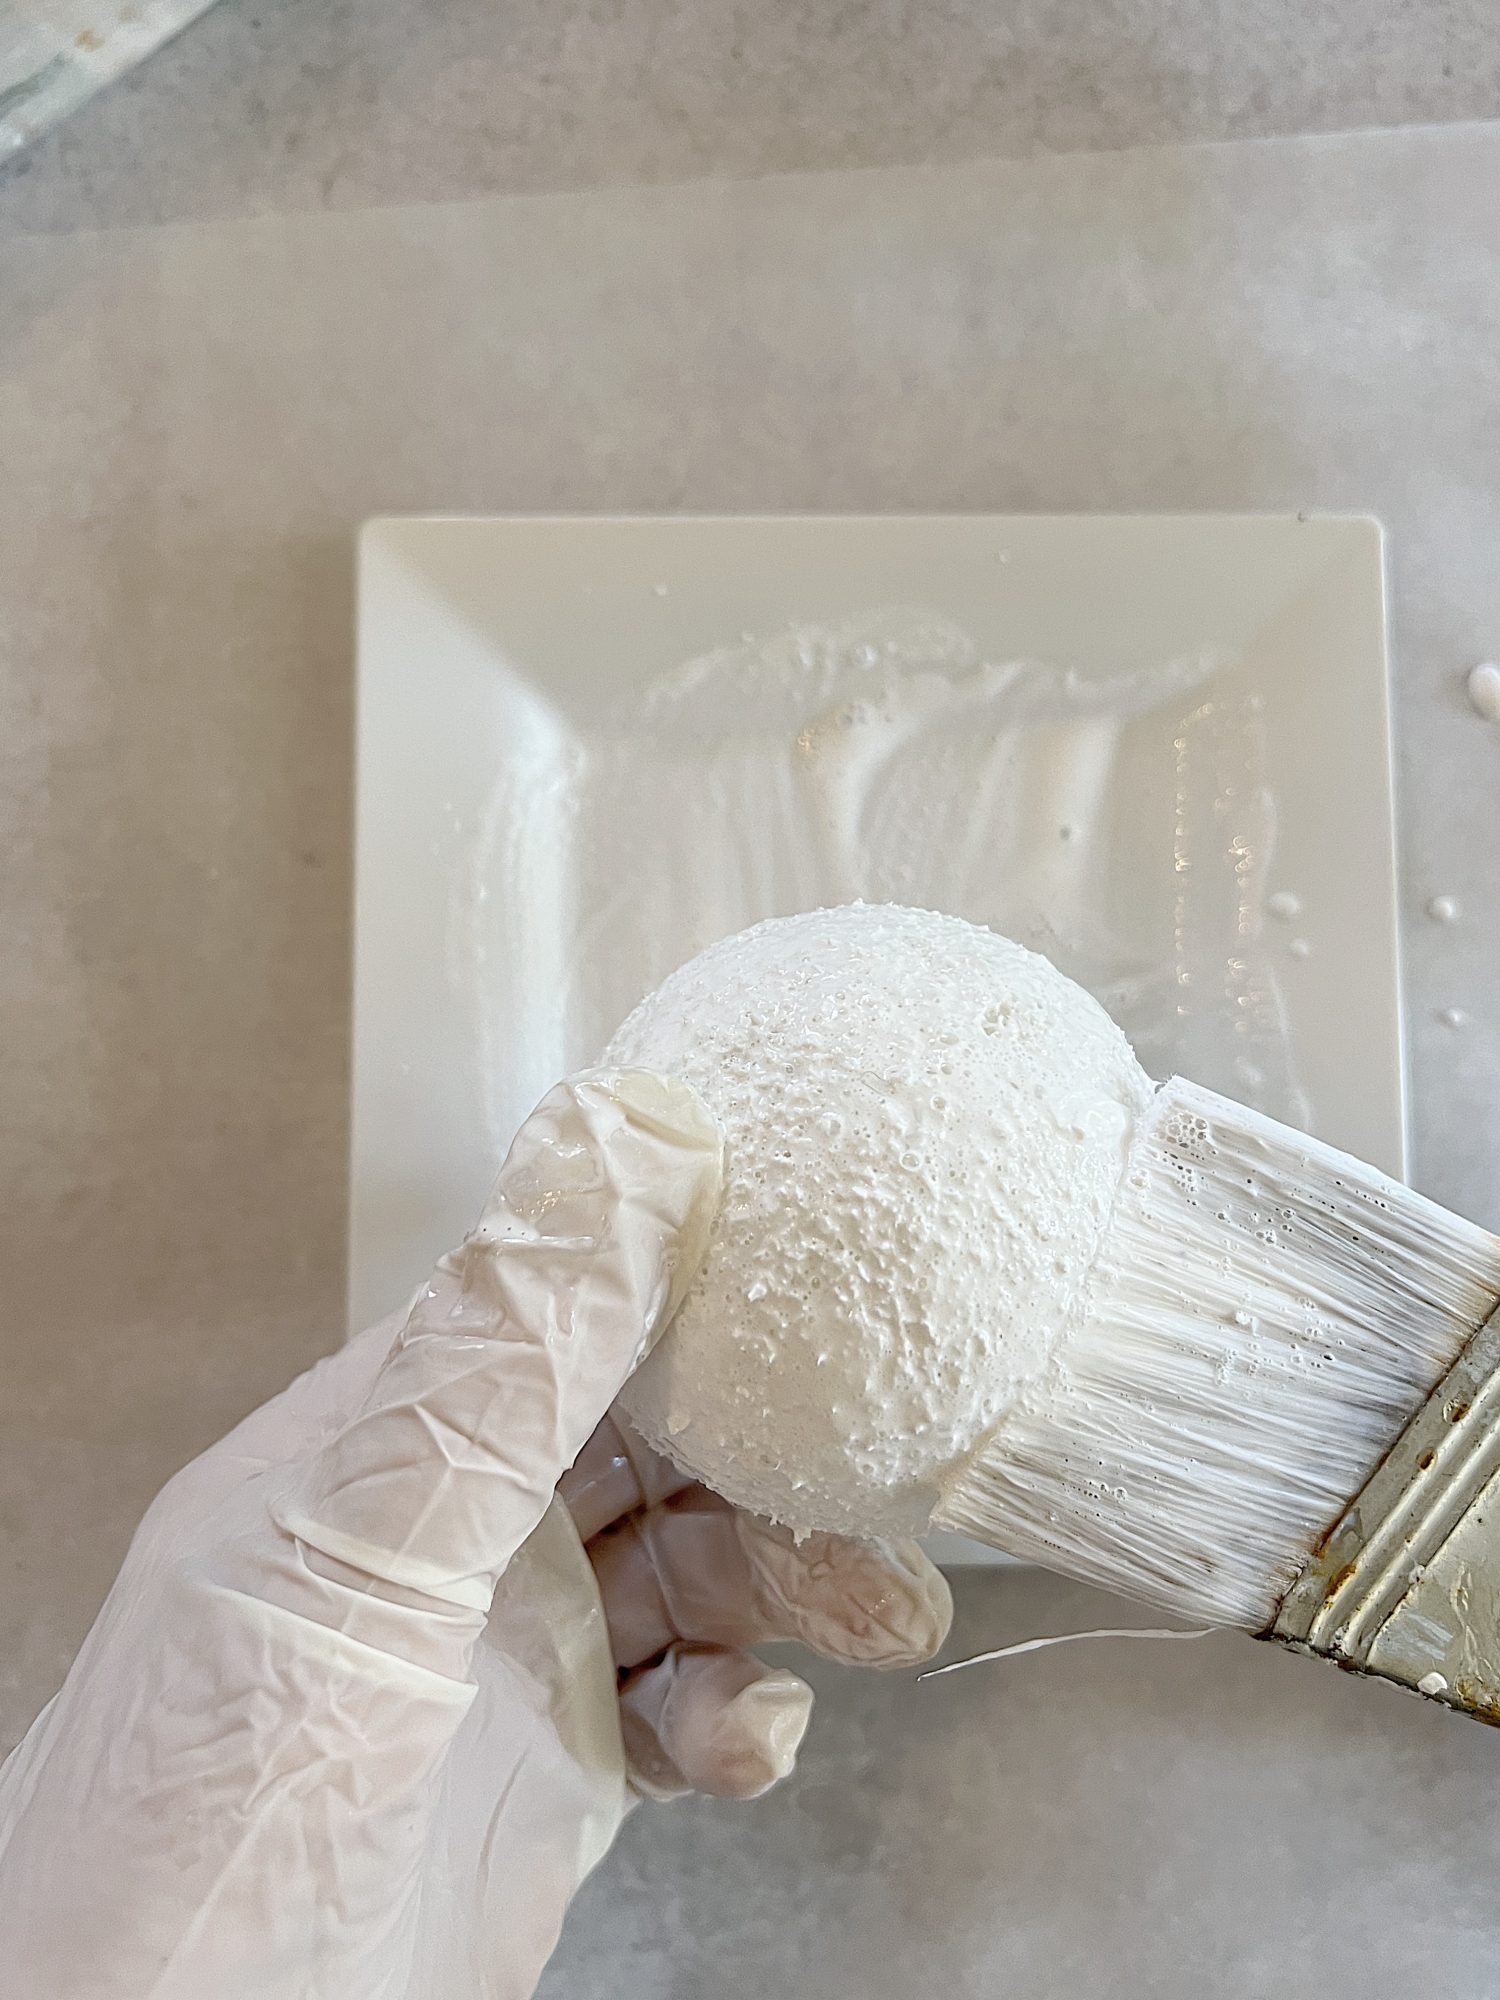
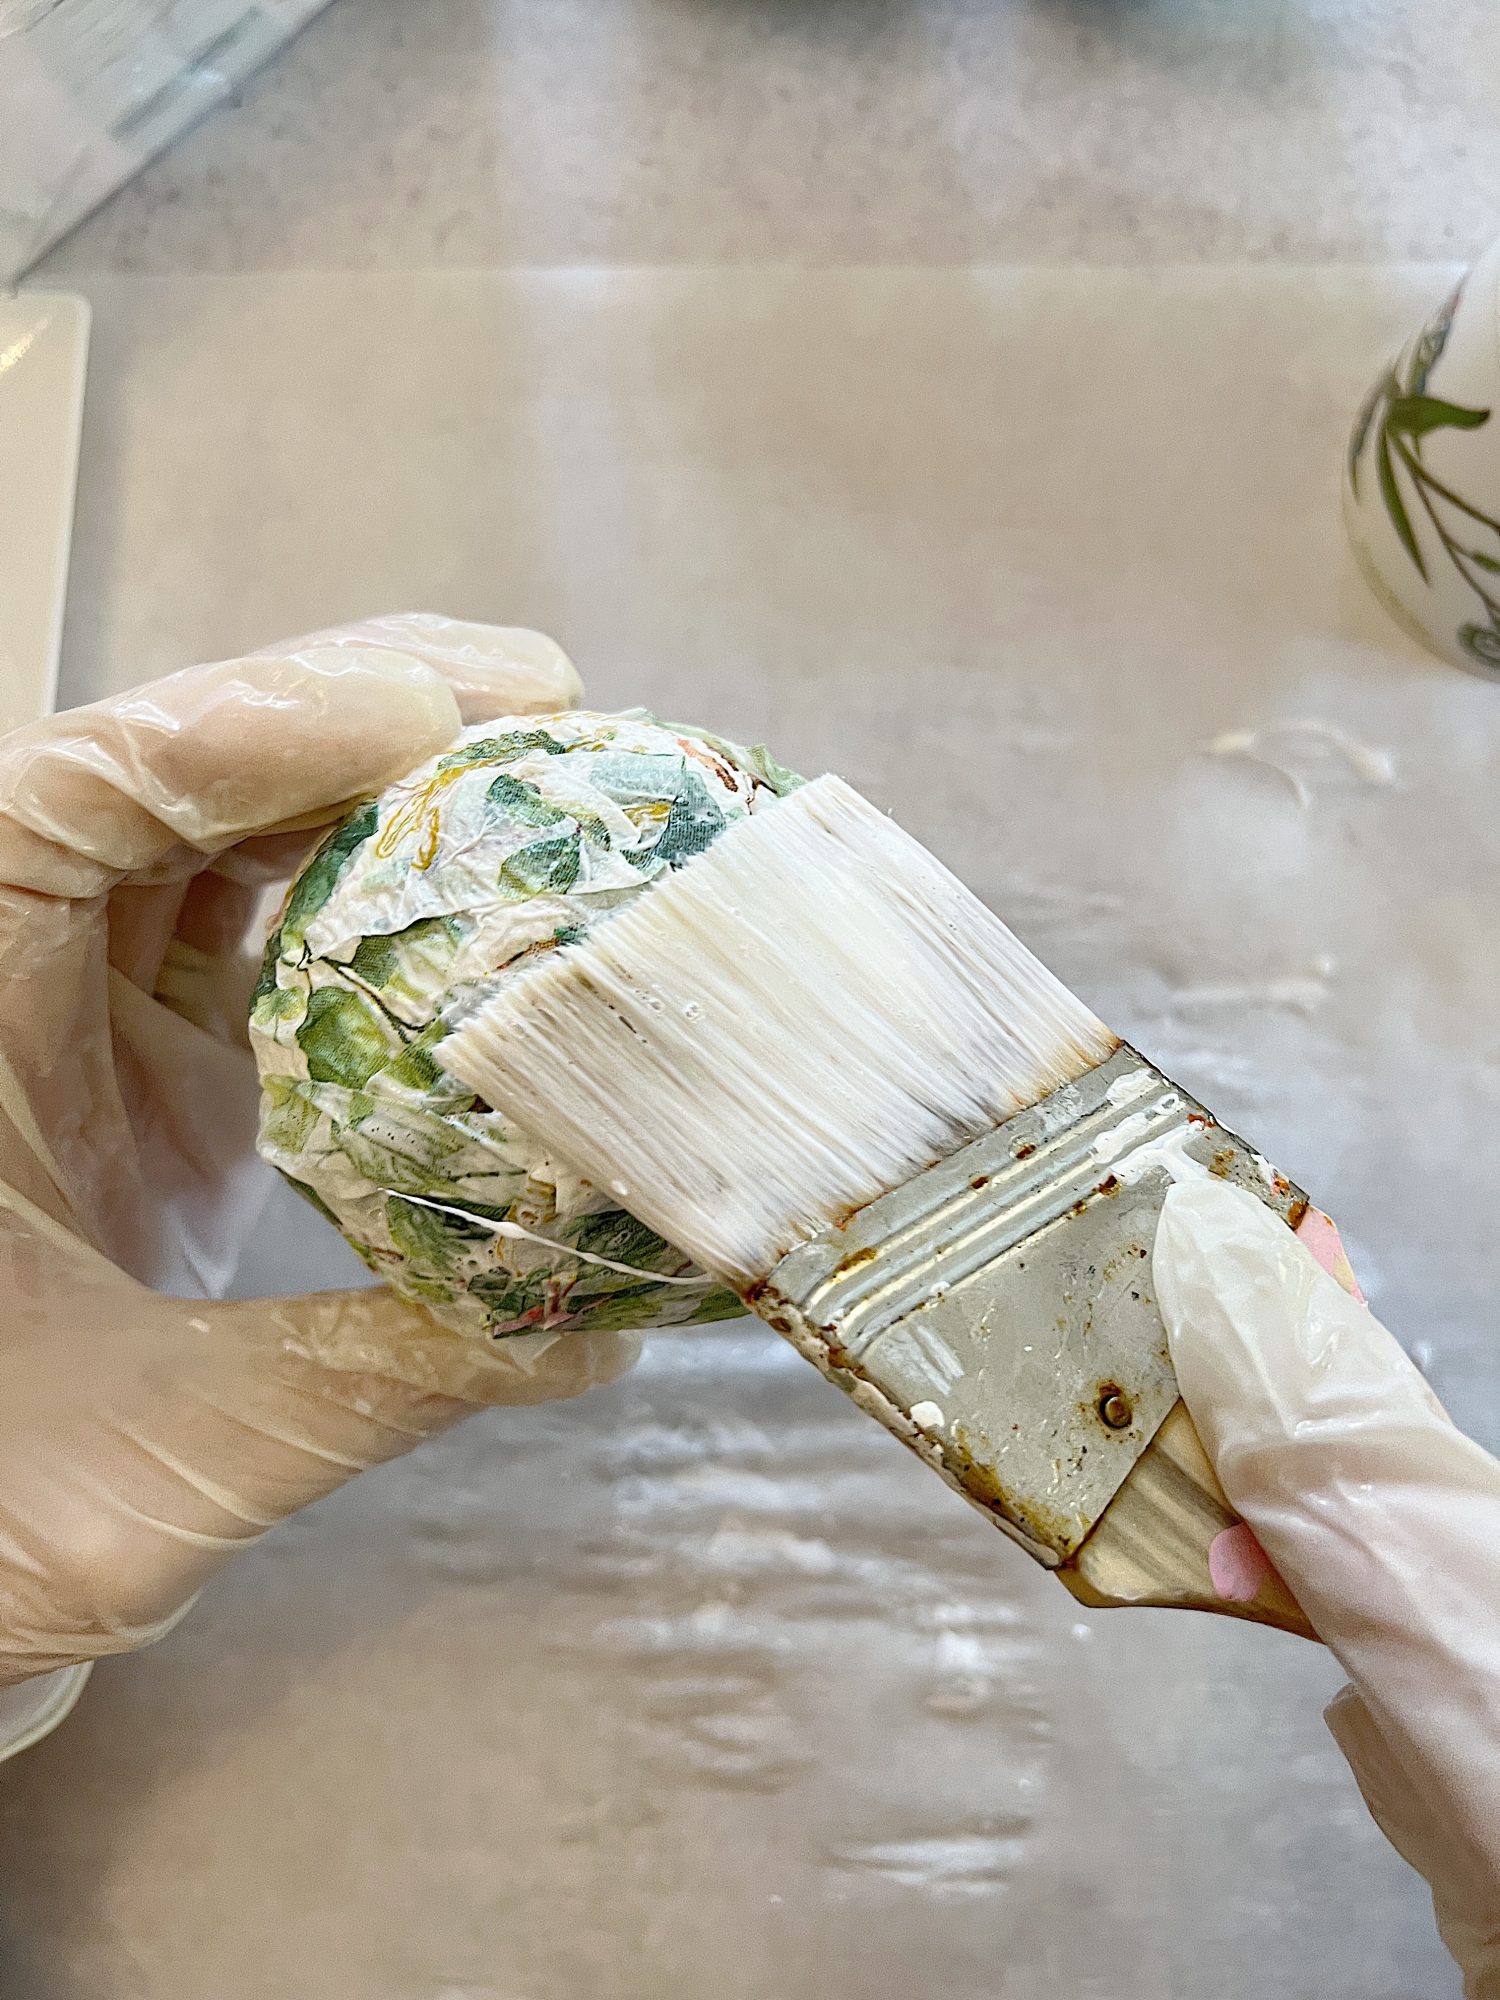
- three – Apply a medium amount of mod podge or white craft glue to the styrofoam ball.
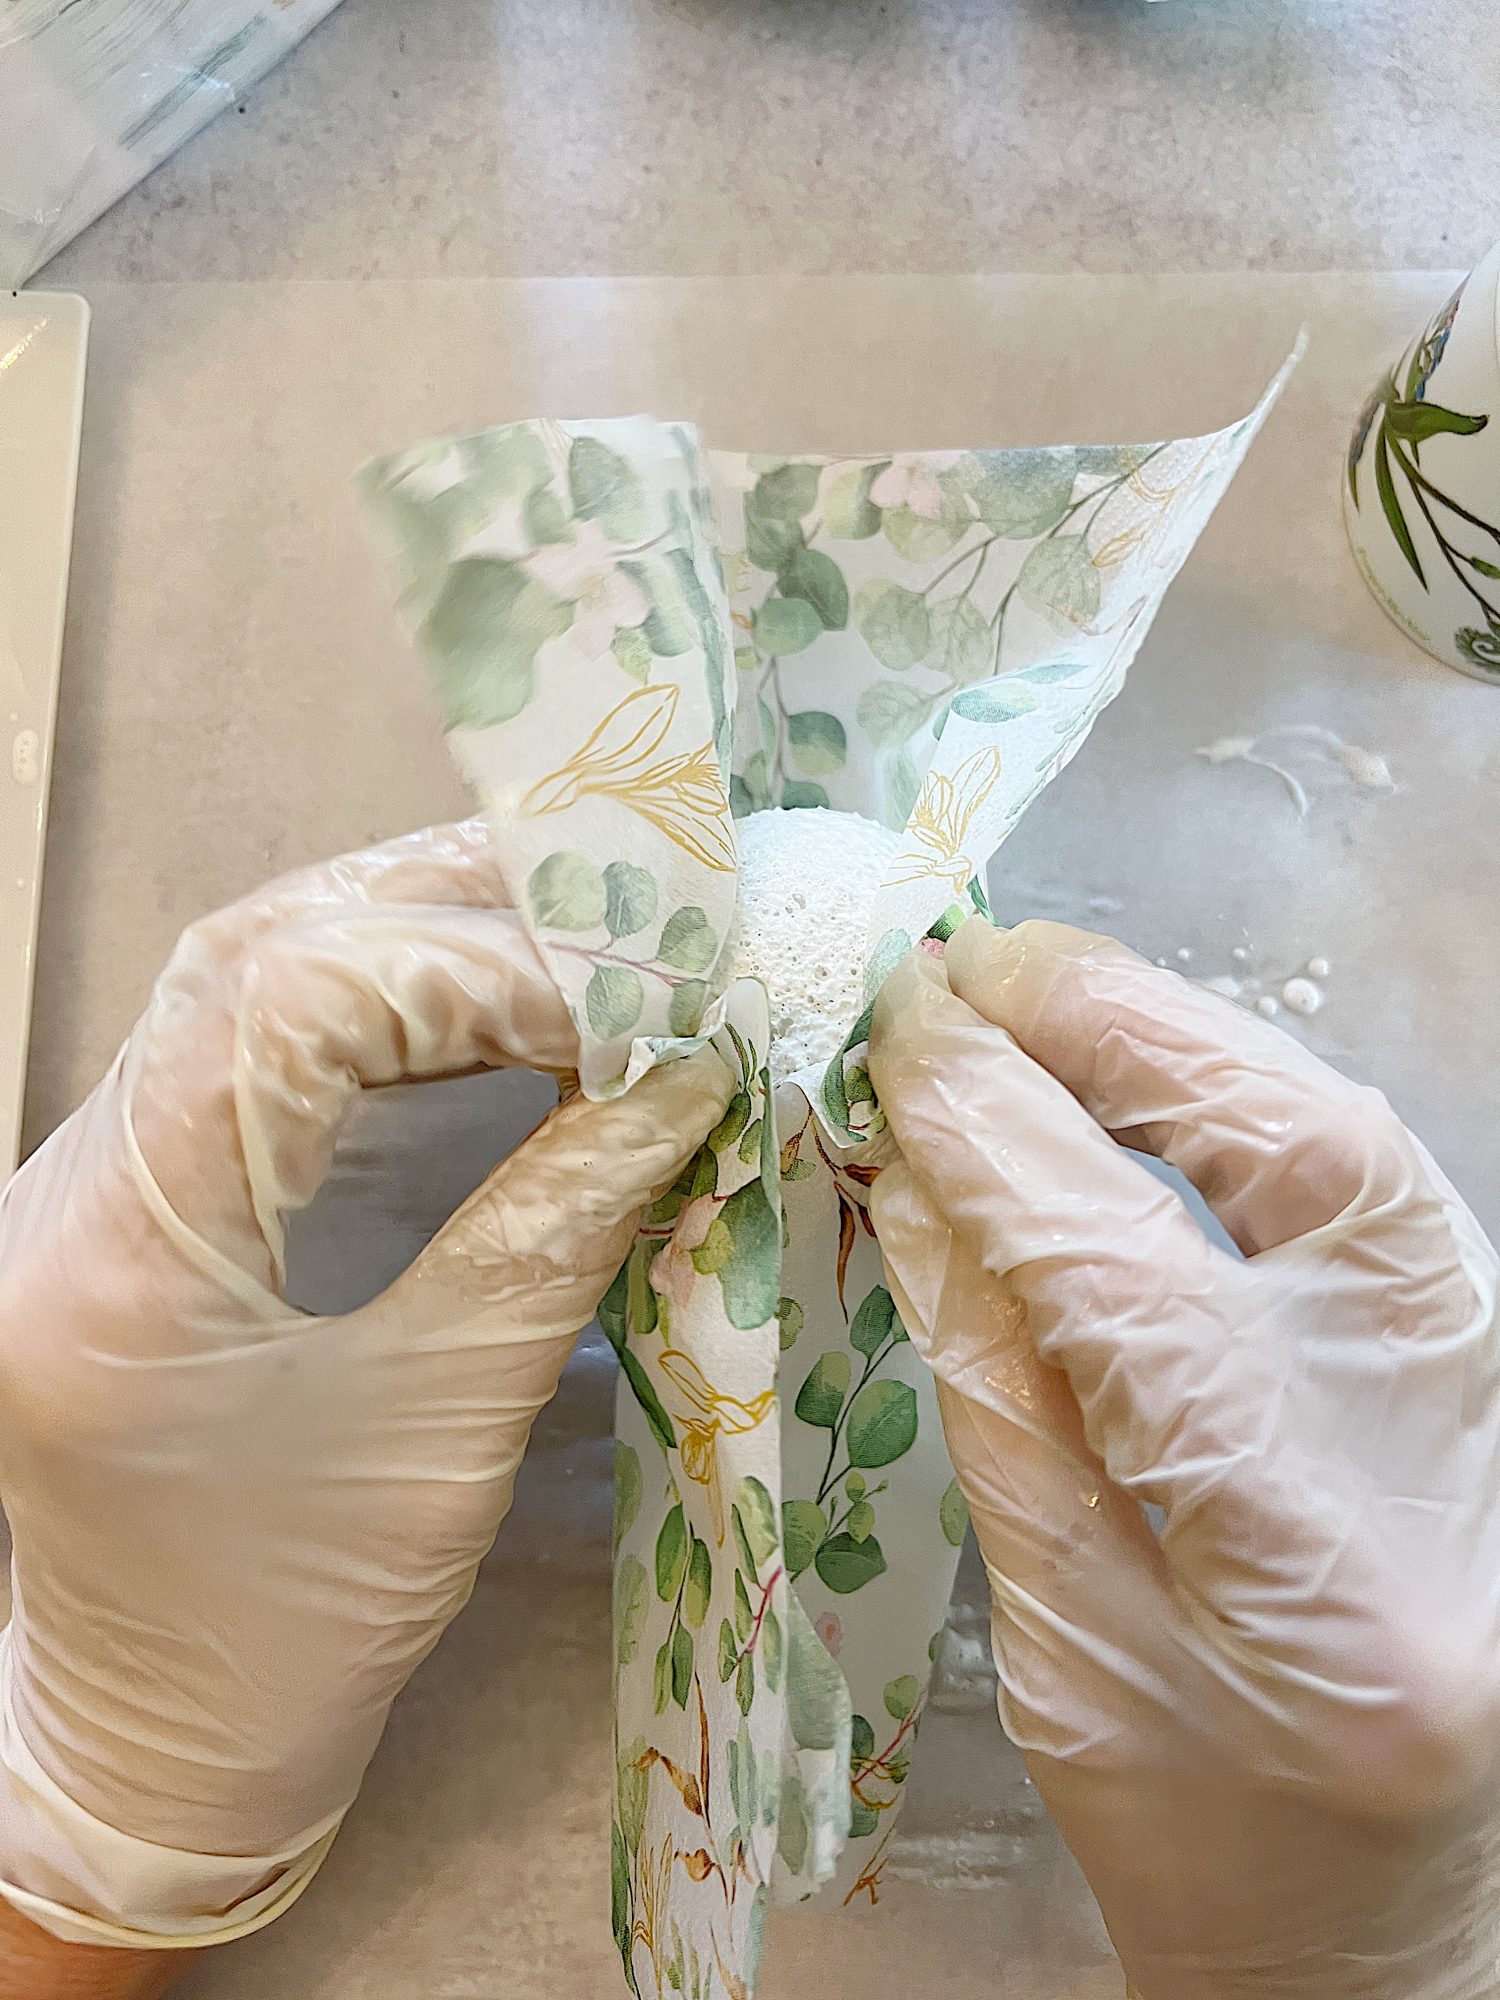
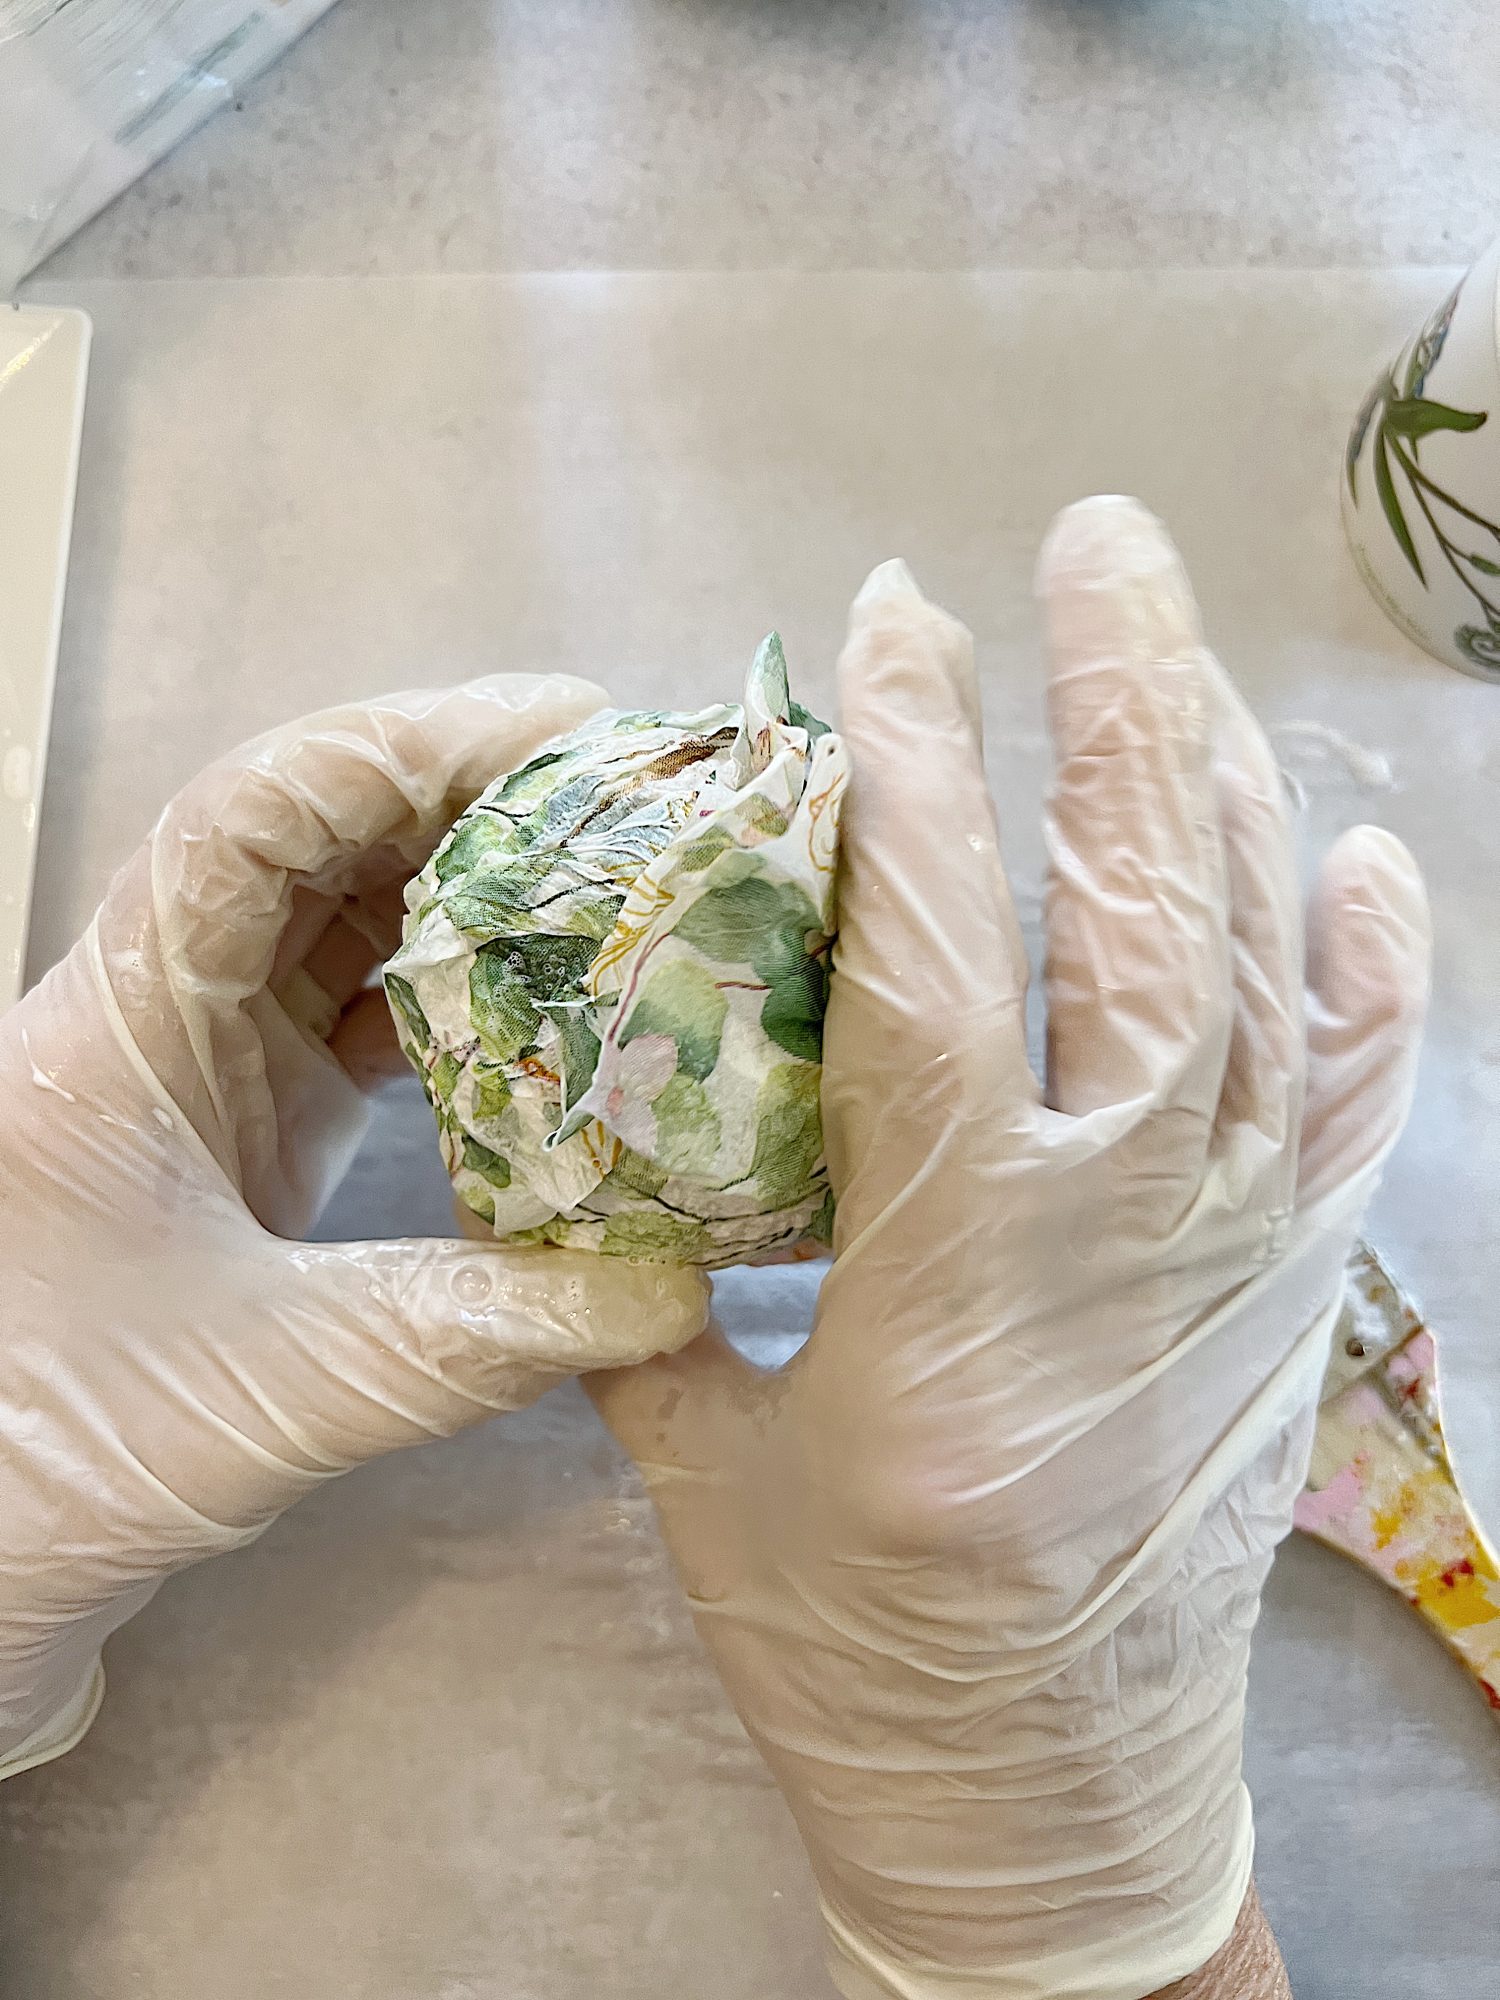
- four – Attach the napkins: Place the napkin onto the glue on the styrofoam ball.
- five – Smooth them out as you go.
- six – Continue until the ball is covered.

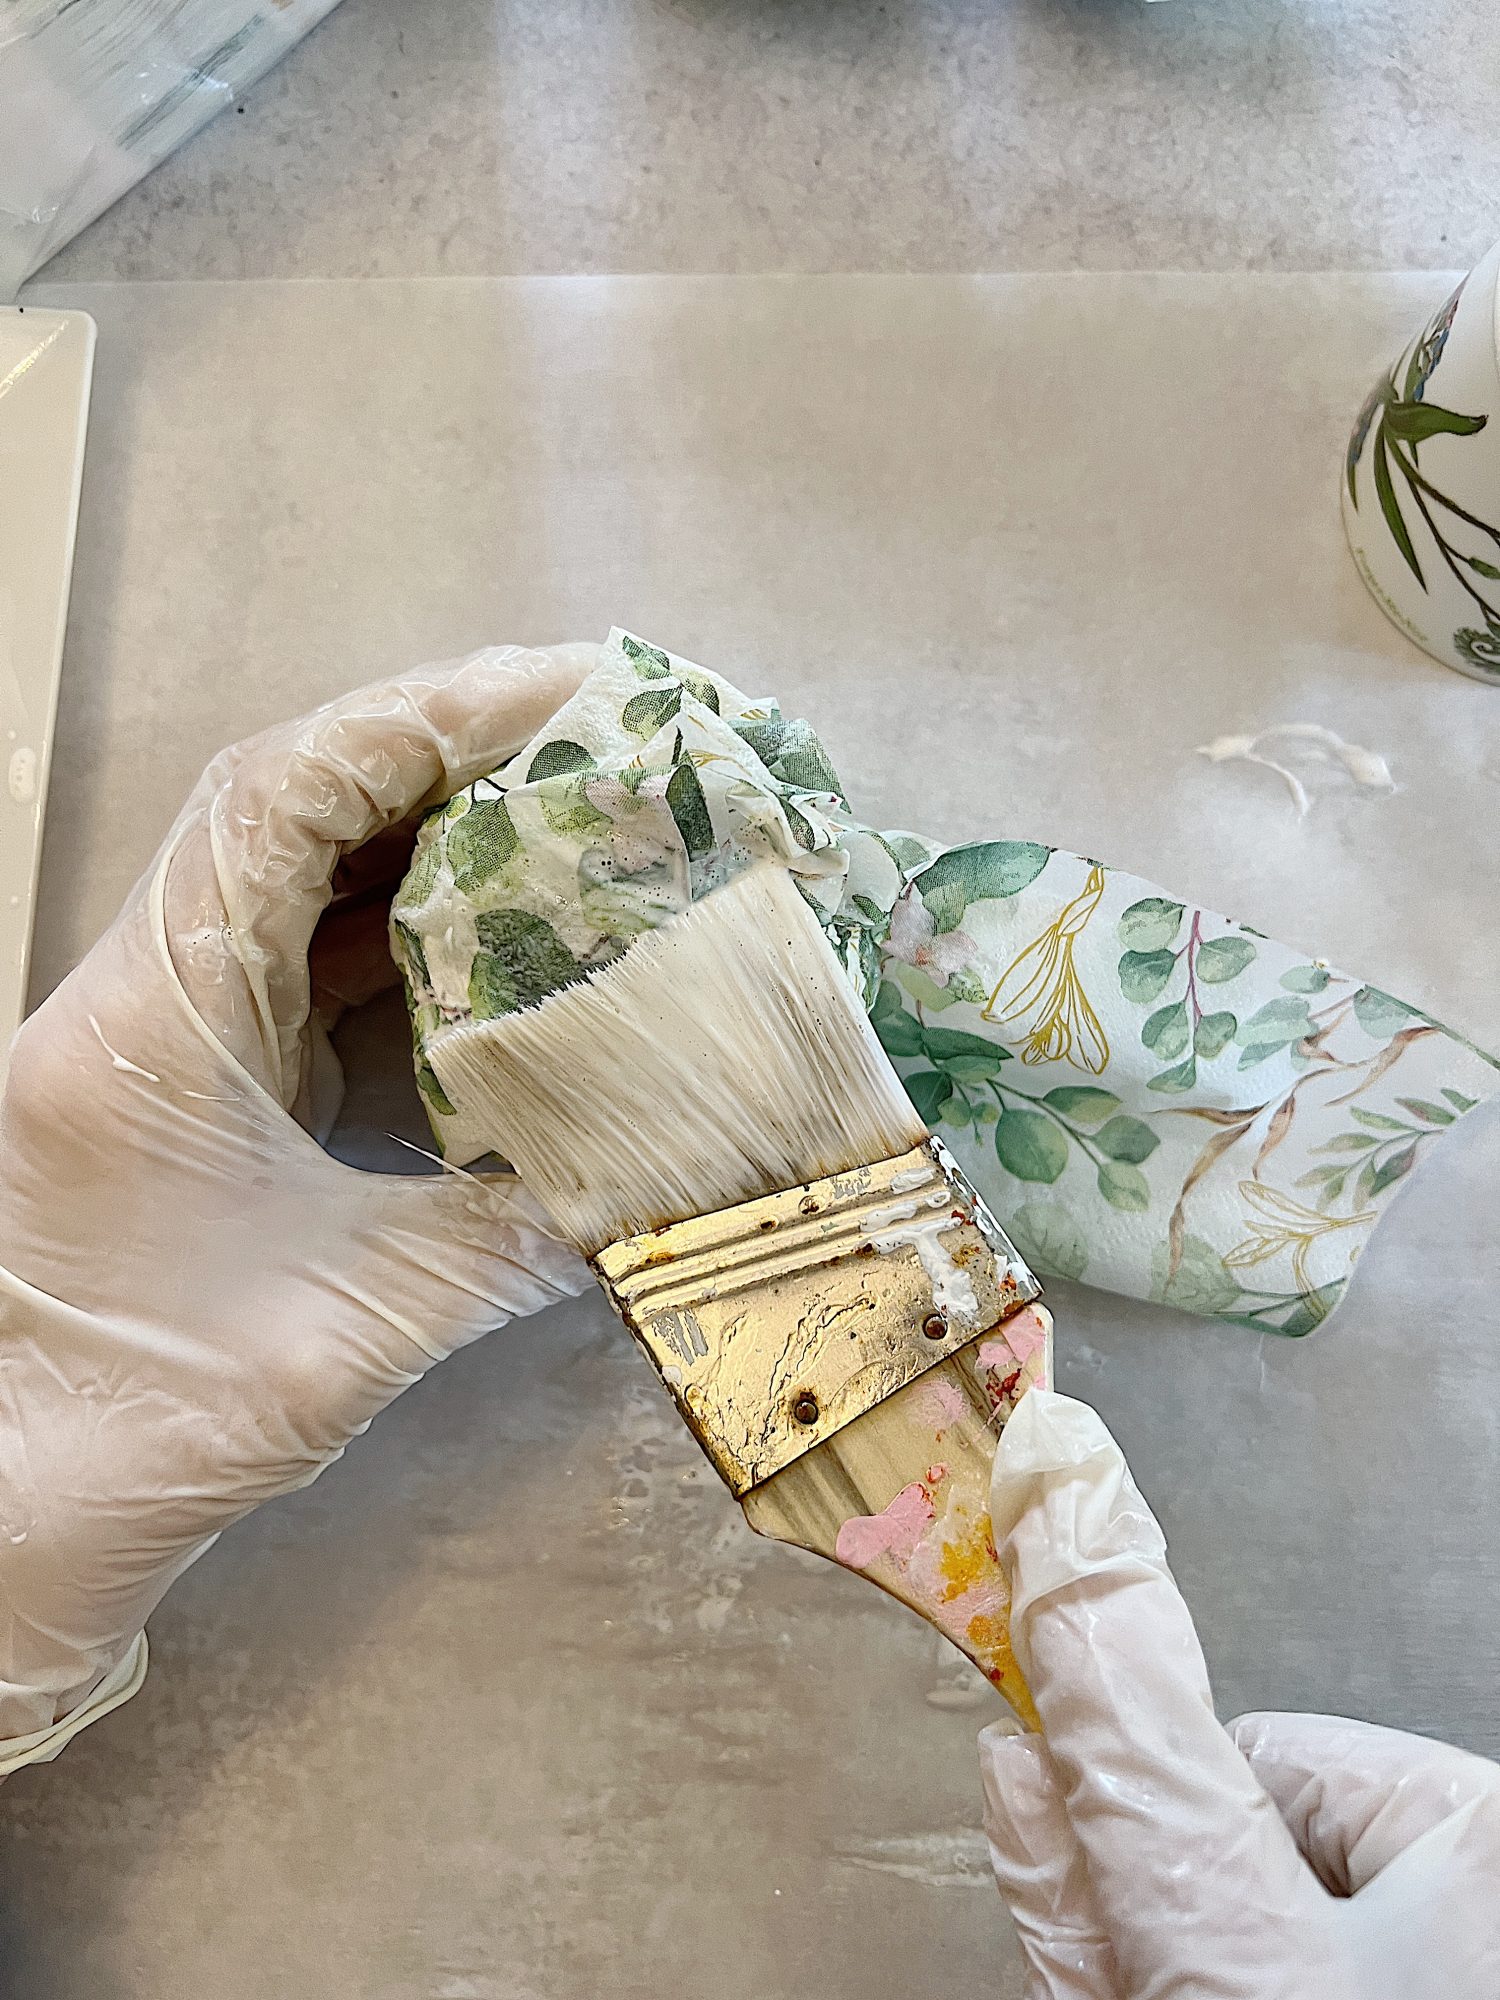
- Continue to apply glue and attach napkin pieces until the entire ball is covered.
- Allow the glue to dry completely, before handling the ball.
- Repeat this process for all the styrofoam balls you wish to cover.
Once the decoupaged ball is dry, add a layer of mod podge gloss to seal the ball and add some shine.
On this blog, I may sometimes use affiliate links, which means a small commission is earned if you make a purchase via the link. The price will be the same whether you use the affiliate link or go directly to the vendor’s website using a non-affiliate link.


If you are enjoying my blog, you can sign up to receive my blog updates here.
.How to Decorate with Winter Decoupage Decor Balls
Decorating your house with decor balls can be a fun and creative way to add interest and personality to your space.
Here are a few ideas for how to decorate your house with decoupage decor balls.
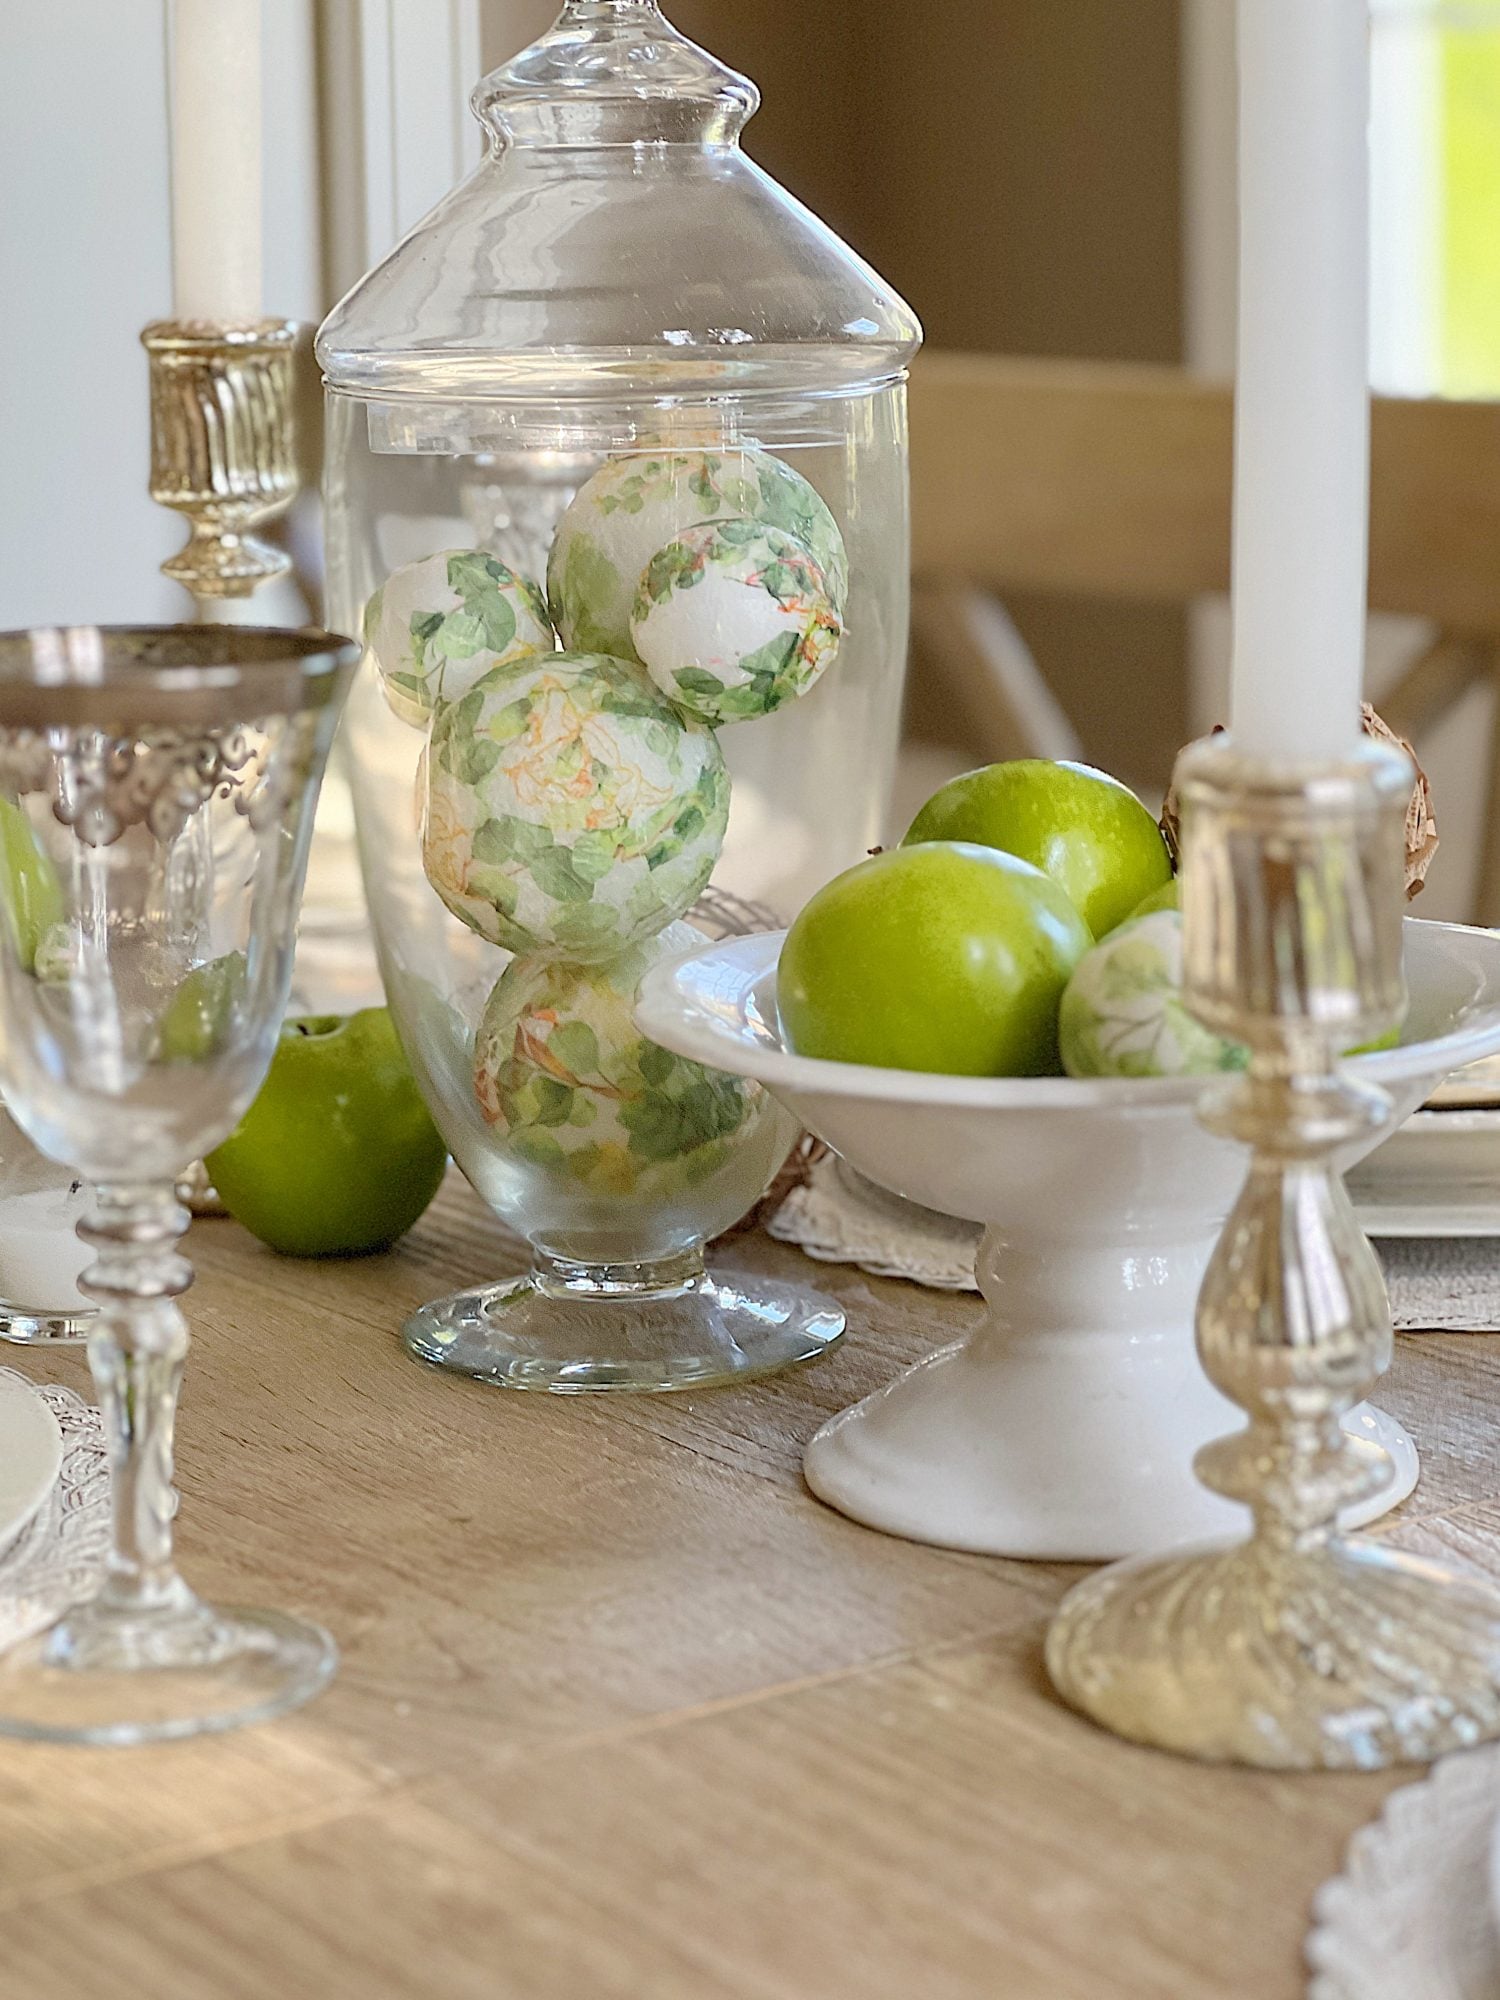
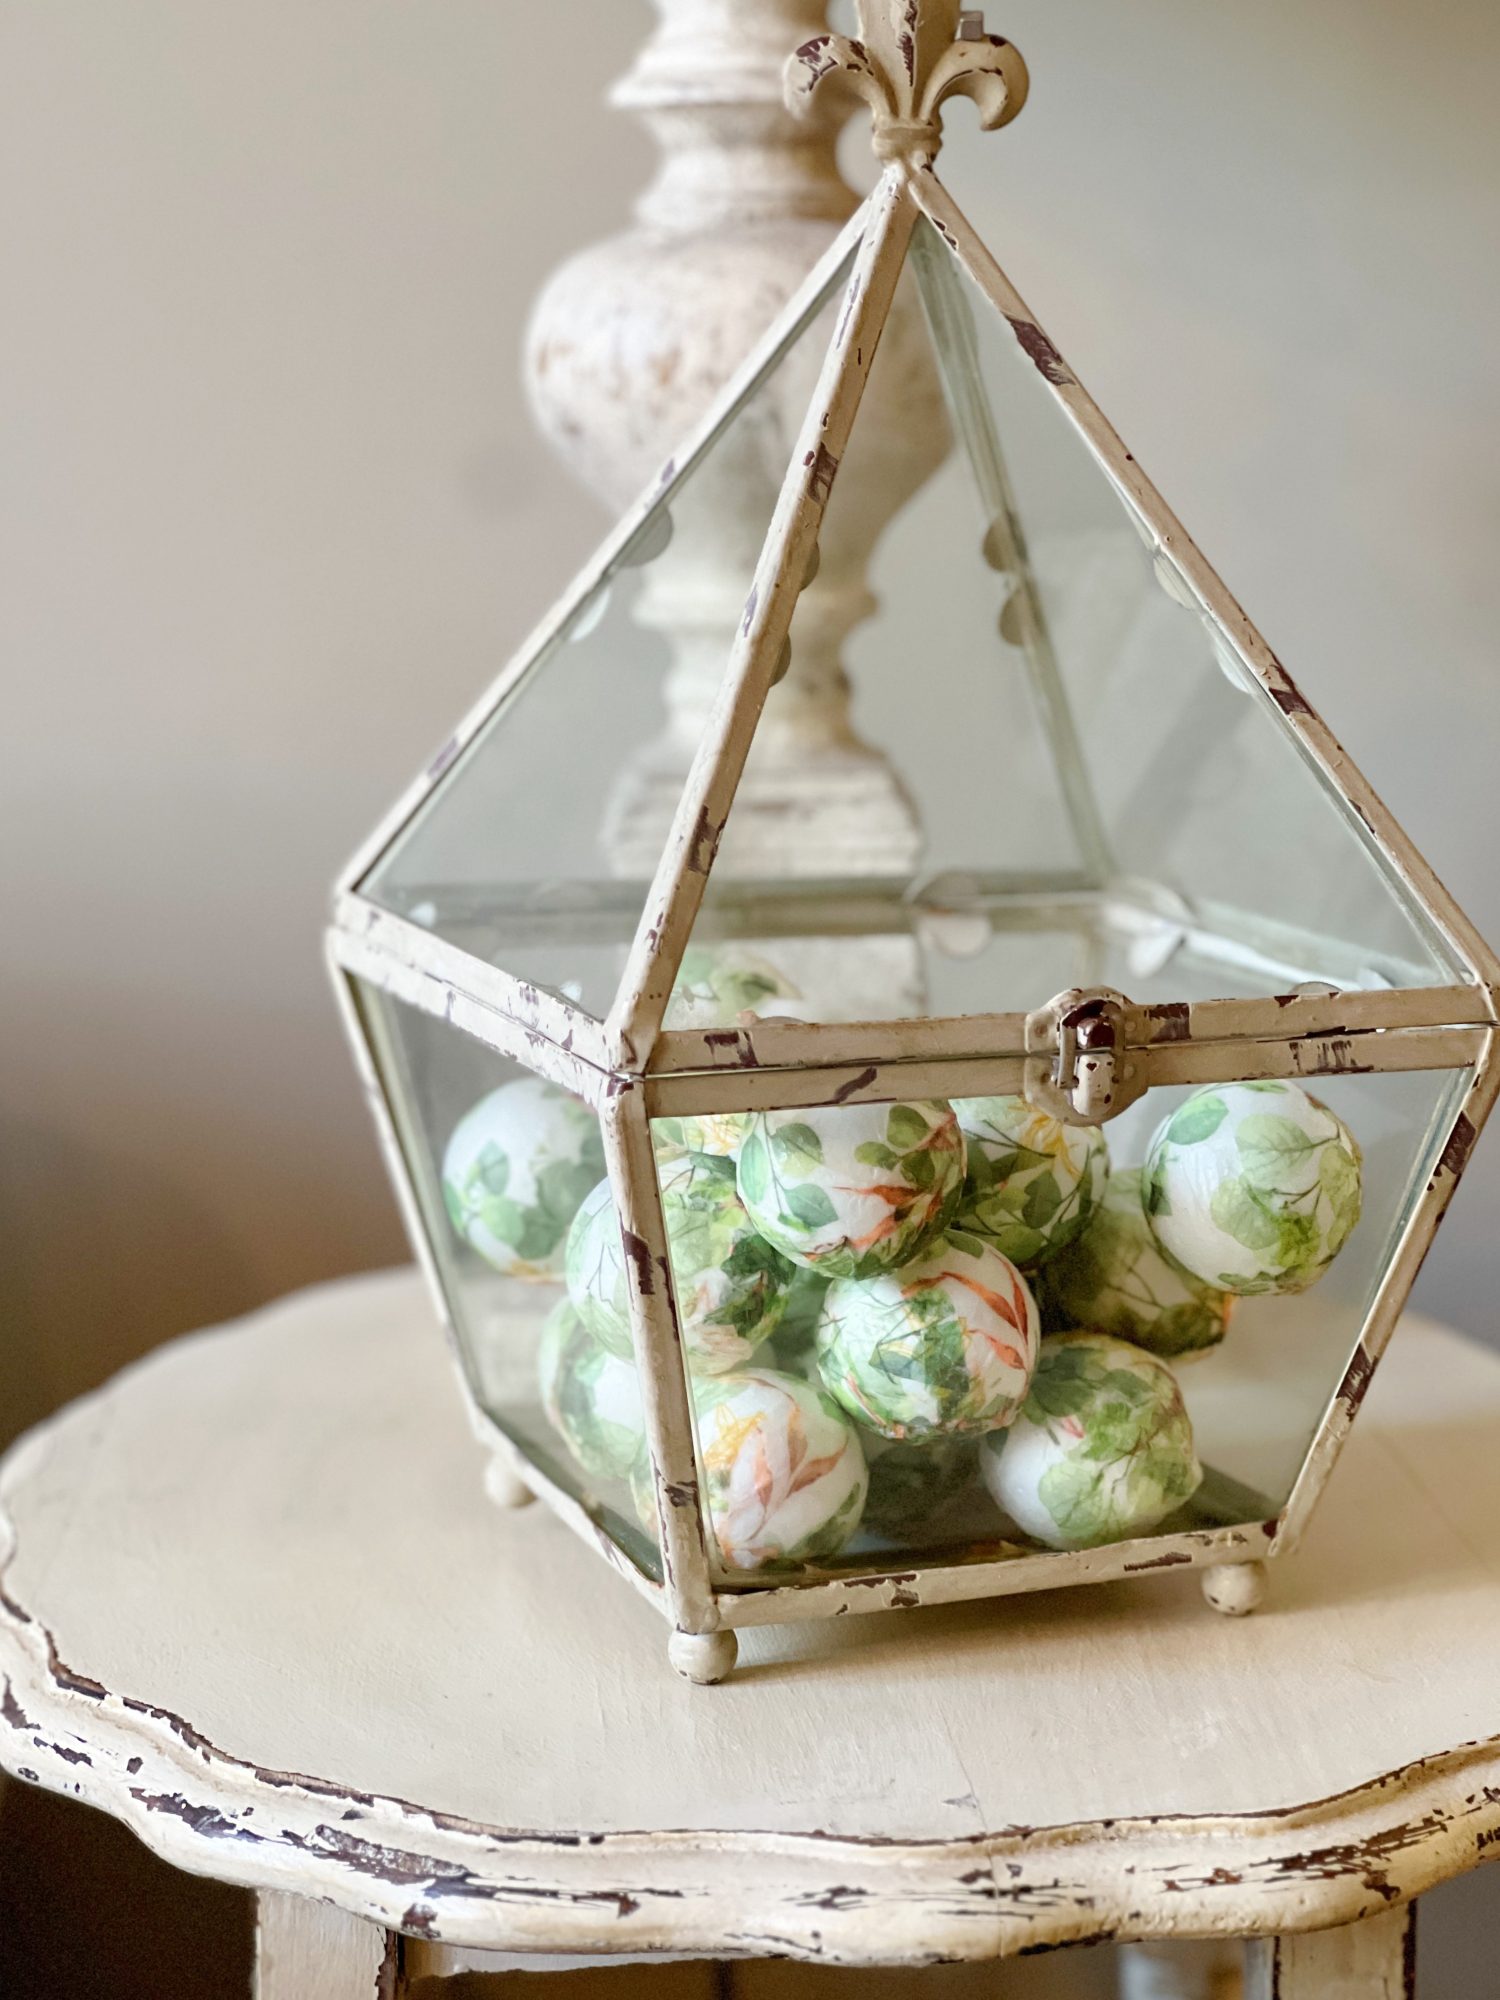
Add Them to a Container
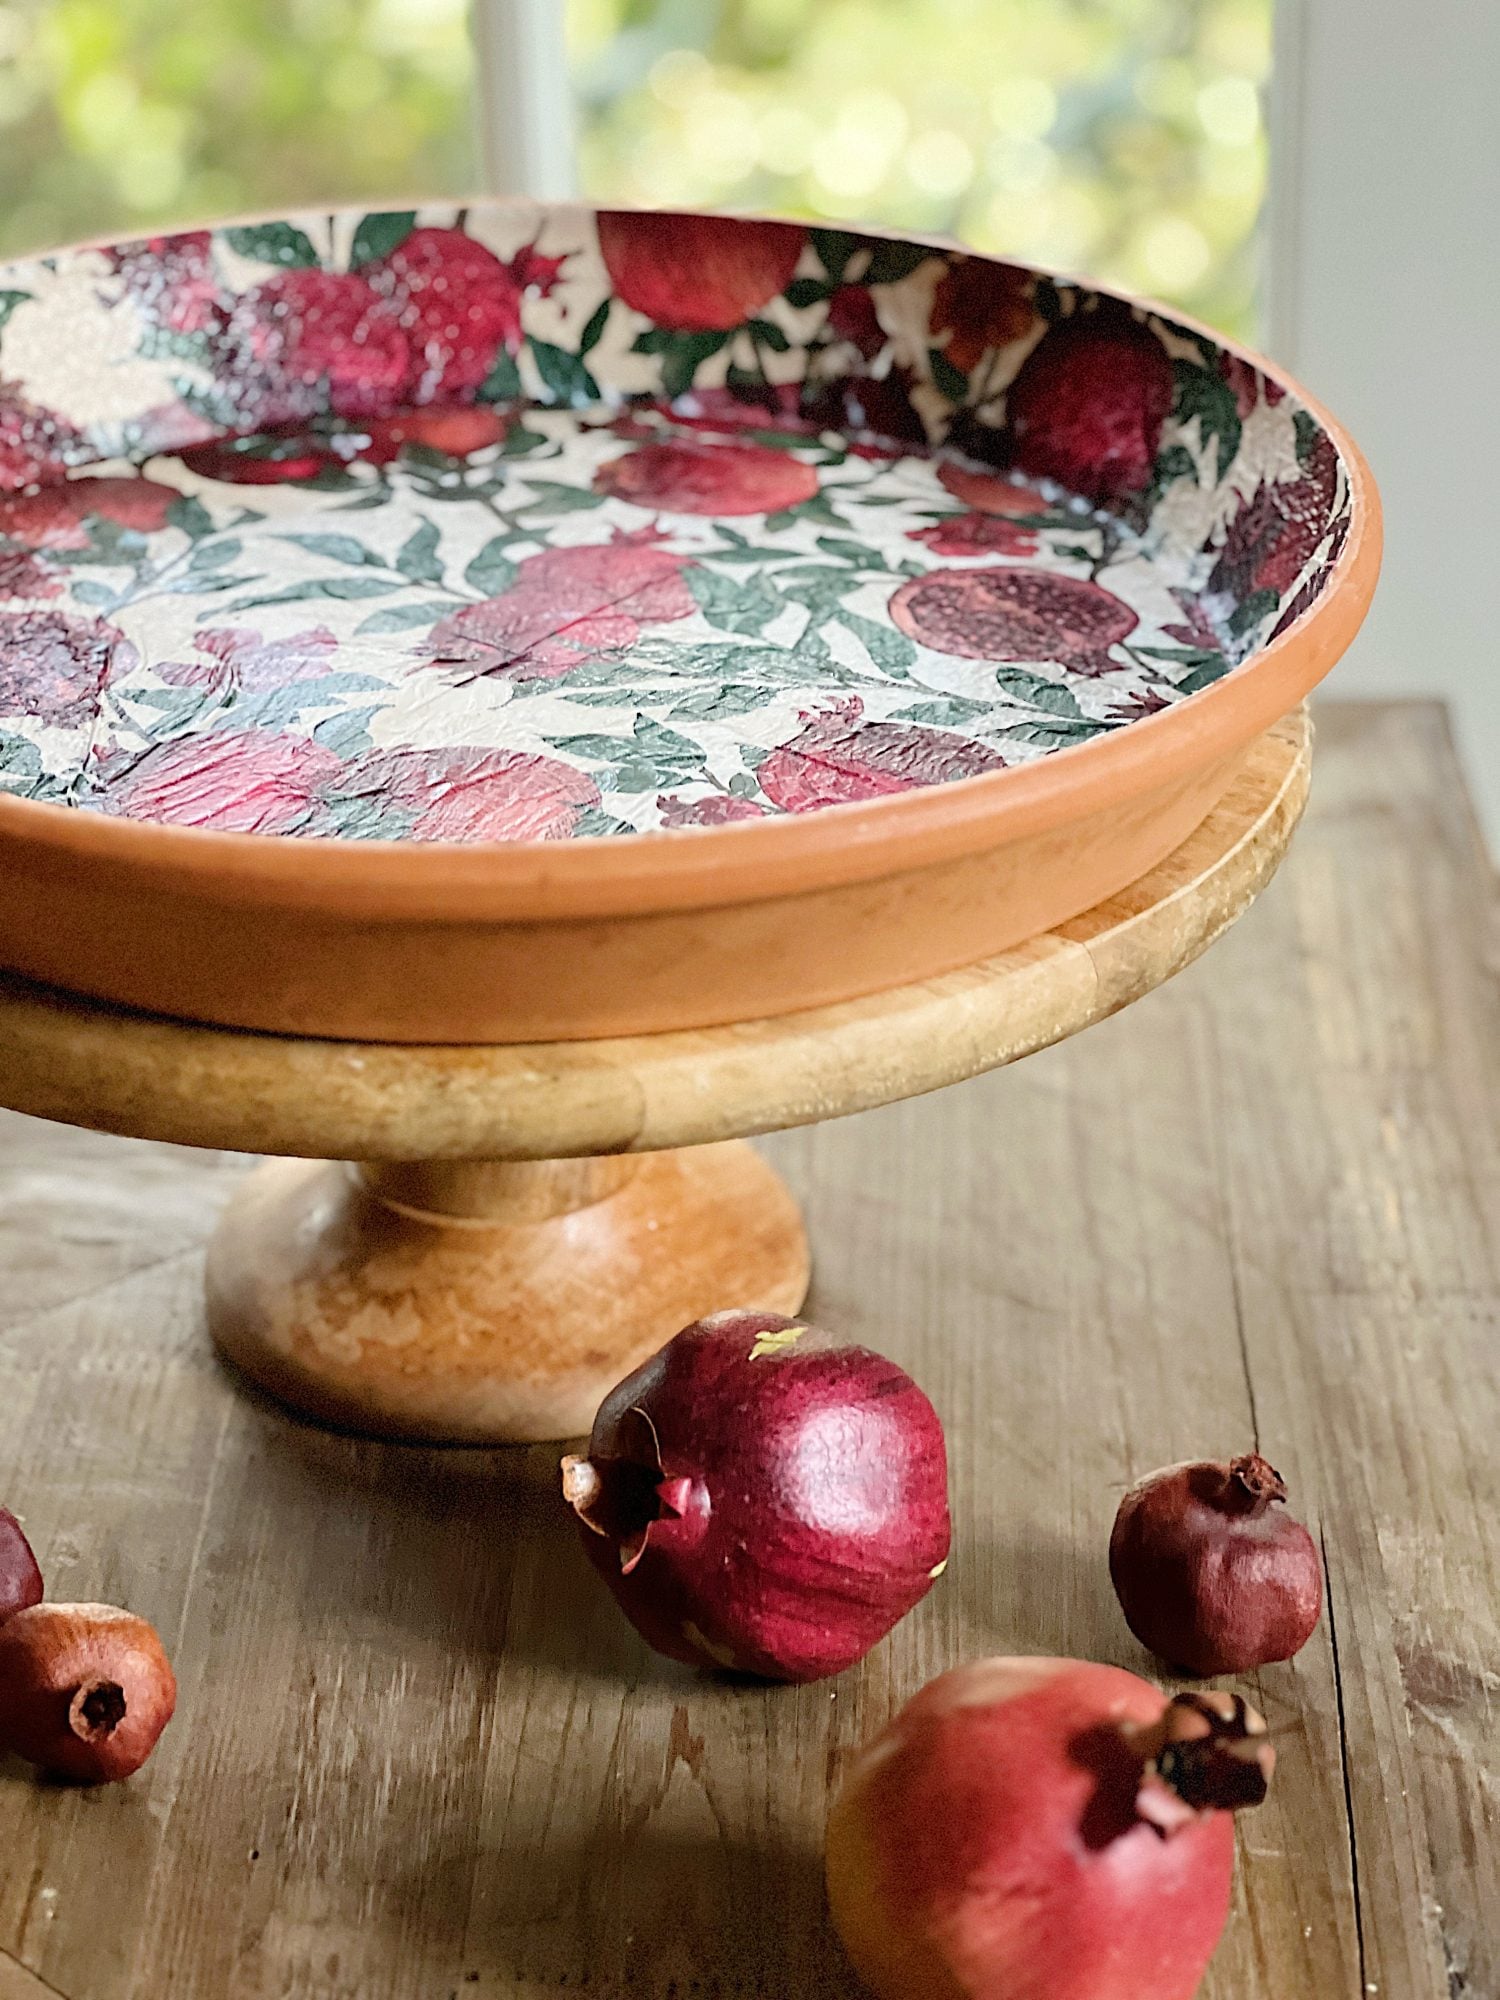
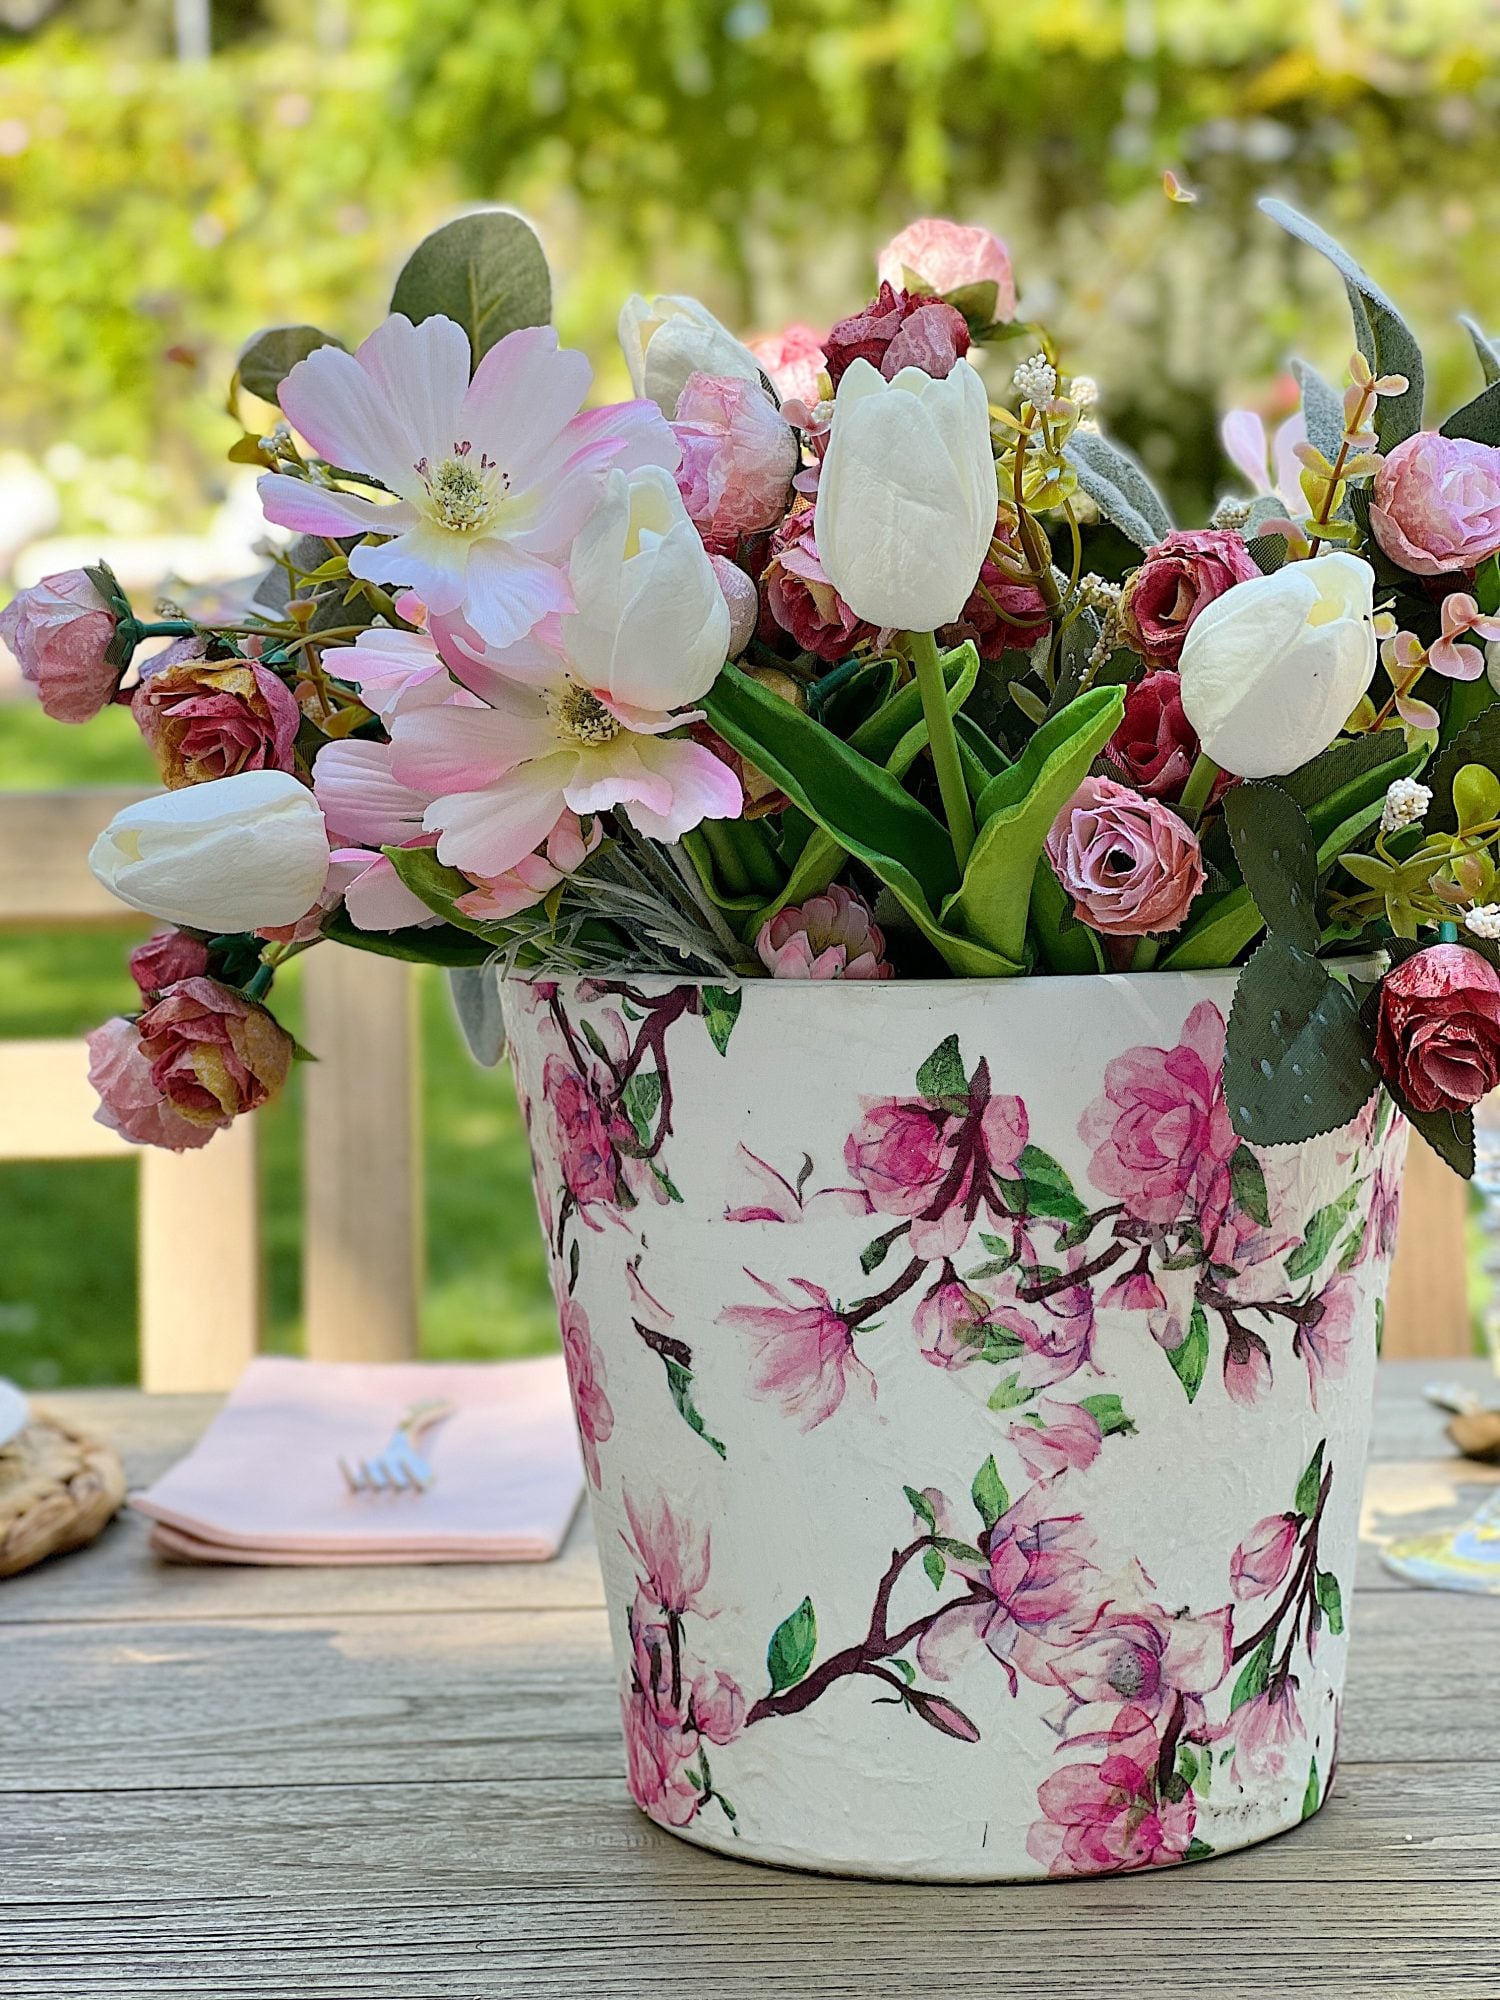
Display them in a fun container: Use a bowl or vase (or terrarium as I did here) to create a unique display on a coffee table, side table, or mantel. Decor balls add an interesting and unique display that adds color and texture to a room.


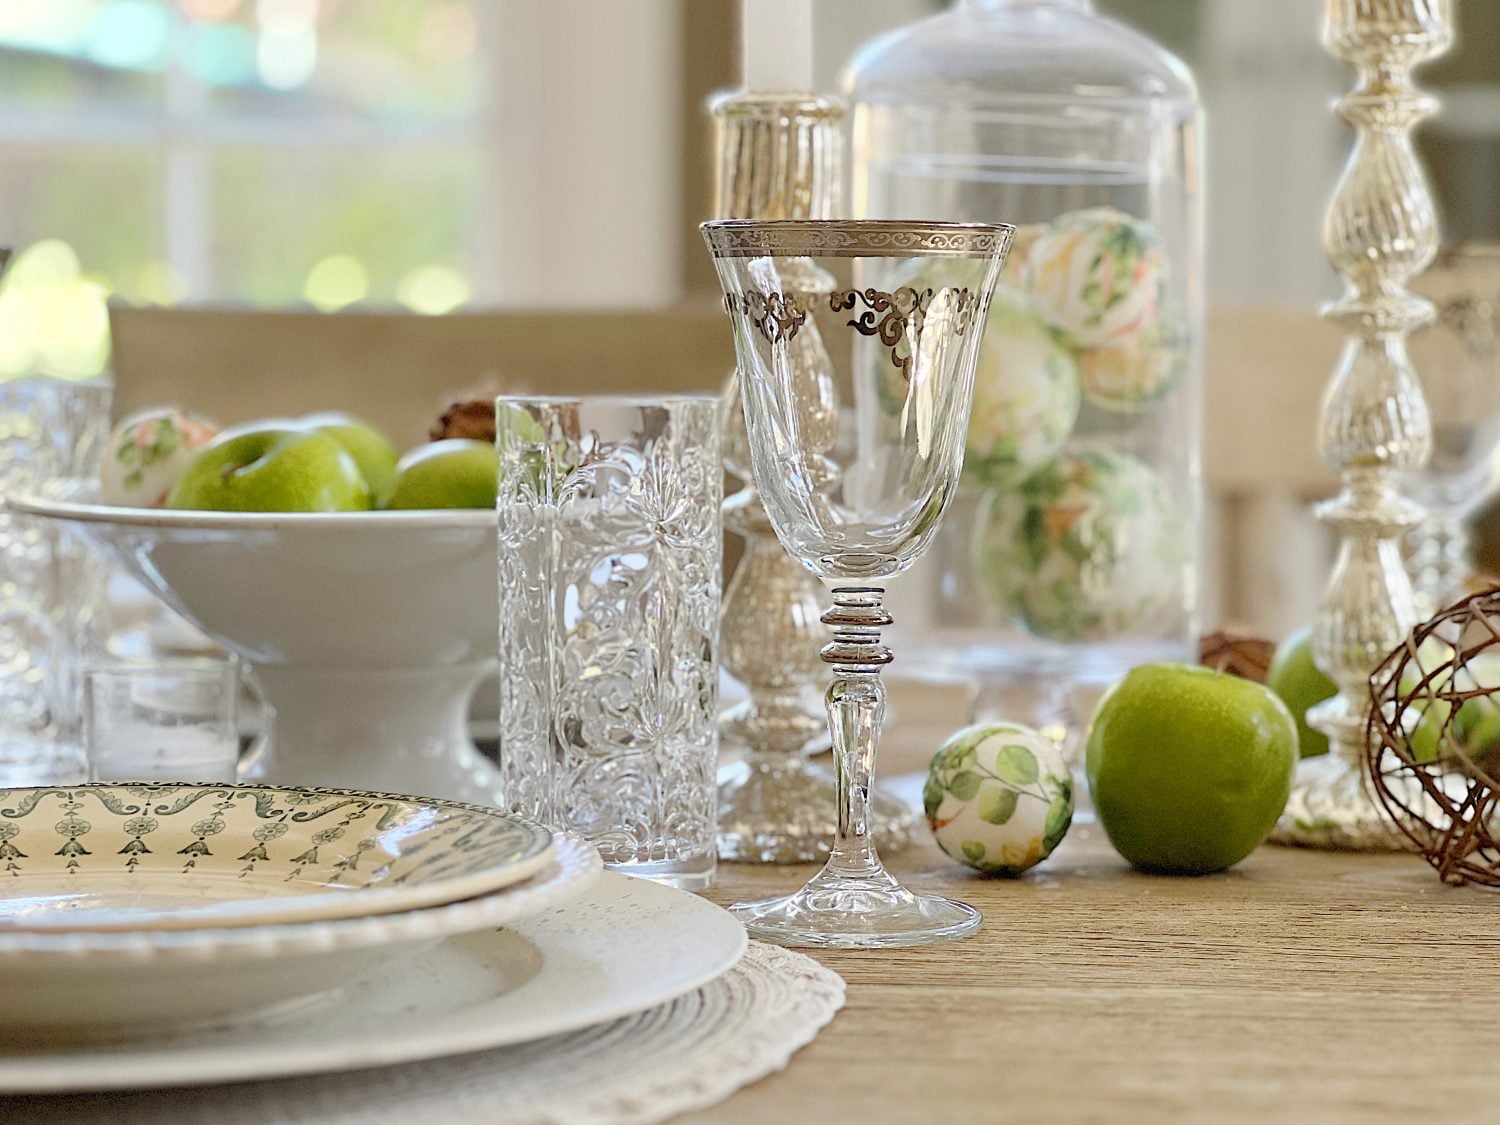
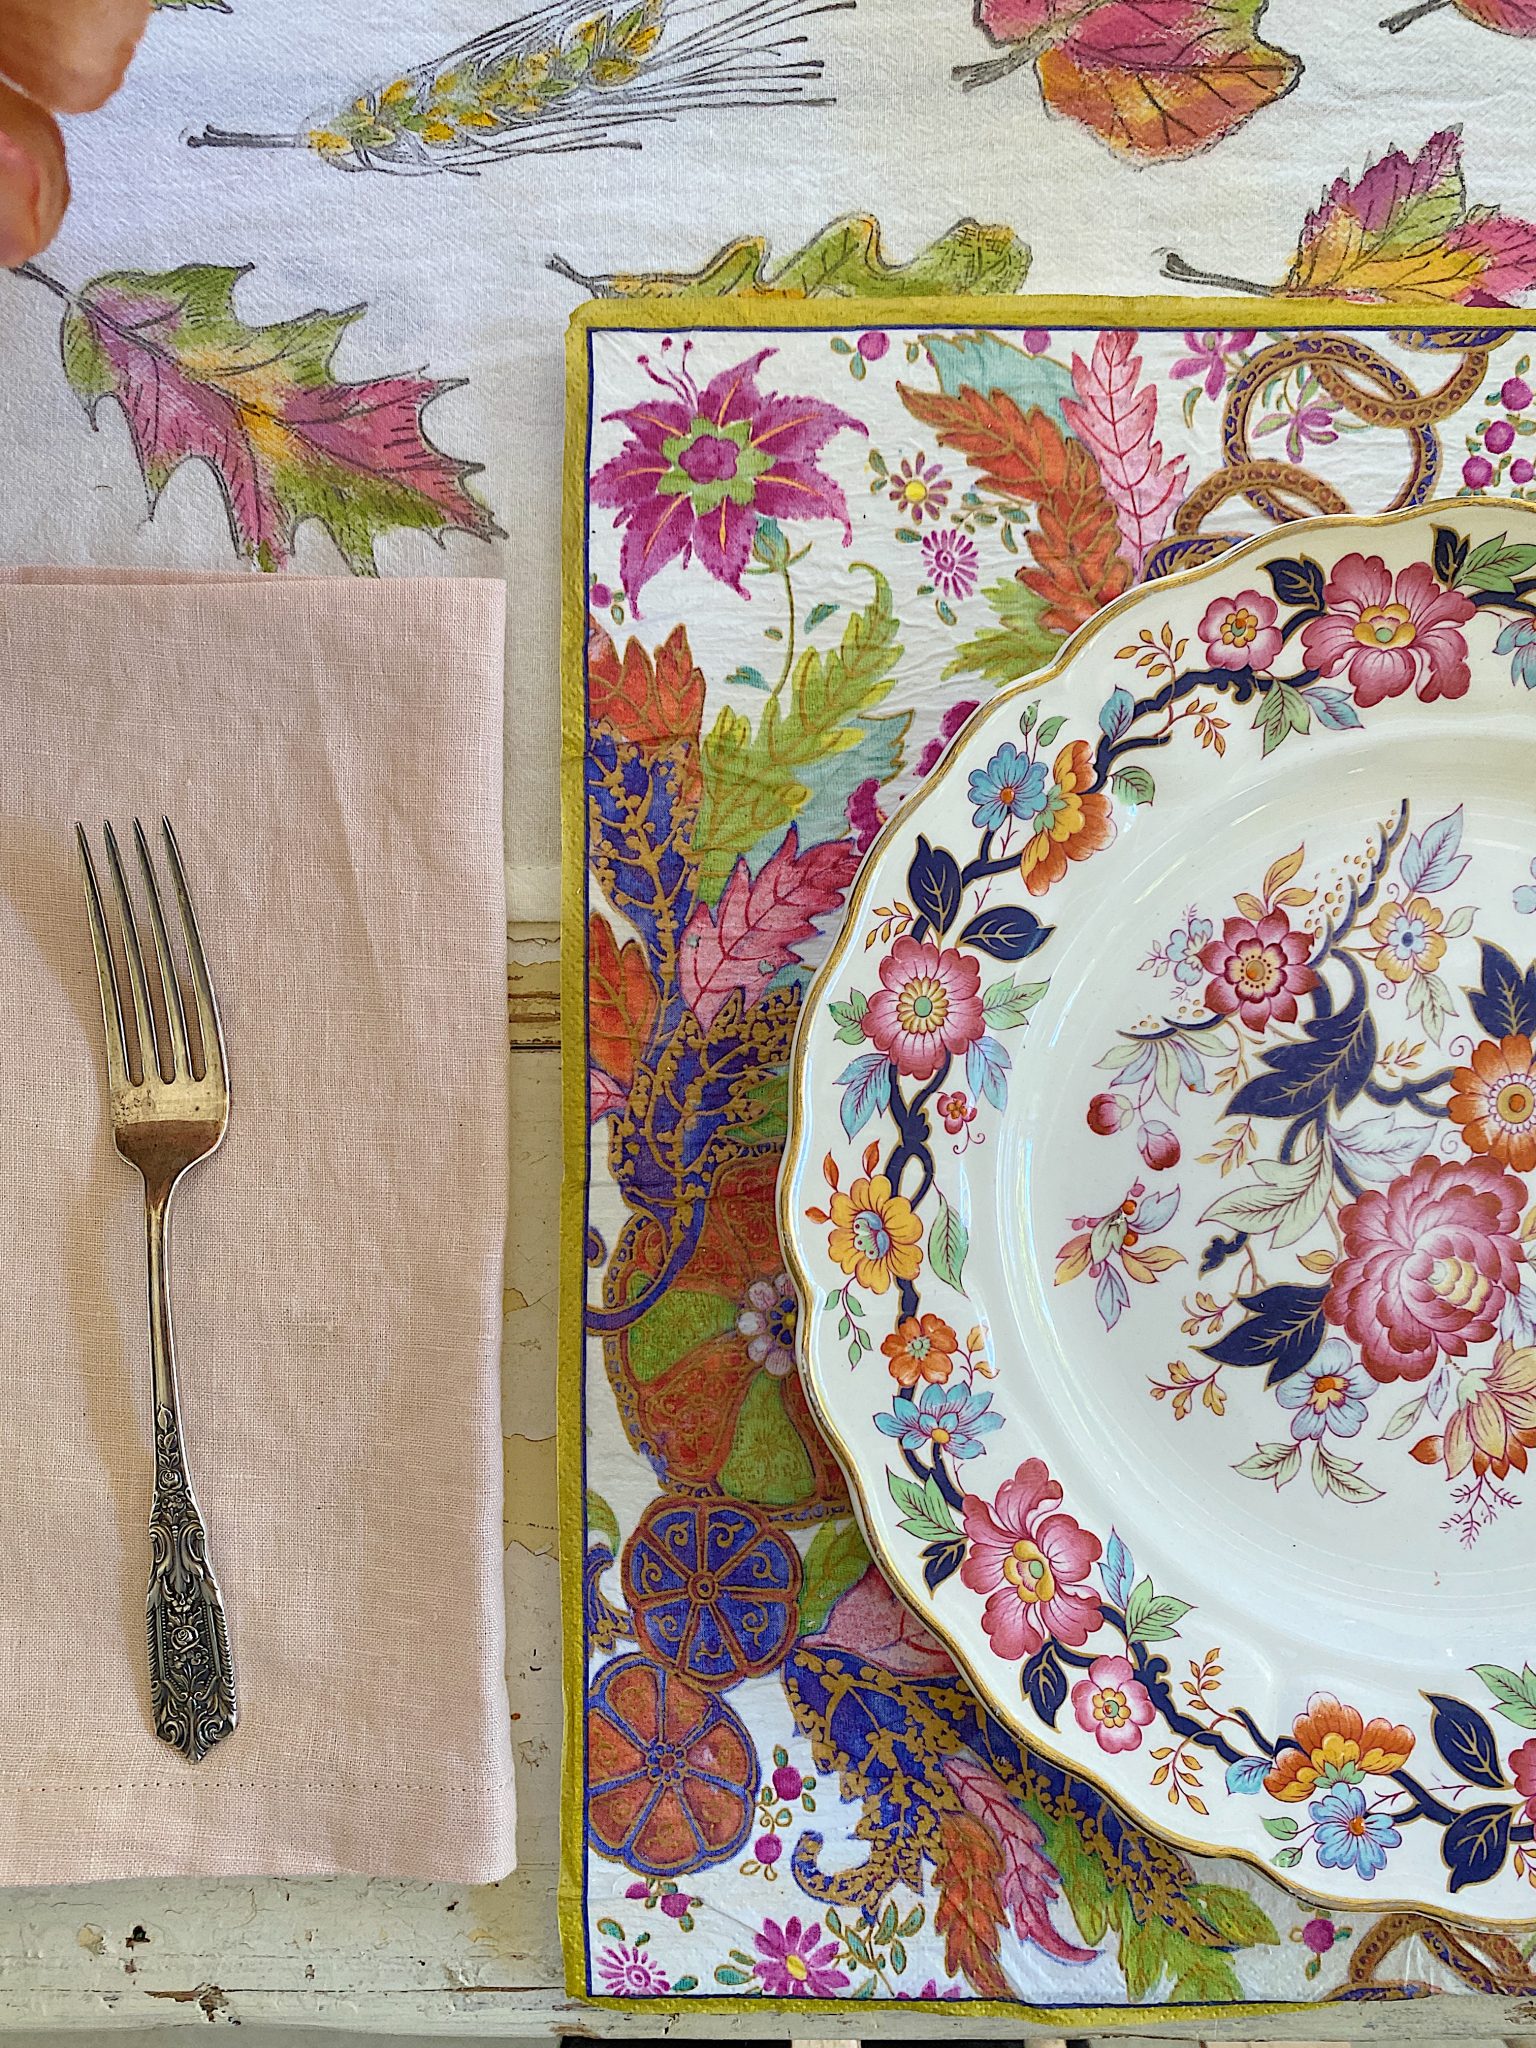
Scatter Them on Your Table
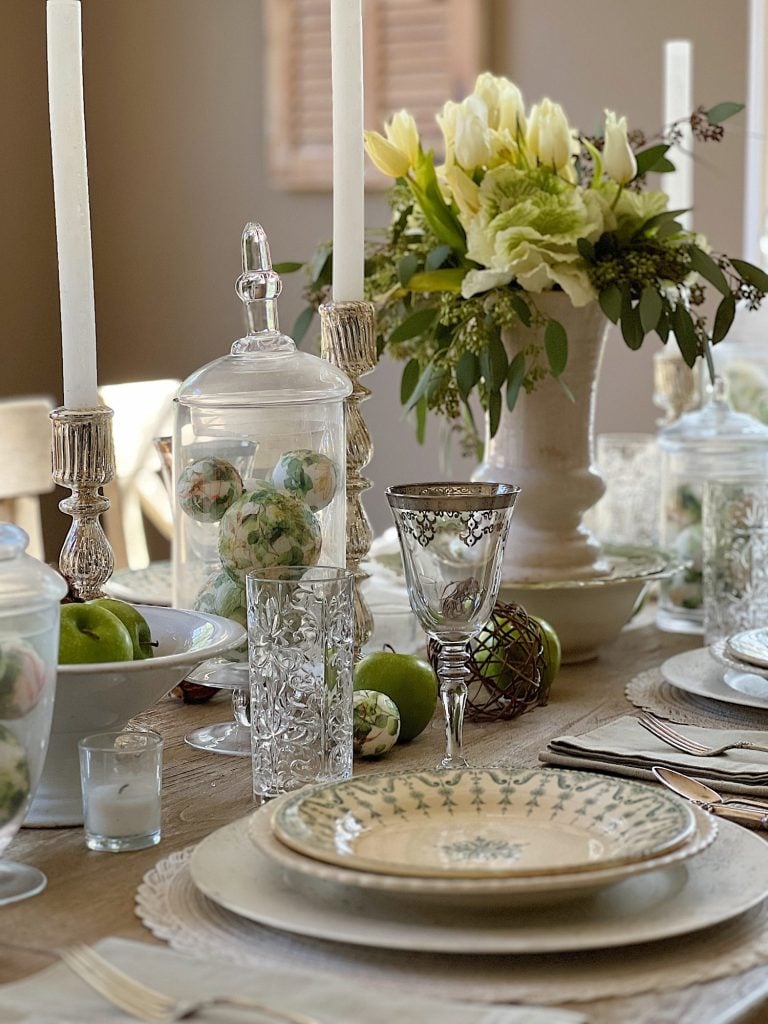
Use them to decorate the middle of your dining table. We like to call this scatter. Decorating down the middle of a dining table with scatter involves placing decorative items, such as candles, vases, flowers, and decoupage balls in the center of the table, rather than at each individual place setting.
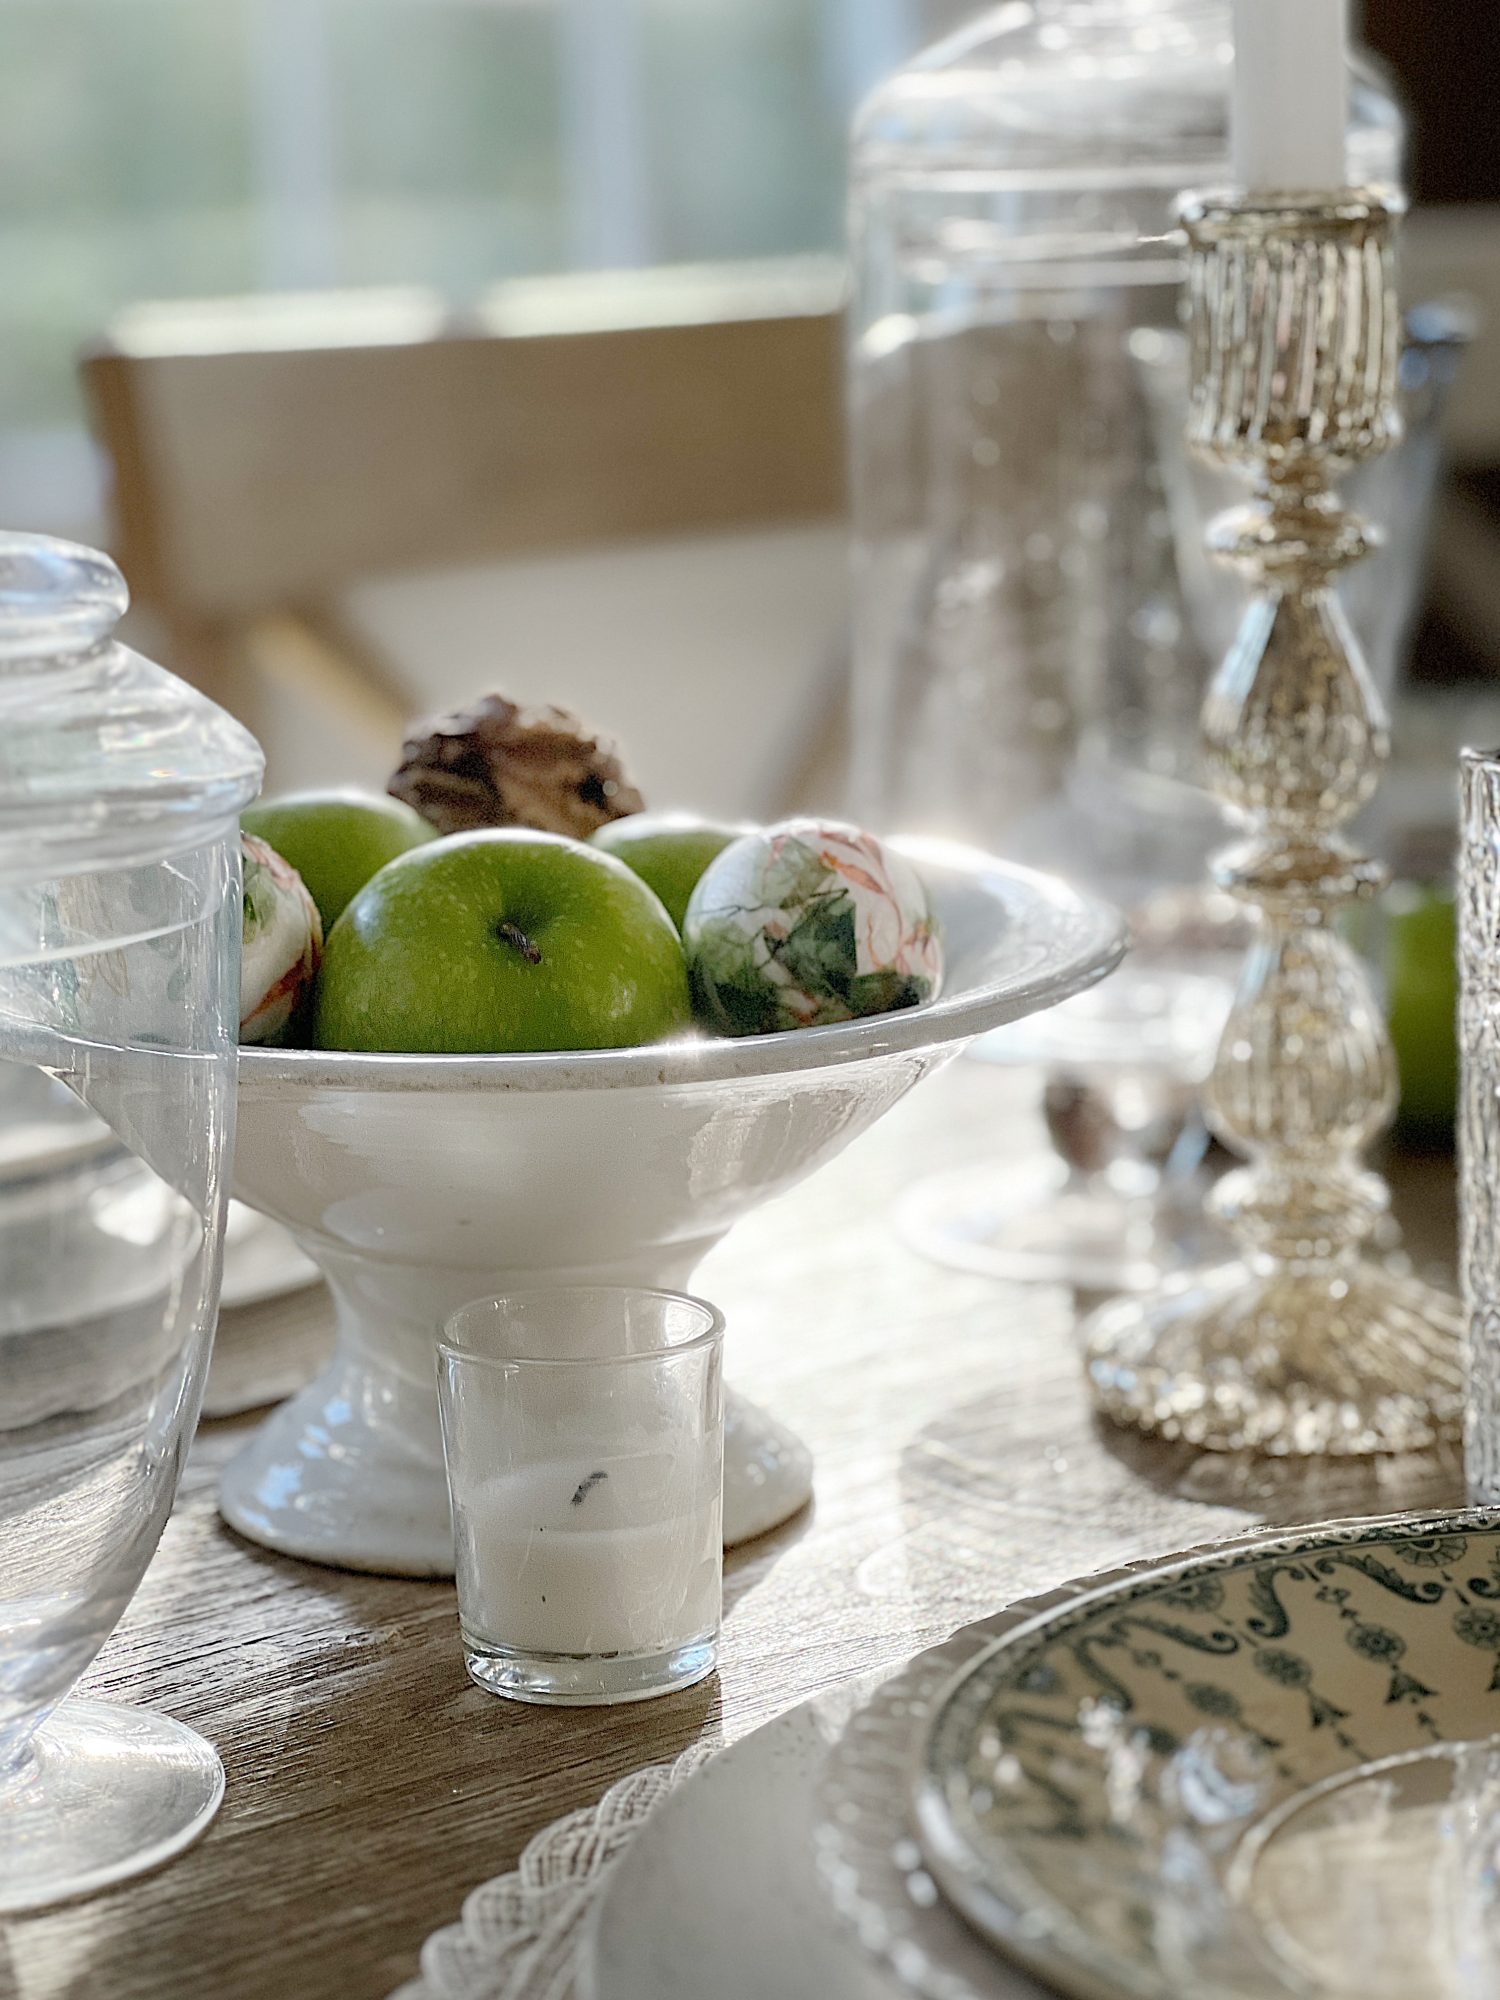
Scatter adds visual interest to the table and creates a focal point for the overall dining space. Scatter decorating allows for flexibility in terms of the number of guests and can easily be adjusted for larger or smaller gatherings. It is also a great way to add a personal touch and reflect the style of the host or hostess.
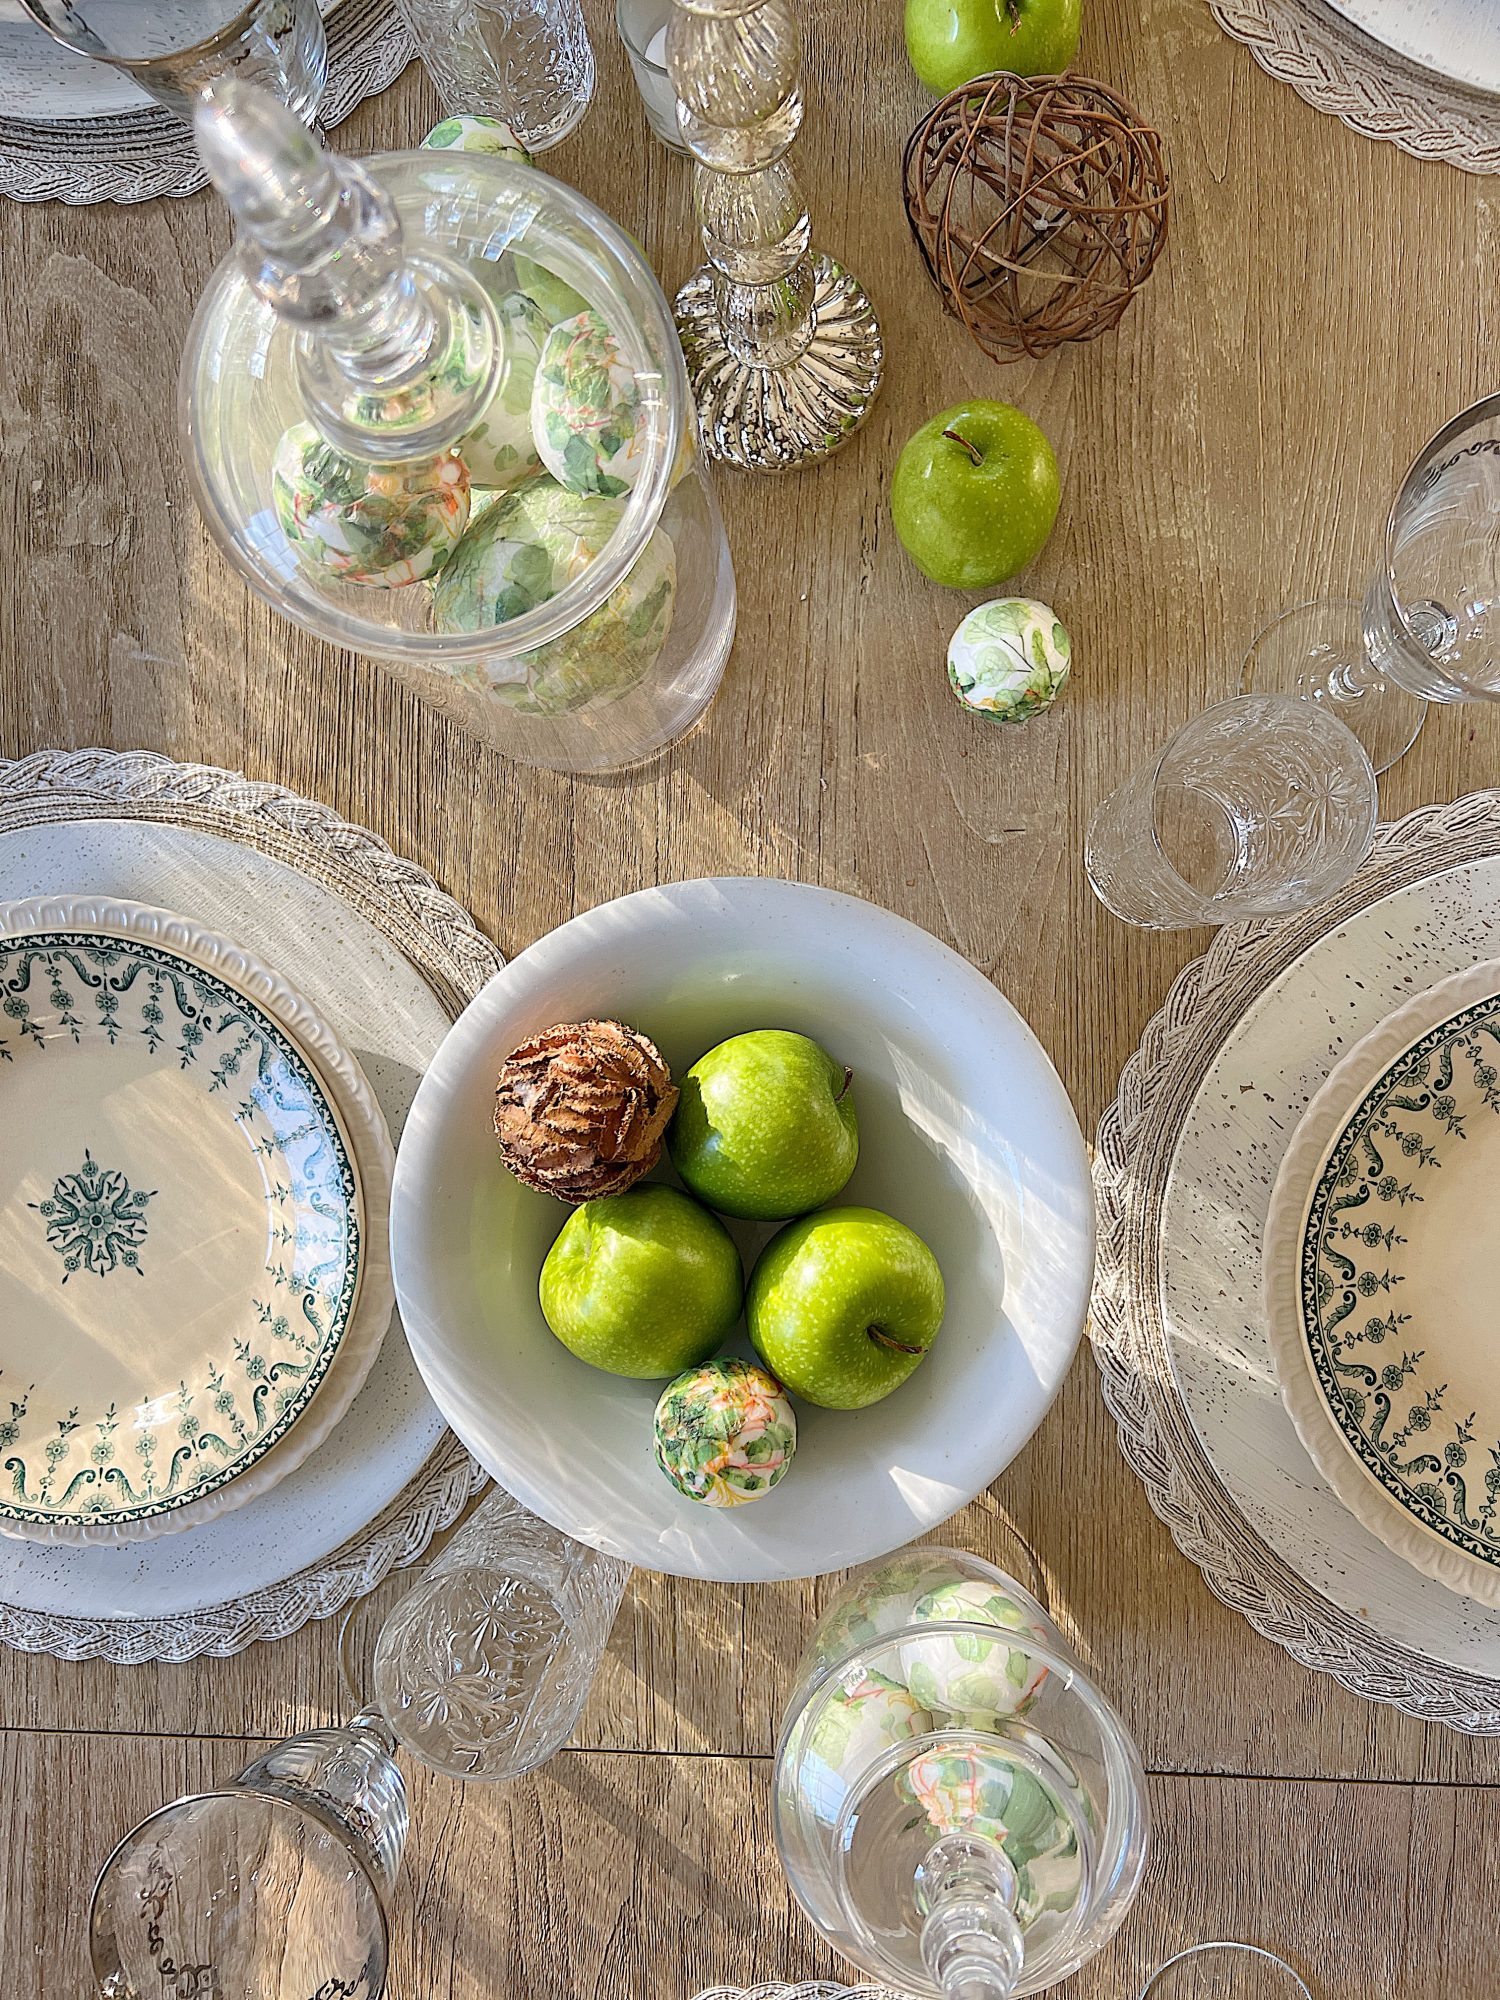


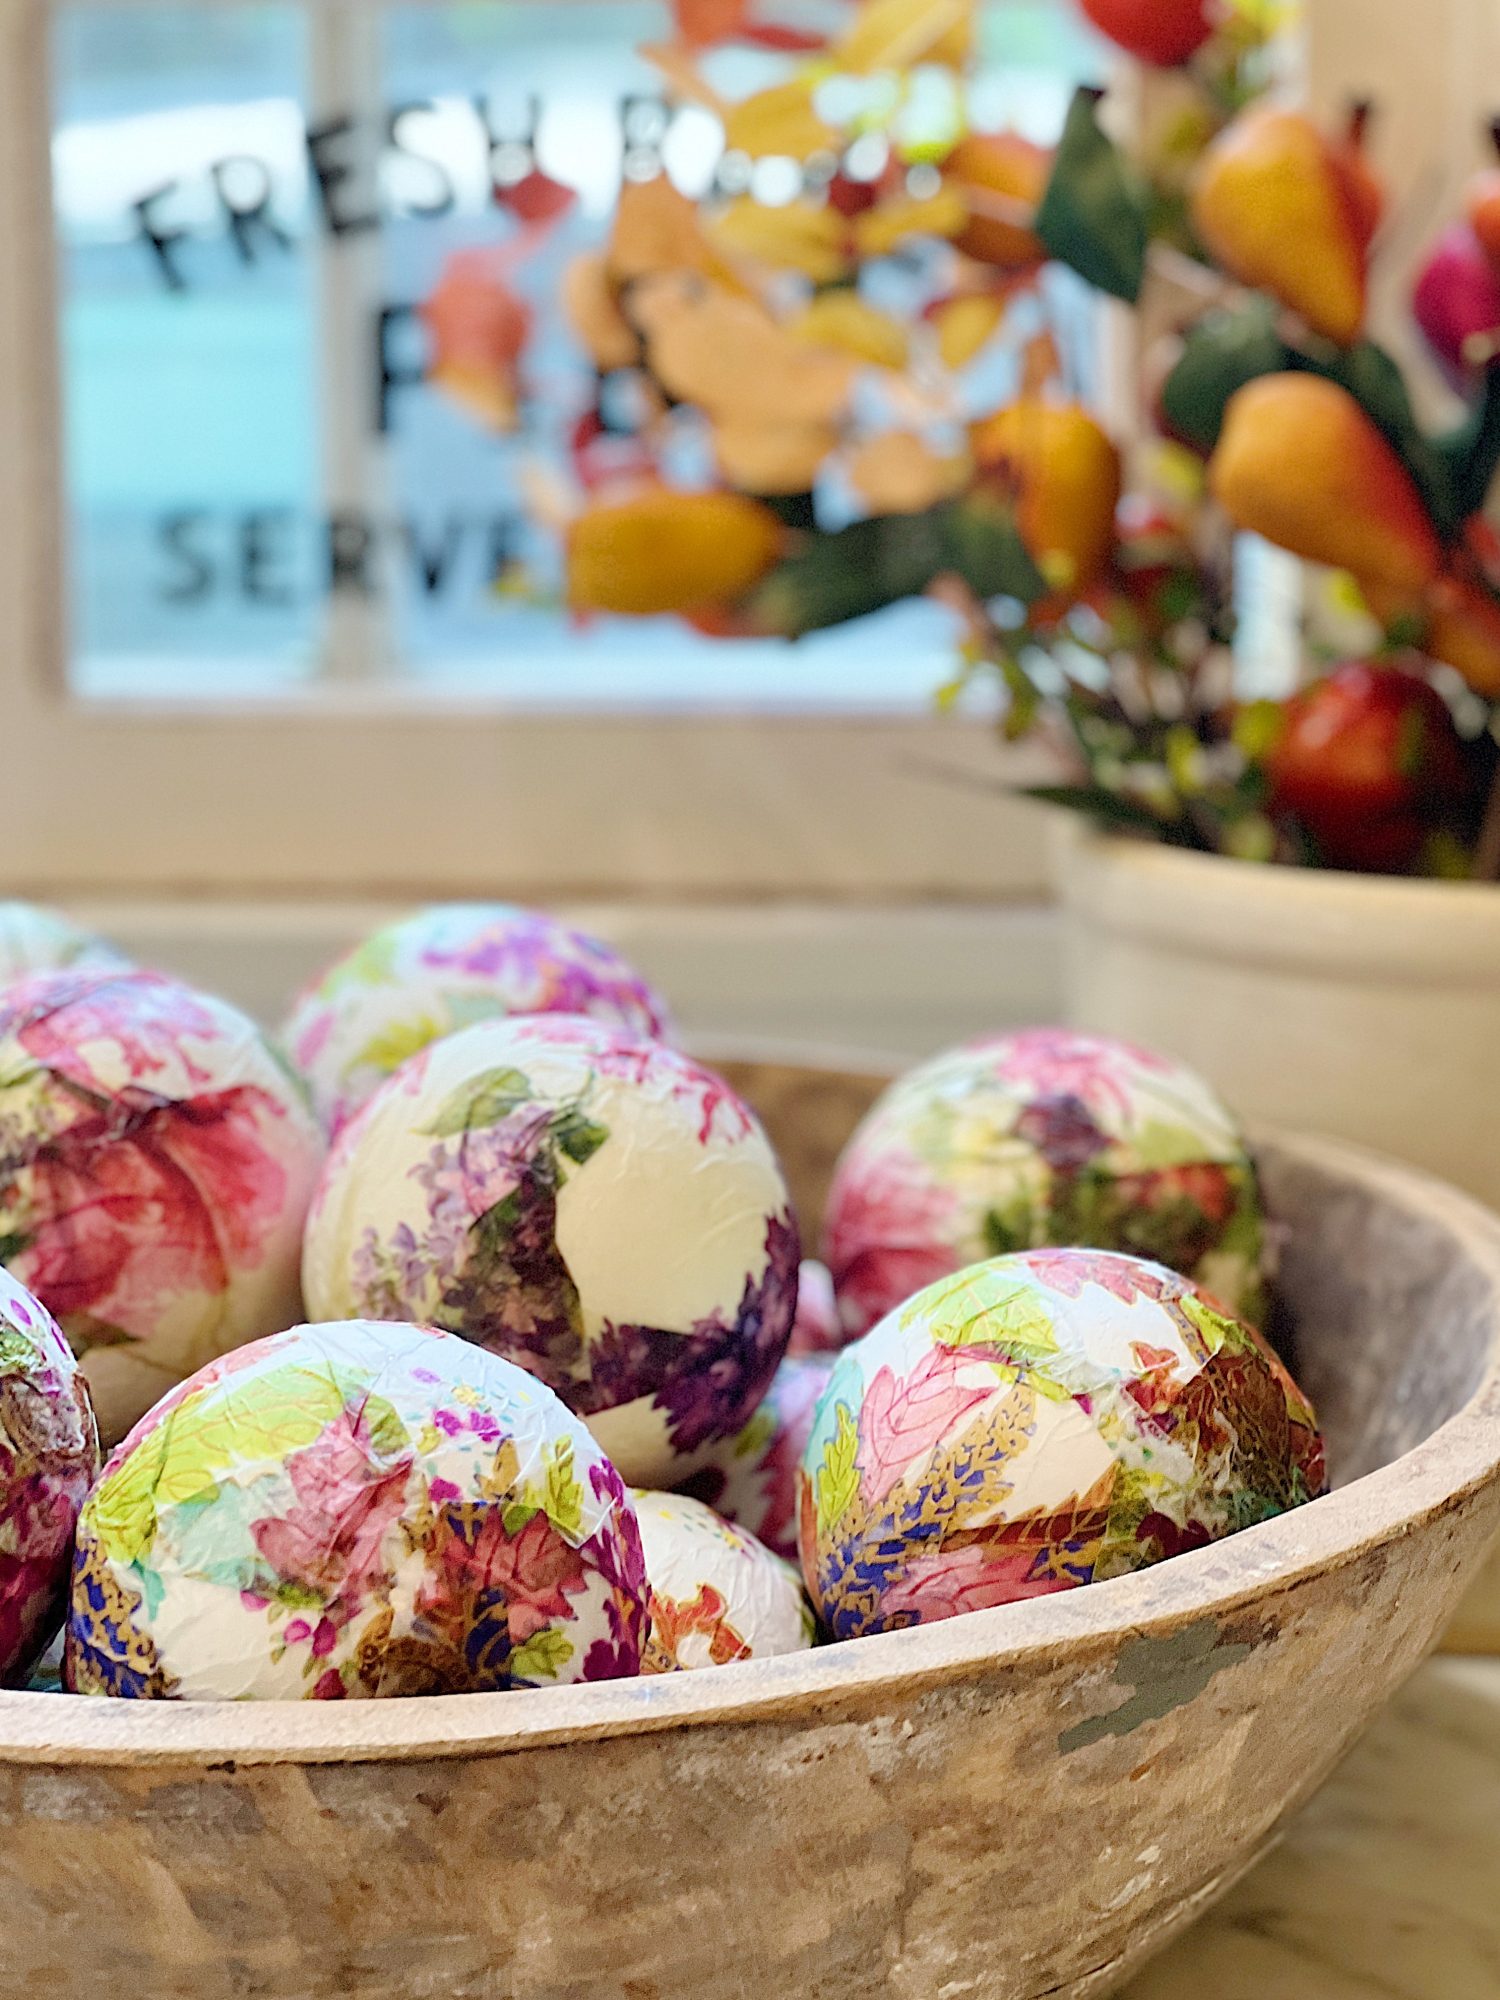
Put Them in a Bowl
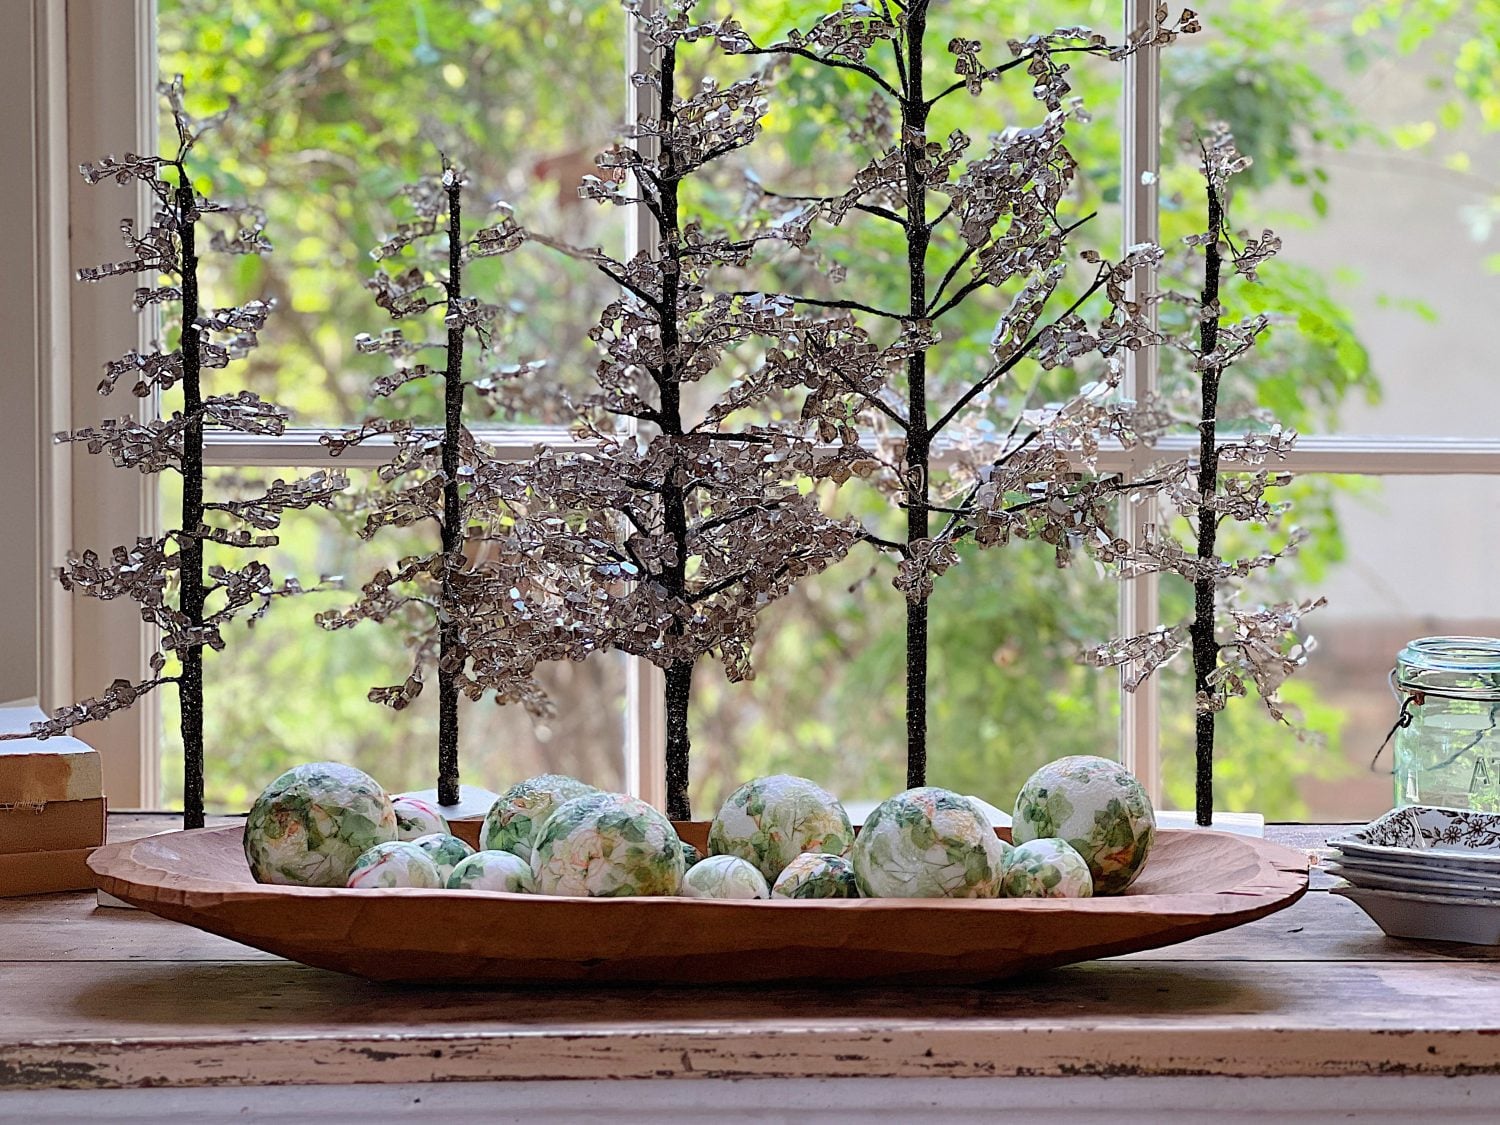
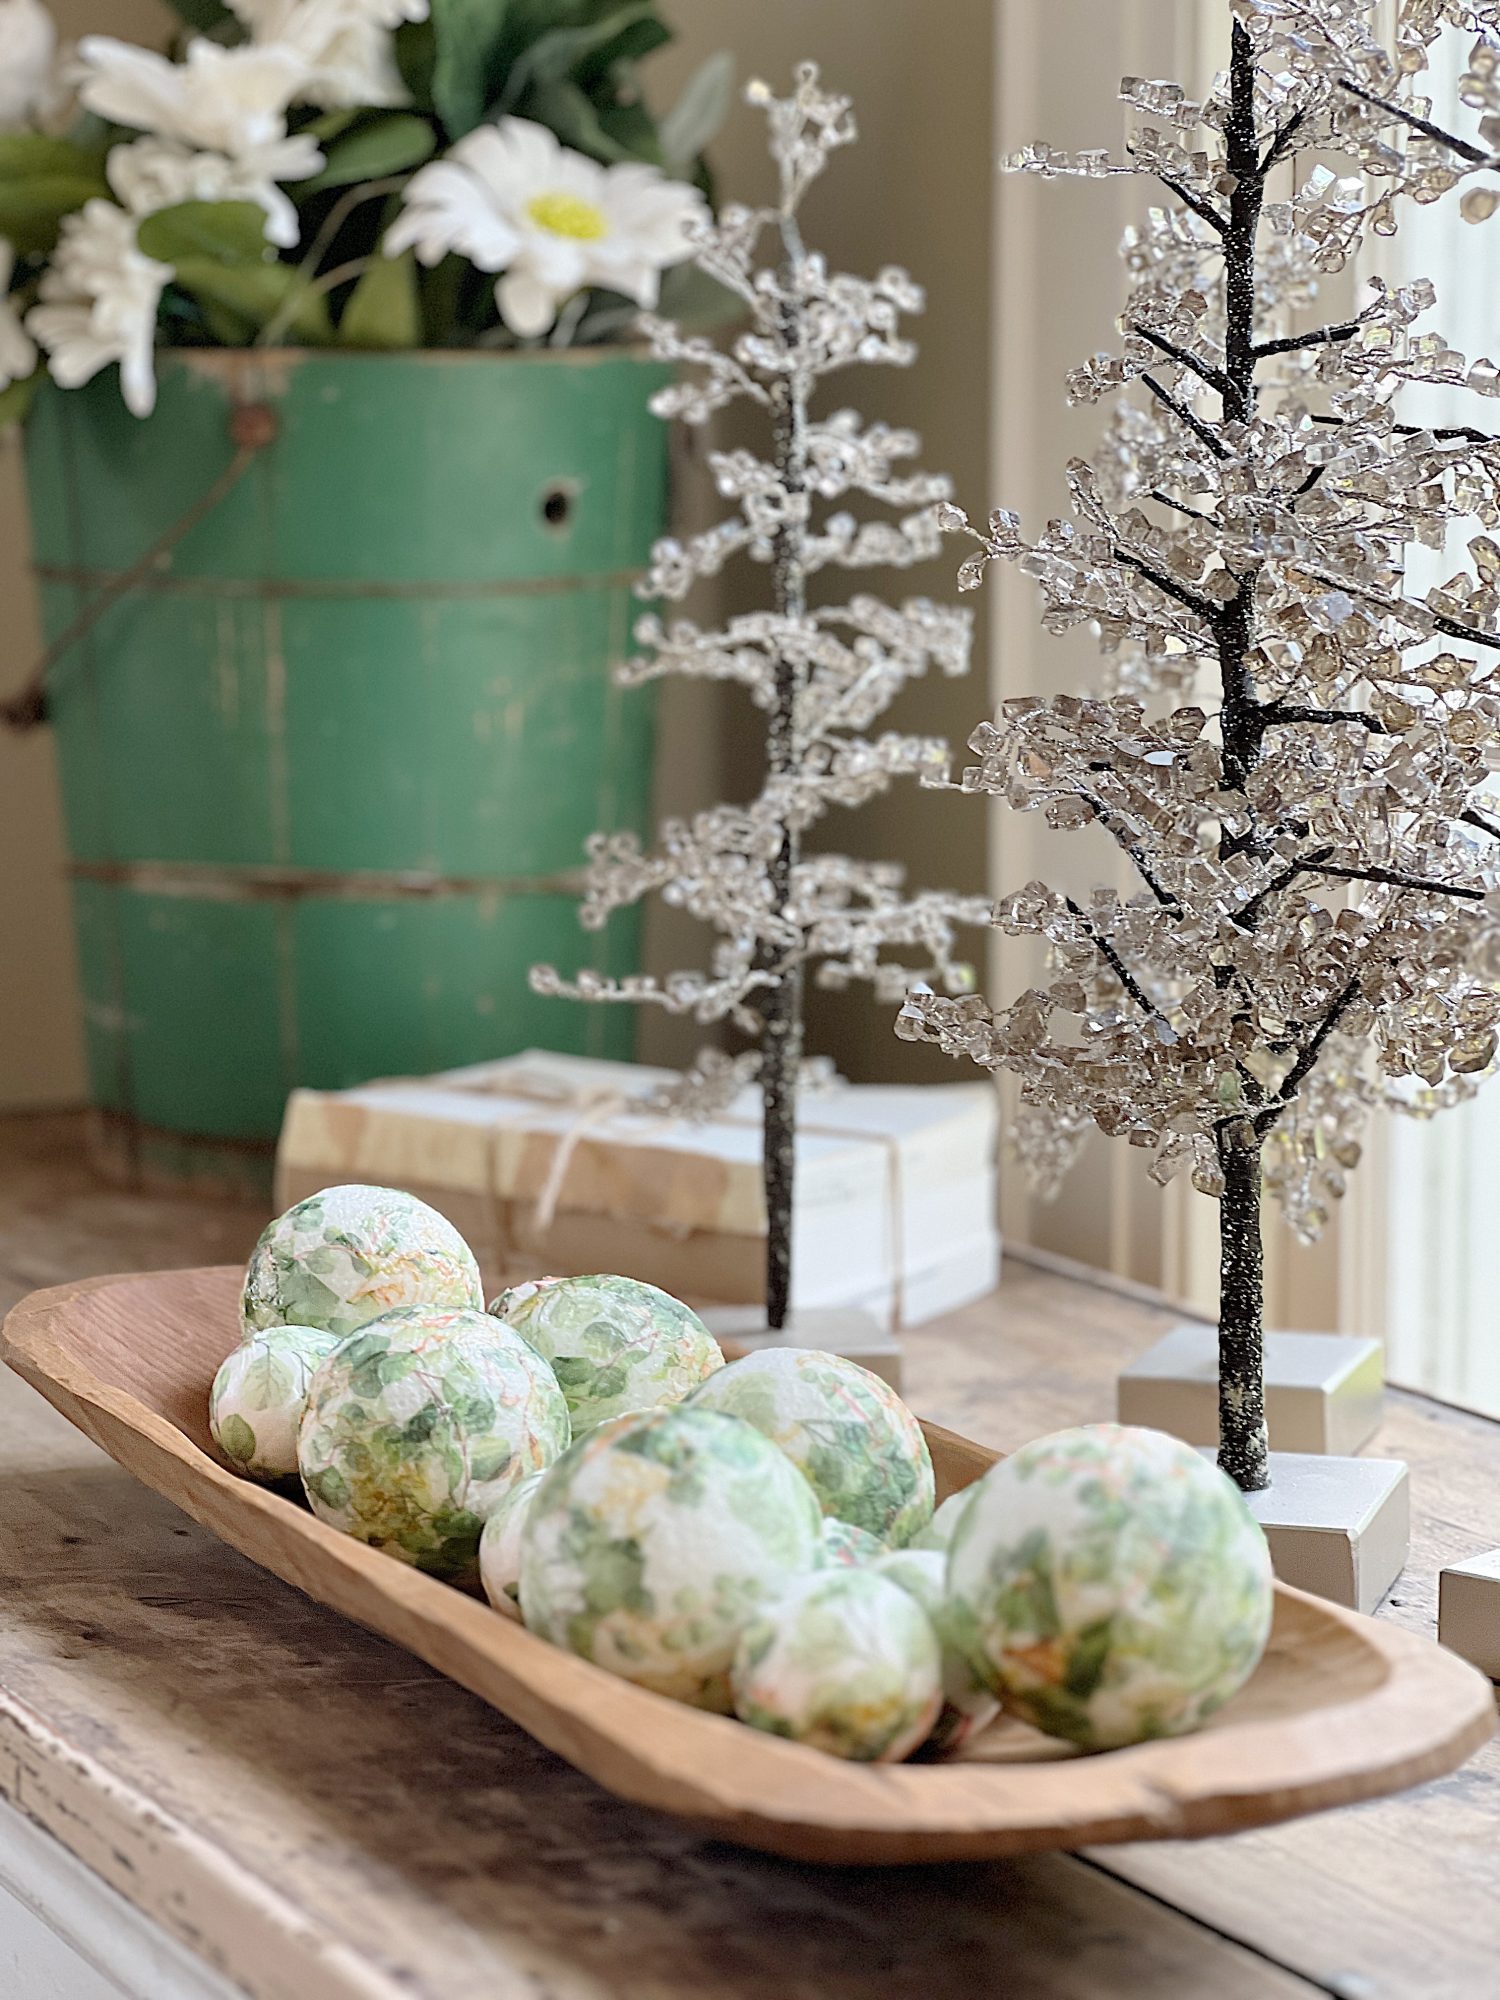
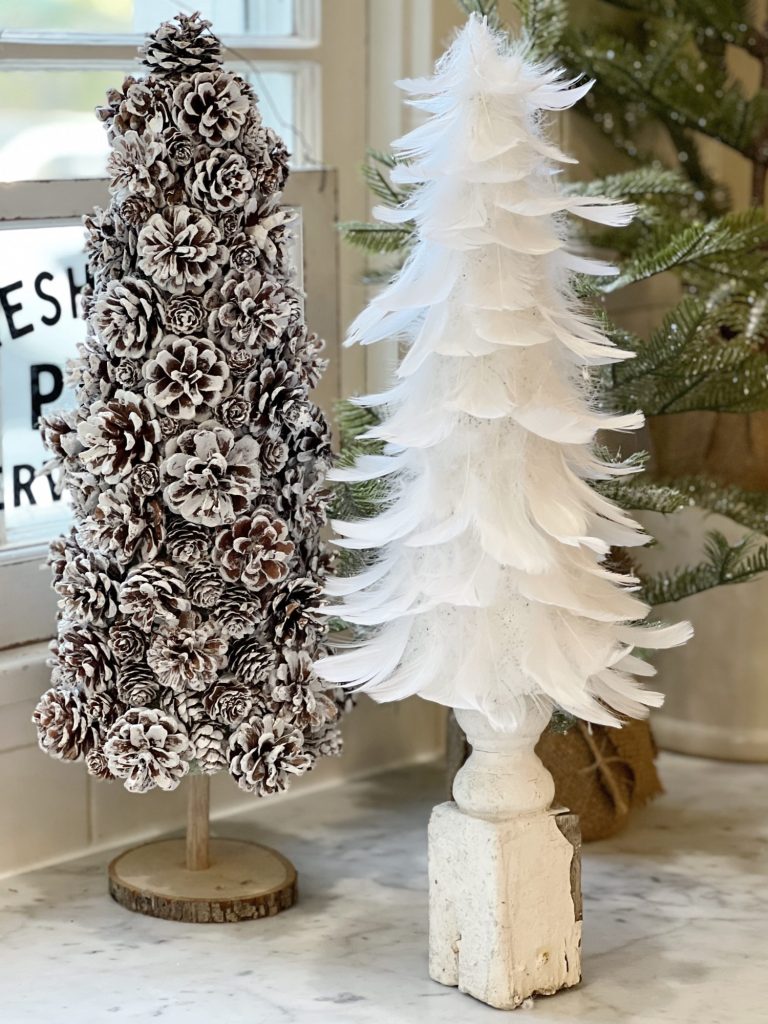
I love placing decor balls in wooden bowls. I have collected lots of different sizes and I love how these look in front of my winter trees (technically they are from Christmas but they still work, right?).
These are just a few ideas for how to decorate your house with decor balls. Be creative and have fun with it, and you’ll be able to come up with many more ways to incorporate decoupage decor balls into your home decor.
Where did Decoupage Originate?
Decoupage is a craft technique that originated in Europe in the 18th century. It involves decorating an object by gluing cut-out pieces of paper (or fabric) on it, and then coating it with varnish or lacquer.
The technique was originally used to decorate small wooden boxes and trinket boxes, but has since been applied to a wide variety of objects, including furniture, picture frames, and home decor items.
The word “decoupage” comes from the French word “decouper,” which means “to cut out.”
Previous DIYs with Napkins and Decoupage
Just click any of the links for the DIY.


Frequently Asked Questions
The time it takes to make a decoupage decor ball will vary depending on the size of the foam ball and the drying time of the mod podge/glue. On average, it can take about an hour to make 8 balls.
Once your decoupage decor ball is complete, you can seal it with a clear coat of decoupage glue or varnish to protect it from damage.
Watch My Amazon Live
Click here to watch any of my Amazon Live shows. All shows are recorded.
I just hosted a LIVE titled The Best Winter Dining Room Table Decor highlighting all of the items from today’s blog post.

Pin the image below to your boards on Pinterest (just click the Pin button in the top left corner). You can also follow along with me on Pinterest!
For more real-time updates, follow me on Instagram @My100YearOldHome

Love your glasses! So elegant!
Hi Susie! Yay! So happy you do 🥰
This is definitely something I want to try Leslie. Thank you for sharing.
Oh good Kim! Let me know how they go for you 🙏♥️