How to Make a Terra Cotta Pot Beautiful
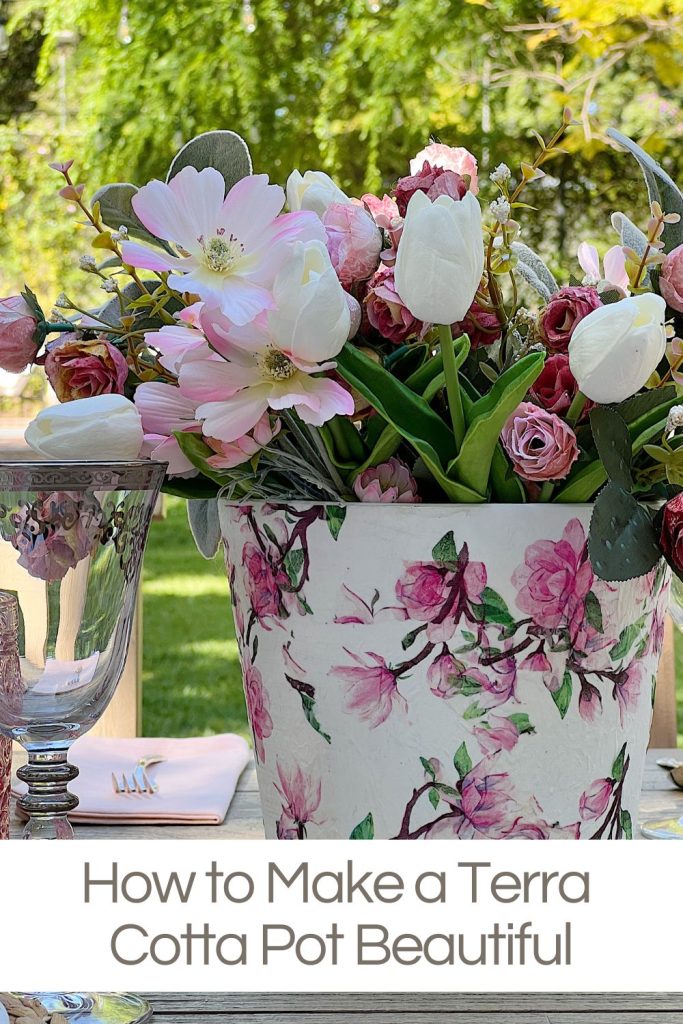
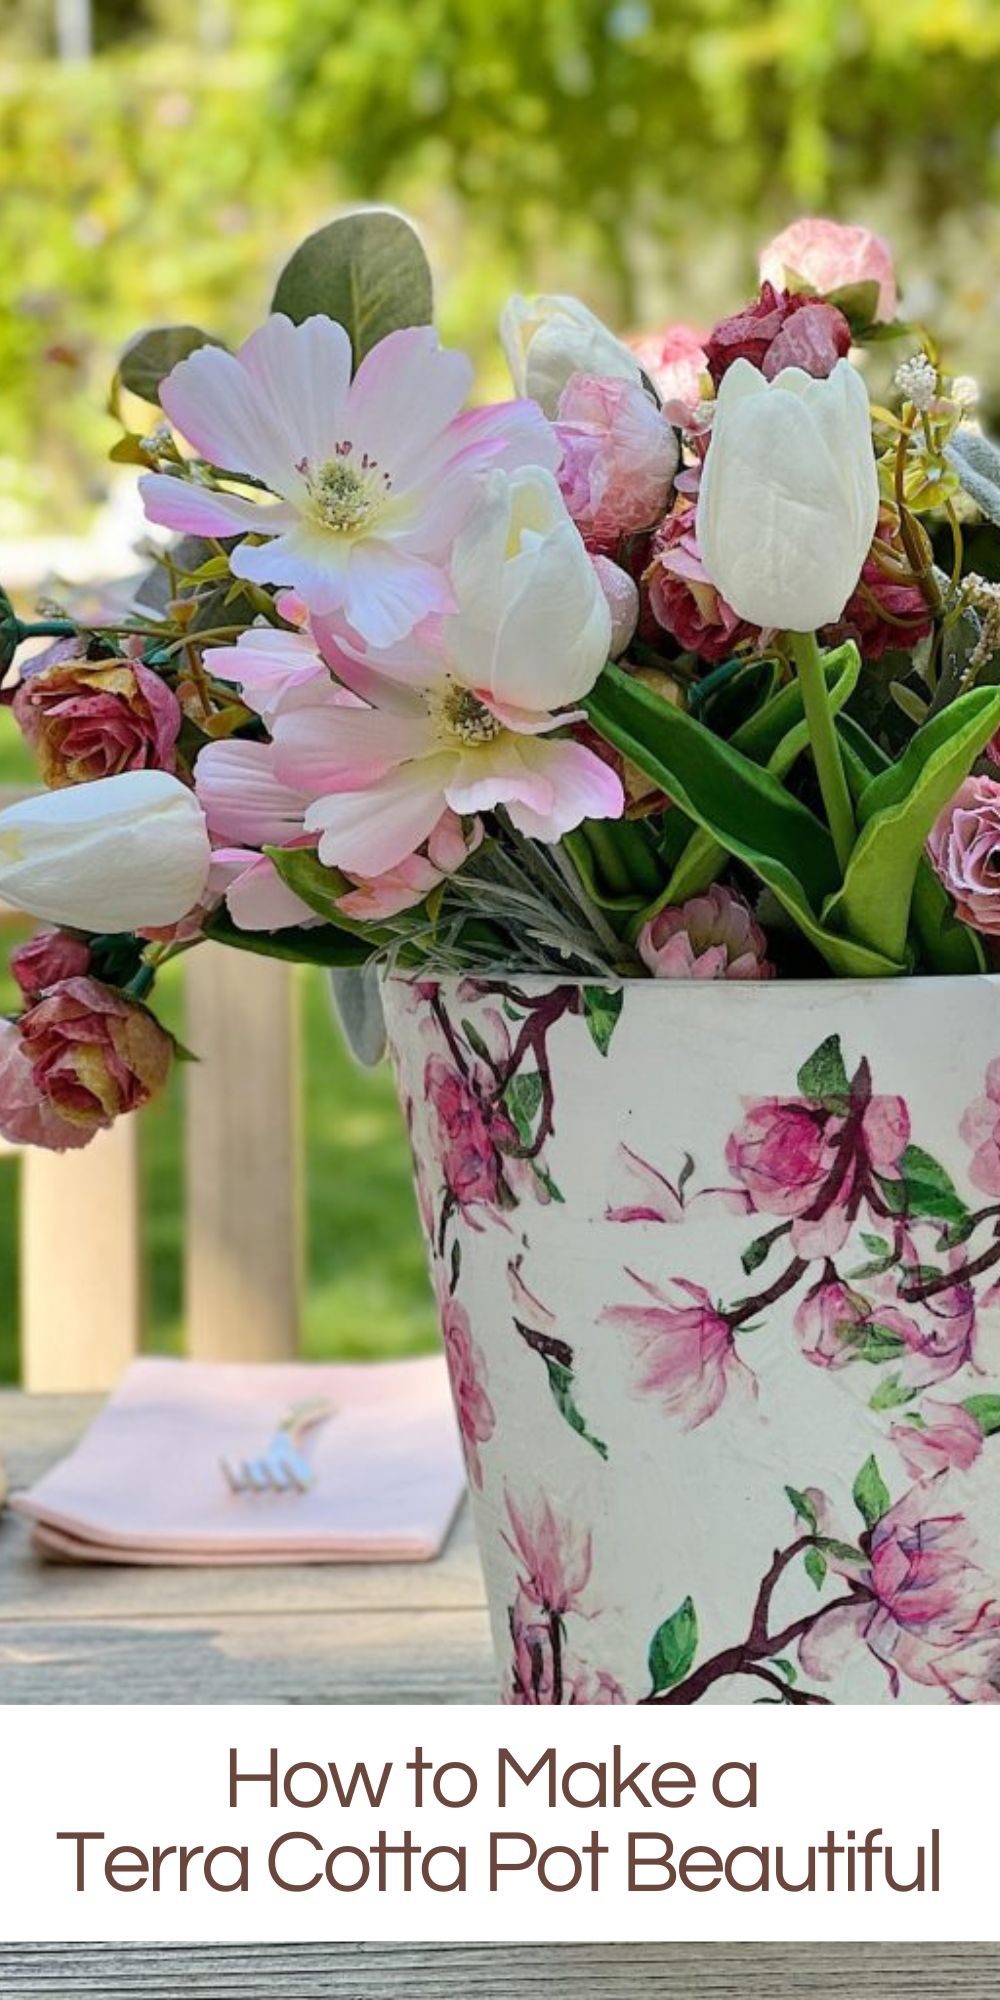
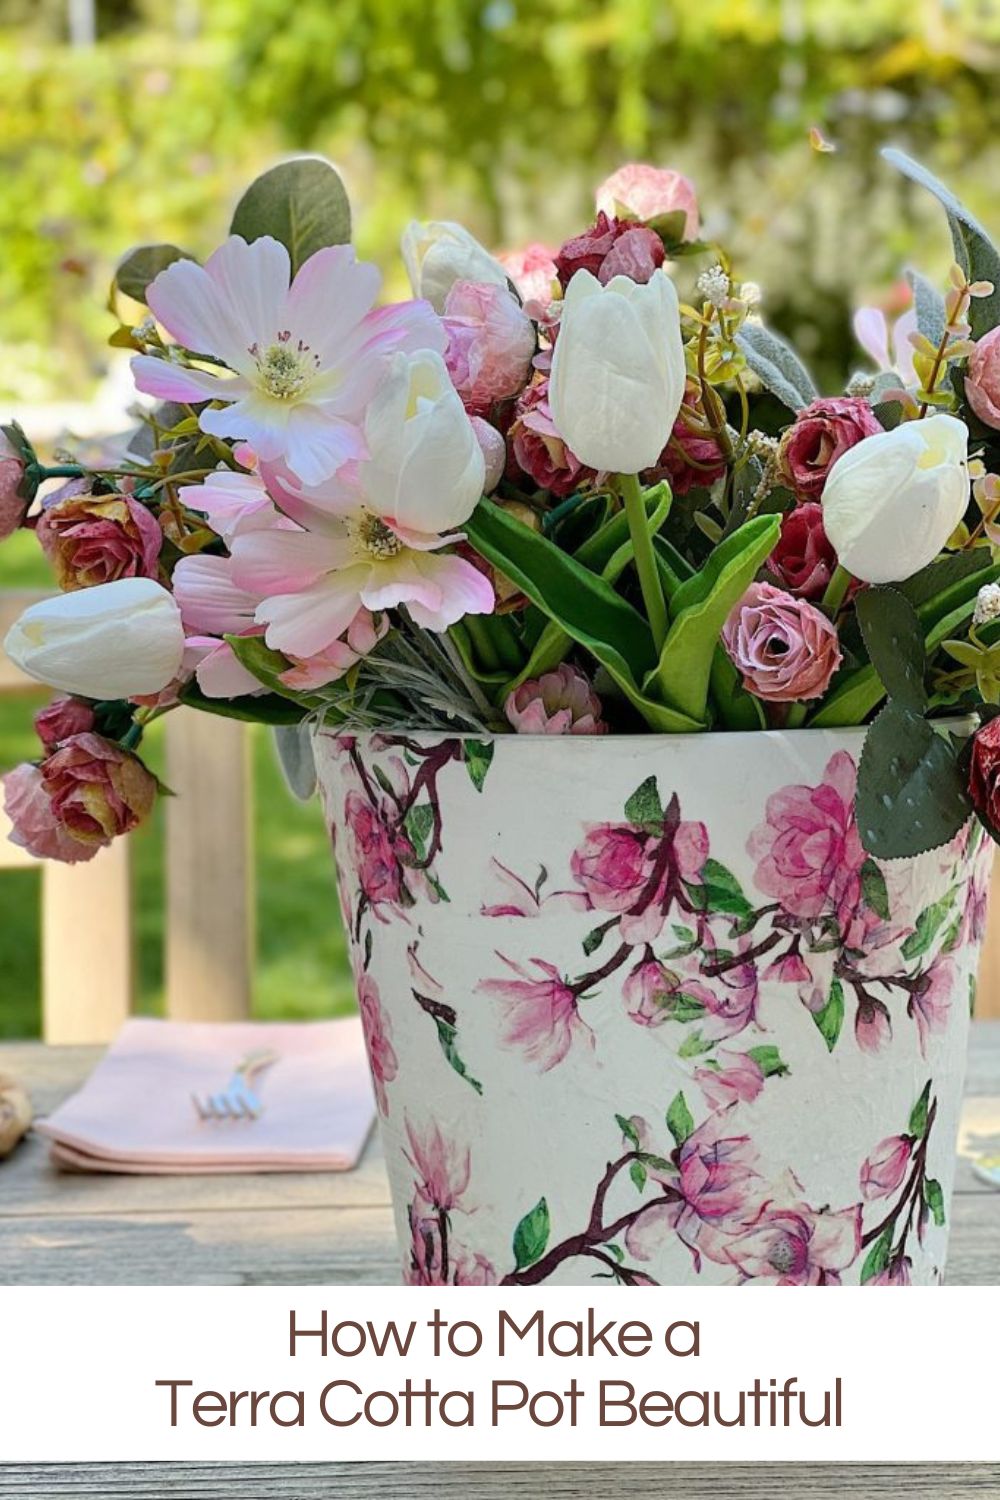
Can you believe I used a paper napkin and a terra cotta pot and came up with this vase? Isn’t this just the perfect pot or vase for spring?
This was such an easy DIY and I love that my terra cotta pot looks nothing like it did! The possibilities are endless and this turned out so adorable.
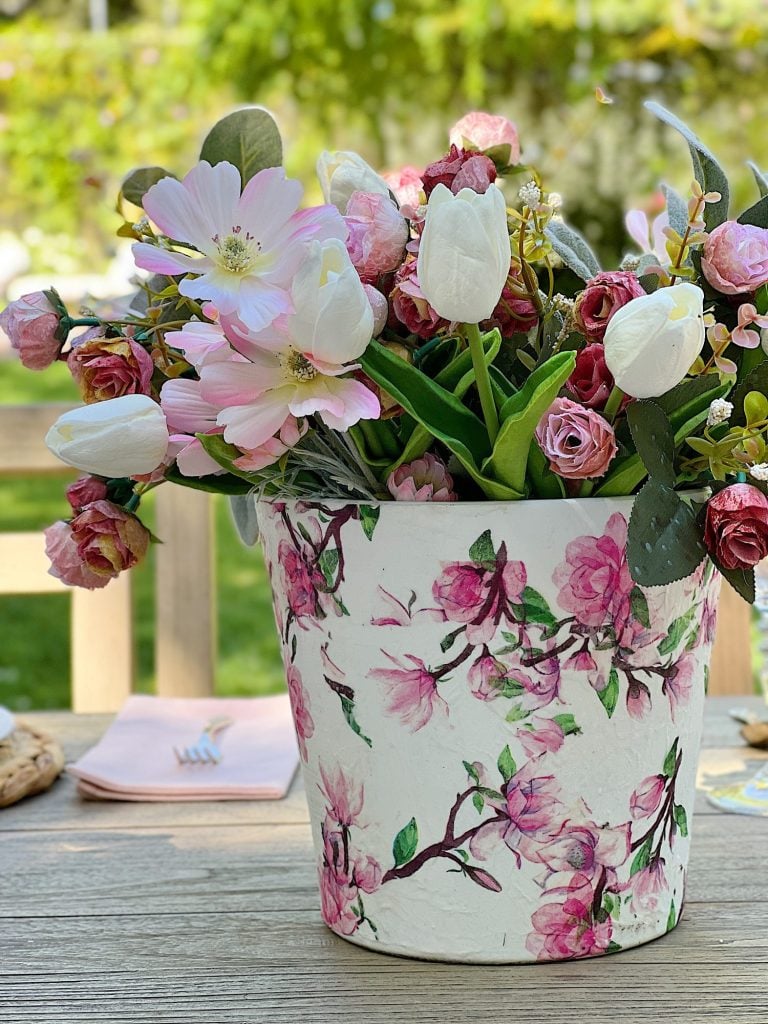


A Terra Cotta Makeover for Spring
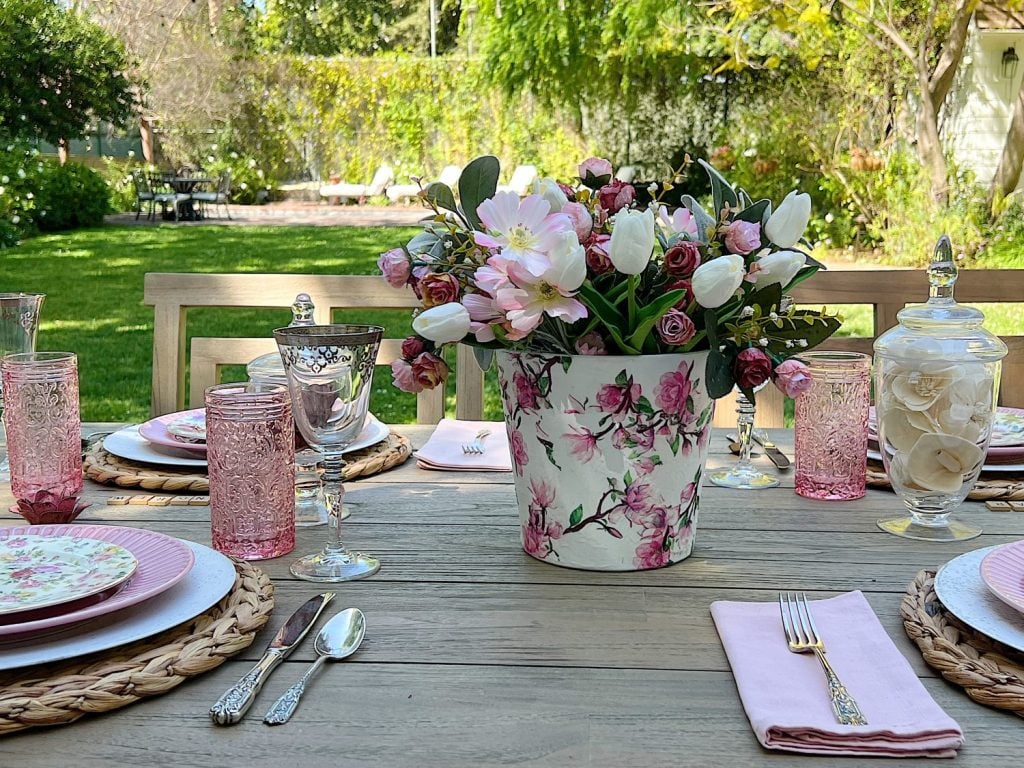
I am always inspired by ideas to take an ordinary item and make it beautiful.
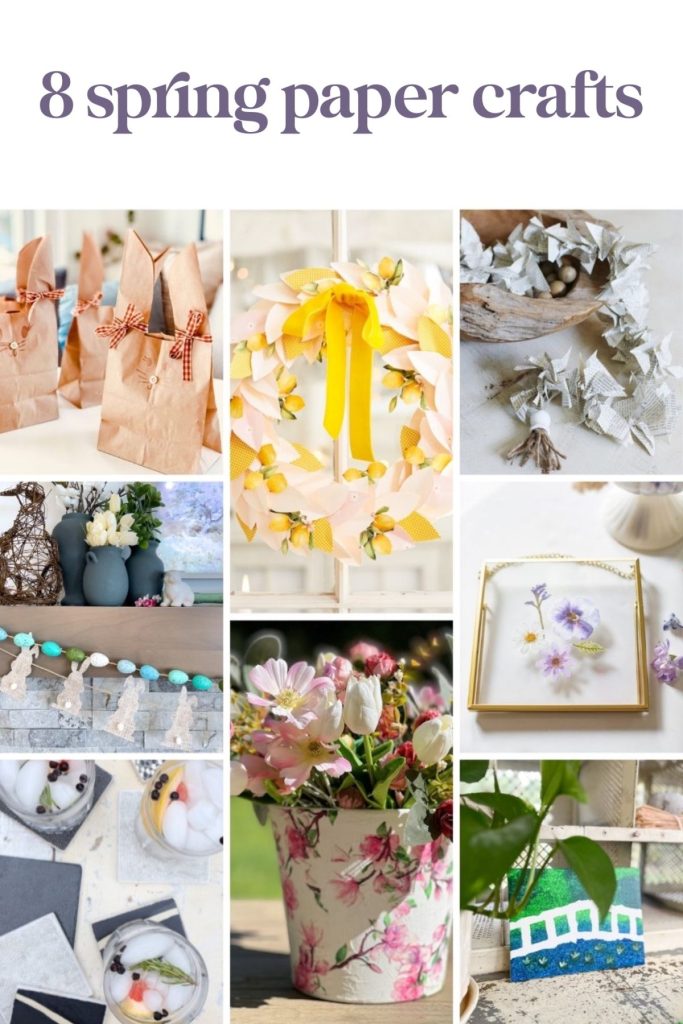
For this post, I knew I had to make something with paper for the upcoming spring season. (Be sure to scroll to the bottom of this post to see the DIY spring paper projects created by some of my favorite bloggers.)
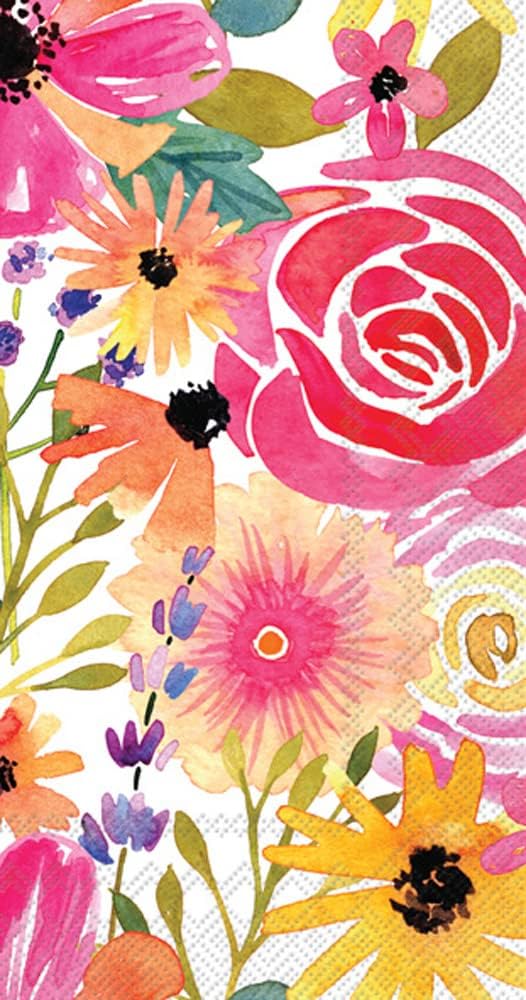
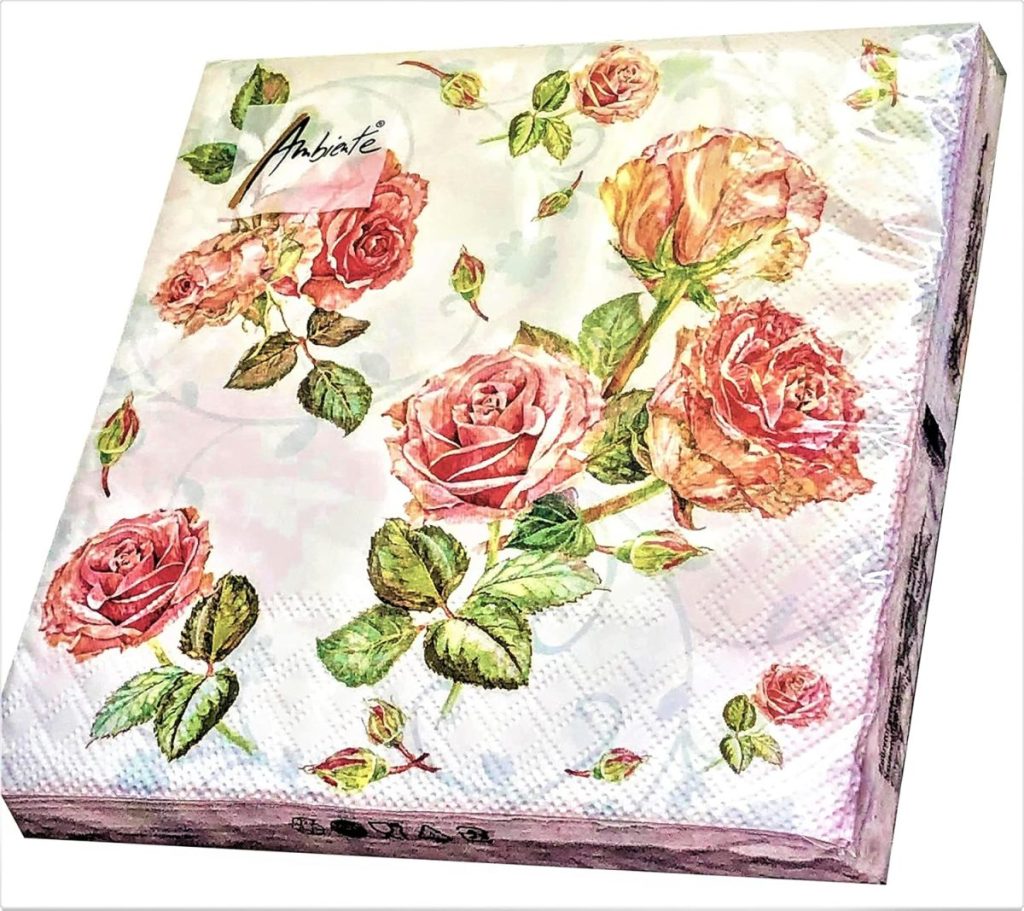
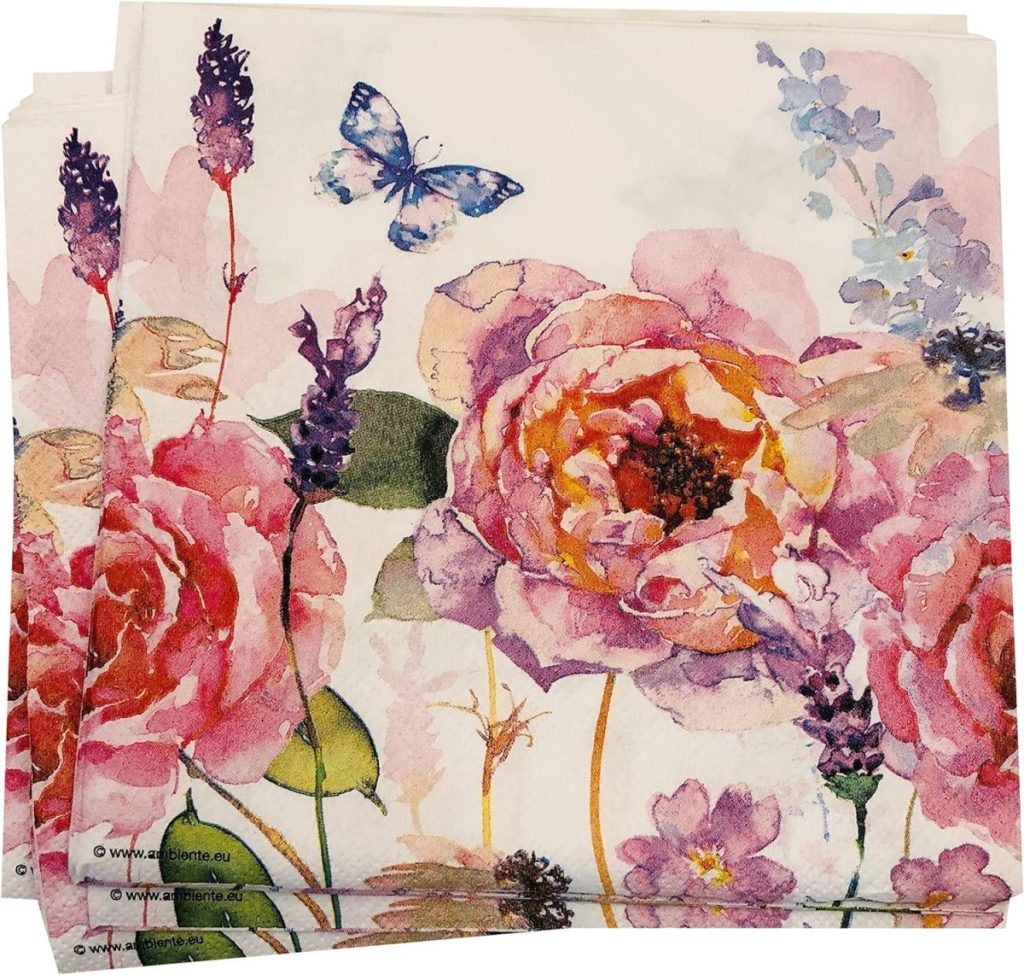
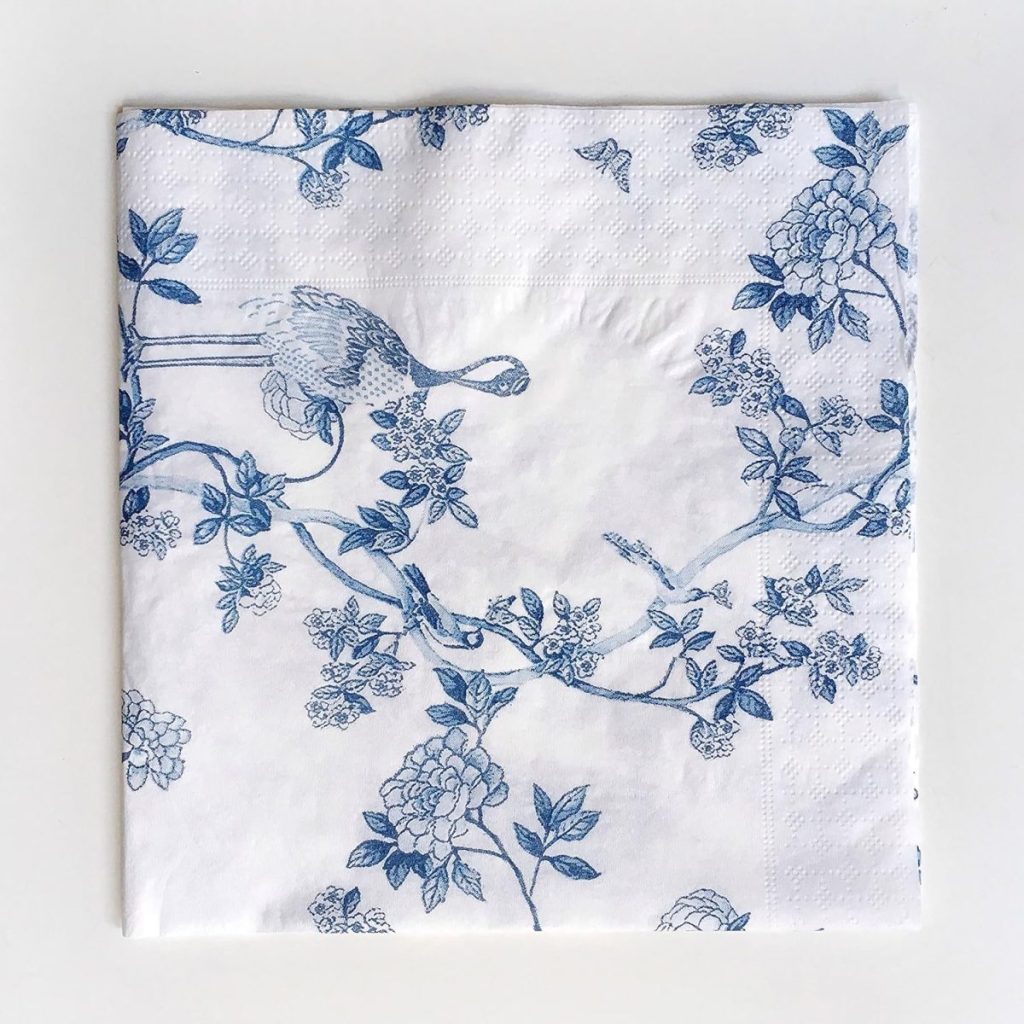
I have a lot of terra cotta pots and thought it might be fun to dress one up! So I went through my napkin drawer and made this beautiful flower terra cotta pot.
I set a table with my new pink flower pot and used it as a vase with some faux flowers. If you want to use this pot with fresh flowers, just put a glass or plastic container inside to hold the water and flowers.
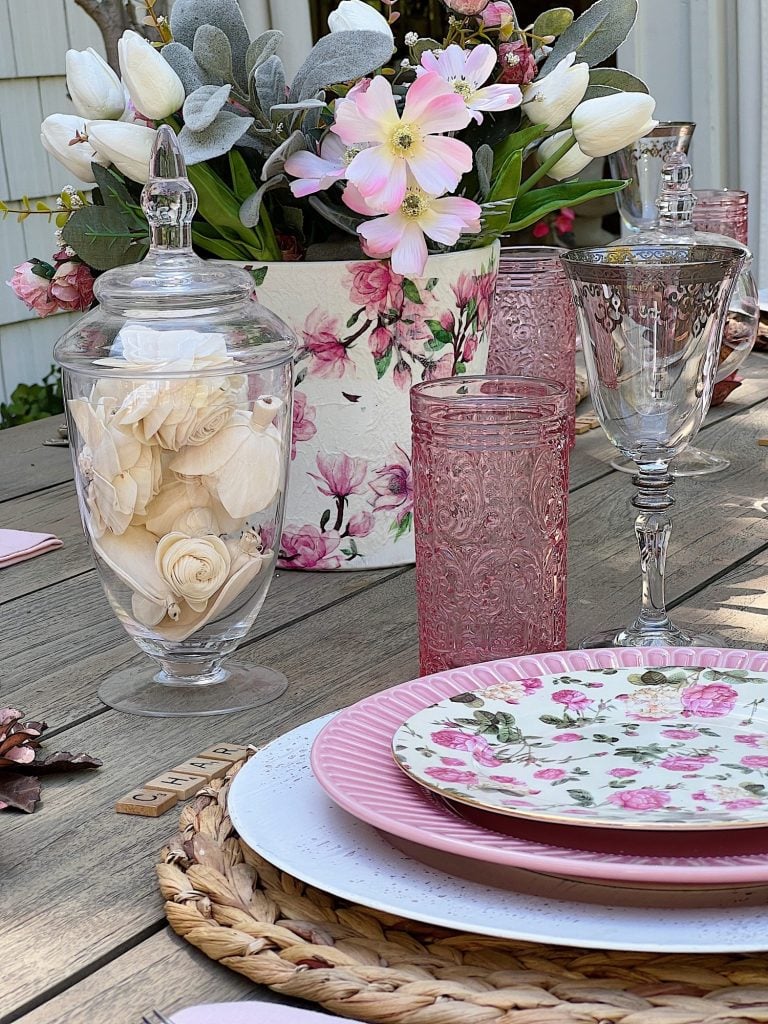
How to Transform a Terra Cotta Pot into a Beautiful Vase
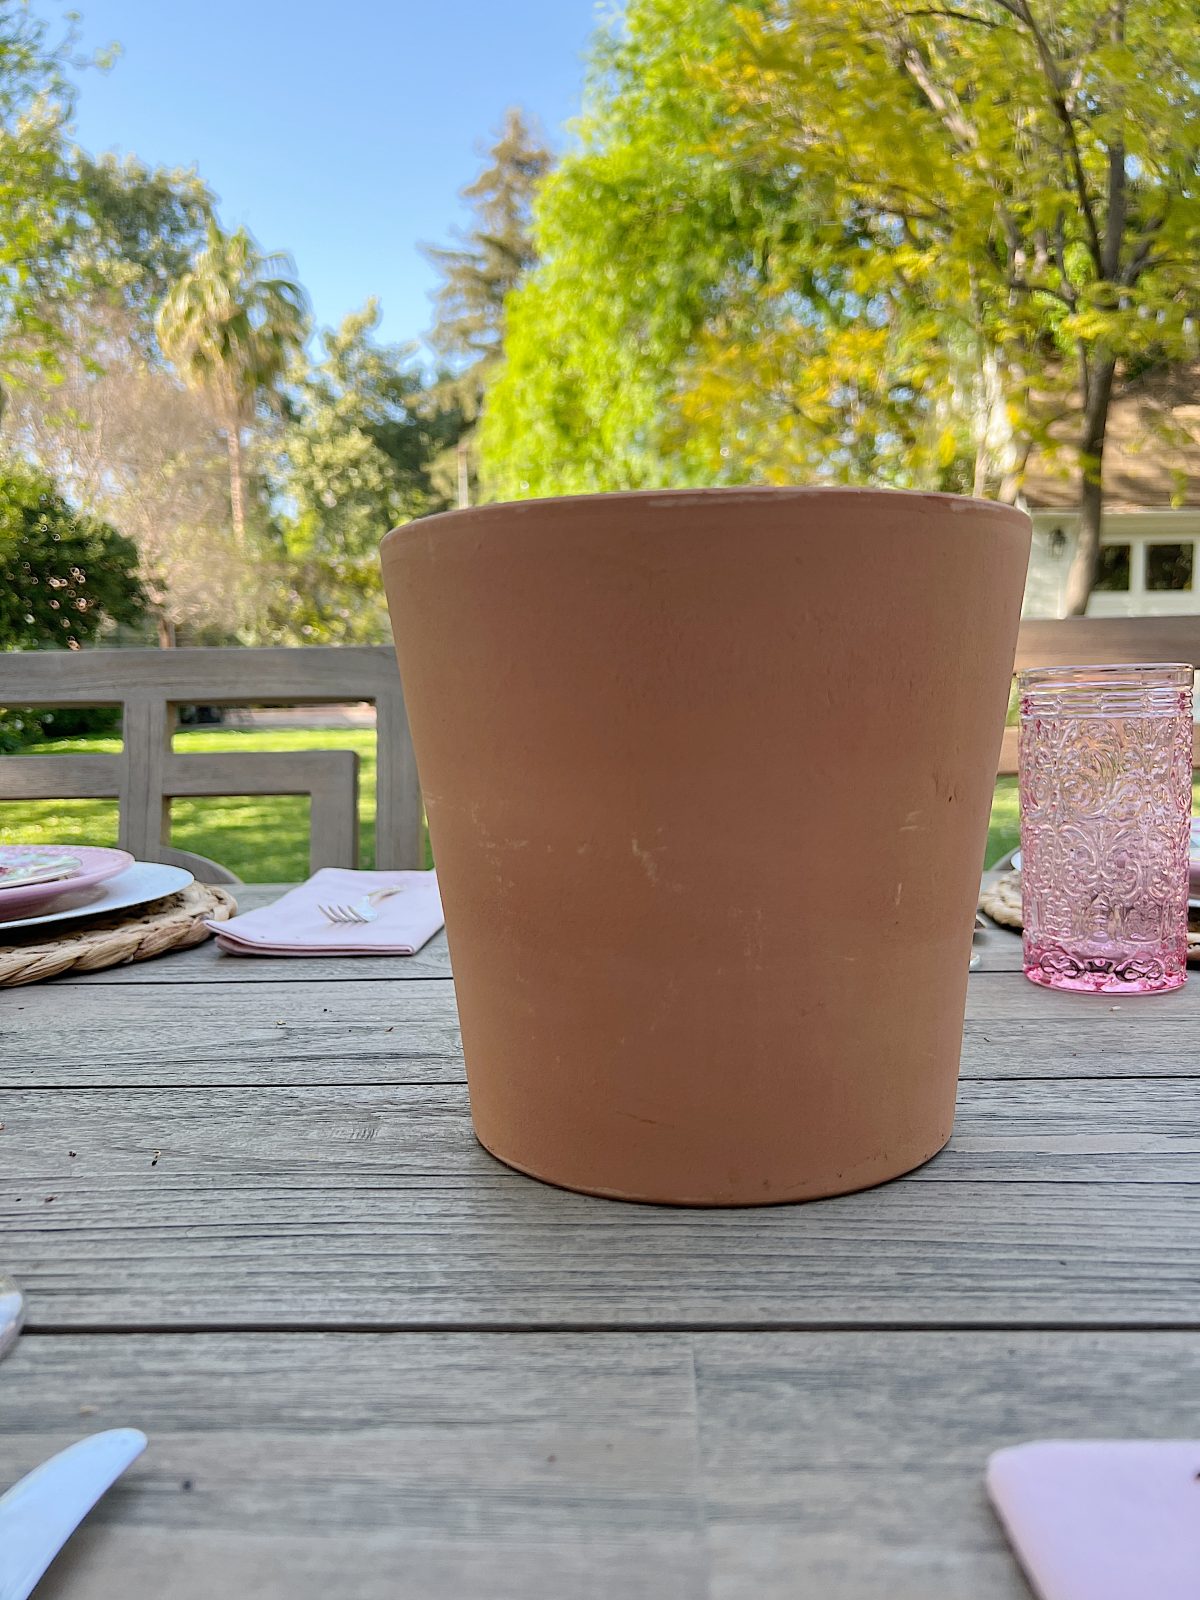
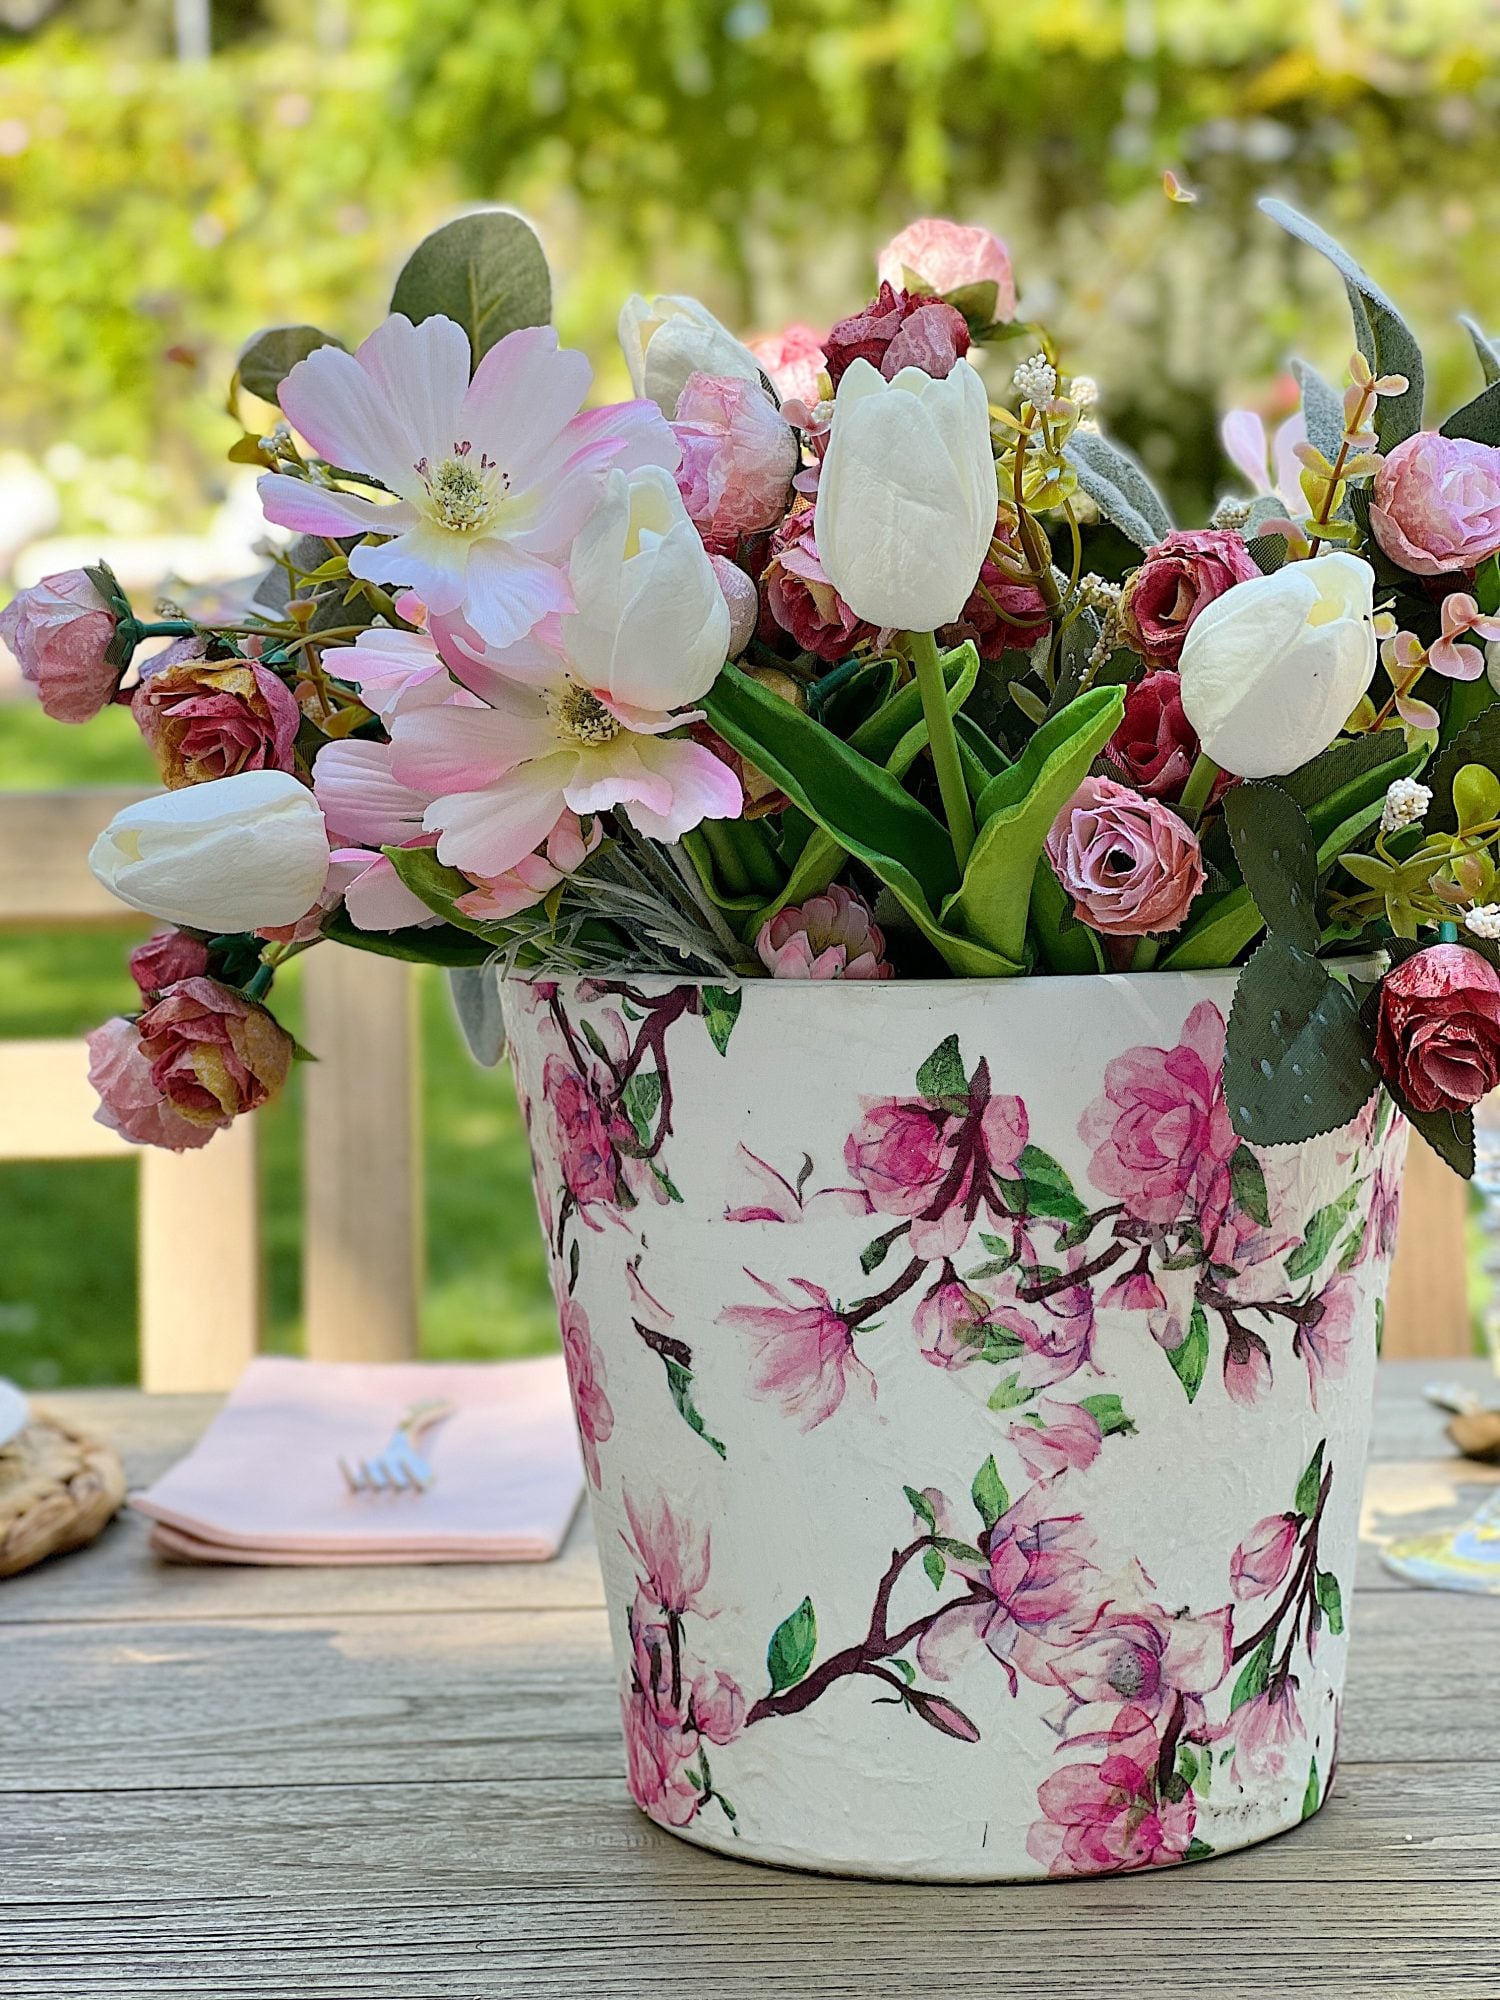
This was so easy to make. All I did was paint the terra cotta pot white, glue the napkin to the pot, and seal it. That was it.
Can you believe the transformation?
How to Make a Terra Cotta Pot with Paper Napkins
What You Need to Make This
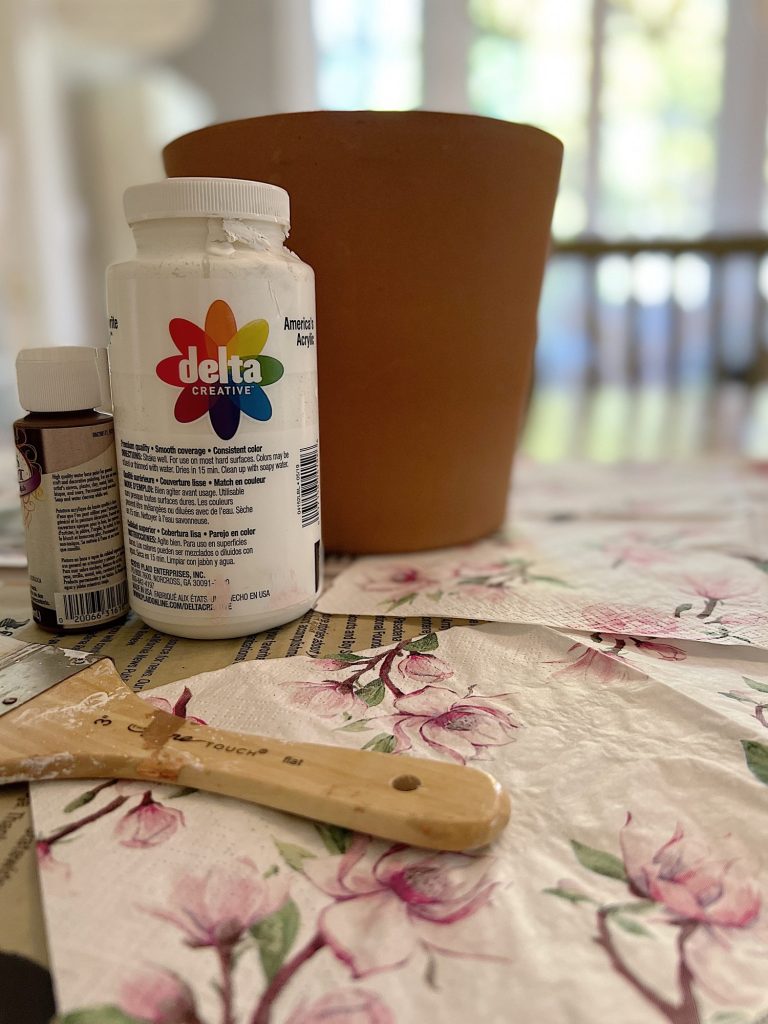
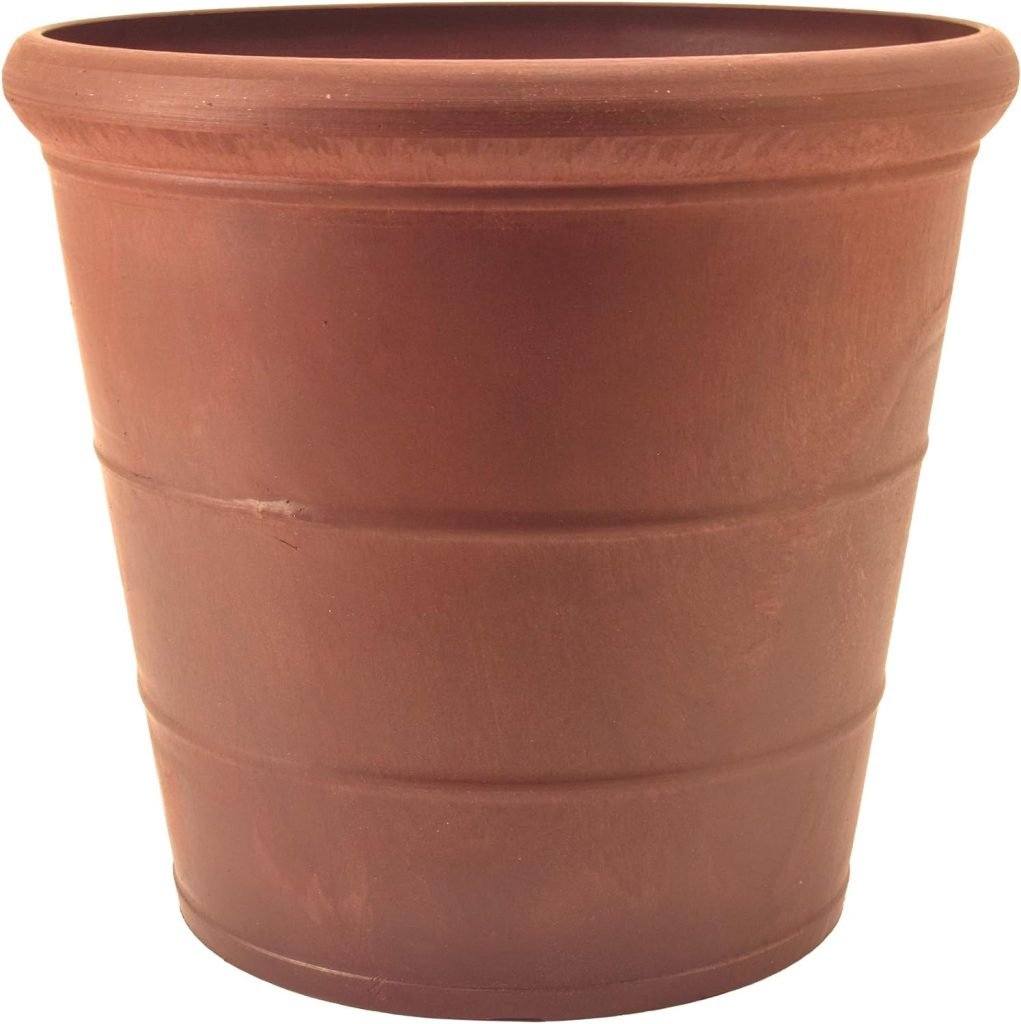
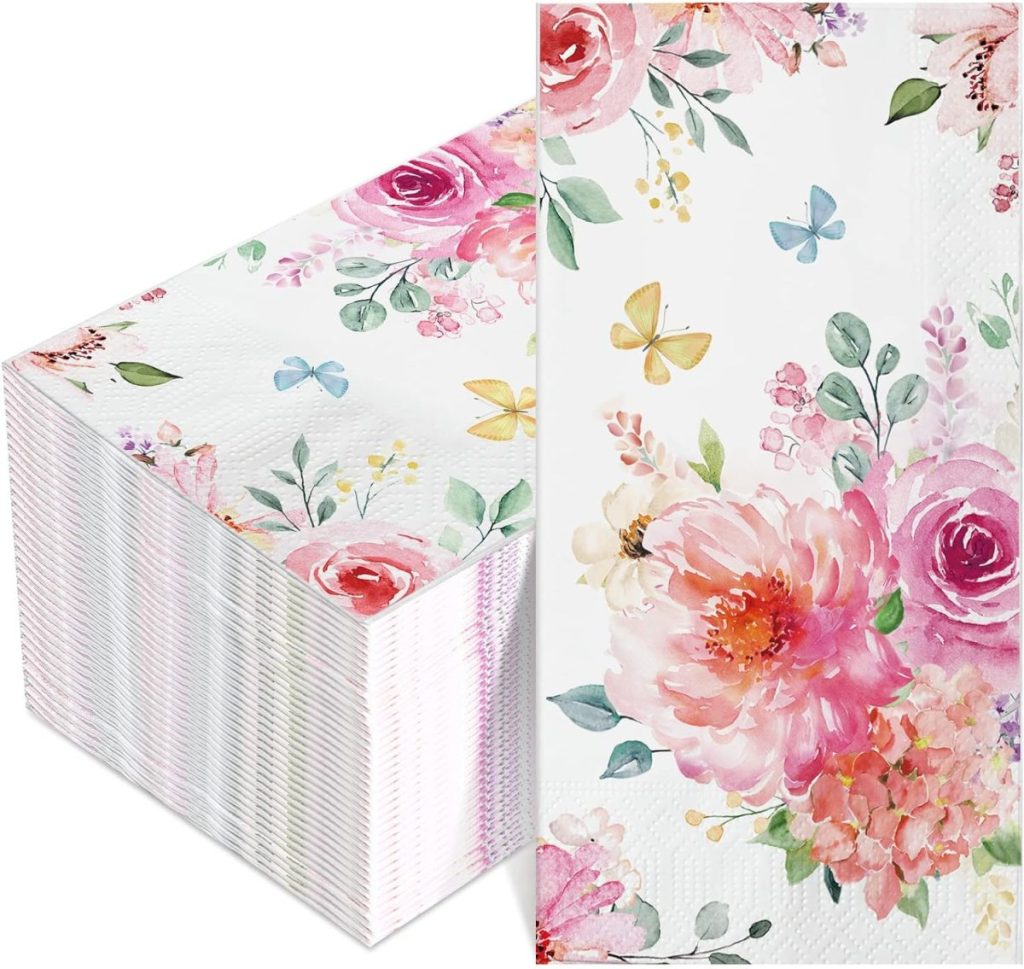
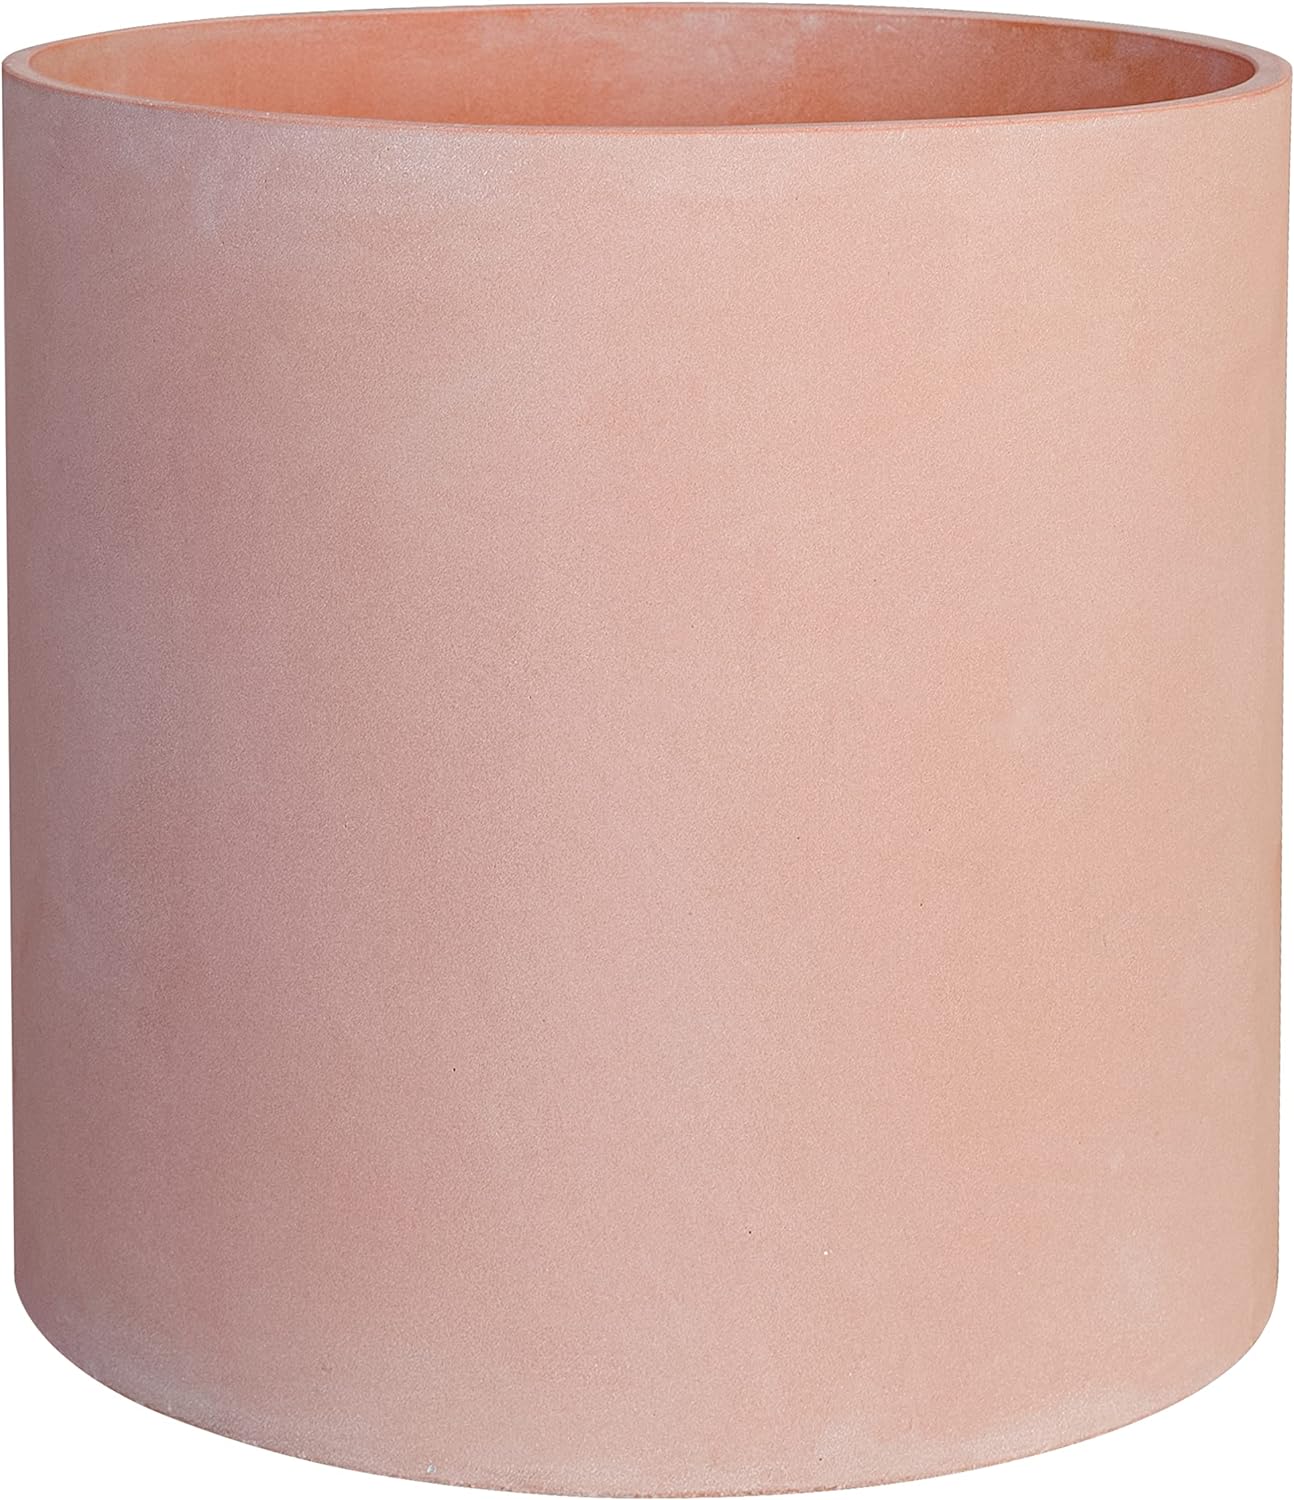
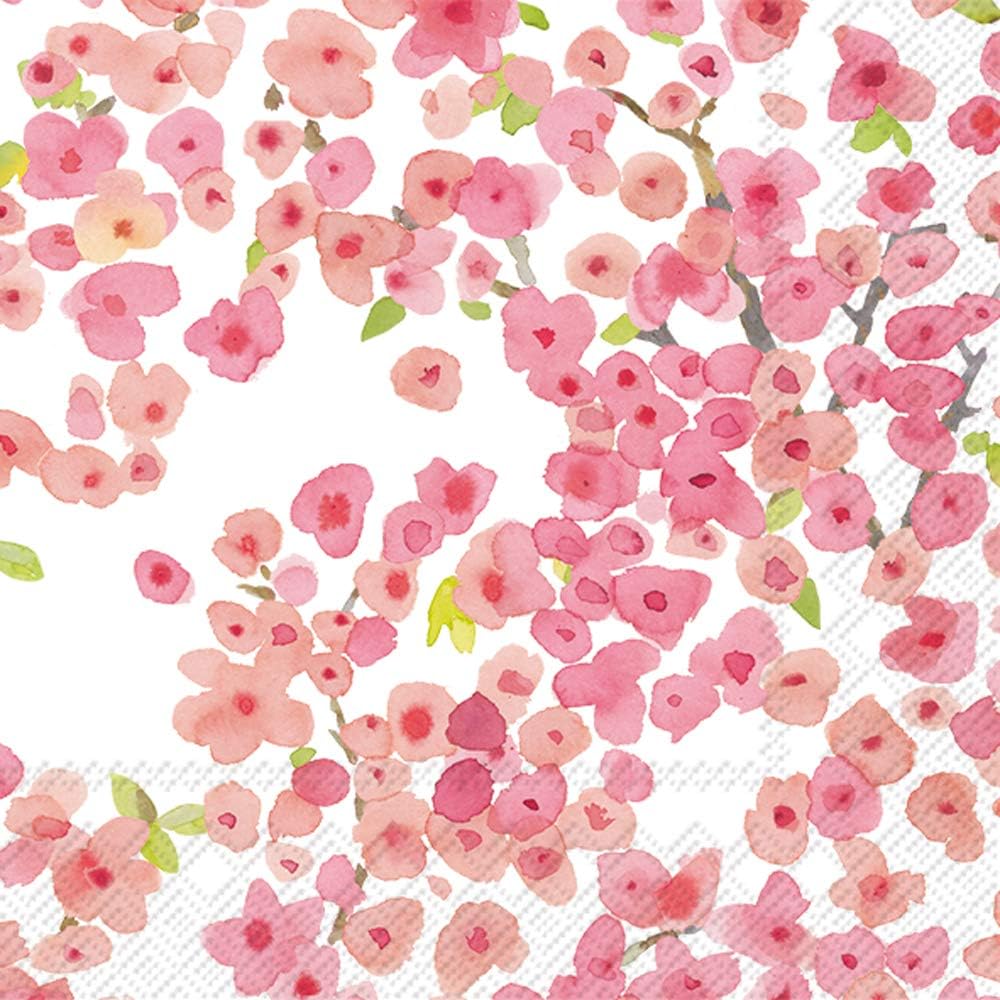
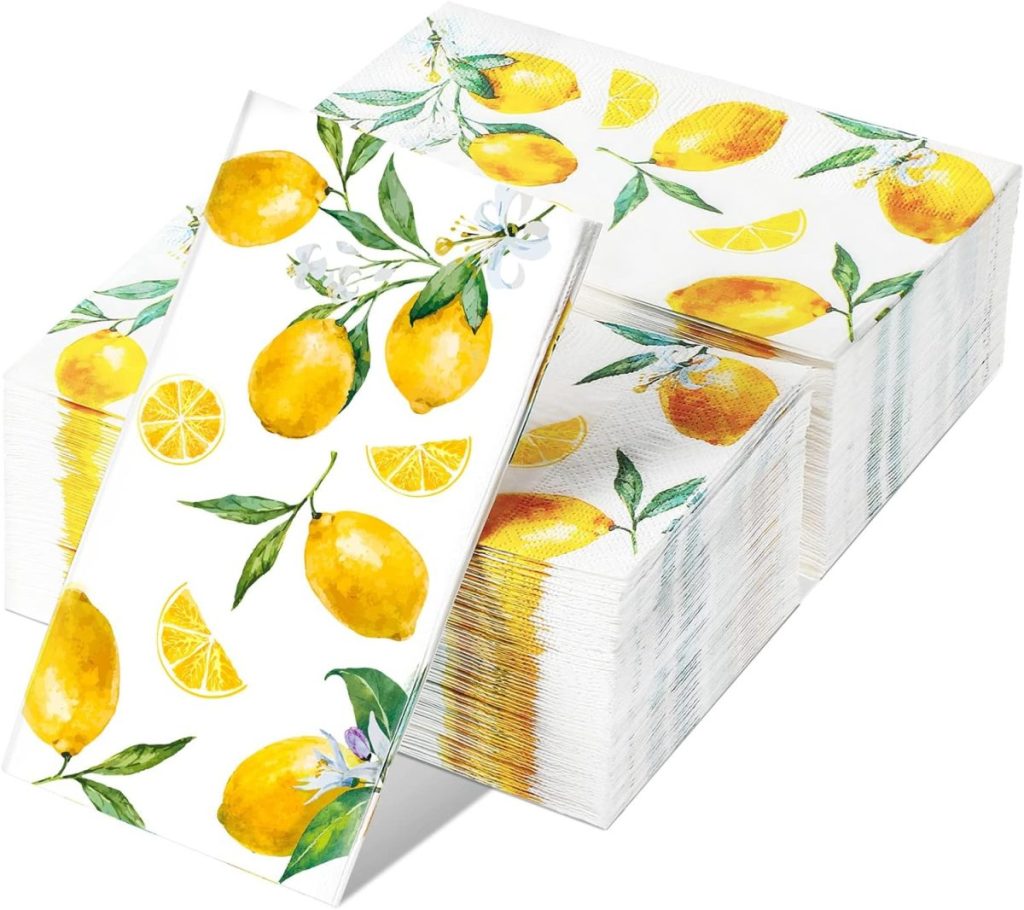
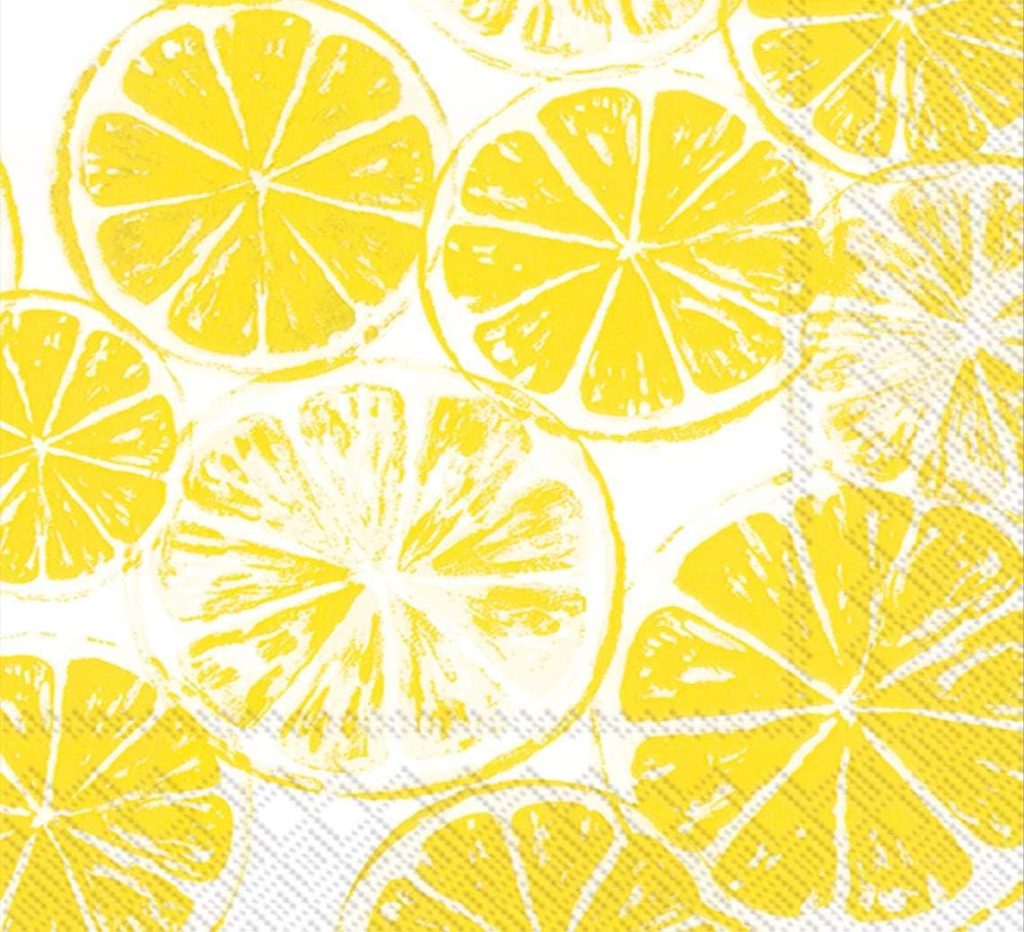
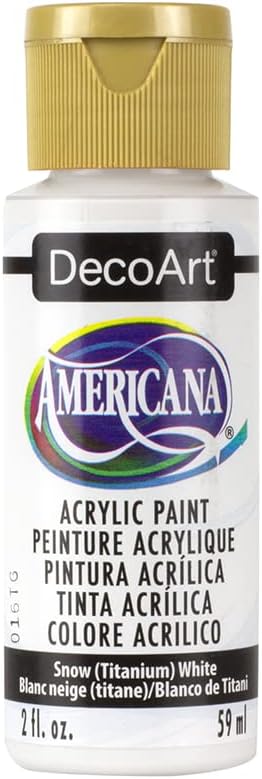
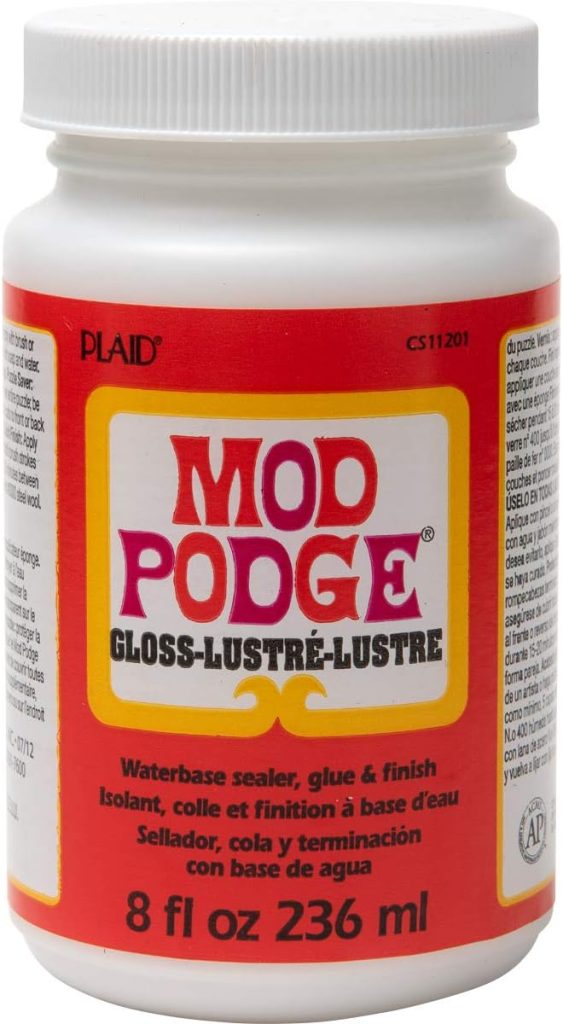
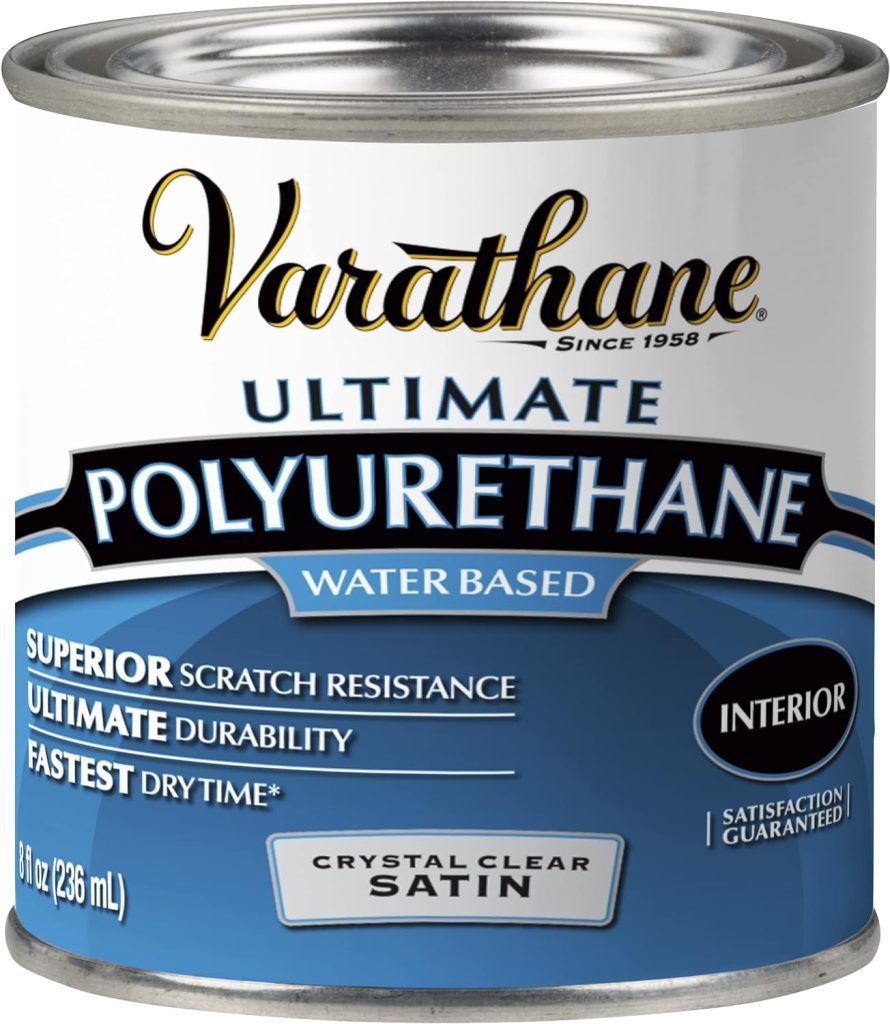
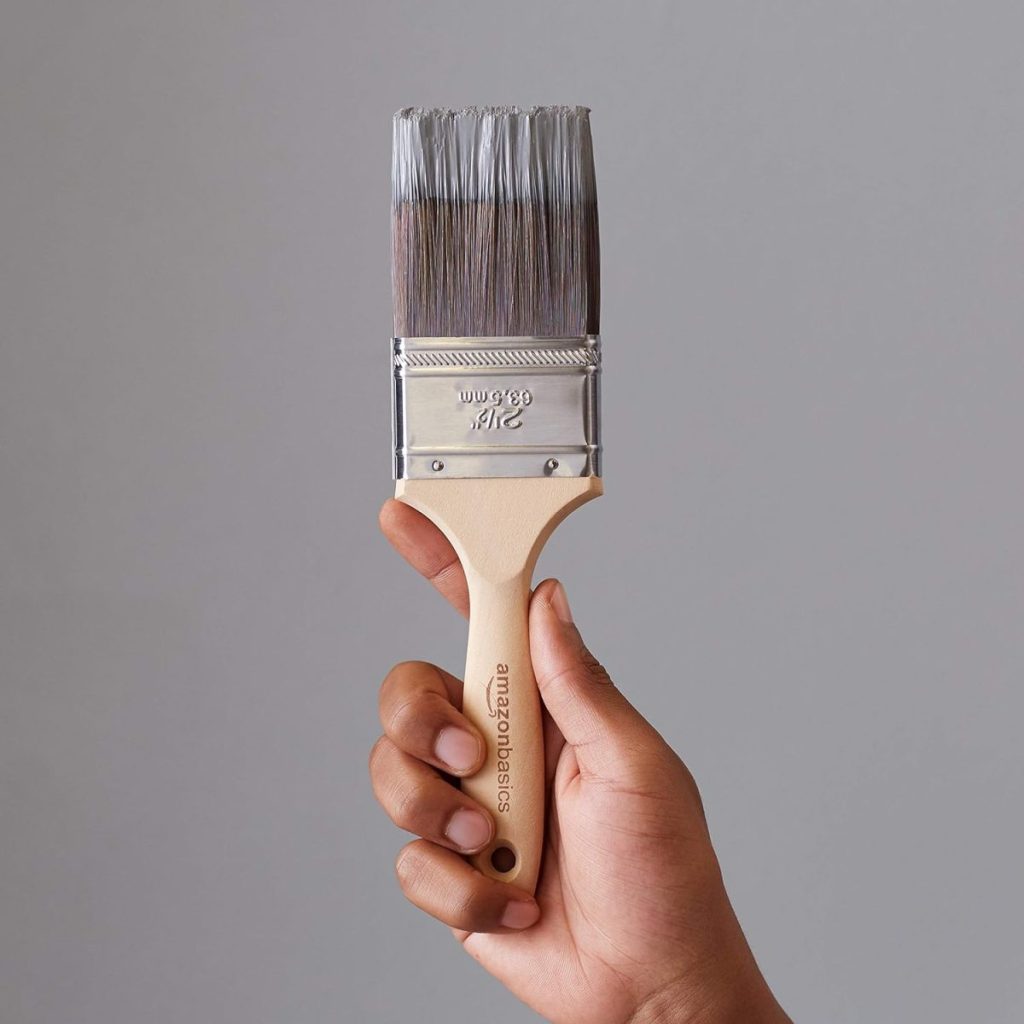
All you need is a terra cotta pot, paper napkins, white acrylic paint, a paintbrush, and water-based polyurethane. I bought this post at Lowes. You can find it here.
Step-by-Step Instructions
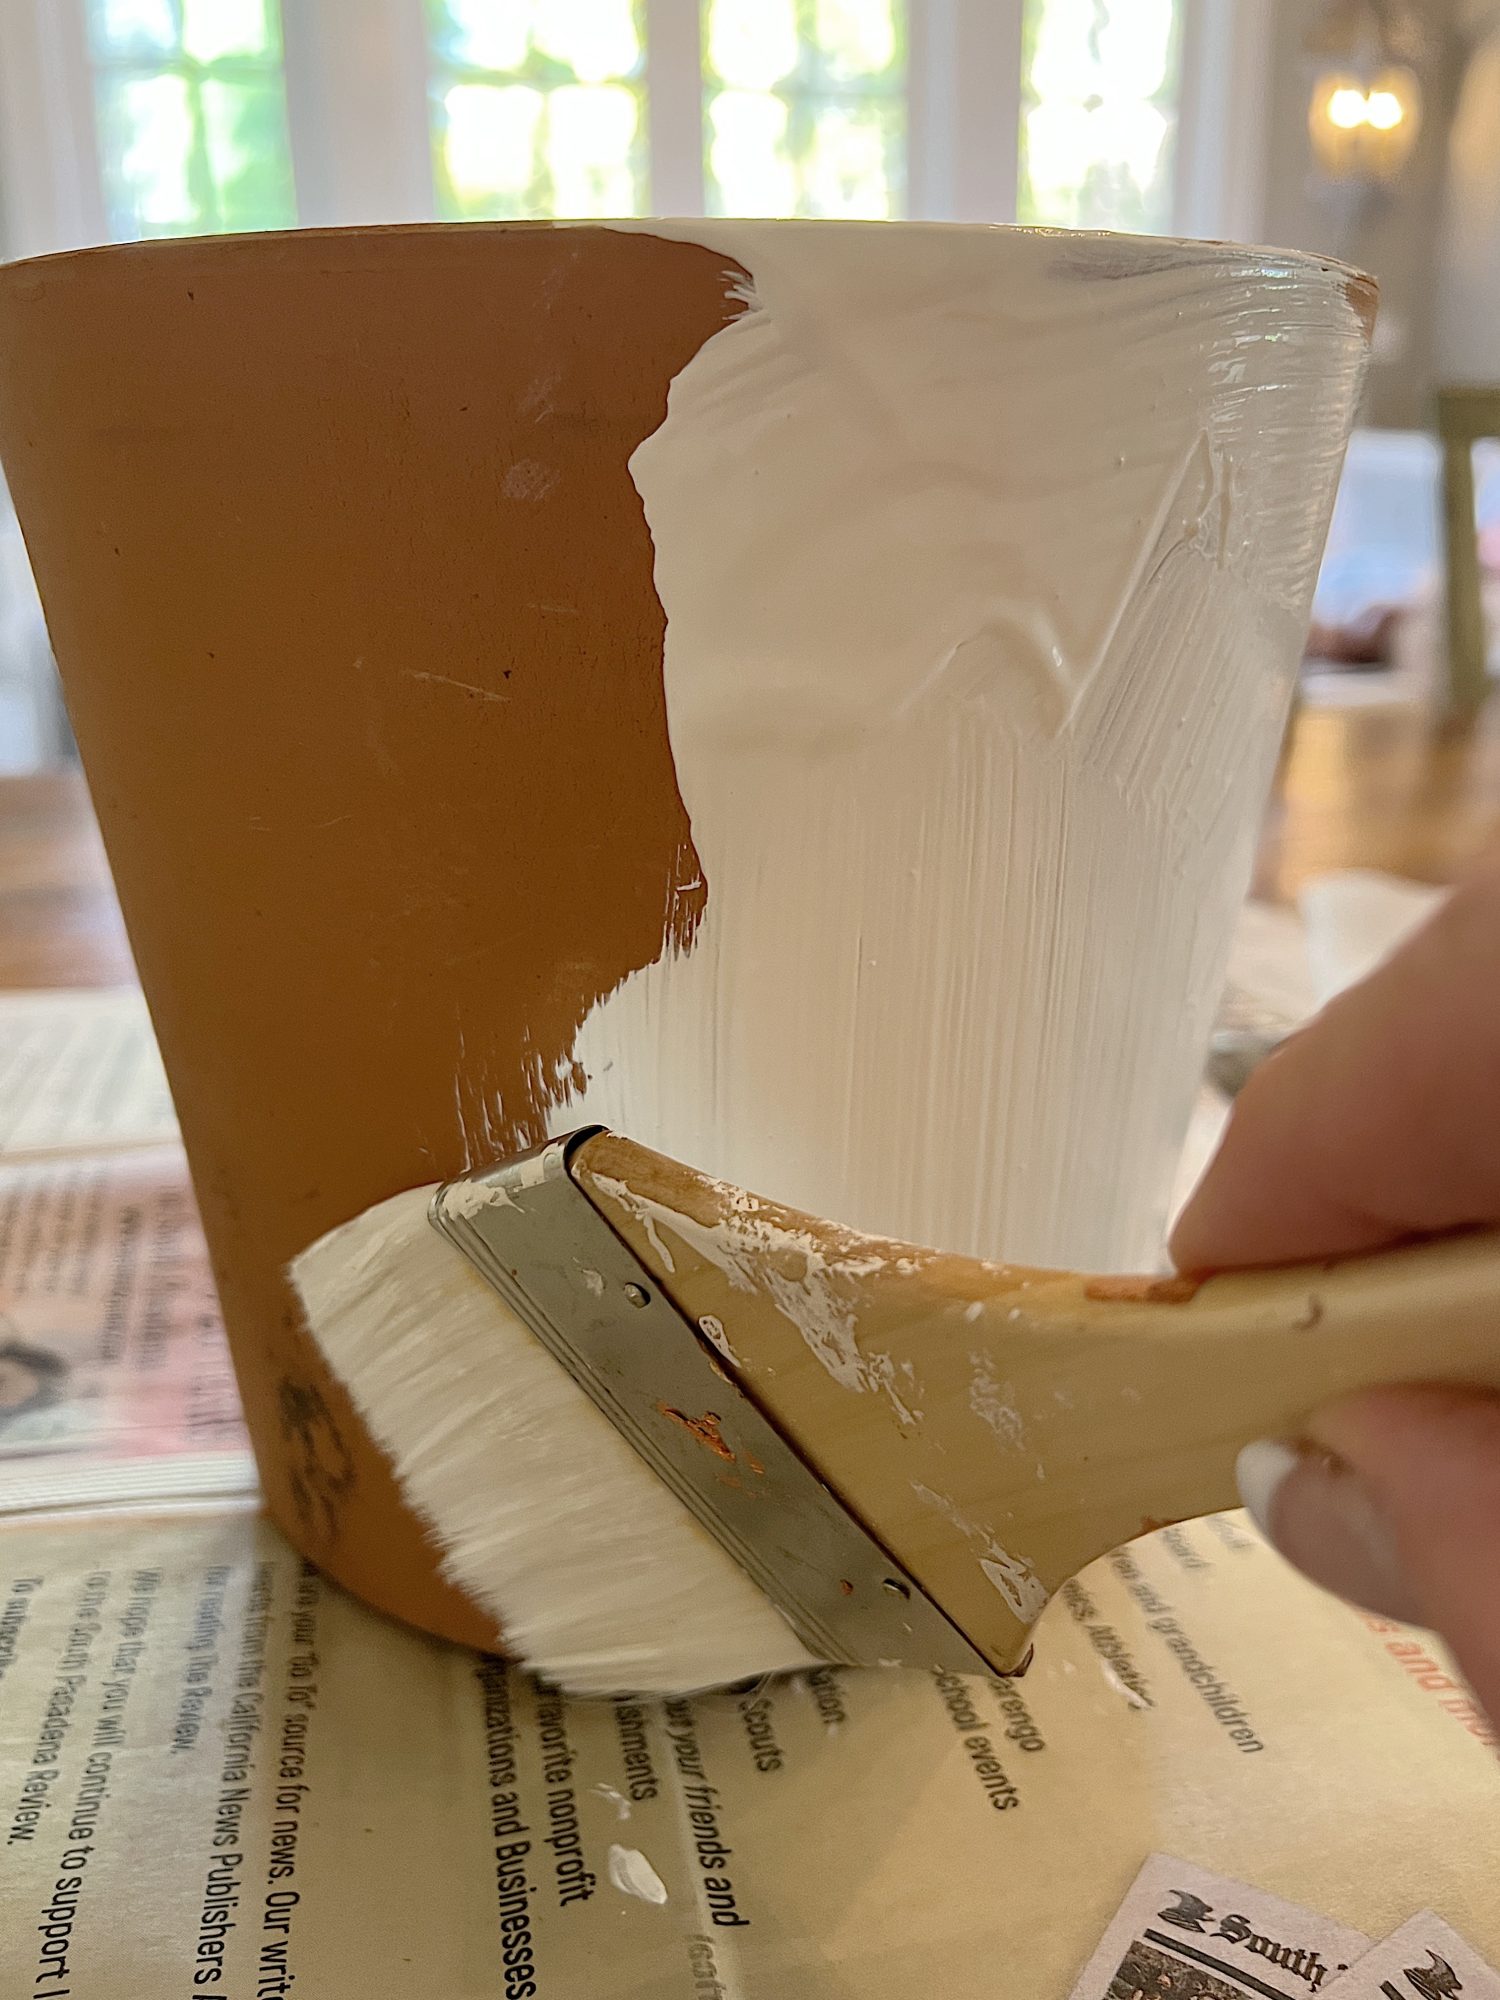
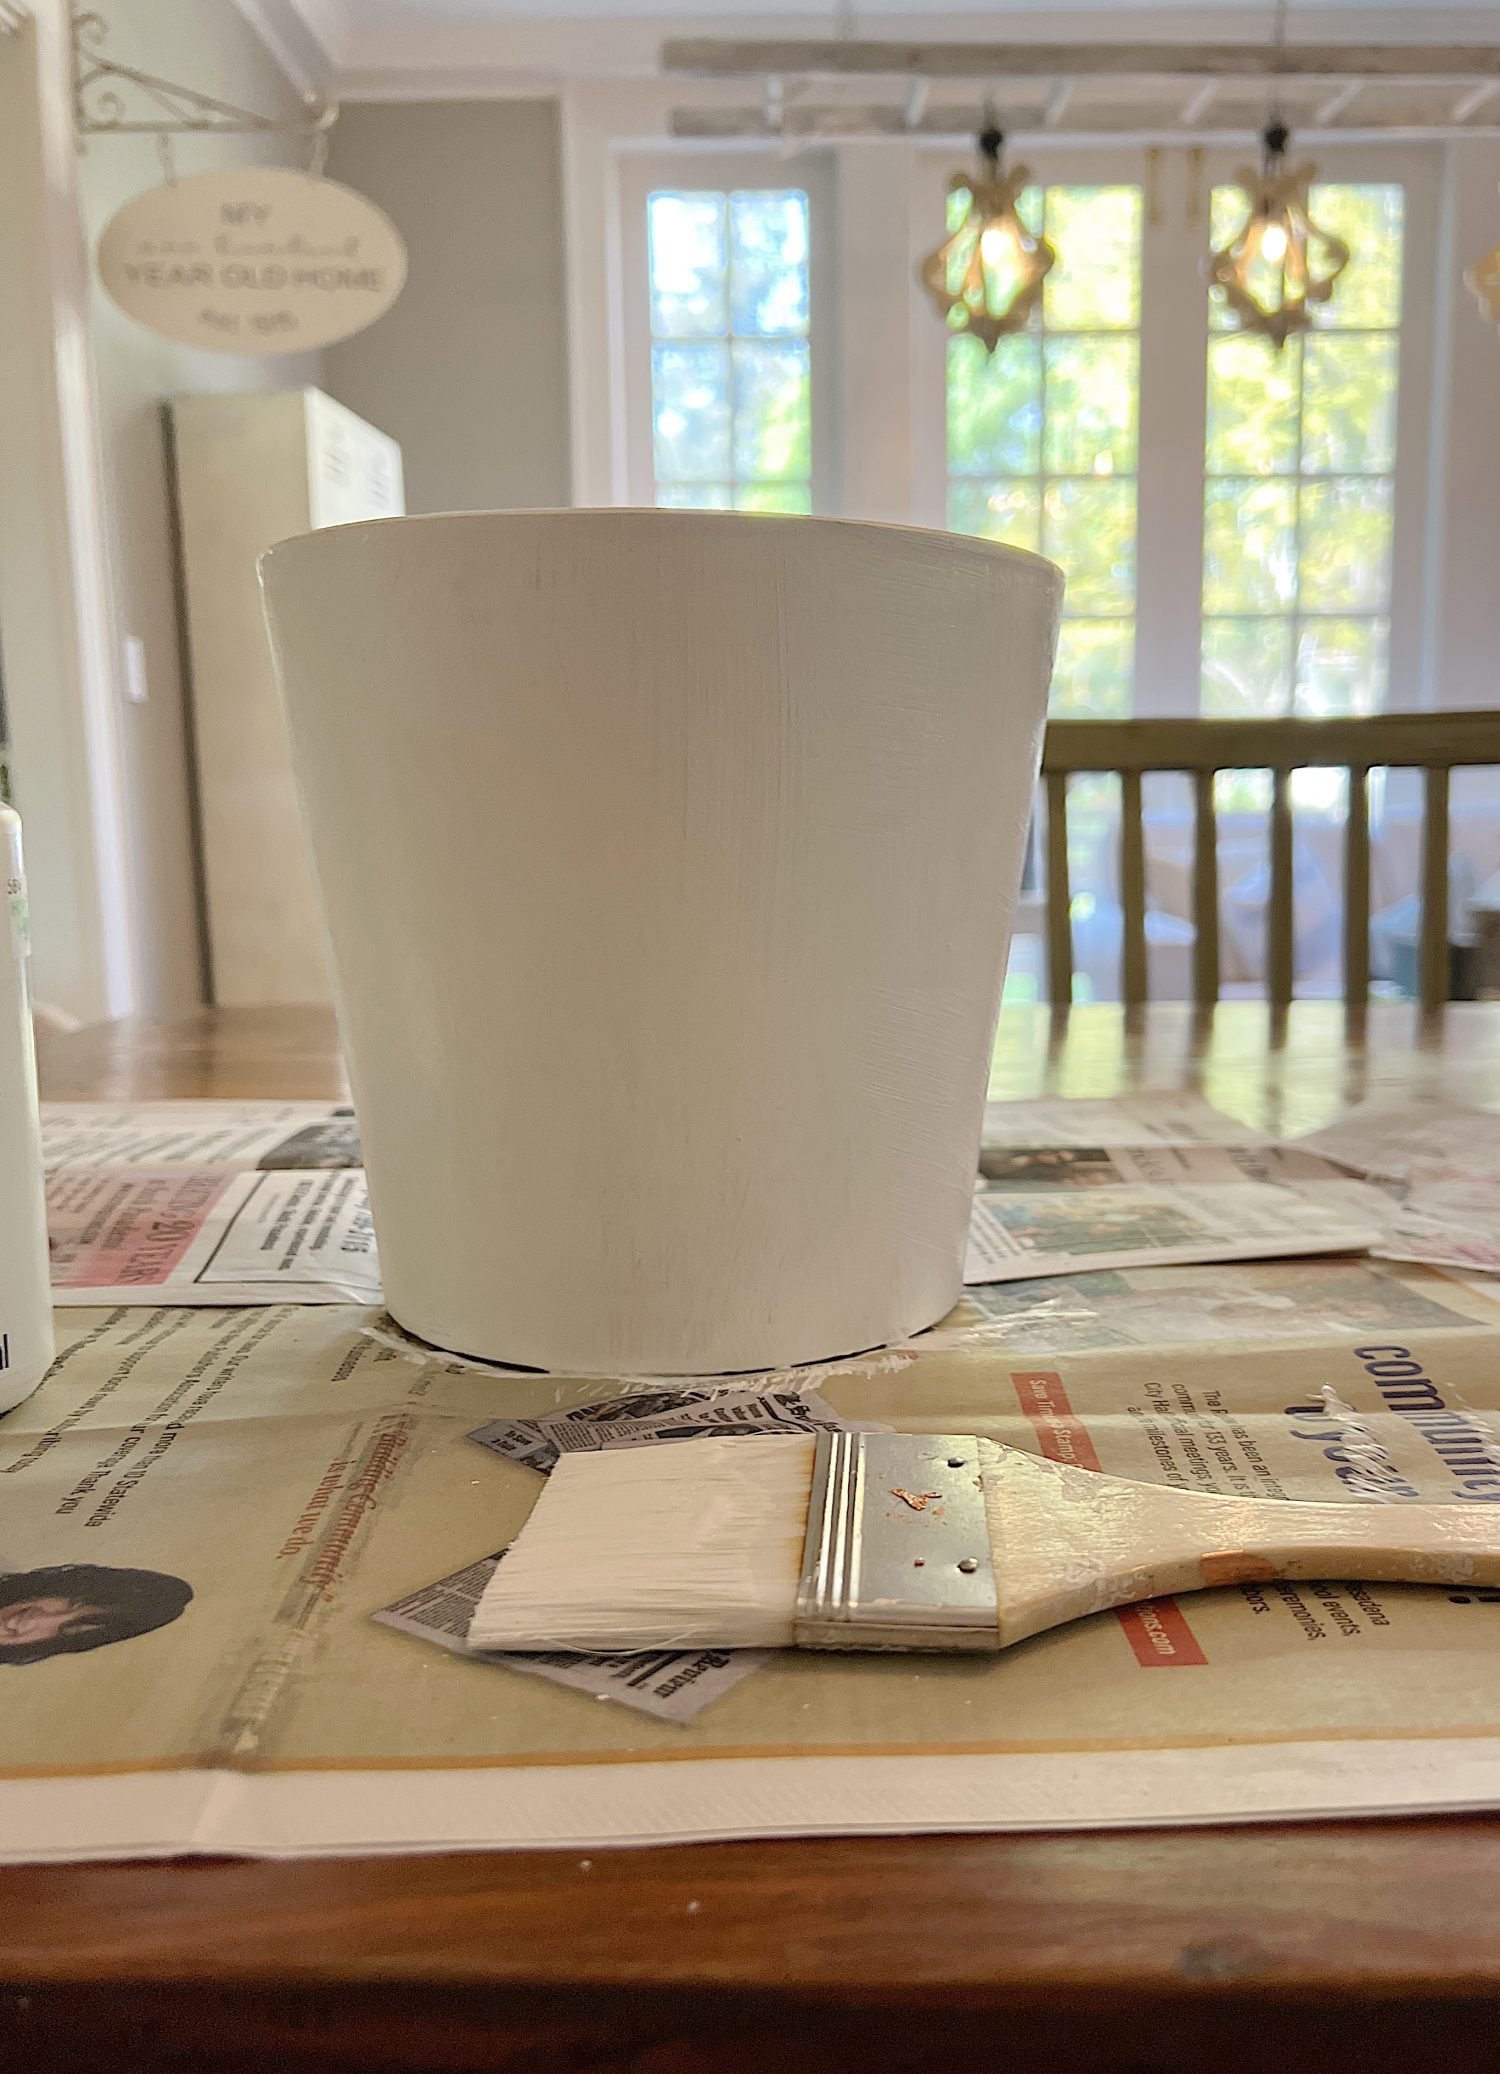
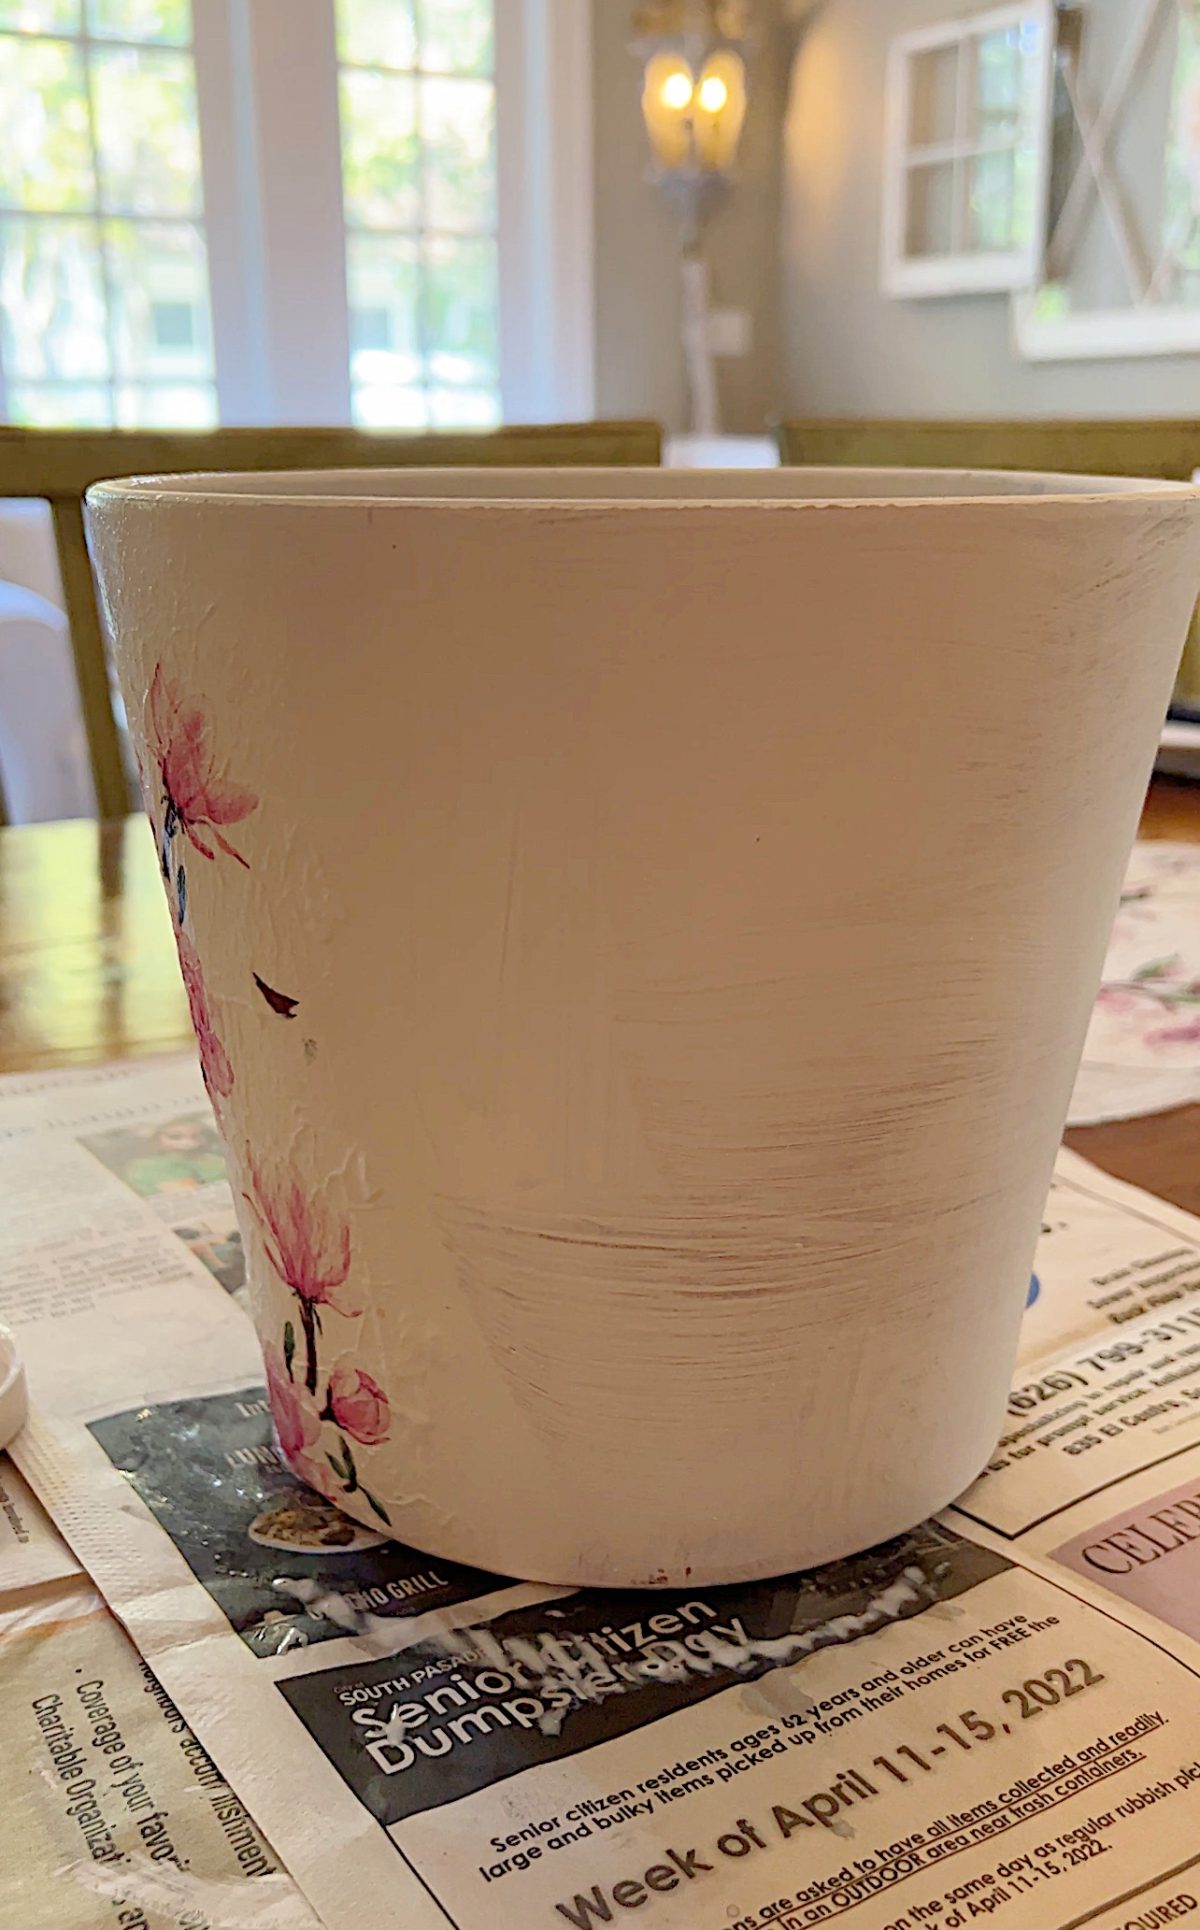
- one – Paint the terra cotta pot with white acrylic paint.
- two – Let the pot dry. Remove the paper backing from the napkins and tear them into large pieces.
- three – Try to lay the napkins in the same direction so that they aren’t upside down or sideways.
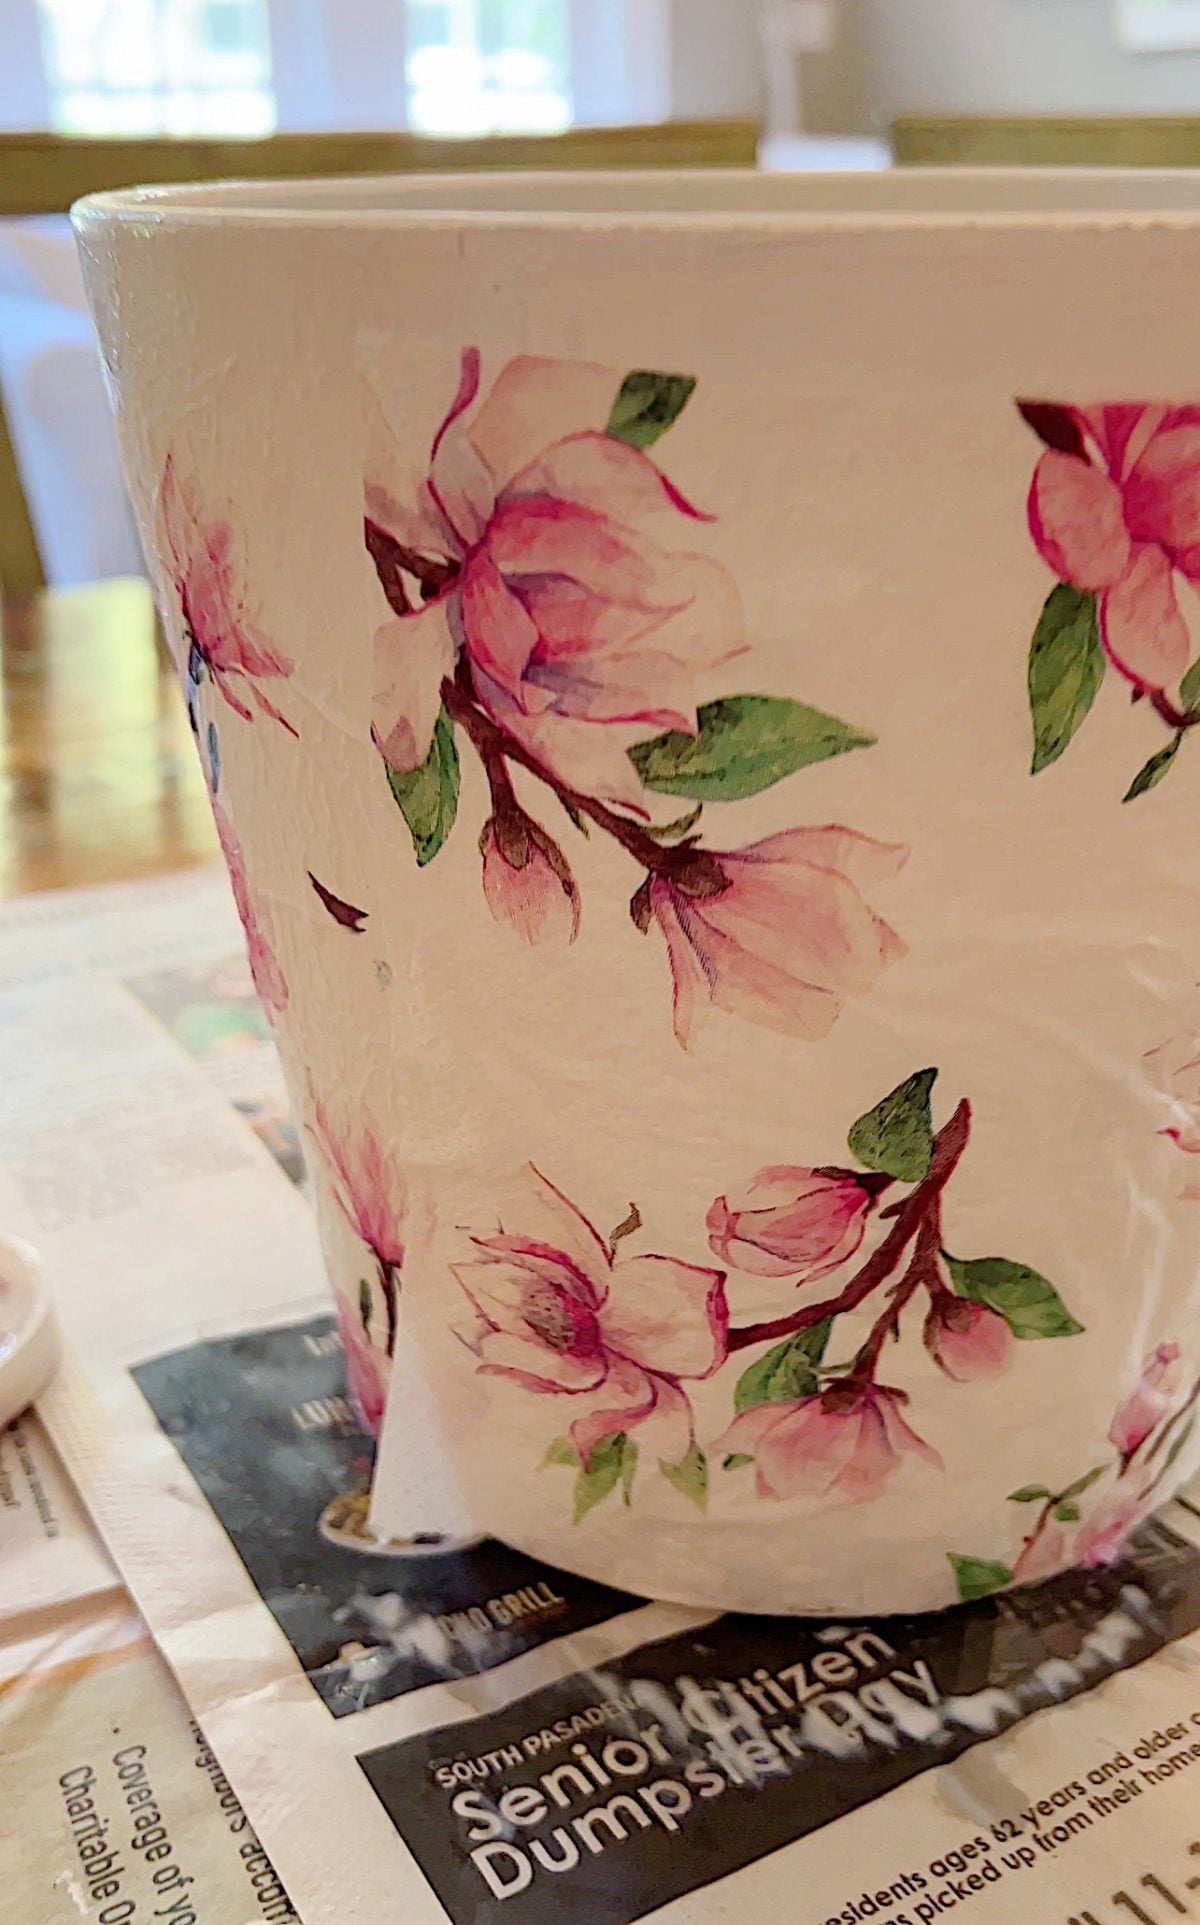
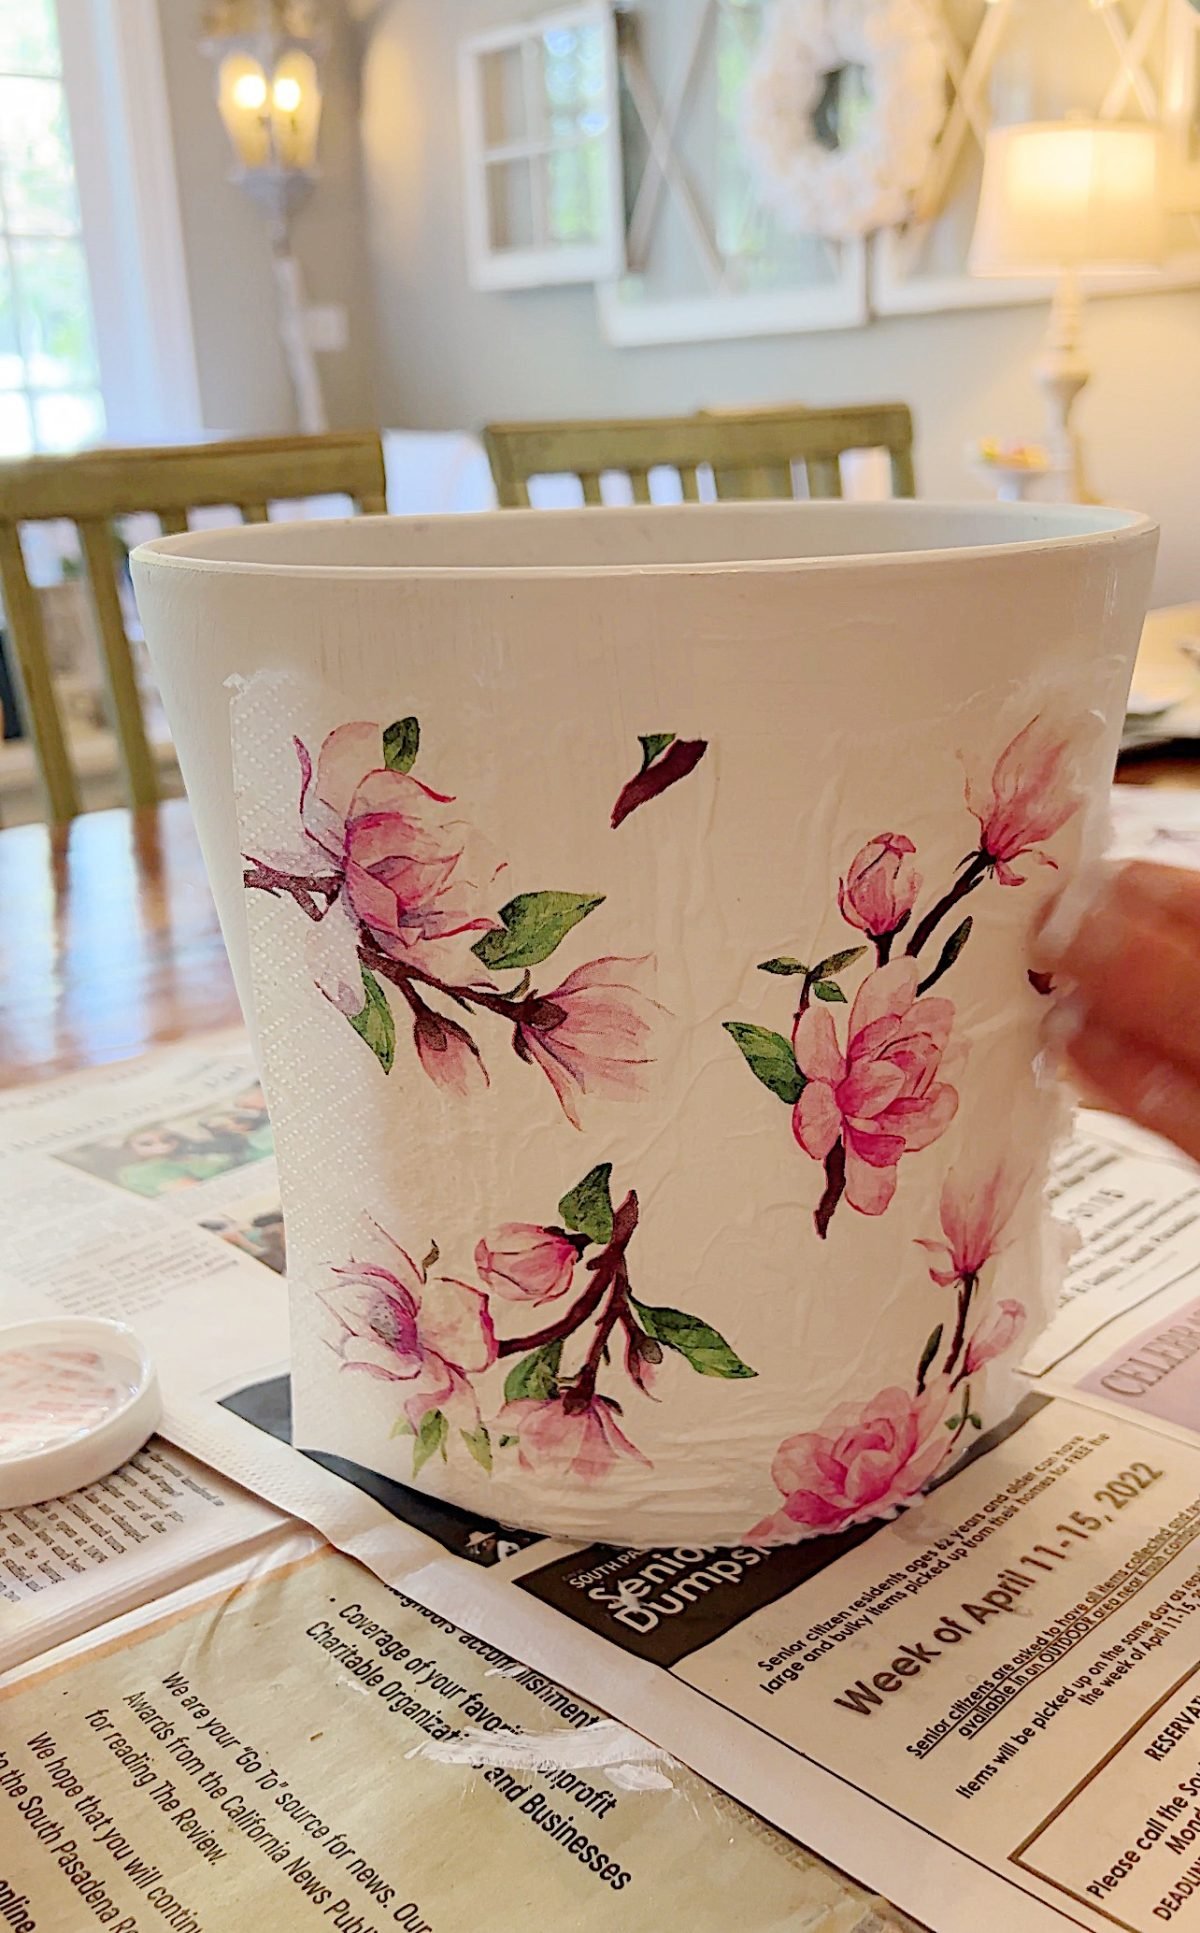
- four – Cover an area with Mod Podge and lay the napkin on top.
- five – Press down gently with your fingers and then cover with the Mod Podge, being careful not to tear the napkin.
- six – Continue to cover the entire pot.
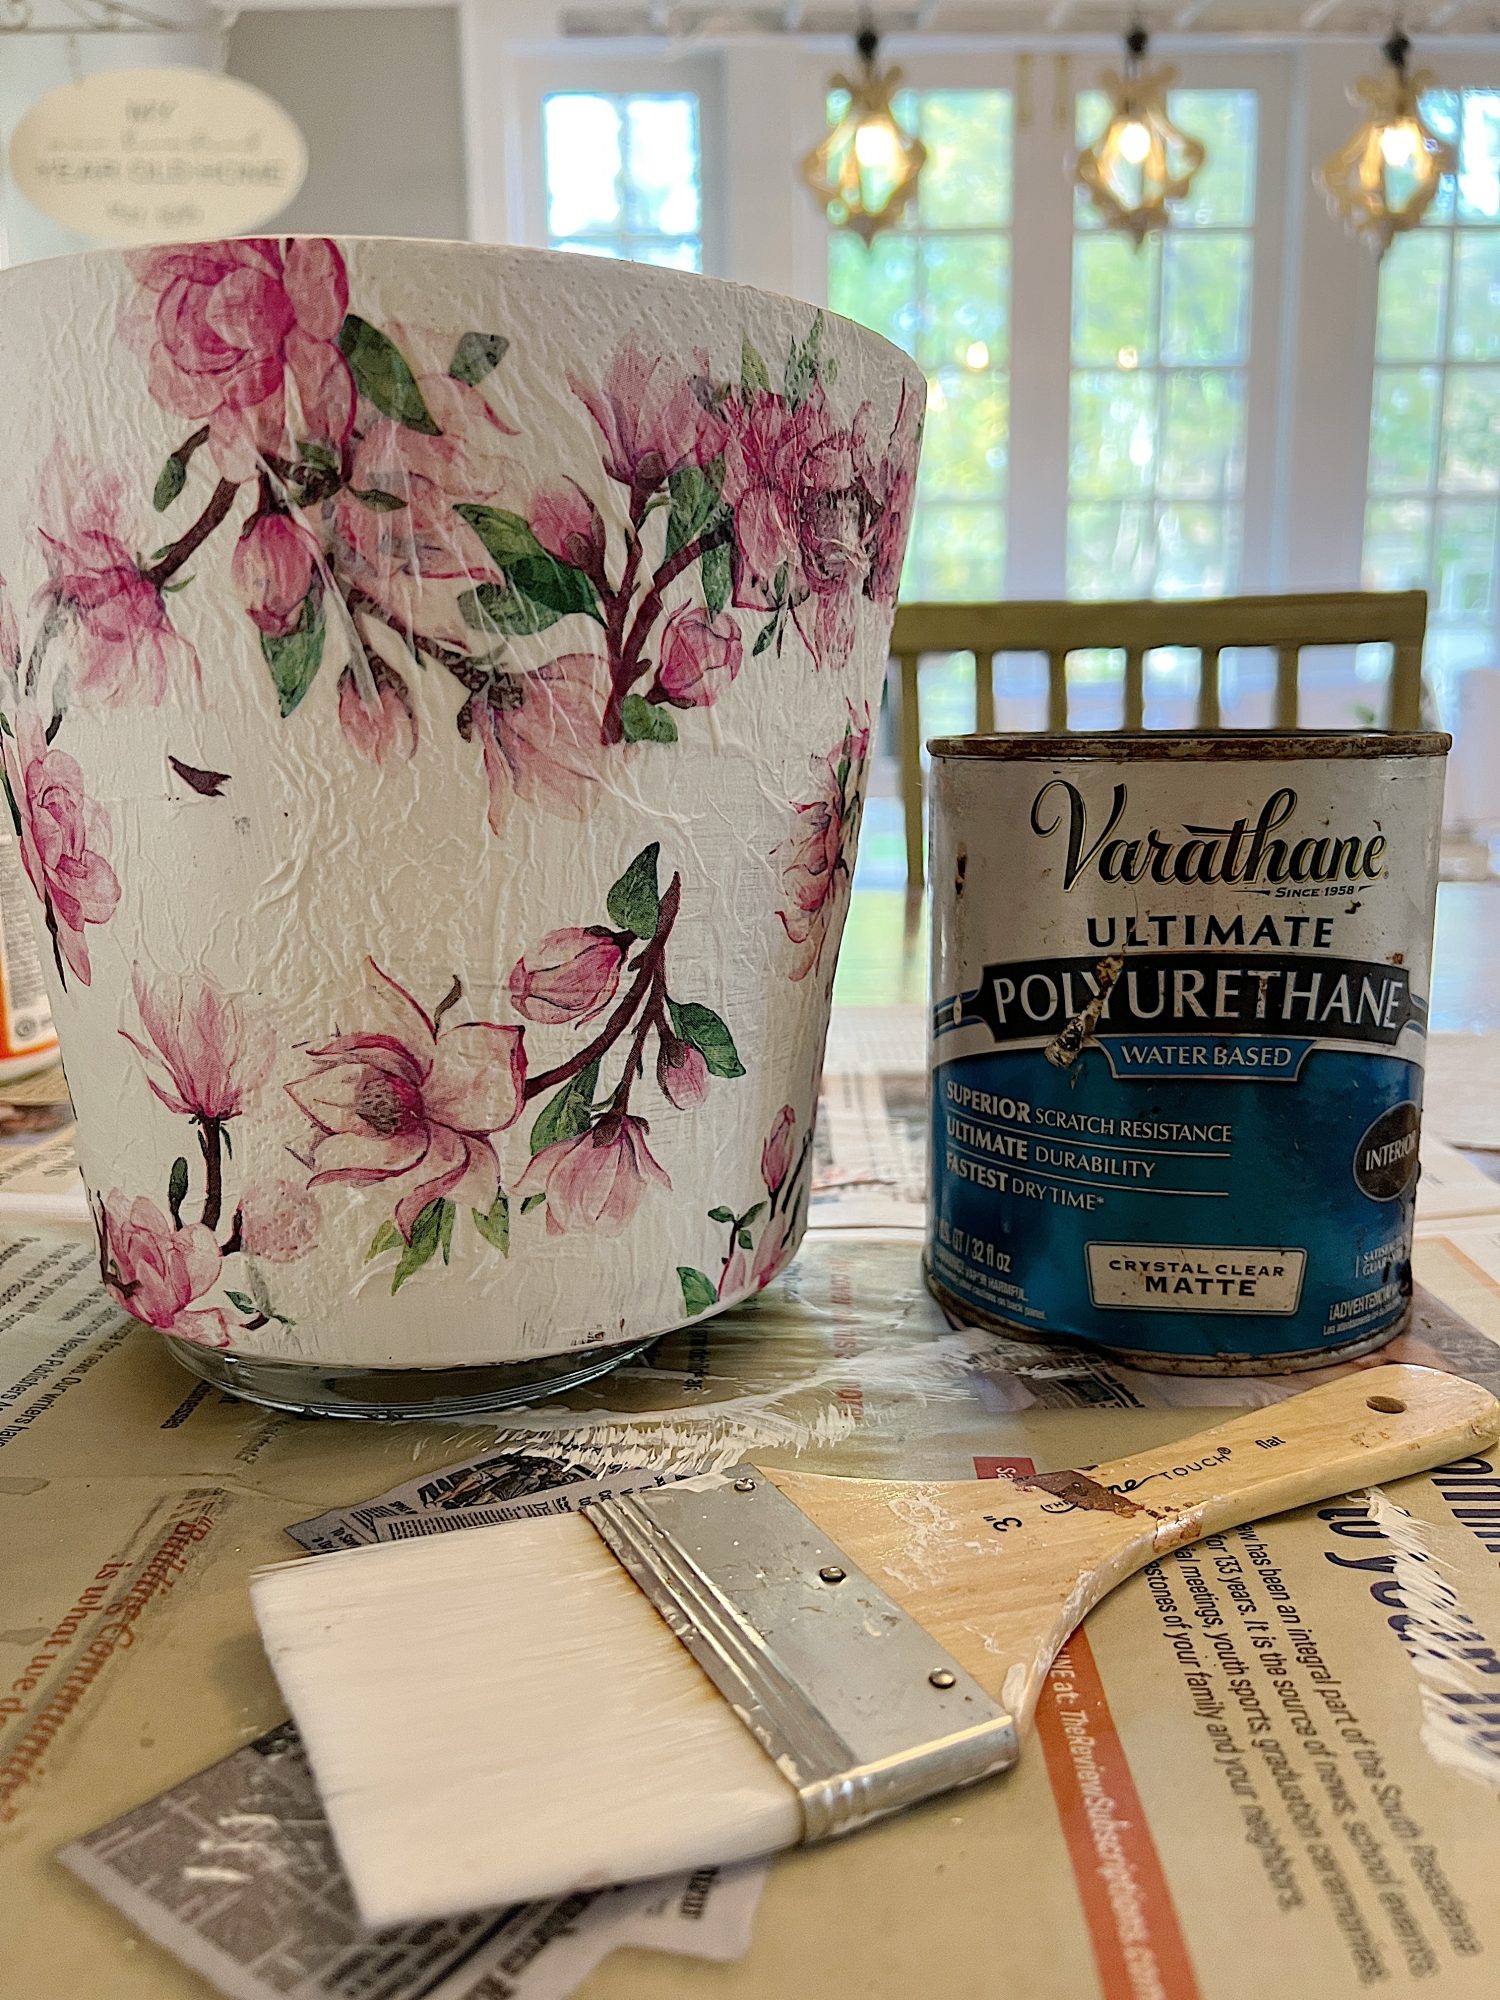
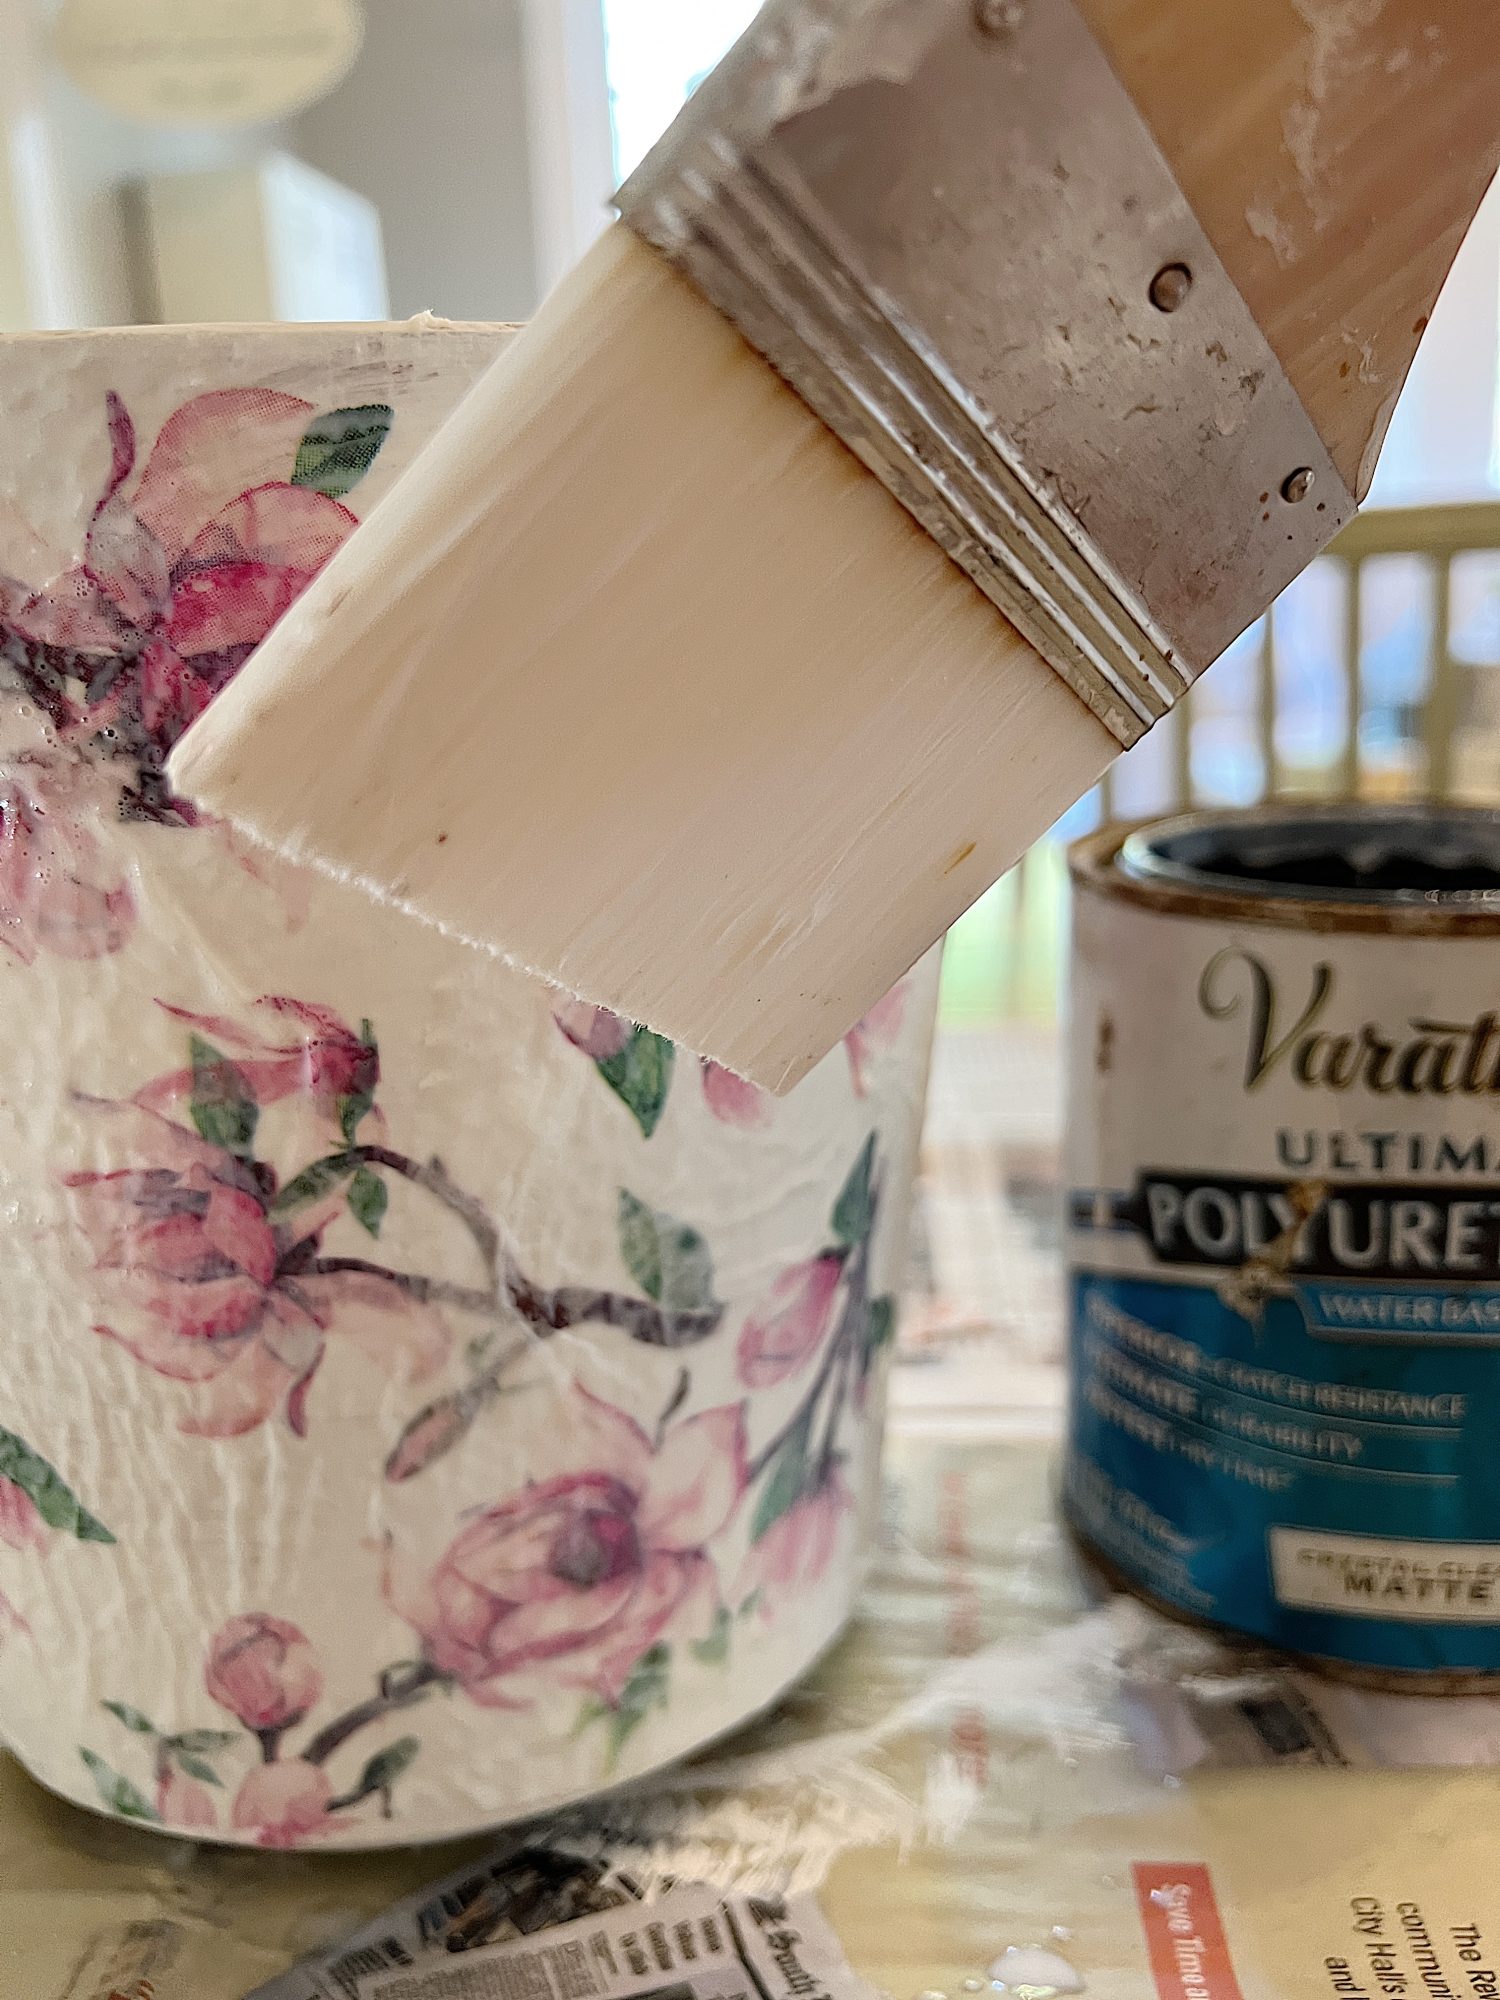
- seven – Let the pot dry completely (put it in the sun for faster results)
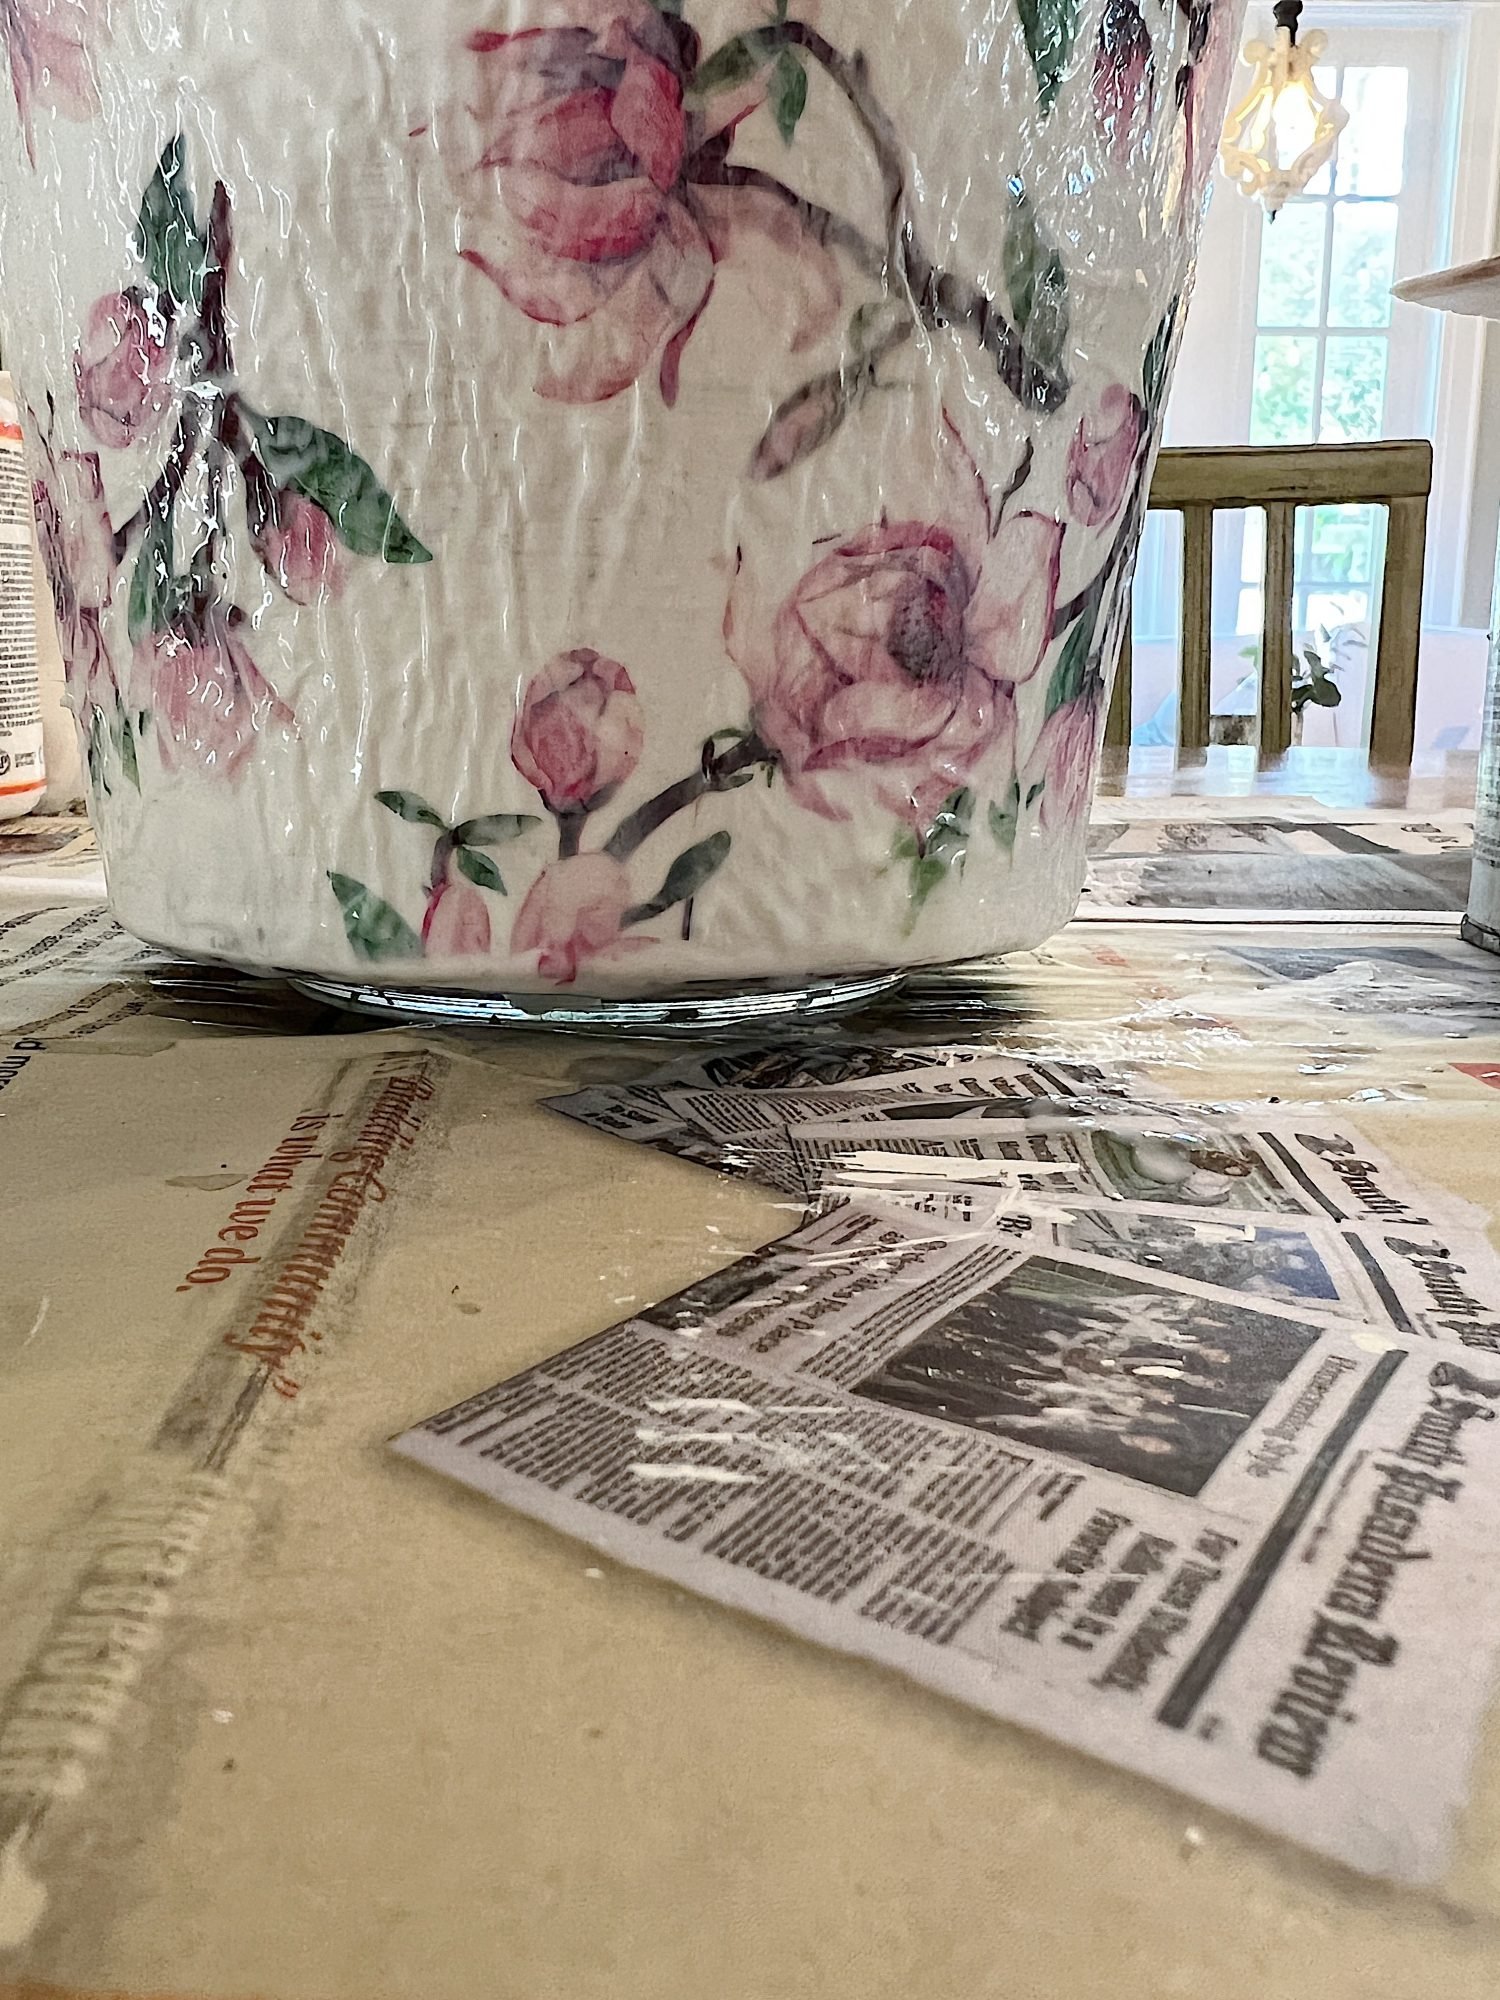
- eight – Once dry, cover with water-based polyurethane.
Ready to make your own beautiful terra cotta pot? Here is everything you need!
Setting a Pink Table
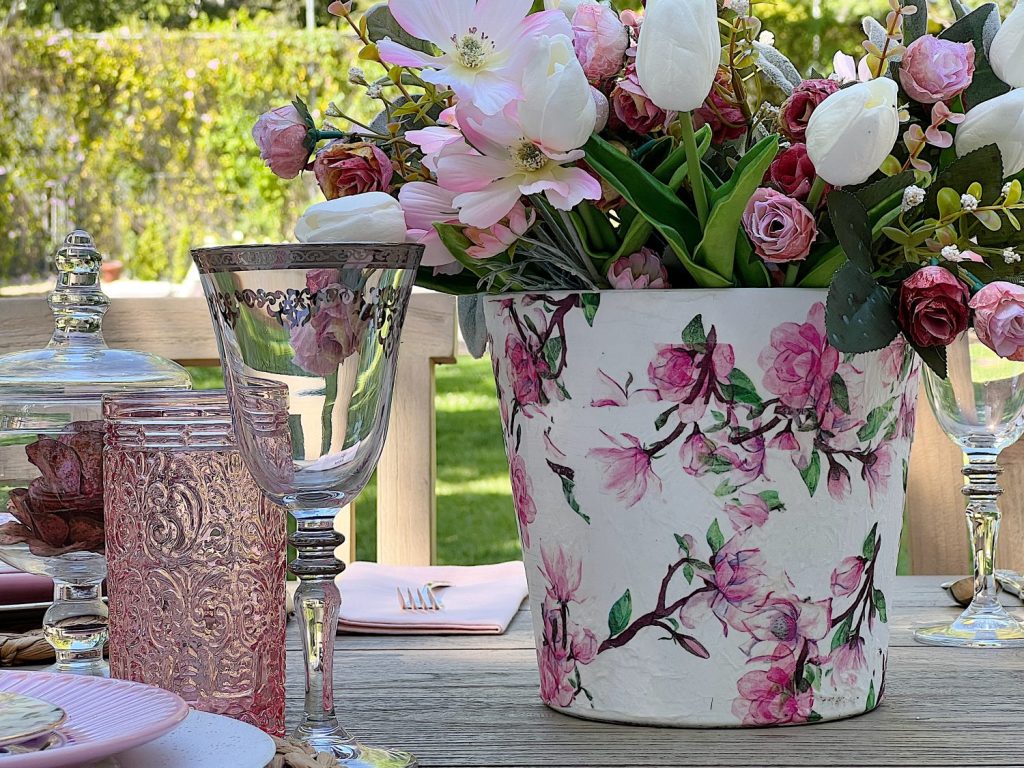
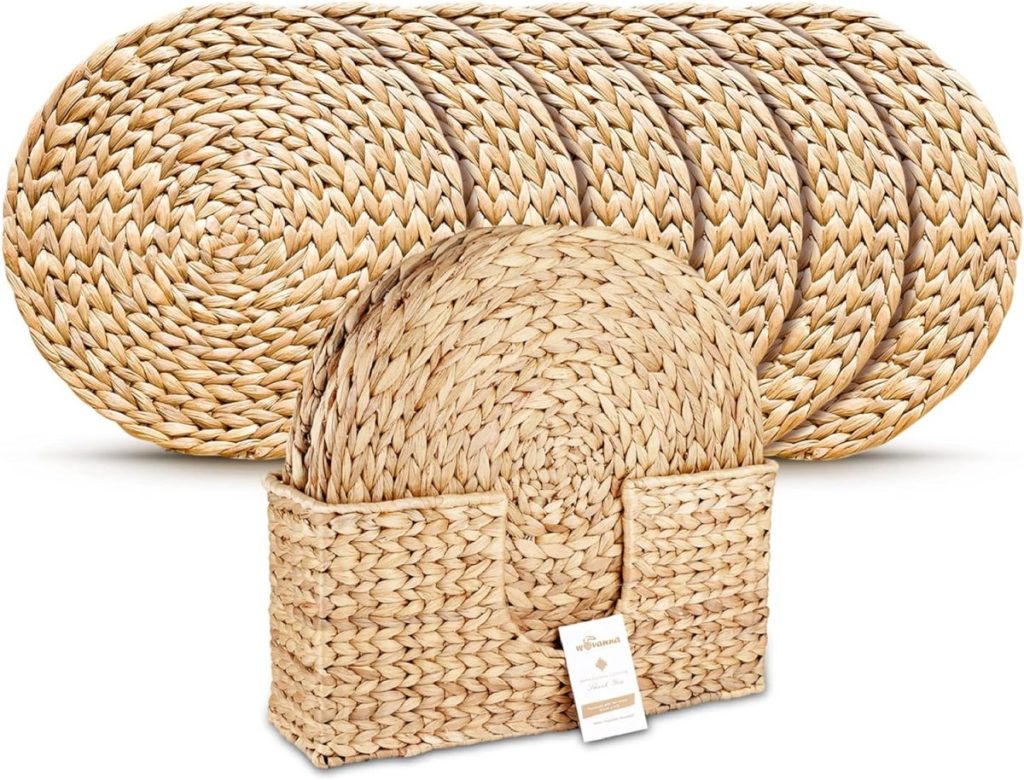
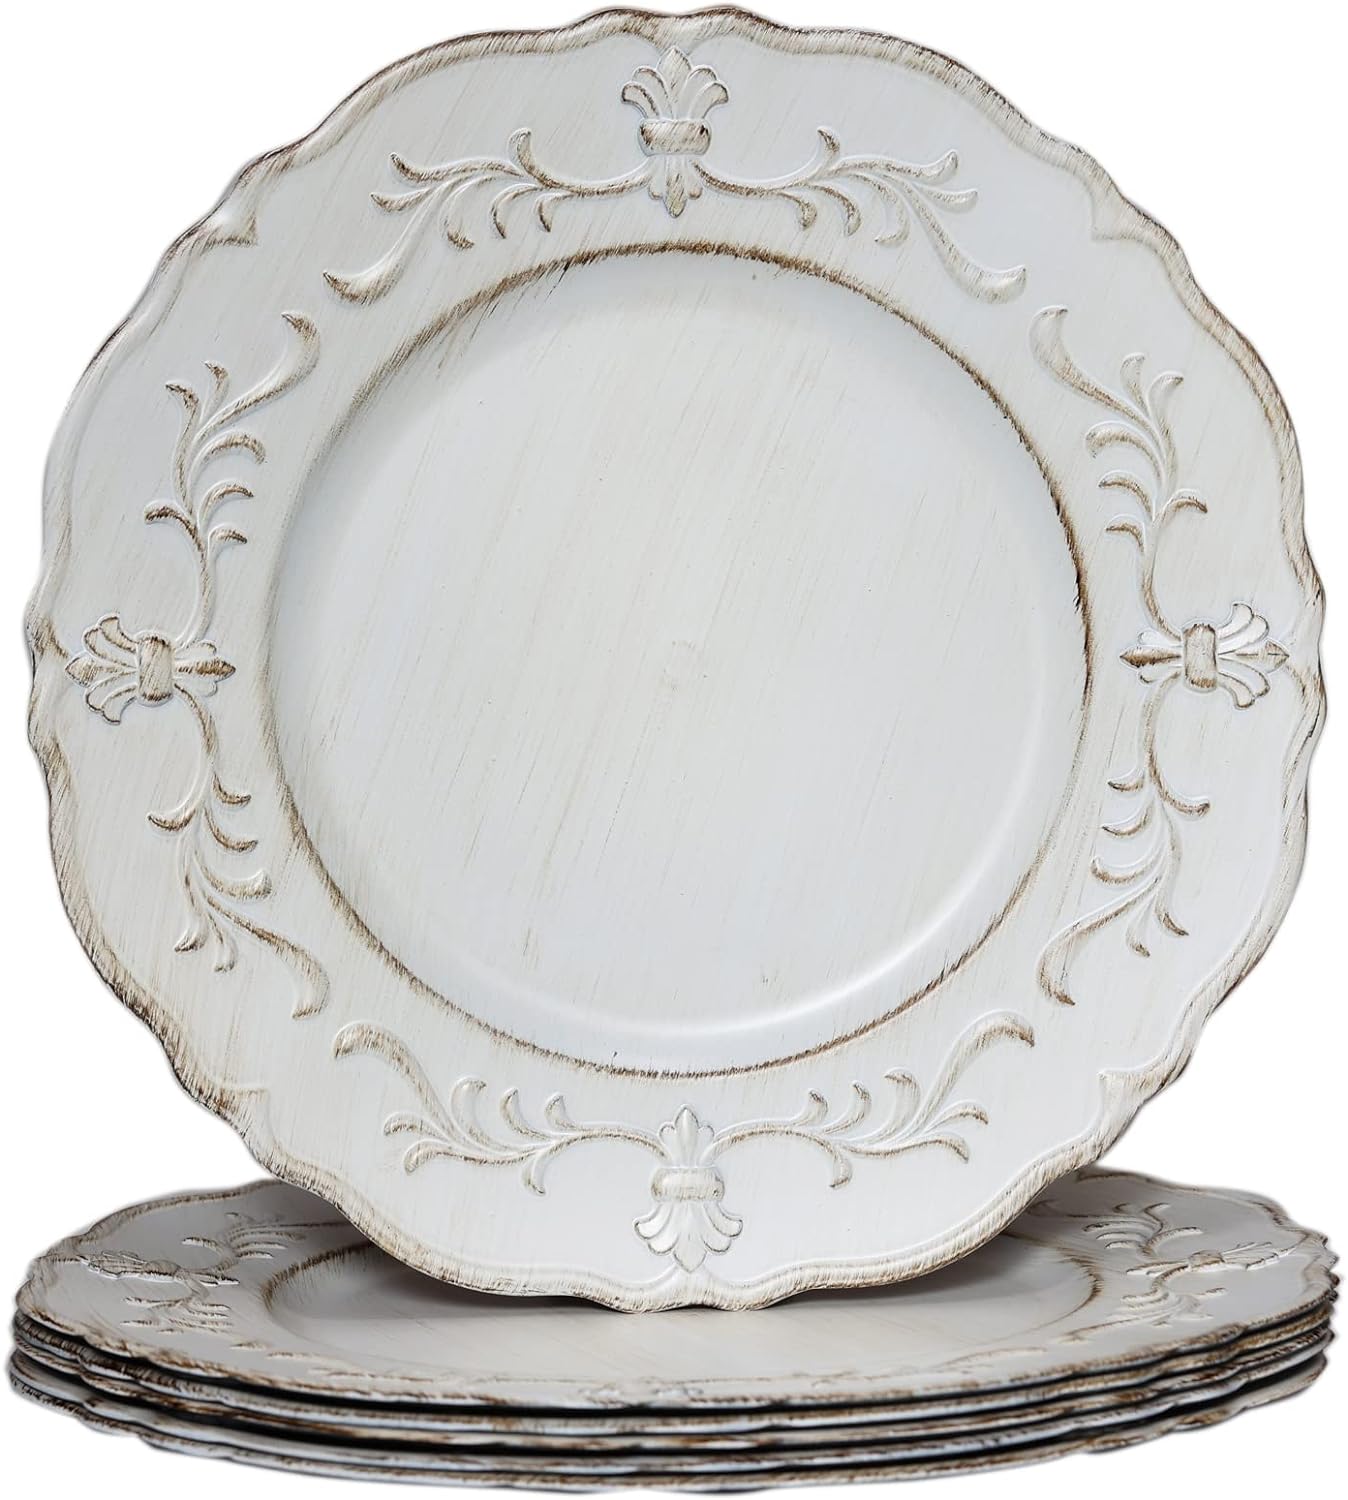
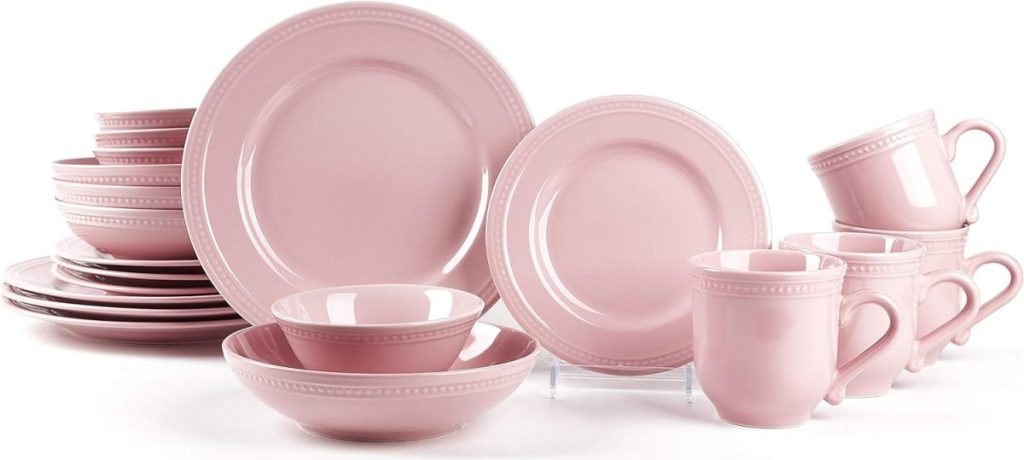
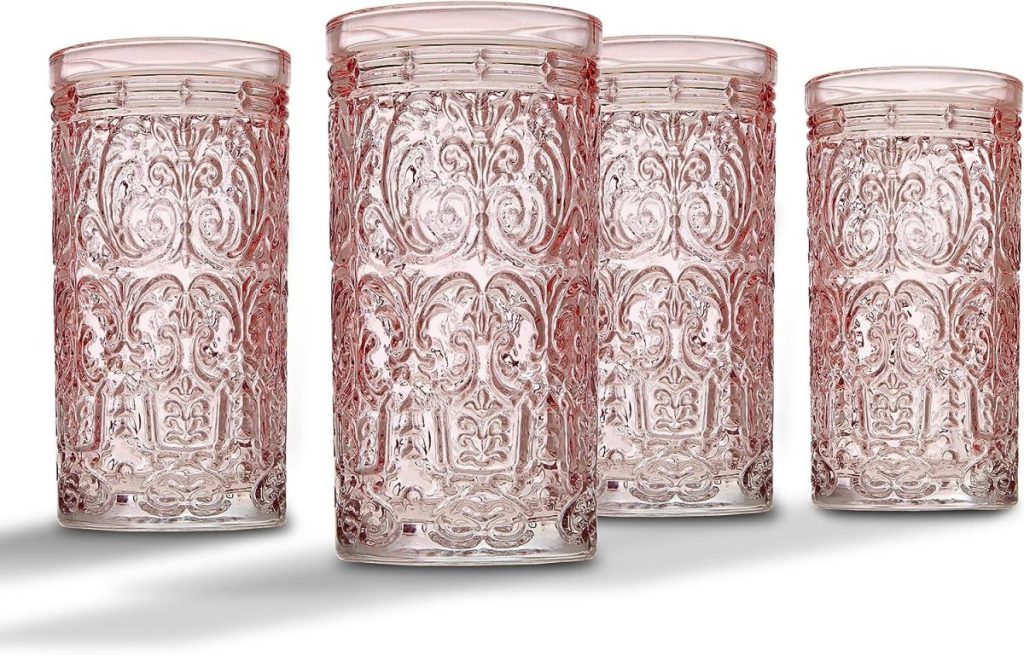
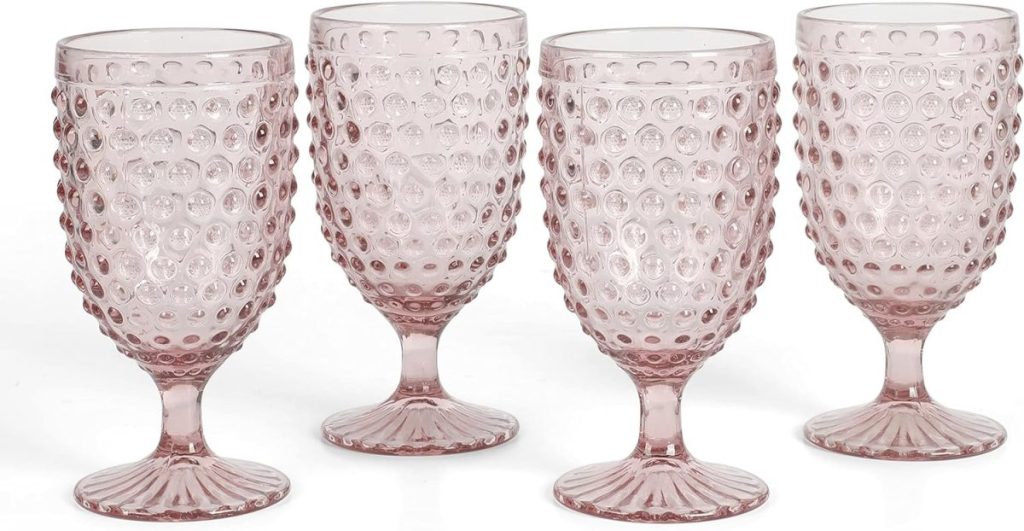
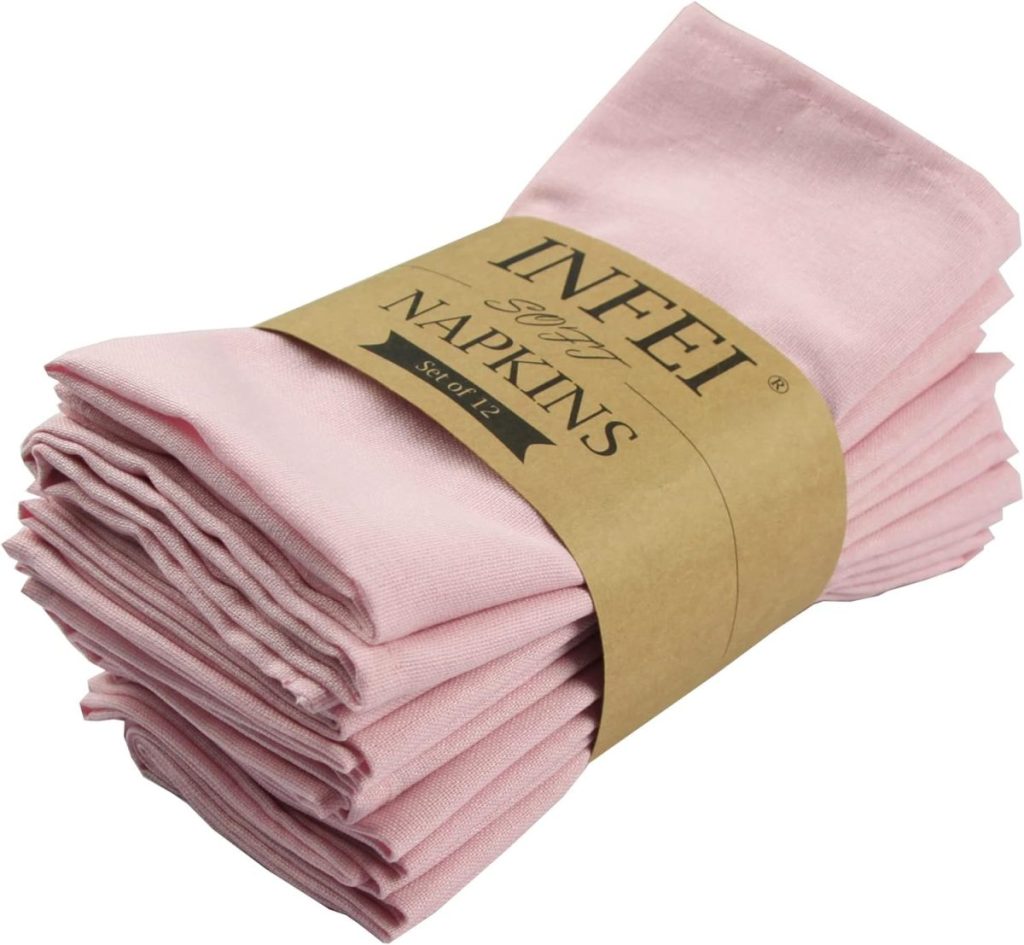
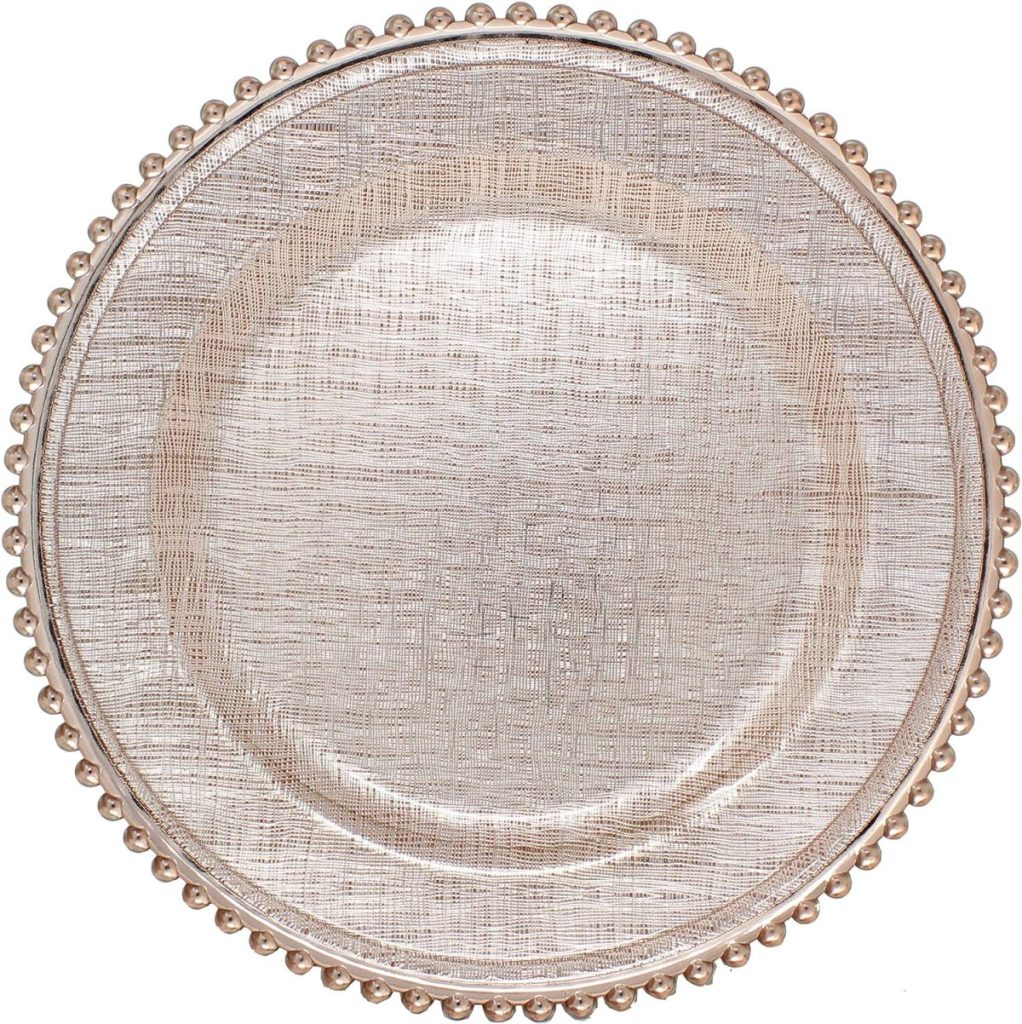
The weather is so warm in Southern California (the forecast is 96 degrees today) so I set my table outside on the back porch. I wanted the table to be a bit casual so I pulled out my hyacinth chargers, pink plates, napkins, water glasses, and floral salad plates. The silver-lined goblets were a Christmas present from my sons. Aren’t they wonderful?
I even used Scrabble tiles for my place cards.
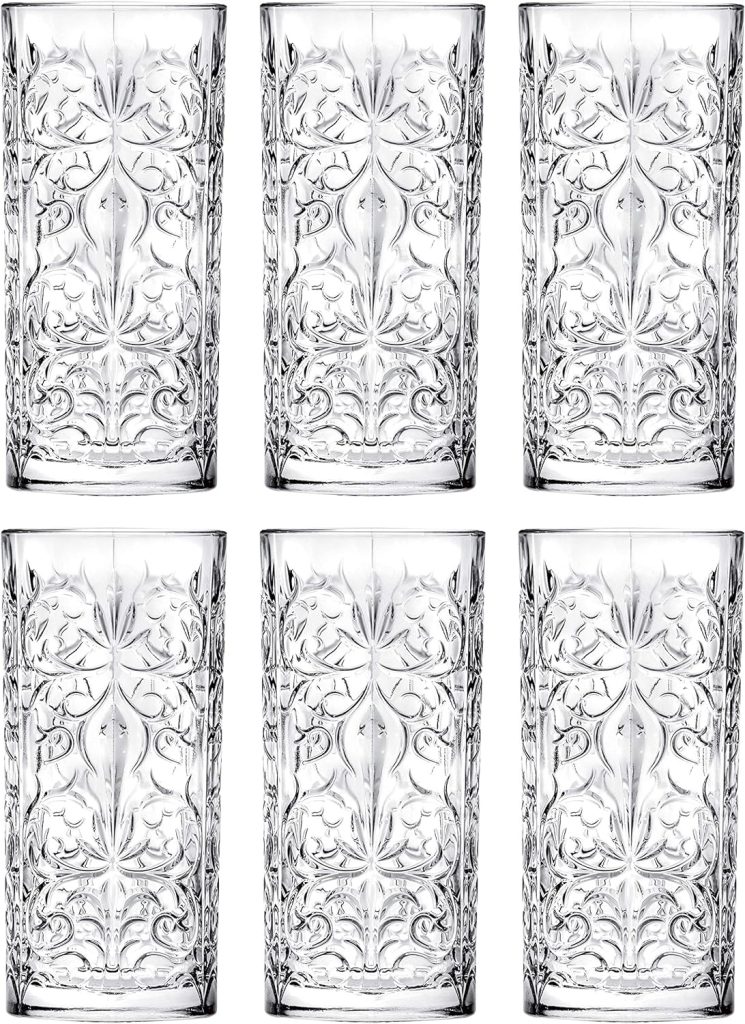
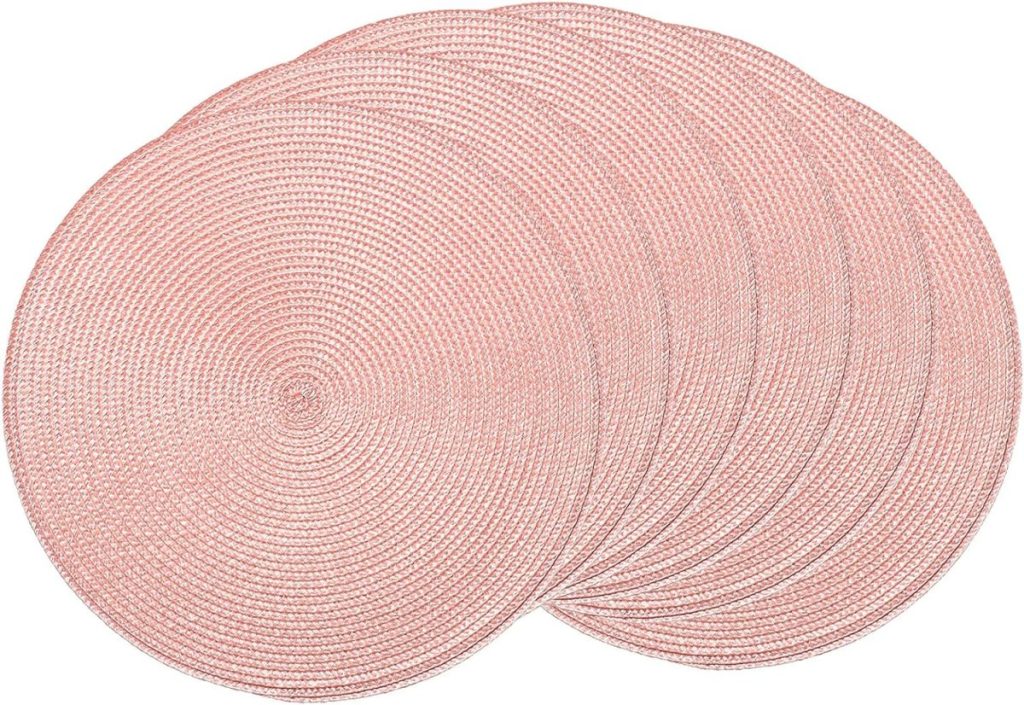
All of the items seen on the table are listed below.
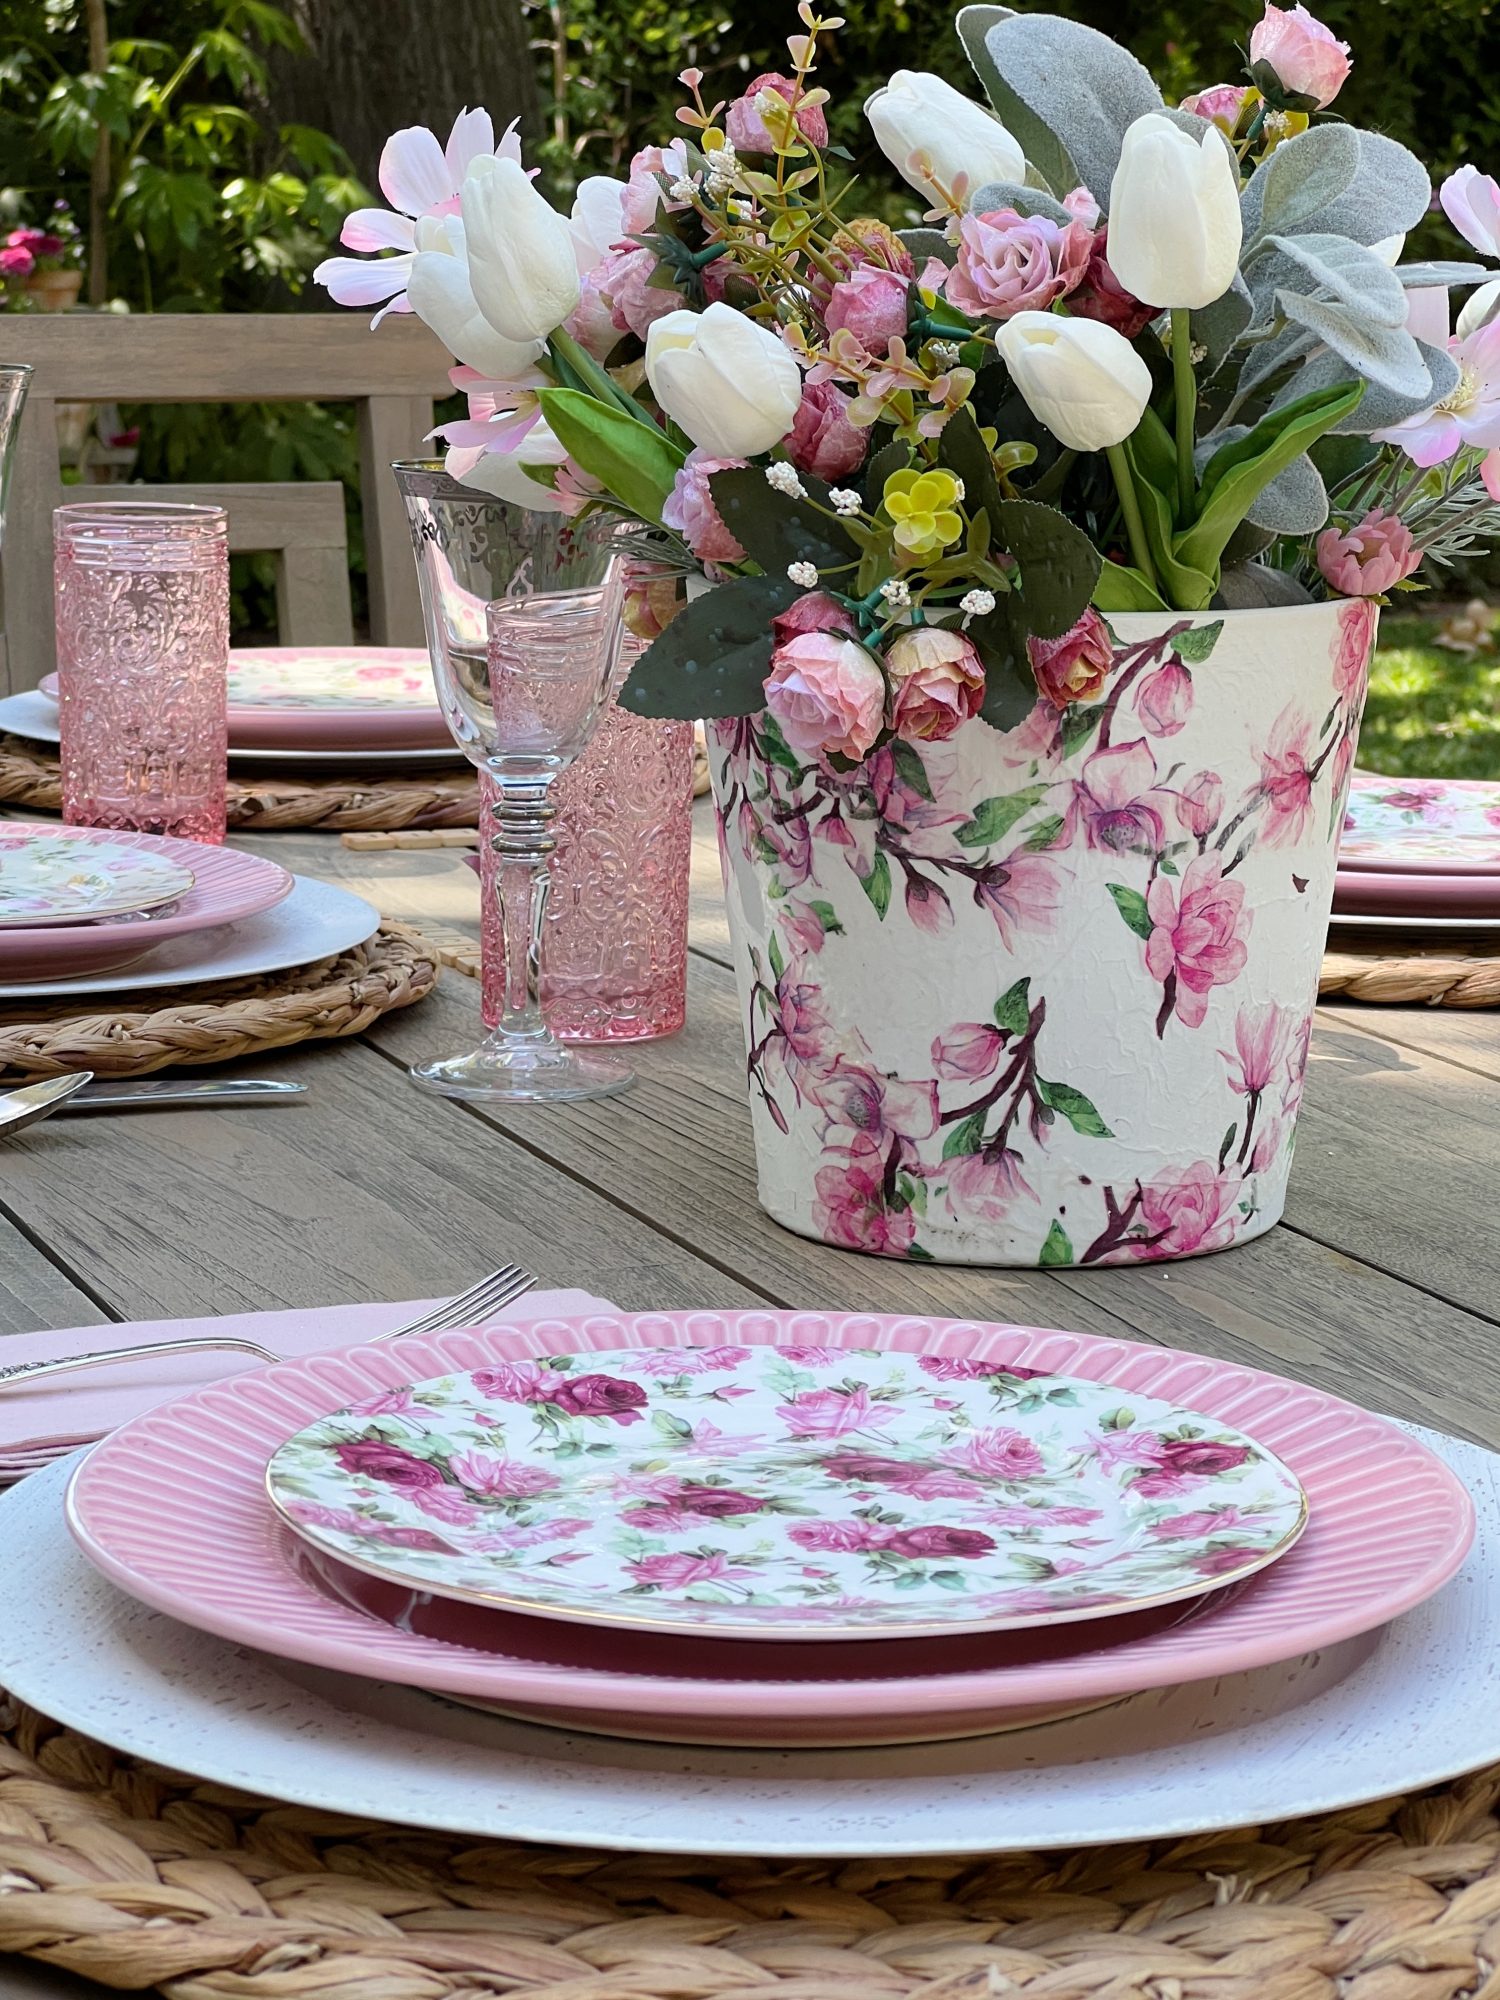
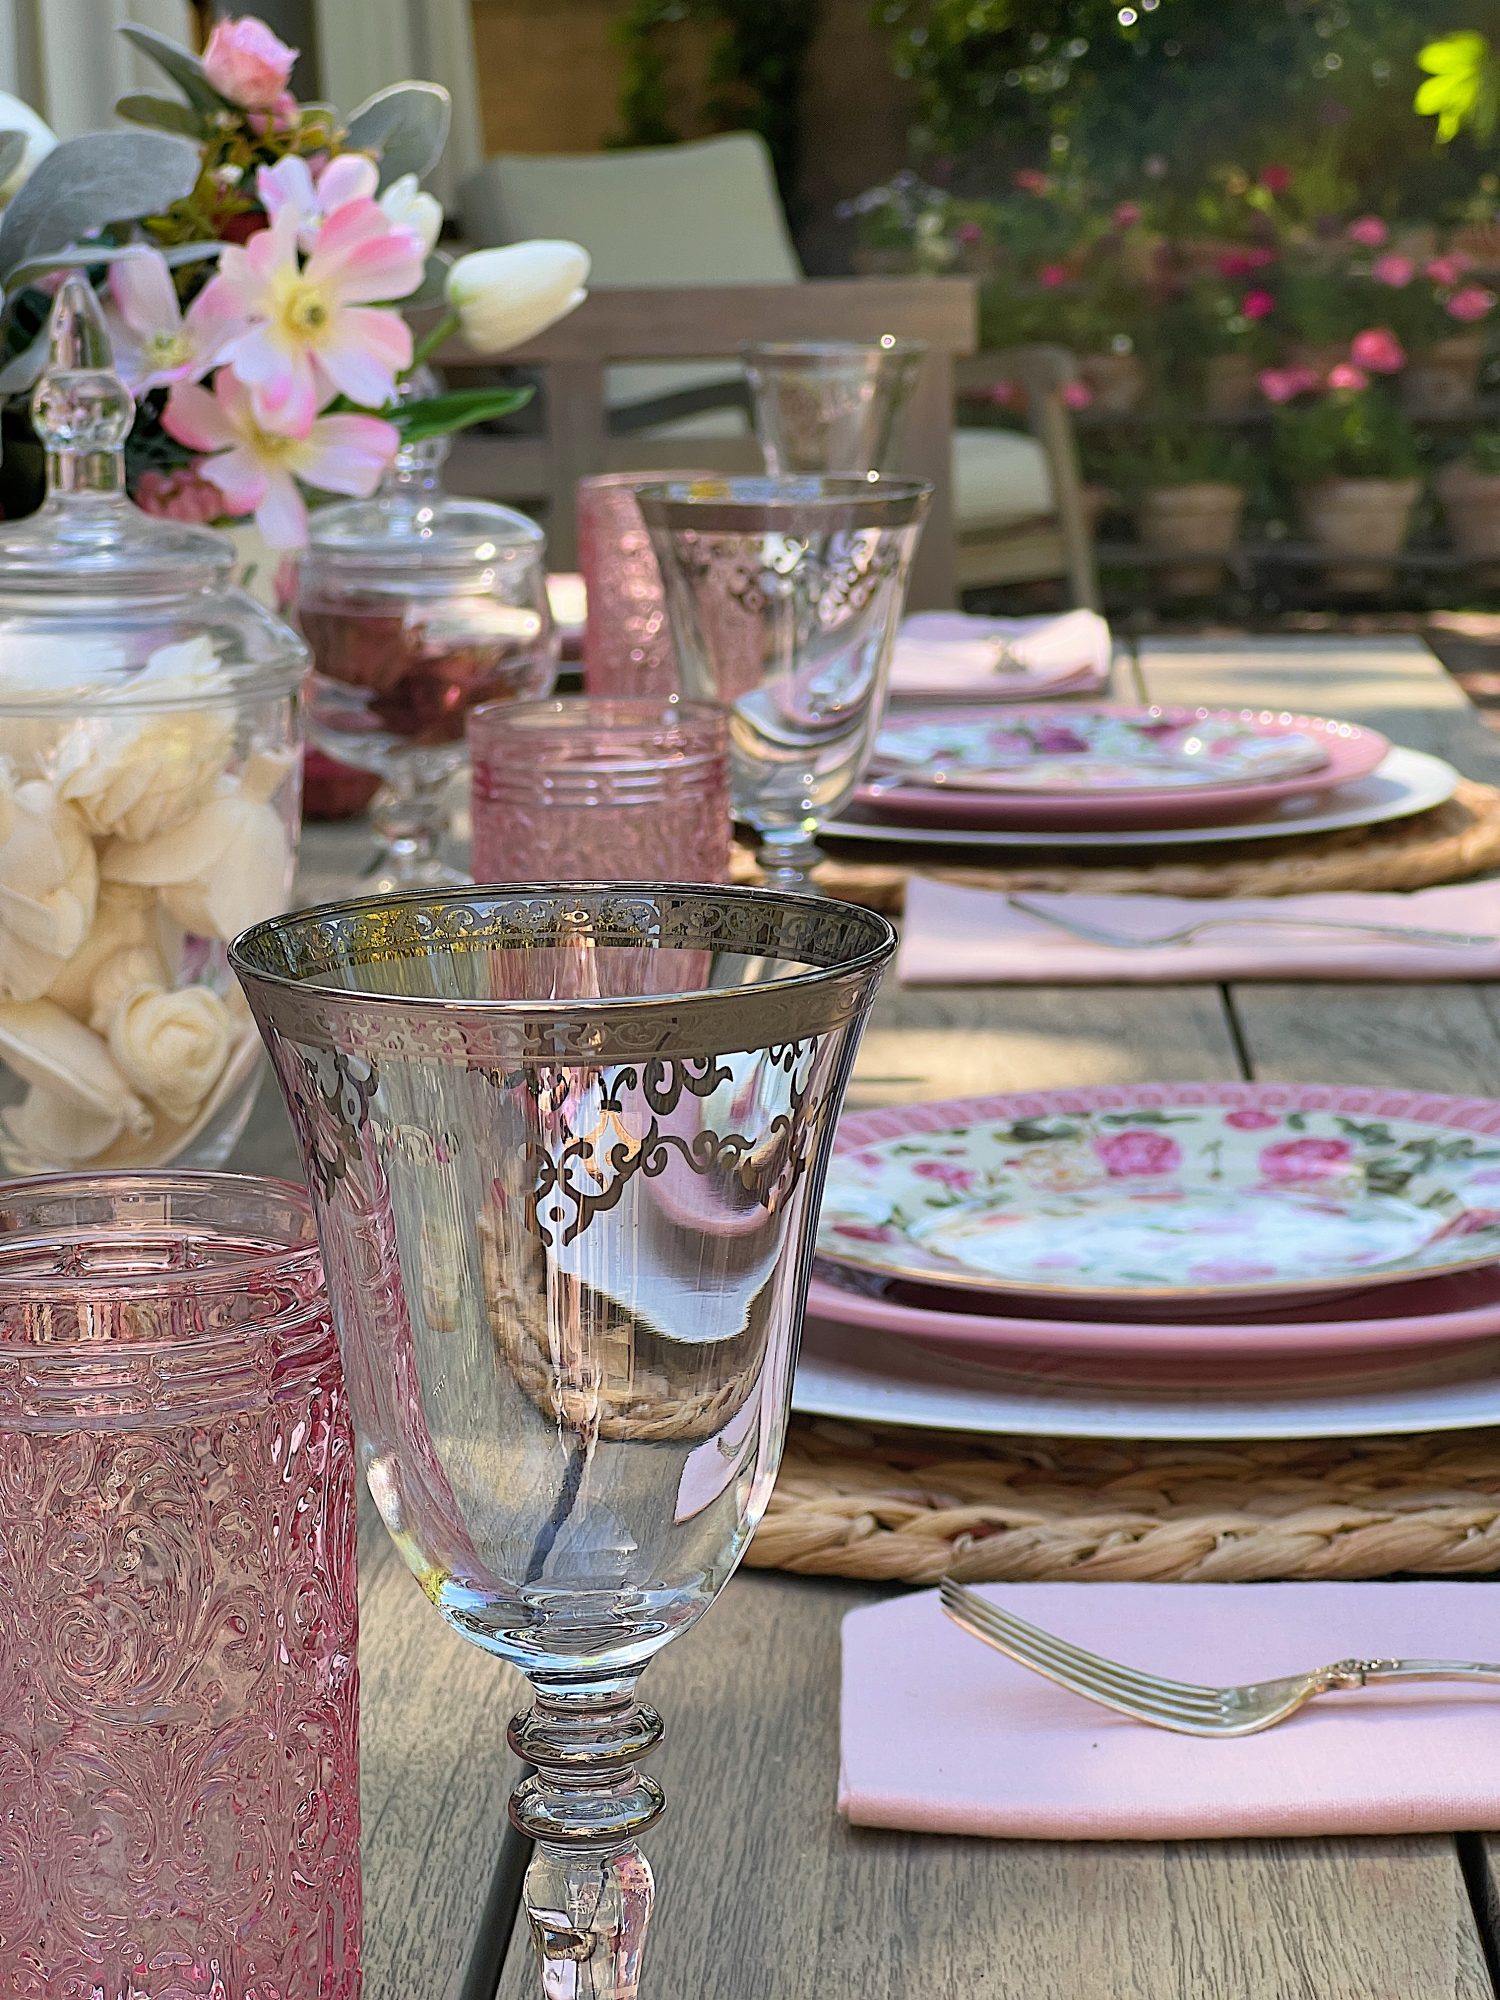
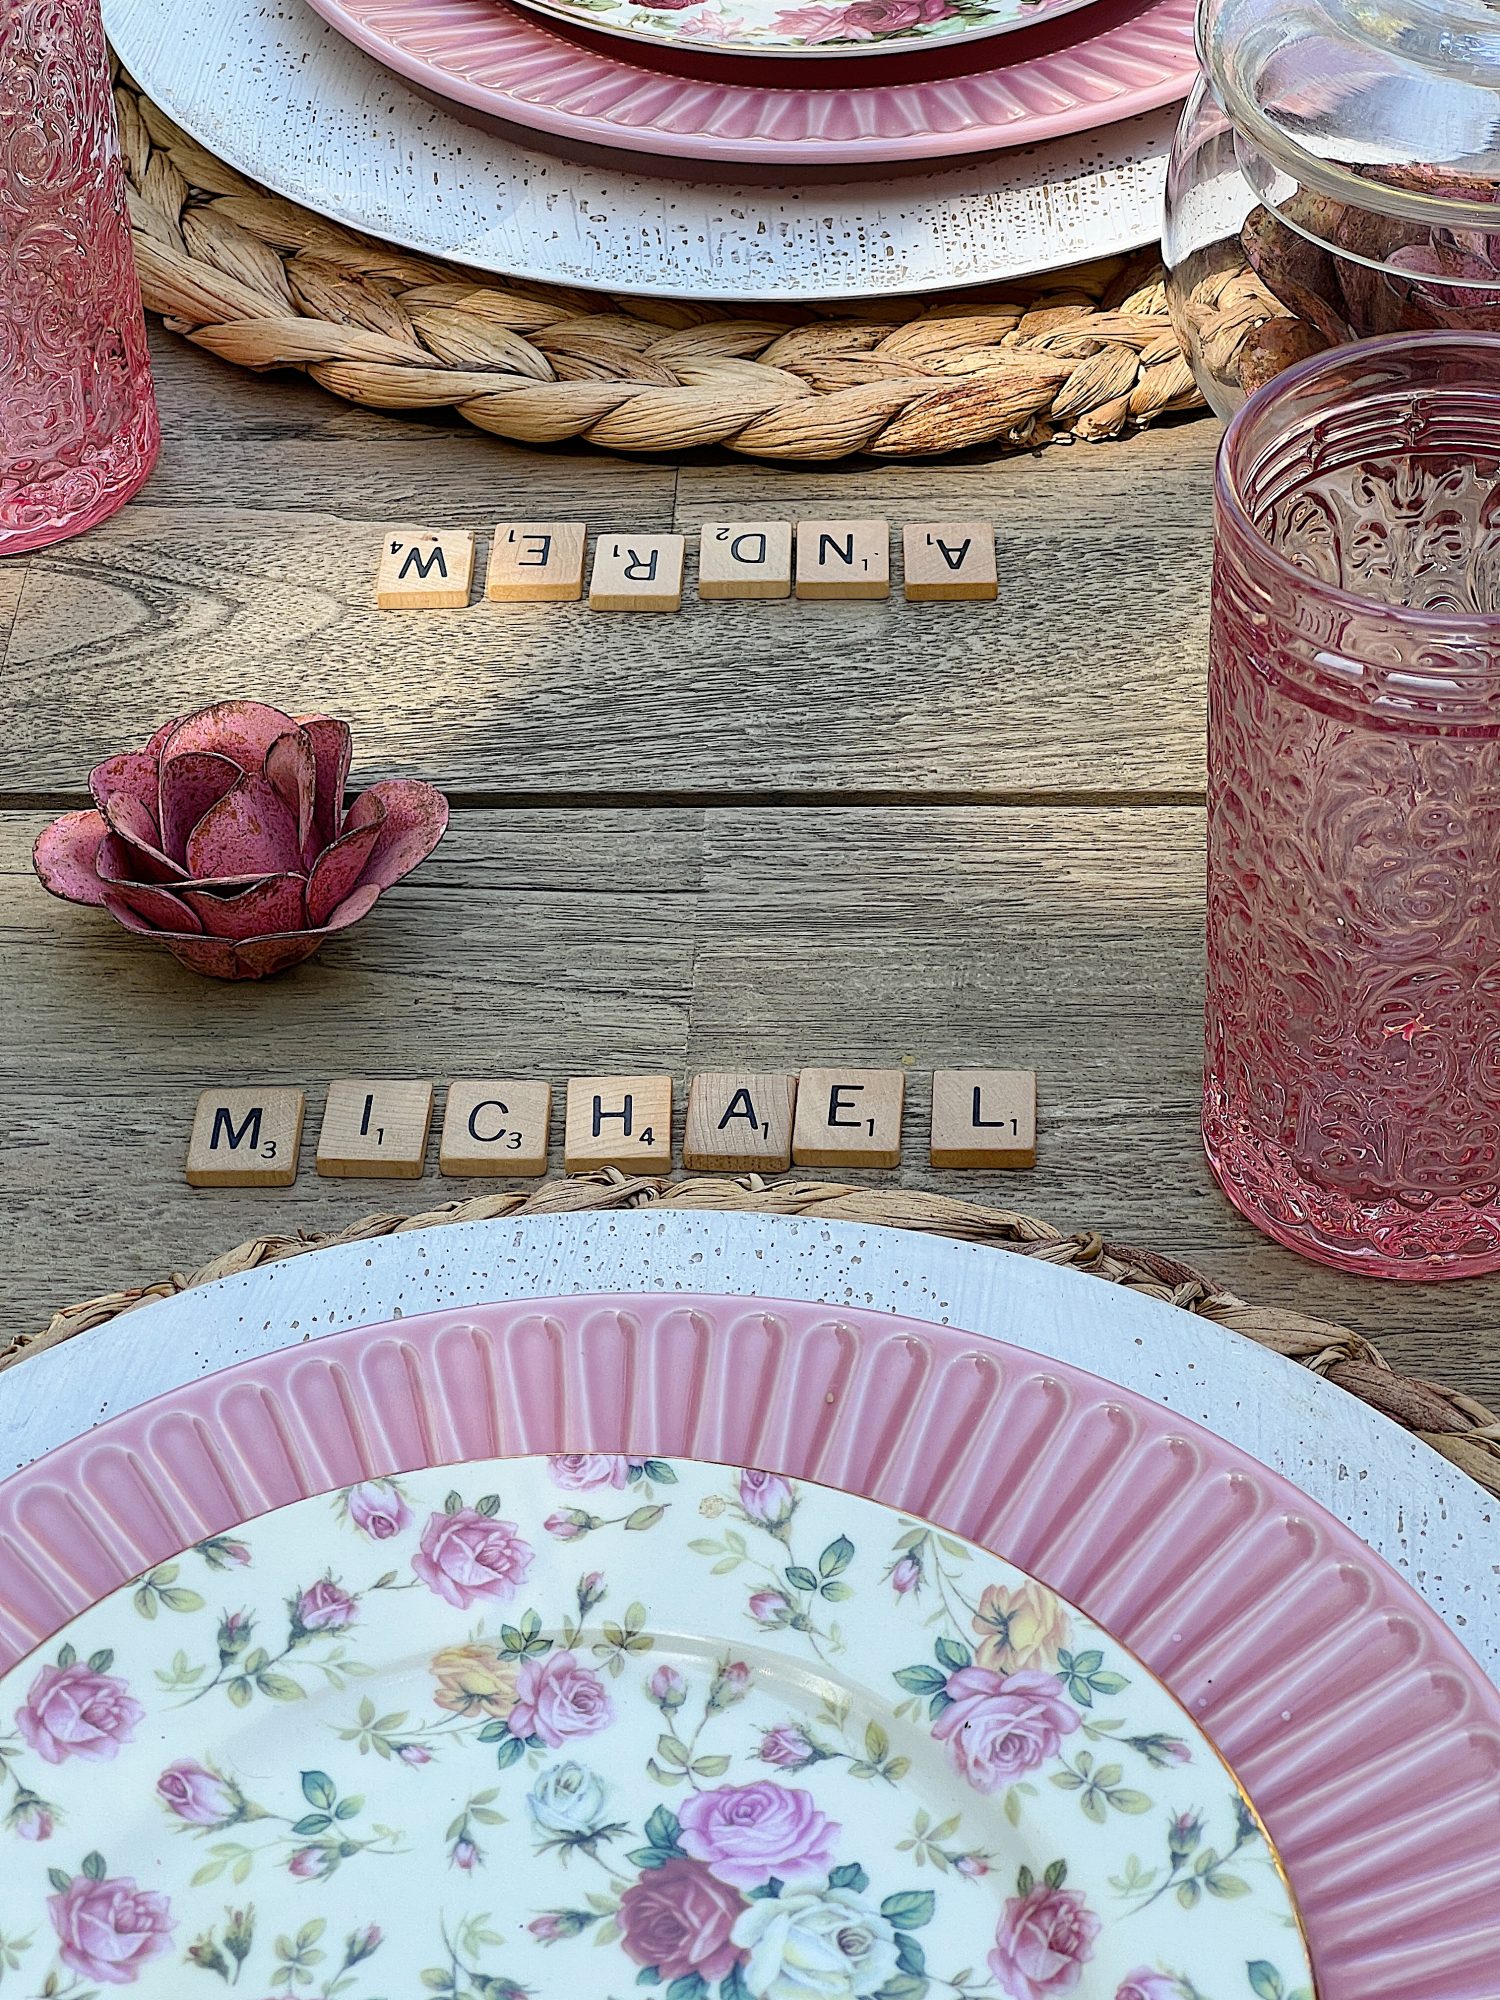
I am pinching myself that it is warm enough to eat outside. This table feels so much like spring!
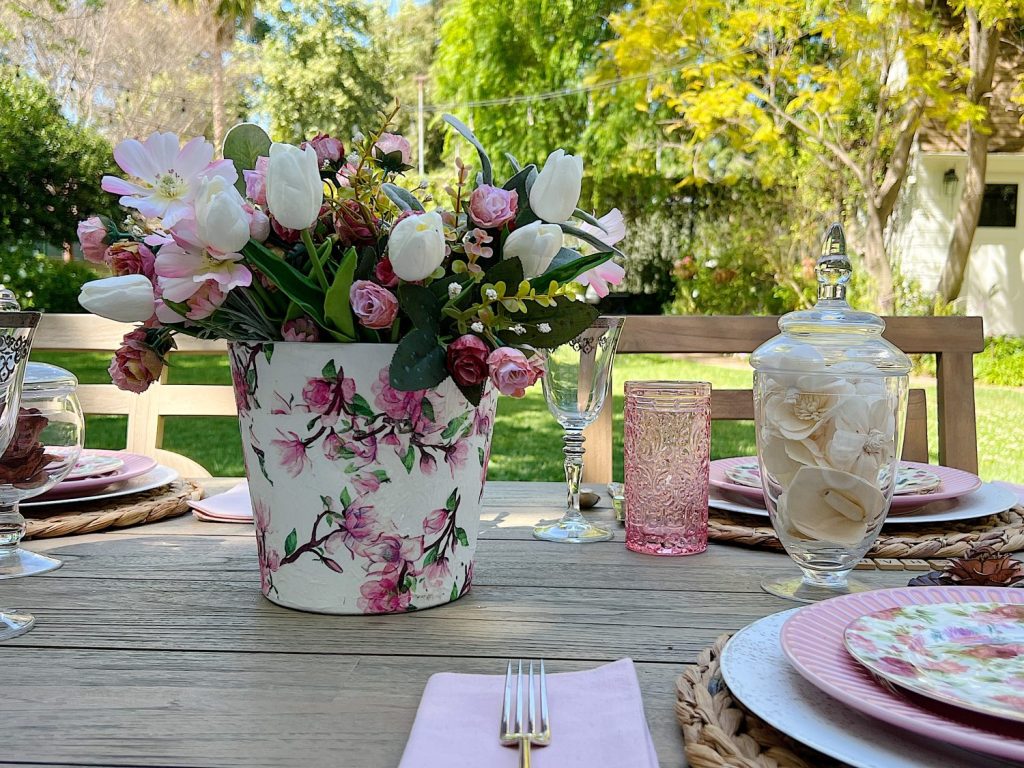
If you are enjoying my blog, you can sign up to receive my blog updates here. .
Once you’ve made your beautiful terra cotta pot, here is everything I used to set a gorgeous table!
I cannot wait to make a few more terra cotta pots in different colors.
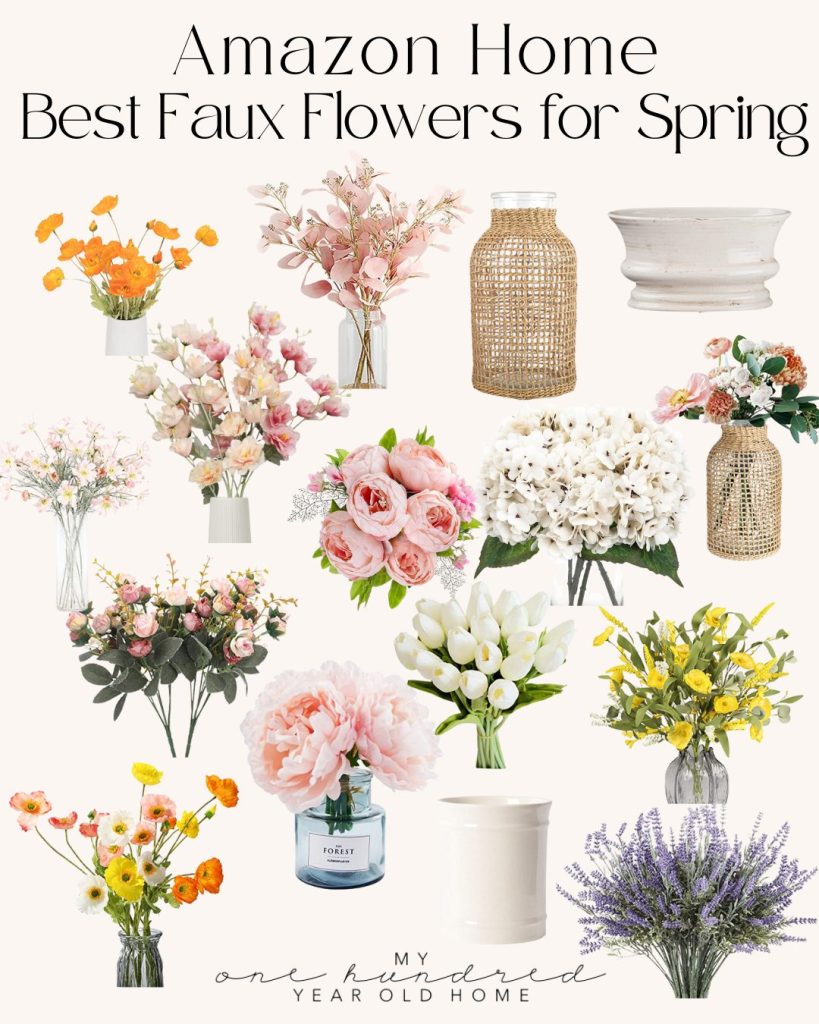
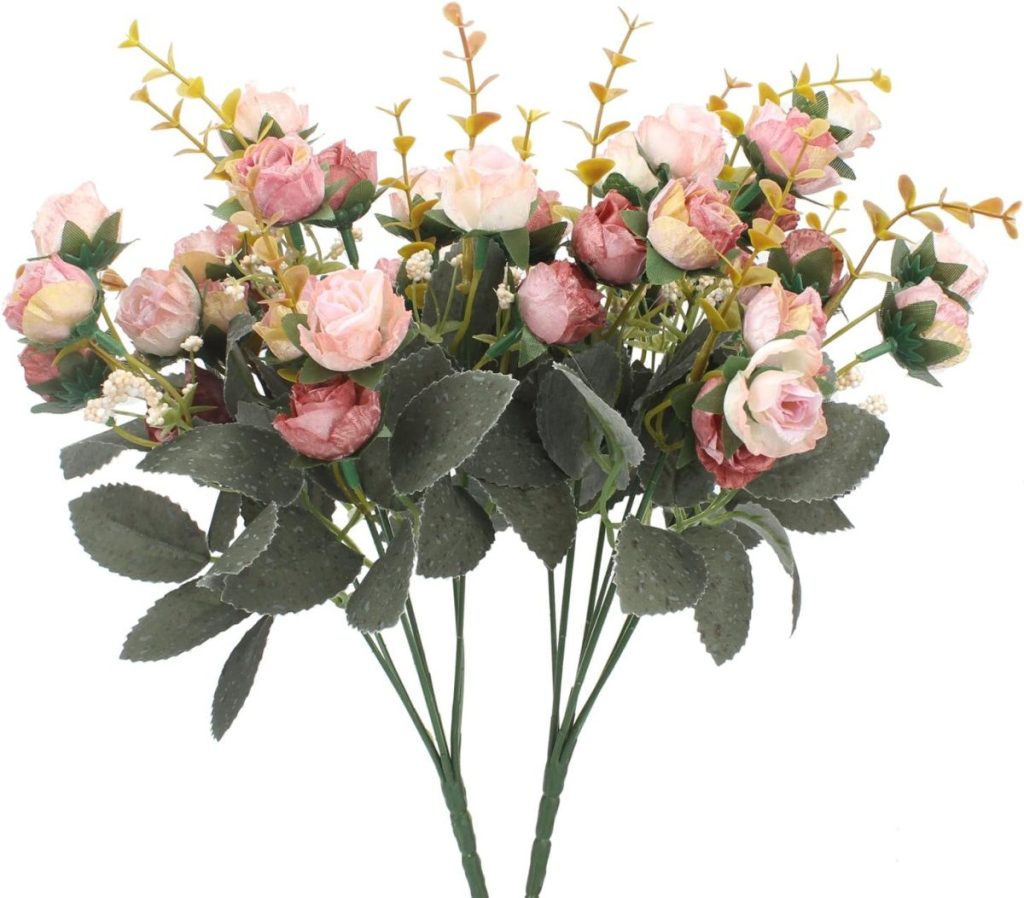
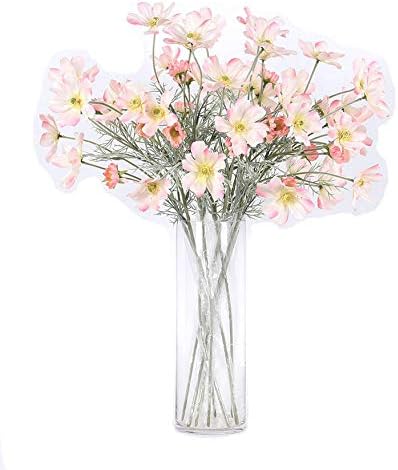
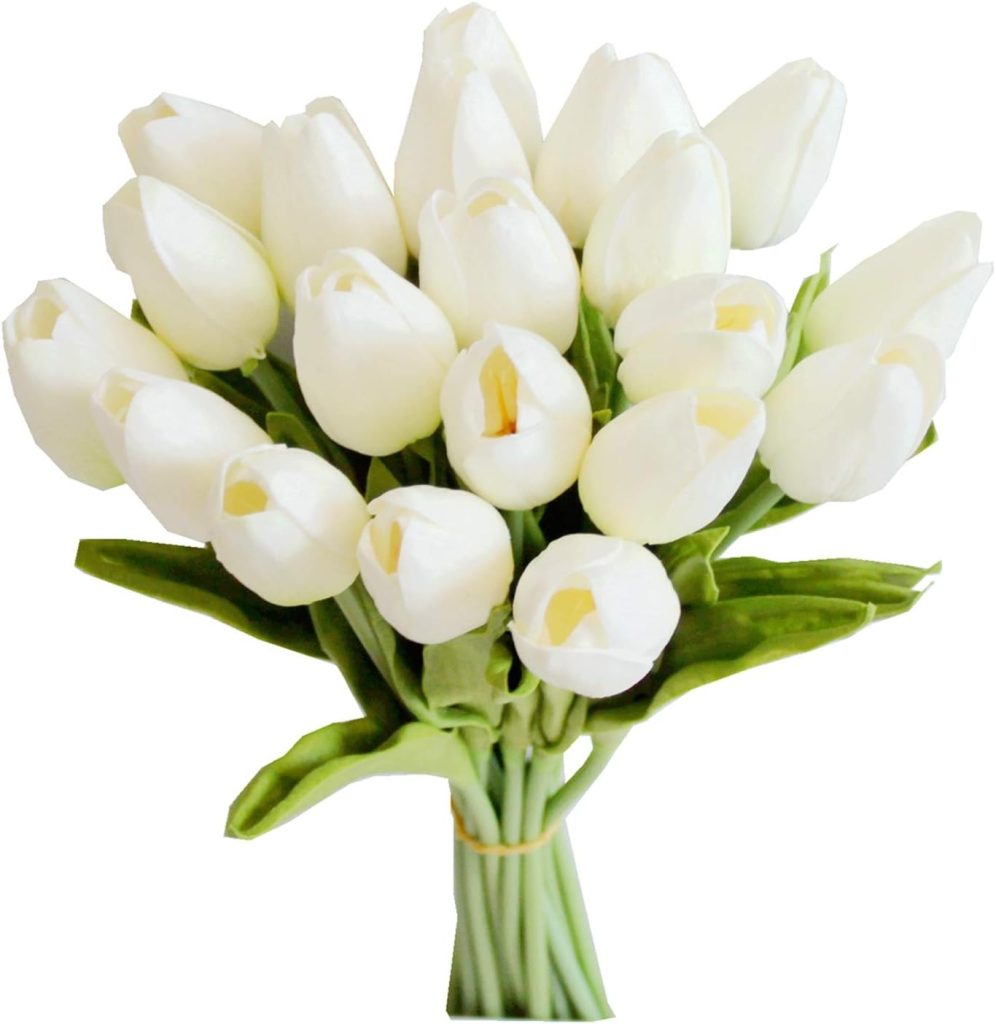
My Favorite Faux Flowers for Spring!
Watch My Amazon Live
Click here to watch any of the Live Broadcasts on my feed. All of my Amazon Live Broadcasts are recorded.
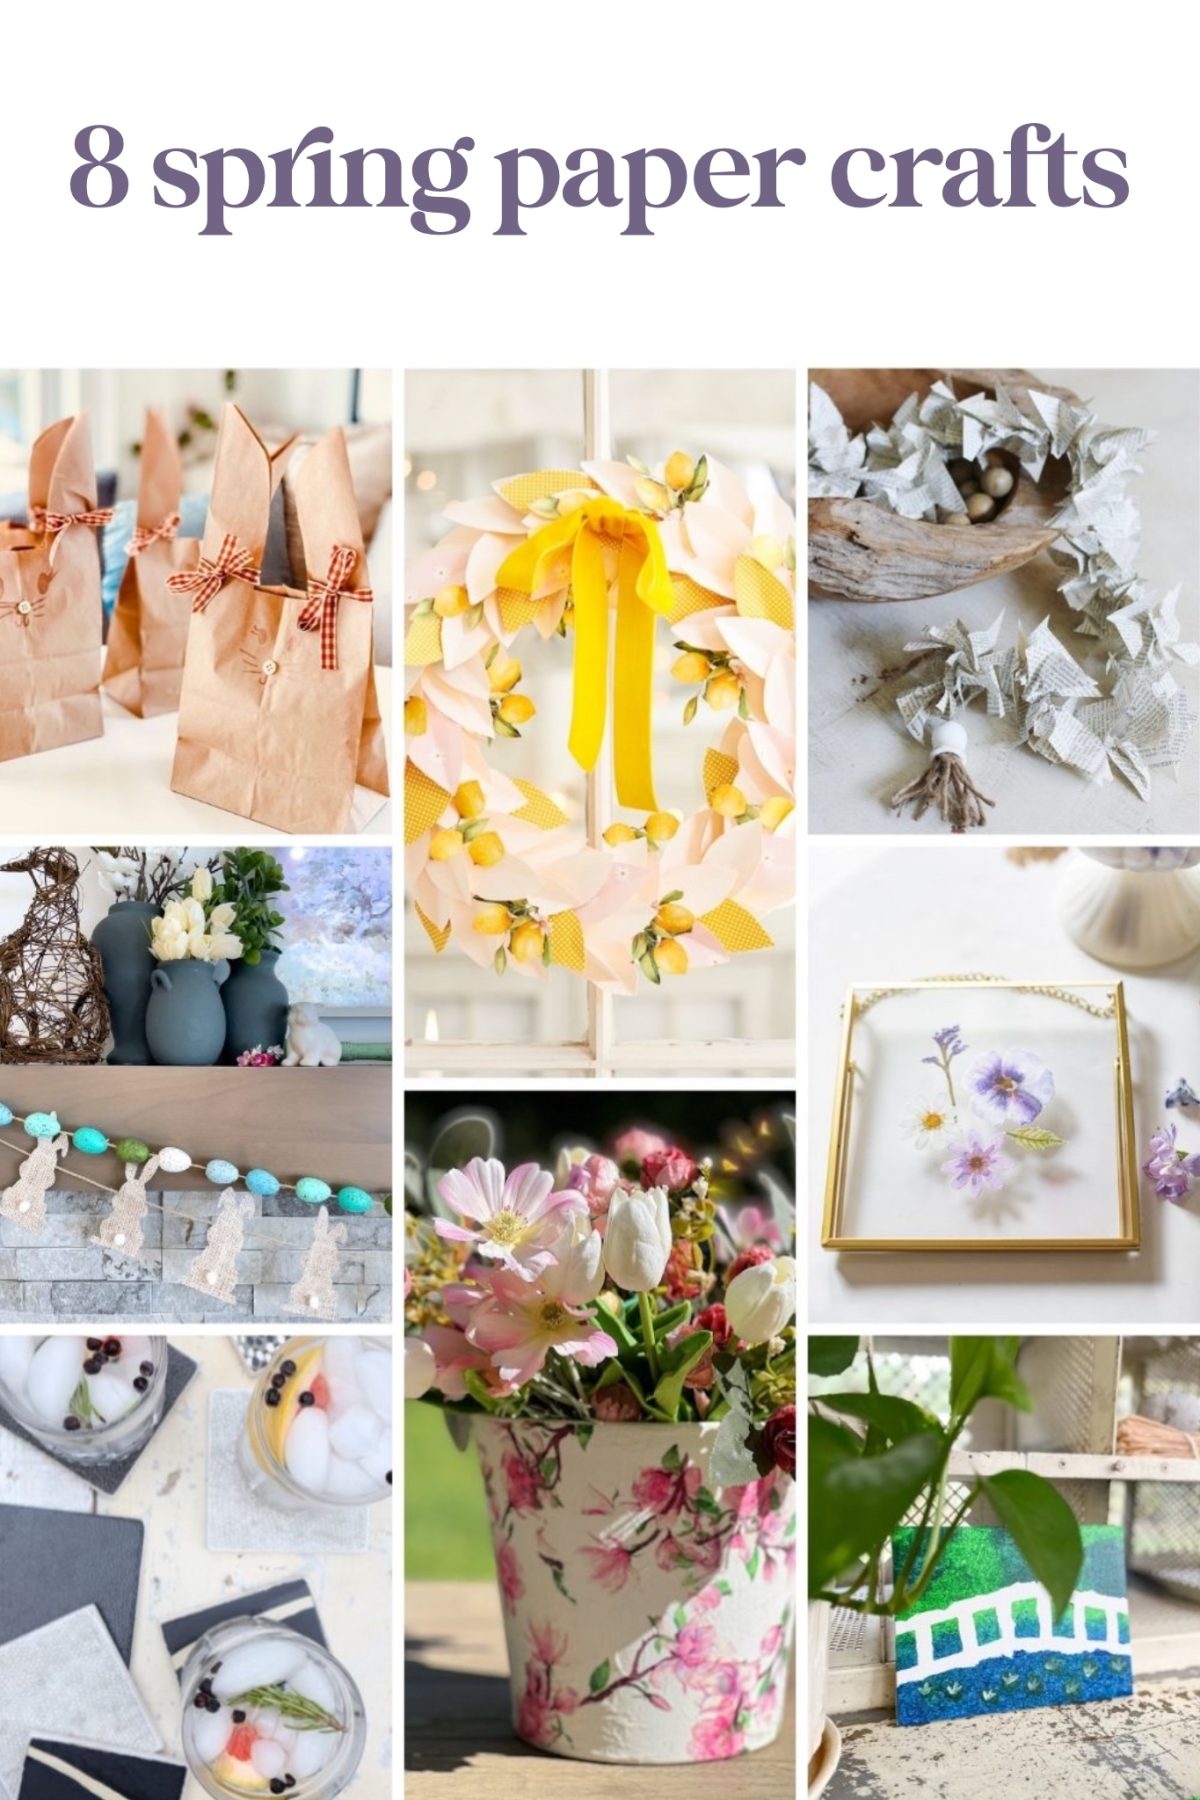
Blogger’s Best Series – Spring Paper Crafts
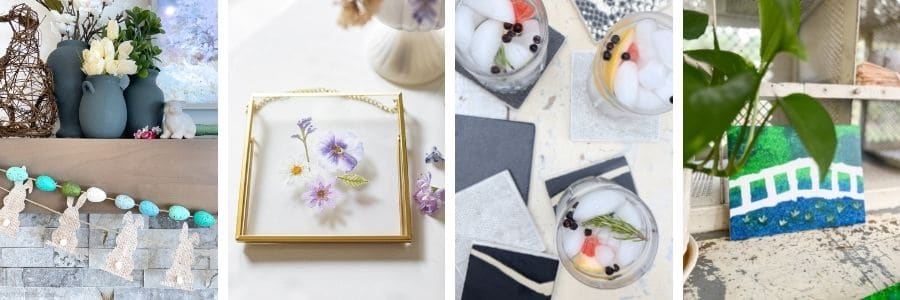
Easter Banner Printable | The Happy Housie
Framed Watercolor Flowers | Craftberry Bush
Designer Coasters | My Sweet Savannah
How to Create a Monet-Inspired Painting with Kids | Robyn’s French Nest
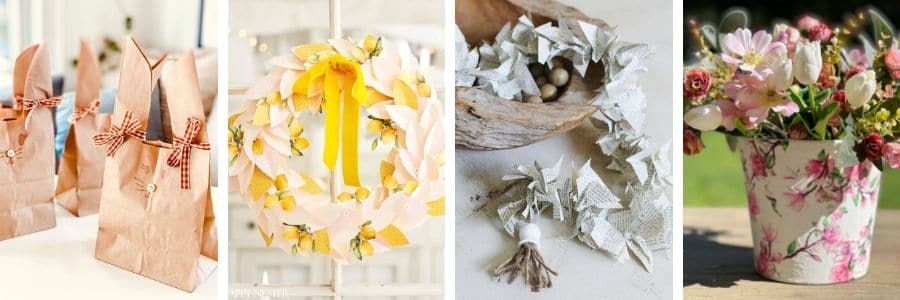
How to Make a Paper Bag Bunny | Most Lovely Things
Lemon Wreath DIY | Happy Happy Nester
DIY Book Page Garland With Wooden Tassels | Thistlewood Farms
How to Make a Terra Cotta Pot Beautiful | My 100 Year Old Home
Pin the images below to your boards on Pinterest (just click the Pin button in the top left corner). You can also follow along with me on Pinterest!
For more real-time updates, follow me on Instagram @My100YearOldHome



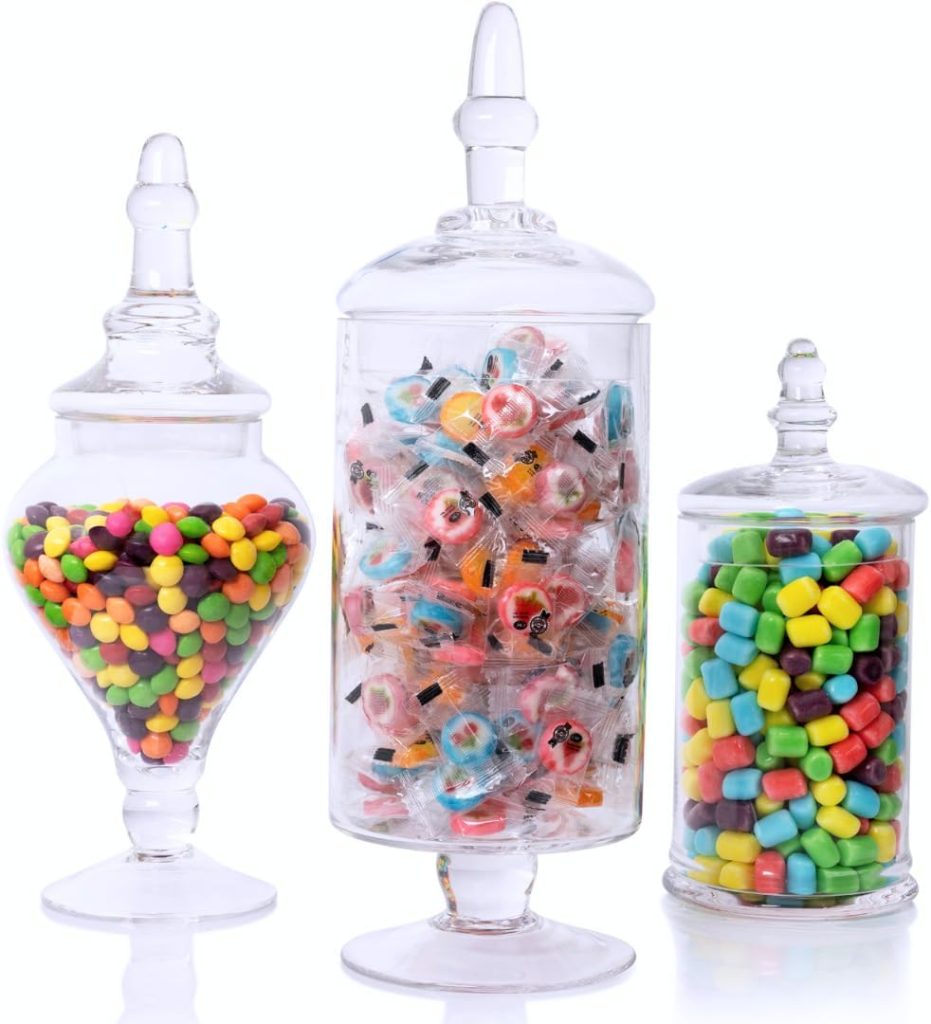
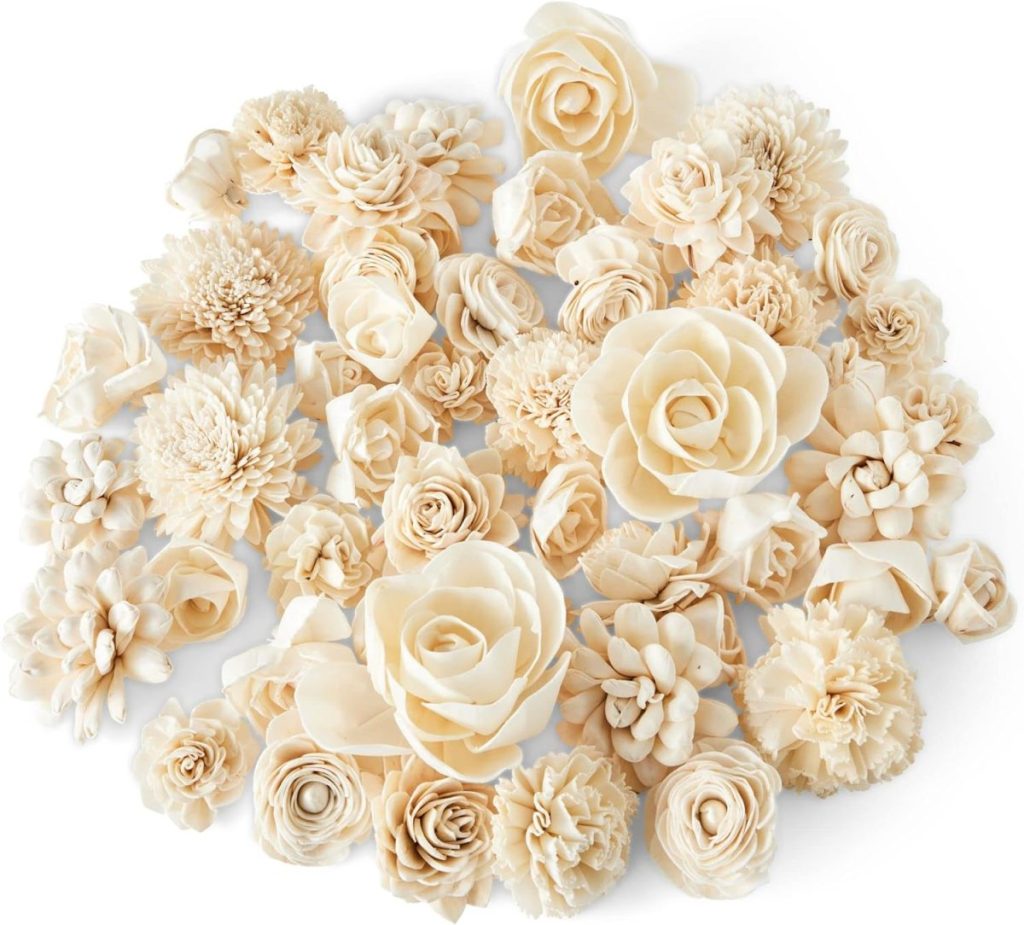




Beautiful, yet so simple and easy to do! Your pot is such an eye catcher. I love your entire table setting. And those apothecary jars with wood flowers… so pretty! I can’t wait to try this, after I find “just the right” napkins 😉!
Thank you so much Barb! I’m glad you love it!
LOVE the possibilities with this DIY!! Always so fun and inspiring, Leslie!!
Thanks Cheri! You are so kind!
Hi Leslie!! I have been enjoying your DIY’s so much. The flowers in this one are beautiful. I think I have added all of these supplies to my Amazon card. You are a huge inspiration to me. Thank you!!
Oh perfect! Let me know if you make it!
You’re amazing! Just when I think I’ve seen everything you can do with a napkin … ! I love the options you picked. Of course the rest of your table is lovely (I really want to try your pink color scheme) and the Scrabble tiles are brilliant. Plus, what a sweet gift from your sons – they obviously know their mother. Thanks for another wonderful and inspiring post!
Thanks so much Barbara! You are always so kind!
Did you ever finish the napkin covered pots with a spray acrylic? For some reason I thought you did a video using the acrylic as a sealer. If not would the acrylic work or some other kind of spray sealer? Did you do the varathane so the pot can be outside in weather.
Hello are you just using 3paint colors on spring pine cone wreath some of the pictures show some blue color there also . How many colors do you mix up at first I really love the colors you came up with and want to make it come out just like yours. Please get back when you can may peace and plenty be your portion Linda
Love the napkin Terra cotta pot. Would it be possible to use both spray paint and spray sealer? Seems like it would be quicker and easier? Pls advise. Thanks
This is one of my favorite projects you have done with decoupage.