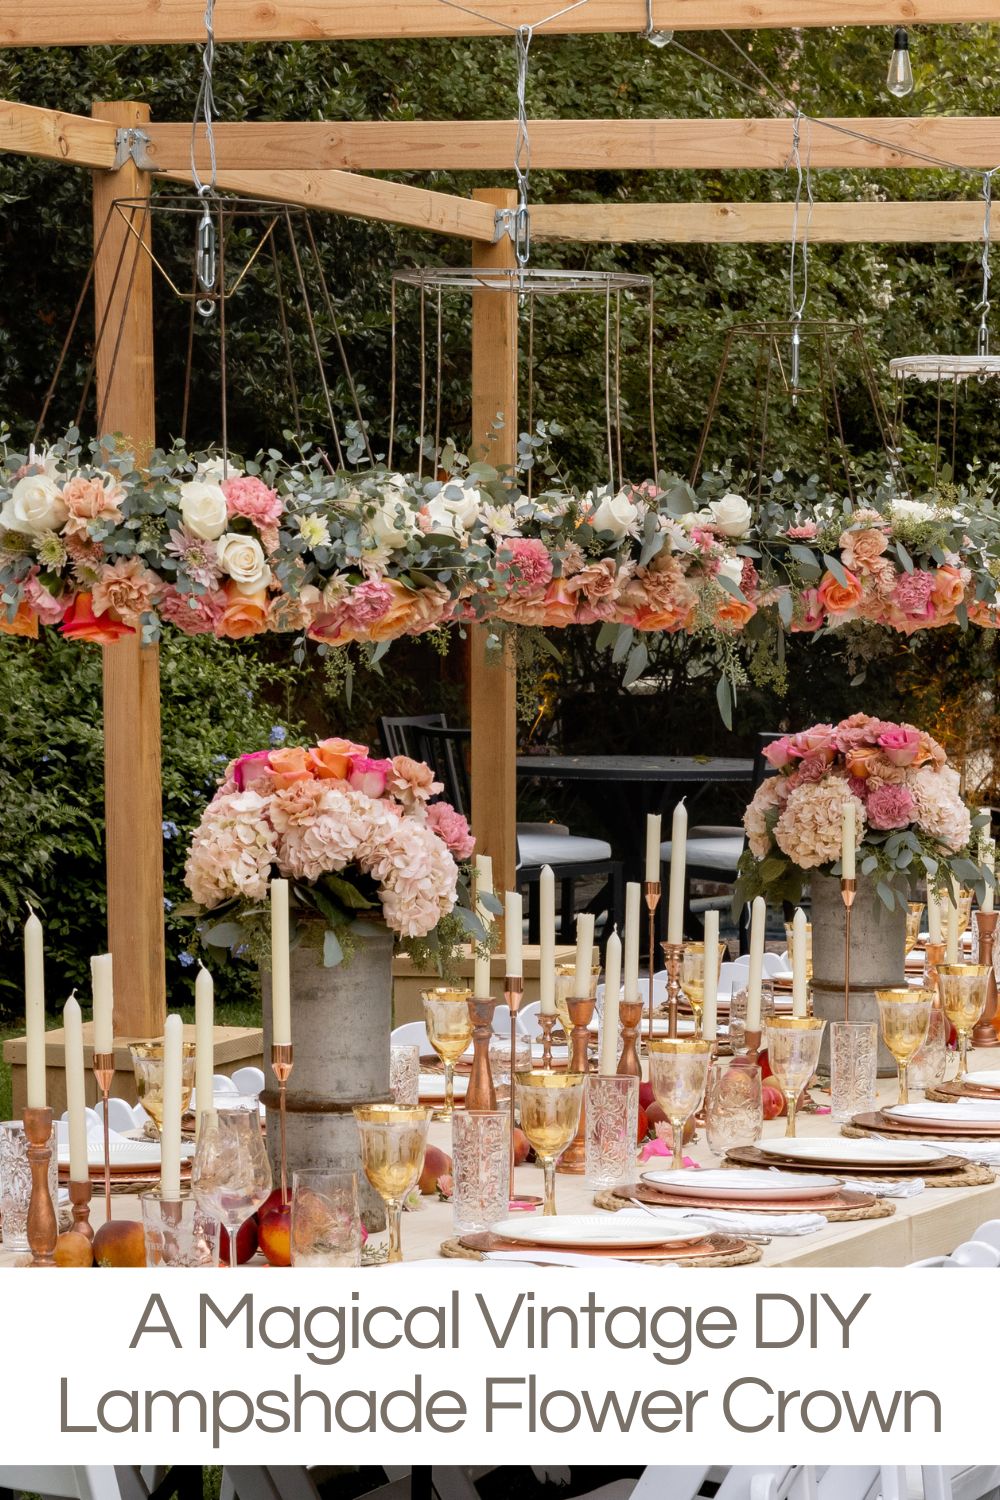
A Magical Vintage Lampshade Flower Crown
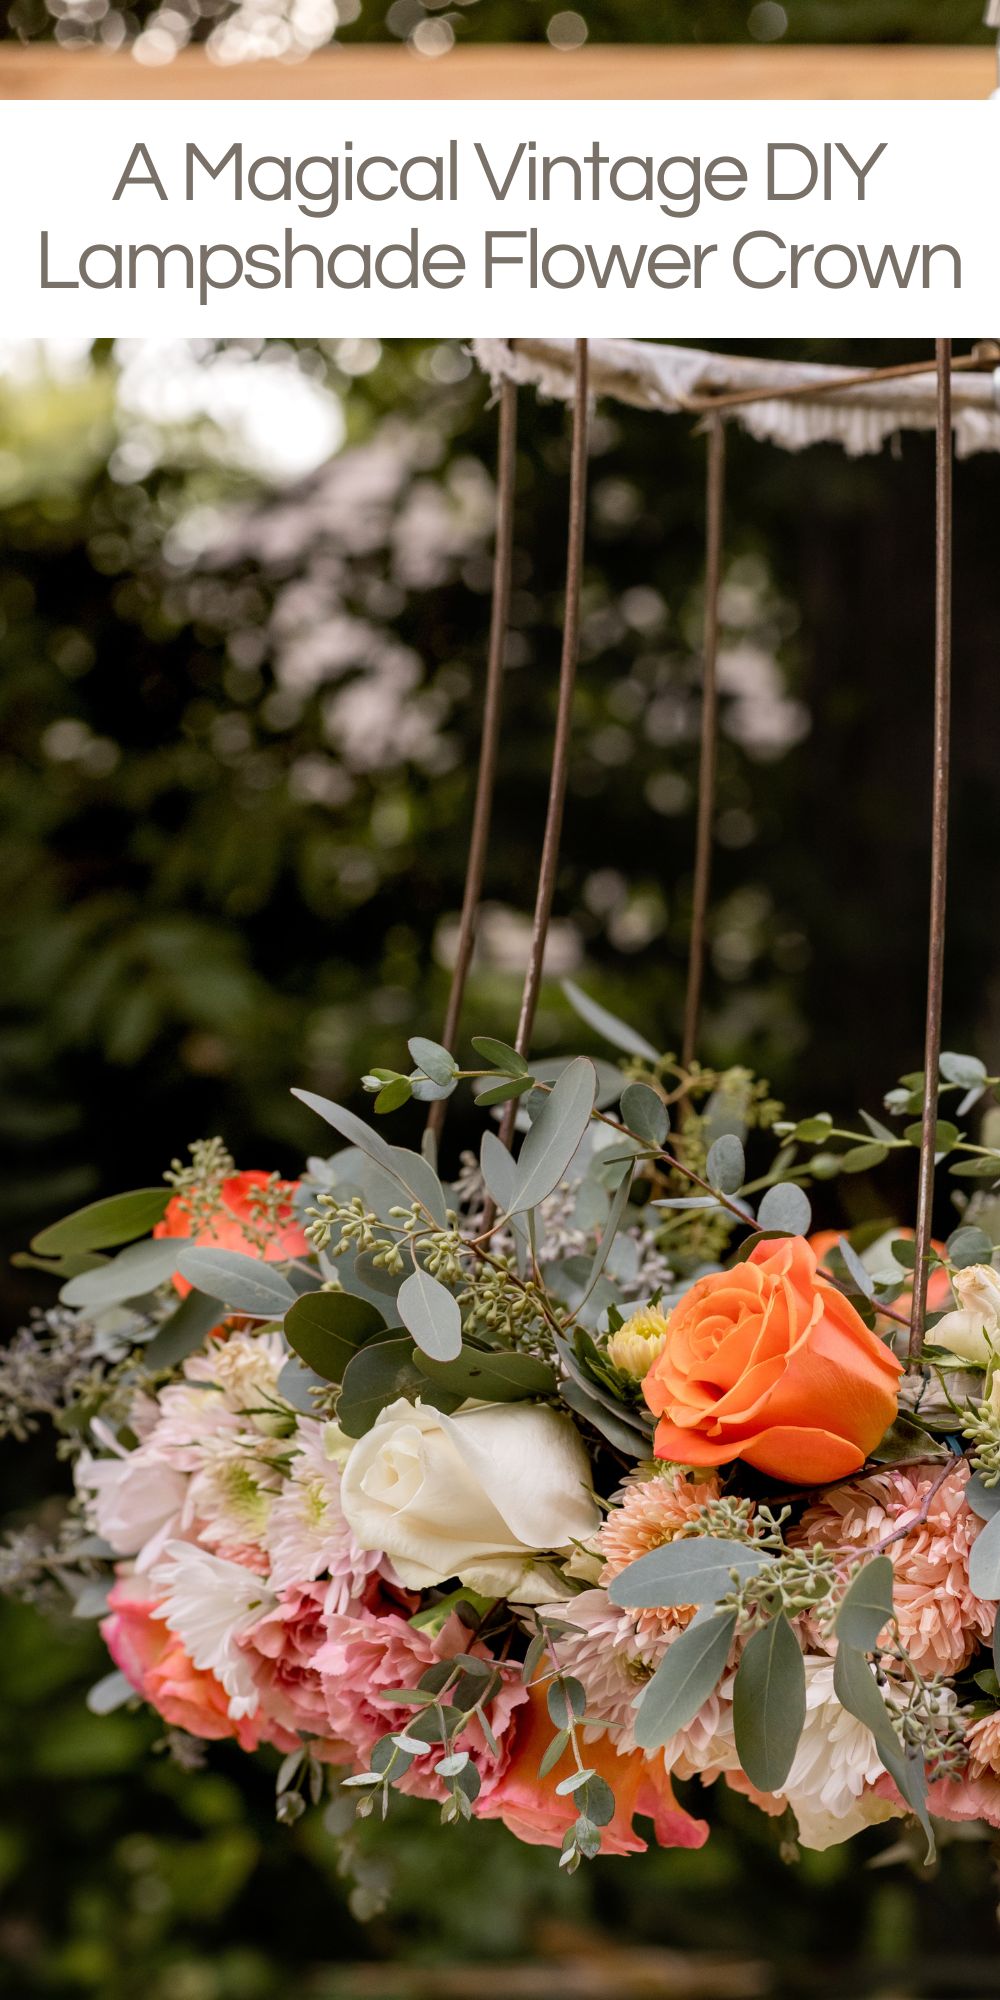
Since it is my birthday week, I am sharing a special DIY. Today, I am sharing how to create a magical flower crown on a vintage lampshade.
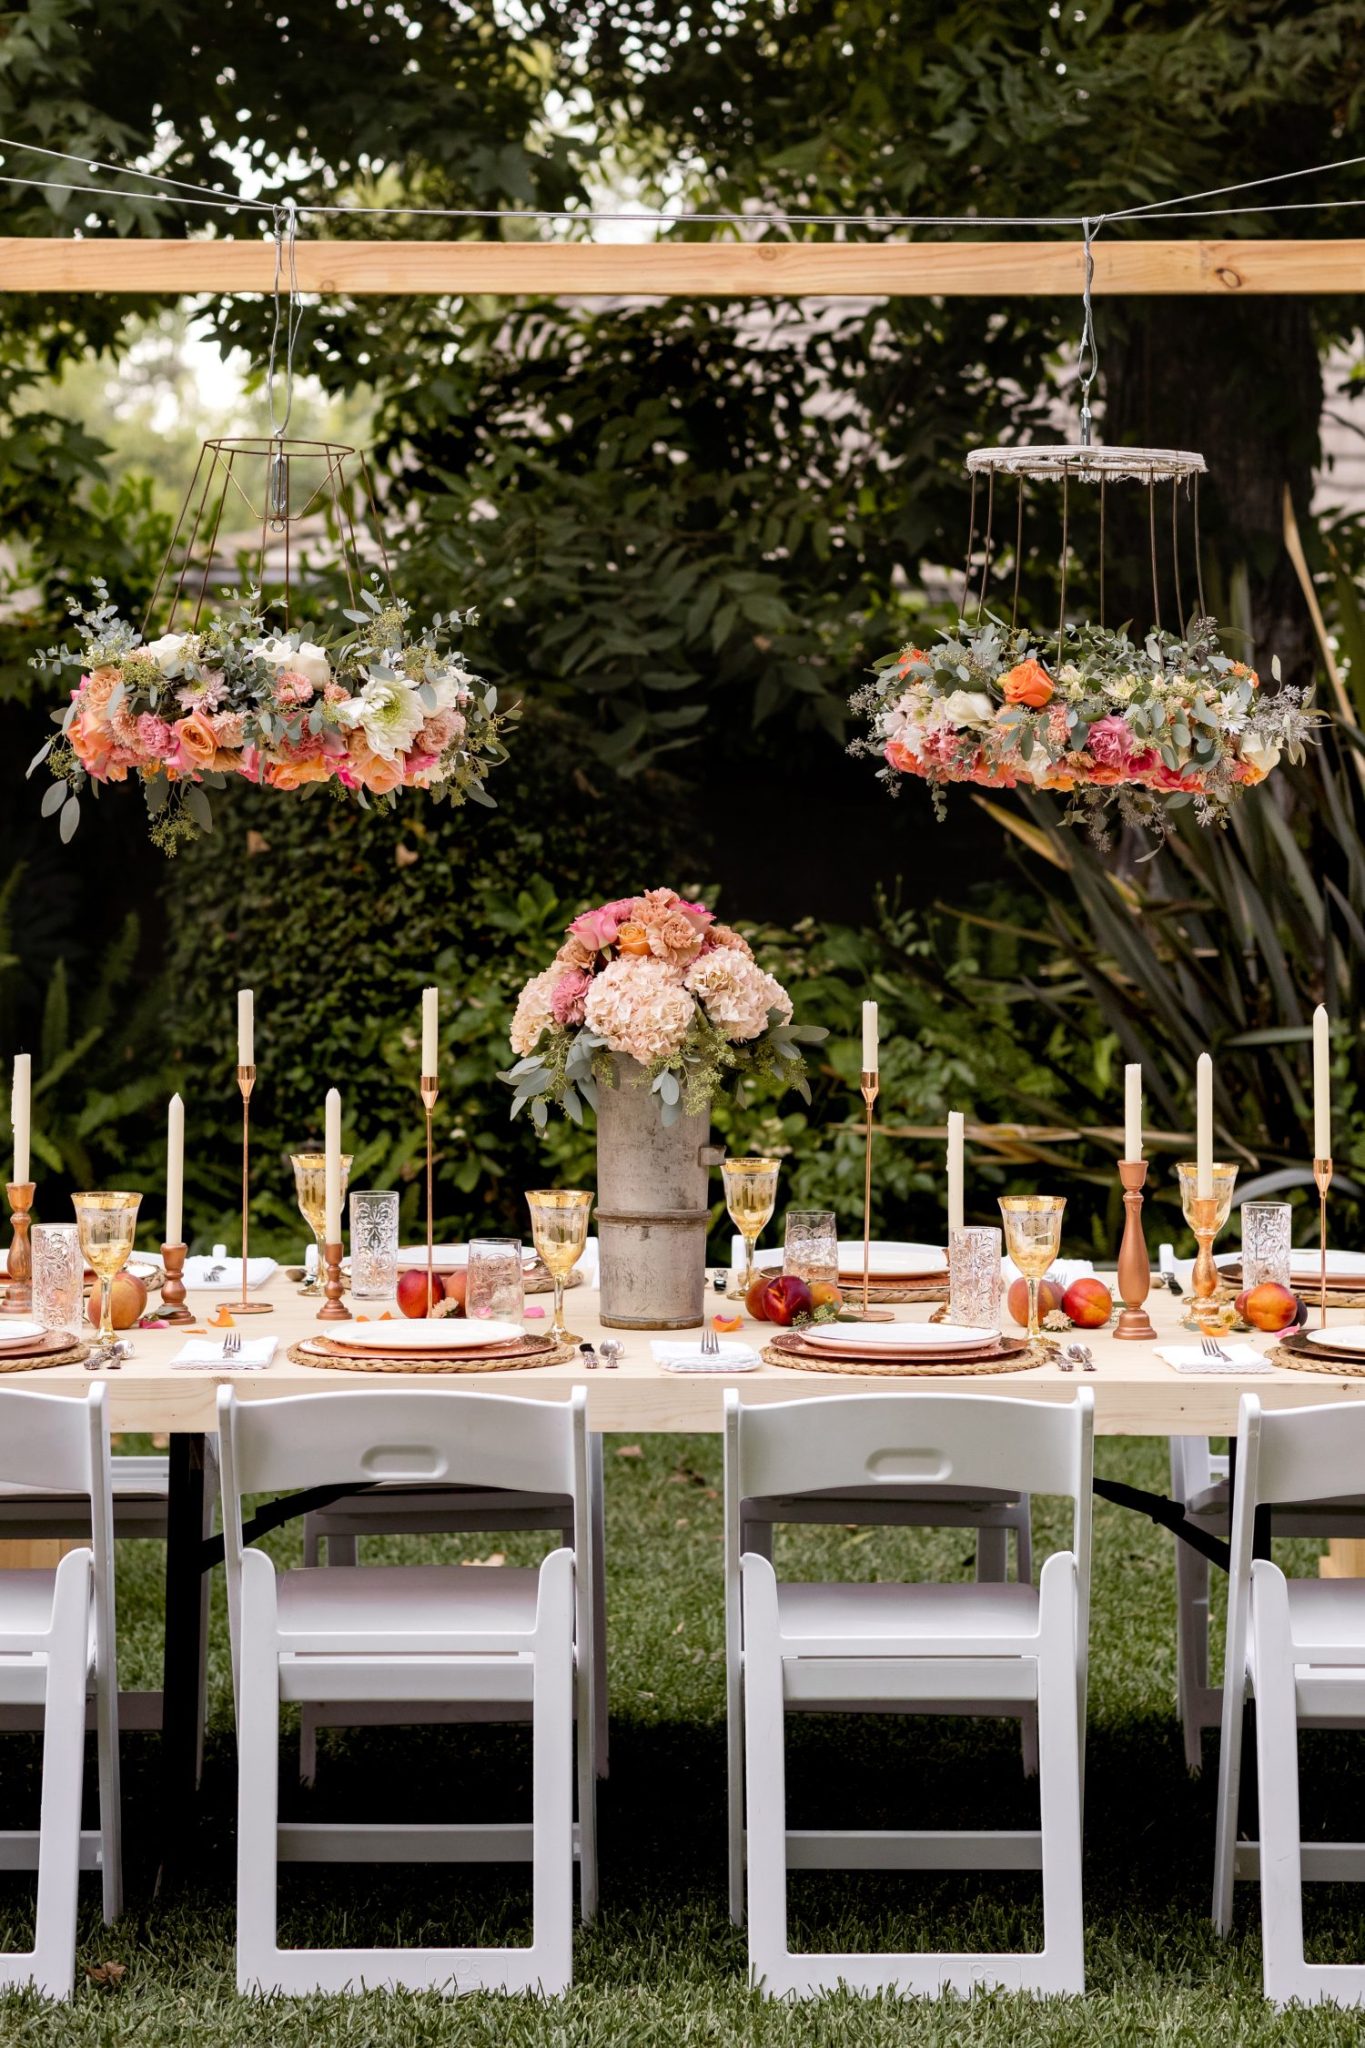
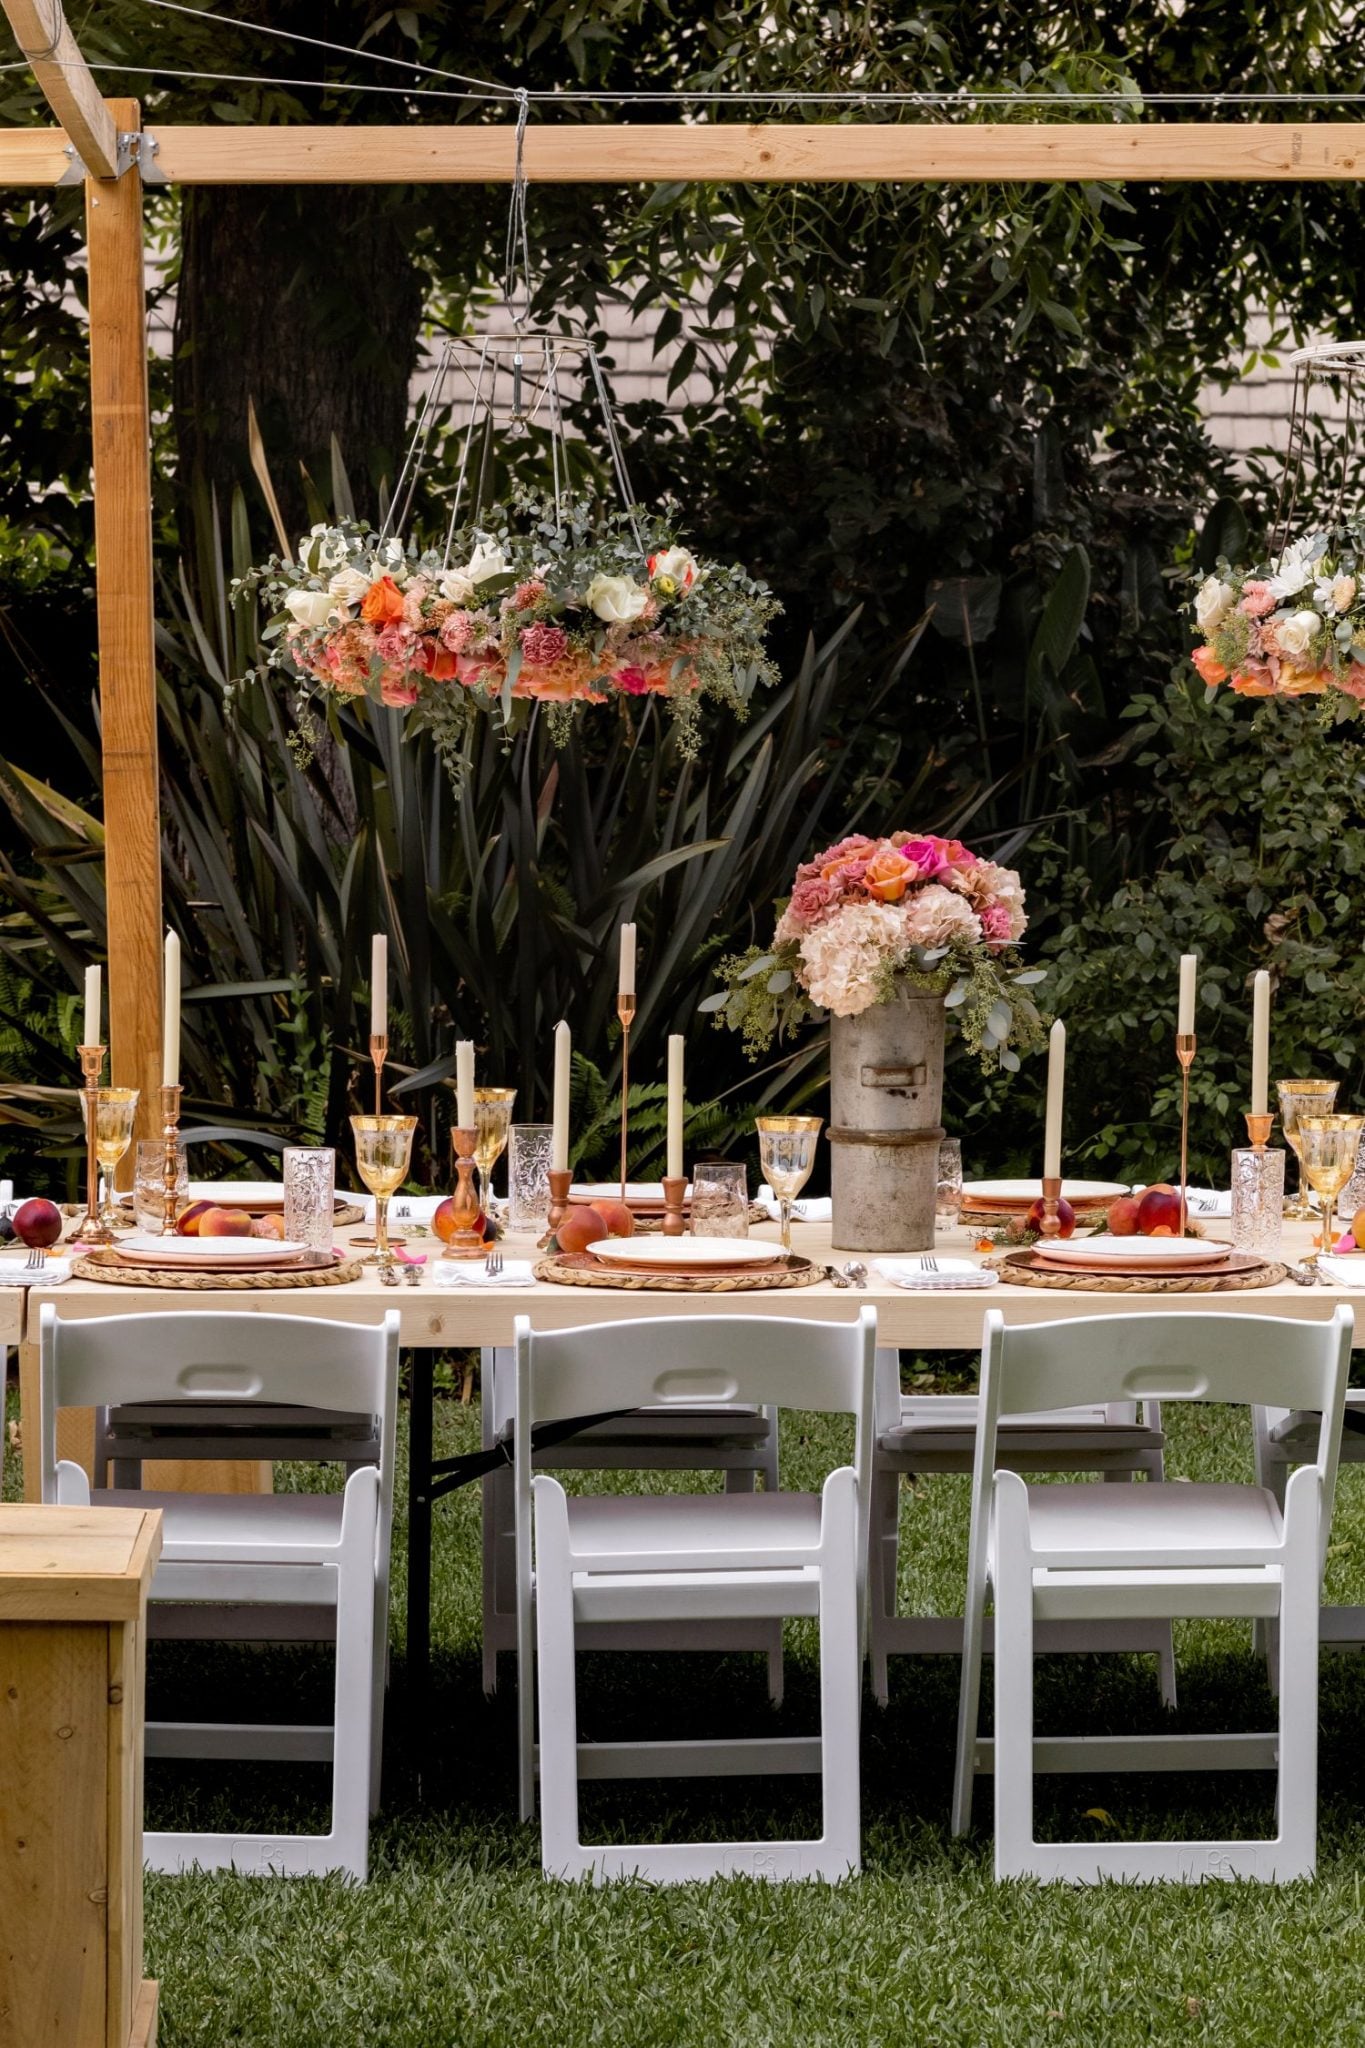
We created these vintage lampshades with flower crowns for my book, A Home to Share. They are an absolute showstopper, and I can’t wait to show you how to make your own, step by step.


Crafting a Fresh Flower Crown on a Vintage Lampshade
I am so excited to share this DIY with you. It may be one of the most stunningly beautiful DIYs I have ever created. When planning my book, A Home to Share, we wanted to create an over-the-top, beautiful but achievable table for a gathering.

Over the years, I accumulated several vintage lampshades sitting in a corner of the Carriage House. Whenever I saw one at a flea market or vintage show, something told me to take it home.
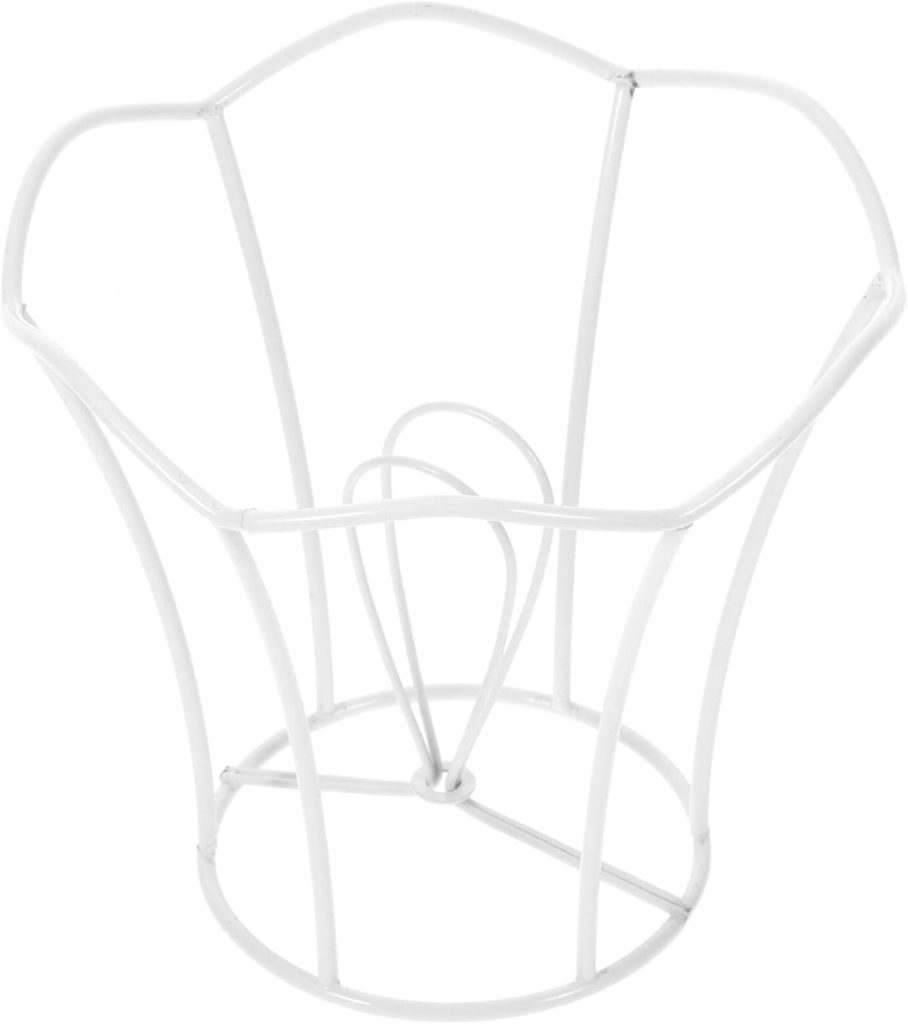
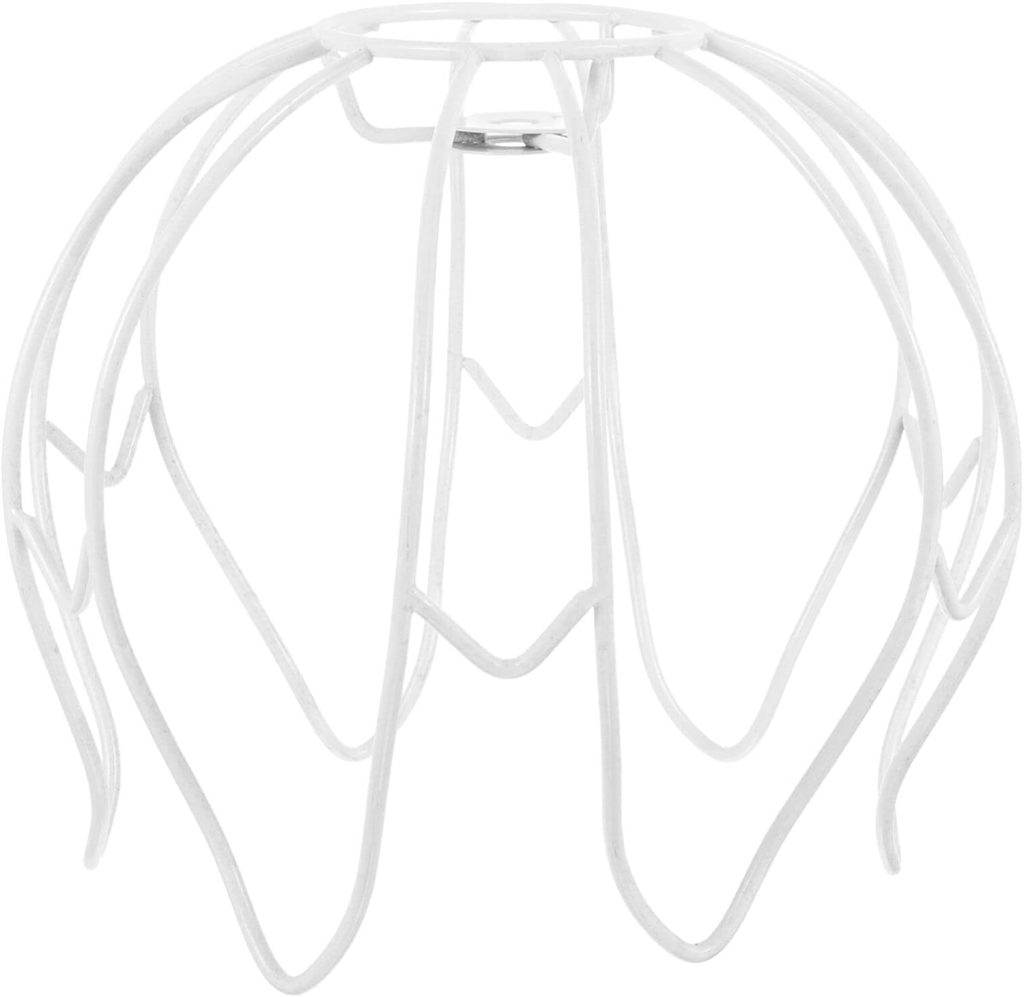
For next to nothing, you can find vintage lampshades at garage sales, Goodwill, flea markets, vintage shops, and the like. Remove the fabric if you find one with an incredible shape that still has fabric on it! I also provided links below to new lampshade frames I found on Amazon. You can use new ones too!
If you have my book, A Home to Share, you can follow along on pages 208-209.
Materials Needed
You need a few materials to create a breathtaking vintage lampshade flower crown. I have included the materials for hanging the vintage lampshade in this section so you can gather everything together before you start.
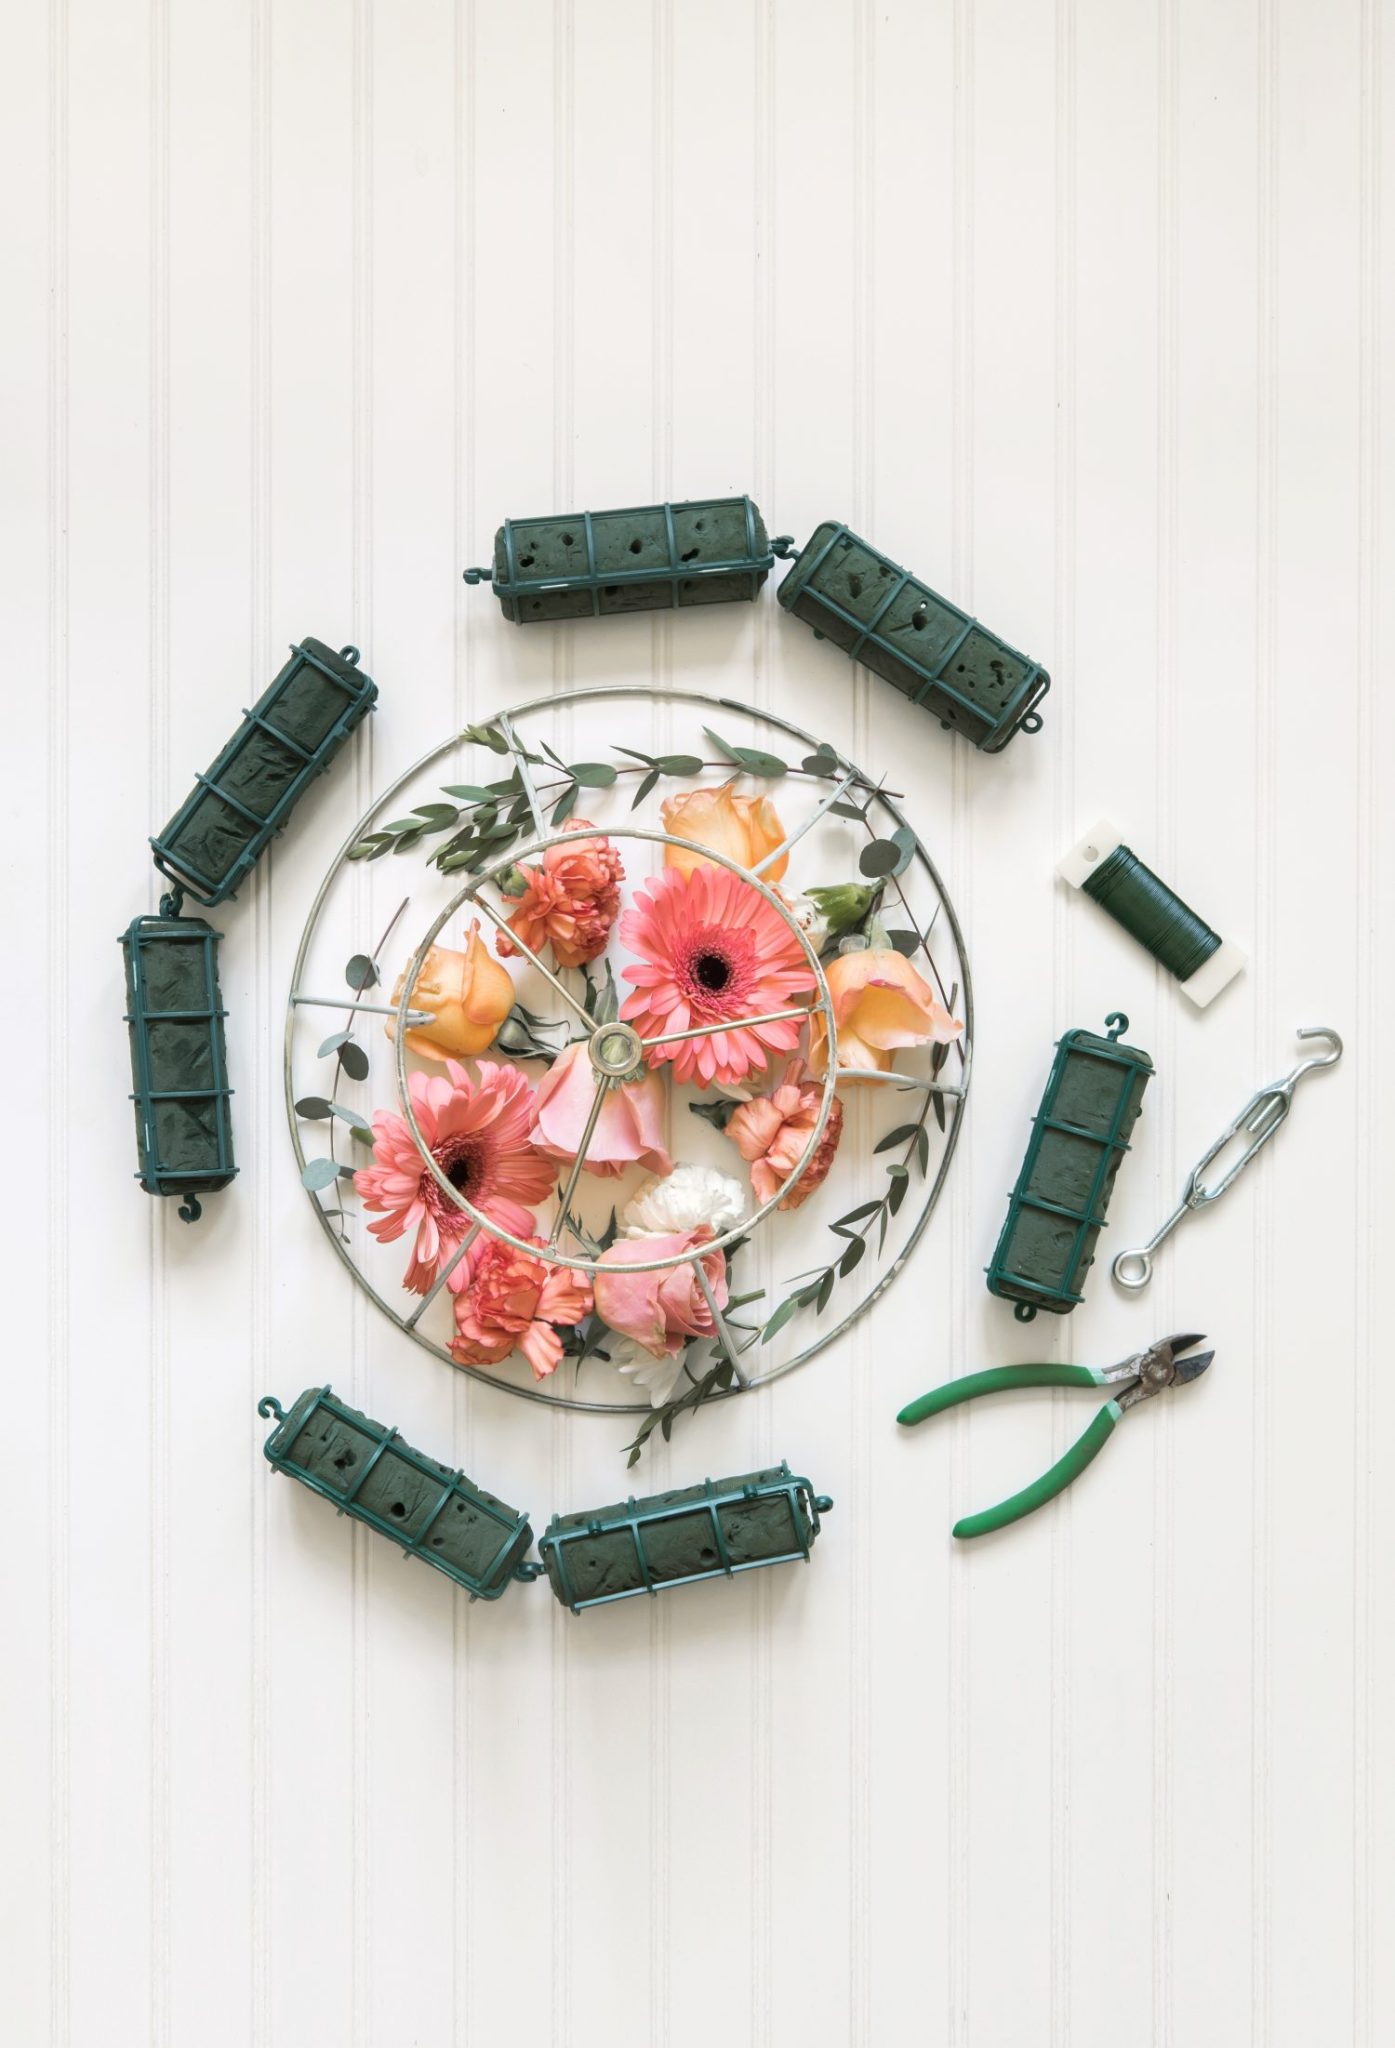
- Vintage (or new) lampshade with a sturdy frame;
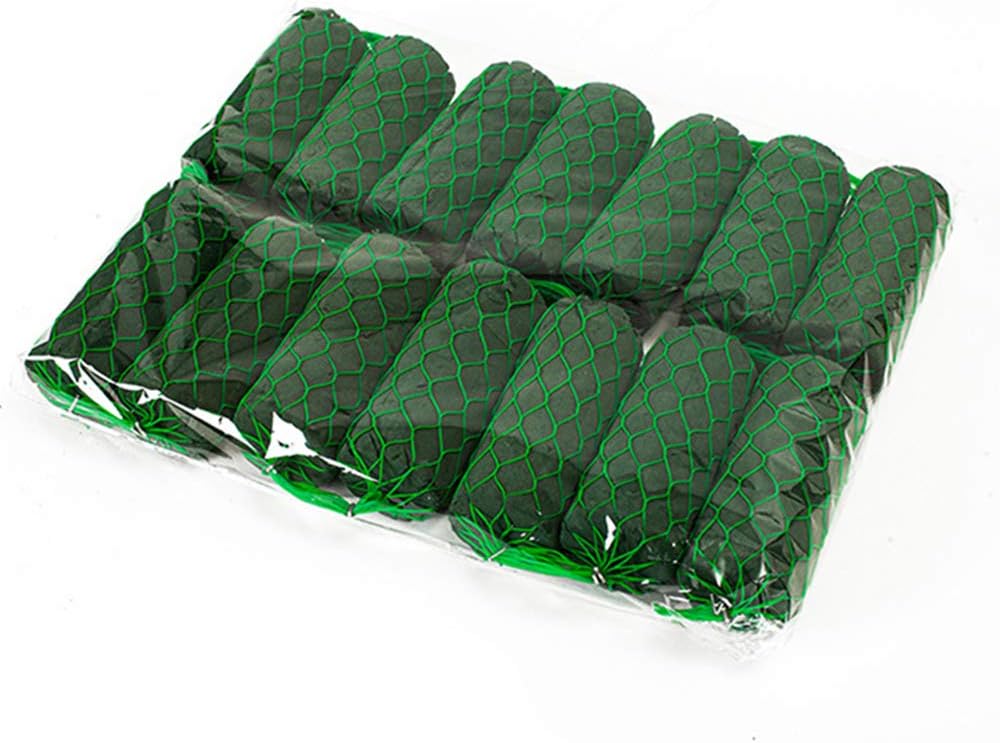
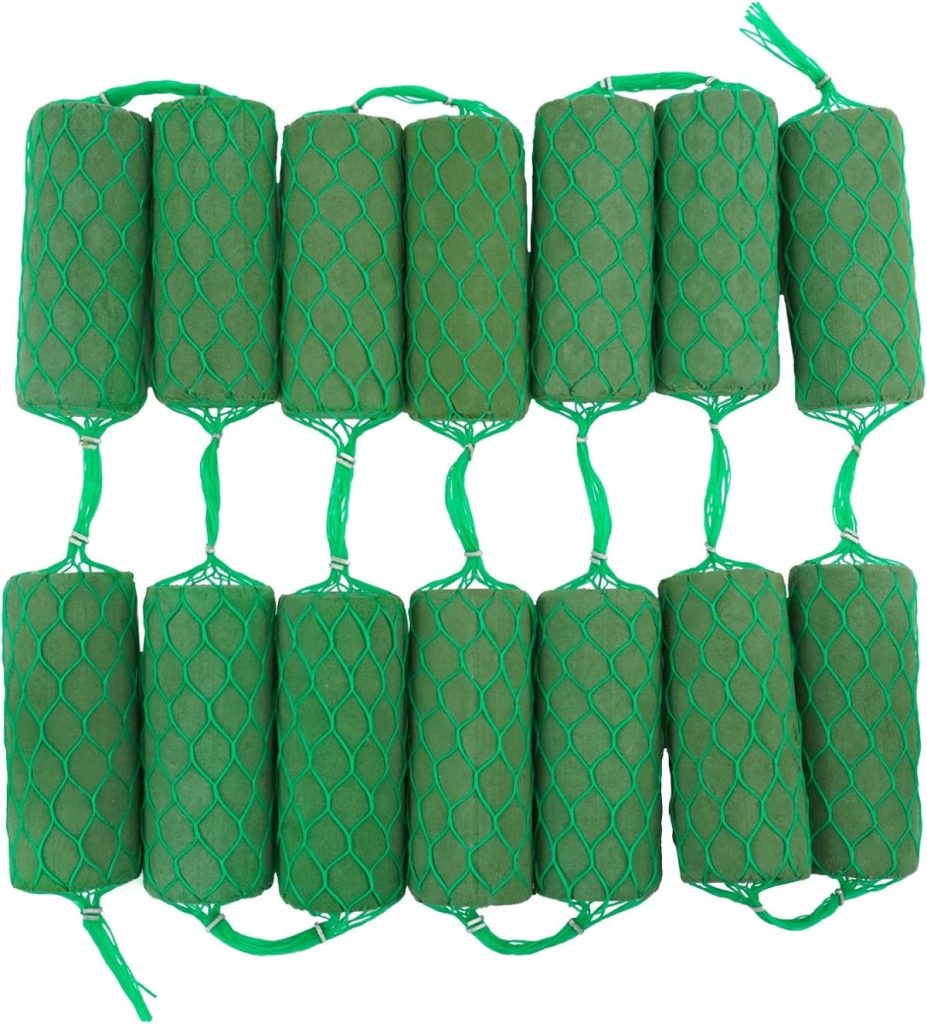
- Netted floral foam bricks like these or these, enough to cover the bottom of the lampshade frame;
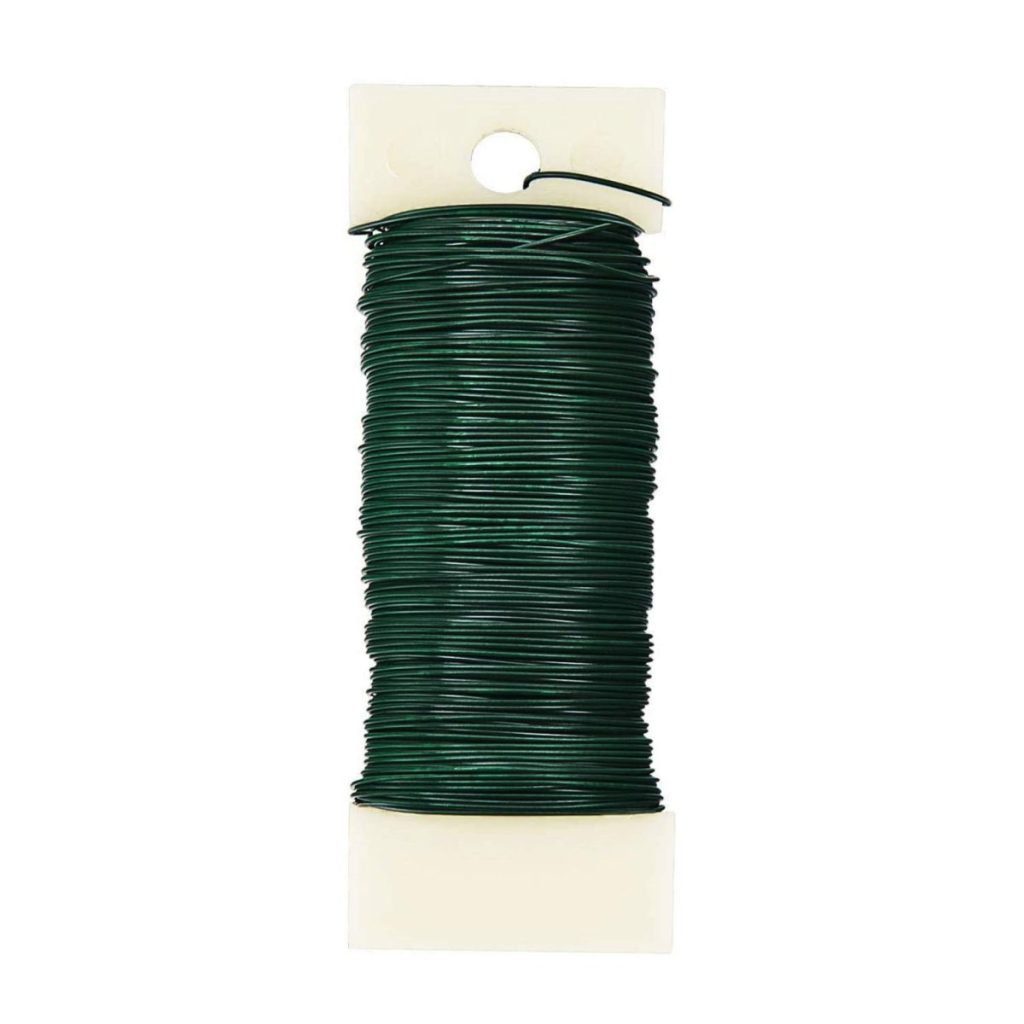
- Green floral wire;
- Fresh flowers and greenery: choose whatever colors make you happy (use larger flowers and ones with a firm stem);
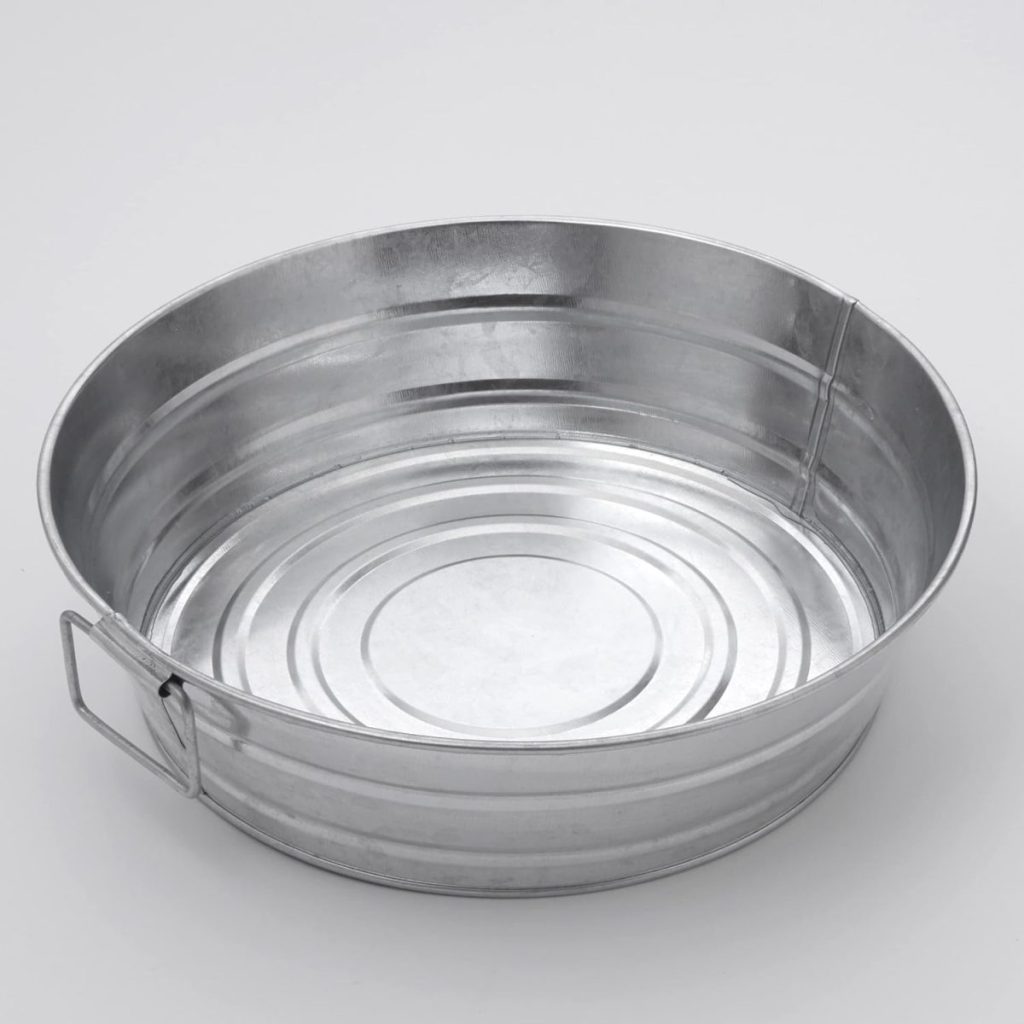
- Large tub for water;
- Pruning shears;
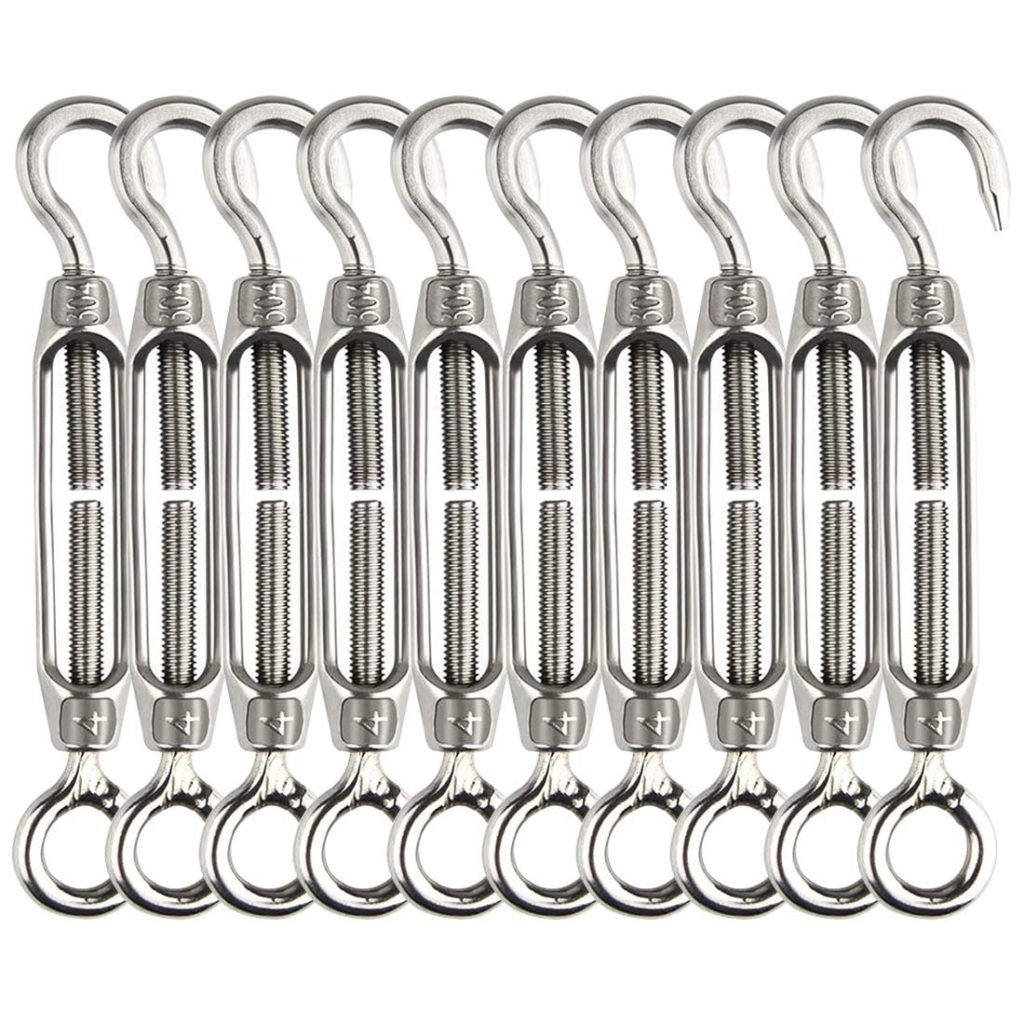
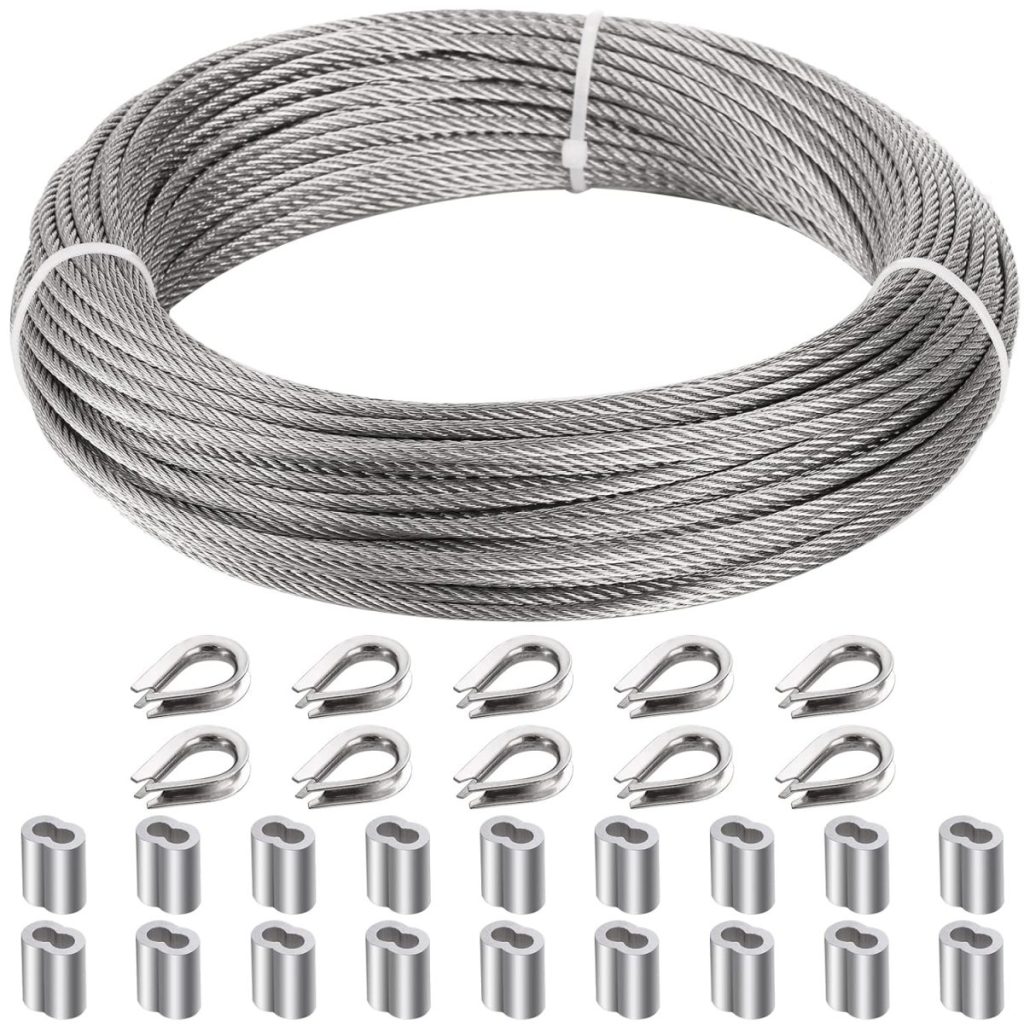
- Wire for hanging;
- Turnbuckle Hook and Eye for hanging.
Once you have gathered the materials, you can start the flower crown DIY. Once made, the flowers in the flower crown will last 3-4 days (depending on the heat).
I may sometimes use affiliate links on this blog, which means I earn a small commission if you make a purchase through the link. The price will be the same whether you use the affiliate link or go directly to the vendor’s website using a non-affiliate link.

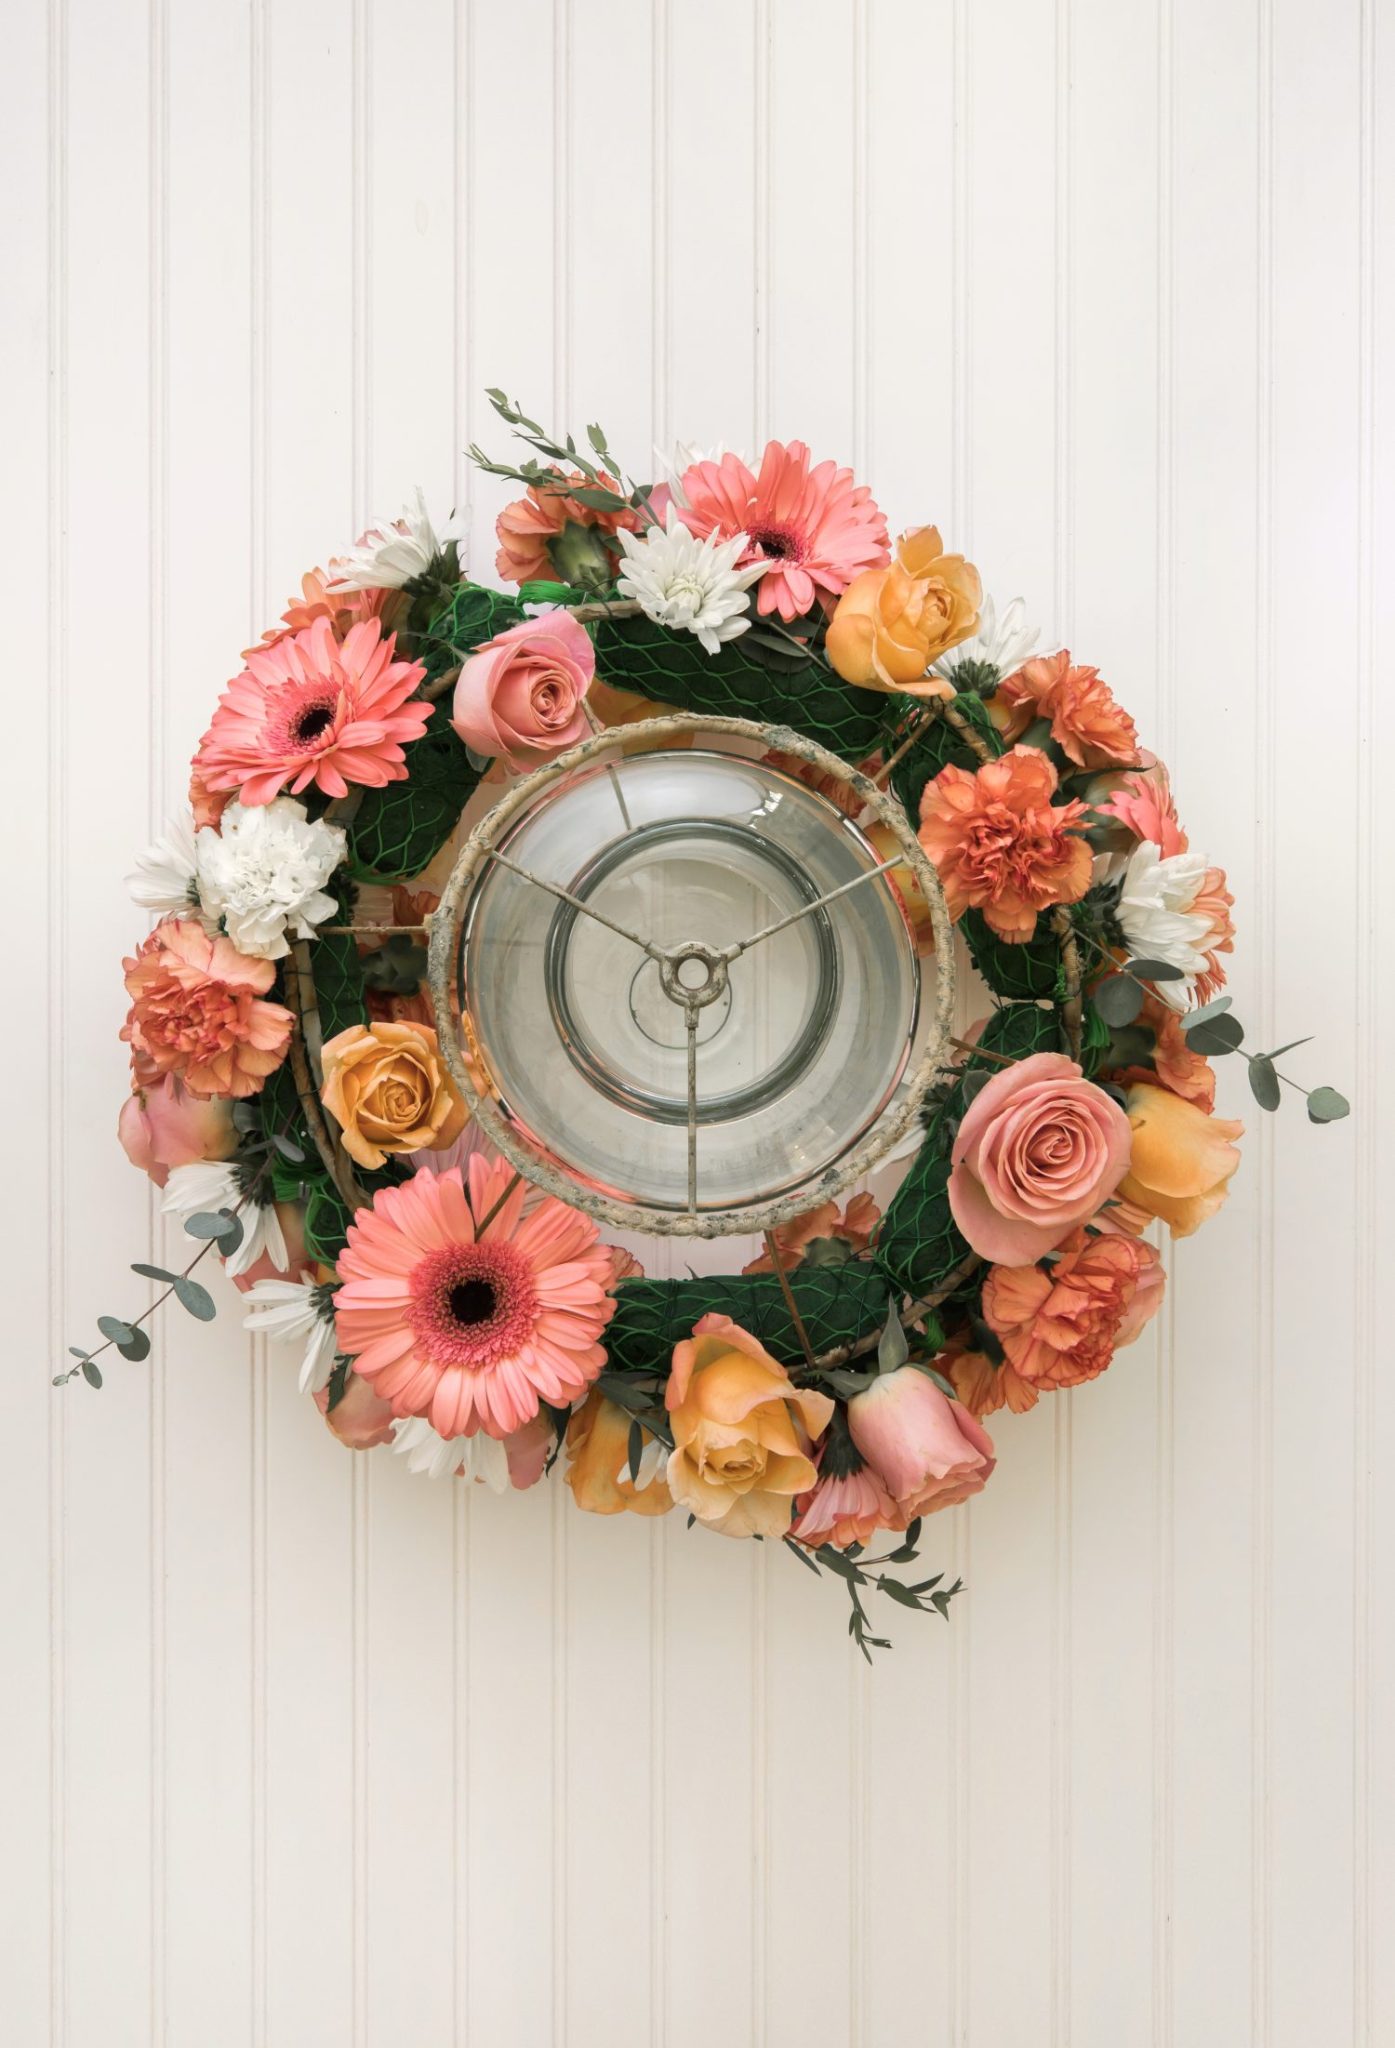
Soak the Netted Floral Foam Bricks
First, soak the netted floral foam bricks in water until completely saturated. Allow the bricks to absorb water for 10-15 minutes, ensuring they are fully soaked. This will provide a water source for your fresh flowers and help them stay fresh for longer.
Prepare the Vintage Lampshade
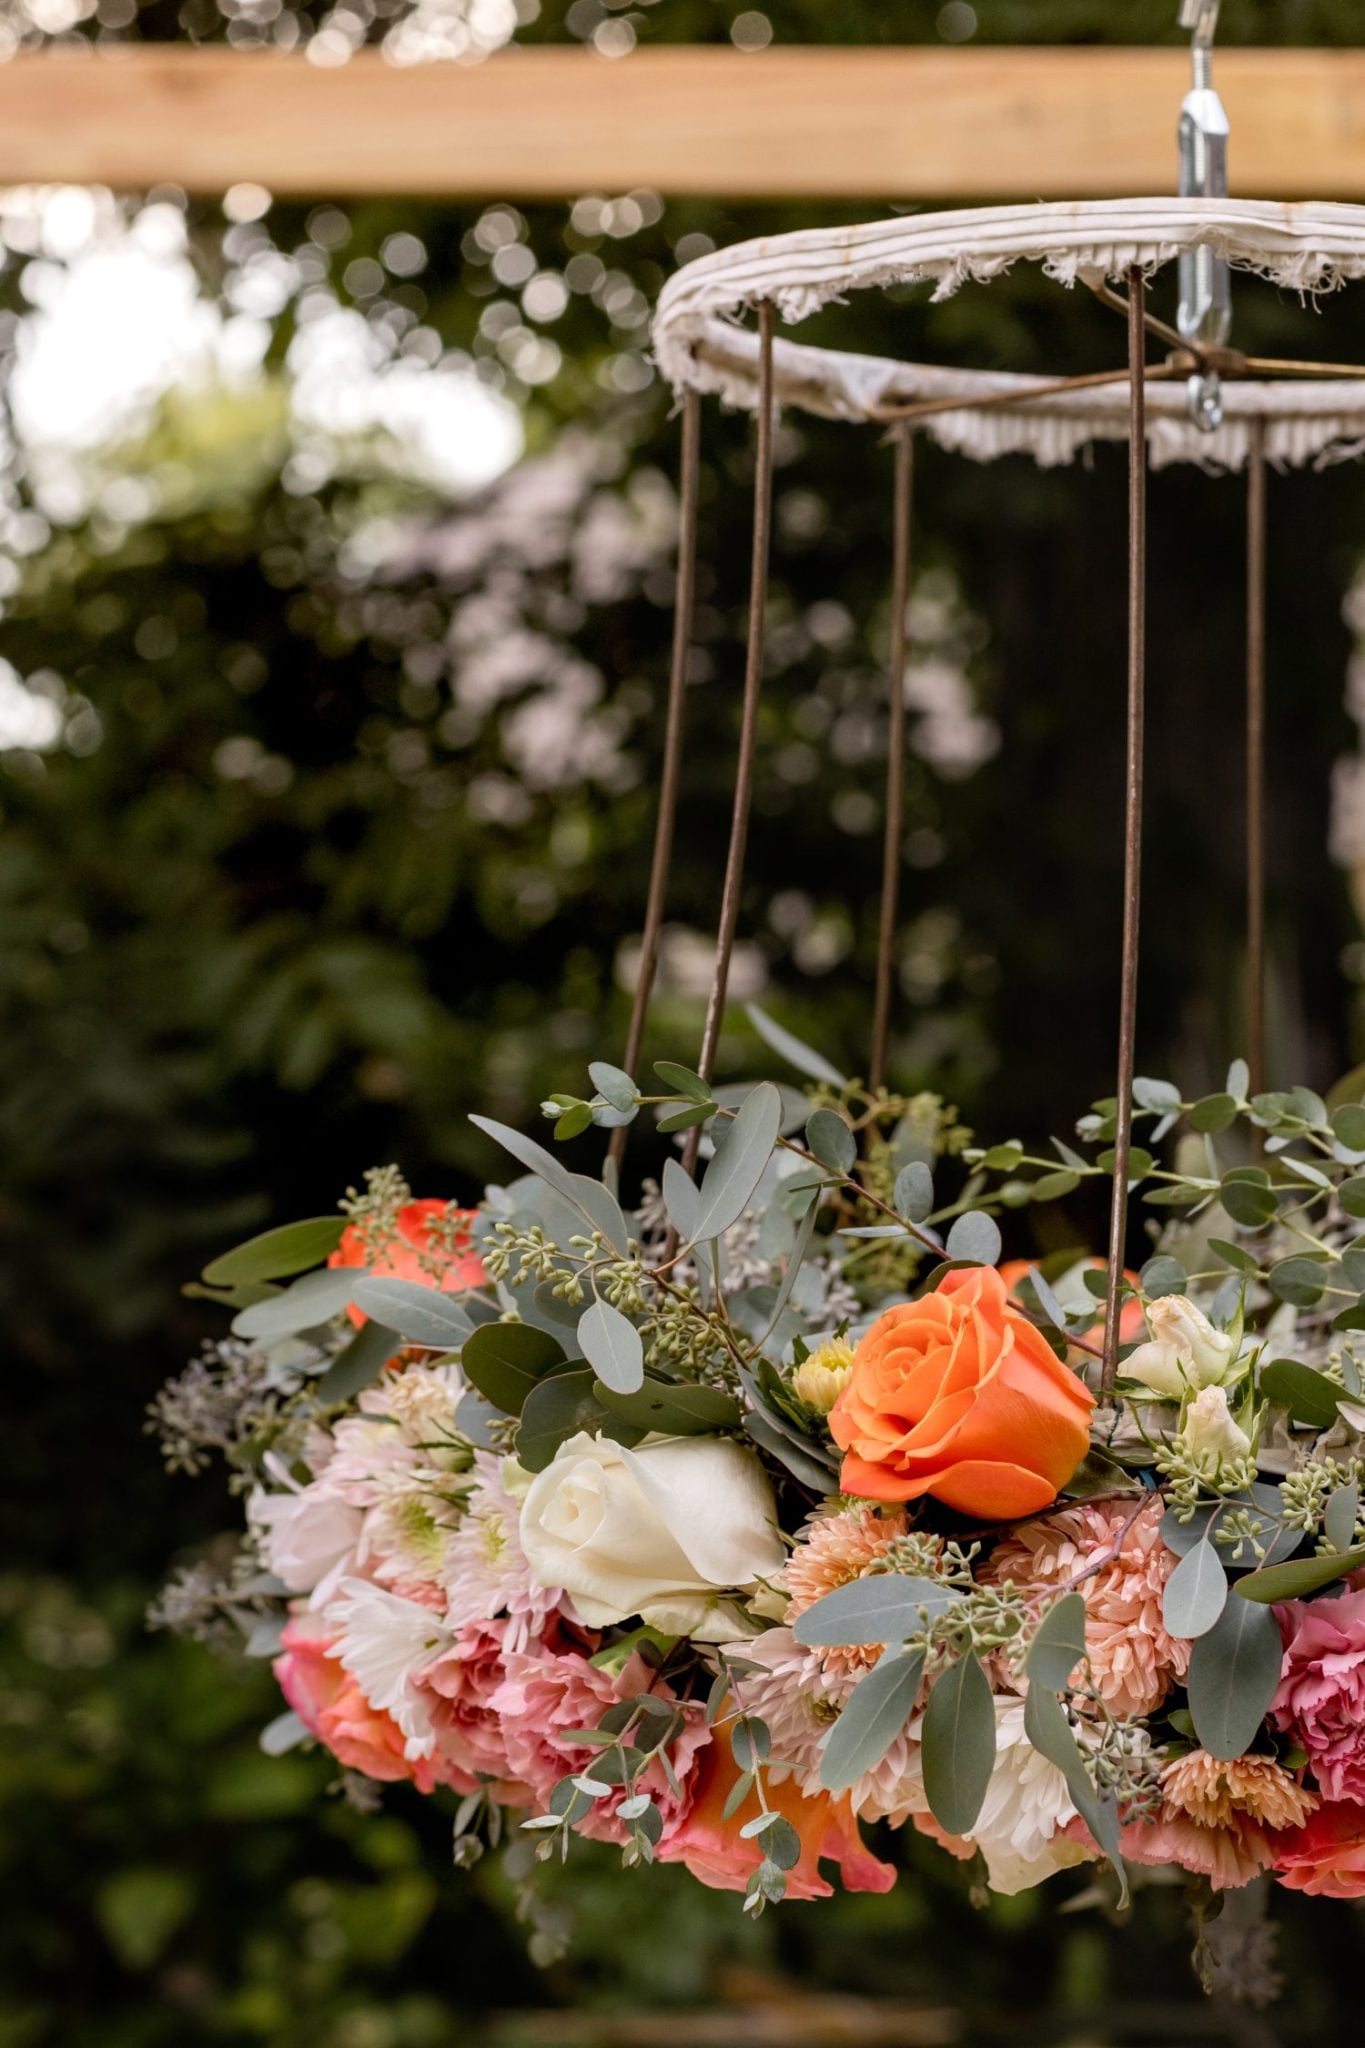
While the netted floral foam bricks are soaking, prepare the vintage lampshade. Make sure that it is clean of dust or debris. A little rust, however, is not a bad thing. Remove any existing fabric or covering from the lampshade frame, leaving only the wire structure.
This wireframe of the vintage lampshade will serve as the base for attaching the floral foam bricks and fresh flowers. I also found some lampshade frames on Amazon for you!


Secure the Netted Floral Foam Bricks to the Vintage Lampshade
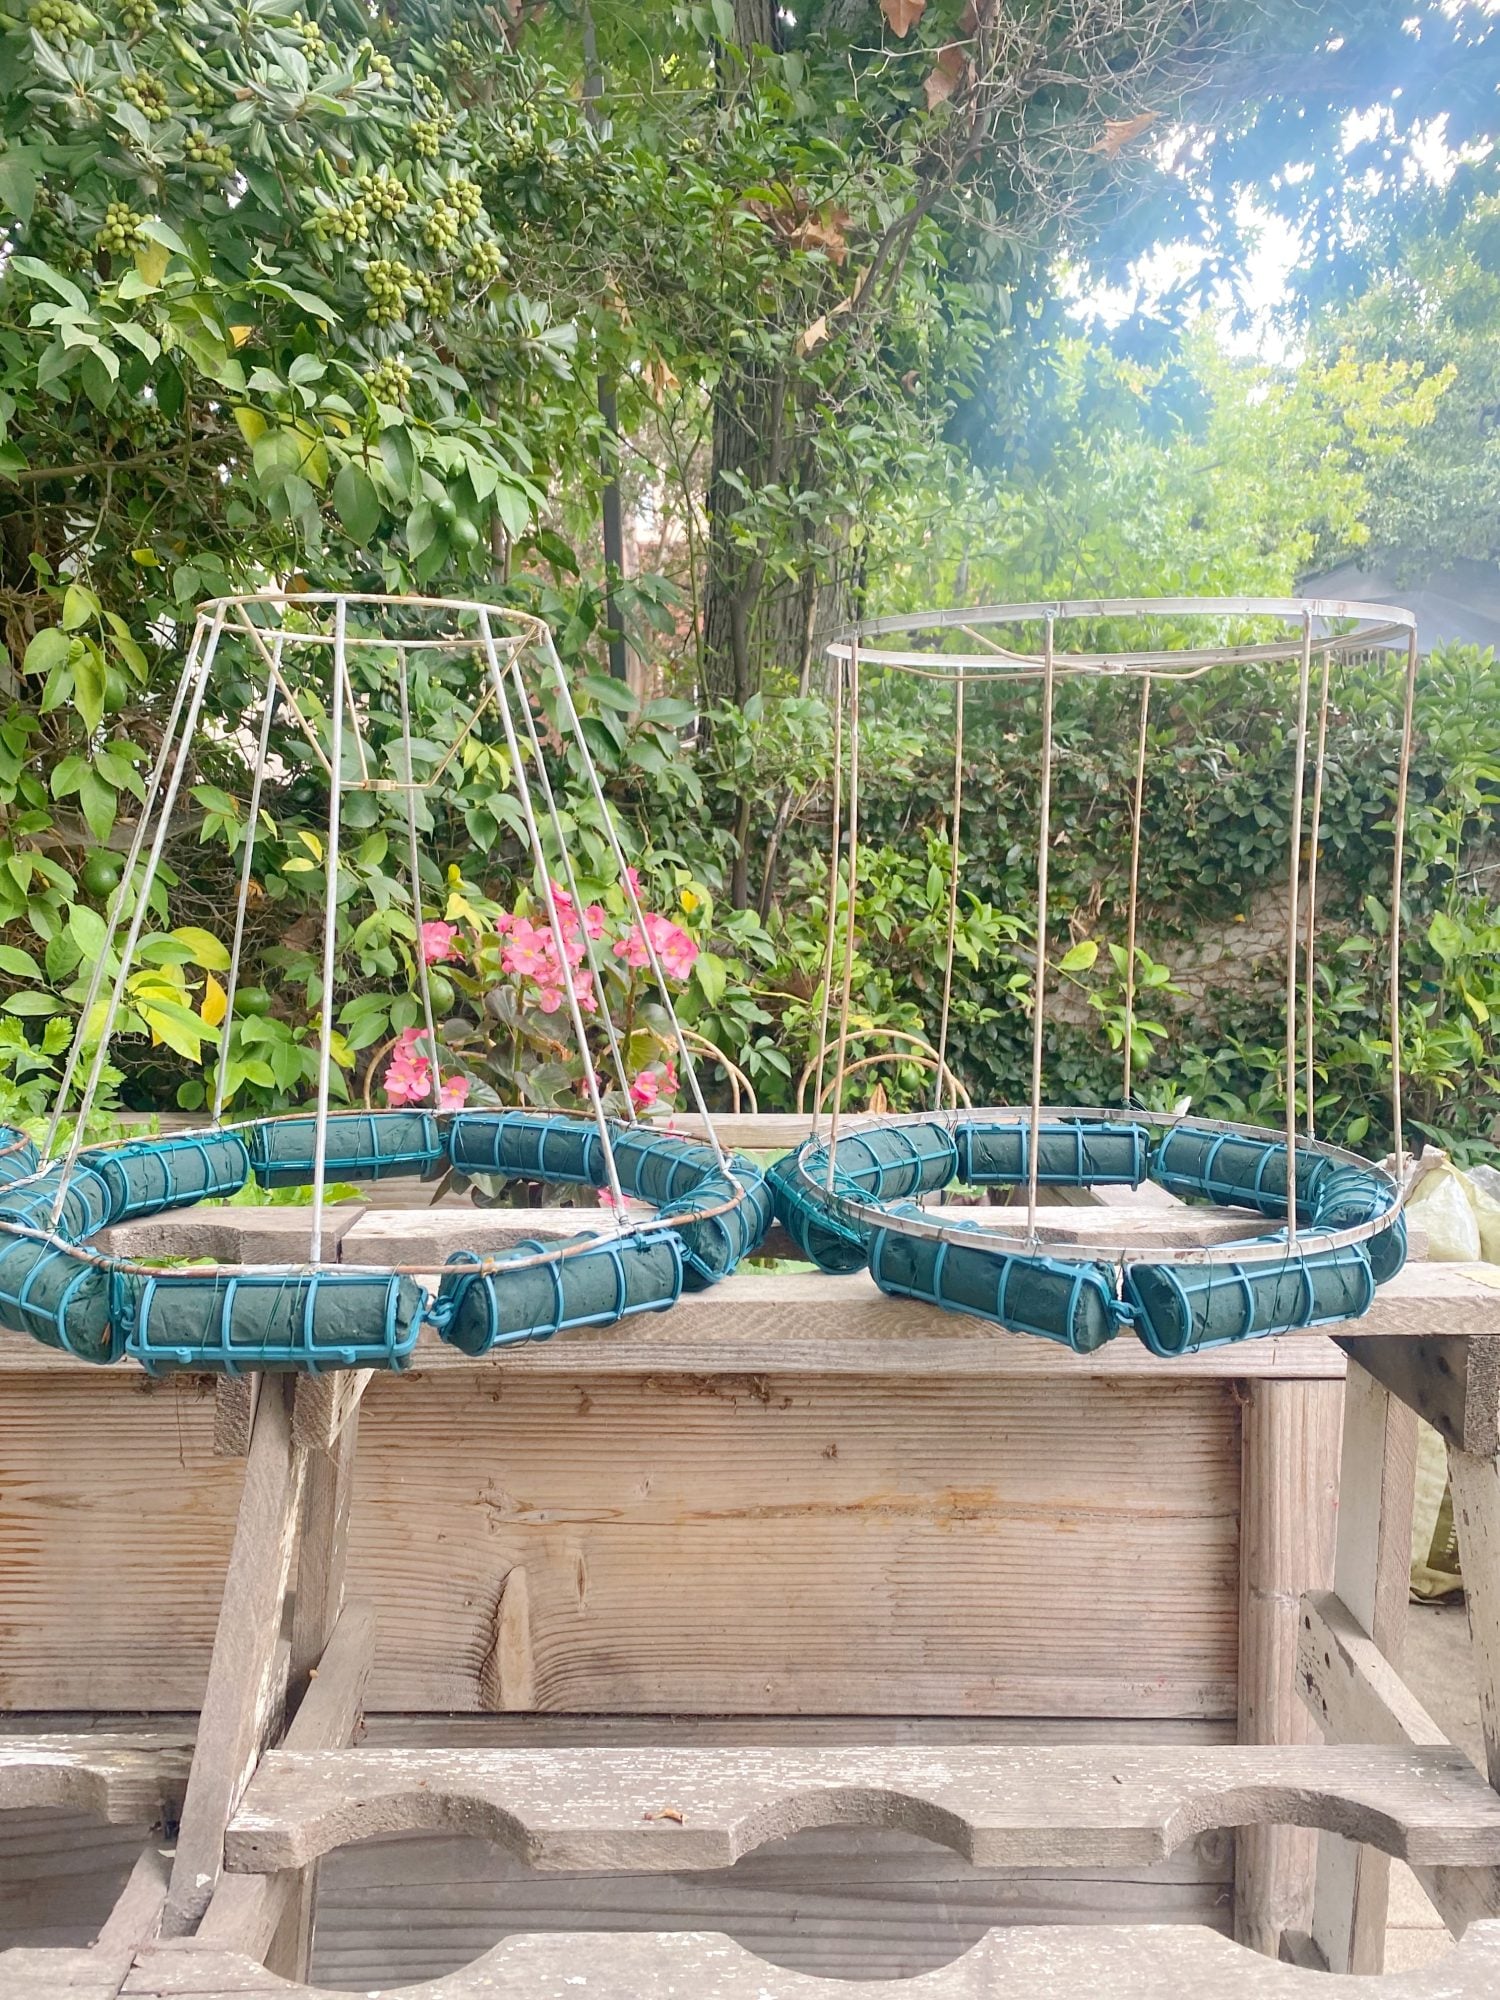
Once the netted floral foam bricks have soaked sufficiently, you can secure them to the lampshade frame.
Start by turning the vintage lampshade upside down so that the top, the smaller end, is on your work surface and the bottom is readily accessible. Hold a netted floral foam brick against the bottom of the lampshade frame, then securely wrap the floral wire around and around until the brick does not move. Add and wrap netted floral foam bricks around the bottom of the lampshade until completely covered.
You can gently press the bricks onto the wire frame to secure them further. Ensure the bricks are securely fastened to the frame and cover the entire frame to provide a stable base for your flower crown.
Add Fresh Flowers and Greens
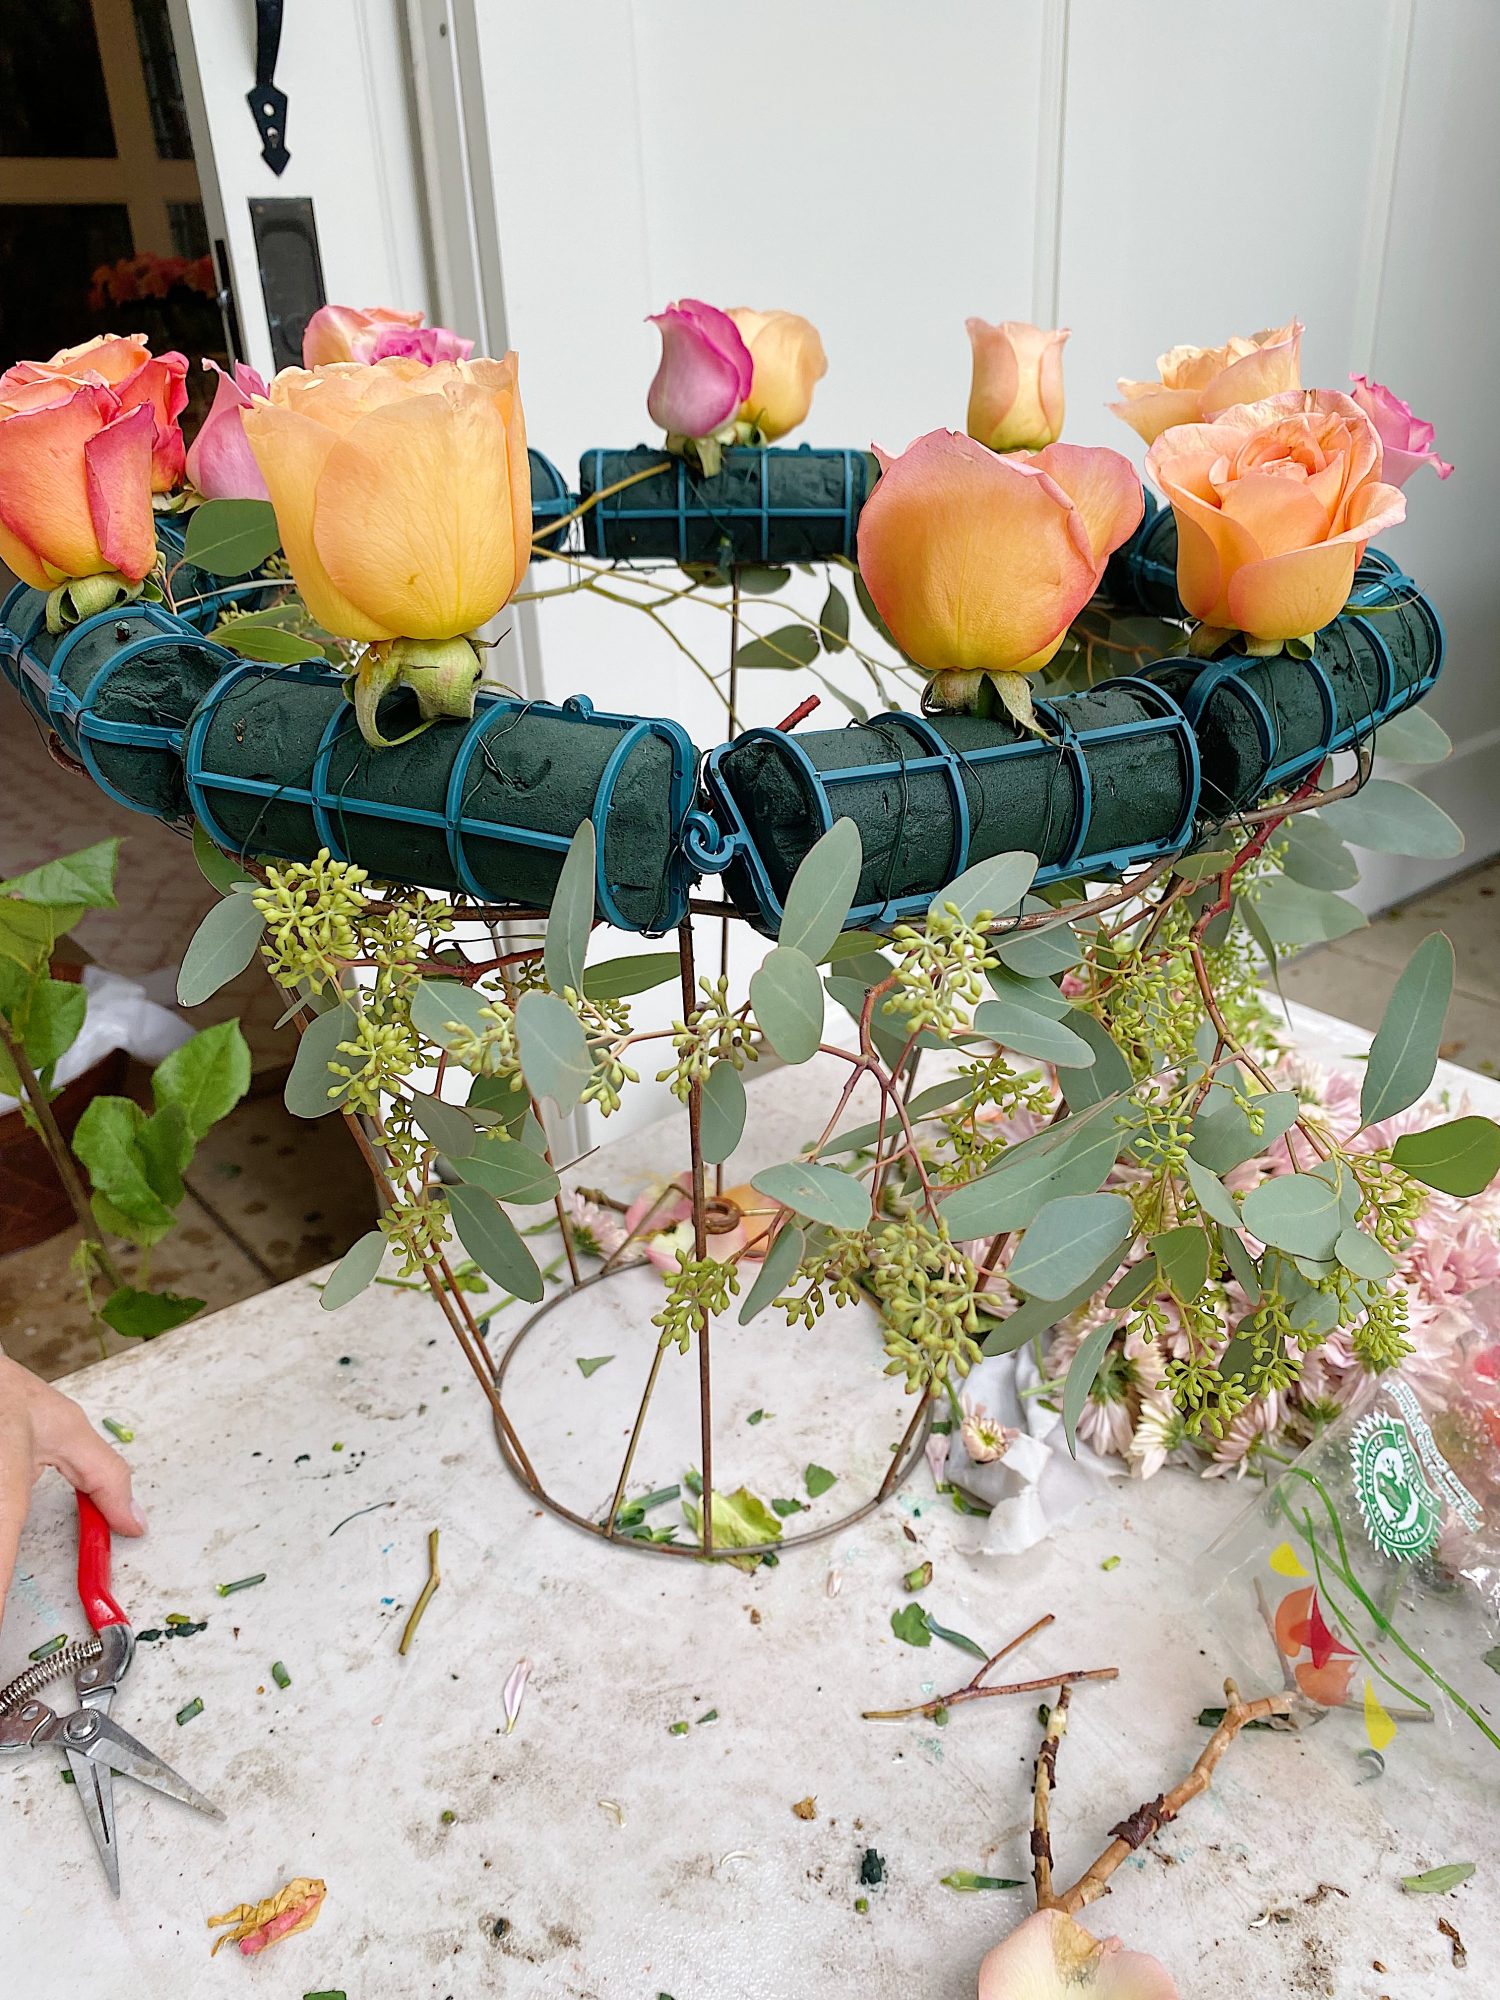
Now comes the exciting part: preparing the fresh flowers and greens to decorate your crown. You want to use larger flowers with sturdy stems. Because you will be pushing the stem into the netted floral foam bricks, it needs to be strong enough to pass through the foam and support the flower head.
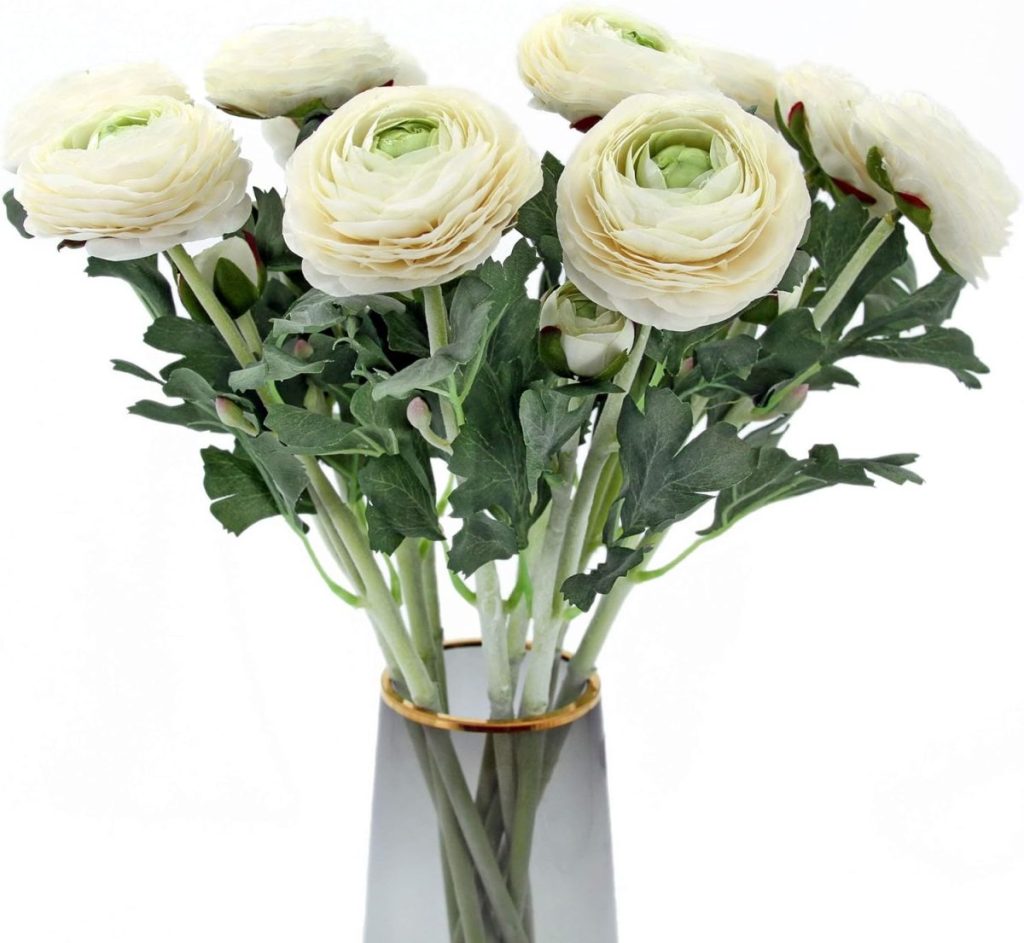
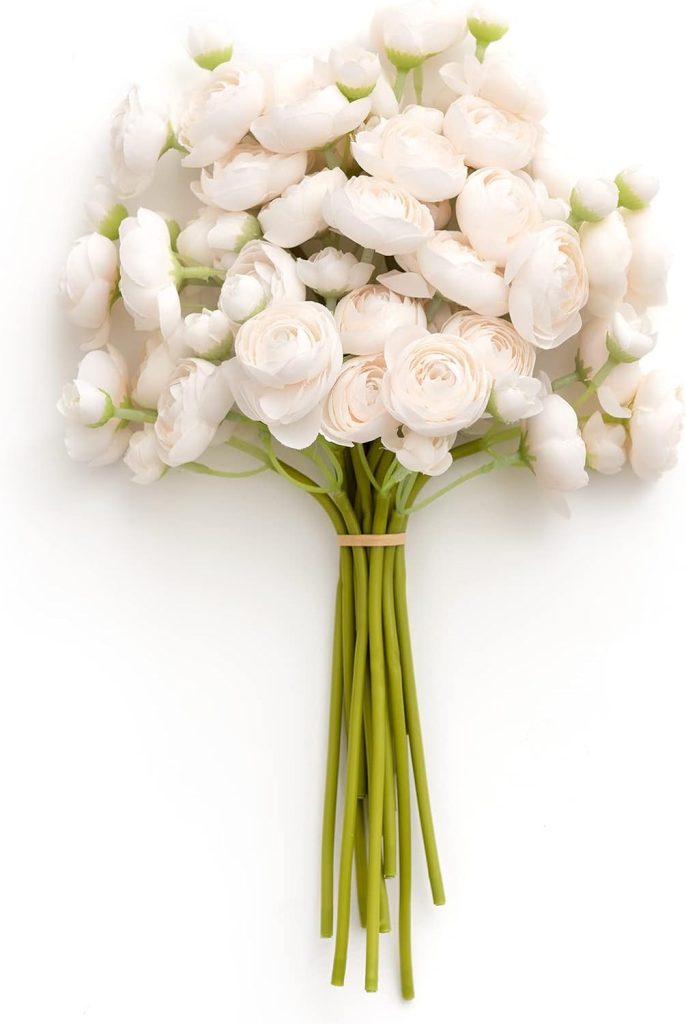
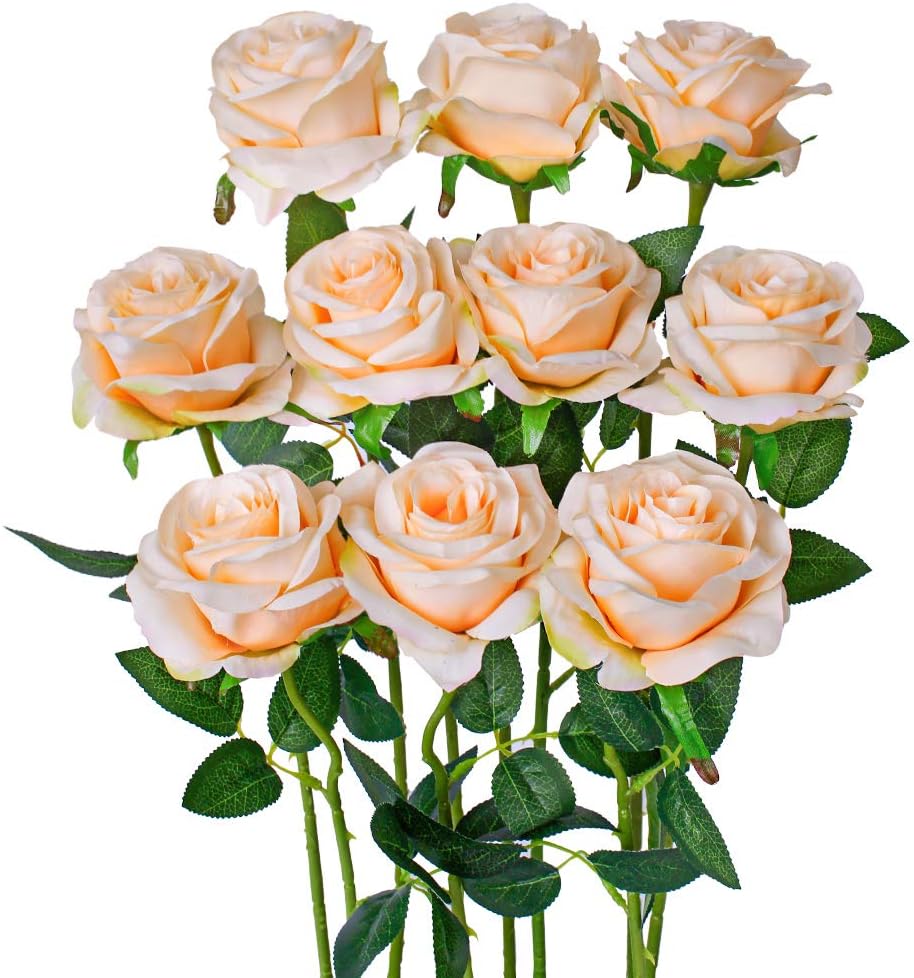
Roses, gerbera daisies, and carnations come in many colors and make beautiful flower crowns. Trim the stems of the flowers at an angle, leaving approximately 2-3 inches of stem length. Remove any leaves or thorns from the stems. While flowers like ranunculus are beautiful, their stems are too dainty and their petals too fragile to use unless you reinforce them with floral wire.
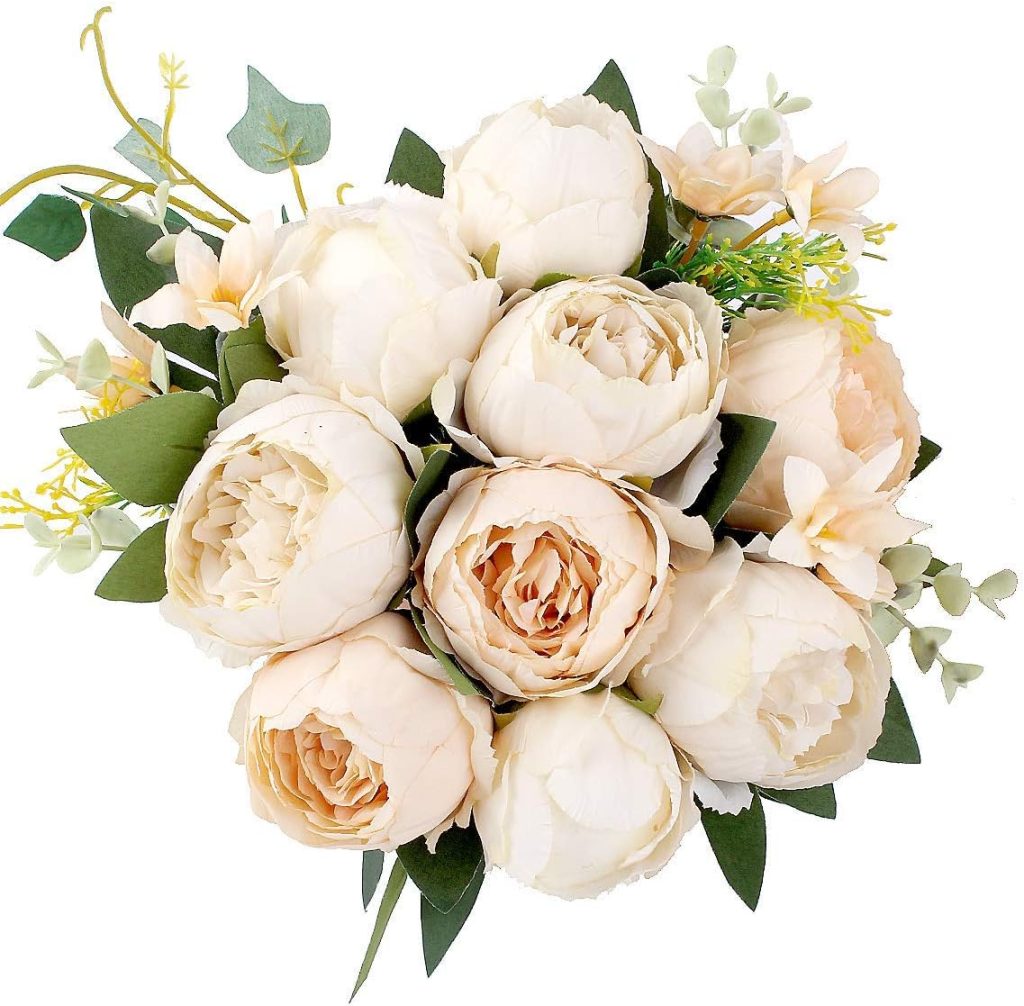
Start with the largest flowers first. Gerbera daisies are nice and wide, and roses open well, covering much of the netted floral foam. Carnations are an excellent filler flower, and I love using eucalyptus in all my flower arrangements. Remember to distribute the flowers evenly around the base of the lampshade, covering the entire surface.
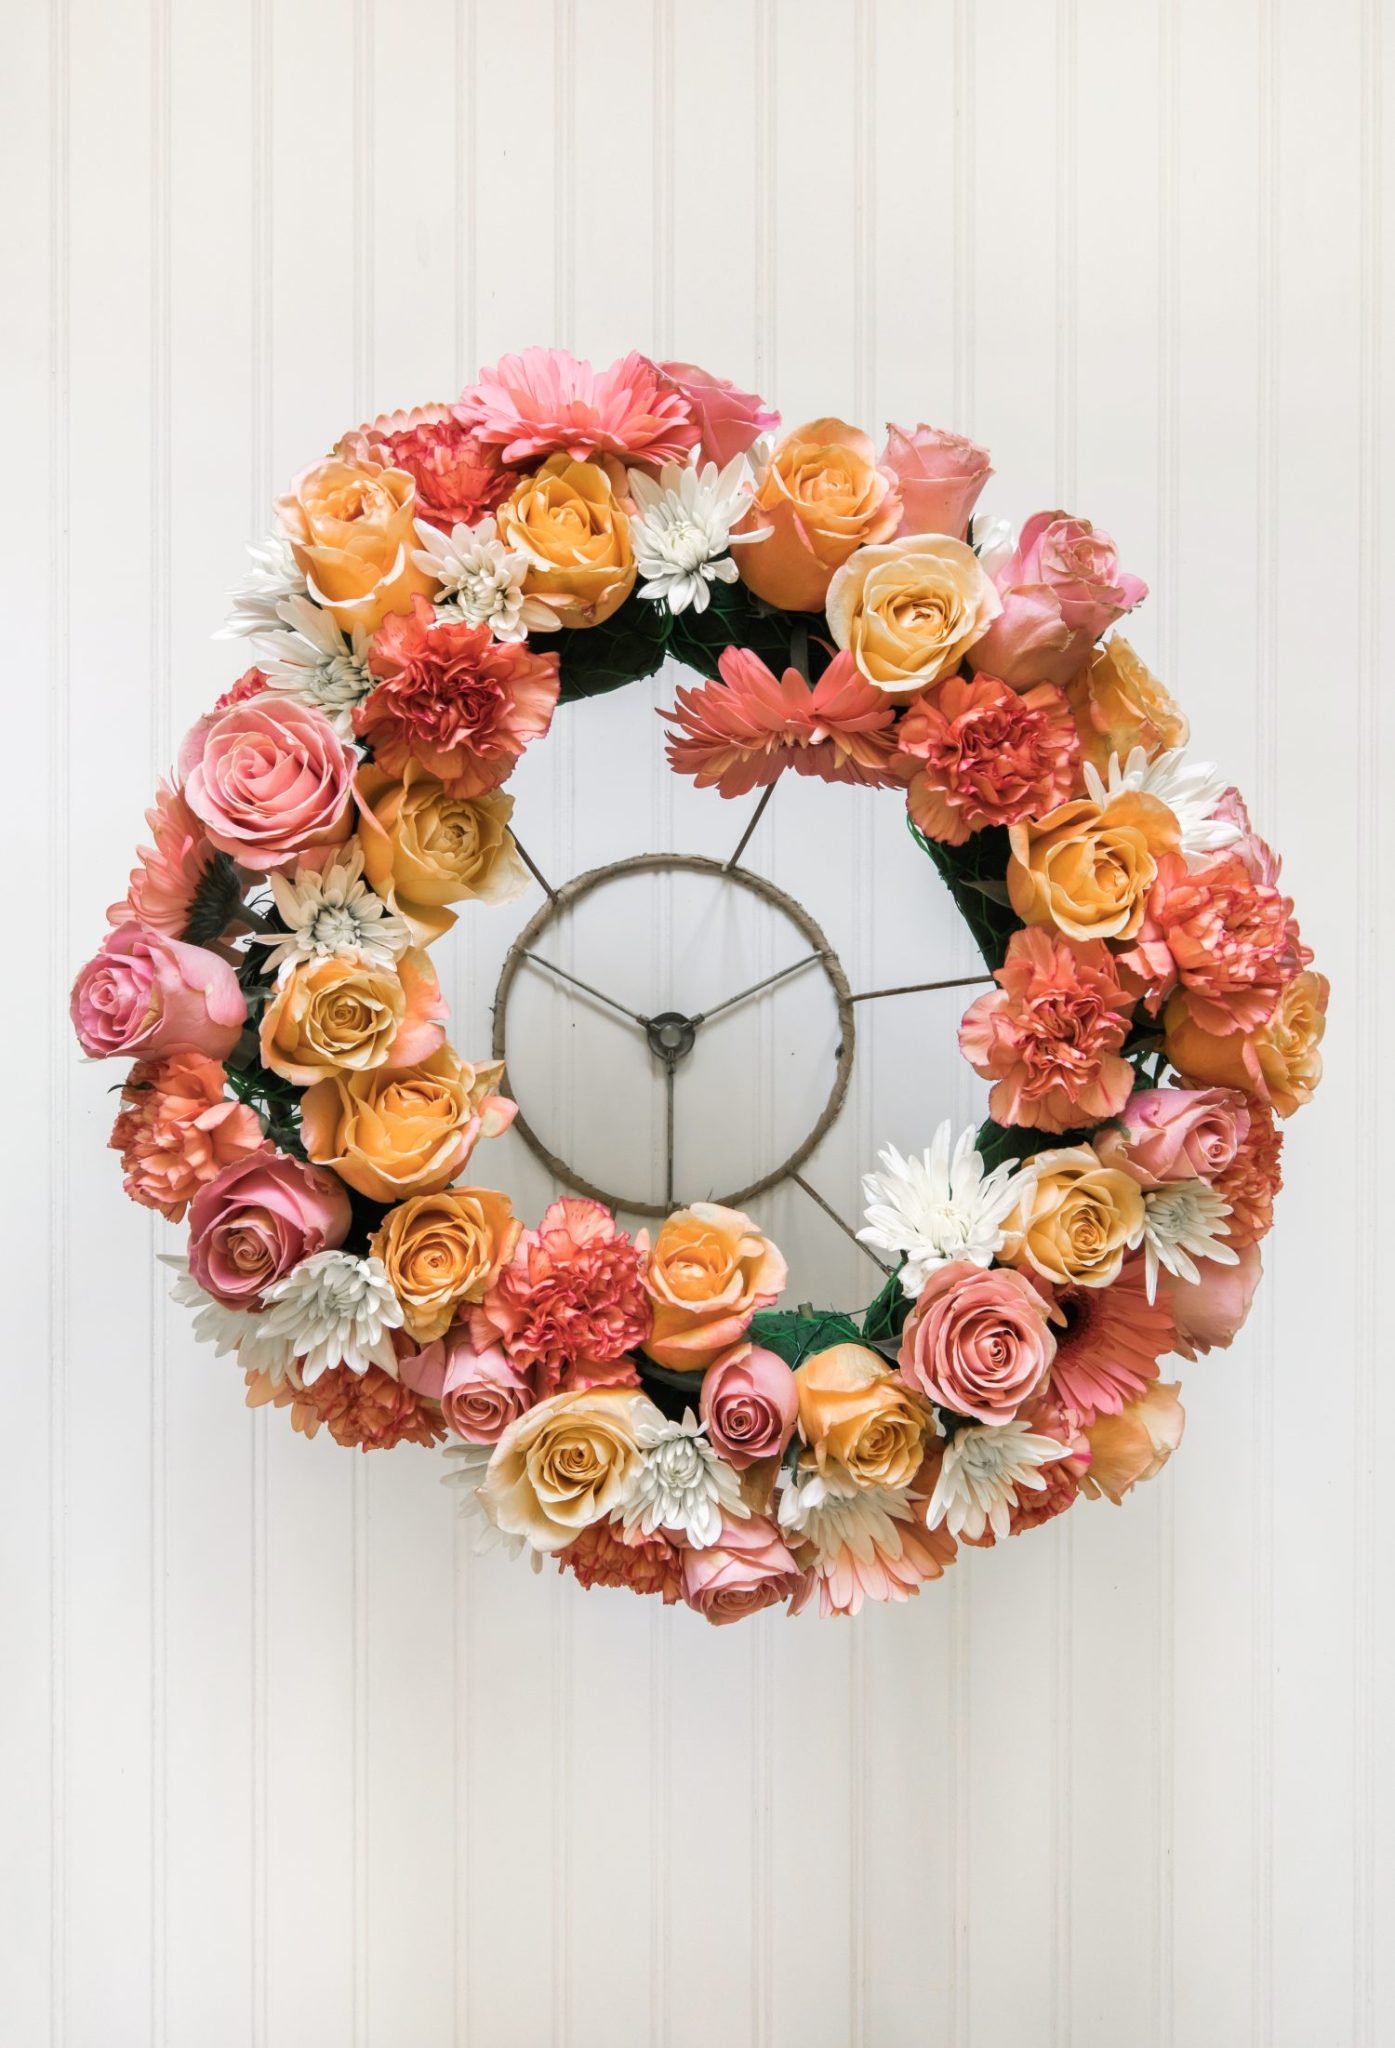
Once the bottom of the lampshade is filled with flowers, turn it right side up. To add flowers to the top of the netted floral foam bricks, balance the lampshade on a taller vessel so the flowers you just added to the bottom do not sit on your work surface. Finish filling the tops and interiors of the netted floral foam bricks so they are completely filled.
Incorporate foliage or greenery between the flowers to add depth and texture to your crown. Step back periodically to assess the balance and adjust as needed.
You can hang your gorgeous creation once the netted floral foam bricks are filled!
Hanging the Vintage Lampshade with Flower Crown
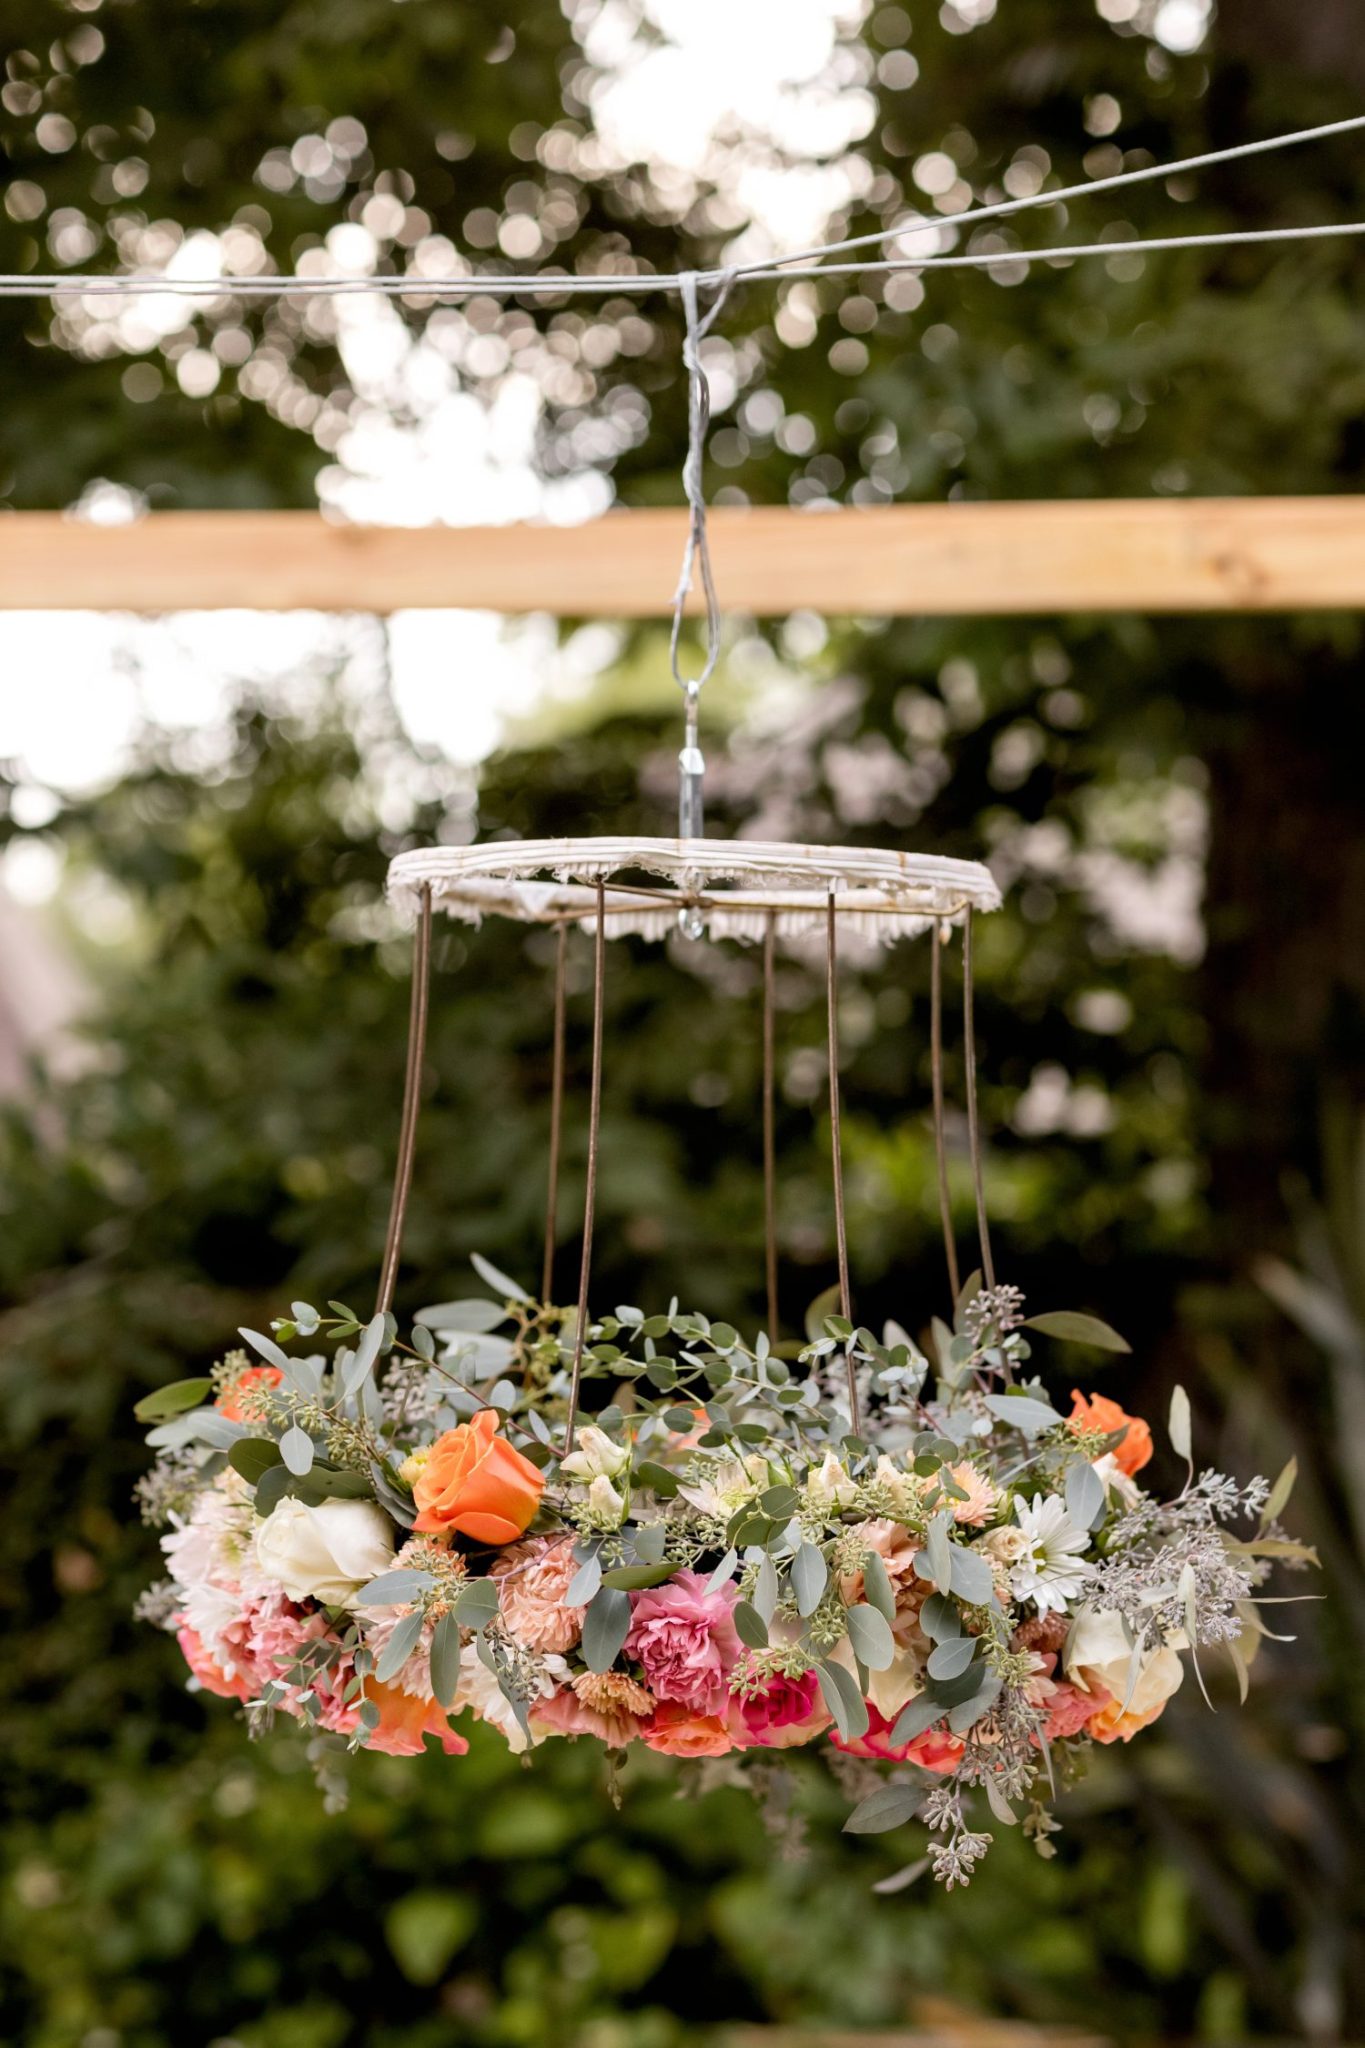
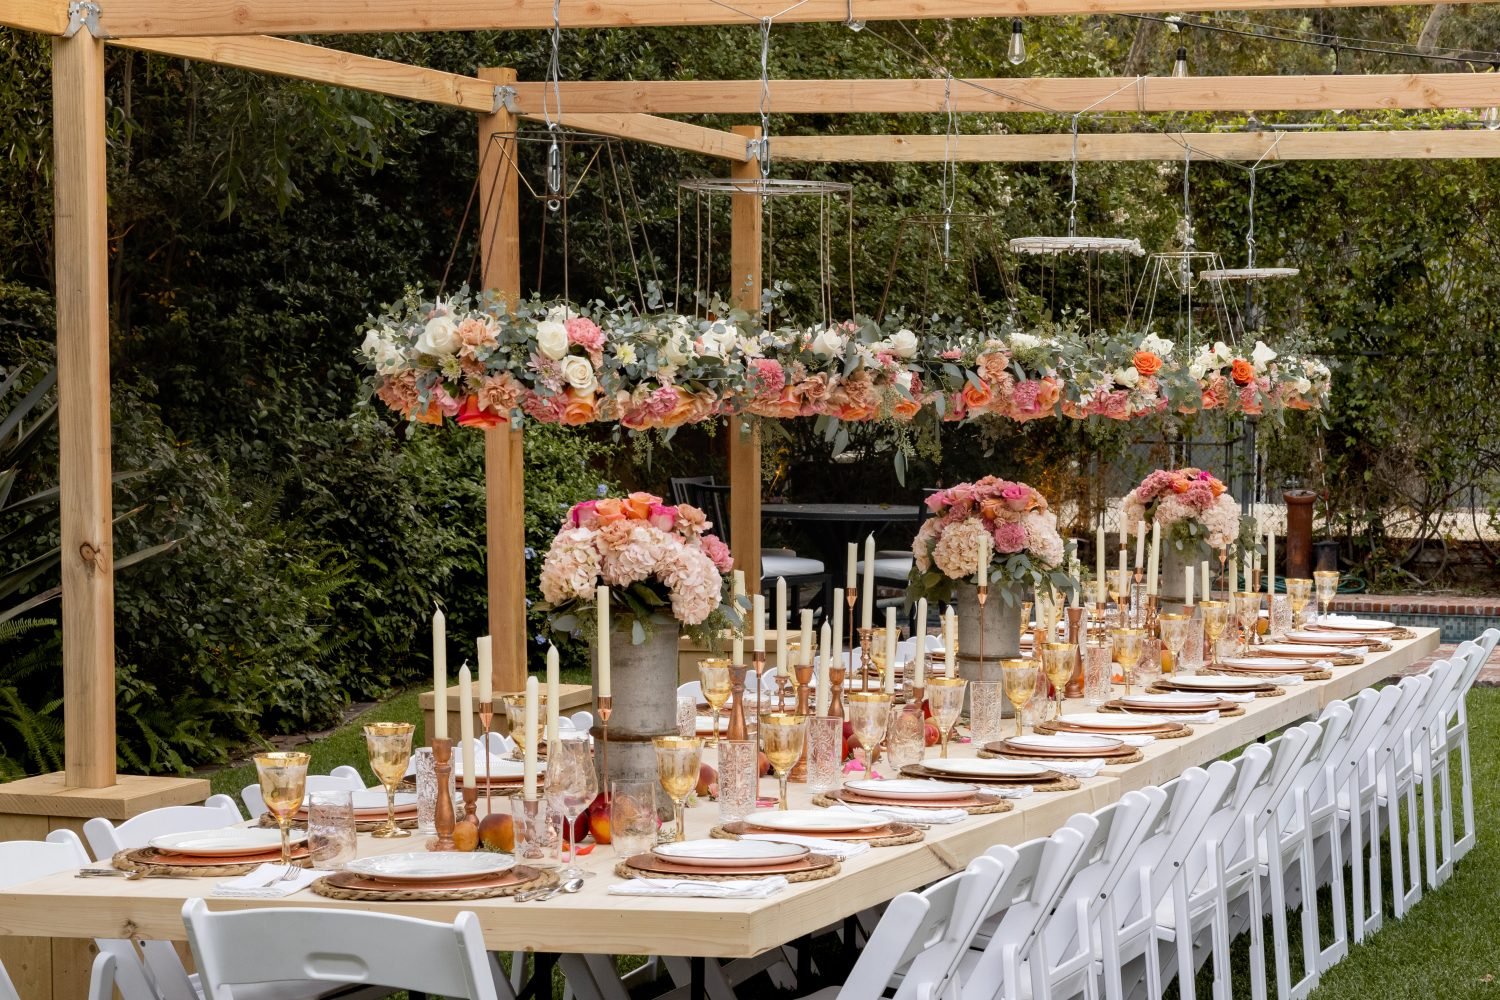
I used wire rope cable, a zinc-plated hook, and an eye turnbuckle to hang my lampshades with flower crowns. The water-soaked netted floral foam bricks, flowers, and greenery will make the lampshade quite heavy, so keep that in mind when deciding where to hang yours.
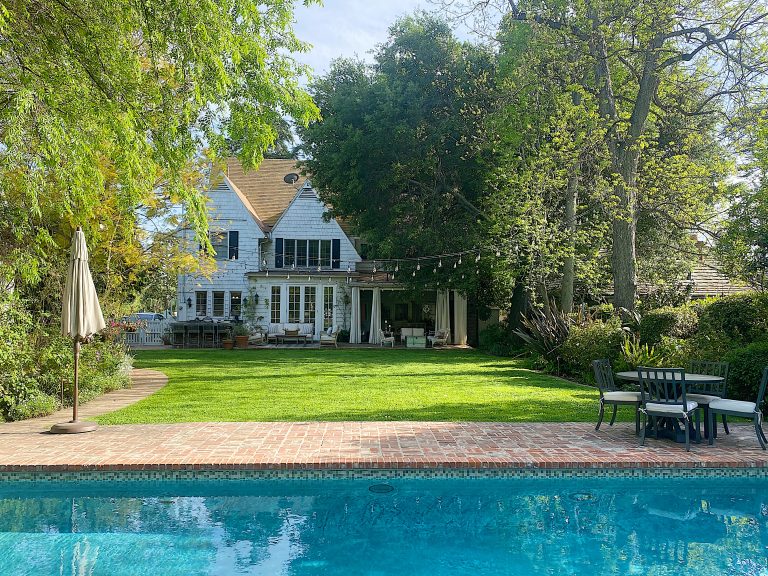
Check out my blog post on building wood tabletops and also my book (pages 150-155) to see how I hung my vintage lampshade flower crowns in an outdoor dining room I created with 2×4 posts, wood framing, and stability boxes.
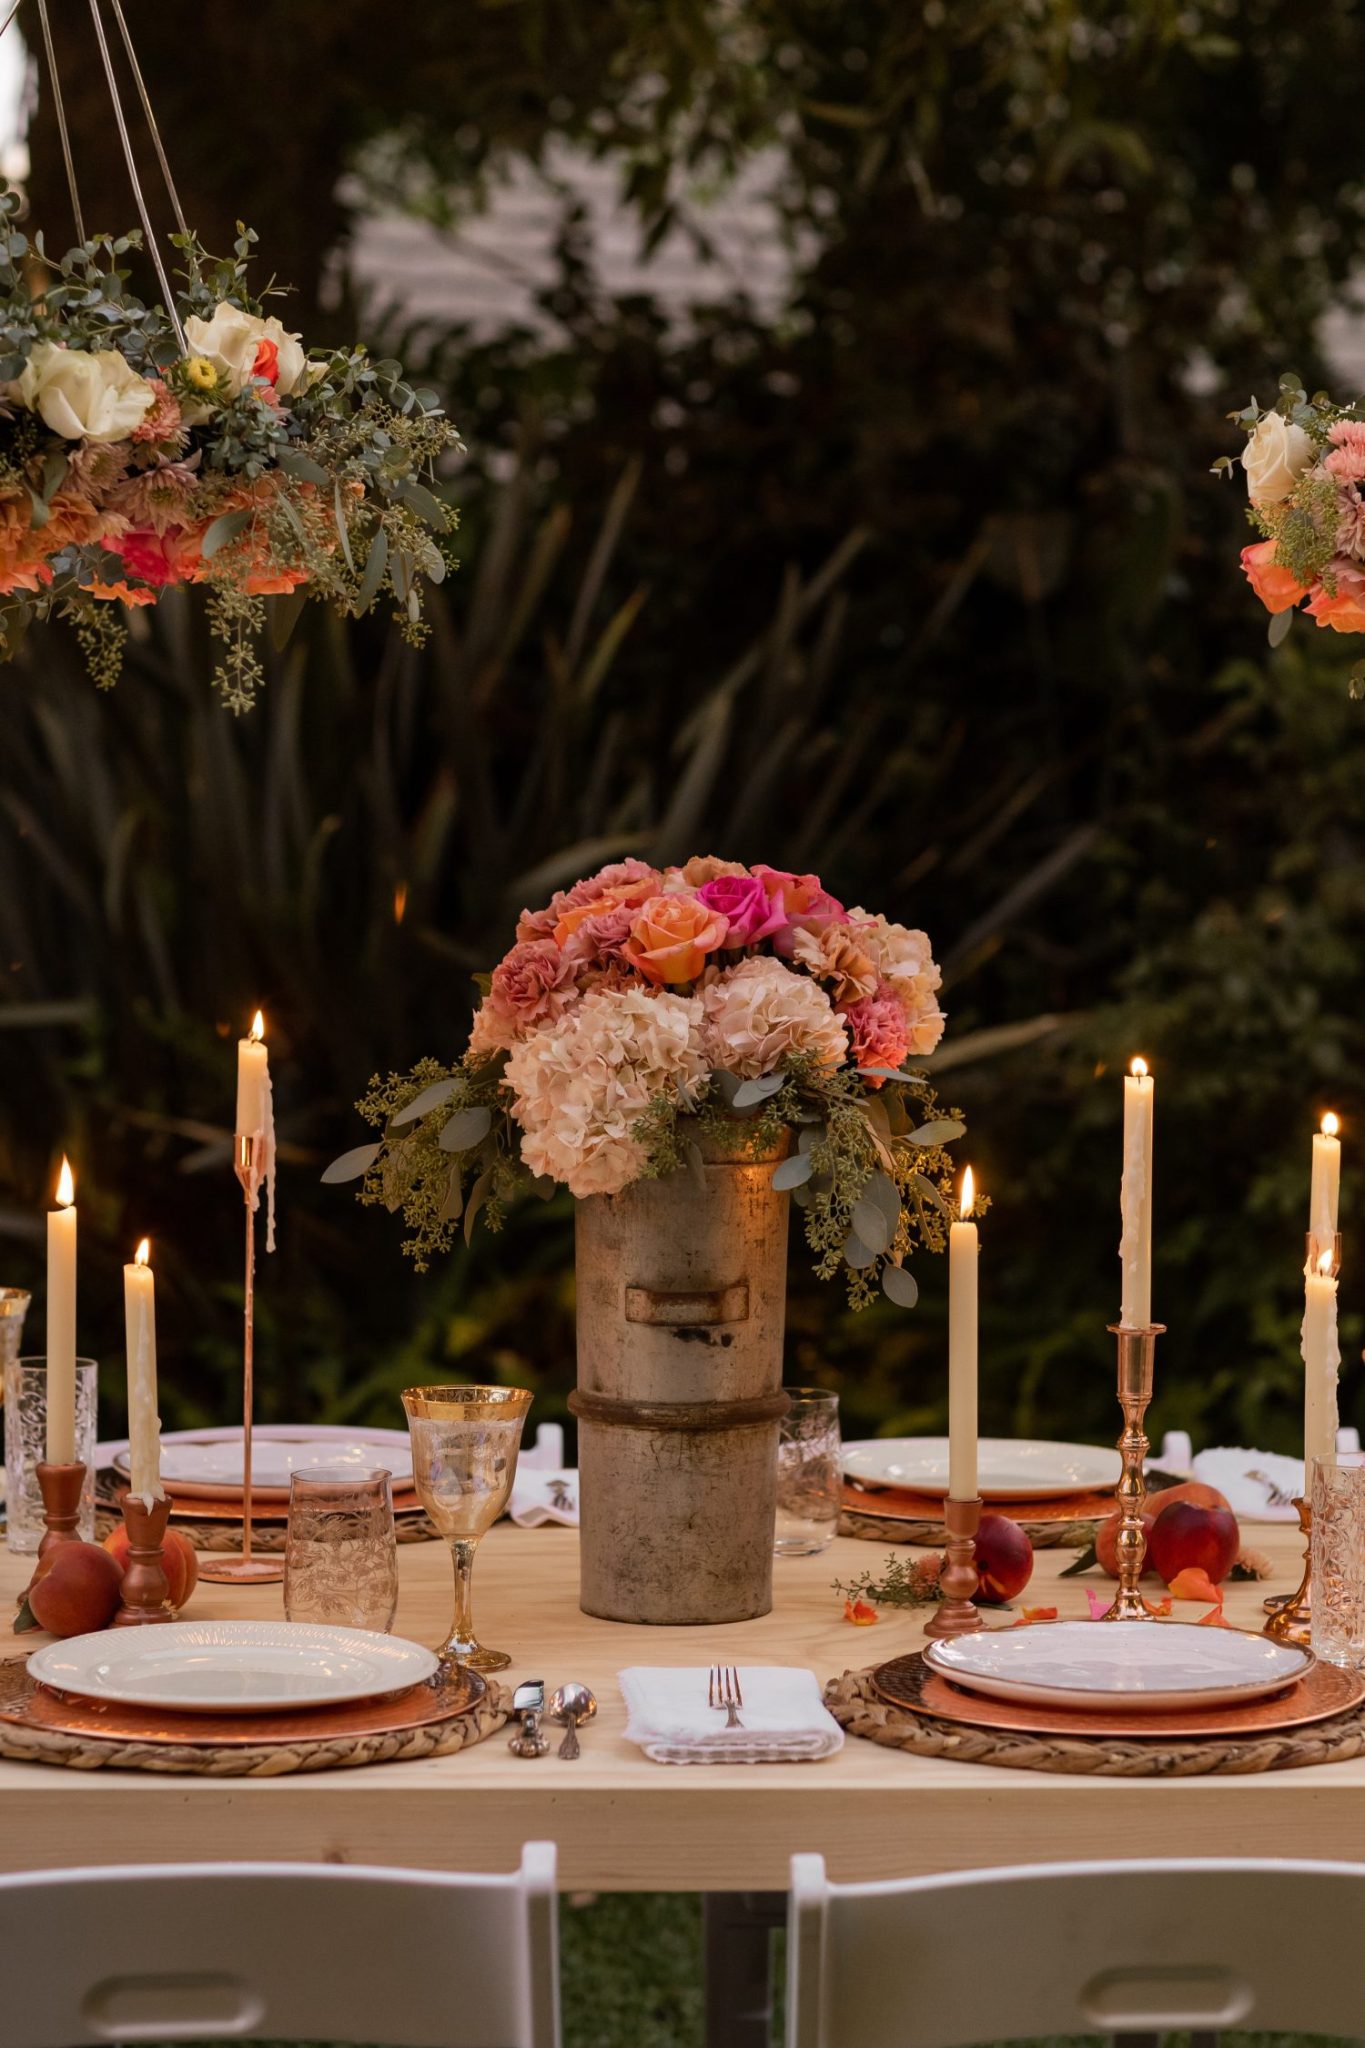
Setting the Table
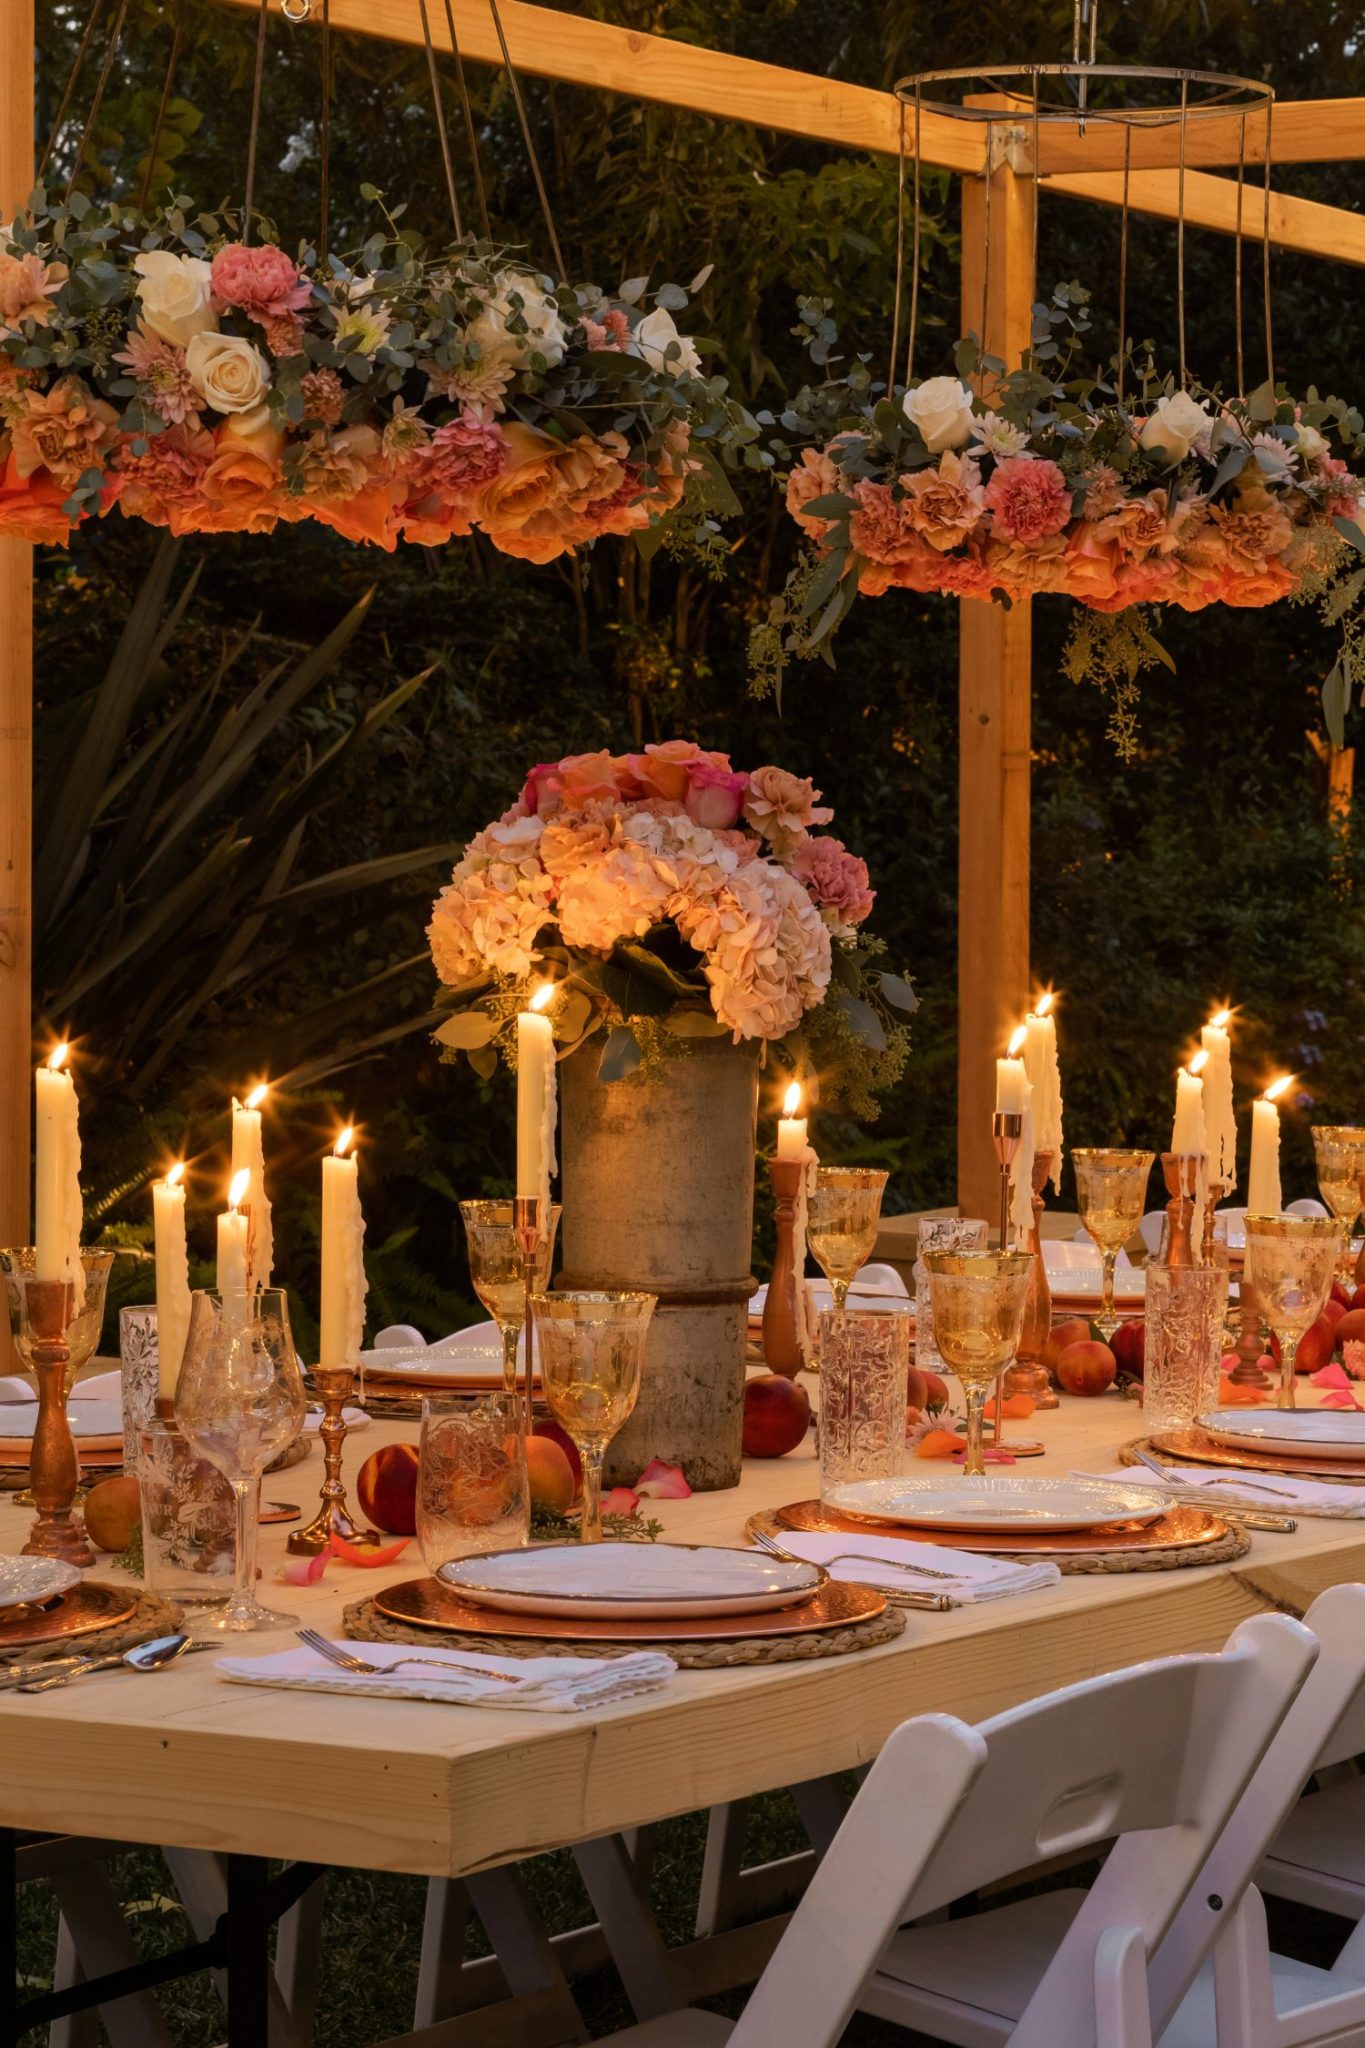
We set this table for forty people, so I did a LOT of mixing and matching!


Flower Crowns with Faux Flowers
You could also make these vintage lampshade crowns using faux flowers and greenery. You wouldn’t need to soak the floral foam; attach the netted bricks to the lampshade frame, cut the stems, and add your faux flowers and greenery for a forever flower crown!
One last thought: You could add a solar light bulb to these lampshades. We didn’t need the light because we have hanging string lights in our backyard, but it’s a fun option!


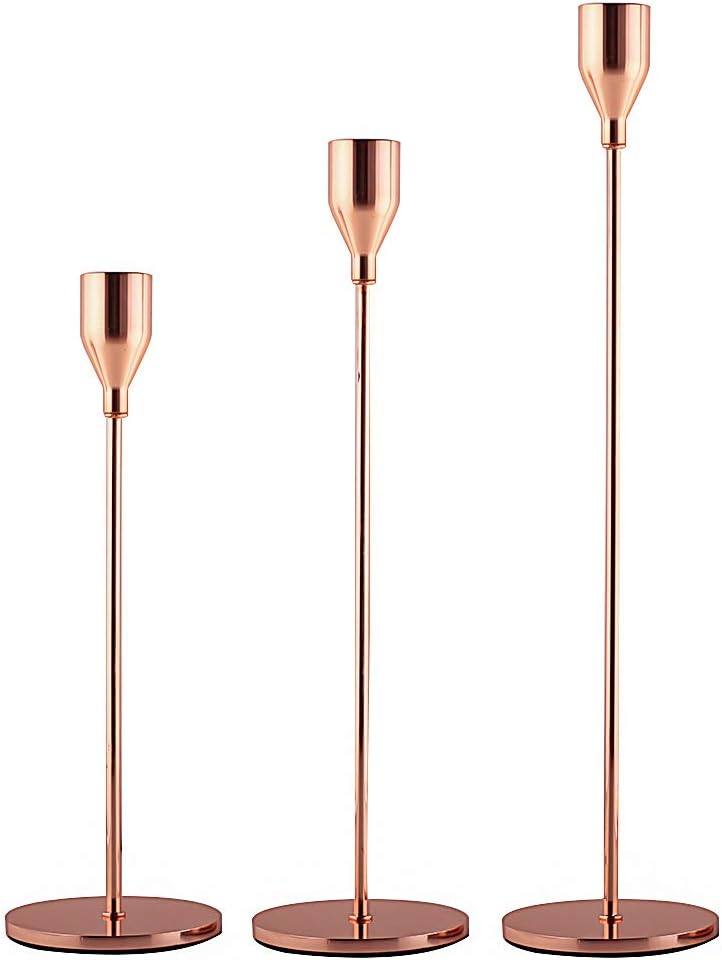
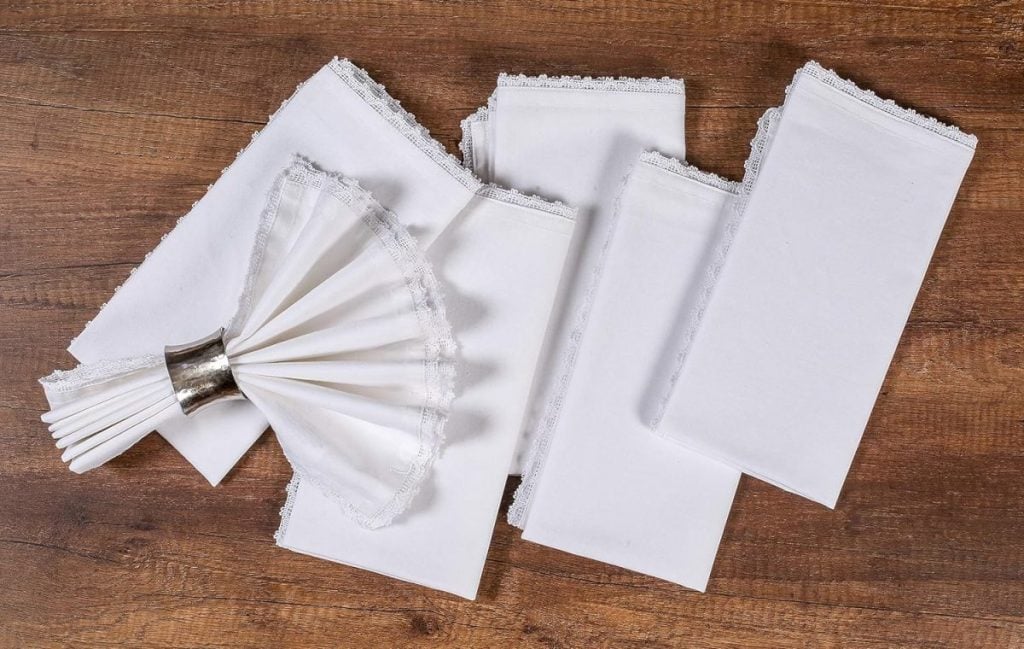
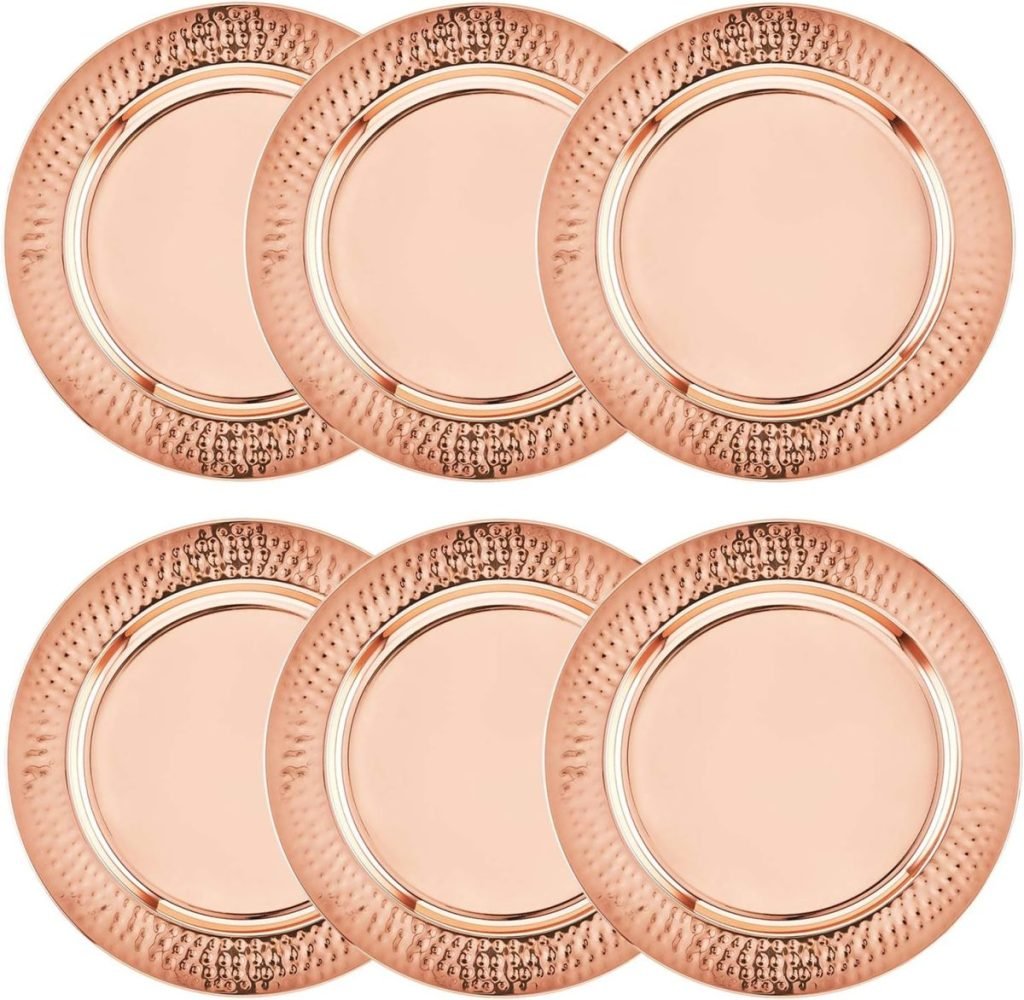
Everything You Need to Entertain Outdoors!


You can pin the image below to your boards on Pinterest (just click the Pin button in the top left corner) or follow me on Pinterest!
For more real-time updates, follow me on Instagram @My100YearOldHome


Happy Birthday! 💐
Love your blog. This DIY looks fabulous. Tempted to try with faux flowers. Thank you for sharing!
Thanks so much Donna! ☺️ This is such a great one and faux flowers will look fab!
What a fabulous idea. Your are so talented and creative. Happy Birthday and God bless you.
Thanks so very much Heidi- I feel very loved! Z🥰
Gorgeous!!!
Thanks so much Debbie! I love them 😍
Happy Birthday enjoy your very special day 🎉🎉🎈🎈and many more…….love the lamp shades………enjoy… l also do the hole month in my Birthday Month…..
Yay! Thanks so very much ☺️ it’s the way to do it!
I love this idea. I definitely need to try it.
Yes you do! Such a great DIY ☺️ thank you!
Happy Birthday Miss DIY of America🐚🪻🐚🪻🐚🪻🐚🪻🐚🪻🐚🪻🌸
Have a very special day, you deserve it.
Having trouble concerning checking in to see I am subscribed . Again it’s that 404 Convert Kit again
Happy Birthday. Enjoy your day. Sending you many blessings. 🎂🎂
Thanks so much Teresa! It was a lovely day ☺️
These are beautiful
Hope you have the best birthday ever and you get spoiled!! You deserve it
Oh thanks so much Jackie! I definitely was! Hehe 😉
Please blog about using old lamp shades
Hi Heidi! Here’s the link to the current blog post- sorry you’ve been having trouble!
https://my100yearoldhome.com/a-magical-vintage-lampshade-flower-crown/
Oh SO beautiful!!! This has just jumped to number one in my Leslie Favorite Tables list! Thanks for sharing – I’m inspired all over again! Hope you had a lovely day, and here’s to another wonderful year!
Omg thank you so much Barbara! It’s a definite favorite for me too, so magical. Aw thanks, it’s looking like it will be 🥰
What a lovely project! The table looks beautiful.
Happy Birthday! It’s my birthday, Too!
Thanks so much Lauren- I love this project, it’s so magical ☺️ Aw, Happy Birthday!
Stunning! The variations are endless! Love it. Hope your birthday was wonderful!
Thank you so much Leslie! This DIY is a favorite 😍 it was great, I feel so lucky!
We chose beadboard wall paneling over traditional drywall to add texture and timeless charm.