Valentine’s Day Decorations – Make a Heart Garland
I just might be obsessed with making Valentine’s Day decorations. Today I am sharing a simple heart garland. It’s easy to make, simple but elegant.
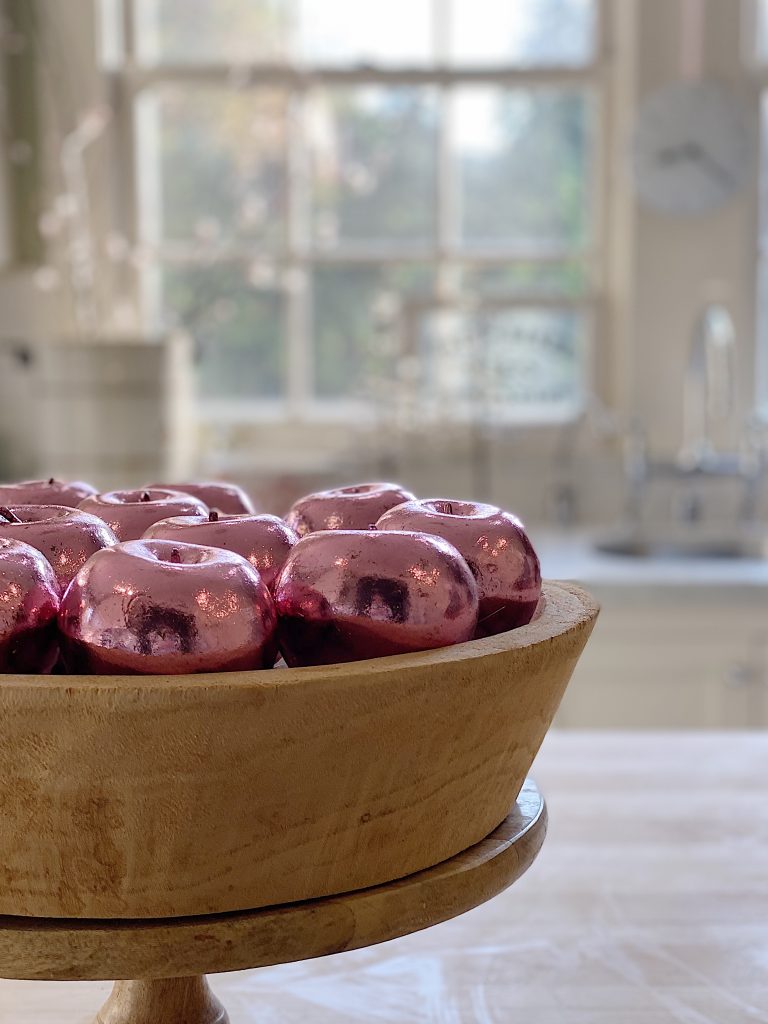
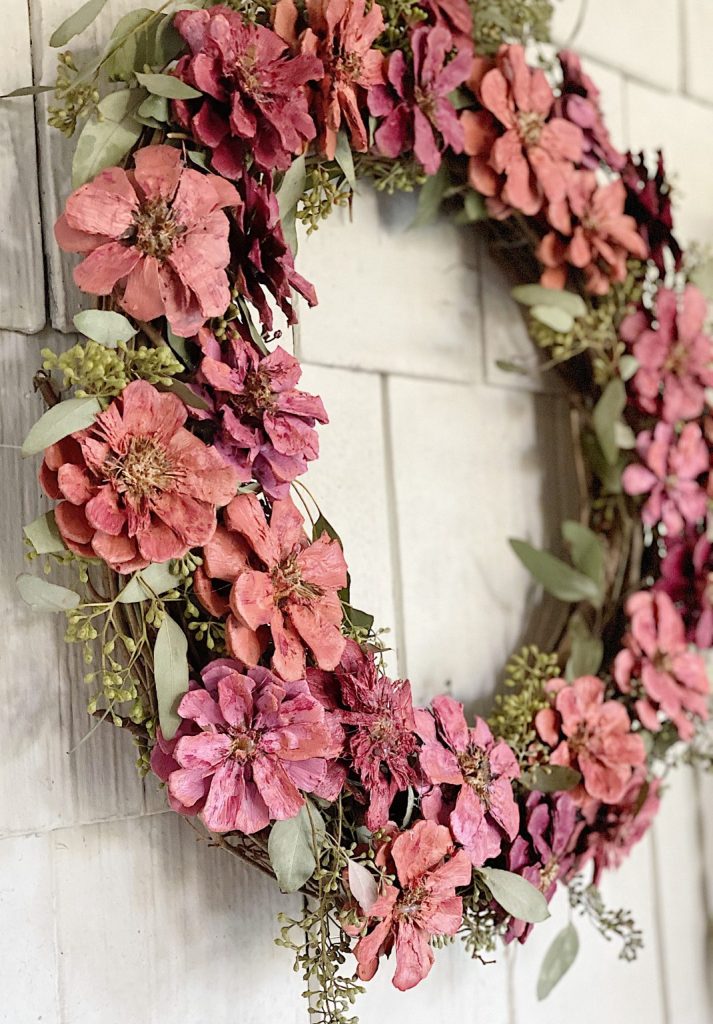
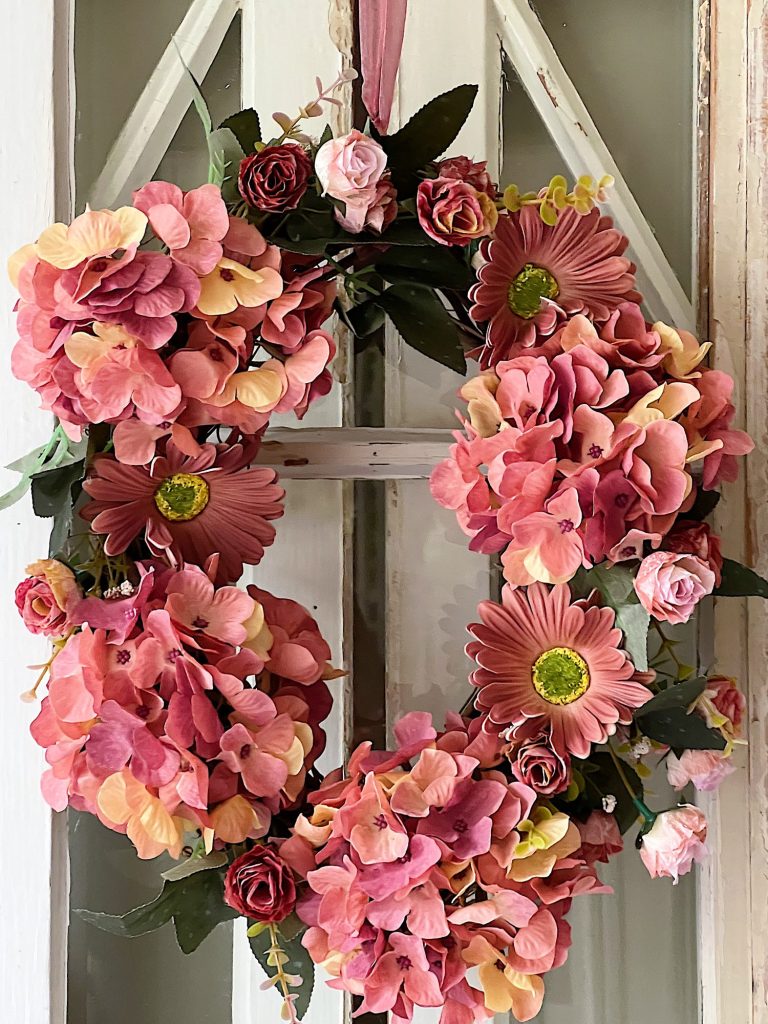
Even though I have made a lot of Valentine’s Day decorations and crafts this year, I still am making more. I have made a lot of Valentine’s crafts, including a pom pom basket, pink foil leaf apples, cherry blossom branches, pink painted fabric pillow, valentine heart pillow, clay hearts, hand stitched hearts, a succulent heart wreath, silver metallic clay hearts, and a Valentine wooden flower crate (covered in paper napkins).
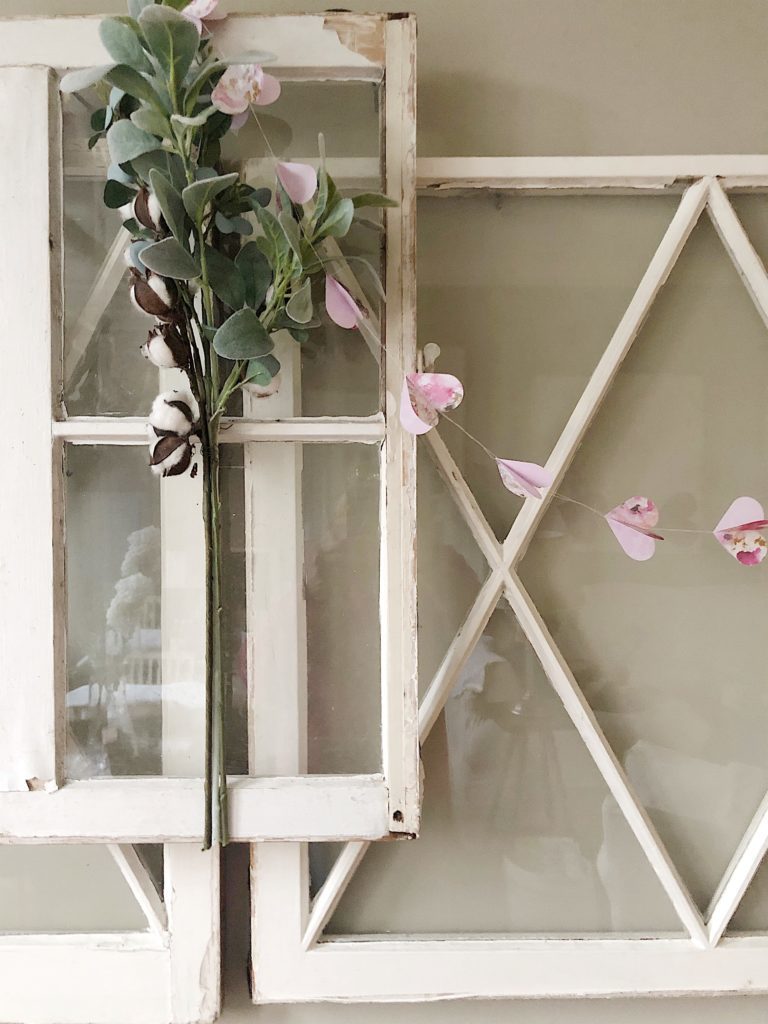
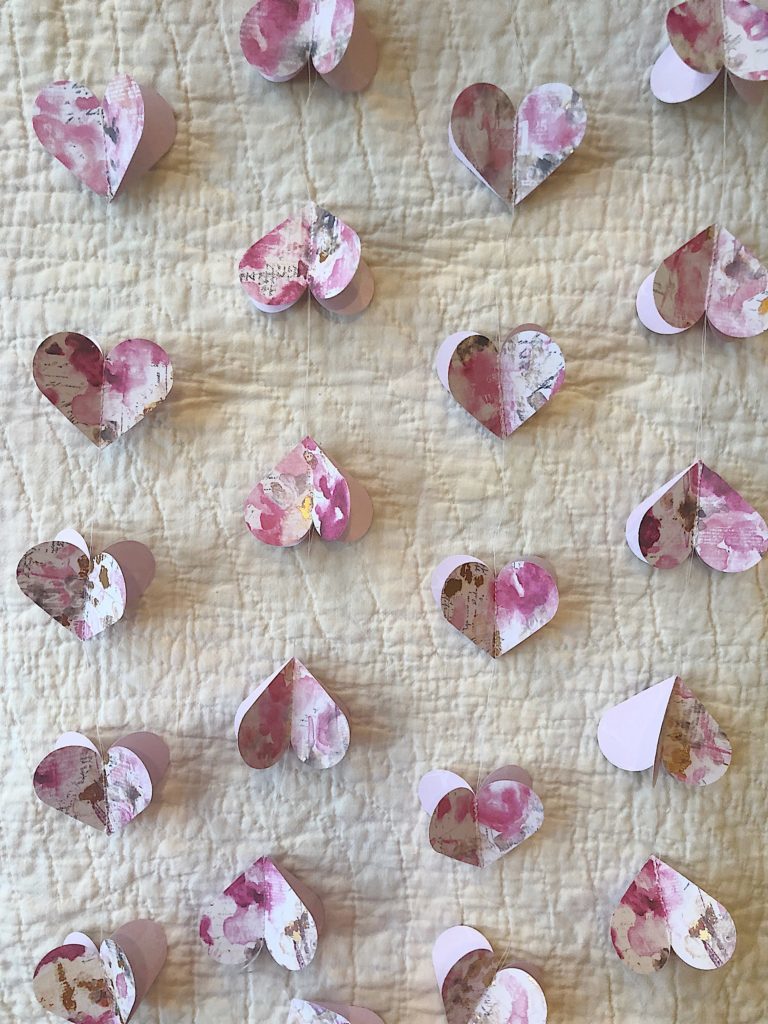
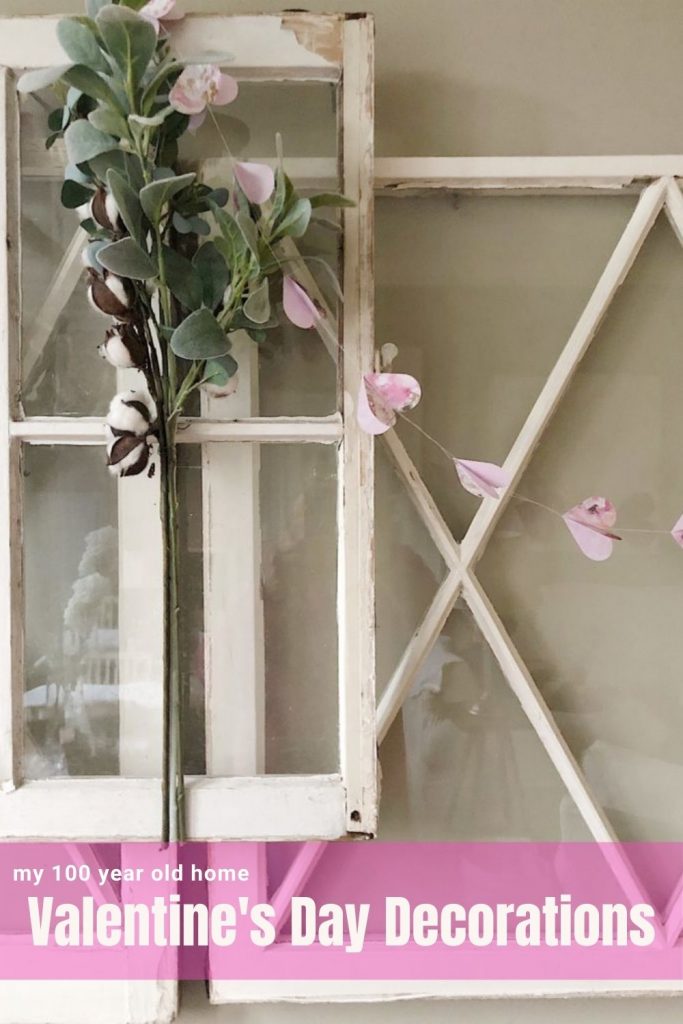
Today I am sharing a simple Valentine Heart garland that I made out of scrapbook paper. I love how it looks on my vintage white windows. And it was incredibly easy (as in no cutting!) because I used a hole punch.
What You Will Need to Make the Heart Garland for Valentine’s Day Decorations
Four sheets of 12″ x 12″ double-sided light card stock patterned paper. I have provided some options below.
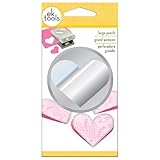
Large Heart Punch. The one linked below is the perfect size!
Sewing machine
White thread
How to Make the Heart Garland
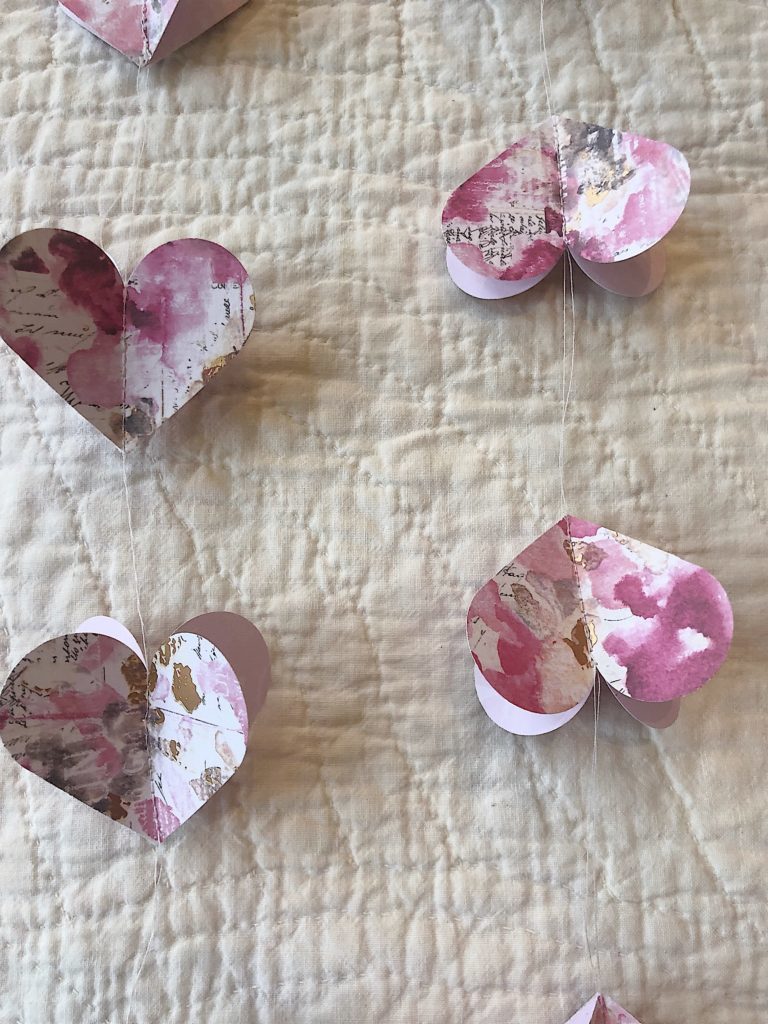
To make the garland, you need to cut out two hearts of the double-sided heavy-duty paper for each heart on the garland.
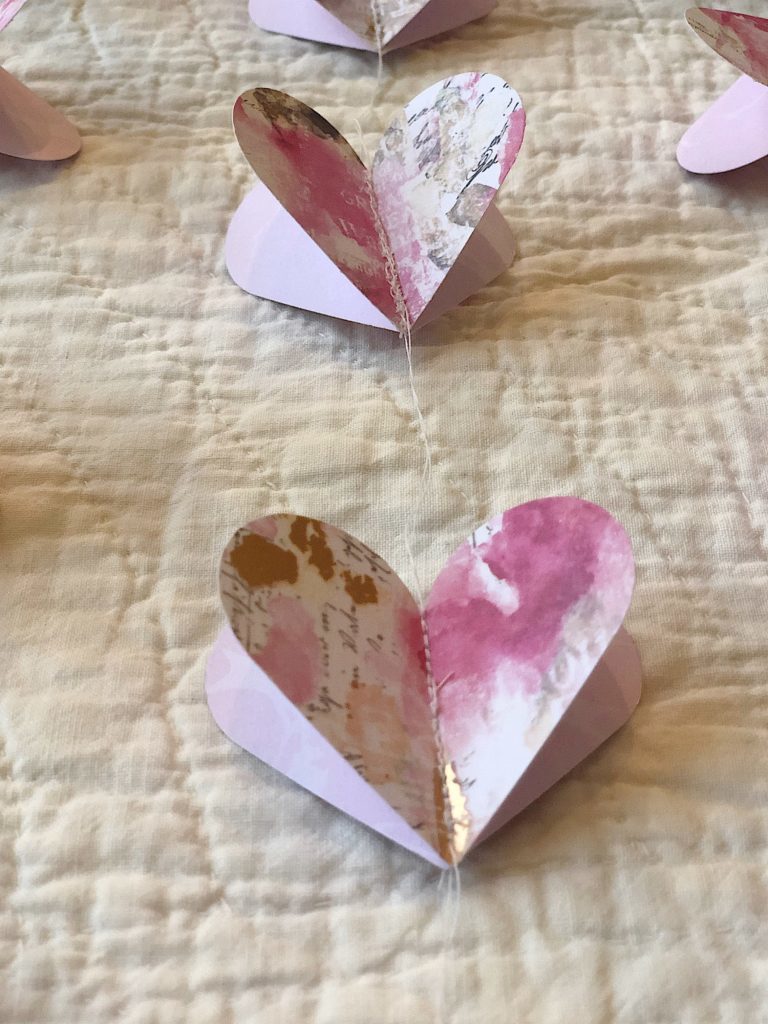
Here are the two different sides of the paper I used.
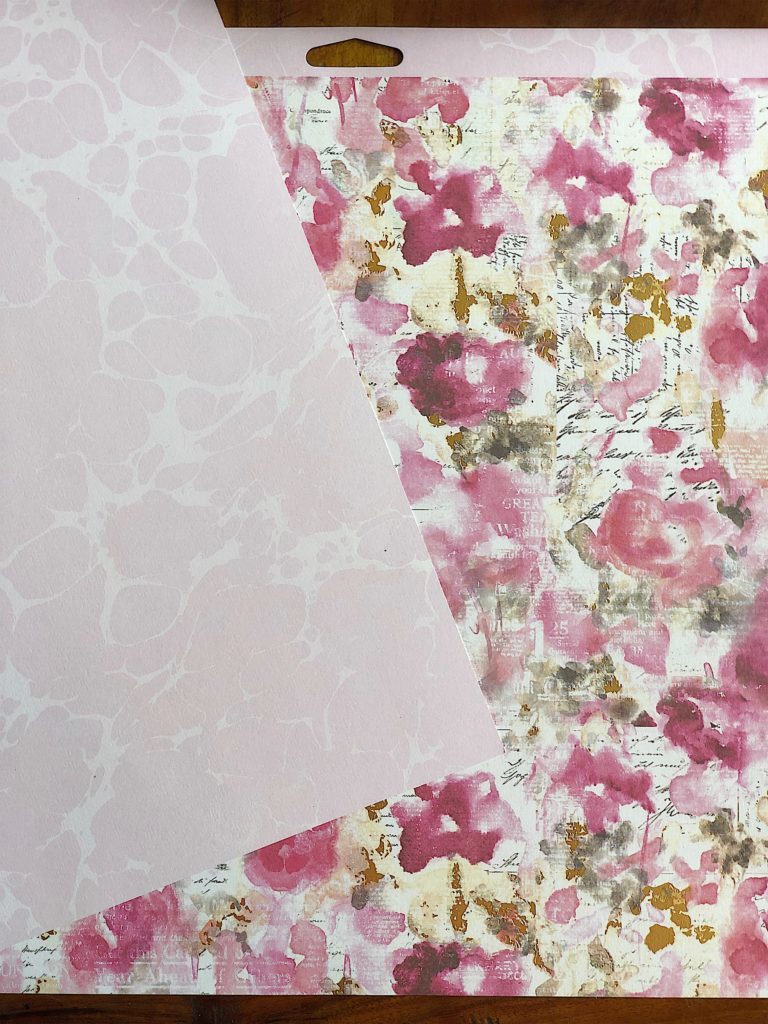
Using the heart hole punch, cut as many hearts out of the paper as you can.
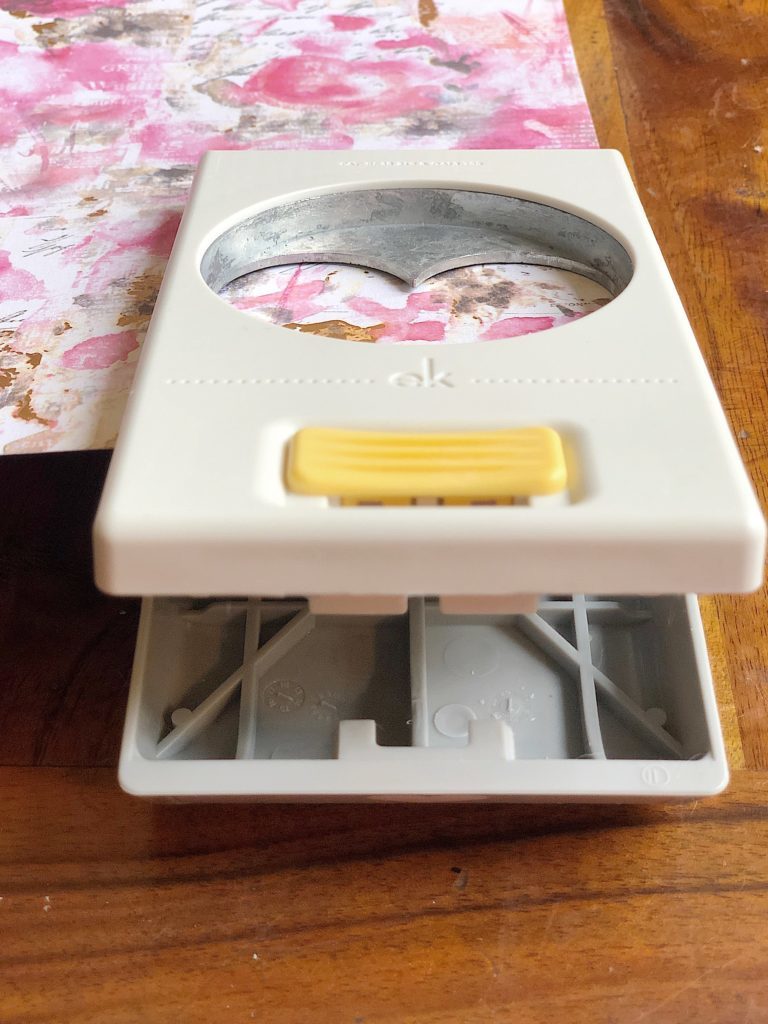
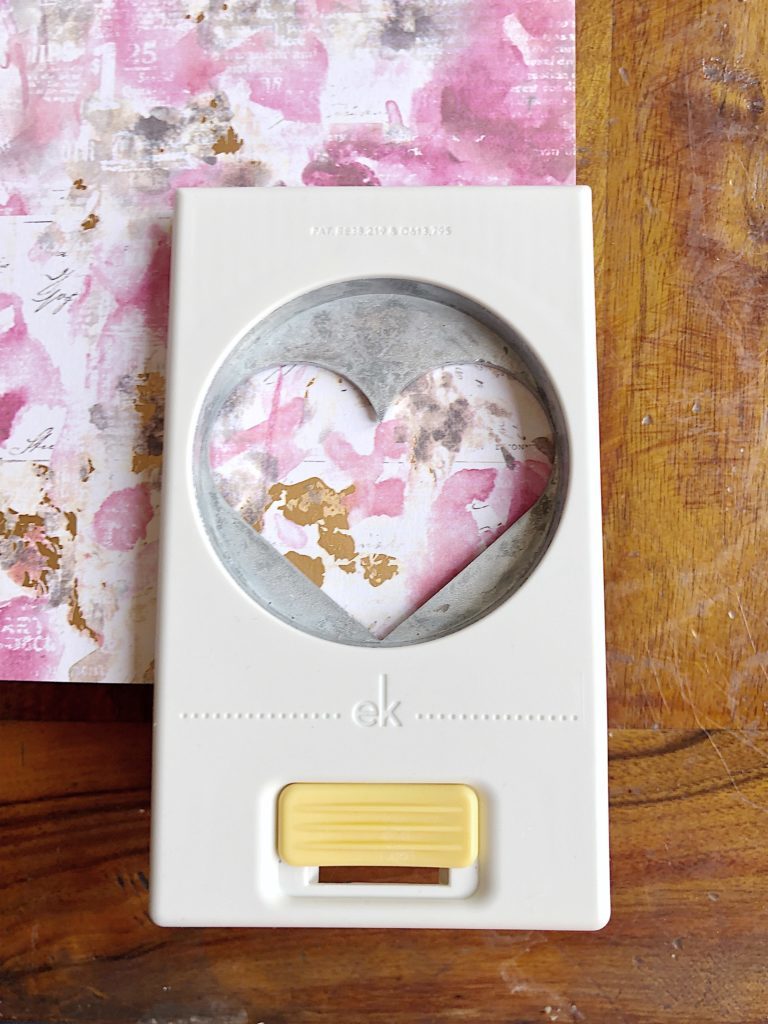
Keep the hearts flat until they are sewn.
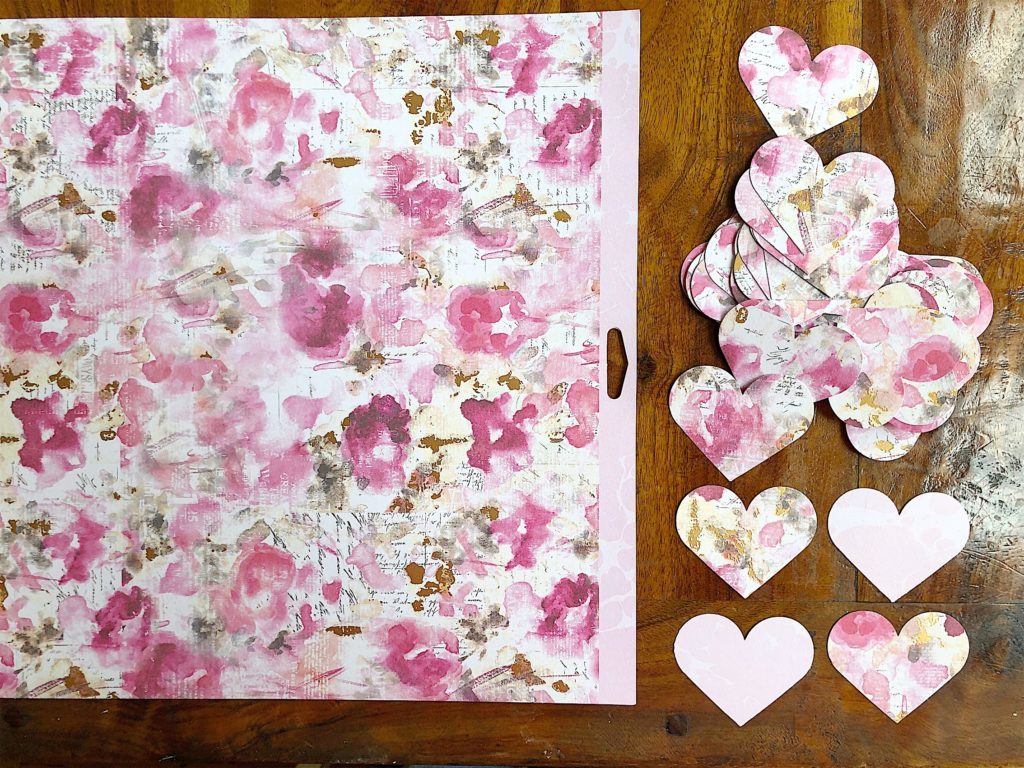
Stack two hearts on top of one another, with the light color on the inside, and sew a straight line through the middle of the heart.
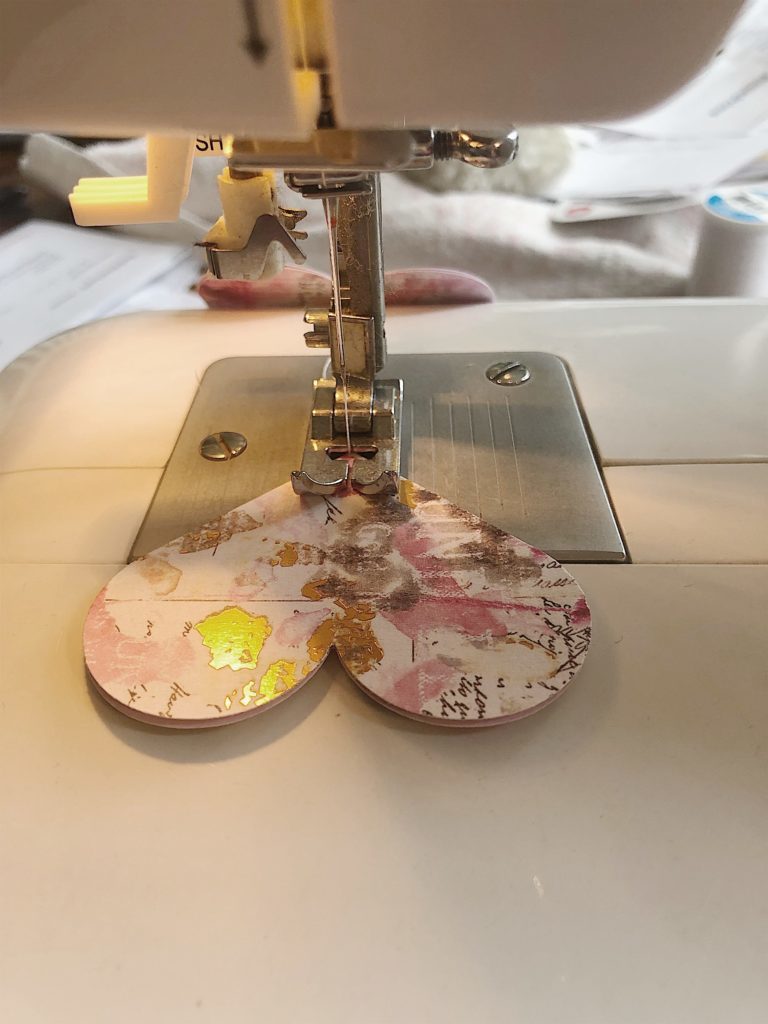
This was the point where I could not figure out how to add an even amount of thread between each heart on the garland. I finally realized all I needed to do was pull the heart all the way to the back of the sewing machine, which added about two to three inches of thread.
Add another two hearts and sew, then pull to the back of the machine. It’s not a “scientific method” but it totally works. (It’s also called winging it and I am really good at winging it.)
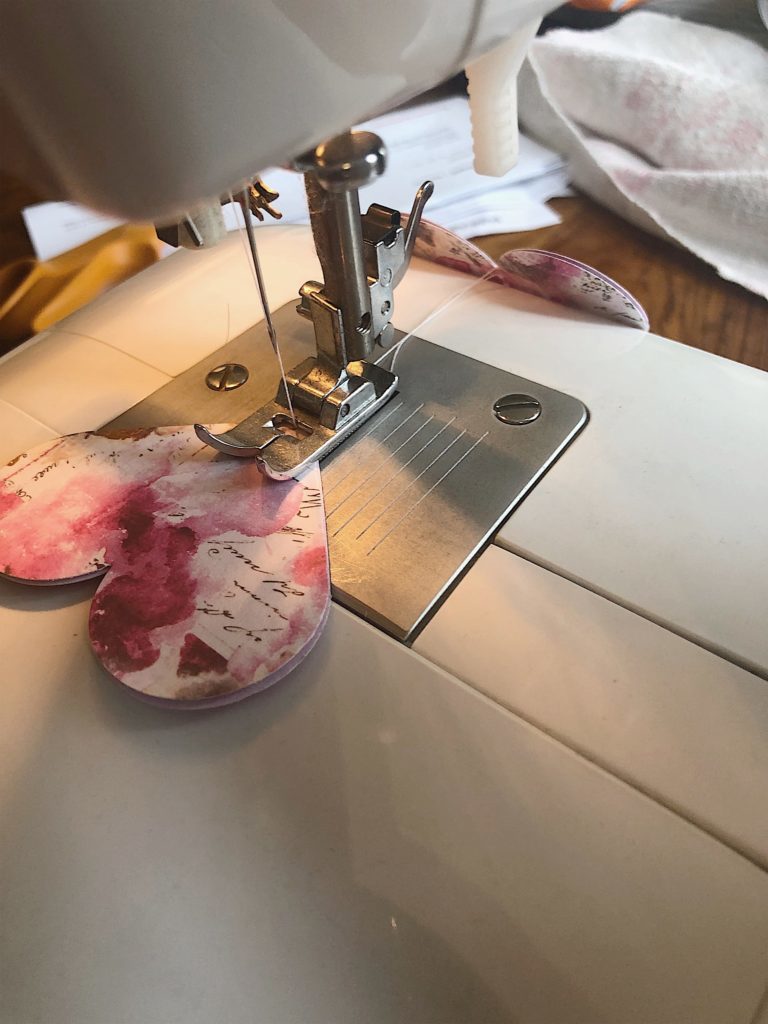
Keep adding more hearts to the garland and continue sewing until you reach the desired length.
Fold each heart along the seam away from the center.
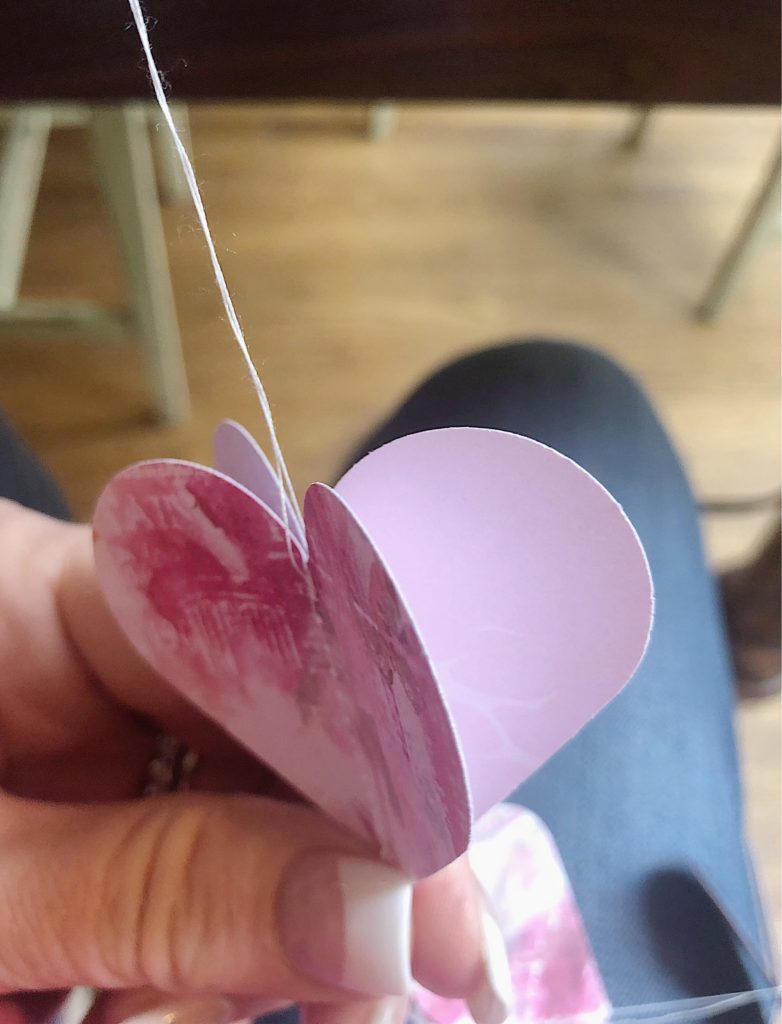
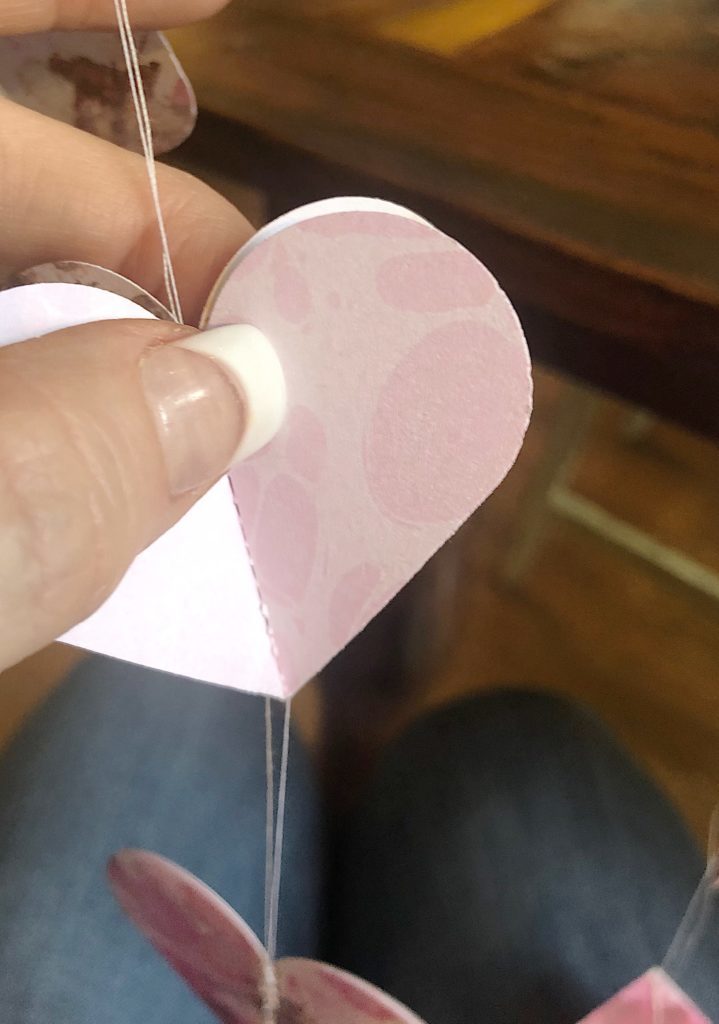
This will give more depth to the garland. I love it!
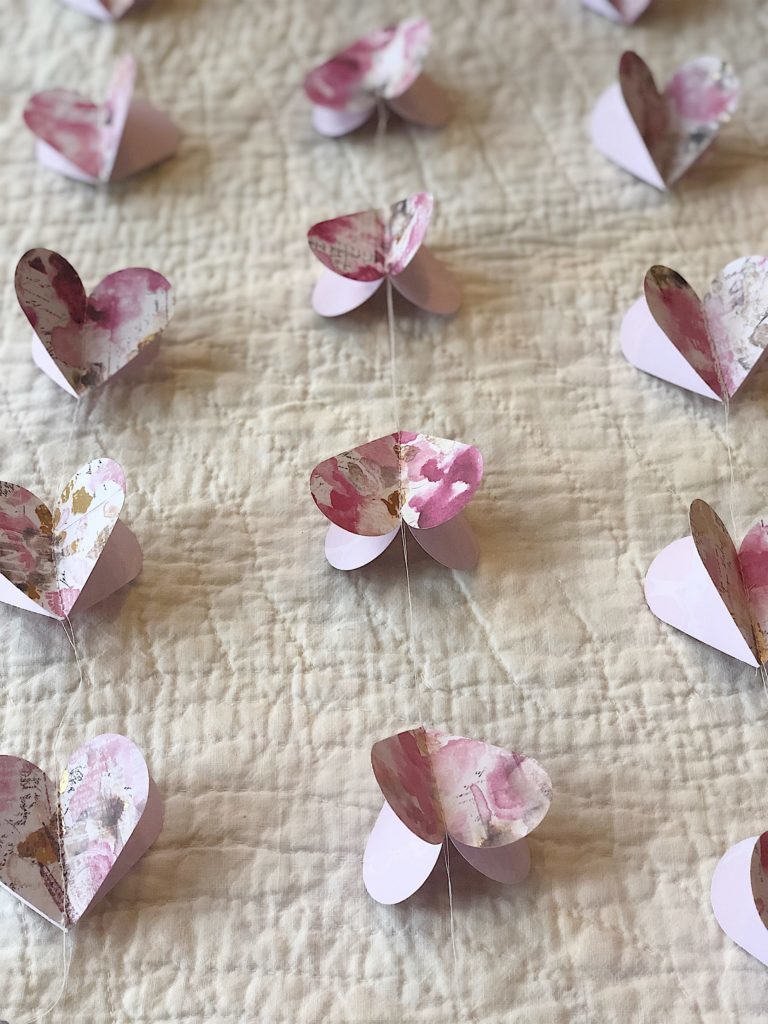
At this point, it is really important not to tangle the garland. I made the mistake of doing that and had to cut the garland into a few pieces because I could not untangle it. To fix it, I just re-sewed the hearts and attached them to the existing garland. It was so easy to fix!
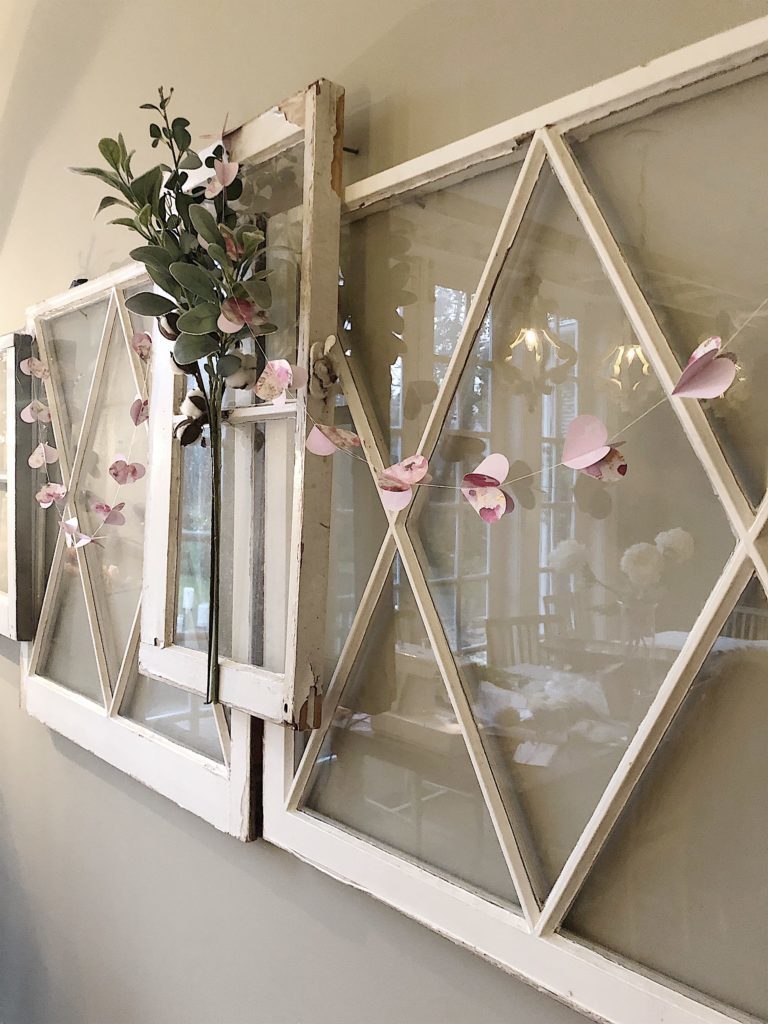
I love the subtlety of this garland. It’s light and airy and yet it looks great on my old vintage windows.
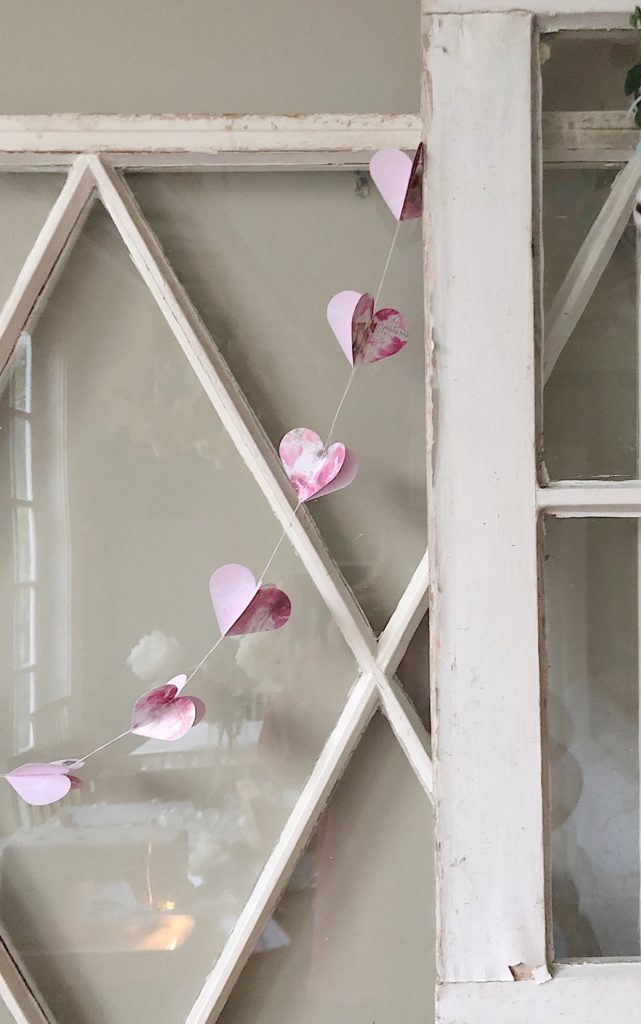
I am going to make another garland because I like this so much. There are so many places I can hang these in our home. And how fun would it be to make these all year round for the holidays? When I take this down, I want to reuse it so I will wrap it around a piece of cardboard to keep it from tangling.
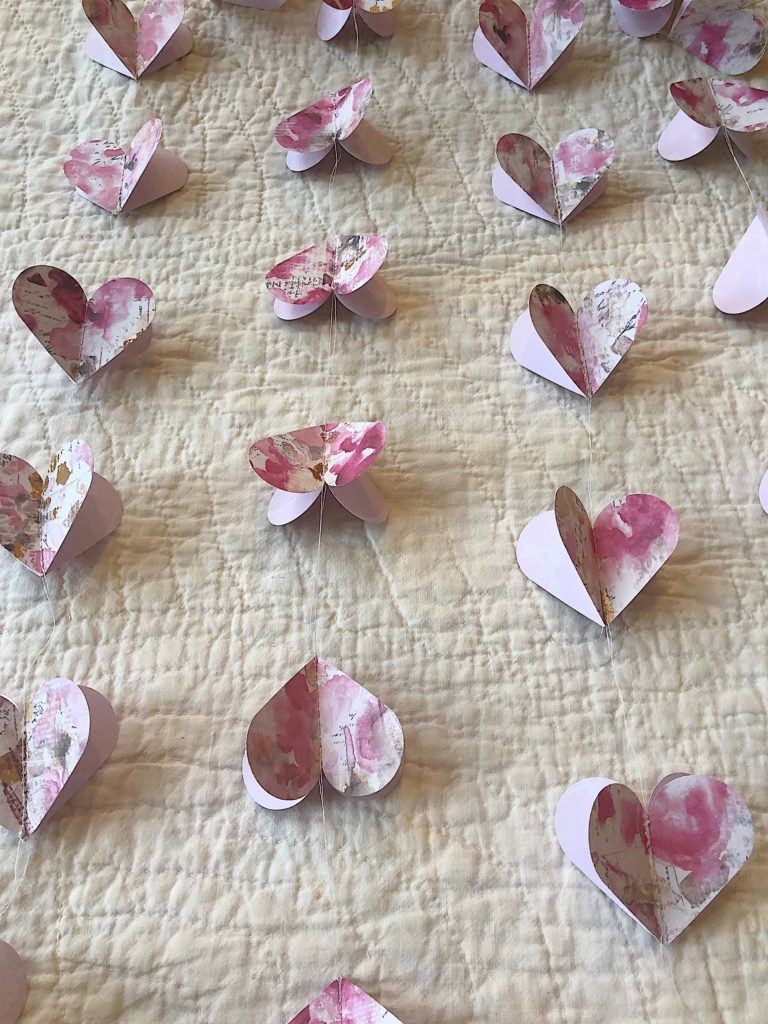
Thanks so much for following along with yet another one of my Valentine’s Day decorations. If you don’t have a sewing machine you could always glue the seam along the center to a piece of twine or string. A hot glue gun would work really well and I think it could be just as effective!
Similar Posts
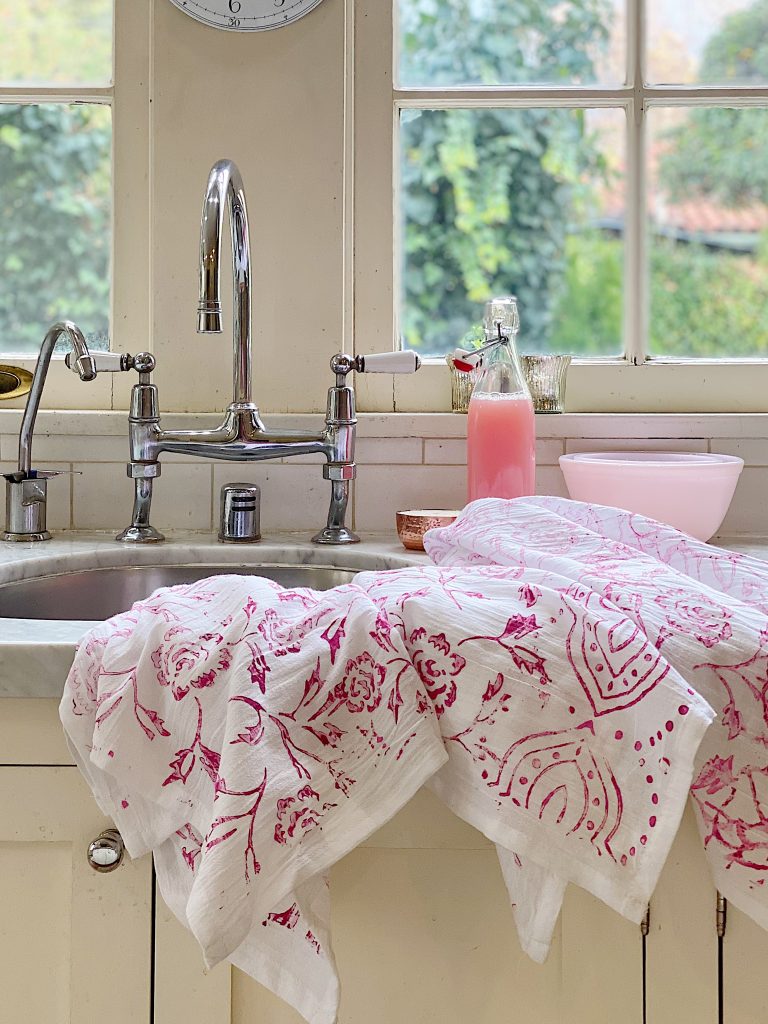
Painted Dish Towels
Custom Fabric Pillows
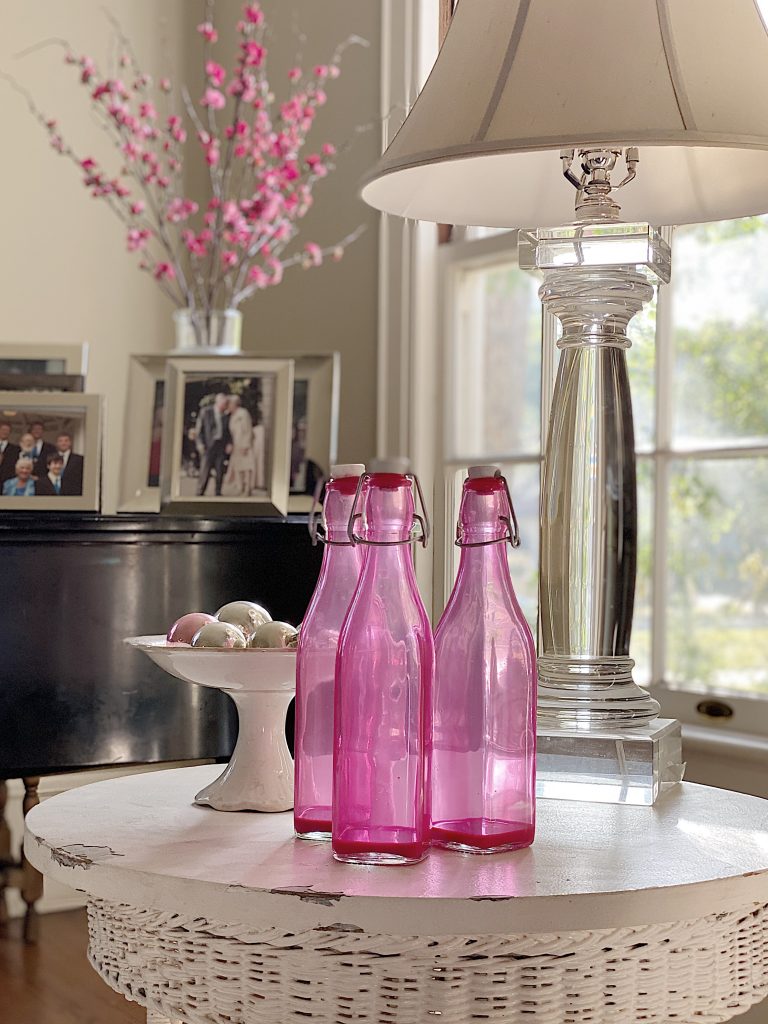
Painted Glass Bottles
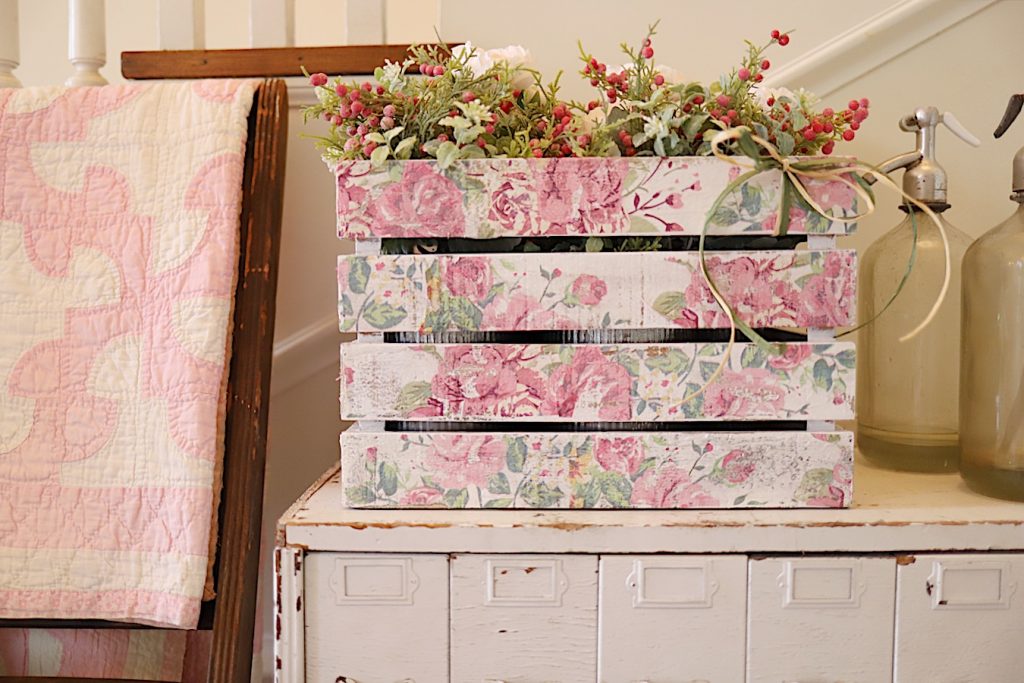
Paper Covered Wood Crate
Pin the image below to your decor boards on Pinterest (just click the Pin button in the top left corner). You can also follow along with me on Pinterest!
For more real-time updates, follow me on Instagram @My100YearOldHome







Going to have to do this one! 😍
OMG!! This is a no brainer and it is perfect for me!!! Thanks, I’m going to try it!!
This is so cute!! I cannot wait to try as I have a heart cut out and lots of decorative paper!!! Fabulous! Thanks for sharing!
This is so lovely – did you use thicker heavy duty thread? I want to make this with my 10 year old granddaughter 😊❤️
Another creative awesome idea. Thank you Leslie
❤️ it going to have to dust off the sewing machine
Cute-💗💗💗💗💗💗💗💗💗💗💗💗-
Very cute! I would never have thought to use the sewing machine. Any special needle you used? I’m also embarrassed to say that I didn’t even know there were paper punches like this in existence! (Getting or I guess I may as well say have gotten too old) I love the vintage look also. Such a winsome idea!
Beautiful and easy instructions, thank you!
I’m so happy Cheryl that you feel that you can make this craft. That is always my goal! Let me know how yours turns out!
Very cute and simple tutorial! Thanks so much for your inspiration!
Thank you Rachel! I hope yours turns out wonderfully!
Waiting to see something new you haven’t already posted. Love the site, but it’s getting repetitive. Would love to see some new ideas and crafts.
Hi Nancy! 2023 is the year for this, stay tuned 🙏