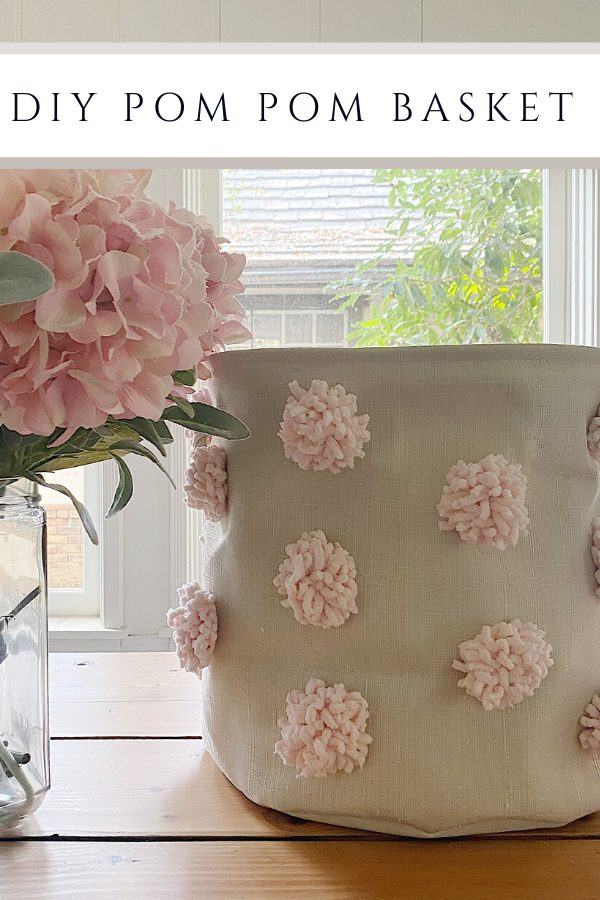
How to Make a Pom Pom Basket
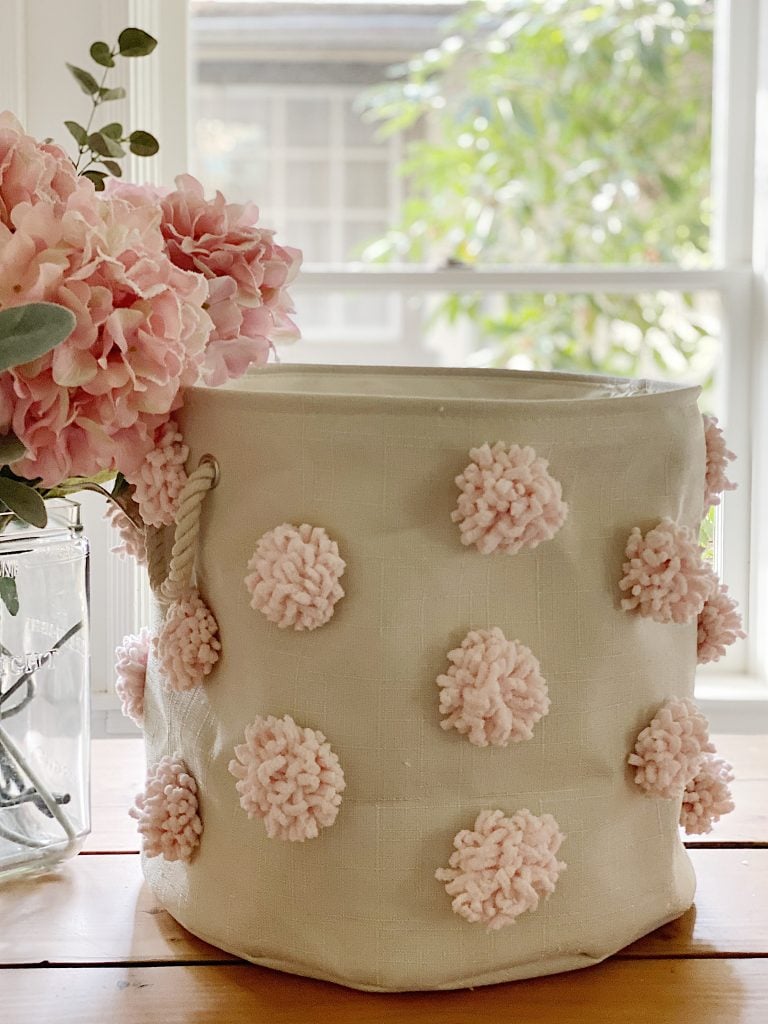
I love to make pom poms with yarn and look how cute this basket turned out! Today I am sharing the complete DIY to make this Pom Pom Basket.
Pom poms are the perfect way to add a pop of color and cheer to any room. And what better way to use them than by making a fun pom pom basket? I am going to show you how easy it is to use a pom pom maker. So gather your supplies and let’s get creative!
I love the colors pink and blush and I can’t wait to share with you how easy these pom poms are to make.

What You Will Need to Make the Pom Pom Basket
Fabric Basket – I bought this basket on Amazon. They come in three sizes and the one I used is large.
Yarn – I used part of a ball of Yarnspirations Bernat Blanket yarn.
Pom Pom Maker – Knitting Loom multi-size pom pom maker
Needle and thread
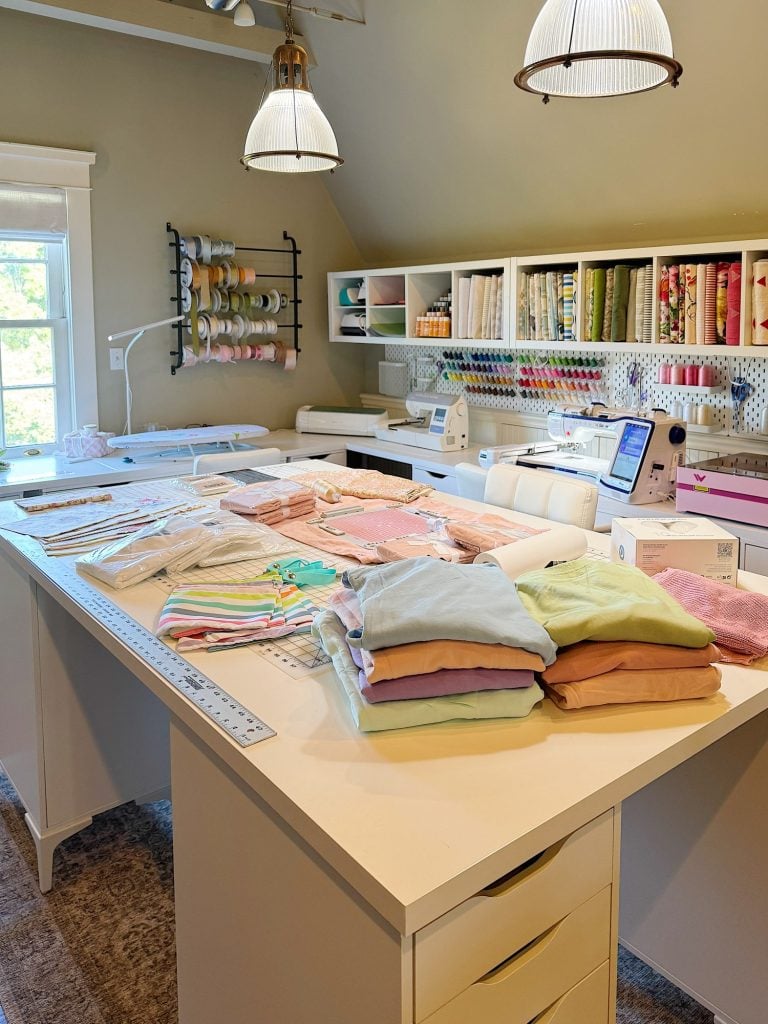
How to Make Pom Poms
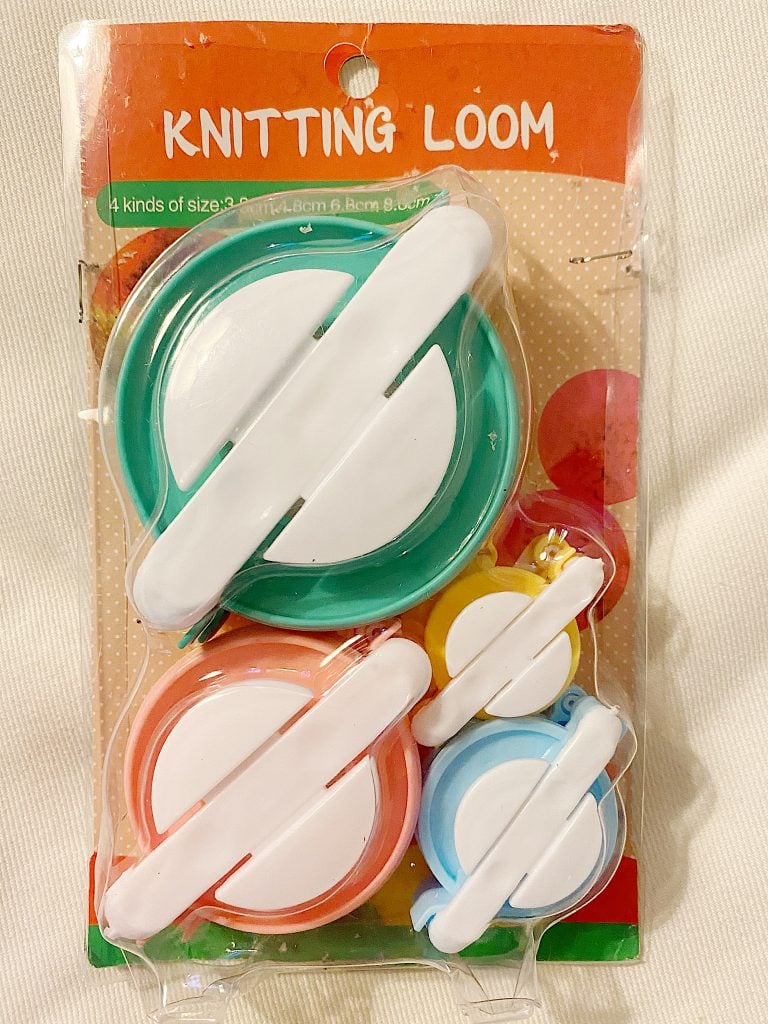
- one – Select the size Pom Pom Maker you want to use.
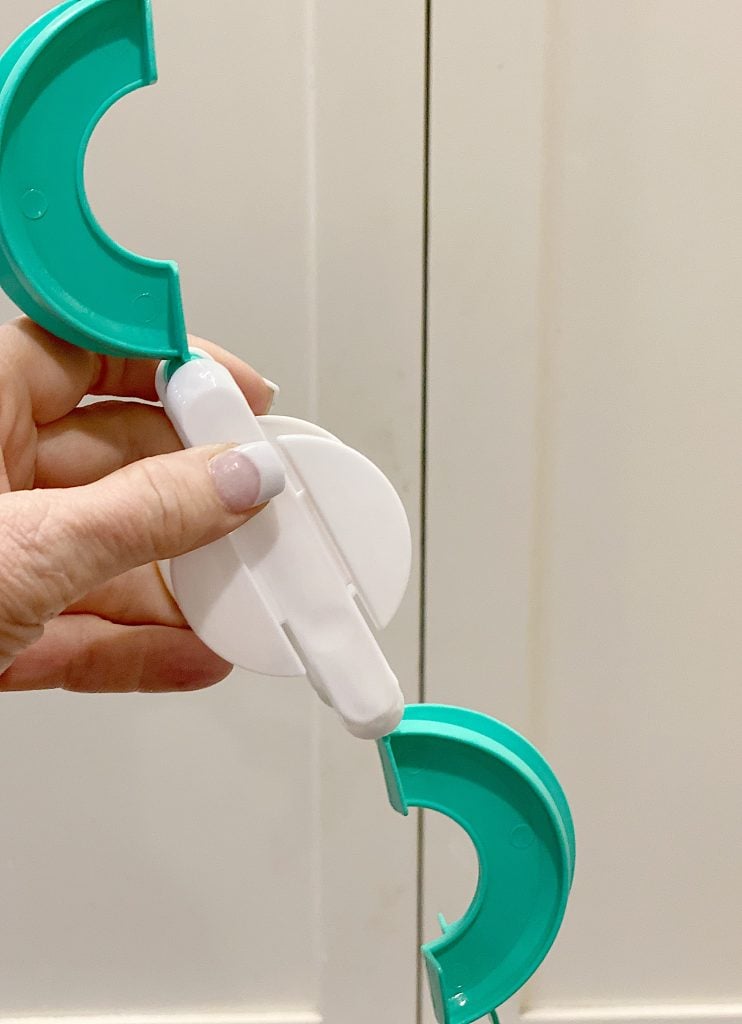
- two – Open up the pom pom maker.
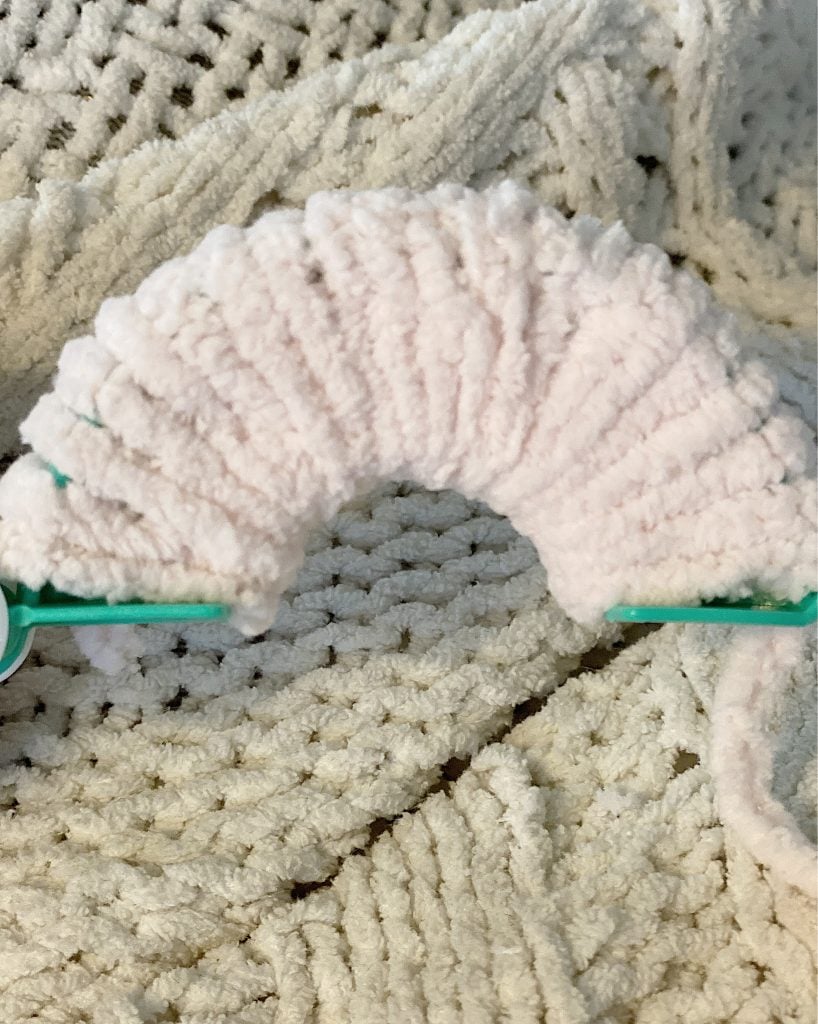
- three – Wrap the yarn around the top arc on the pom pom maker. When done, clip the yarn and close the arc into the maker.
- four – Wrap the yarn around the other arc of the pom pom maker. Close.
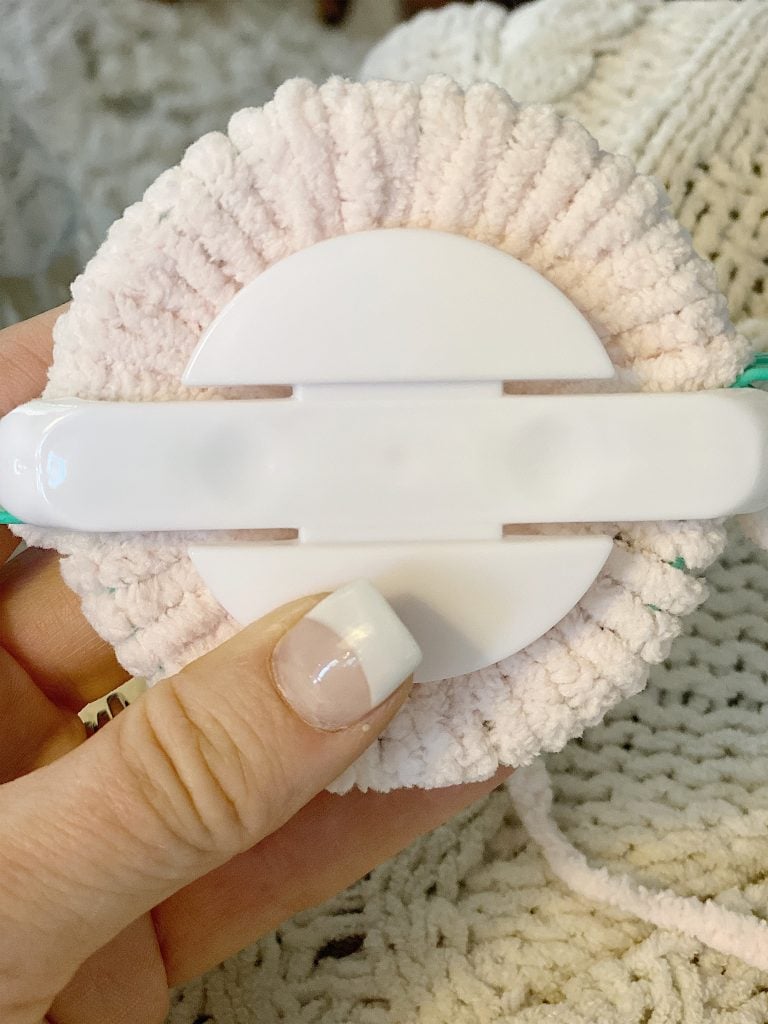
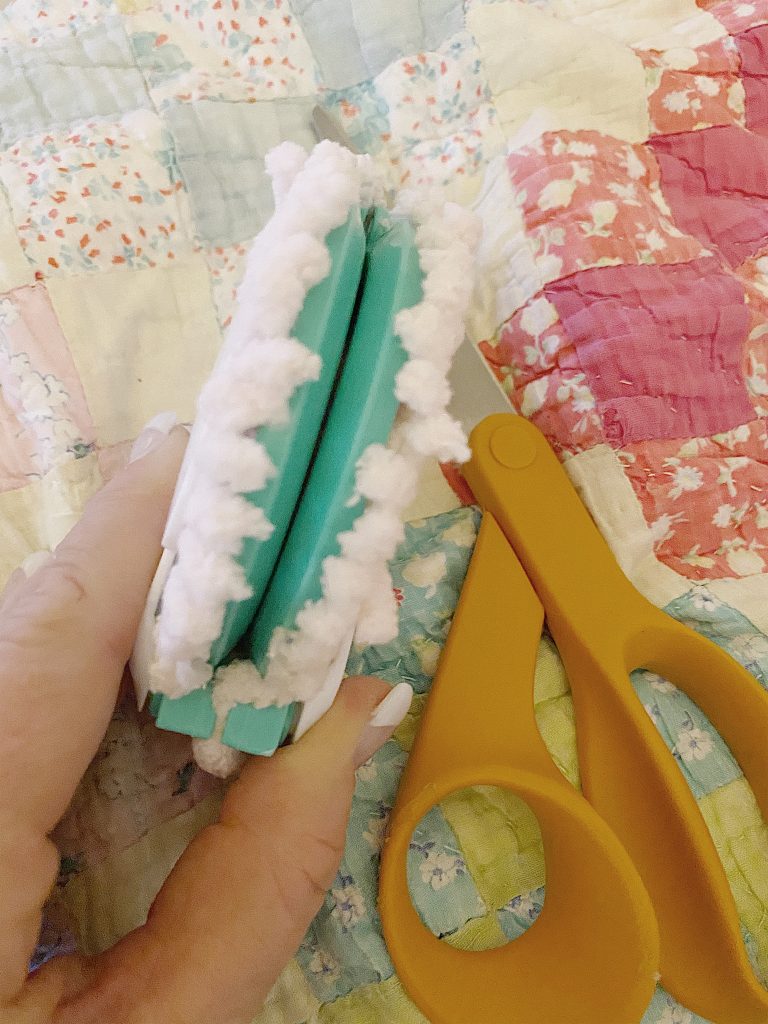
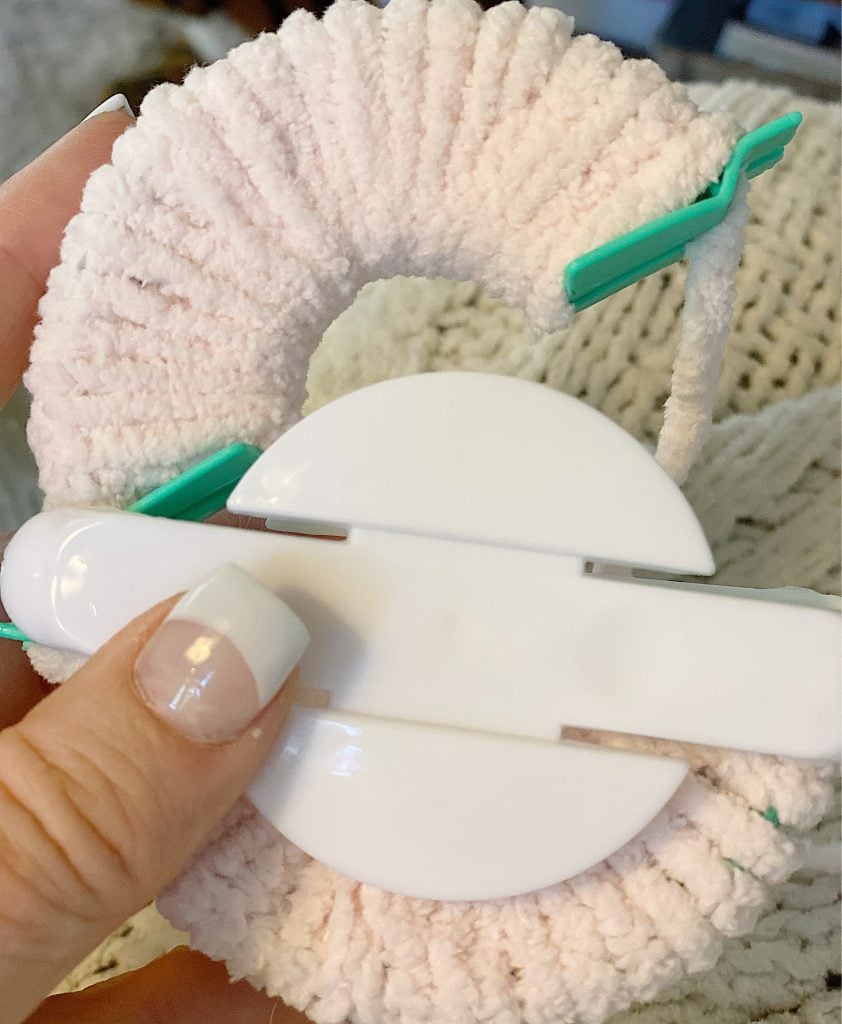
- five – The pom pom maker should look like this.
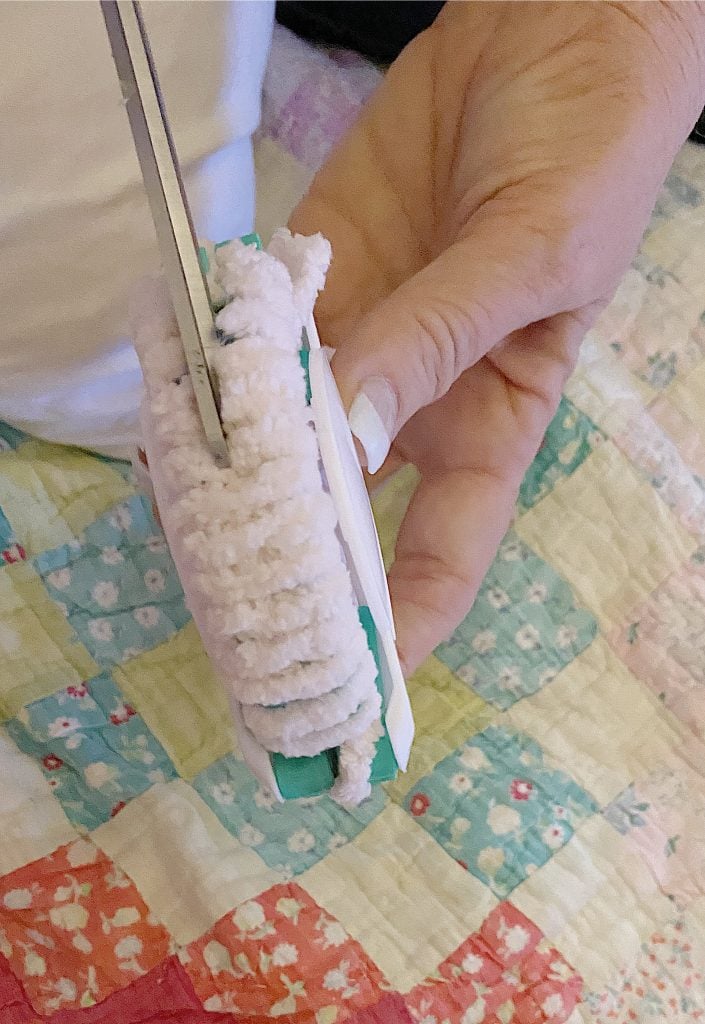
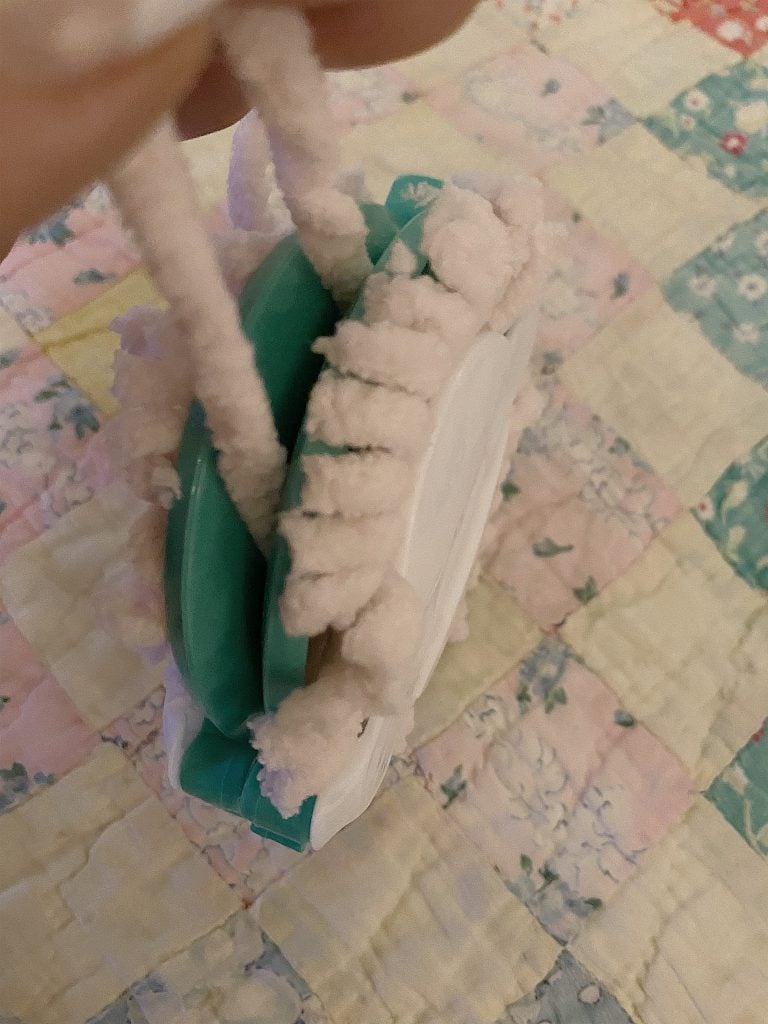
- six – Cut the yarn all the way around the outside edge of the pom pom maker.
- seven – When you are done it should look like this.
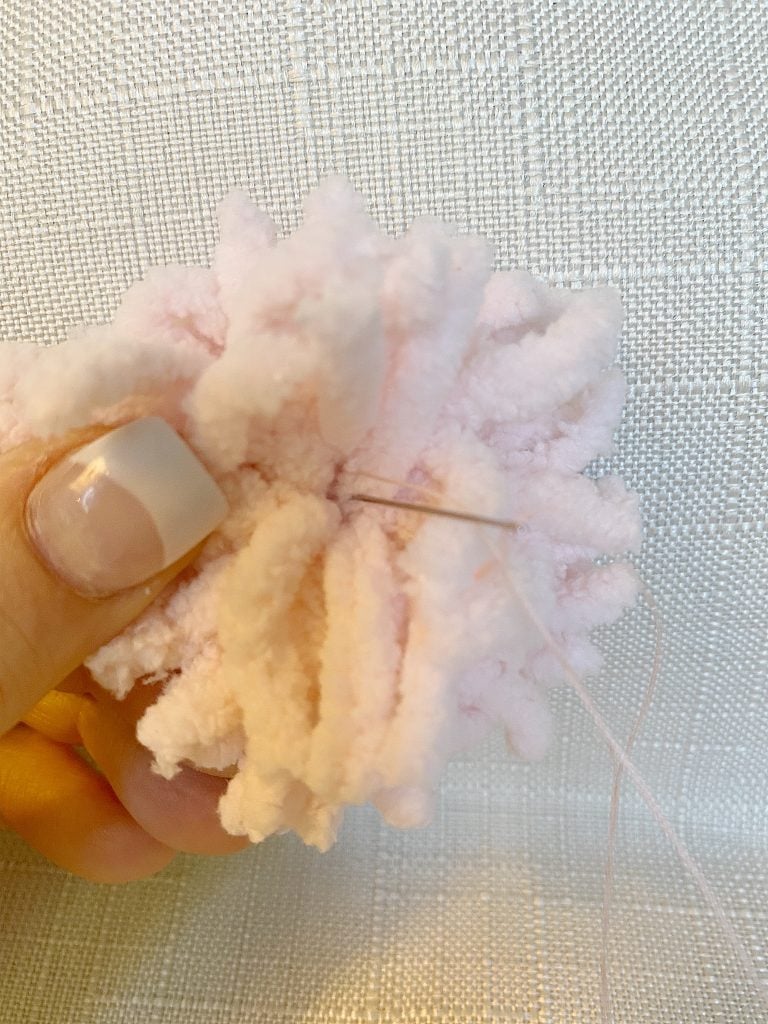
- eight – Tie a piece around the middle of the pom pom.
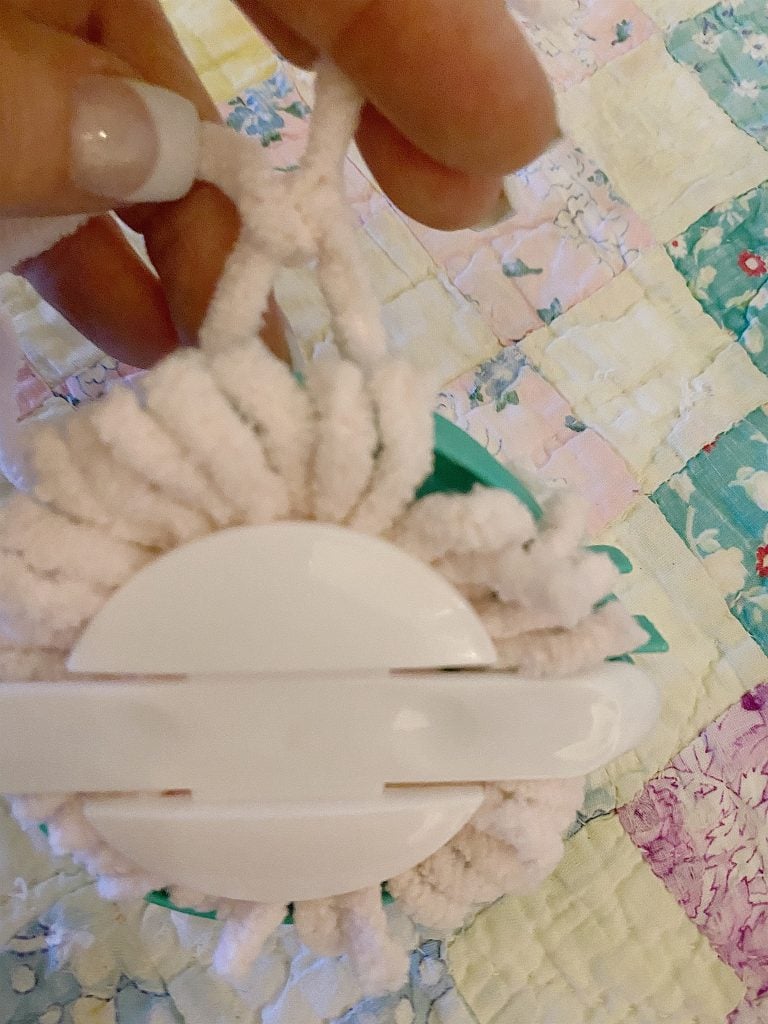

- nine – Pull it tight and knot the yarn.
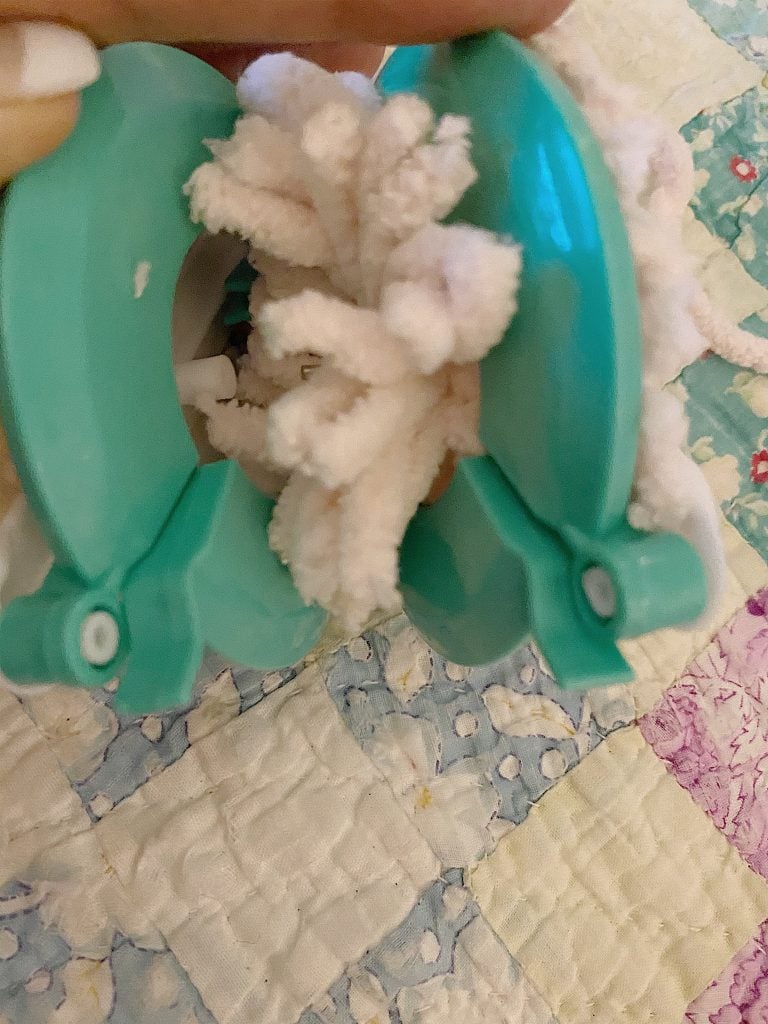
- ten – Pull open up the pom pom maker and remove the pom pom.
- eleven – Cut around the edges of the yarn to make the yarn lengths all the same length.
How to Add the Pom Poms to the Basket

The first thing you need to do is measure the basket. You want to make the basket so that you can add the pom poms on the same basket the same distance apart. The key is to measure the basket all the way around and come up with a number that will give you the same distance between the pom poms all the way around. You don’t want to have all of the pom poms four inches apart and have the last pom pom two inches apart.
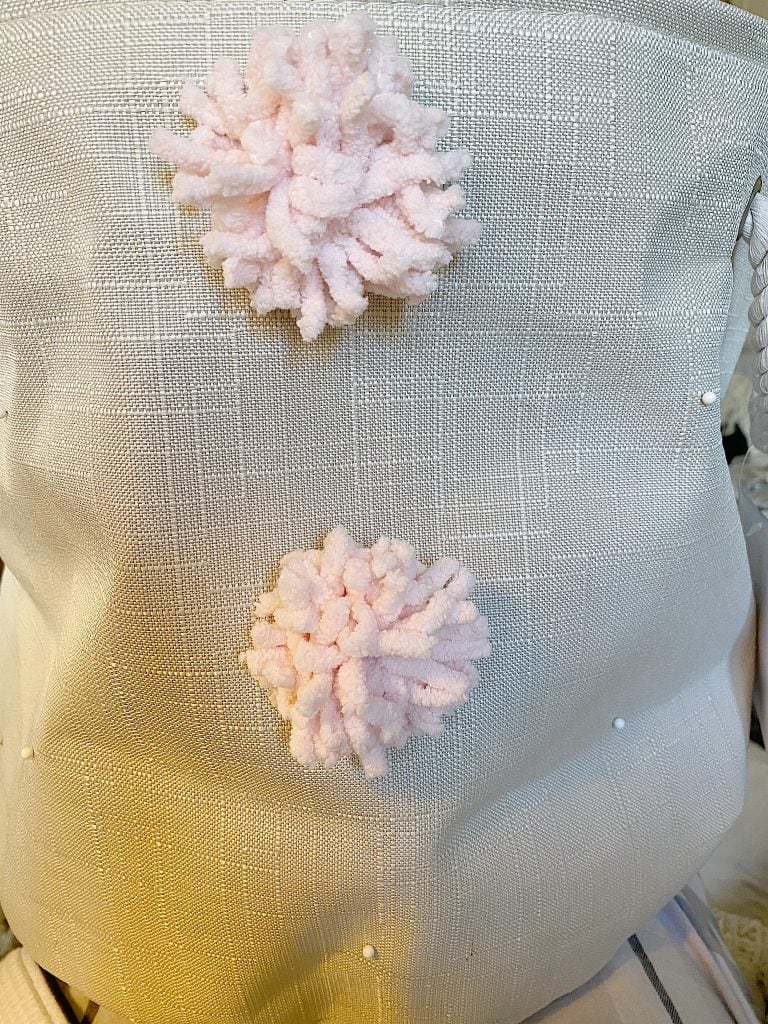
With the large basket, it worked perfectly for me to start the first row 2″ from the top and to place the pom poms five inches apart. I also alternated the rows which look really good. I marked the basket with pins where the pon poms needed to be attached.
3. I attached each pom pom with a needle and thread.
4. See how it’s starting to look great?
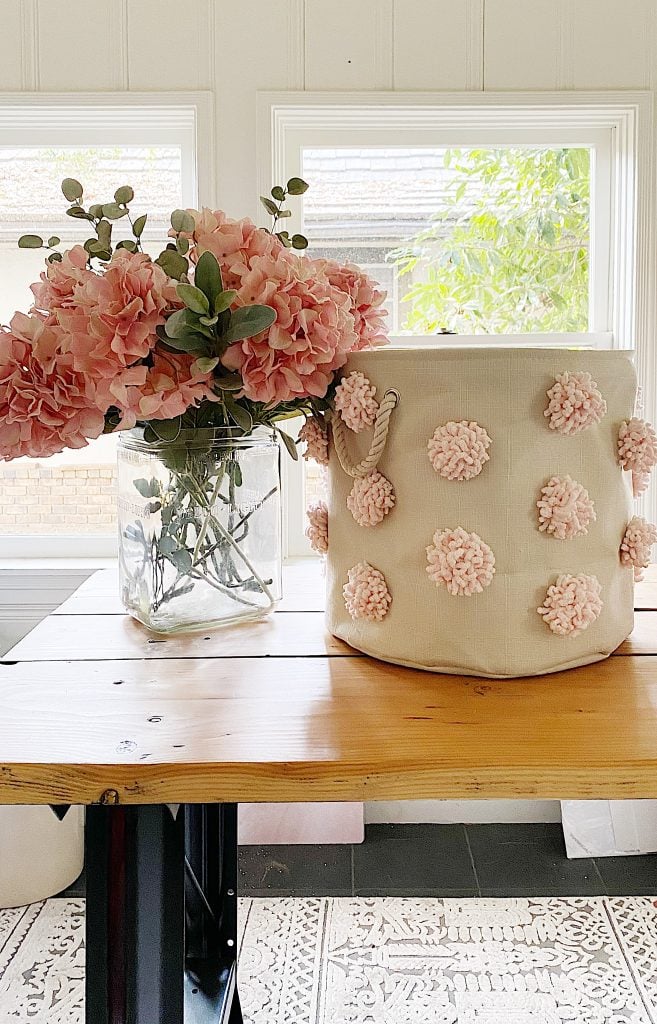
I am so happy how this came out.
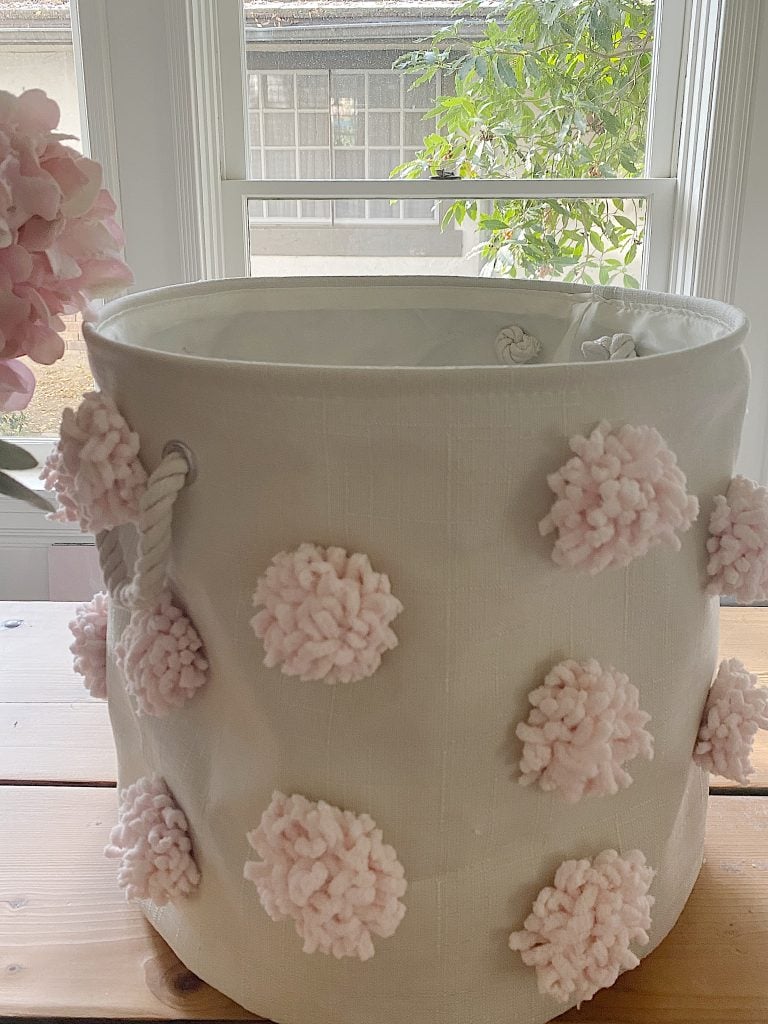
This basket is big enough to hold almost anything! I also think it will make an adorable gift!
This post may contain affiliate links, which means a small commission is earned if you make a purchase via the link. The price you pay will be the same whether you use the affiliate link or go directly to the vendor’s website using a non-affiliate link.
Below are links to everything you need to make this adorable basket.


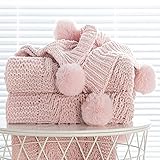
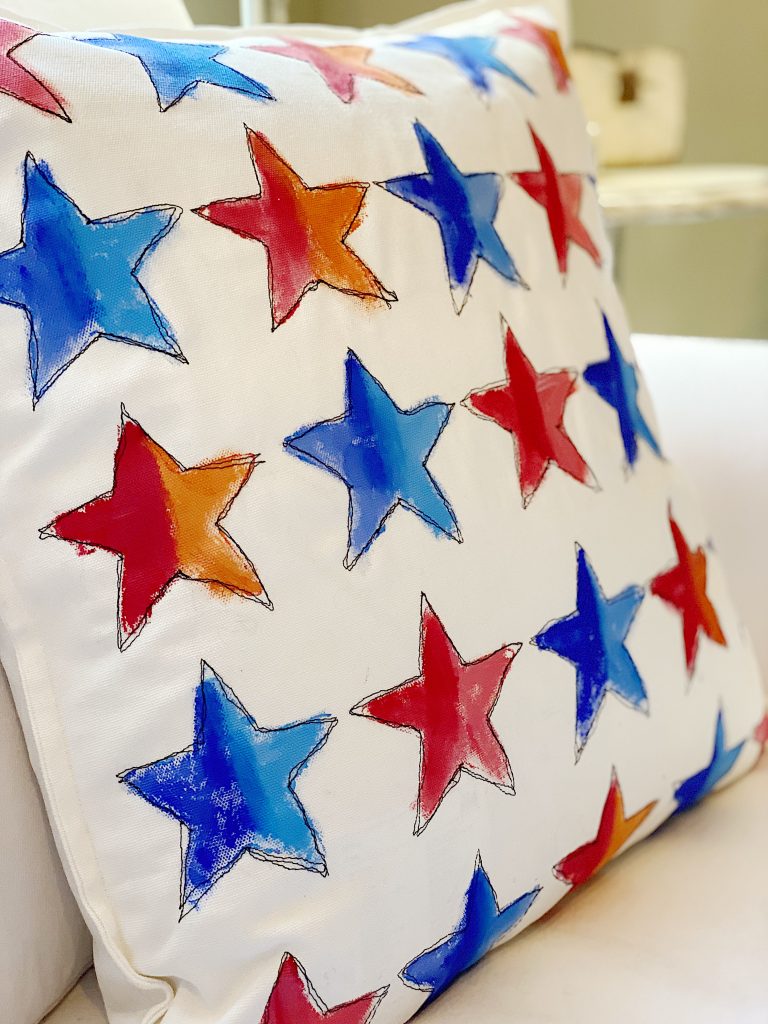
If you love pom poms but don’t want to make them, I’ve got you covered!


Pin the image below to your Craft or Spring/Valentine decor boards on Pinterest (just click the Pin button in the top left corner). You can also follow along with me on Pinterest!
For more real-time updates, follow me on Instagram @My100YearOldHome


Such a cute project, Leslie! I might have to try this!
Love all things pom pom. I see another project in my near future.
I love this basket – I have a couple in my sons playroom from a manufacturer but our puppy ate the pom poms off it. I like your idea for how to make the Pom poms as that is easier than free hand – didn’t know the Pom Pom maker even existed.
Thank you – new fun fix crafting project and making new ones
LOVE, LOVE, LOVE!!
Beautiful and springy!🌸
Love this game idea! I’ve been making pompom wreaths and garland but I’m pretty sure this is going to be my next pompom project. Thanks for the inspiration!
This is so cute. These Pom-Pom baskets would be great in a little girls room. Thanks for sharing.
I agree Diane! It would be super cute in a little girl’s room! Thank you for reaching out. Have a great rest of your weekend!
These are the cutest!! So springy 🌸💕
Love the pom poms! Thanks for the heads up about the awesome tool to make them!
It makes it so much easier! Hope you enjoy it, Denise!
cute baby shower idea, filled with baby ‘stuff’.
Love this! Pinned…🥰!
Leslie
LOVE, LOVE, LOVE POMPOMS! They are so pretty.