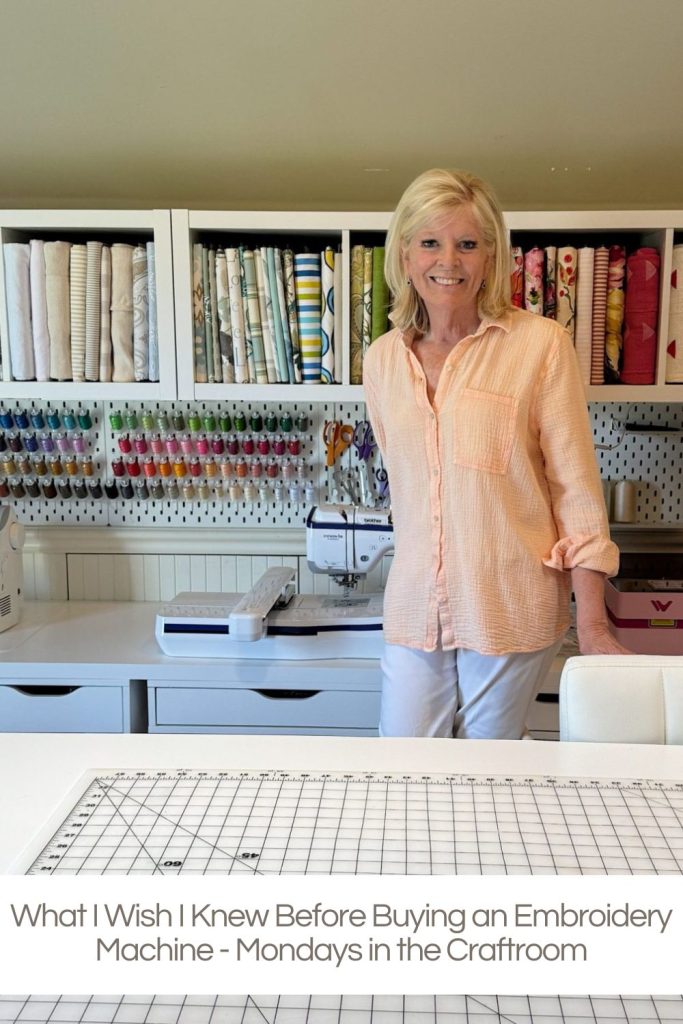
What I Wish I Knew Before Buying an Embroidery Machine – Mondays in the Craftroom

Fifteen years ago, I bought my very first embroidery machine, knowing absolutely nothing about machine embroidery. I was excited, inspired, and completely intimidated all at once.
But then I packed it away.


What I Wish I Knew Before Buying an Embroidery Machine
At first, I experimented with my new machine and tried a few simple projects, but honestly, I felt overwhelmed. Every screen, button, thread change, stabilizer, and hooping step seemed complicated to me. I worried constantly about doing something wrong, and before long, I quietly tucked the machine away. For almost ten years.
Now I look back and laugh because that first machine was actually very simple compared to the embroidery machines available today.
But back then, learning embroidery felt much harder. We didn’t have endless YouTube tutorials, online classes, creators teaching embroidery every day, and Facebook groups ready to answer every question within minutes.
Today, learning machine embroidery is so much more accessible.
And thankfully, I eventually pulled that embroidery machine back out again.
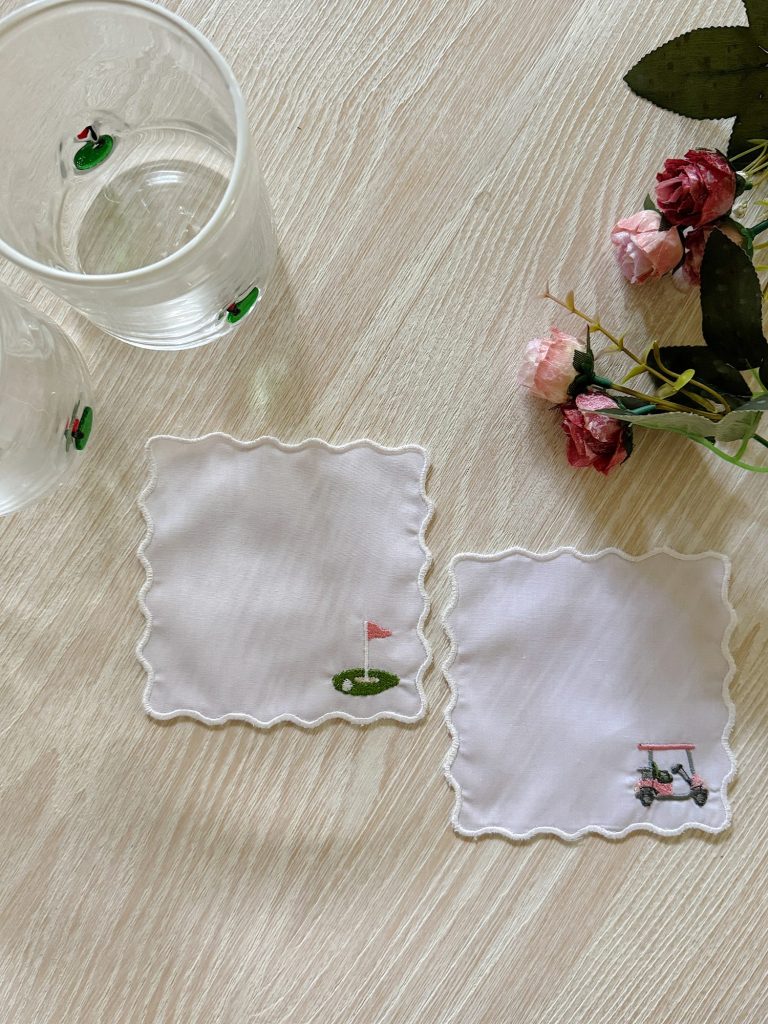
Now, embroidery has become one of my favorite creative hobbies. I absolutely love it. Whether I am embroidering napkins, clothing, quilts, gifts, or seasonal decor, I still get excited every time I start a new project.
Looking back, there are so many things I wish I had known before buying my first embroidery machine because I would have enjoyed it so much sooner.
An Embroidery Machine Is So Much More Than a Machine
When I first bought my embroidery machine, I thought the machine would do all the creative work for me.
I assumed I would simply choose a design, push a button, and magically create something beautiful.
But embroidery is actually incredibly creative.
The machine stitches the design, of course, but you make all of the creative decisions:
- thread colors
- fabric choices
- scale
- placement
- texture
- layering
- stabilizer
- project type
That is what makes embroidery so fun.
Over the years, embroidery has become one of my favorite creative outlets because there are endless ways to personalize projects and make them feel unique.
I especially love combining embroidery with other crafts I already enjoy, including:
- sewing
- quilting
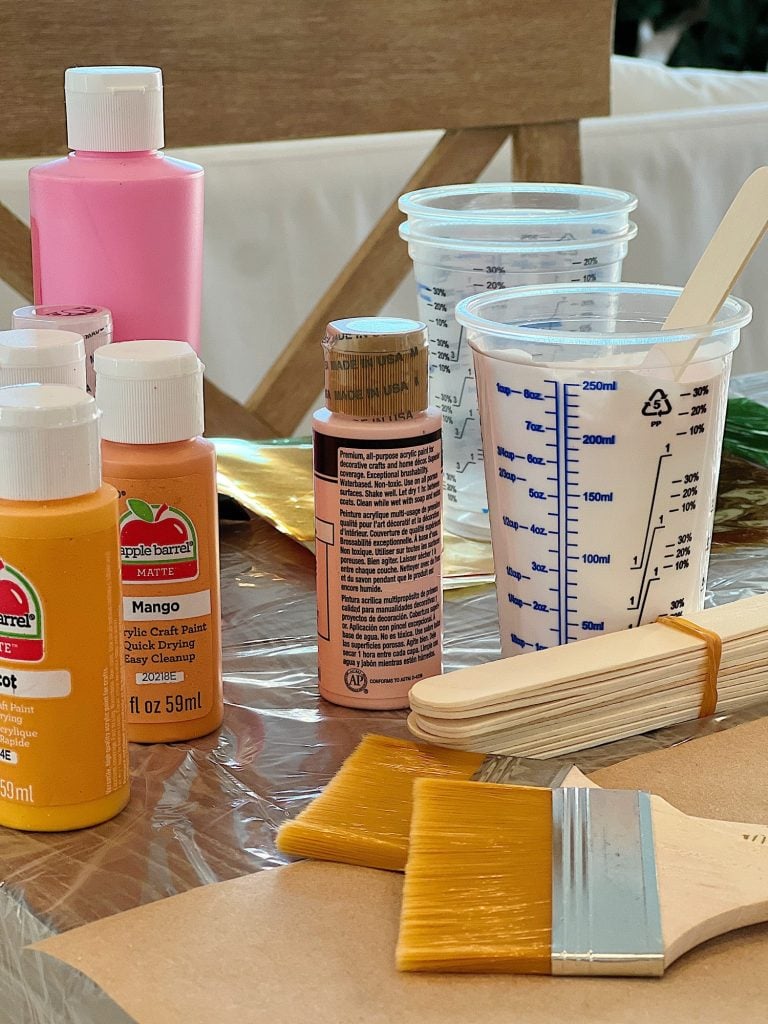
- painting
- handmade gifts
- seasonal decor
- home textiles
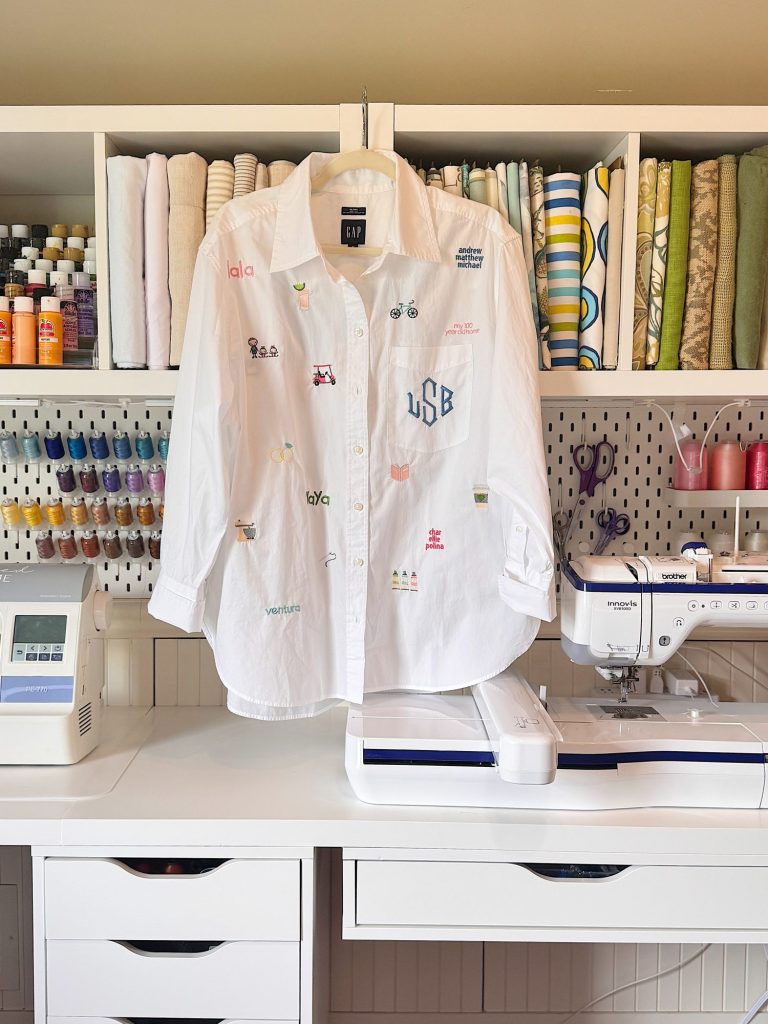
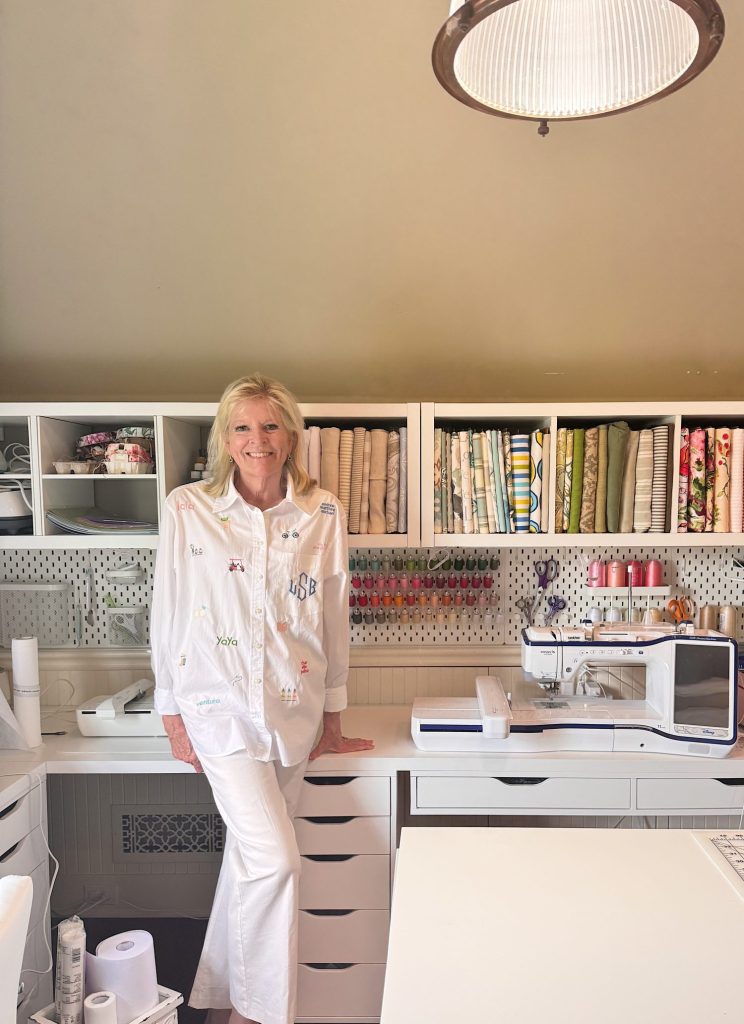
One of my favorite projects was my Favorite Things shirt, where I embroidered dozens of tiny icons representing things I love. Projects like that feel incredibly personal and creative, and honestly, they are so rewarding to make.
I may use affiliate links on this blog, which means I earn a small commission if you make a purchase through them. The price will be the same whether you use the affiliate link or go directly to the vendor’s website using a non-affiliate link.

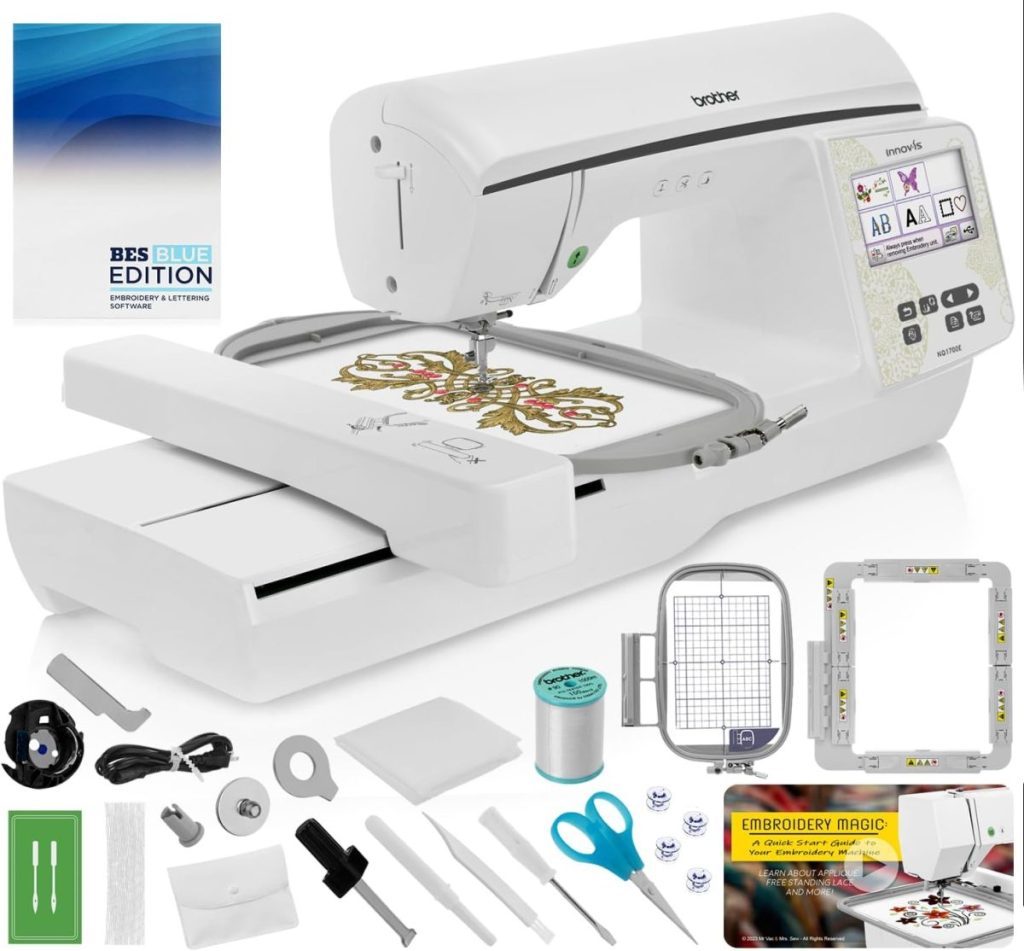
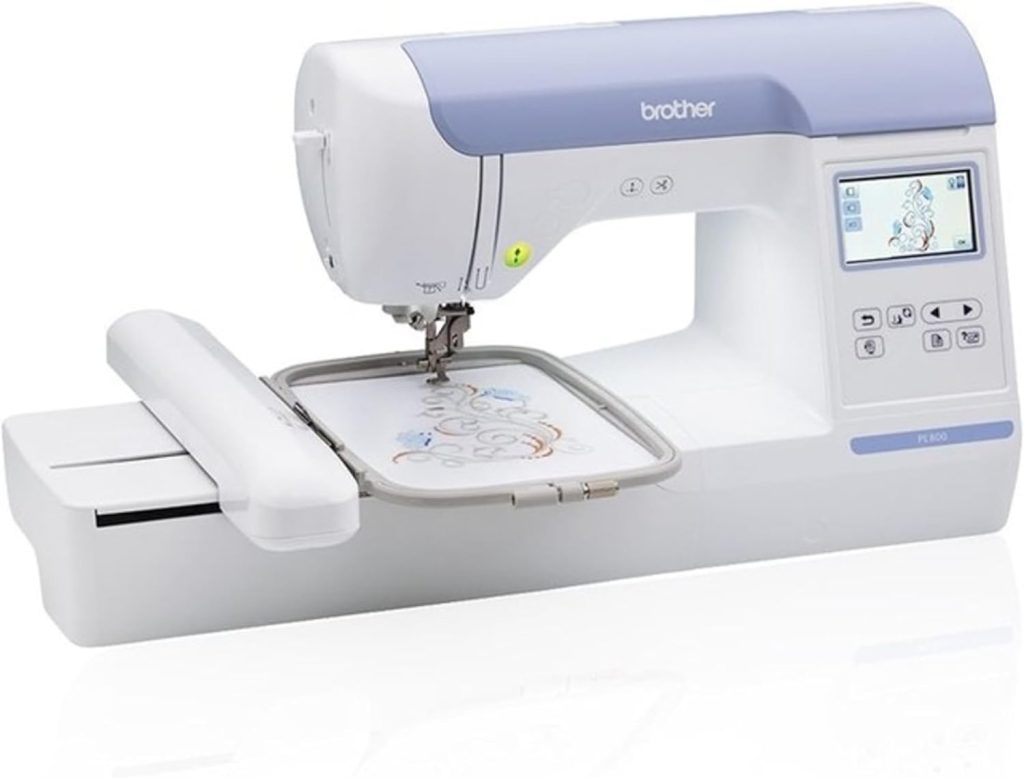
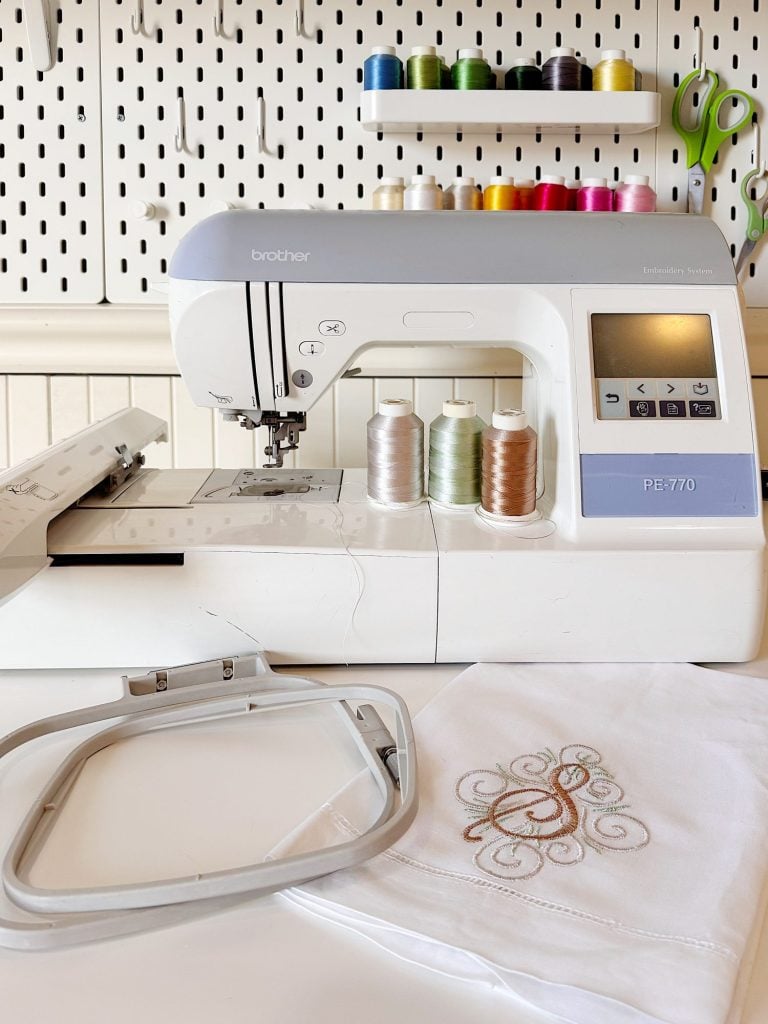
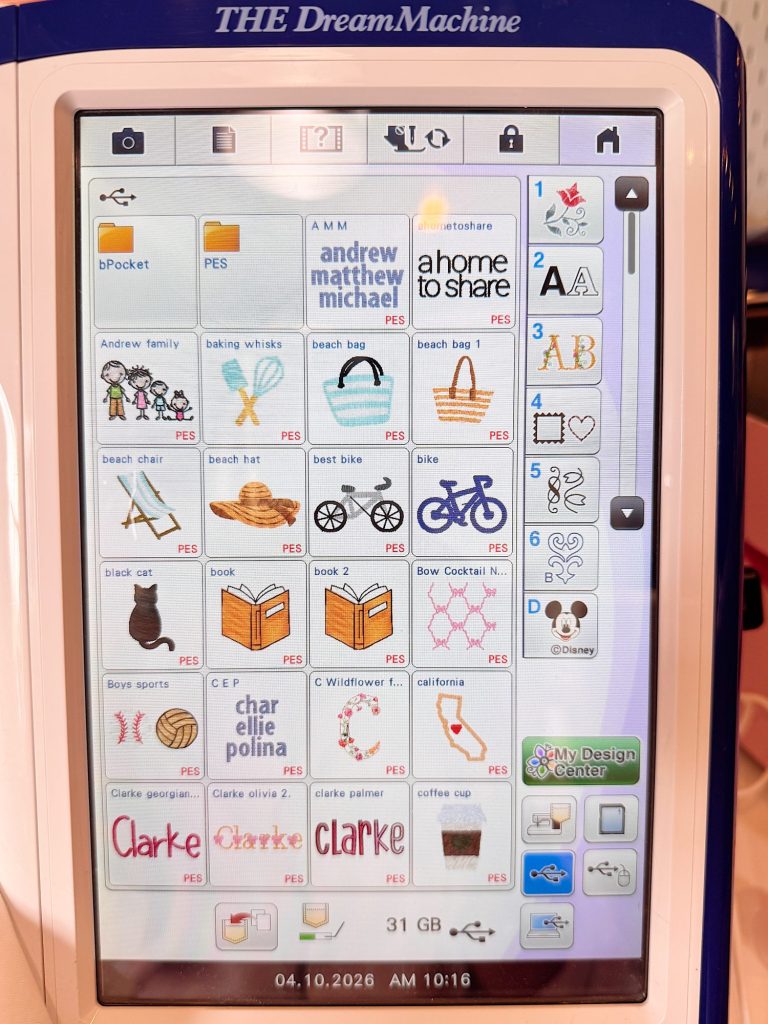
I bought a pre-owned Brother Dream Machine from a local dealer and saved a lot of money. If you want a similar new machine, the Brother Stellaire 2 Innov-is XE2 Disney Embroidery Machine – 14″ x 9.5″ Field Size is the most similar. The Brother PE900 is the most similar to my PE770.
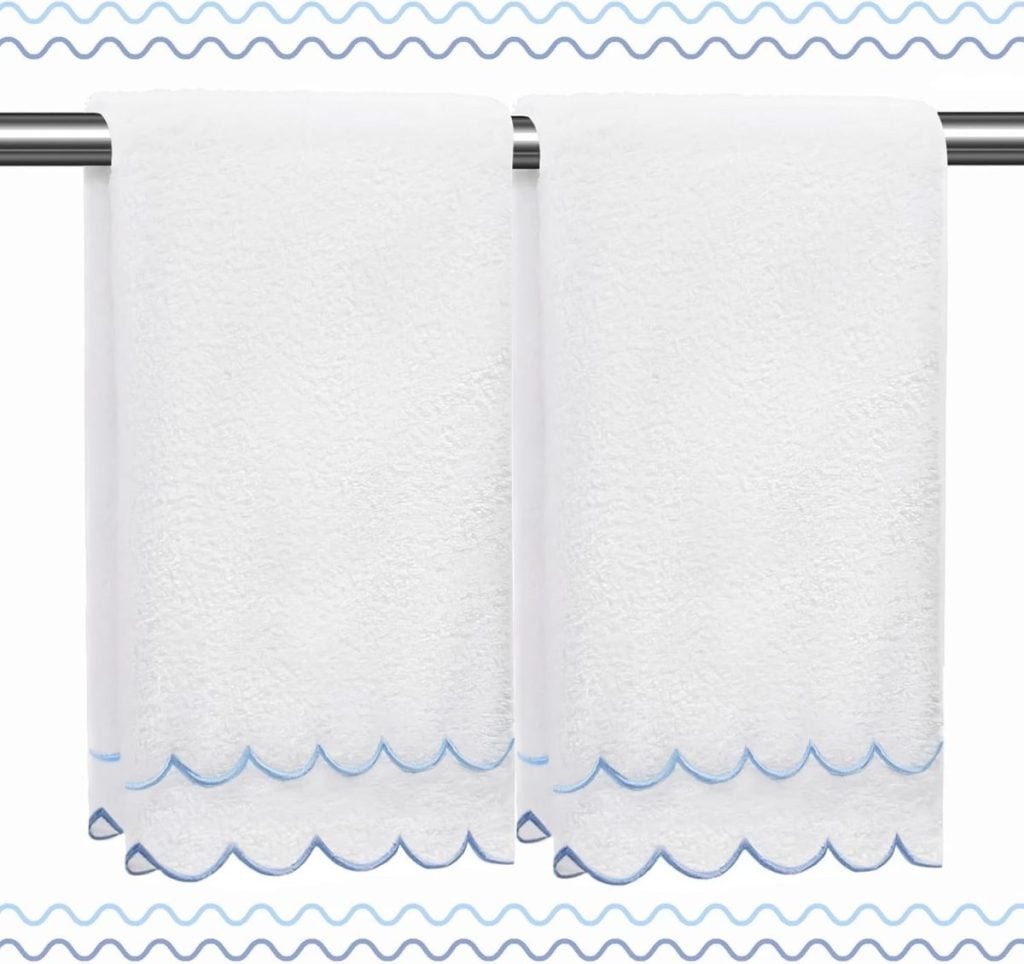
My Favorite Supplies for Beginner Embroidery Projects
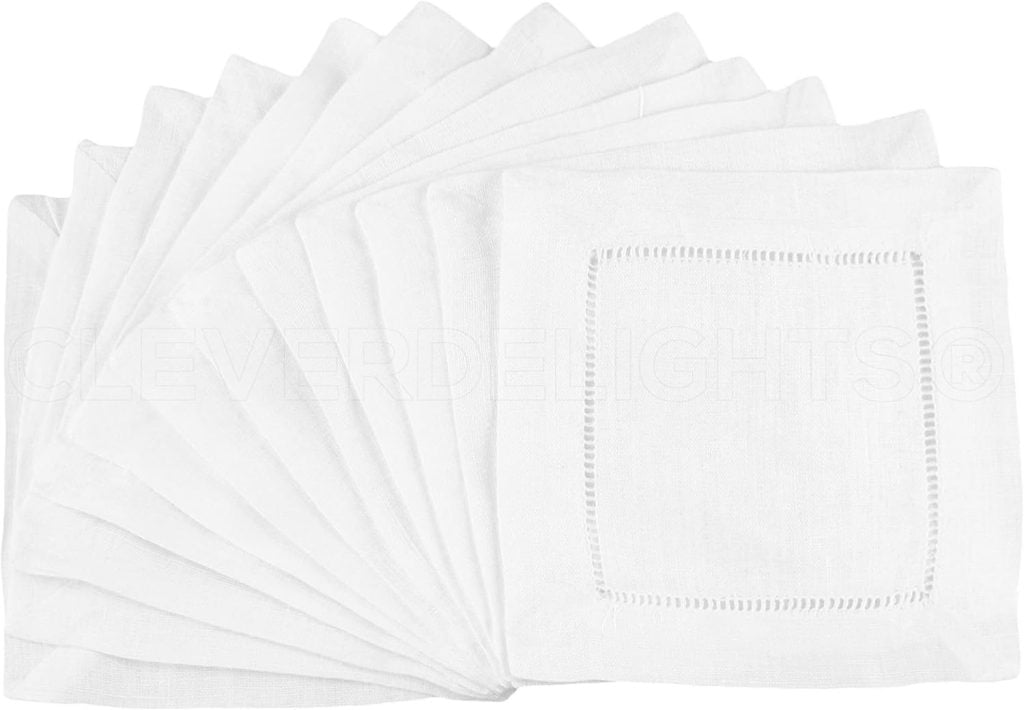
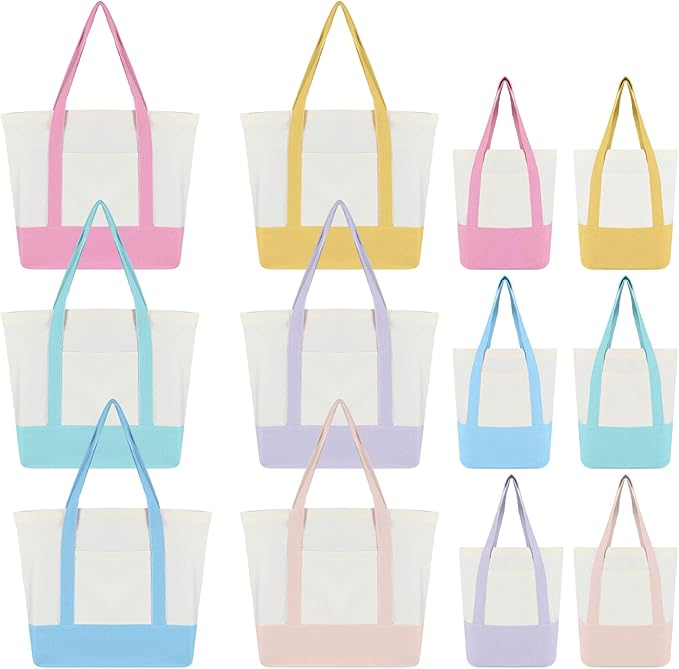
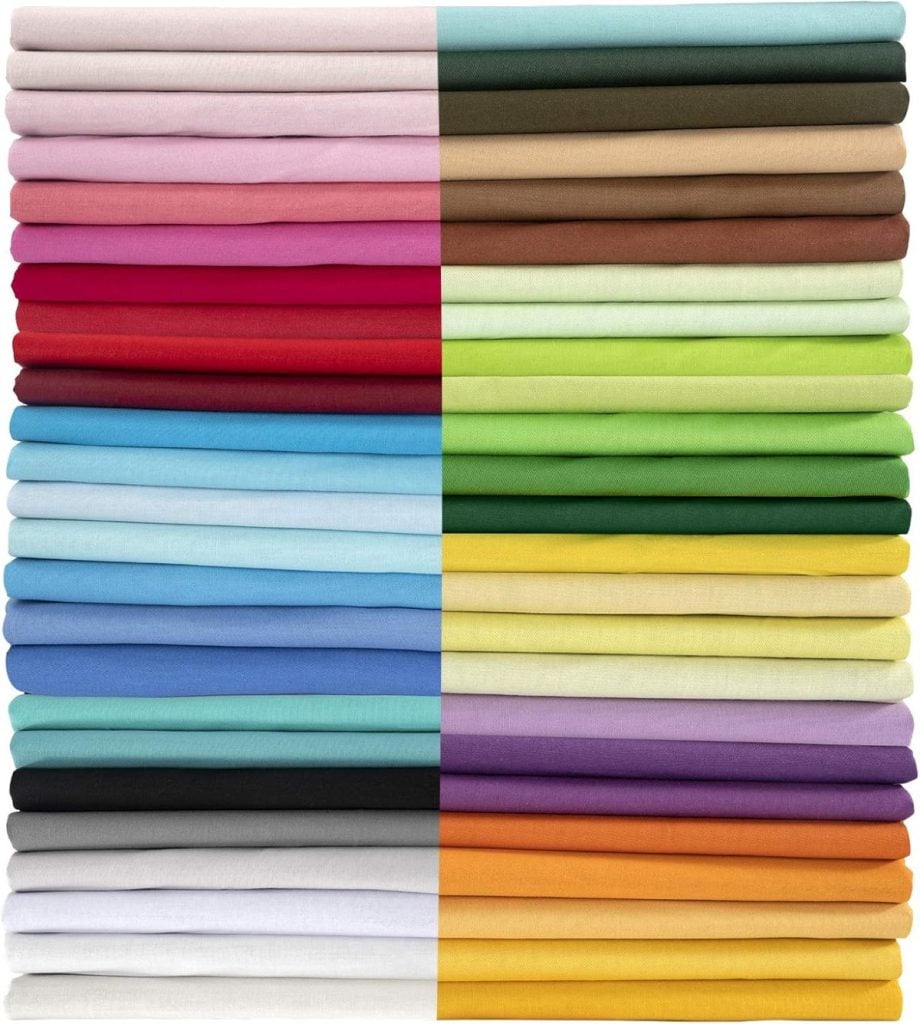
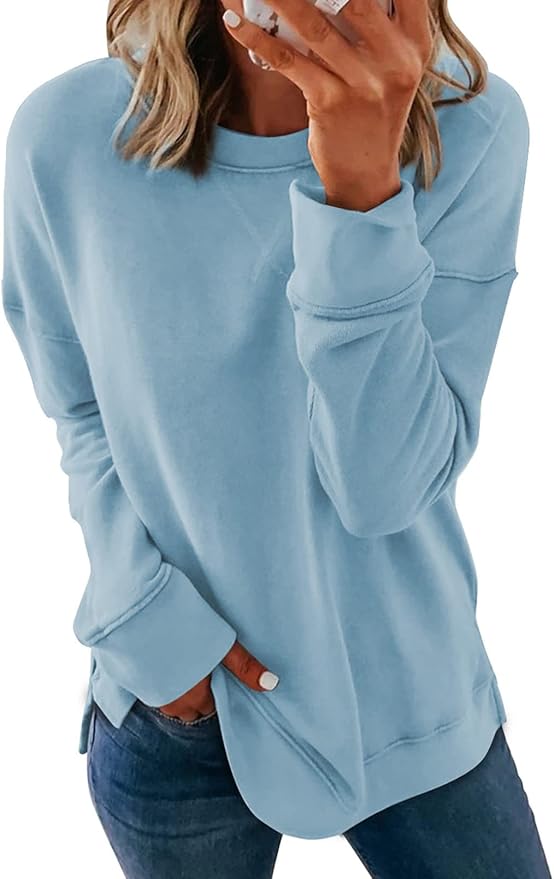
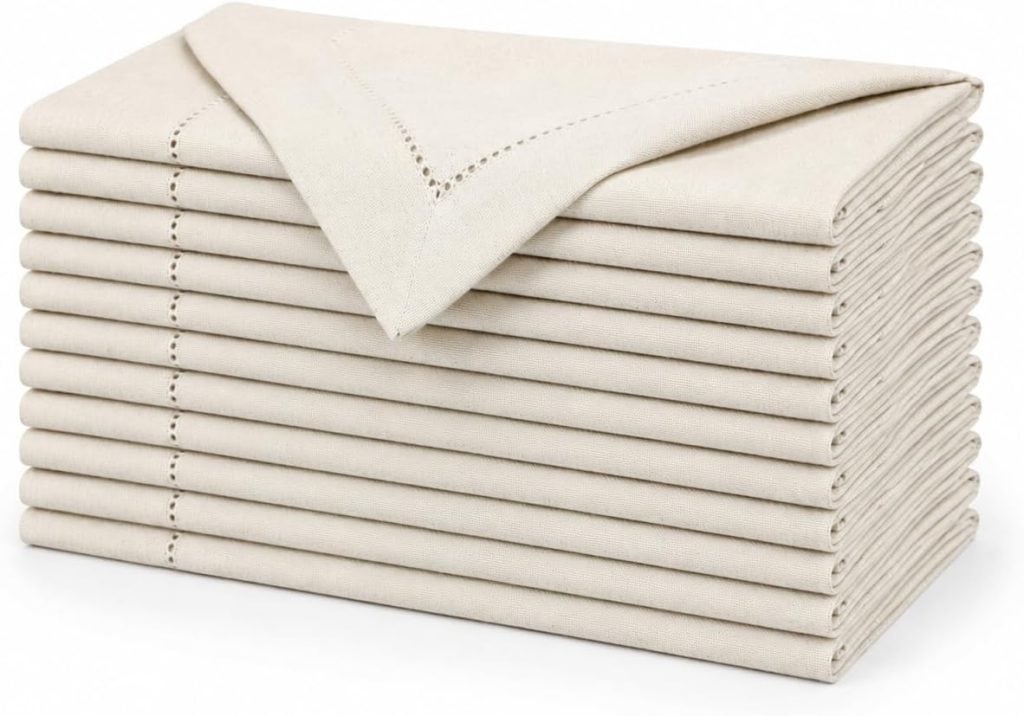
If you are just getting started, some of my favorite items to embroider on are:
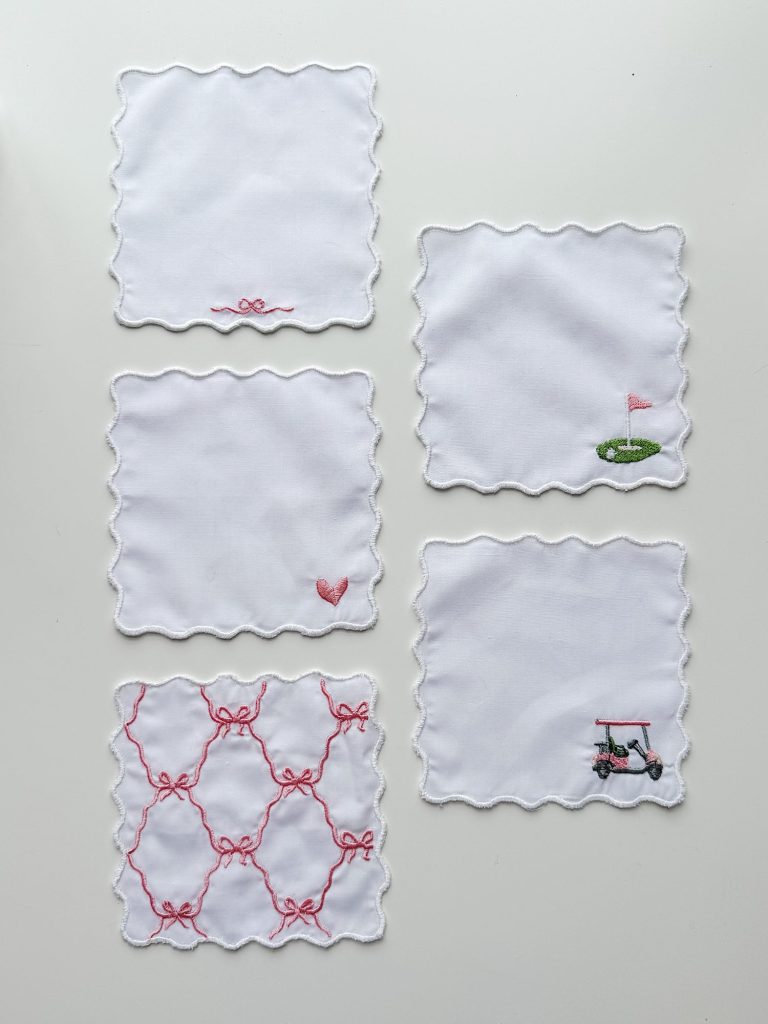
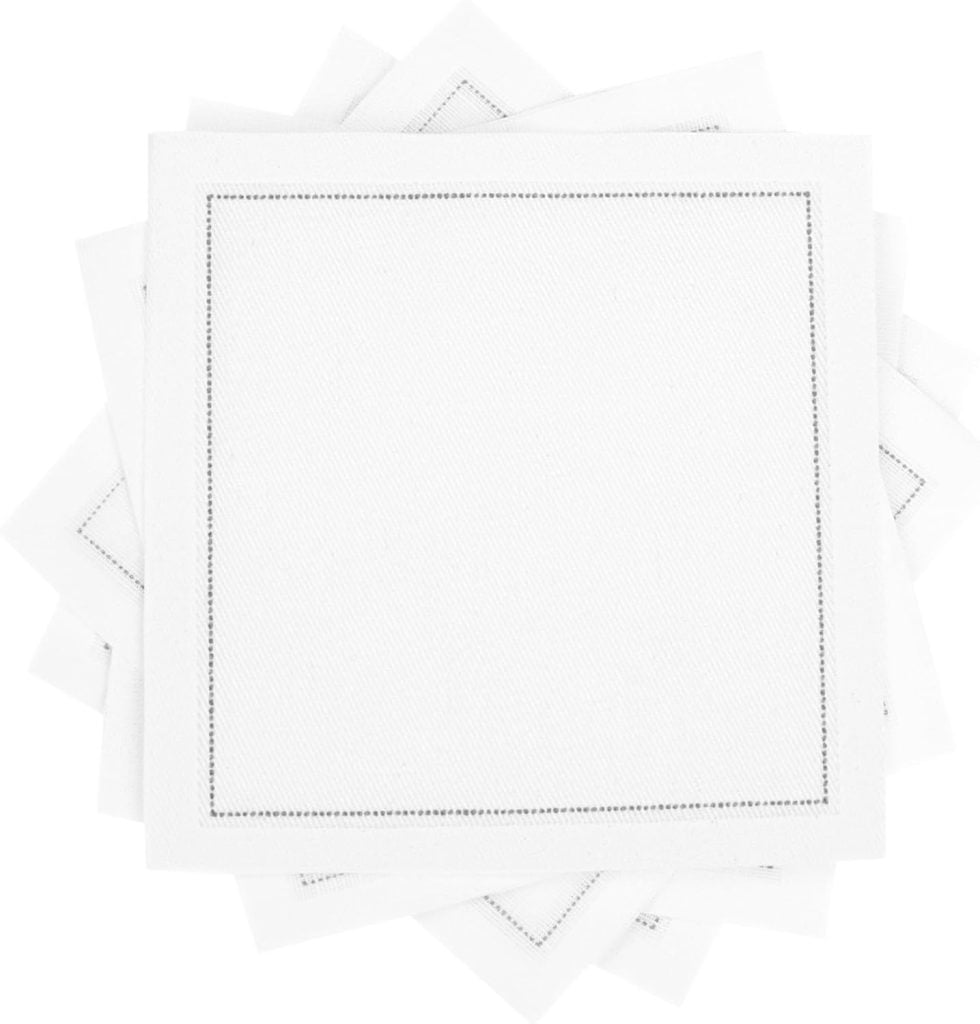
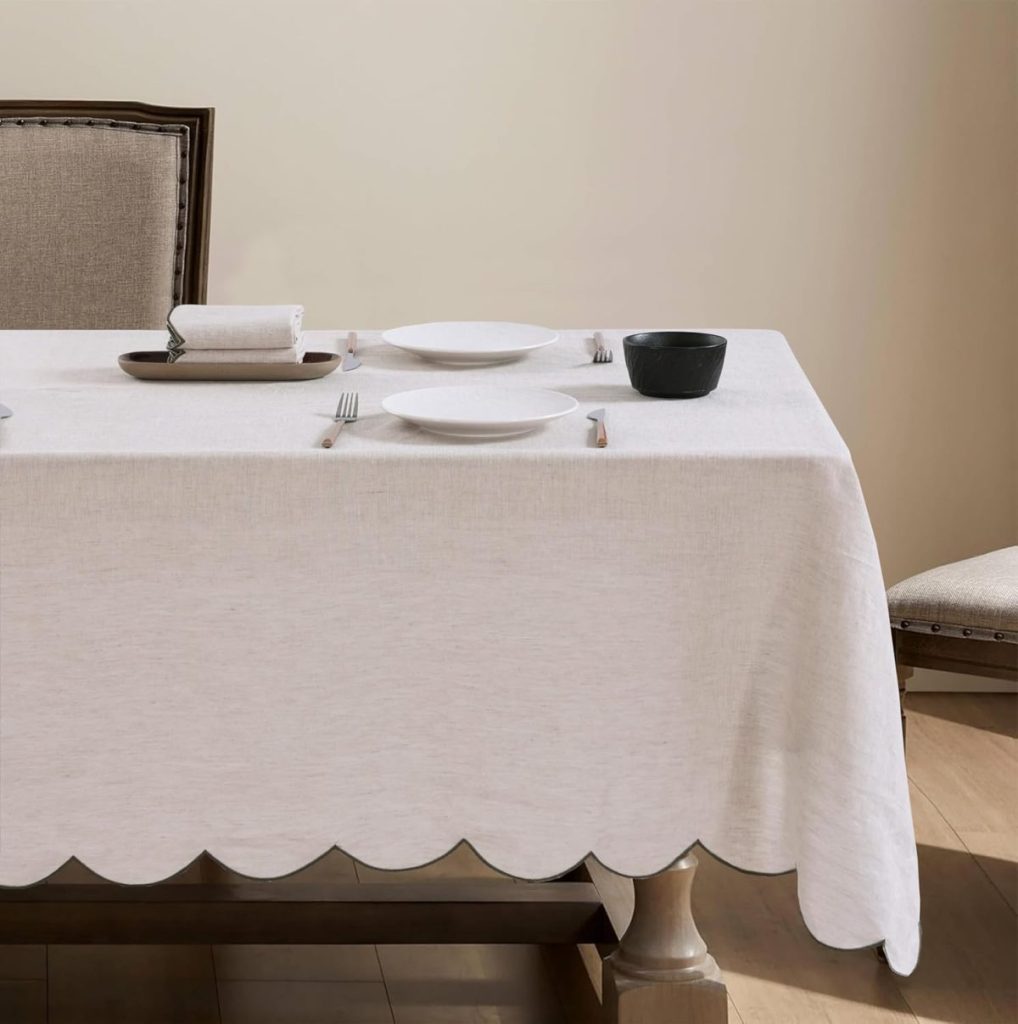
- linen napkins
- tea towels
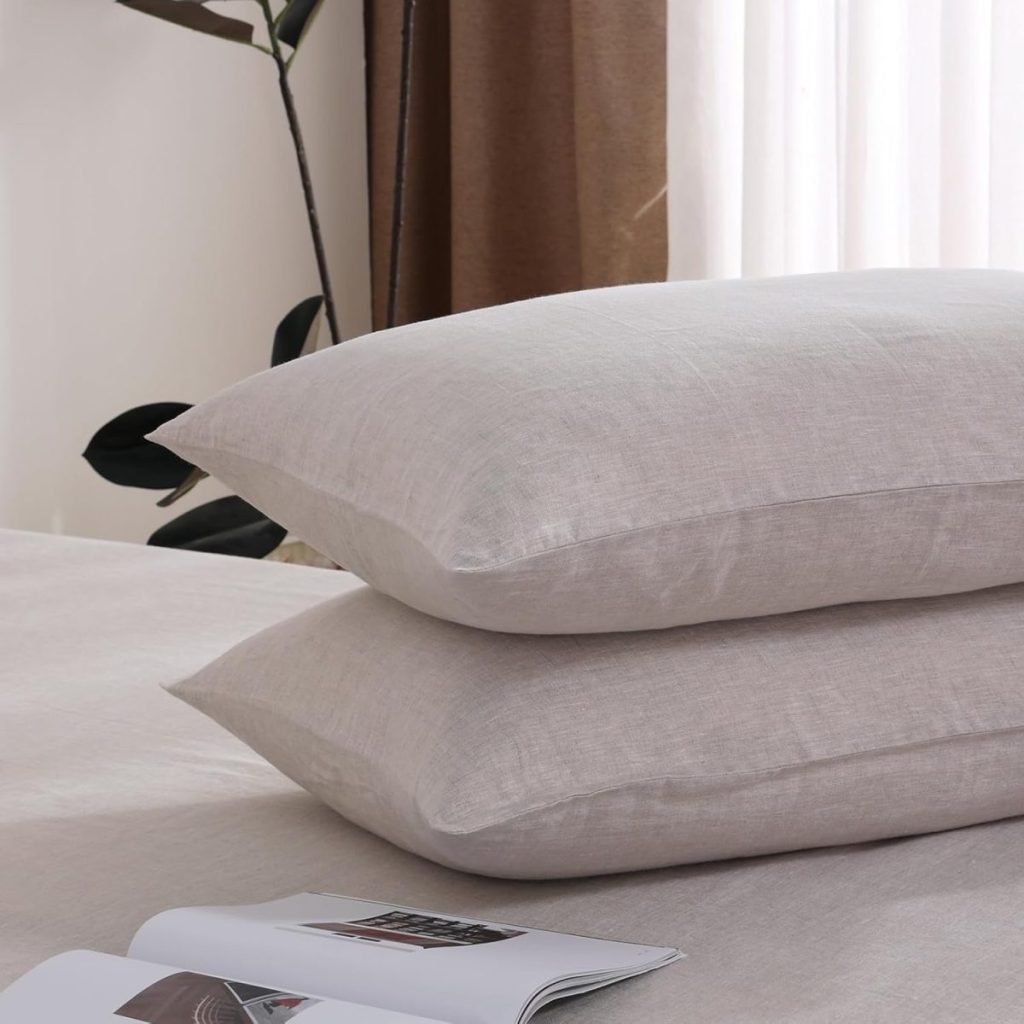
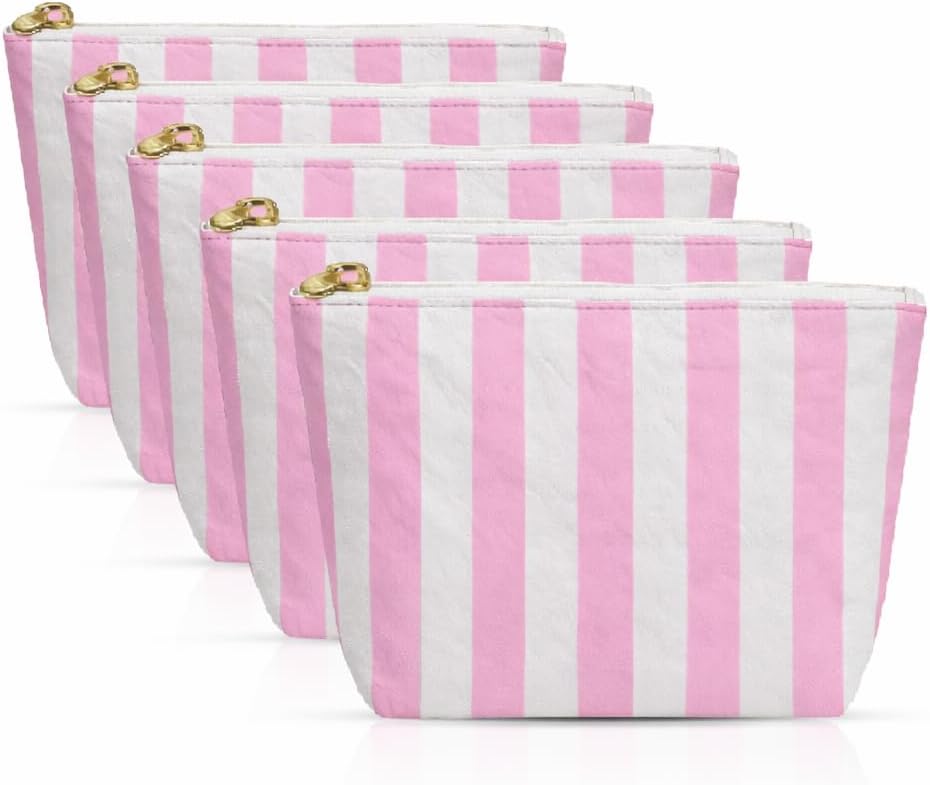
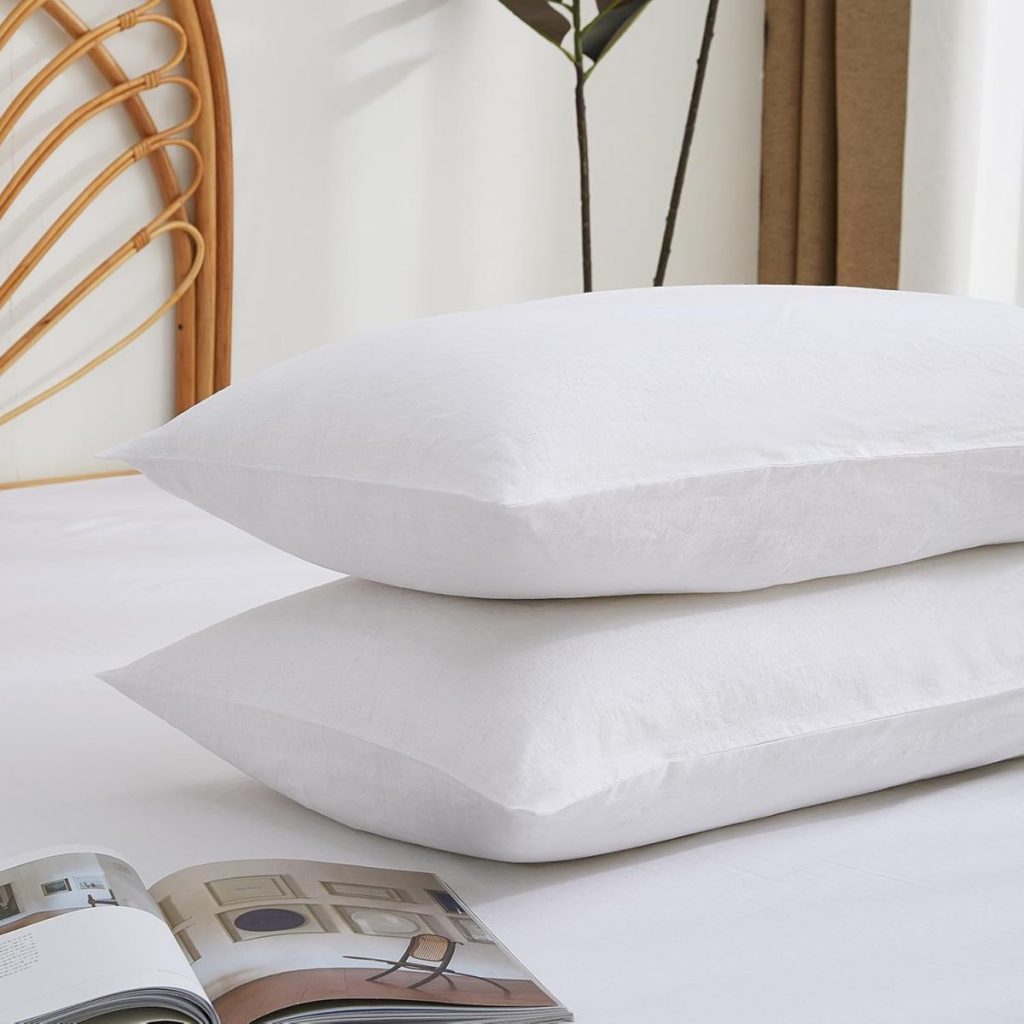
- pillow covers
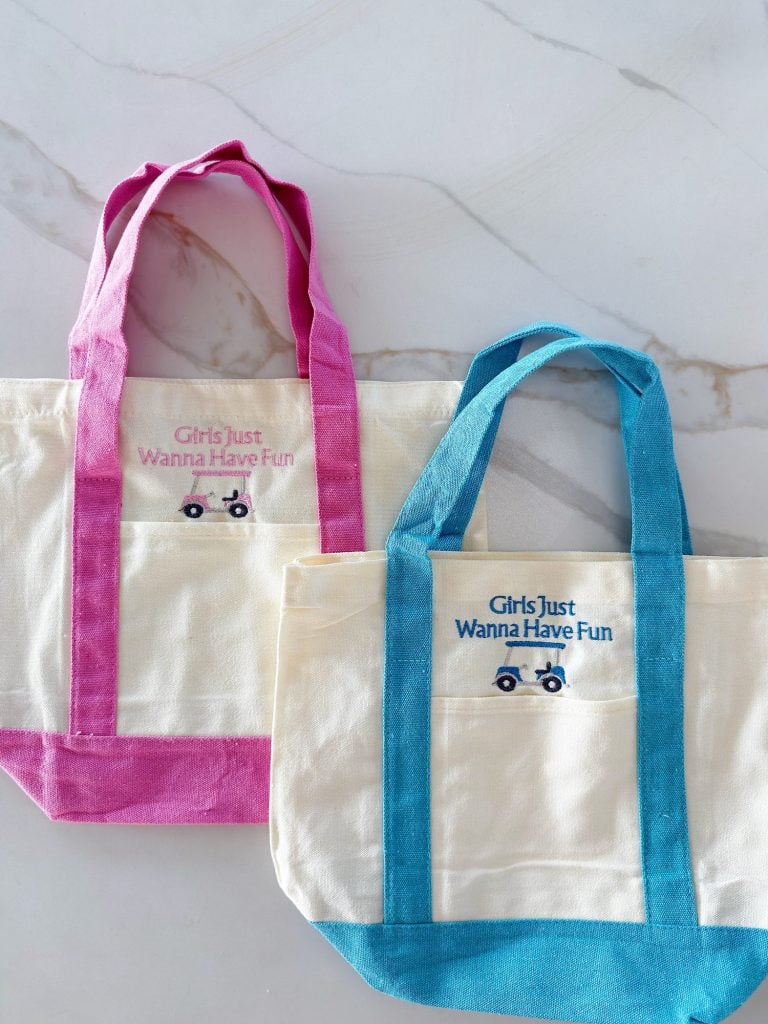
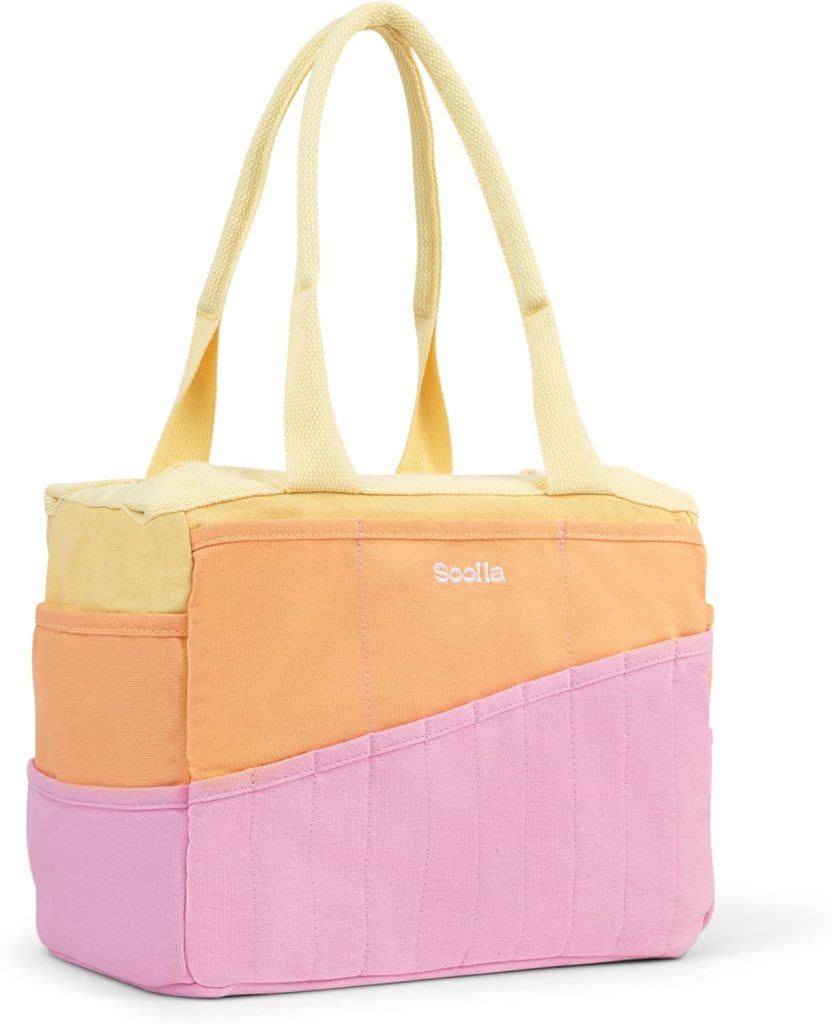
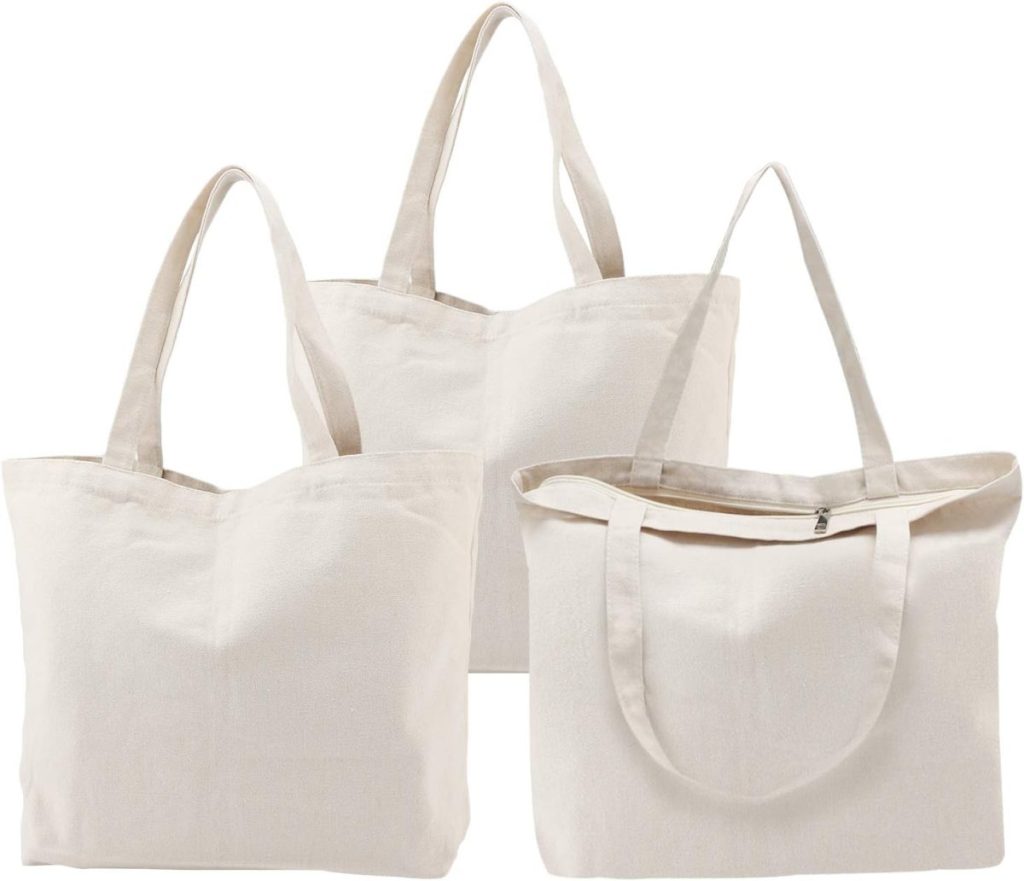
- tote bags
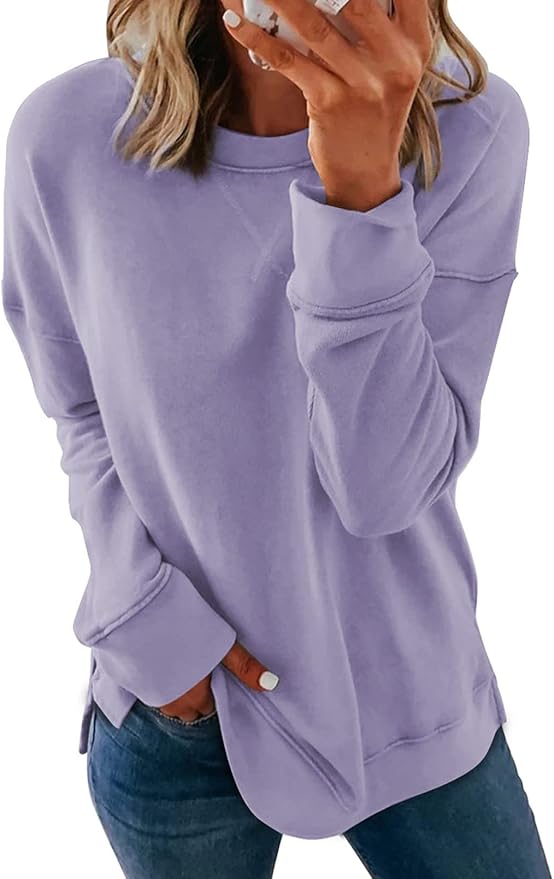
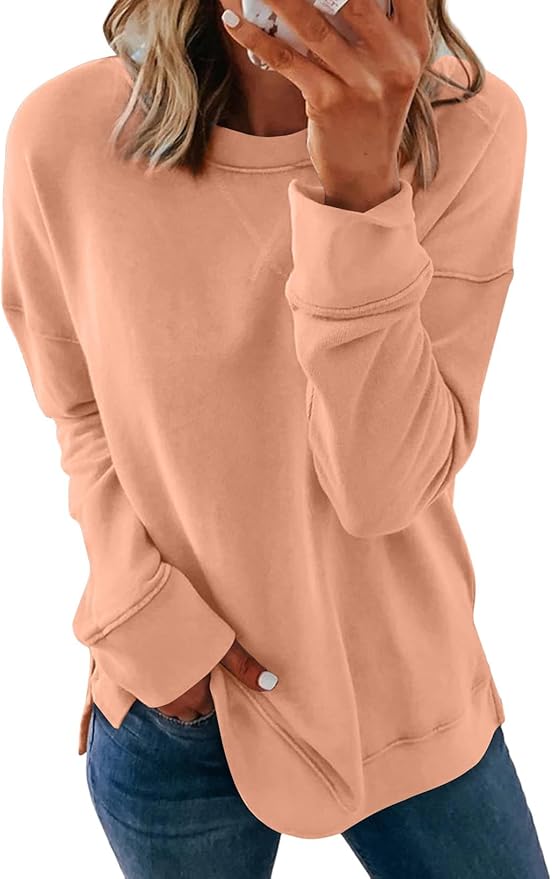
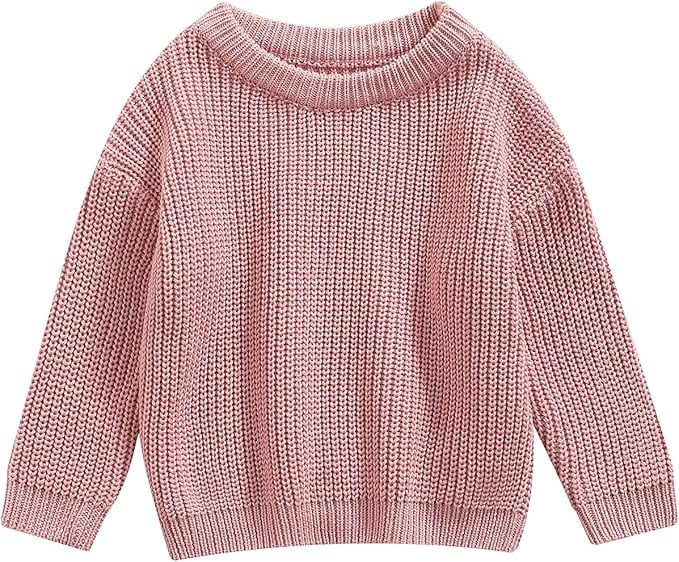
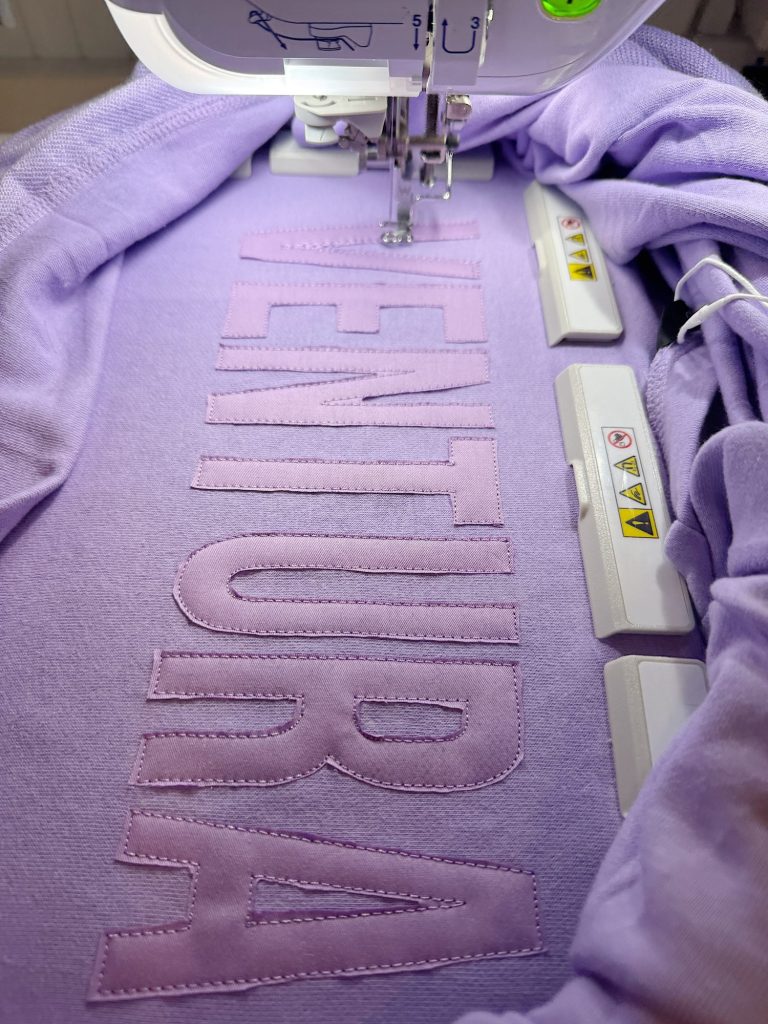
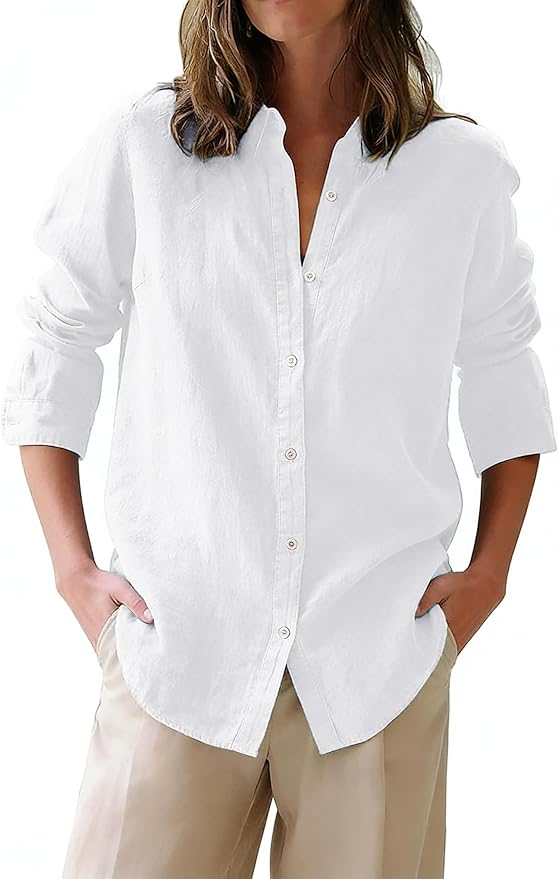
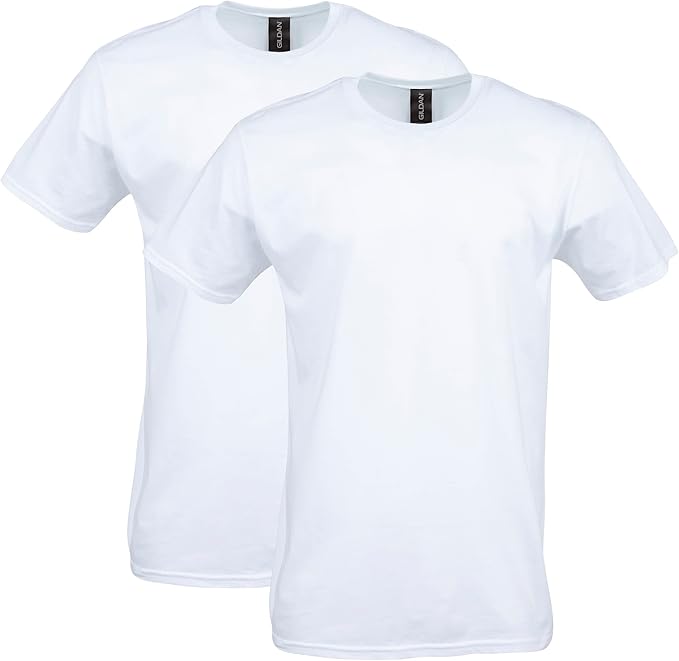
- sweatshirts
- quilt blocks
- cotton fabric bundles

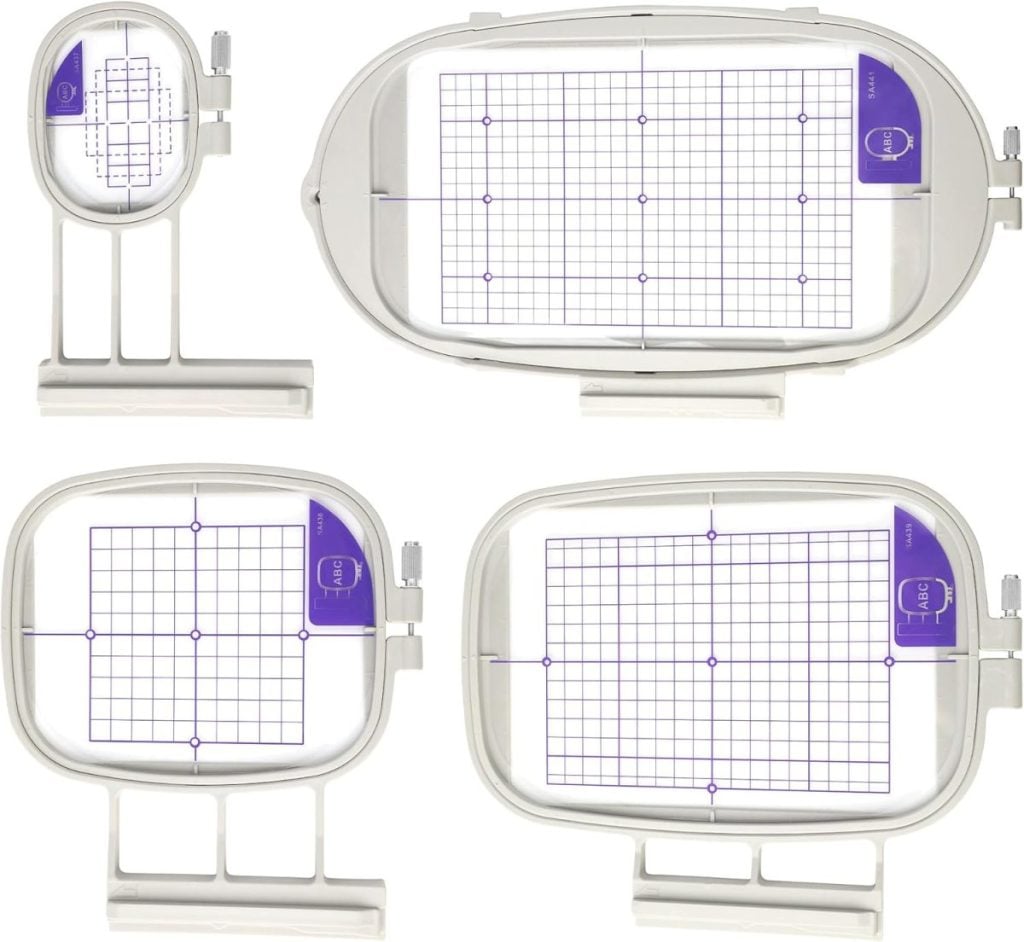
Hoop Size Matters More Than You Think
One thing I definitely did not understand when I bought my first embroidery machine was how much hoop size affects what you can create.
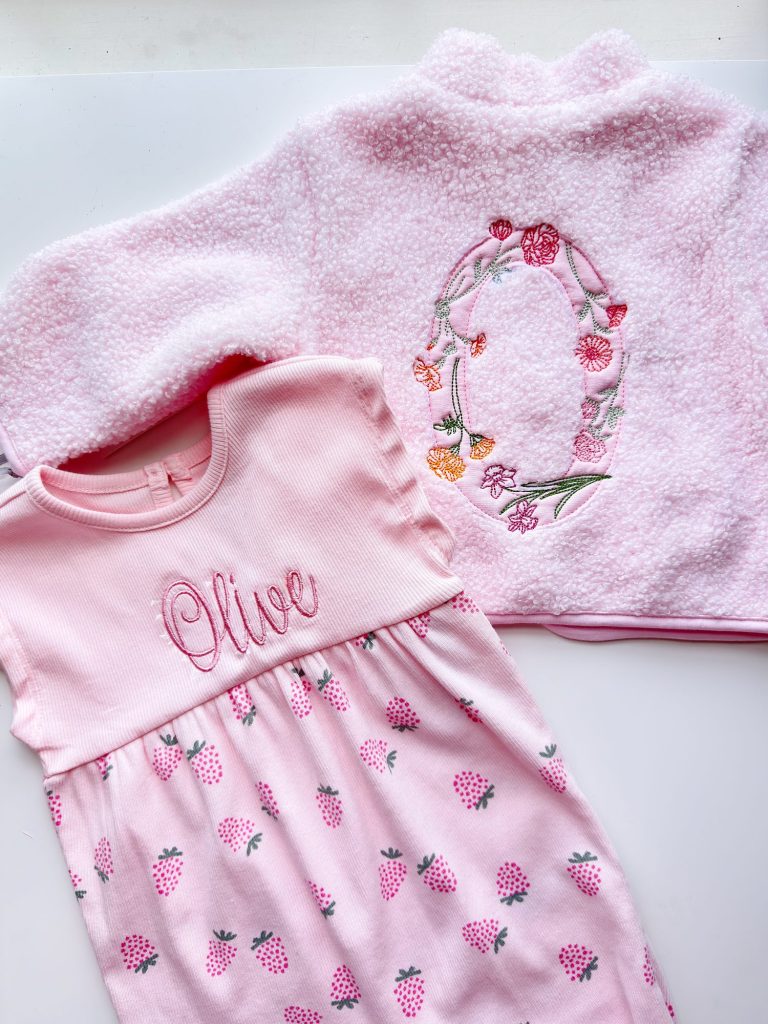
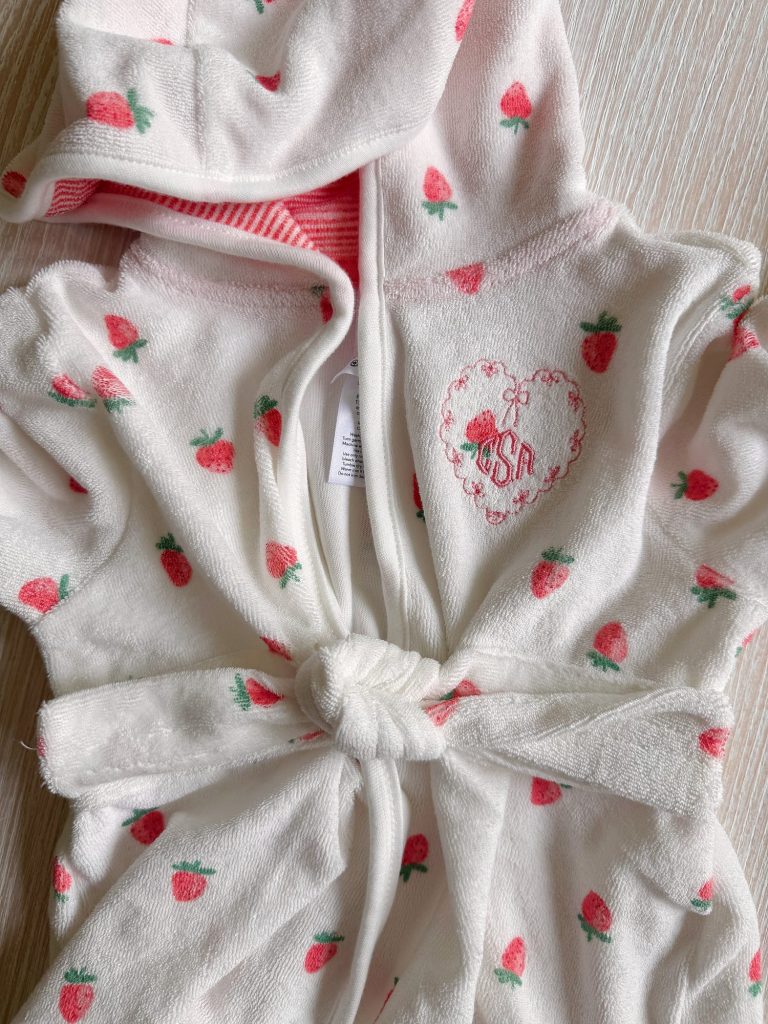
My first machine, the Brother PE770, had a max 5” x 7” hoop, which is still an excellent size for many projects. I used it for:
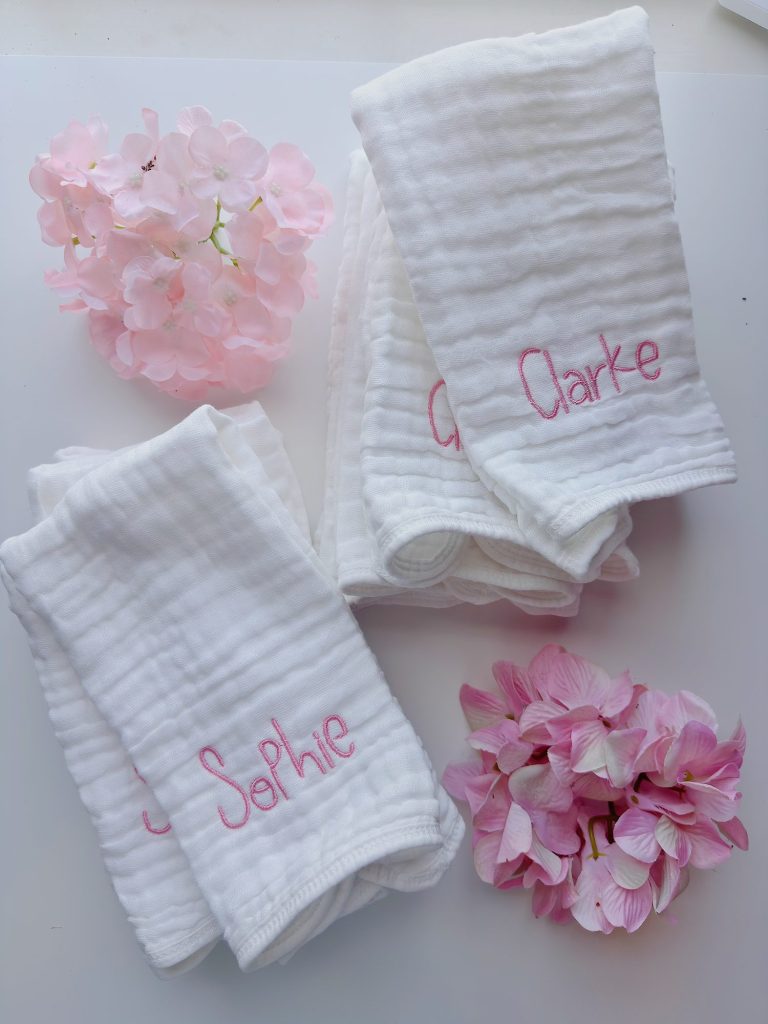
- monograms
- towels
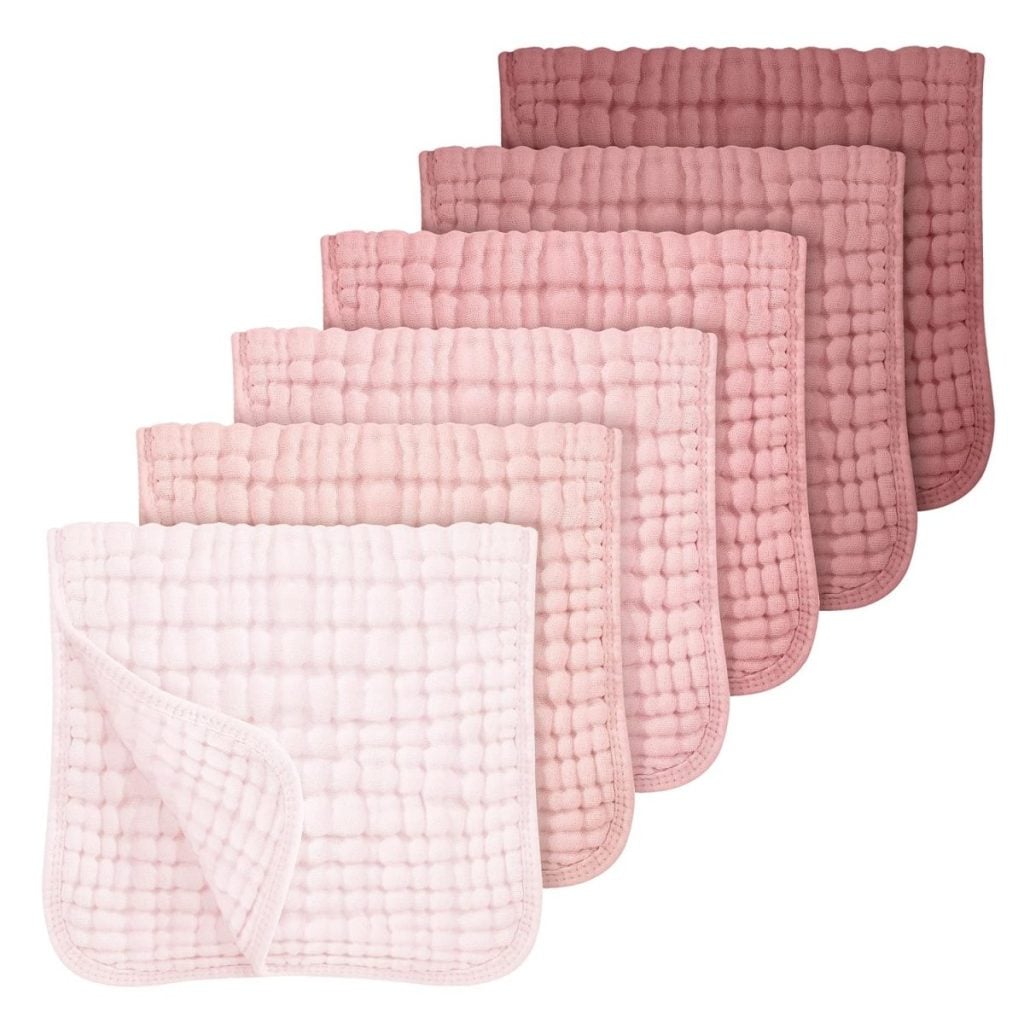
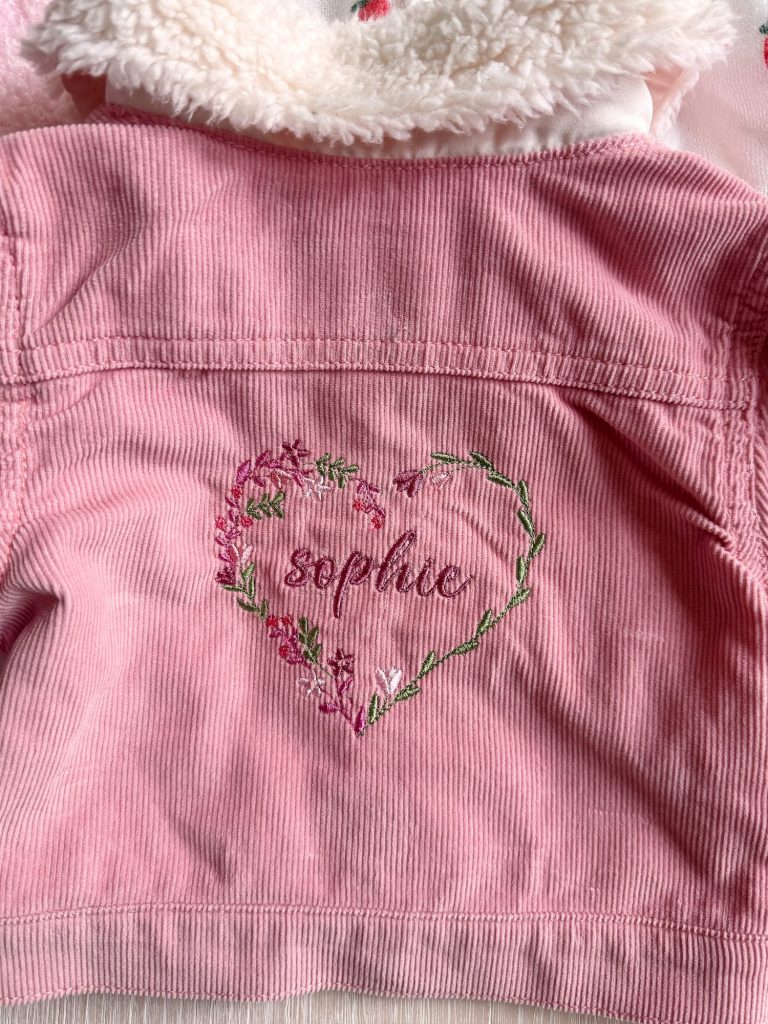
- baby gifts
- smaller decorative designs
- simple clothing projects
And honestly, it is still a fantastic embroidery machine.
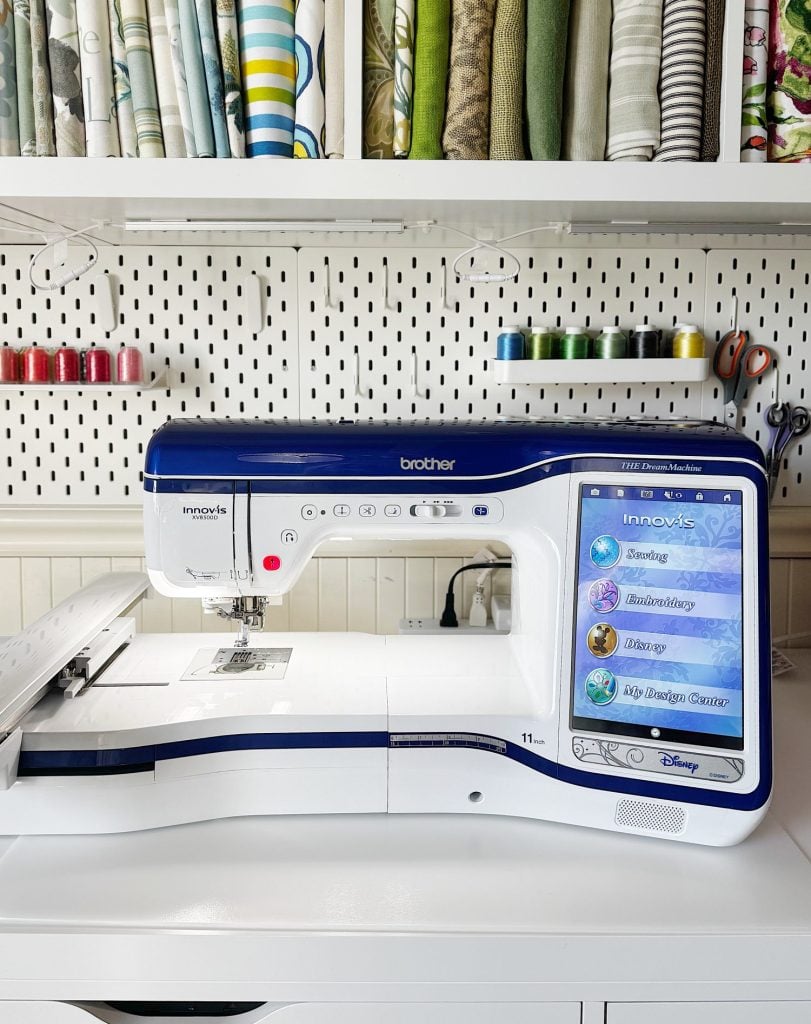
But when I upgraded to my Brother Dream Machine XV8500D with a much larger embroidery field, it completely expanded my creativity.
Suddenly, I could embroider:
- larger quilt blocks
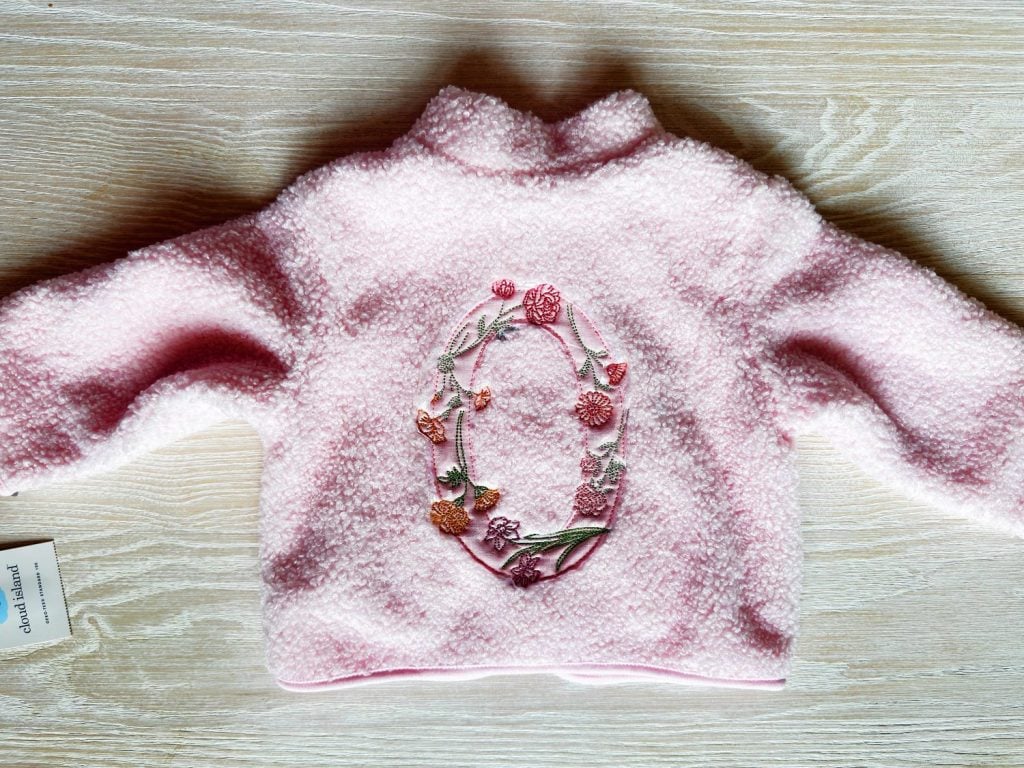
- oversized floral designs
- bigger statement projects
- home decor pieces
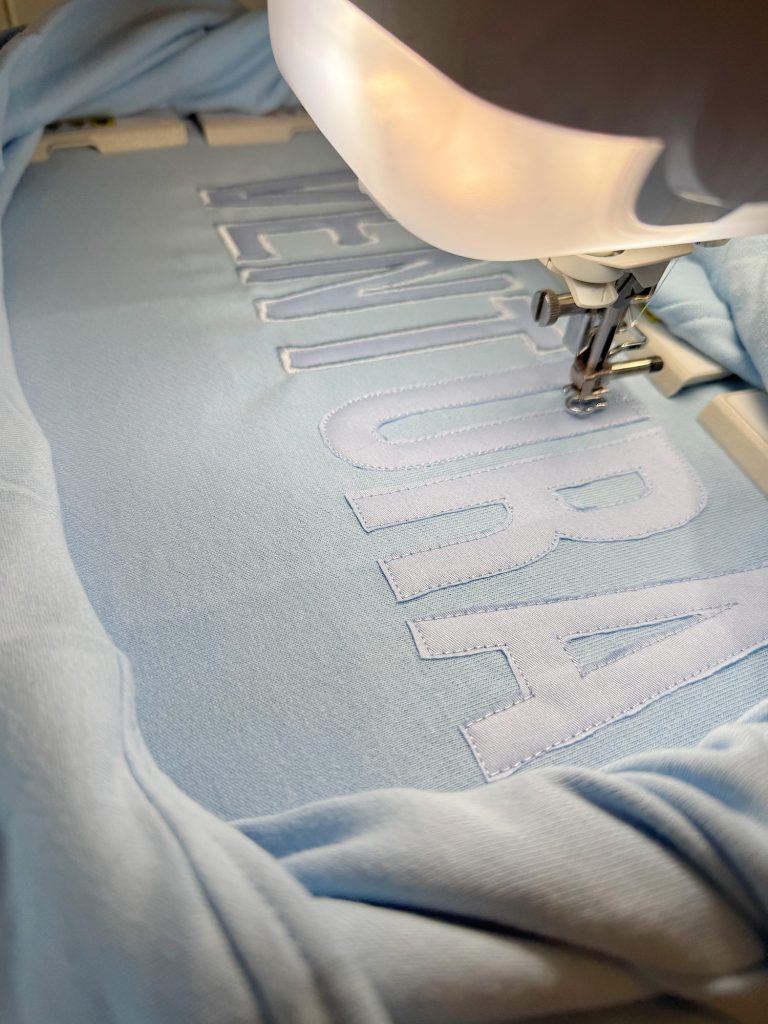
- jackets and sweatshirts
- larger artistic embroidery
The larger hoop simply opened the door to more possibilities.
And that is really what embroidery is all about. The more comfortable you become with your machine, the more creative ideas you start imagining.
Embroidery Supplies I Love
Some of my favorite embroidery additions now include:
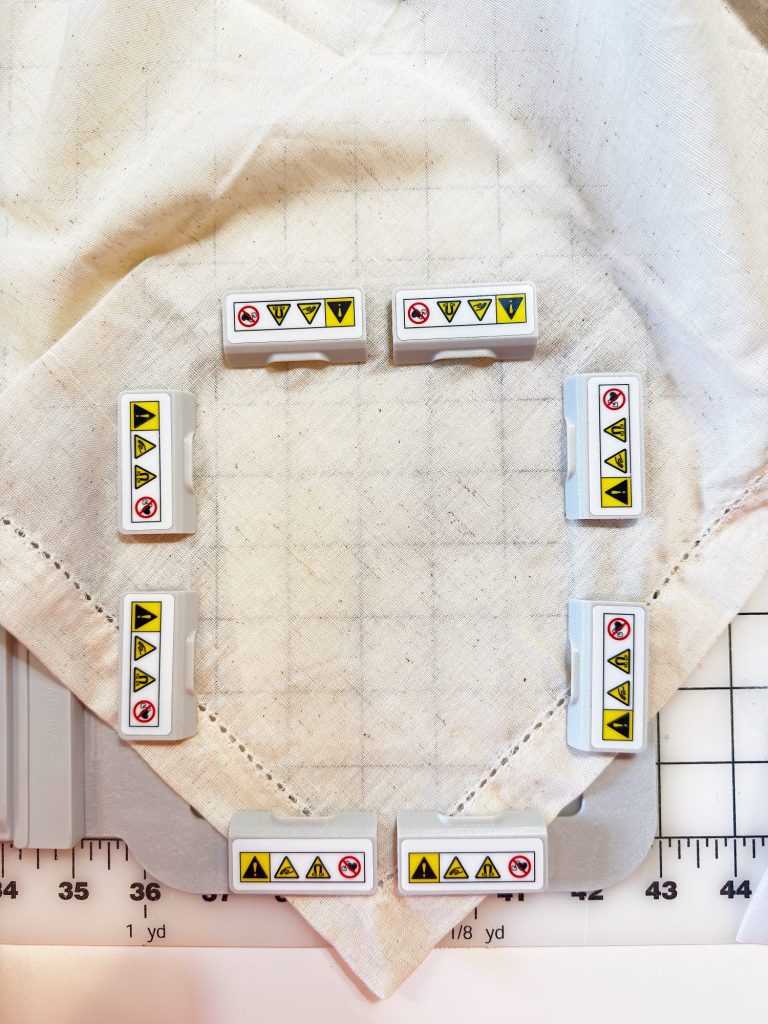
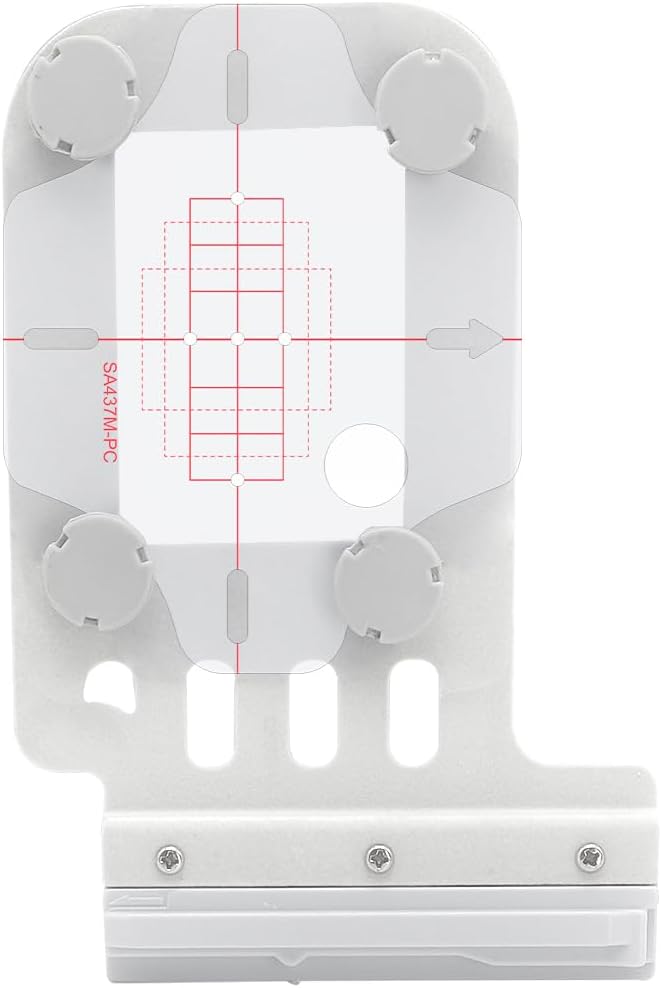
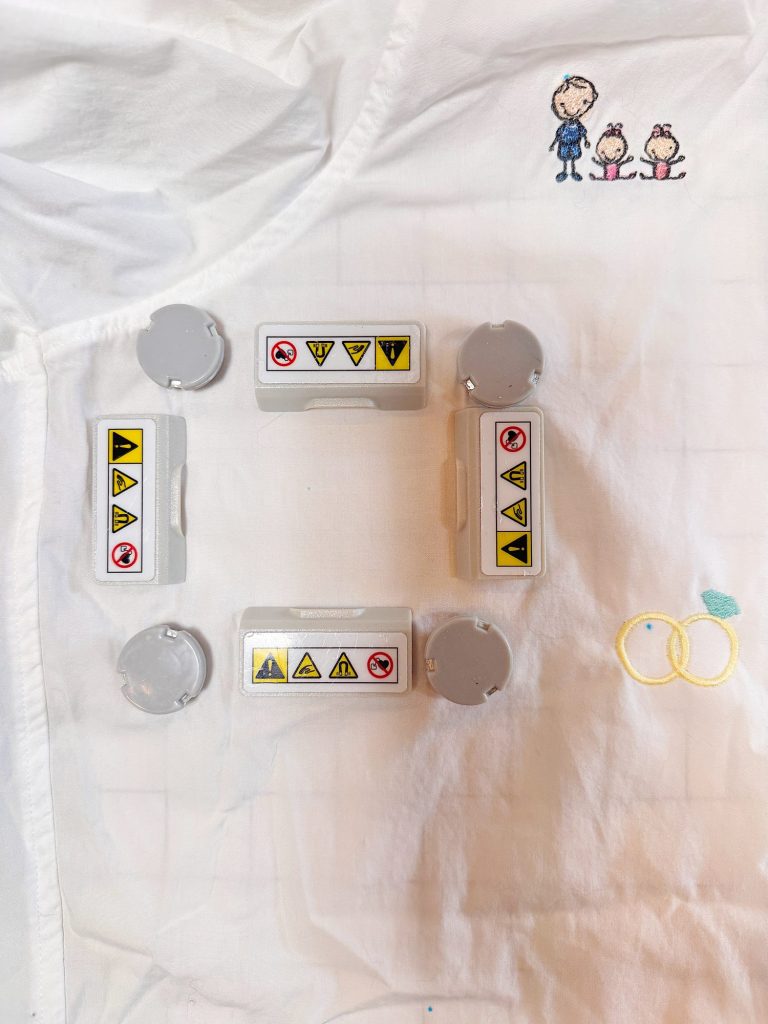
- magnetic hoops
- hoop organizers
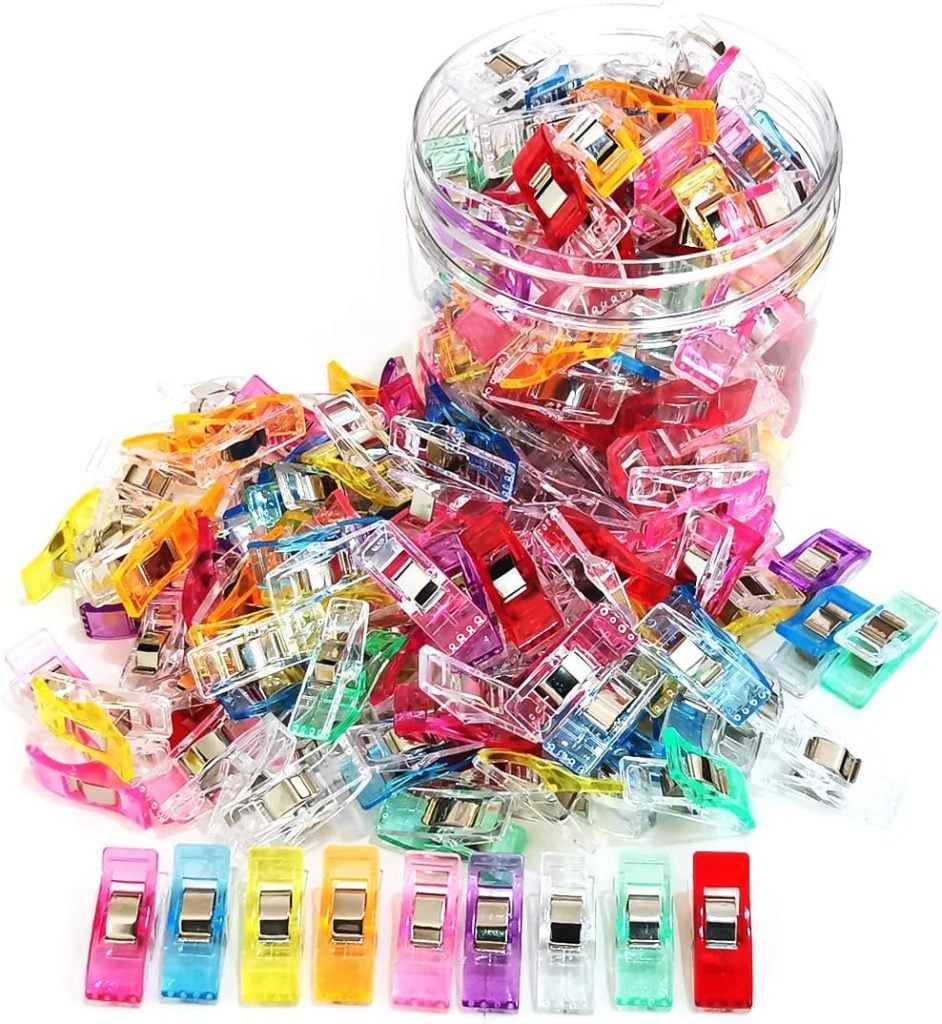
- embroidery clips
- stabilizer magnets
- hoop alignment grids
These small upgrades truly make embroidery easier and more enjoyable.
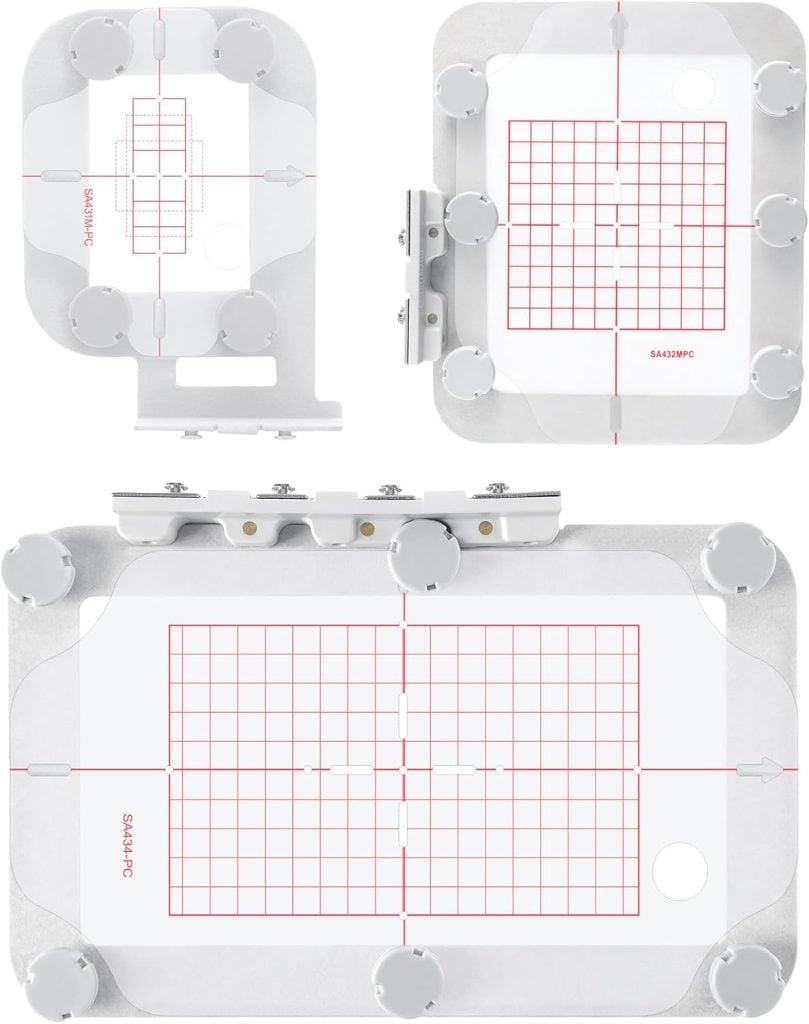
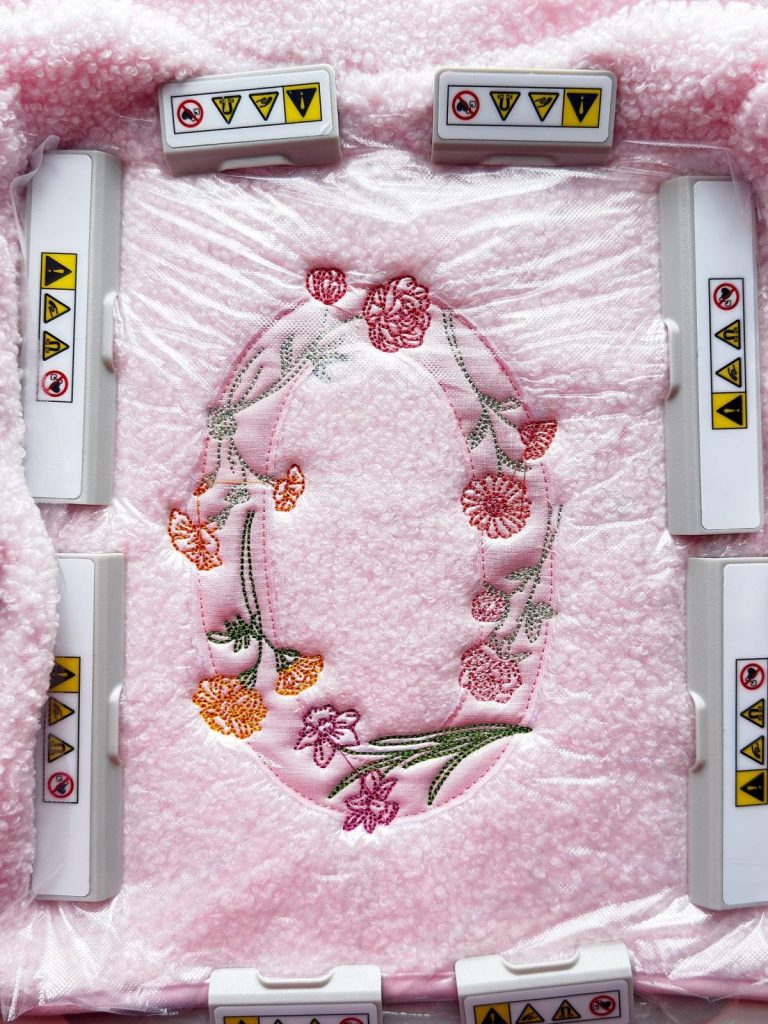
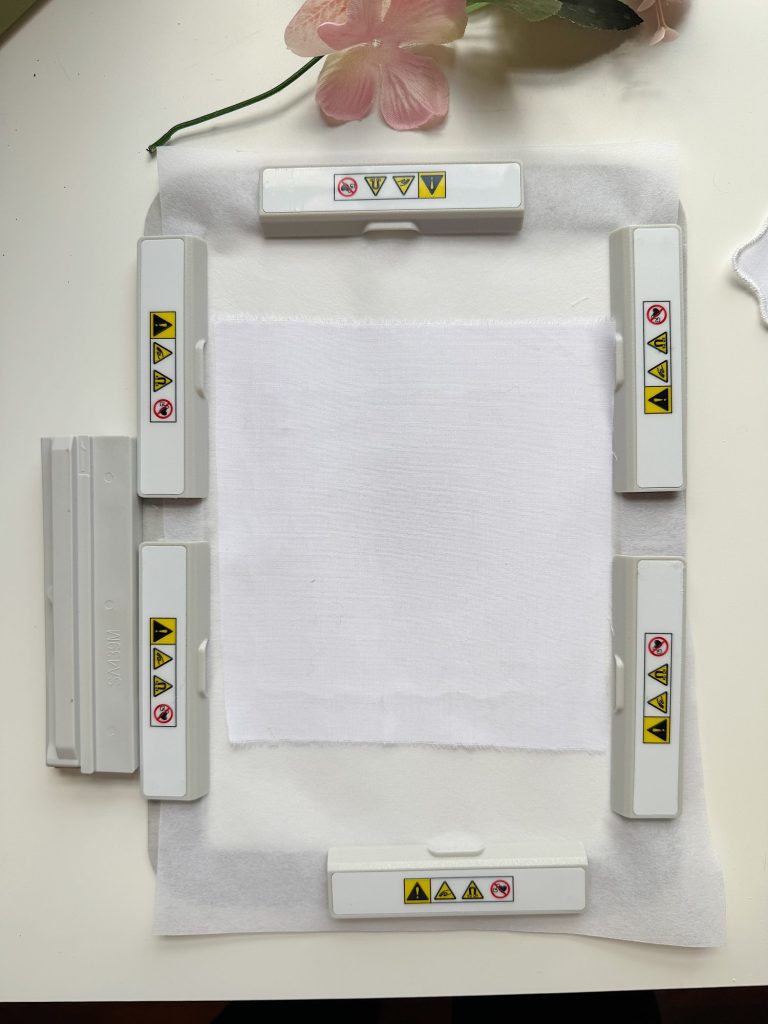
Magnetic Hoops Completely Changed Embroidery for Me
Of all the things I wish I had discovered earlier, magnetic hoops are probably near the top of the list.
For years, the one thing I struggled with most in machine embroidery was hooping.
I loved the embroidery itself, but hooping often felt frustrating and stressful.
Trying to get the fabric perfectly tight, keeping everything straight, managing bulky projects, and worrying about distorting the fabric sometimes made me avoid starting projects altogether.
And thick fabrics could be especially frustrating.
Sweatshirts, layered quilts, towels, and heavier fabrics always felt difficult to hoop properly.
Then I discovered magnetic hoops.
And honestly, they completely changed embroidery for me.
Suddenly, hooping became:
- easier
- faster
- more accurate
- less frustrating
- much more enjoyable
The magnetic system holds fabric beautifully without forcing or stretching the material, unlike traditional hoops sometimes do.
I also love that magnetic hoops are easier on your hands, especially during larger projects.
Now embroidery feels much more approachable because the part I once struggled with most no longer feels difficult.
And that one change made me dramatically more creative because I became excited to start projects instead of worrying about the setup.
My Favorite Magnetic Hoop Accessories
These are some of the embroidery tools I use constantly now:
- magnetic hoops in multiple sizes
- hoop alignment guides
- sticky stabilizer
- embroidery clips
- hoop storage systems
These are all wonderful affiliate opportunities because they truly make embroidery easier.
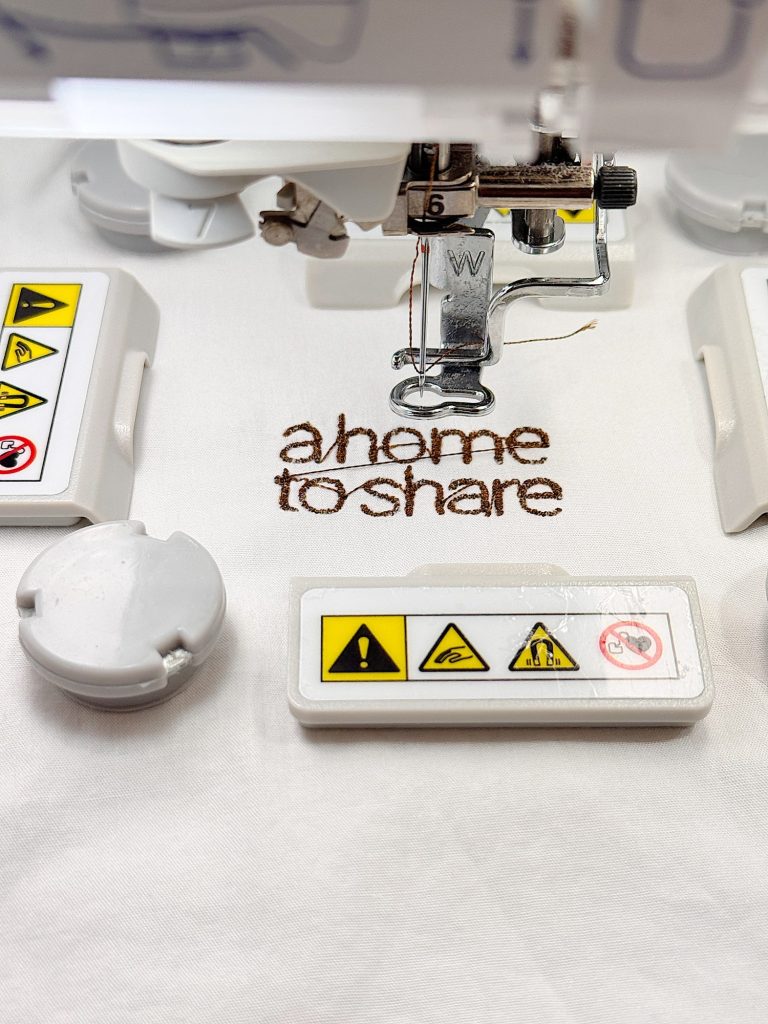
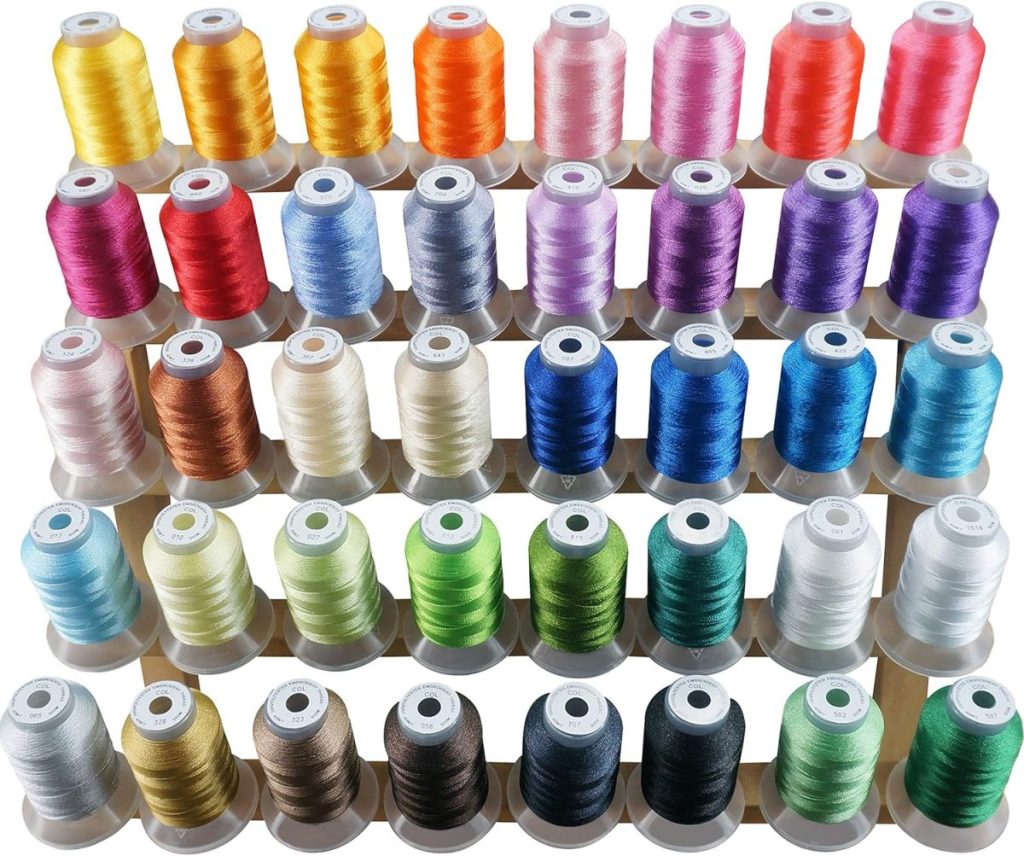
Thread Is Half the Fun

When I first started embroidering, the thread felt confusing.
Now it is one of my favorite parts of embroidery.
And I learned something really important. If you use polyester thread, it won’t fade when washed with bleach. That is so important!
I love choosing thread colors almost as much as I love stitching the project itself.
Embroidery thread adds:
- texture
- shine
- dimension
- personality
- softness
- contrast
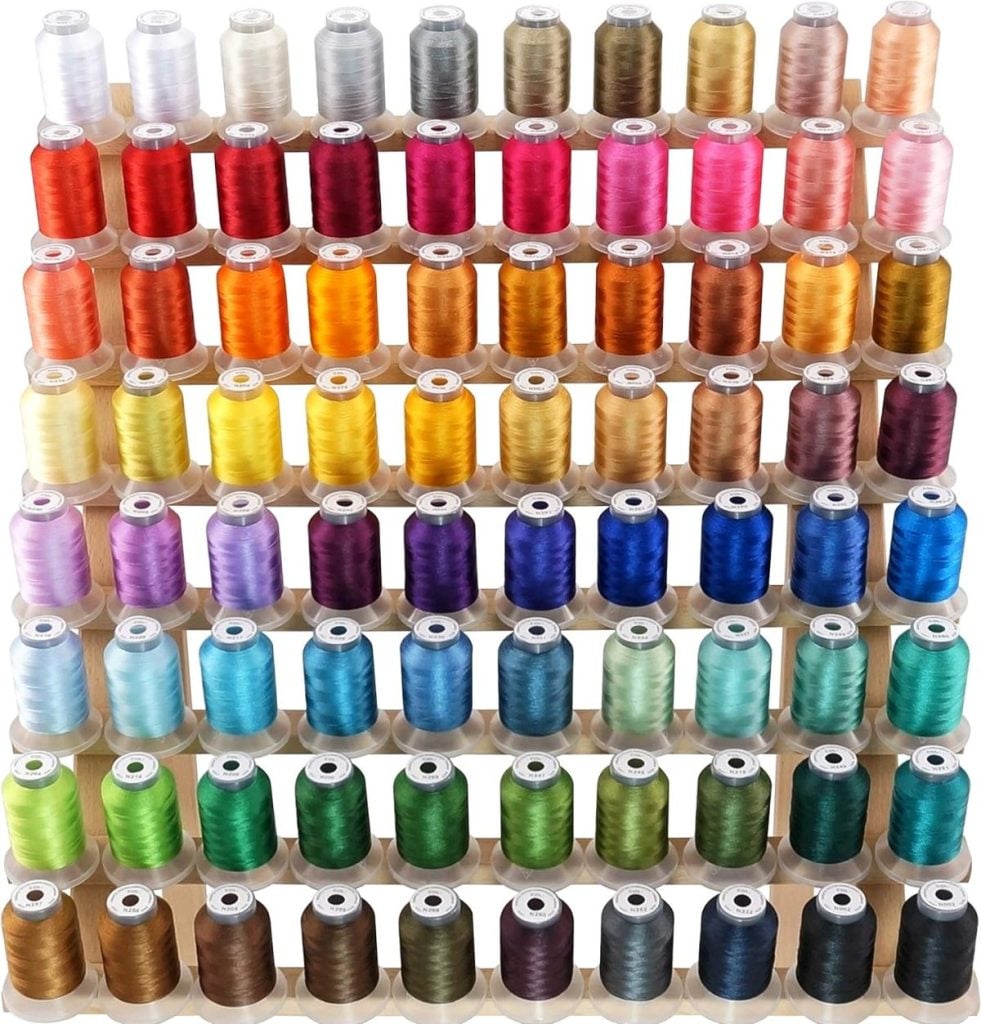
And once you start collecting thread colors, it becomes surprisingly addictive.
I especially love:
- soft neutral palettes
- seasonal color collections
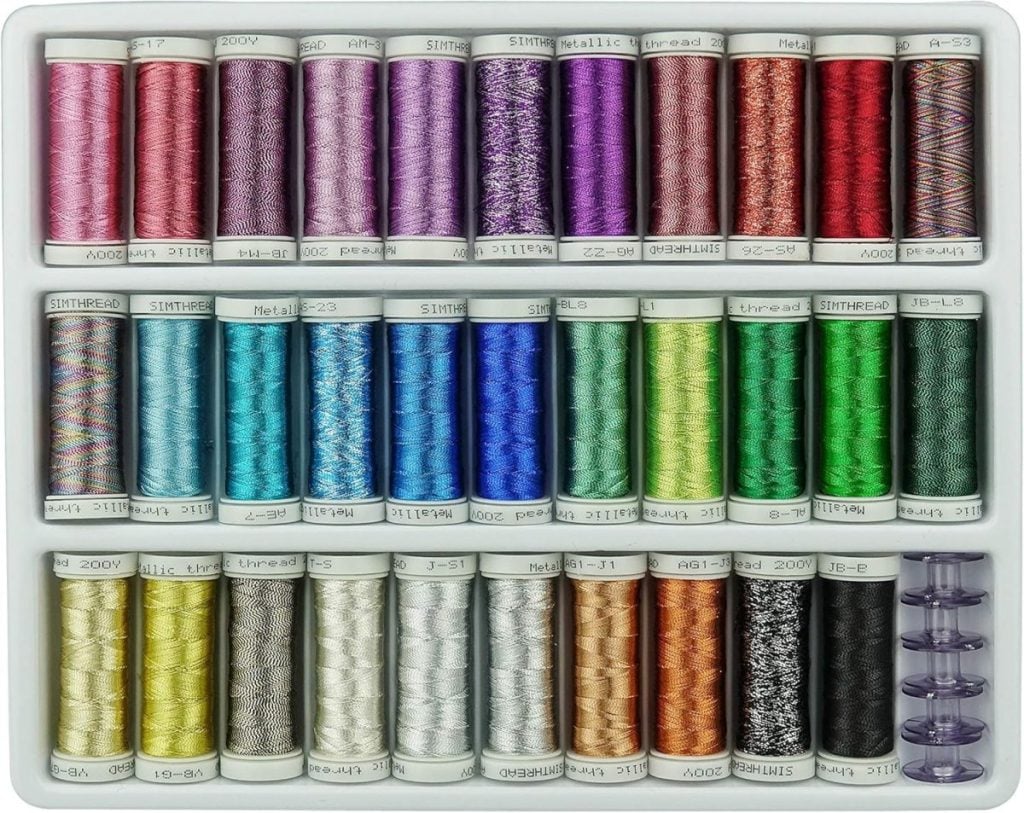
- metallic thread
- variegated thread
- matte embroidery thread
Even simple embroidery designs can look completely different depending on the thread you use.
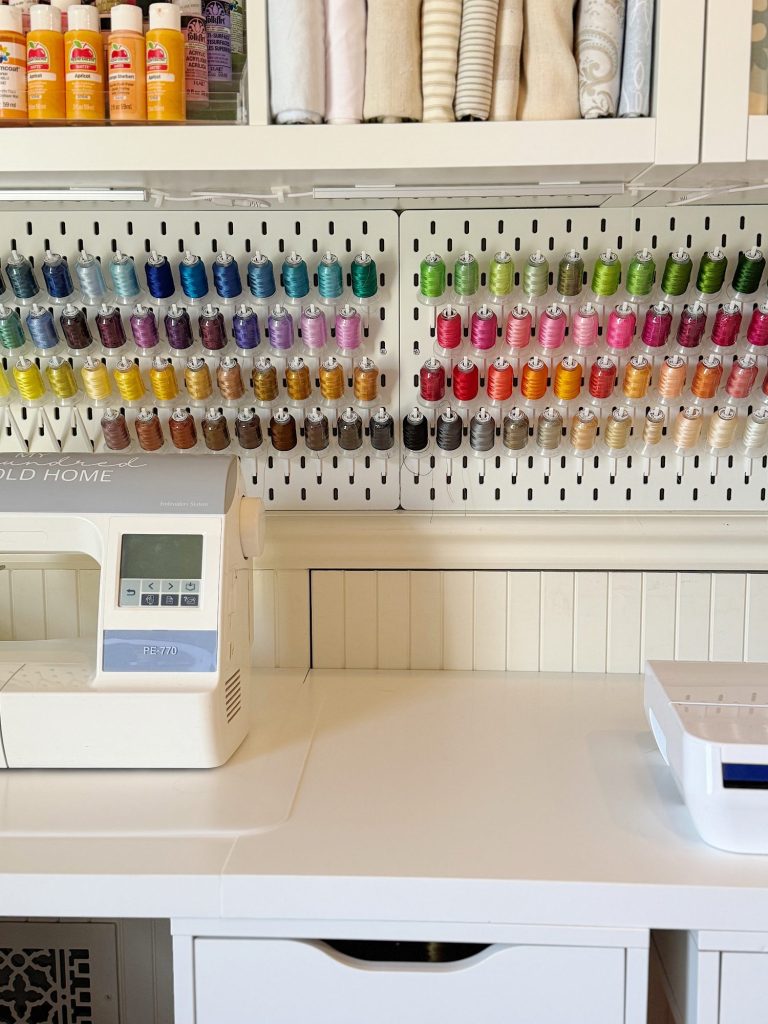
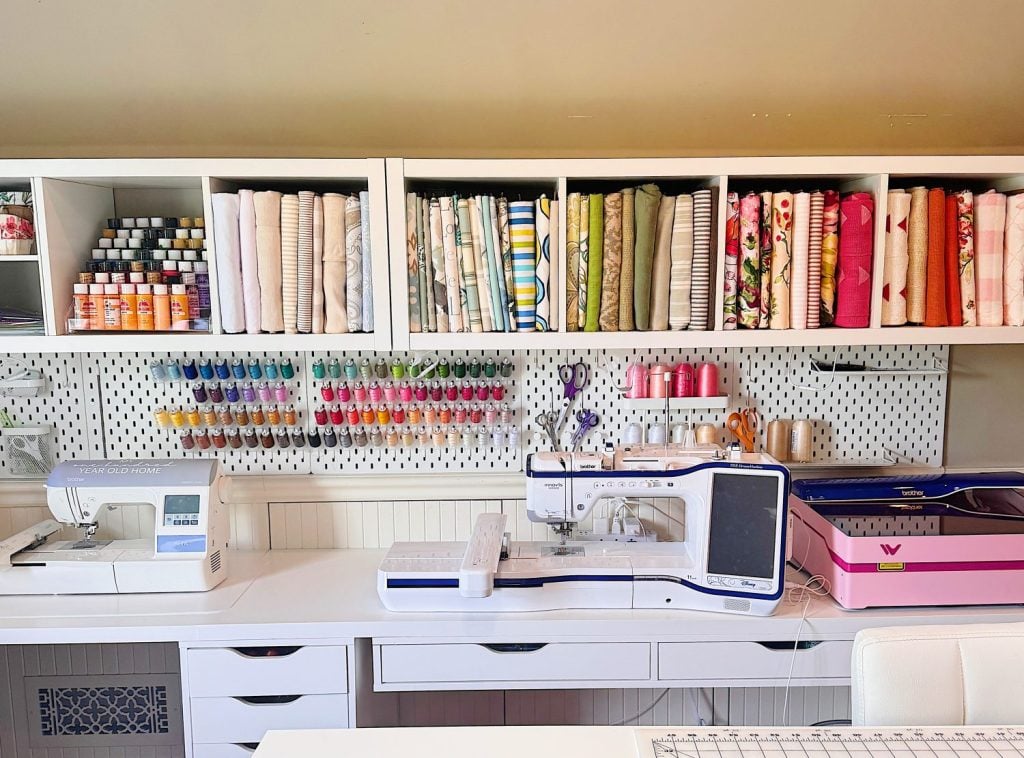
And thread organization becomes important quickly because collections grow very fast.
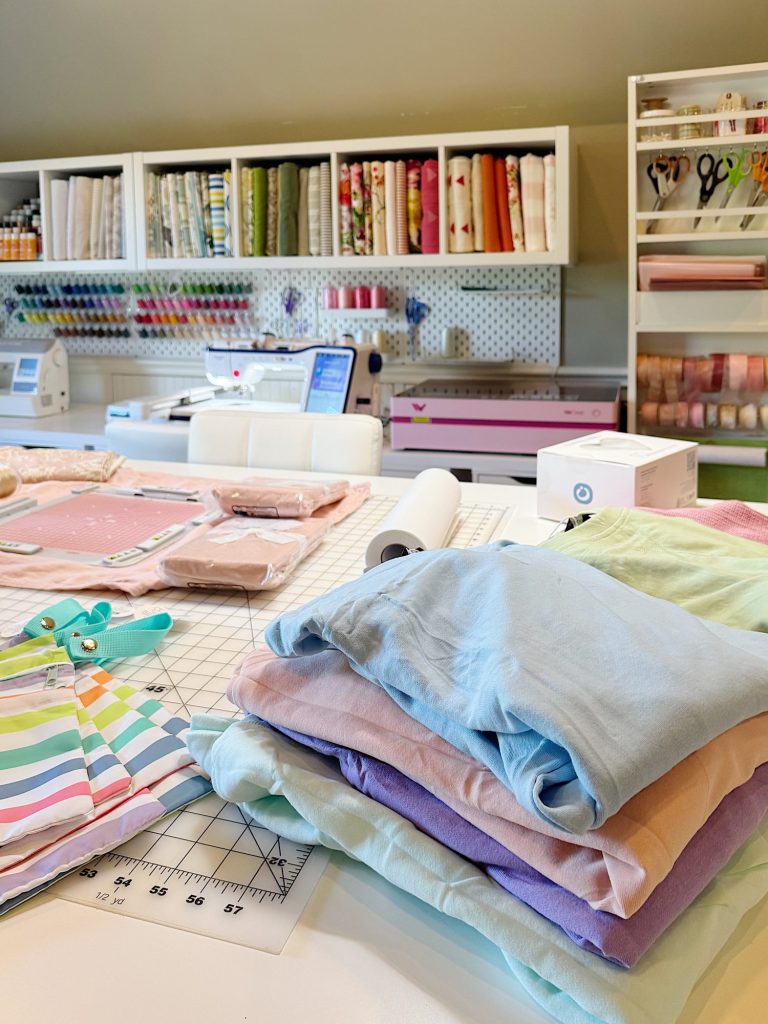
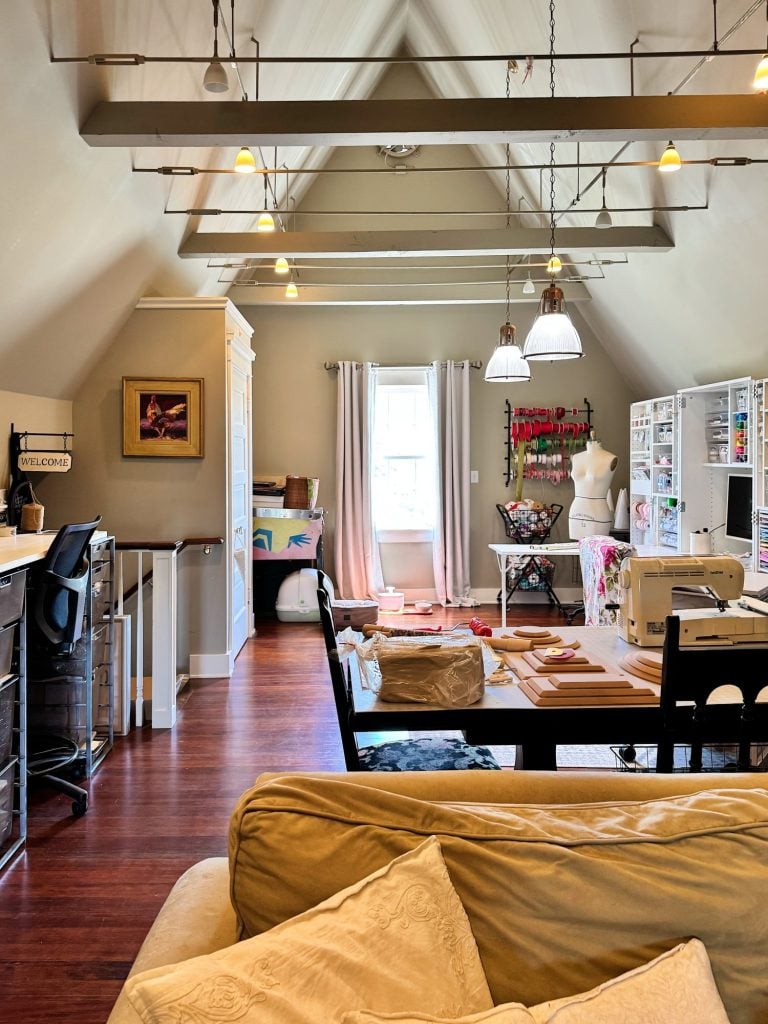
One of my favorite features in my craft room is seeing rows of colorful thread organized by shade. It feels inspiring every time I walk into the room.
Embroidery Thread Favorites
Some embroidery supplies I reach for constantly include:
- thread collections
- metallic thread
- bobbin organizers
- thread wall racks
- pre-wound bobbins
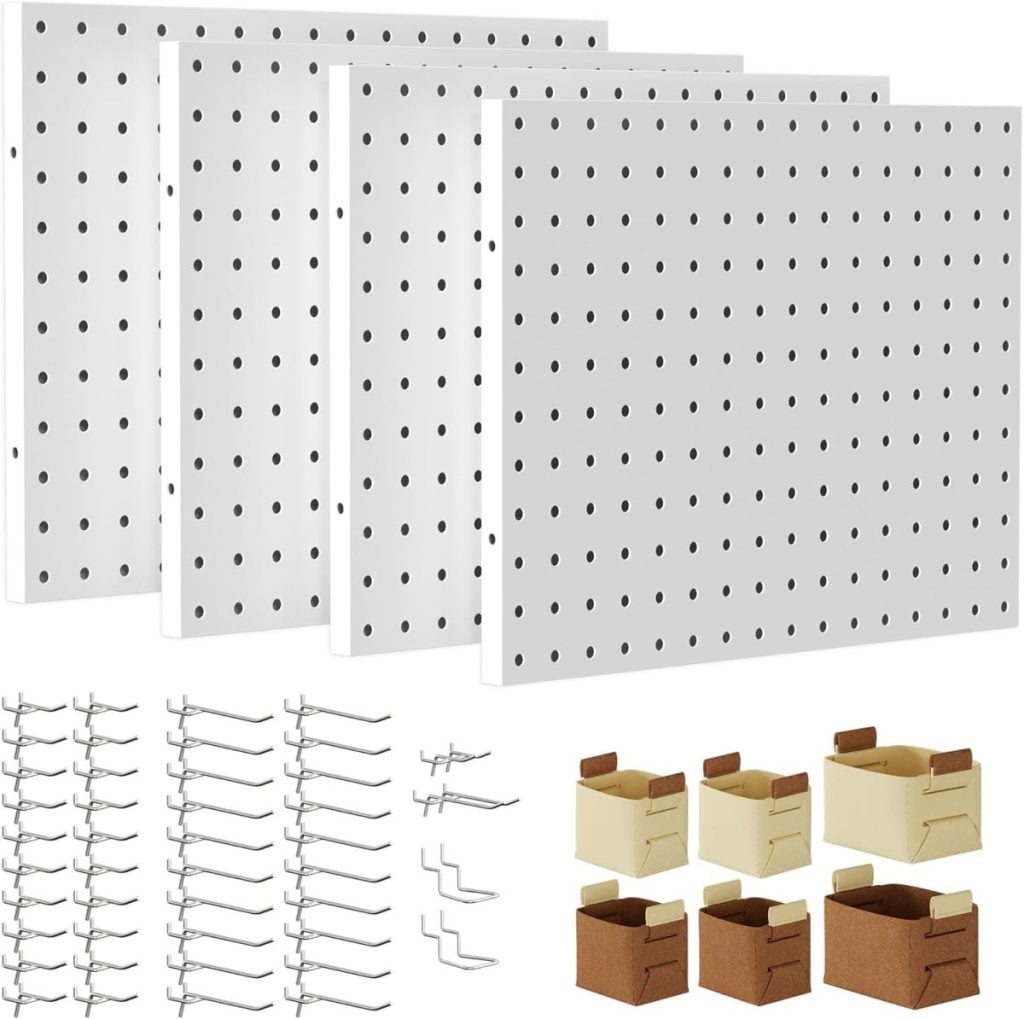
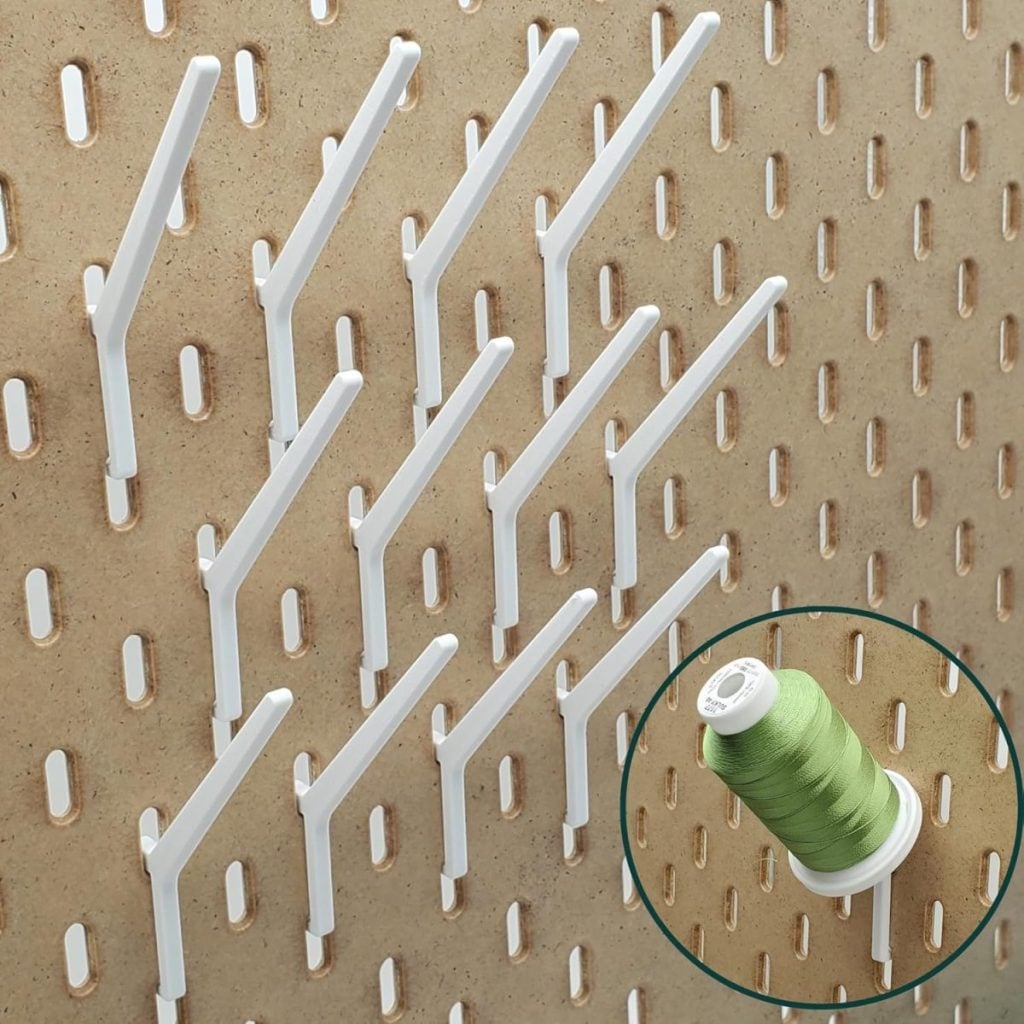
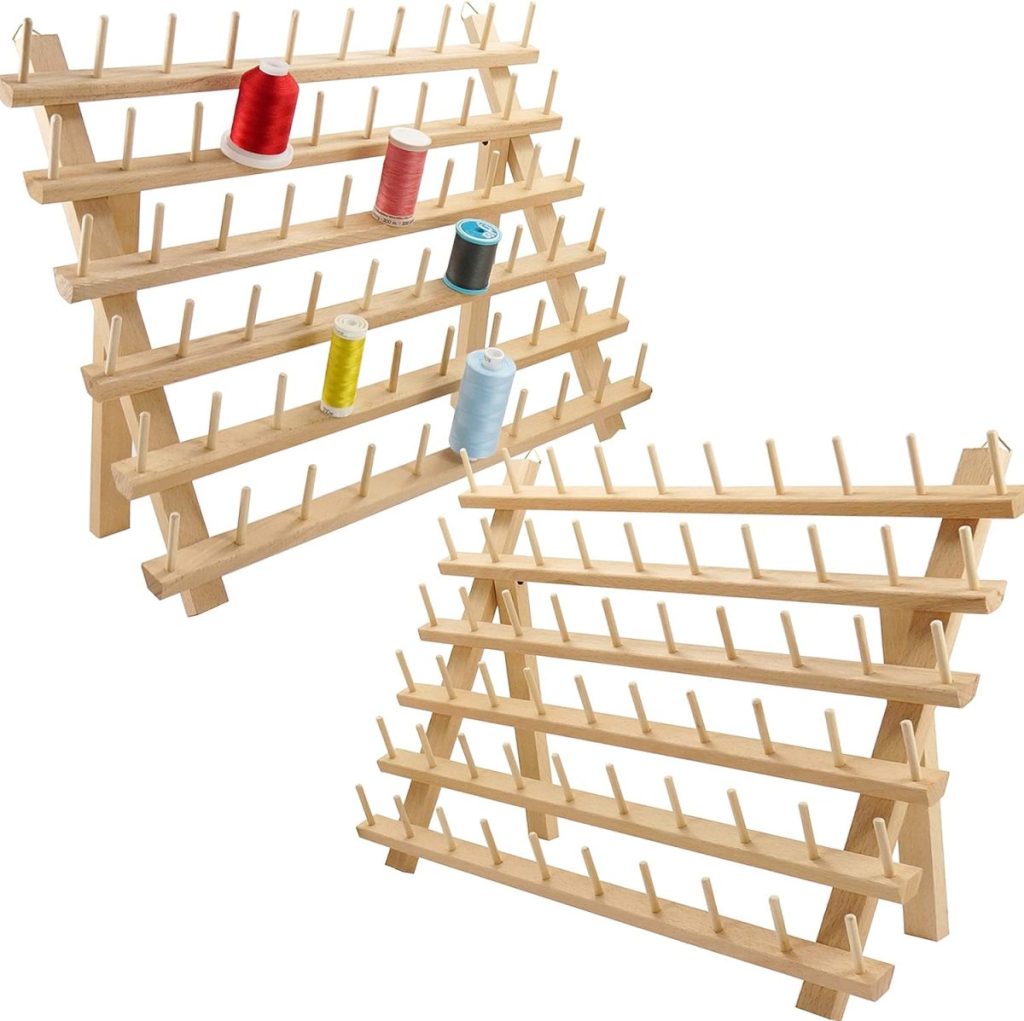
These also make fantastic gift ideas for anyone who loves embroidery.
Stabilizer Is the Secret Nobody Talks About
If there is one thing I wish someone had explained to me fifteen years ago, it is this:
Stabilizer matters just as much as the embroidery machine.
When beginners struggle with embroidery, it is often because they are using the wrong stabilizer.
The good news is that stabilizers become much easier to understand with practice.
Now I regularly use:
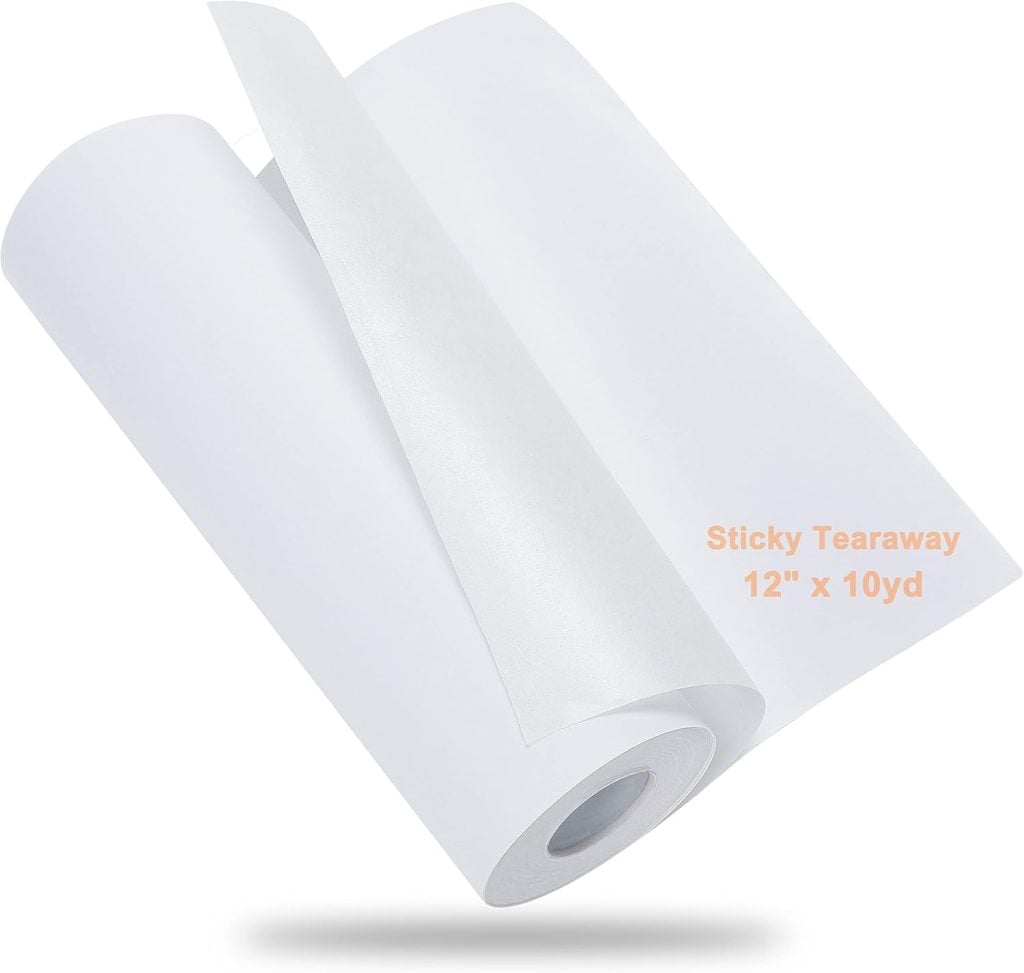
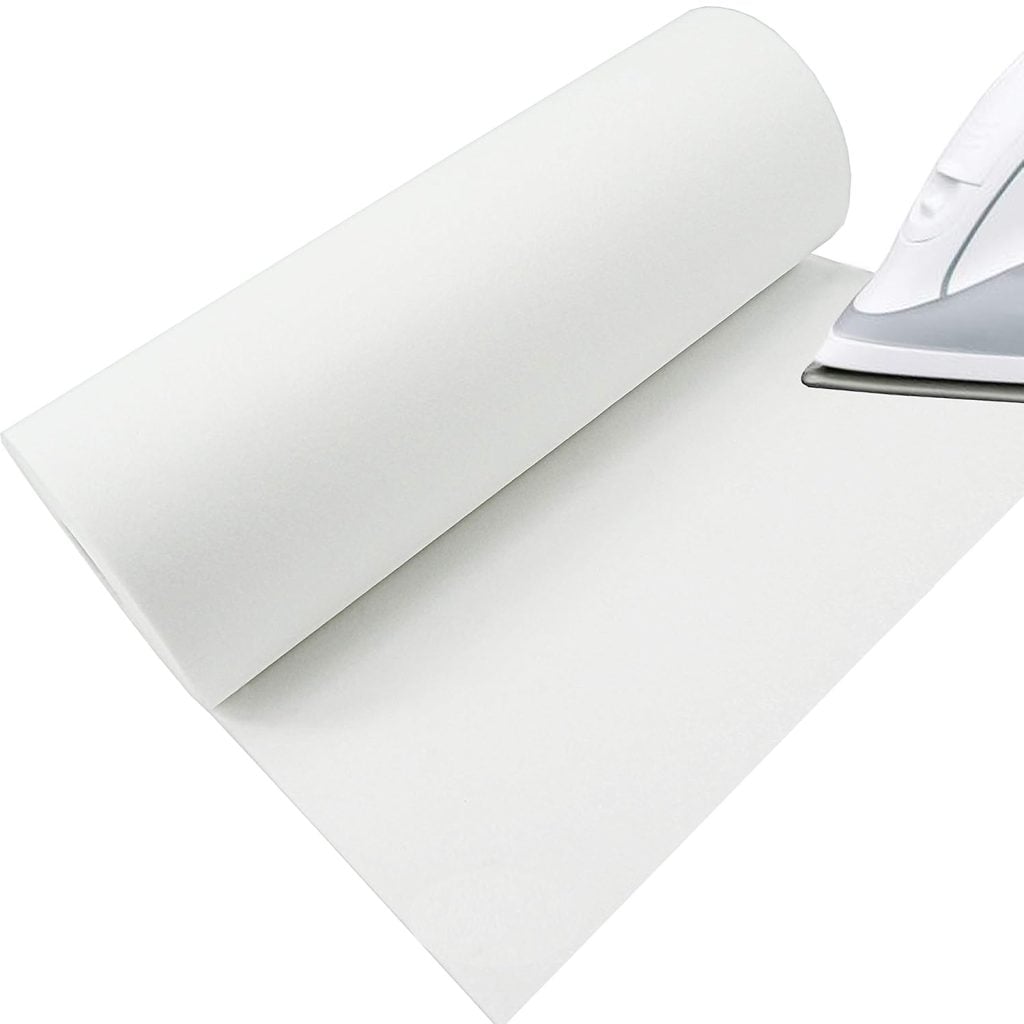
- tear-away stabilizer
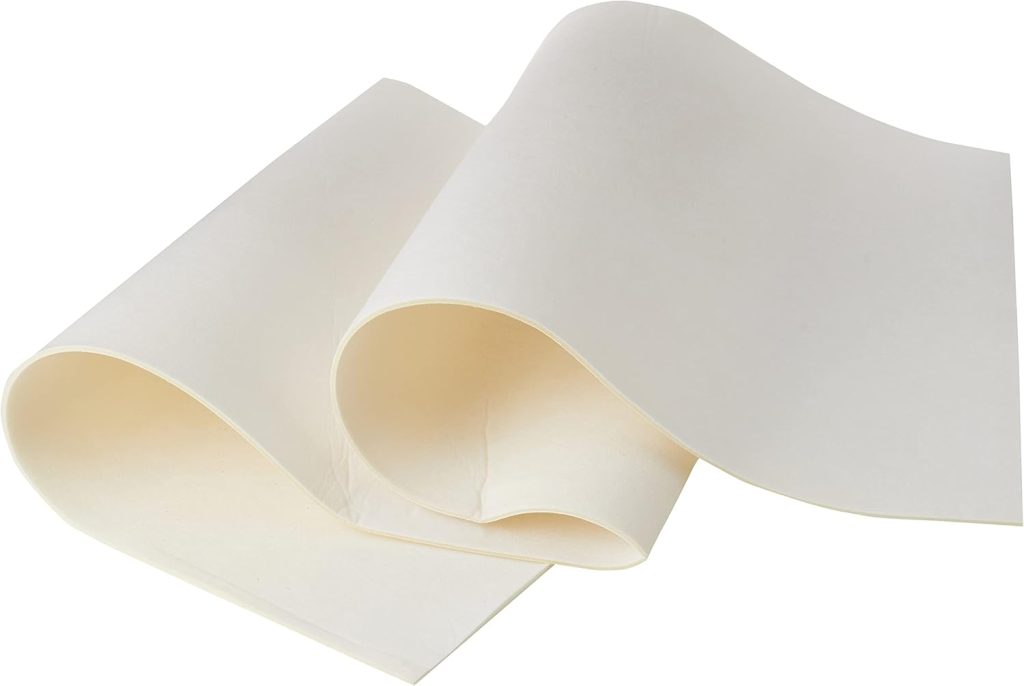
- cut-away stabilizer
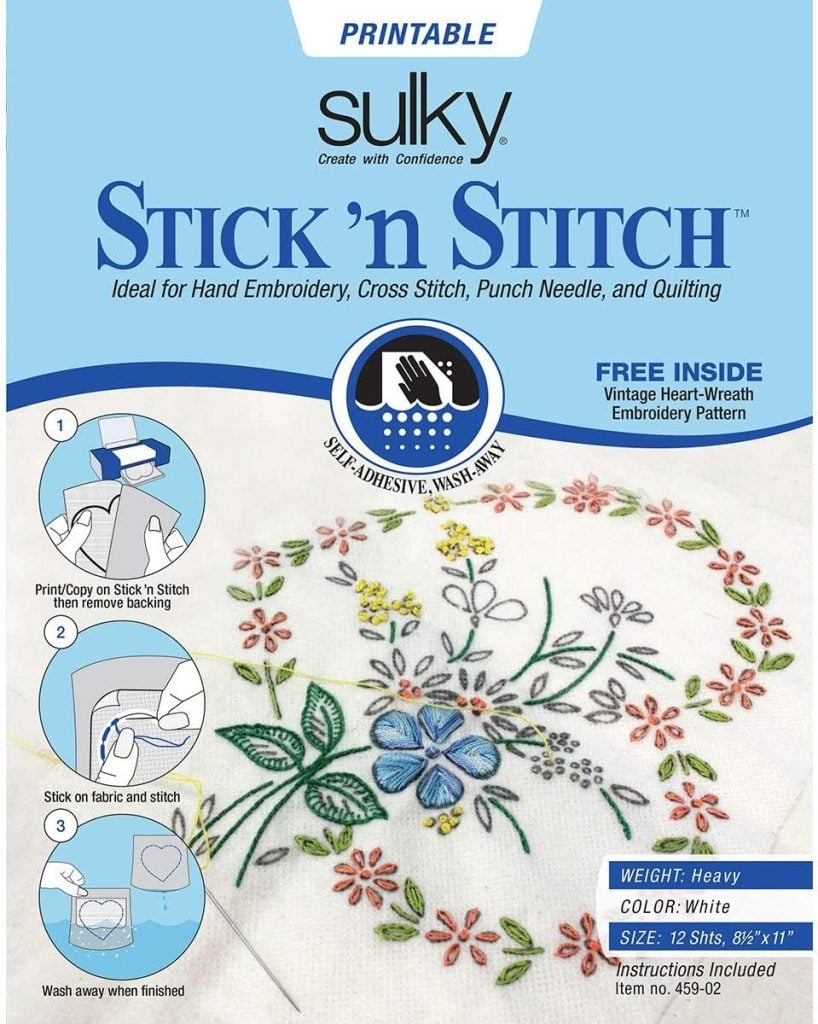
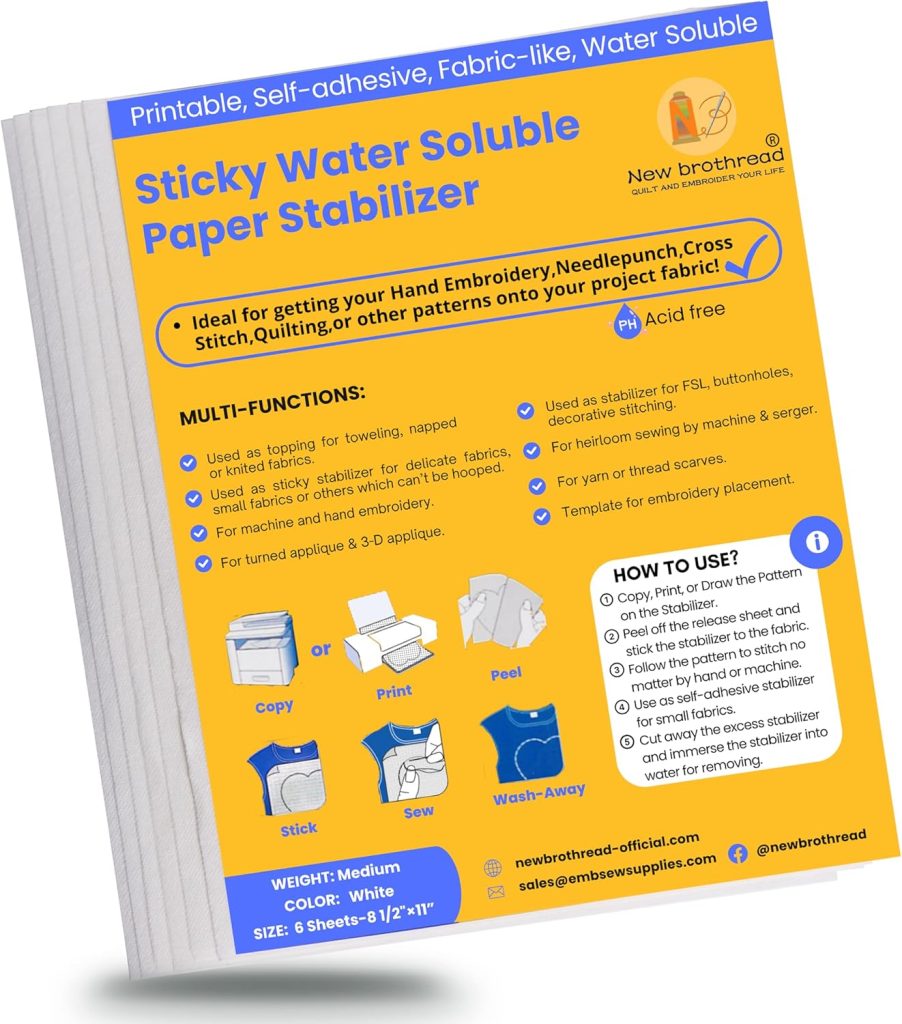
- wash-away stabilizer
- sticky stabilizer
- water-soluble topper film
And each one serves a different purpose depending on the fabric and project.
Once I understood stabilizer, embroidery suddenly became much easier and more consistent.
Stabilizer Supplies I Love
Some of my most-used embroidery supplies are:
- stabilizer variety packs
- pre-cut stabilizer sheets
- sticky stabilizer
- topper film
- stabilizer organizers
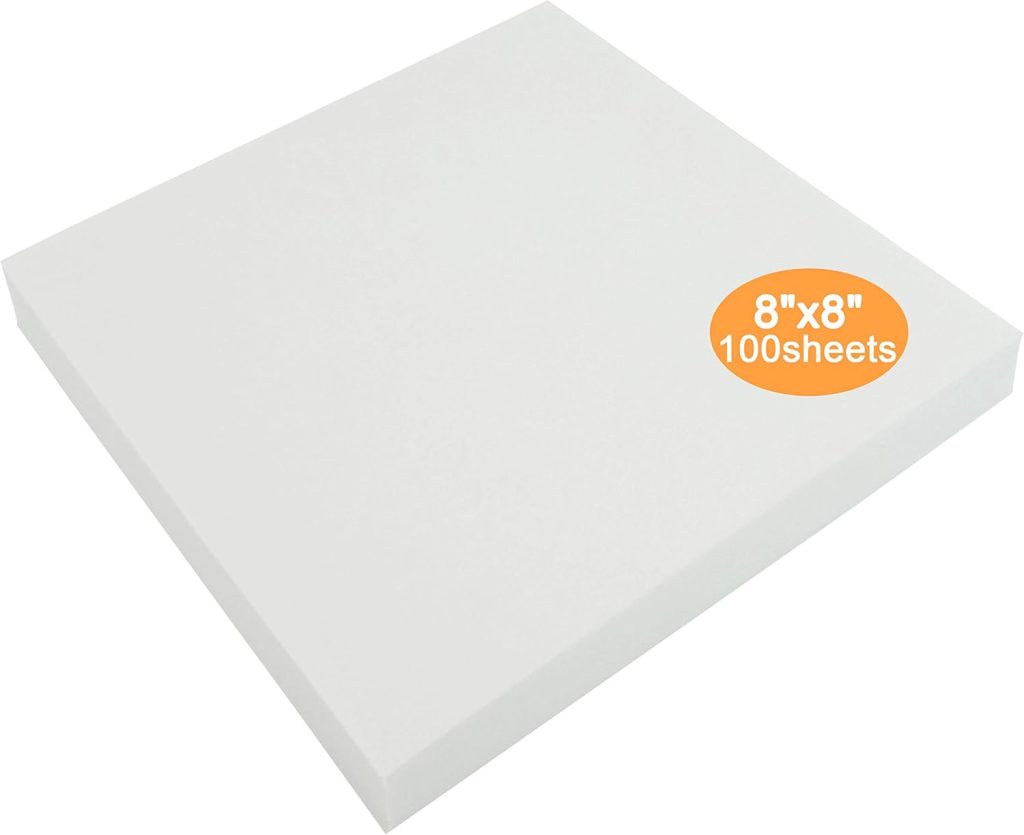
These are the behind-the-scenes supplies that truly help embroidery projects succeed.
Stay tuned for more posts about stabilizers!
What You Need to Know Before Buying an Embroidery Machine
One of the questions I get asked most often is:
“What embroidery machine should I buy?”
And honestly, the answer really depends on what you want to create.
The good news is that today there are so many wonderful embroidery machines available, especially from Brother, the brand I love and use. Some machines are embroidery-only, while others combine sewing and embroidery in one machine. My Brother Dream Machine is both.
When I bought my first embroidery machine fifteen years ago, I really did not understand the differences between machines. I thought they all basically did the same thing.
Now I know there are a few key features that affect:
- what you can create
- how easy the machine is to use
- how much time projects take
- and ultimately, the price of the machine
And honestly, understanding these differences makes shopping for an embroidery machine so much less overwhelming.
Embroidery-Only vs. Sewing + Embroidery Combo Machines
The first thing to decide is whether you want:
- an embroidery-only machine
or - a combination sewing and embroidery machine
An embroidery-only machine focuses entirely on embroidery projects. These are wonderful if your main goal is monogramming, appliqué, decorative stitching, gifts, and embroidery designs.
Combination machines do both sewing and embroidery, which is incredibly convenient if you:
- sew clothing
- quilt
- make home decor
- enjoy multiple types of crafting
I personally love combination machines because I use both features constantly. Being able to sew and embroider on the same machine opens the door to so many creative projects.
But if you already own a perfectly fine sewing machine, you probably just need an embroidery machine.
Embroidery-only machines can sometimes offer larger embroidery fields at lower price points, especially for beginners.
Hoop Size Matters More Than Almost Anything
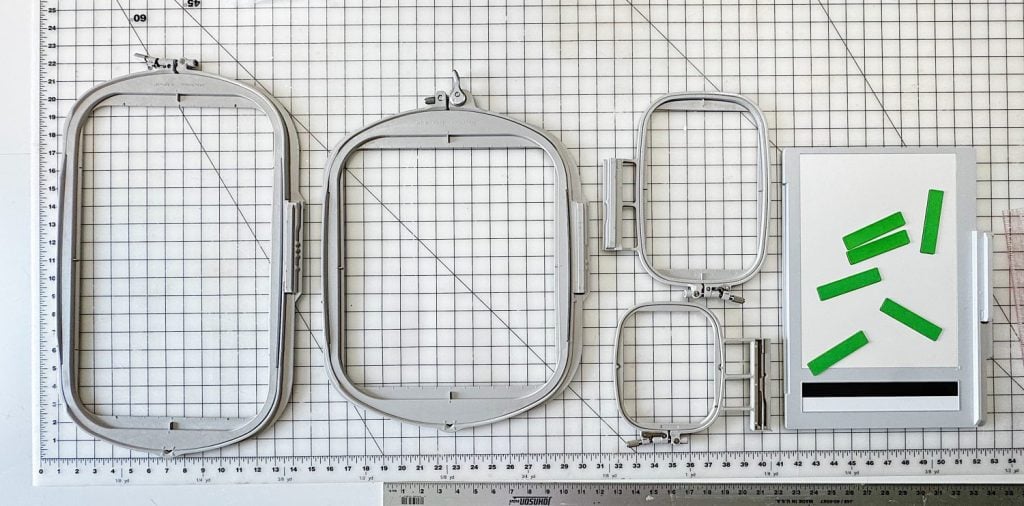
I know I mentioned this earlier, but if there is one thing I wish I had understood earlier, it is this:
Hoop size accounts for a large portion of the machine’s cost.
And honestly, it also dramatically affects what you can create.
Smaller embroidery machines often come with:
- 4” x 4” hoops
- 5” x 7” hoops
These are wonderful for:
- monograms
- baby gifts
- towels
- napkins
- smaller embroidery designs
But once you move into larger hoops, the possibilities expand quickly.
Larger hoops allow for:
- jacket backs
- larger quilt blocks
- oversized floral designs
- larger appliqué projects
- statement embroidery
- home decor projects
Larger hoops also reduce rehooping, making embroidery dramatically easier and faster.
My first machine had a smaller hoop, and I loved it. But moving to my Dream Machine with a much larger embroidery field completely expanded my creativity.
Thread Changes Also Affect Cost

Another major factor in embroidery machine pricing is thread handling.
Single-needle machines require manual thread changes between colors.
And honestly, for many hobby embroiderers, that is perfectly fine.
But once designs become larger and more detailed, thread changes can become time-consuming.
Higher-end machines often include:
- automatic thread cutting
- easier threading systems
- advanced thread management
- multi-needle systems
- automatic color changes
Multi-needle machines are especially great for designs with many colors because they automatically switch threads for you, eliminating the need for constant manual rethreading.
That convenience is one reason higher-end embroidery machines cost more.
But honestly, even single-needle machines today are incredibly capable and much easier to use than older embroidery machines.
The Fancy Features Are Actually Really Fun
One thing I did not understand years ago is that many of the more advanced embroidery machines are not just “better.”
They are also dramatically more enjoyable to use.
Today’s higher-end embroidery machines may include:
- larger touchscreens
- wireless design transfer
- design editing directly on the machine
- automatic jump stitch trimming
- projectors
- camera positioning systems
- app connectivity
- advanced lighting
- embroidery positioning tools
Some even project the embroidery design directly onto your fabric for precise placement, which still feels like magic to me.
And honestly, these features can make embroidery:
- easier
- faster
- more accurate
- and much more creative
My Advice for Choosing a Machine
If I could give one piece of advice to someone buying an embroidery machine today, it would be this:
Buy the machine that fits the projects you actually want to make.
Not the machine you think you should buy.
If you mostly want to:
- monogram towels
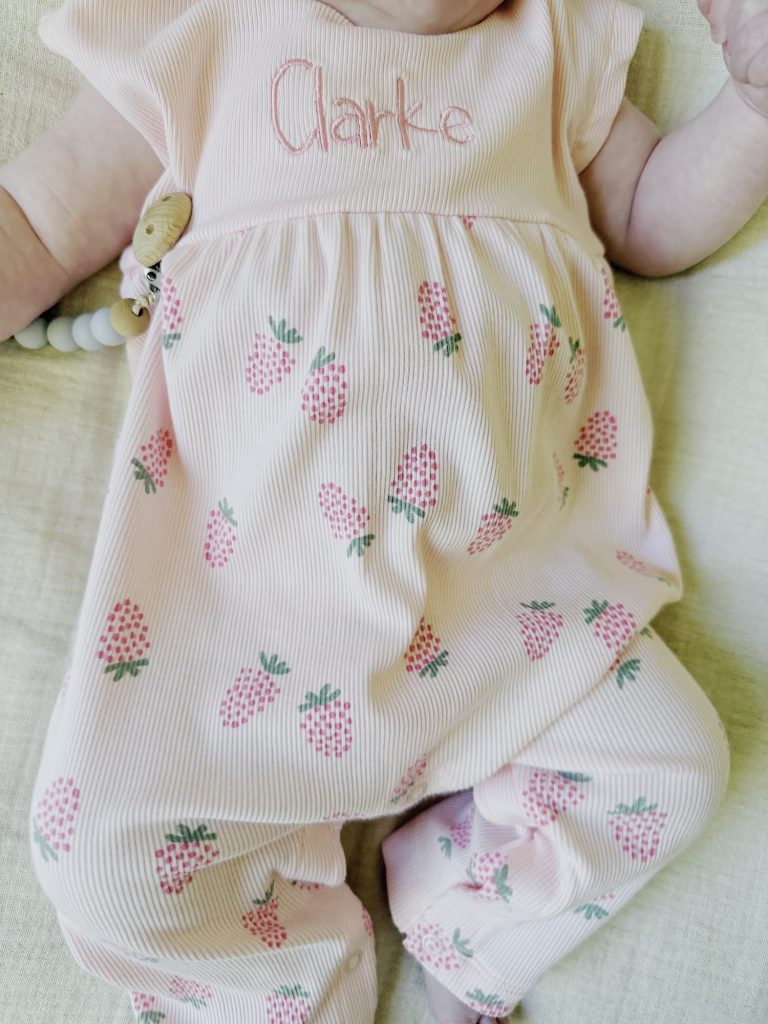
- embroider children’s clothing
- make gifts
- personalize napkins
…a smaller machine may be absolutely perfect.
But if you dream about:
- quilts
- large appliqué
- jackets
- oversized designs
- detailed artistic embroidery
…then investing in a larger hoop size may be worth it from the beginning.
And honestly, no matter which machine you choose, embroidery becomes easier and more exciting the more you use it.
That is the part I wish I had known fifteen years ago.
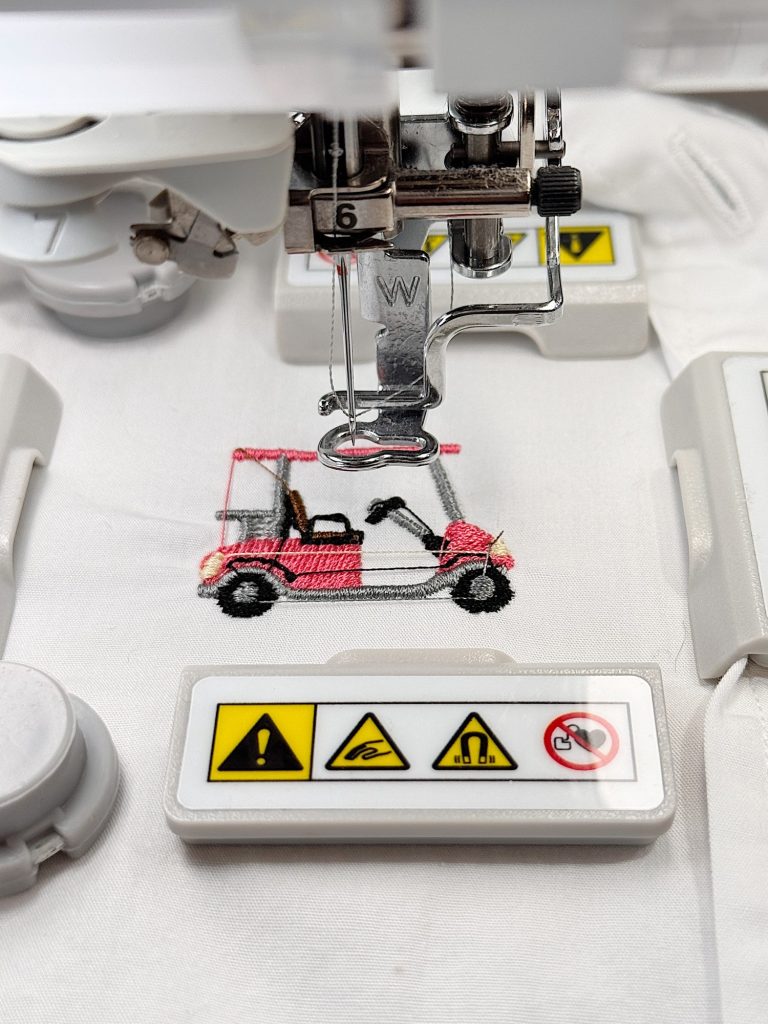
Embroidery Opens the Door to Endless Creative Projects
One thing I never expected when I bought my first embroidery machine was how many different types of projects I would eventually create.
Now I use embroidery for:
- clothing
- quilts
- napkins
- pillows
- ornaments
- table linens
- tote bags
- handmade gifts
- seasonal decor
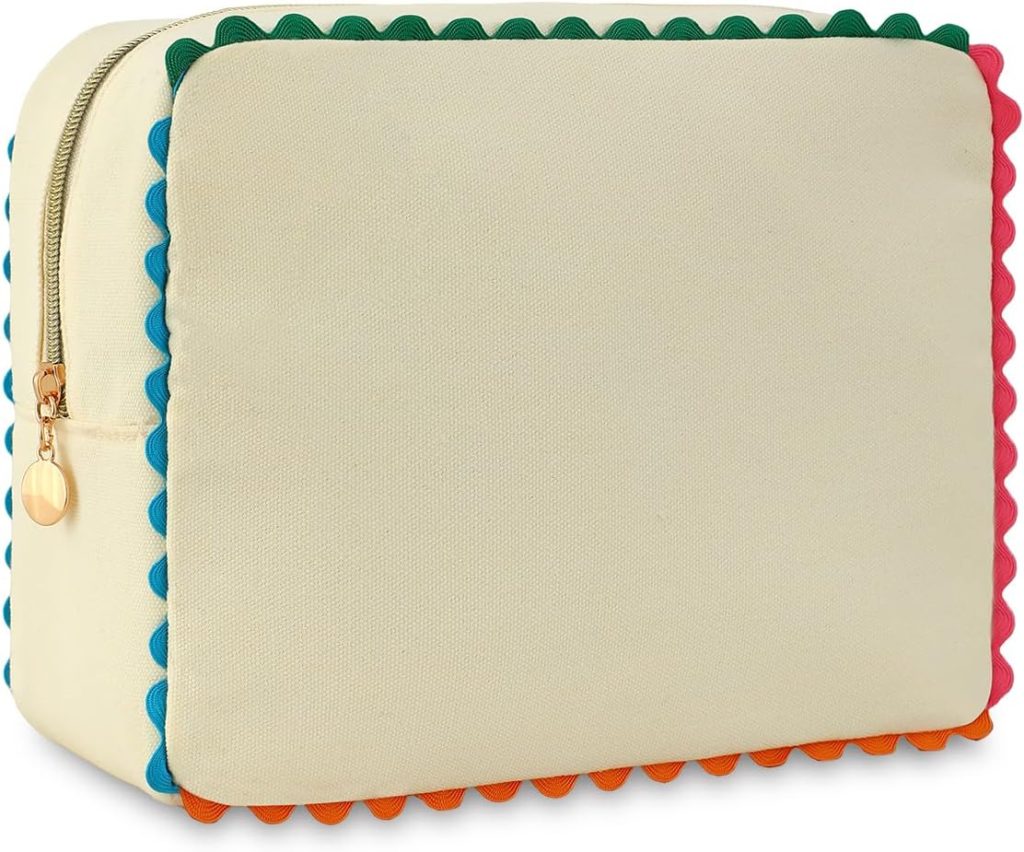
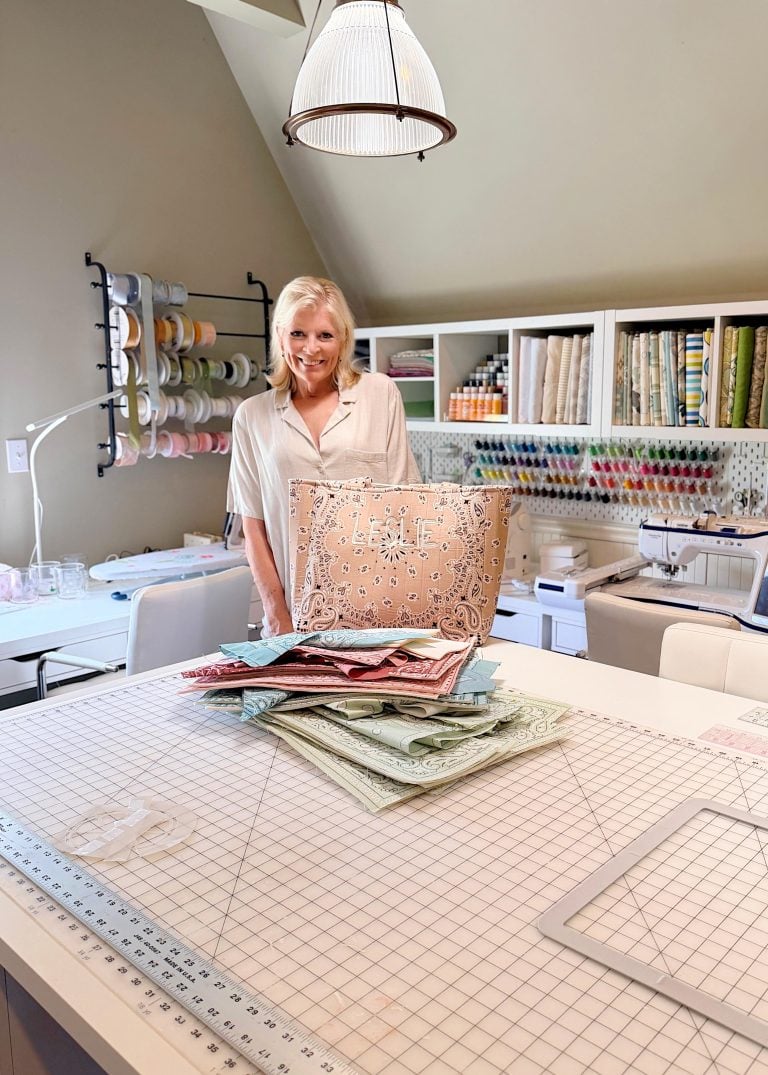
- a purse!
I also love combining embroidery with other creative techniques like sewing, quilting, and painting.
The possibilities honestly feel endless.
And that is probably my favorite part of machine embroidery. There is always something new to learn, create, or experiment with.
Learning Embroidery Is Easier Than Ever
I think this is the part that makes me smile most now.
When I first bought my embroidery machine fifteen years ago, learning felt intimidating and lonely.
Today, everything is different.
There are:
- YouTube tutorials
- online classes
- embroidery creators
- Facebook groups
- embroidery blogs
- troubleshooting videos
- online communities
- design libraries
If you are considering buying an embroidery machine today, you are starting at the best possible time.
There has never been more inspiration or support available.
My Favorite Embroidery Tools Right Now
These are the embroidery tools I truly use constantly:
- my Brother Dream Machine XV8500D
- magnetic hoops
- embroidery thread collections
- stabilizer bundles
- embroidery scissors
- hoop alignment tools
- task lighting
- thread organizers
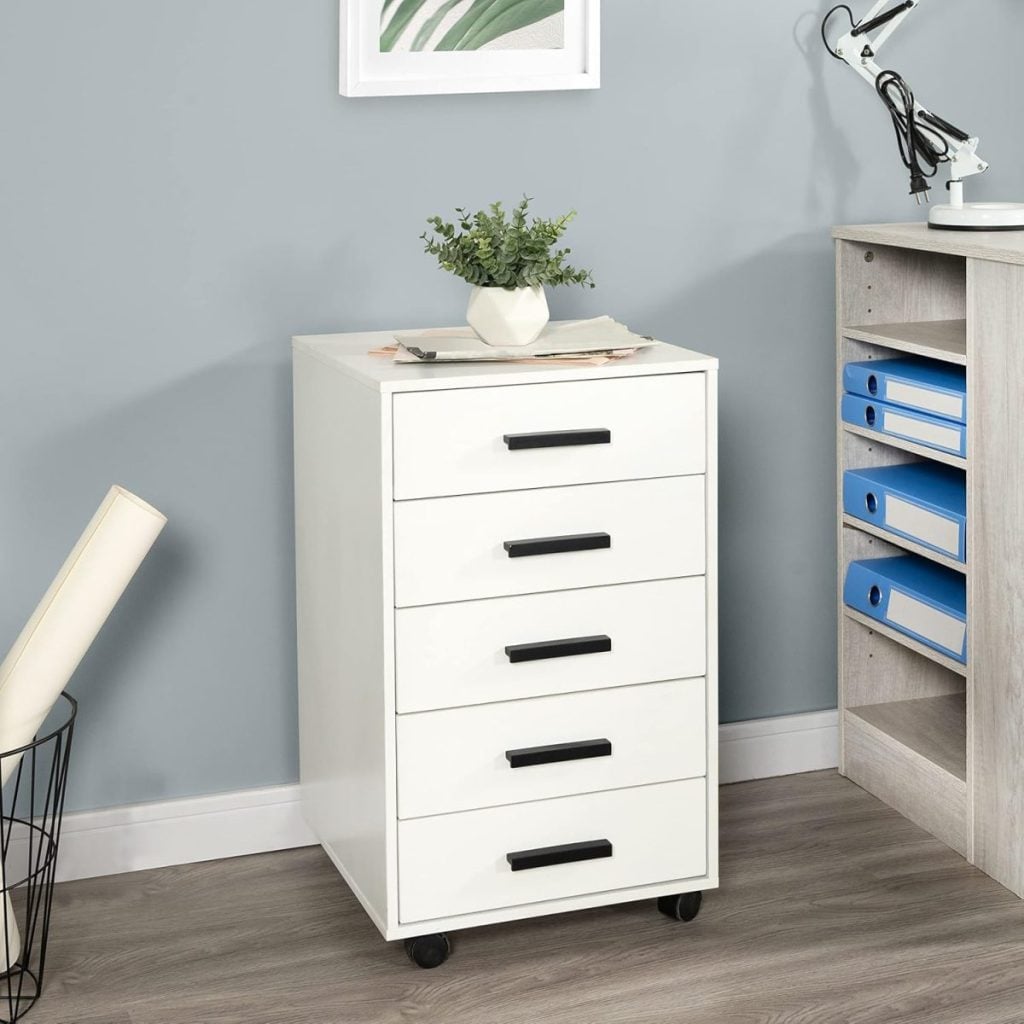
- rolling craft carts
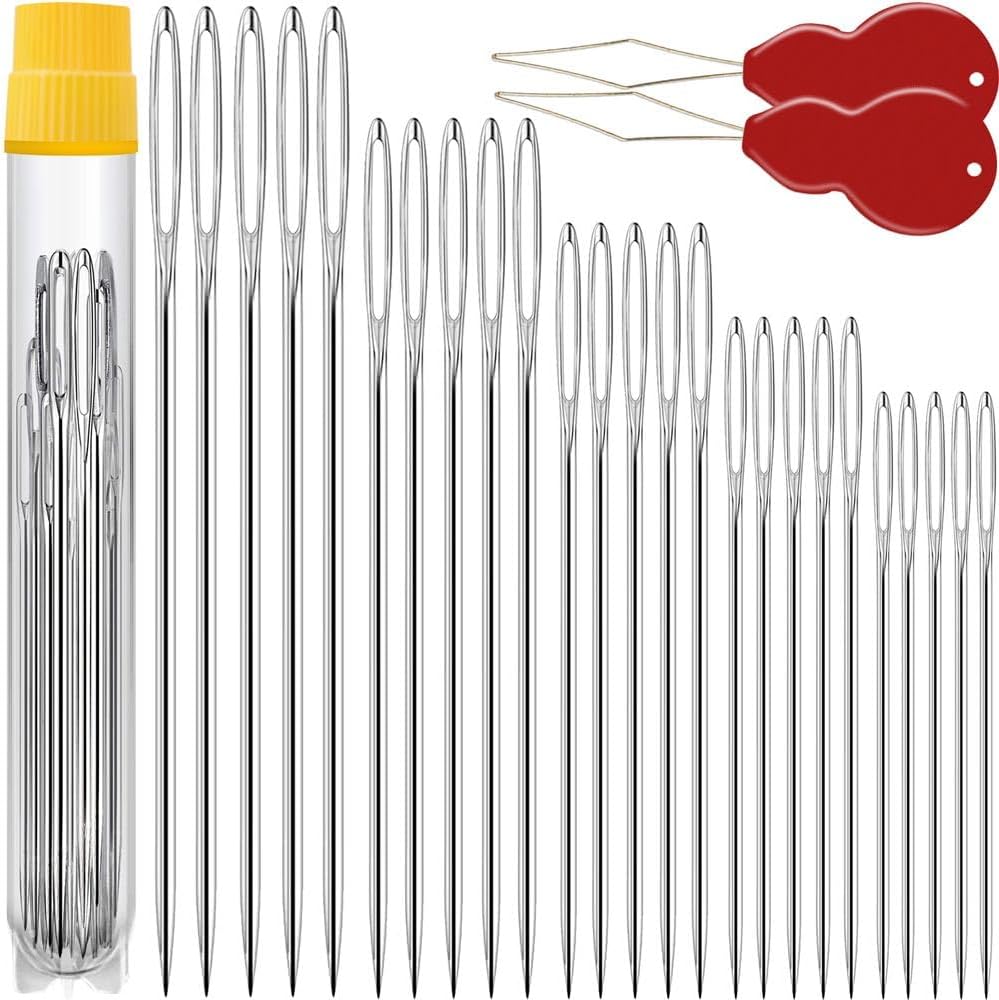
- embroidery needles
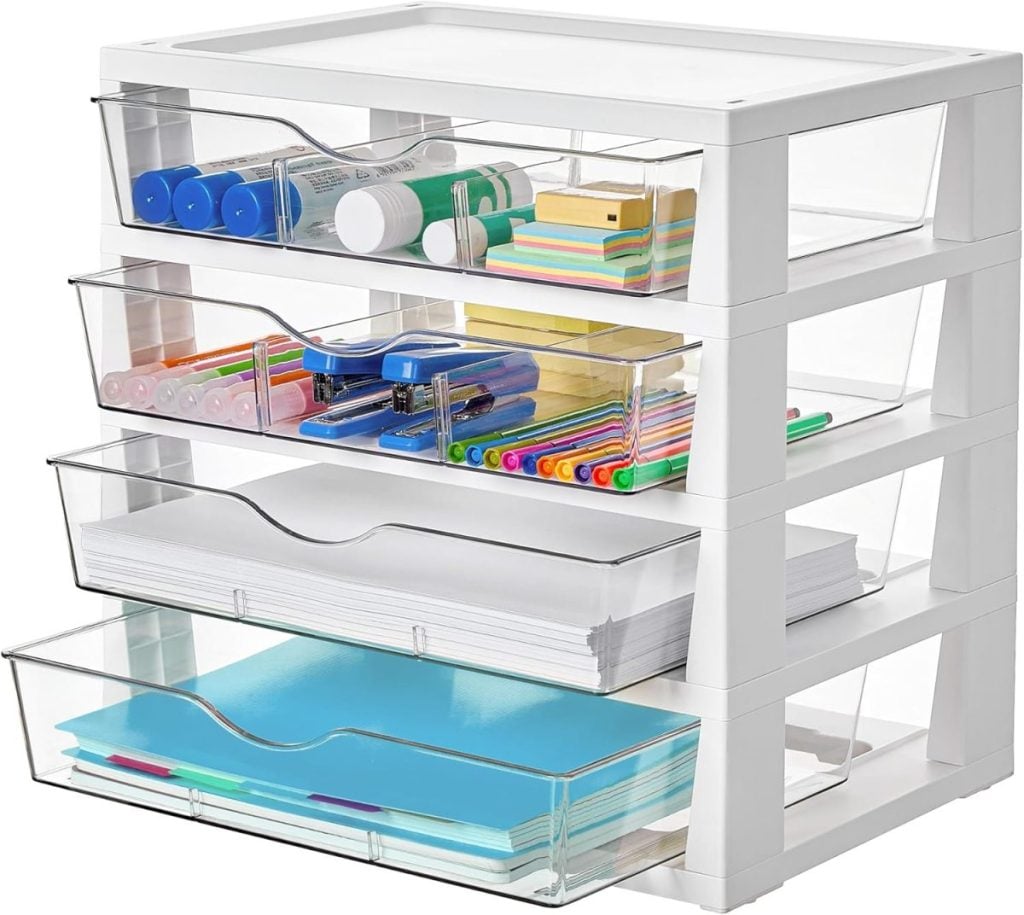
- project bins
- Embrilliance software

Every one of these tools helps embroidery feel easier, more organized, and more creative.
Final Thoughts
If I had known fifteen years ago how much joy embroidery would eventually bring me, I never would have packed that first embroidery machine away.
Machine embroidery may feel intimidating at first, but once you begin learning the basics, it quickly becomes one of the most rewarding creative hobbies imaginable.
Every project teaches you something new.
And honestly, that is part of the magic.
Today, embroidery is one of my favorite ways to create. Whether I am stitching a simple monogram or working on a larger artistic project with my Dream Machine, I still feel excited every single time I sit down to embroider.
And I think that feeling is the very best part of all.
Latest Posts
-
The Truth About Being “Crafty” – Mondays in the Craftroom
One of the most common things people say to me is, “I’m just not crafty.” But the truth is that creativity isn’t something you’re born with. It’s something you learn. Today I’m sharing why being crafty has much less to do with talent and much more to do with curiosity, practice, and simply being willing…
-
Summer at the Beach and Sunday Morning Coffee
Welcome to another Sunday Morning Coffee! Summer is flying by, and I have to say, it has been the busiest and happiest summer at the beach we’ve had in a long time. We’ve spent nearly every weekend at our beach house with family and friends, which is exactly why we bought and remodeled it all…
-
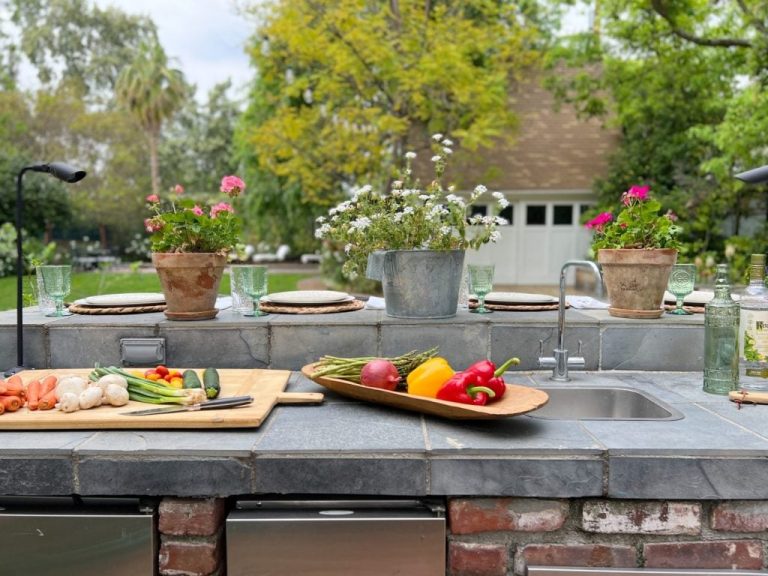
Grilling Perfectly and Tips to Use Your Outdoor Grilling Station
It’s time to fire up the grill and embark on a flavor-filled journey of outdoor cooking! It’s time to have fun with your outdoor grilling station. Planning a successful BBQ cookout is an art that combines culinary skills, creativity, and a dash of hosting finesse. I have crafted The Essential Summer Grilling Guide to help…
-
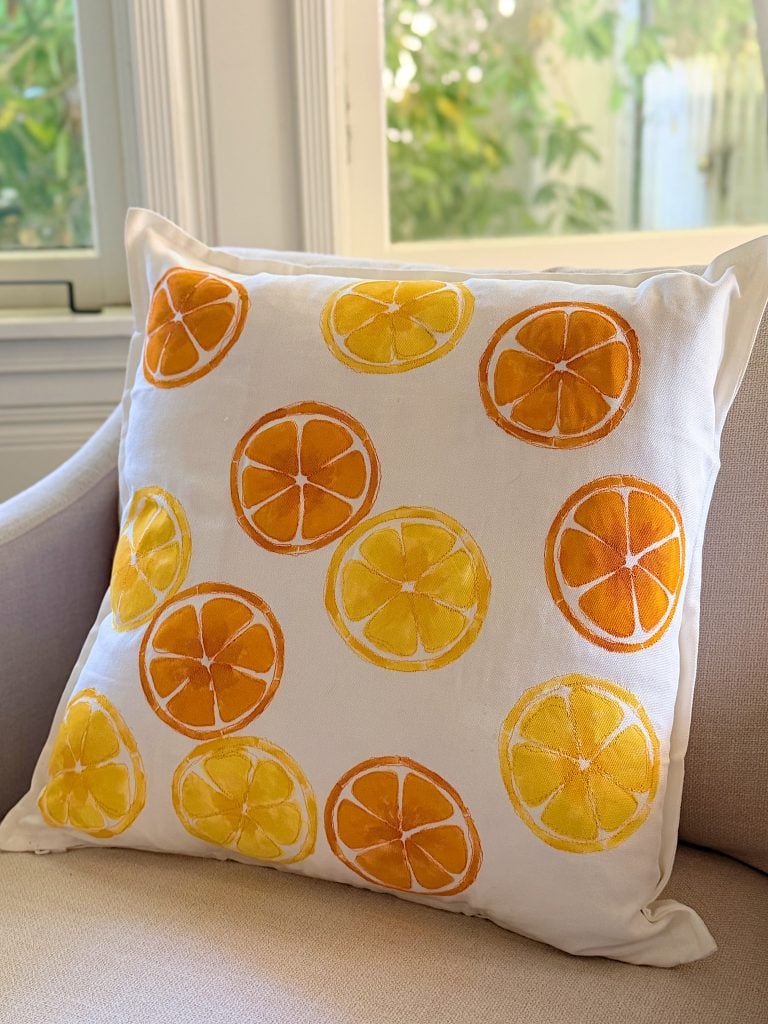
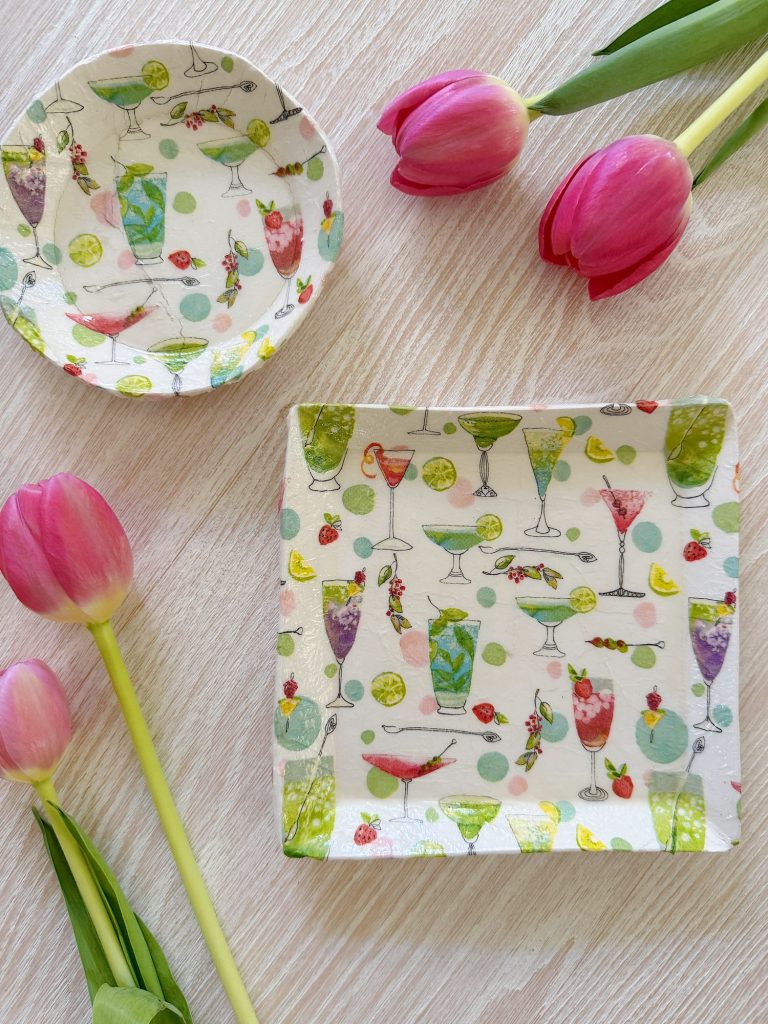
A Citrus Pillow – A Handmade Summer
A handmade pillow is one of the easiest ways to add a fresh, custom touch to your home, and this cheerful citrus design is perfect for summer. Using a simple white pillow cover, a citrus stencil, acrylic paint, and a little free-motion embroidery, you can create a one-of-a-kind accent pillow that looks boutique-made without spending…
My Recent Instagram Posts

You can pin the image below to your boards on Pinterest (click the Pin button in the top left corner) or follow me on Pinterest!
For more real-time updates, follow me on Instagram @My100YearOldHome

Thank you for this blog. I have the same machine and love it but I haven’t embroidered in 4 years because of my intimidation on some of the points you touched on. I’ve focused on quilting but you have truly inspired me to get back to it. Can’t wait for your blog on stabilizers. I often get stuck on those choices..
When I first learned about stabilizers I was so intimidated! I thought I needed a zillion different kinds and that if I didn’t use the right one I might ruin my item! It’s not near as complicated as I thought. I also find a lot of great posts on Instagram that I save in a folder called Embroidery which I refer to all the time. Same for TikTok too!
Leslie
Leslie, I appreciate this post as much as any I have read. I have been intimidated by projects and have worked with other folks who suffered with that intimidation even more when approaching a sewing project. With machine embroidery, though, I am simply looking at each project as a learning opportunity. I must add that hooping has turned out to be the most frustrating part of each and every project. I have bought a couple of magnetic hoops but have not had great success with them either. My machine seems to go wonky when I use them. I feel I learn best by reading text and seeing pictures but I guess YouTube tutorials must be in my future!
Now you have me intrigued about the magnetic hoops. I assume you are buying the right hoops for your brand and model of machine. Are you changing the hoop size on your machine as well? What exactly is happening when you say “wonky”? (I use the word often and it can mean a lot of things. Hehe.)
L