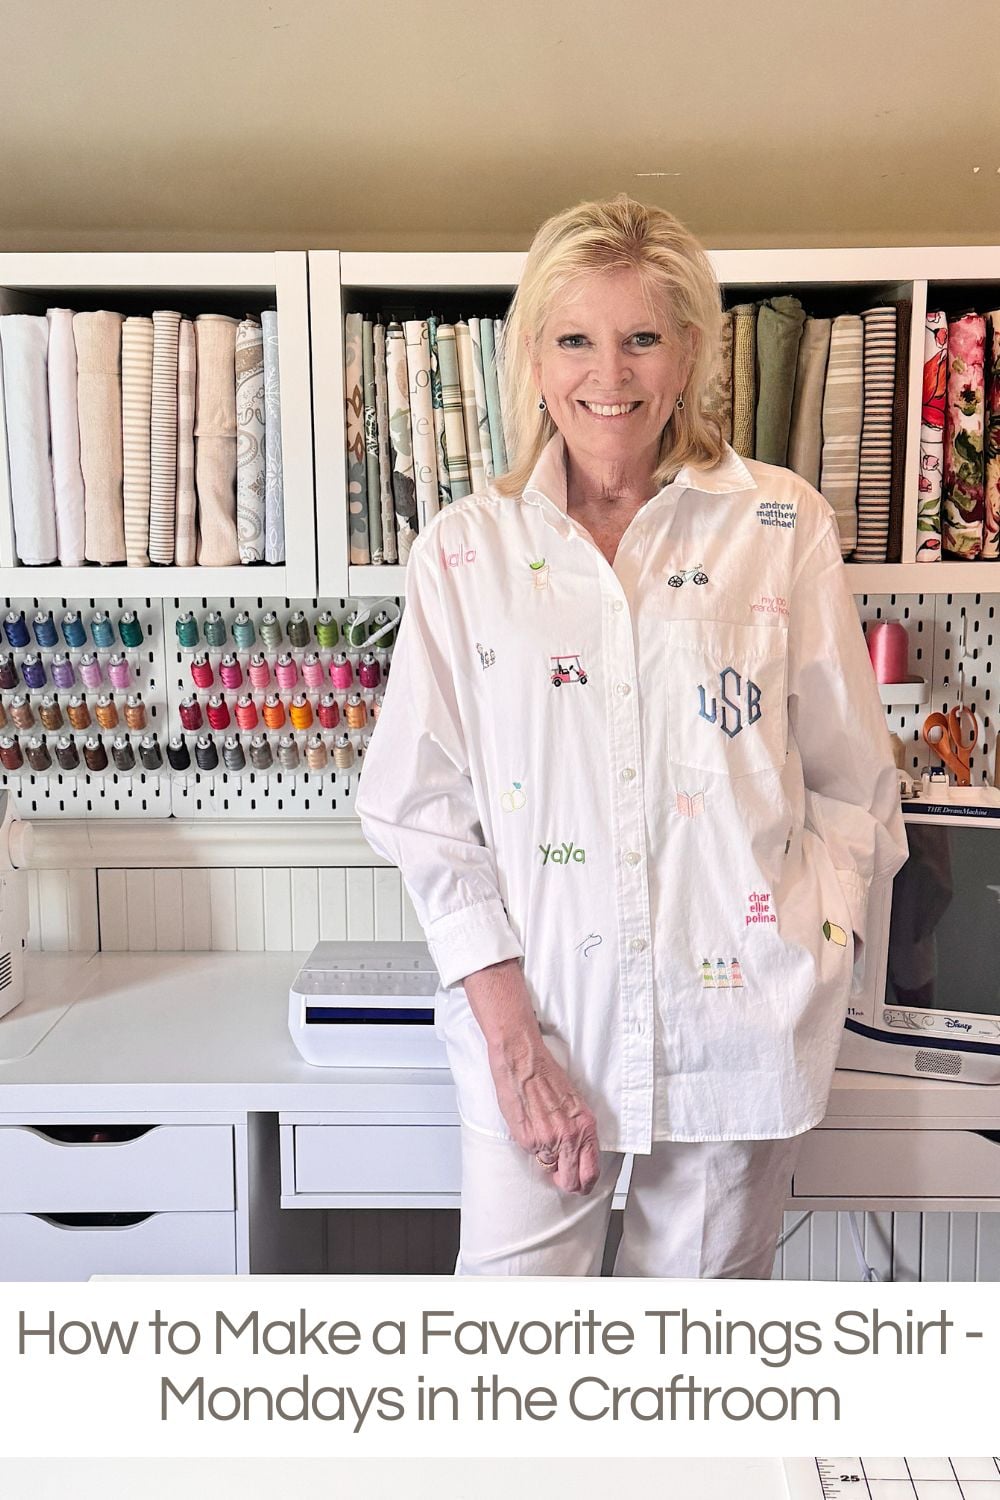
How to Make a Favorite Things Shirt – Mondays in the Craftroom
My Favorite Things Shirt is the perfect way to kick off my new series, Mondays in the Craft Room, because it combines everything I love about creating. It is personal, meaningful, and completely unique.
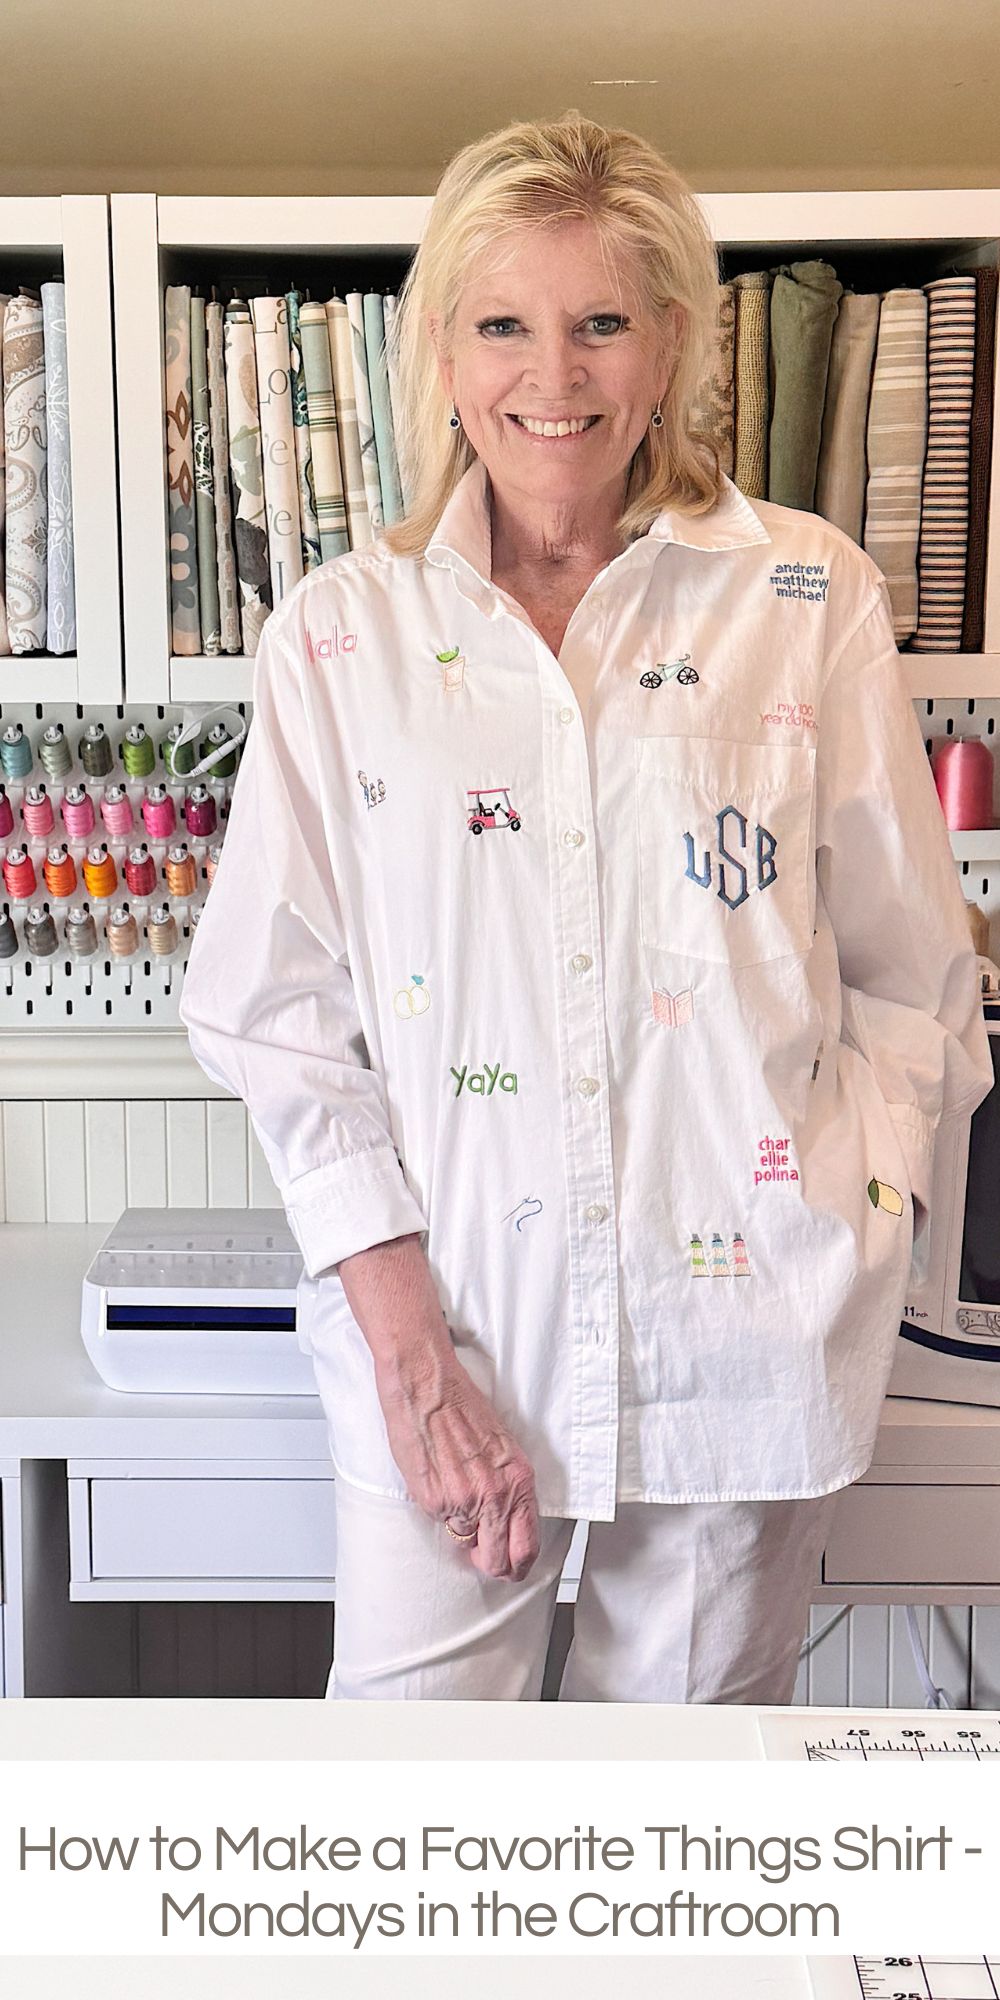
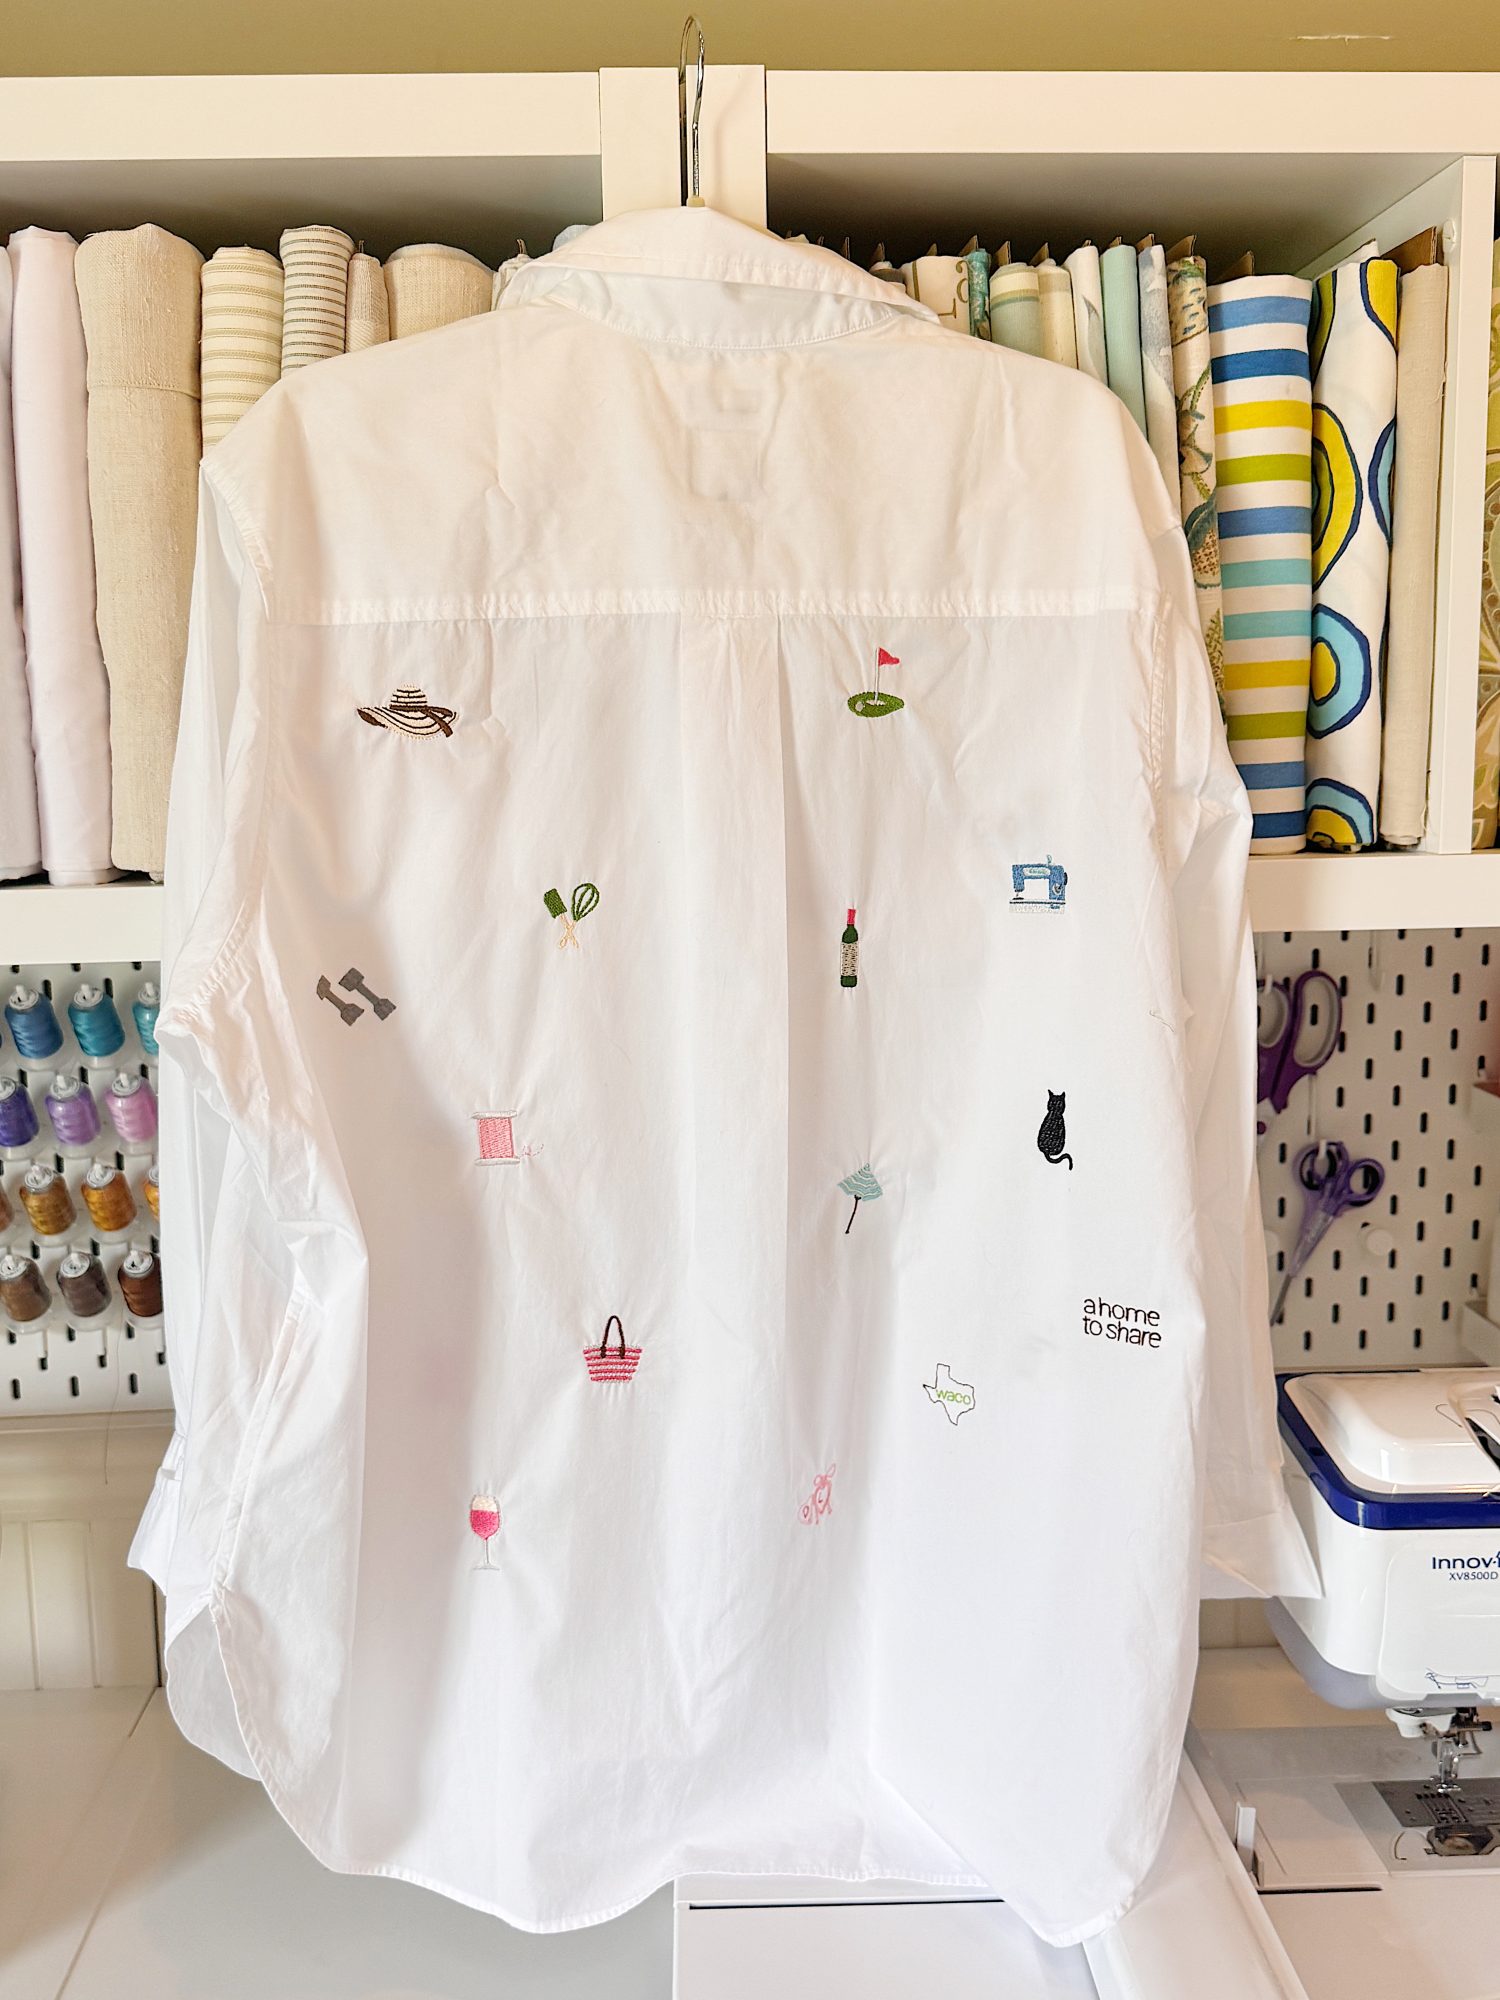
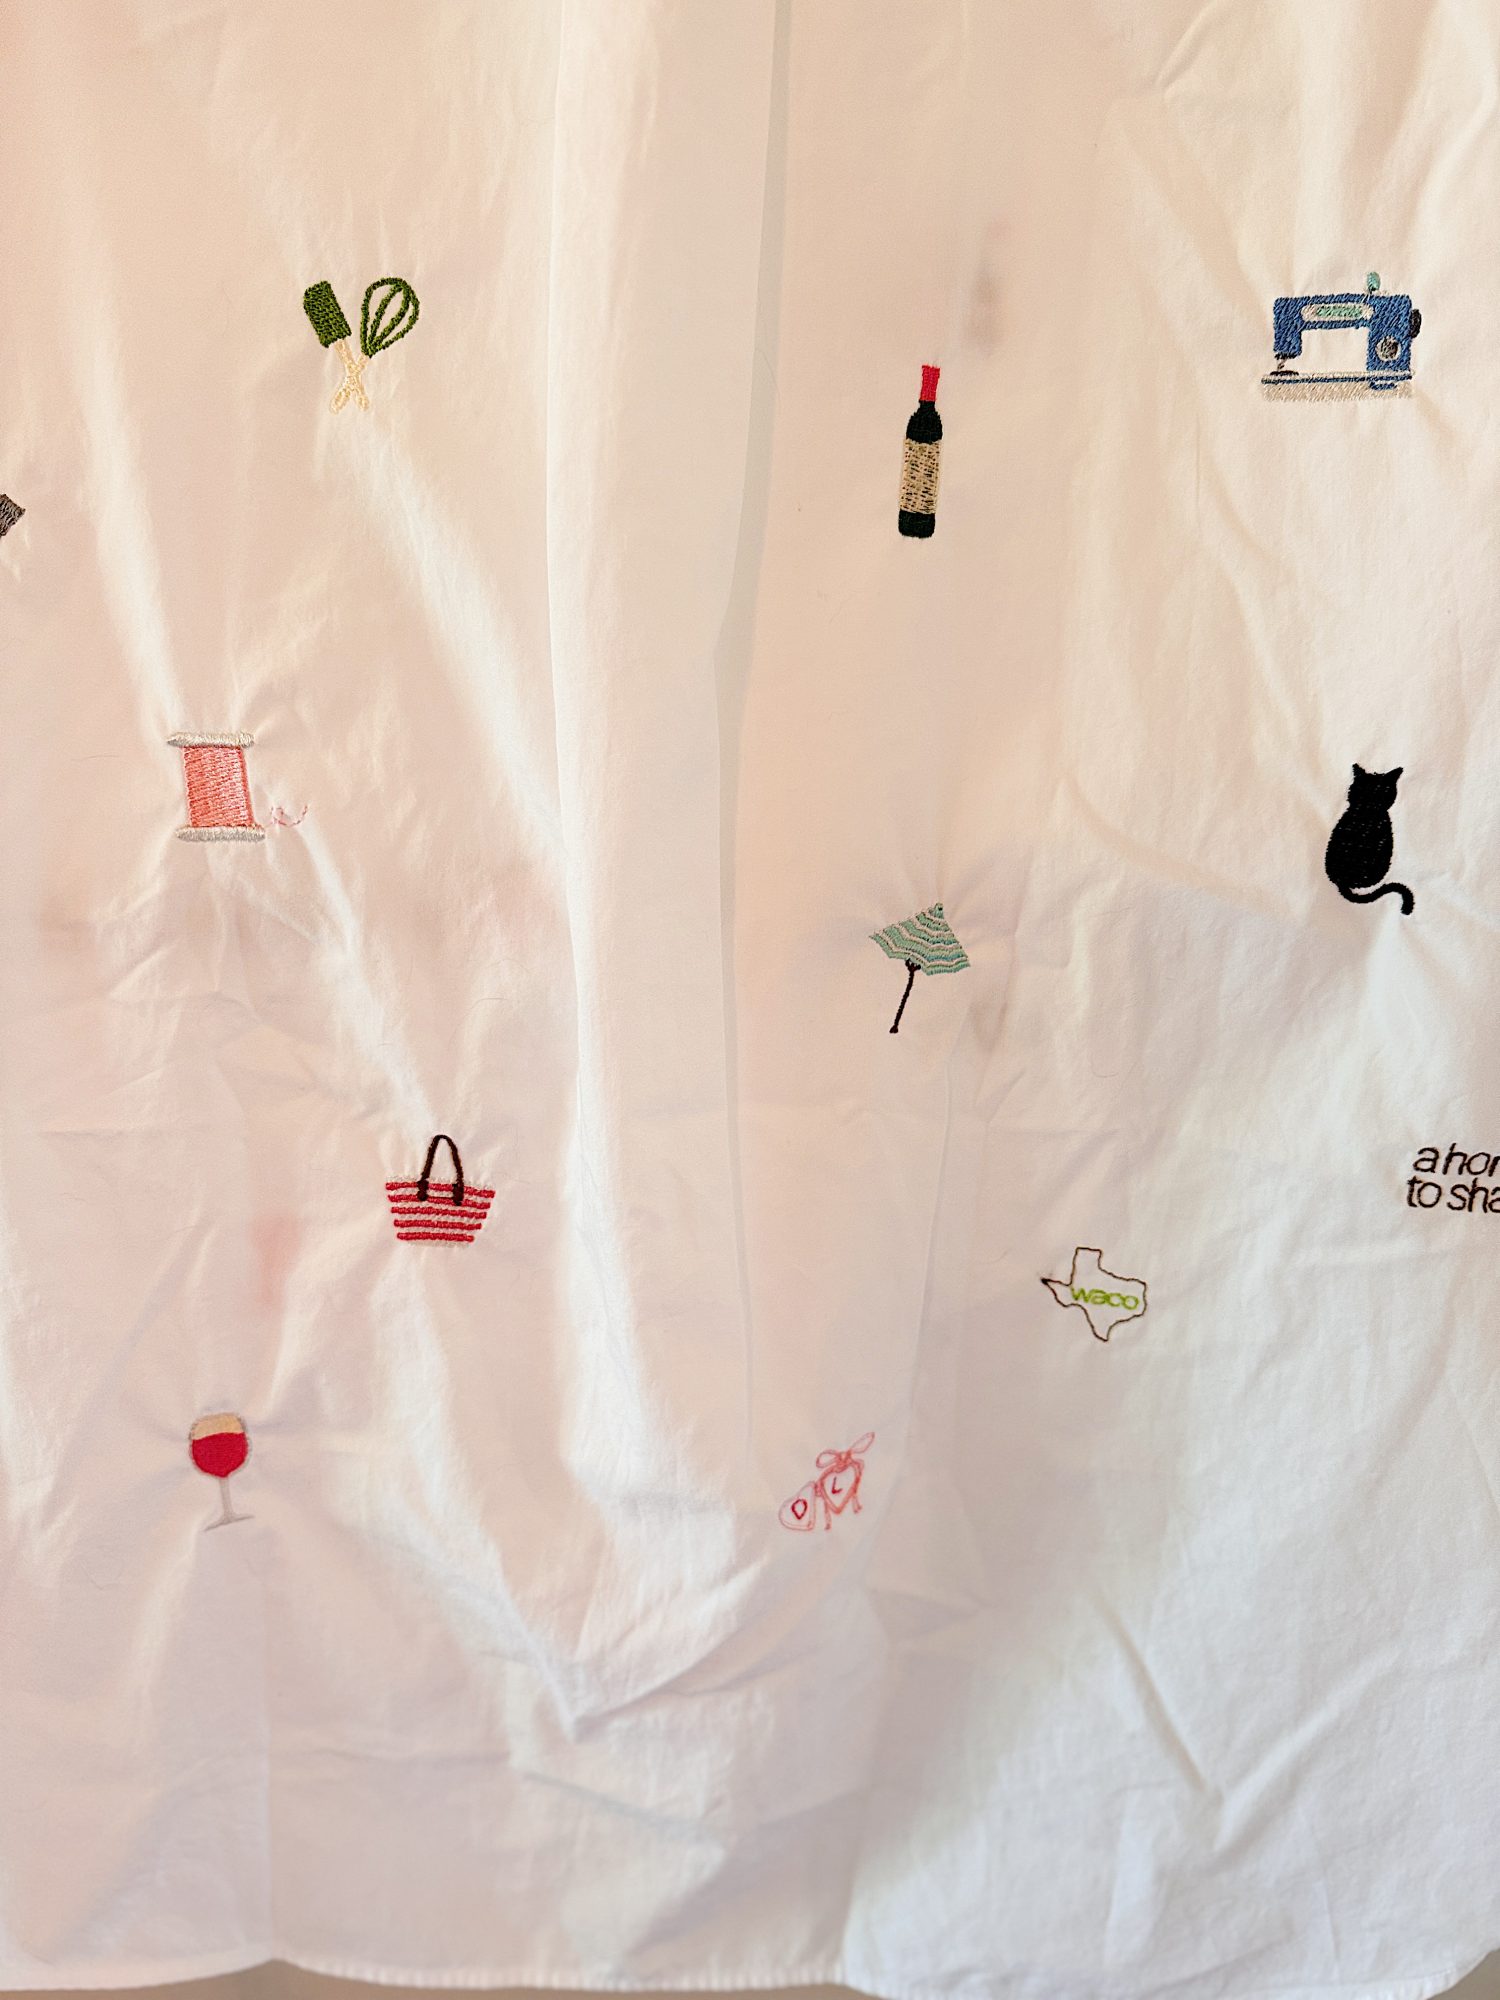
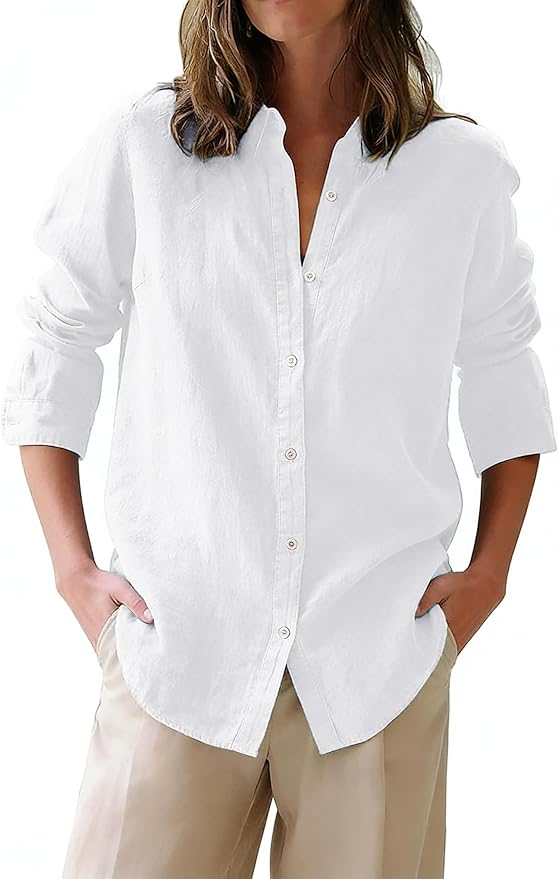
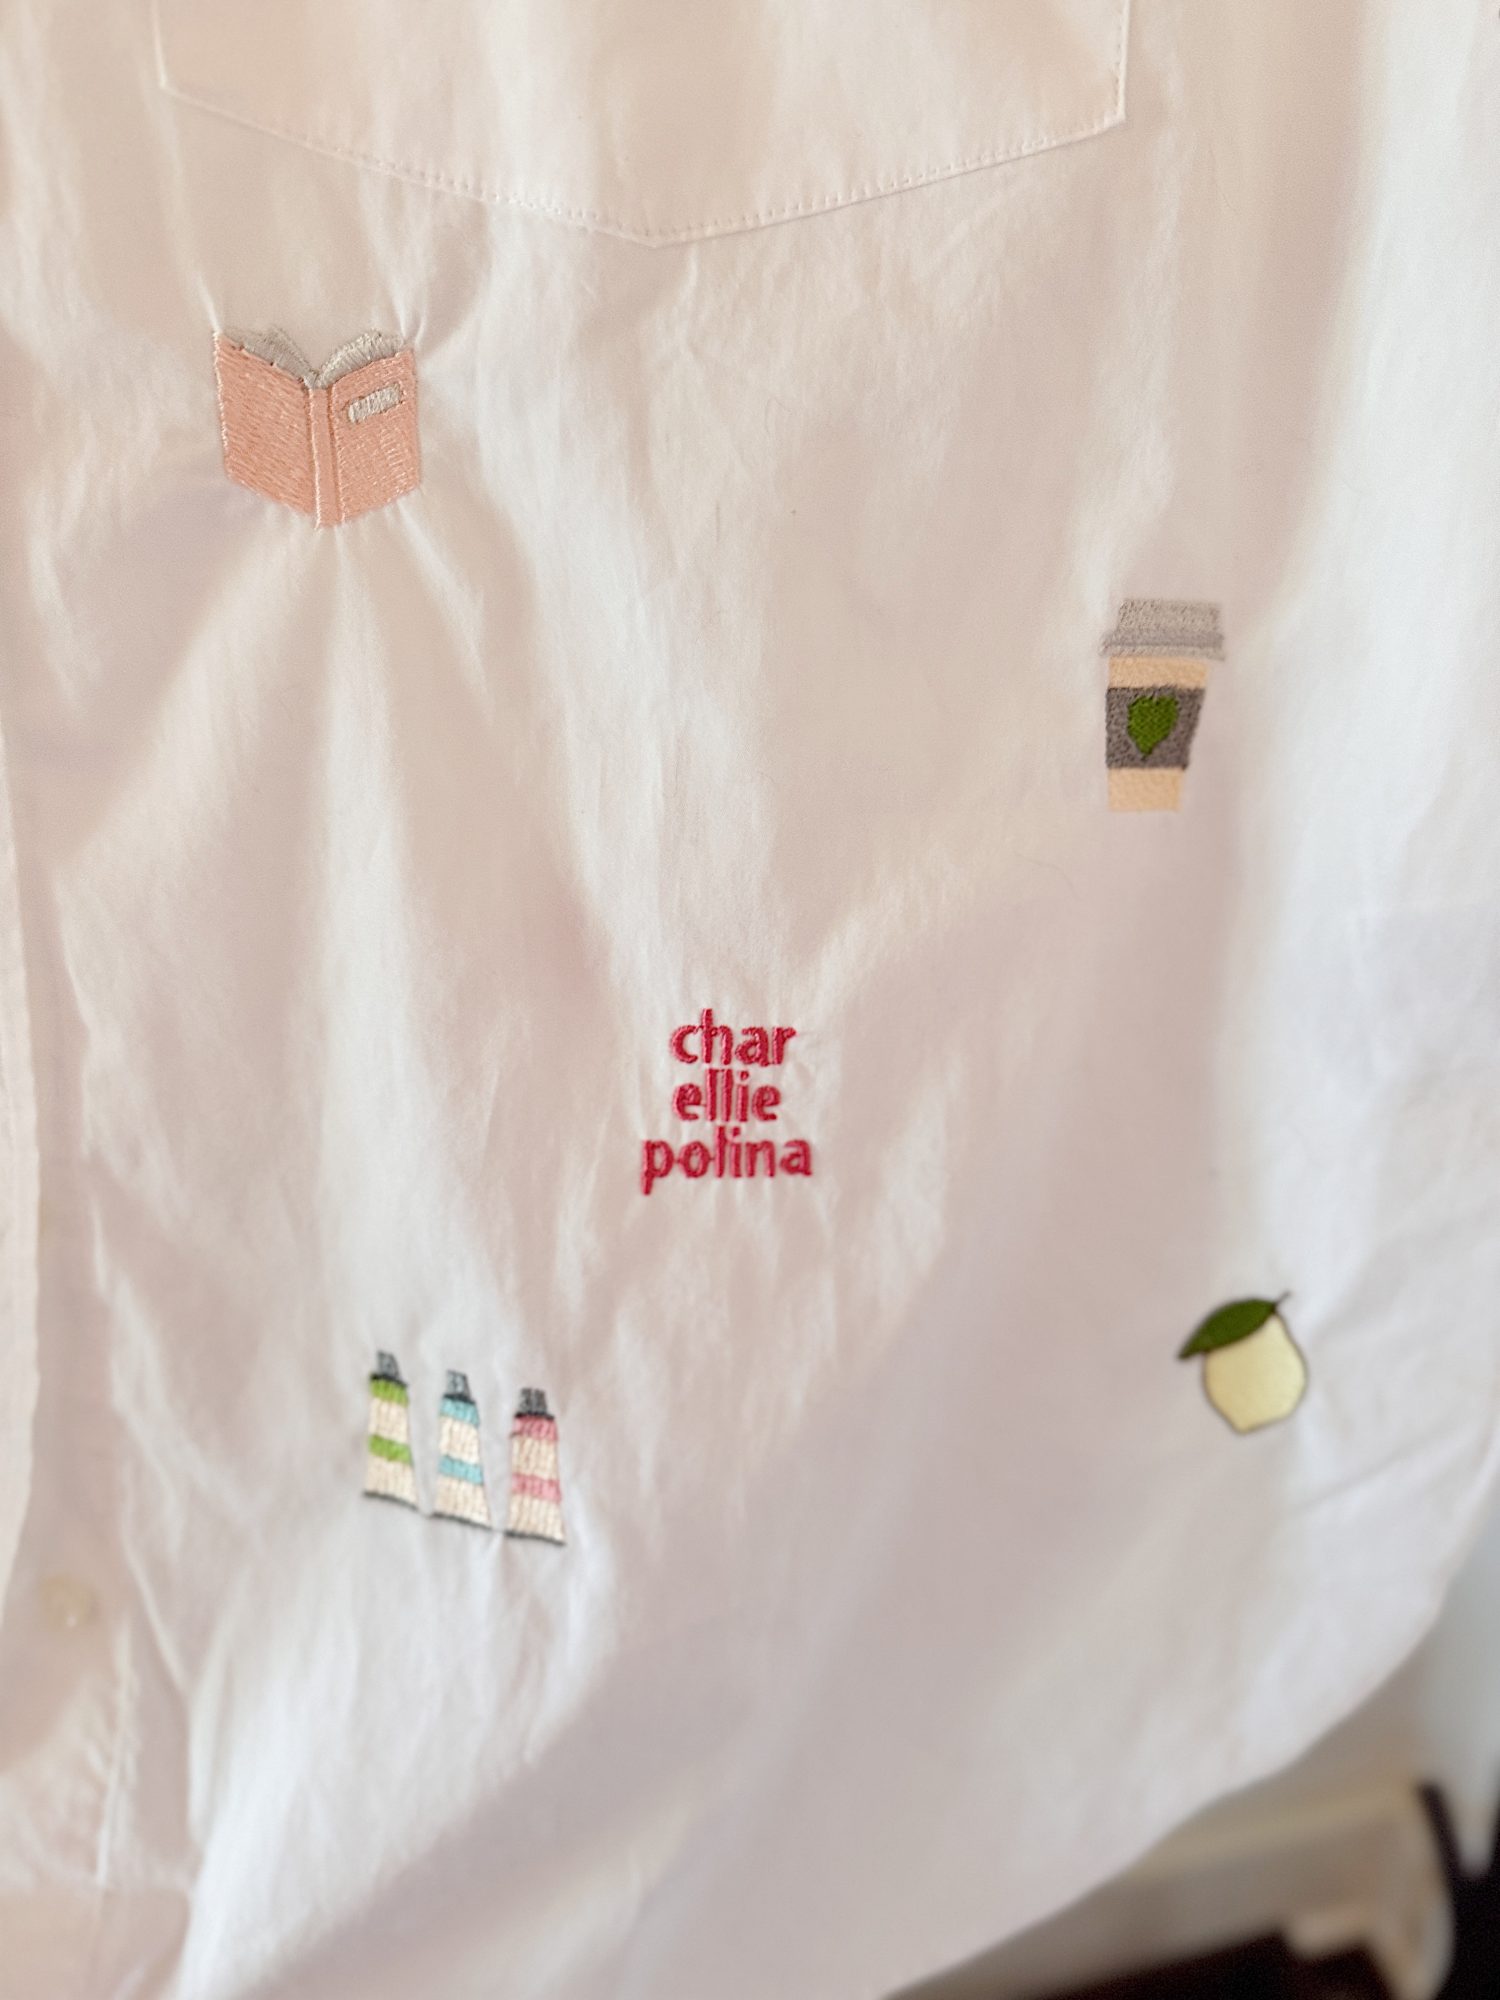
This simple white shirt is covered with small embroidered icons, each one representing something I love, from my family to special places to everyday joys. What makes this project so special is that while it looks detailed and time-consuming, it is actually very doable when you break it into steps. And in the end, you are left with something that tells your story in the most creative way.


My Favorite Things Shirt

The First Project in a New Series
I am so excited to share the very first project in my new series, Mondays in the Craft Room. This series is all about going deeper into the “how” behind what I create, and I could not think of a better project to start with than this one.
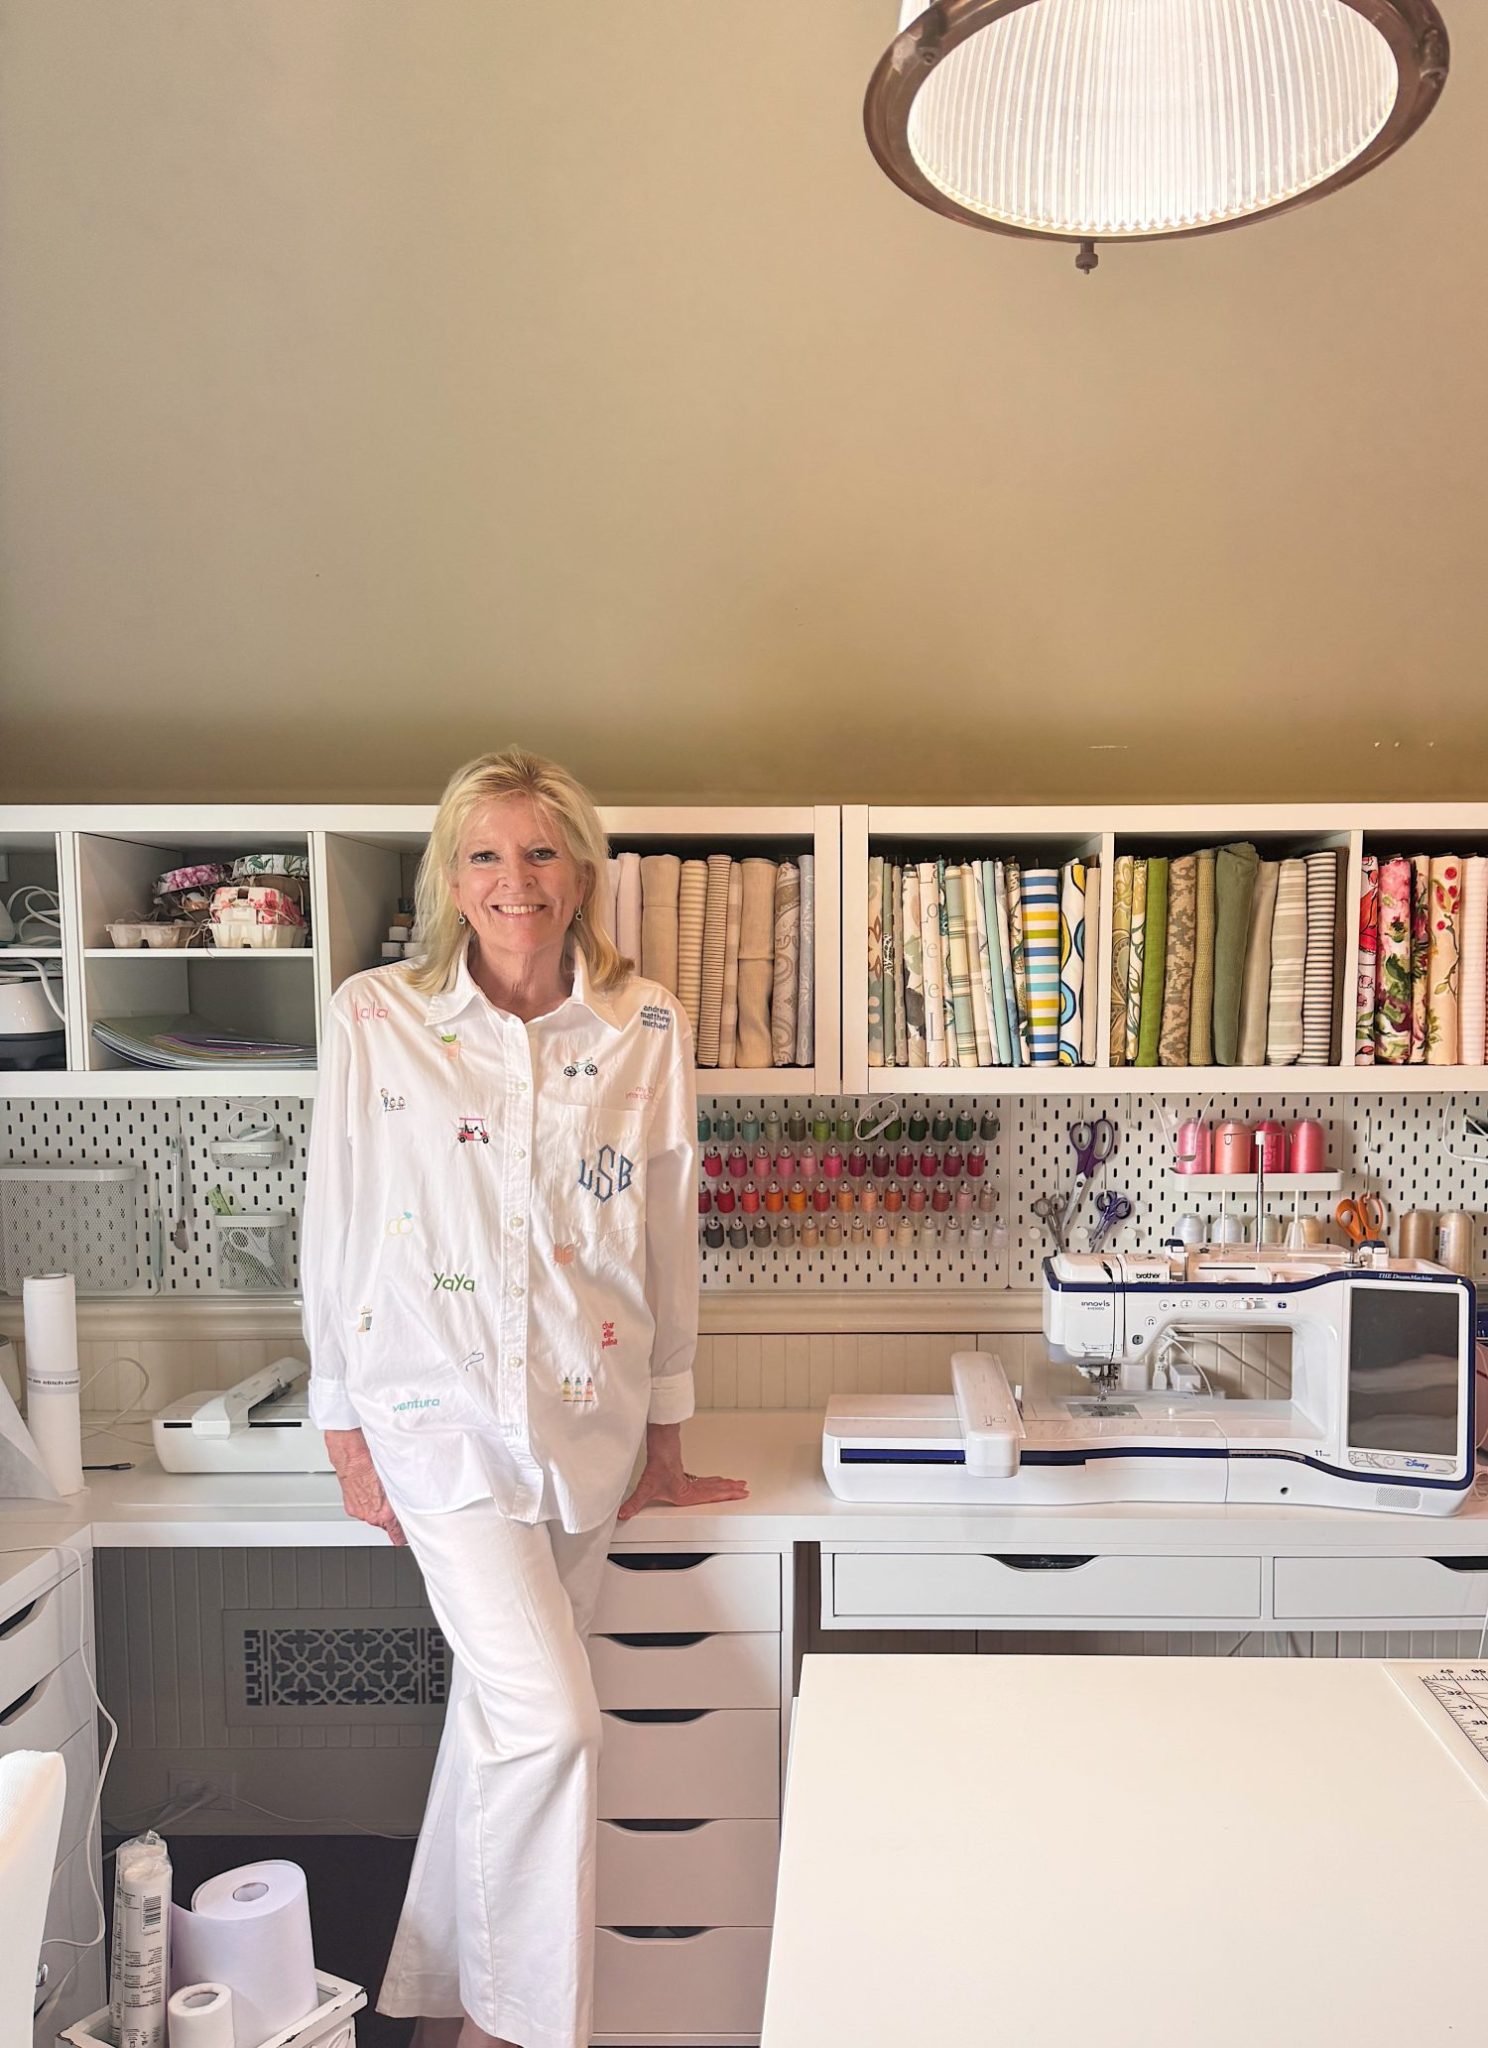
This is my “Favorite Things Shirt,” and every single embroidered icon on it represents something I love. From my family to places that mean the most to me, to hobbies and little details that bring me joy, this shirt tells a story. It is personal, meaningful, and completely one-of-a-kind.
And here is the best part. While it might look like this project took forever, it really didn’t. It was thoughtful, yes. But when broken into steps, it was very doable.
What Is a Favorite Things Shirt?
A Favorite Things embroidery project is a collection of small designs that represent the things you love most.
Think of it as a wearable memory board.
You can include:
- Names of loved ones
- Favorite places
- Hobbies and interests
- Symbols that reflect your life
This is what makes it so special. No two shirts will ever be the same.
Where the Idea Came From
This project actually started with my daughter-in-law, Charlotte.
She mentioned wanting to make a shirt like this, and I immediately thought, “I will make one for her”. Then I suggested I make one for myself first as a practice version to work out any issues.
Well, that “practice version” turned into something I absolutely love.
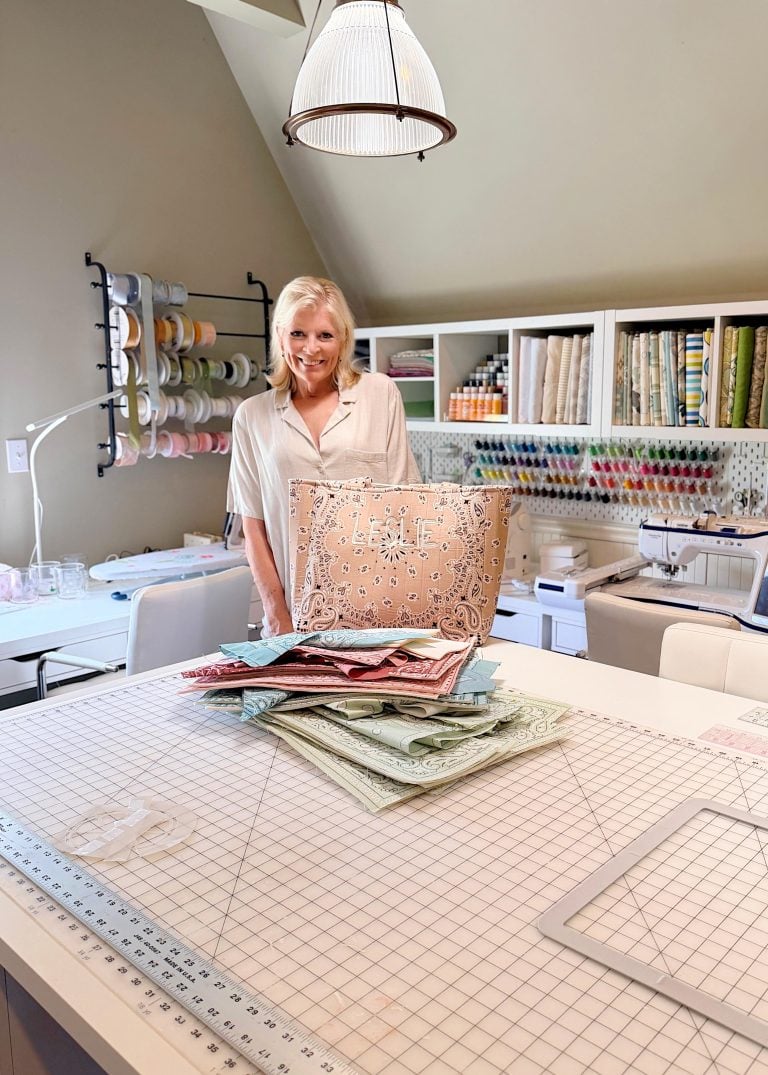
What You Need to Make a Favorite Things Shirt
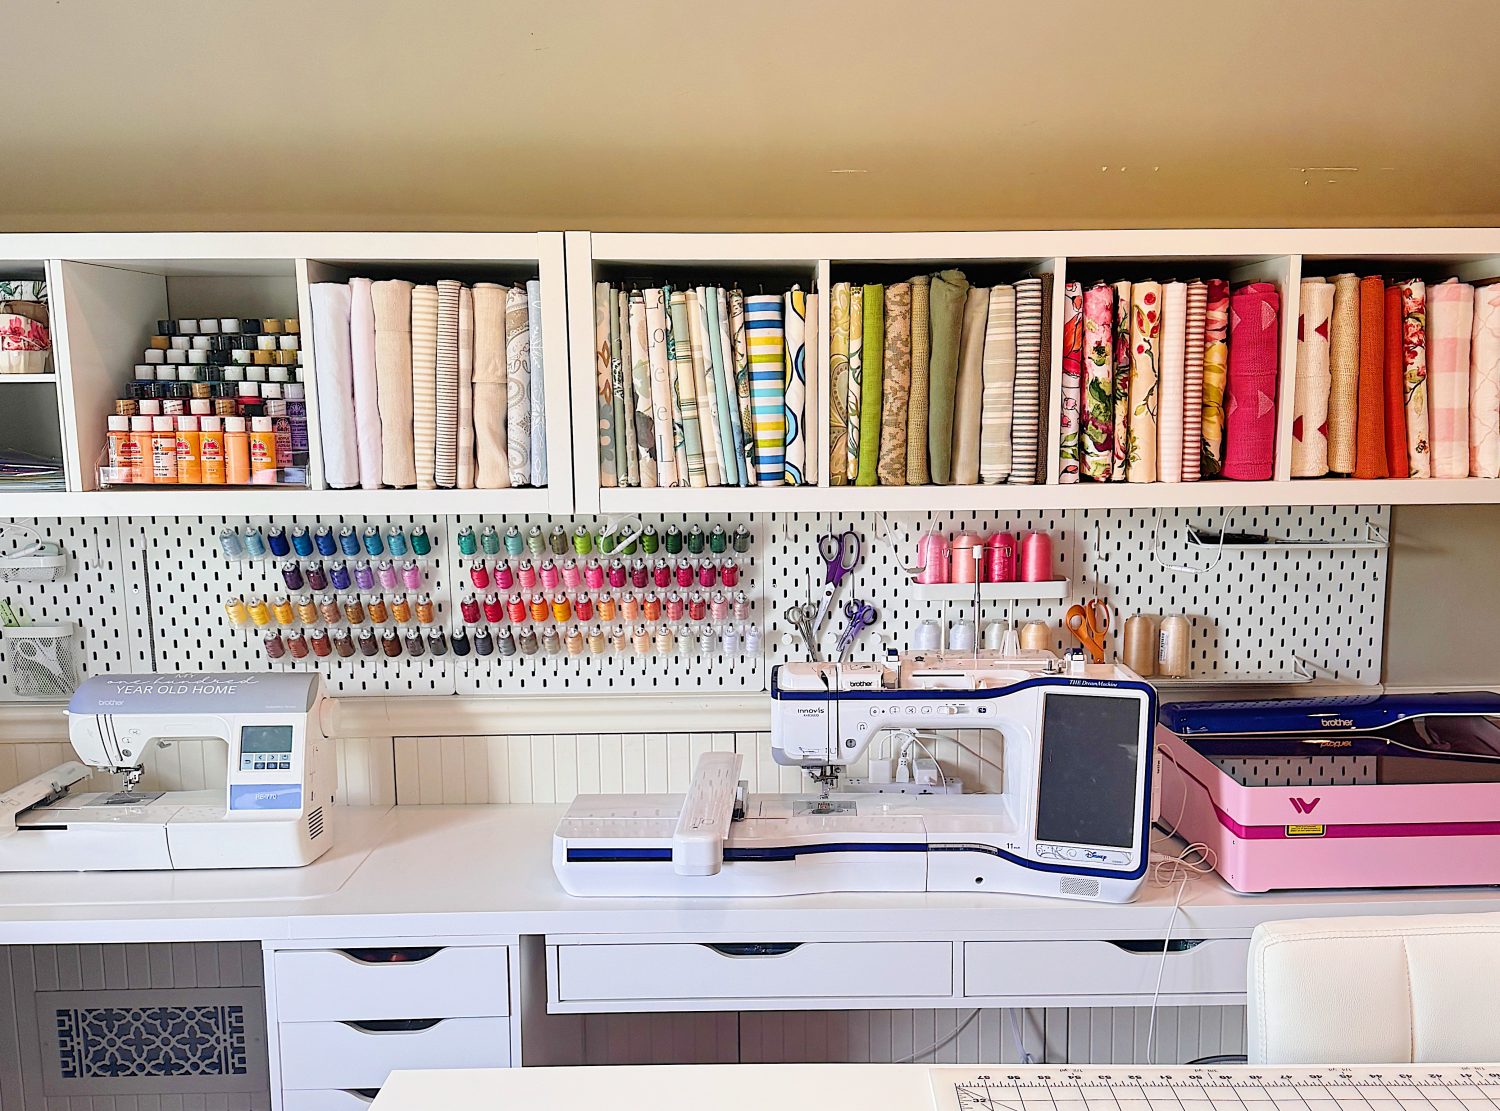
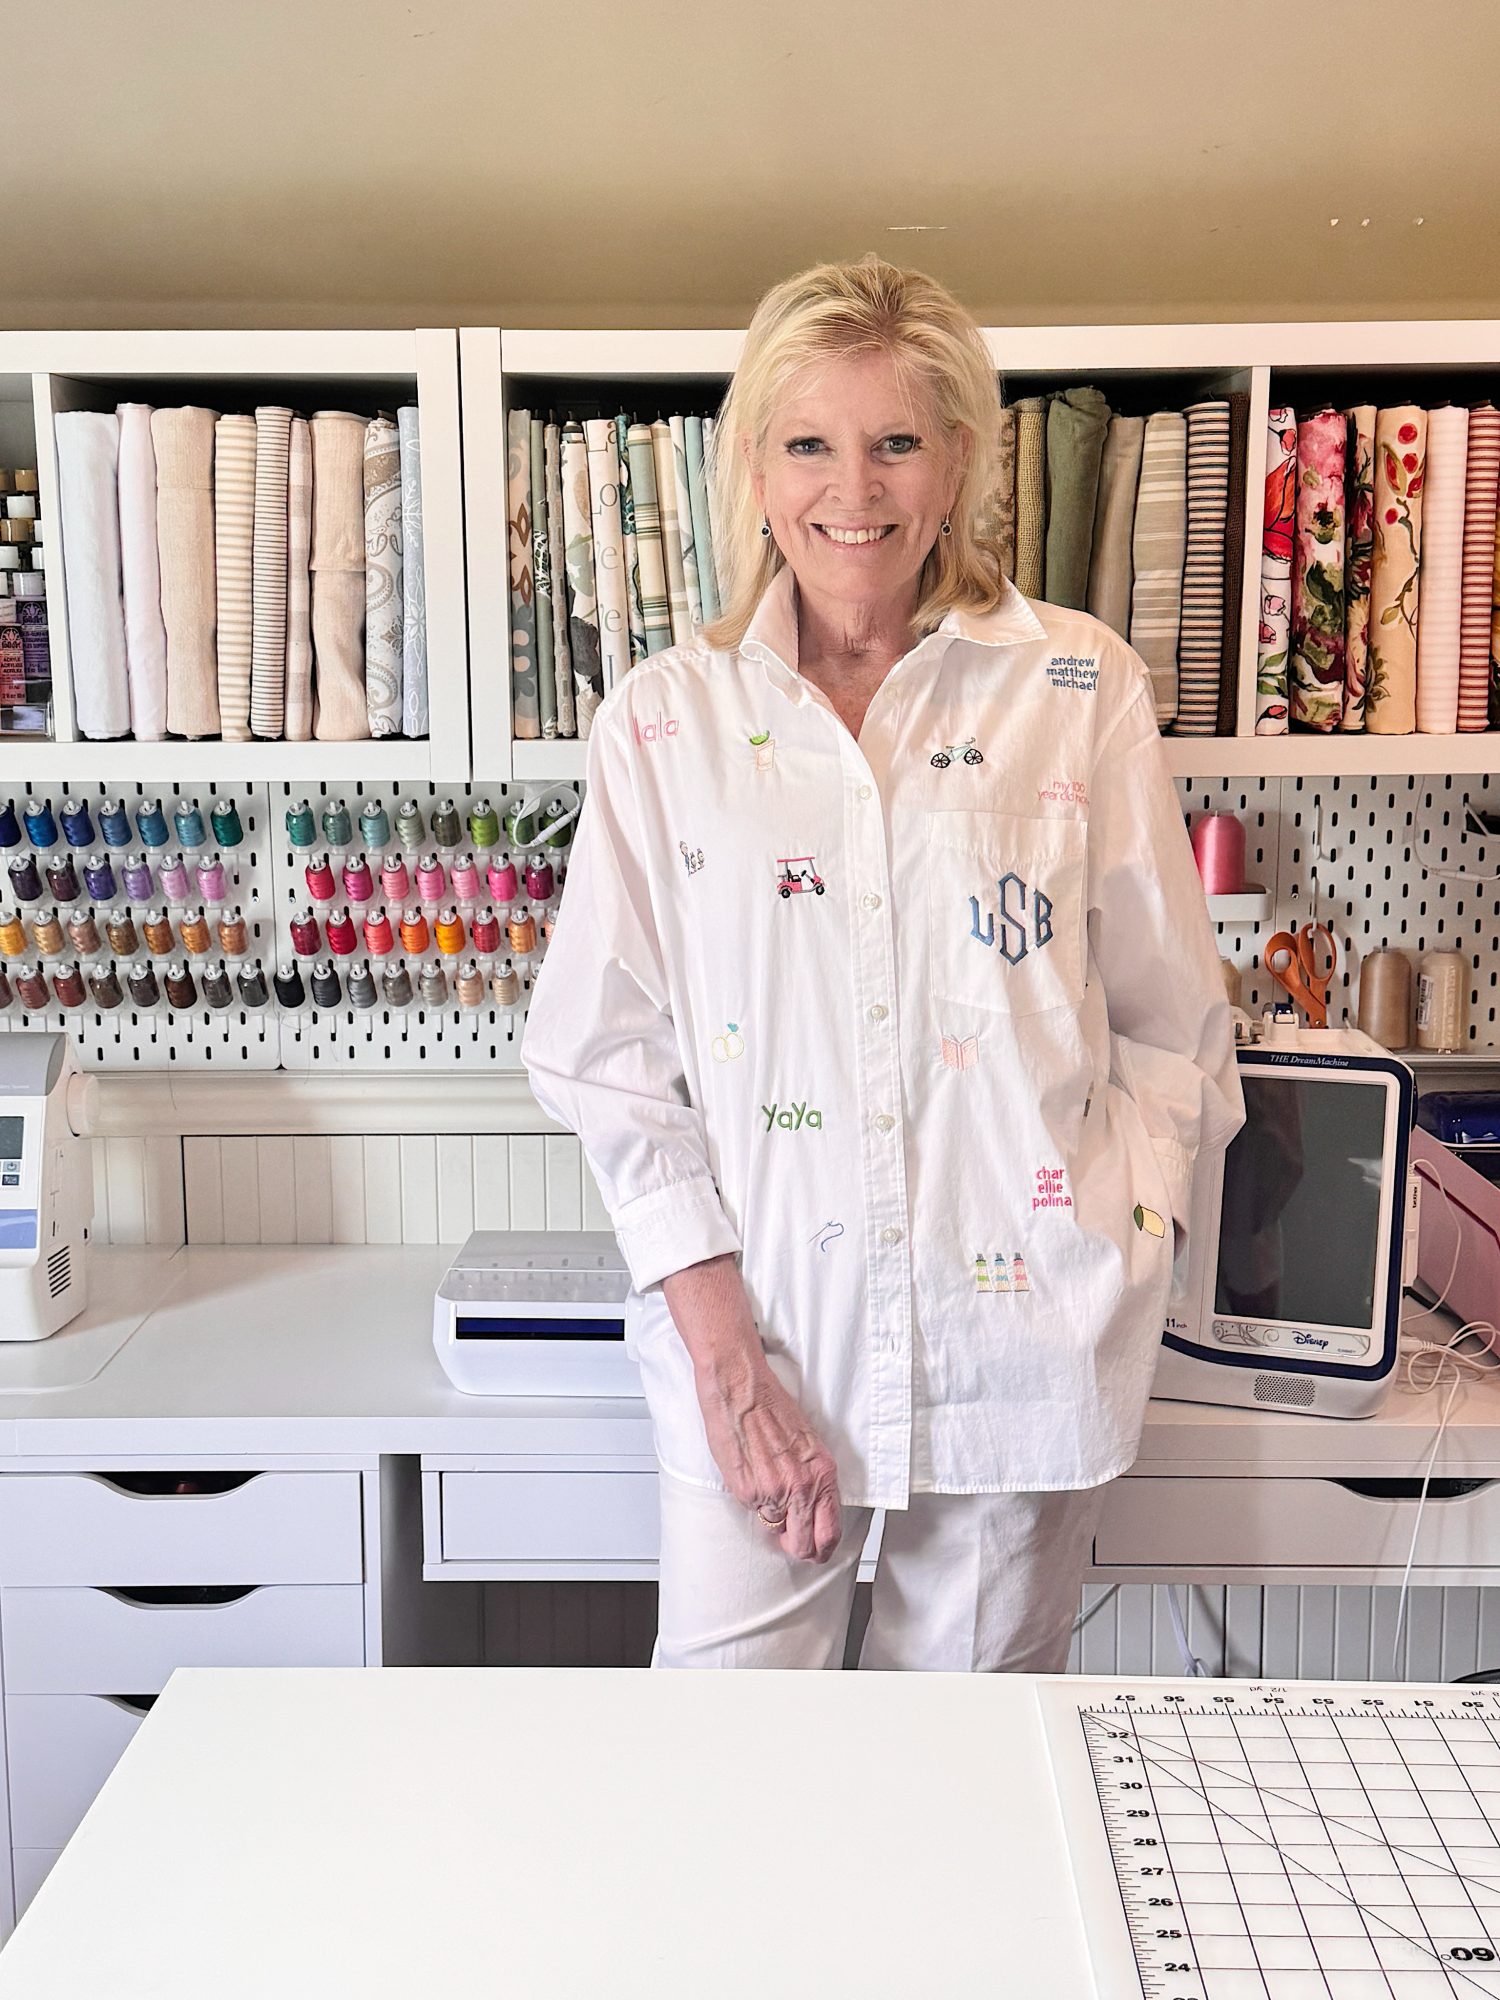
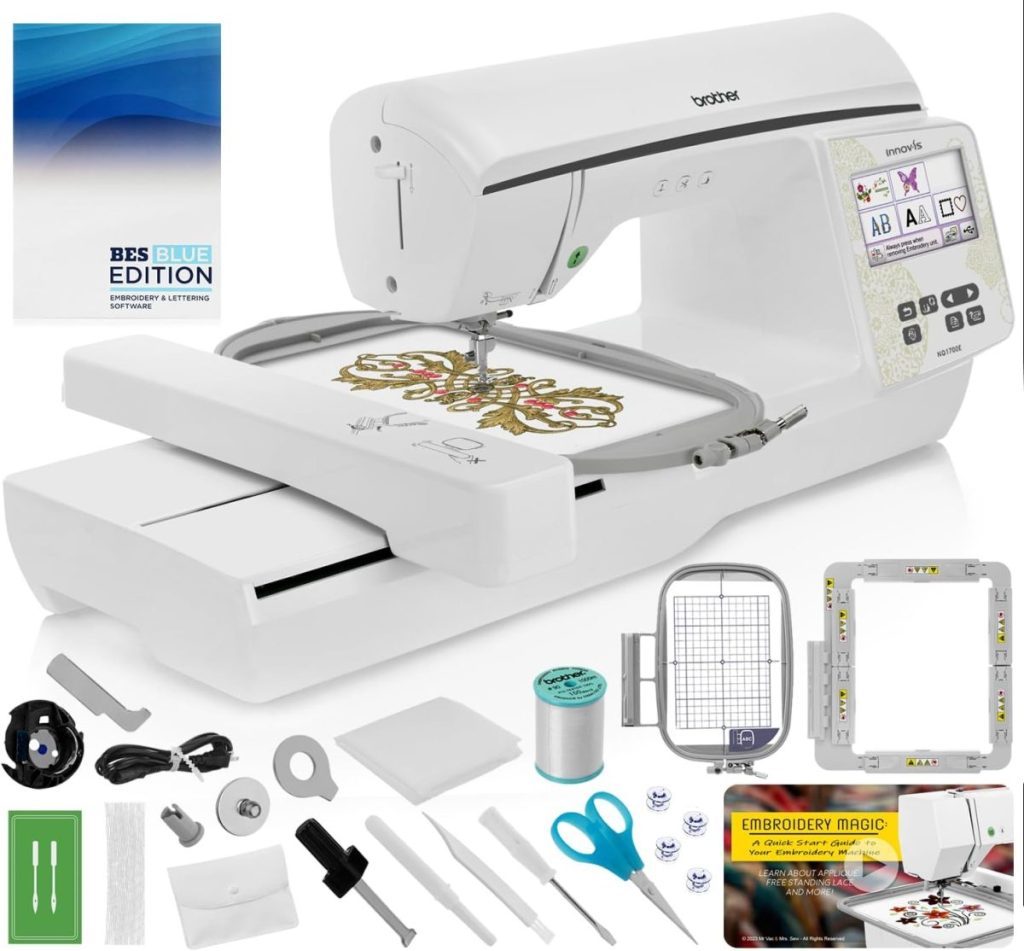
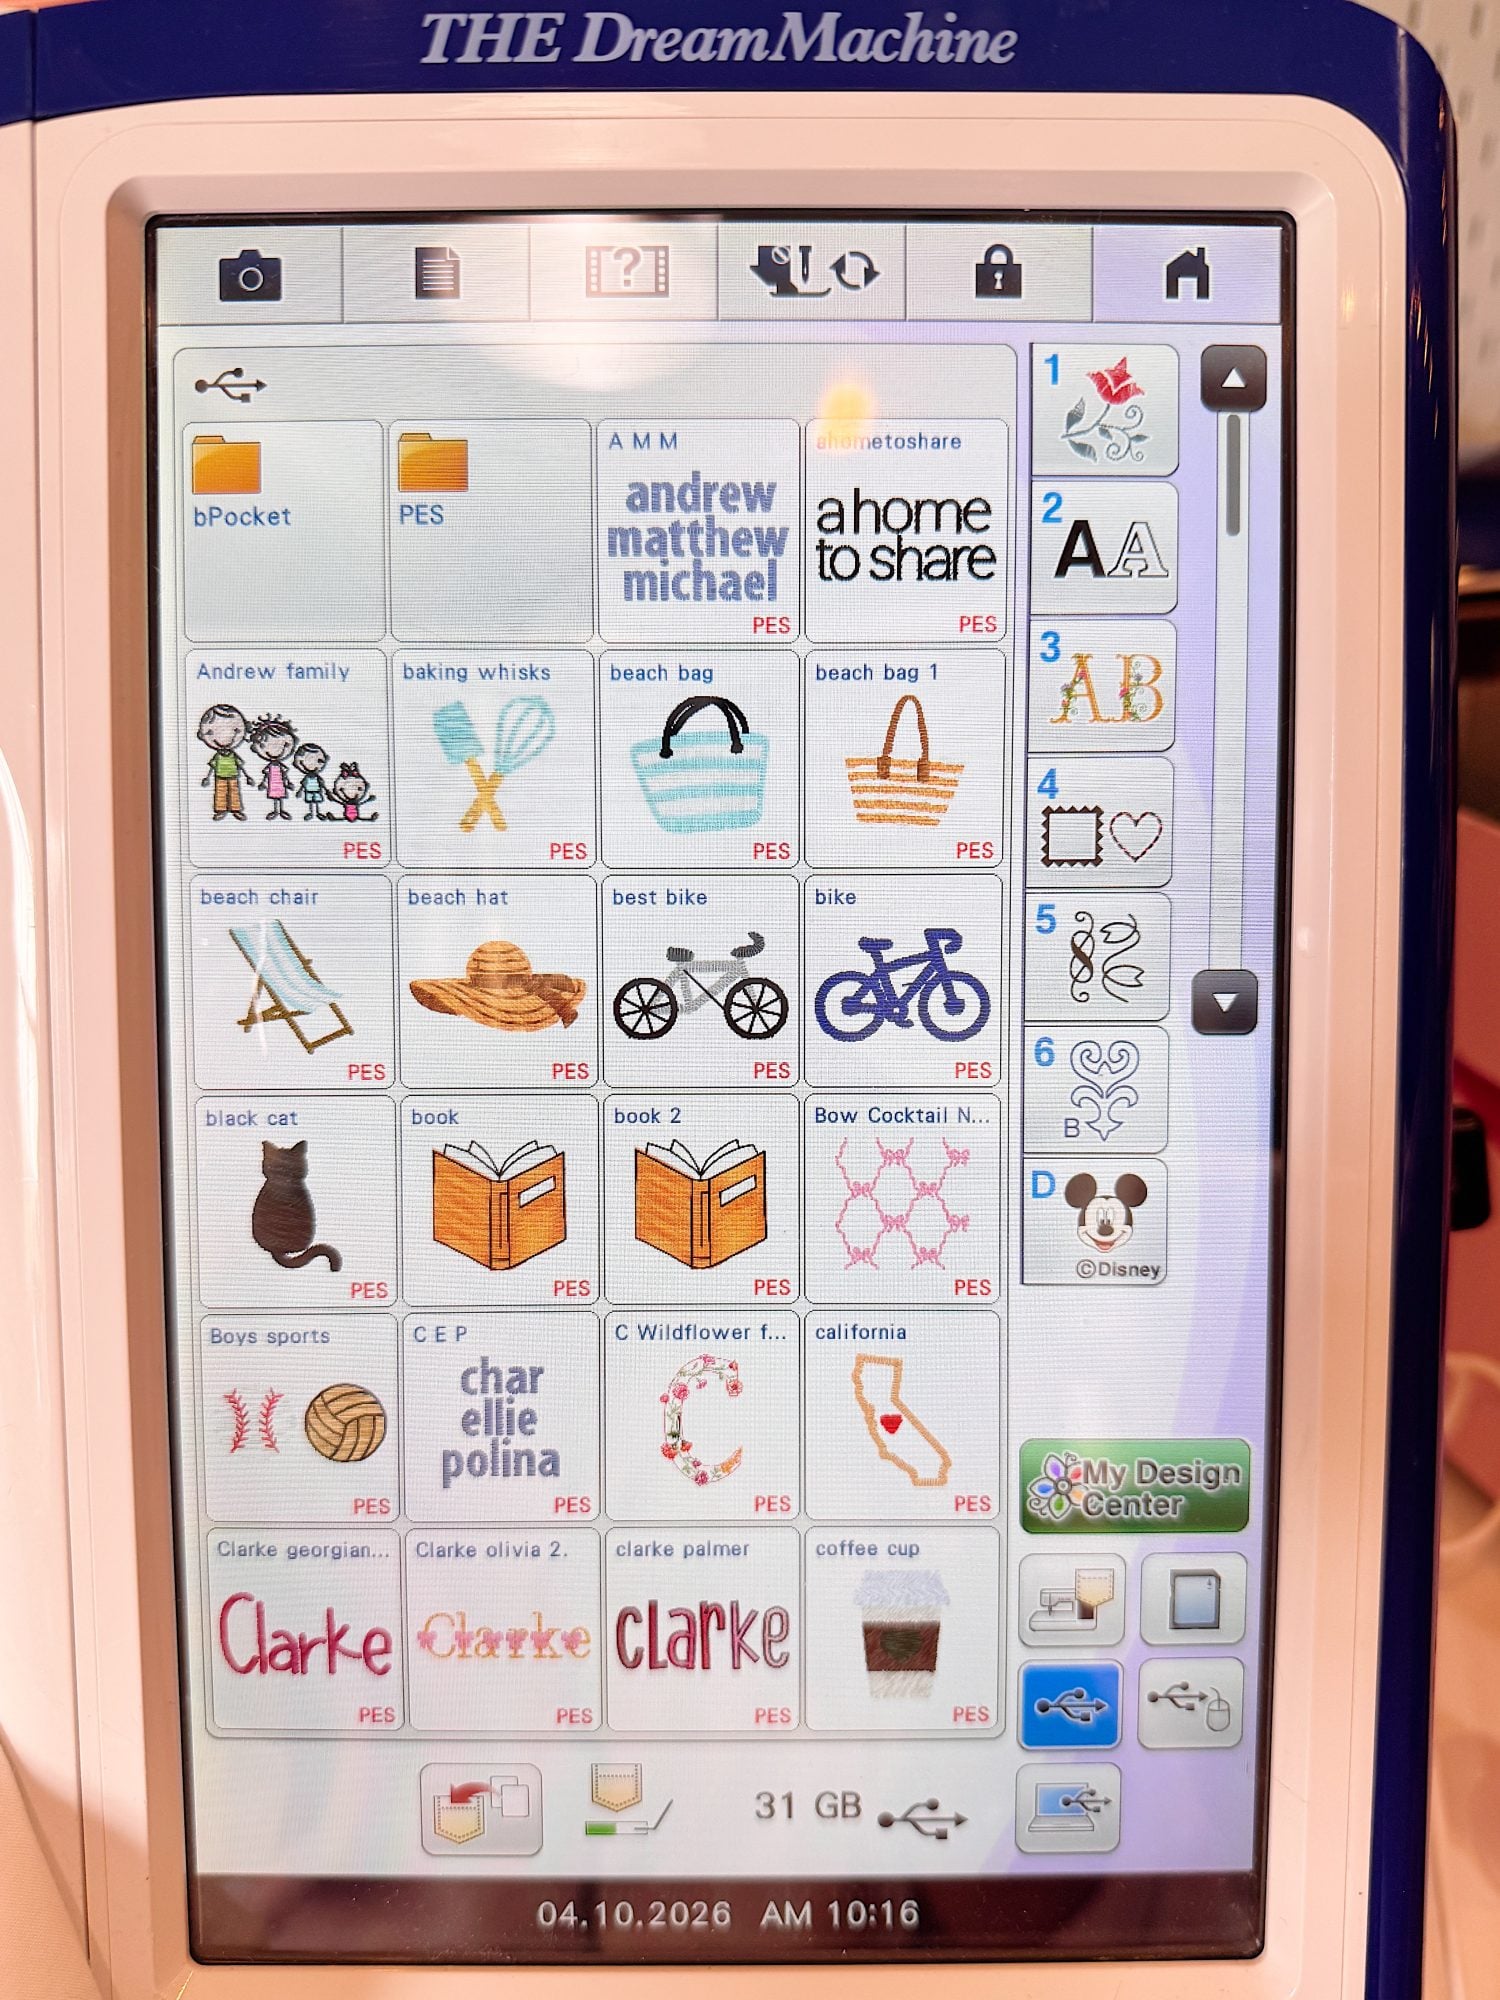
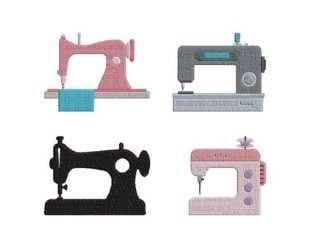
The most important thing you need to make this shirt is an embroidery machine. I own two, but these days I am almost always using my newest machine, the Brother Dream Machine. I bought it used a few months ago.
One of the most important things to understand when choosing an embroidery machine is this. The biggest differences come down to hoop size and the machine’s handling of thread changes. Everything else matters, but these two factors will impact what you can make and how easy the process feels.
Let me explain this using my own machines.
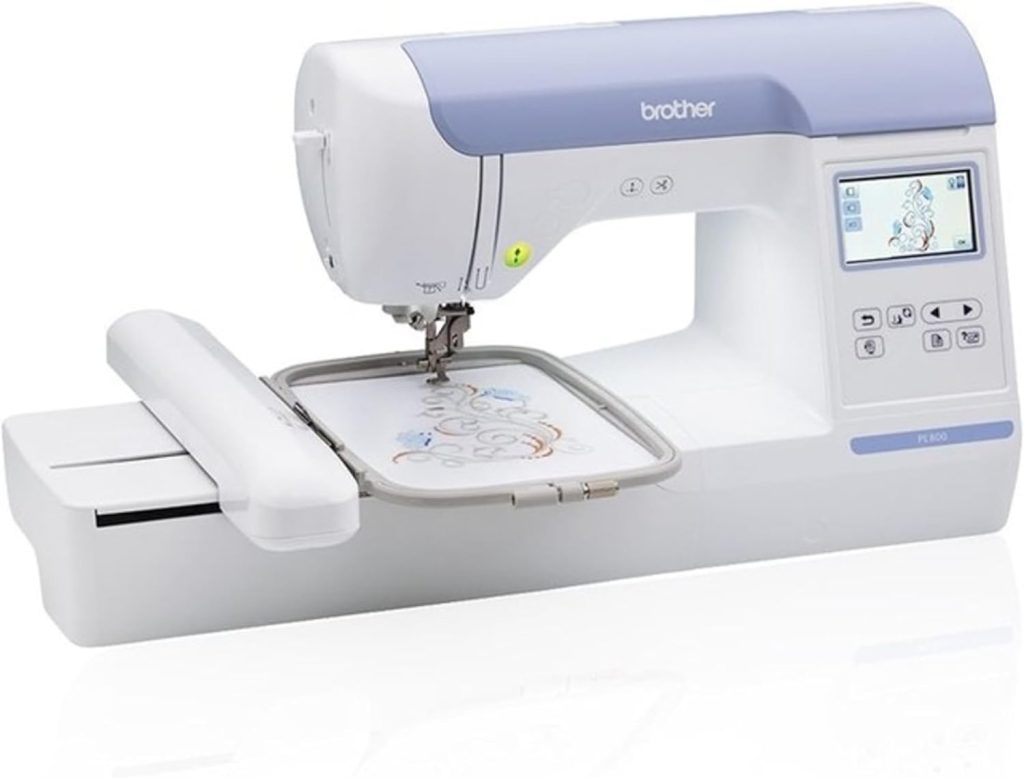
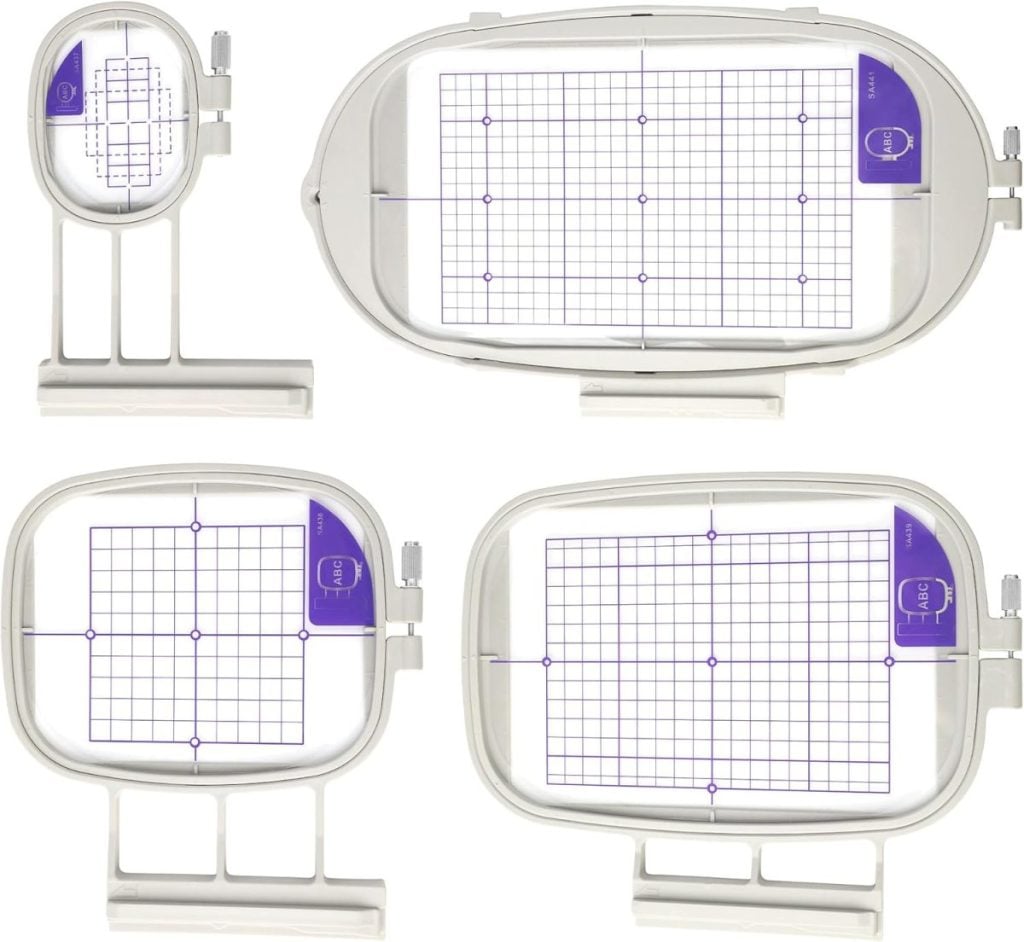
I own two embroidery machines. A Brother PE770 and a Brother Dream Machine, which is a combination sewing and embroidery machine. My PE770 has a maximum hoop size of 5″ x 7″. My Dream Machine can handle designs up to 9″ x 14″. That difference is significant.
A smaller hoop limits the size of your designs. If you want to embroider something larger, like a big design on the back of a shirt or a large pillow, you have to rehoop the fabric and stitch the design in sections. That takes more time and requires careful alignment. With a larger hoop, you can stitch bigger designs in one pass, which is easier and gives a cleaner result.
That is one of the main reasons machines with larger hoops cost more. They open up more creative possibilities and save time.
The second big difference is thread management.
Both of my machines are single-needle machines. That means they can hold only one thread at a time, and I have to manually change the thread whenever the design switches colors. For a simple design, that might mean just a few changes. But for something more detailed, it can mean stopping and rethreading the machine many times.
More expensive machines often have multiple needles, sometimes six, ten, or even more. Each needle is threaded with a different color, and the machine automatically switches between them as it stitches. This makes the process much faster and more efficient, especially for complex designs.
So when you are choosing an embroidery machine, think about what you want to make. If you plan to do larger designs or more detailed work, hoop size and thread management will make a huge difference in your experience.
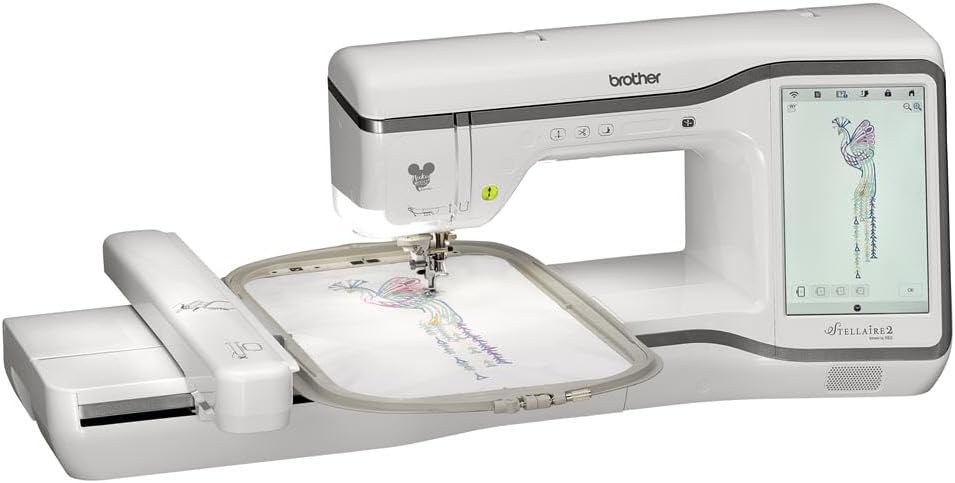
I bought a pre-owned Brother Dream Machine from a local dealer and saved a lot of money. If you want a similar new machine, the Brother Stellaire 2 Innov-is XE2 Disney Embroidery Machine – 14″ x 9.5″ Field Size is the most similar. The Brother PE900 is the most similar to my PE770.
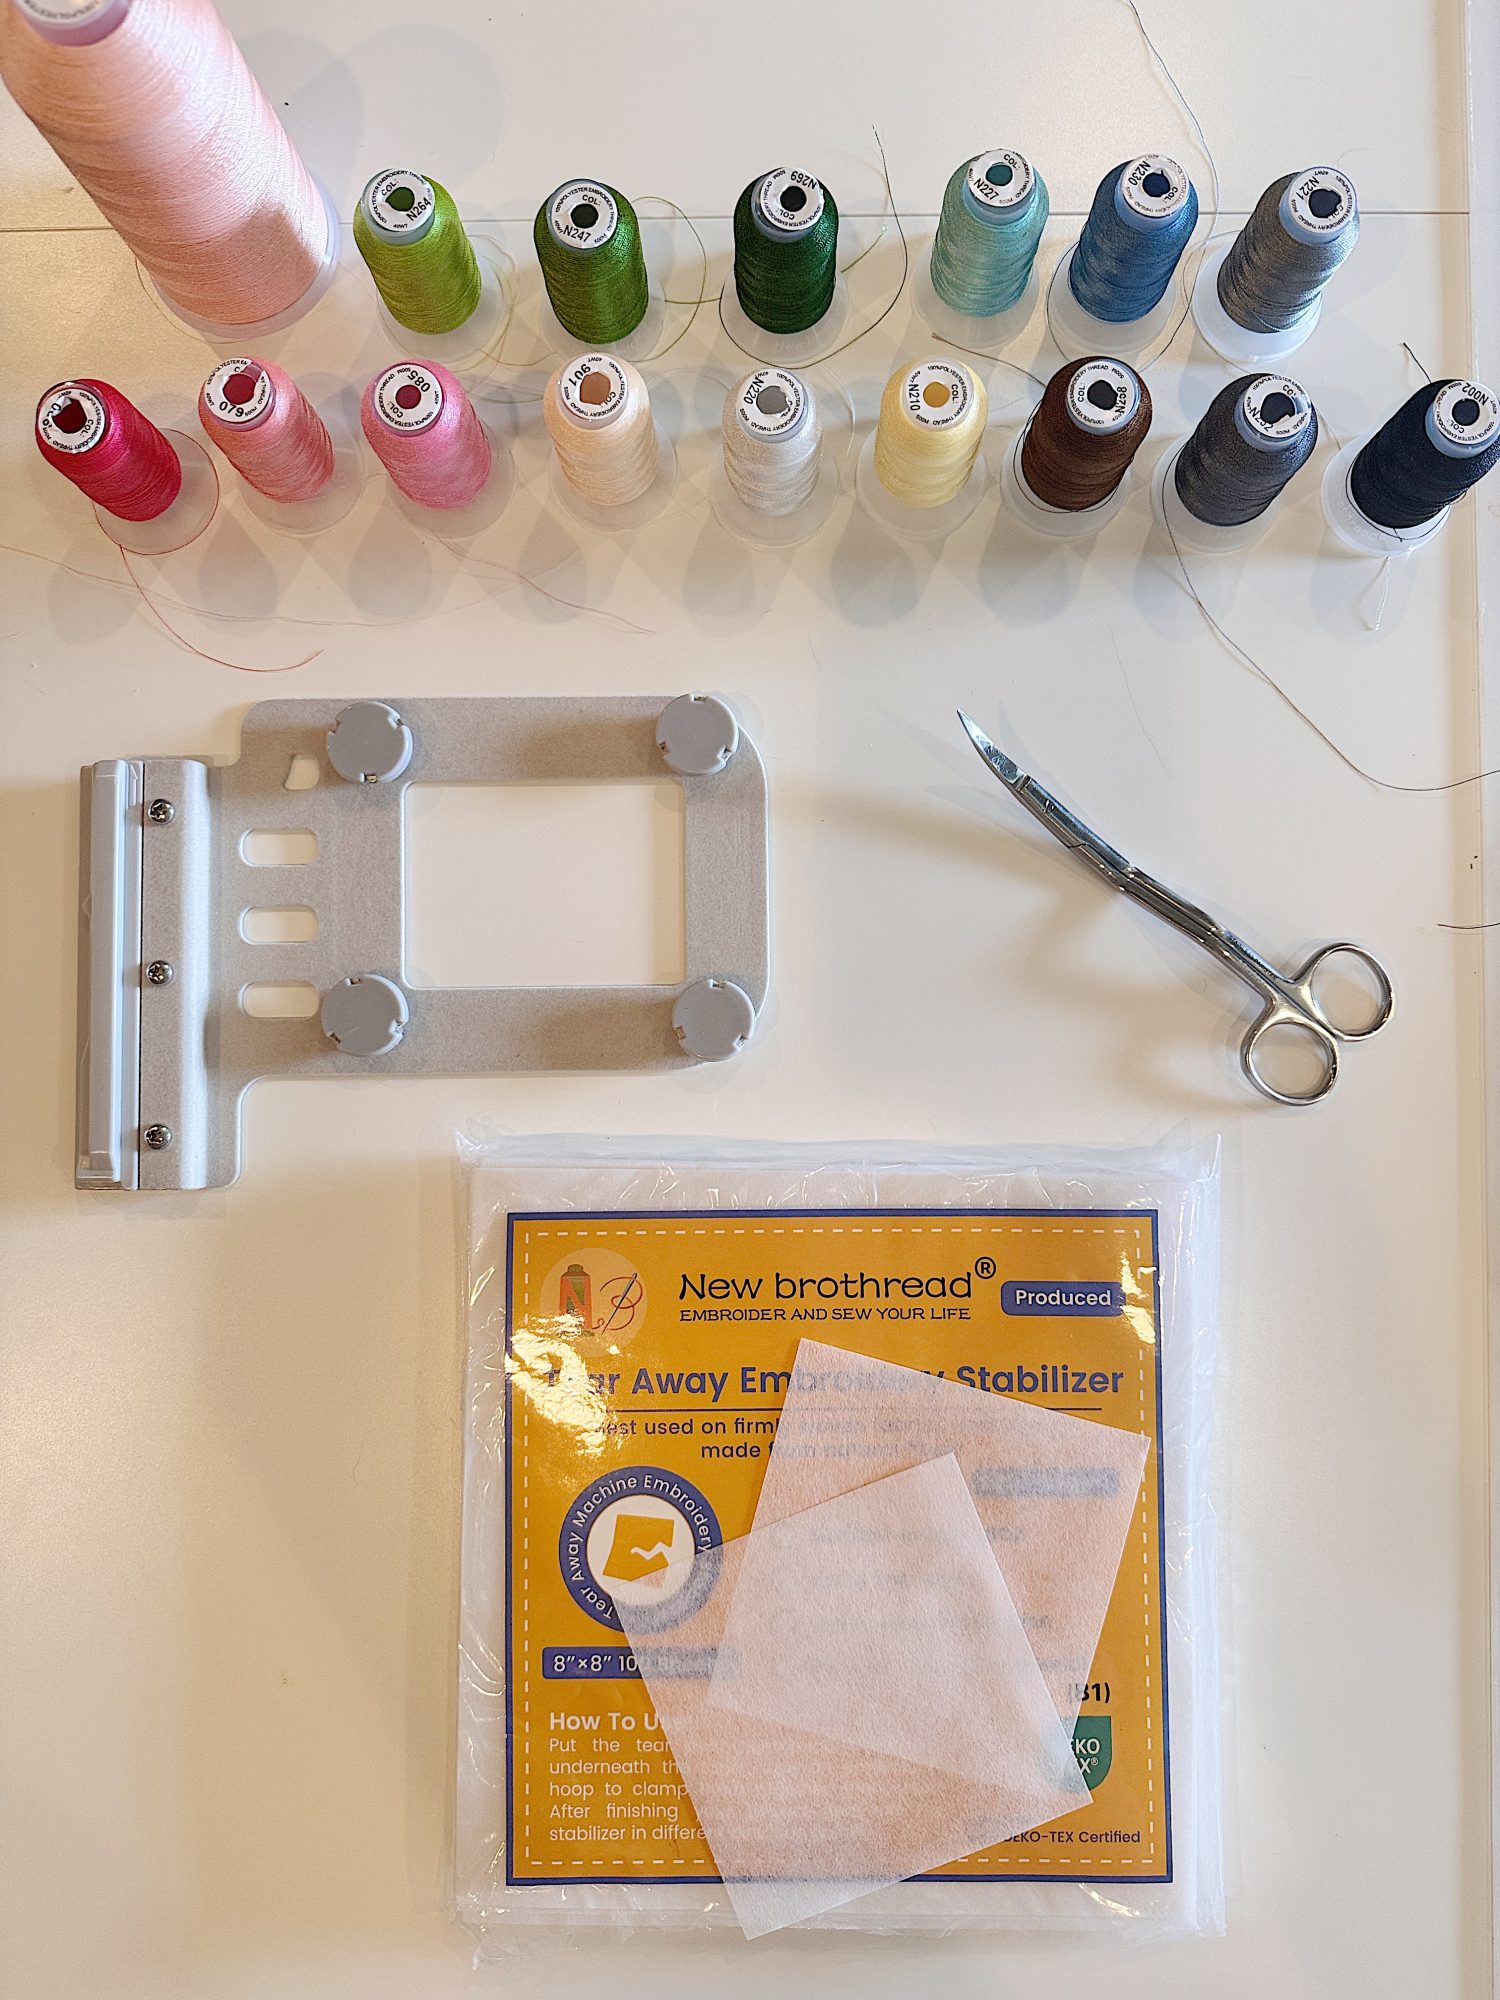
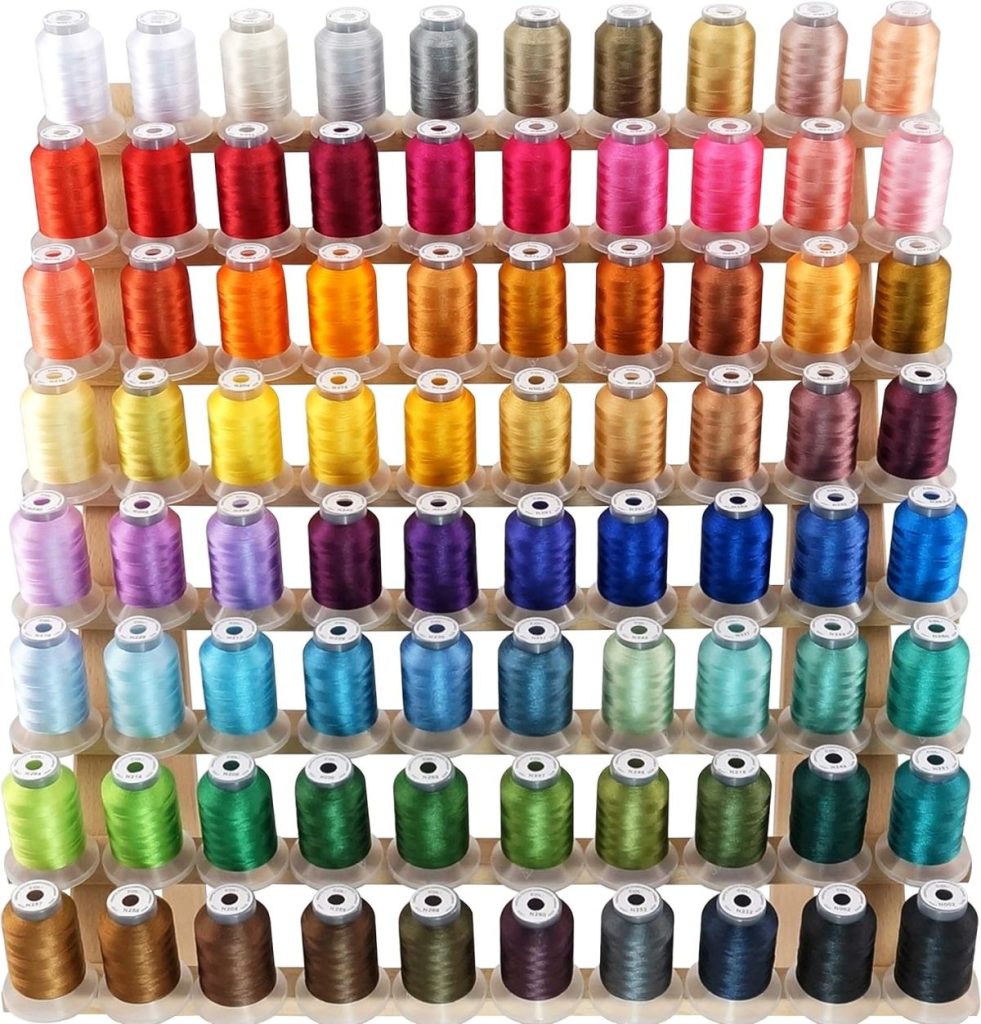
In addition to a machine, you need embroidery thread, scissors, tear-away stabilizer, and a magnetic embroidery hoop. The hoop isn’t mandatory, as you can use the manual ones that come with your machine, but the magnetic ones will save you a ton of time and lessen your frustration!
I may use affiliate links on this blog, which means I earn a small commission if you make a purchase through them. The price will be the same whether you use the affiliate link or go directly to the vendor’s website using a non-affiliate link.

Step One: Make Your List of Favorite Things
The first step was creating a list of my favorite things.
This was easier than I expected. I simply opened a new note on my phone and started listing things without overthinking it.
Some of mine included:
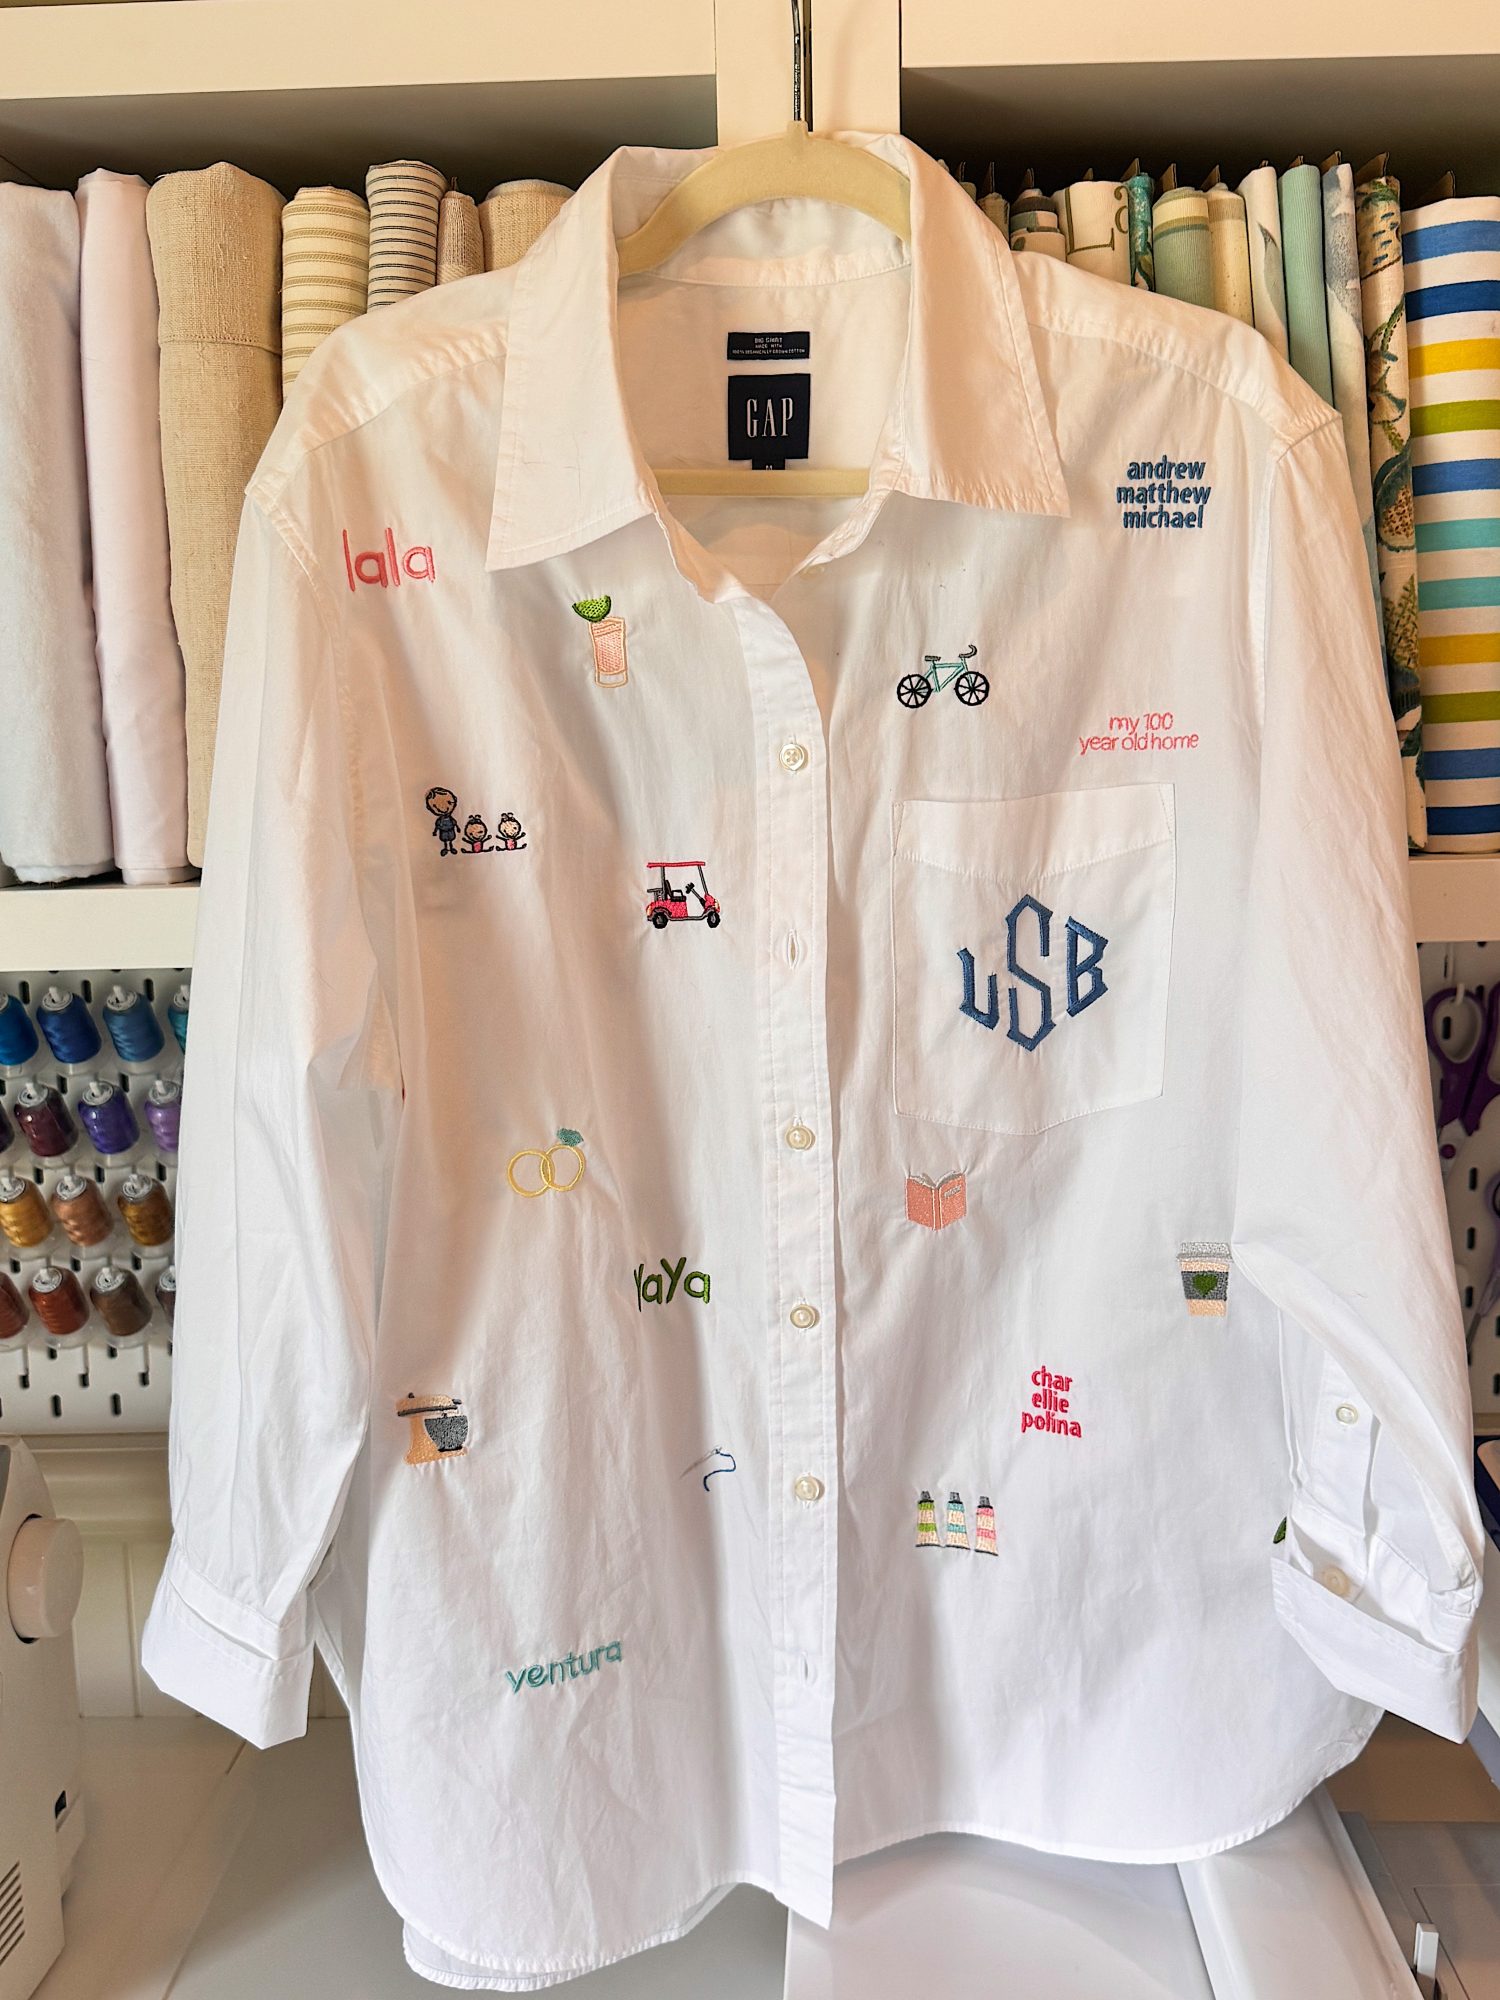
- My three sons, Andrew, Matthew, and Michael
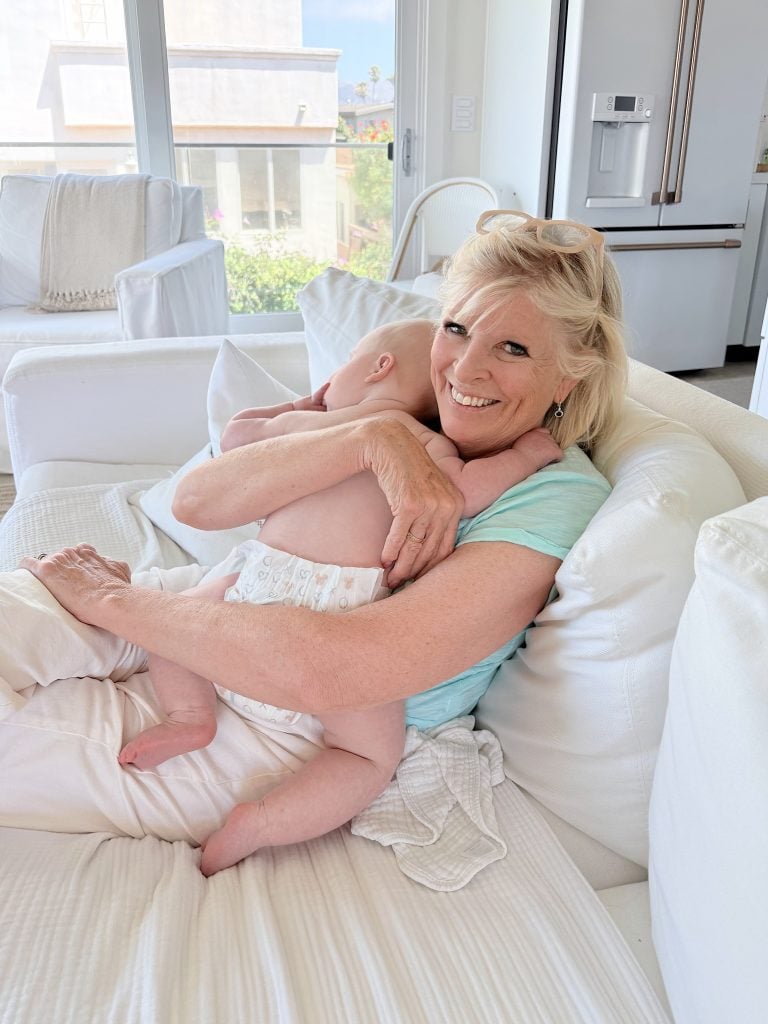
- My grandchildren
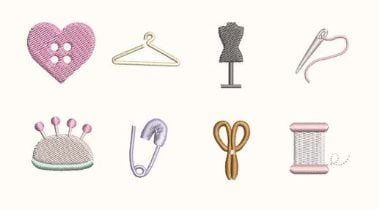
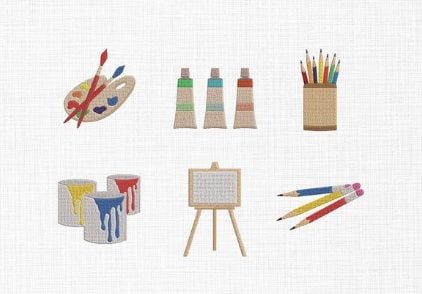
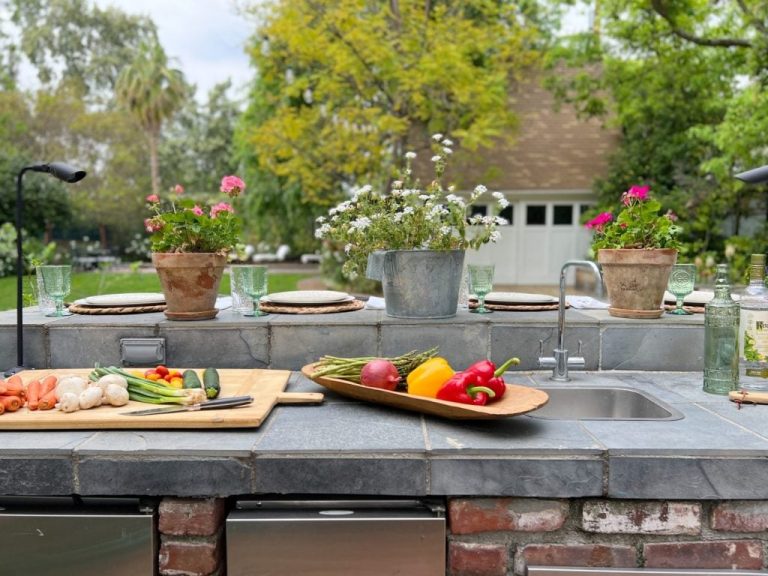
- Cooking and crafting
- The beach house
- my 100-year-old home
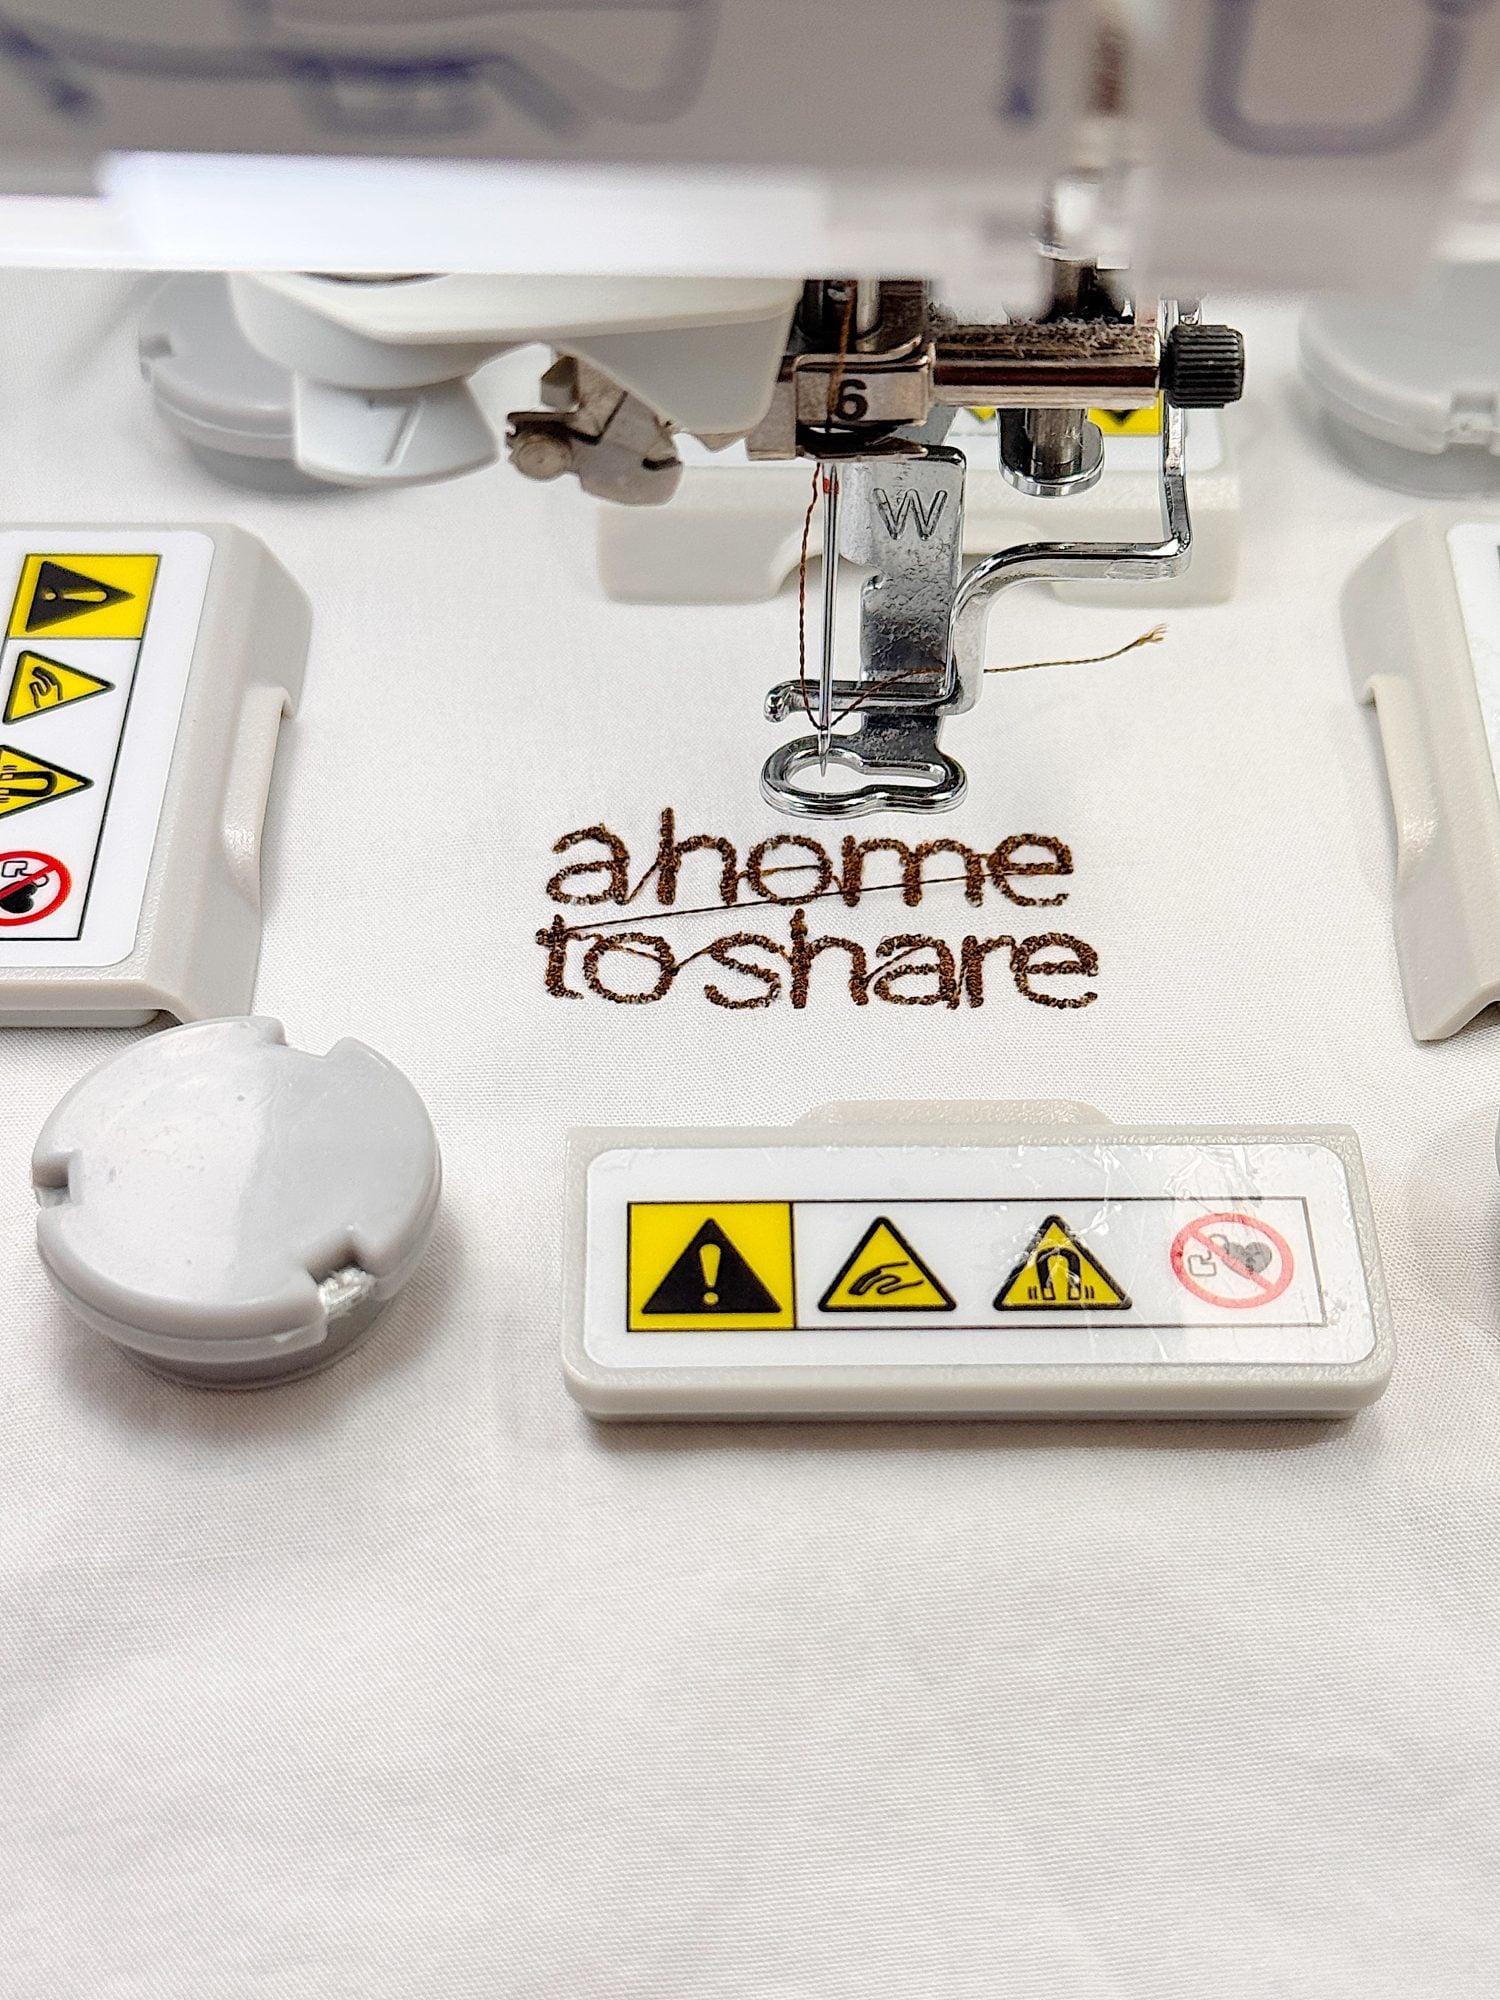
- A home to Share – my book!
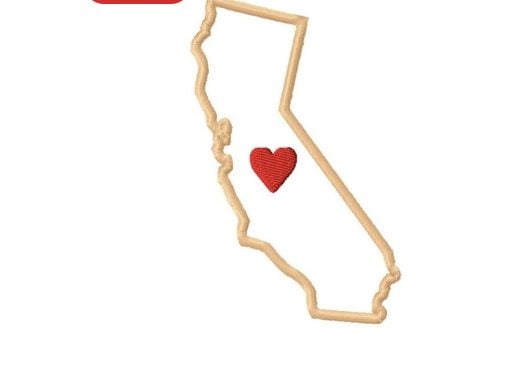
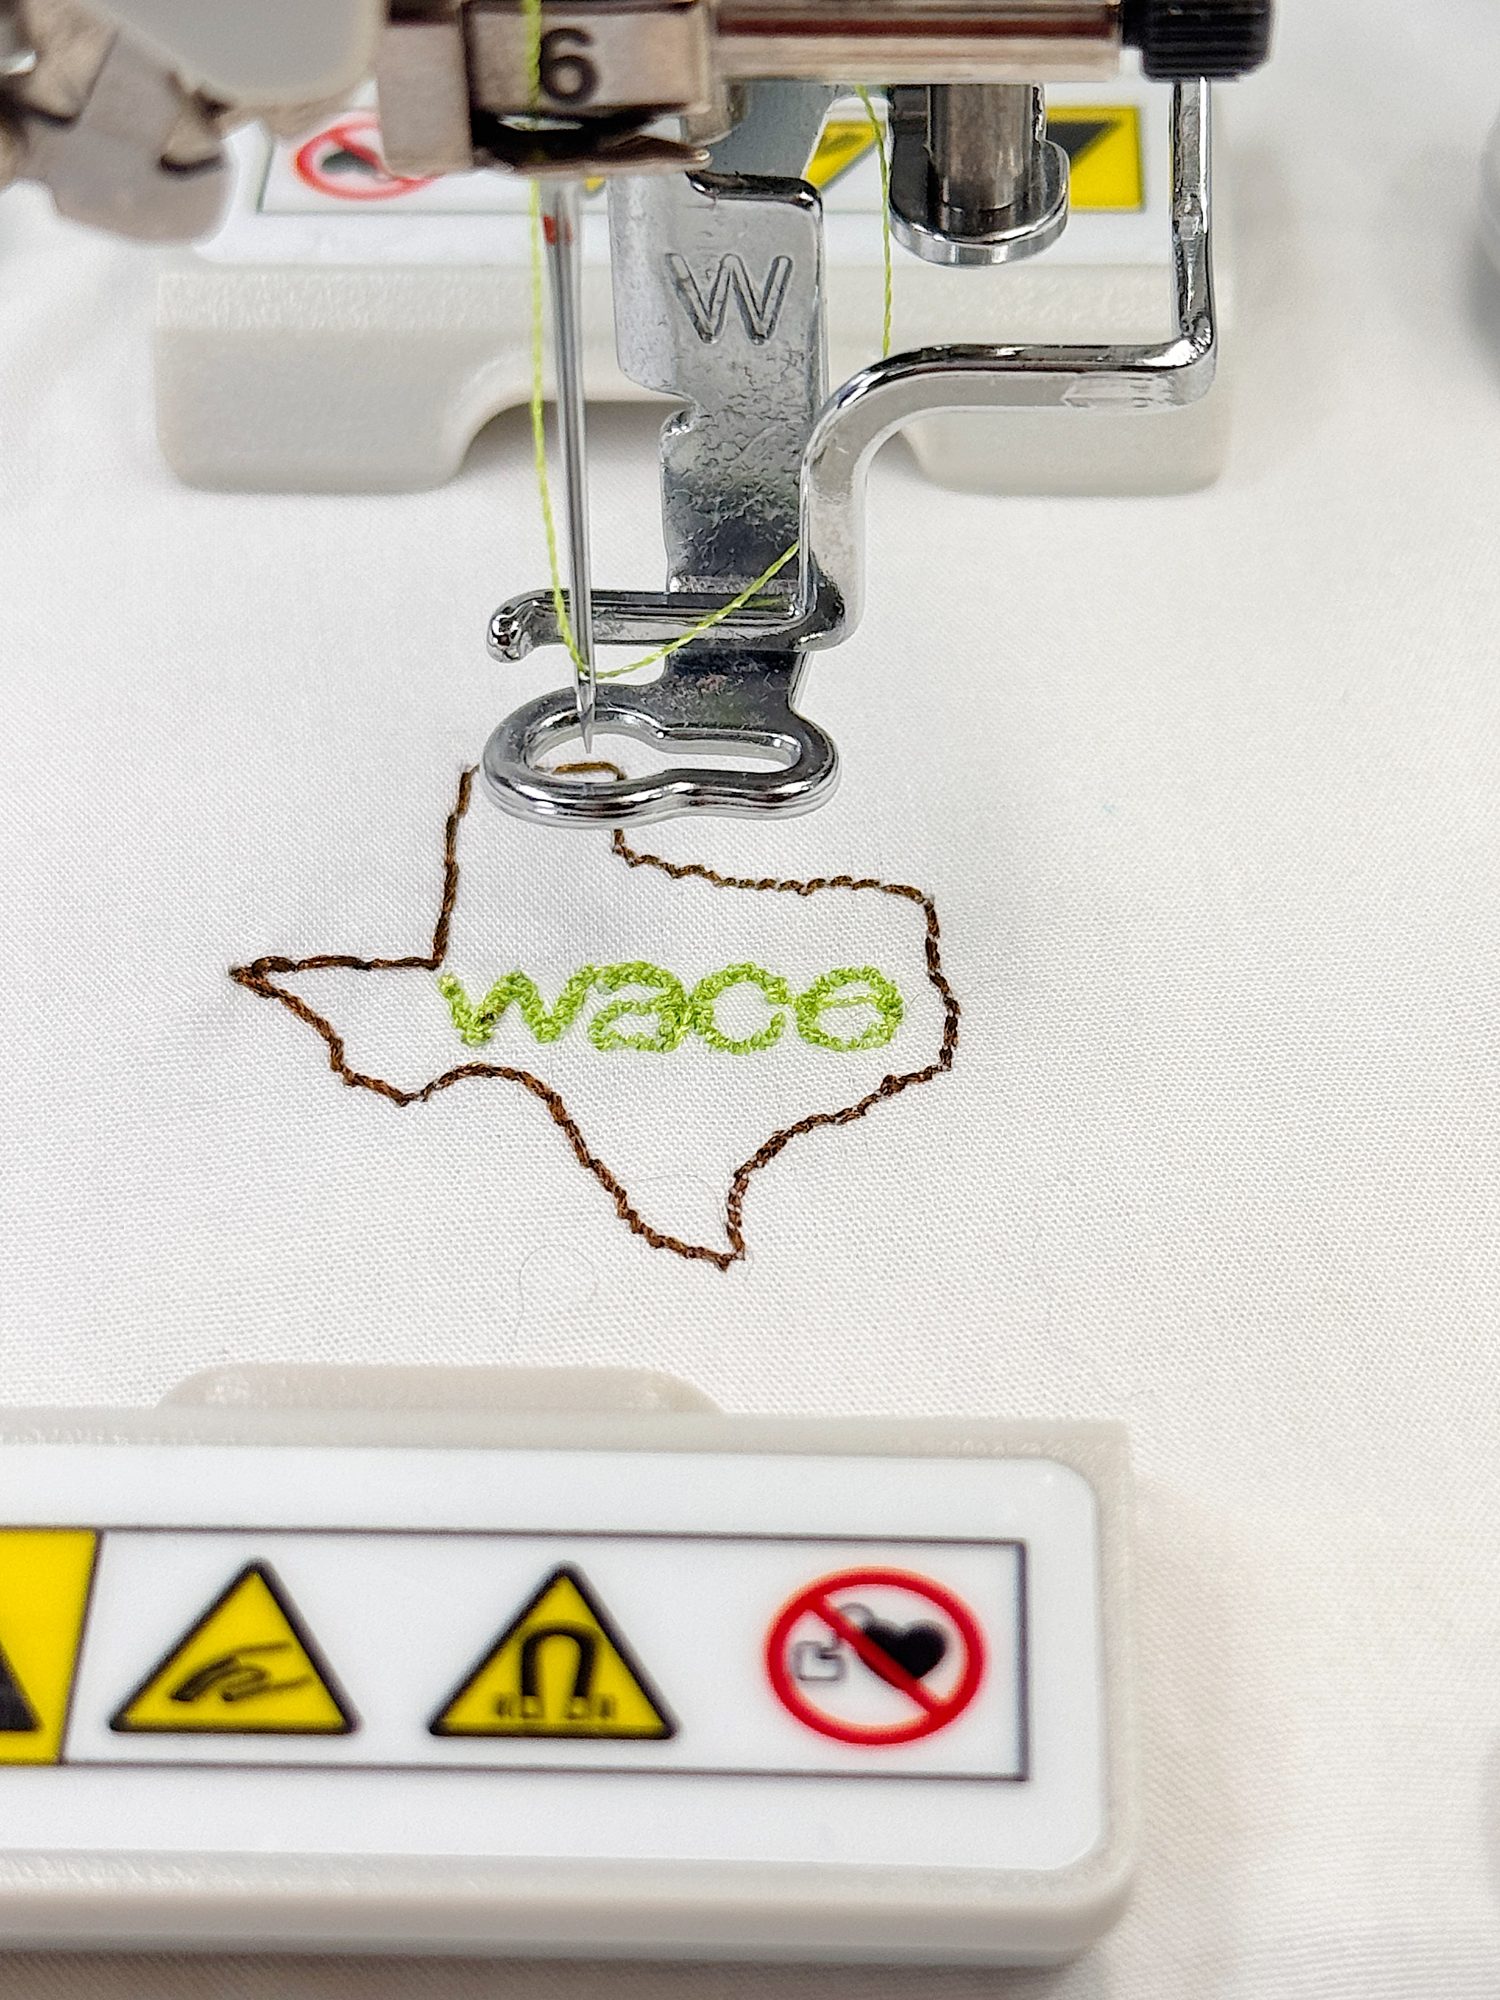
- Waco
- Ventura
And so many more.
This part did not take long at all. You could easily stop at 15 or 20 items, but I kept going and ended up with 35.
And I am so glad I did.
Step Two: Find or Create the Designs
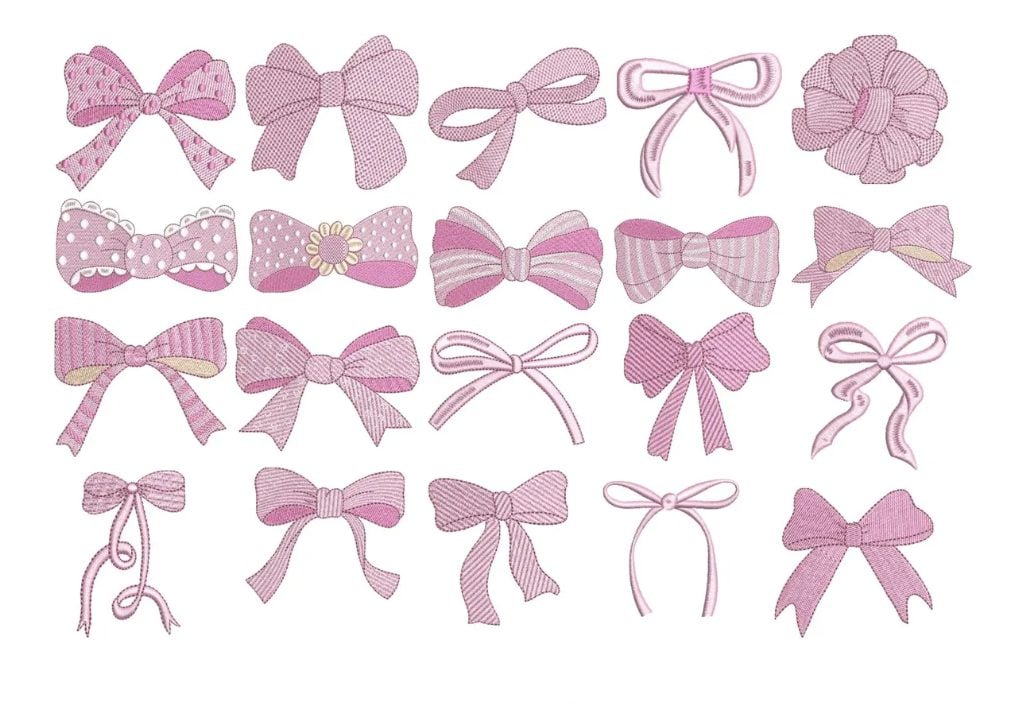
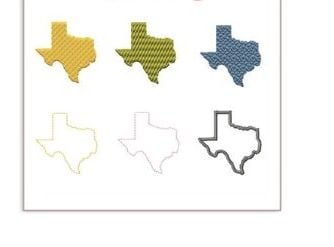
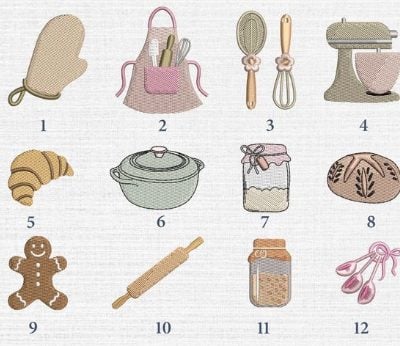
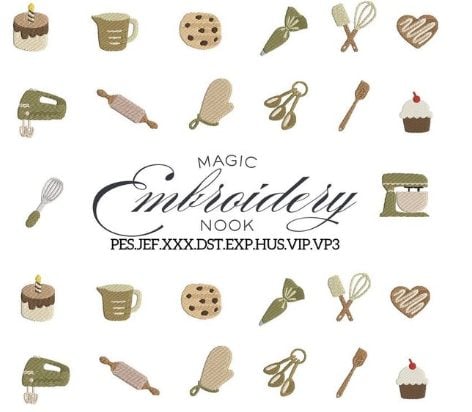
Next, I needed to find embroidery designs for each item. (Here are links to all of the icons I used.)
There are two ways to add your “favorite things” to your shirt. The first are mini icons, which you can purchase at a very low cost. The other way is to write out words. I used both!
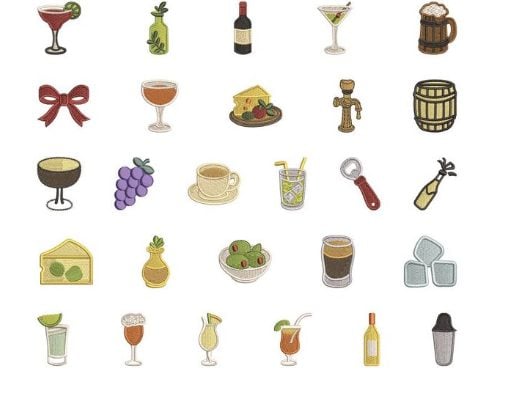
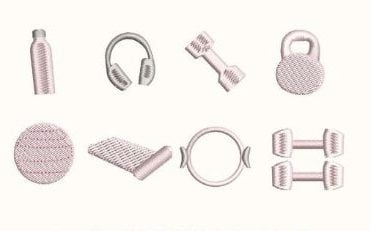
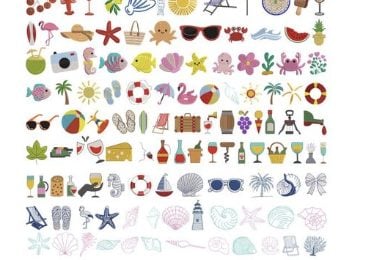
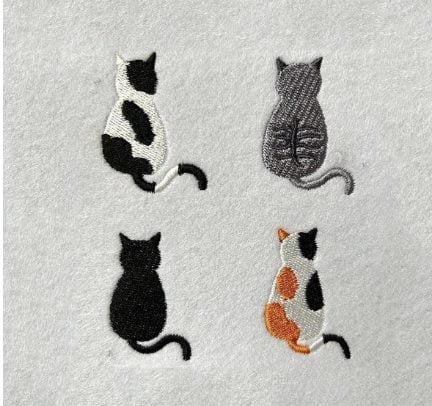
Mini Icons
I searched Etsy for pictures using terms like:
- “mini embroidery icons”
- “small embroidery designs”
- “mini icon embroidery files”
Many of the icons were part of themed collections, such as beach or craft designs, which made them easy to find.


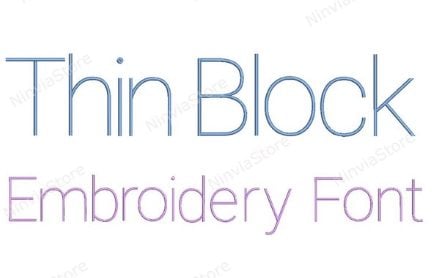
Mini Words

For the words, like my sons’ names and places like Ventura, I created those myself using Embrilliance. This allowed me to customize the size and style exactly.
One Important Tip
Pay close attention to the size of the designs.
I kept all of my icons at 1.5 inches or smaller.
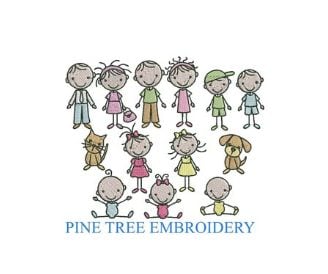
You cannot reduce a large design without affecting the quality, so it is important to start with files that are already small, ideally 2 inches or less.
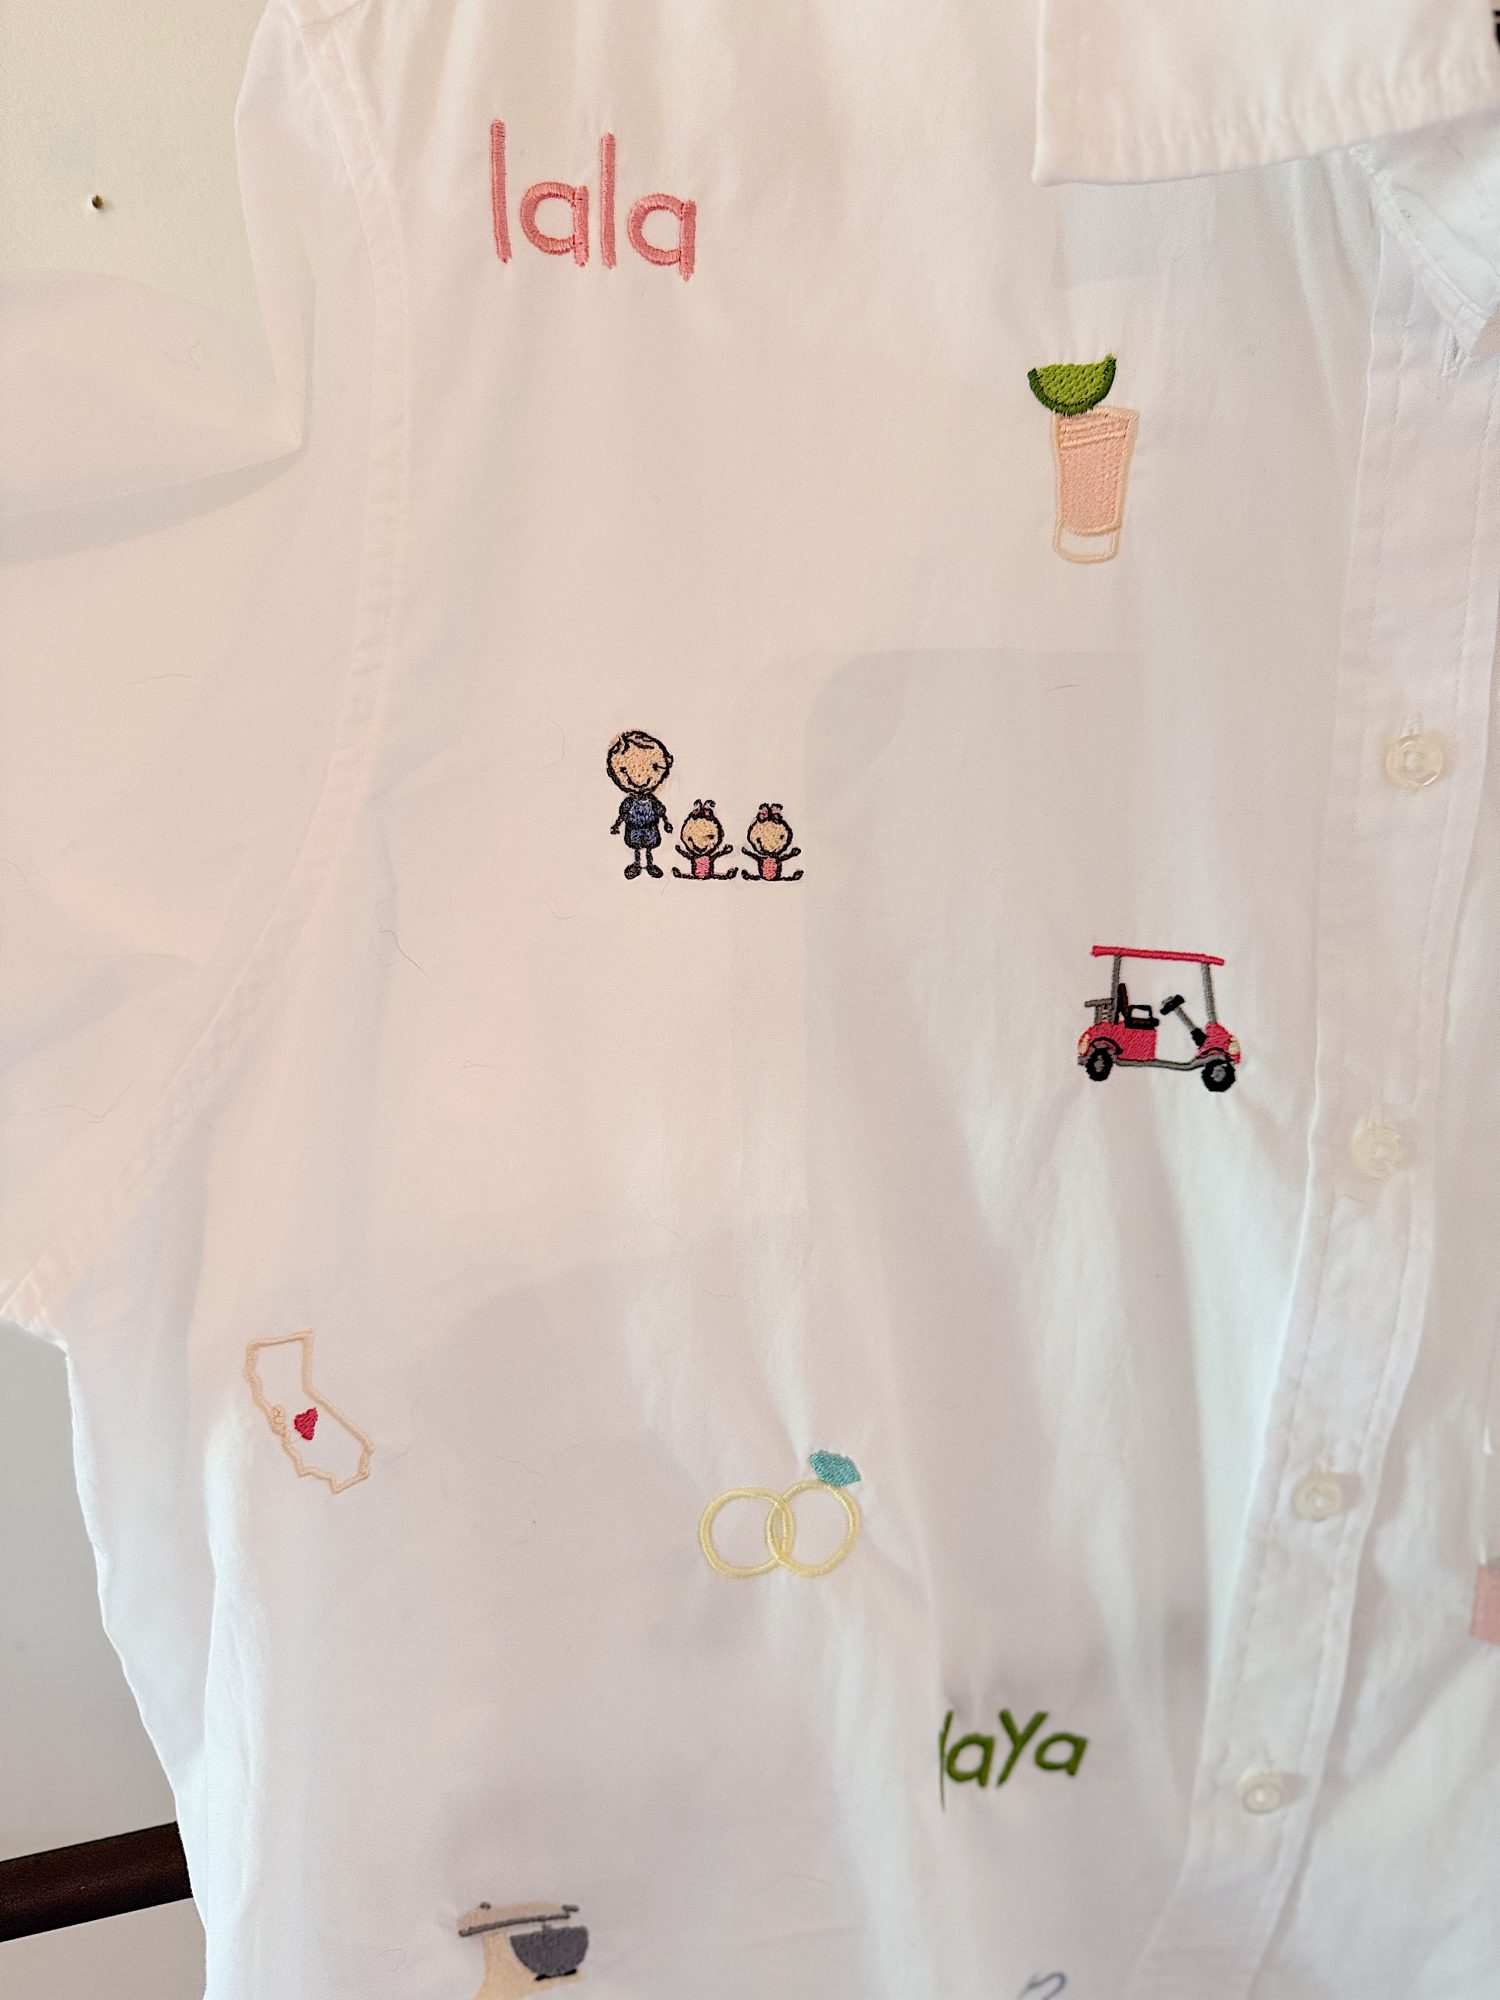
If the file is too large, shrinking it will leave way too many stitches, and the design will not work. That almost happened with the design I used of the three small children. It almost “ate” my shirt!
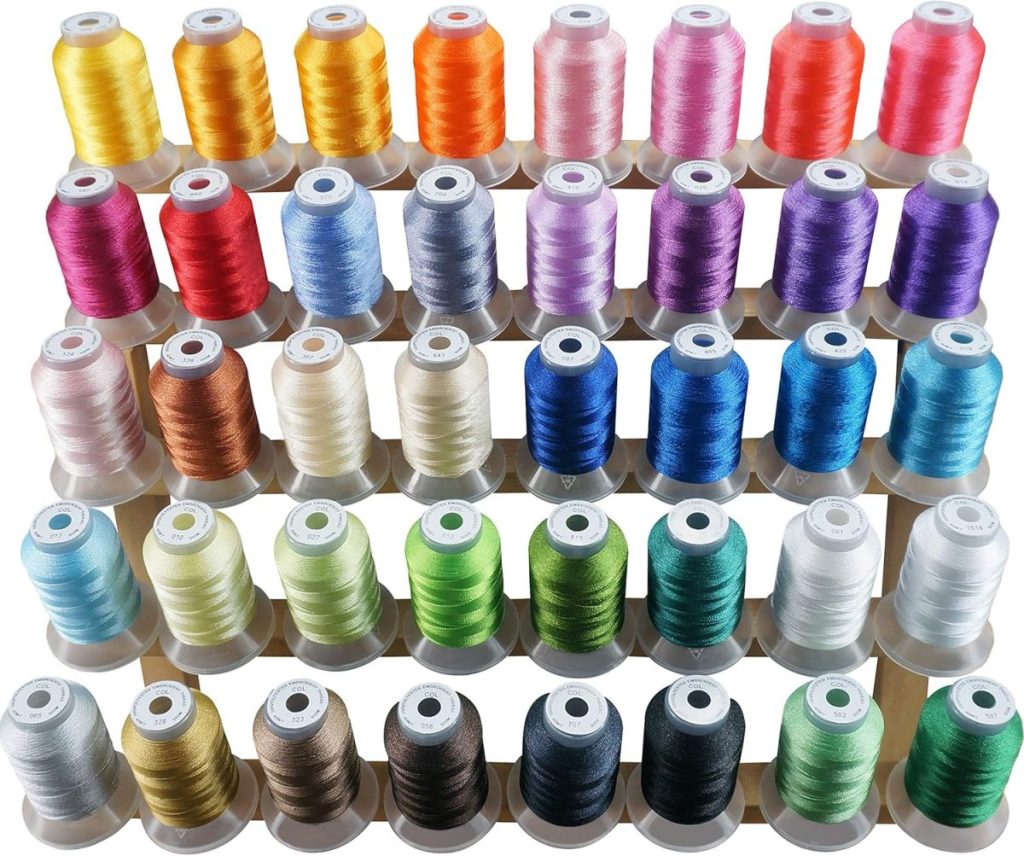
Step Three: Choose Your Thread Colors

Before I started stitching, I selected my thread colors.
I thought the shirt would look better if the colors were somewhat limited, so I chose about 12 colors to start. As I added more icons, I ended up with 16.
This made a huge difference.
It kept the shirt looking cohesive rather than busy, even with 35 different mini designs.
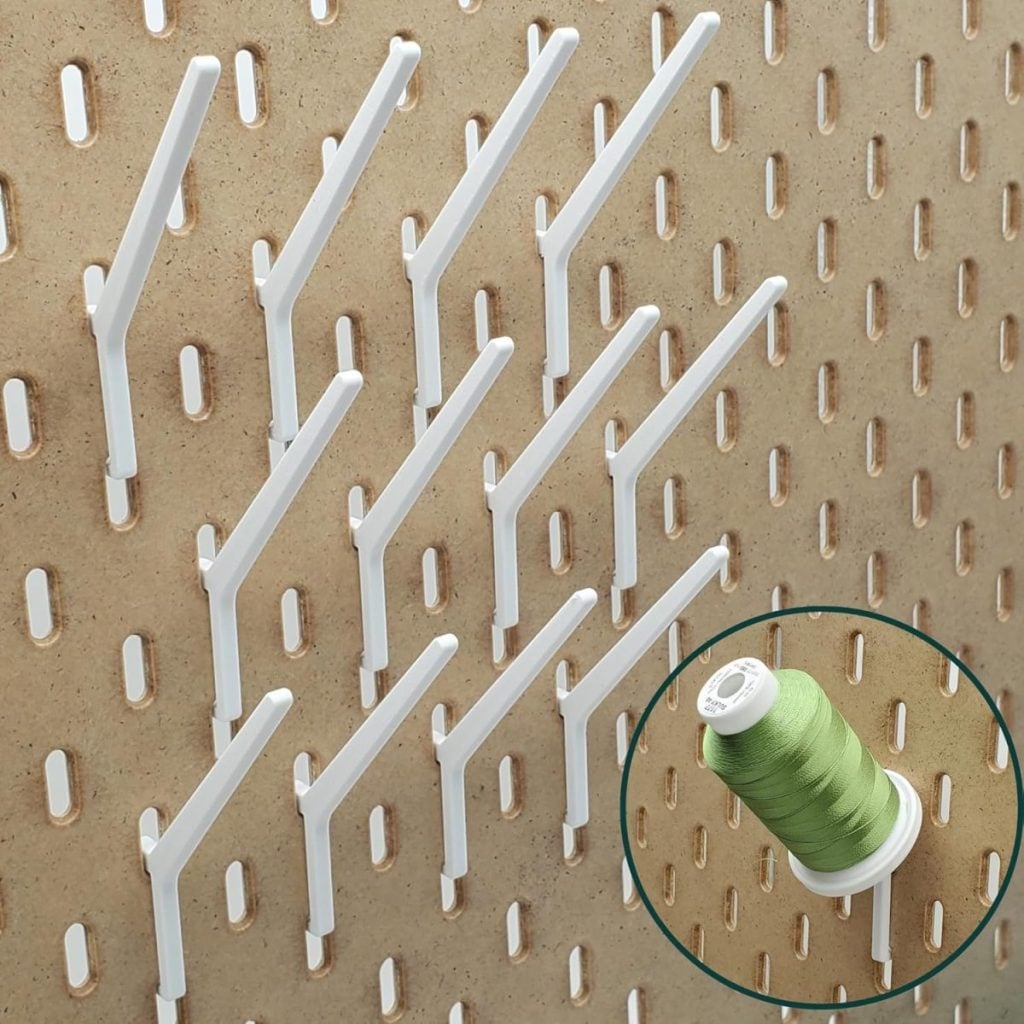
Step Four: Use the Right Tools
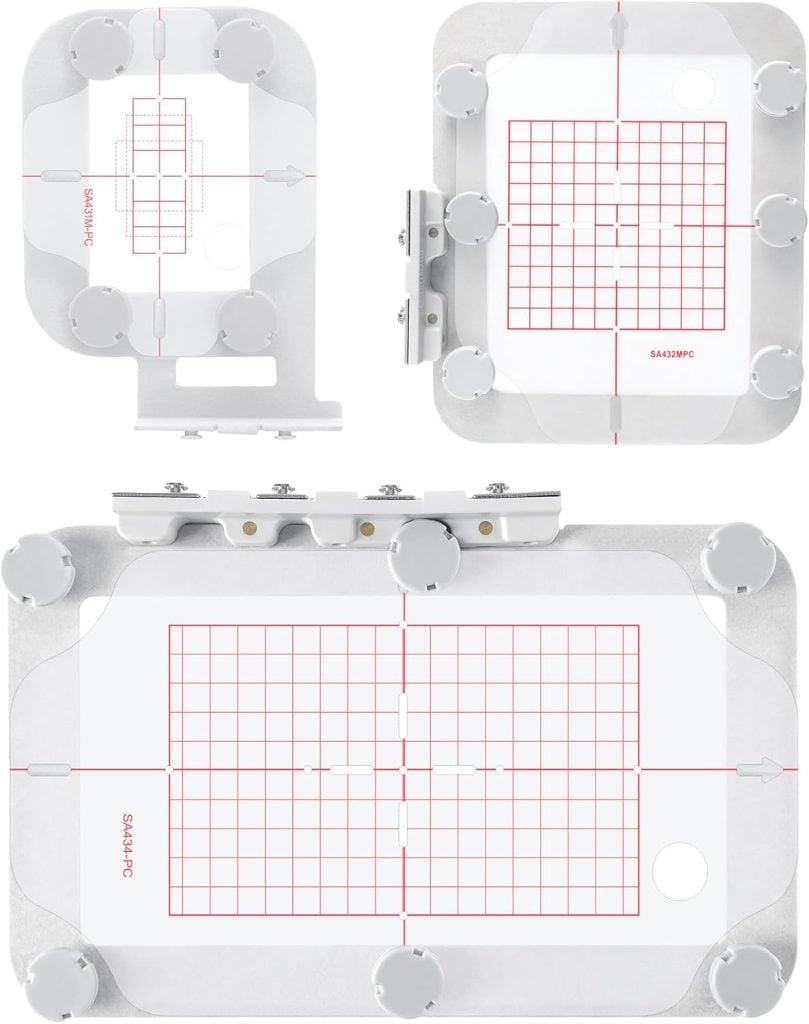
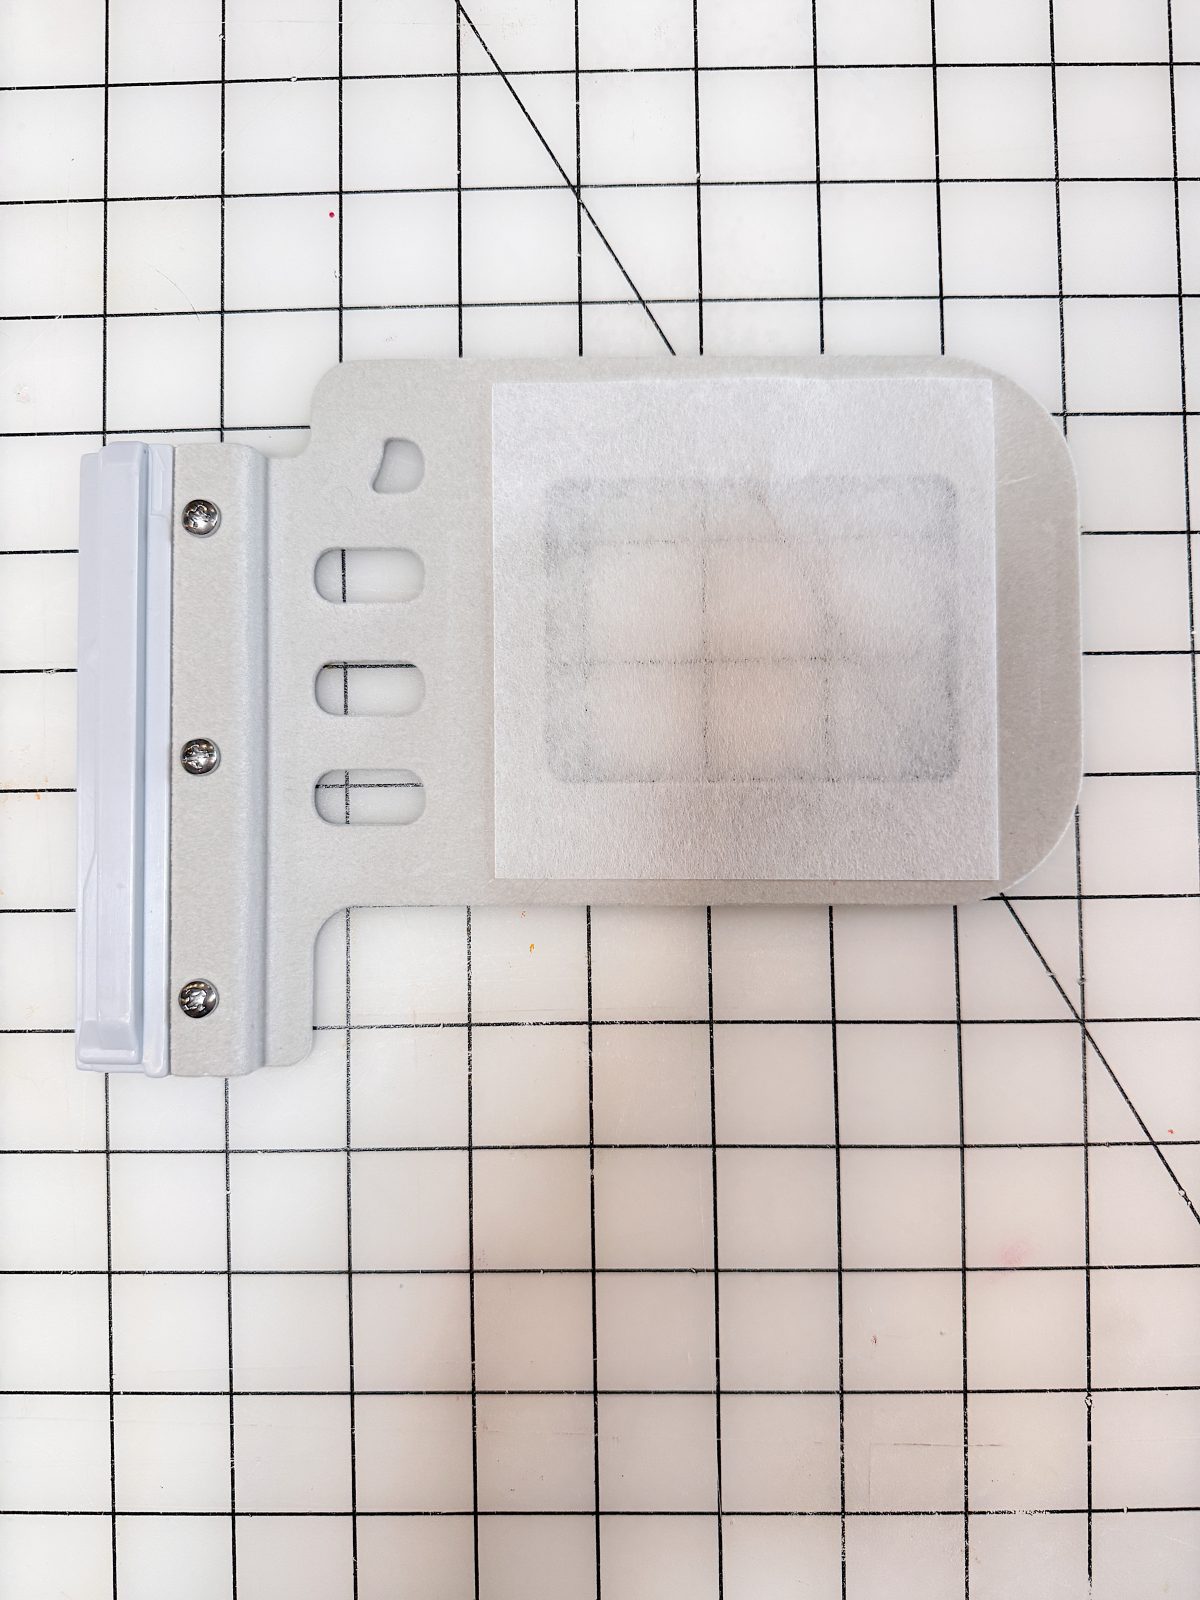
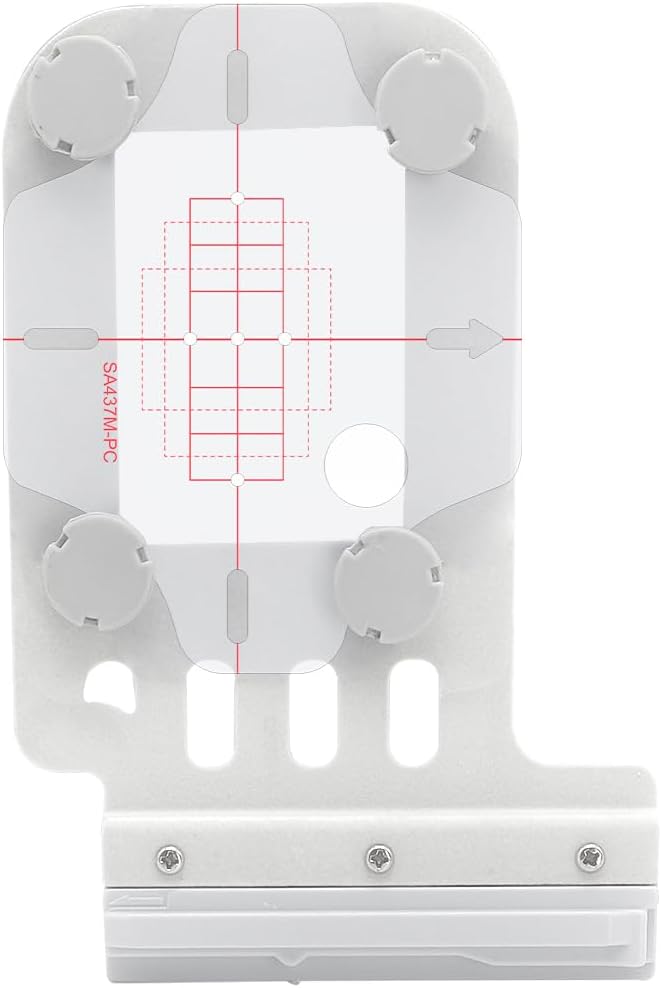
For this project, I used a magnetic embroidery hoop, and it was absolutely worth it.
The hoop is designed for small designs, up to about 1 inch by 2.5 inches, which worked perfectly for this project. It made positioning easier and more precise, and it saved time.
If you plan to do a lot of small embroidery, I highly recommend it. Just make sure you order the right hoop for your embroidery machine, as there are many options available.
Step Five: Plan the Layout
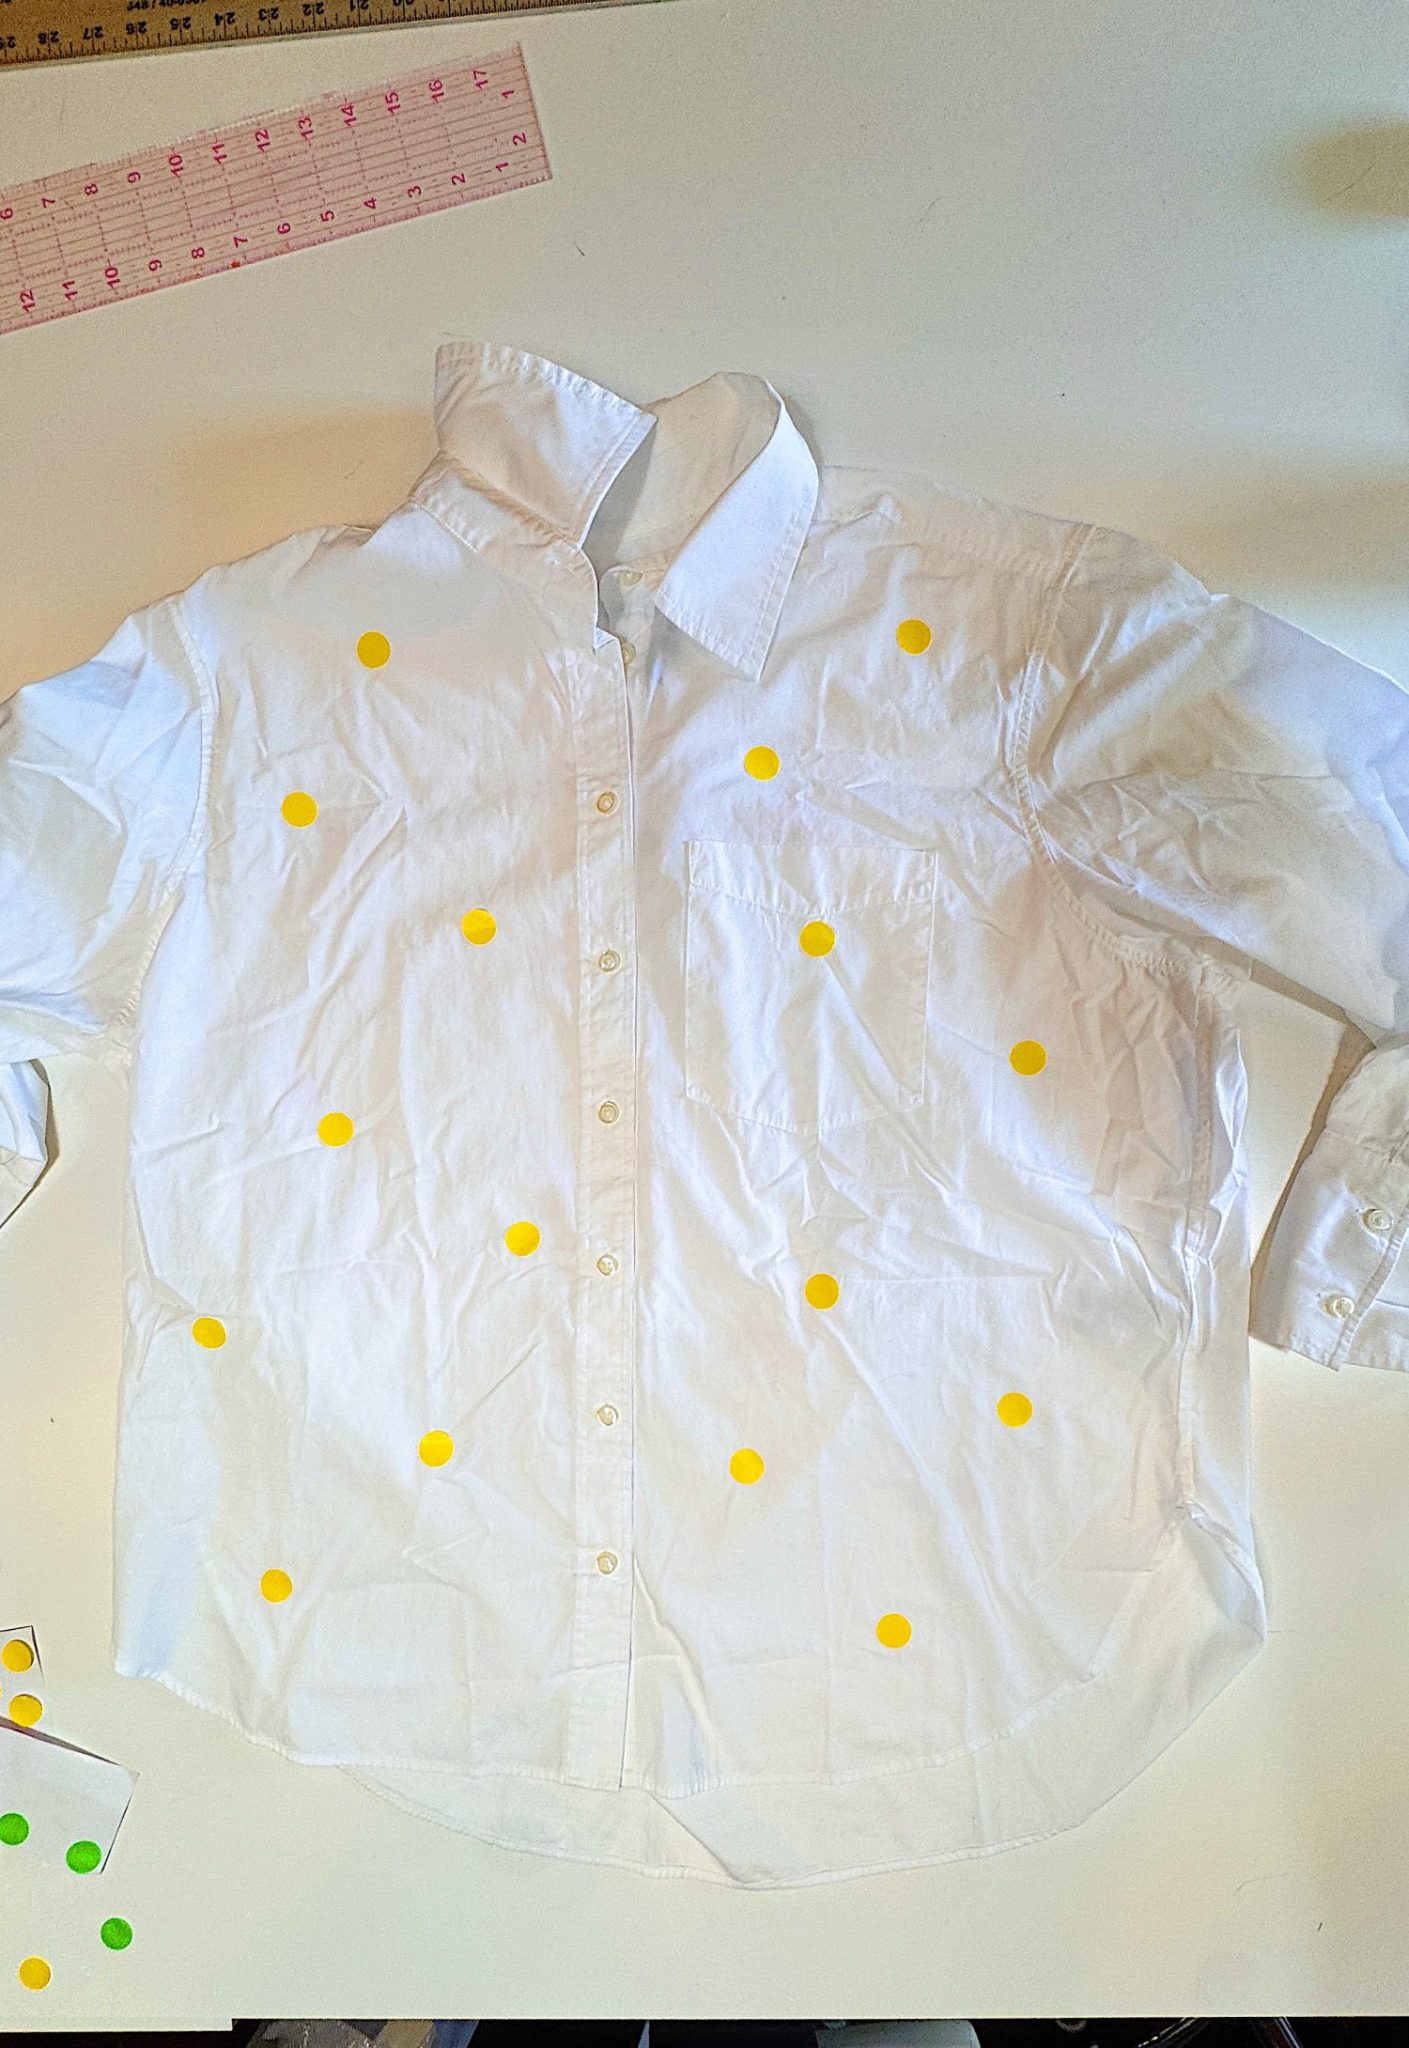
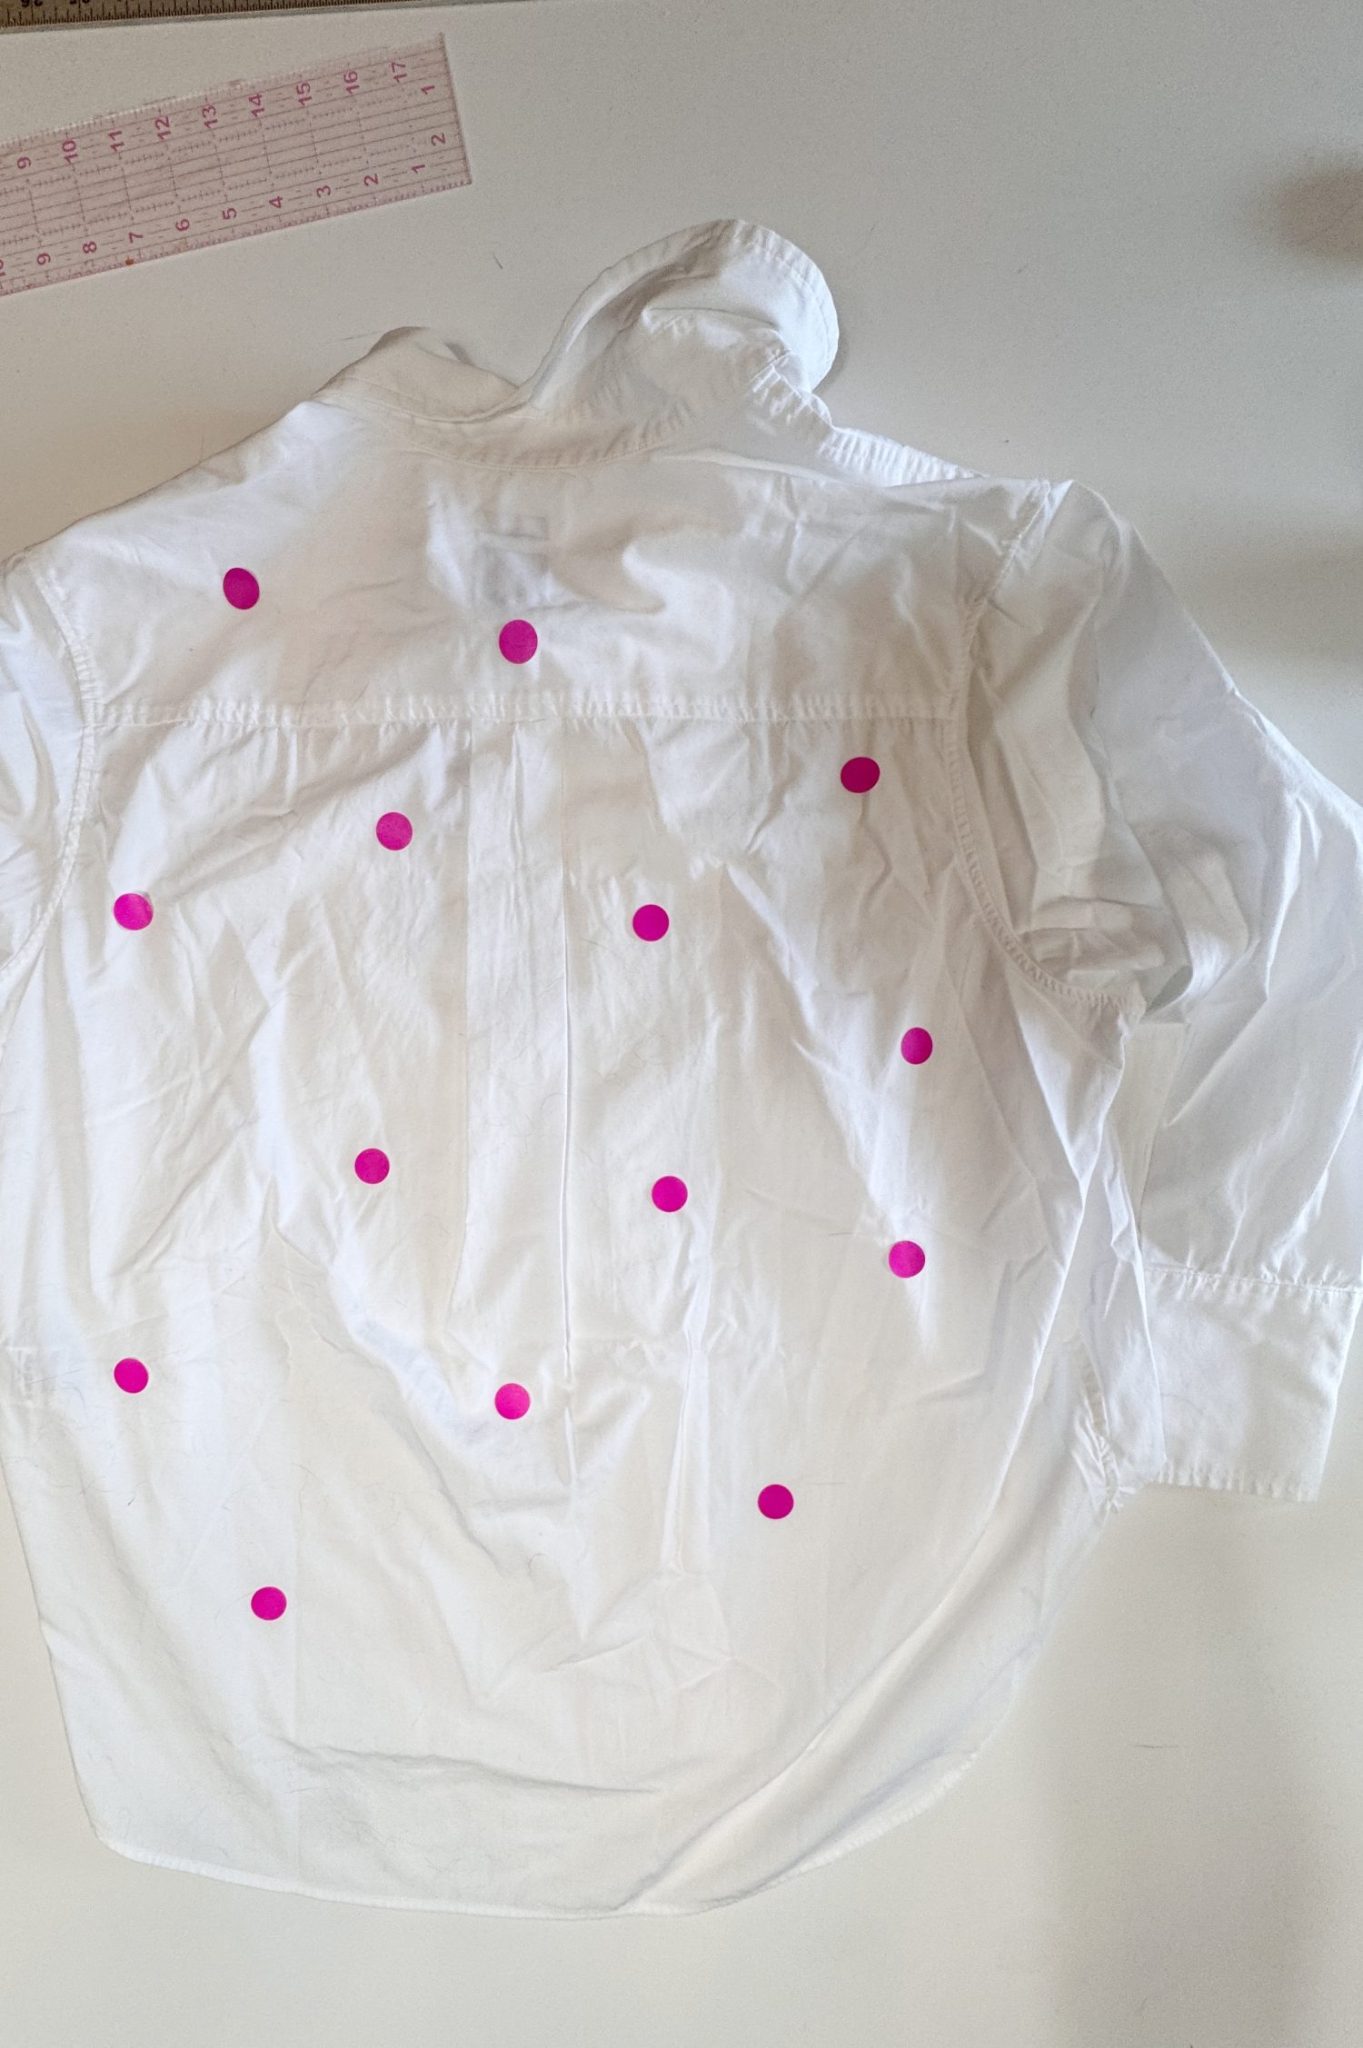
Before I started stitching, I laid the shirt flat and planned the placement.
I used small round stickers to mark where each icon would go. My goal was to create a layout that felt random but still balanced across the shirt.
Once I was happy with the placement, I marked each spot with a washable pen since the stickers would not stay in place.
This step is very important. Taking the time to plan the layout ensures the final result looks intentional.
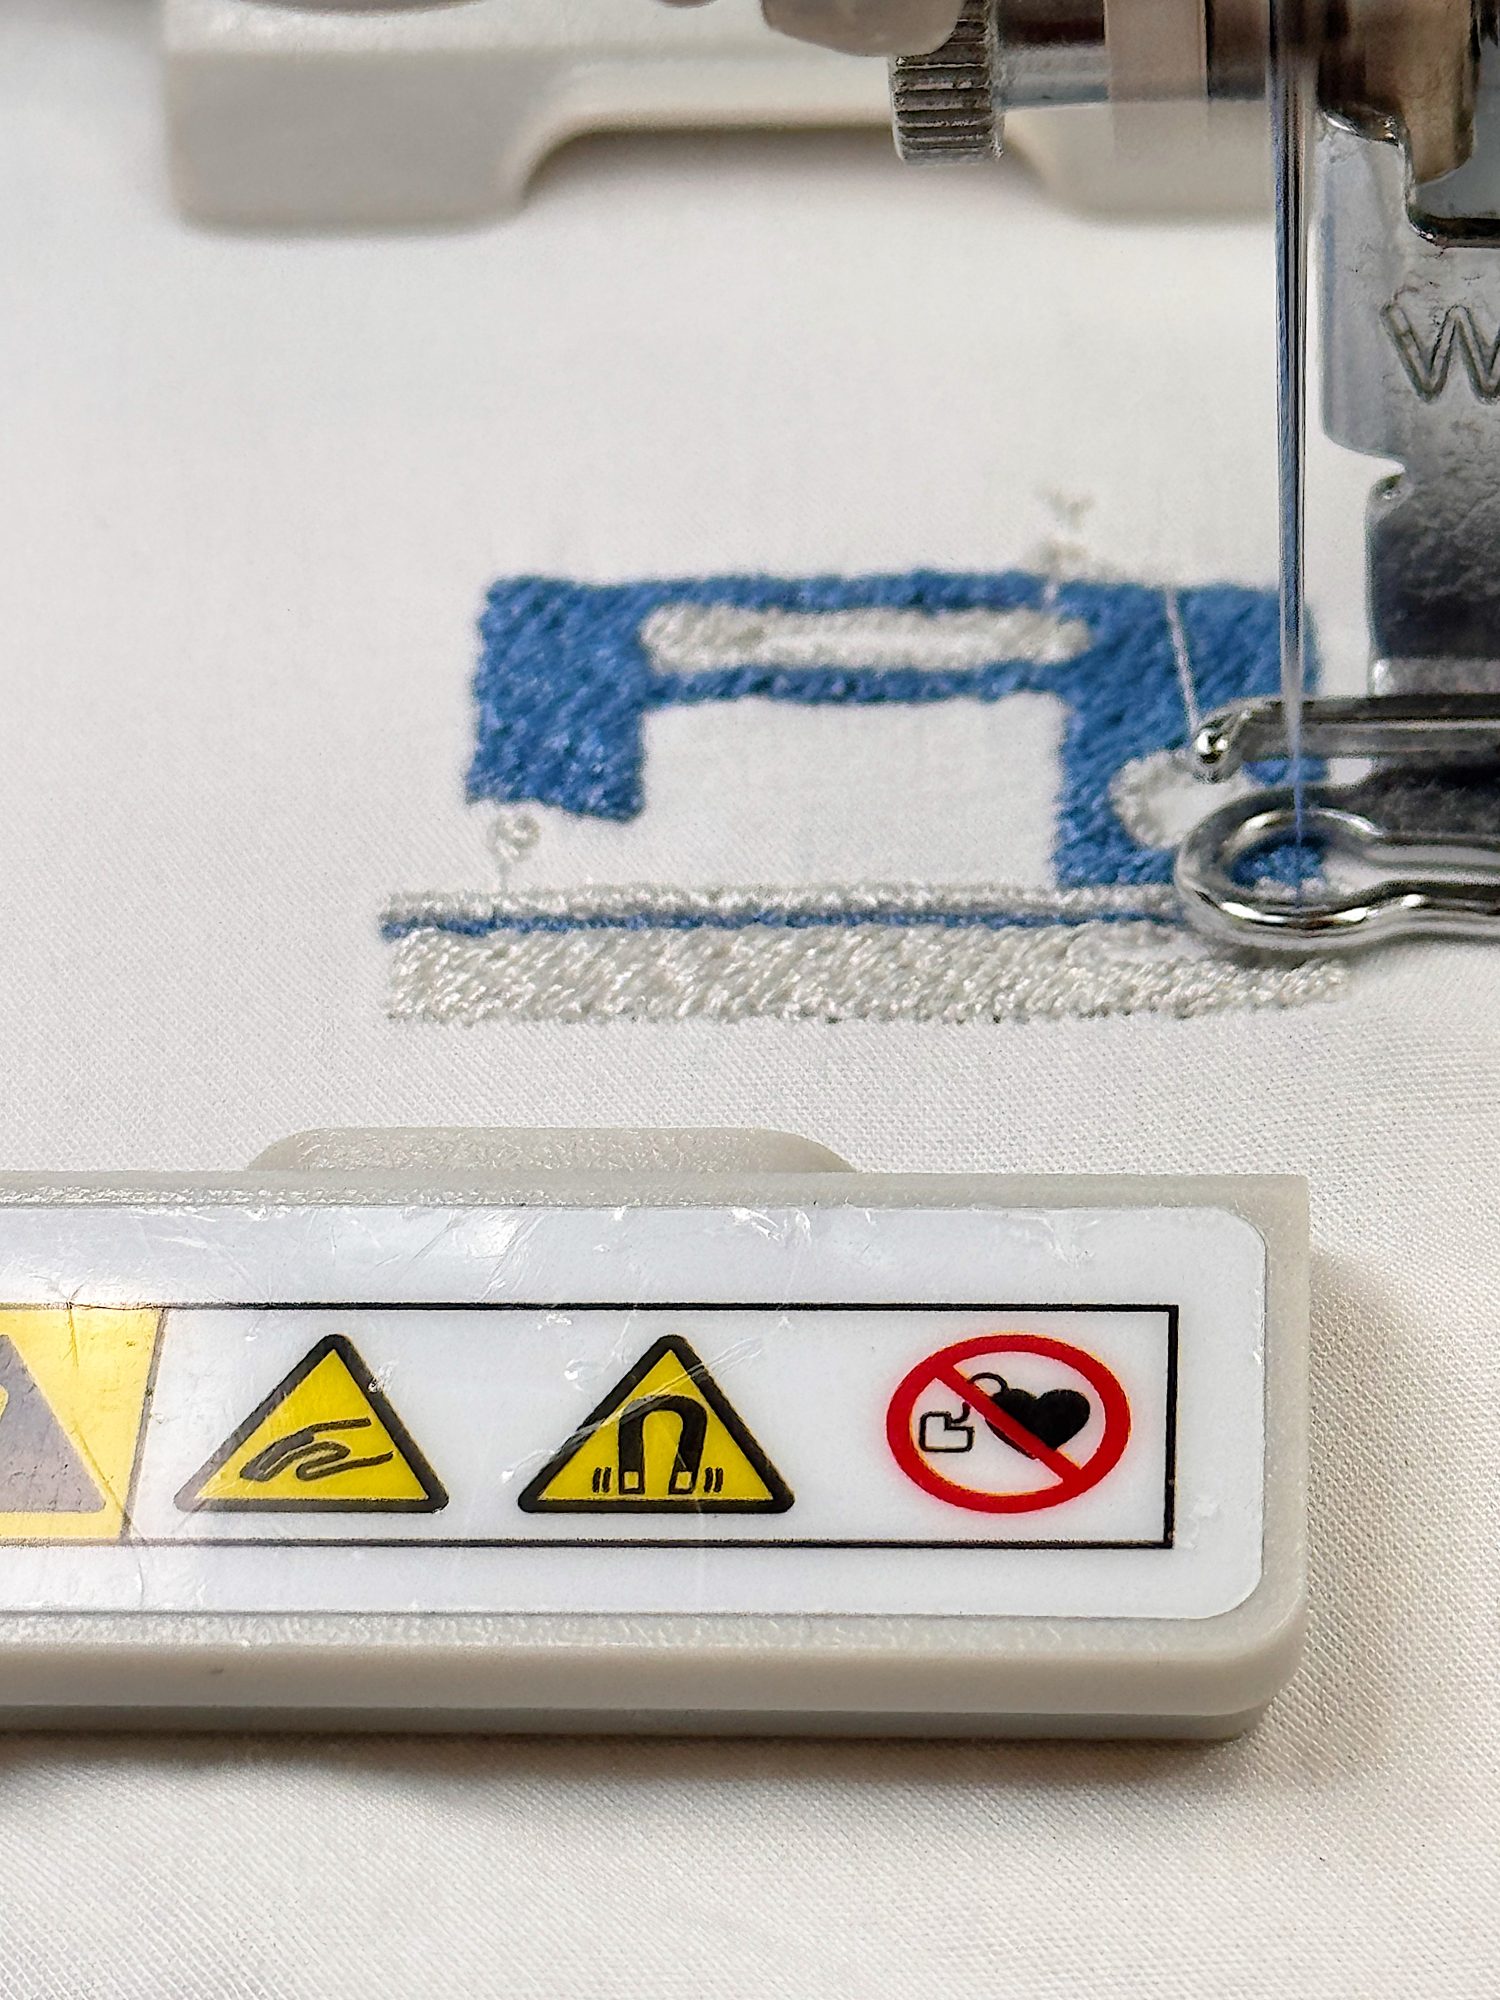
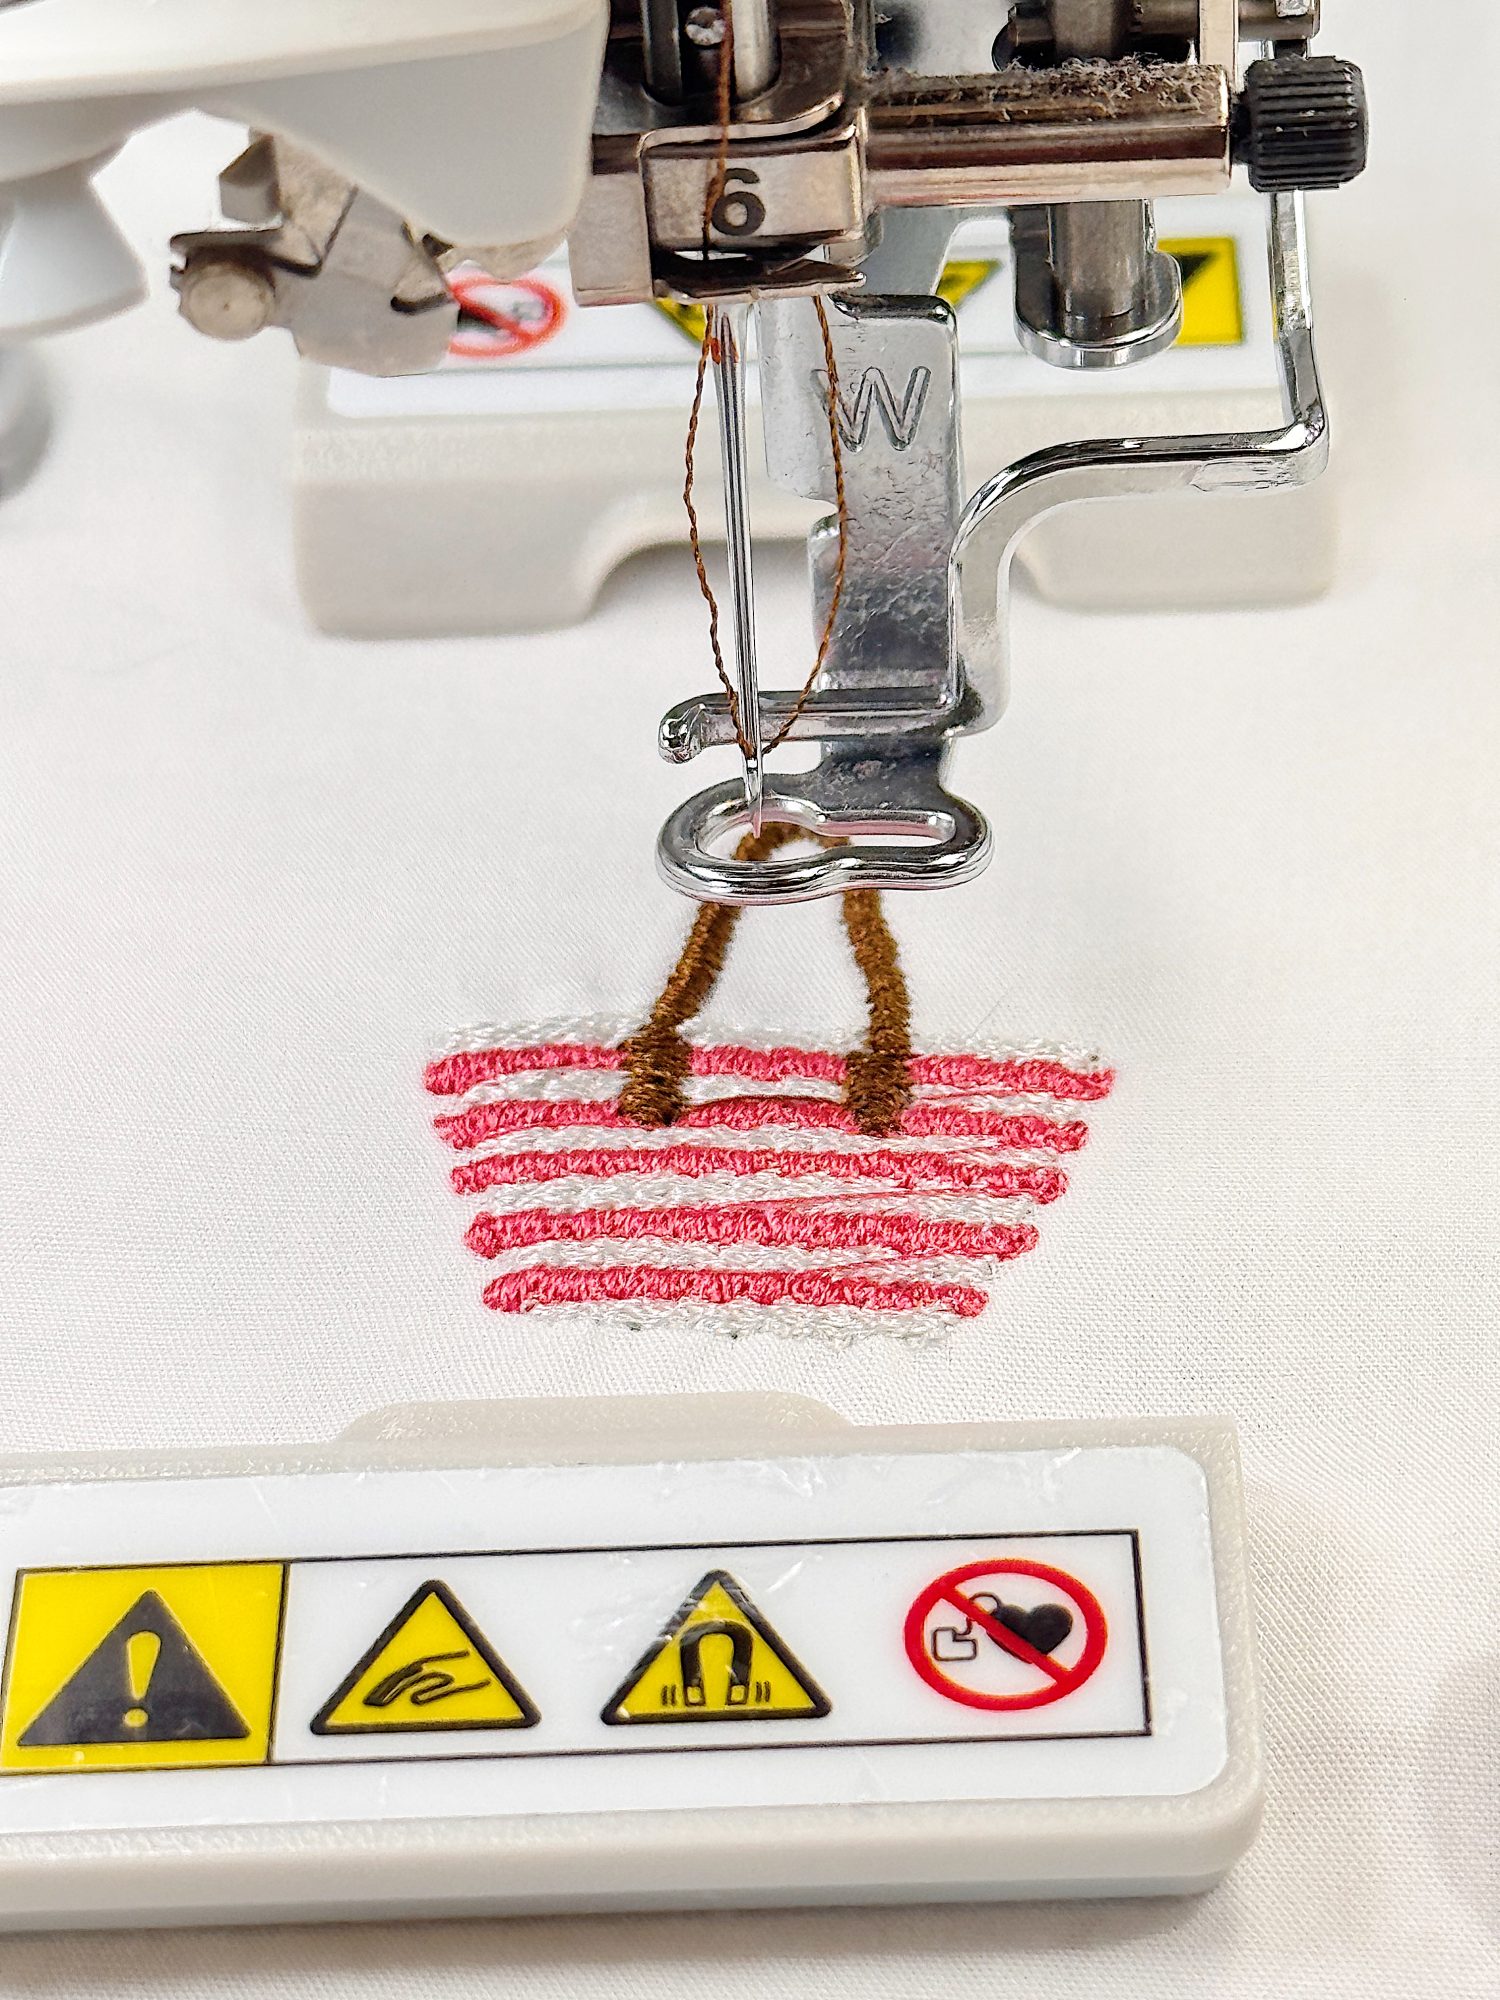
Step Six: Embroider the Shirt
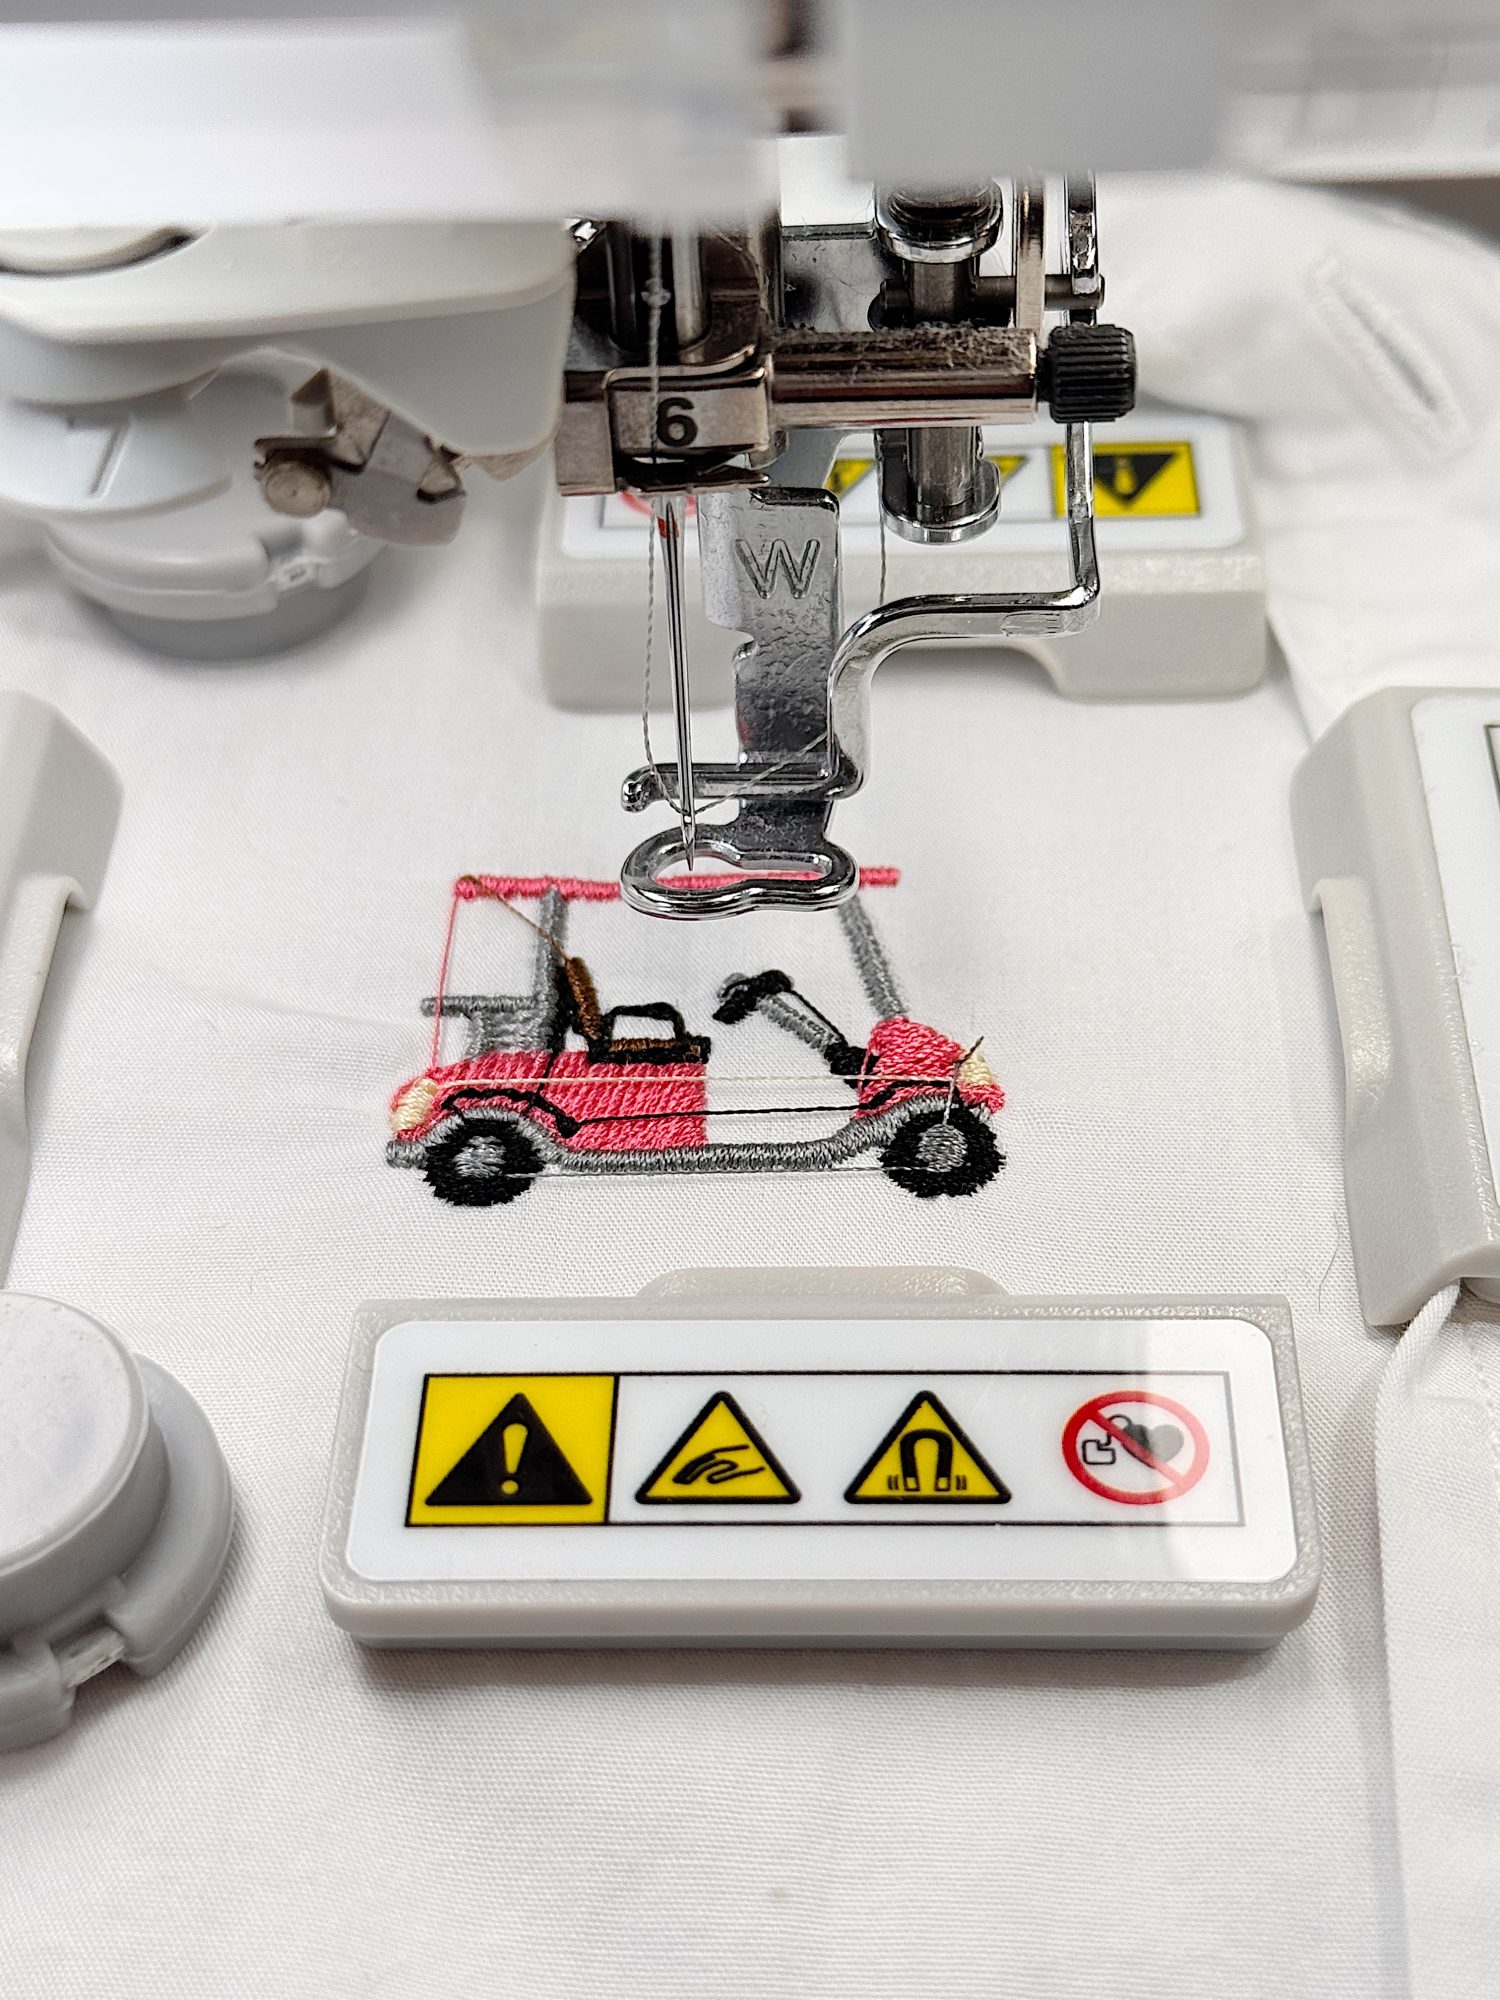
And then came the fun part.
I started stitching.
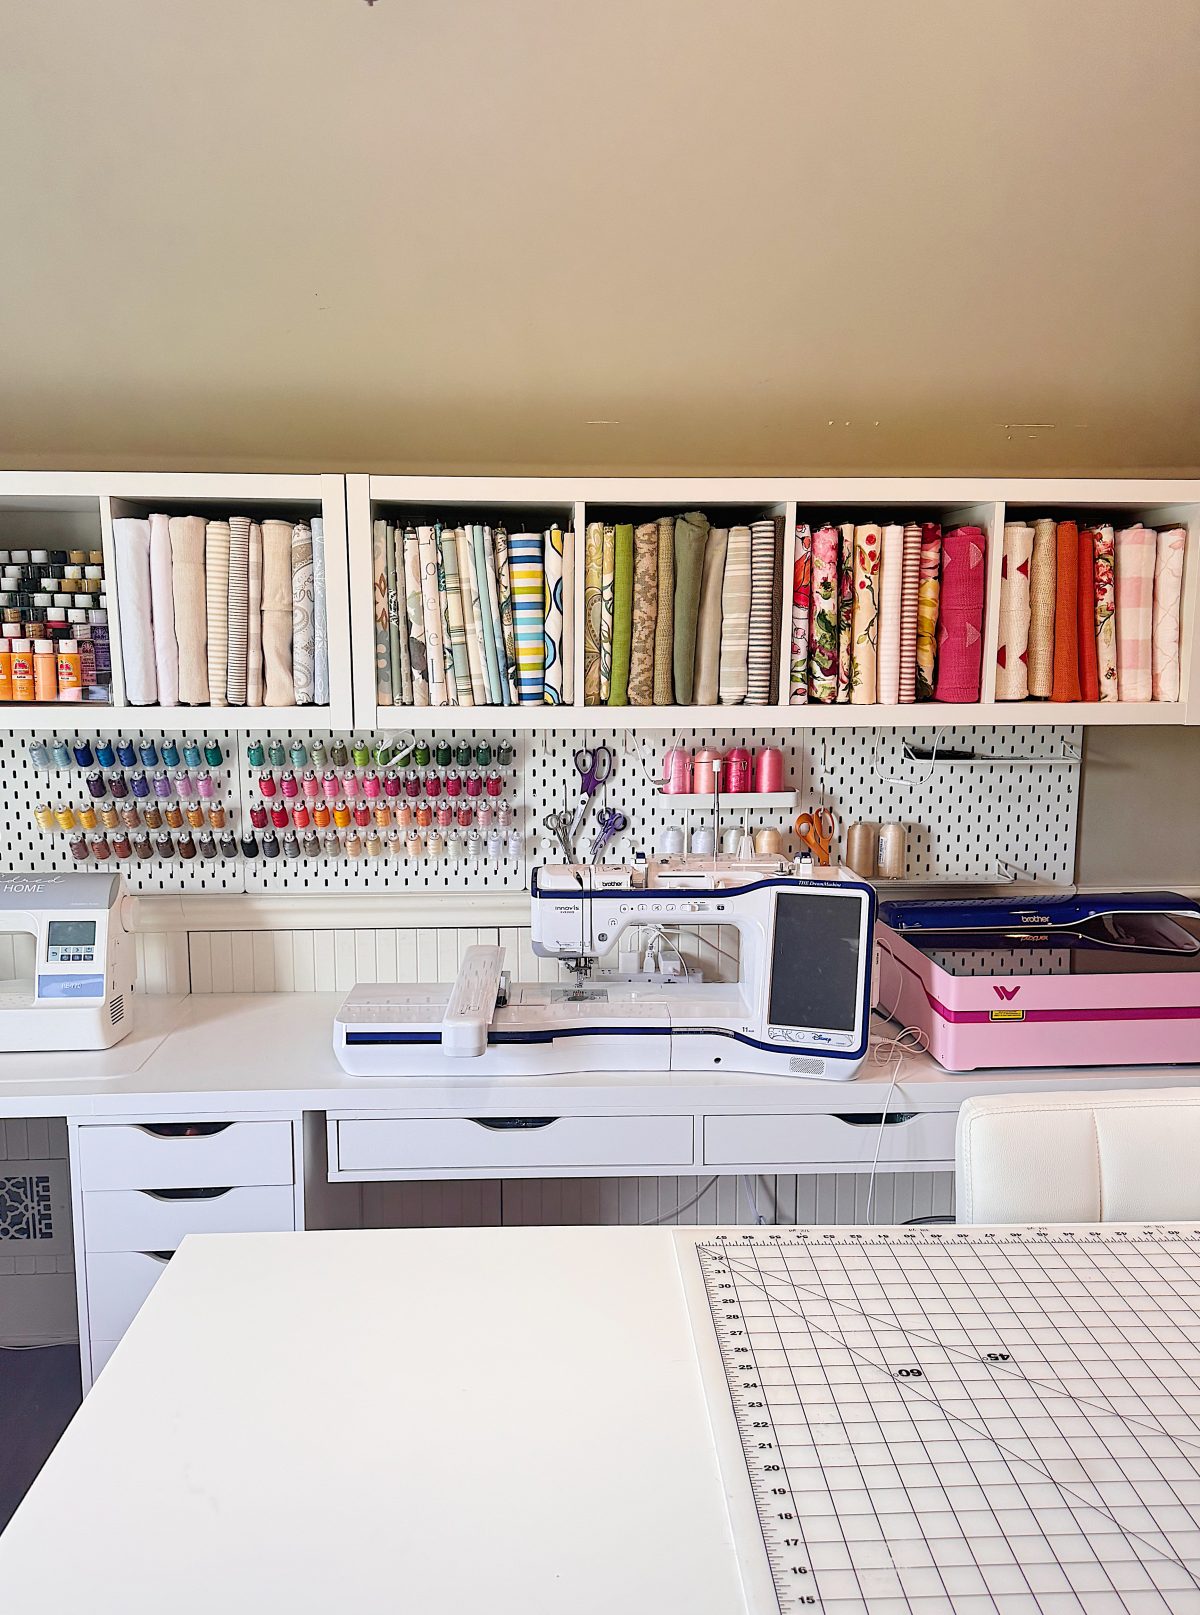
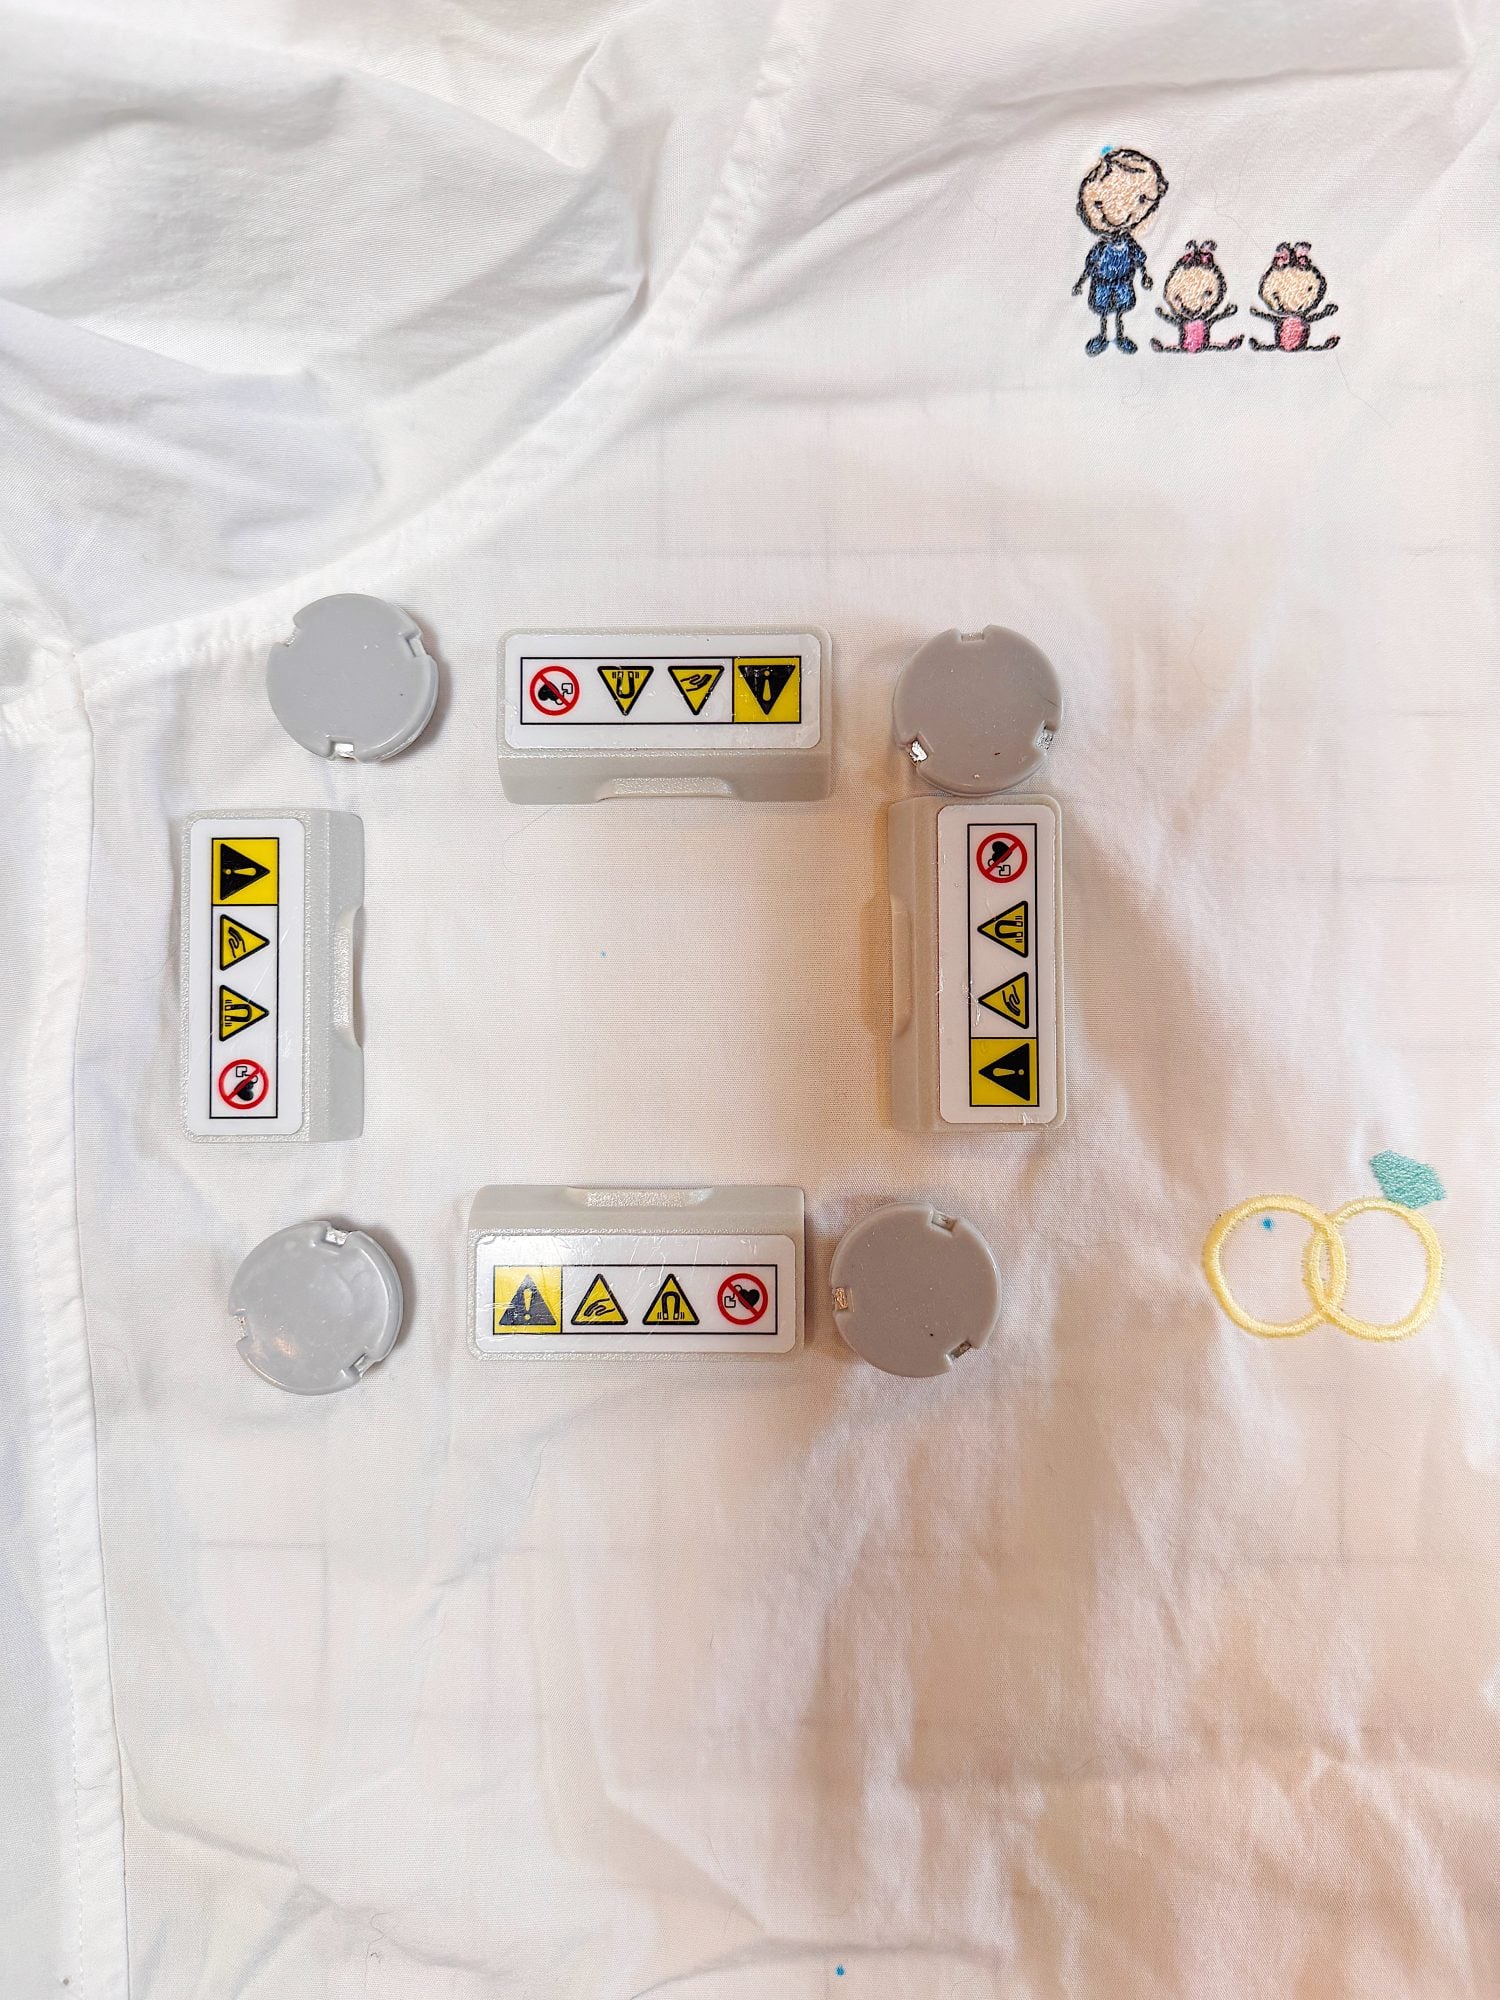
I placed the hoop flat on my worktable, which has a huge 1″ grid mat, added a piece of tearaway stabilizer, placed the shirt on top, and then added the magnetic pieces to hold it in place. (Just so you know, I own four different magnetic hoops, and I often mix up some of the magnets. It’s not intentional, just convenient.)
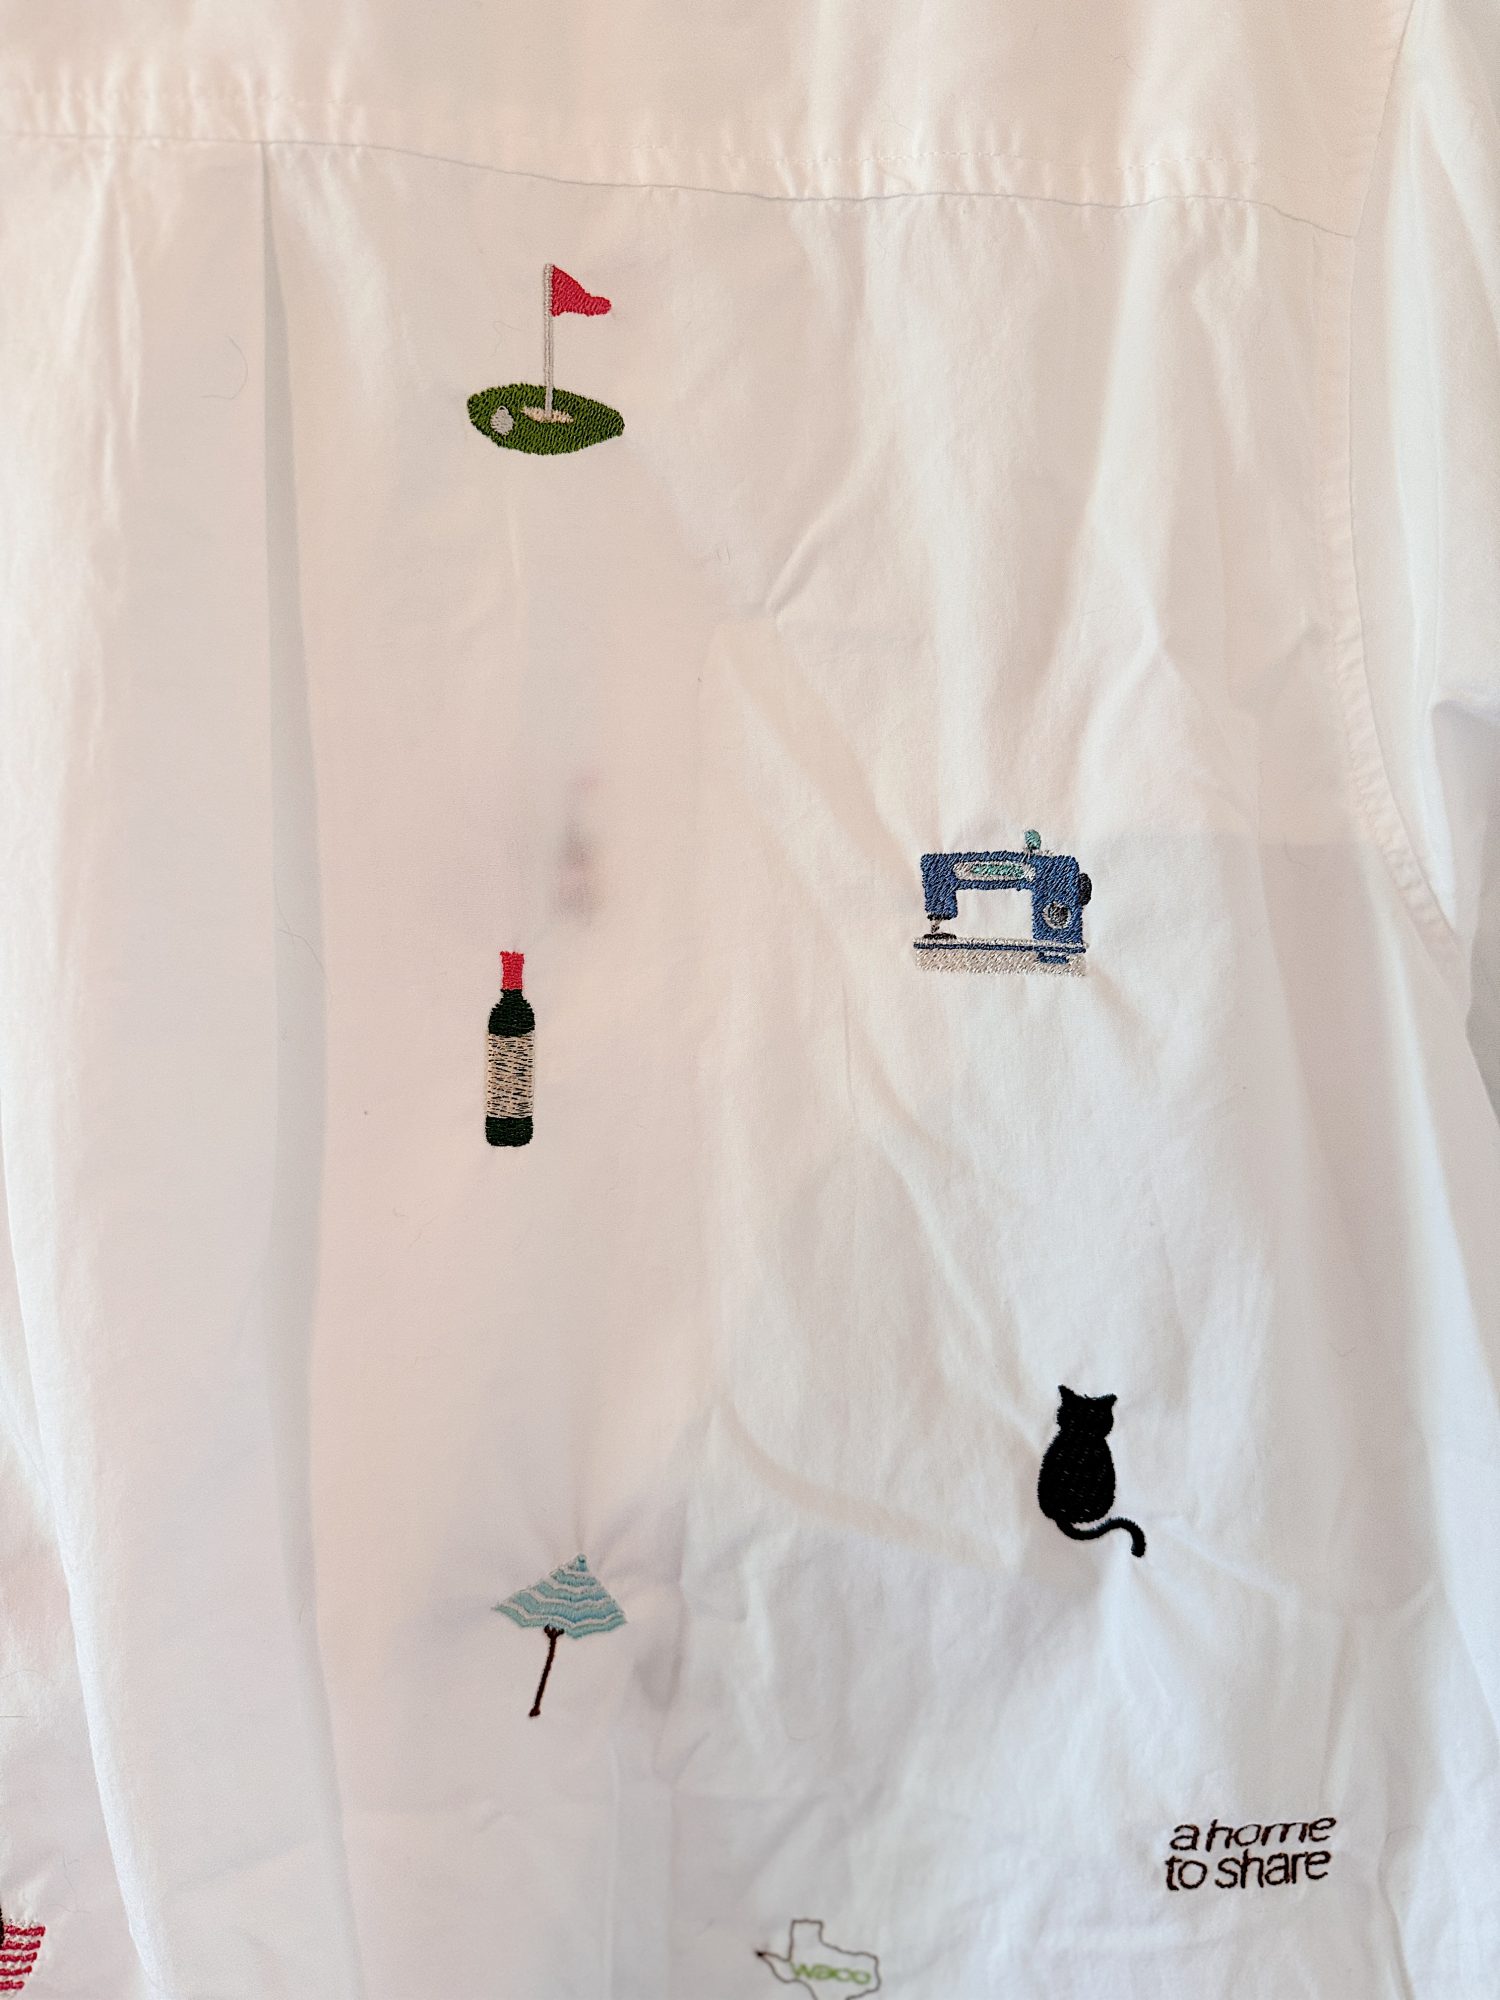
Each icon took about 5-8 minutes to make, and I worked through all 35 designs in one day. It was a full day in the craft room, but it was also incredibly enjoyable.
Watching each tiny design come to life was so satisfying. One by one, the shirt started to tell a story.
Finishing the Shirt
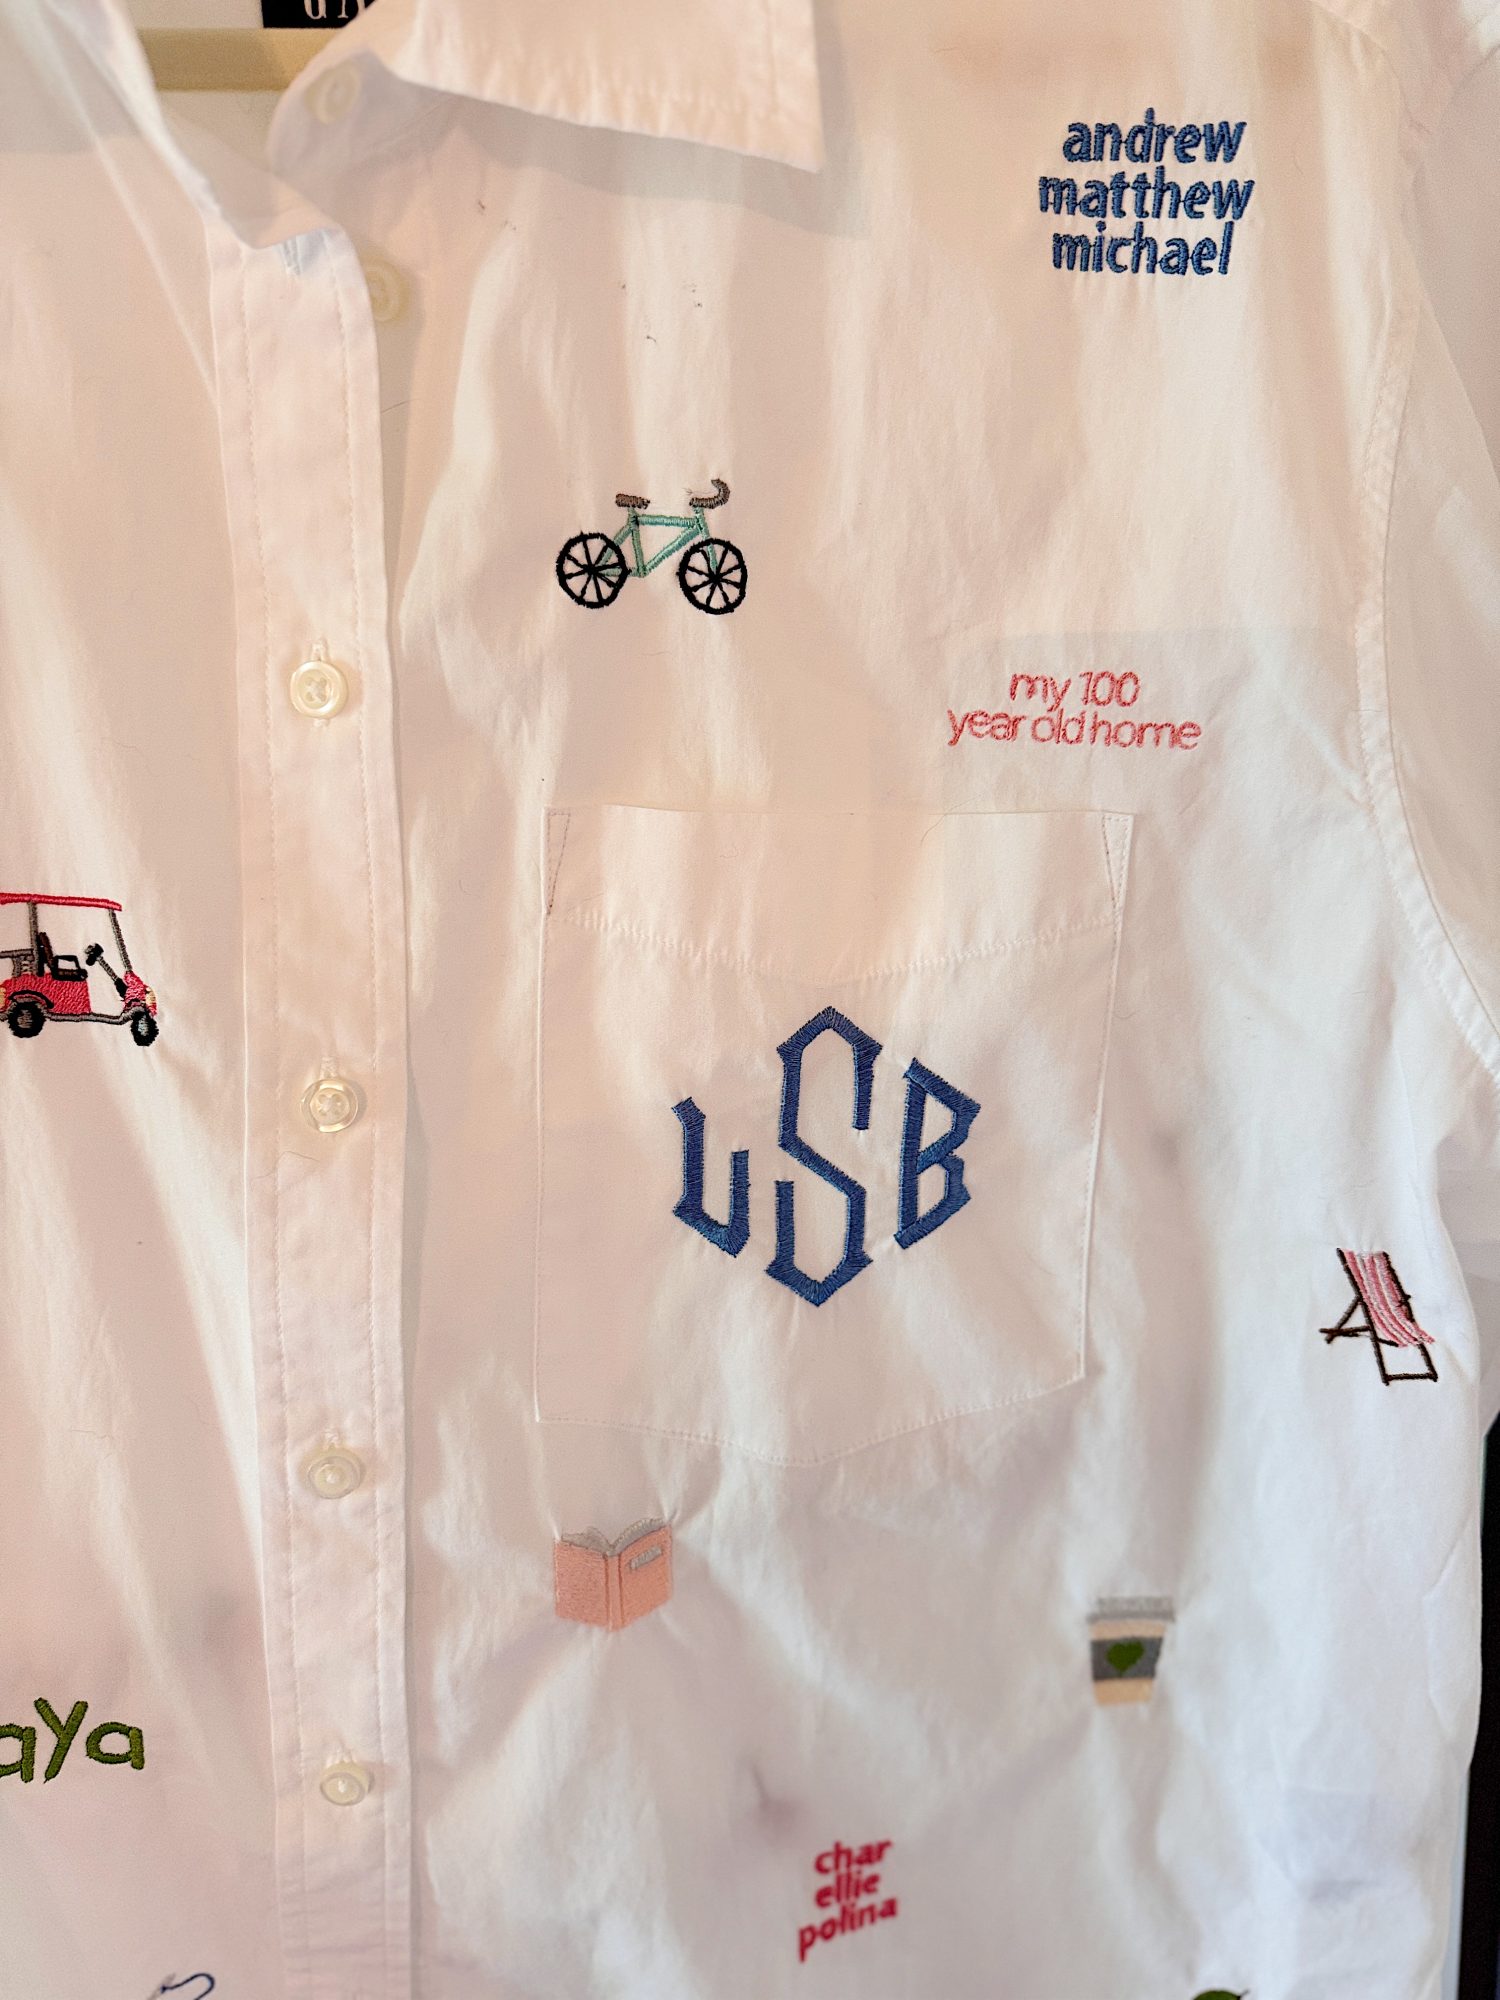
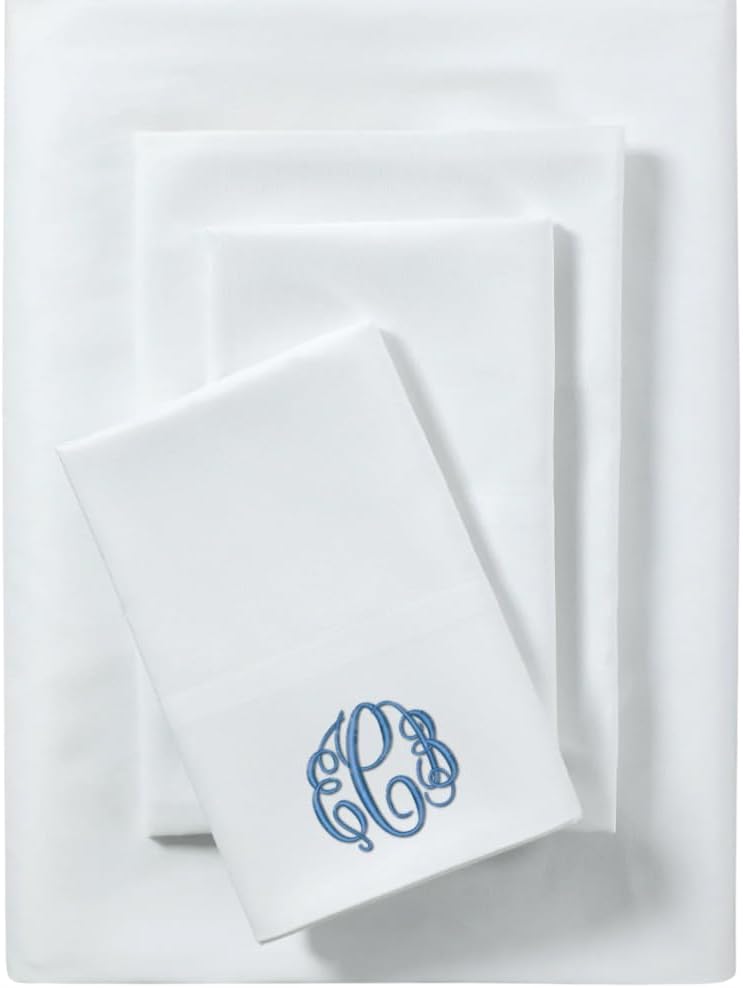
Next, I took off the pocket and added my initials with a monogram font I also purchased on Etsy. Once finished, I placed the pocket back on the shirt and sewed it back on, easily following the original stitch lines.
Once all of the embroidery was complete, I:
- Removed the washable pen marks with a damp cloth
- Let the shirt dry
- Pressed it with an iron
And just like that, it was finished.
Wearing It for the First Time
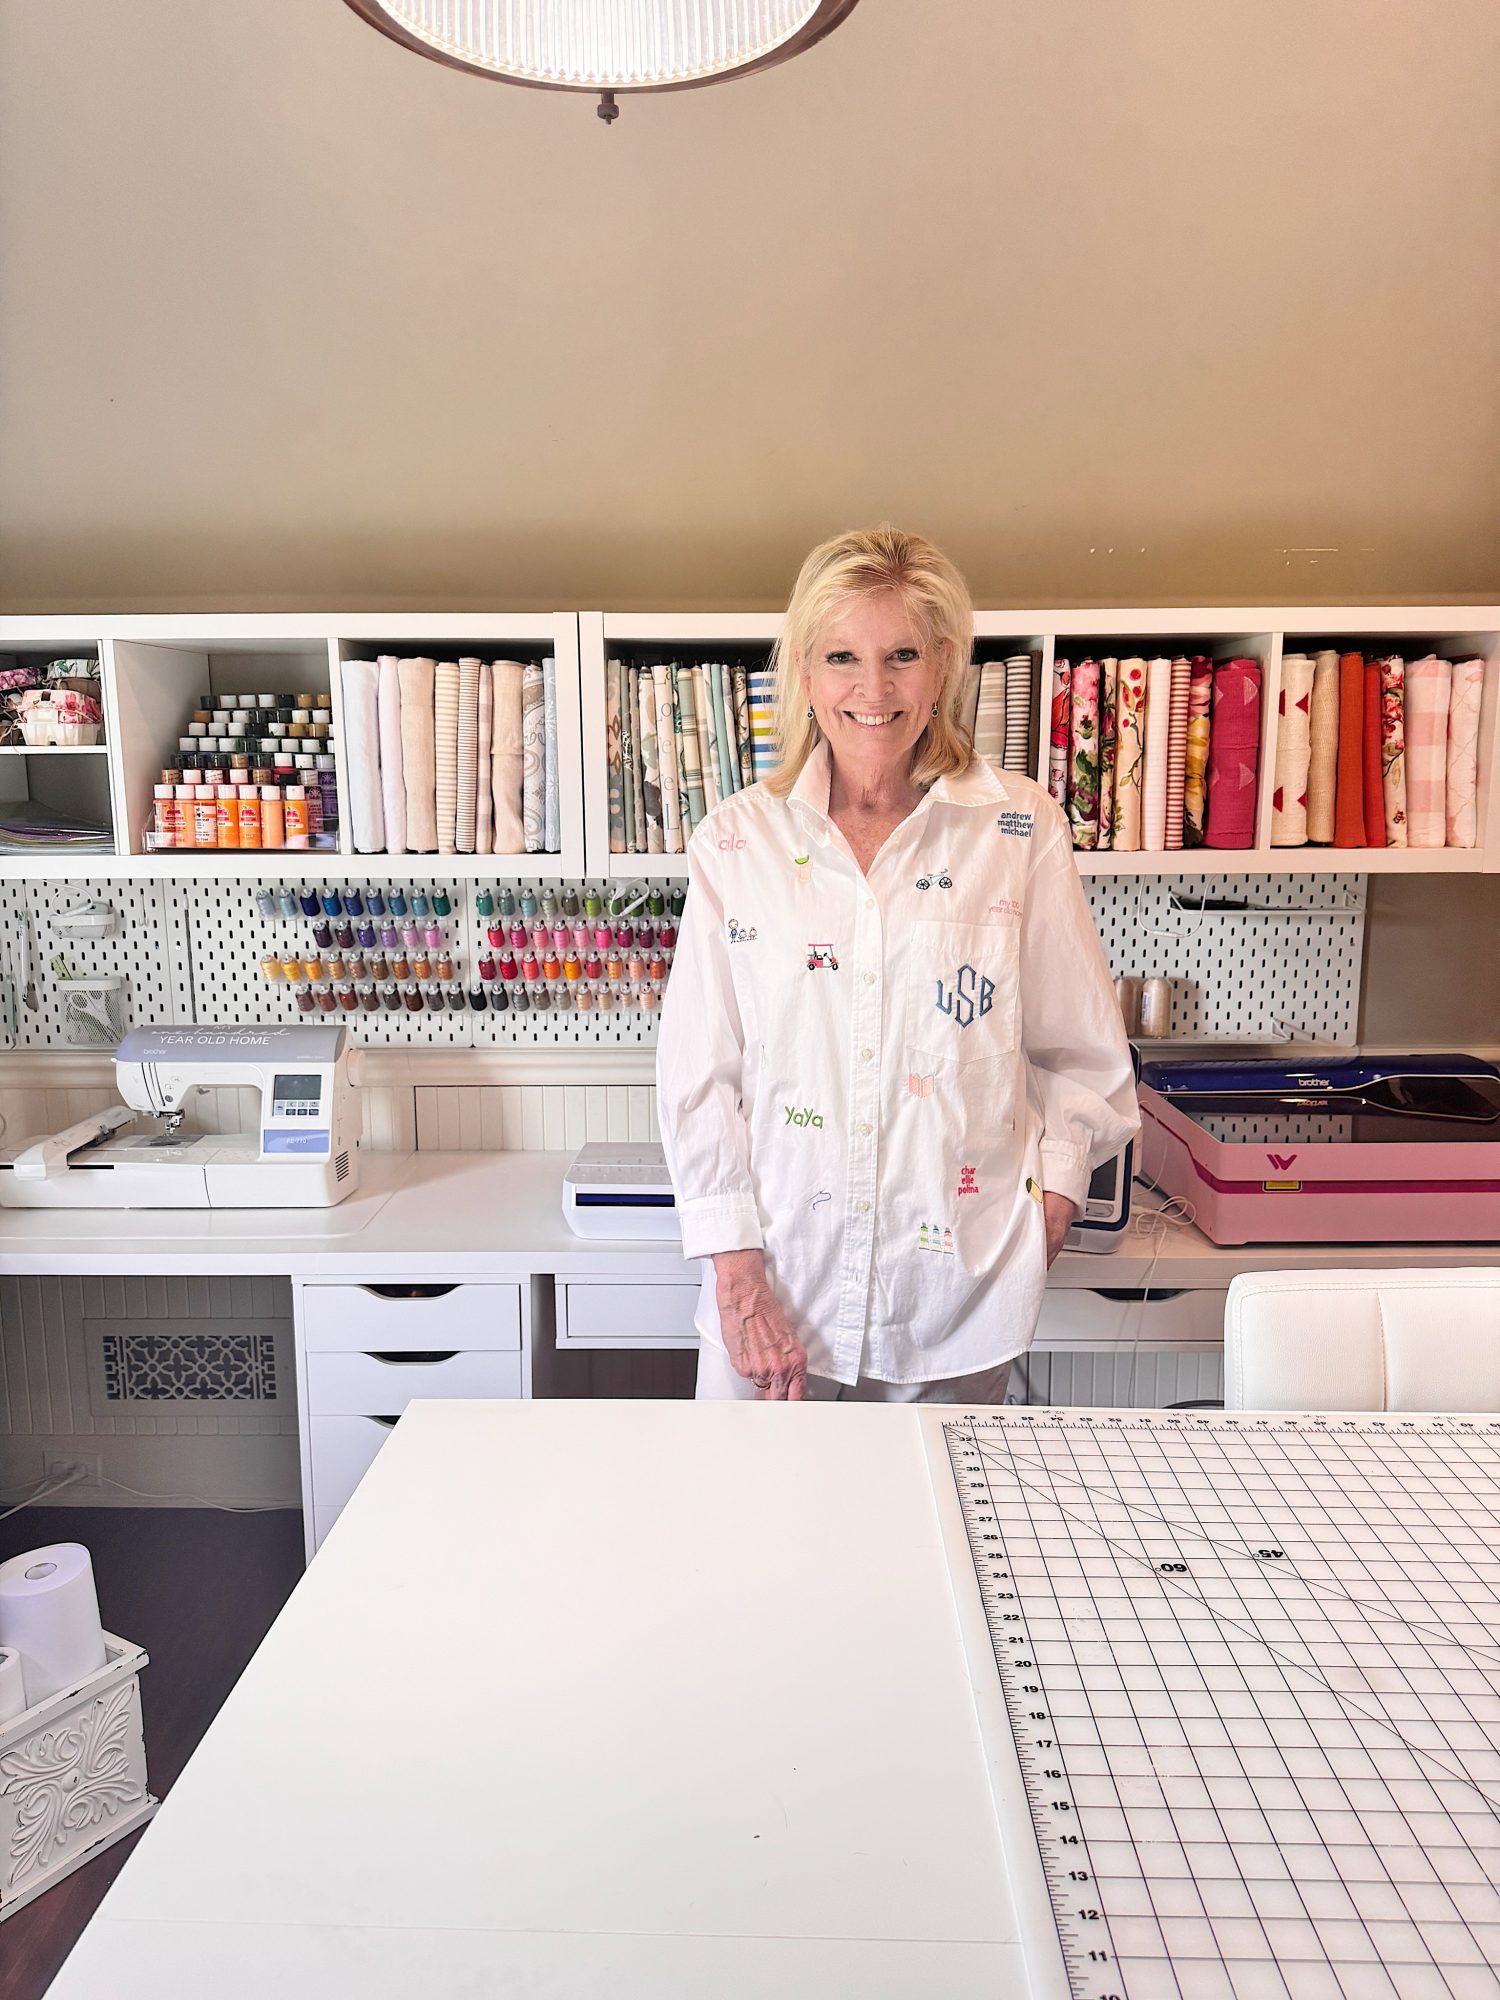
I wore the shirt on our trip to Washington, DC, and something unexpected happened.
People stopped me.
In the hotel lobby. At museums. Everywhere.
They asked about the shirt and how I made it.
I did not expect that at all, but it made me realize how unique and special this project really is.
Why I Love This Project
This shirt is more than just something I made.
It represents my life.
Every icon has meaning, whether it is a person, a place, or something I love to do. It is personal in a way that most projects are not.
And that is what makes it so special.
Could You Make One?
Absolutely.
You do not need to include 35 items. You could start with:
- 10
- 15
- 20
Keep it simple.
The process is the same:
- Make your list
- Find or create designs
- Choose your colors
- Plan your layout
- Stitch
It is very doable, and the result is something truly unique.

Watch How I Made This
Watch the video to learn more.
What’s Next in Mondays in the Craft Room
This is just the beginning.
With Mondays in the Craft Room, I want to share more of the “how” behind what I create. Not just the finished projects, but the techniques, tools, and details that make everything work.
My goal is to help you feel confident creating your own projects.
Final Thoughts
This Favorite Things Shirt may be one of my favorite projects I have ever made.
It is creative, personal, and something I will wear for years.
And the best part is you can create one entirely your own. I have lots more ideas to share about other items I plan to embroider with my favorite things.
I cannot wait to see what you make.
Latest Posts
-
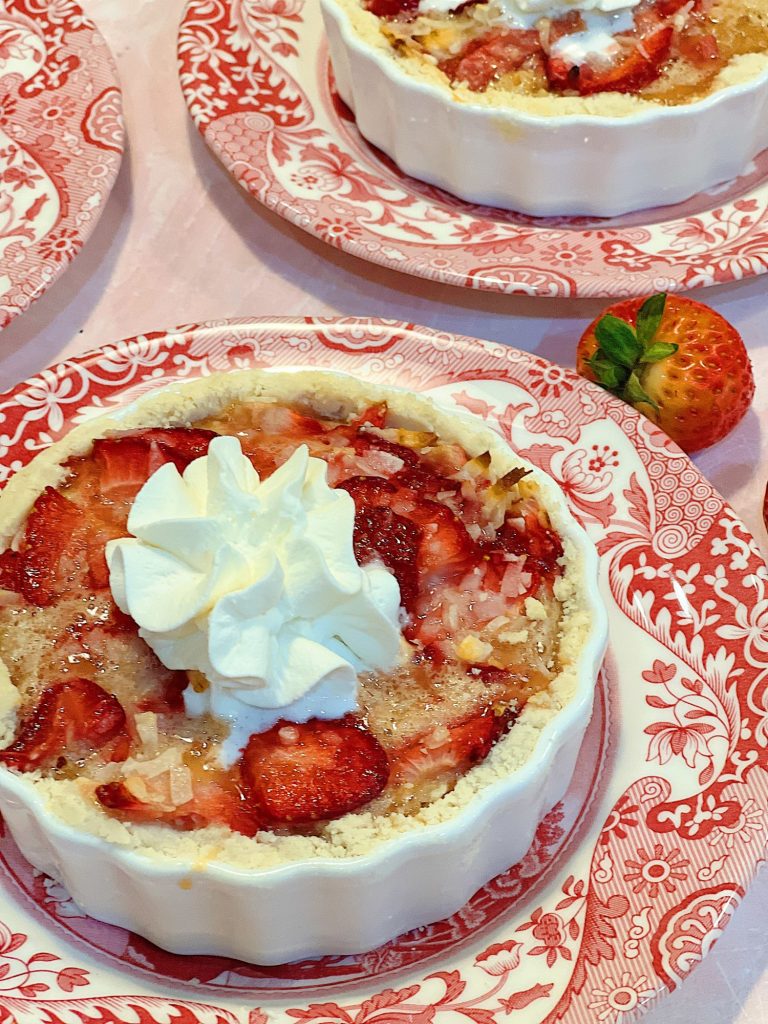
Strawberry Coconut Mini Tart Recipe
It’s time to whip up some summer desserts! And what better way to celebrate than my irresistible Strawberry Coconut Mini Tart Recipe? Ah, summer – the season of sunshine, flip-flops, and the vibrant burst of flavors that only fresh berries can offer. When those juicy, plump strawberries are in season, it’s time to get creative…
-
The Truth About Being “Crafty” – Mondays in the Craftroom
One of the most common things people say to me is, “I’m just not crafty.” But the truth is that creativity isn’t something you’re born with. It’s something you learn. Today I’m sharing why being crafty has much less to do with talent and much more to do with curiosity, practice, and simply being willing…
-
Summer at the Beach and Sunday Morning Coffee
Welcome to another Sunday Morning Coffee! Summer is flying by, and I have to say, it has been the busiest and happiest summer at the beach we’ve had in a long time. We’ve spent nearly every weekend at our beach house with family and friends, which is exactly why we bought and remodeled it all…
-
Grilling Perfectly and Tips to Use Your Outdoor Grilling Station
It’s time to fire up the grill and embark on a flavor-filled journey of outdoor cooking! It’s time to have fun with your outdoor grilling station. Planning a successful BBQ cookout is an art that combines culinary skills, creativity, and a dash of hosting finesse. I have crafted The Essential Summer Grilling Guide to help…
My Recent Instagram Posts

You can pin the image below to your boards on Pinterest (click the Pin button in the top left corner) or follow me on Pinterest!
For more real-time updates, follow me on Instagram @My100YearOldHome
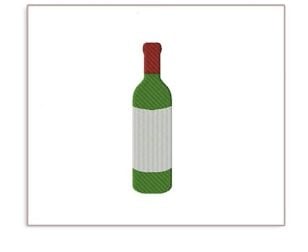
How hard is it to change the thread? When I look at the tiny designs with stripes or the wine bottle it is worrisome. Is there a bobbin underneath and do you have to remove the hoop to change the thread?
I do love the shirt and your creativity.
You only have to change the top thread. And you don’t move the hoop. So it’s very easy to change and the size of the design makes no difference. If you do need to remove the hoop you can put it back in and keep
Sewing on the same design as long as you don’t remove the design from the hoop.
Leslie
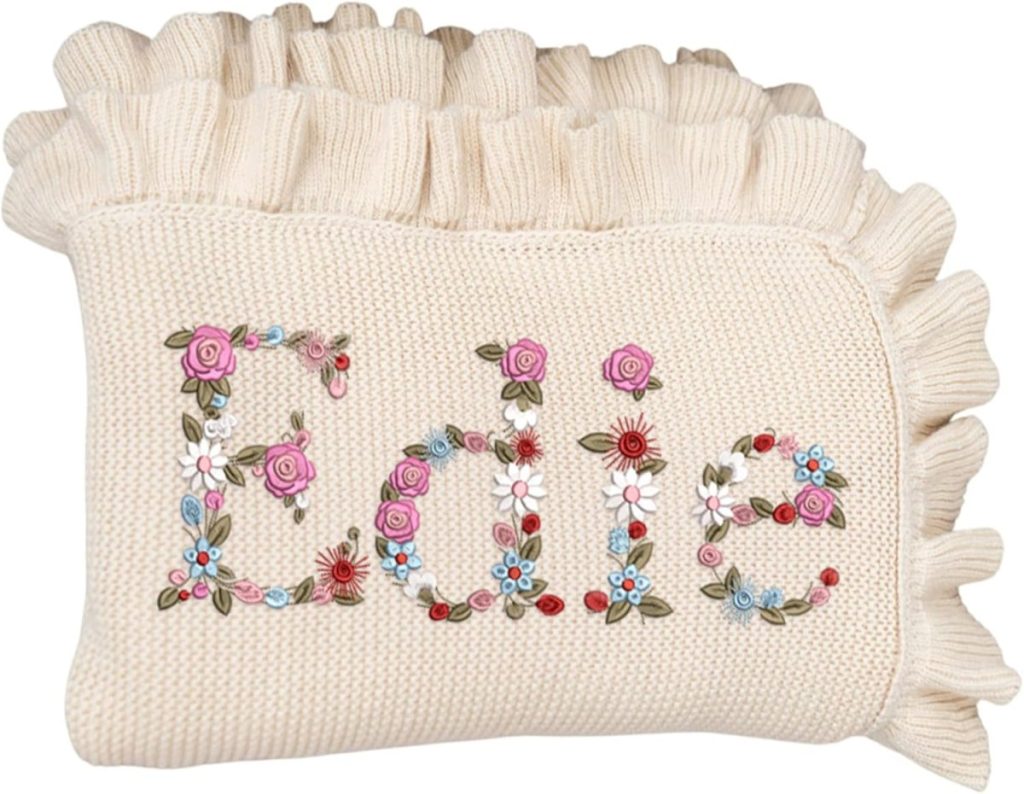
What a great idea! The same concept could be applied to adding designs to a coverlet, Christmas stocking, cup towel or beach towel, tote bag, or any item. You inspired me to make the leap and get an embroidery machine! I’ve found that the most difficult part of any embroidery project is ‘hooping’ the item. I got a 5”x12” magnetic hoop for my SE2000 machine but the machine went wonky when I tried to use it and did not stitch the design correctly. I don’t know if that was because of the size of the larger hoop or because it was the magnets interfering. I’m going to try a smaller size hoop to see if it would work because the magnetic one was so much easier to center and situate. Thanks for sharing this idea. I’m going to give it a try!
I already have three Favorite Things projects in the works! For the magnetic hoop, I don’t know what happened. I love mine so much. I have used the tiny 1.5” x 2’5” for the short and I have used the 4” x 4” and 5” x 7” and they all worked great. Did you use stabilizer? You also may be right that the hoop was too big for your project. As long as all of the magnets were securing your fabric you shouldn’t have an issue.