Valentine’s Day Decor Ideas
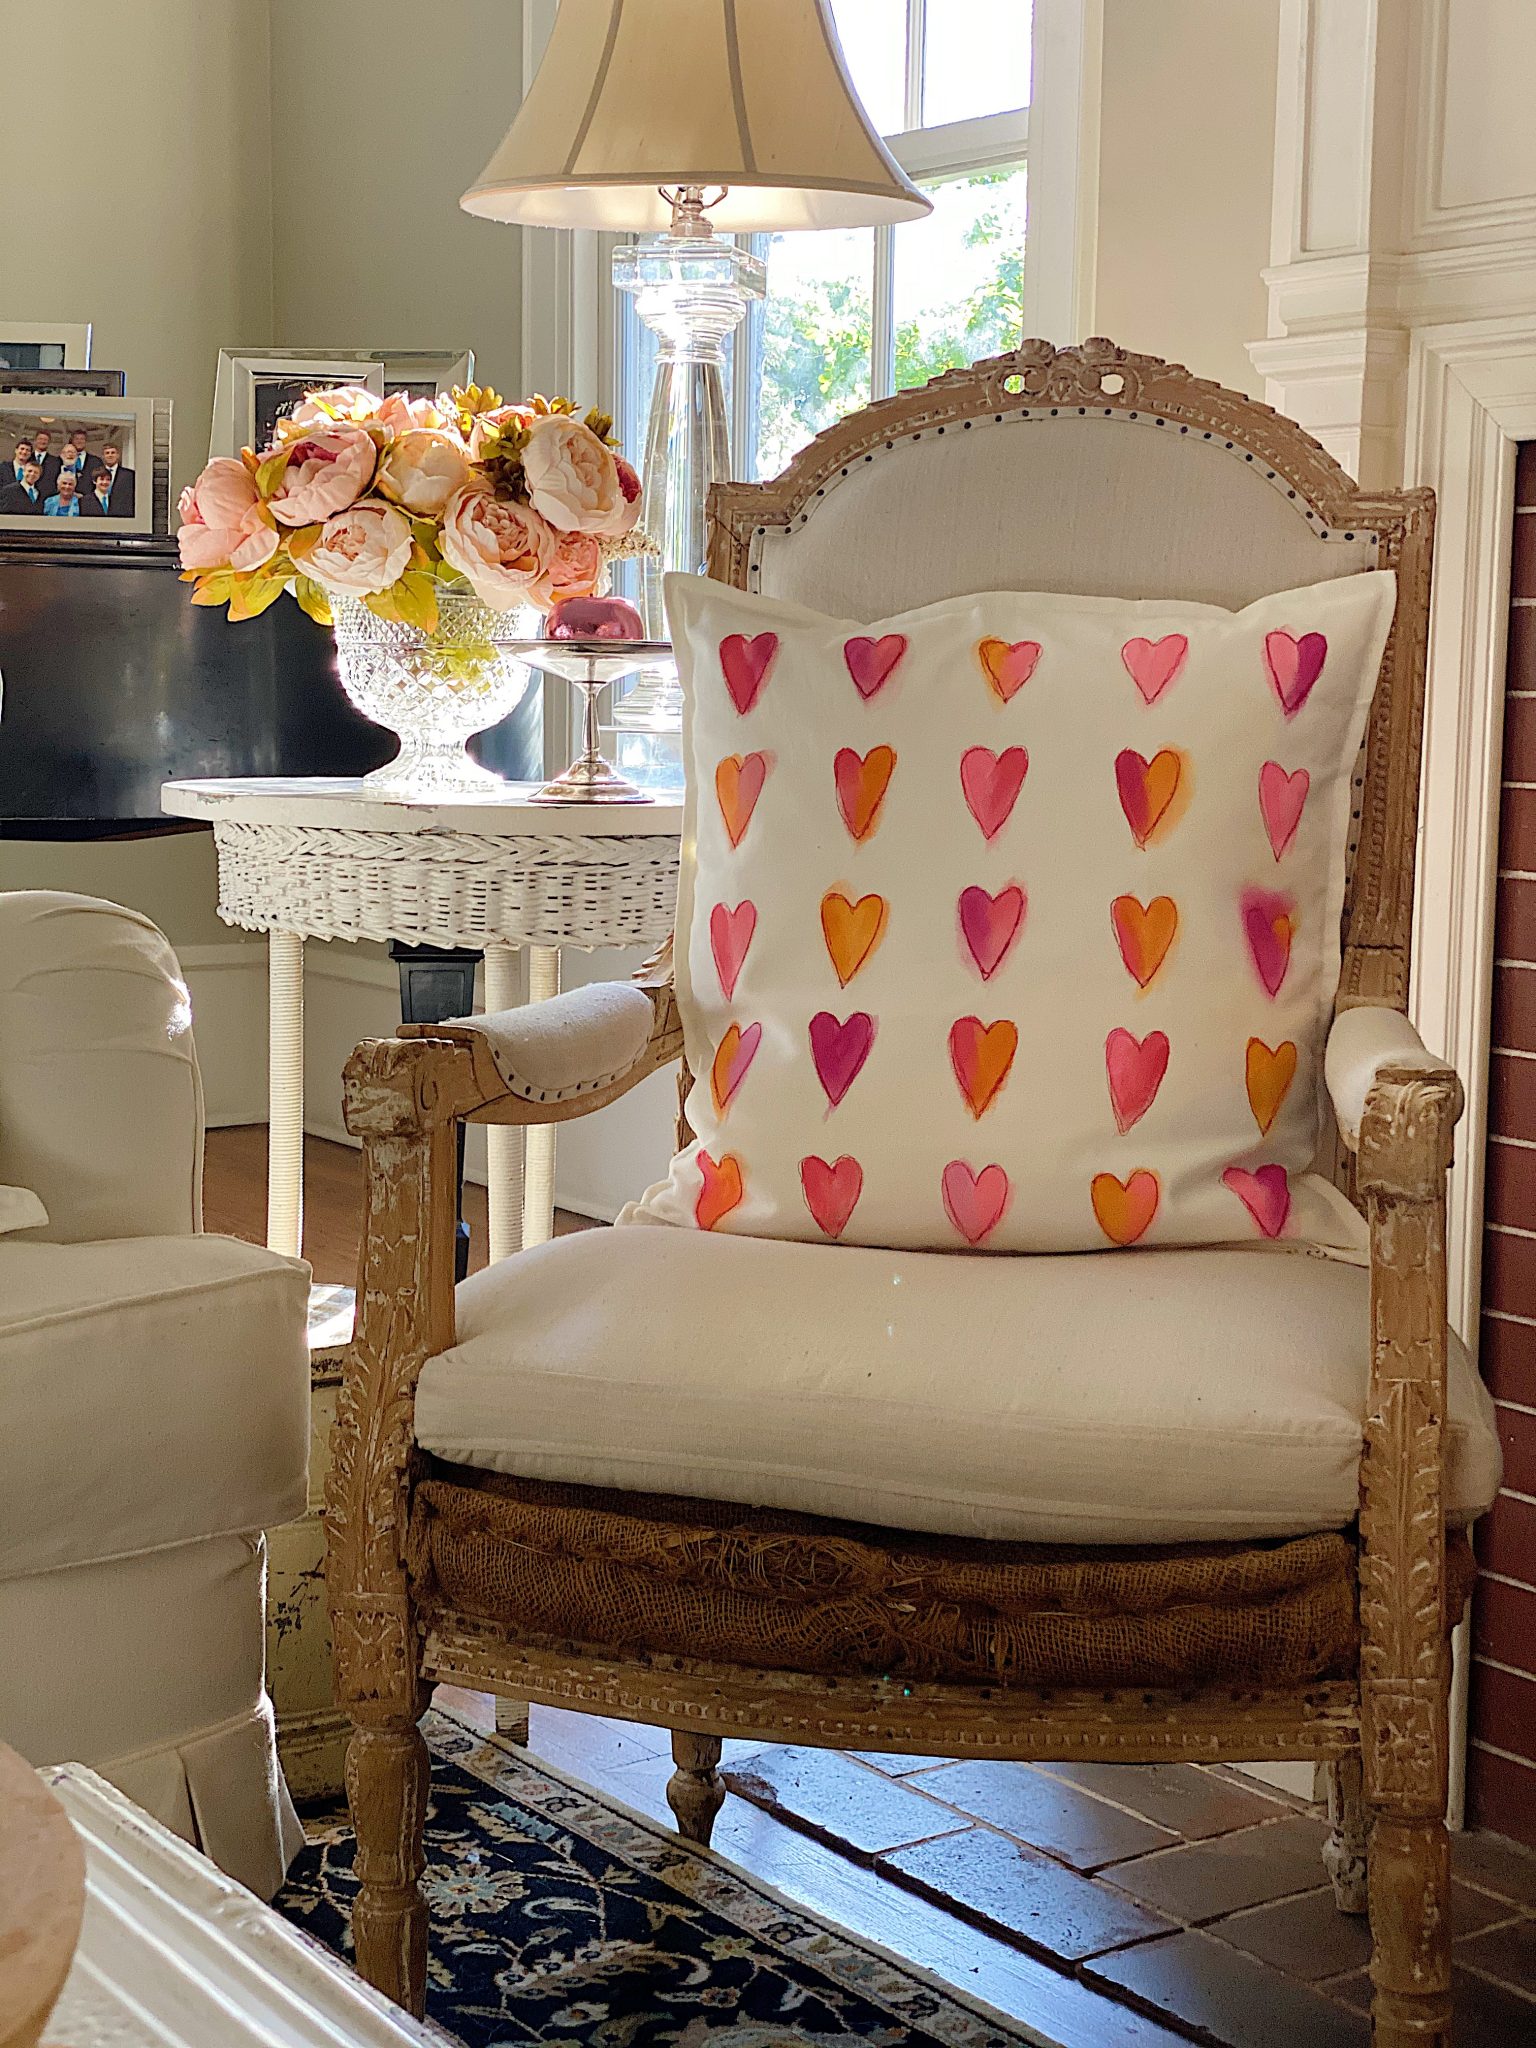
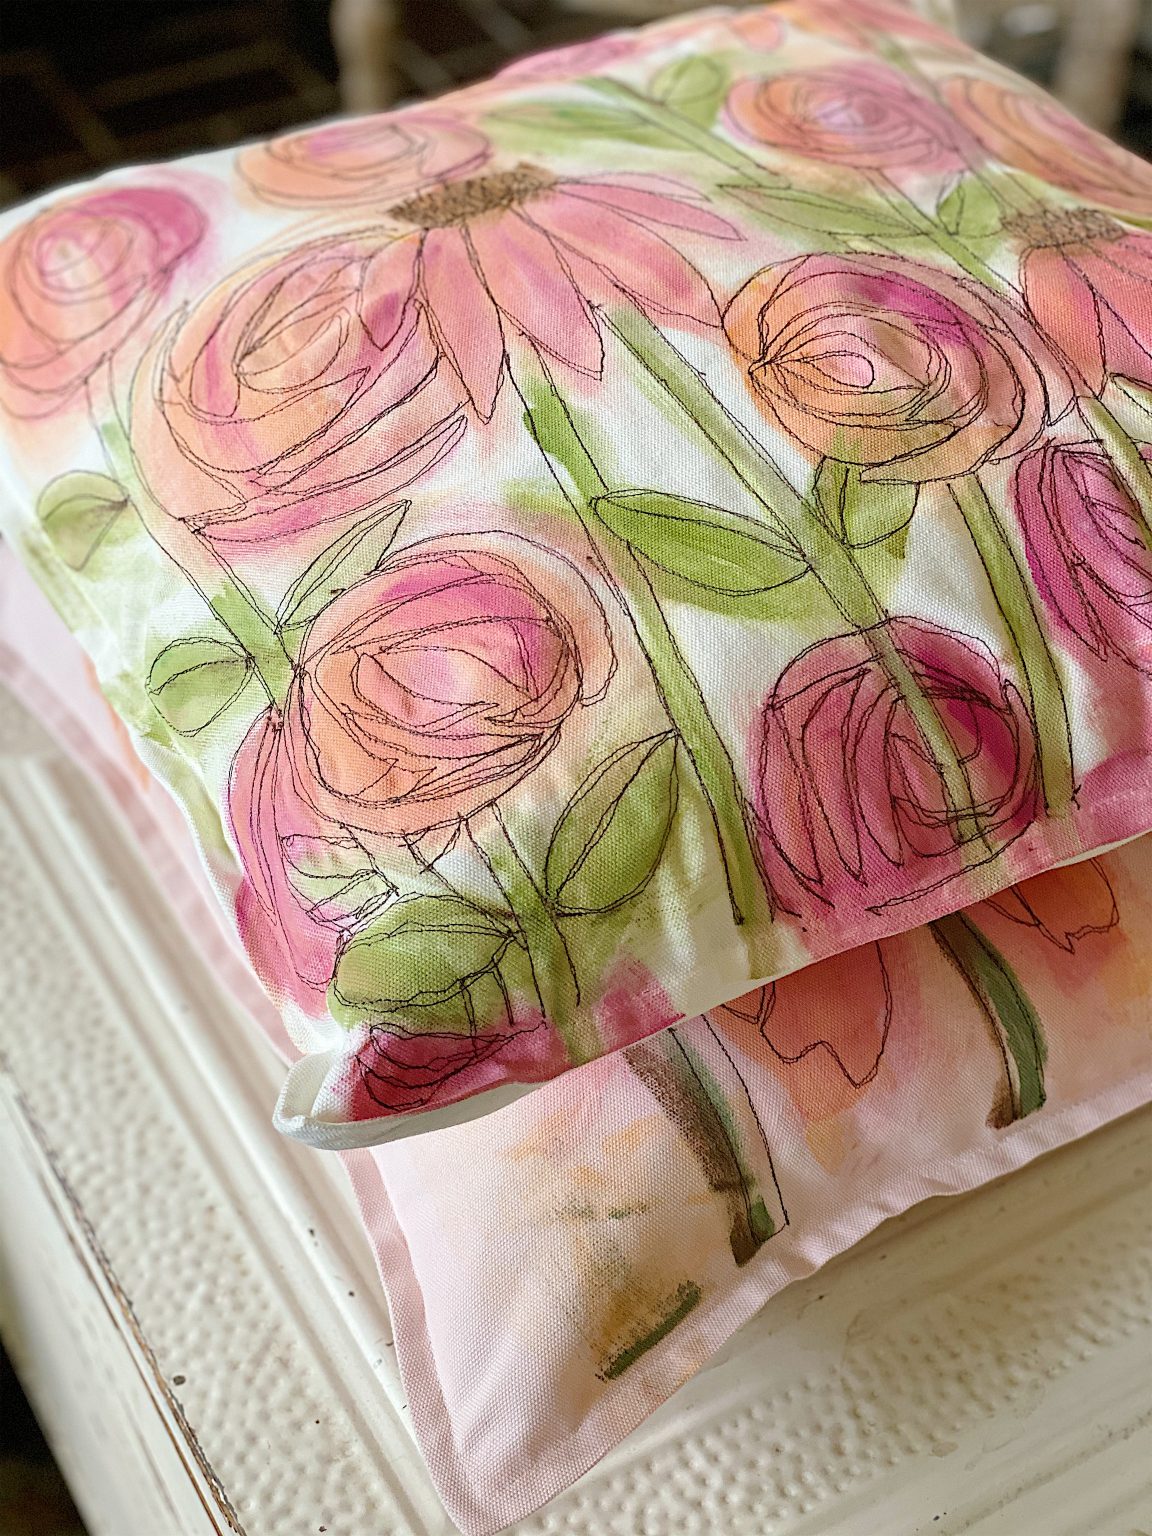
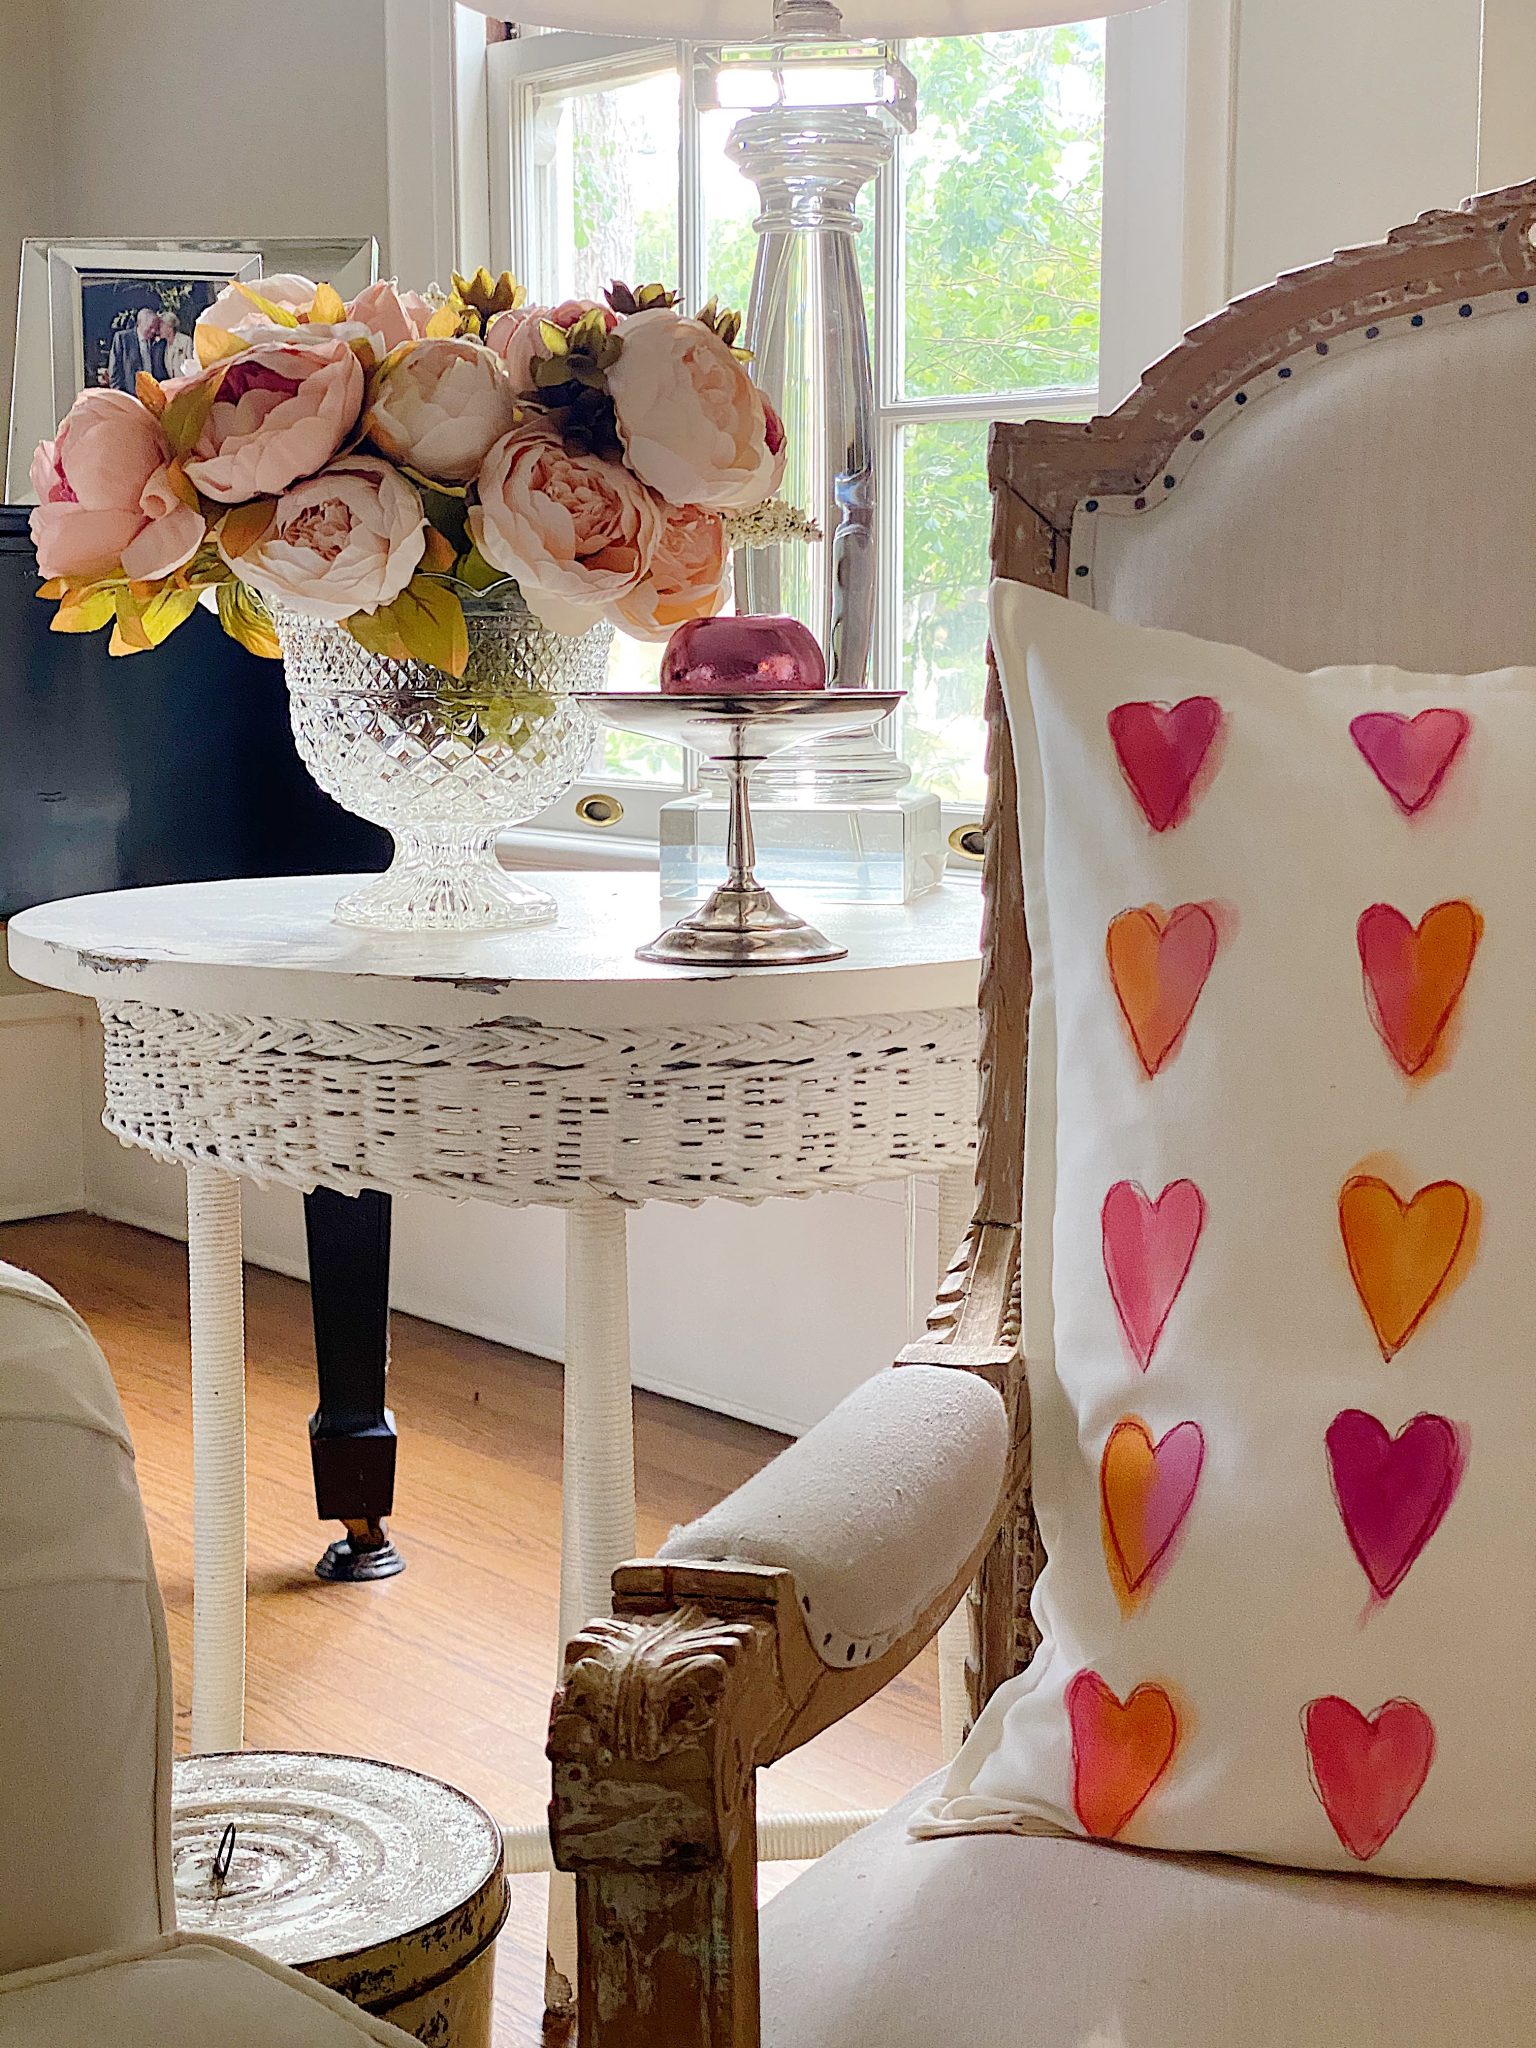
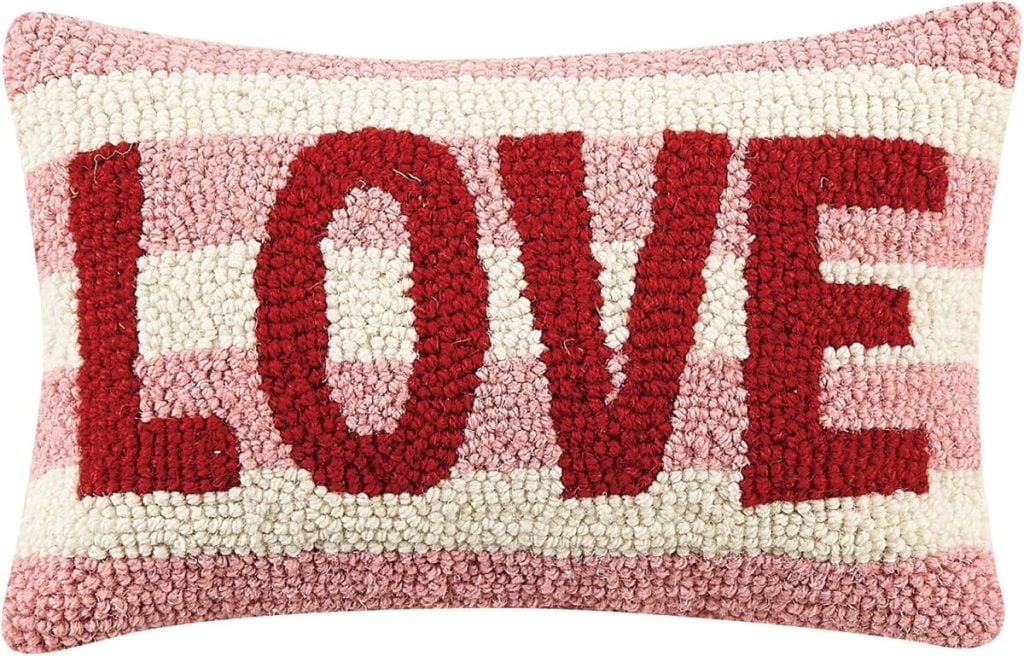
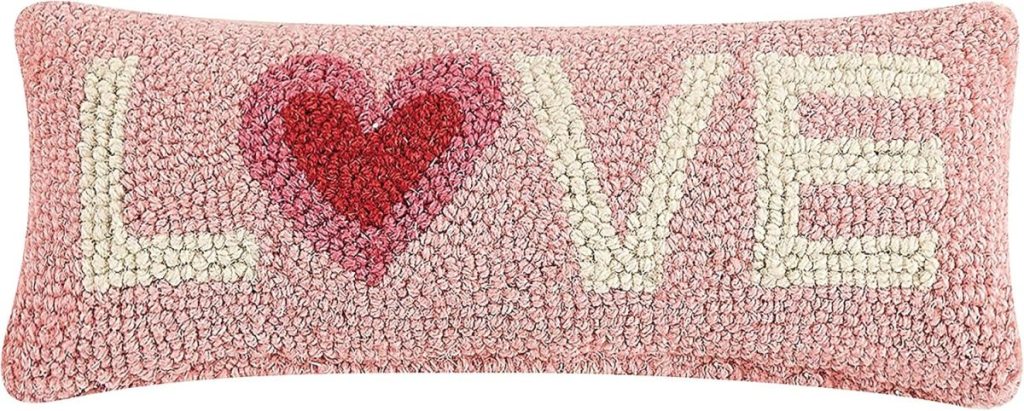
I love painting pillows, and this is my favorite Valentine’s Day pillow ever. I love pink heart pillows! If you’re like me, you’re probably looking for Valentine’s Day decor ideas. Well, look no further!
Today, I will show you how to make a super easy and adorable Valentine’s heart pillow. You only need a few basic supplies and a few hours of your time. So grab your supplies, and let’s get started!


A Valentine’s Day Heart Pillow
You probably aren’t surprised that I decided to share one of my favorite pillows for my Valentine’s Day Decor.
And is this not the cutest pillow ever?
I love painting pillows and adding free stitch embroidery. I have shared free stitch embroidery projects on my blog for a few years now.
Can I assume that some of you have been intimidated to try this?
I have good news. This time, I added an option to make it even easier!

Every year, I make a heart pillow for Valentine’s Day Decor. Usually, that includes a free-motion stitch embroidery pillow. After all, it is my favorite and best technique for this time of year.
It has long been my tradition to spend the month before Valentine’s Day crafting various projects that represent love in some way. This one was especially fun because I got to paint it!
It really is quite easy to make. I painted hearts on a pillow cover, then stitched a heart over them. Easy peasy.
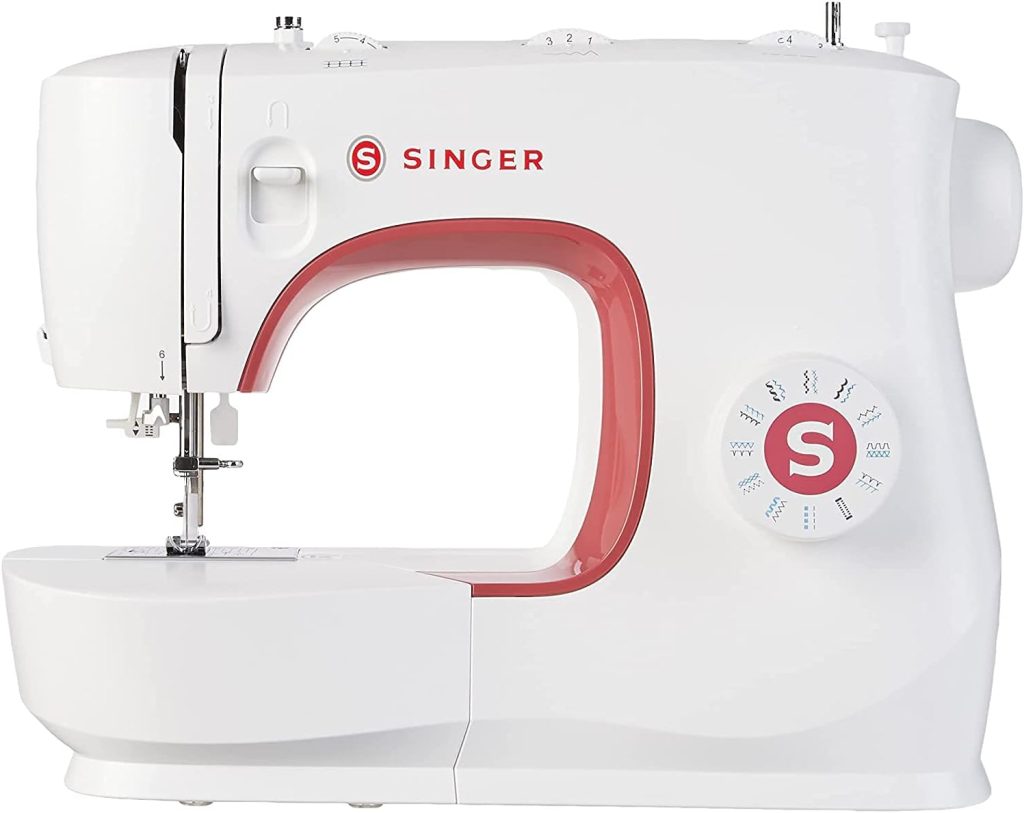
The “stitching part” is called Free Motion Embroidery. But don’t let that scare you! All it means is that you pull out your sewing machine (dust it off first), lower the pressure feed, and add a darning foot.
When you start sewing, the fabric doesn’t move until you move it. So you just pull and push it in the direction you want it to go. In this case, the motion would be a heart shape.
Guess what the best part is? It looks better if you sew outside the lines.
I promise!
So … what if you don’t know how to sew? Or what if you don’t have a sewing machine?
Keep reading.
On this blog, I may sometimes use affiliate links, which means I earn a small commission if you make a purchase via the link. The price you pay will be the same whether you use the affiliate link or go directly to the vendor’s website using a non-affiliate link.
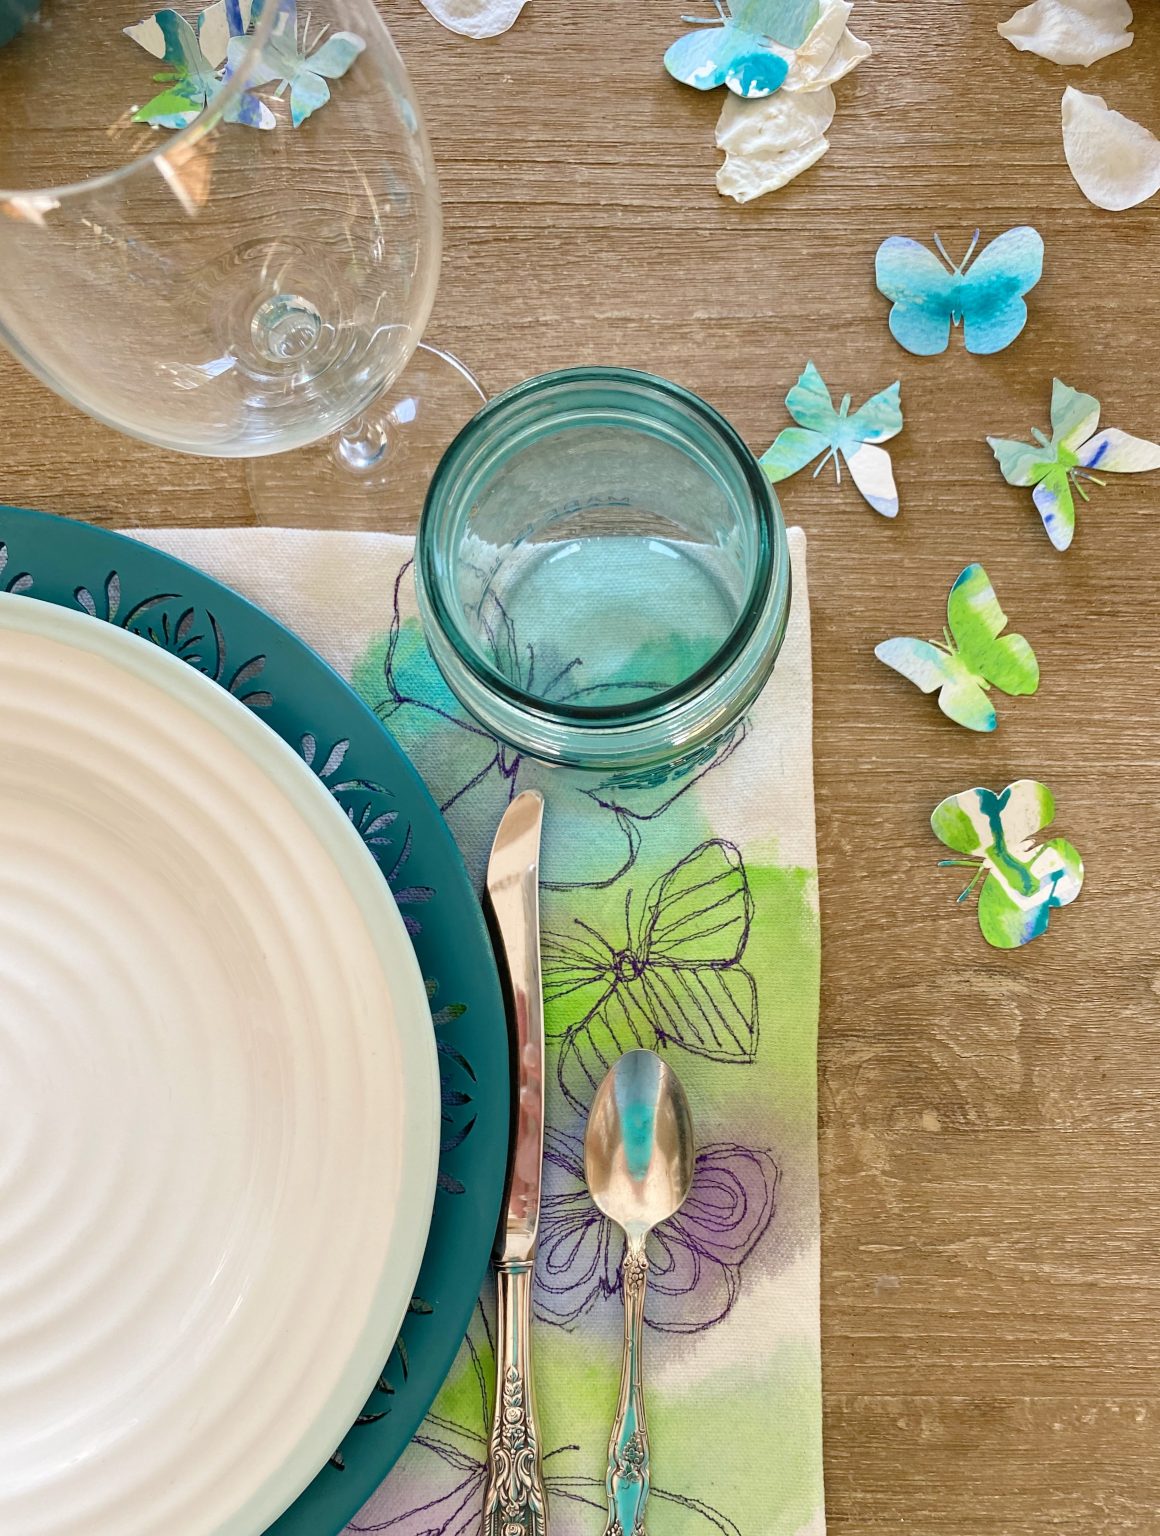
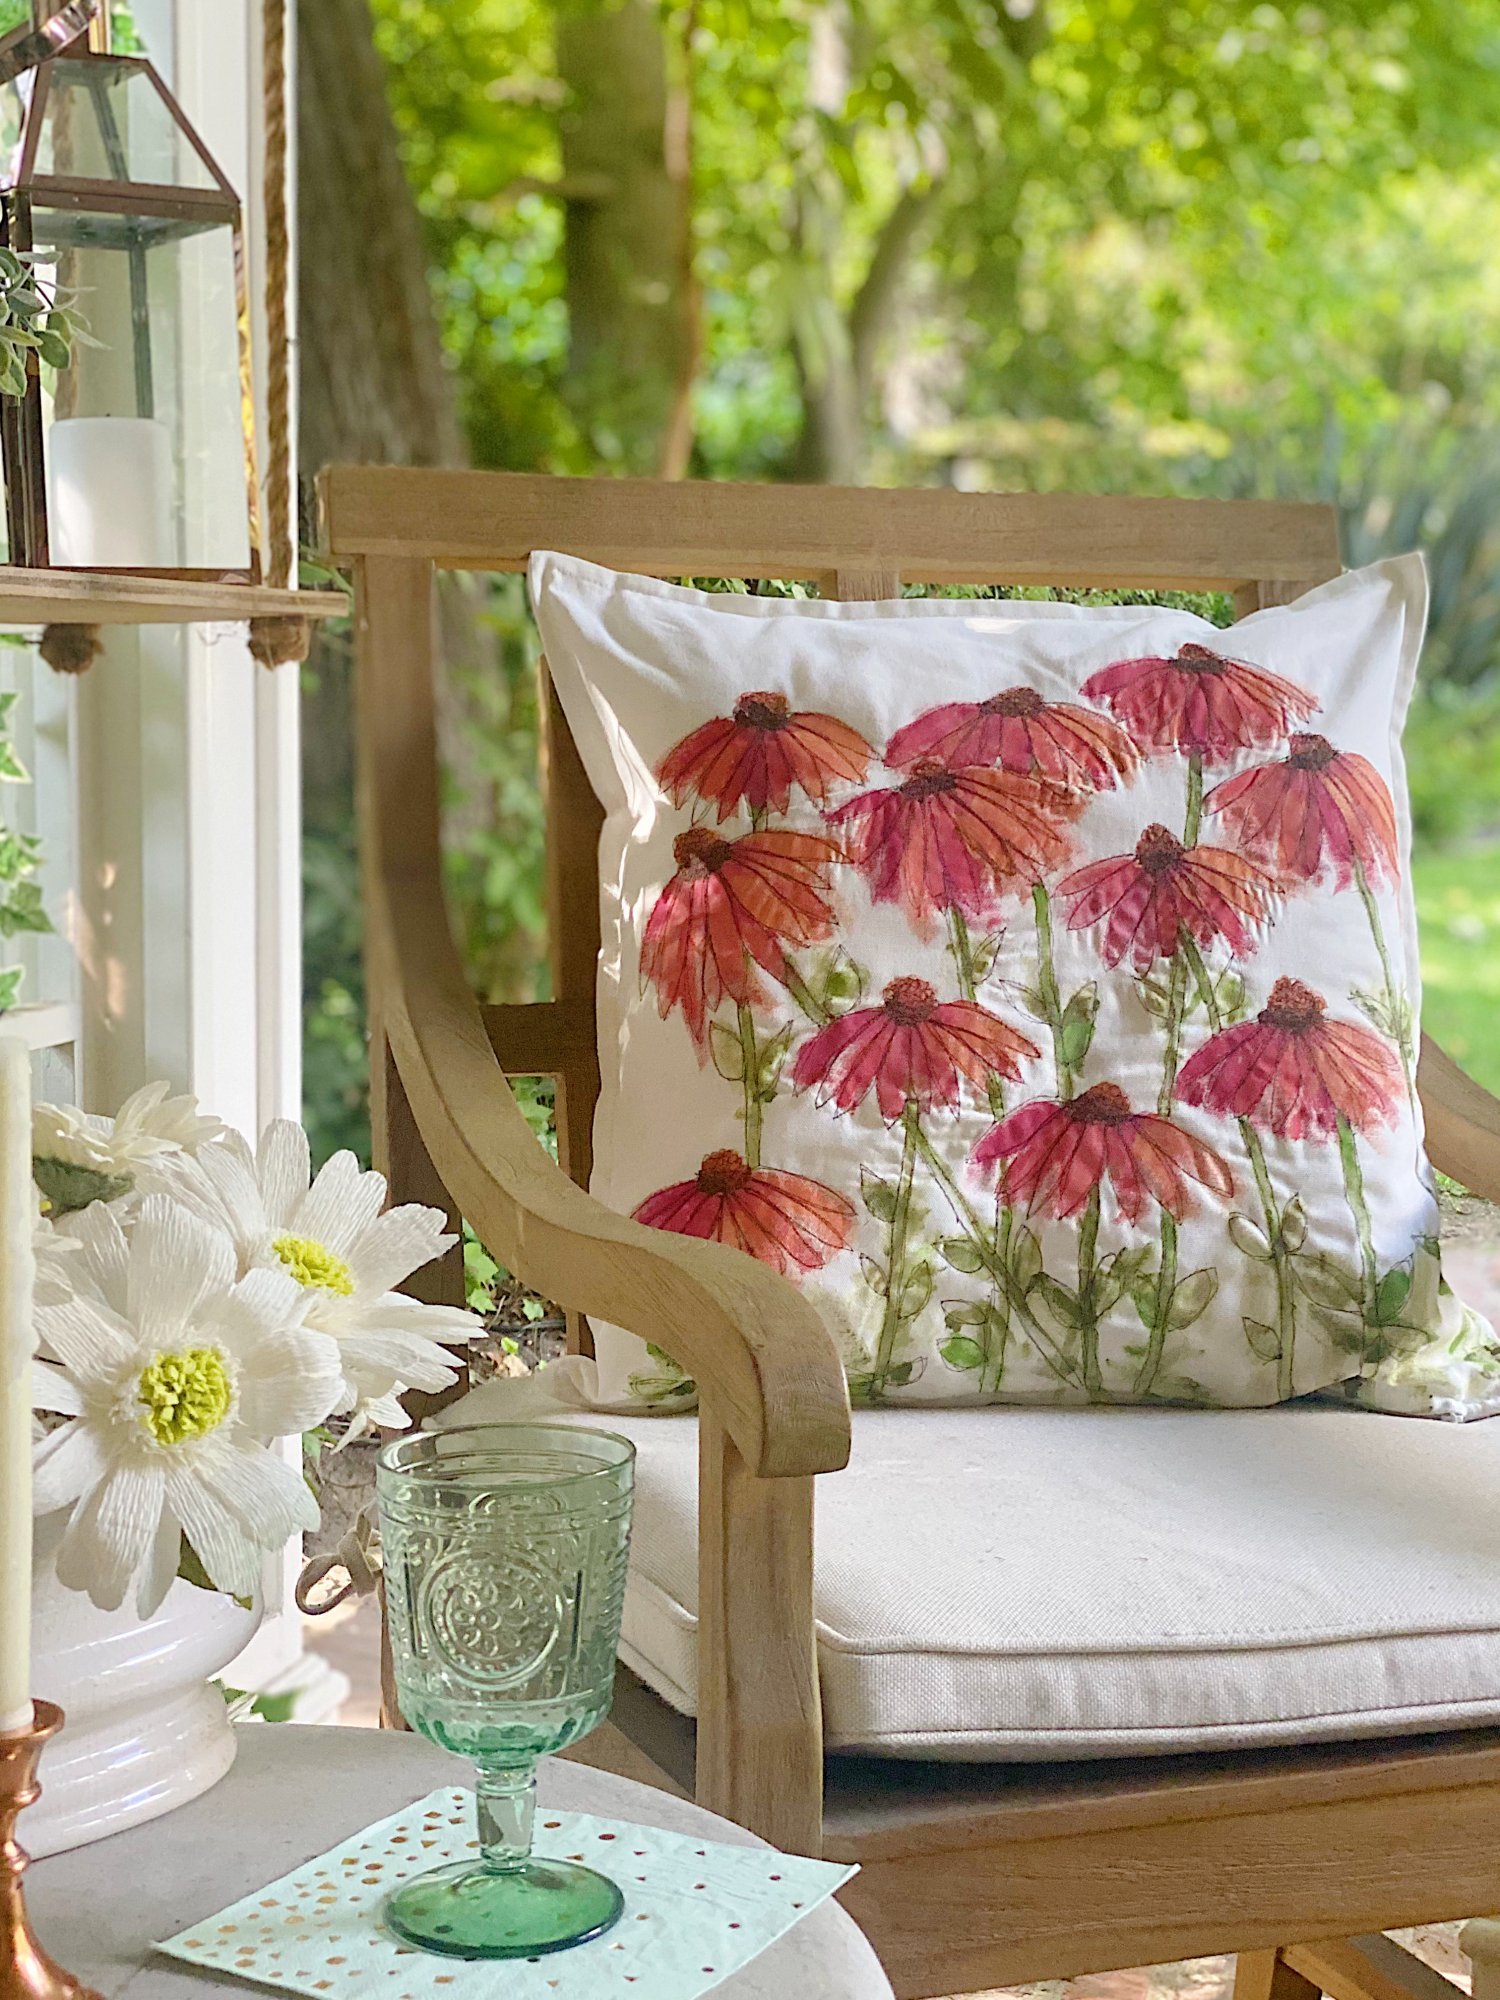
Some of My Free Stitch Embroidery Projects
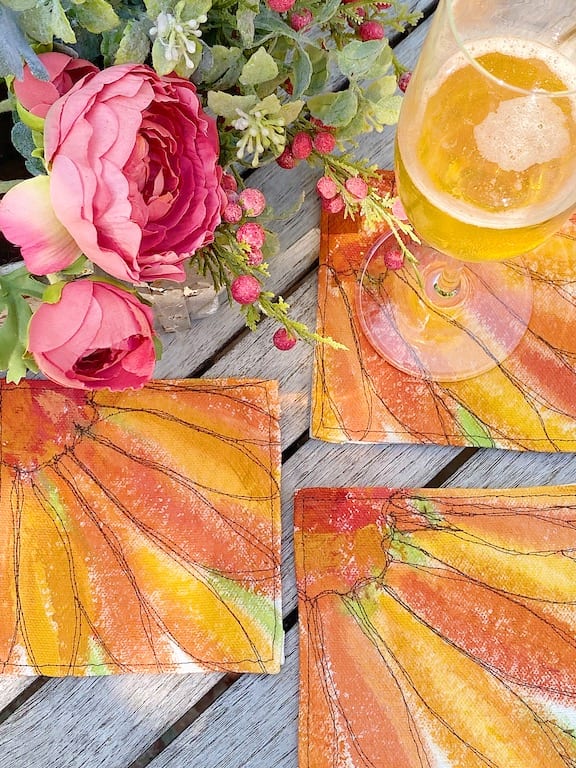
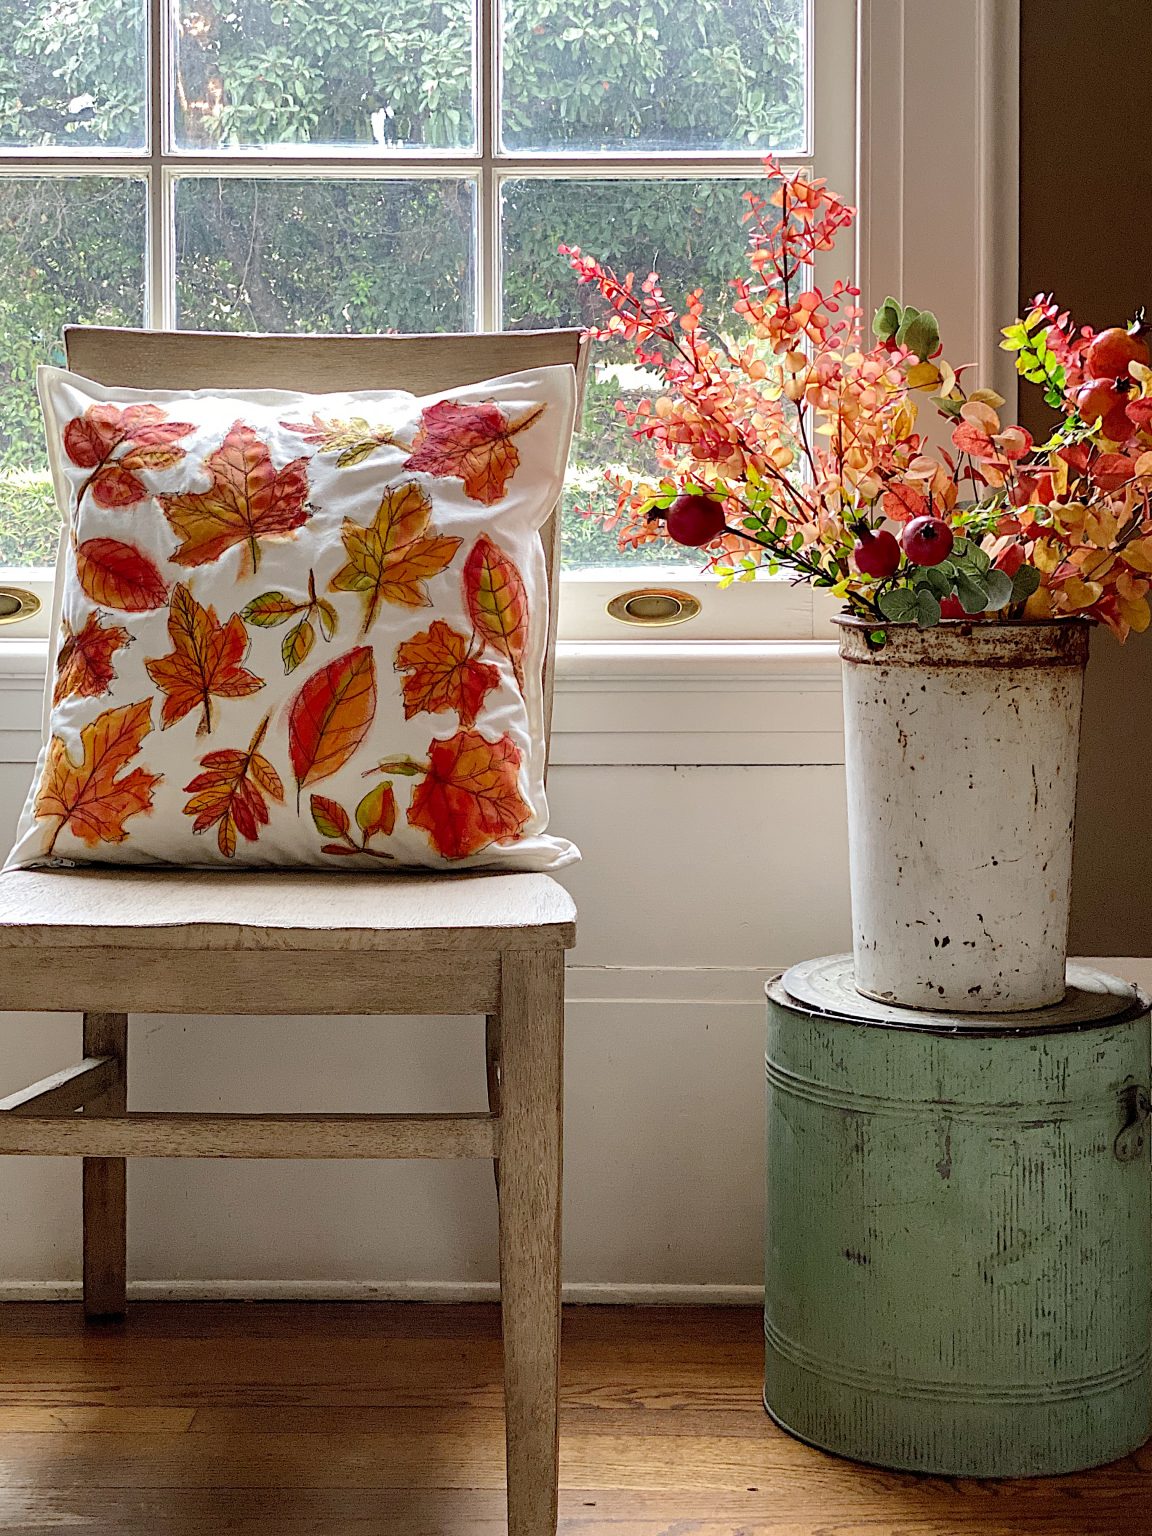
In the past few years, I have made quite a few Free Stitch Embroidery projects. I have made pillows, placemats, and coasters.
How to Make a Valentine’s Day Heart Pillow
Difficulty Rating: Easy/Medium
Estimated cost: $15
What You Need to Make This Machine Stitch Embroidery Thread Painted Pillow
(Links to products I used are included)
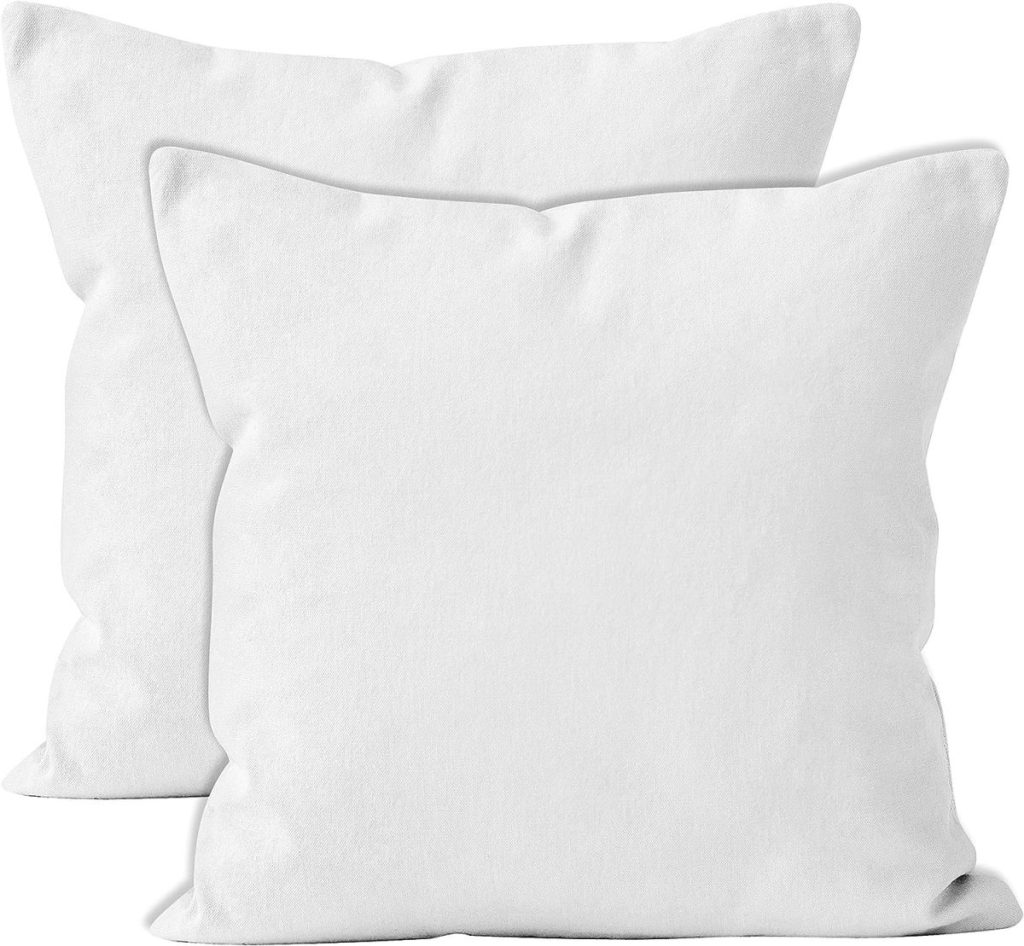
- Pillow cover (I use Ikea Gurli, which are 20″ or these 20″ covers.
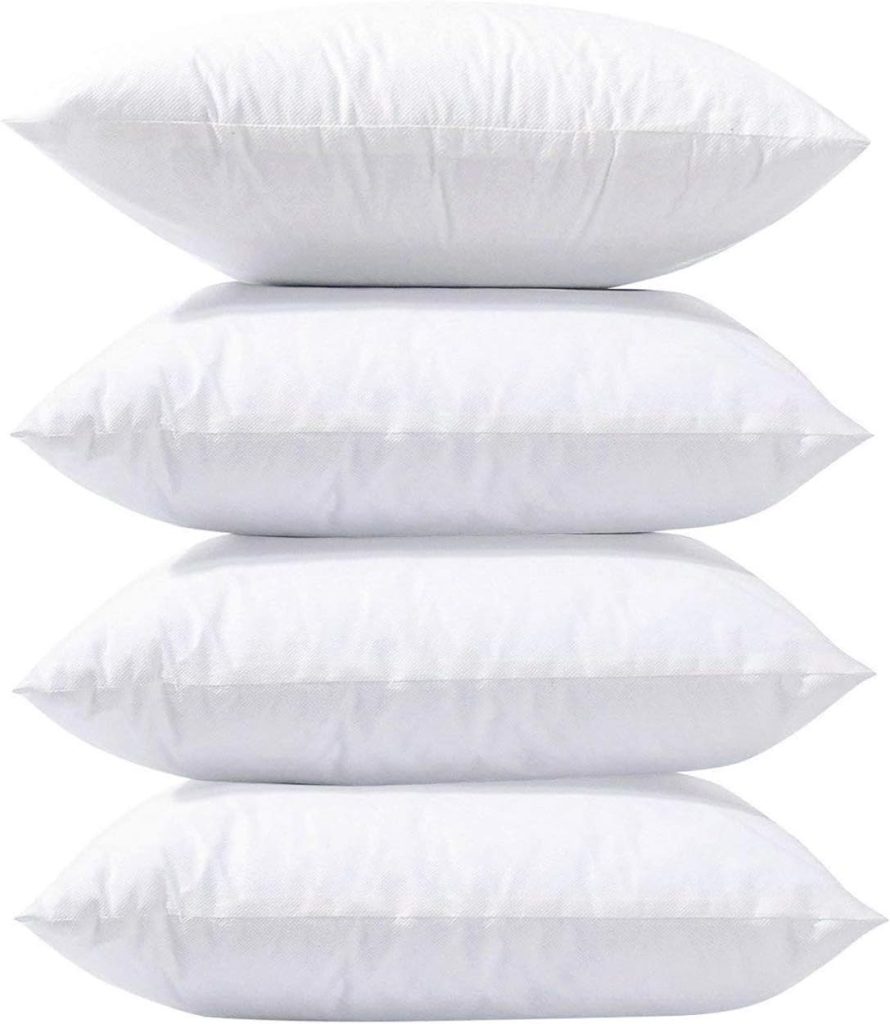
- Pillow insert (20″ x 20″)
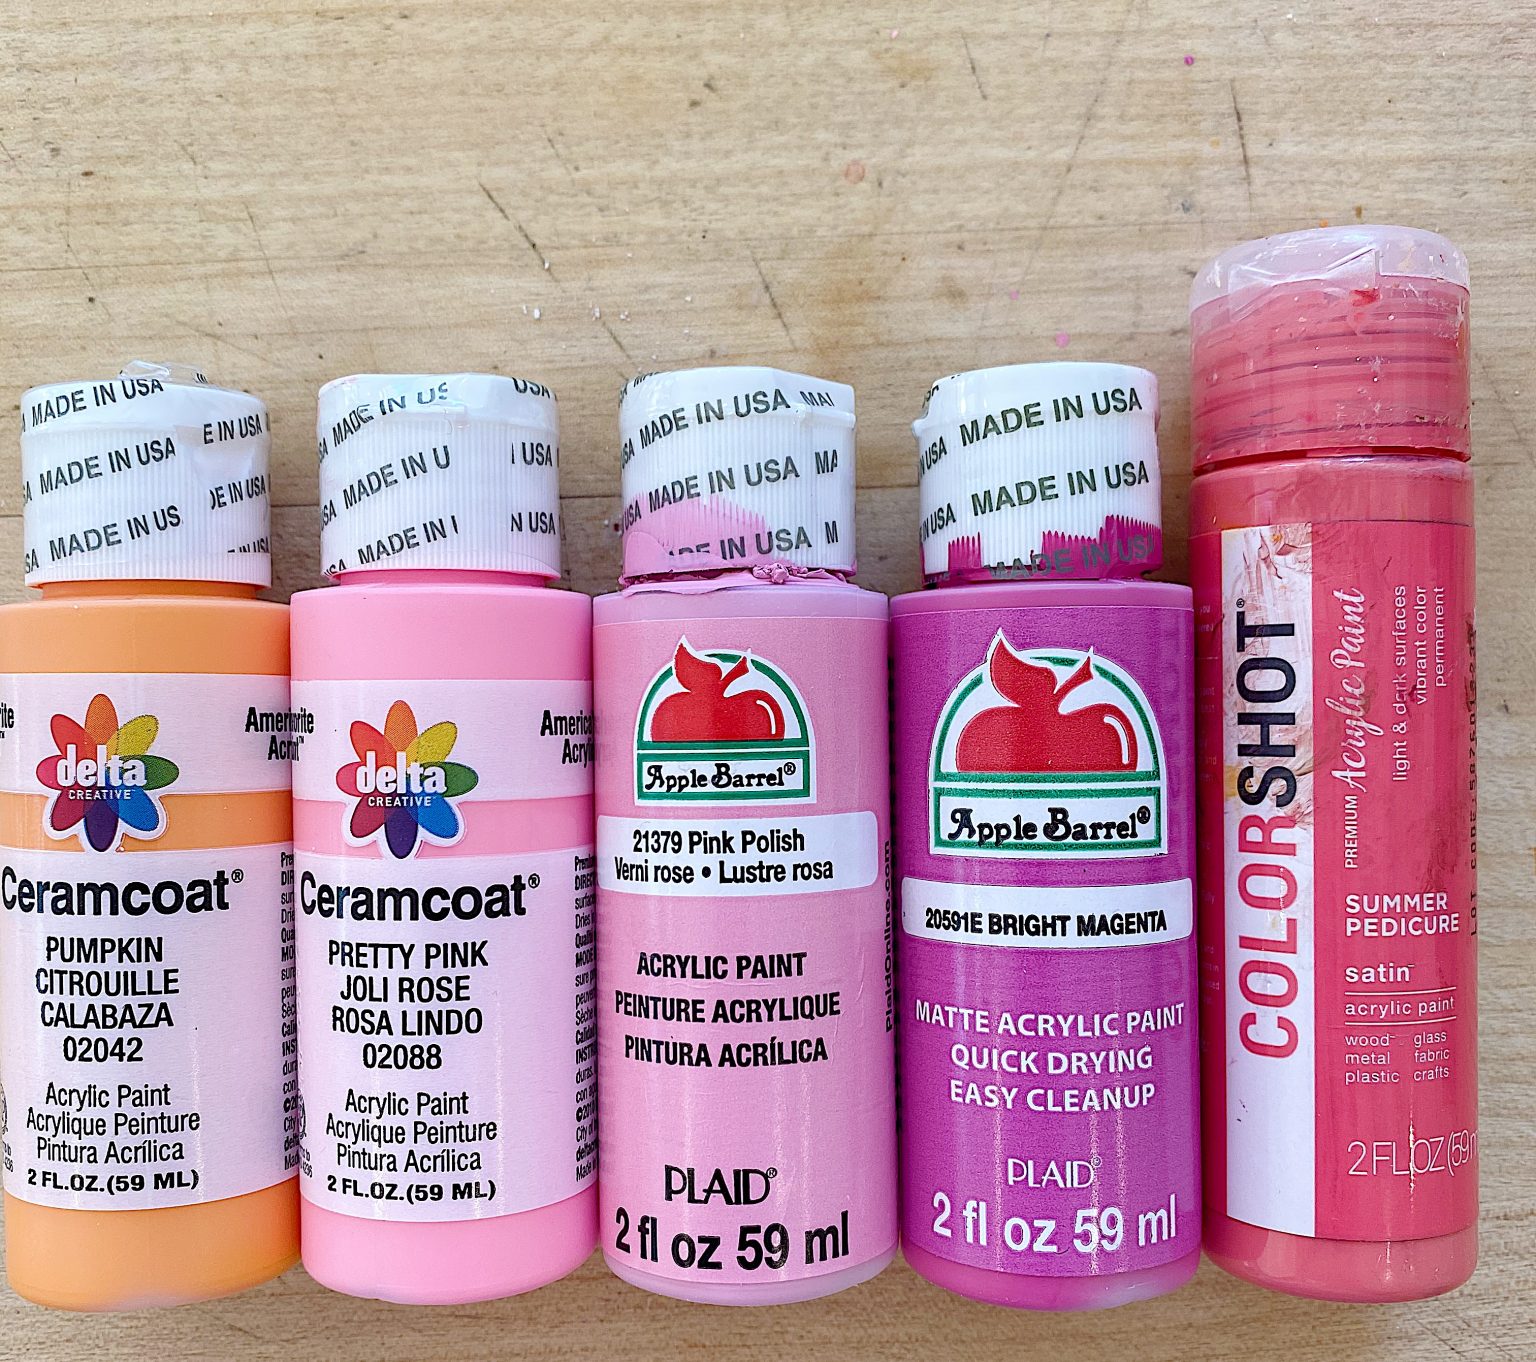
- Acrylic paint
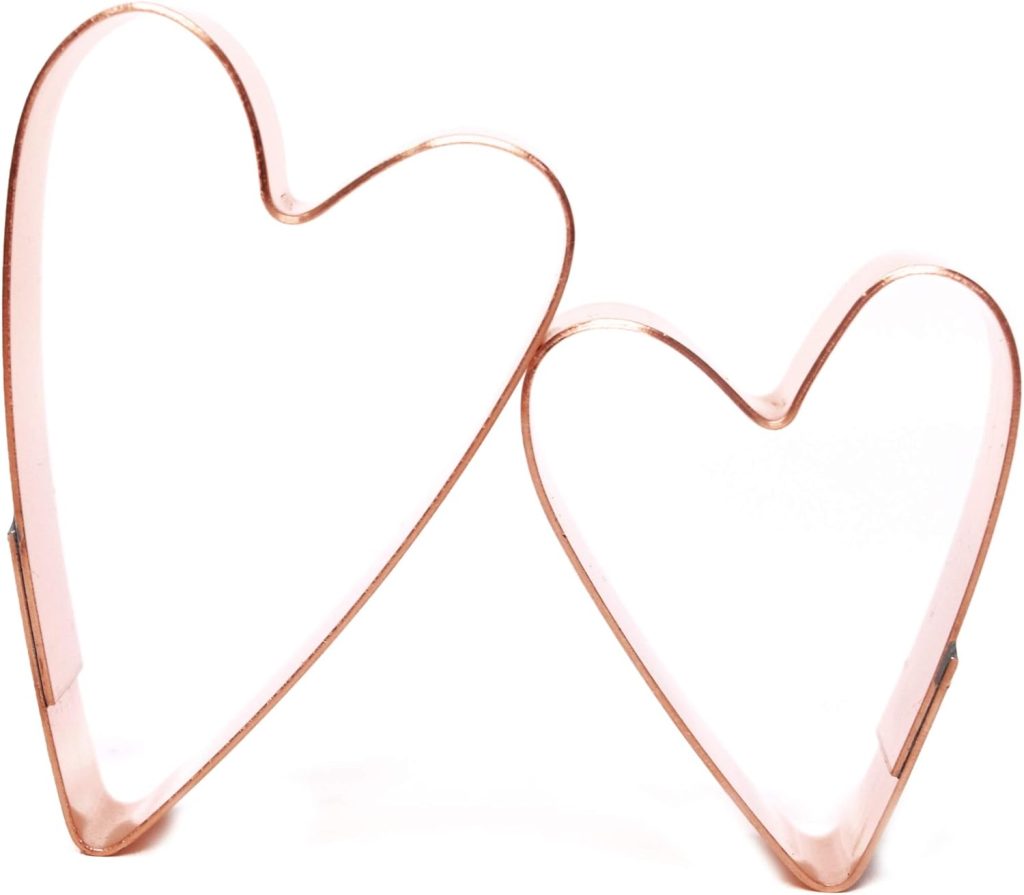
- Heart-shaped cookie cutter
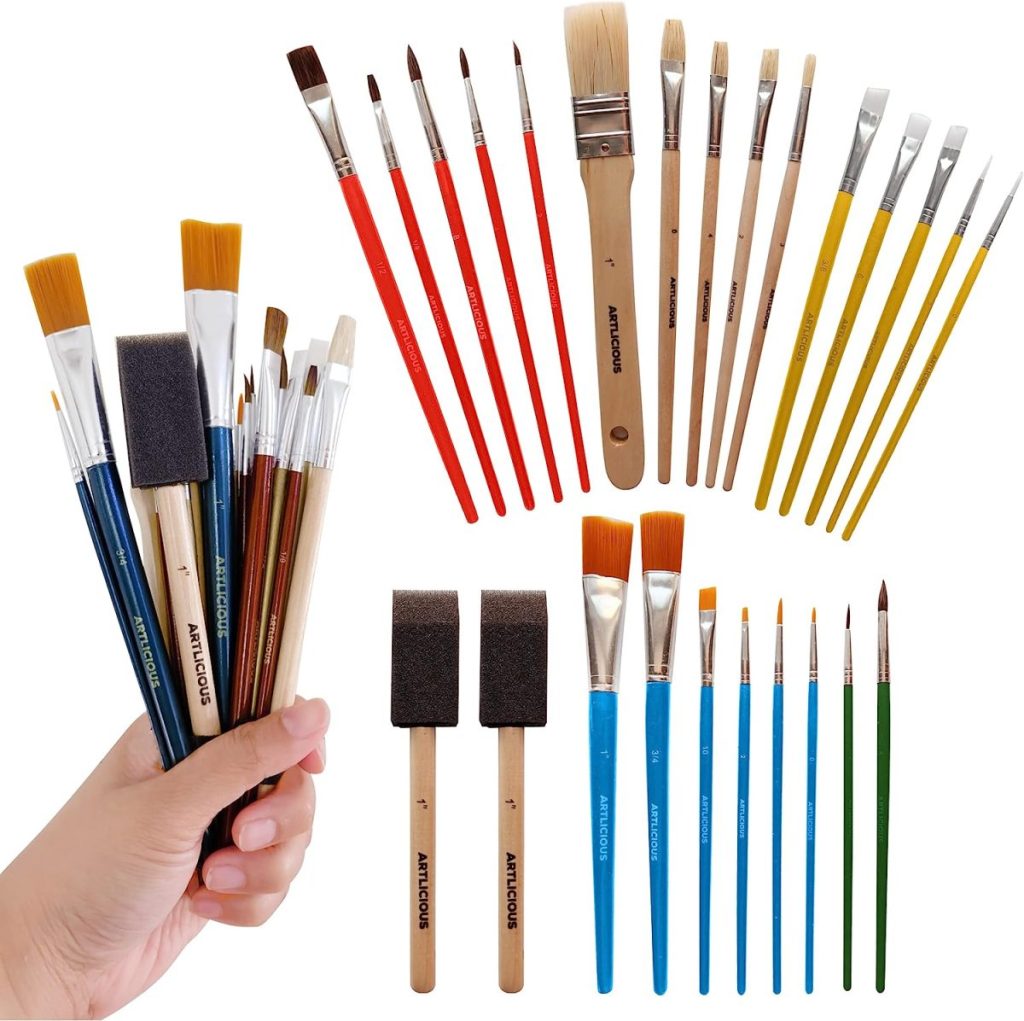
- Paint Brush
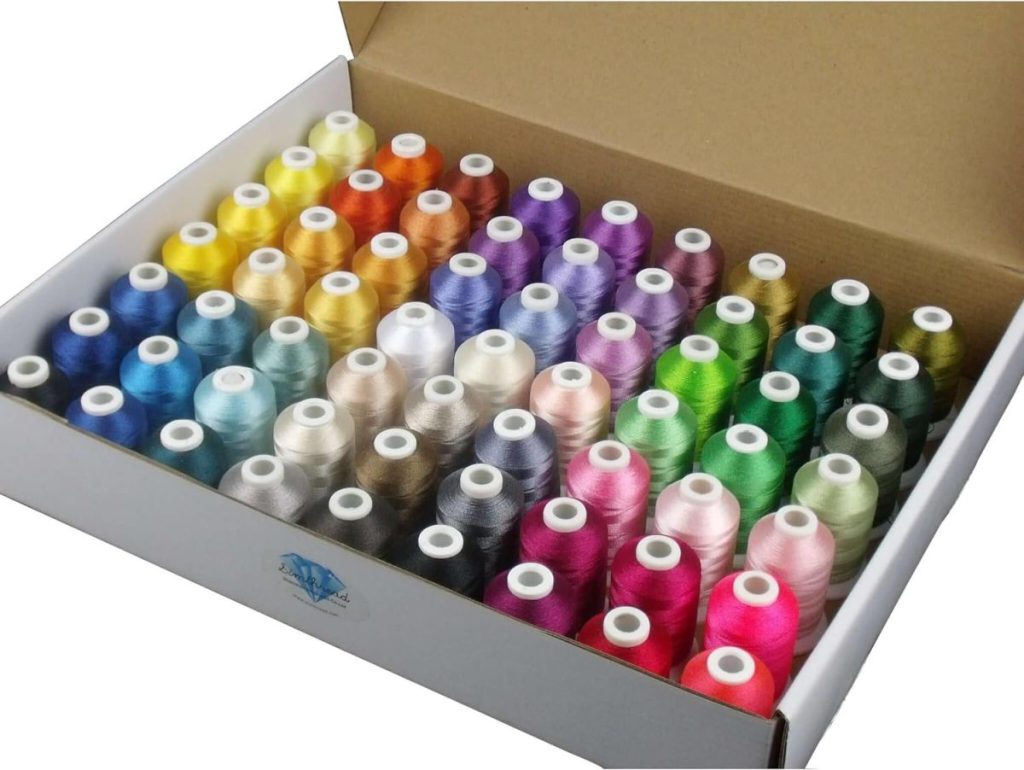
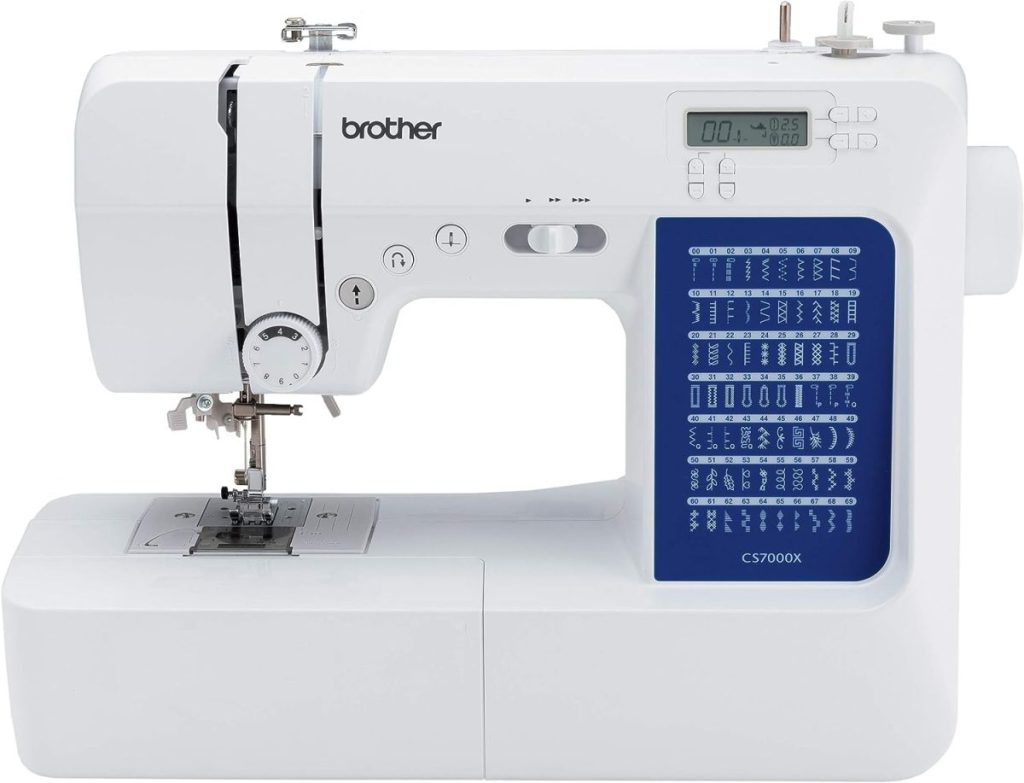
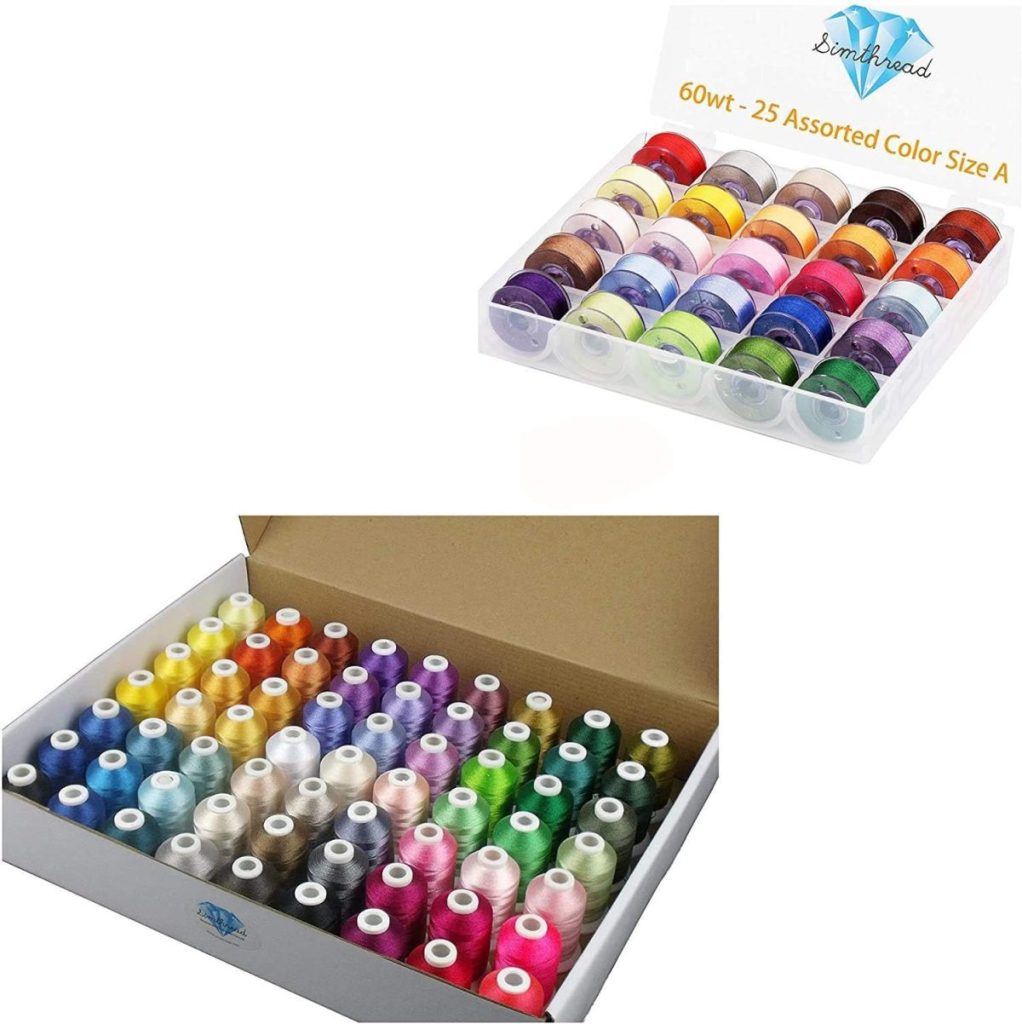
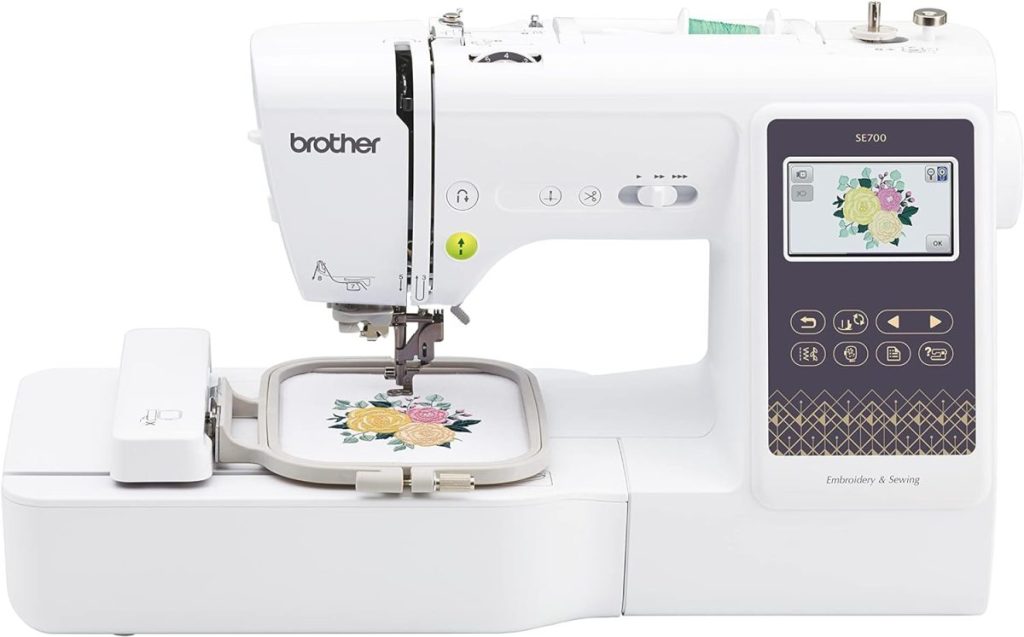
- Sewing Machine and Embroidery Thread
- Parchment paper or cardboard to fit inside the pillow while painting.
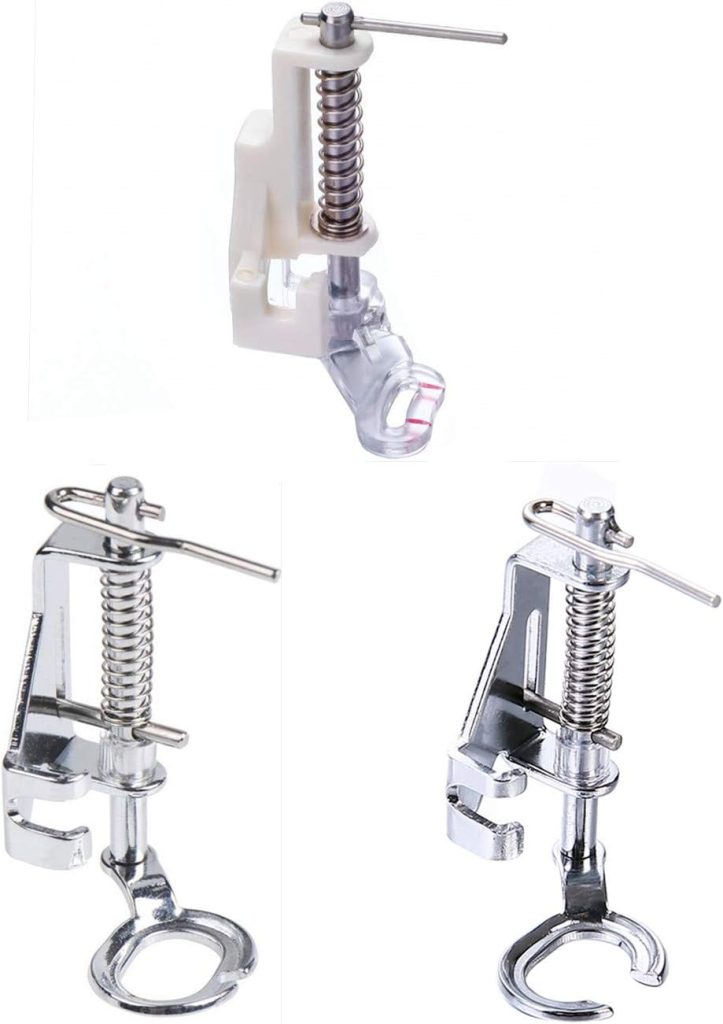
- Free motion (or darning) sewing foot for your machine
- If you don’t have a machine, you can use a permanent fine tip marker to mimic the sewn stitches. You do not need a sewing machine or a darning/sewing foot for your machine.
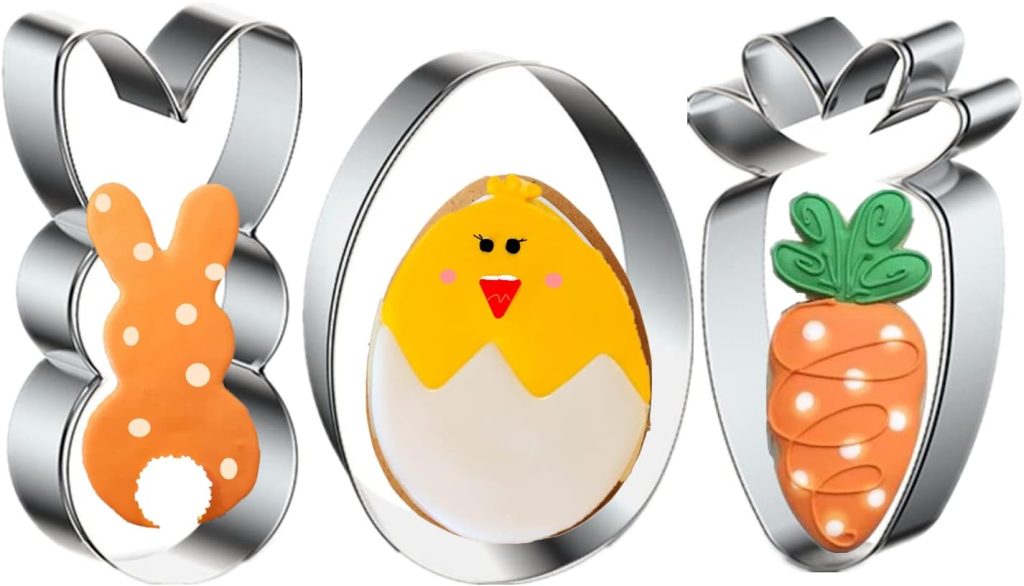
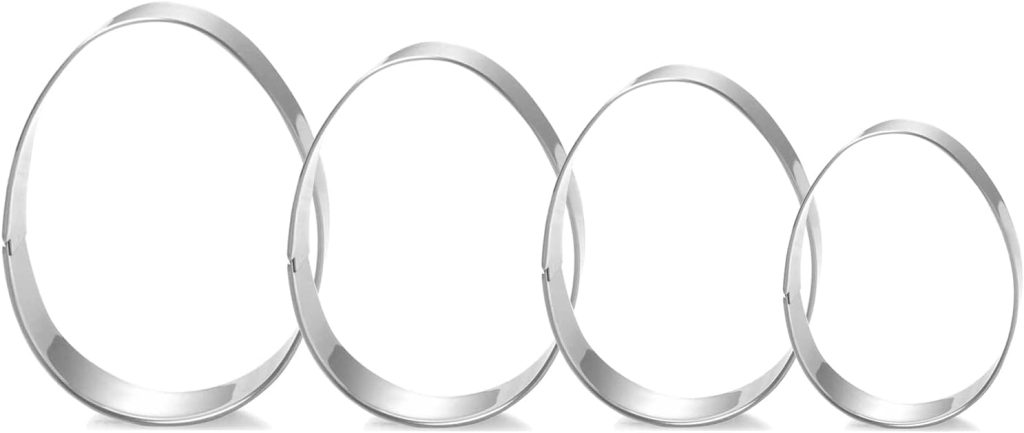
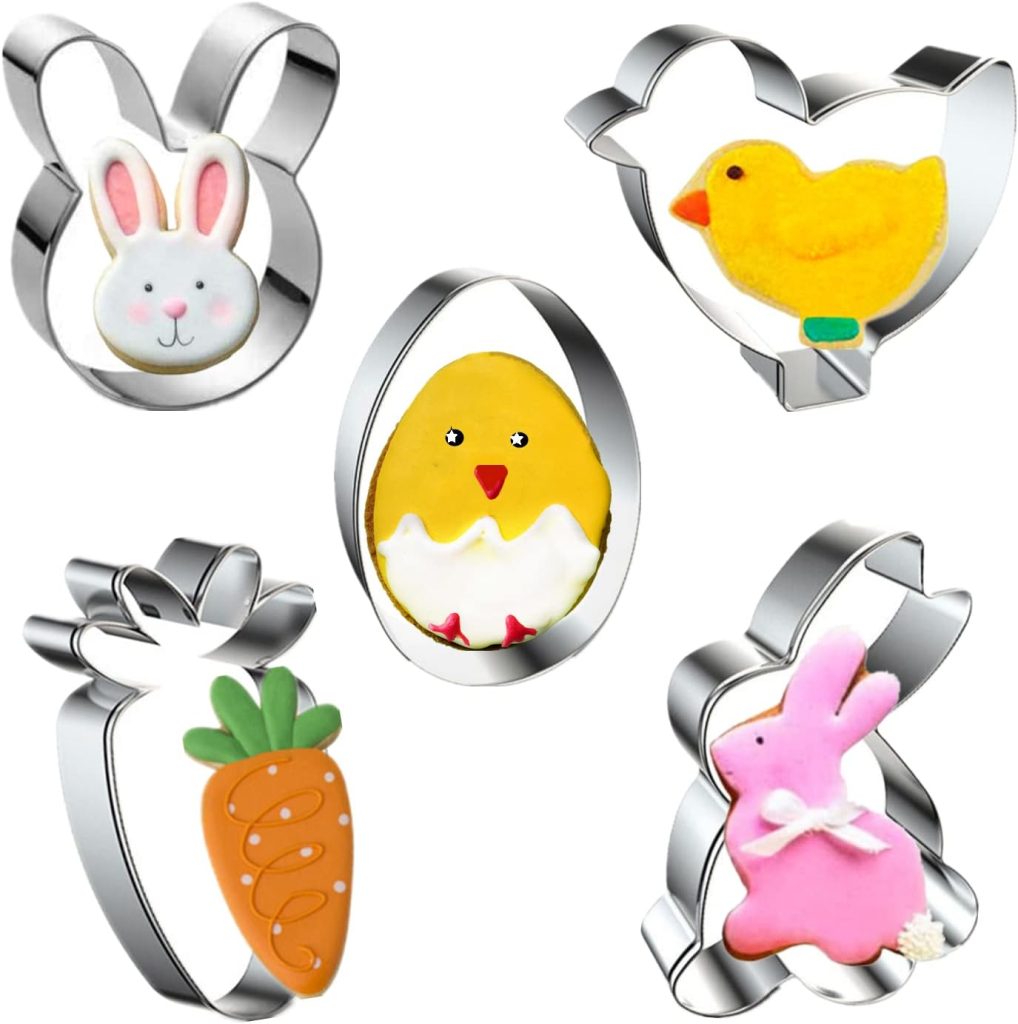
Change Up The Design!
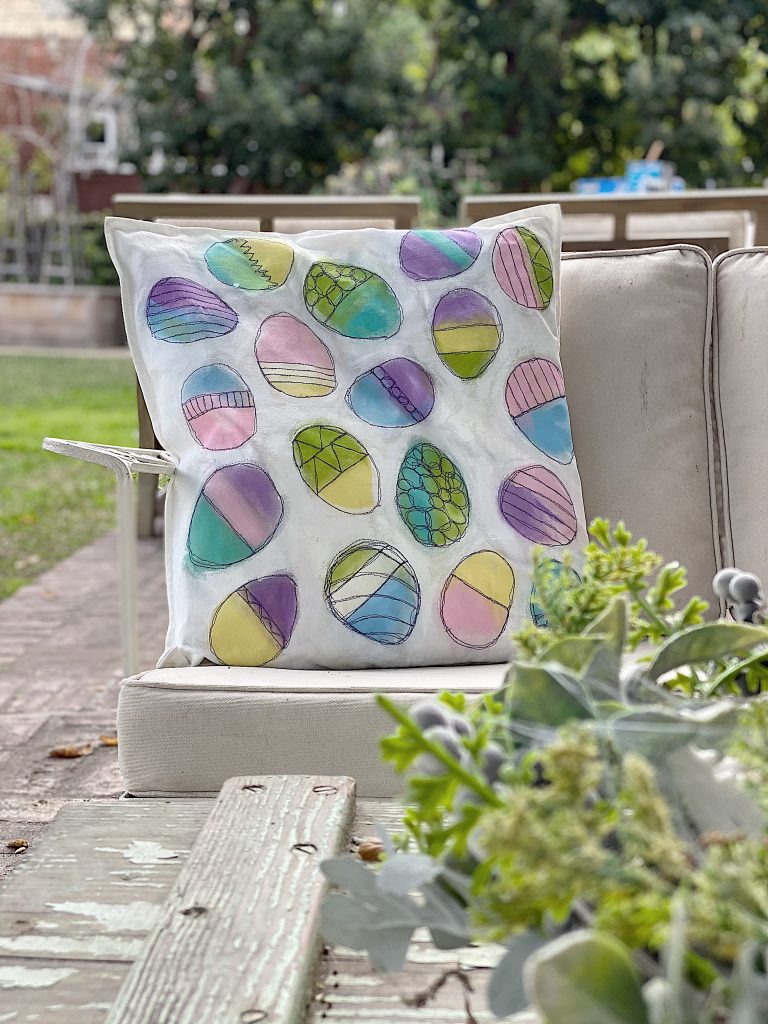
The design possibilities for this pillow craft are endless. I’ve selected some Easter-inspired cookie cutters to make a gorgeous Easter pillow cover.
You will need a free-motion foot for your machine. This foot may vary depending on your machine type, but I linked it to a “universal” one.
I read a lot about lowering the “feed dogs” on your machine when stitching free-motion embroidery. Feed dogs are the little teeth on your sewing machine that feed your fabric evenly through the machine. These teeth are essential because they help us produce perfectly spaced, even stitches whenever we sew garments, piece quilts, or applique shapes on our machine.
Most people (including me!) recommend lowering the feed dogs for free-motion embroidery. That is because with free-motion stitch embroidery, you want to be able to move the fabric in any direction while sewing.
If your machine doesn’t let you lower the feed dogs (my lever is near the bobbin) then you just need a feed plate for your machine to cover up the feeds.
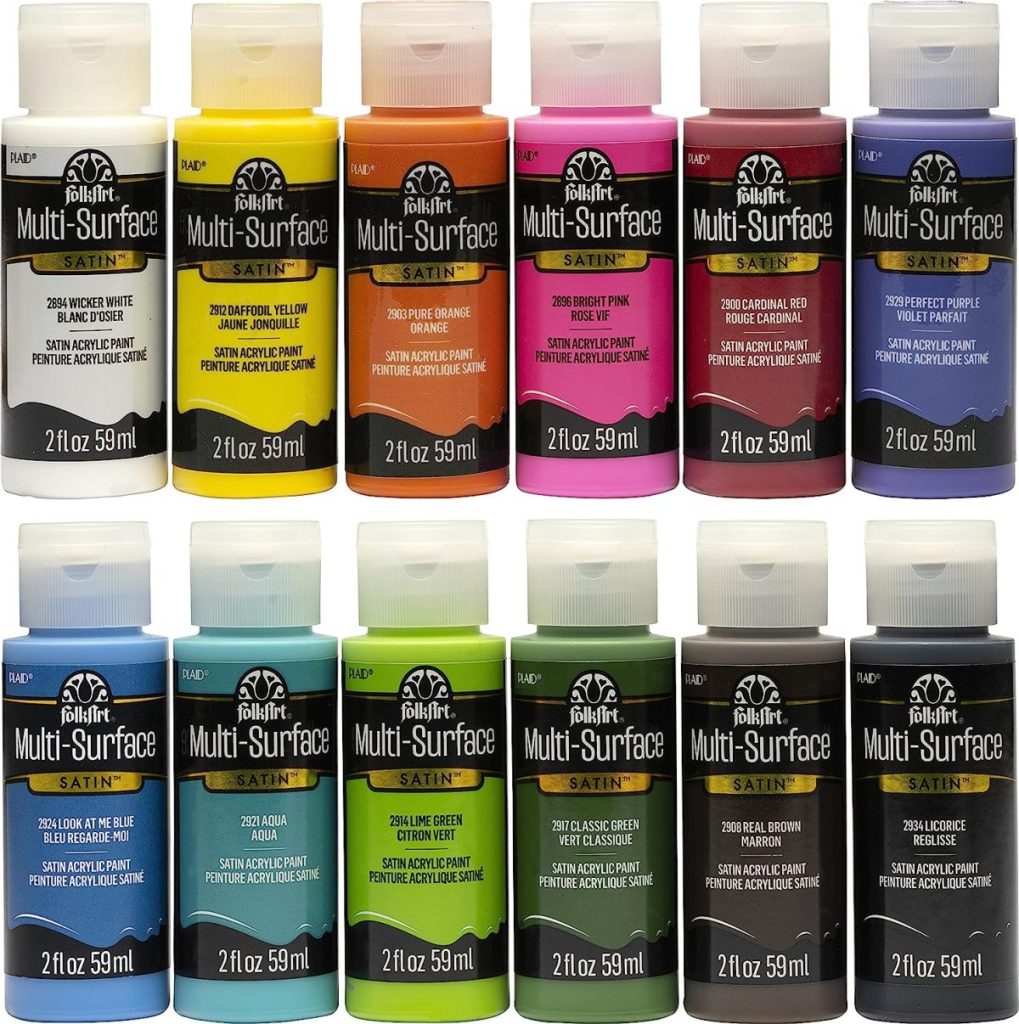
Here are the paint colors I used. You can use any similar colors or completely change them It is up to you.
I like to use acrylic paints. I iron them to set them so they are ok to wash. If you want to, you can use fabric paint.
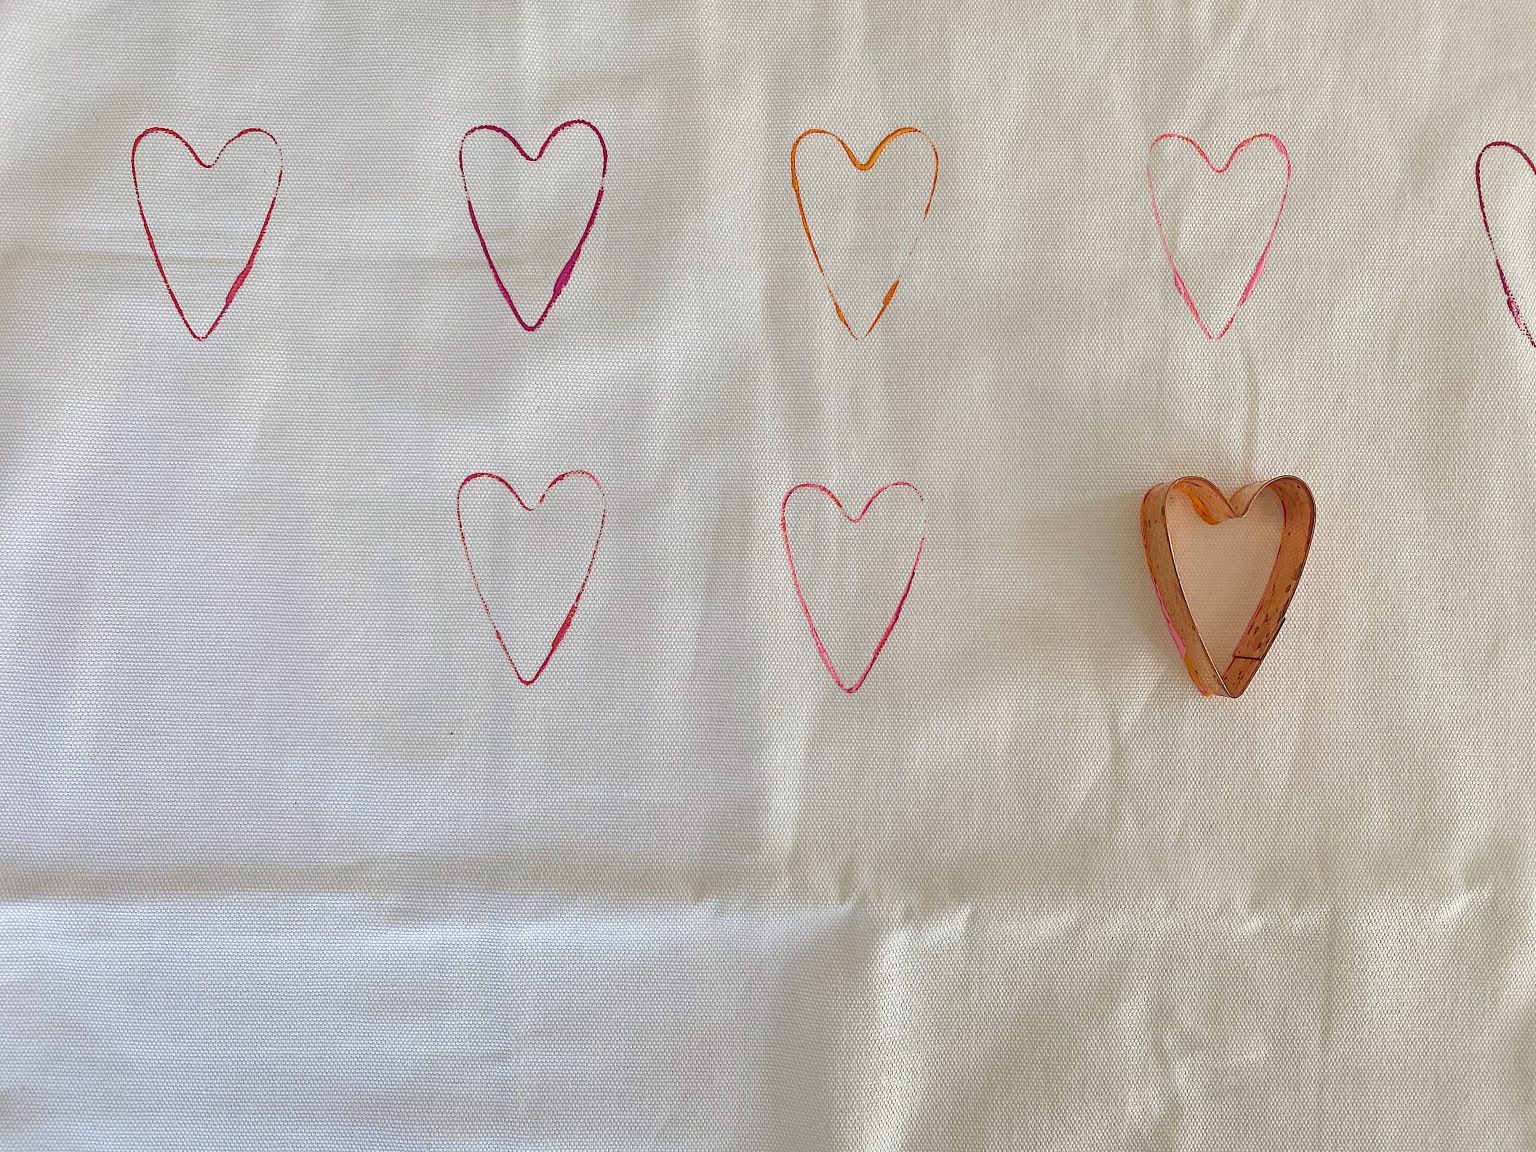
I decided it would be much easier to make this pillow if I showed you how to start with a heart pattern to use as a guide for the machine embroidery.
Before you start, place a piece of parchment paper or cardboard inside the pillow cover. This prevents the paint from seeping through the pillow cover’s backside.
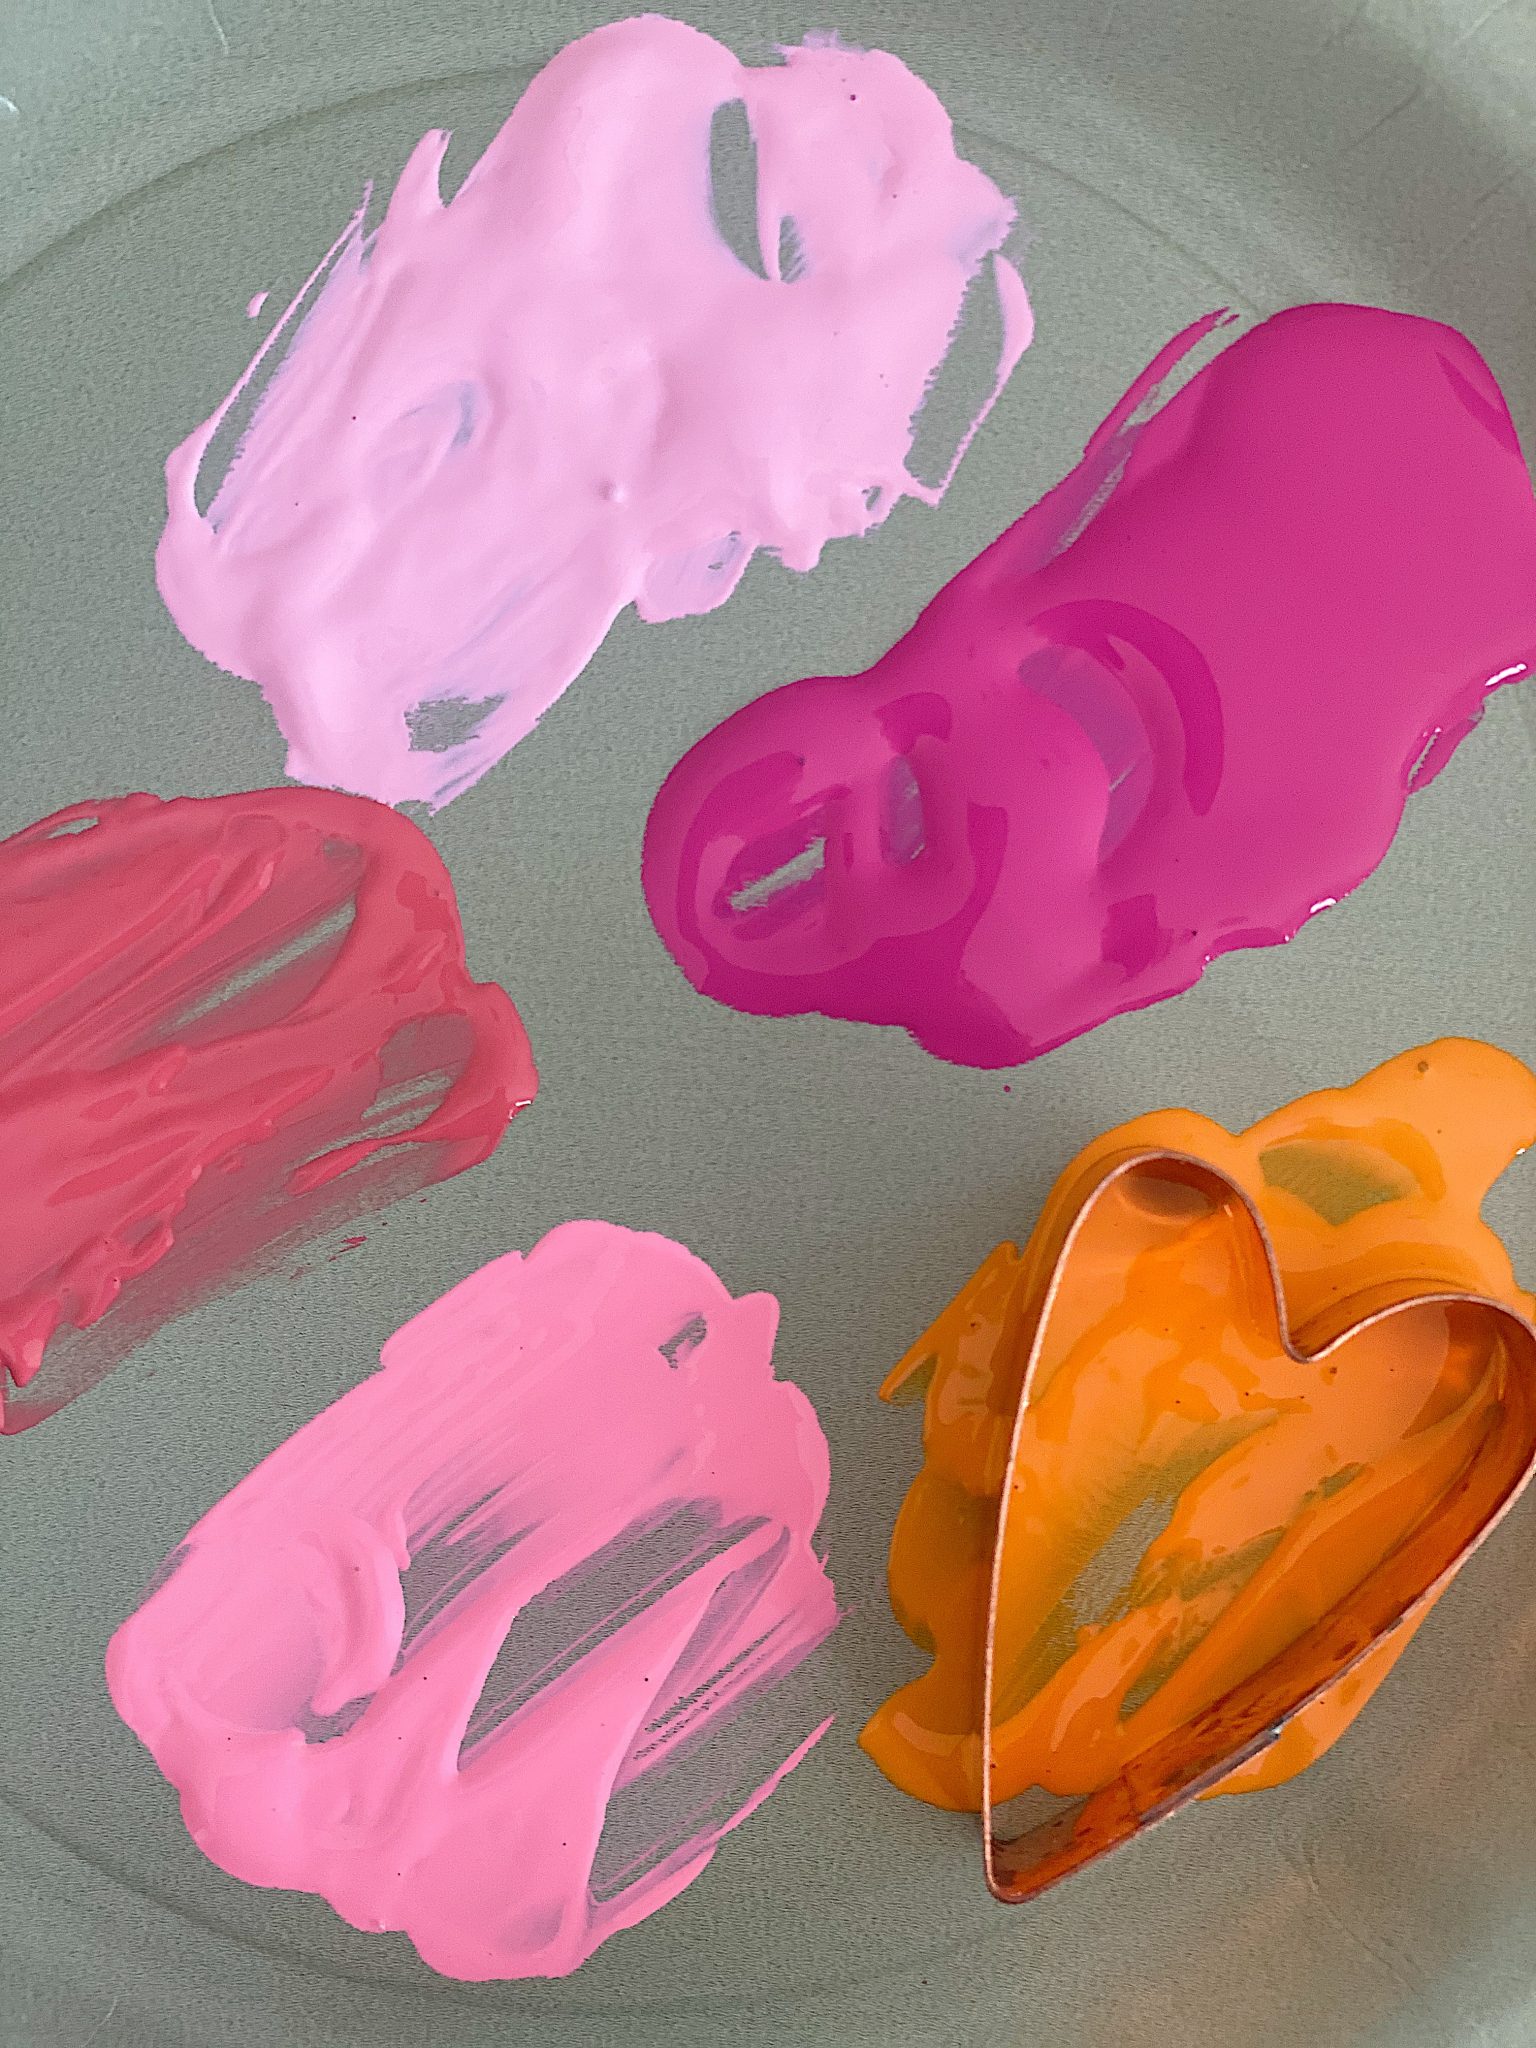
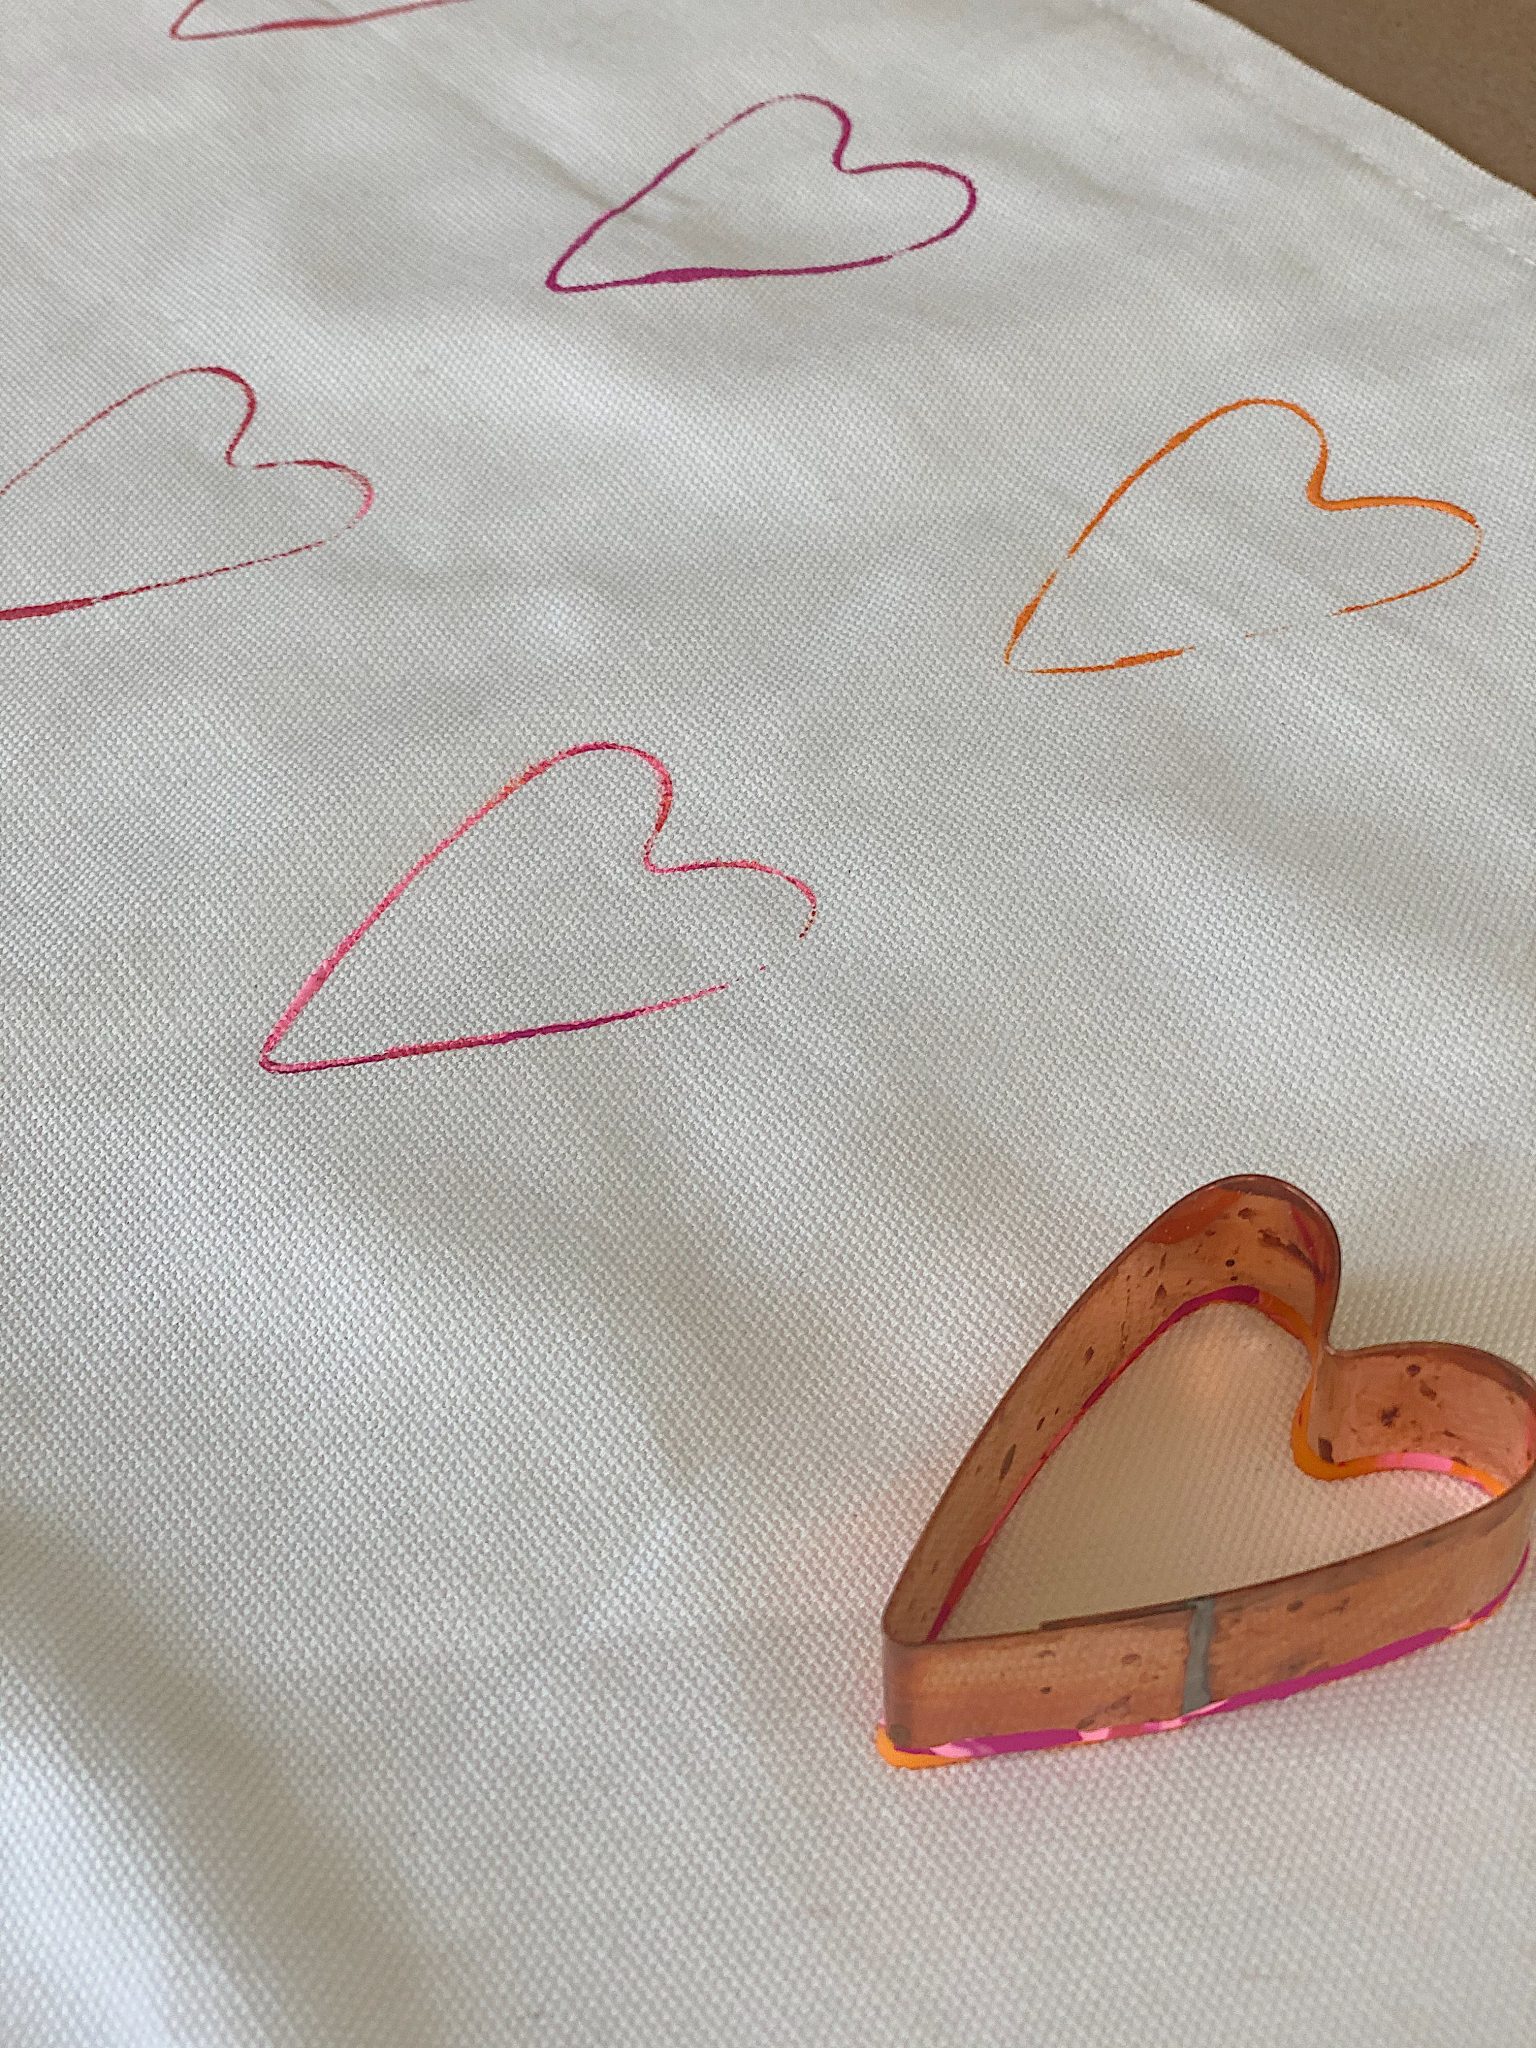
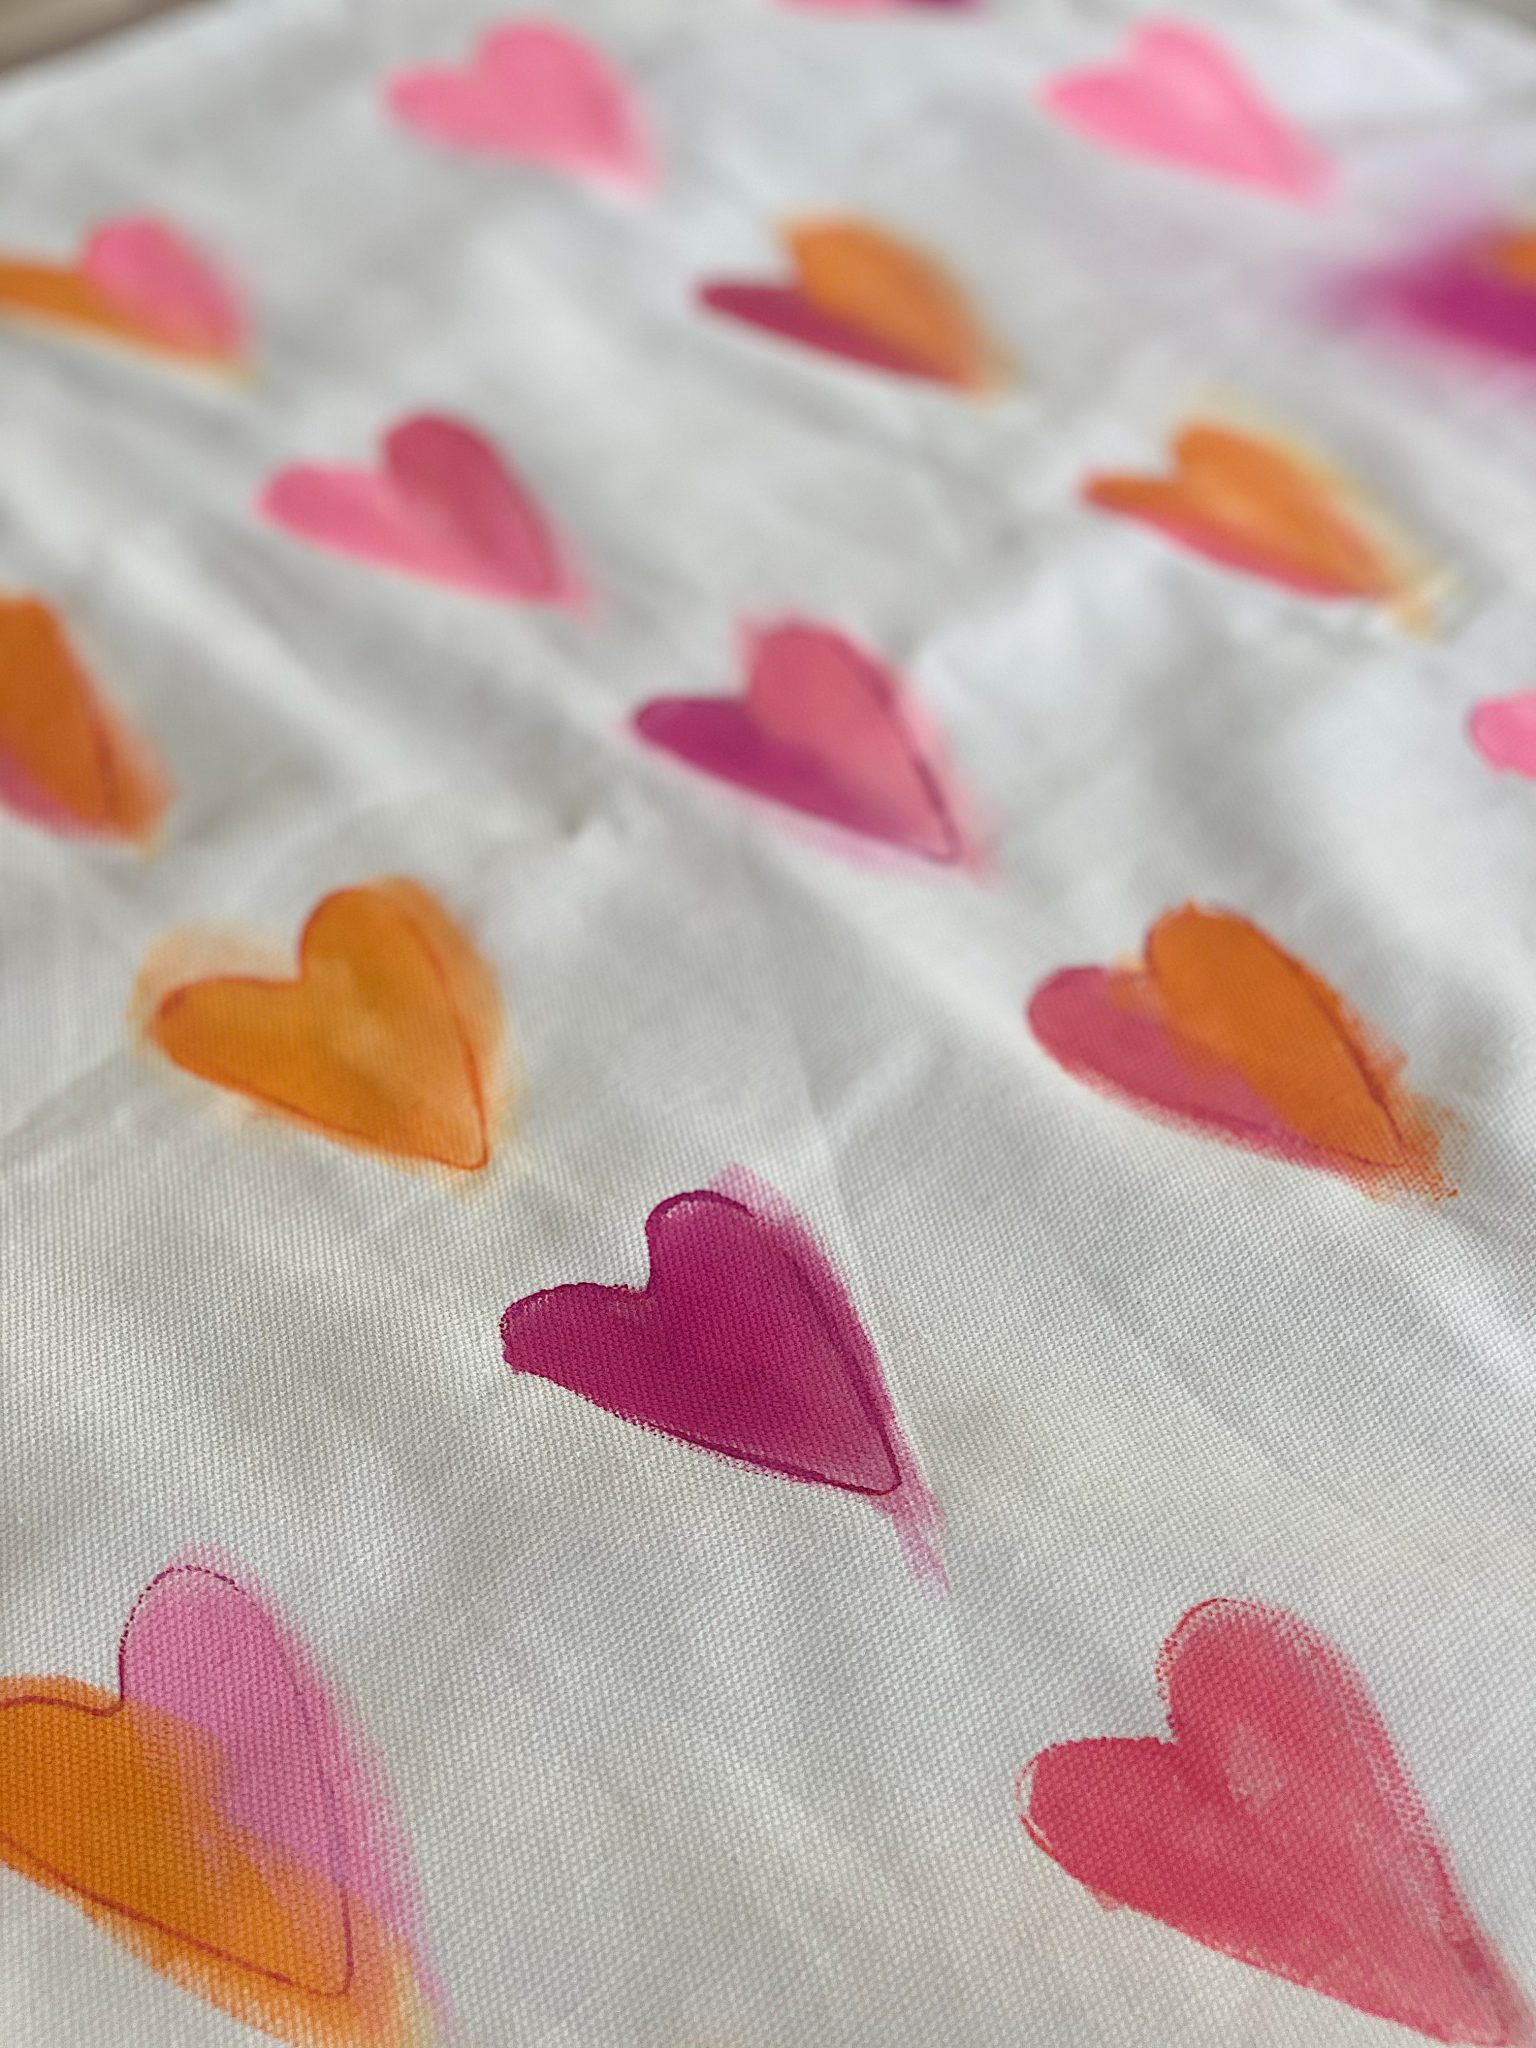
I used a cookie cutter, dipped it in paint, and placed heart outlines on the pillow. I didn’t measure anything; I just eyeballed it.
Here are the paint colors I mixed. Any shades of pink (and orange if you want) look good.
In hindsight, you could have used just one color for the heart stamps. Use a darker color, as you will be using the outline as a guide to paint and stitch your hearts.
Let the paint dry.
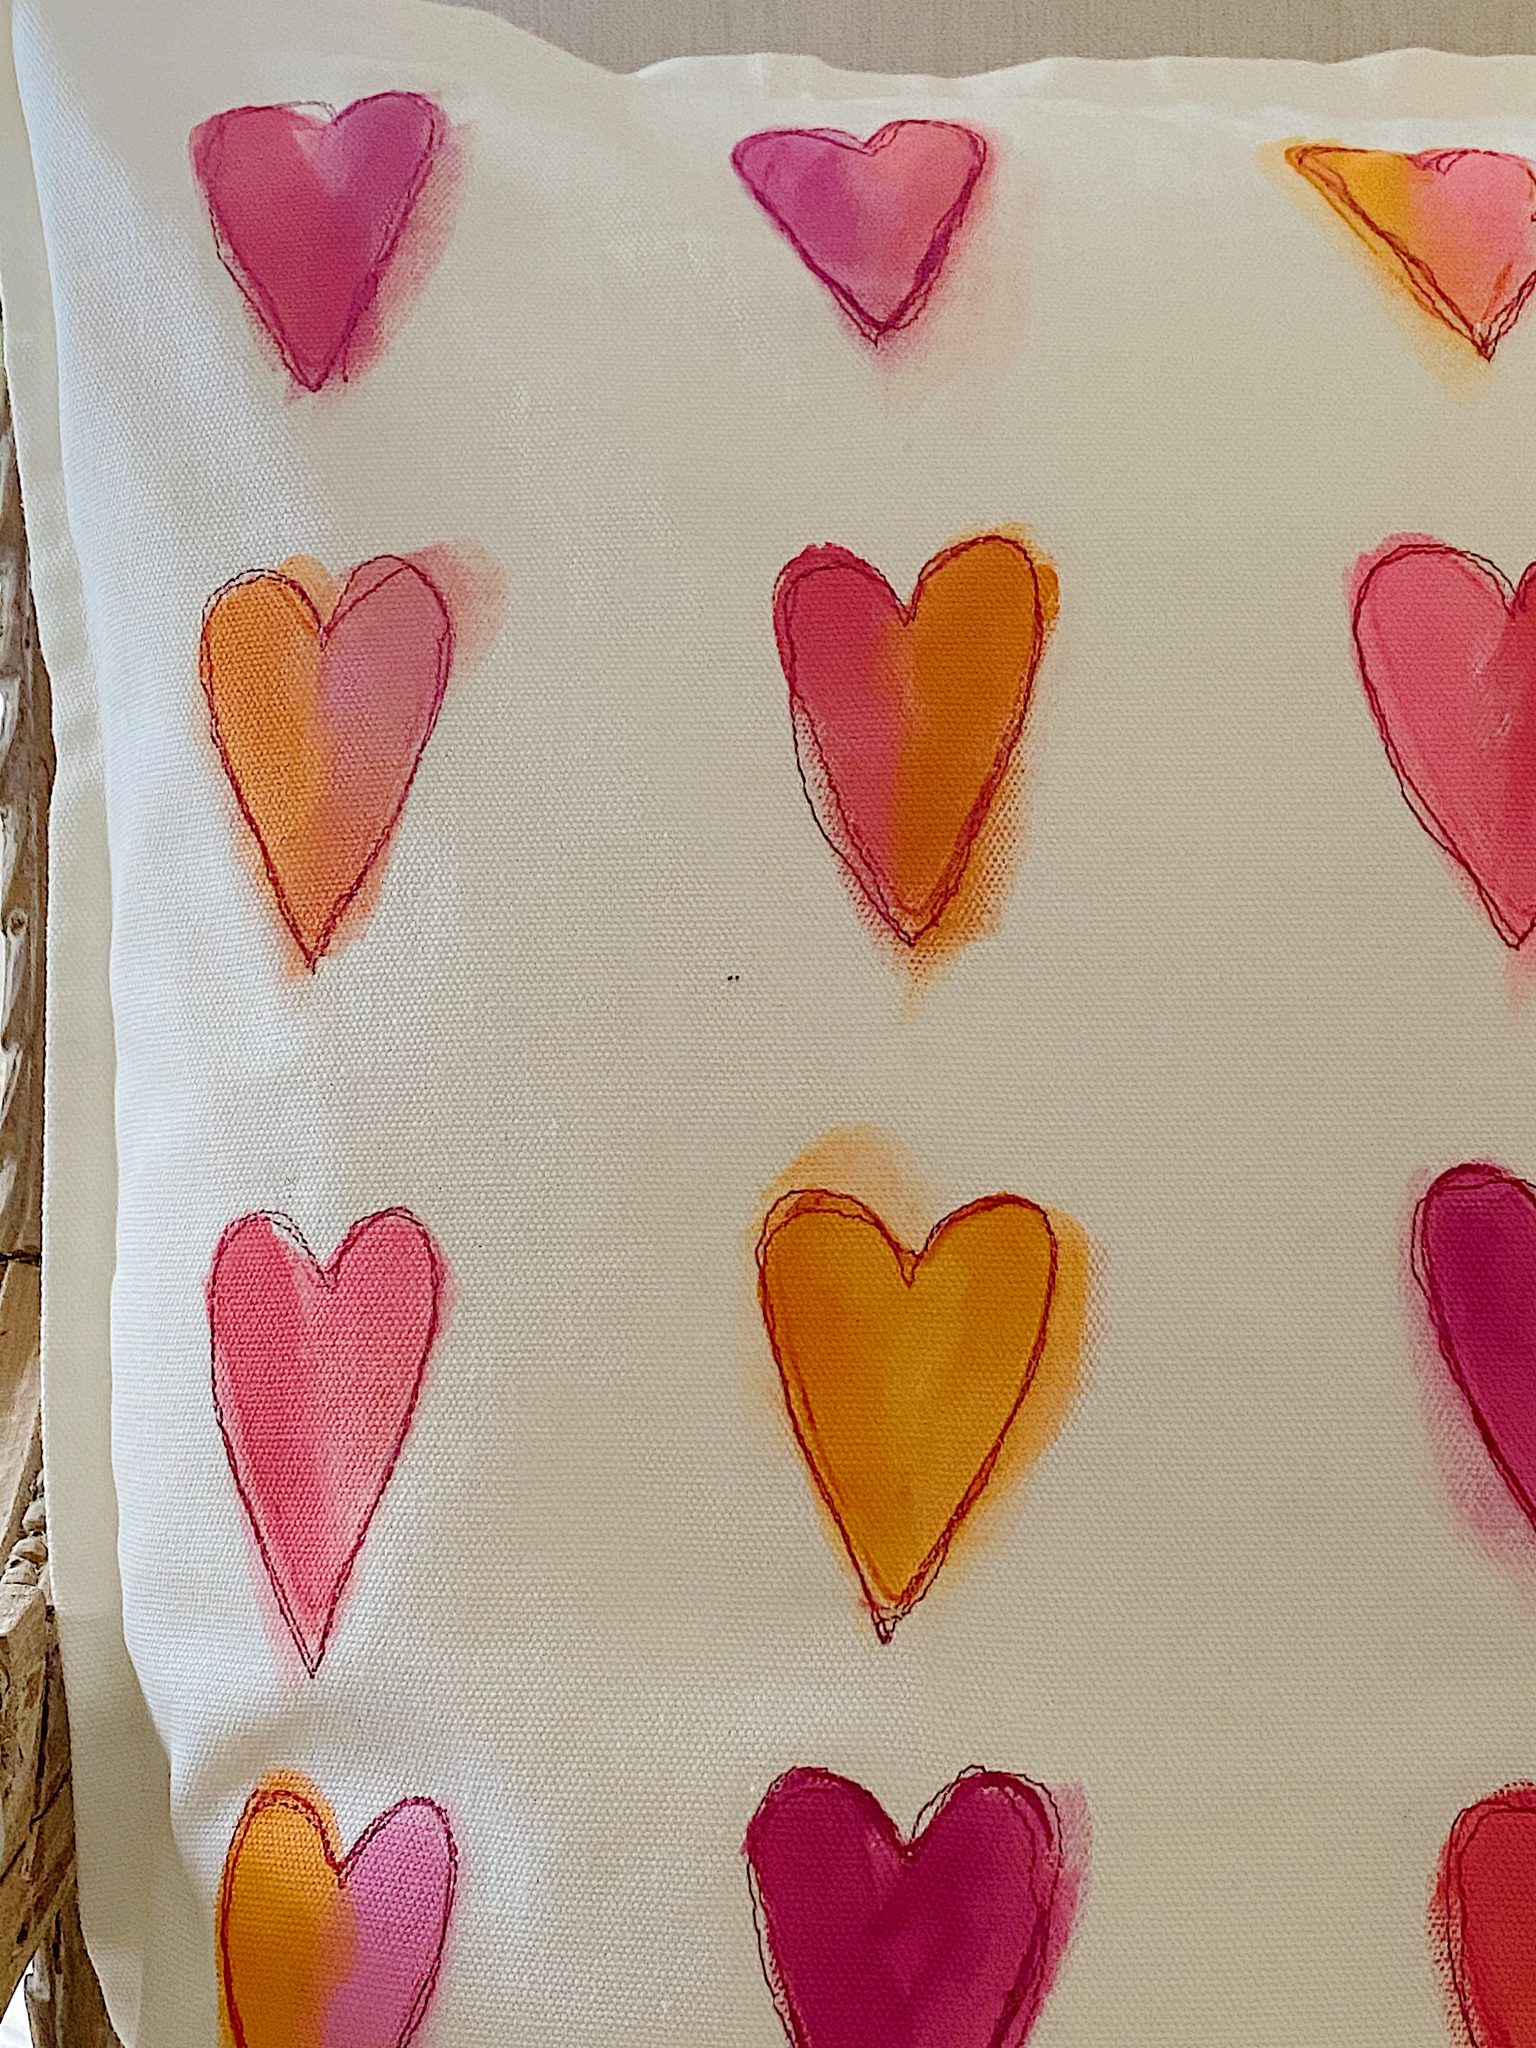
Paint each heart with a small brush. I thinned out the paint so it wasn’t quite so opaque. Don’t let it get too runny, or else it will bleed. Don’t worry about painting within the lines. I think it looks better if you don’t.
I used two different paint colors on some of the hearts to add variation.
Let the paint dry. I usually iron the pillow cover to remove wrinkles and set the paint before I start sewing.
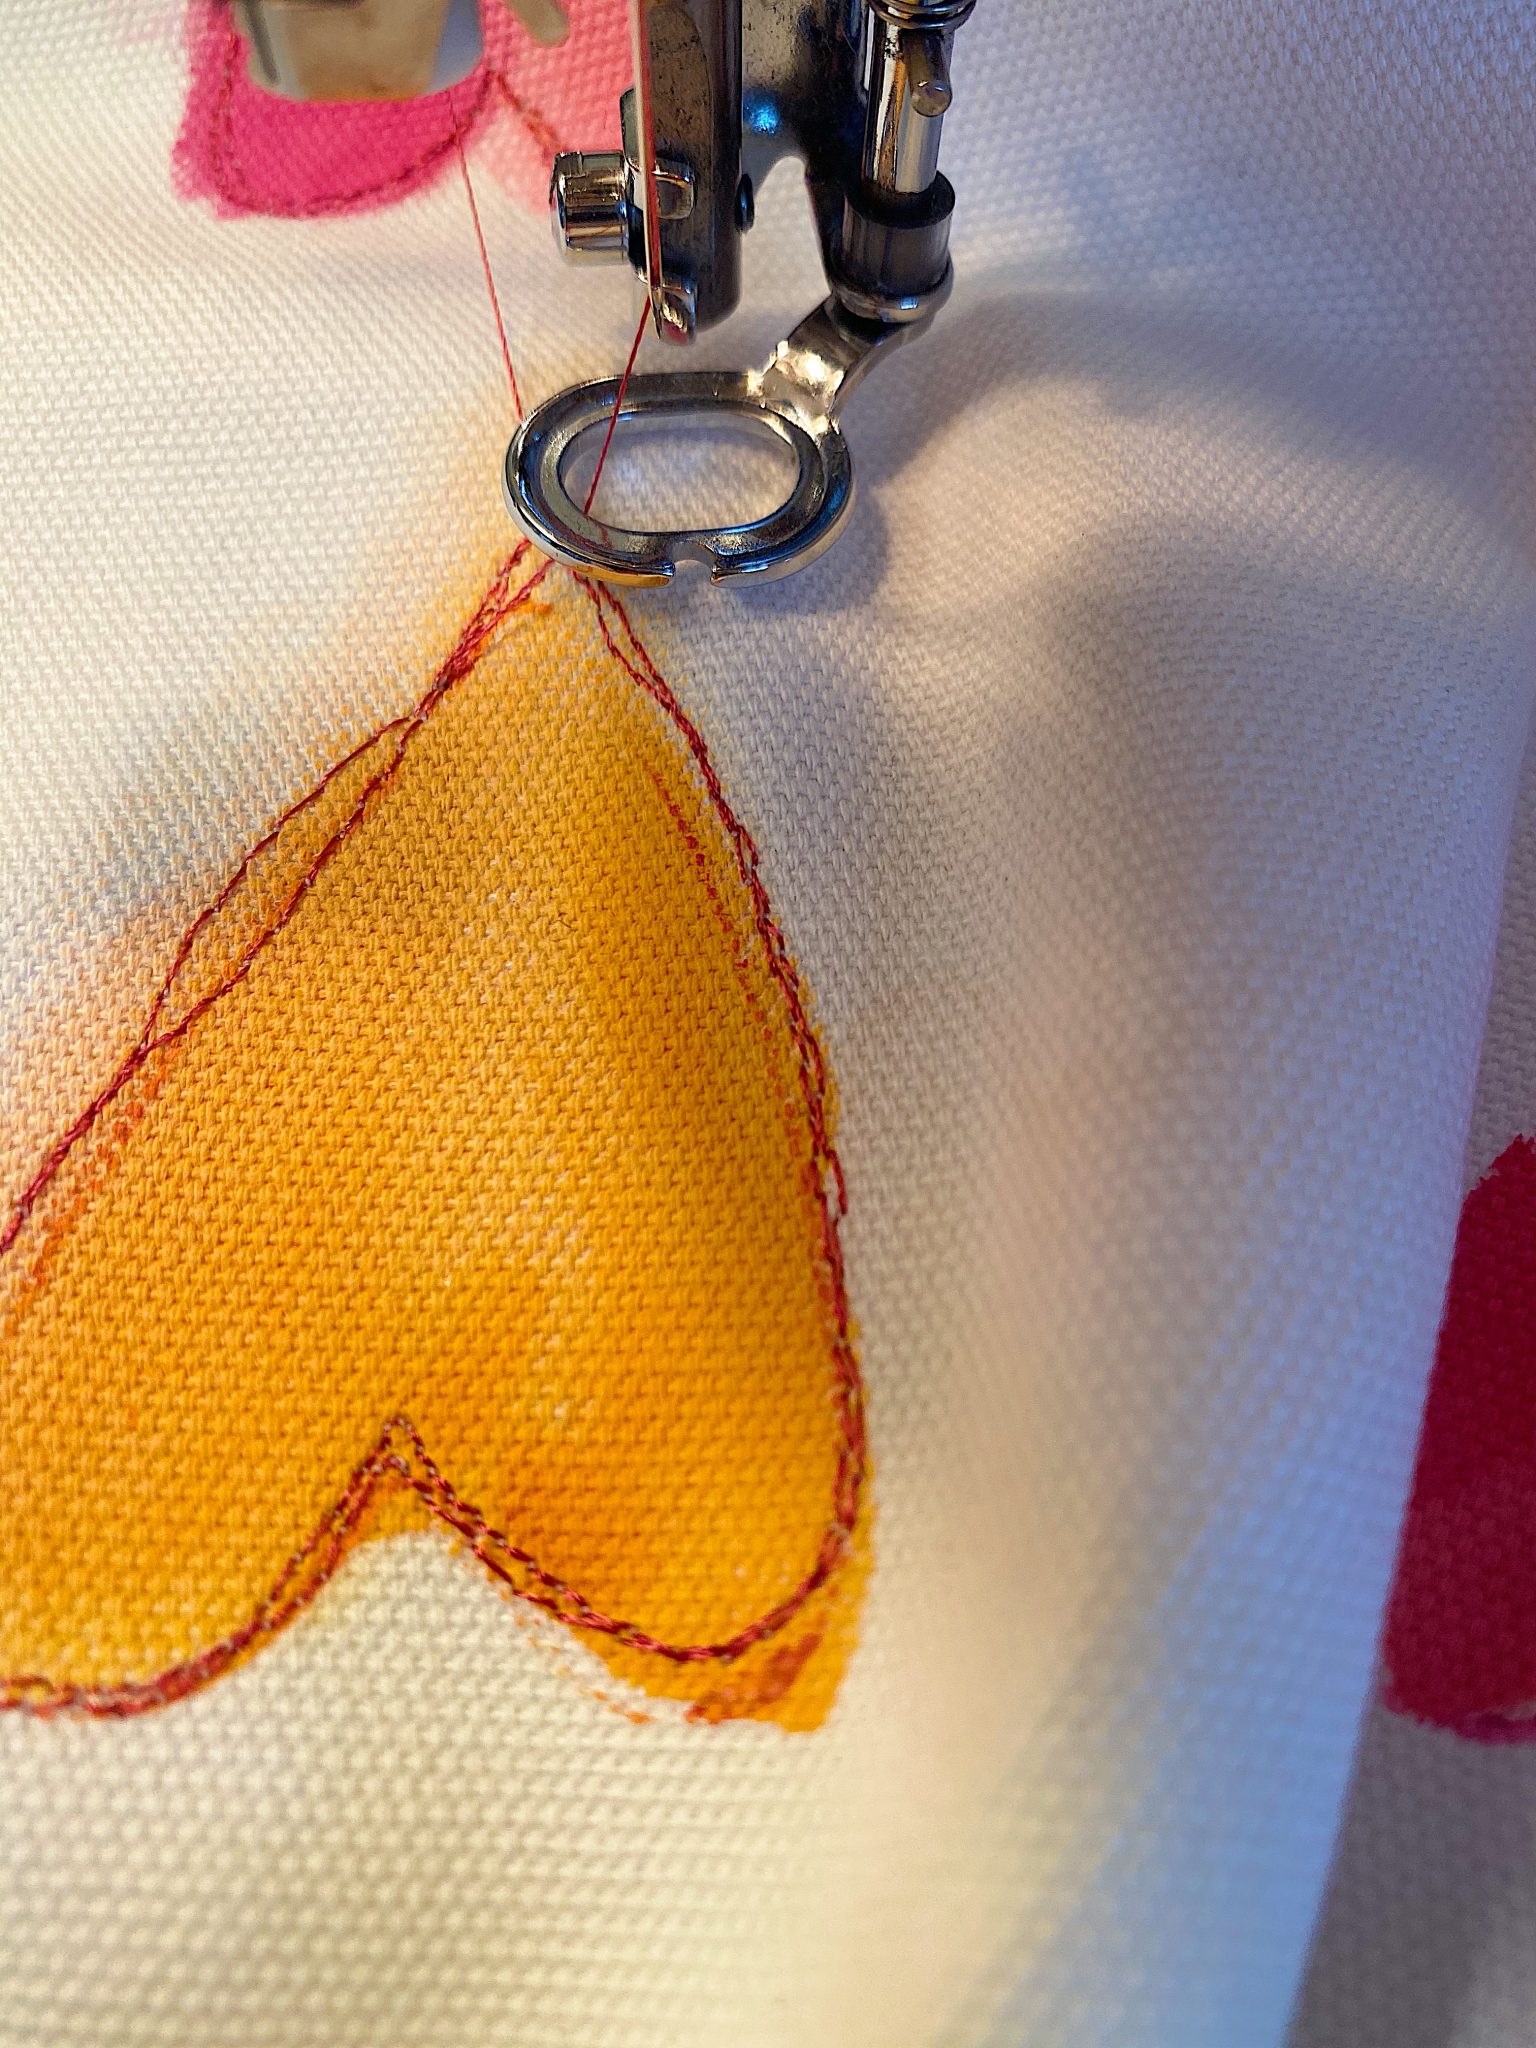
Now is the time to start free-motion embroidery.
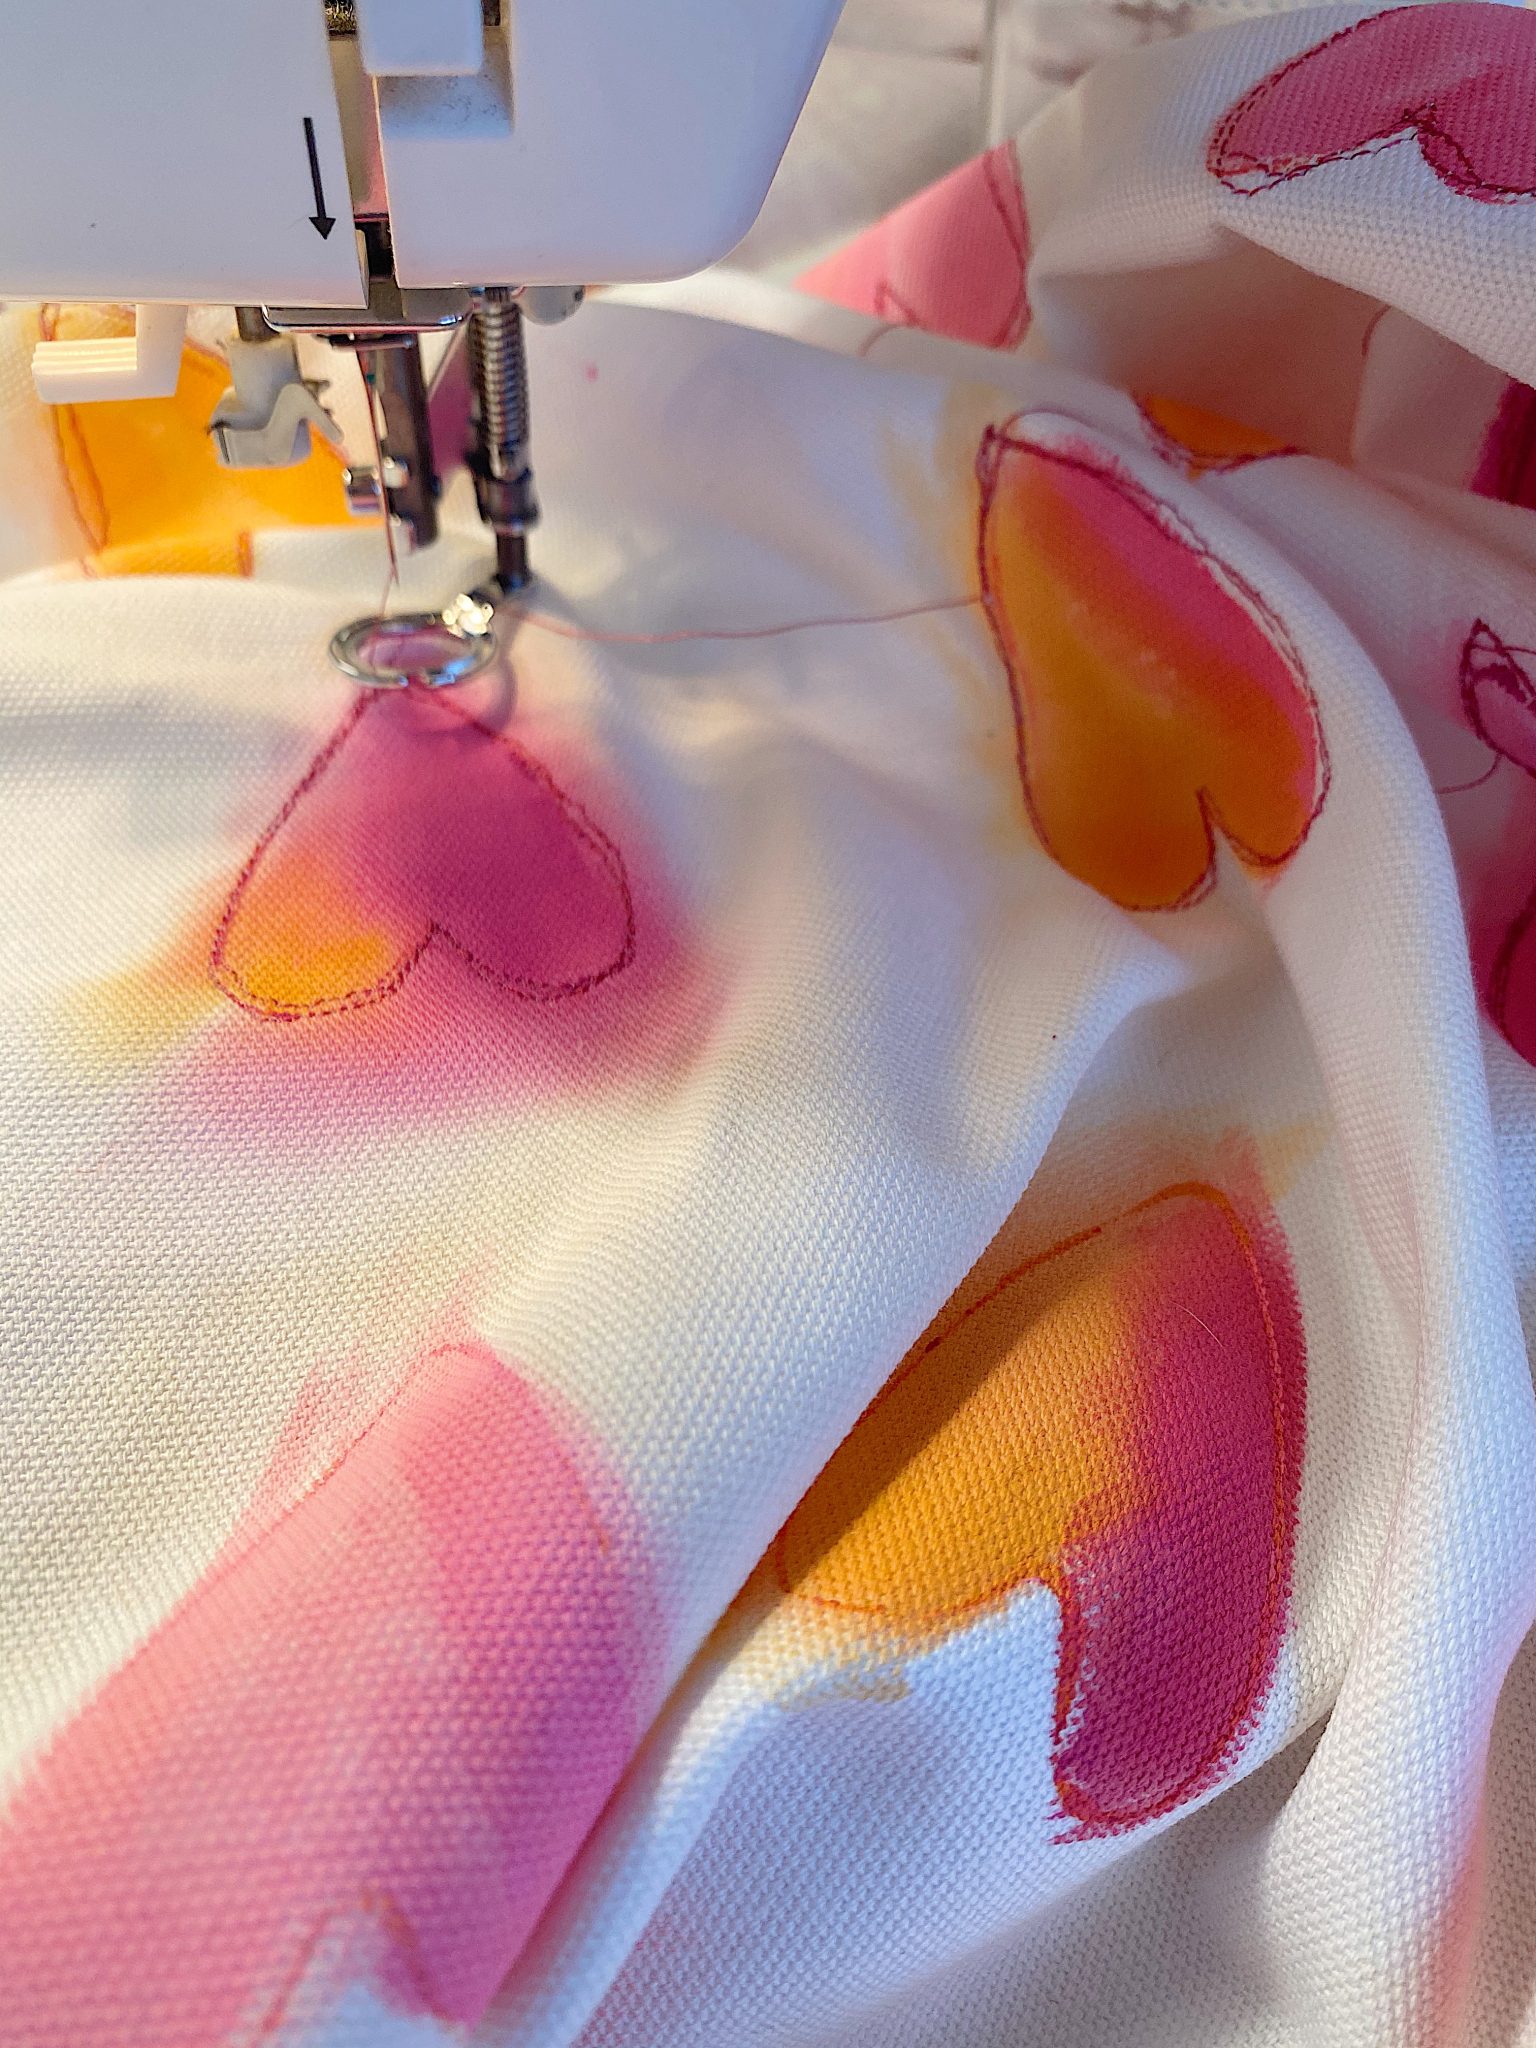
Attach the darning foot to your machine, and lower the feed dogs. (The feed dog is what moves your fabric forward. If you lower it, then you can move the fabric in any direction you want.)
Sew three times around each heart and DO NOT try to sew perfectly. Just follow the line of the cookie cutter. It’s so easy. I think messy is good… within reason. Haha.
Diy Video
Watch this video to see exactly how to make this pillow.
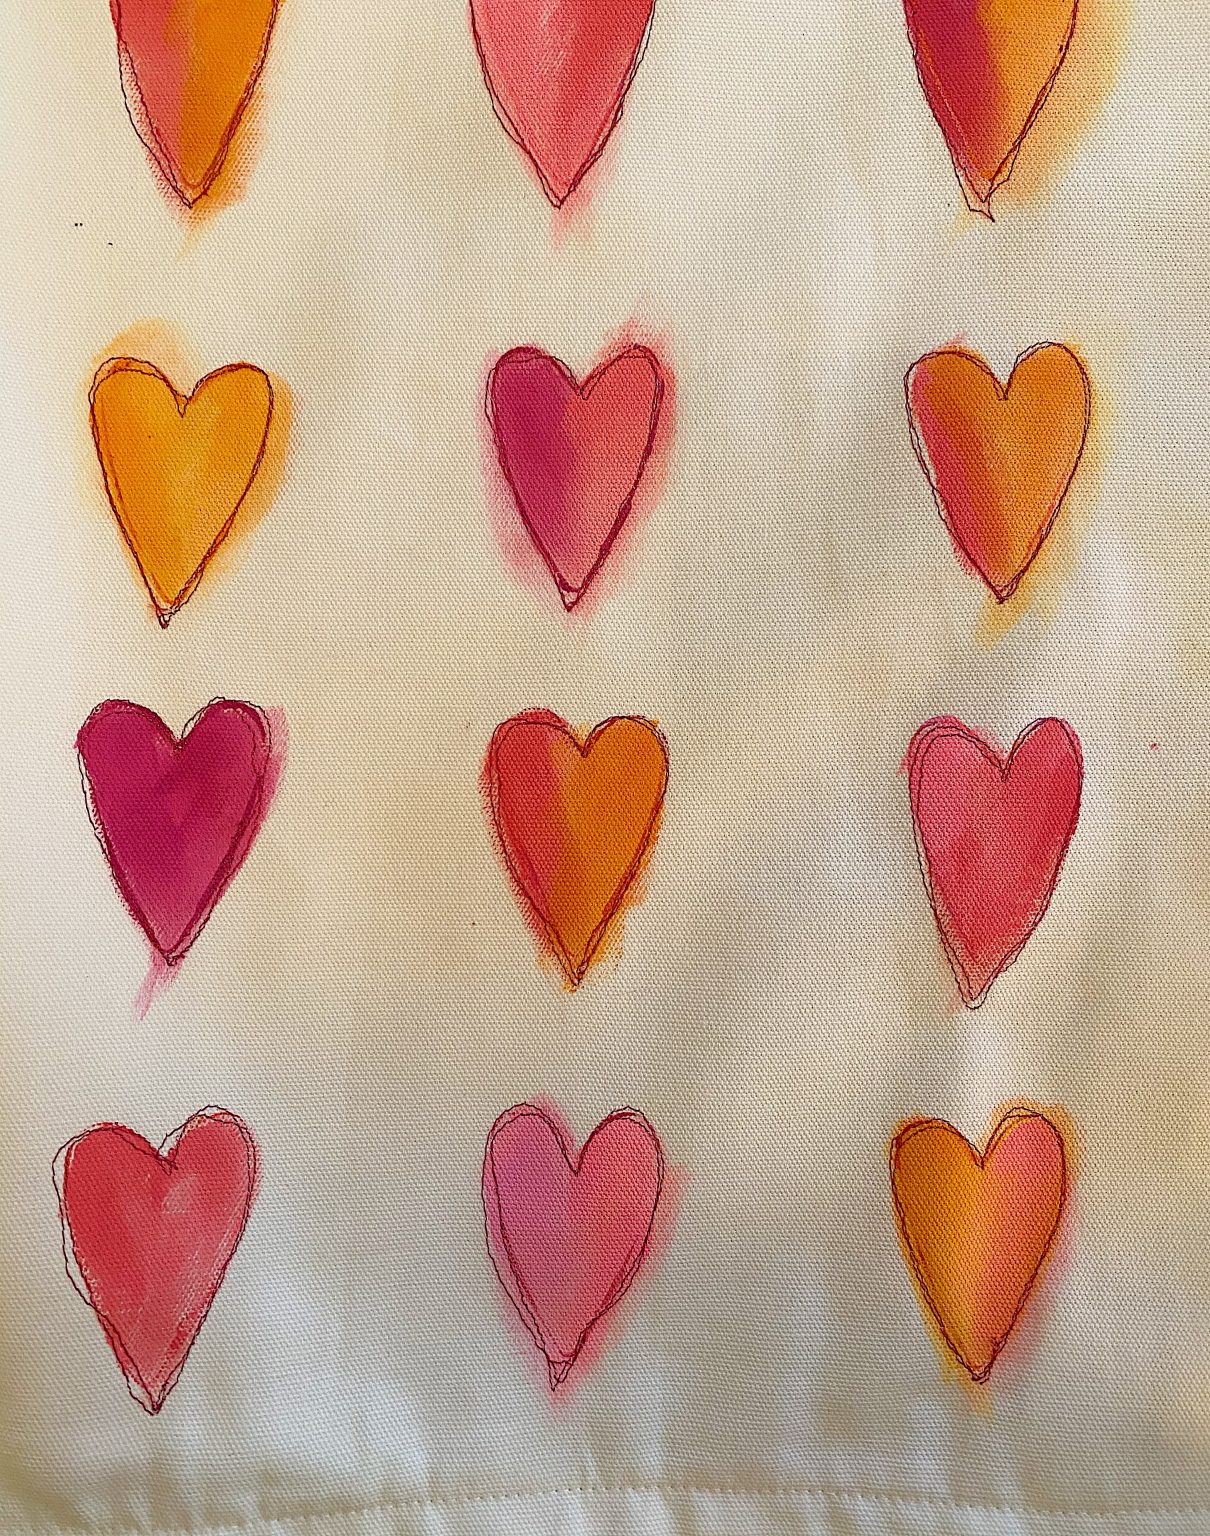
Here is a close-up of the free-stitch embroidery on the hearts on my pillow.
How to Make This Valentine’s Day Heart Pillow Without Sewing
I promised I would offer an option to make this pillow if you didn’t have a sewing machine. Or just wanted an easy version. Instead of sewing, use a fine-point permanent marker. It works, looks good, and will save you a lot of time!
Frequently Asked Questions
Free motion machine embroidery is a type of sewing that you do on a regular sewing machine, but you can move the material in any direction while sewing it on your machine. Usually, when you sew, the machine automatically moves the fabric forward. When you sew free-motion embroidery, you get to move the fabric so you determine precisely where you want to sew. You can move sideways, forward, backward, and create any shape you want. All you need is a quilting foot.
Use a medium- to heavy-weight fabric for free-motion embroidery. Attach the darning foot to your machine, and lower the feed dogs. (The feed dog is what moves your fabric forward. If you lower it, you can move the fabric in any direction.)
Sew your design twice so the stitching is more prominent. DO NOT try to sew perfectly. It’s so easy; don’t worry if you make a mistake here and there. It looks better that way.
Yes, you can do free-motion embroidery using a regular sewing machine. You will want to use a darning foot and lower the feed dogs to allow you to move the fabric in any direction.
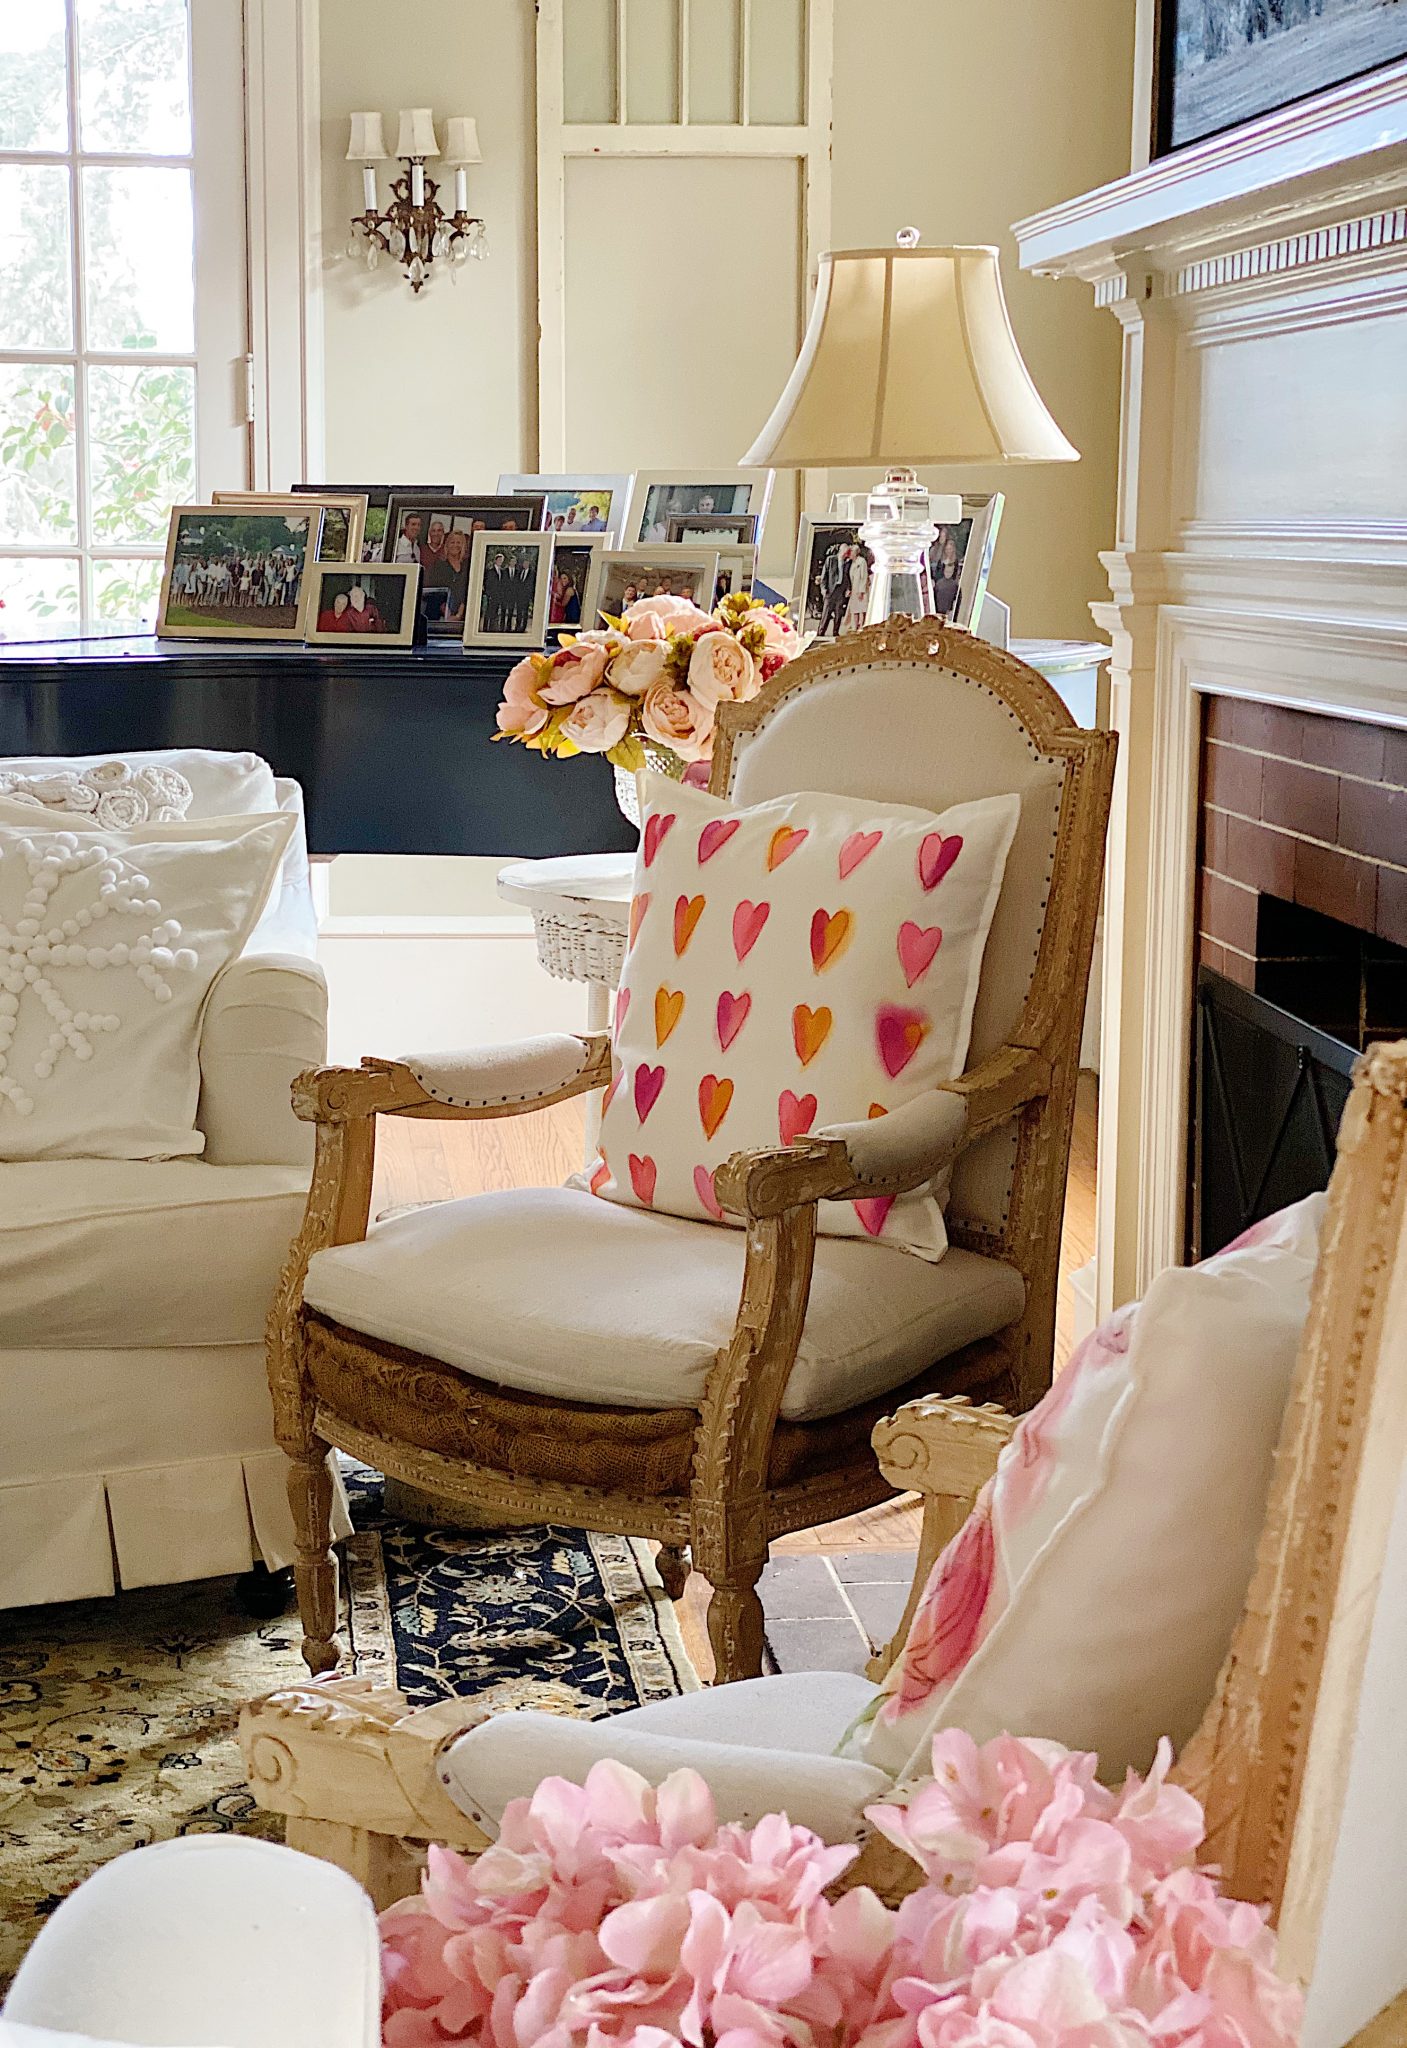
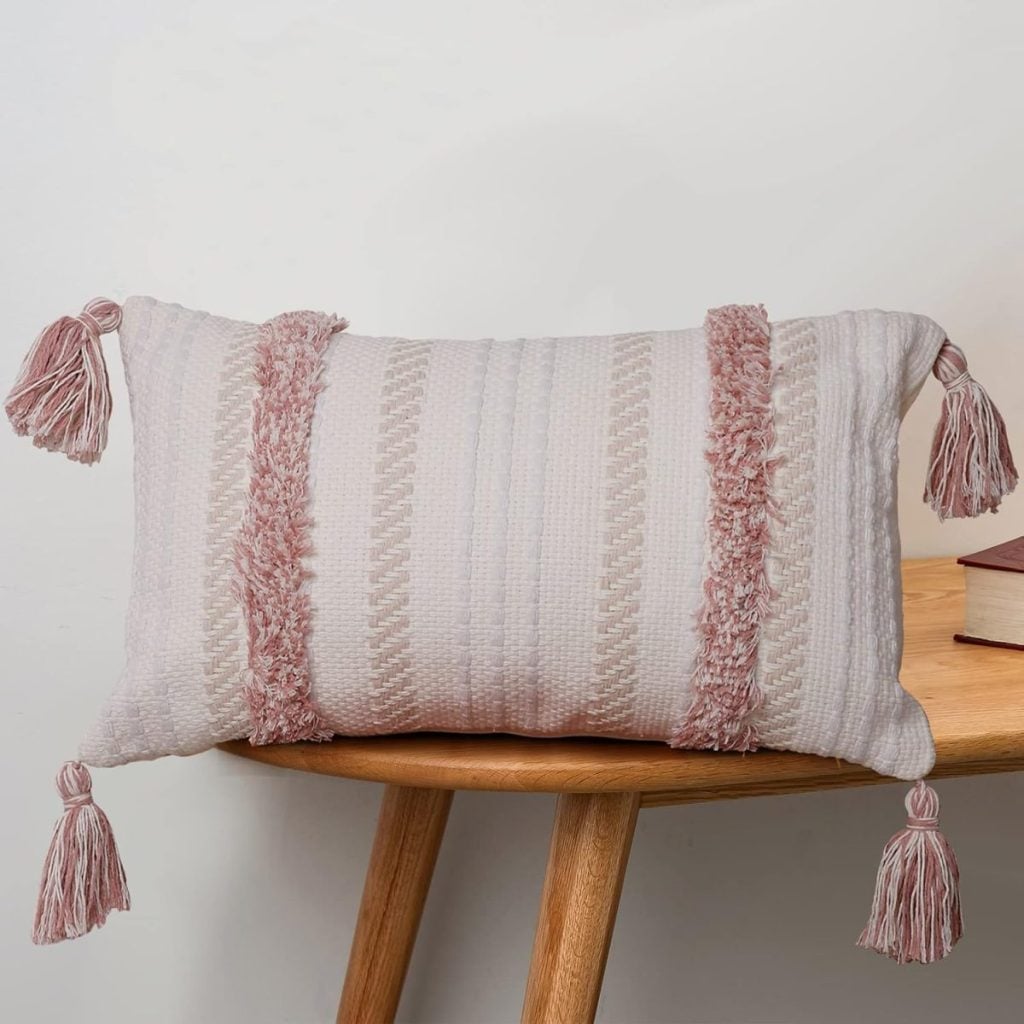
I want to add Valentine’s decor to my home that is more pink, red, and hearts than Valentine’s Day. I add flowers (fresh and faux), pillows, throws, and many other decor items to give our home a romantic feel to celebrate Valentine’s Day.
It’s up to you! I like adding a touch of pink to our home every year. With subtle changes, I have eased into Valentine’s Day. My decor is more based on colors than “Happy Valentine’s Day” decor. I usually save that decor for a few days before.
I think this pillow would look great in your home and make a great Valentine’s Day gift, too.
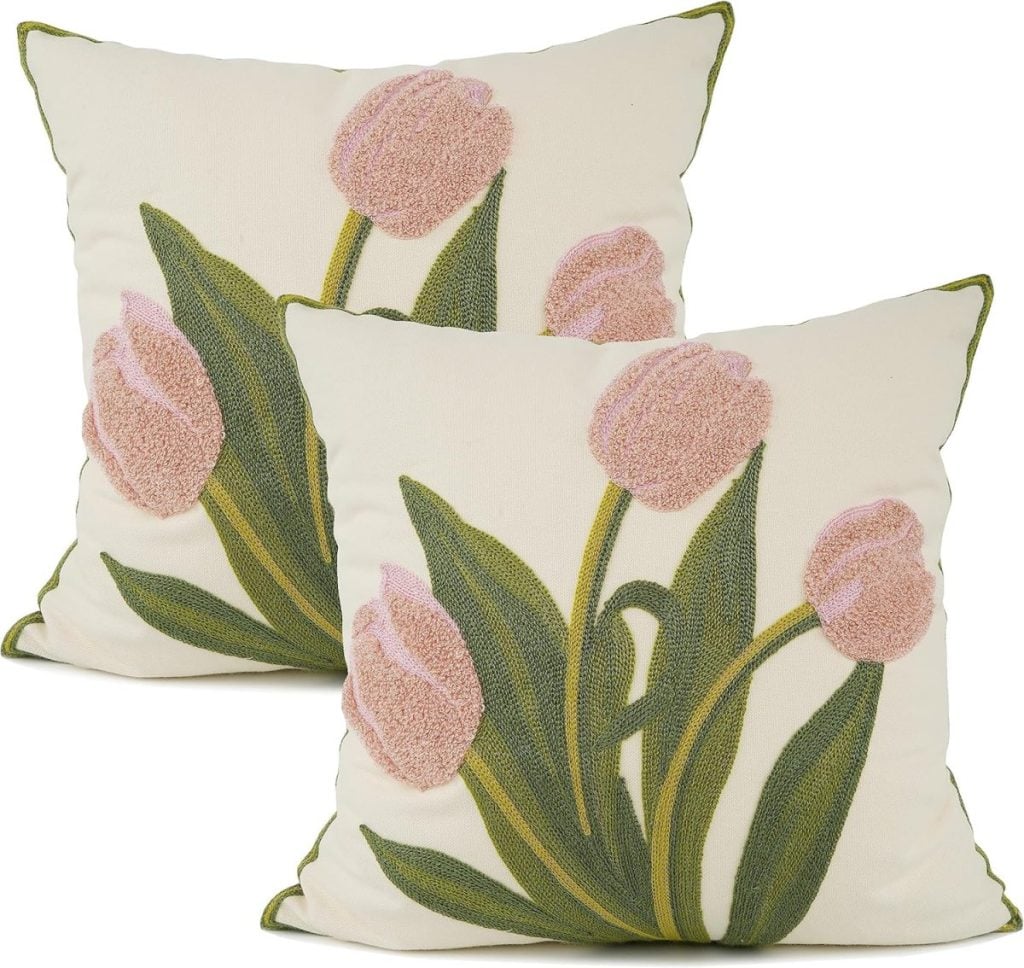
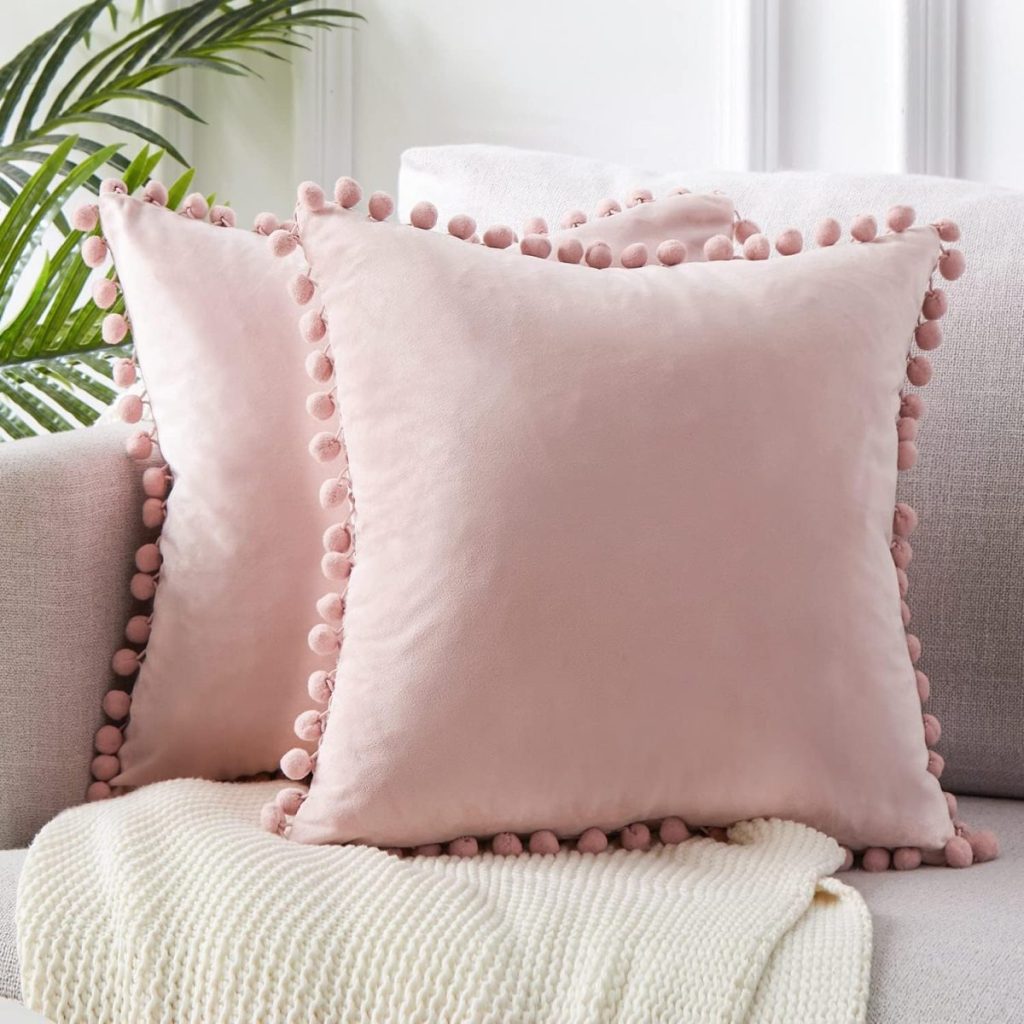
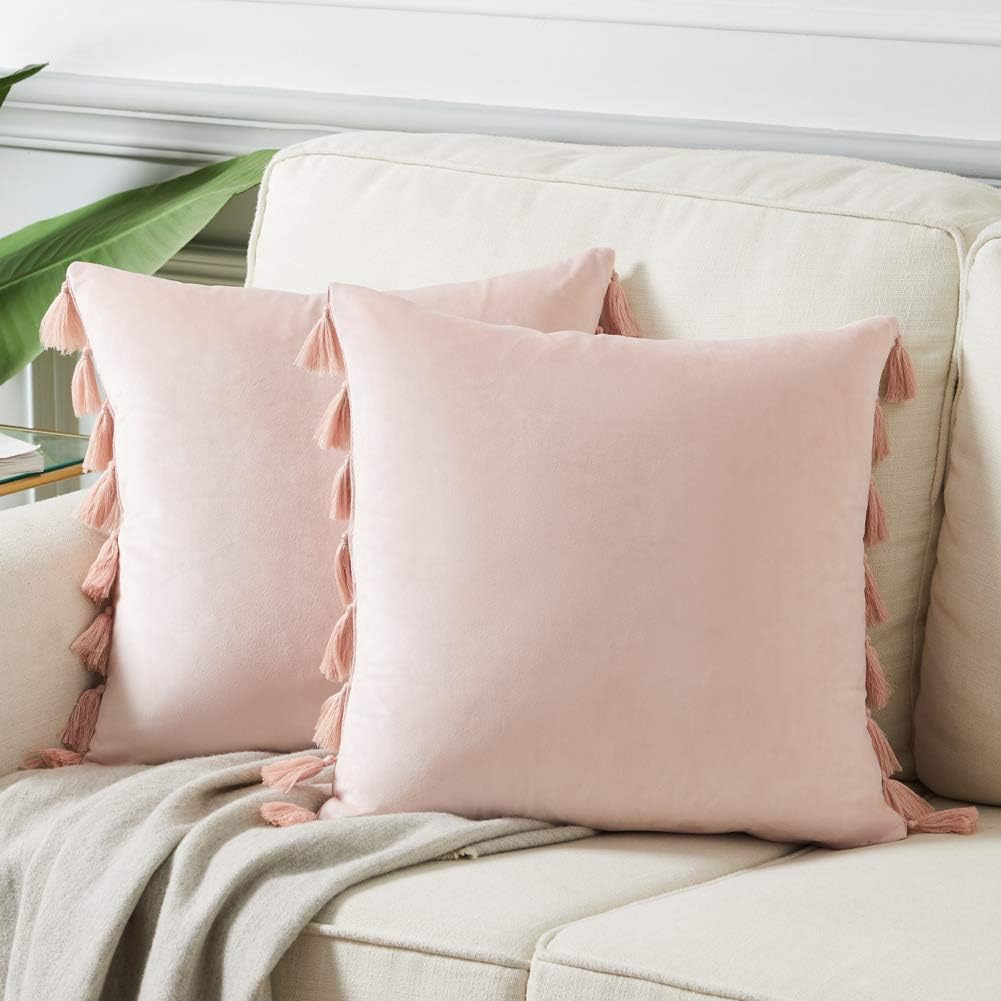
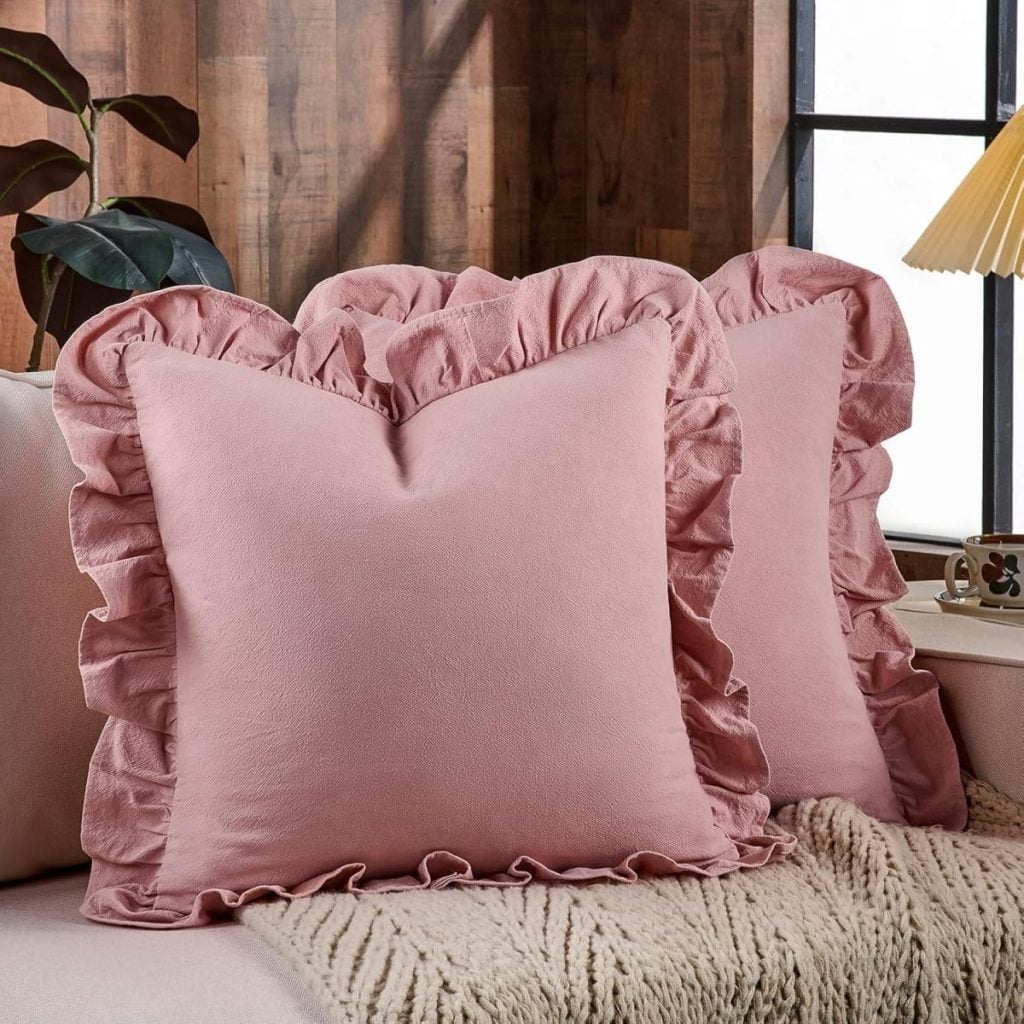
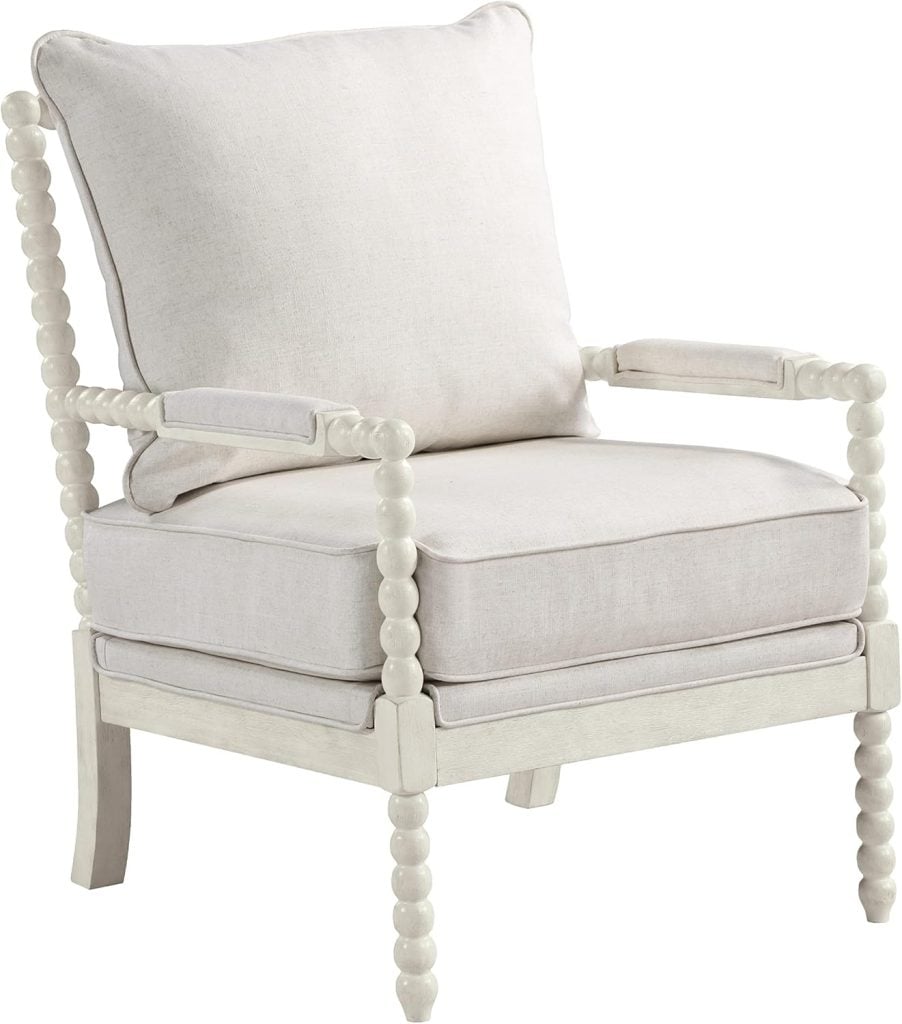
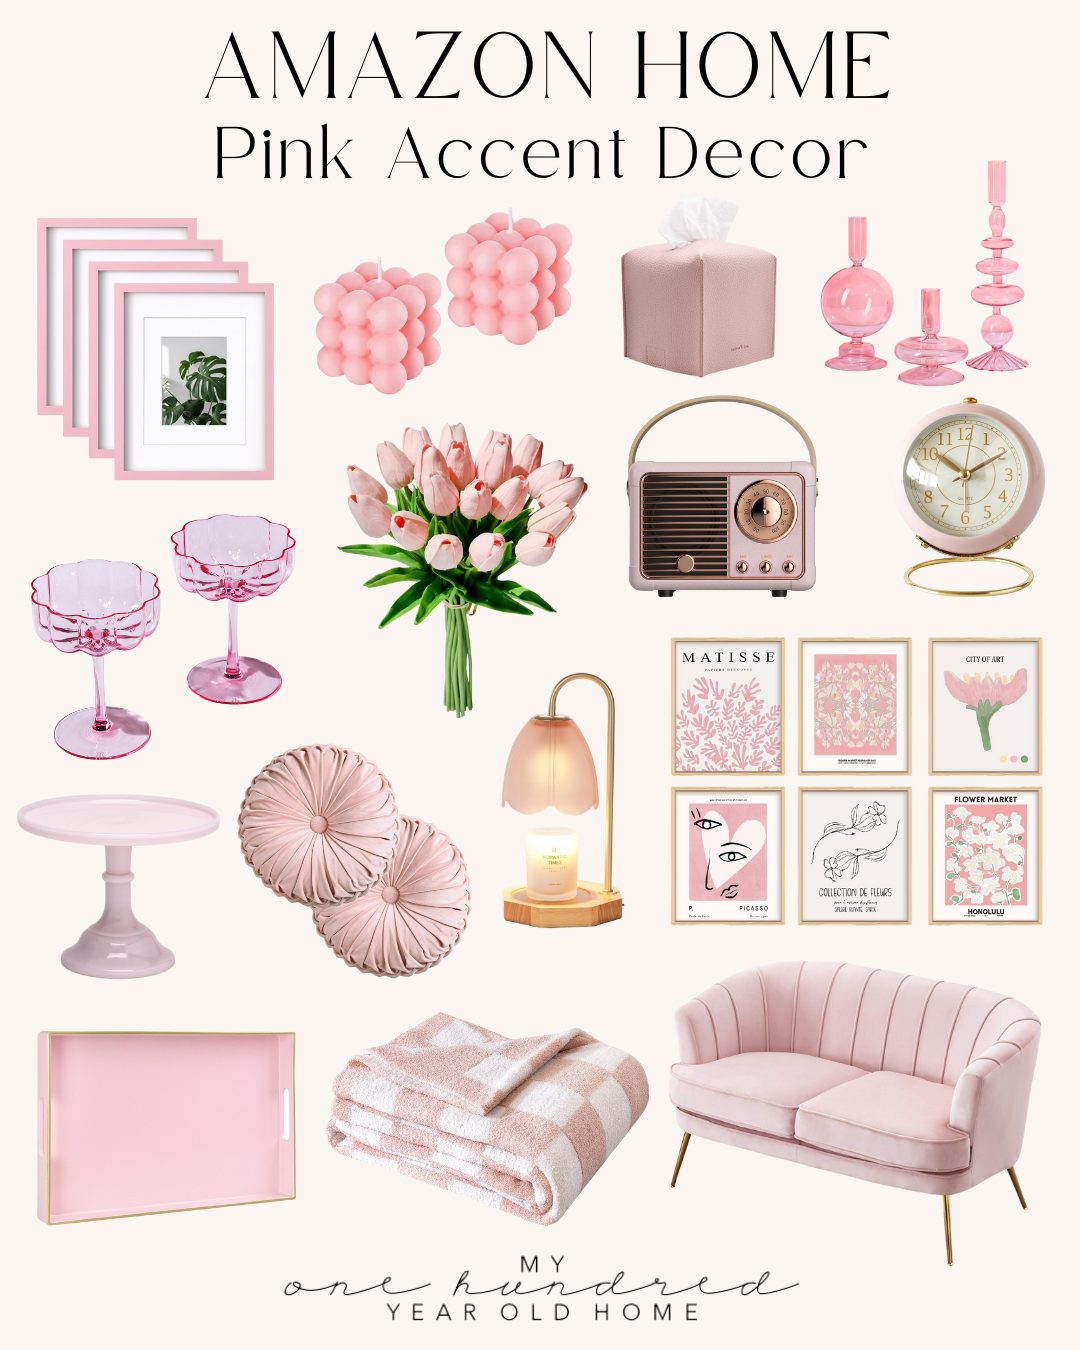
Favorite Pink Accent Decor
10 Best Valentine’s Day Projects
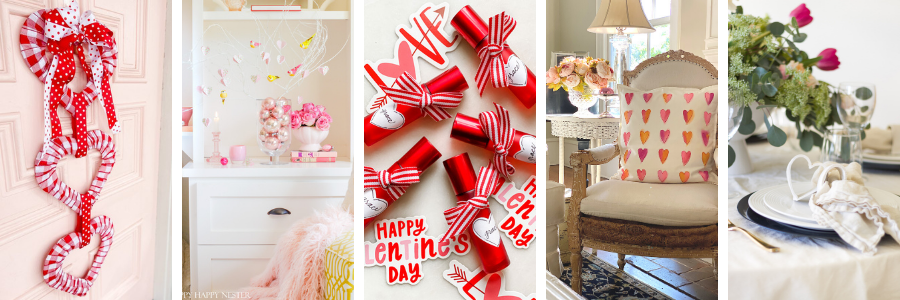
Dollar Store Triple Heart Valentine’s Day Wreath // Tatertots & Jello
Valentine’s Day Heart Tree Tutorial // Happy Happy Nester
DIY Perfume Roller with Essential Oils // Most Lovely Things
Valentine’s Day Decor Ideas // My 100 Year Old Home
Valentine’s Day DIY: Clay Heart Napkin Holders // Zevy Joy
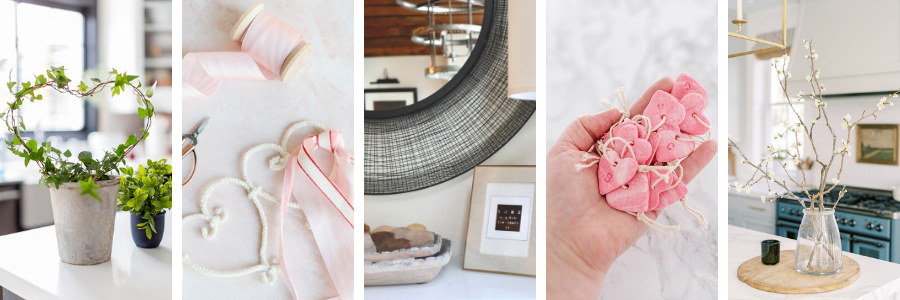
Heart Topiary DIY // Craftberry Bush
Pipe Cleaner Heart Garland // Modern Glam
Home Is Where The Heart Is FREE Printable // My Sweet Savannah
Polymer Clay Marbled Heart Ornaments // The DIY Mommy
Blooming Branches DIY // Finding Lovely
Pin the images below to your Pinterest boards (just click the Pin button in the top-left corner). You can also follow along with me on Pinterest!

For more real-time updates, follow me on Instagram @My100YearOldHome

I love all the pink, as it adds the feel that spring is near. We all need a little boost these days of something to look forward to in a good way. I’ve almost gotten all my items together to make the pine cone wreath which i love, but am wondering what tool you finally learned works best for cutting the pinecones? My second question is when are you going show us how to recreate the green spice shelf. I’m really interested in that also. Thank you I am so inspired by your beautiful work, blogs etc.
Hi Kay, thank you for reaching out. For the pinecone wreath, I used a couple of different cutters and found that these shears https://amzn.to/39oRJAI worked the best. Stay tuned for how to recrerate the green spice shelf 😊 Thank you for your kind comments. I am so happy that what I share inspires you. That makes my heart so happy!
I LOVE THIS PILLOW, now to figure out that darning foot thing! All I’ve ever done is normal straight sewing. Thanks for sharing Leslie (Martha). I also loved hearing all about how Martha was your inspiration over the years….mine too! The frozen vodka thing has always stuck in my mind.
Oh my gosh Amy, thank you for reaching out. I am so happy that you love this pillow, I do too! Look for a lever or button on your machine to drop the feed dog. If there isn’t a lever or button and your machine is an older machine, there may be a cover for them. You’ll need to check your sewing machine’s instruction manual. If you’ve got one, it should be in your accessories box or case. Thank you for following along and reading my Sunday Morning Coffee, so nice to meet another Martha fan! Happy almost Friday!
Question- how can the feed dogs be lowered? I have done free stitching previously and I used an embroidery hoop to hold the fabric taunt and just moved the hoop around. I acutually did monogramming using this method and a zigzag stitch. This looks like a new adventure for today.
Hi Jean – some machines have a button to lower the feed dog. If there isn’t a lever or button to drop the feed dogs and your machine is an older machine, there may be a cover for them. You’ll need to check your sewing machine’s instruction manual. If you’ve got one, it should be in your accessories box or case. Let me know if you are able to make this pillow!
Well you did it again.beautiful.I really love your pillow collection.Now all I have to do is to find the time to try and make them.
Barbara, thank you for reaching out to me. This pillow is so fast and easy, I promise you can make this in a couple of hours (paint has to dry). Let me know if you make one and how yours turns out!
Leslie, I absolutely love these pillows and just called my forever friends (we have known each other for 61 years – we are turning 65 this year!) to set a date and try this project!! You have to understand that when we were growing up our mother’s were both fabulous with a sewing machine to say the least. My own mother will be 89 this summer and LOVES volunteering and SEWING! I love a paint brush but the sewing part has always eluded me.
I KNOW we can tackle this precious pillow and I will send you a picture to prove it!!! Thank you for inspiring us in areas that stretch our creativity!!!!
Love your site and your home is perfect!!!!
Cathy, this makes my heart so happy! I love that you and your forever friends are going to make this together!! I can’t wait to see how yours turns out! Thank you for reaching out and sharing with me, I love it!
I have loved all of your “seasonal” pillows. In November I ordered a quilting foot. Last week I ordered pillow covers from IKEA and did a curbside pickup with the plan of making Valentine pillows based on your pillow ideas. Then this shows up in my email today!! I can’t wait to get started. Thank you for the inspiration!
You are ready to go Janet! Isn’t the IKEA curbside pick up amazing? I can’t wait to see how yours turn out!
The curbside pickup is wonderful! I finally had time to create yesterday and made a Valentine pillow. I had so much fun and am pleased with the way it turned out. I had a scrap of ginger colored linen so I painted a sunflower on it and stitched it today. Feeling obsessed. Lol. Thank you for the inspiration!
I love this! Someday, I need to try painting on fabric. You make it look so doable!
Thank you Janine. This really is super simple. You can do it!!
Leslie-This is such a great project. I’m going to make some with my nine year old crafty girl. She will love it. I need to say that I love how you often emphasize no perfection. That speaks to me 🙂 I learned a long time ago I will never be a perfect painter, seamstress or crafter. I love to find character in the whimsy of my creations. I think it personalizes things so much more. Thanks for another great craft!
Andrea
Oh my gosh Andrea, thank you for your thoughtful and kind comment. I love that you will make this with your daughter, it is such a fun project! The key to this one really is in imperfection, make it your own! Please let me know how your project turns out! I can’t wait to hear!!
Beautiful pillow!! So, if the pillow cover is already sewn, how did you get it under the needle for stitching?? Maybe easier to shove and tug than I’m thinking?? Gotta make – thanks for sharing!
These are so pretty and unique Leslie, as are so many of your craft projects. Have you ever thought of selling them on etsy?
If I could about 24 hours to each day, I could maybe open an Etsy store 😂 I’m so happy that you enjoy the crafts that I share. I love sharing them!
Hi Leslie,
I did it! I made the Valentine Heart painted pillowcase. I have a hard time finding coastal themed/colored holiday decor items and often times make my own. This is the first time I’ve painted pillow cases and know that I’ll be doing this each season, in my colors! Thank you!
Oh my gosh DeAnna, I love it! Isn’t painting on fabric so easy and fun! Thank you for sharing your idea of painted pillowcses for each season. Habve a great rest of your weekend!
Hi Leslie,
I love pink, so your blog has been entrancing this past month.
Pink is soothing but also so warm and inviting.
I was reading the comments this week and was reminded about a project I did in the 80’s.
Fabric stores were plentiful then, as I wish they were again. But you could buy a kit for a pillow cover which was a muslim fabric with a pre stenciled Early American design, mine was a Pineapple. You sewed by hand along the design with a batting material behind, which then gave a quilted look to the top fabric. Then I sewed by machine the front and back of pillow cover together with a cotton lace edging. Then put in pillow insert.
Viola, a lovely home made pillow. They were so fun to do. And inexpensive in those days when money was dear while starting a family.
I love looking at your crafts, you are very clever.
Thank you Patricia. I am so happy that you are enjoying my blog and what I have to share. What a fun memory about the pillow kit! I hope you give one of my DIY pillows a try! Let me know if you do and how it turns out!
Hi Leslie, not having access to a sewing machine can I hand stitch or embroider around the hearts?
Sure Paula, that would look amazing! Let me know how yours turns out! Happy Sunday!
Just lovely, your posts, projects and home are so inspiring! ❤️ The pillow is beautiful.
Thank you Debra! I am so happy that you enjoy the content that I share. I hope you make the pillow, so easy and fun to make!
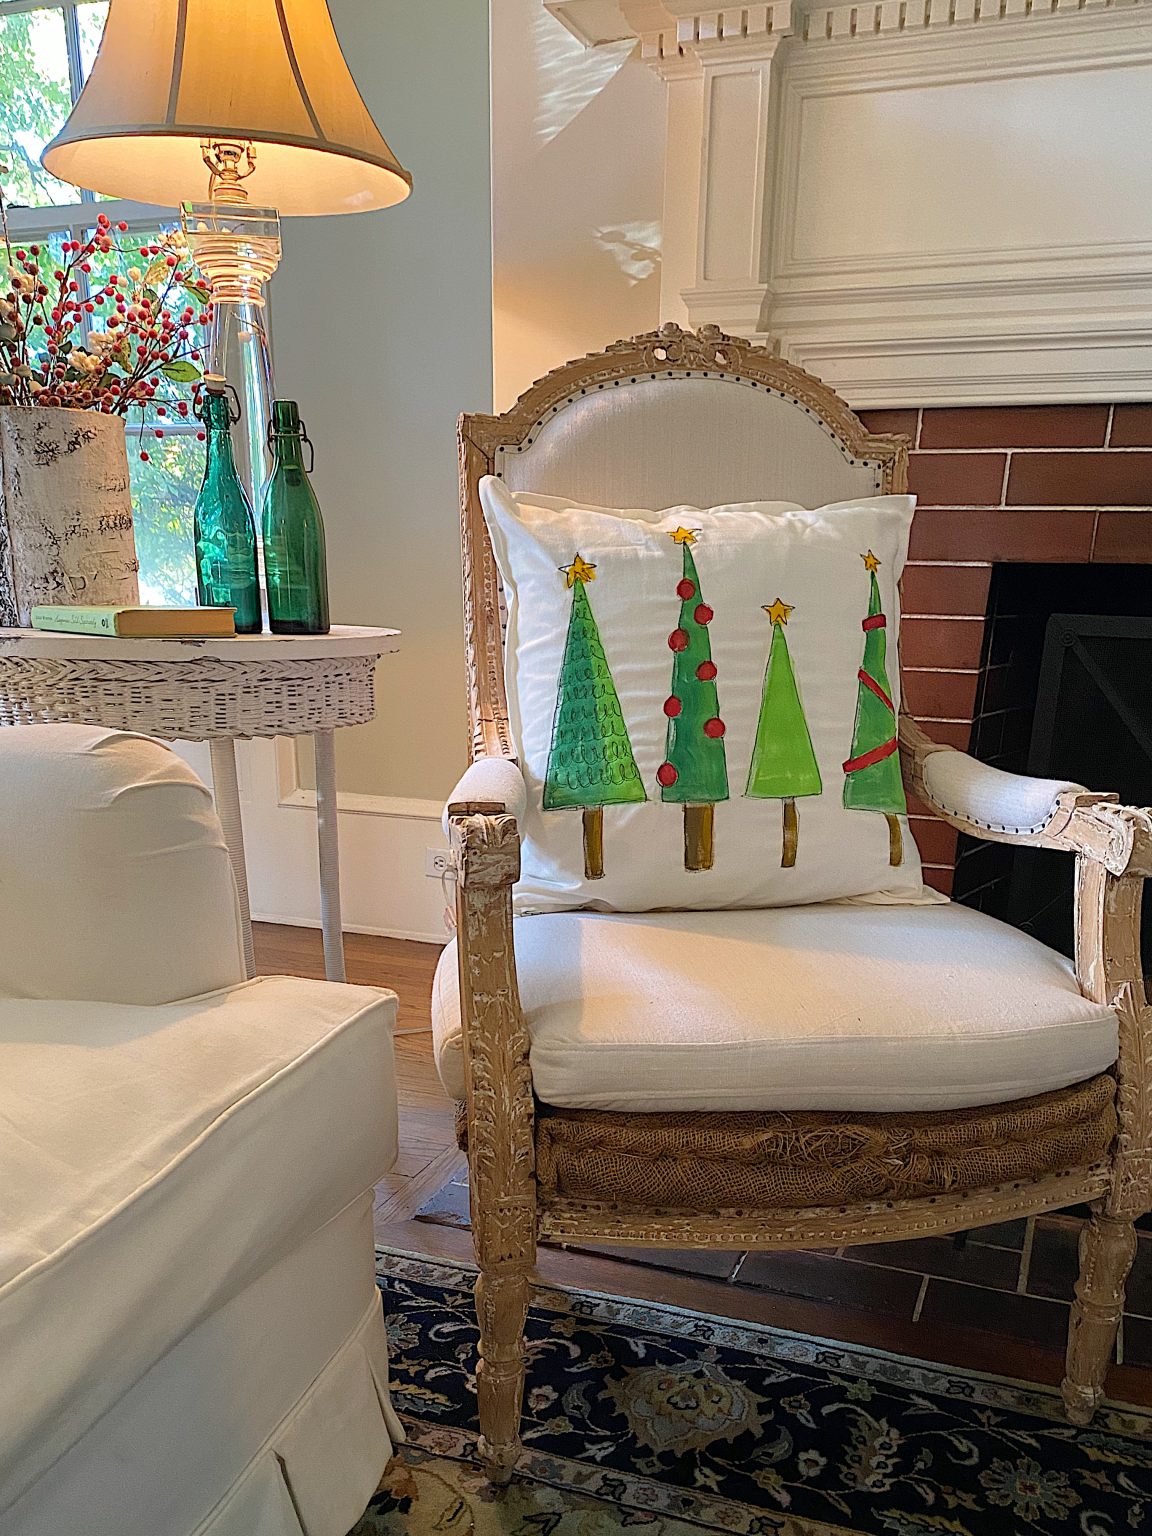
I did not know about feed dogs thanks for teaching us!! I love all the pillows, especially the Christmas tree one so darn cute!!
Cant wait to check out my machine to see if I can lower the feed dogs!! Love your home too
Thanks!!
I can’t wait for you to check it out Debbie! A whole new world for you! I hope you are able to make some of the pillows!
Forgot to tell you those oven cookie boxes are so cute too I love the whole ideal again thanks
Oh my gosh Debbie, thank you so much! I thought they were just the cutest! Have a great weekend!
Wow, you just knocked my socks off me with this beautiful valentine pillow. I thought it was a cute pillow you ordered on line. I will be making one of these babies. It’s so fun! It almost look 3-D. I think that’s what makes it such a fun cute pillow to me.
Oh my gosh Ivory, thank you so much for reaching out with your thoughtful comment. This valentine pillow is so easy and fun to make! I can’t wait to hear how yours turns out. Please let me know!
Hi Leslie,
Absolutely love your pillow ideas and your blog! Made your Citrus Stained Tart and my family loved it!
Right now in the process of trying to make your Valentine pillow for my daughter who is away at school. I use my Grandmother’s machine which is much older so I just don’t think I can lower the feed dogs. What type of sewing machine do you have?
Thank you for sharing all your talent and creativity!
Dee
OK, when I heard a commenter say pillowcase, I was thinking heart table runner. The possibilities. . . . .
Oooo great idea!
Have the materials now that you provided inspiration and now going to tackle today. Question — did you prewash the cases (didn’t notice that in the instructions) or are they ok to just start without doing so? How long did you wait till you ironed them after painting? THANKS! Just found your blog and loving it!
It’s up to you if you want to prewash the cases! As long as the acrylic paint is dry, you can iron them. I would wait maybe a day to be safe!