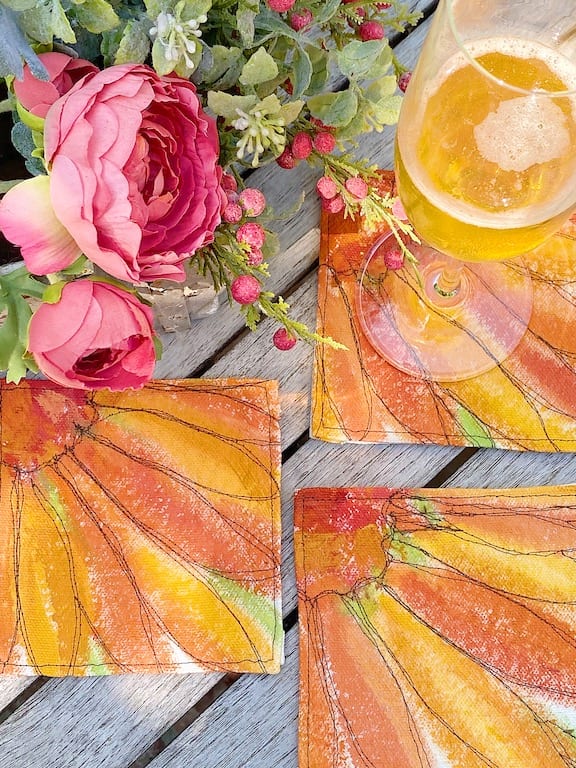
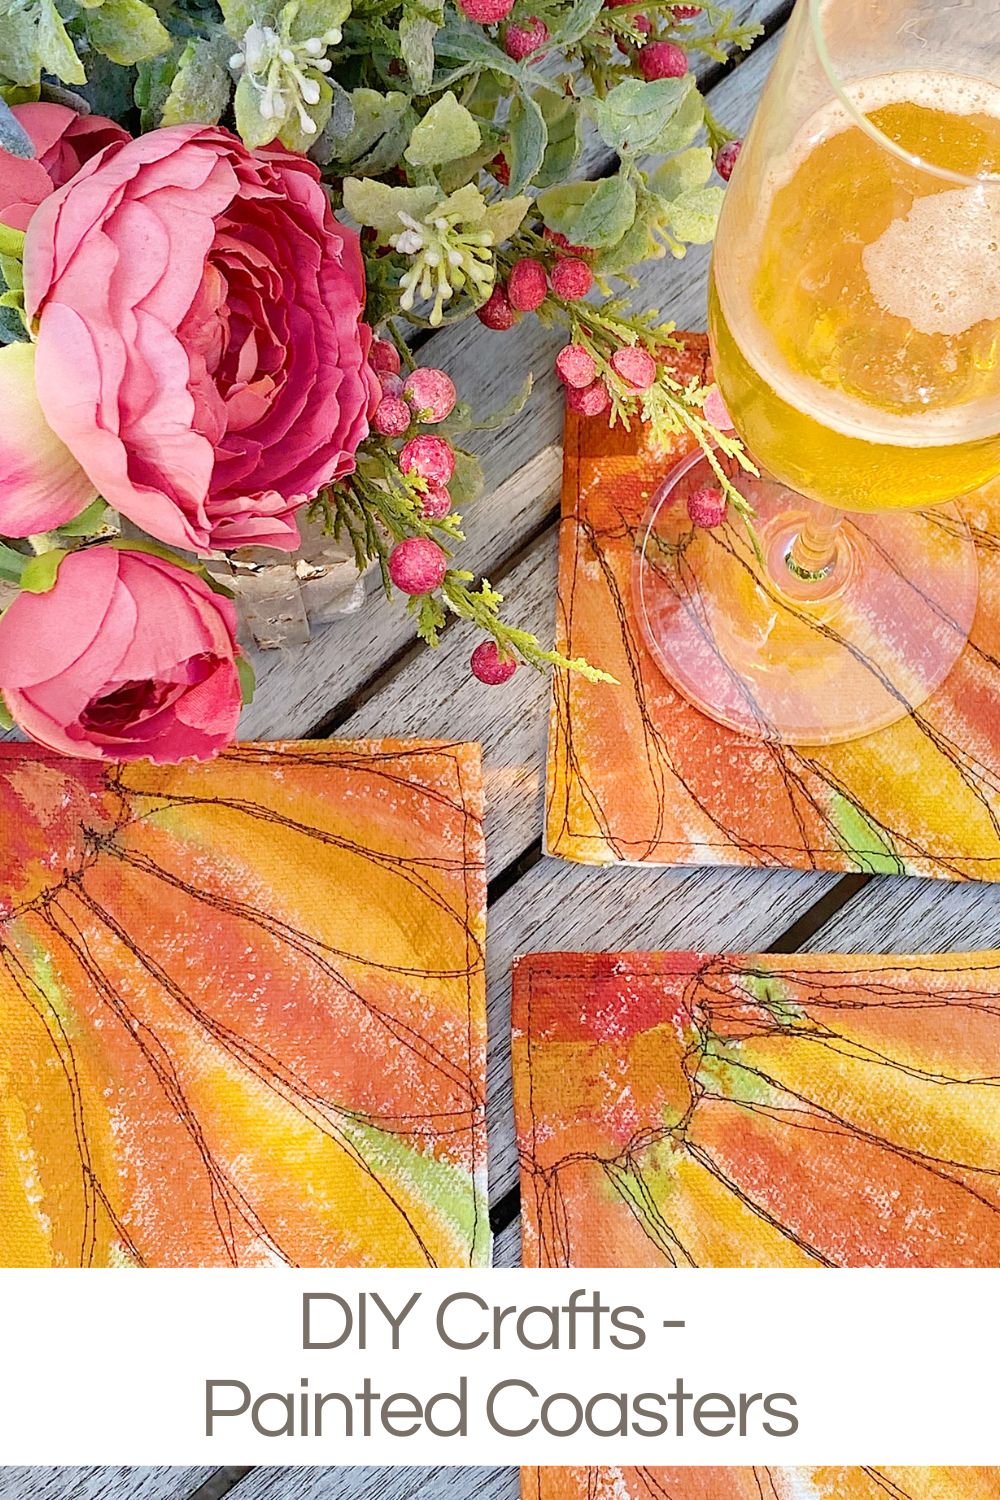
DIY Crafts – Painted Coasters
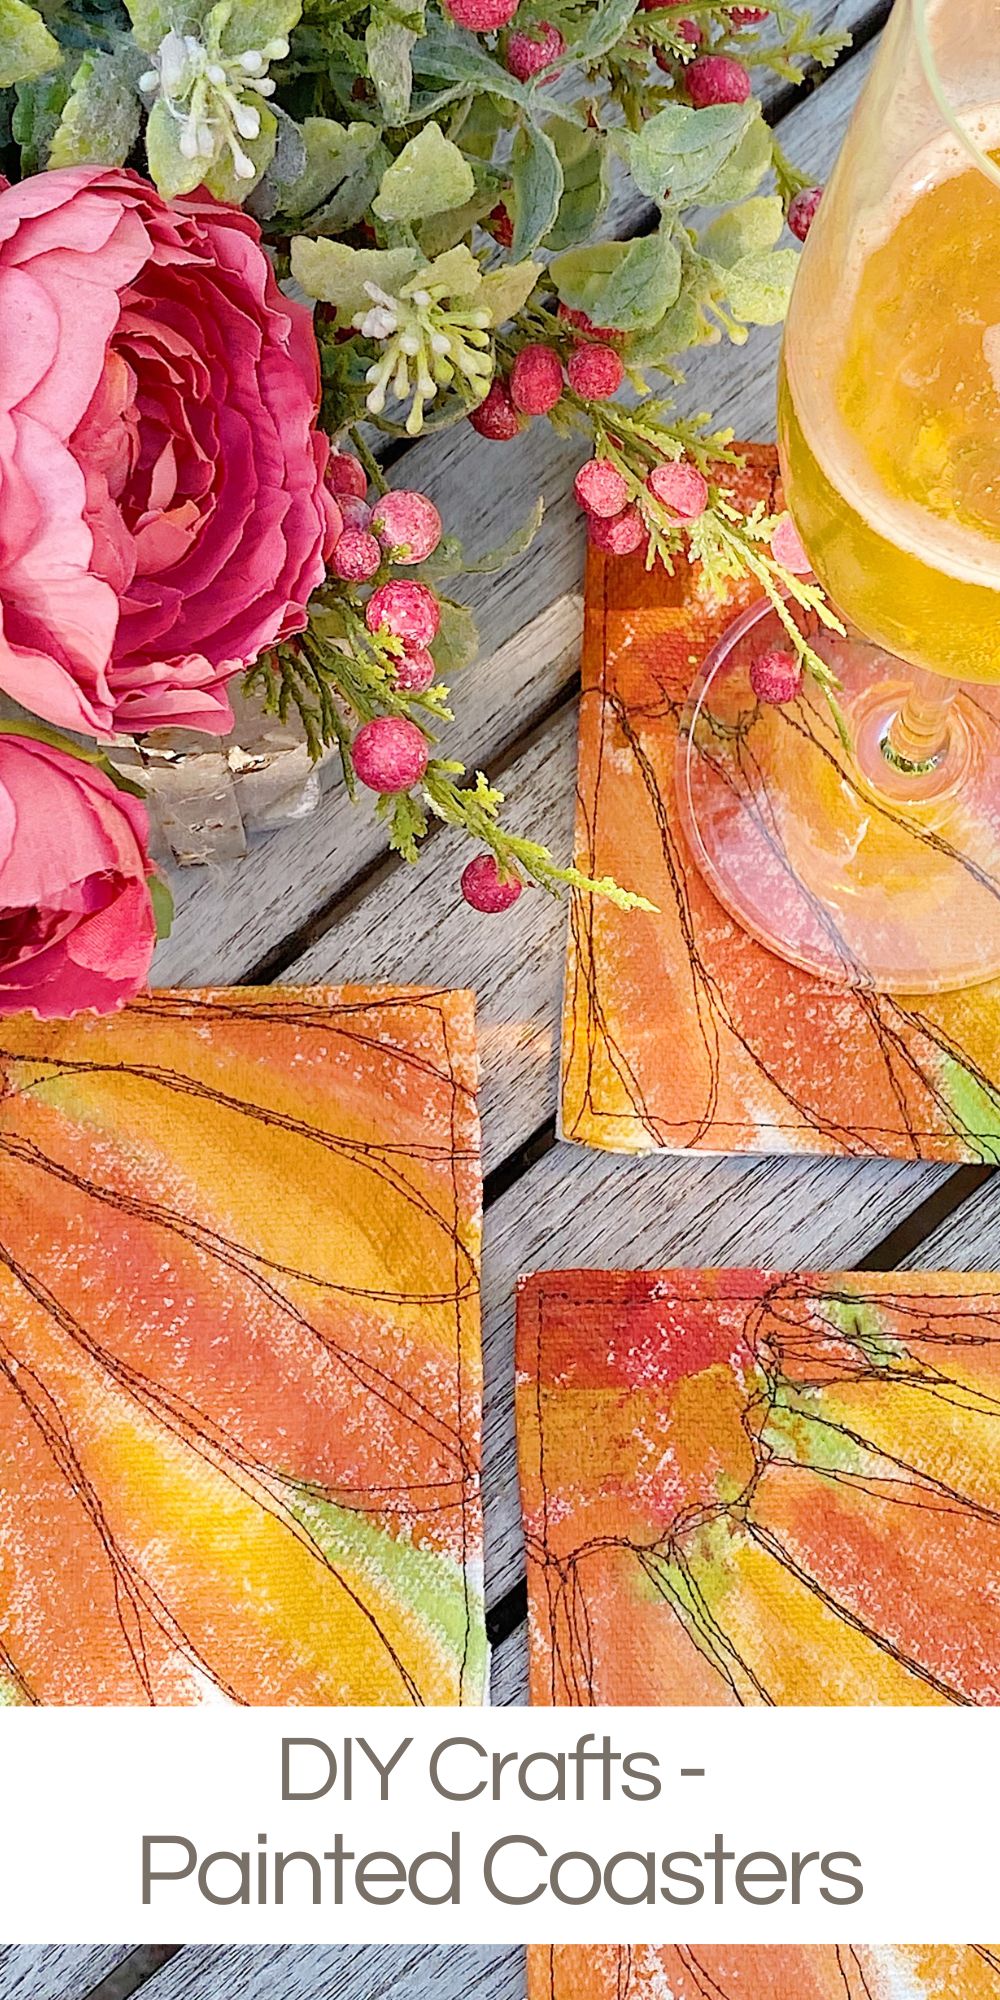
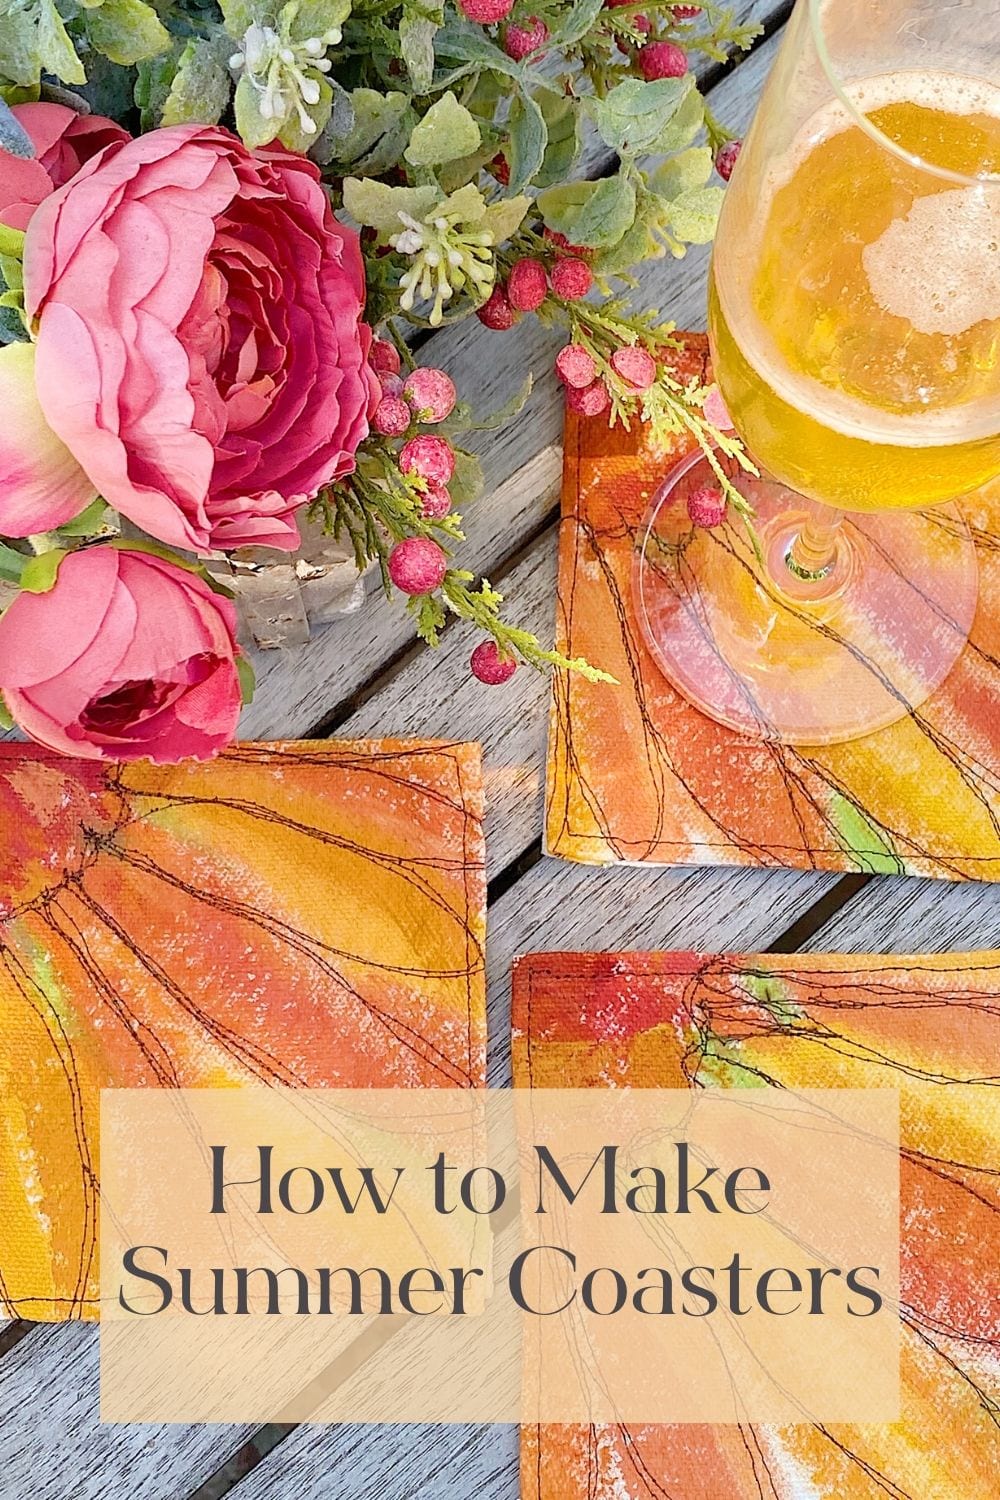
I am so excited to share today a DIY craft for making these painted coasters. They are painted and free-stitched with embroidery, and I love how they came out.
By now, you have probably realized that I am slightly obsessed with the Free-Stitch Embroidery technique. All projects using this technique on Pinterest involve embroidering over other fabrics. I came up with the idea of painting the fabric loosely and then adding the embroidery for detail.


Drink Coasters
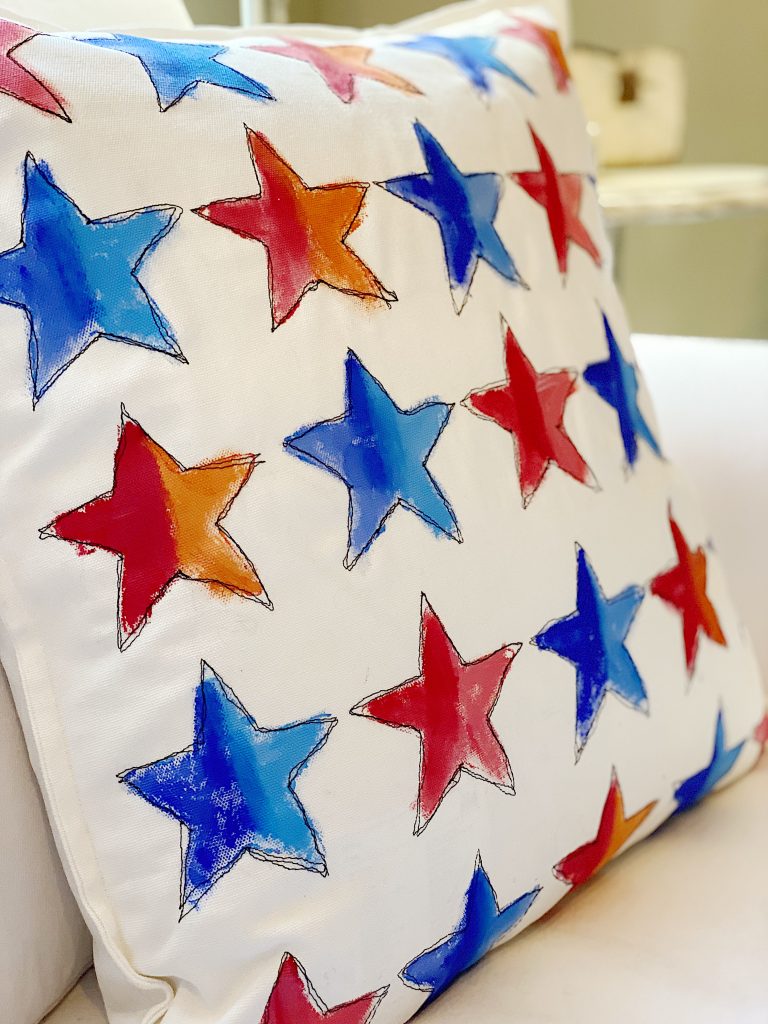
I have made pillows for spring and Easter, and coasters for summer. These were easy to make, and I love how they turned out.
I call this technique Painted and Free-Motion Embroidery. It’s easy, fun, and very liberating, and yet I decided it was time to use it for something other than pillows.
And bright colored and fun drink coasters seemed like a fun idea.
I have also teamed up with sixteen other bloggers who are sharing their DIY Summer crafts. Be sure to scroll to the bottom of this post to see all of their beautiful ideas.
What is Free Motion Embroidery?
Free-motion machine embroidery is a type of sewing that you do on a regular sewing machine. You can move the material in any direction while sewing it on your machine.
Usually, when you sew, the machine automatically moves the fabric forward. When you sew free-motion embroidery, you can move the fabric to determine exactly where you want to sew. You can move sideways, forward, backward, and create any shape you want. All you need is a quilting foot.
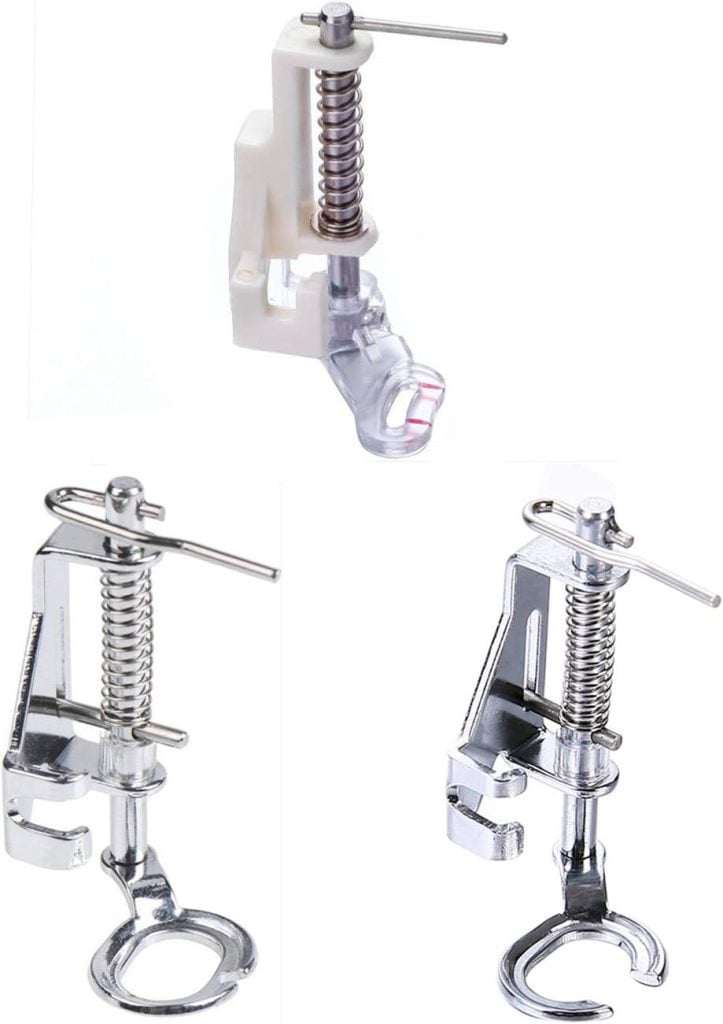
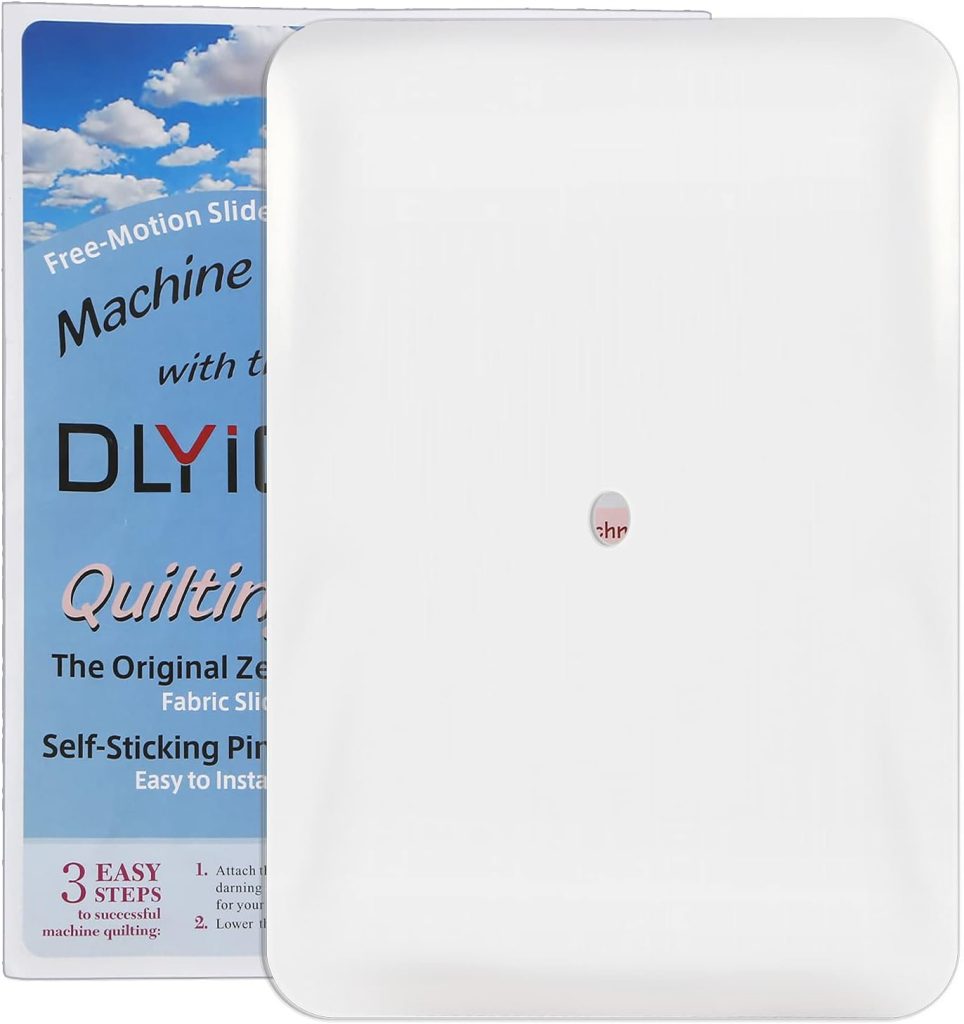
The free-motion quilting foot, sometimes called a darning foot, is designed so that the sewing machine needle passes through a small ring on the foot. Instead of hopping, these feet float over the fabric without providing pressure. The Foot releases the fabric when the needle is up, allowing you to move the fabric freely.
This is the free-motion foot for your machine. Although the foot may vary depending on your type of machine, I linked a universal one that should fit!
I read a lot about lowering the “feed dogs” on your machine when stitching free-motion embroidery. Feed dogs are the little teeth on your sewing machine that feed your fabric evenly through the machine. These teeth are extremely important because they help us produce perfectly spaced, even stitches whenever we sew garments, piece quilts, or applique shapes on our machine. Most people recommend that you lower the feed dogs for free-motion embroidery.
I lowered the feed dogs using a lever on my machine for this project. If your machine doesn’t let you lower the feed dogs, use a Supreme Slider instead.
I may sometimes use affiliate links on this blog, which means a small commission is earned if you purchase via the link. The price will be the same whether you use the affiliate link or go directly to the vendor’s website using a non-affiliate link.

What You Need to Make Painted and Free Stitched Coasters
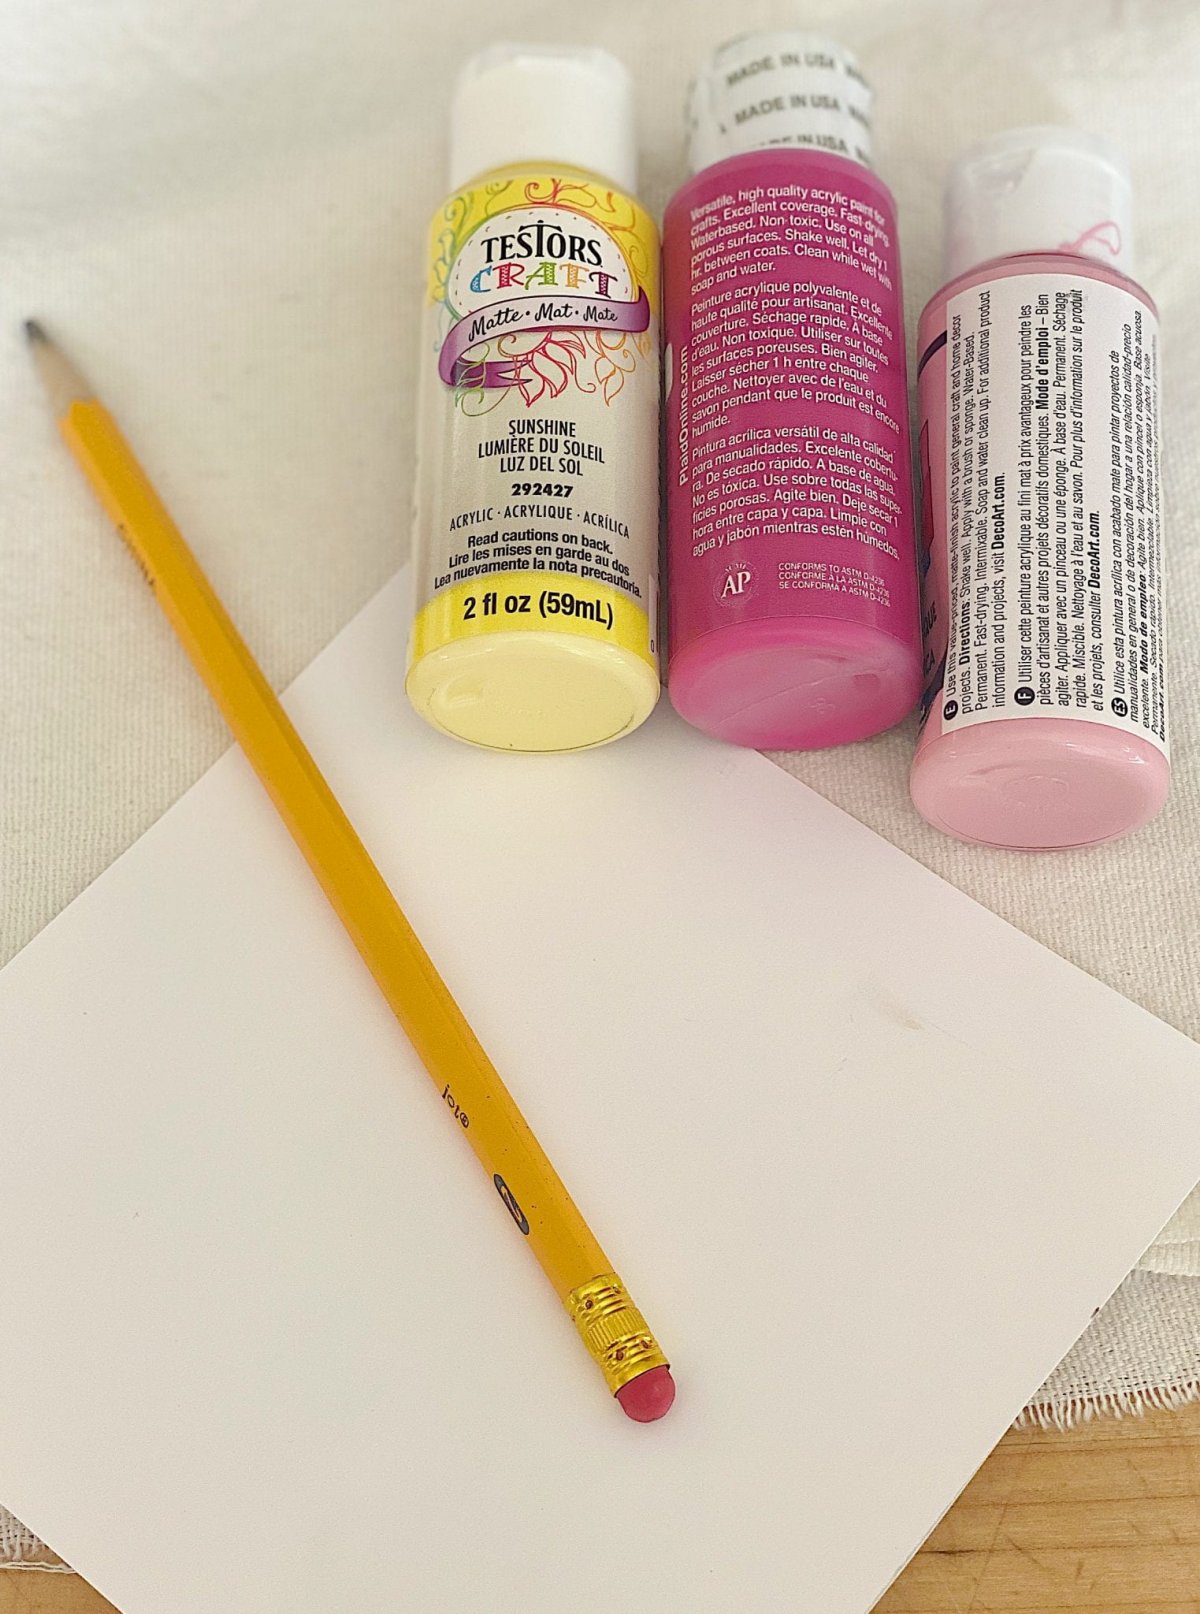
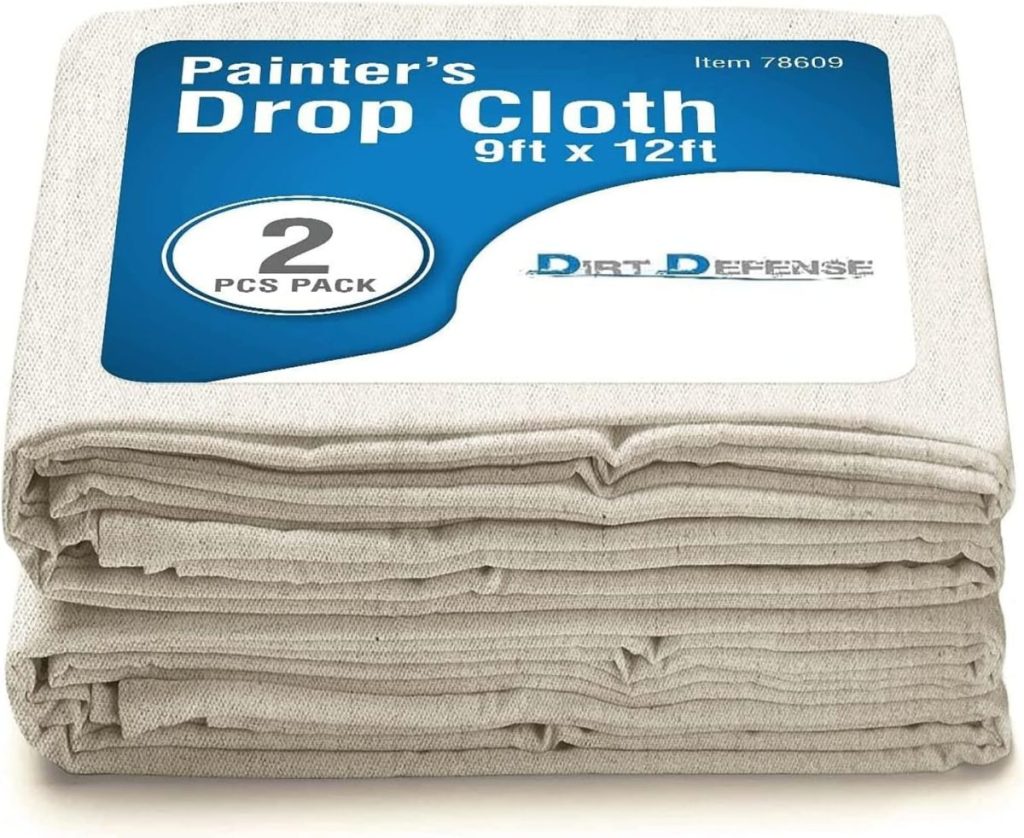
1/4 yard of cotton fabric (I used a dropcloth)
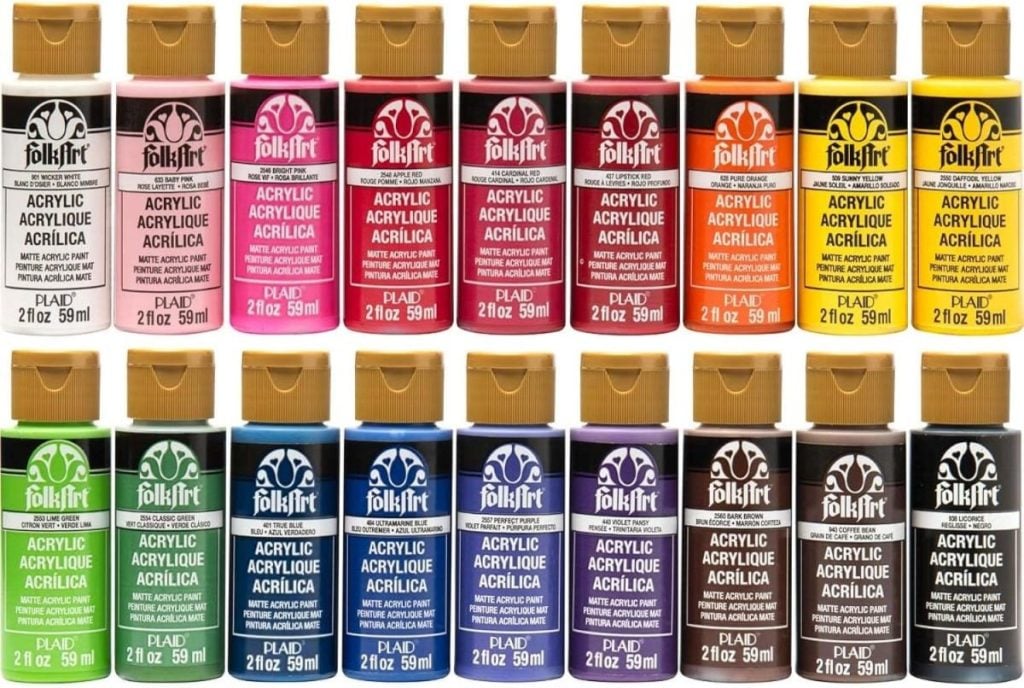
Acrylic Paint (or fabric paint if you prefer)
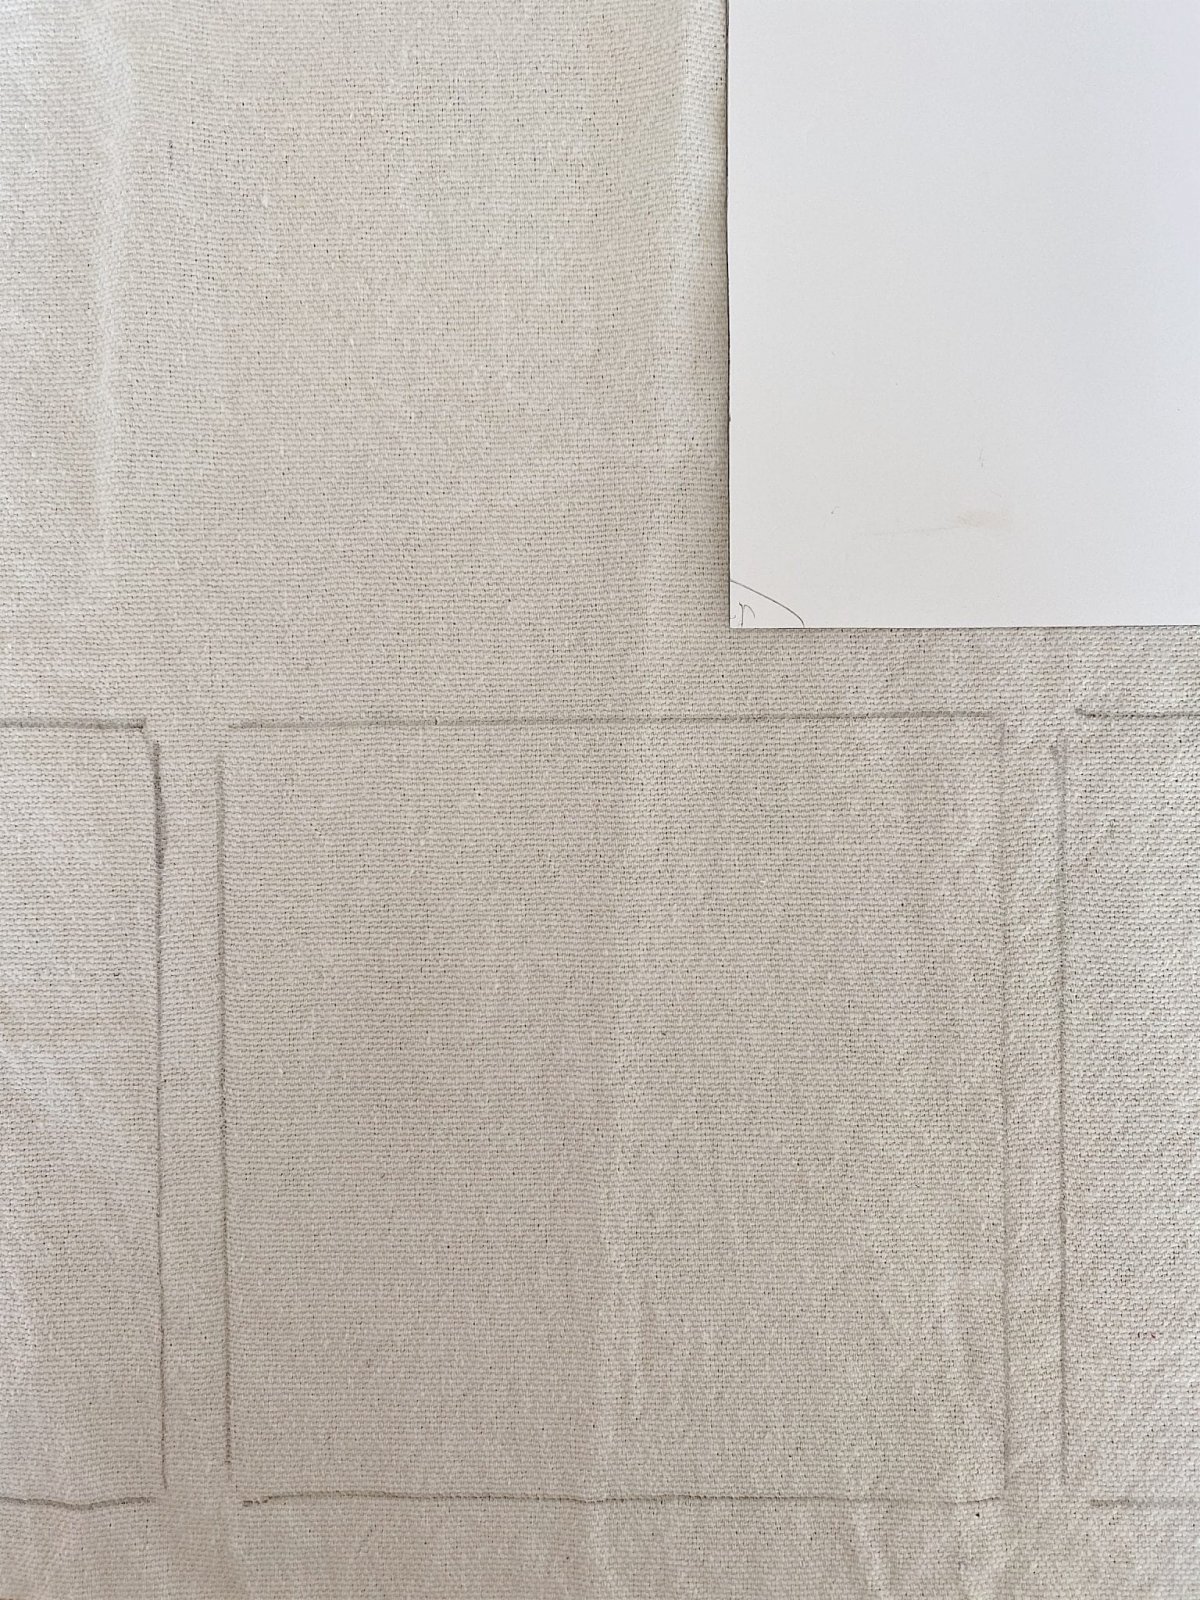
A cardboard template measuring 5 1/2″ square
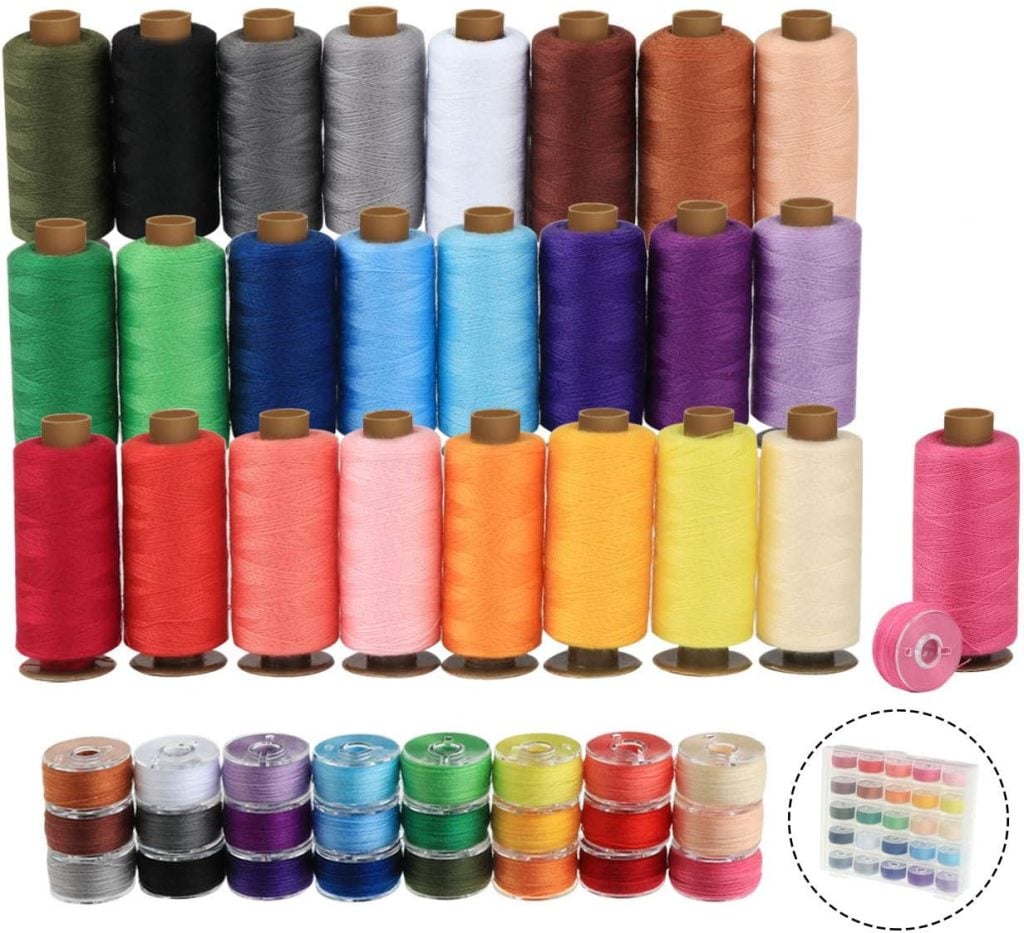
Embroidery Thread (I used Sulky Machine Embroidery thread)
How to Make Painted and Free Stitched Coasters
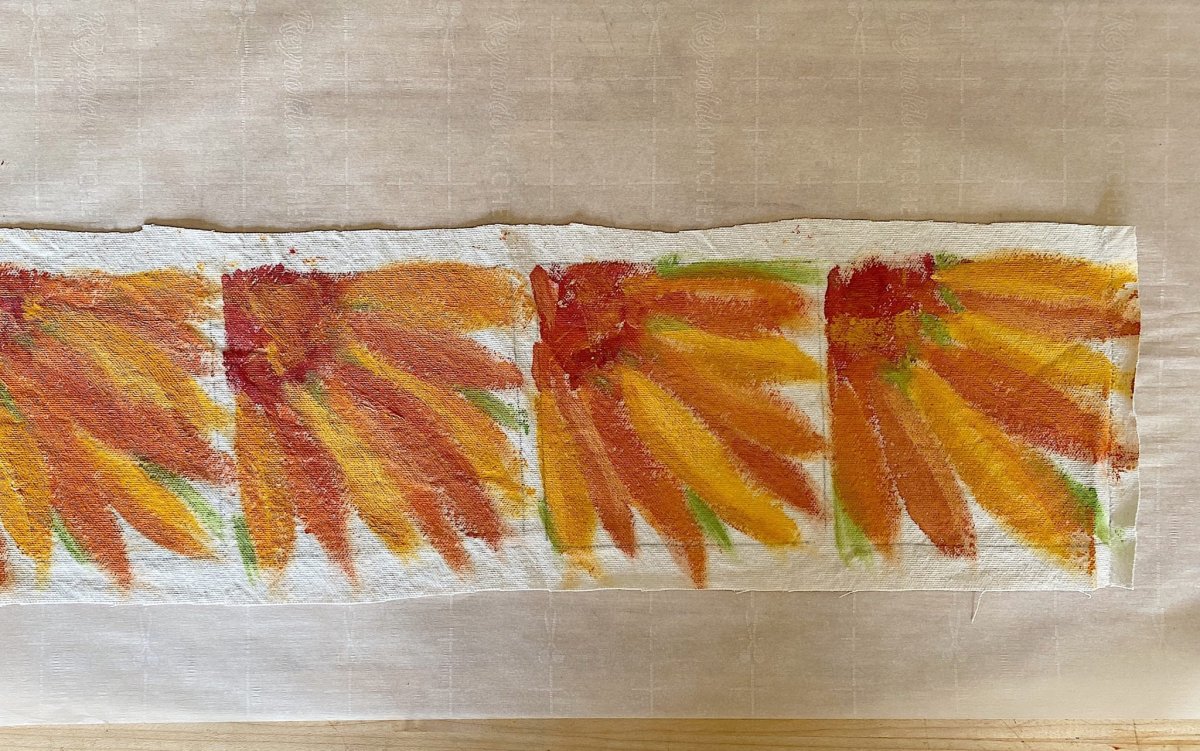
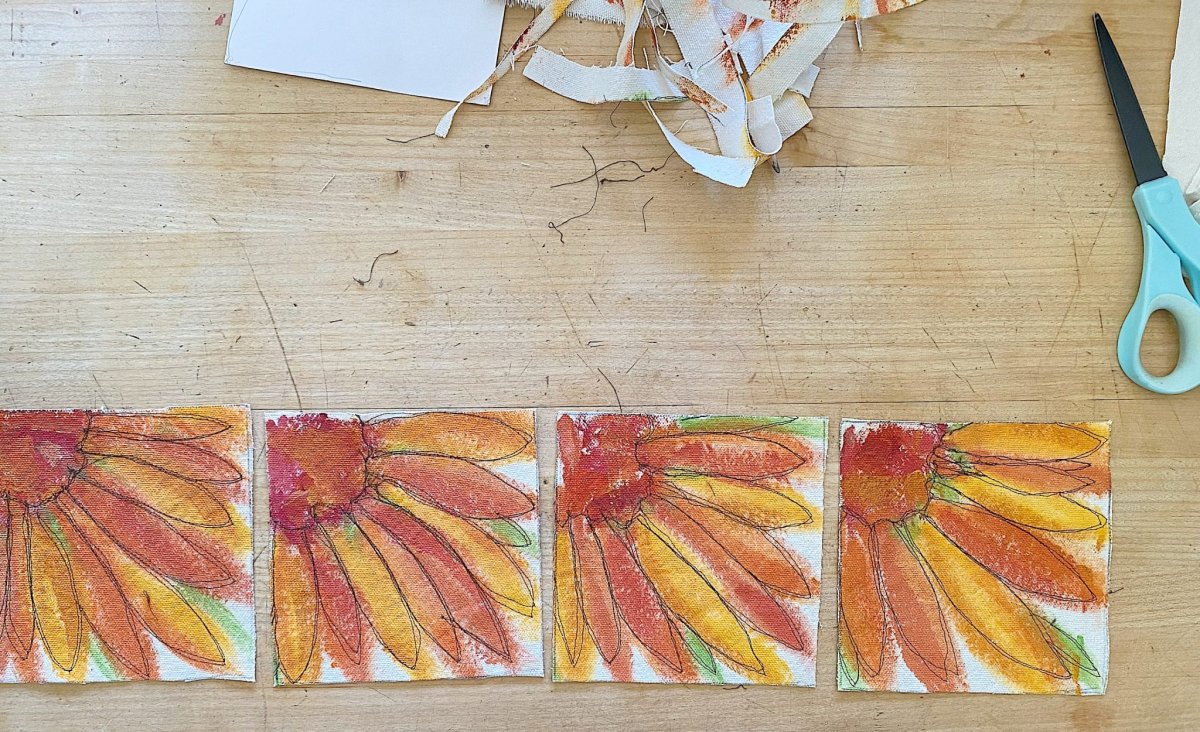
To make four drink coasters, trace eight of the templates on the cotton fabric. Trace them in two rows of four squares each.
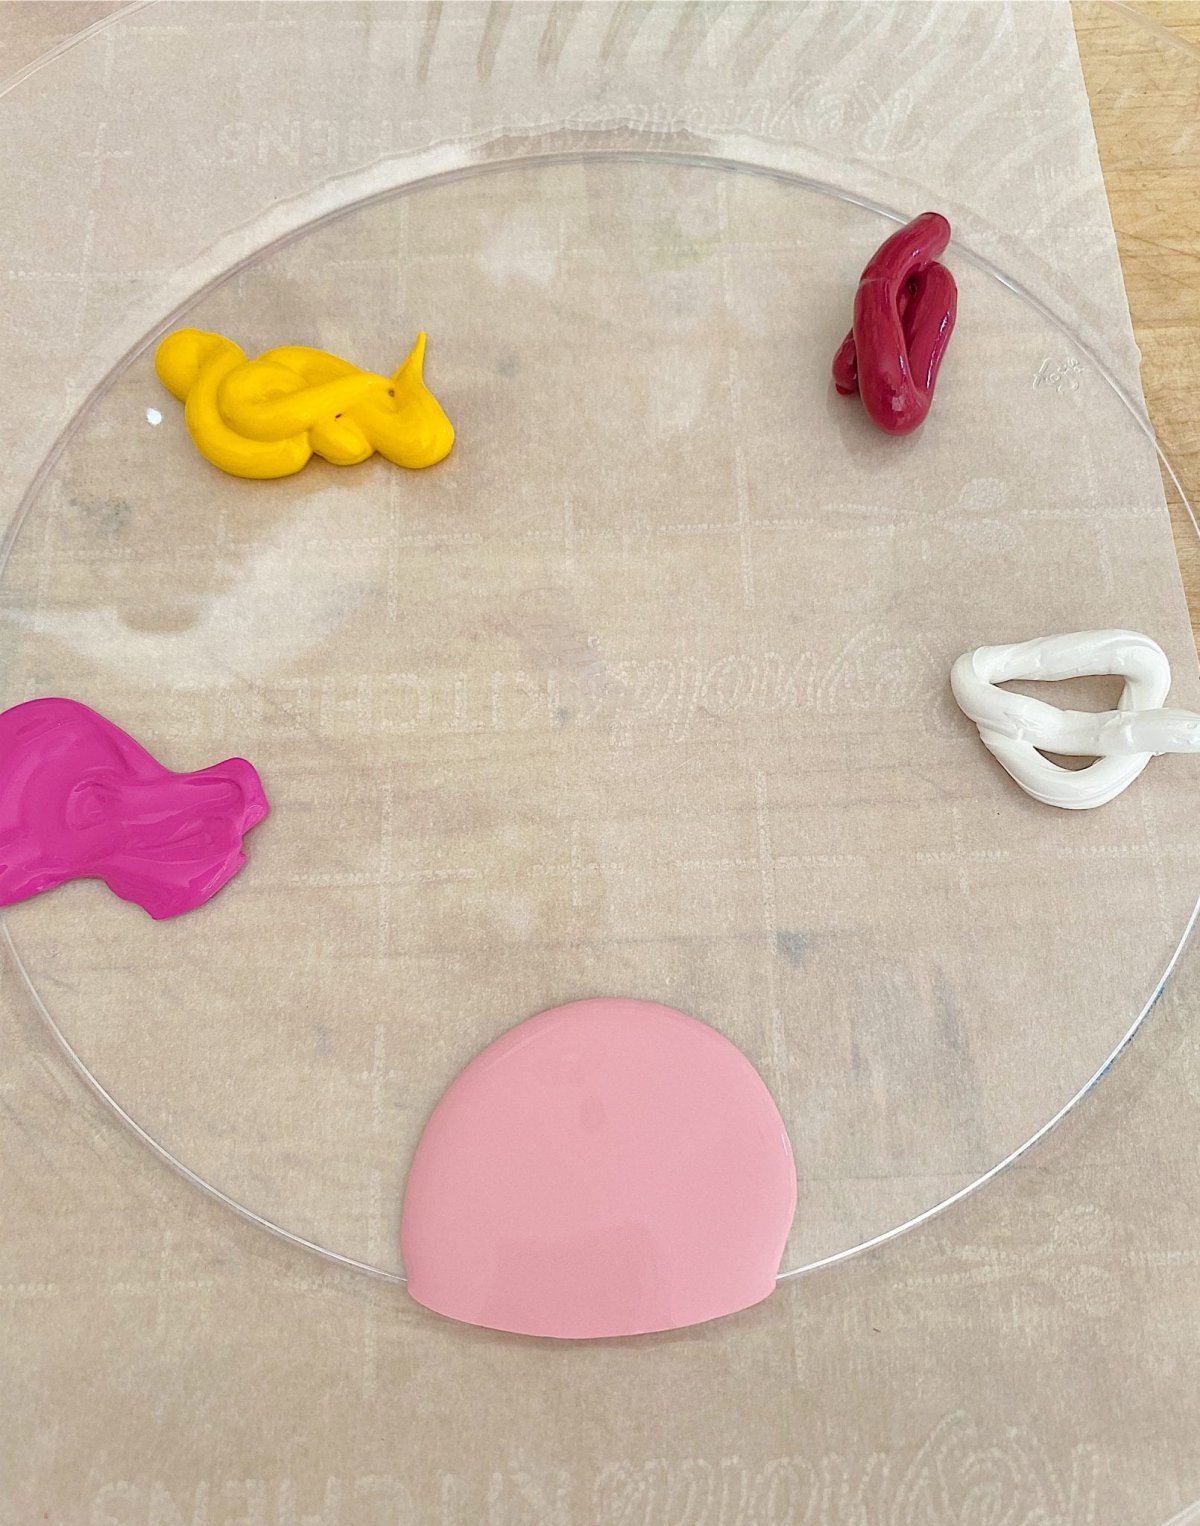
Pick your design and color palette and select the points accordingly.
Mix your colors only using these few paint colors. Add more yellow for warm colors and a minimal white to lighten colors. The key is to mix all of your primary colors with no more than four colors. I added some green for the leaves.
Whatever design you choose, paint the coaster very loosely. Do not include any detail, just shapes.
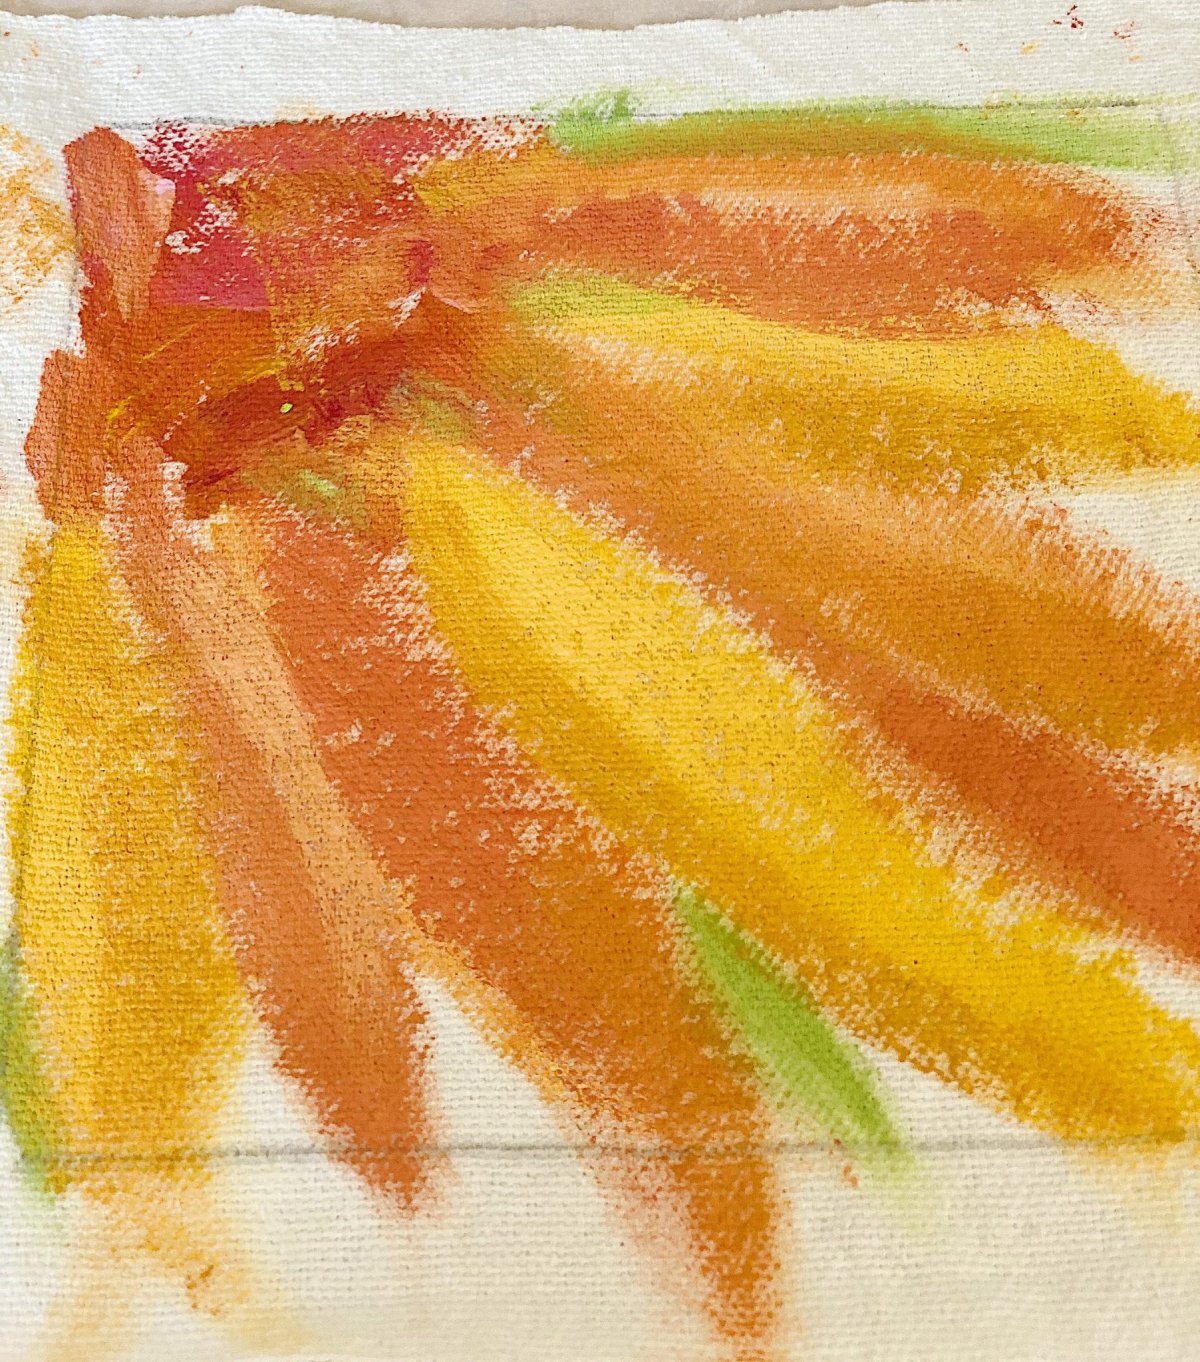
Paint all four coasters. You can paint them the same, slightly different, or entirely different. It’s up to you. I painted mine slightly differently, with very little detail.
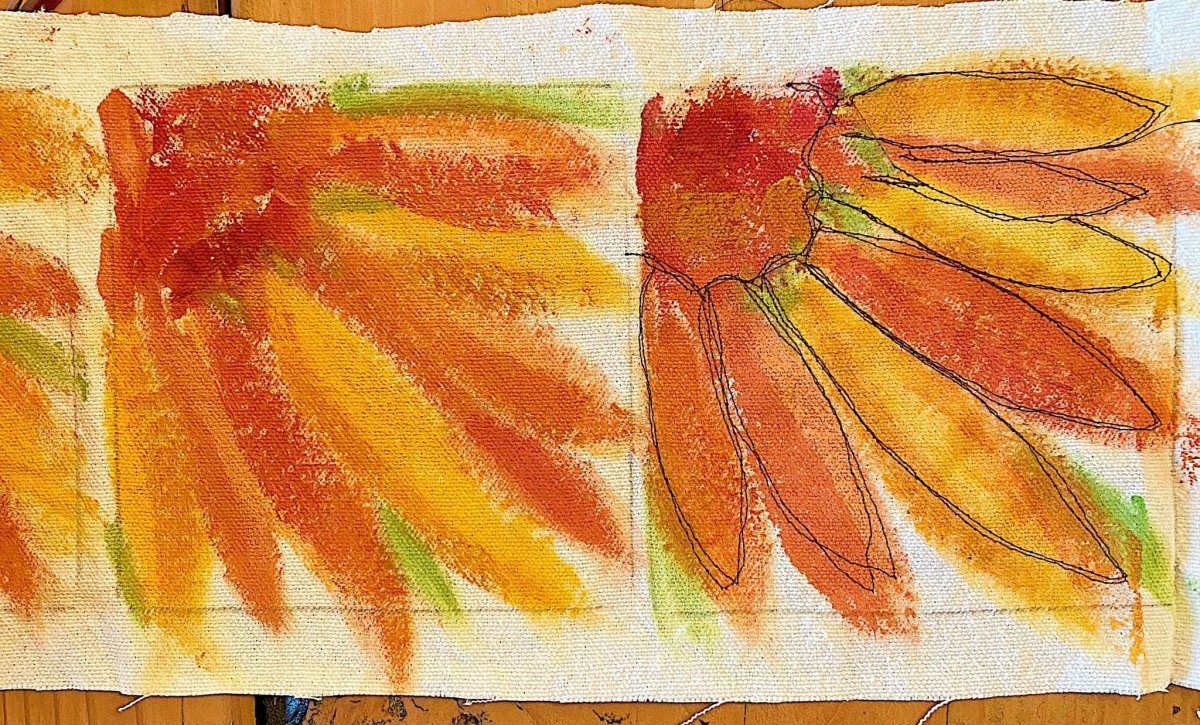
I used a dark brown embroidery thread and free-motion embroidery to stitch the detailing in my coasters.
Watch this video to learn how to free-stitch embroidery.
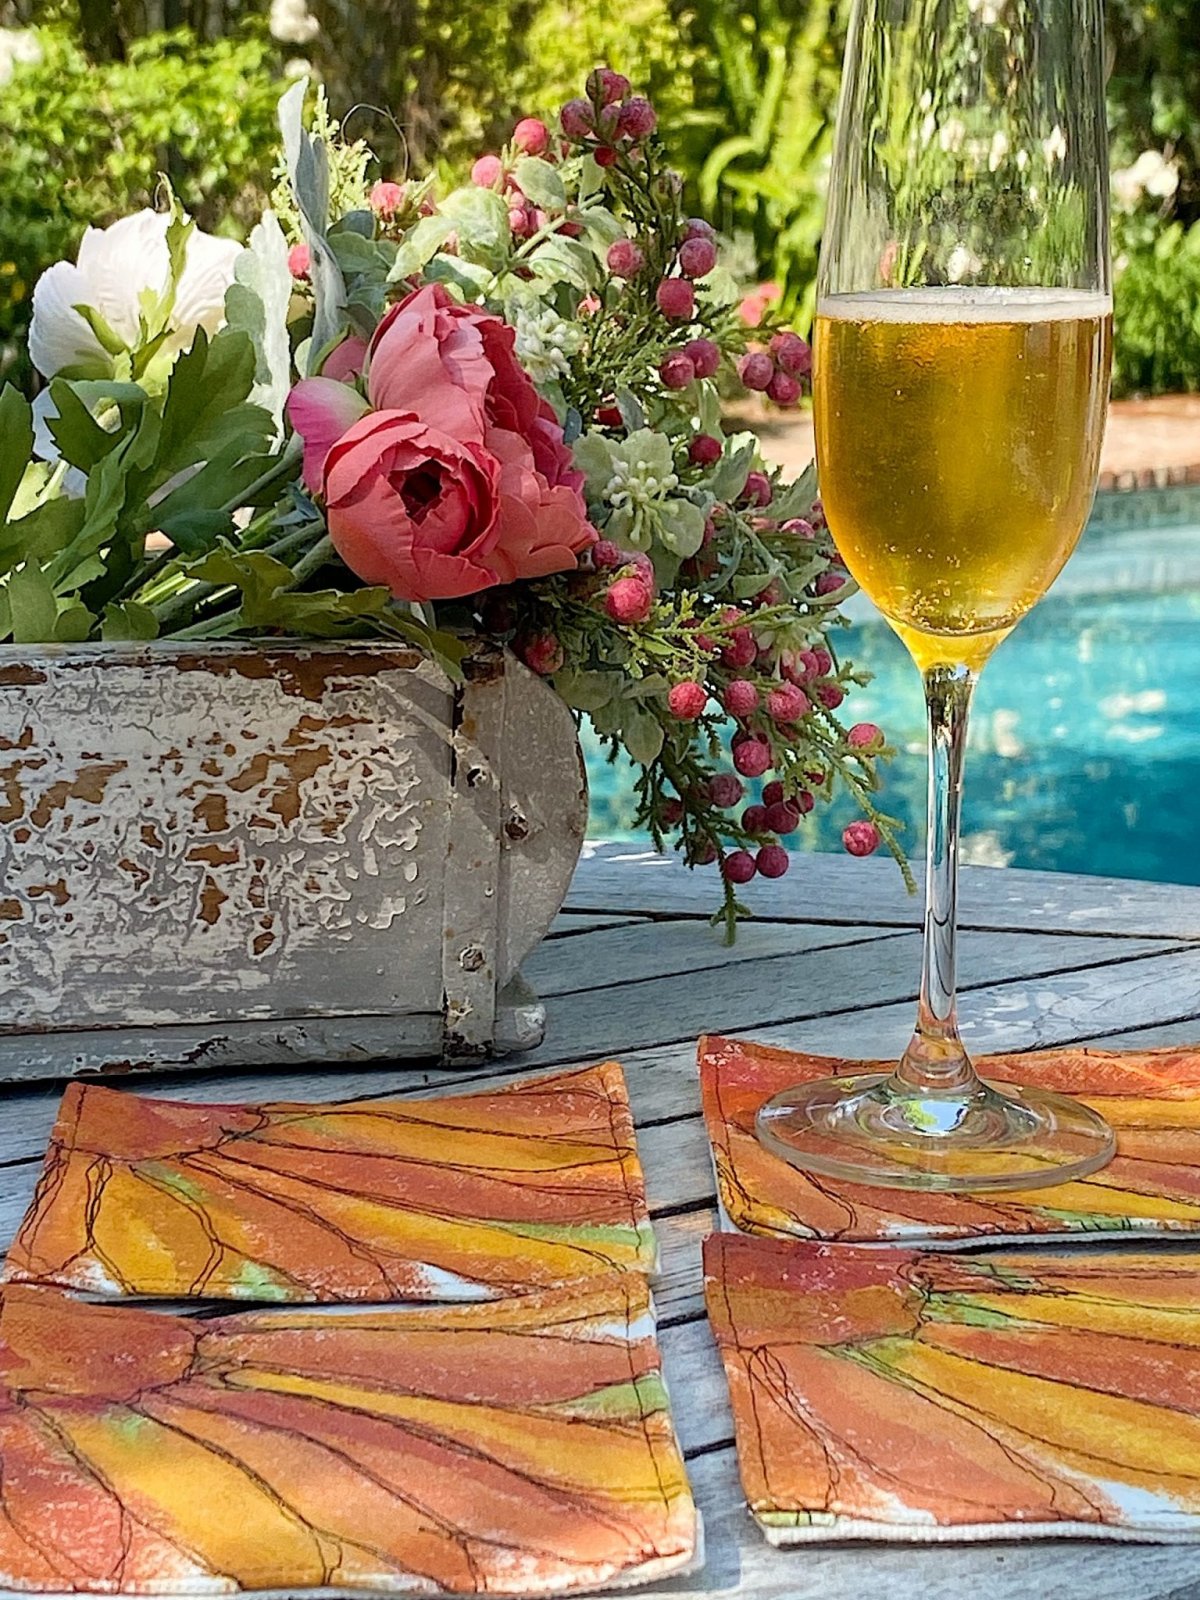
See how they are all a little different but similar? I love how these look with the embroidery.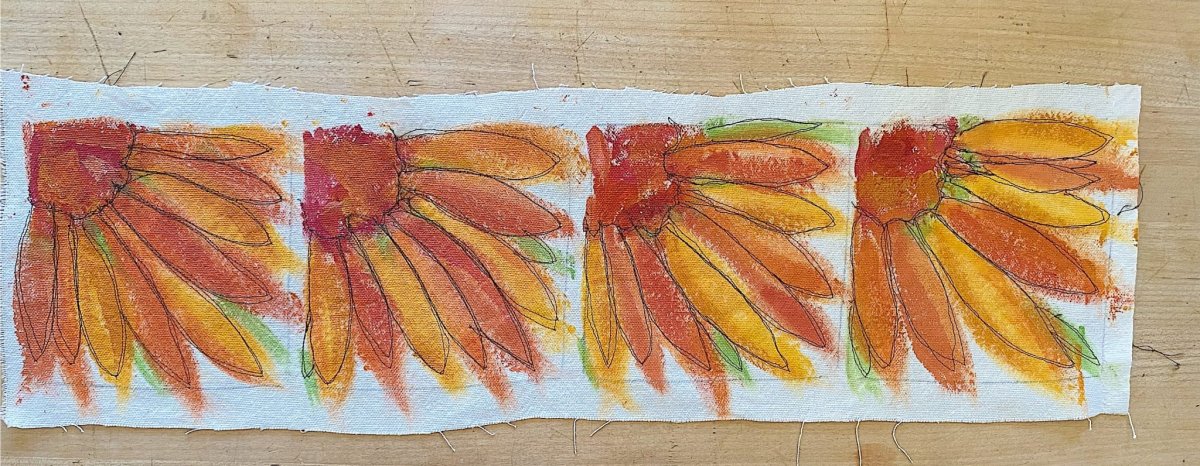
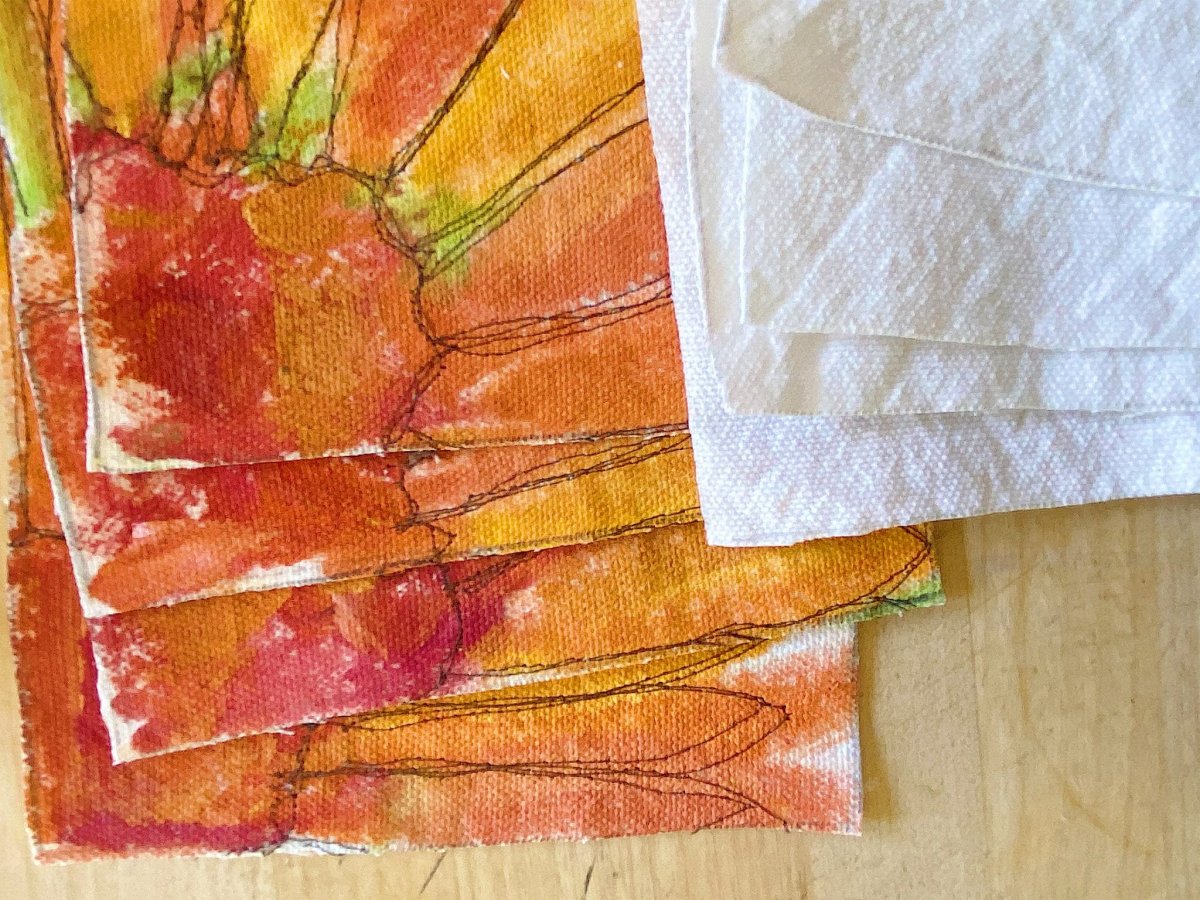
Once you’re done stitching, iron the painted cloth and retrace the 5 1/2″ square. (The fabric will change slightly from the paint, so it is essential to get a perfect square.)

Next, cut out the coasters along the pencil-drawn line.
Cut out the fabric for the squares for the back, too.
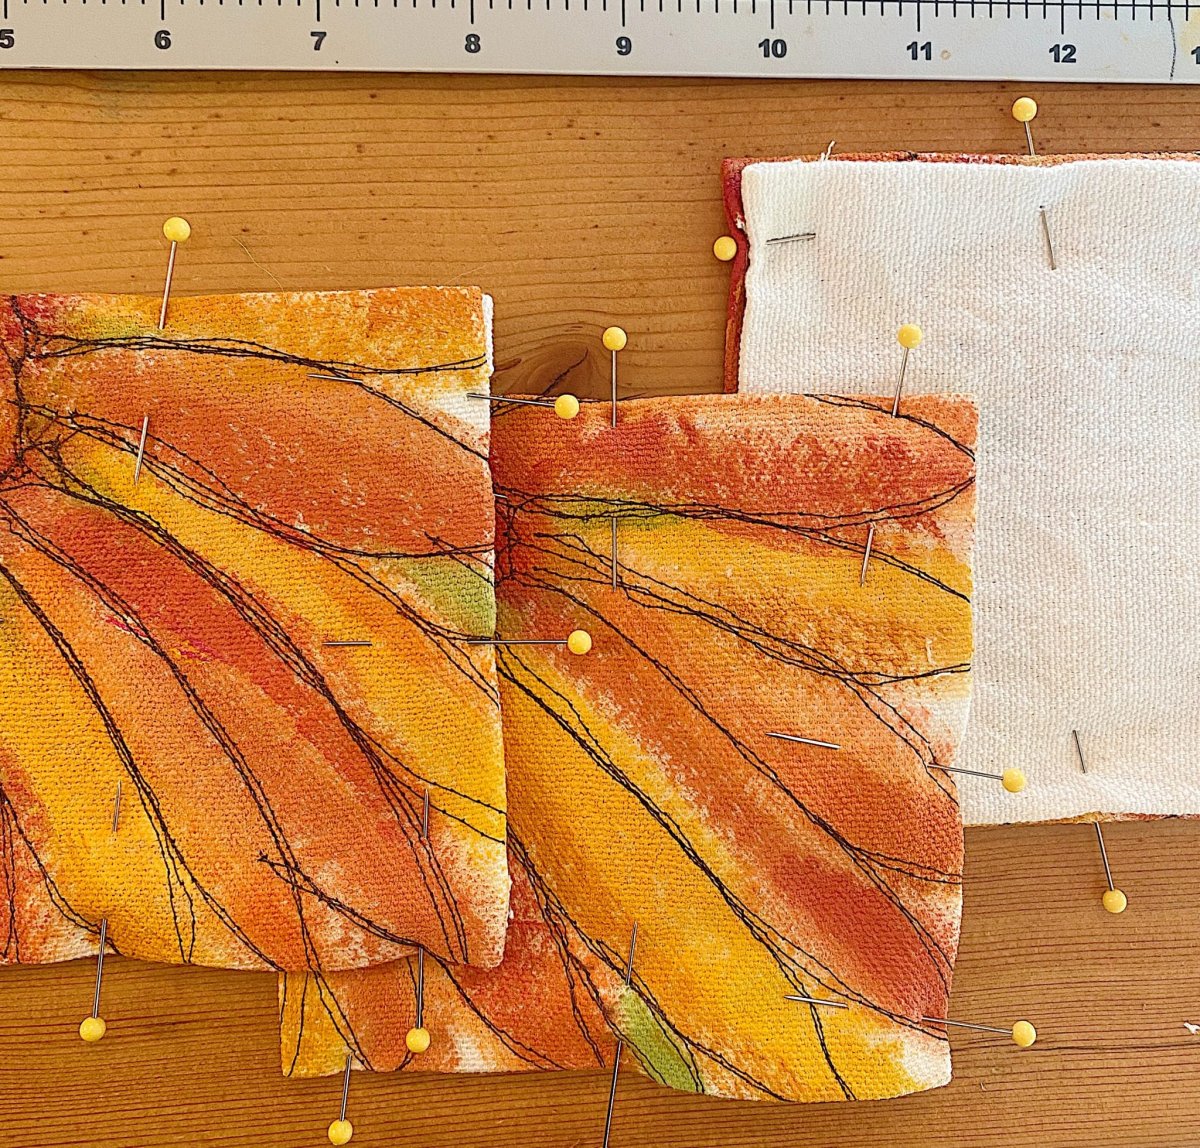
With an iron, fold over all of the edges 3/8″. It doesn’t have to be exactly 3/8″, but you just have to fold over the exact amount on all of the coasters’ fronts and backs. I just eyeballed it, but I have sewn all my life, and this is very easy for me to do.
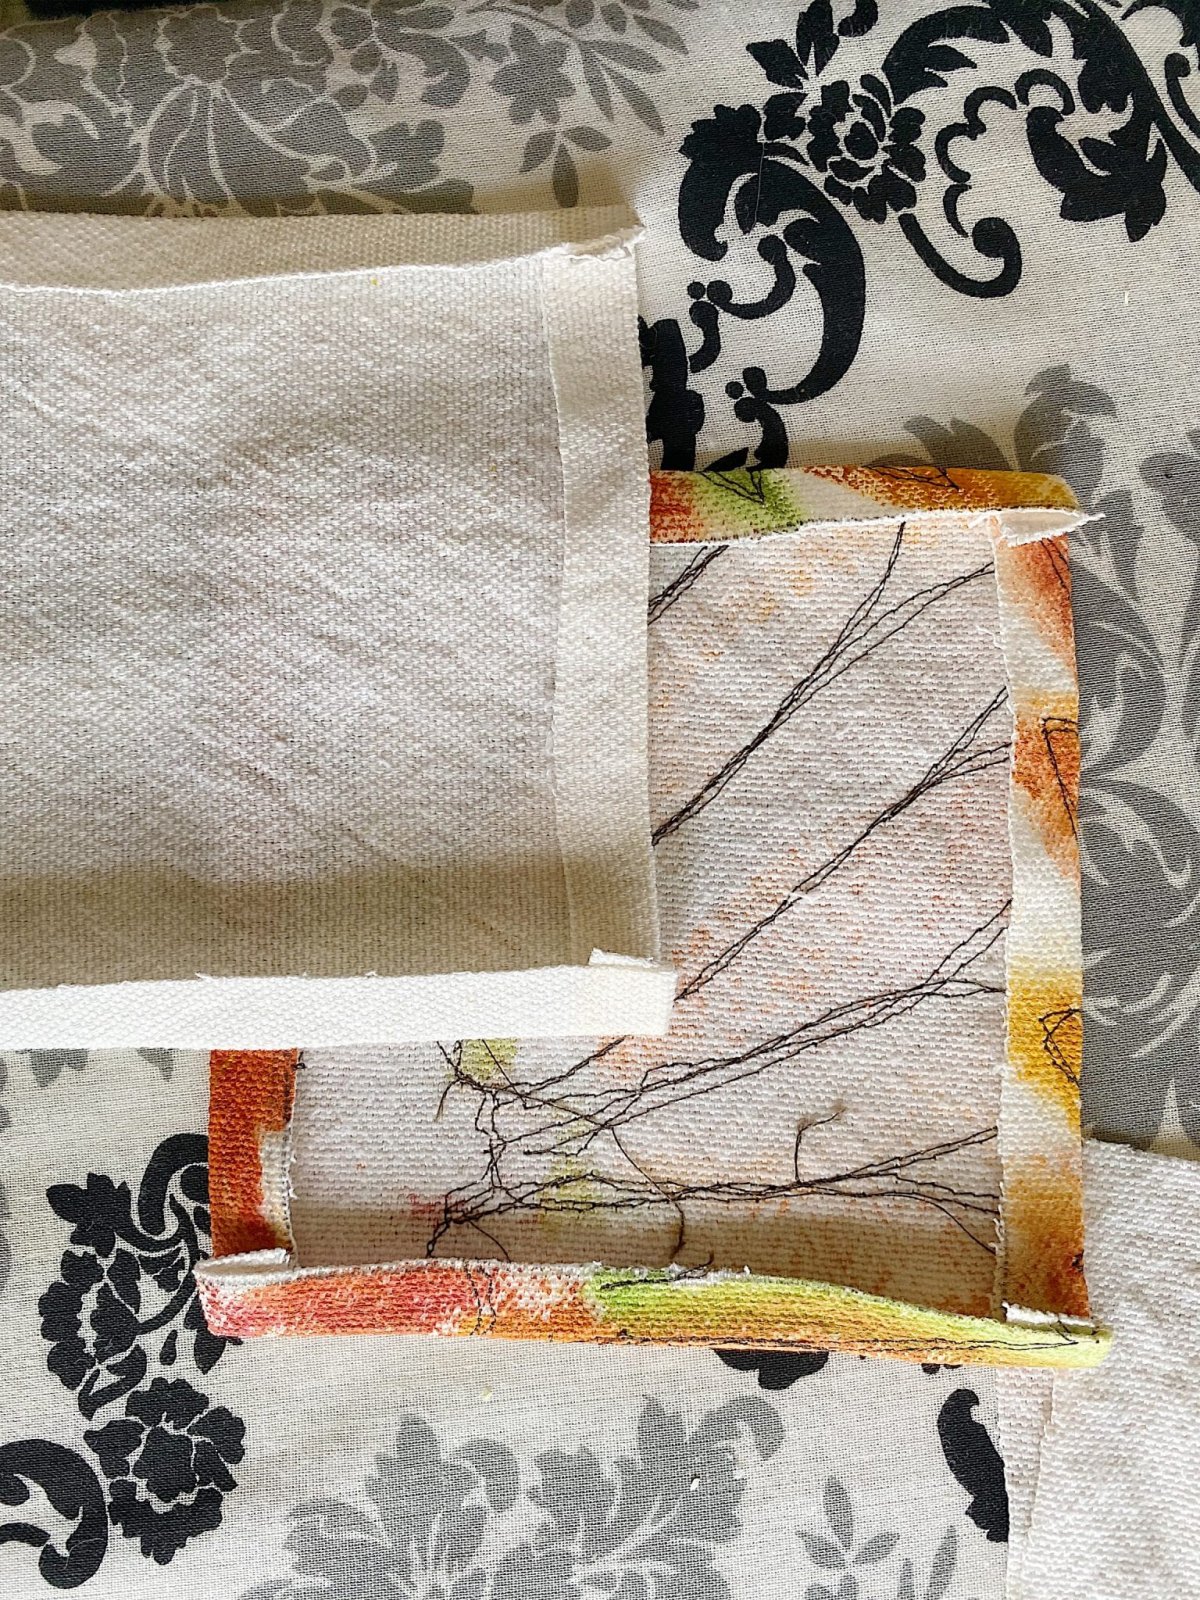
Pin the fronts and backs together to ensure the backside doesn’t show. Stitch around the outside of each coaster. My seam allowance was 1/4″.
Don’t these coasters for drinks look great?
If you enjoy my blog, you can sign up to receive my updates here.
.

What if You Don’t Sew or Own a Sewing Machine?
There is an easy alternative to using a sewing machine to stitch the black lines.
All you have to do is use a thin permanent marker and draw the lines! It’s that easy.
These are the perfect DIY coasters for summer and early fall.
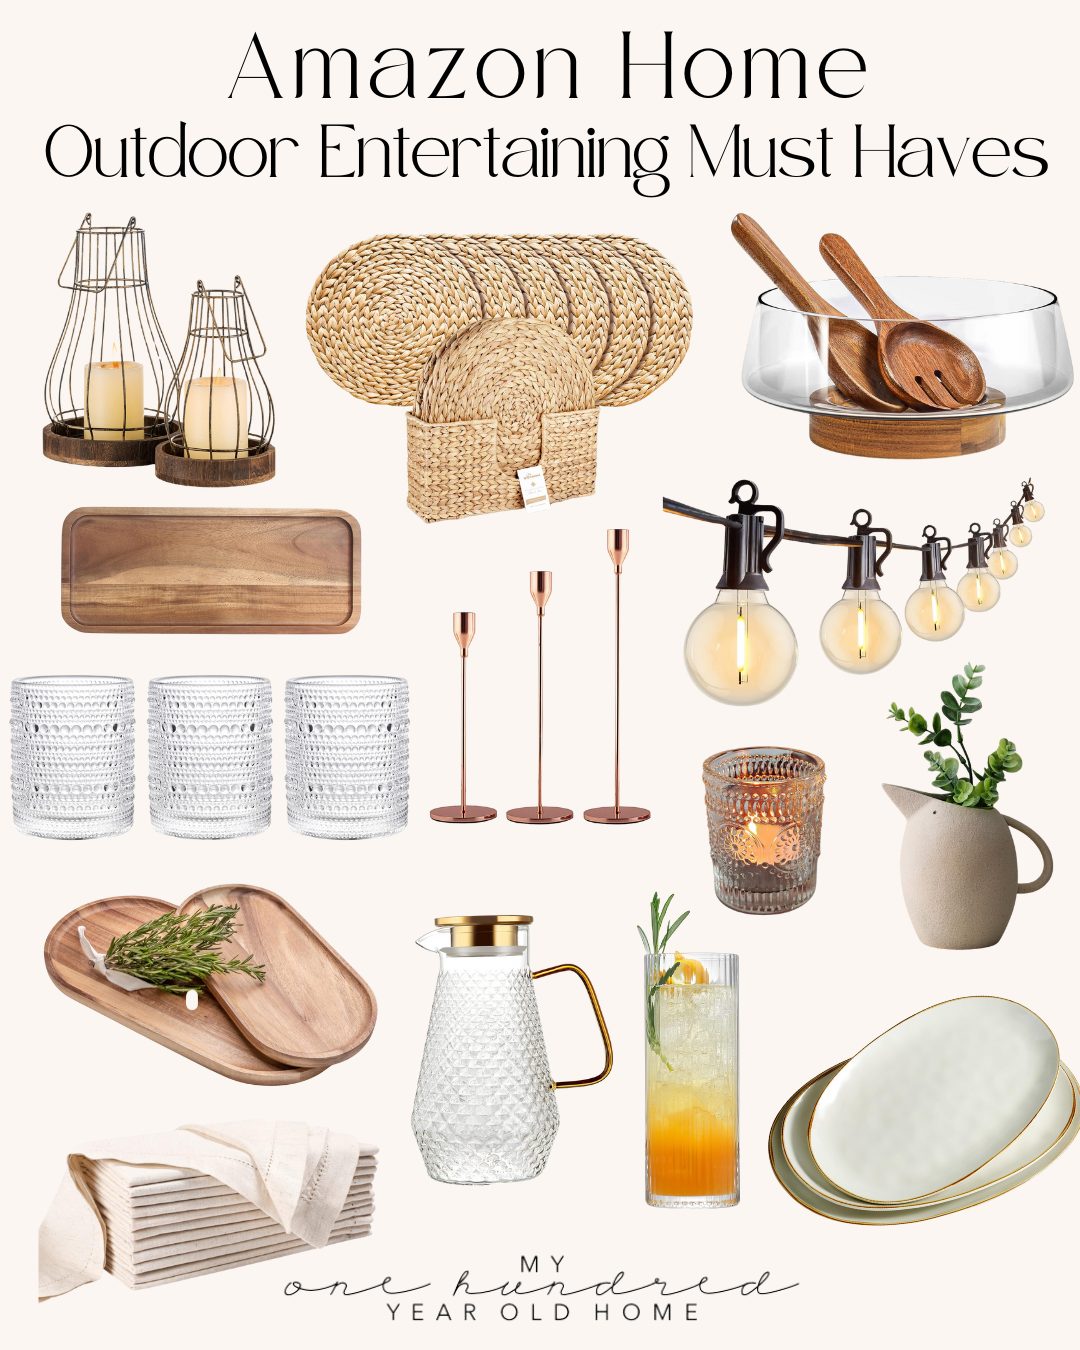
Everything You Need to Entertain Outside This Summer!
Here are sixteen more DIY Crafts!
Click on any of the links for all of the details.
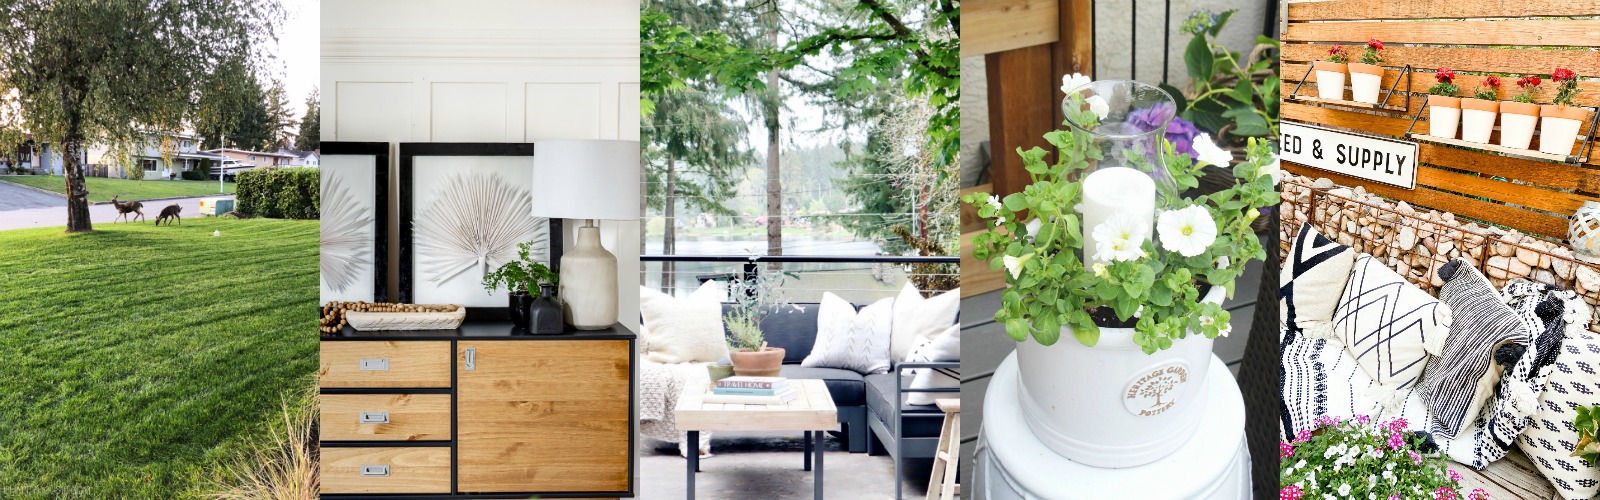
How to Seed a New Lawn from Scratch at The Happy Housie
DIY Palm Leaf Shadow Art Box (PB Knockoff) at Craftberry Bush
How to Make an Outdoor Pallet Tabletop at My Sweet Savannah
Clean & Scentsible DIY Outdoor Planter with Candle
DIY Hanging Patio Garden at Tatertots and Jello
DIY Outdoor Candle Holders at The Handmade Home
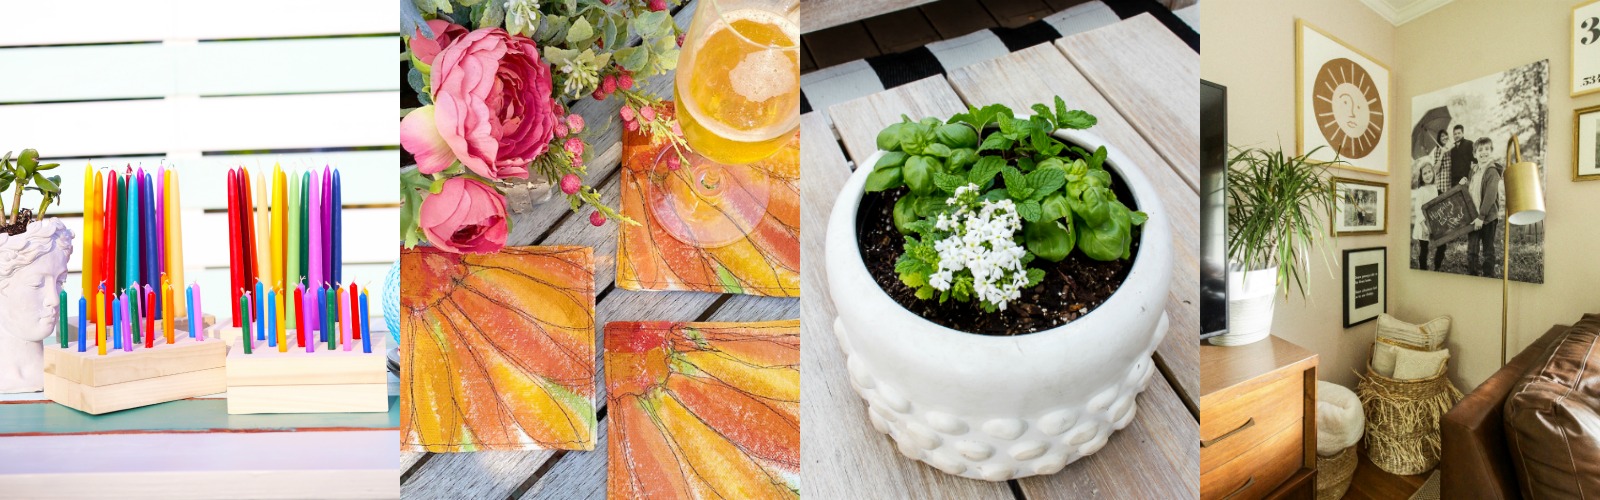
My 100 Year Old Home DIY Painted Coasters
Outdoor Tabletop Herb Garden at Inspiration for Moms
DIY Modern Sun Art at Cassie Bustamante
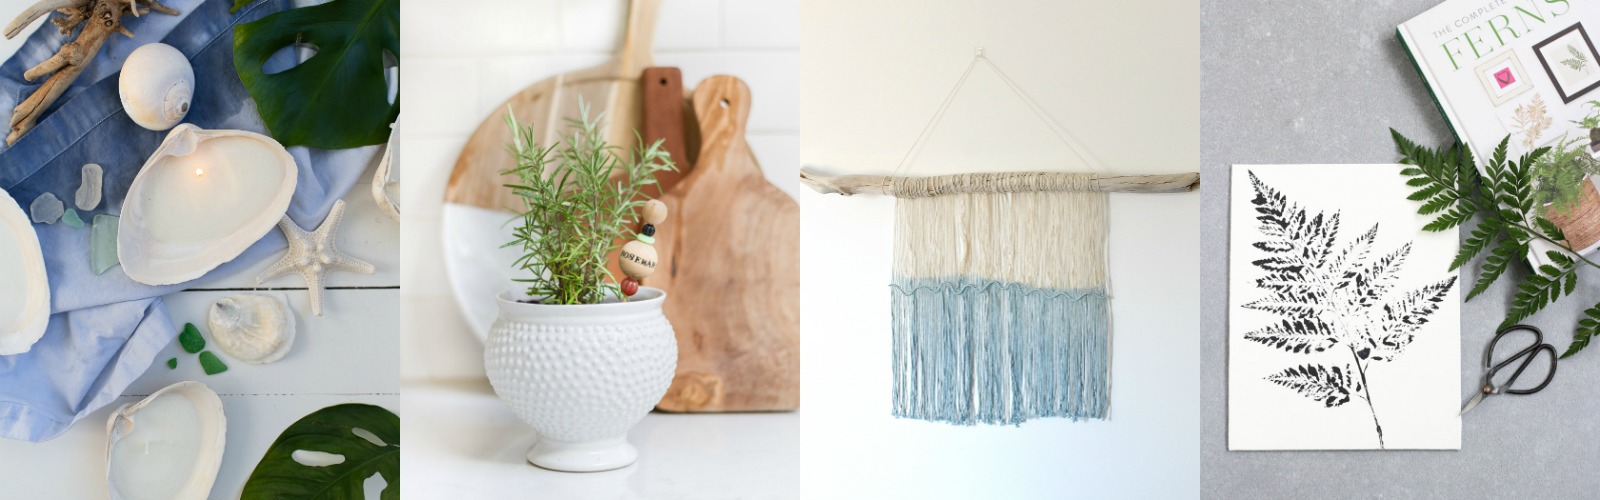
Finding Silver Pennies DIY Shell Candles
DIY Beaded Garden Markers at Zevy Joy
Easy DIY Macrame and Driftwood Wall Hanging at Dans Le Lake House
DIY Printed Fern Art at Satori Design for Living
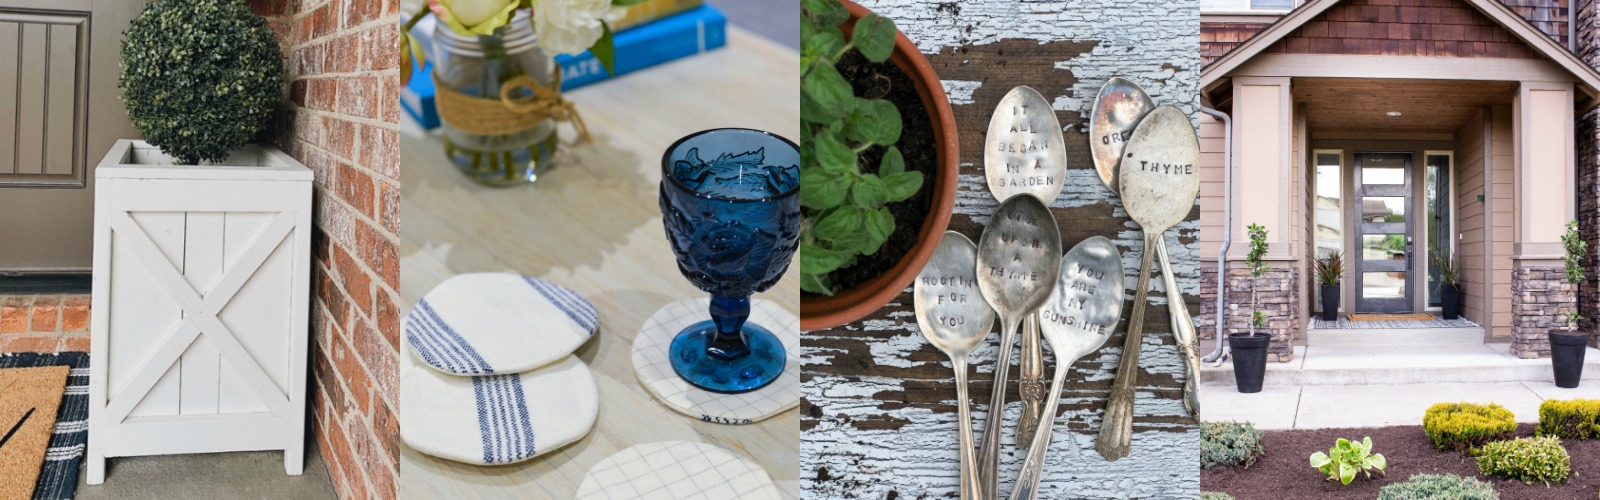
DIY Criss Cross Outdoor Planters at She Gave it a Go
Coastal Coaster DIY at Rambling Renovators
Stamped Spoon Garden Markers at Life is a Party
Summer Porch Updates at Taryn Whiteaker Designs
You can pin the images below to your Craft or Decor boards on Pinterest (just click the Pin button in the top left corner) or follow me on Pinterest!

For more real-time updates, follow me on Instagram @My100YearOldHome


these are SO adorable and i love the retro 70s vibe I get from them!
Thank you Cassie!
I love the coasters. I can’t wait to make a set.
Thank you! That will be so great!
I don’t have a sewing machine. I assume I can hand sew these.
Absolutely! 🙌🏻
I don’t sew! No matter how simple the sewing might be, it’s just not my forte! Sure wish you sold these. I’d love to buy some! They are absolutely gorgeous.
Aw, thank you Penny!
These are gorgeous!! Thanks so much for sharing, can’t wait to try them!
Thank you so much, I can’t wait for you to try them as well!
Such a cute project Leslie! I pinned it to my outdoor projects board. So fun!
xoxo
Awesome! Glad to hear you enjoyed 🙂
OH MY GOSH!!! I looooooove this project!!! And your pillow . . . just amazing!!!!! This gets the creative juices inside my head flowing again! You’re a very talented woman!!!! And your home . . .goodness, it’s just beyond words. Thank you for sharing some inspiration today! I’m feeling a little weary these days!
I am so sorry, friend. We all have those days for sure. I hope you are feeling better today, so glad you enjoyed this post.
These are SO pretty, Leslie! I love the colourful flowers and what a brilliant idea!
Thank you so much, Krista! I love adding in colors like this, so fun!
Is this done on a normal sewing machine? Is that a special foot that you use on your machine?
These look so nice & so simple! You are so inspiring! Just got a new sewing machine and
can’t wait to make these! Thanks for sharing your amazing talents with us!!!
do you spray the paint after you have painted the design, like with krylon????
do you spray paint the paint with krylon or a cover coating?
These are beautiful and so summery! LOVE the colors which are so cheerful!
Thank you so much, Danielle.
So adorable! I was just thinking these would be wonderful for Christmas as well with a fir tree painted on them! Since you are an artist, would you ever consider showing us how to paint this kind of design? I love to sew but the art part scares me. I have a hard time with stick people!
Yes I can try to include that next time!
Leslie, Thank you for your Brilliant ideas. I have been painting dish towels and pillow cases. not only have you given me a creative outlet I have made a little side gig out of selling them. It is a perfect way for me to ease into retirement.
Thank you again,
Cheers
Donna Dozier
Oh that is so wonderful. That makes me so happy to hear. Thanks Donna!
Absolutely lovely! A great start to make before the pillows. Love your creativity and inspiration!
Thank you so very much Leslie! That makes me so happy to read ☺️❤️