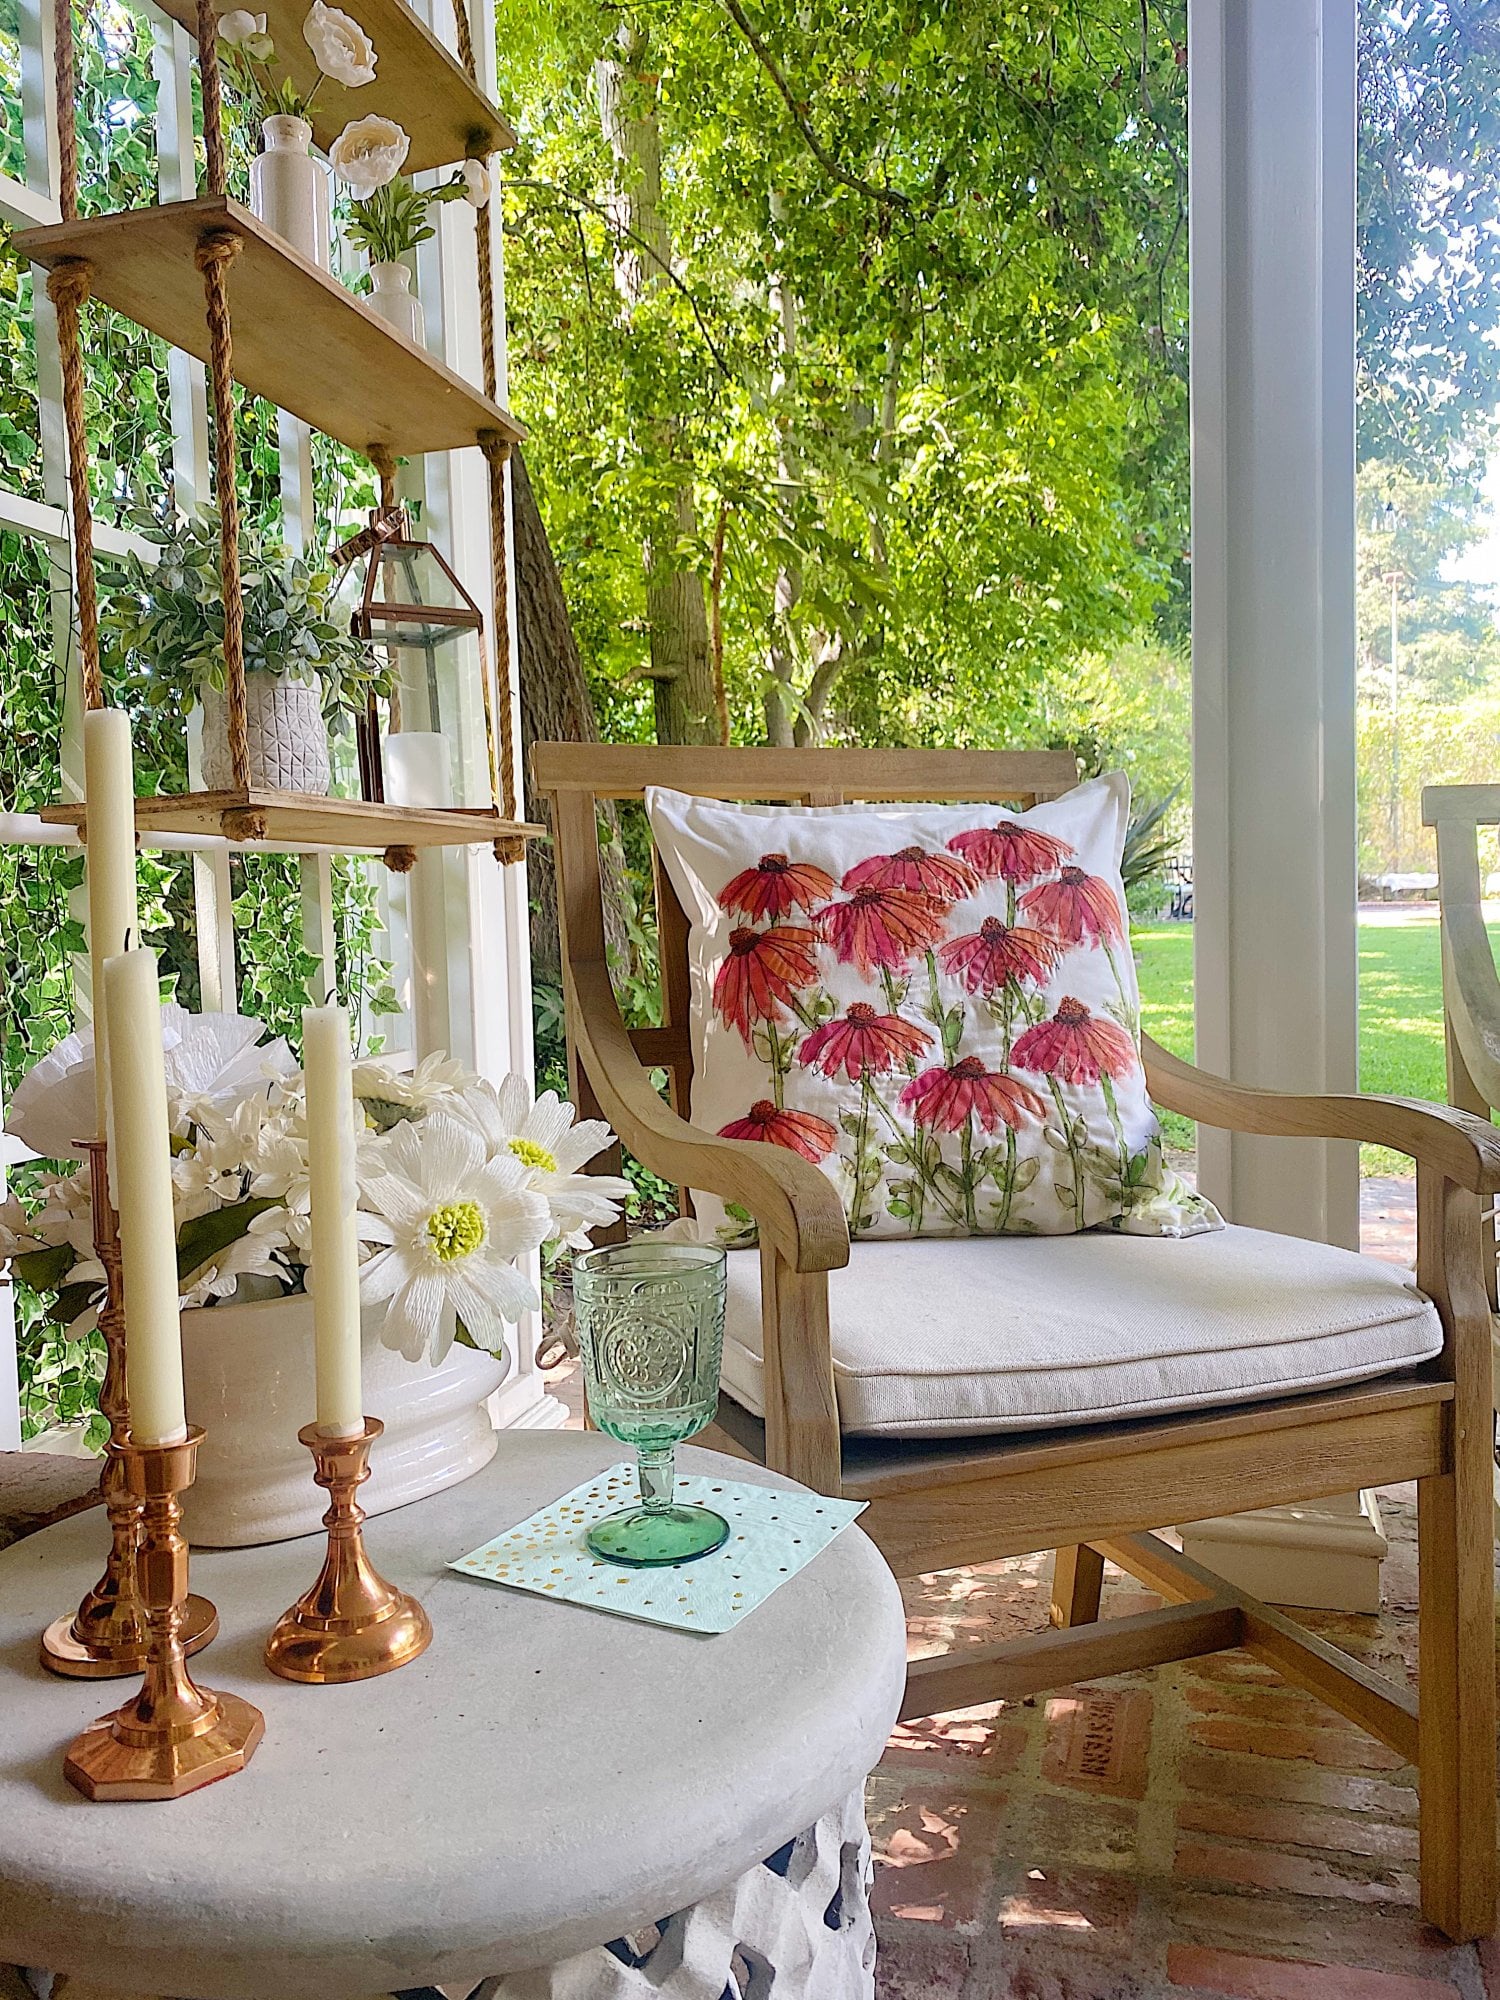
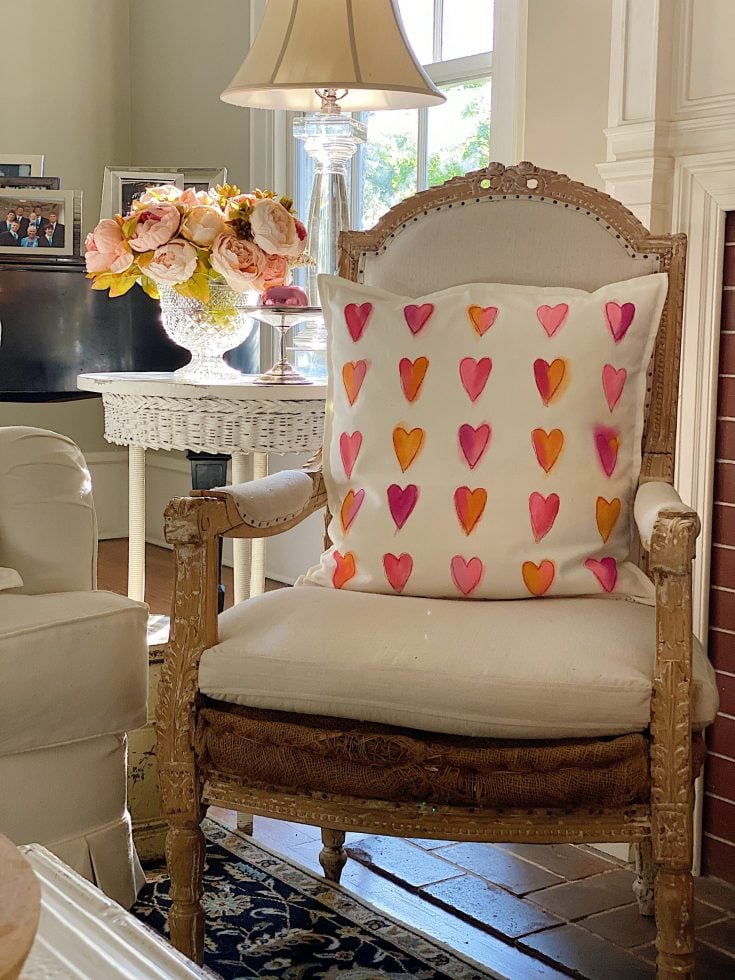
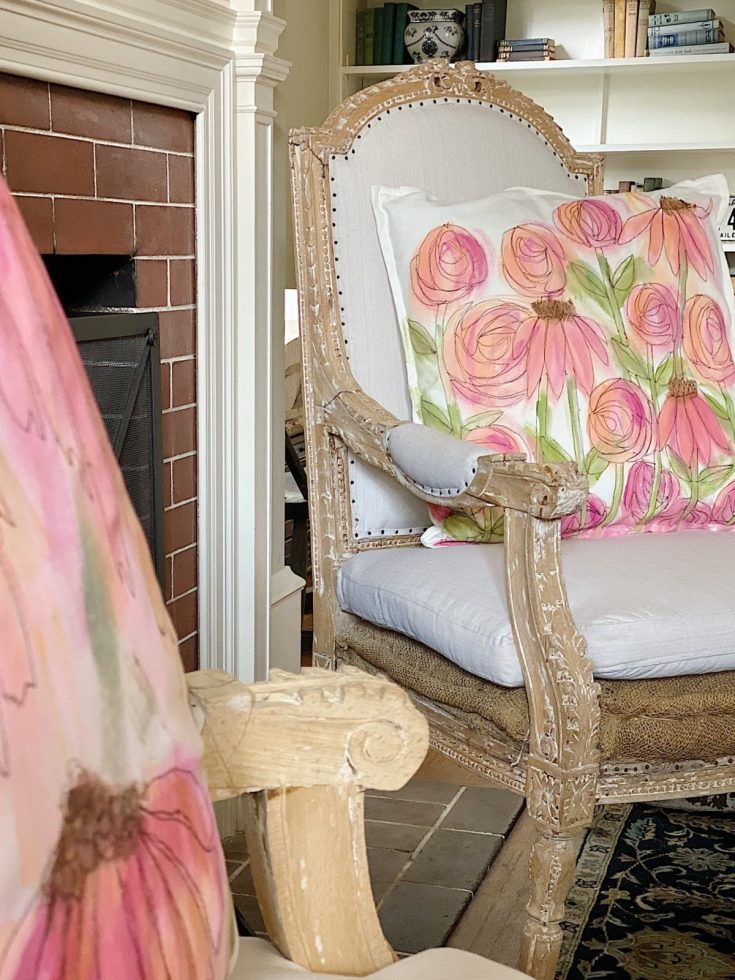
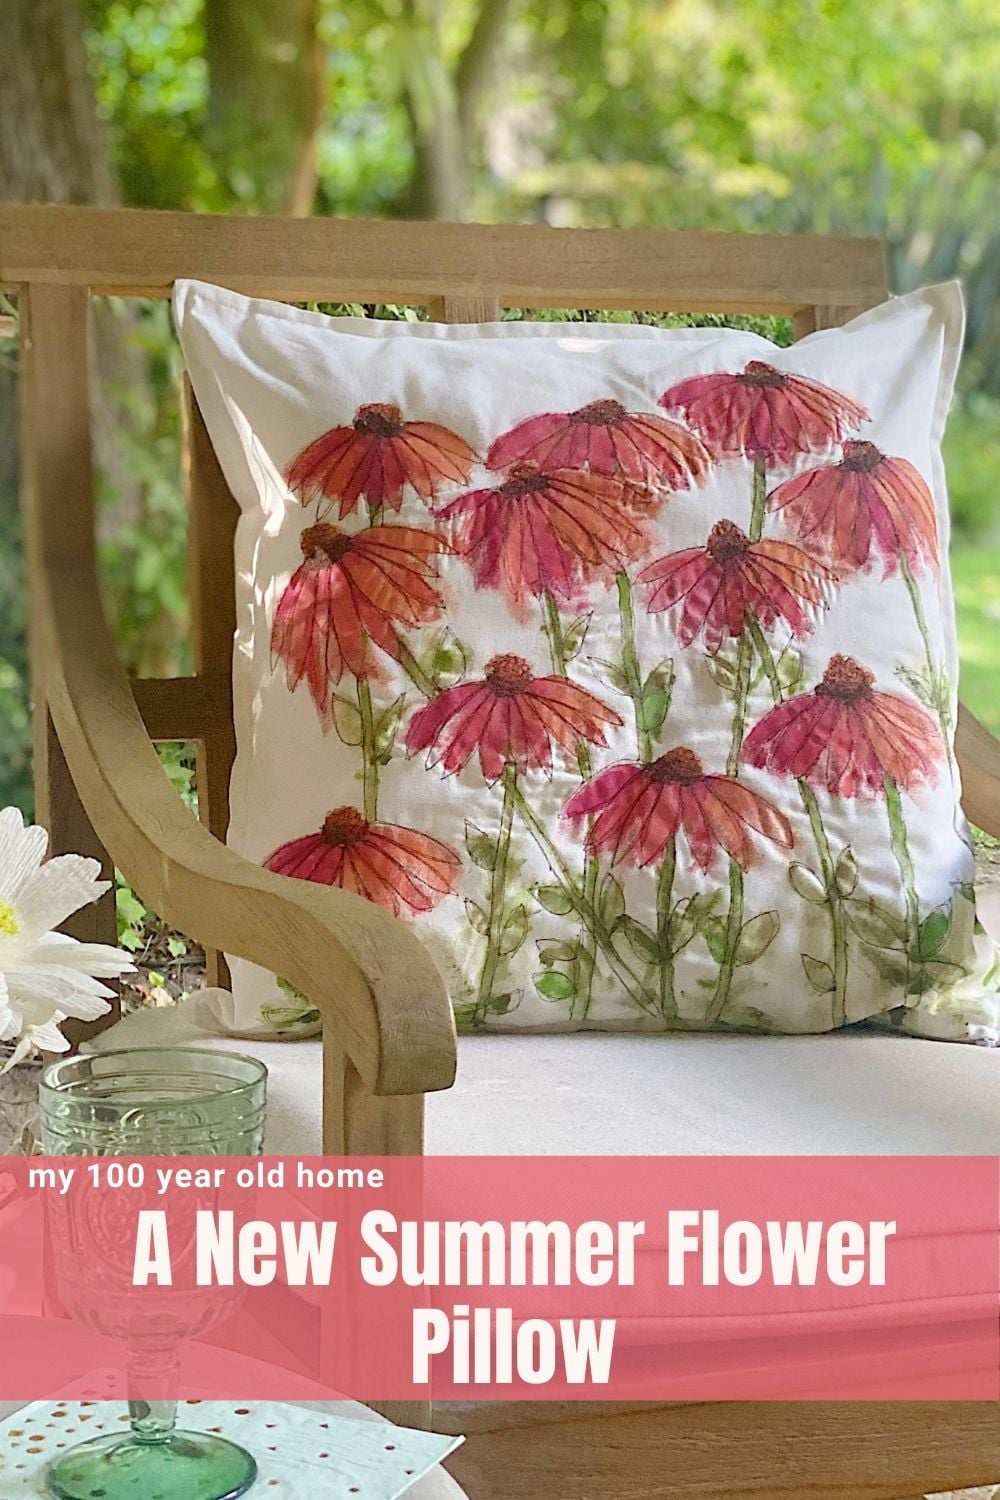
A New Summer Flower Pillow
I made a new summer flower pillow this week. Today I am sharing how to make a pillow cover with paint and free motion stitched embroidery.
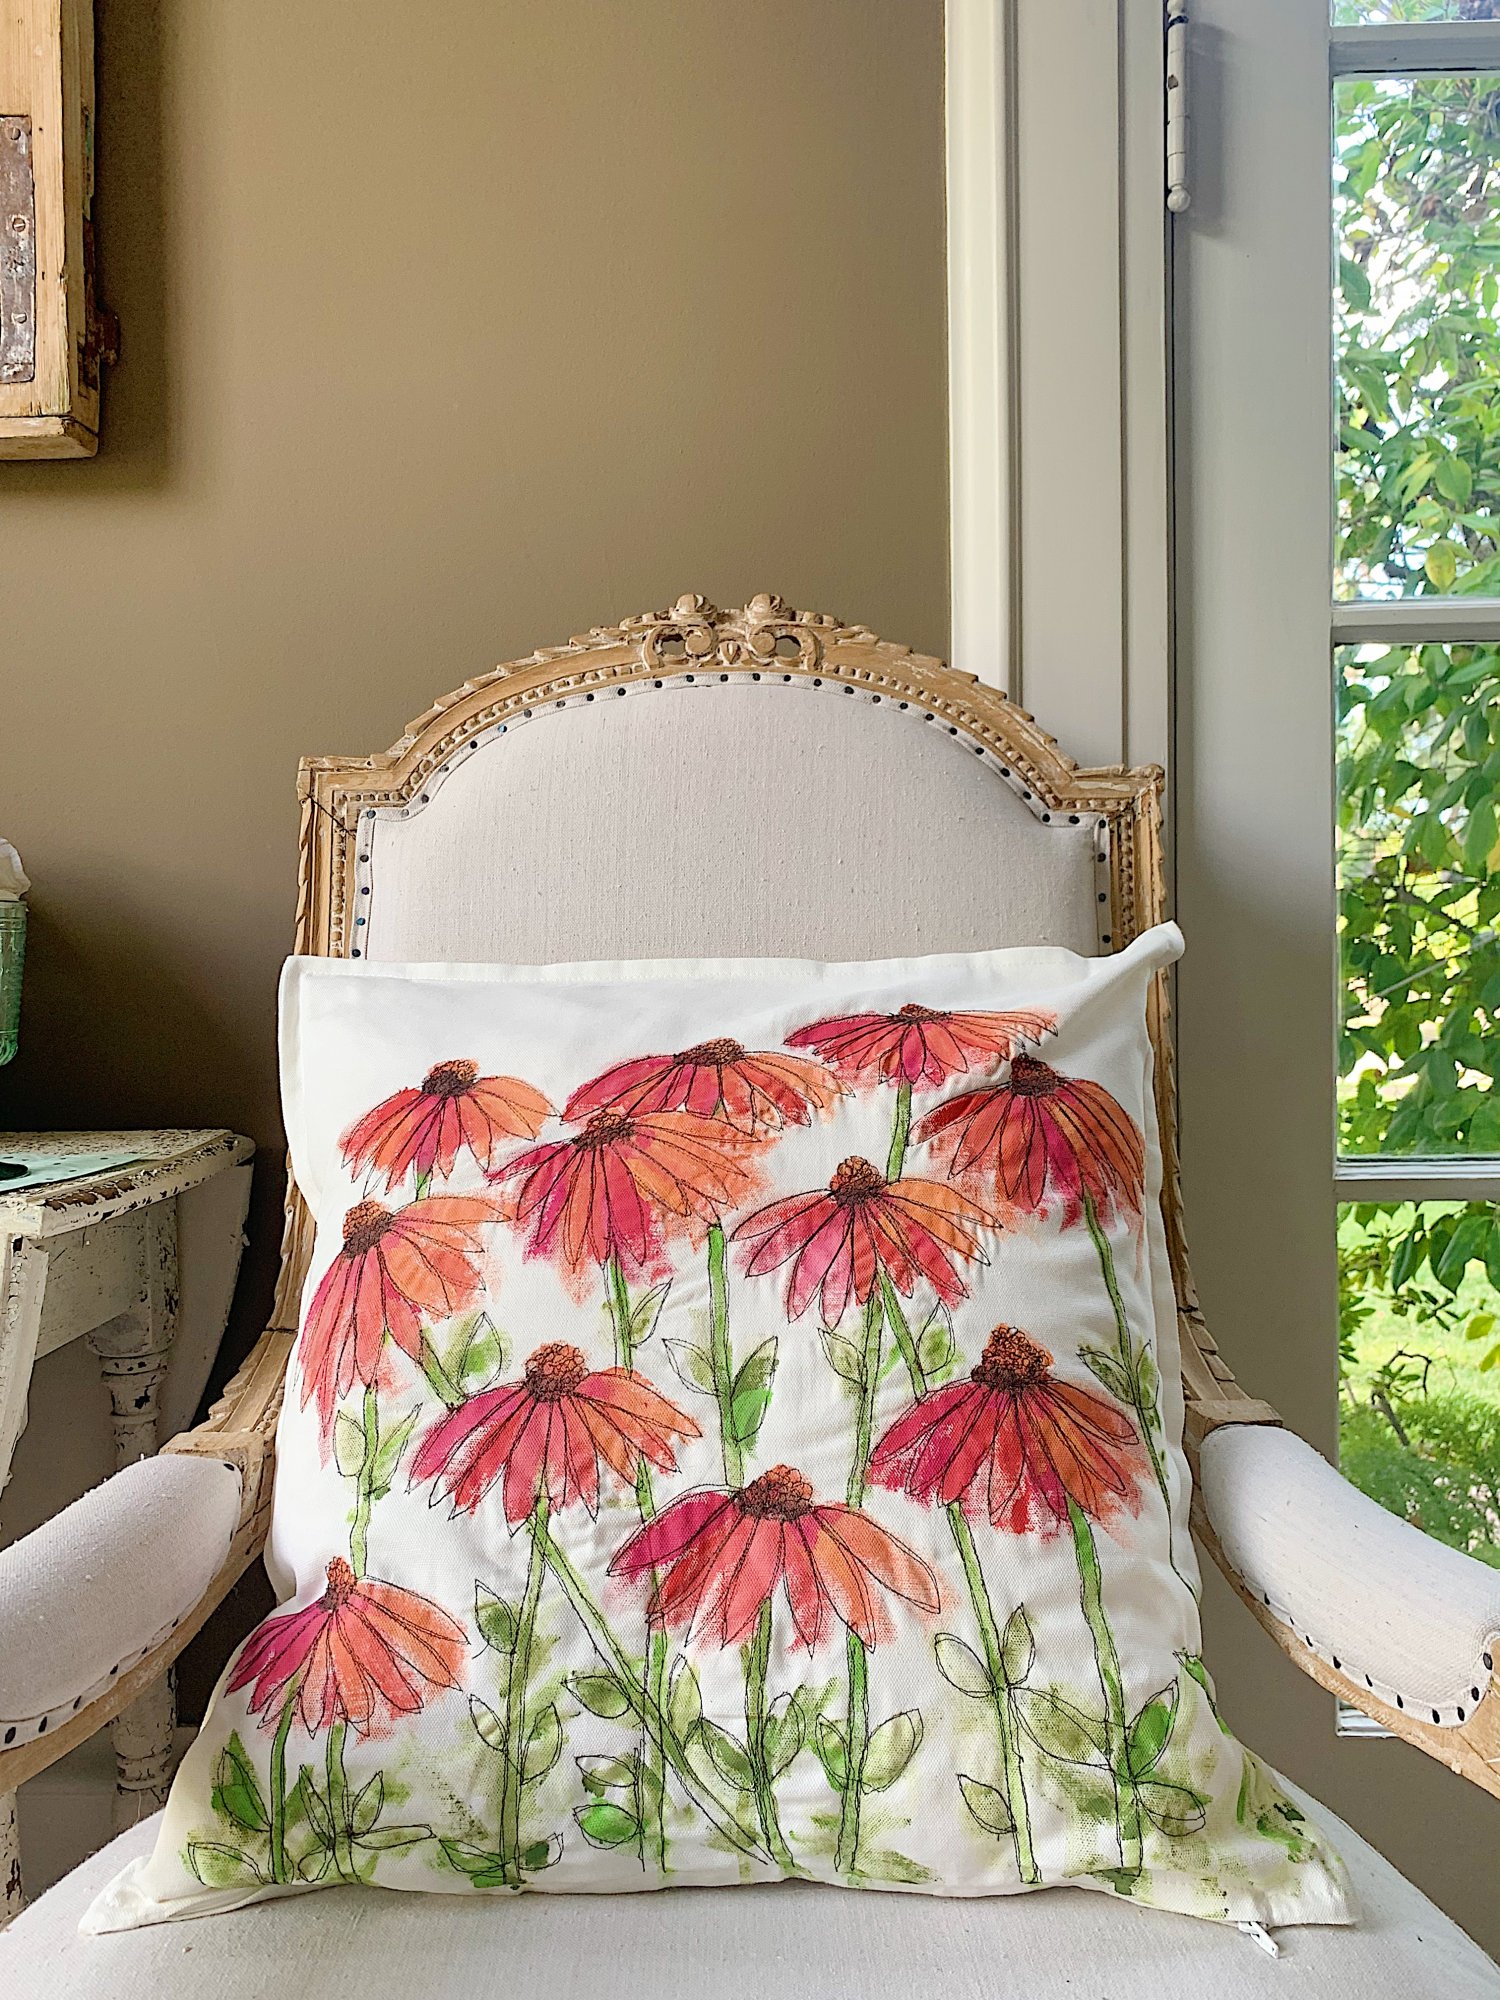
My new summer flower pillow was painted with acrylic paint and then I added the design detail with free-motion stitched embroidery. it’s not a hard craft and I am excited to share it with you.
How to Make a Summer Flower Pillow
What is free motion embroidery?
Free motion machine embroidery is a type of sewing that you do on a regular sewing machine but you can move the material in any direction while sewing it on your machine. Normally when you sew, the machine automatically moves the fabric forward. When you sew free motion embroidery, you get to move the fabric so you determine exactly where you want to sew. You can move sideways, forward, backward, and create any shape you want. All you need is a quilting foot.
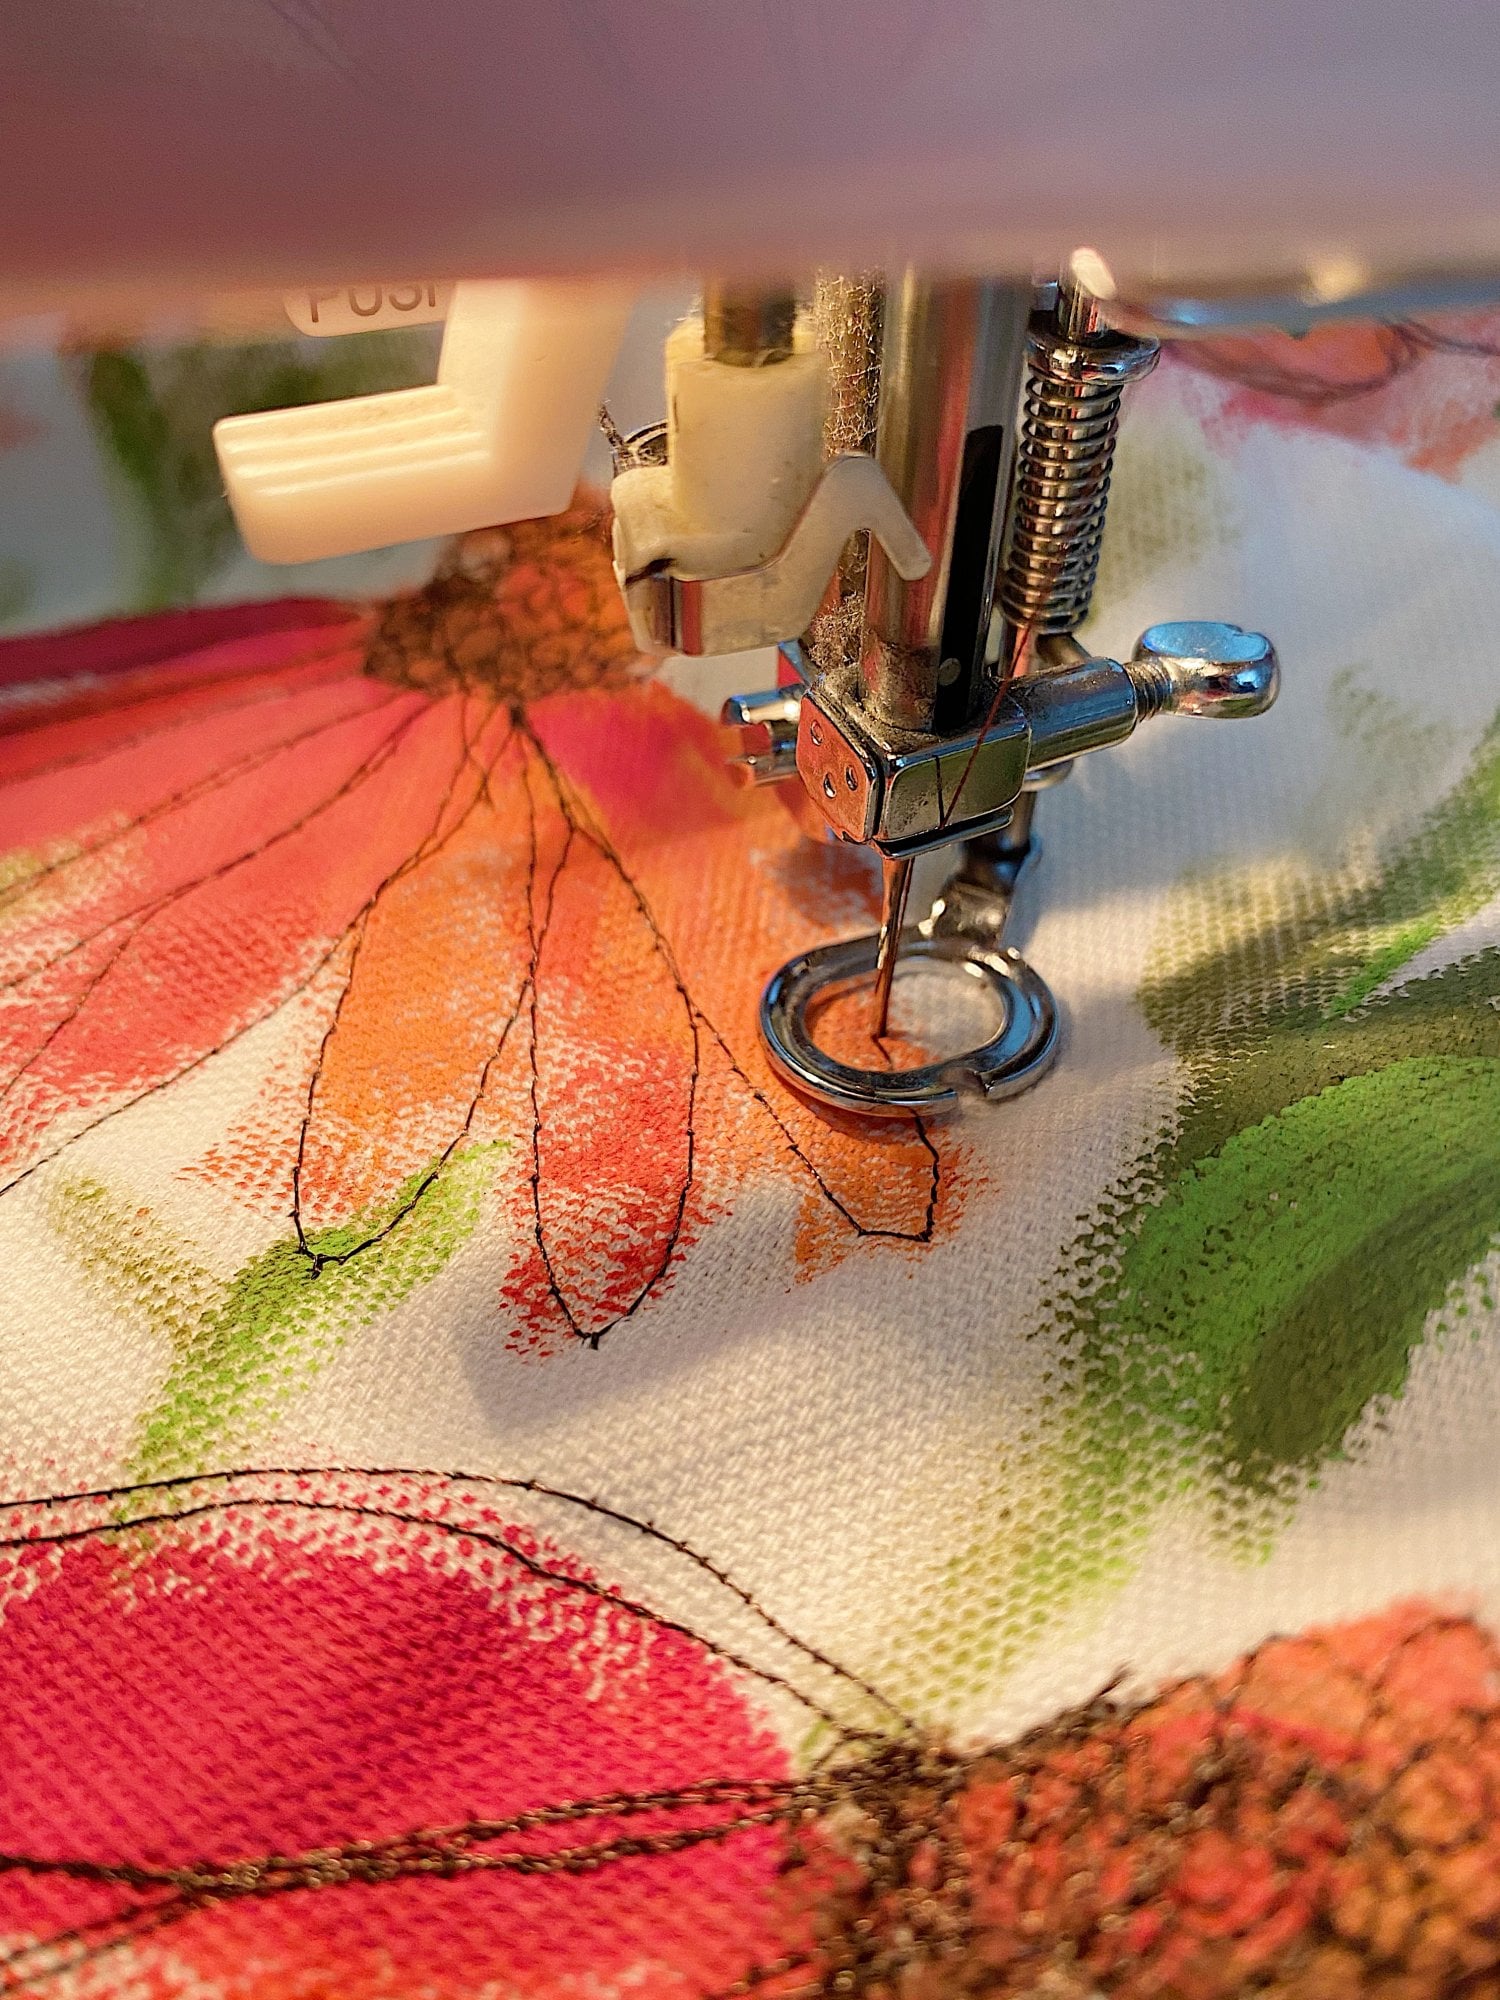
The free-motion quilting foot, sometimes called a darning foot, is designed so that the sewing machine needle passes through a small ring on the foot. Instead of hopping, these feet float over the fabric without providing pressure. The Foot releases the fabric when the needle is in the up position, allowing you to move the fabric freely.
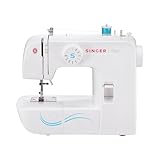
This is the free motion foot for your machine. This foot may vary based on your type of machine but I linked a universal one that should fit!
I read a lot about lowering the “feed dogs” on your machine when stitching free-motion embroidery. Feed dogs are the little teeth on your sewing machine that feed your fabric evenly through the machine. These teeth are extremely important because they help us produce perfectly spaced, even stitches whenever we sew garments, piece quilts, or applique shapes on our machine. Most people recommend that you lower the feed dogs for free-motion embroidery.
For this flower pillow, I lowered the feed dogs using a lever on my machine. But I did have some problems with breaking threads and tension. Next time I think I will leave the feed dogs up and use a Supreme Slider instead.
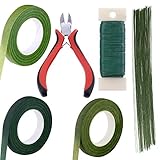
What You Need to Make a Free Motion Embroidery Pillow
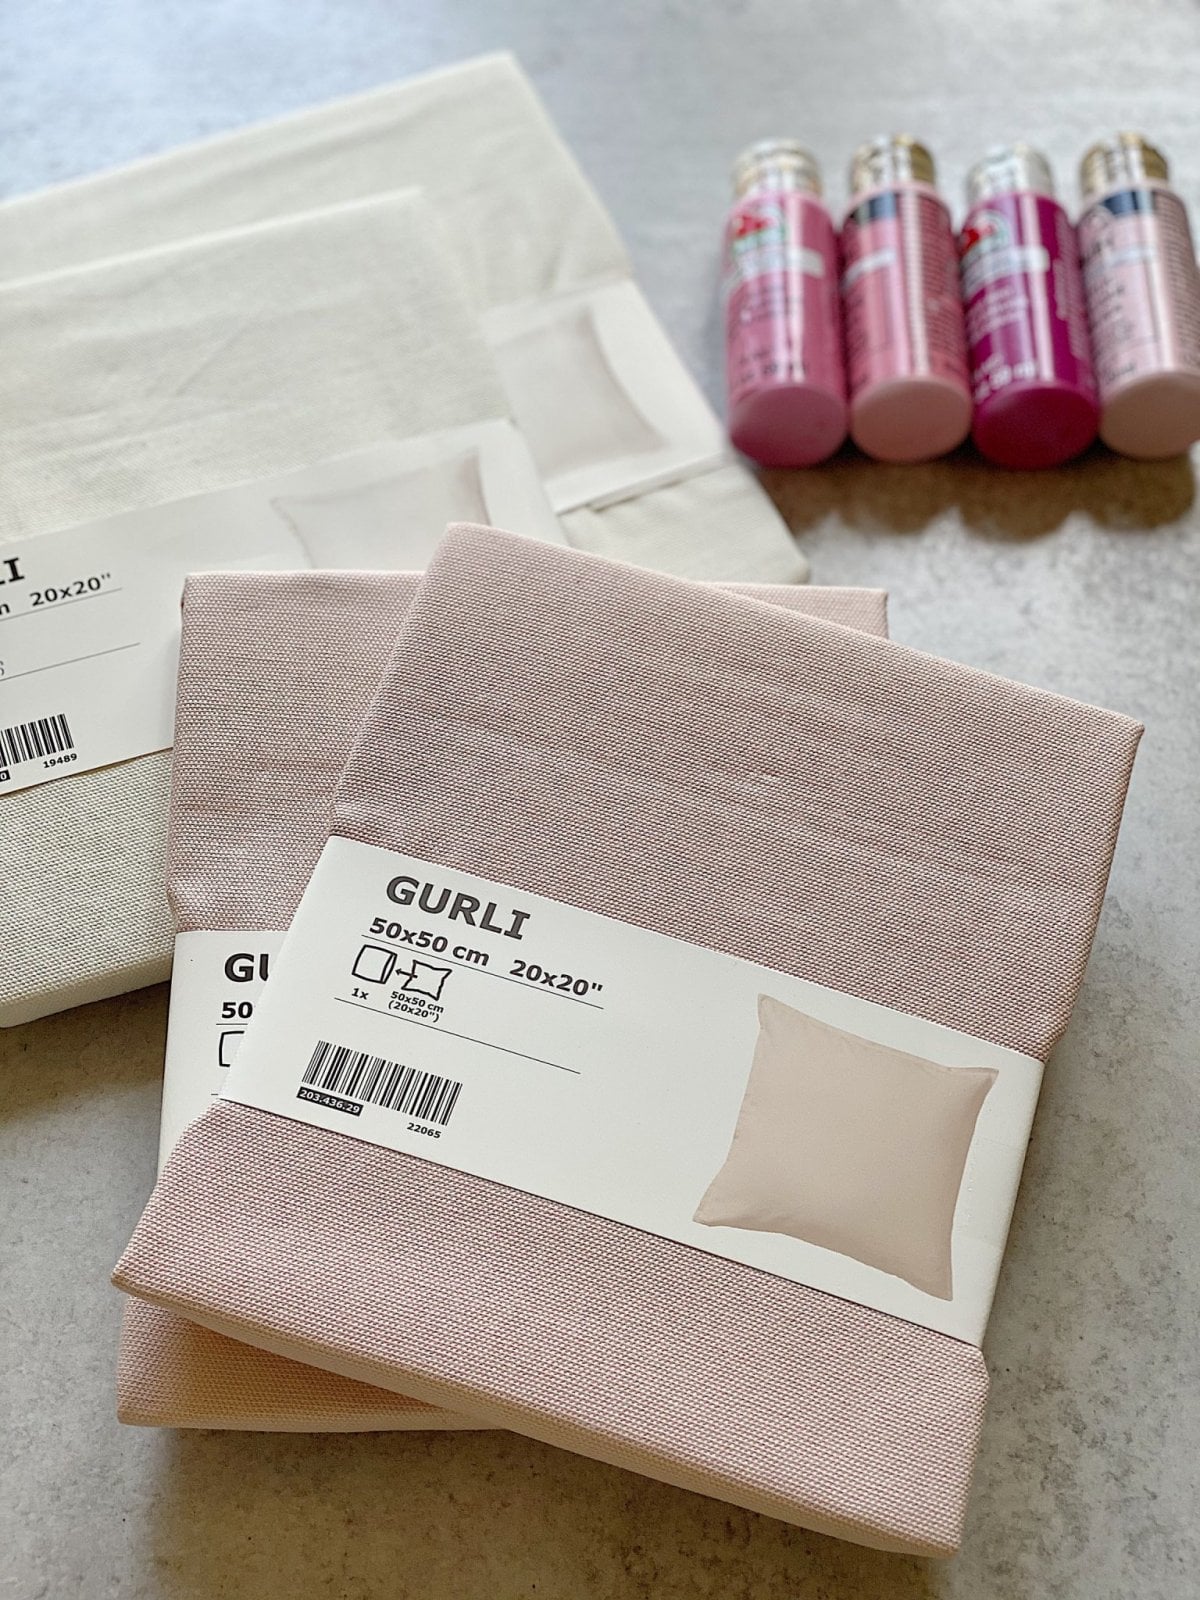
Pillow cover (I used the Gurli 20″ cover from Ikea)
Acrylic paint and brush
Dark Embroidery thread (I used brown)
Parchment paper or cardboard to fit inside the pillow while painting.
Free motion quilting foot for your machine (varies by sewing machine brand)
The process to make one of these pillows is not difficult. You just need to paint the pillow with shapes of your design and then add the detail with free motion embroidery stitching.
Free Motion Embroidery Stitching Details
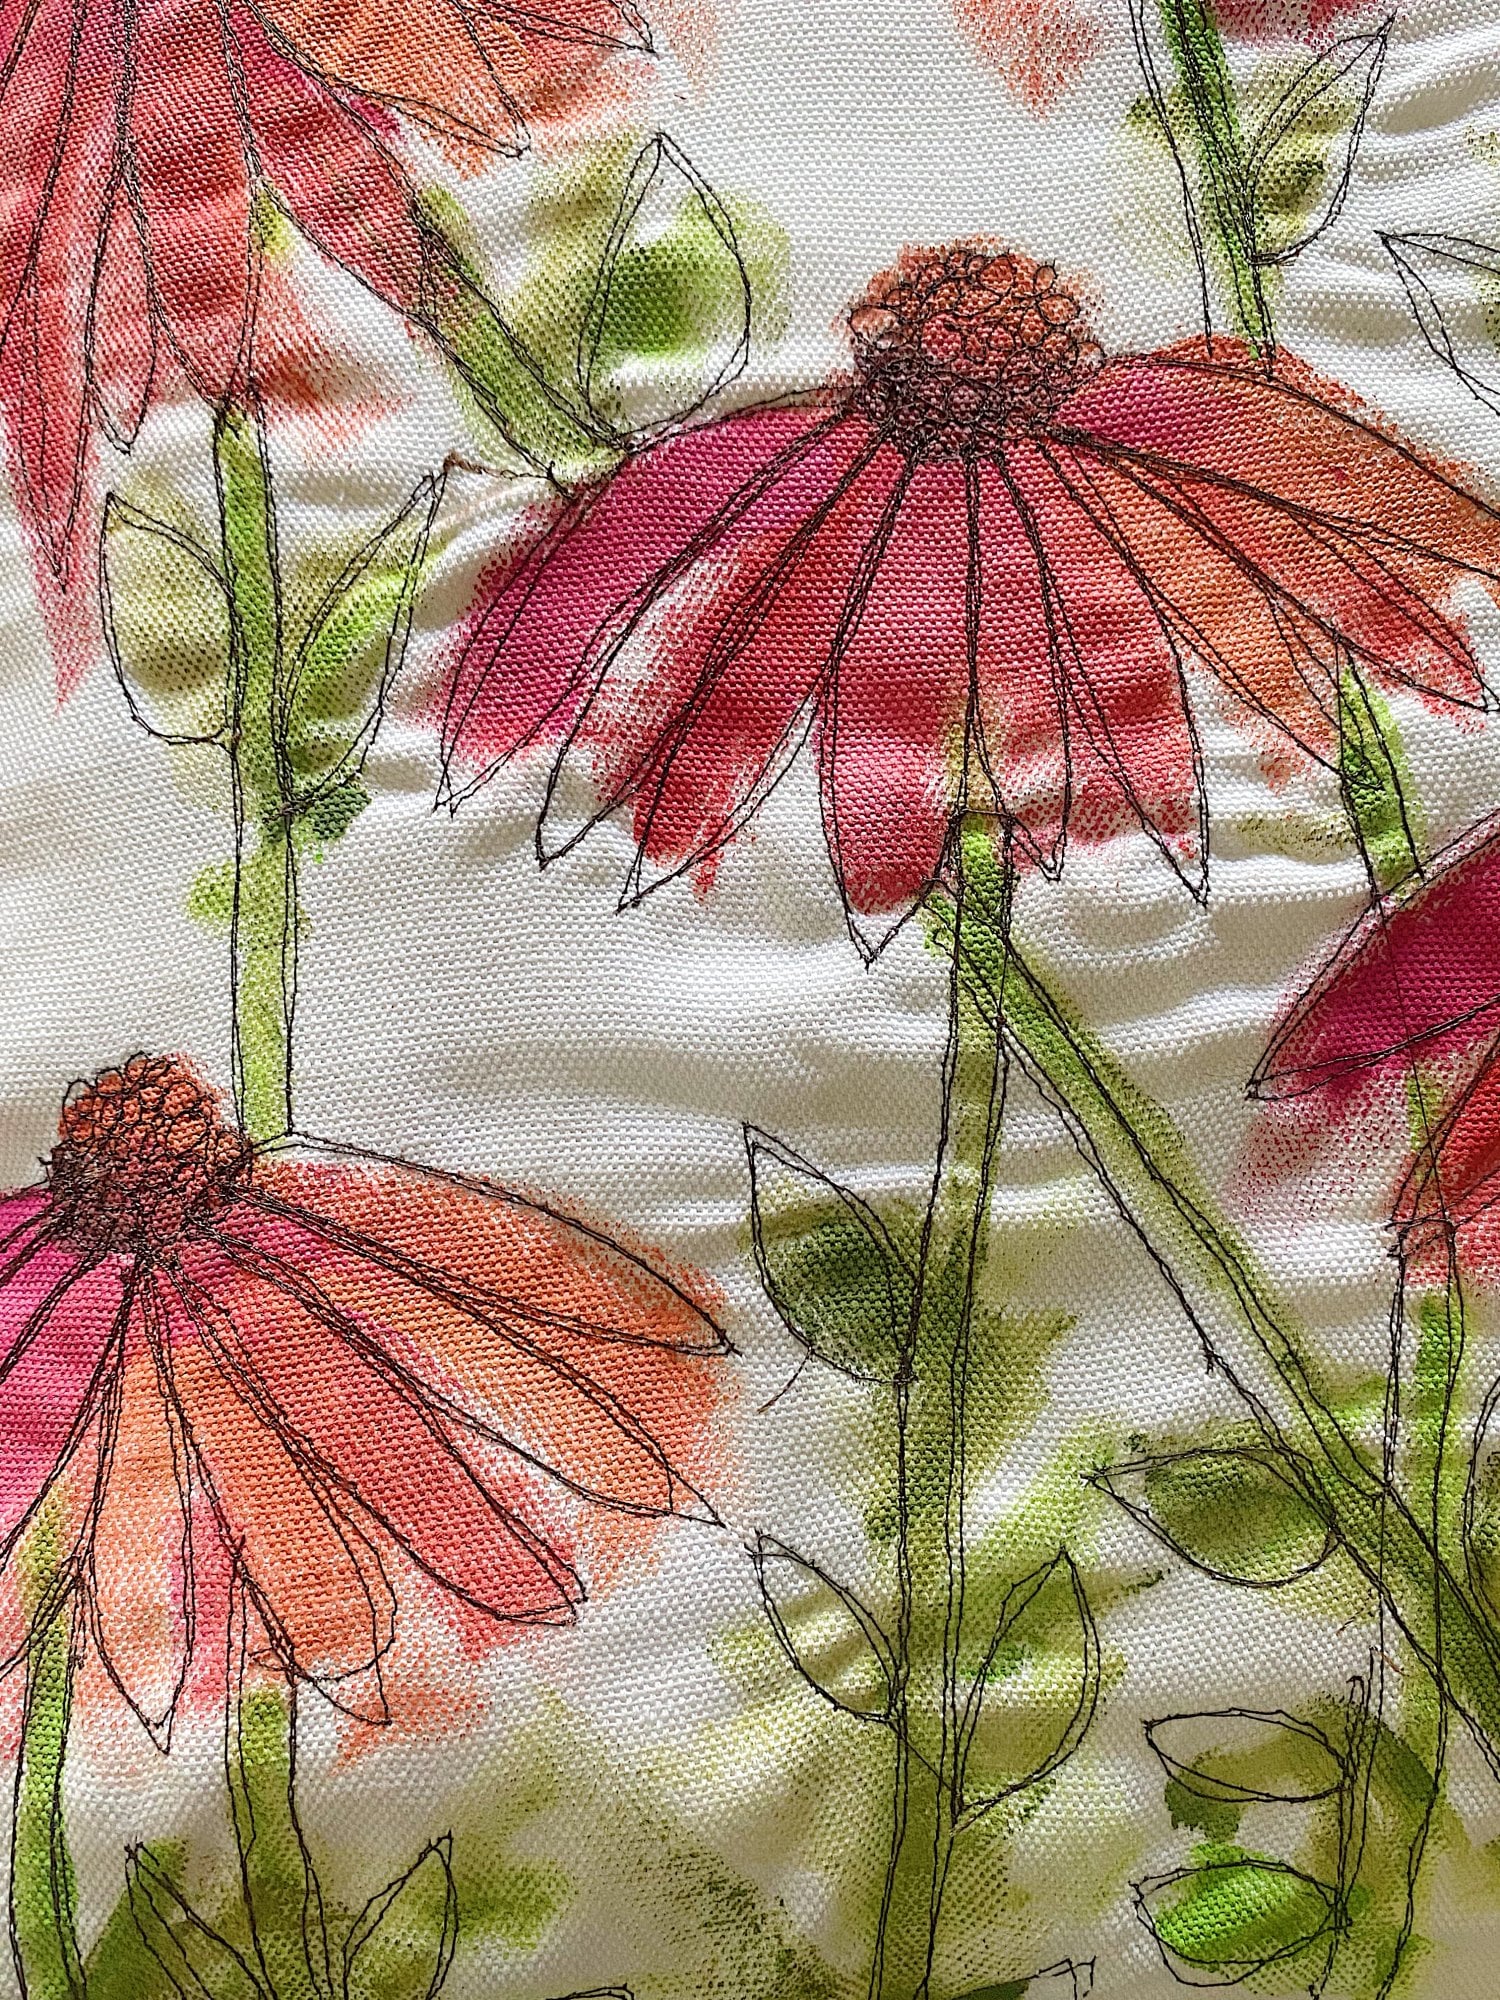
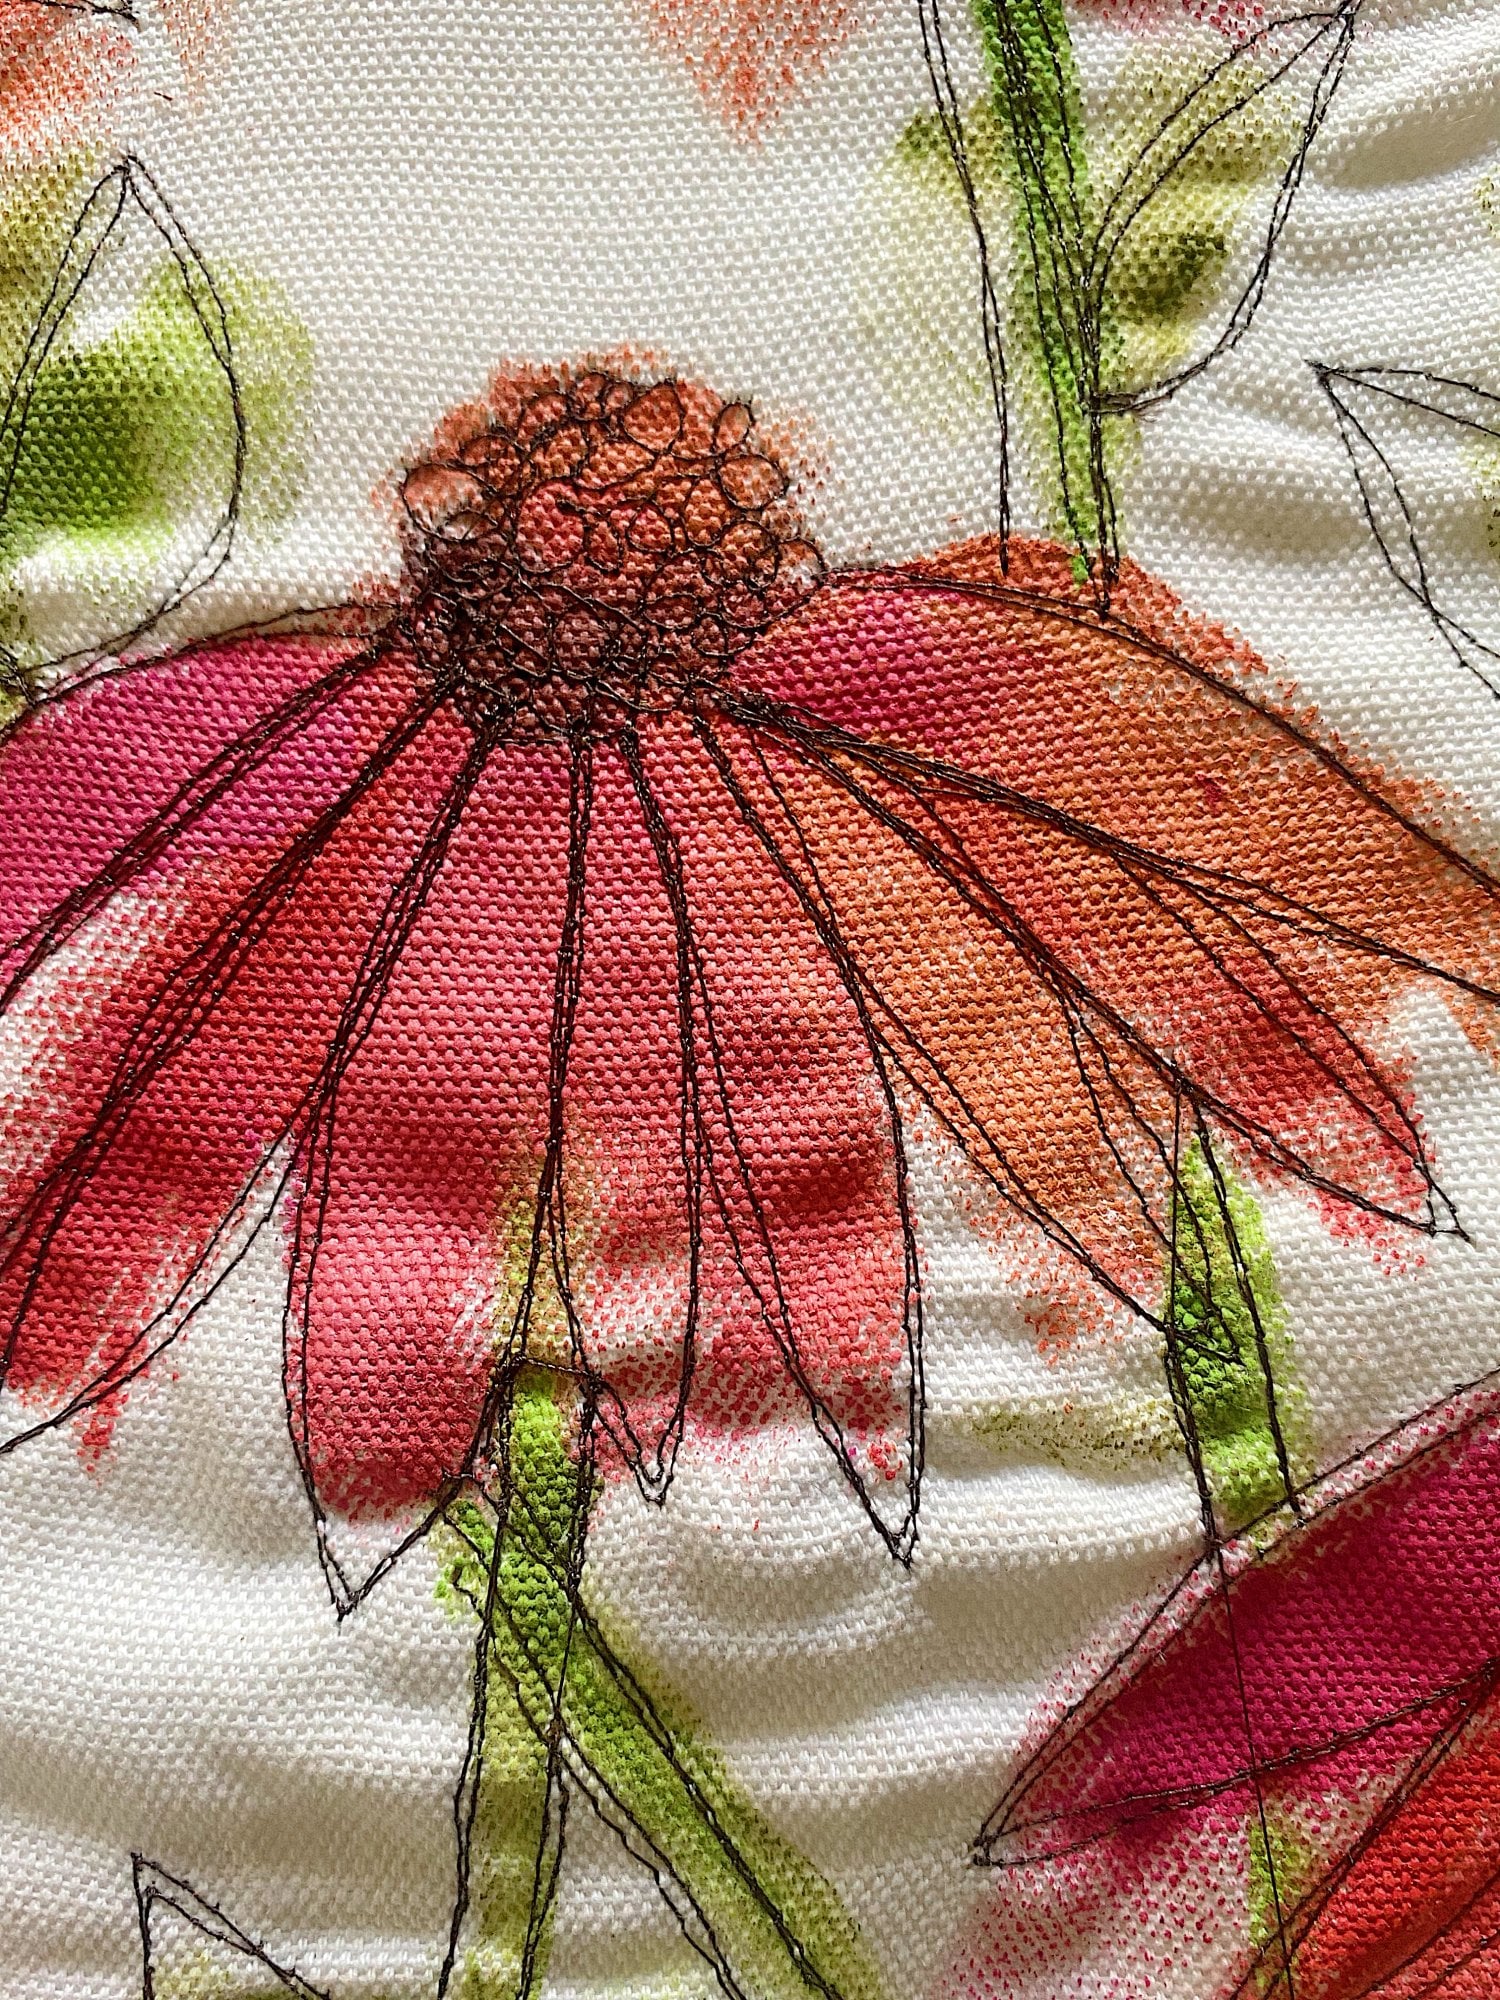
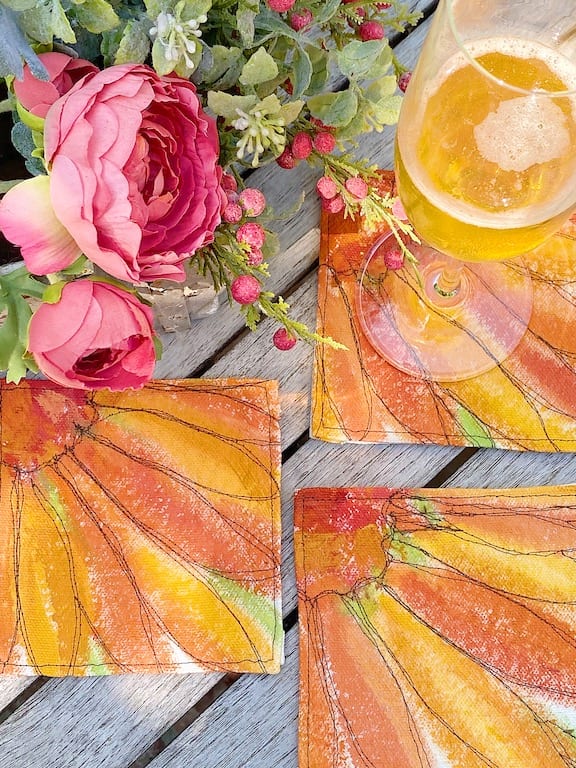
There are a lot of different ways to free motion stitch. As you can see from this photo, I added some detail on this coneflower by doing a circle stitch design on the center. I loved how it turned out.
If you are enjoying my blog, you can sign up to receive my blog updates here.
.
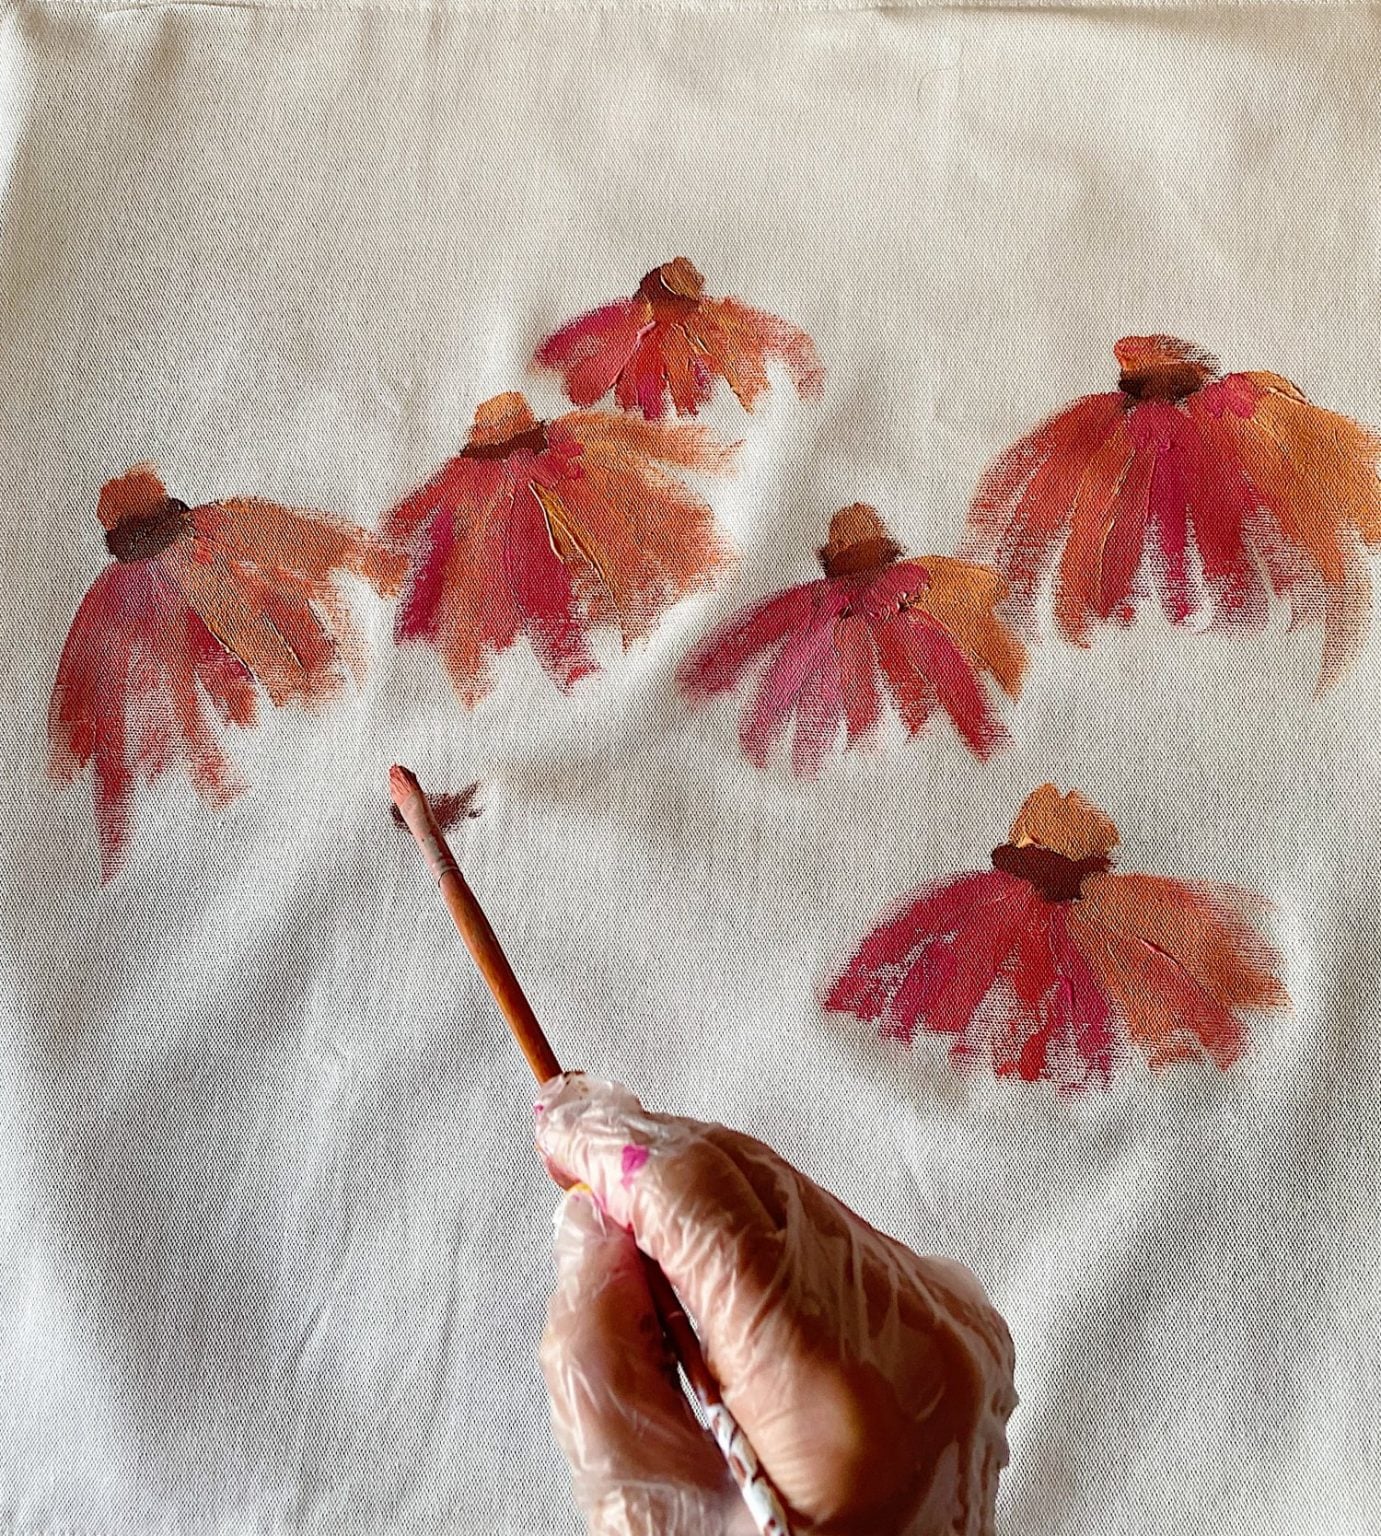
If you look at this photo you can see how I loosely painted the pillow and then added the detail with the stitching.
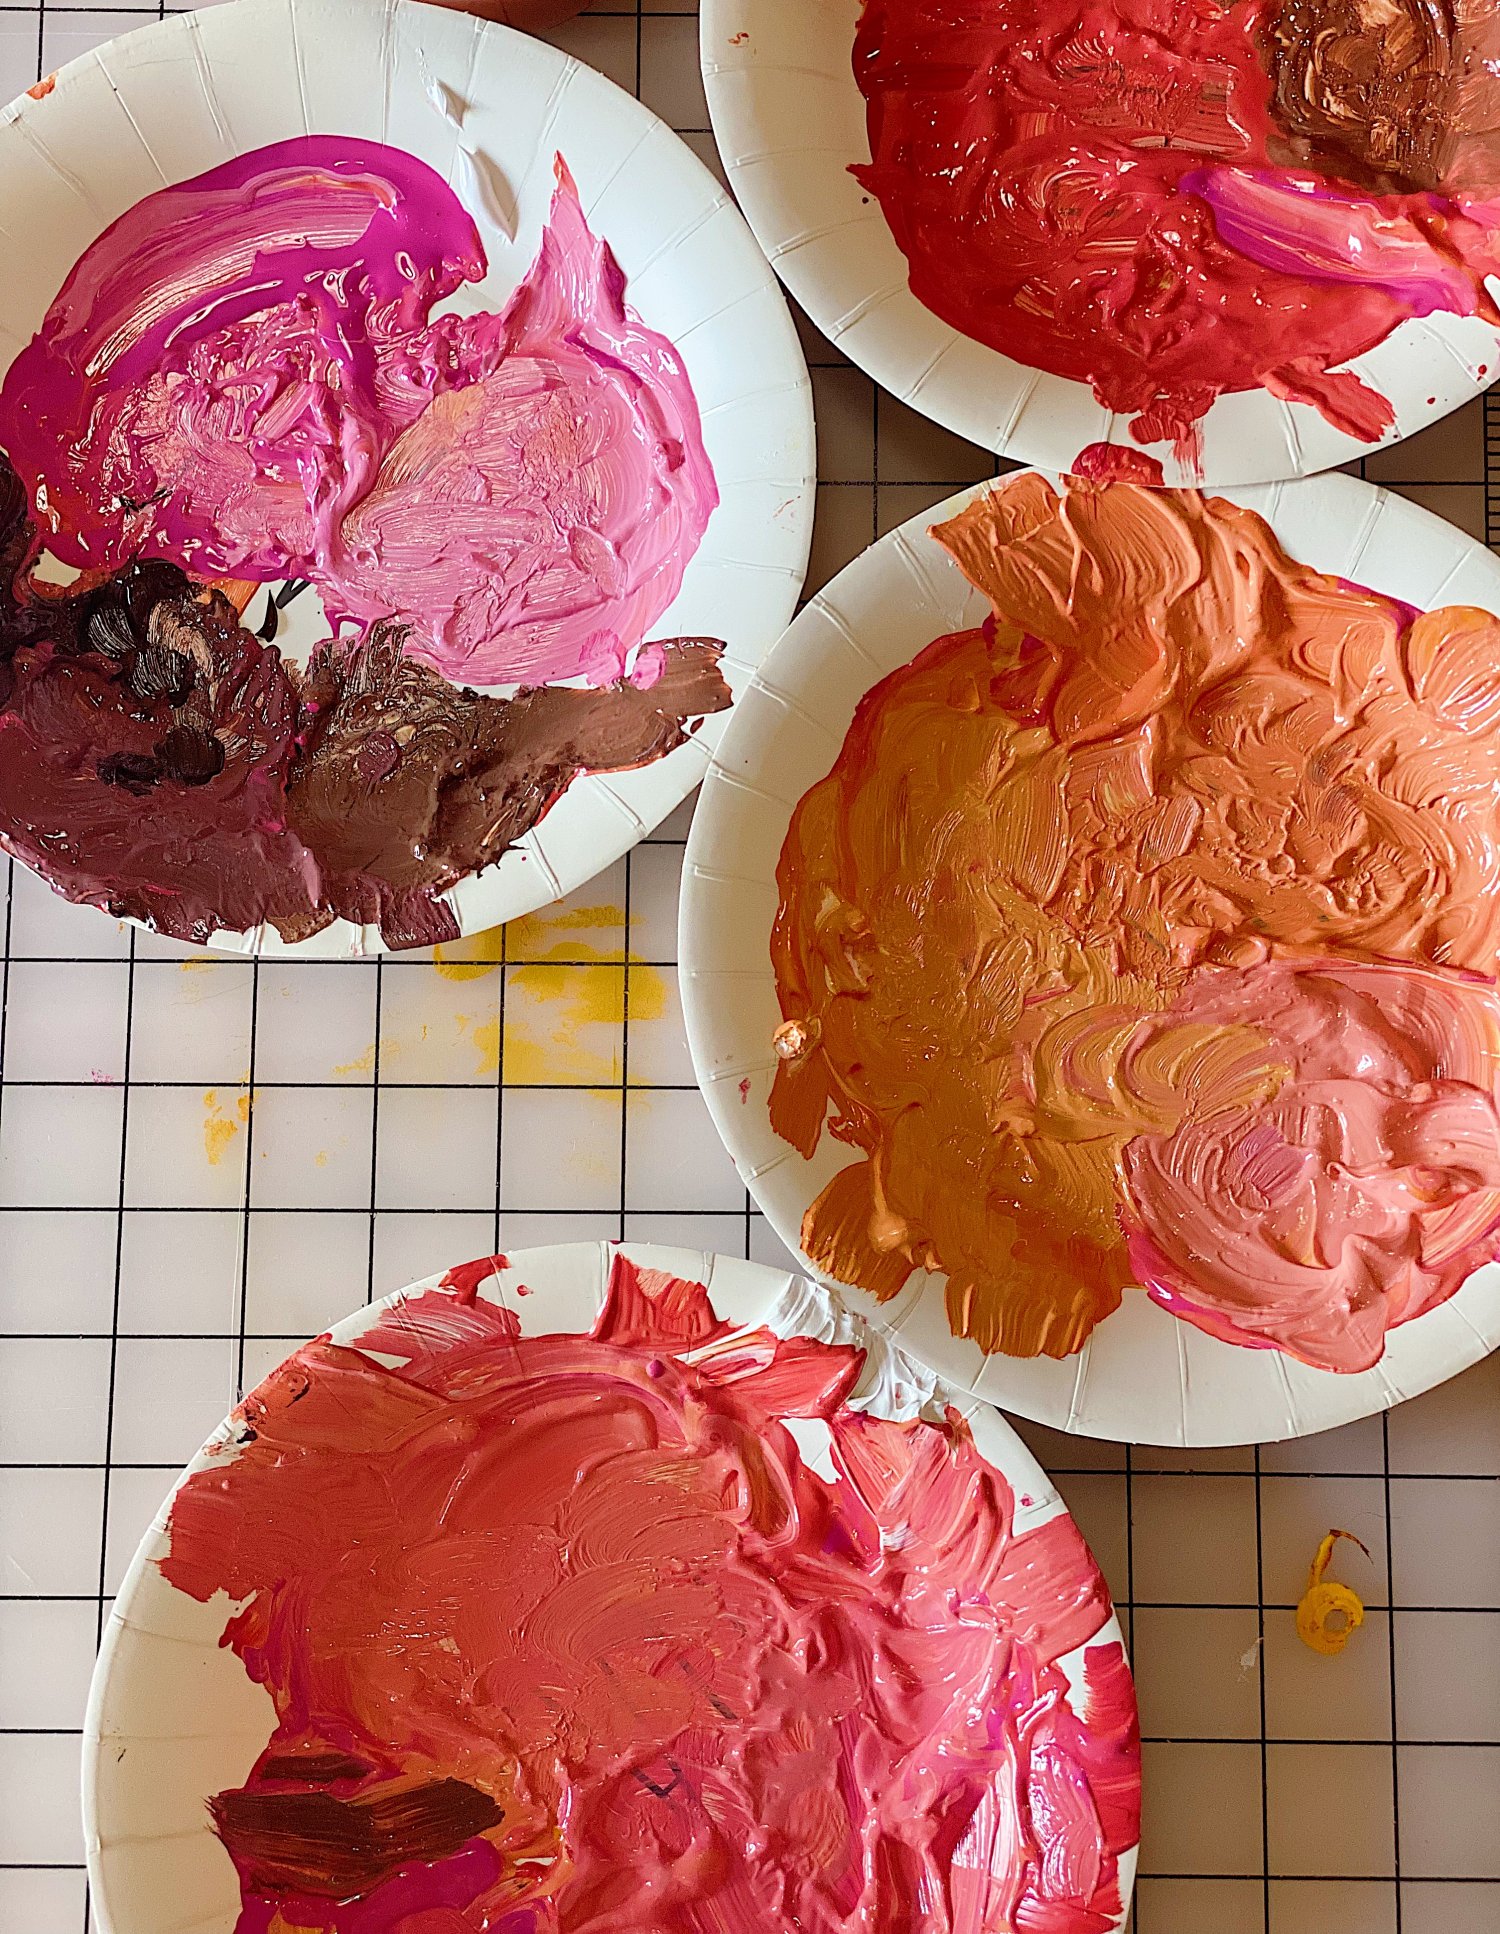
You will want to pick your color palette before you do anything else. I chose pinks and oranges and mixed up the paints myself.
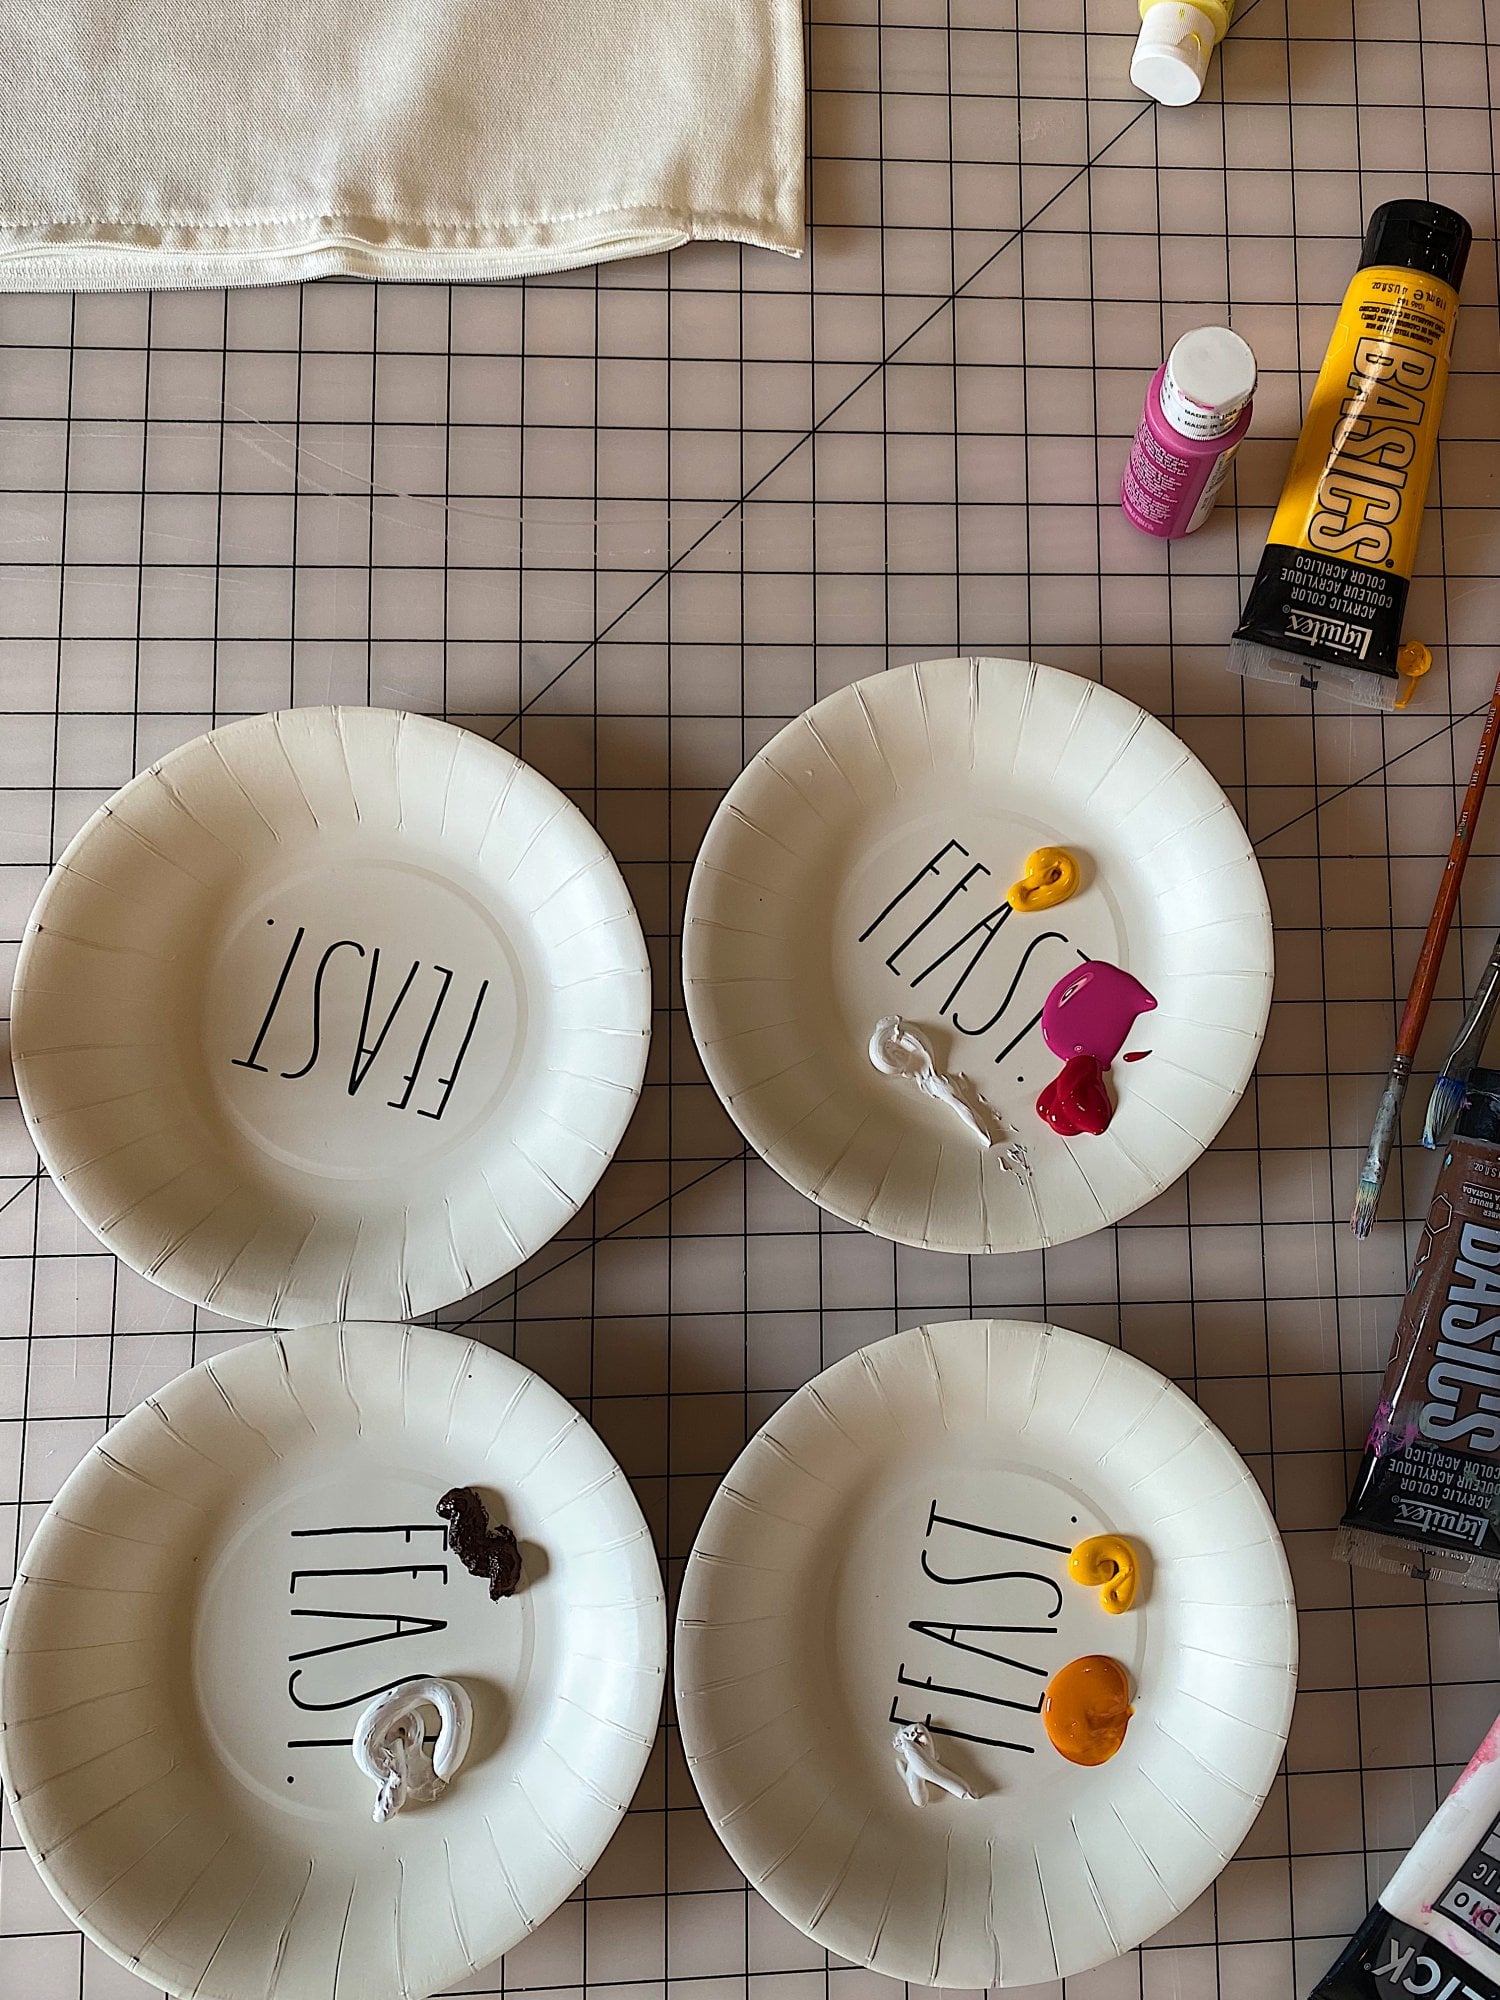
These are the mixed colors I created. Aren’t these mixed paint colors just so much fun?
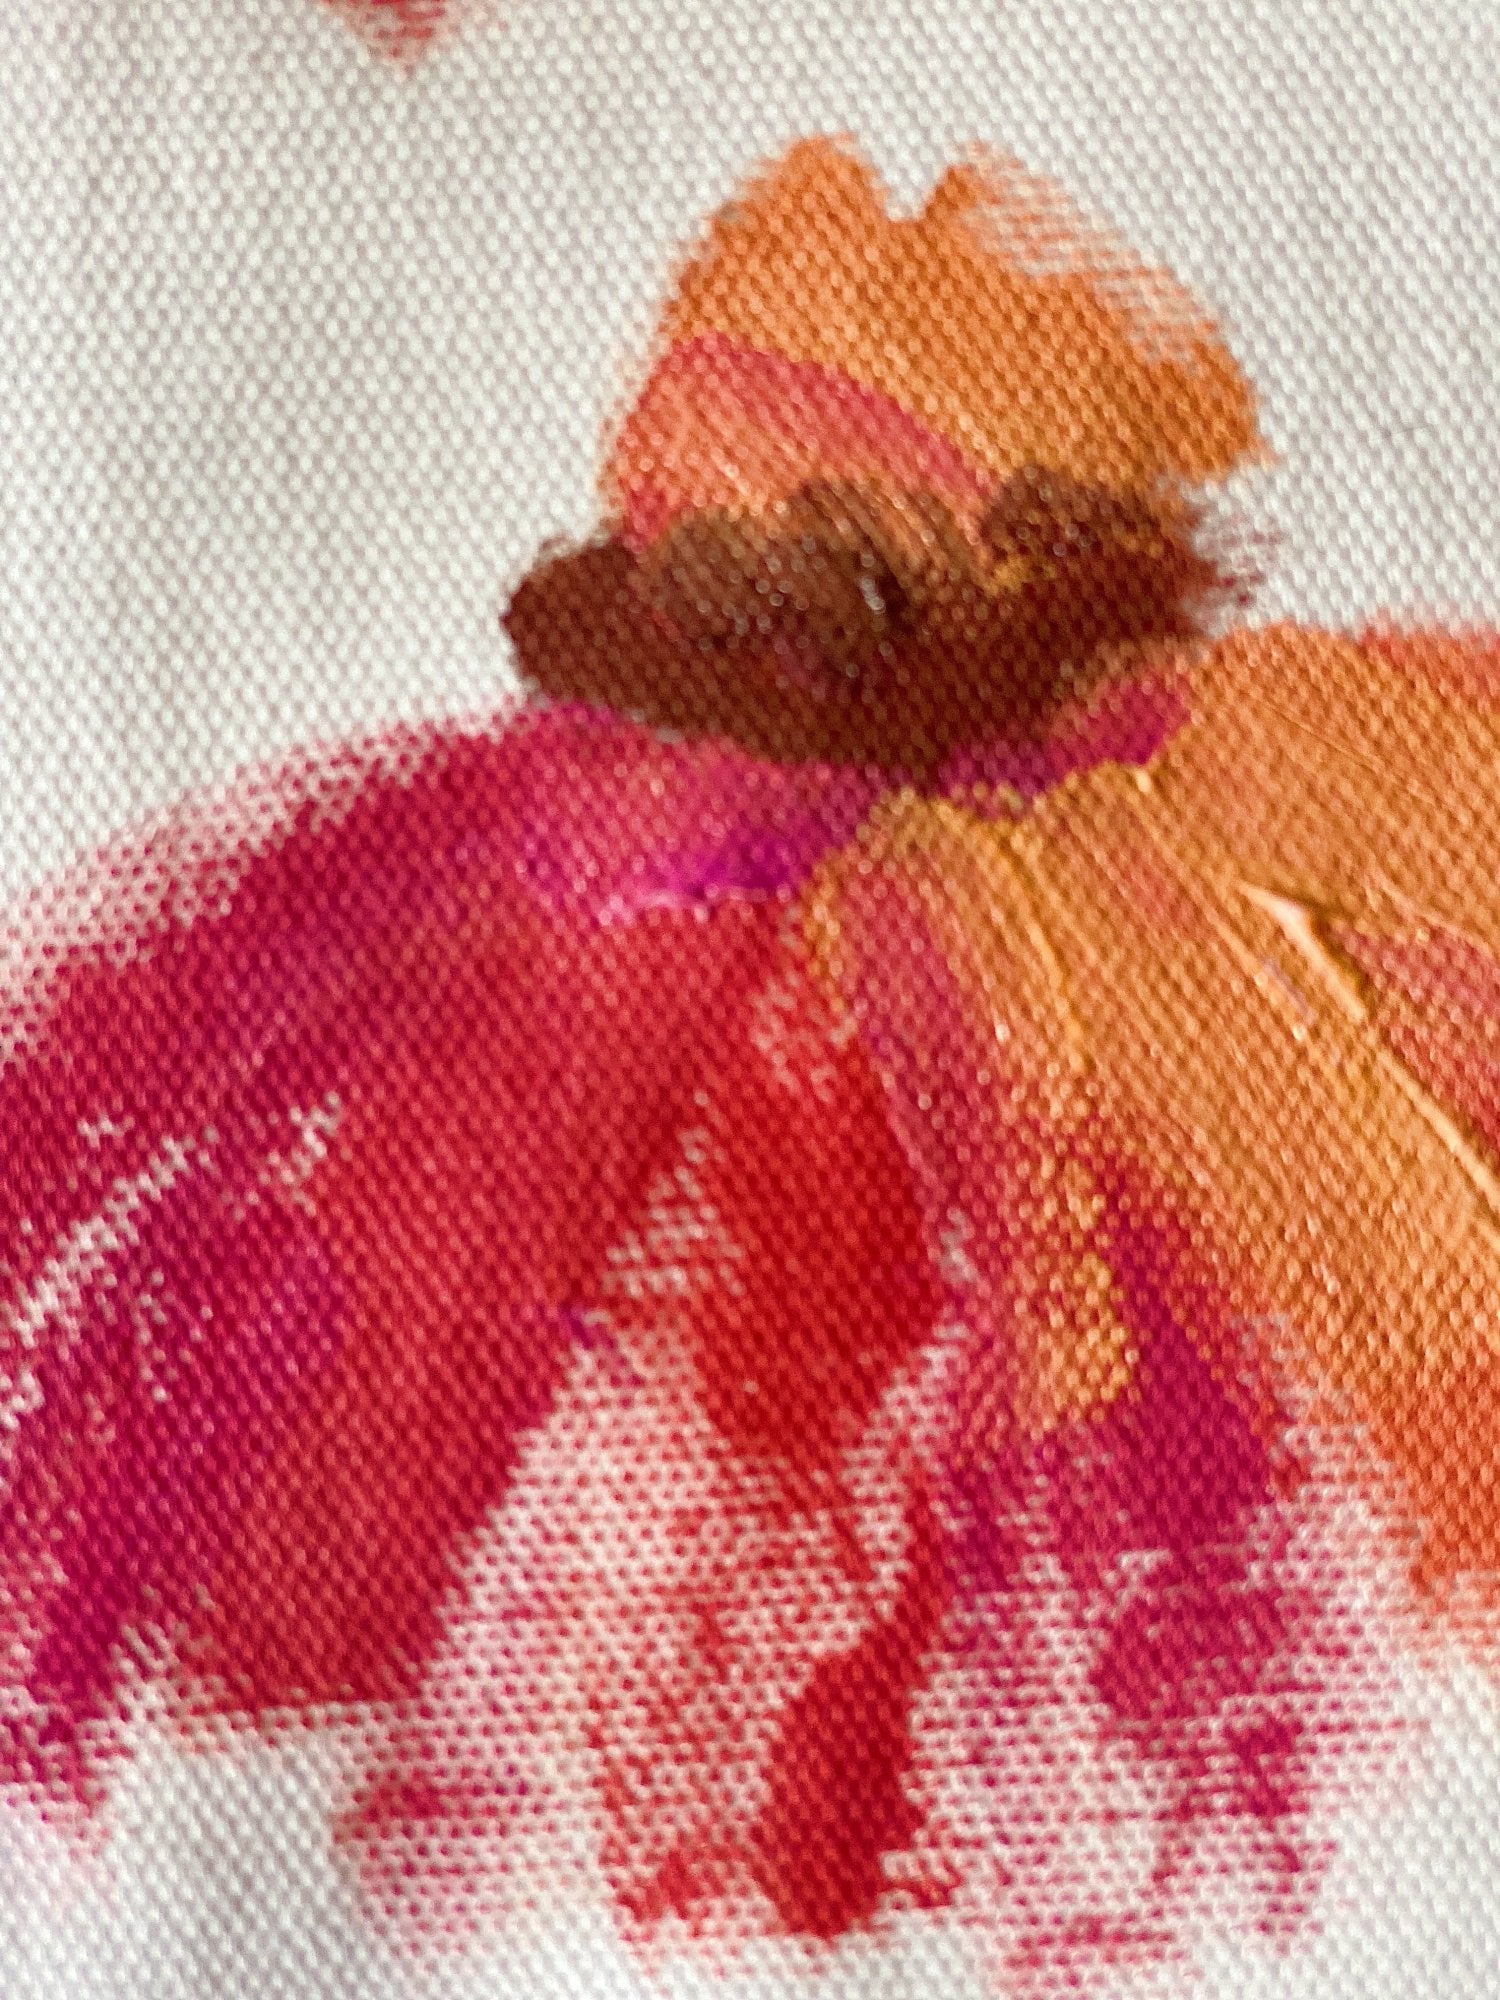
Here you can see some detail of the painted coneflower. My painting style for these pillows is to paint shapes and paint them loose. All I want to do is create the “idea” of a flower and nothing specific.
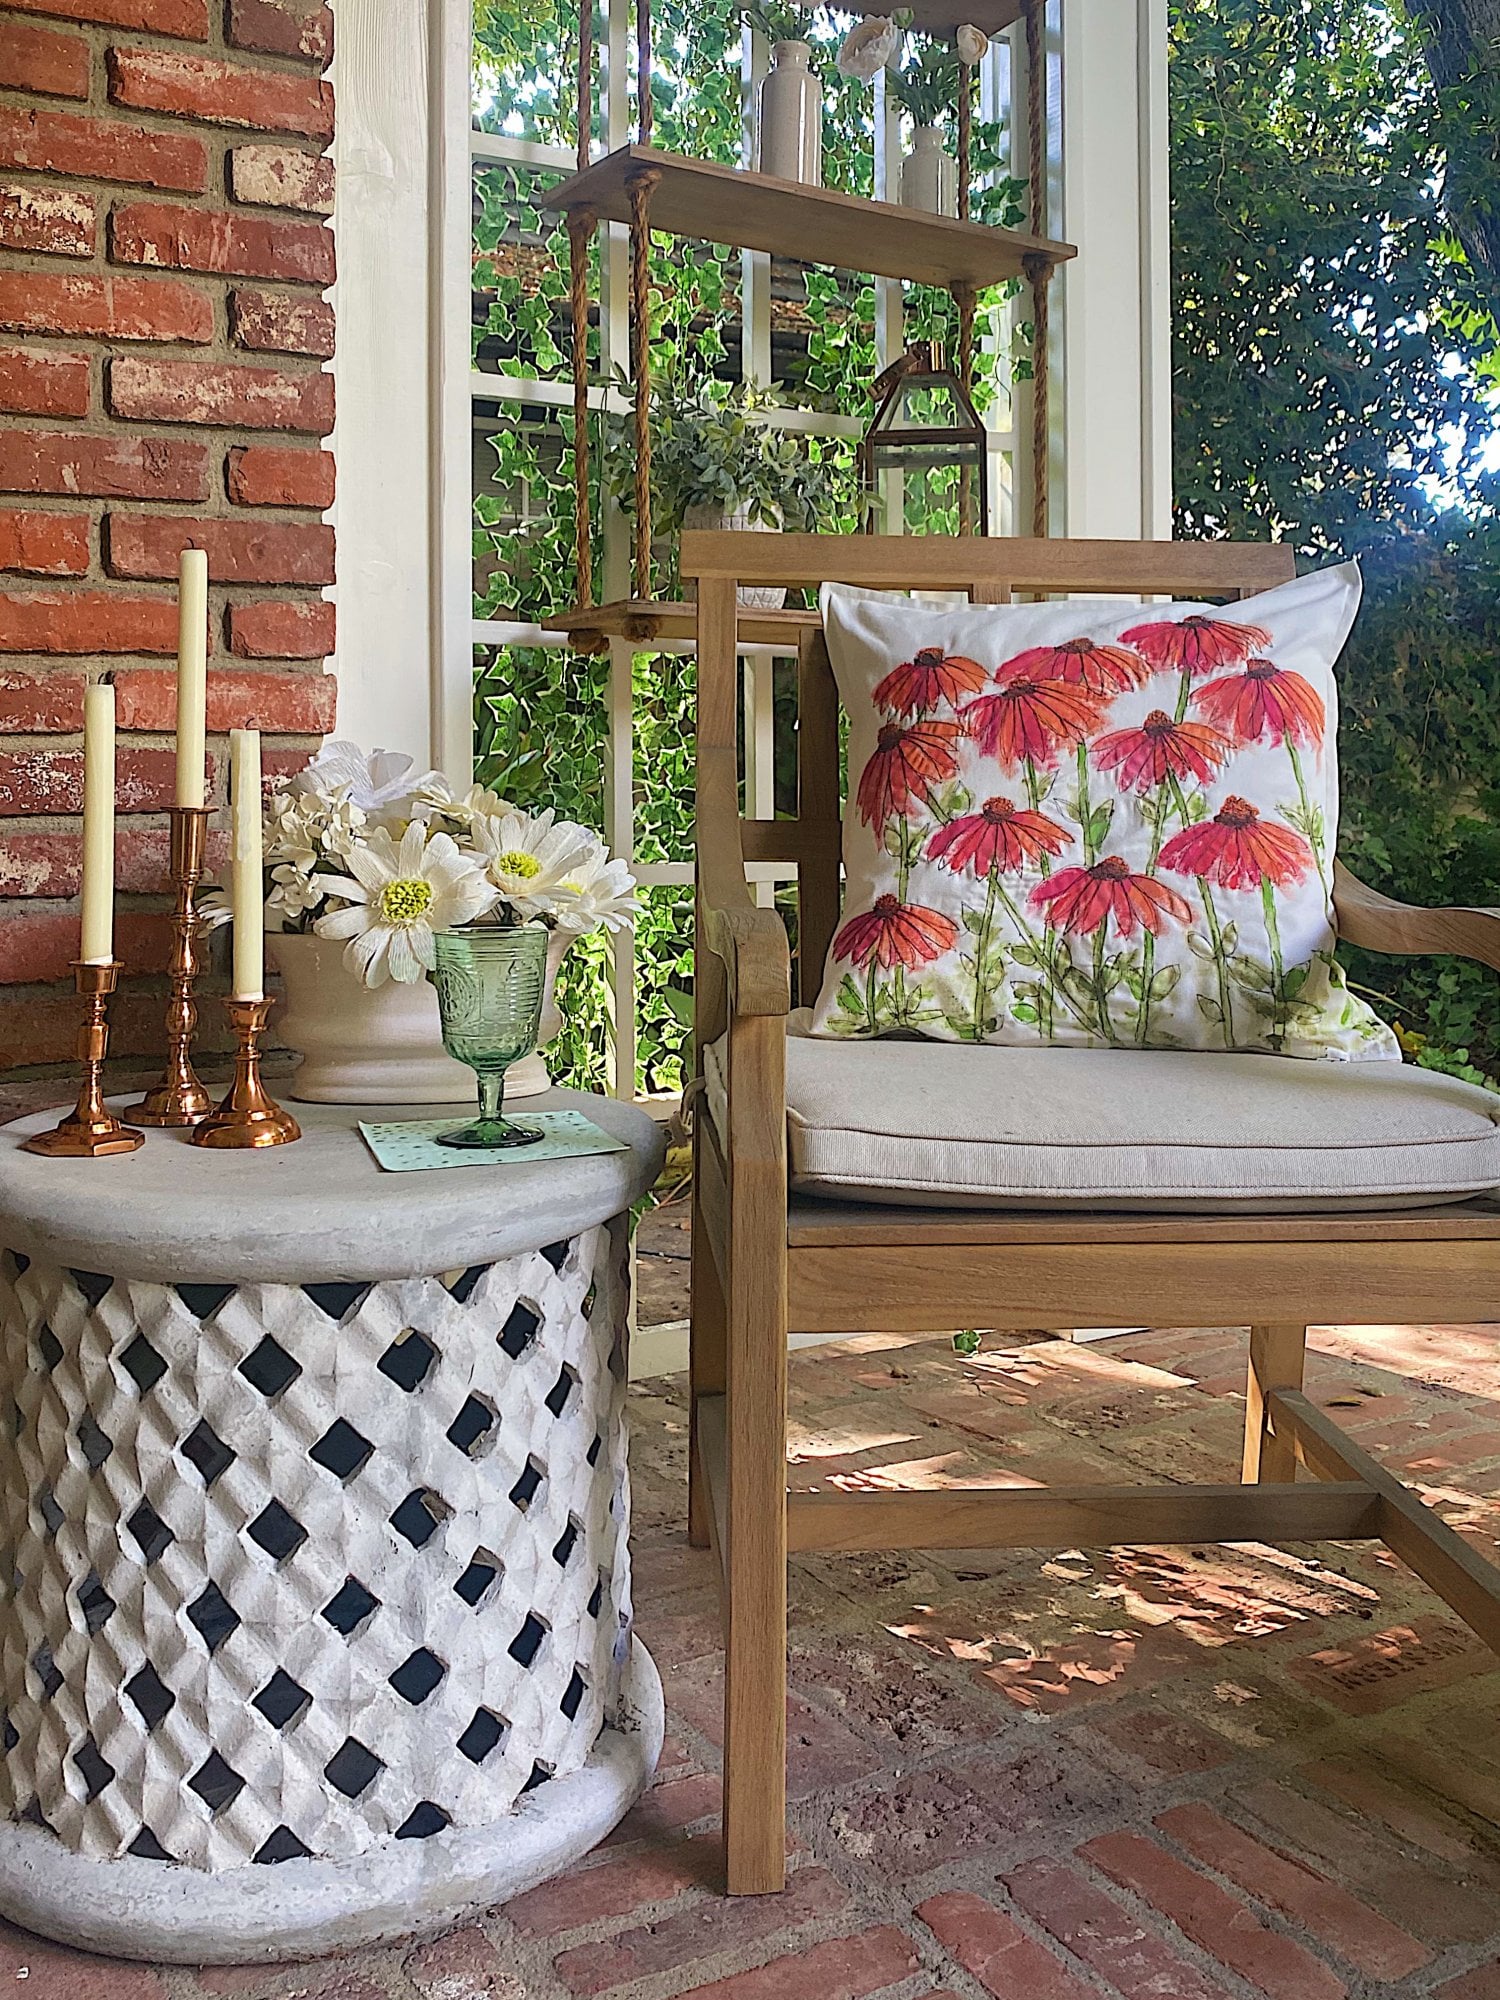
I just kept painting more flowers until I felt that the pillow looked fun!
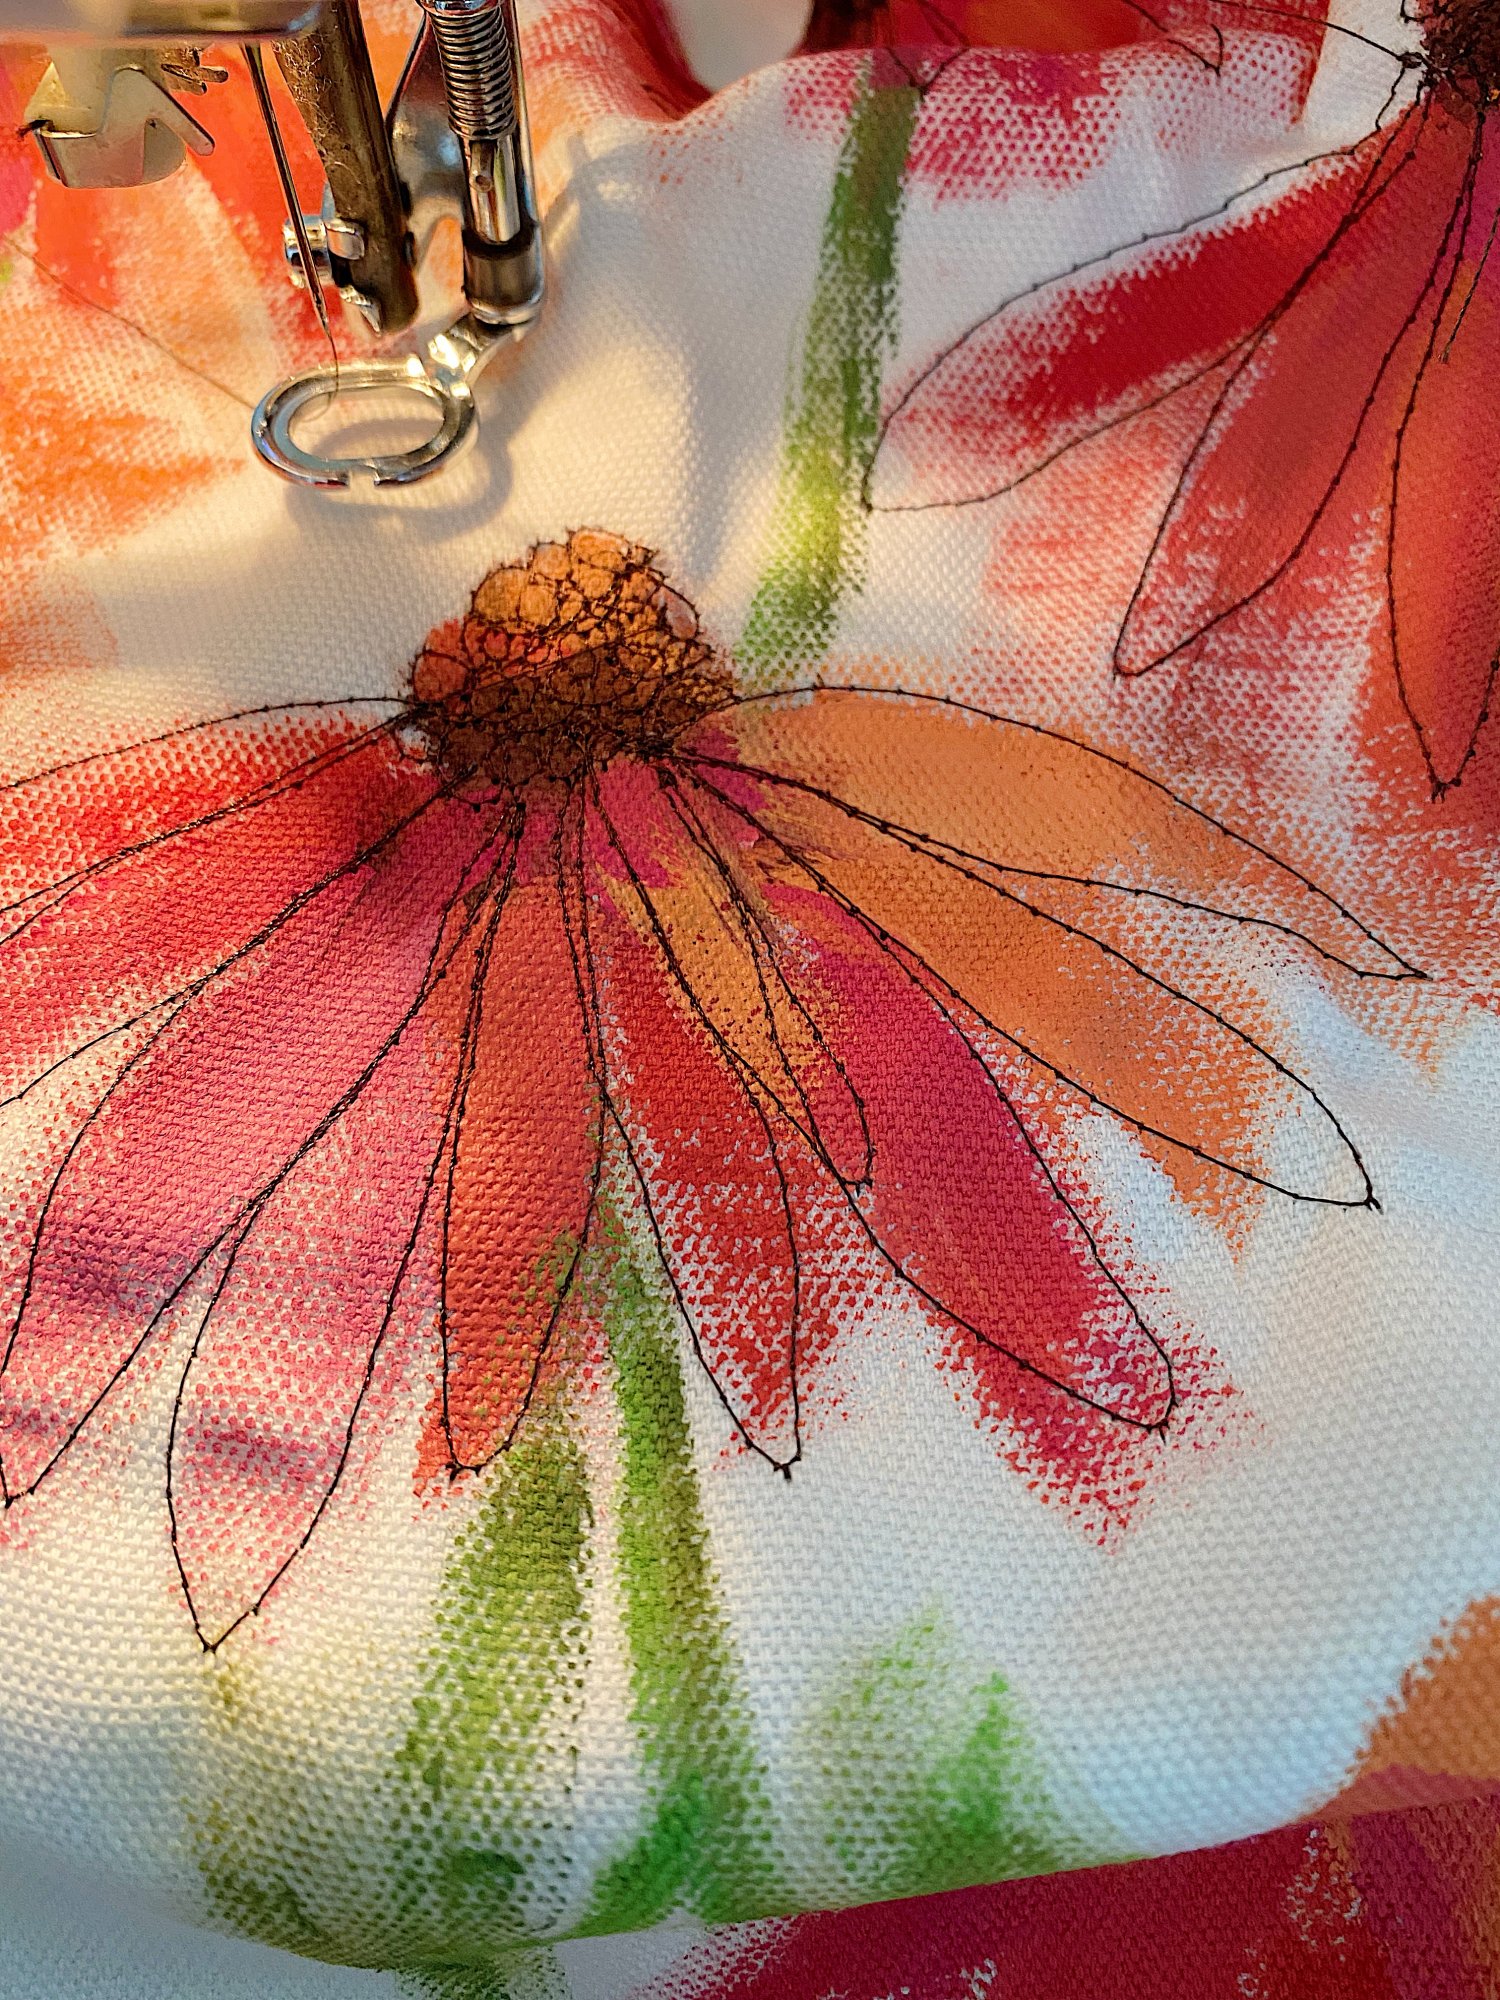
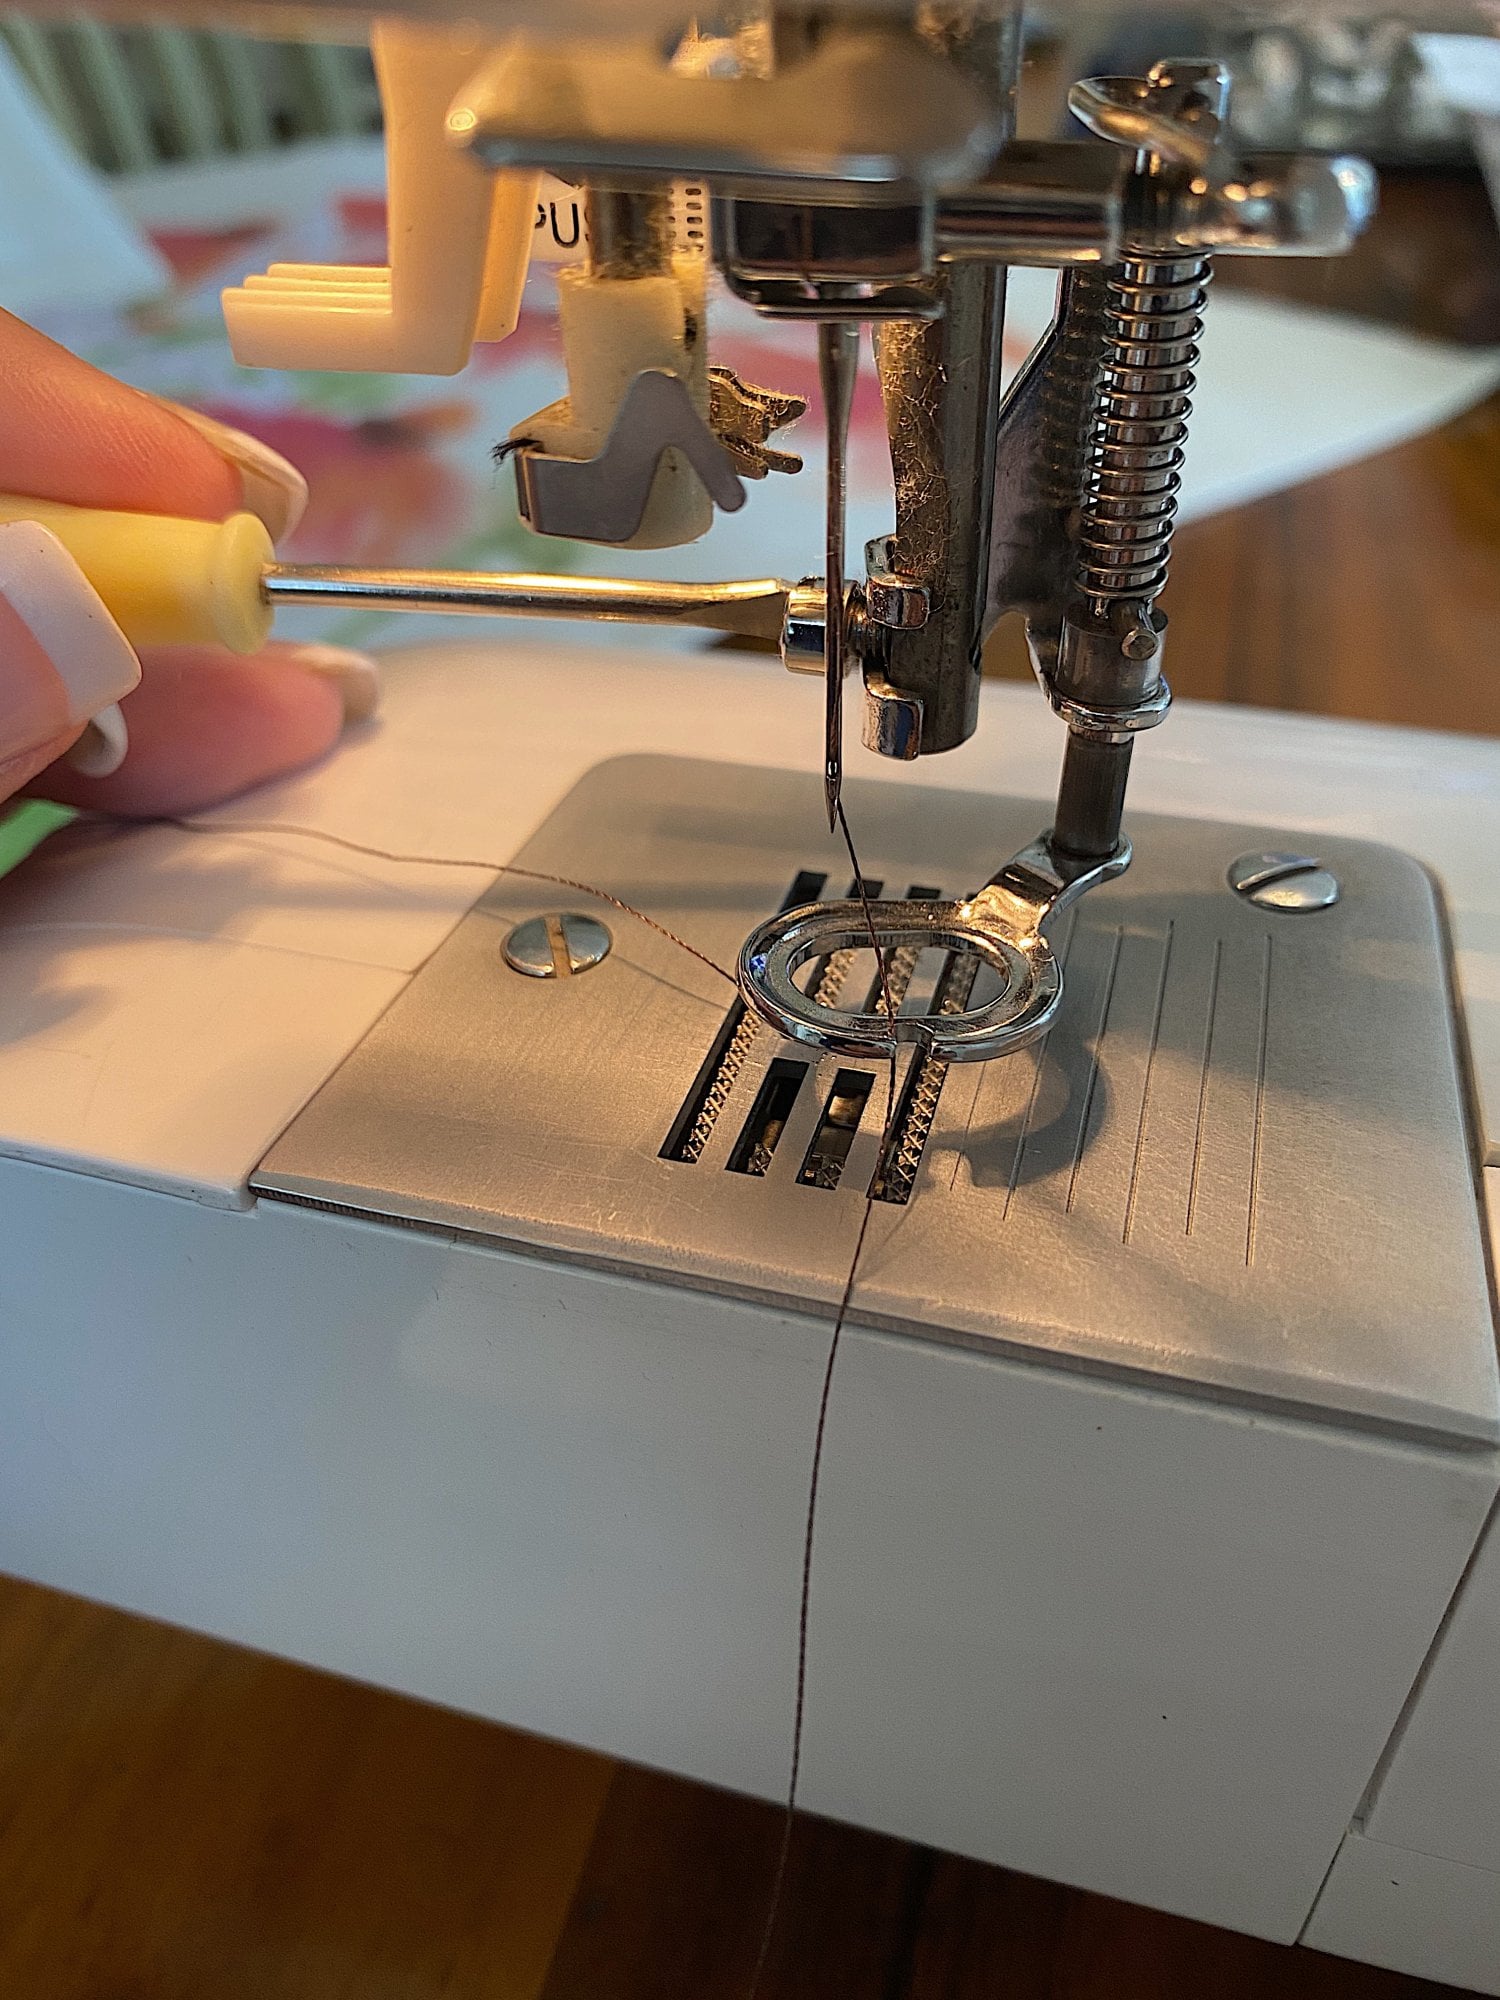
Next, I pulled out my darning foot and added it to my sewing machine. Next, I found the feed dogs lever on my machine and moved the feed dogs down, so they would not be in use. By doing this, you will be able to pull the fabric in any direction you want while you are stitching.
I followed the paint loosely when I added the stitching.
It takes a bit of time but way less than you would respect. I love doing this.
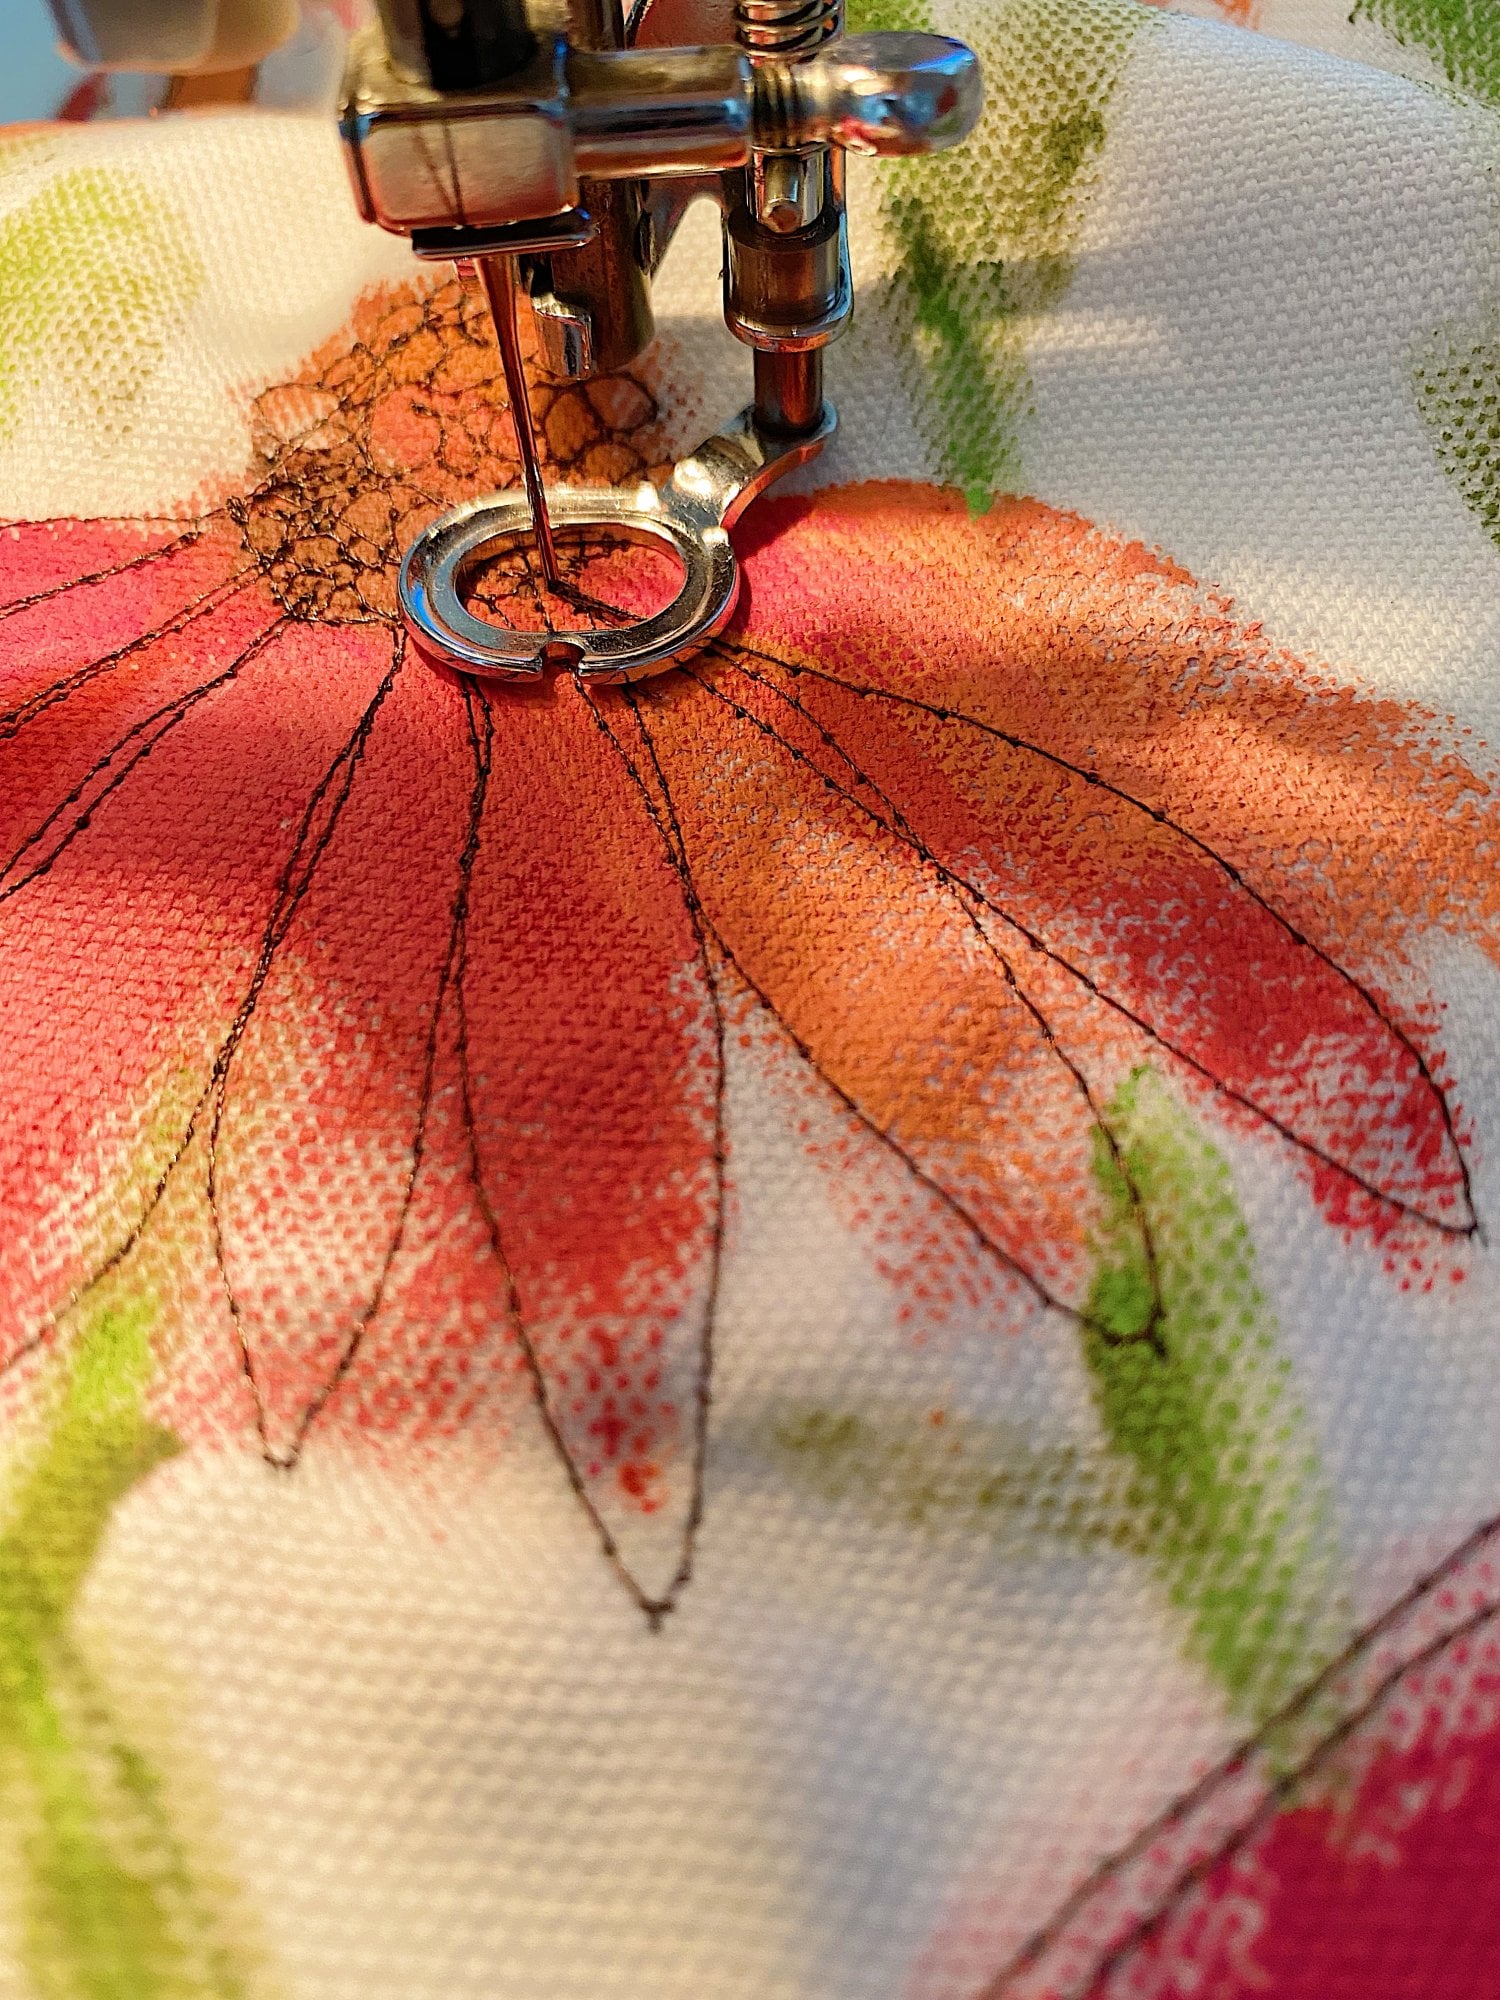
This photo is a great example of the difference between the painted and stitched cornflowers.

Links to the Items Shown in This Flower Pillow Post


Similar Posts
Pin the image below to your decor boards on Pinterest (just click the Pin button in the top left corner). You can also follow along with me on Pinterest!
For more real-time updates, follow me on Instagram @My100YearOldHome

Leslie, I just love all of your pillows. I am actually working on some myself. You are the queen of craft projects!
I love to hear that! Thank you, Tammy.
Do you use, or have you used, any padding or batting behind the fabric ?
I was wondering when we’d be seeing a free-motion sewing pillow post. Like all the previous pillows, this one is just beautiful! Your free-motion sewing pillows are all my favorites!!
Thank you!
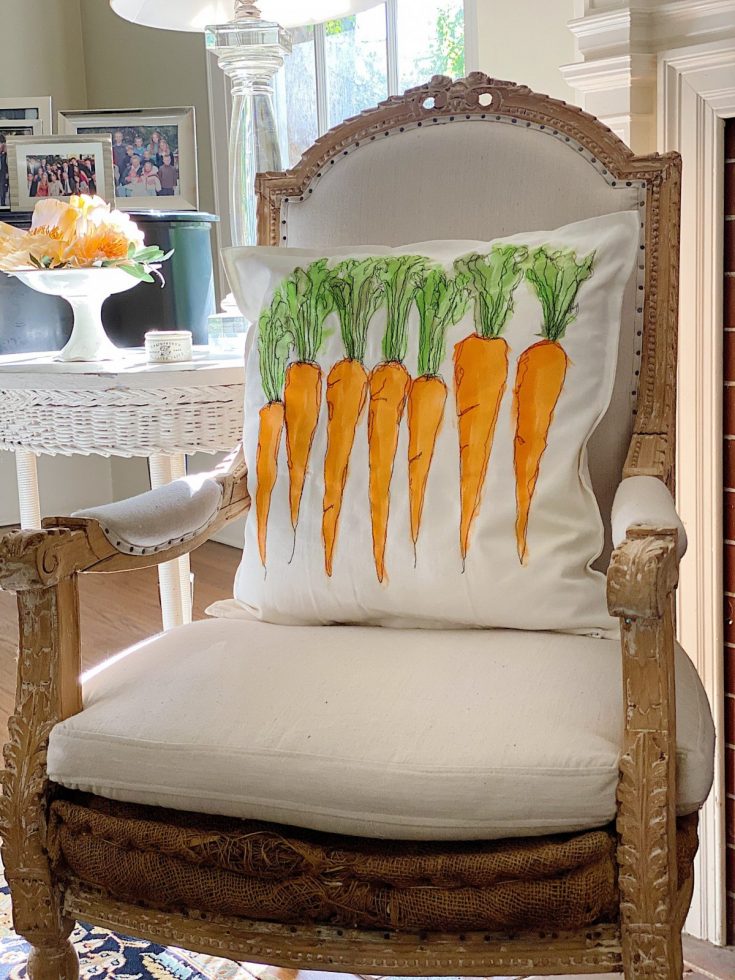
I just love all these pillow covers. The hearts and Cornflowers are my favorite, but the carrots are great also. I can not wait to make these.
Thank you so much.
You are so incredibly talented Leslie! I am new to your blog and am in absolute awe of everything you do!
Wow, thank you so much Linda!
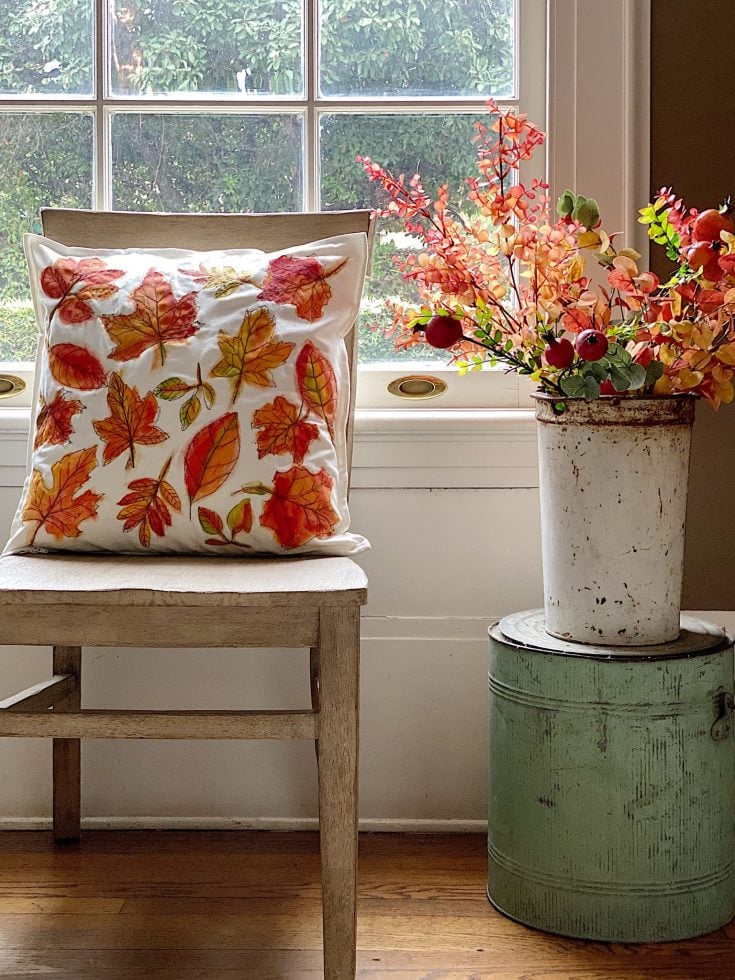
Every time you post one of your beautiful pillows I make a mental note to order the shams. Last month I finally took the time and will be picking up my shams next week at the fed ex office. Cannot wait to get it started. I think I will try something for fall, as it probably will take me that long to finish. Thanks so much for sharing with us.
Yay! I am so glad. Let me know how it goes.
I love this pillow. So beautiful. Your diy always make me say, “I want that.” Thanks for sharing
I’ve never tried the free motion quilting before but I’ve been sewing forever and I’d love to give it a try. I am definitely going to be investing in one of the sewing machine feet you linked. Thanks for sharing.
That makes me so happy to hear! Let me know how it goes!
First of all, thank you for sharing your beautiful home! I love all the ideas.
I’ve recently been doing some free motion embroidery and love your pillow ideas!
Here’s my question though. Are you taking the pillow apart (front and back) and painting/sewing on the front and then sewing it back together?
This article was a really great inspiration for our new pillow pattern below. Thank you so much!! 🙂
https://pillowcasual.com/products/autumn-leaves-throw-pillow
Leslie I am wondering how you manage to free machine on these cushions when the fabric is double?
Hi, these are so lovely 😍
How do you glide the fabric as you’re sewing? And does the paint have to be sealed anyway before sewing or what happens when they are washed?
Thank you
Marianne