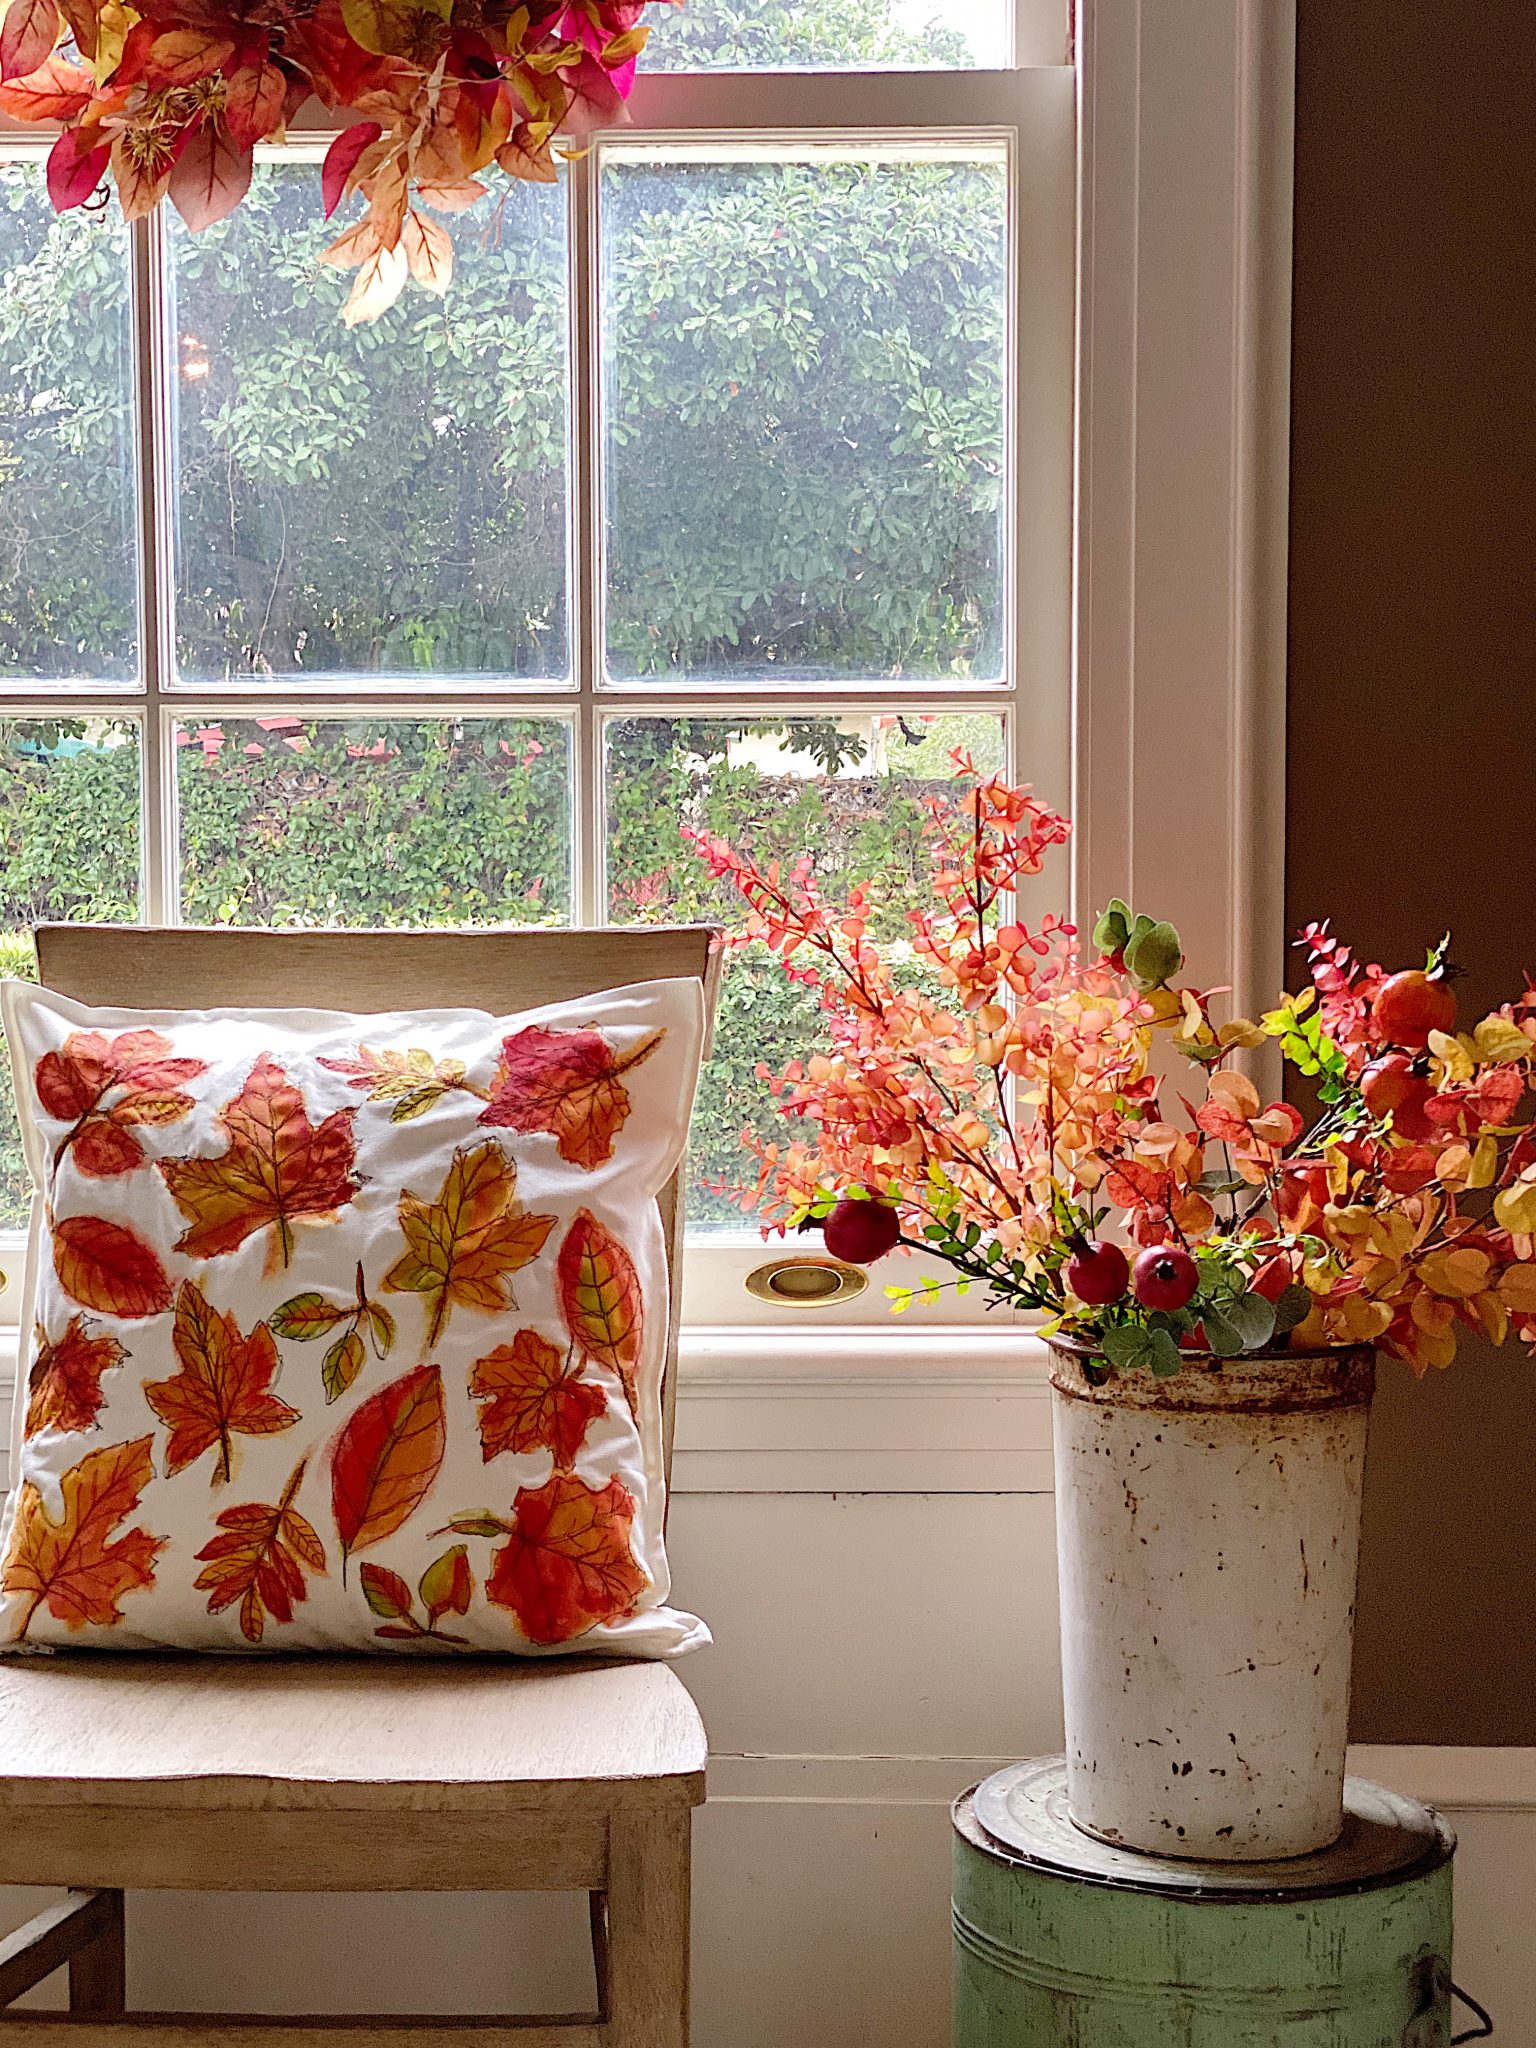
DIY Pillow Ideas – Painted Fall Pillows
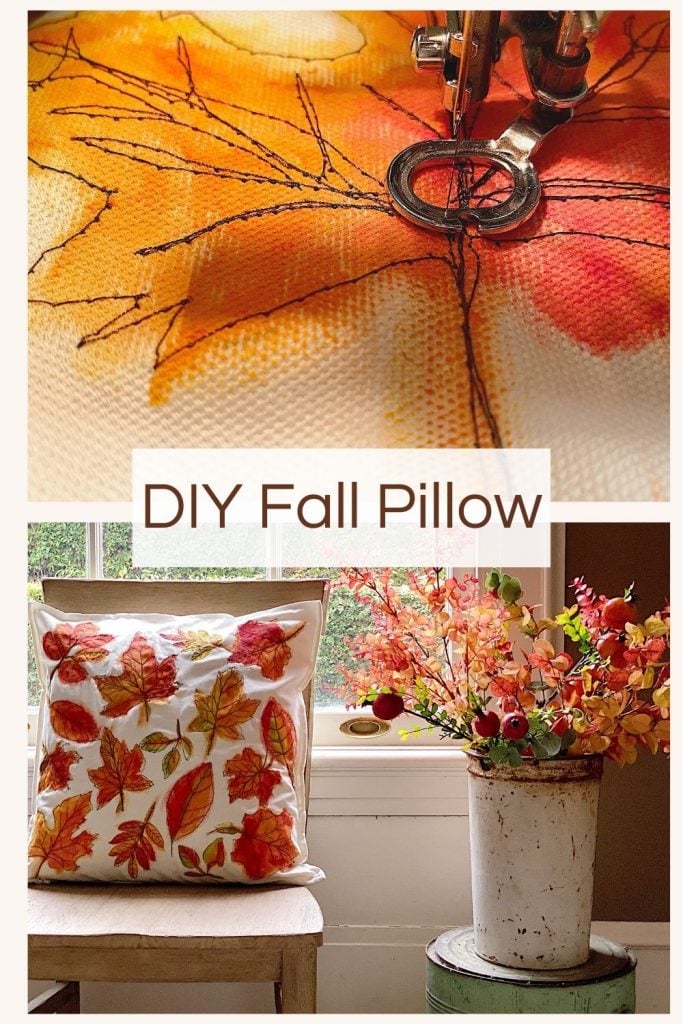
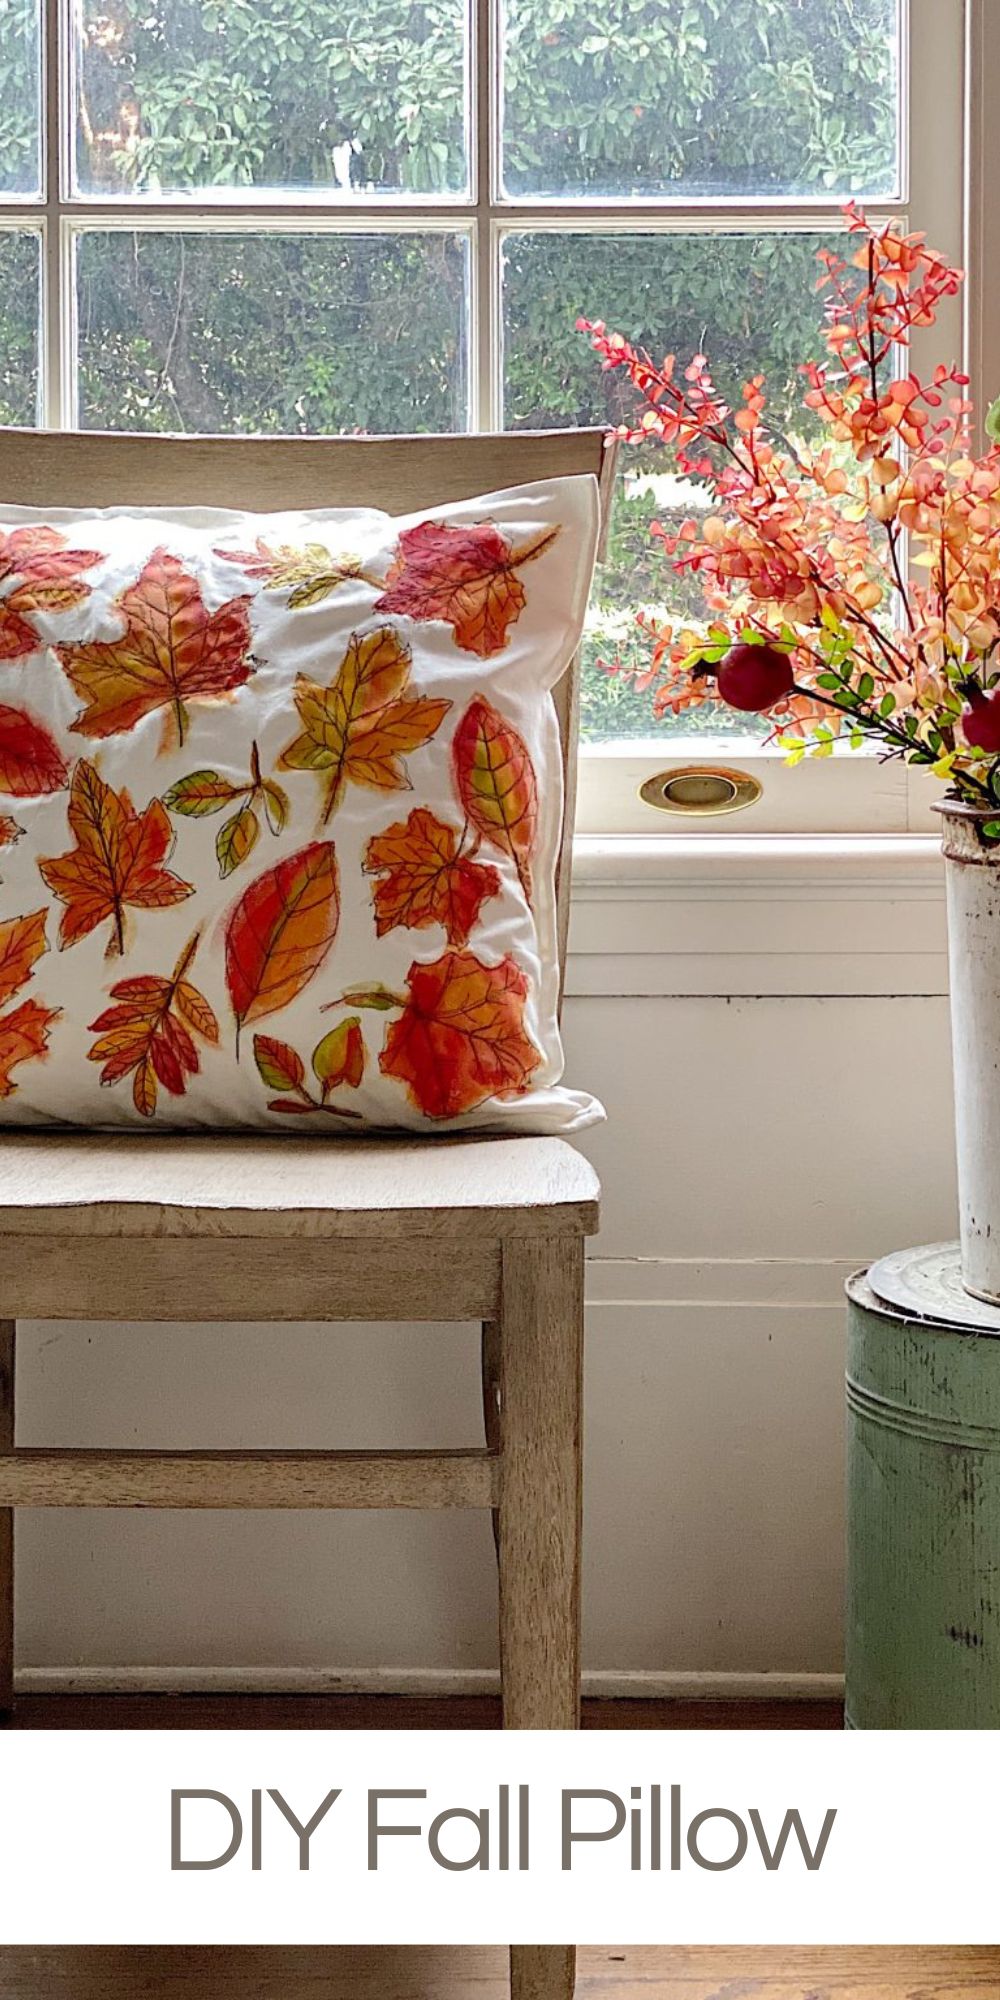
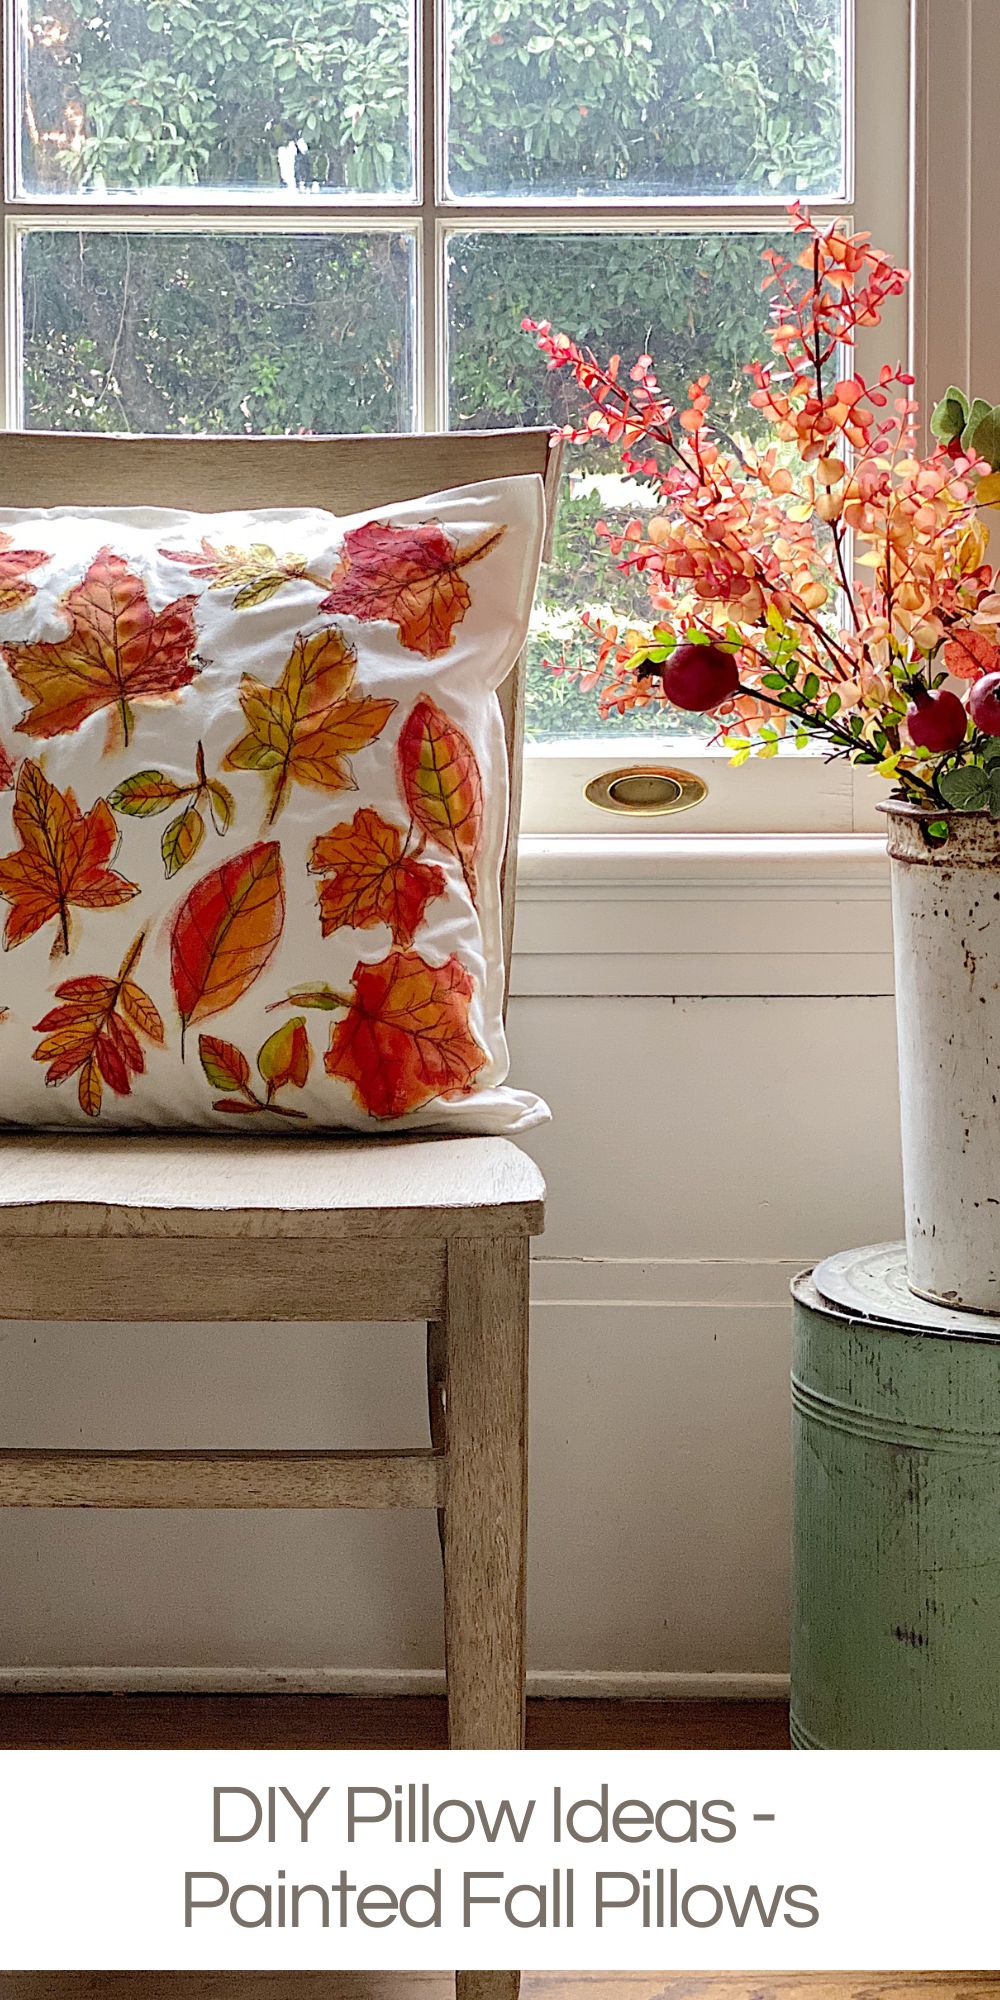

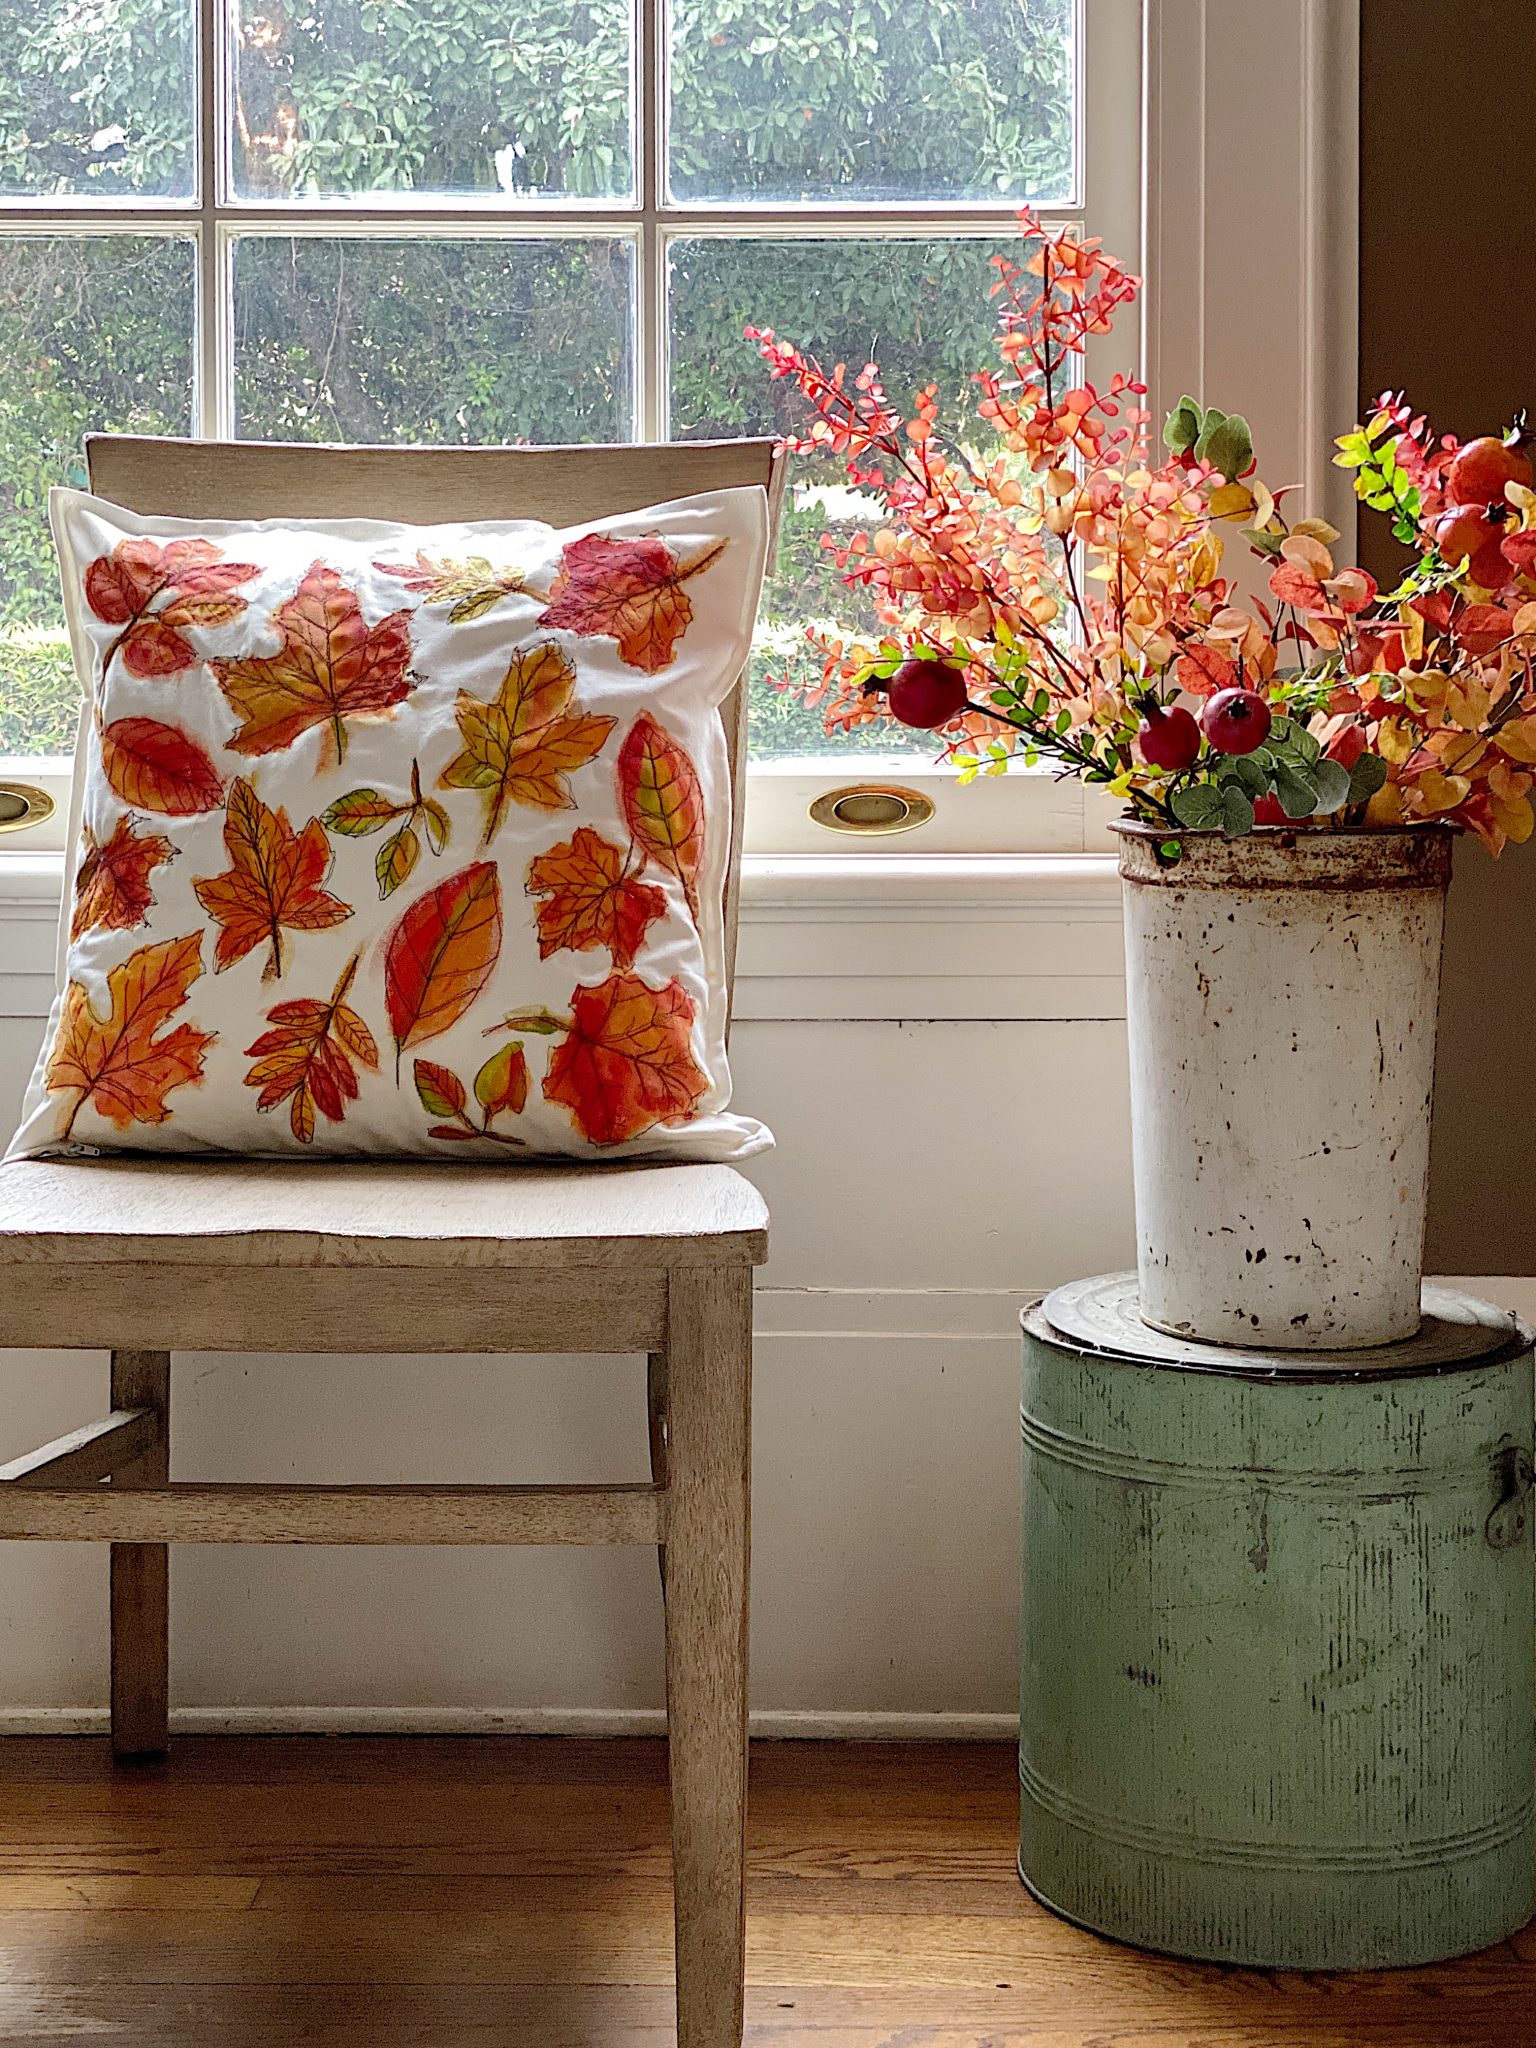
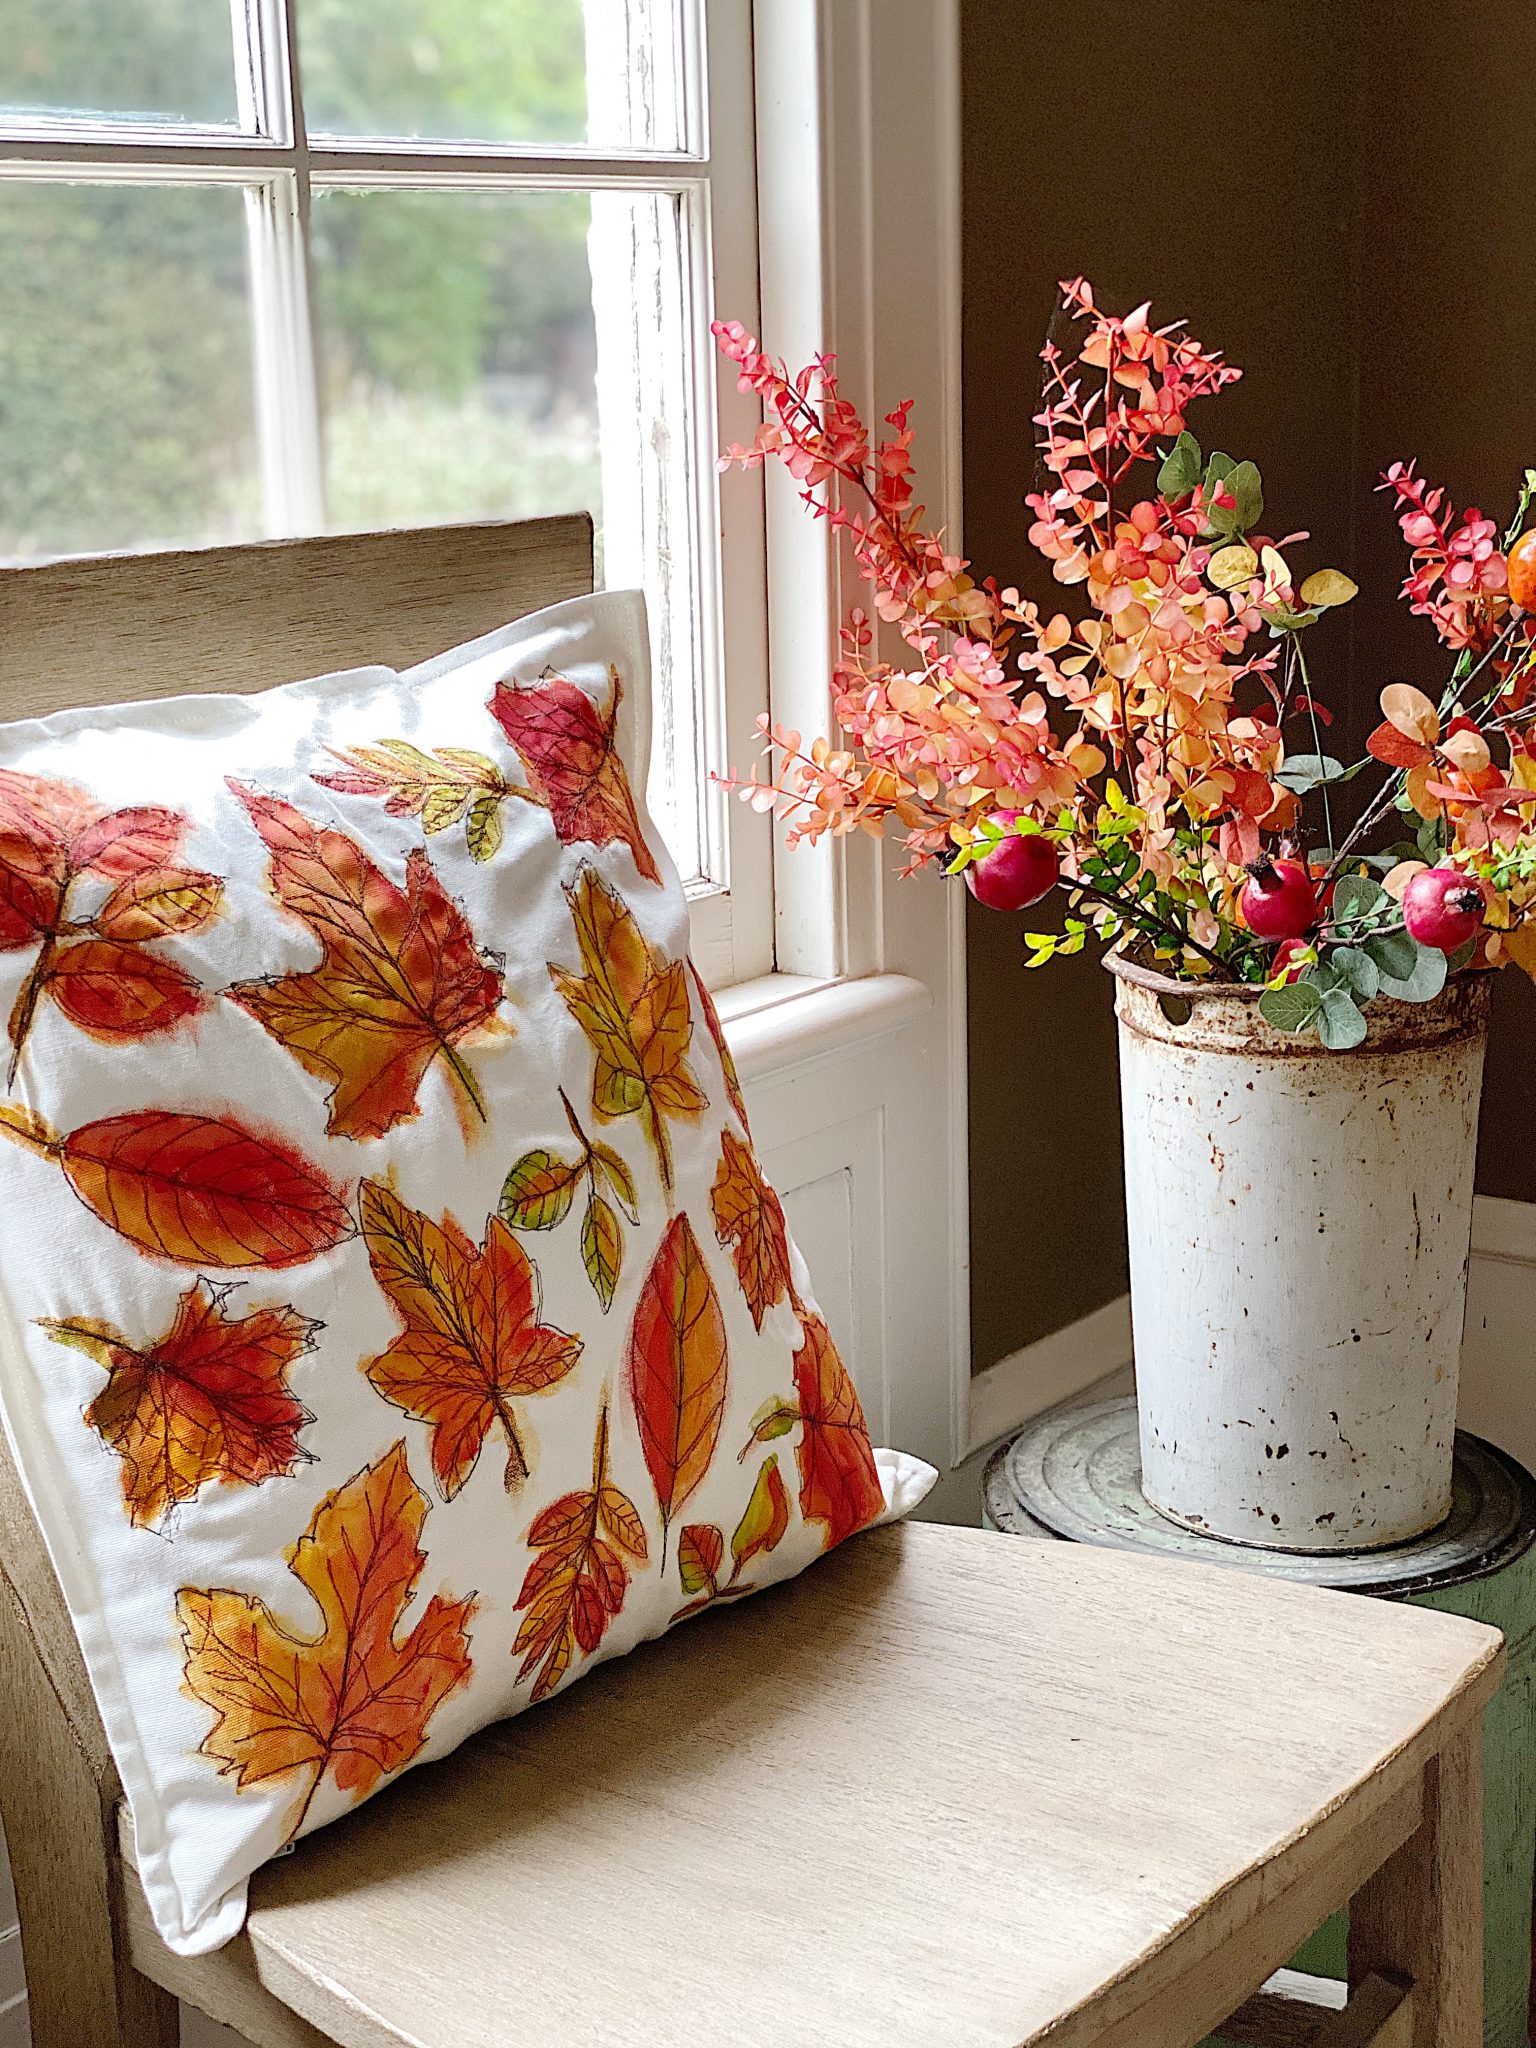
Fall colors may be my favorite, and I combined two of my passions, art and sewing, to create these beautiful fall pillows.
I made my pillow using a pillow cover, acrylic paint, and a sewing machine. I embroidered the details using free-motion stitching. Fall pillows are an easy way to add a touch of fall to any room in your house. They are so easy that you will want to make more than one of each!


What is Free Motion Stitch Embroidery?
Free motion machine embroidery is very different from regular sewing. Using a special quilting foot and lowering the feed dogs, you feed the fabric wherever you want to stitch. It’s so much fun because you can move the material in any direction while sewing it on your machine.
A lot of free-motion embroidery is done slowly and perfectly. I love it when it is more free and outside of the lines. Can I say how much fun this was to make?
Check out the video on how to make my painted fall pillows.
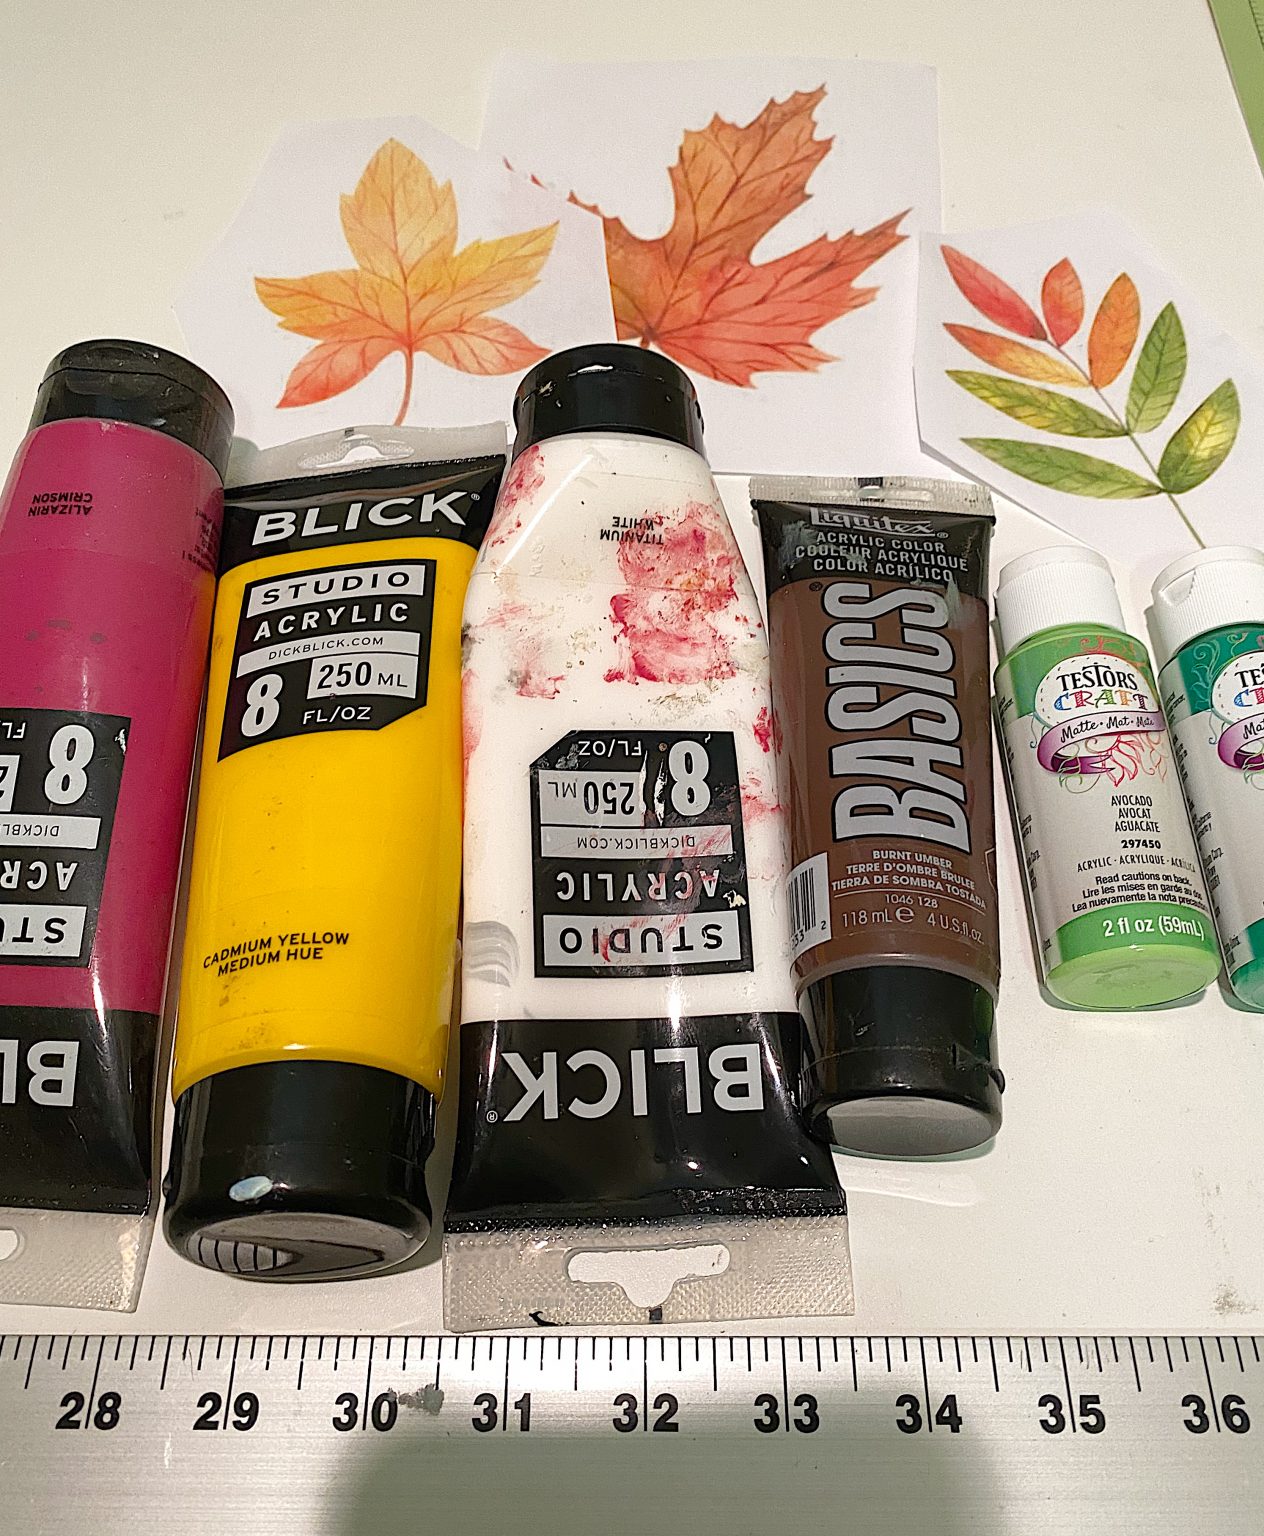
What You Need to Make Painted DIY Fall Pillows
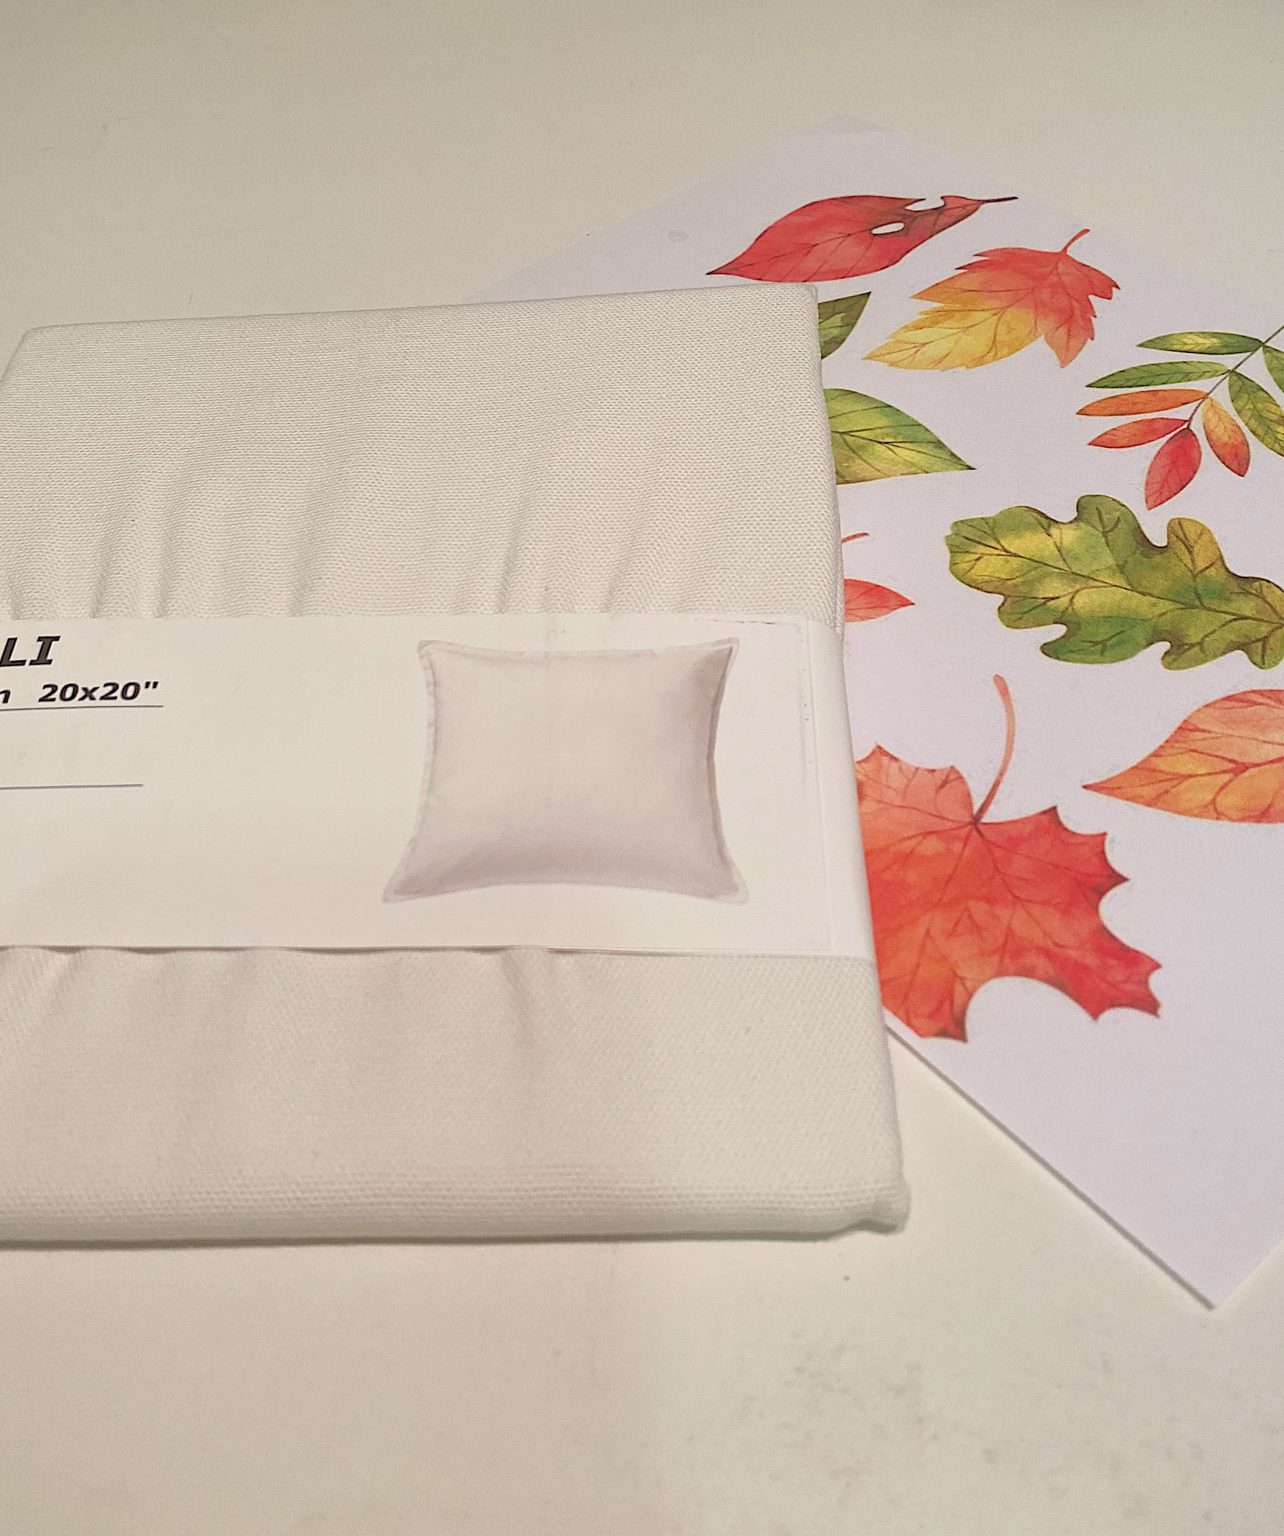
Pillow Cover – I used the IKEA Gurli pillow cover, but you can use any cover!
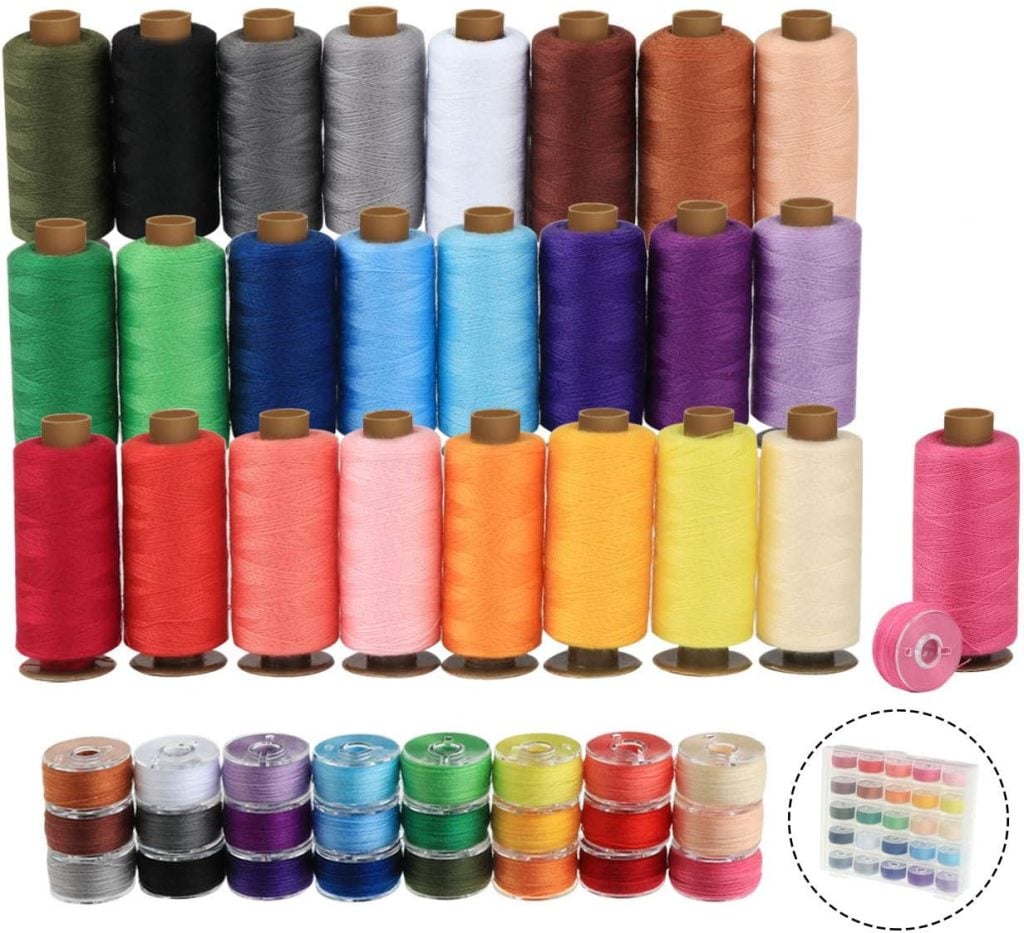
Sulky Brown Embroidery Thread (Dark Brown)
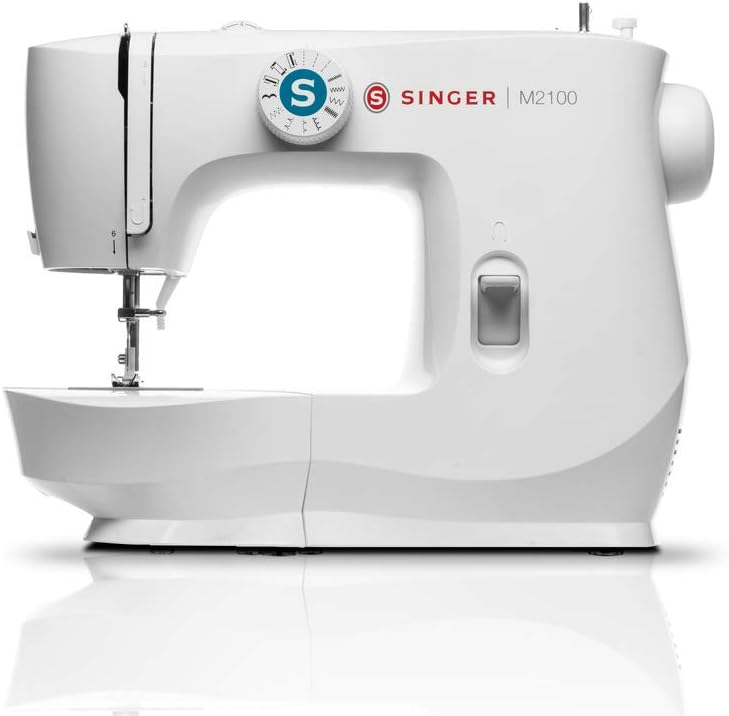
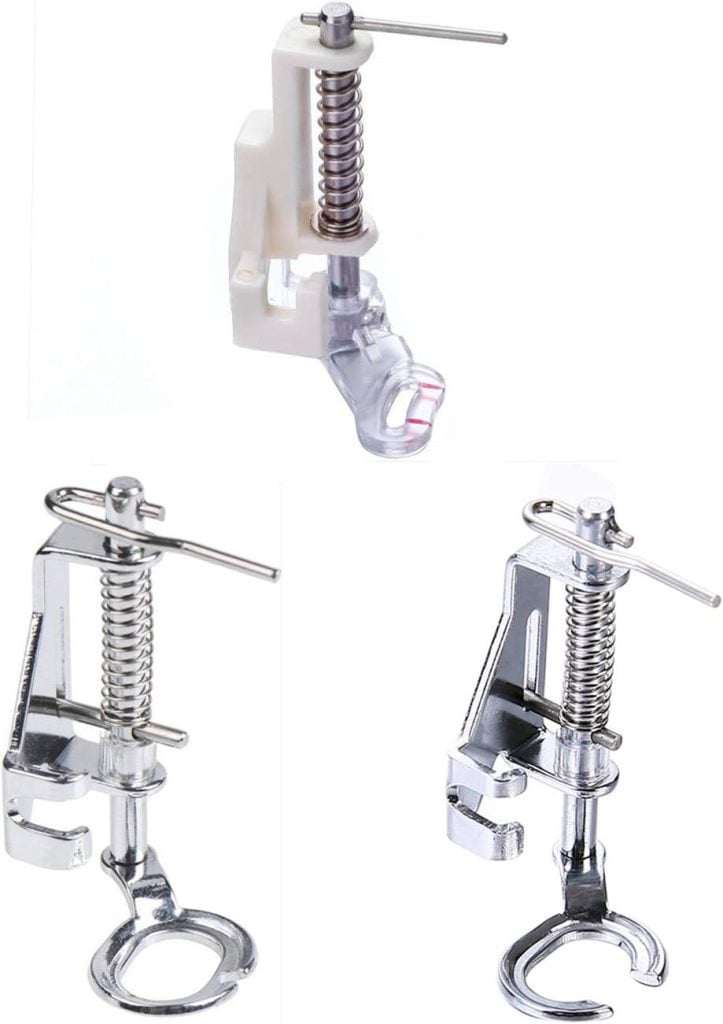
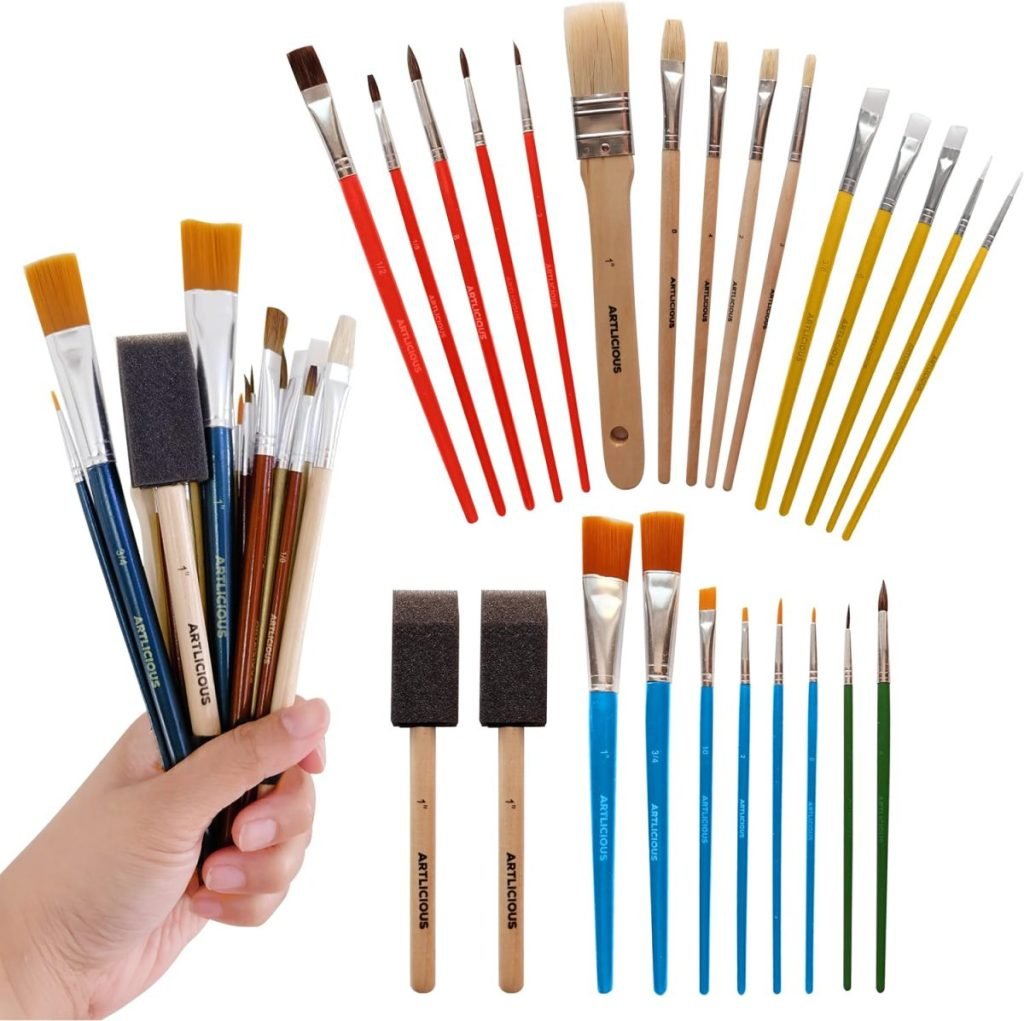
Free motion quilting foot for your machine (varies by sewing machine brand)
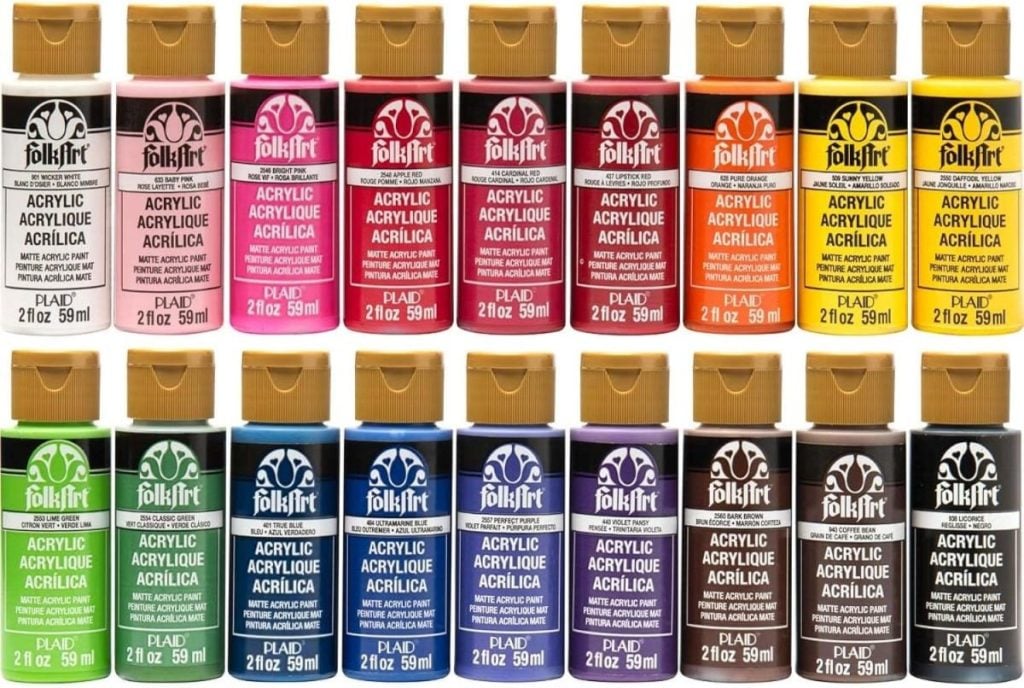
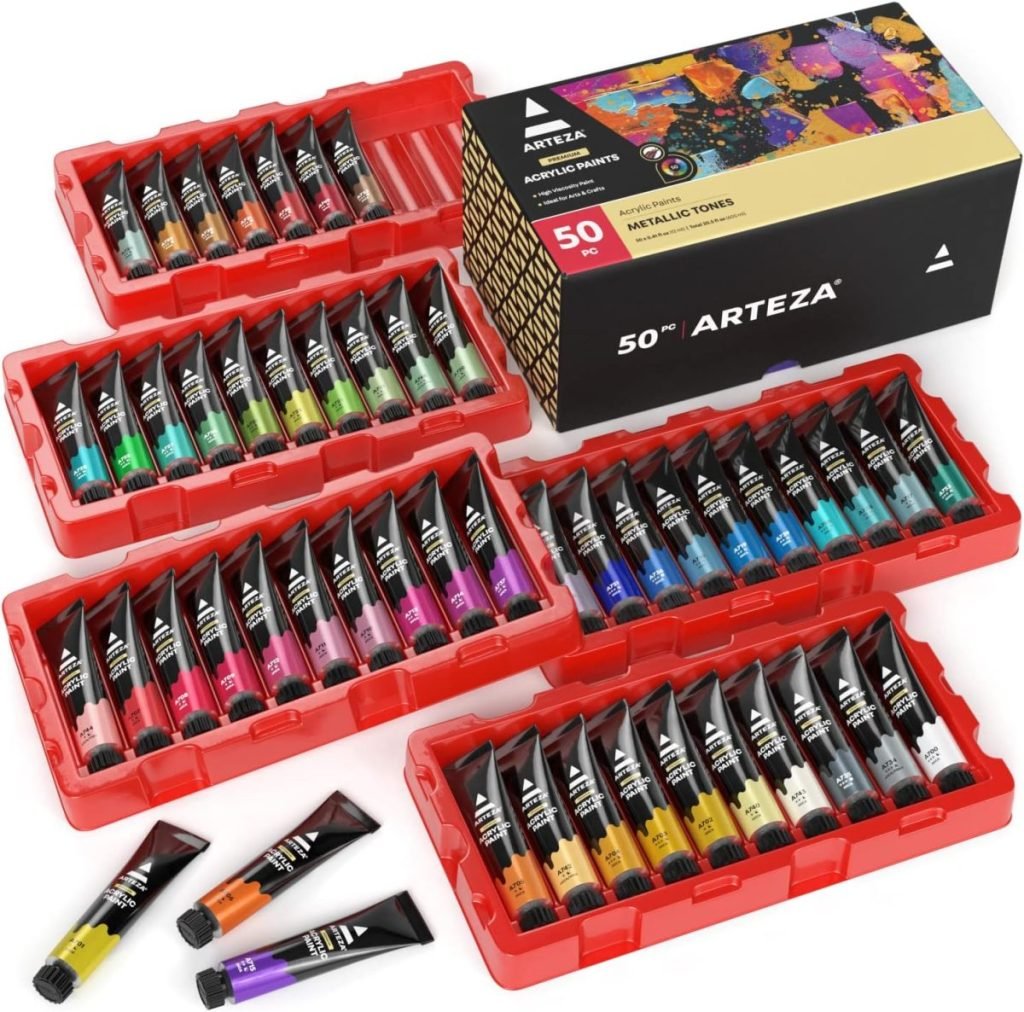
Acrylic Paint – I used Alizarin Crimson, Cad Yellow Medium, Brown, Light Green, Dark Green, and White.
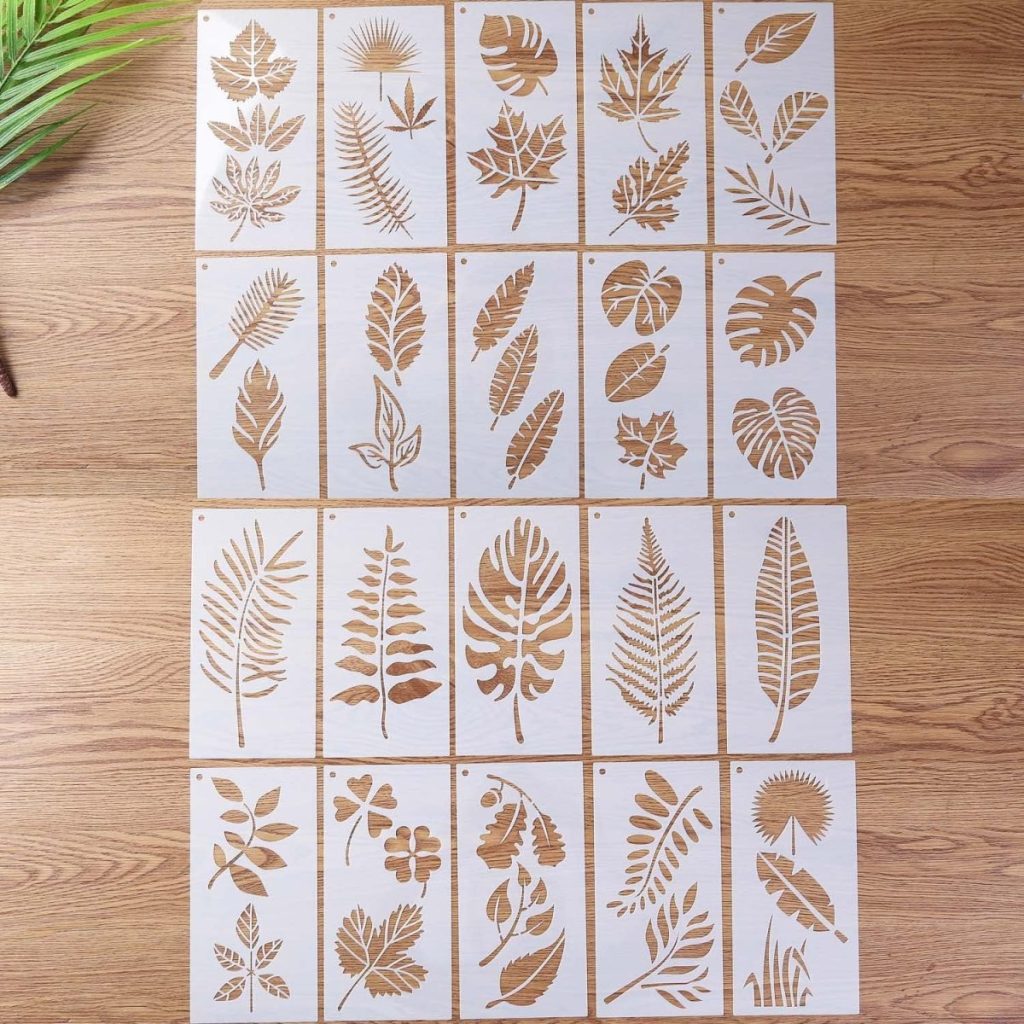
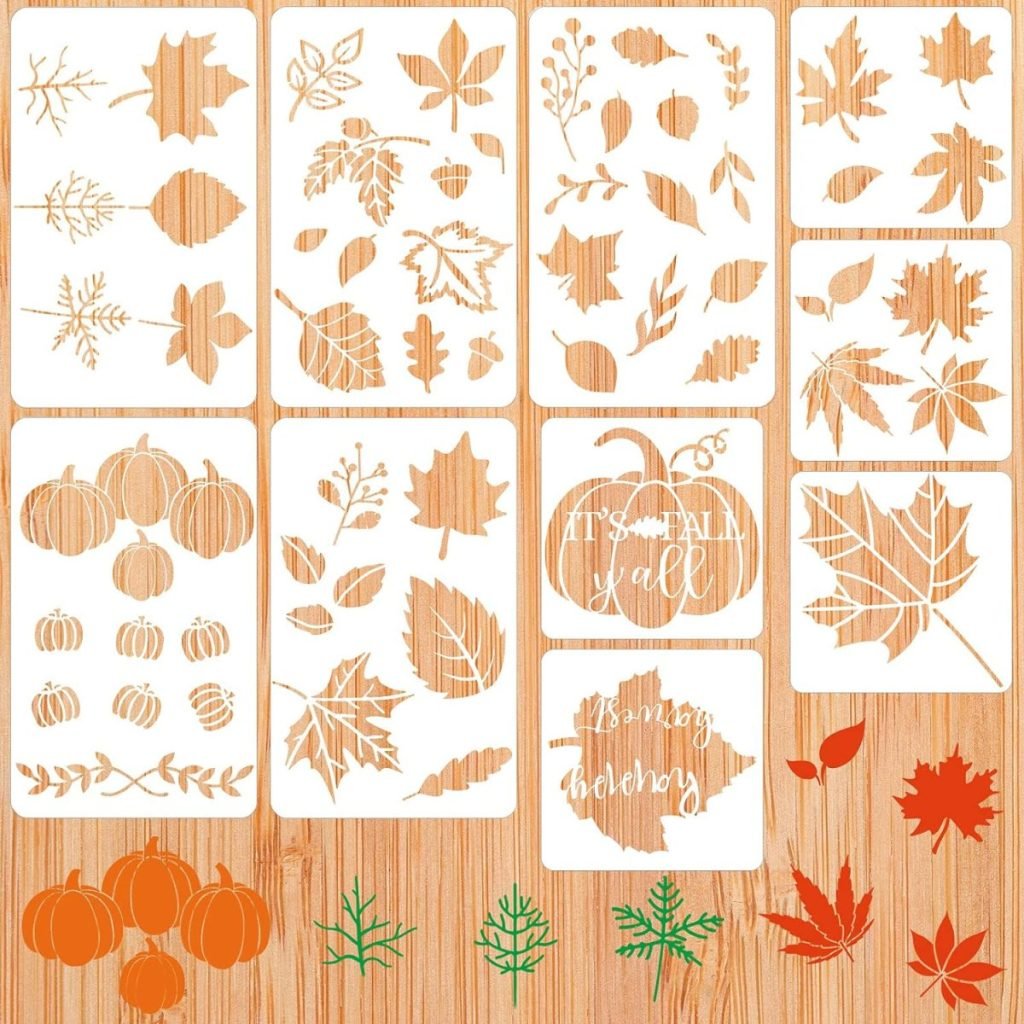
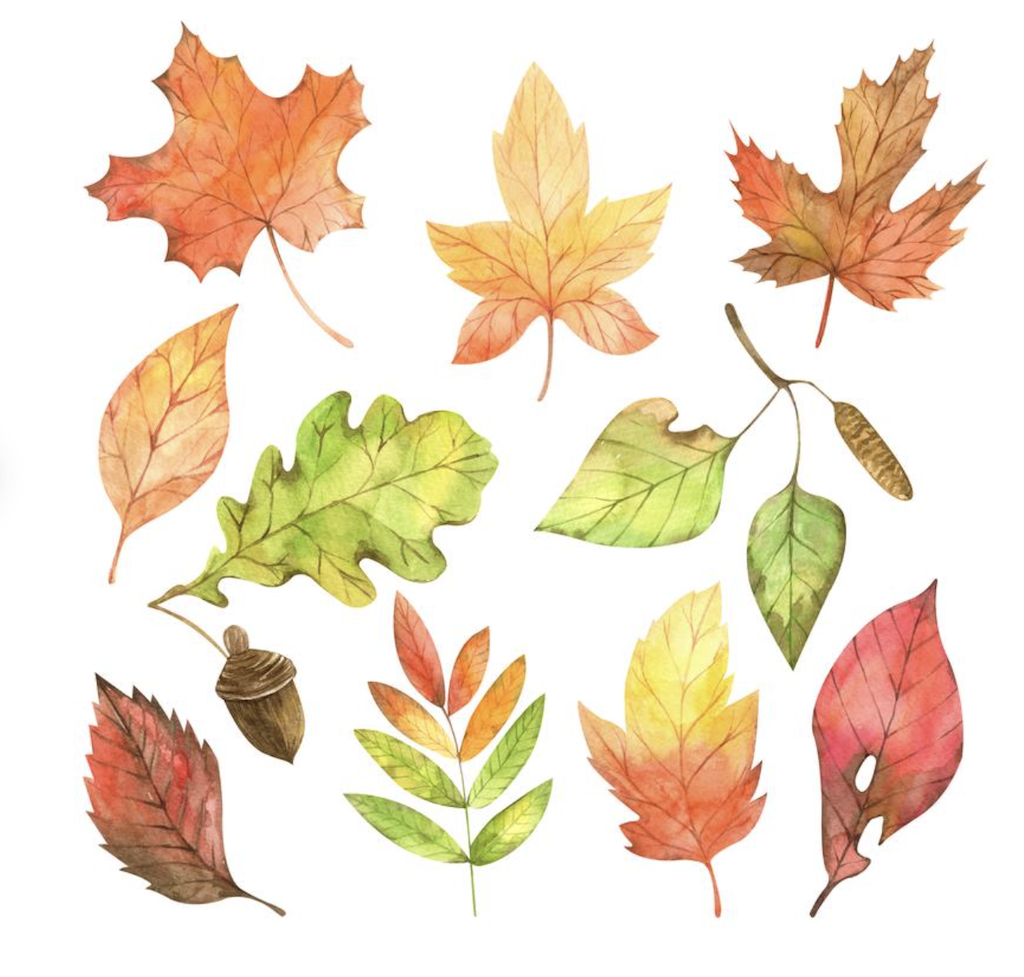
Leaf Pattern (right-click on Leaf Pattern and choose the “Save Link as…” option to download the file.) or use the same Leaf Stencils and these smaller Leaf Stencils I used on An Easy and Gorgeous Fall Tablecloth DIY.
You can tell that I use my paints frequently. (Yep, they are a mess!)
First, Trace the Leaves
I left a link to the photo of these leaves above. To download the file, right-click on Leaf Pattern and choose the “Save Link as…” option. I resized the leaves to about 5″. Once you have done that, print the leaves.
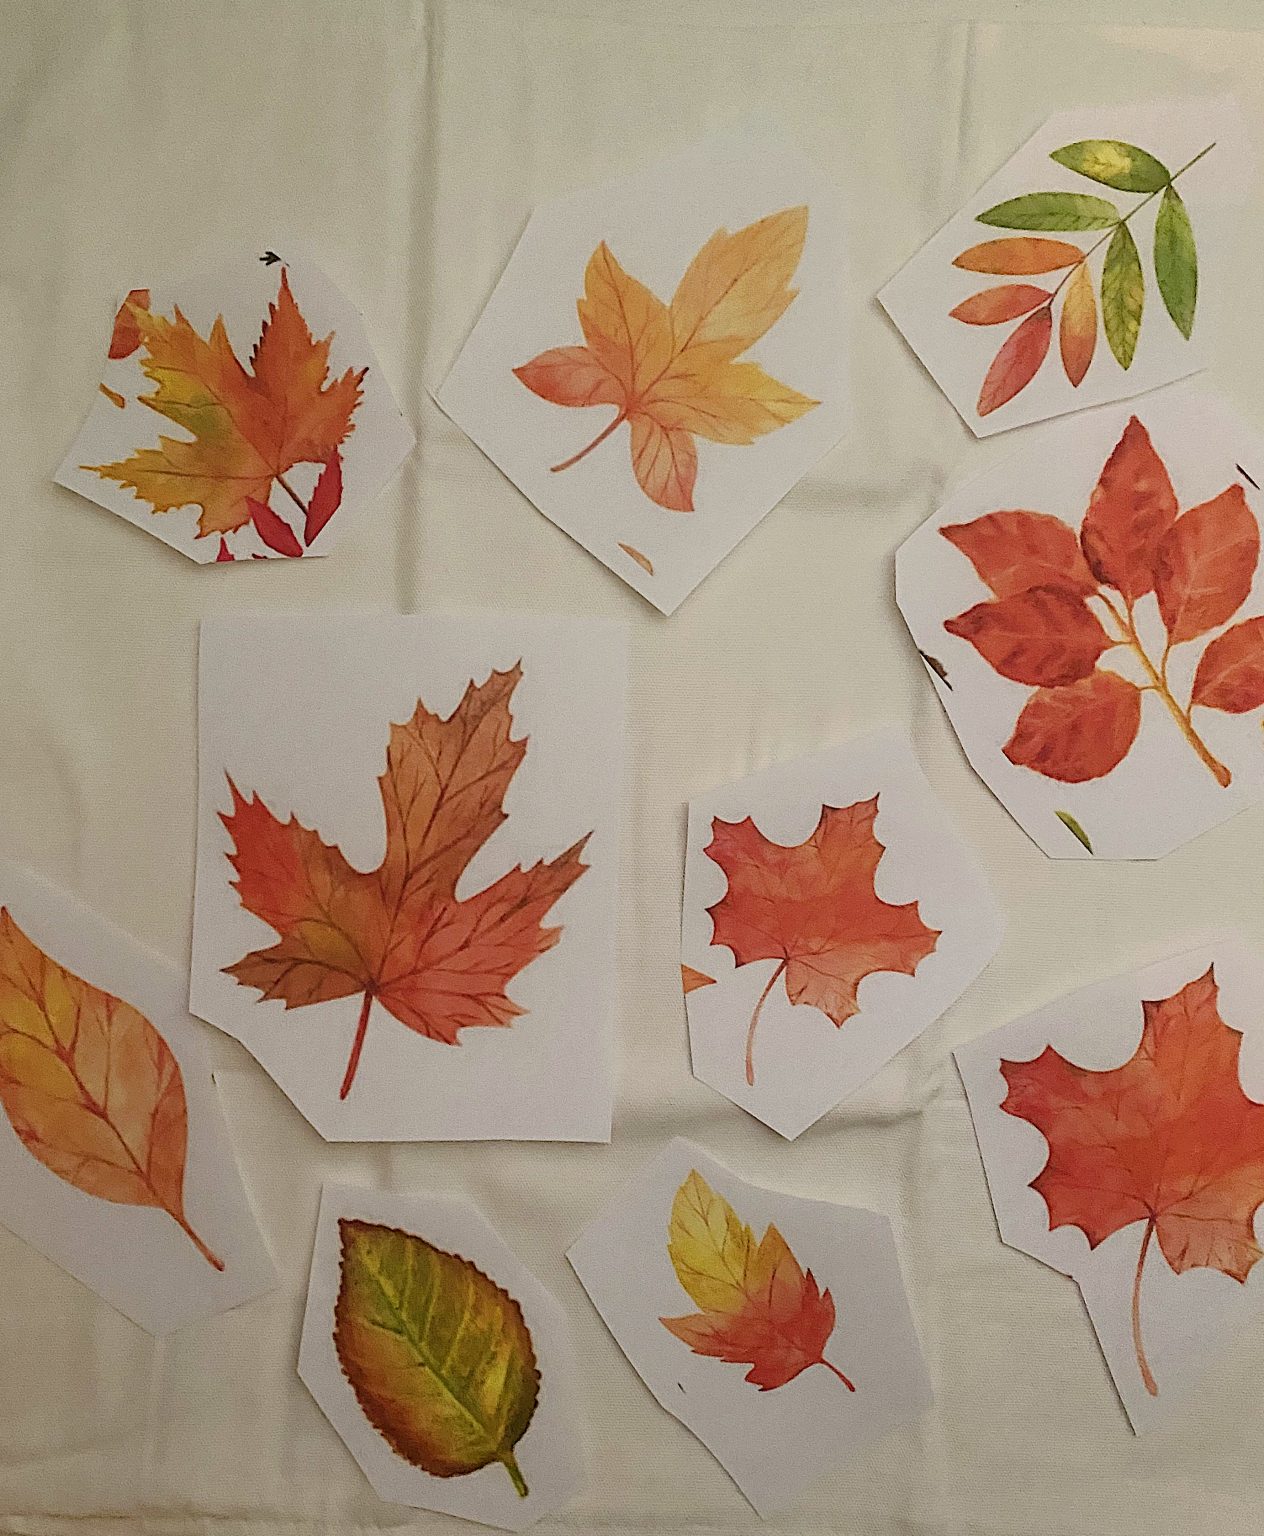
Cut out the leaves individually and arrange them on the pillow cover.
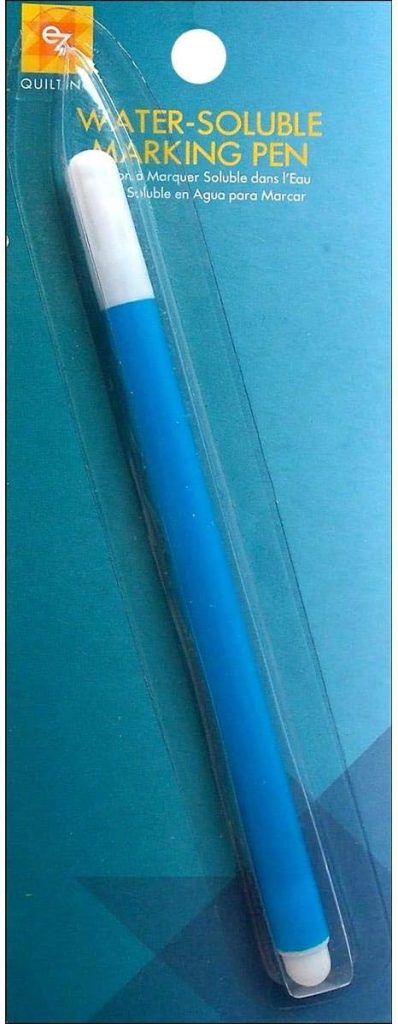
Place the leaves inside the pillow cover and arrange them in your desired order. Using a Mark B Gone water-soluble pen, trace the outside of the leaf patterns onto the fabric. The pen is washable. If you tap the fabric with a wet cloth, the pen markings will be removed immediately.
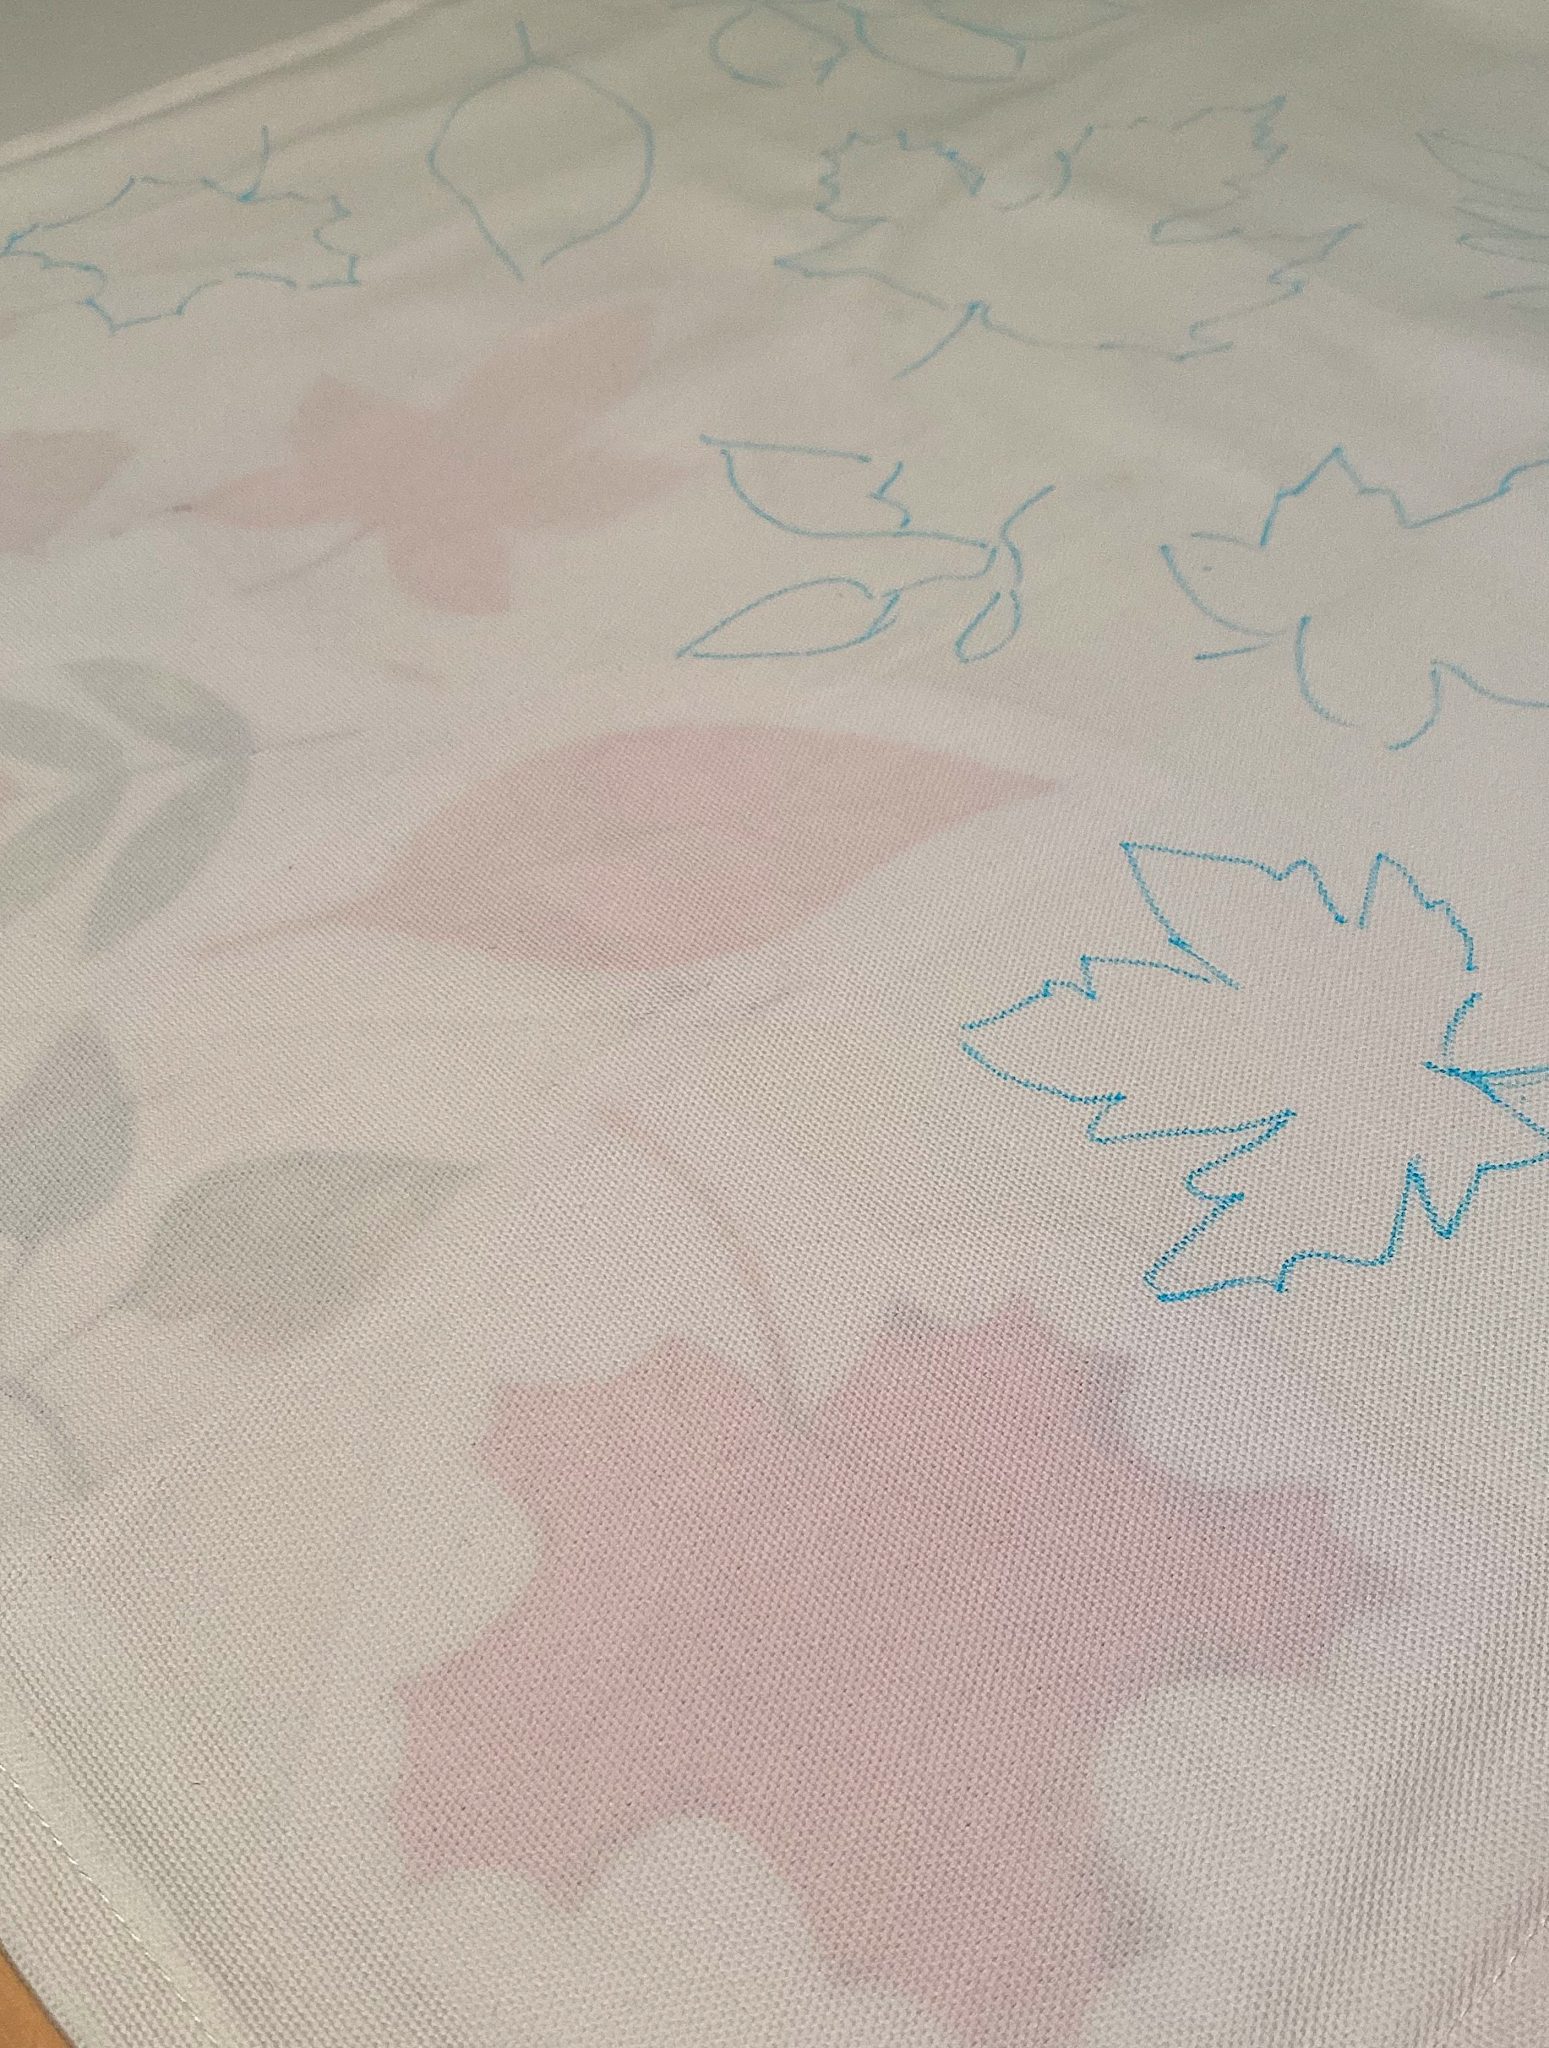
When you are done, your pillow should look like this.

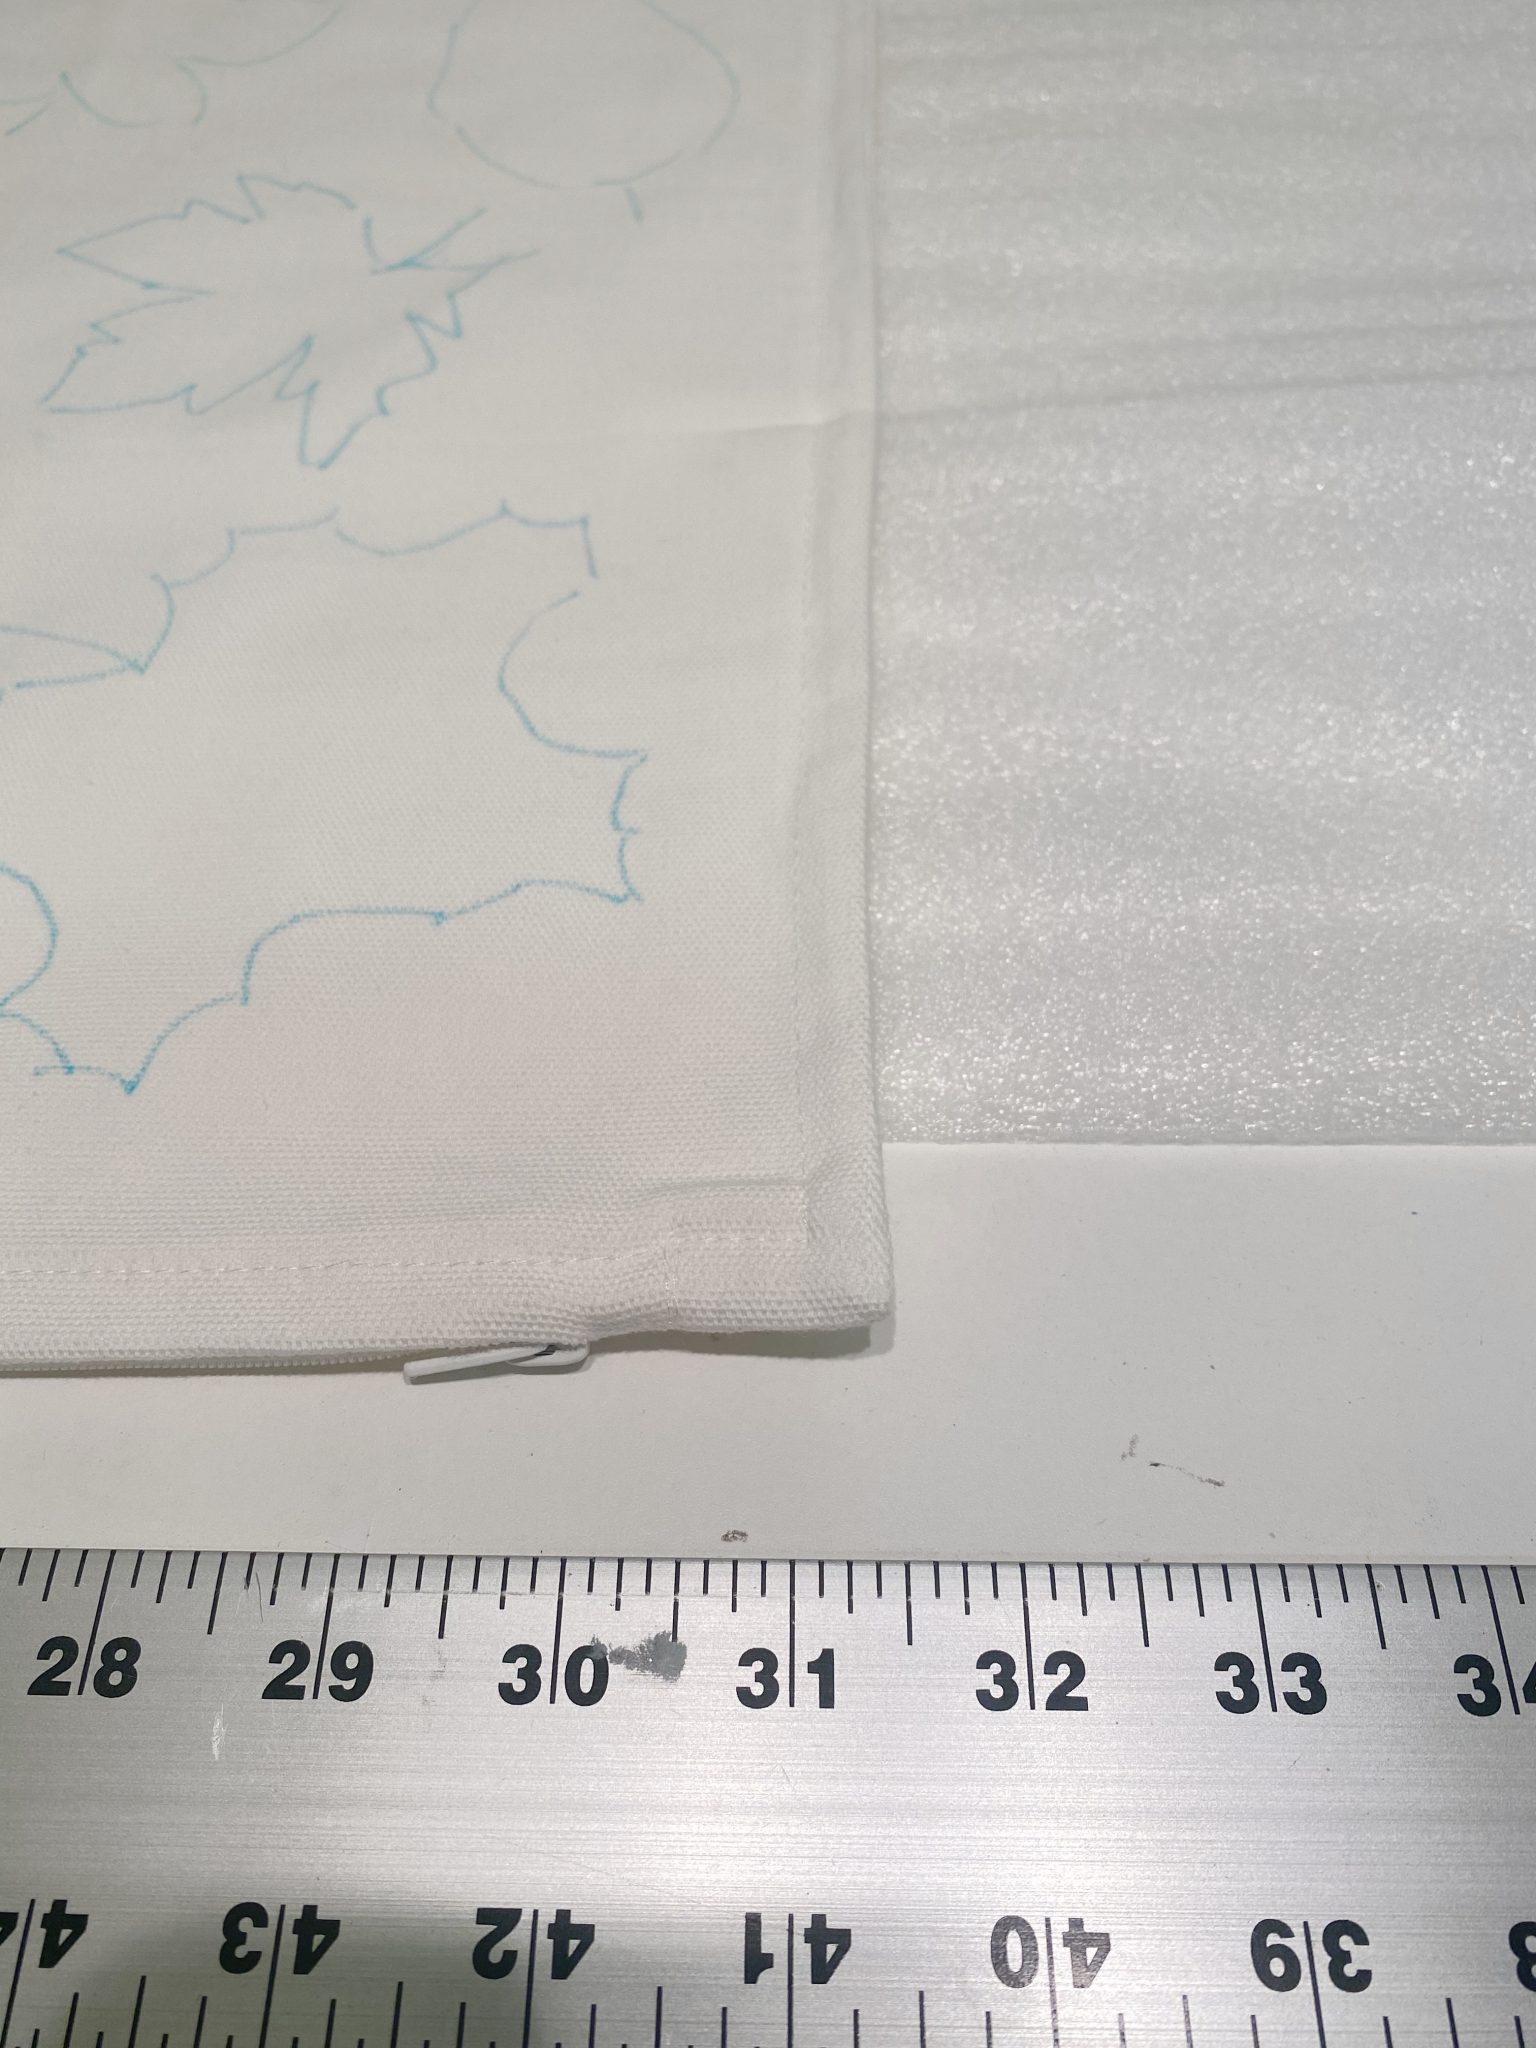
Place some heavy plastic (I used recycling material) inside the pillow cover. You need this because when you paint on the topside, you don’t want the paint to leak through to the backside.
Next Comes Paint
Mix your paints to get your desired colors, and loosely paint around the traced lines. I like it when it isn’t perfect. Messy is good.
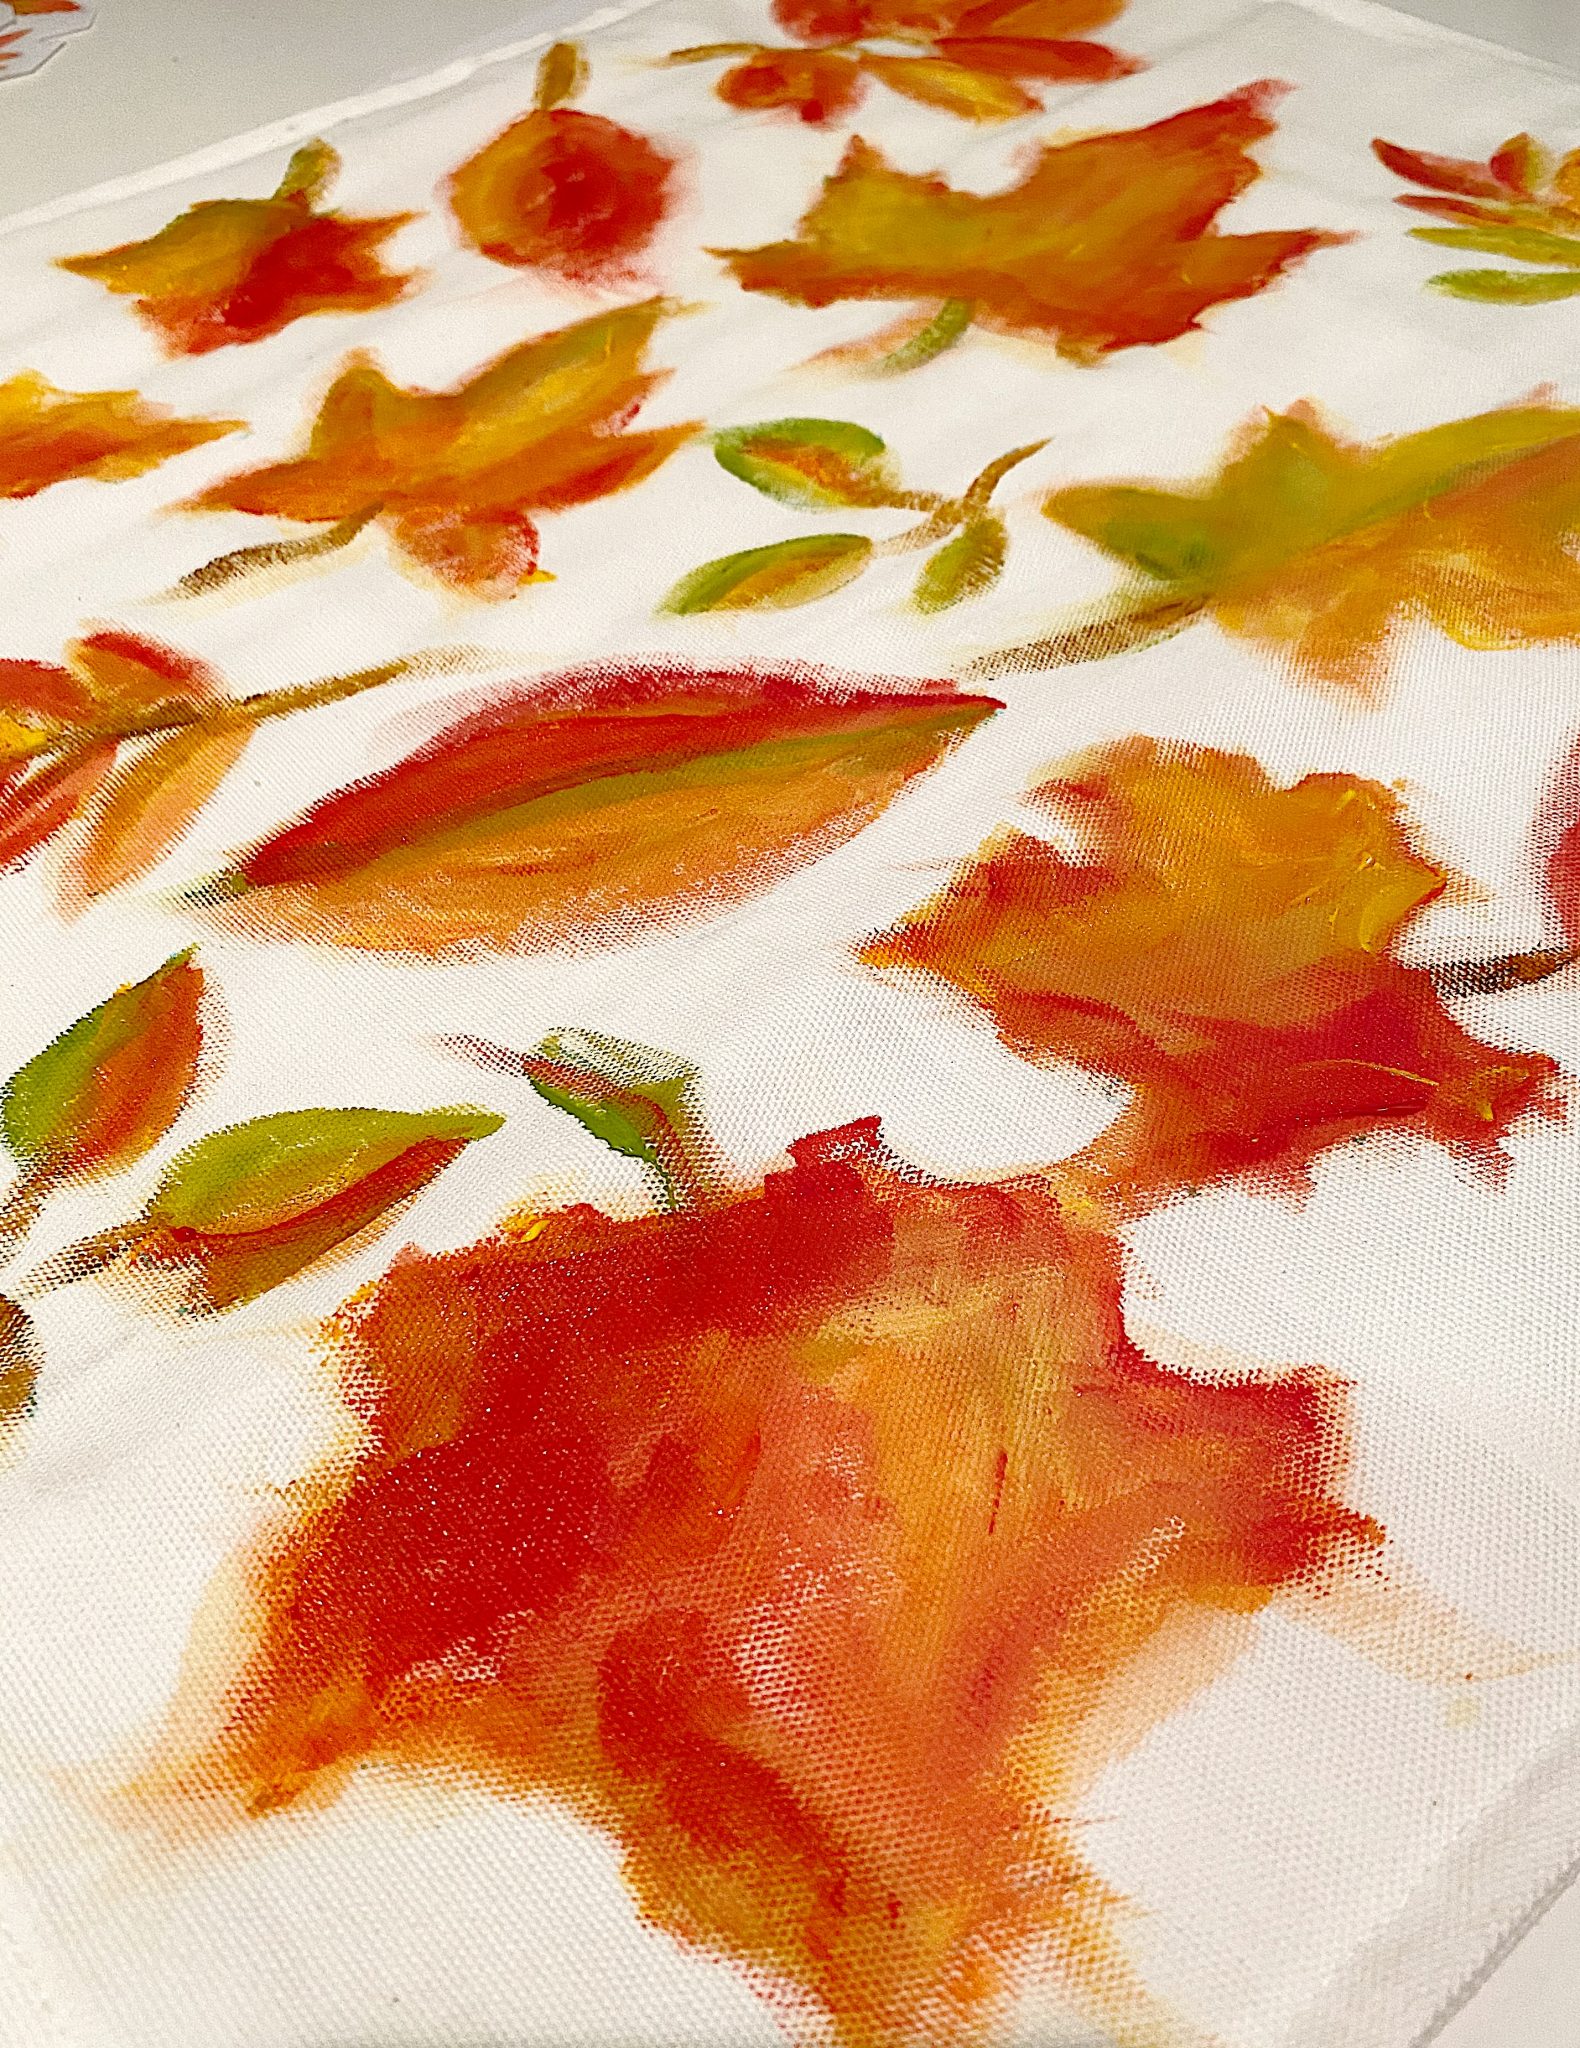
This is what my pillow looked like after I painted it. Don’t panic; remember how good it will look when the pillow is done. (I posted another photo since you might have forgotten.)
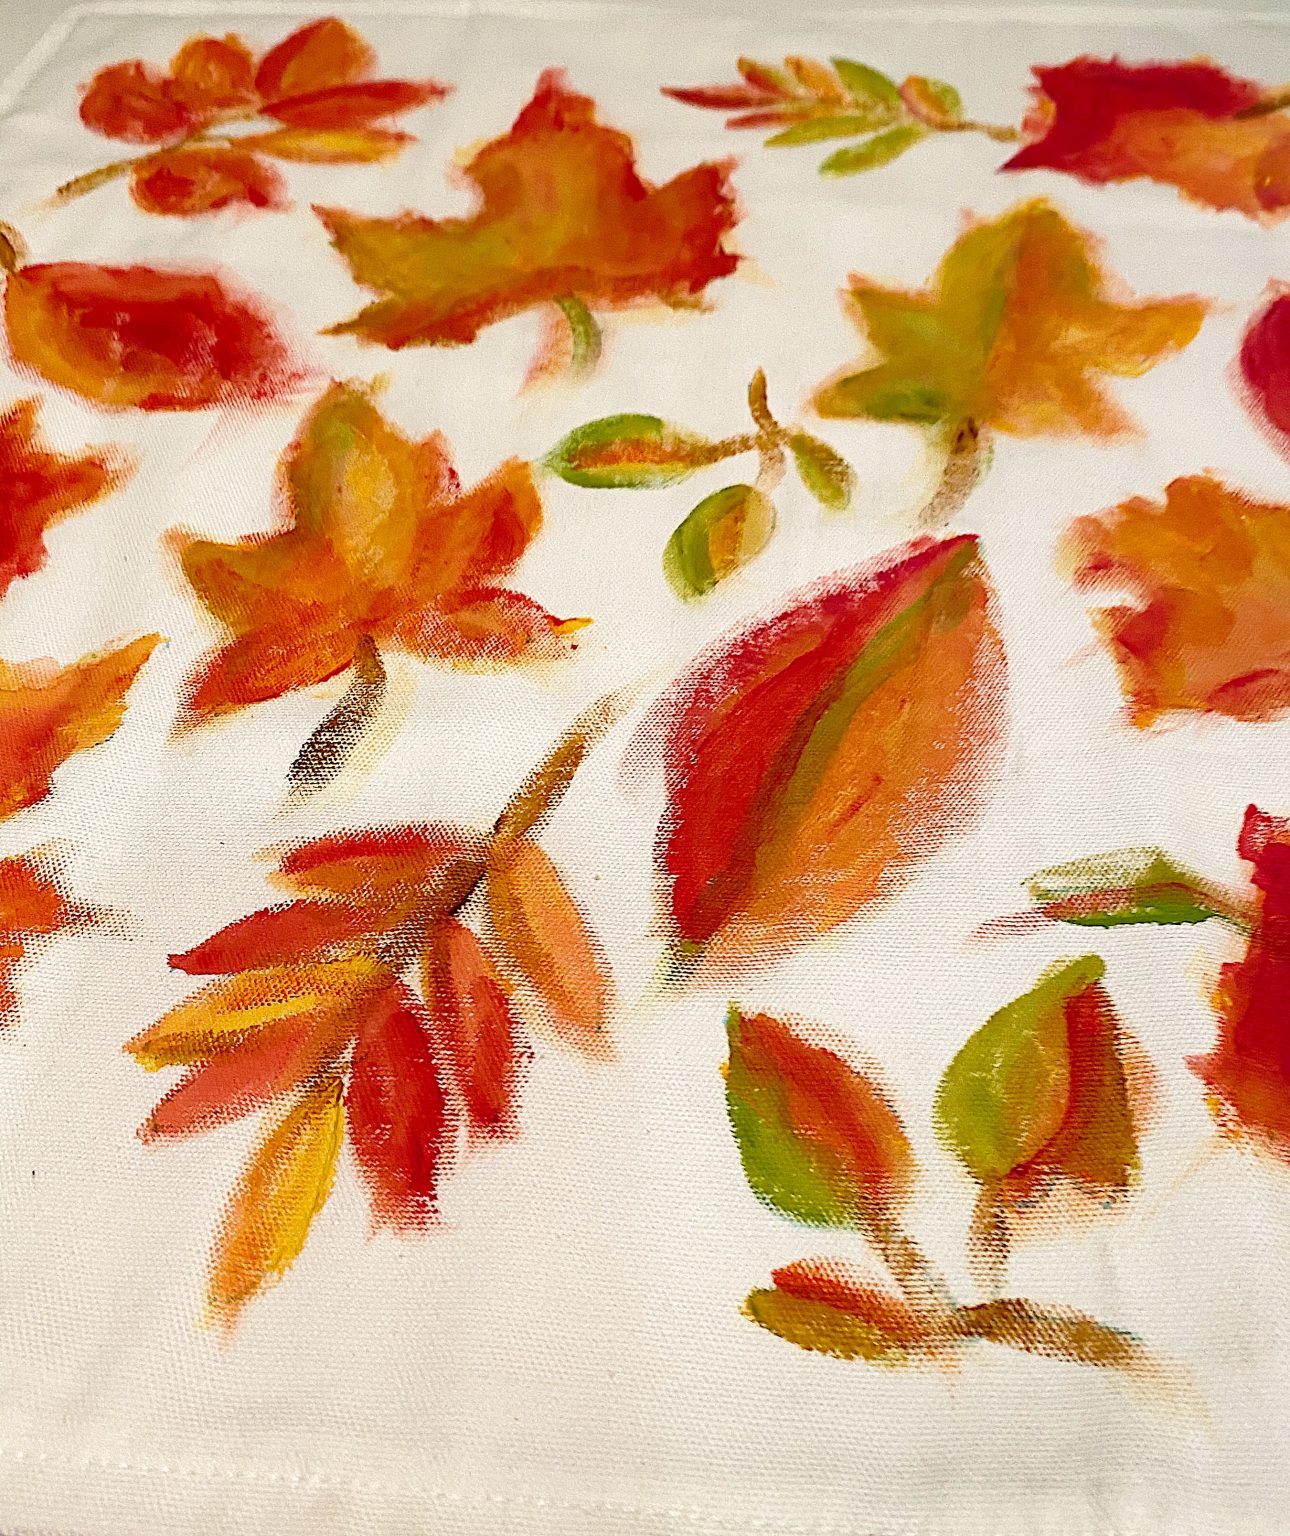
See, it looks much better with the stitched embroidery.
Next, Free Motion Embroidery
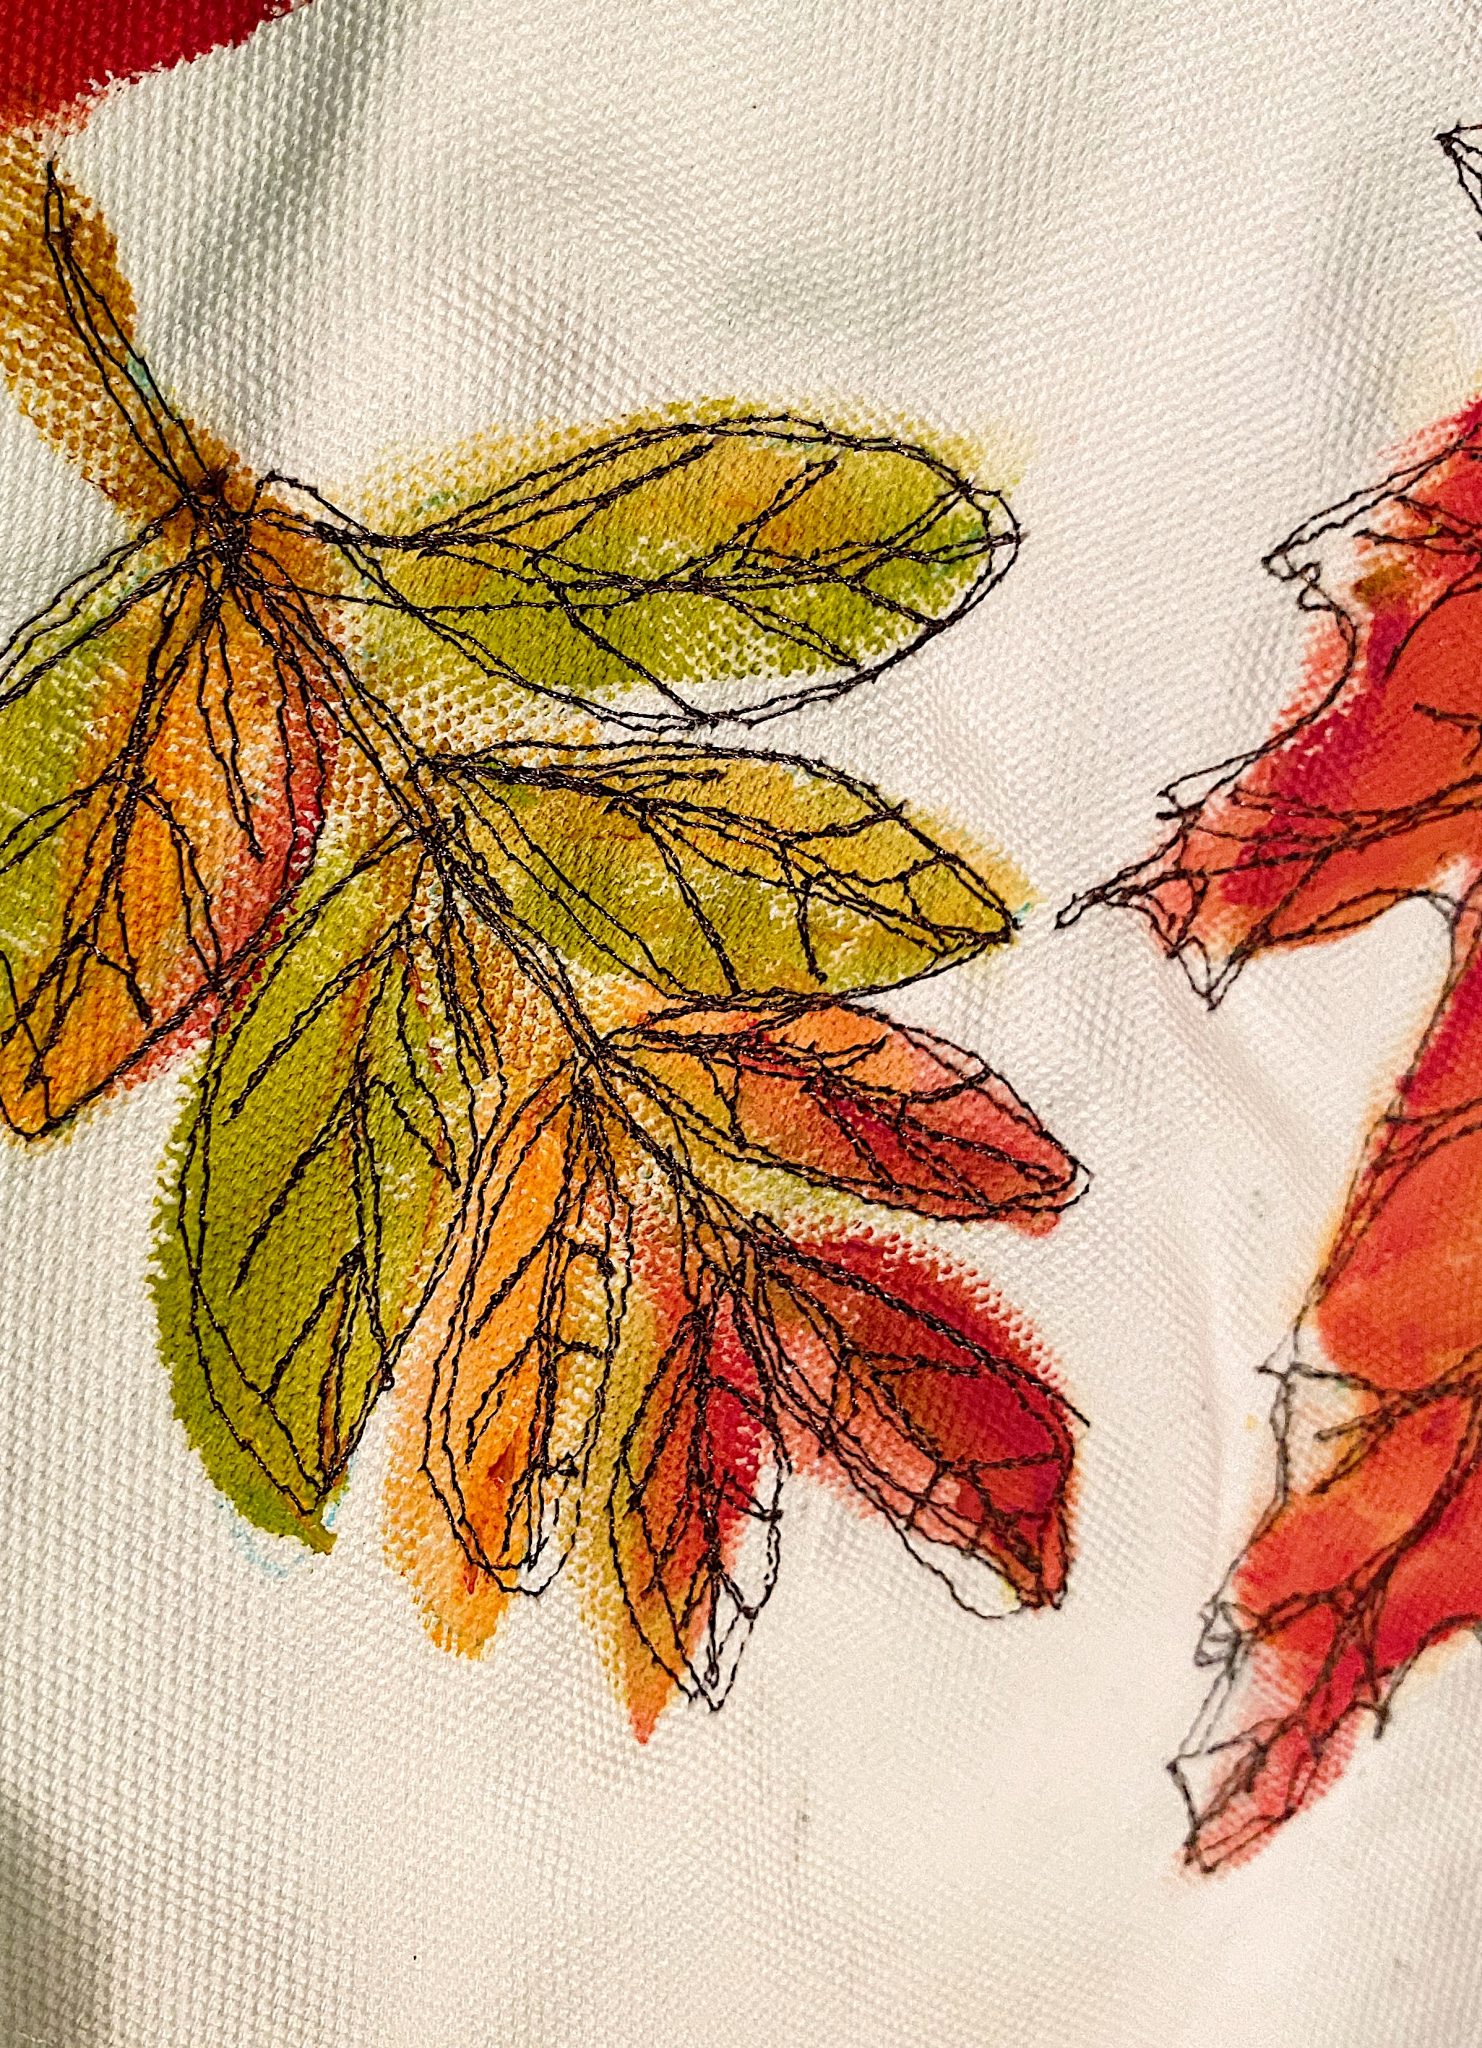
Once the pillow is dry, add the machine-stitch embroidery. This is what the sewing machine pressure foot looks like. To stitch the flowers, place your printed leaf nearby and stitch the leaf’s veins, as seen in the photo. The good thing is that this does not have to be perfect. I like it better if it’s not.
Can you believe the difference between the painted-only leaves and the stitched leaves?
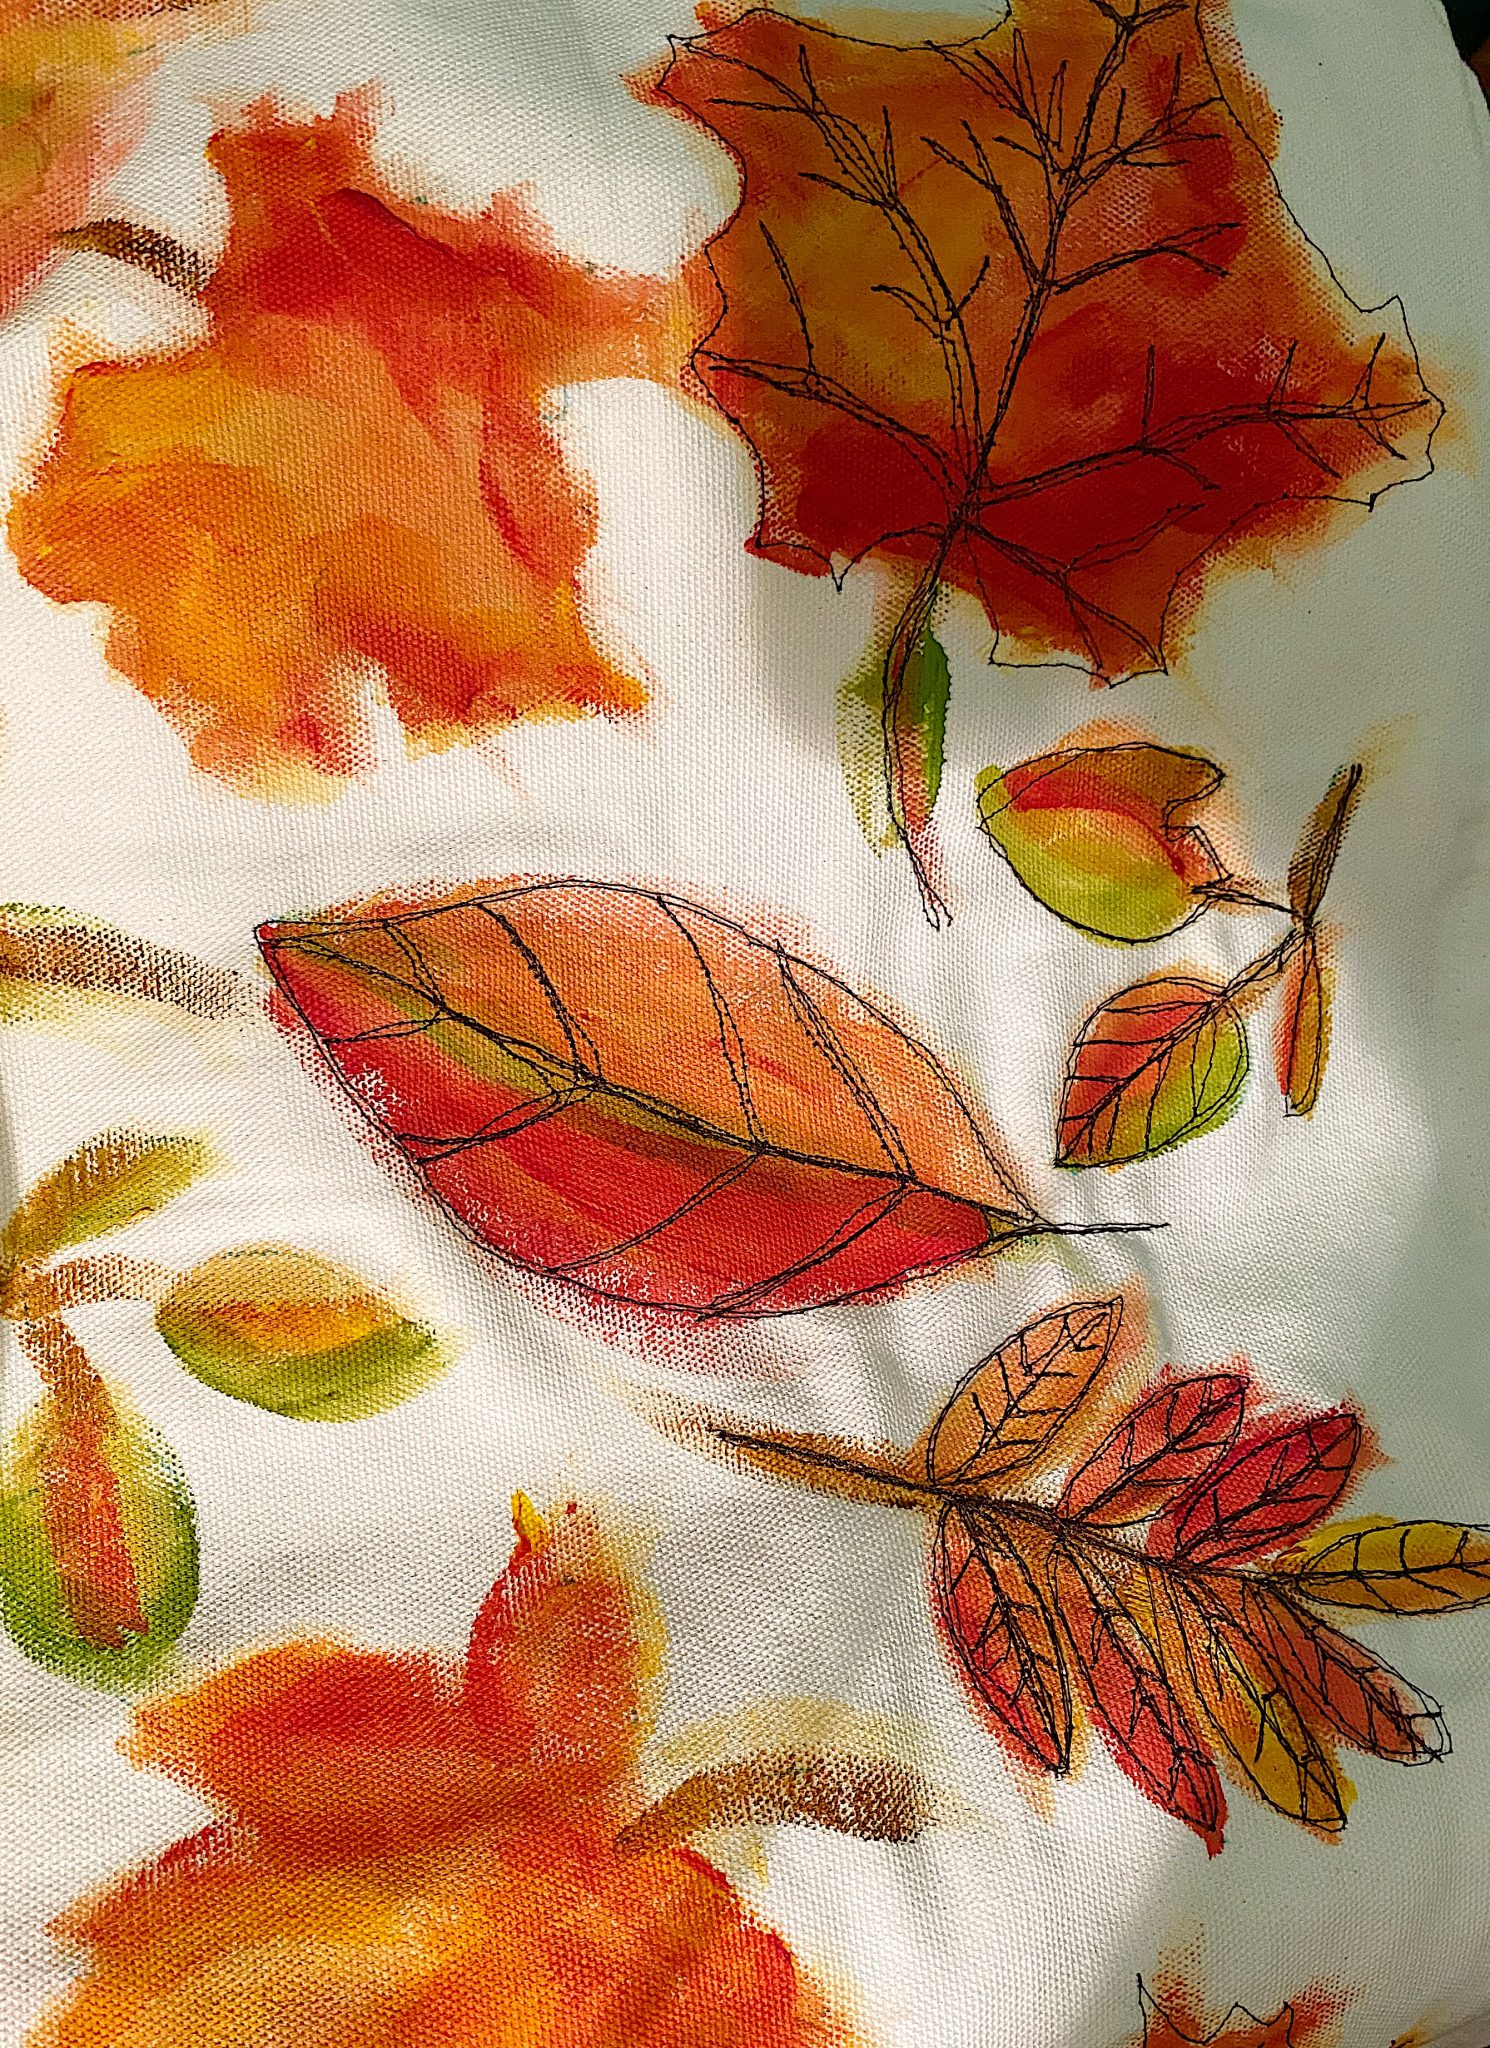
Here is a closeup. See what I mean about it being not perfect? It’s a good thing. I wasn’t kidding.
Iron to Seal the Paint
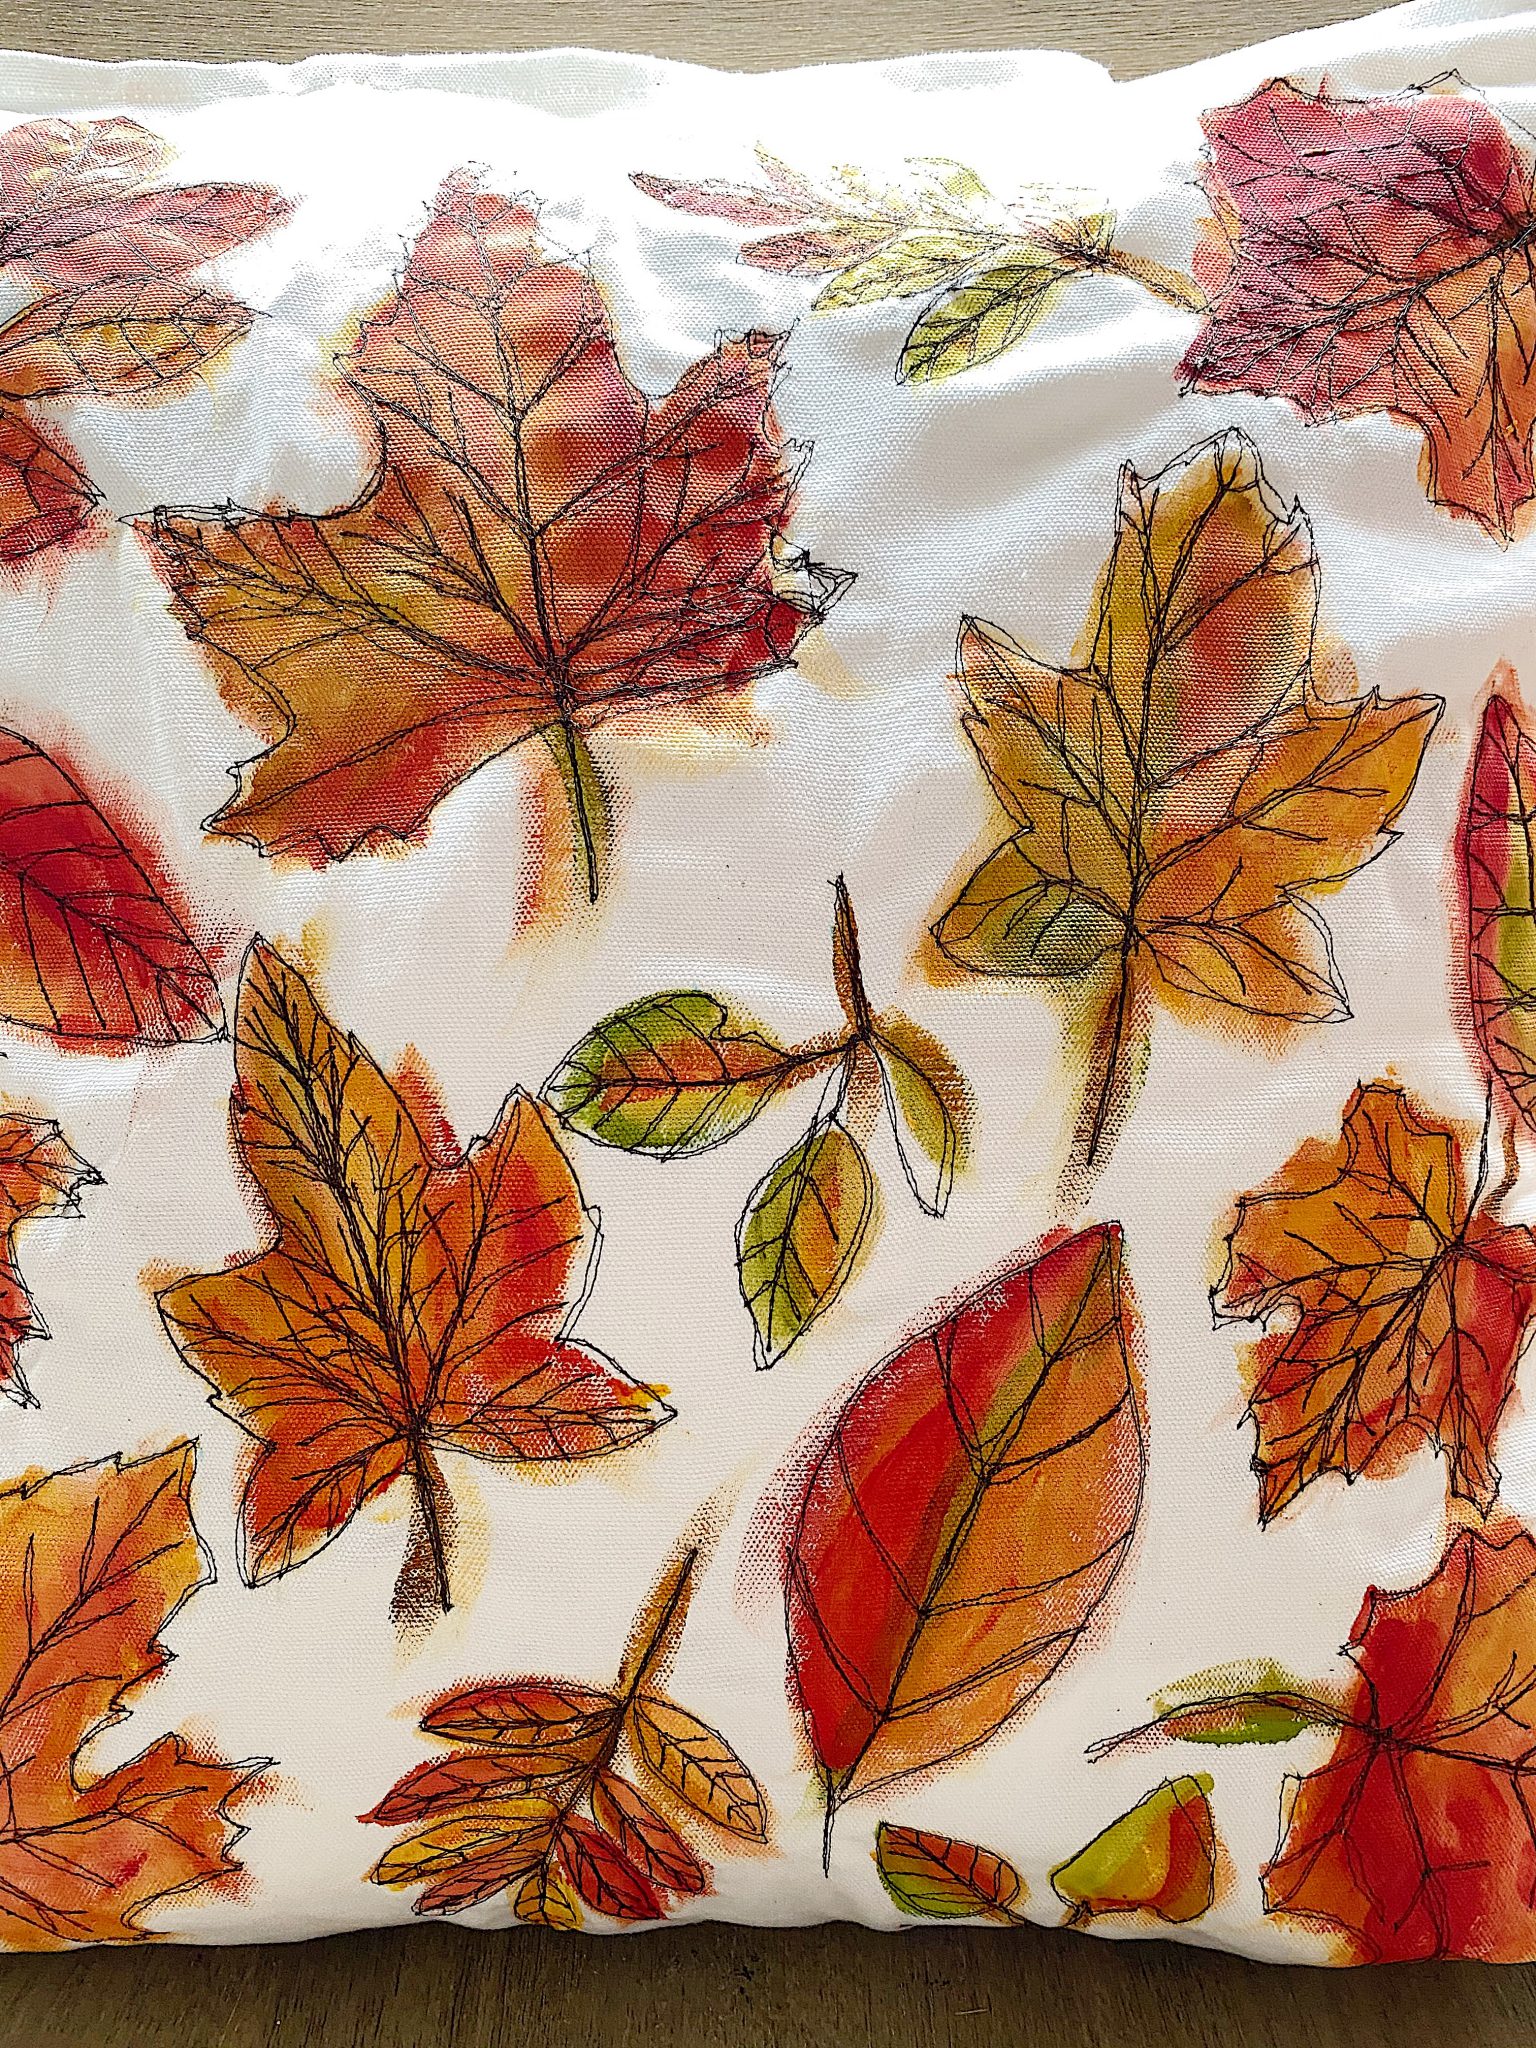
This is what the pillow looked like after stitching. Afterward, iron the pillow to flatten out the pillow cover and seal the paint.
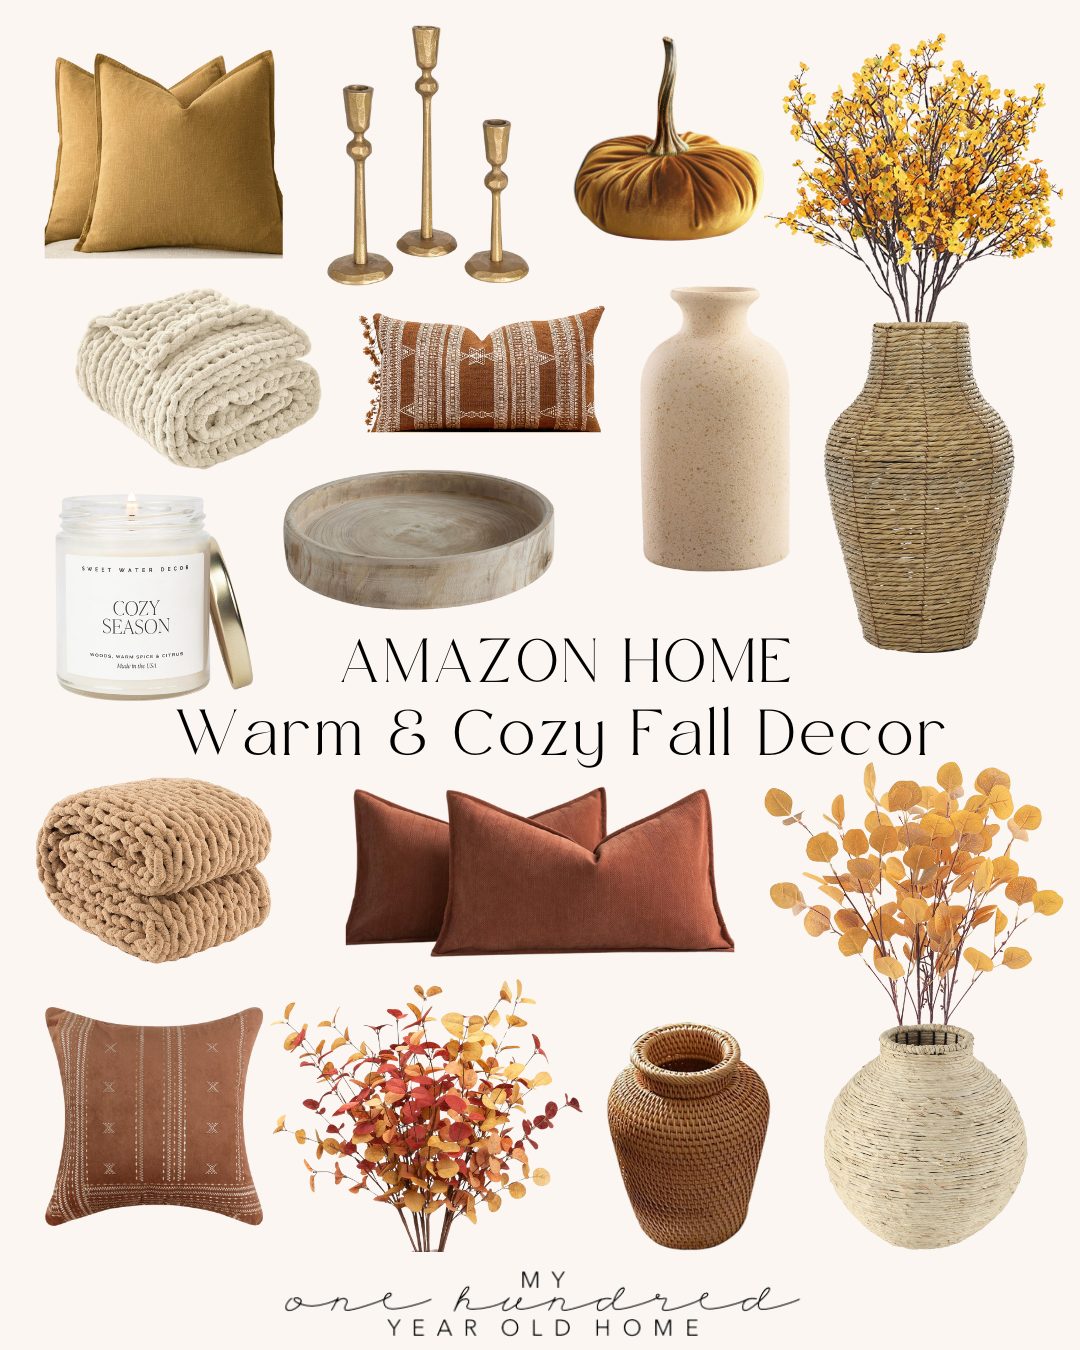
Favorite Warm & Cozy Fall Decor
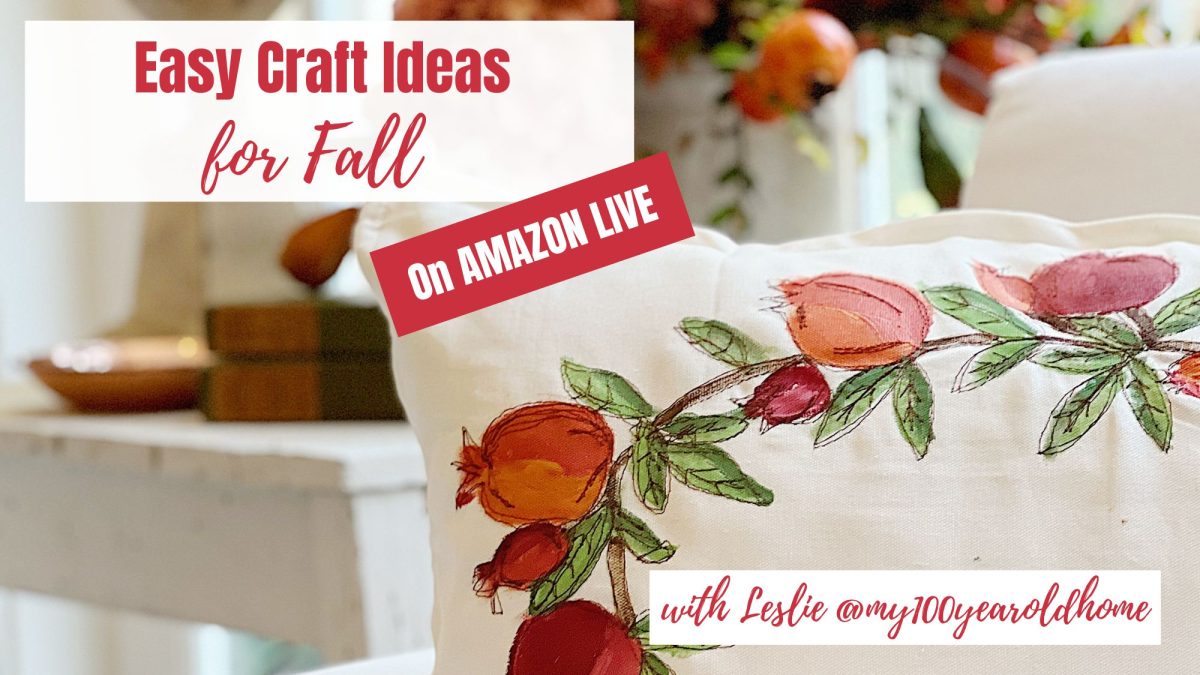
Watch My Amazon Live
Click here to watch any of my Amazon Live shows. All shows are recorded.
This live show is titled Easy Craft Ideas for Fall.
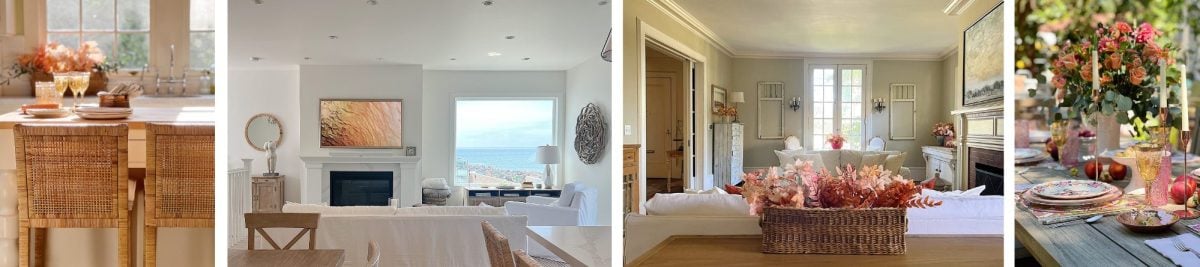
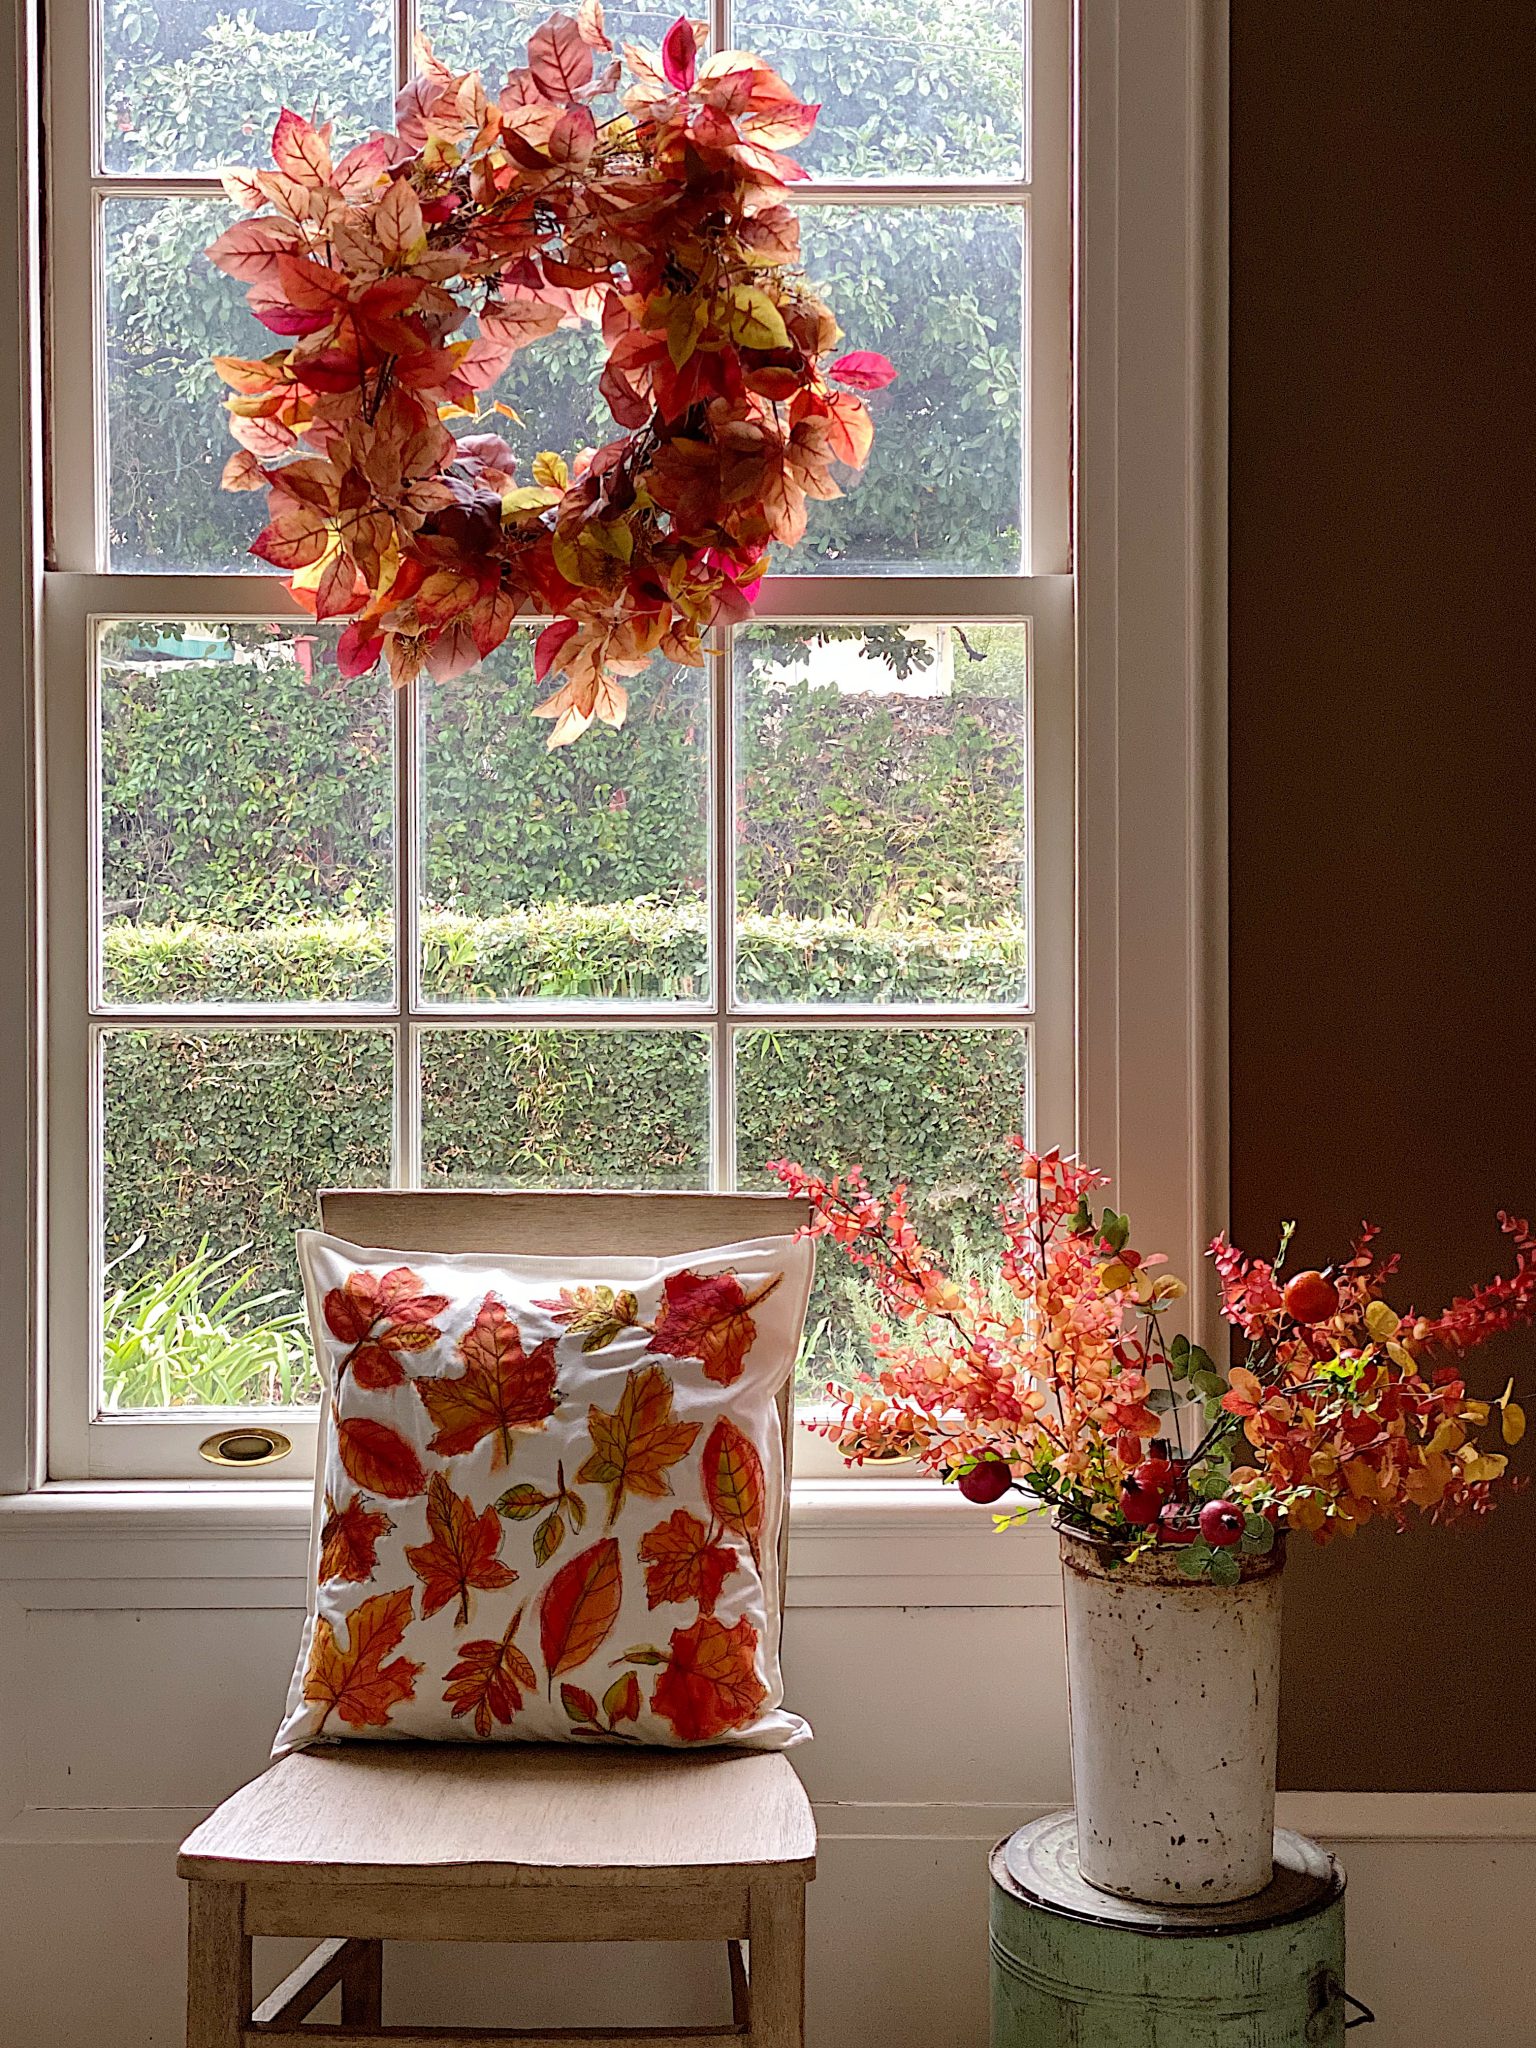
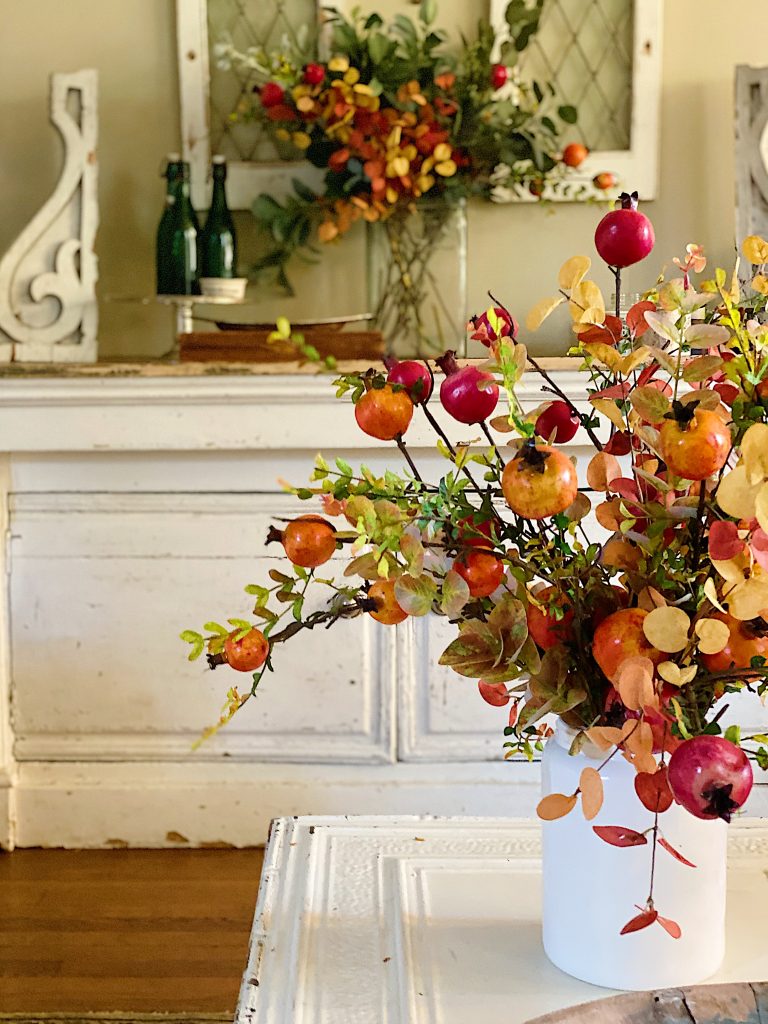
This is our dining room. The faux flowers I got from Amazon Home inspired me.
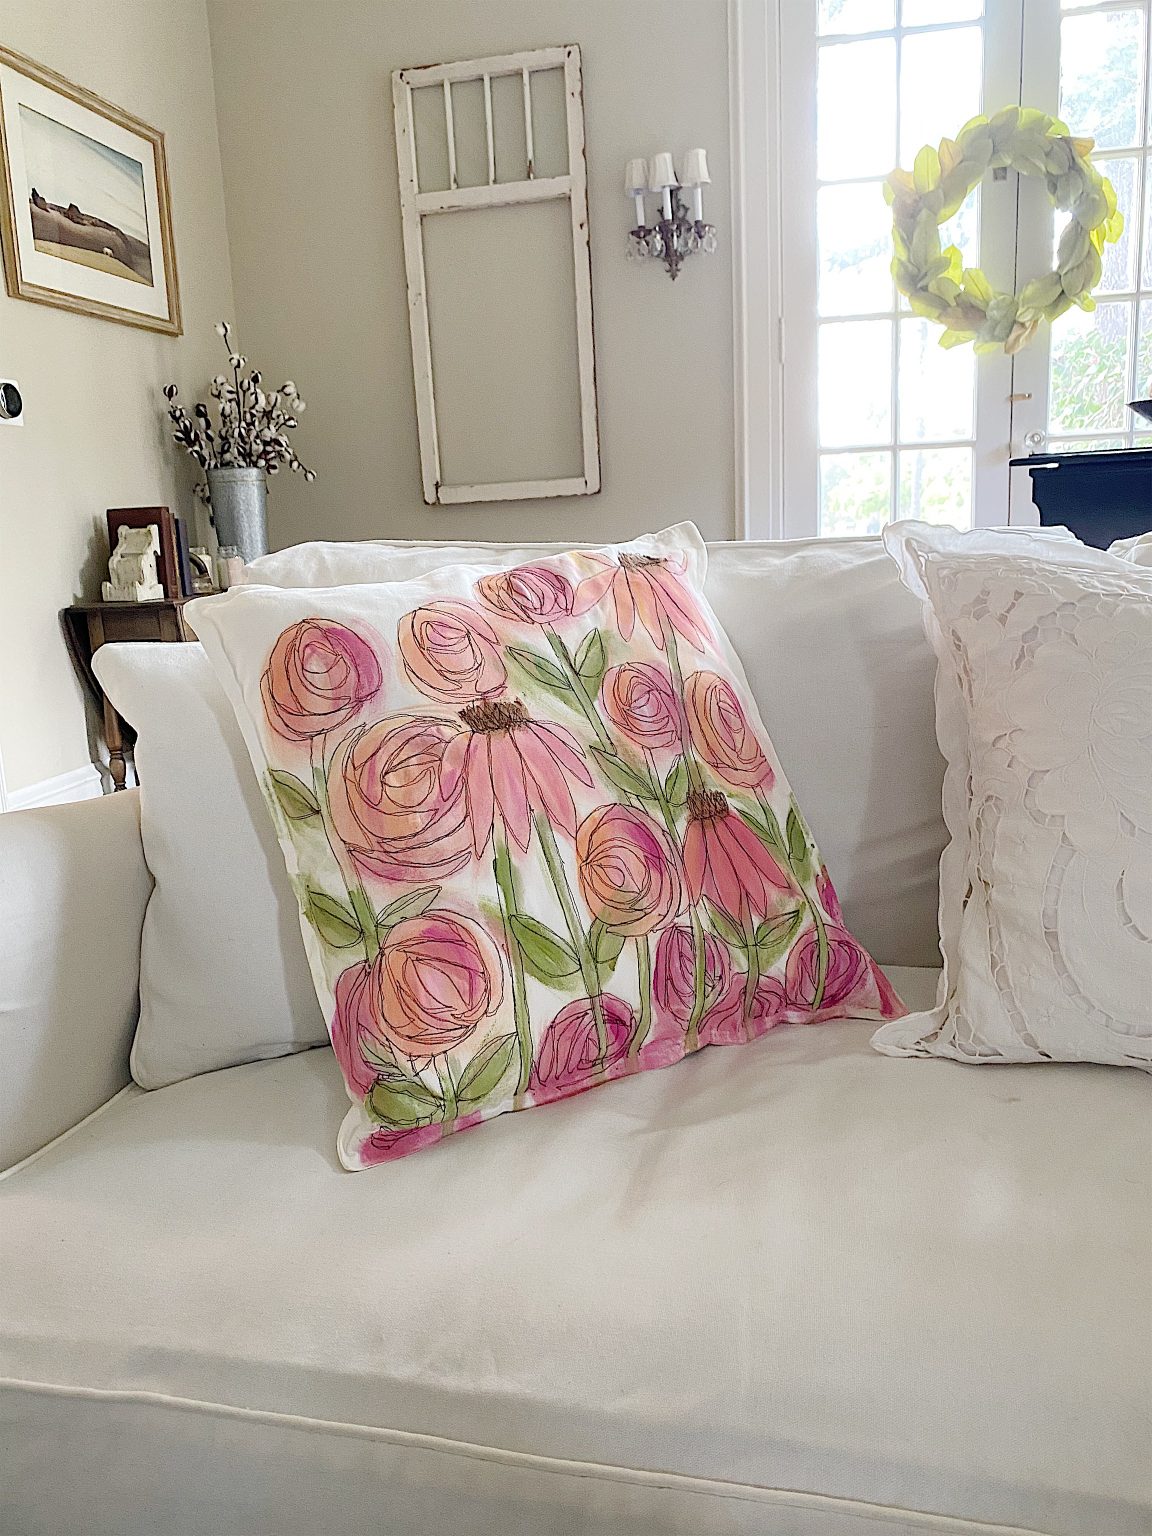
I love this pillow so much! And it was not hard to make.
I made two other fall pillows with paint and free-motion stitch embroidery.
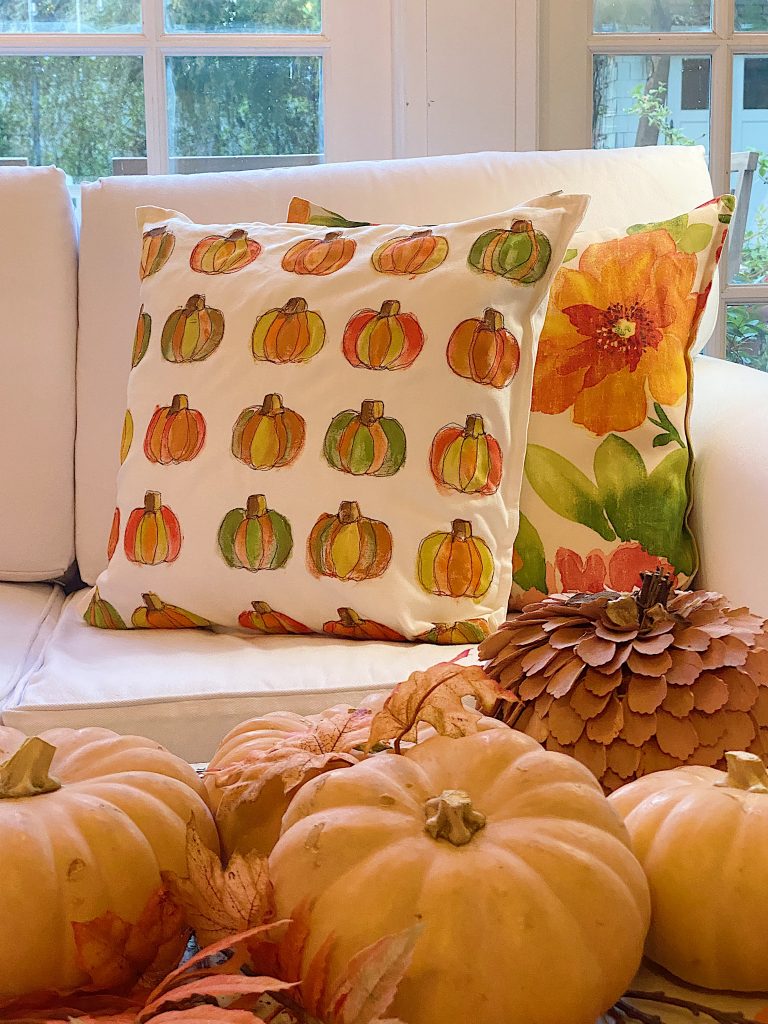
Fall Pumpkin Decor and Pumpkin Pillow
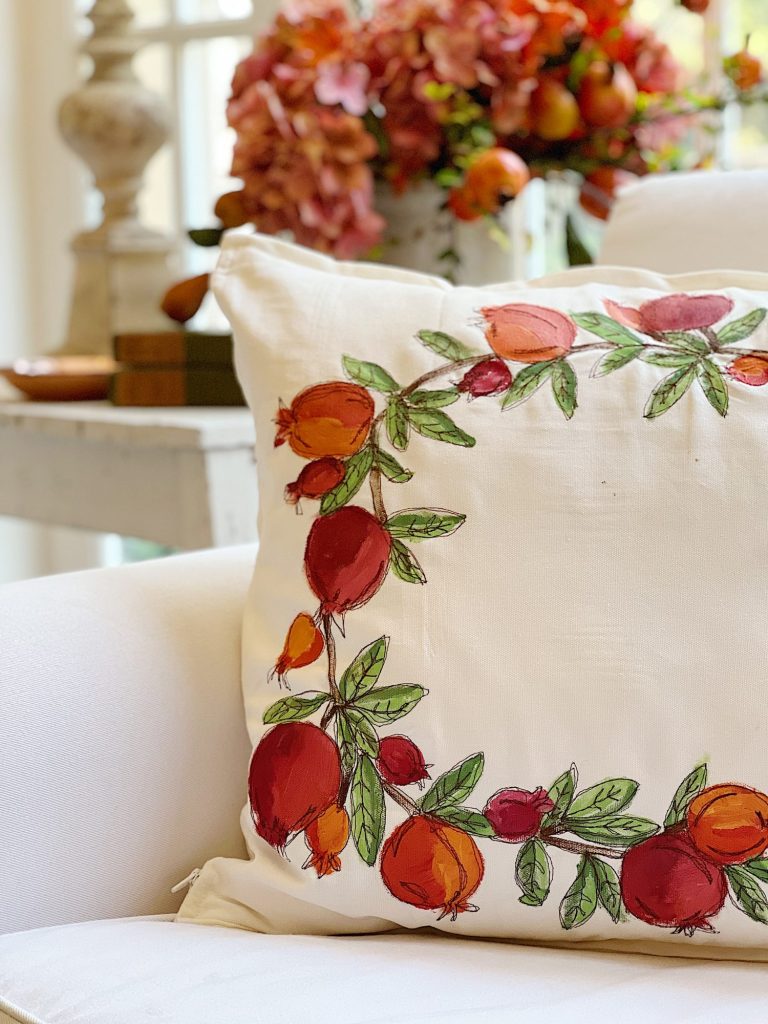
My Favorite DIY Fall Pillow Covers
If you enjoy my blog, you can sign up to receive my updates here.
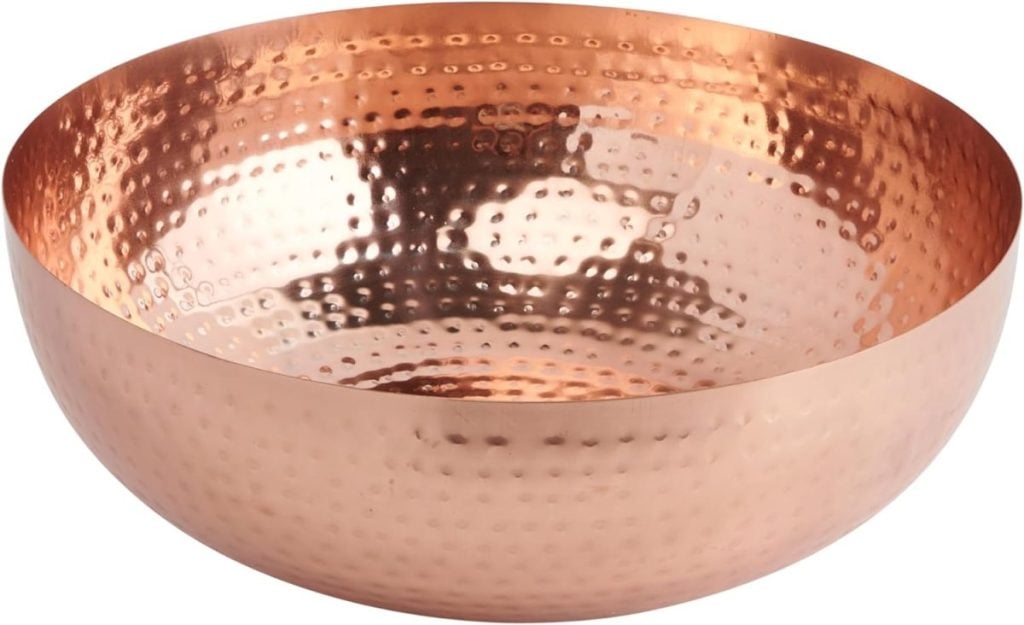
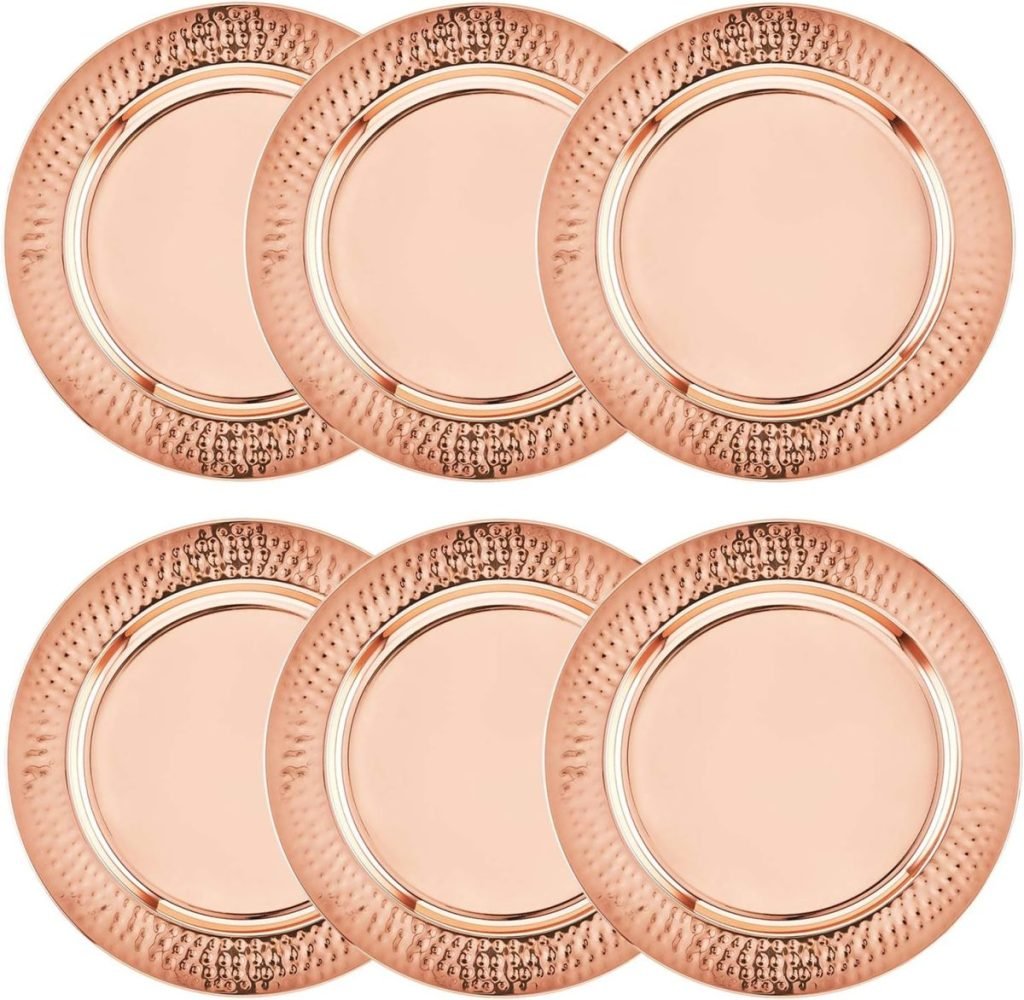
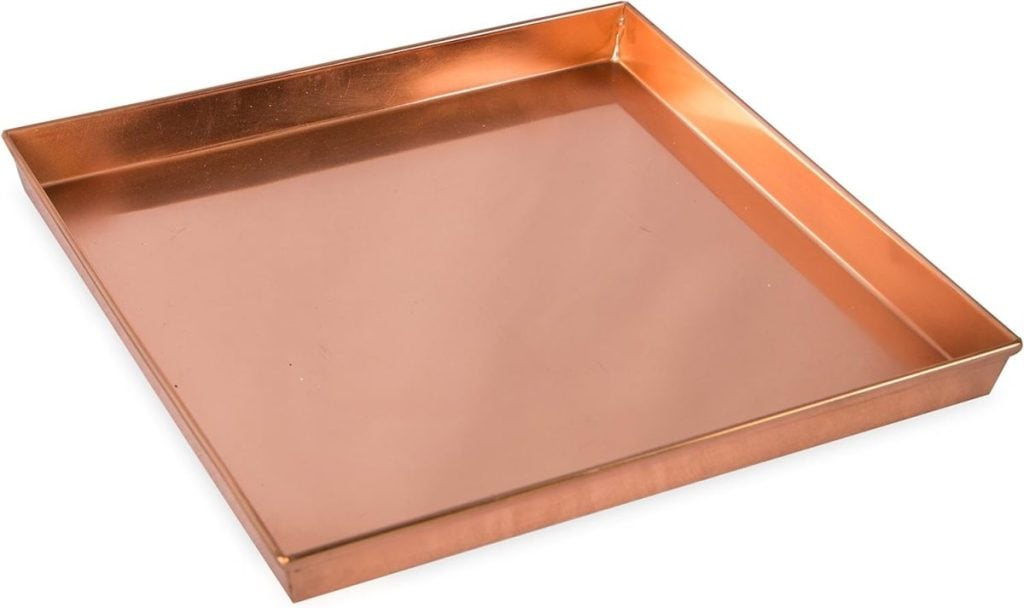
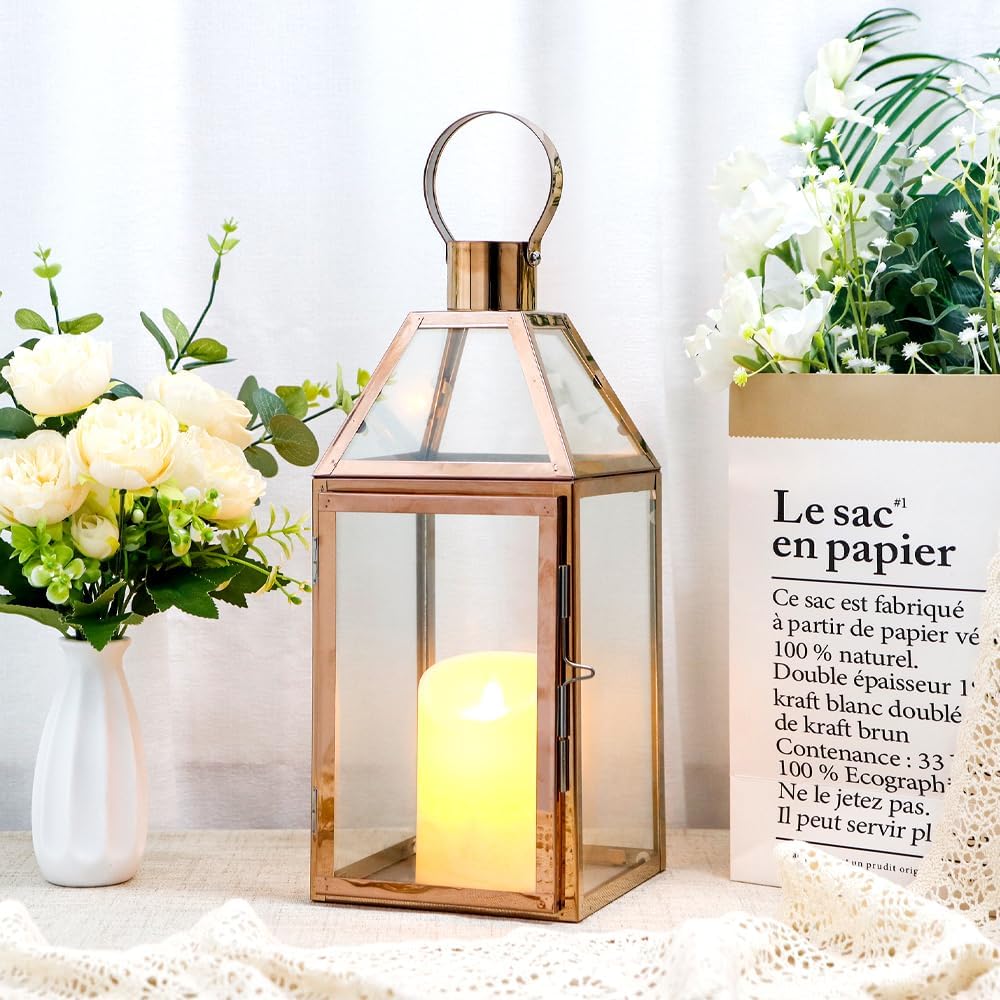
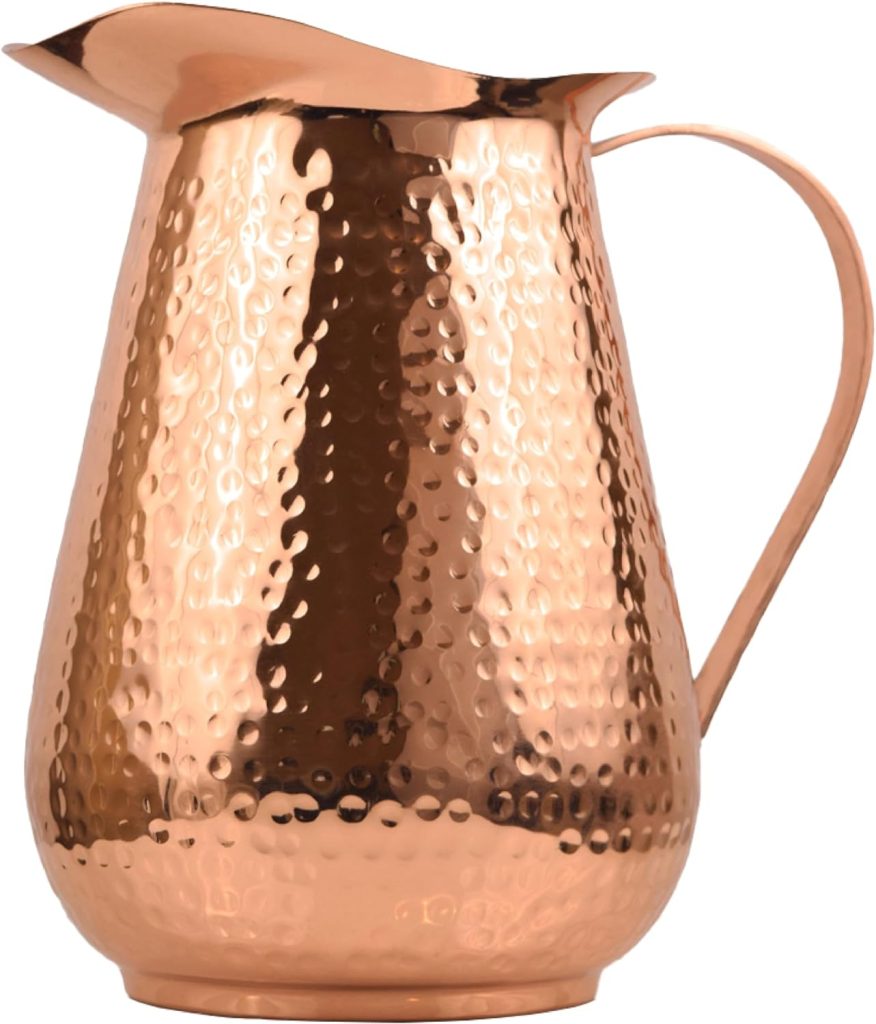
.I love copper accents, and they combine beautifully with fall colors. Below are some of my favorite copper pieces for fall. The hammered copper bowl is on sale!
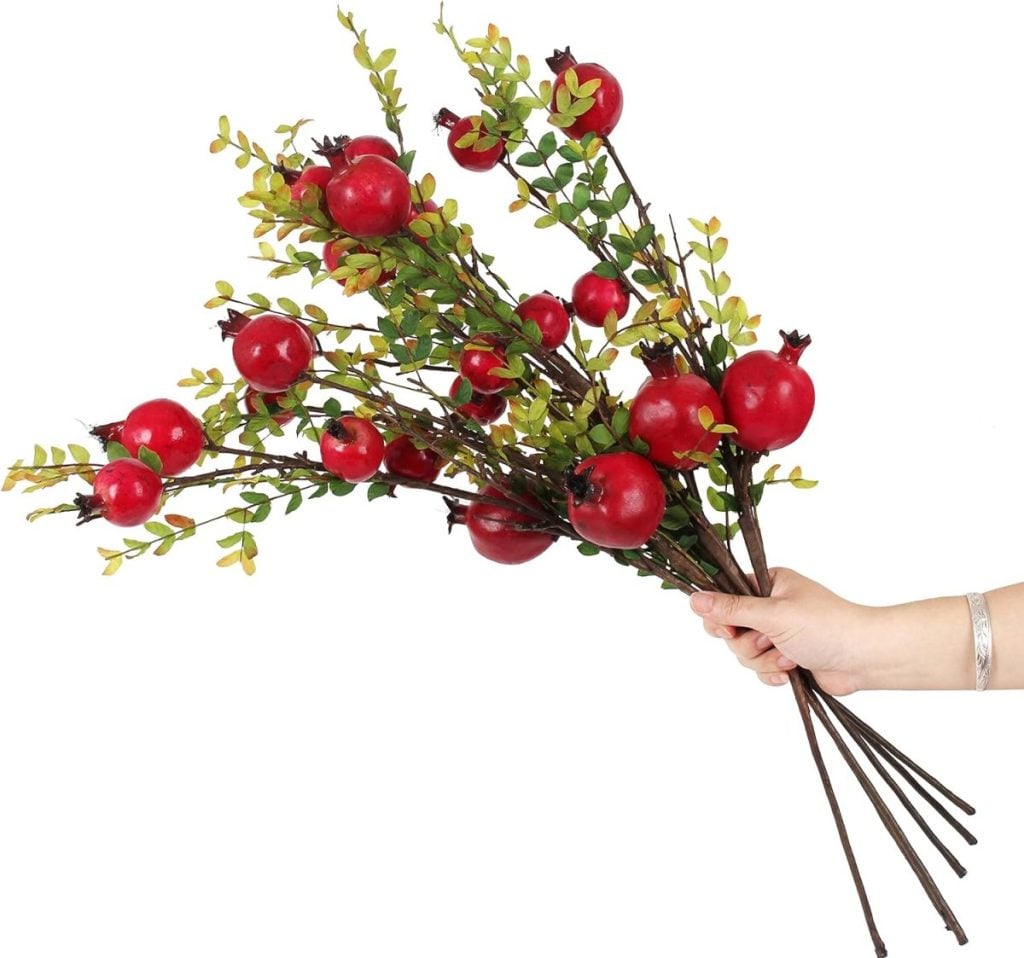
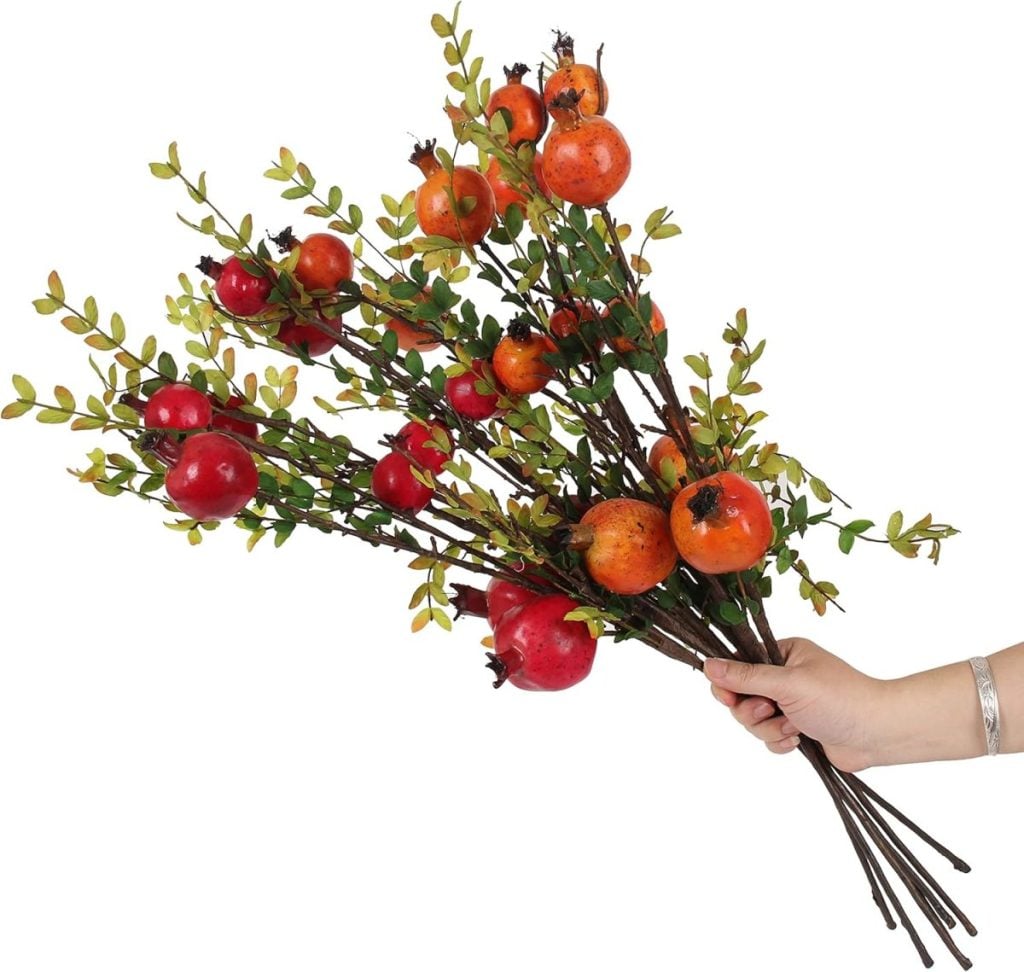
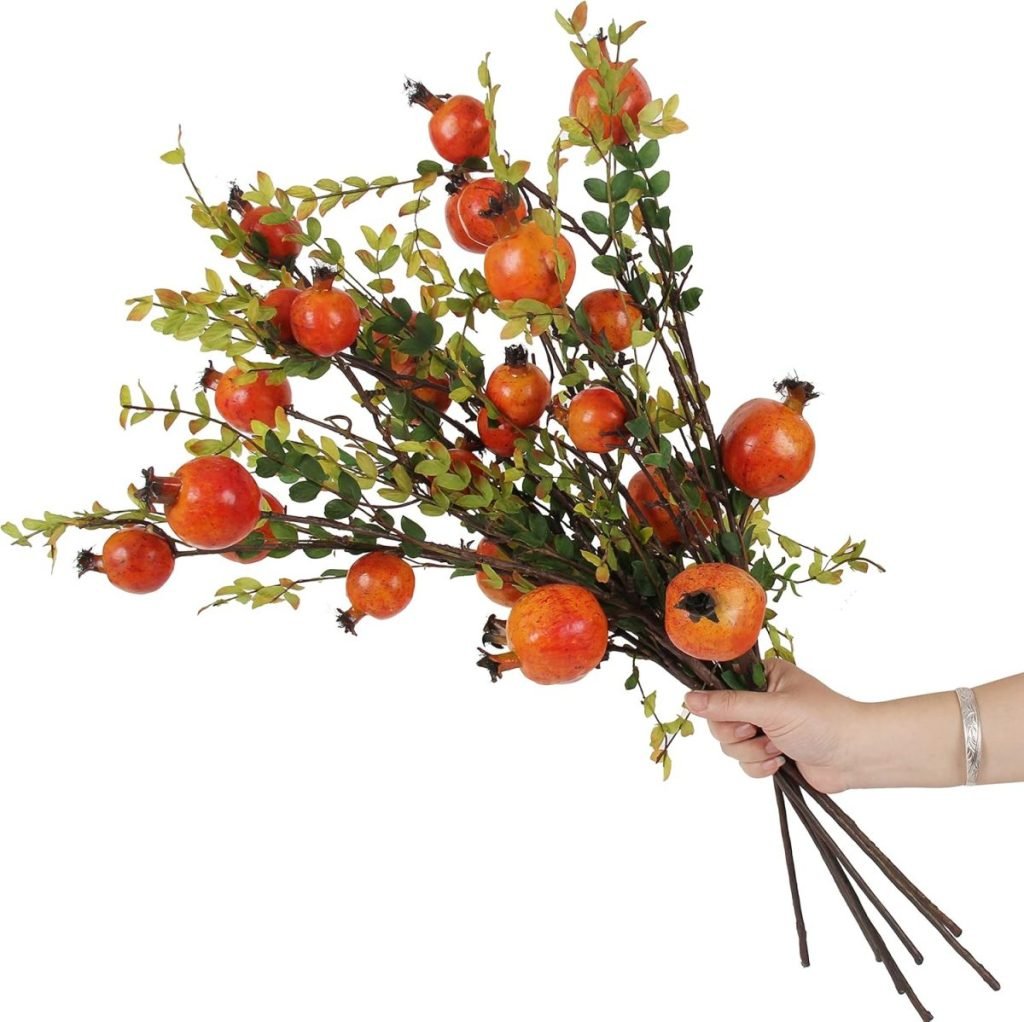
My favorite pomegranate branches sell out each year. Get yours before they are gone!
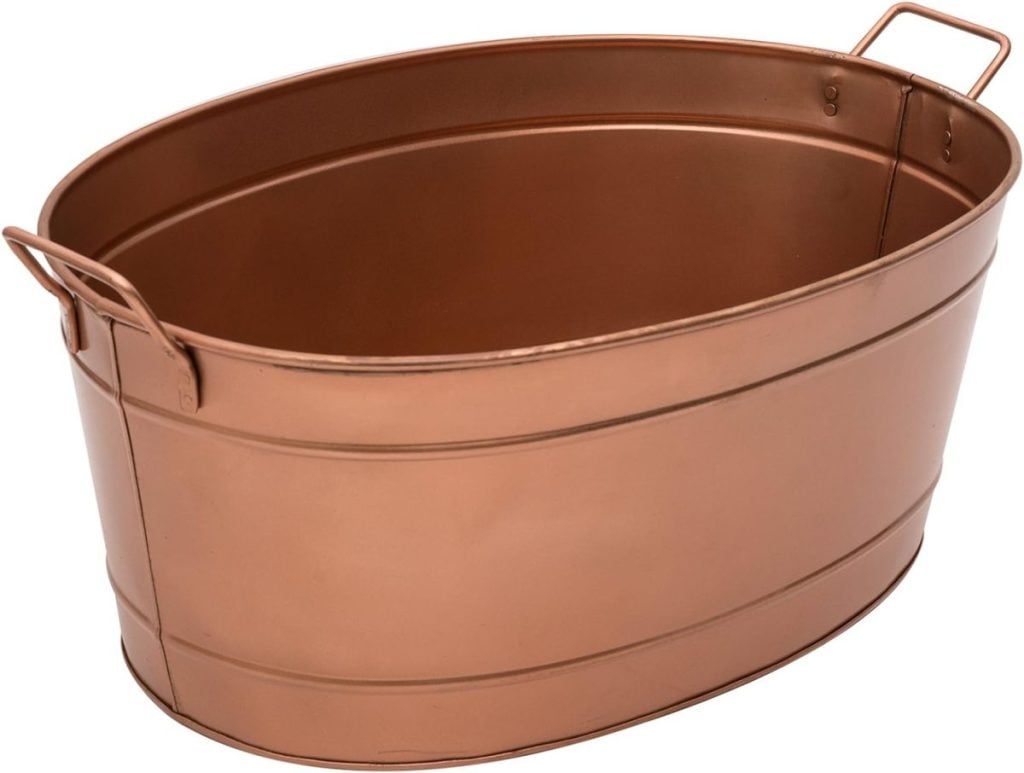
If you don’t have time for a DIY, check out these fabulous fall items you can buy.
You can pin the image below to your Craft or fall decor boards on Pinterest (click the Pin button in the top left corner) or follow me on Pinterest!

For more real-time updates, follow me on Instagram @My100YearOldHome


I love the pillows, and the way they are embroidered. My question, is this machine foot on a regular sewing machine or do you use an embroidery machine? If regular machine, where can I get the foot?
After seeing the heart pillow in February, I went on Amazon and found a free motion foot that fit my Pfaff sewing machine.
I have made the heart pillow and Easter egg pillow, as well as a Shamrock to put in the rocking chairs on my front porch. Thank you Leslie for the patterns and inspiration for these fun pillows!! I think I will be tackling the leaf pillows soon.
I am so glad you enjoyed making them!
I really like all of your free motion sewing projects. They are all just beautiful!!
Hi, I really like this project, but do you stitch the front and back of the pillow together or do you take the pillow apart first and resew it afterwards?
Wowza, this is the most beautiful handmade fall pillow I’ve seen! Thanks for sharing it with us. Will you please add this to the Farmhouse Friday Link Party on Friday via countyroad407.com? Pinned
Wonderful idea!!!
I’d also like to know this!
I have a question about the pillow cover. How do you get it flat to sew on it? I mean is the pillow cover flat or do you have to take out a few seams to get it to lay flat while sewing?
Hi Valelria – in order to sew on the pillow cover, just make sure that the cover is unzipped and then feed the unzipped side onto the machine for sewing. Sew over each heart individually, so you can smooth out the area that you are sewing on!
Your free motion/painted pillows are my favorite things ever. I love the video. I might even work up the courage to try it.
You totally should, you won’t regret it!
Thanks for a pattern download. That will really help me. As far as a free arm sewing foot, check with your brand to see if they make one. Madam Sew may also have a universal one as they have tons of sewing feet. Also Google it. I’m sure someone carries universal ones.
Just an FYI the music background on the leaf video is so loud it makes it hard to hear you. Could you turn it down? Also can you answer Ans Potting’s question as I am wondering too. How do you see this without seeing through both sides? And does this special shoe work on any regular sewing machine or just a special machine. Do you have a link for purchasing that? Pillow is beautiful.
Wow! I finally received my 5 Gurli pillow covers and am ready to start pillows. Thanks for this new design. I do not have a free motion attachment, but the same effect can be achieved by using an embroidery hoop. Not an artist so I am a bit nervous about paint all these pretty leaves.
You can do this!
Love this technique and in my dreams I am SO going to make one! Truth is I said the for the floral one you did, the heart one AND the Easter egg. (See a pattern here? I’m working on THAT in my dreams too!) the video would have been helpful but u also found the music too distracting. This is a big project for my head to wrap around- the music made this all too much to want to take on. I muted it but would have liked to continue to hear what YOU were saying! Next tutorial of any kind skip the music- we don’t need anything more than your tips and encouragement!
I love all of your free motion pillows and one of these days I am going to try and make one….I think all of the things you do are amazing …I did want to say I had a hard time hearing your video because the music was a little loud….❤
Thank you Mary!
Leslie, ]
This pillow is adorable. I’d like to share a link on my Sunday, Dirt Road Adventures if that’s ok. Love all your creative ideas.
Of course, Rachel. Thank you!
Hello, I’m Czairah Villaver, I am glad to learn about your website here. We have home decoration products (like:Throw Pillow Covers & Blankets https://www.amazon.com/dp/B091KZ55JJ?ref=myi_title_dp) that we want to promote, and we really want to cooperate with you.
It is fun to collaborate in creative activities, and expose our brand (products) like yours. I also want to know about the cooperation methods of product advertising on your website.
Looking forward to your reply.
I adore your free embroidery pillows DIY. I gifted a year of pillow covers to my grown daughters as a Christmas gift. I have completed all but the fall cover at this point. I love the artistic painting and how the embroidery brings it alive. Please keep your DIY pillows coming! Thanks so much, Sue
Oh Sue I love hearing this! Thank you so so much. I’d love to see any that you’ve made ☺️🙌🏻