Snowflake Christmas Pillow DIY
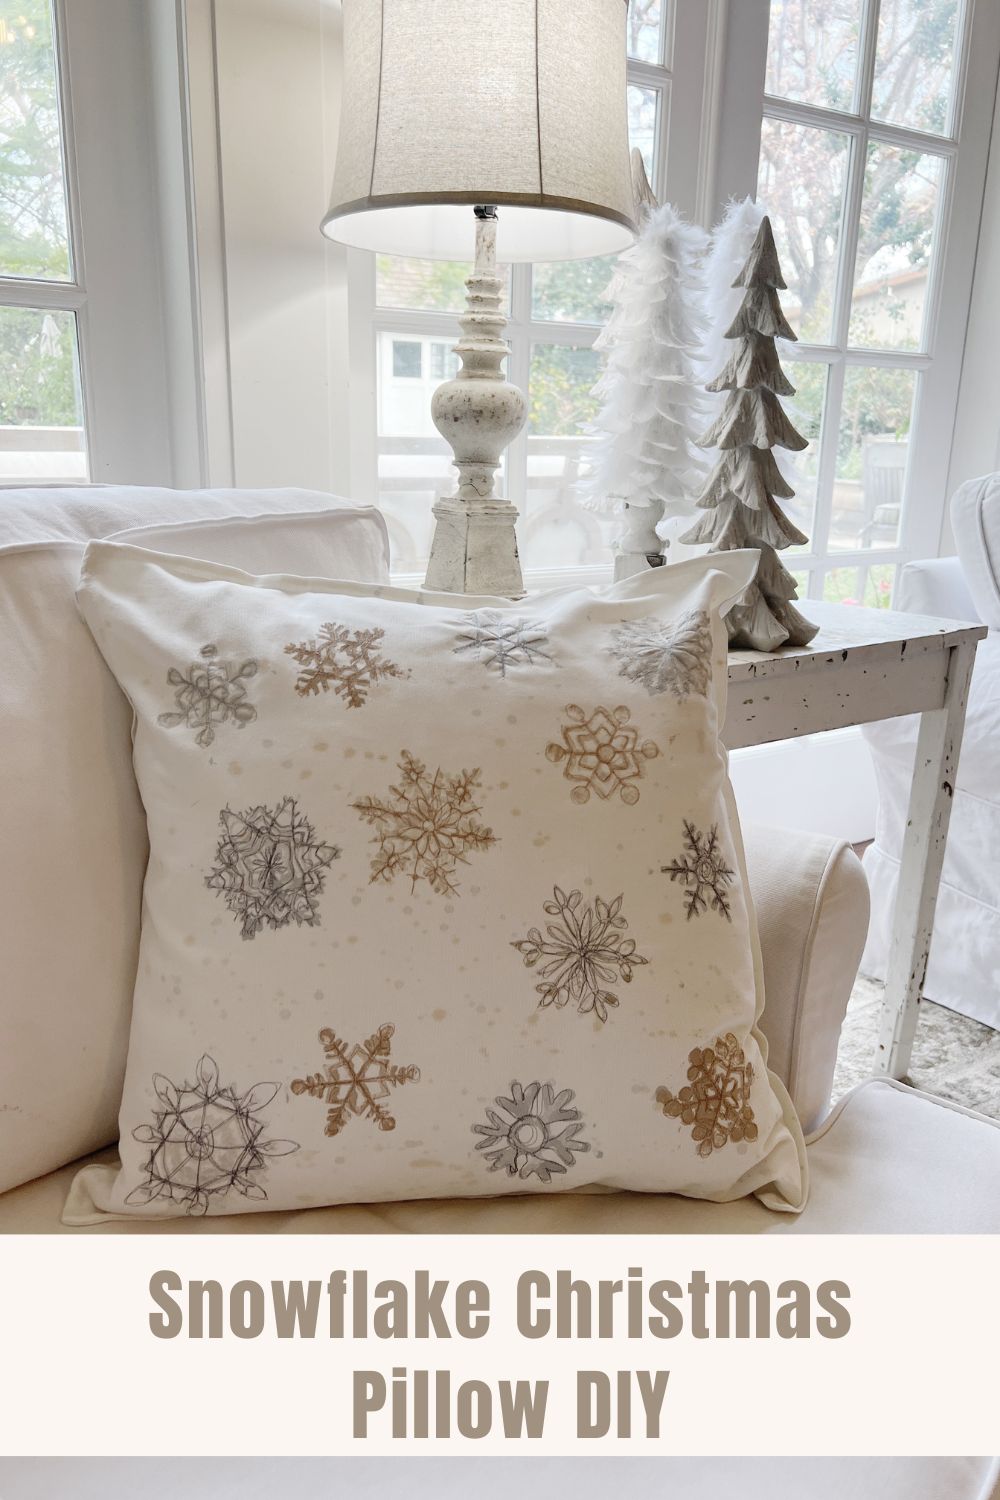
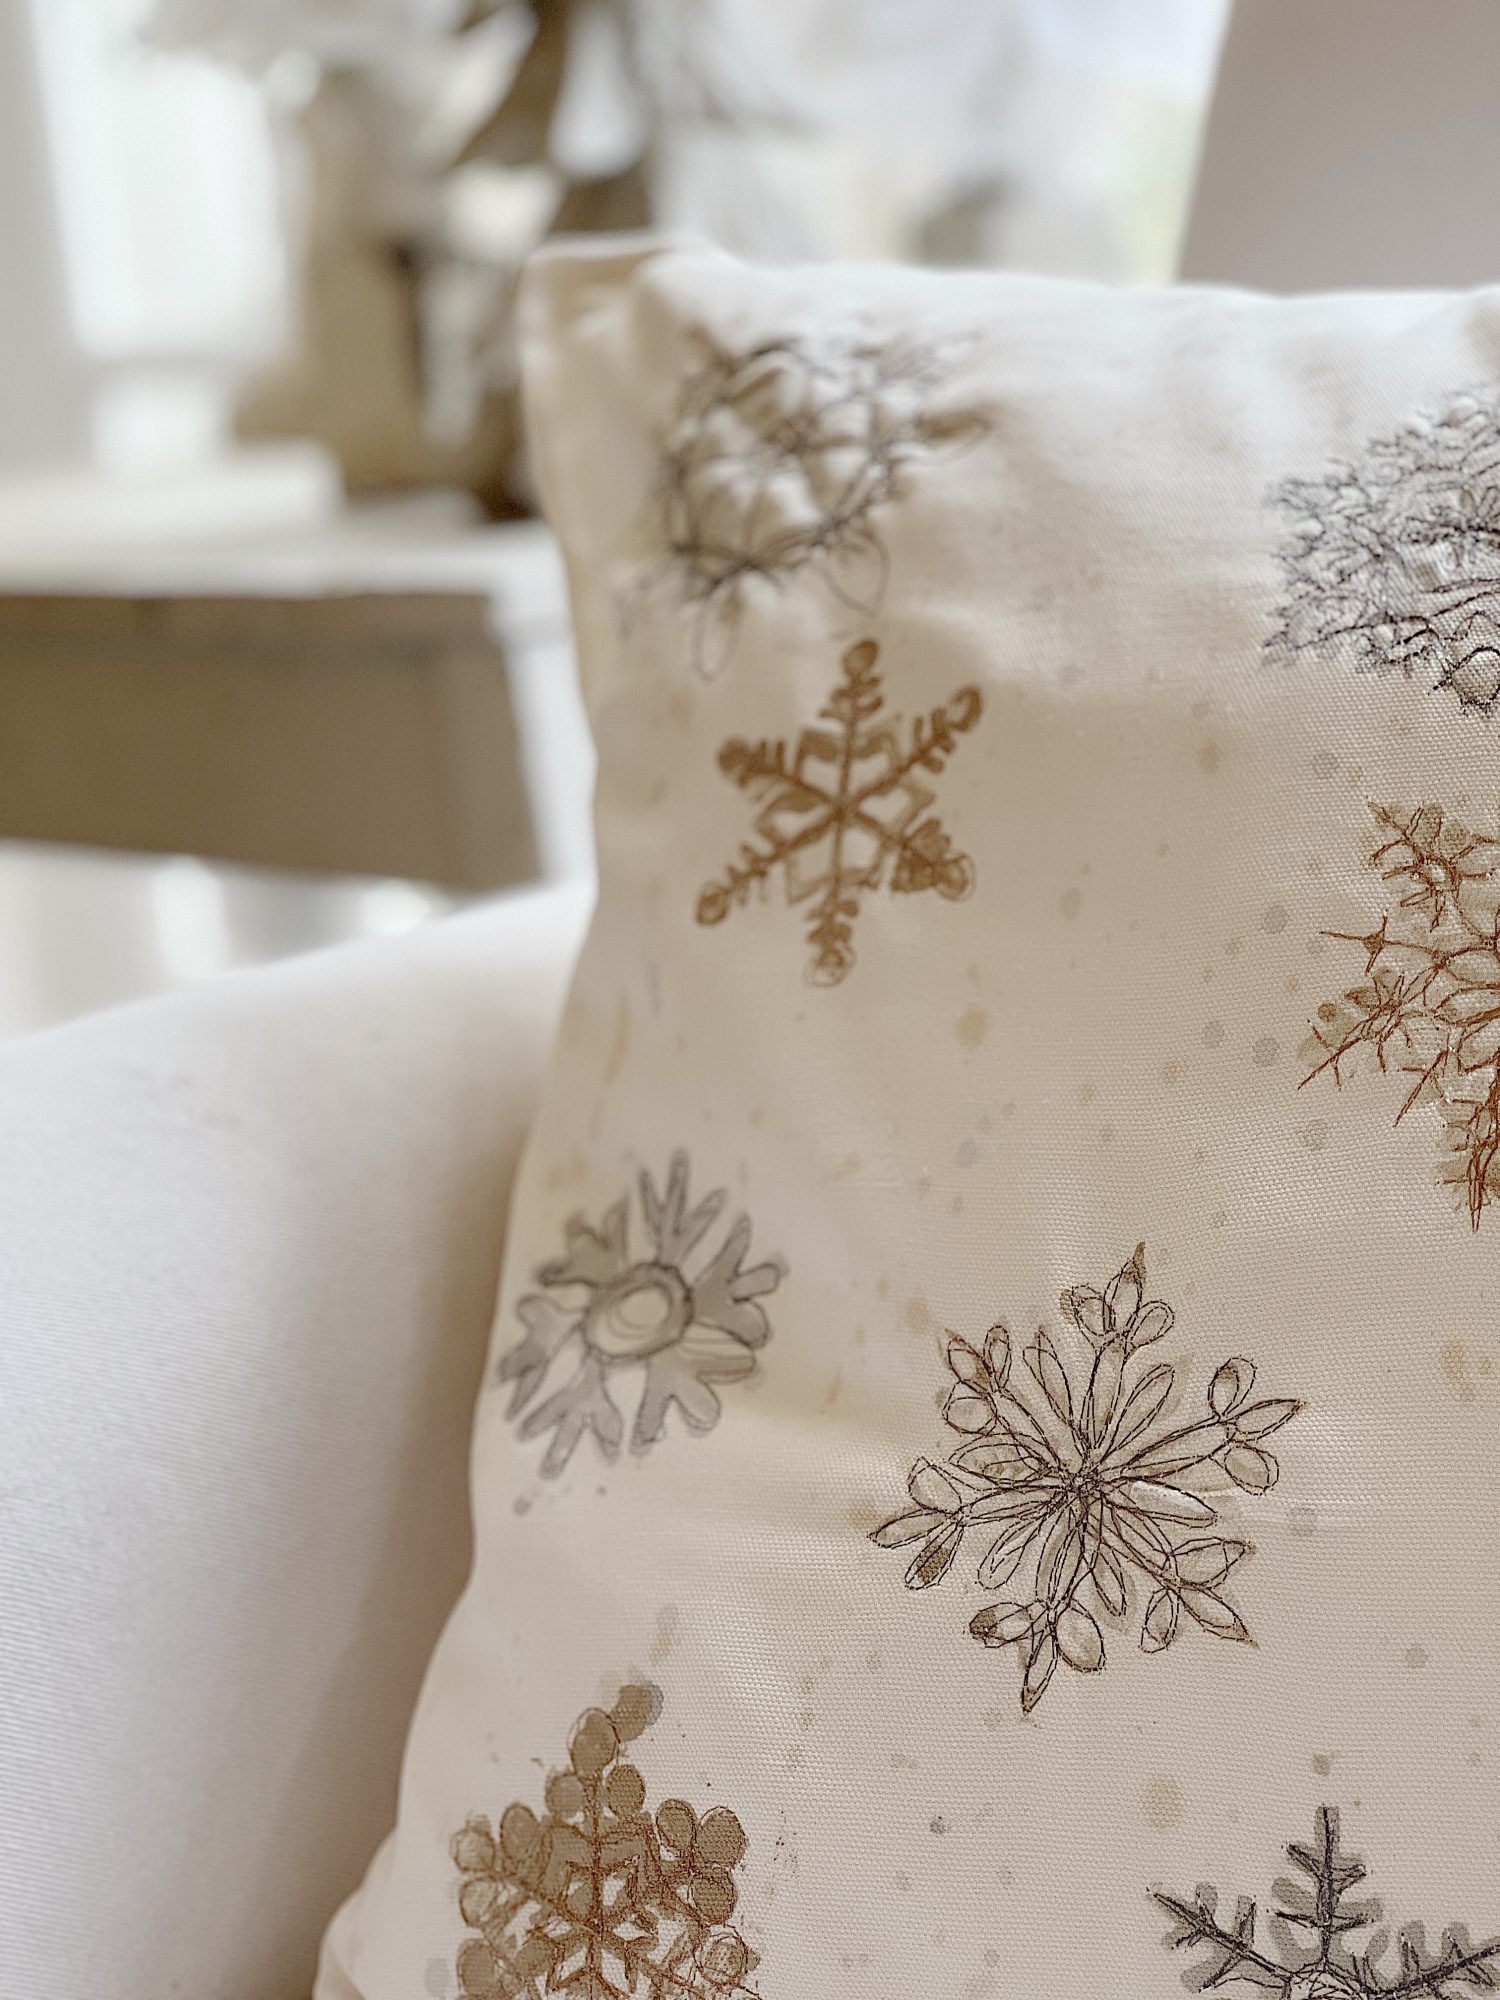
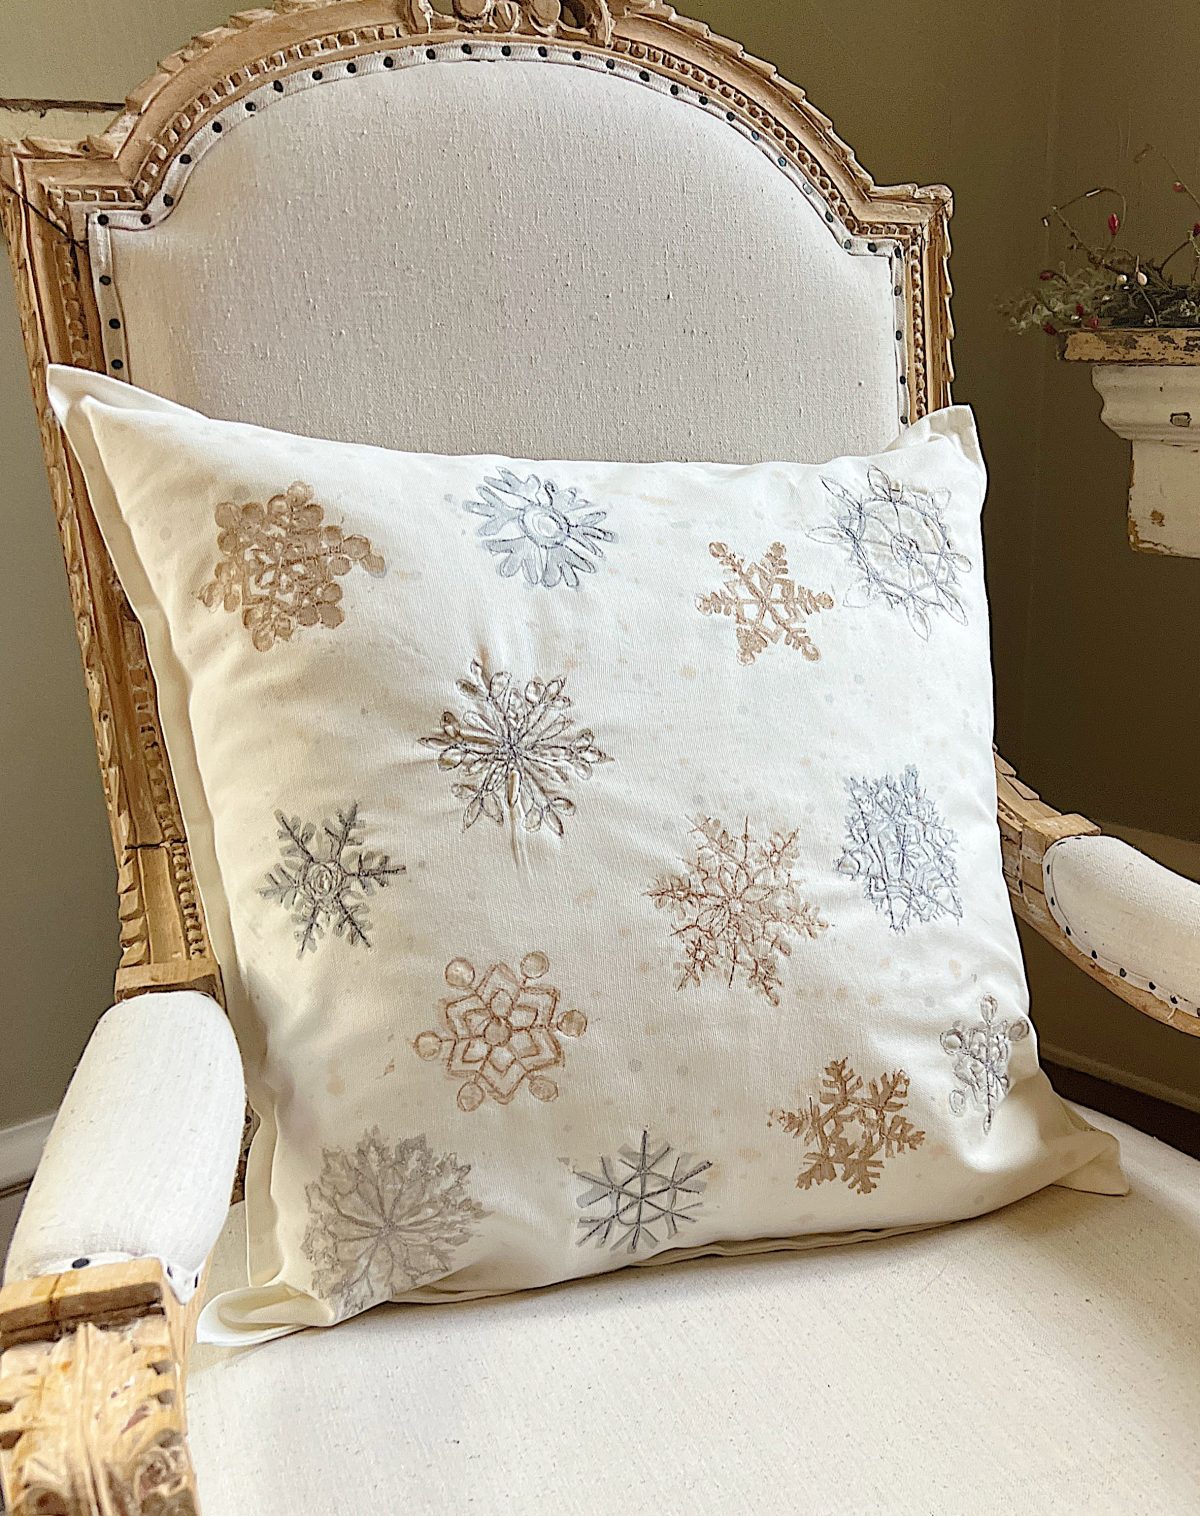
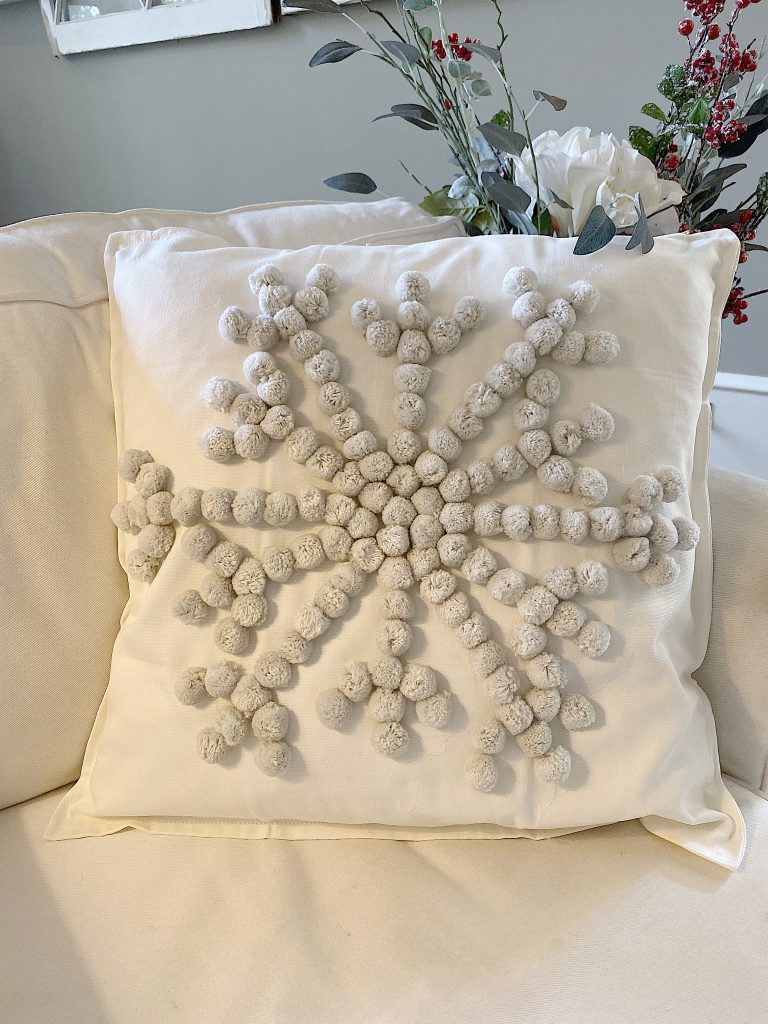
I made another Christmas pillow! This time I painted and stitched snowflakes on a pillow cover. Aren’t these neutral tones wonderful?
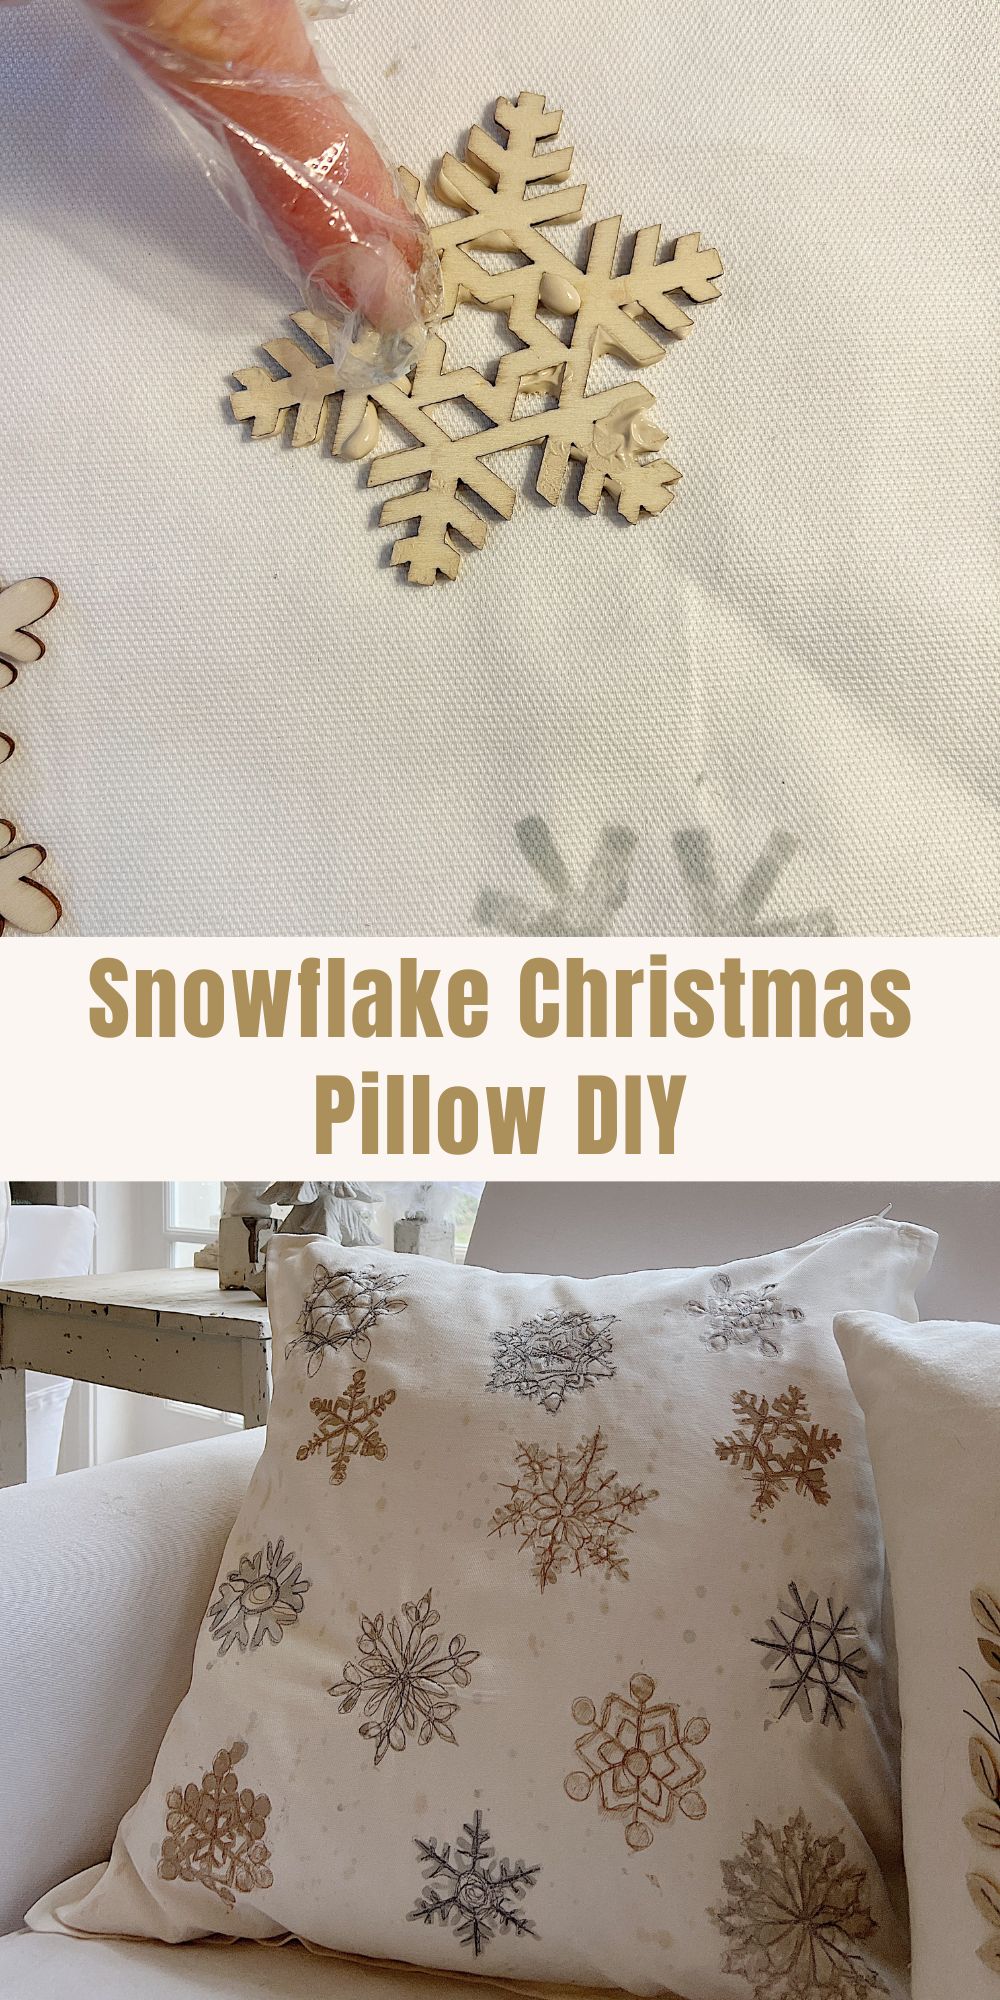
Don’t be too impressed with my painting skills … because technically I stamped the pillow cover using wooden snowflakes and paint. Which means … I didn’t actually paint them and that is why they look so great!


Snowflake Christmas Pillow
I love to make pillows and this one actually turned out!
Wait, why am I saying that?
Because halfway through this pillow I was convinced it would be a dud. (More about that later.)
Thank heavens I was wrong.
I made the pillow using my favorite technique which is painting and then using free-motion stitch embroidery. If you haven’t tried it then you should … because it’s fun!
Free Motion Stitch Embroidery
Free motion machine embroidery is a type of sewing that happens on a regular sewing machine except it allows you to move the material in any direction while sewing. Normally when you sew, the machine automatically moves the fabric forward or backward.
When you sew free-motion embroidery, you get to move the fabric in any direction, so you determine exactly where you want to sew. You can move sideways, forward, backward, and create any shape you want. Such as a snowflake!
All you need is a quilting foot.
The free-motion quilting foot, sometimes called a darning foot, is designed so that the sewing machine needle passes through a small ring on the foot. Instead of hopping, these feet float over the fabric without providing pressure. The free-motion foot for your machine releases the fabric when the needle is in the up position, allowing you to move the fabric freely. This foot may vary based on tour type of machine but I linked a “universal” one.
It is important that you lower the “feed dogs” on your machine when stitching free-motion embroidery. Feed dogs are the little teeth on your sewing machine that feed your fabric evenly through the machine. These teeth are extremely important because they help us produce perfectly spaced, even stitches whenever we sew garments, piece quilts, or applique shapes on our machine. You need to lower the feed dogs on your machine for free motion embroidery so check online to see to do that with your machine type.
For this pillow, I lowered the feed dogs using a lever on my machine. It worked perfectly.
What You Need to Make This Christmas Pillow

- wood snowflake (to use as a pattern)
- pillow cover
- Water Soluble Marking Pen (you can use this to draw your stitching lines if you want)
- acrylic paints in the colors you want
- paint brush
- sewing machine and thread
- free motion embroidery foot
On this blog, I may sometimes use affiliate links, which means a small commission is earned if you make a purchase via the link. The price will be the same whether you use the affiliate link or go directly to the vendor’s website using a non-affiliate link.


How to Make This Christmas Pillow
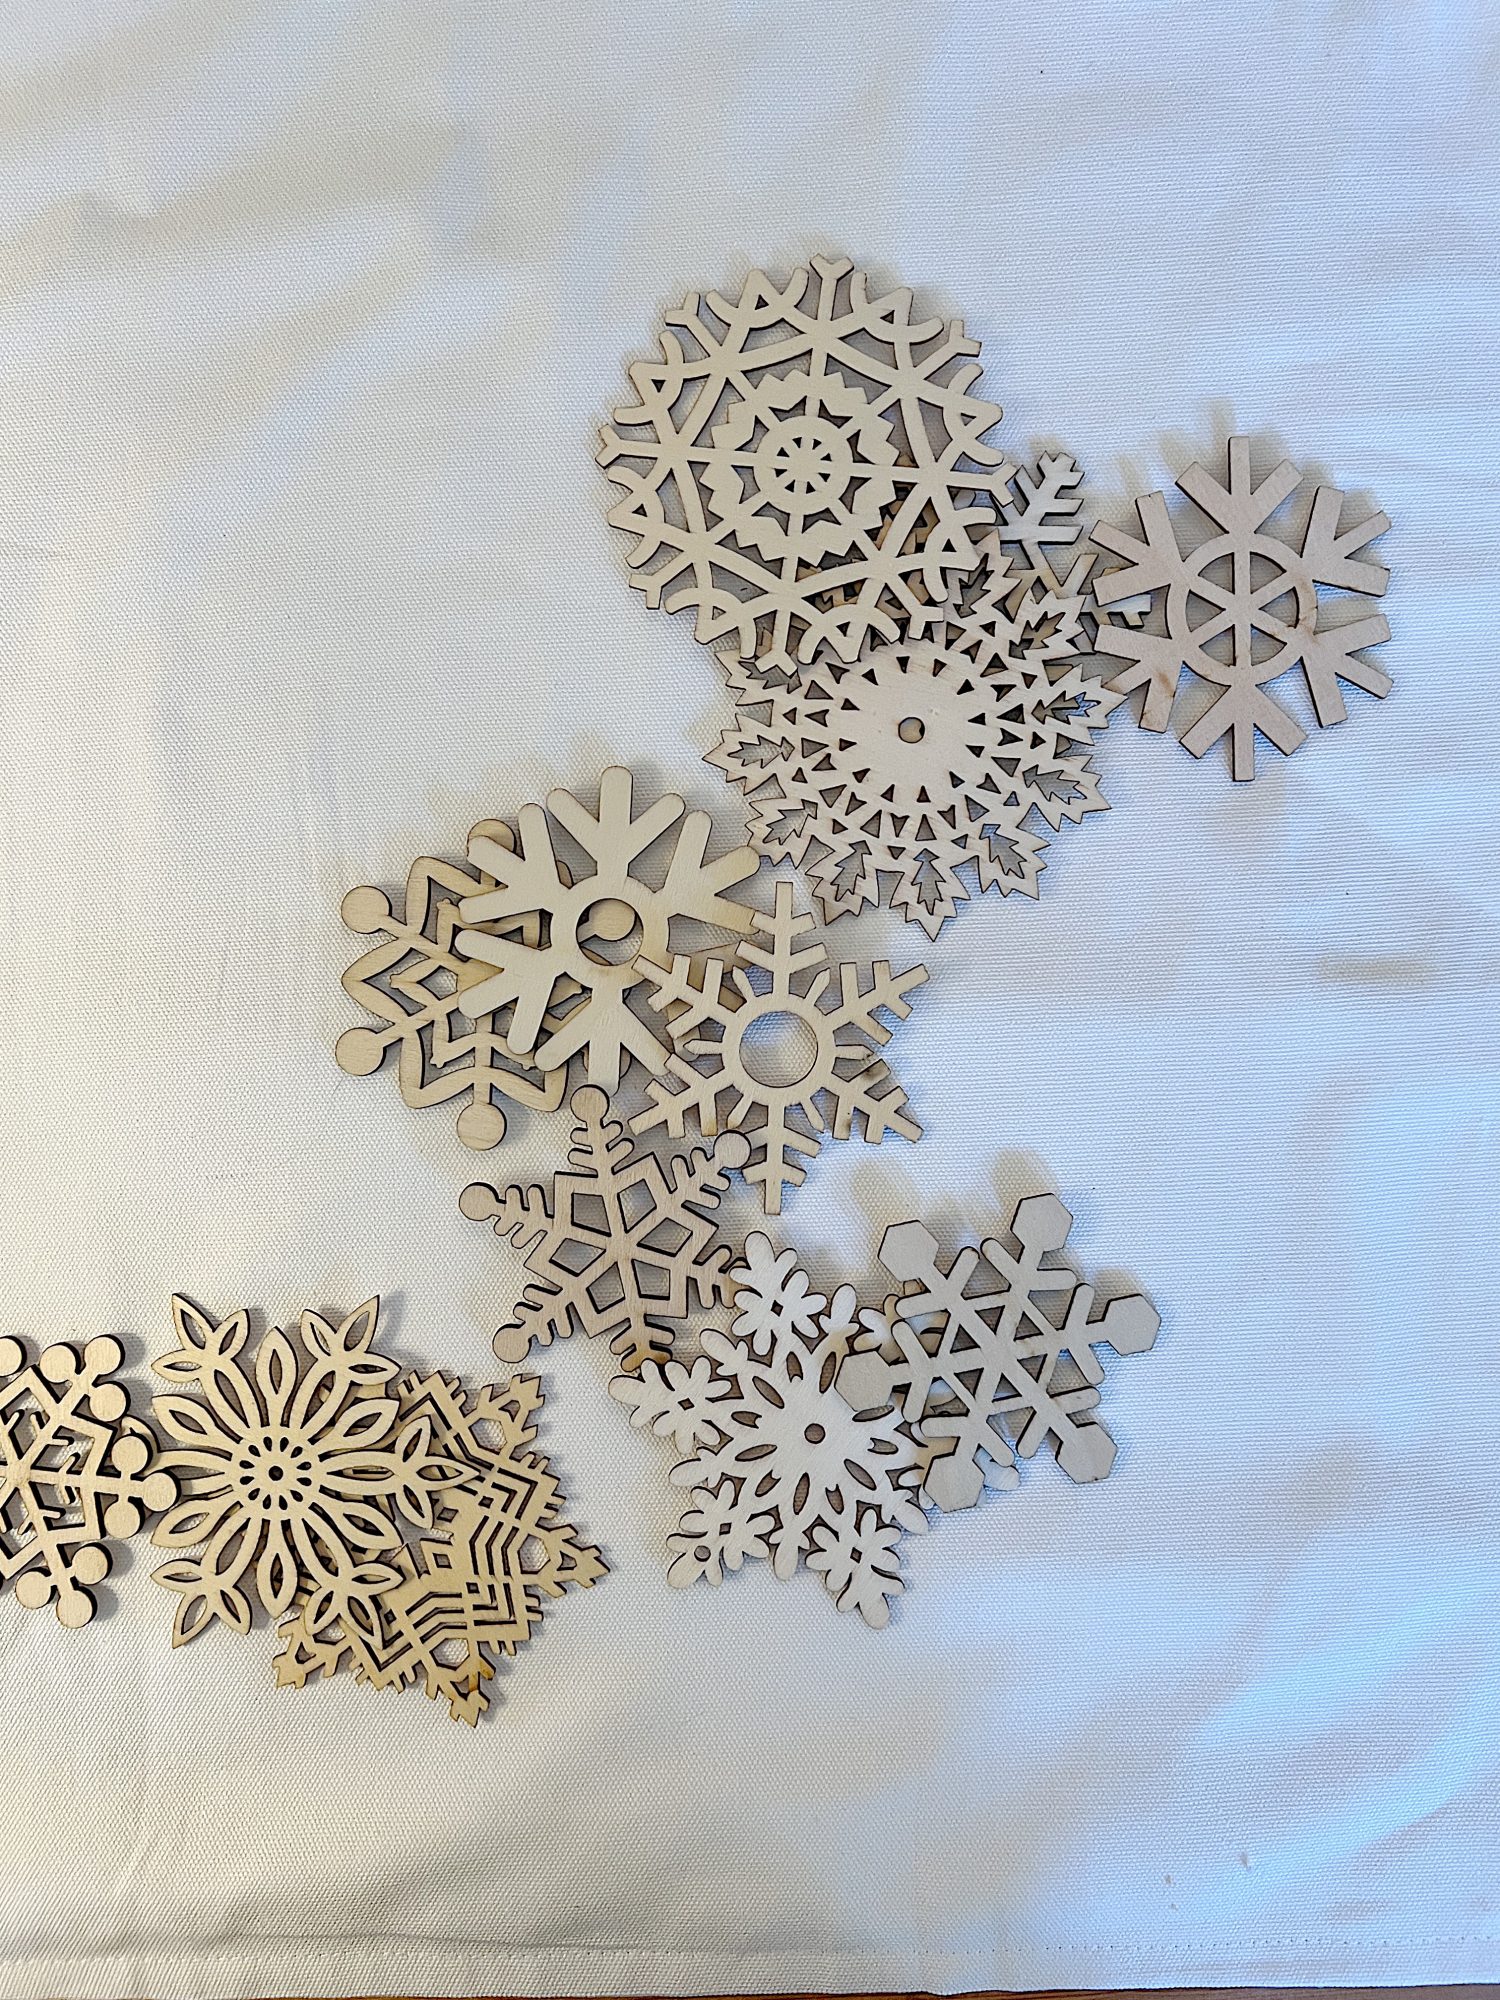
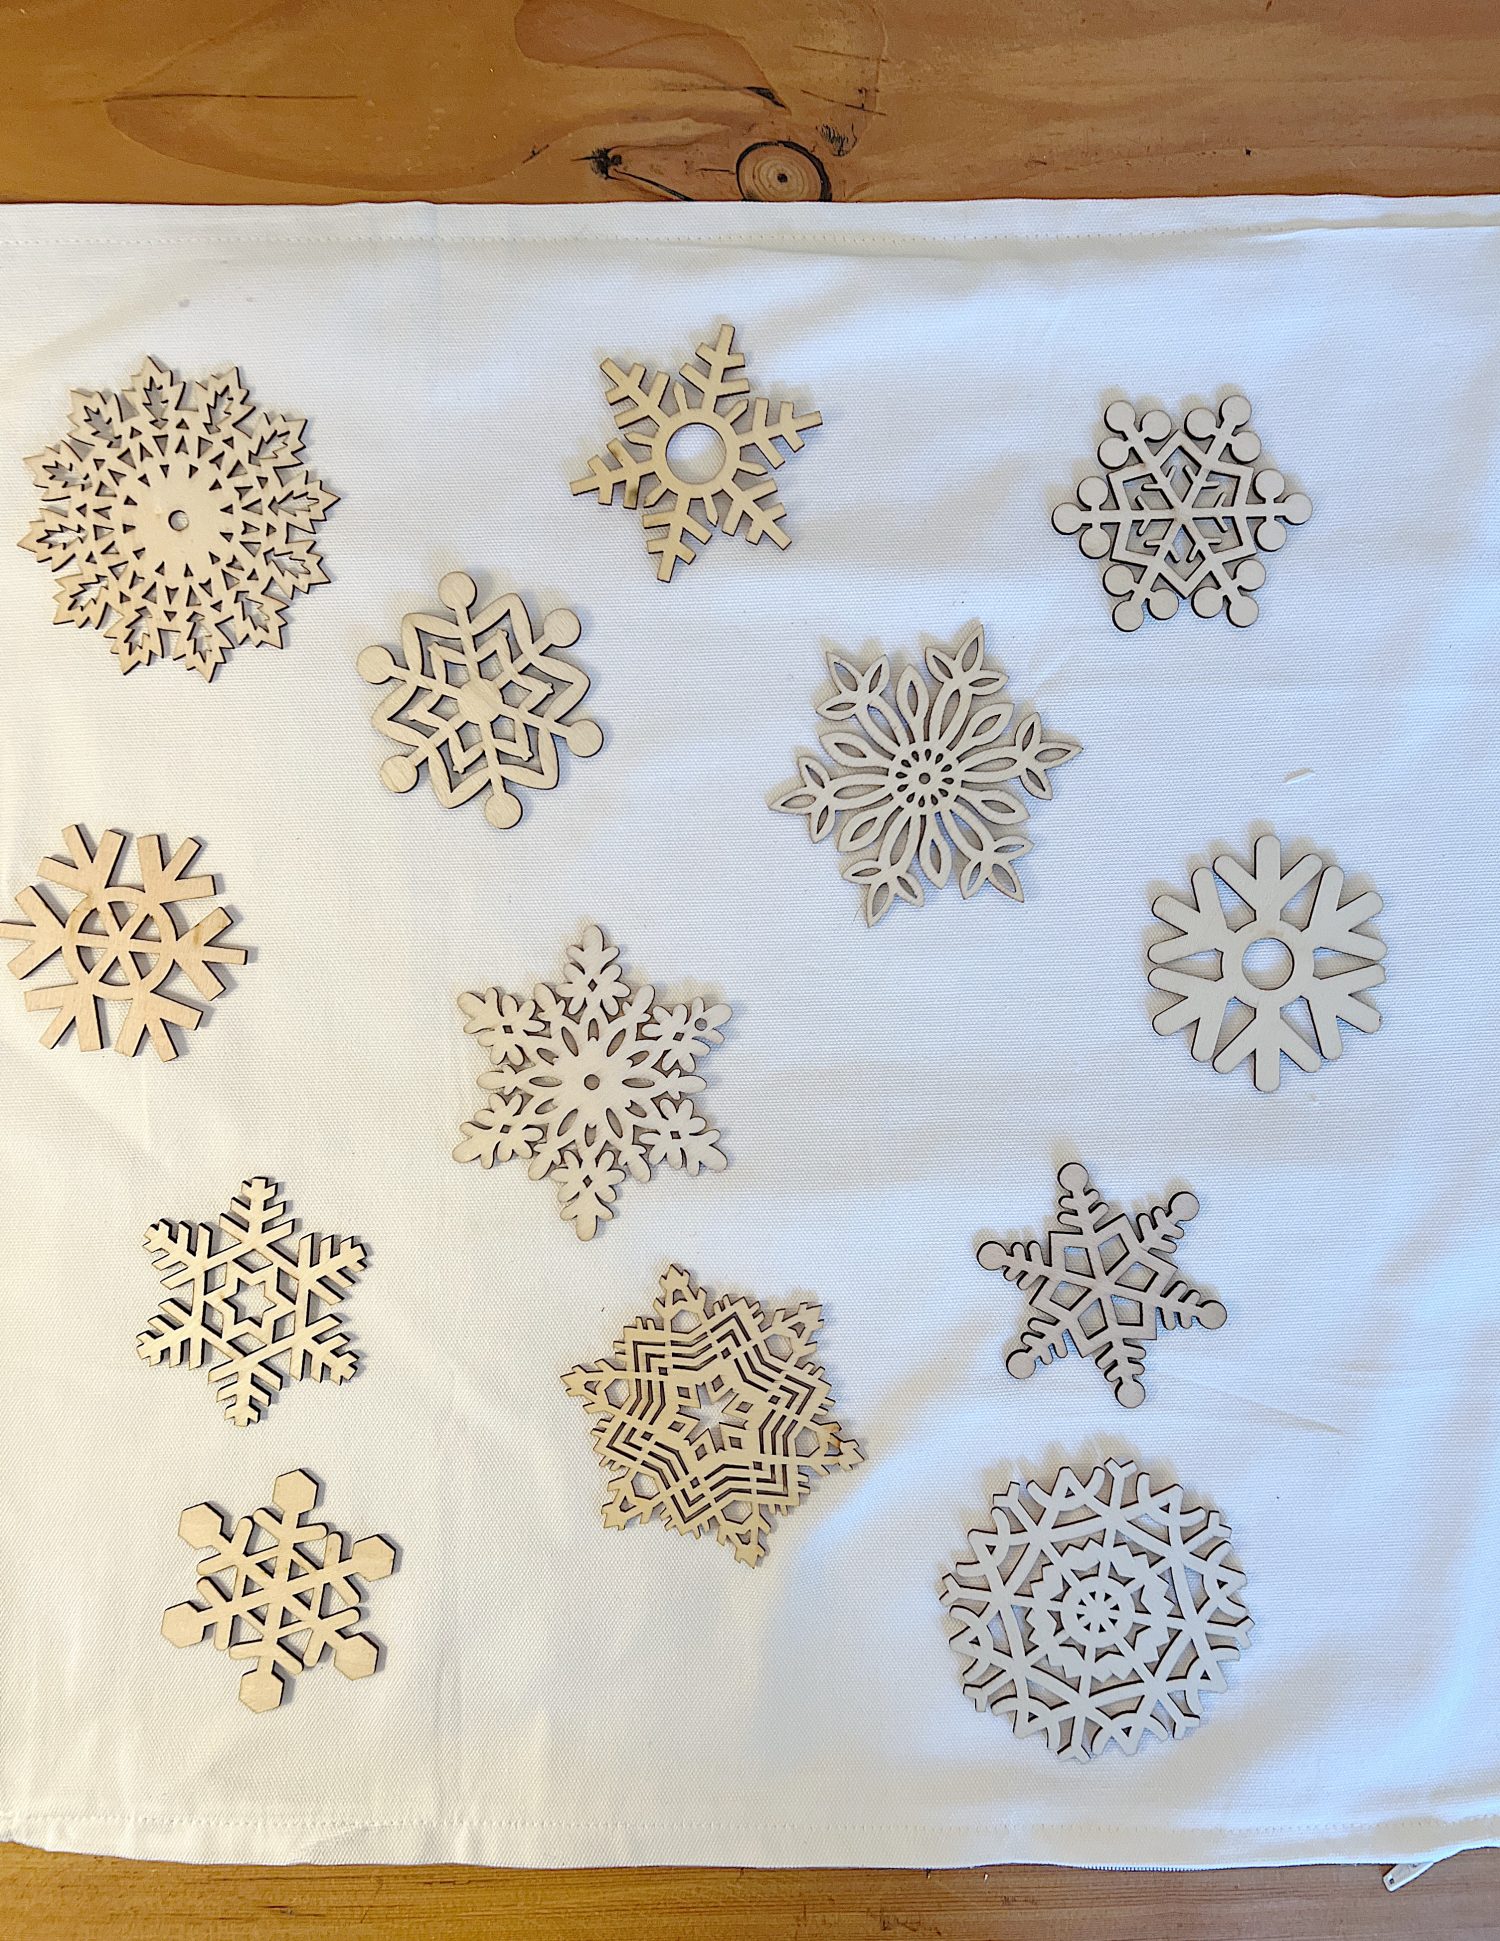

- one – Select the wood snowflakes you want to use for the pillow. I suggest you pick ones that are more simple so the sewing won’t be too hard. (I kind of made that mistake)
- two – Lay out the wood snowflakes on the pillow cover to determine the layout
- three – Mix a few colors of paint (I suggest three) and apply to paint to one side of the wood snowflake. Be sure to mix colors that aren’t too faint. You need to be able to see the snowflake design when it comes time for stitching!
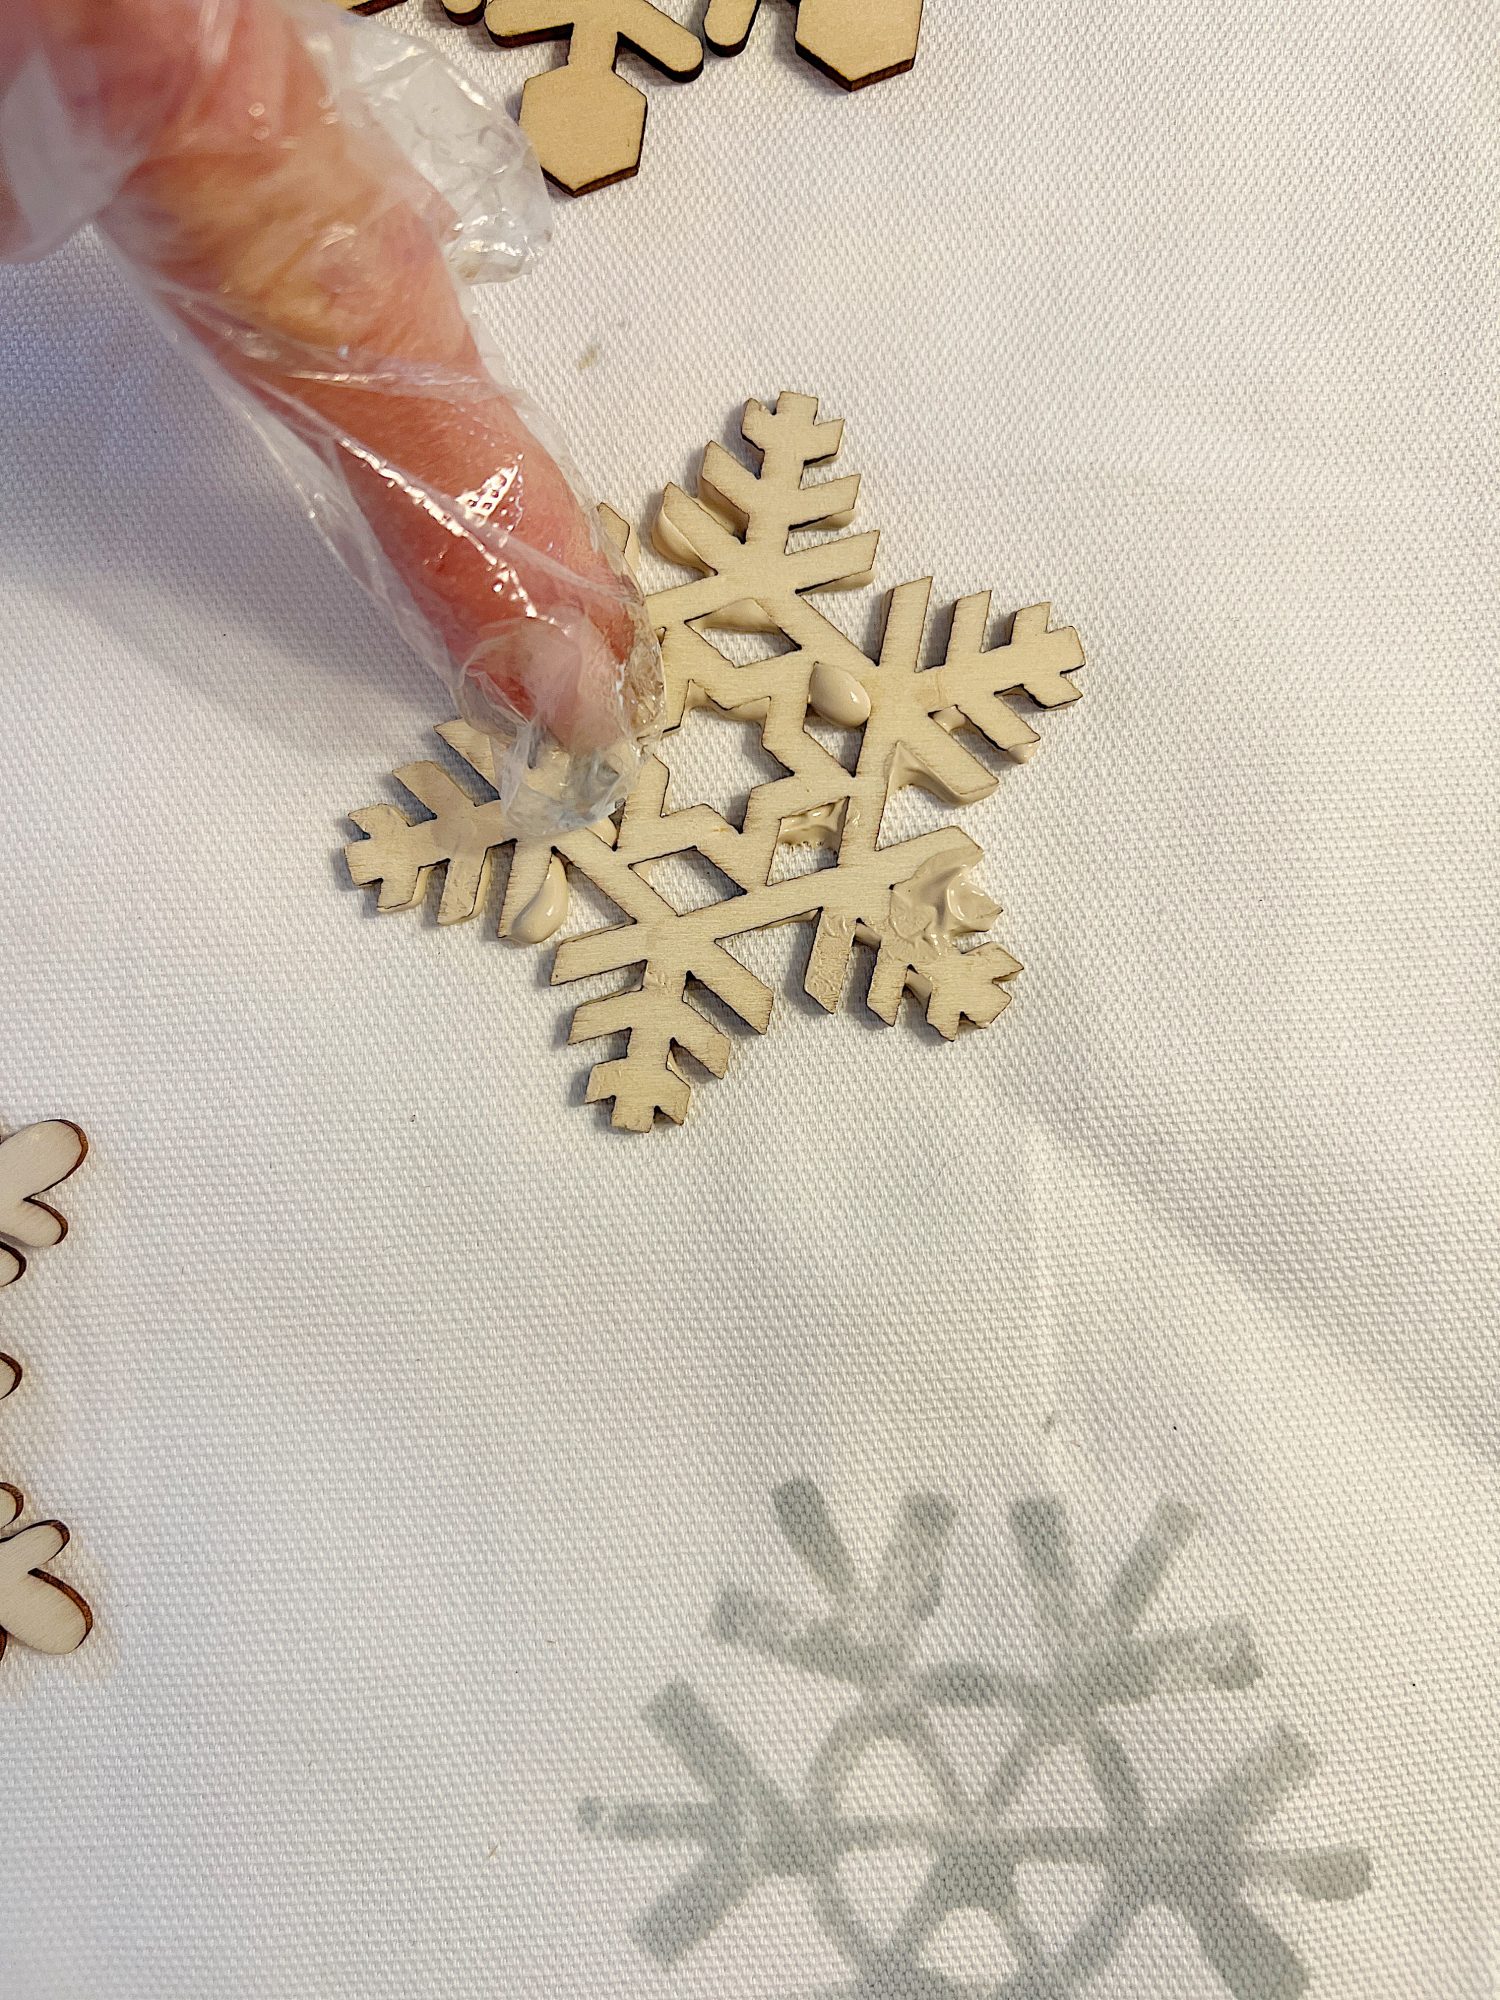
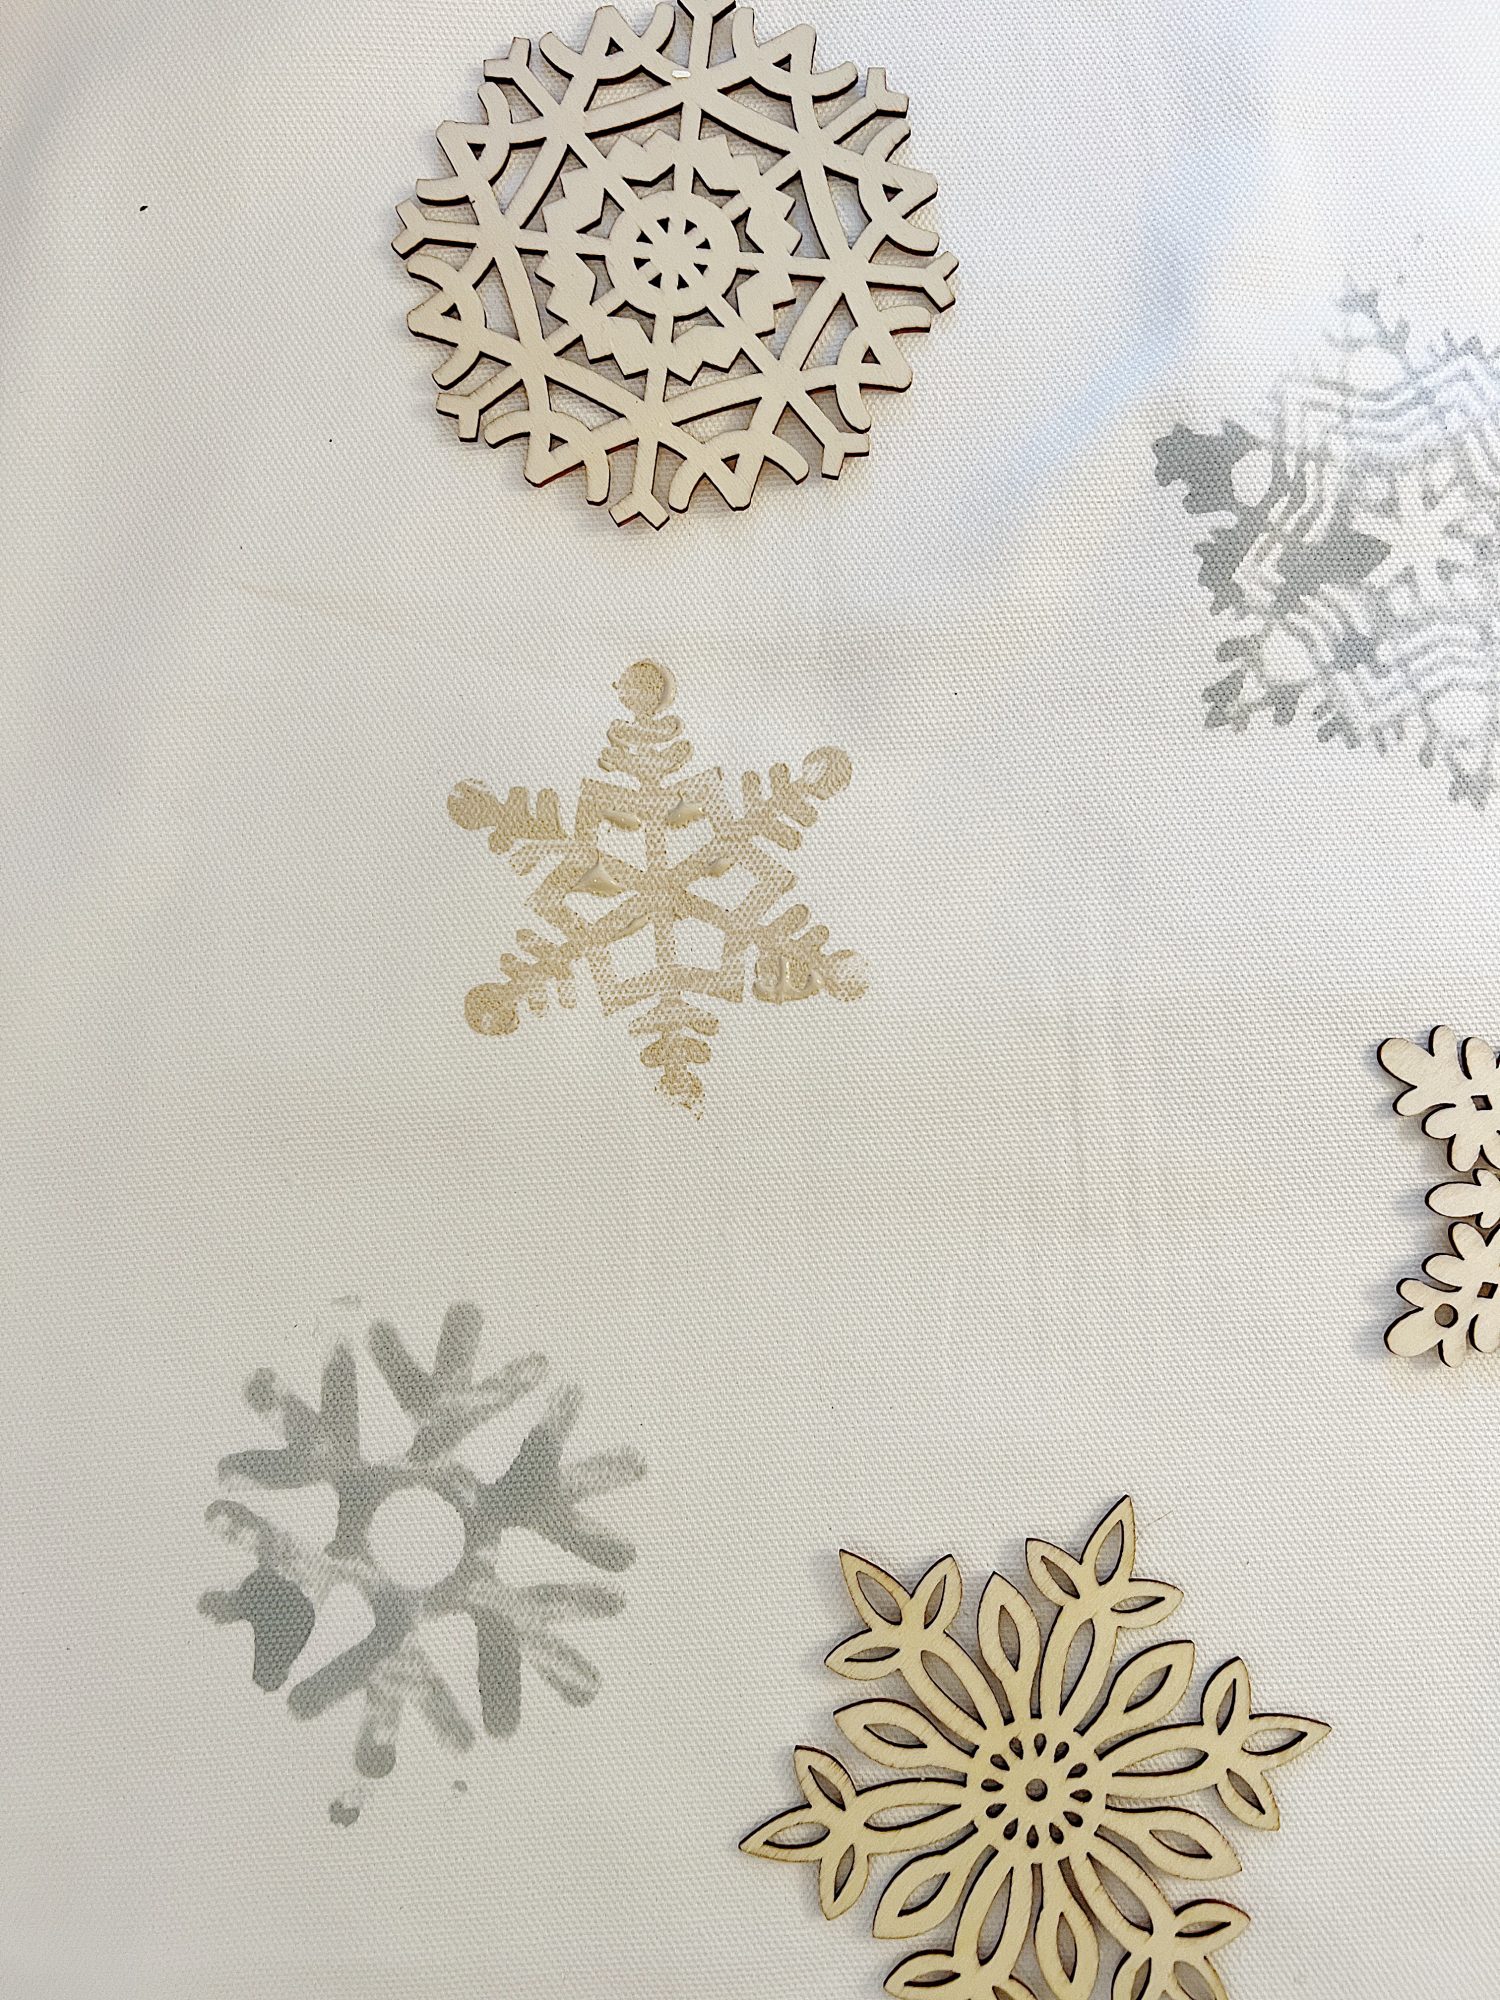
- four – Gently press the snowflake on the pillow and apply pressure to all areas of the snowflake.
- five – Carefully lift the snowflake off of the pillow cover. Try not to drip any paint on the pillow. I dripped quite a bit so I went back and dripped all over the pillow to make it look more intentional.
- six – Once all of the snowflakes have been added, let the pillow cover dry completely.
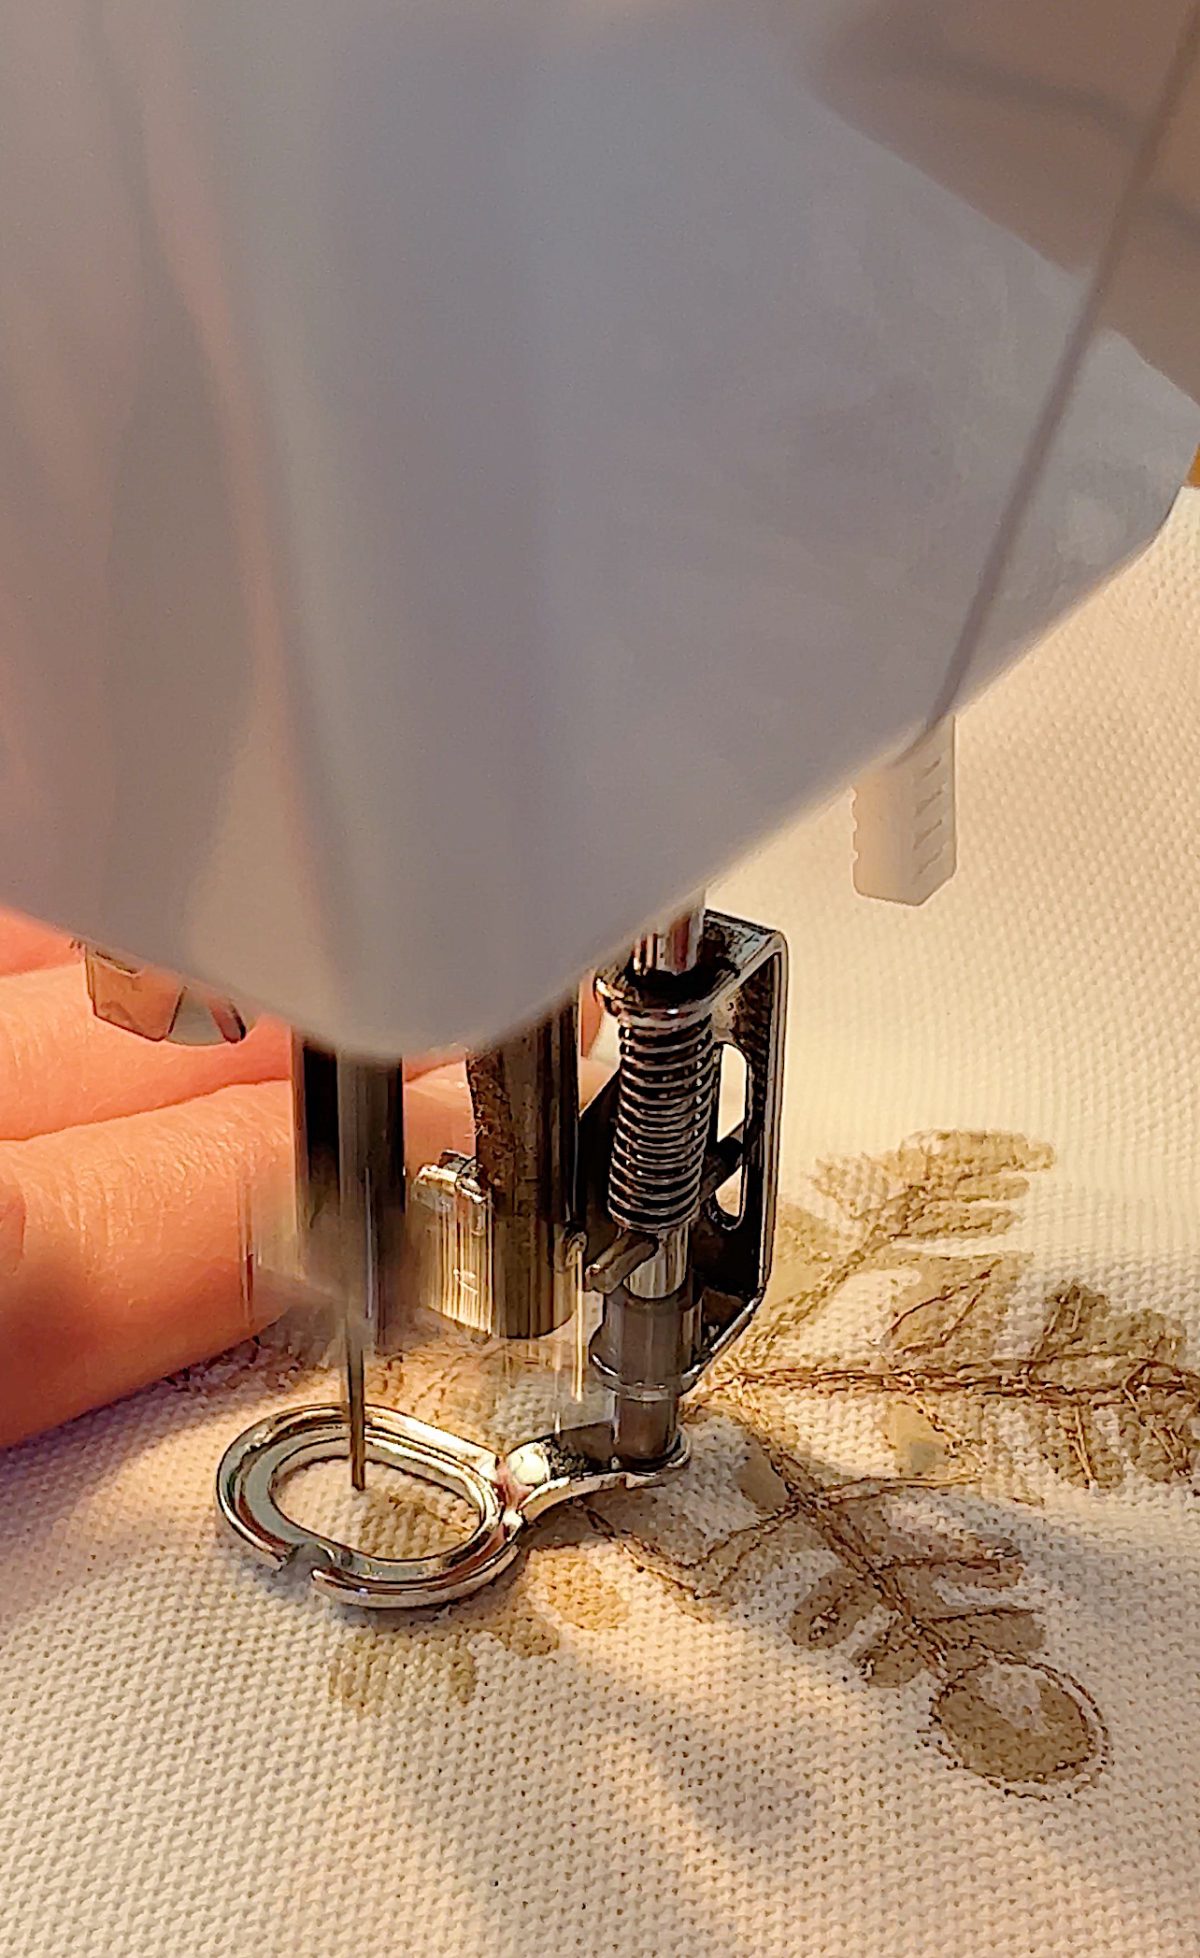
- seven – using the darning foot, with the feed dogs lowered on your machine, stick the outline of the snowflake.
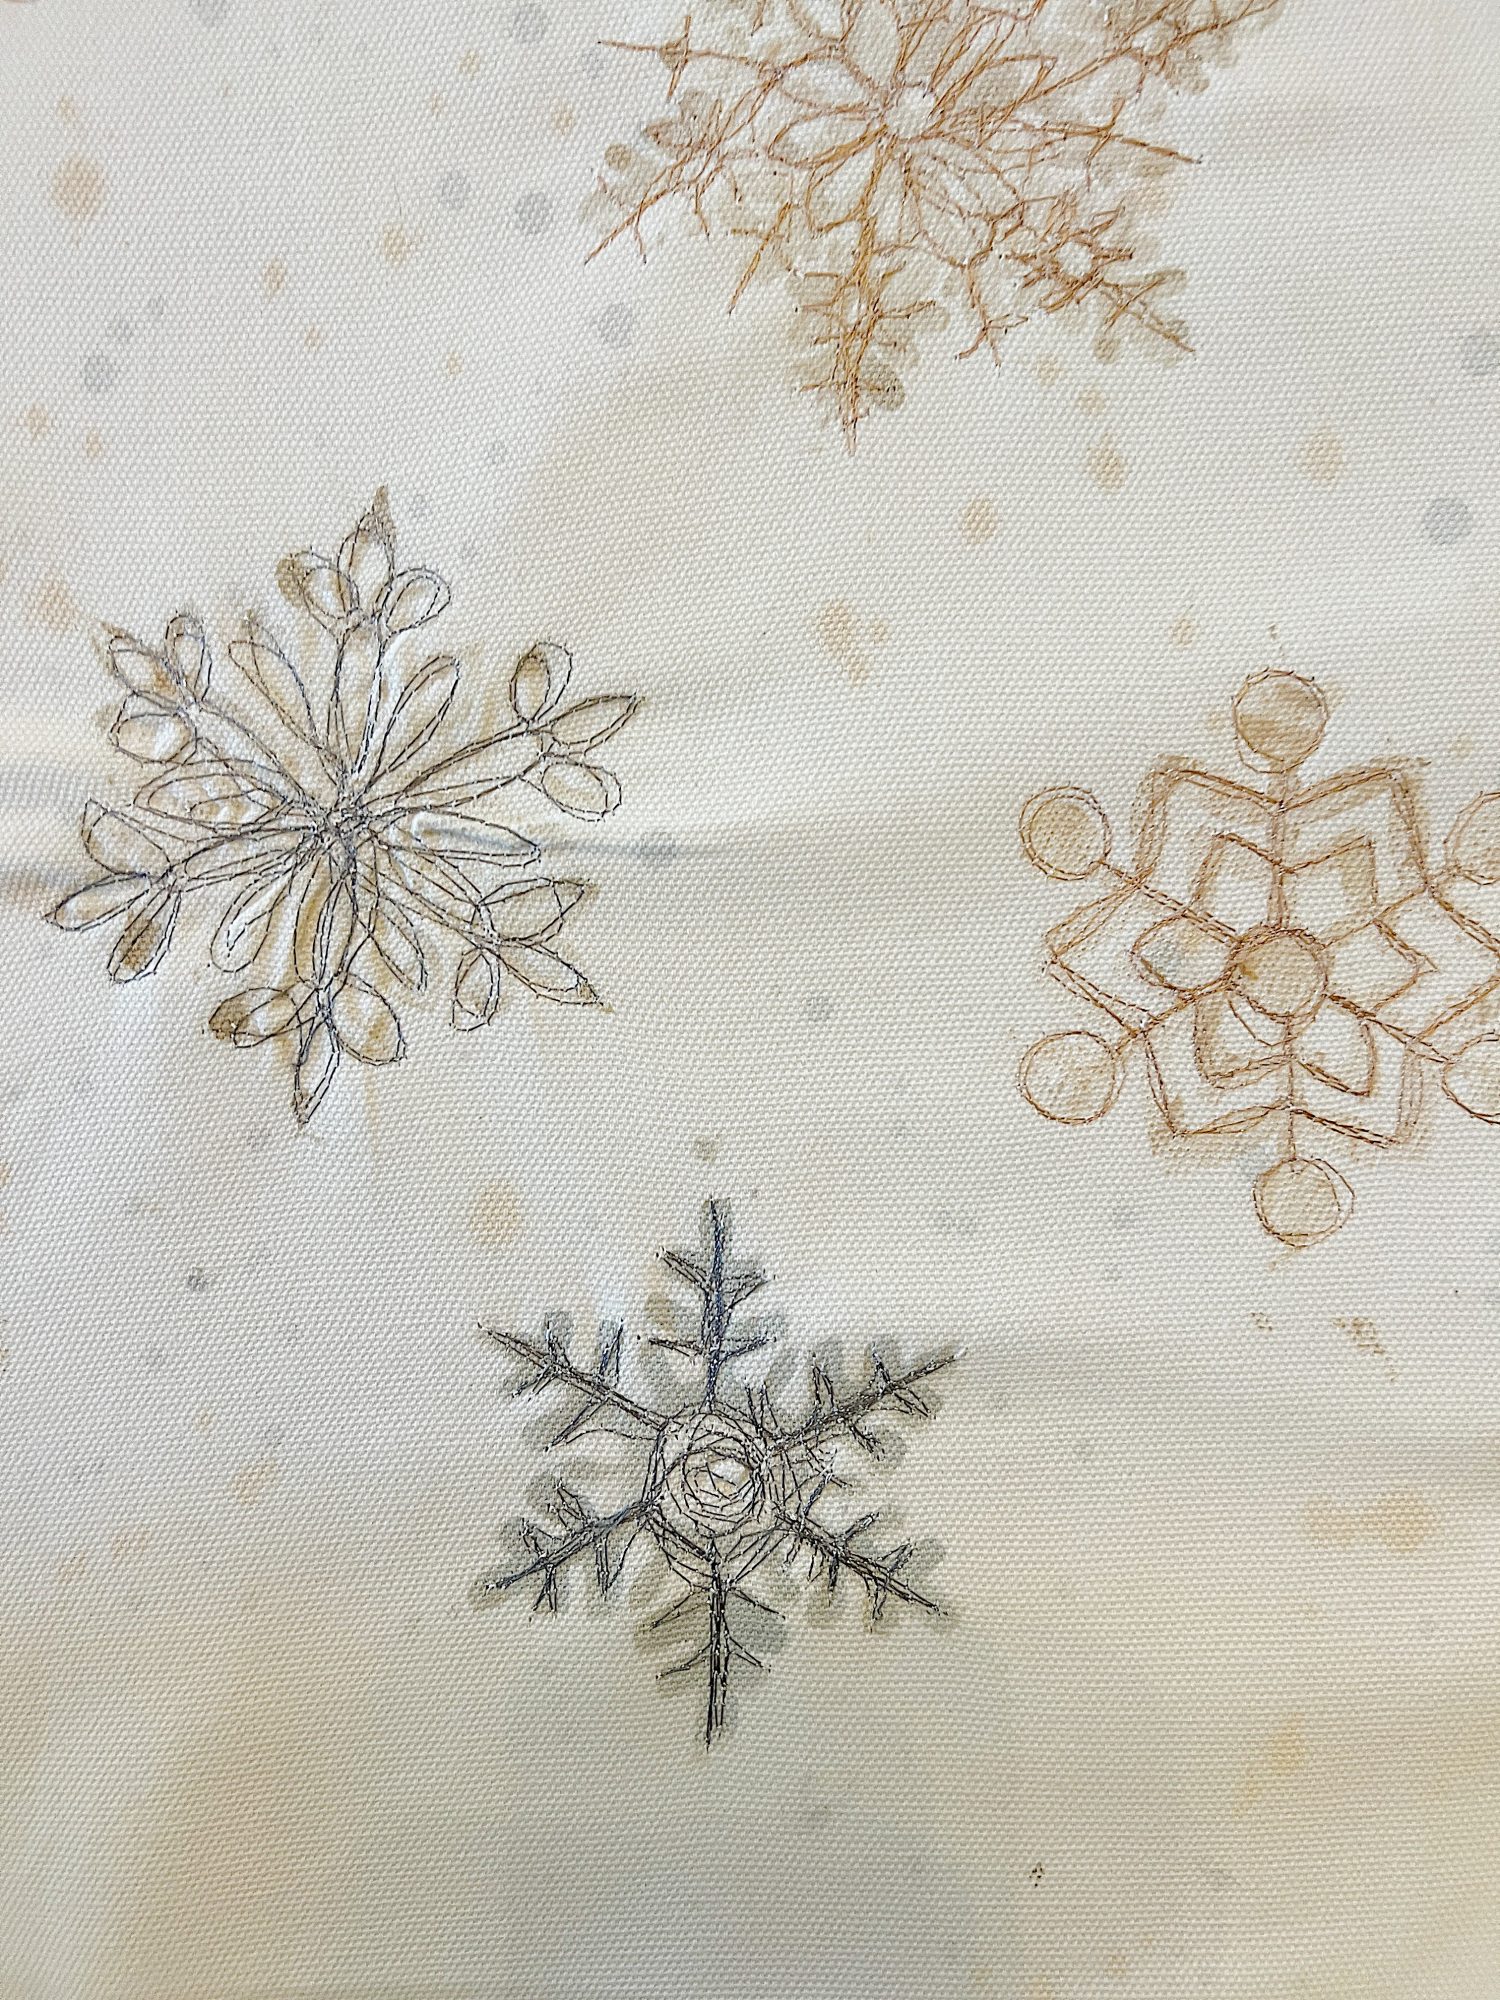
- eight – As you can see here, I kind of outlined the snowflake. But it looks good.
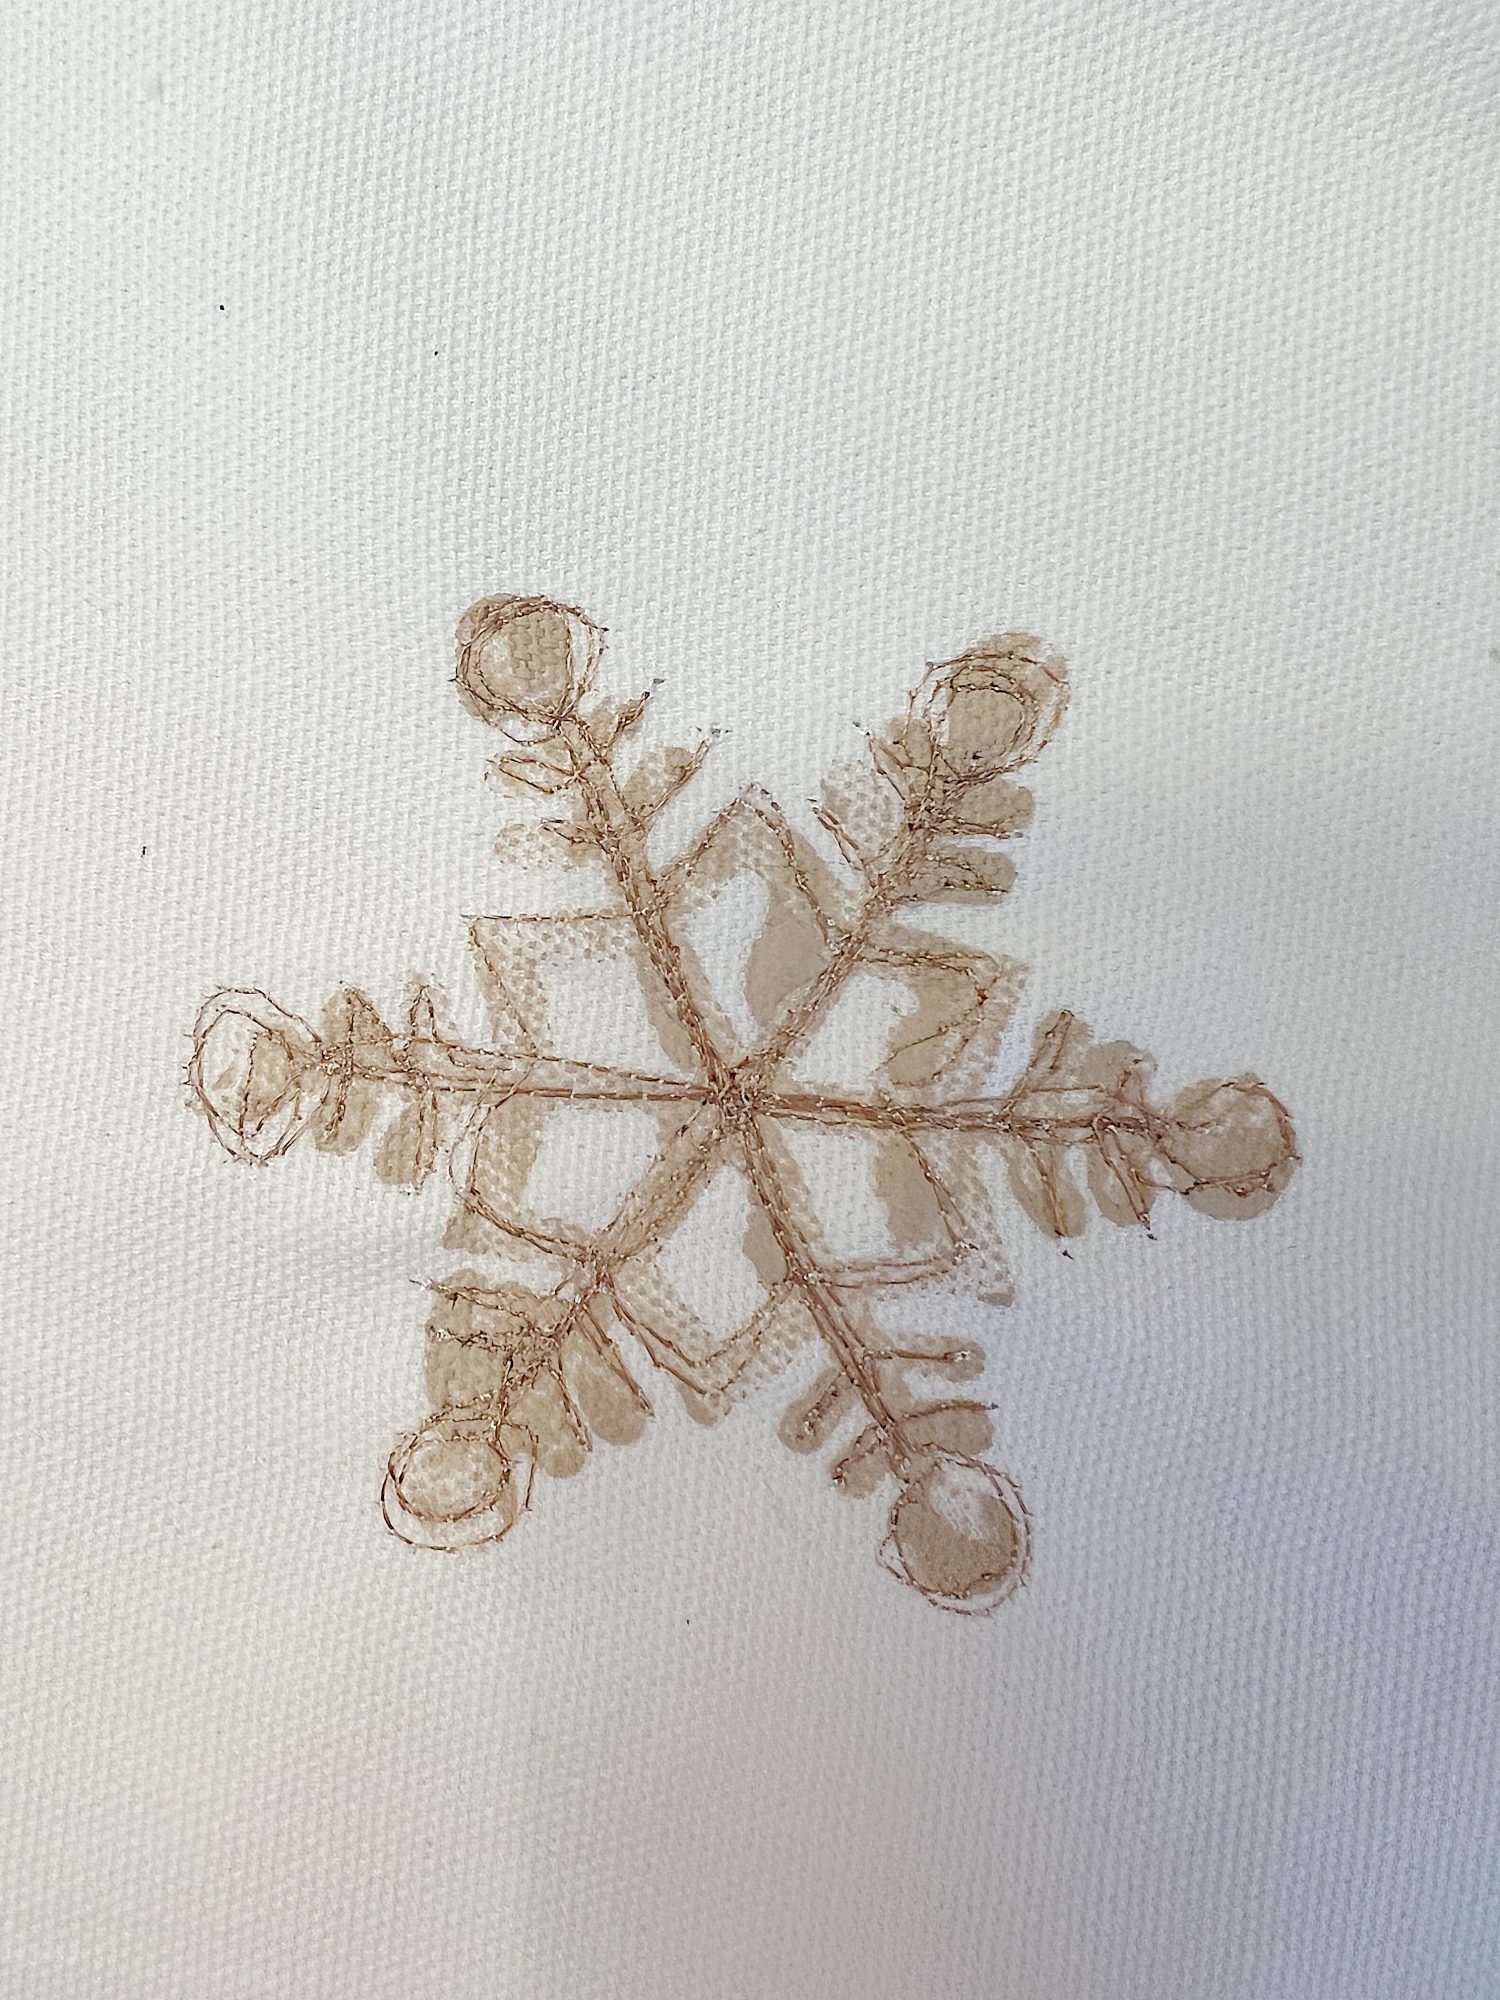
- nine – Continue to stitch all of the snowflakes. I try to stitch three layers of stitching and don’t worry too much if I end up outside of the lines. Hehe.
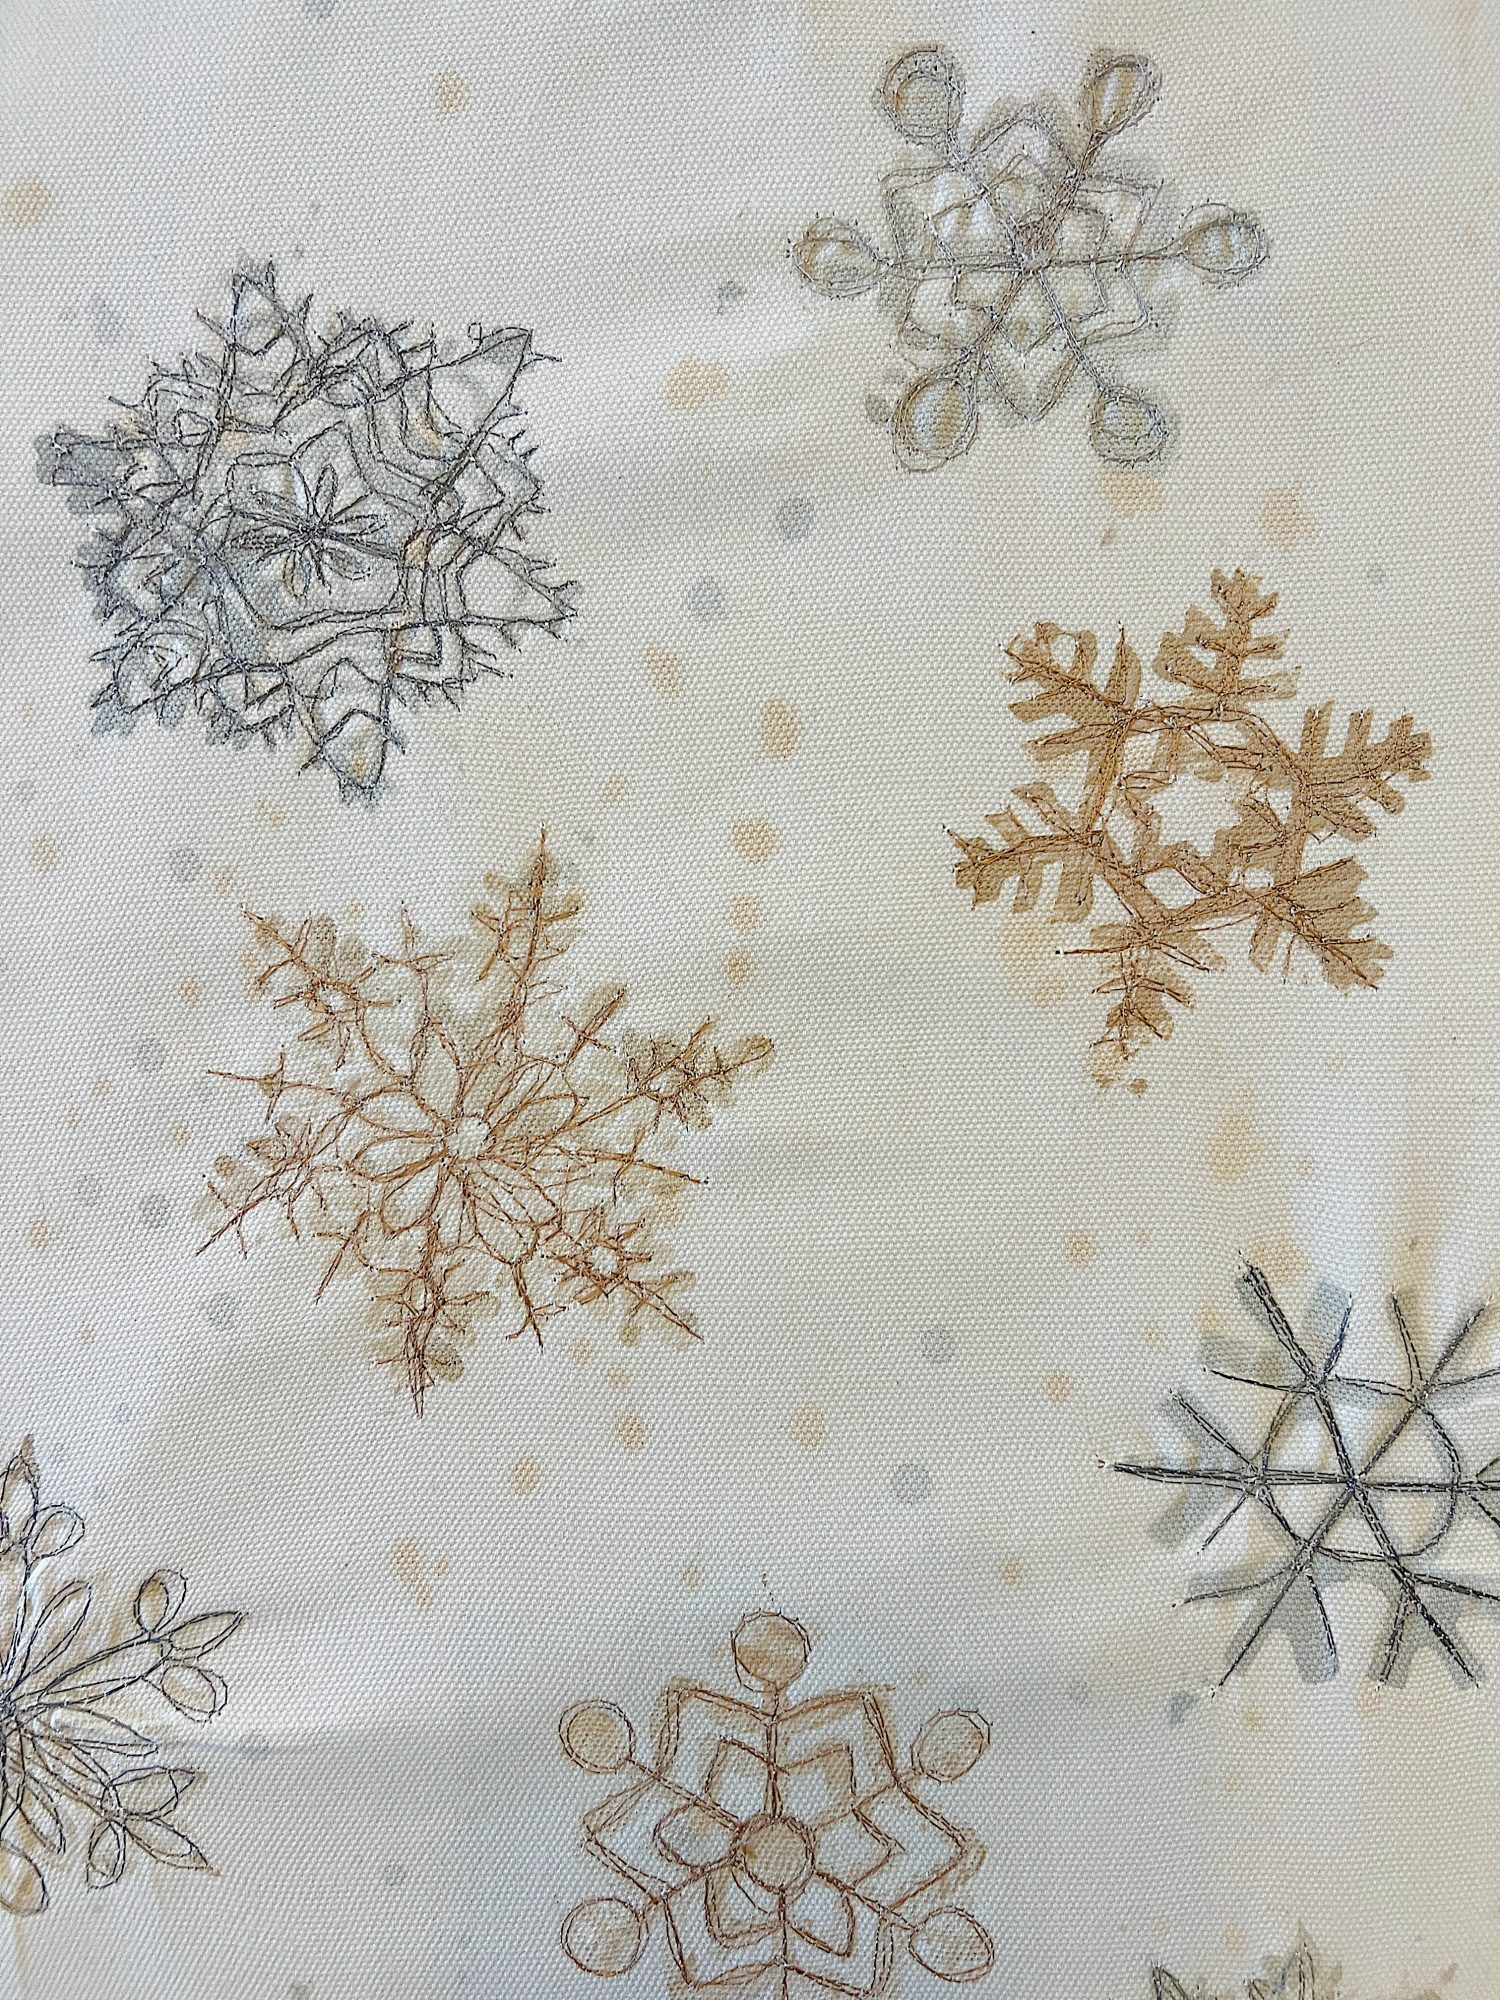
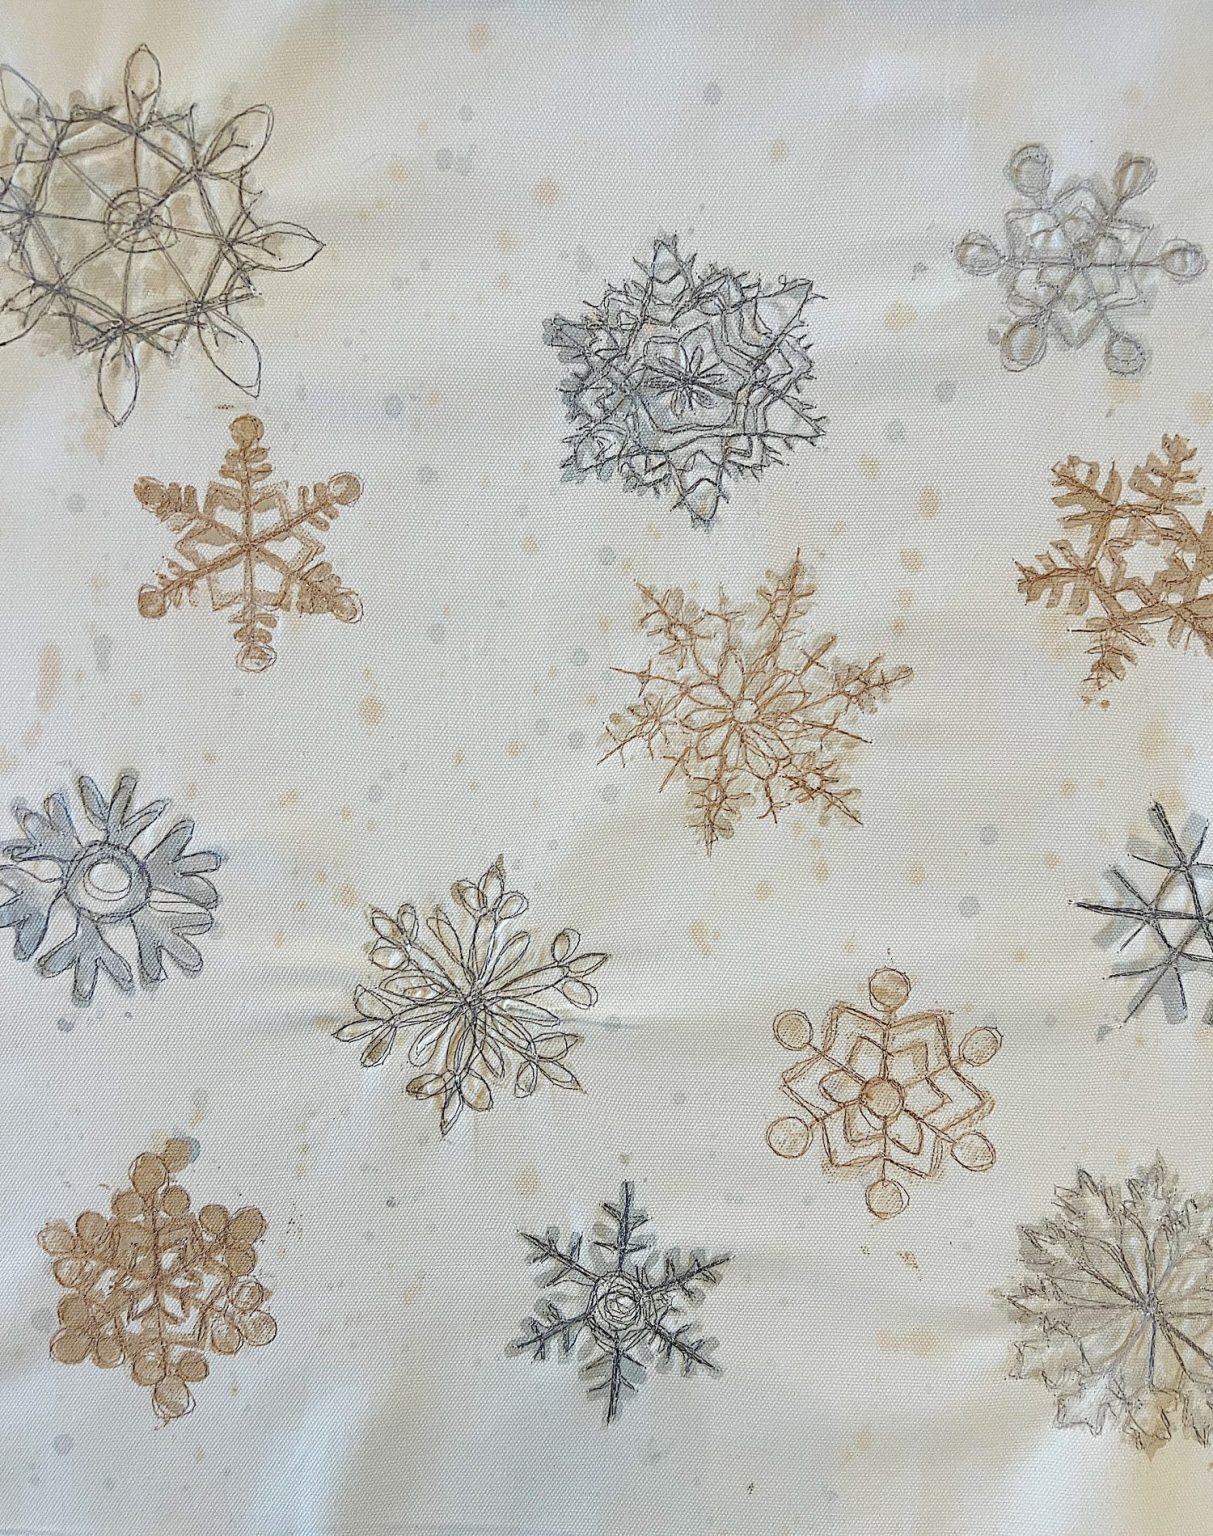
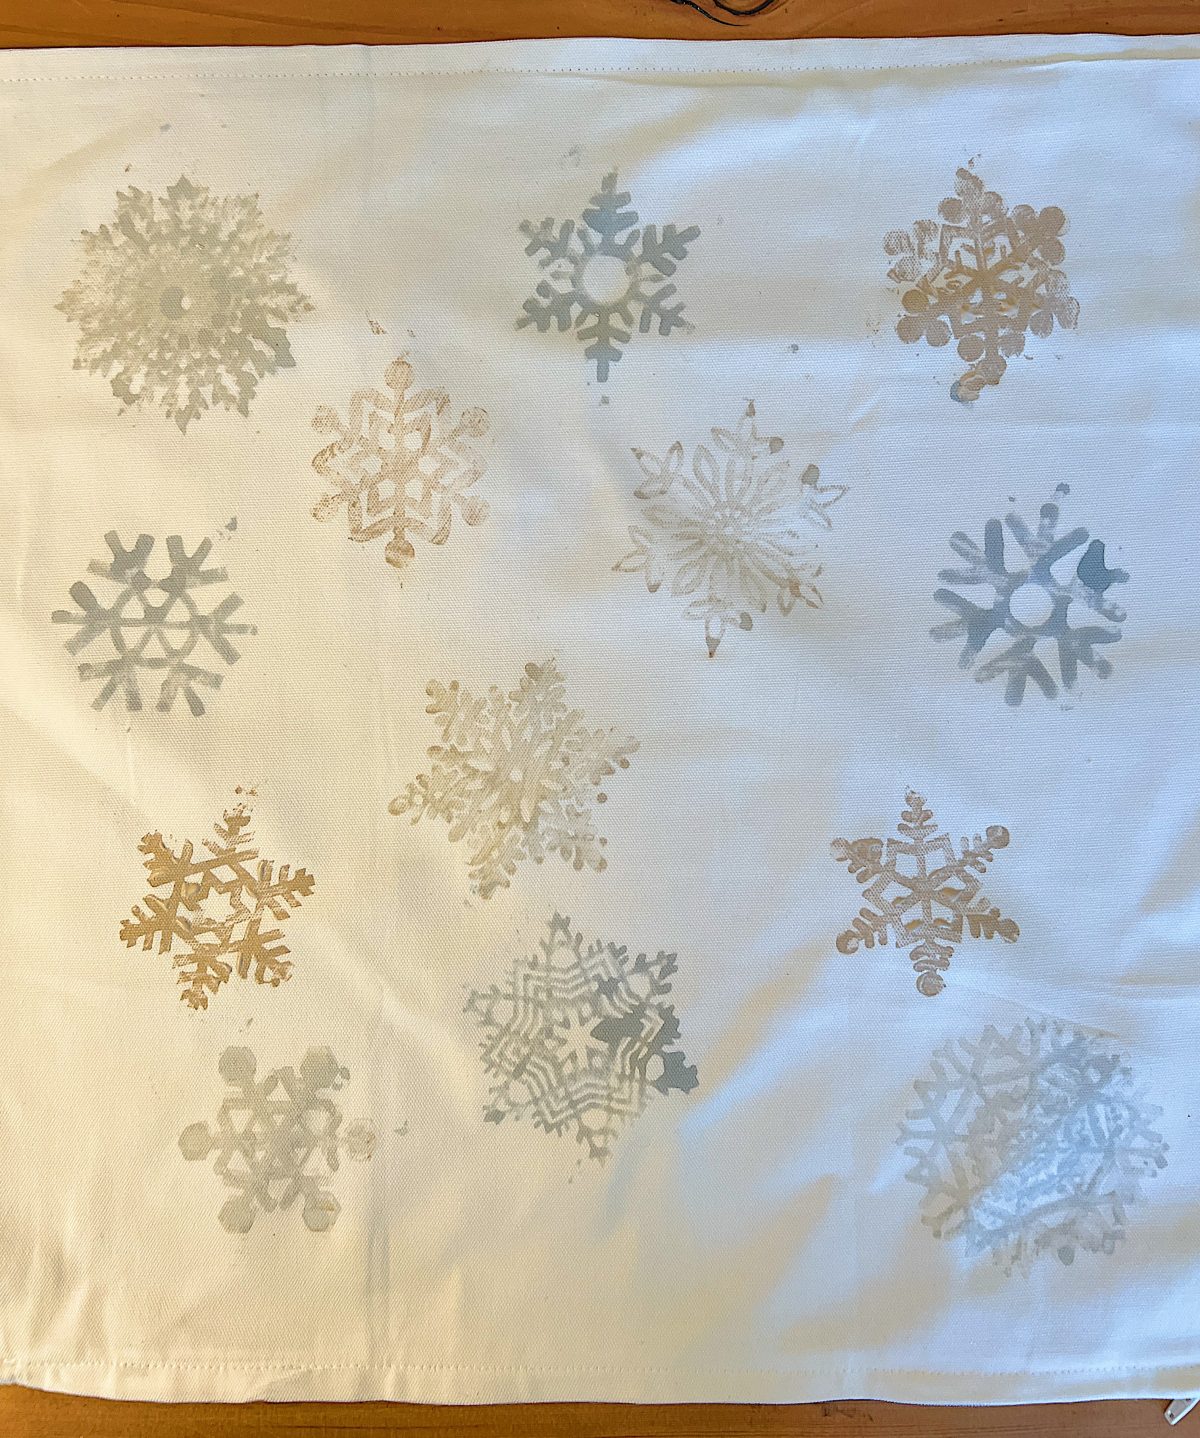
Her you can see how I stitched all of the snowflakes on the pillow. Some are great, some are not. But I am really happy how it turned out.
The last step is to iron the pillow which will set the paint into the fabric. Don’t forget this step!


A Neutral Christmas Pillow
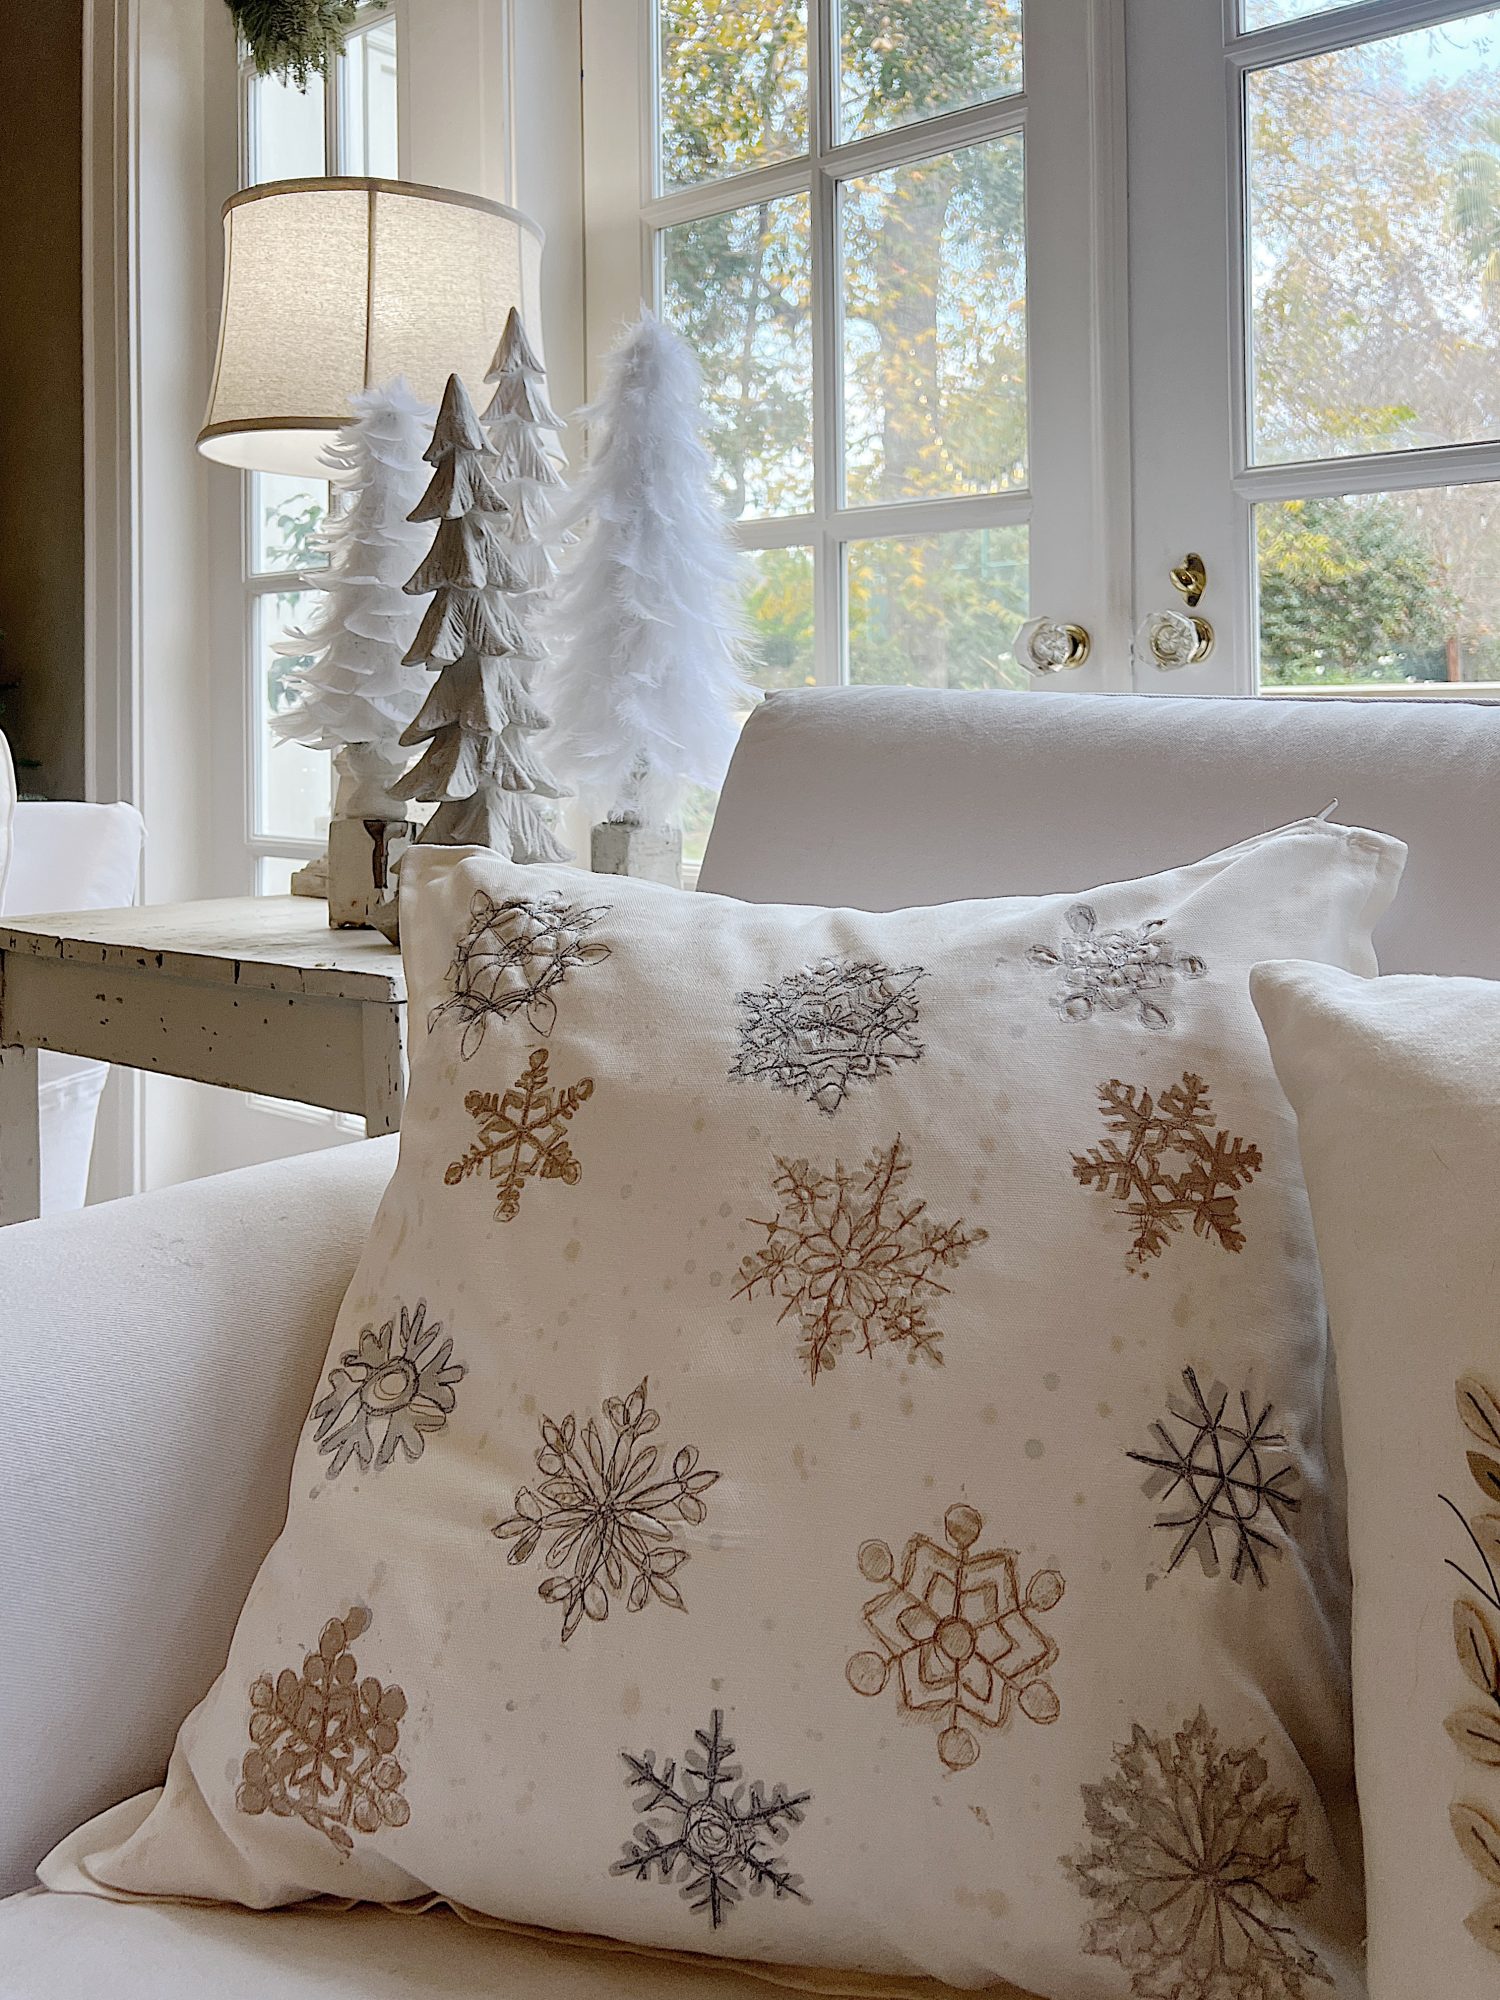
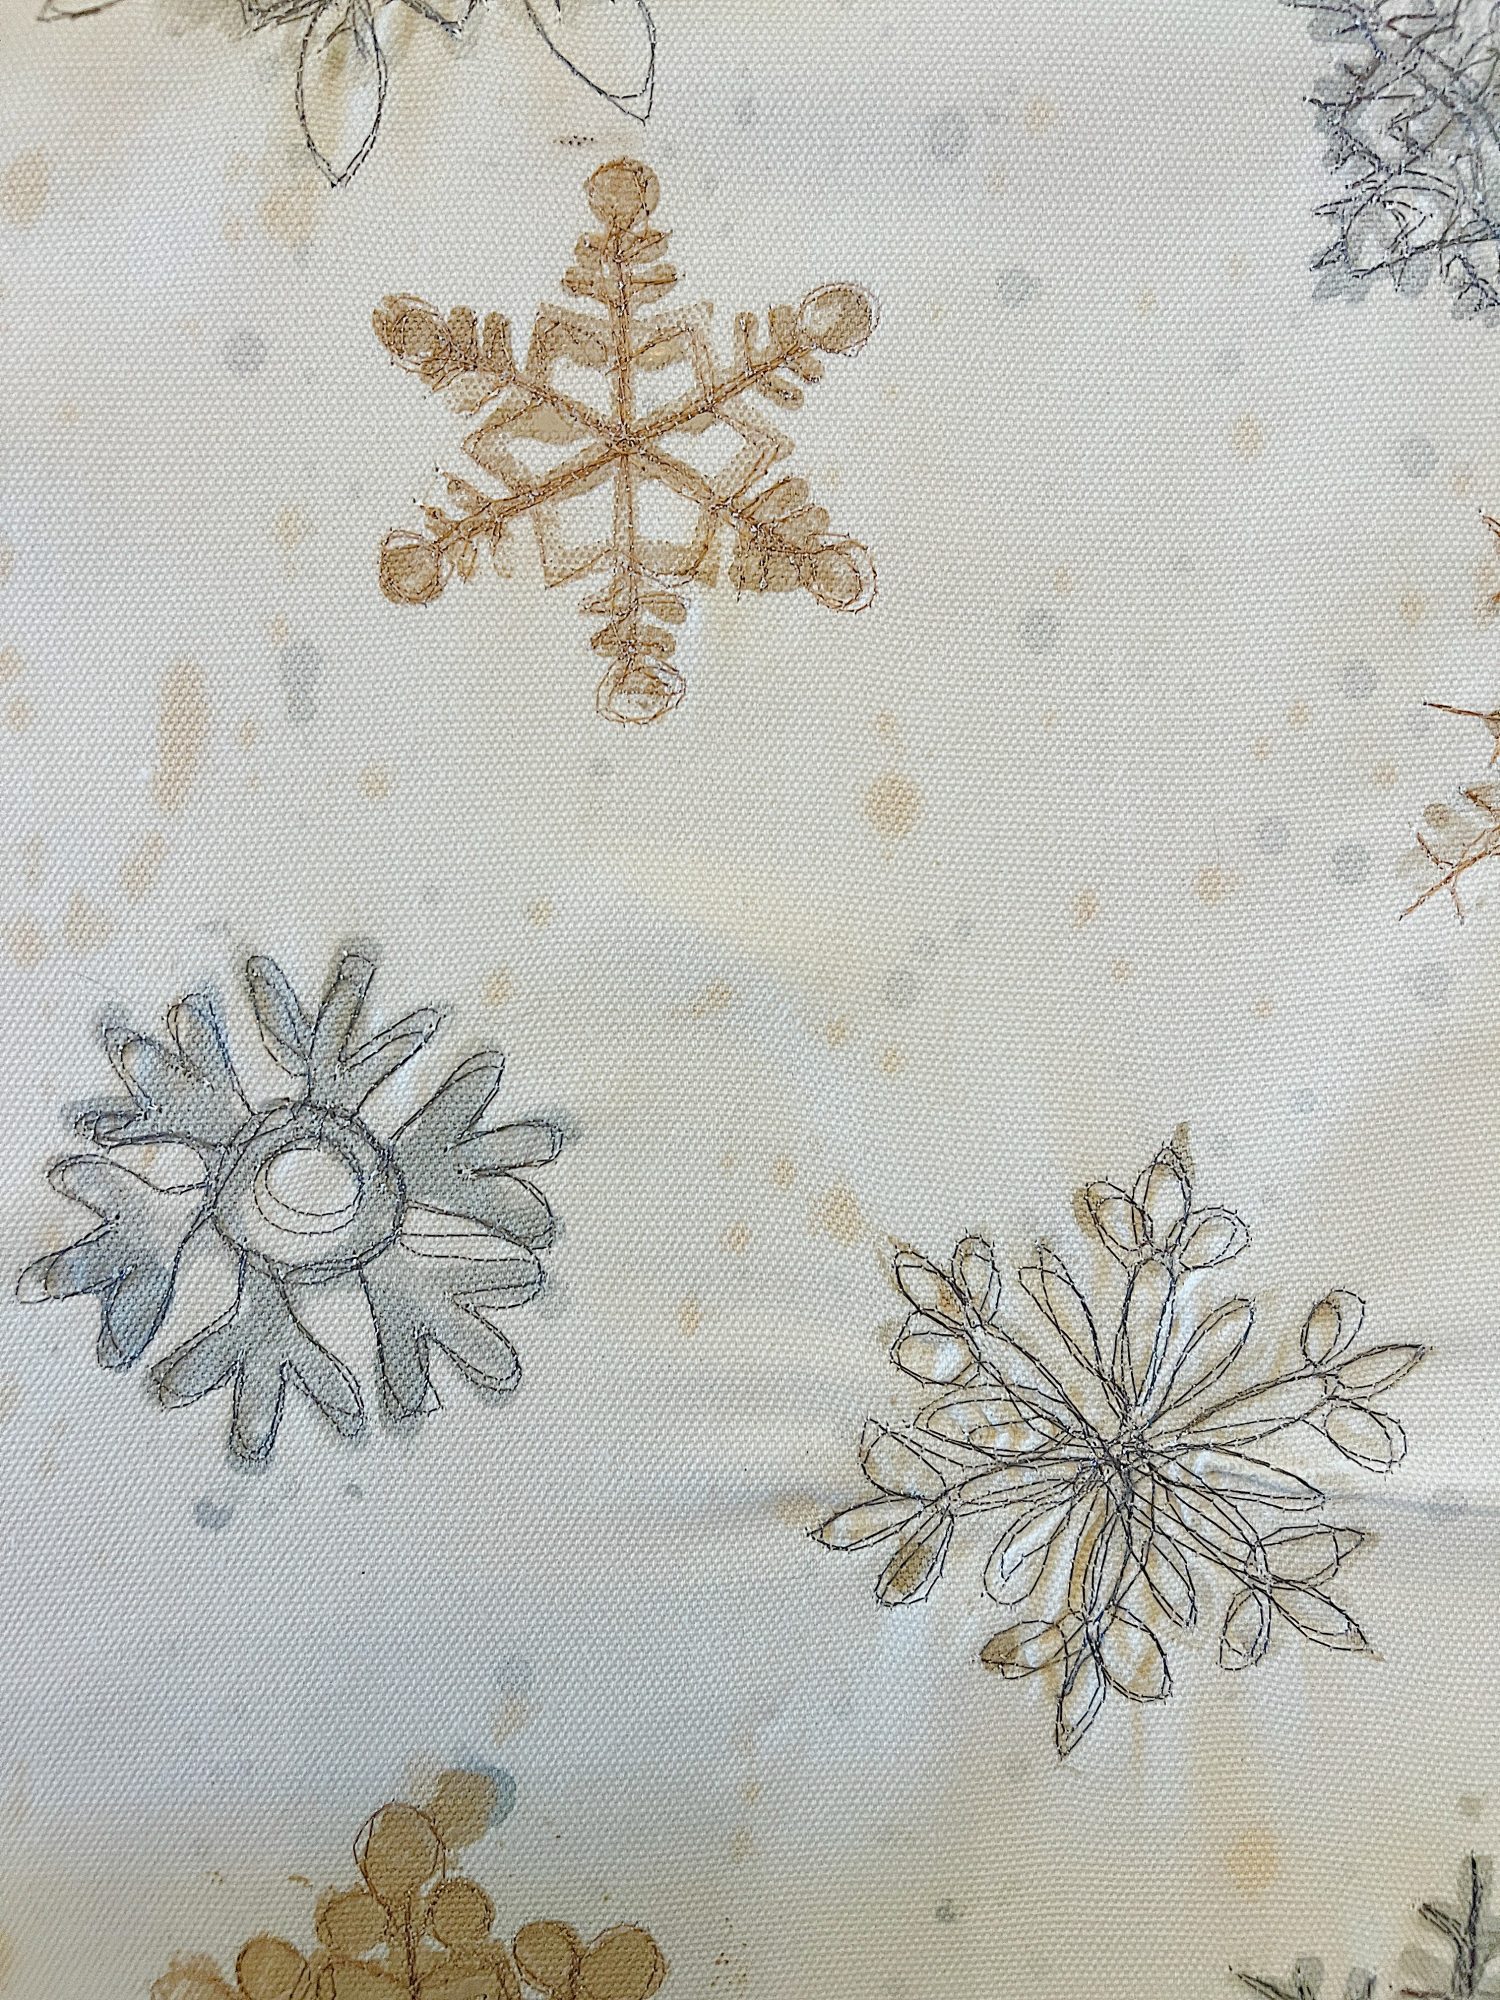
Here is a close-up of the stitched snowflakes. They aren’t perfect but I really like them!
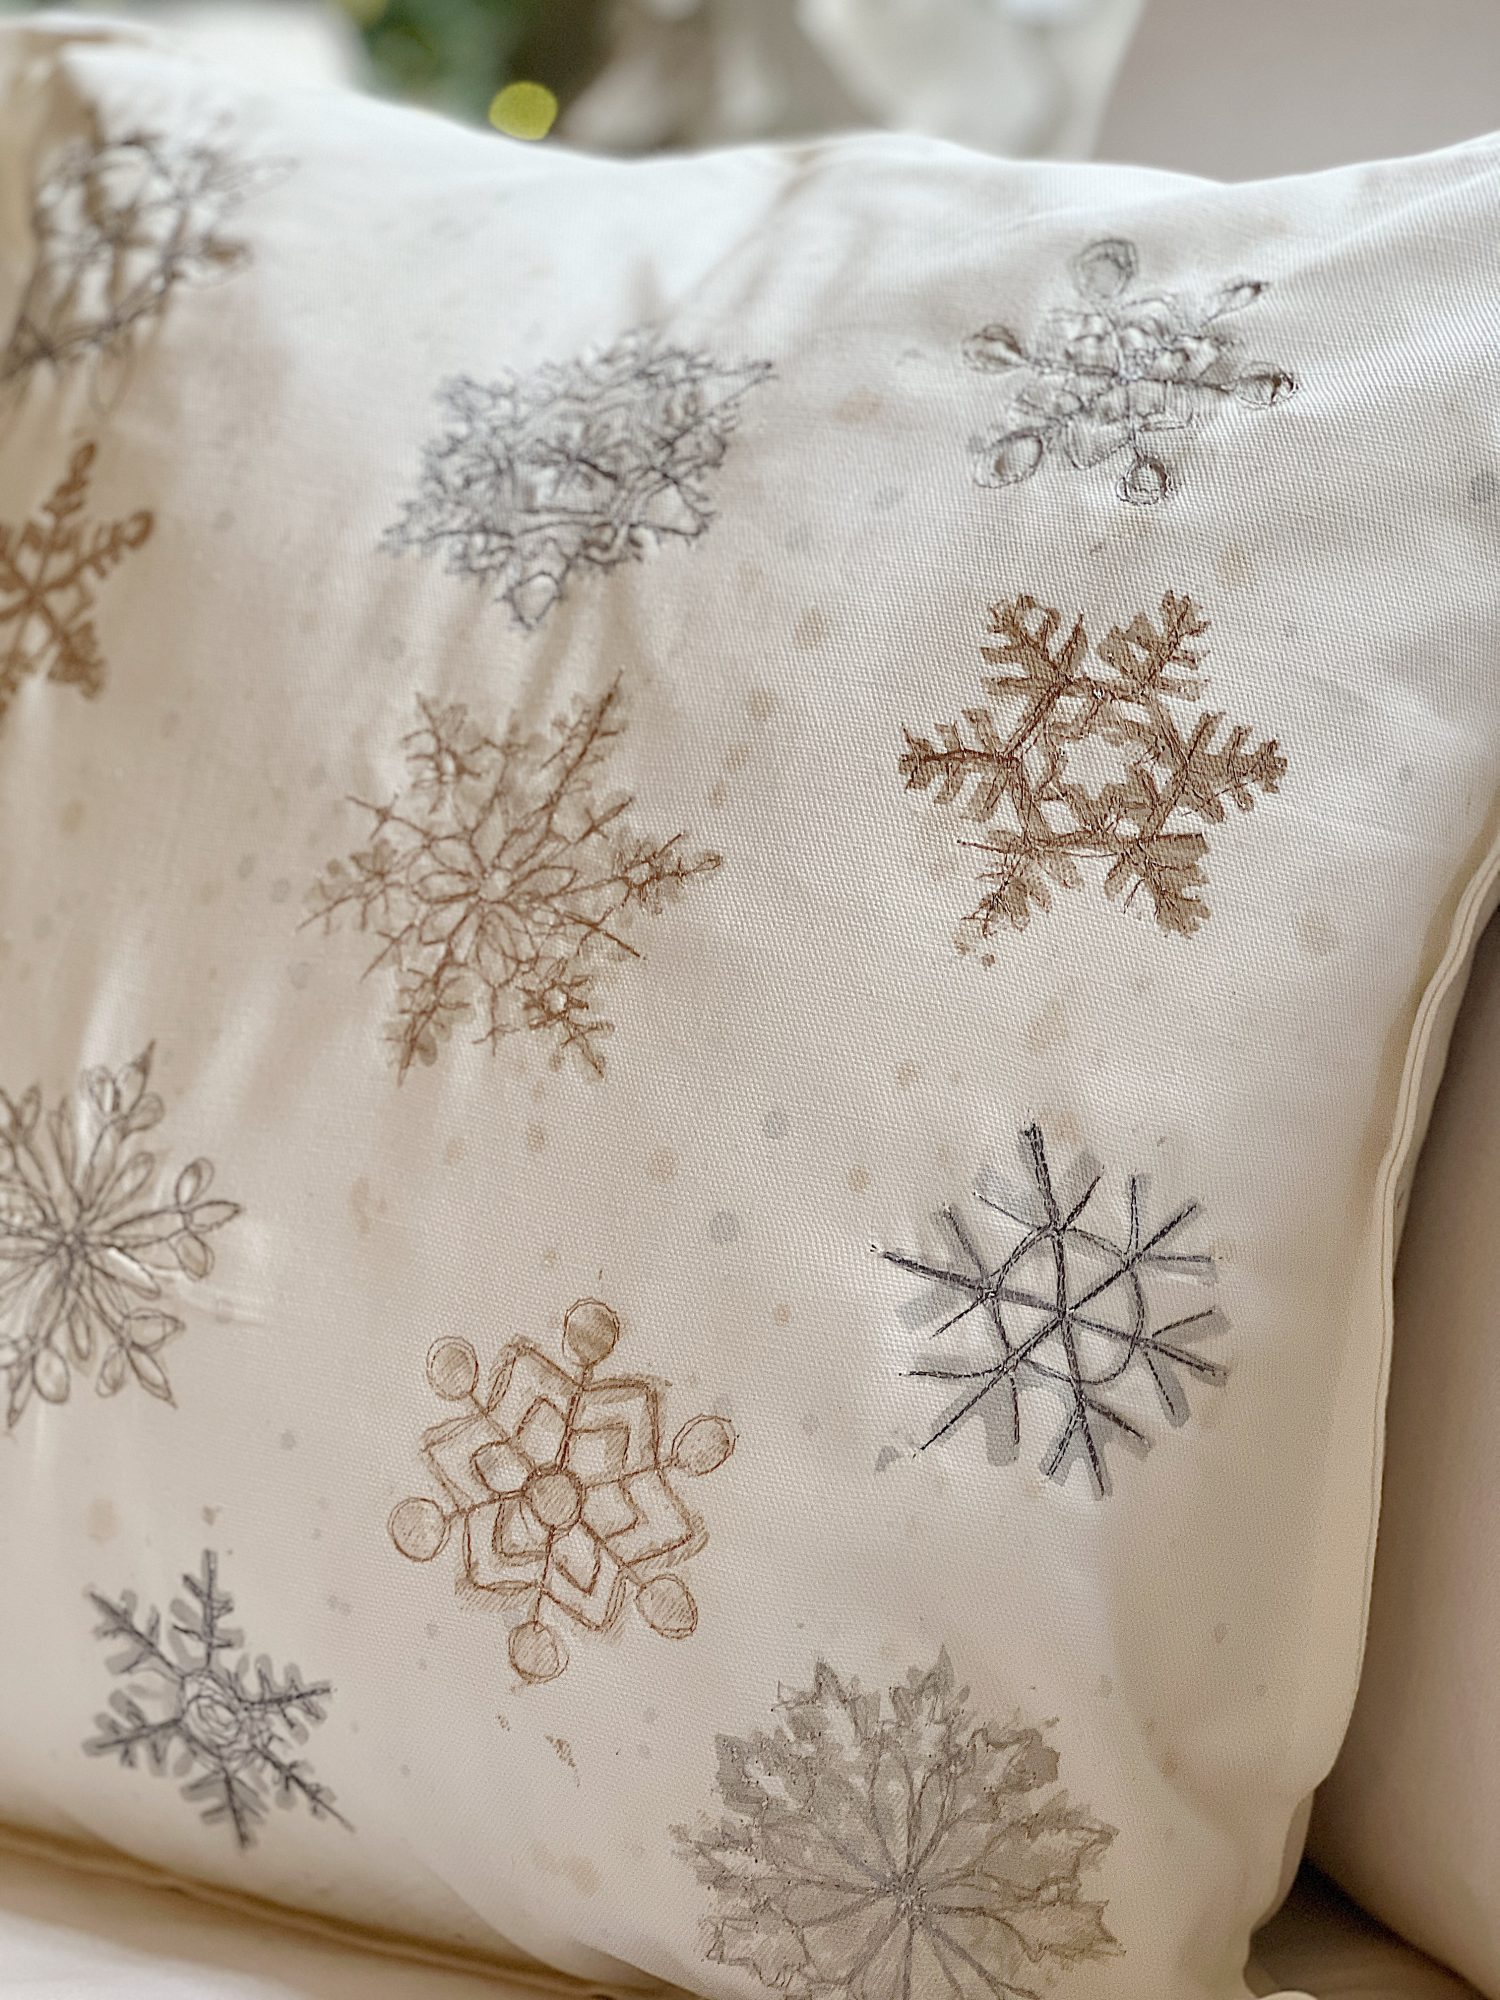
I mentioned earlier that I wasn’t thrilled with my pillow halfway through. I made an error, and that was that the paint was too faint. This meant that it was really hard to see the detail of the snowflakes and stitching them was really hard!
I ended up going back and restamping a lot of the snowflakes on top of my first attempt. This made such a difference!


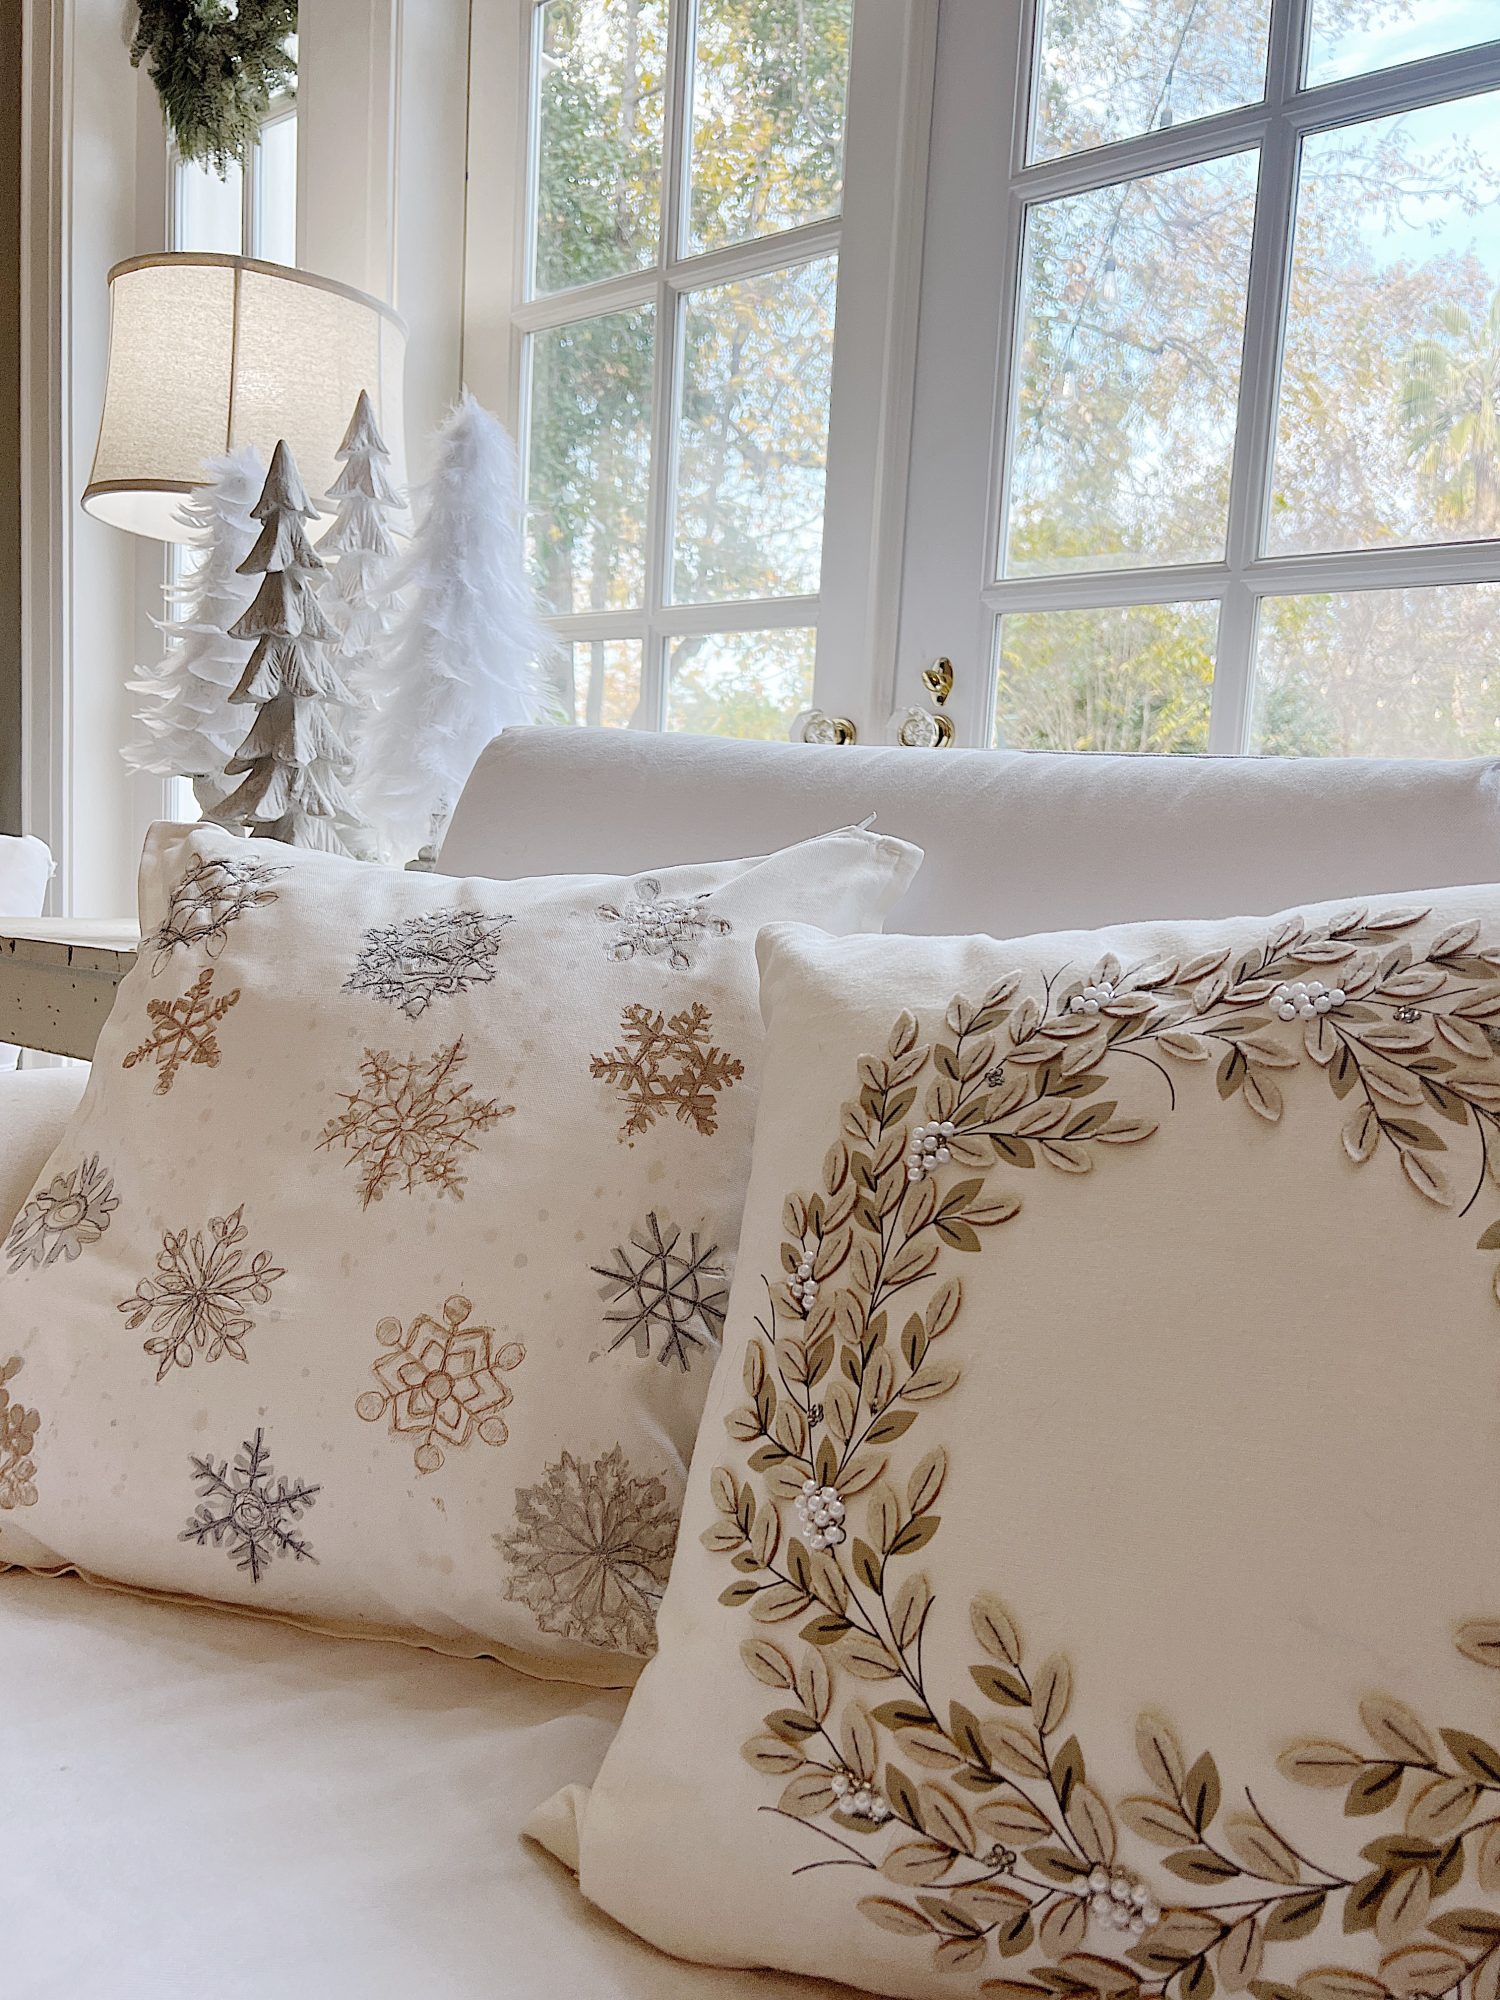
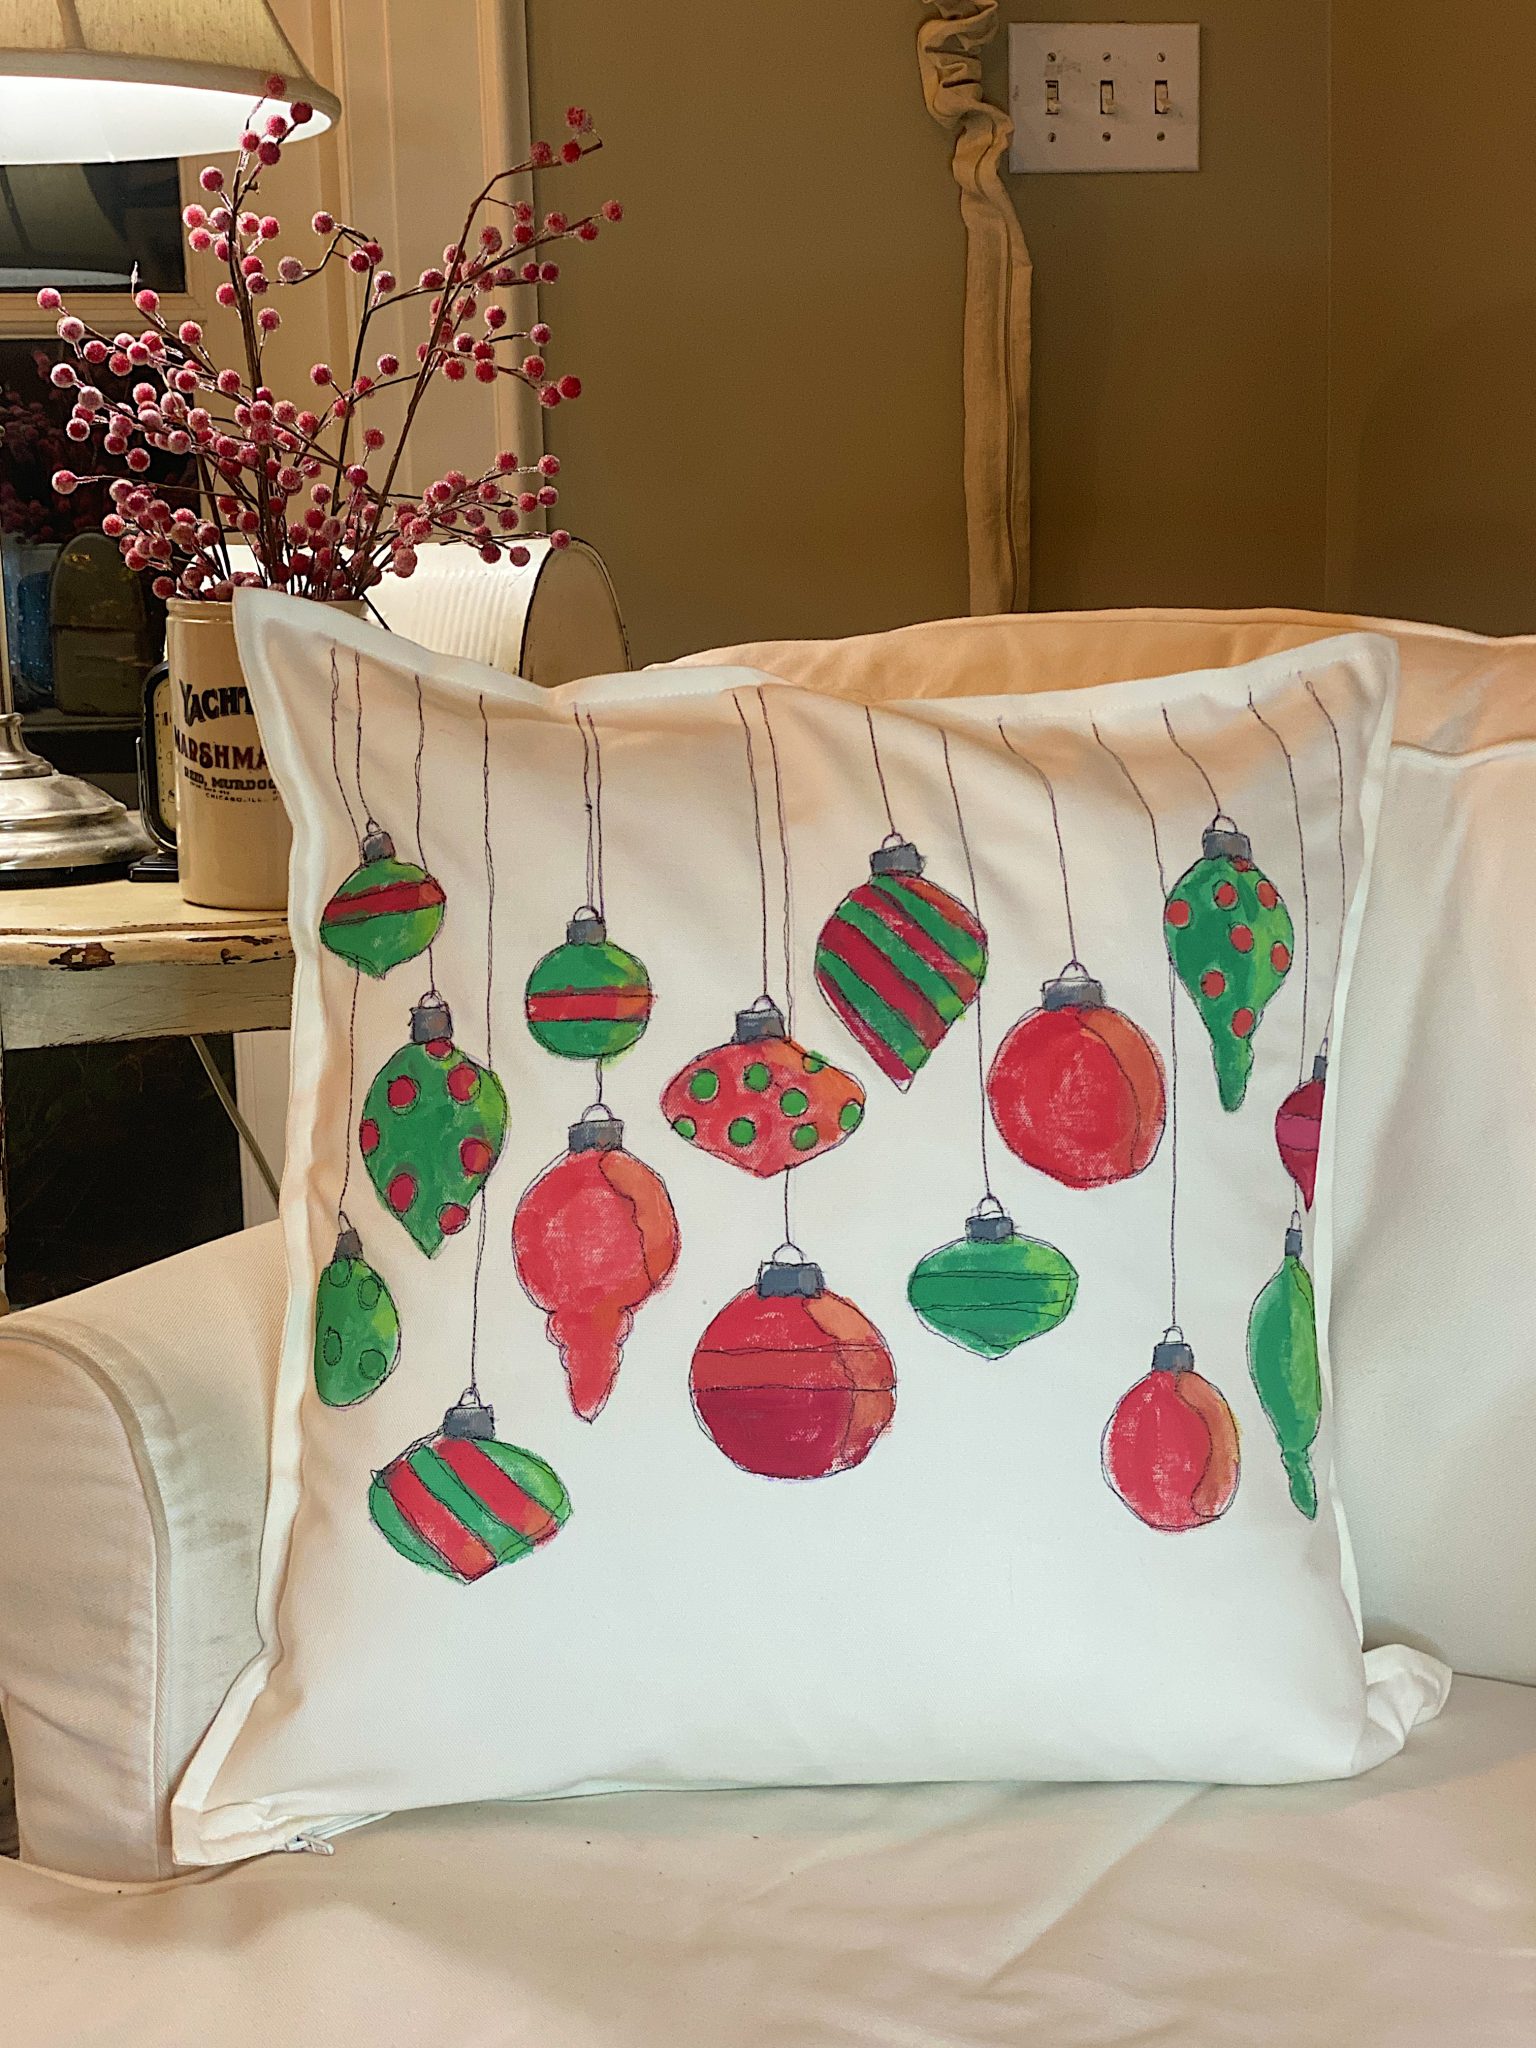
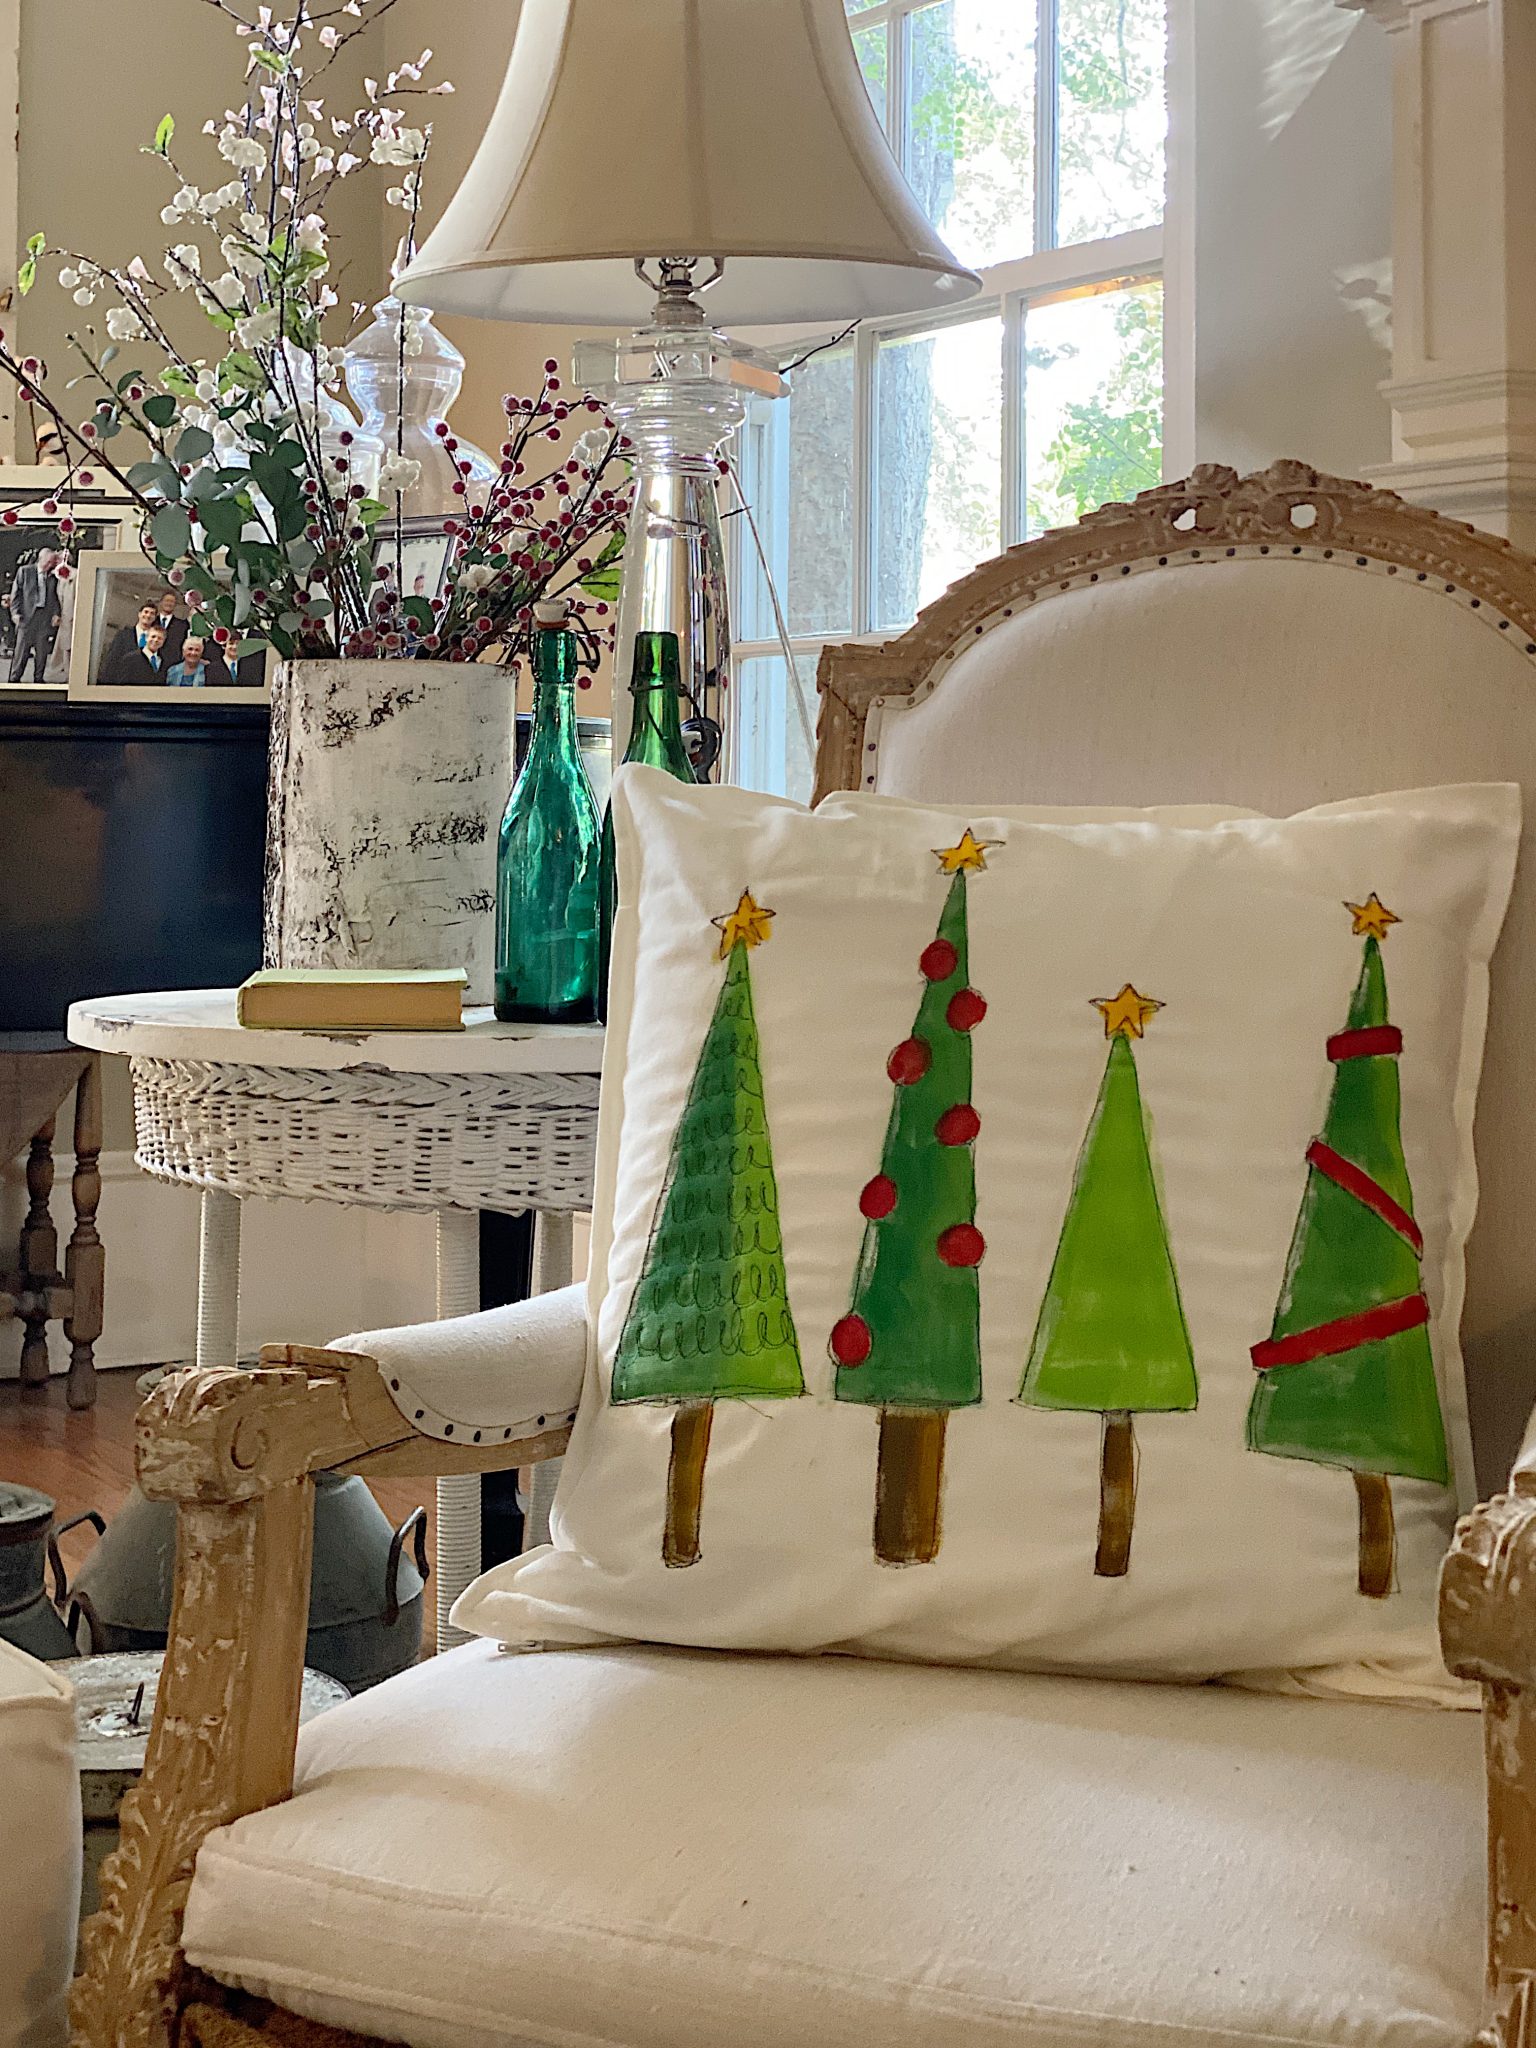
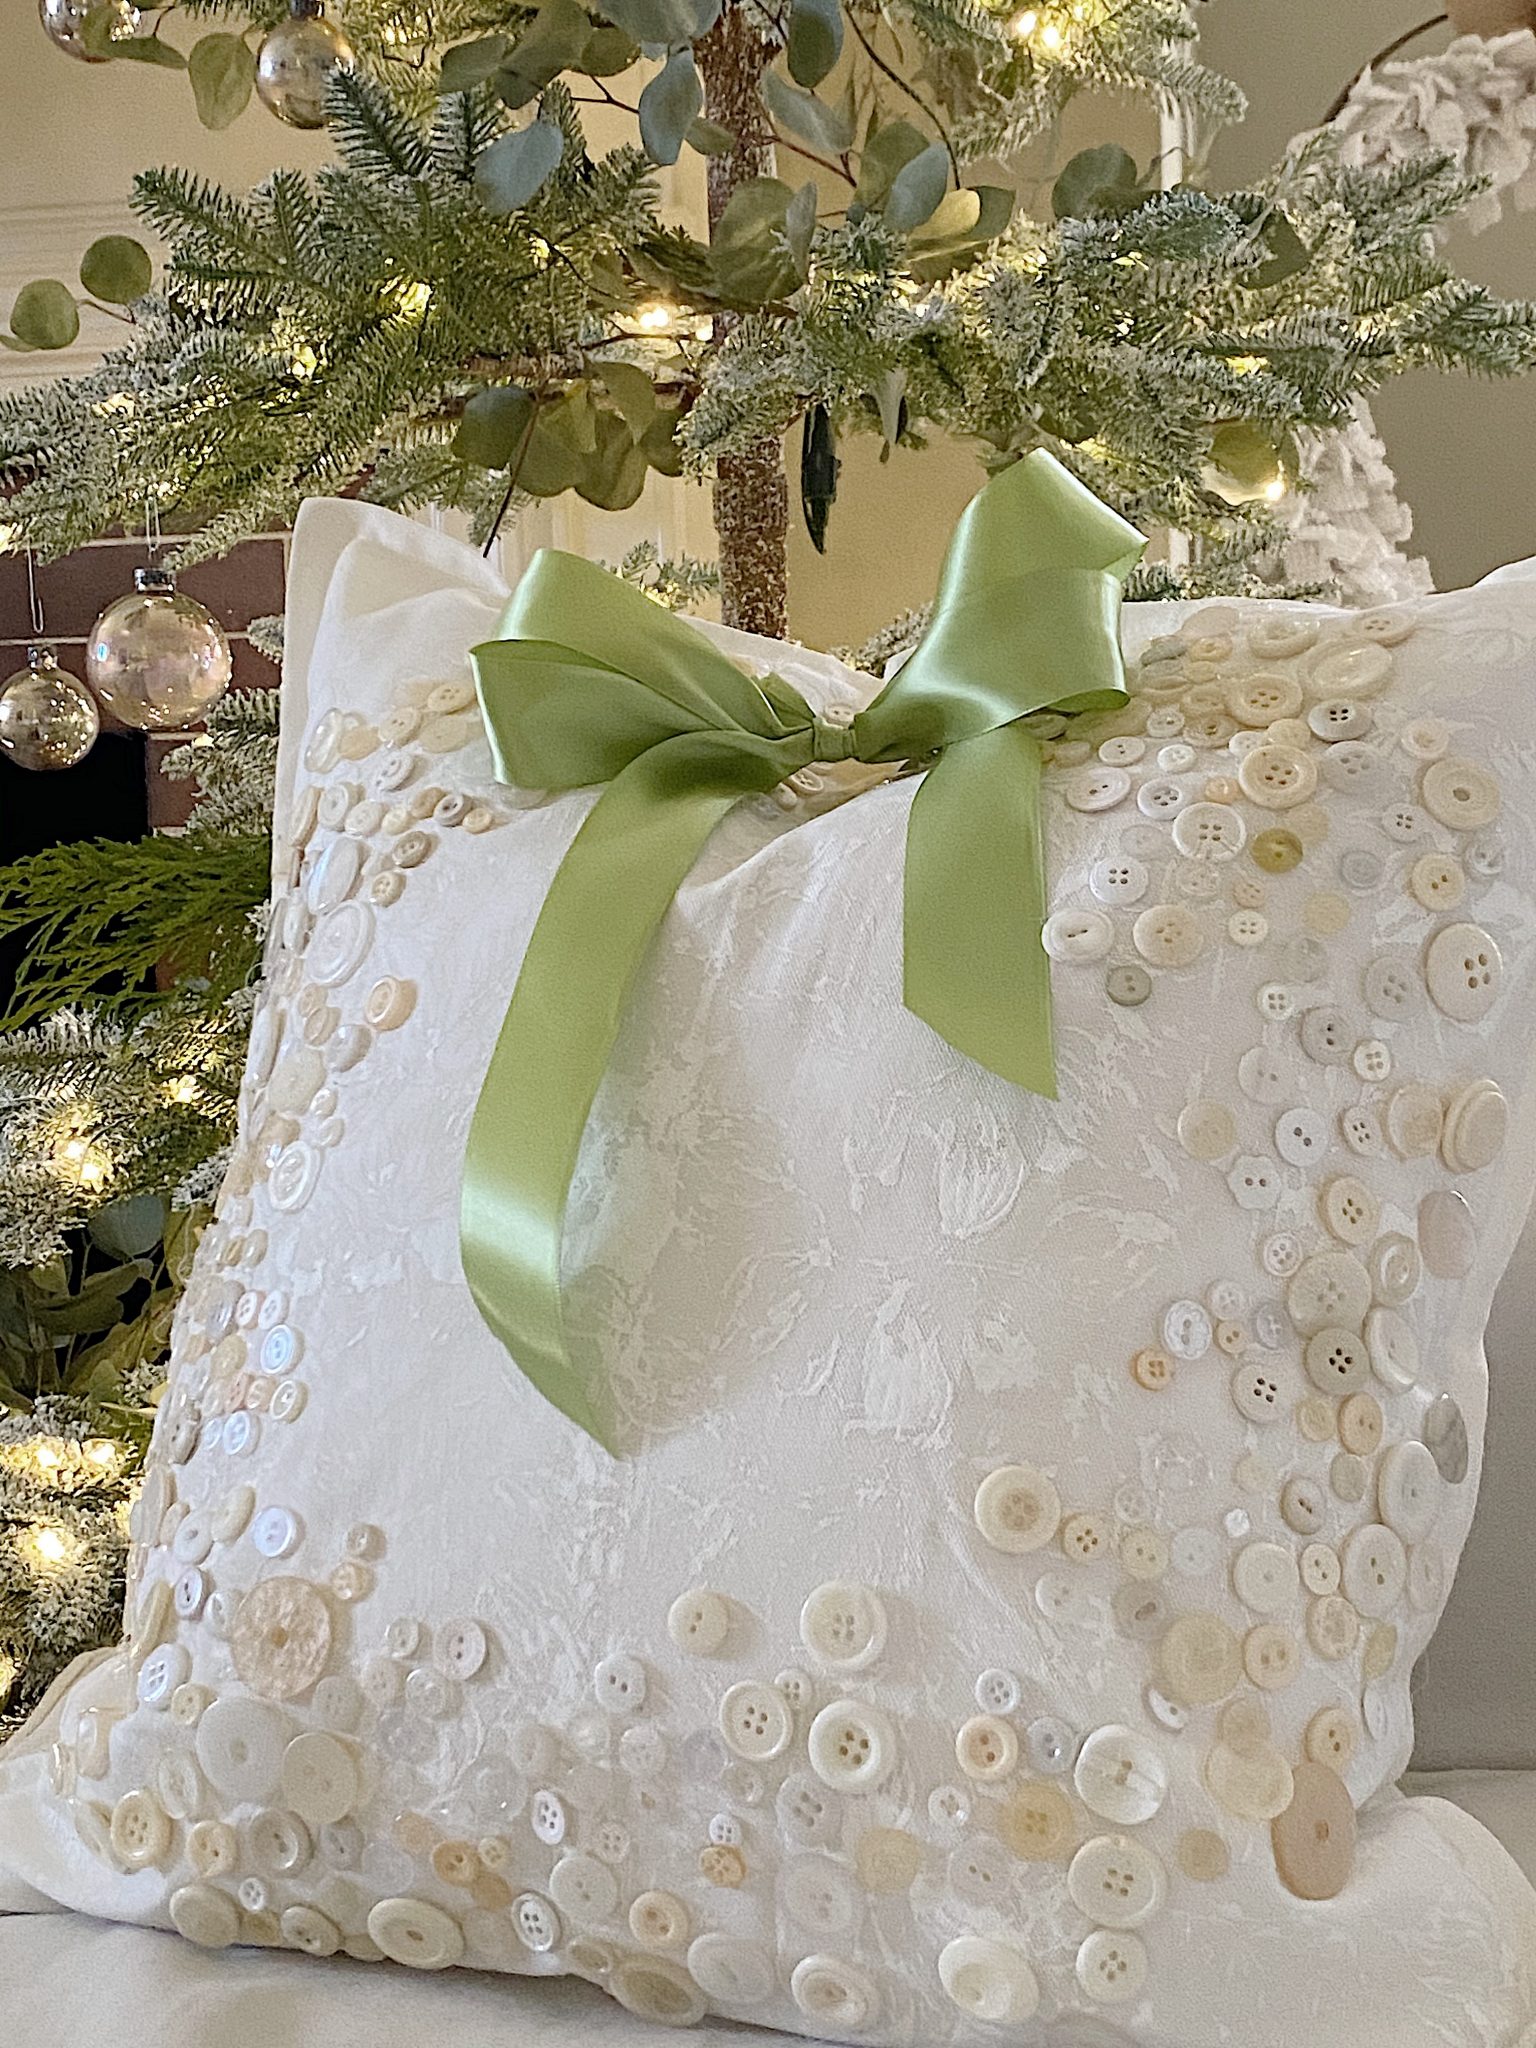
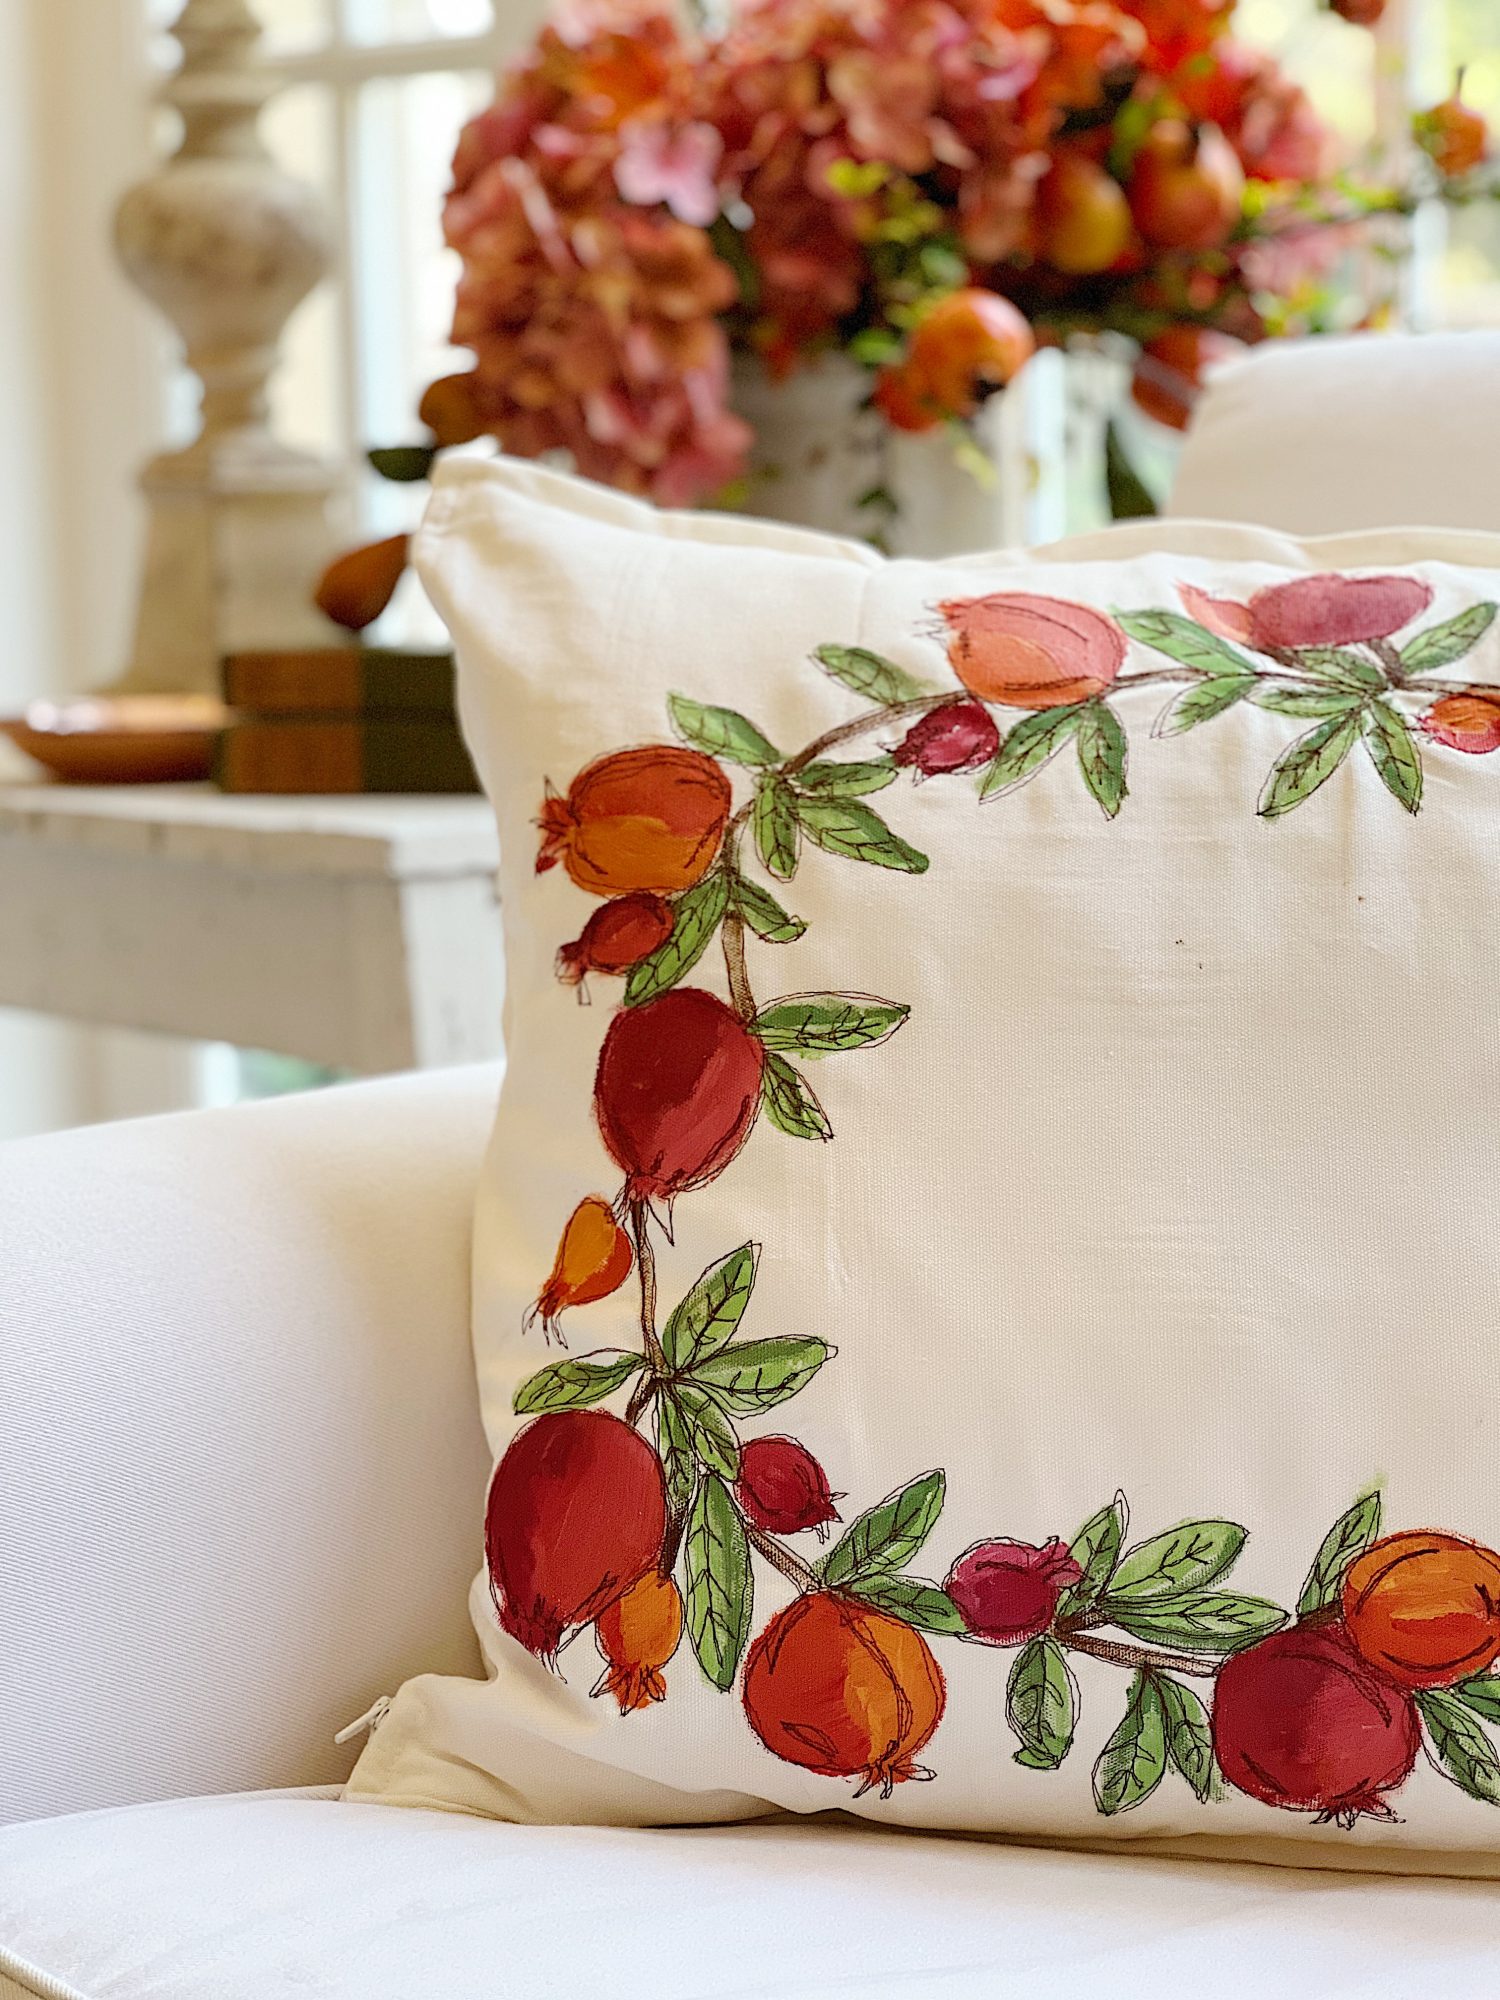
Other Christmas DIY Pillows
Over the last few years, I have made a lot of different Christmas pillows. Tap any of the links to see more.

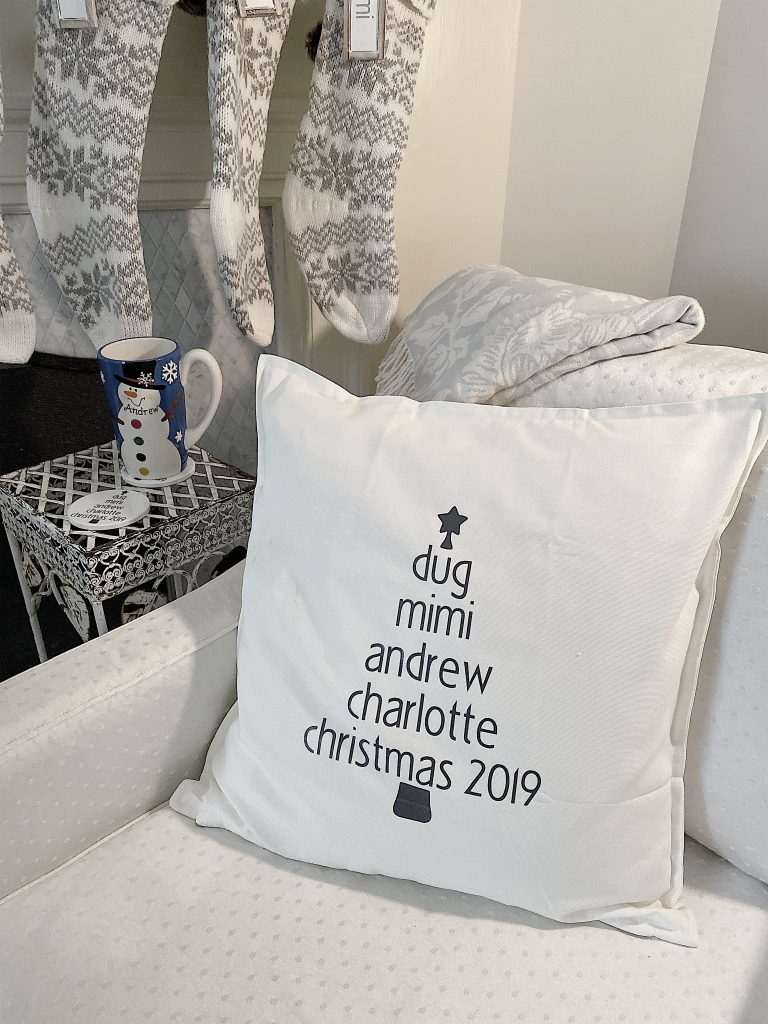
I may appear to be slightly obsessed with making pillows for the holidays.
Ok, I am!
But aren’t these fun? I hope these will inspire you to make some of these!


If you are enjoying my blog, you can sign up to receive my blog updates here.
.Watch My Amazon Live
Click here to watch any of my Amazon Live shows. All shows are recorded.
I want to share this show with you, titled The Best Gifts for Pets.


Pin the image below to your boards on Pinterest (just click the Pin button in the top left corner). You can also follow along with me on Pinterest!
For more real-time updates, follow me on Instagram @My100YearOldHome

Leslie, Your snowflake pillows turned out so beautiful! Definitely put on my after Christmas “to do list” – a project to look forward to during the long, cold winter! Thank you for the inspiration. Hope you have a wonderful holiday with your family and friends.
Hi Barb! Thank you so much. They’re so much fun to make- and you can keep them up through the winter months! I hope you and yours have the best holiday 🙏🎄♥️
I just truly love your blogs, but especially your pillow creations. Each pillow is so unique & inspiring. I love to sew, but have never done free-form sewing!!! Hope to try soon. God bless & Merry Christmas! May your 2023 be filled with adventure and more fun crafts for us all!
Hi Teresa! Wow thank you so much! They’re a joy to create and I hope you give them a go ☺️ Oh Merry Christmas to you and yours 🎄❤️🥰