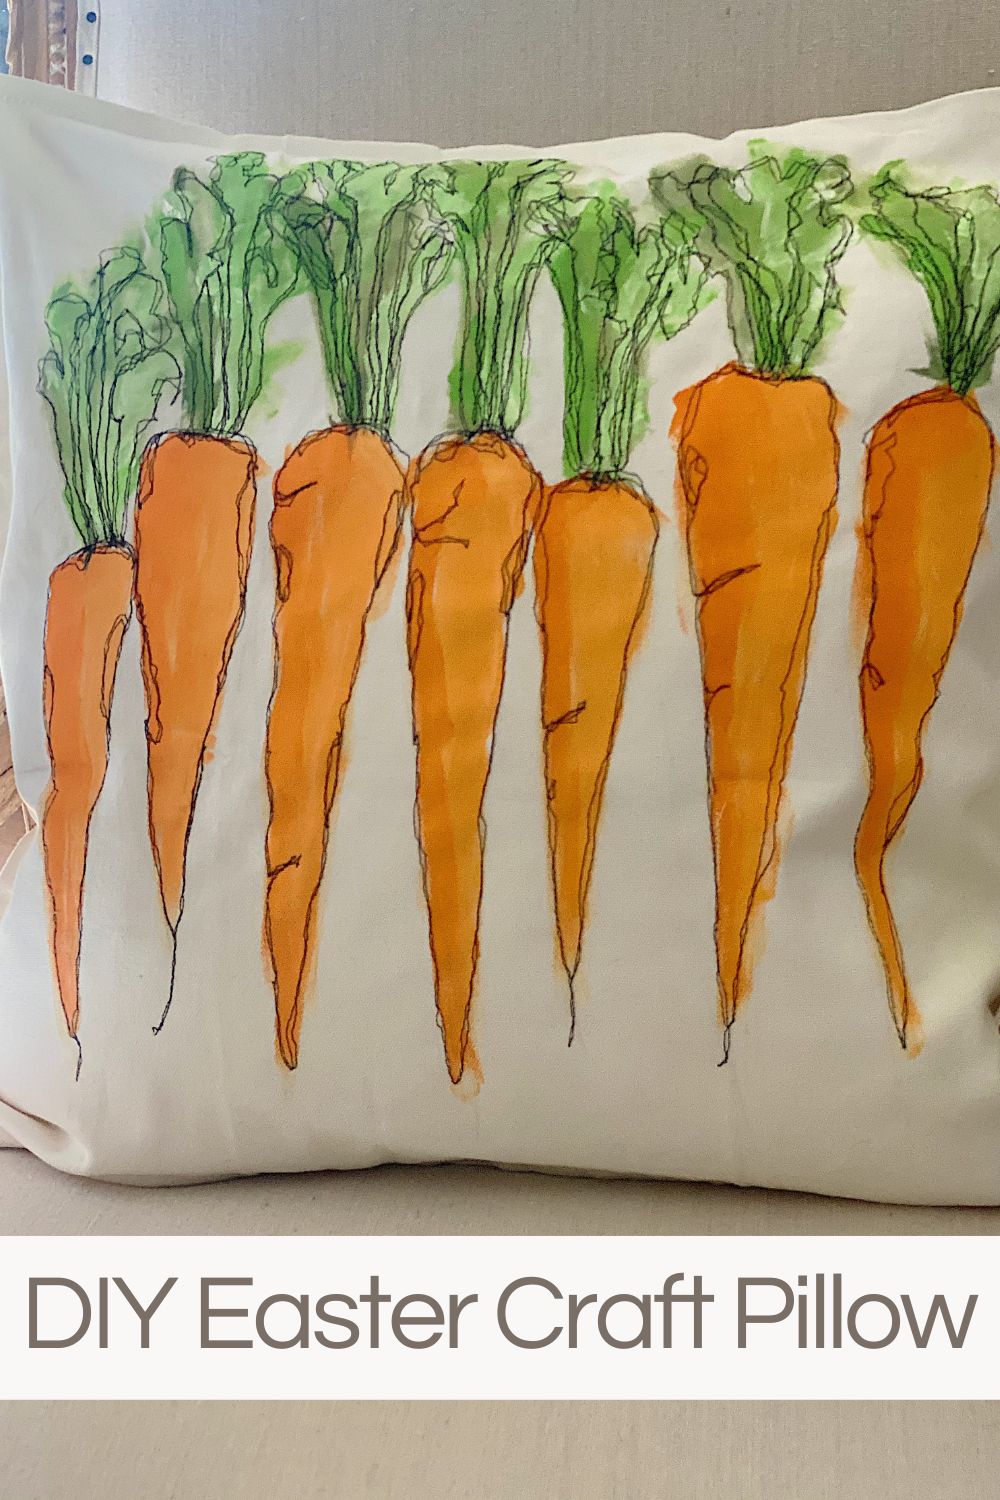
DIY Easter Craft Pillow
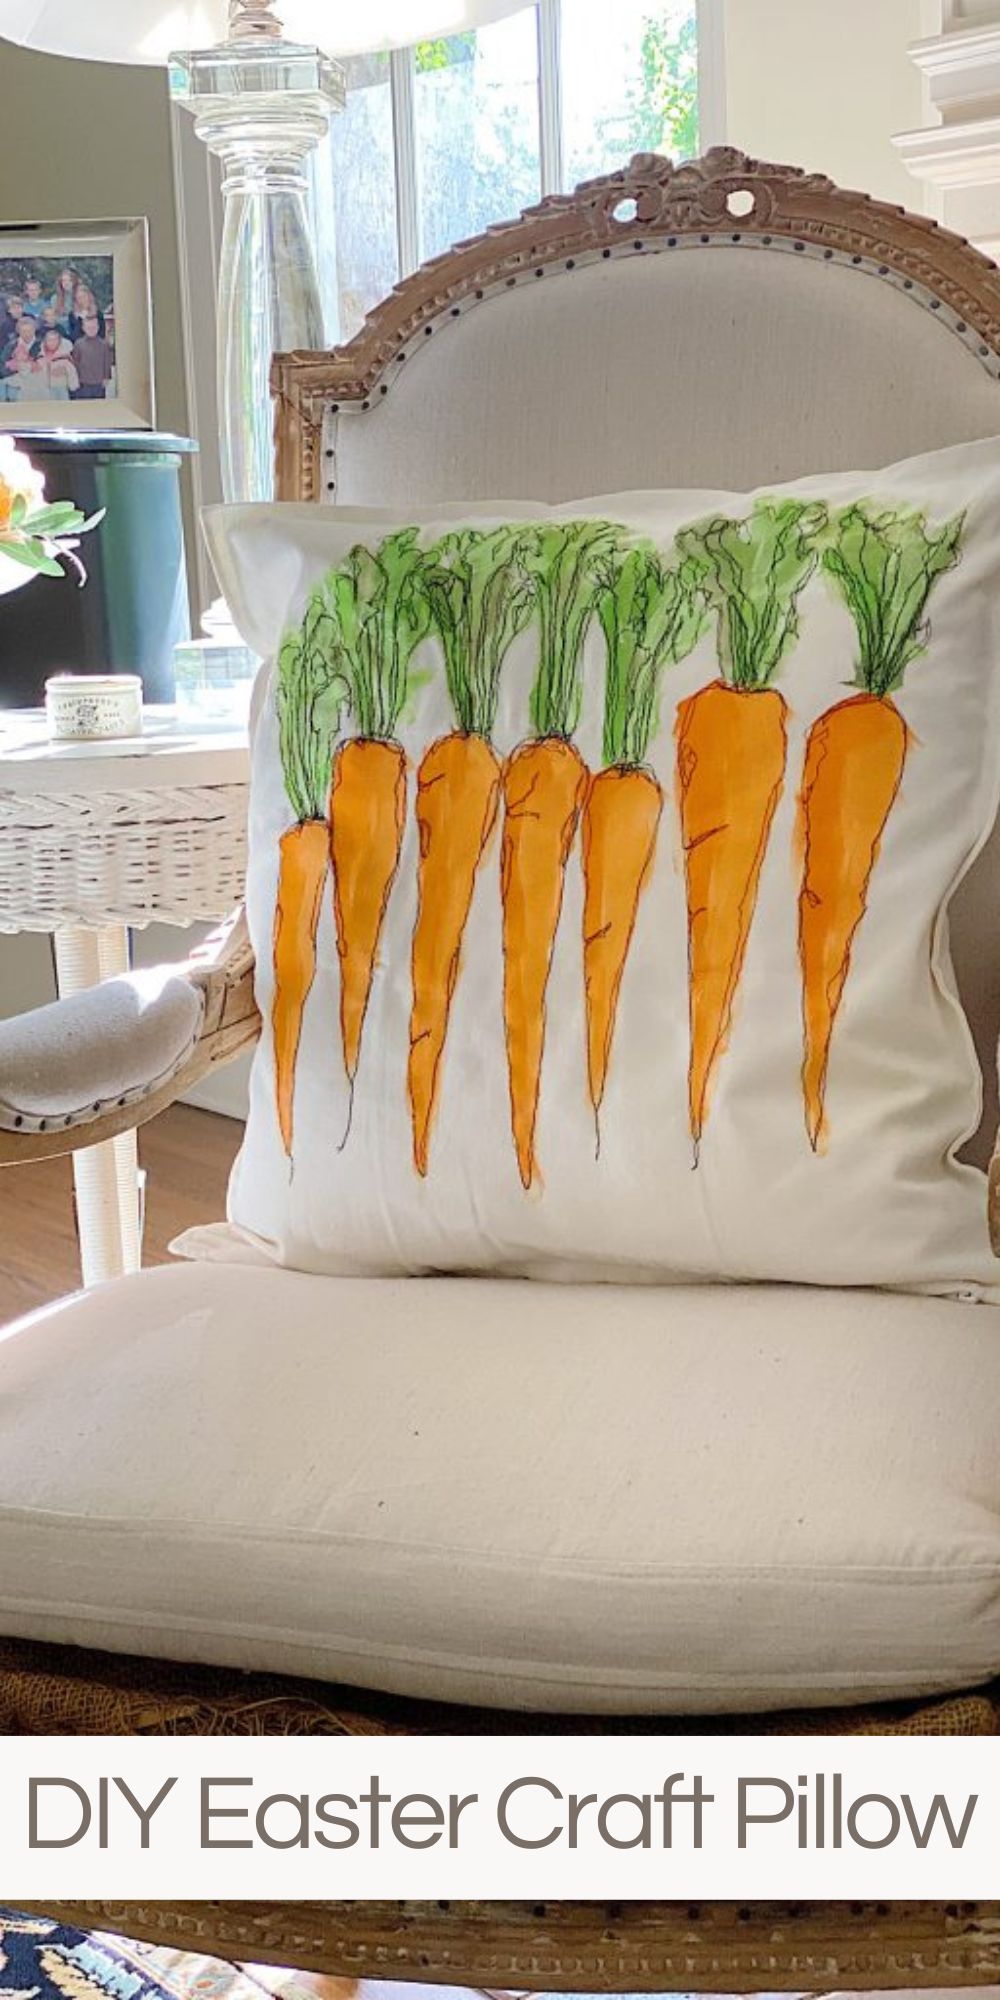
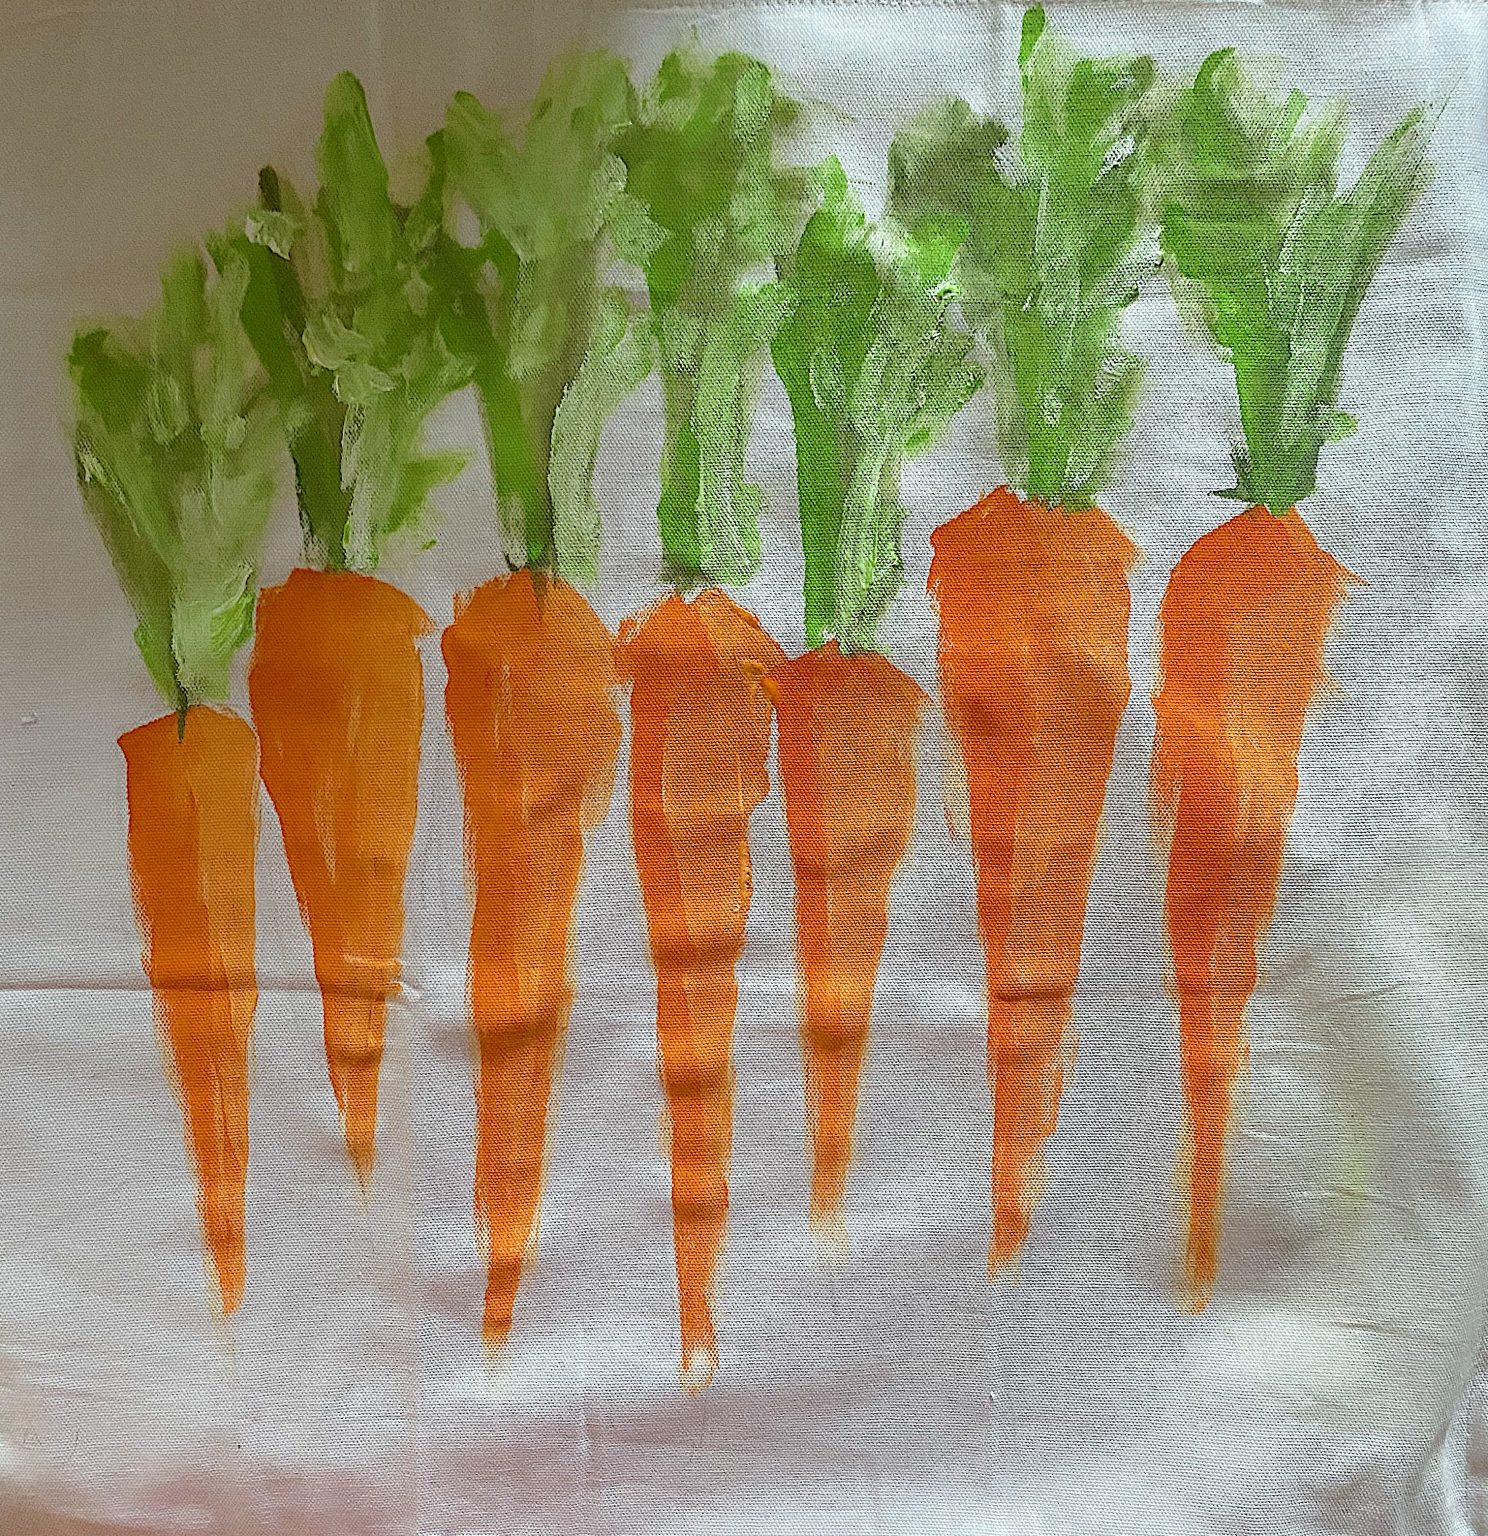
Today, I am sharing one of my favorite DIYs, an Easter craft pillow. You can easily make this free-stitch embroidered pillow with carrots.
When my girlfriends and I decided to do a post on an Easter Embroidery craft, it took me about a second to choose free-stitch embroidery. I had always wanted to make something with carrots, and this DIY Easter Craft pillow looks exactly like I hoped it would.


My Easy Free Motion Embroidery Pillow
I know what you are thinking.
Is this pillow really easy?
Well, it is not hard.
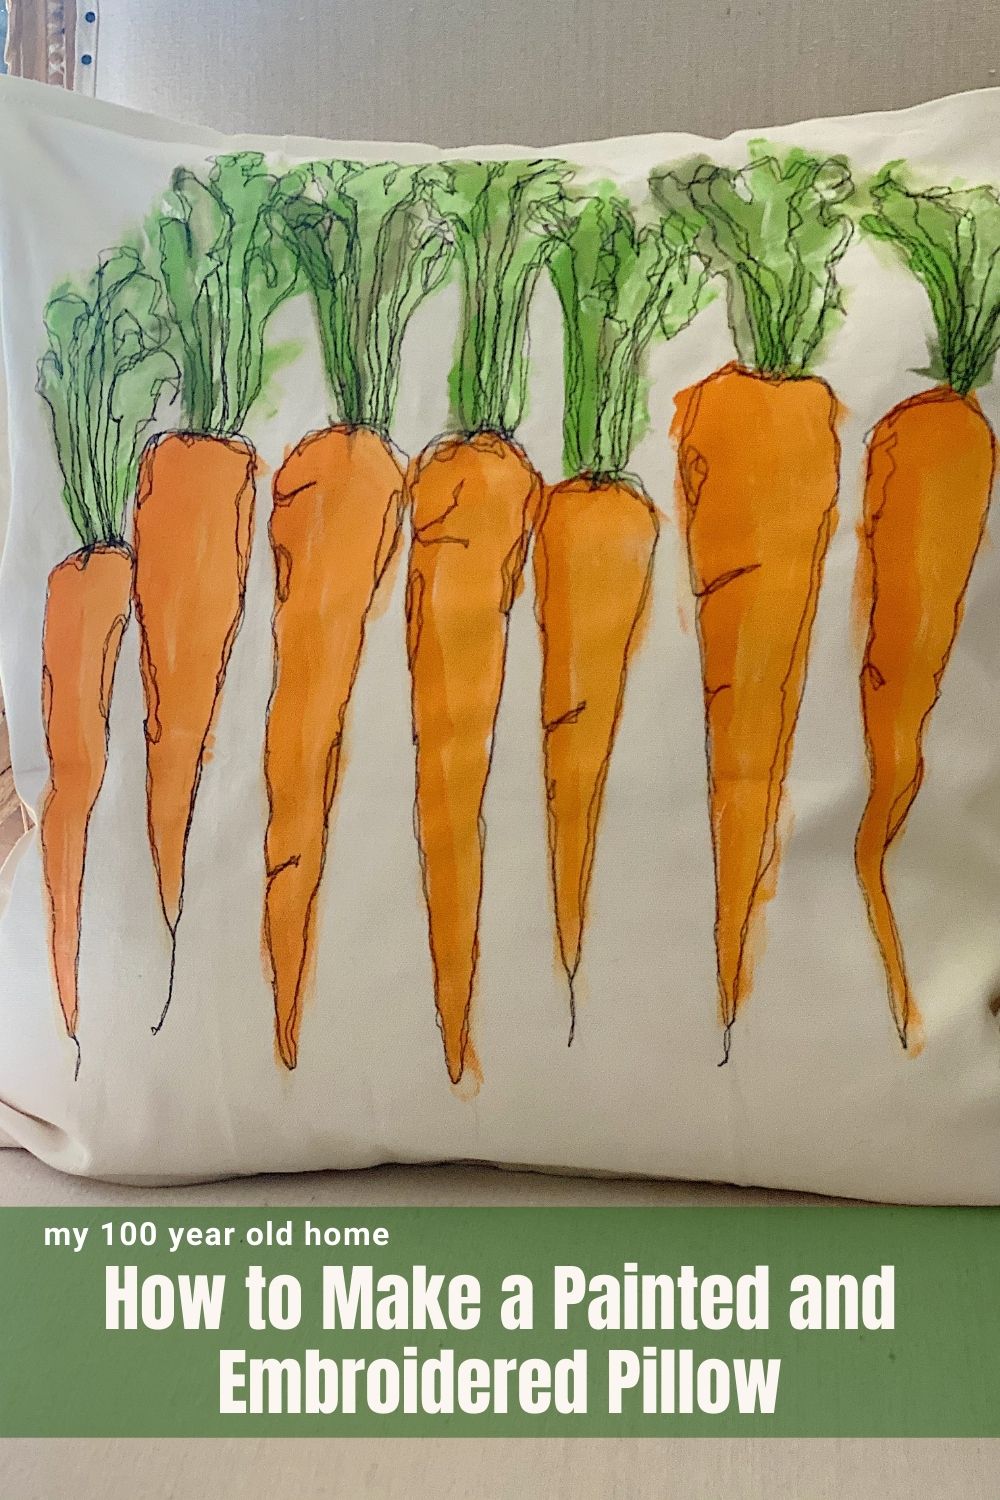
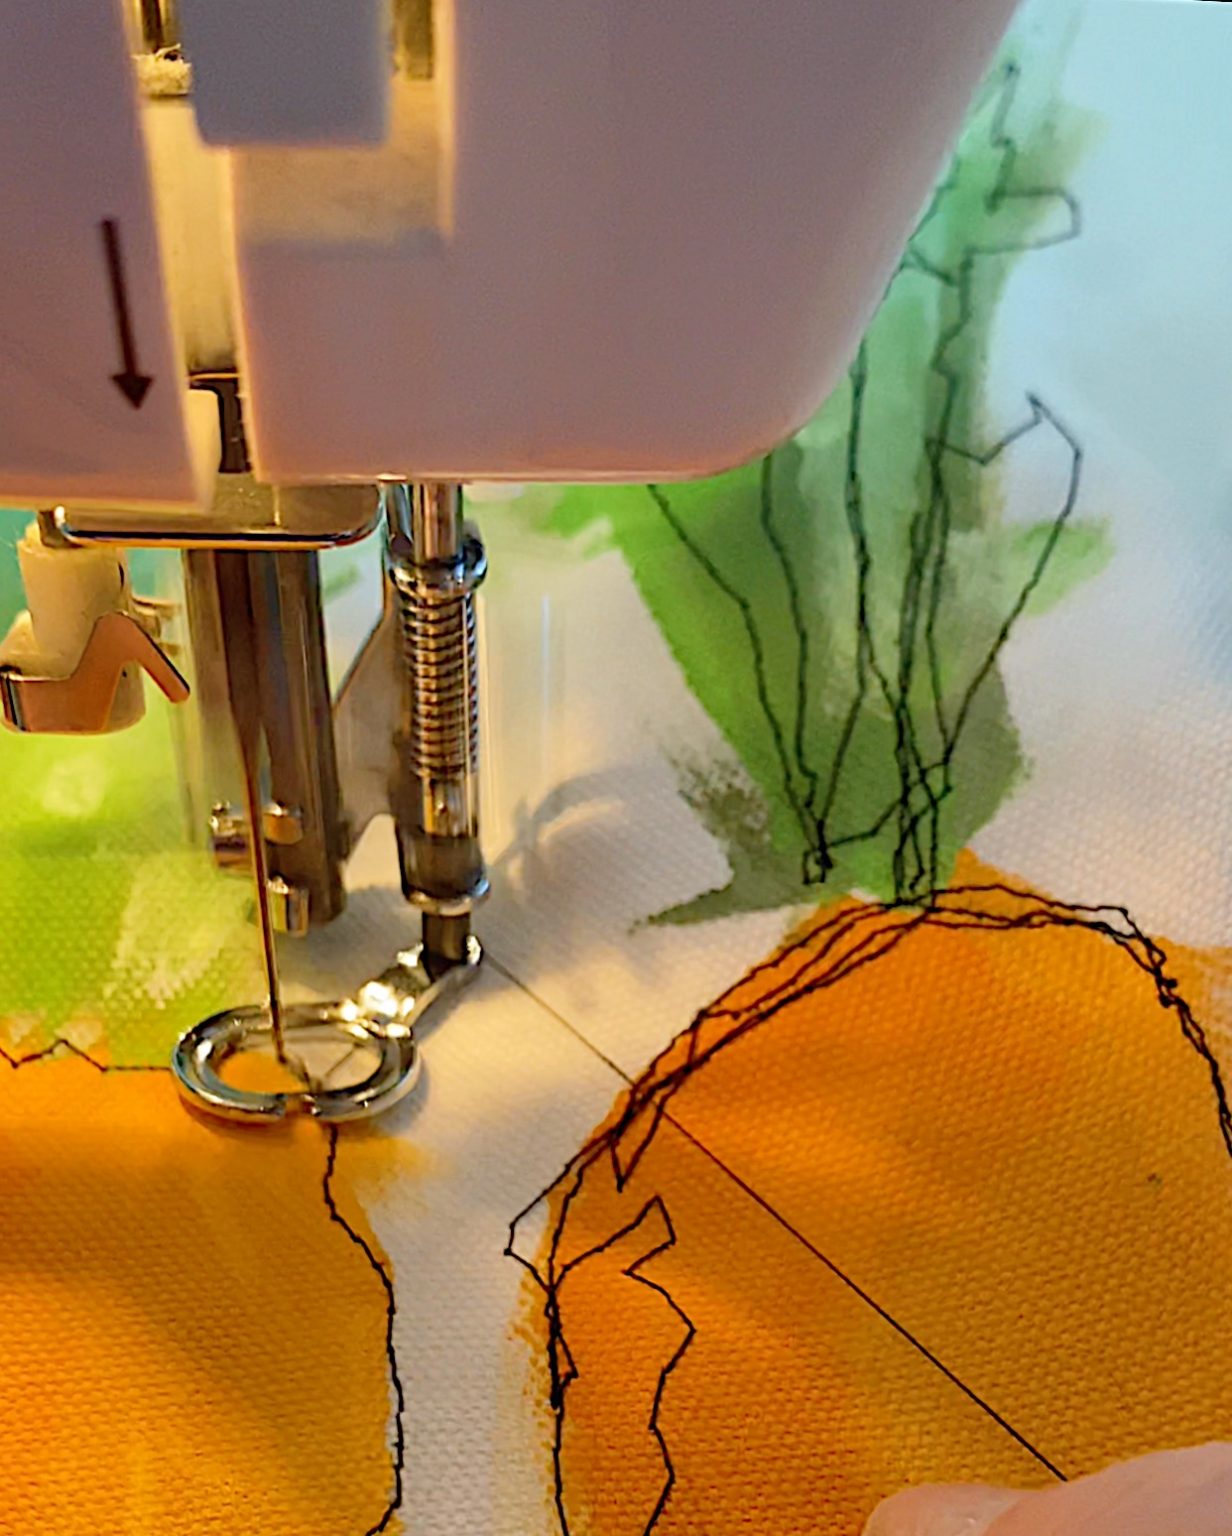
Painting the carrots is simple, and I will show you exactly how to do it. The embroidery is free-motion, which means you can move the fabric in any direction while you sew on your machine..
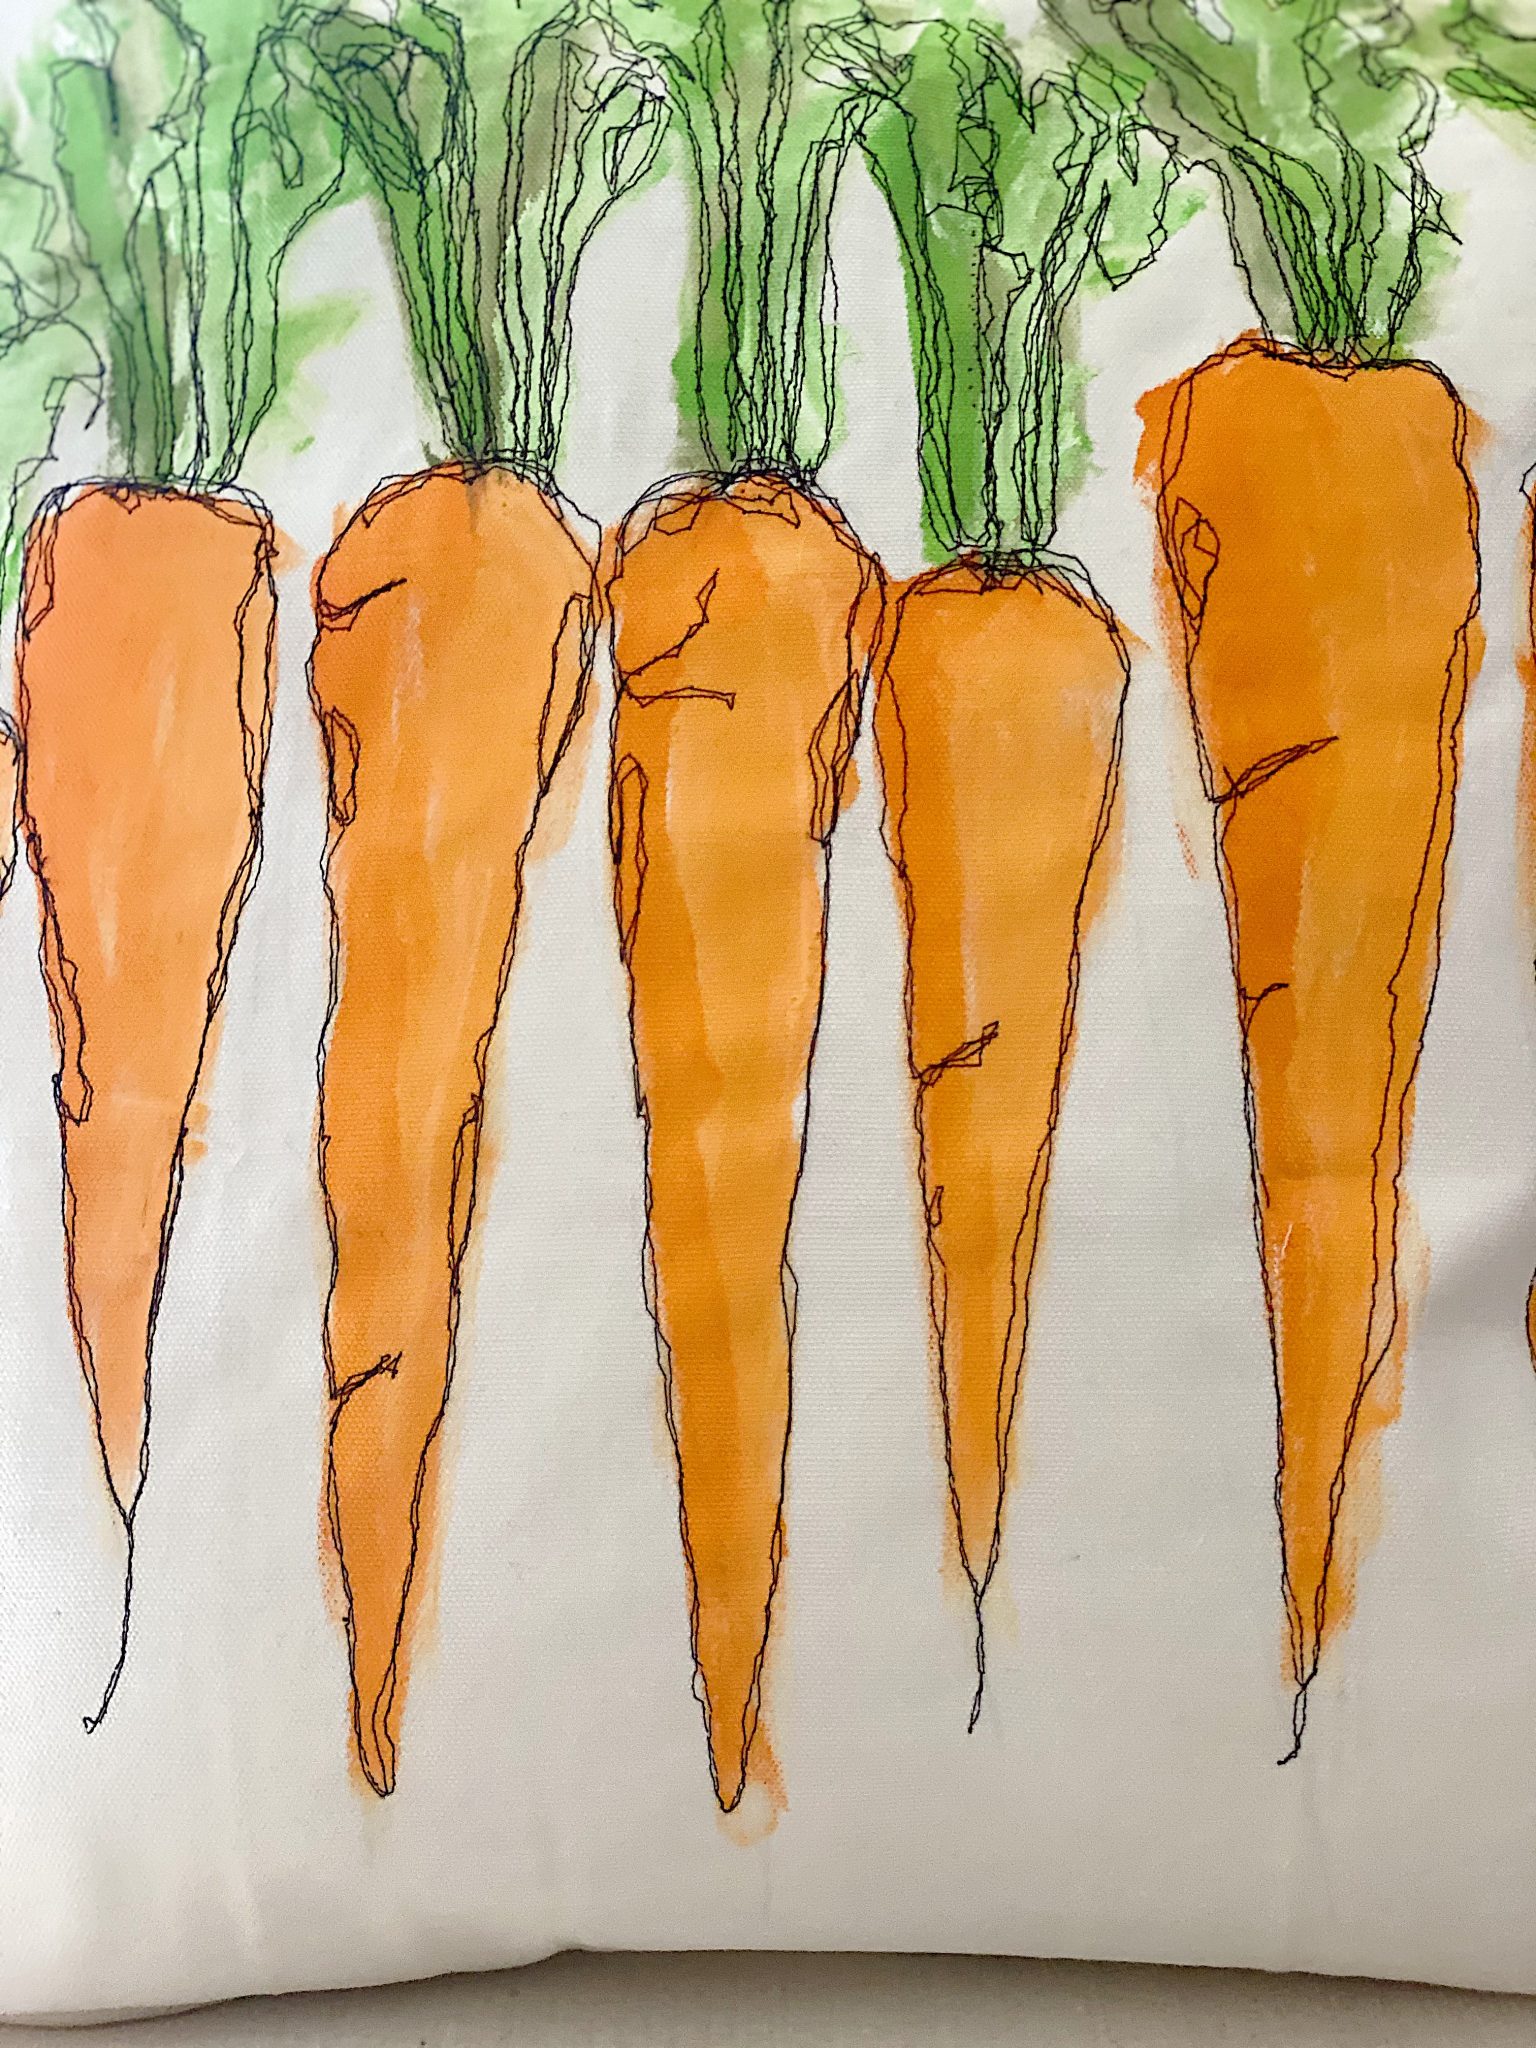
And messy is good. If you look closely, you can see I sewed the outline of everything twice, and none of the stitches match.
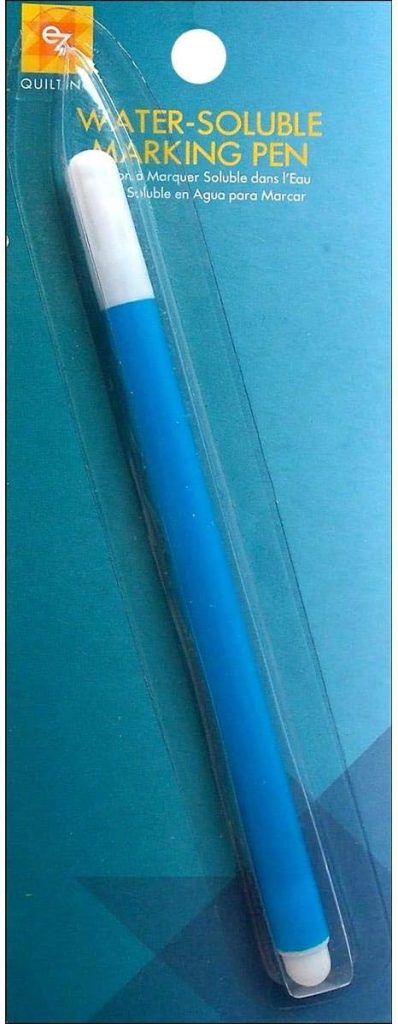
If you don’t sew, you can outline the carrots instead with a permanent thin marking pen!
How easy is that?
And can I say that I love this pillow?
What is Free-Motion Embroidery?
Free-motion machine embroidery is a type of sewing you do on a regular sewing machine, where you can move the material in any direction while sewing. Normally, when you sew, the machine automatically moves the fabric forward. When you sew free-motion embroidery, you can move the fabric to determine precisely where you want to sew.
You can move sideways, forward, and backward, creating any shape you want. All you need is a quilting foot (and the ability to lower the “feed dogs” on your sewing machine).
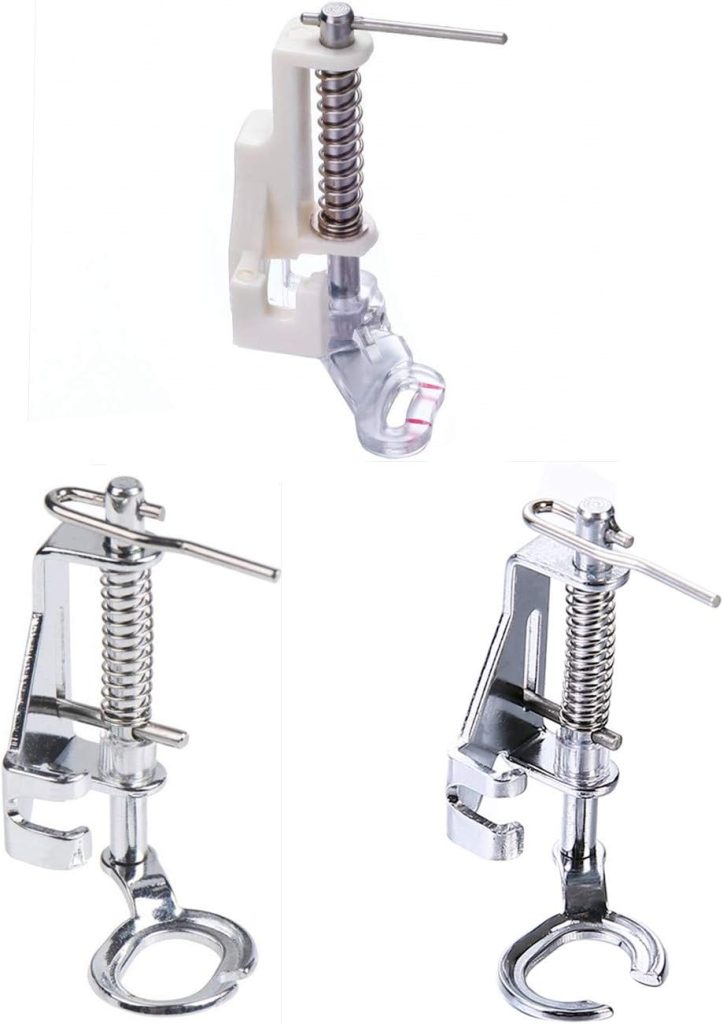
The free-motion quilting foot, sometimes called a darning foot, is designed so that the sewing machine needle passes through a small ring on the foot. Instead of hopping, these feet float over the fabric without providing pressure. The Foot releases the fabric when the needle is up, allowing you to move the fabric freely.
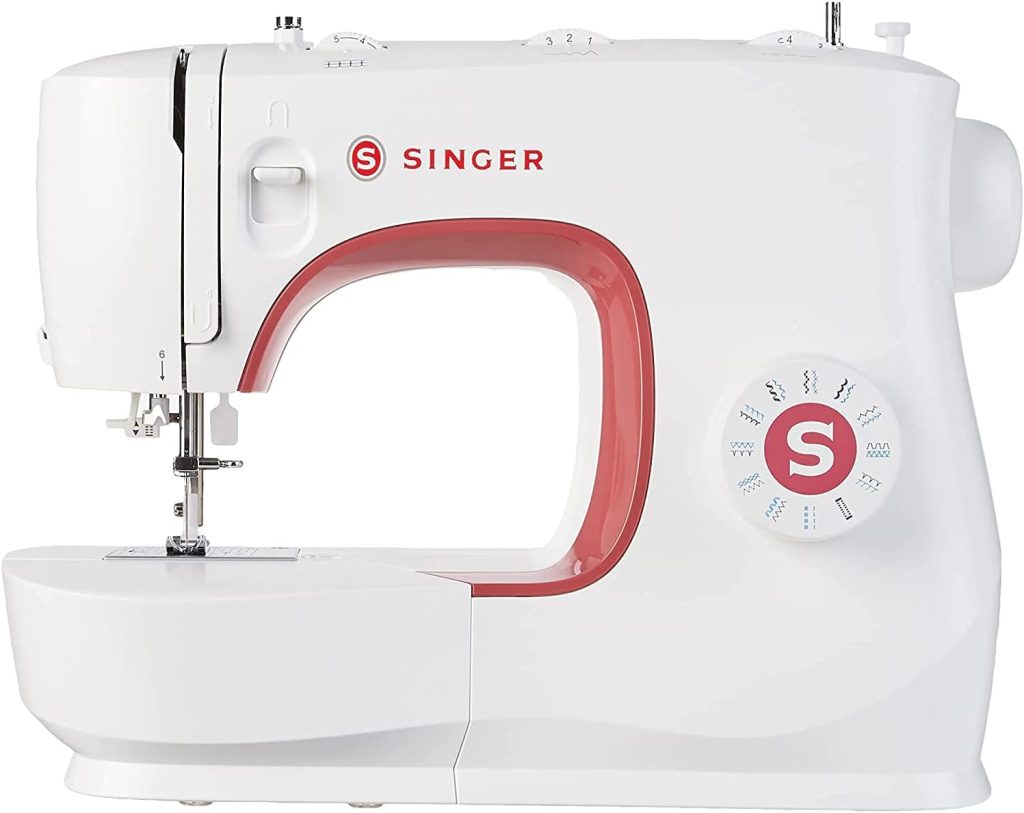
What Do You Need to Do This?
All you need is a regular sewing machine and the free-motion foot for your machine. This foot may vary by machine type, but I linked it to a “universal” one.
I read a lot about lowering the “feed dogs” on your machine when stitching free-motion embroidery. Feed dogs are the little teeth on your sewing machine that feed your fabric evenly through the machine. These teeth are essential because they help us produce perfectly spaced, even stitches whenever we sew garments, piece quilts, or applique shapes on our machine.
I highly recommend lowering the feed dogs for free-motion embroidery.
I lowered the feed dogs on my machine with a lever, and it worked great. If you don’t have the option to lower them, you can use a Quilting Slider Mat instead.

If you enjoy my blog, you can sign up to receive my updates here.
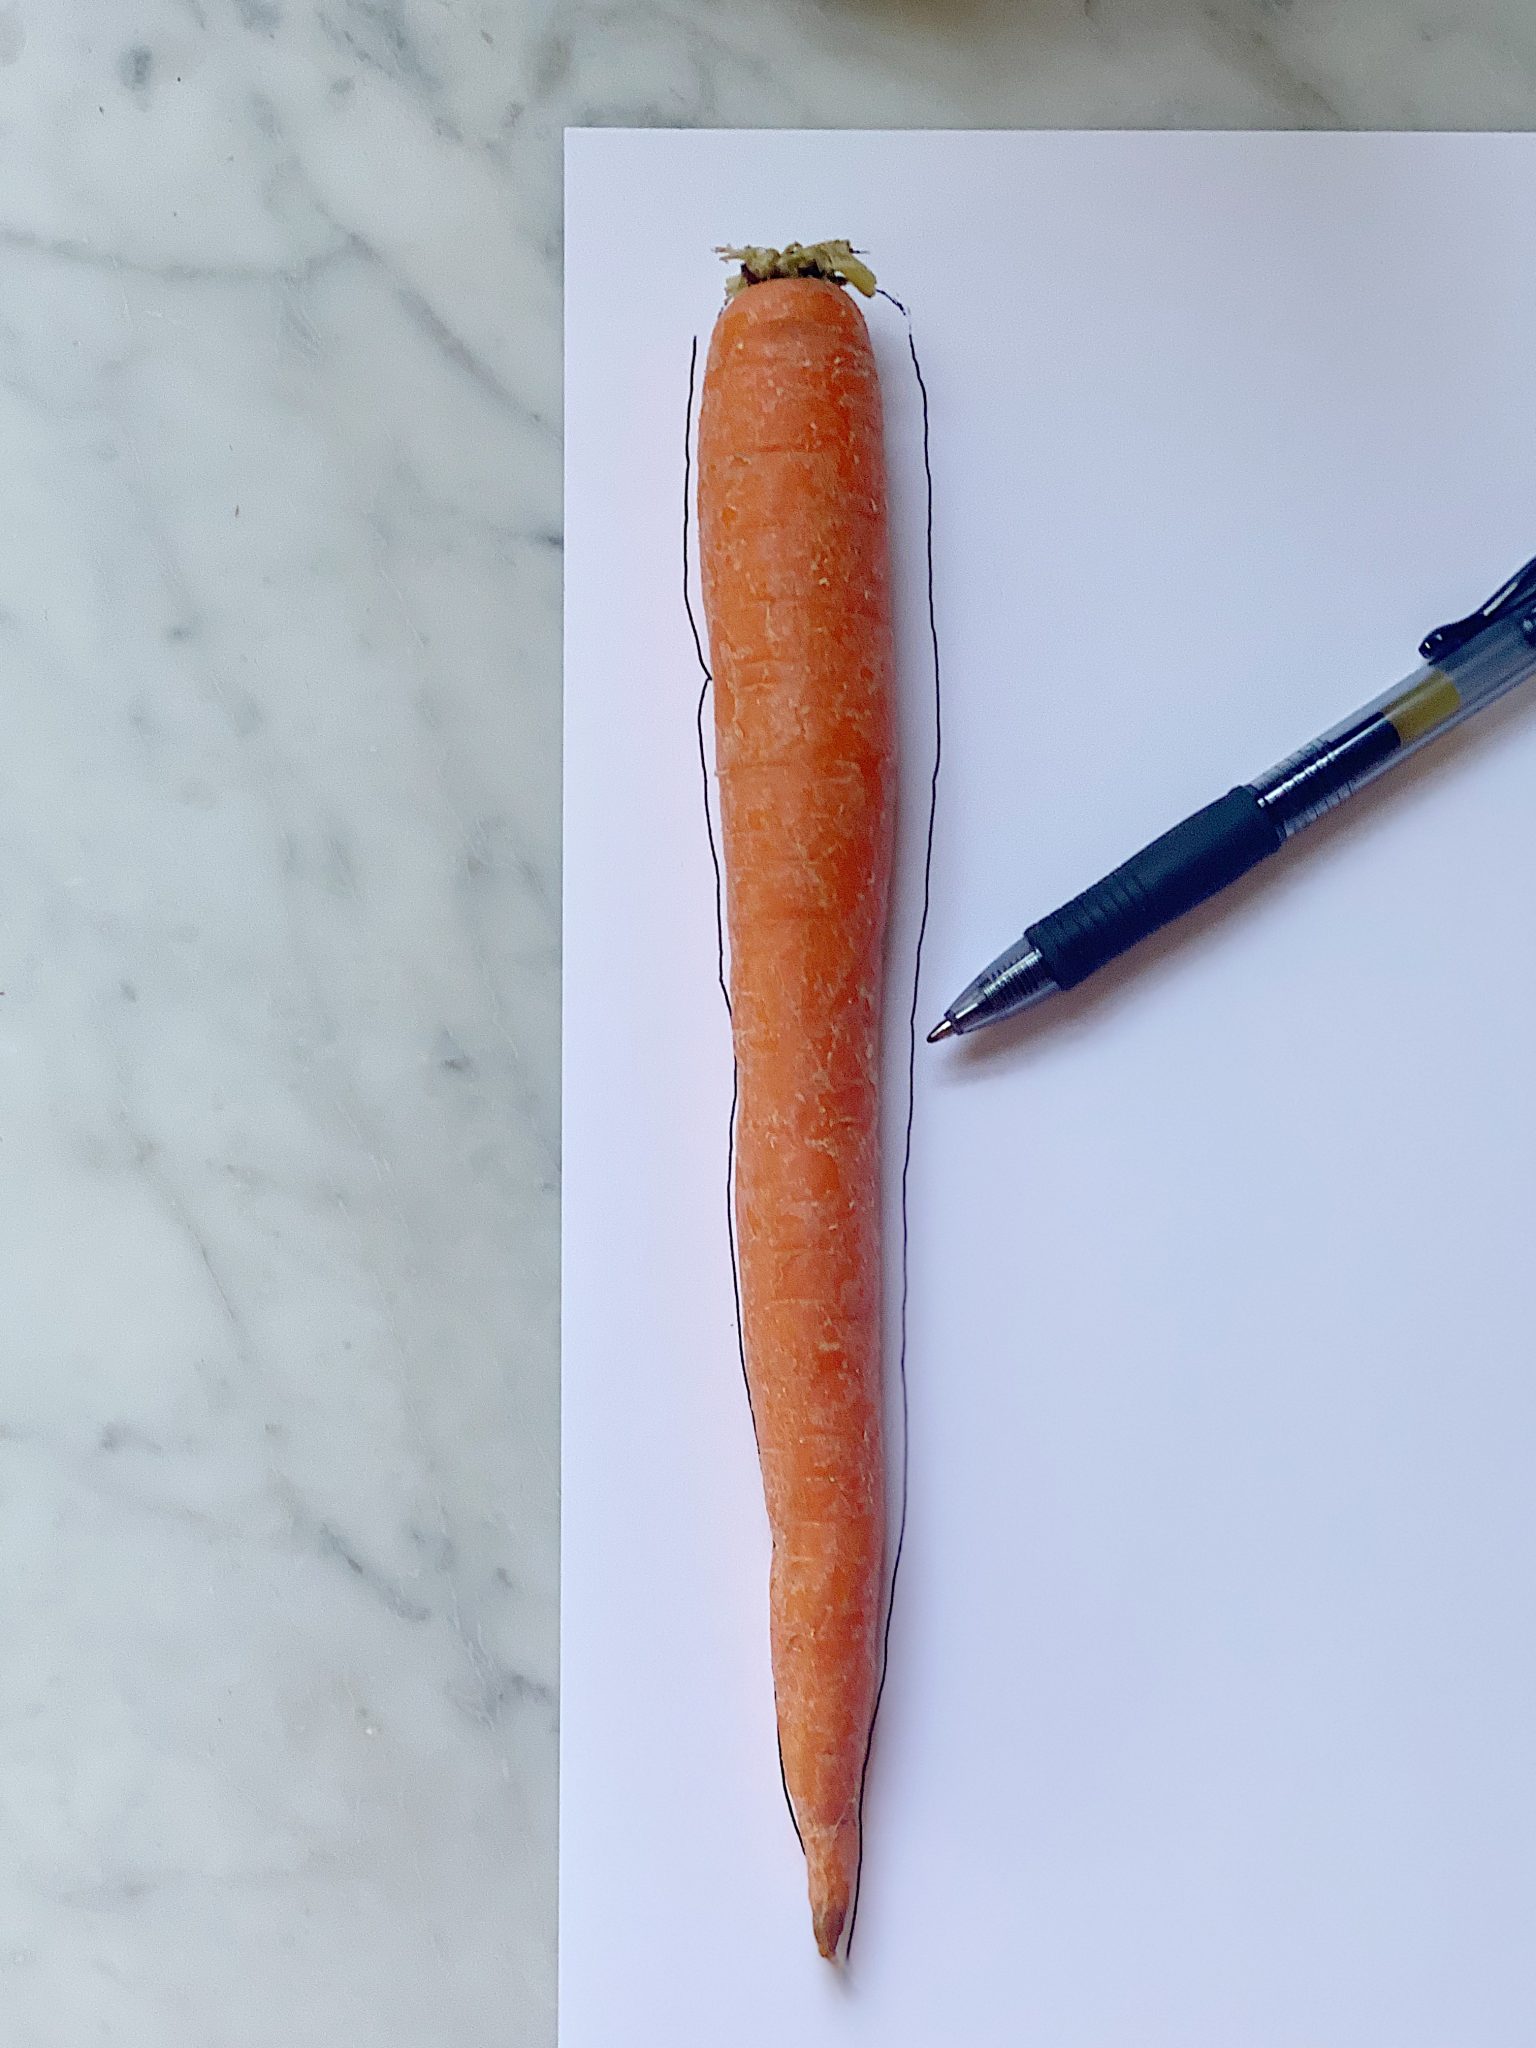
.Studying the Subject Matter
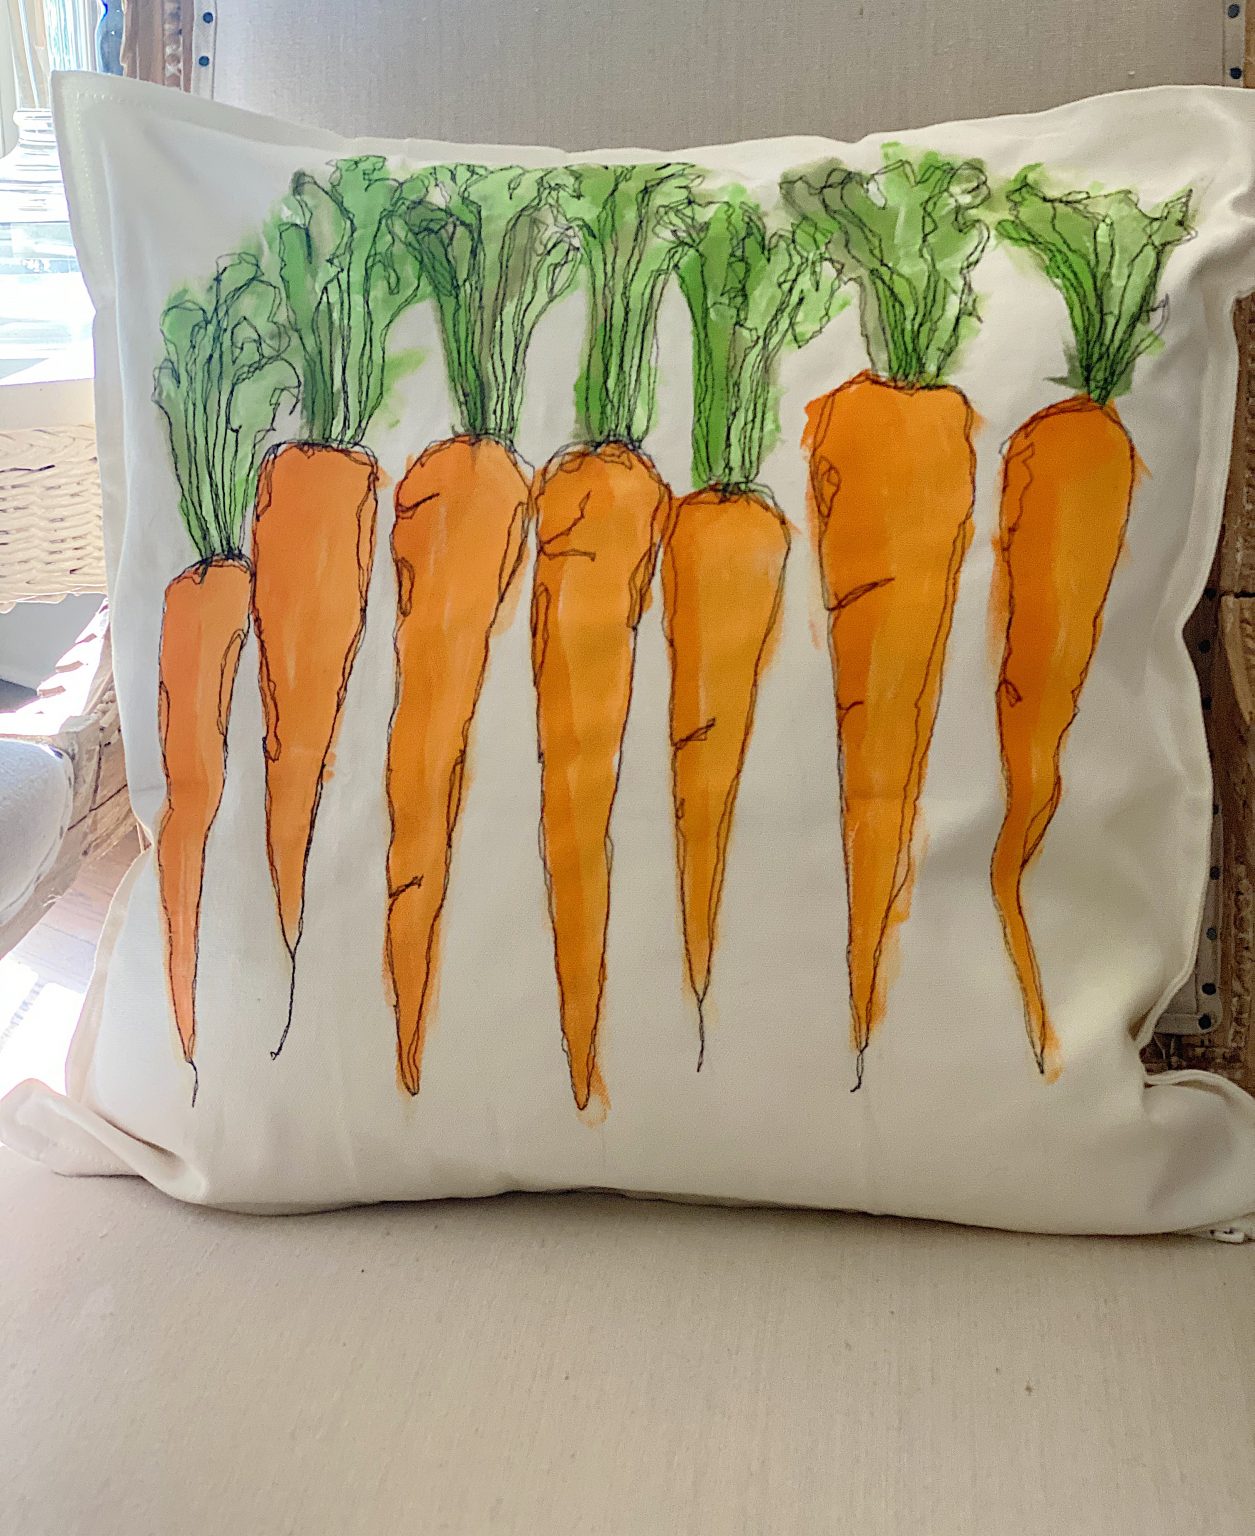
Before starting this pillow, I pulled out a few carrots and studied them to ensure I got the shape right. My carrots were a bit skinny, so I fattened them out.
I may sometimes use affiliate links on this blog, which means I earn a small commission if you purchase through the link. The price will be the same whether you use the affiliate link or go directly to the vendor’s website using a non-affiliate link.
What You Need to Make a Free Motion Embroidery Pillow
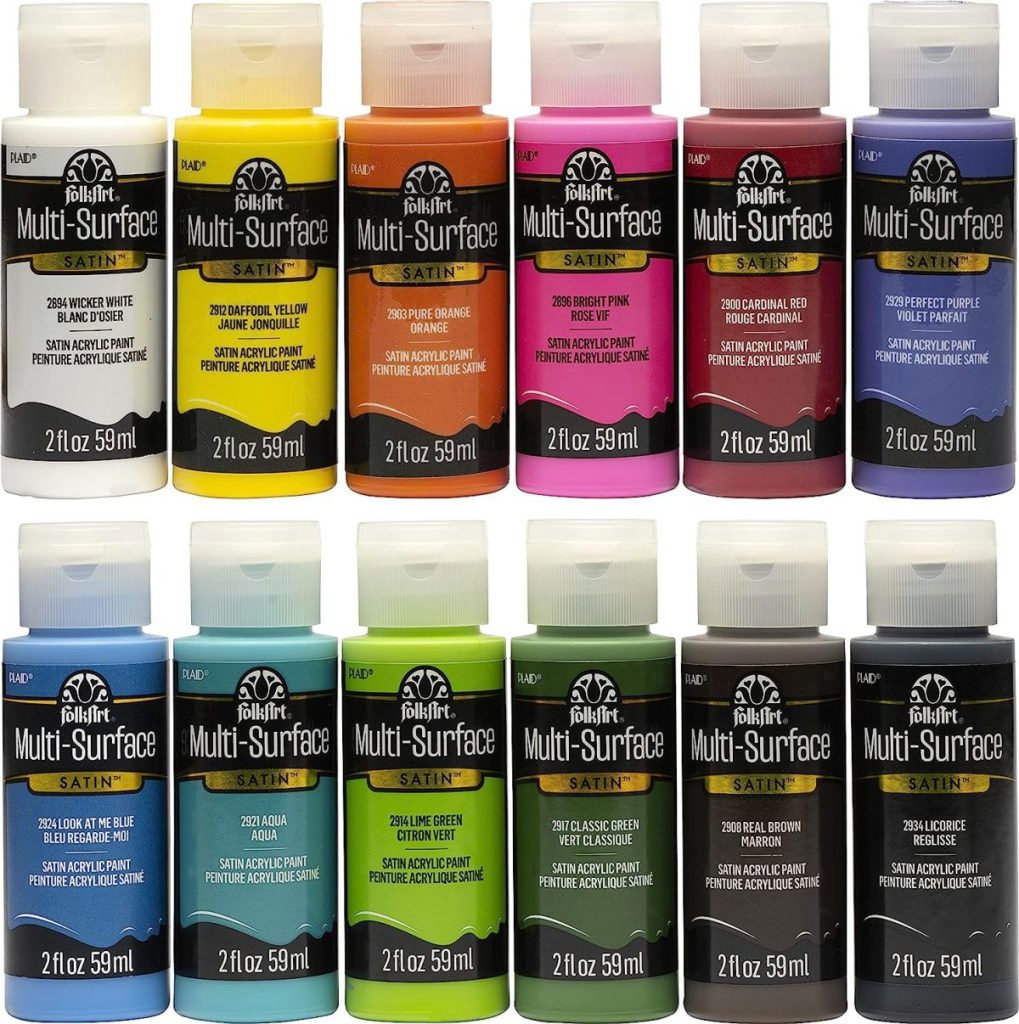
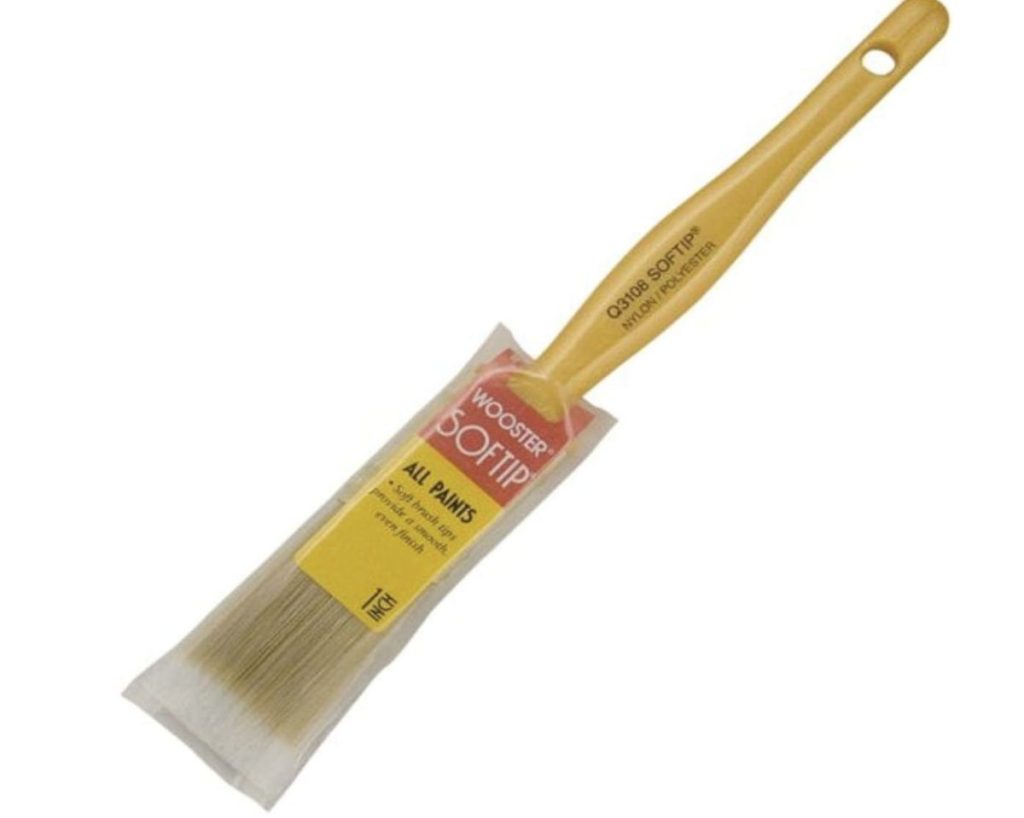
Acrylic paint and brush
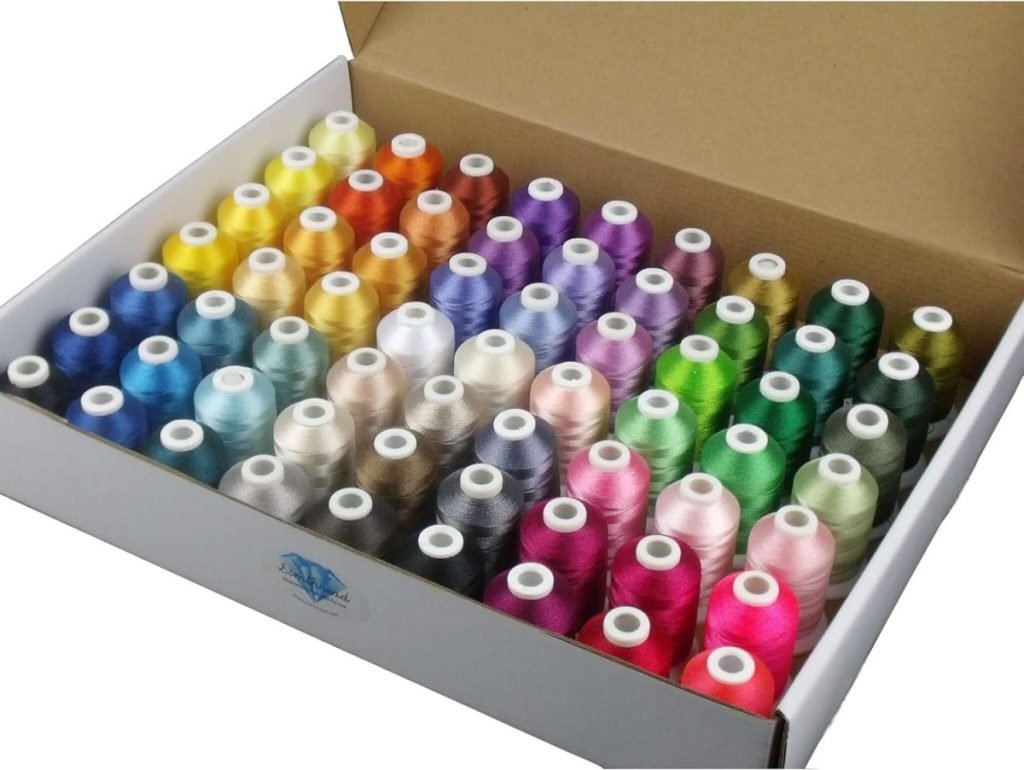
Dark Embroidery thread (I used black)
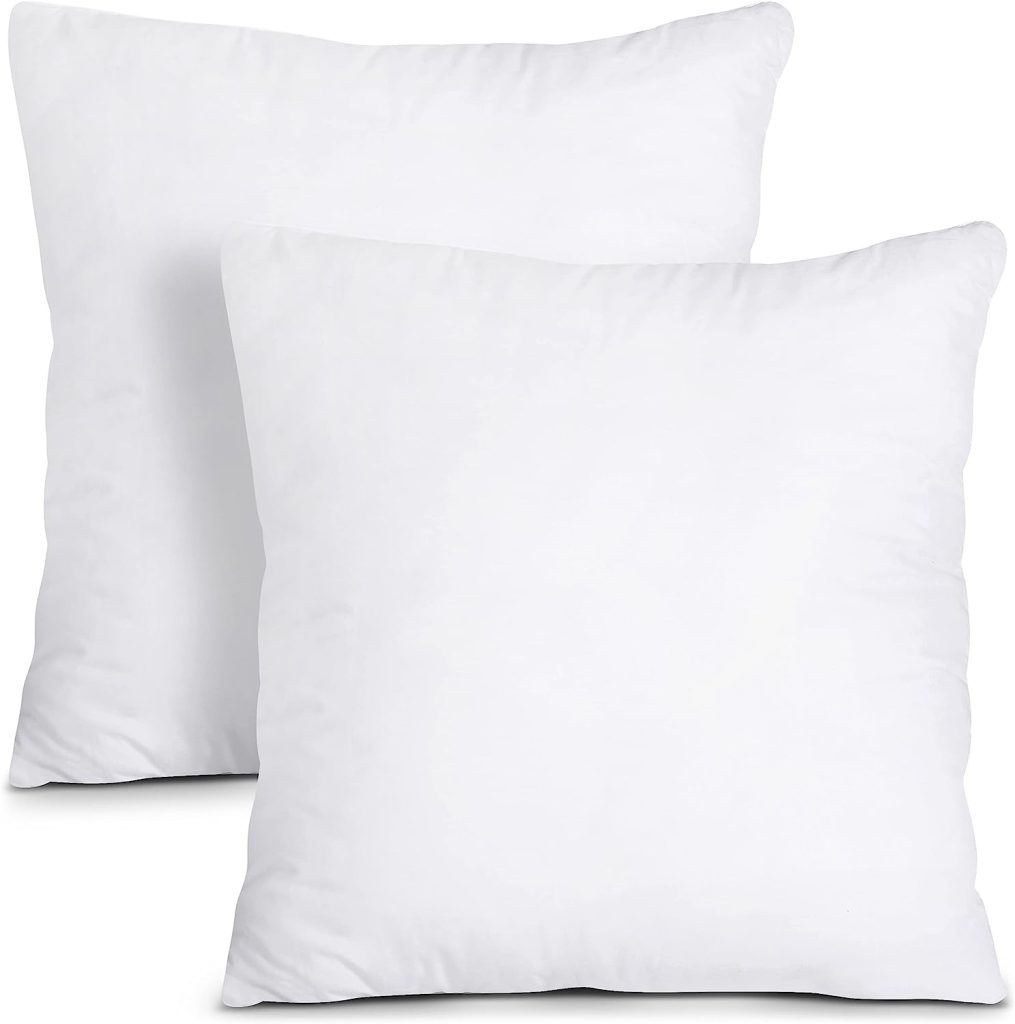
Parchment paper or cardboard to fit inside the pillow cover while painting.
Free motion quilting foot for your machine (varies by sewing machine brand)

How to Make a Free Motion Embroidery Stitch Pillow
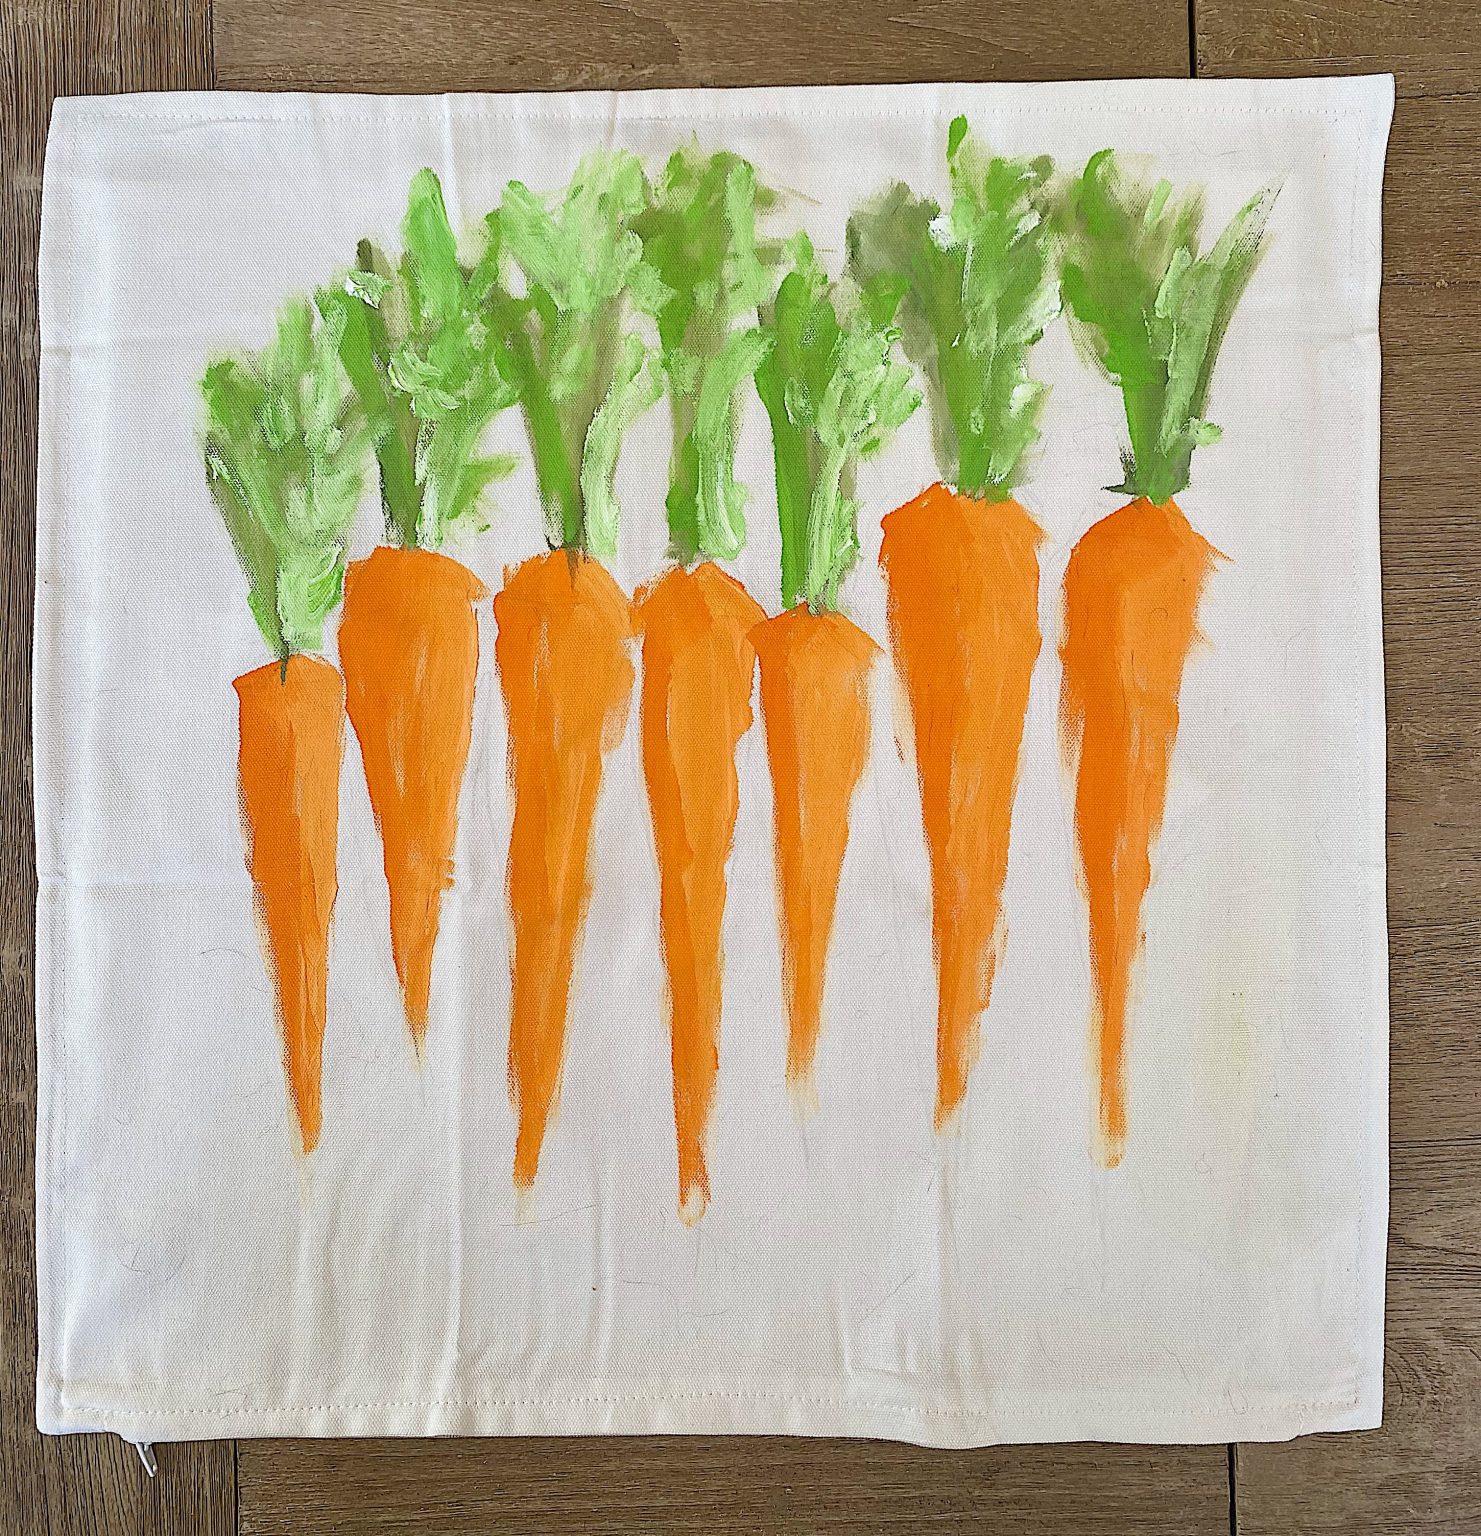
To prevent the paint from leaking through to the backside of the pillow cover, place a piece of parchment paper or cardboard inside the pillow.
Choose your colors and squirt some paint onto paper plates. Feel free to mix the colors to create a more cohesive palette.
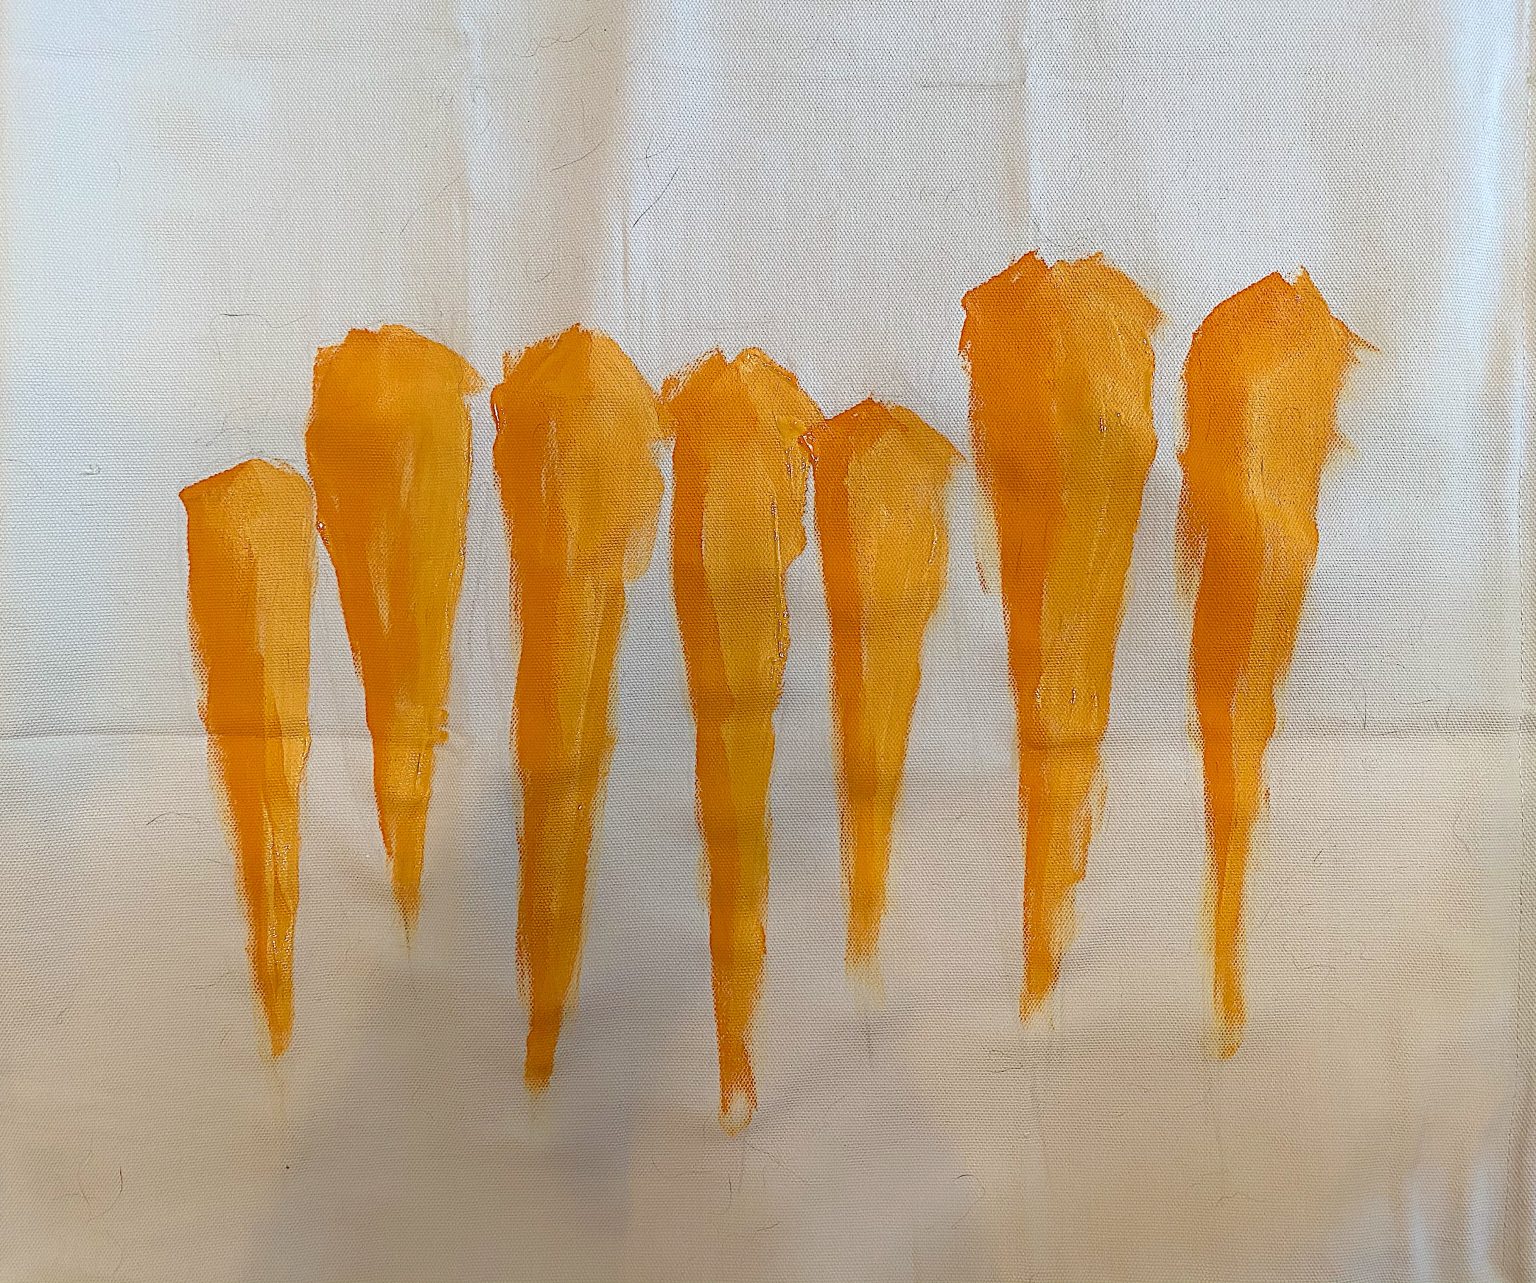
For this pillow, I used two different orange acrylic bottles and added white to both to lighten them up.
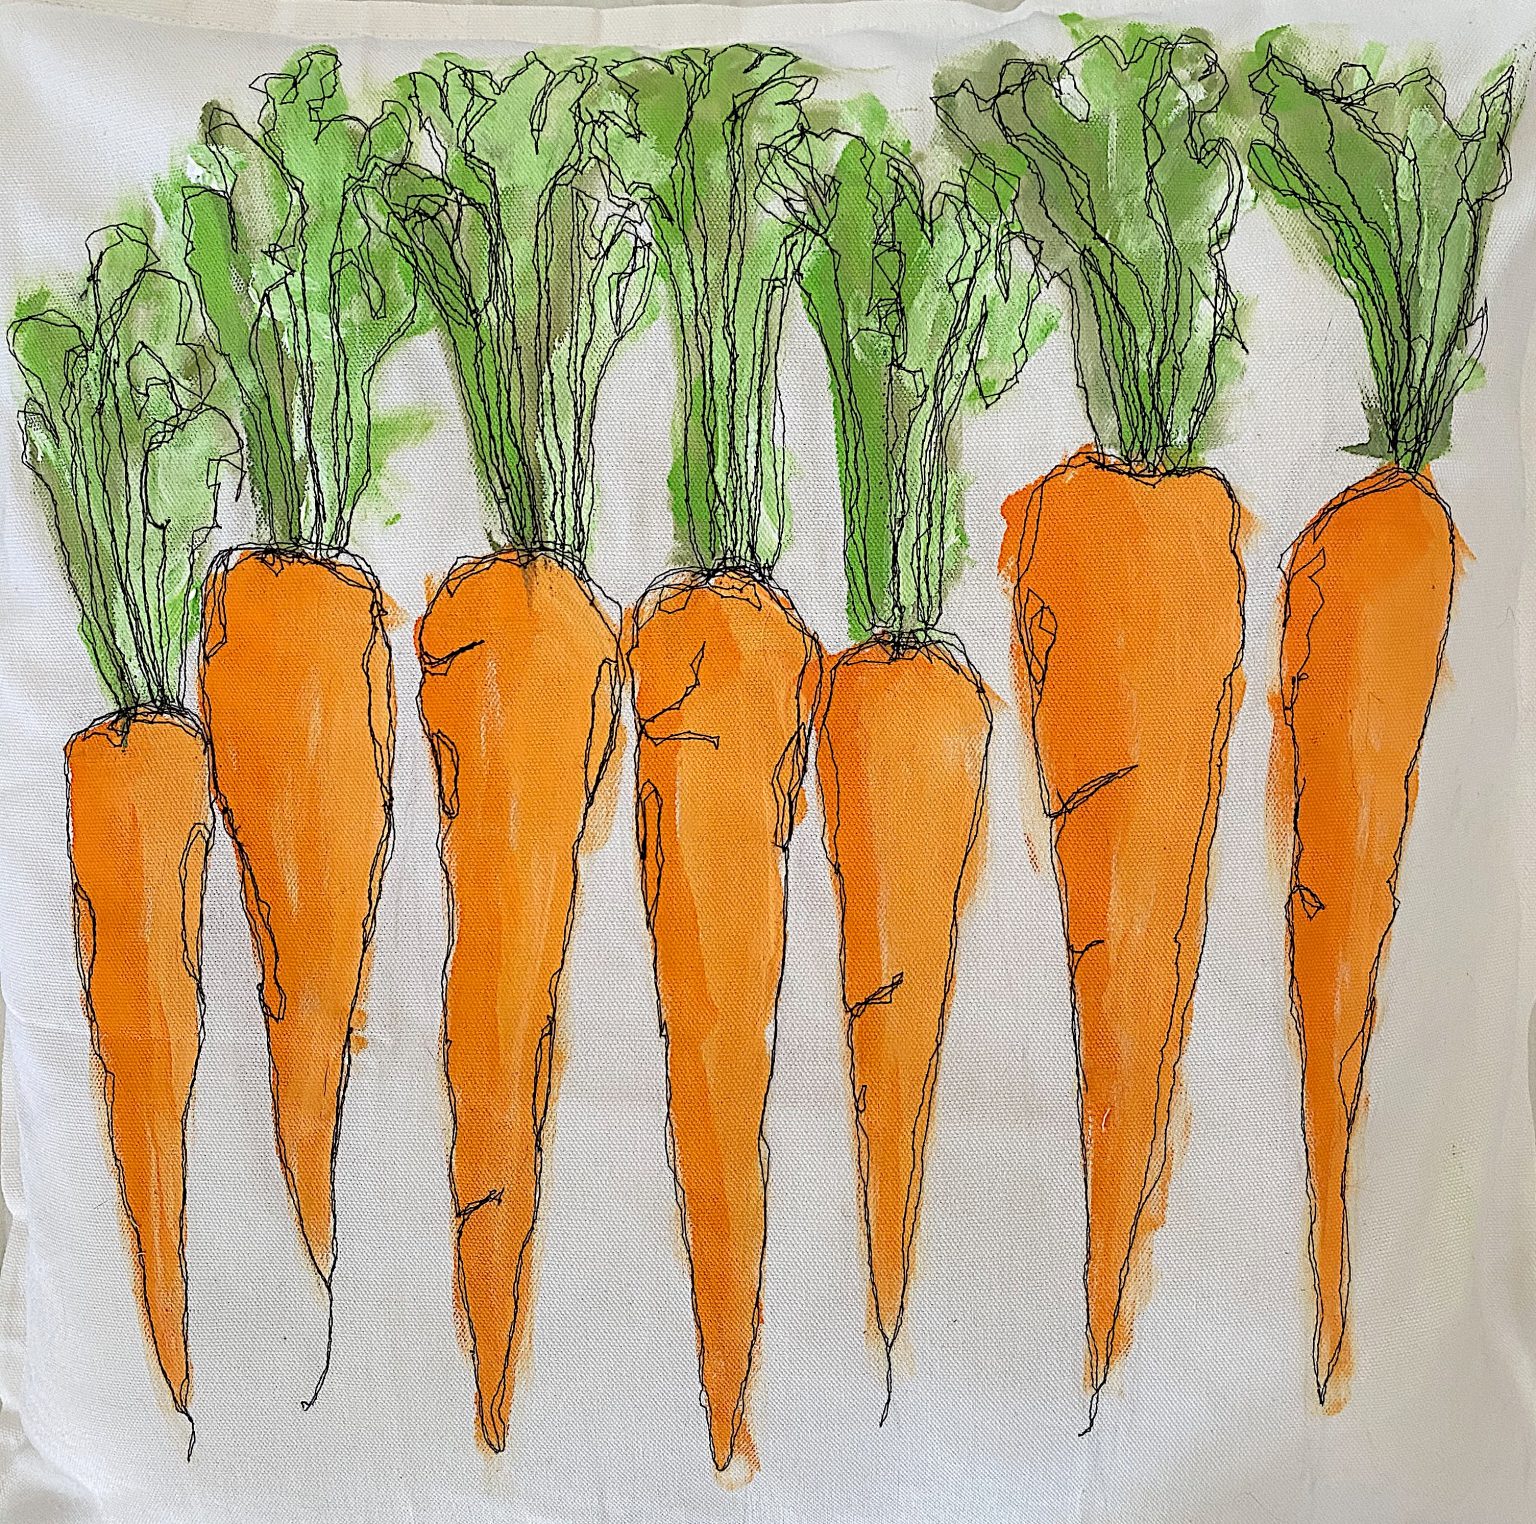
Be sure you paint shapes on the pillow, not details of carrots. I like just painting shapes and not things. Please keep it simple!
Once the “carrots” dried, I added the green tops.
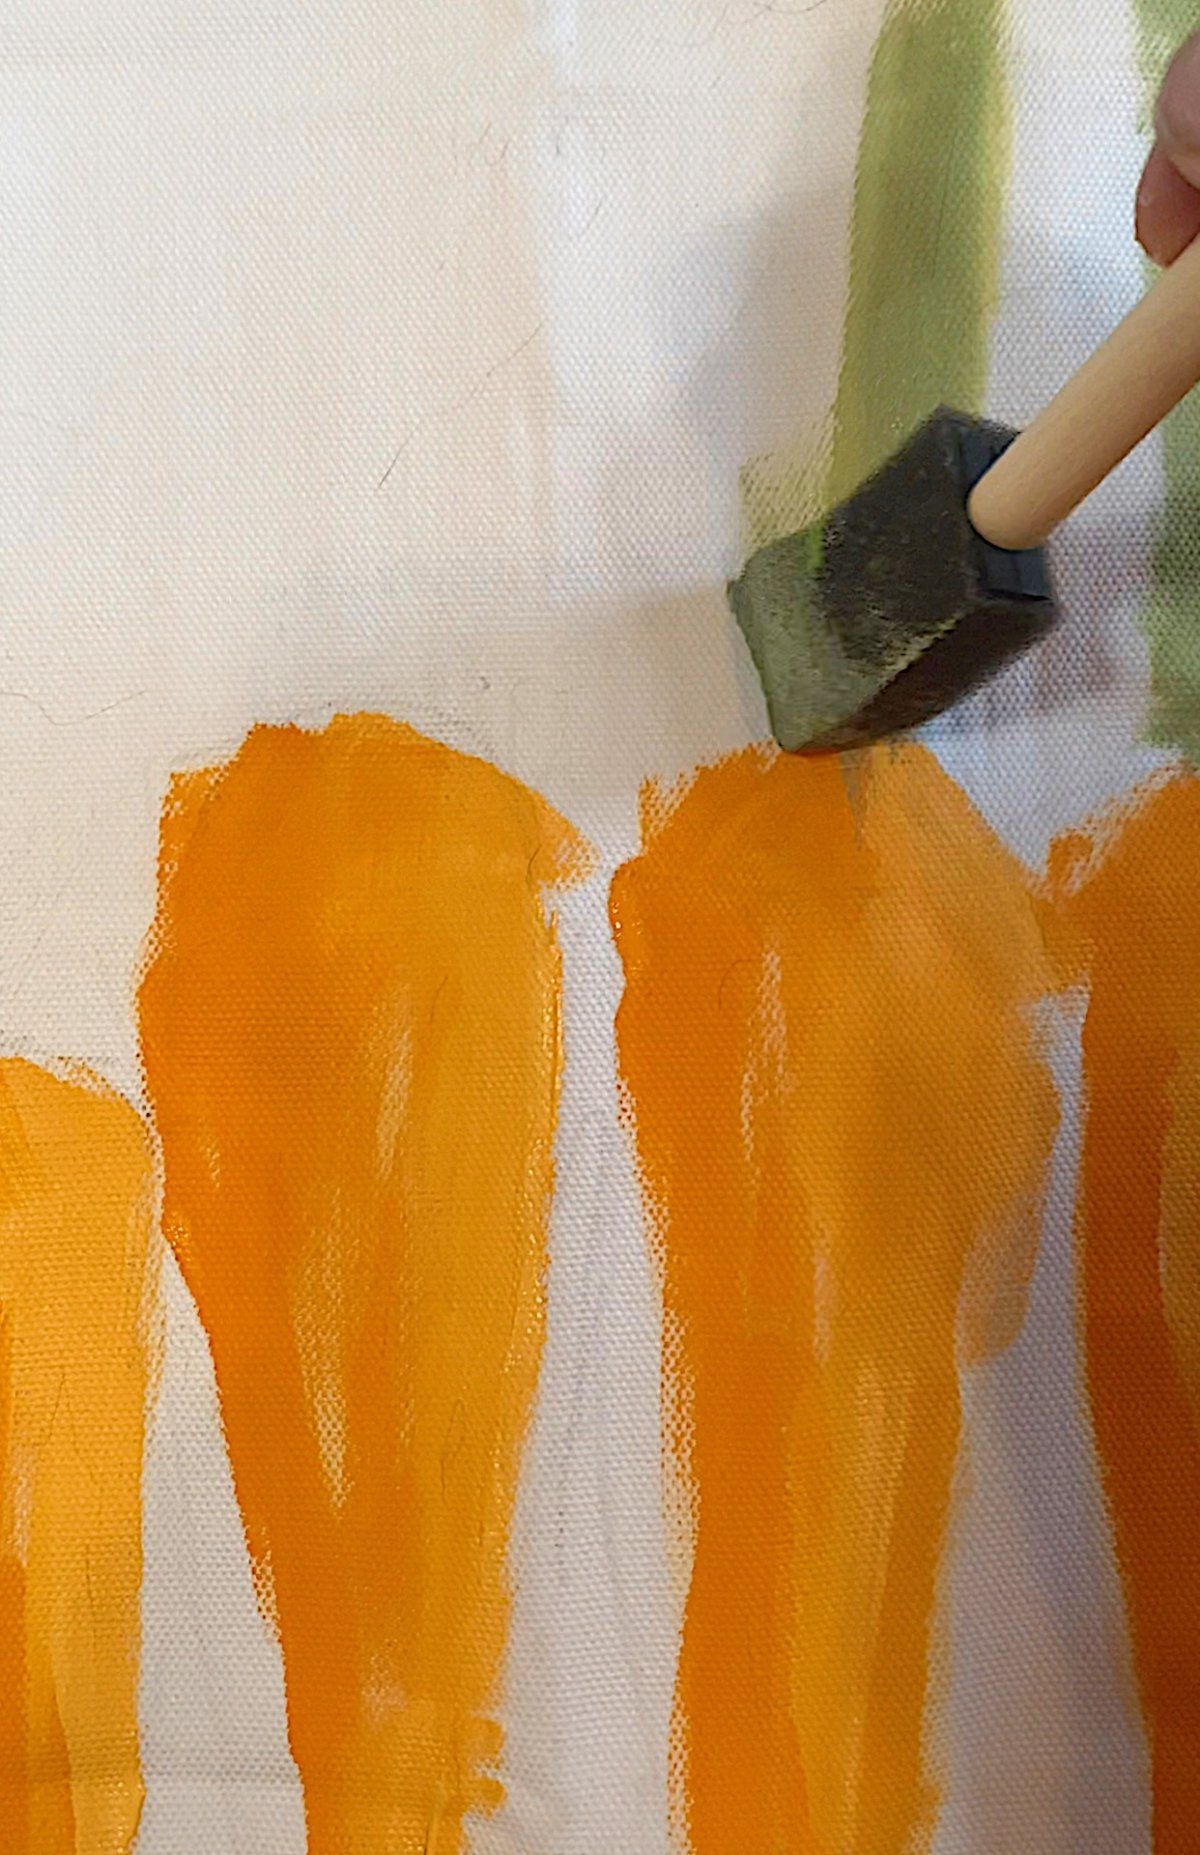
I used one green and added white to make three shades of green, which I loosely painted.
Just add paint in shapes. Keep it easy.
When the pillow is completely dry, you can add the free-motion embroidery.
The best thing about free-motion embroidery is that it doesn’t need to be perfect. I love how it looks when the two layers of stitches don’t match. And I love pushing the fabric wherever I want it to go.
Frequently Asked Questions
Free-motion machine embroidery is a type of sewing done on a regular sewing machine. You can move the material in any direction while sewing it on your machine. Normally, when you sew, the machine automatically moves the fabric forward. When you sew free-motion embroidery, you can move the fabric to determine exactly where you want to sew. You can move sideways, forward, and backward, and create any shape you want. All you need is a quilting foot.
Use medium-heavy fabric for free-motion embroidery. Attach the darning foot to your machine and lower the feed dogs. (The feed dog moves your fabric forward. If you lower it, you can move the fabric in any direction you want.)
Sew your design twice so the stitching is more pronounced, but DO NOT try to sew perfectly. It’s so easy, and you should not worry if you make a mistake here and there. It looks better that way.
Yes, you can sew free-motion embroidery using a regular sewing machine. You will want to use a darning foot and lower the feed dogs to allow you to move the fabric in any direction.
Watch My Video
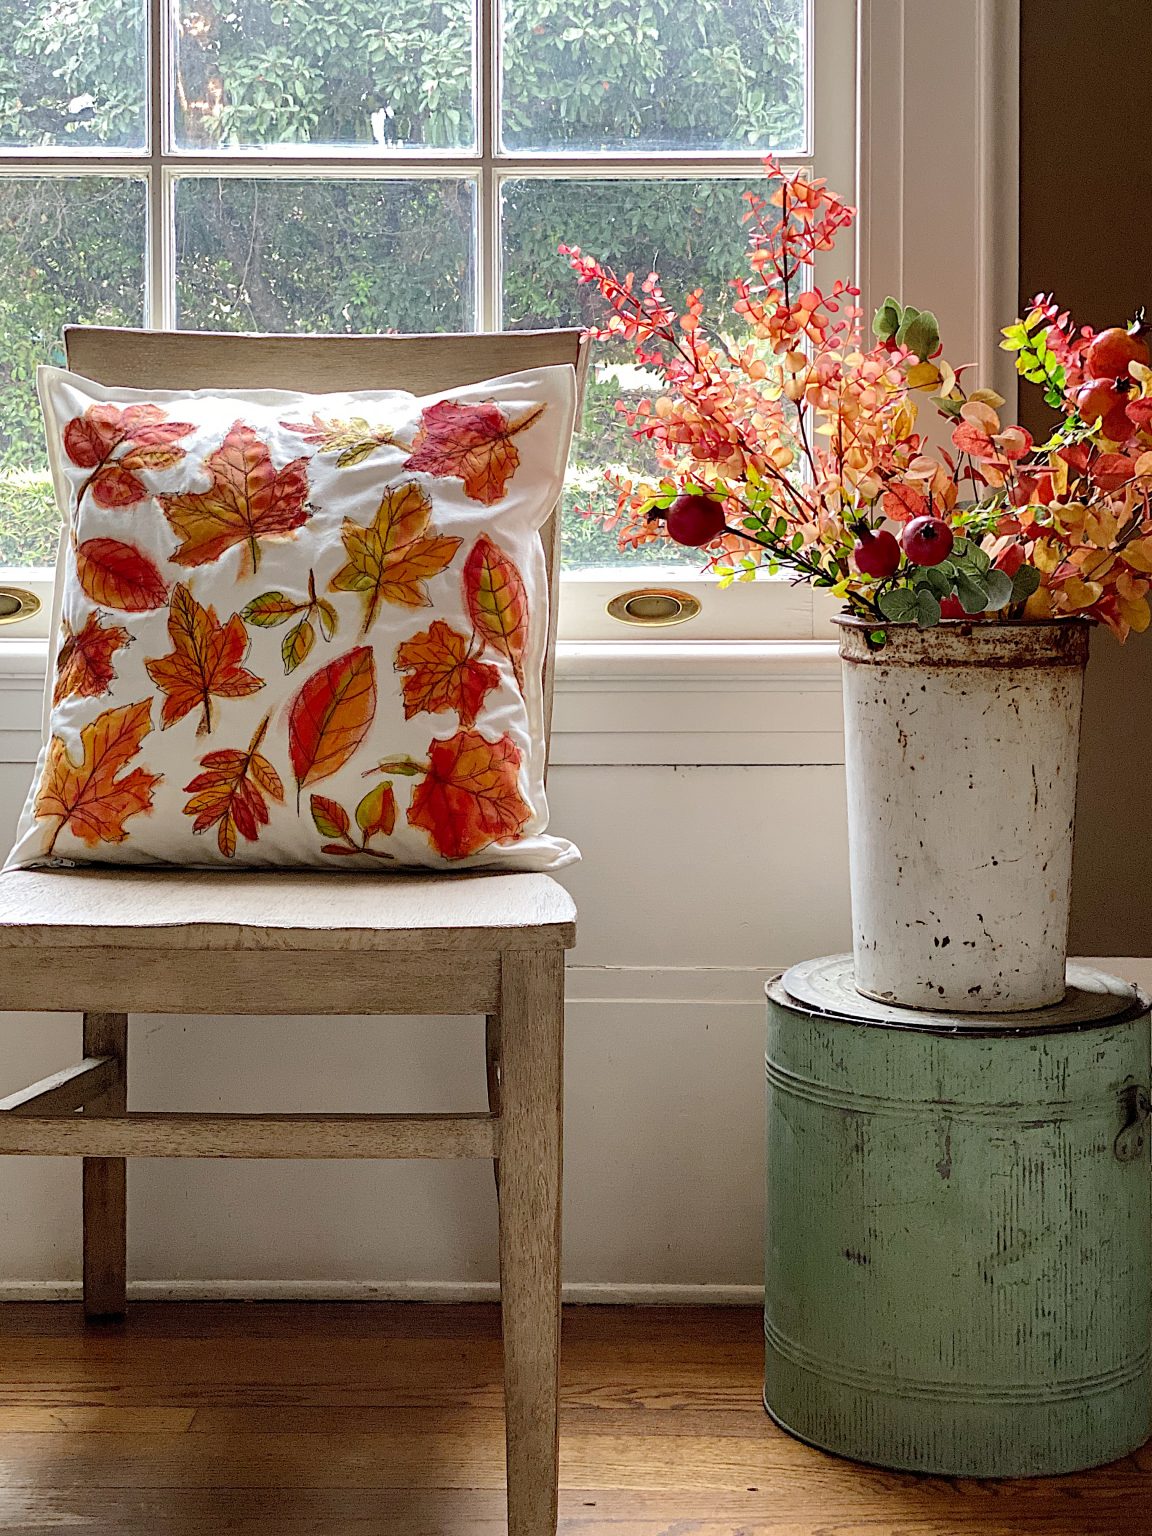
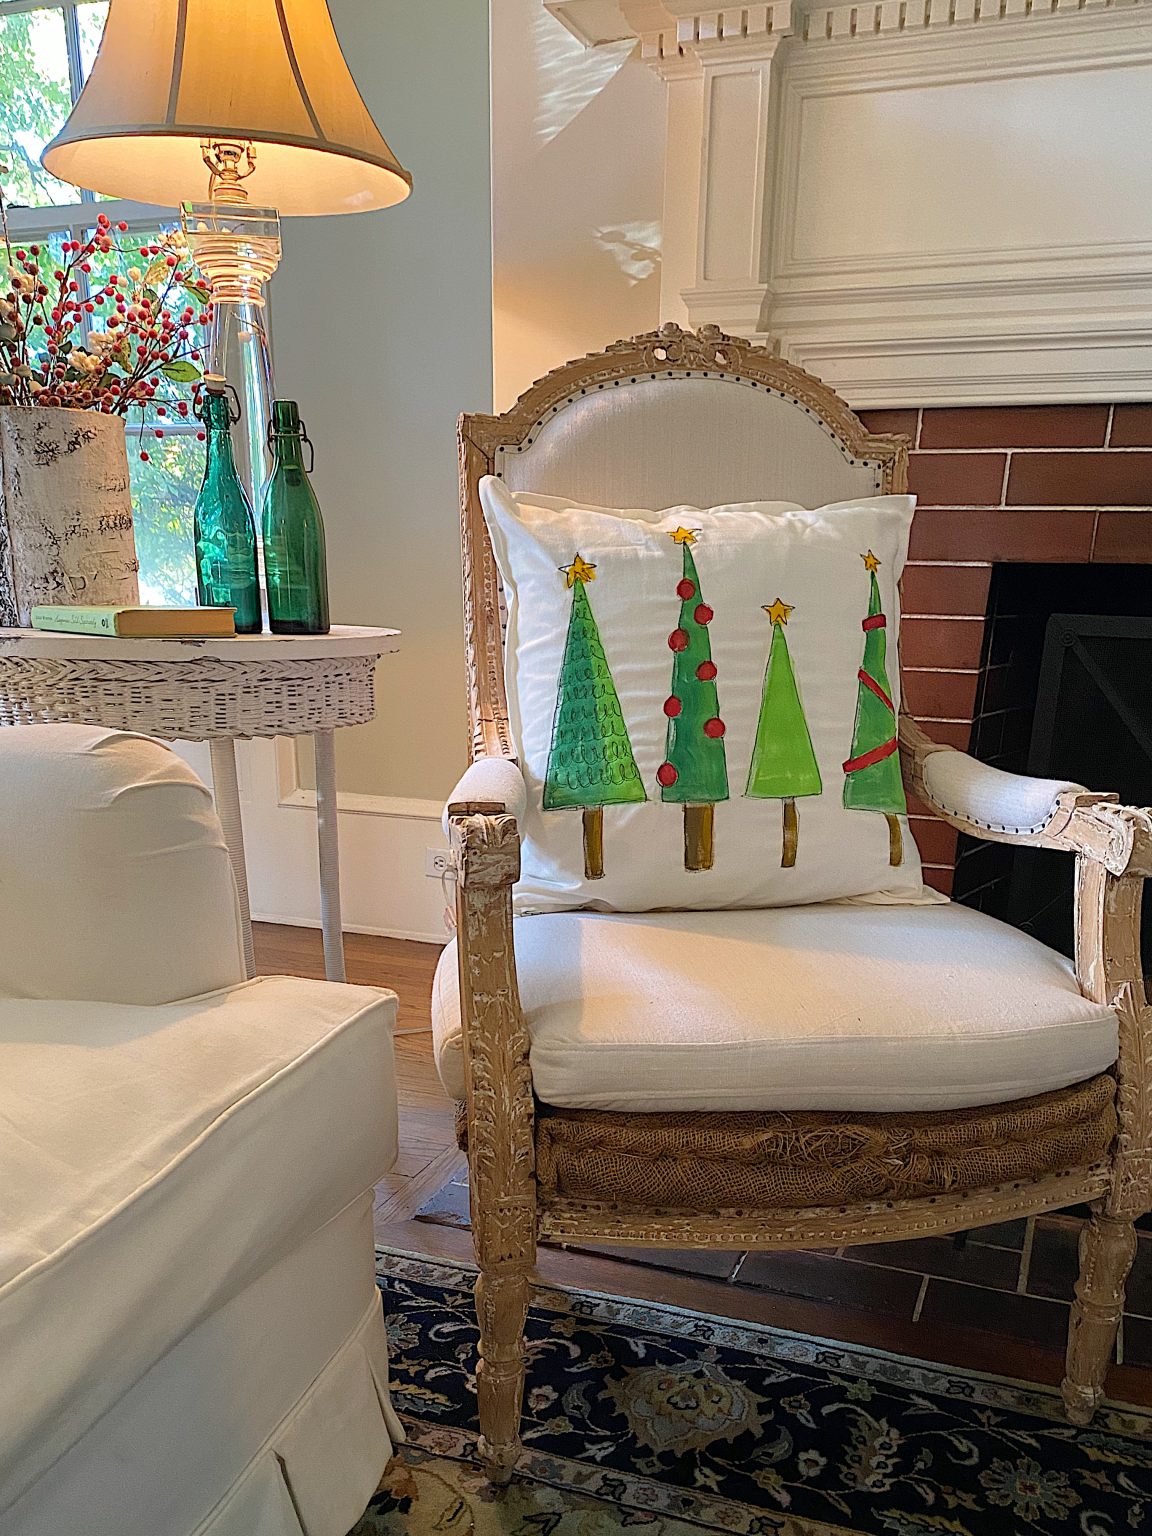
Here are Some of My Free Stitch Embroidery Projects
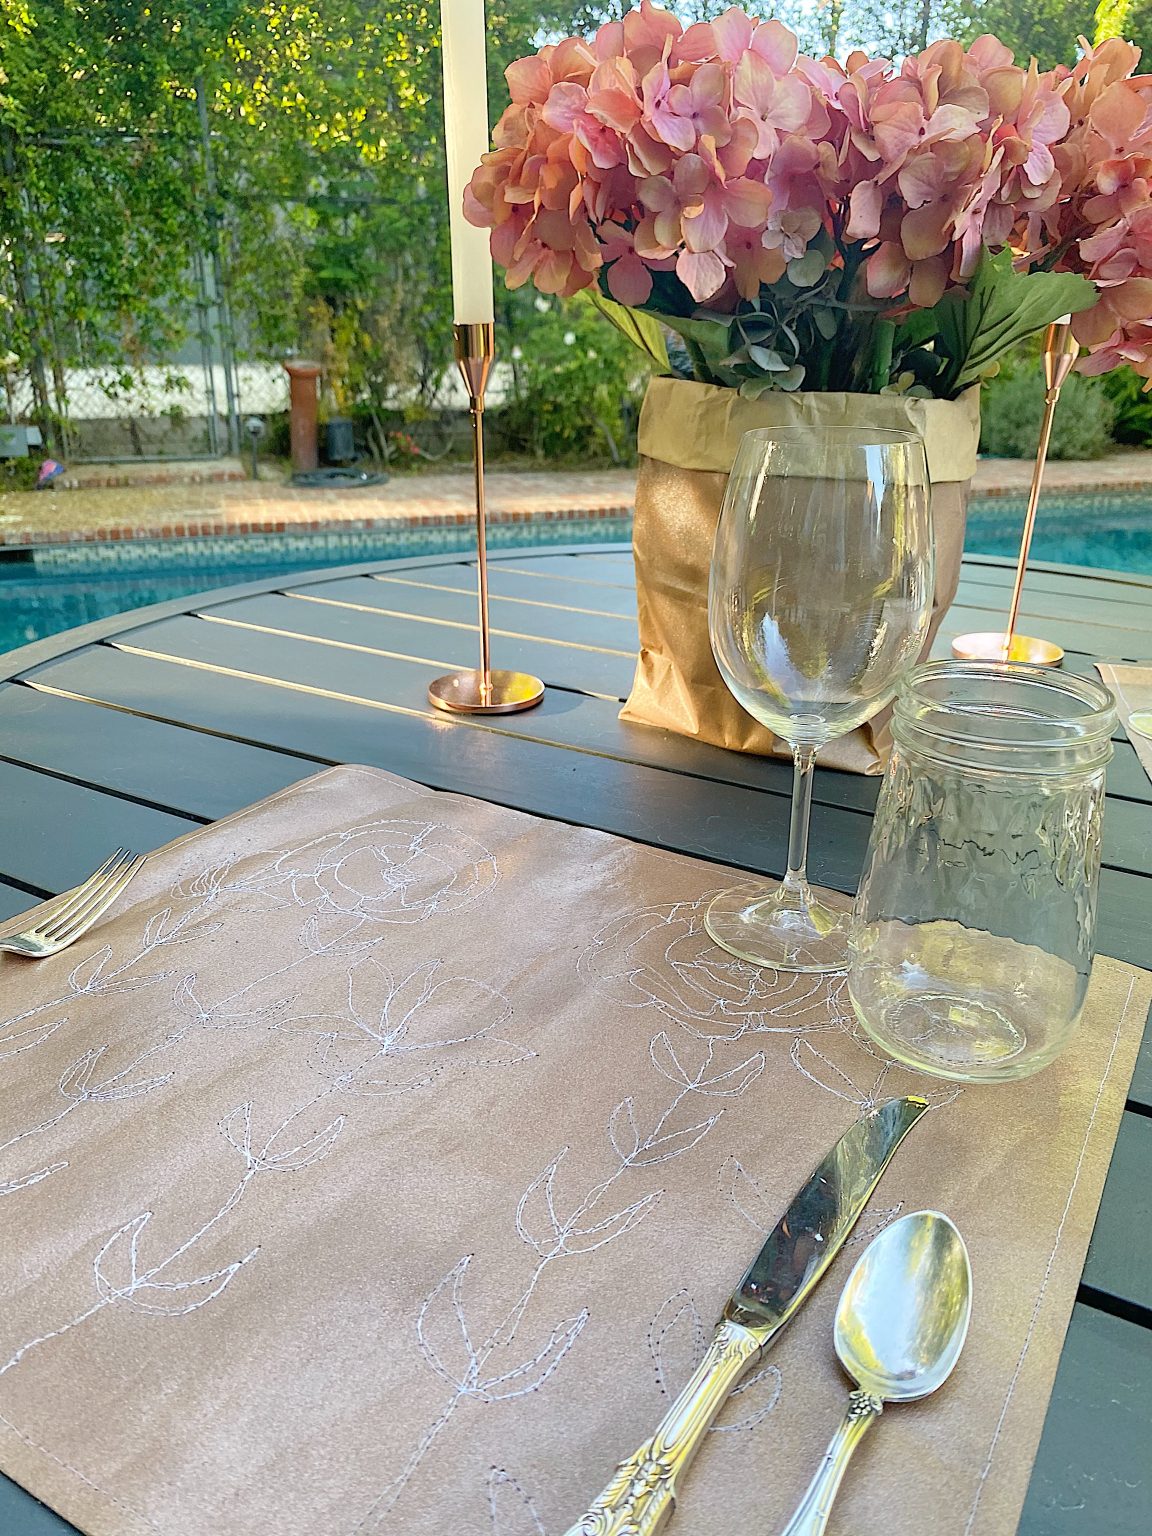
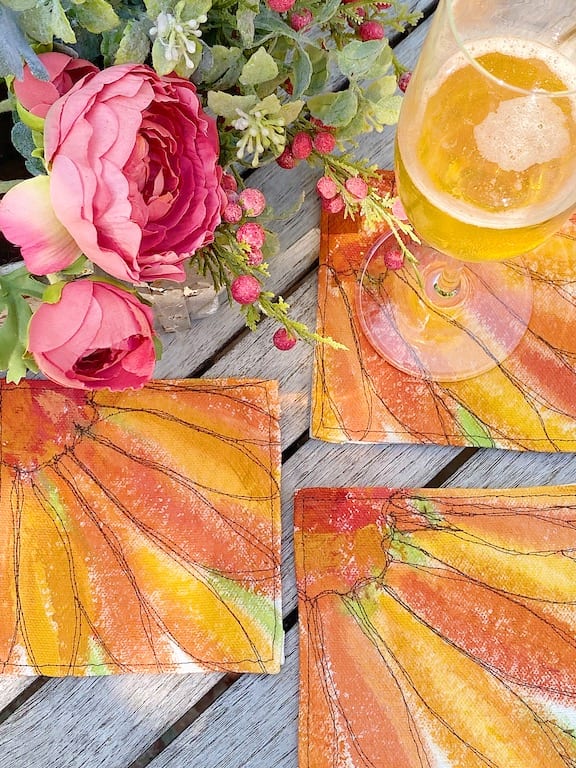
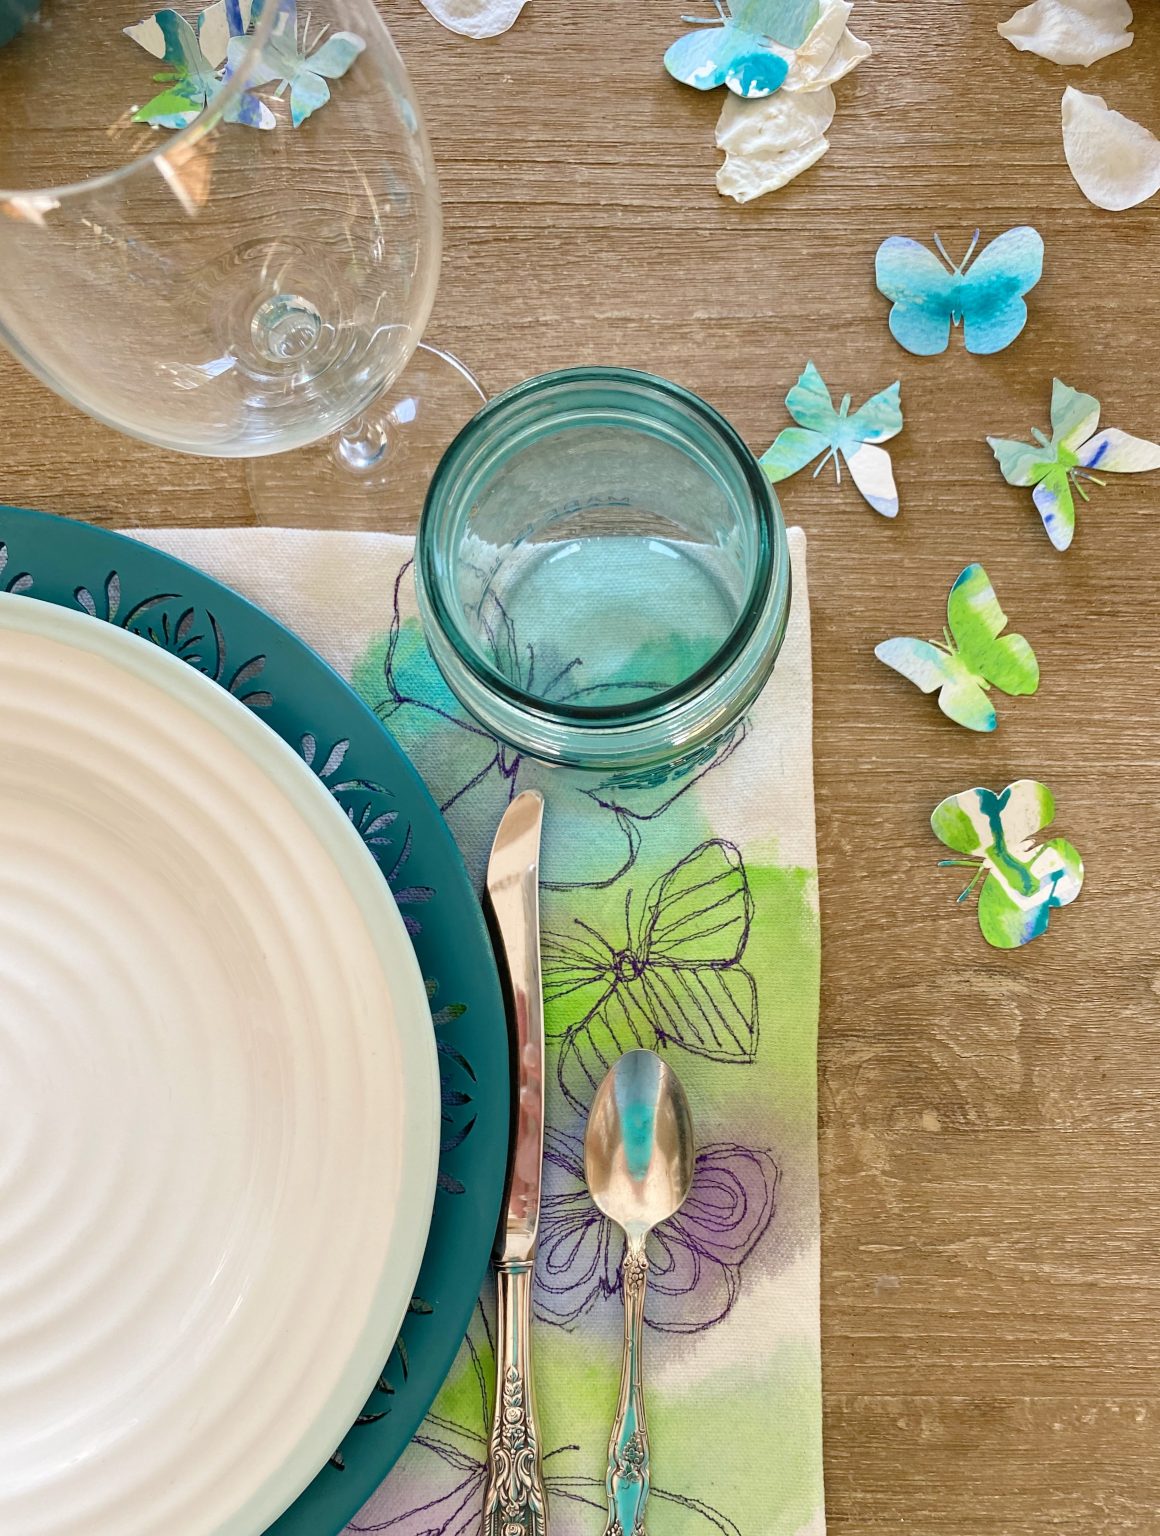
In the past year, I have made quite a few Free-Stitch Embroidery projects, including pillows, placemats, and coasters.
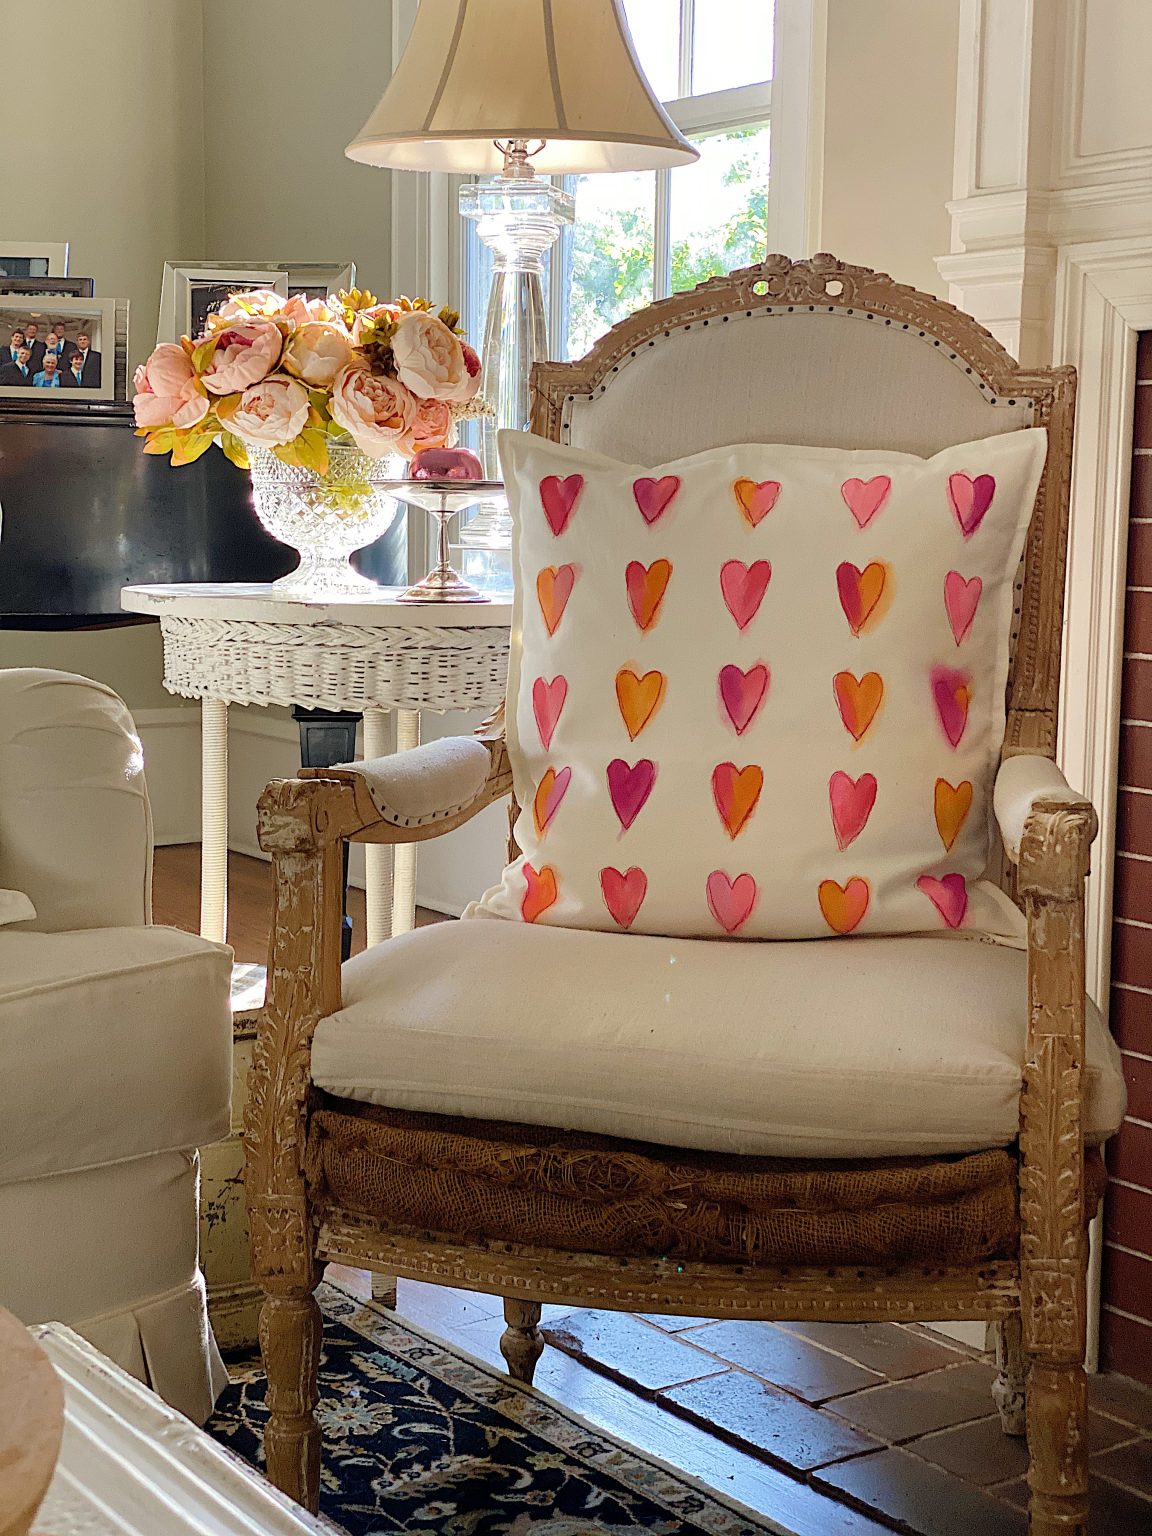
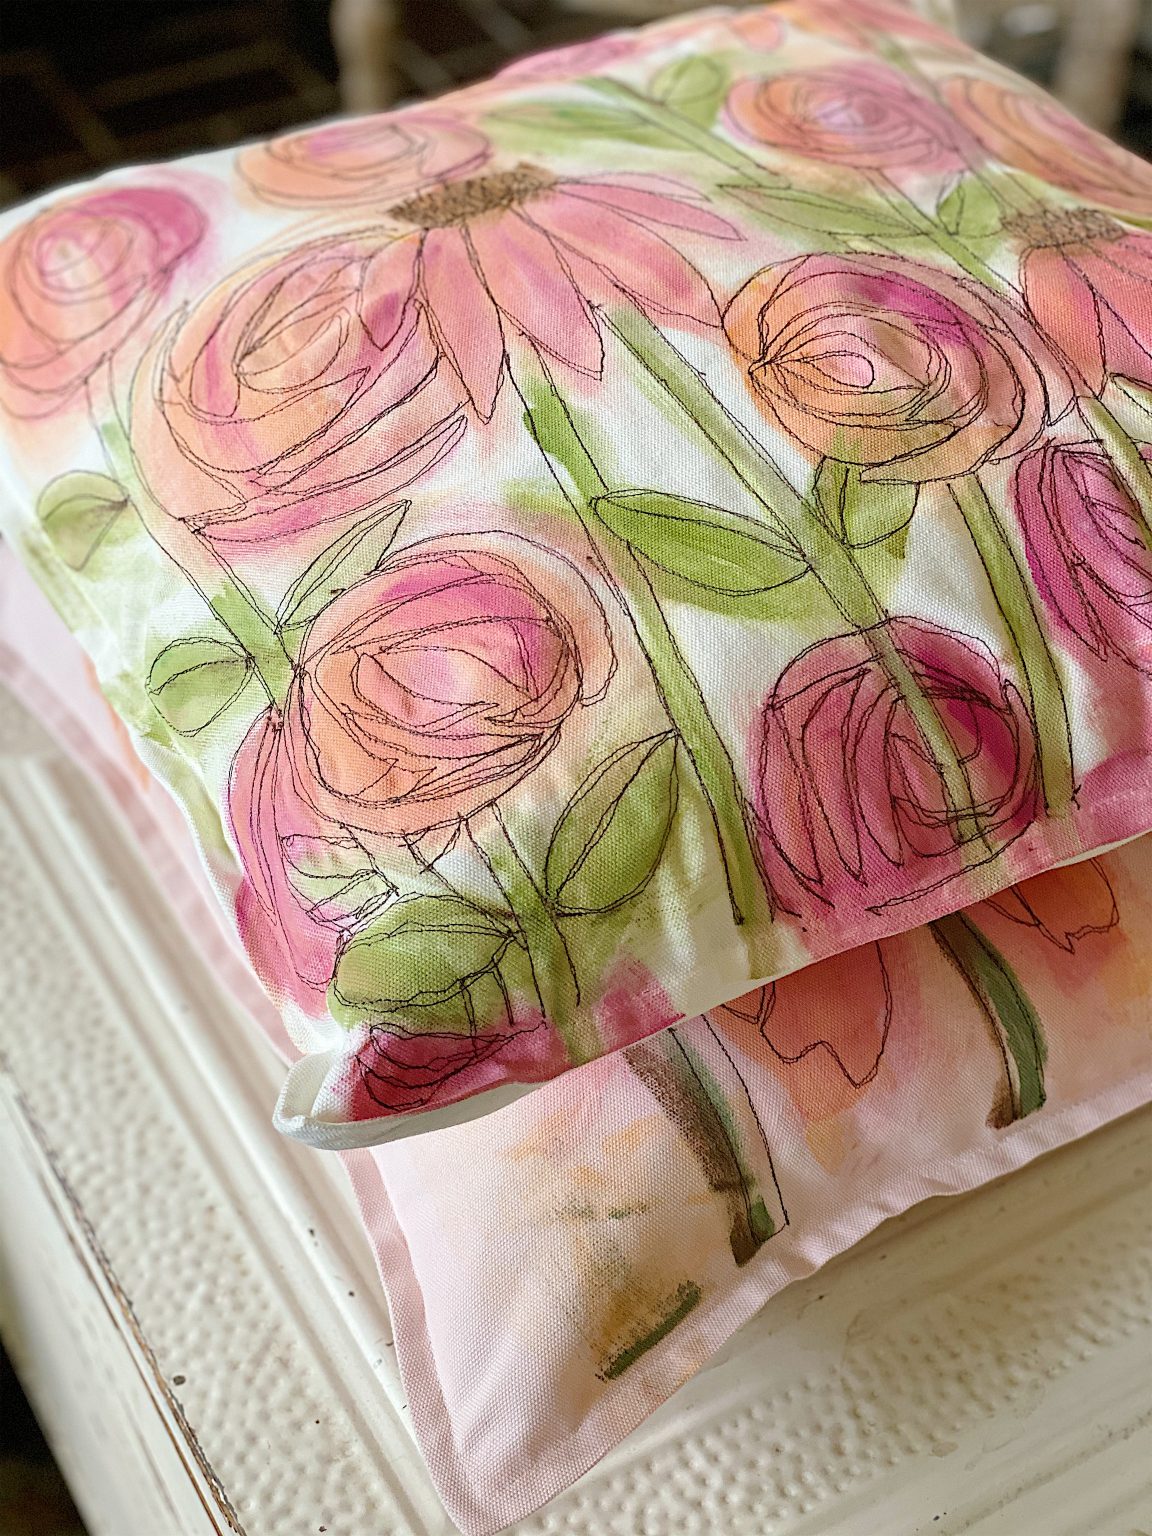
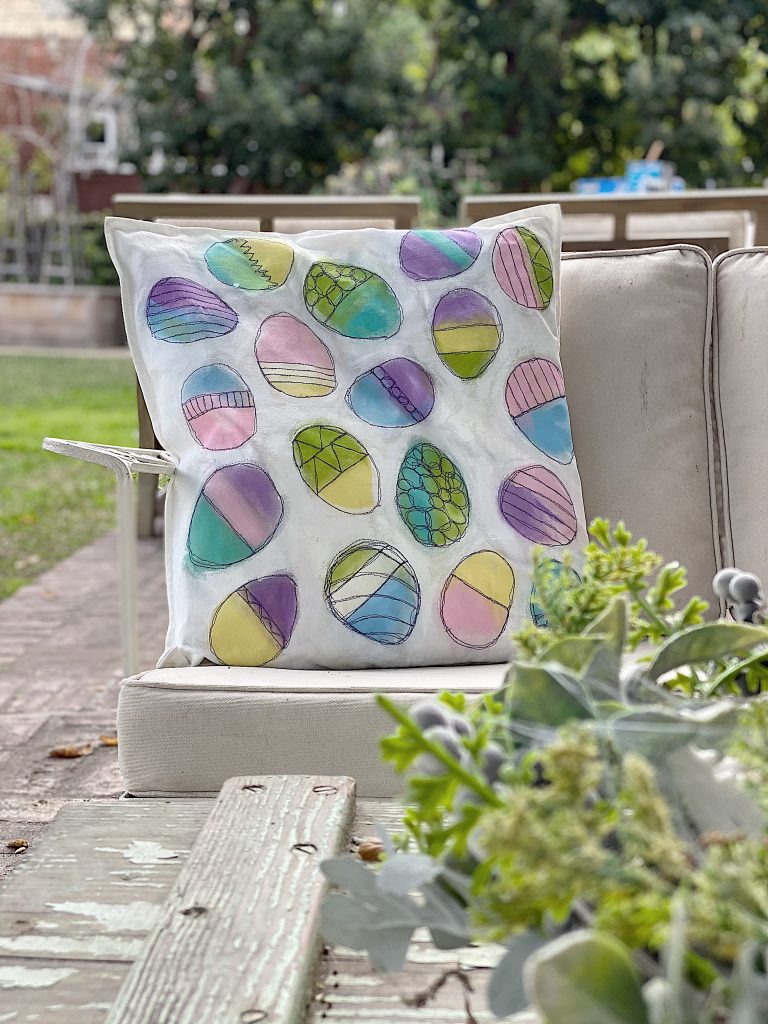

Spring-Inspired Pillows
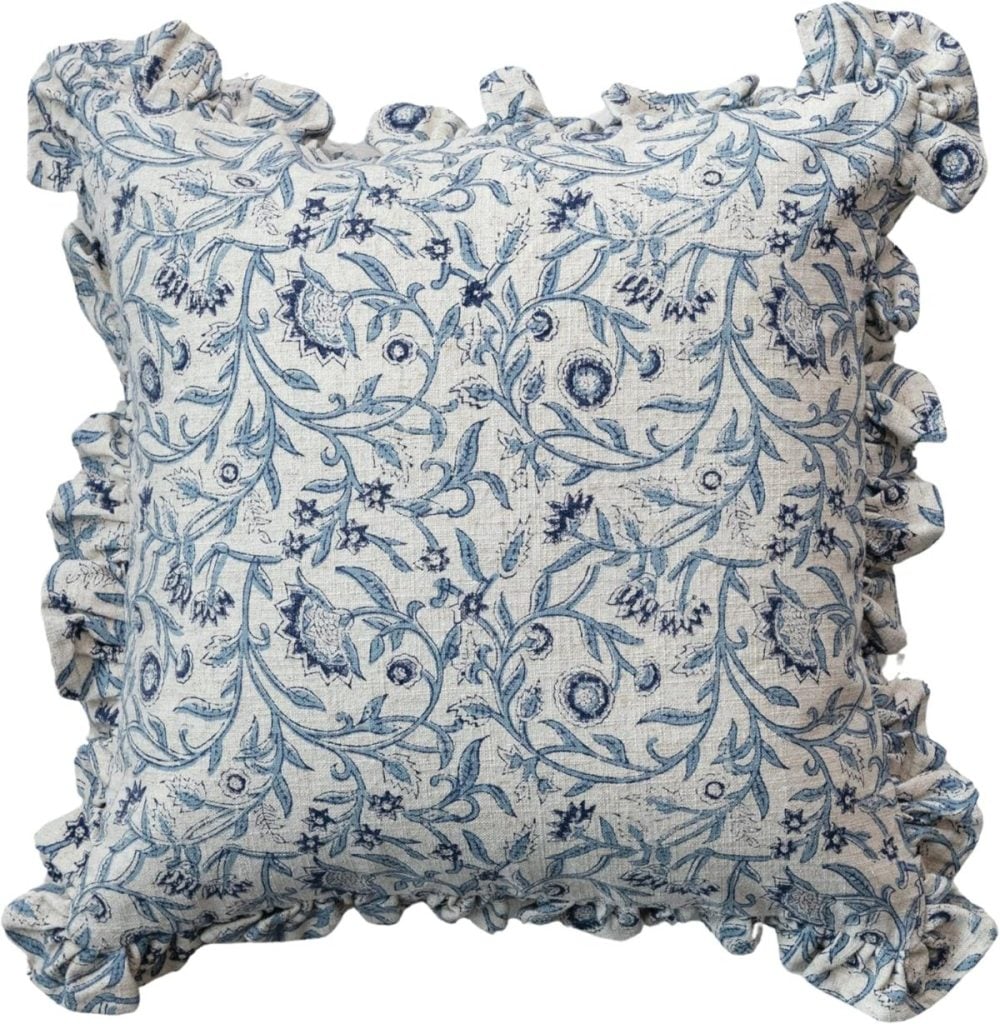
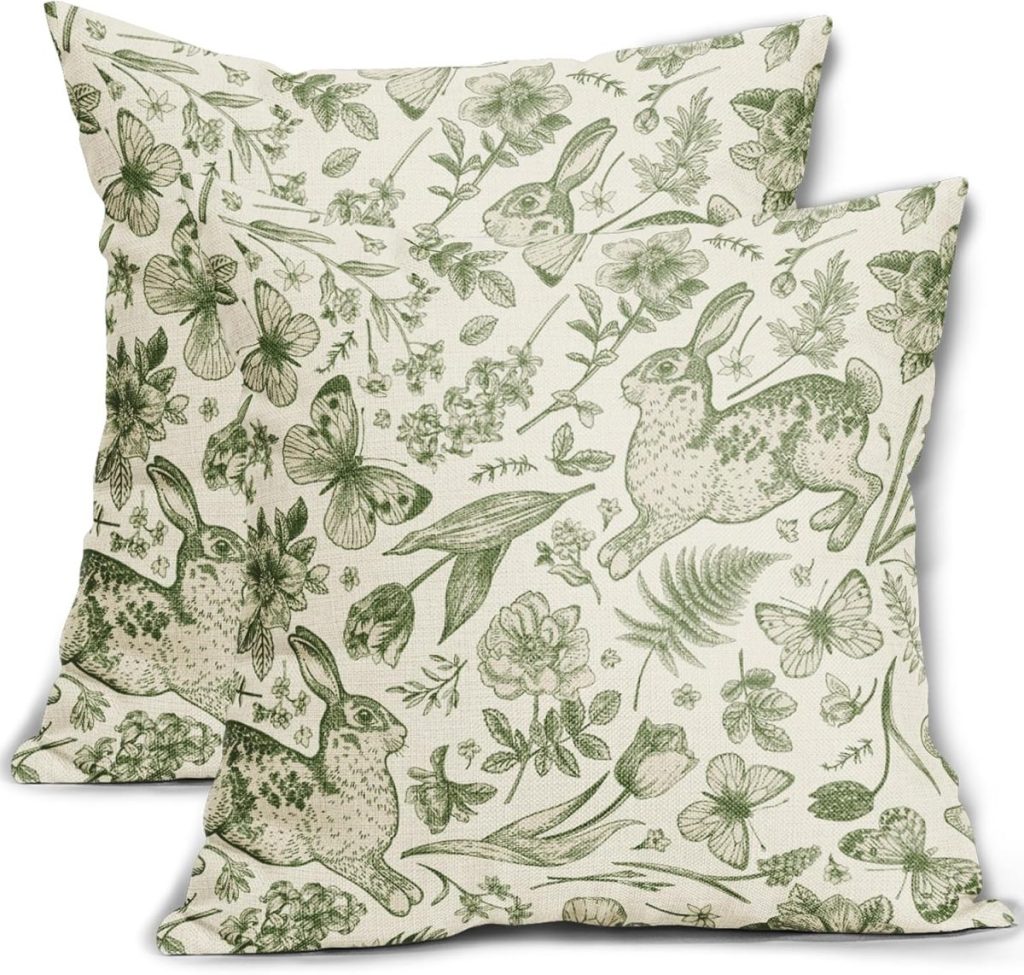

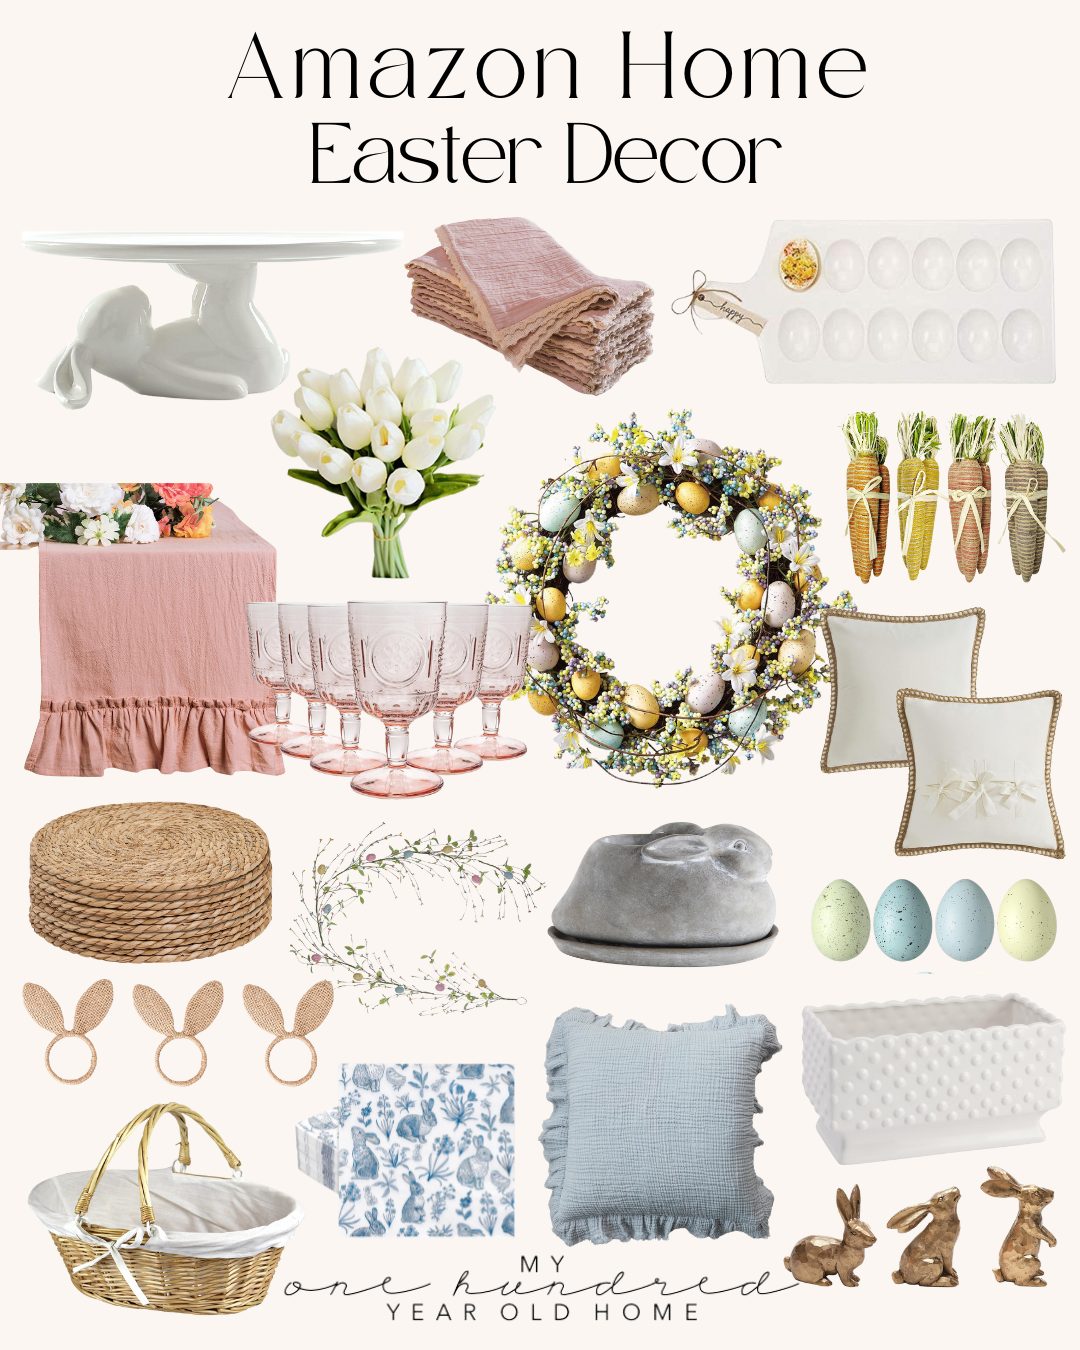
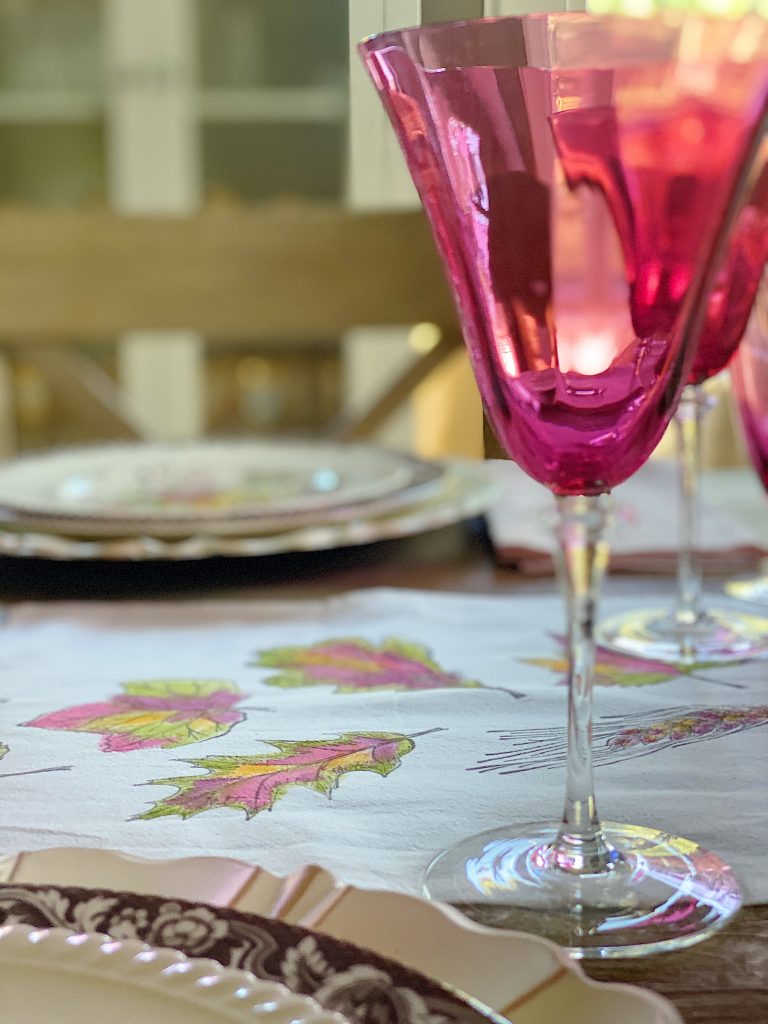
Some Lovely Easter & Spring Decor!
You can pin the image below to your boards on Pinterest (just click the Pin button in the top left corner) or follow me on Pinterest!
For more real-time updates, follow me on Instagram @My100YearOldHome

You are so amazingly gifted Leslie.
So glad I get to follow you 😸😸😸
Oh my gosh Julie, thank you so much. I am so very happy that you follow me. Have a great day!
Love, love, love your pillows❣️ And, I’m eager to try some of that free style studying! You’re so inspiring and I appreciate your creativity!
You are crazy creative, Leslie! You could sell these pillows. 👍👏🏻
Thank you Sharon! 😊
I honestly love all your pillows!!! I can’t wait to try this myself. I’m having major surgery tomorrow but once I recover I will definitely be trying this. I have one question though….. how do you get the pillow to lay flat as you sew it since the pillow is already complete? Thanks so much for these great DIY posts!!! — Wendi 🙋🏼♀️ 🇨🇦🥰
This looks so fun! Question: How do you sew on one side of the pillow cover that’s already made (two-sided)? You are so creative! Love your style.
On second glance, perhaps you made your own pillow cover and sewed one piece before assembling. 😉
Love your pillows, you are so talented. Still waiting for your etsy site. I like to support the arts!
Love the carrot pillow.. will be making several real soon…. Thanks for all of your creative ideas.
I love free motion sewing. I’ve made 100’s of quilts and used this method known as ‘stippling’. It’s a beautiful end result. Great creativity!
I never heard of this technique. Thank you for sharing! I LOVE THOSE CARROTS!!
Isn’t this so much fun Kristyn?
Leslie, I love everything you do! I know you mentioned before you get the IKEA white covers. Was it hard to work with the already made pillow to do the embroidery? Any tricks? Do you take it apart?
Thank you so much! Dottie, the pillow cover is pretty easy to work with since the pillow insert is not put inside until after the pillow cover is completed. Let me know how yours turns out!
How did you keep from sewing the two layers of fabric on the pillow cover together when you did the embroidery. I sew but I have never tried free style embroidery
I love this, and your other pillows! So creative. I made the heart one last year, came up with a shamrock design of my own , and then made this one and the Easter egg pillow. I place them on my bench on the front porch at the appropriate time and get many compliments. The carrot is my personal favorite. They were a lot of fun to make. Please keep the ideas coming!
OhmyGosh Leslie I just love this! I made a carrot pillow from a beautiful tea towel on Homeroad but now you’ve got me wanting to paint one!!! I love this. I’ve also gotta try that free stitch sewing sometime too it’s so pretty!!
You talk about placing something between the layers of the pillow case so the paint will not go thru….but I don’t understand what you do about sewing on the machine! Doesn’t the stitches go through to the bottom side of the pillow case? You did not address that.
Thank you for such a cute Easter project idea! I’m in the process of making 4 pillowcases following your directions 🥰. I’m excited about how they are turning out. They will make great Easter gifts!
Susan, am so happy that you are making this project! Please let me know how they turn out! Happy Easter!! 🐰🥕
I’m in NC but my granddaughter lives in England and one way we stay connected is to do crafts on FaceTime.. You’ve inspired me to make a pillow for every season and place it on an old vintage green kitchen chair..I’m going to share this idea with my daughter-in-law and granddaughter.. blessings to you, Elizabeth
Oh that is so beautiful! Thank you Elizabeth!
I’ve got to make this pillow! Thank you for sharing your talent!
Yes you do! Of course, let me know how it goes.
Isn’t this just lovely! The combination of hand painting and single stitching is amazing. I hope to give this a try.
I love your pillows – your crafts are so wonderful. I have an old 1960ish singer machine: do they have a Quilting foot attachment for that old a machine? Thanks fir your help.,
Hi Leslie,
I have searched everywhere…still do not find an answer to how you are stitching the outline on the two joined pieces of the cover without sewing through to the bottom, or rear, layer as well. Are you separating the two joined fabric pieces first? Please specify, as it does not show up anywhere.
Thanks,
Janet
Omg Leslie, Is there anything you’re not good at??? You are amazing, Martha Stewart has nothing on you! Thank you for your beautiful posts, I love them all. You are so gifted and all of us are lucky to have you on this forum. Thank you for sharing! :))