Flower Pillow DIY
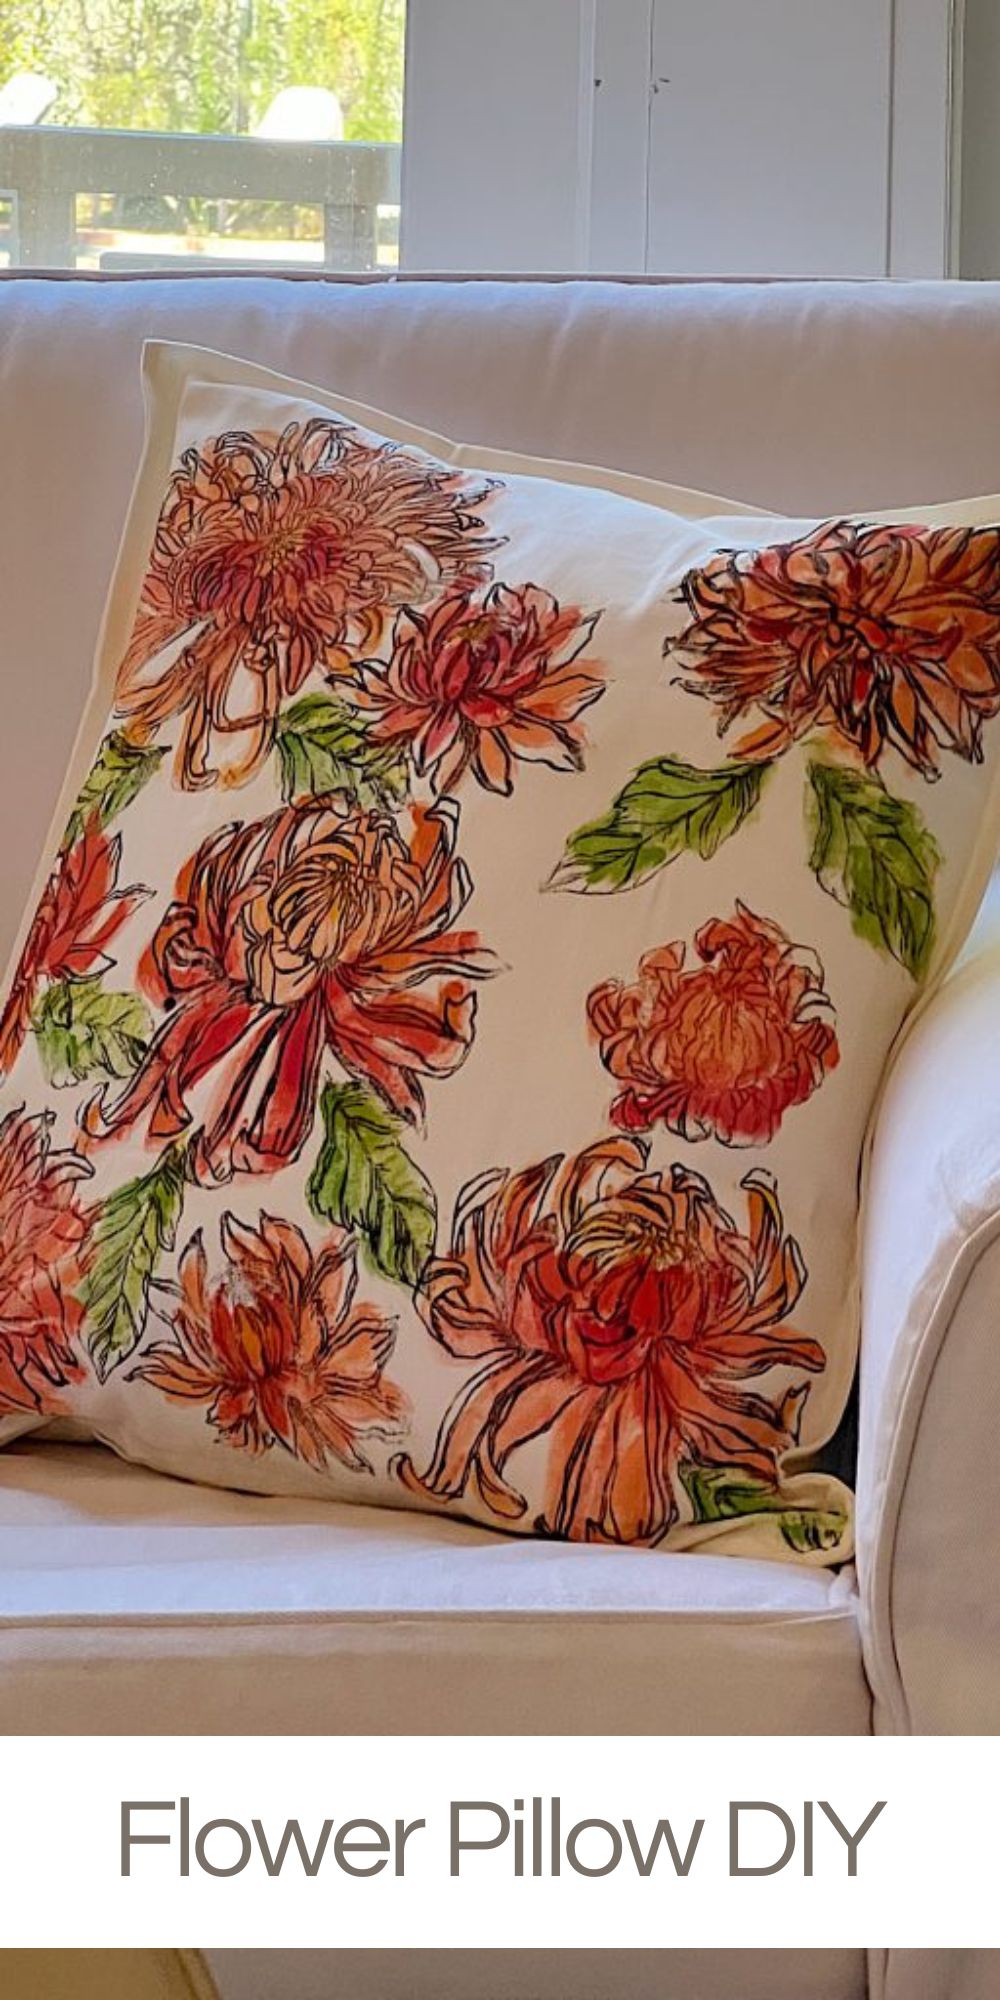
I love to make a pillow for every season and holiday and there is nothing better than a flower pillow. You can use it year-round!
Pillow covers are the quickest, easiest, and least expensive way to add color and personality to any room. When you make this flower pillow yourself, it can be exactly the colors you want! Are you ready to learn how to make this fun pillow? Just know, it is not how you think!

Flower Pillow DIY
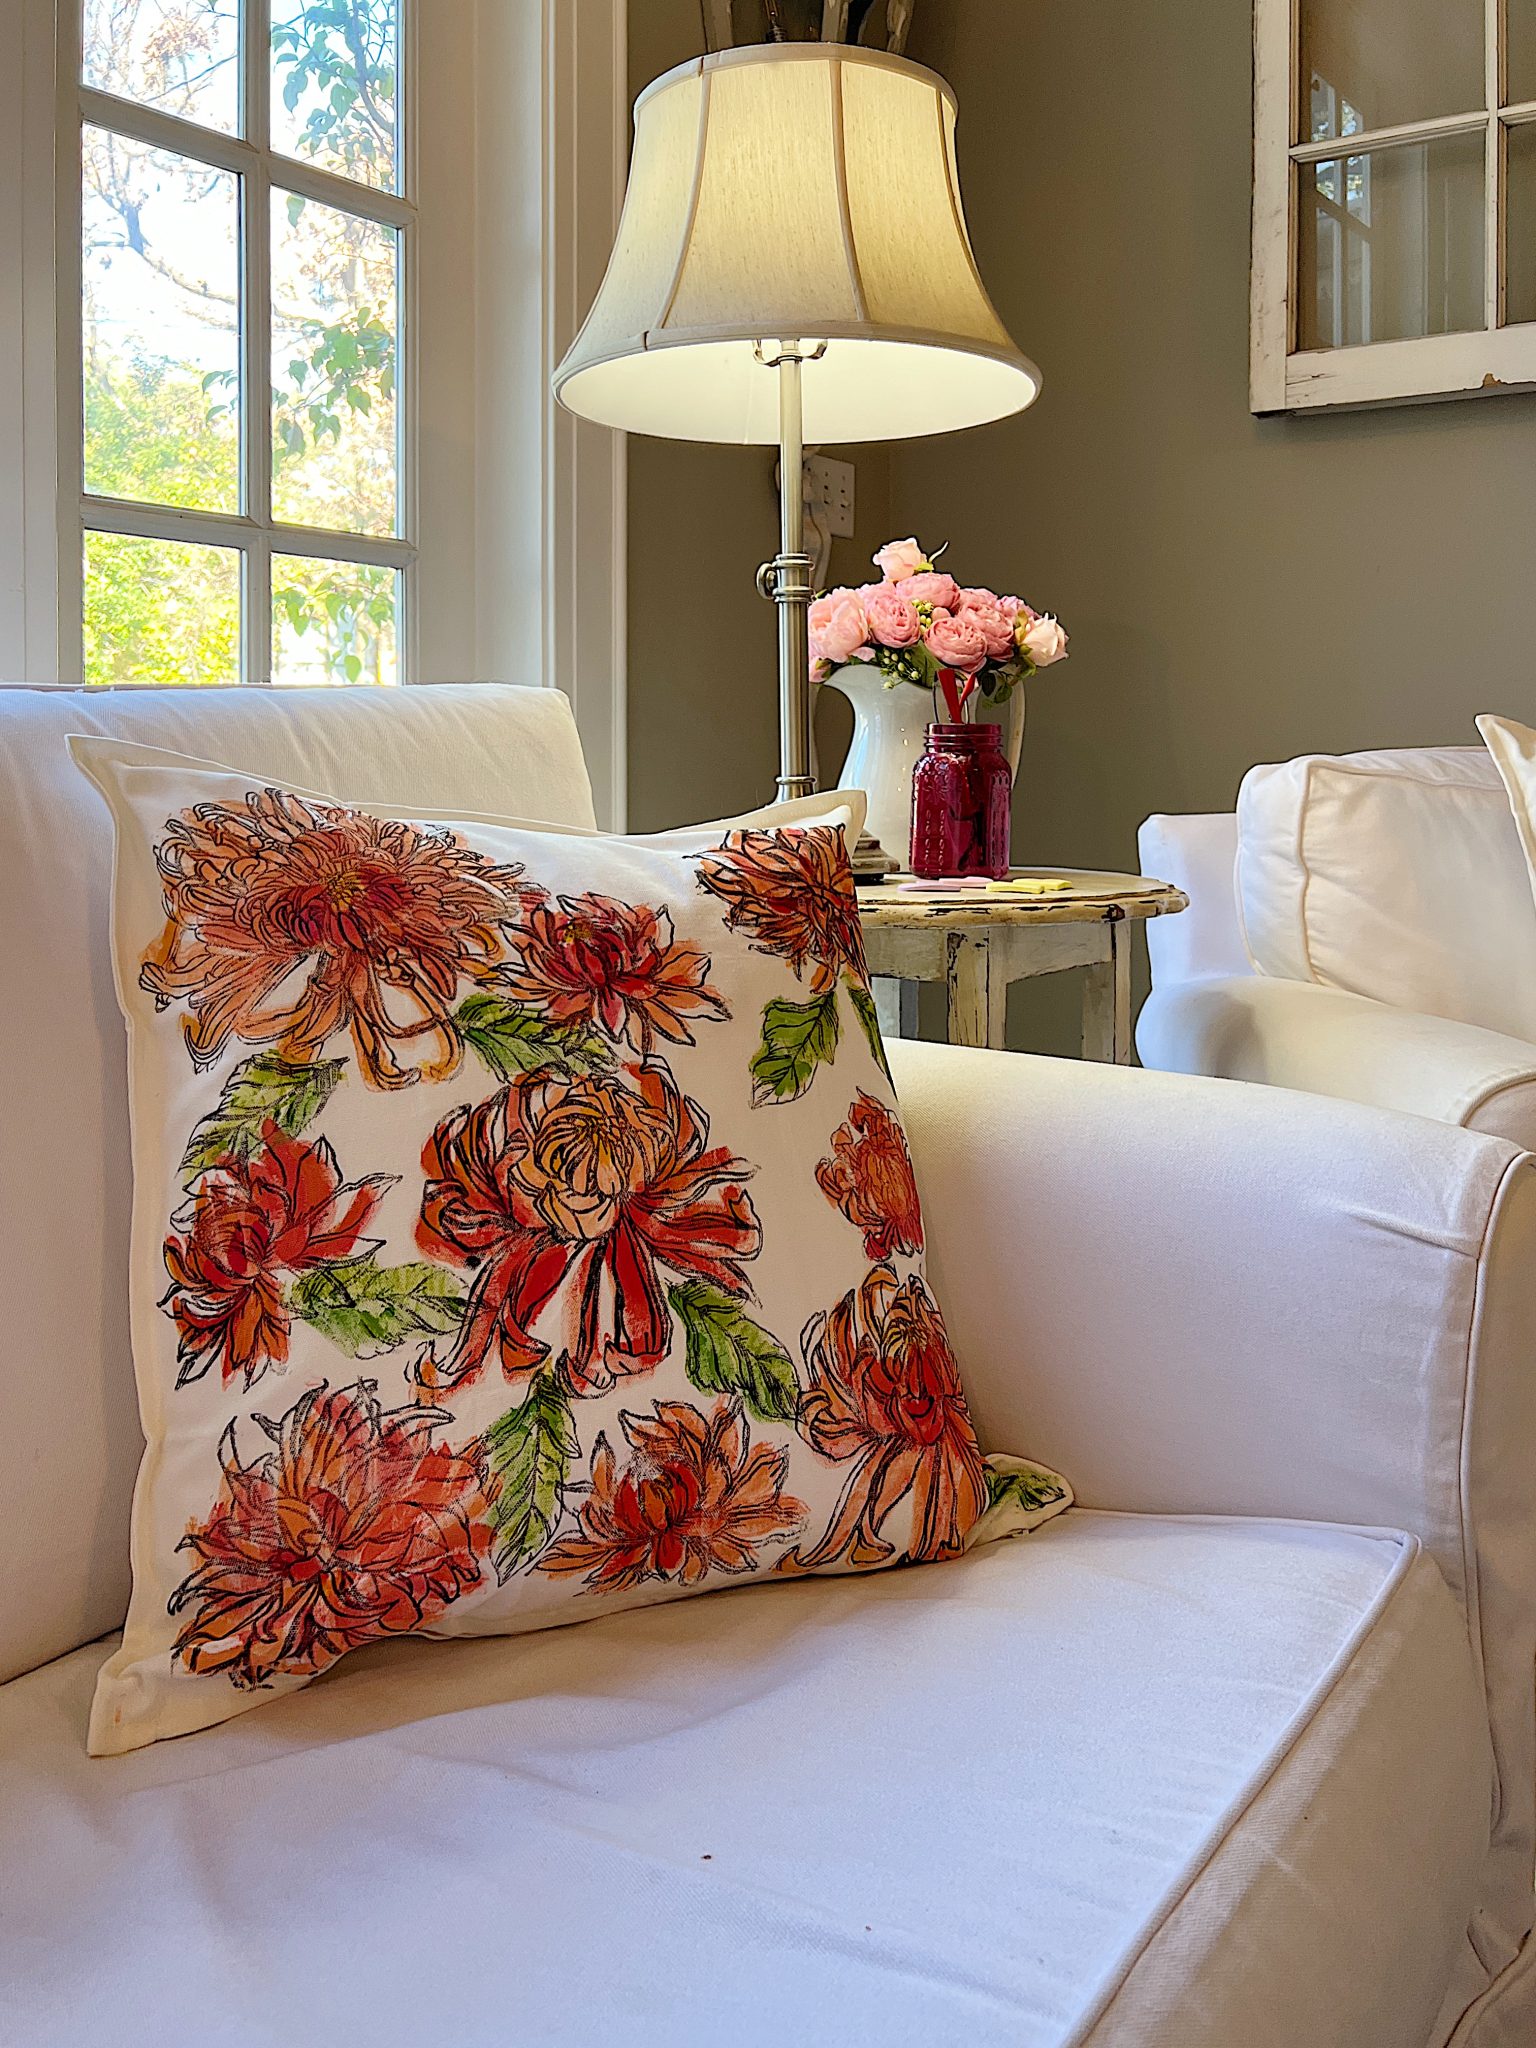
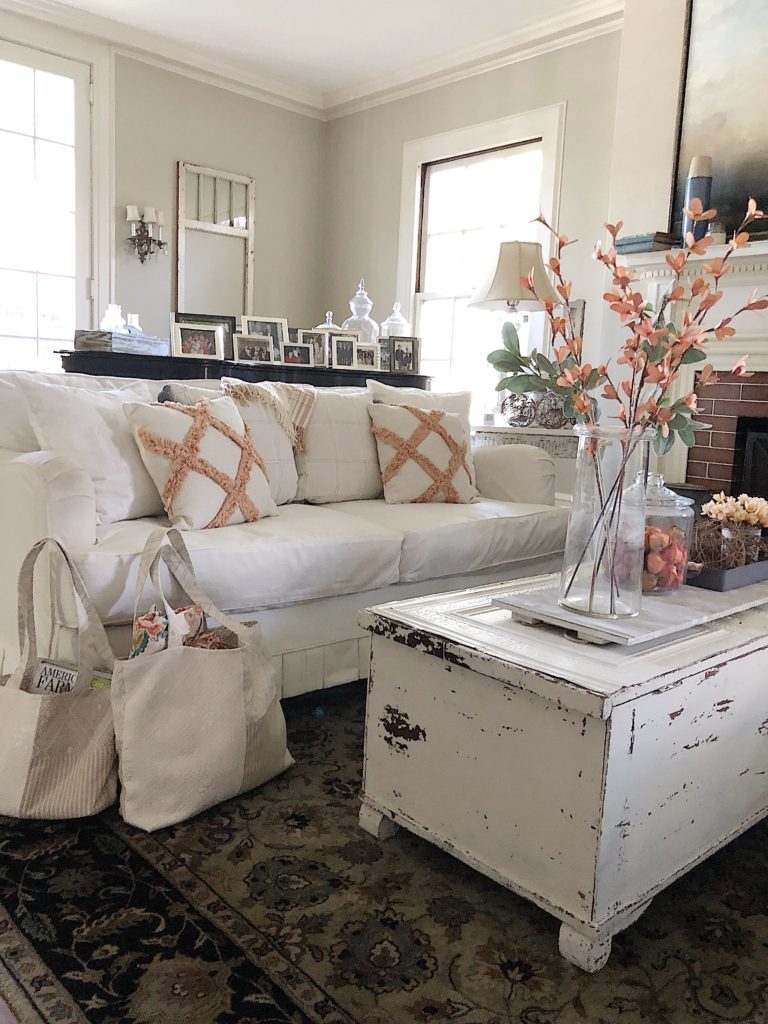
I have so many pillows in this color palette and I can always use another flower pillow in pink and orange. I can now outfit a couch (or sectional) with lots of pink and orange pillows!
You will see this DIY is very easy to do.
In case you are thinking this is a Paint and Stitch pillow (aka free motion embroidery) … it is not!
It is a paint and stamp pillow!
Which means there is no sewing!
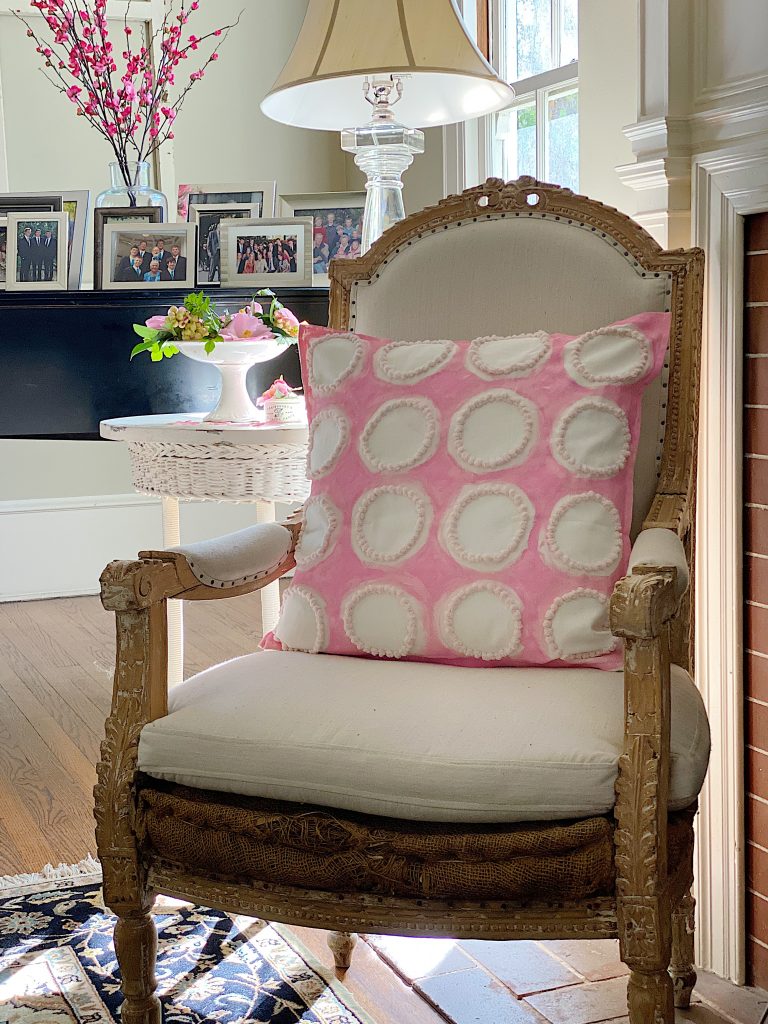
I used an Iron Orchid Design Chrysanthemum stamp which made the process so easy! I absolutely love how this turned out and it looks amazing in our family room.
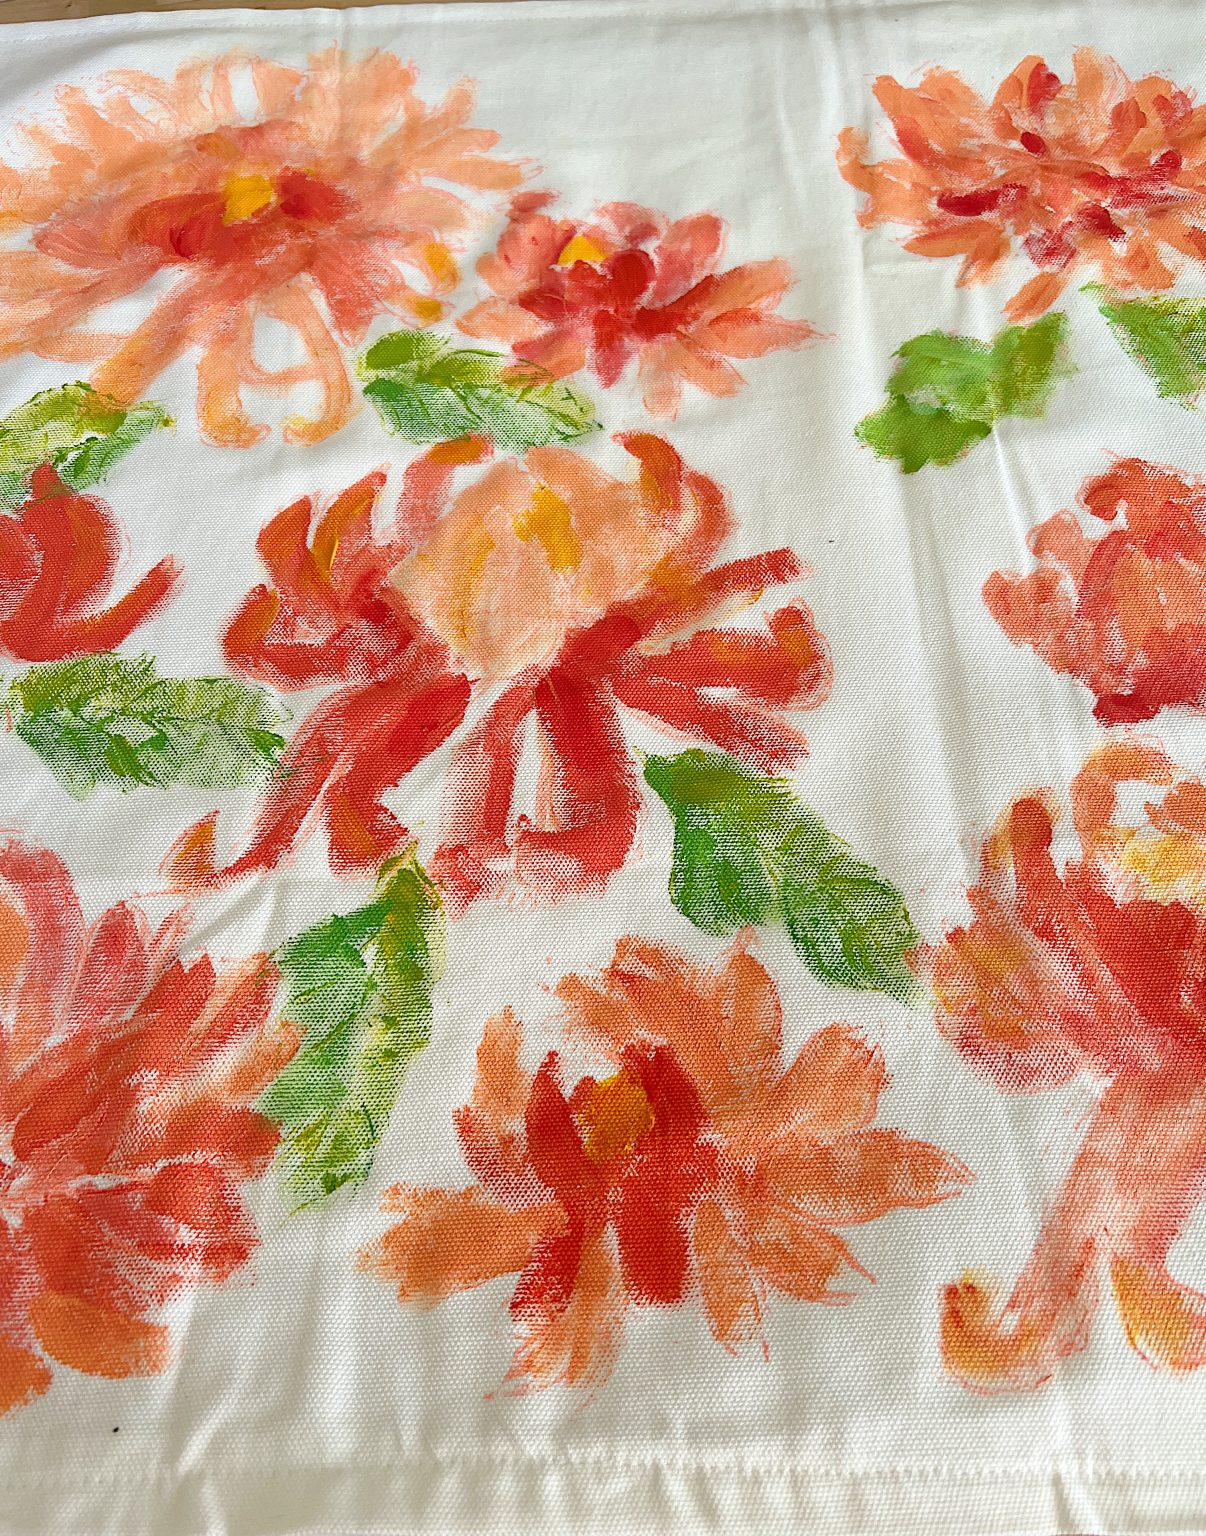
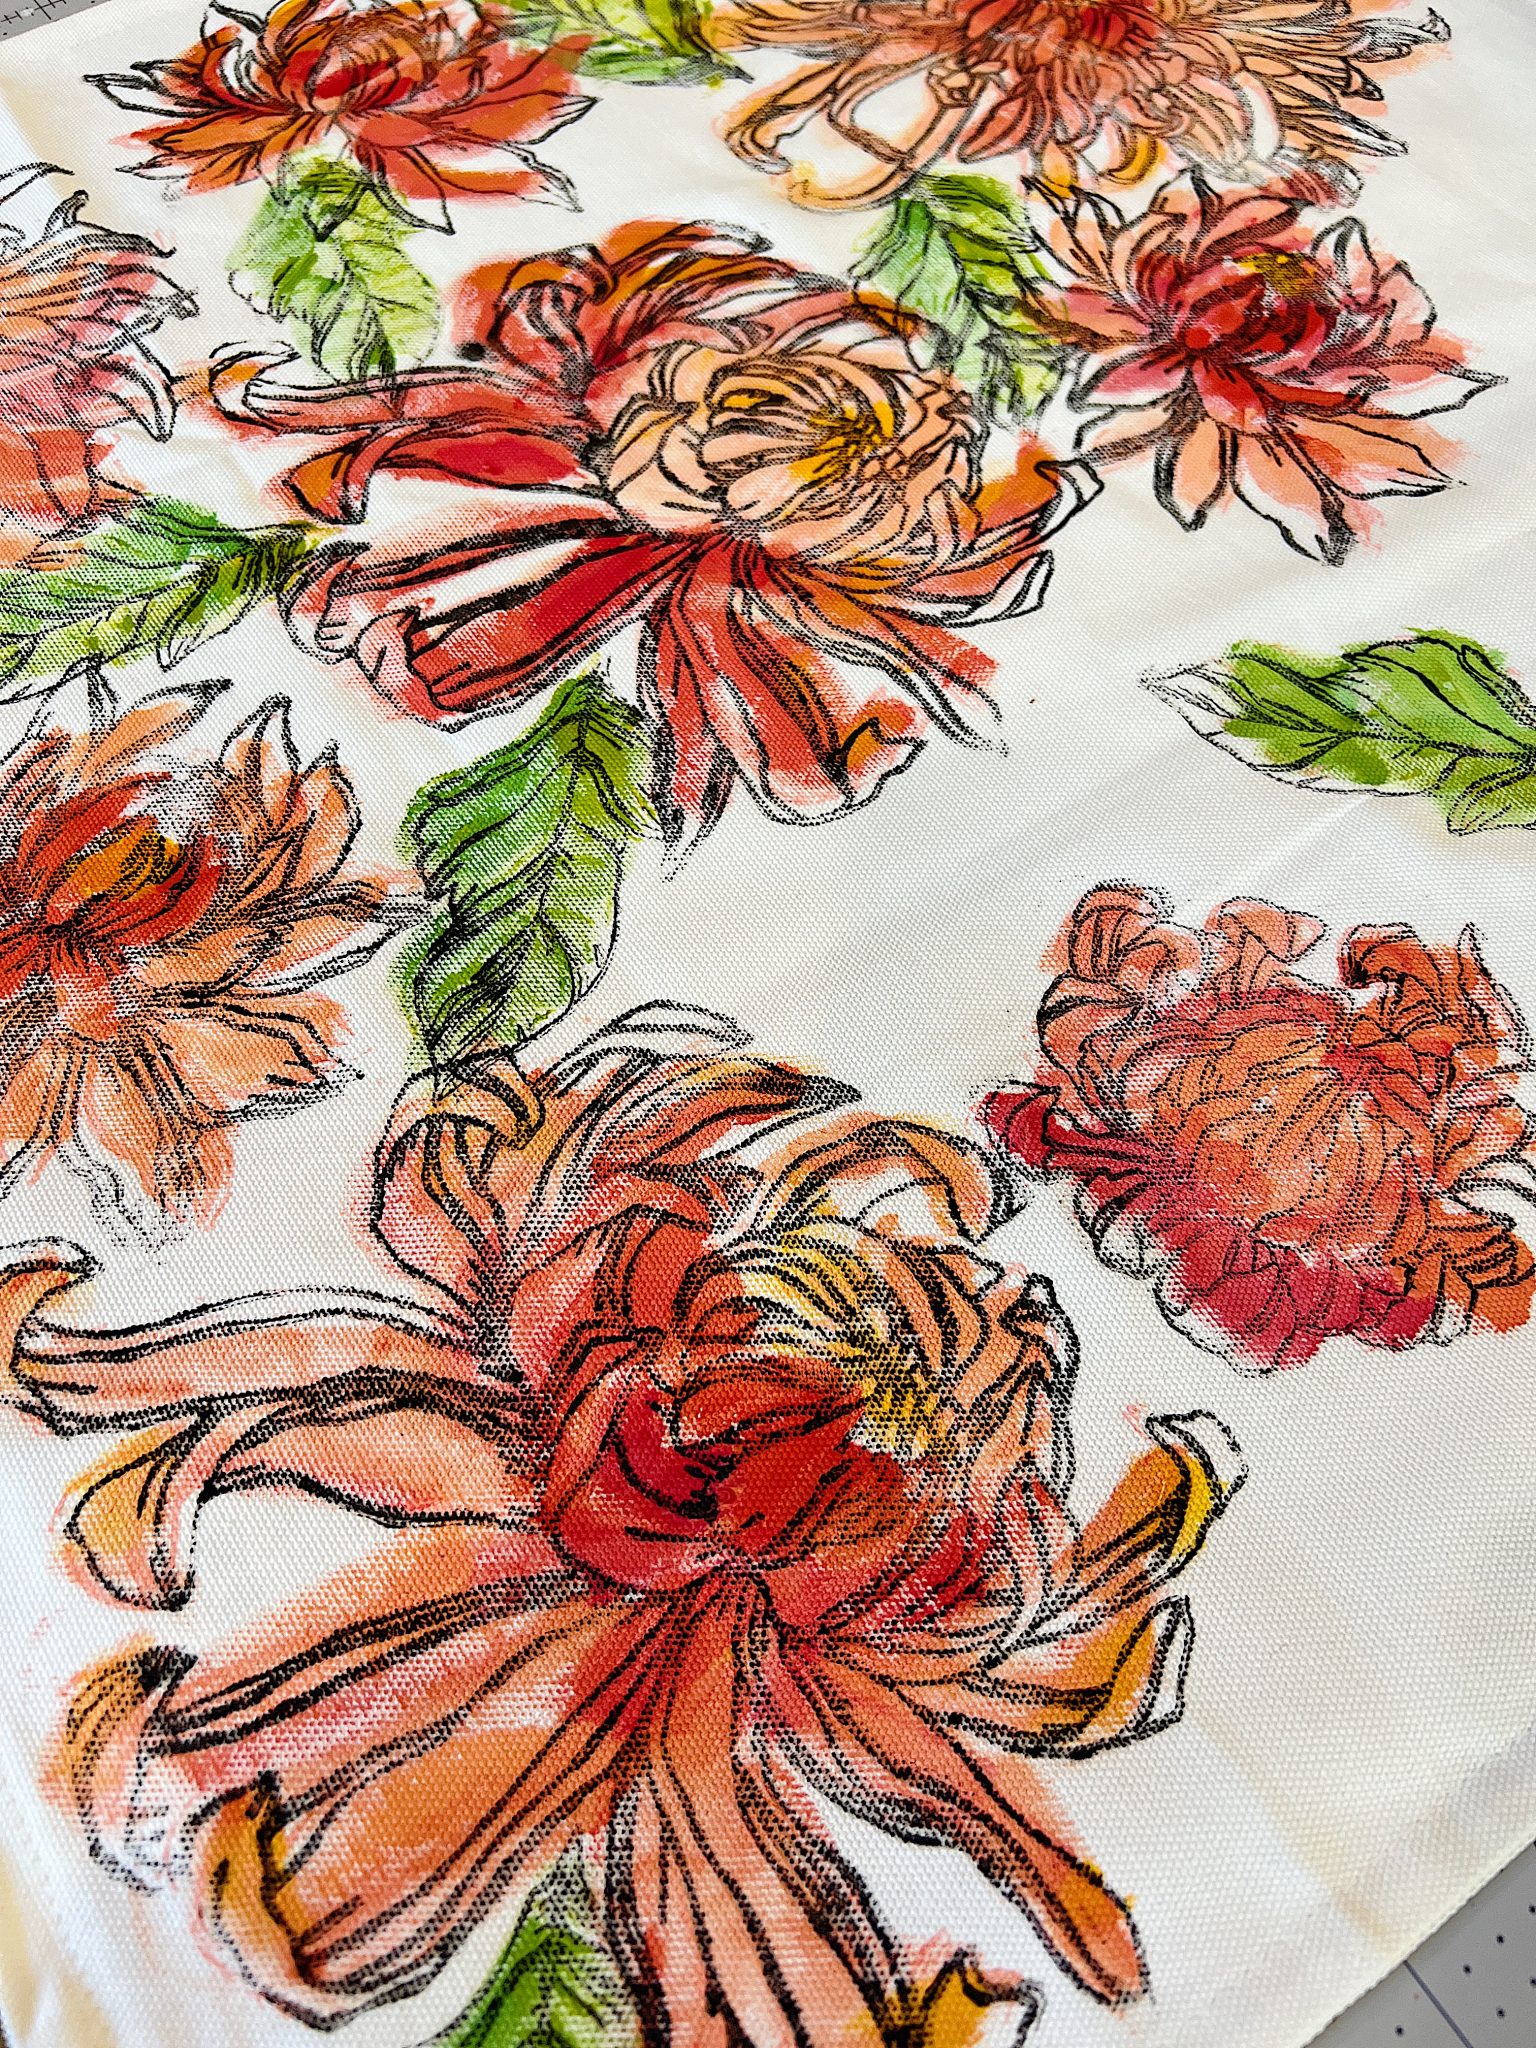
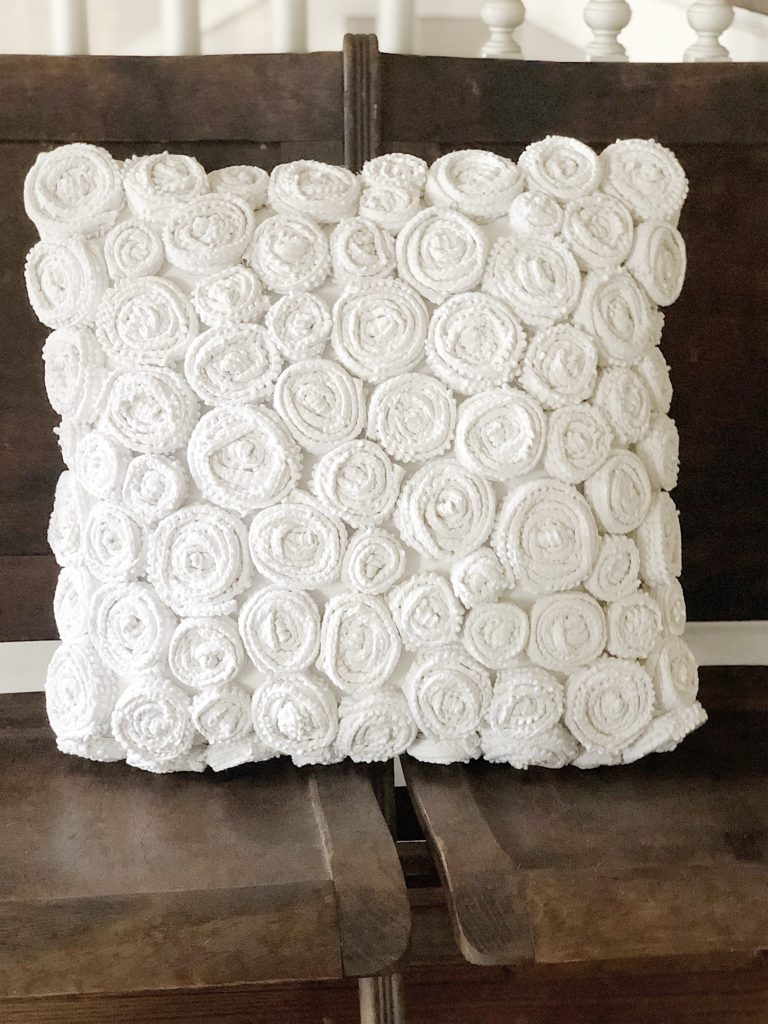
If you look at these two photos, you can see how I made this flower pillow. Can you believe the difference between the two photos?
The first photo has the flowers painted loosely. The second photo was taken after I stated the pillow again.
On this blog, I may sometimes use affiliate links, which means a small commission is earned if you purchase via the link. The price will be the same whether you use the affiliate link or go directly to the vendor’s website using a non-affiliate link.


Iron Orchid Designs
I love Iron Orchid Designs. You all know how much I love to craft and I am always looking for new ideas that look amazing and are not hard to do. Iron Orchid Designs has the most incredible products for crafts and DIYs. Their designs are so creative, they are a company of wonderful people, and their products will easily help you to discover amazing new DIYs and crafts.
If you go to the IOD website you will find “DIY tools and tutorials to inspire your creative soul”. They have decor moulds, decor stamps, and decor transfers to make fabulous items for your home. Today I get to share how I made used their decor stamps to decorate my homemade pillow.
Where can you buy Iron Orchid Designs products? Just click here to find a retailer near you! (You can also order online from some of the retailers.)
I used the IOD Decor Chrysanthemum Stamp.
How to Make a Chrysanthemum Flower Pillow
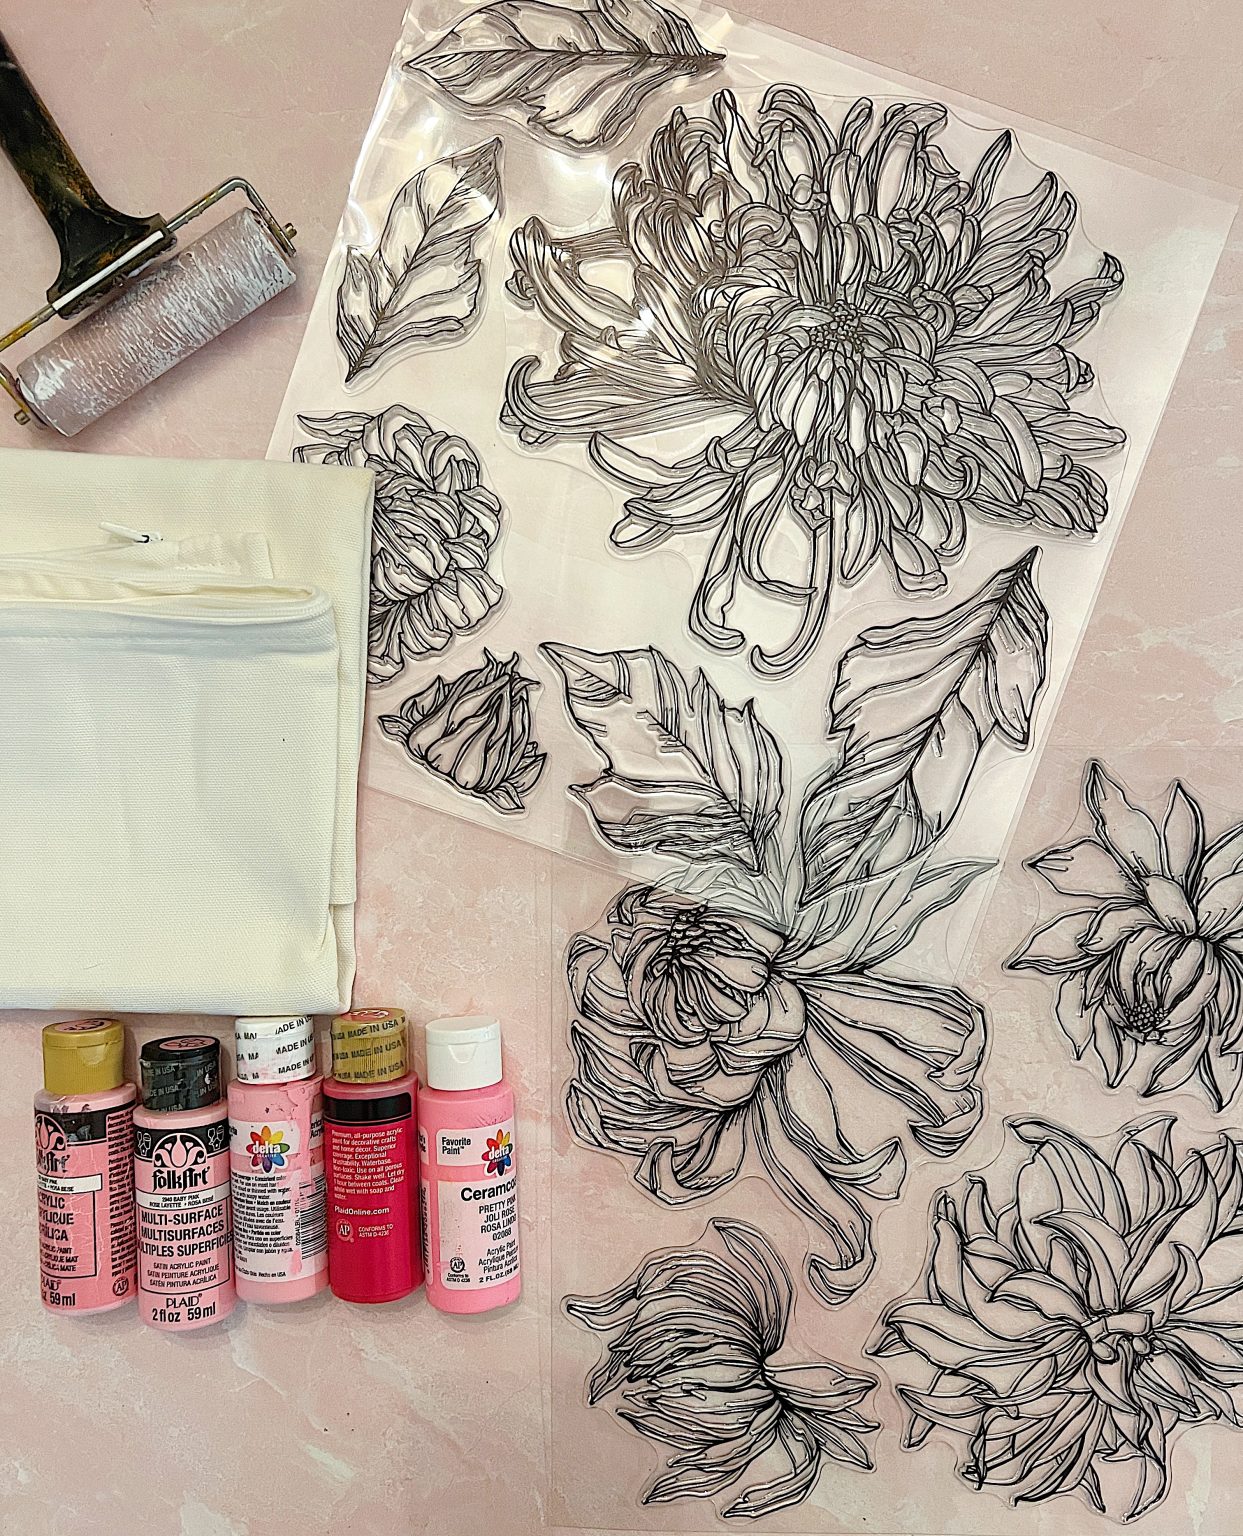
- Iron Orchid Designs Chrysanthemum Decor Stamp
- Pillow cover
- Assorted Acrylic Paints
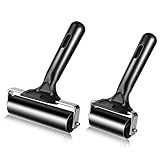
- Brayer (I actually used two and I would suggest you do the same.)


If you are enjoying my blog, you can sign up to receive my blog updates here.
.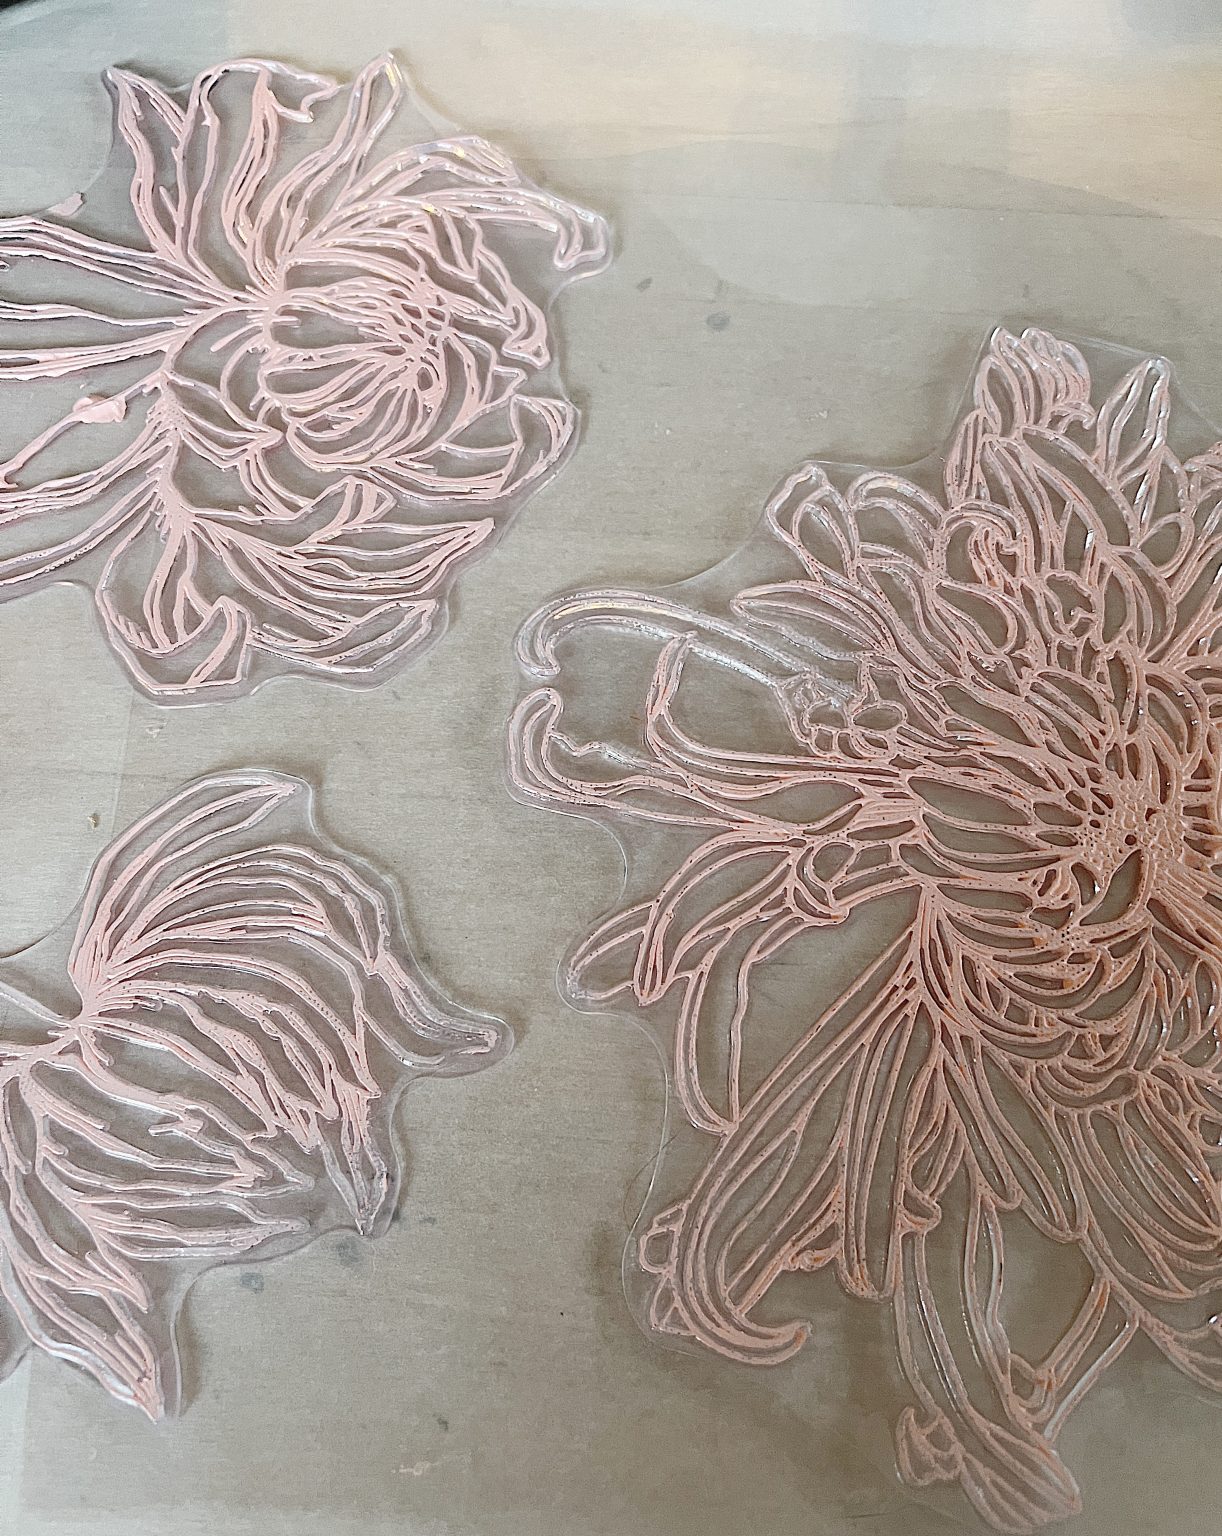
- Iron the pillow cover and lay out the stamps to decide on a design for your pillow.
- In order to make the painting step very simple, choose a light color of paint and roll paint on the stamp with the brayer.
- Stamp the design on your pillow. This will help you paint your design.
- As soon as you are done with the stamps, place them in warm soap and clean off the paint. They are very easy to clean if you do this before they dry completely.

- This is what my pillow looked like after I stamped it but before I stamped on the leaves.
- You are now ready to paint the pillow.
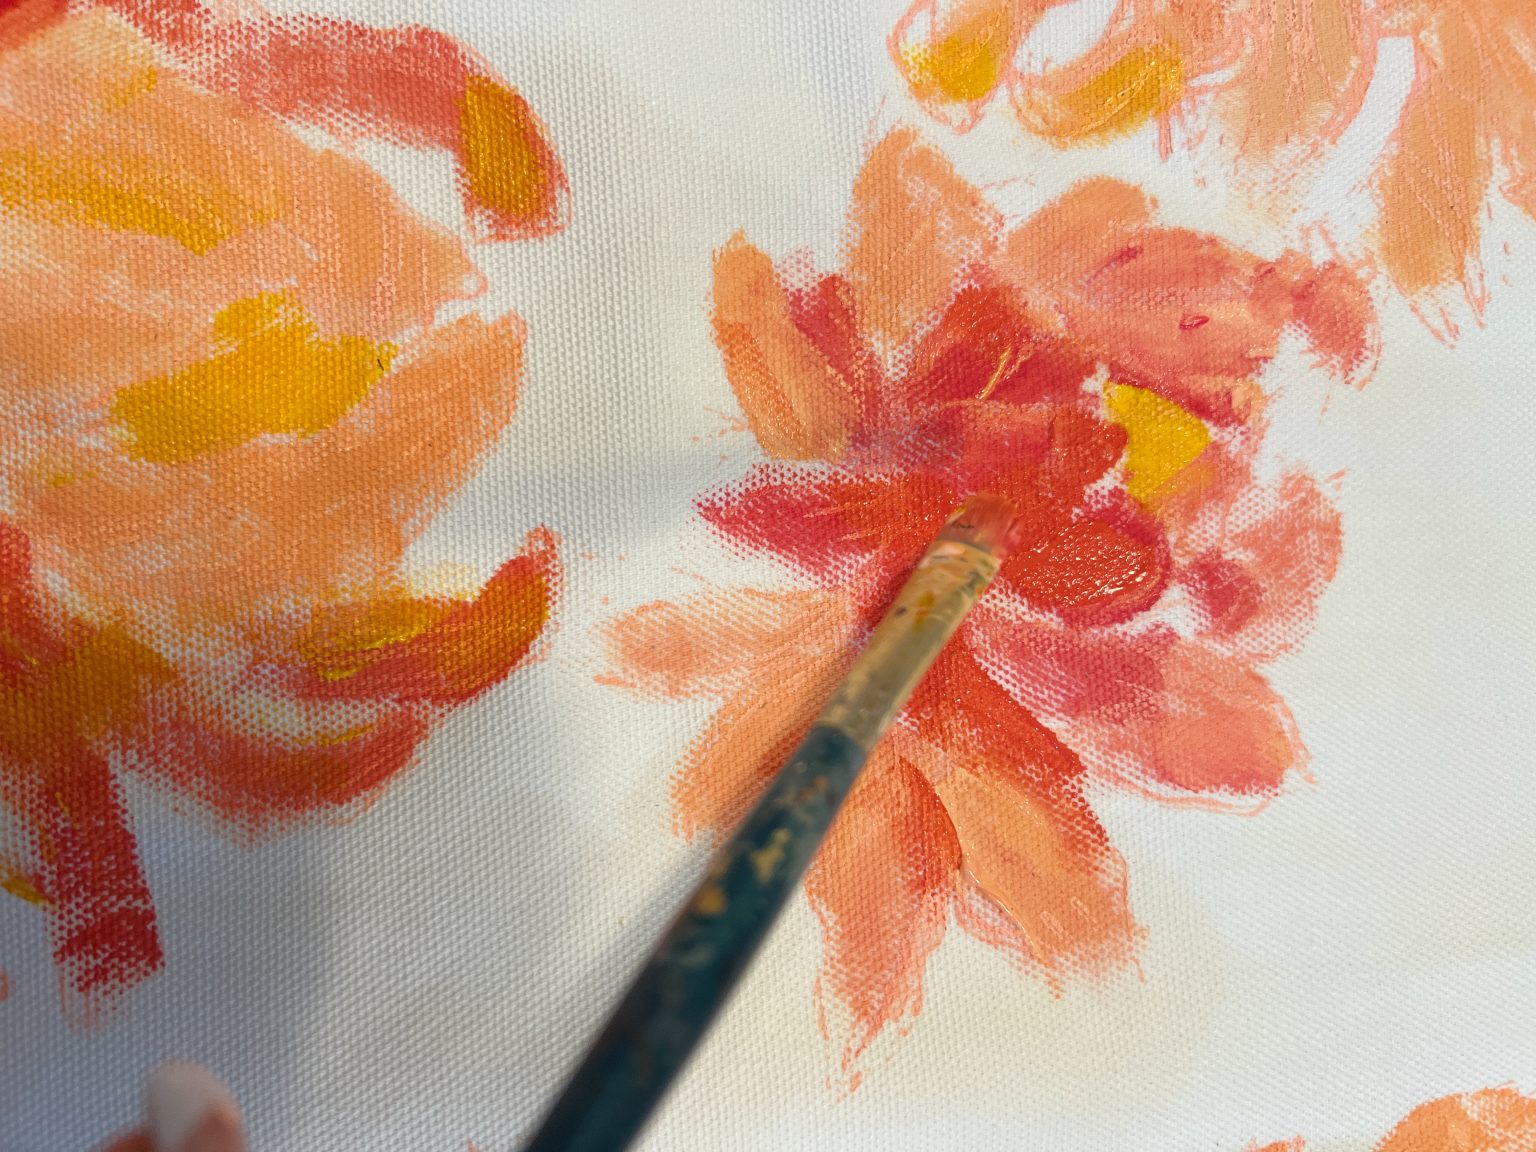
- Mix your paints. I didn’t want to paint my flowers all one color so I mixed three different “pinks/oranges” for the flowers. I also used a bright warm yellow for the stamen and two shades of green for the leaves.
- Paint the flowers using the design from the light pink stamp. Just paint over it.
- I made the centers of each flower either darker or lighter. I followed the stamp design to see where the petals were but knew my painting did not need to be perfect.
- You can see how loose I painted this. Just know, that anyone can paint this!
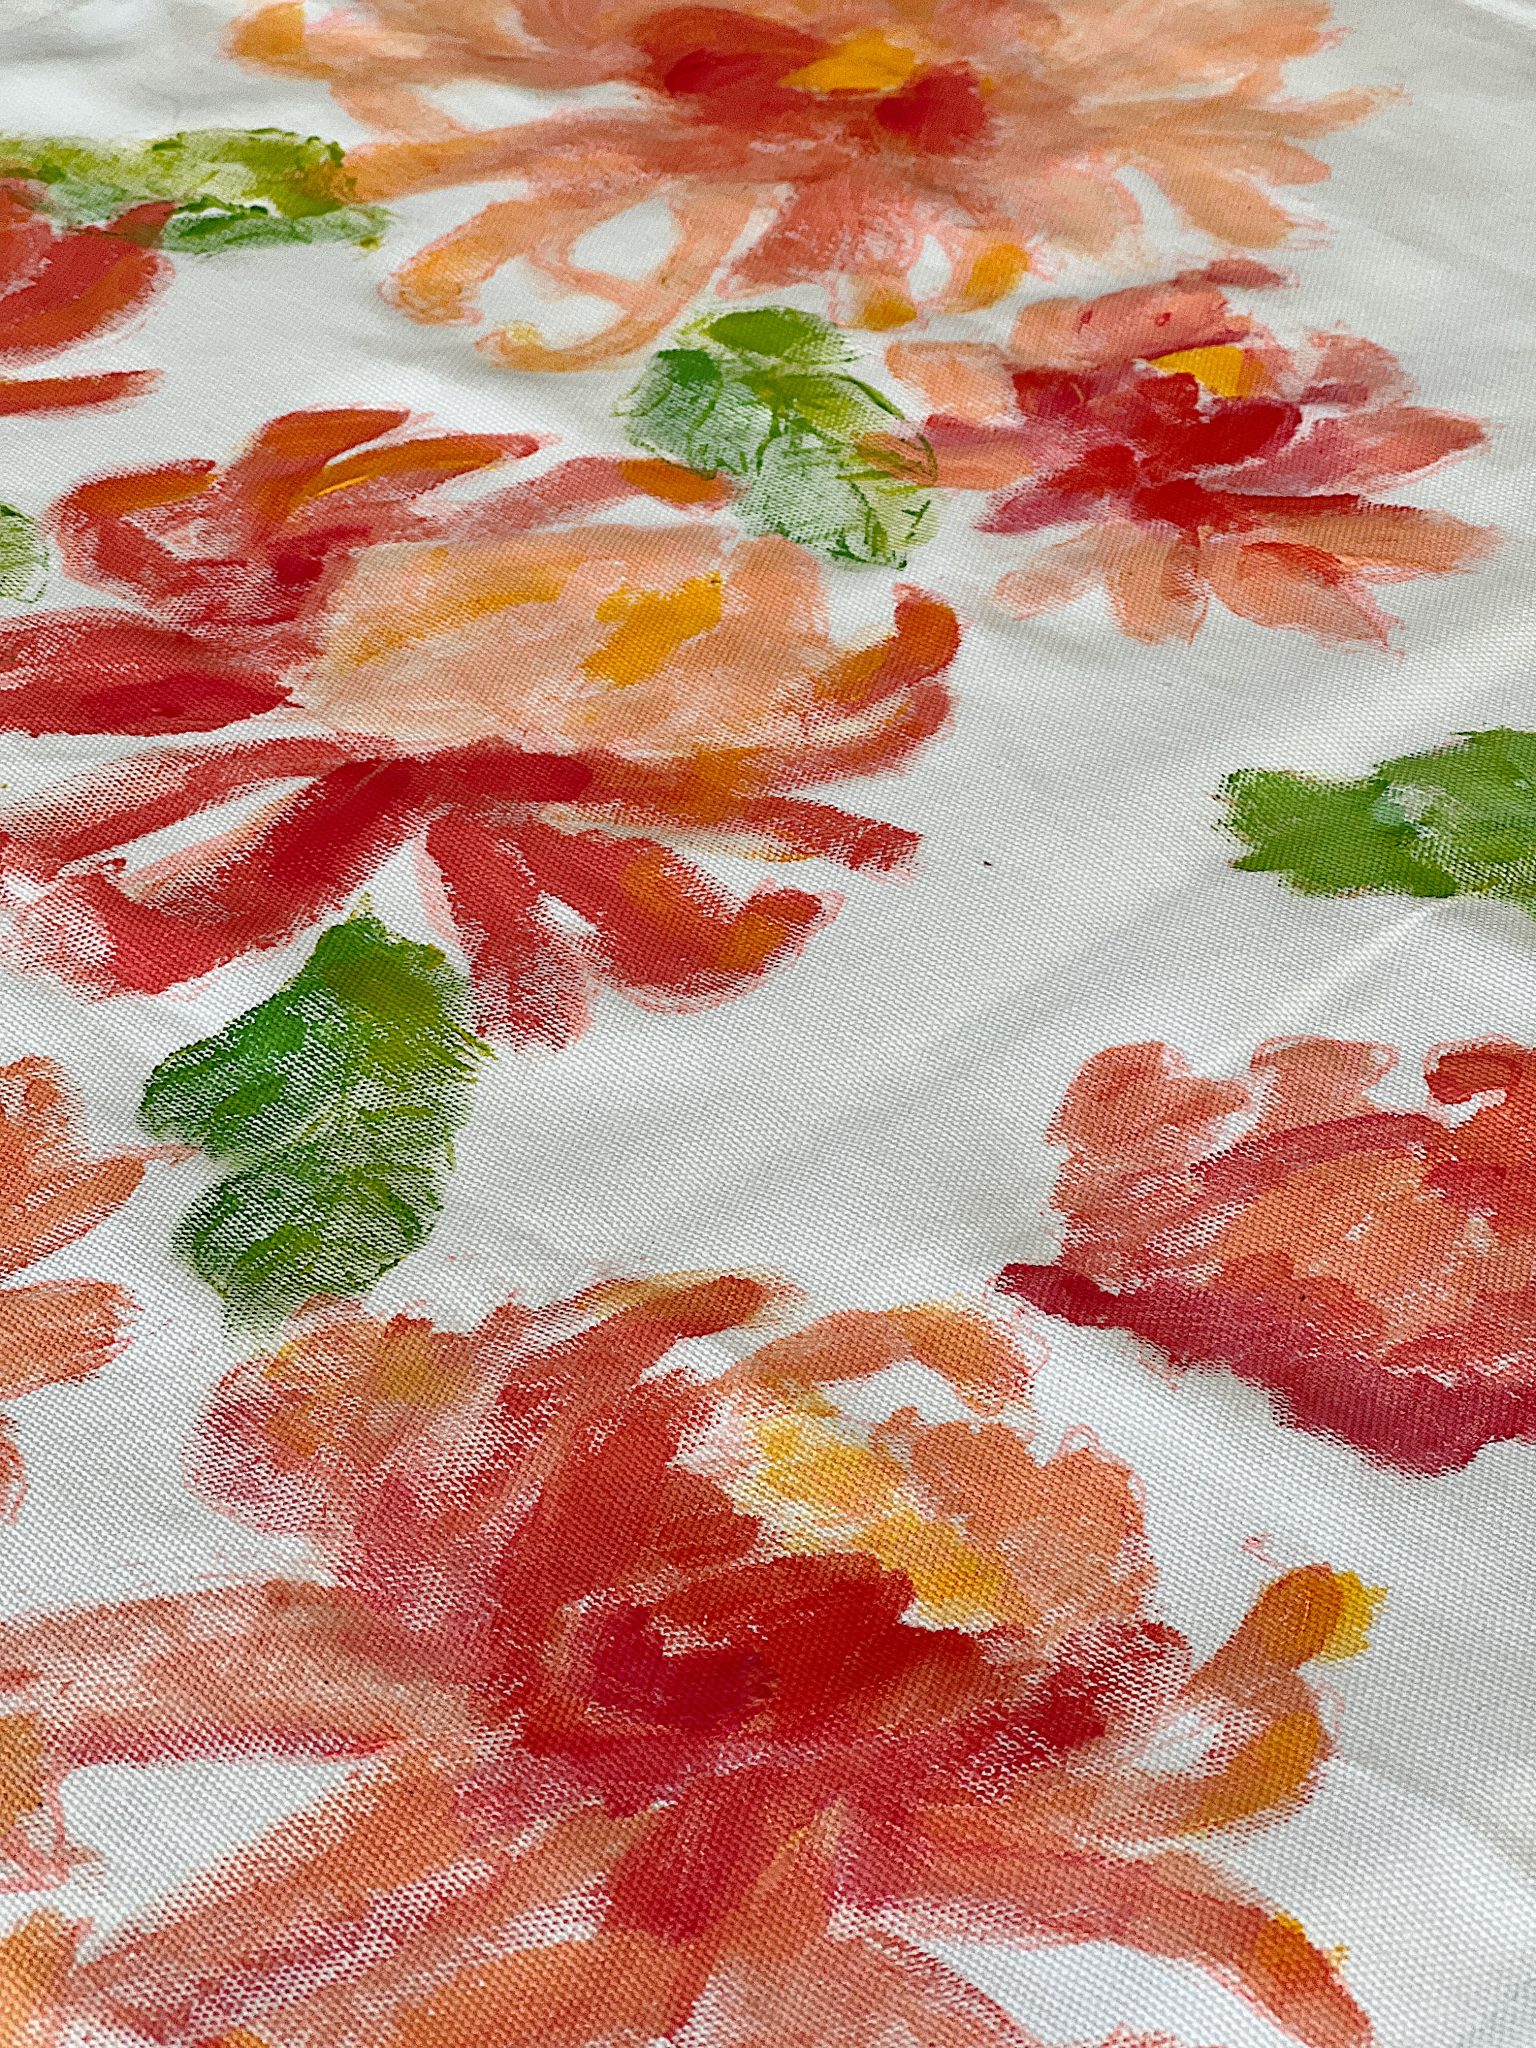
- This is what the painted pillow looked like. Nothing fancy! Hahaha.
- Be sure to let the paint dry completely before completing the next step.
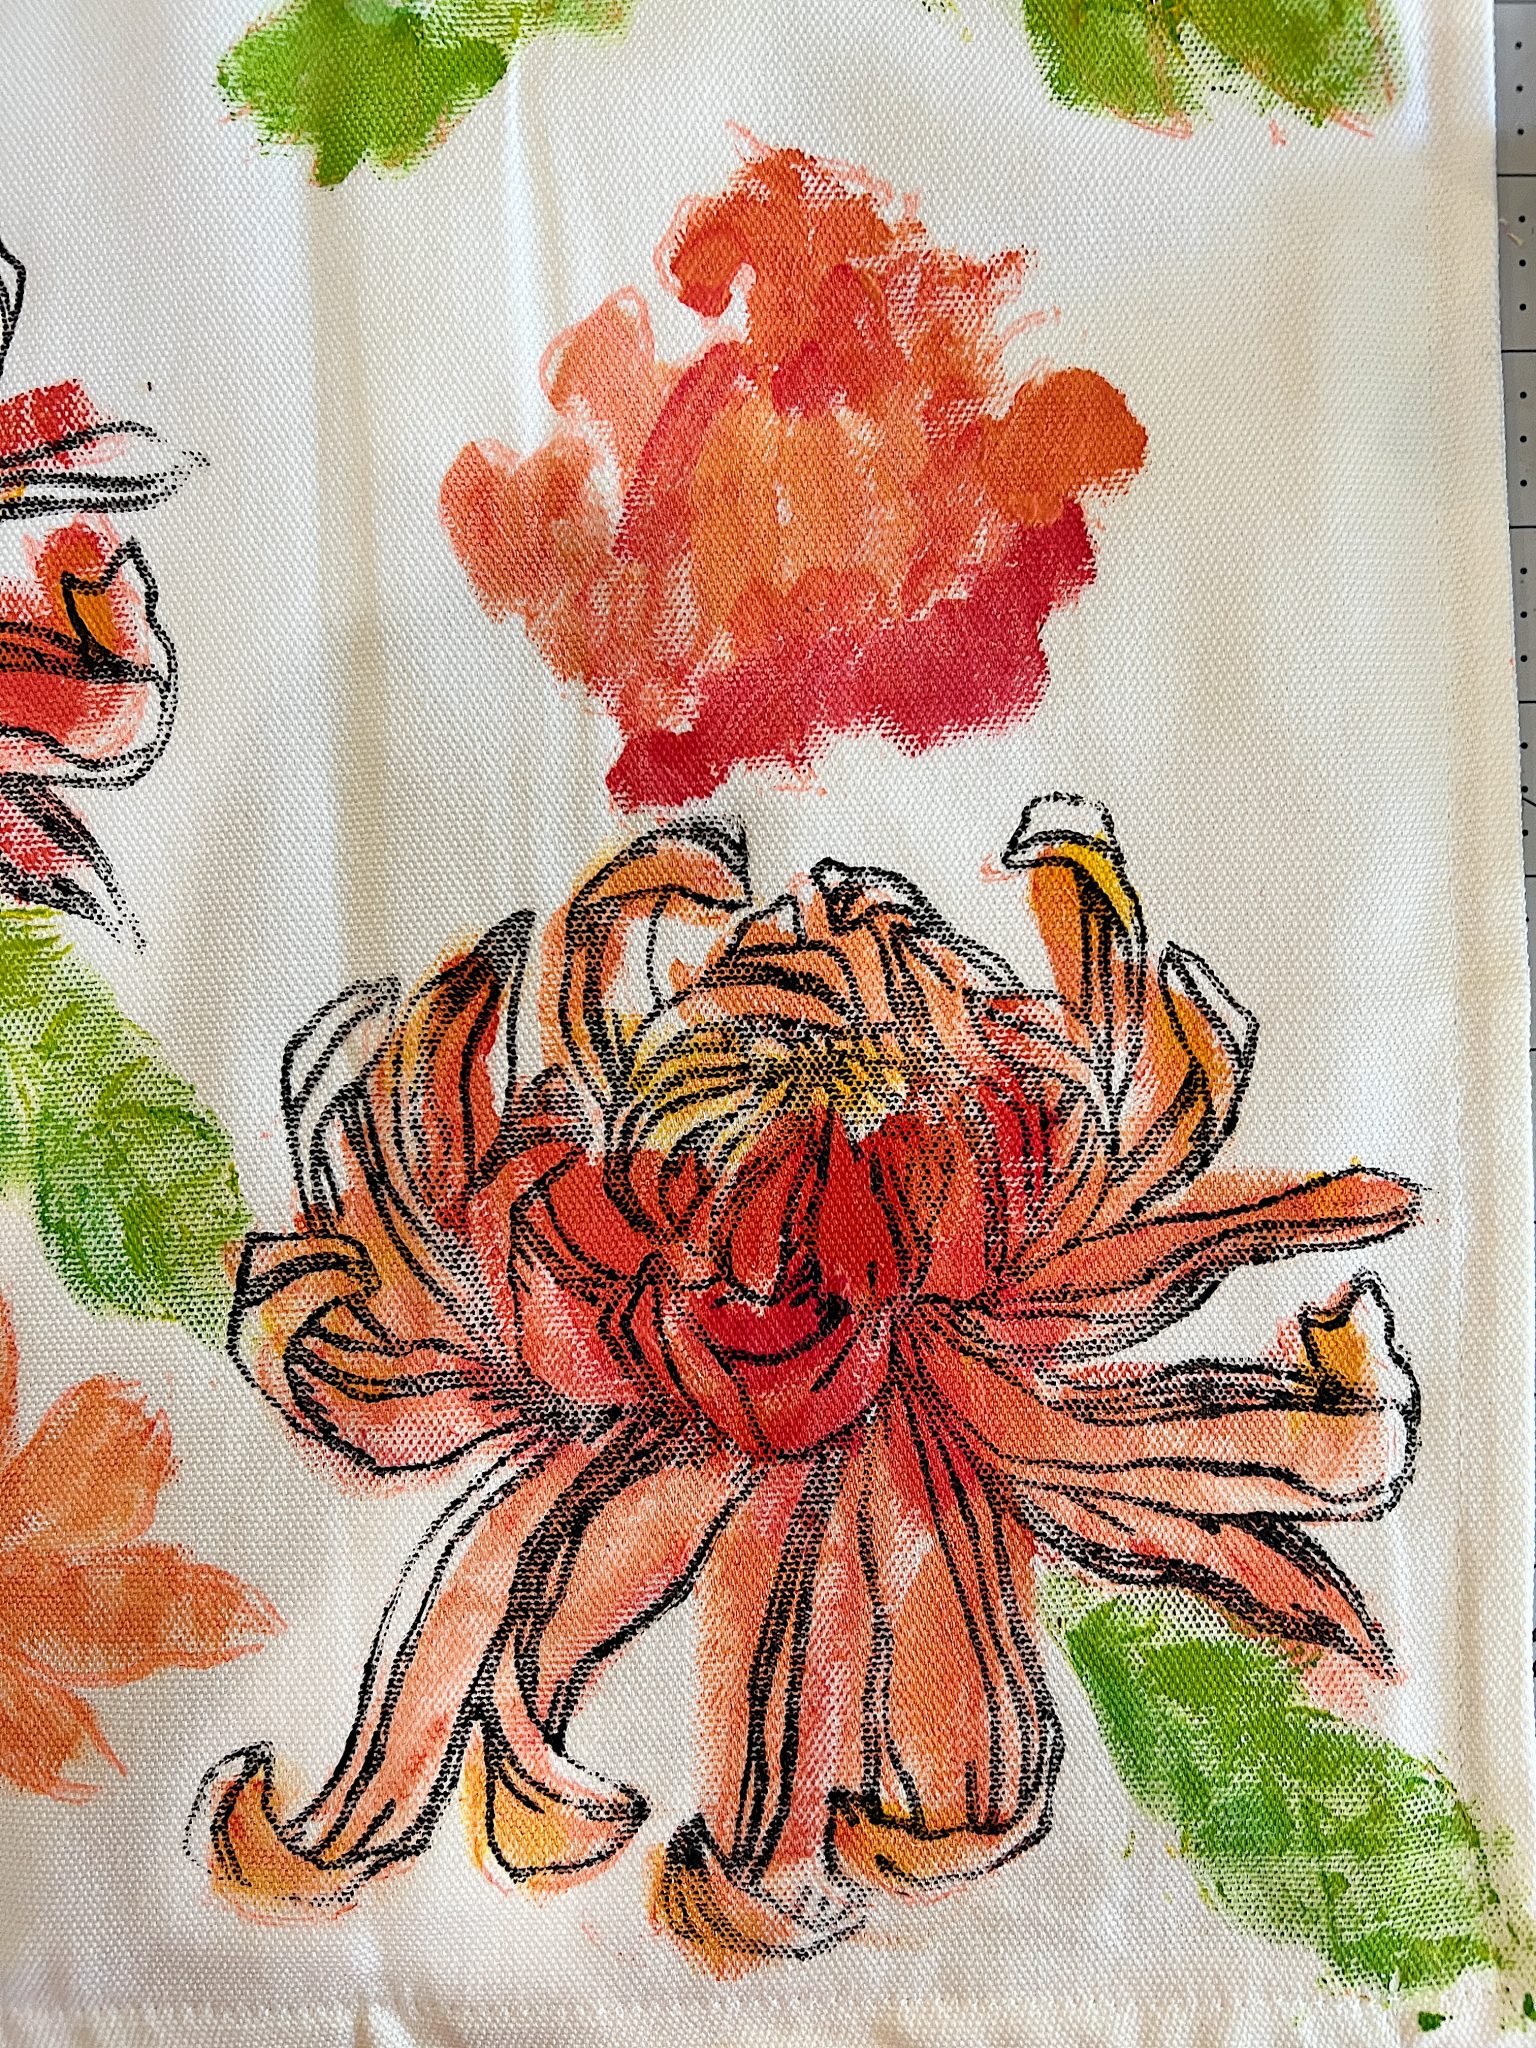
- The next step is to add the stamp design on top of the painted flowers. I used black paint but you could also use gray or brown paint.
- Use the brayer to add a layer of paint onto the stamp. Be sure to get enough paint on the stamp, but not too much.
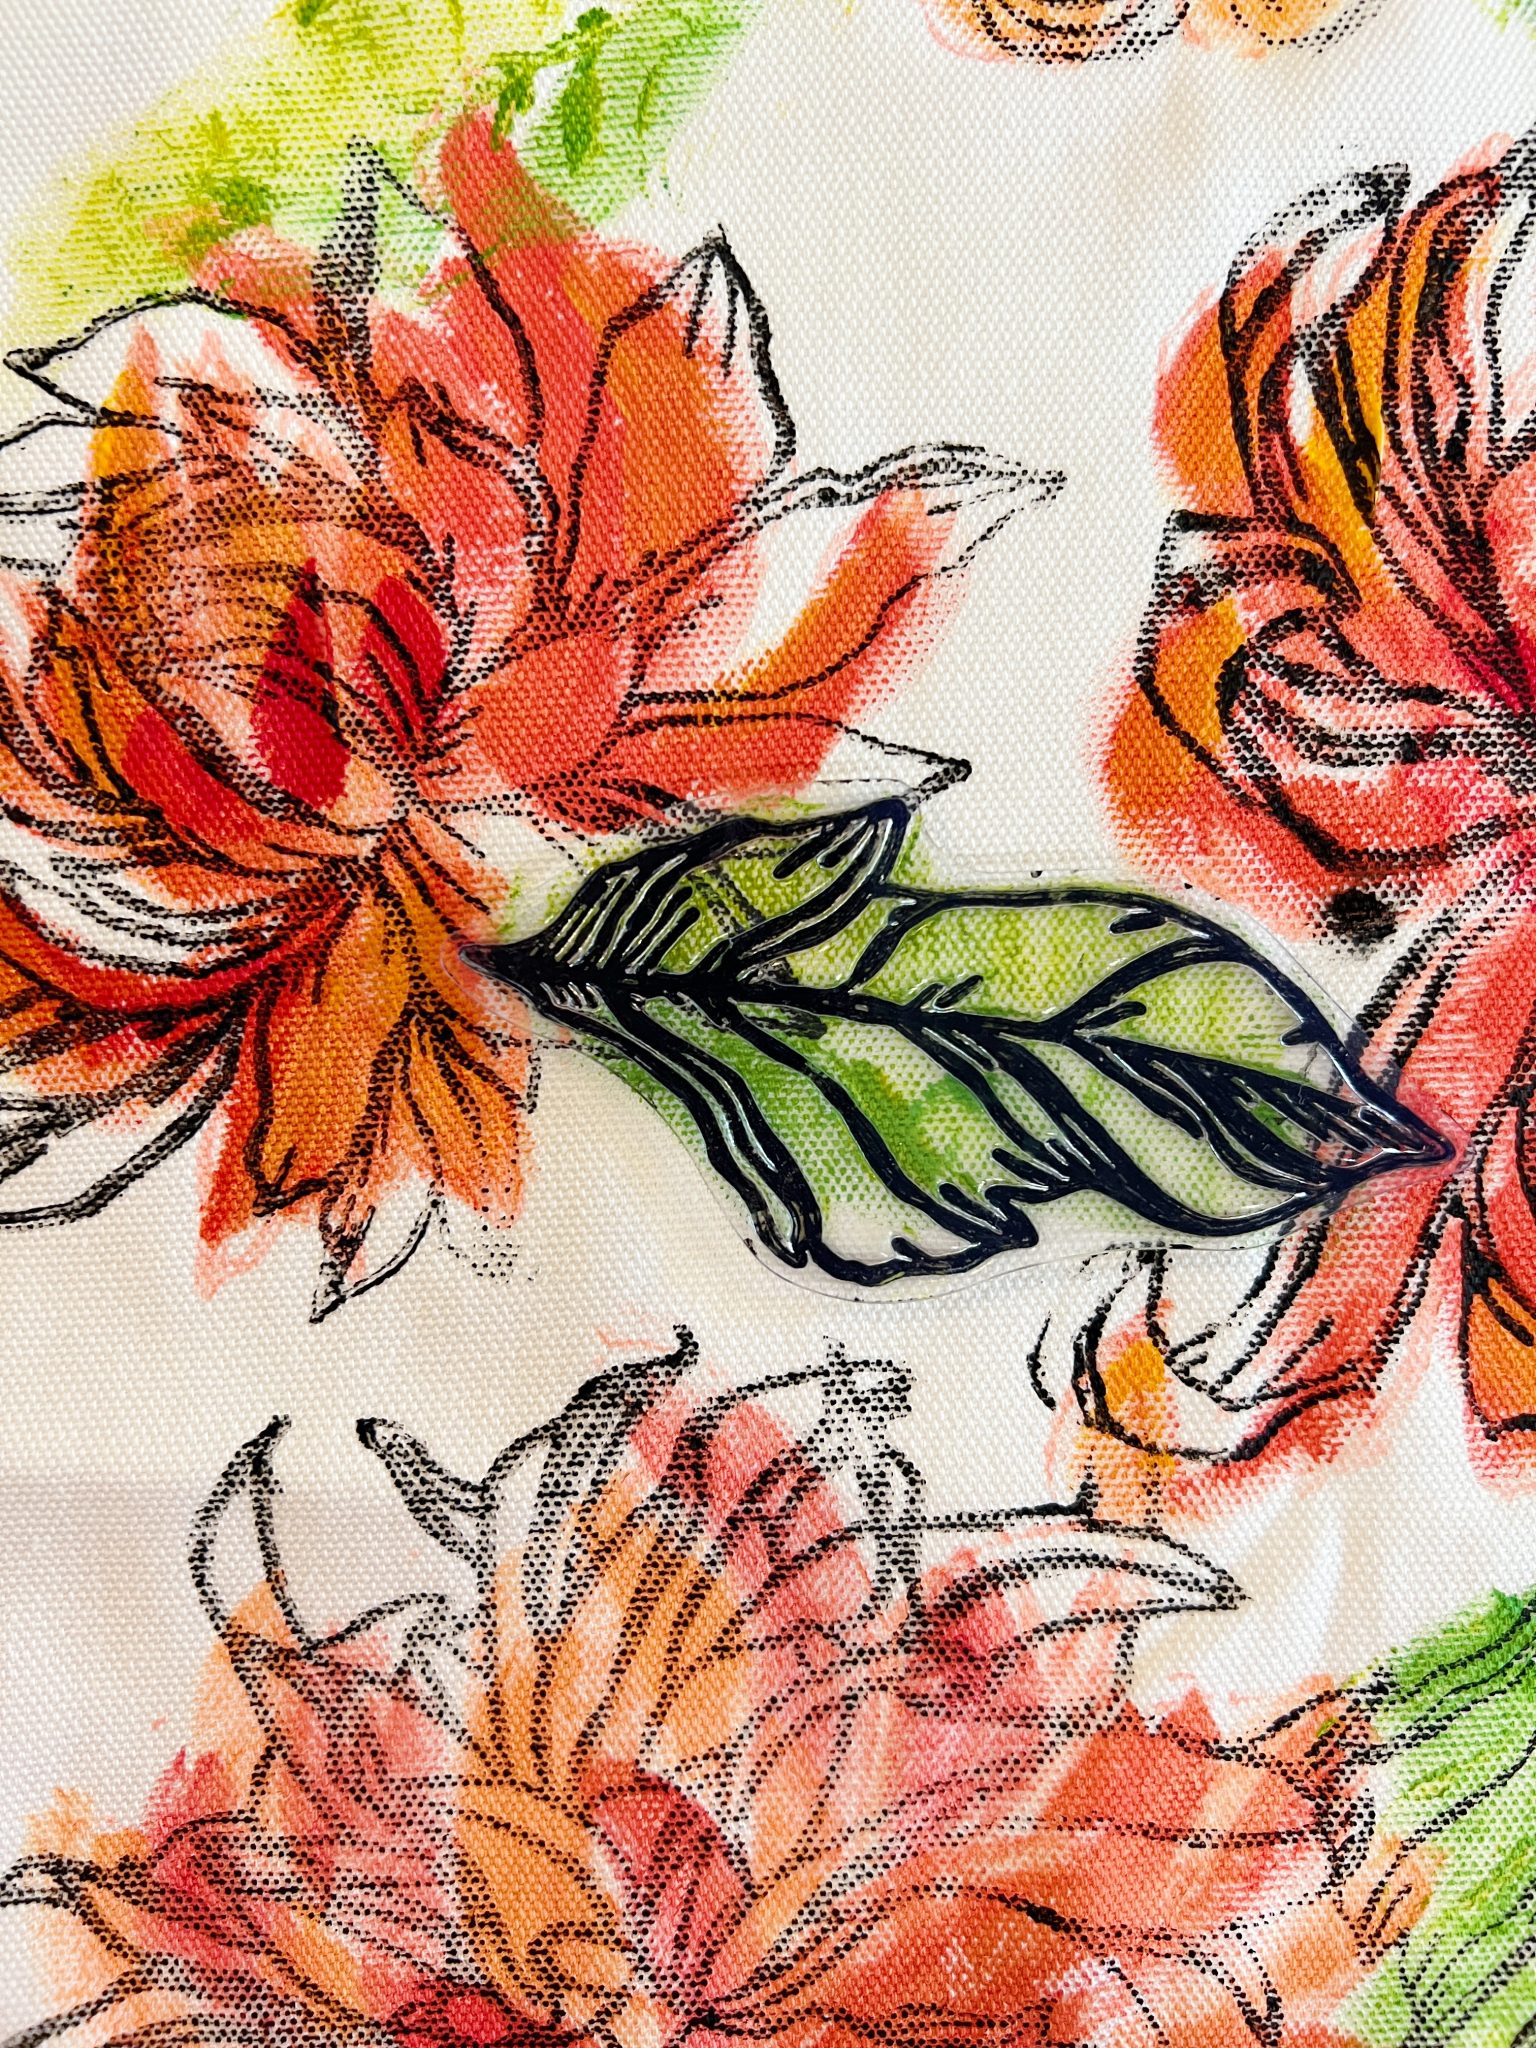
- See the leaf stamp above? I placed it on the green paint, then used a second clean brayer to gently add pressure to the stamp to transfer the paint onto the pillow.
- Let the pillow dry and then iron it to set the paint.
Doesn’t the design look great? I can promise you this is so easy to do. It takes about one-tenth the time it takes to add free-motion embroidery!
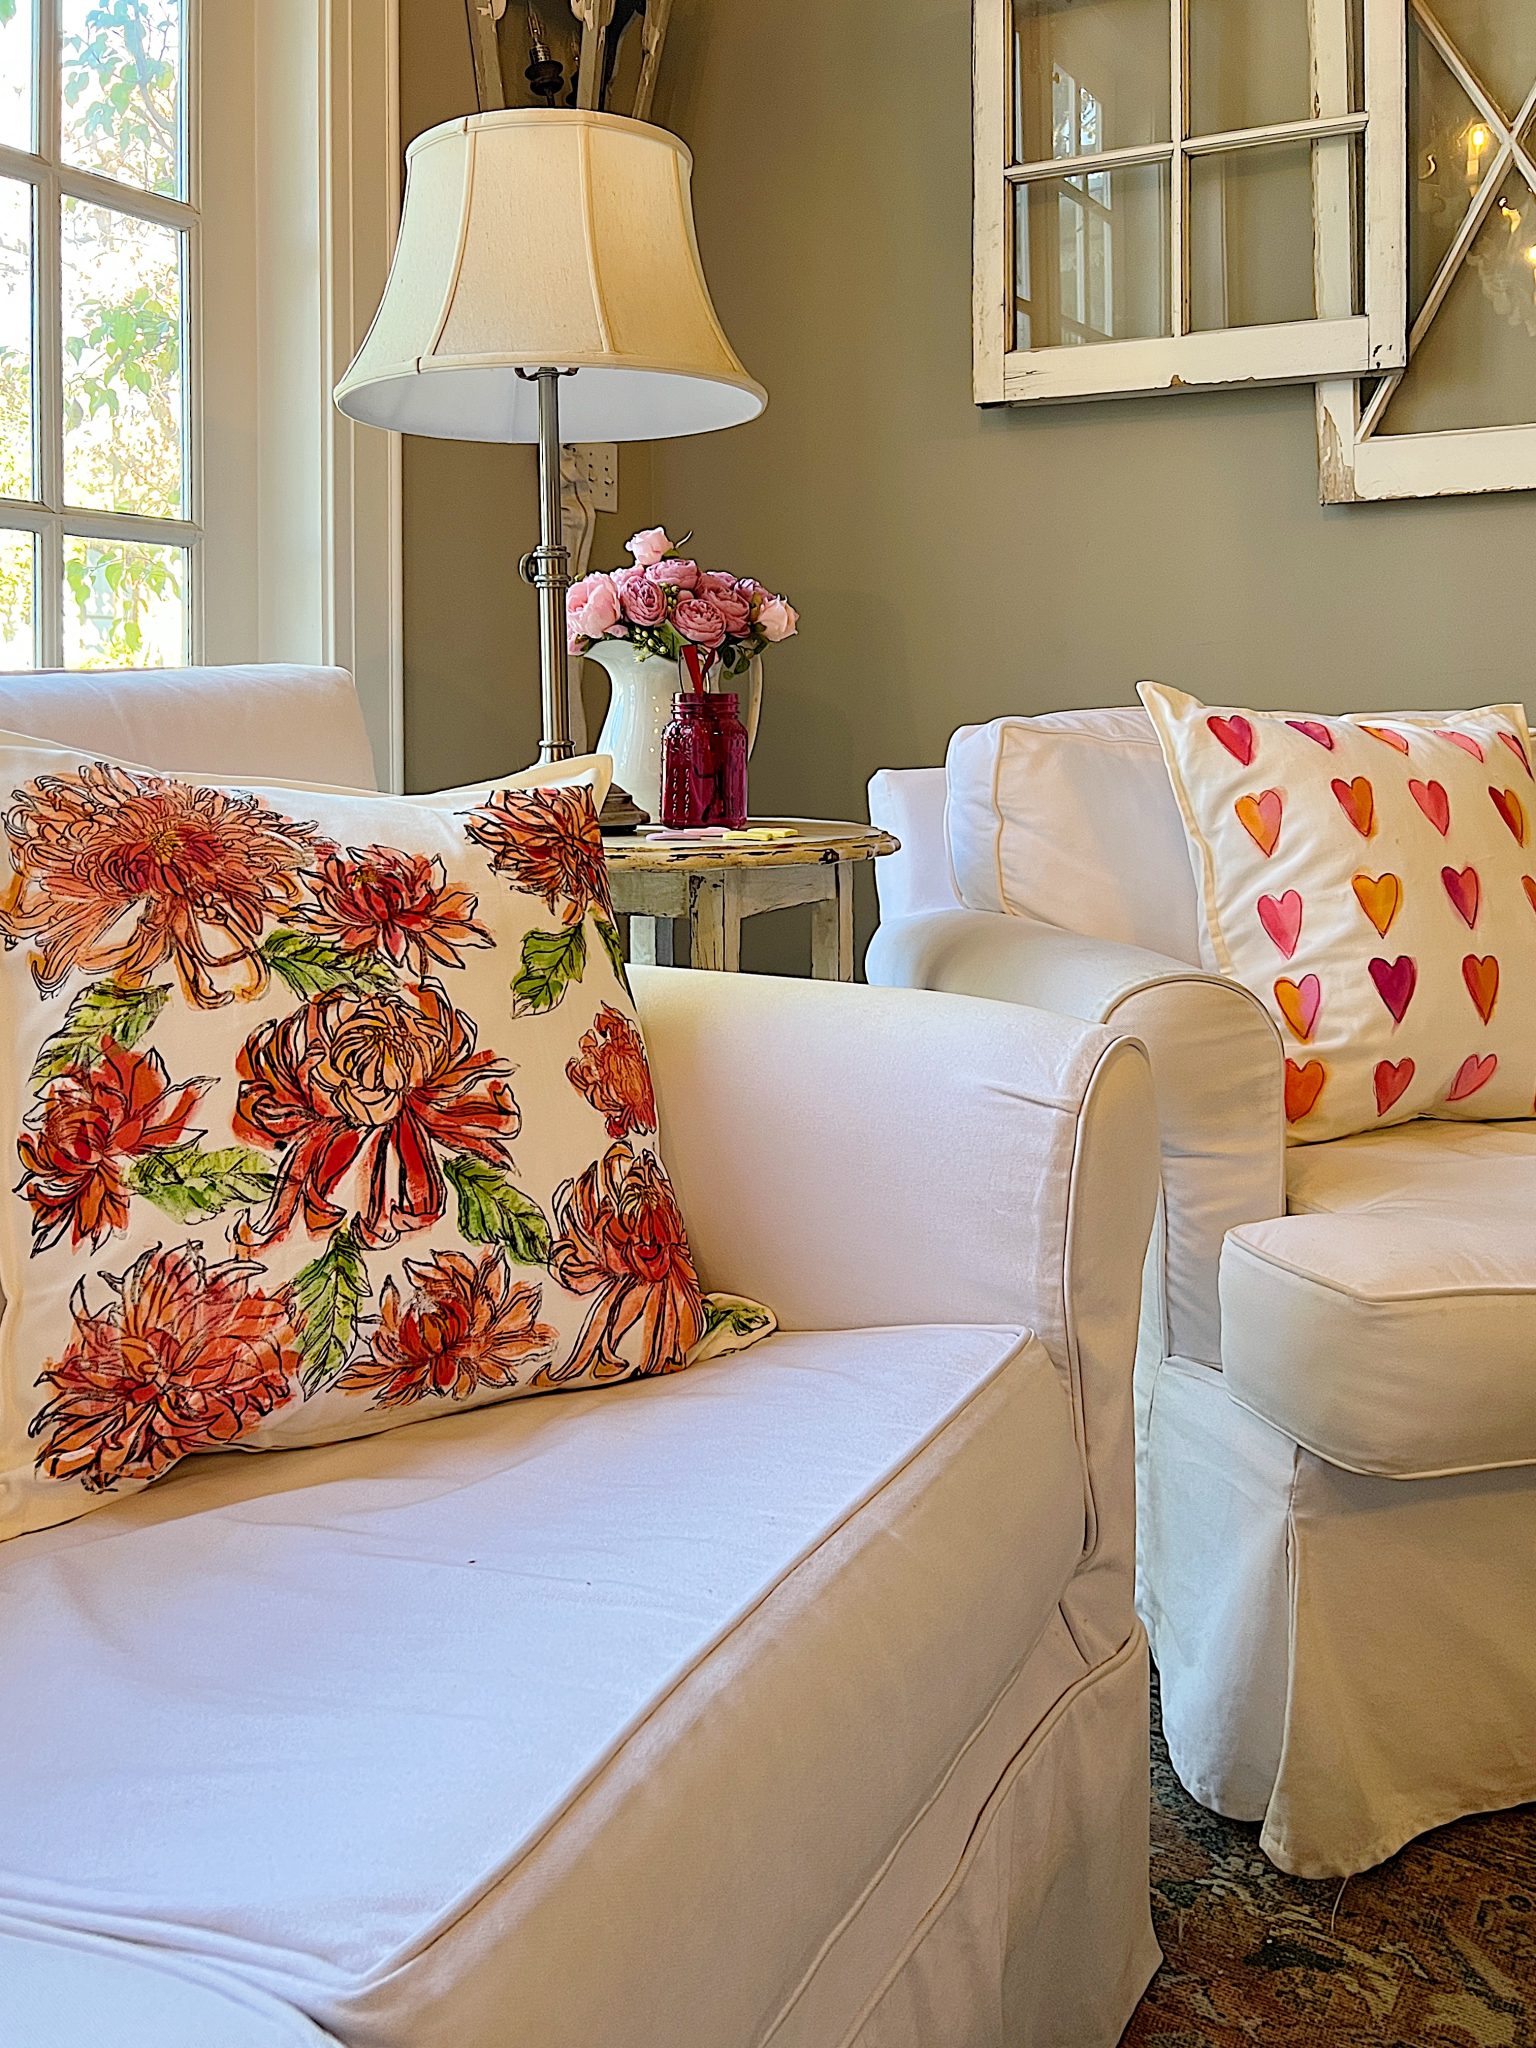
Flower Pillows
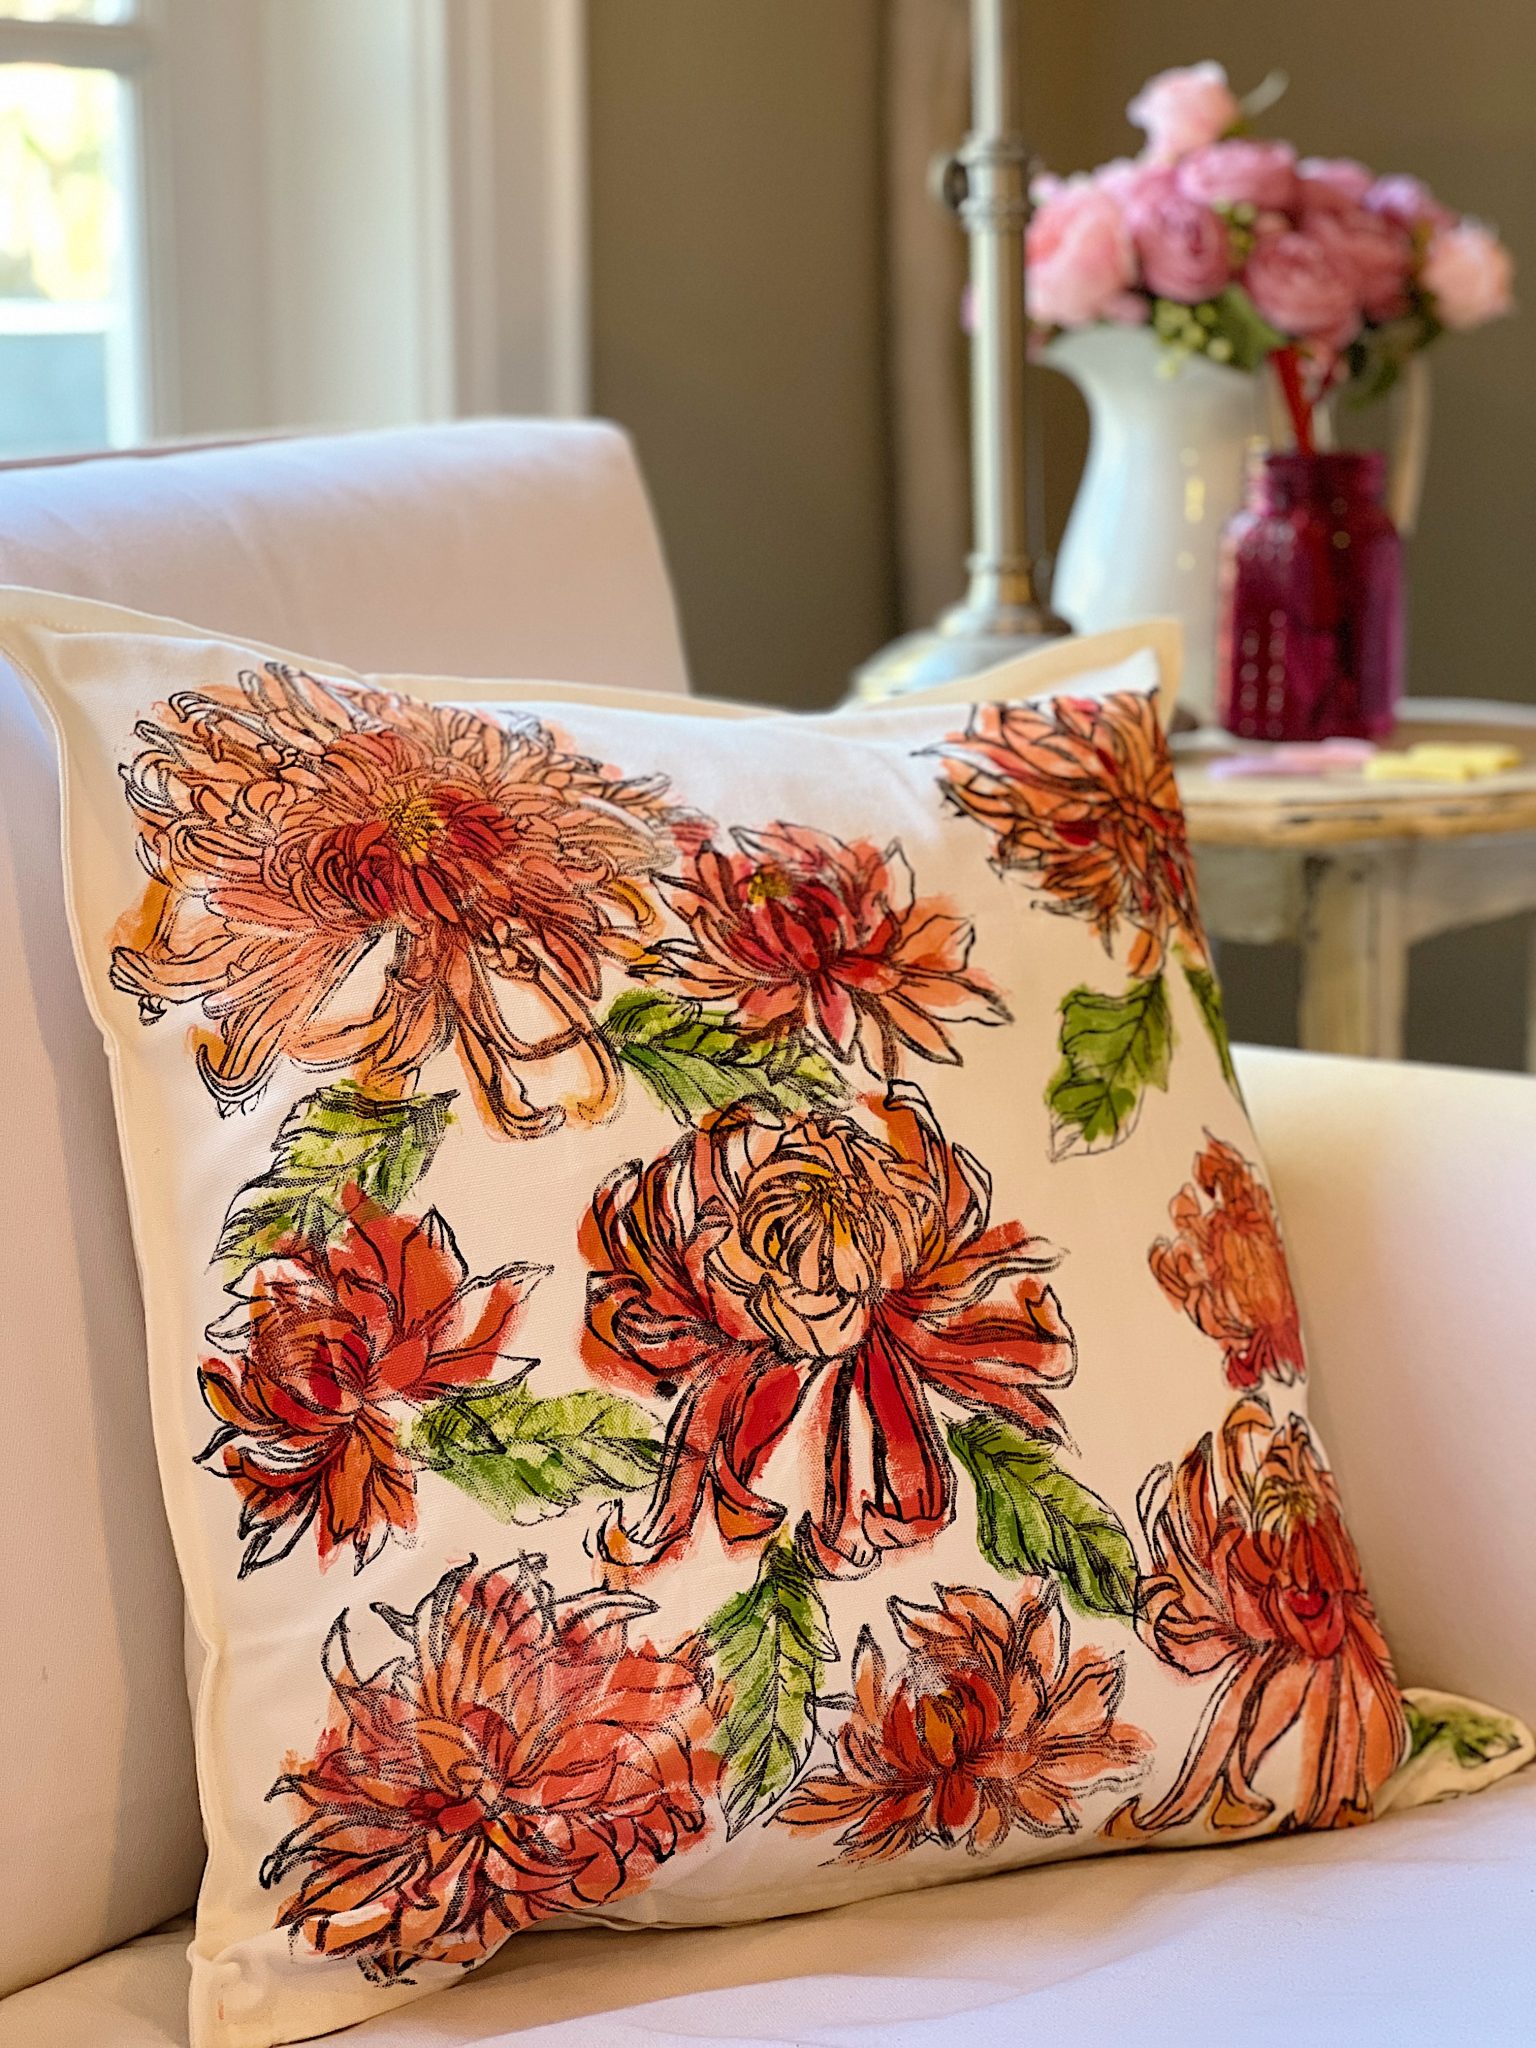
I can’t wait to use this pillow in my summer decor. It also works for fall It is going to look great for Valentine’s Day next year.


Watch Me Live!
I share a few Amazon Live broadcasts every week and they are so much fun!
Please tap on the links to see more.
Are you curious about the latest tech items you need to know about? Click here.

Want to see the items I use to make my crafts? You don’t need them all but some are essentials. Join me here.
On this broadcast, I shared some of my favorite faux flowers and showed how to arrange them as well! Click here.

Pin the image below to your boards on Pinterest (just click the Pin button in the top left corner). You can also follow along with me on Pinterest!

For more real-time updates, follow me on Instagram @My100YearOldHome

Oh my goodness! This is so pretty and I love the technique you used.
Thanks Mary Beth!
It looks absolutely stunning!
Can you wash those pillow cases afterwords? Are the paint going to stay or wash off?
In my experience, if you heat set the acrylic paint with an iron after it dries, you can safely wash in cold water.
The paint will stay if you wash it!
So beautiful, I need to try this. Thank you 😊
Wow, wow, wow! I am blown away by how easy this is and how fantastic the finished product looks. I thought for sure you hand painted those flowers and it would be way beyond my talents. Thanks for sharing the DIY.
I love this look! Where do you purchase your pillow covers?
There are some linked at the bottom of the post!
That is stunning and so easy!
Thanks Theda!
Awesome ! Love the colors … great for transactions in seasons. Love your crafts.. Simple for those that want to try something new too.
Love the details of the design ,I would love to do this myself and try being creative…as I am from Australia I will see if I can get the product here, if not will order from you.,love what you do…Leslie. Cheers.
Where do we buy the fabric transfers?
Hi Debbie- Here is the link to the transfer – https://ironorchiddesigns.com/product/chrysanthemum-12×12-iod-stamp/. Check the post for the link about where to buy! This is a fun one. Enjoy!
Do you need to wash the pillow covers first before painting? And do you use fabric acrylic paint or just regular acrylic paint?
Thank you.
Elaine