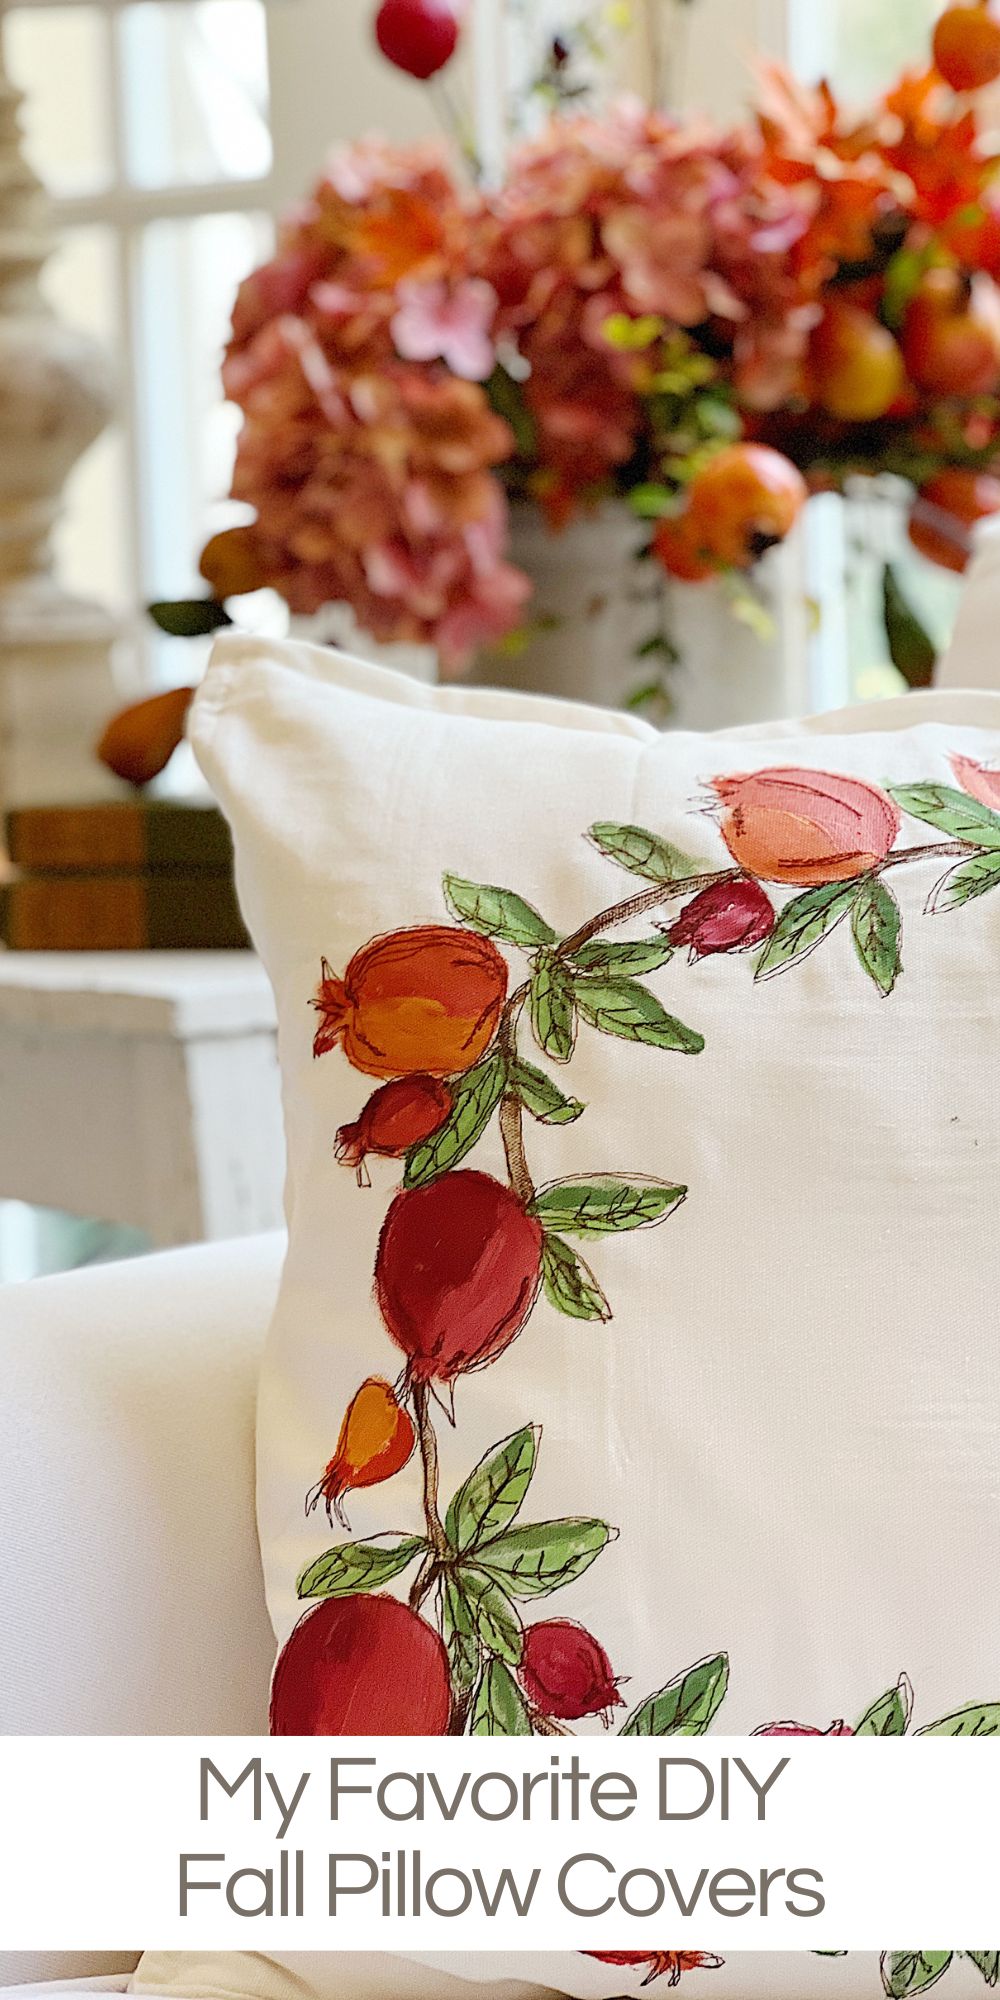
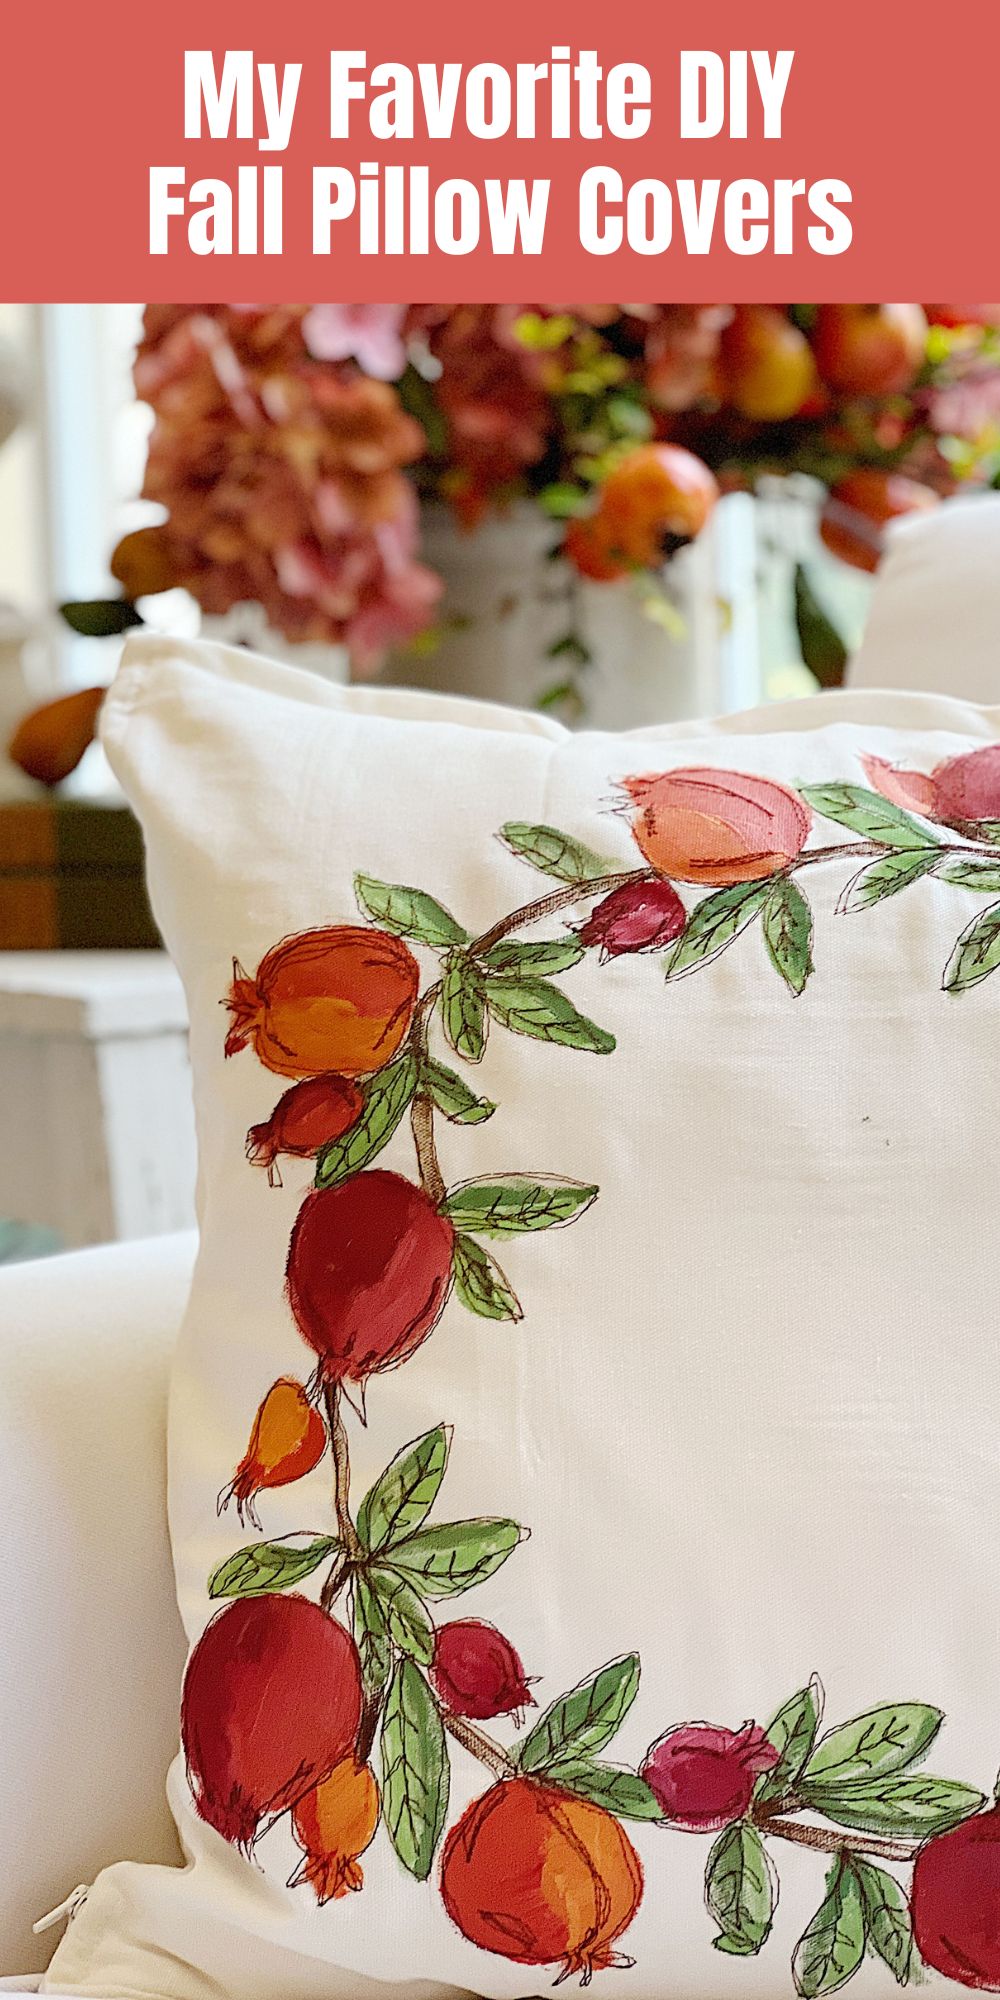
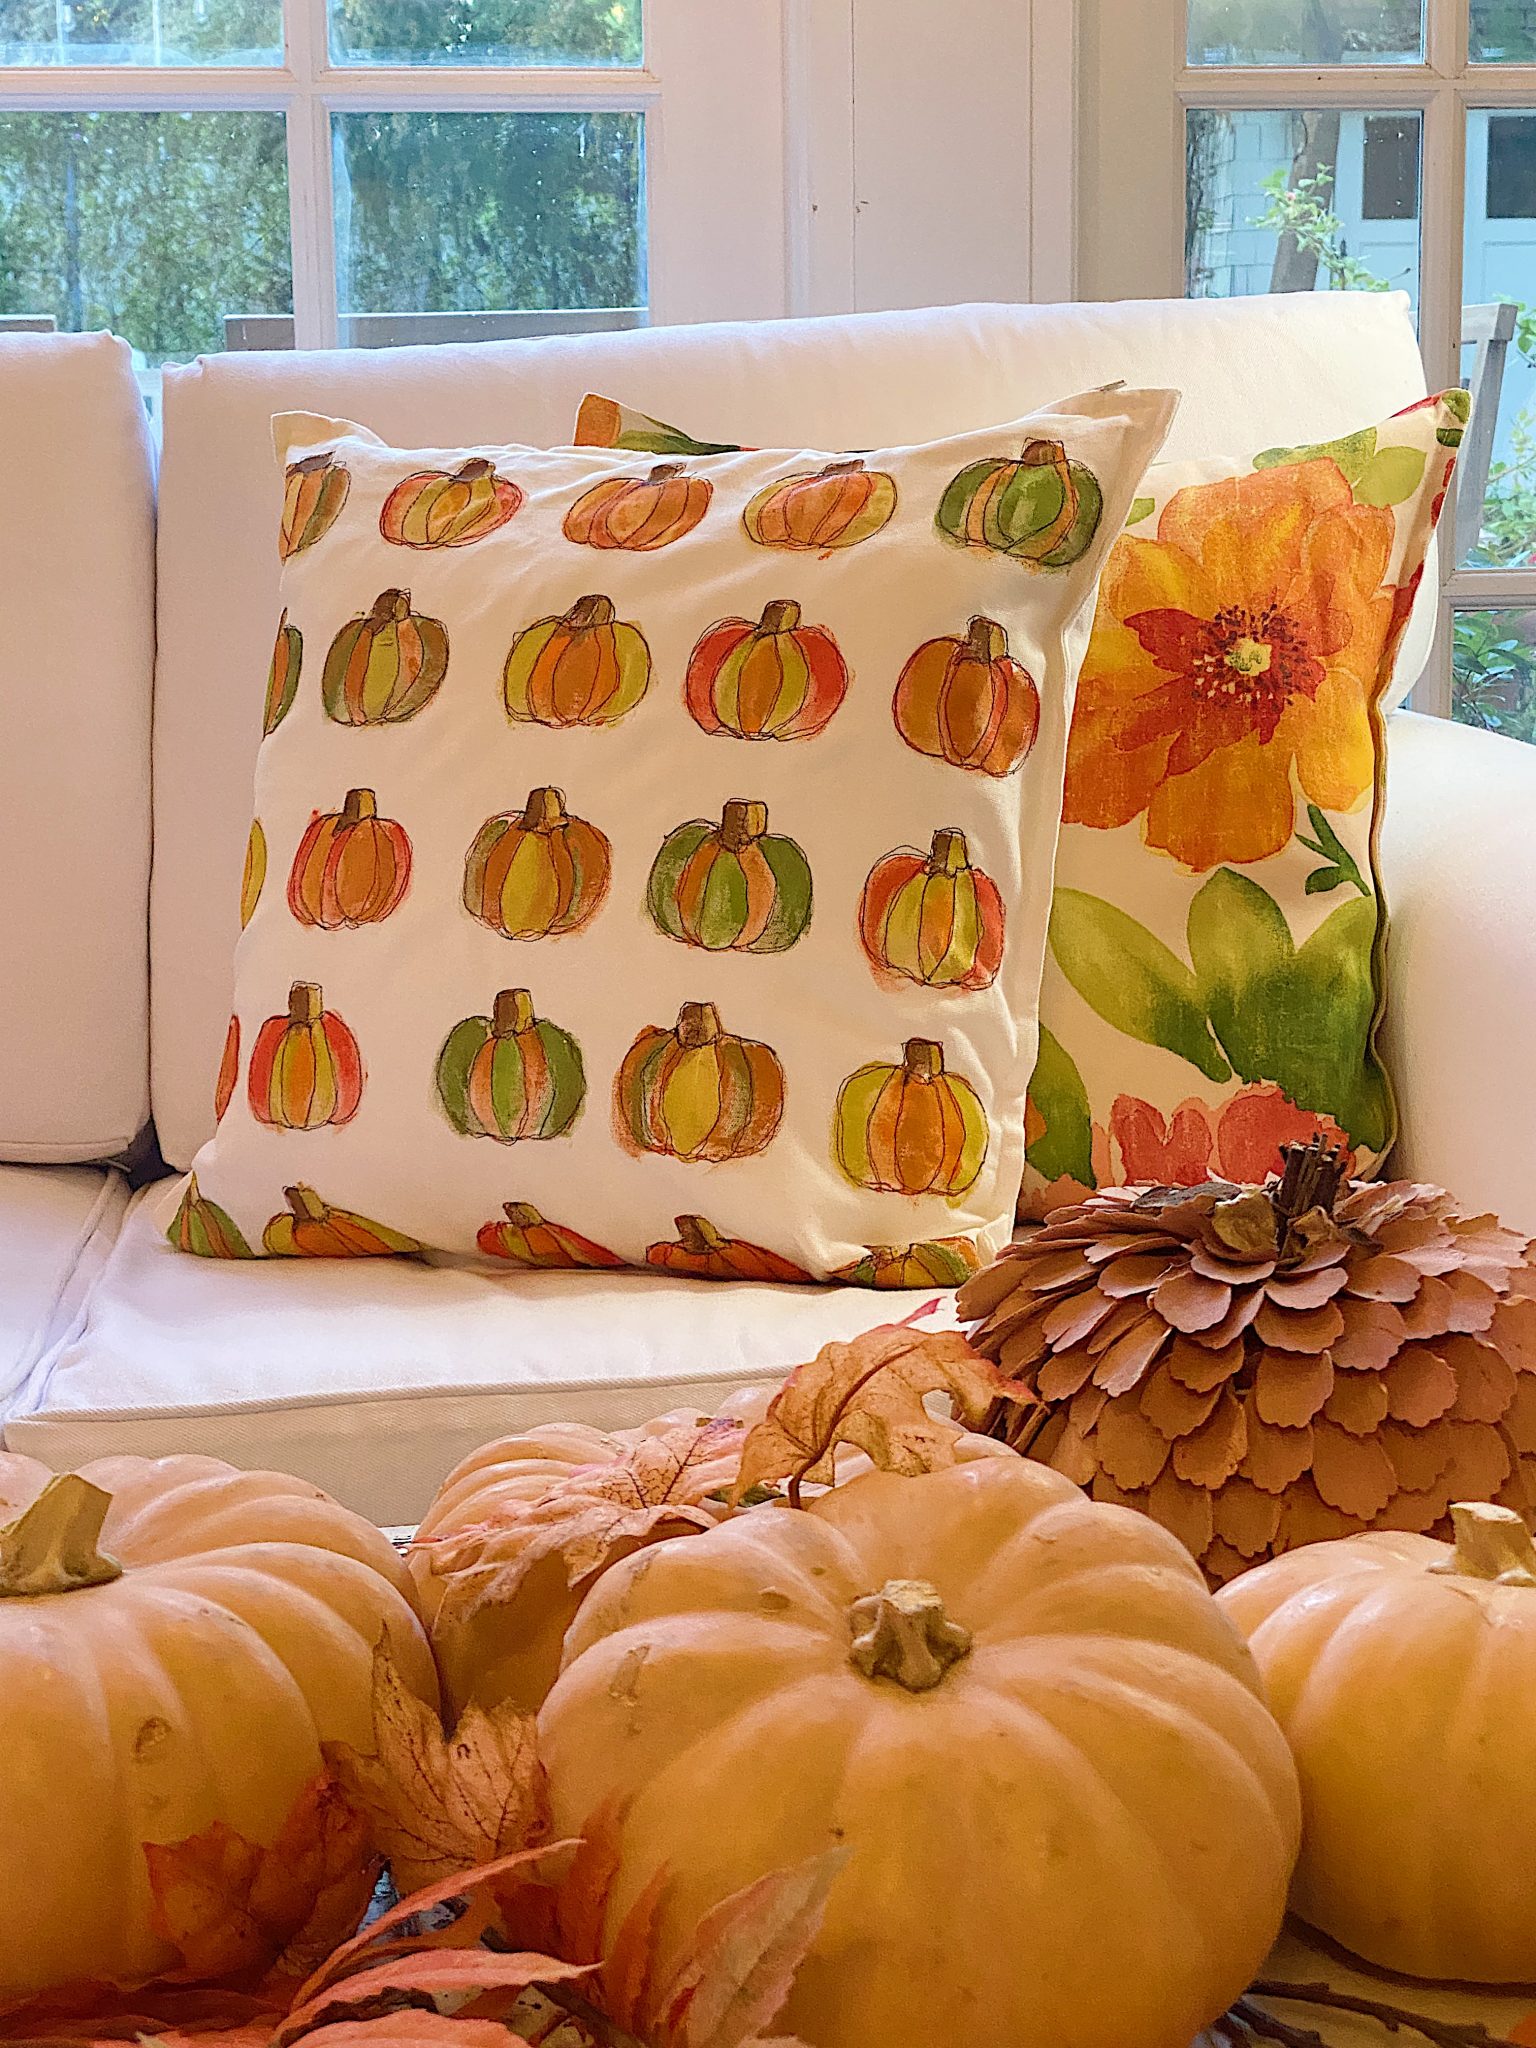
My Favorite DIY Fall Pillow Covers
Now that summer is behind us, here is another fun fall DIY: fall pillow covers. They are an easy way to shift the seasons.
Making the fall pillow covers yourself is inexpensive, easy, and fun. I have a favorite fall item, and I used it to inspire this brand-new pillow cover. Can you guess what my favorite fall item is?

Favorite Fall Decor Item – Fall Pillow Covers
Did you guess right?
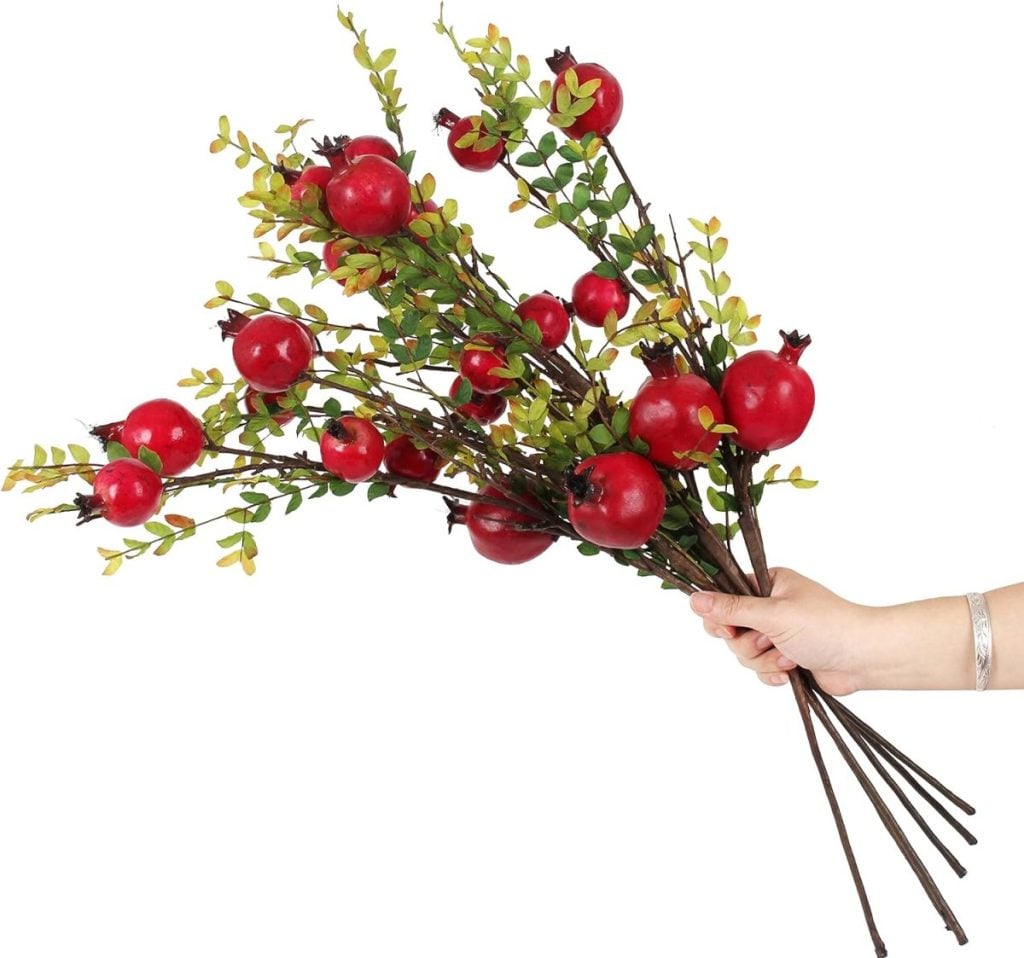
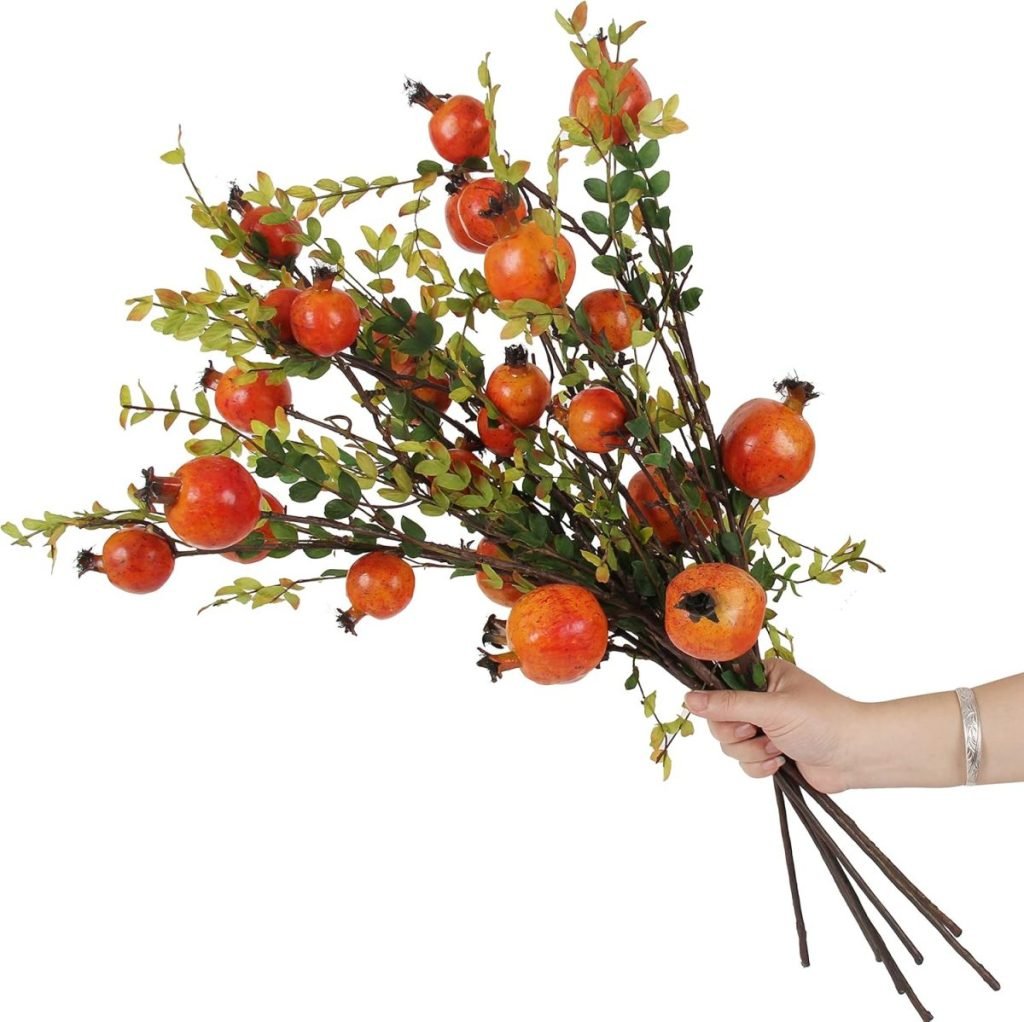
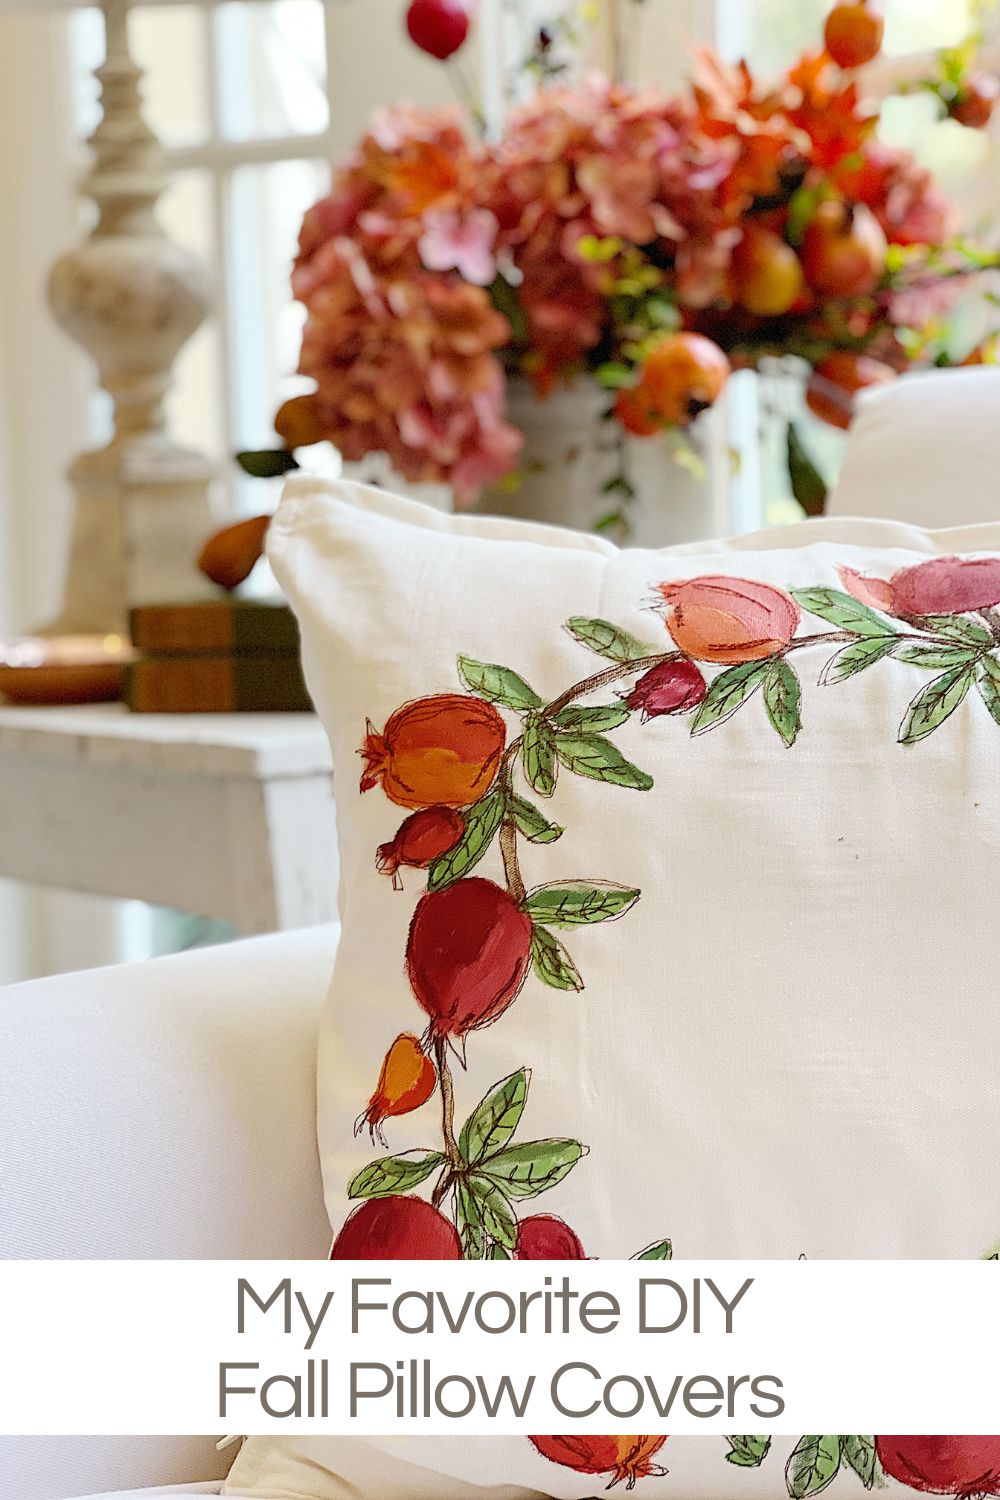
The answer is faux pomegranates.
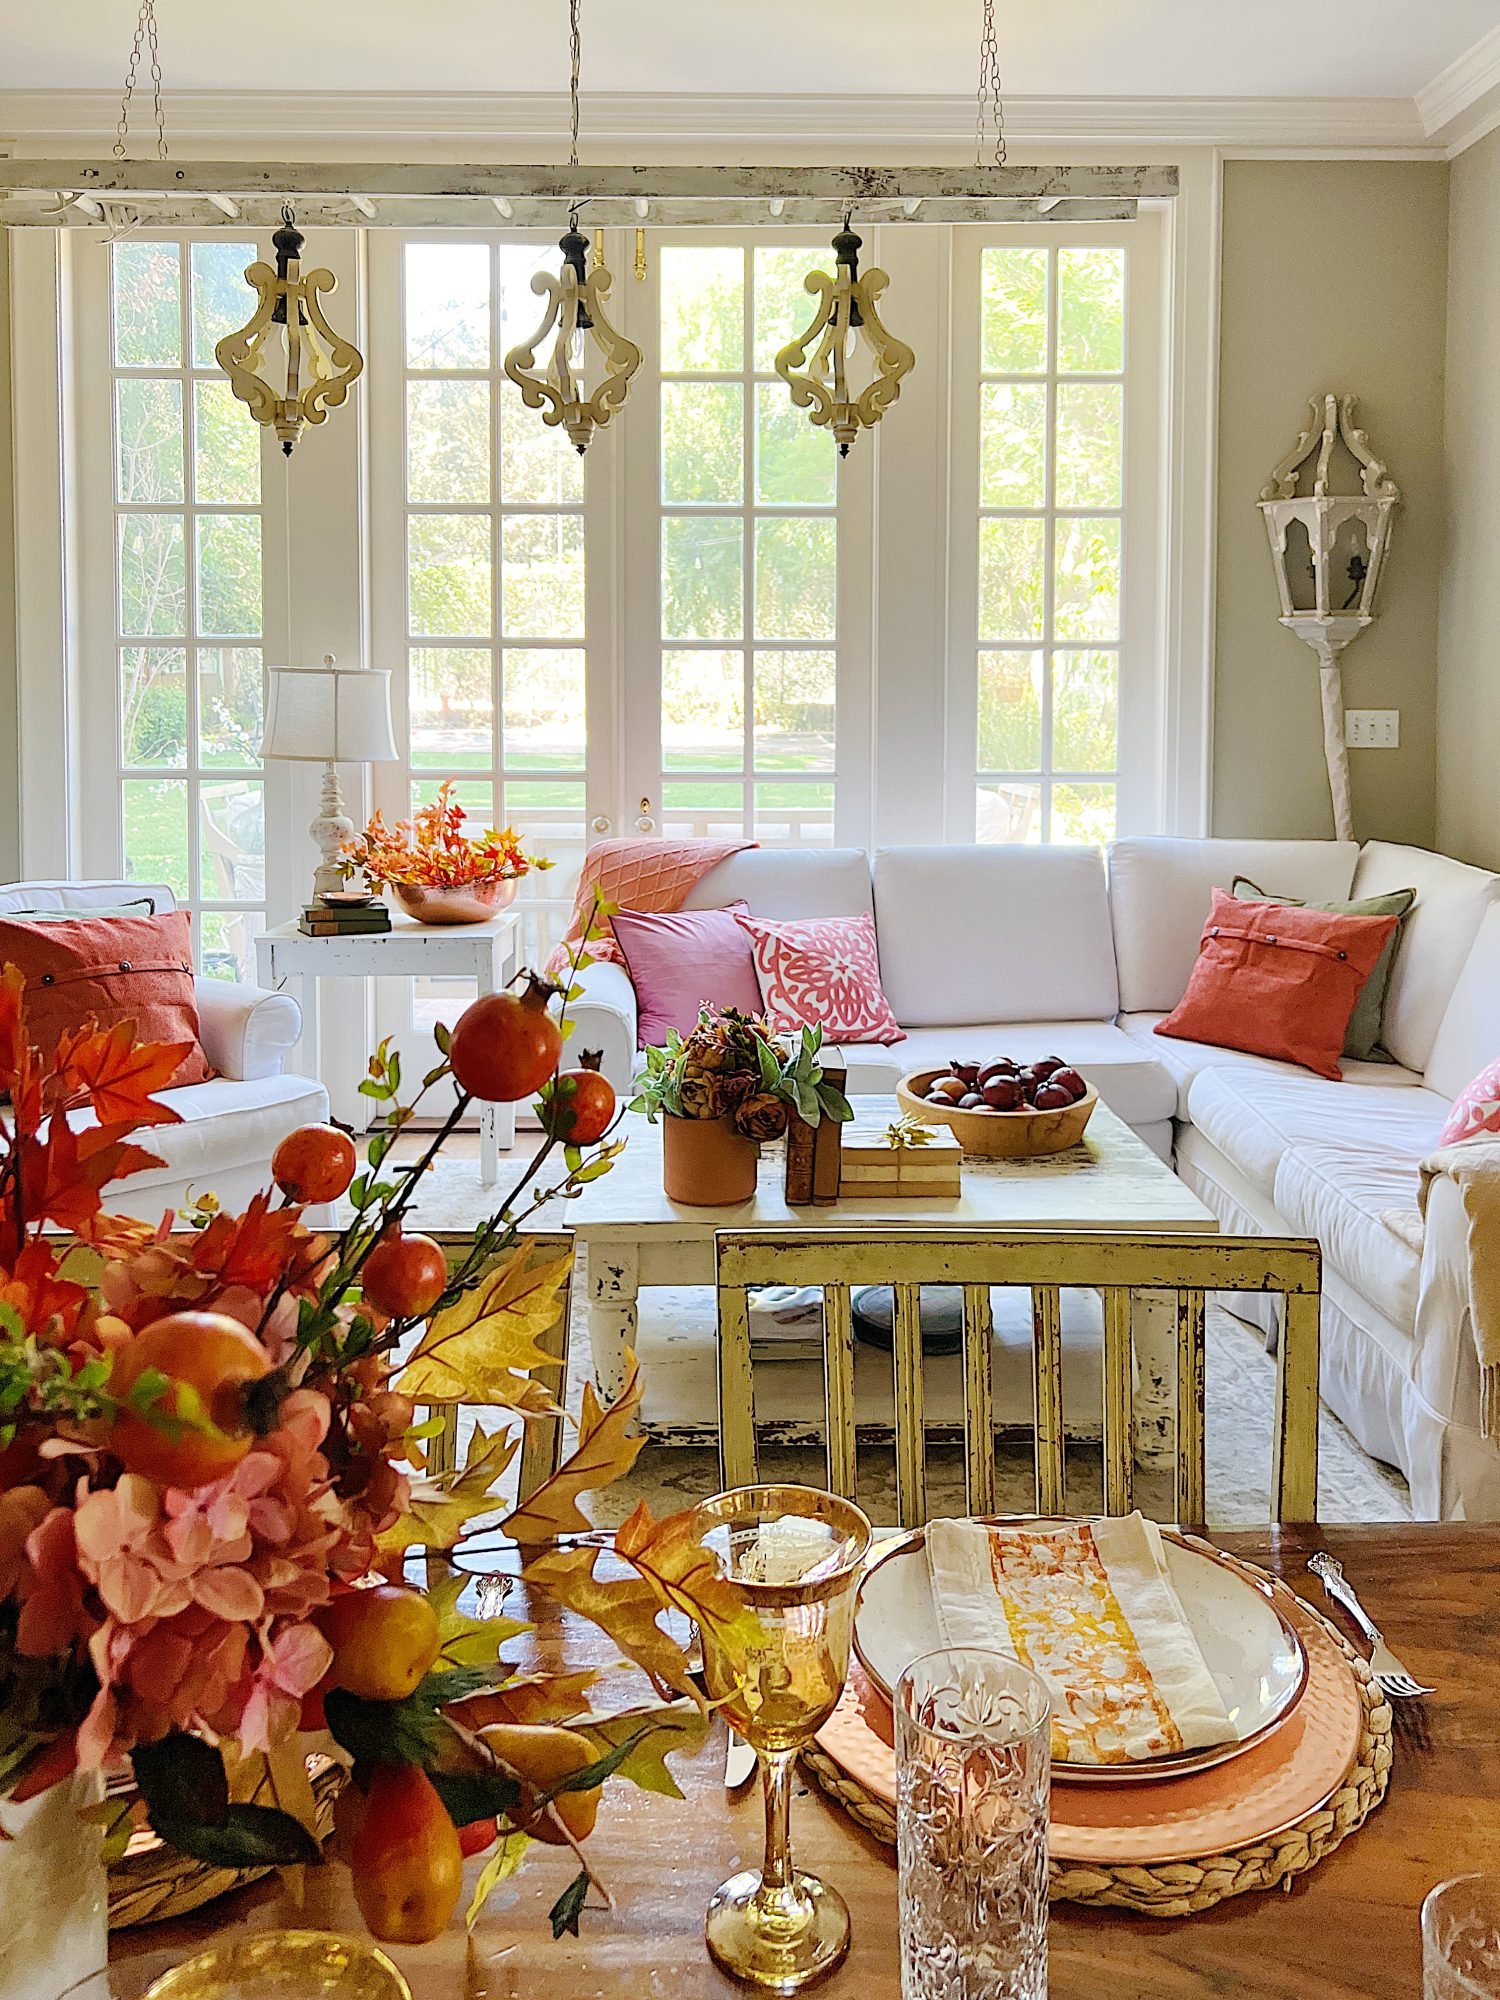
I share my favorite fall decor items every fall, and you probably have already seen pomegranates in my family room, kitchen, and dining room.
Something about faux pomegranates has me absolutely in love, head over heels. Perhaps it is the fruit’s deep, ruby red, pinkish color, the rustic feel of the branches, pomegranates, and leaves, or the welcome of orange tinged with red, which makes everything feel fall-like.
Whatever it is, I am smitten.
I may sometimes use affiliate links on this blog, which means a small commission is earned if you purchase via the link. The price will be the same whether you use the affiliate link or go directly to the vendor’s website using a non-affiliate link.
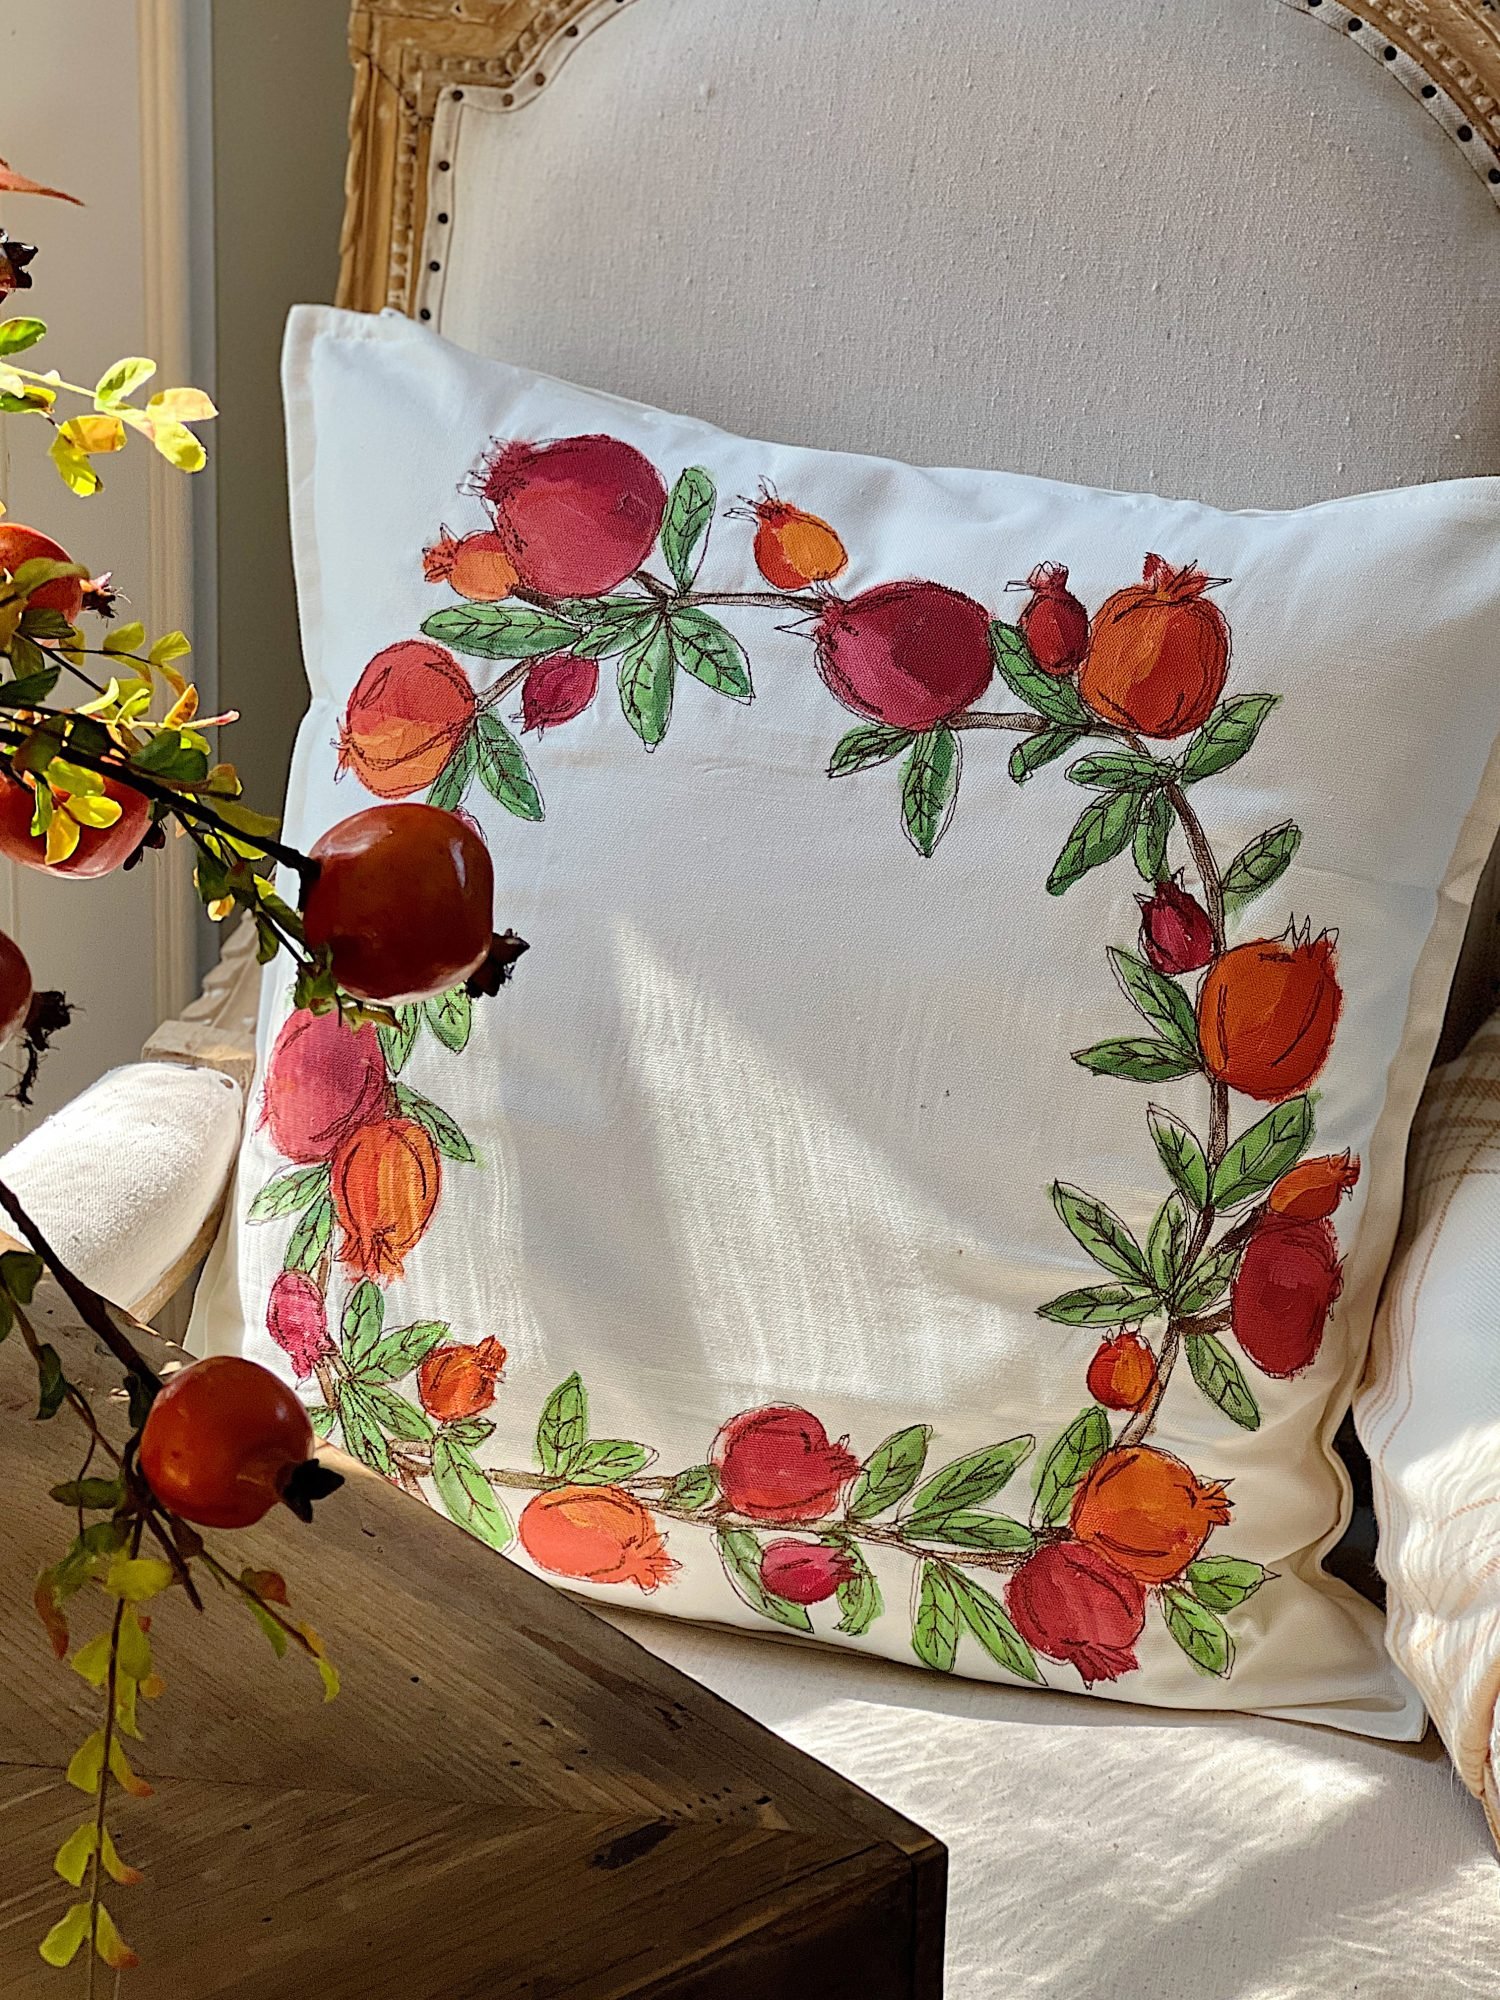
Pomegranate Inspired Fall Pillow Covers
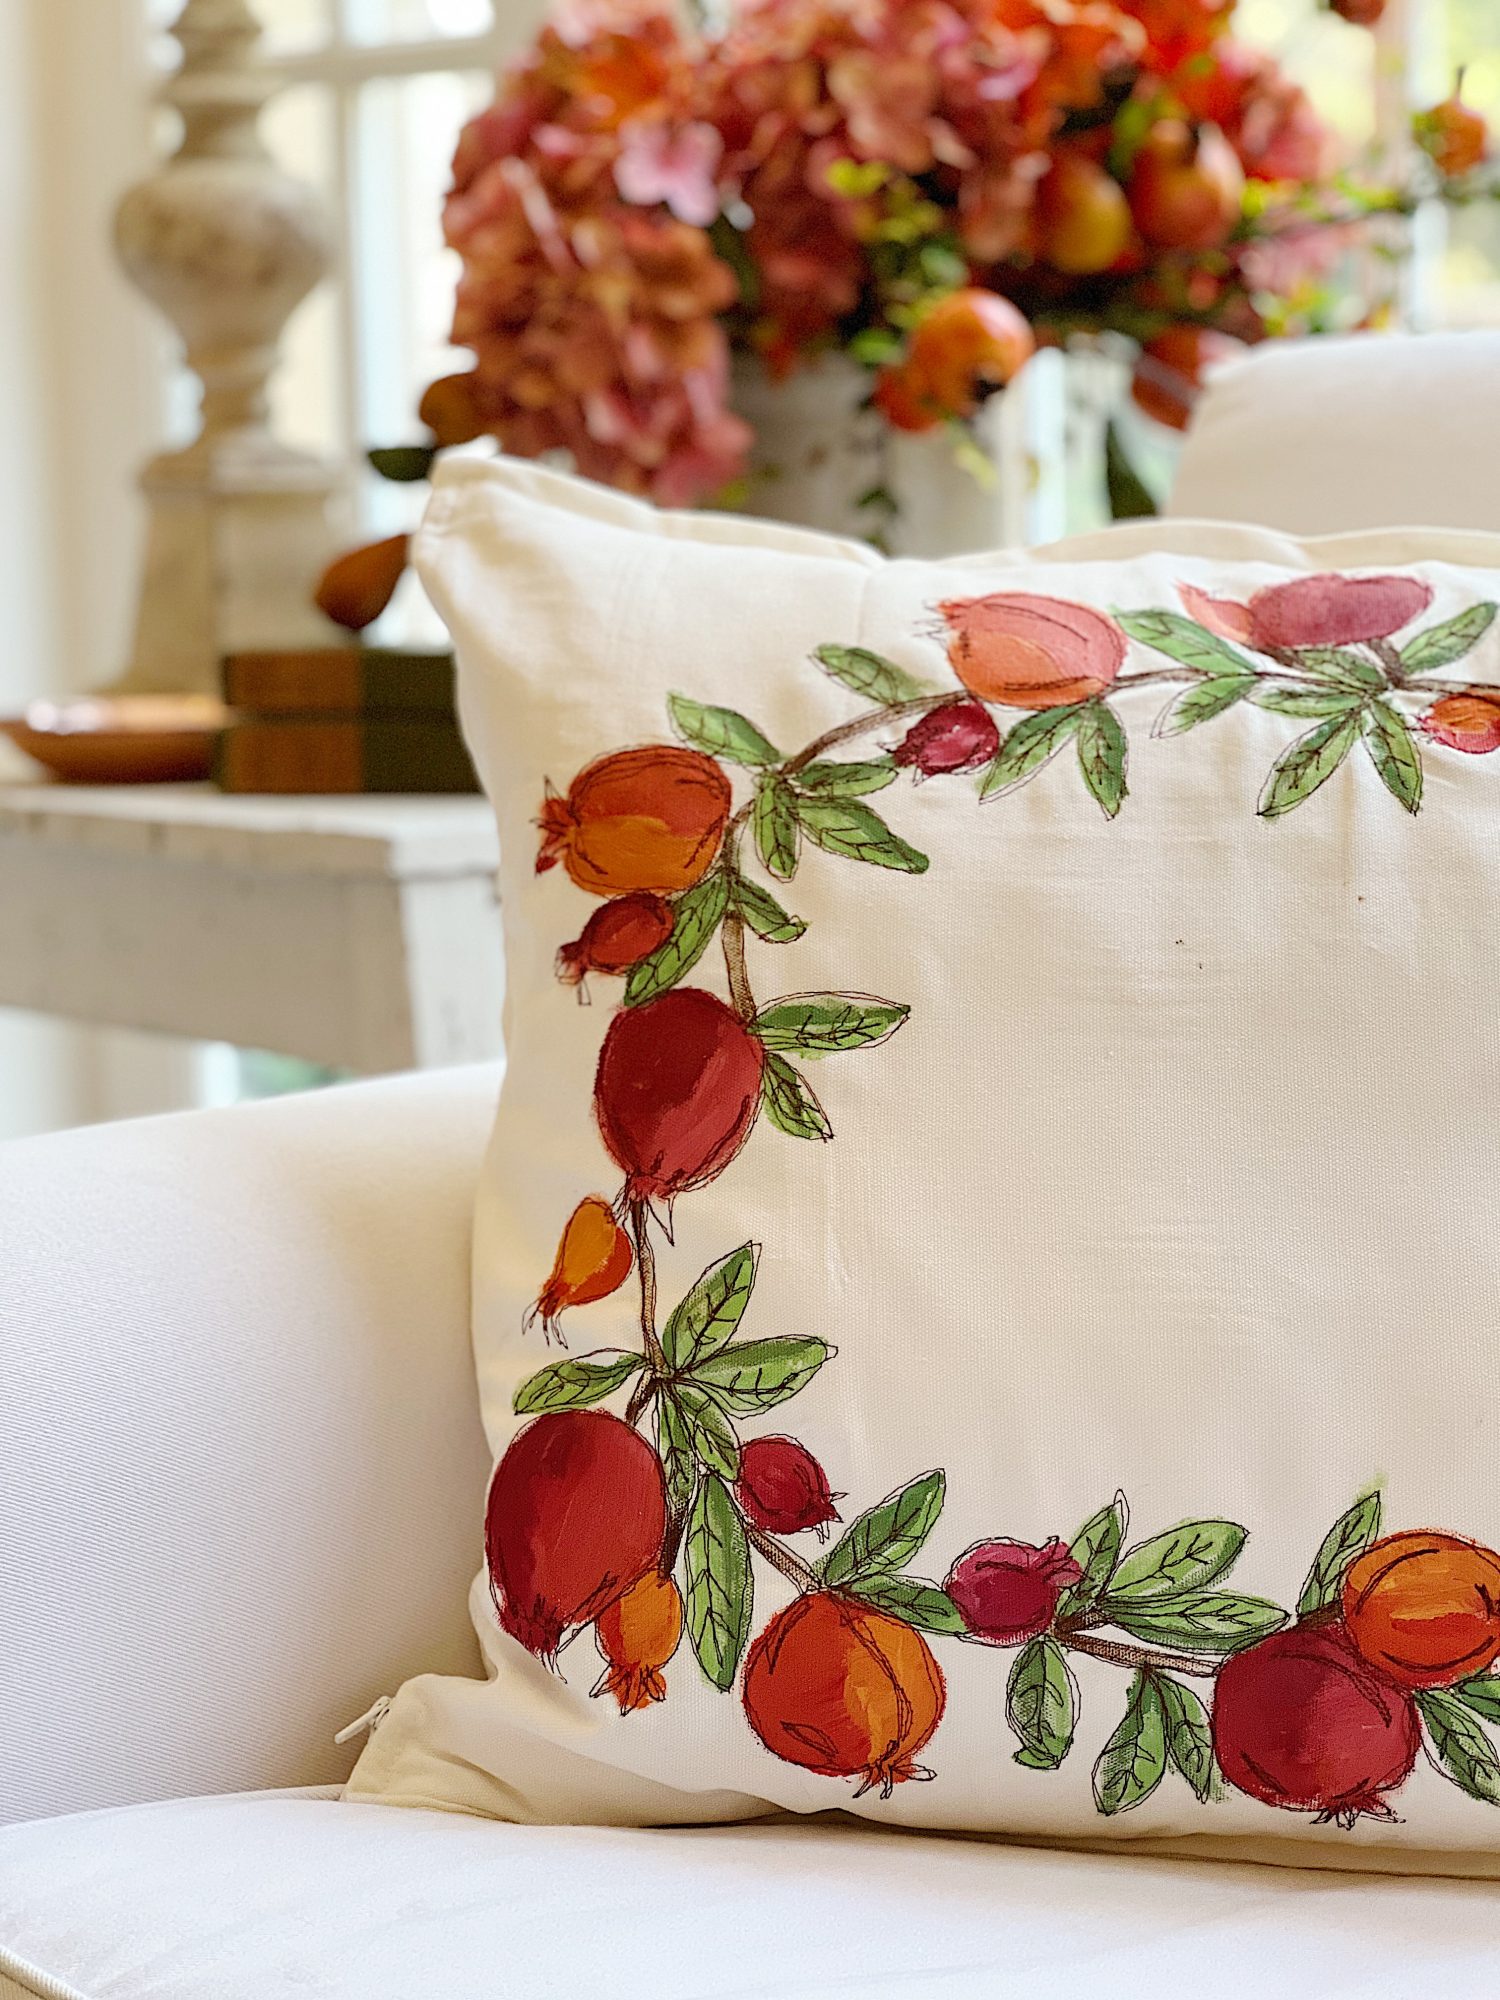
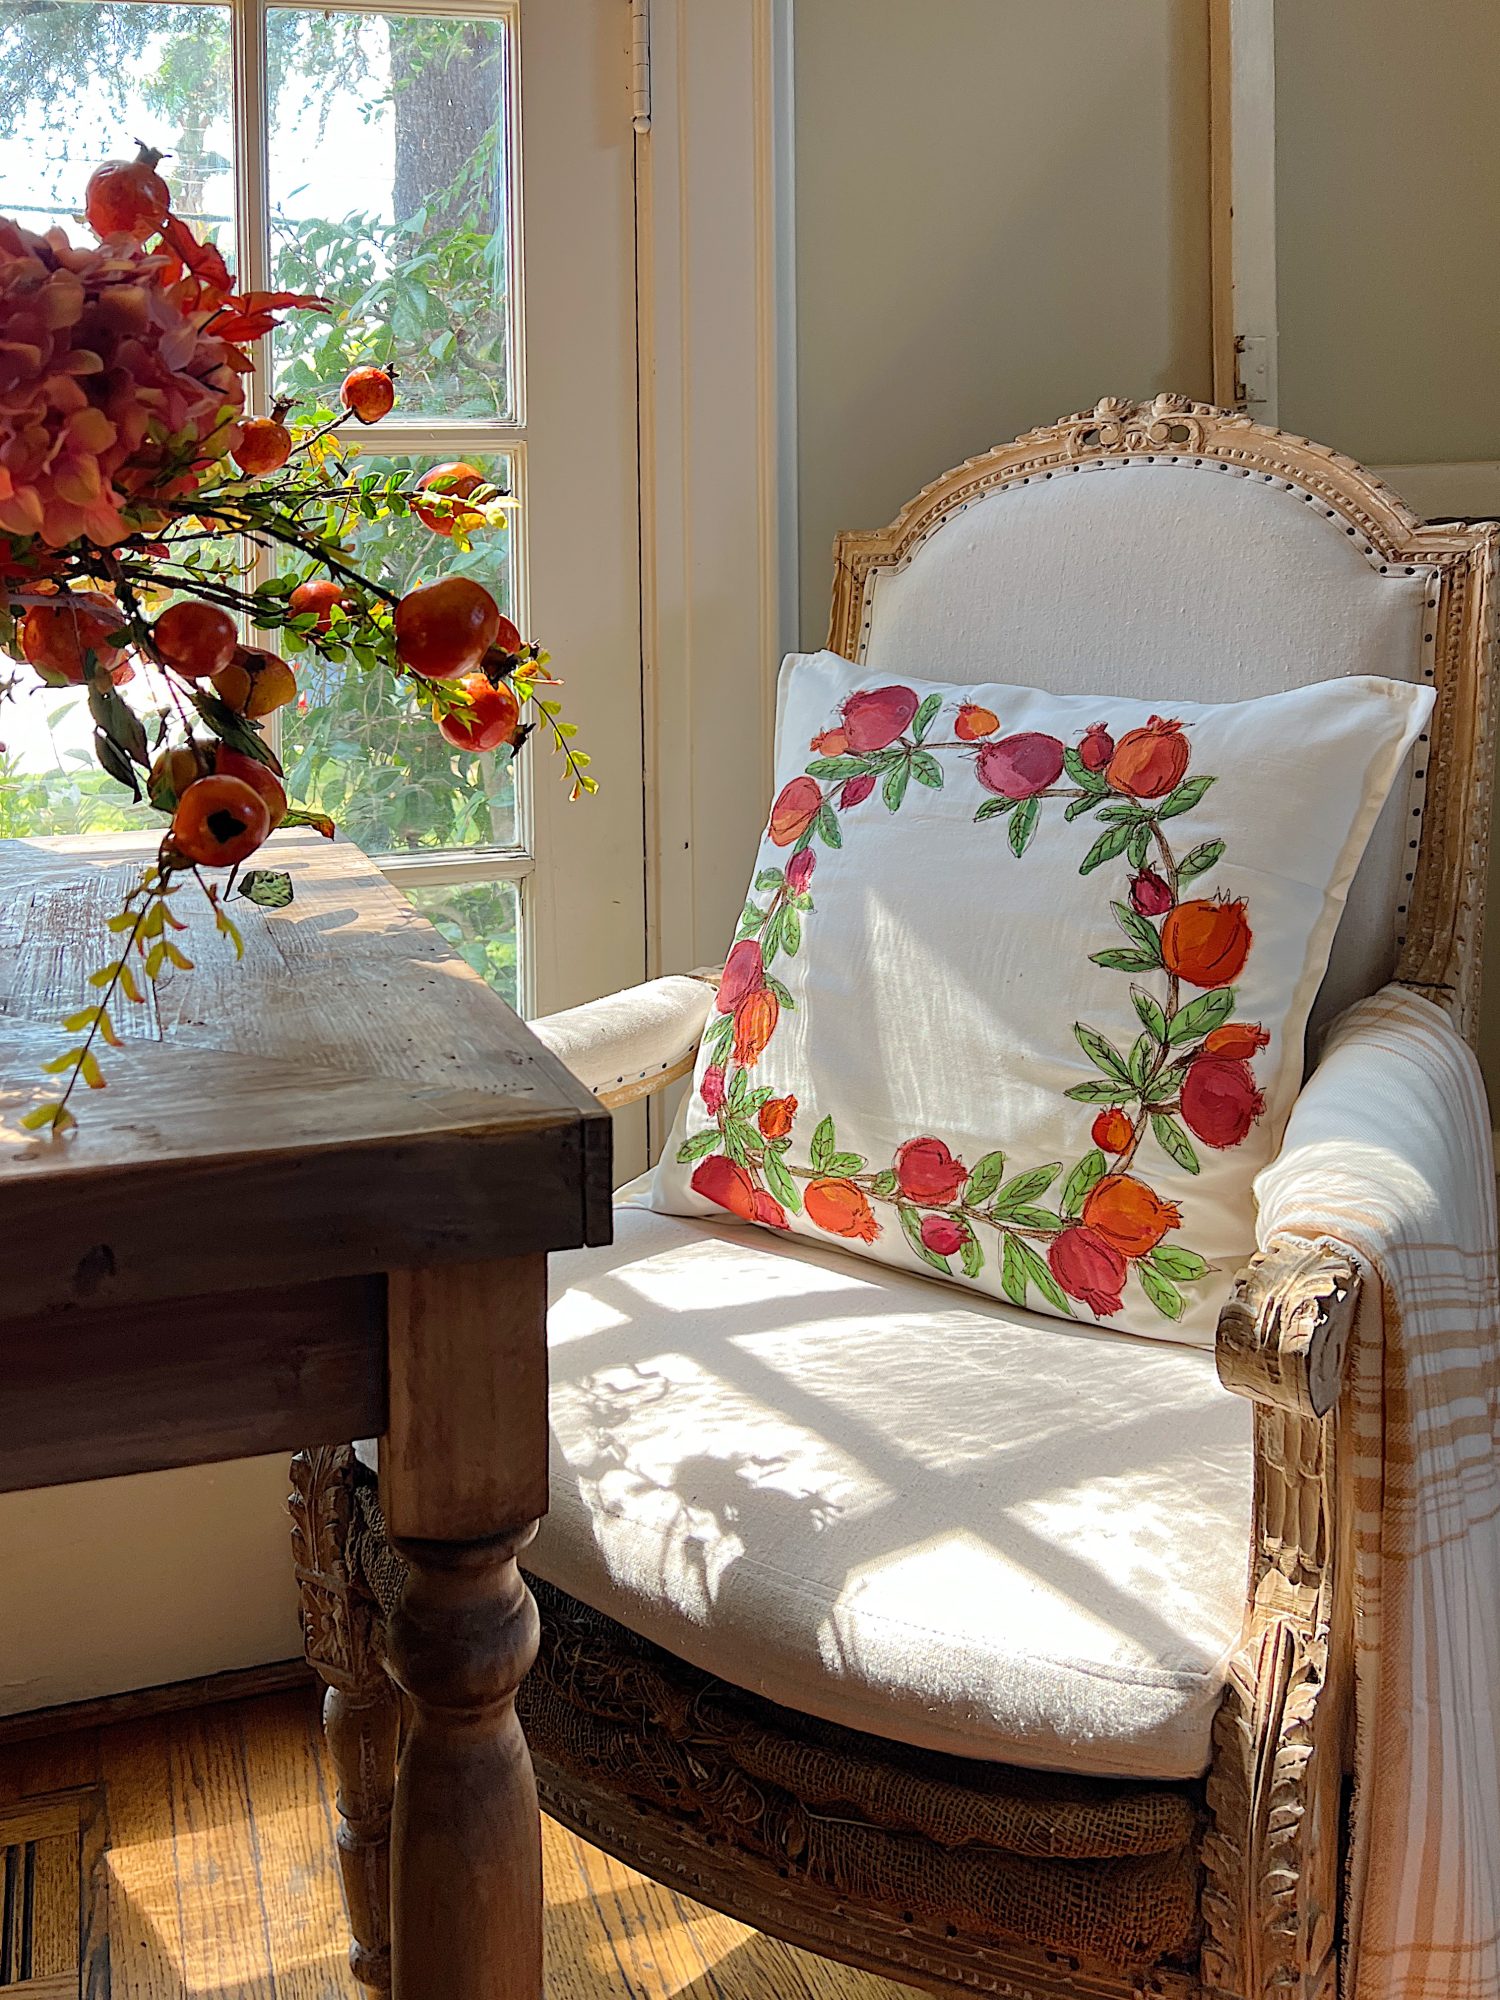
So, what do you think of my free-motion stitch embroidery fall pillow cover?

When I started thinking about making new pillow covers, I looked around my home and saw the faux pomegranate branches everywhere. It’s funny how inspiration can sometimes be right under your nose!
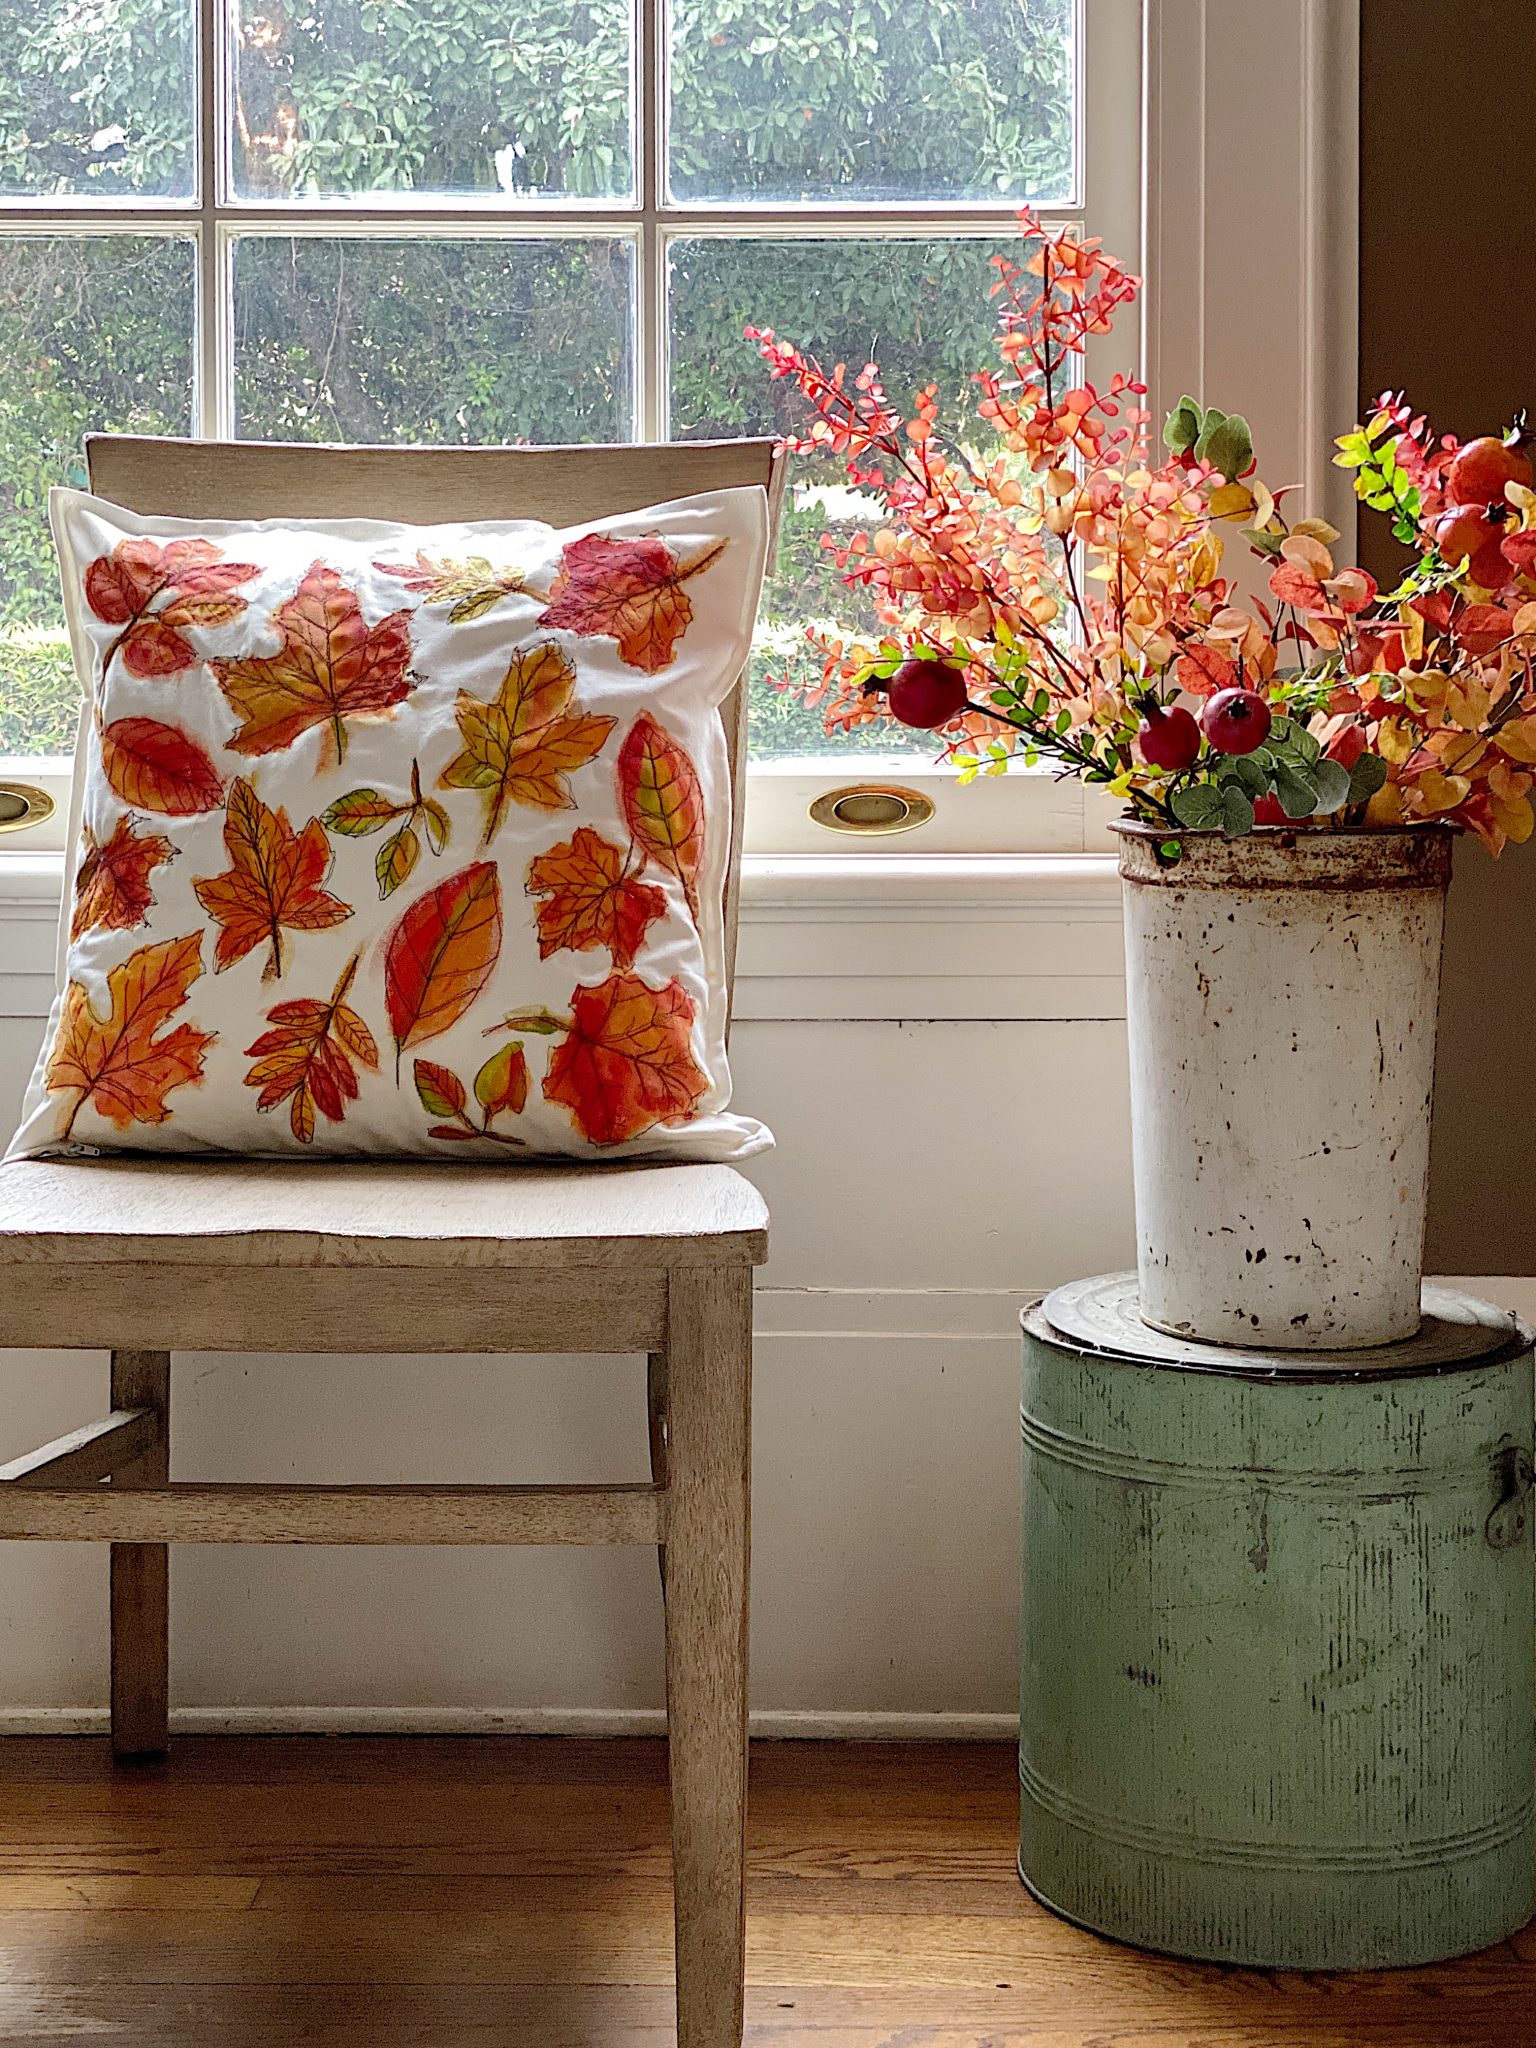
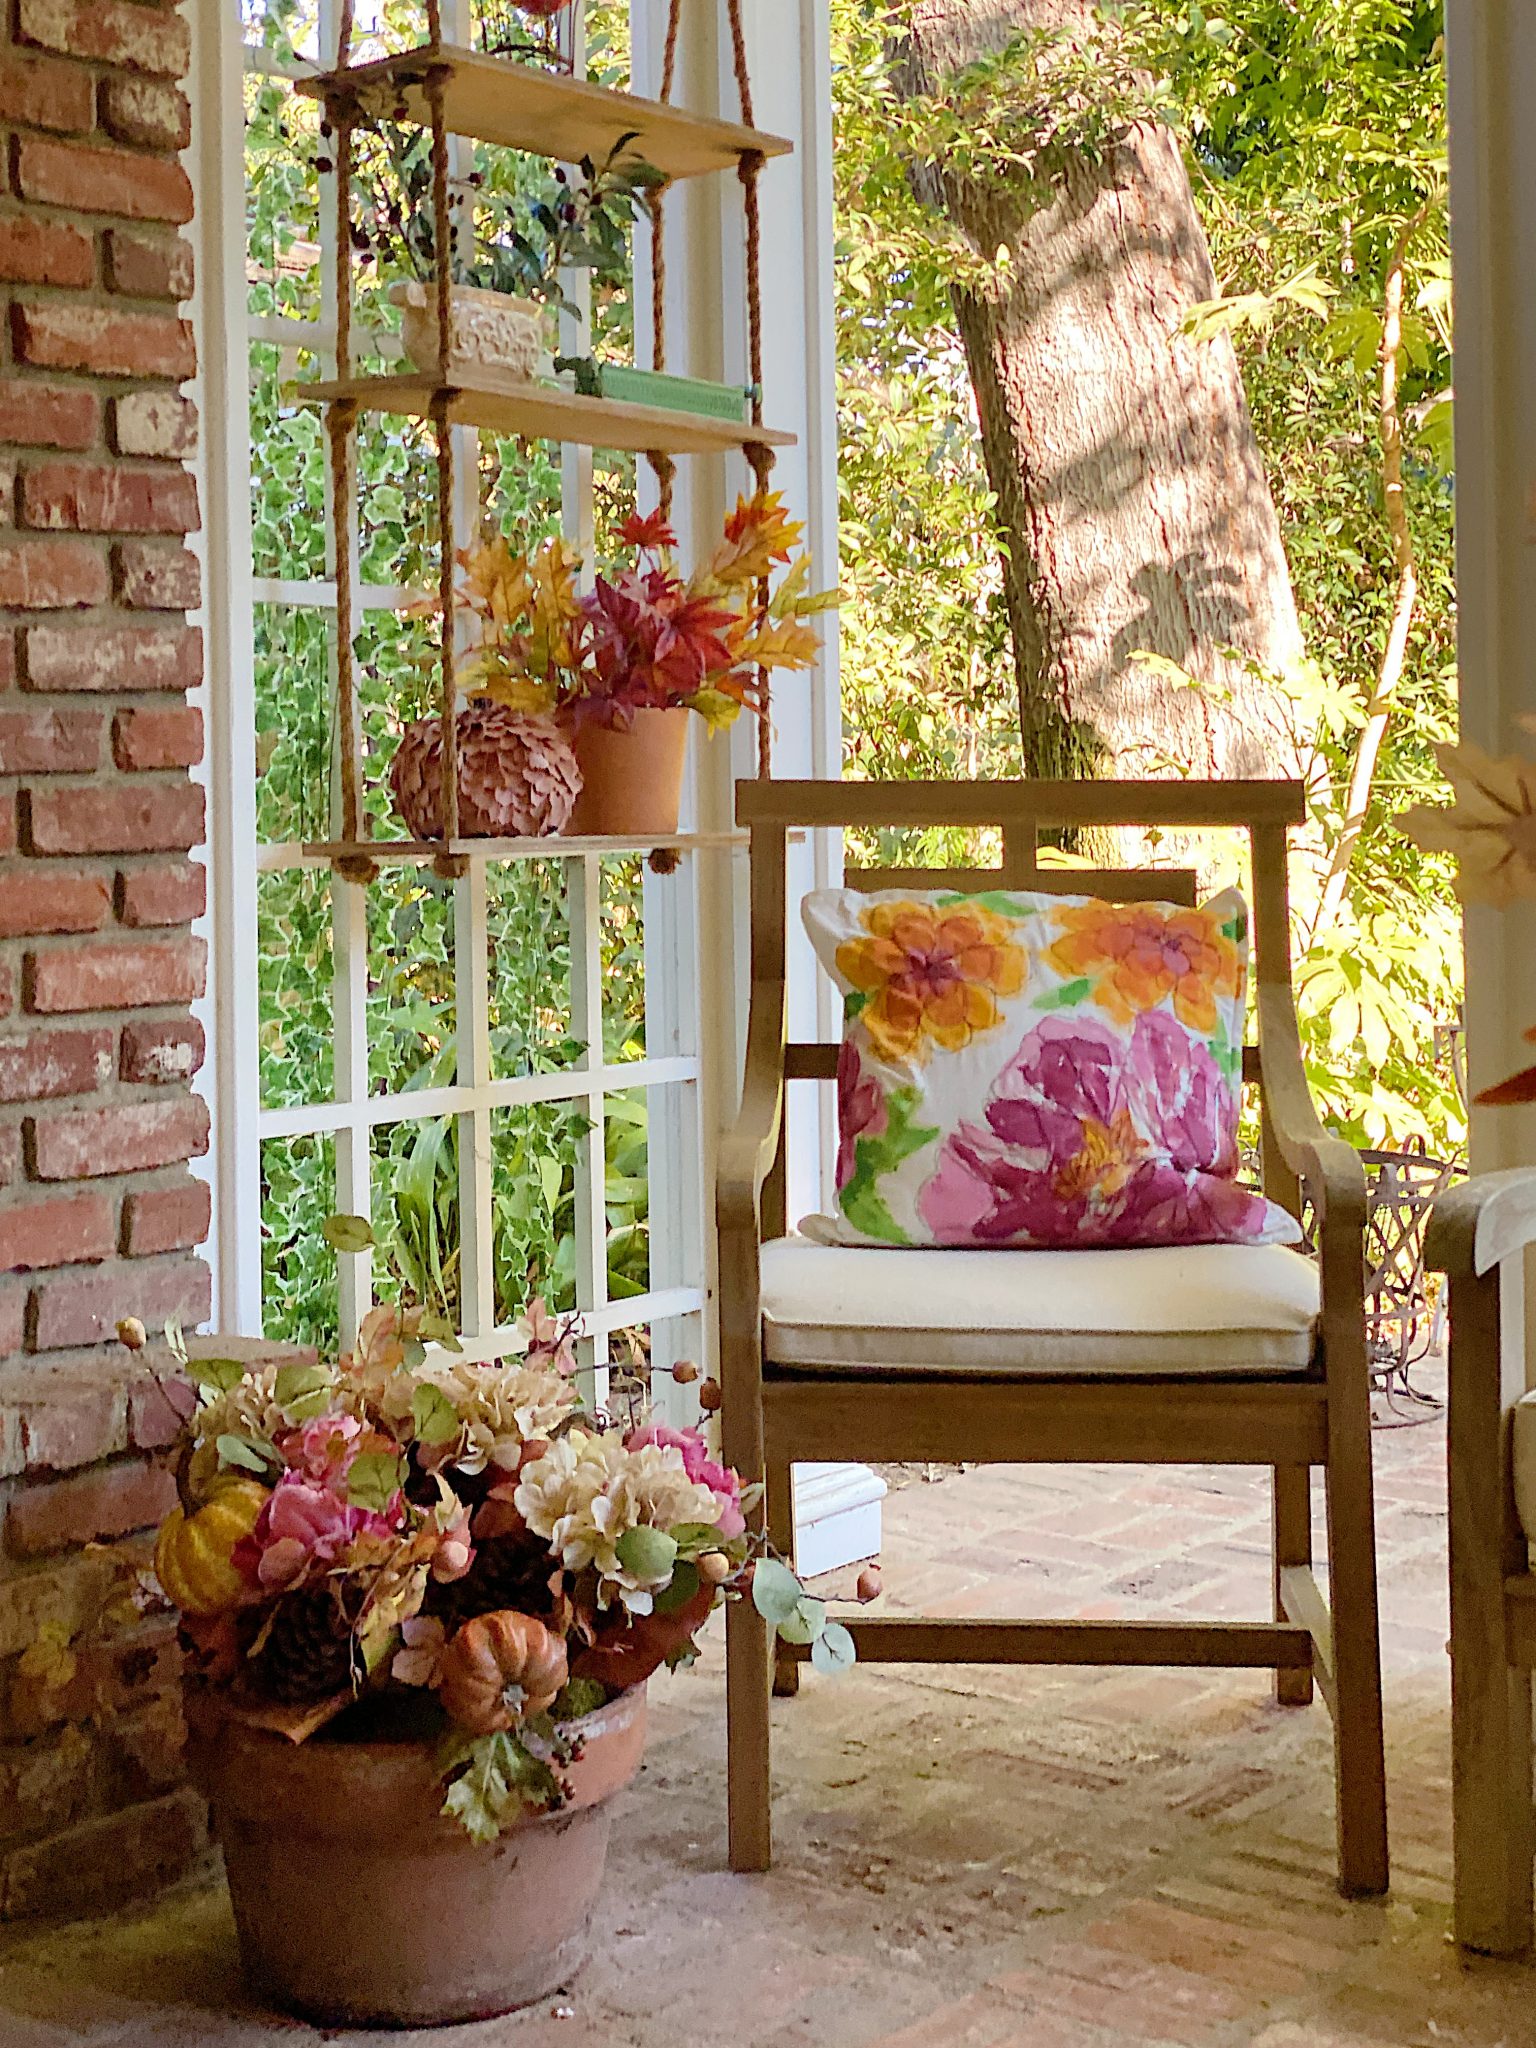
One of the easiest ways to shift seasons in your home decor is to swap out pillow covers. It is inexpensive and adds an instant pop of seasonality.
Free Motion Stitch Embroidery
What is free-motion embroidery?
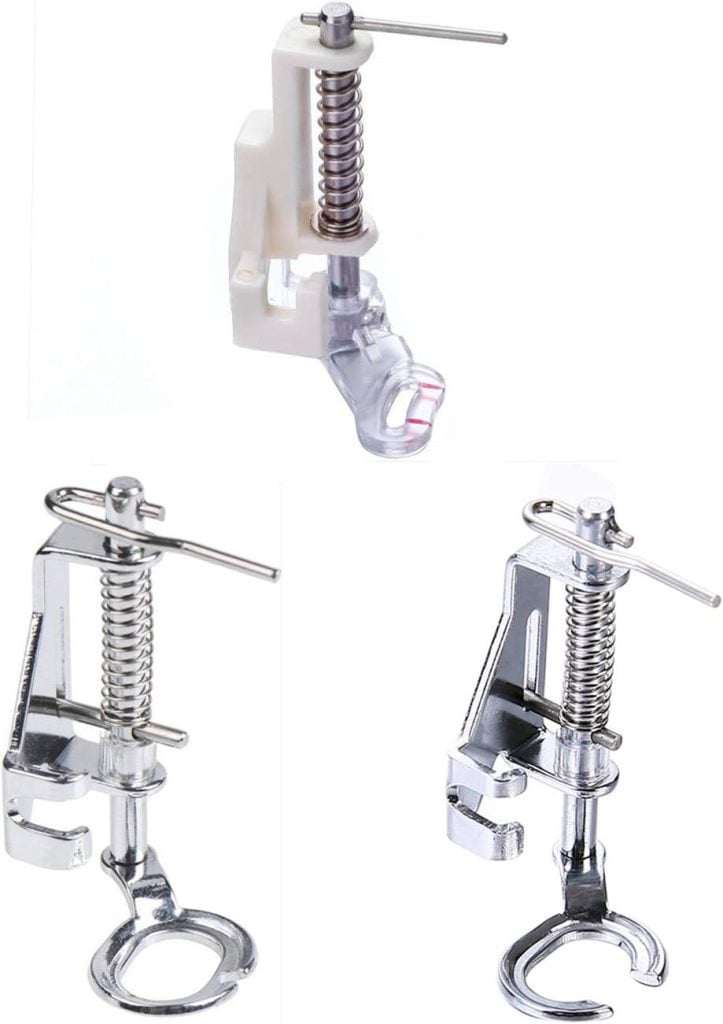
Free-motion machine embroidery is a type of sewing you do on a regular sewing machine, but you can move the material in any direction while sewing it on your machine. Usually, when you sew, the machine automatically moves the fabric forward. When you sew free-motion embroidery, you can move the fabric to determine precisely where you want to sew. You can move sideways, forward, or backward, creating any shape you want—like a star! All you need is a quilting foot.
The free-motion quilting foot, sometimes called a darning foot, is designed so that the sewing machine needle passes through a small ring on the foot. Instead of hopping, these feet float over the fabric without providing pressure. The Foot releases the fabric when the needle is up, allowing you to move the fabric freely.
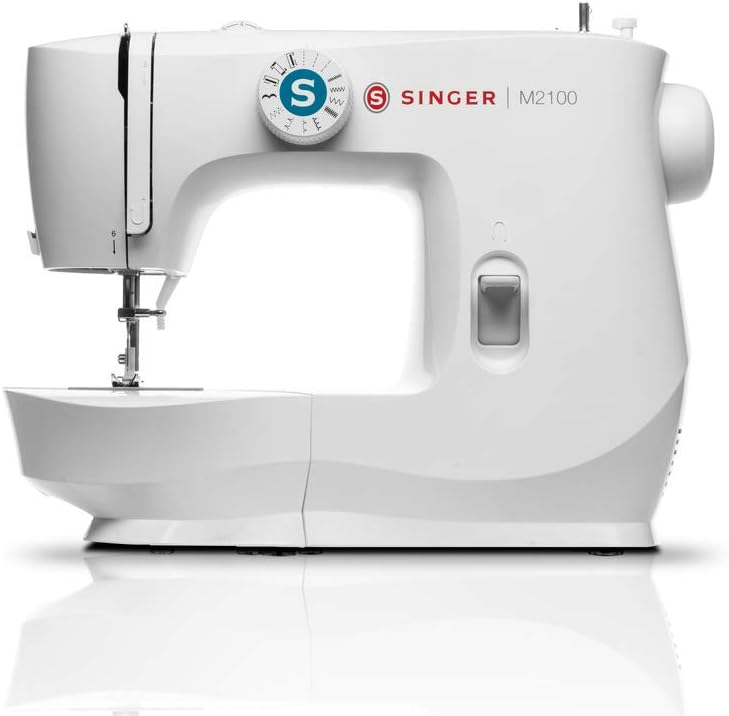
All you need is the free motion foot for your machine. This foot may vary based on the type of machine, but I linked it to a “universal” one.
I read a lot about lowering the “feed dogs” on your machine when stitching free-motion embroidery. Feed dogs are the little teeth on your sewing machine that feed your fabric evenly through the machine. These teeth are essential because they help us produce perfectly spaced, even stitches whenever we sew garments, piece quilts, or applique shapes on our machine. Most people recommend that you lower the feed dogs for free-motion embroidery.
I lowered the feed dogs using a lever on my machine for this pillow. It worked perfectly.
How to Make This Pomegranate Fall Pillow
So that you know, my goal for all of my DIYs is to make something that looks expensive and high-quality but is easy to make and has an inexpensive supply list.
Pillow covers are one of my favorite DIYs for two reasons. They meet both of my goals and make a huge impact on your home decor. A bonus is that the supply list is concise. You may already have everything you need on hand!
What You Need to Make This Pillow
- Line drawing artwork – See below where to find this!
- pillow cover
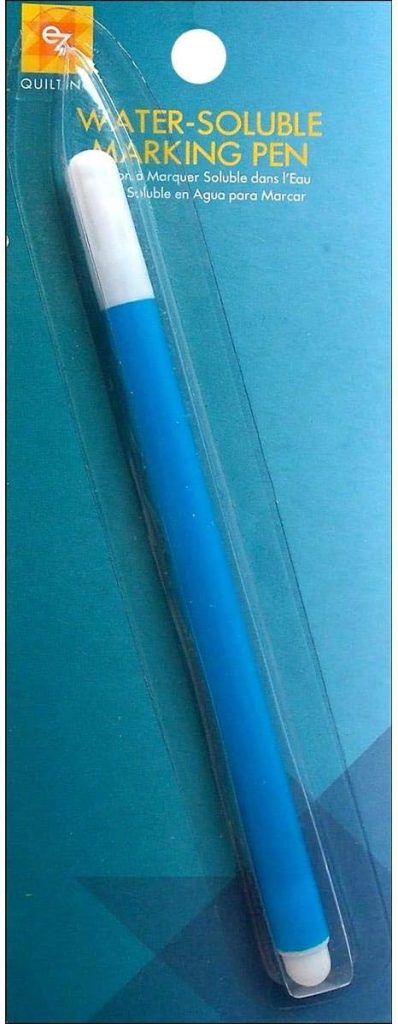
- Water Soluble Marking Pen
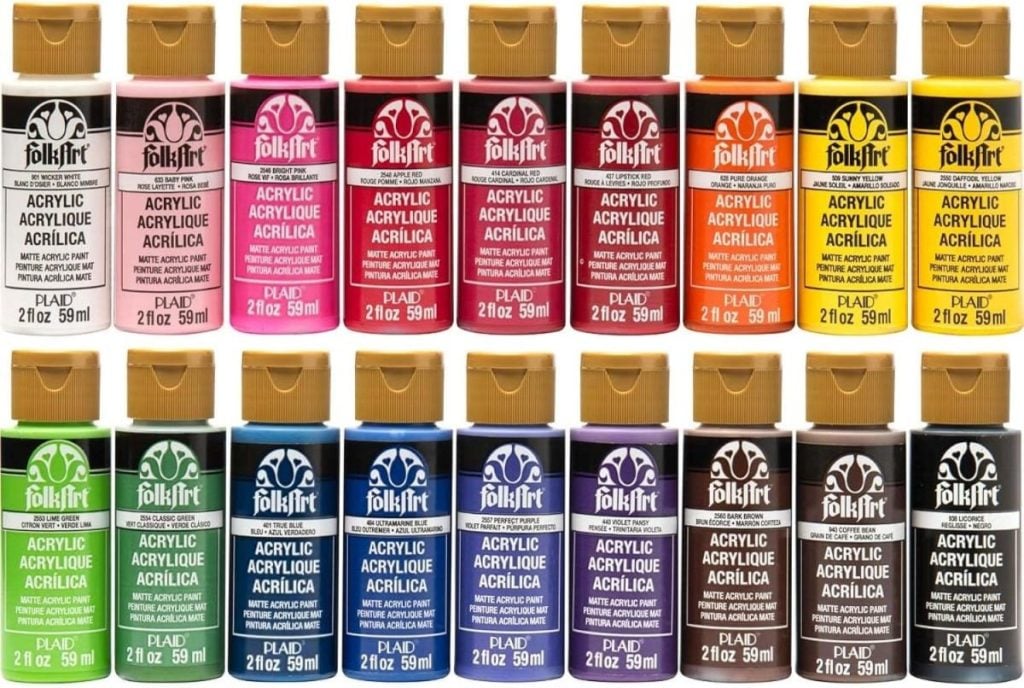
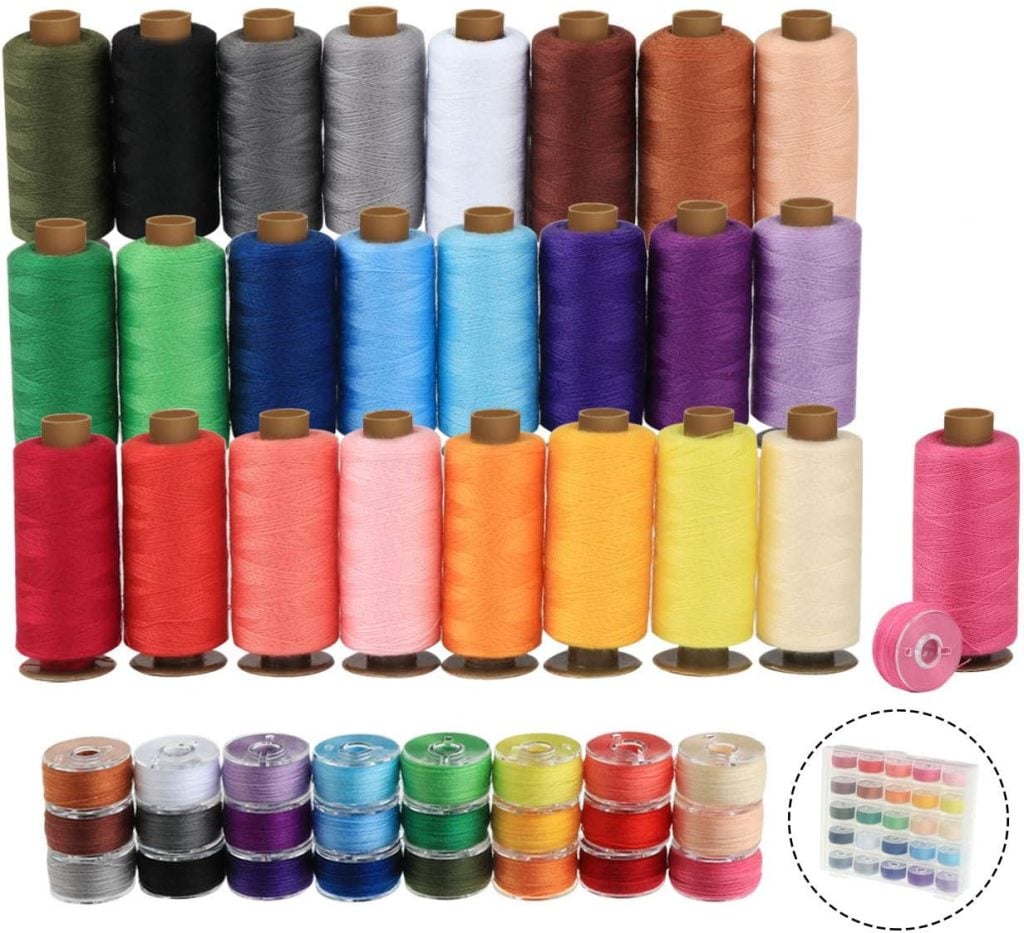
- acrylic paints in the colors you want
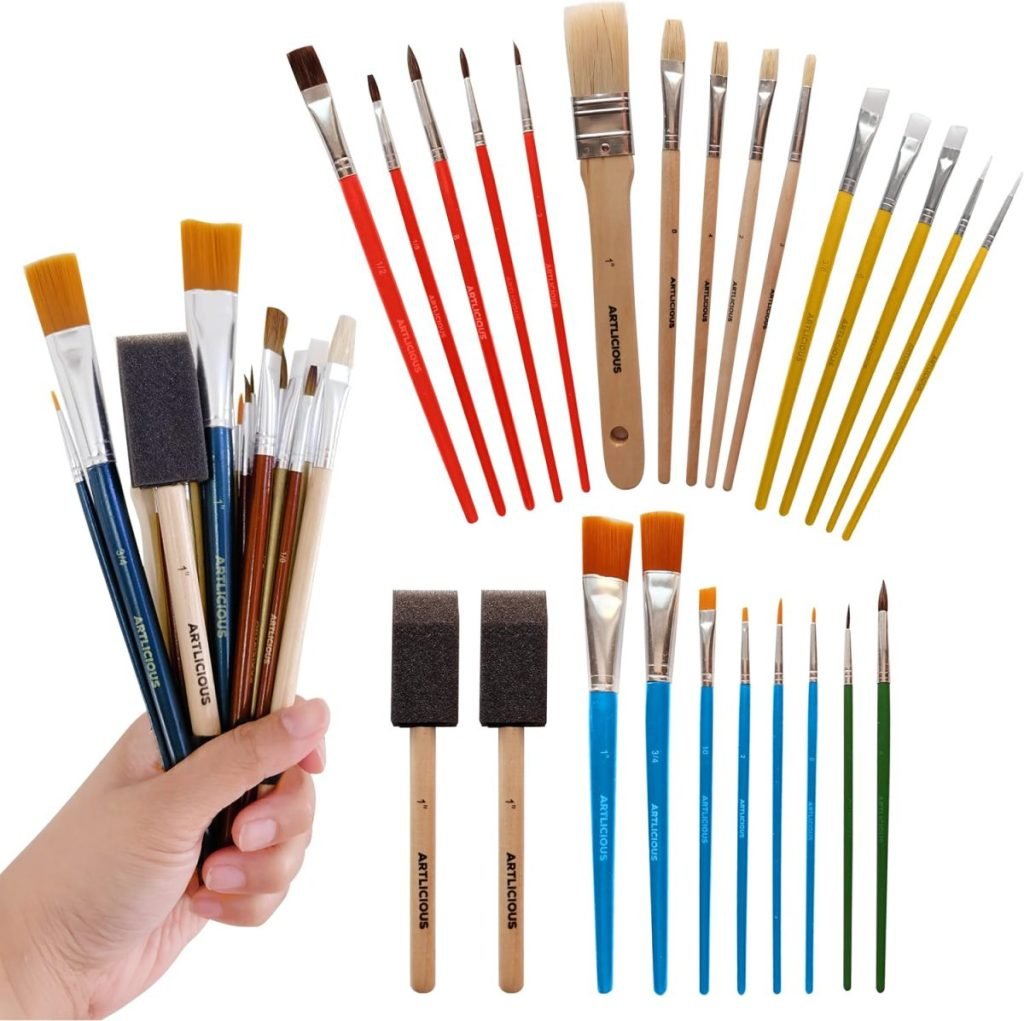
- paint brush
- sewing machine and thread
- free motion embroidery foot
Don’t Be Intimidated, You Can Make This!
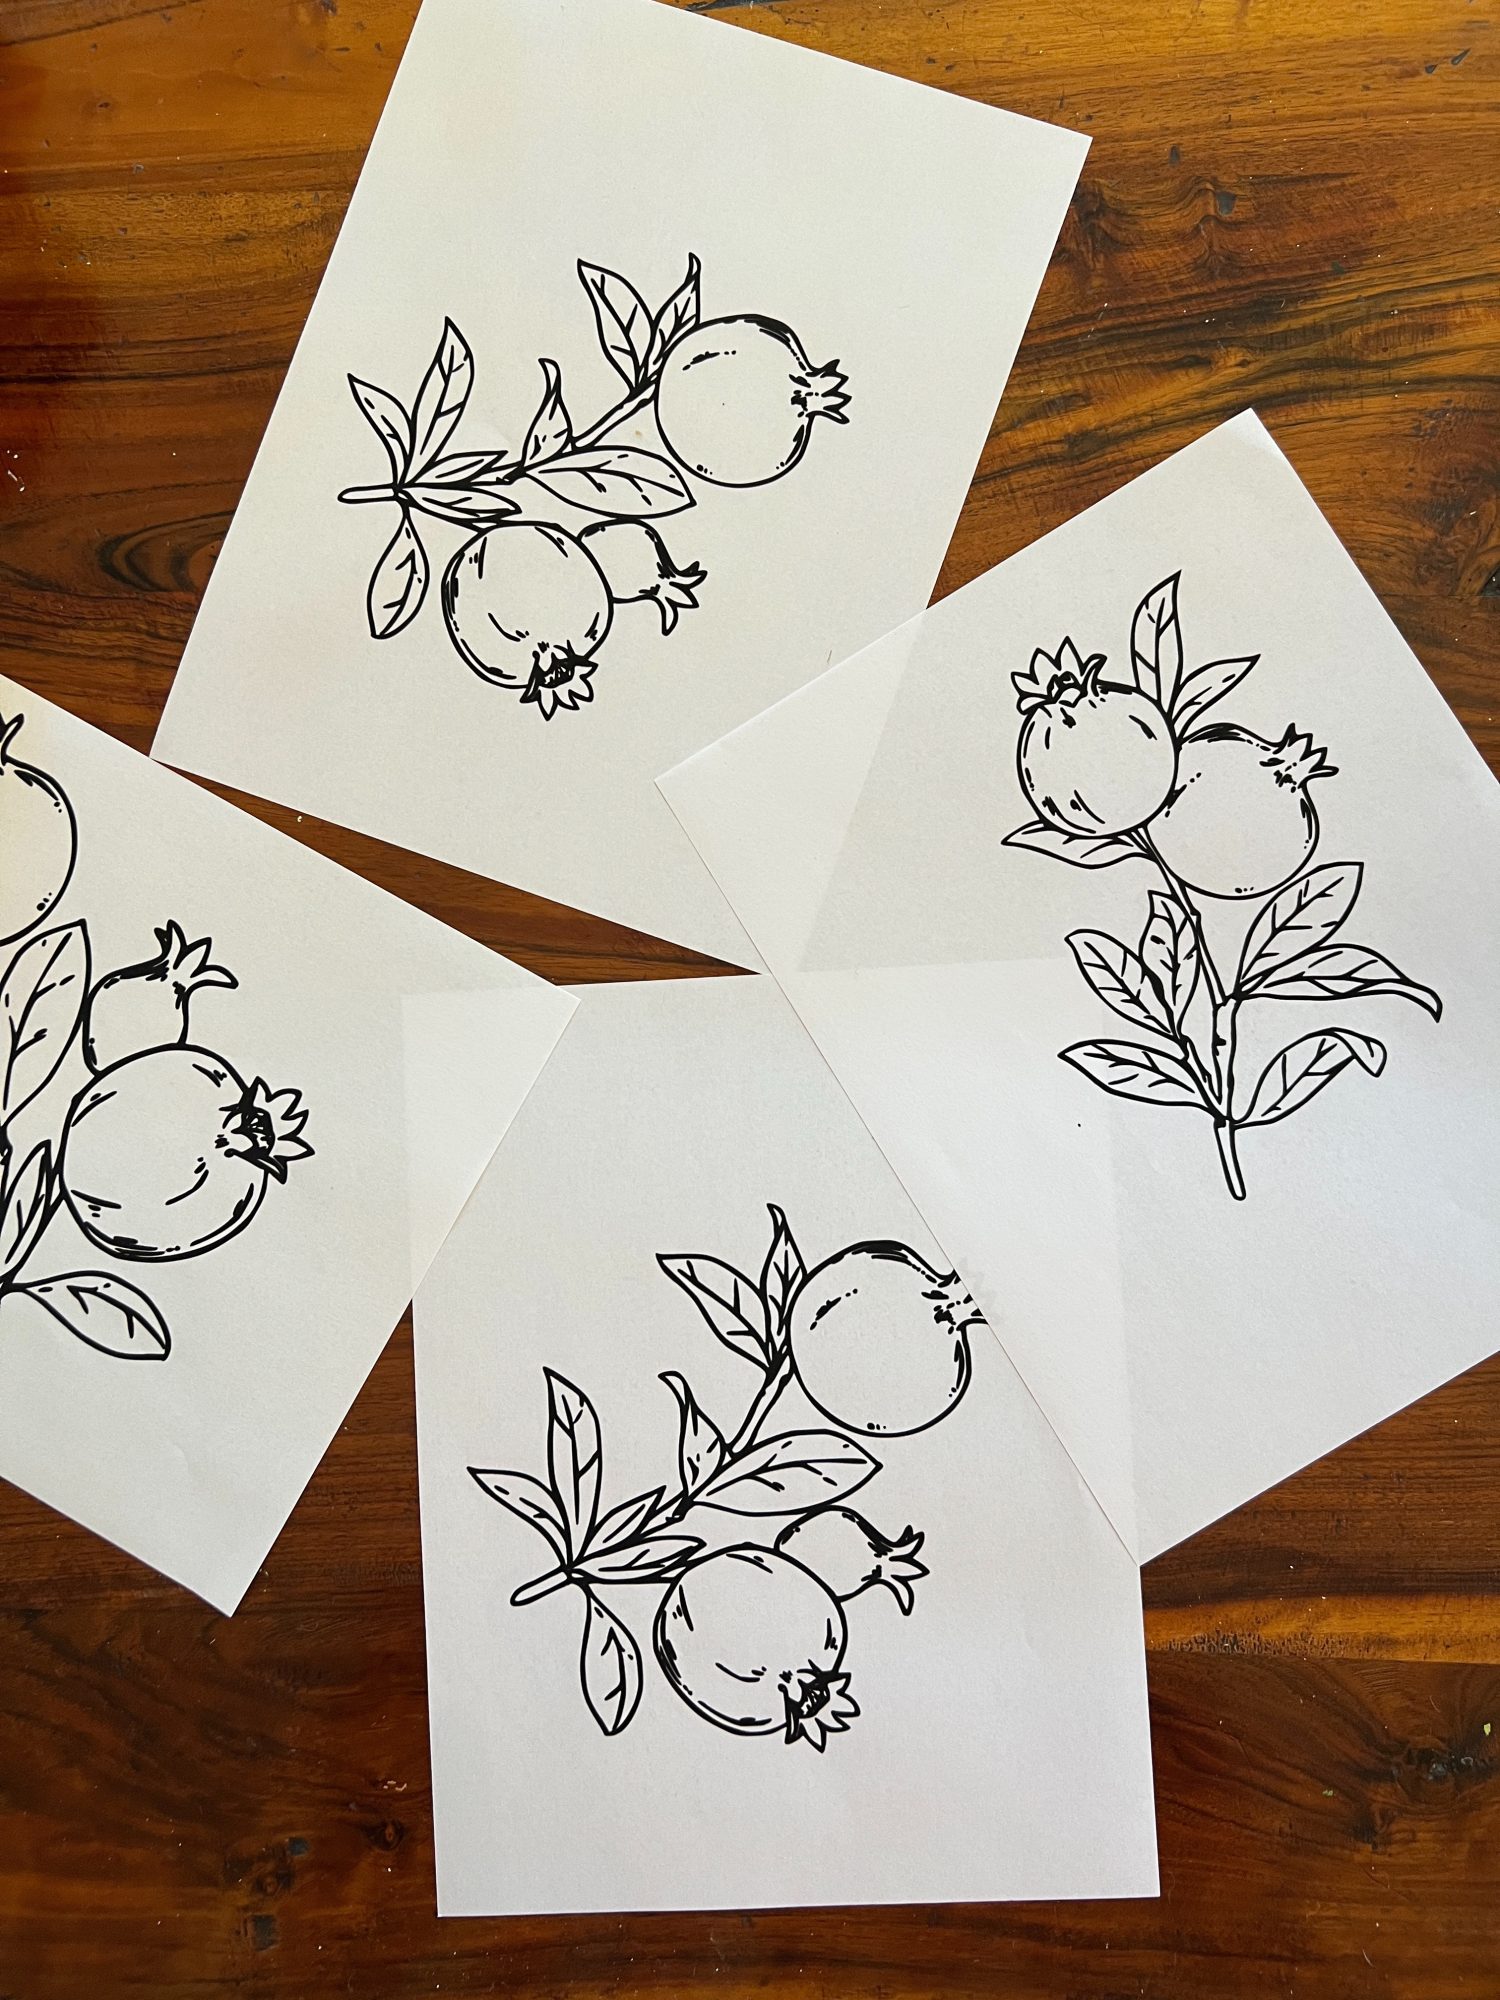
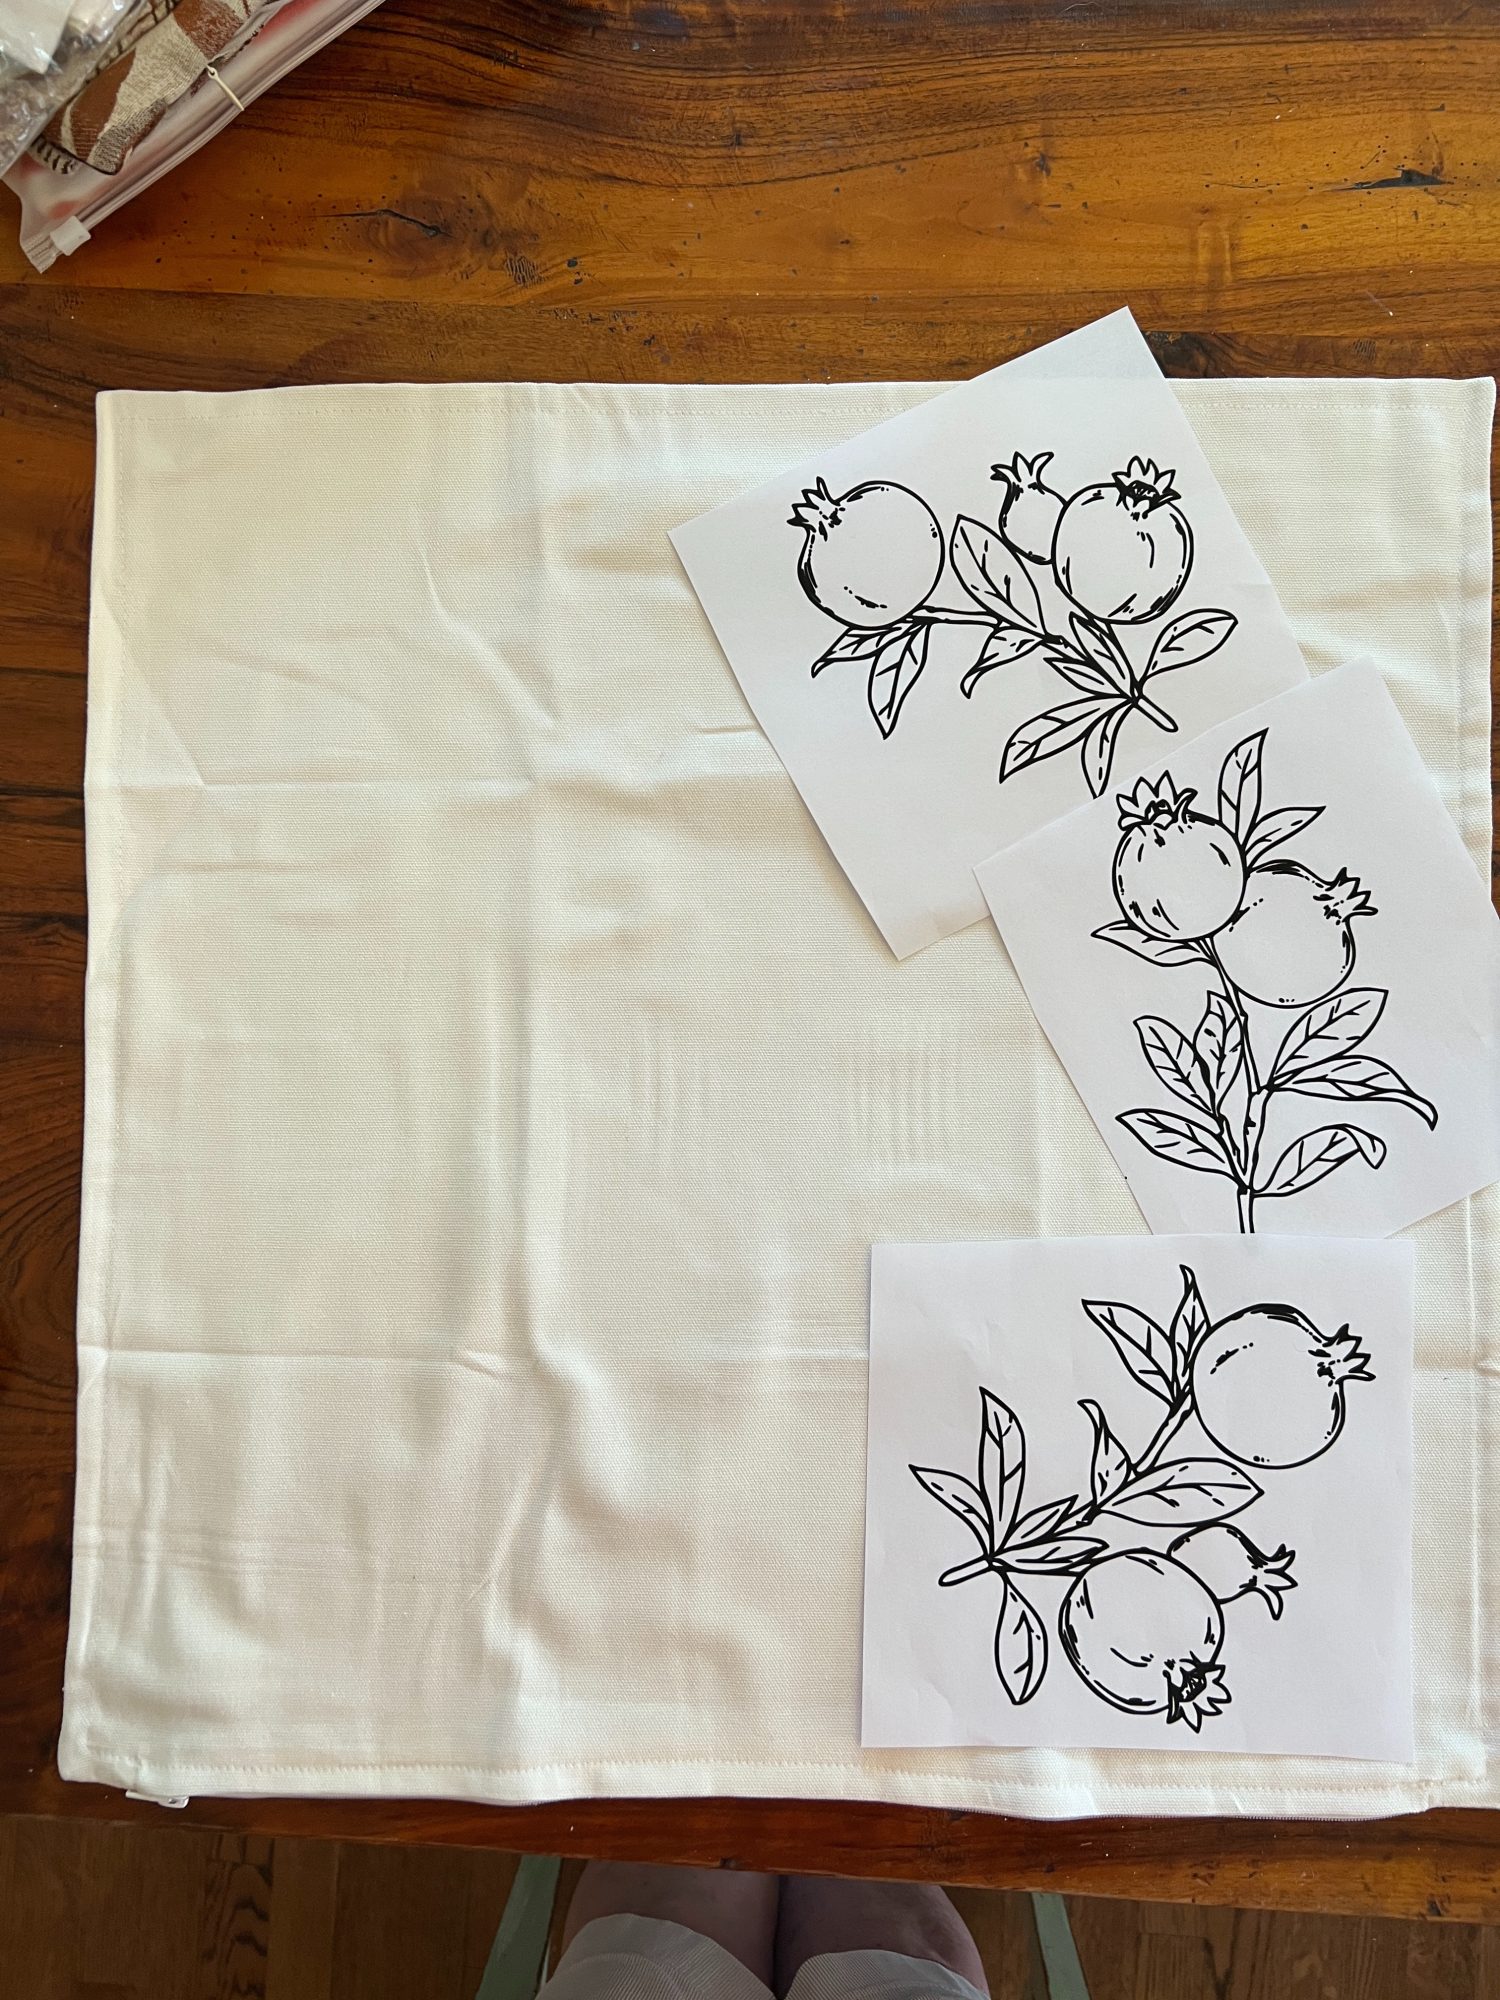
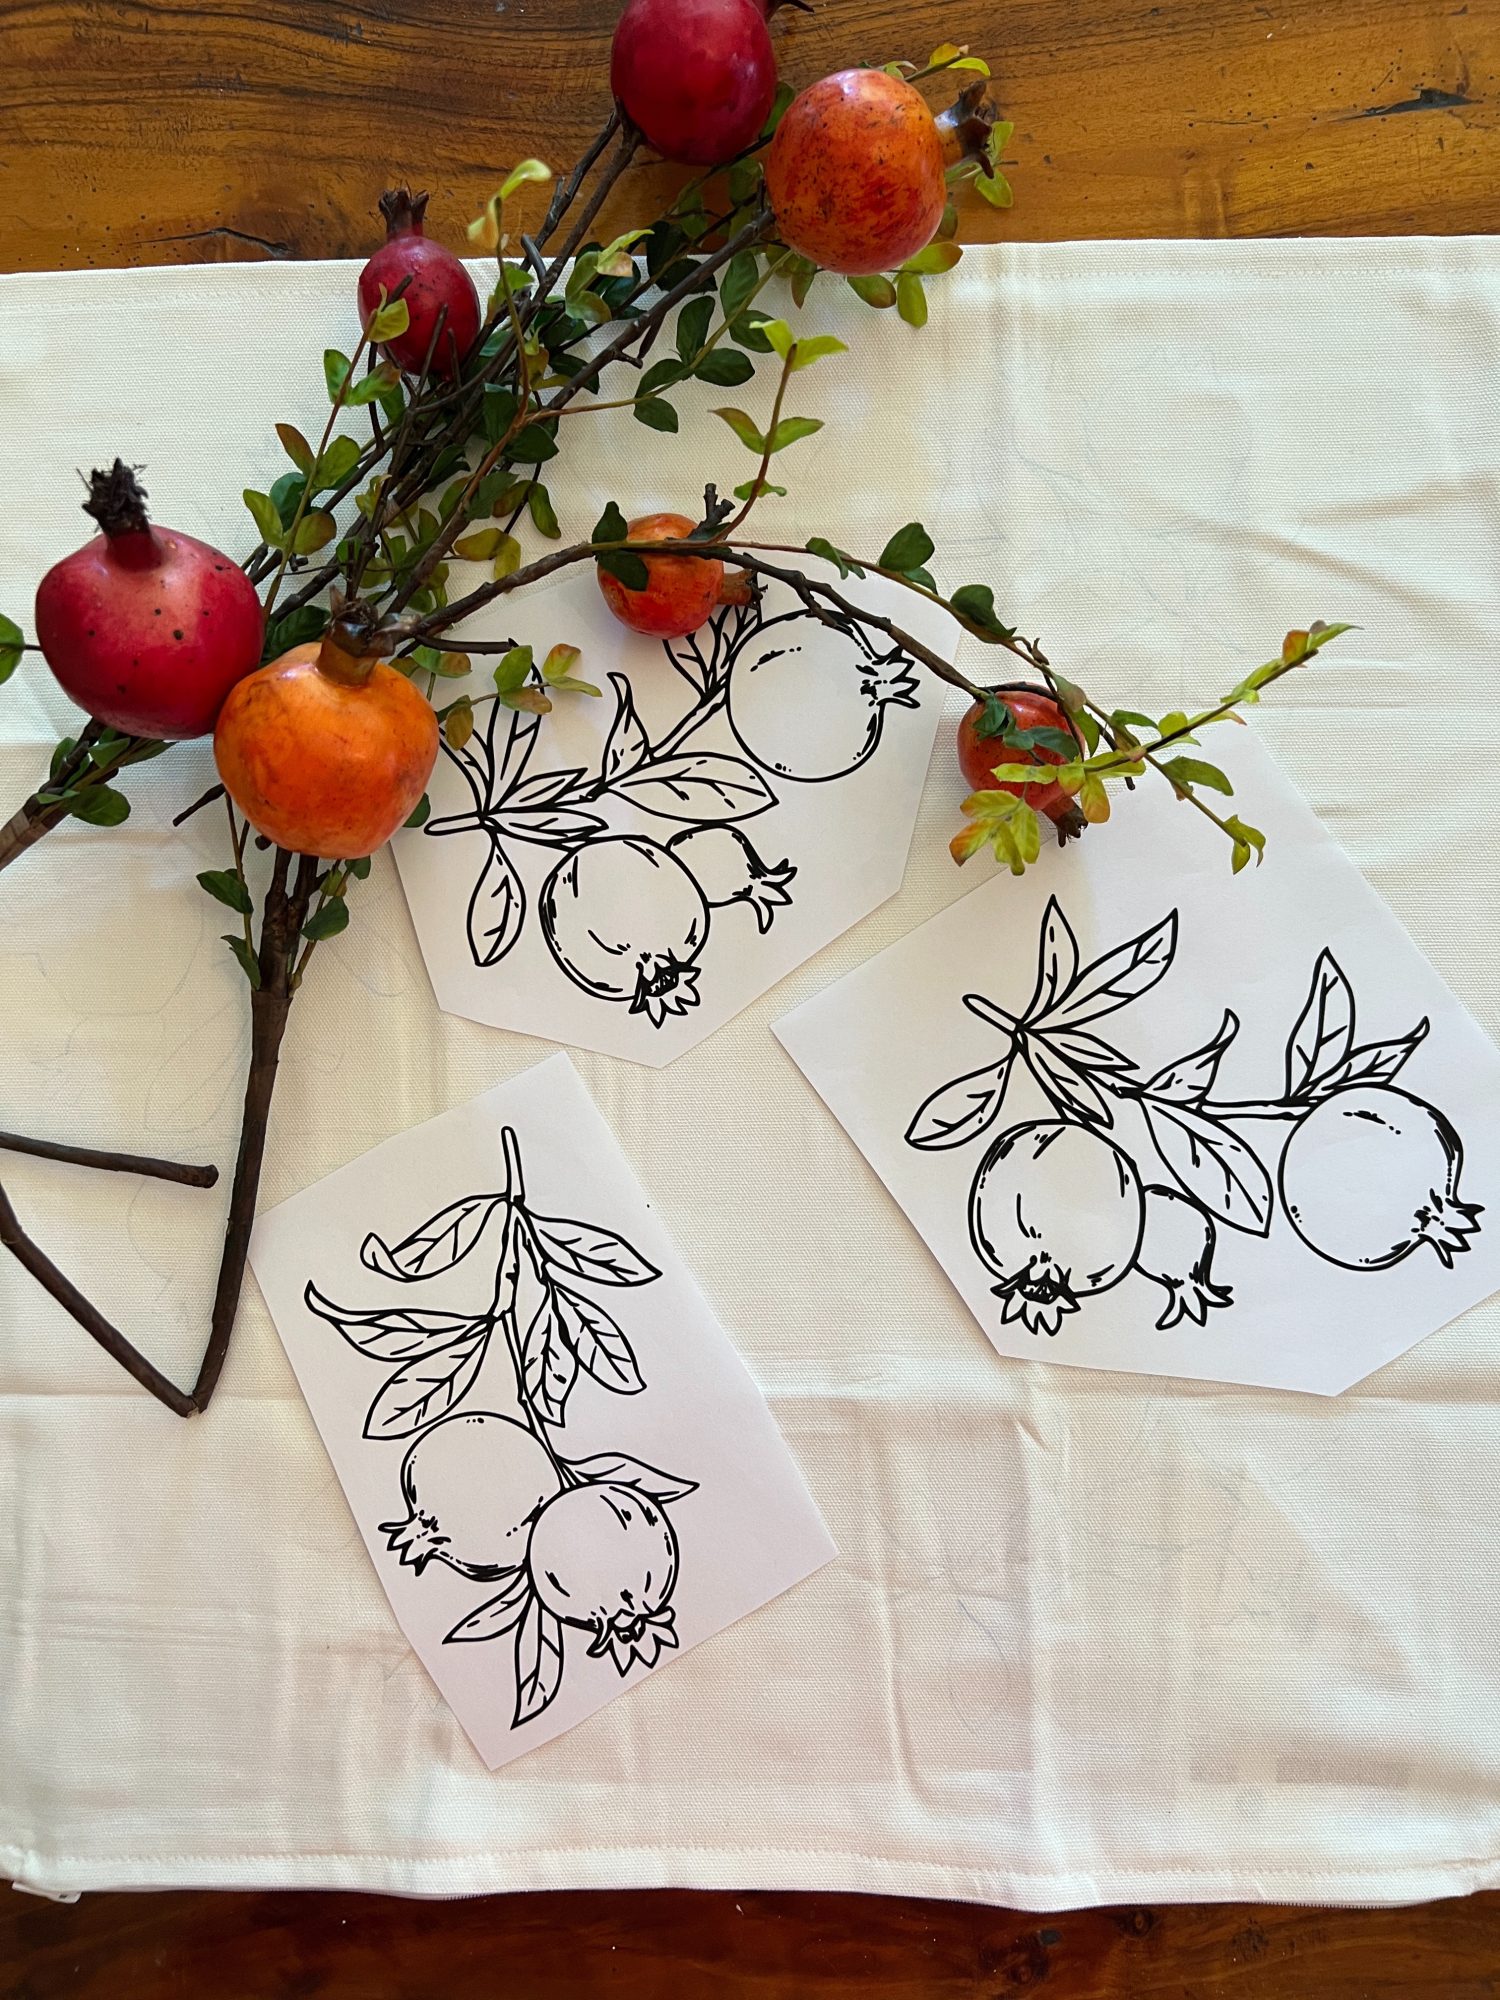
- one – Select your pattern. Search the internet for words such as “fruit line drawing” or “pear line drawing” or “pumpkin drawing”. You will see many line drawings you can print and use as a pattern. I used two different patterns.
- two – Print the pattern(s) and lay out the design.
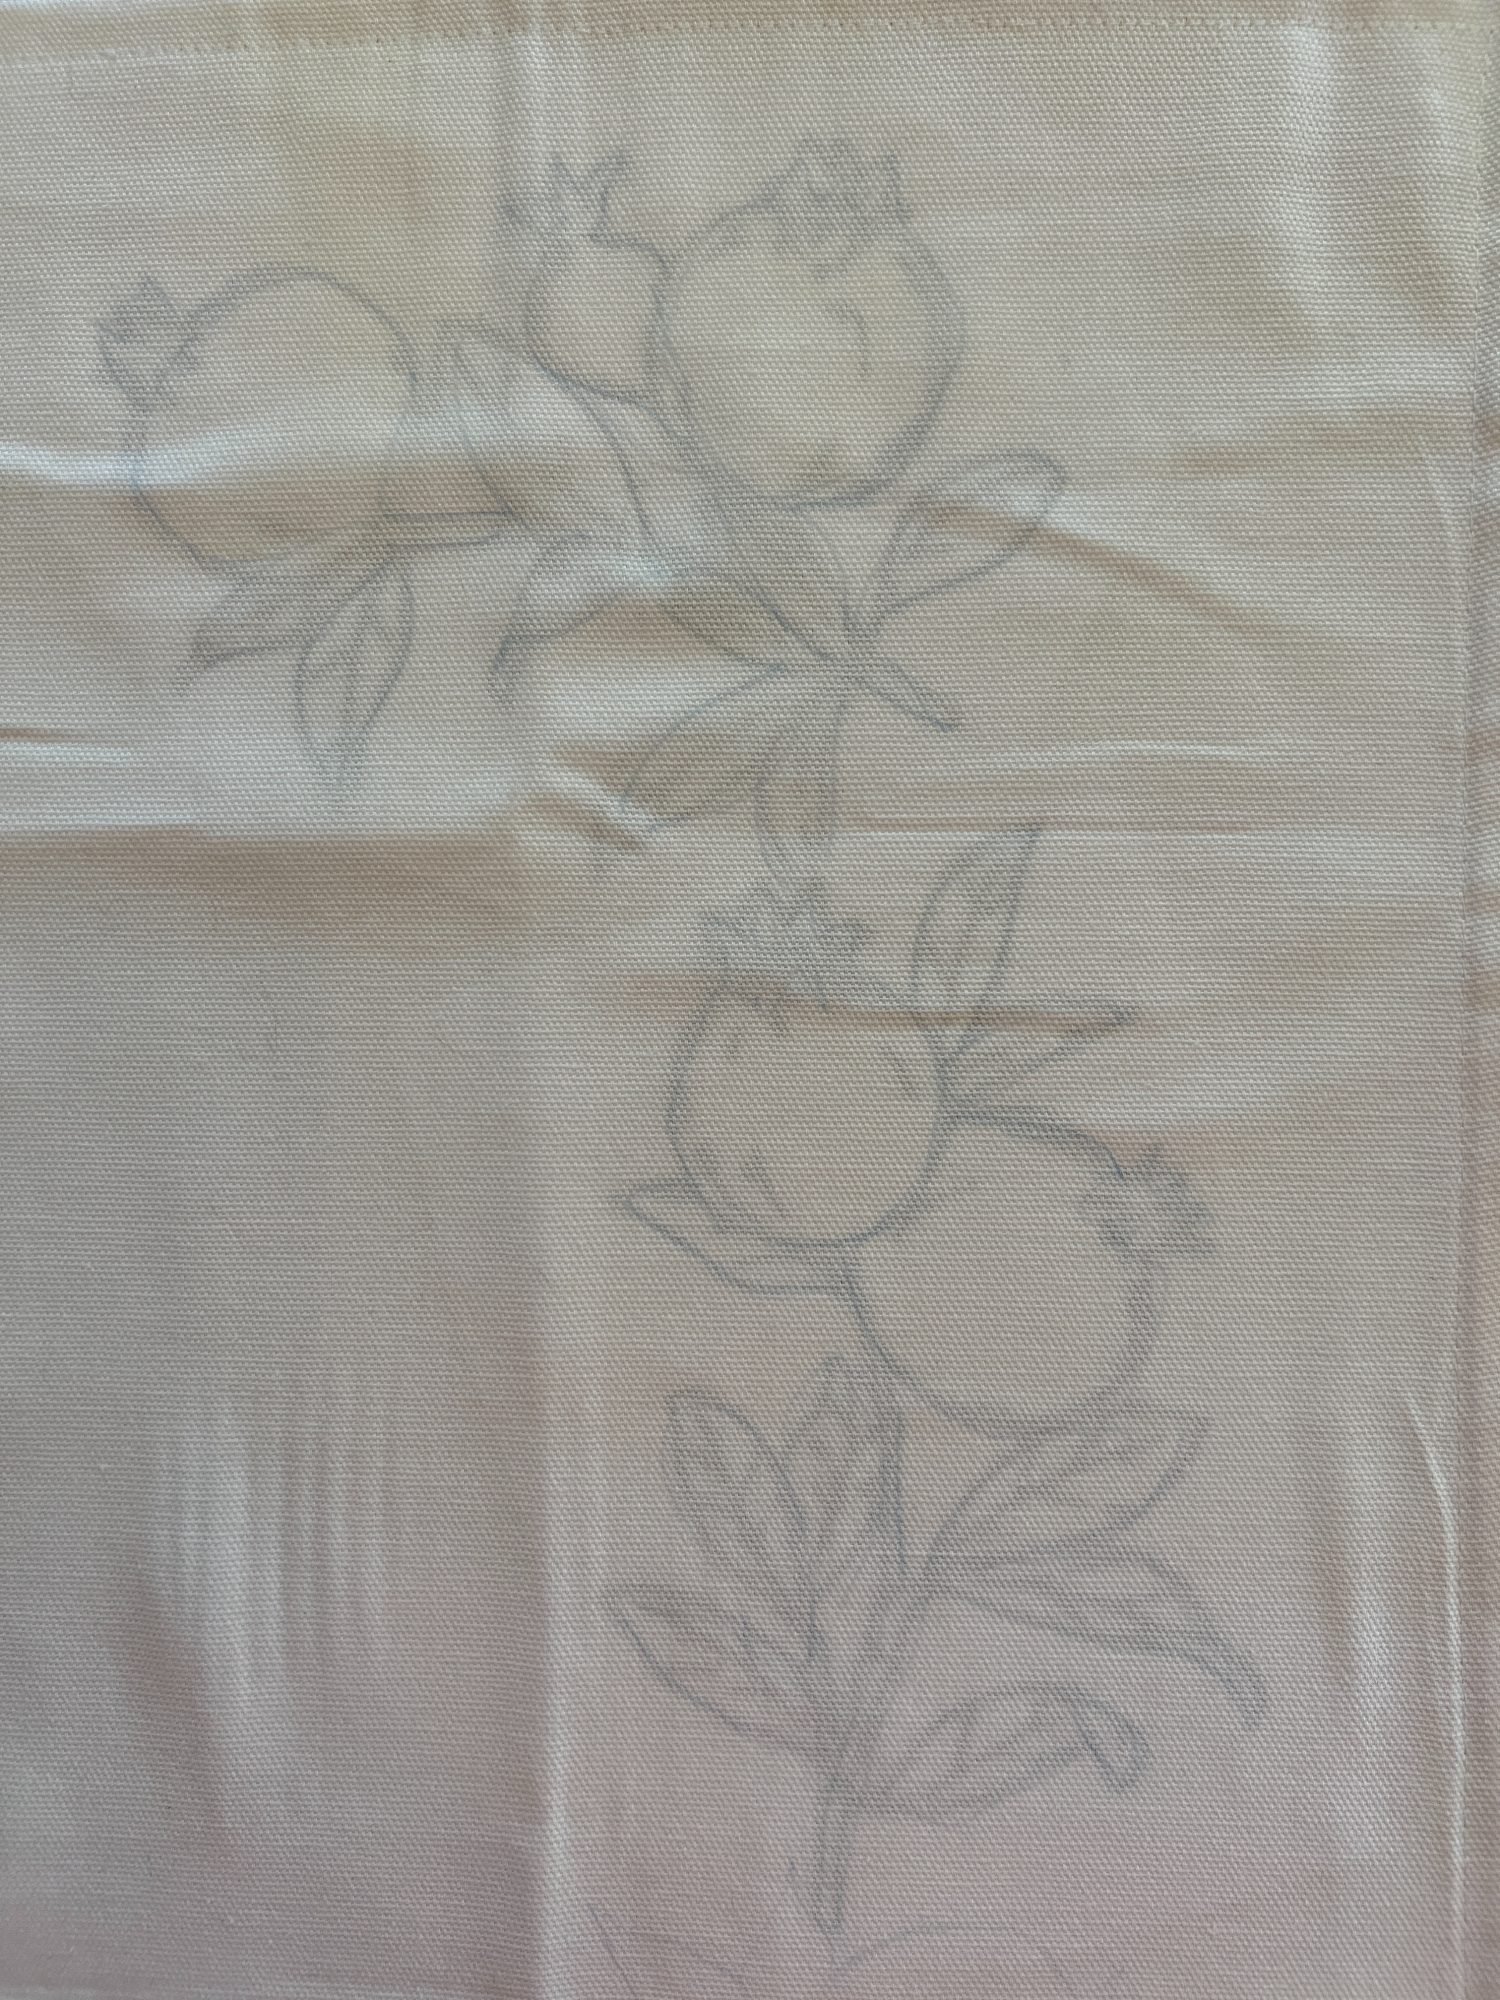
- three – Trace the pattern by putting the printed pattern inside the pillow cover. You will be able to see the pattern through the fabric. Using your Water Soluble Marking Pen, trace the pattern onto the fabric.
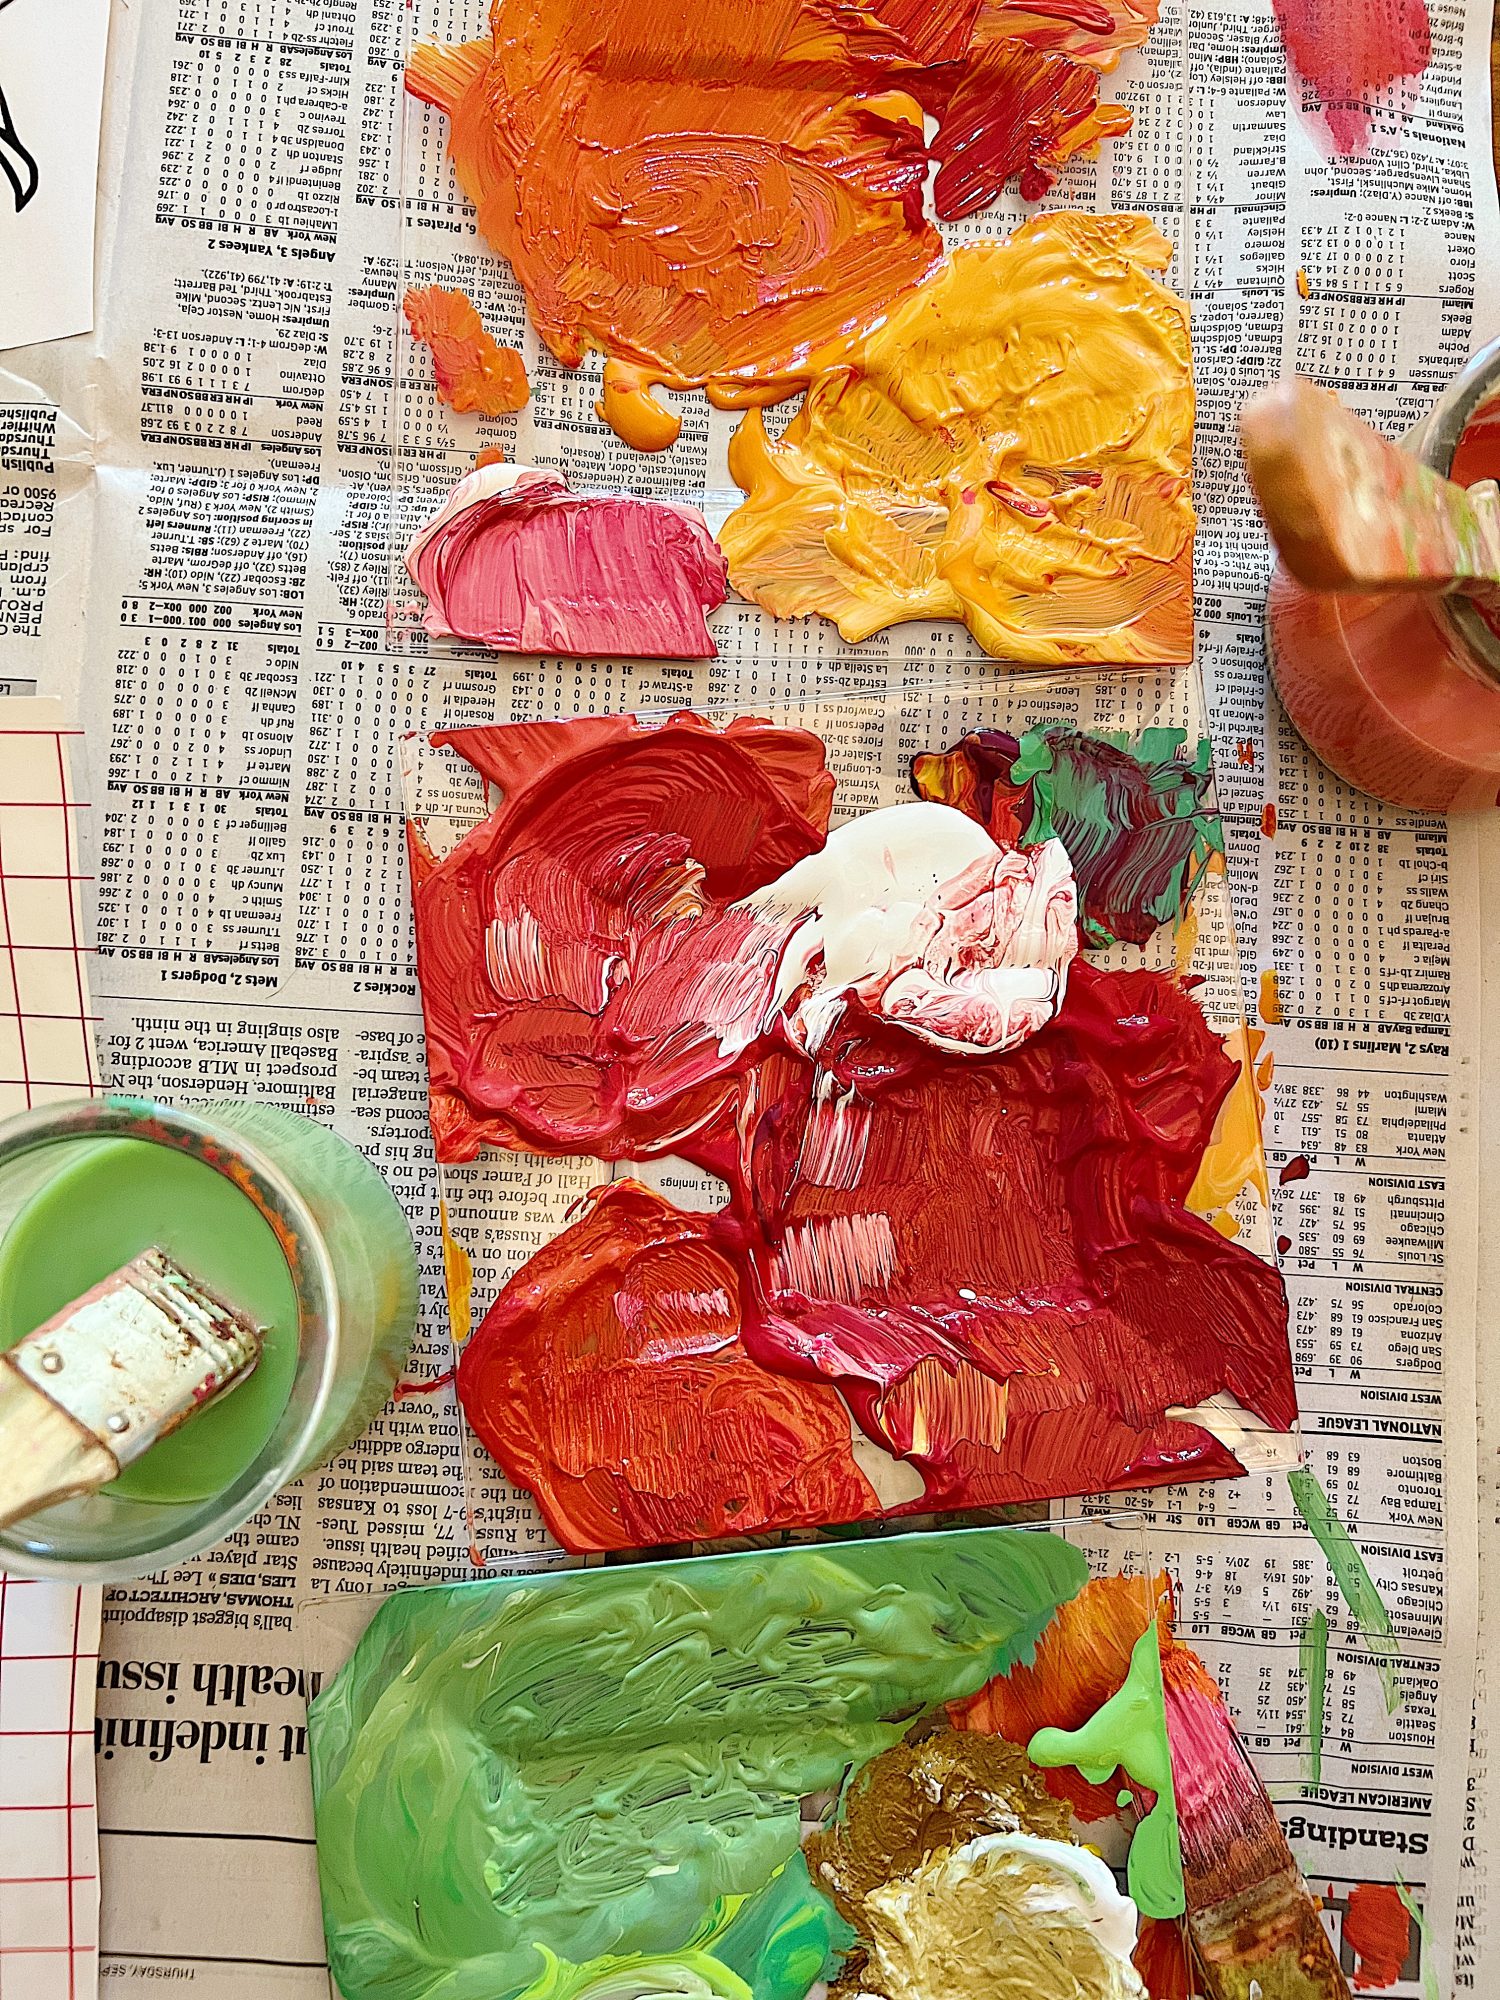

- four – Next, mix your paint colors. I always make two shades of every color. One is a medium shade and the second is lighter (use yellow and a tiny bit of white to make it lighter.)
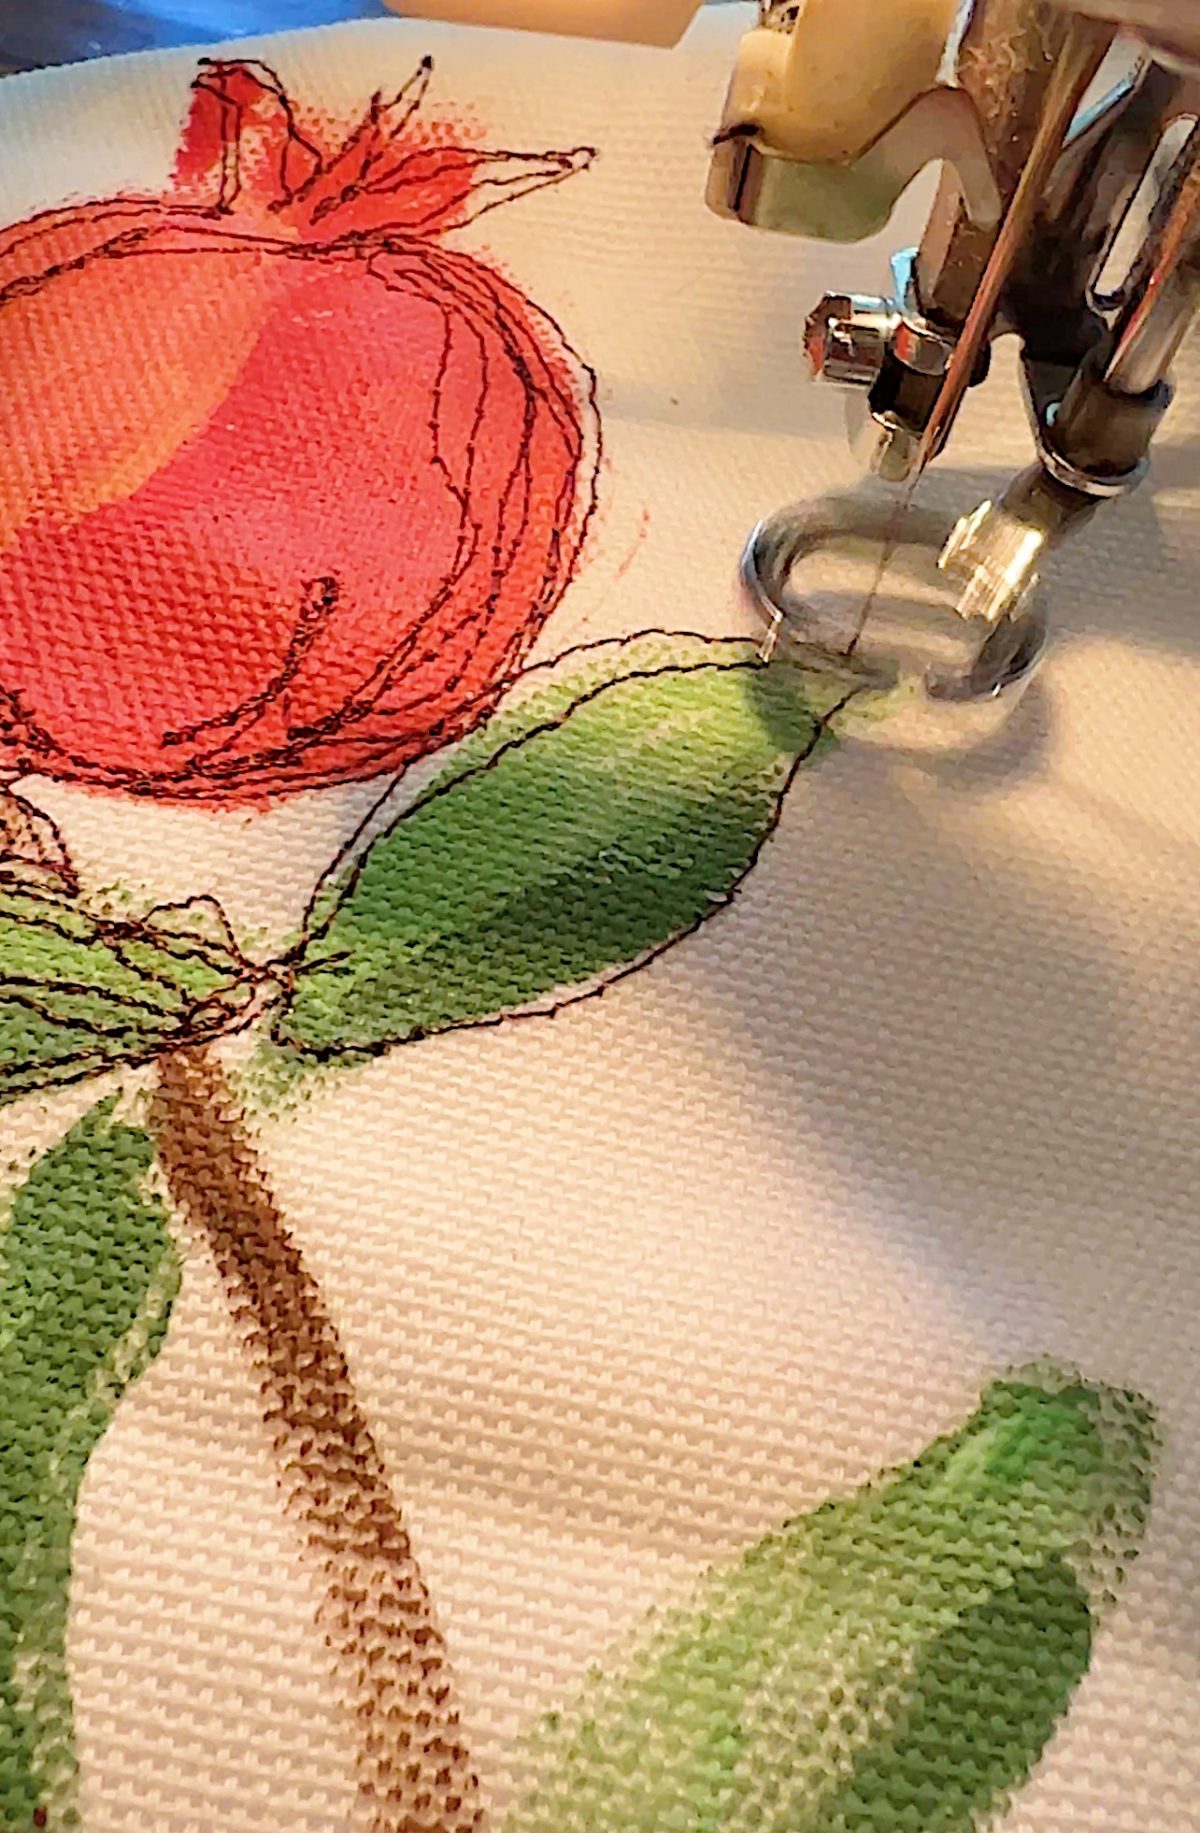
- five – Fill in the shapes with paint, always using two colors for every shape. Keep the colors consistent and paint the lighter shade on the same side of every shape. (Notice how I painted shapes, not pomegranates. You don’t need to be an artist to do this.)
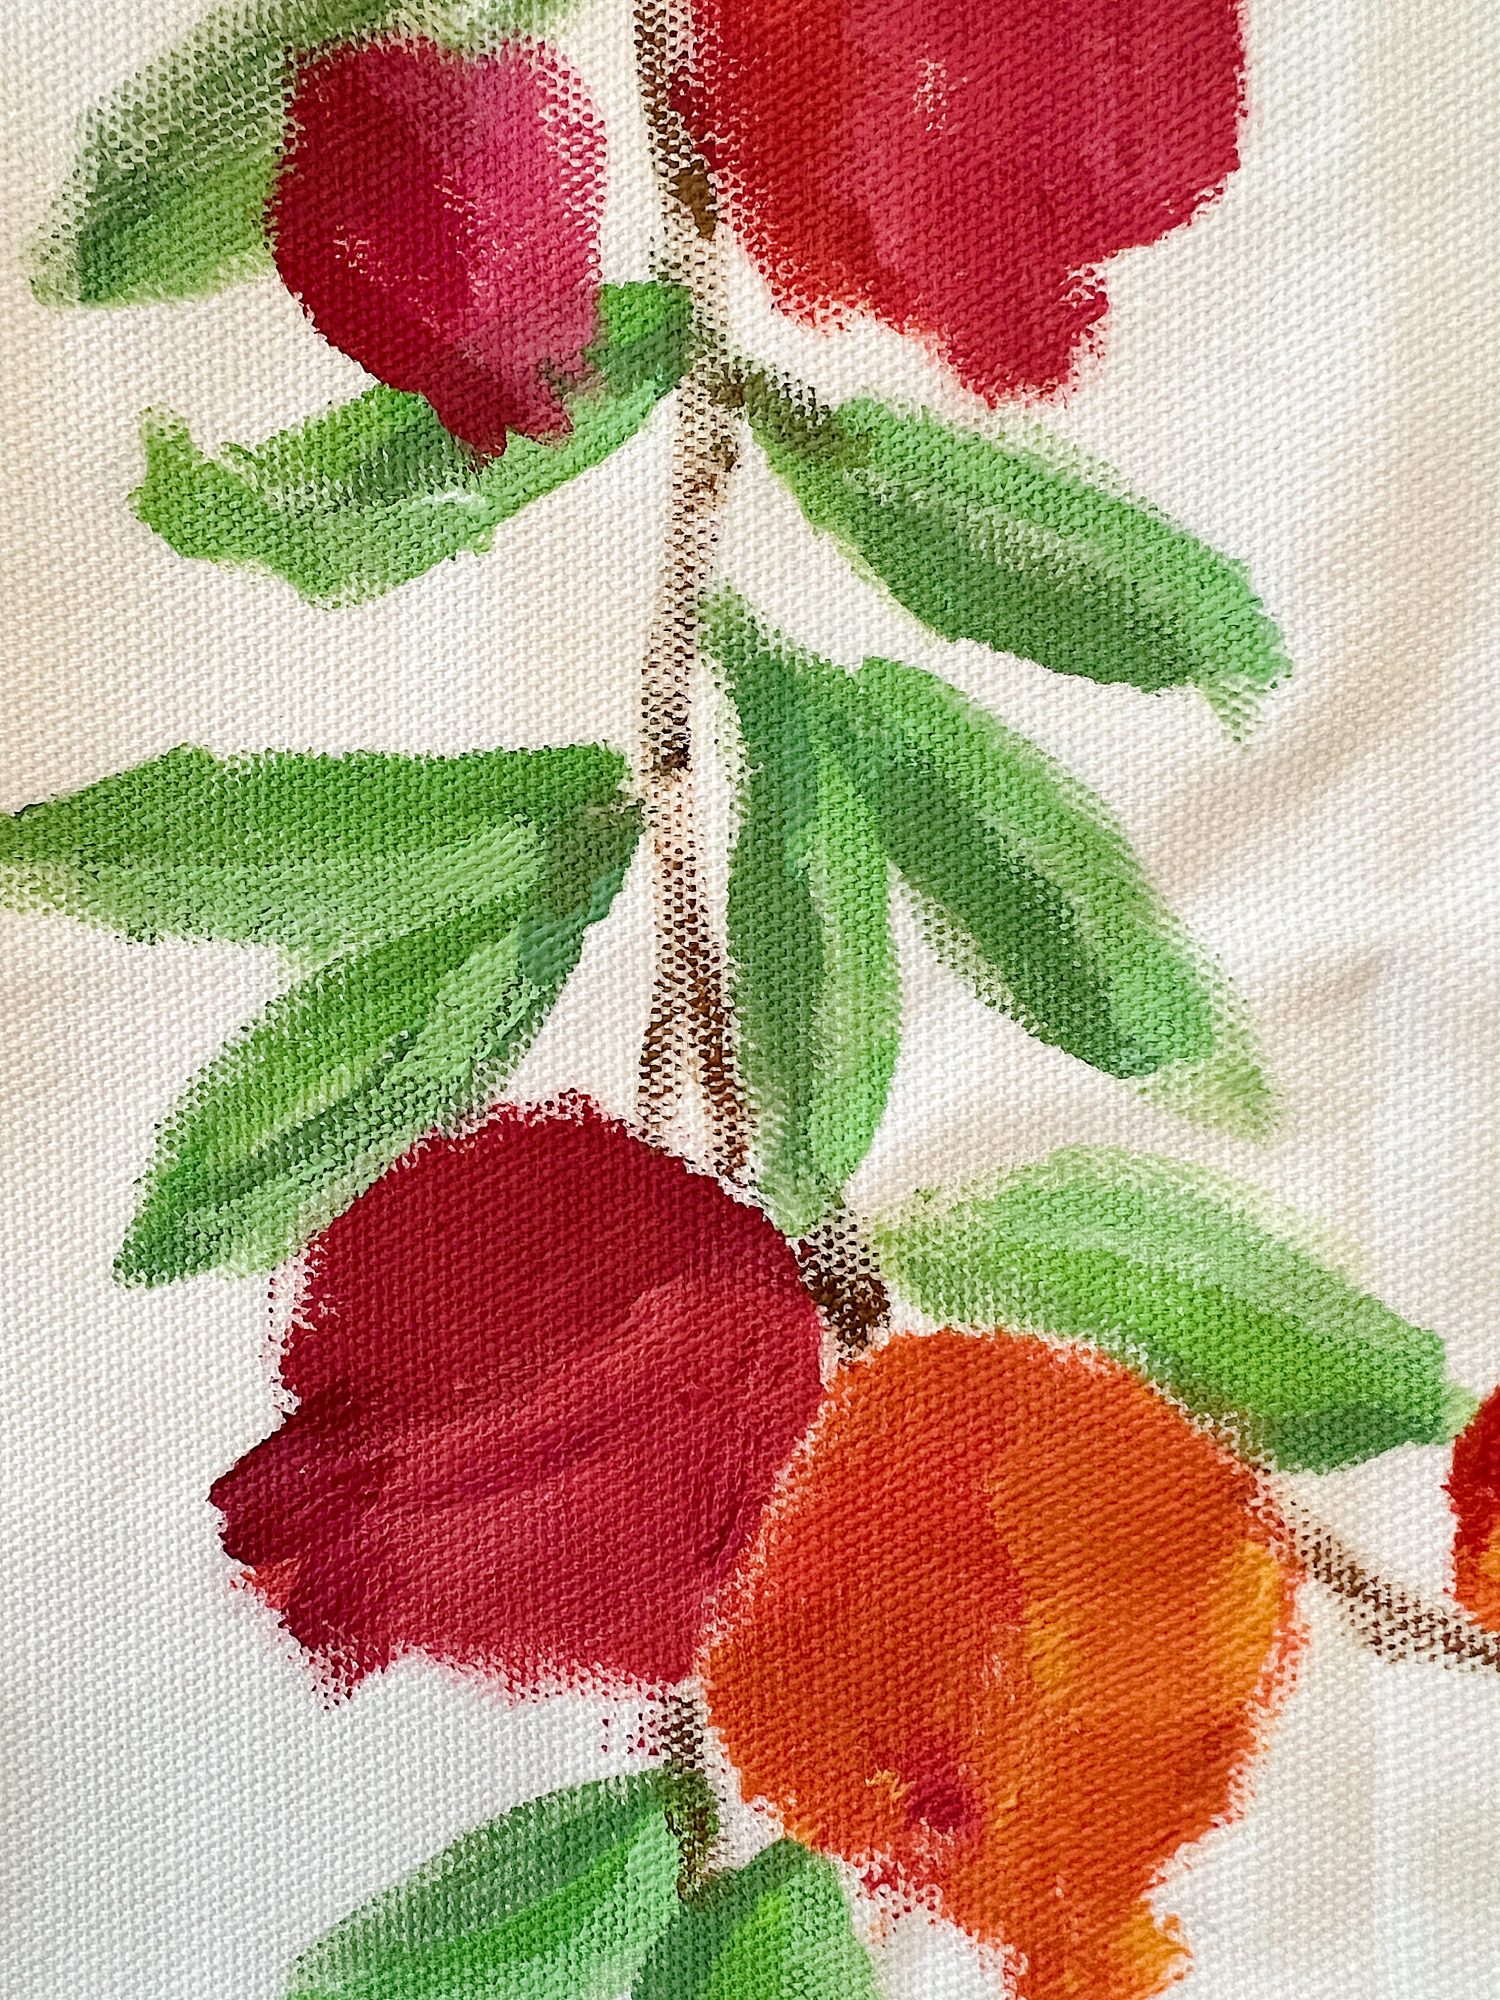
- six – Add leaves, branches, and maybe even smaller items to help the pillow shapes connect.
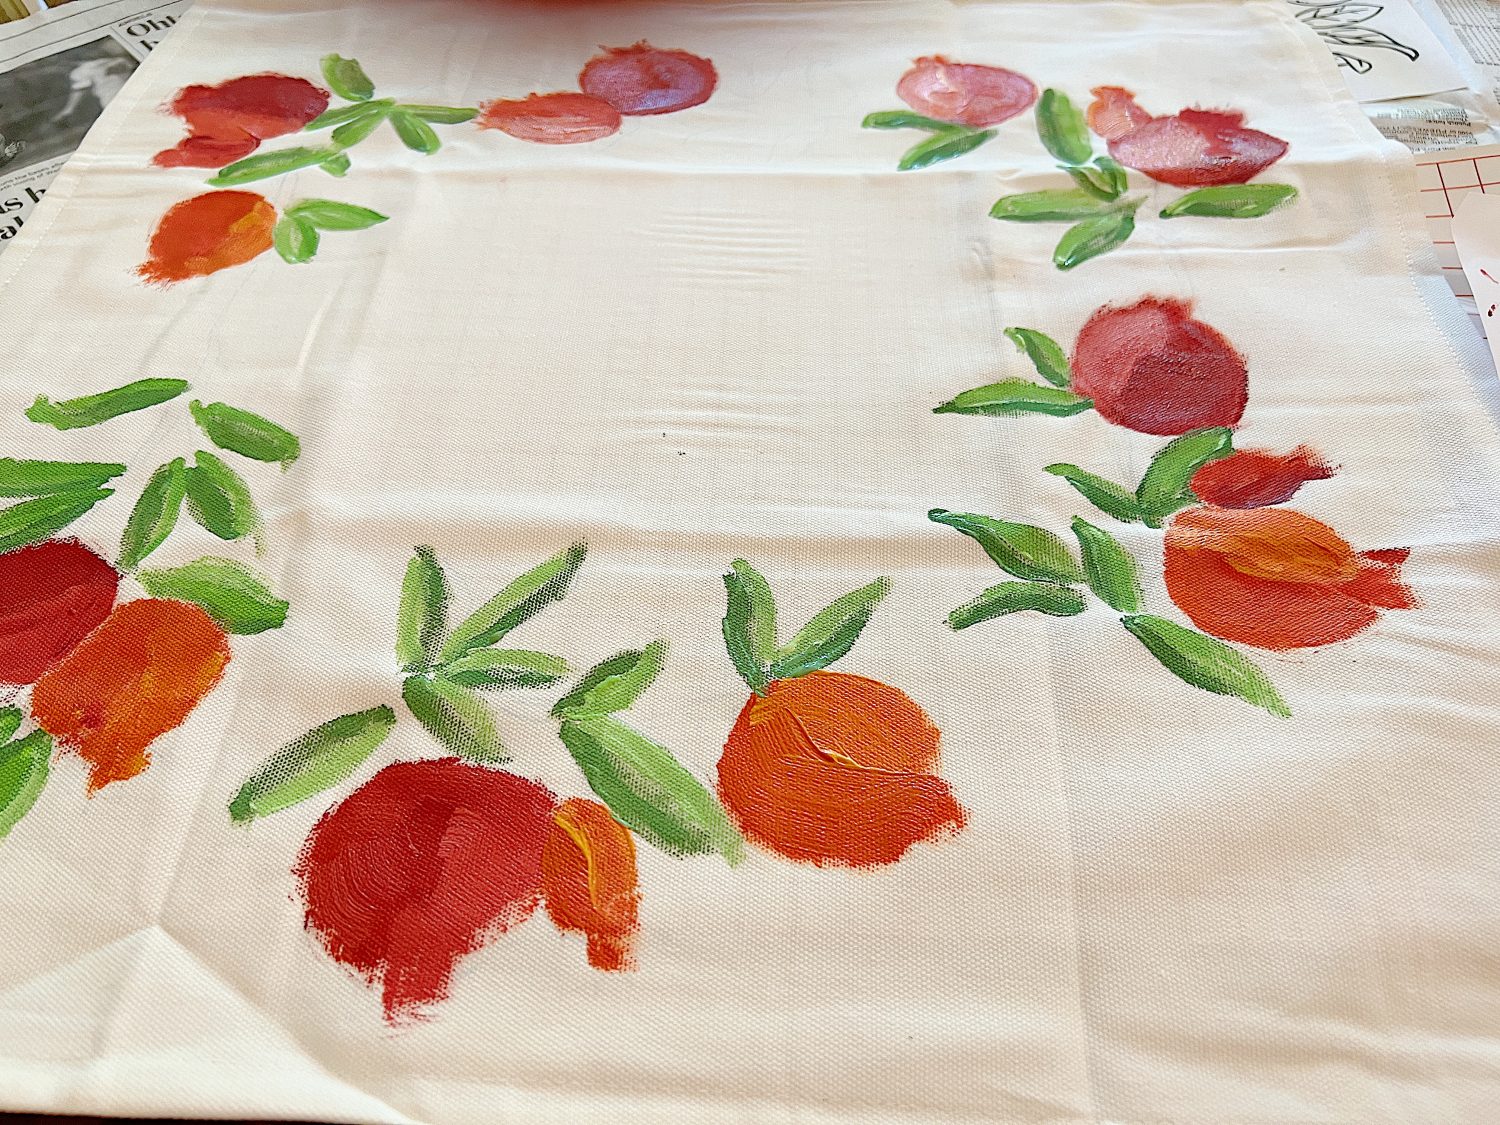
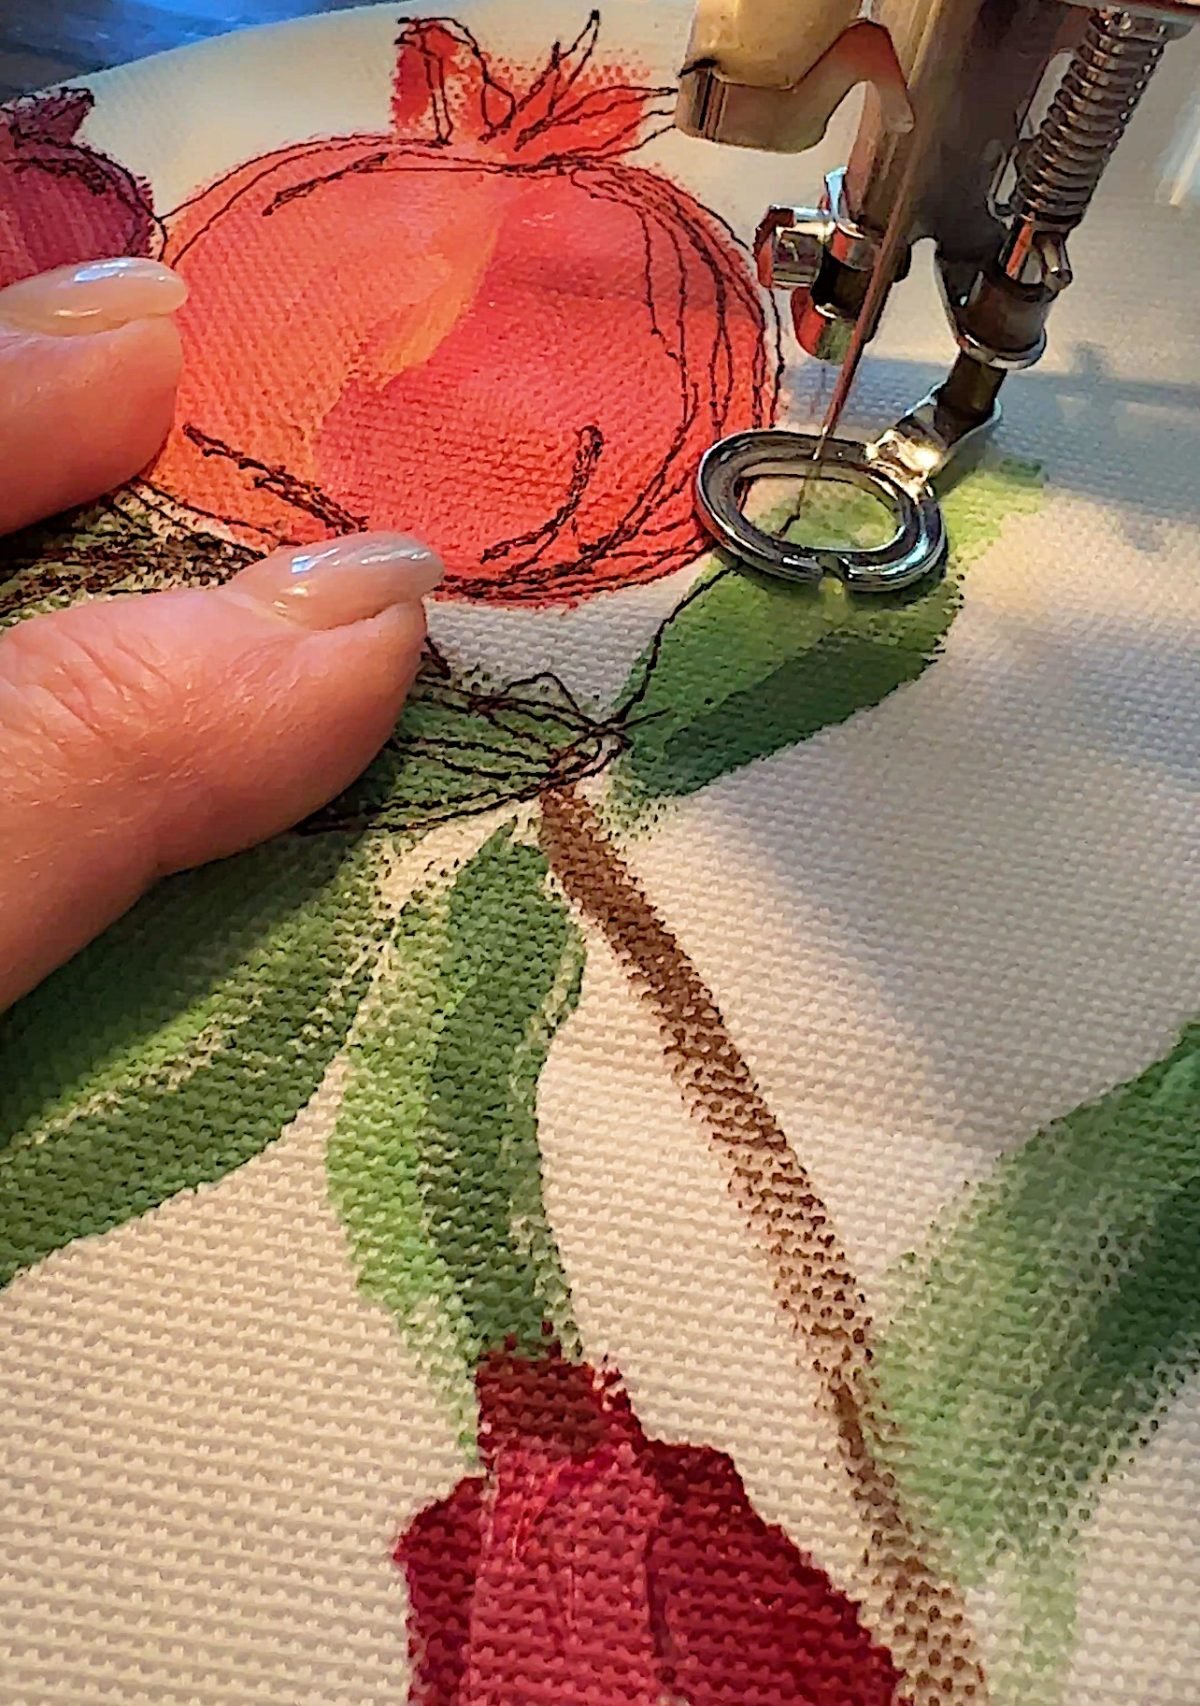
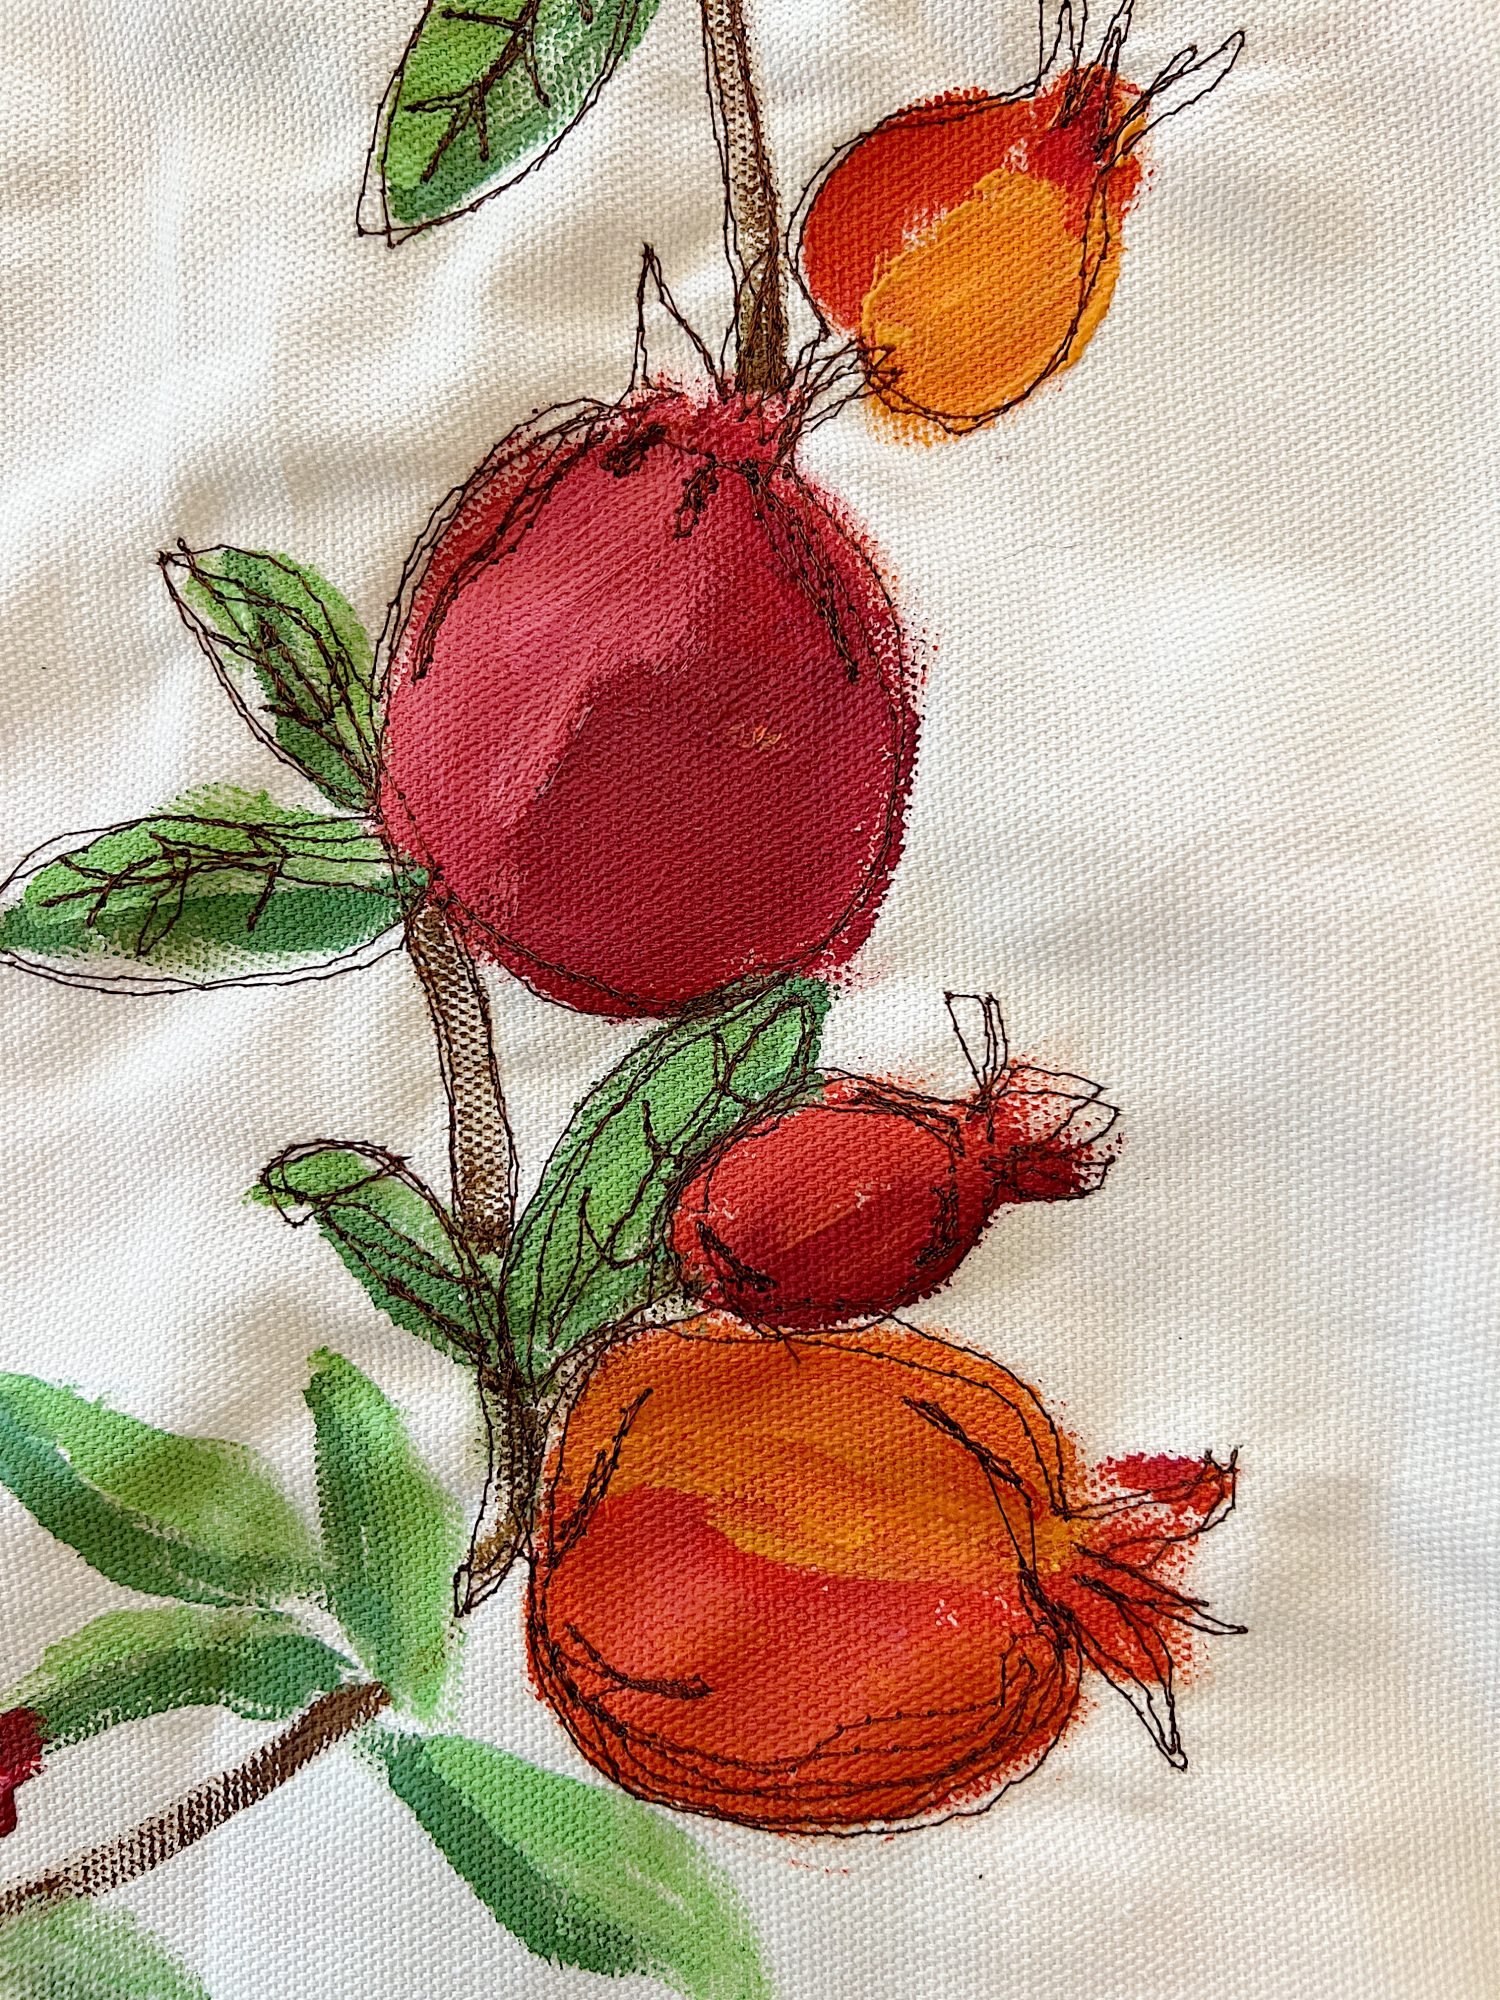
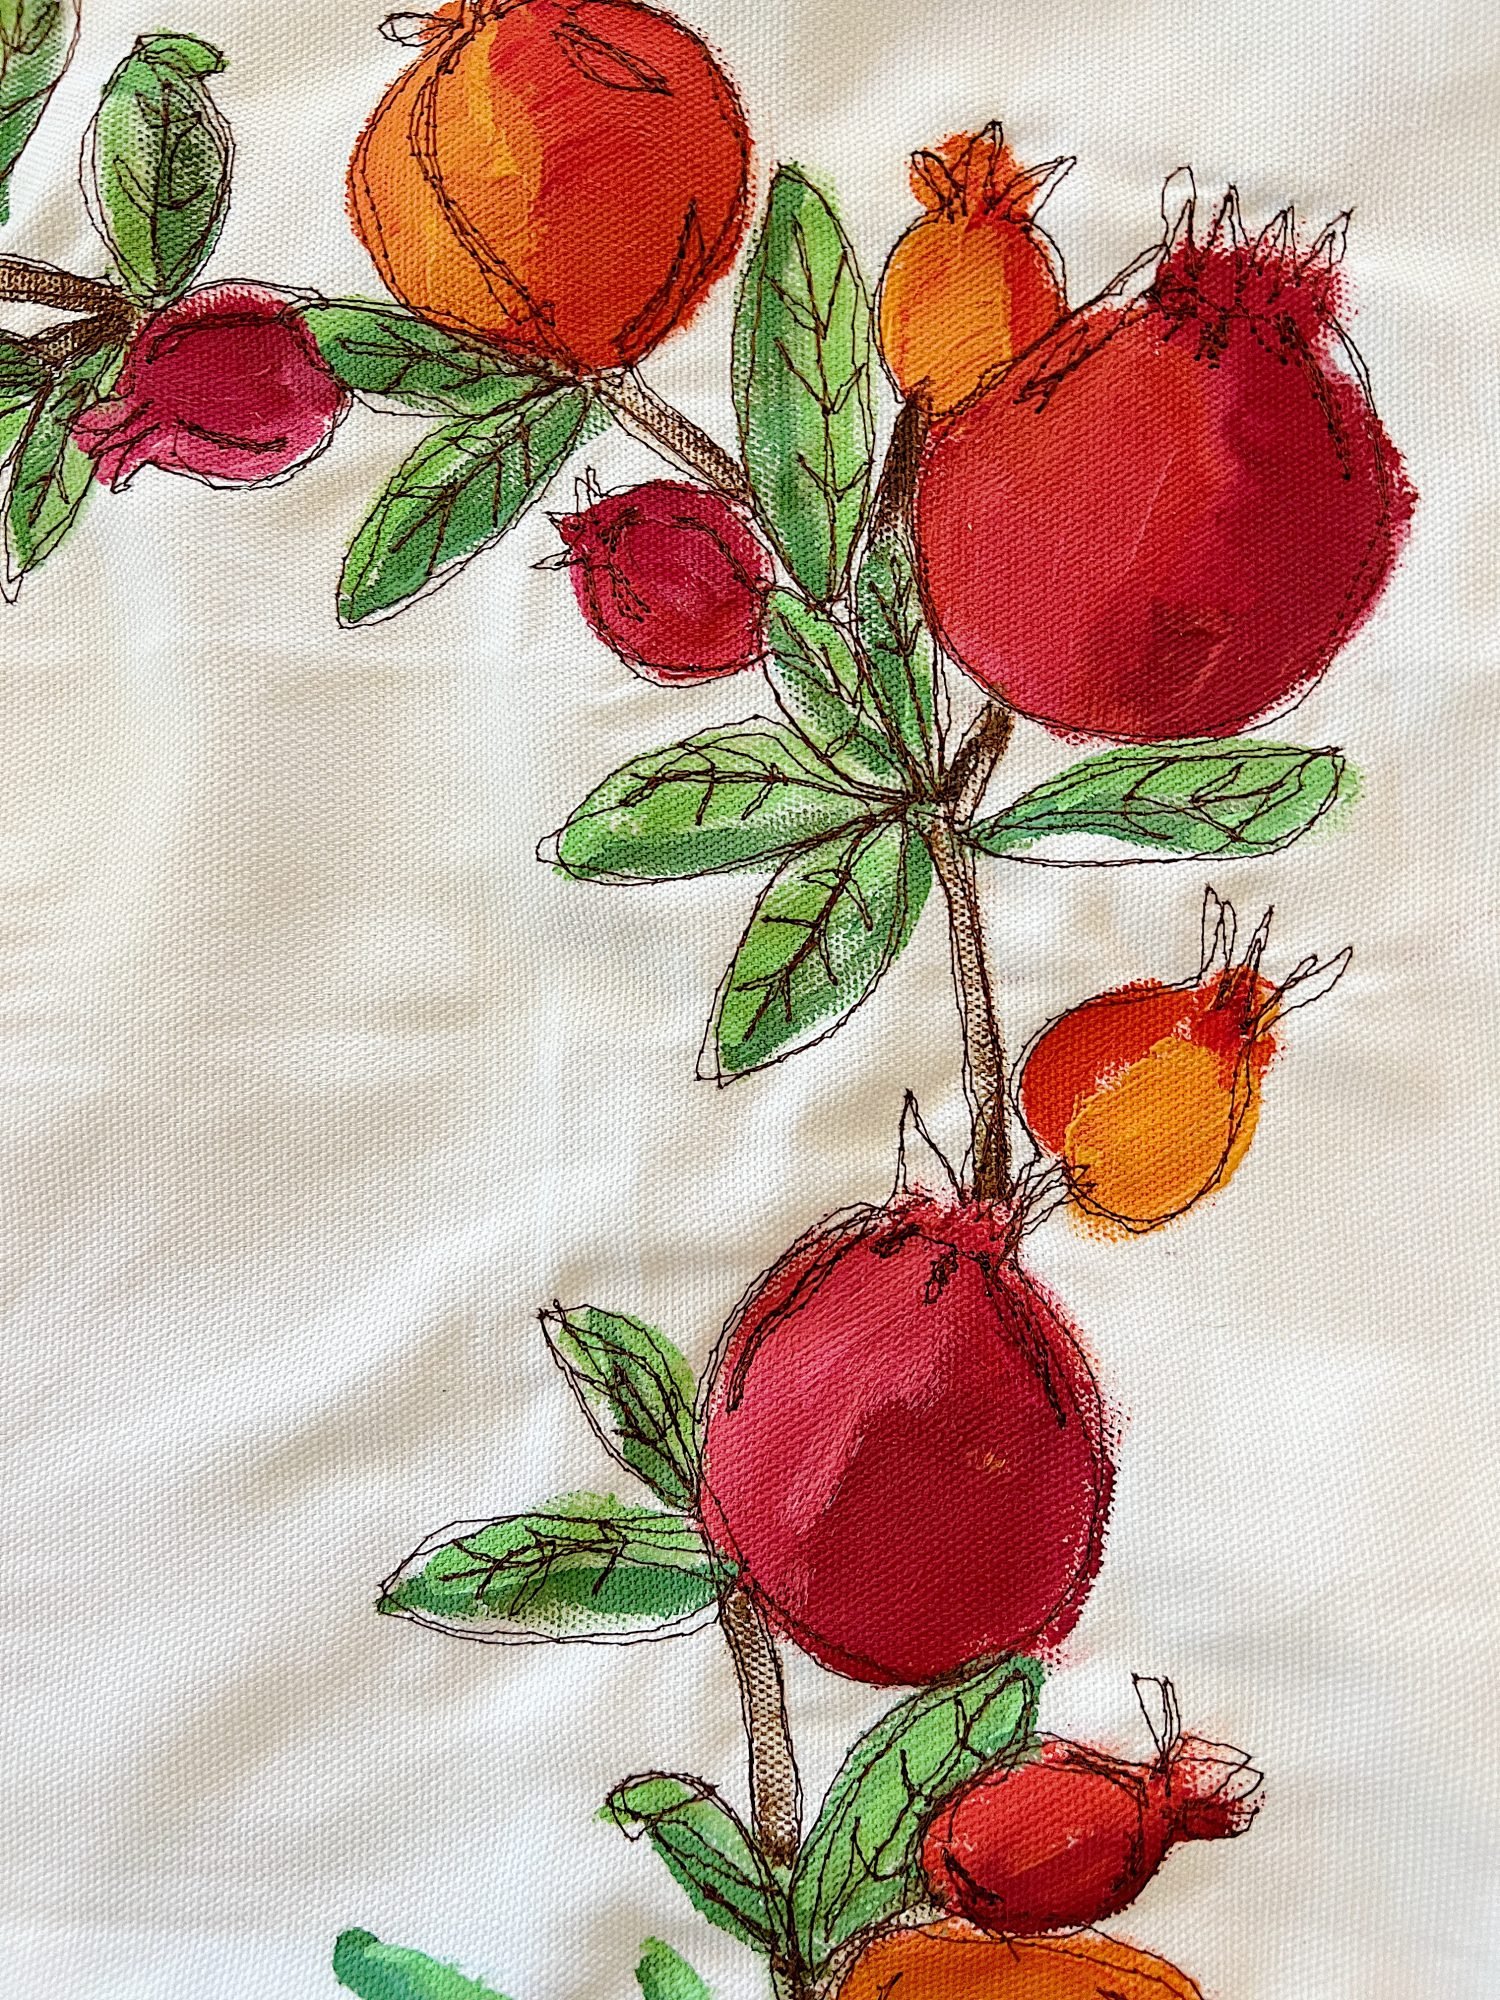
- seven – Let the paint dry completely before you start the embroidery. Using your sewing machine’s free-motion embroidery presser foot, stitch around the painted areas to define the shapes.
- eight – Add some of the highlights by adding more stitching.
- nine – Look at how much detail the dark thread adds to the design!
When you are done, be sure to iron the pillow cover. This will set the paint into the fabric.
The before and after is always just amazing to me!

This project does not require perfection, so relax and enjoy it!
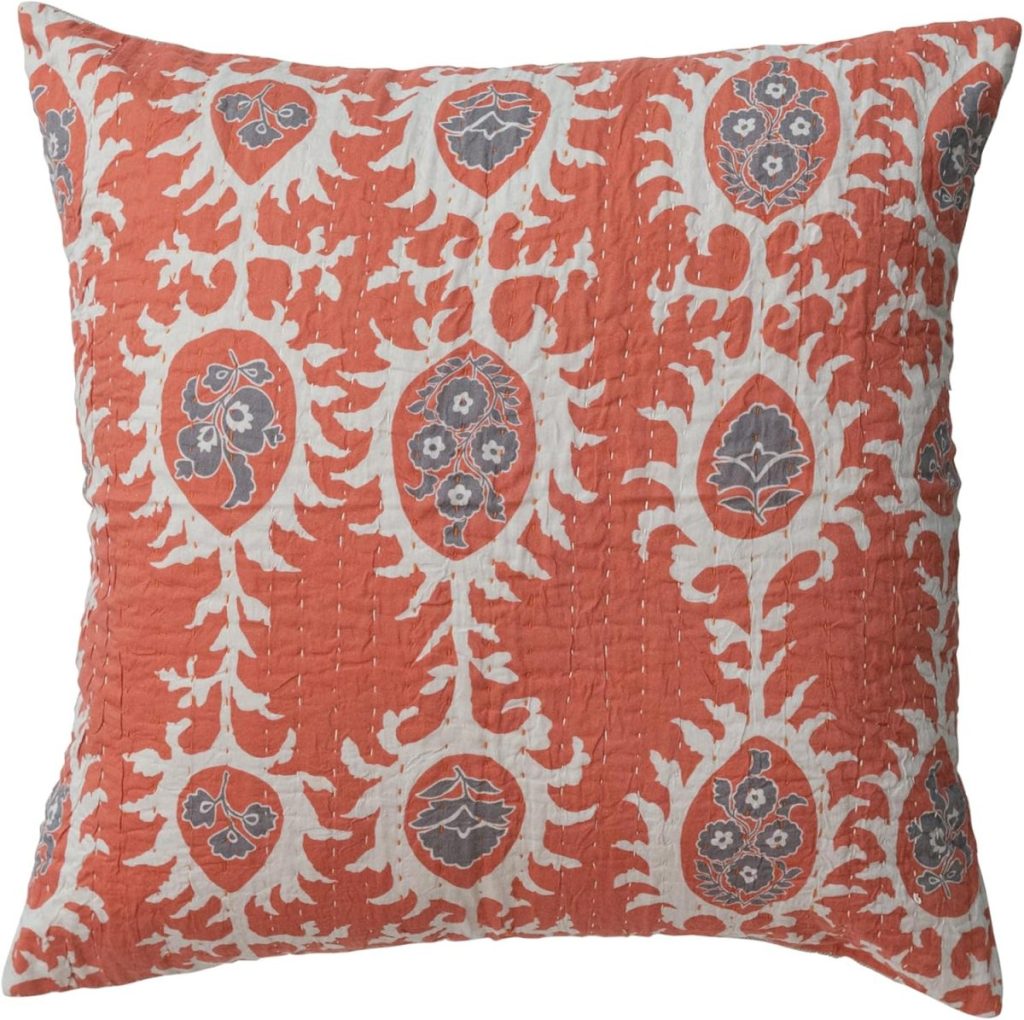
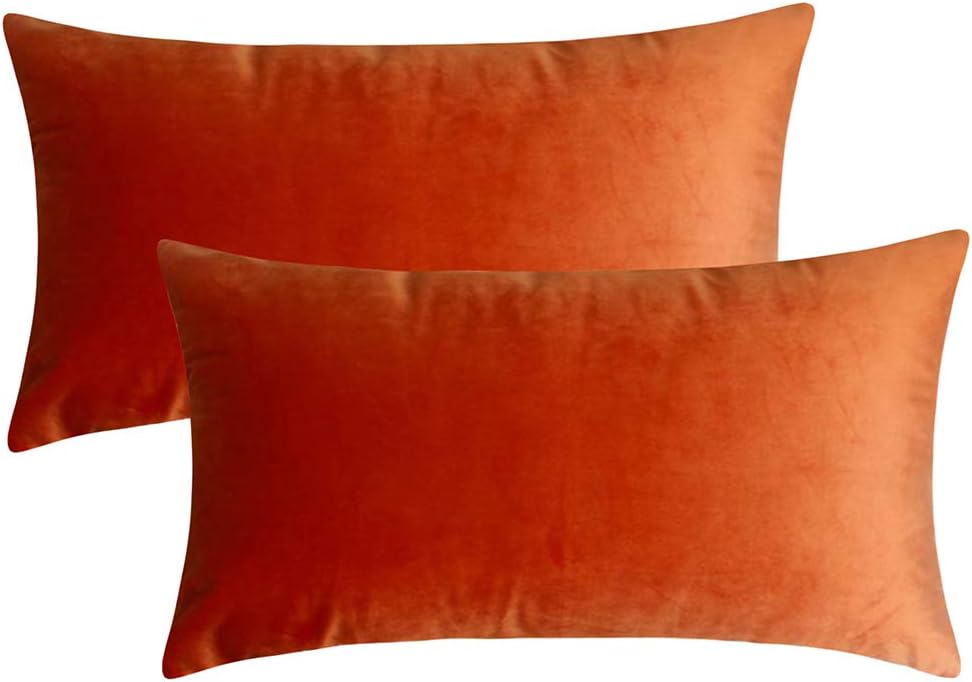
Are You a Better Shopper Than a Crafter?
If crafting isn’t your thing or you’re not interested in making this craft, I’ve got you covered. Browse and click!
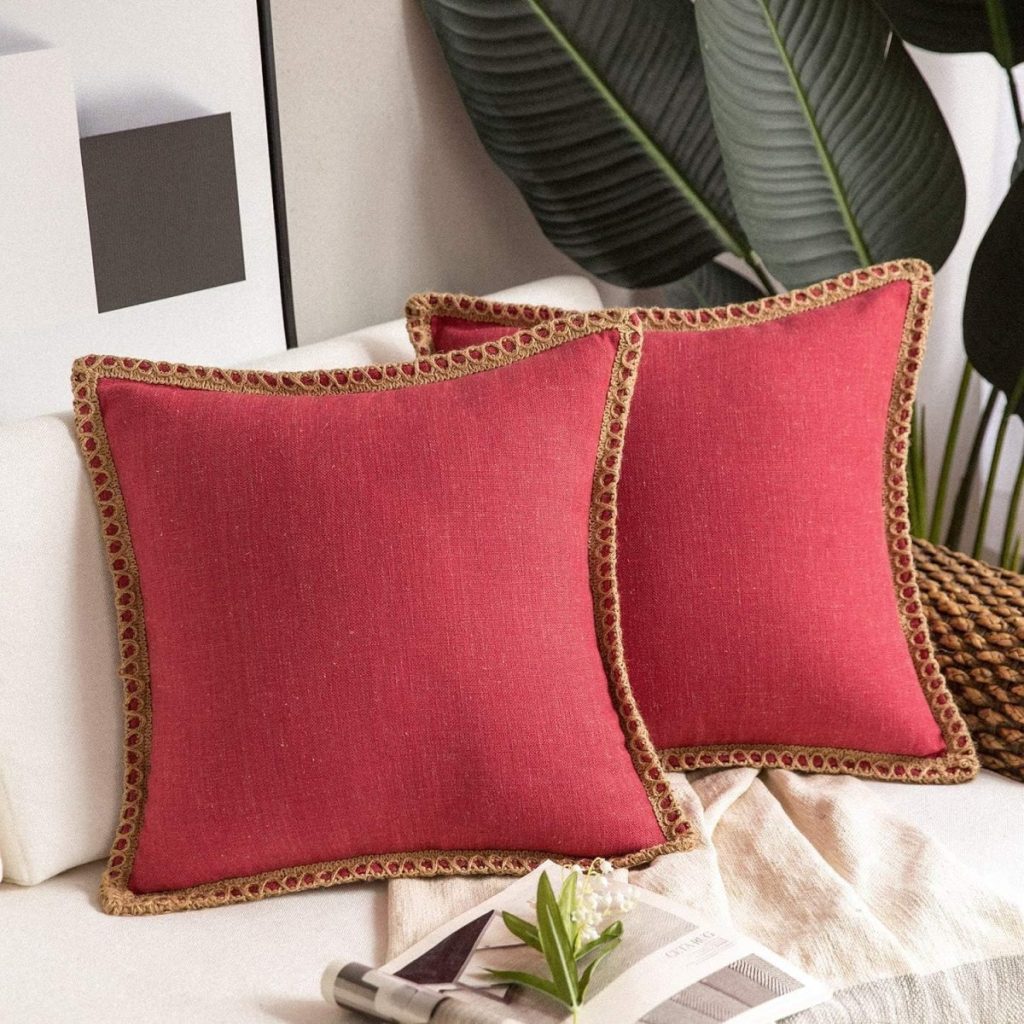
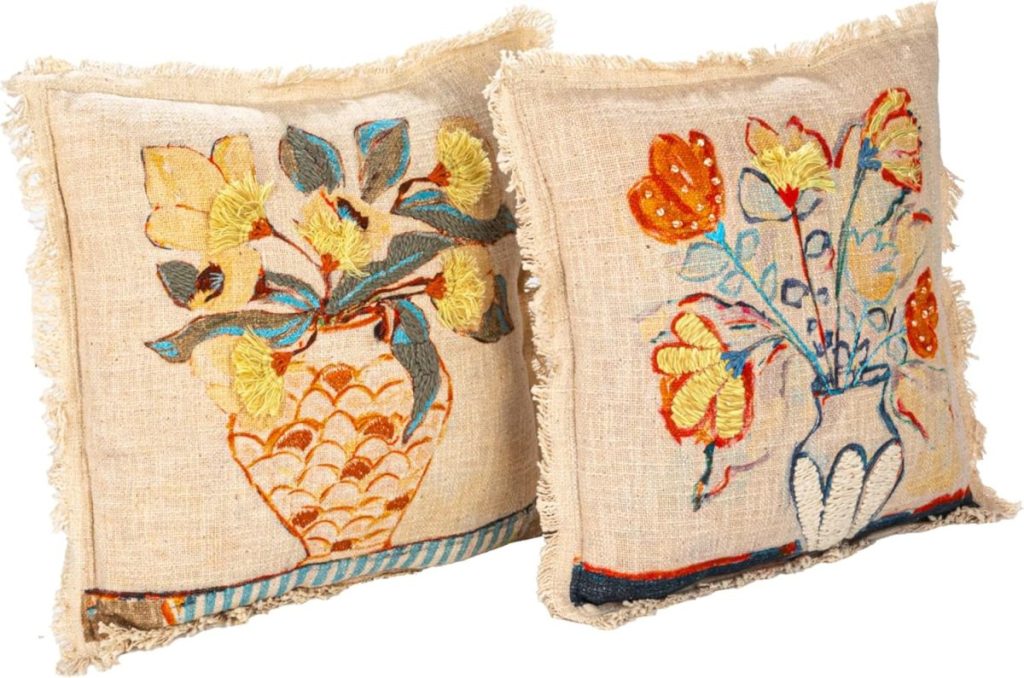
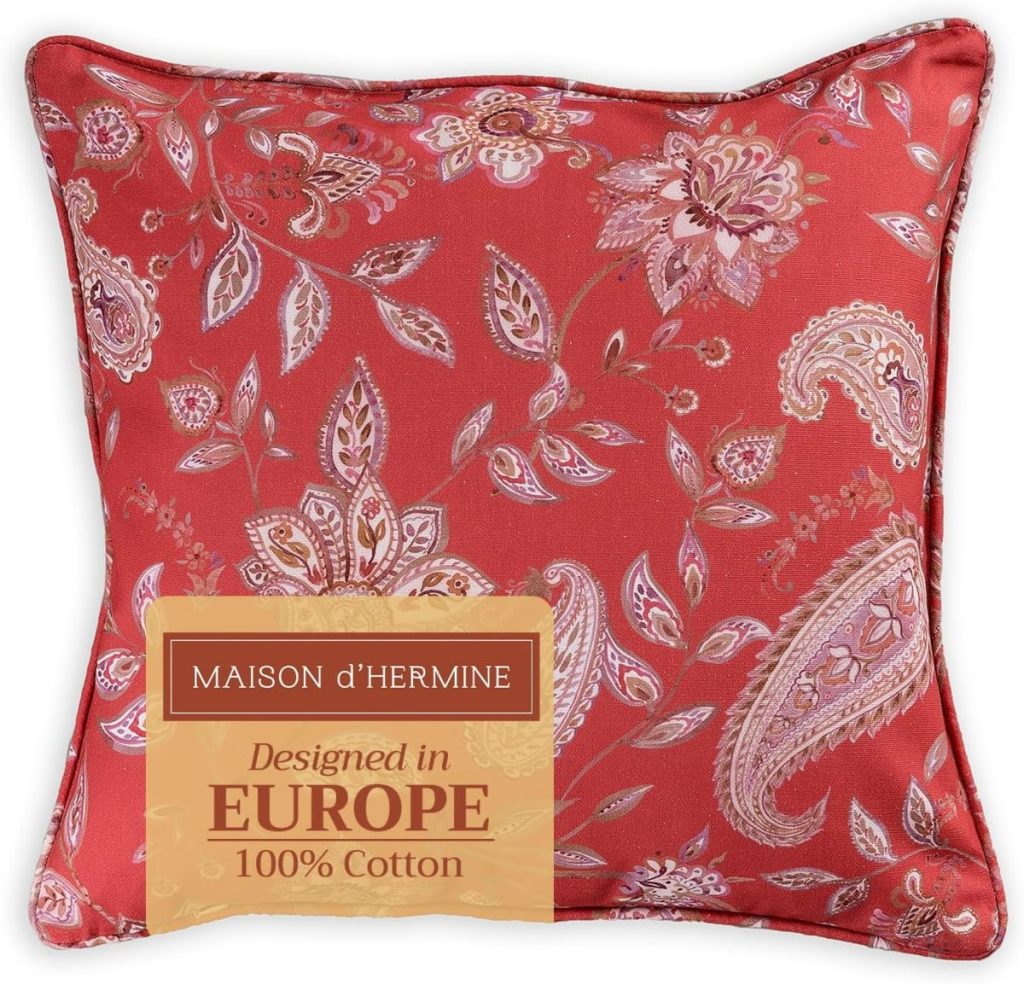
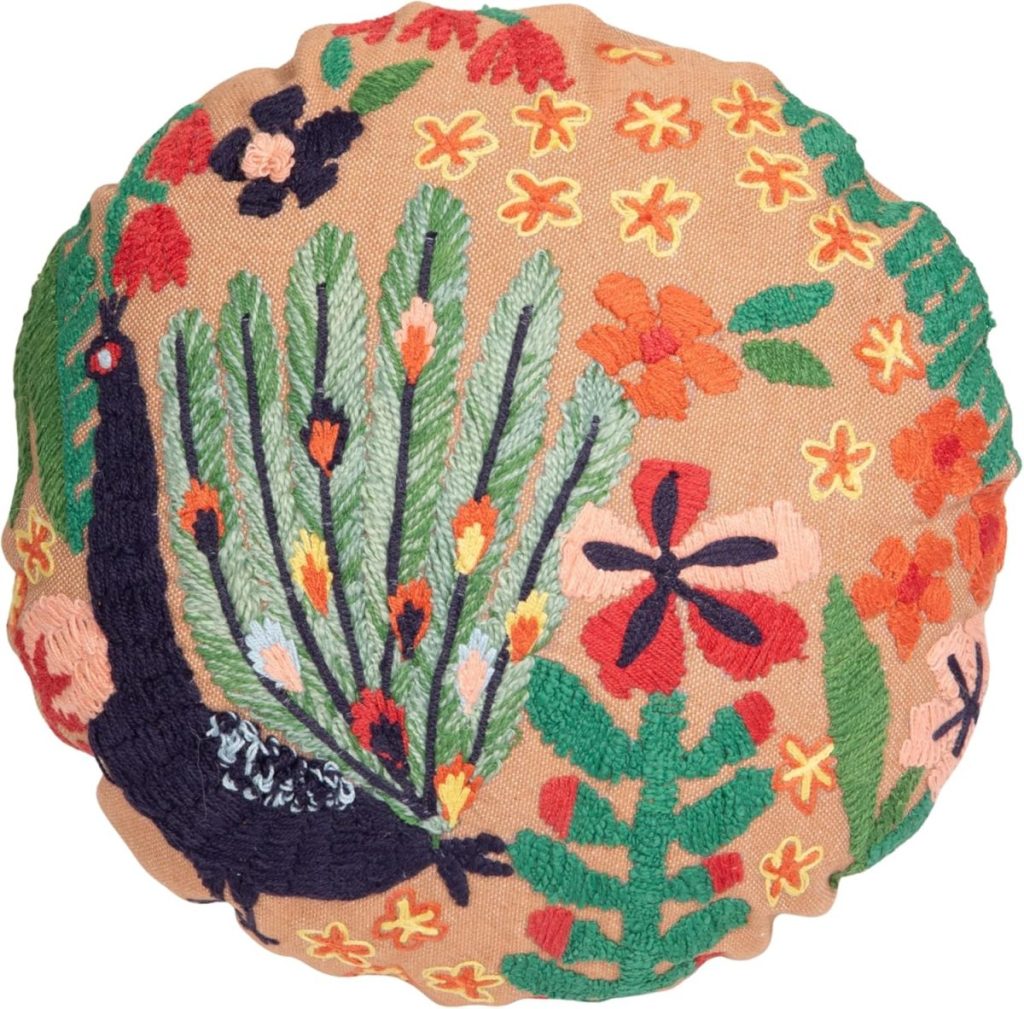
More Fall Pillow DIY Ideas
Tap on any of the links for more DIY fall pillows.
Pottery Barn Inspired Fall Finds
If you enjoy my blog, you can sign up to receive my updates here.
.
You can pin the image below to your boards on Pinterest (click the Pin button in the top left corner) or follow me on Pinterest!
For more real-time updates, follow me on Instagram @My100YearOldHome

So beautiful!
Super cute! I love it. Happy Fall, my friend.
Hi Leslie, this is a beautiful project! I’m wondering if you’ve ever experimented with the use of fabric dyes instead of acrylic paint? It would make a washable cushion cover, but maybe it wouldn’t be as vivid. Thanks!
Hi Leslie, I love your style. These pillow covers are beautiful! Your step by step explanation is very well written and clear for anyone to take the plunge and what a great result.
Thanks Karen! I’m glad that it was all helpful!
OMG!! Your pillows are my favorite! Love these new Fall ones and can’t wait to get my paints out. Also, I’ll see you Wednesday in McKinney, Texas!!
I have a penchant for faux pomegranates too. When you sew do you open up the pillow cover and slide the painted side in under the needle or how do you do it so it doesn’t sew thru both thicknesses? This pillow is especially beautiful.
Another beautiful pillow! These are my favorite posts and always make me smile!!
Omg that is the best to hear- thank you Theda! I love my pillows ☺️🥰
I would like to make the pomegranate pillow. Where do I find the template?
Hi Carole! Search the internet for words such as “fruit line drawing” or “pear line drawing” or “pumpkin drawing”. You will see lots of line drawings that you can print and use as a pattern. I used two different patterns! ☺️
Love these, they are gorgeousd. FYI: the link for Anthropology type christmas decor does not work. Thank you so much for all you do and share!!!
Nice post, really clear and cozy ideas. Quick question: for the free-motion embroidery, do you recommend any particular needle type or thread weight that works best on canvas pillow covers? Also, did you pre-wash the canvas or treat it before stitching?
Love how fun this will be. Just ordered the supplies and cant wait to try this. I want to try this also on clothing. Thanks for the idea…
JoAnn