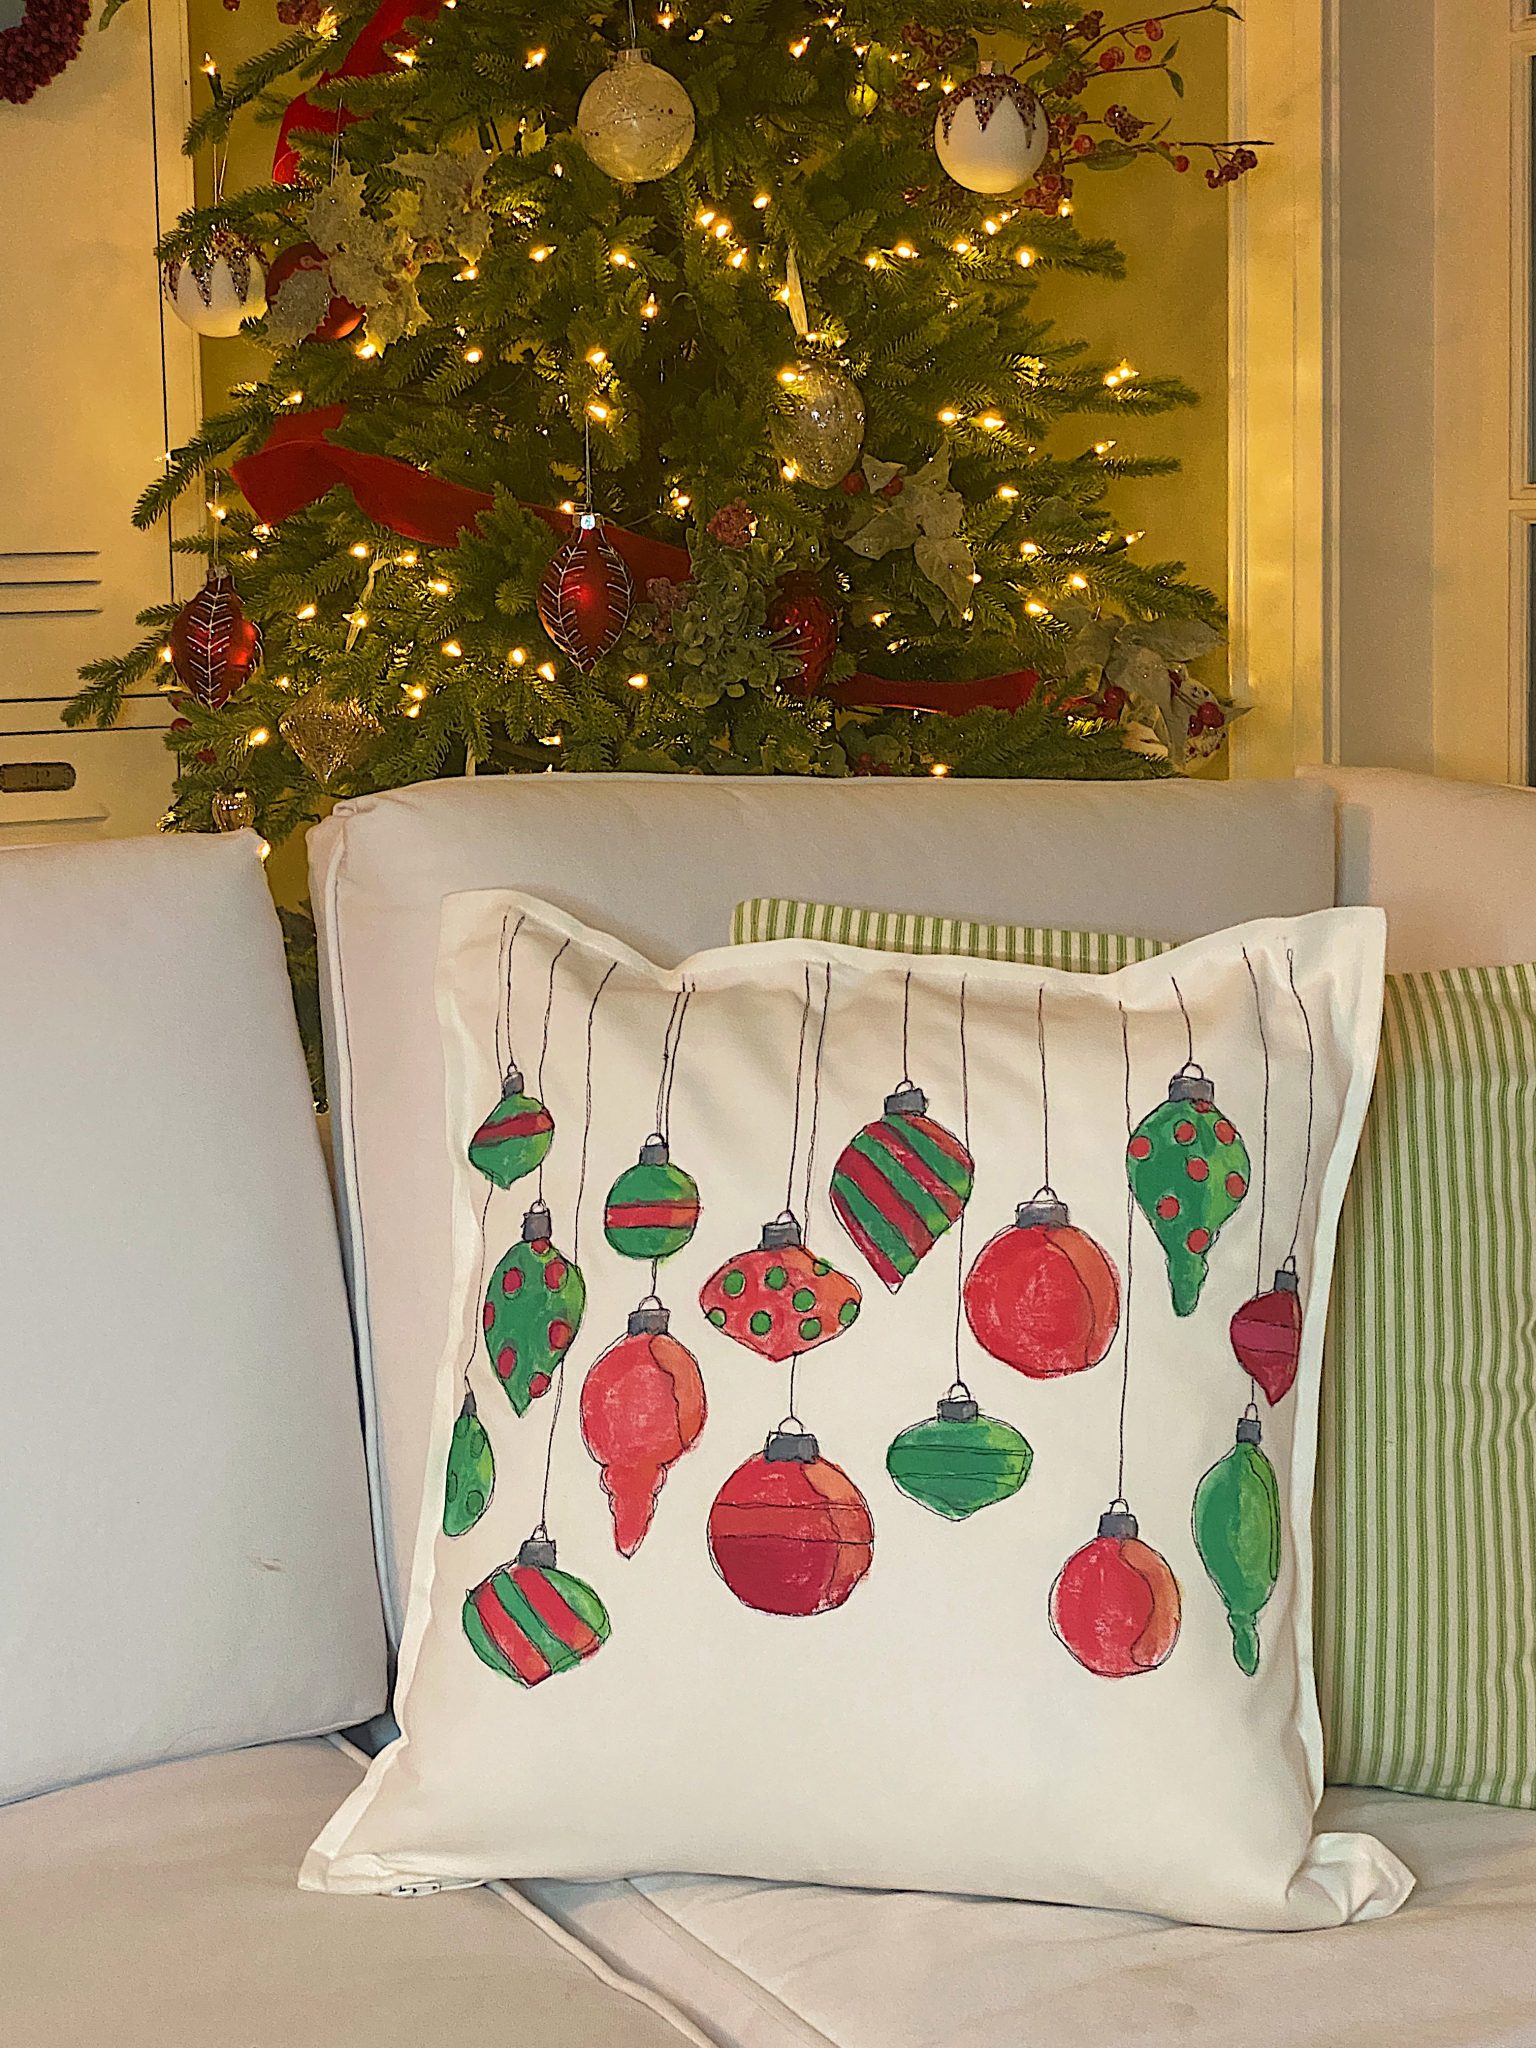
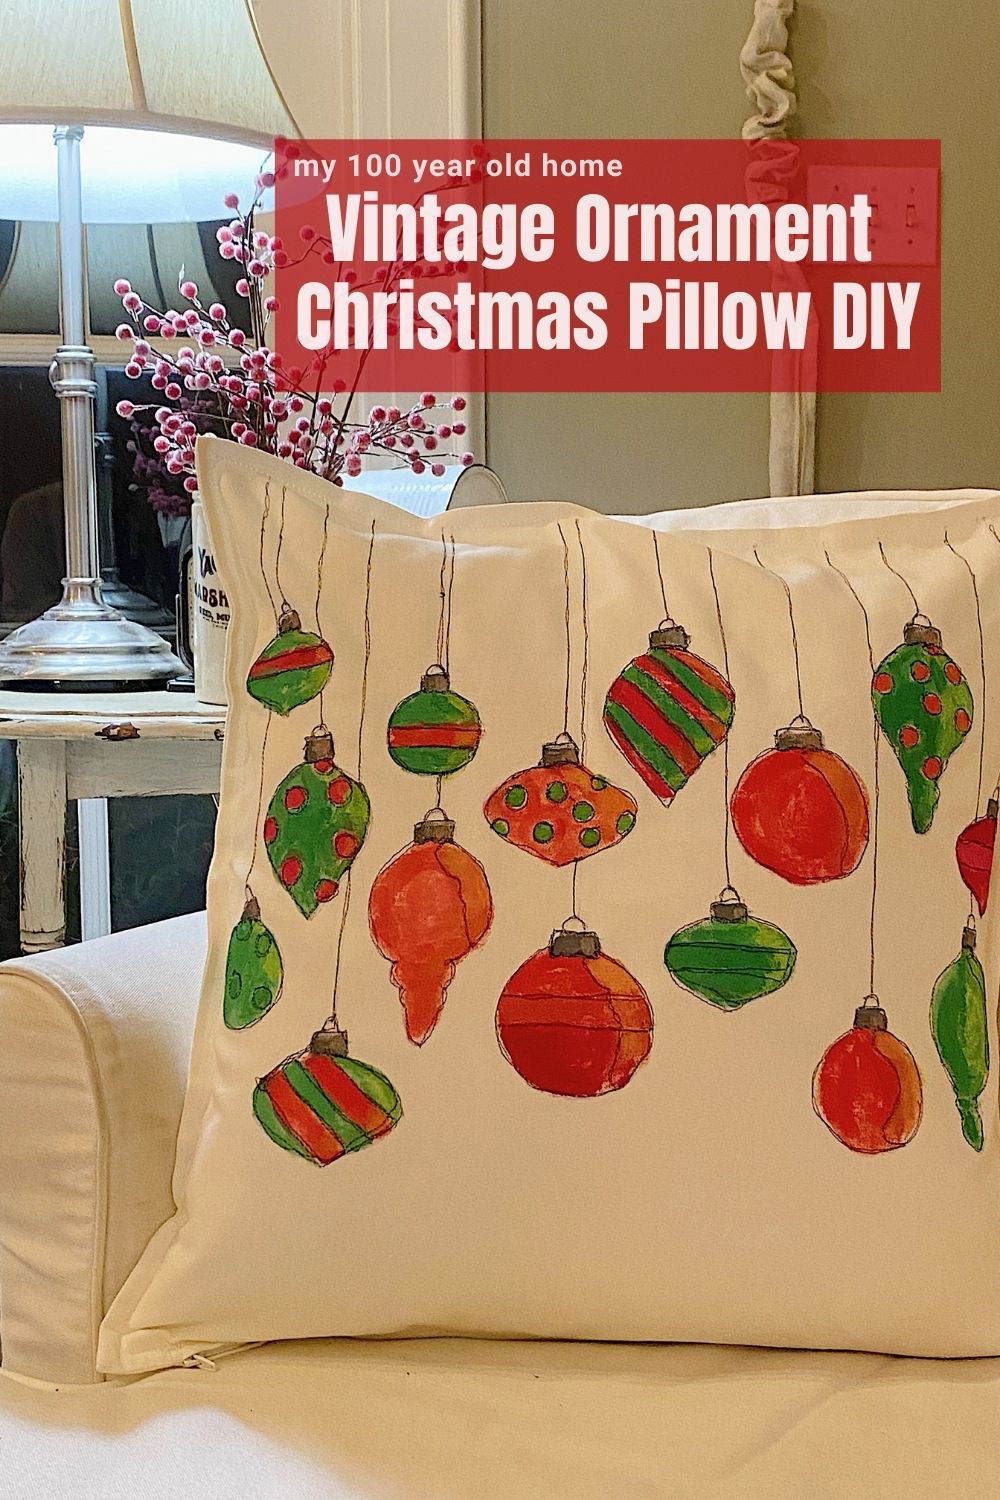
Vintage Ornament Christmas Pillow
Every Christmas I make a few homemade pillows. I just finished this vintage ornament Christmas pillow and I absolutely love it.
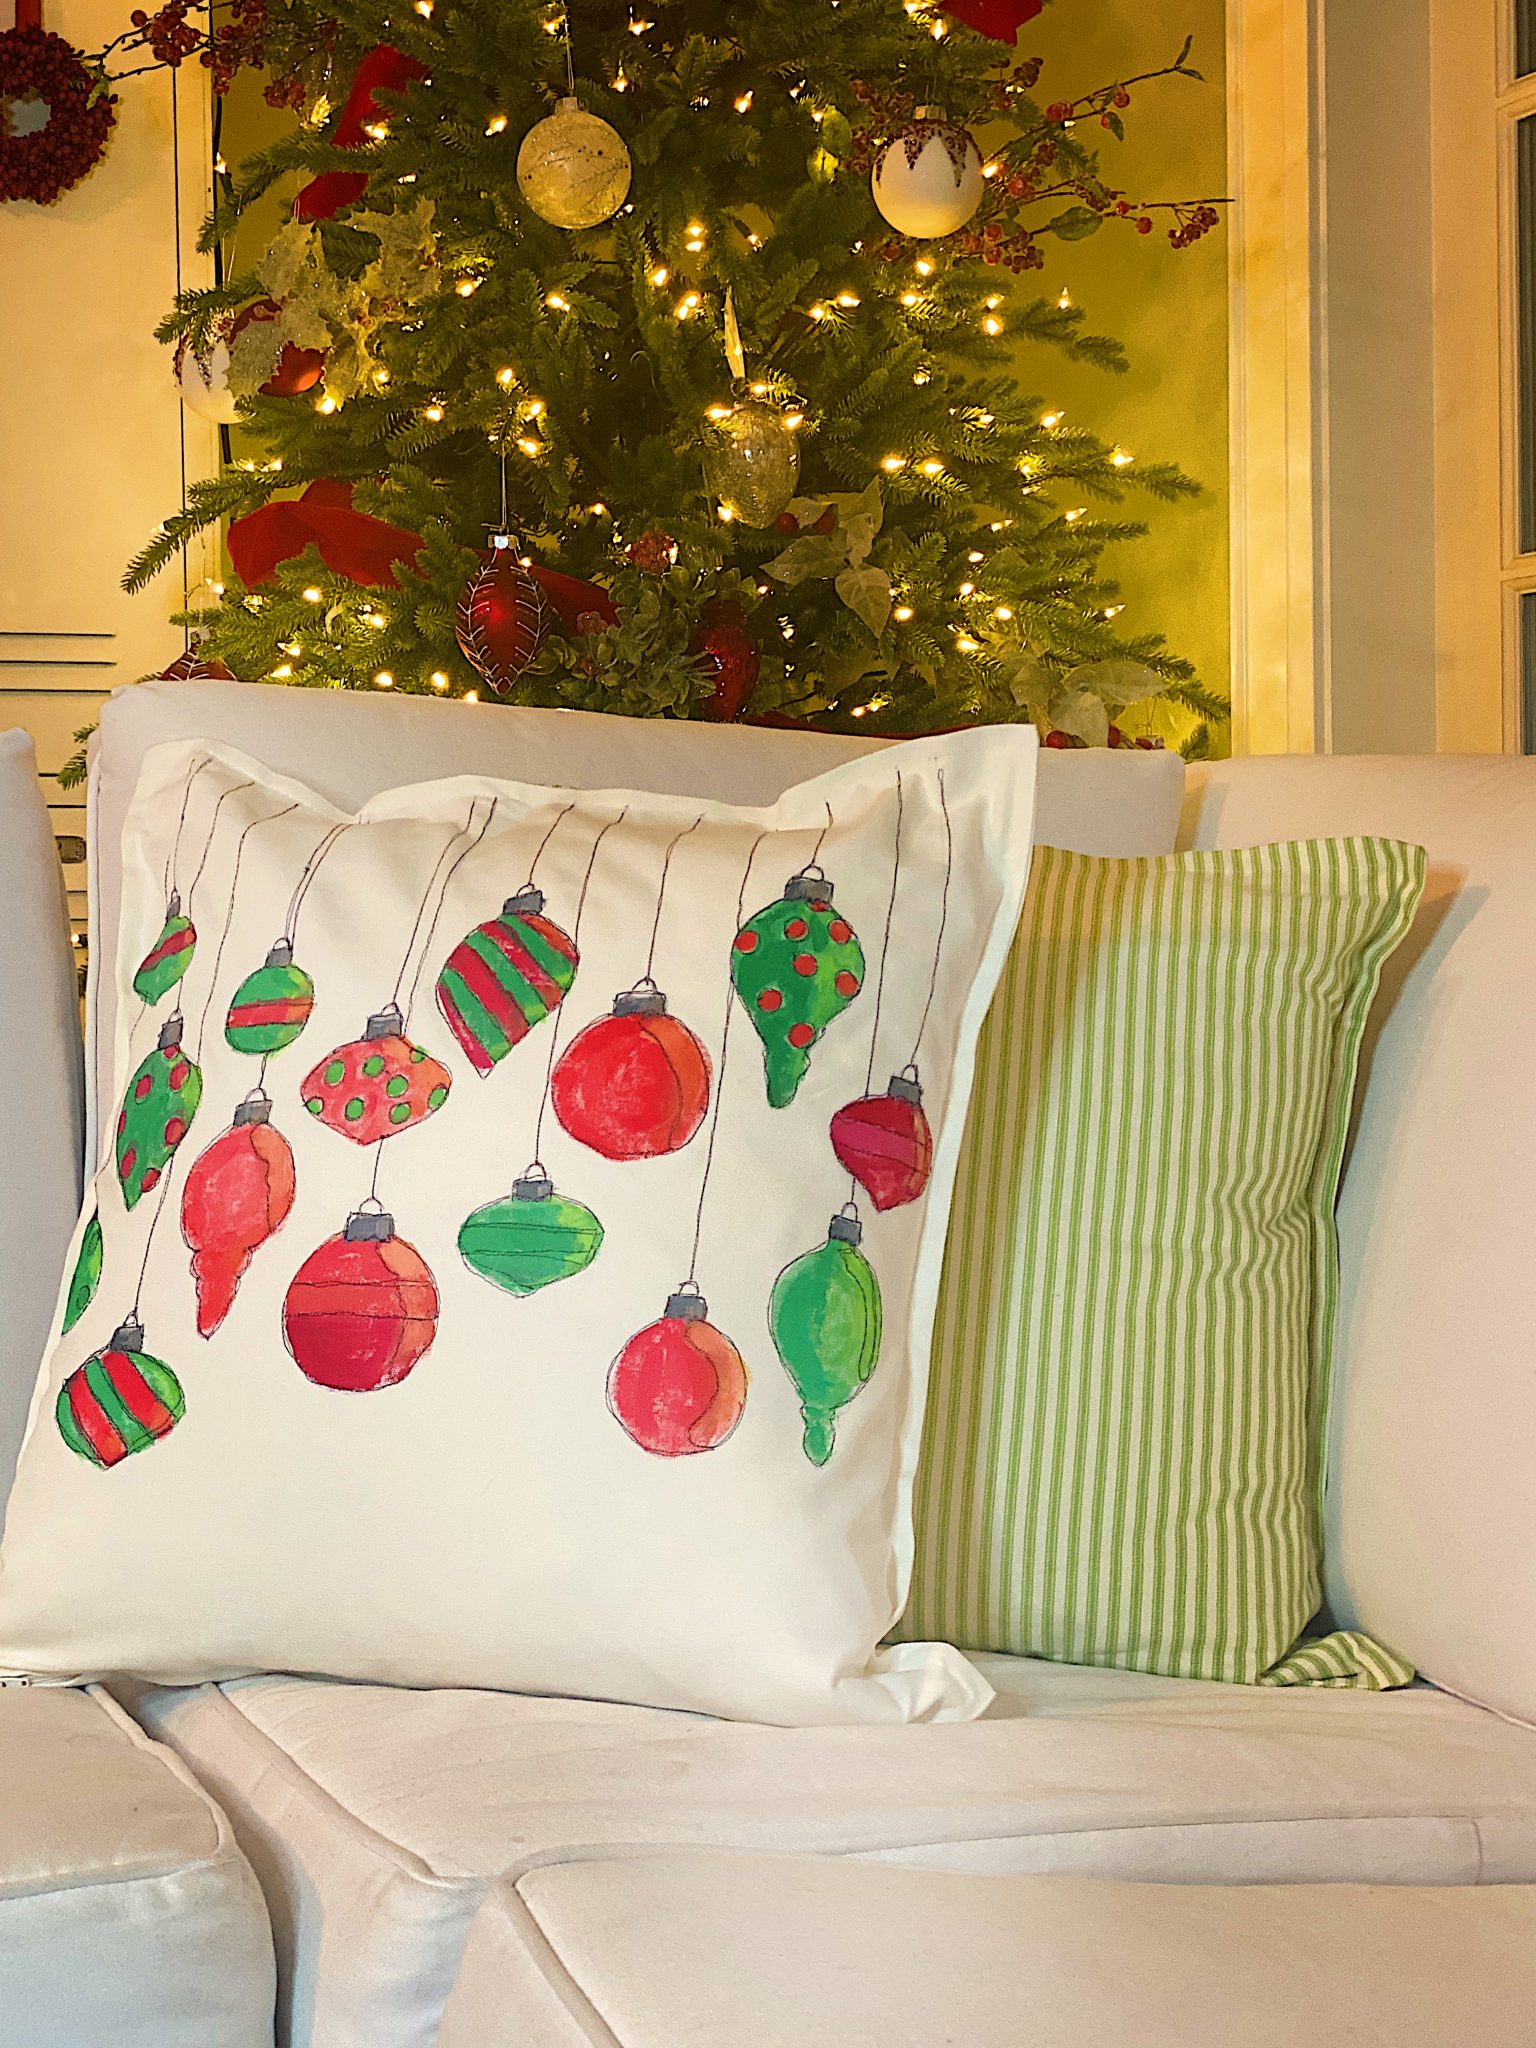
I used a process called Free Motion Embroidery and it’s really fun. You don’t need any sewing skills. I also painted the design but you will see how easy it is to paint too. You can make an Ornament Christmas Pillow!
Christmas Pillow DIY

What is Free Motion Embroidery?
Free motion machine embroidery is a type of sewing that you do on a regular sewing machine but you can move the material in any direction while sewing it on your machine. Normally when you sew, the machine automatically moves the fabric forward. When you sew free motion embroidery, you get to move the fabric so you determine exactly where you want to sew. You can move sideways, forward, backward, and create any shape you want. All you need is a quilting or darning foot.
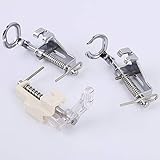
The free-motion quilting foot, sometimes called a darning foot, is designed so that the sewing machine needle passes through a small ring on the foot. Instead of hopping, these feet float over the fabric without providing pressure. The Foot releases the fabric when the needle is in the up position, allowing you to move the fabric freely.
All you need is the free motion foot for your machine. This foot may vary based on tour type of machine but I linked a “universal” one.
I read a lot about lowering the “feed dogs” on your machine when stitching free-motion embroidery. Feed dogs are the little teeth on your sewing machine that feed your fabric evenly through the machine. These teeth are extremely important because they help us produce perfectly spaced, even stitches whenever we sew garments, piece quilts, or applique shapes on our machine. You should lower the feed dogs for free-motion embroidery.
For this pillow, I lowered the feed dogs using a lever on my machine. If your machine doesn’t have that option, you can use a Supreme Slider instead.
If you are enjoying my blog, you can sign up to receive my blog updates here.
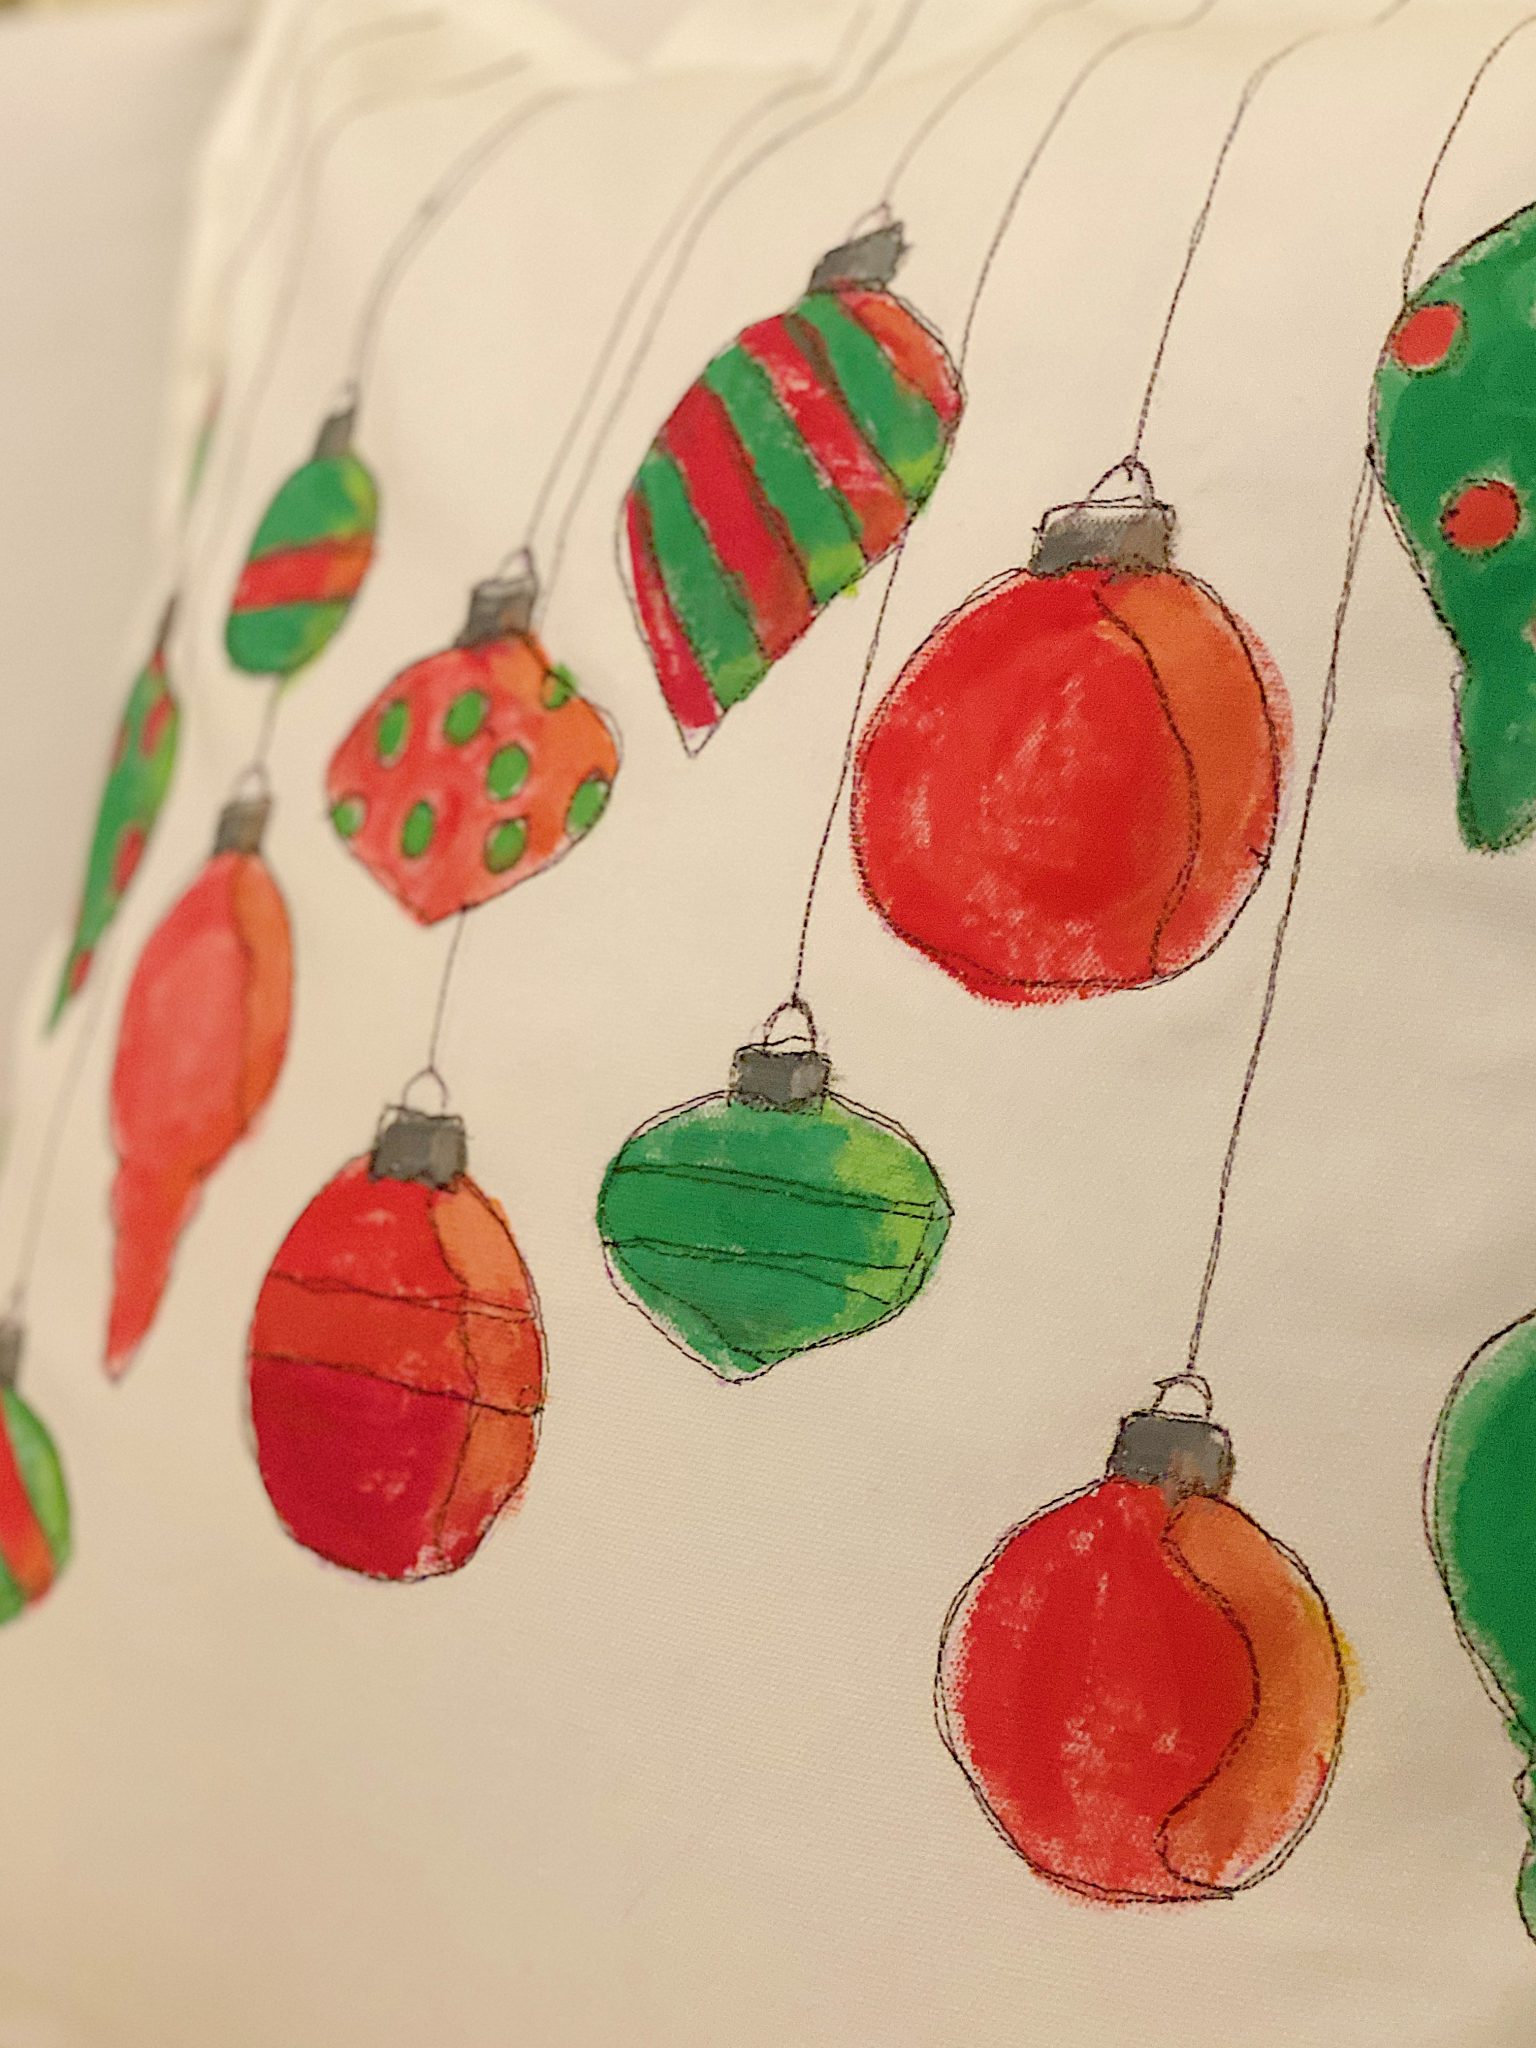
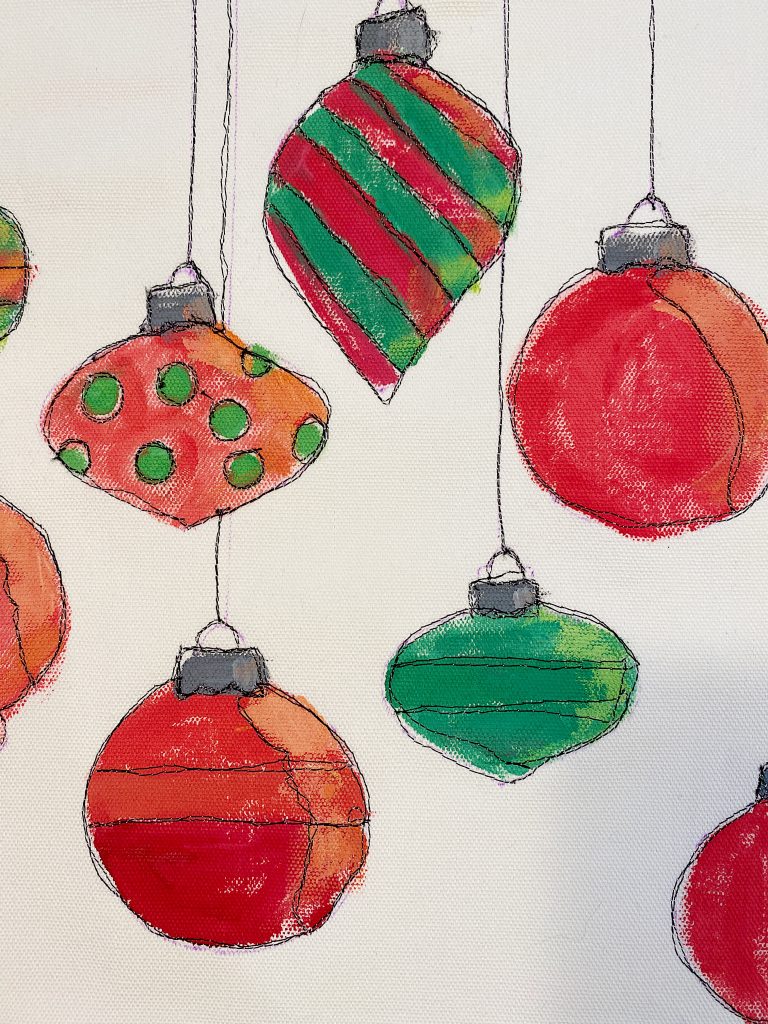
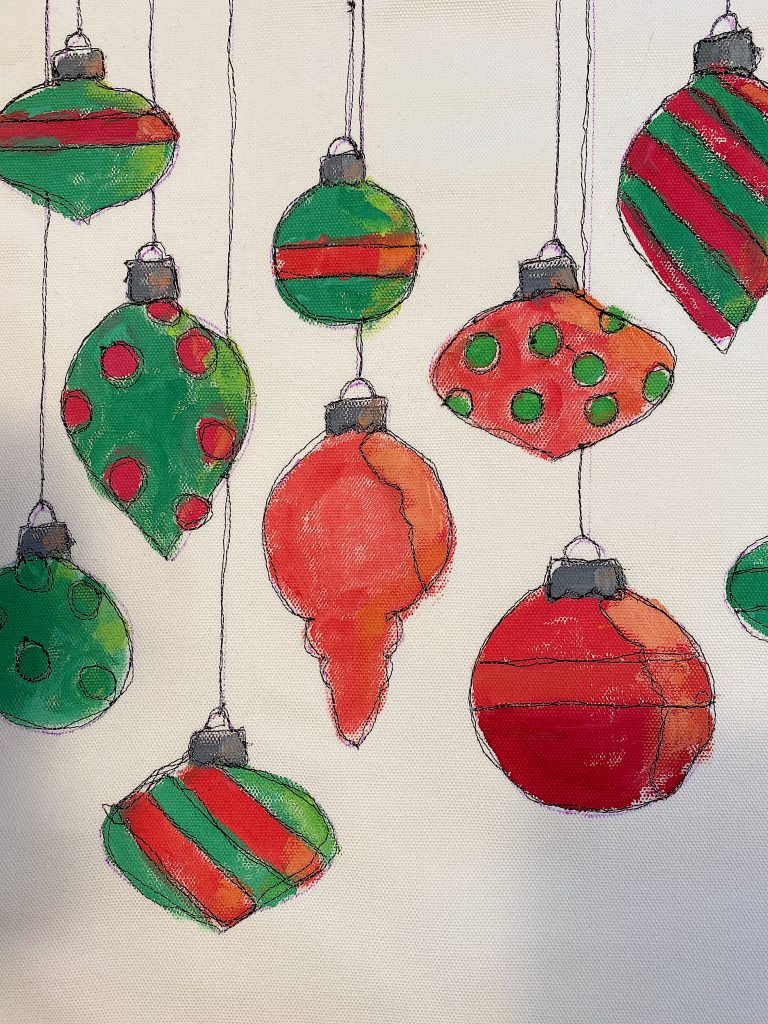
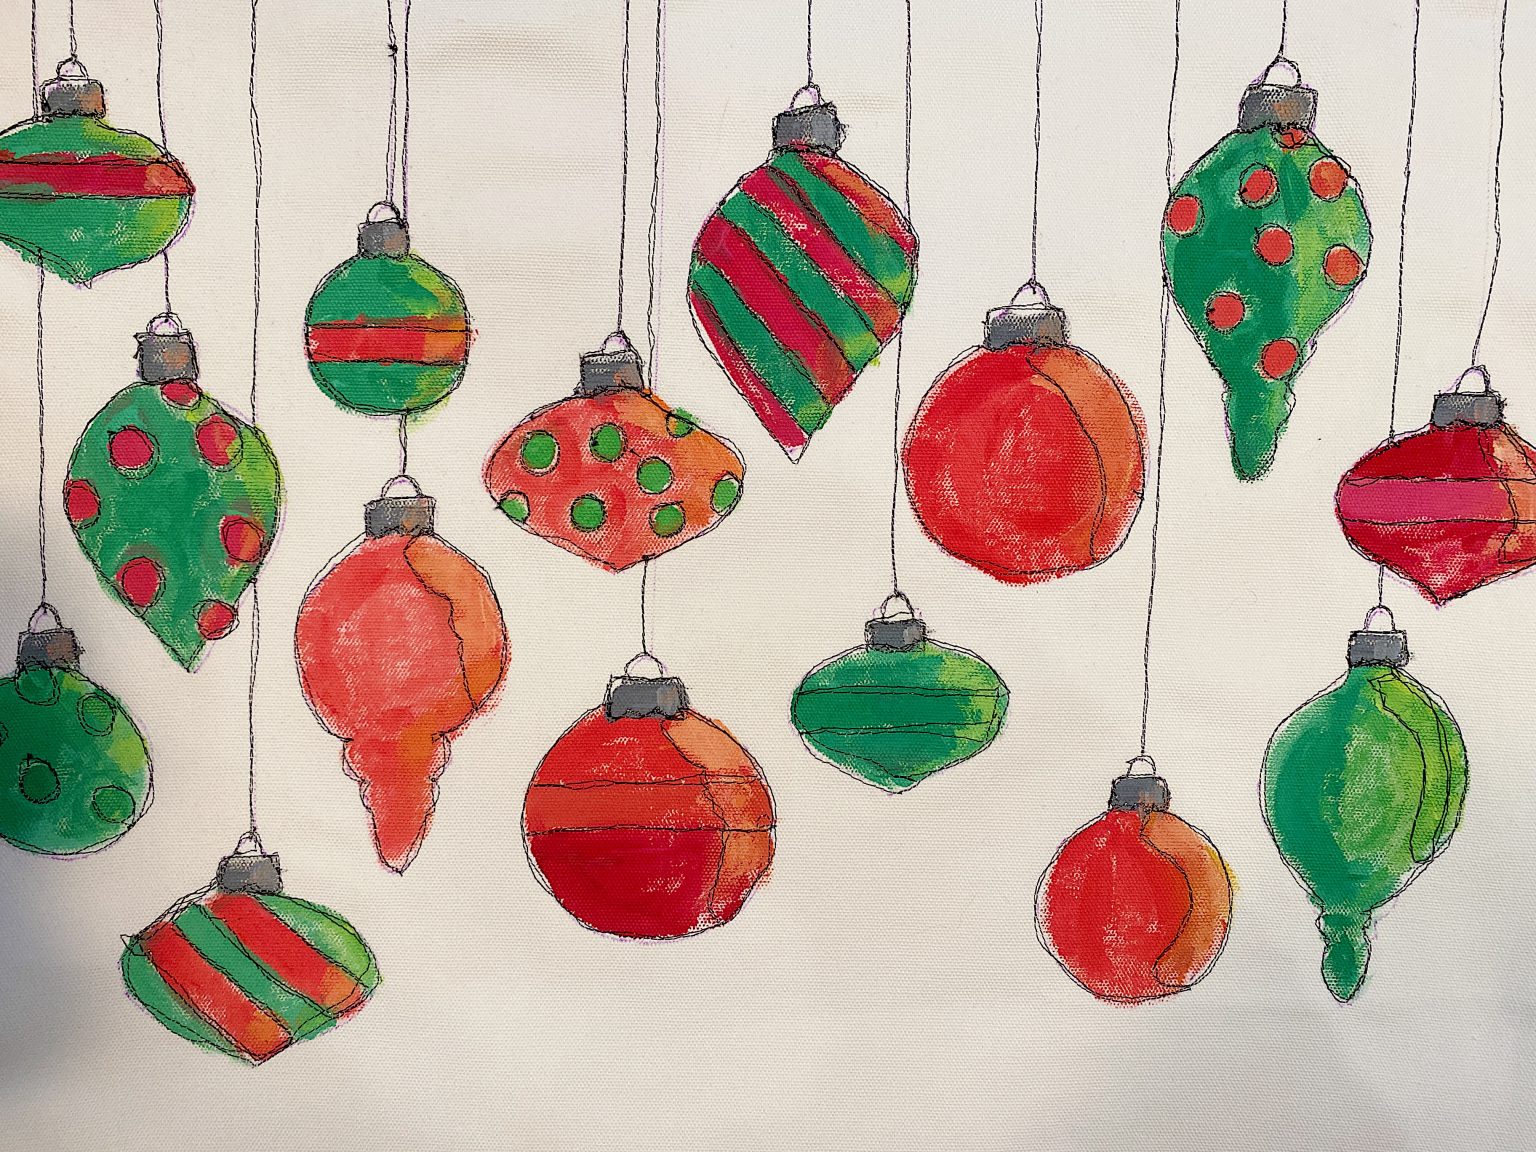
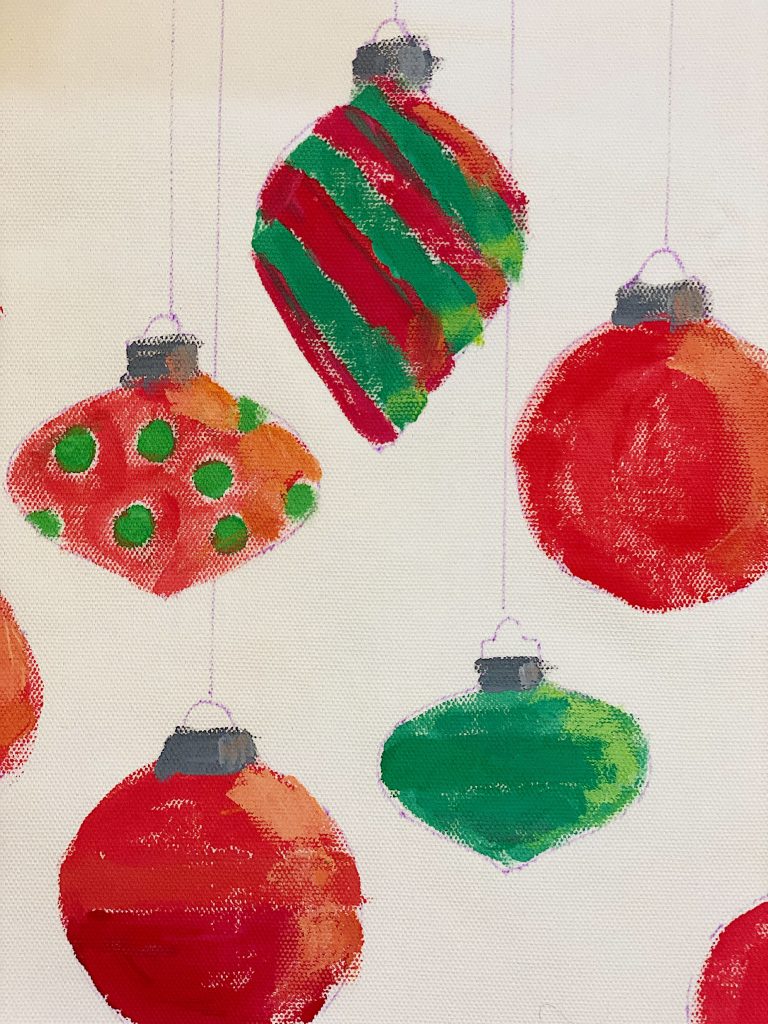
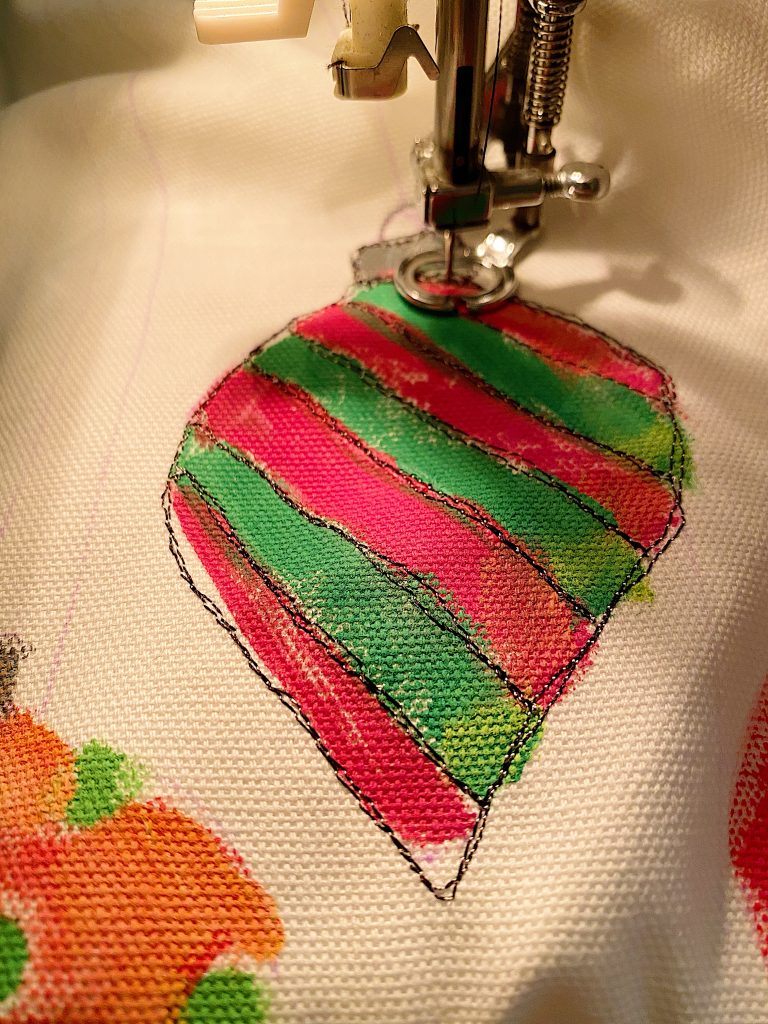
.Here is a close-up of the painted and stitched ornaments on my pillow.
Painting and Stitching a Christmas Pillow
My favorite thing about making this pillow is the two main steps. Painting and Stitching.
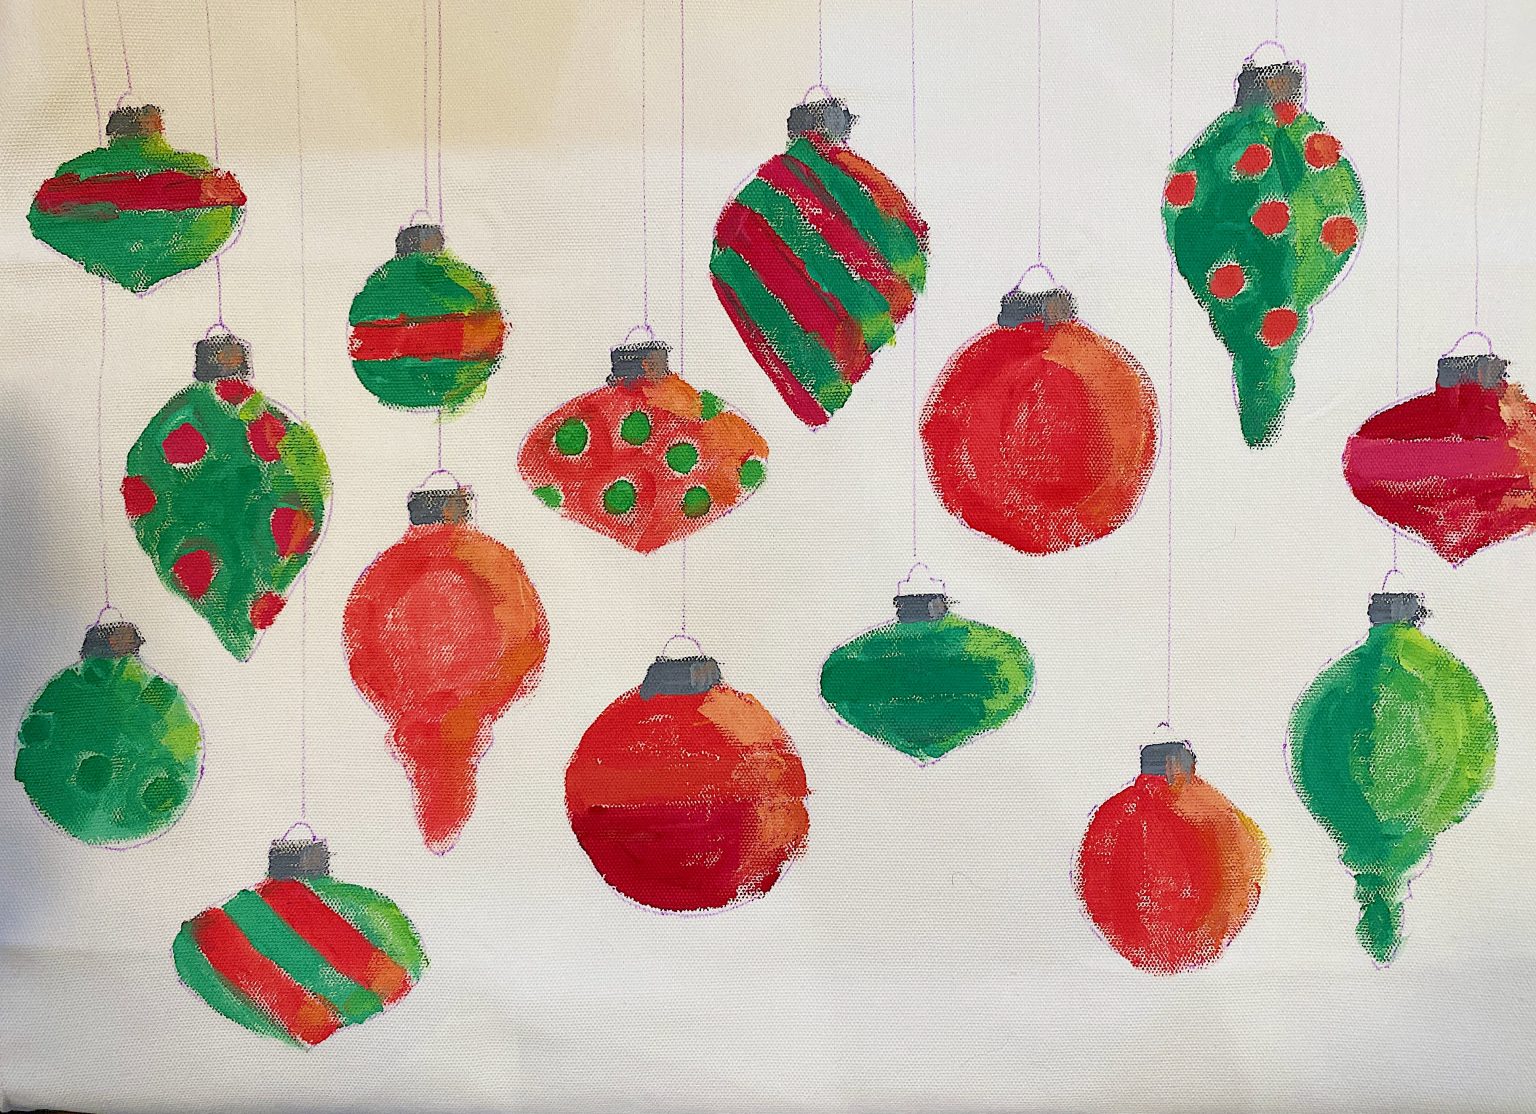
As you can see in the first photo below, this is just the painted pillow. The designs are very simple and the painting is far from perfect. there is very little design and yet there is a lit of warm light I painted on the right side of each ornament. The hanging lines for the ornaments are drawn, and not painted.
The second photo was taken after I sewed the embroidery stitching. You can see how different it looks. The black embroidery thread adds a lot of detail and I love the difference. I also stitched in the hanging lines which adds a lot more detail.
How to Make a Free Motion Stitch Embroidery Pillow
What You Need to Make an Ornament Christmas Pillow
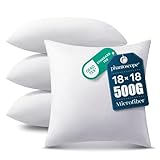
One pillow cover, 18″ x 18″ or 20″ x 20″ (or fabric if you want to make your own pillow)
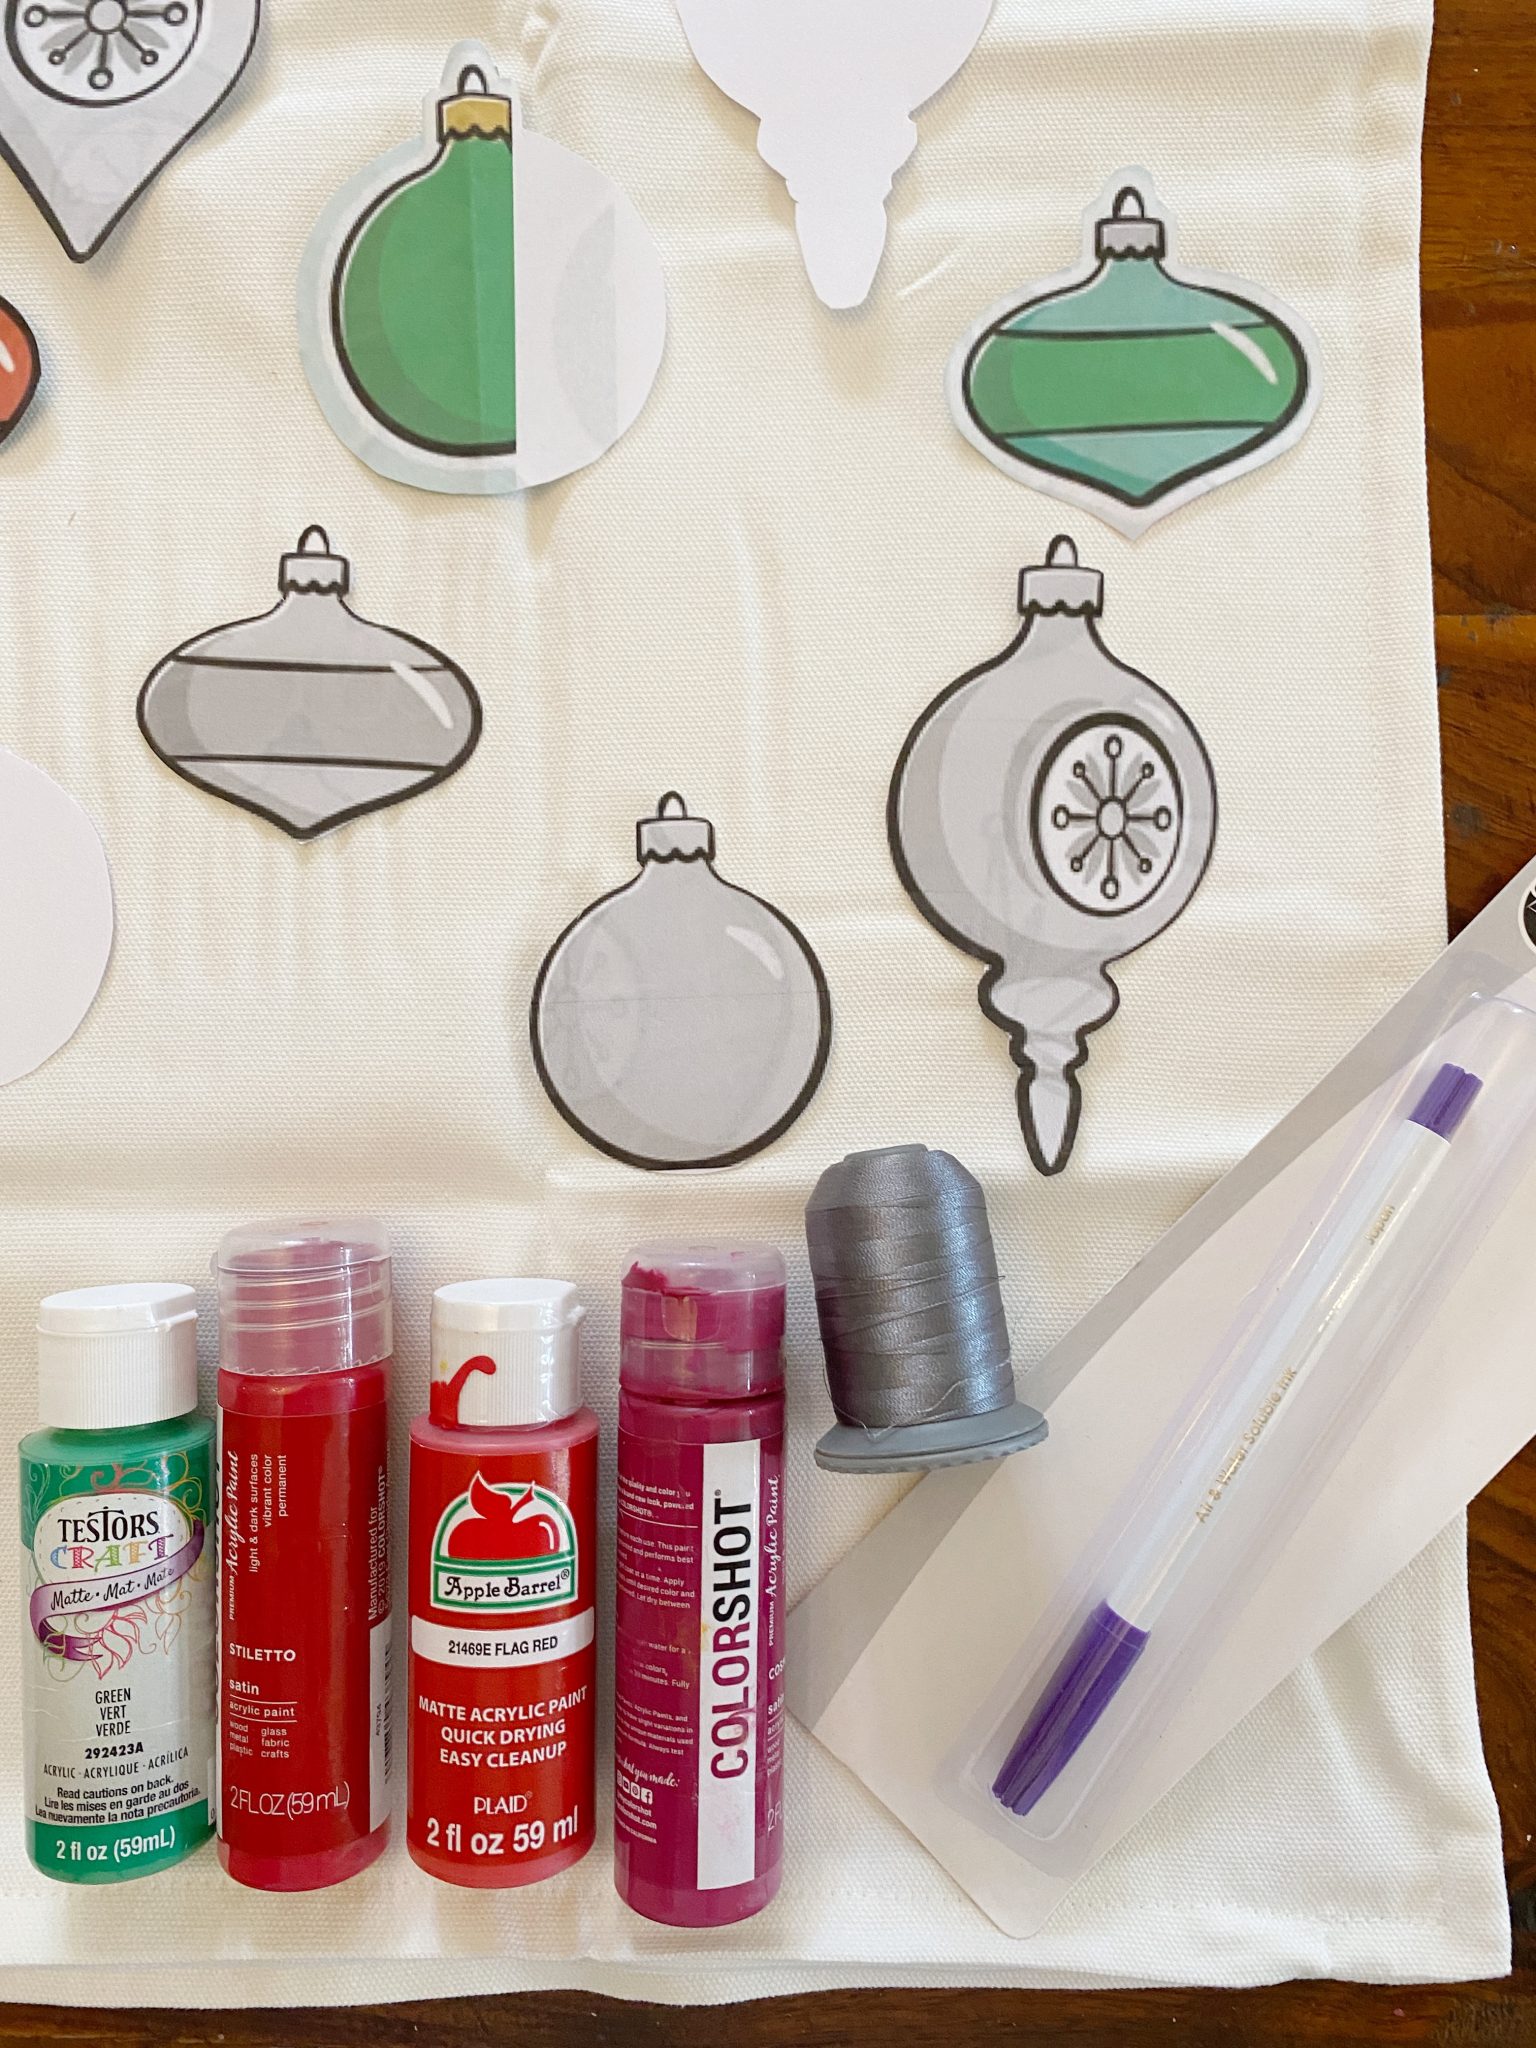
Acrylic craft paint (2 oz. bottles) two reds, two greens, and one gray (such as Folk Art Hunter green, Bright Green, Lipstick Red, Barnyard Red, and Medium Gray). I also used white and a warm yellow for mixing the colors.
Paint brushes, 1/4″ and 1/2″
One spool of Machine Embroidery Thread in Black
Darning (Free Motion Embroidery) Foot – Just make sure you confirm this fits your machine.
Washable Fabric Marker – Mark Be Gone
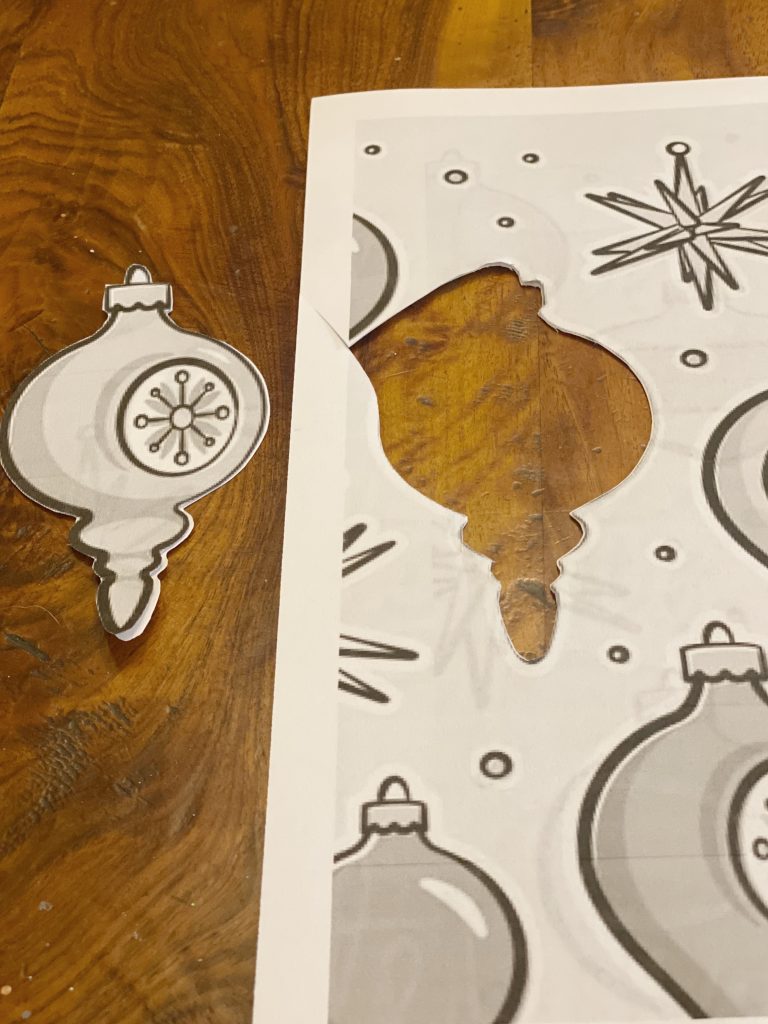
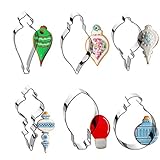
The first thing you need to do is decide what design you want to put on your pillow. Last year I made a Christmas tree pillow and this year I chose ornaments! I love vintage-style ornaments and found a design of some ornaments online. I printed them and cut them out and used them as a pattern.
You should do the same. Finding a pattern to use makes the design really easy! Just google “doodle vintage ornaments” and you will find lots of options.
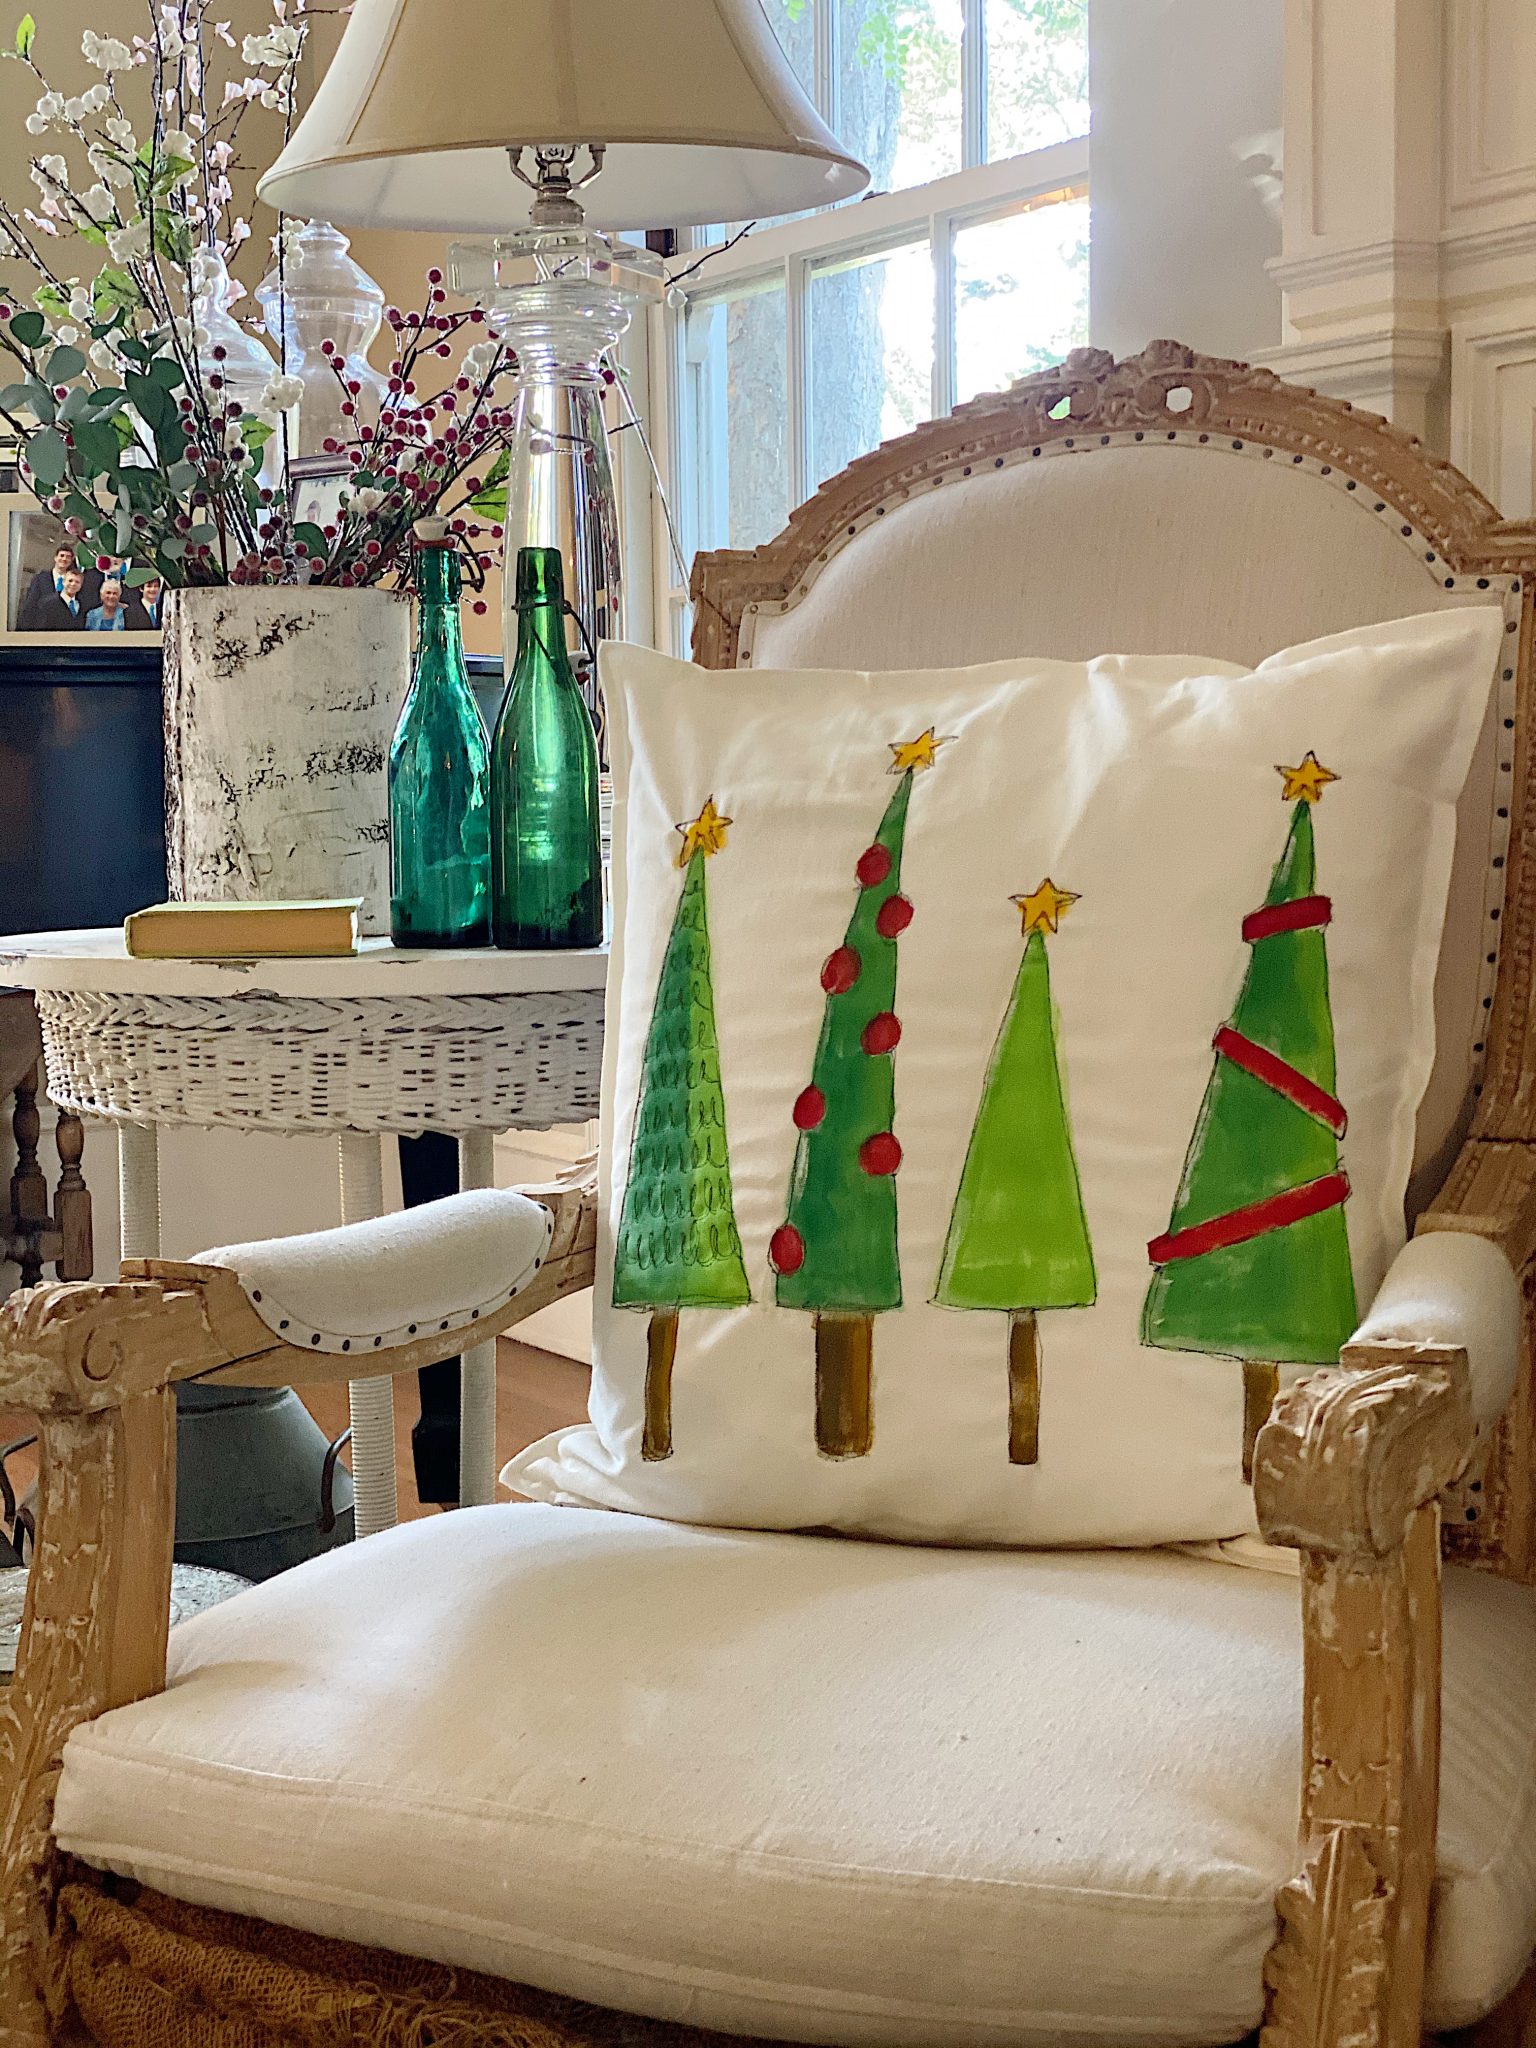
Here is a photo of the Christmas Tree pillow I made last year.
Step-by-Step DIY Instructions

one 
two three

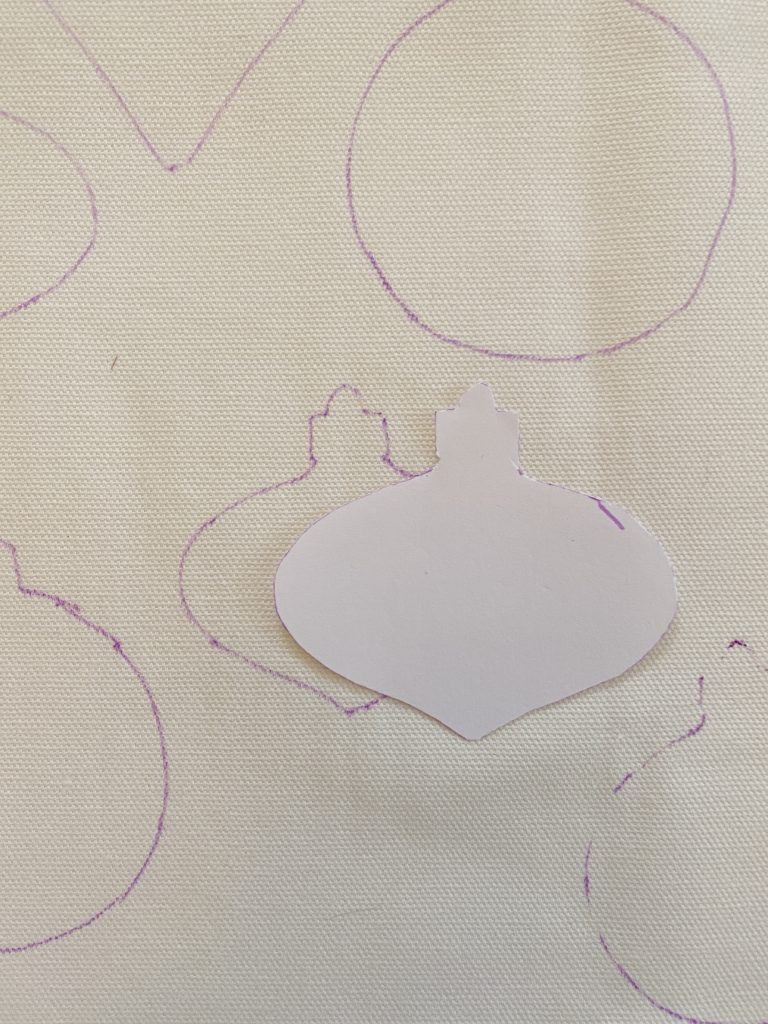
- one – Find a design and cut out templates to use for tracing.
- two – Place the ornaments on the pillow in a design that you like. Trace the ornaments with the washable fabric marker.
- three – One you are done tracing the ornaments, add the hanging lines with a long ruler.

four five six
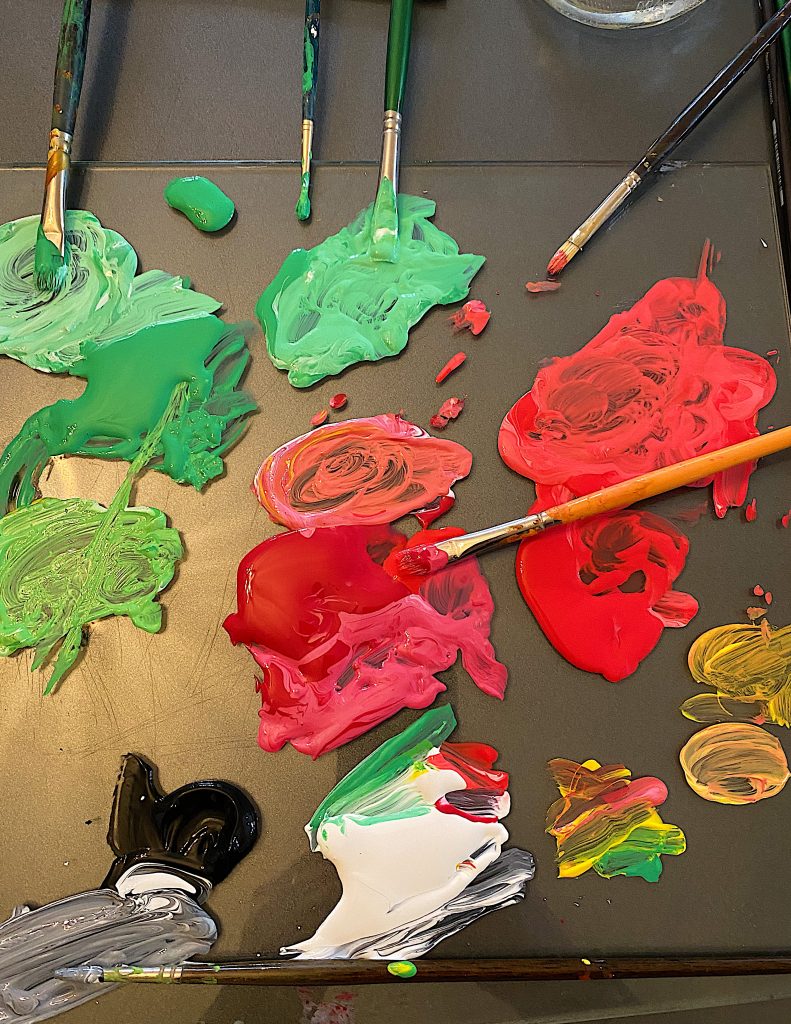
- four – Mix the paint. I like to keep it simple so I primarily used just red and green.
- five – Open up the pillow and place a piece of cardboard or parchmnet inside. this will prevent any paint from soaking through to the backside of the pillow. Paint each ornament. I added a warm highlight on the right side of each one. Let the pillow dry.
- six – Add the stitch embroidery. Be careful not to sew on the underneath side of the pillow. Begin stitching a very loose ornament pattern on top of each ornament. It doesn’t have to be exact, just stitch two rounds of stitching on each ornament. Since I used an already made pillow cover, I opened it up and stitched each ornament carefully, being sure not to stitch the underside of the pillow cover. It’s not hard, I promise! You can see in the photo what the sewing machine pressure foot looks like. The difference from regular sewing is that you get to move the fabric which is awesome. Since you control where the fabric moves you can stitch in any direction you want! The good thing is that the stitching does not have to be perfect. I like it better if it’s not perfect.
Once the pillow is done iron it to set the paint. That’s all you have to do!
If you would like to learn more about how to make a free motion embroidery pillow, then watch my tutorial on my Facebook.
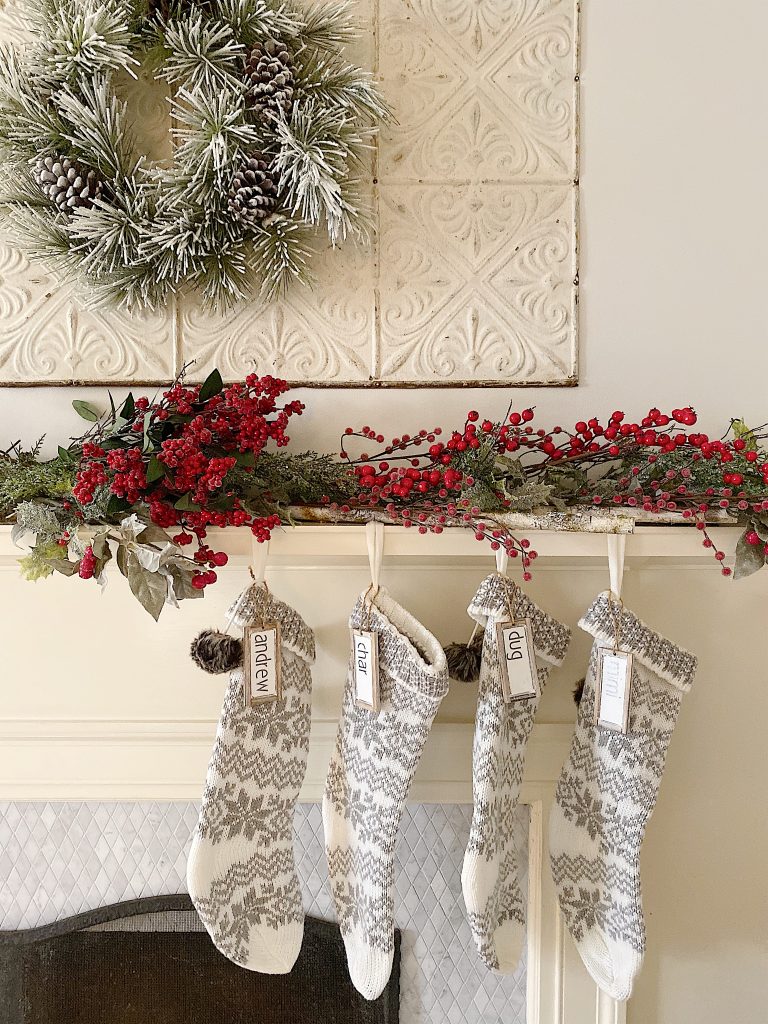
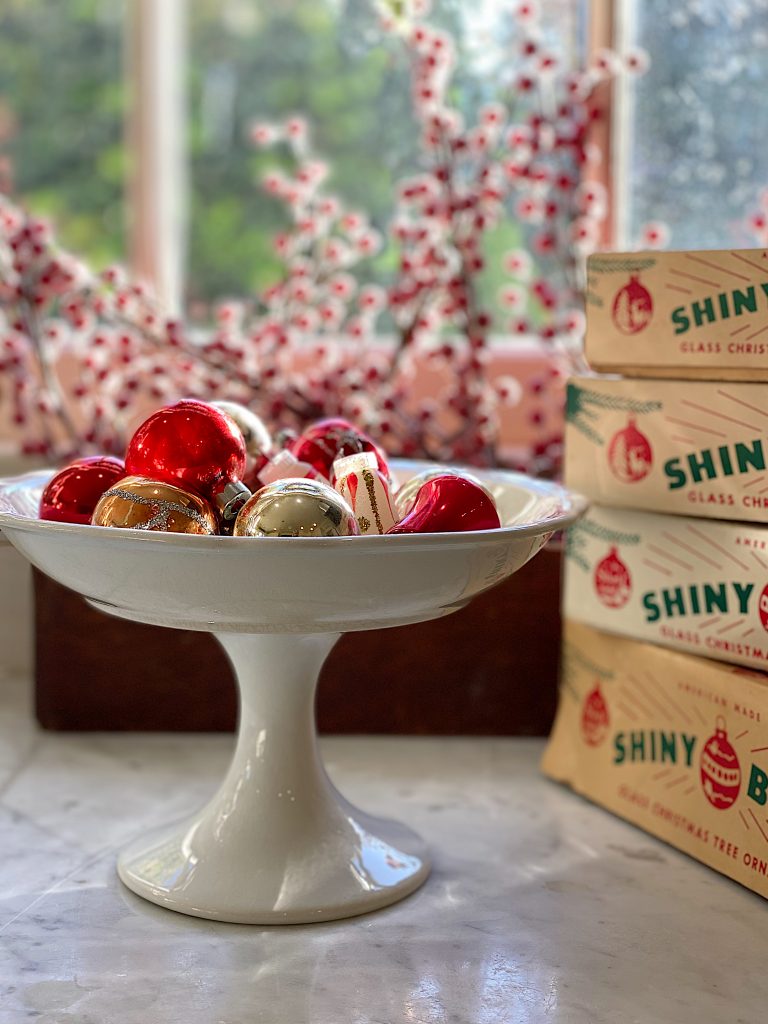
Making festive pillow covers is an easy and inexpensive way to create instant holiday decor. They are also a wonderful gift. I have listed everything below that you need to create holiday pillow covers to spruce up your home for the holidays or to give as gifts!


If making holiday pillow covers is not your thing, I have curated some of my favorites for you here. All of the pillow covers below will arrive before Christmas so you can give as gifts or add to your holiday decor!


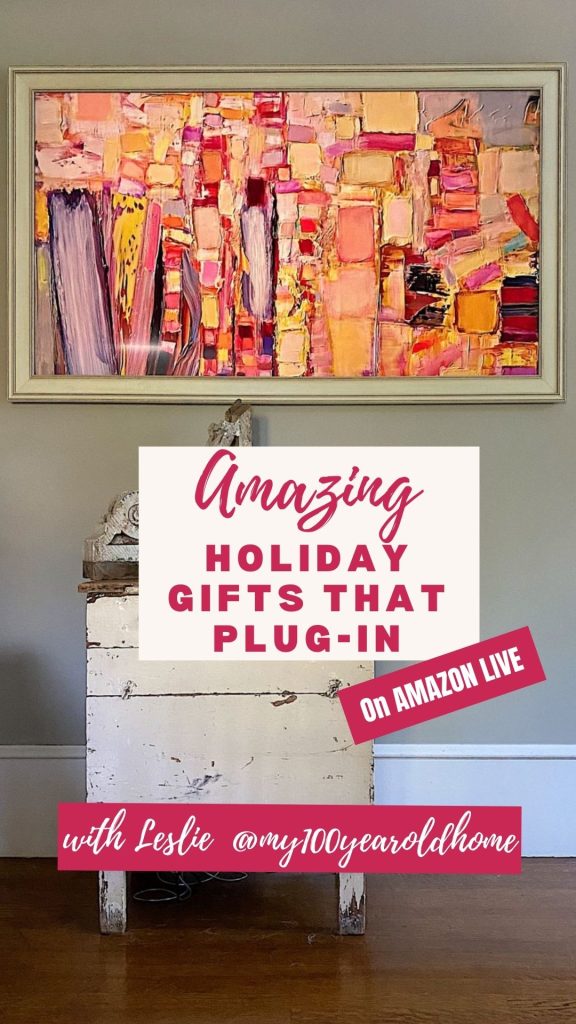
Watch Me Live!
I love having the chance to talk with all of you about all of the things that I love. I am now sharing a few Amazon Live broadcasts every week and they are so much fun! Click here at 10:00 am PST to watch.
Here are my latest six! Just tap on the links to take a peek.
Today I will be hosting a new Amazon Live. I am sharing Twenty Practical Items Every House Needs for Christmas. Just so you know, you might want to watch because I truly believe we all need to make sure we have these items in our homes for the holidays!


Pin the image below to your decor boards on Pinterest (just click the Pin button in the top left corner). You can also follow along with me on Pinterest!
For more real-time updates, follow me on Instagram @My100YearOldHome

very pretty, but I don’t own a sewing machine, lol. something I would buy, that’s why there are ‘makers, and there are ‘buyers’.😄
Is a sealer used over the painted areas? I like both the ornaments and the trees and very noticeable even from a distance.
I never, ever tire of your pillows. I bought a foot, but have yet to give it a try. Maybe this last week before Christmas I can get one done. Thanks for all the wonderful inspo!
You are welcome! Let me know how it goes.
Another beautiful addition to the free motion sewing collection! These are always my very favorite and bring an instant smile to my face! Merry Christmas to you and yours!!
Thank you so much, Theda!
Thanks to you I now own a free motion embroidery foot and all the tools necessary to make beautiful napkins and pillows. Please share more! It’s so much fun and really adds a special decorative touch. Thinking maybe- bedspreads, towels, tablecloths, even curtains? You are the best. xx
That makes me so happy to hear!
I was looking for the crystal snowflake I think I deleted it. Would you kindly send it to me. I would like to teach my grandkids how to make itThank you