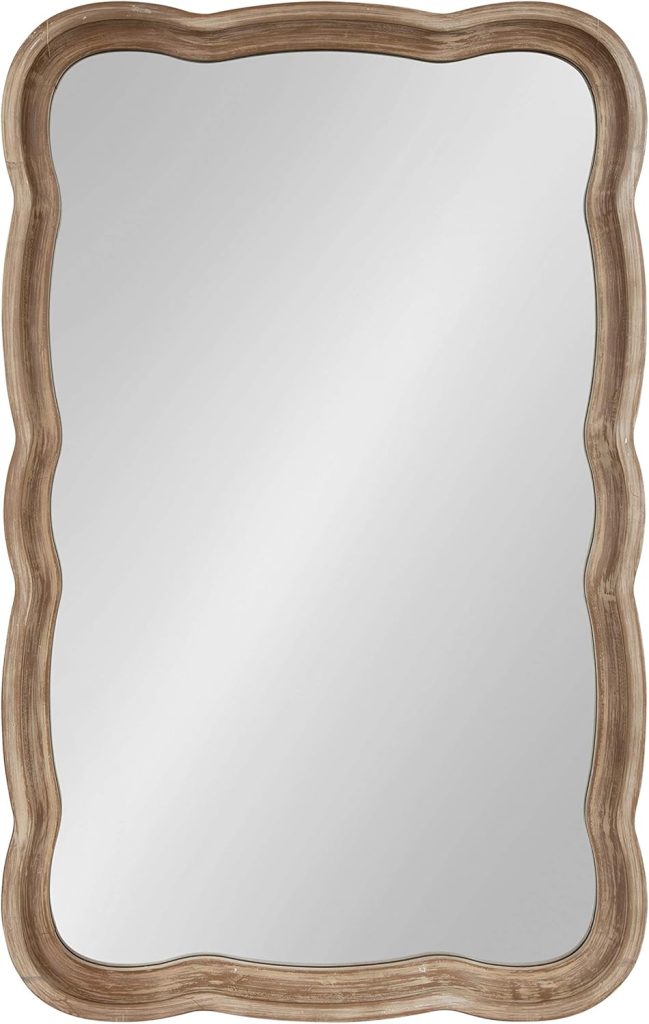
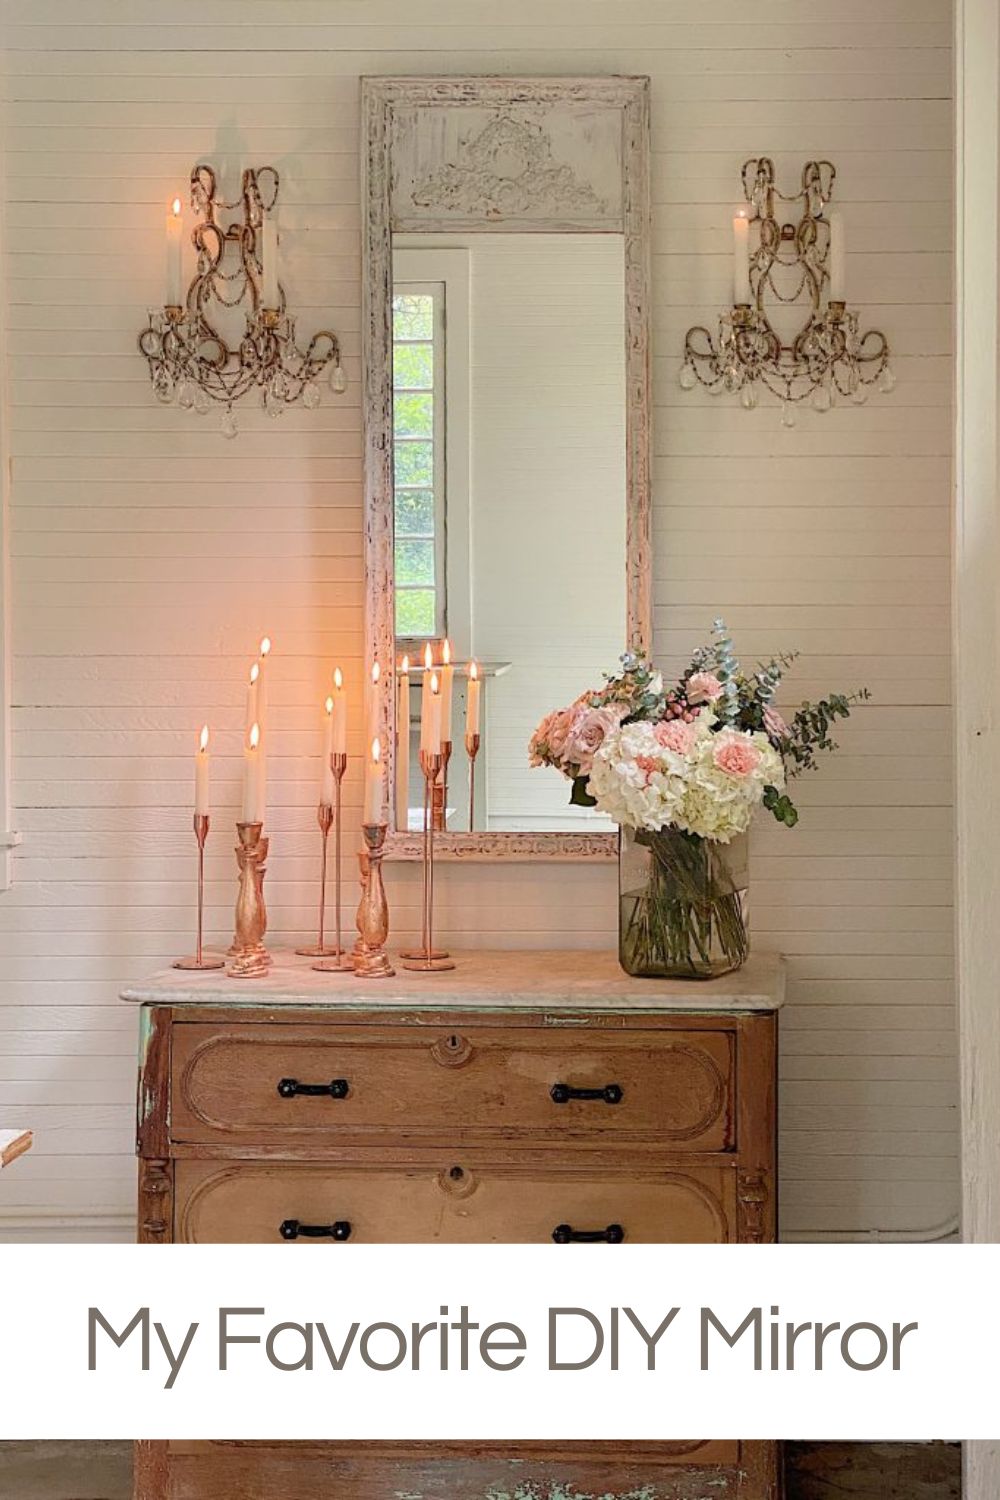
My Favorite DIY Mirror
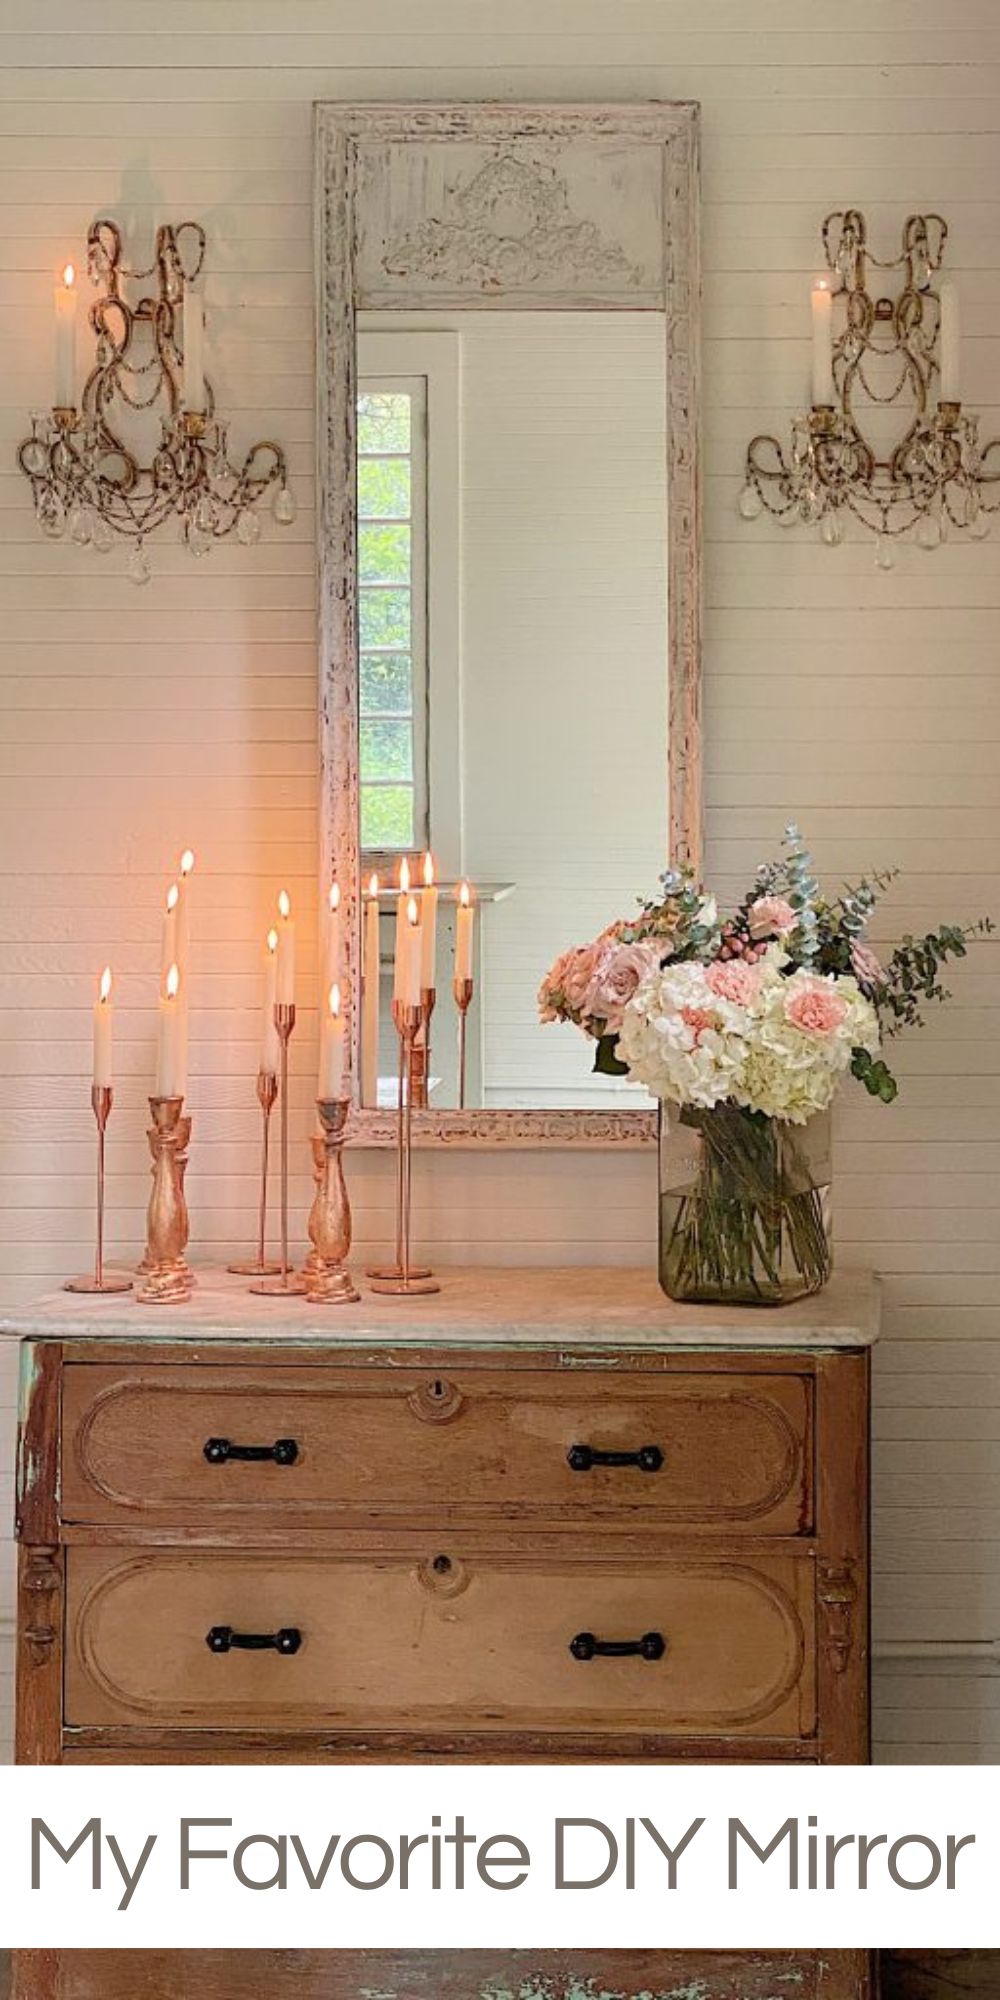
The transformation of this mirror, which has sat in a cabinet for years, is my favorite DIY mirror ever! It is the easiest and most remarkable DIY!
My favorite DIY projects are the ones that are easy and look like they were never a DIY. This mirror looks like a vintage chippy mirror. In reality, it is a newer mirror that looks vintage and amazing. I also spent less than two hours making this DIY mirror.

How to Make My Favorite DIY Mirror with Milk Paint
I am embarrassed to admit that I have had this mirror for about twenty years. I bought it at the Rose Bowl Flea Market for $20.
It was an unusual color, kind of a gilded brown. I bought it in my old office (now known as the craft room) because the walls had brown paneling, and I thought it would look great hanging against the paneling.
Fortunately, I transformed my craft room from brown paneling to white paneling. But that meant the mirror didn’t fit anywhere in our home.
A few years ago, on Mother’s Day, I was shopping at the Rose Bowl Flea Market. I bought these two vintage scones for $75 each. They are the real deal, and I cannot believe how amazing they look.
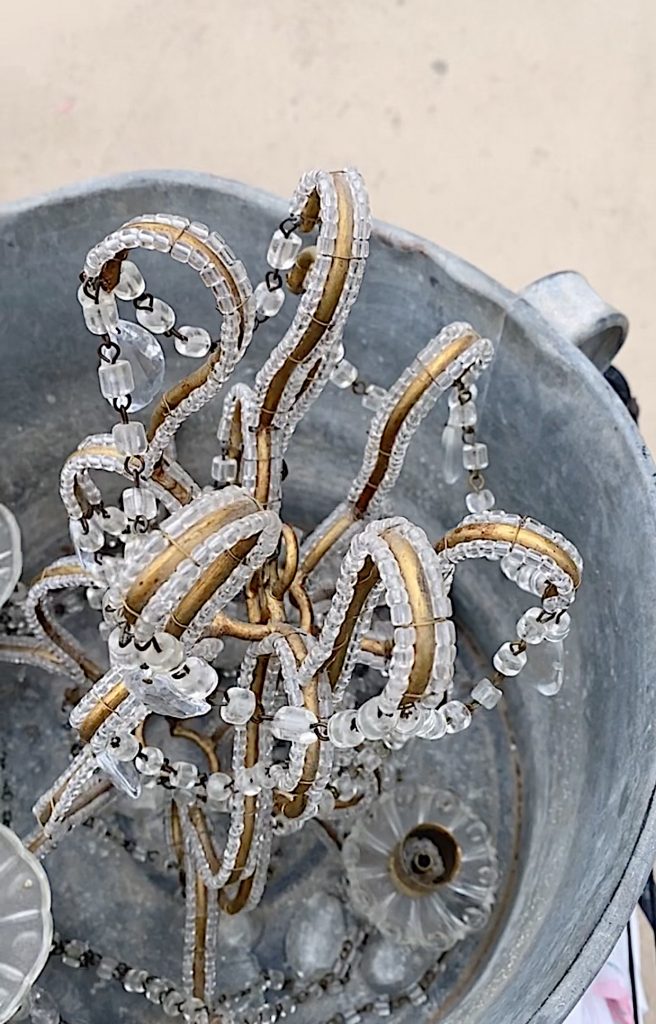
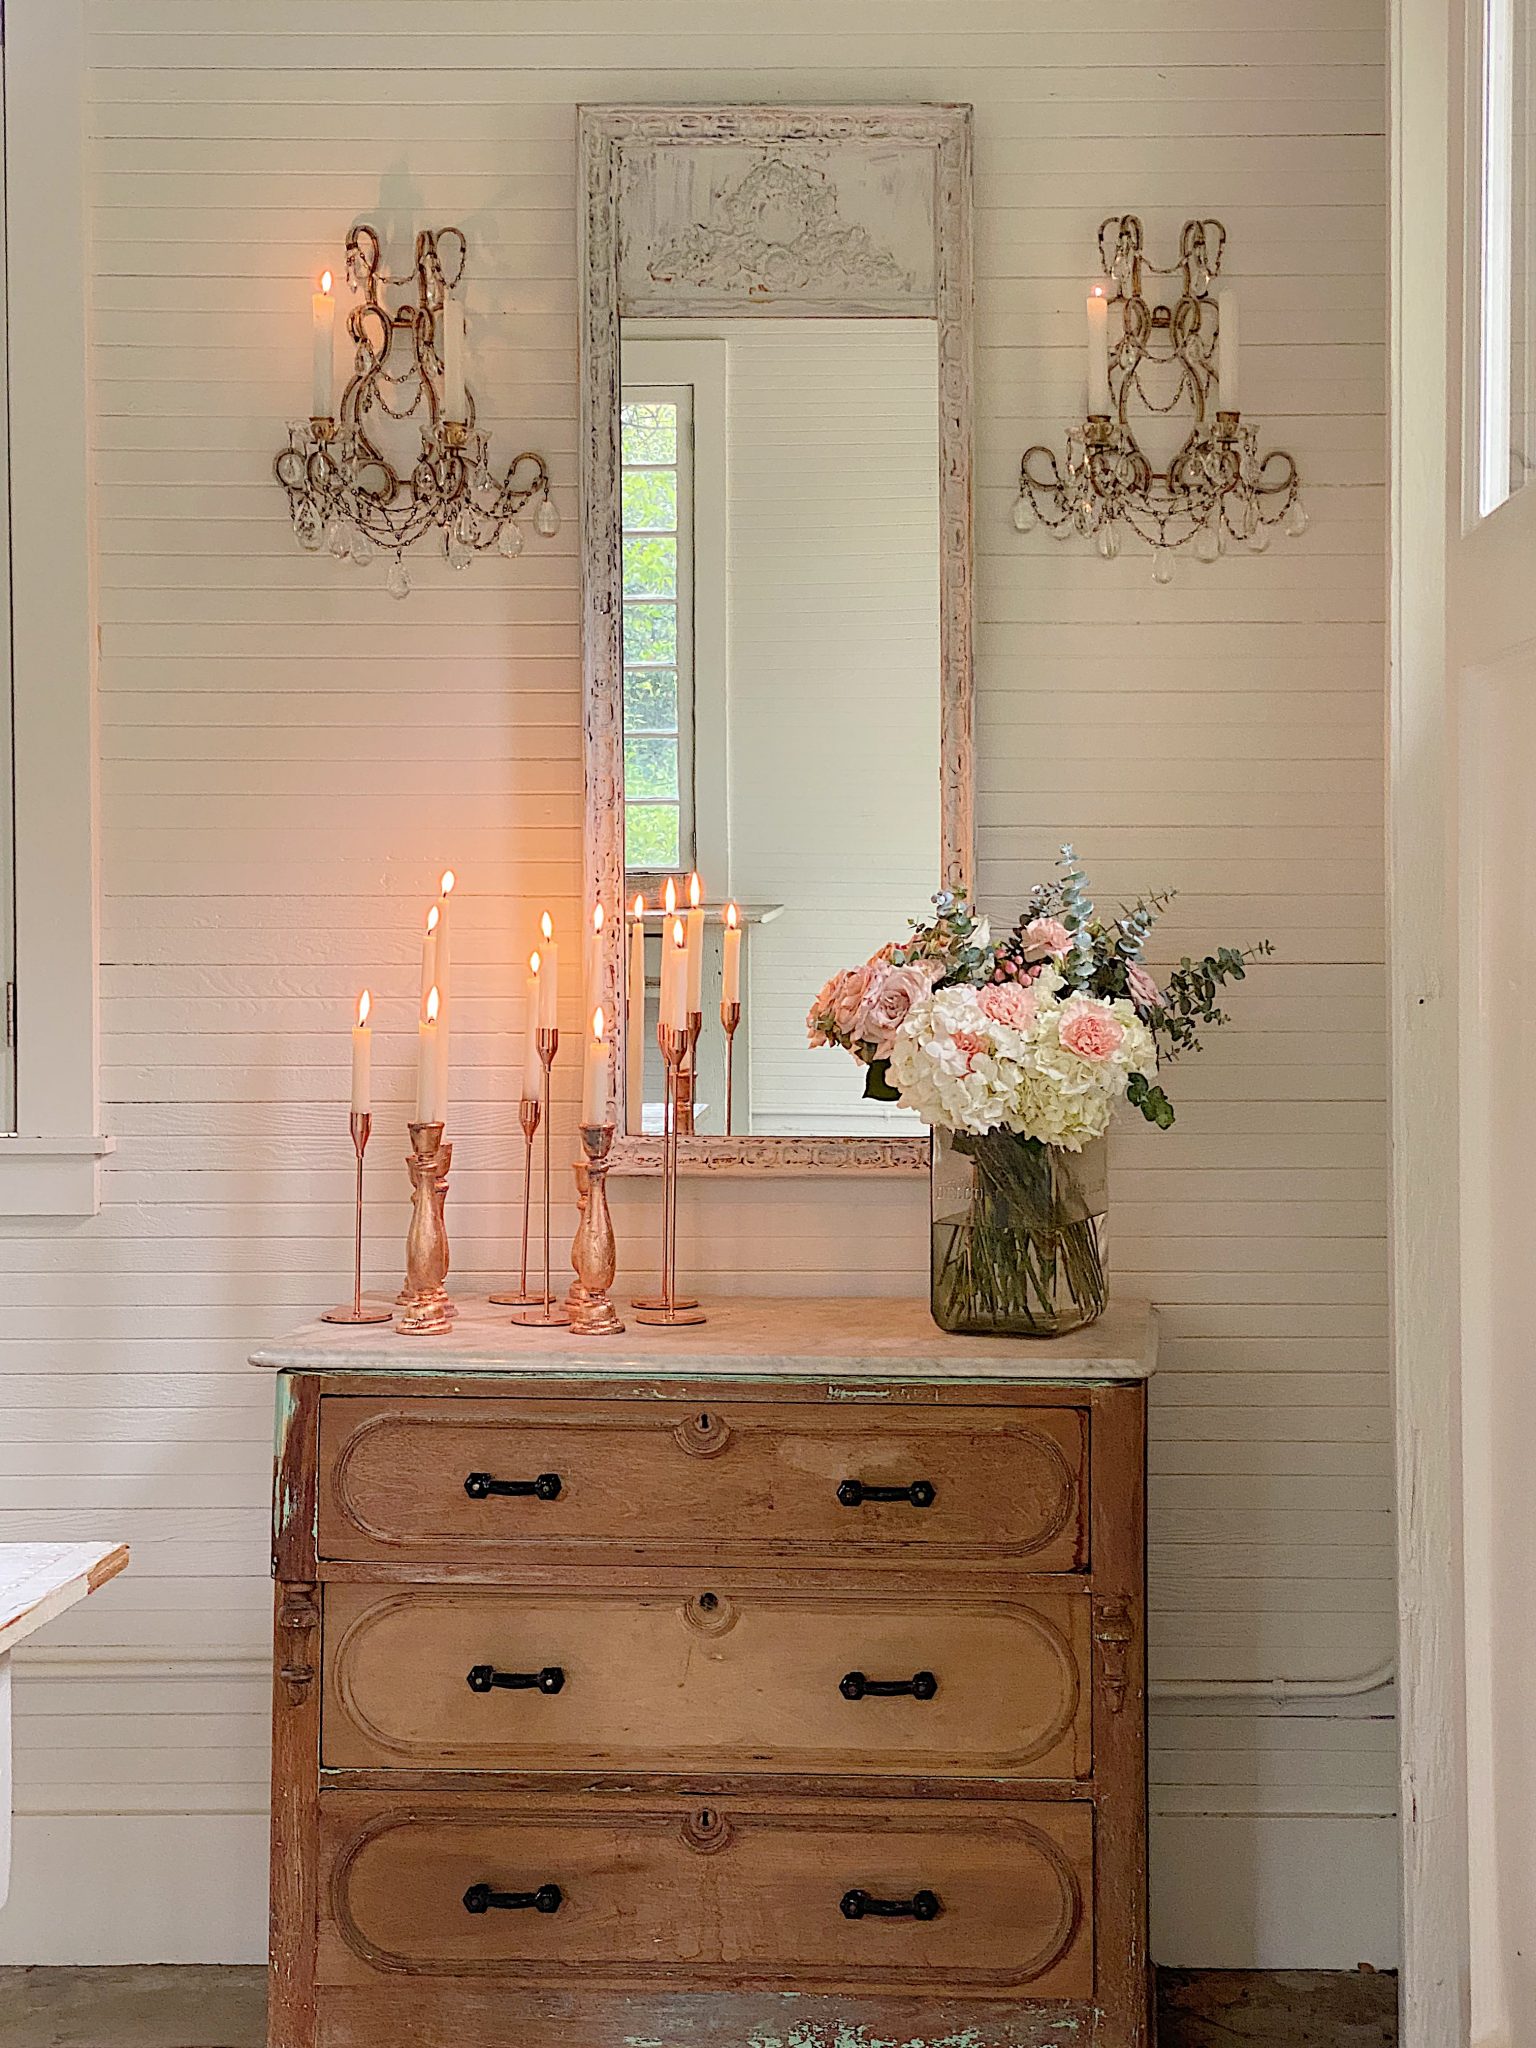
I was worried the DIY mirror would look too skinny in the spot I had picked out in the Carriage House. The minute I saw these sconces, I knew they would look perfect on each side of the mirror. I negotiated the price a bit and am so excited that I found these!
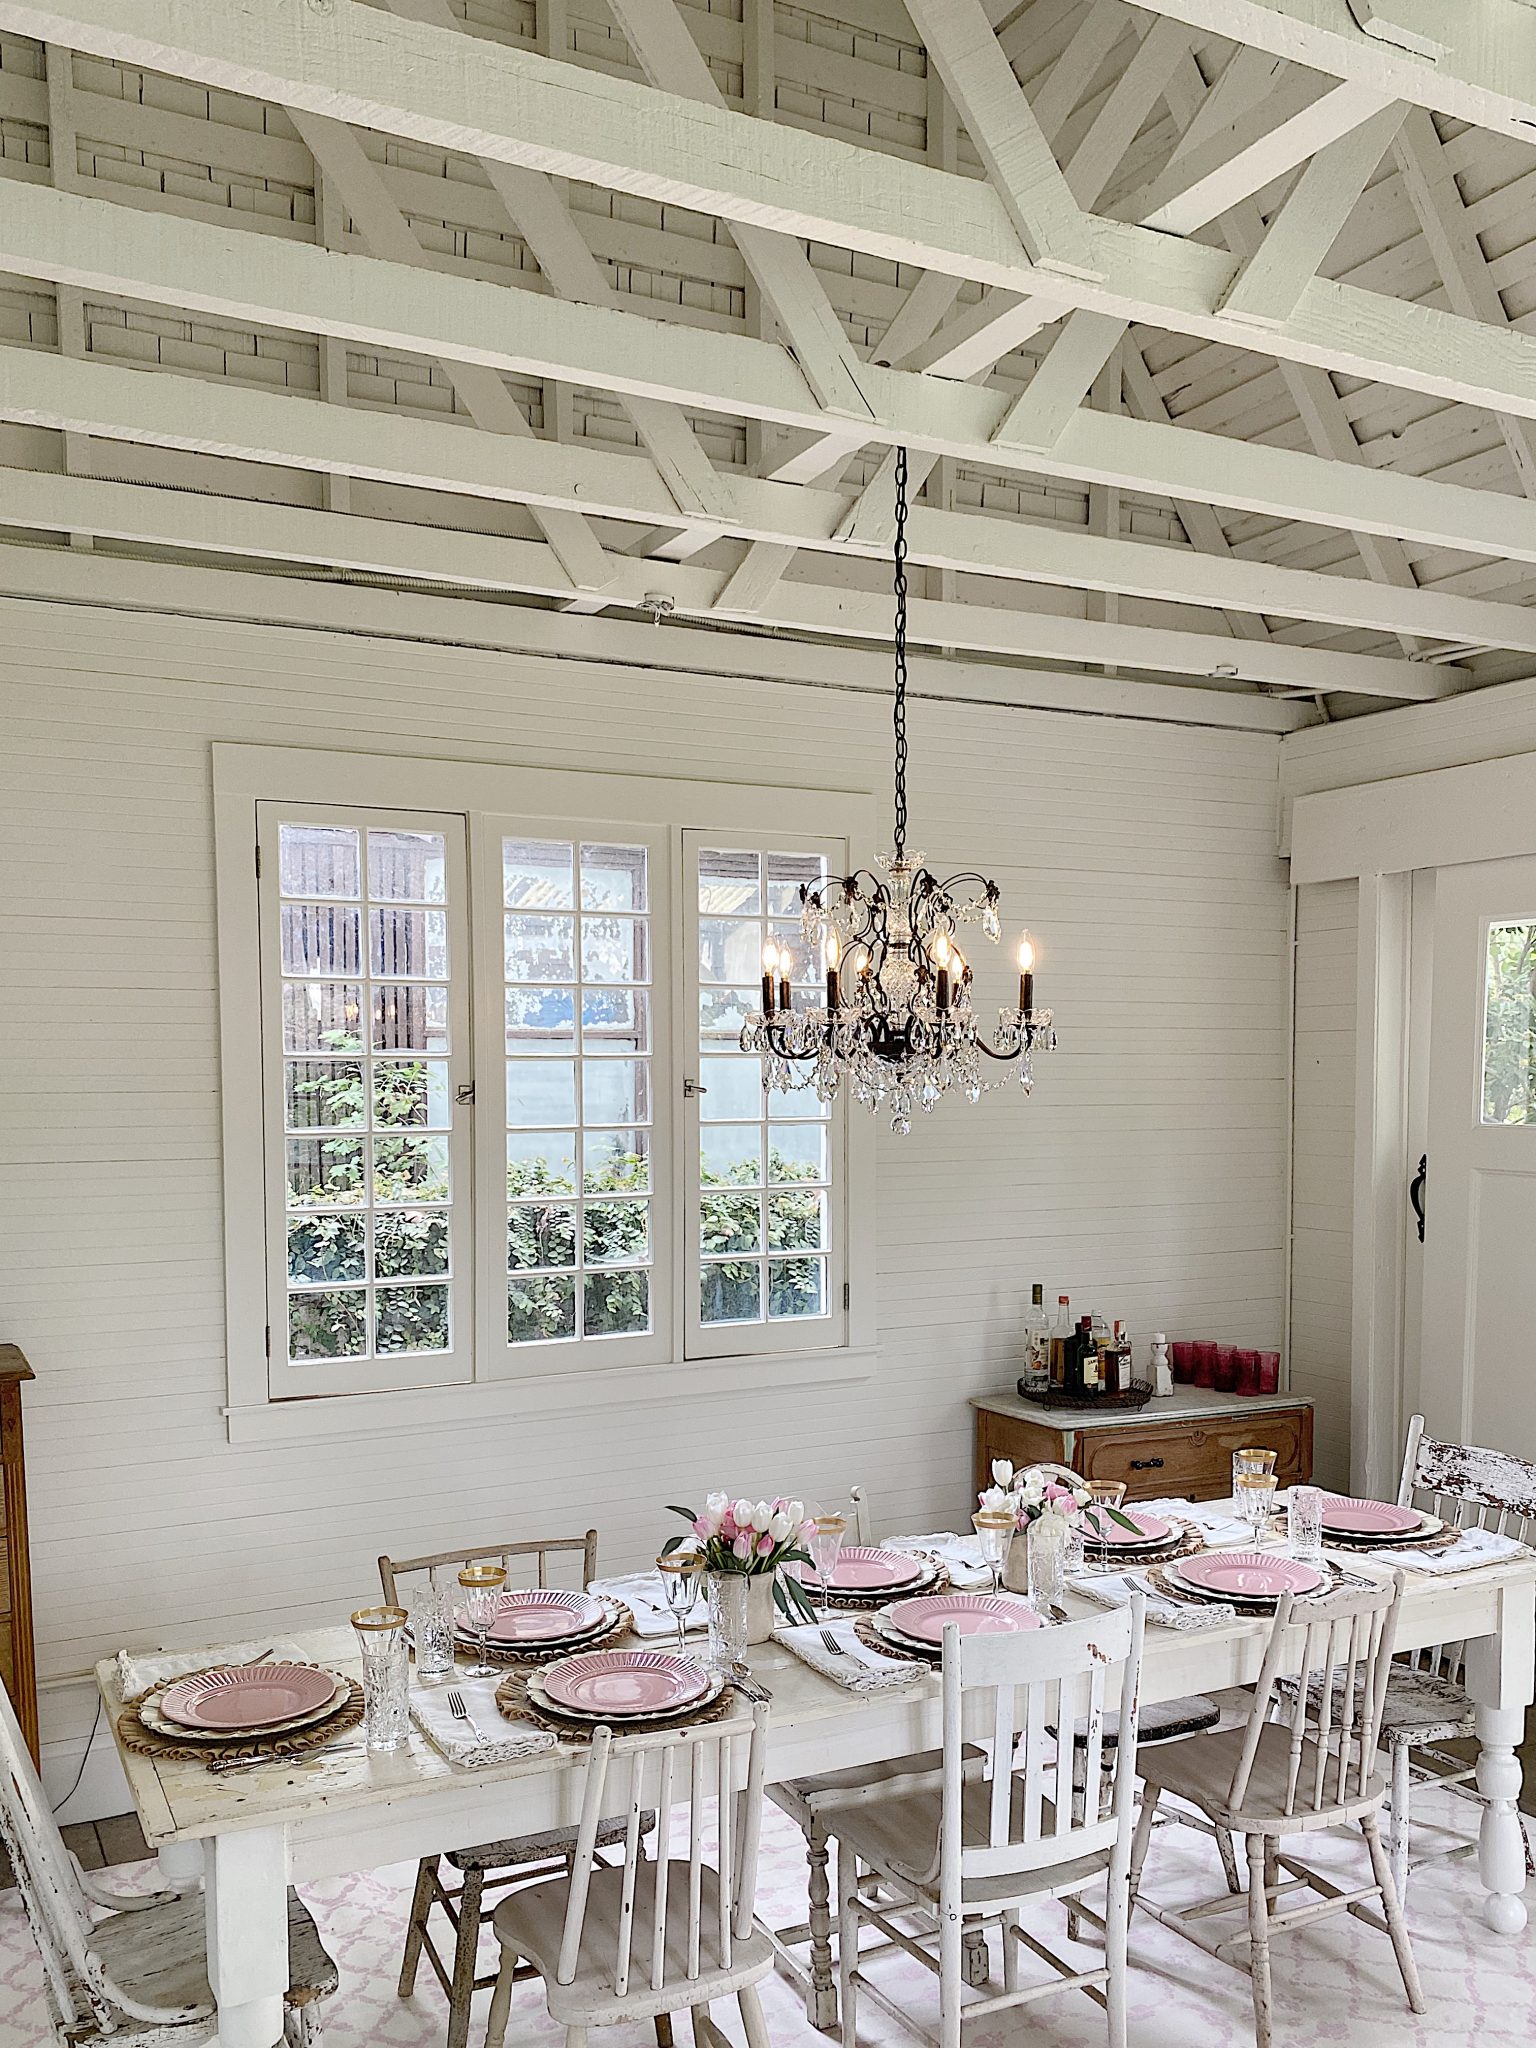
With the crystal chandelier hanging over the table, these sconces are the perfect addition to the Carriage House.
To put it in perspective, here is the area on the right where I added the mirror and sconces. It is just above the cabinet with the marble top.
Look how empty the area looked before I added the mirror above the vintage cabinet.
I may sometimes use affiliate links on this blog, which means a small commission is earned if you purchase via the link. The price will be the same whether you use the affiliate link or go directly to the vendor’s website using a non-affiliate link.


If you enjoy my blog, you can sign up to receive my updates here.
.How to Paint a DIY Mirror with Milk Paint
What You Need to Make This Craft
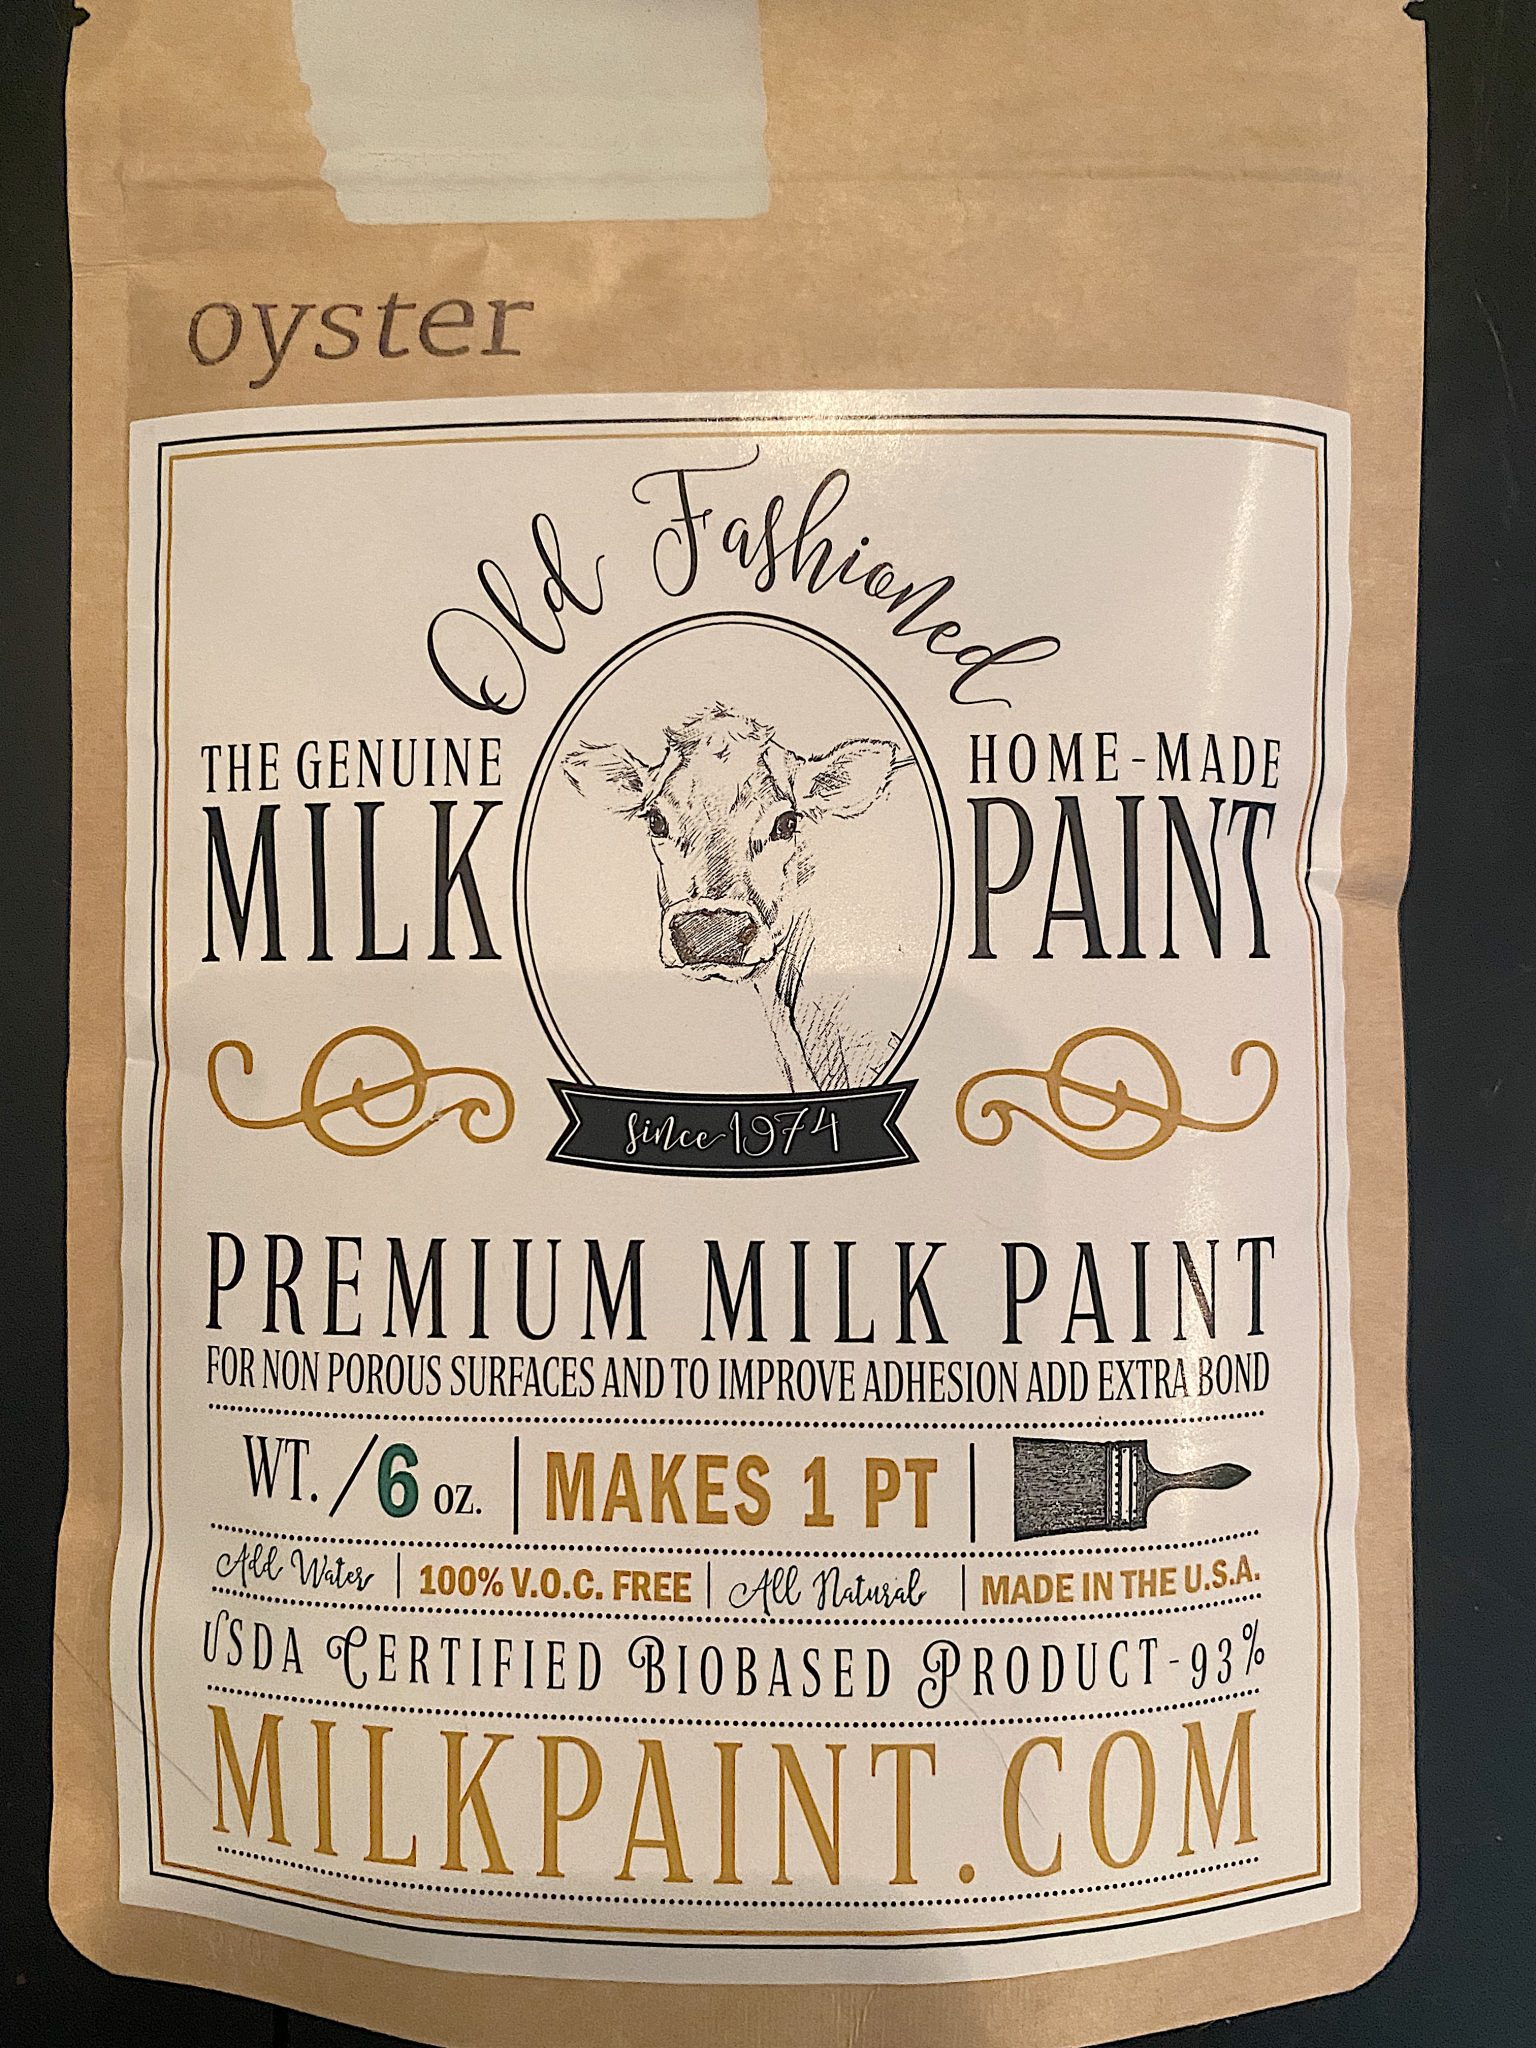
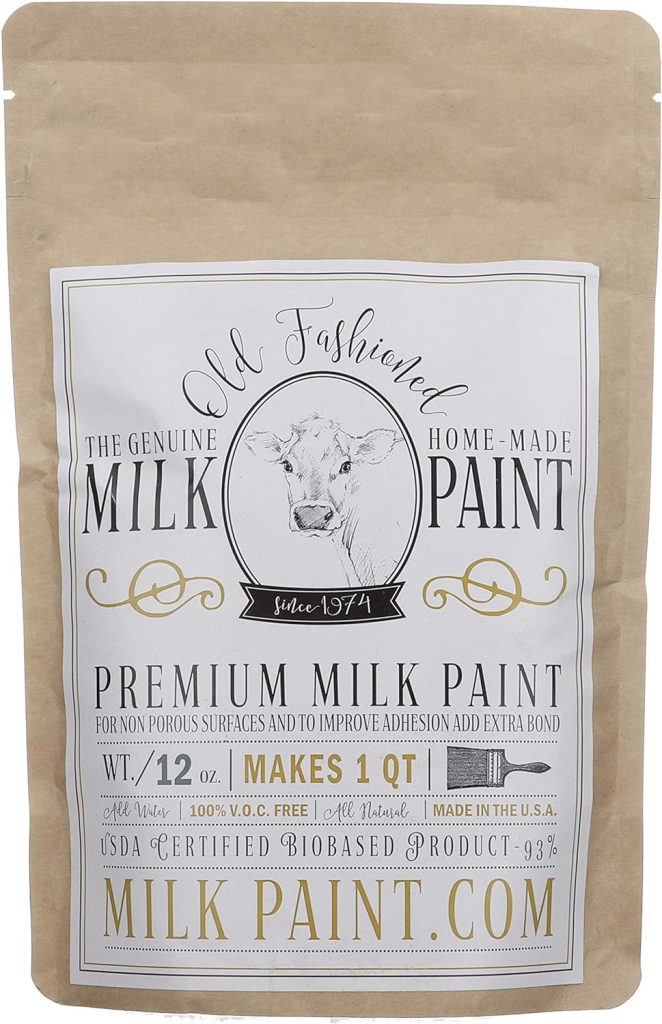
- Old Fashioned Milk Paint – Oyster (I used 1/2 package for my mirror.)
- Paint brush
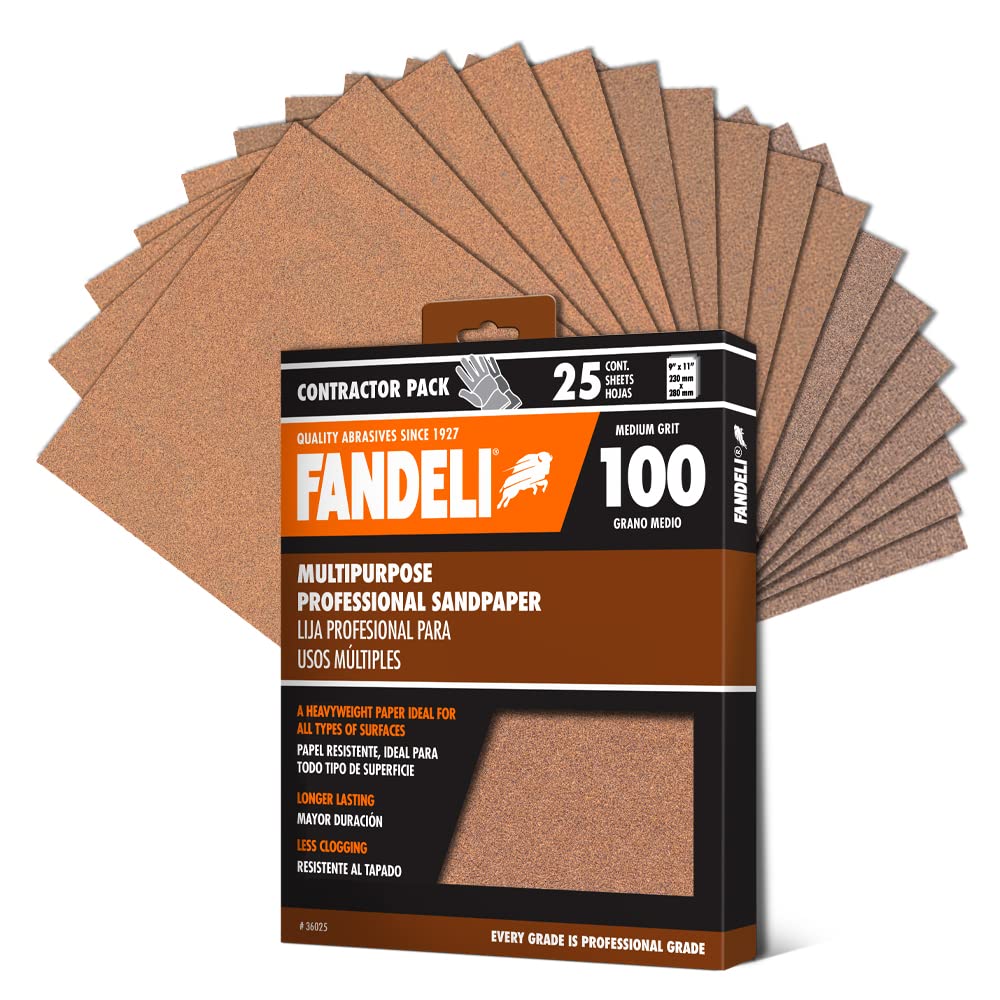
- Medium grain sand paper
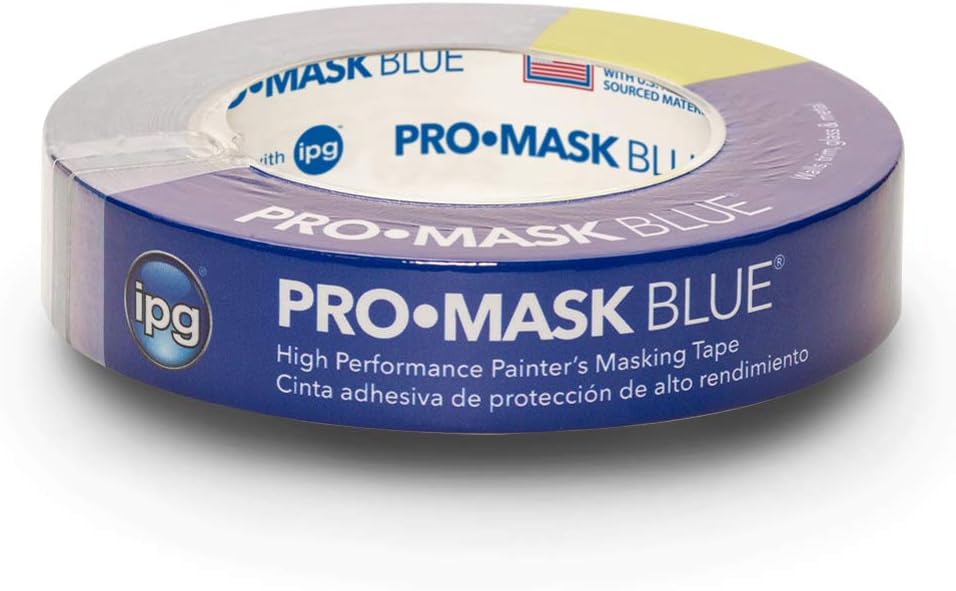
- Paint tape
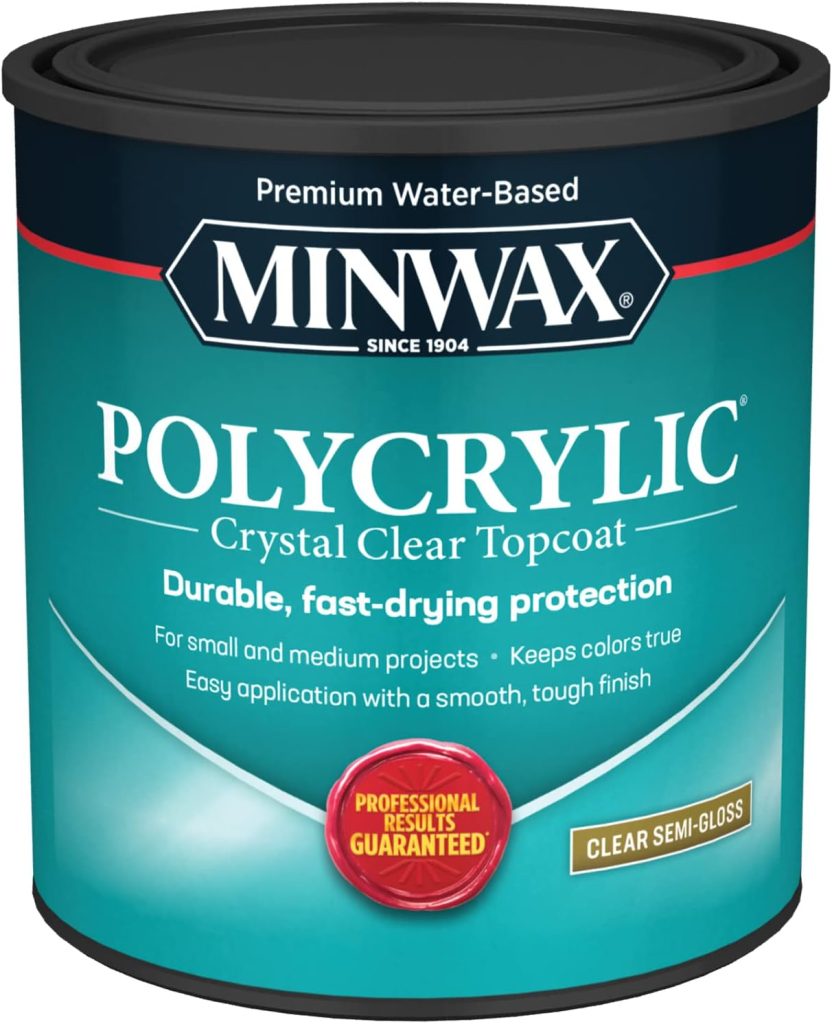
- Polycrylic sealer
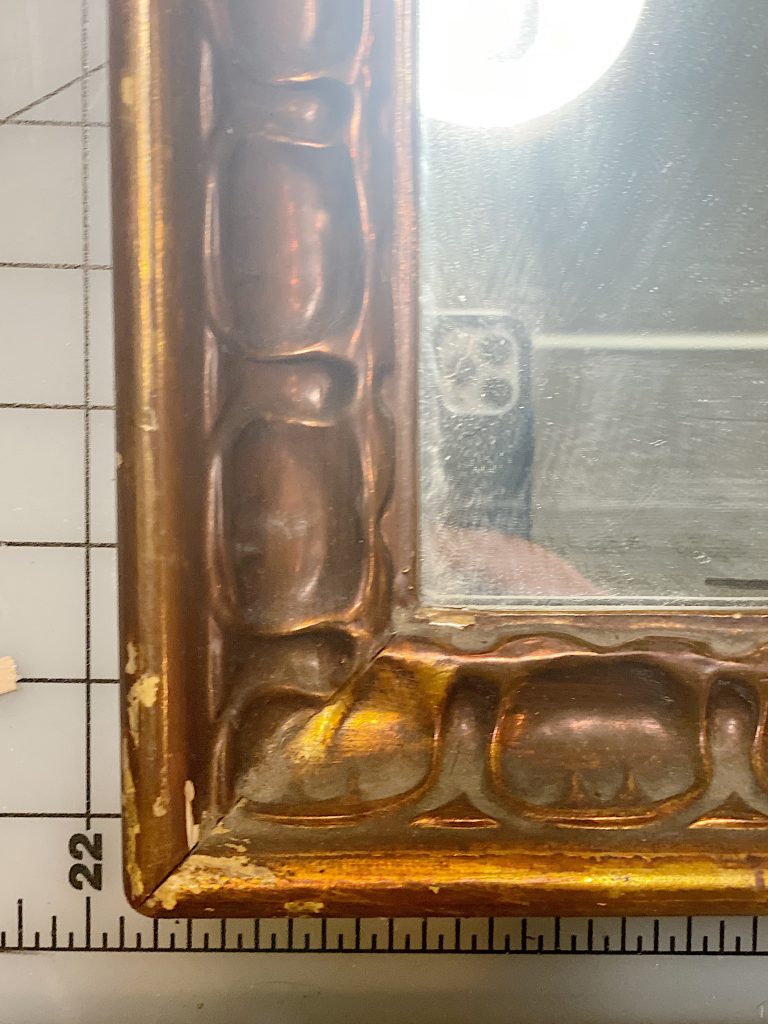
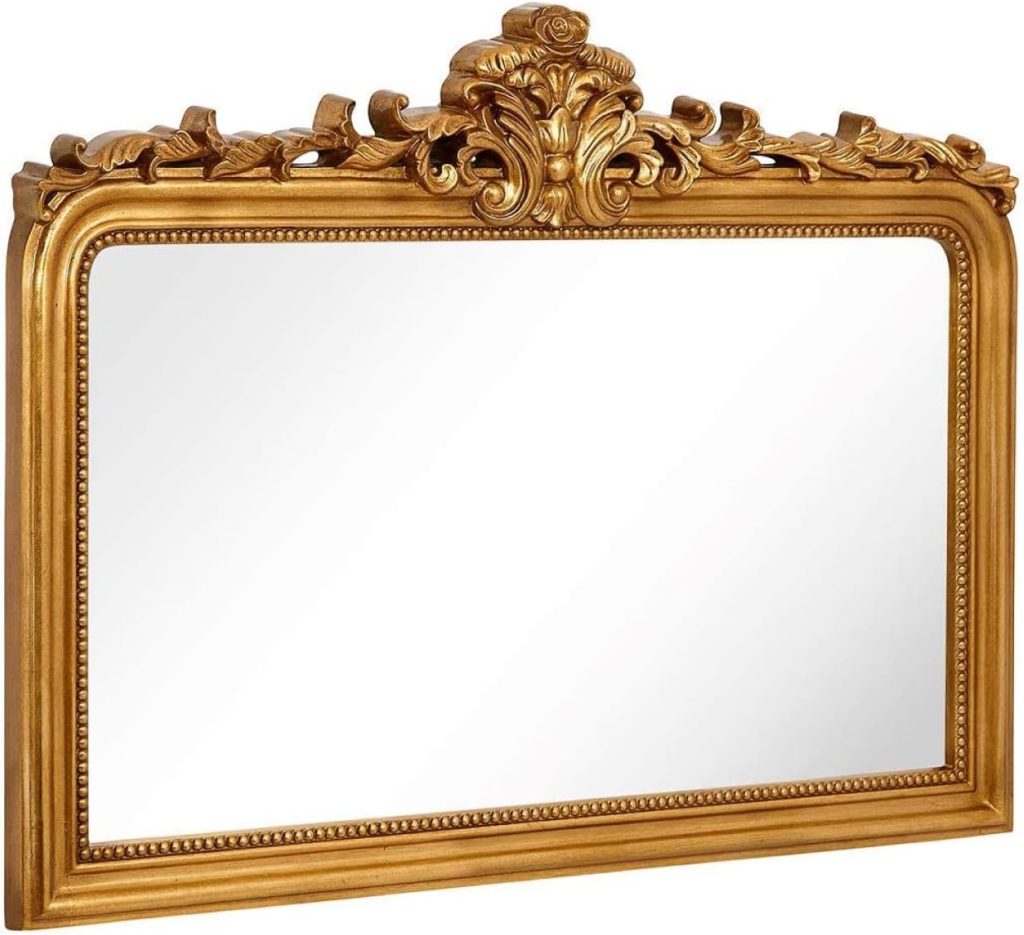
I am sure you were wondering what the mirror looked like before the transformation. This is it! It was primarily a shiny brown mirror, but over time, it was pretty scratched up (as you can see here). This mirror had been in storage for about four years.
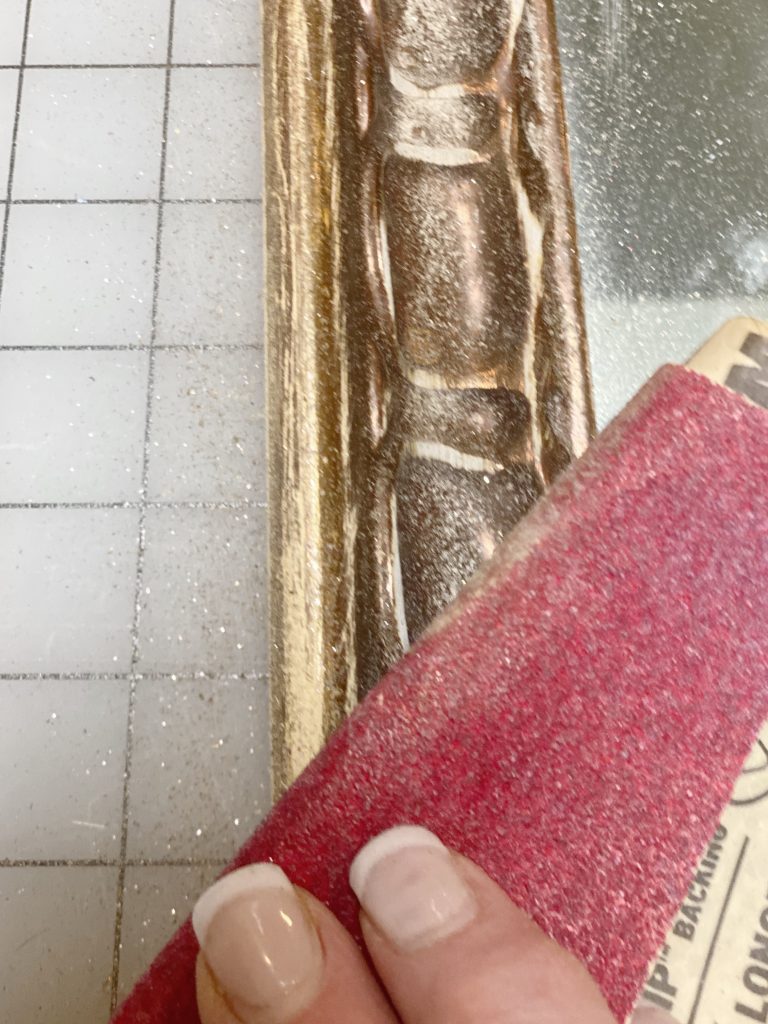
The first thing you need to do is sand the mirror. Milk paint won’t adhere if you have varnish, so I tried to sand as much as possible without removing the color.
The surprise was the glitter that I sanded off. I hadn’t realized that the paint had a metallic finish!

This is what the mirror looked like after I sanded it. It wasn’t pretty, but it did the job. As you can see, I didn’t sand that much!
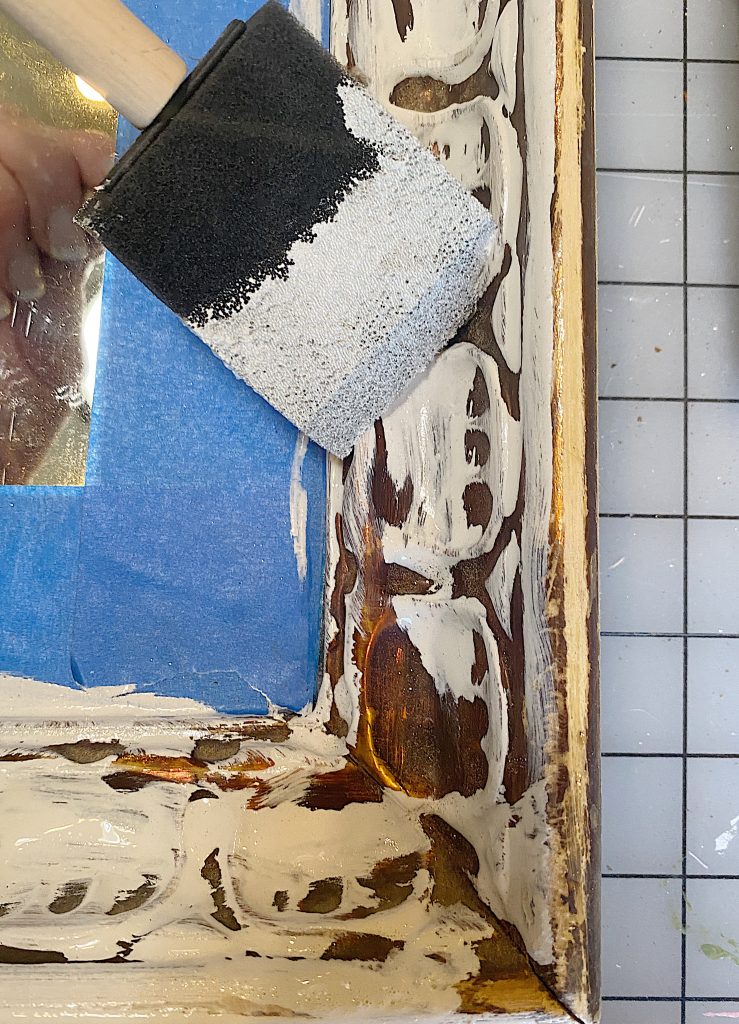
Next, I mixed up the Milk Paint. Mix equal parts of warm water and the powdered paint. Stir for about two minutes (read the instructions on the bag for mixing instructions). Cover the entire mirror with as much paint as possible. One thick coat of paint should work.
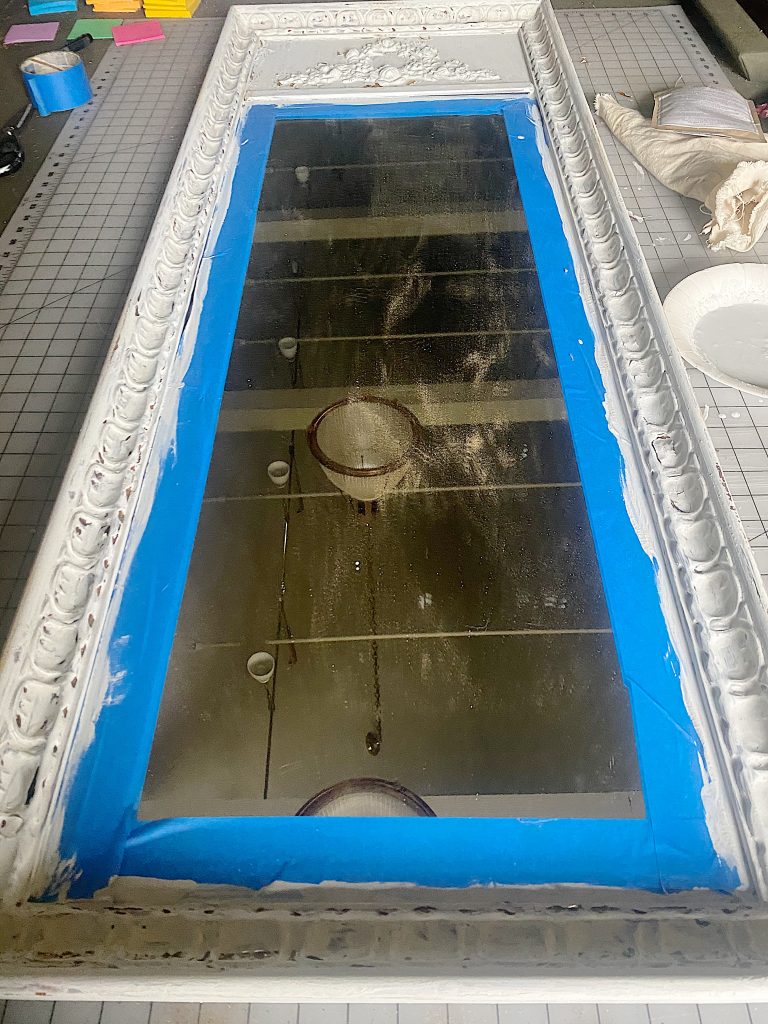
This is how the mirror looked after it was painted. As you can see, I covered it pretty thoroughly.
Let the paint dry overnight.
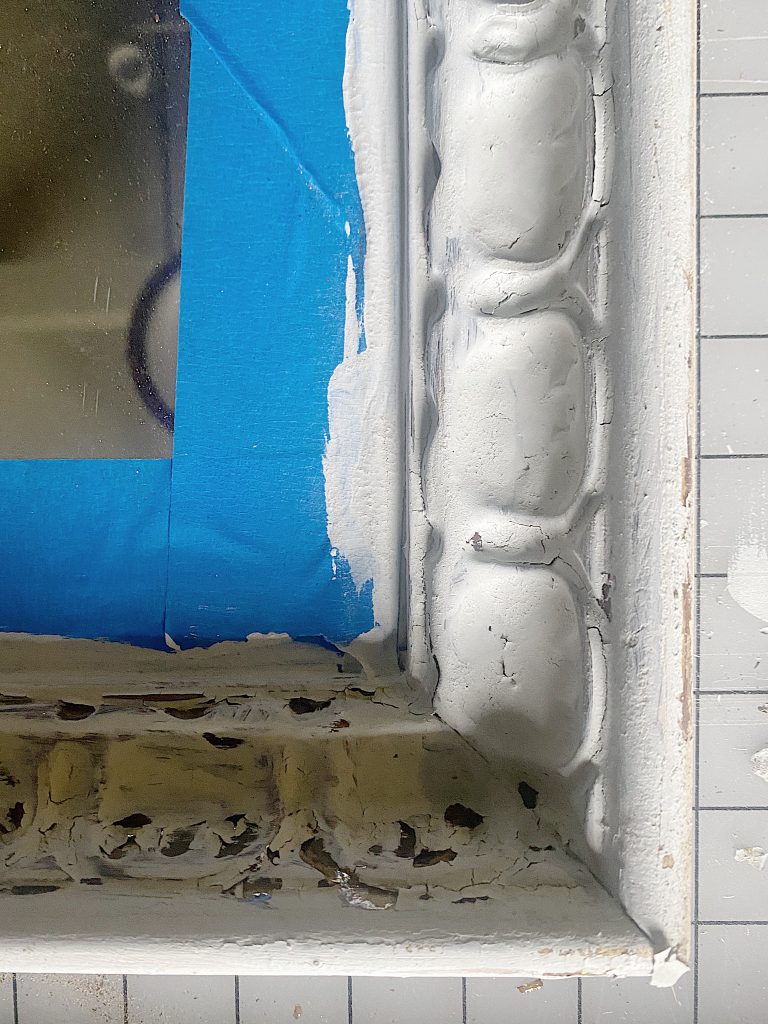
The following day there were some areas of the paint that had bubbled and looked chippy. It’s awesome! And precisely what I had hoped for.
If some areas are too chippy, cover them with more paint.
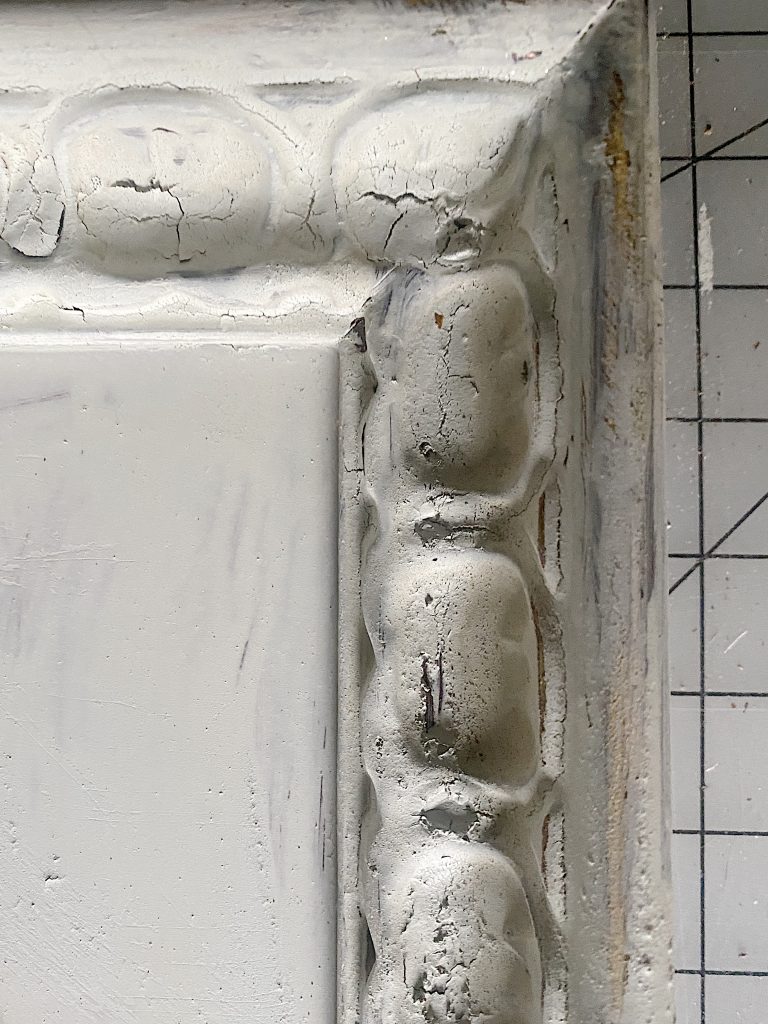
If you want a more chippy look, take some sandpaper and lightly sand some of the edges where natural wear and tear might have happened.
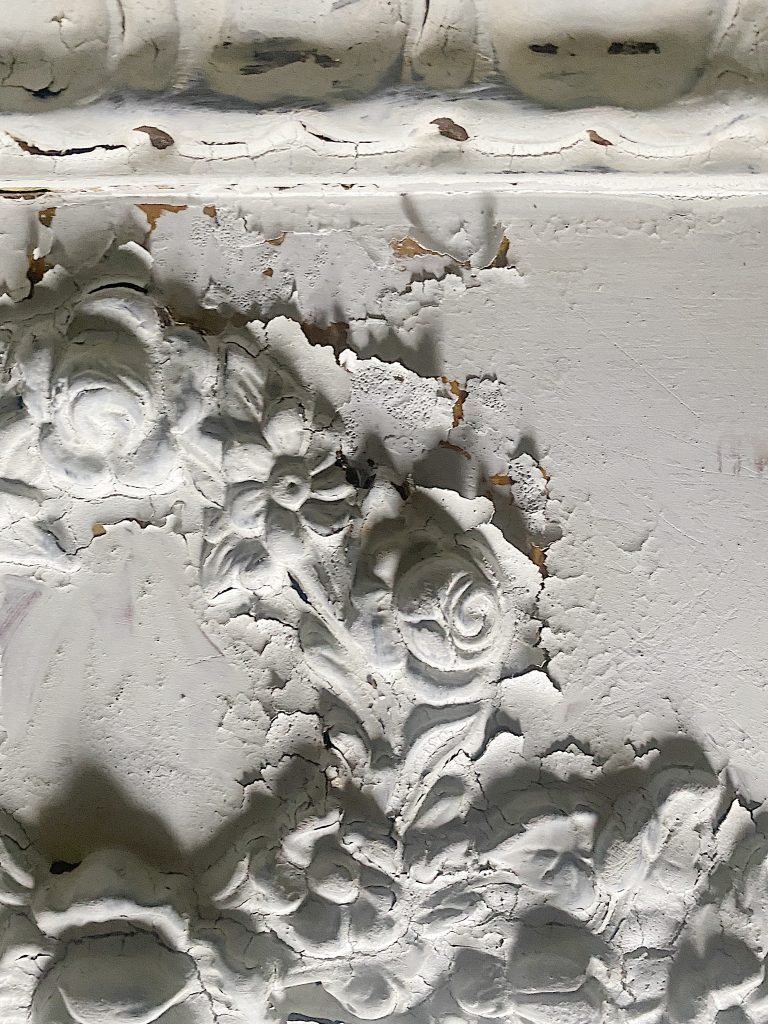
Here is an up-close look at the chippy paint around the design on the top of the mirror.
Once you like how it looks, cover the mirror with a thick coat of polyacrylic to prevent more paint from chipping off.
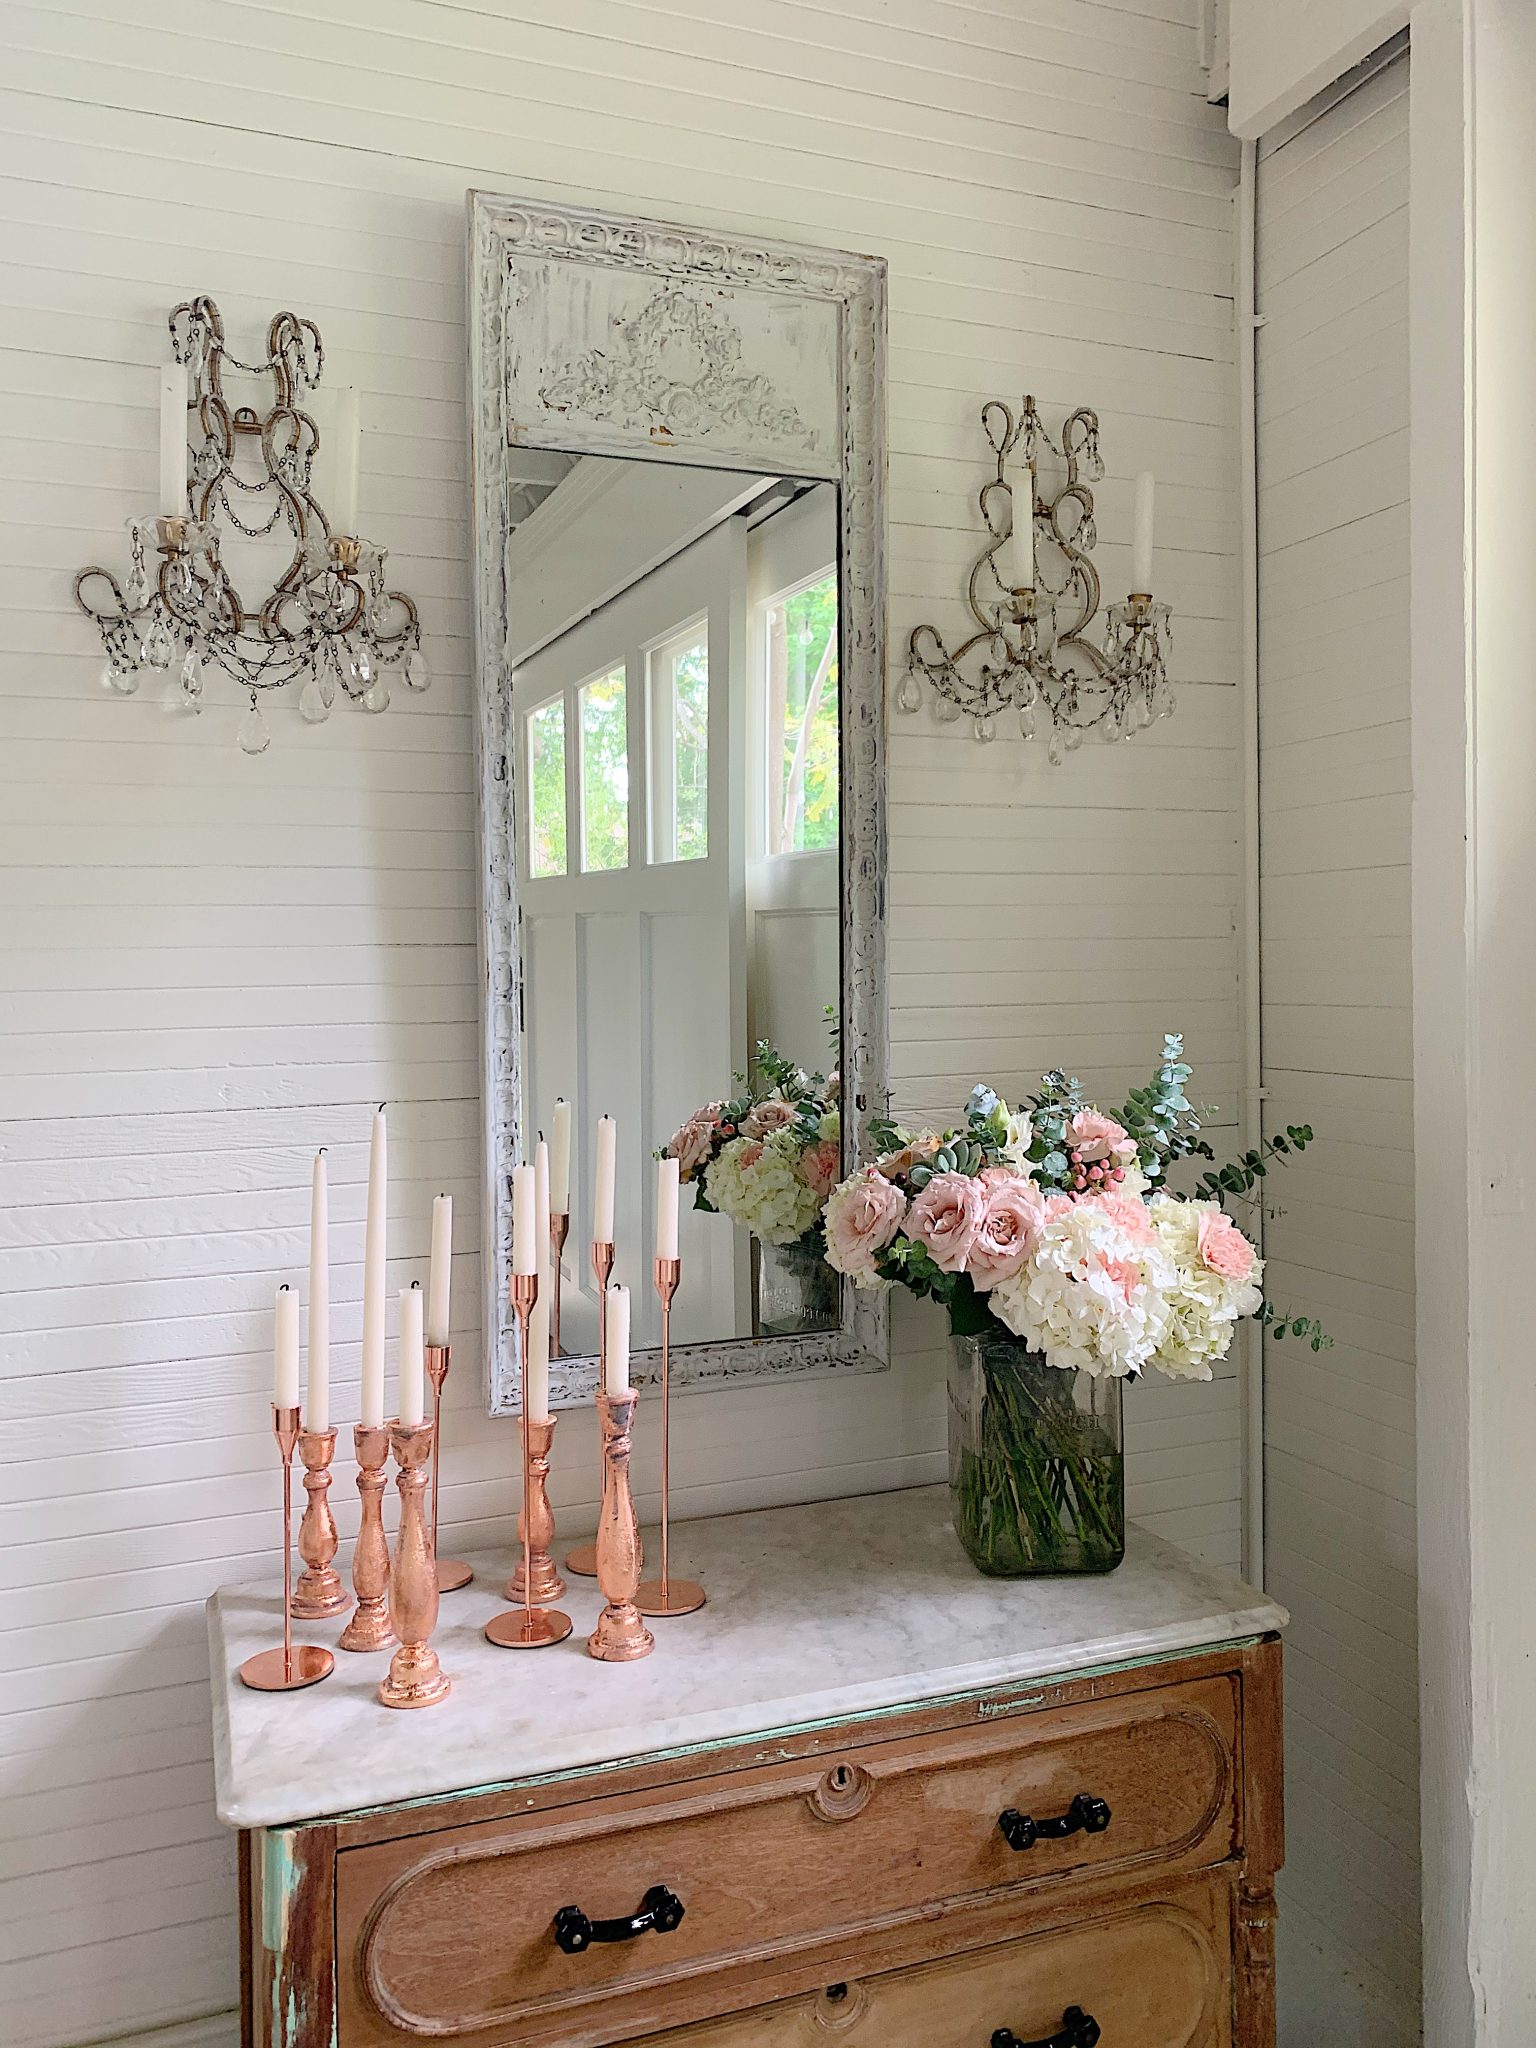
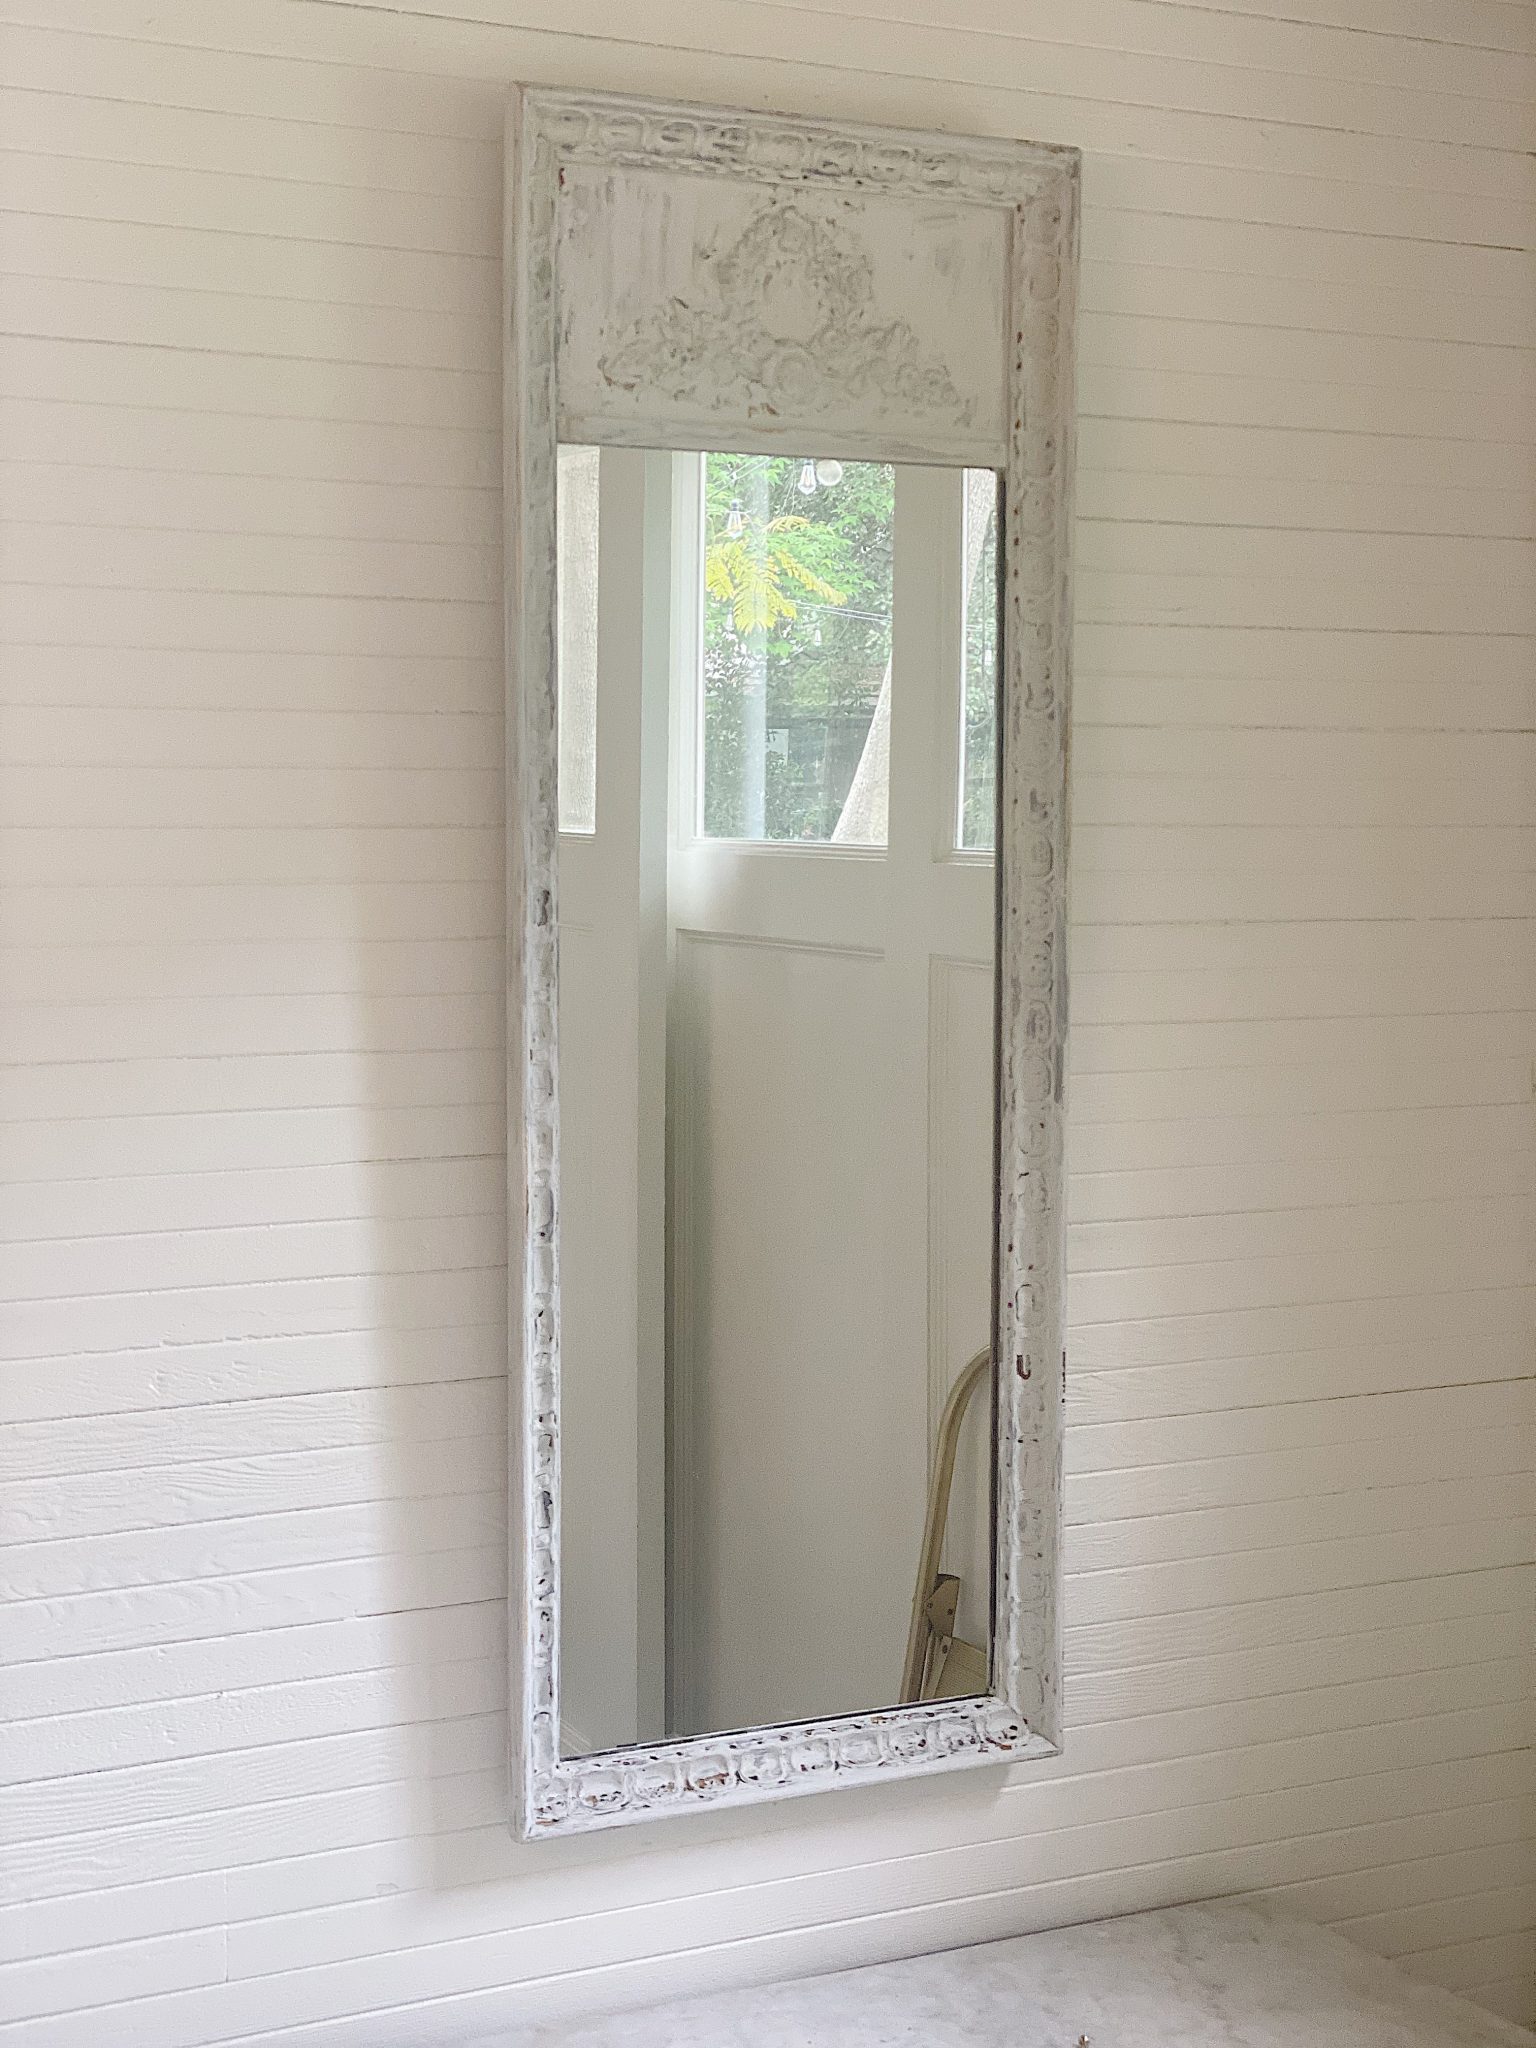
This is how the mirror looked when I first hung it. Not bad, huh?
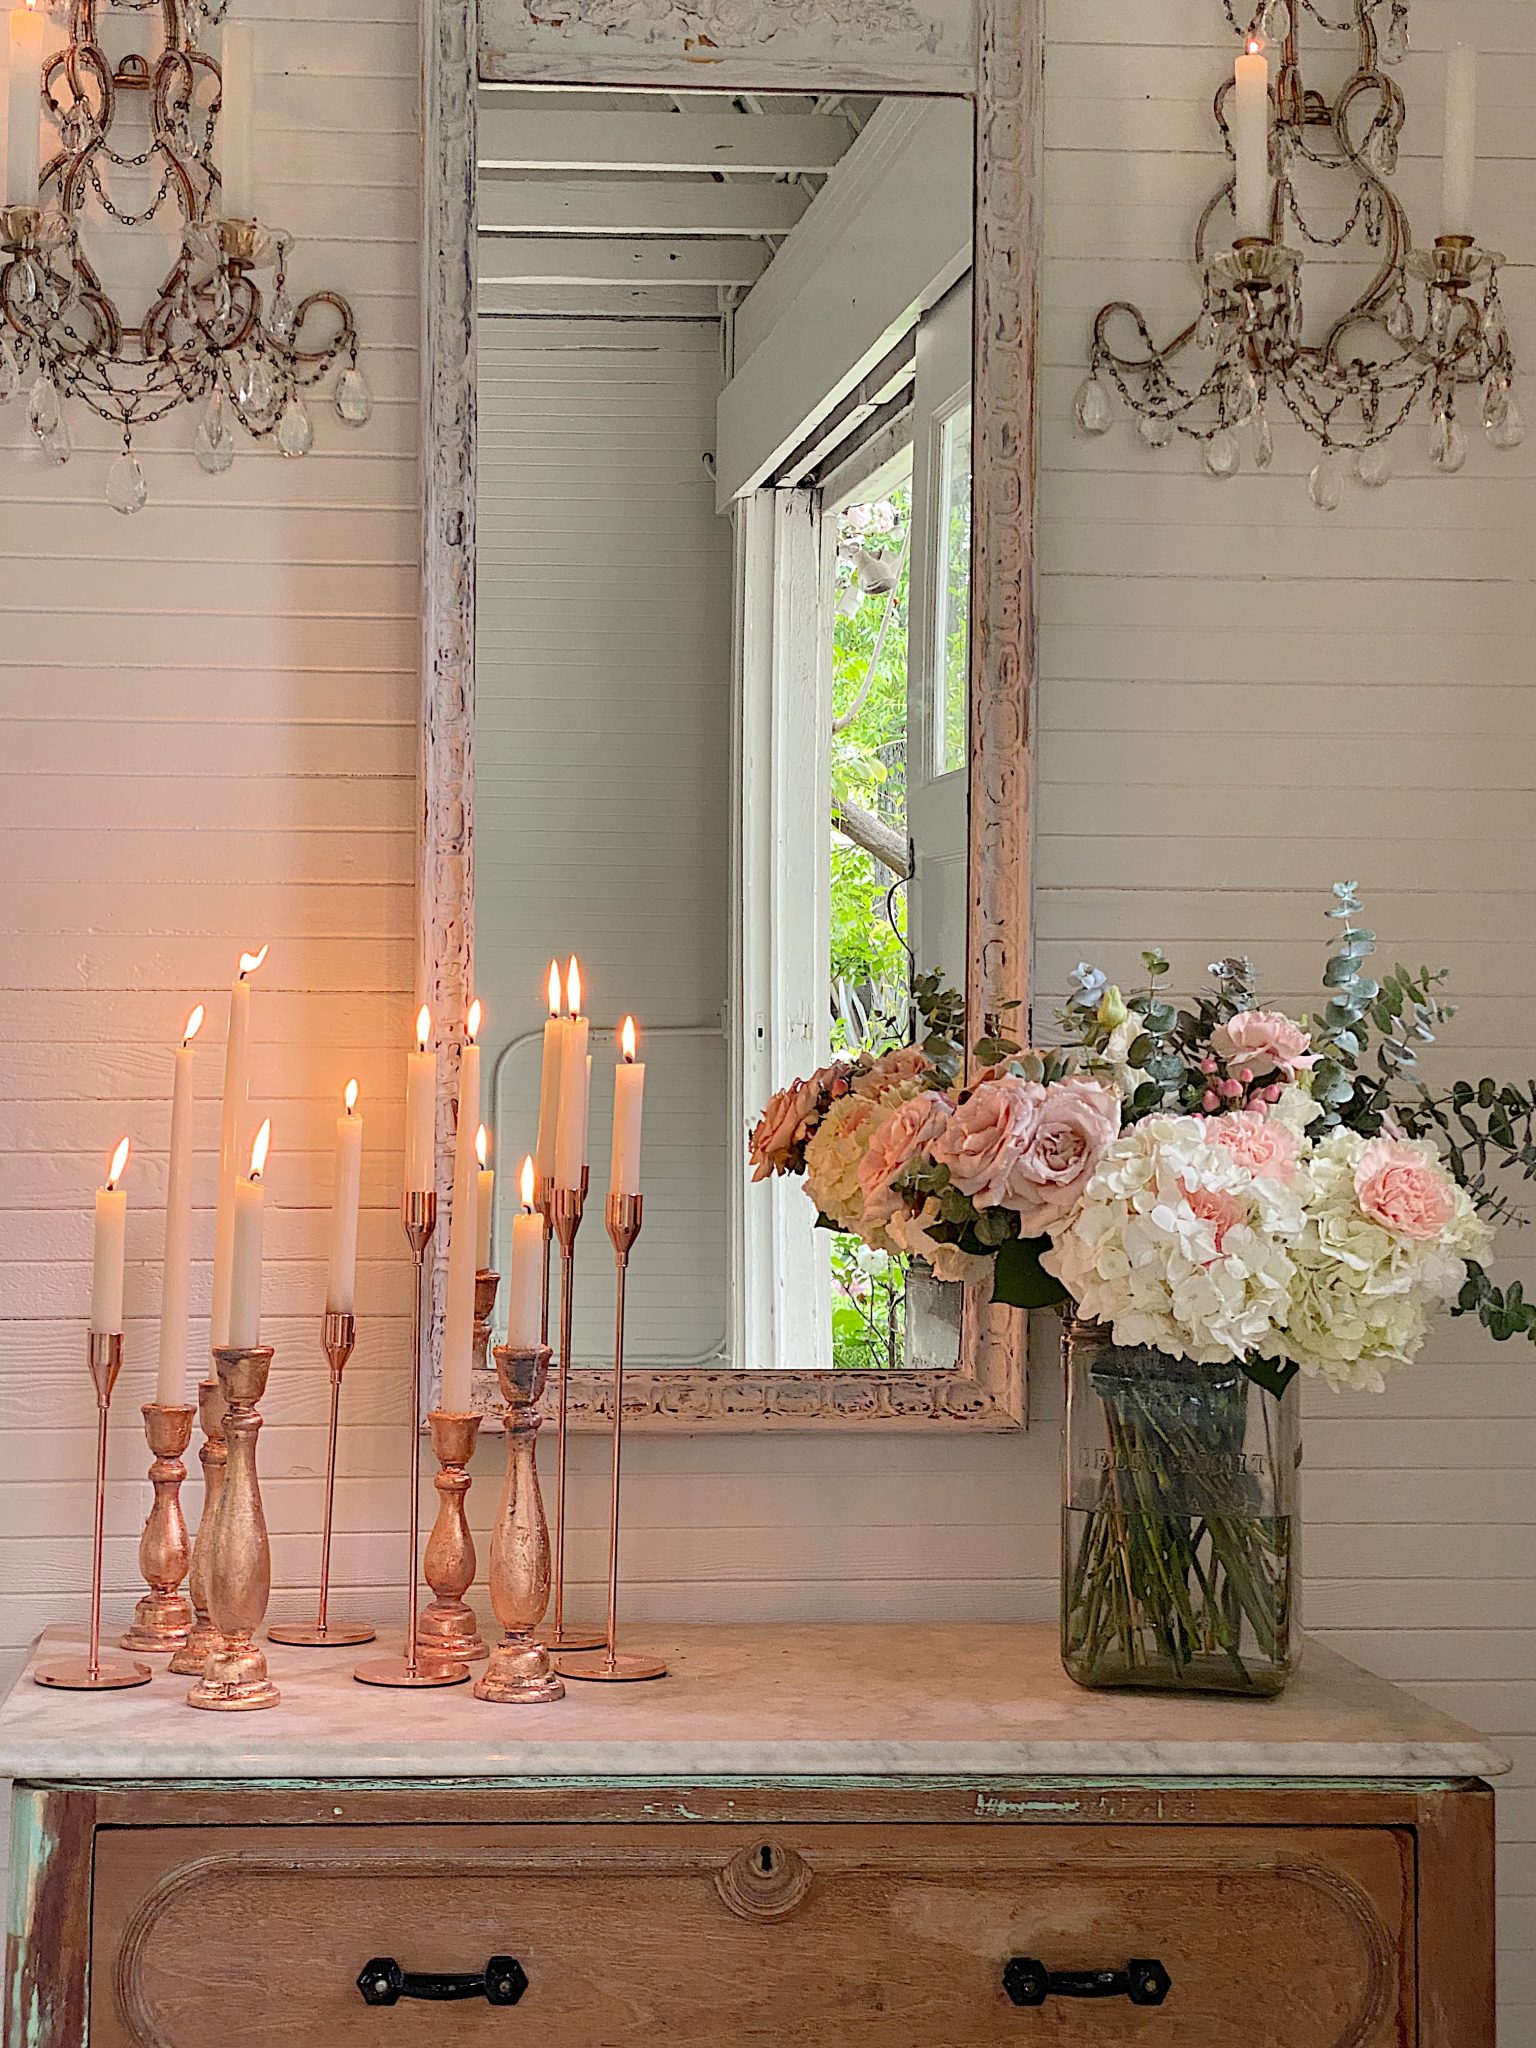
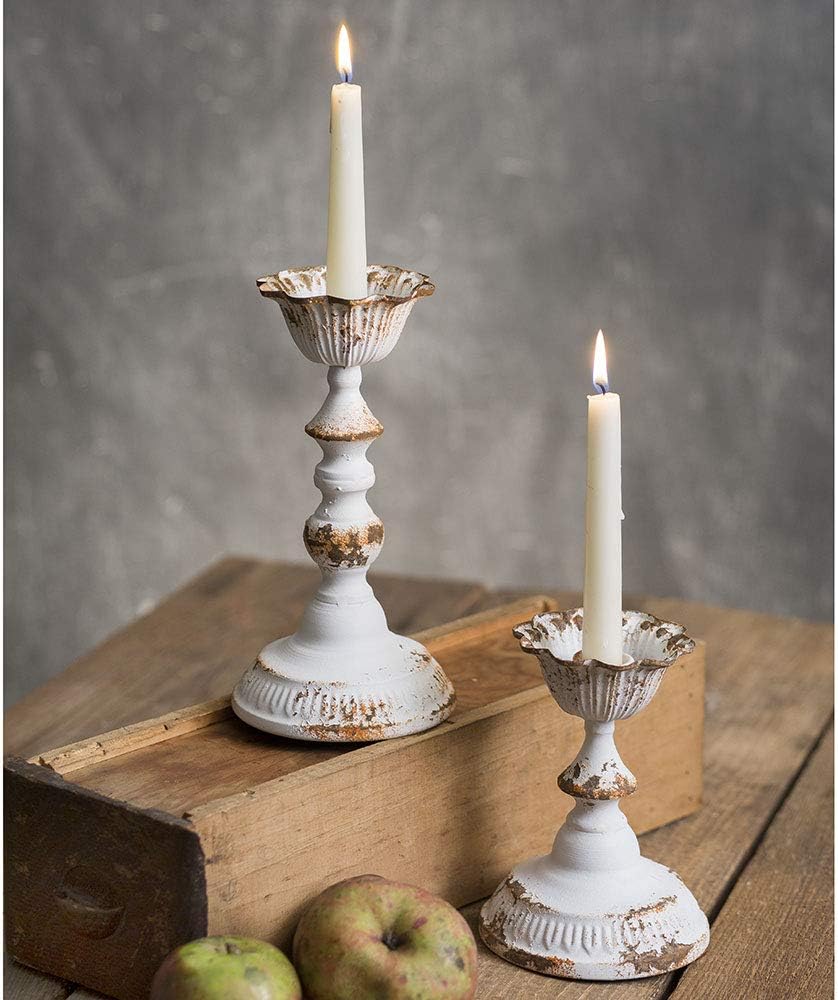
I added the two crystal sconces, copper candlesticks, and fresh flowers. I am so in love with this look—it is just incredible.
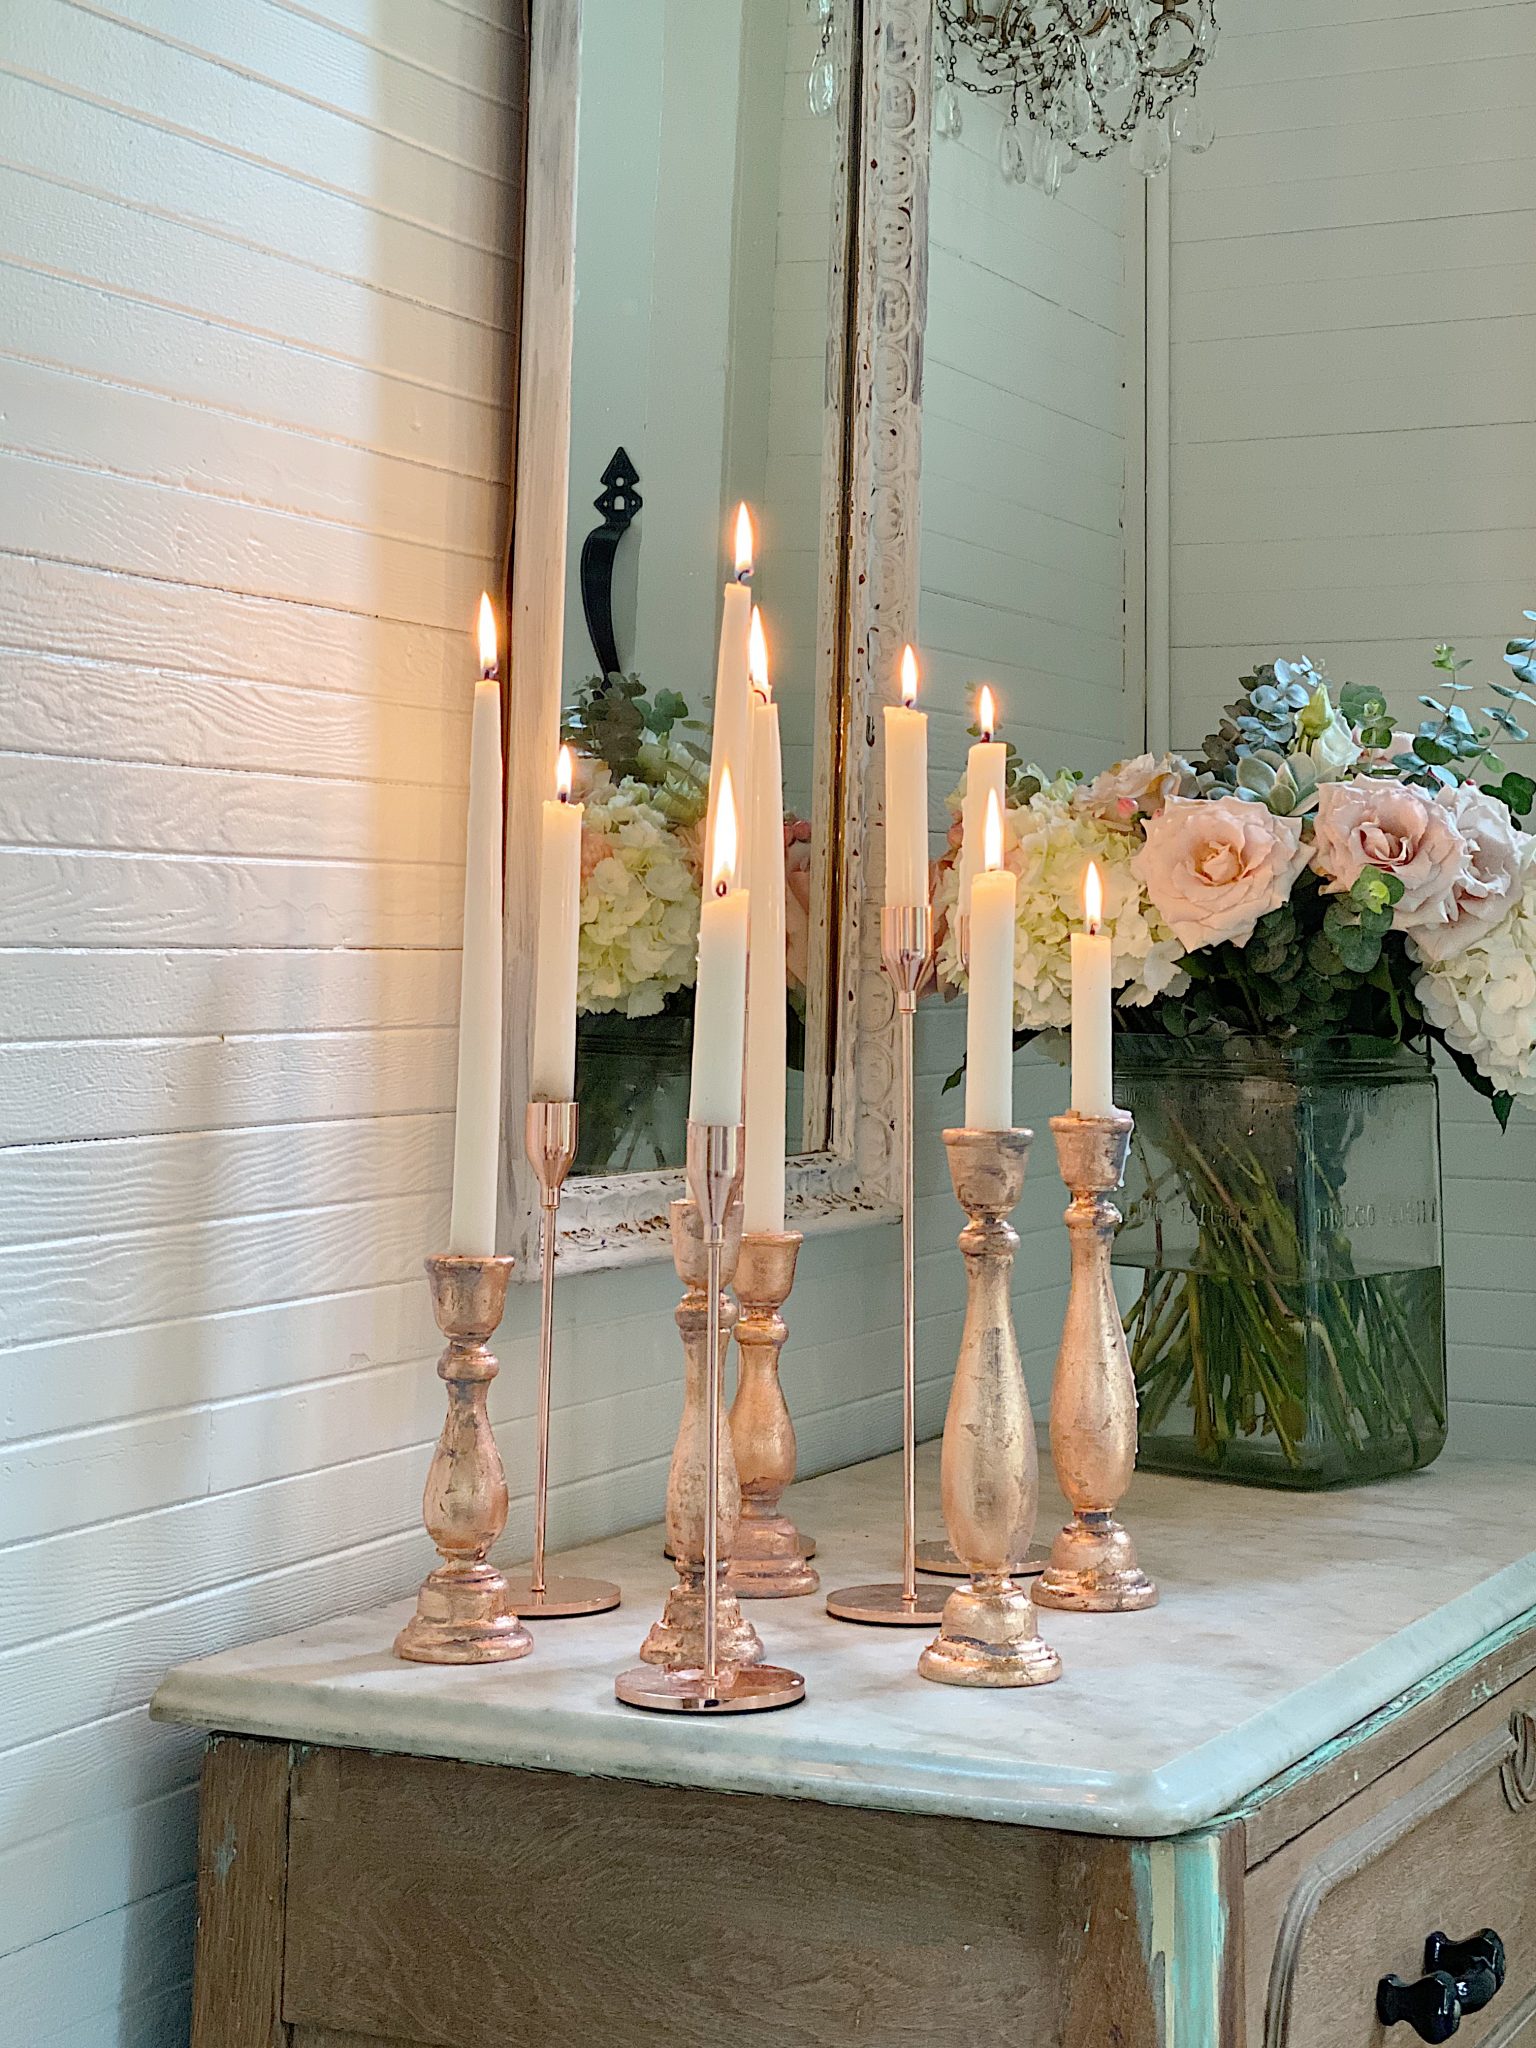
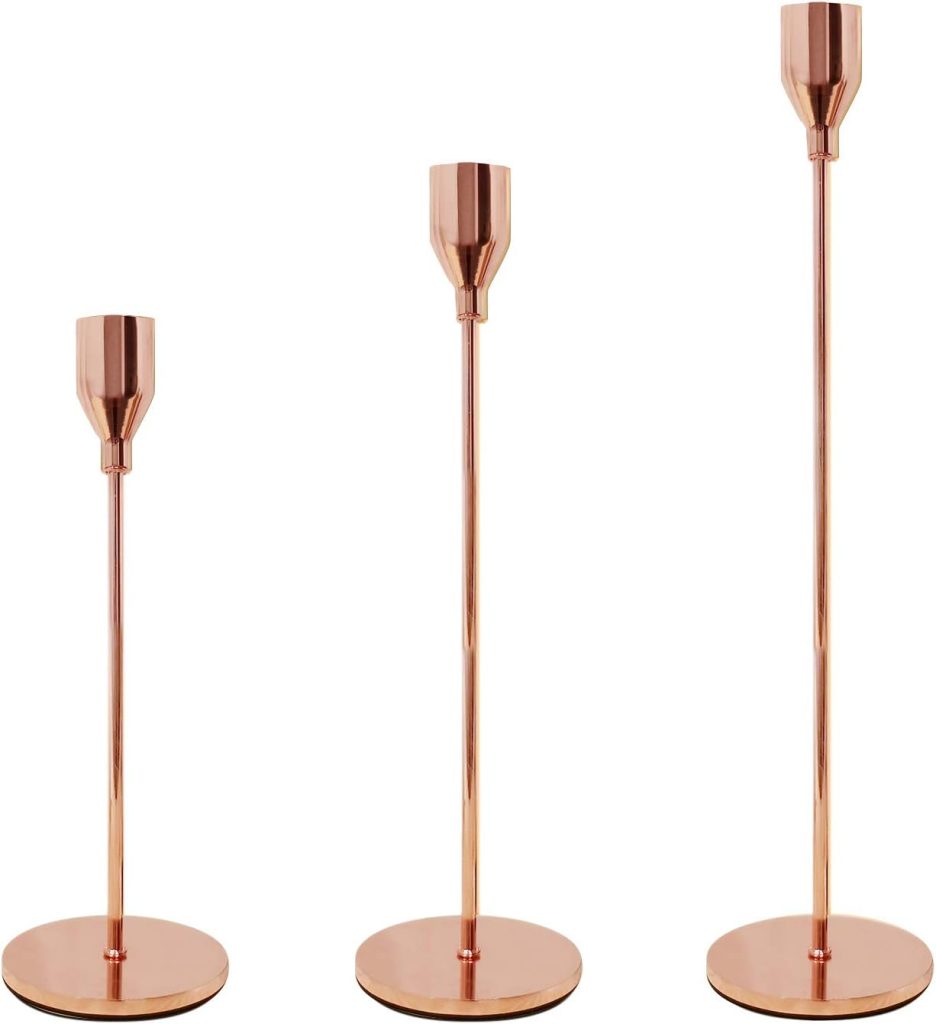
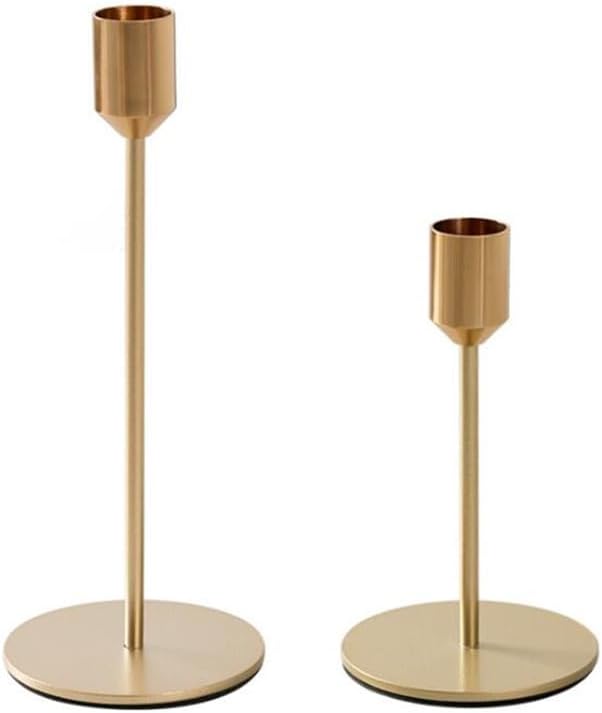
The thin Rose Gold Candlesticks are my favorites and very inexpensive. I made the thicker ones; you can see how to make them at Rose Gold Candlesticks DIY.
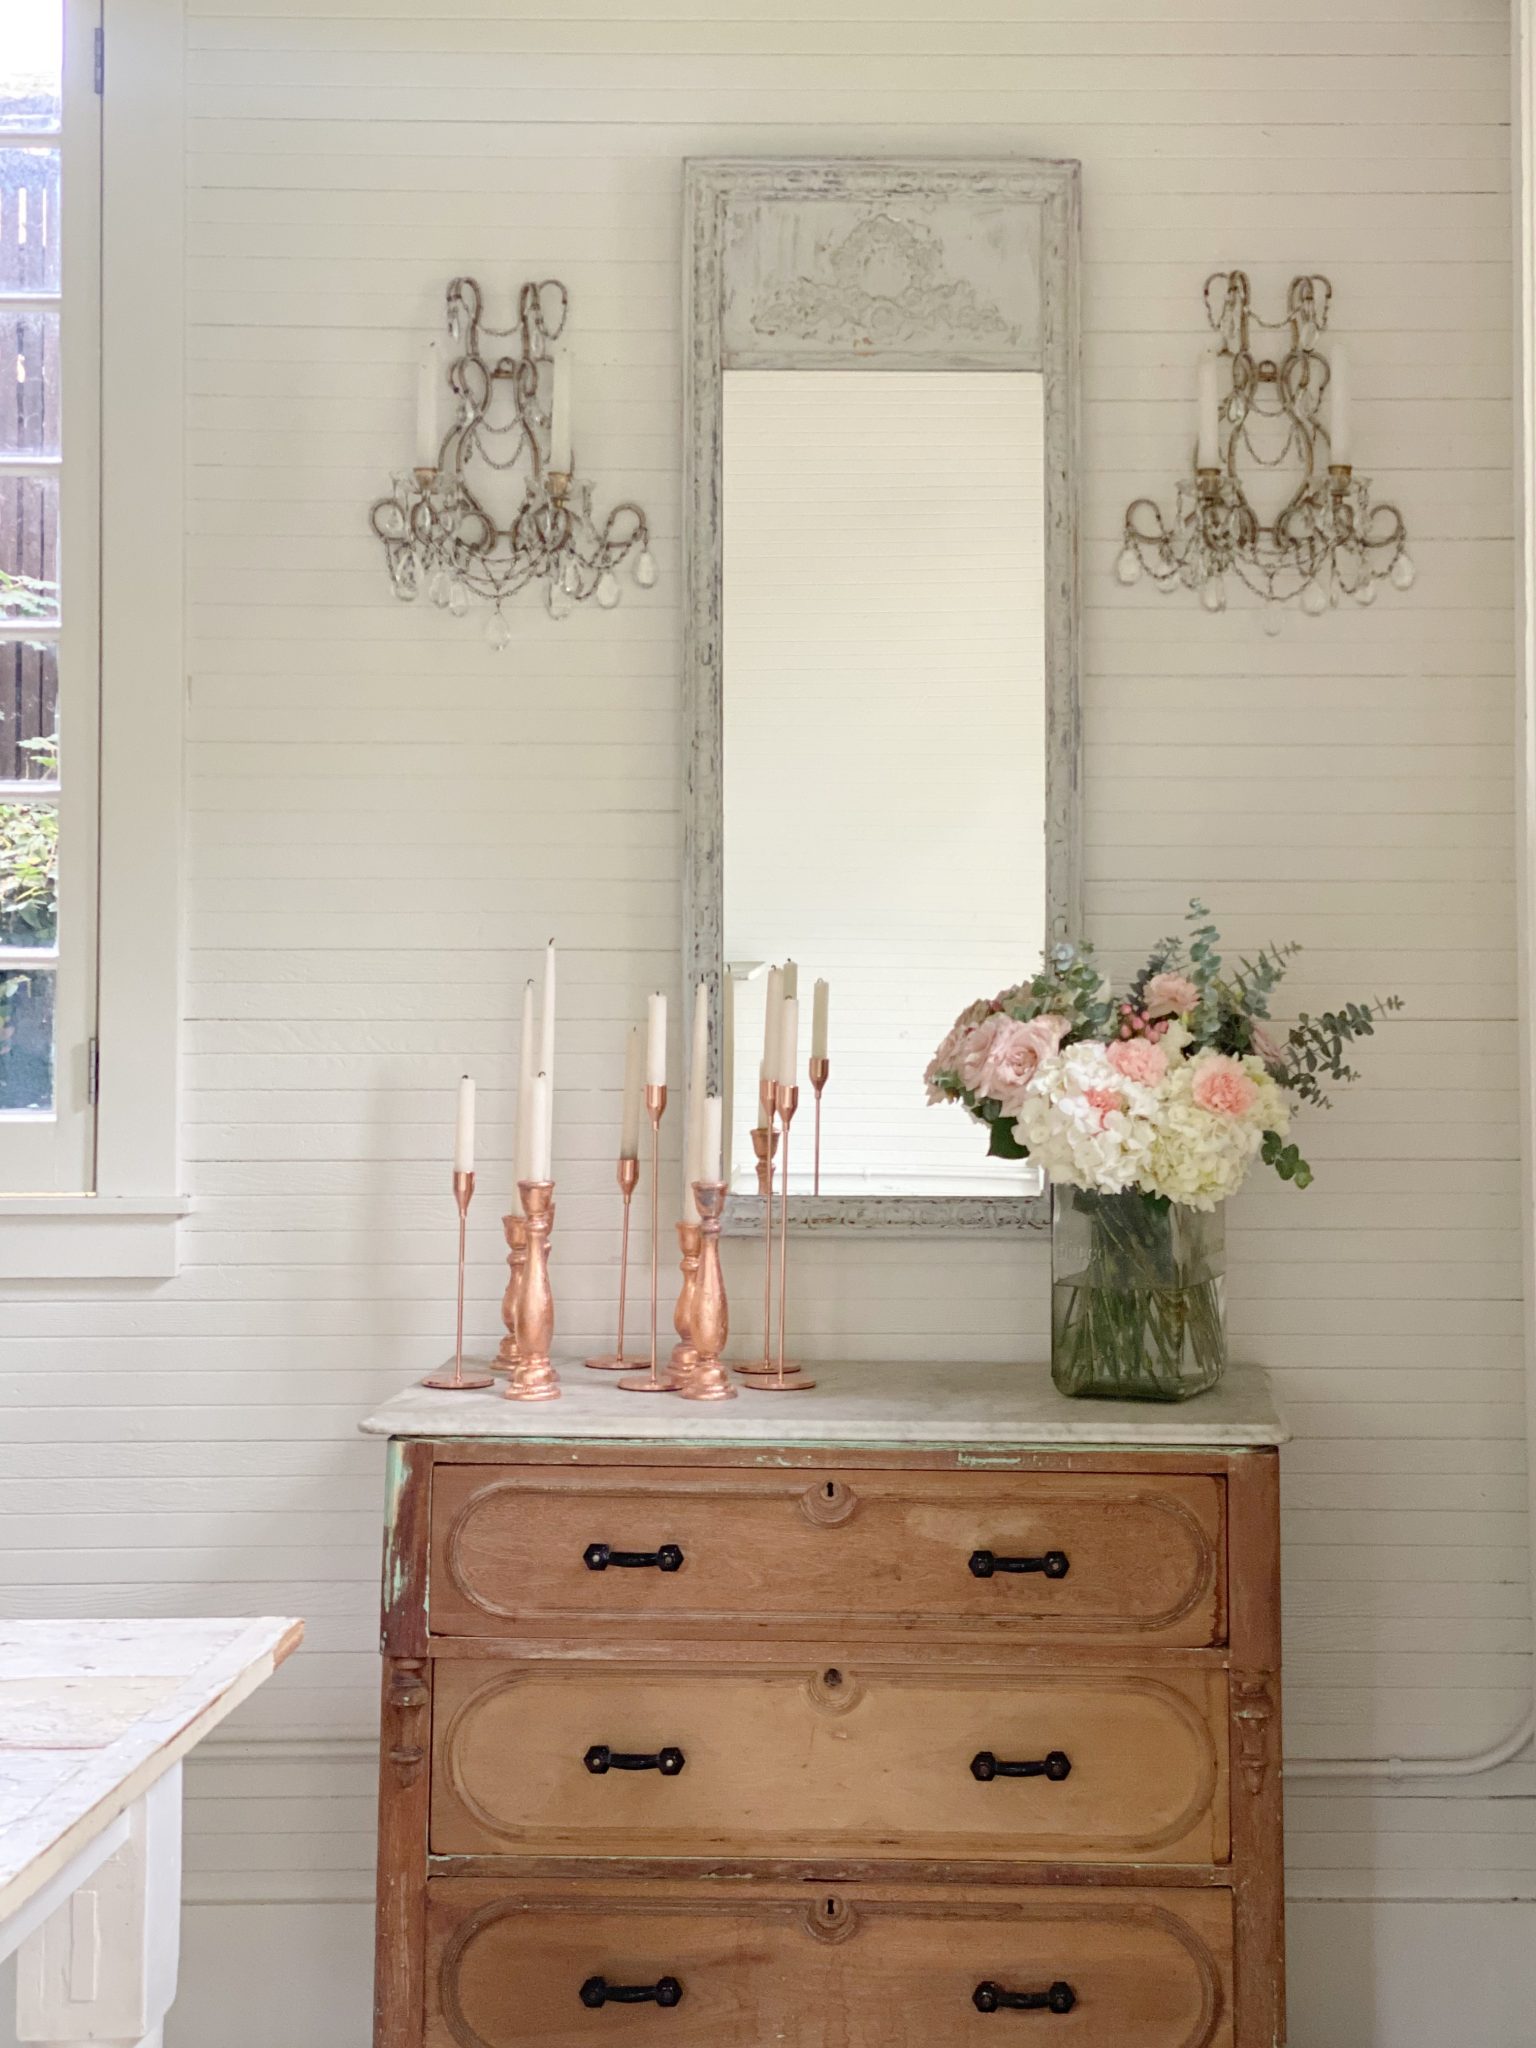
For a while, I was considering painting this cabinet. Thank goodness I didn’t paint it.
So, what do you think?
Frequently Asked Questions
Milk paint automatically produces a bubbly paint texture, which is a perfect “chippy” distressed look. It creates the perfect vintage look for DIY furniture and wood projects.
No. Milk paint comes in a powder form and will bubble and create a chippy look when it dries. When using milk paint, you must also sand your wood piece to remove any varnish. Chalk Paint has a heavy, smooth finish, and you will have to sand it if you want a chippy look.
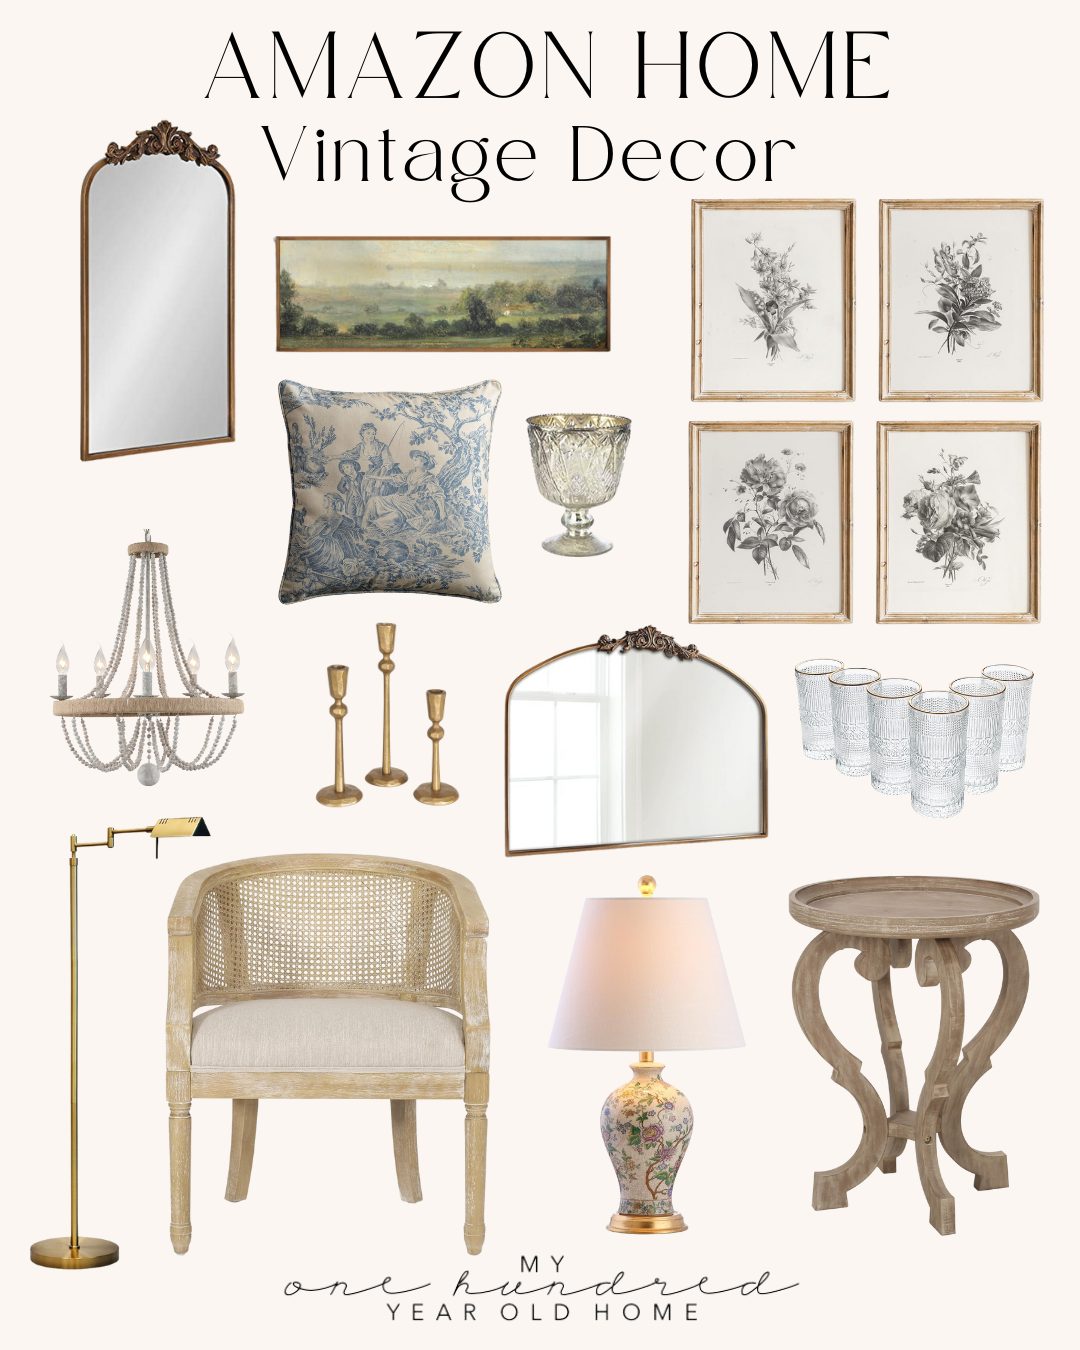
My Favorite Vintage Decor from Amazon
Other Milk Paint DIY Posts
You can pin the image below to your decor boards on Pinterest (just click the Pin button in the top left corner) or follow me on Pinterest!
For more real-time updates, follow me on Instagram @My100YearOldHome


Your mirror turned out stunning!! I am amazed at the finish Milk Paint gives. I have never used it, but after seeing your project, I can’t wait to buy some! And the price on your sconces……they are gorgeous. Thank you for sharing! The entire vignette is gorgeous!
Milk paint is one of my most favorite paints to work with. It is so easy to work with. I am over the moon in love with the sconces and it all came together so beautifully, like it was all meant to be!
Leslie,
It looks like a perfect antique now.
Hi – just wondering … what is that style mirror called?? Love it.
I’ve seen this style before snd believe it is called a “TRUMEAU” – obviously French origins. There are loads of DIY posts to build your own with basic carpentry skills- just google! And then you’d get to use milk paint too!
Don’t paint over or take off the green paint on the chest. That’s what makes it look old and fit in with the chippy mirror.
This is a fantastic redo of this mirror! Just gorgeous and those sconces..what a bargain! However, at the risk of sounding critical, please run spell check before publishing your posts. It will make all your teacher friends in blog land very happy. 😉
I agree but wasn’t going to mention it 🤭
LOVE what you did with the mirror & sconces.
I use a grammar and spellcheck plugin that had uninstalled itself. Reinstalled!
What amazing finds! With the redo of the mirror you have created an extra beautiful spot in your home.
The sconces are truly amazing and I love the way this area turned out. Just a few easy tweaks and I am so happy!
Leslie,
Your posts are fine. Thank you for giving and sharing all your wonderful tips and advice. Most of us aren’t here to critique your spelling.
Please keep posting. No doubt it’s a lot of work and time consuming.
Your house and family are beautiful. Thank you for sharing.
Cali
Thank you so much Callie. I use a grammar/spellcheck plugin that had turned itself off 😳 I appreciate your support and understanding. 💗💕
The mirror looks great. Those sconces though…LOVE. In my opinion don’t do anything to the dresser. I think it looks perfect just the way it is with the mirror and sconces. Adds contrast.
Thanks Linda! I am in LOVE with the sconces too! This whole space just makes my heart sing!
The mirror is amazing! I love it. I love when a project goes so well.
Blessings to you,
Hi Leslie! Love your finds and redos. I’m Wondering about the rose gold candlesticks. I see the tapers from Amazon but thinking the other ones have been rose gold leafed….if there is such a thing. Thank you for all the work, joy and love that you put into your blog.
I’m dying over your French market flower stand! Do you have a source for a new one that I can antique? Thanks!
Thank you! Yes, I do. Head to this link: https://my100yearoldhome.com/a-new-space-for-flower-design/ and scroll down I have a couple of links for flower stands! Hope this helps!
What a lovely mirror makeover! The sconces added that special touch! The majority of us appreciate all of your beautiful picture postings. We all make mistakes sometime. We are human, we ignore it, and we just keep moving! We readers aren’t punctuation ambushers! We love you 😍!
I really appreciate it, Susan! Thank you so much for your support and for following along!
Drop dead gorgeous. Wow! I love it all. Thanks for sharing
Wow thank you!
Absolutely gorgeous, my friend.
Thank you so very much lady! 🥰
Leslie this mirror is stunning, I love it with the sconces and candle sticks. Hugs- Tanya
Thanks so very much Tanya! I was so happy how it turned out 🥰
As everyone has said, this mirror make over was just what your carriage house needed, a little sparkle. Then you added those crystal sconces, the WOW factor just went up another notch! Doesn’t look like the room I use to take art classes in at all! Bravo.
Right! I was so happy with it. Thanks so much Cindy you’re so sweet! 🥰🙌🏻
The mirror looks fantastic and I’m glad you didn’t paint the little chest of drawers. Those sconces are to die for.
Thanks so much, I am too ☺️ right!? I love them.
Absolutely gorgeous. Thanks for sharing
Thanks so very much!
Your blog is amazing! Thanks for the valuable insights.