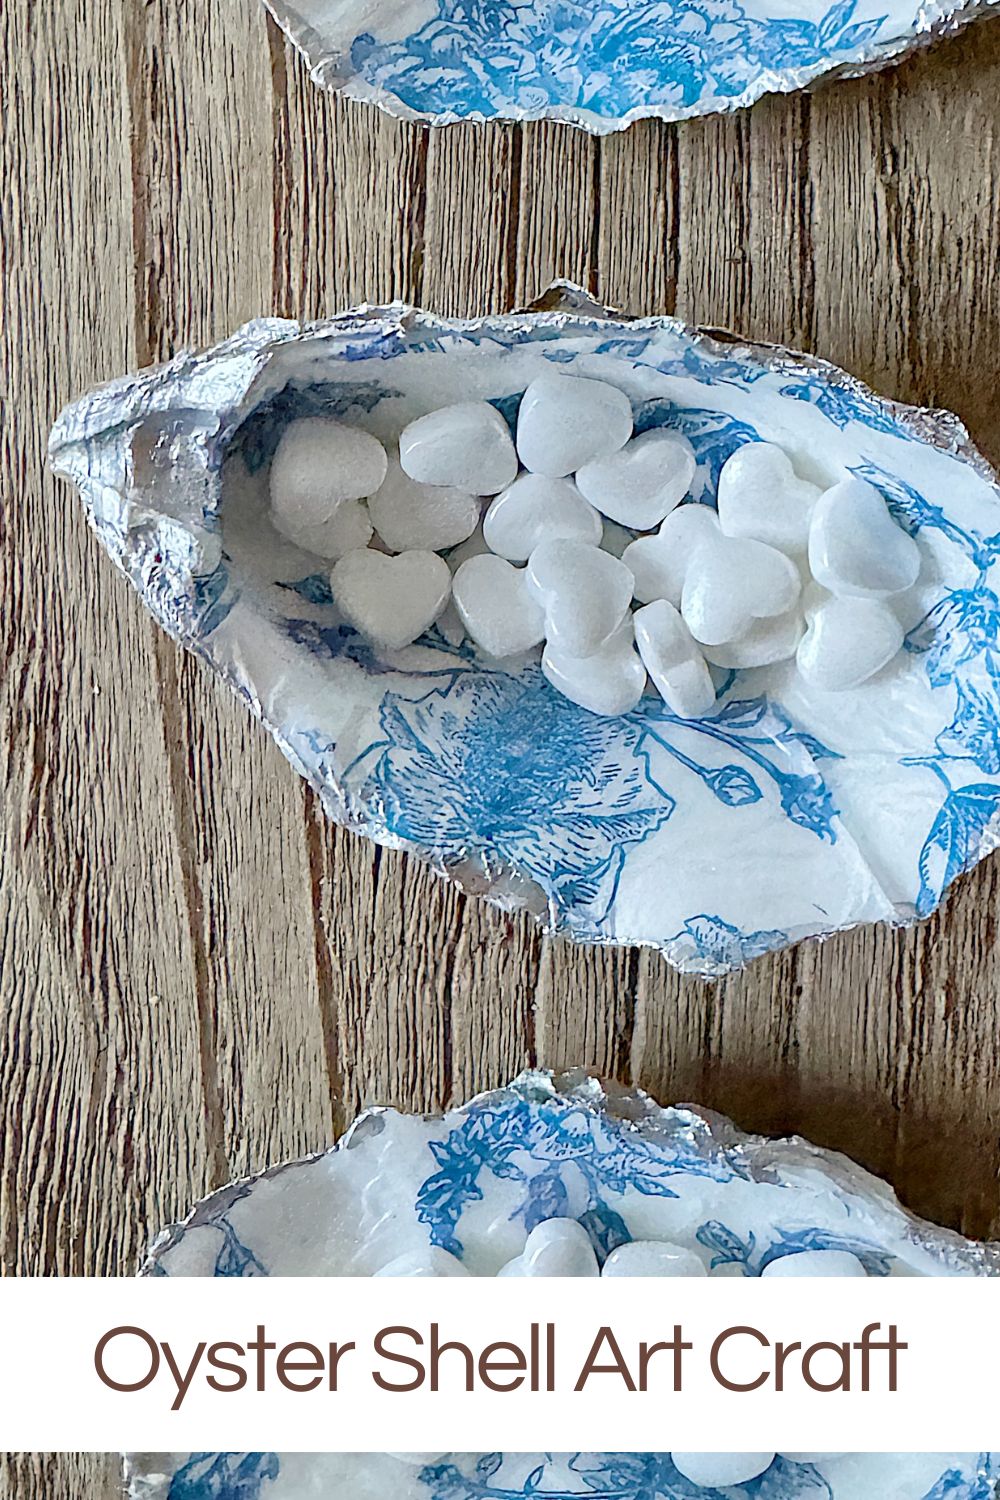
Oyster Shell Art Craft

Are you looking for a creative way to add a touch of coastal charm to your bridal shower decor? Look at these DIY oyster shell candy holders!
Today, I am going to share the simple steps for making these decorated oyster shell art pieces for a bridal shower and some tips on where to find oyster shells for free or for purchase.


DIY Oyster Shell Candy Holders for a Bridal Shower
These unique oyster shell holders will impress your guests and add a personal touch to your special day, and they are perfect for holding small candies or trinkets.
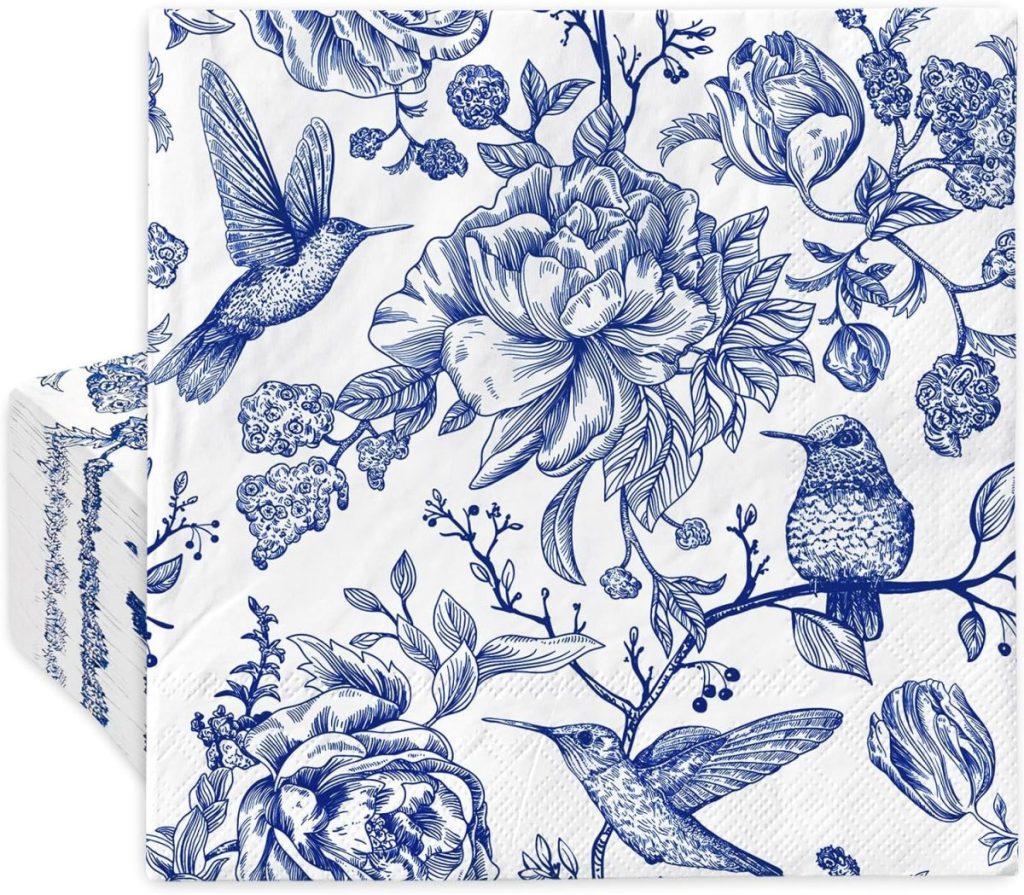
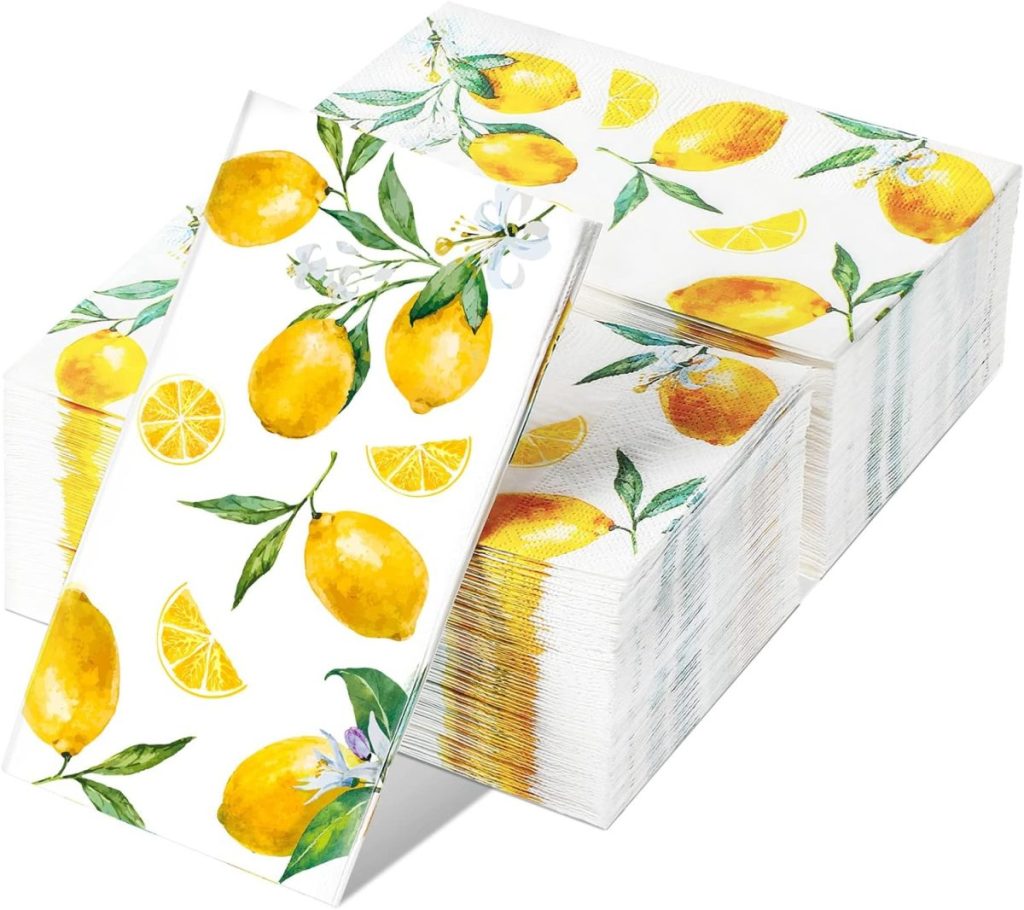
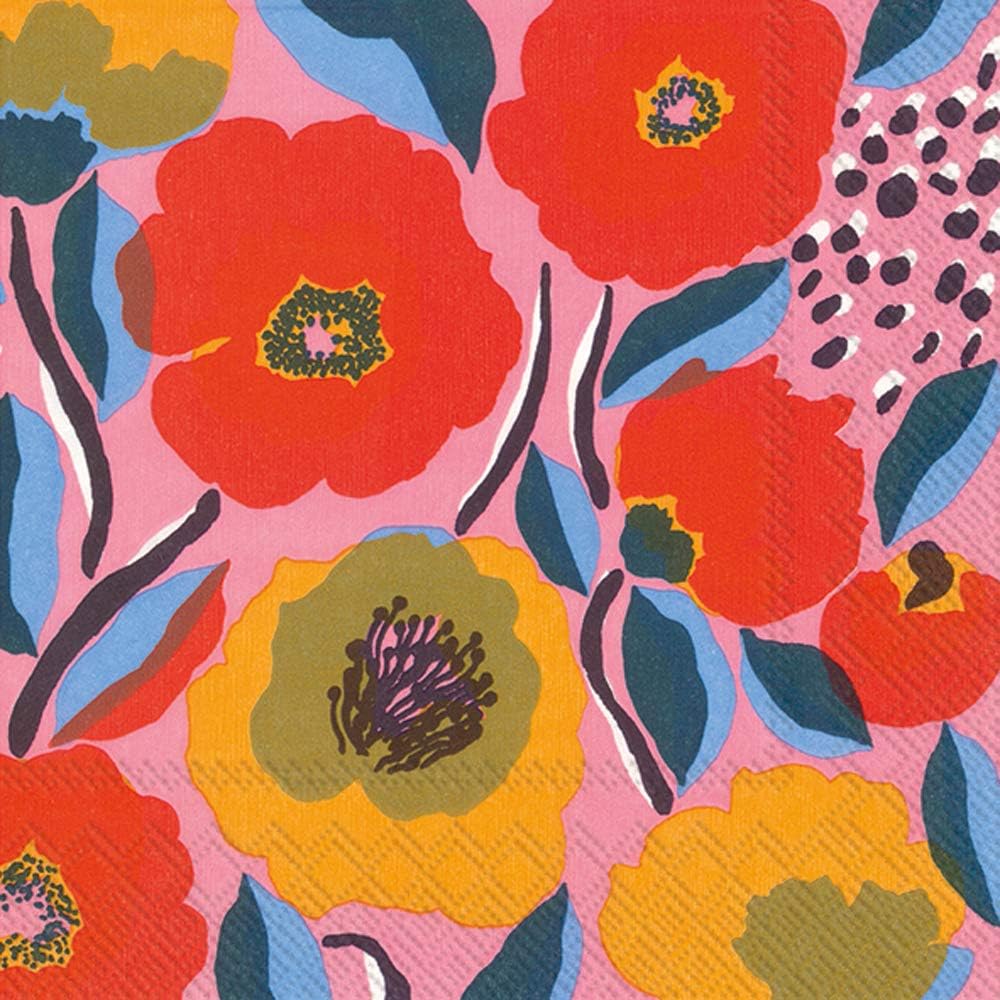
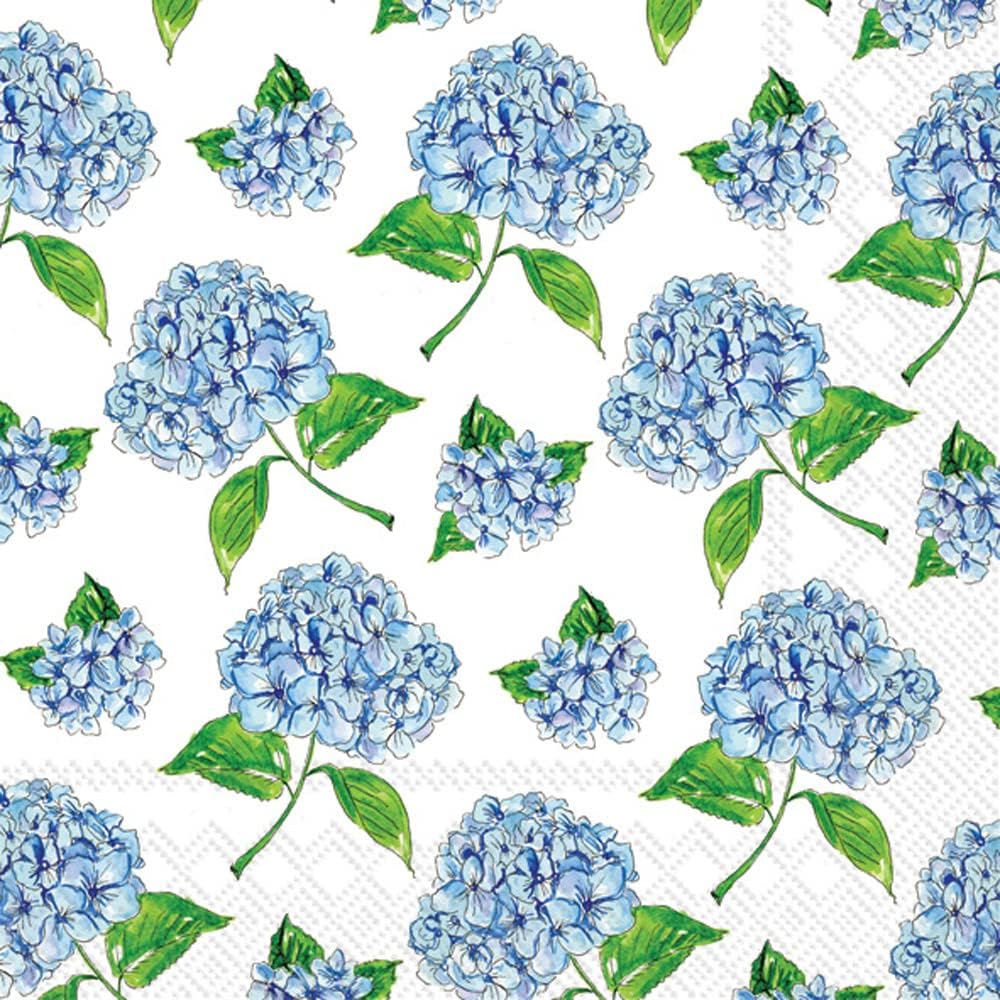
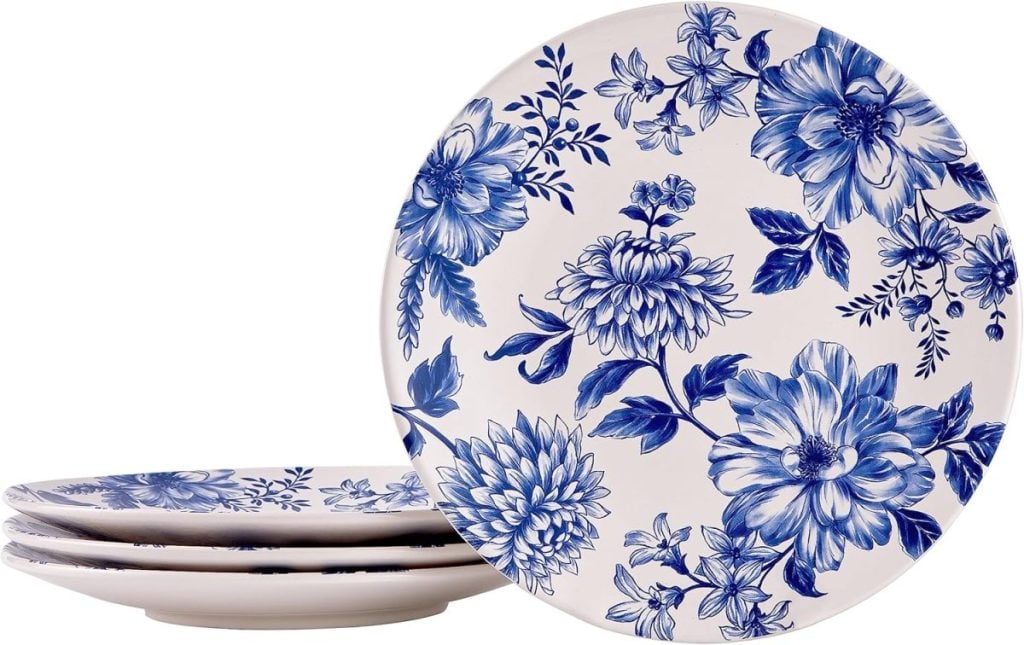
They are easy to make and can be done in less than an hour. I made them with a printed napkin, so you have many decorative options!
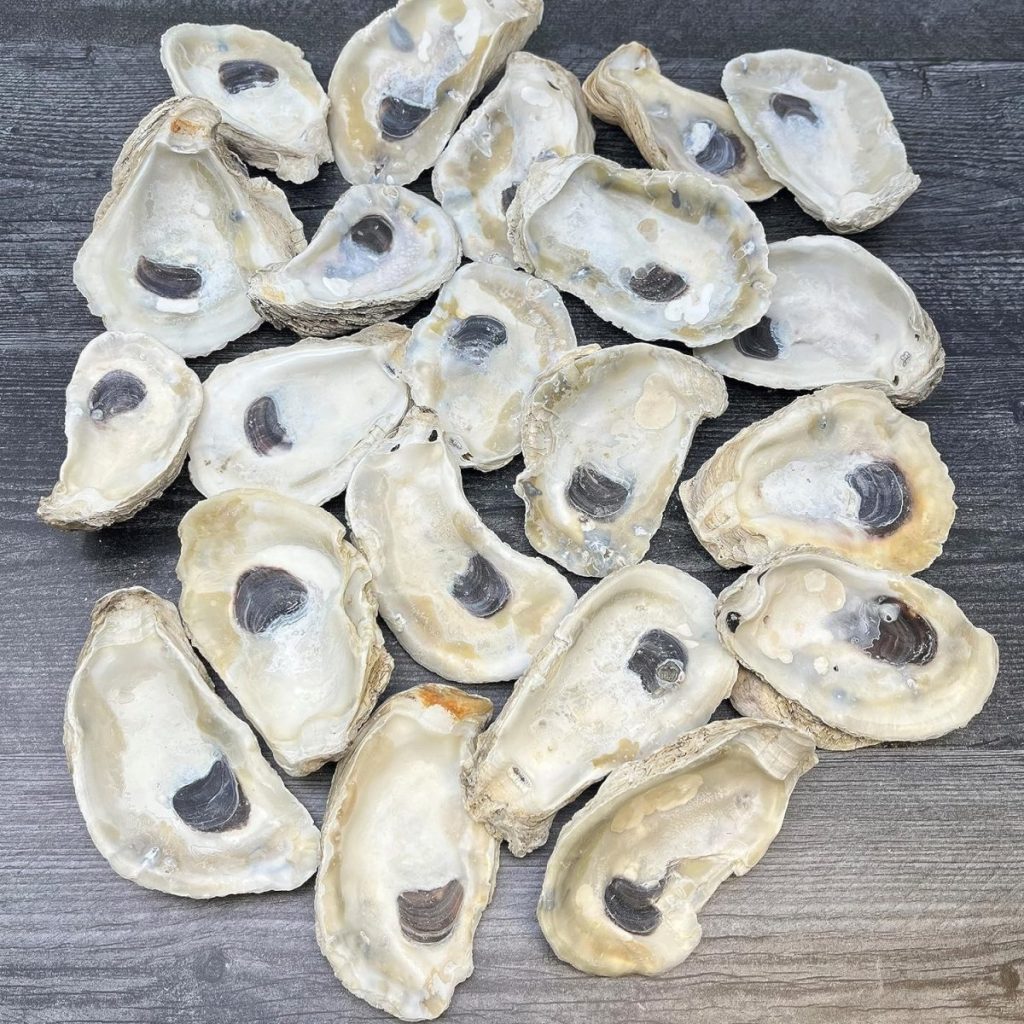
Finding the Perfect Shells
First things first, you’ll need to gather your oyster shells. Luckily for me, I stumbled upon a local oyster trailer venue in Ventura that was more than happy to provide me with as many shells as I needed.
For free.
Beachcombing along the shorelines is a fantastic way to find oyster shells for free. Look for beaches or rocky areas where oysters thrive.
However, if you’re not near a coastal area, don’t fret! There are plenty of other places where you can find oyster shells for free or purchase them at a reasonable price.
The first place to check is seafood markets and restaurants, as they are often likely to gift their shells for free.
Of course, some online retailers sell oyster shells specifically for crafting purposes.
I may sometimes use affiliate links on this blog, which means a small commission is earned if you purchase via the link. The price will be the same whether you use the affiliate link or go directly to the vendor’s website using a non-affiliate link.


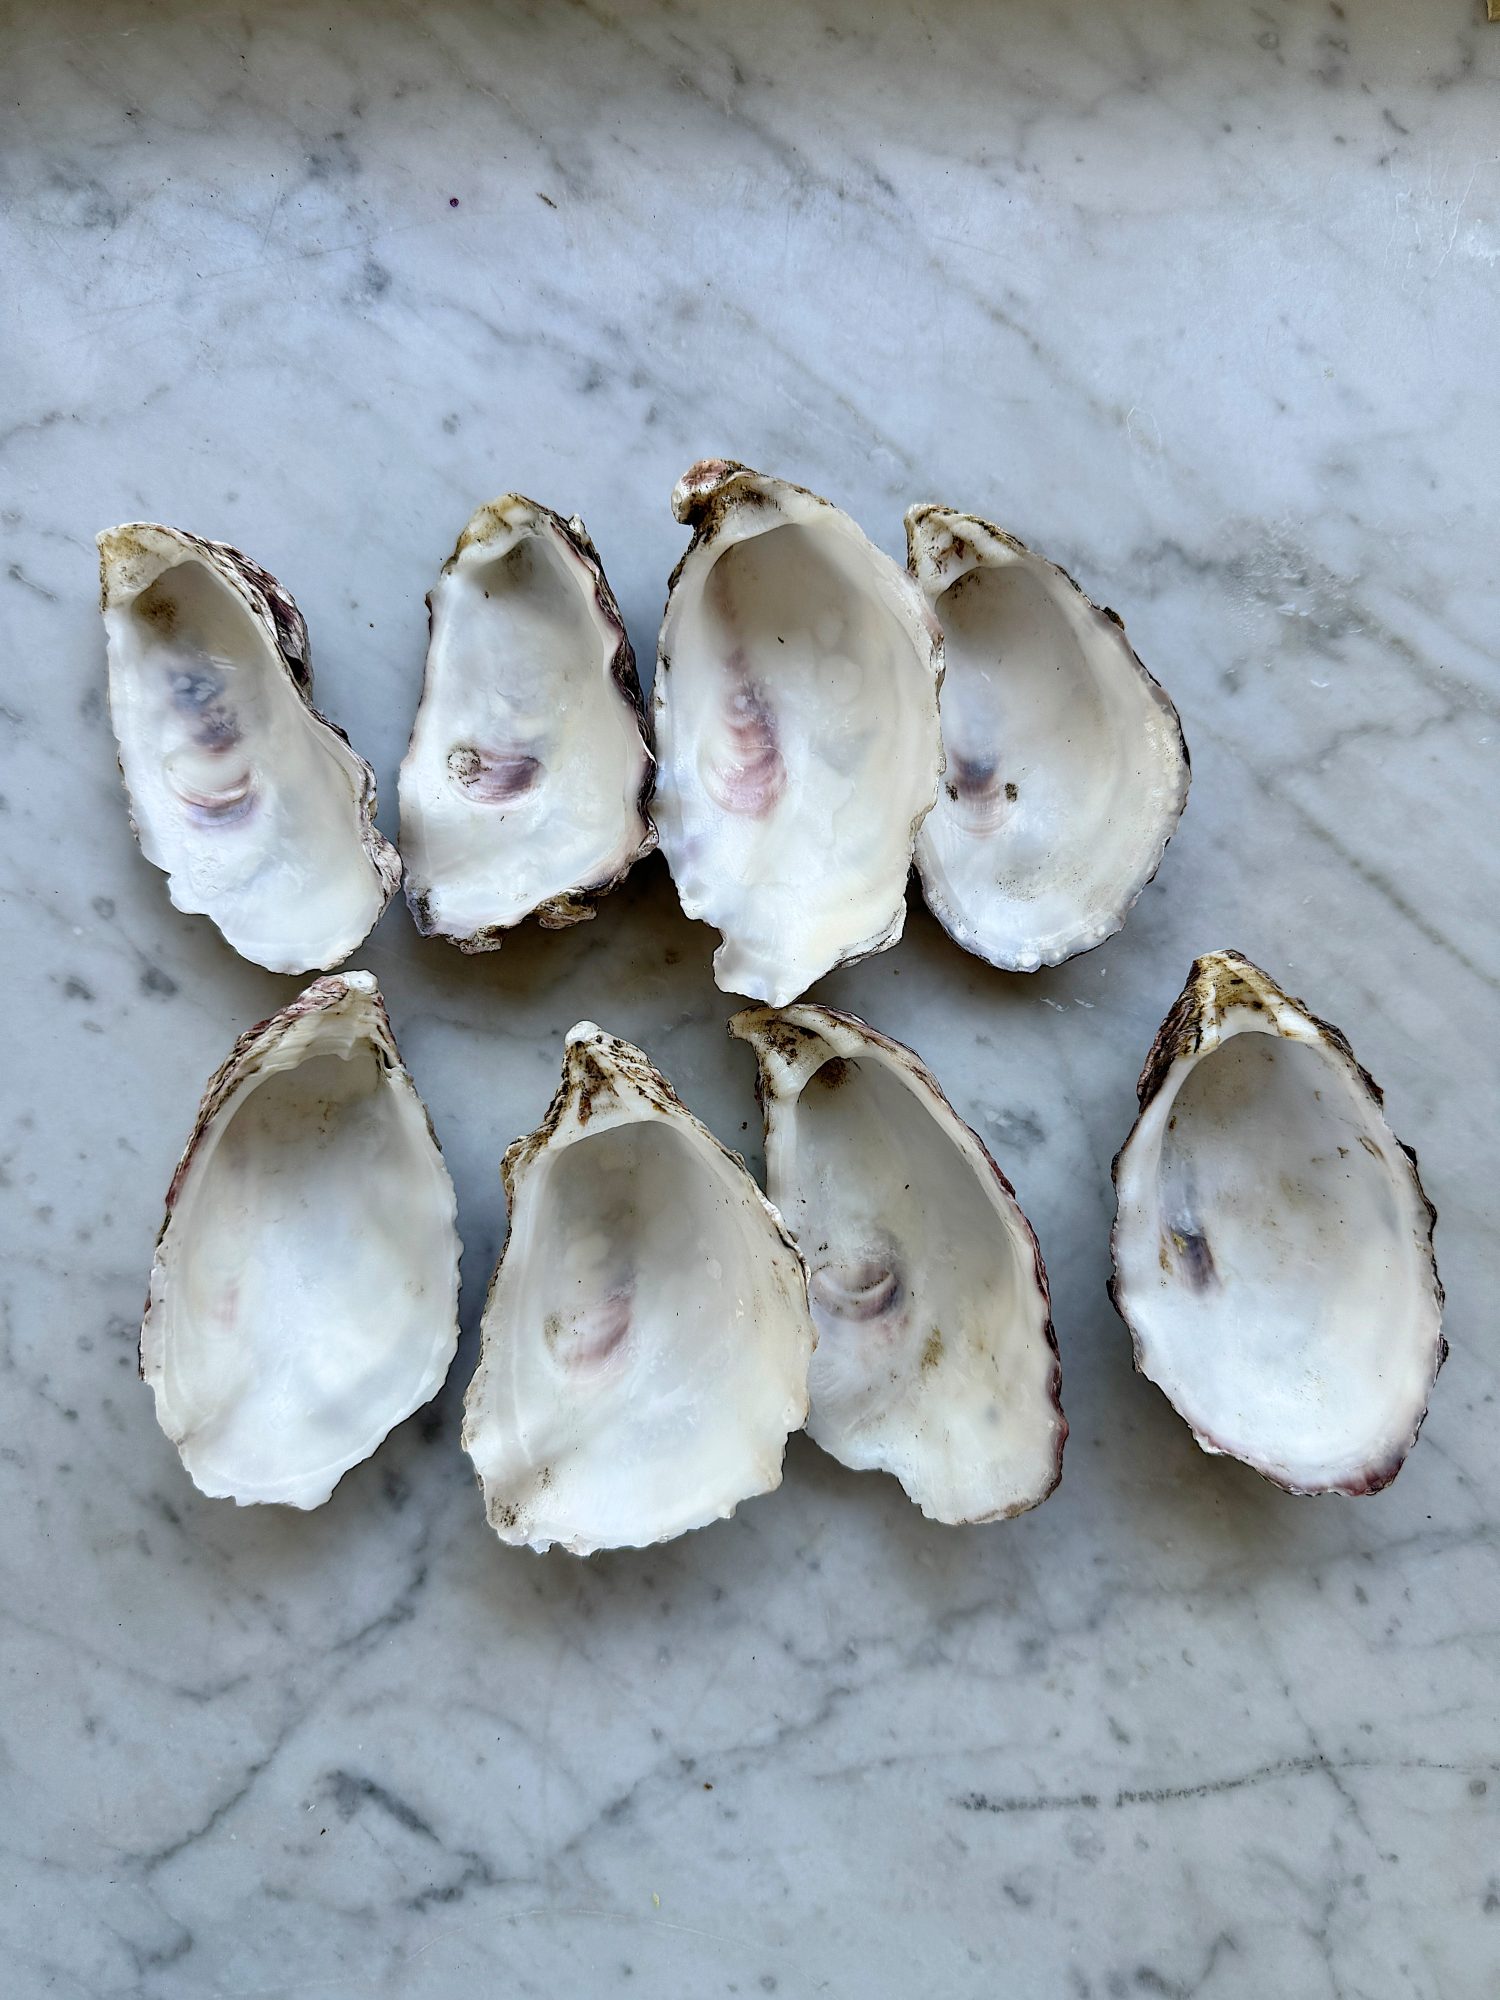
Cleaning and Preparing the Shells
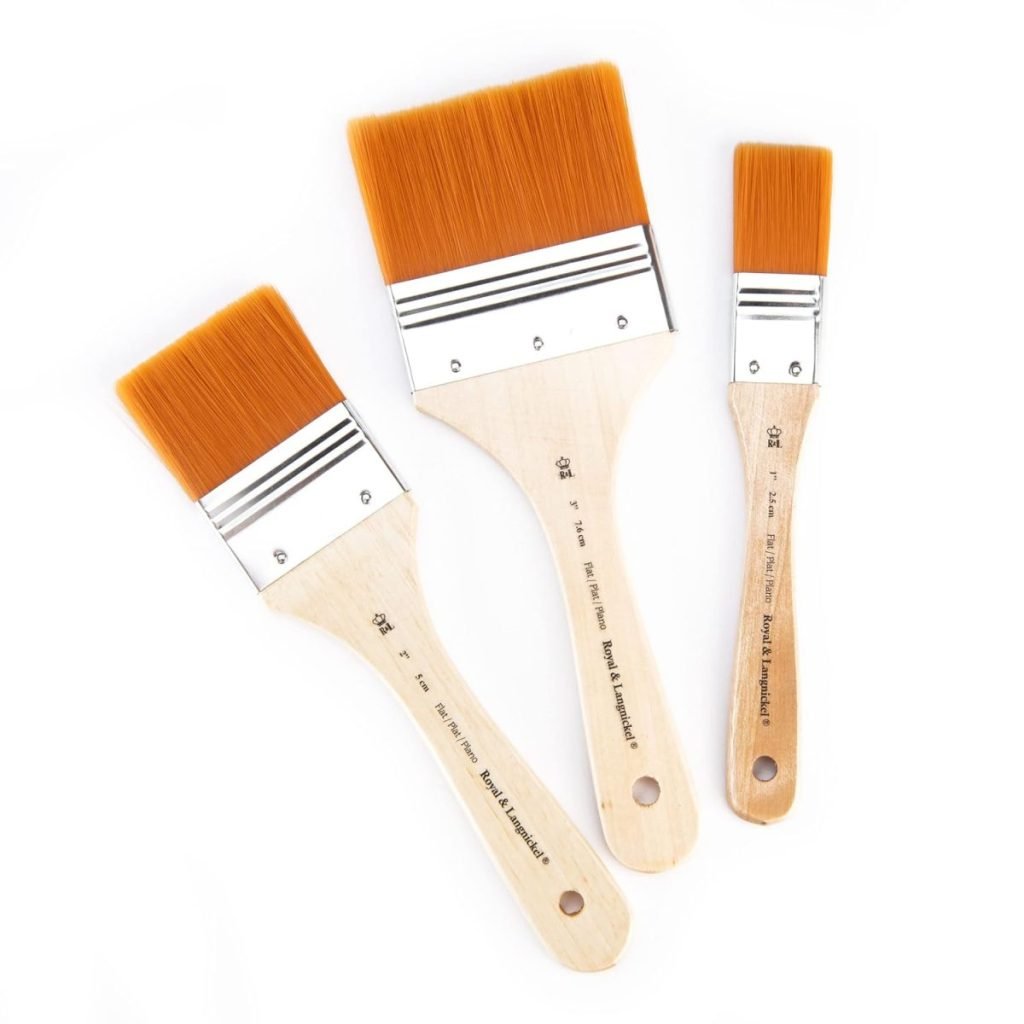
Once you’ve collected your oyster shells, it’s time to clean them thoroughly to remove any dirt, sand, or debris. Rinse the shells thoroughly with water and scrub them gently with a brush if needed. Allow them to dry completely before moving on to the next step.
Decorating the Shells
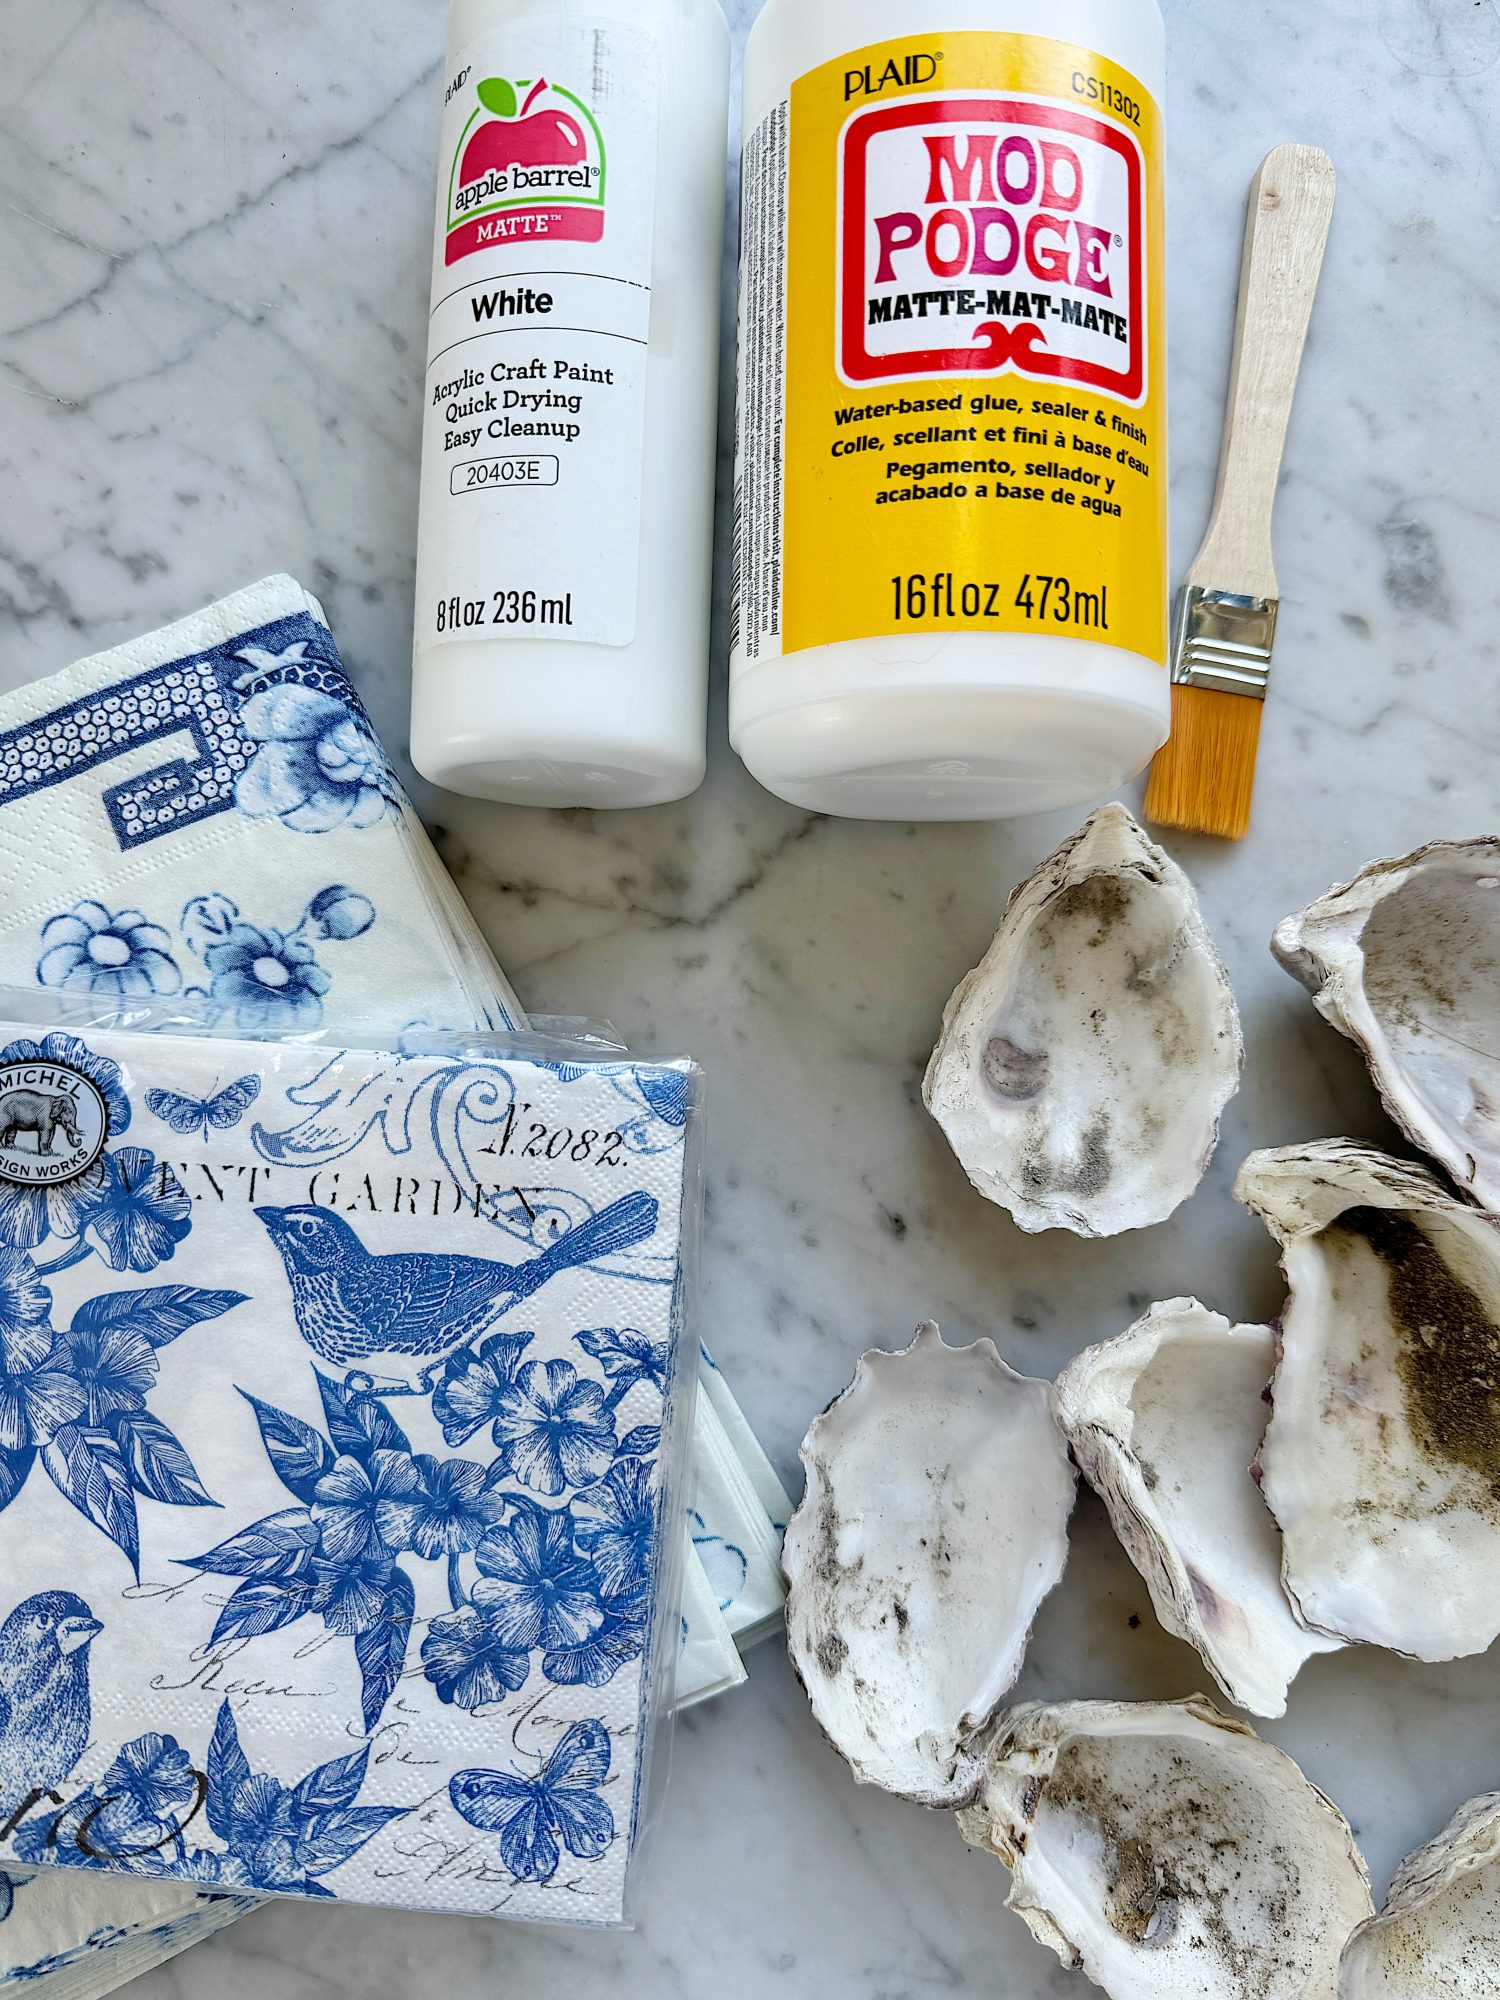
Here is everything I used to decorate the oyster shells.
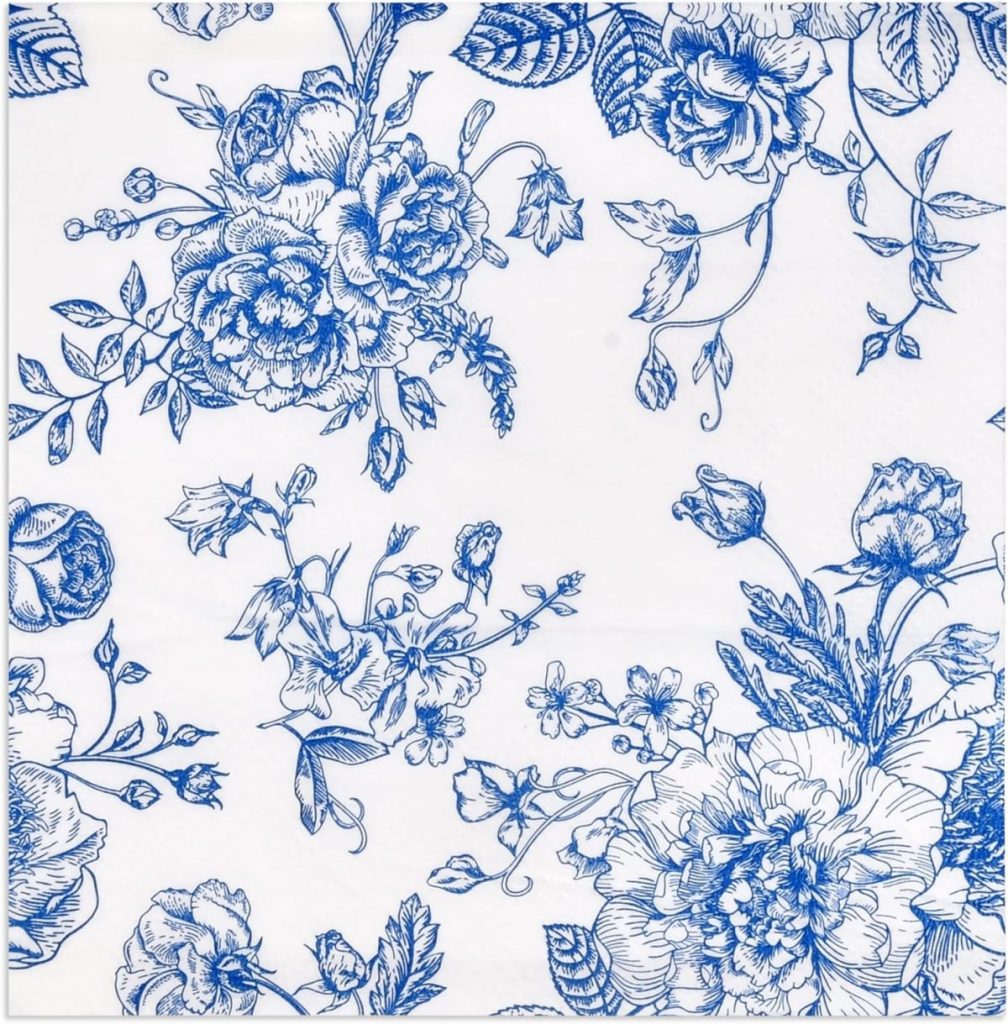
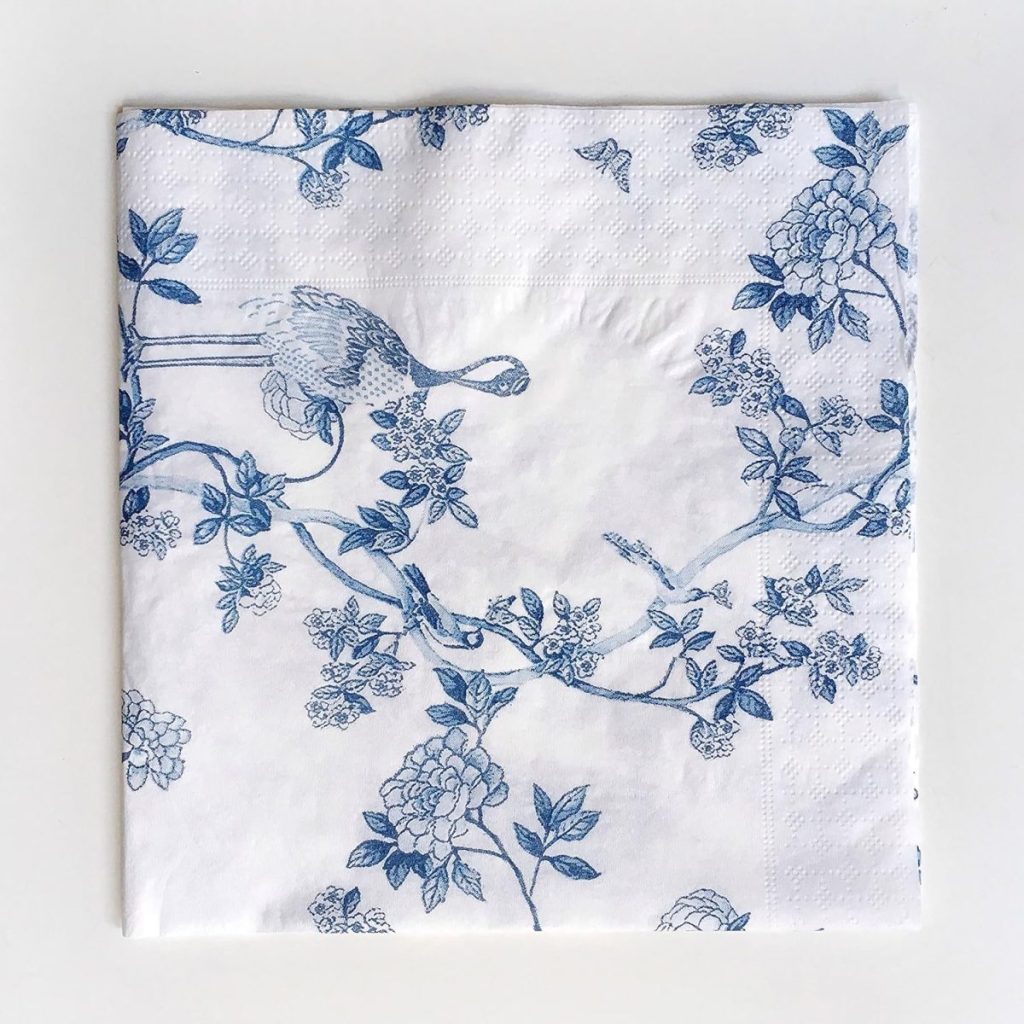
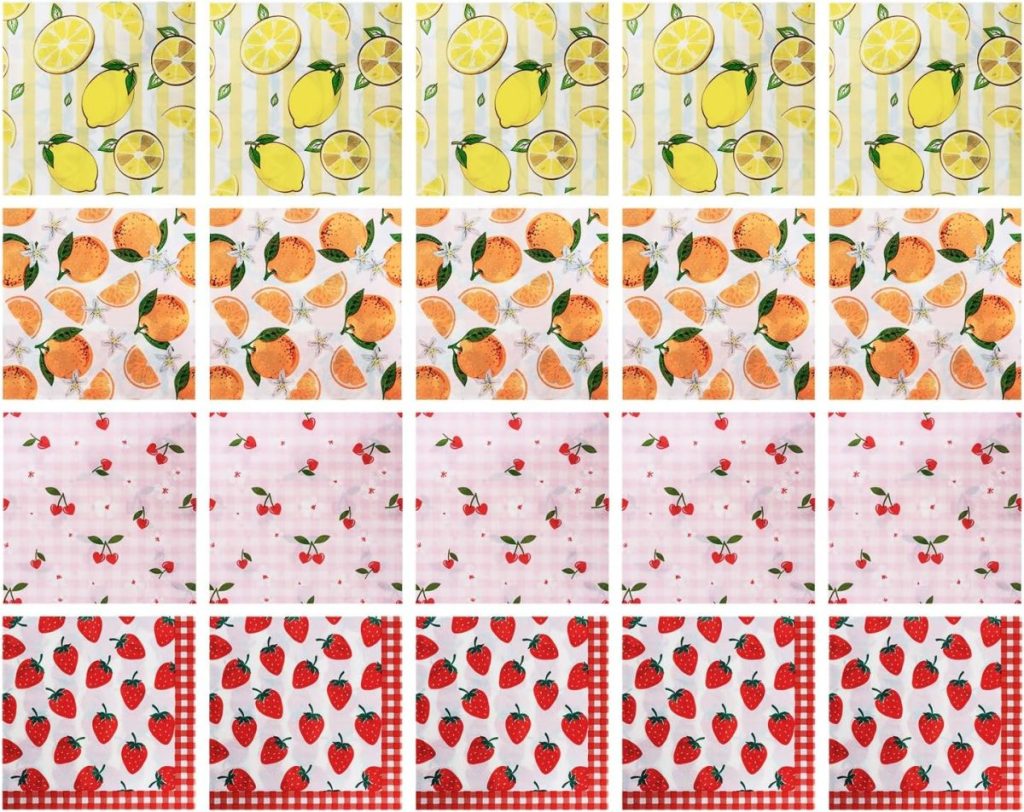
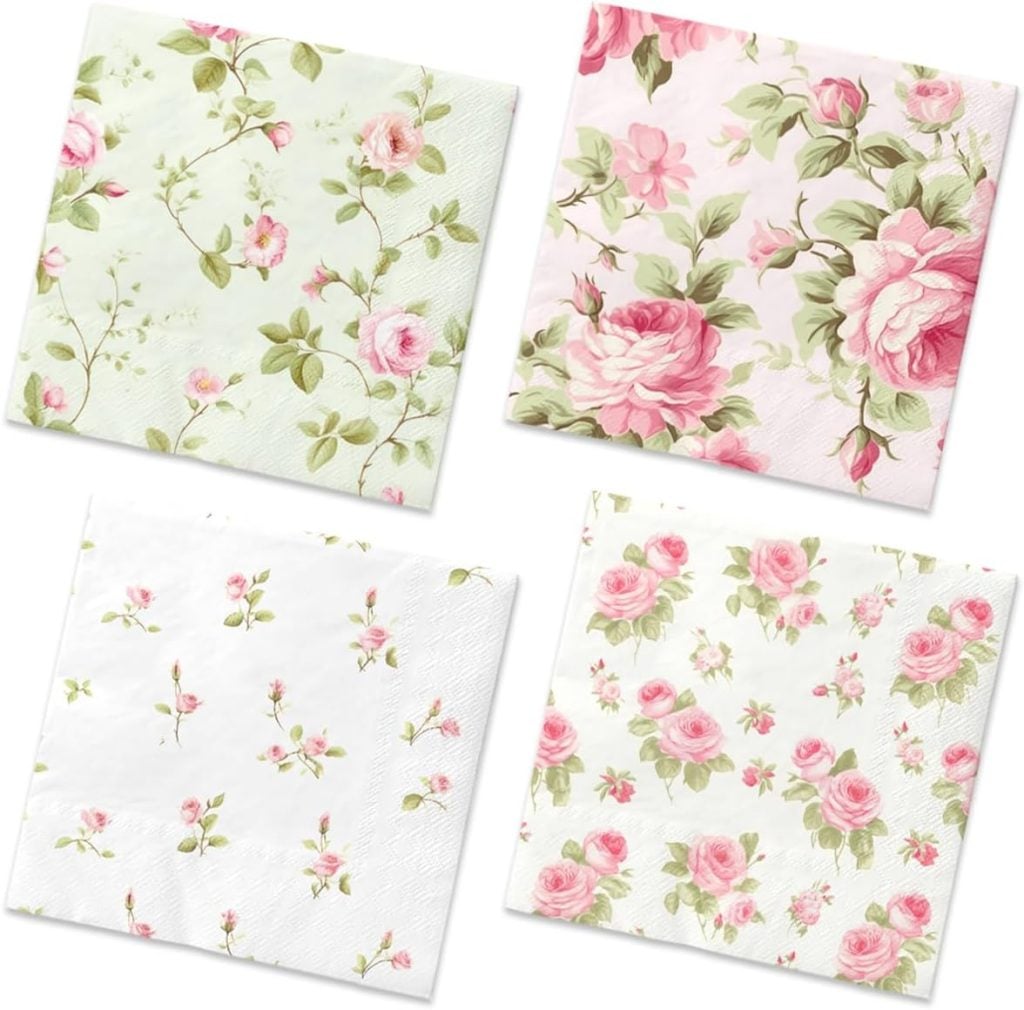
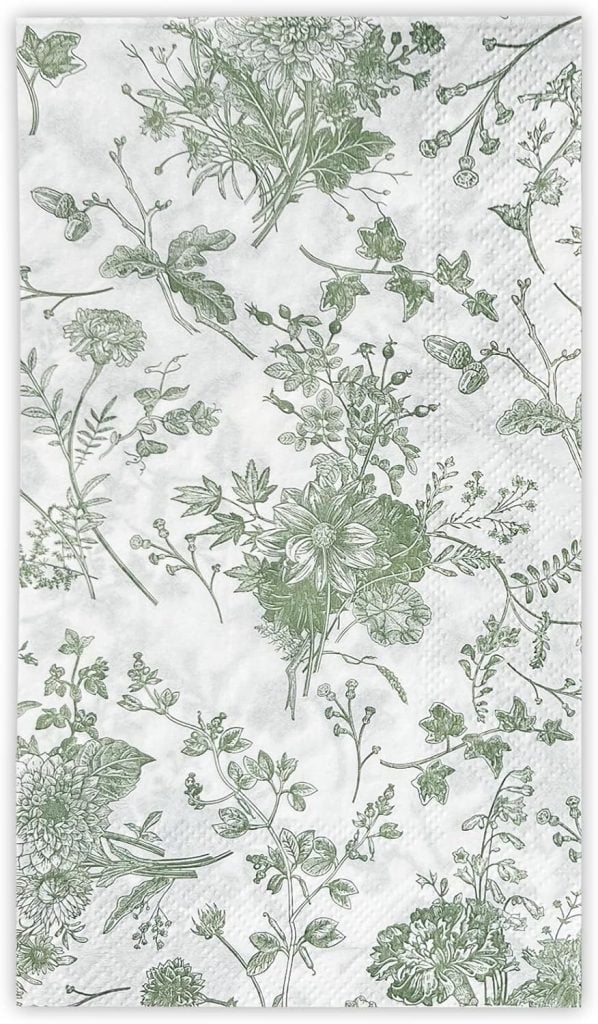
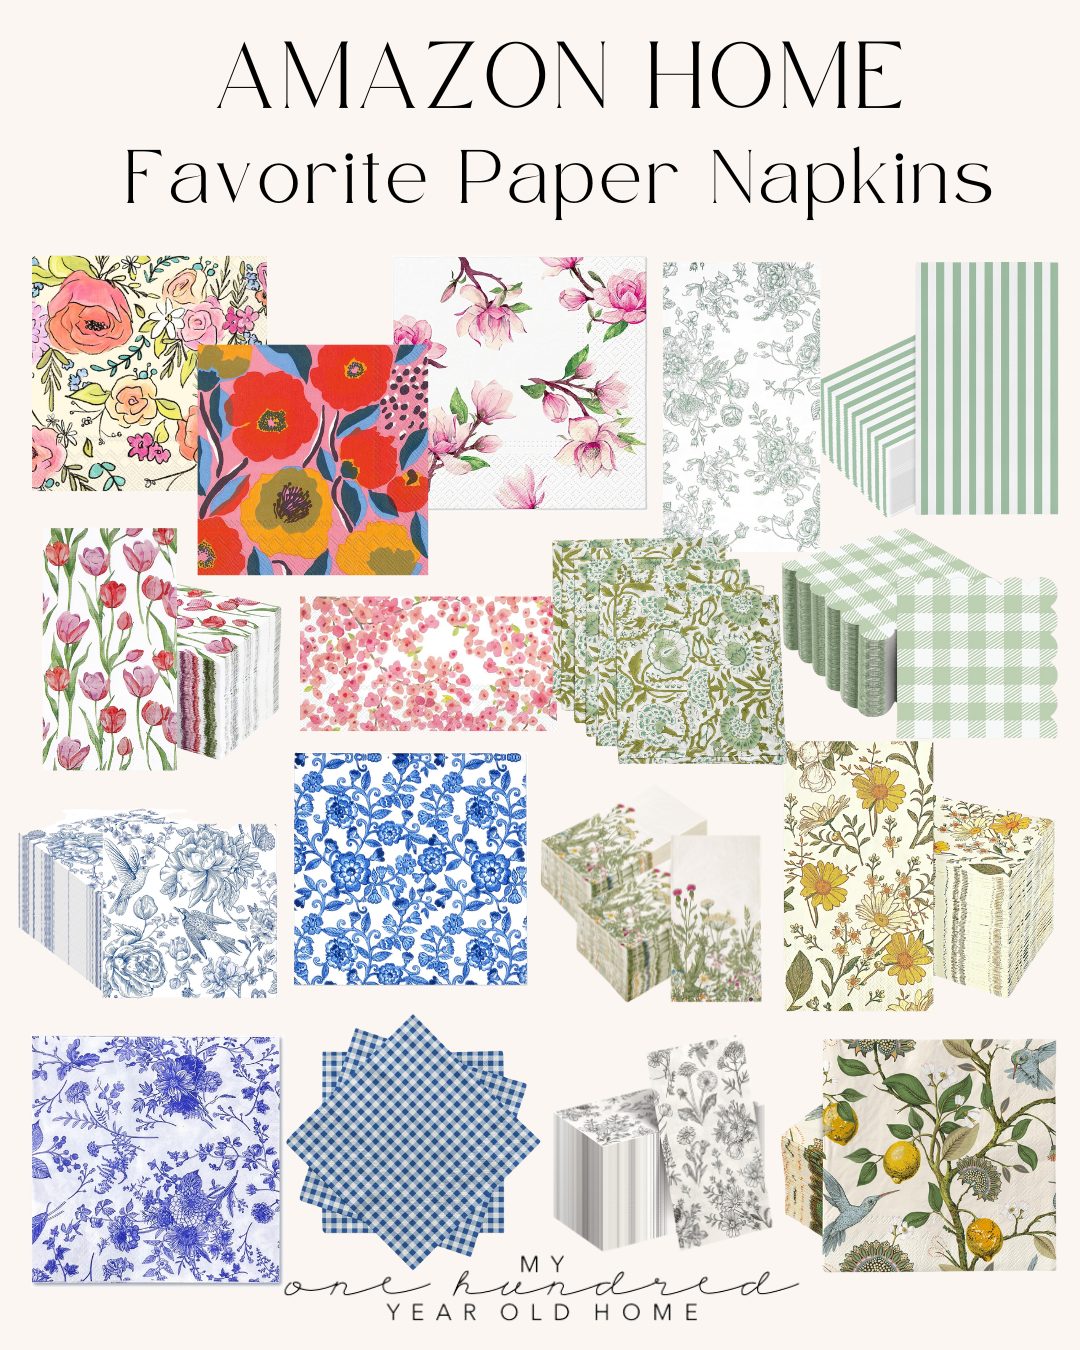
More Napkin Options for All Color Combos!

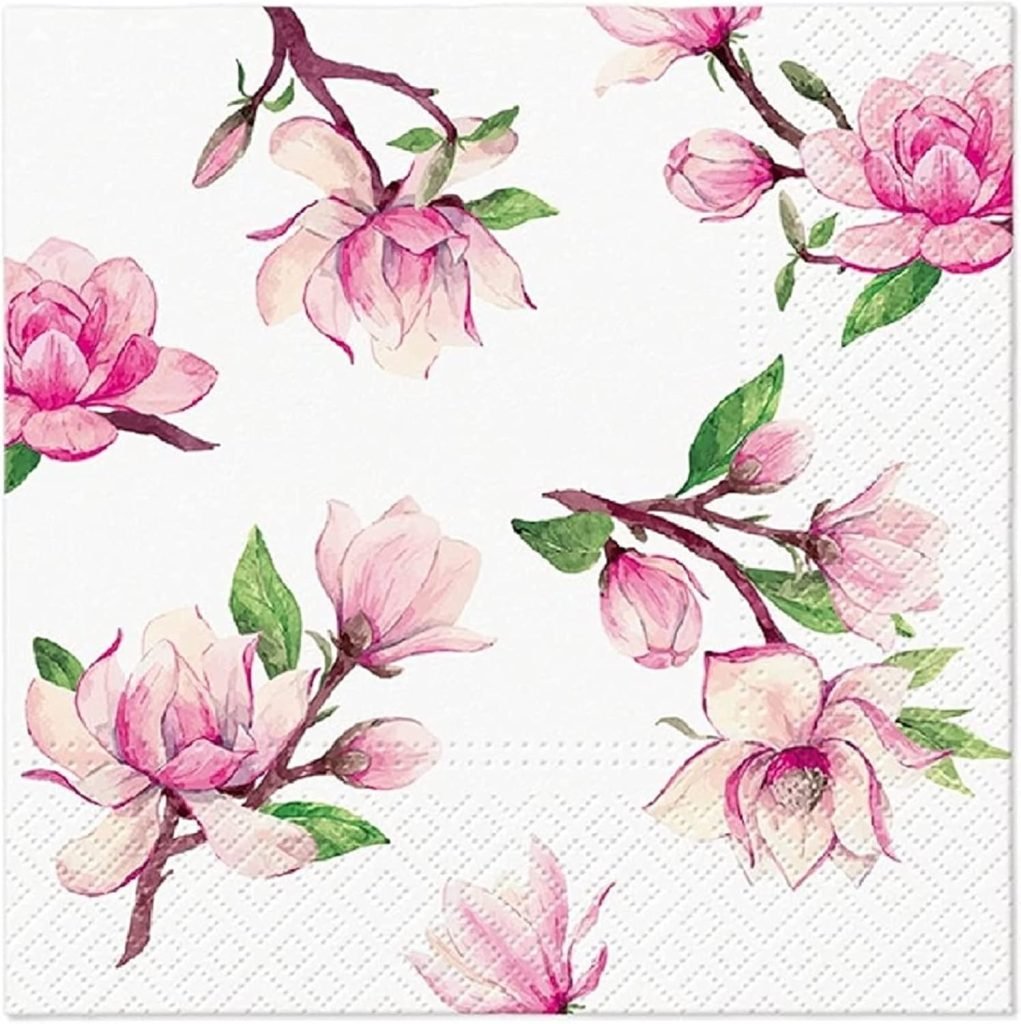
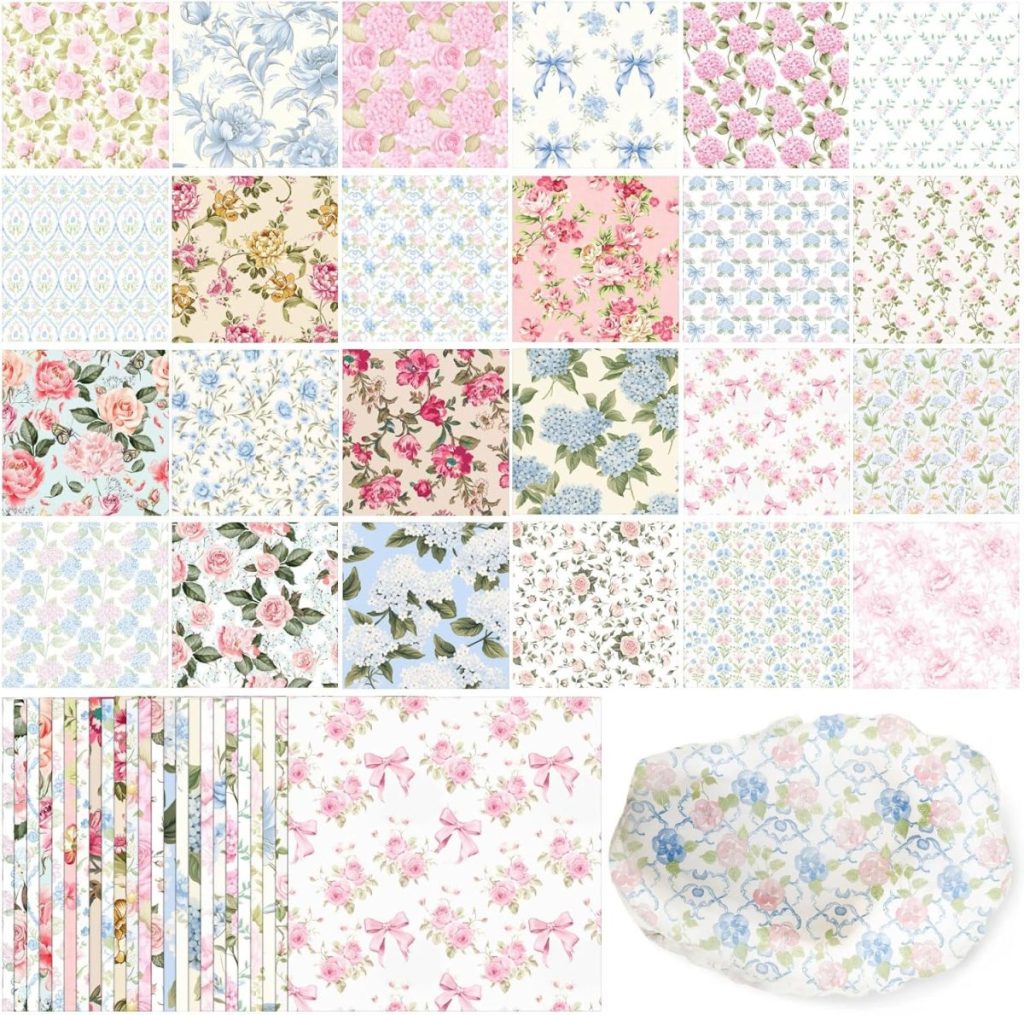
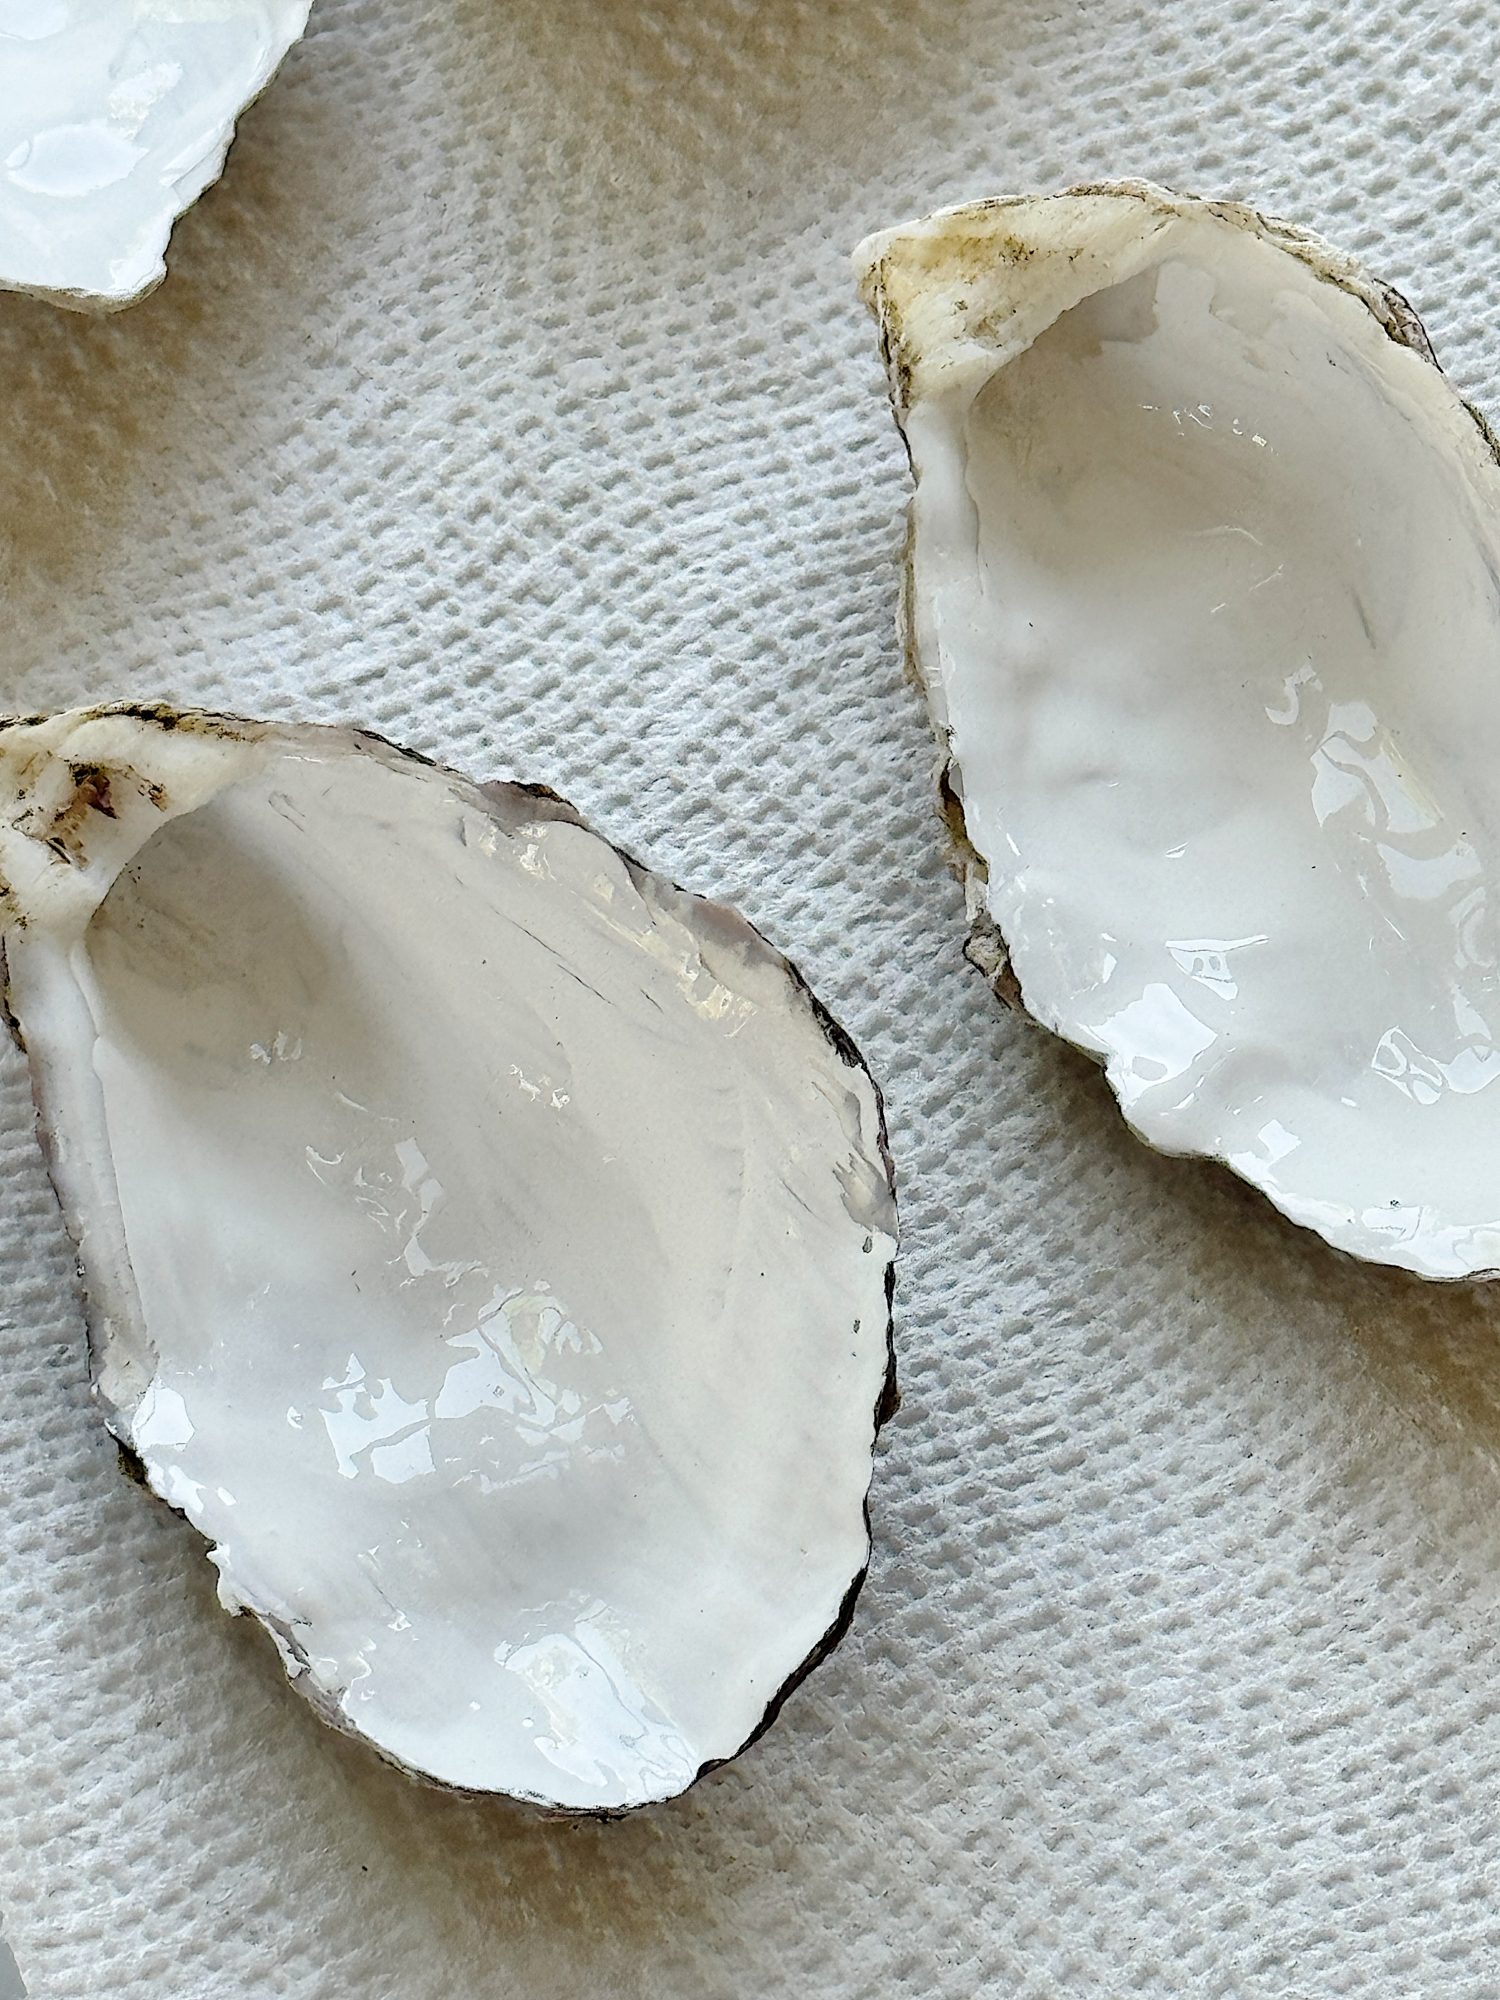
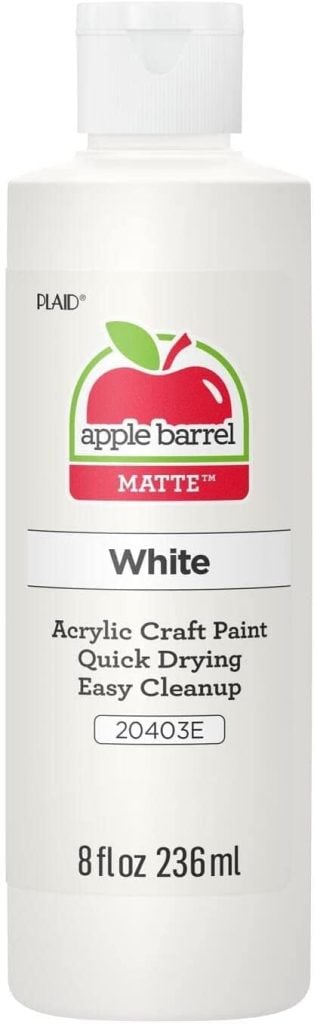
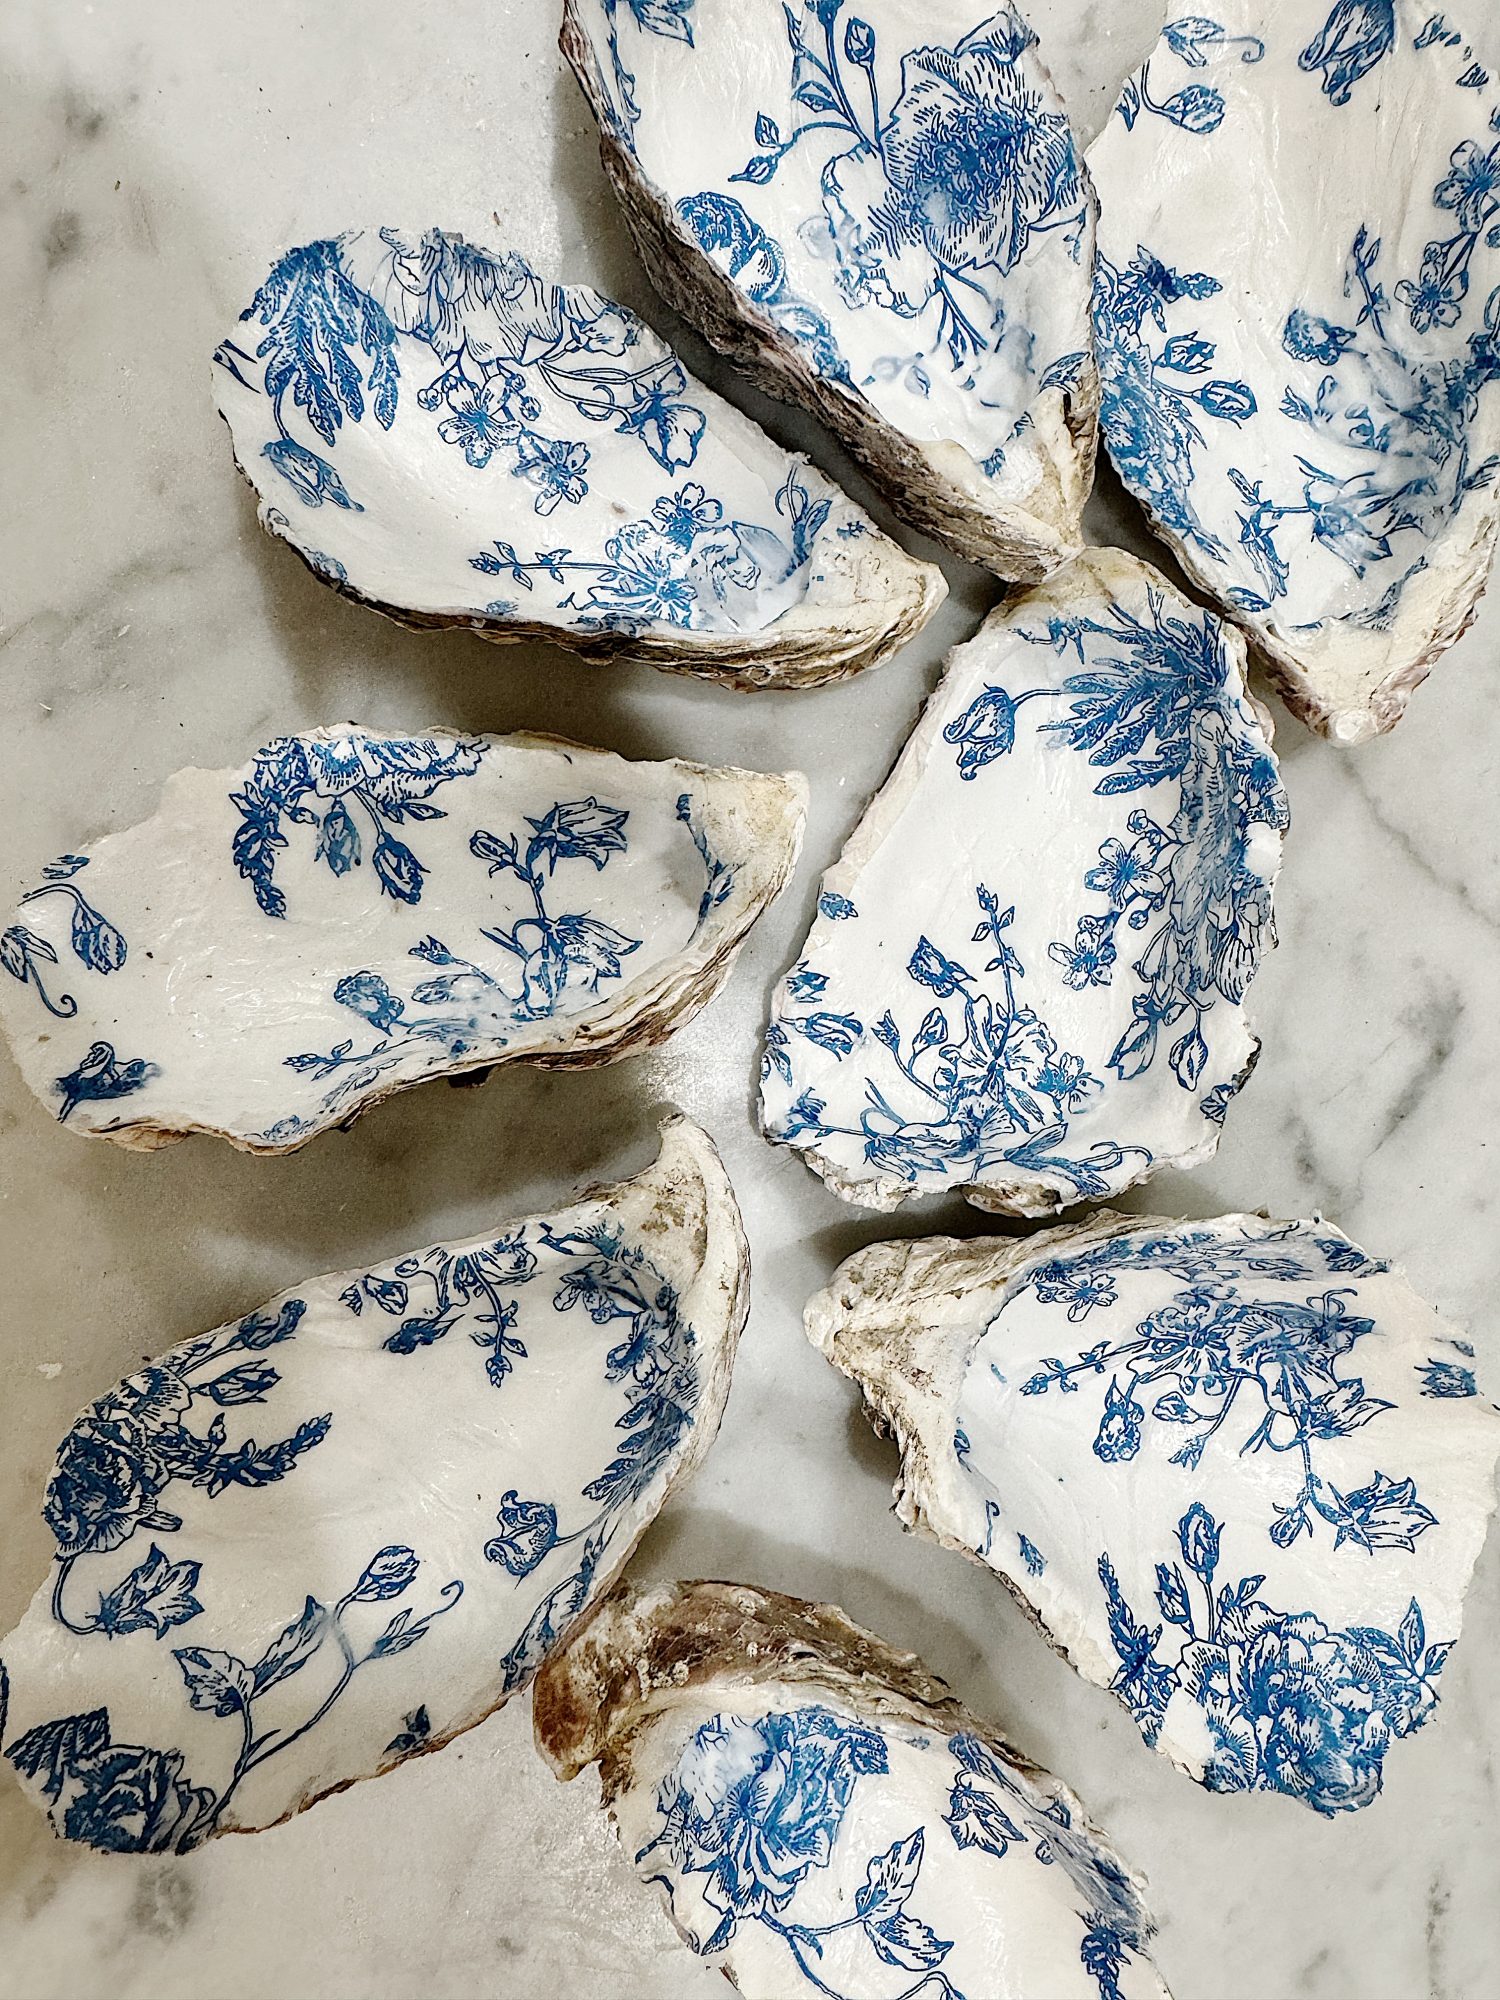
Now comes the fun part – decorating the oyster shells! For my bridal shower, I wanted to create a chic and elegant look, so I painted the insides of the shells white to provide a clean canvas for the napkin design.
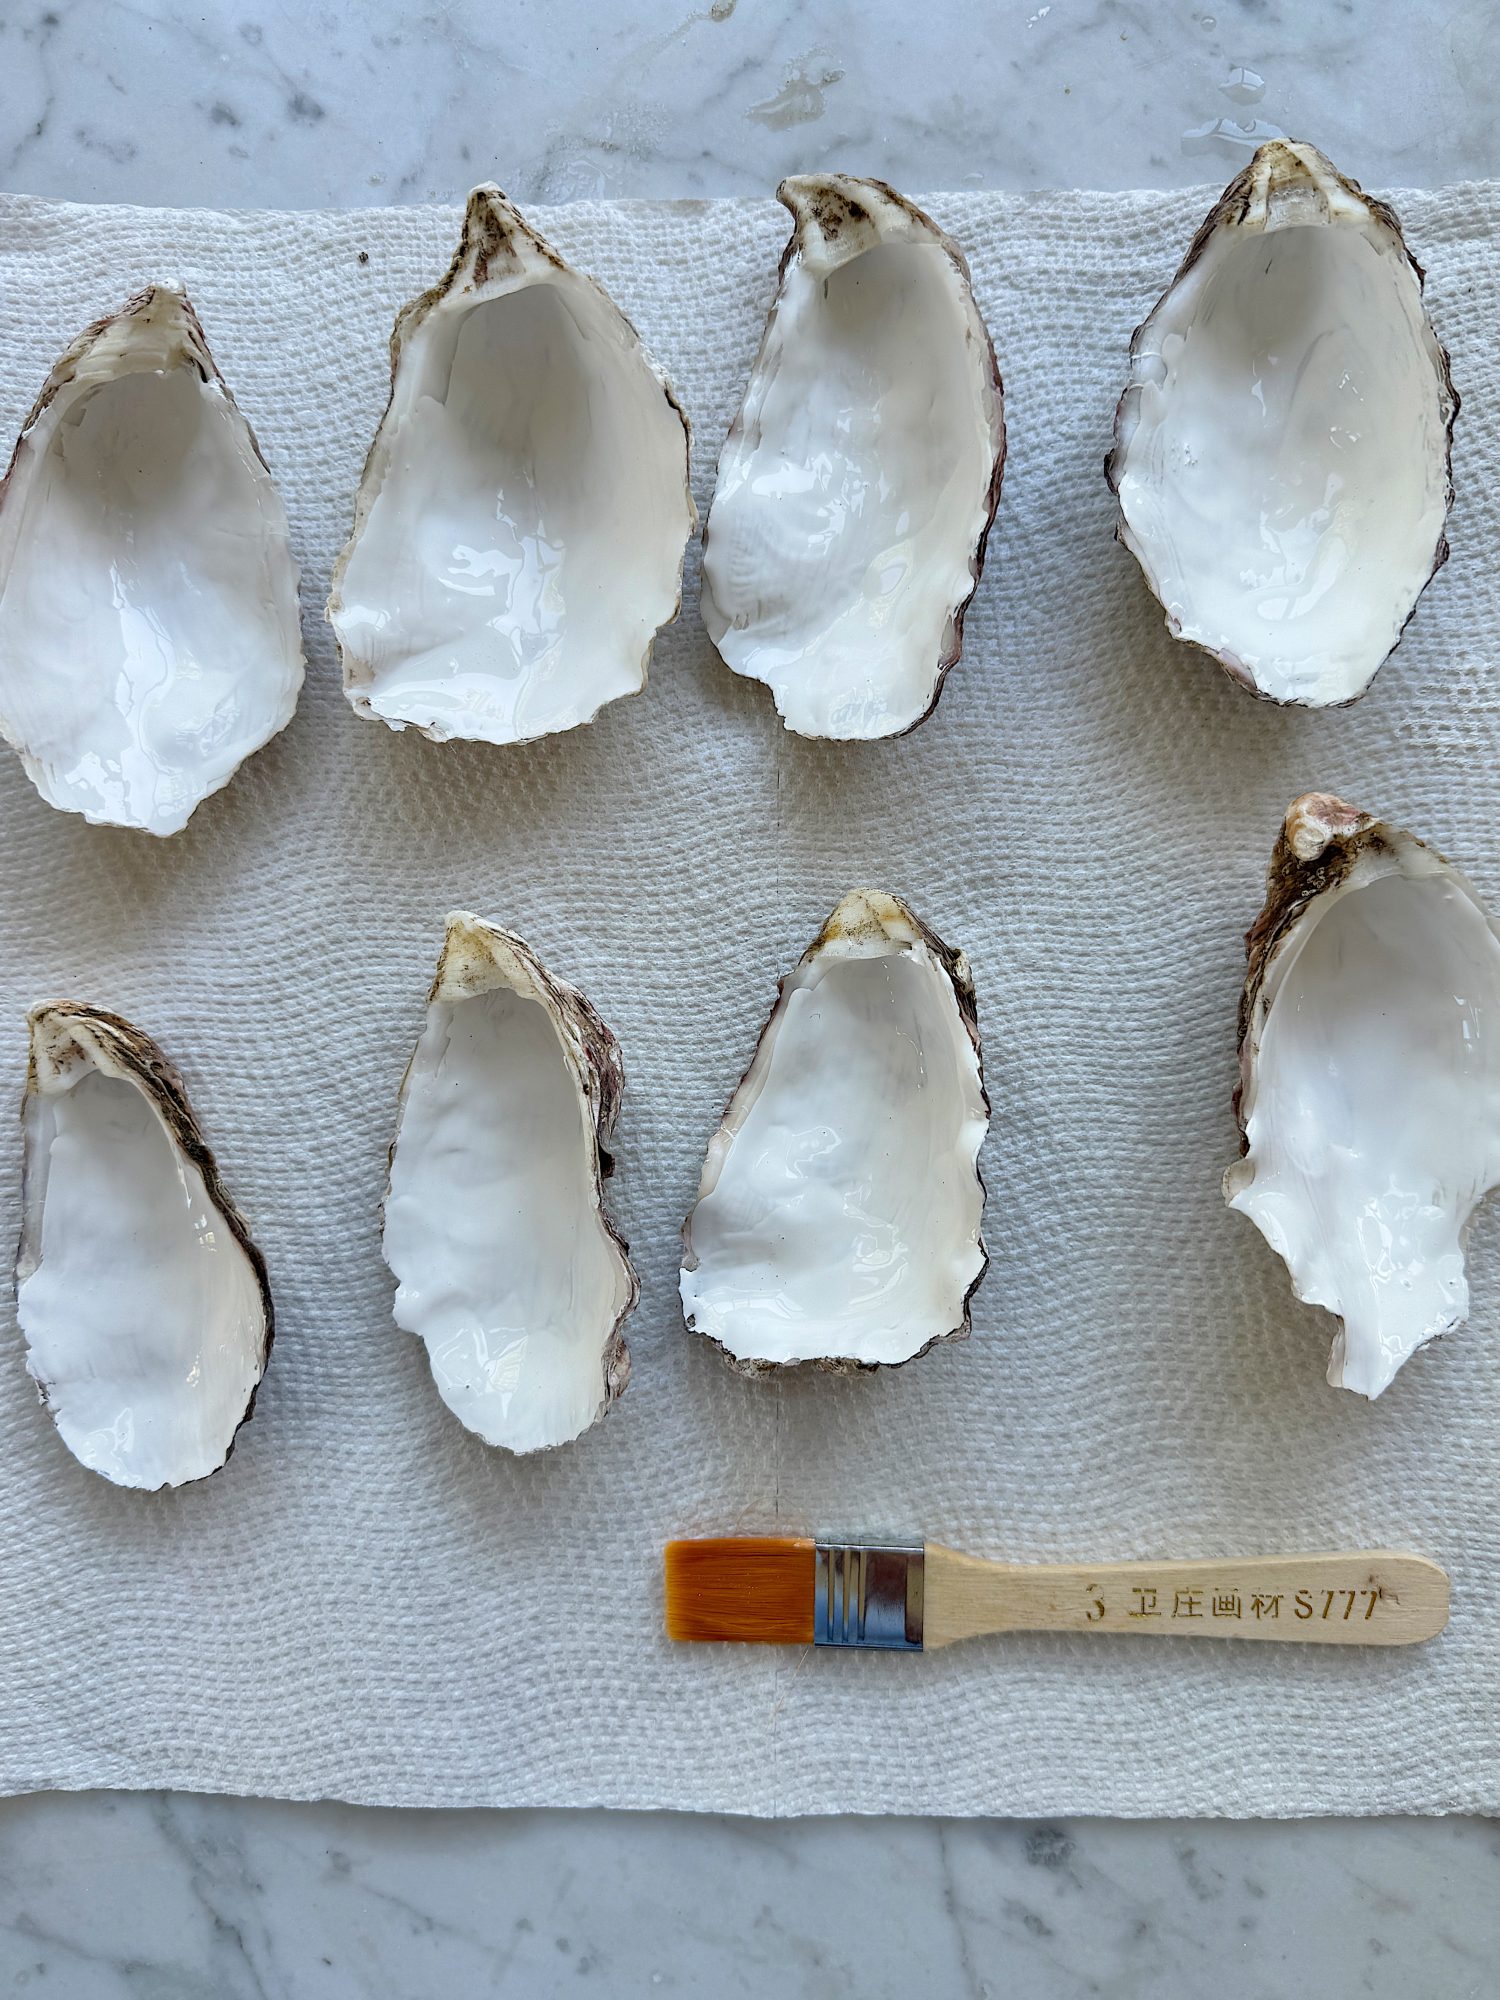
Painting the Shells
Using white acrylic paint, carefully coat the insides of the shells with an even layer of paint.
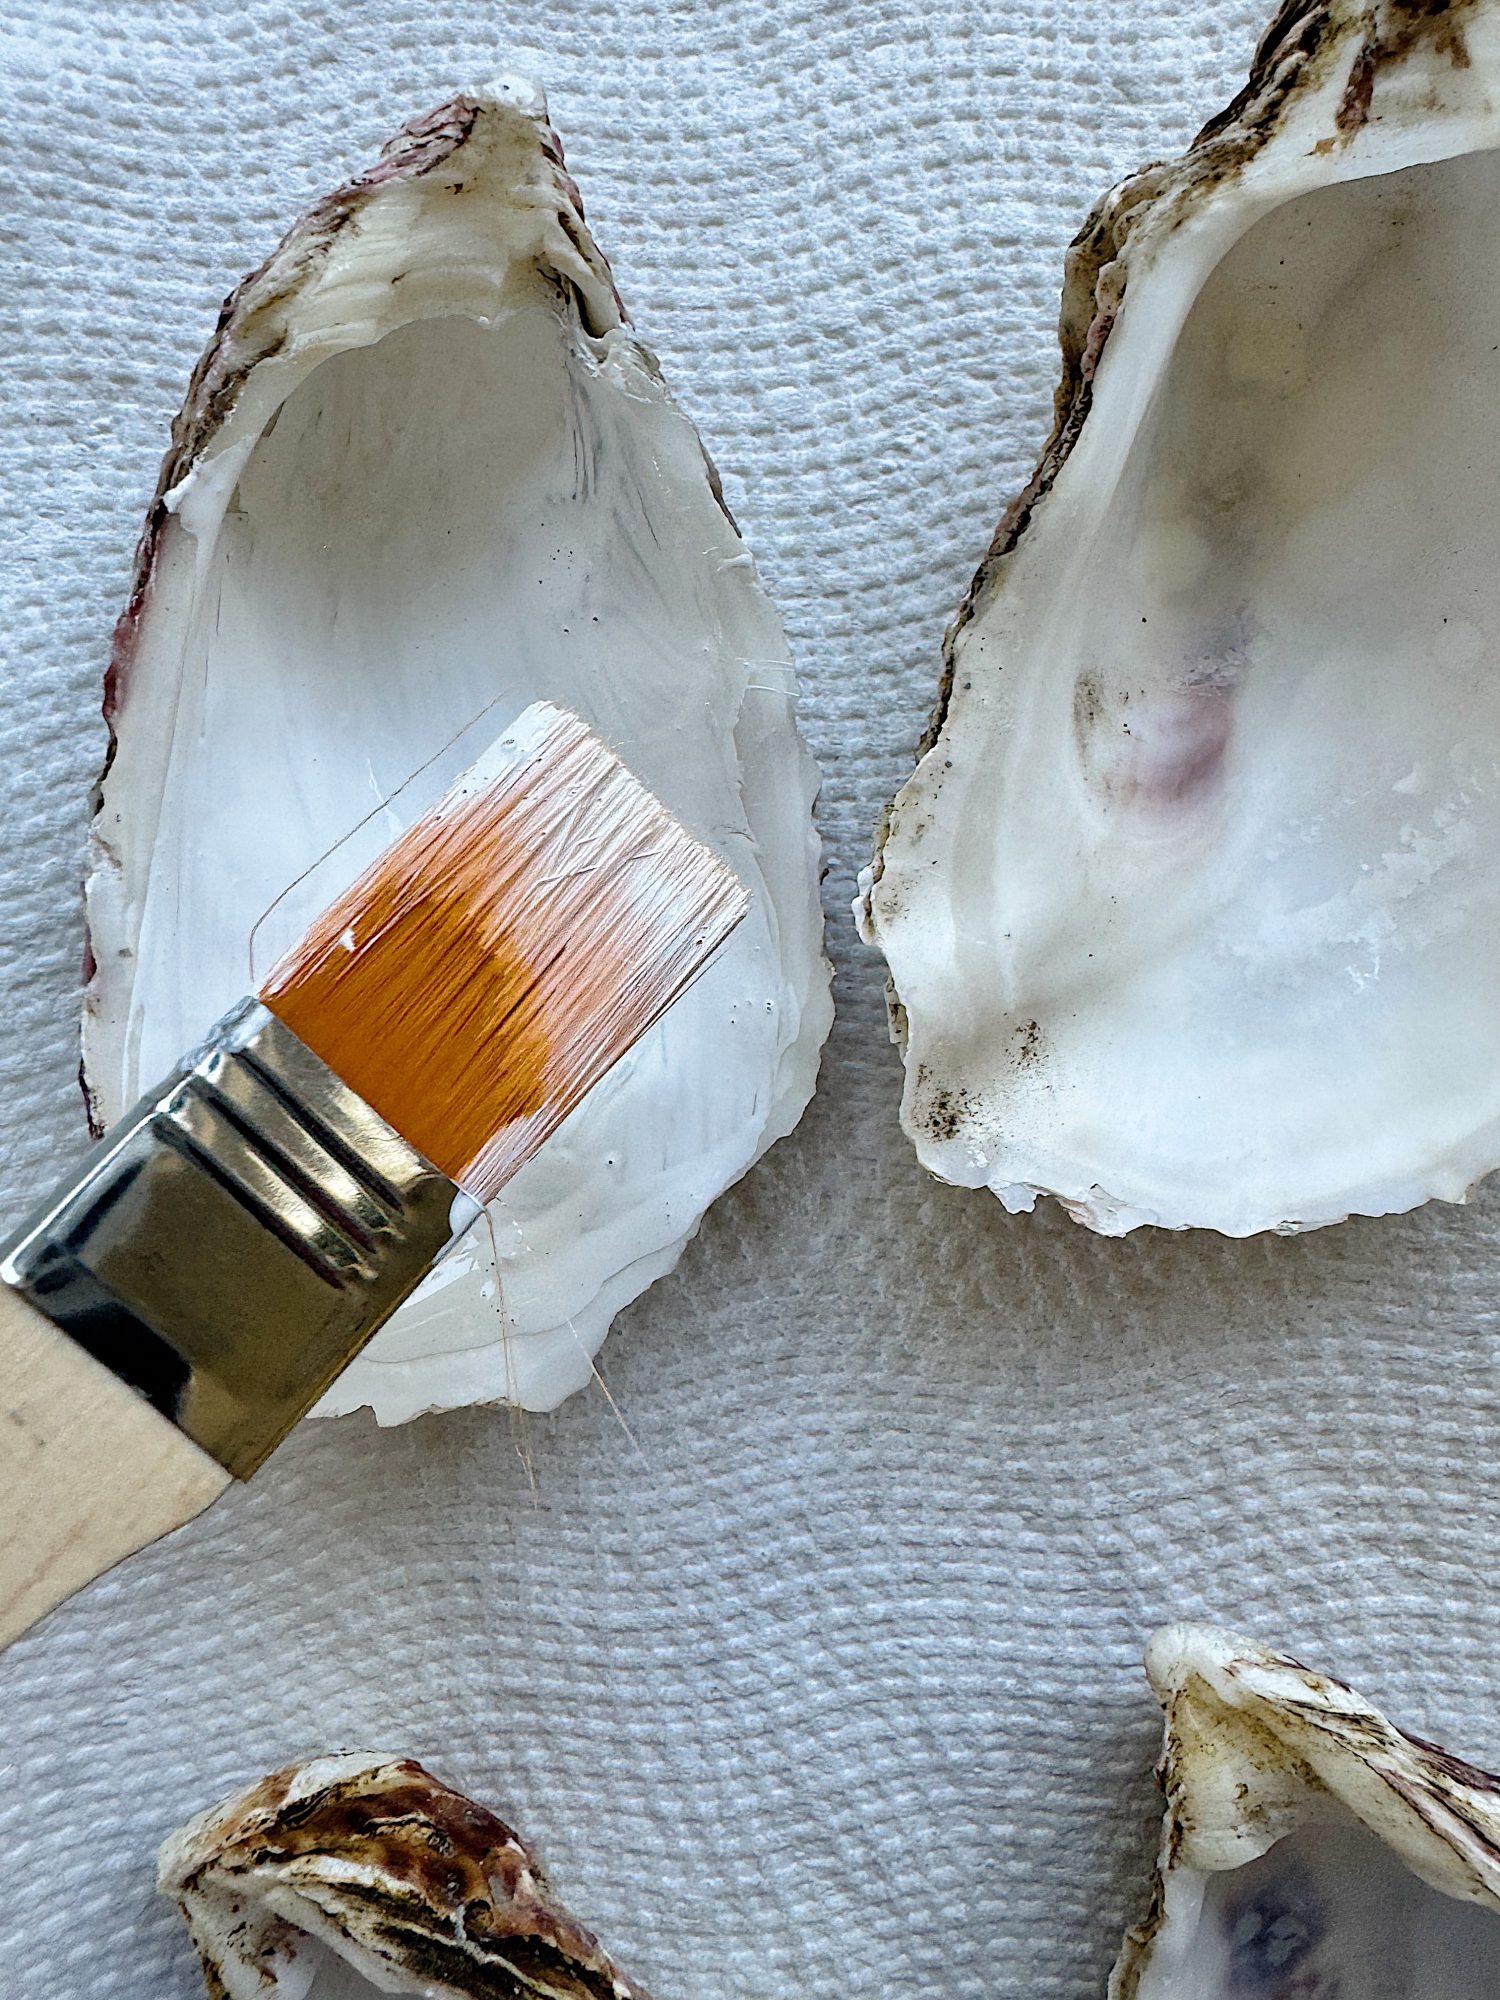
Allow the paint to dry completely before proceeding to the next step.
Applying Mod Podge and Napkin
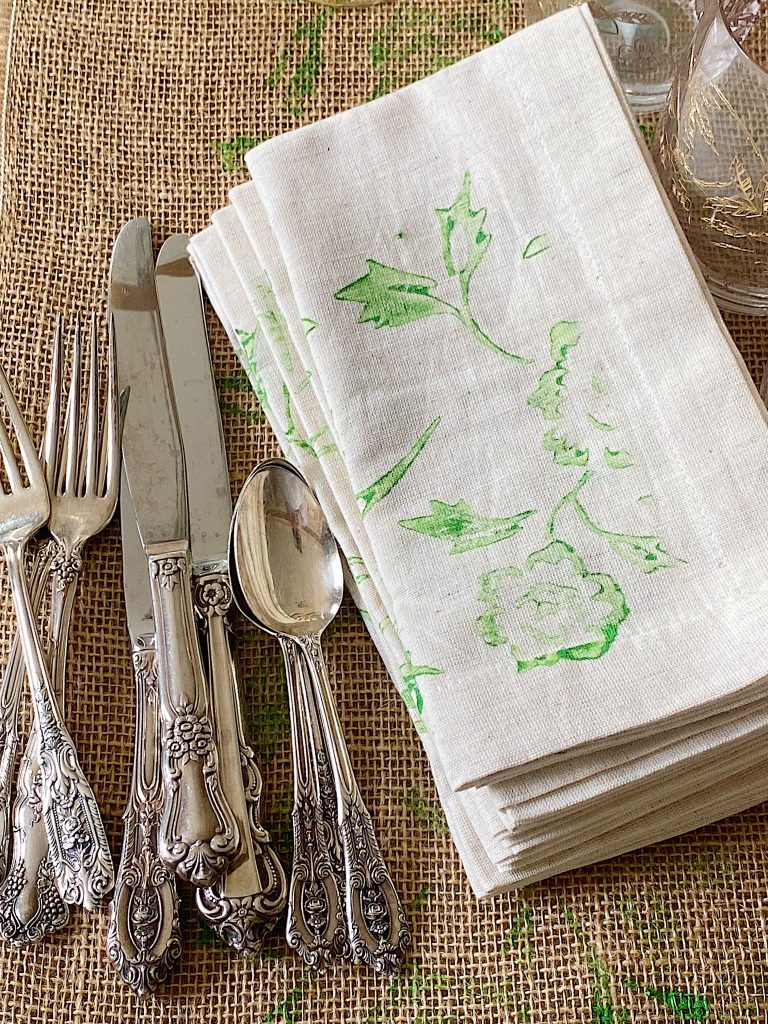
Once the paint has dried, it’s time to add some design to the shells. The first thing you need to do is split the napkin layers. Most napkins are 2-ply or 3-ply which means they have multiple layers. You want to use only the layer with the decorative design.
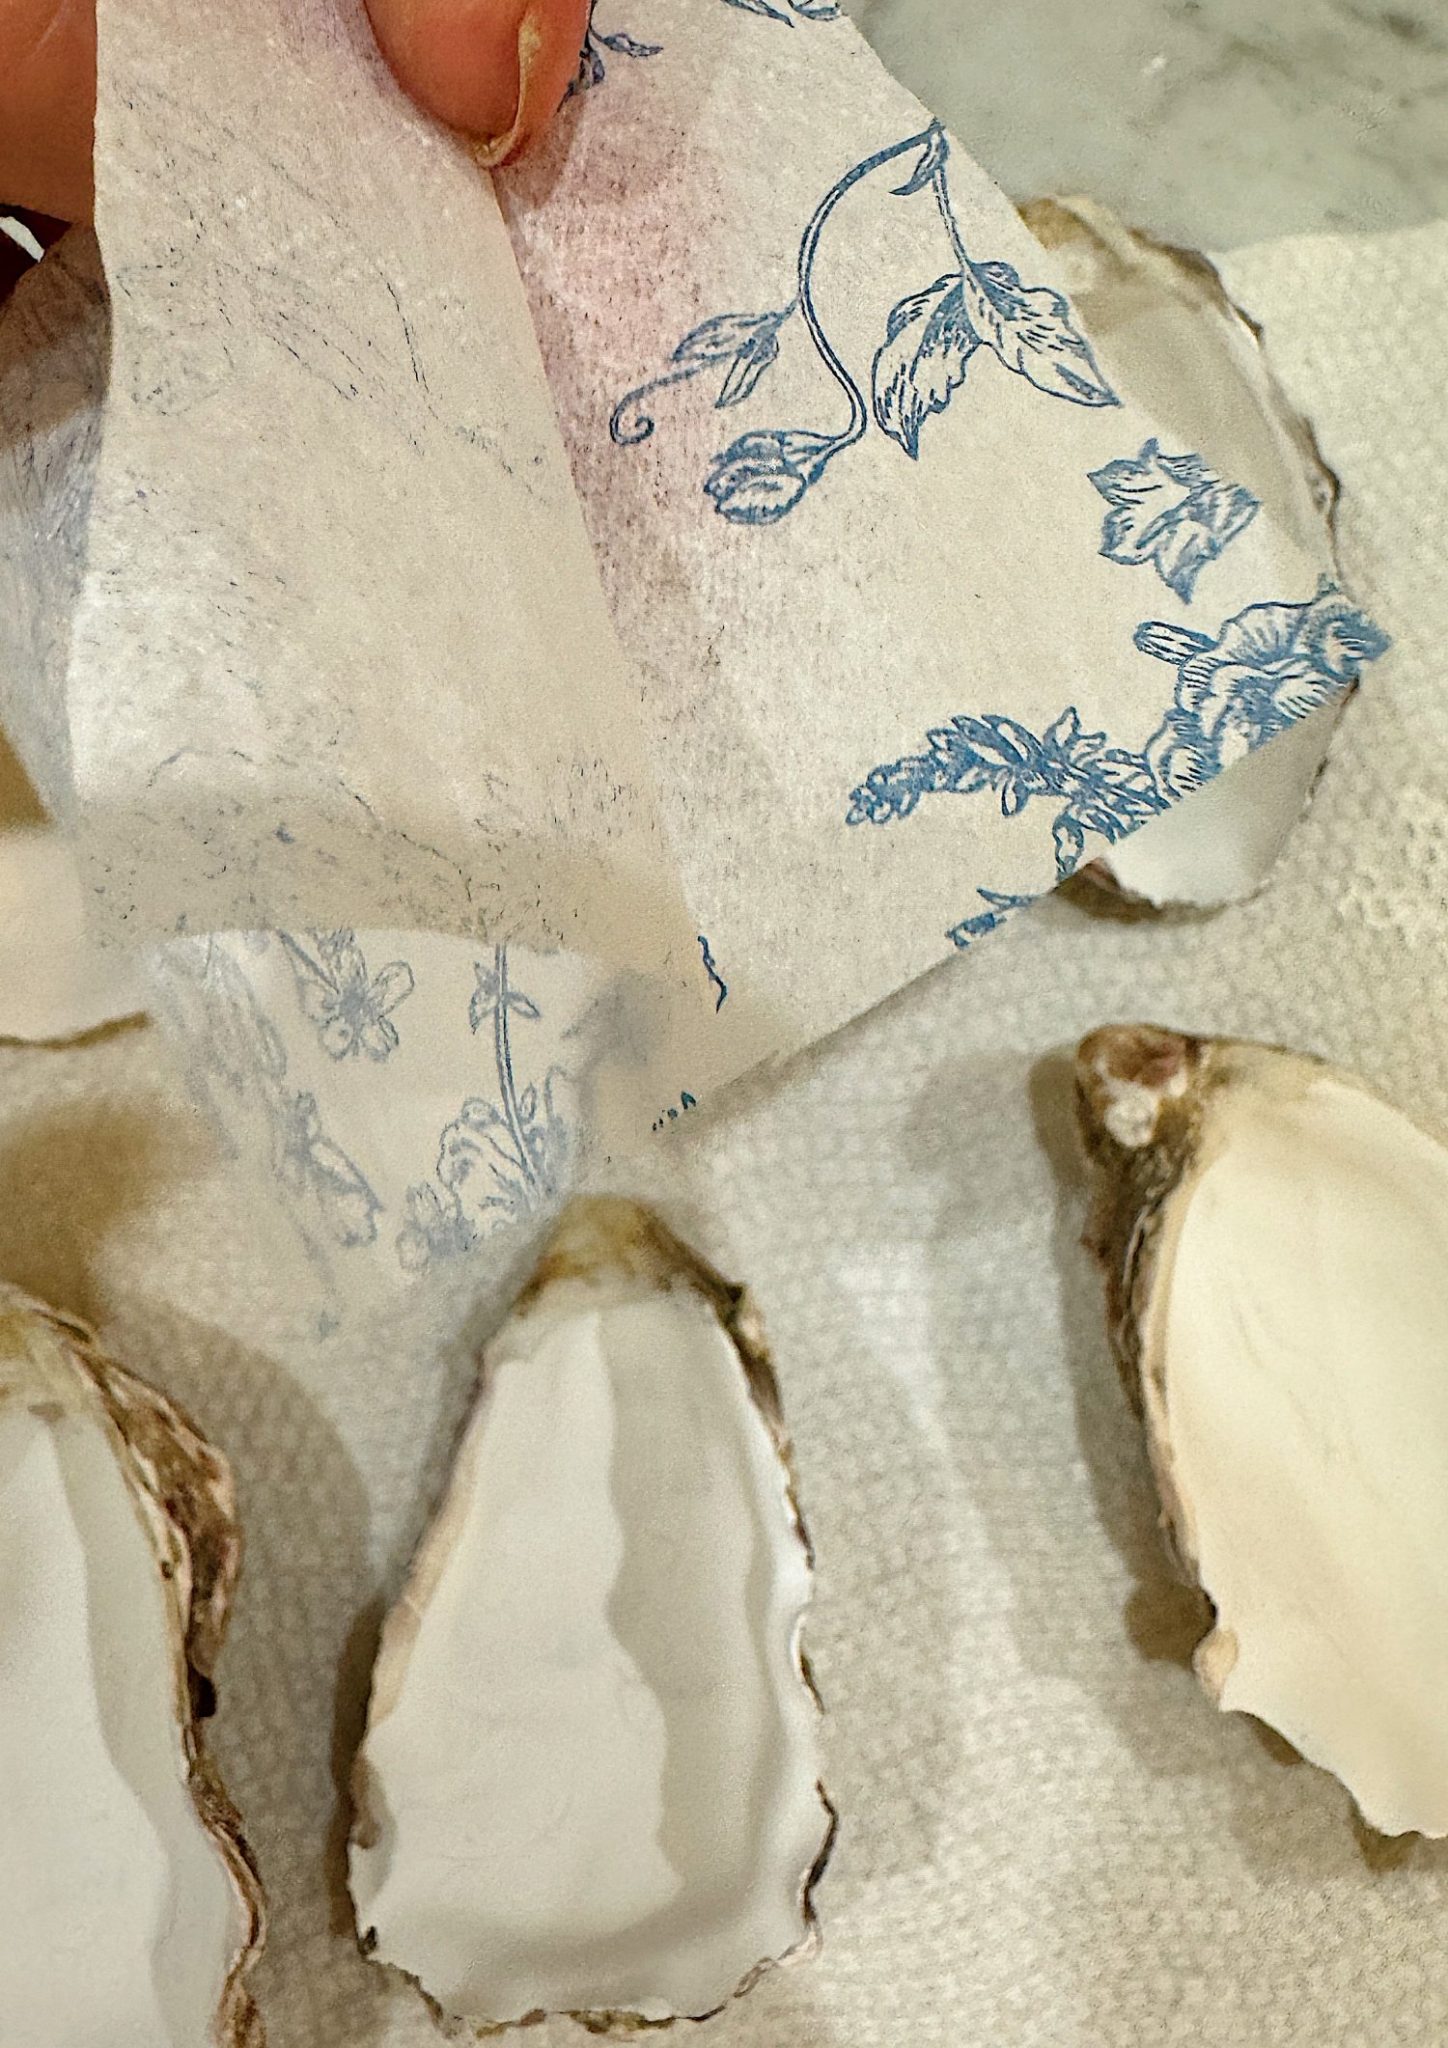
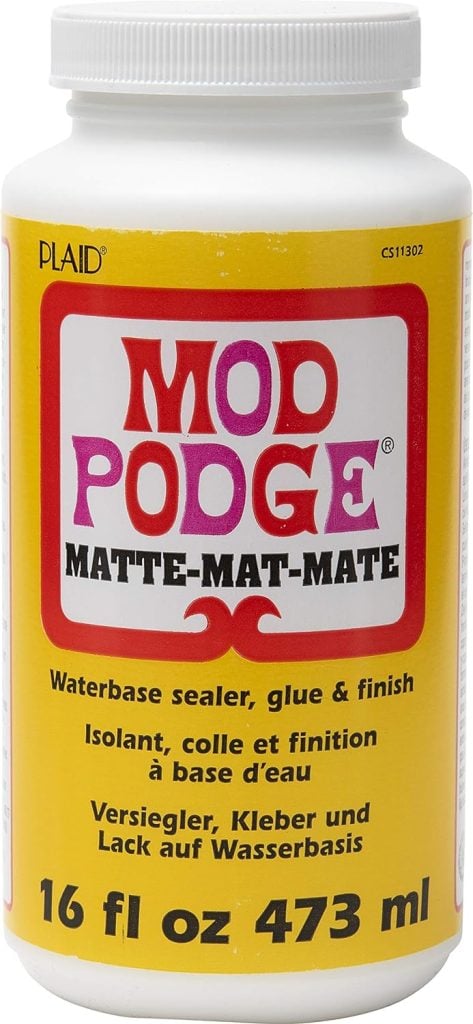
Apply a thin layer of Mod Podge to the painted surface of each shell, then carefully lay the decorative paper napkin on top of the glue.
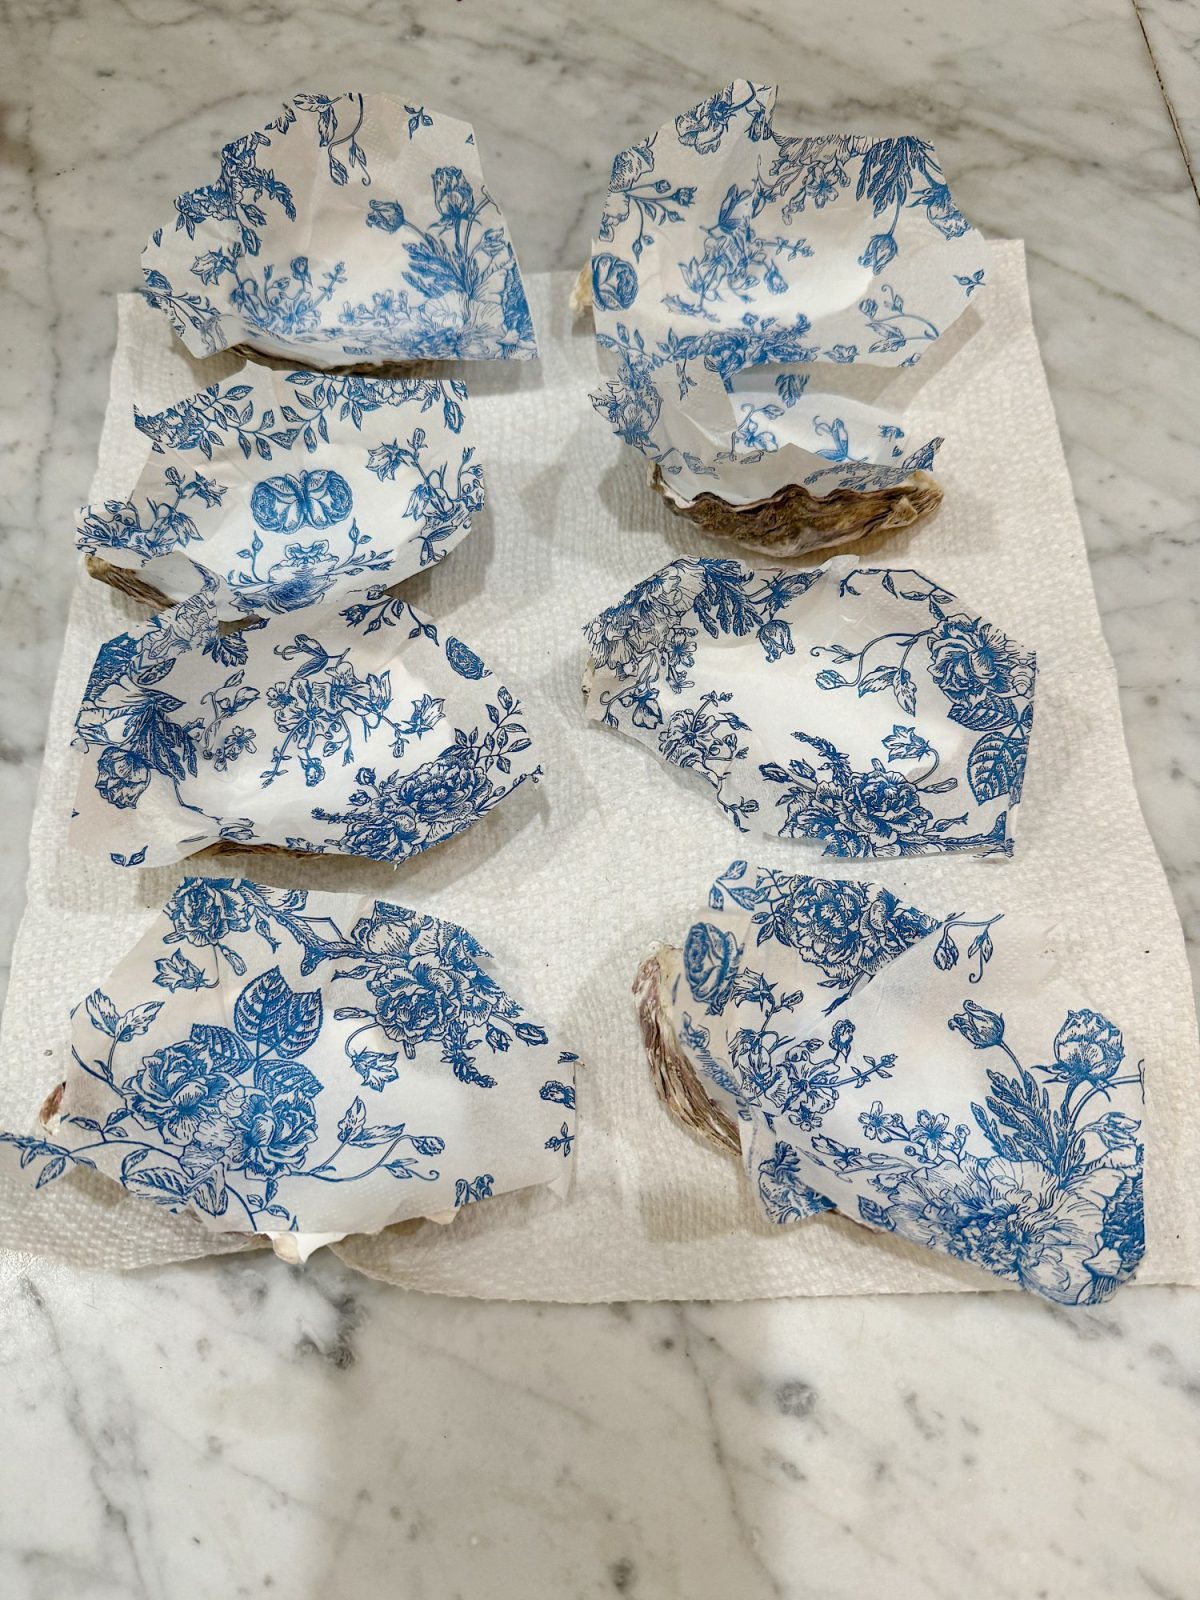
Trimming Excess Napkin
After the Mod Podge has dried slightly, use an exact knife or sharp edge to carefully trim off any excess napkin around the edges of the shell. Take your time with this step to ensure clean, precise removal of the napkin.
Sealing with Mod Podge
To protect the napkin and give the shells a glossy finish, apply another coat of Mod Podge over the entire surface of each shell. This will seal the napkin in place and provide a durable finish.
Adding a Touch of Glamour
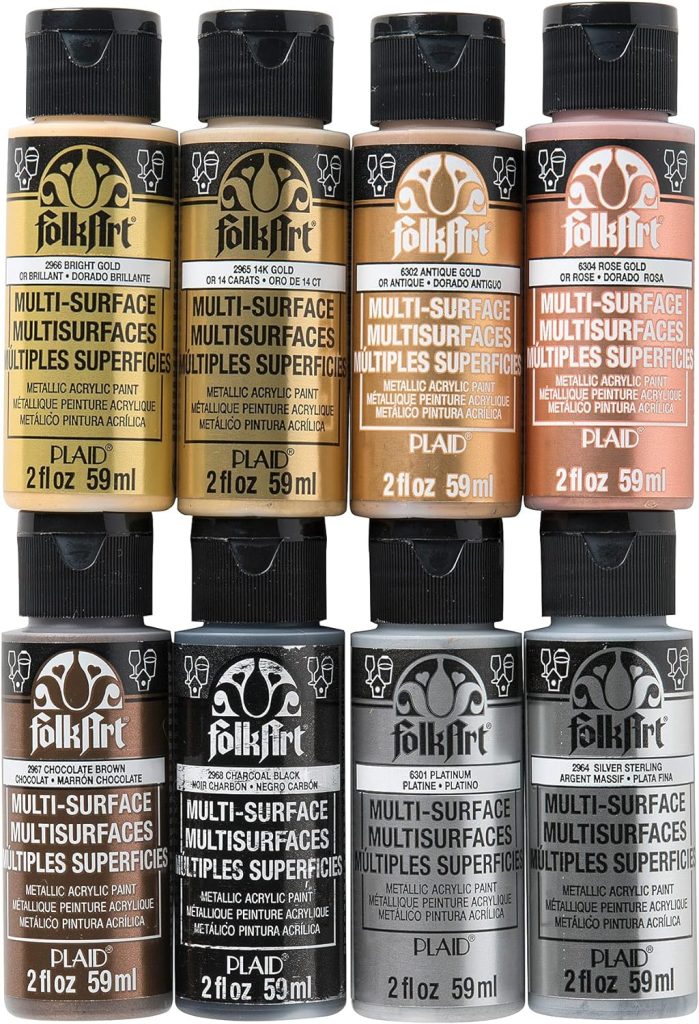
To add a touch of elegance, I painted the edges of the shells with silver acrylic paint. This simple step helps to accentuate the shells’ shape and tie the whole look together.
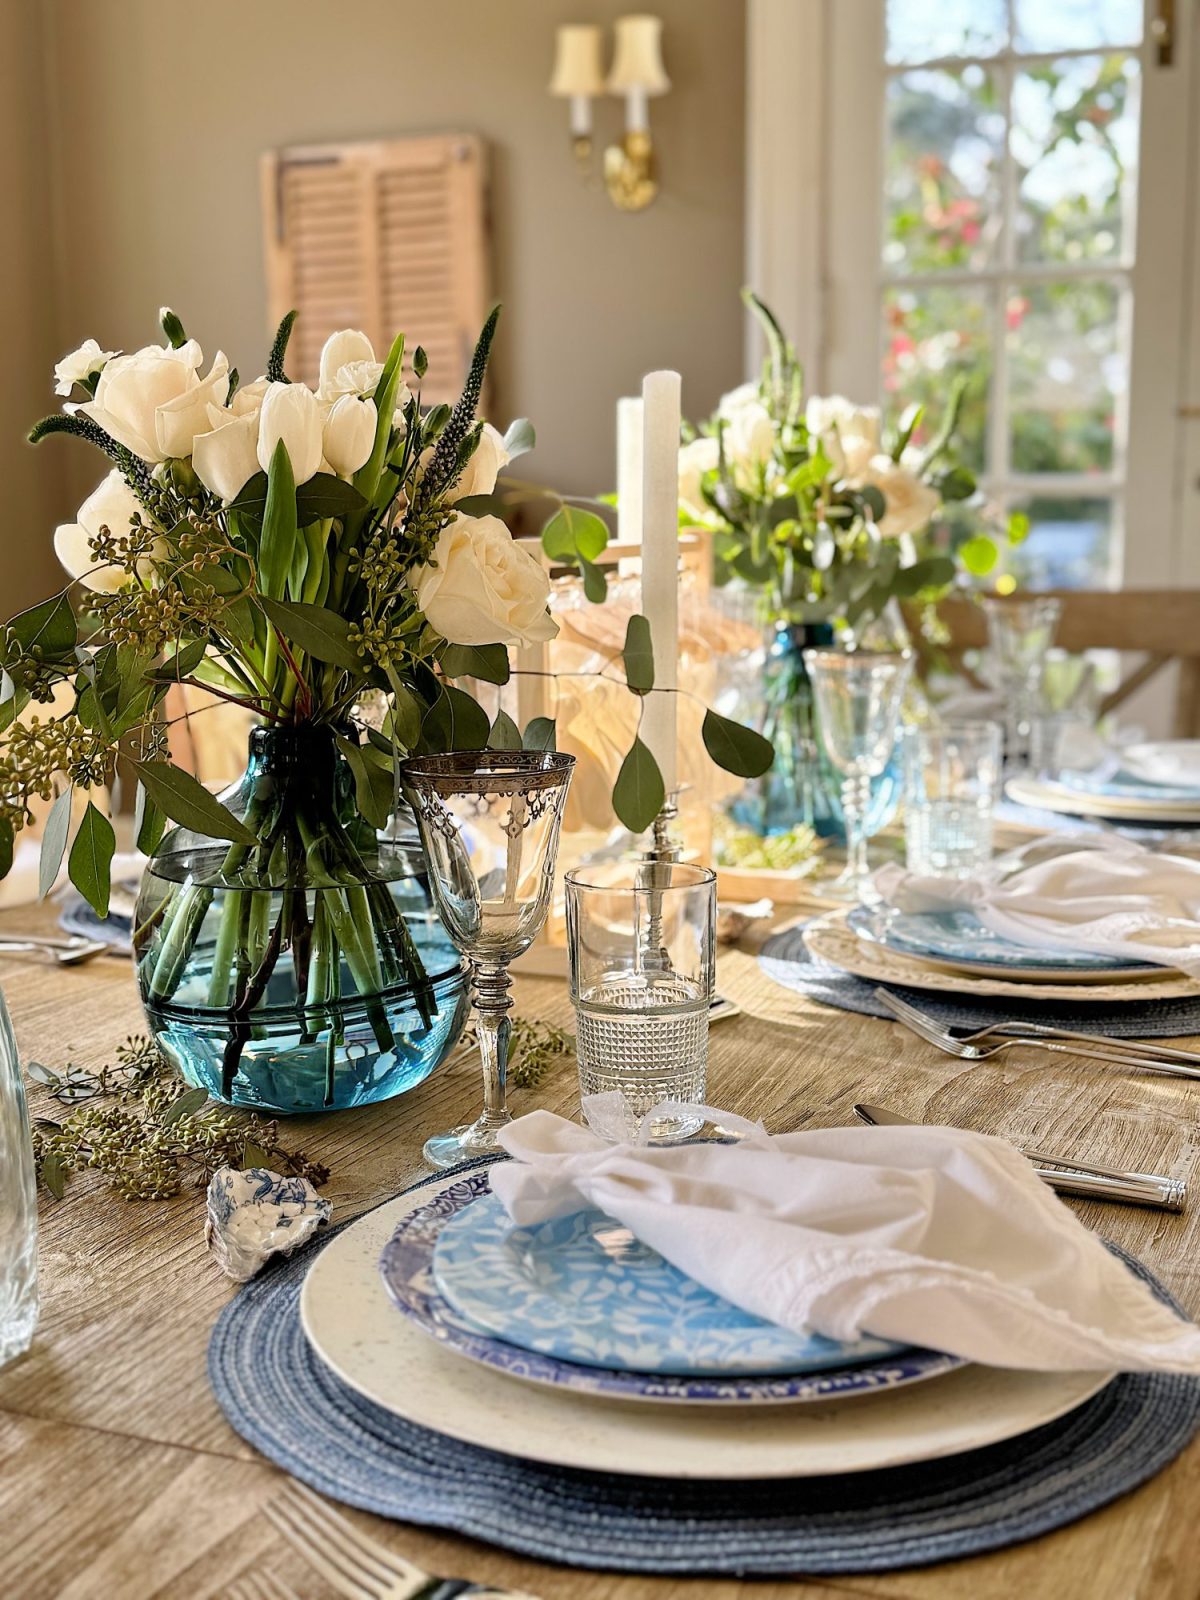
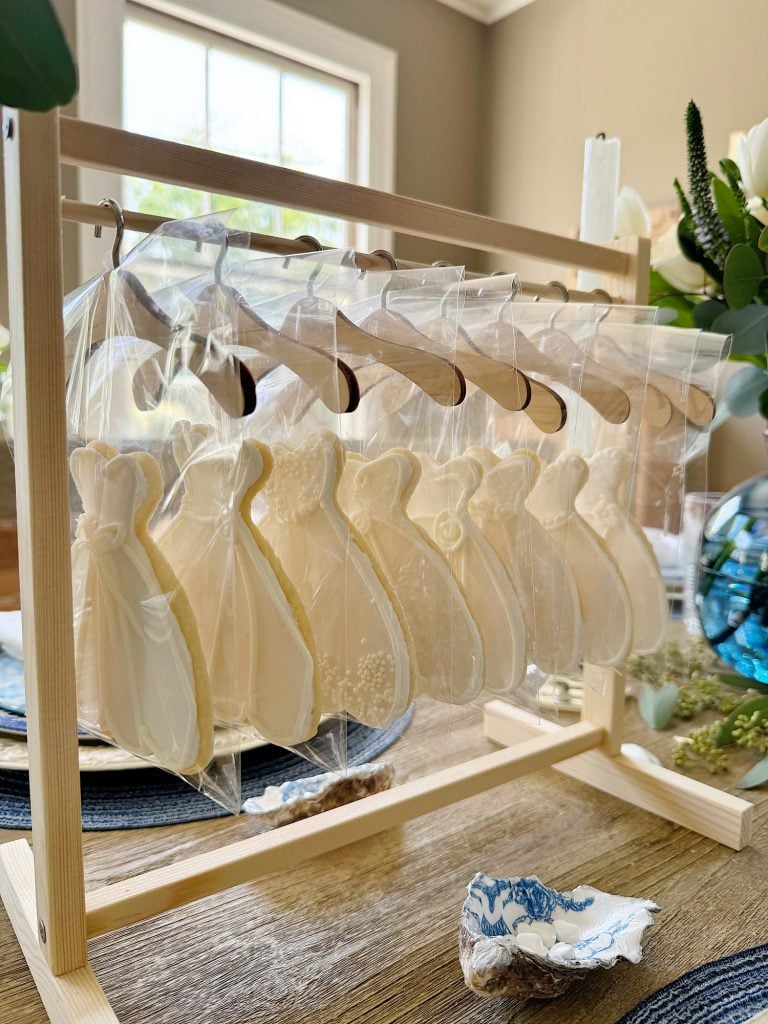
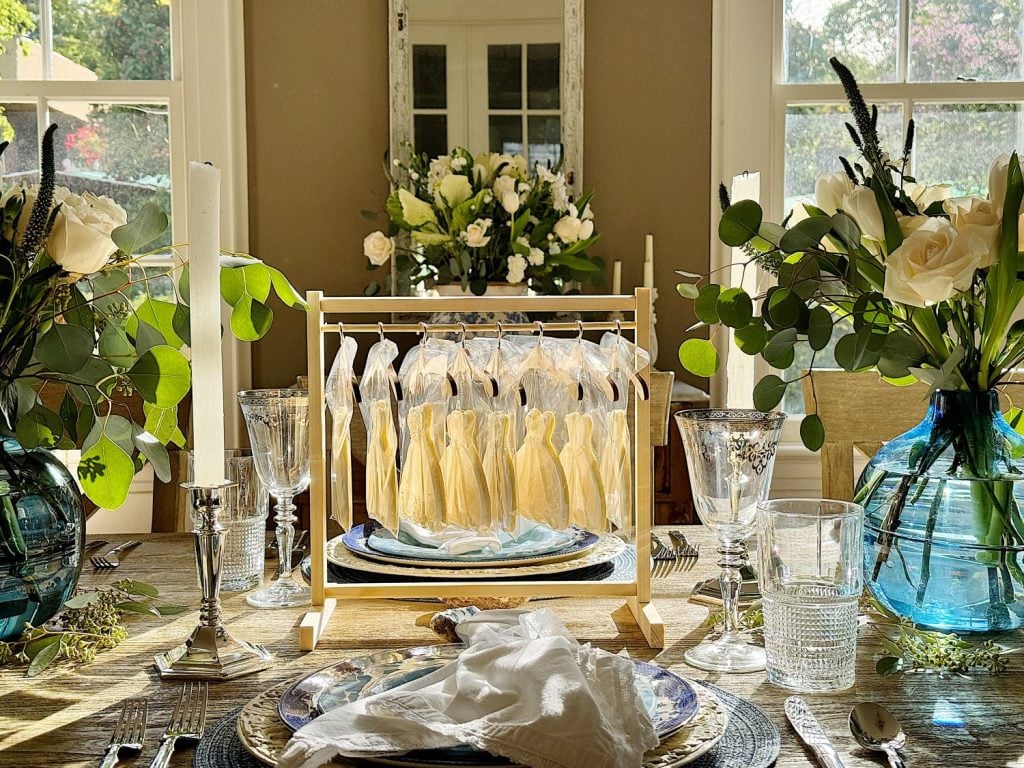
Displaying the Oyster Shells at the Bridal Shower
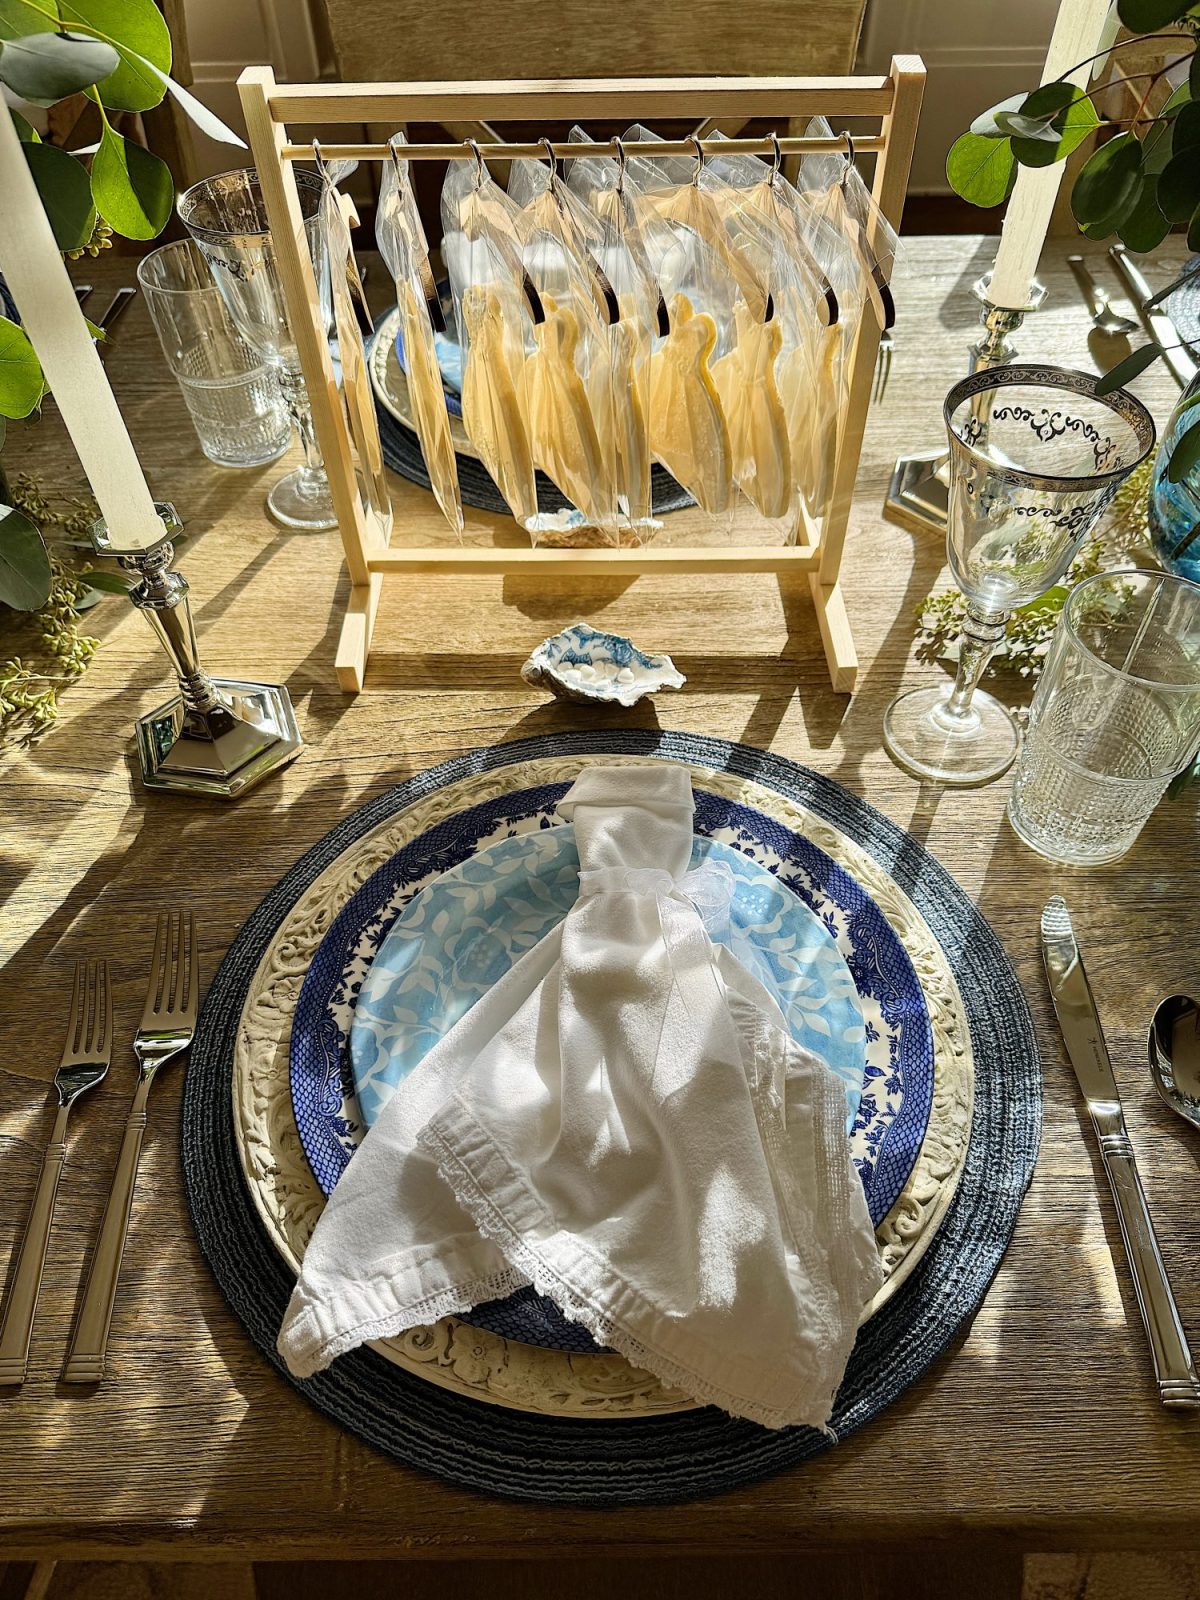
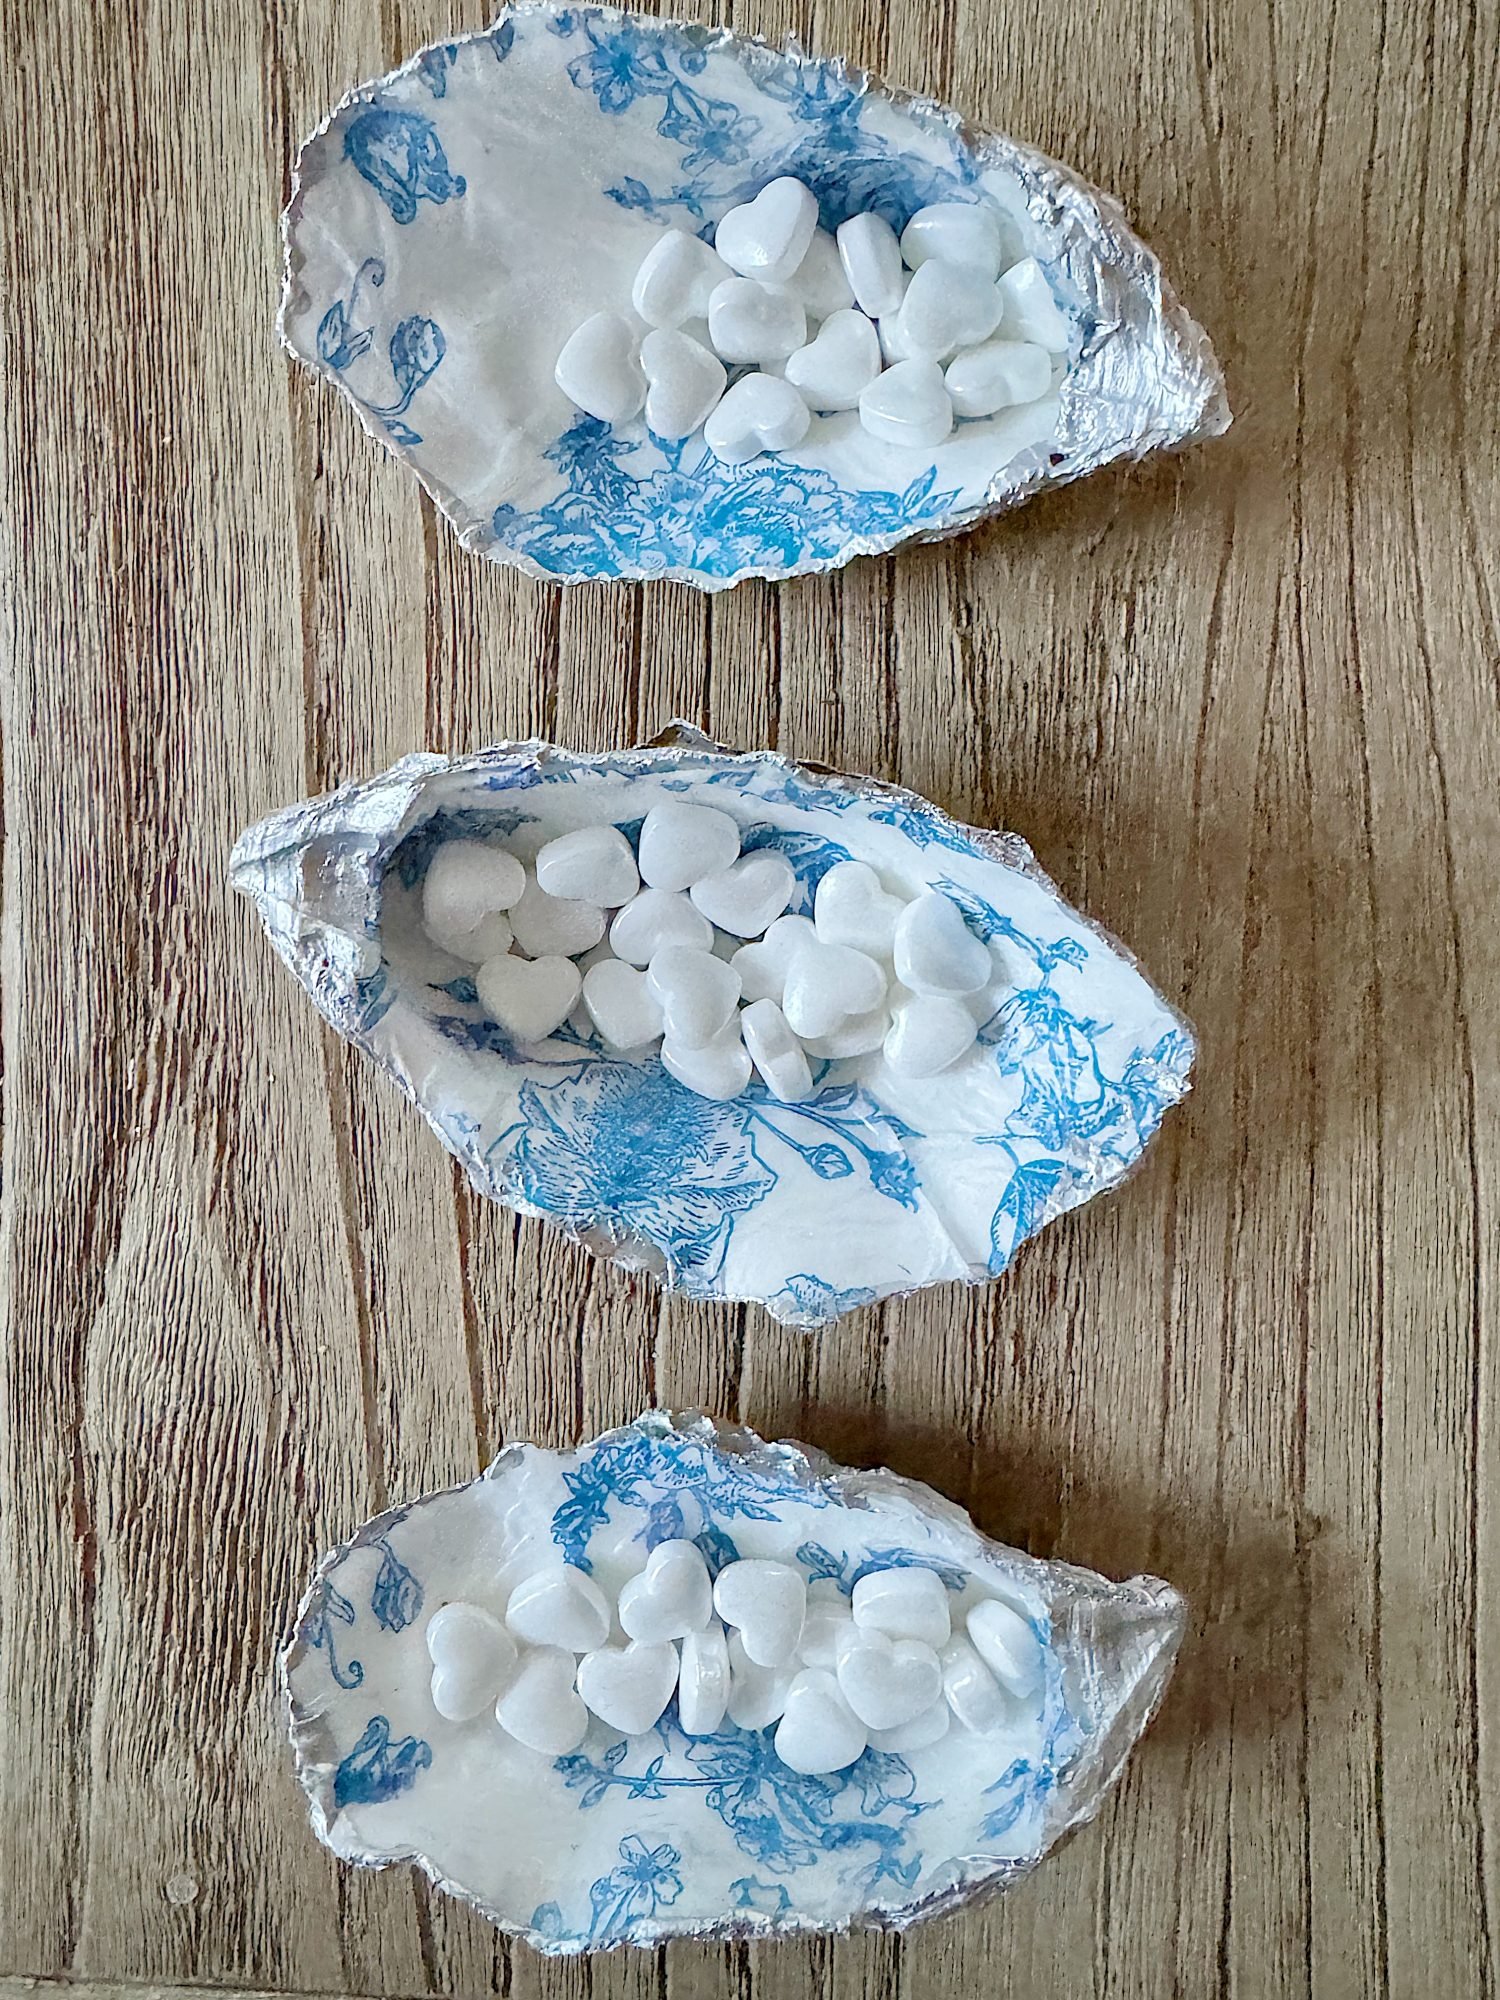
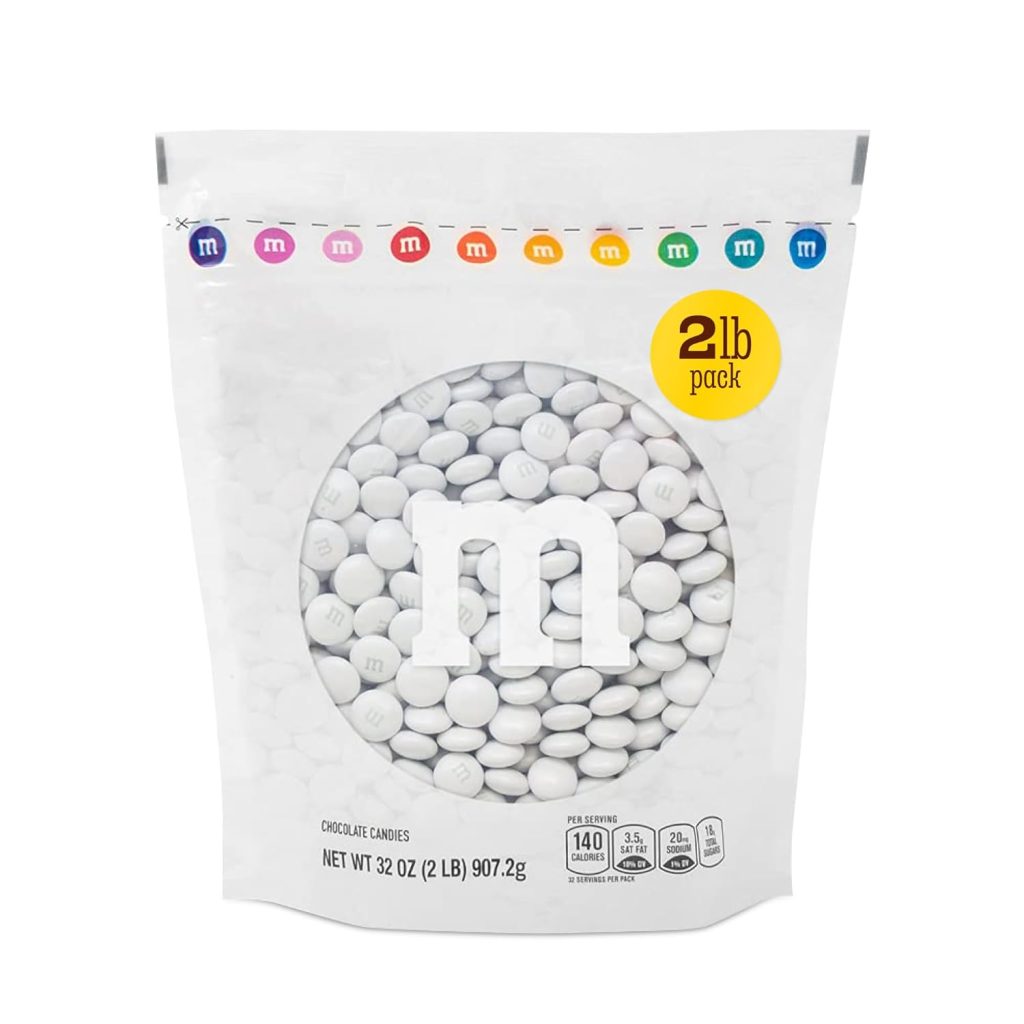
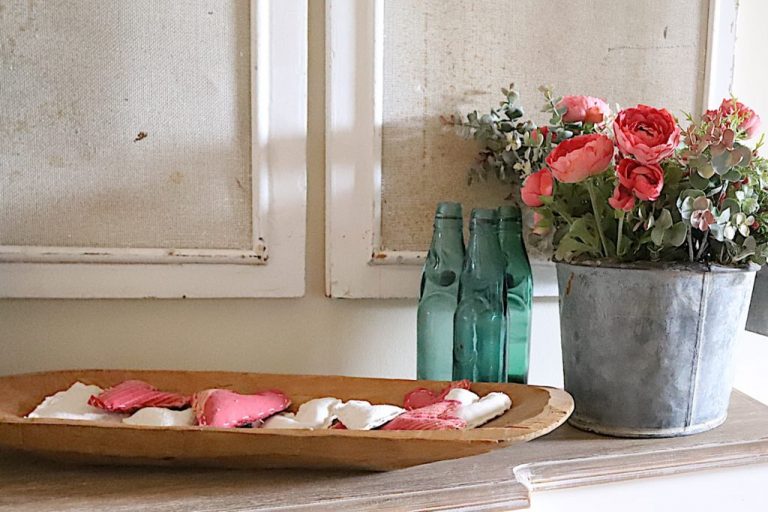
With the decorated oyster shells complete, it was time to use them. I used them at the bridal shower I hosted for my son and his finance, Ellie. I filled each shell with small pieces of white candy and placed them above each plate.
Each oyster shell was set on the table above the plates to serve as a decorative accent and a sweet treat for my guests.
Crafting these decorated oyster shell candy holders was a fun and creative project and a meaningful way to add a personal touch to my bridal shower decor. By following these simple steps and getting a little crafty, you, too, can create beautiful and unique decorations for your special day.
Whether you find your oyster shells at a local seafood market, beachcombing along the shore, or online, the possibilities are endless when crafting with nature’s treasures.
So why not try it and add a touch of coastal charm to your next event? Your guests will surely be impressed by your creativity and attention to detail!
Here are the other posts I wrote about the bridal shower!
The Cutest Centerpiece and Bridal Shower Gifts
The Best Bridal Shower Decorations
If you are enjoying my blog, you can sign up to receive my blog updates here.
.
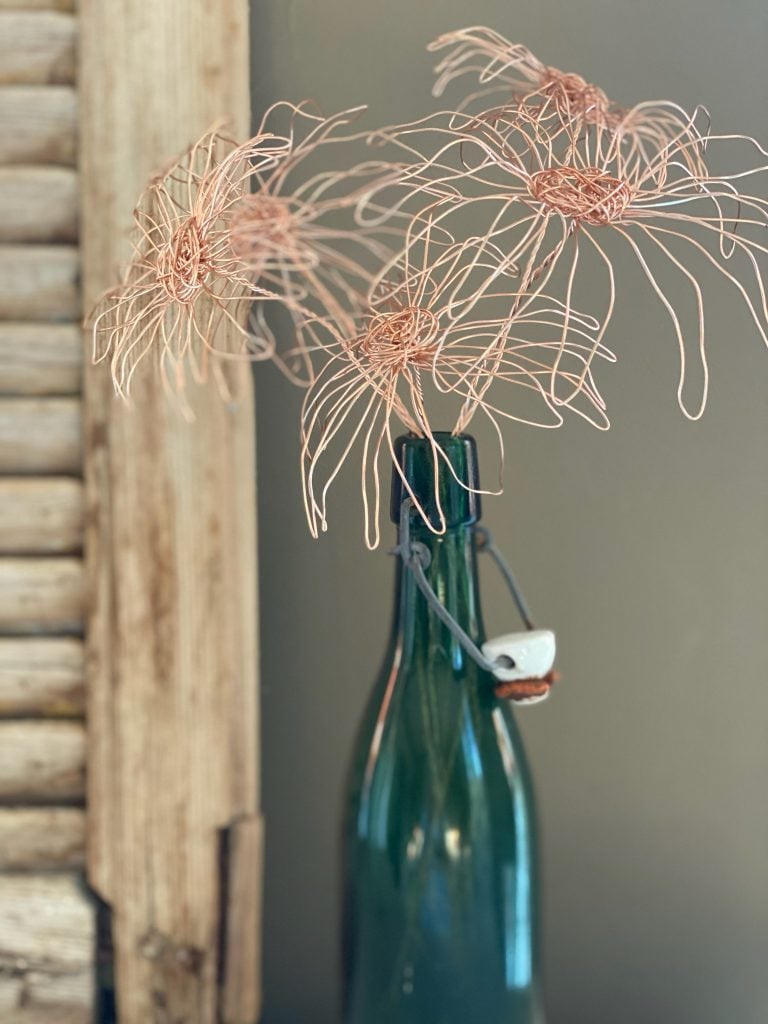
Fresh Spring Kitchen Decor Inspiration!

Pin the image below to your boards on Pinterest (click the Pin button in the top left corner). You can also follow along with me on Pinterest!
For more real-time updates, follow me on Instagram @My100YearOldHome
