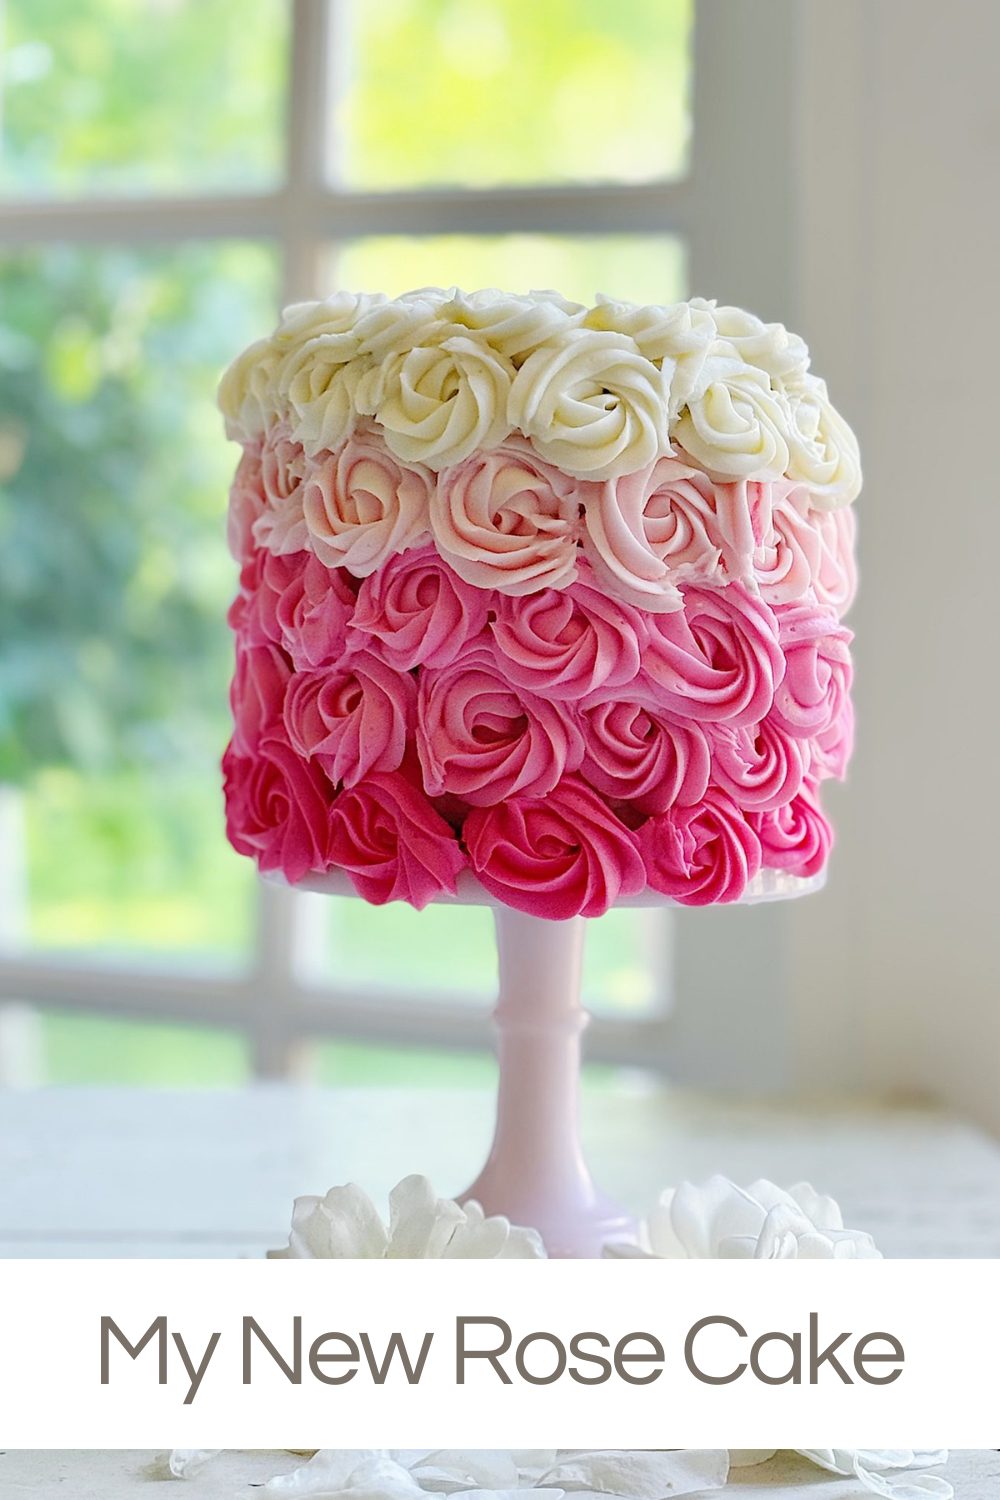
My New Rose Cake
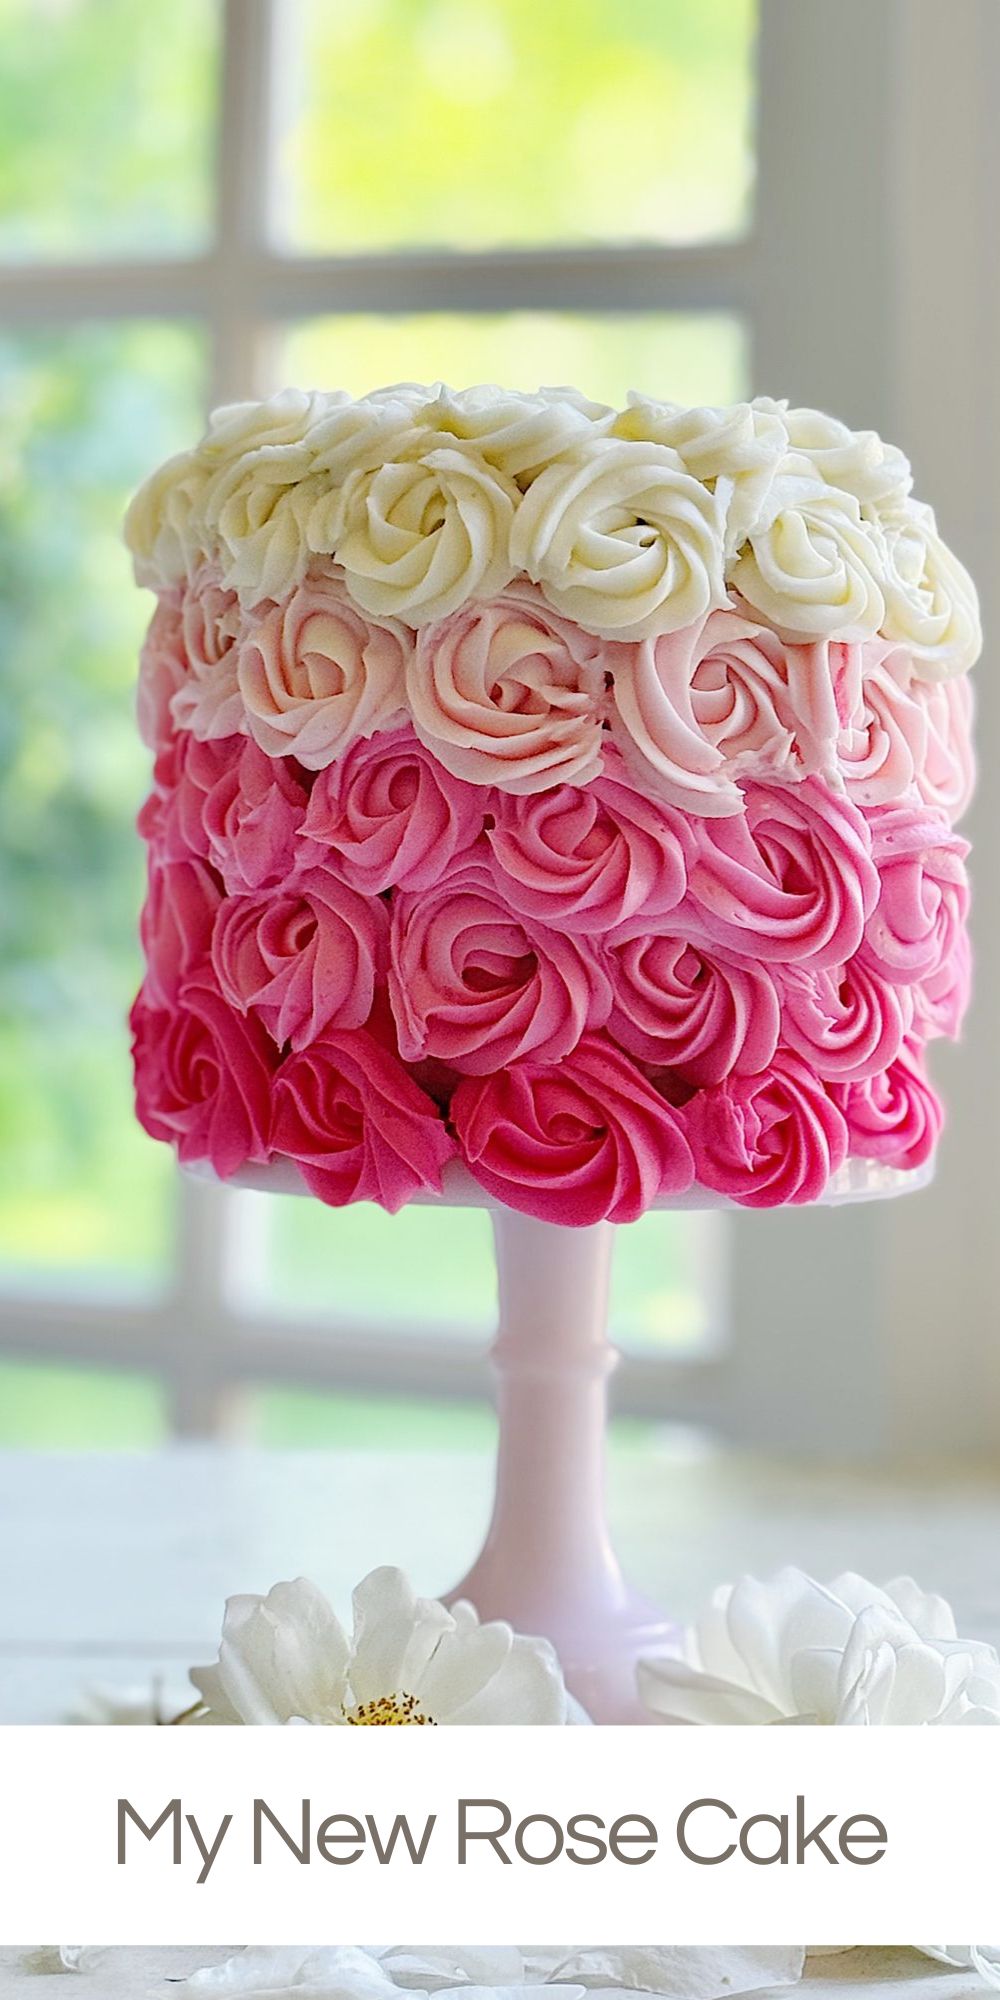
Spring is in full bloom, and there’s no better way to celebrate the season of renewal and blossoms than with a gorgeous New Rose Cake!
I recently created this rose-themed cake, perfect for springtime celebrations, birthdays, bridal showers, or as a delightful centerpiece for afternoon tea with friends. This rose cake isn’t just visually beautiful. It also tastes divine!


A Decorated Rose Cake
Baking the Perfect White Cake Layers
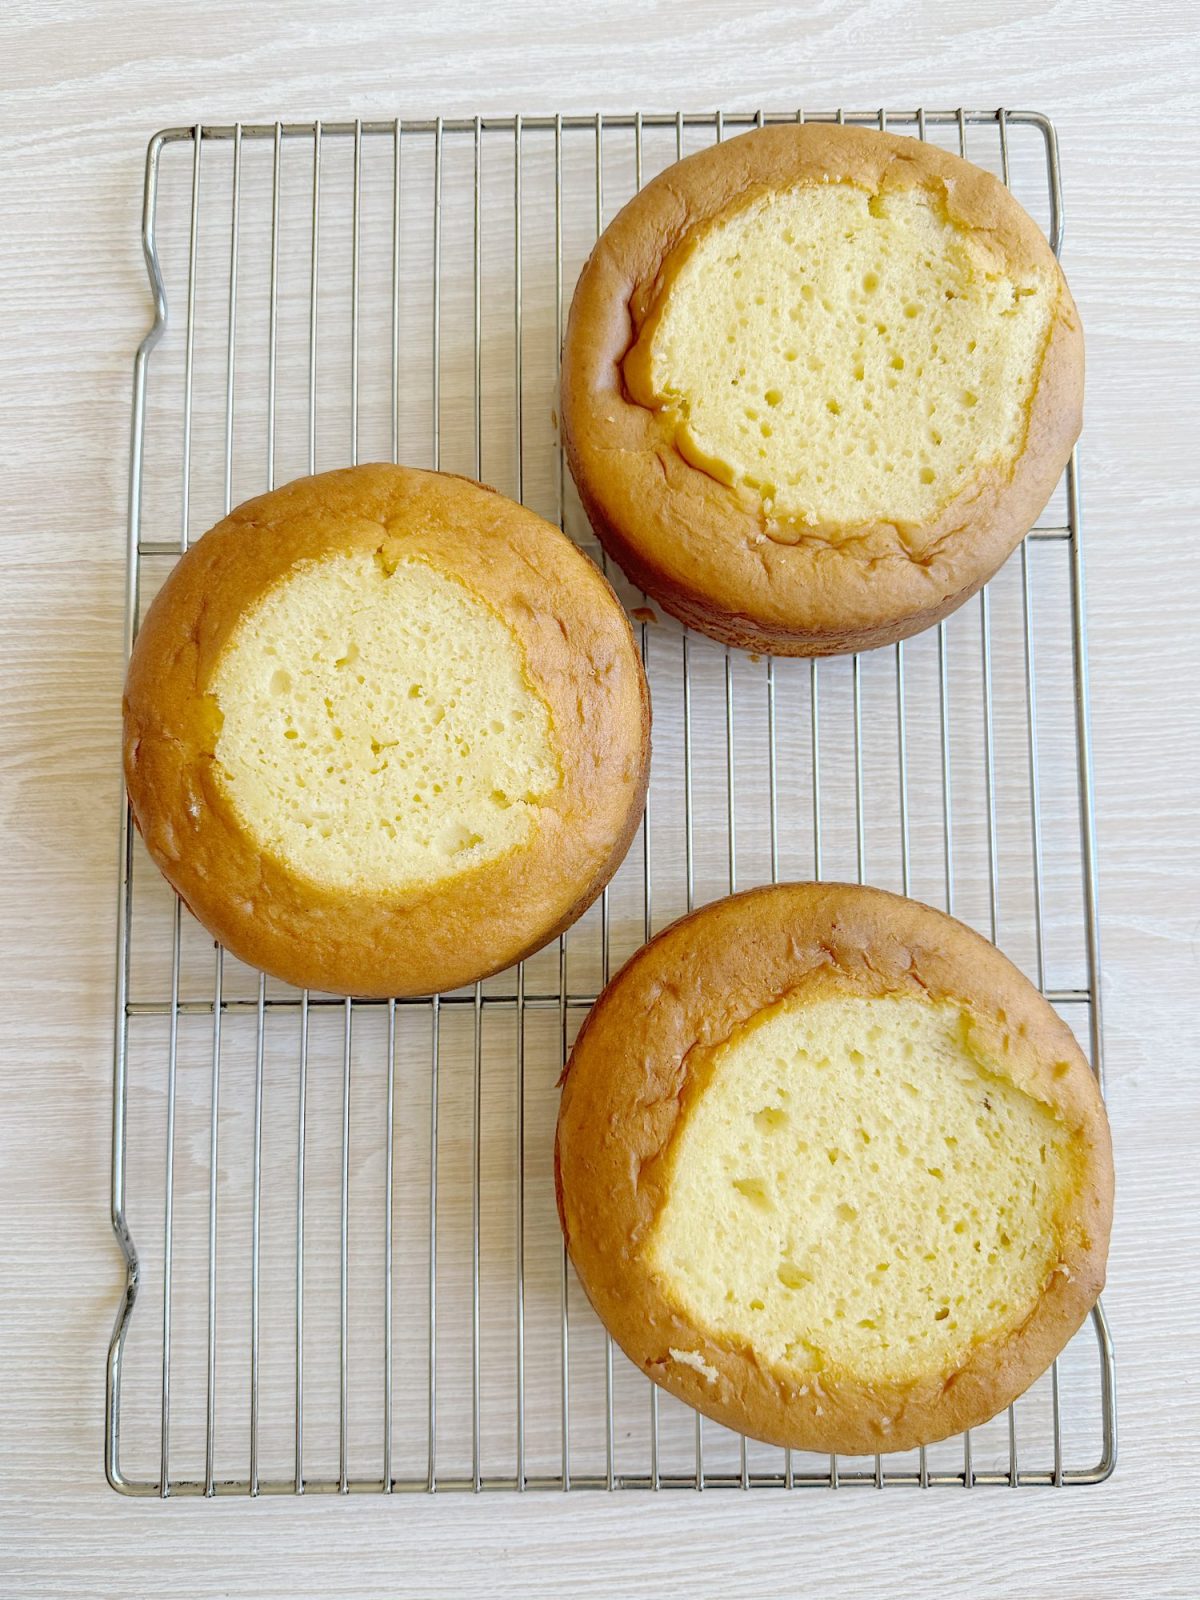
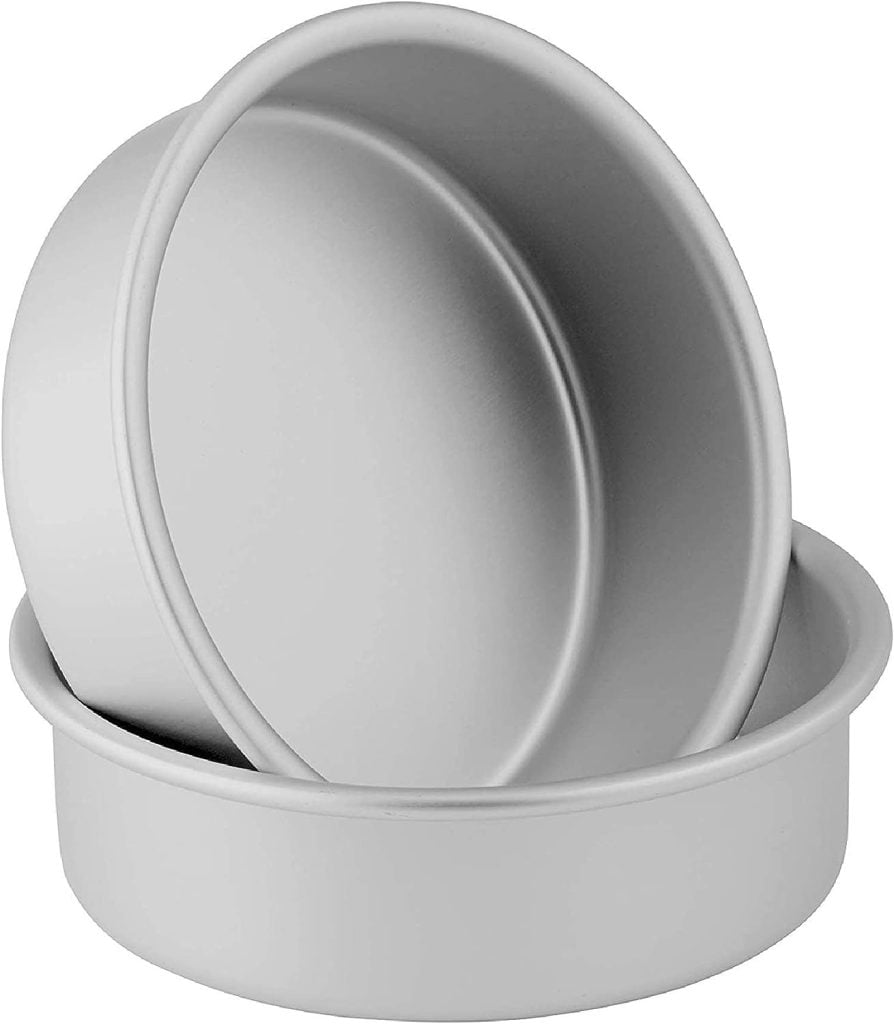
For this cake, I started by baking three layers using my absolute favorite white cake mix. Using a reliable cake mix helps save time and ensures a consistently delicious result. I prepared the batter according to the package directions and divided it evenly among three 6-inch cake tins. Baking in smaller tins ensures beautifully tall, uniform layers, ideal for stacking and decorating.
The Best White Cake recipe
Ingredients
- 3 cups all-purpose flour
- 2 cups granulated sugar
- 1 tablespoon baking powder
- 1 teaspoon salt
- 1 cup unsalted butter, softened
- 1 cup whole milk
- 4 large eggs
- 2 teaspoons vanilla extract
- Three 6" cake pans (if you only have two, just bake the third pan separately)
Instructions
- Preheat your oven to 350°F (175°C). Grease and flour three 6-inch round cake pans and line the bottoms with parchment paper.
- Sift the flour, sugar, baking powder, and salt in a large mixing bowl.
- Add the softened butter to the dry ingredients and mix quickly until the mixture resembles coarse crumbs.
- Whisk together the milk, eggs, and vanilla extract in a separate bowl until well combined.
- Gradually pour the wet ingredients into the dry ingredients, mixing on medium speed until the batter is smooth and well combined.
- Divide the batter evenly among the prepared cake pans, smoothing the tops with a spatula.
- Bake in the preheated oven for 25-30 minutes or until a toothpick inserted into the center of the cakes comes out clean.
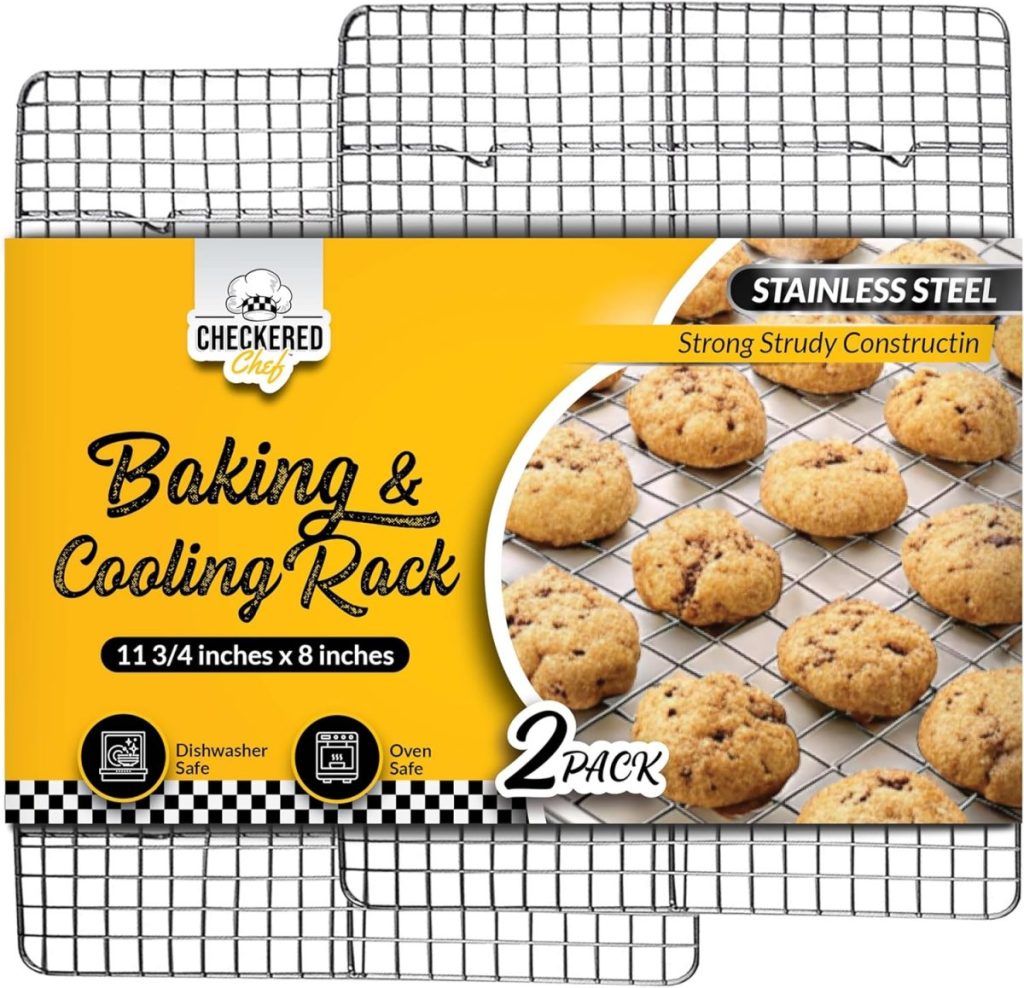
- Remove the cakes from the oven and let them cool in the pans for 10 minutes before transferring them to wire racks to cool completely.
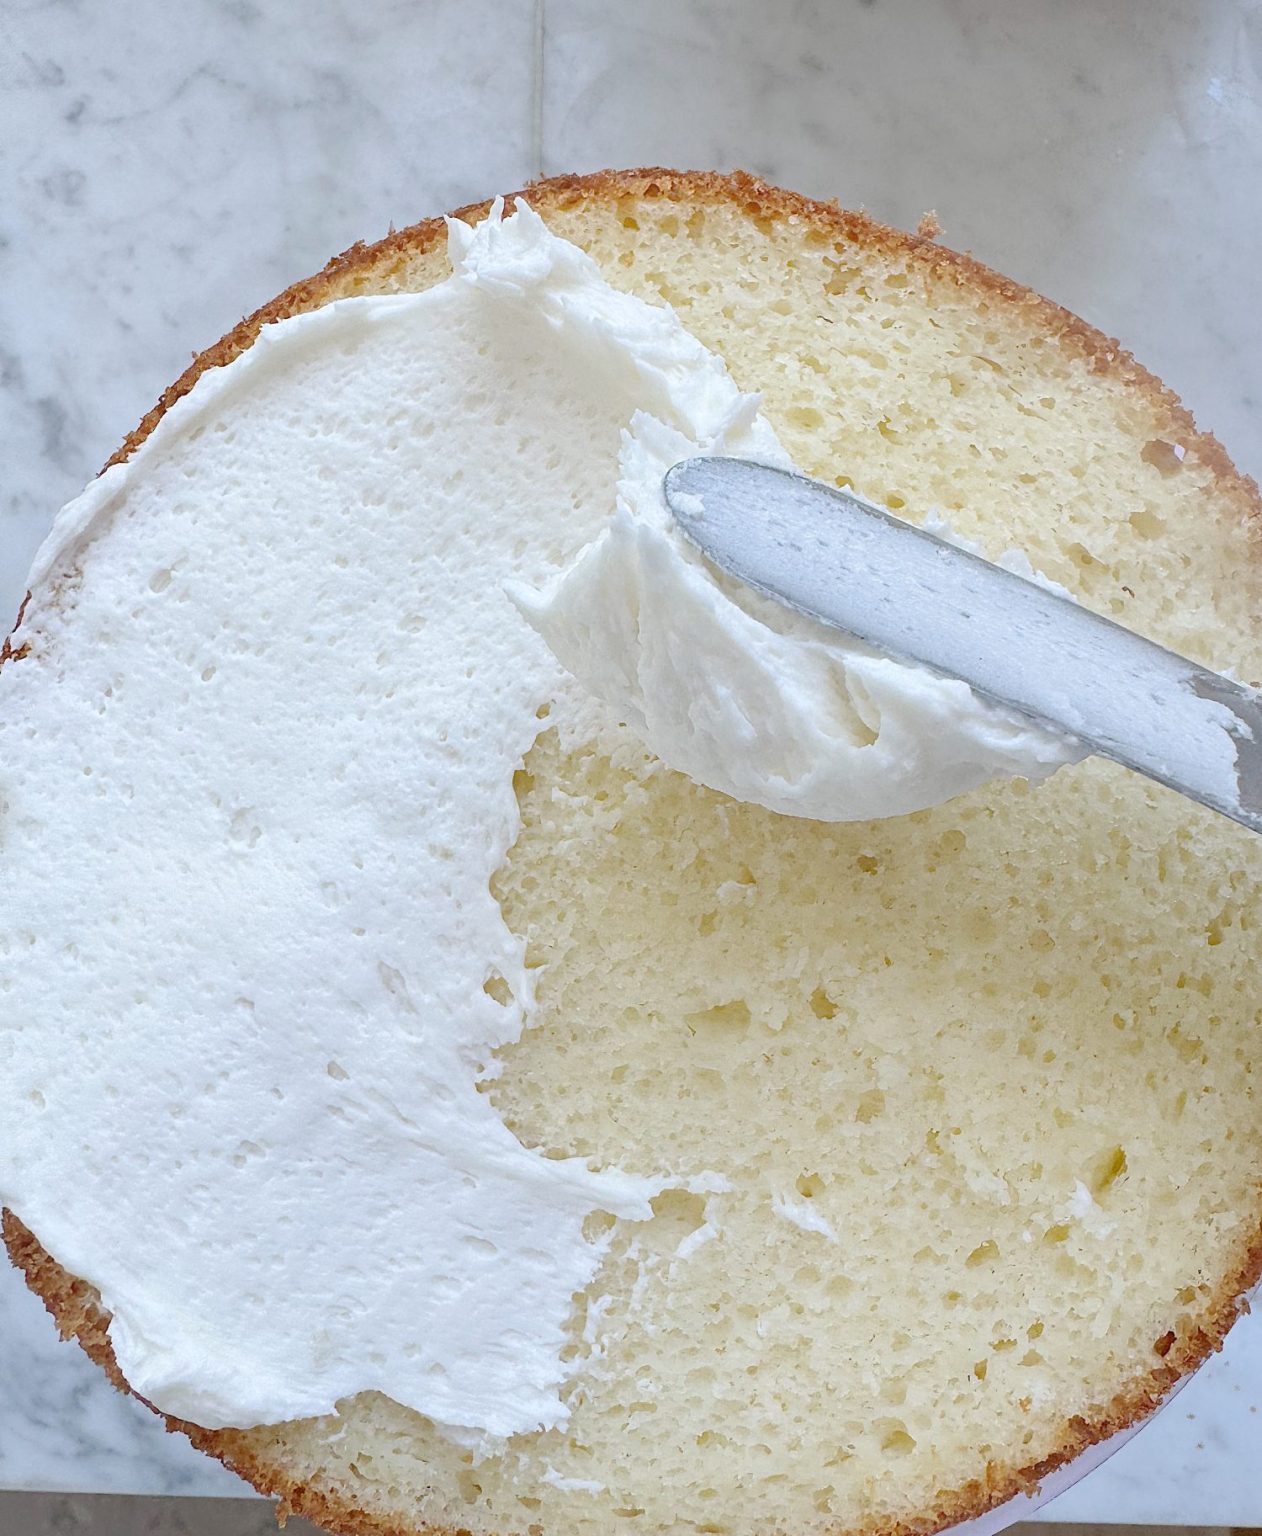
After baking the layers, I let them cool completely on a wire rack, then cut the top off and sliced each layer horizontally into two even pieces. This gave me six perfectly moist and fluffy cake layers, providing an excellent height and ensuring plenty of surface area for my favorite buttercream frosting!
My Favorite Buttercream Recipe
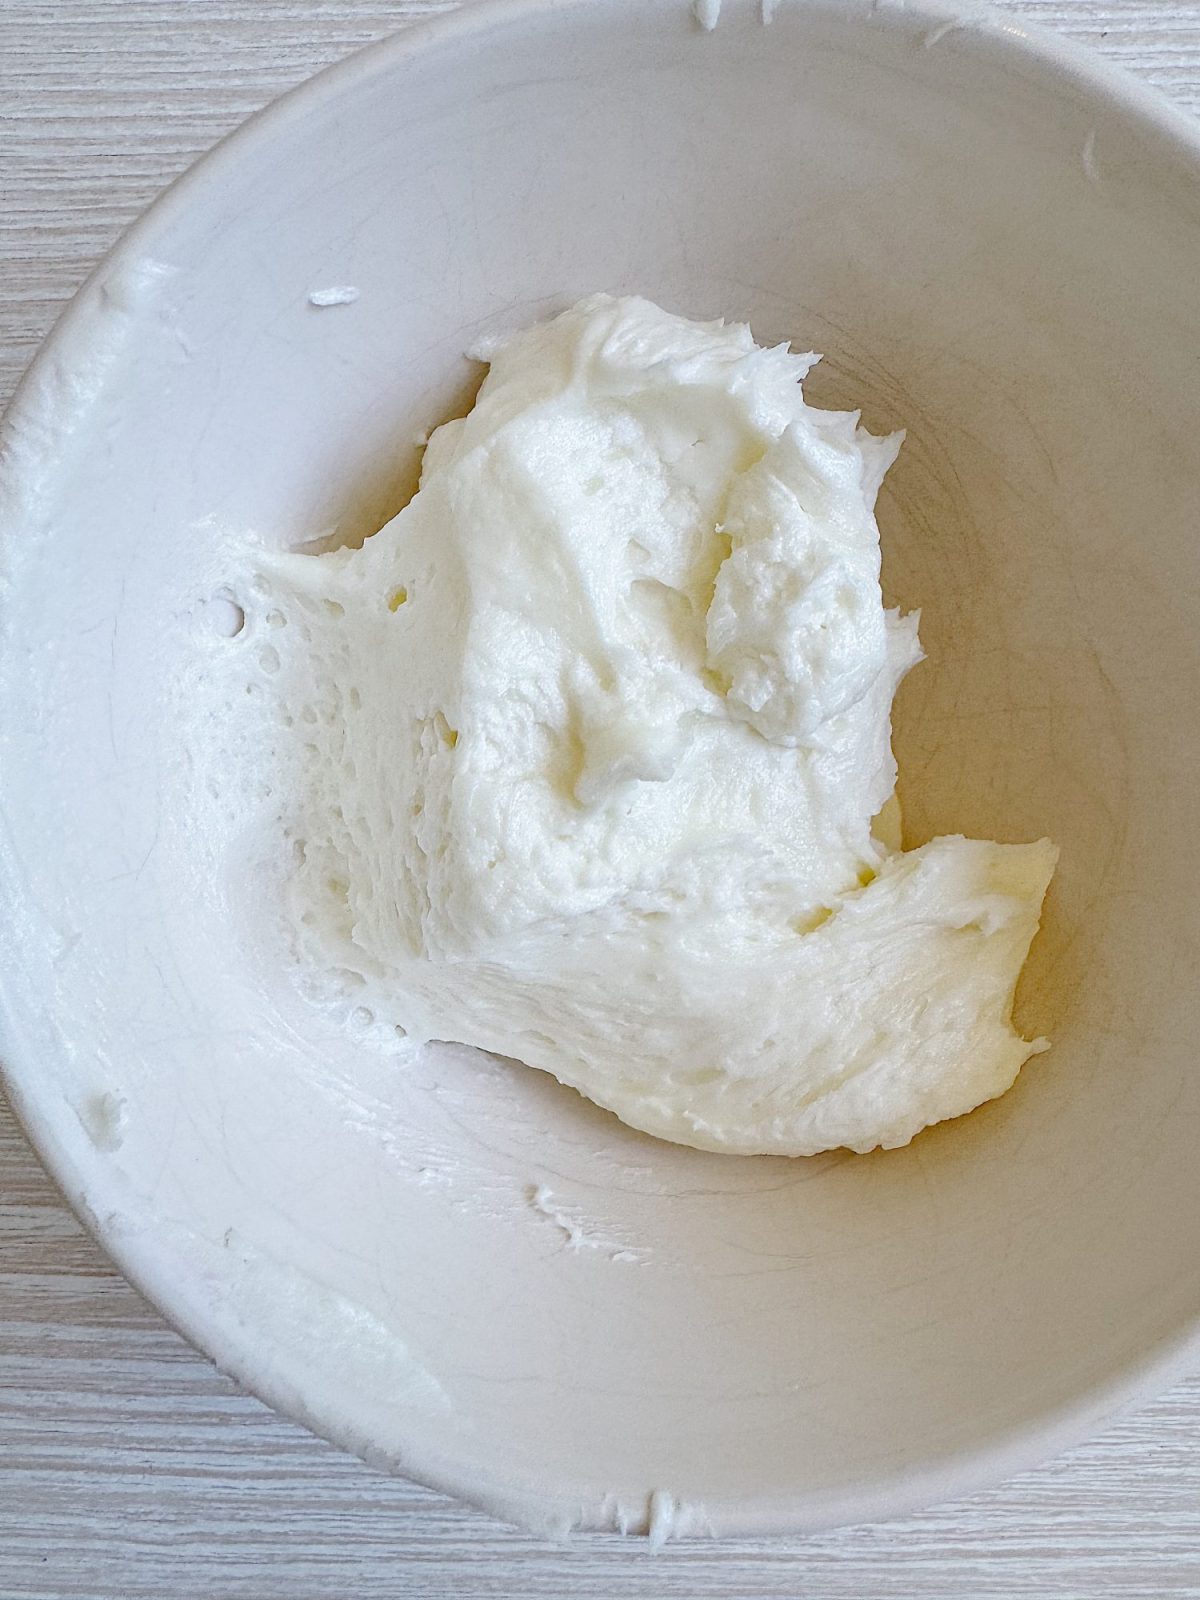
The key to a deliciously decadent cake is undoubtedly the frosting, and I always rely on my trusted buttercream recipe. This classic recipe calls for butter, powdered sugar, milk (or cream), and vanilla extract. It delivers a creamy, smooth texture perfect for decorating and piping beautiful shapes and roses.
Buttercream Frosting for Decorating Cakes
This buttercream frosting is very thick and has an excellent consistency for decorating cakes with flowers and other designs made with frosting. Clear vanilla and this butter/powdered sugar ratio creates a white frosting.
Ingredients
- 2 cups unsalted butter, softened
- 8 cups powdered sugar
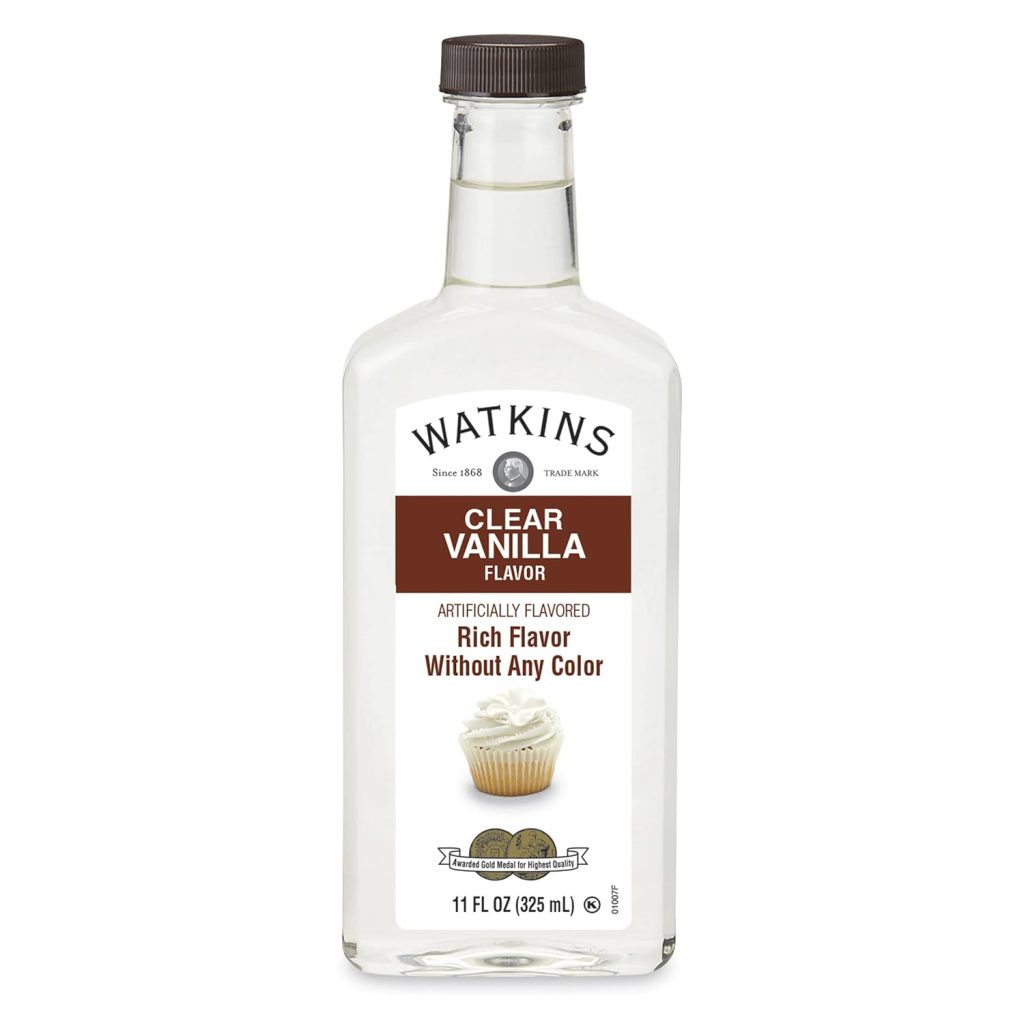
- 2 teaspoons vanilla extract (I use Clear vanilla extract)
- 2-4 tablespoons heavy cream, milk, or coconut milk
- Gel food coloring
Instructions
- In a large mixing bowl, beat the softened butter on medium speed until creamy and smooth.
- Gradually add the powdered sugar, one cup at a time, mixing on low speed until well incorporated.
- Add the vanilla extract and 2 tablespoons of heavy cream or milk, then beat on medium-high speed until light and fluffy. Add more cream or milk as needed to achieve the desired consistency.
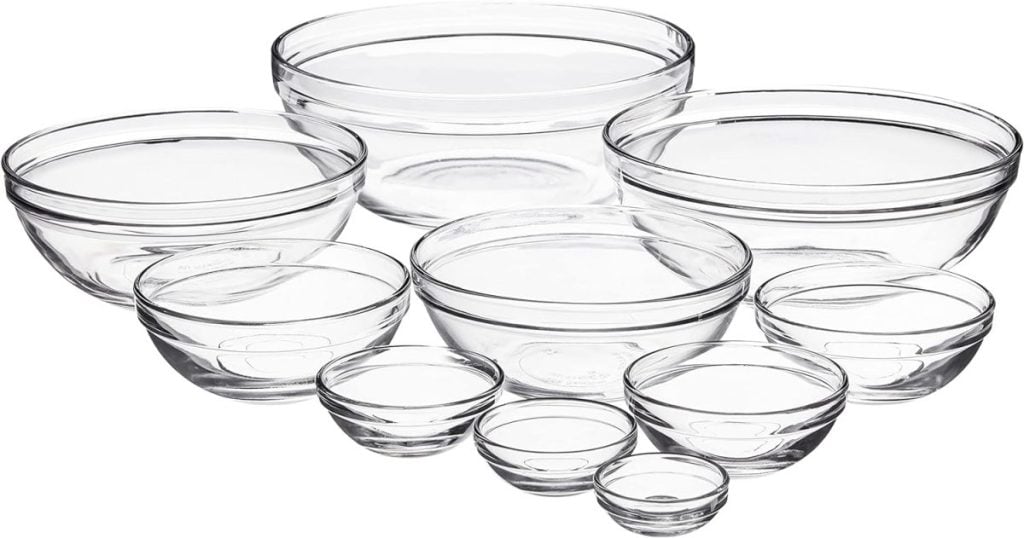
- If desired, divide the frosting into smaller bowls and tint each portion with gel food coloring to create different shades for decorating.
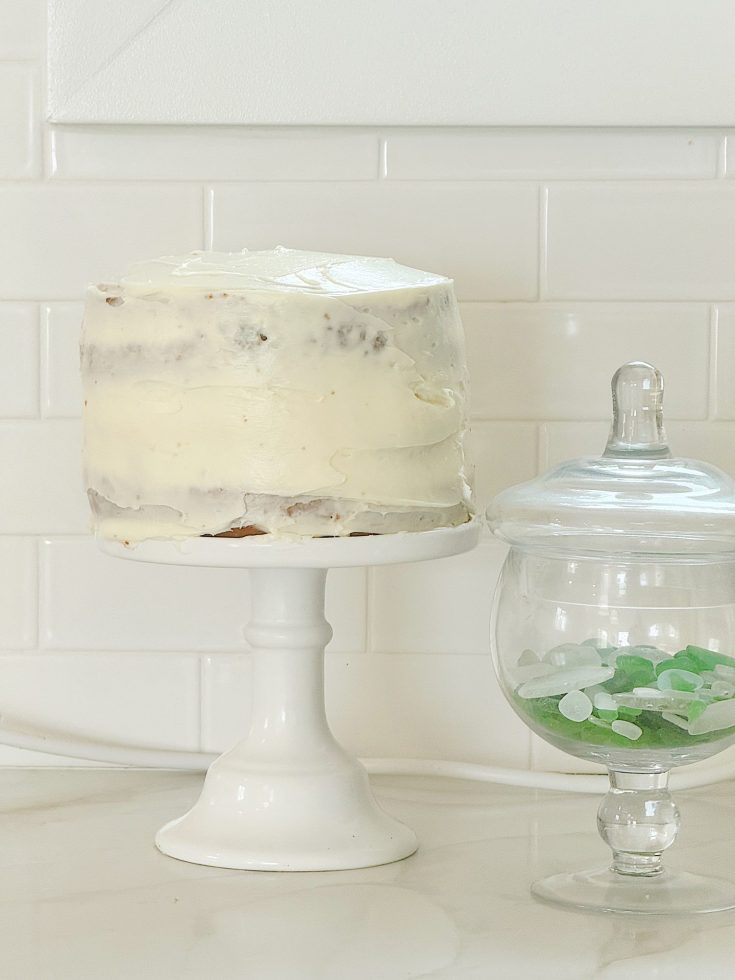
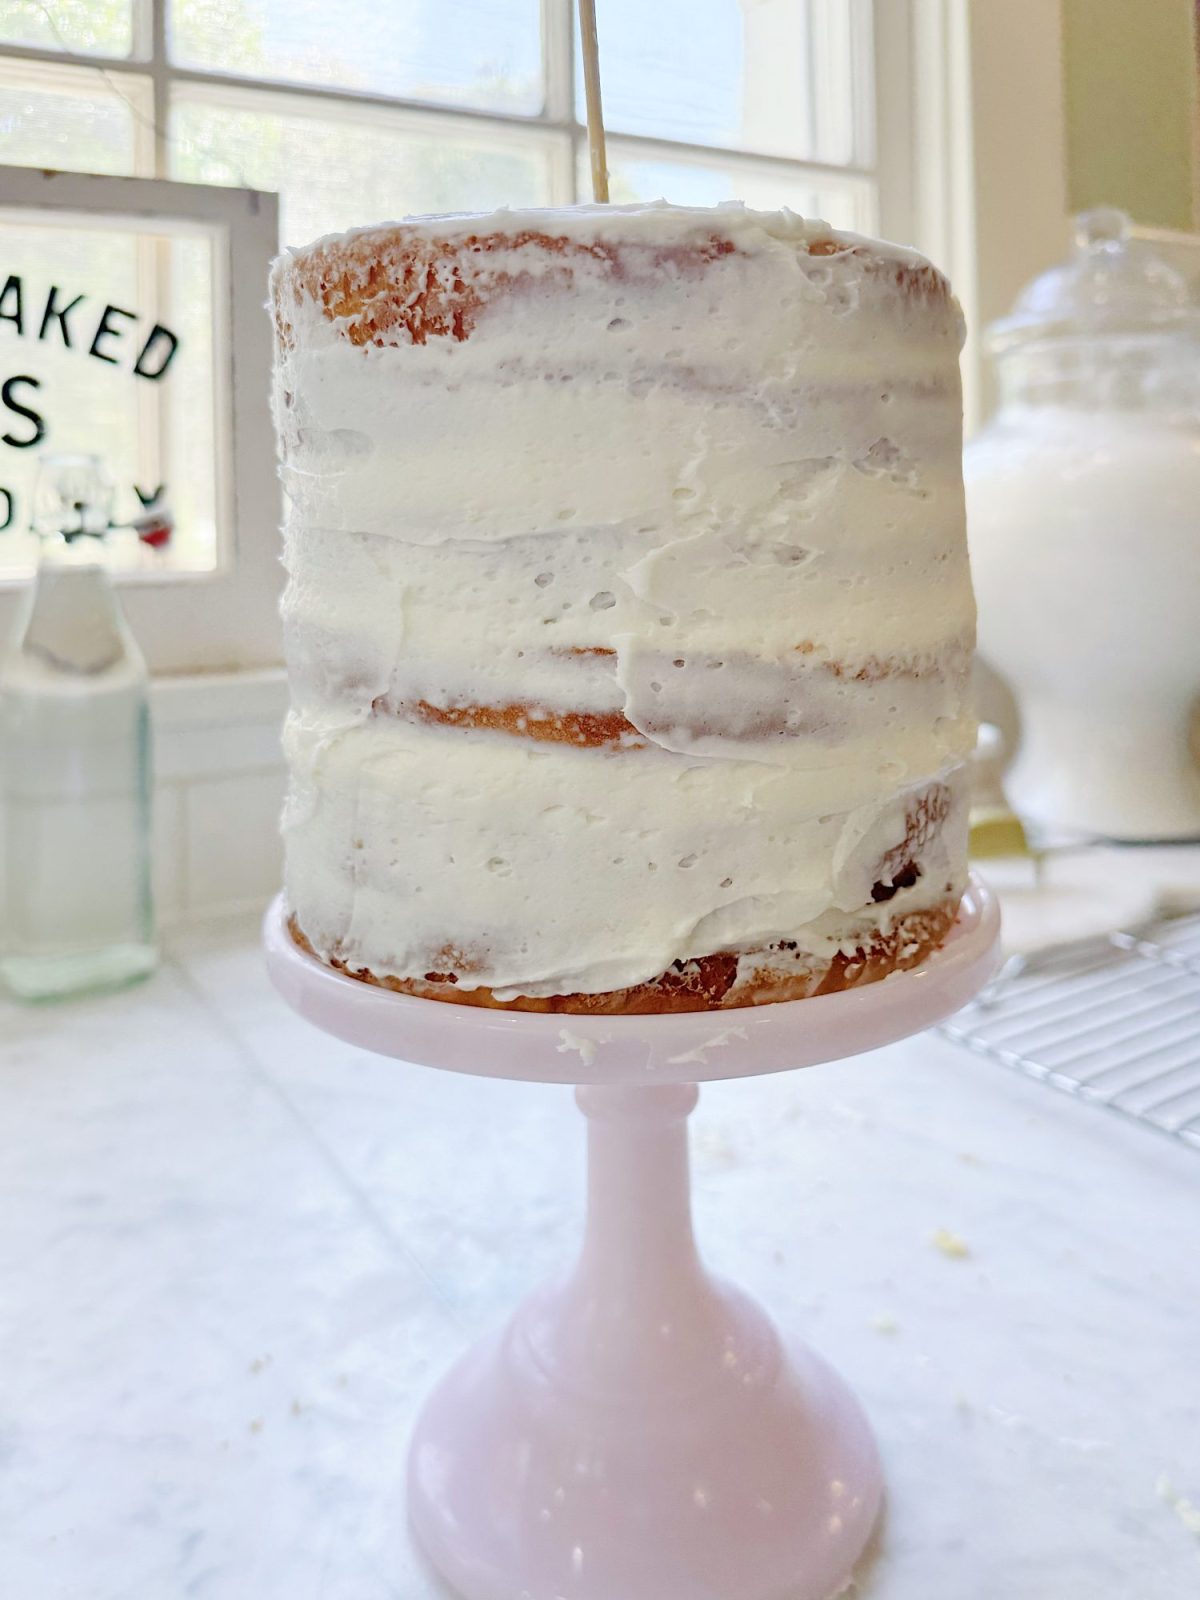
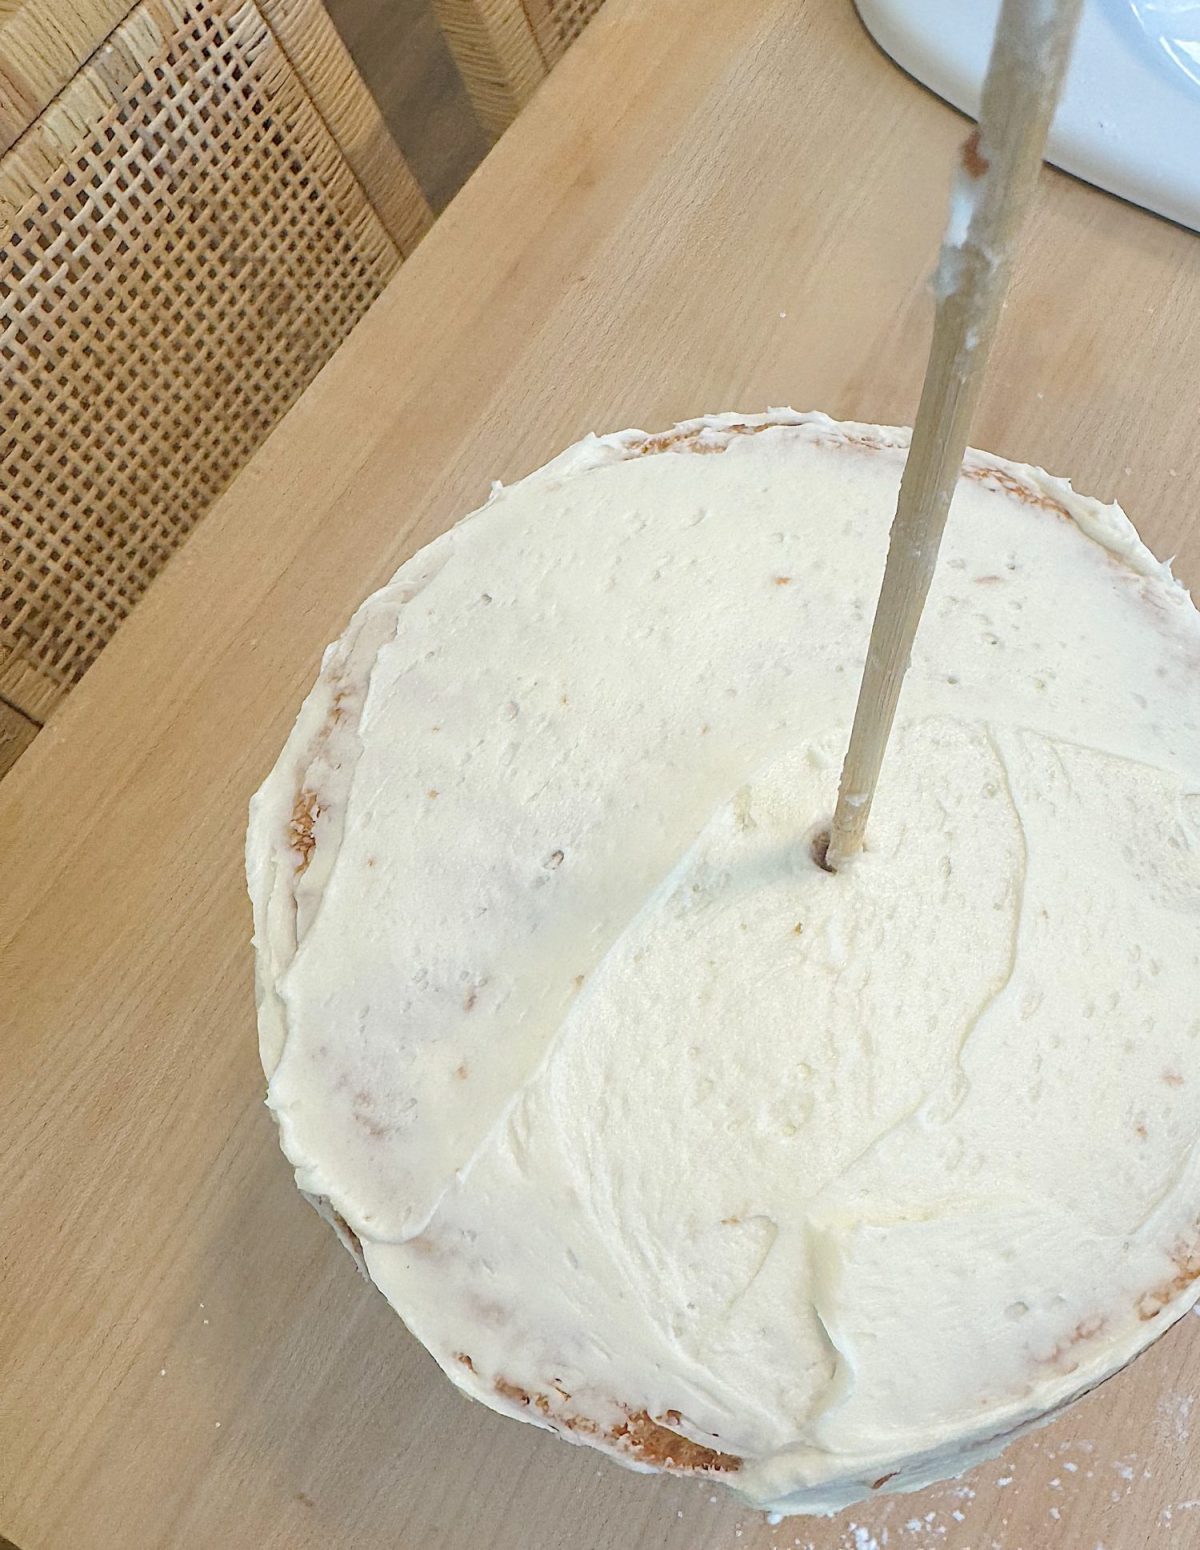
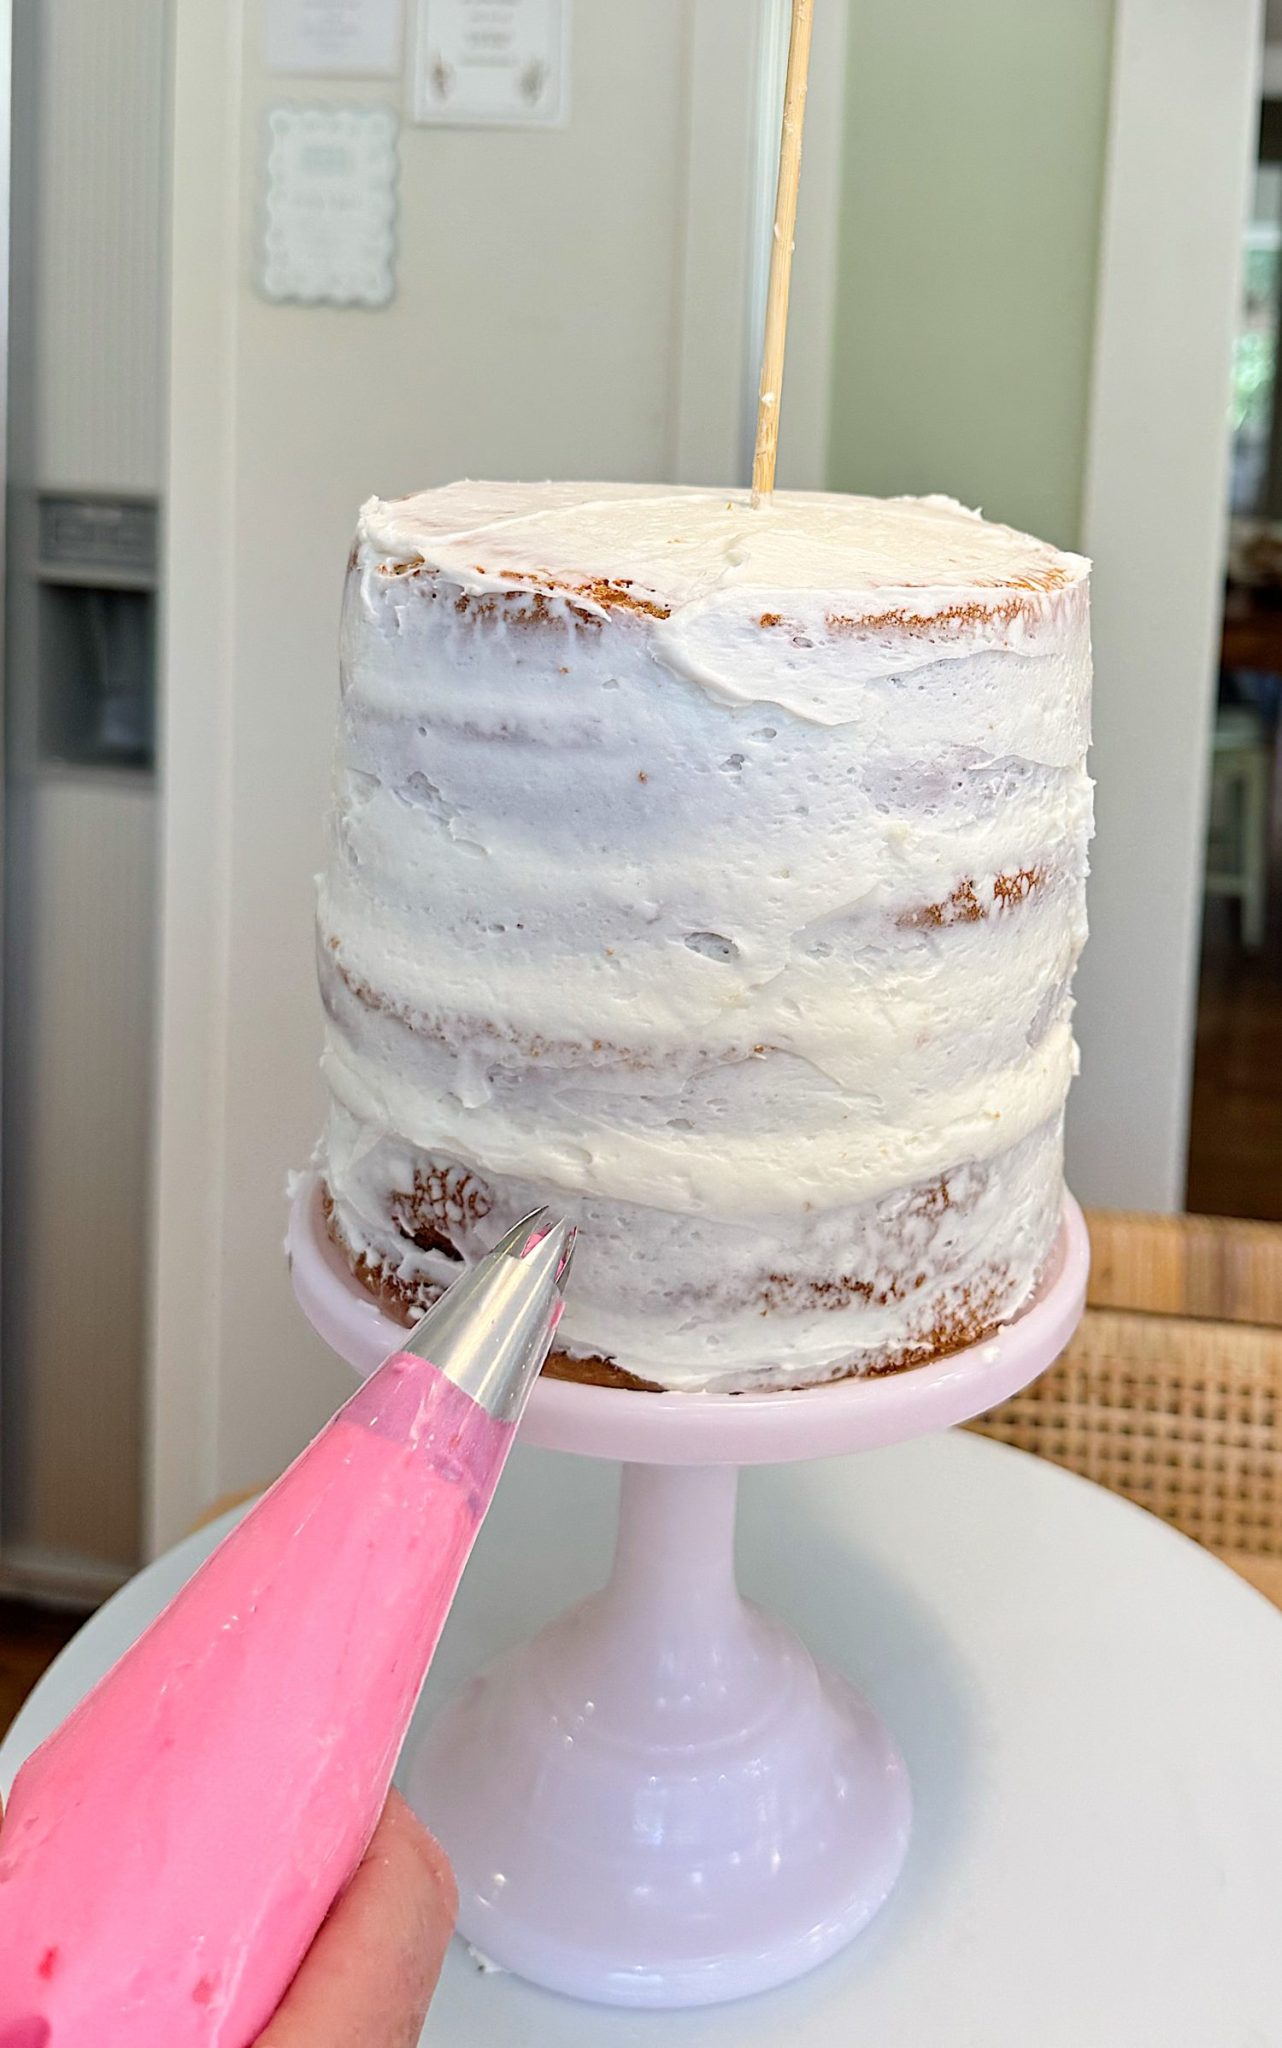
I frosted the cake in between the cake layers. I used a wooden skewer to keep the three layers in place.
I may use affiliate links on this blog, which means I earn a small commission if you make a purchase via the link. The price will be the same whether you use the affiliate link or go directly to the vendor’s website using a non-affiliate link.
Secret Tip: Keeping Buttercream Truly White
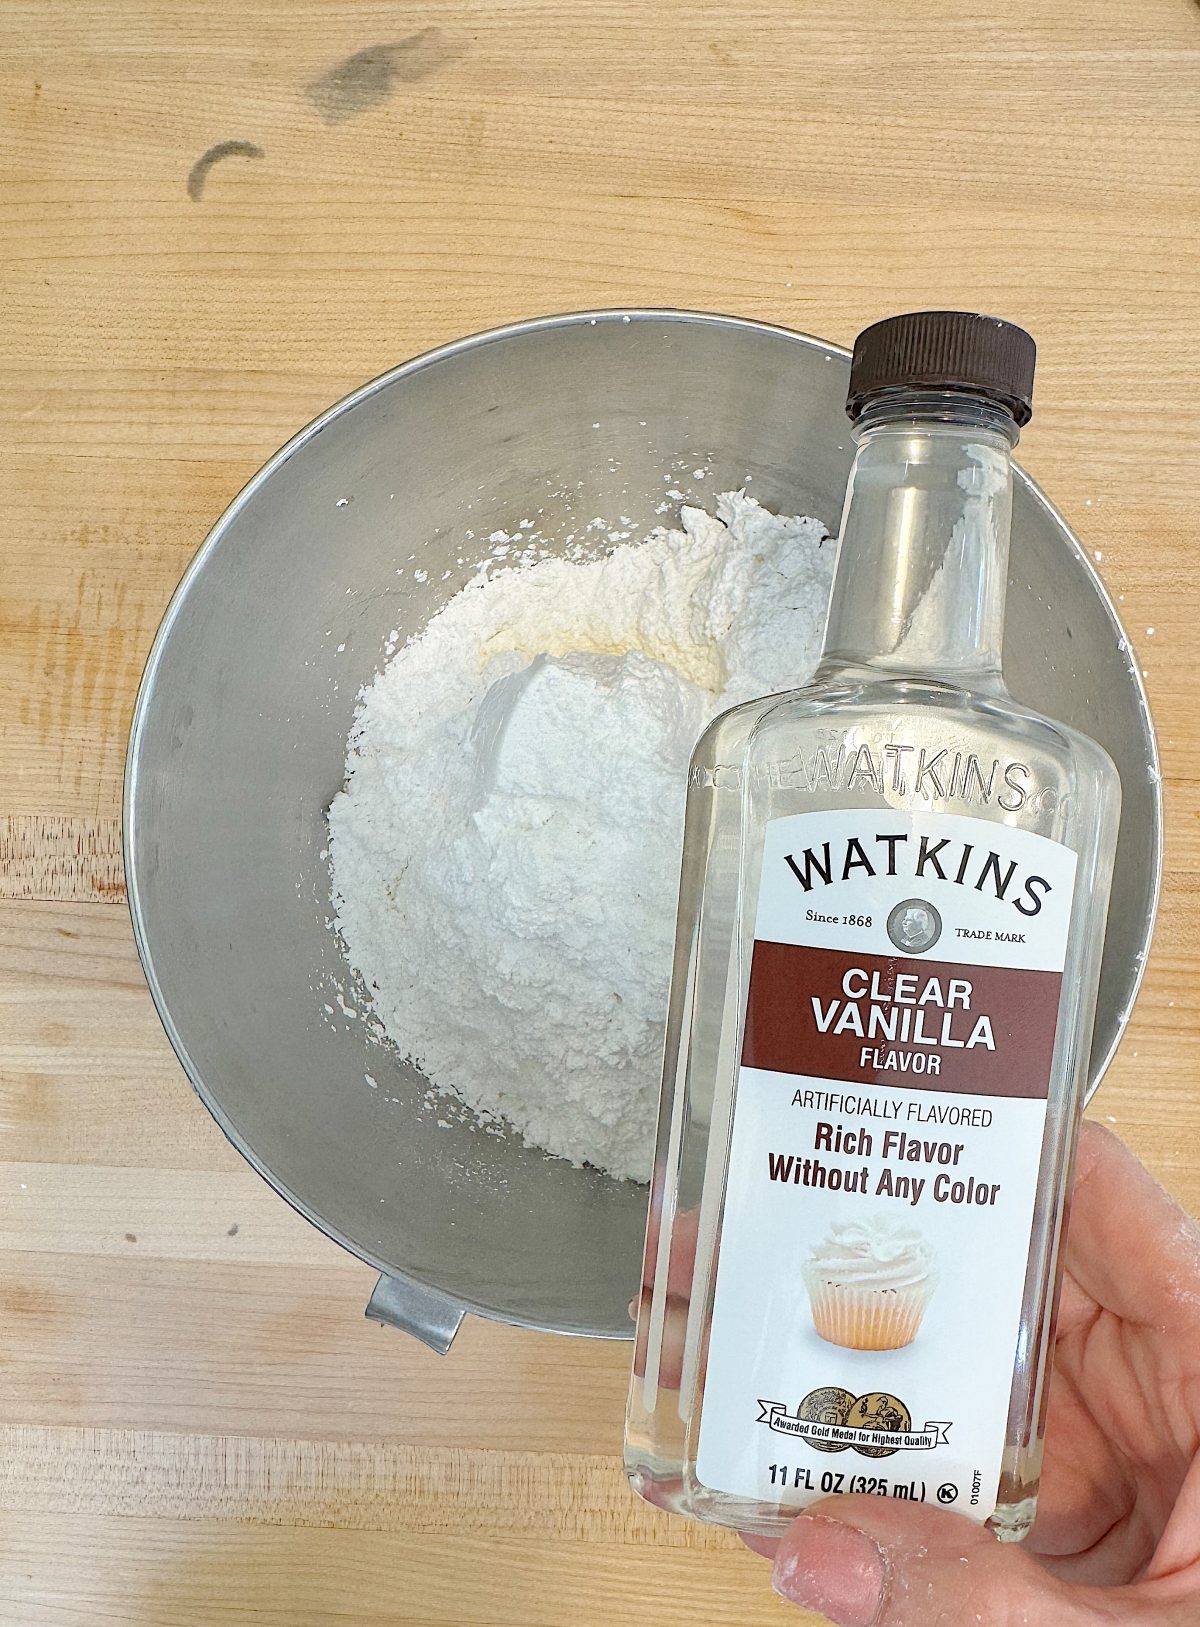
A frequent question I receive is, “How do you make your buttercream frosting pure white without sacrificing the rich taste of butter?”
The secret is surprisingly simple: clear vanilla extract! Traditional vanilla extract adds a warm, golden hue, slightly tinting your frosting. However, clear vanilla extract delivers the same great taste without adding any color.
Clear vanilla extract can be found here. A little goes a long way, and the result is gorgeous, pure white frosting that’s ideal for elegant cakes, especially wedding or floral-themed cakes like this one.
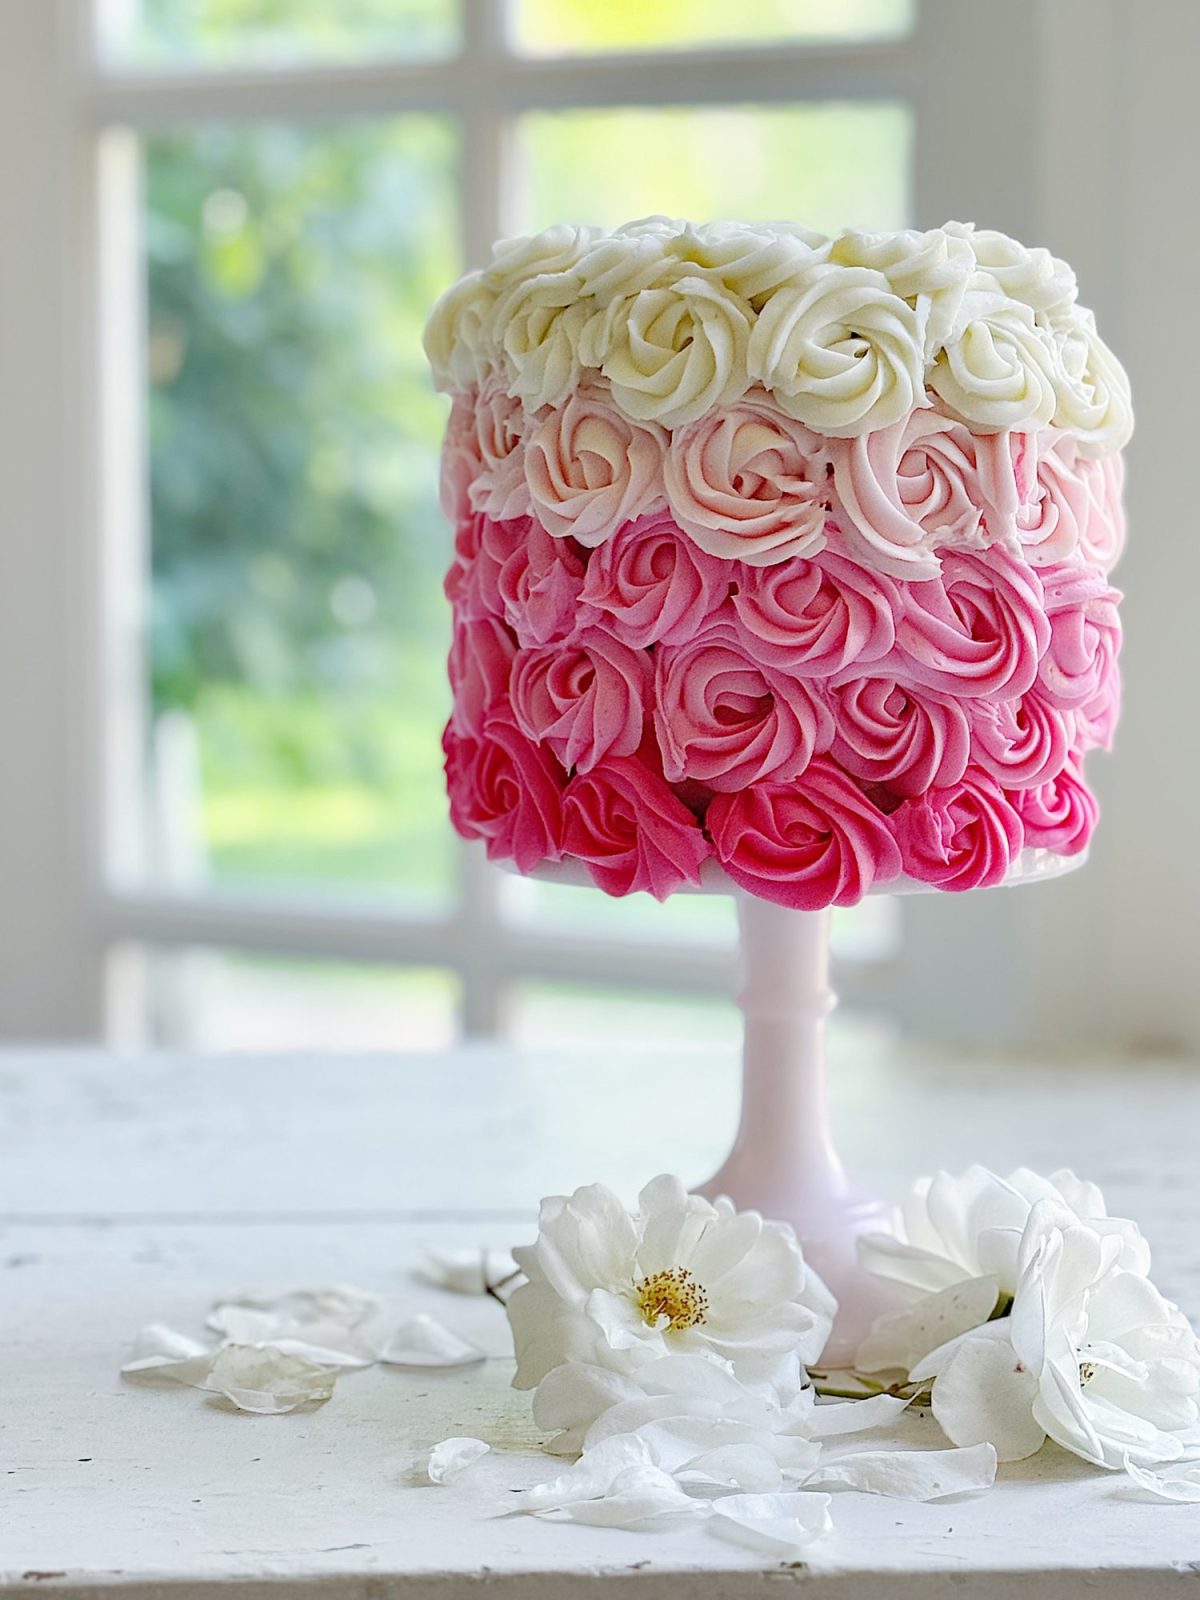
Creating the Rose Ombre Effect
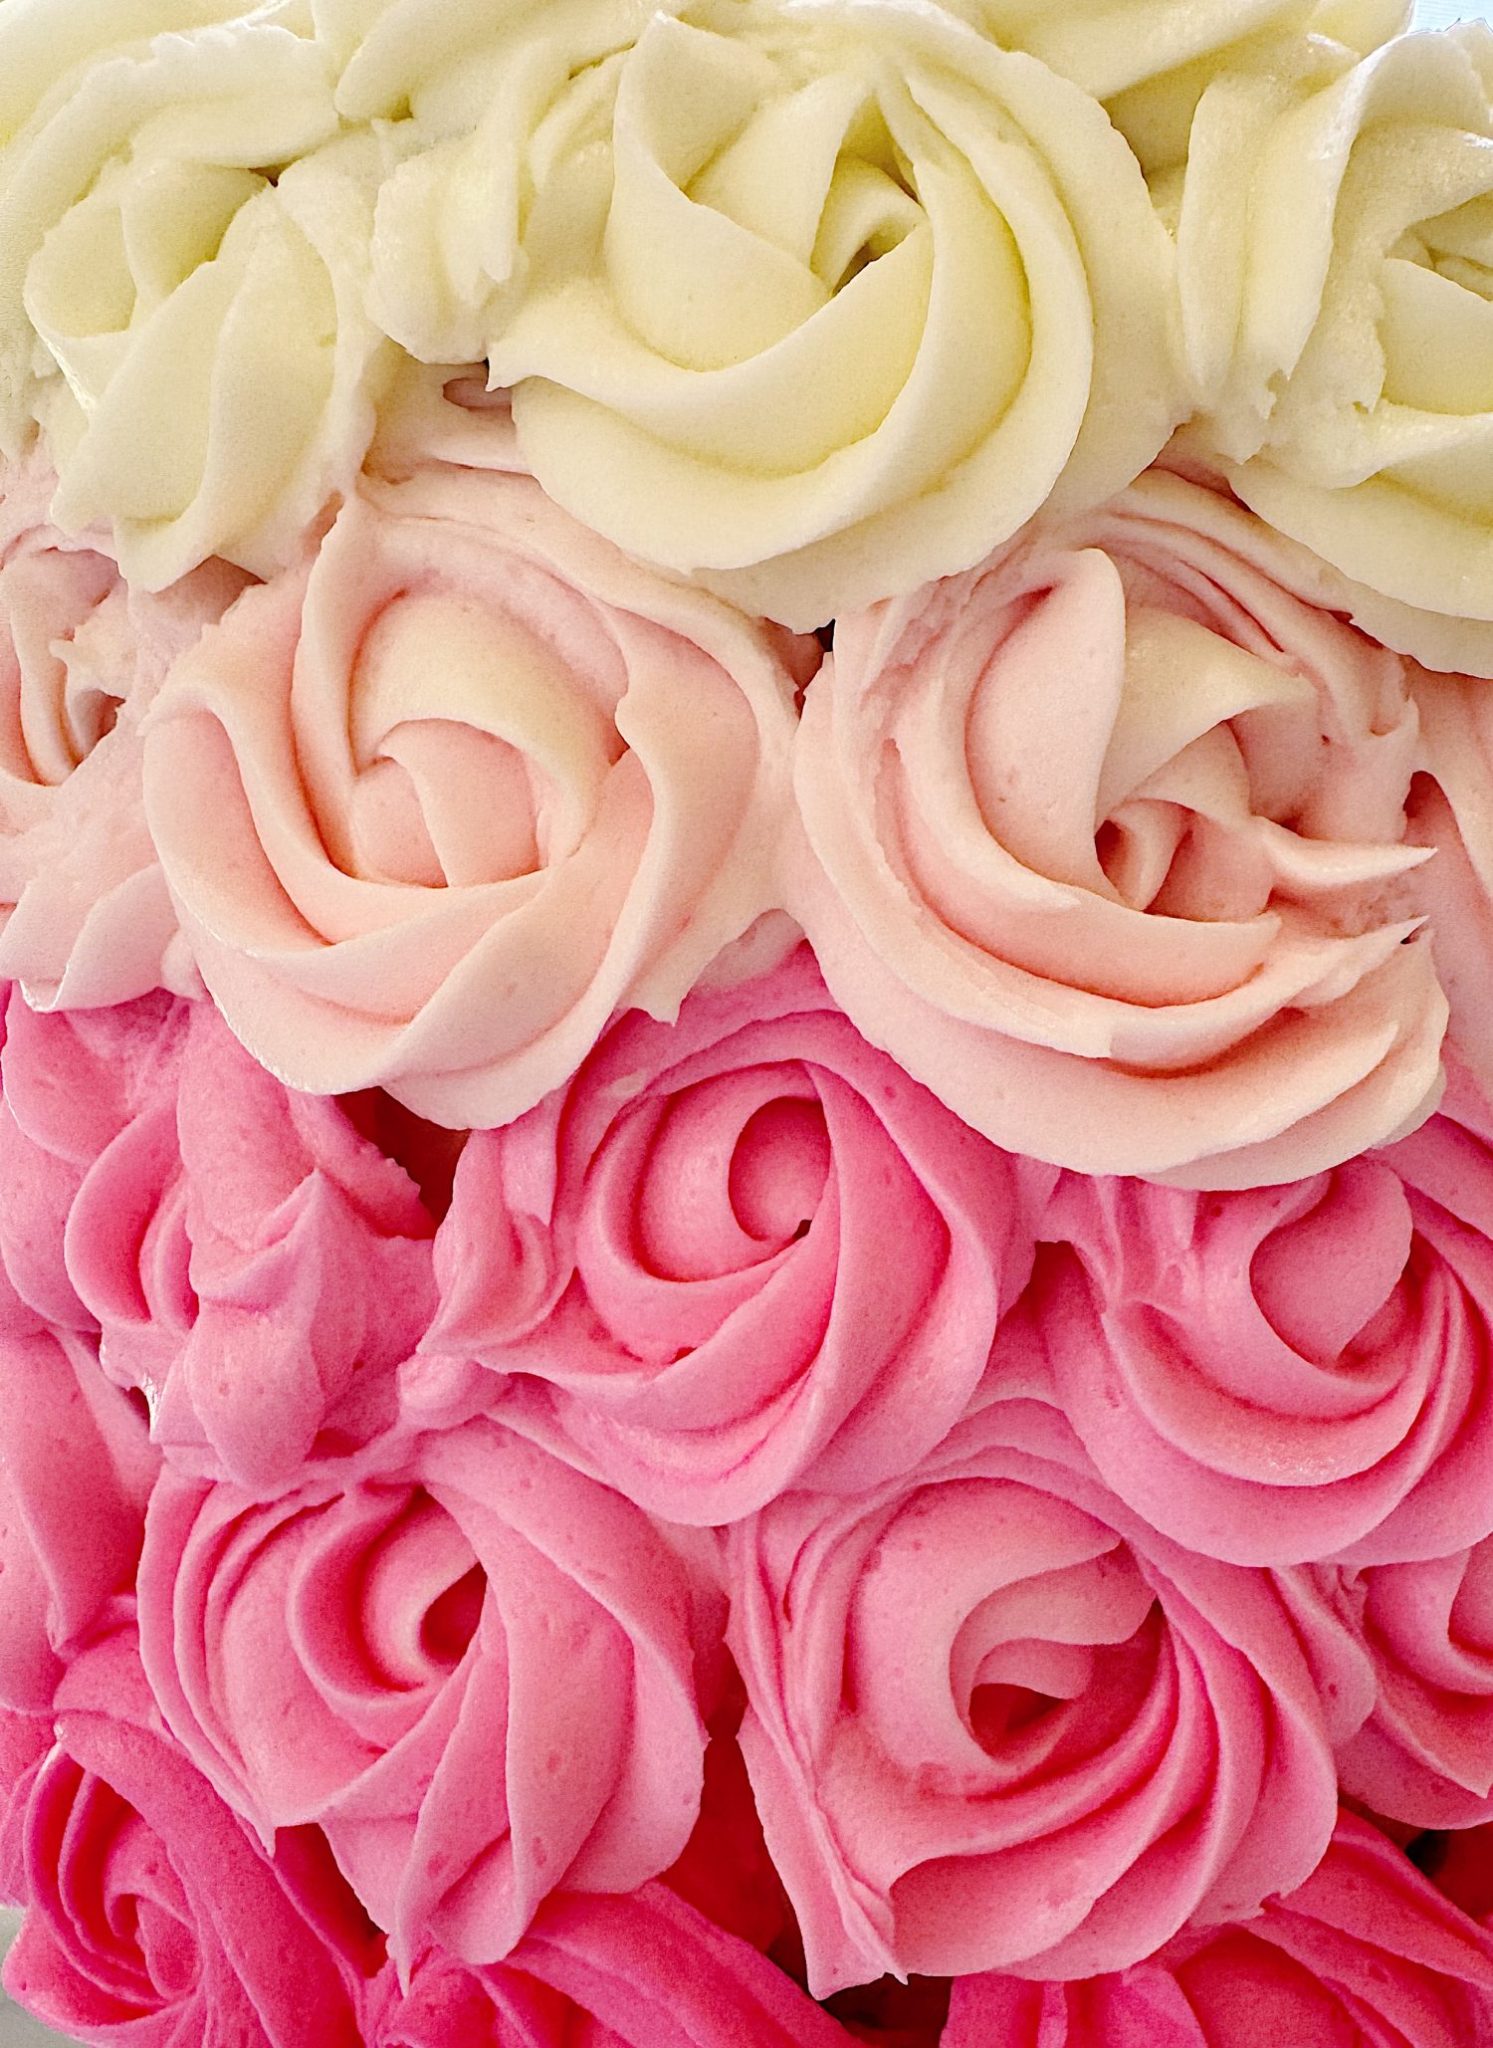
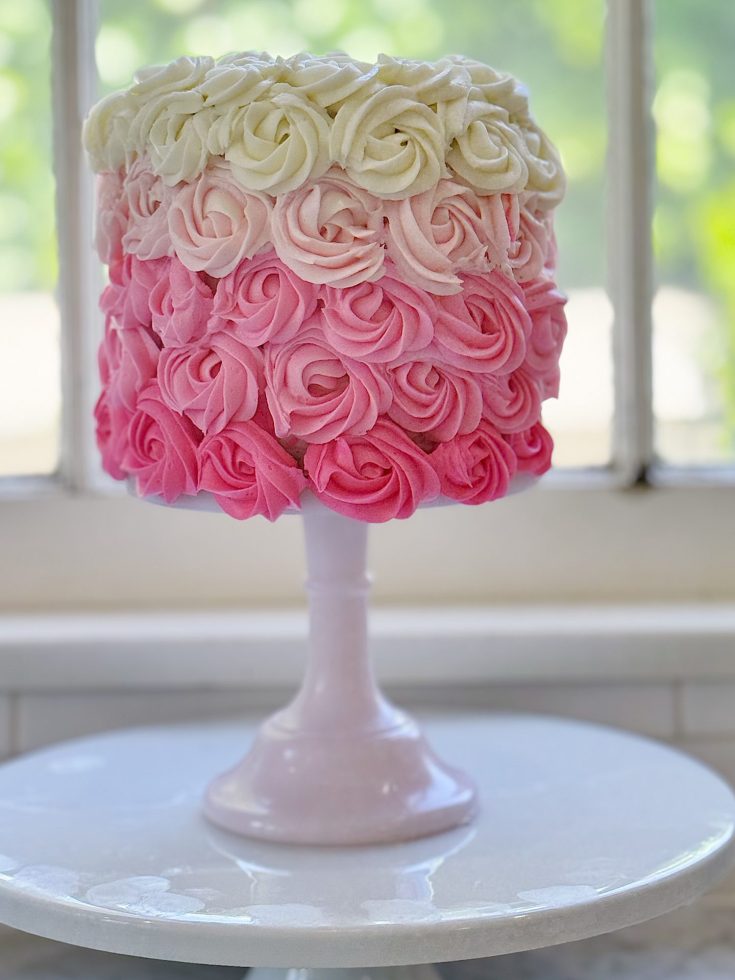
Once the cake was frosted smoothly with my white buttercream, it was time for the fun part—decorating! I envisioned a delicate ombre effect with rows of roses, transitioning beautifully from a rich, dark pink at the base to soft pastel pink and, finally, pure white roses at the top.
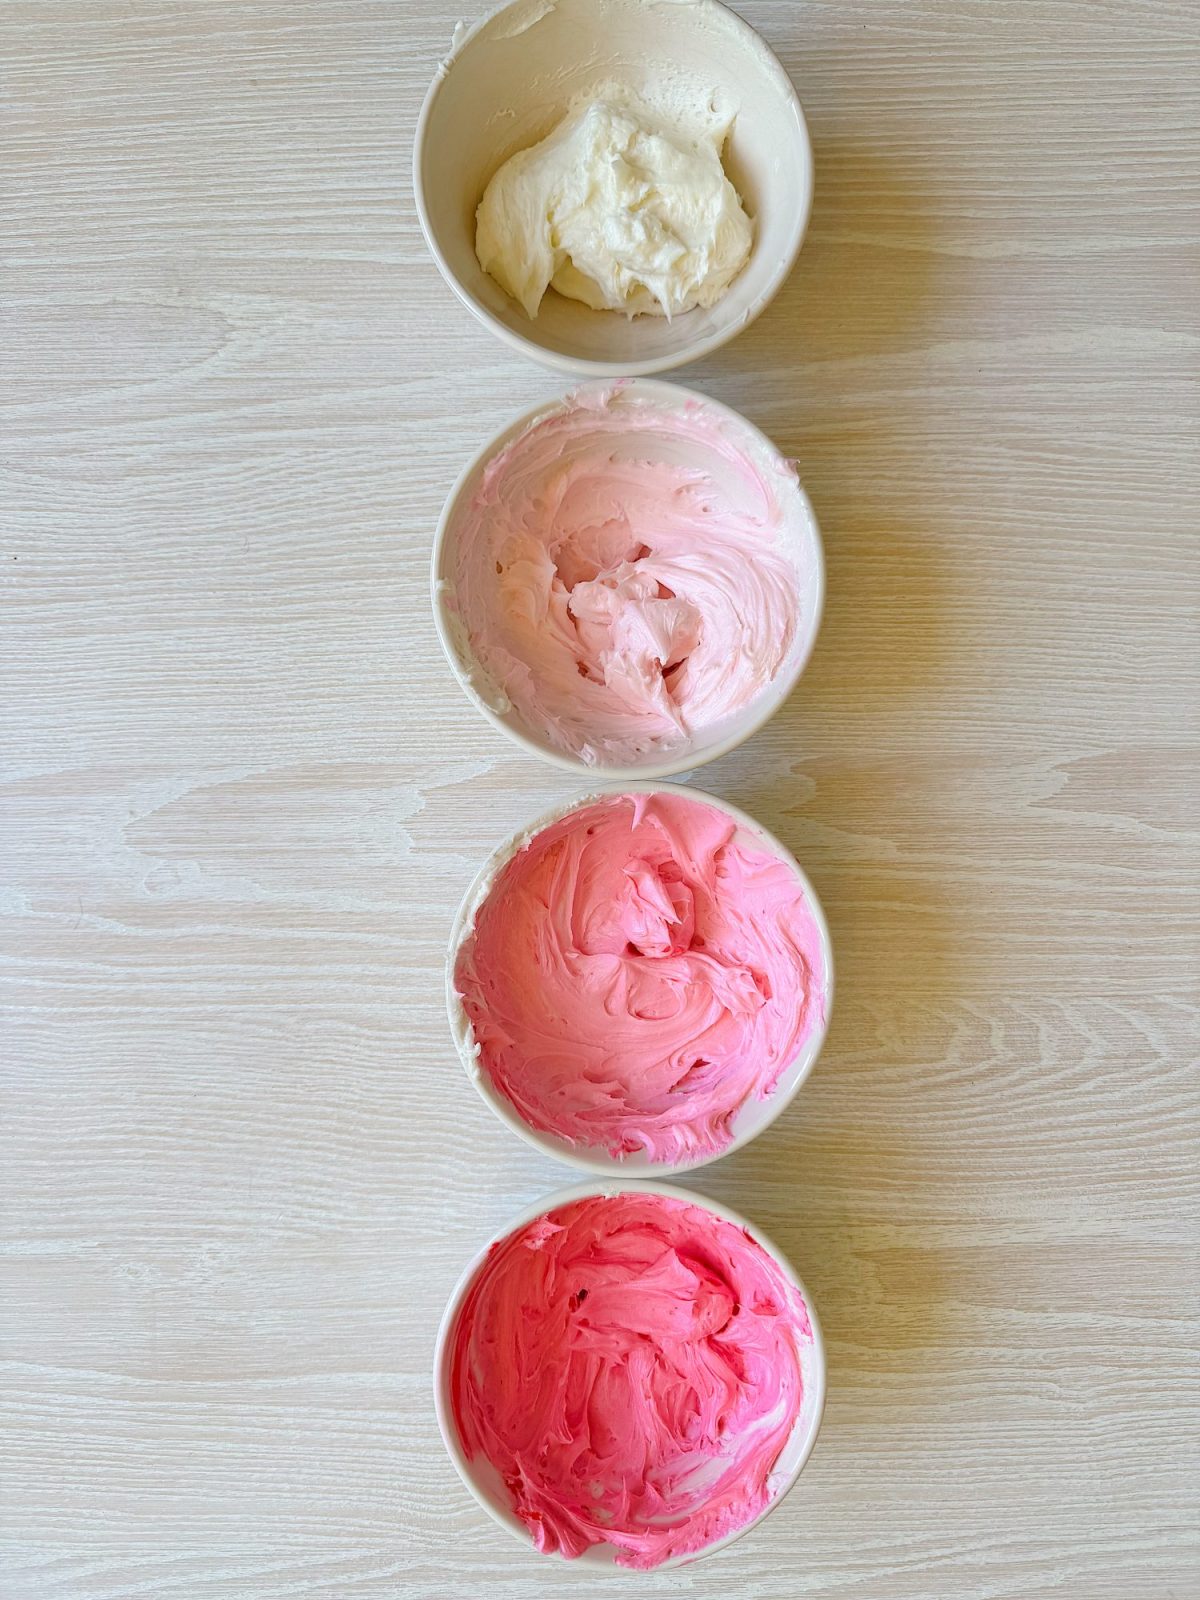
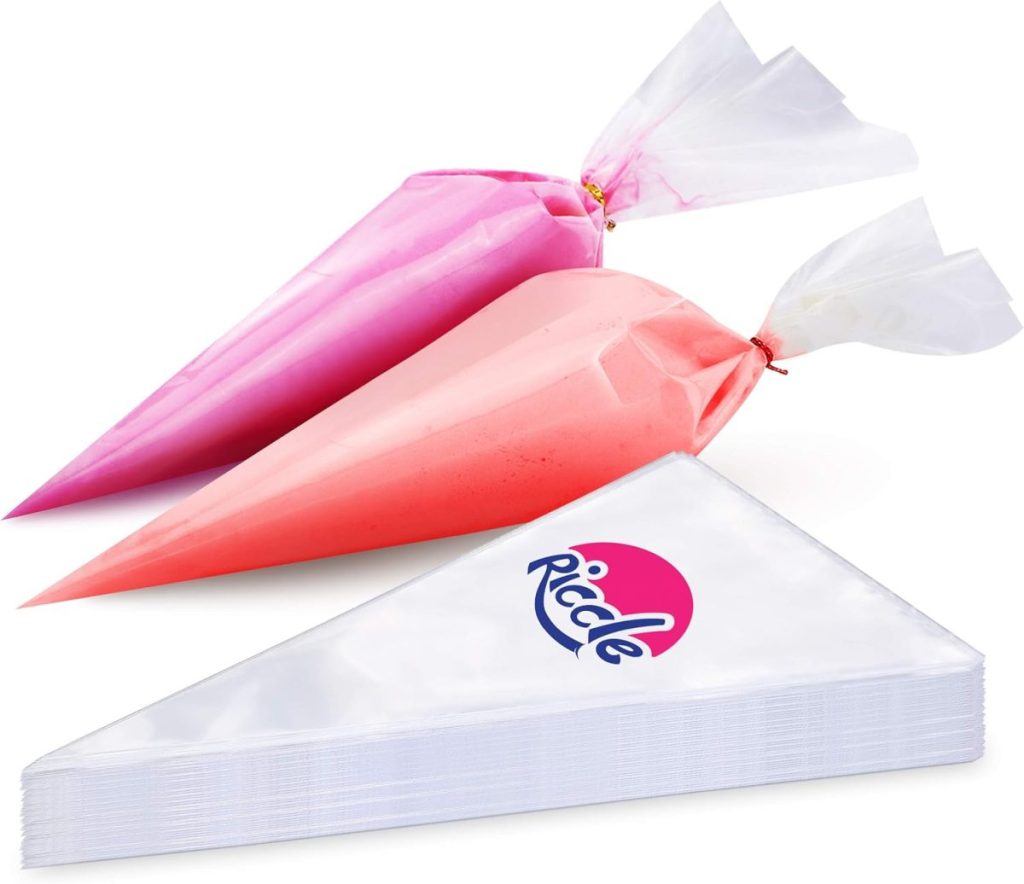
To create this effect, I tinted my buttercream into three shades of pink:
- Dark pink for the base
- Medium pink for the middle rows
- Pale pink blending upward to white at the very top
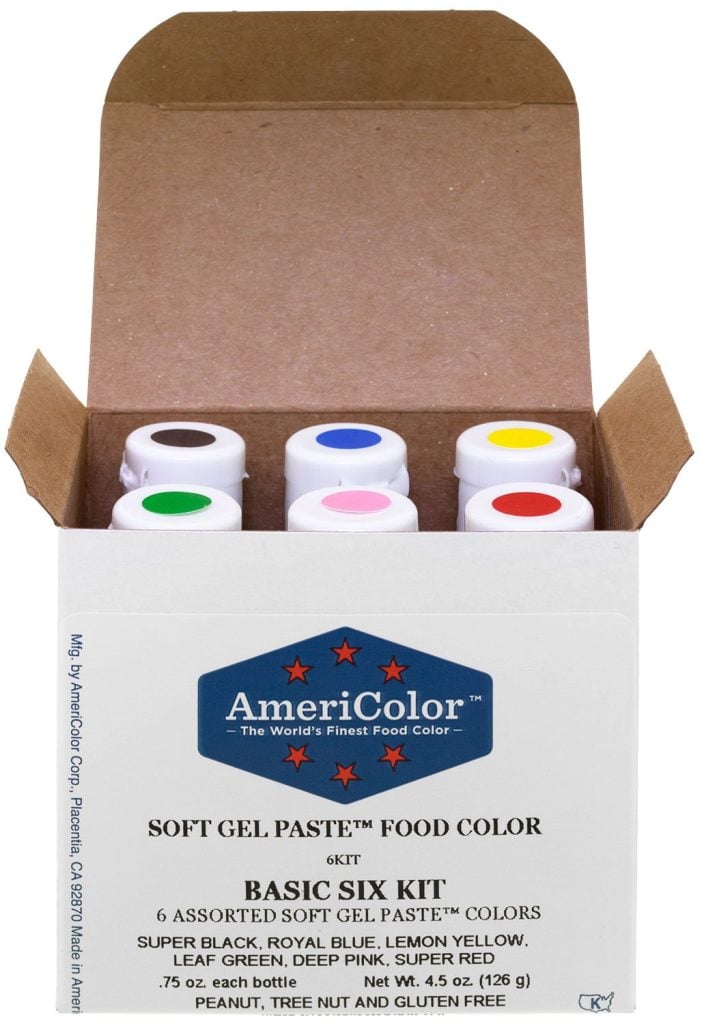
Gel food colors work best for tinting the frosting because they are highly concentrated and produce vibrant colors without altering the texture of the buttercream.
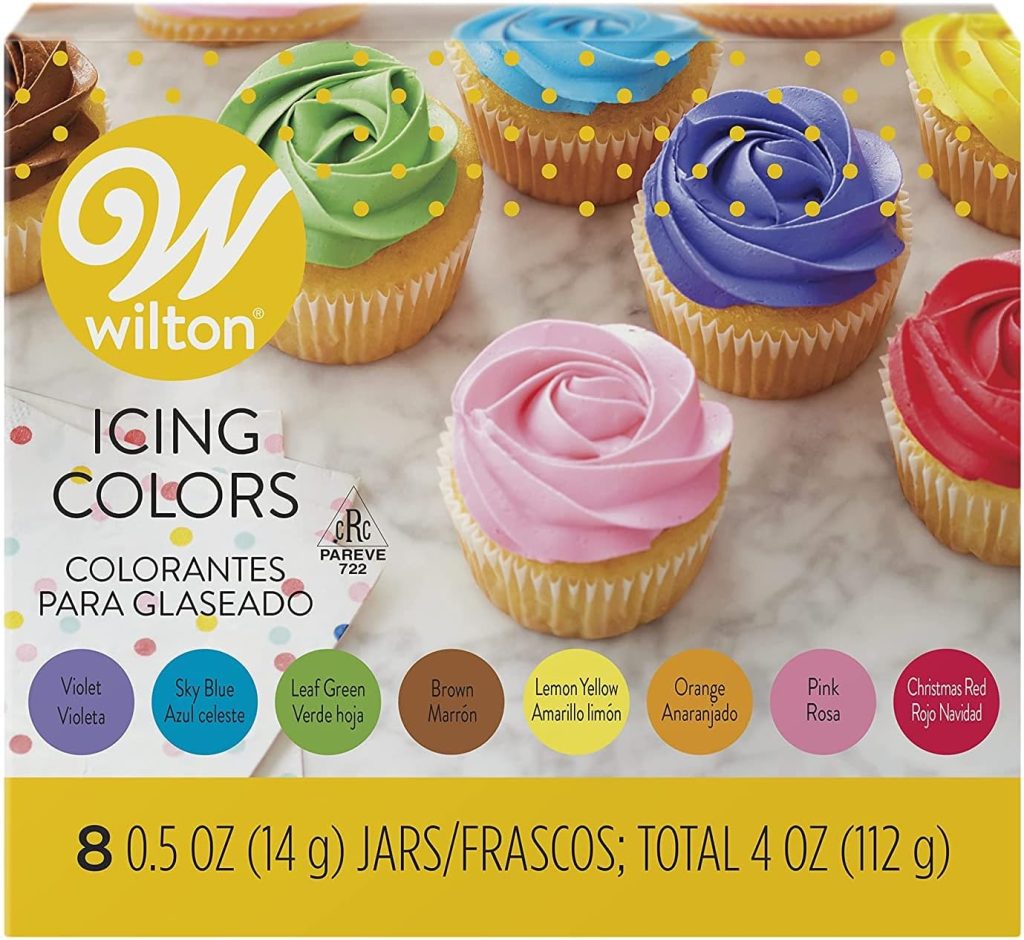
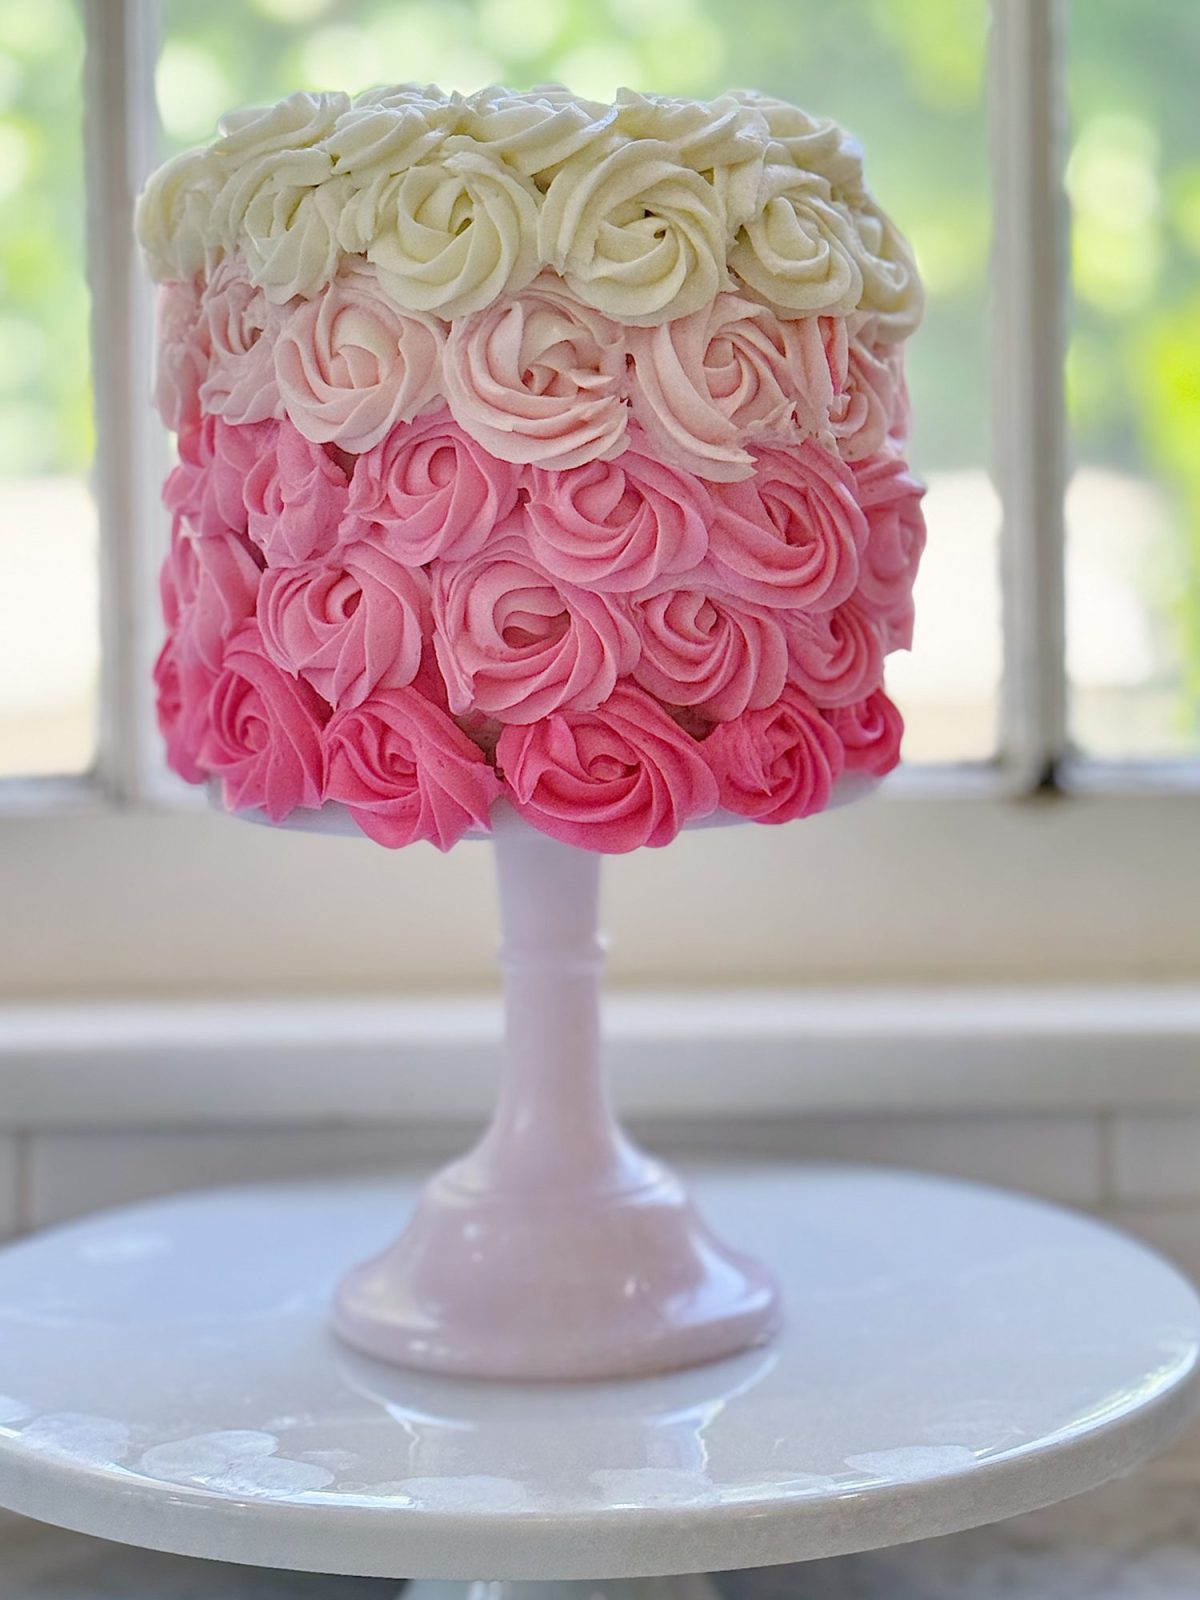
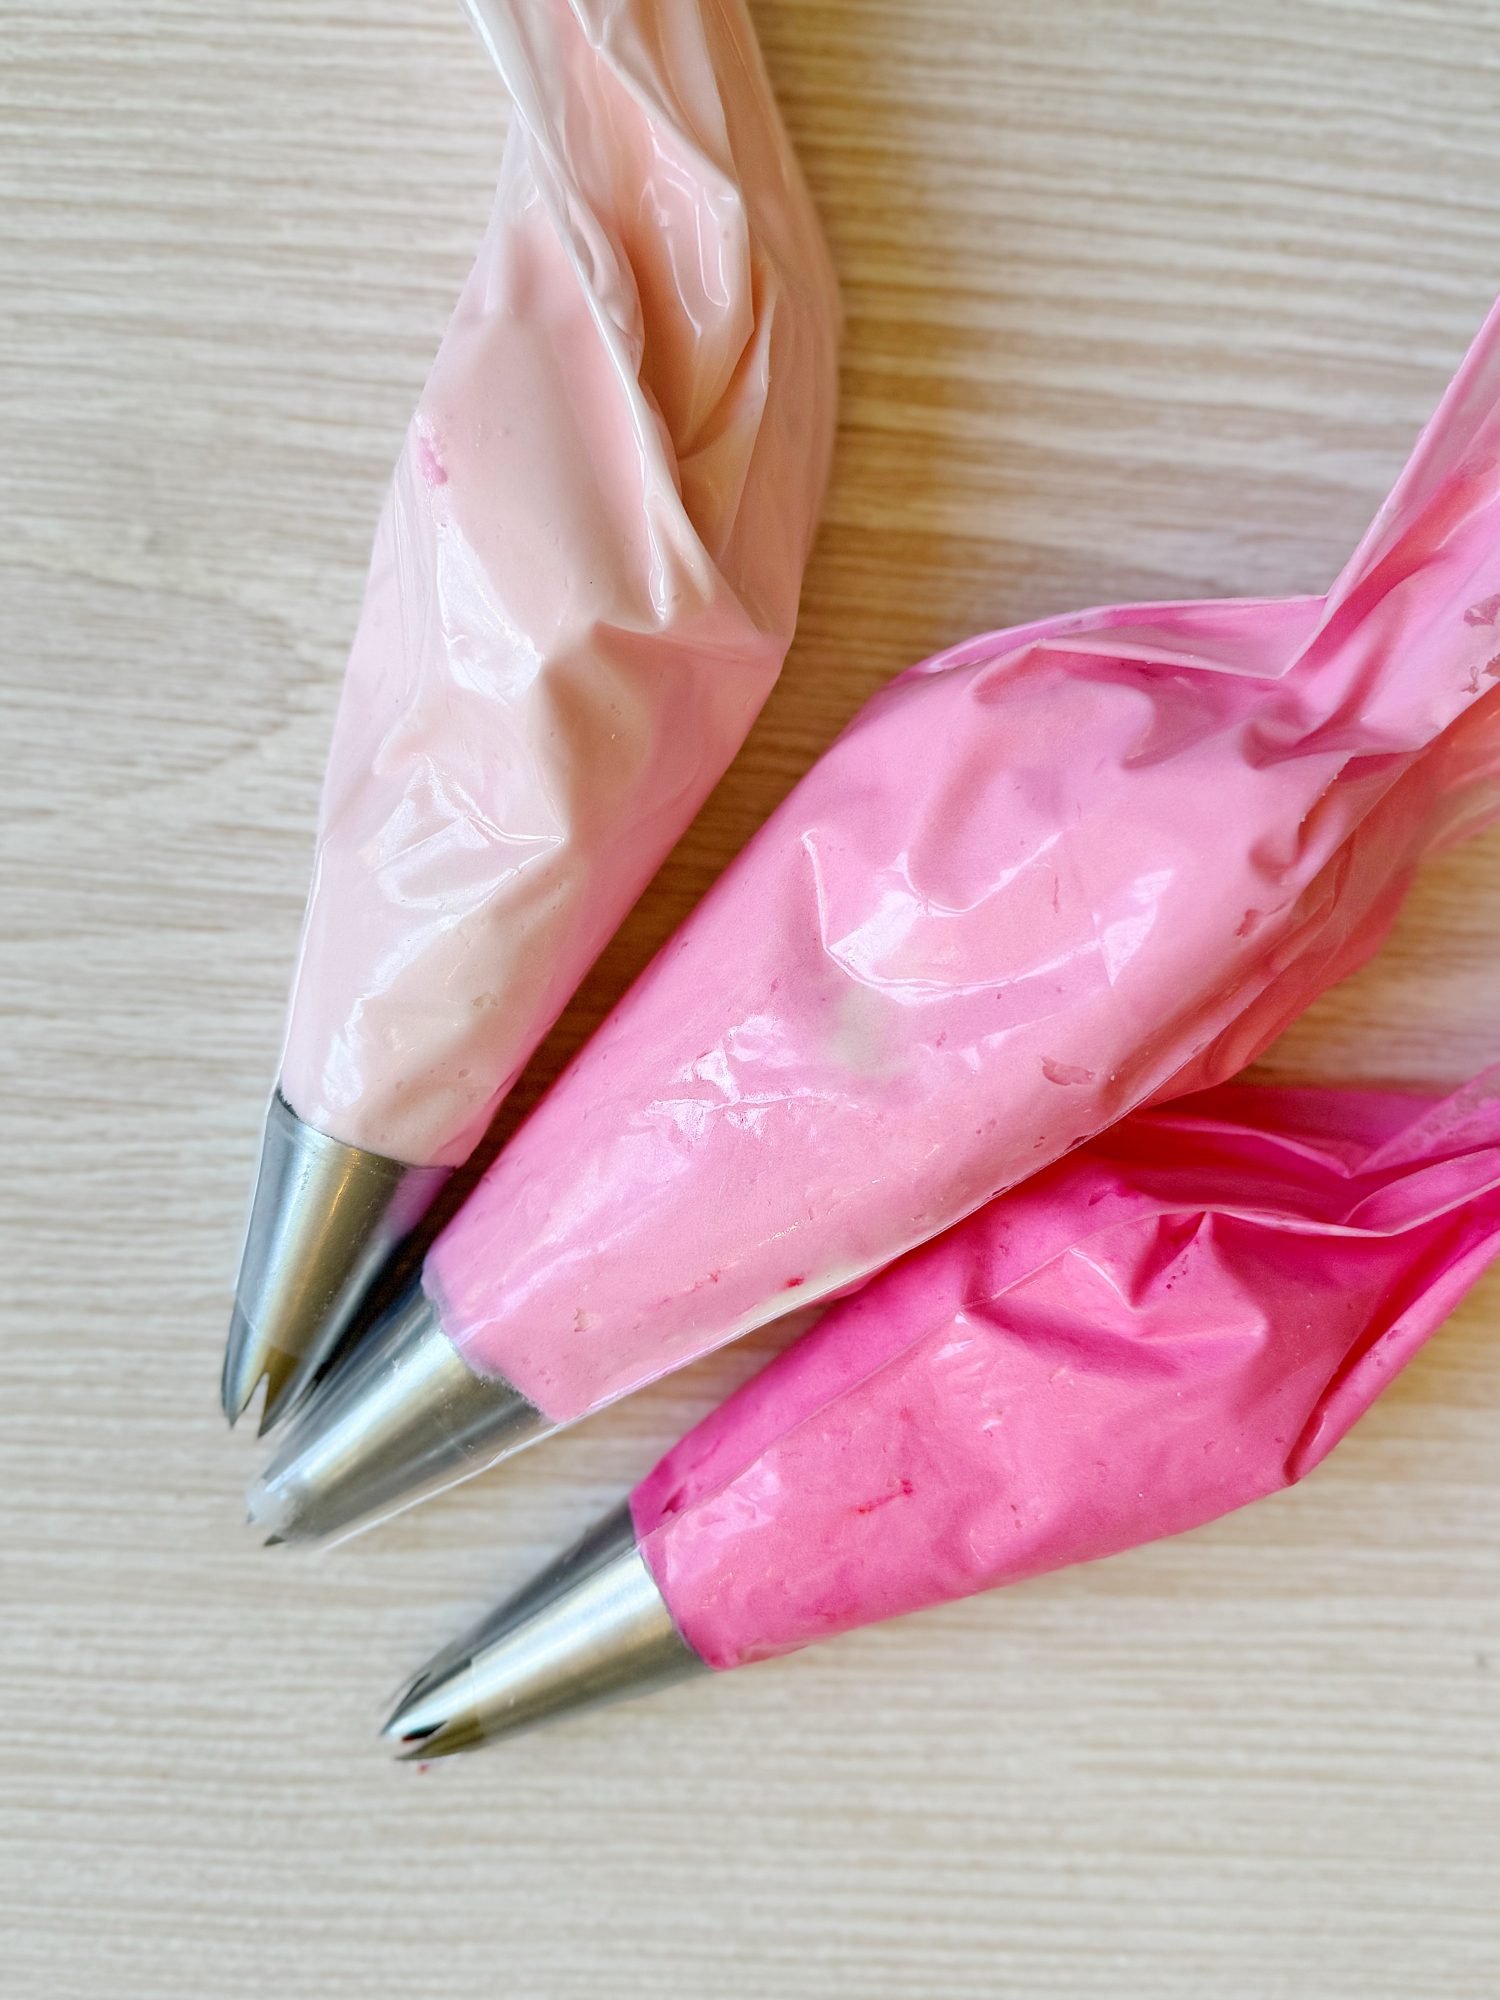
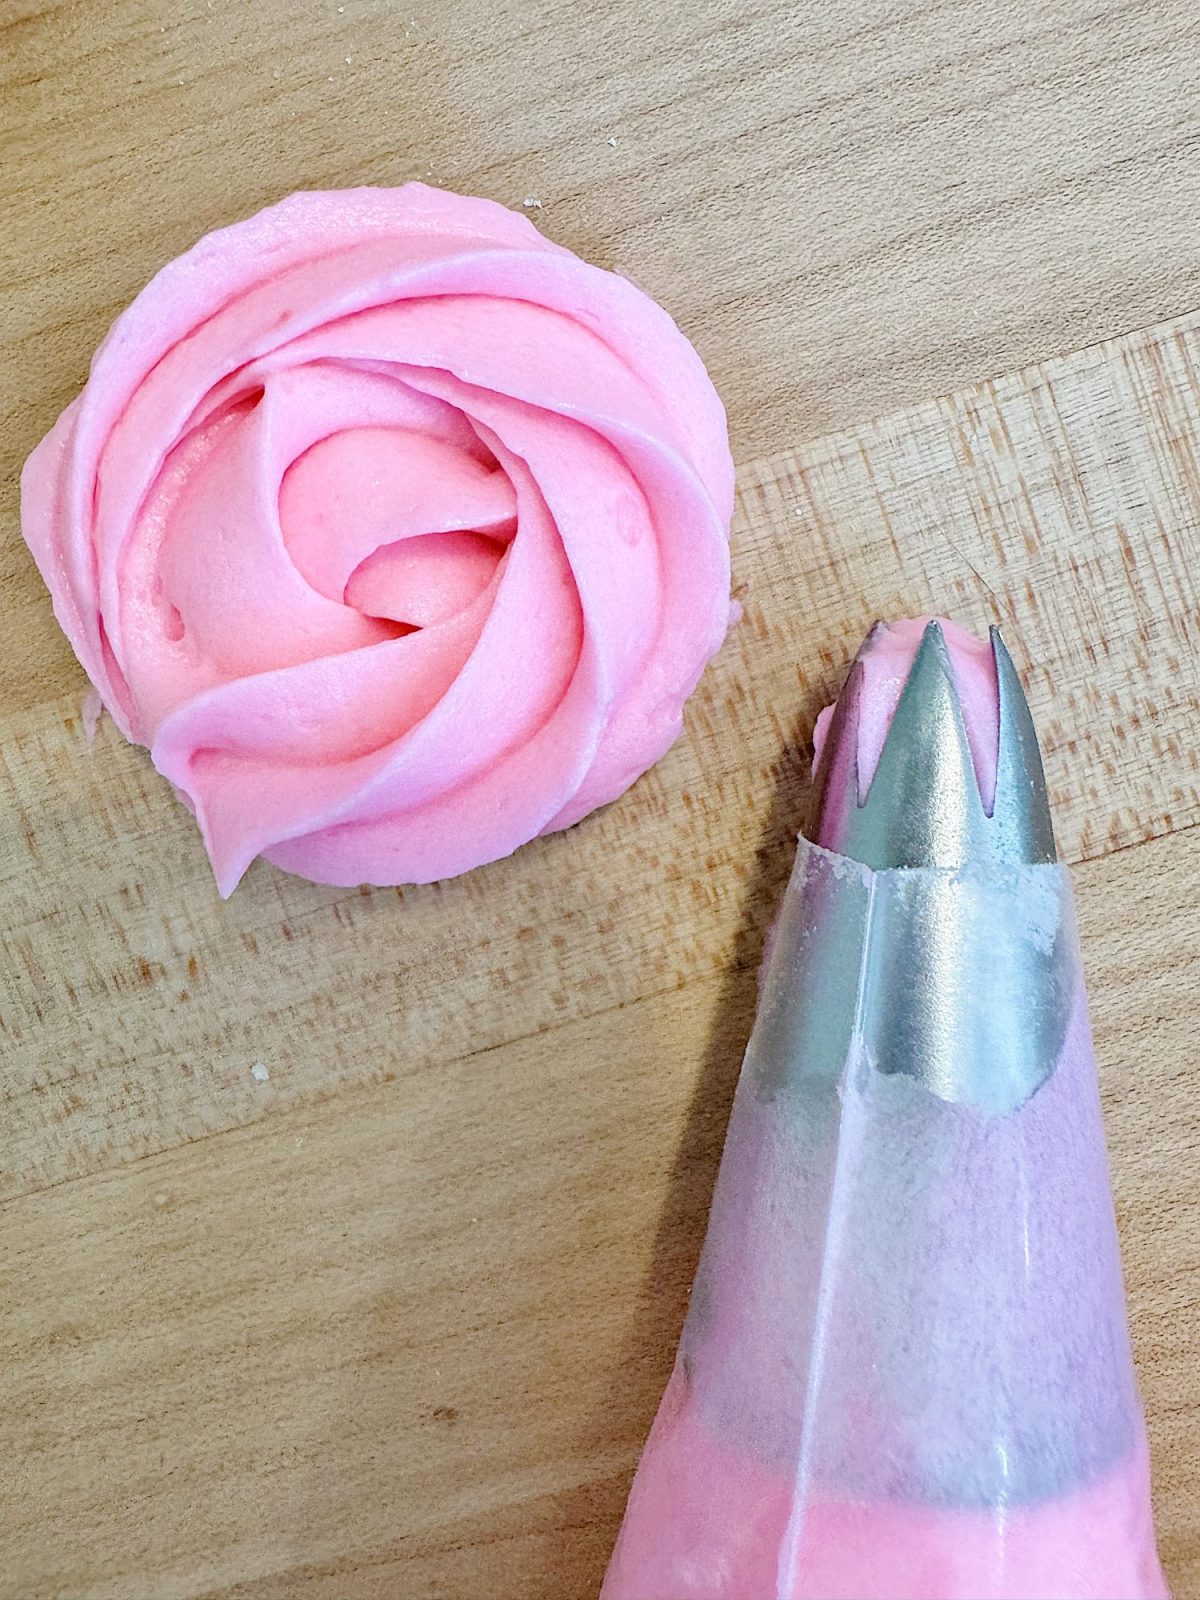
Decorating the Cake with Roses
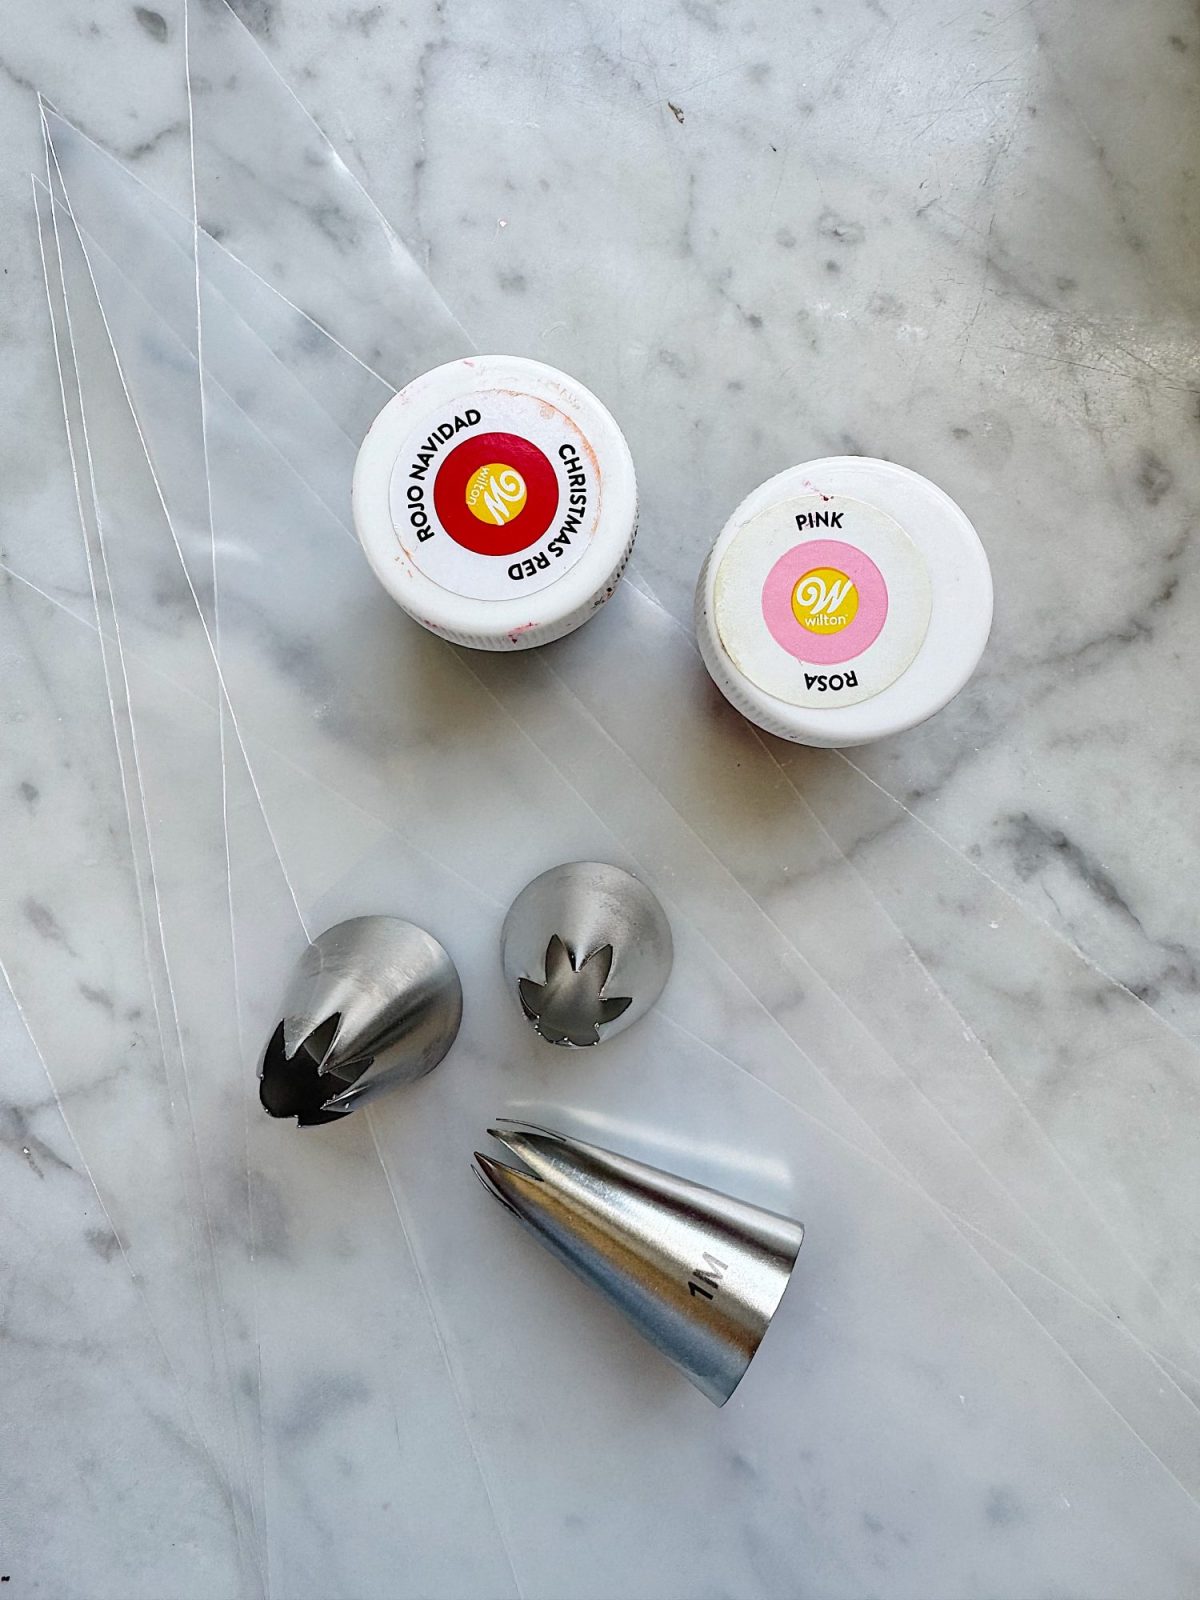

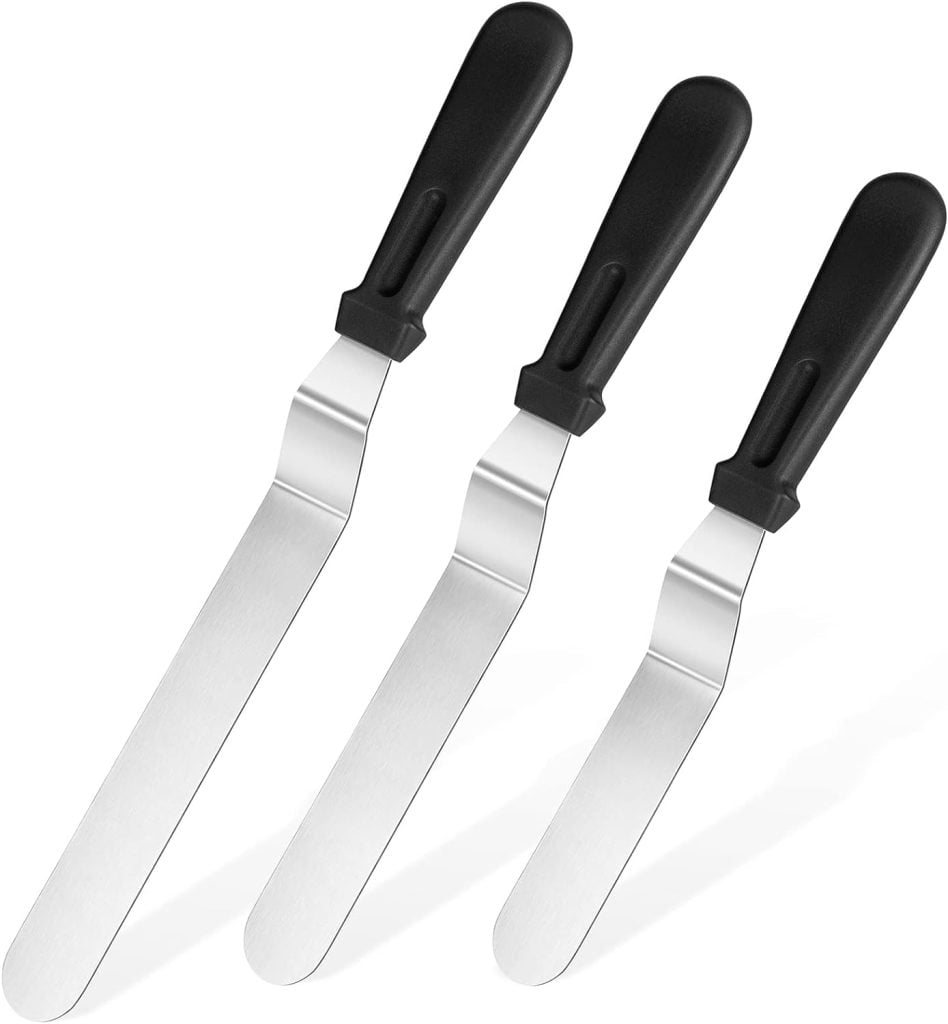
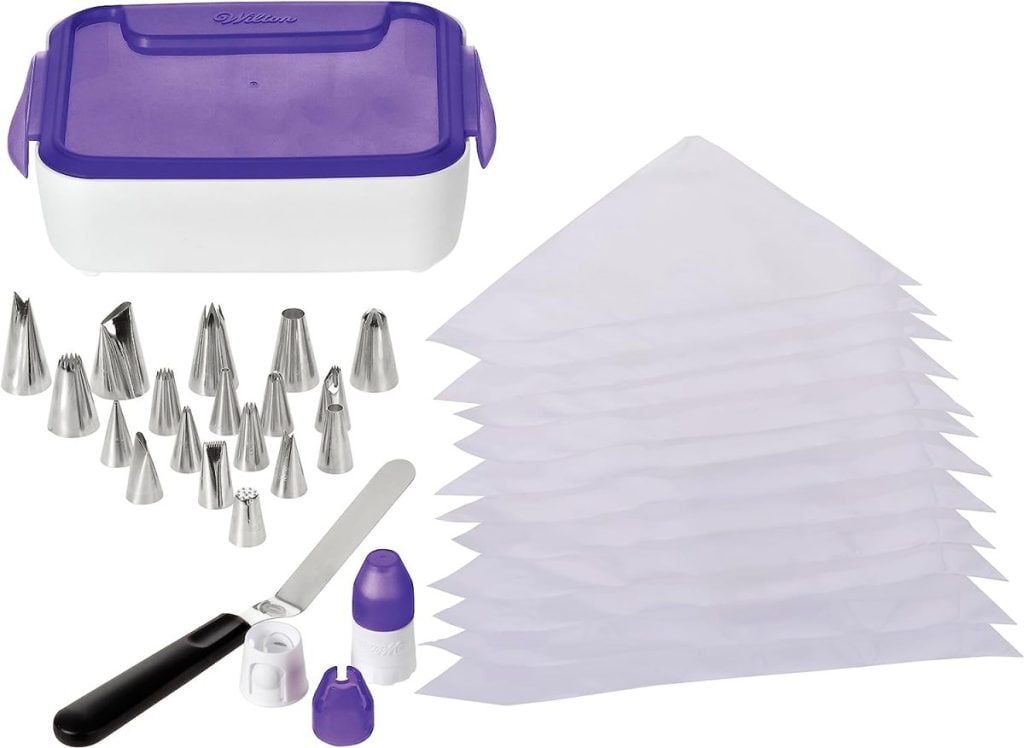
Using a specialized frosting tip designed for roses (they come in a set of three on Amazon), I began piping roses at the bottom layer of the cake in the darkest pink shade. To pipe perfect buttercream roses, start from the center and pipe outward in a spiral pattern.
I continued this around the entire base, creating a stunning band of vibrant color. Then, I transitioned to my medium pink frosting, piping another row of roses directly above the first, slightly overlapping them to create a lush, seamless appearance.
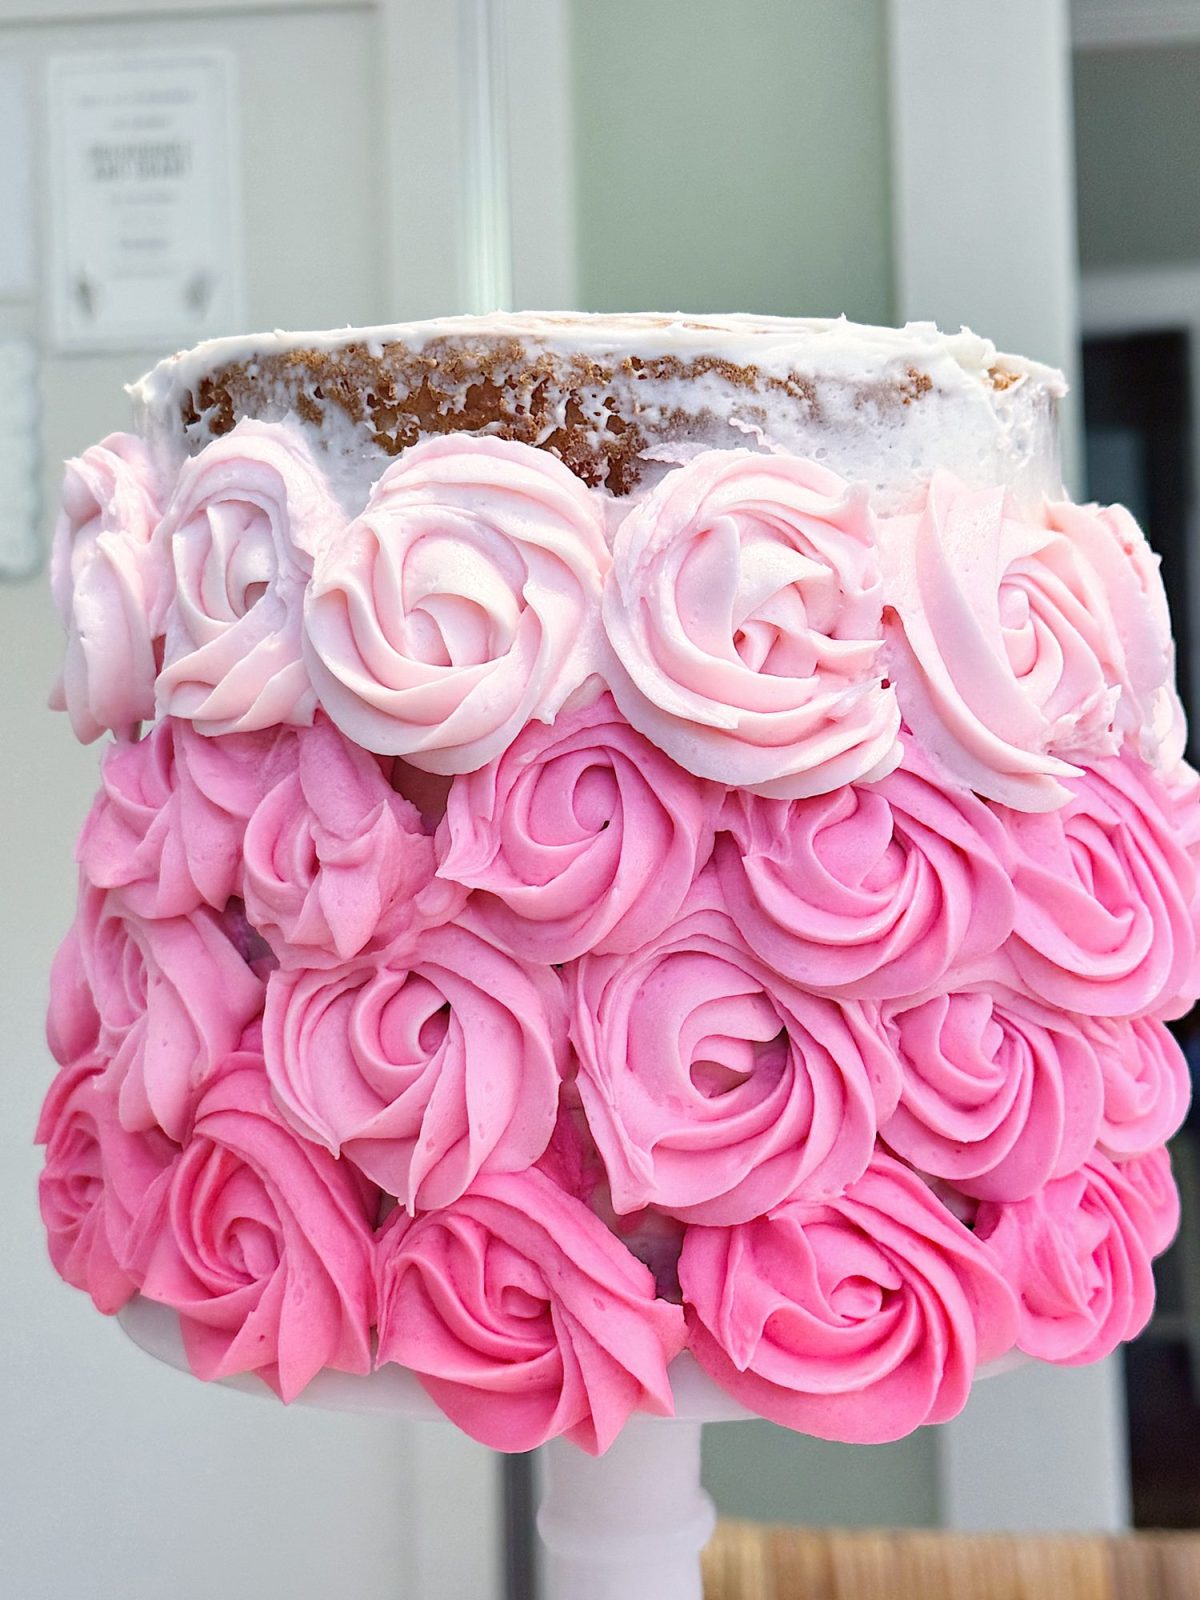
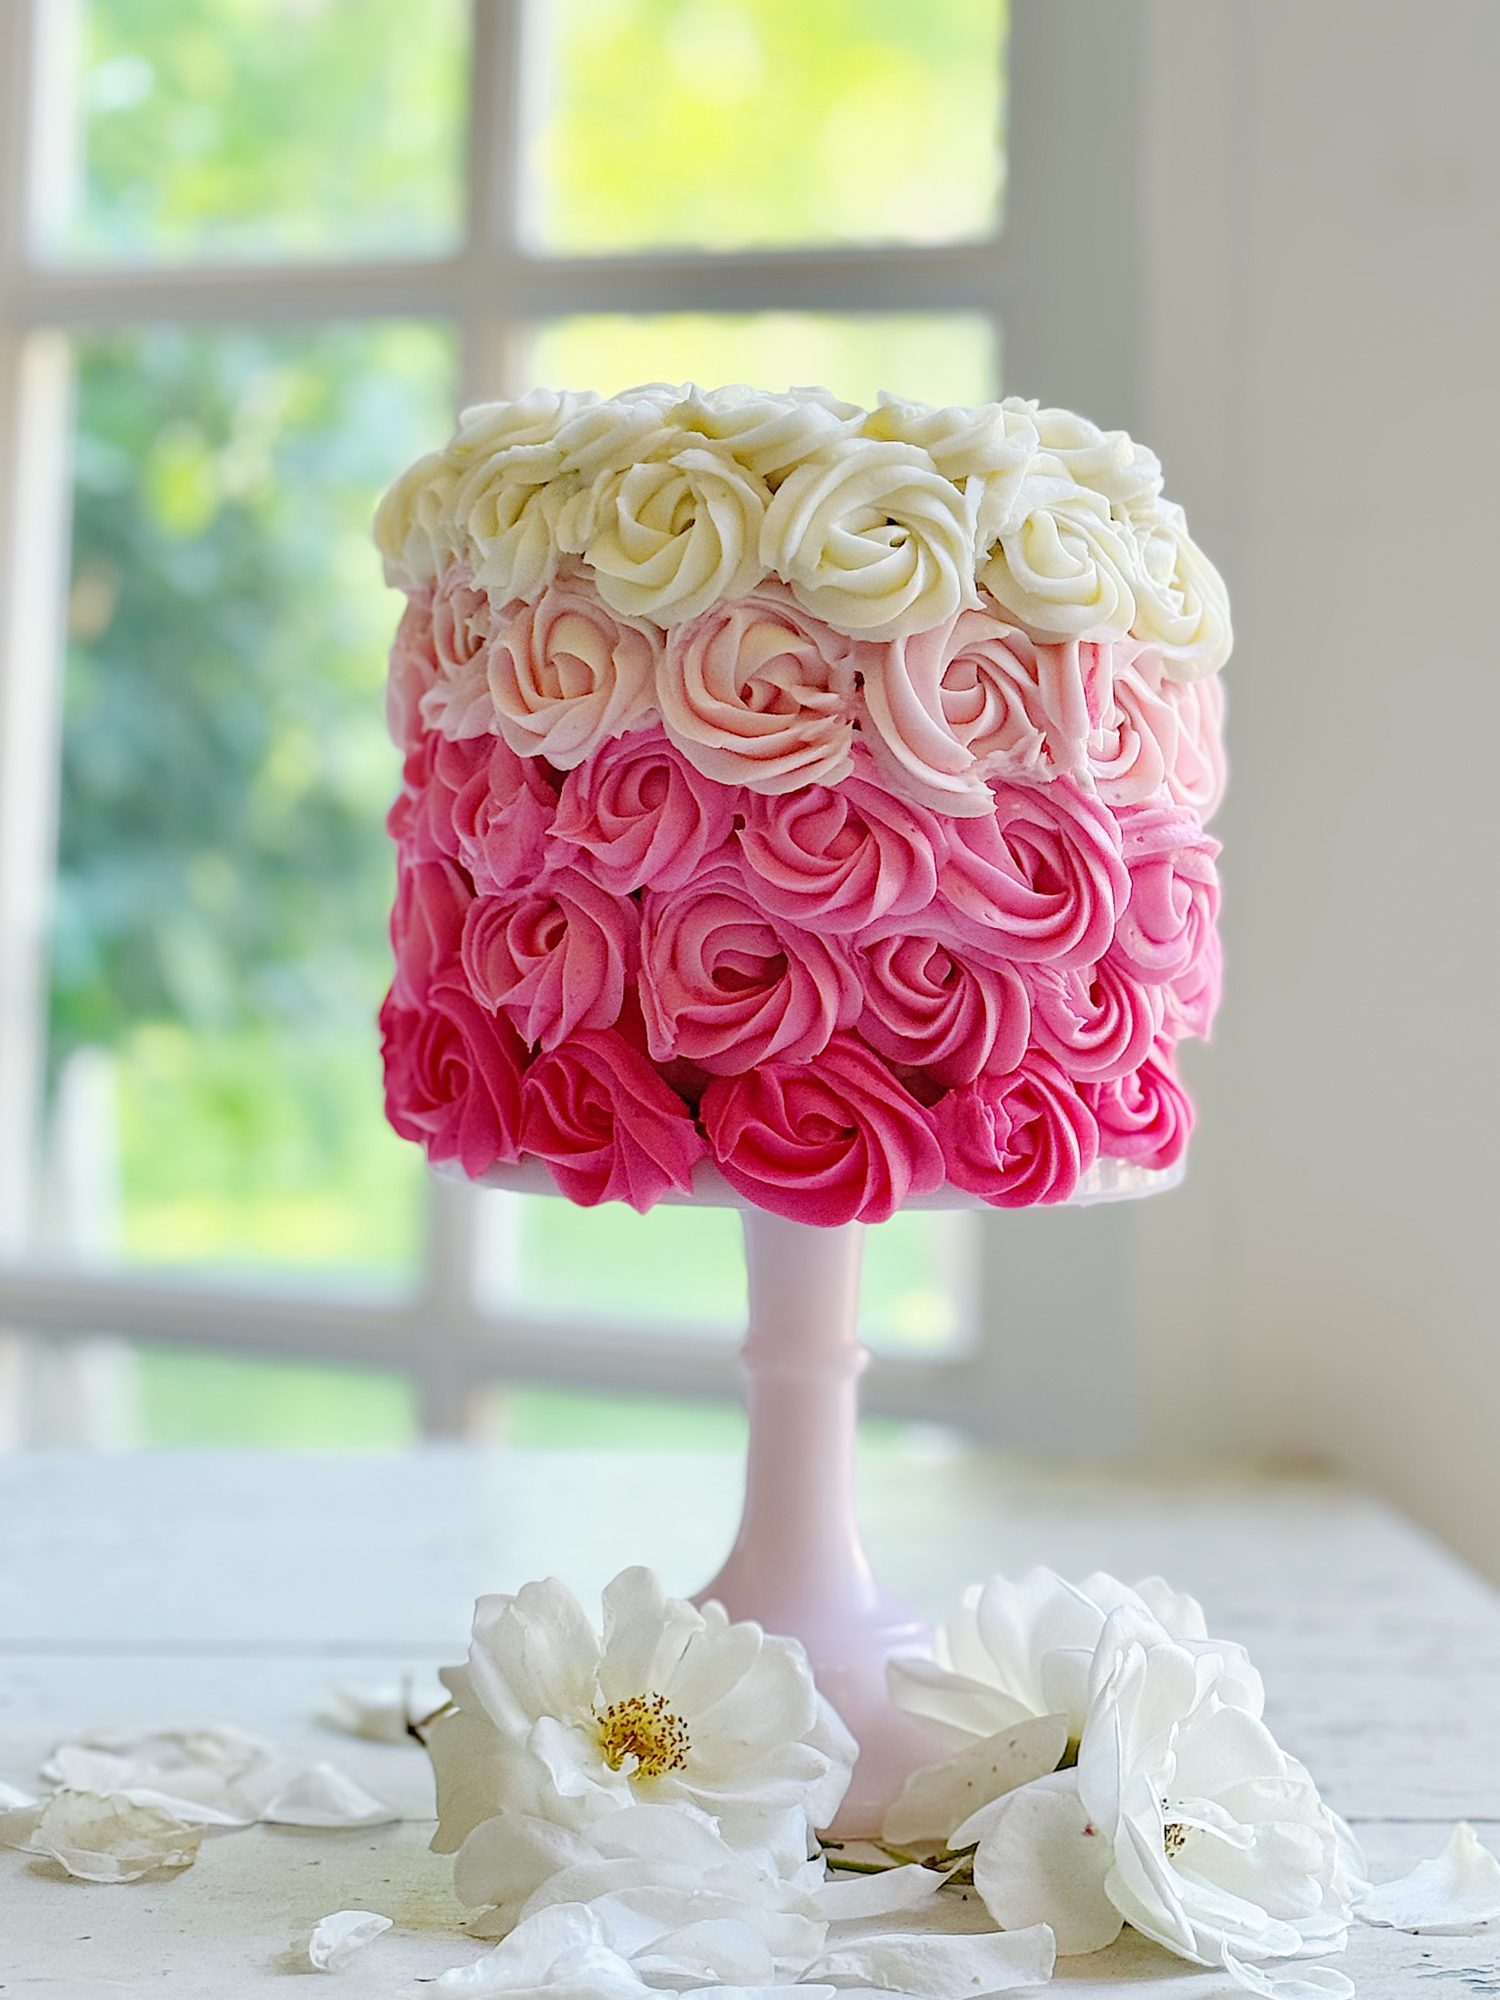
As I reached the top third of the cake, I gradually moved to the softest pink shade, and finally, I finished with pure white roses at the top.
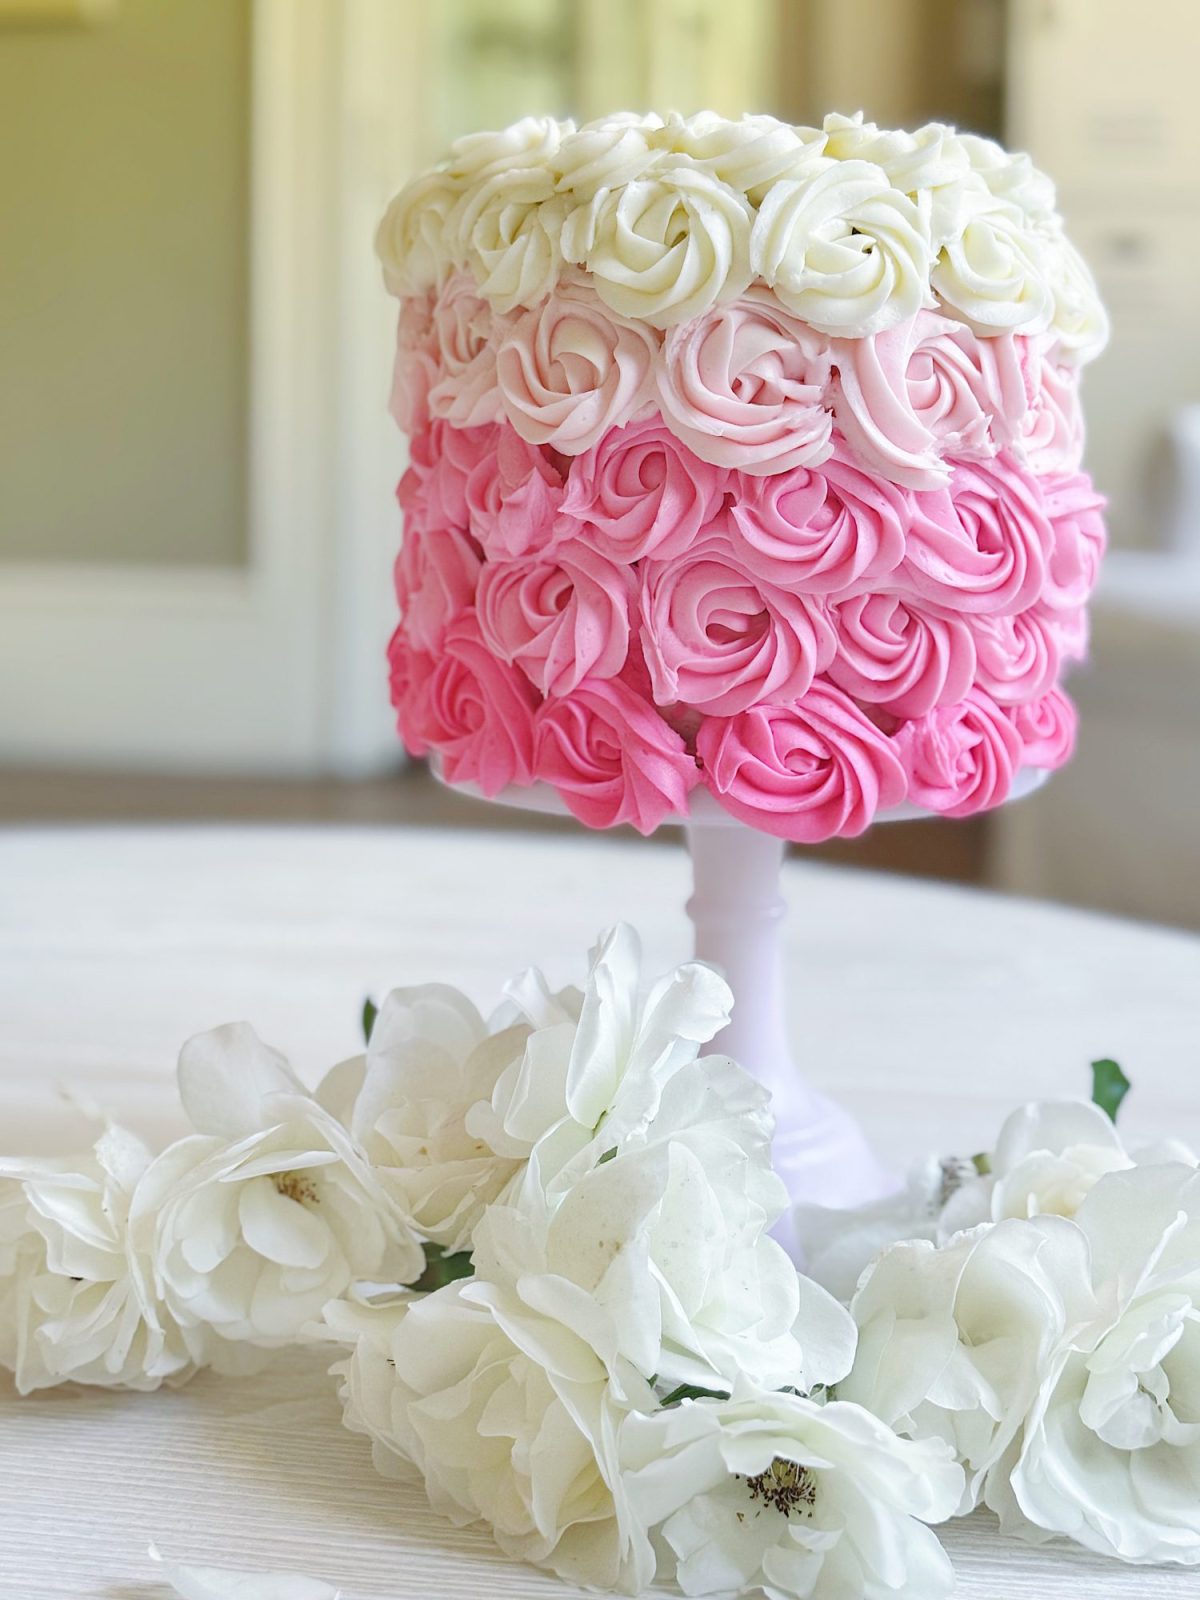
The gentle color transitions from deep pink at the bottom to soft white roses at the top created a visually striking and graceful ombre effect. It was delicate, elegant, and perfect for spring!
Why You’ll Love This Cake
Not only is this rose cake breathtakingly beautiful and sure to impress any guest, but it’s also incredibly delicious. Each slice reveals multiple layers of tender white cake paired perfectly with creamy, buttery frosting. It’s a delightful combination of texture, sweetness, and buttery richness, making it a memorable dessert for any occasion.
Moreover, this decorating style’s versatility makes it ideal for countless events. Change up the color palette to match your event theme or personal preferences—soft purples for lavender themes, sunny yellows for summer parties, or even shades of blue for a baby shower.
Serving and Enjoying the Rose Cake
When serving, slice carefully with a sharp, clean knife to maintain the integrity of your beautifully piped roses. For an extra special presentation, serve each slice alongside fresh berries, a sprig of mint, or edible flower petals.
Final Thoughts
Creating this New Rose Cake was an enjoyable and satisfying baking project. It is perfect for celebrating springtime or any special event. The combination of delicate white cake, silky buttercream, and an artistic ombre rose design resulted in a cake that is truly as delicious as it is stunning.
I encourage you to try this cake at home—whether you’re an experienced baker or a beginner, it’s achievable, fun to decorate, and guaranteed to wow everyone lucky enough to taste it!
Happy baking, and here’s to beautiful cakes and delightful spring celebrations!
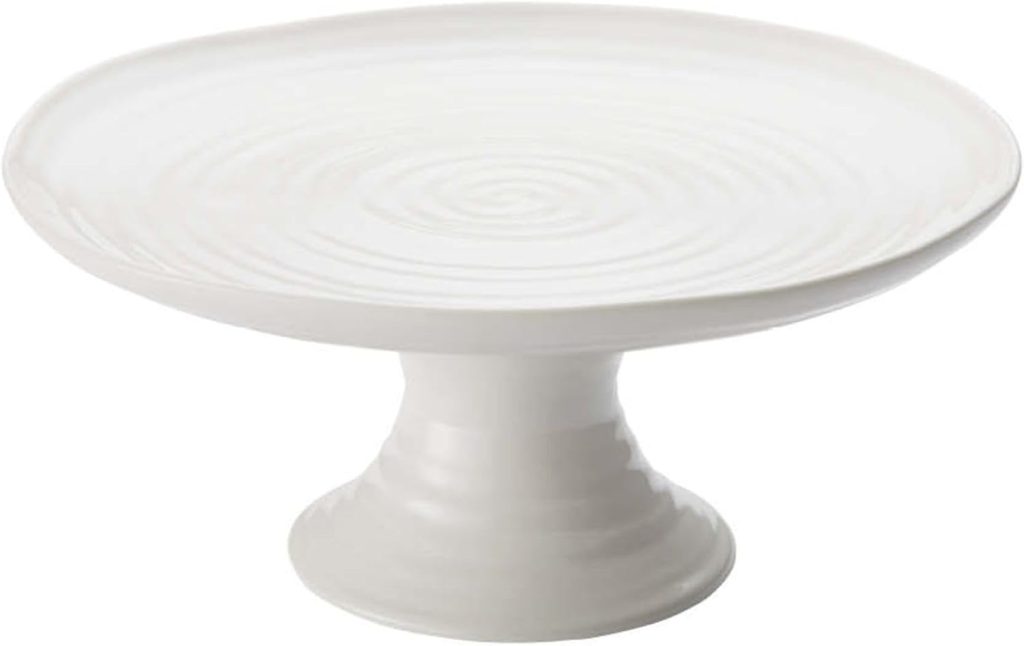
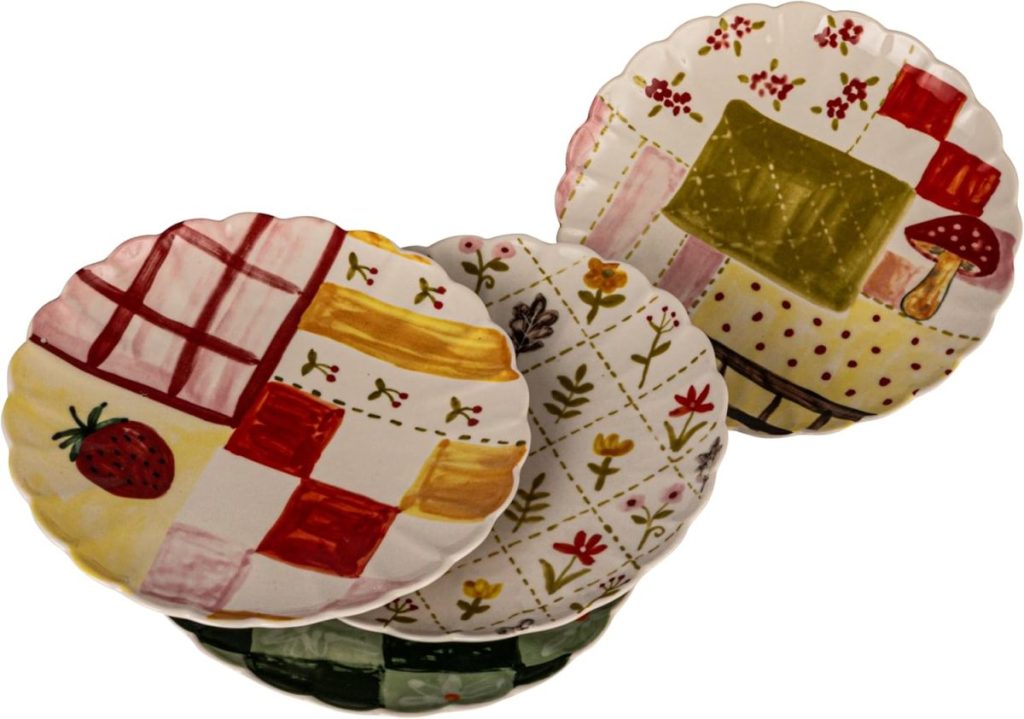
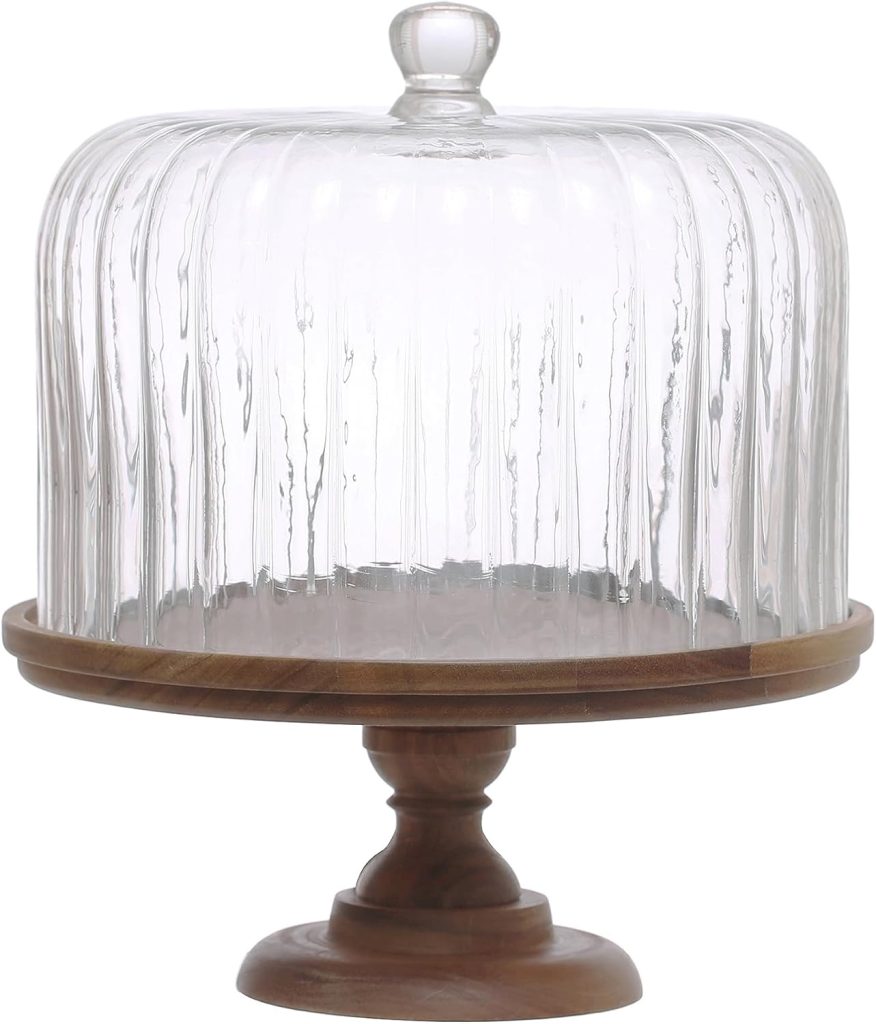
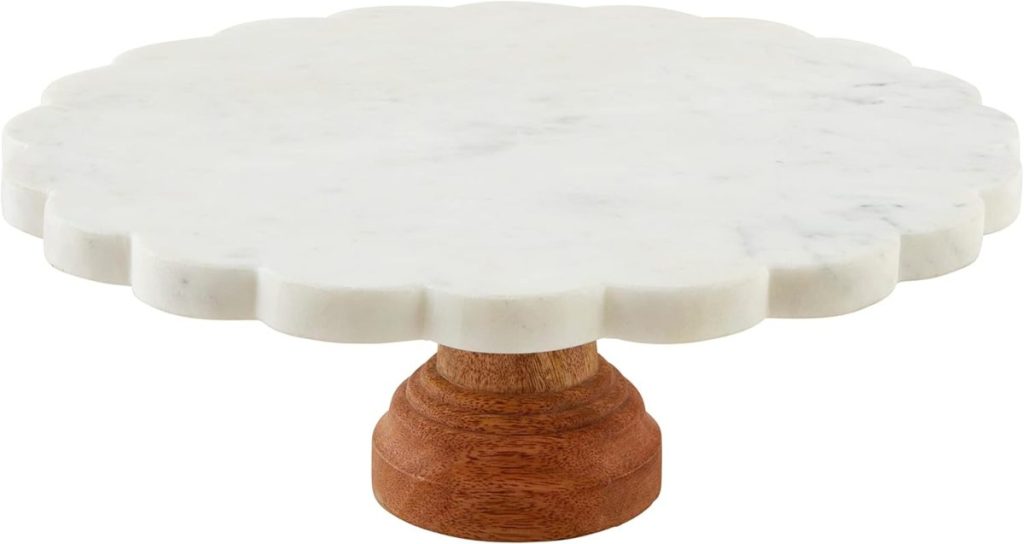
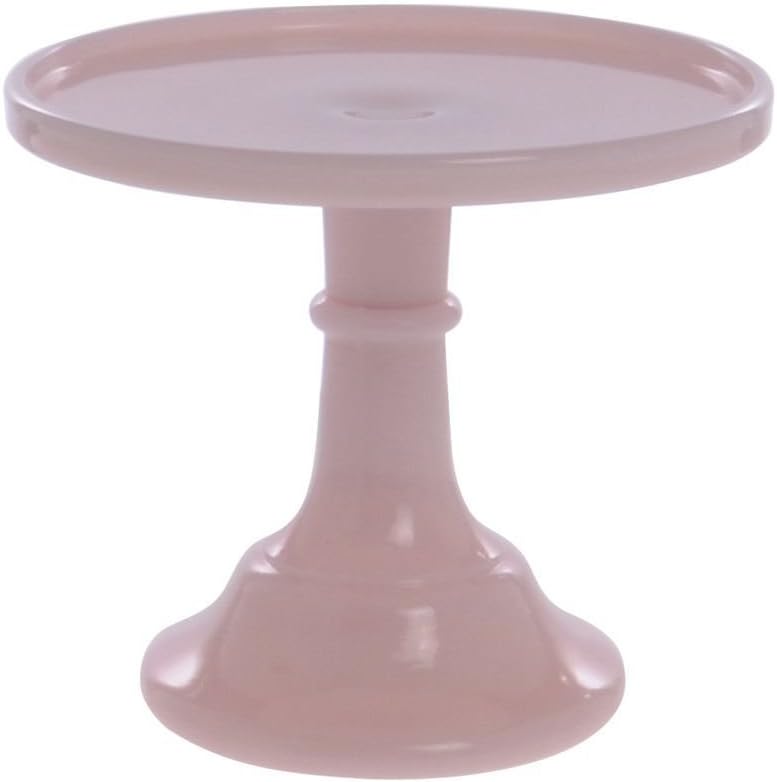
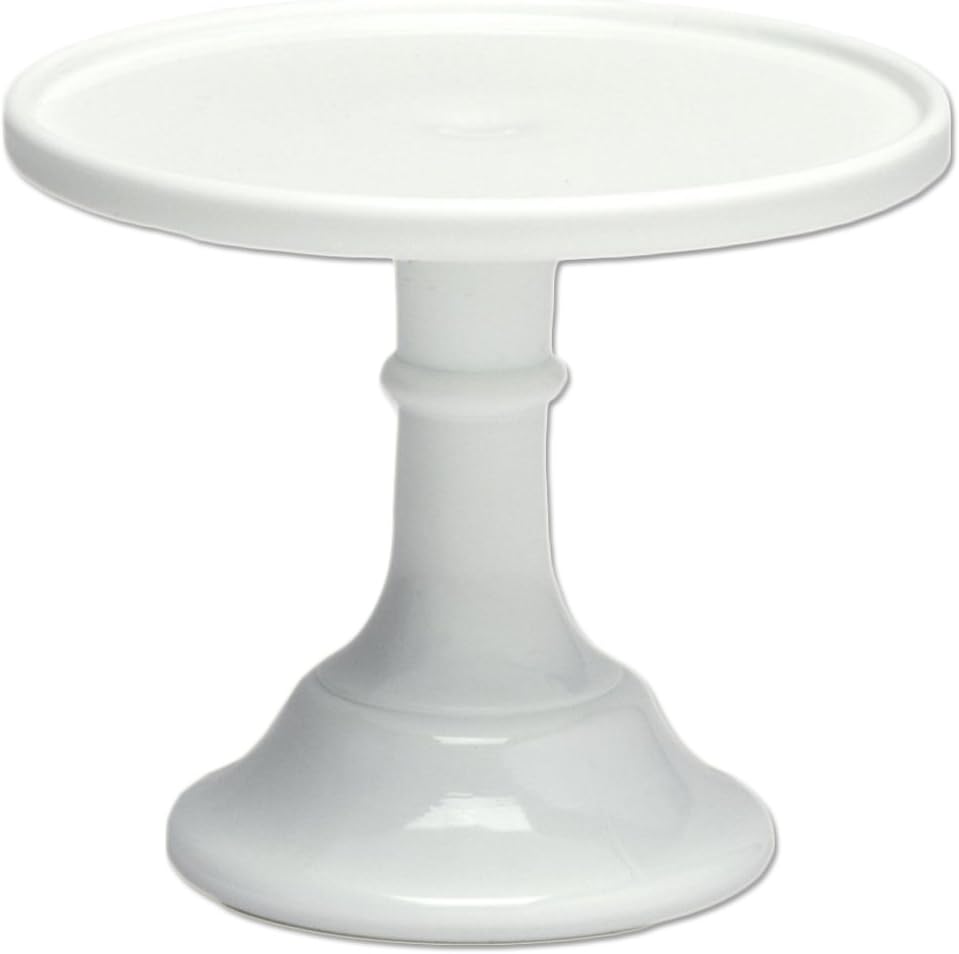
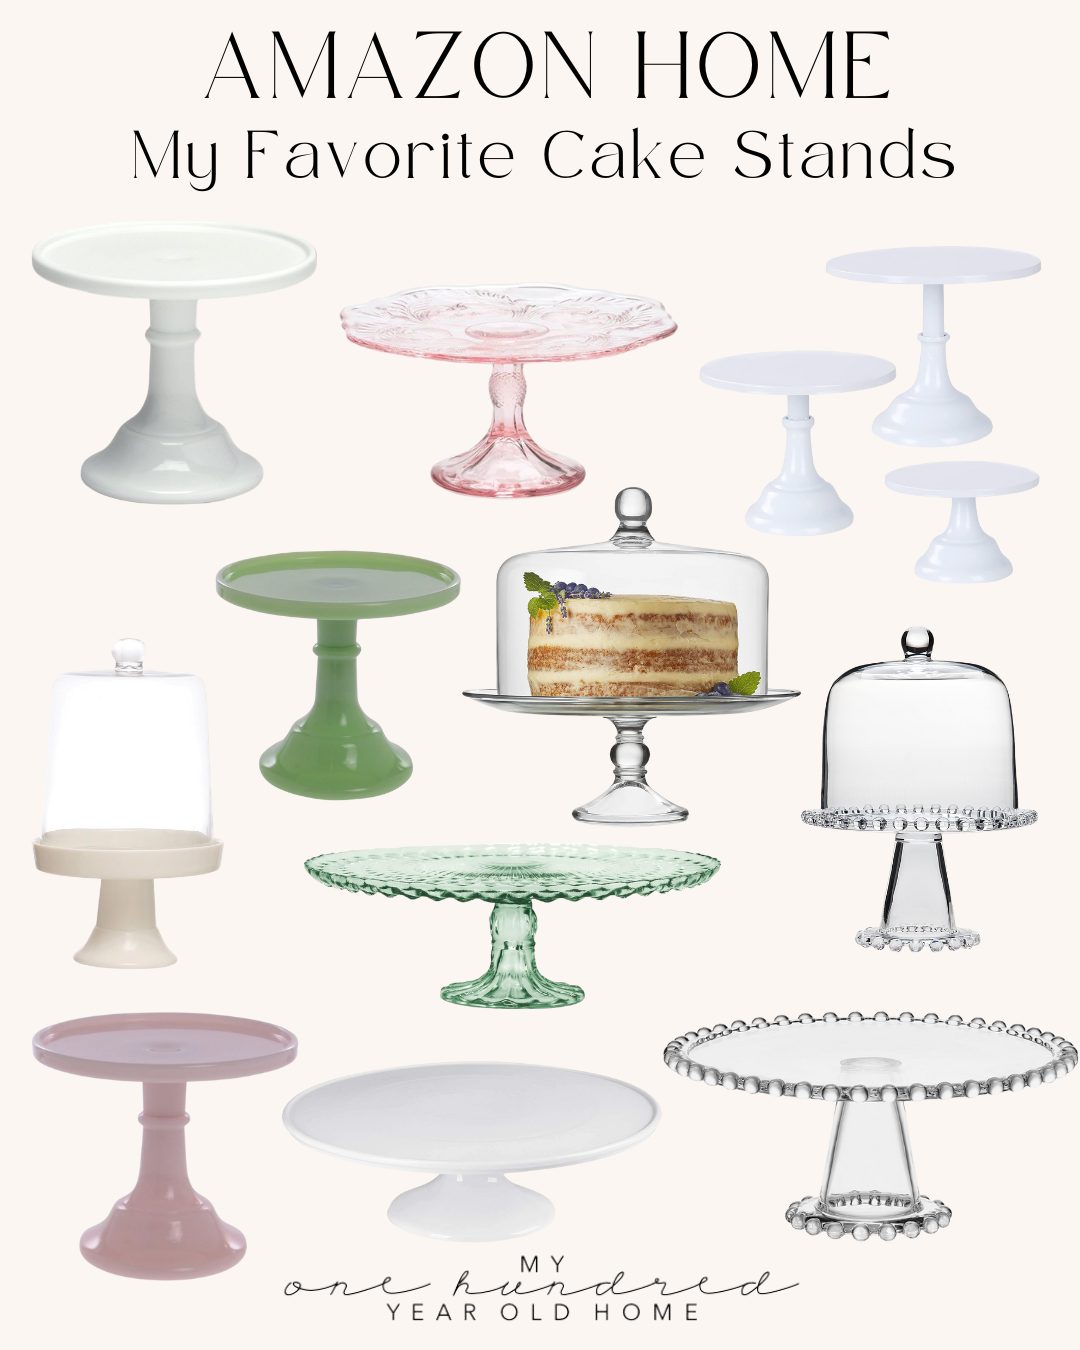
My Favorite Cake Stands
Latest Posts
-
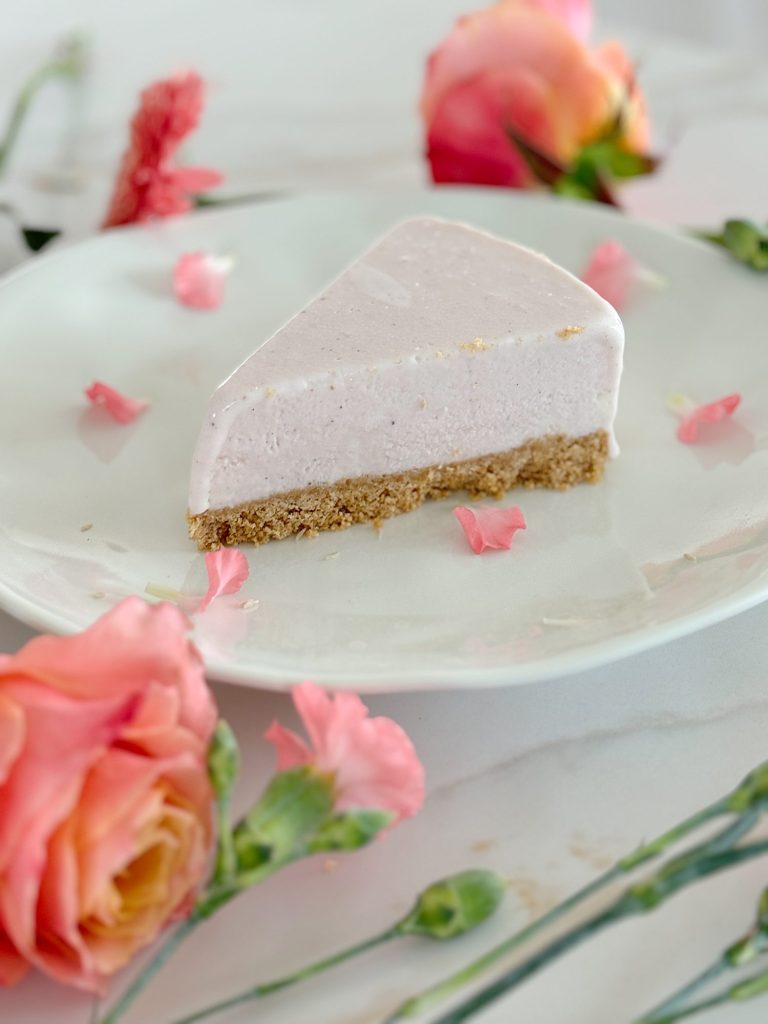
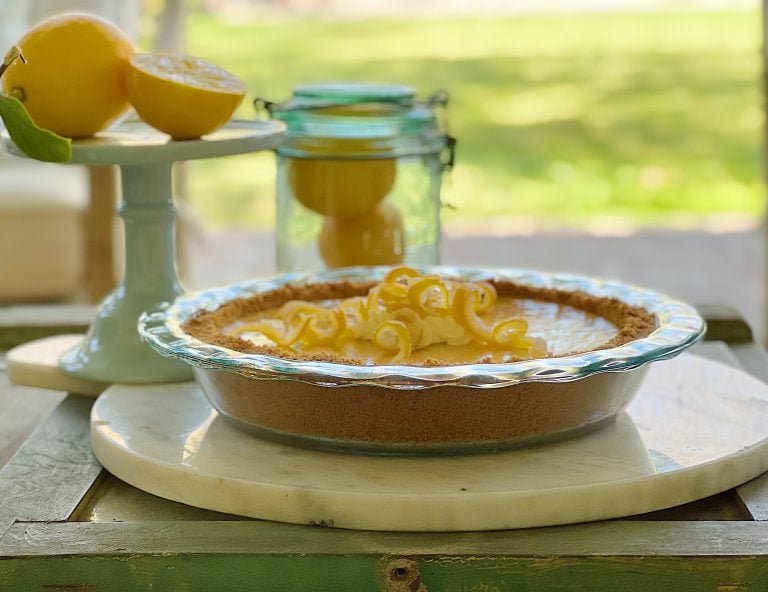
Pink Lemonade Pie
Summer is the season for refreshing and light desserts, and what could be better than a tangy, creamy, and perfectly chilled Pink Lemonade Ice Cream Pie? This delightful dessert is perfect for hot days, picnics, barbecues, or any summer gathering. Its vibrant color and mouthwatering flavor will surely be a hit for kids and adults….
-
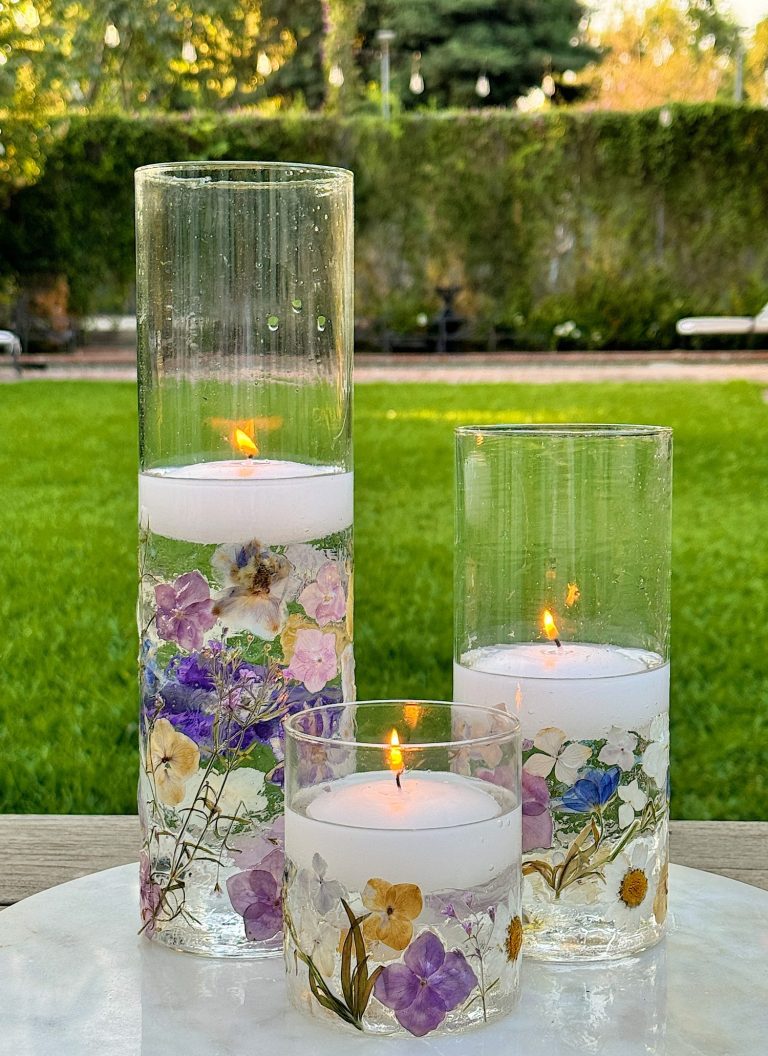
DIY Pressed Flowers
DIY pressed flowers are a beautiful and charming addition to any home decor. When made into candle holders, they are stunning. These delicate creations bring a touch of nature indoors and can be customized to fit any style or occasion. Whether you want to create a romantic centerpiece, a whimsical decoration, or a unique gift,…
-
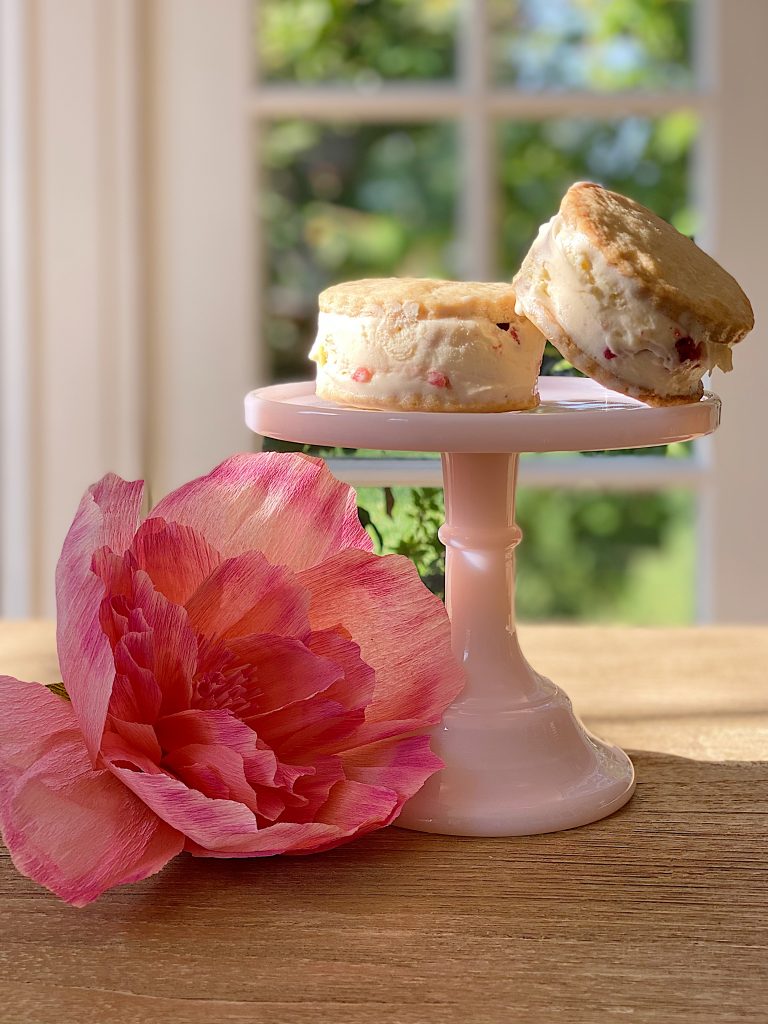
How to Make Strawberry Shortcake Ice Cream Sandwiches
Today, I am sharing my strawberry shortcake ice cream sandwiches. It’s strawberry season, so what could be better? These strawberry shortcake ice cream sandwiches are easy to make and taste amazing. Can you think of anything better for a hot summer day?
-
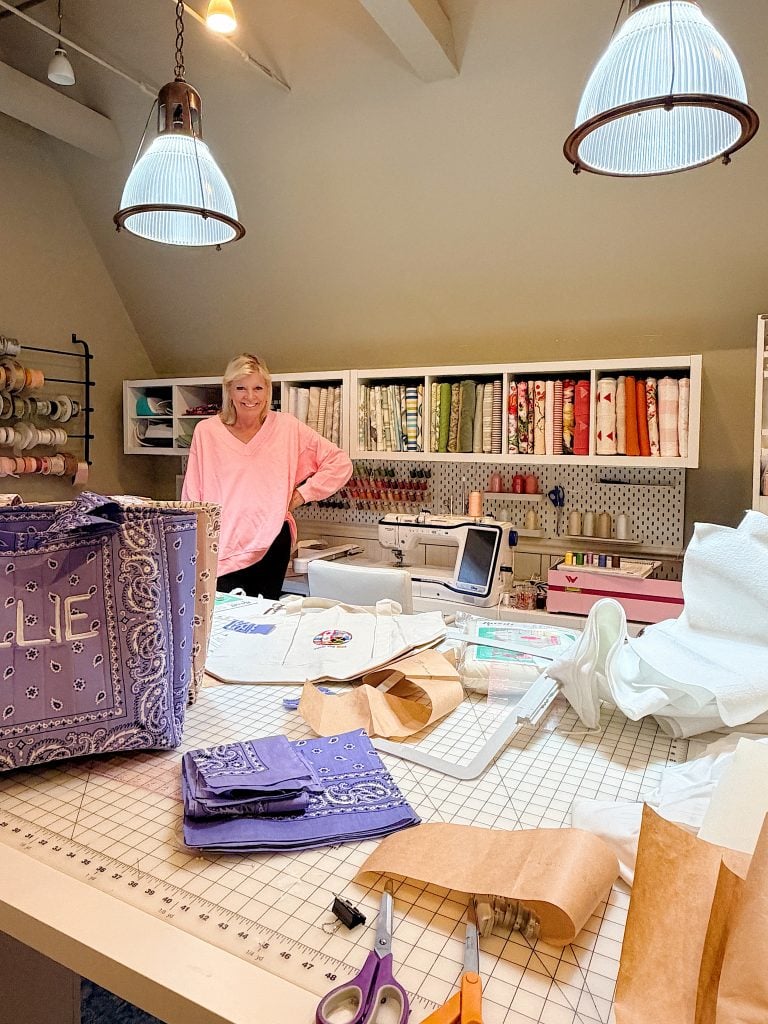
What’s on My Summer Craft Room Table Now – Mondays in the Craft Room
If you’ve ever wondered what my craft room really looks like in the middle of a busy creative season, today is your lucky day. Spoiler alert: it isn’t picture-perfect! Right now I have embroidery projects, sewing projects, and supplies covering just about every work surface, and I wouldn’t have it any other way. Today I’m…
My Recent Instagram Posts

You can pin the image below to your boards on Pinterest (click the Pin button in the top left corner) or follow me on Pinterest!
For more real-time updates, follow me on Instagram @My100YearOldHome
I took a baking class a couple years ago. We did this cake using circular swirls and it is stunning way to decorate a cake. The hardest part is making the different colors icing! The technique makes a cute skirt for a Barbie cake.
blocky blast puzzle is a popular block puzzle game that offers relaxing yet challenging gameplay for players of all ages.