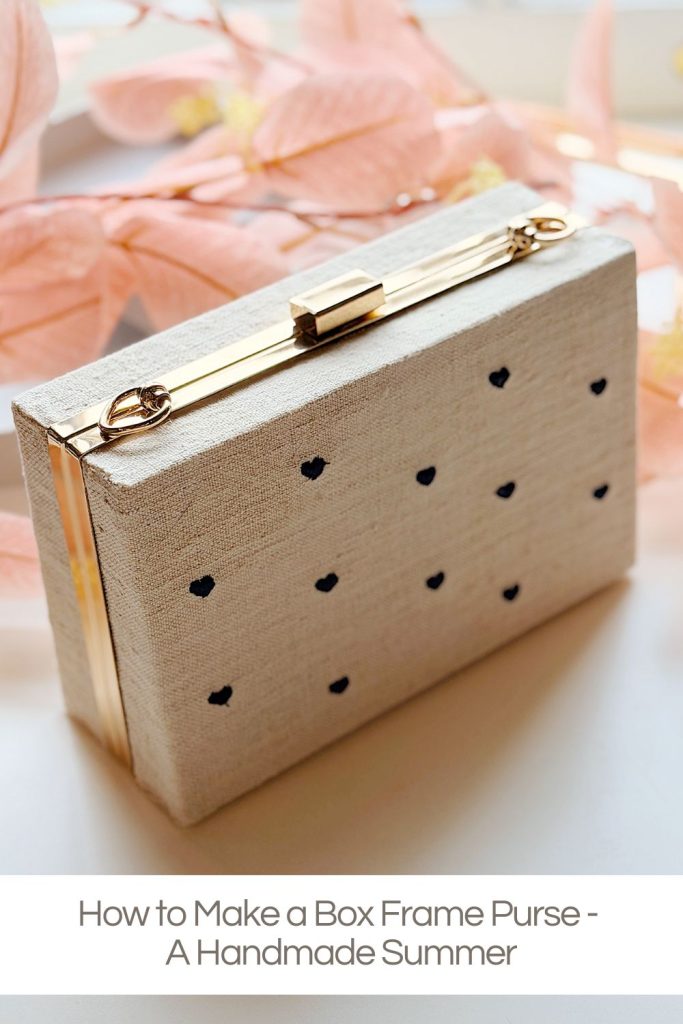
How to Make a Box Frame Purse – A Handmade Summer

If you’re looking for a creative project that combines sewing, embroidery, and beautiful fabrics, then you’re going to love this Box Frame Purse.
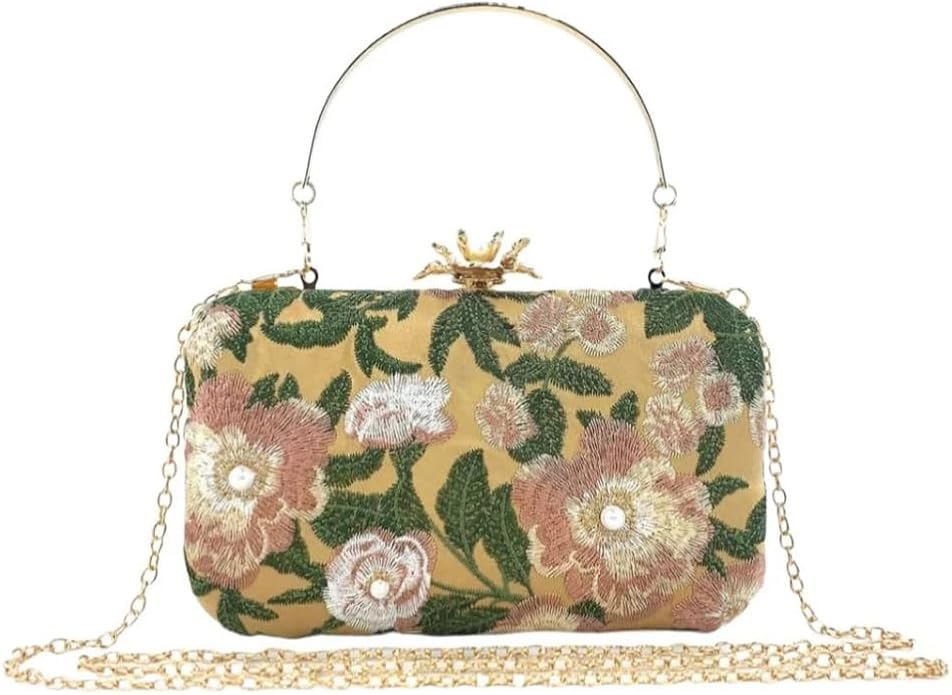
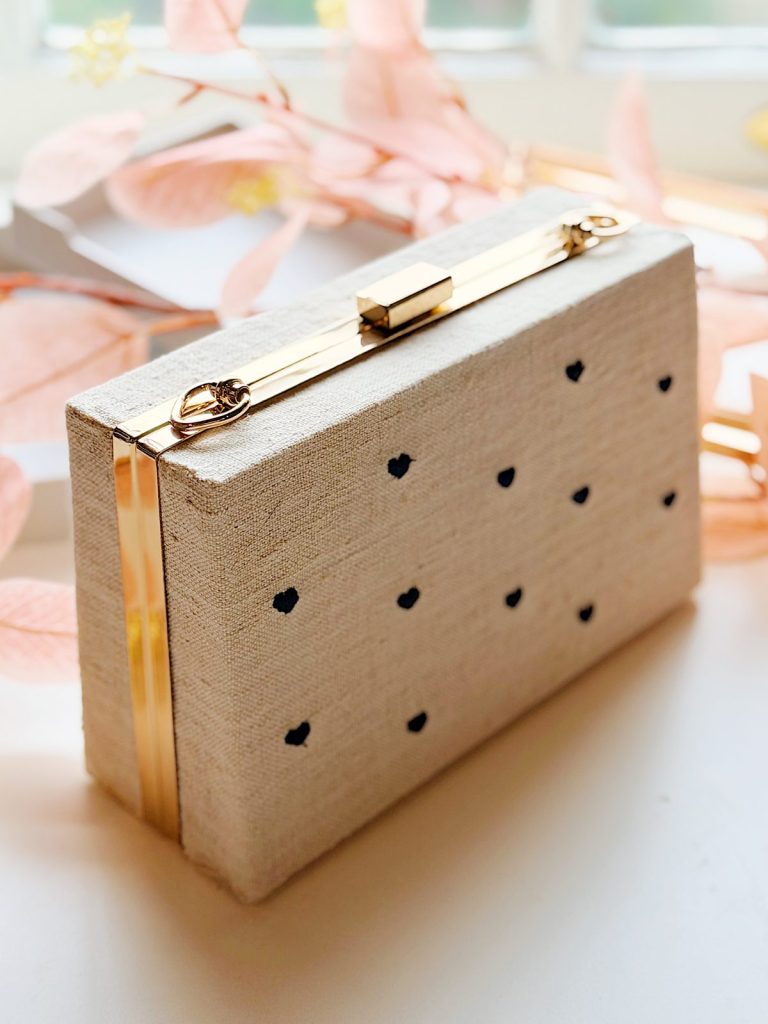
I made this adorable purse using embroidered linen on the outside and a coordinating floral fabric on the inside, and I was amazed at how easy it was to create. What makes a Box Frame Purse so special is its versatility. You can use almost any fabric, including vintage linens, brocade, needlepoint, embroidered textiles, or even treasured fabric scraps, to create a completely unique accessory. This project is simple enough for beginners, yet the finished purse looks elegant and professionally made.


How to Make a Box Frame Purse
A Handmade Summer
One of my favorite things about crafting is discovering a project that looks expensive and complicated but is actually surprisingly simple to make. This adorable Box Frame Purse is exactly that kind of project.
When I first saw box frame purses, I assumed they required advanced sewing skills, special tools, or a complicated pattern. I couldn’t have been more wrong. This purse came together much more easily than I expected, and the finished result looks like something you might find in a boutique gift shop or artisan market.
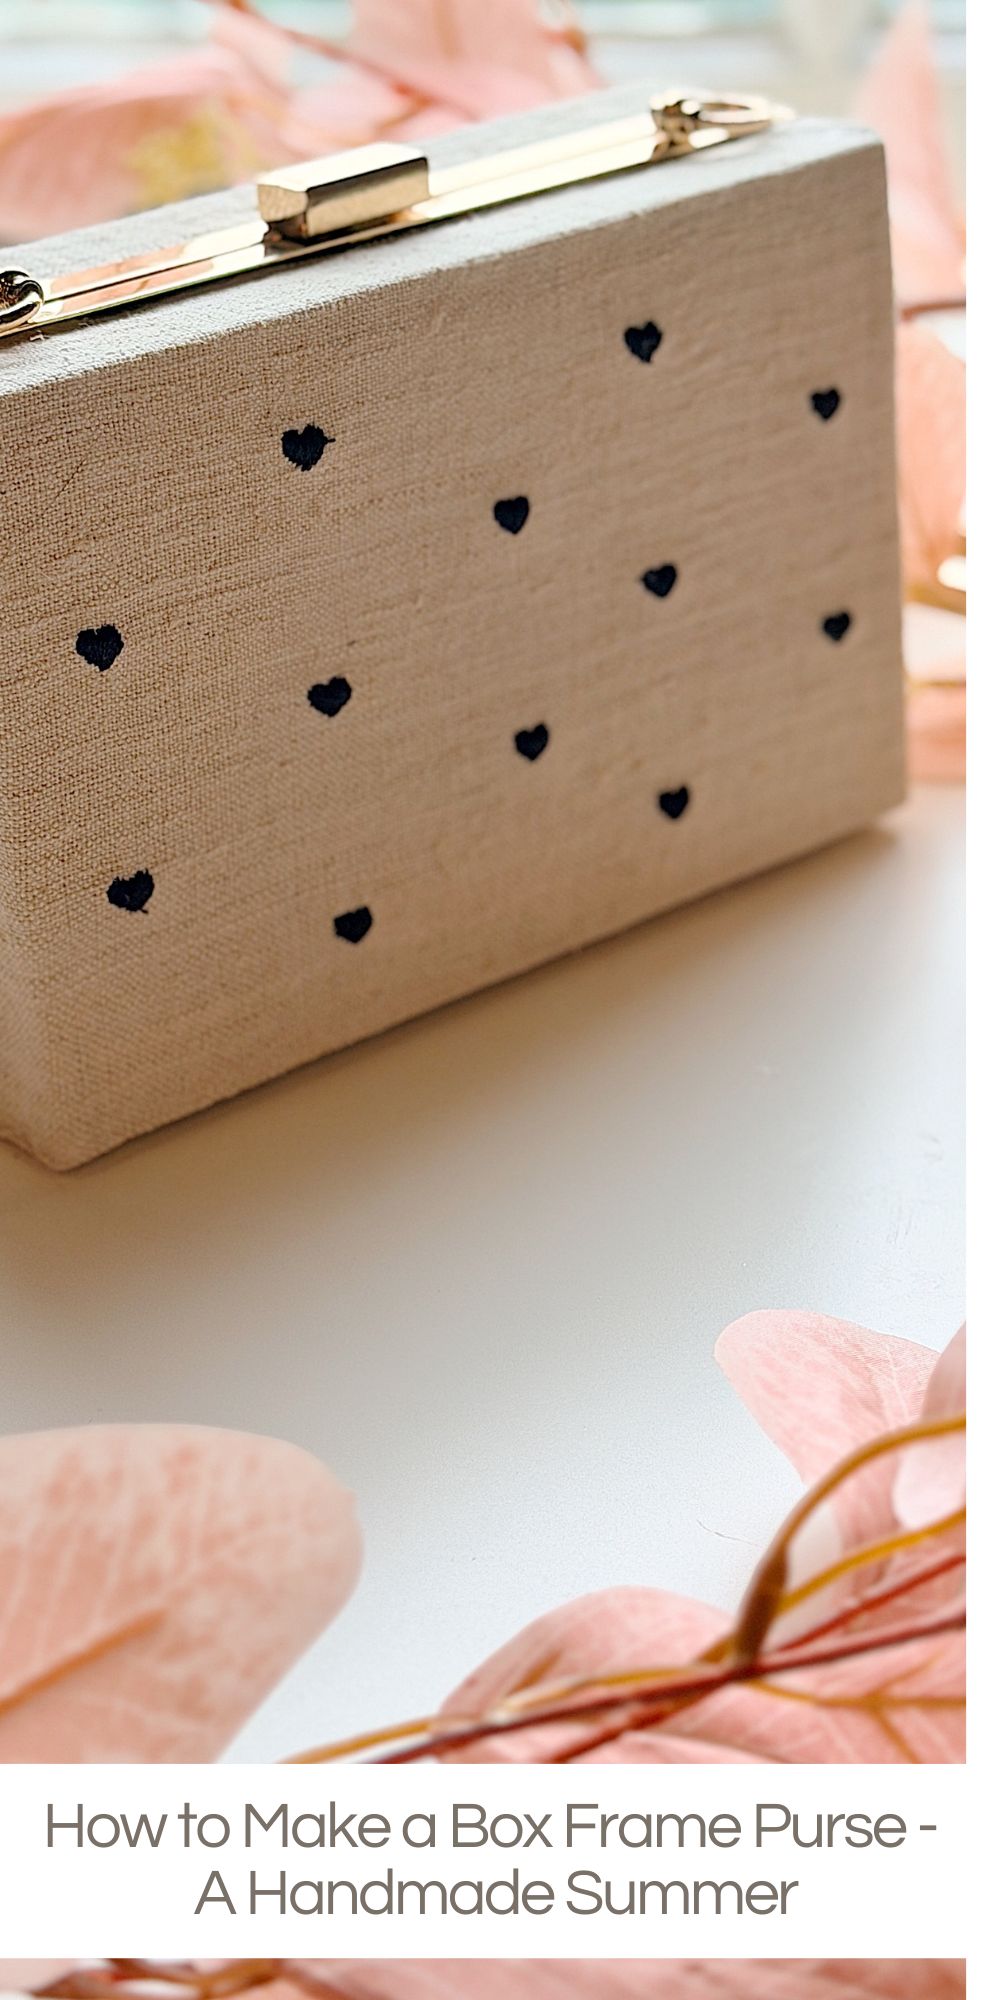
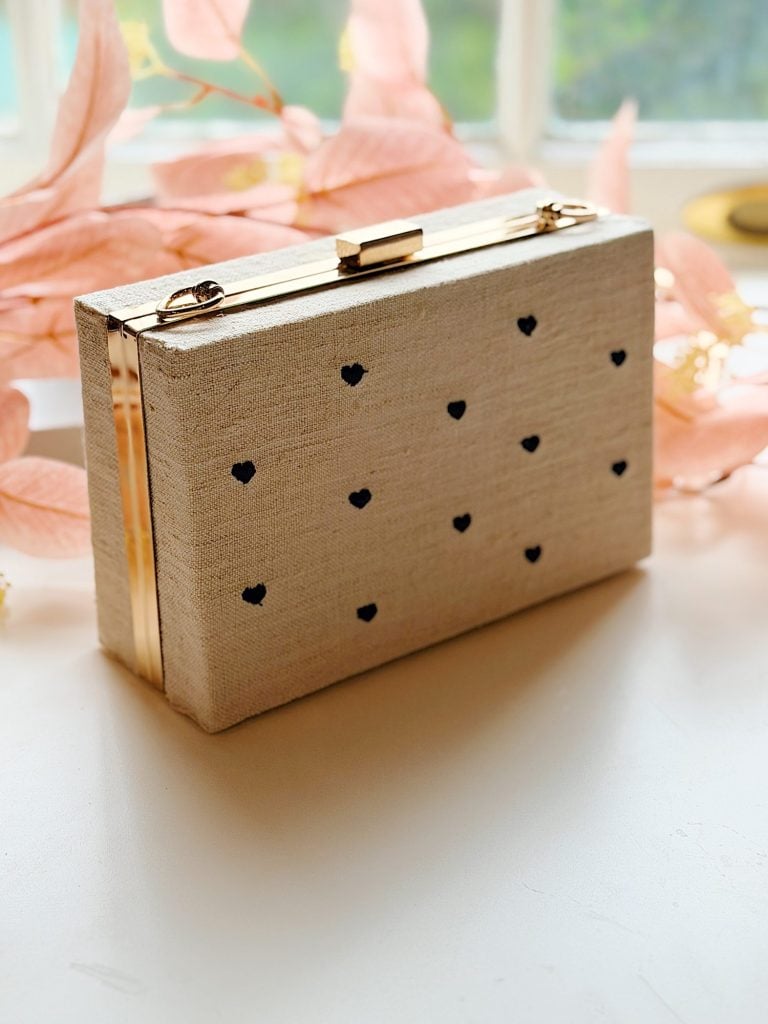
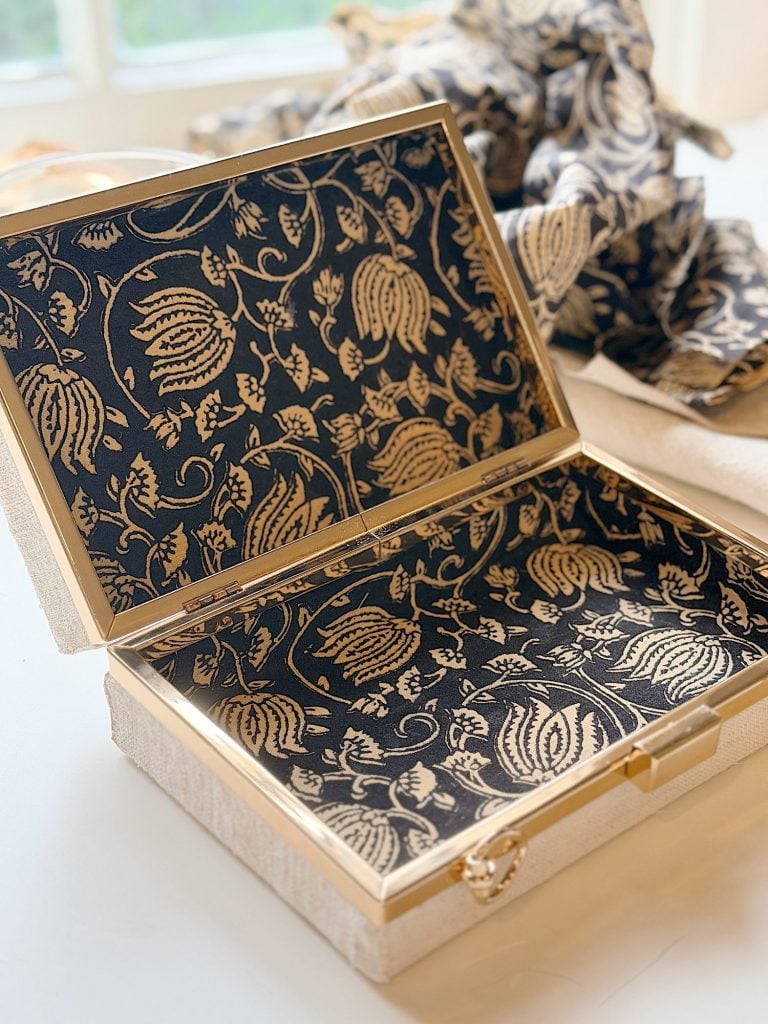
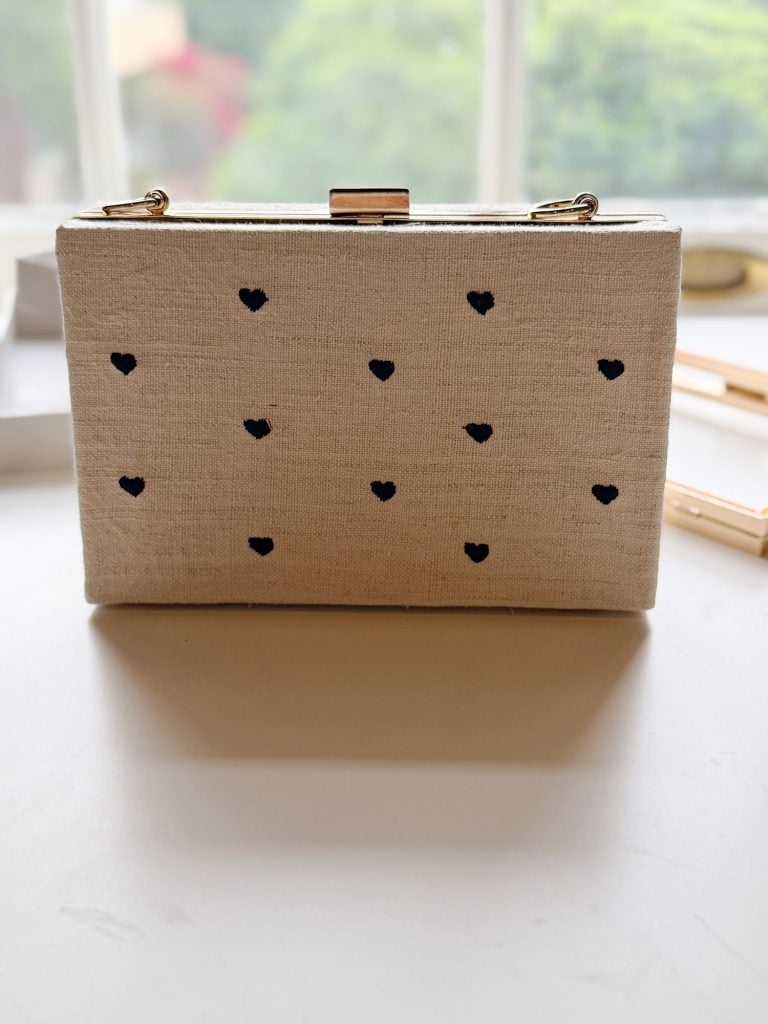
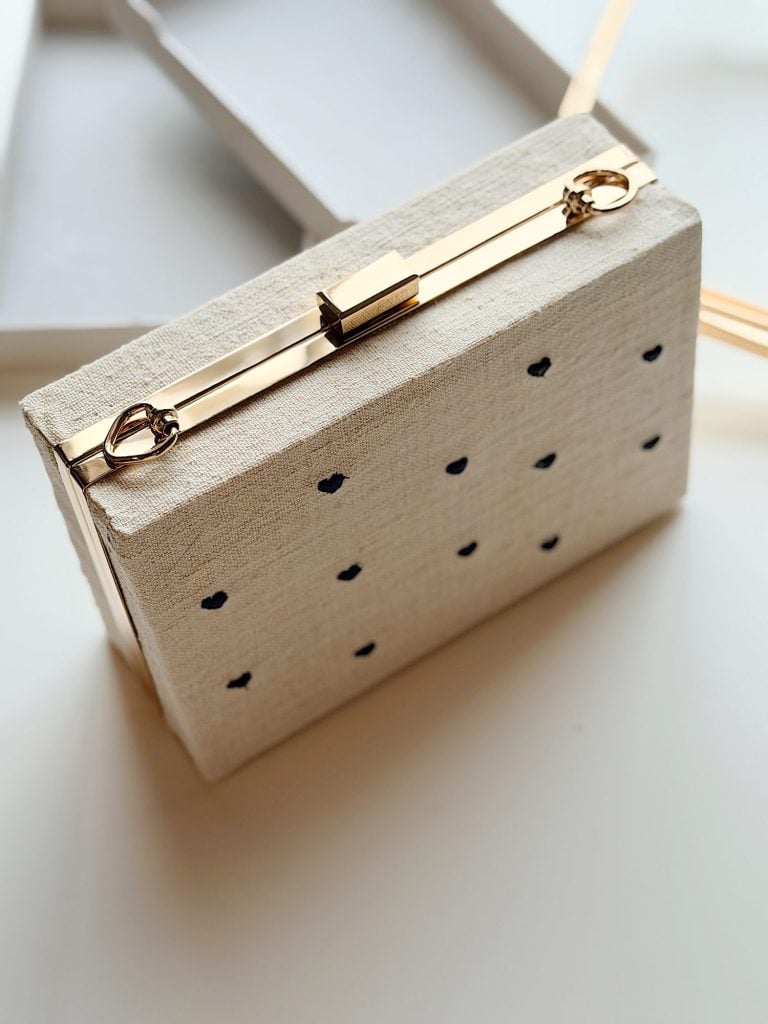
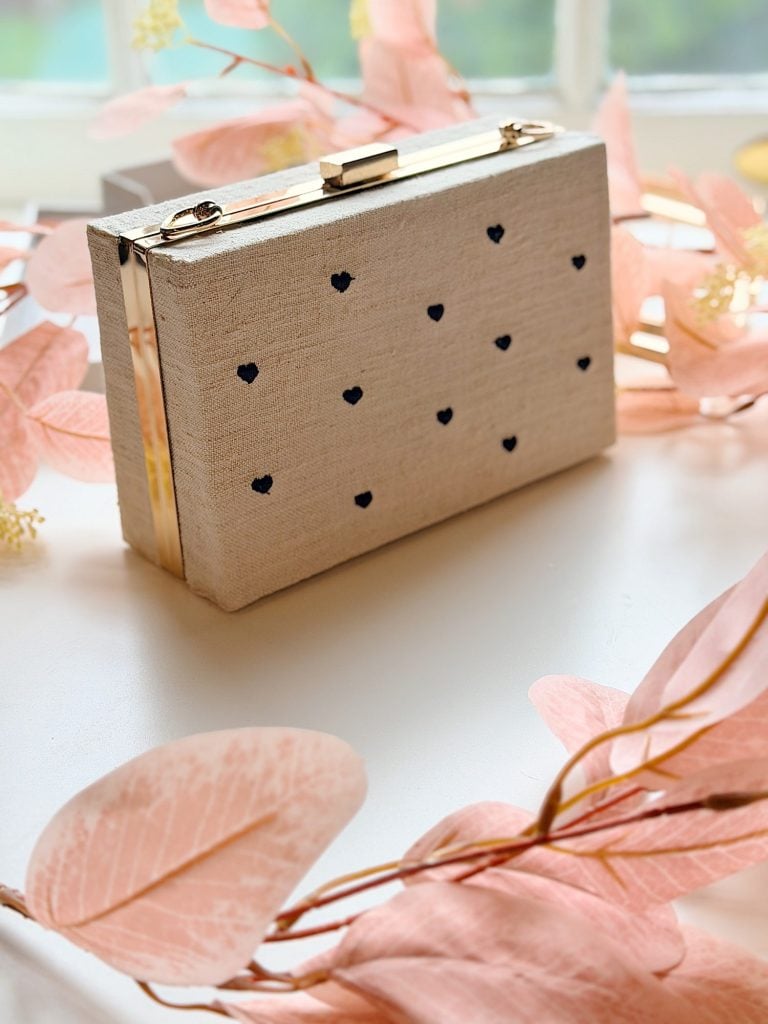
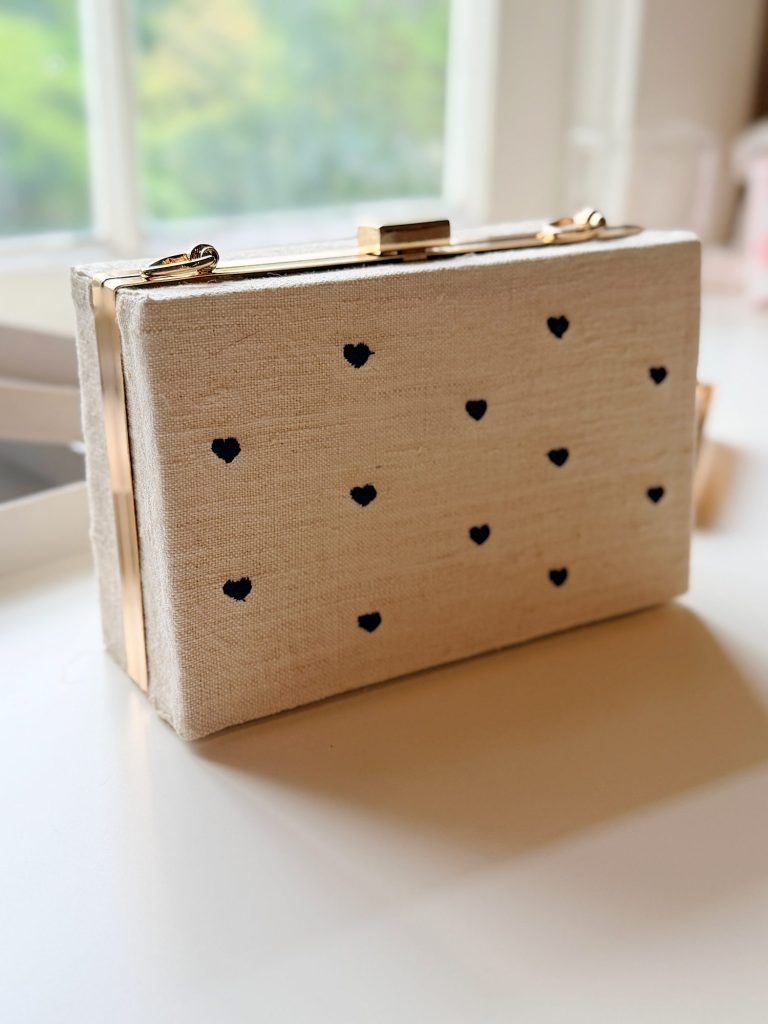
For my version, I used natural linen fabric and embroidered tiny black hearts all over the exterior. The simple embroidered pattern gives the purse a modern yet timeless look. I paired the linen with a beautiful black-and-tan floral fabric for the lining, creating a fun surprise when the purse is opened.
What I love most about this project is how customizable it is. You can use almost any fabric to create a completely different look. Imagine making one with vintage linens, embroidered fabric, needlepoint, brocade, quilted fabric, toile, grain sack fabric, or even a favorite piece of antique textile. Every purse becomes one-of-a-kind.
This project is part of my A Handmade Summer series because it is creative, practical, and something you’ll actually use. Whether you’re making one for yourself or as a gift, I think you’ll love how easily it comes together.
Why You’ll Love This Project
There are so many reasons to try making a box frame purse.
First, it requires very little sewing. Most of the construction is created by wrapping fabric around the box frame and securing it in place.
Second, it is an excellent way to use special fabric scraps that may be too small for larger projects.
Third, it is completely customizable. The same purse frame can create dozens of different looks depending on the fabric and embellishments you choose.
Most importantly, the finished purse looks elegant and professionally made.
Supplies Needed
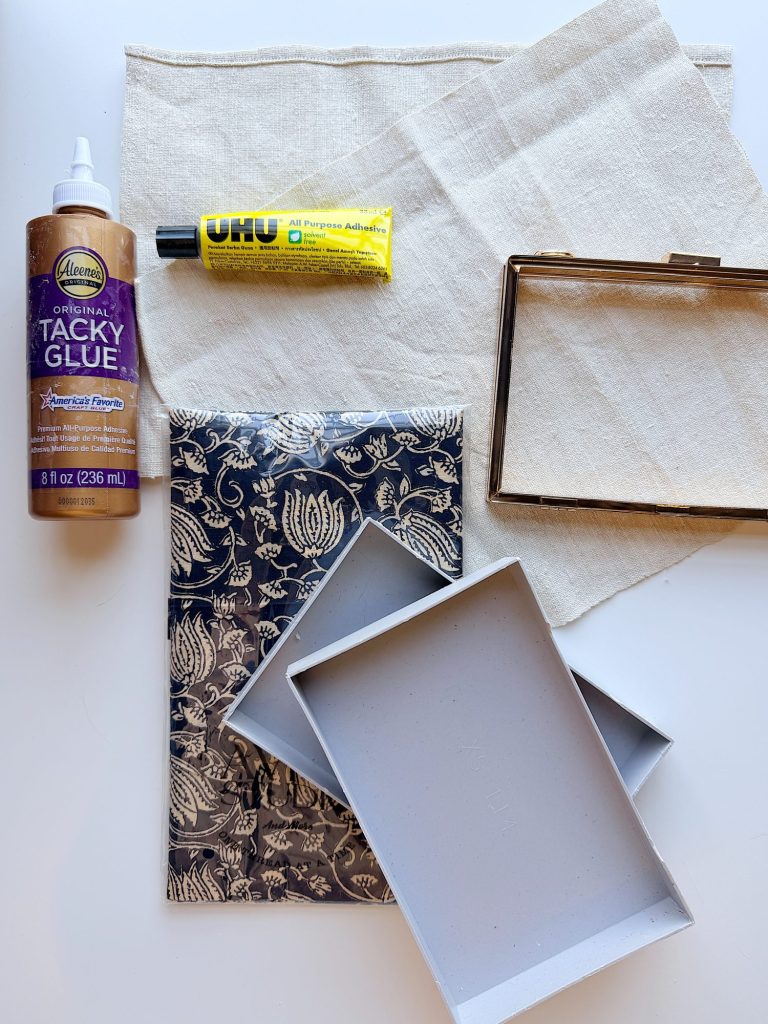
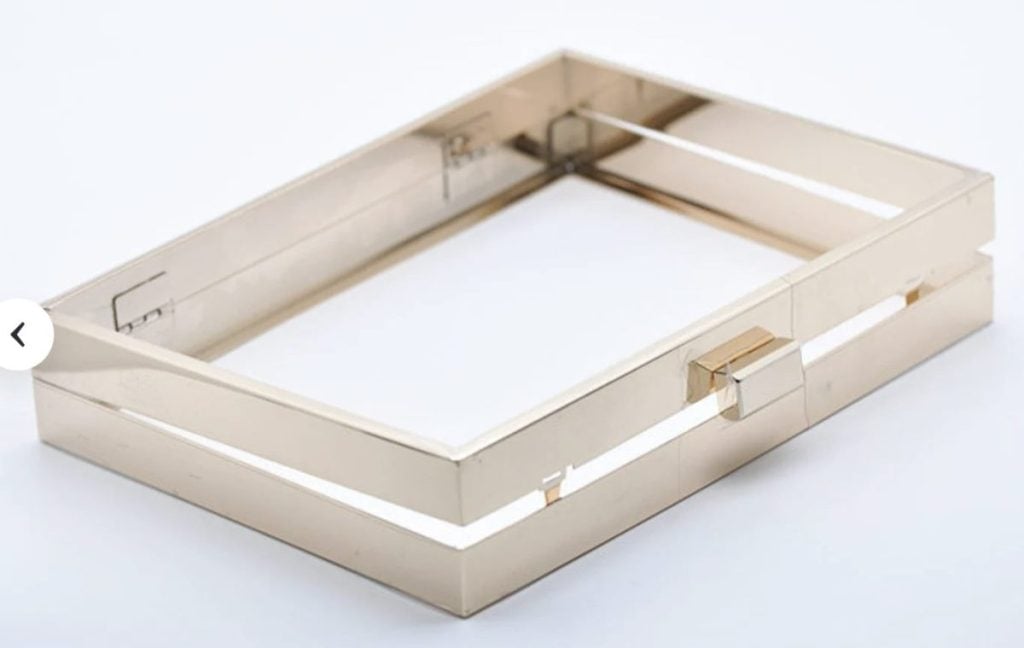
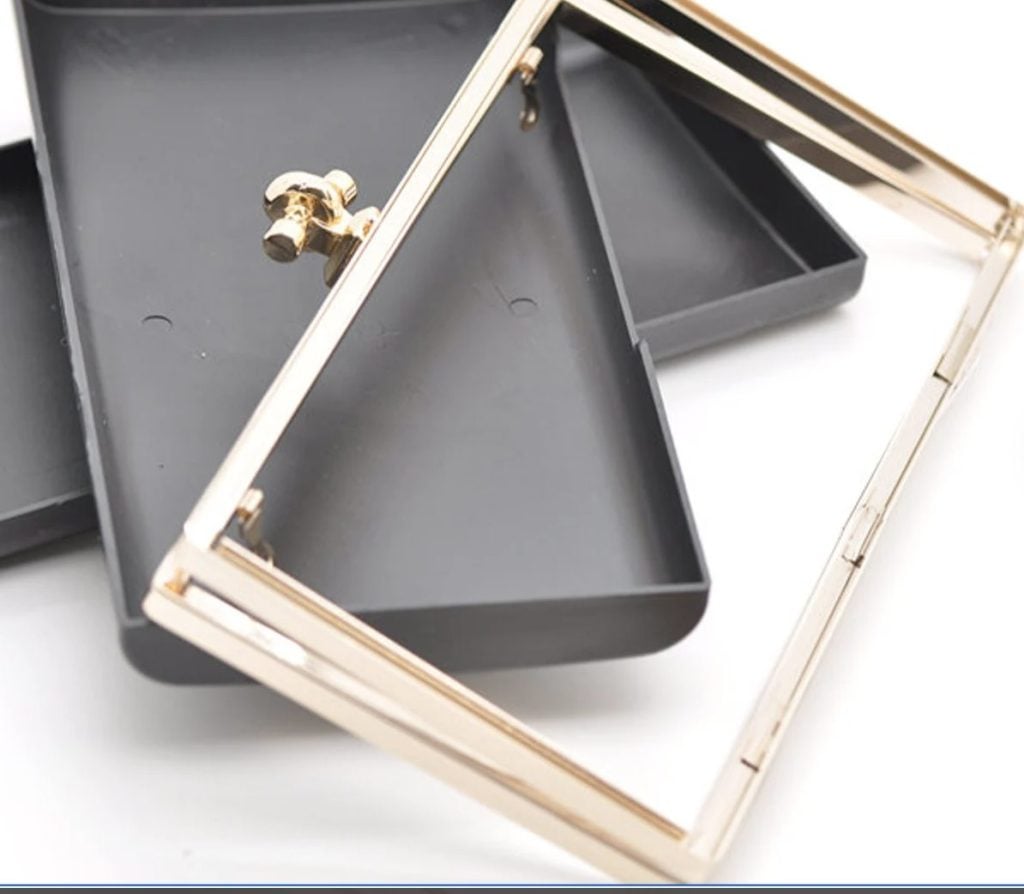
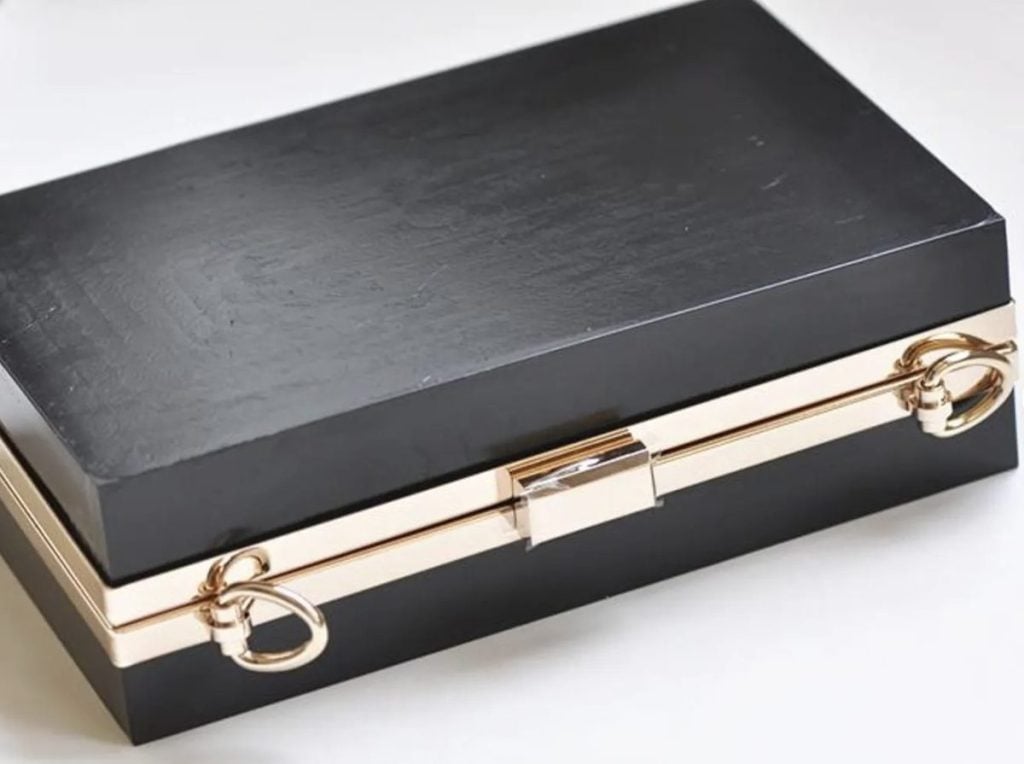
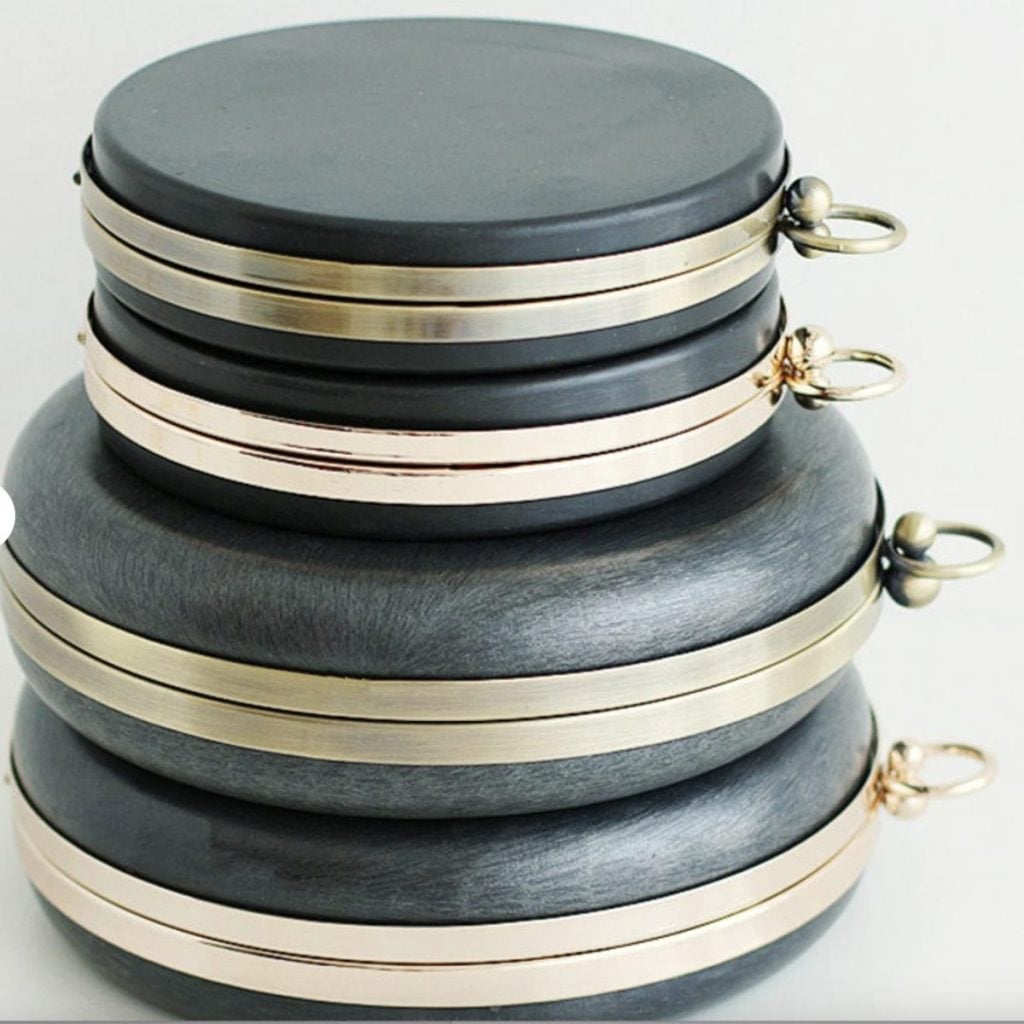
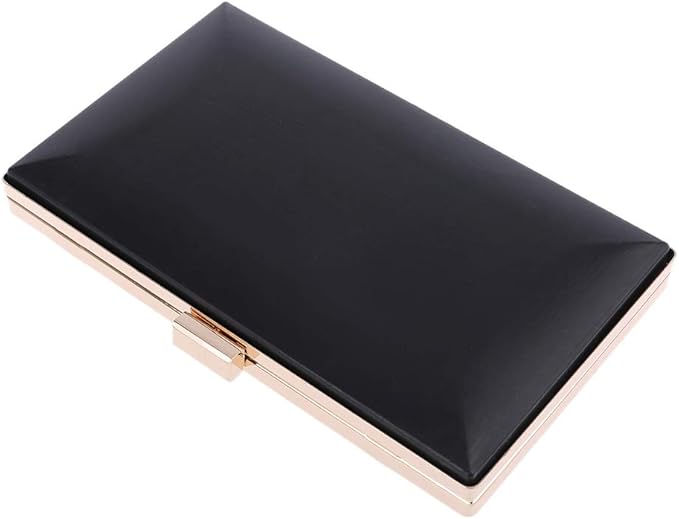
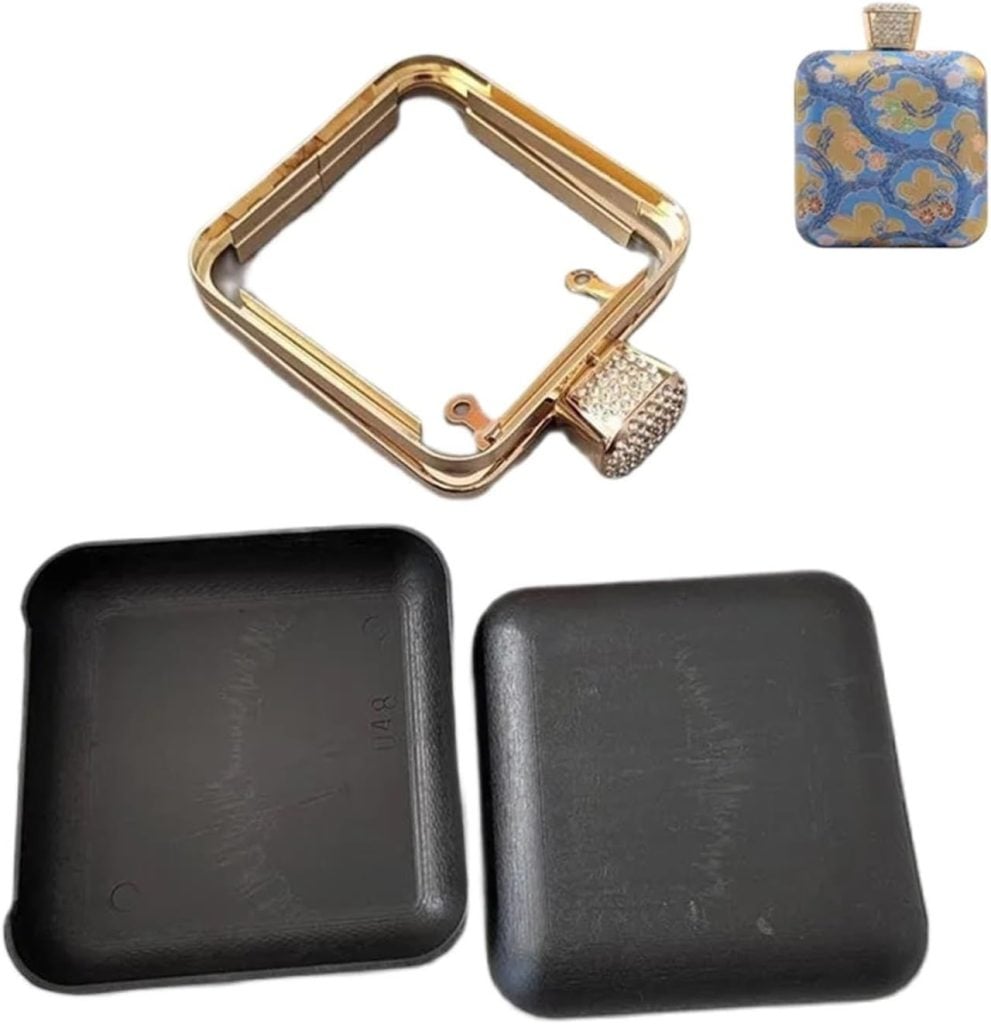
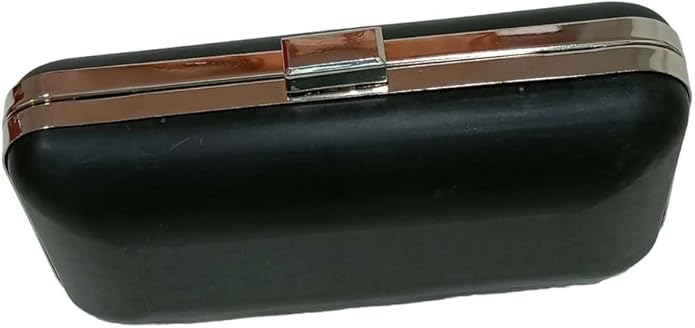
- Box frame purse frame
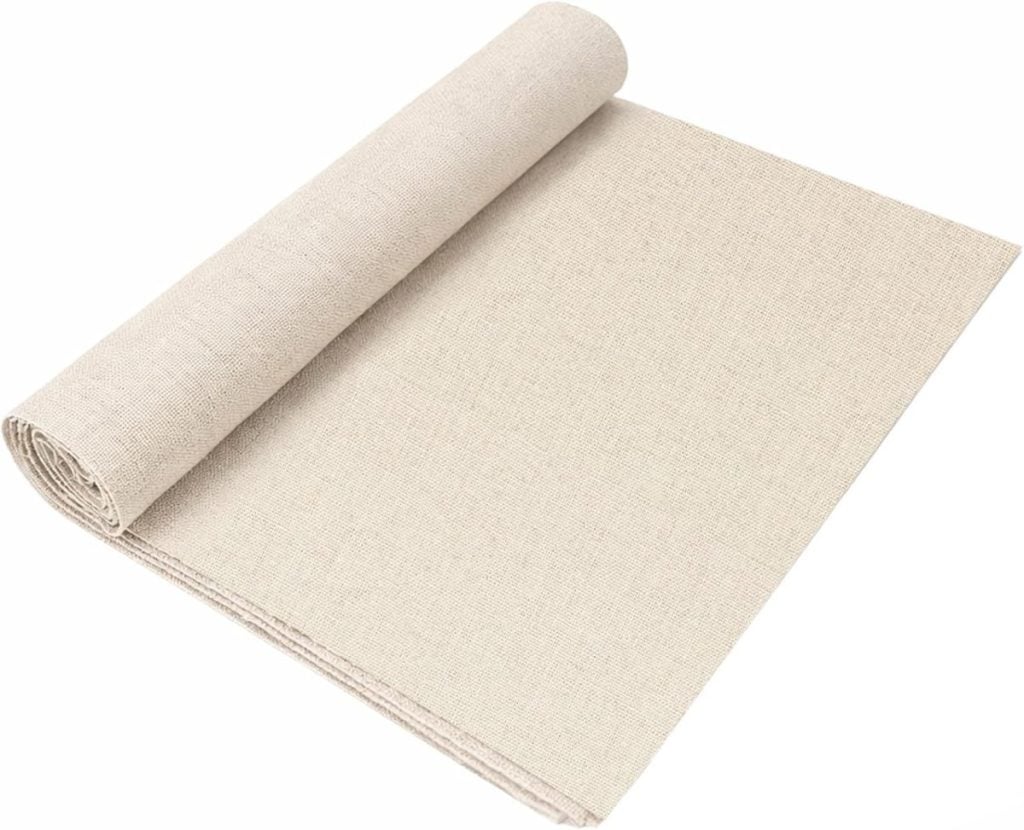
- Linen fabric for exterior
- Coordinating lining fabric
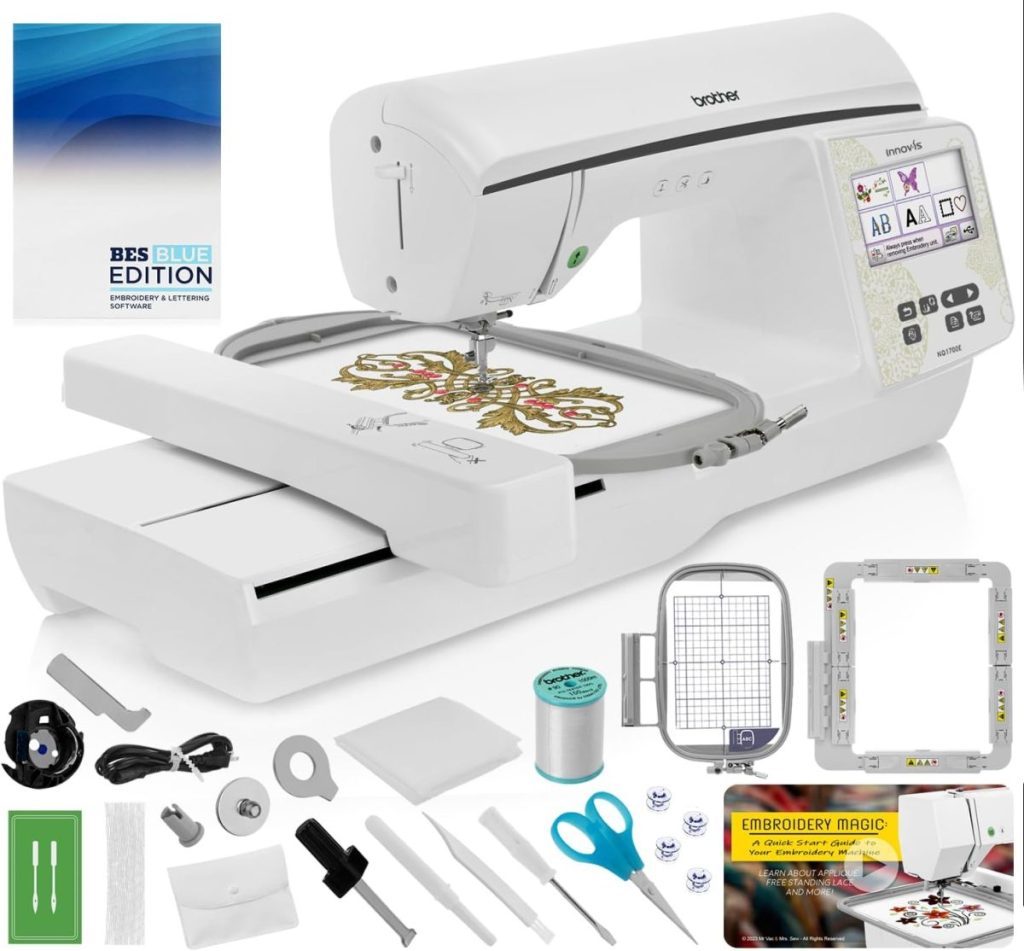
- Embroidery machine (optional)
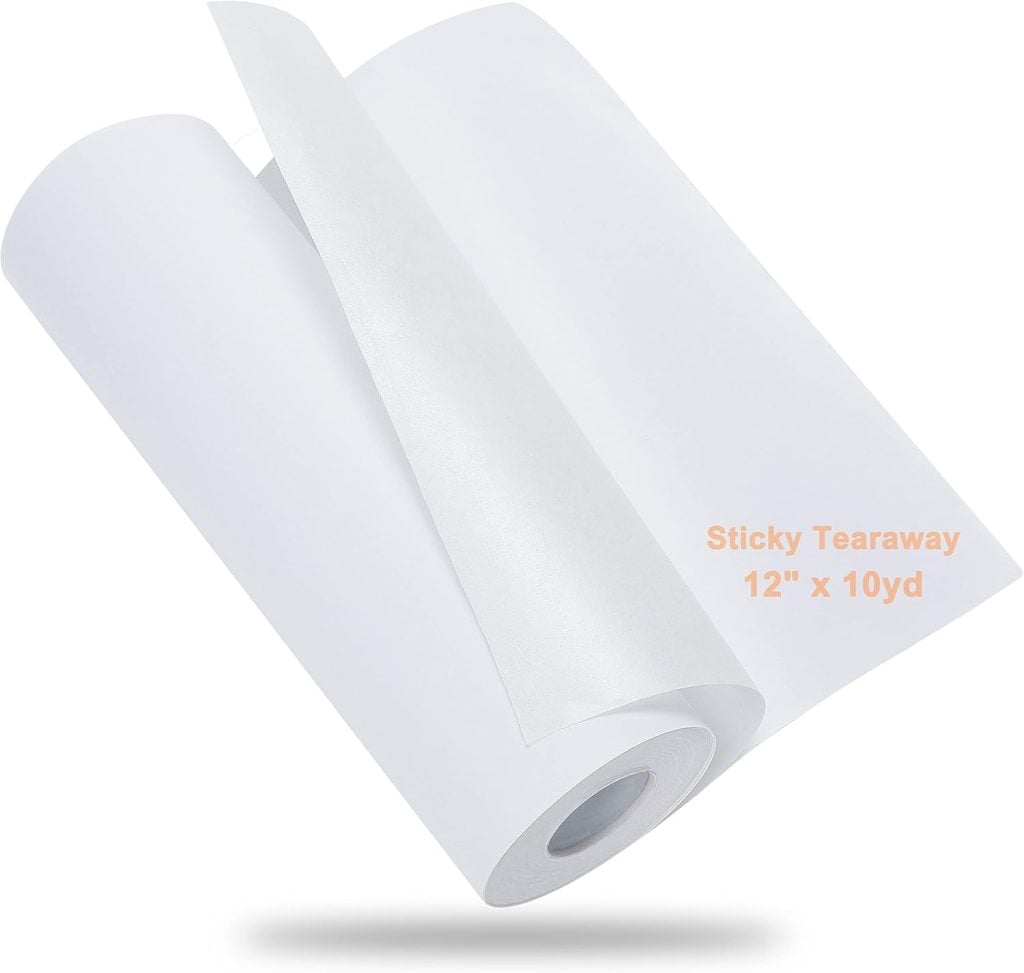
- Embroidery stabilizer
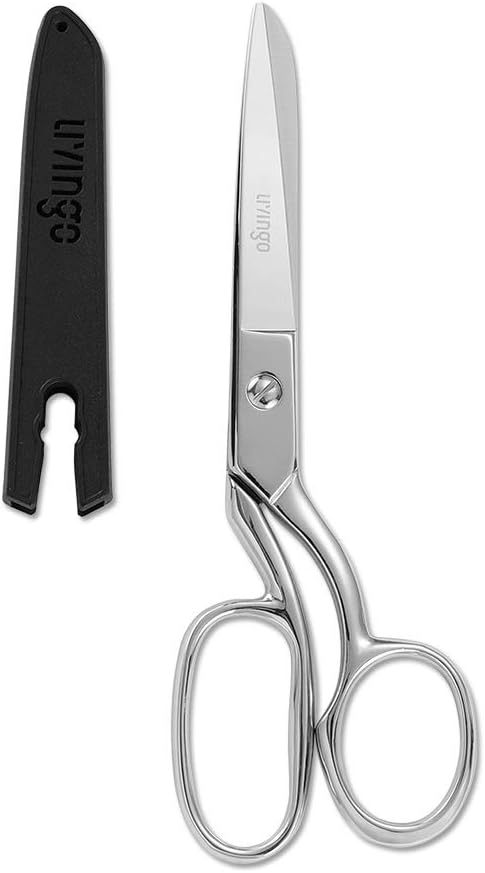
- Fabric scissors
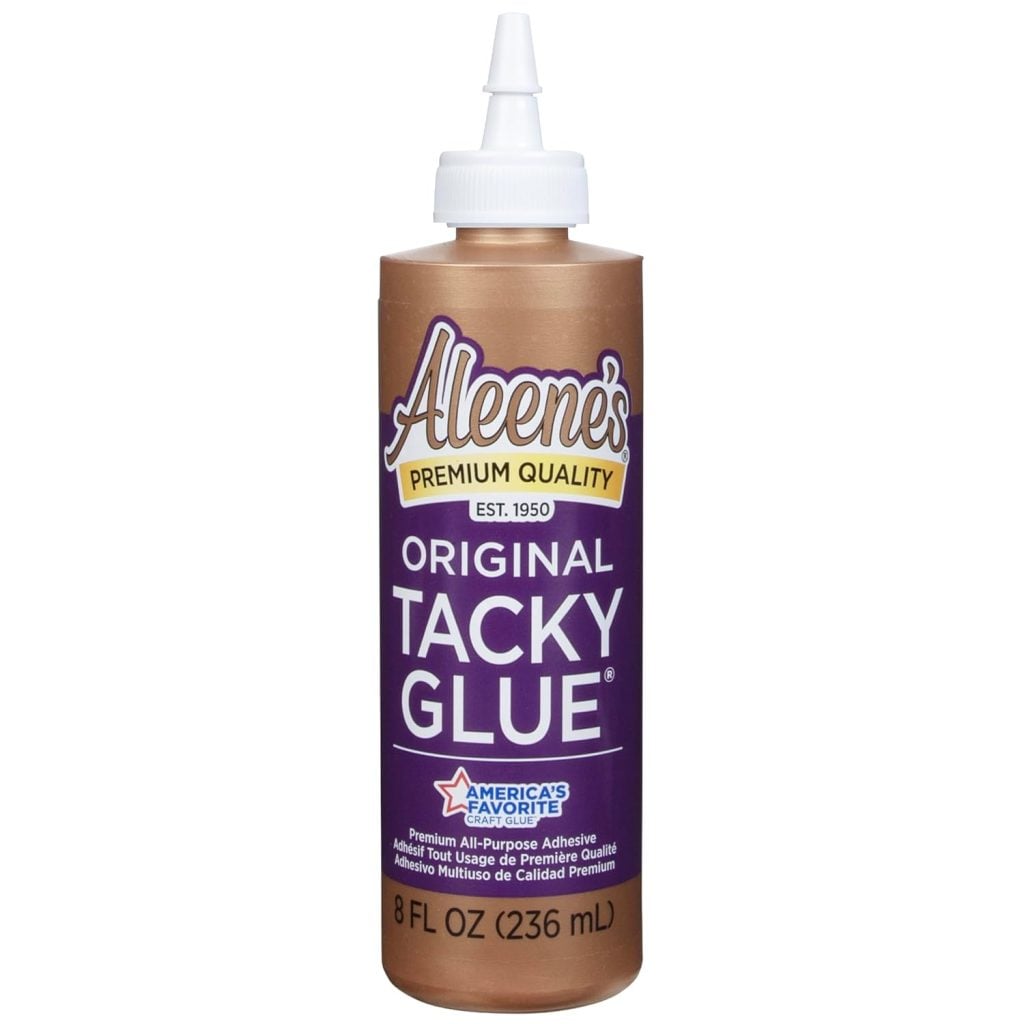
- Tacky Glue
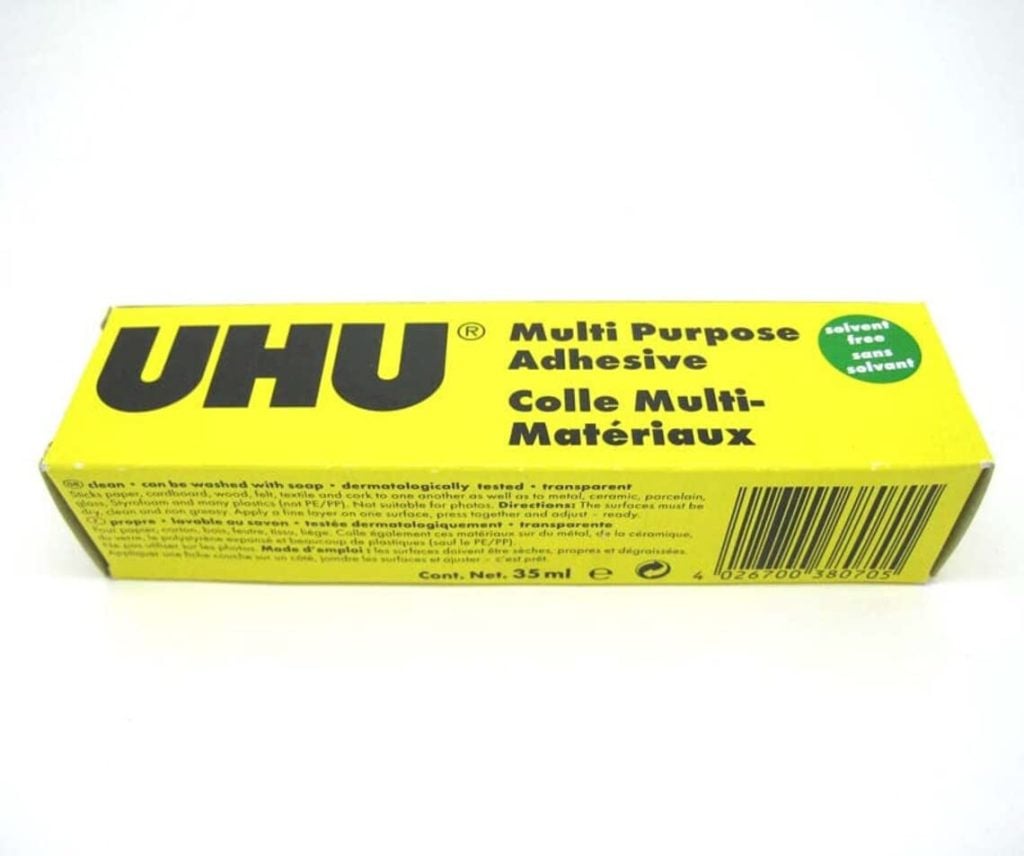
- UHU All-purpose adhesive
- Craft/sewing clips
- Pencil
- Iron
- Paintbrush
- Ruler
I may use affiliate links on this blog, which means I earn a small commission if you make a purchase through them. The price will be the same whether you use the affiliate link or go directly to the vendor’s website using a non-affiliate link.

Step One: Embroider the Exterior Fabric
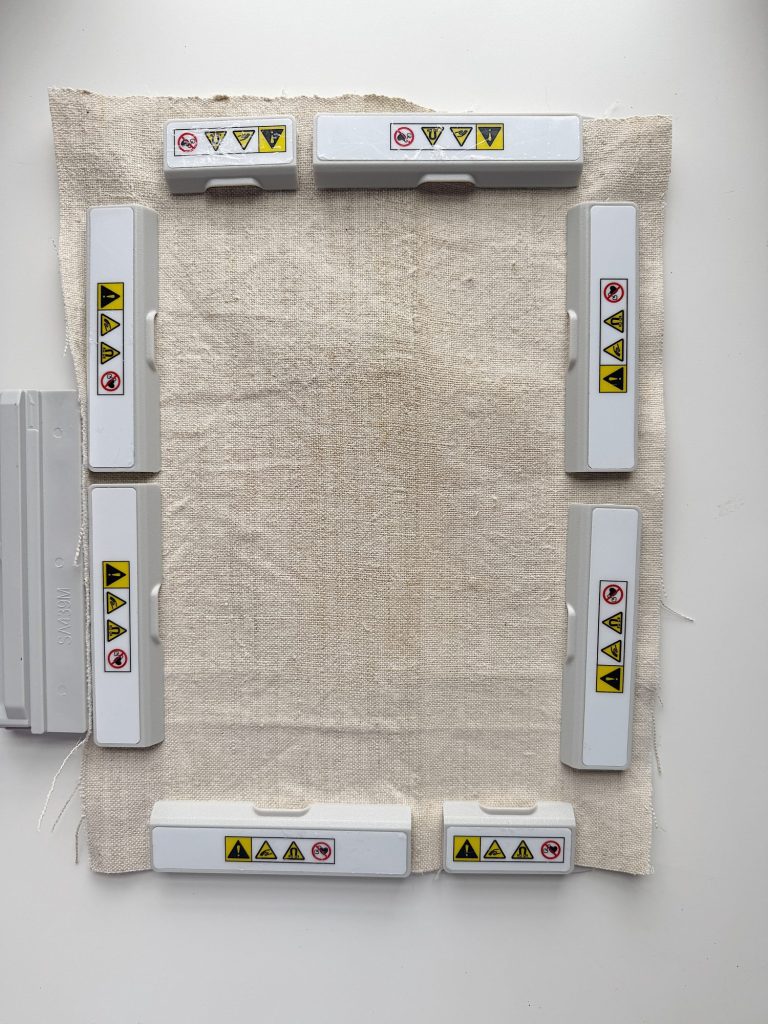
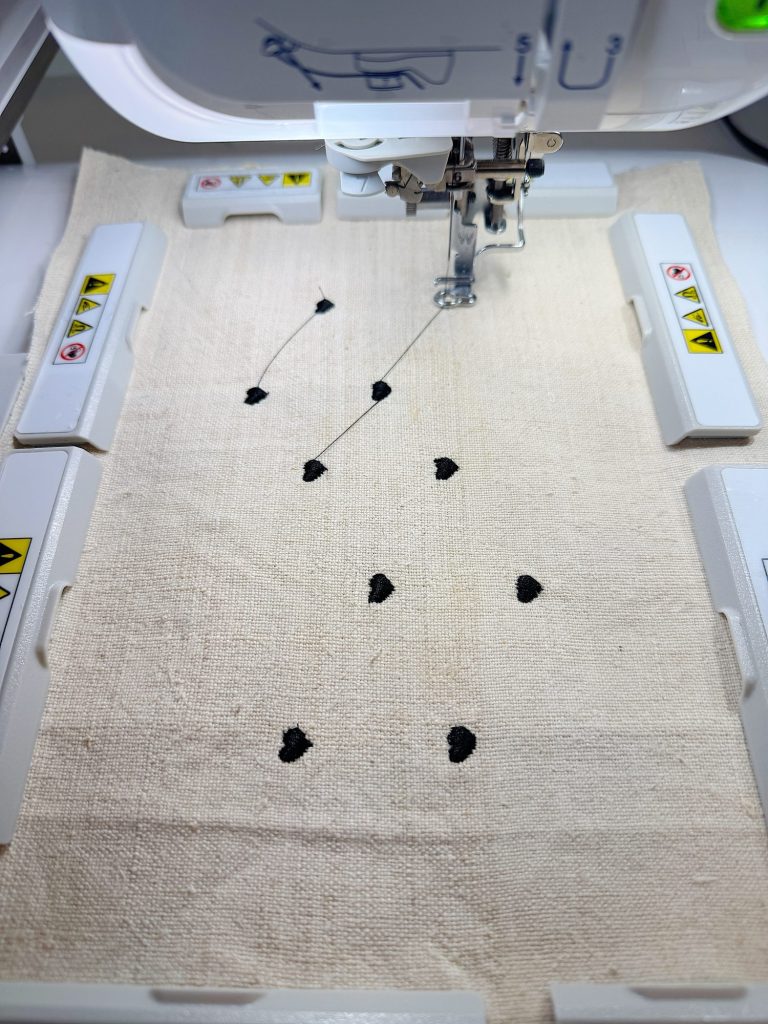
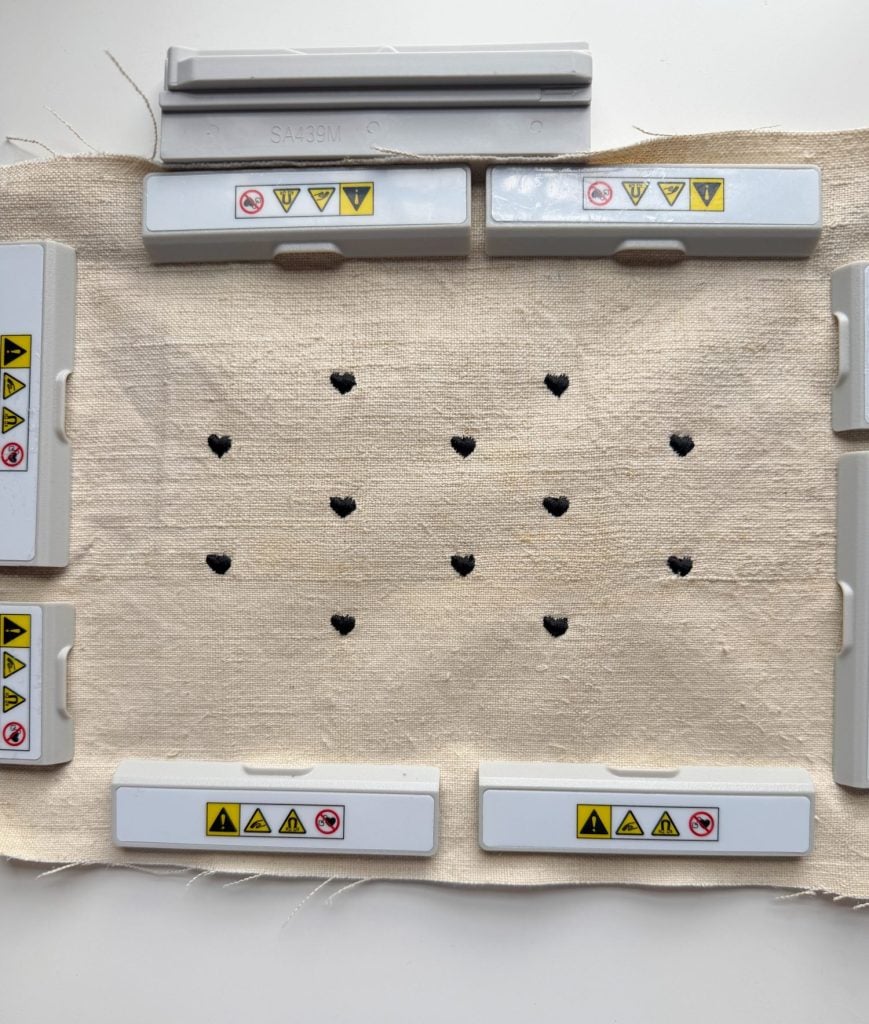
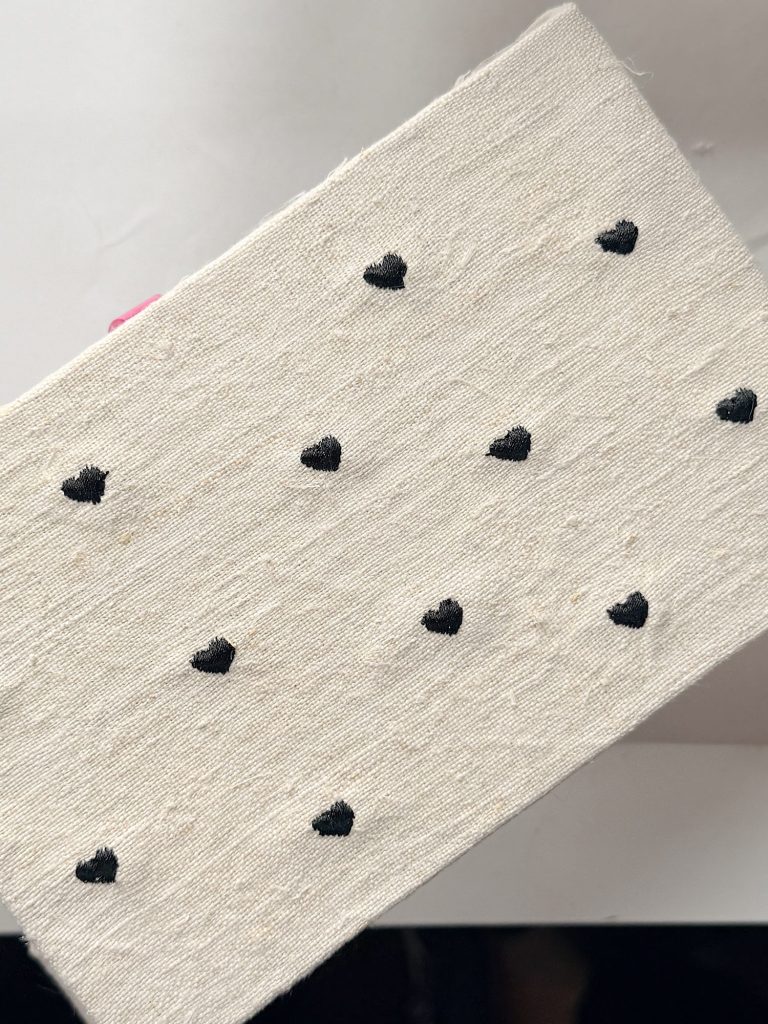
I started by creating my embroidered linen fabric.
Using my embroidery machine, I stitched small black hearts randomly across a piece of natural linen. The hearts are simple, but together they create a playful and modern pattern.
You could easily substitute:
- Monograms
- Flowers
- Initials
- Dots
- Stars
- Bows
- Bees
- Seasonal motifs
This is where you can really personalize your purse.
If you don’t have an embroidery machine, don’t worry. You can skip this step entirely and use any decorative fabric you love.
Step Two: Prepare the Lining Fabric
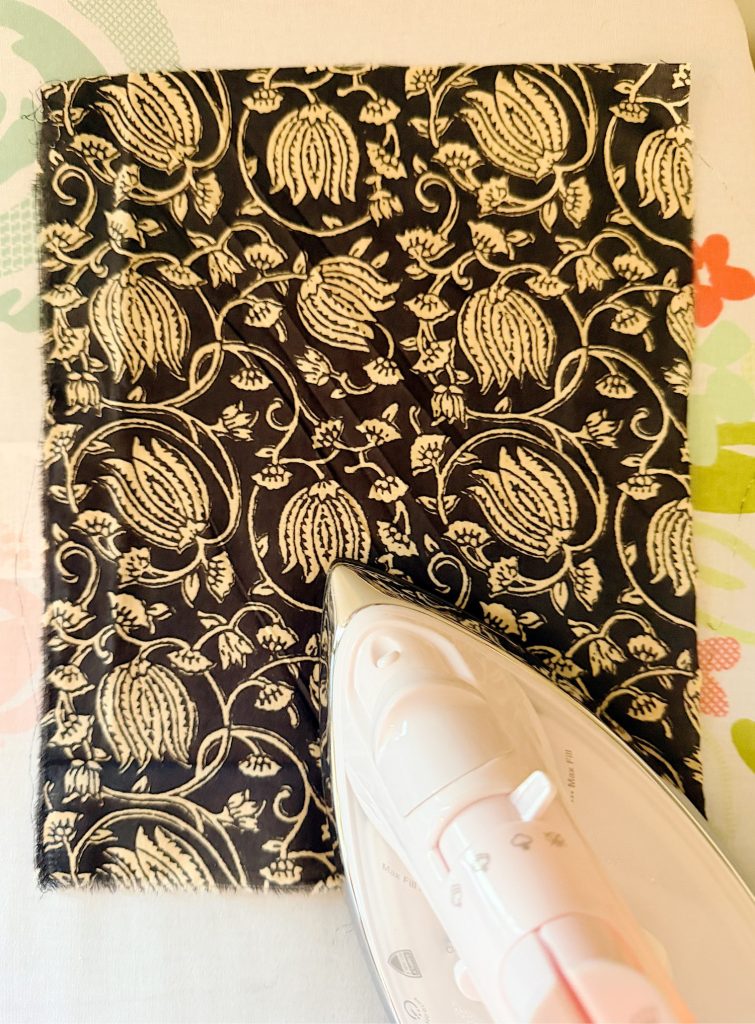
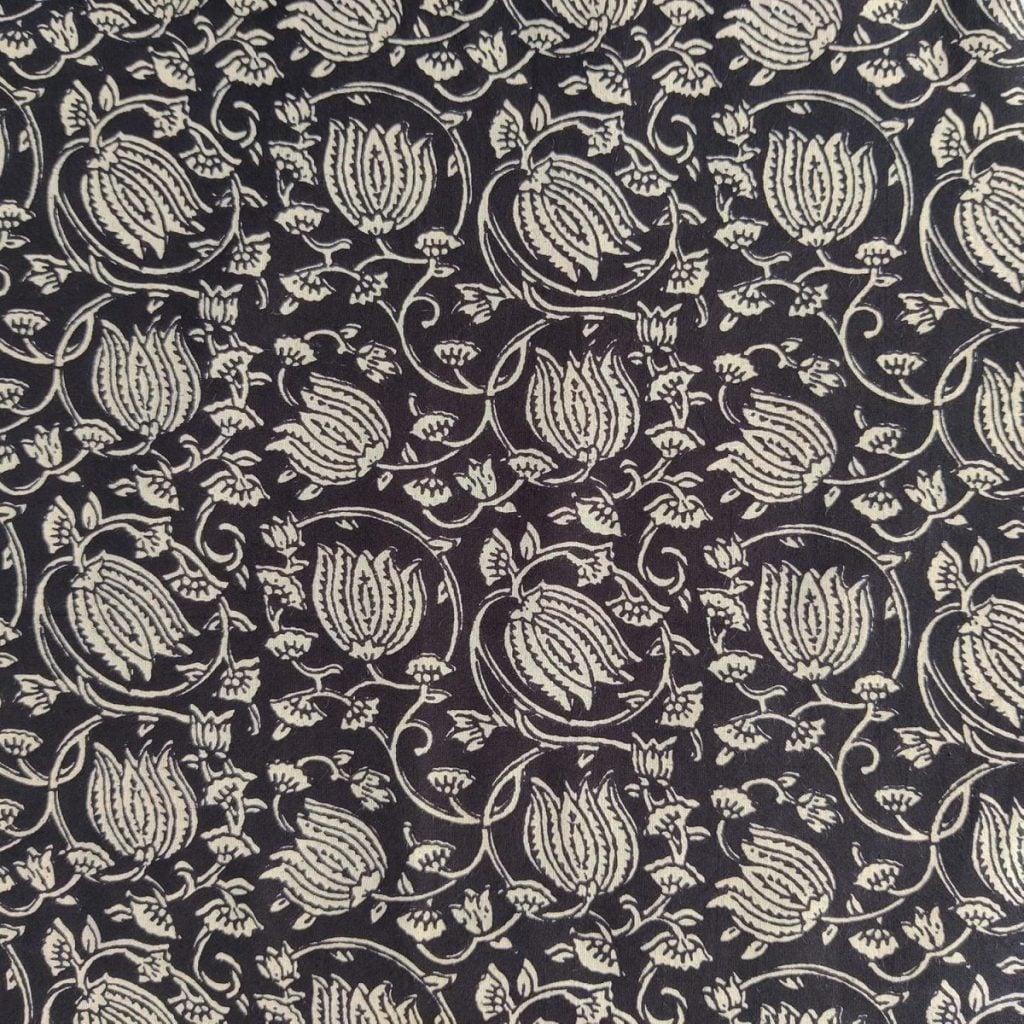
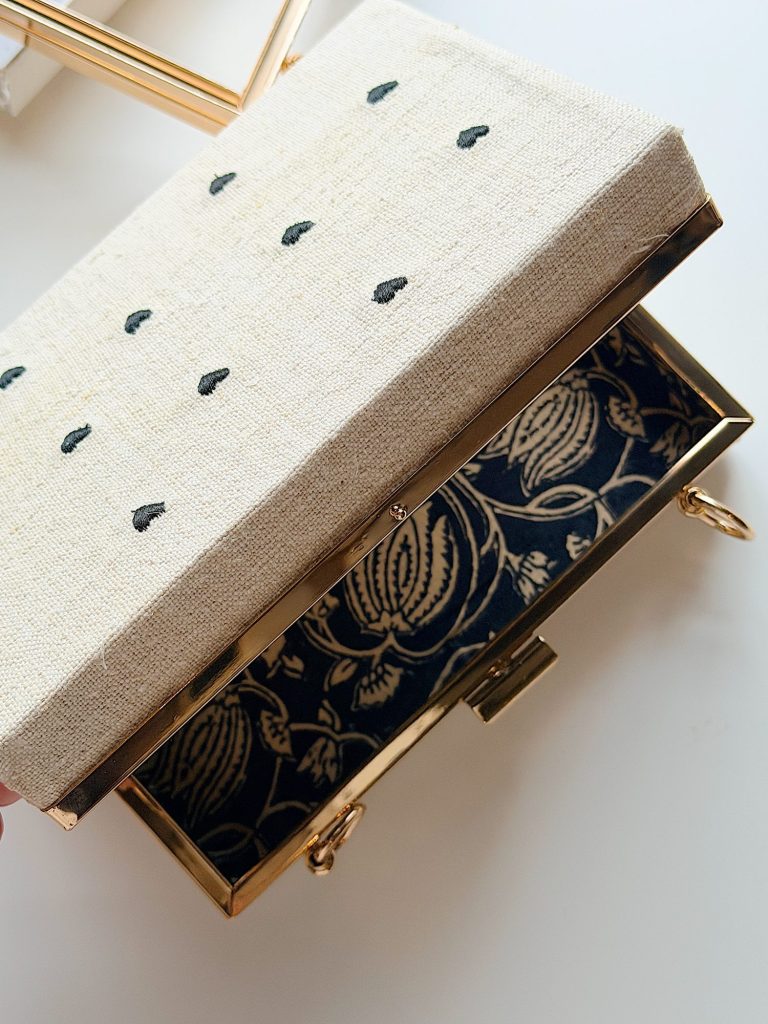
For the lining, I selected a beautiful black-and-tan floral print fabric, which I bought on Amazon.
The contrast between the simple embroidered exterior and the patterned interior adds an unexpected detail, making the purse feel even more special.
Press both the exterior and lining fabrics thoroughly before beginning construction.
A well-pressed fabric makes every step easier and results in a cleaner finished project.
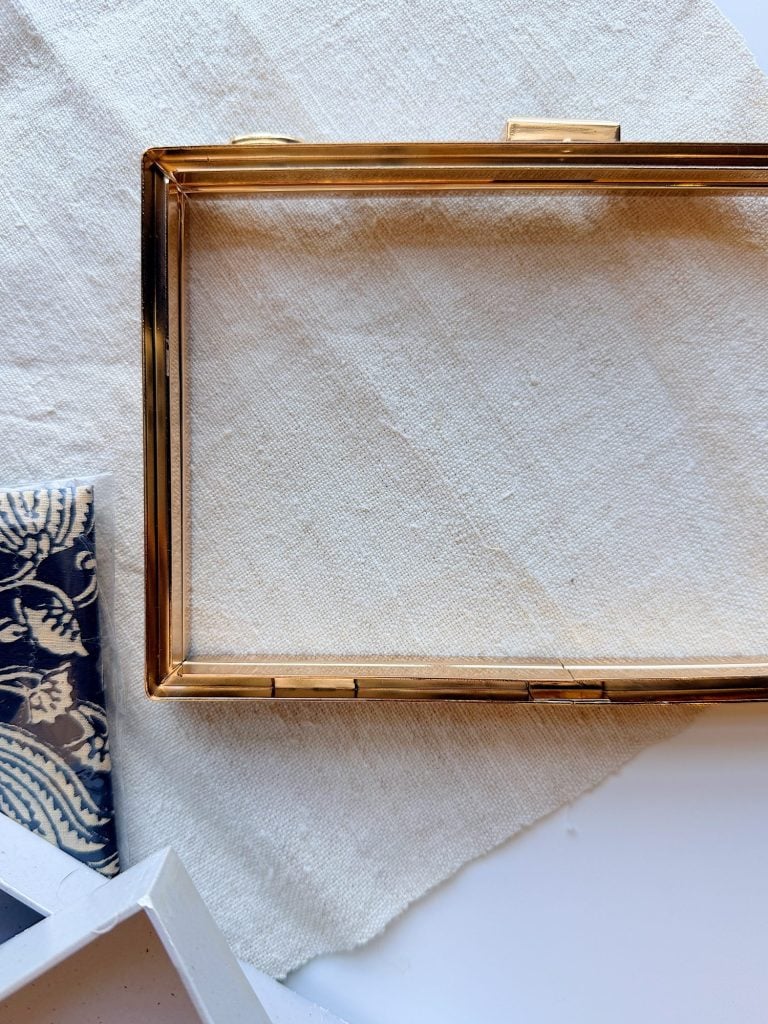
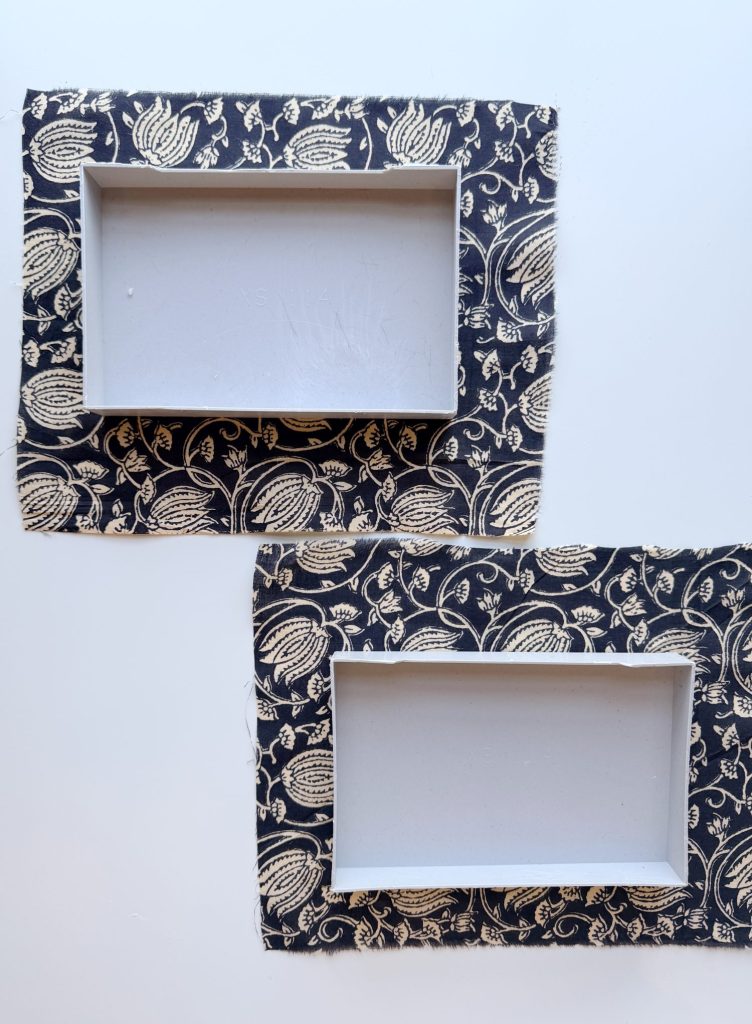
Step Three: Trace the Purse Frame
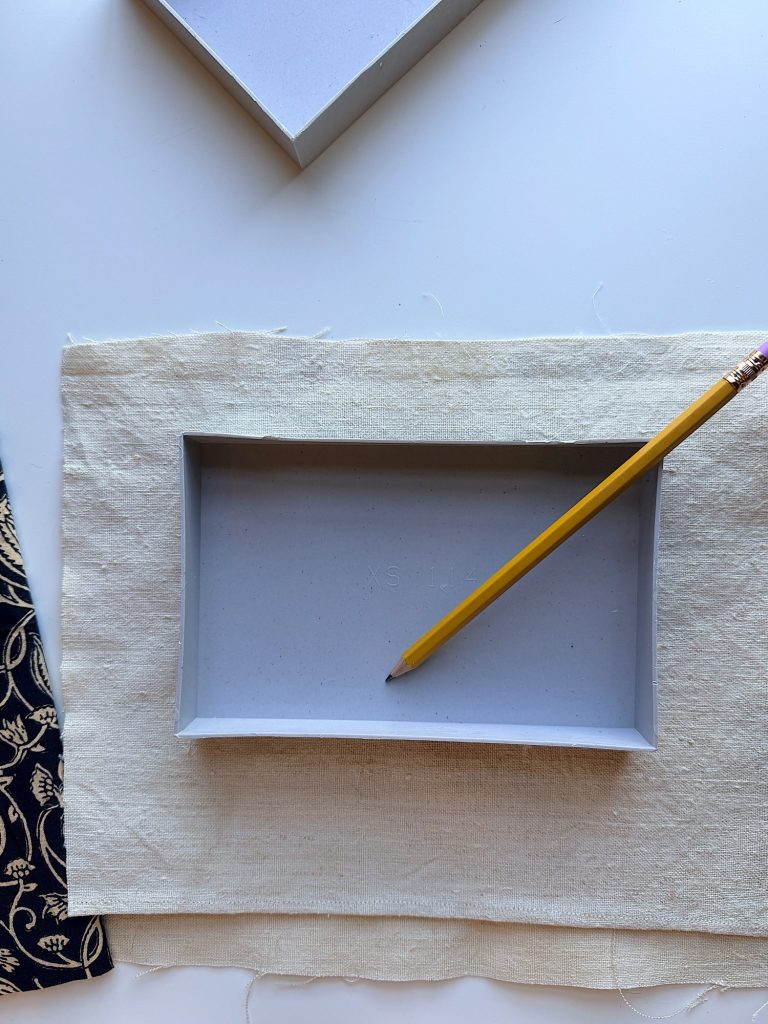
Place the purse frame on the wrong side of your exterior fabric.
Using a pencil, lightly trace around the frame.
Leave enough excess fabric around all sides so the fabric can wrap over the edges and around the inside of the frame.
Repeat this process with the lining fabric.
The extra fabric allowance is important because it will be folded and glued around the edges of the frame.
Step Four: Cut the Fabric
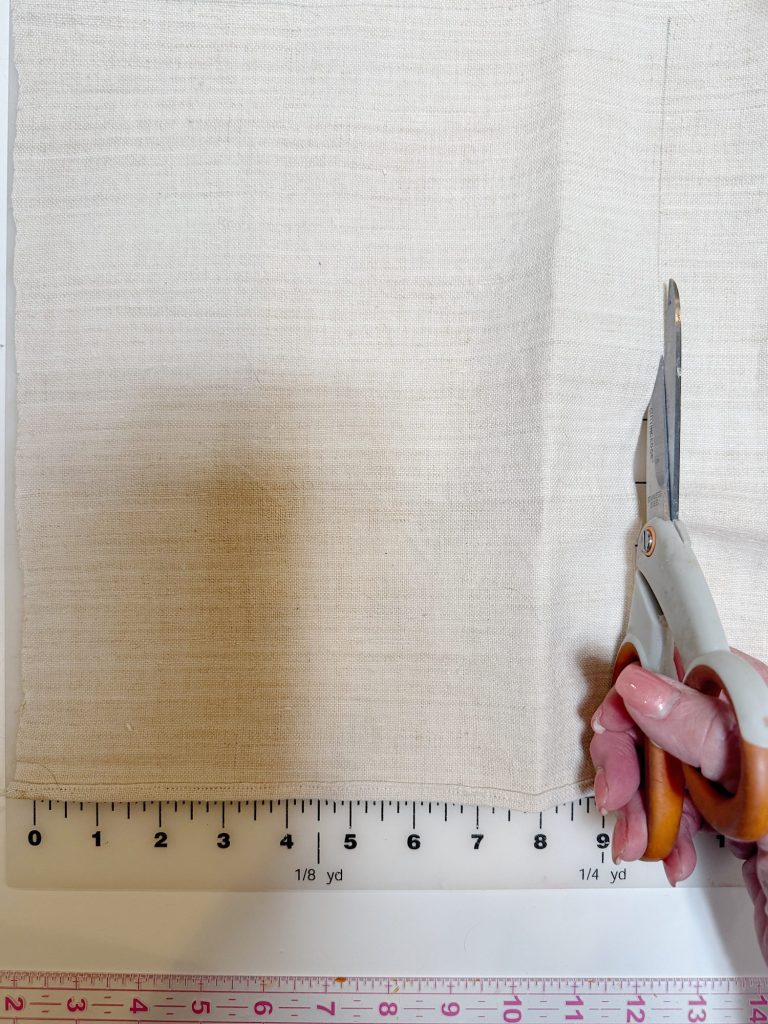
Cut the exterior and lining fabric pieces.
Be sure to leave generous margins around all sides.
It is always easier to trim excess fabric later than to discover you have cut the fabric too small.
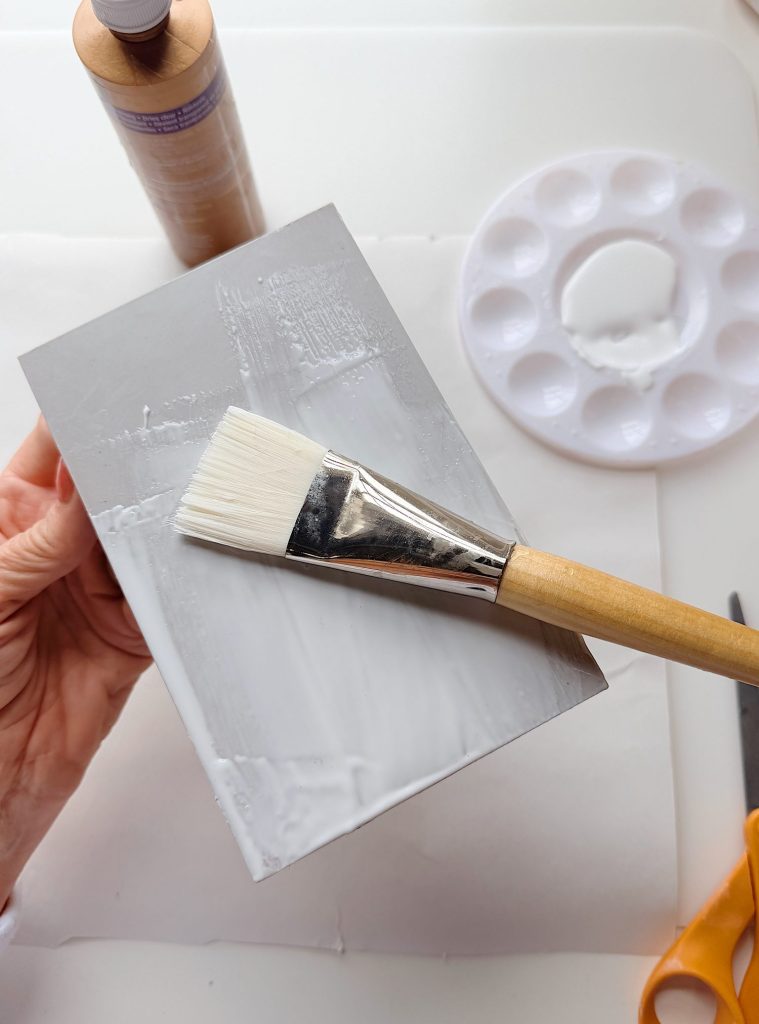
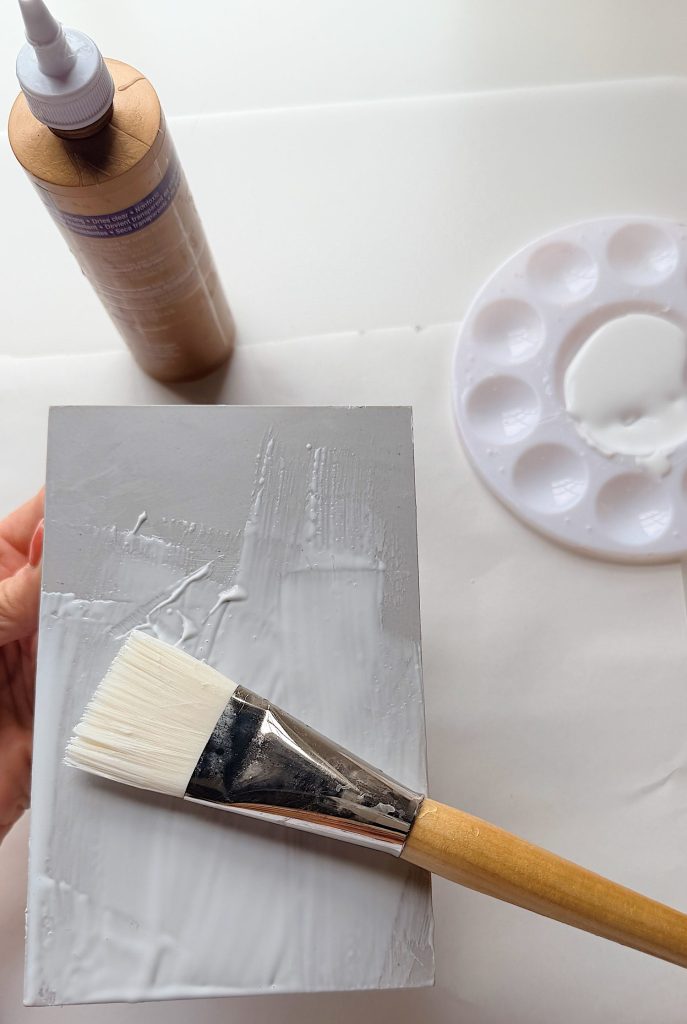
Step Five: Glue the Lining to the Purse Frame
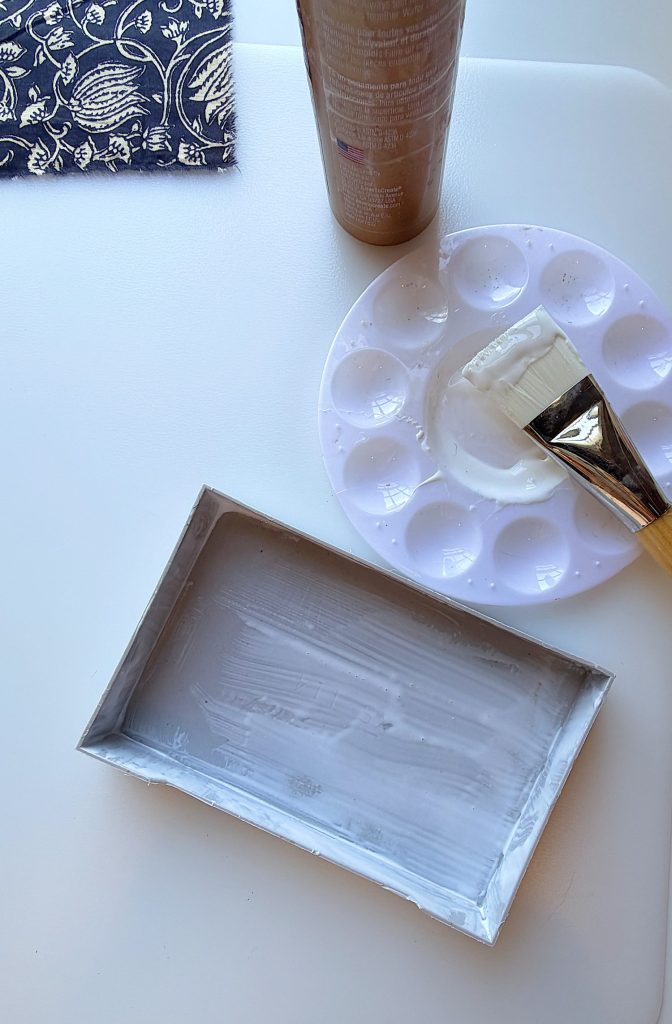
Before attaching the fabric, I painted the interior surfaces of the frame with Tacky Glue.
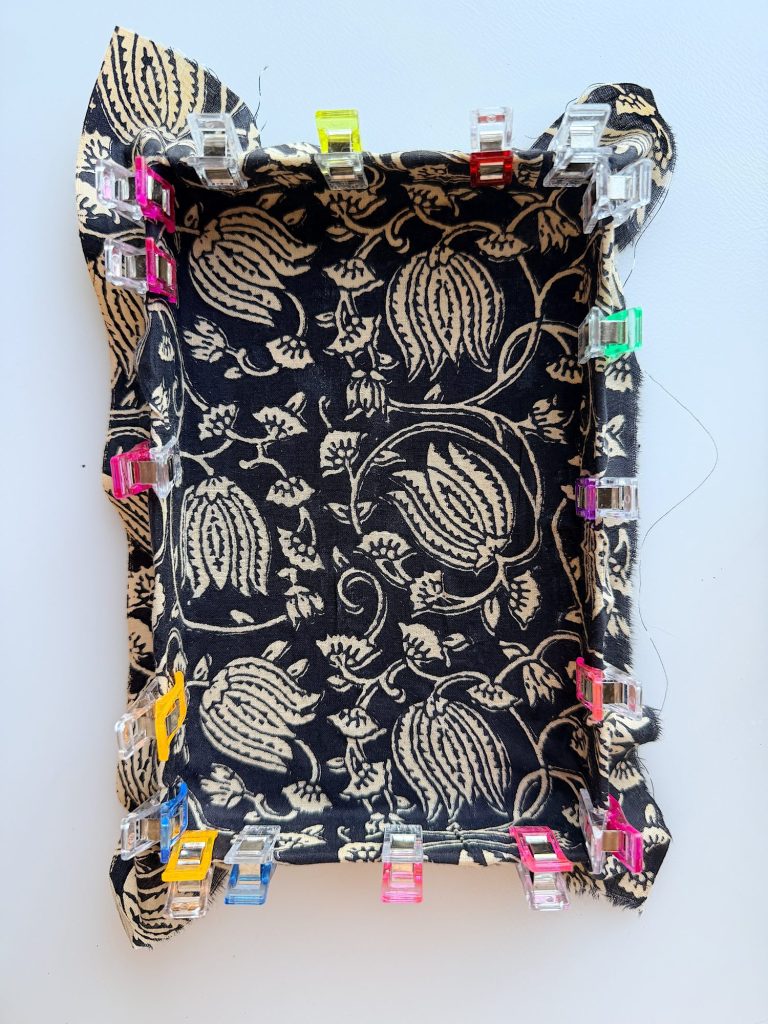
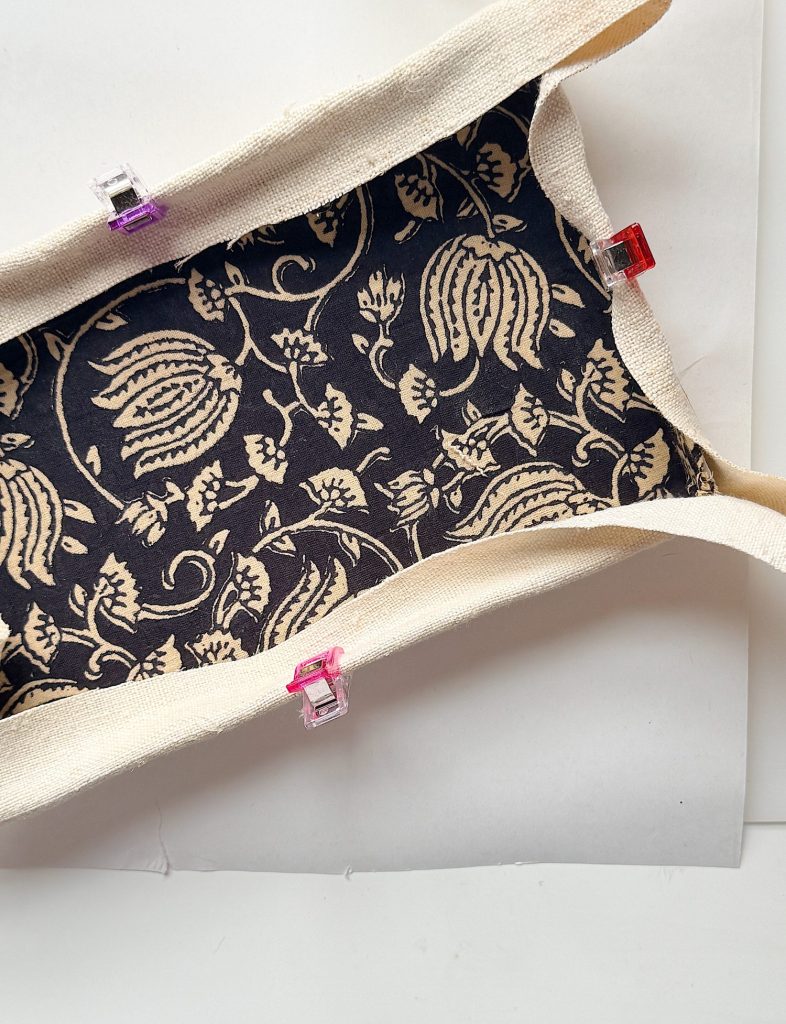
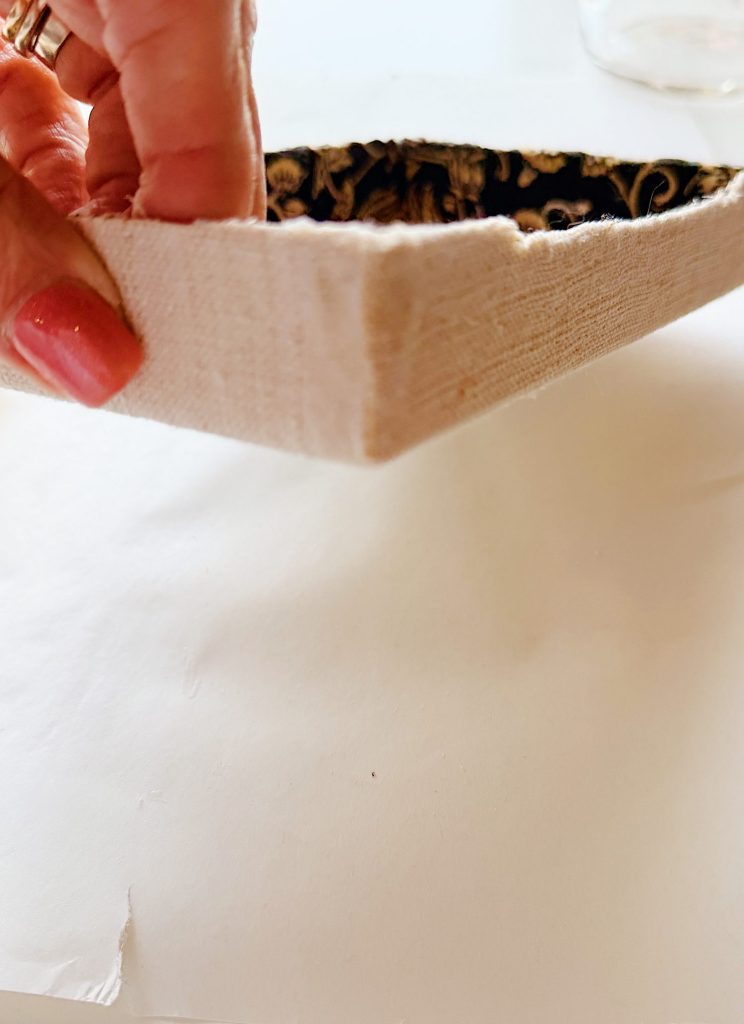
Position the lining fabric carefully inside the purse.
Fold the excess lining fabric around the interior edges and secure it with clips.
The lining instantly transforms the purse, giving it a finished, professional appearance.
I absolutely love how the floral fabric looks against the simple embroidered linen.
Let it dry for a few minutes. Place the fabric into the frame and smooth it down, making sure everything is smooth and secure the top with sewing clips.
Allow the glue to dry completely before continuing.
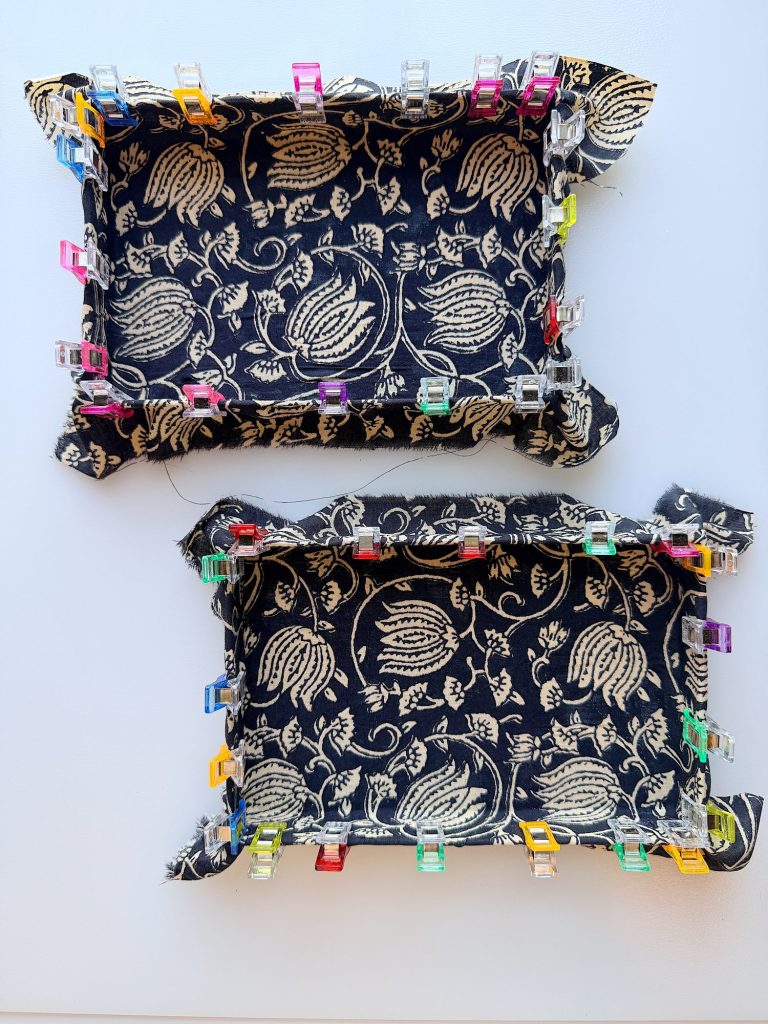
Step Six: Cover the Exterior
Apply fabric glue to the outside surface of the purse frame.
Carefully position the embroidered linen fabric over the frame.
Smooth the fabric as you work to eliminate wrinkles and bubbles.
Once the exterior fabric is attached, wrap the excess fabric around the edges of the frame.
Secure the fabric with clips while the glue dries.
Take your time during this step. Smooth, even fabric creates the professional finish that makes the purse look store-bought.
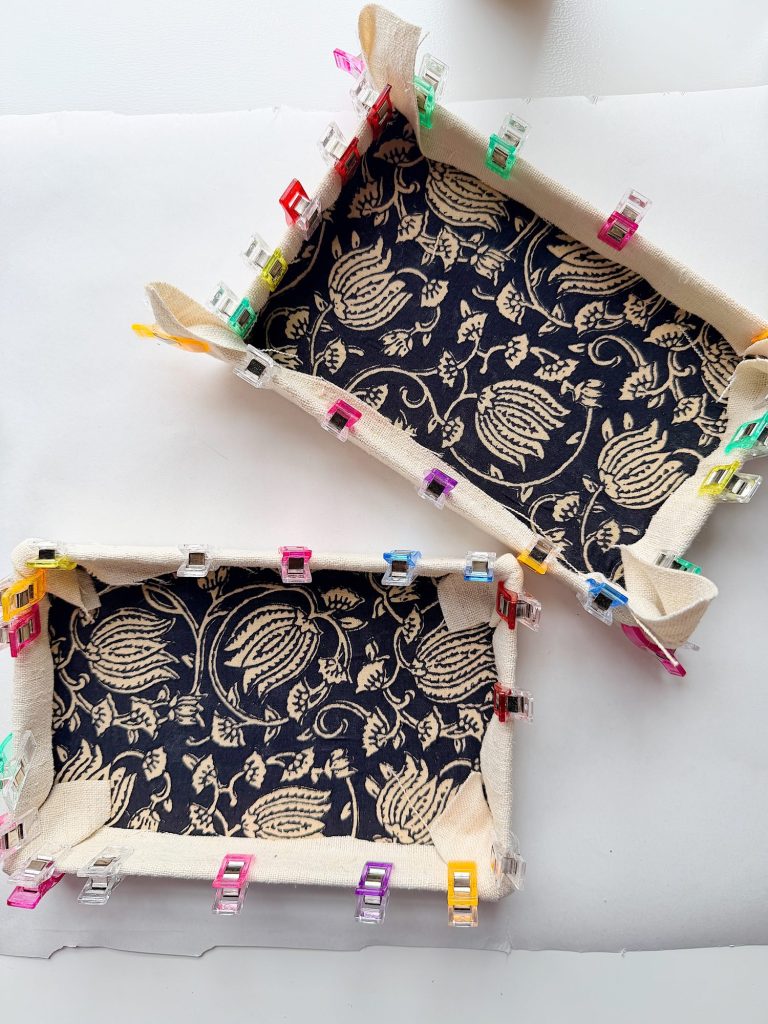
Step Seven: Create Neat Corners
Corners can feel intimidating, but they are actually quite simple.
Fold the fabric neatly at each corner as though you are wrapping a gift.
Trim away excess bulk if needed.
Secure the folds with fabric glue and clips.
The clips are especially helpful because they hold everything securely in place while the glue sets.
Step Eight: Allow Everything to Dry
This may be the hardest part.
Allow the purse to sit undisturbed until the glue is completely dry.
Then go back and make sure the top edges are all glued down. I had to add more glue to the top edge as the fabric needs to be secure when you add it to the hardware frame.
Giving the adhesive enough time to cure will ensure a stronger and more durable purse.
Step Nine: Attach the Hardware
Once the fabric is secure and fully dry, attach the box frame hardware according to the manufacturer’s instructions.
I filled the frame outside margin with UHU All Purpose adhesive. I let it dry for five minutes, then securely inserted the box frame into the hardware.
Let dry.
The frame instantly transforms the project from a simple fabric-covered box into a beautiful clutch purse.
Watching this final step come together is incredibly satisfying.


Styling Ideas
The possibilities for this project are endless.
Imagine creating:
- Vintage embroidered purses
- Holiday-themed purses
- Floral summer clutches
- Needlepoint purses
- Monogrammed gift purses
- Wedding and bridesmaid purses
- Patriotic purses
- Toile-covered purses
- Quilted purses
- Seasonal collections
I can already imagine making several more with different fabrics and embroidery designs.
Tips for Success

Choose a medium-weight fabric for the exterior whenever possible.
Press all fabrics thoroughly before beginning.
Use plenty of clips to keep edges secure while drying.
Allow adequate drying time between steps.
Don’t be afraid to experiment with specialty fabrics.
Vintage textiles, embroidered linens, and needlepoint pieces work beautifully for this project.
Final Thoughts
This Box Frame Purse combines embroidery, fabric, creativity, and a little bit of crafting magic into one beautiful accessory.
I love that it feels sophisticated yet remains approachable for almost any skill level. The construction is simple, the materials are easy to find, and the results are stunning.
Most of all, I love that every purse tells a different story depending on the fabric you choose. Whether you use embroidered linen like I did or repurpose a treasured vintage textile, you’ll end up with a one-of-a-kind purse that’s as unique as you are.
If you make one, I’d love to see it. And don’t be surprised if this project inspires you to make a whole collection!
How to Follow Along With A Handmade Summer
Each week, a new spring craft will be shared here on the blog. I will also be sharing behind-the-scenes moments, progress videos, and finished projects on Instagram so you can see each craft come to life.
You can jump in at any point. There is no need to start at the beginning or complete every project. Choose the ones that speak to you and make them your own.
If you love seasonal crafting, this series is designed to inspire you throughout the summer.
Here are all of the A Handmade Summer craft projects so far.


Latest Posts
-
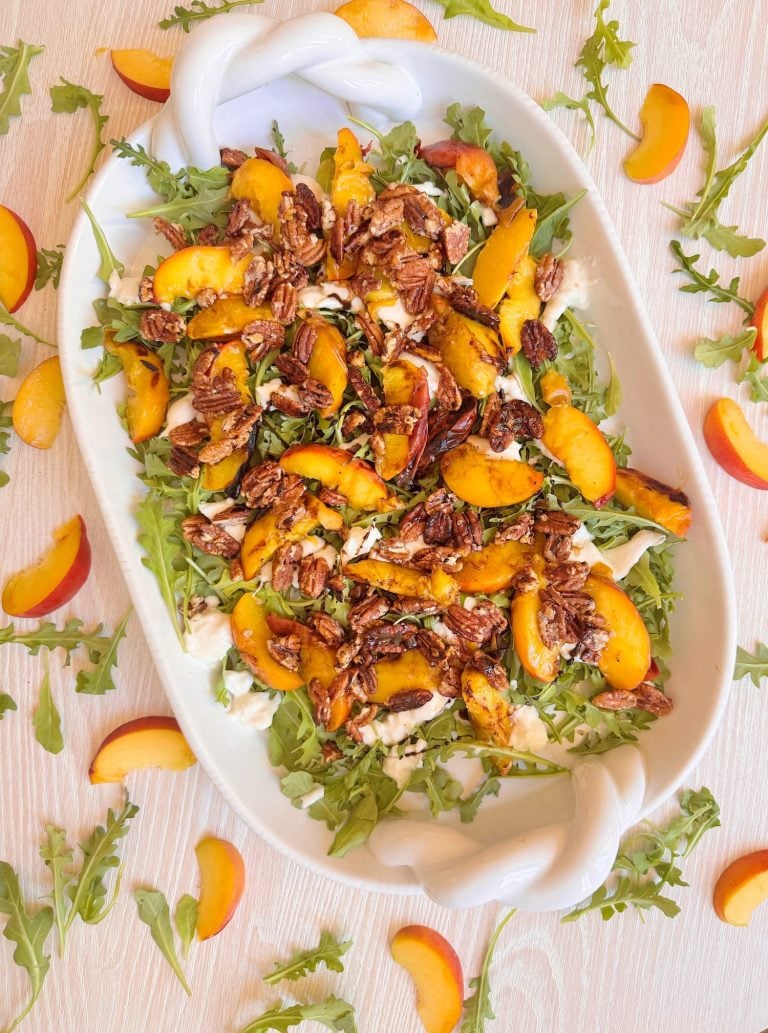
Grilled Peach Burrata Salad with Honey Balsamic Drizzle
Some recipes just taste like summer. You know the kind—fresh, colorful, effortless, and bursting with flavor. One of my absolute favorites this season is this Grilled Peach Burrata Salad with Honey Balsamic Drizzle. It’s everything I love in a summer dish: sweet peaches, creamy cheese, peppery greens, and a drizzle of sweet-and-tangy goodness. It’s elegant…
-
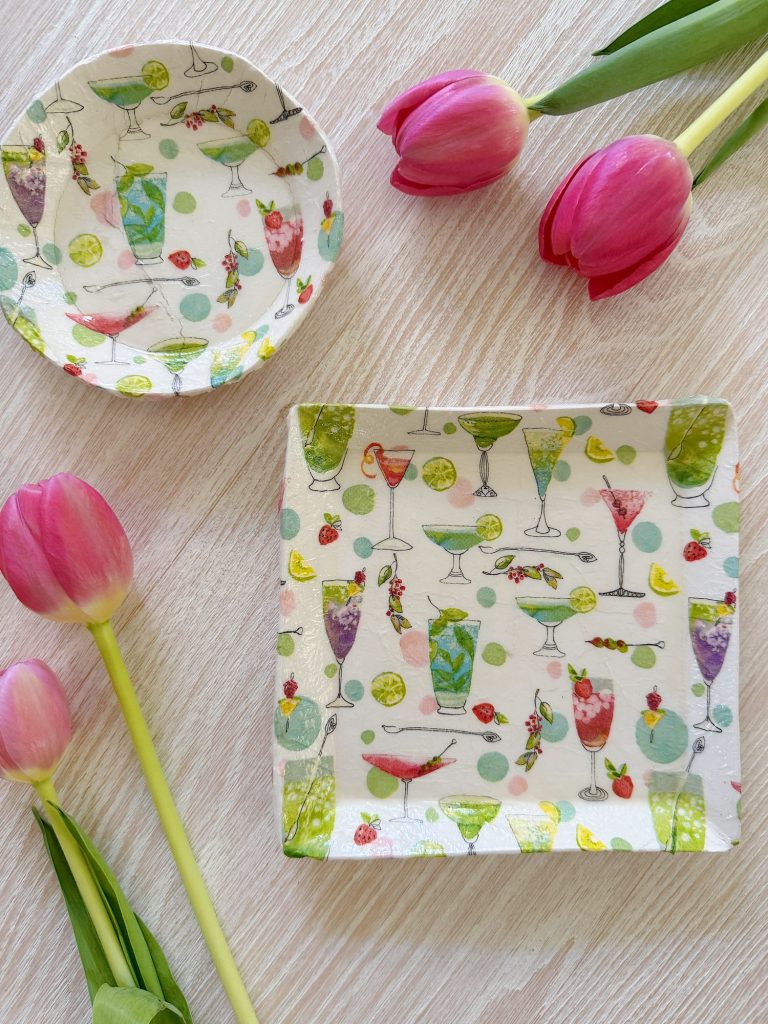
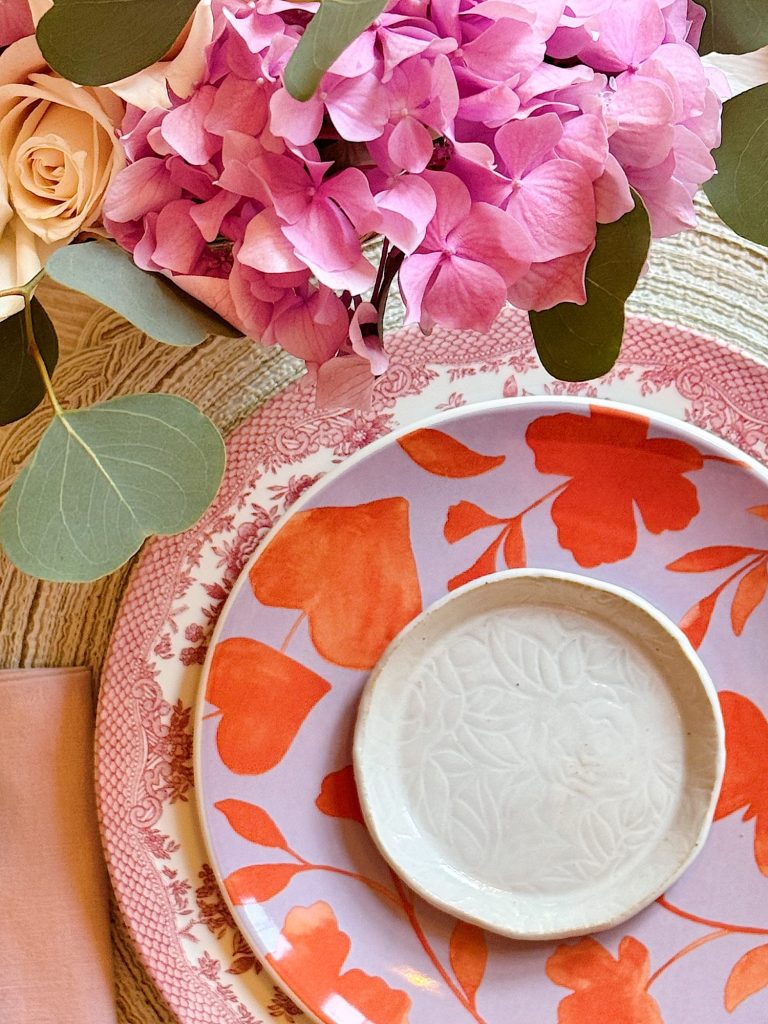
My Obsession with Hand-Building Clay Pottery Ideas
For the past year, I have enjoyed one of the most rewarding creative experiences I’ve had in a long time: hand-building clay pottery ideas. What started as a curiosity quickly turned into a full-blown passion, and I’m thrilled to share the joy, challenges, and surprising things I’ve learned throughout this journey. Let’s just say, I’m…
-
Strawberry Coconut Mini Tart Recipe
It’s time to whip up some summer desserts! And what better way to celebrate than my irresistible Strawberry Coconut Mini Tart Recipe? Ah, summer – the season of sunshine, flip-flops, and the vibrant burst of flavors that only fresh berries can offer. When those juicy, plump strawberries are in season, it’s time to get creative…
-
The Truth About Being “Crafty” – Mondays in the Craftroom
One of the most common things people say to me is, “I’m just not crafty.” But the truth is that creativity isn’t something you’re born with. It’s something you learn. Today I’m sharing why being crafty has much less to do with talent and much more to do with curiosity, practice, and simply being willing…
My Recent Instagram Posts

You can pin the image below to your boards on Pinterest (click the Pin button in the top left corner) or follow me on Pinterest!
For more real-time updates, follow me on Instagram @My100YearOldHome
Hi, what wonderful diy idea! I just love it. Thank you for step by step instructions. My only wish is that if there were pictures how the corners were actually folded. Is there a YouTube video I can follow.
I will surely make this.
Go to my instagram and watch the video. I know the folded corners are shown there.
Leslie