Pottery Barn Pillow Covers Knock Off
I love everything that Pottery Barn sells, except for their prices. Today, I am sharing this amazing Pottery Barn Pillow Covers knock-off!
Call me crazy, but whenever I see something I love but can’t justify the price, my mind starts asking an all-too-familiar question: “Can I make this for less?” I finally made this Pottery Barn pillow cover knockoff, and I loved how it came out!


Pottery Barn Pillow Covers
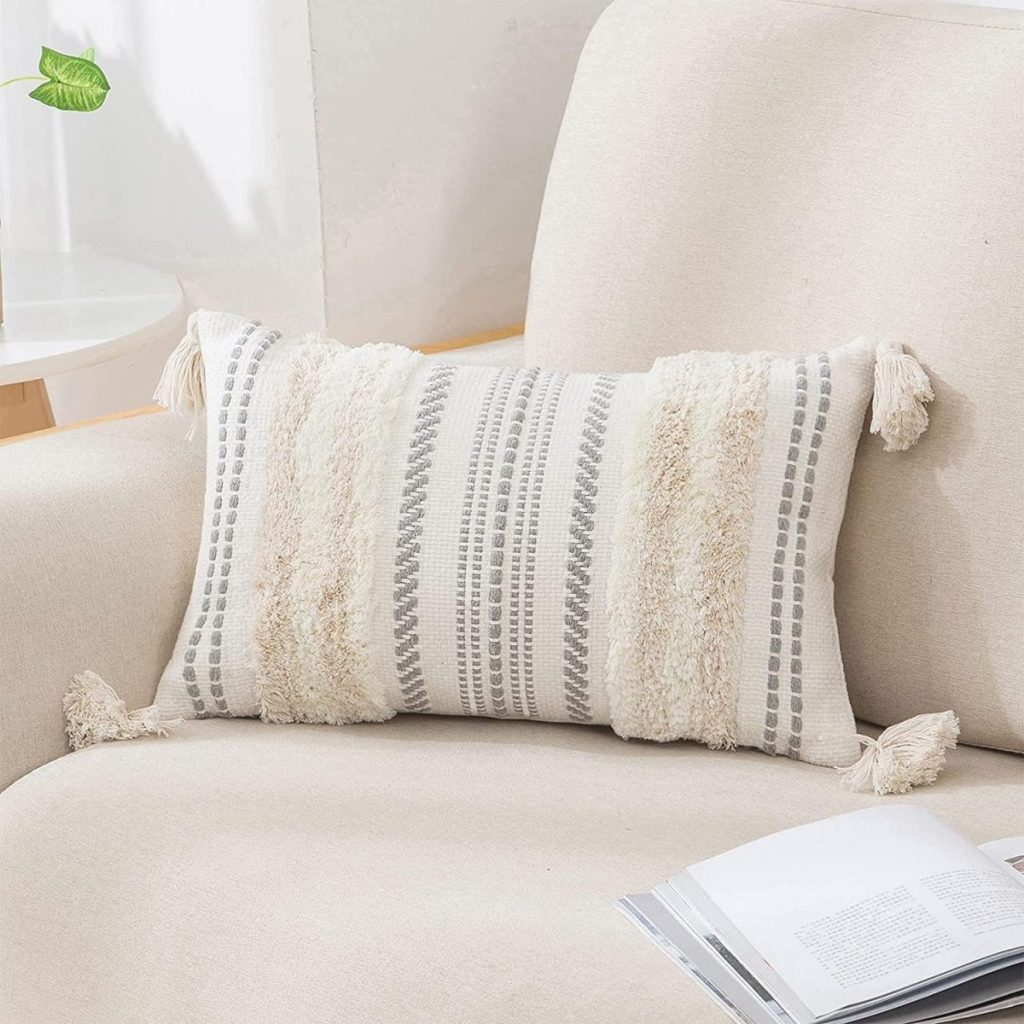
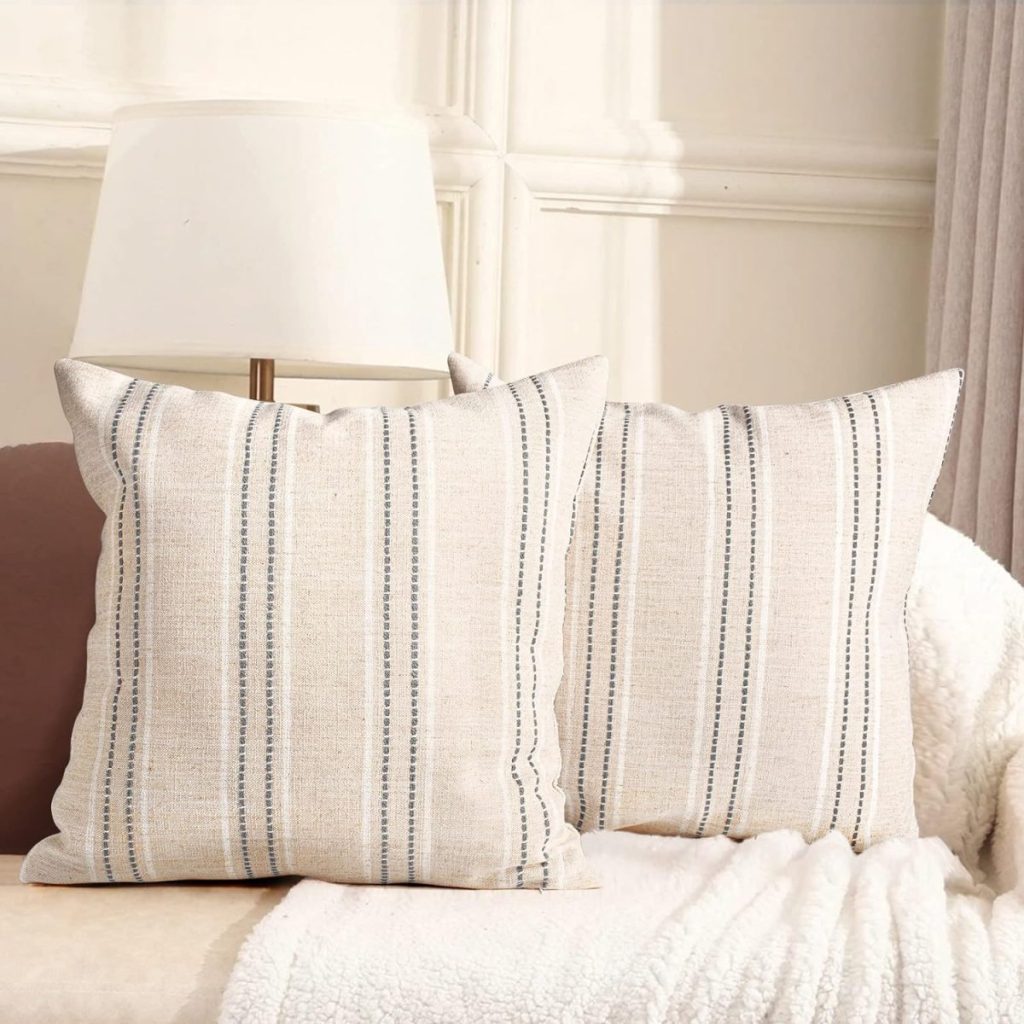
One of my favorite stores, Pottery Barn, is known for its beautiful, high-quality home decor, including its luxurious pillows. However, their prices can be steep, leaving many looking for a more budget-friendly option.
Including me!
The good news is that it’s easier than you might think to knock off Pottery Barn pillows and make your similar version at a fraction of the cost.
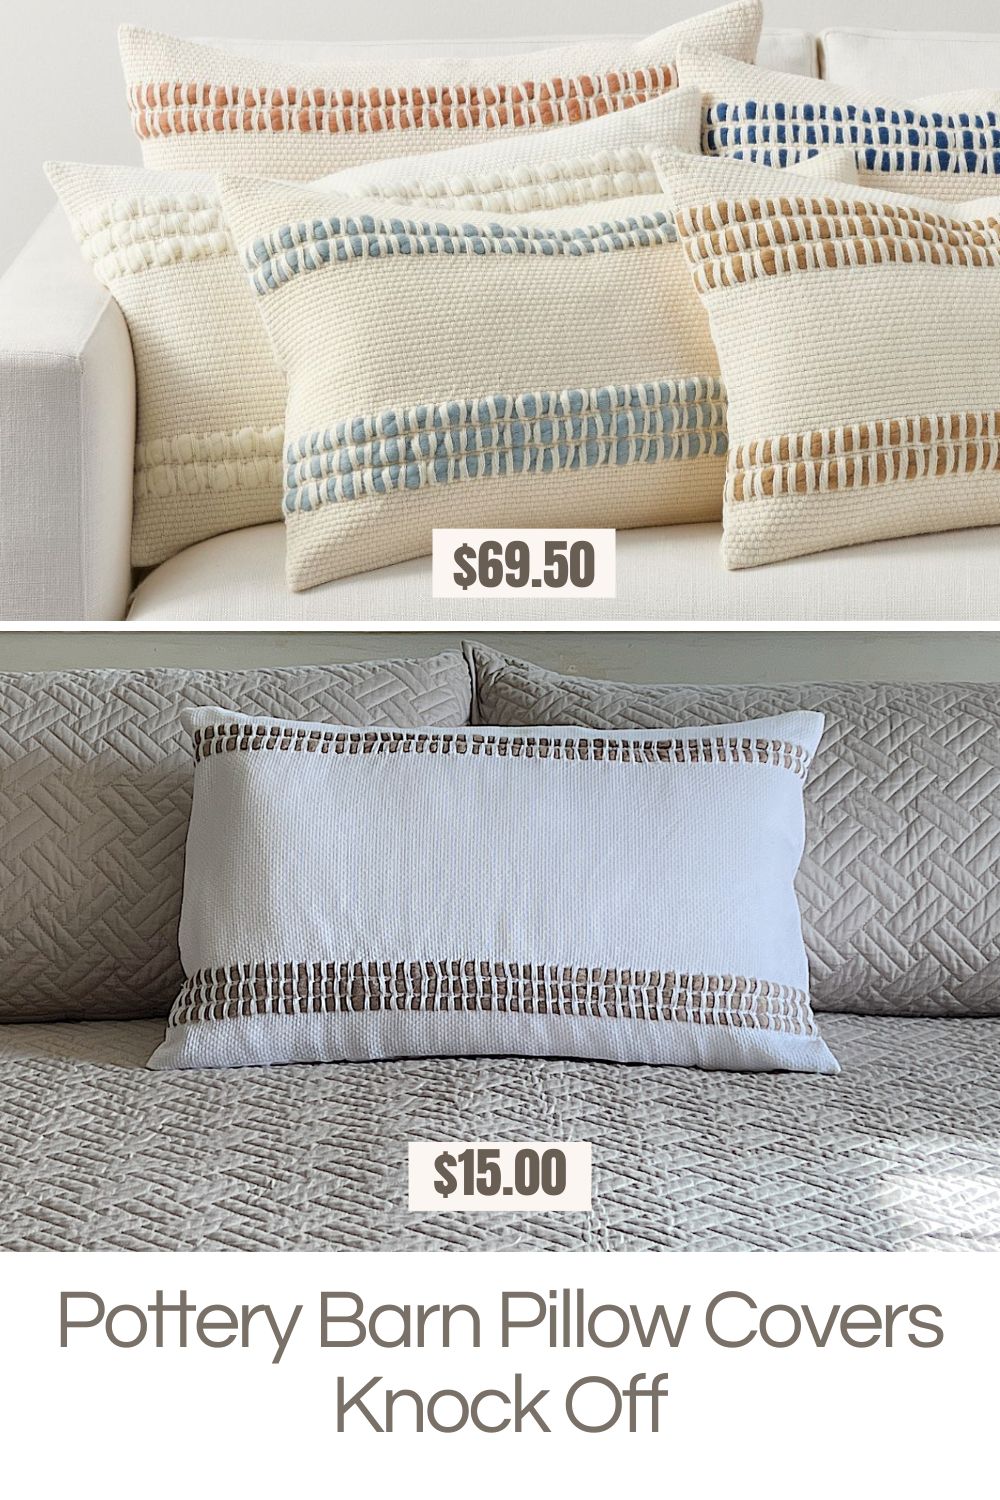
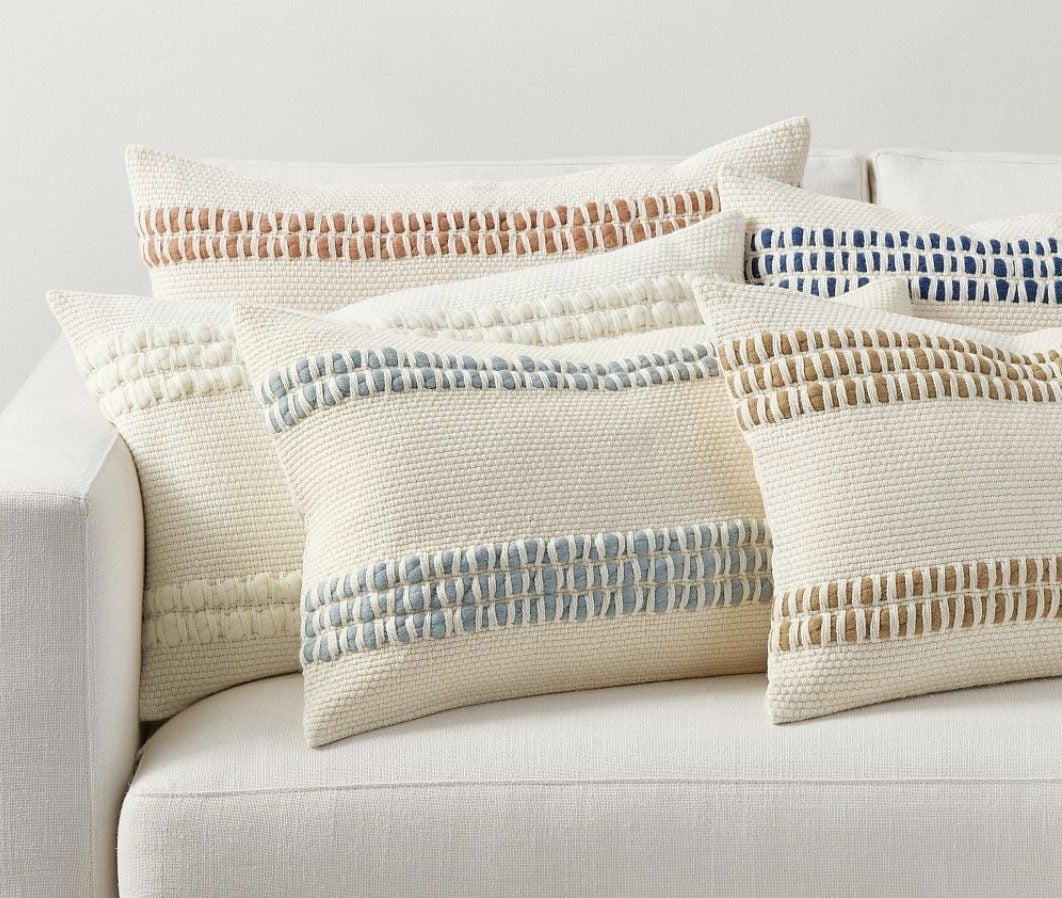
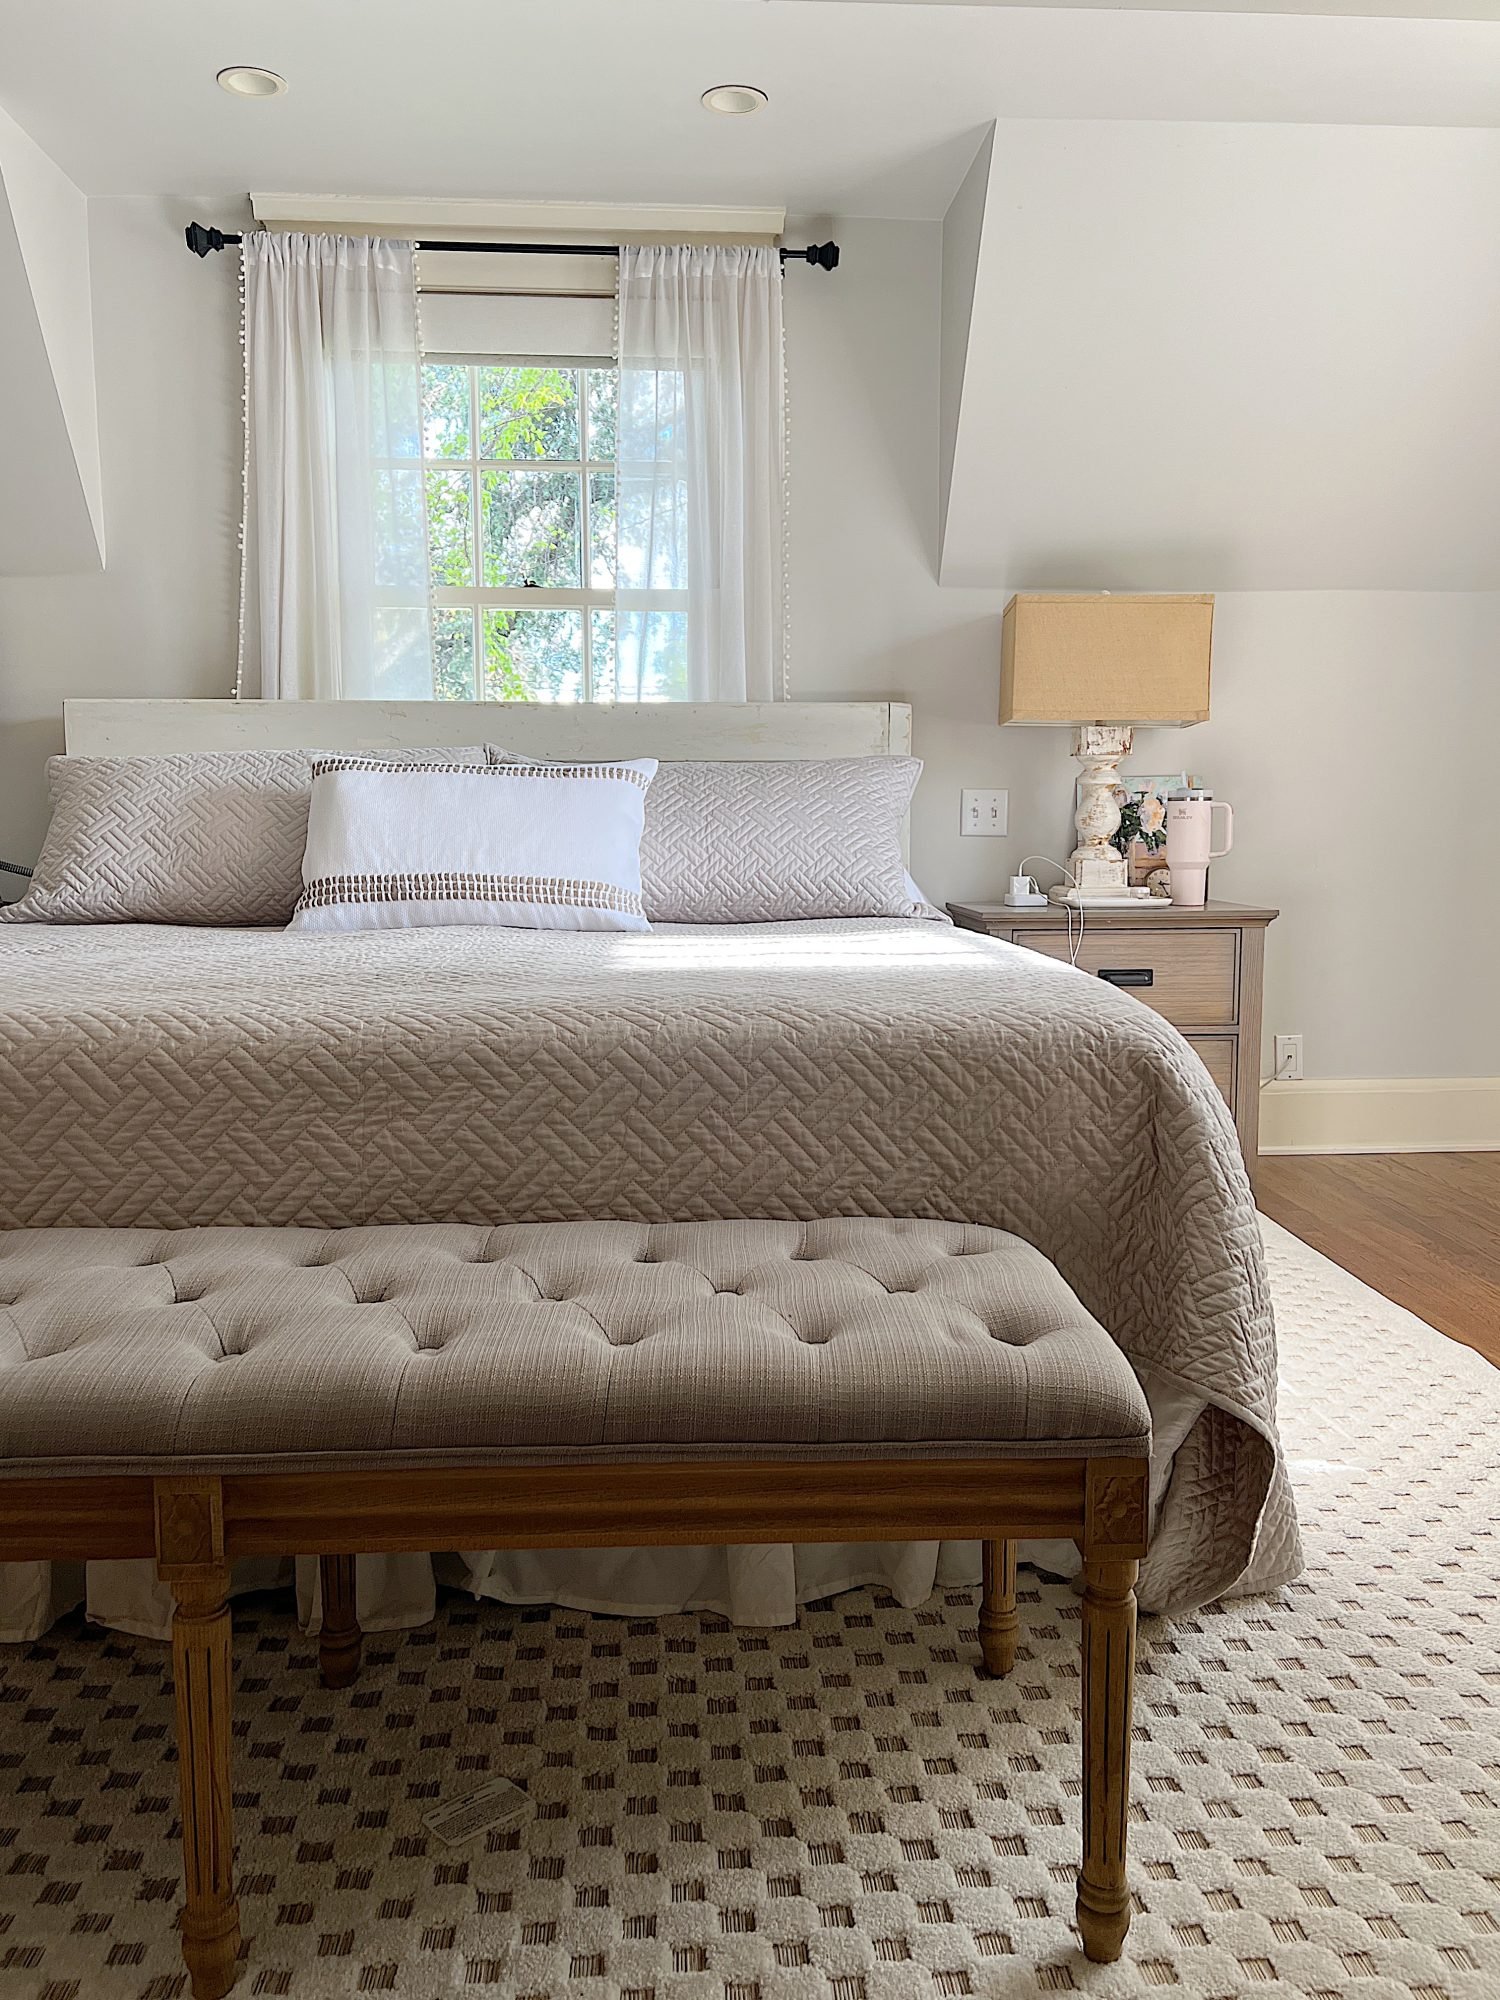
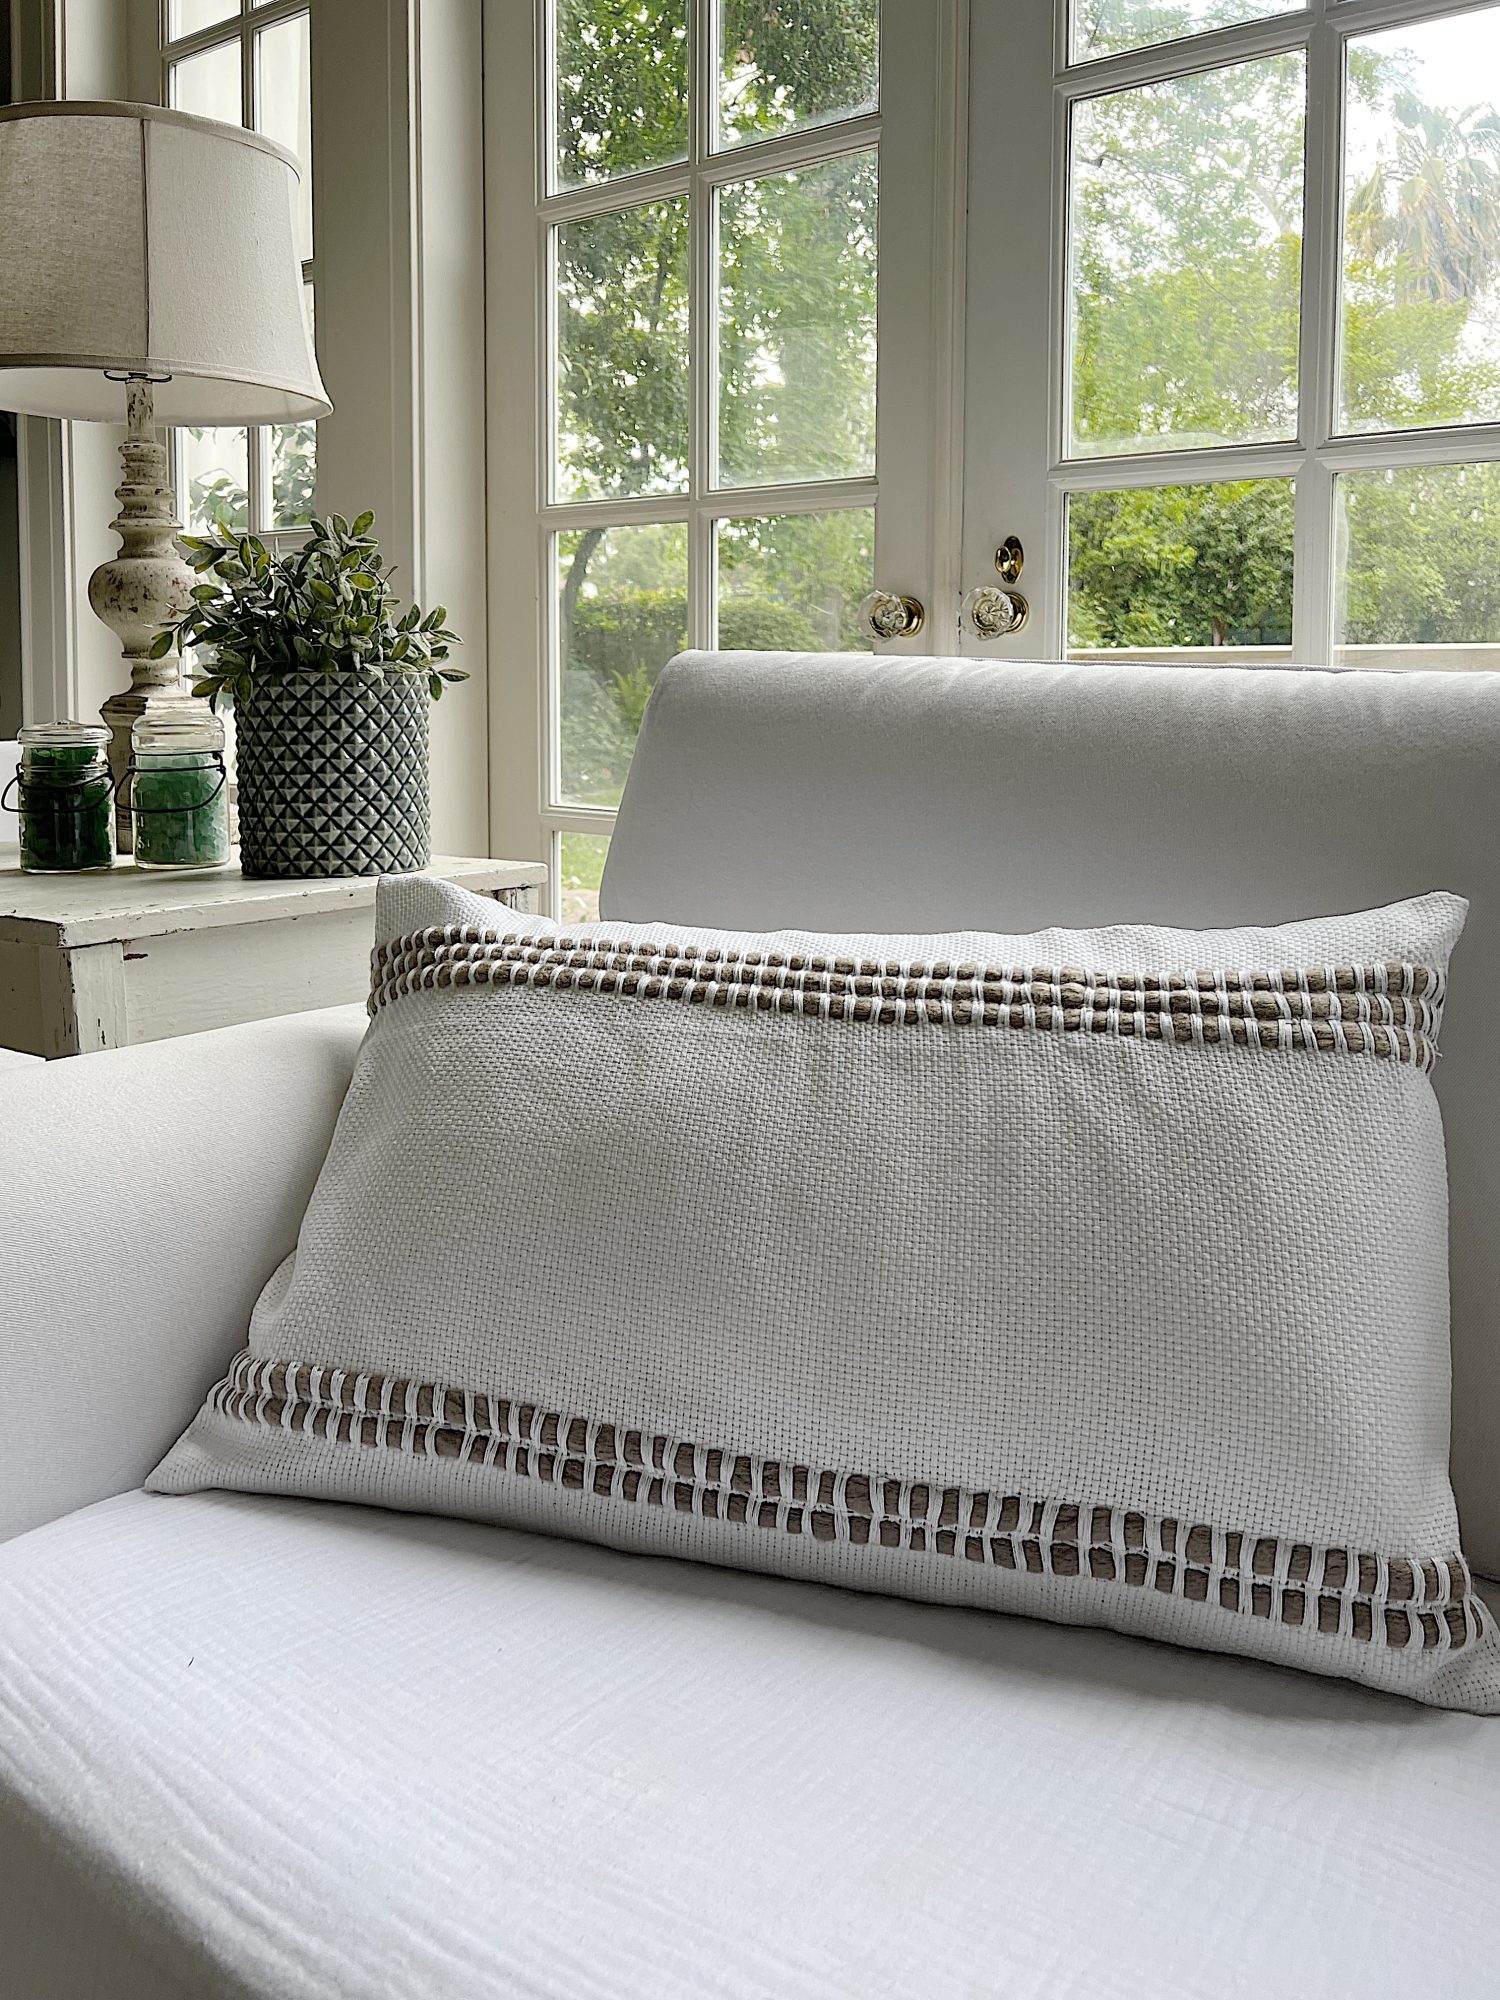
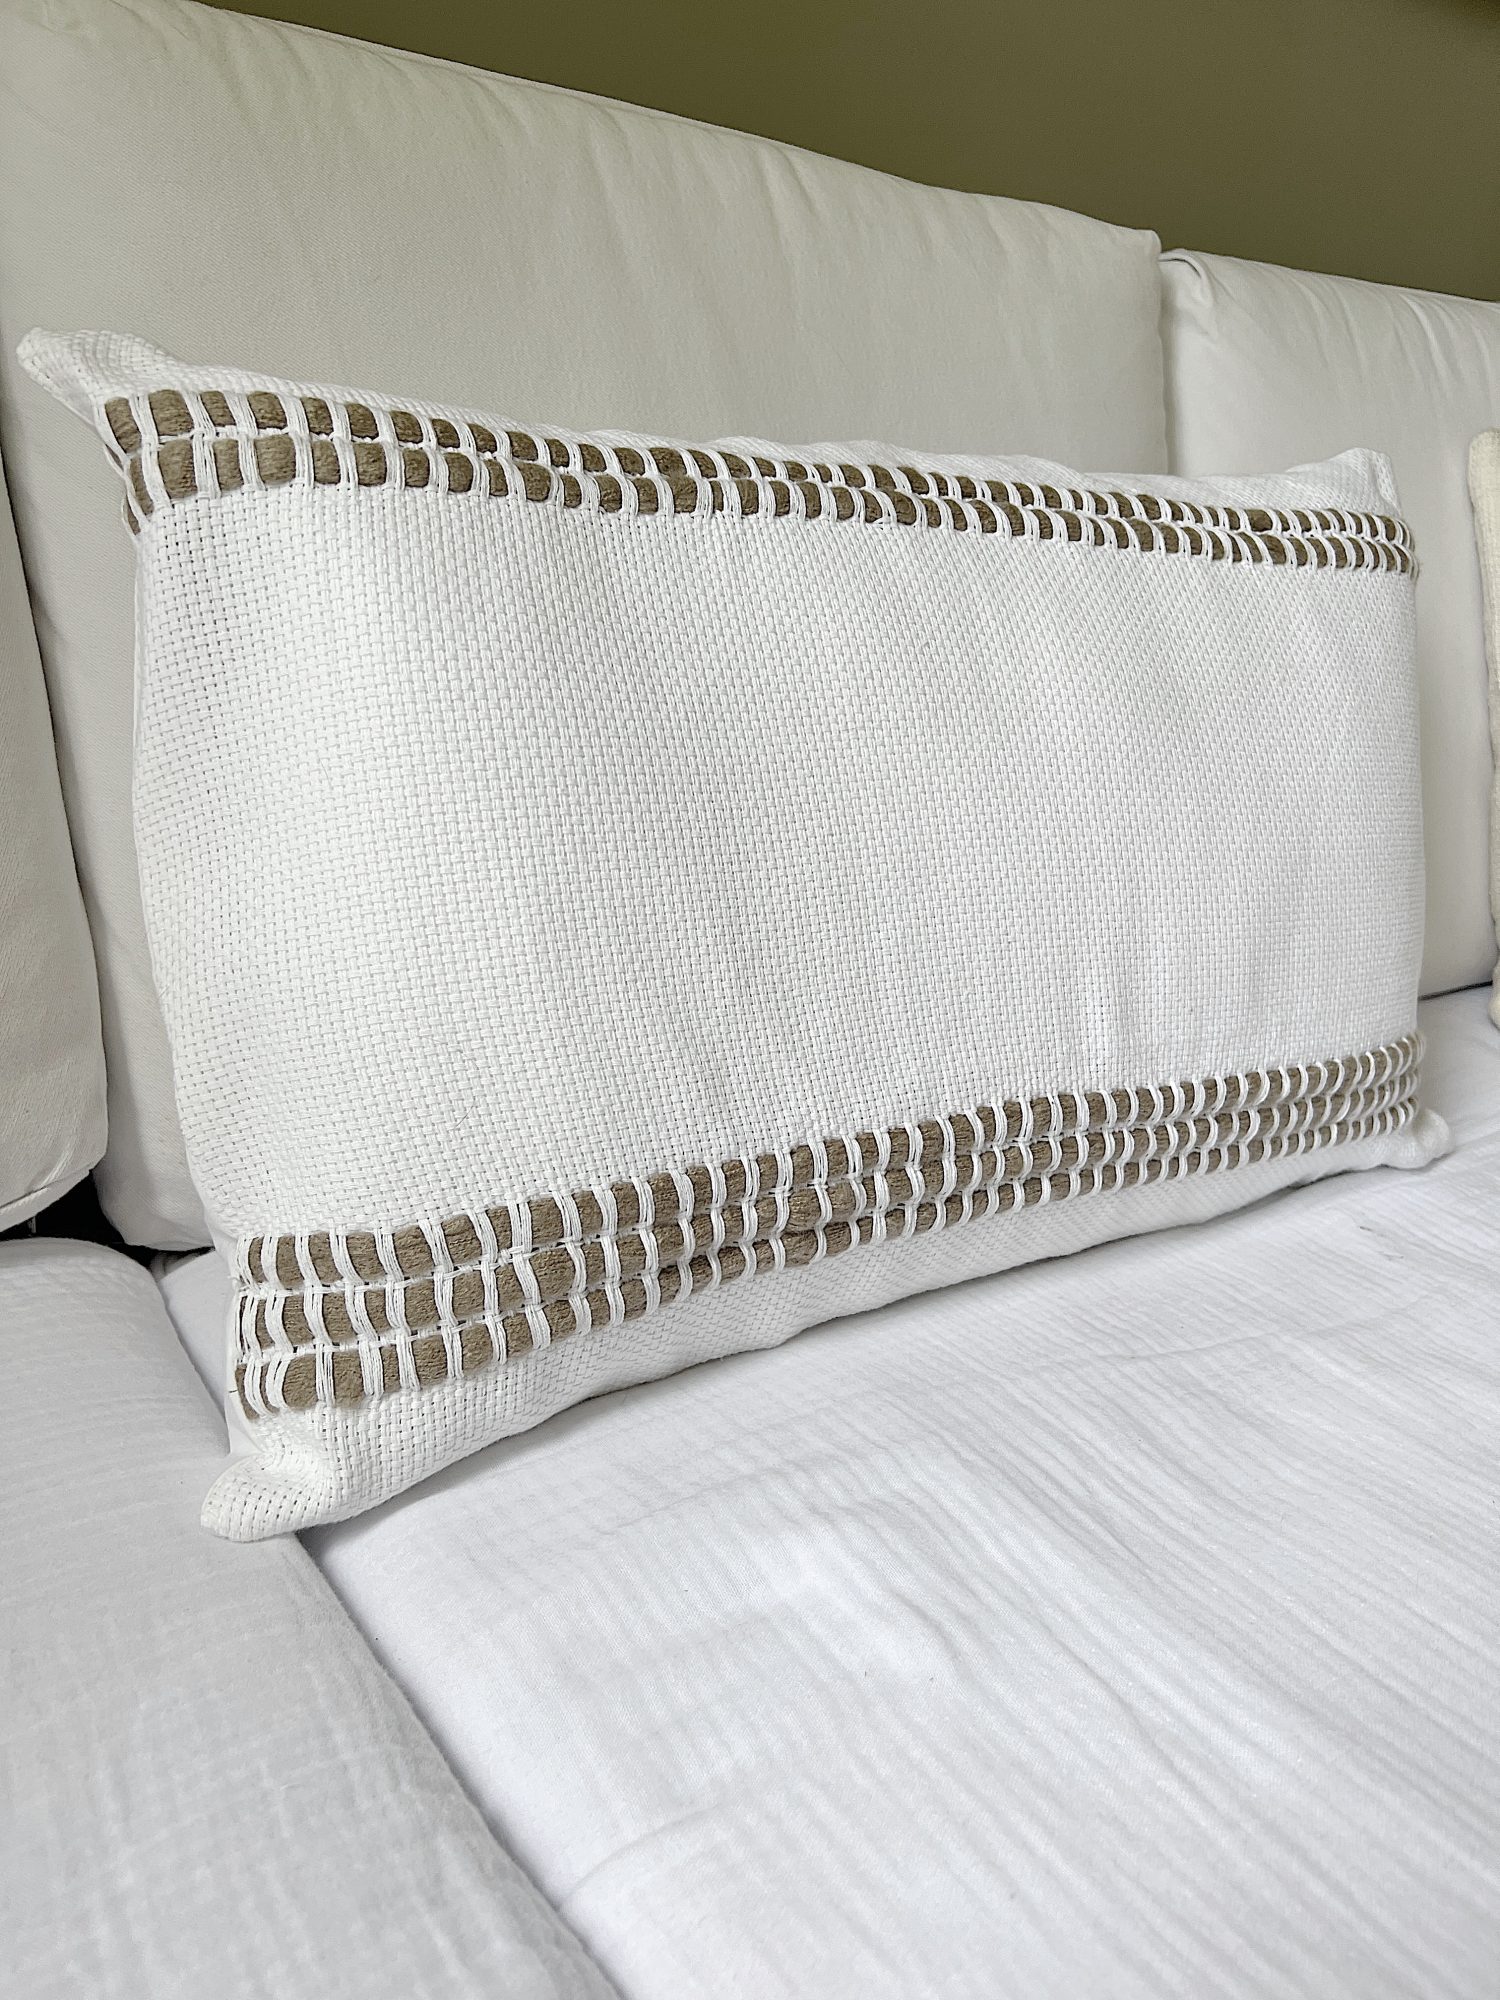
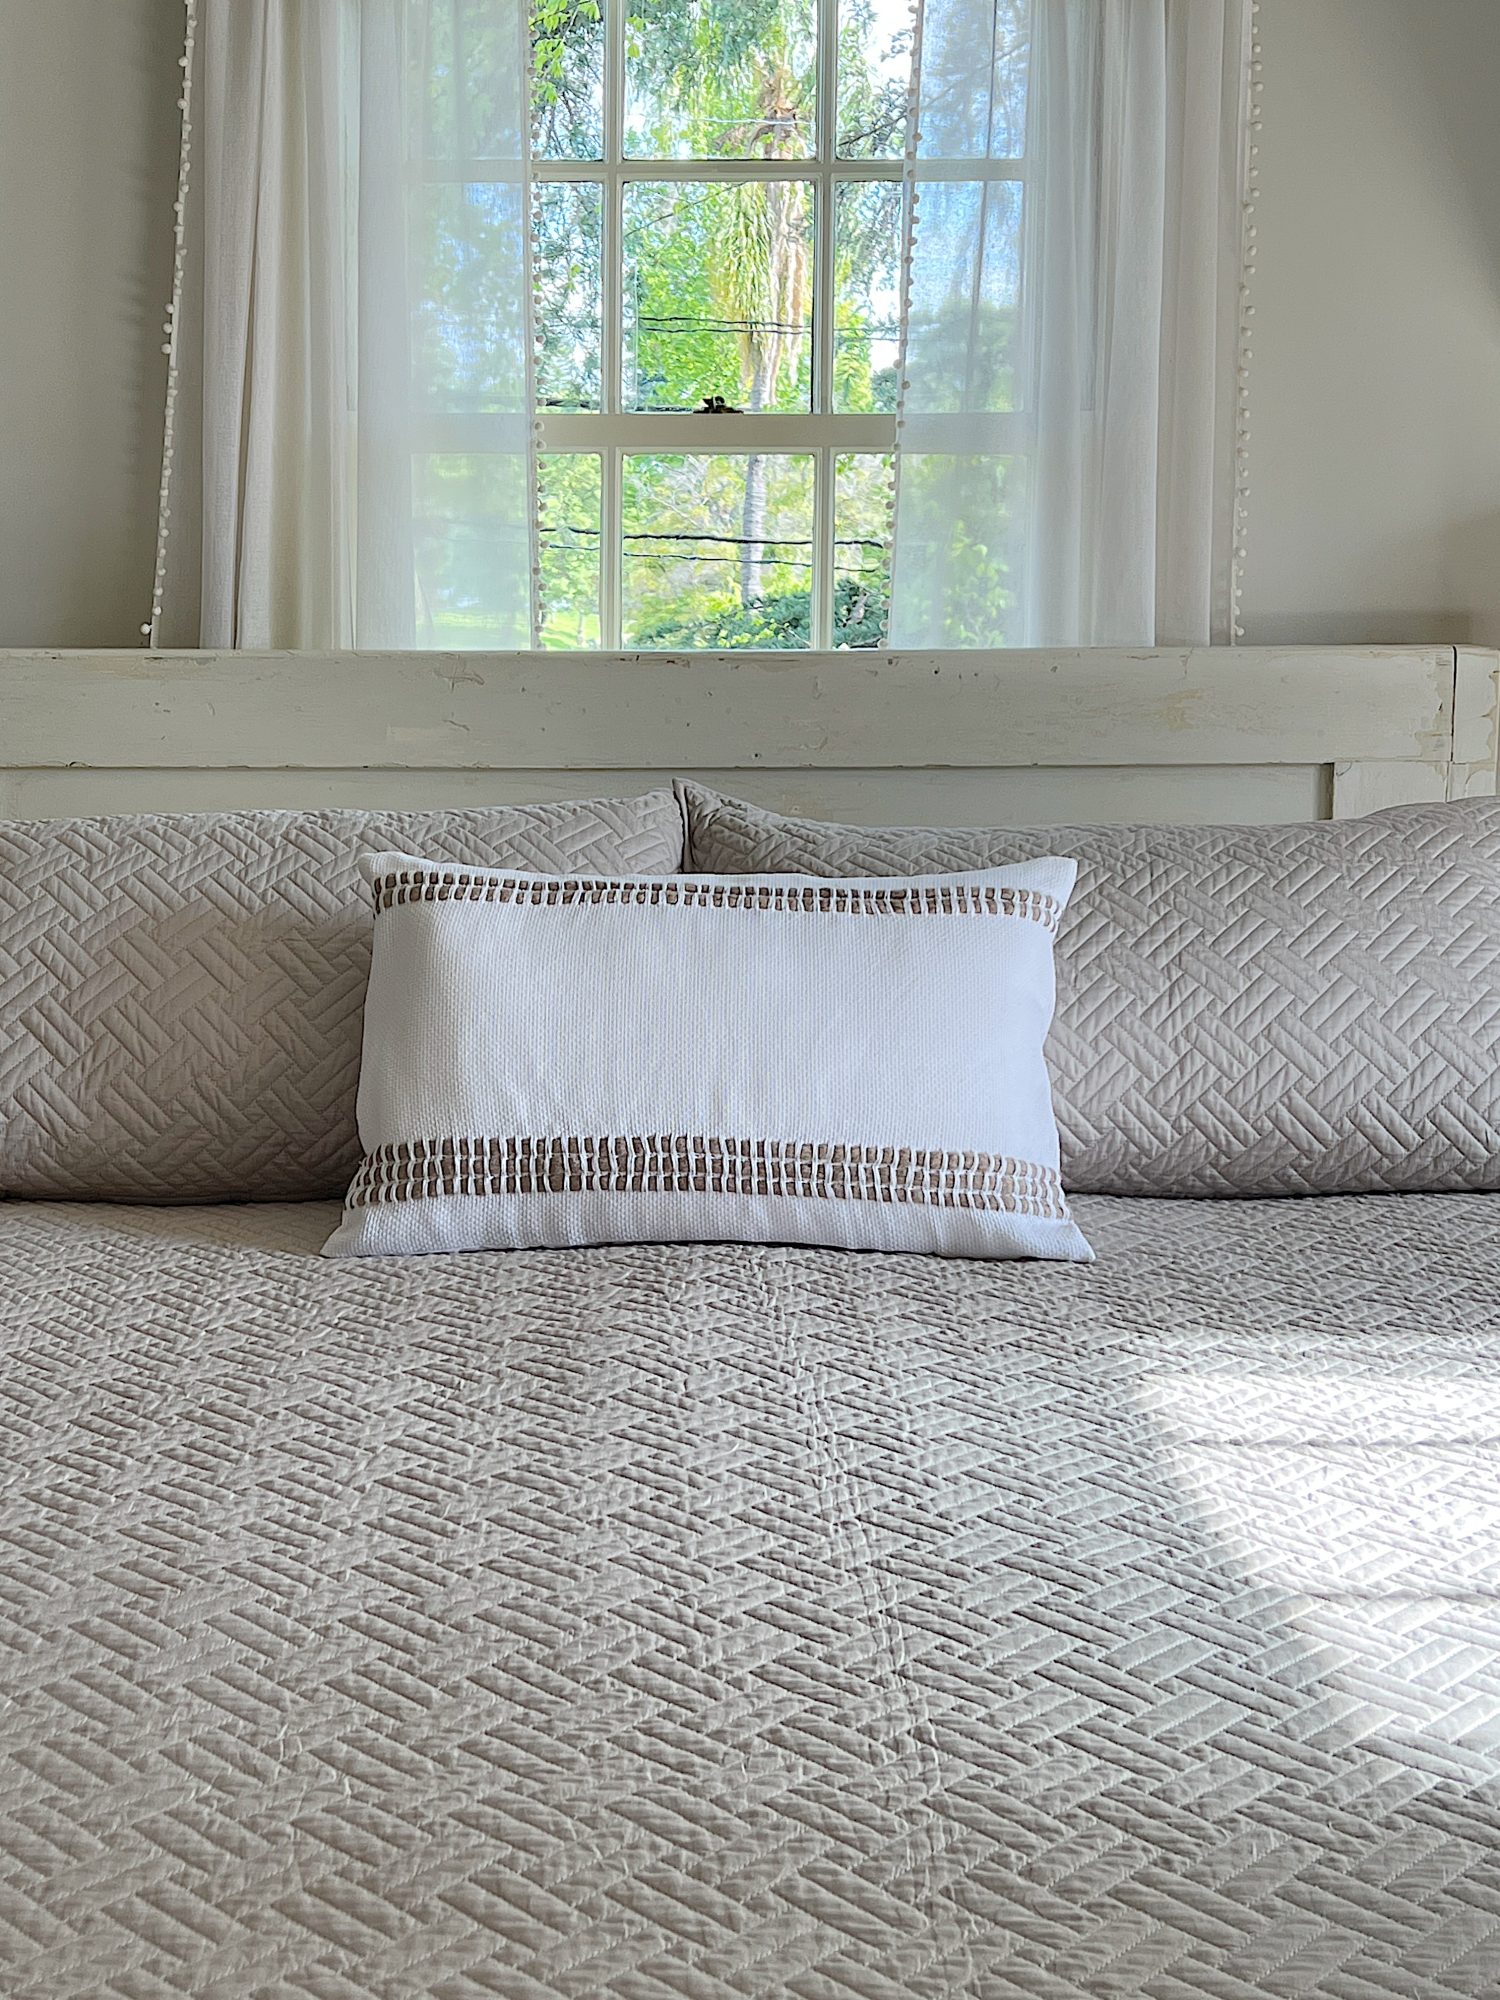
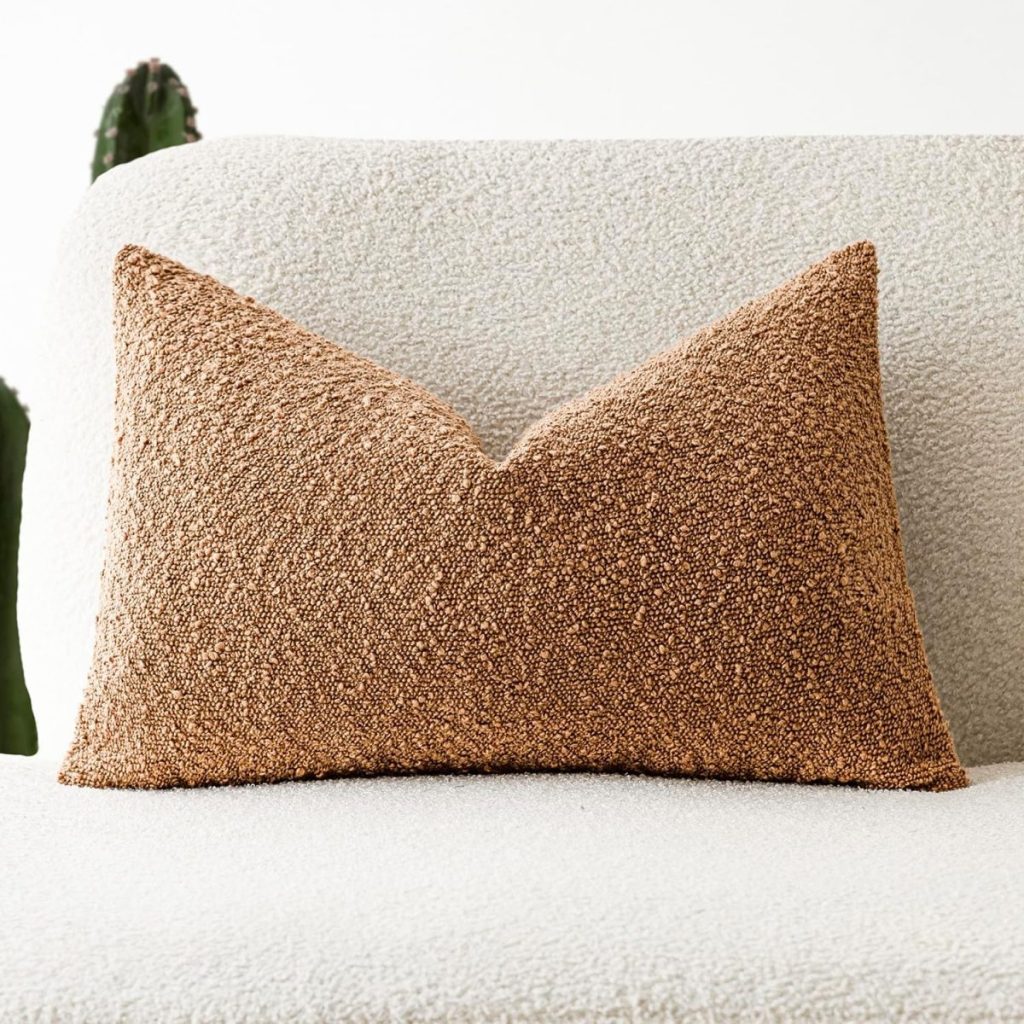
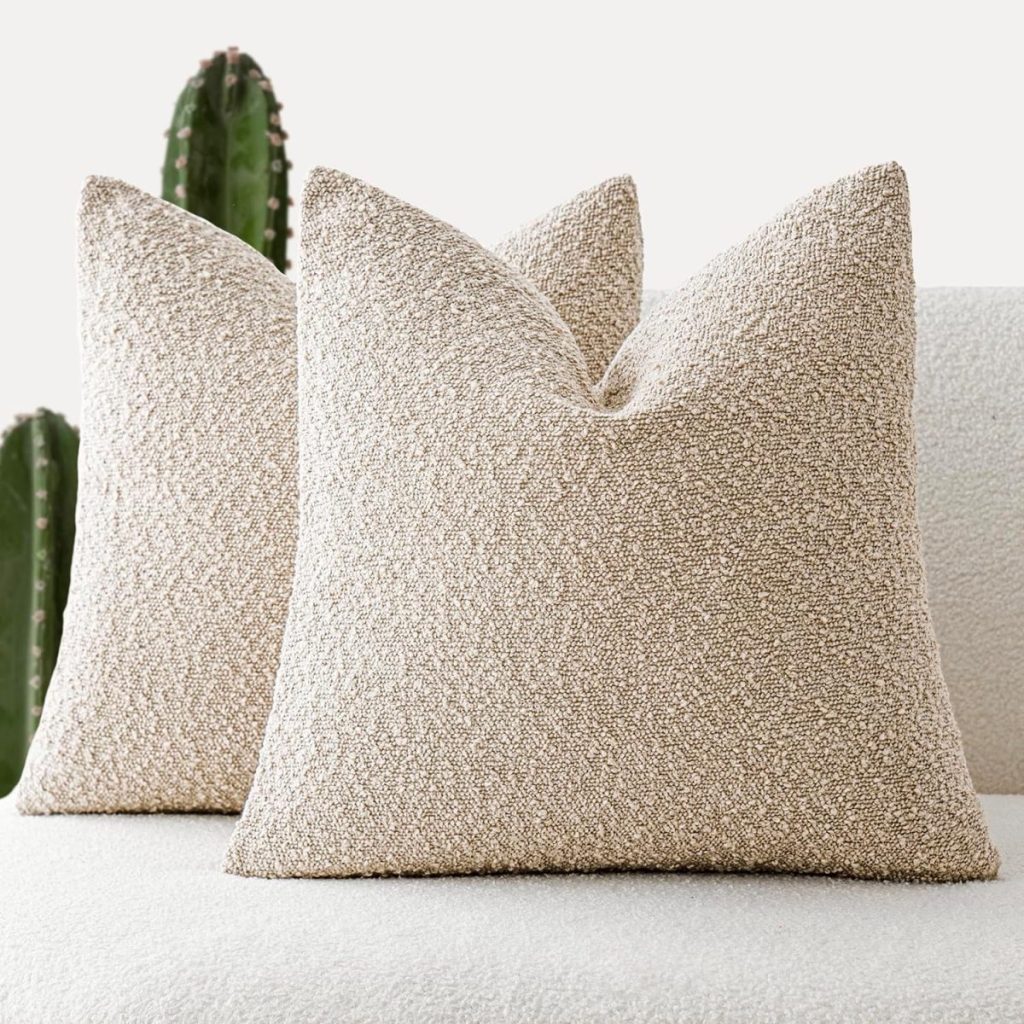
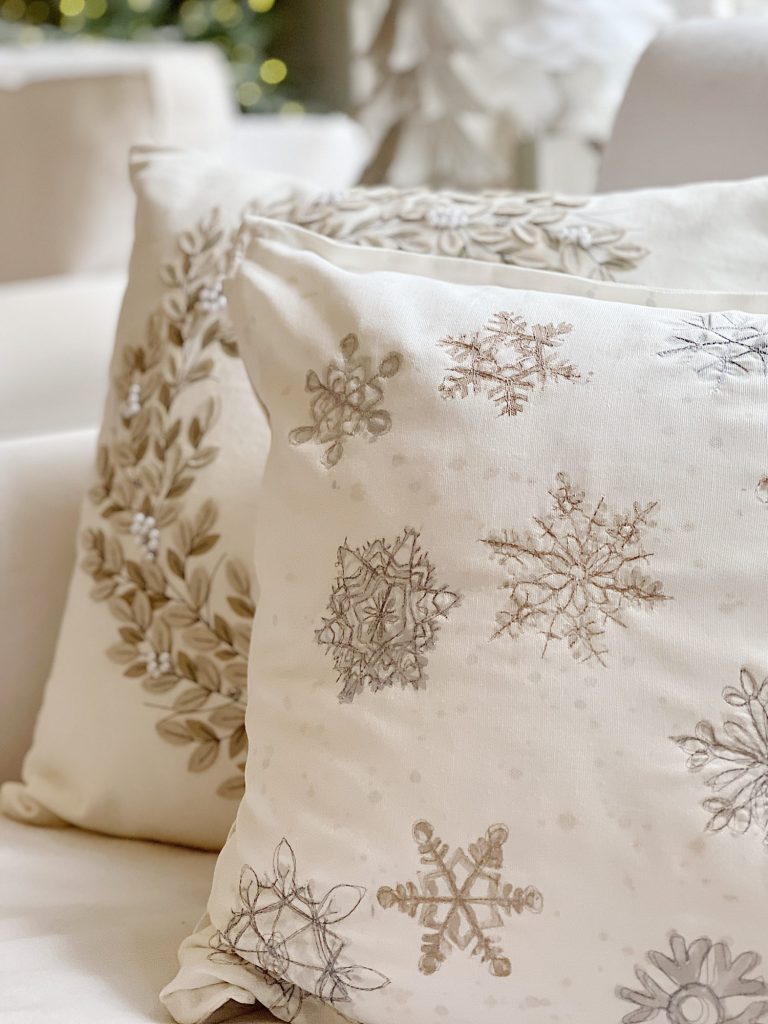
This PB lumbar pillow retails for $69.50 each. I made mine for about $15.00.
That works for me!

Today, I am sharing how I made a knockoff of these Pottery Barn pillow covers and some tips and tricks for making Pottery Barn-inspired pillows that will add style and comfort to your home.
Tips to Make a Pottery Barn Pillow Cover Knockoff
Choose the Right Fabric
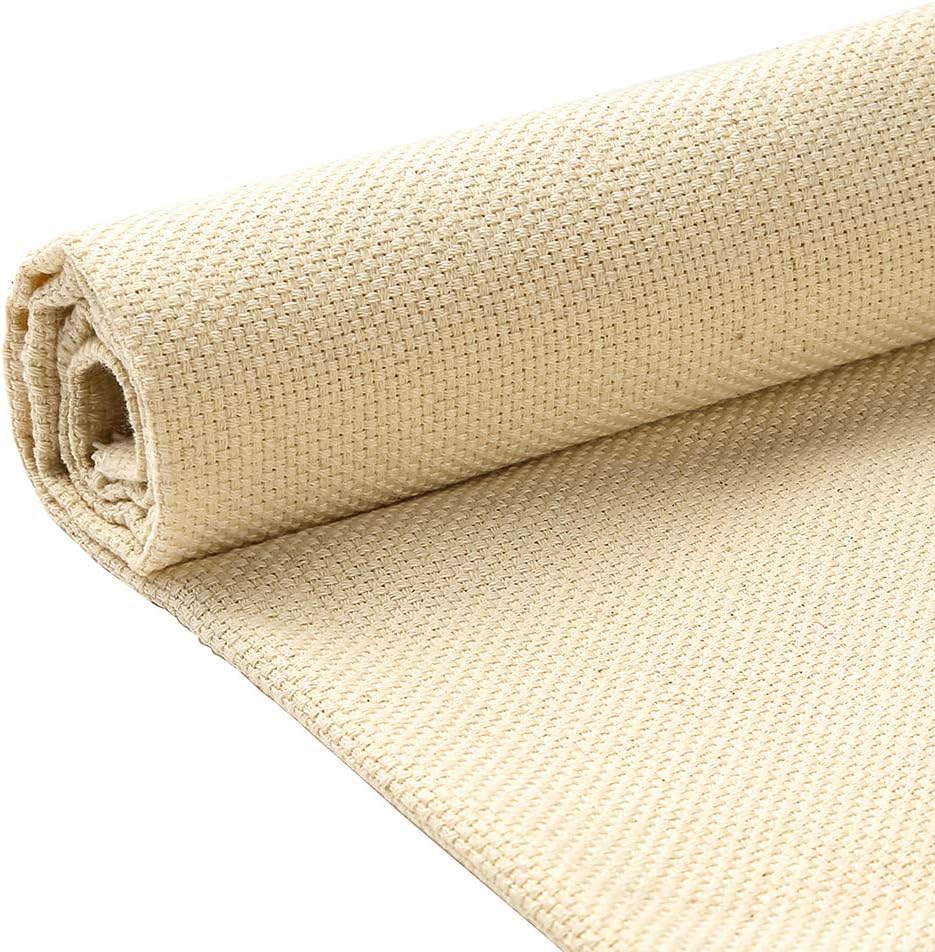
One key element of Pottery Barn pillows is their luxurious fabrics. From soft velvets to textured linens, they are made from high-quality materials that feel and look expensive.
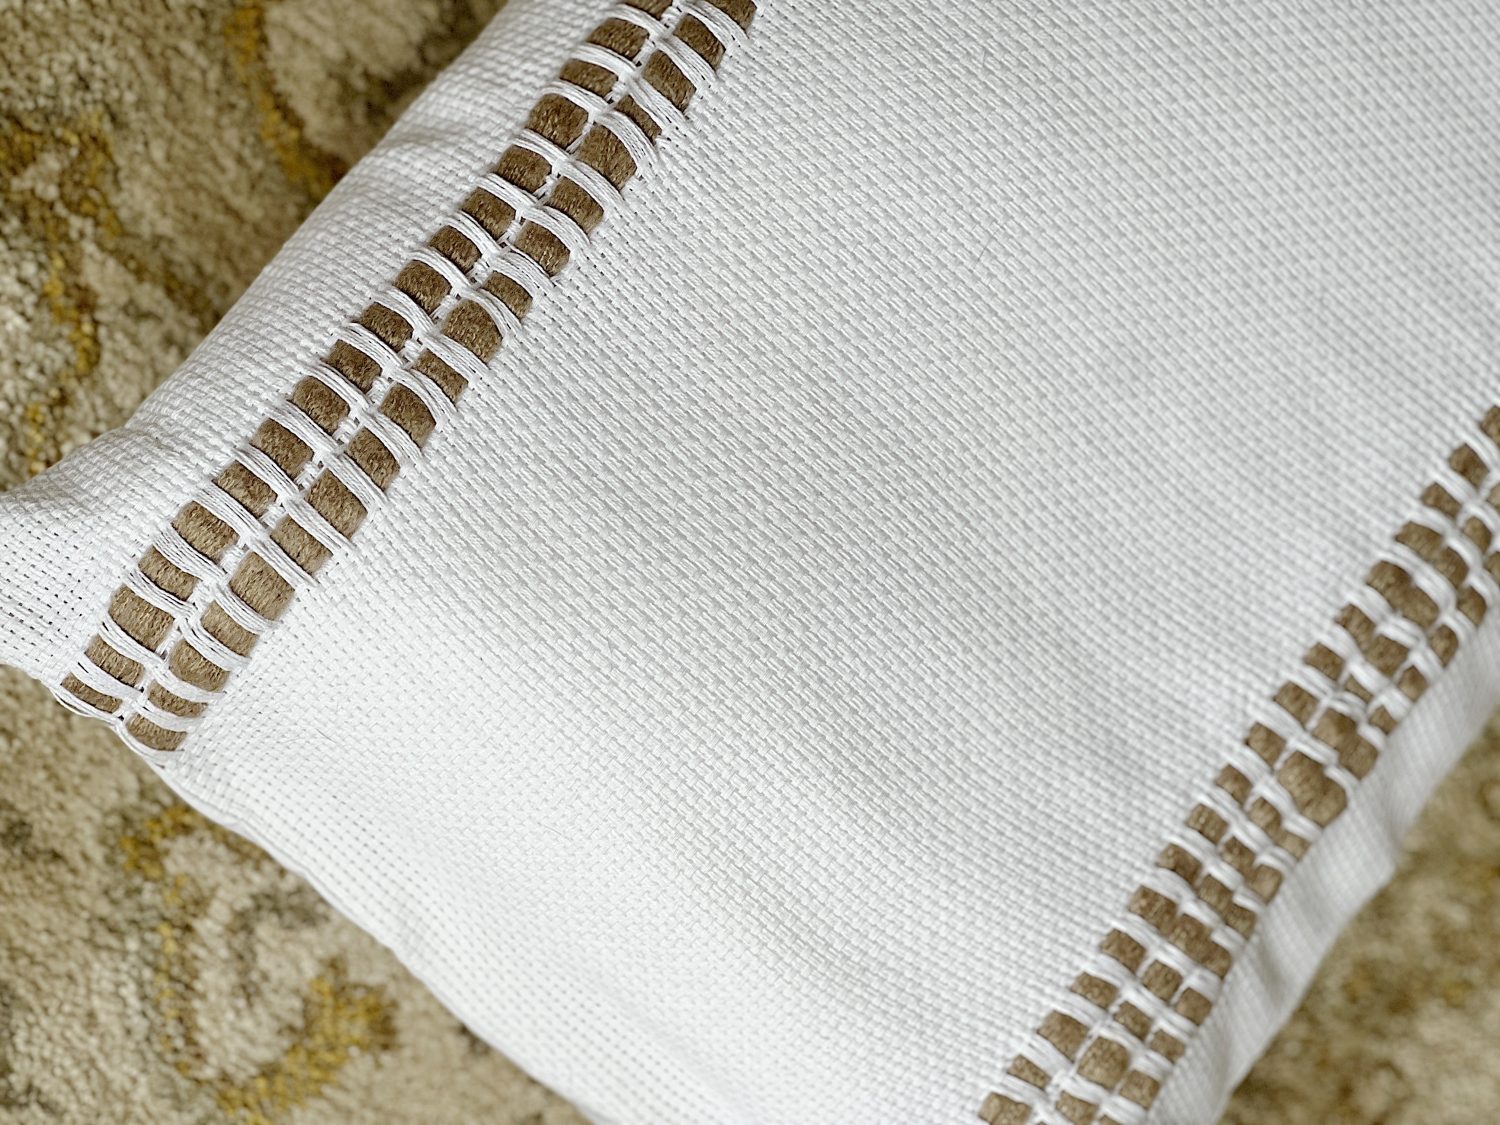
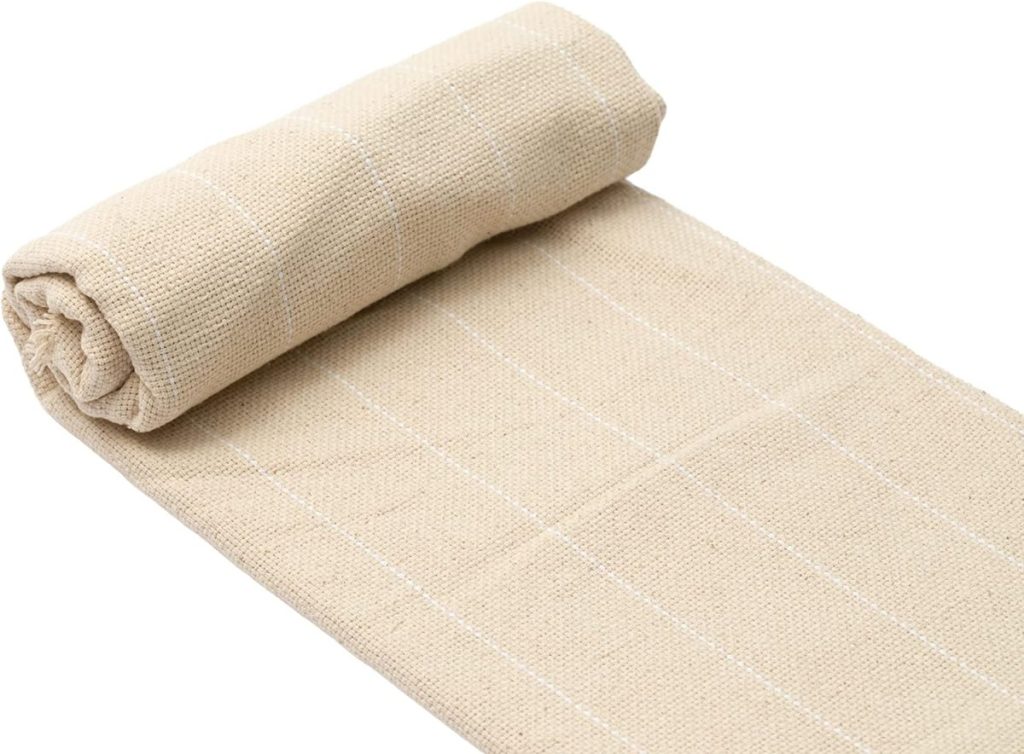
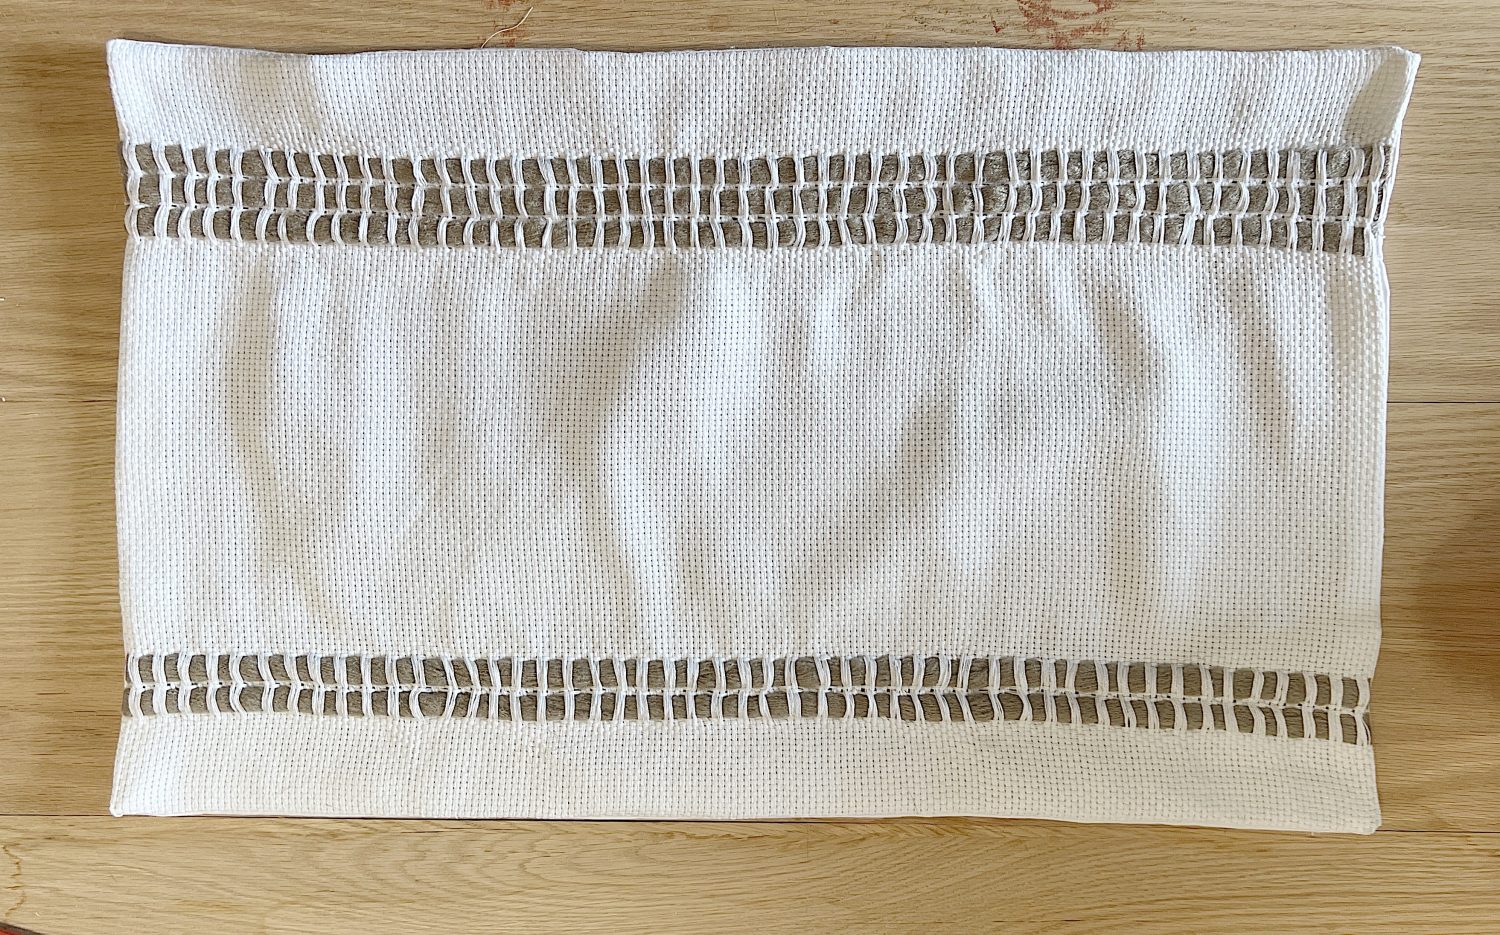
To create a similar look, choose fabrics that mimic the texture and feel of Pottery Barn’s fabrics. I spent a lot of time evaluating the fabric they used for this pillow. The key to the right fabric was finding one with a looser grain because pulling out rows of the fabric’s threads makes space for the yarn.
Fabric For This Pillow
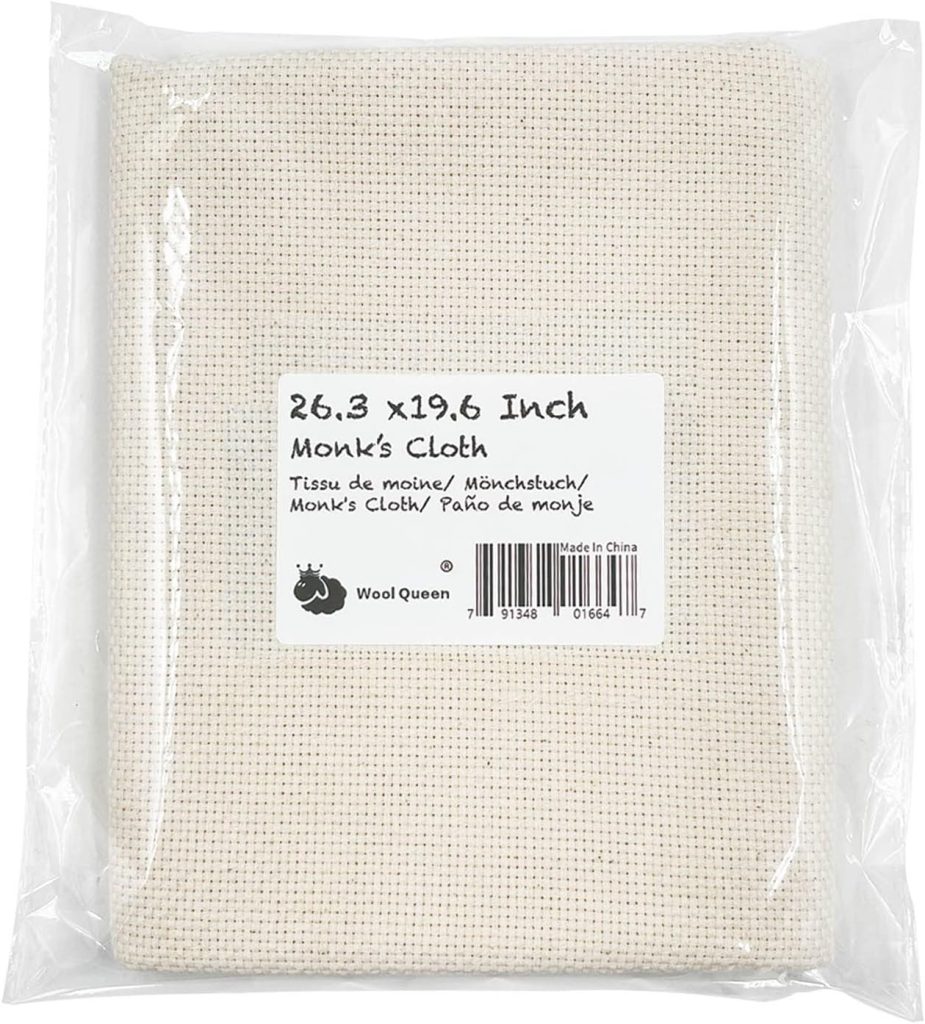
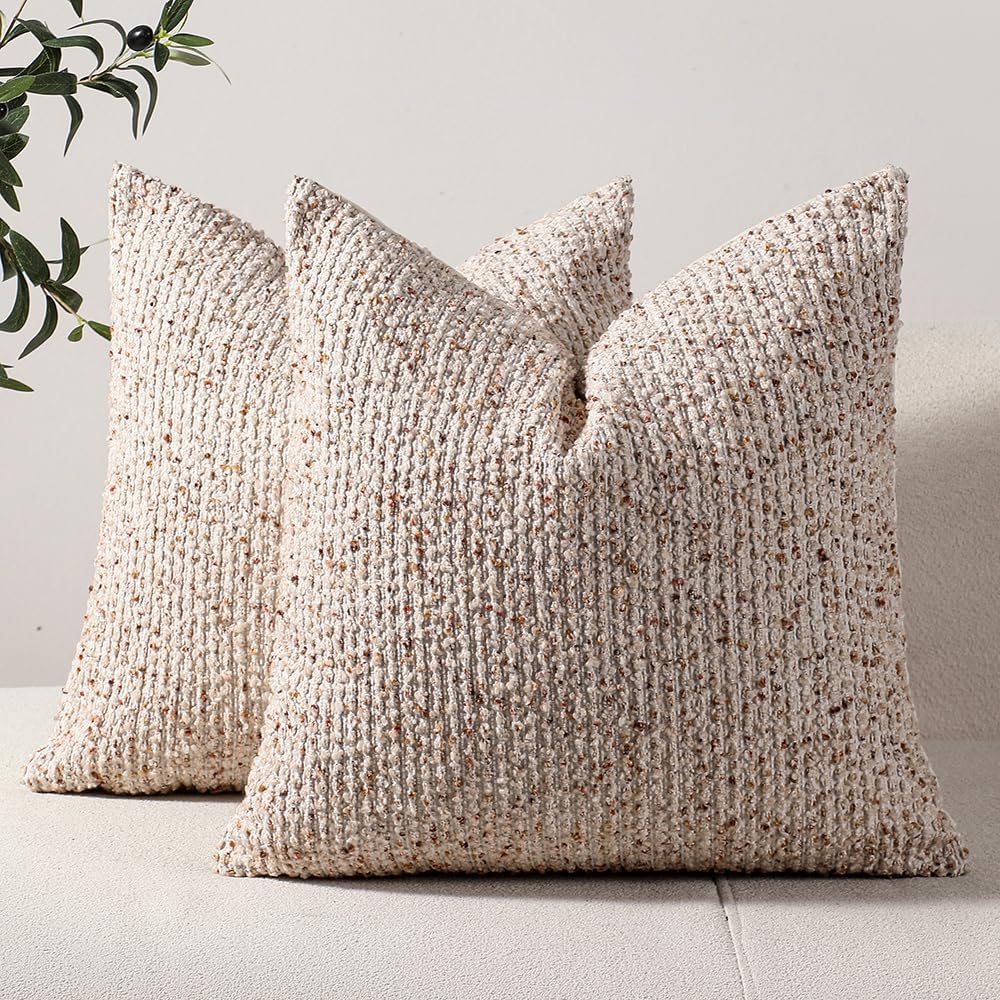
Fortunately, I found that Aida or Monks cloth looked the most similar and would work the best. I found this monks cloth on Amazon and made two pillows out of one piece (which was less than $10.00).
I may sometimes use affiliate links on this blog, which means a small commission is earned if you purchase via the link. The price will be the same whether you use the affiliate link or go directly to the vendor’s website using a non-affiliate link.
Pay Attention to the Details
Pottery Barn pillow covers often have beautiful details that make them stand out, such as tassels, embroidery, or beading. To create a similar look, pay attention to the details on Pottery Barn pillows and try replicating them on your DIY version. You can add tassels or fringe to the edges of your pillow or use embroidery thread to add a decorative pattern to the fabric. Be creative and have fun with the details!
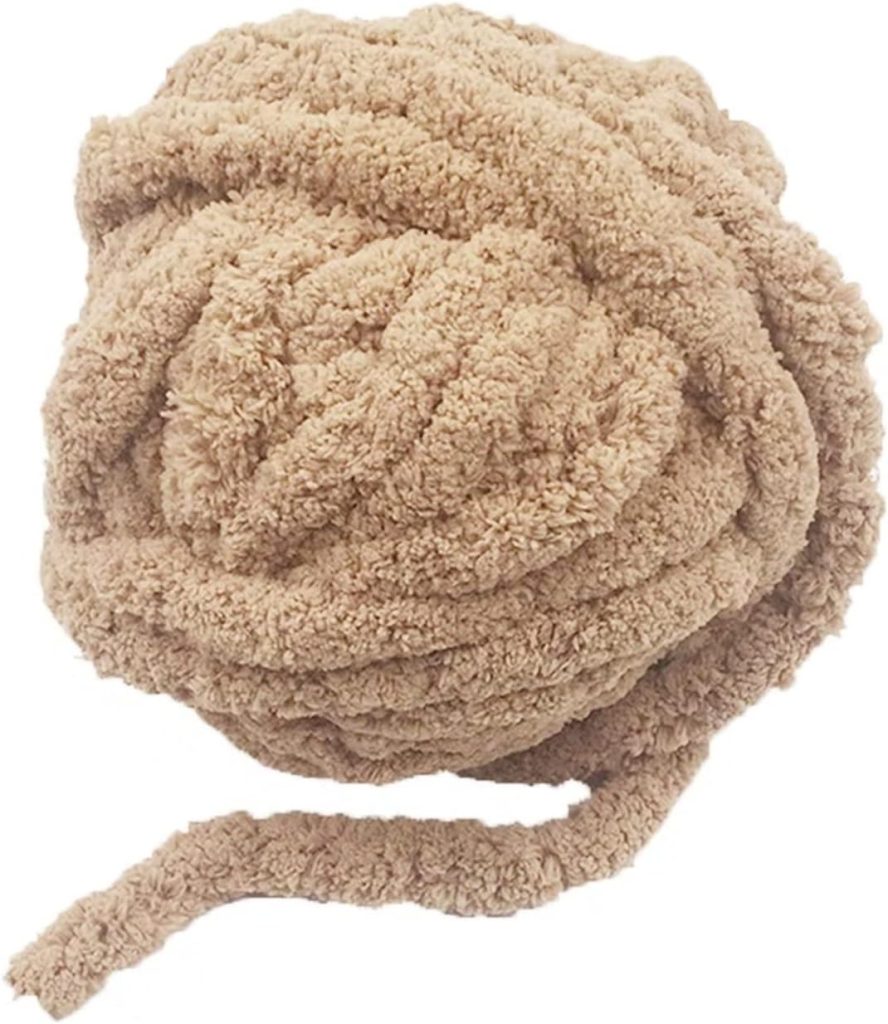
For this pillow, all I needed was some thick yarn to replicate the rows of detail. I already owned the Premiere Couture Jazz yarn, and I used the caramel color since it matched so many rooms in our home.

Consider the Size and Shape
Pottery Barn pillows come in various sizes and shapes, from square to rectangular to round. Consider the size and shape of the pillows in your home and choose a similar size and shape for your DIY version. Mix and match sizes and shapes to create a layered, interesting look on your couch or bed.
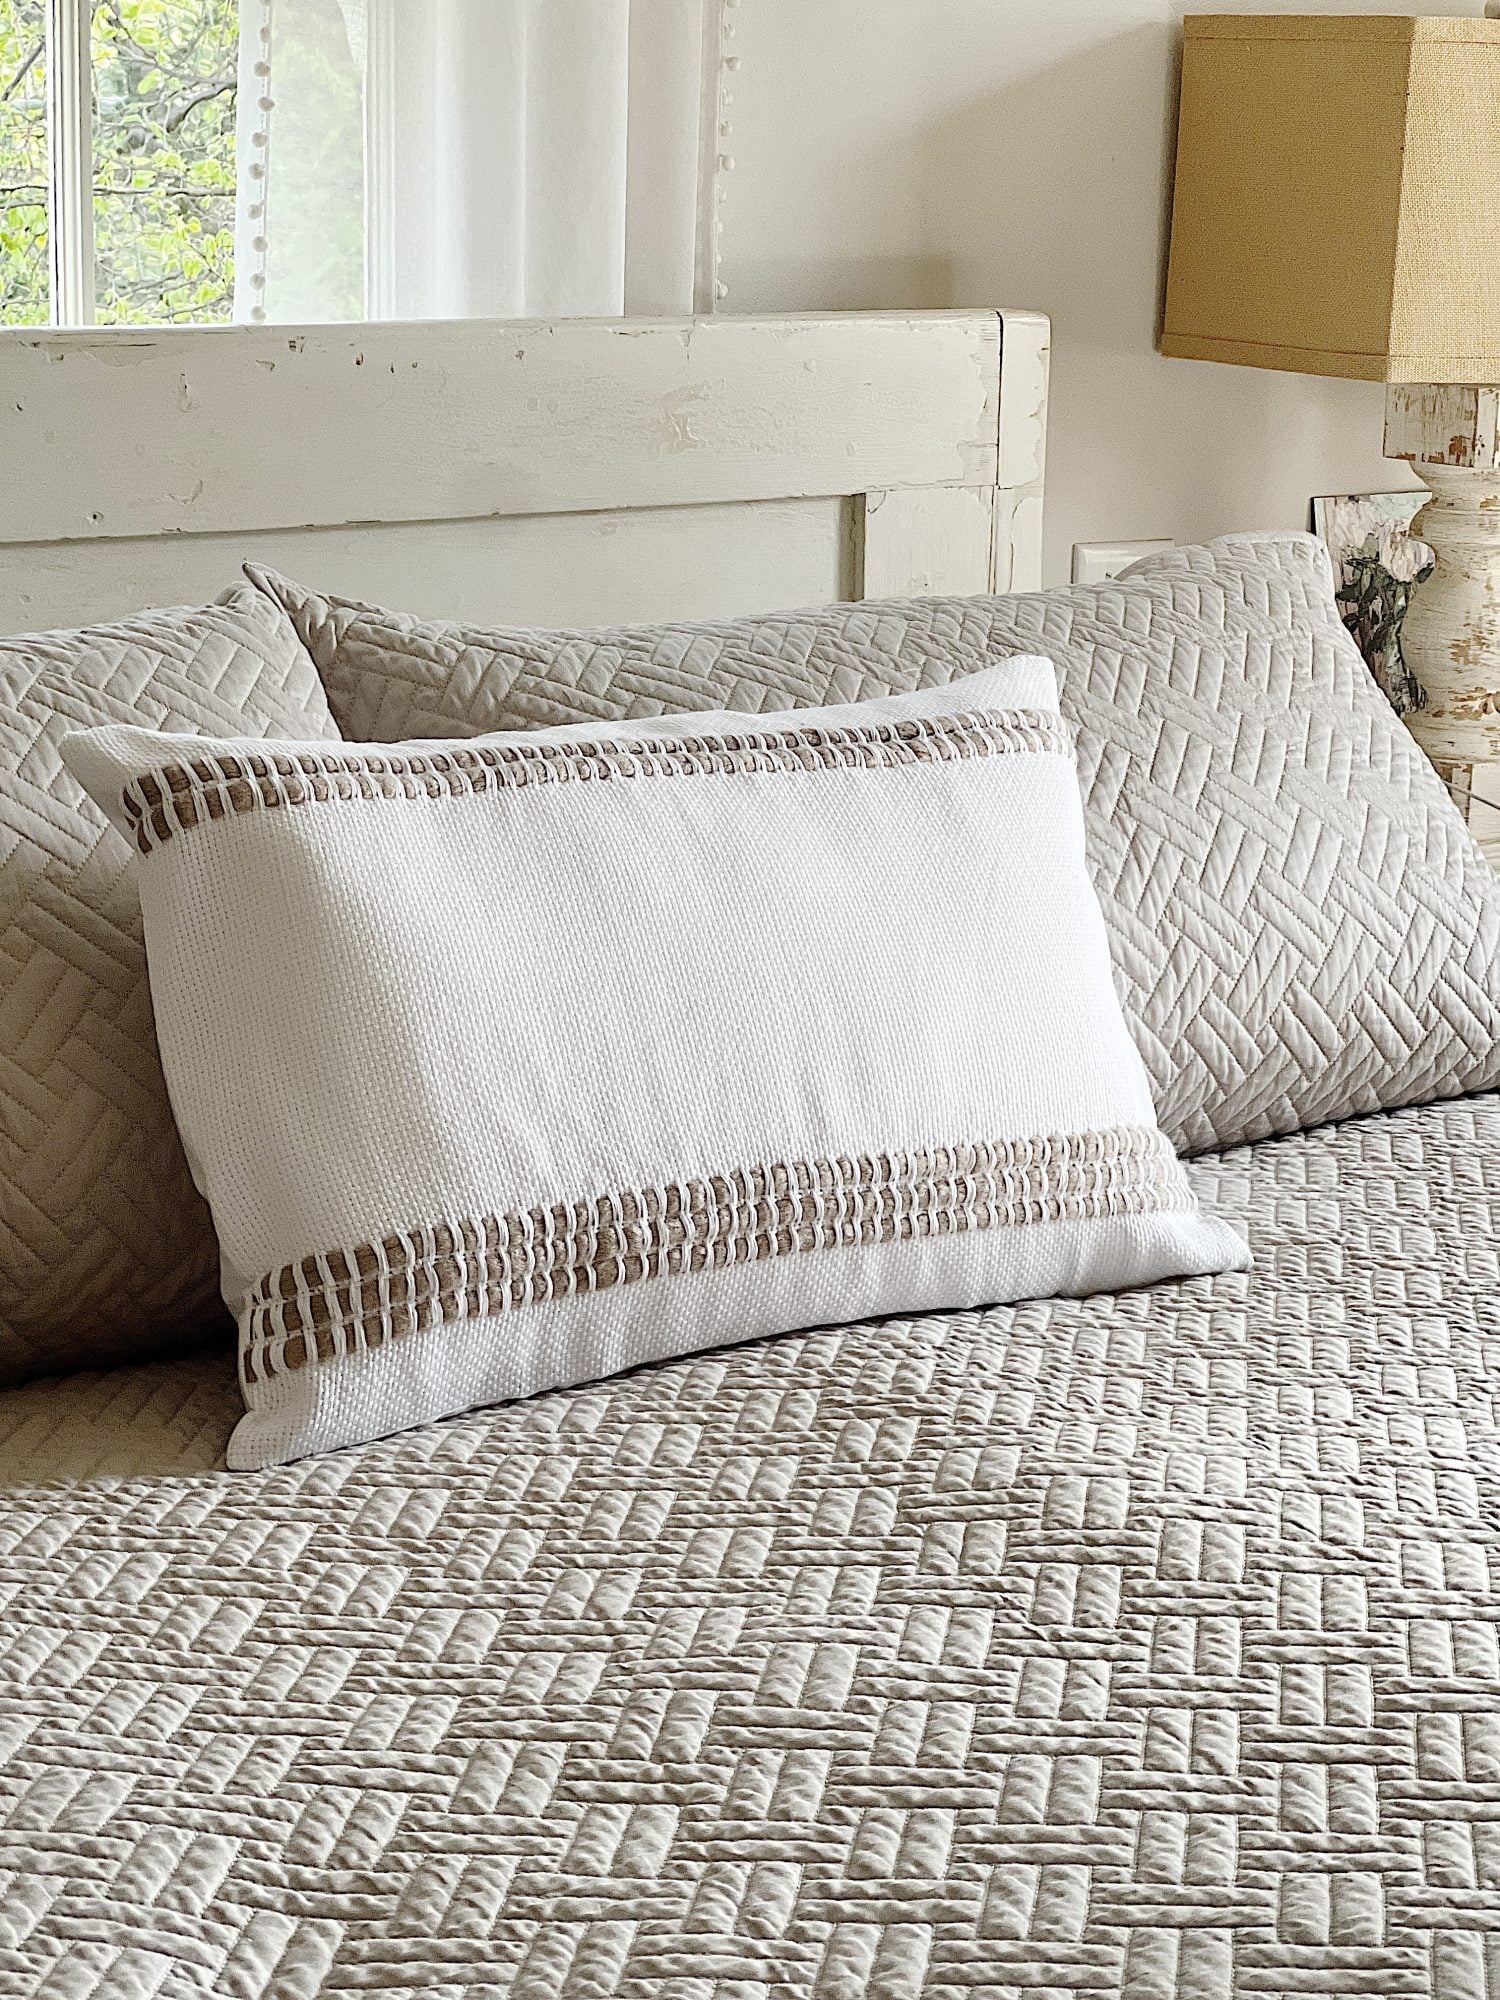
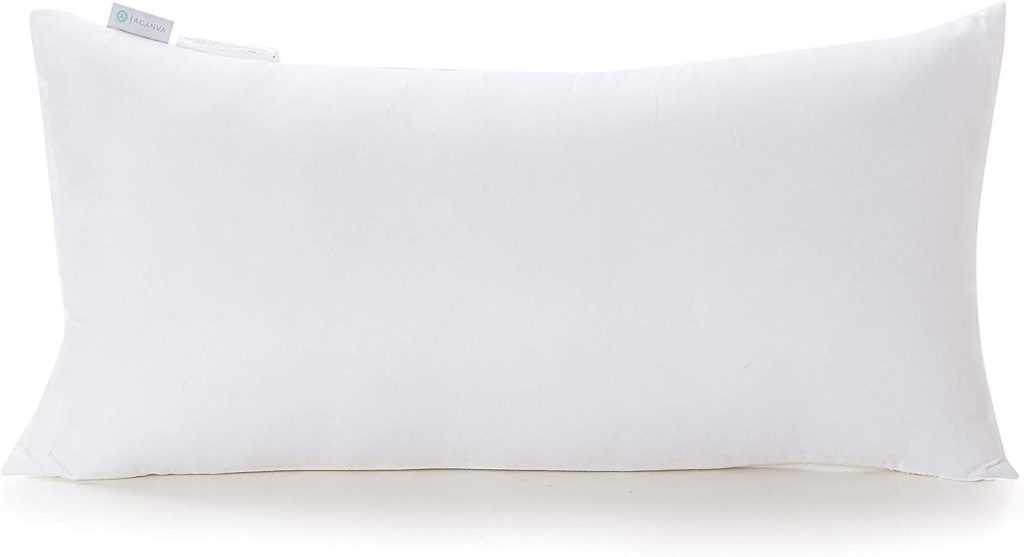
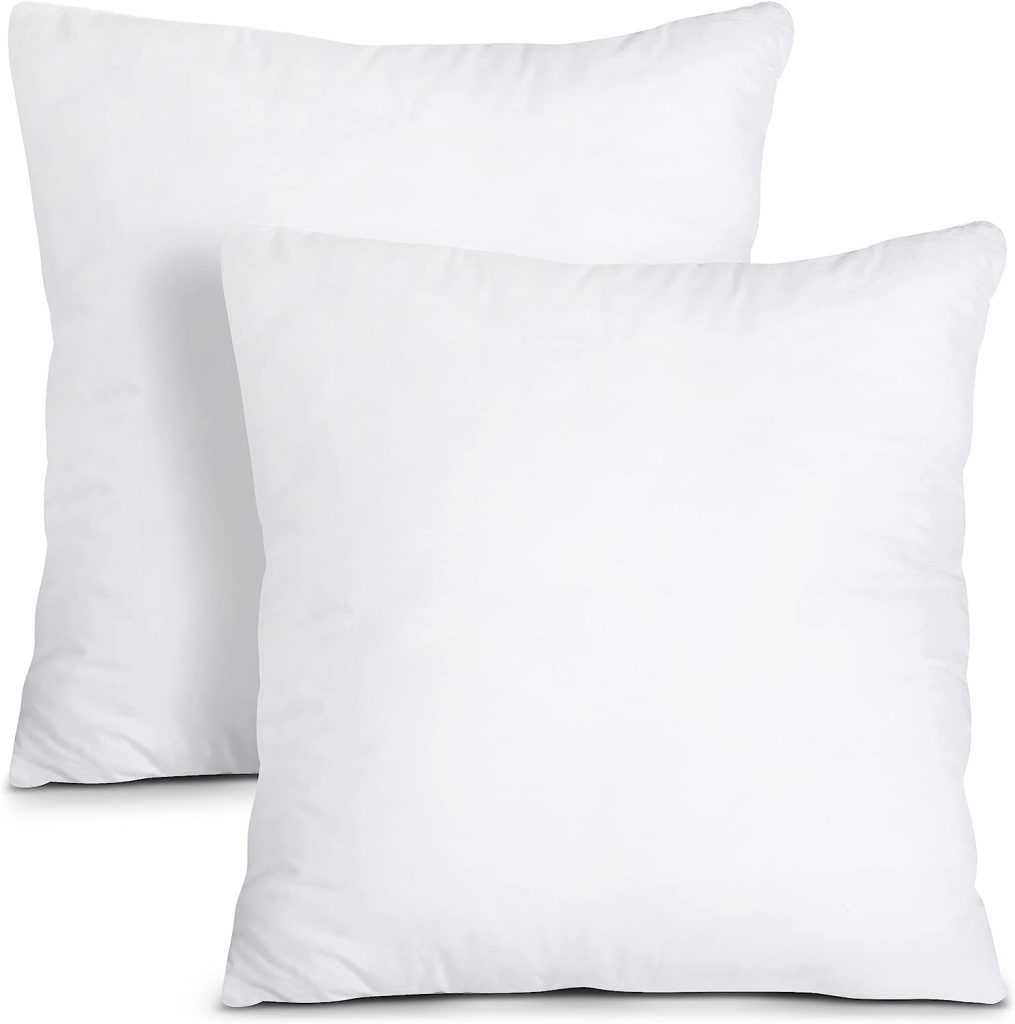
The size of the pillow insert determined the size of my pillow! I used these 16″x 26″ lumbar pillow inserts, which also allowed me to make two out of the monk fabric, using plain cotton for the back.
I want to make a few more of these pillows, and I thought about trying to dye the fabric first! Monk cloth only comes in neutral colors (white, cream, and tan), but it would be fun to dye some and then use cream-colored yarn. What do you think?
Steps to Making This Pottery Barn Pillow Cover Knockoff
Materials You Need
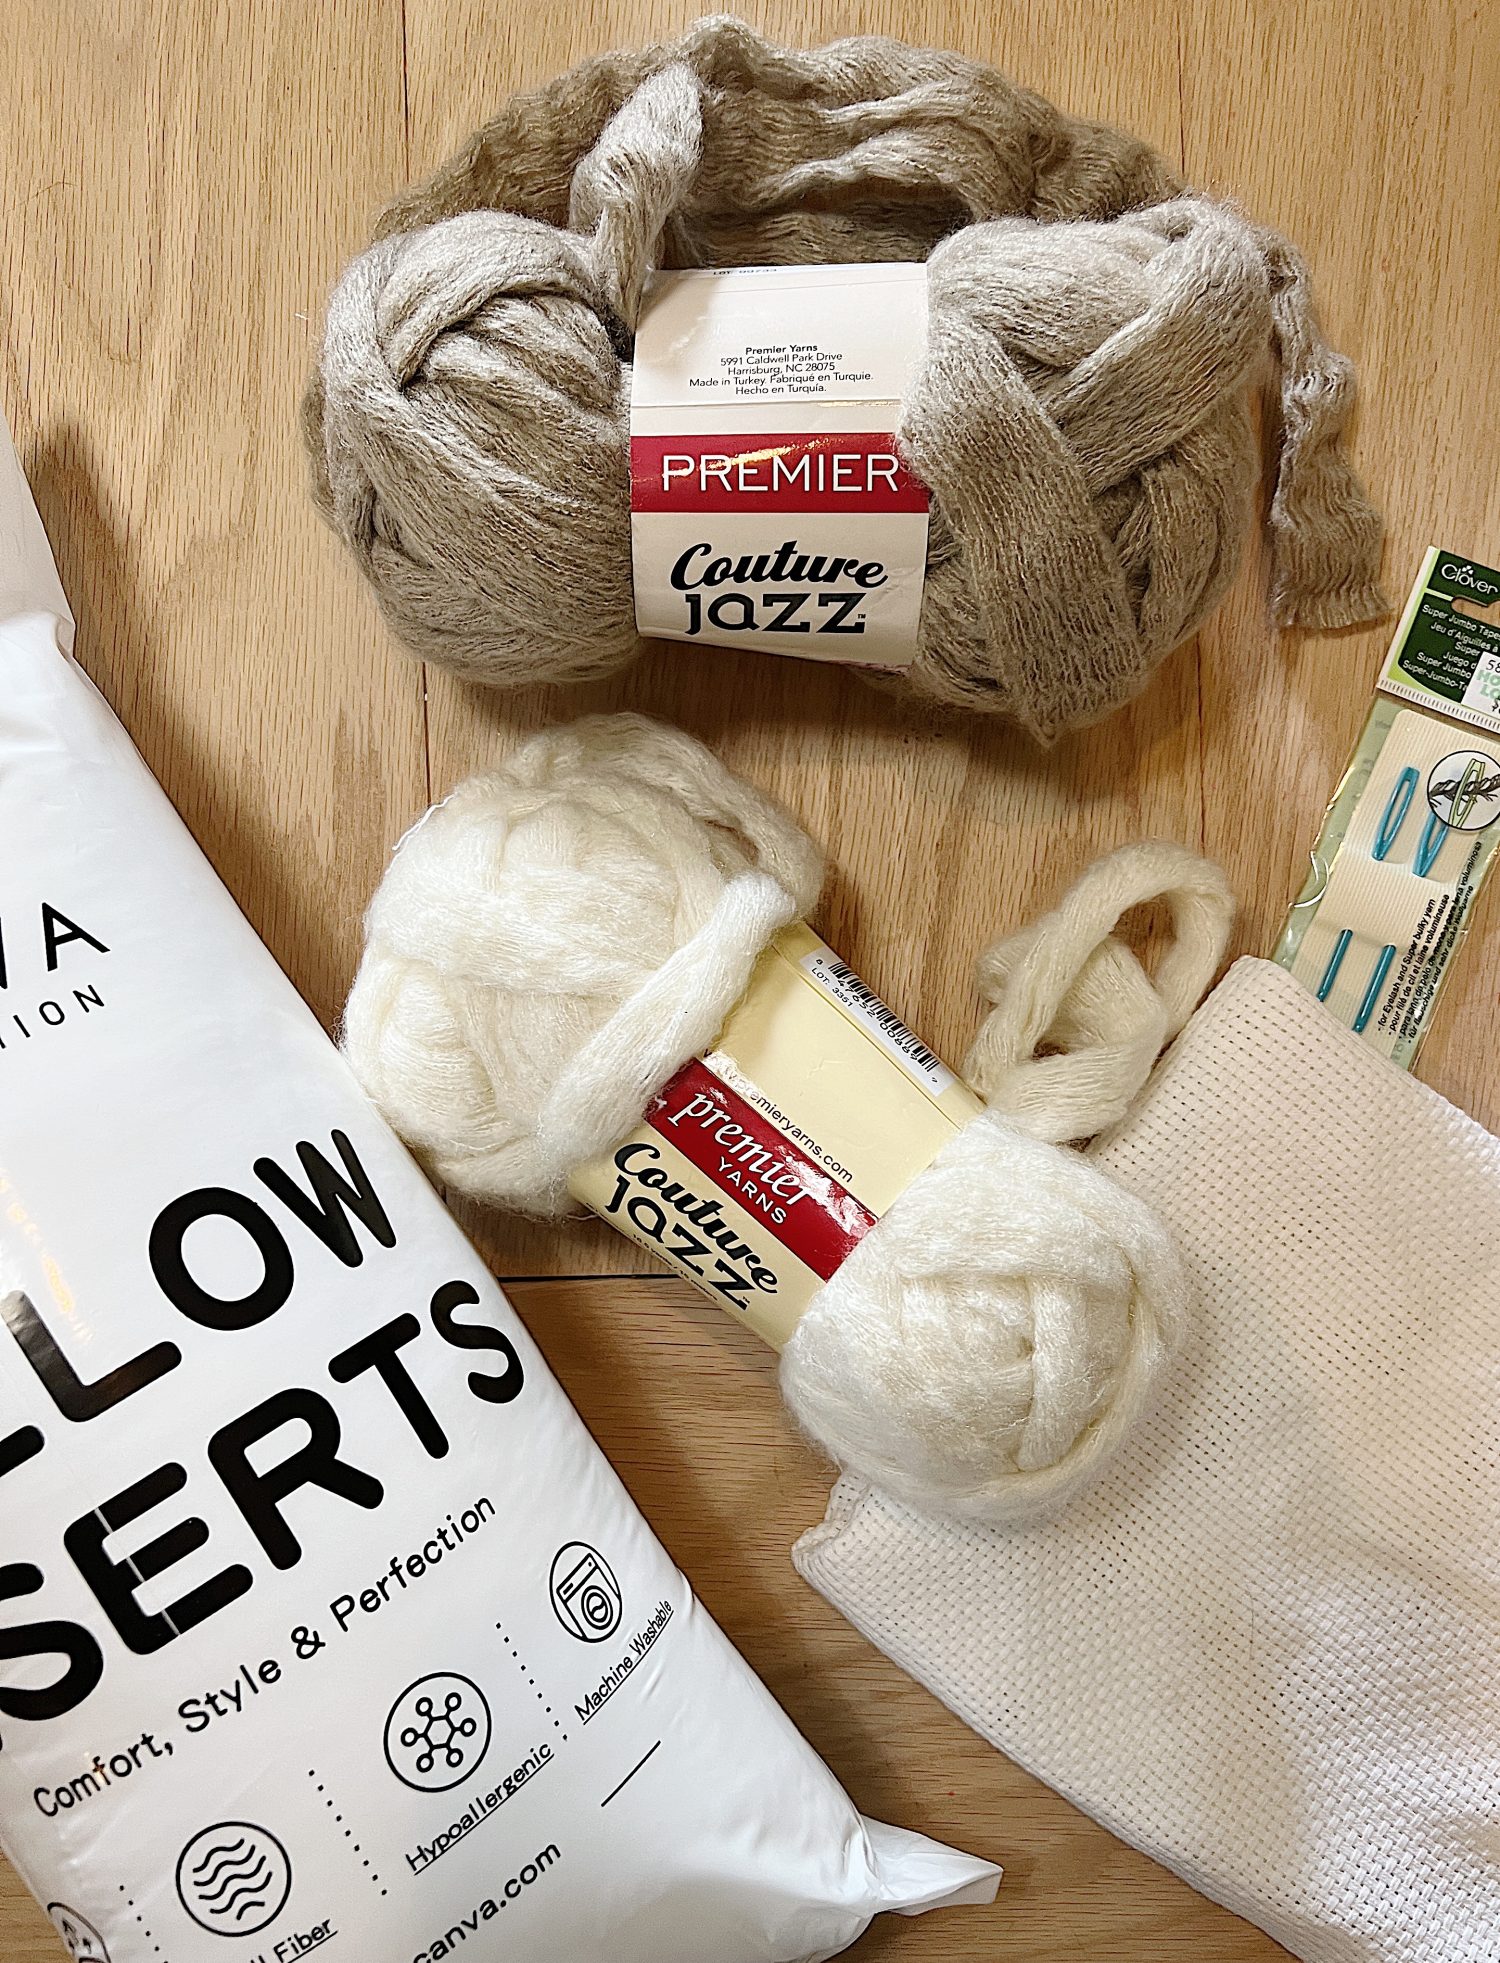
- monks cloth
- Premier Yarns Couture Jazz Yarn-Beige
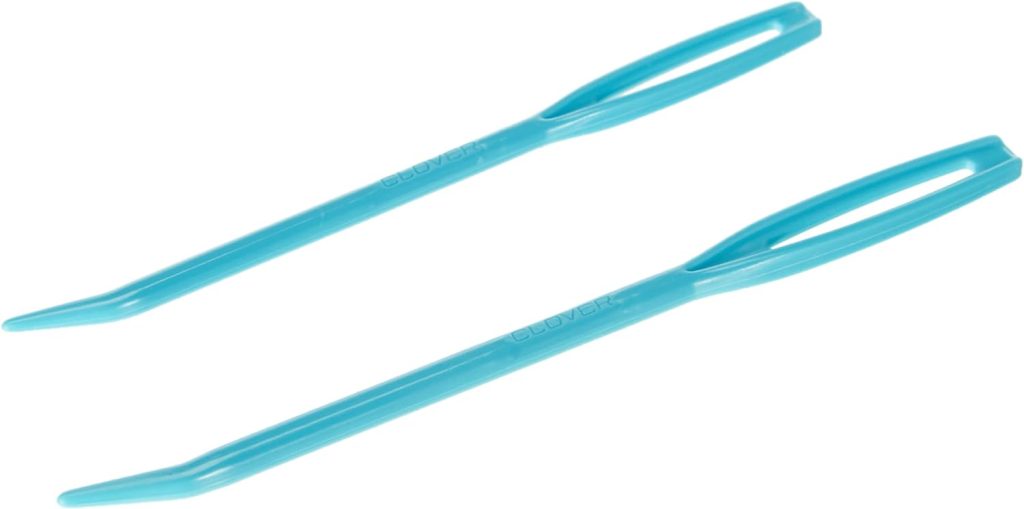
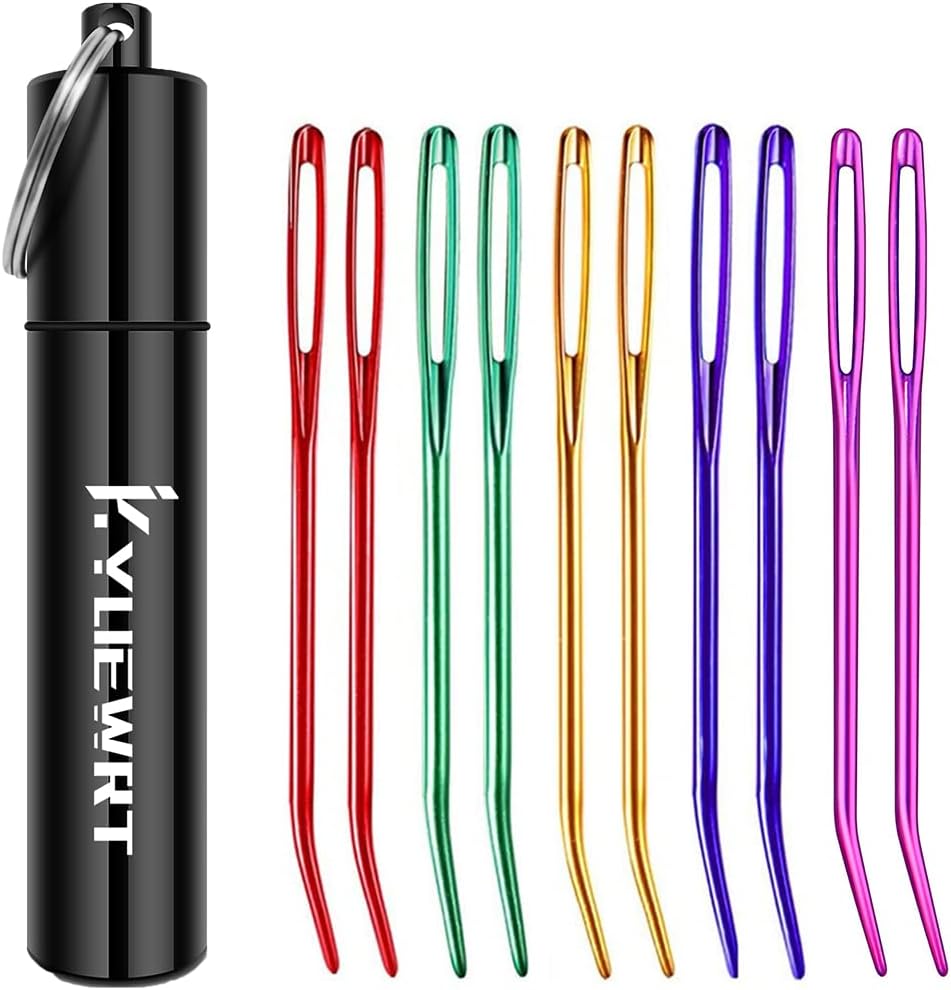
- Super jumbo Tapestry Needle Set
- 16×26 Fluffy Pillow Insert
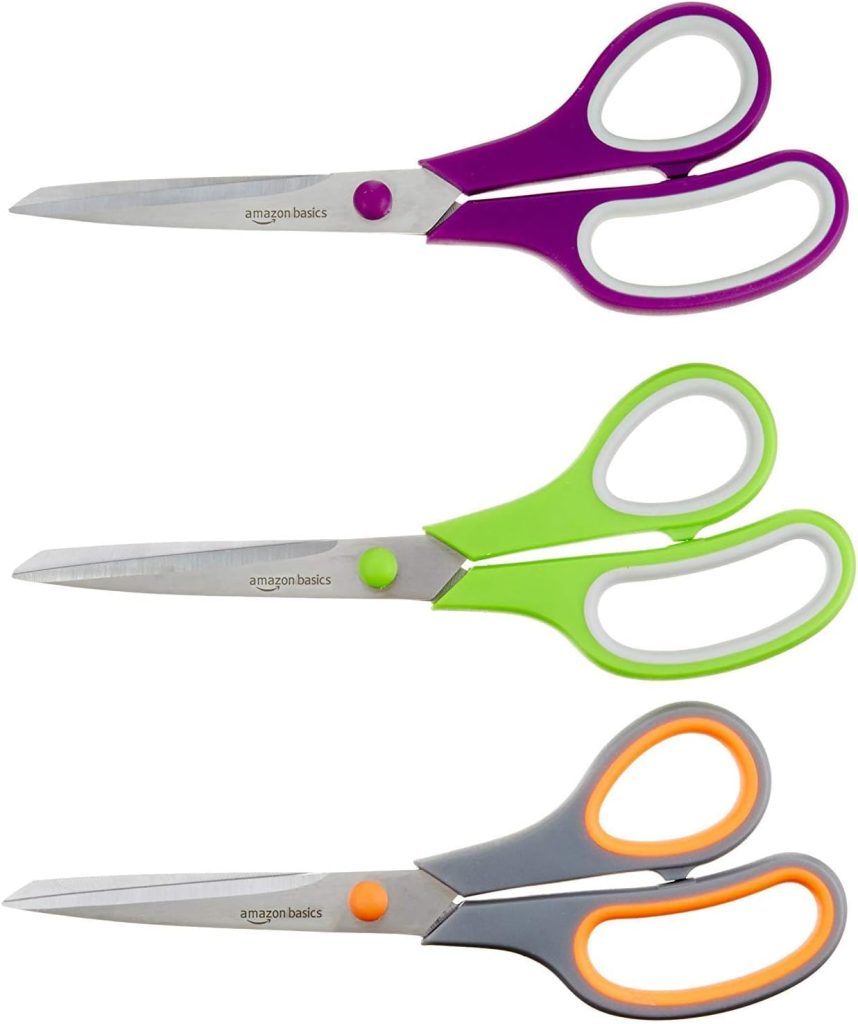
- sewing machine, pins, and thread
How to Make This Pillow Cover
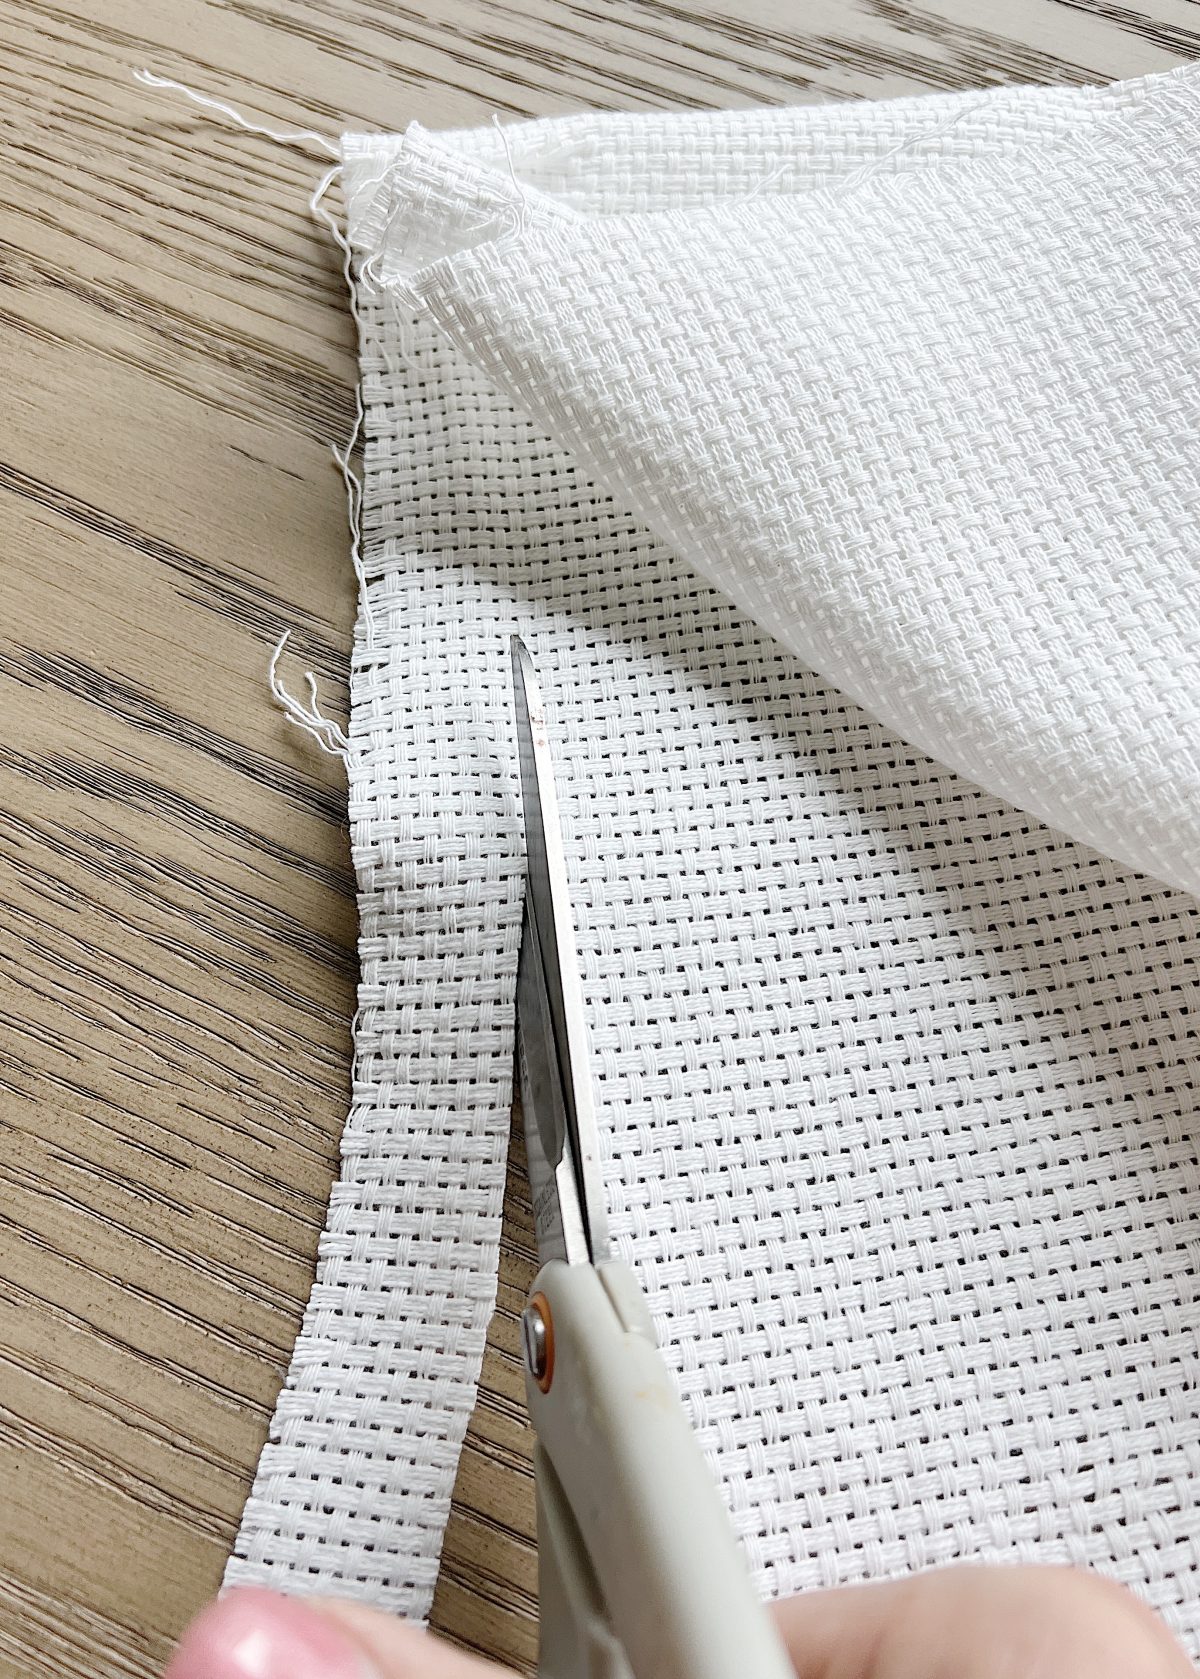

- one – Cut the monks cloth for your pillow using the lines as your guide. I allowed for 1″ seams, so I cut the front 18″ x 28″ to use a 16″ x 26″ cover. You can use the monk’s cloth for the back or lining fabric; just be sure to allow for extra seams for a zipper if you use one.
- two – The edges of this monk’s cloth frayed easily, so I sewed around the outside two times to make sure the fabric wouldn’t pull apart.
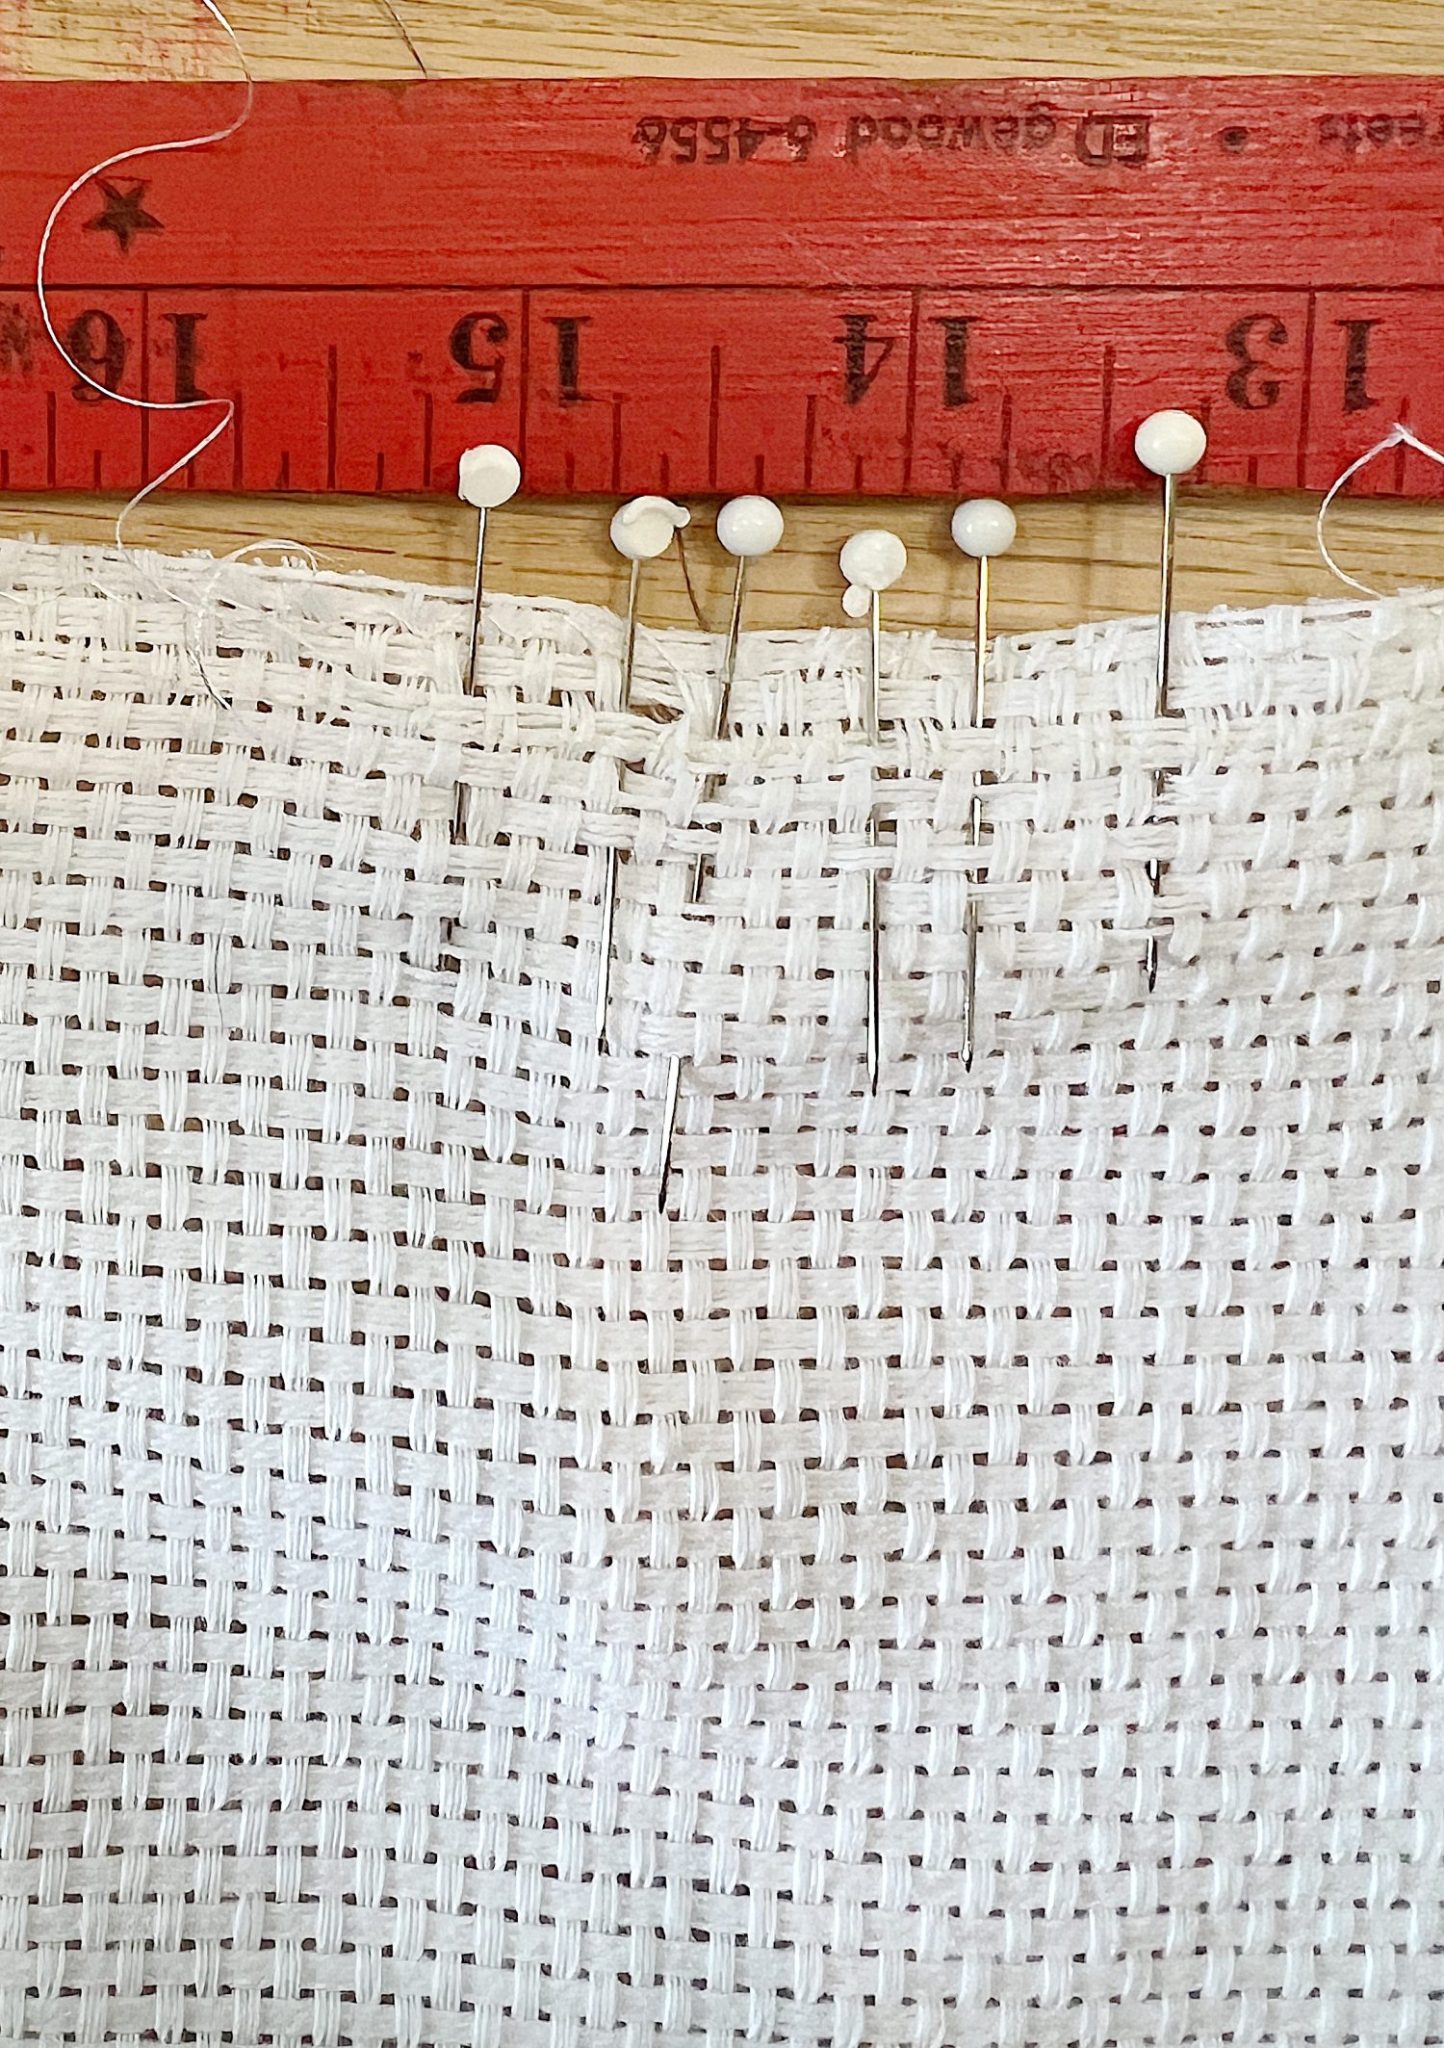
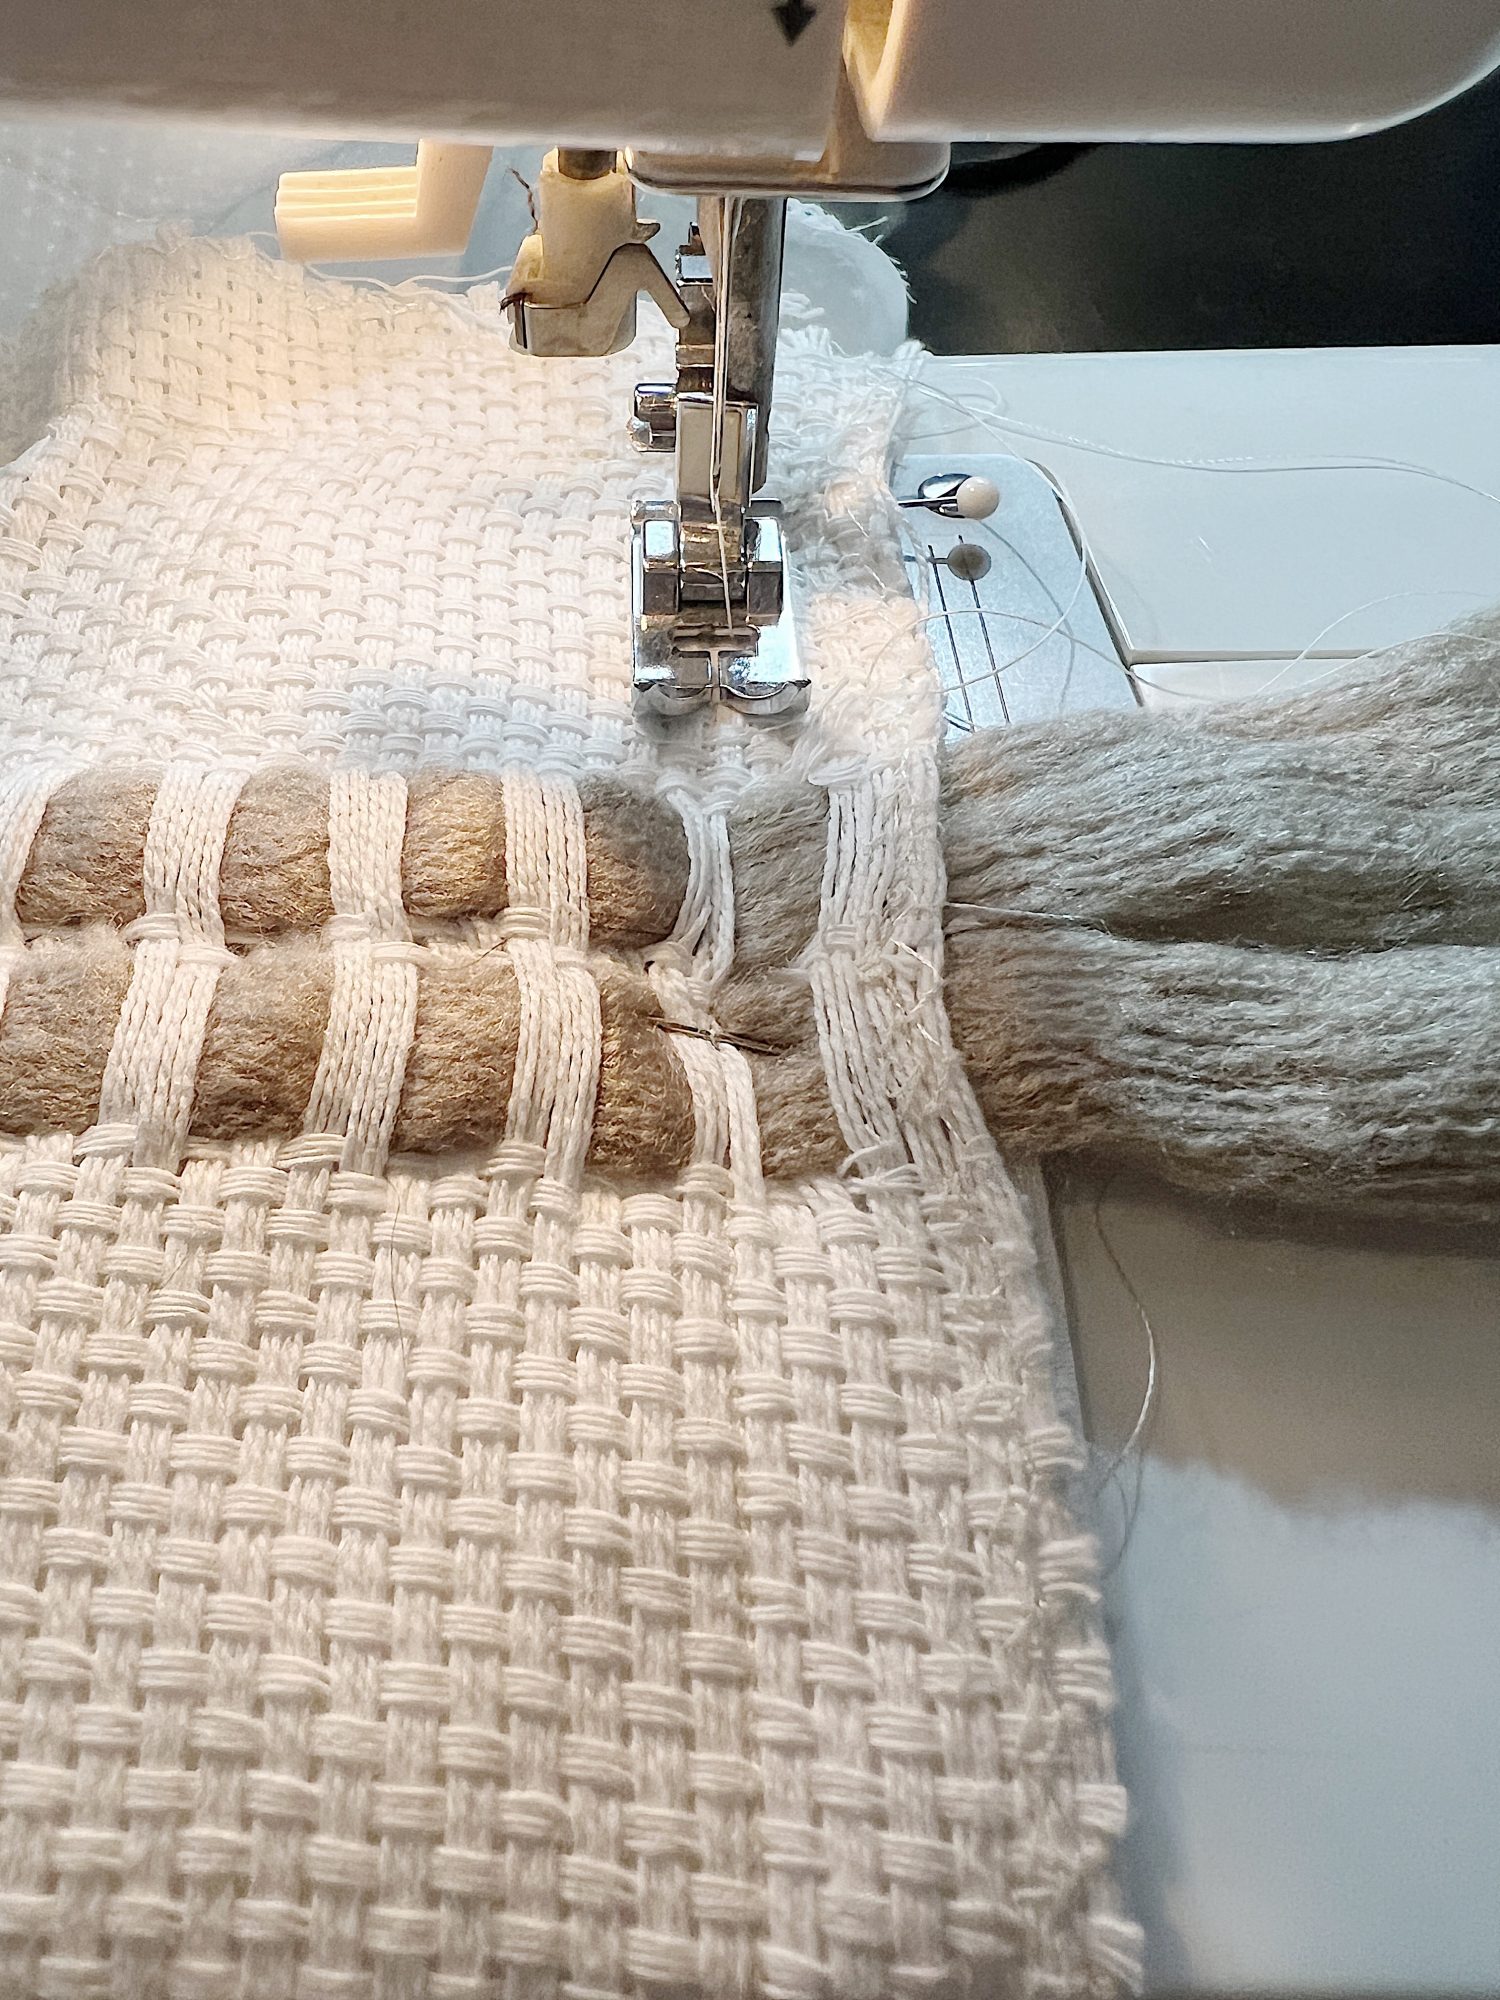
- three – To match the design of the Pottery Barn pillow, I measured 3″ from the top and bottom and then market the threads to pull to make room for the yarn. I pulled four threads for the yarn and left two threads in between each row.

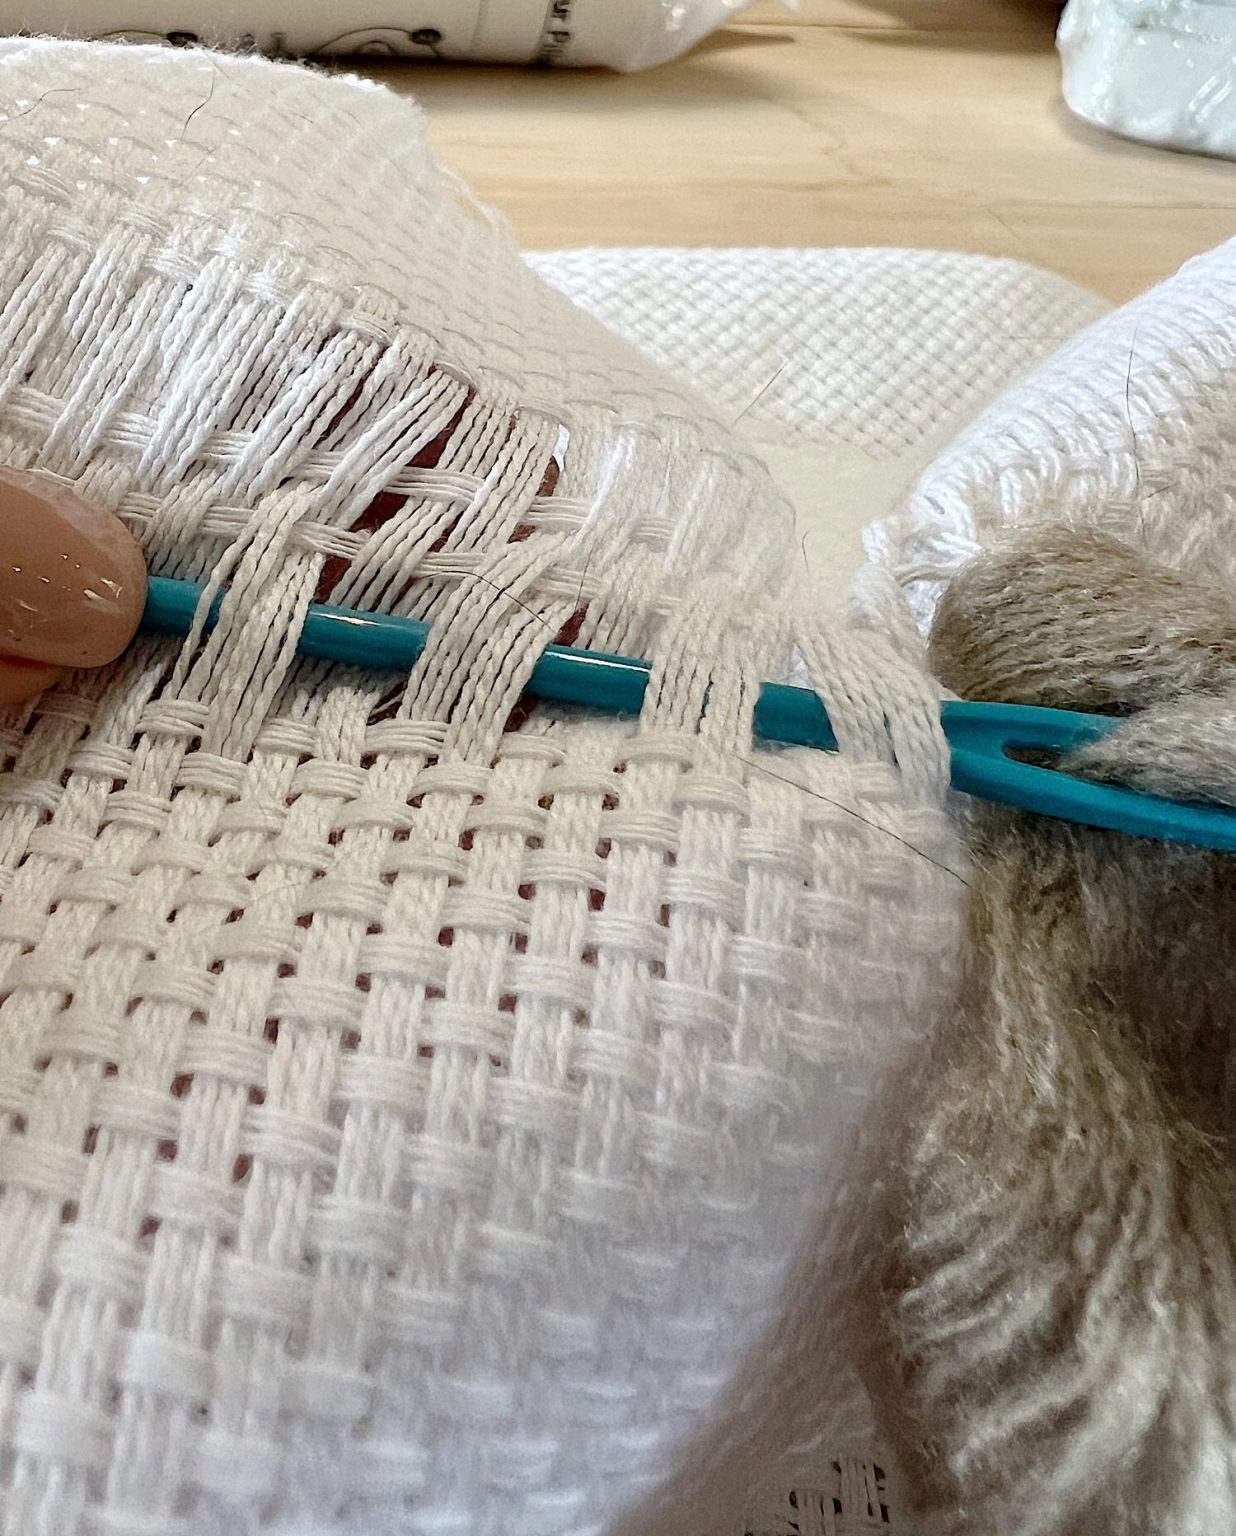
- four – I pulled two rows on the top and three on the bottom.
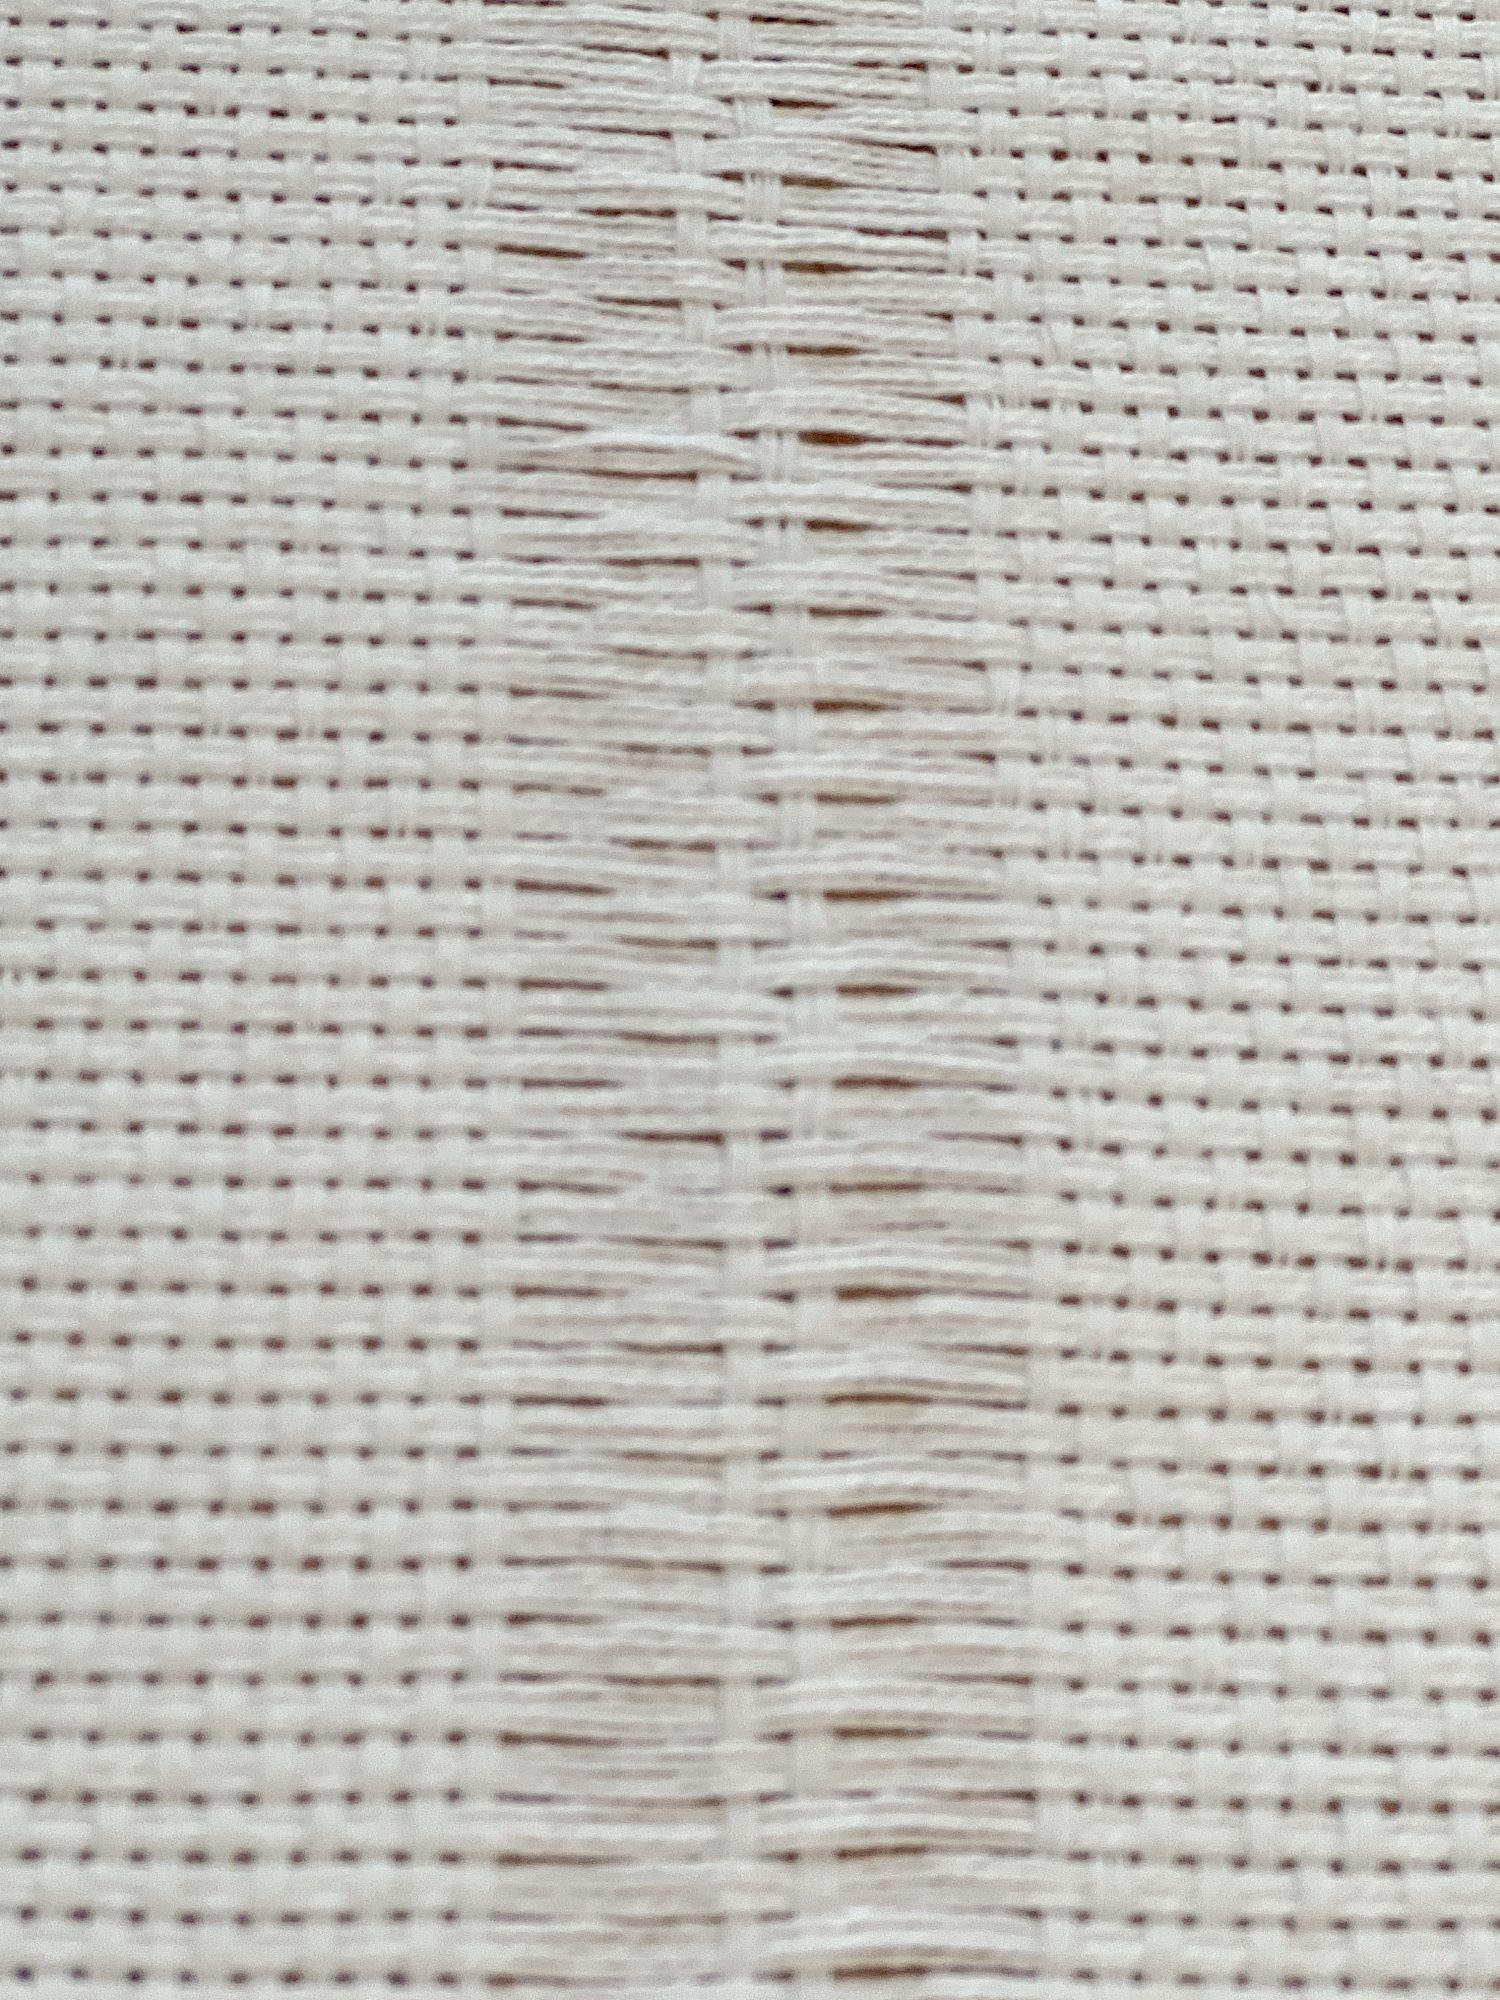
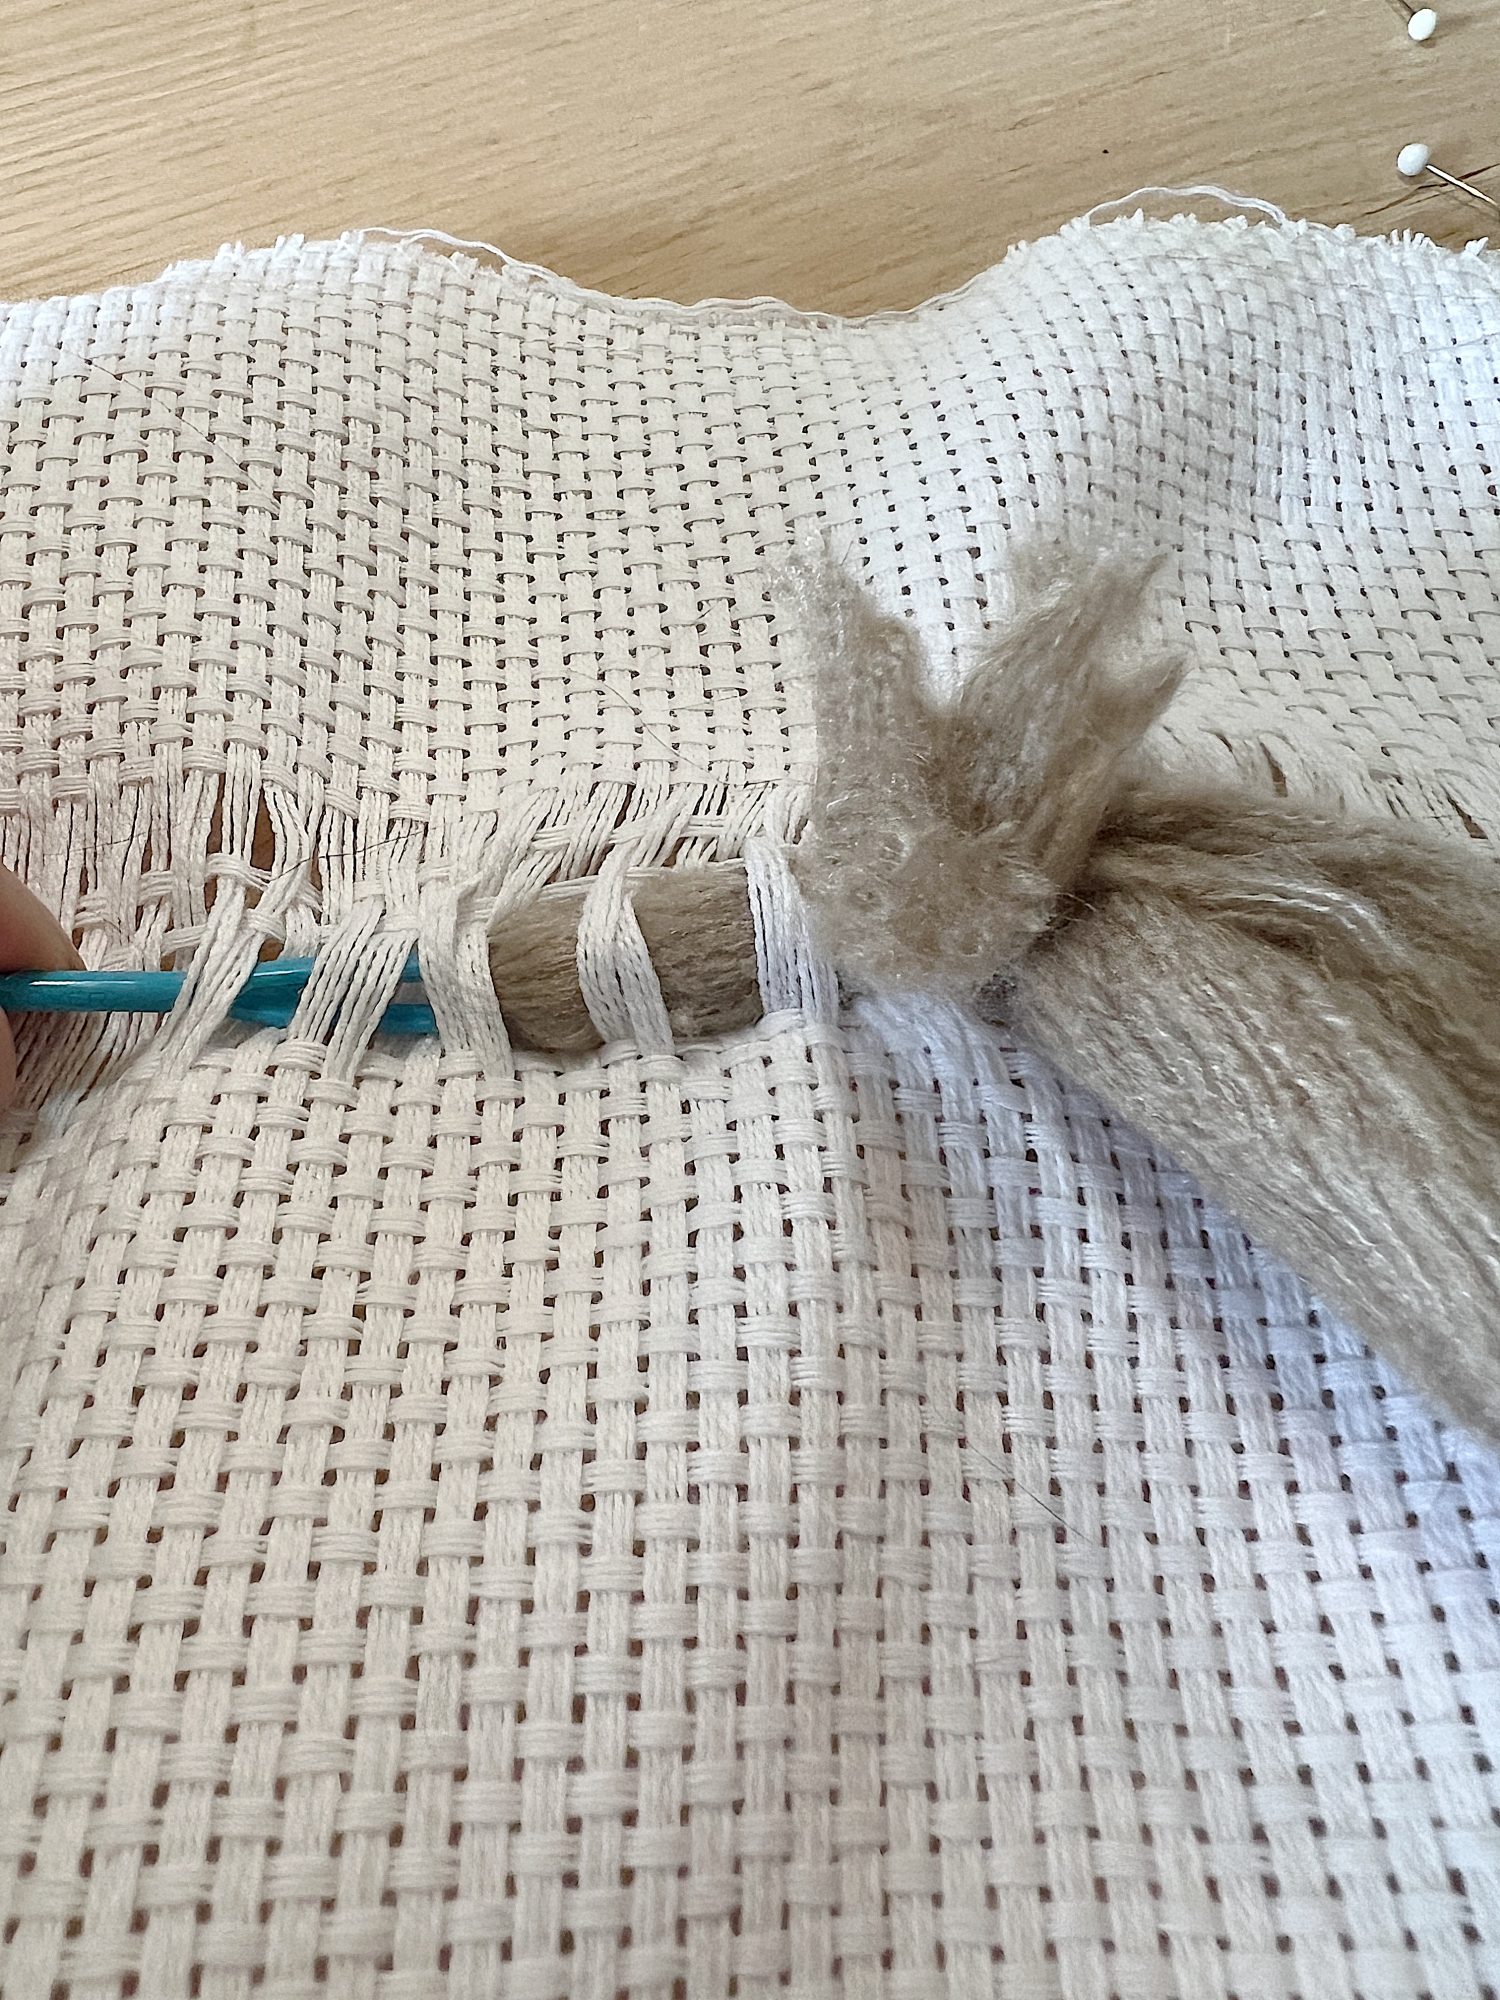
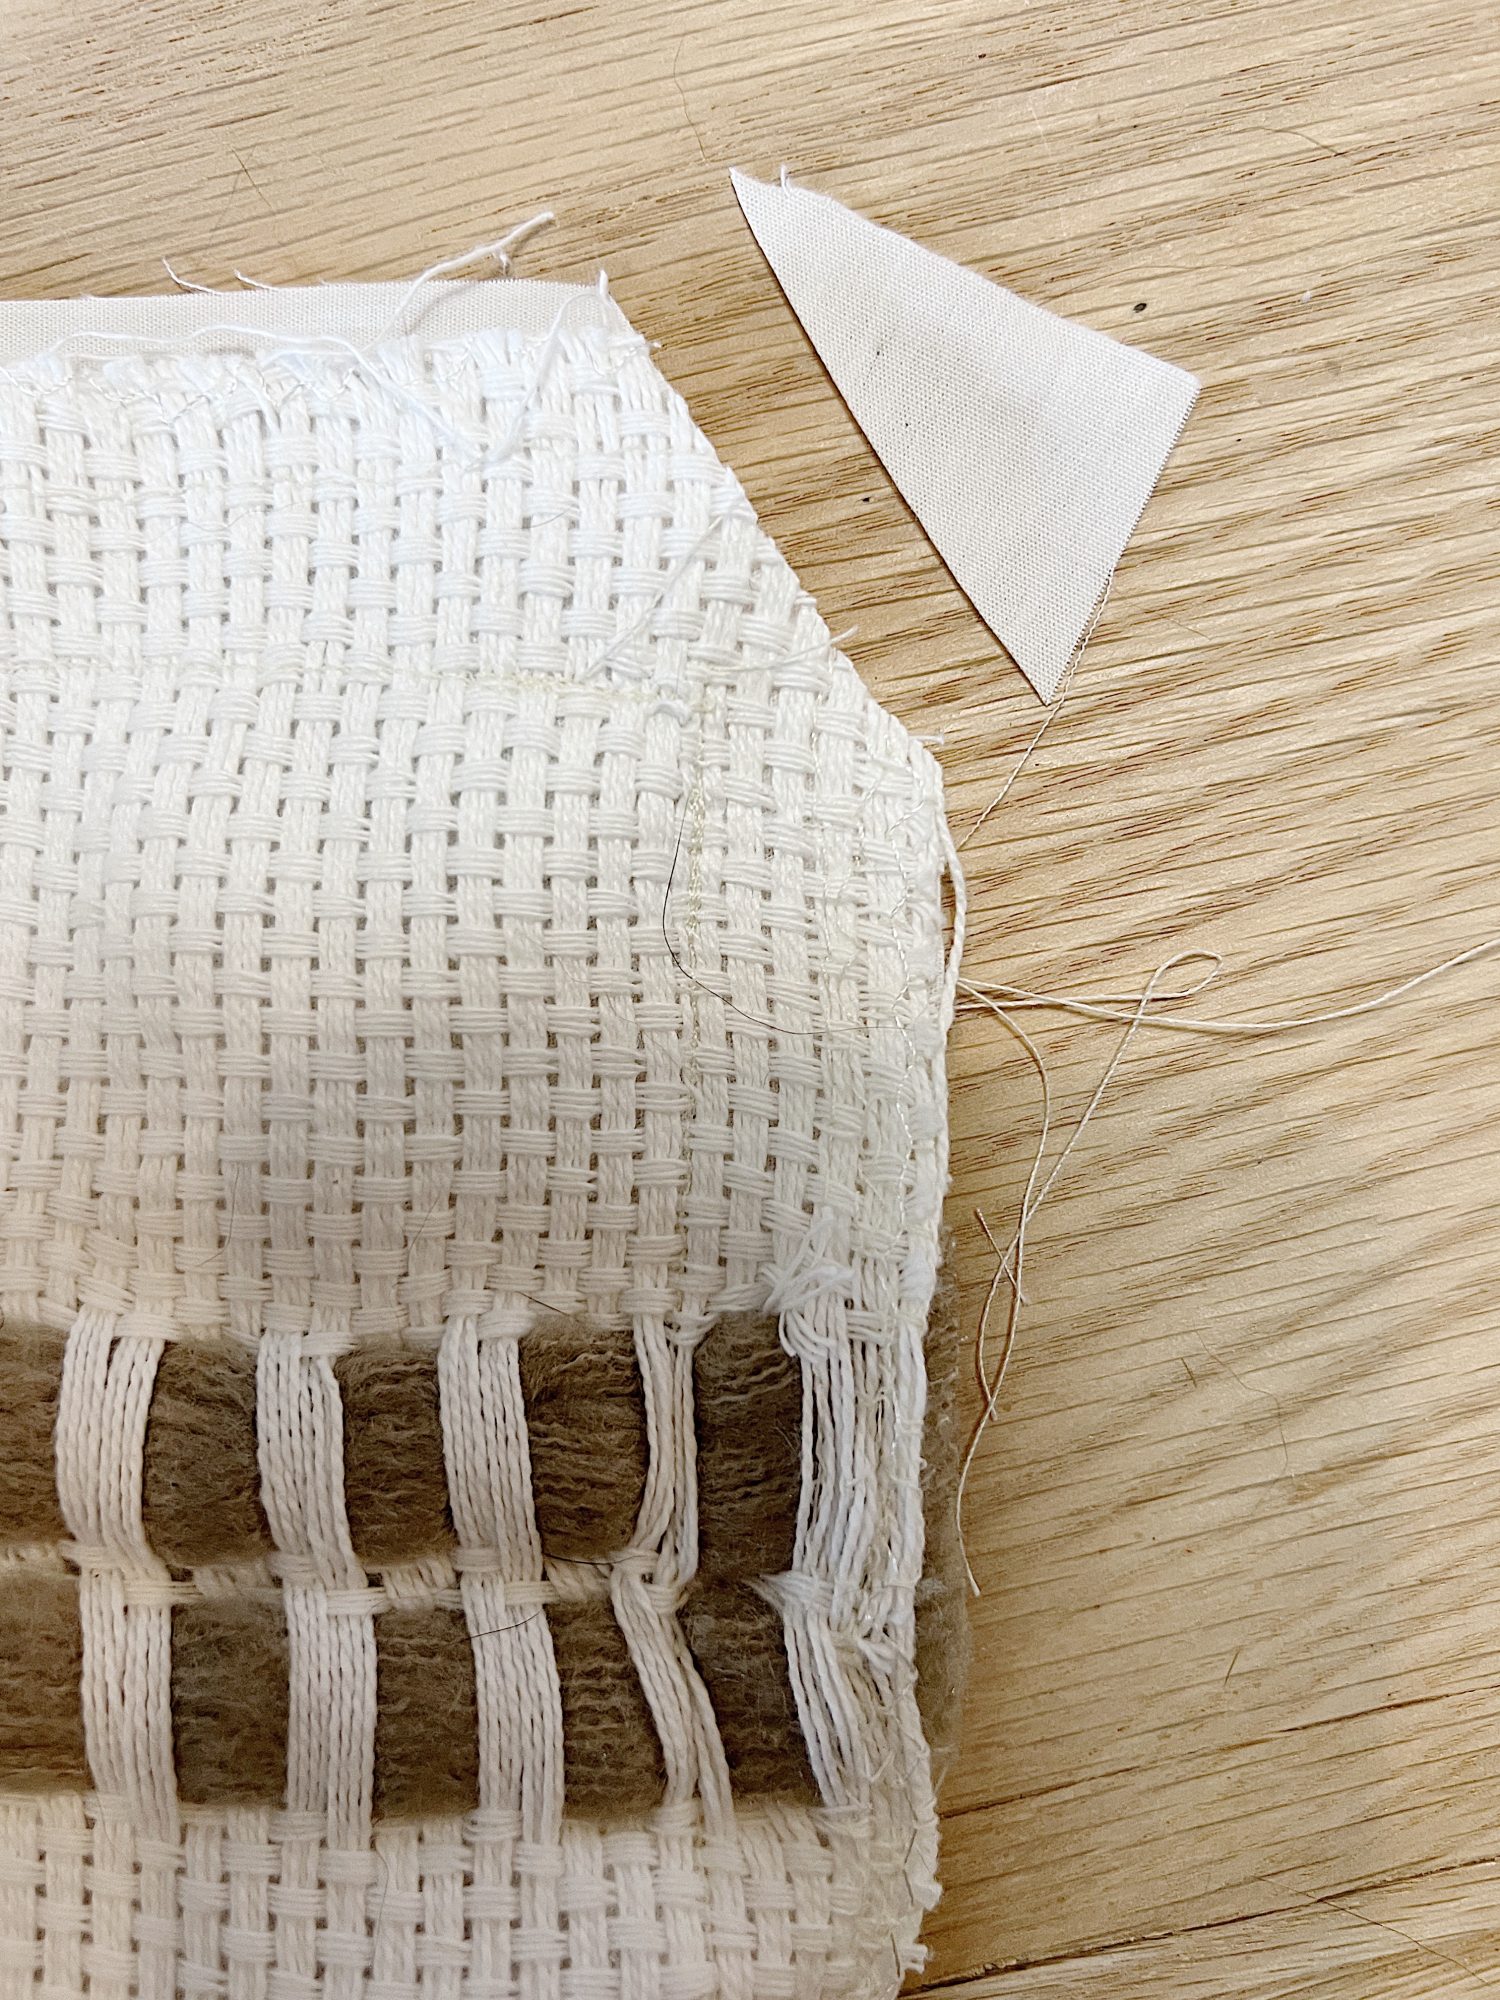
- five – Here, you can see what the pillow looks like with the rows pulled out.
- six – Cut the yarn pieces about five inches longer than the pillow, or 25″. Tread through the needle and work through the area where the threads were pulled, weaving two over and two under.
- seven – Gently pull the needle through the fabric so the yarn also pulls through.
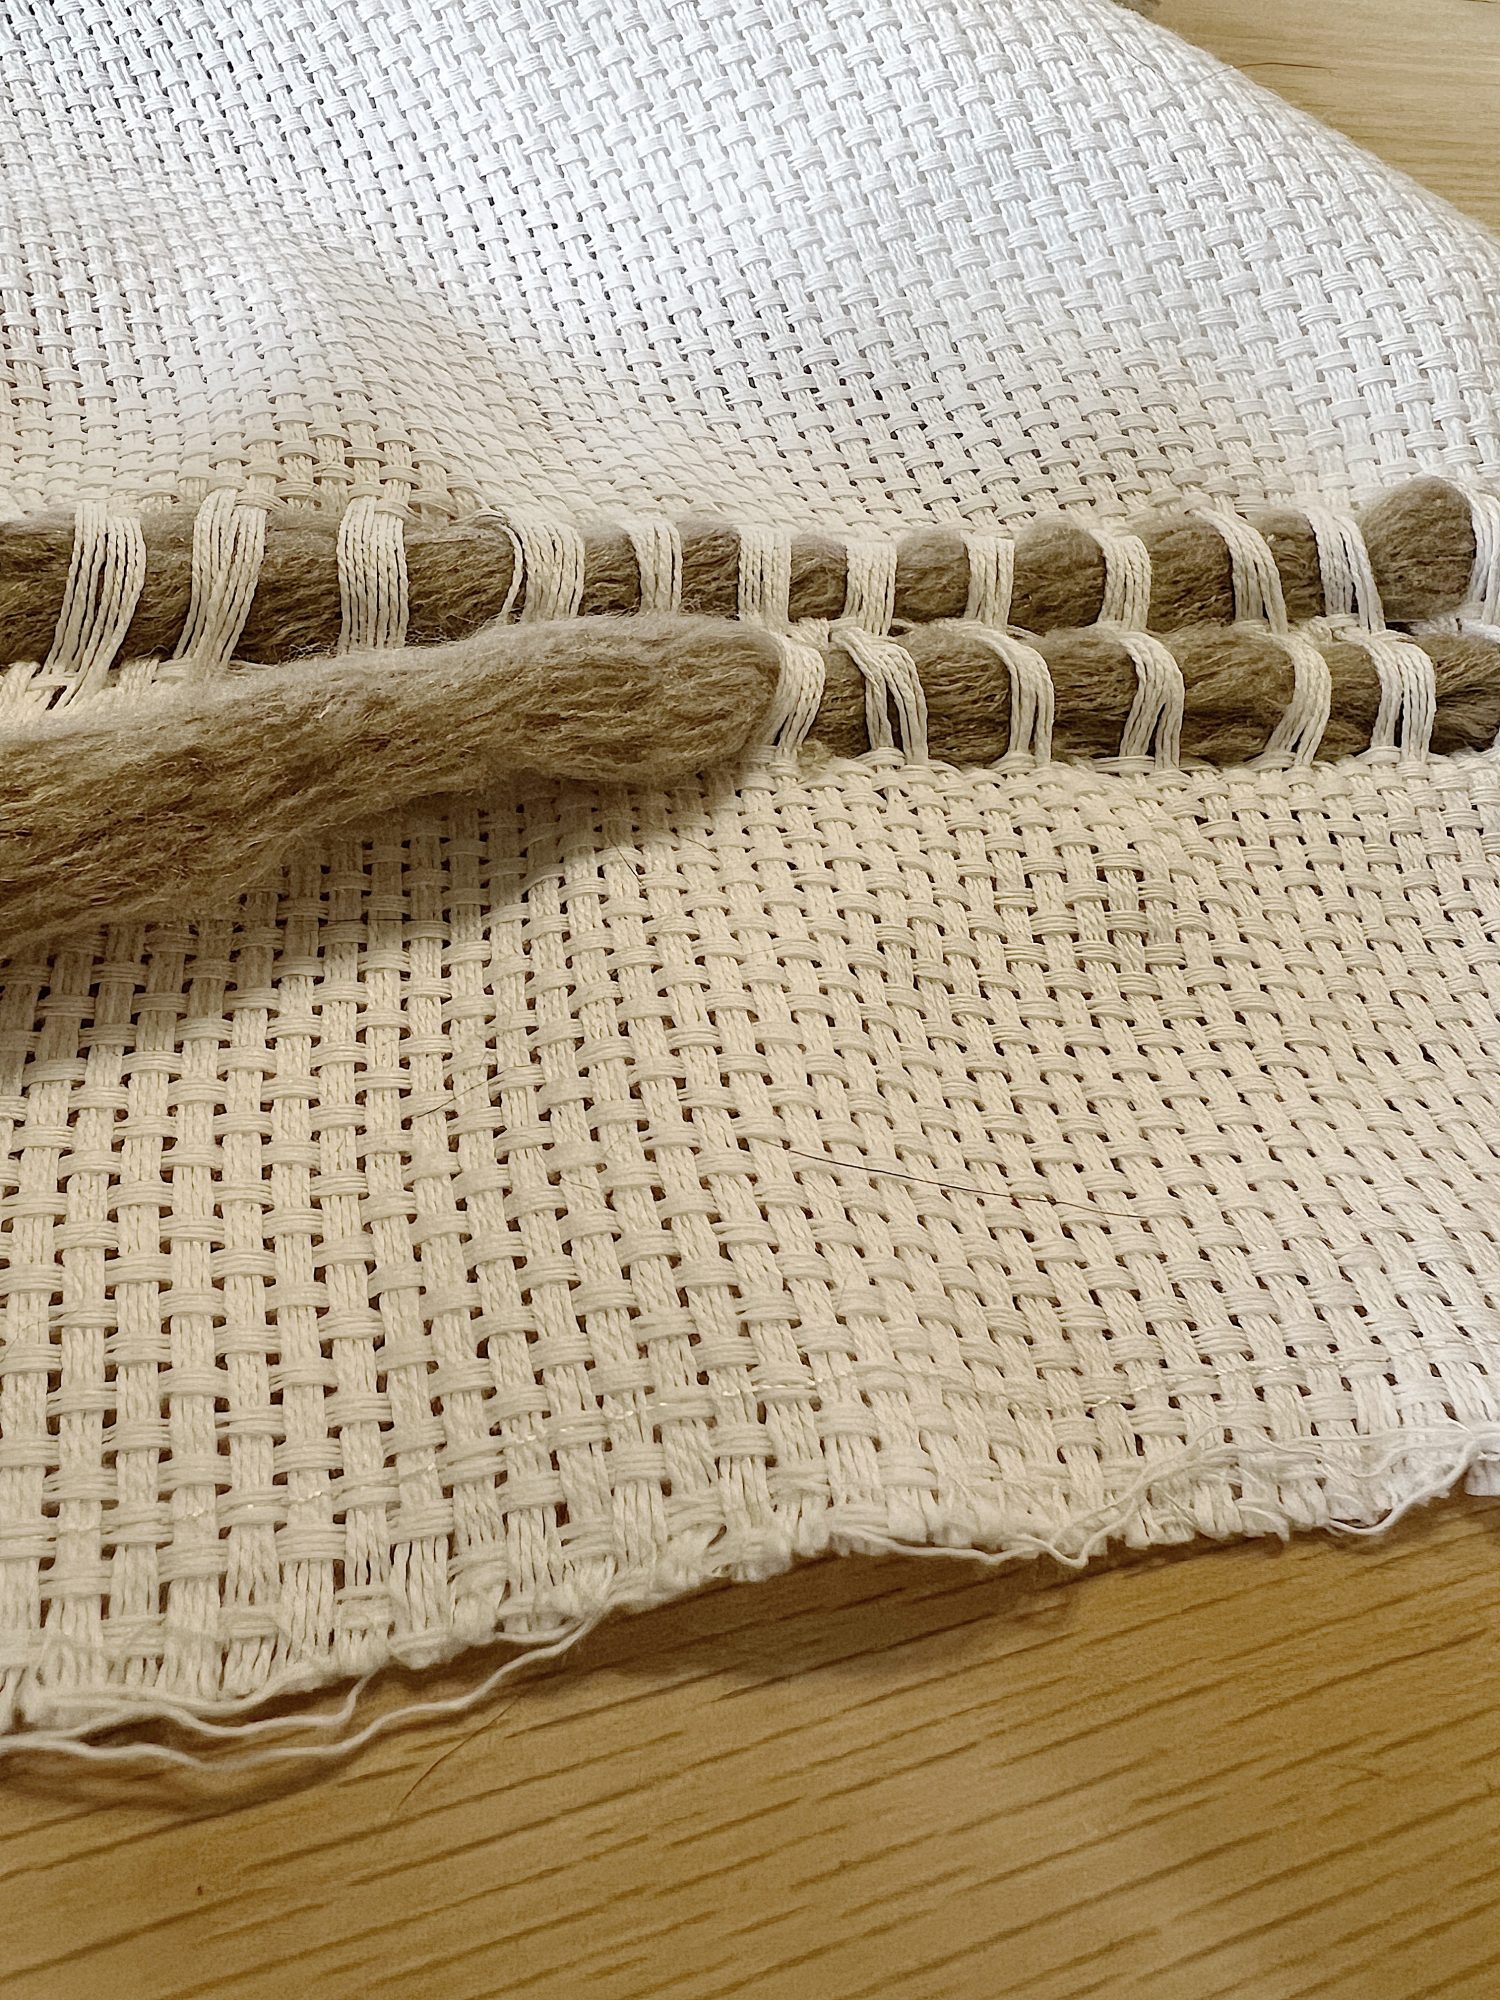
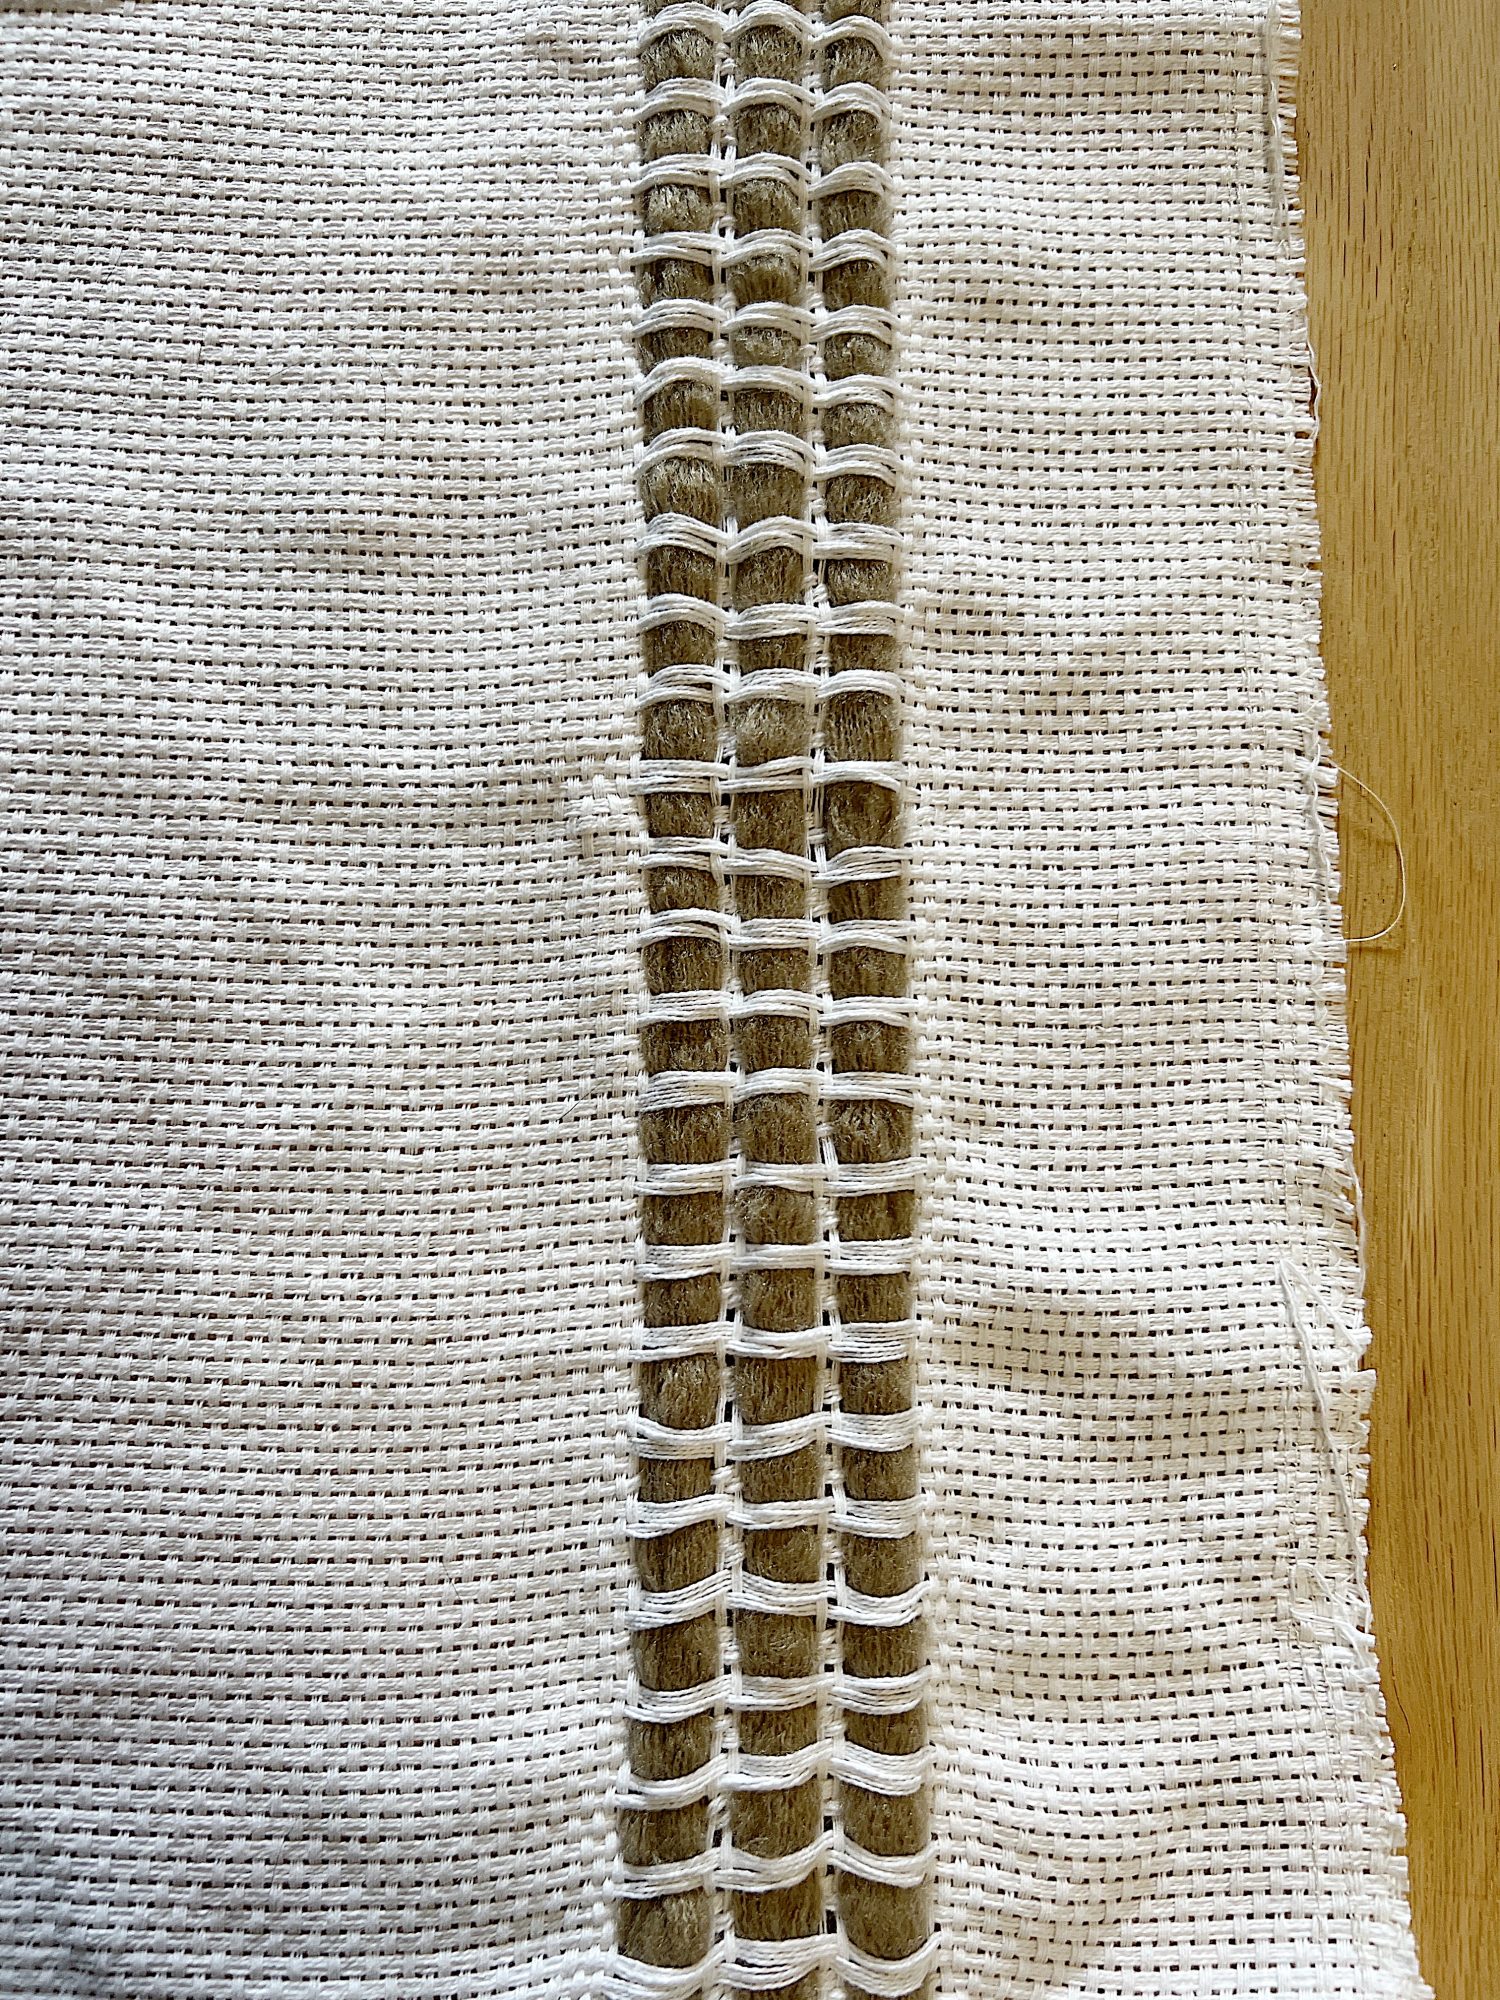
- eight – Continue weaving in the yarn, being sure to match the weaving of the other rows.
- nine – This is what the yarn should look like.
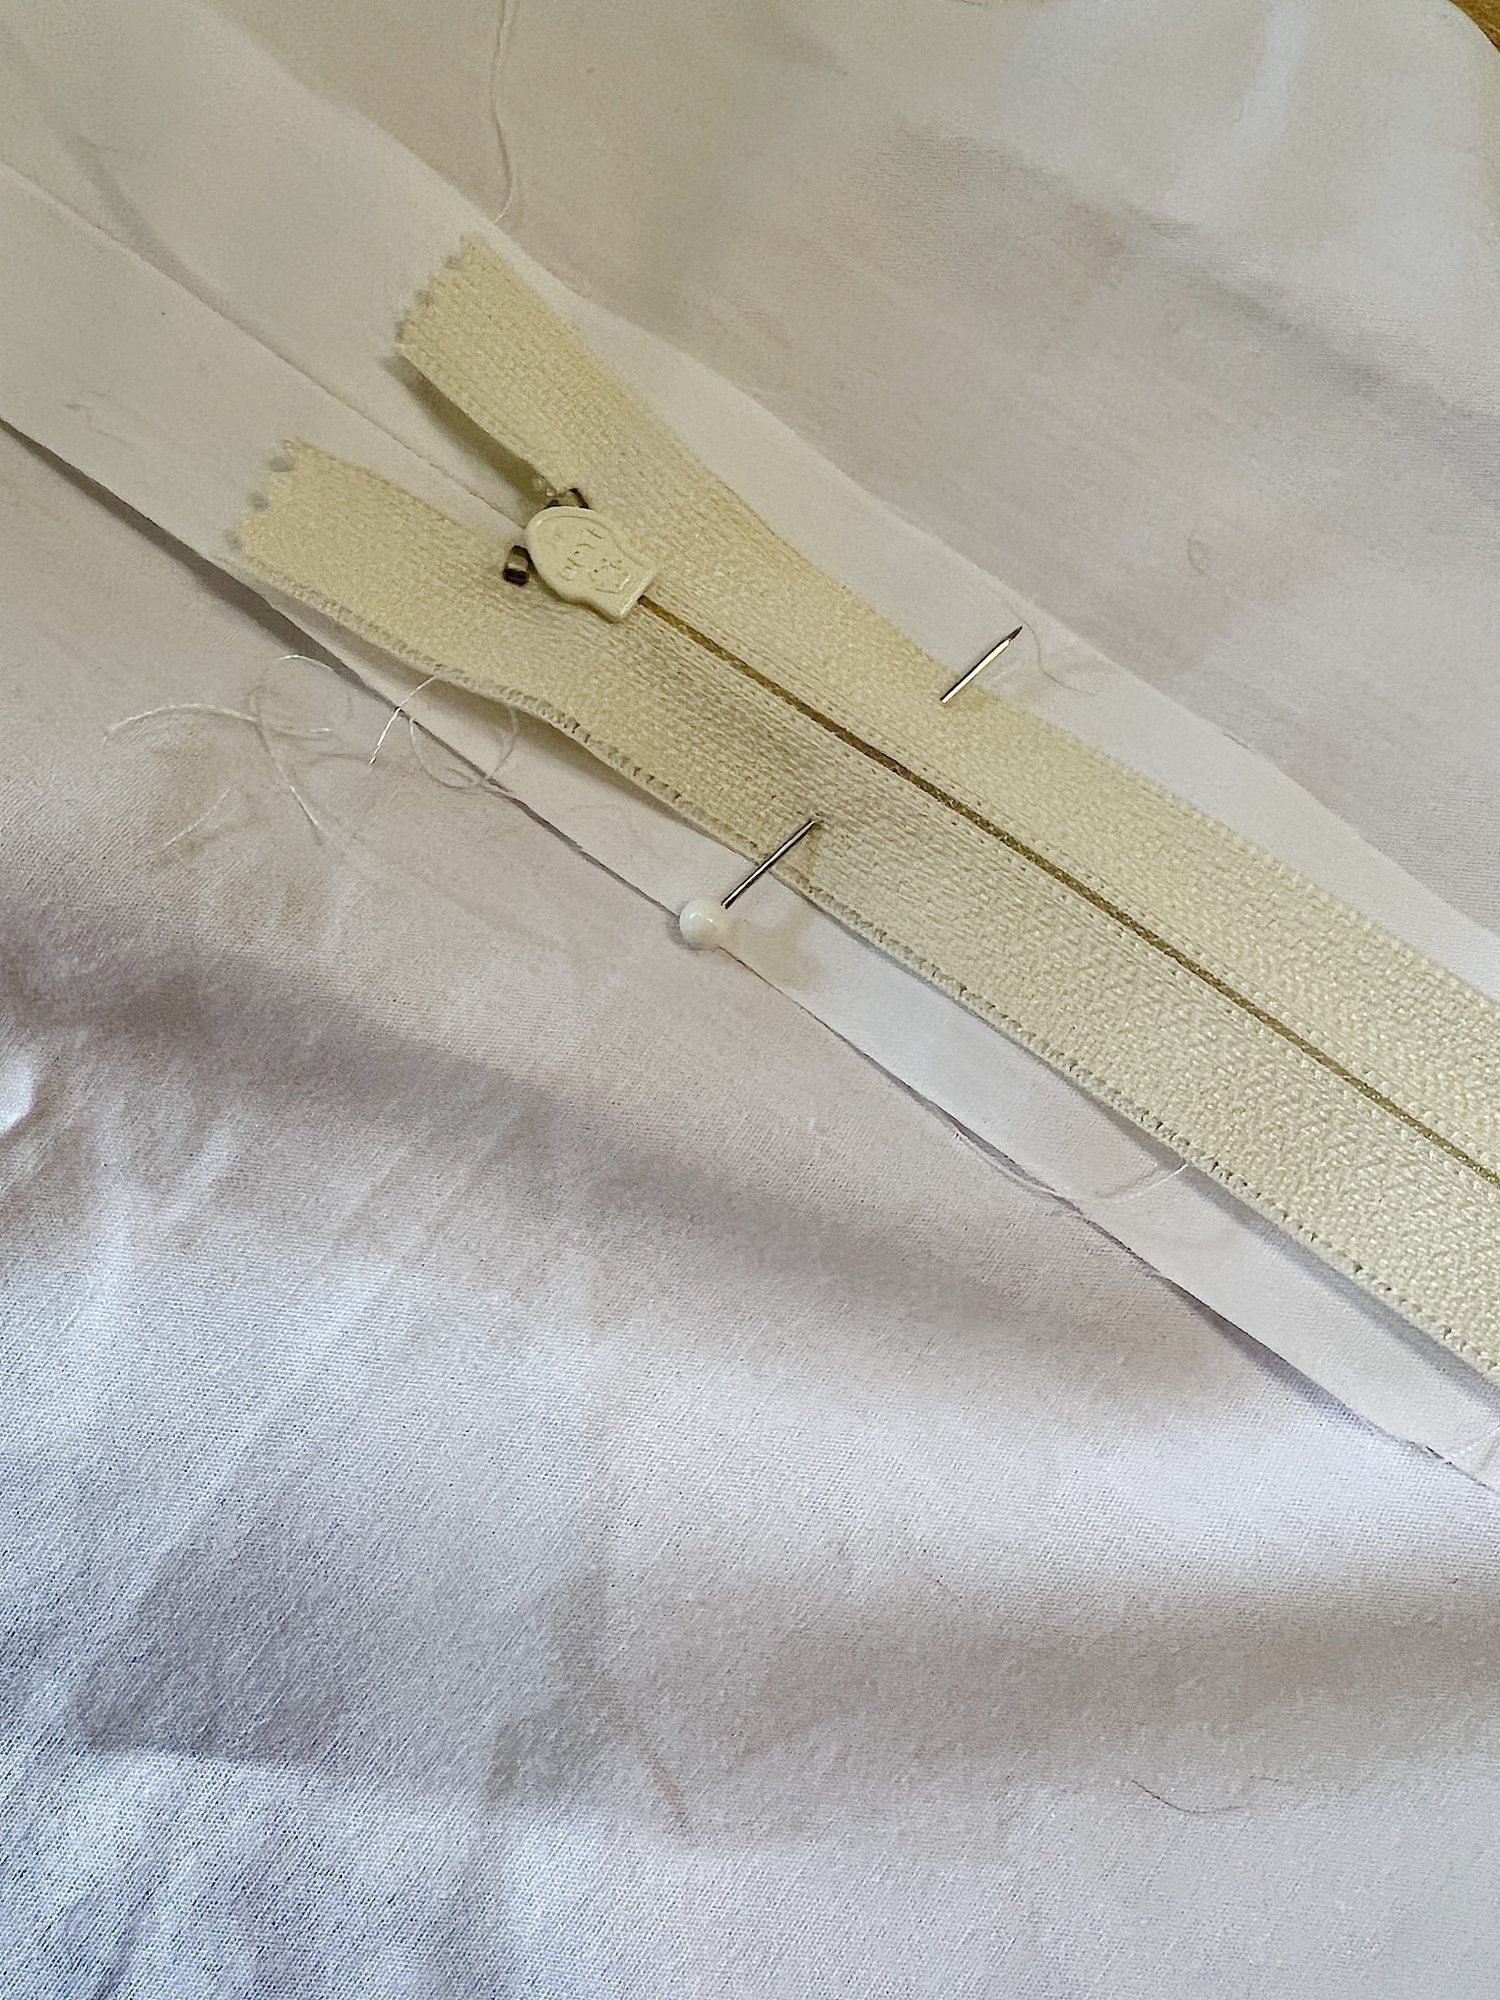
- ten – To make a zipper closure, follow the instructions here.
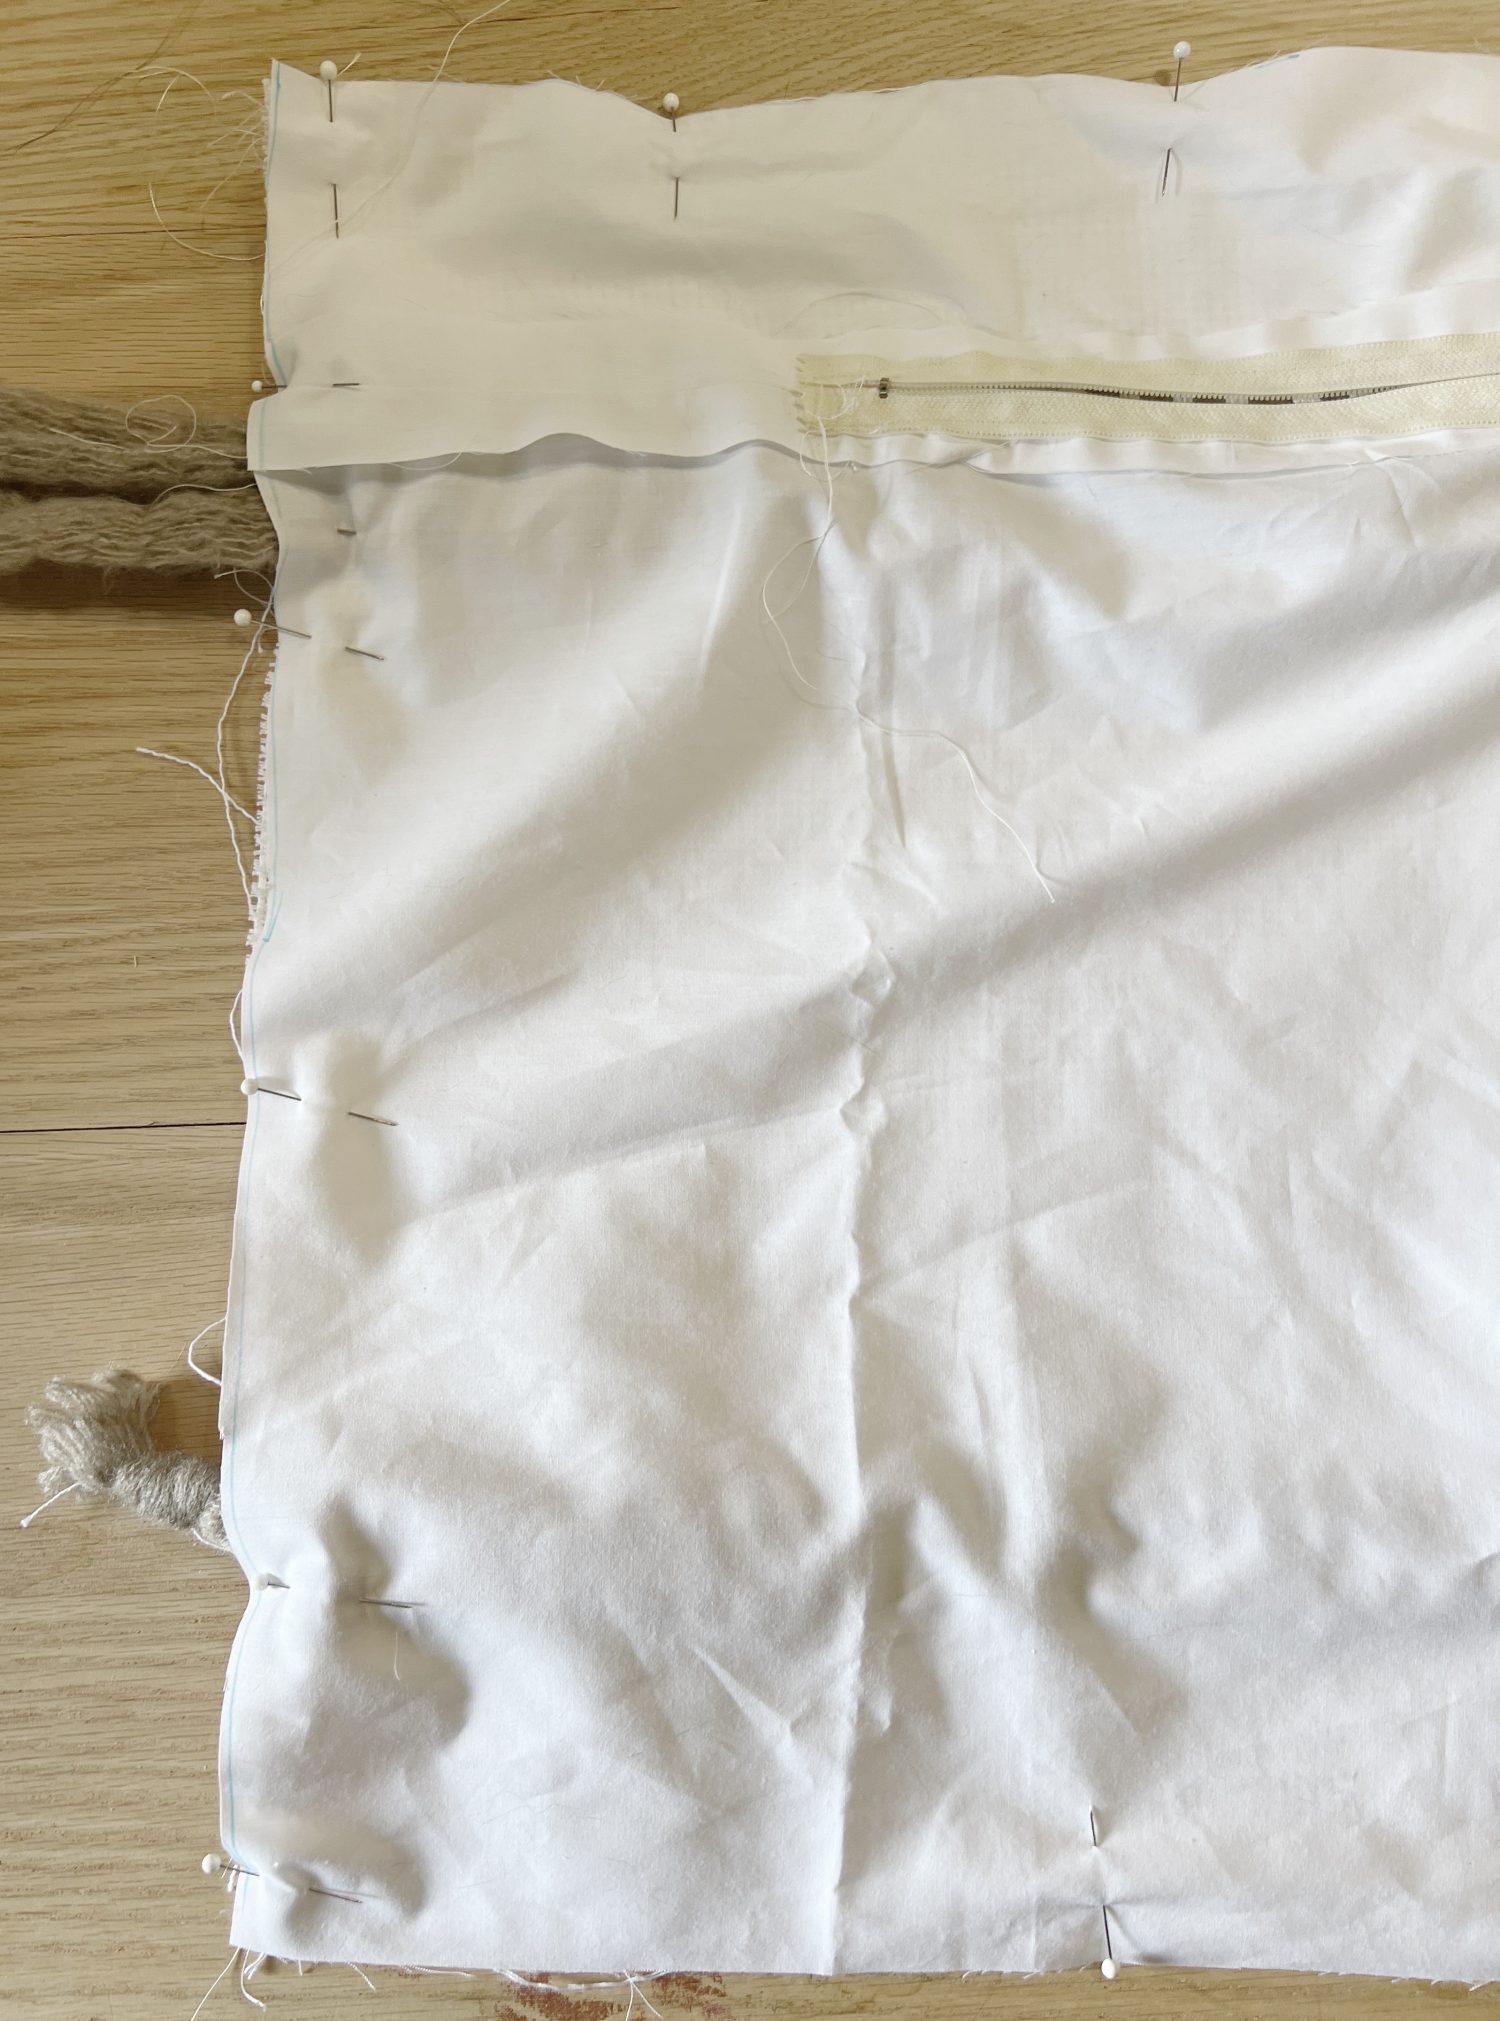
- eleven – Pin the back to the front, with the front sides on the inside. If you used a zipper, be sure to unzip the zipper before you sew together.
- twelve – Sew around the outside edges, using a 1″ seam allowance.
- thirteen – Clip the four corners of the pillow, being sure to leave about 1/3 ” for the stitching.
- fourteen – Turn the pillow inside out and iron the edges.
- fifteen – Add the pillow insert, and enjoy!


If you enjoy my blog, you can sign up to receive my updates here.
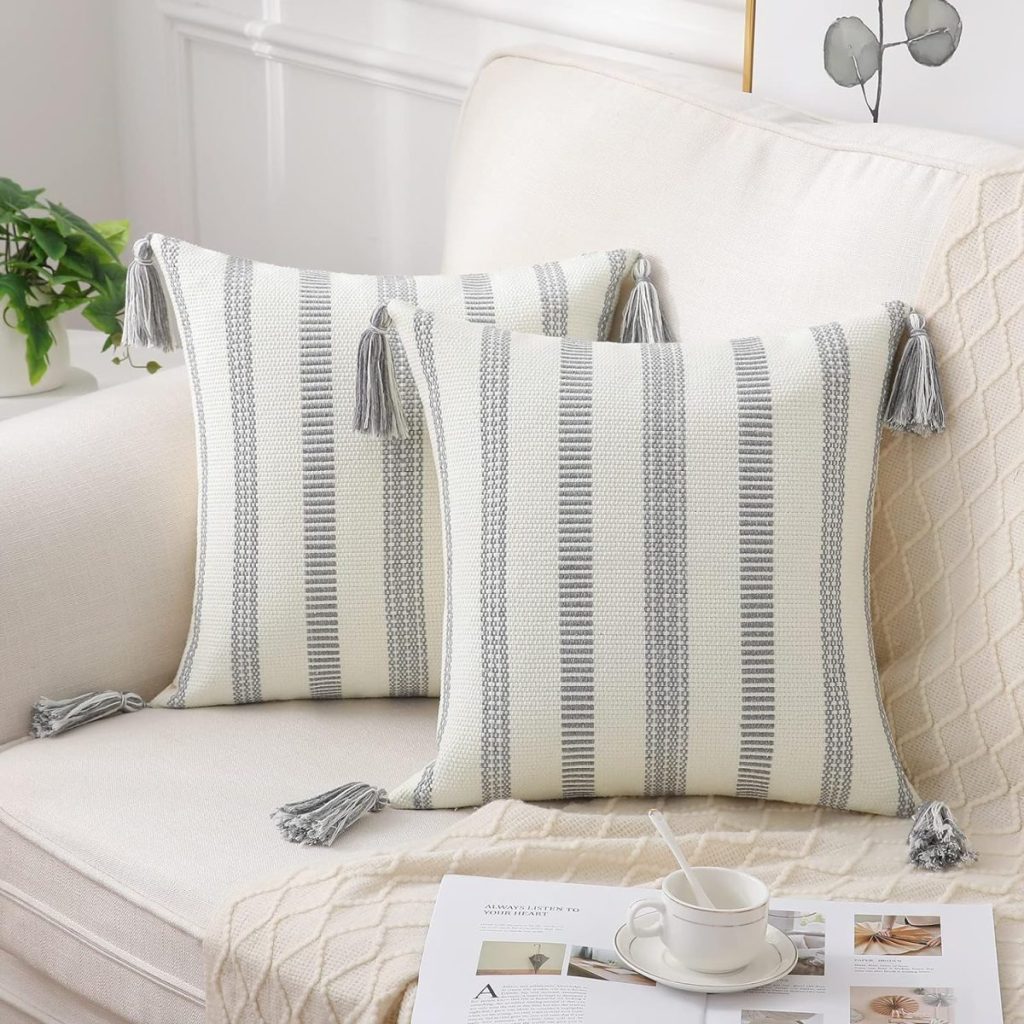
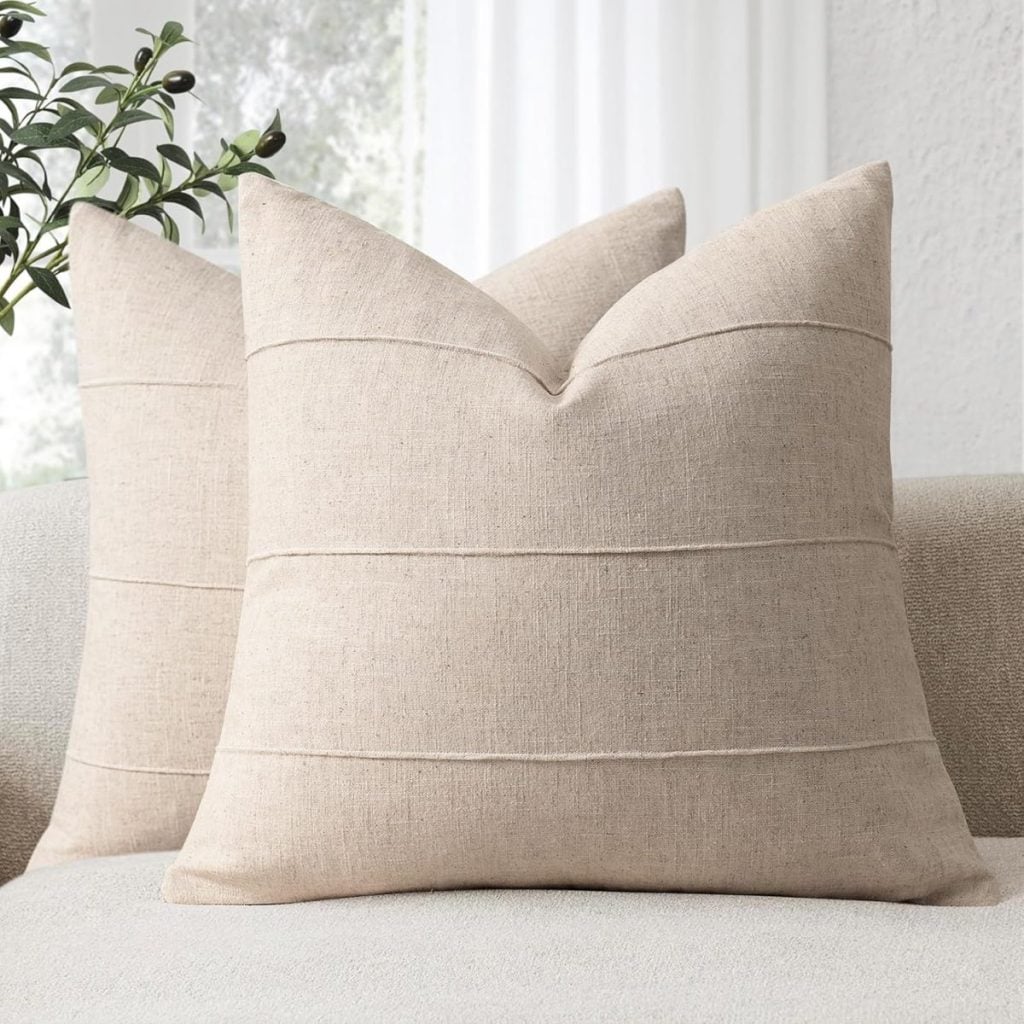
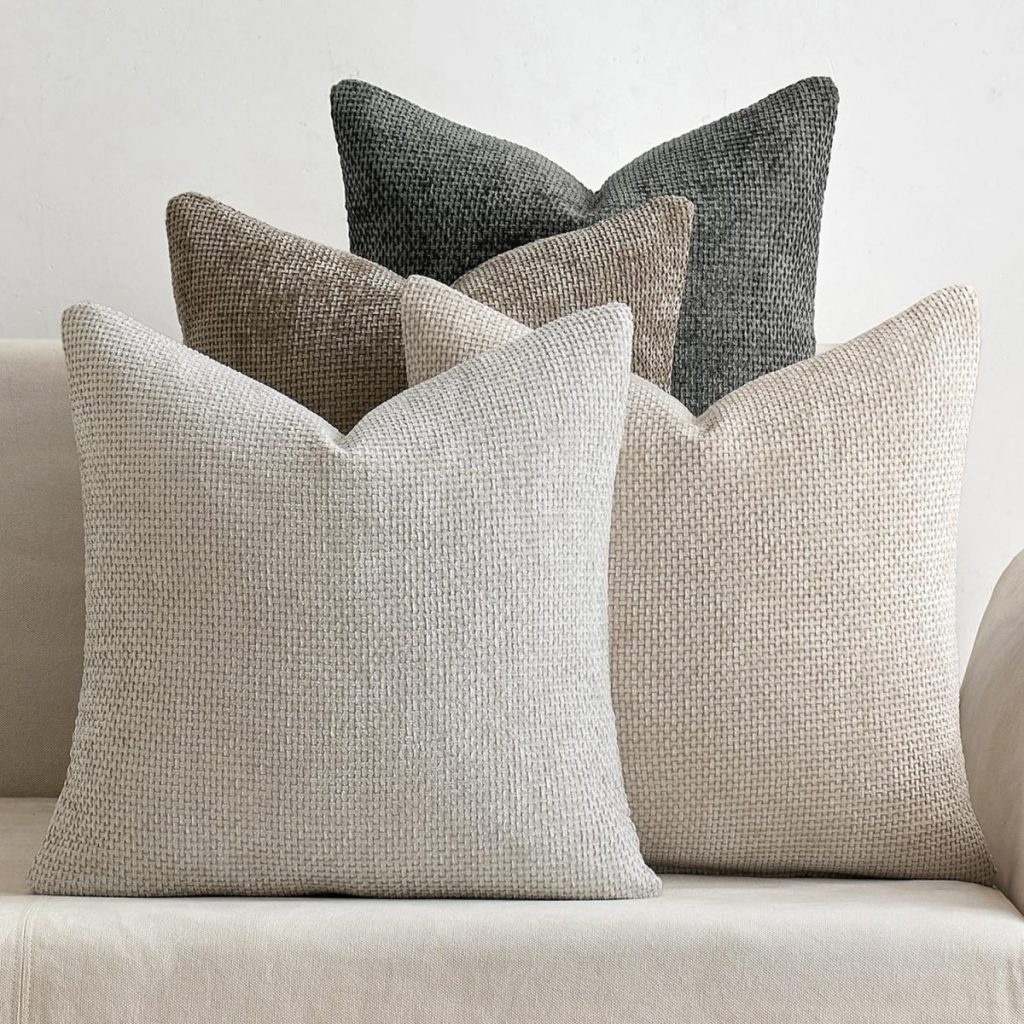
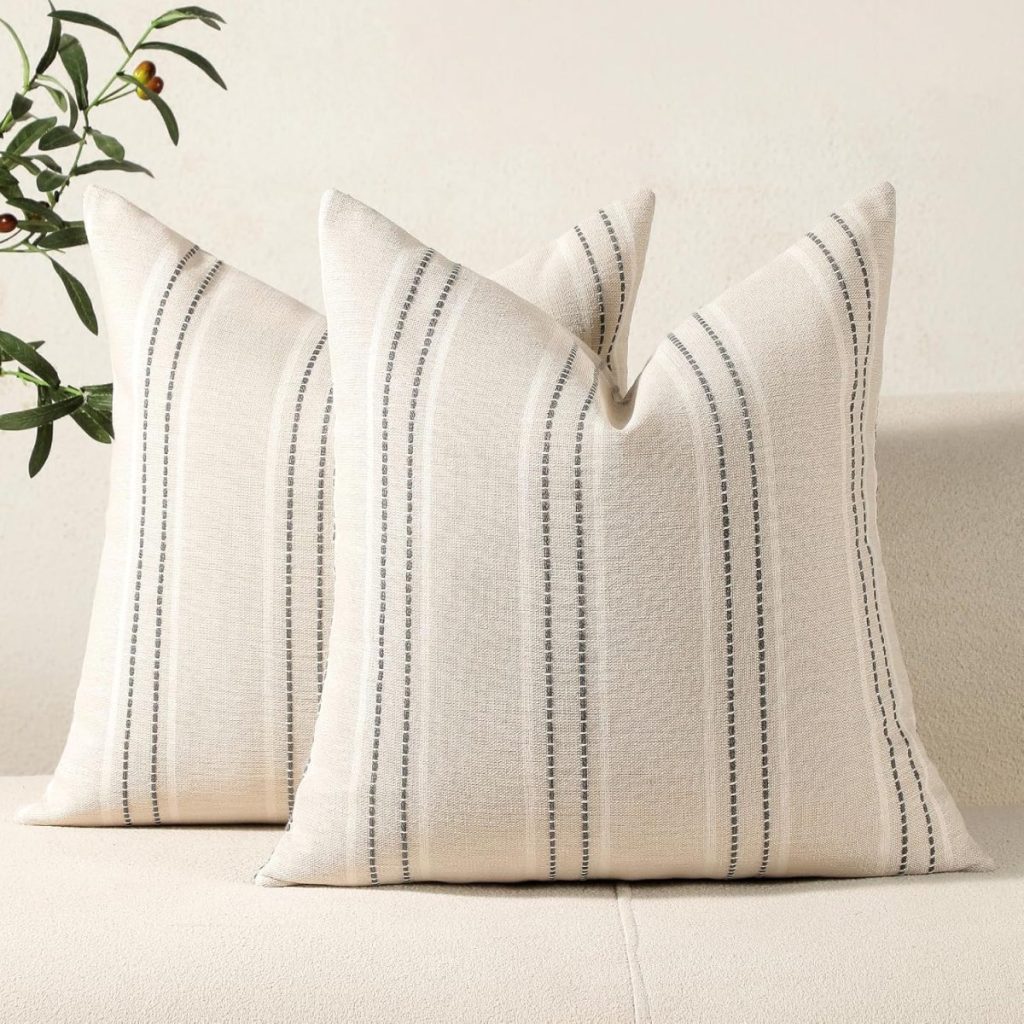
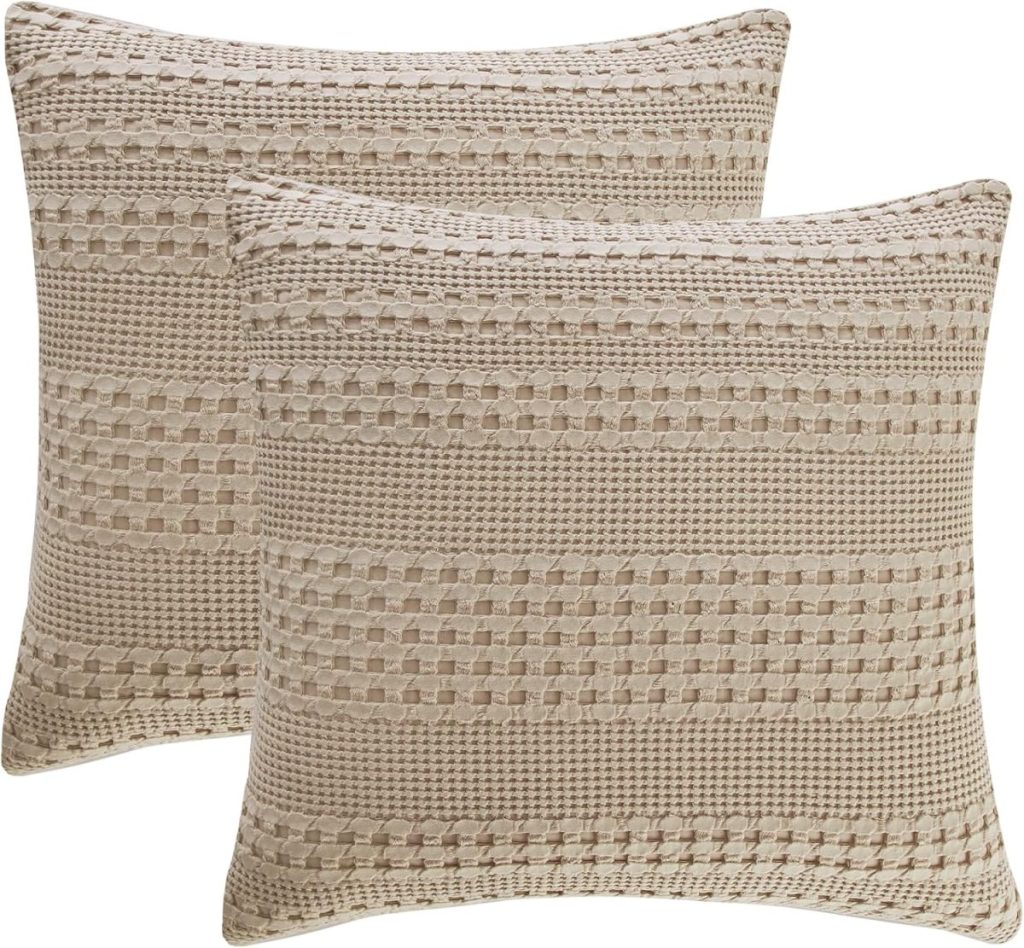
.Pottery Barn Dupe Pillow Covers
Almost all are under $30 for a set of 2!

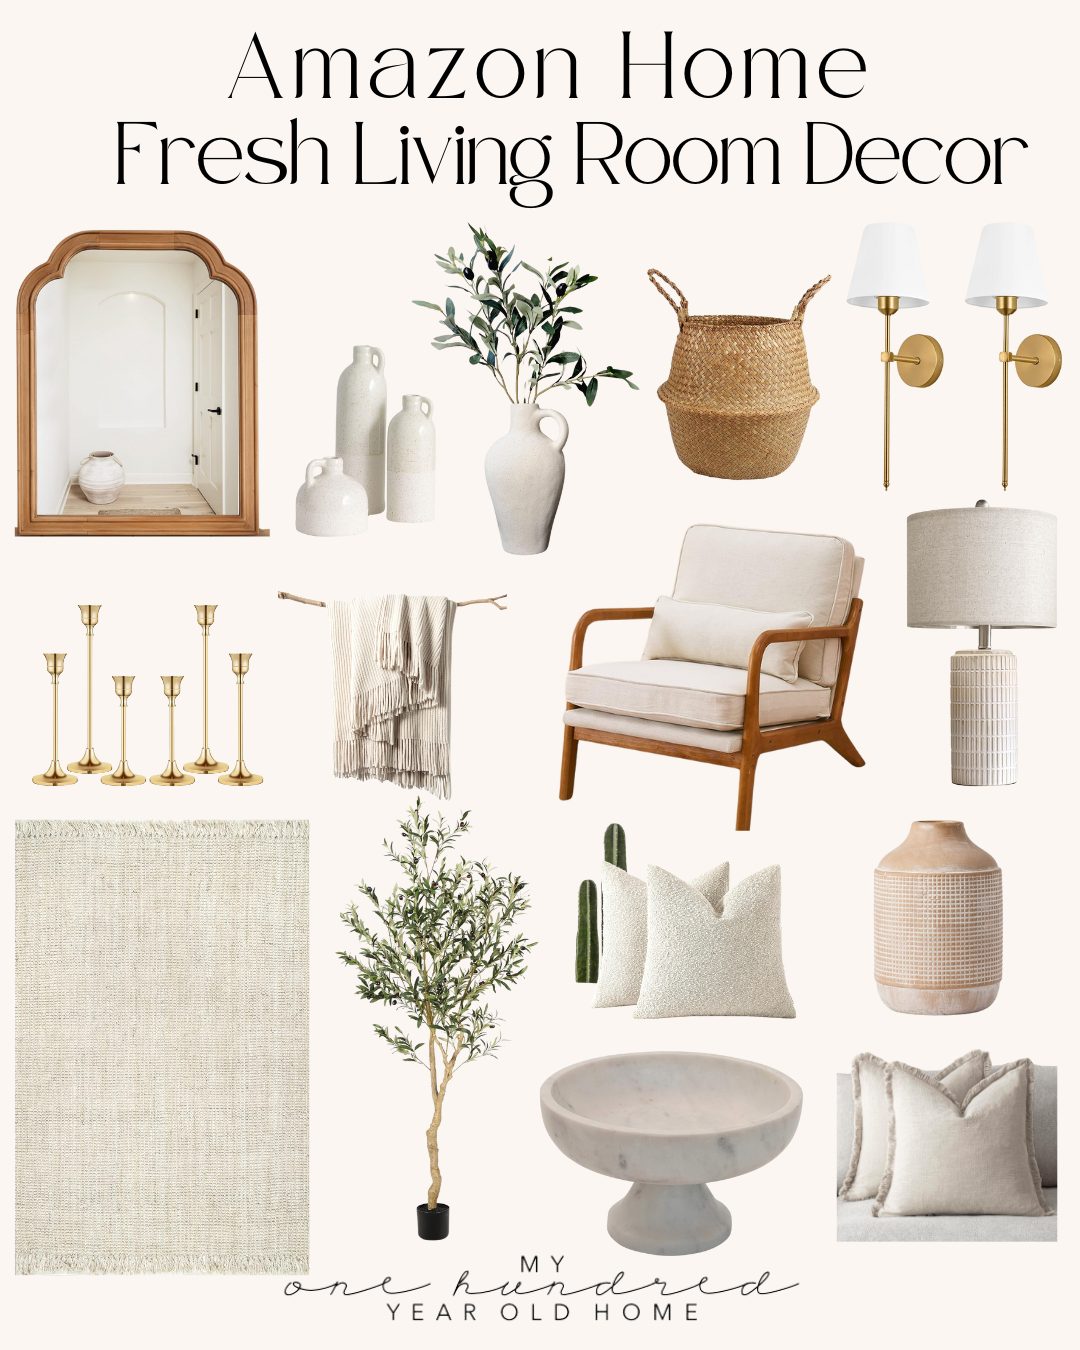
All the Fresh Decor for Spring!
You can pin the image below to your boards on Pinterest (click the Pin button in the top left corner) or follow me on Pinterest!

For more real-time updates, follow me on Instagram @My100YearOldHome

This is the best copy I have ever seen. It looks perfect.
Omg thank you Nancy! I was very happy with it ☺️
I love it Leslie!! Another great diy from you!
Oh thanks so much Amy! I do love this one! 🙏
Although you did a great job on this pillow it’s not my favorite from Pottery Barn. I’m really glad you chose this one though just because it’s a different kind of, shall I say “sew”? Anyway, PB is definitely one of my favorite stores for what they sell, always different than anyone else. Of course their prices have got to go!! So choosing to make something from there is absolutely the best idea and you always do it so well! If I’m being honest though, I’ve seen many of the pillows that you’ve made, maybe all of them and they far far far outshine anything PB offers!
Hi Shirley! Haha I am with you- love PB just not the prices always! Oh thank you, that is very sweet of you to say. I do love my pillows 😆🥰
Everything you do is magic! This pillow is so cool. I love it.
Oh yay! Thanks so much Karen ☺️🙏
What a great knock off!! You are so creative! Thanks for the idea!!
Hi Diane! Aw you are so kind, thanks so very much! Thanks for being here ☺️
WOW! Your pillow looks wonderful, better than the Pottery Barn ones shown! Thank you for sharing.
Oh my goodness thank you Barbara! That’s very kind ☺️ it was really fun to make!
IMPRESSIVE! So smart!
Oh thank you! So much more reasonable ☺️
Thank you for the great and detailed tutorial! I can so relate to looking at things to see how I can create it myself. Sometimes it’s because I know I can do it for so much less $ – often it’s becaue I love the challenge of figuring it out and the satisfaction (joy) I get from doing it myself 😀
Oh you are so welcome! So easy and I agree- doing it for less is the best. And the result is so beautiful! ☺️
Bravo Leslie. Yours is perfect! My daughter-in-law was just talking the other day about needing to refresh her throw pillows but with three little ones she didn’t want to spend a fortune for the spendy ones like in the Pottery Barn catalog. This is right up her alley so I’m going to try one and surprise her with it. Thanks for the inspiration not only to get creative but to finally get my sewing machine unburied and dusted off.
Oh amazing! This will be so perfect for her. Love that this inspired you ☺️ I’d love to see your finished product!
Really nice! thank you for the instructions.