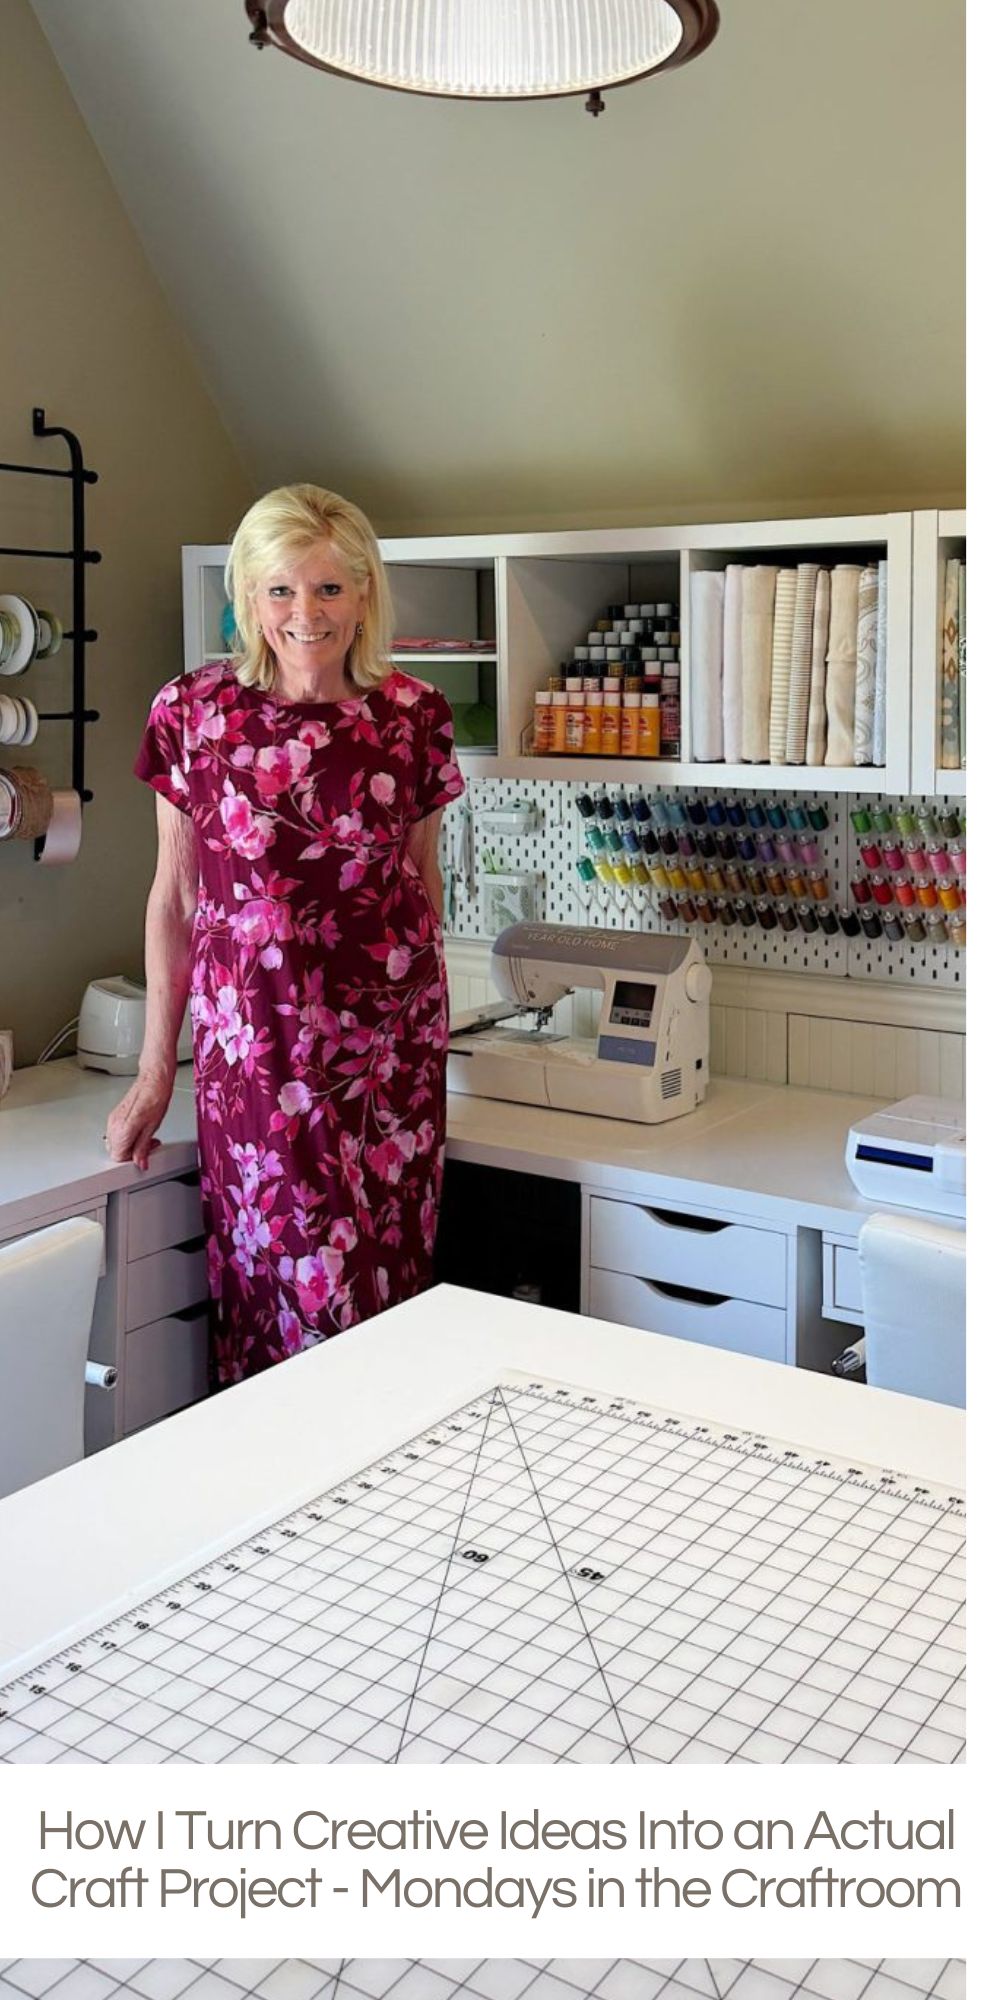
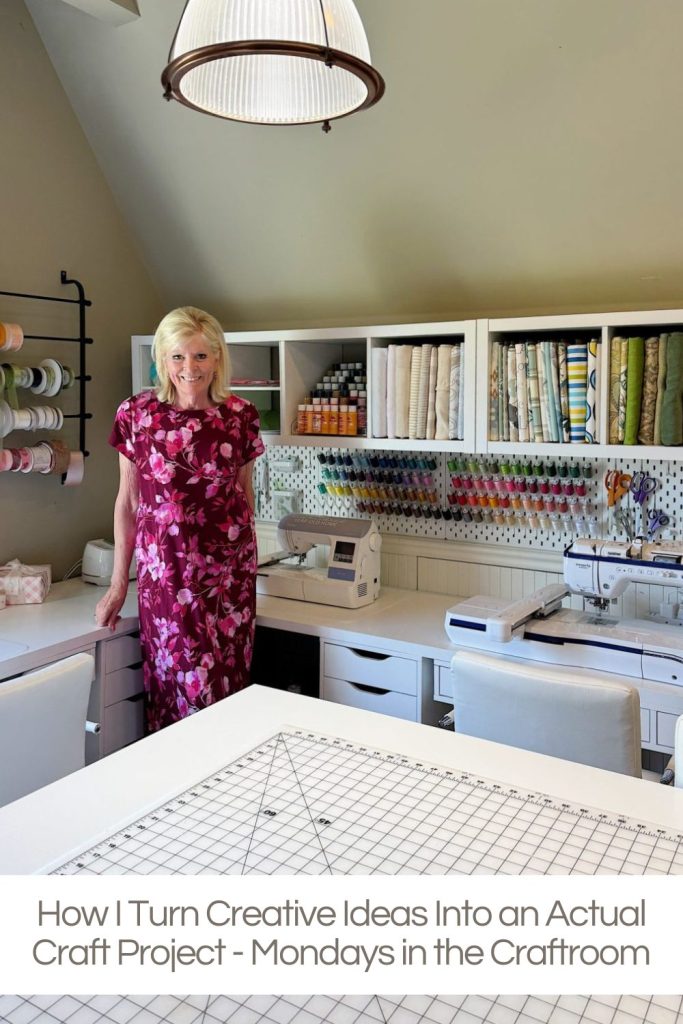
How I Turn Creative Ideas Into an Actual Craft Project – Mondays in the Craftroom

Many people assume that coming up with creative ideas is the hardest part of crafting. For me, it is actually the opposite.
Inspiration seems to be everywhere, from a beautiful piece of fabric and a vintage dish at an antique store to a colorful paper napkin or even a flower arrangement at a restaurant. The real challenge is figuring out how to take that spark of inspiration and turn it into an actual craft project. Today, I am sharing exactly how my creative process works, from the moment an idea catches my attention to the day it becomes a finished project sitting on my craft table. If you’ve ever wondered how I come up with new craft ideas week after week, this is the story behind the process.


How I Turn Inspiration Into an Actual Project
One of the questions I get asked most often is:
“Where do you get all of your ideas?”
And honestly, the answer is everywhere.
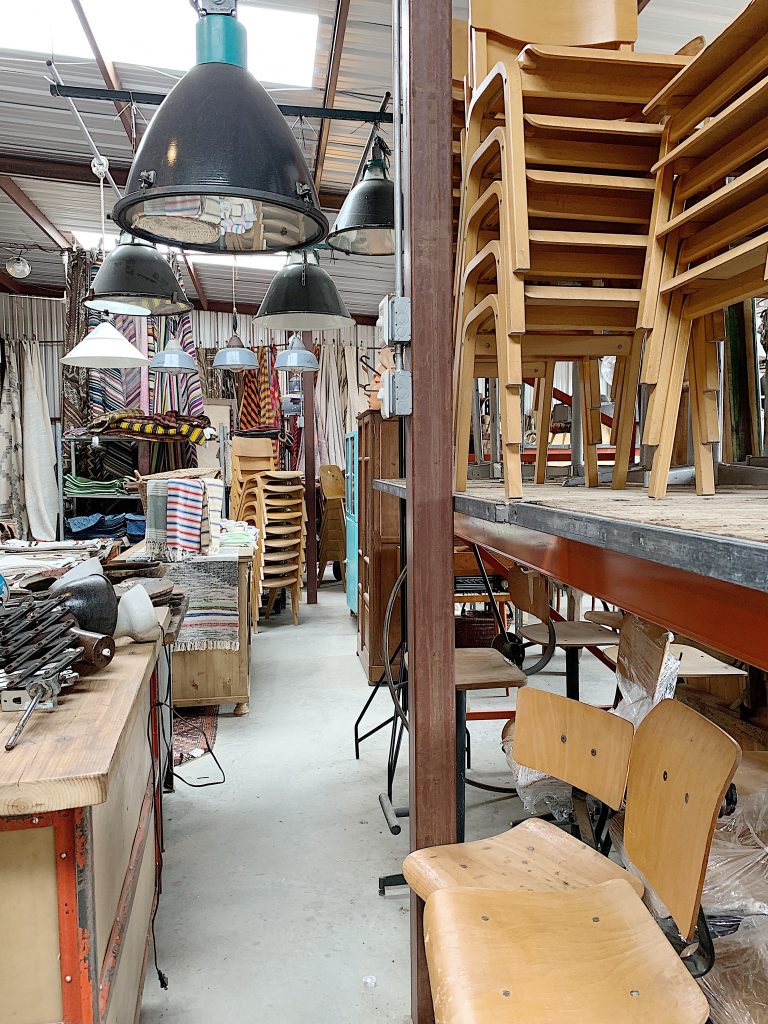
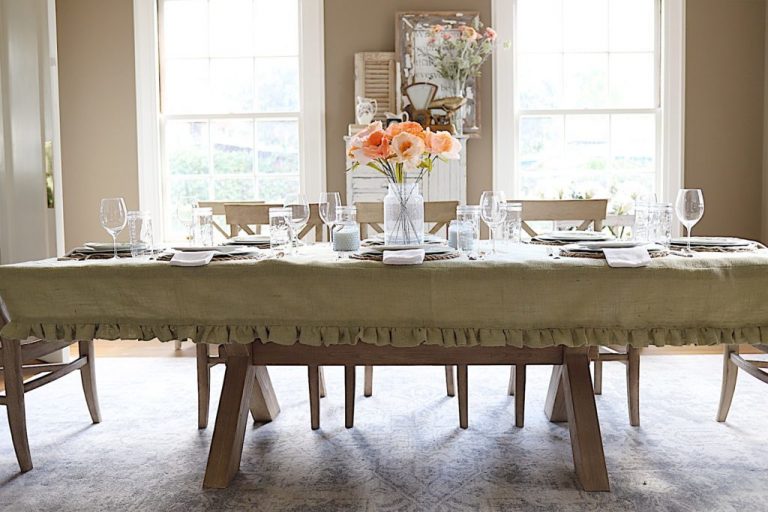
Ideas show up while I’m walking through an antique store. They appear when I’m flipping through a magazine, scrolling Pinterest, visiting a boutique, traveling, or even setting the table for dinner.
Inspiration is never the problem.
The real challenge is turning that spark of inspiration into an actual project.
Because if you’re anything like me, you’ve probably saved hundreds of ideas on Pinterest, taken screenshots of things you loved, screenshot things you want to modify and make better, bookmarked projects you wanted to try, and then never actually made any of them.
I know because I’ve done exactly the same thing.
Over the years, I’ve learned that creativity isn’t really about finding inspiration. It’s about knowing what to do with it once you find it.
Today, I thought I would share exactly how I take an idea and turn it into a project I can actually create.
Inspiration Usually Starts With One Small Thing
I think many people assume projects begin with a fully formed idea.
For me, they almost never do.
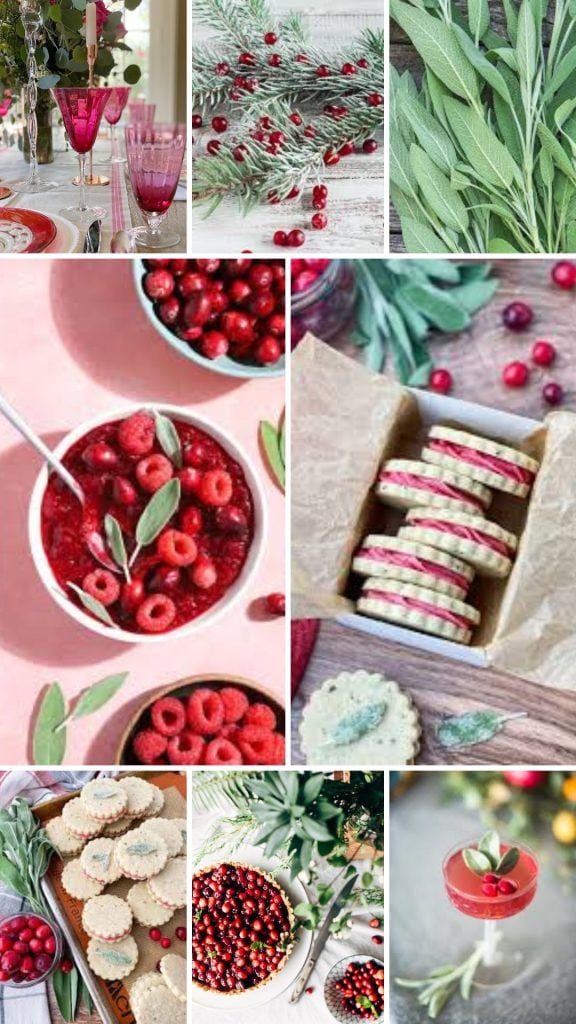
Most of my projects begin with a single detail.
It might be:
- a color combination
- a piece of fabric
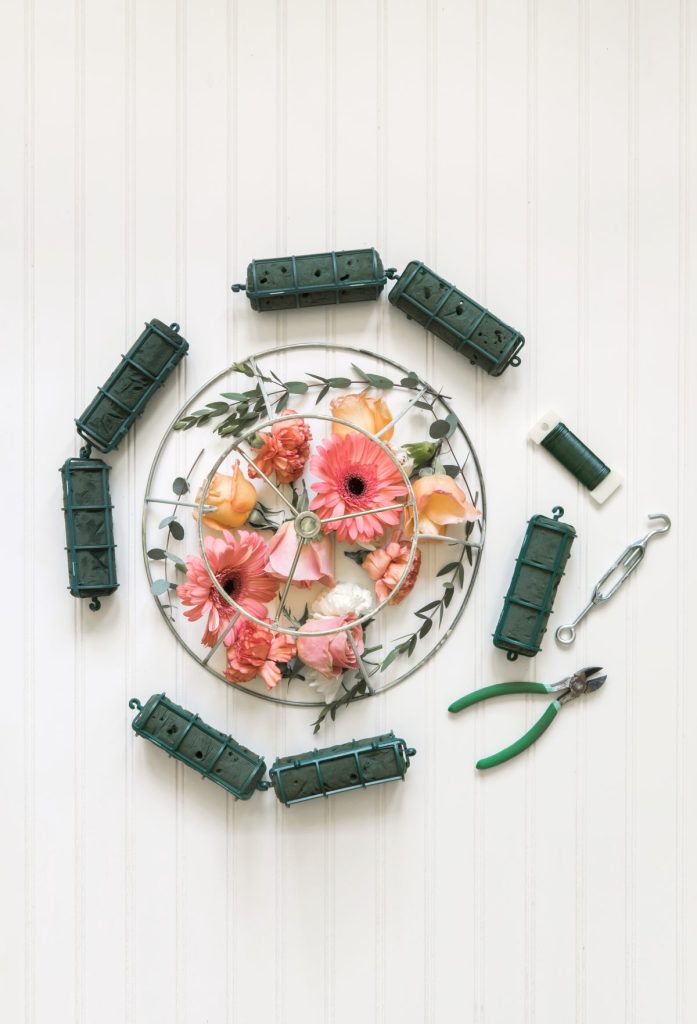
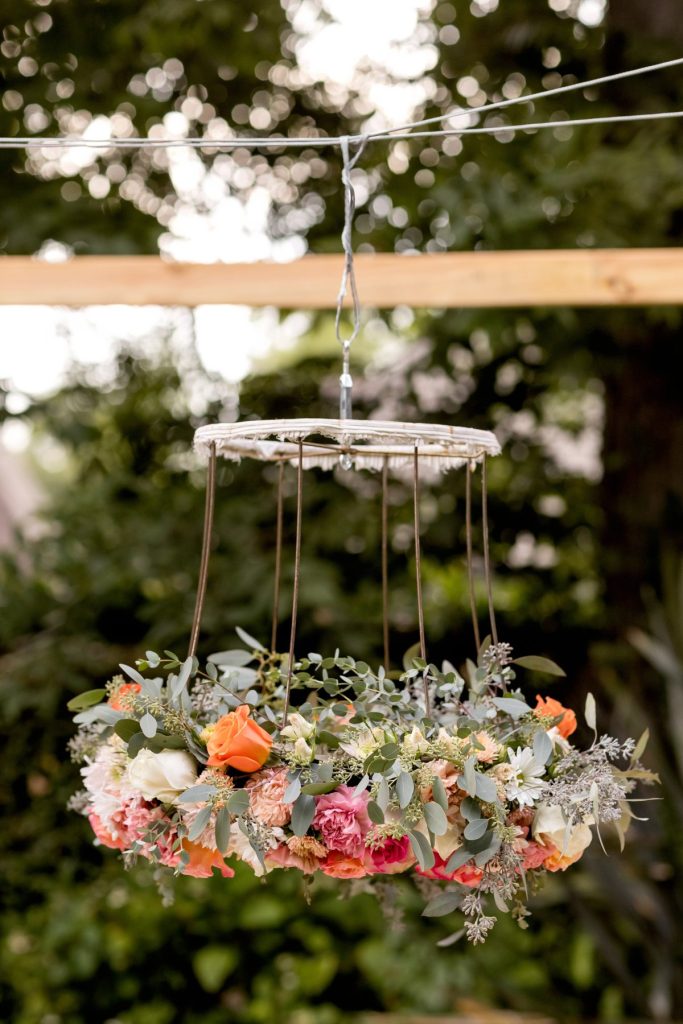
- a flower arrangement
- a napkin
- a vintage dish
- a photograph
- an embroidery design
- a shape
- a texture
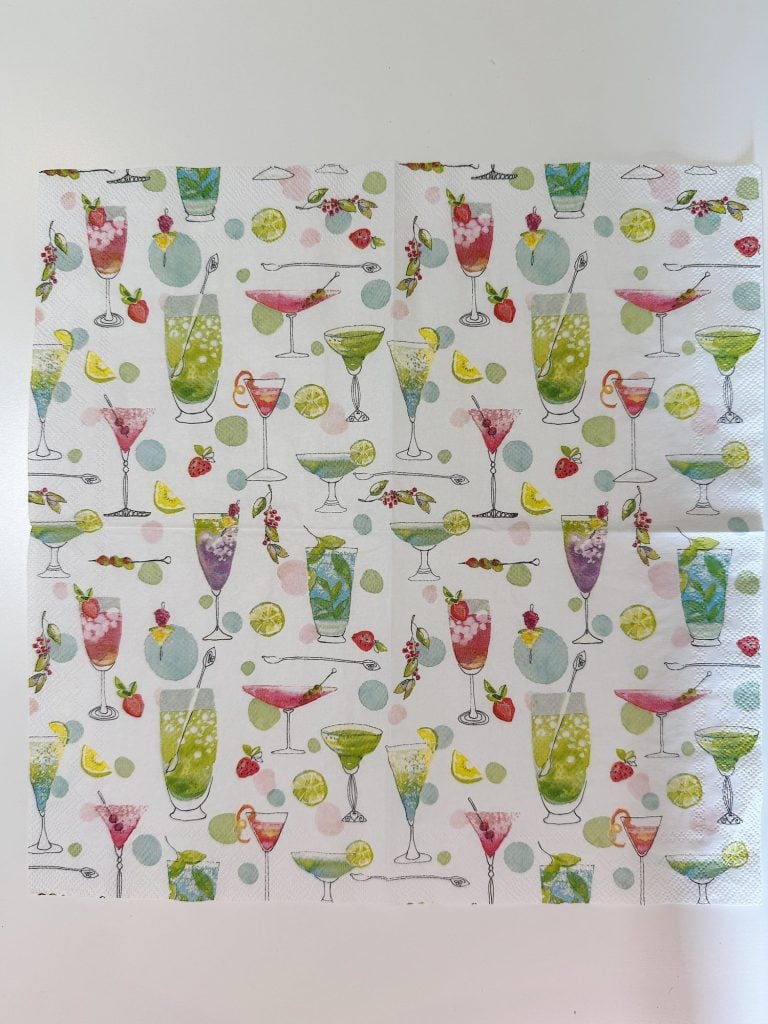
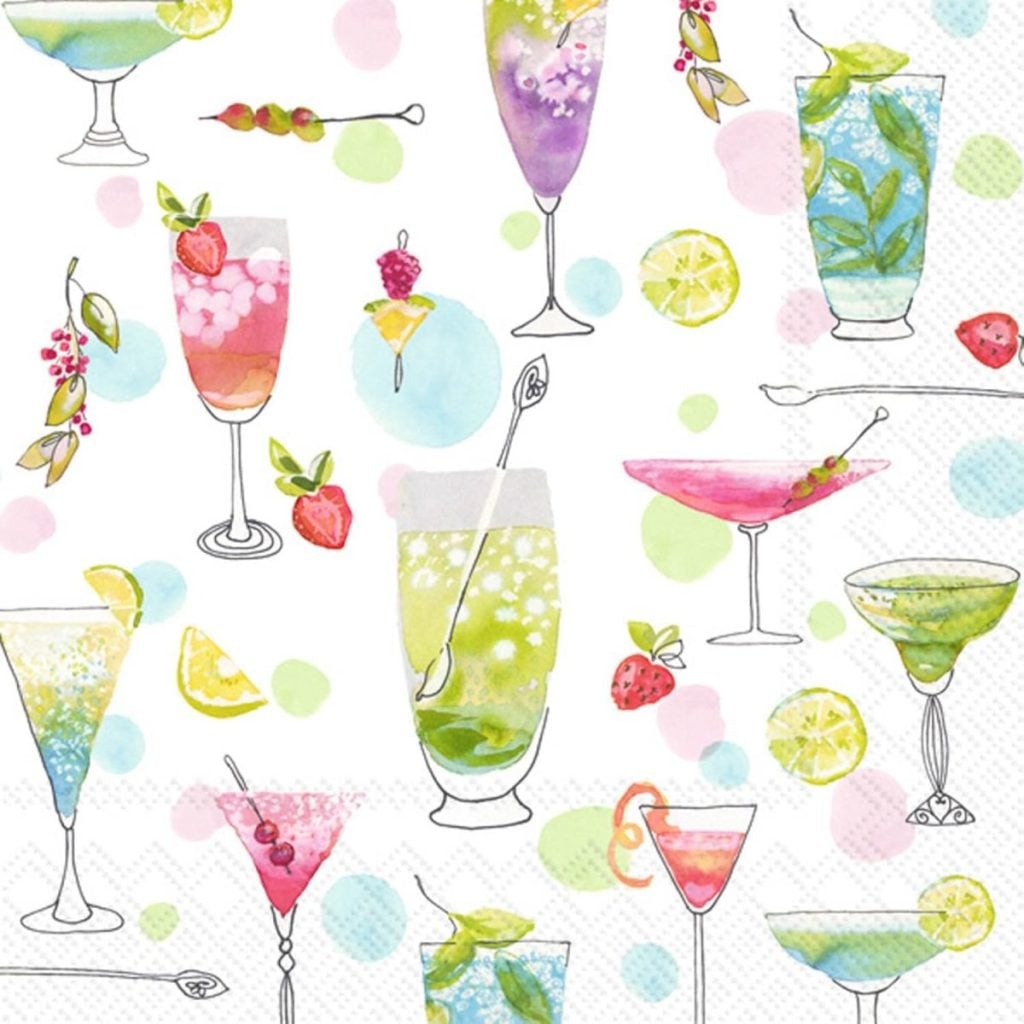
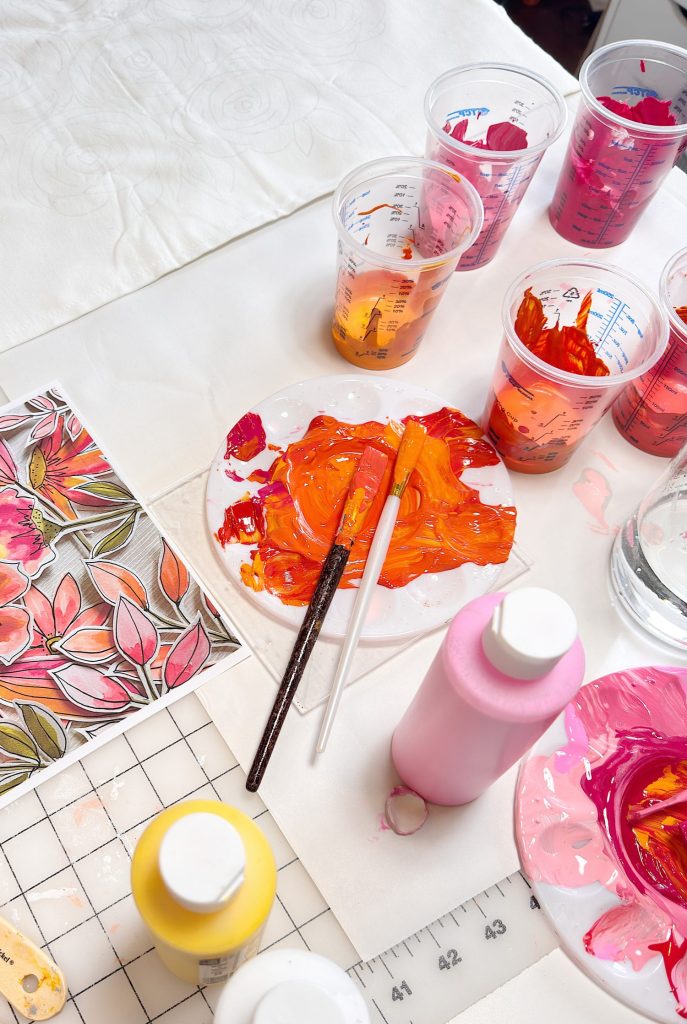
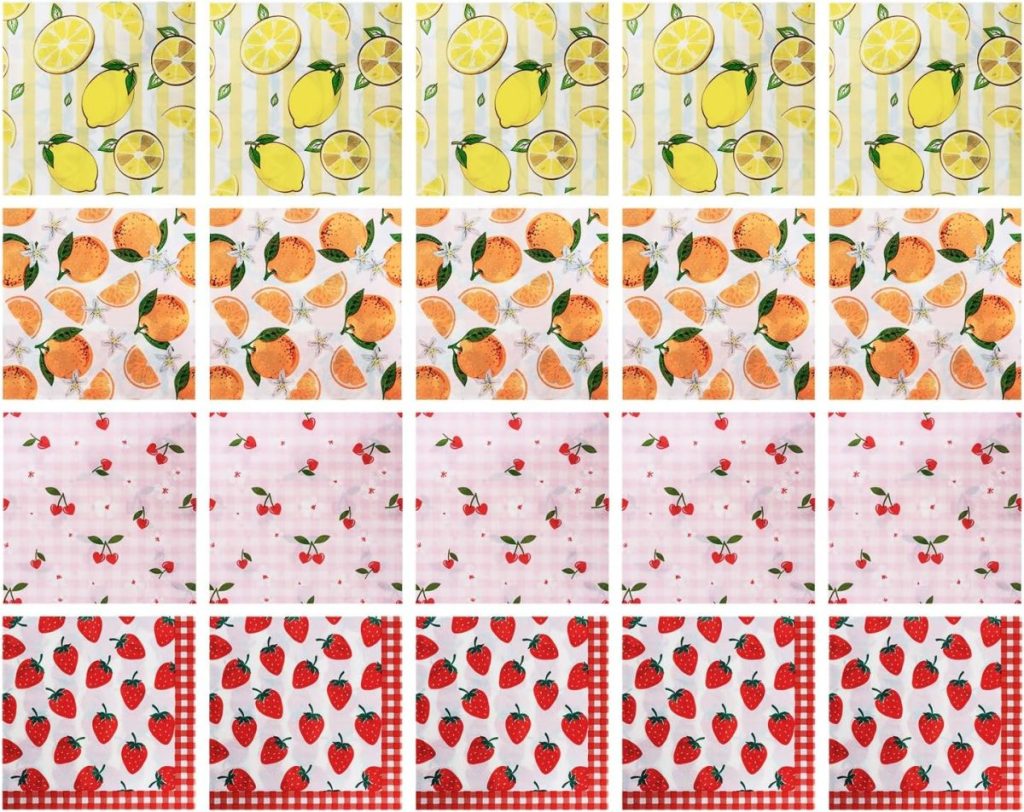
Recently, I found a set of cocktail-themed paper napkins.
That was it.
I wasn’t looking for a project.
I wasn’t planning to make anything.
But I loved the colors and illustrations, and immediately my brain started asking questions.
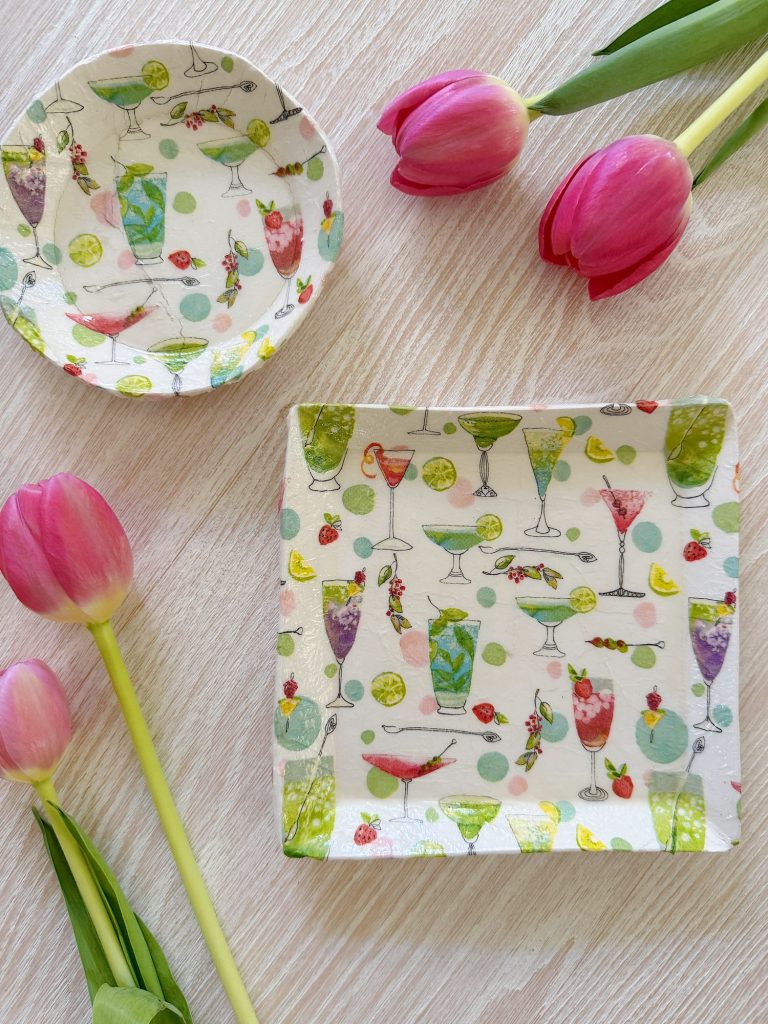
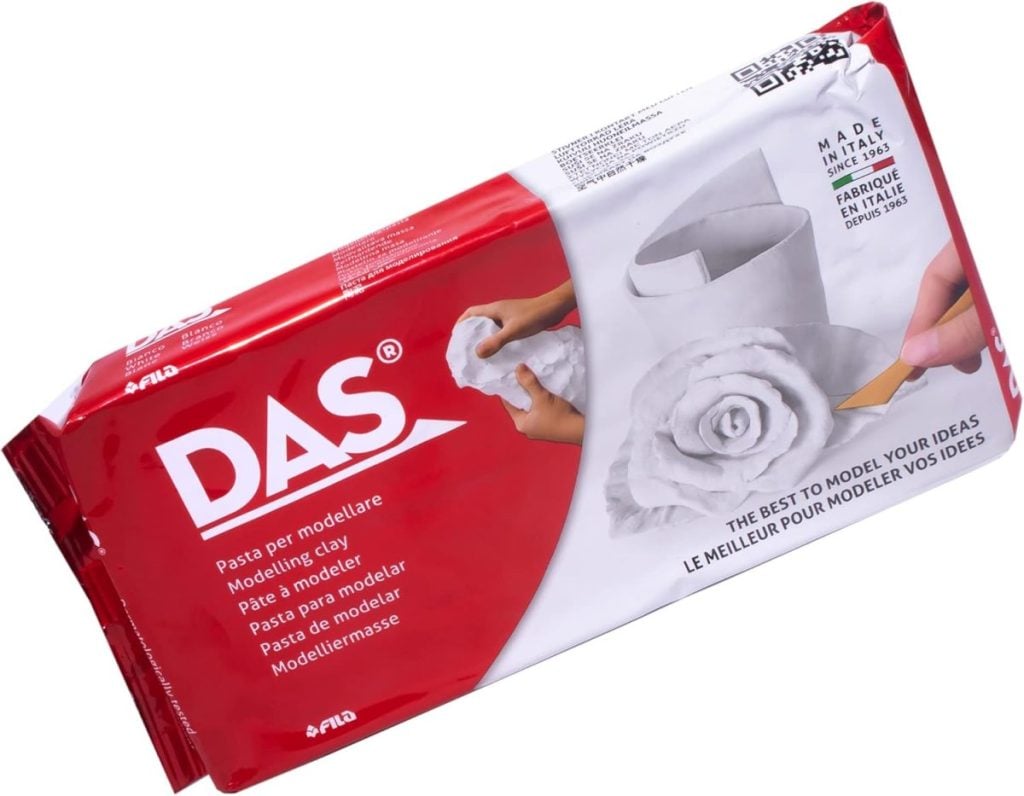
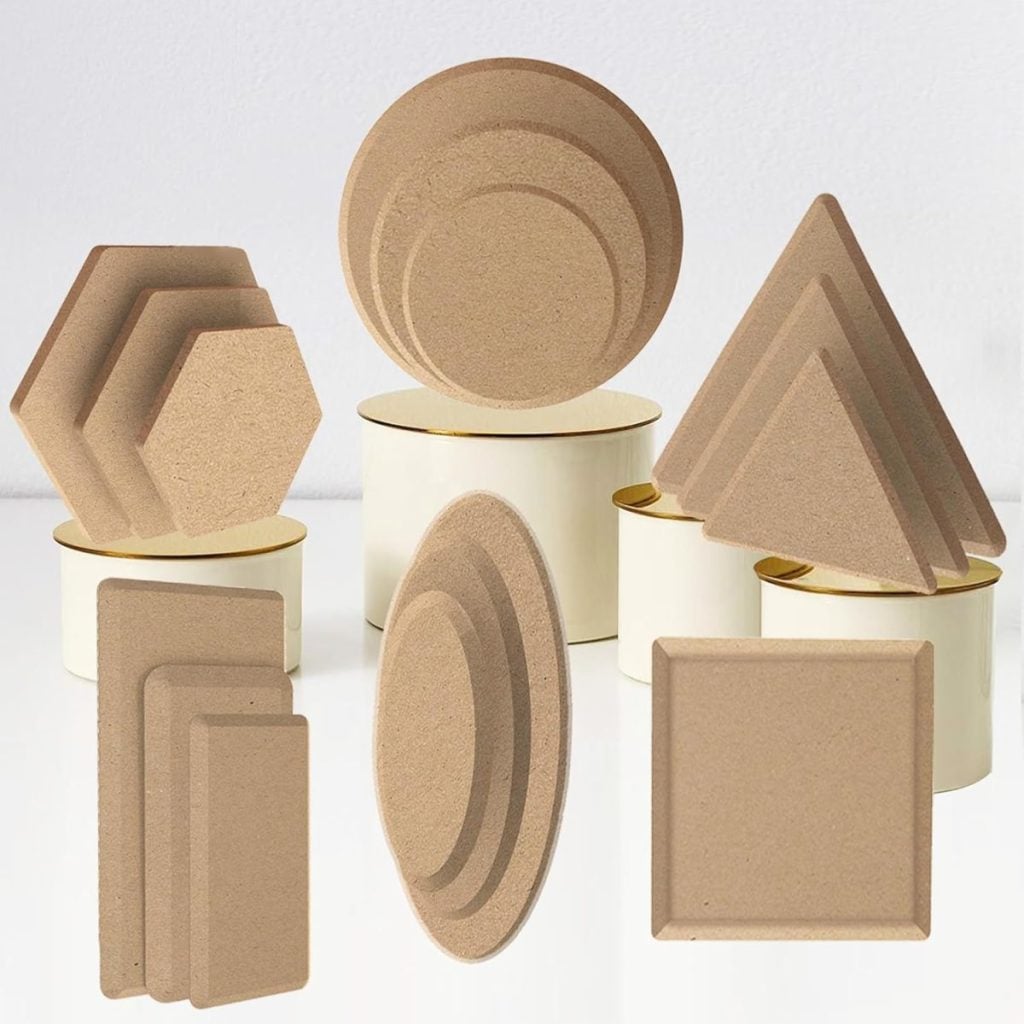
Could those work on clay?
Would they look cute on a trinket dish?
Could I make both a square and a round version?
One small detail became an entire project.
I’ve learned not to ignore those moments because they are usually where my best ideas begin.
I may use affiliate links on this blog, which means I earn a small commission if you make a purchase through them. The price will be the same whether you use the affiliate link or go directly to the vendor’s website using a non-affiliate link.

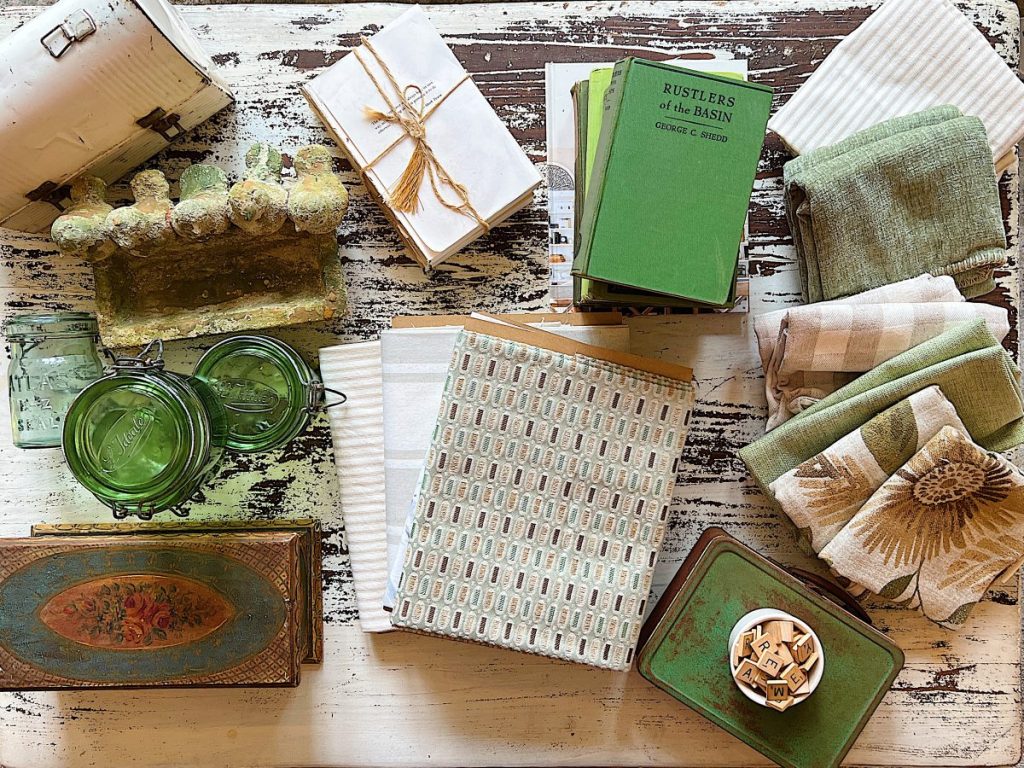
I Save Everything

One reason I never worry about running out of ideas is that I constantly collect inspiration.
I save:
- Pinterest pins
- magazine clippings
- screenshots
- photographs
- fabric swatches
- paint colors
- sketches
- notes on my phone
My inspiration folders are filled with things that may not become projects for months or even years.
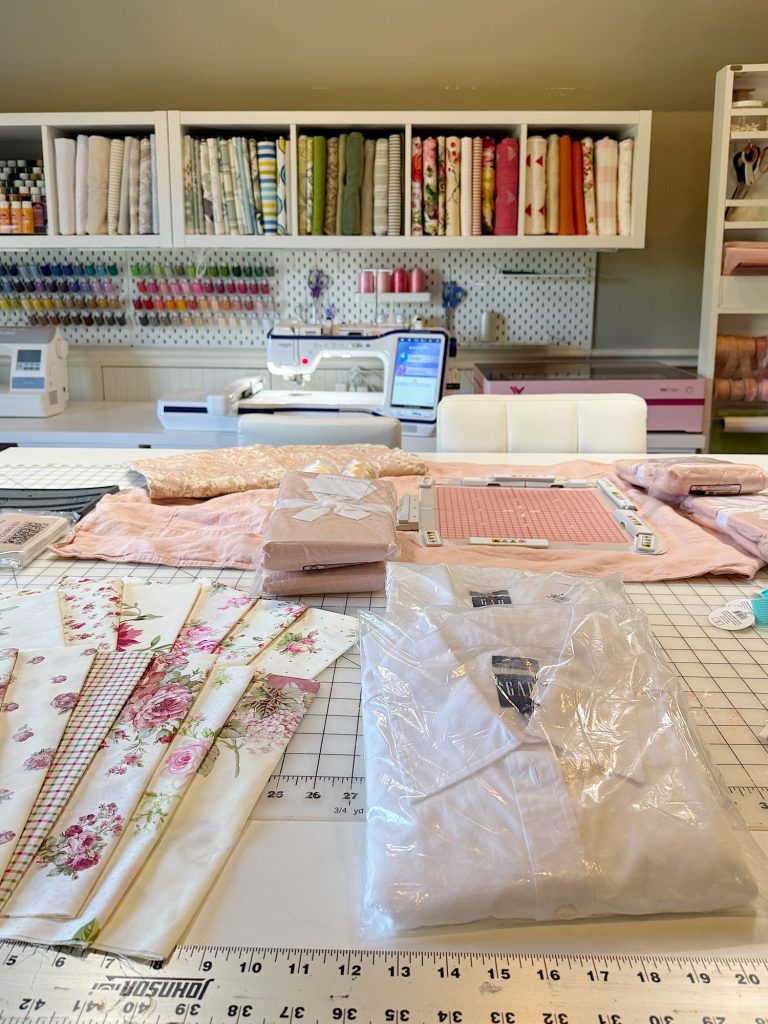
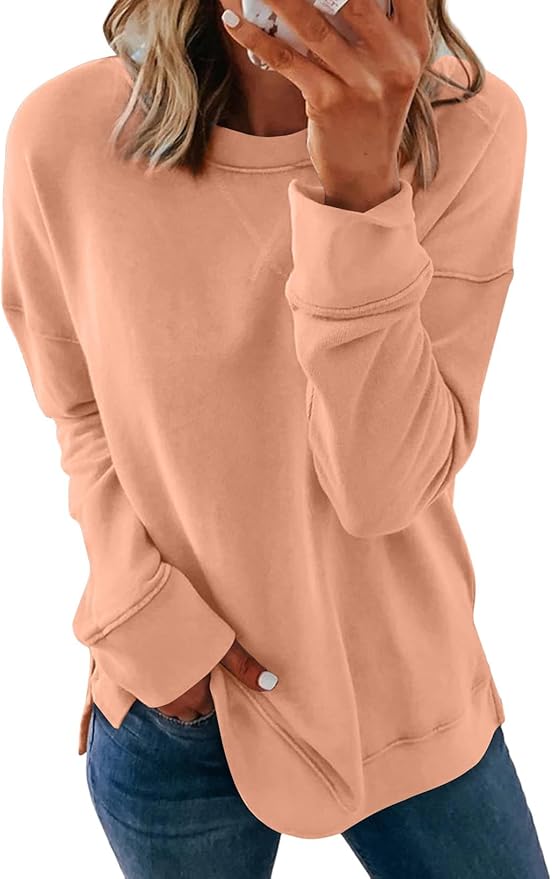
The peach linen pillow shams I’m currently monogramming for our beach house sat in a closet for two years before I knew exactly what I wanted to do with them.
Sometimes ideas need time.
I’ve learned not to force them.
Instead, I save them and wait.

I Ask One Important Question
Before I begin any project, I ask myself one question:
“What can I do to make this my own?”
This is probably the most important step in my creative process.
Inspiration should inspire you.
It shouldn’t be copied exactly.
If I see something I love online, I immediately start thinking about how I can reinterpret it.
Maybe I:
- change the colors
- use different materials
- simplify it
- combine it with another idea
- make it seasonal
- personalize it
This is where creativity really begins.

For example, I’ve made clay dishes before.
But the cocktail napkins transformed the project into something completely different.
The basic technique stayed the same.
The finished result became uniquely mine.
Then I Simplify
This may be the biggest lesson I’ve learned over the years.
The first version of an idea is usually too complicated.
When I first imagine a project, I often want to add:
- more details
- more materials
- more techniques
- more embellishments
But experience has taught me that simpler projects are often better projects.
So before I begin, I look for ways to simplify.
I ask myself:
Can I remove a step?
Can I use fewer materials?
And can I make this easier to recreate?
The projects that perform best on my blog are usually not the most complicated ones.
They’re the projects readers can actually imagine making themselves.
I Gather Everything Before I Start
Years ago, I used to begin projects before I had all of my supplies.
That usually led to frustration.
Now I gather everything first.
I want all of my:
- tools
- materials
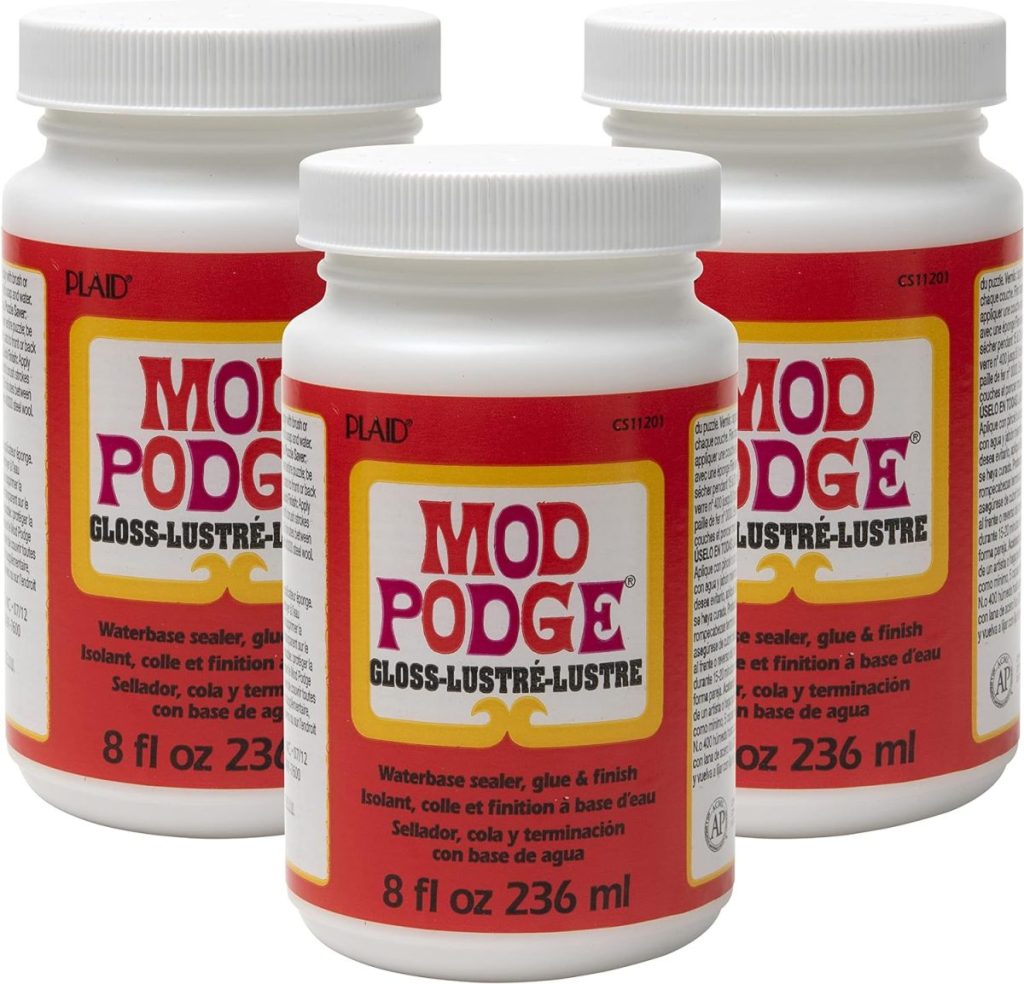
- adhesives
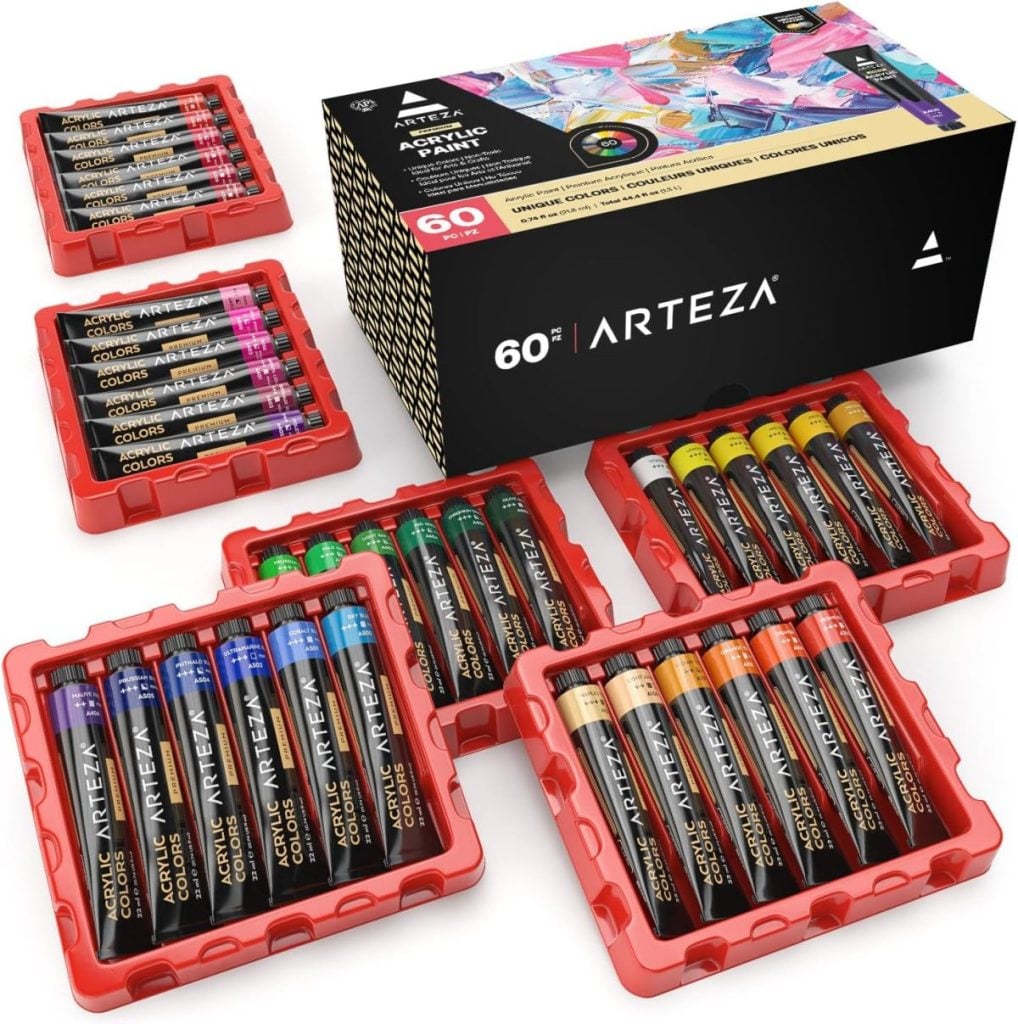
- paints
- fabrics
- embellishments
within reach before I start.
This simple habit saves so much time and keeps the creative momentum going.
There’s nothing worse than being excited about a project and realizing you’re missing the one supply you absolutely need.

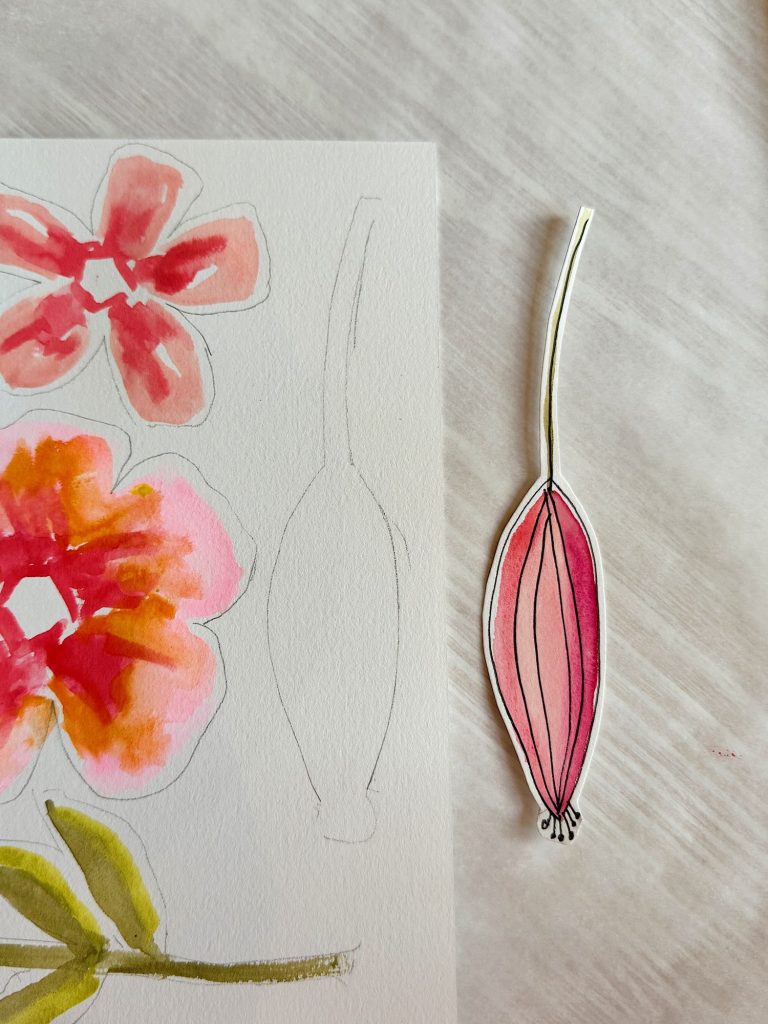
I Give Myself Permission to Change Direction
This may surprise people.
Not every project turns out exactly as I planned.
Actually, many don’t.
Sometimes a color doesn’t work.
Sometimes the scale feels wrong.
And sometimes an idea looks amazing in my head and completely different in real life.
And that’s okay.
I’ve learned not to treat the first version as the final version.
Creativity is a process.
The project often tells me what it wants to become while I’m making it.
Some of my favorite projects happened because I changed direction halfway through.
Giving yourself permission to pivot is one of the best creative skills you can develop.

I Focus on Progress Instead of Perfection
This lesson took me years to learn.
It’s very easy to get stuck waiting for:
- the perfect idea
- the perfect materials
- the perfect timing
- the perfect result
But perfection is often the enemy of creativity.
The projects that teach me the most are the ones I actually finish.
Every finished project gives me:
- new ideas
- new skills
- new confidence
And every project leads to another one.
That’s how creativity grows.
Not through perfection.
Through practice.

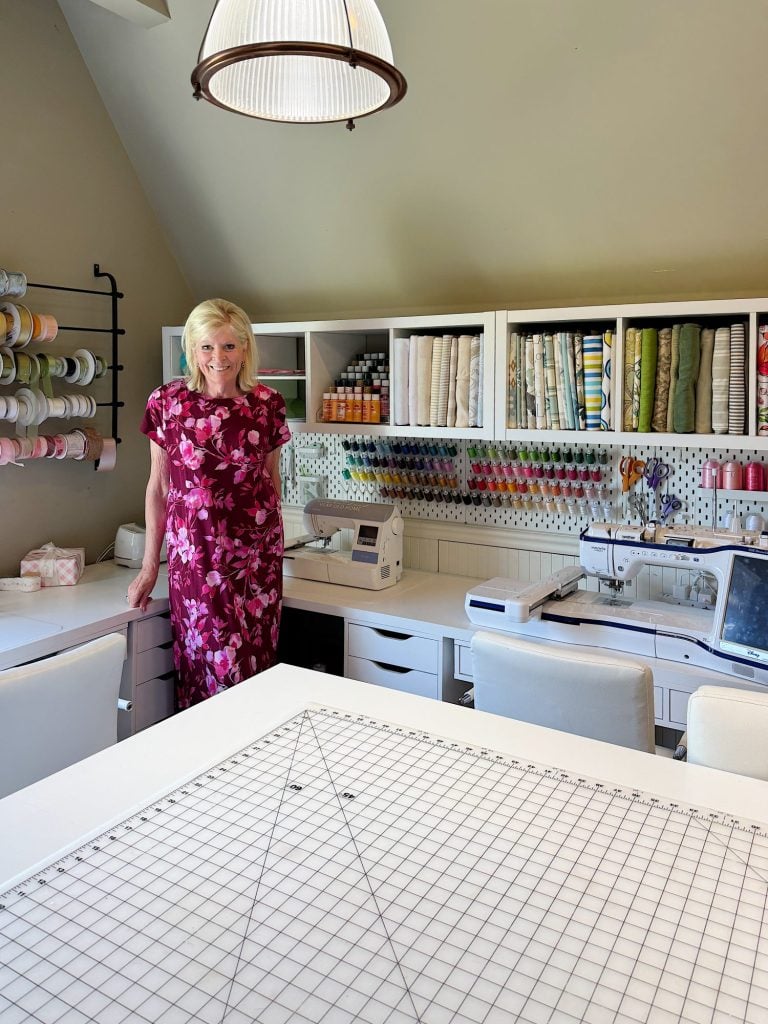
My Craft Table Is Part of My Creative Process
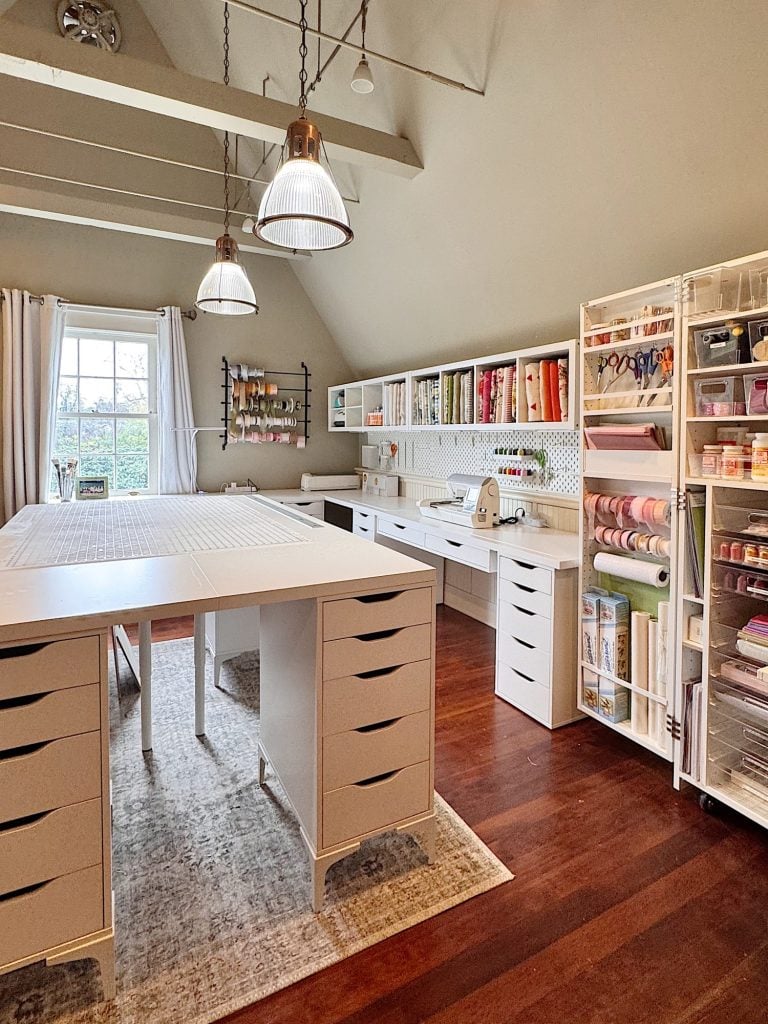
If you’ve seen my craft table lately, you know it is rarely empty.
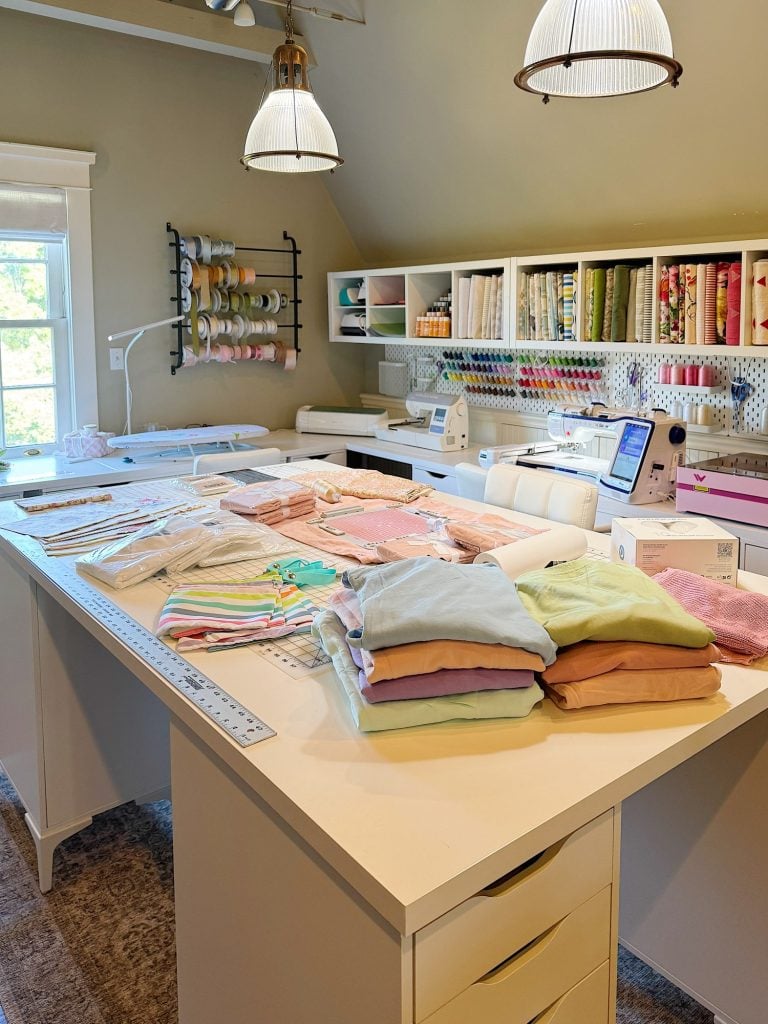
A few weeks ago, it was covered in all of this:
- embroidered sweatshirts
- grandkids’ clothing
- pillow shams
- air dry clay
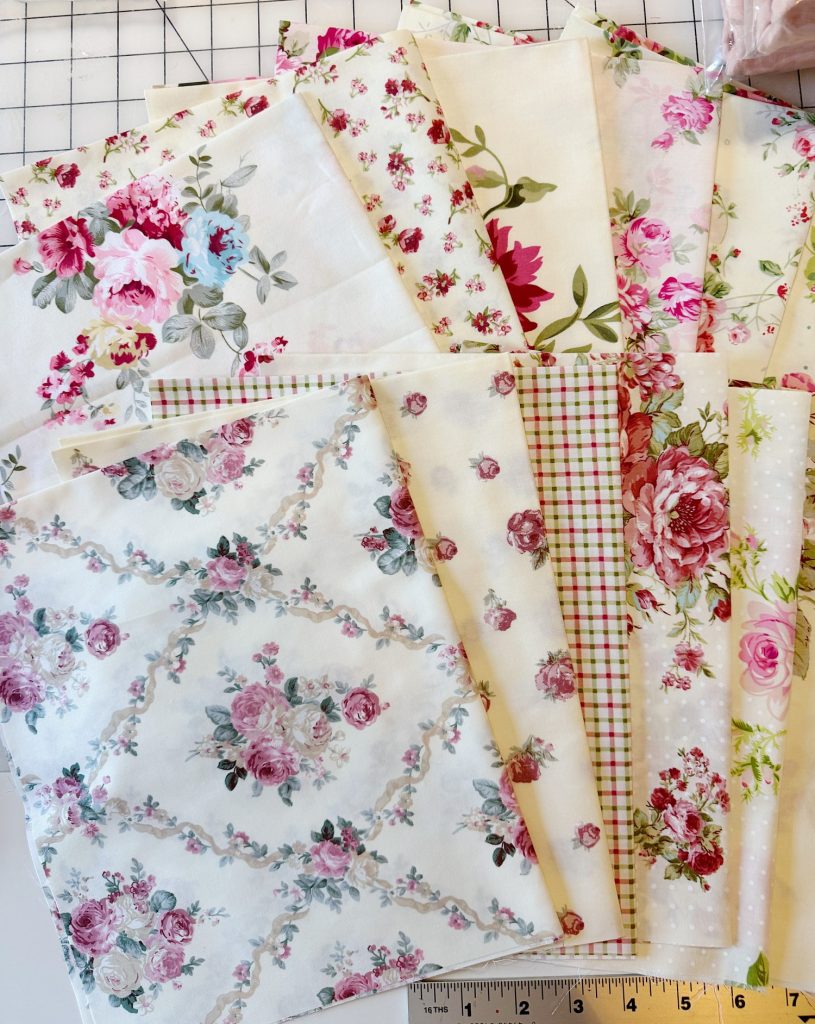
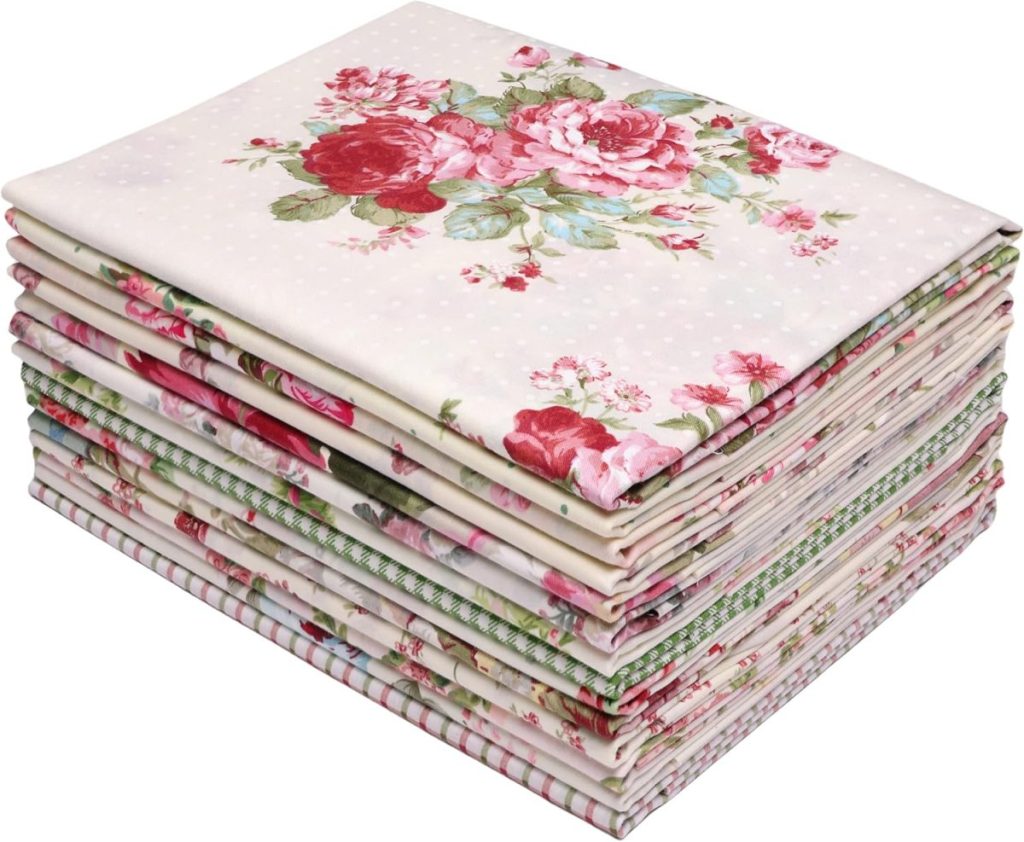
- quilting fabric
- Favorite Things shirts
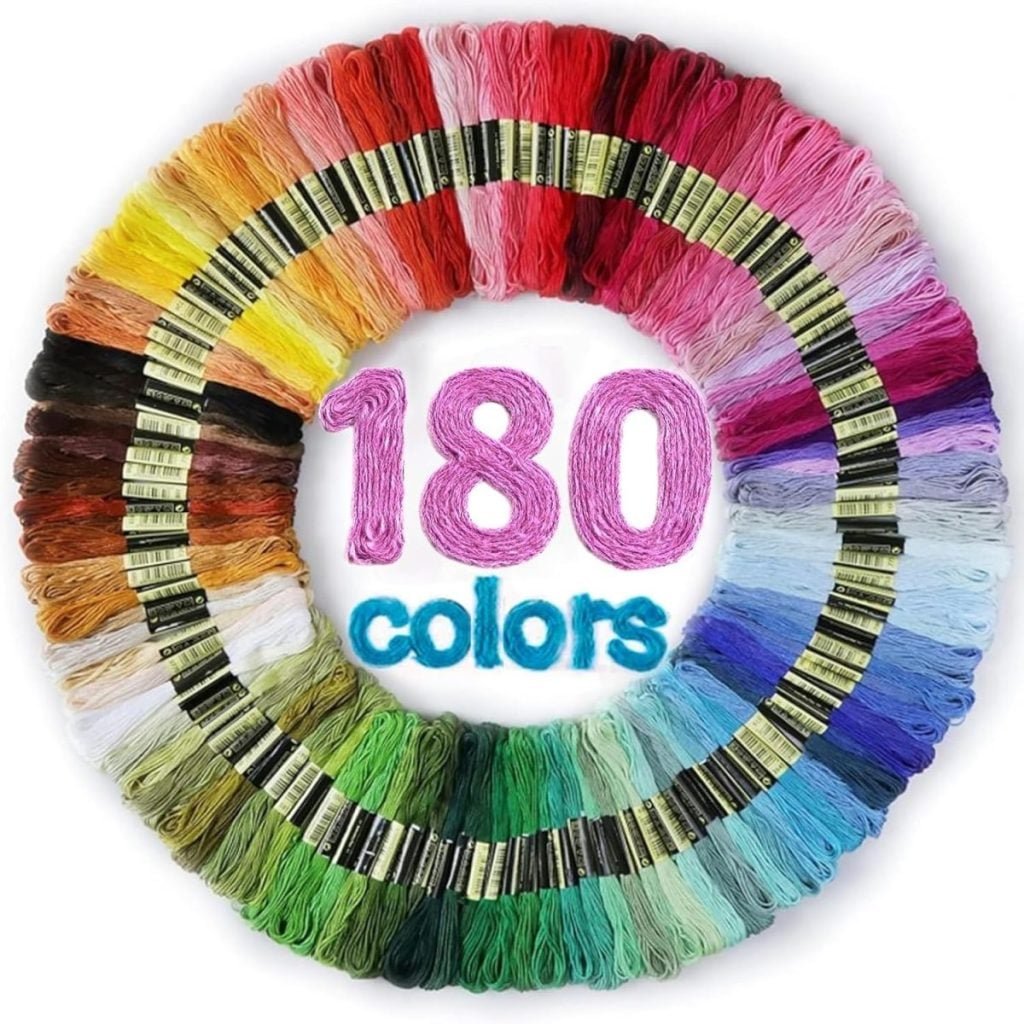
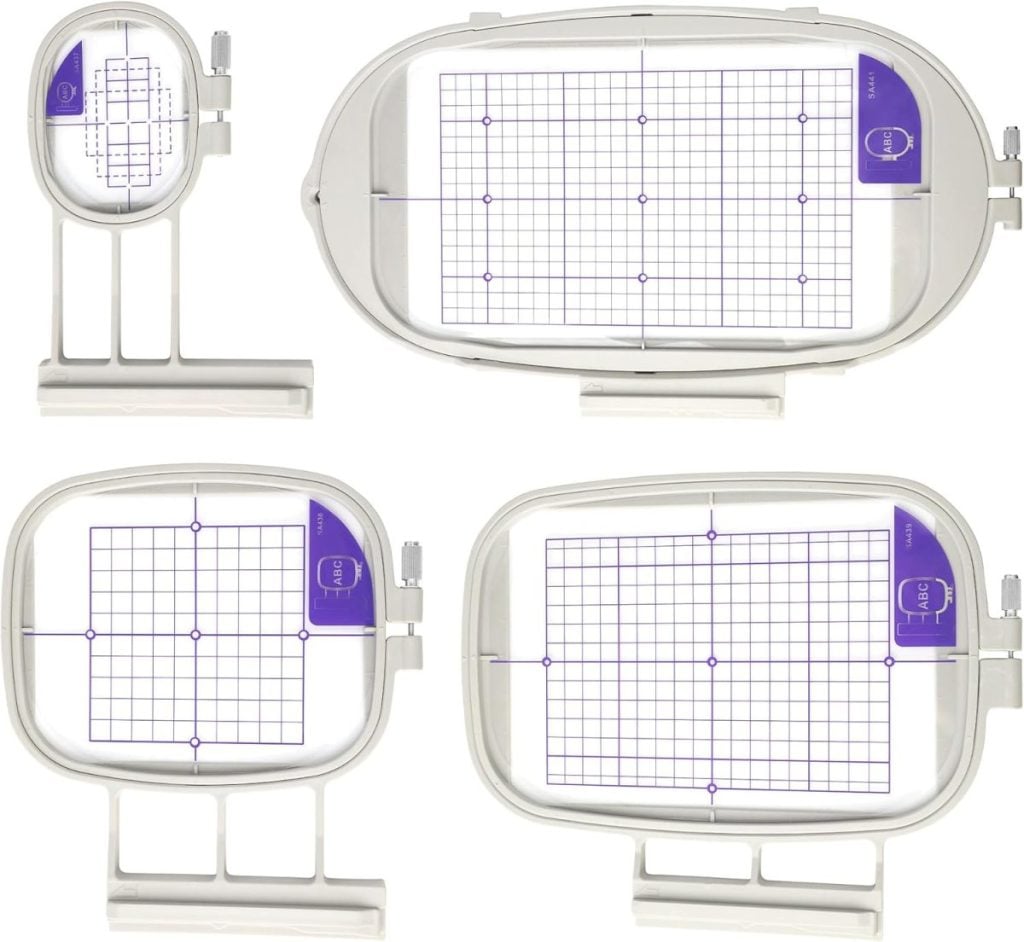
- embroidery thread
Some people might see clutter.
I see active ideas.
Having projects visible helps me stay inspired.
One unfinished project often sparks another.
The clay dishes inspired the clay book project.
The beach house pillow shams inspired additional embroidery ideas.
Everything starts connecting.
And honestly, that’s one of my favorite parts of the creative process.
Inspiration Is Everywhere
People often ask how I continue coming up with new projects week after week.
The truth is, inspiration is everywhere.
The trick is paying attention.
A napkin becomes a clay dish.
A piece of fabric becomes an embroidered sweatshirt.
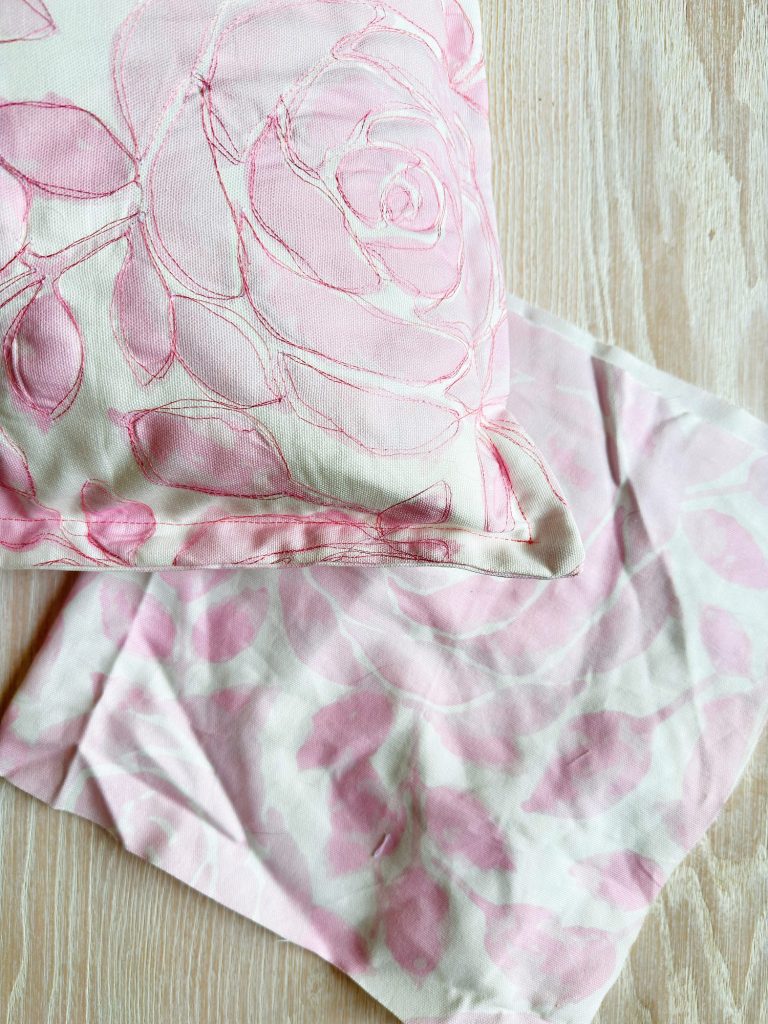
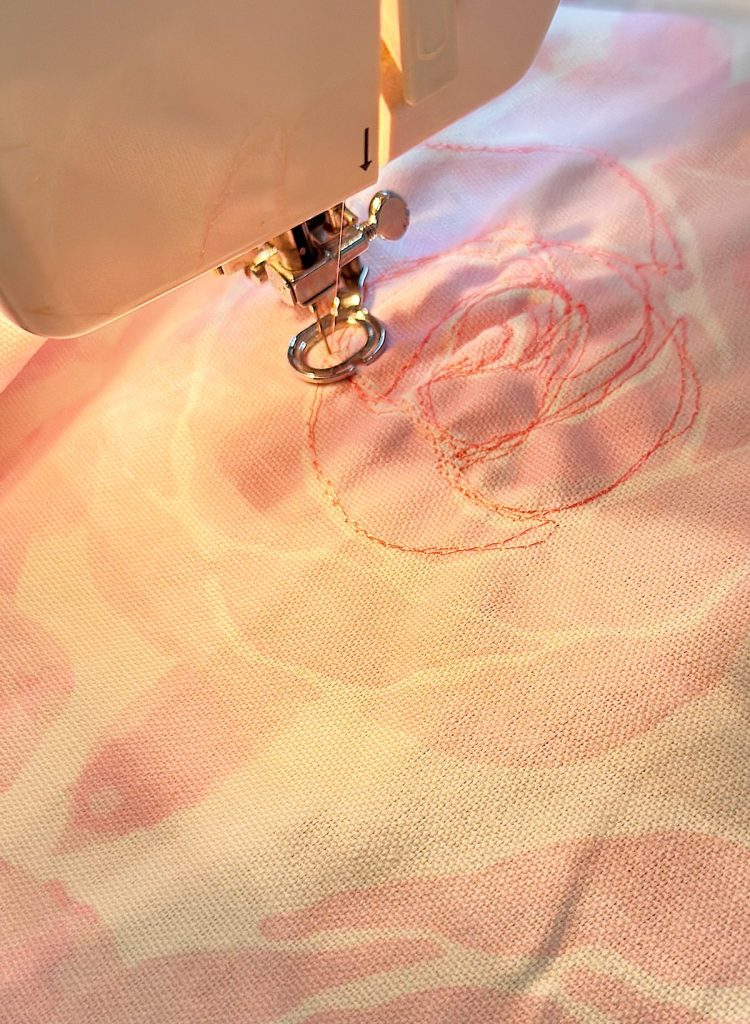
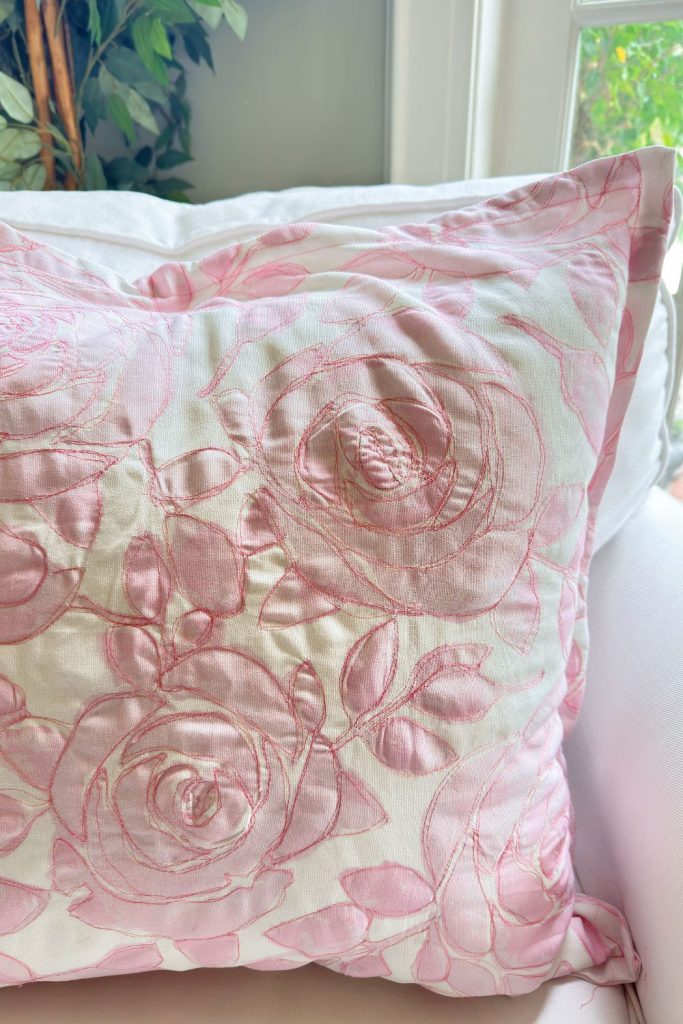
A vintage floral print becomes a quilting project.
A pillow sham becomes a beach house makeover.
The ideas are all around us.
The magic happens when we decide to do something with them.


Final Thoughts
If there is one thing I wish every creative person understood, it is this:
You do not need more inspiration.
You need a process.
Inspiration is everywhere.
The challenge is learning how to capture it, nurture it, simplify it, and turn it into something real.
That is exactly how most of my projects begin.
Not with a perfect plan.
Not with a finished vision.
Just one small idea that grows into something bigger.
And honestly, that is still my favorite part of creating.
Latest Posts
-
The Best Paper Napkin Crafts – Mondays in the Craft Room
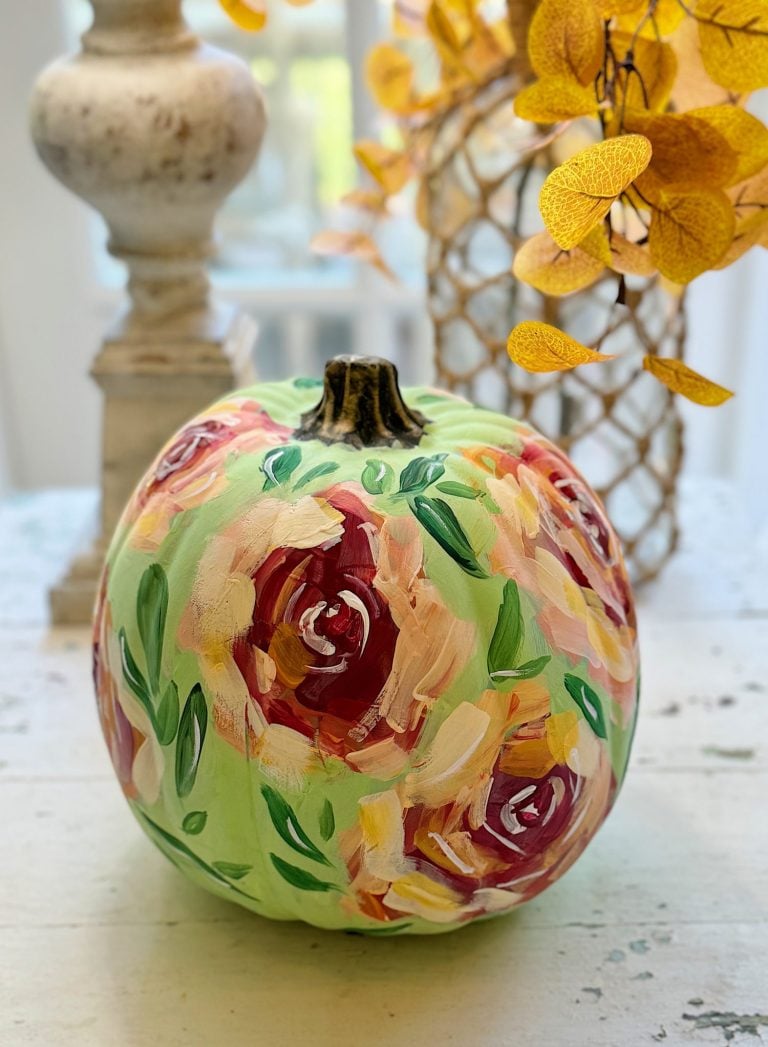
Paper napkin crafts are among my favorite ways to create beautiful handmade projects without spending a fortune or requiring advanced artistic skills. It’s amazing how a simple decorative paper napkin can transform clay, terra cotta, ornaments, pumpkins, and so much more into something that looks hand-painted. Today I’m sharing some of my favorite paper napkin…
-
Weekend Trips and Sunday Morning Coffee
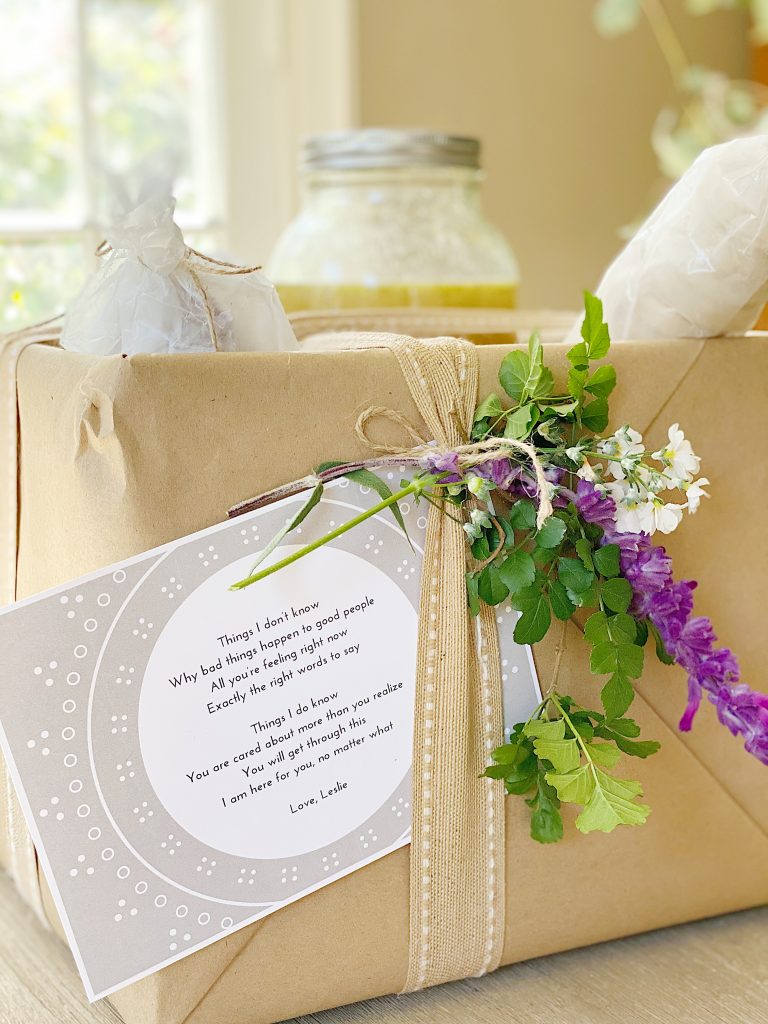
This summer has been one of my favorites, as our weekends have been filled with family, dear friends, and little adventures that have reminded me how wonderful it is to simply get away for a few days. I’m also sharing some of the handmade hostess gifts I’ve been creating in my craft room because nothing…
-
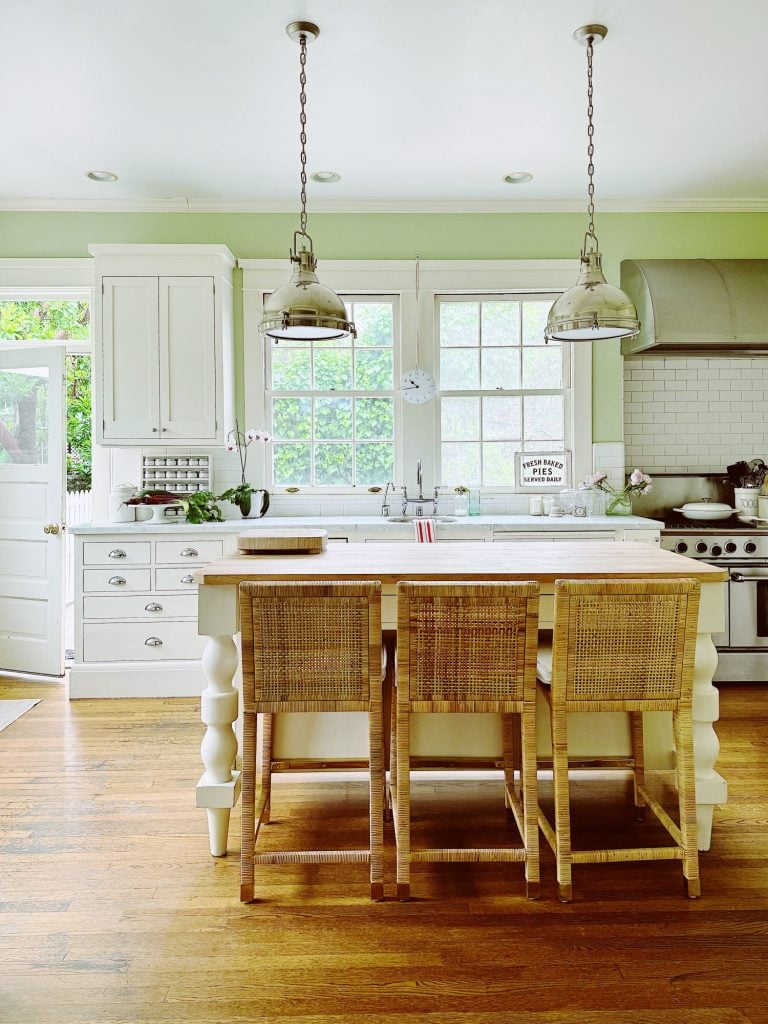
A Top Trend – Rattan Furniture and Accessories
A decor trend taking the interior design world by storm this year is rattan furniture and accessories. These timeless materials bring warmth, texture, and natural beauty to any space. From its historical roots to modern applications, rattan furniture and accessories can be easily incorporated into home decor for a stylish, vintage-inspired look. I have used…
-
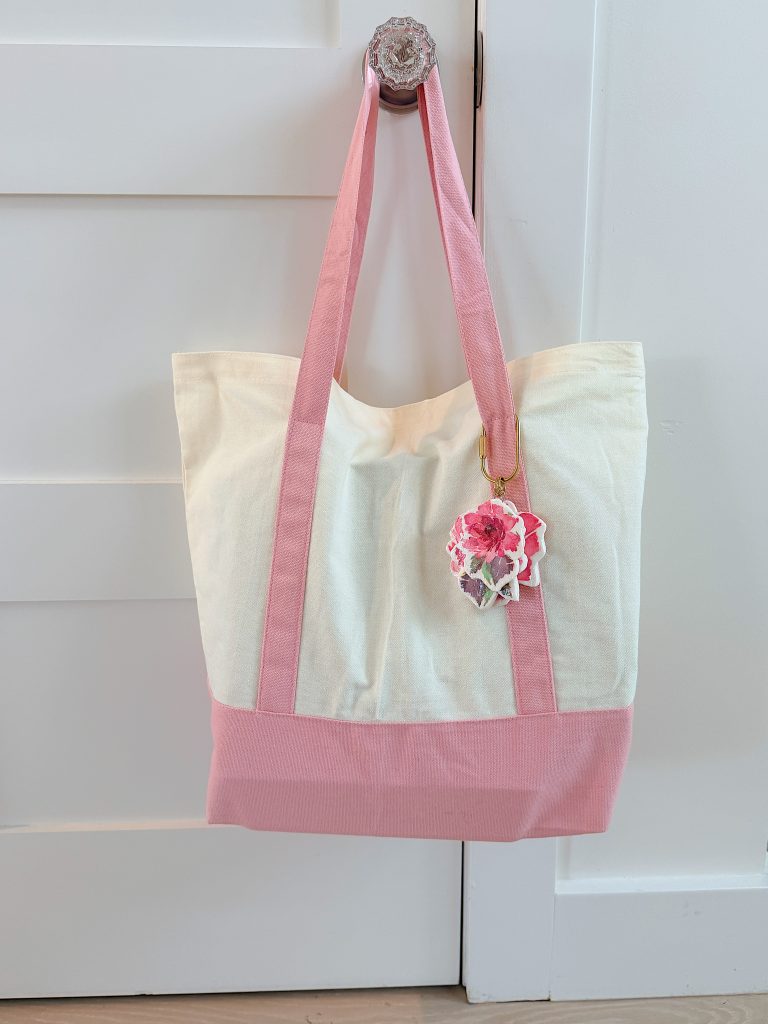
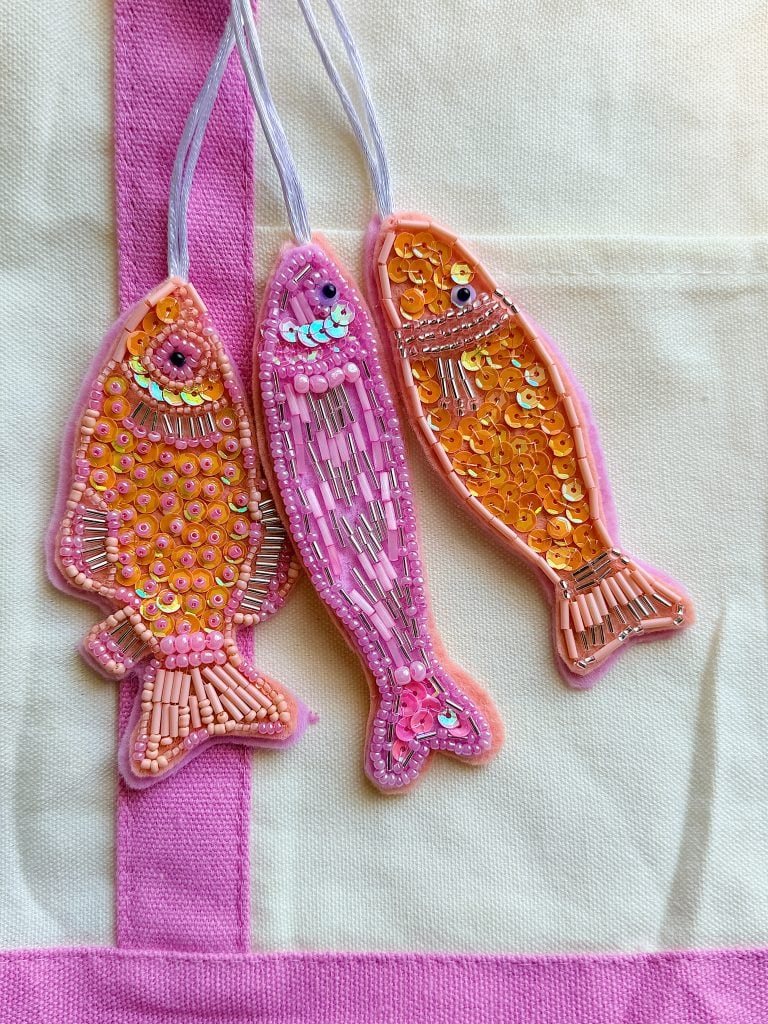
Beaded Bag Charms – A Handmade Summer
If you’ve been looking for a fun way to add personality to your favorite tote bag, you’ll love these Beaded Bag Charms. This colorful project is the perfect combination of creativity and sparkle, using seed beads, sequins, tube beads, and felt to create handmade accessories that look like they came from a boutique. Whether you…
My Recent Instagram Posts

You can pin the image below to your boards on Pinterest (click the Pin button in the top left corner) or follow me on Pinterest!
For more real-time updates, follow me on Instagram @My100YearOldHome
