My Favorite Wreaths for Fall
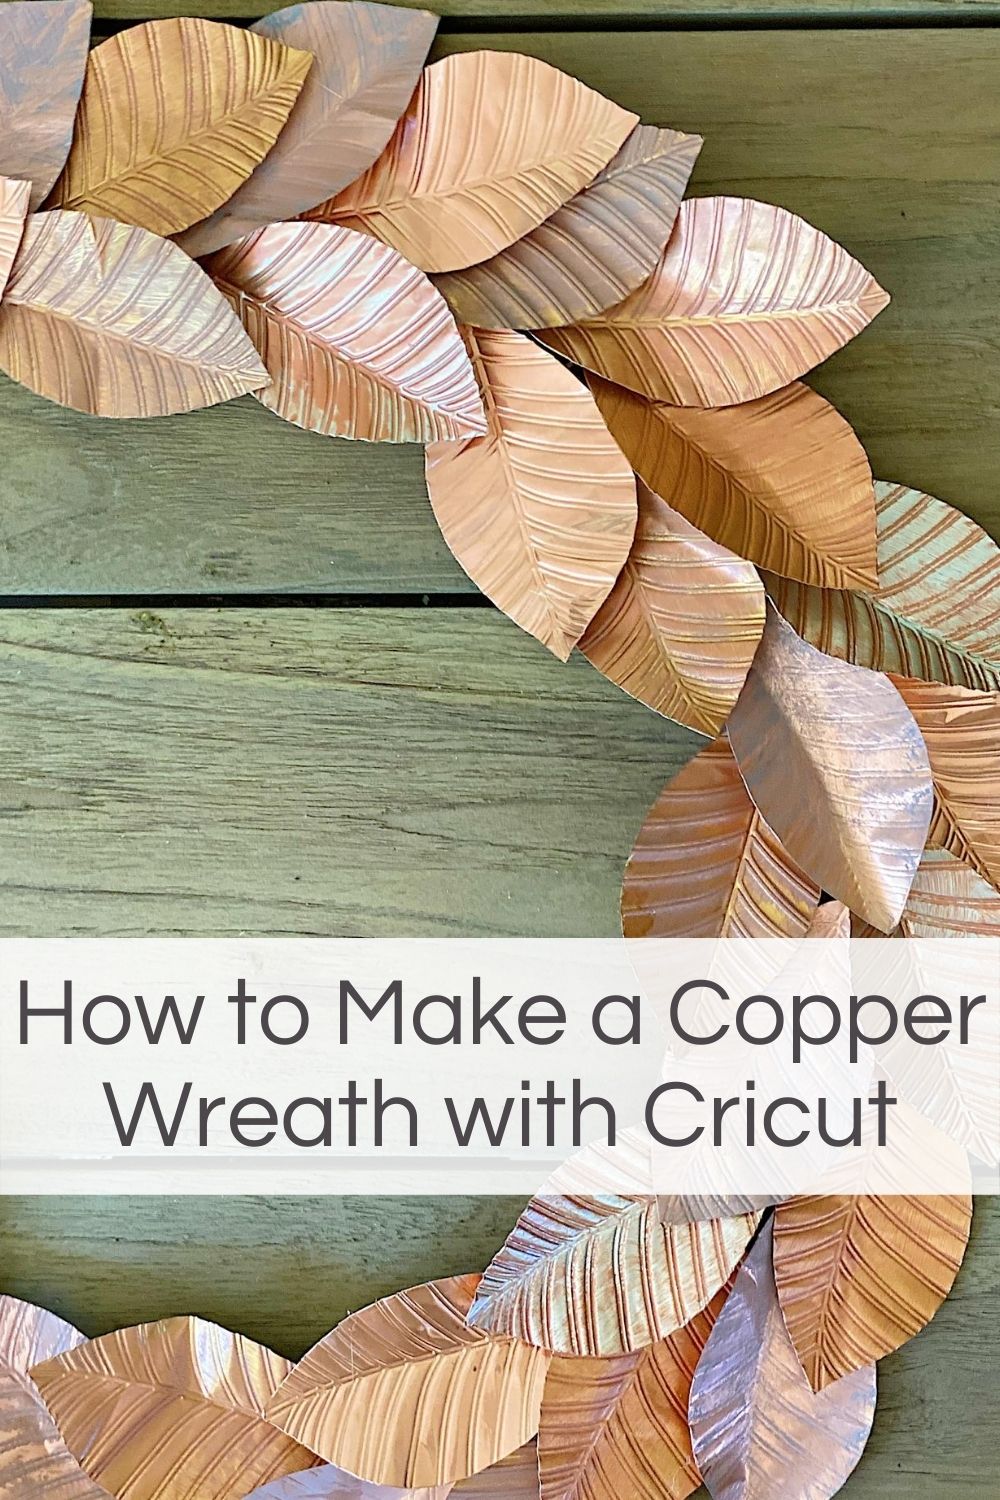
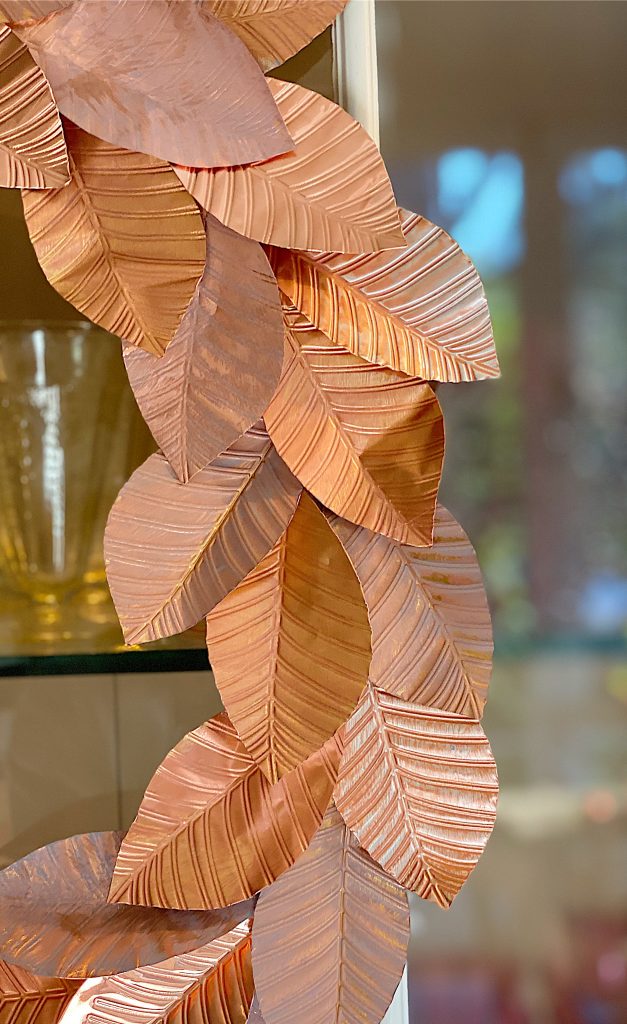
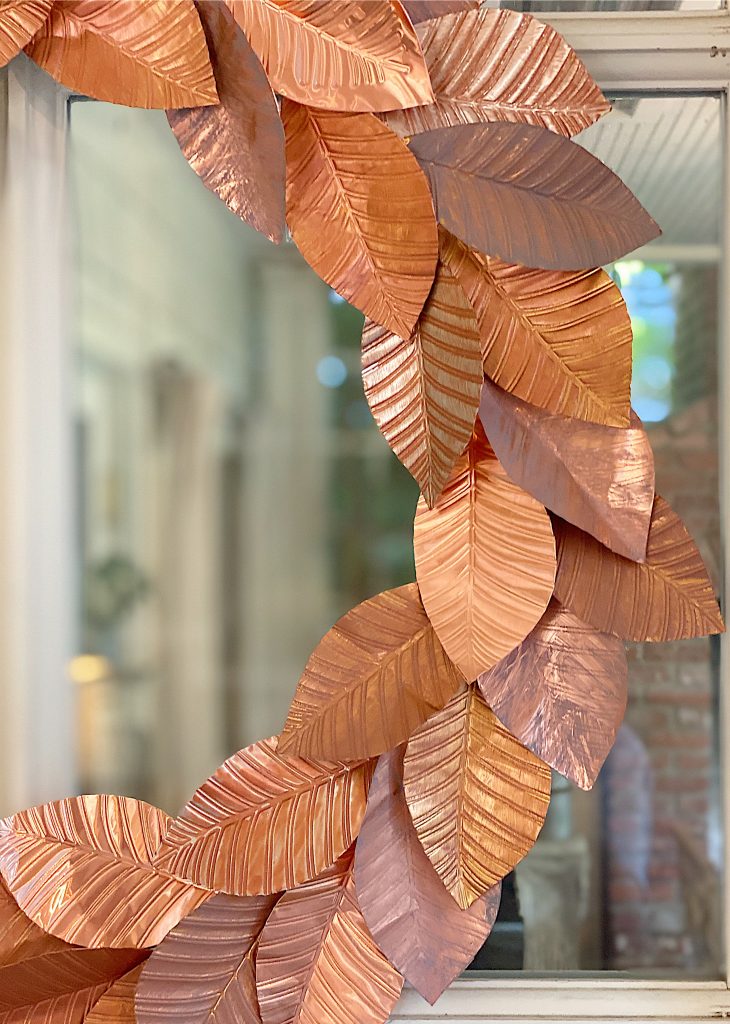
I love making wreaths now for fall and this has to be my favorite DIY wreath ever! Copper is the perfect accent color for fall, don’t you think?
As the leaves start to turn yellow and red, it will be time to start thinking about fall decorating. While pumpkins and autumnal flowers are always popular choices, I love adding wreaths to my home for the season. Today I am sharing everything you need to know to make this copper metal wreath, plus more of my favorite wreaths for fall.

I wanted to make a copper wreath for quite some time but I wasn’t sure how to cut it. When I heard the Cricut could cut thin metal, I knew I wanted to try it.
Then I discovered the Cricut debossing cutter (for the leaf veins) and realized I could make an amazing copper wreath.
I am also sharing my favorite fall wreaths for sale at Amazon Home. Plus, I have joined fifteen other bloggers who are also sharing their wreath DIY ideas. Be sure to scroll down to find everything!
This DIY includes how I found the leaf pattern, how I cut it on the machine, how I painted it, and how I assembled the wreath.
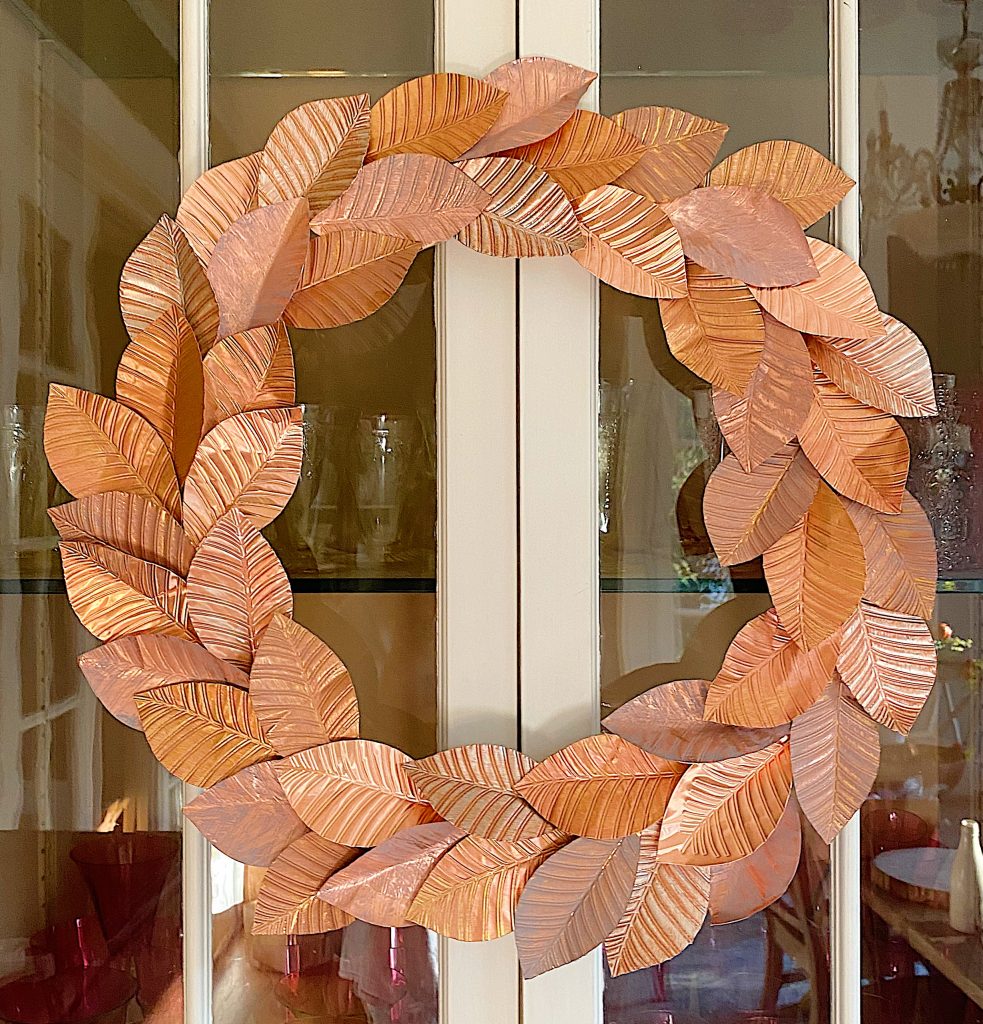
I found so many places to hang this wreath in our home. I think I am just going to move it around every week for the next few months!
What You Need to Make a Foil Wreath
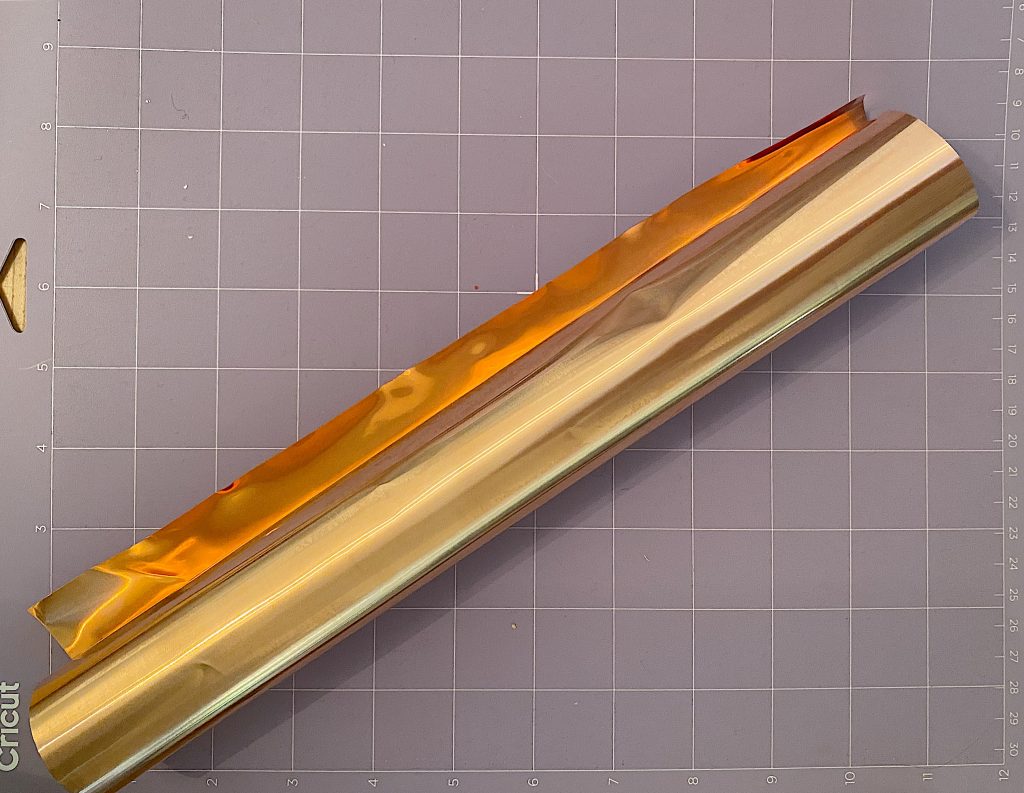
Craft 38 Gauge Colored Aluminum (I ended up using three different colors.)
How to Make My Copper Fall Wreath
Here is a video to show how I made this wreath.
I cut a 12″ sheet of aluminum and placed it on the light grip board. (You need to use a light grip mat or else it might be hard to remove the aluminum after it’s cut.) I used a brayer to adhere it to the mat. It’s that easy.
Next, I found a leaf pattern in the Cricut Access Store and you can find it here.

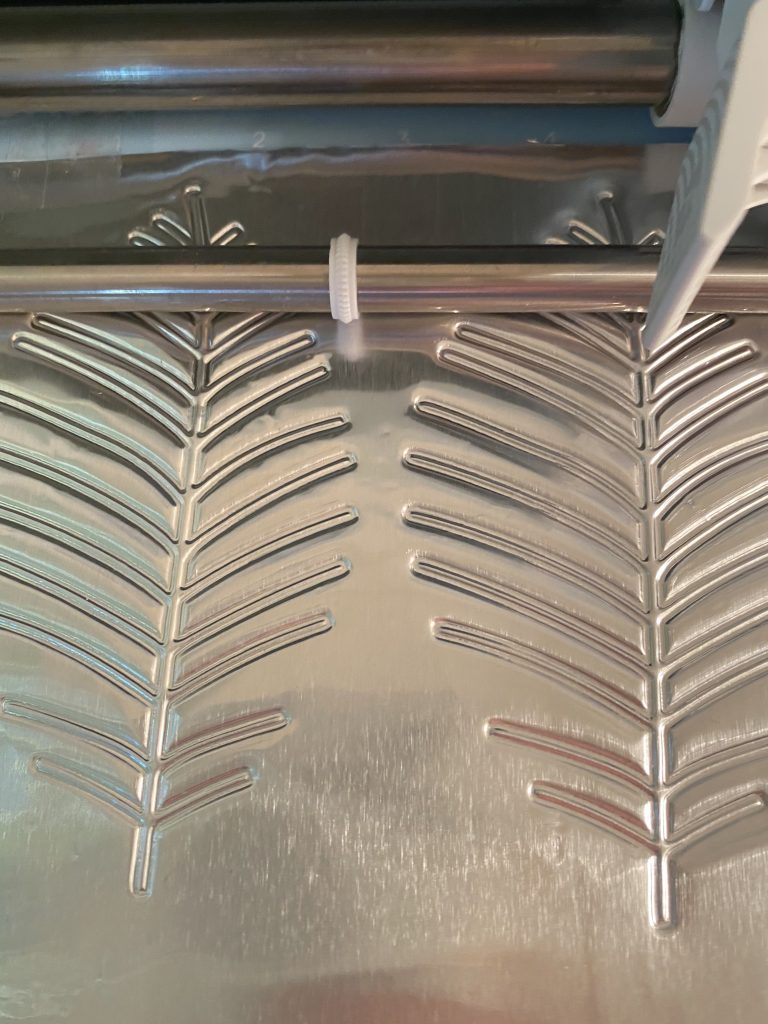
On the Cricut machine, all I did was separate the veins from the outside cut of the leaf (in the photo above). I changed them to “deboss” so they would cut out the leaf design. The design is ready for you to use!
I had never used the deboss tool before. Isn’t it amazing?
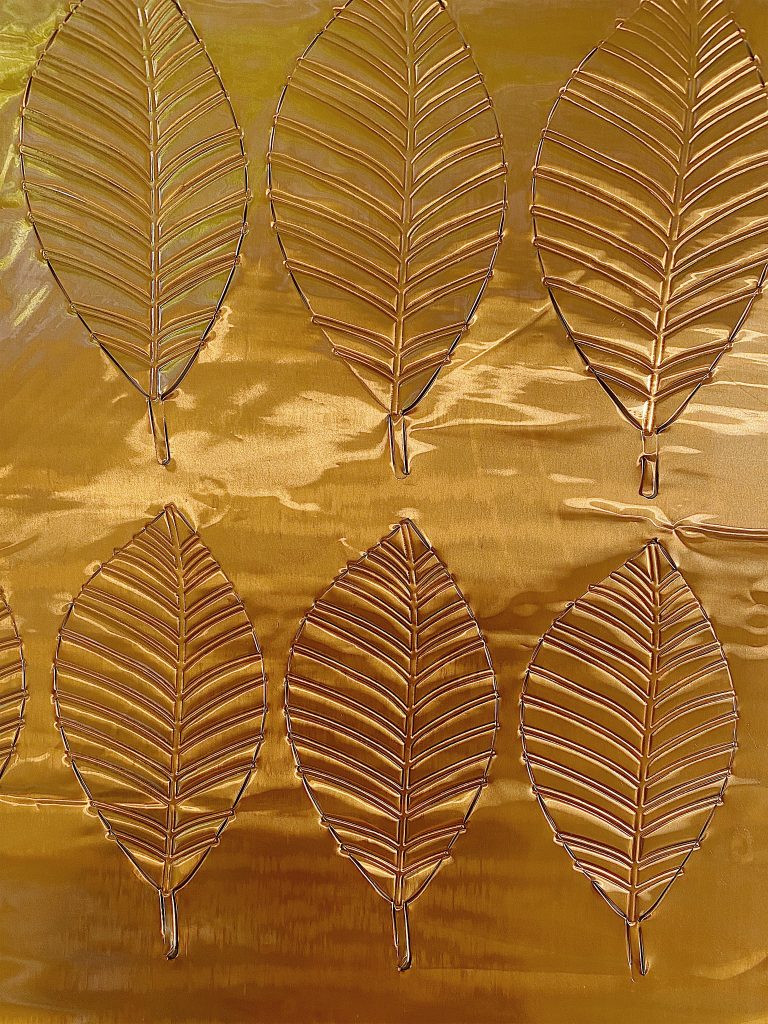
Once the debossing is done, the Cricut machine automatically cuts out the leaf too.
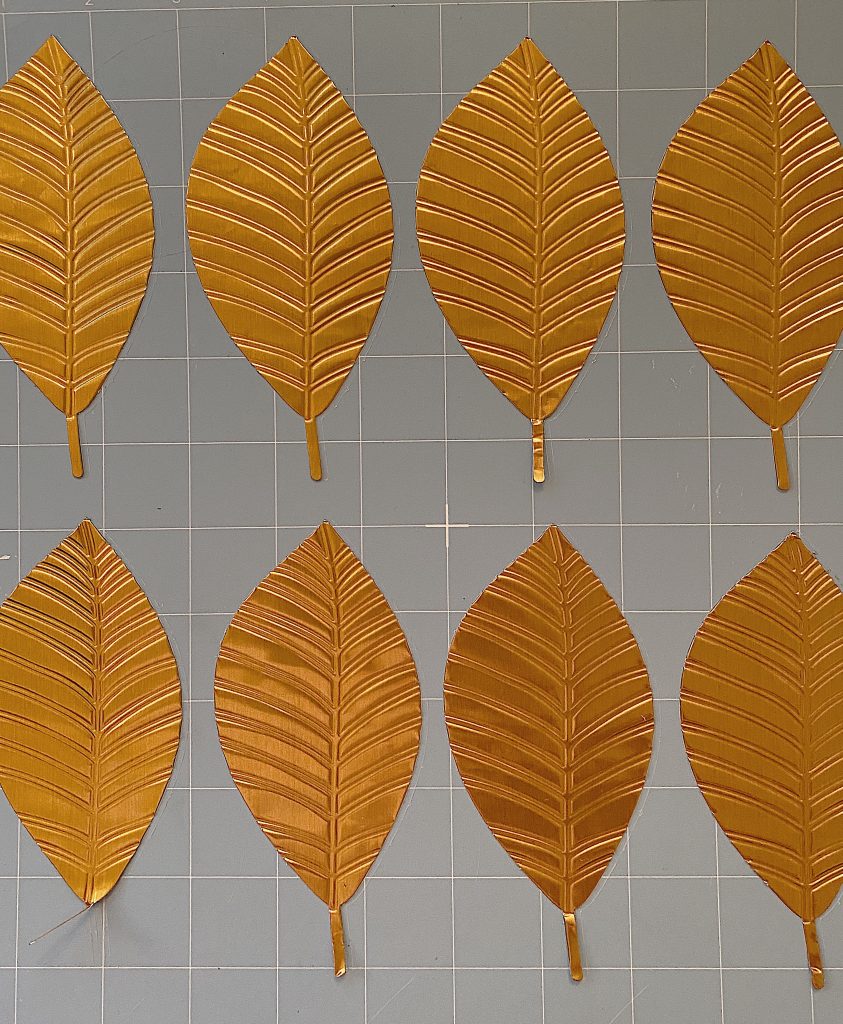
These just peel off the cutting mat. It’s incredible.
After I cut out the leaves, I decided I needed some cohesion in the color. (remember I used three different colors of aluminum.)
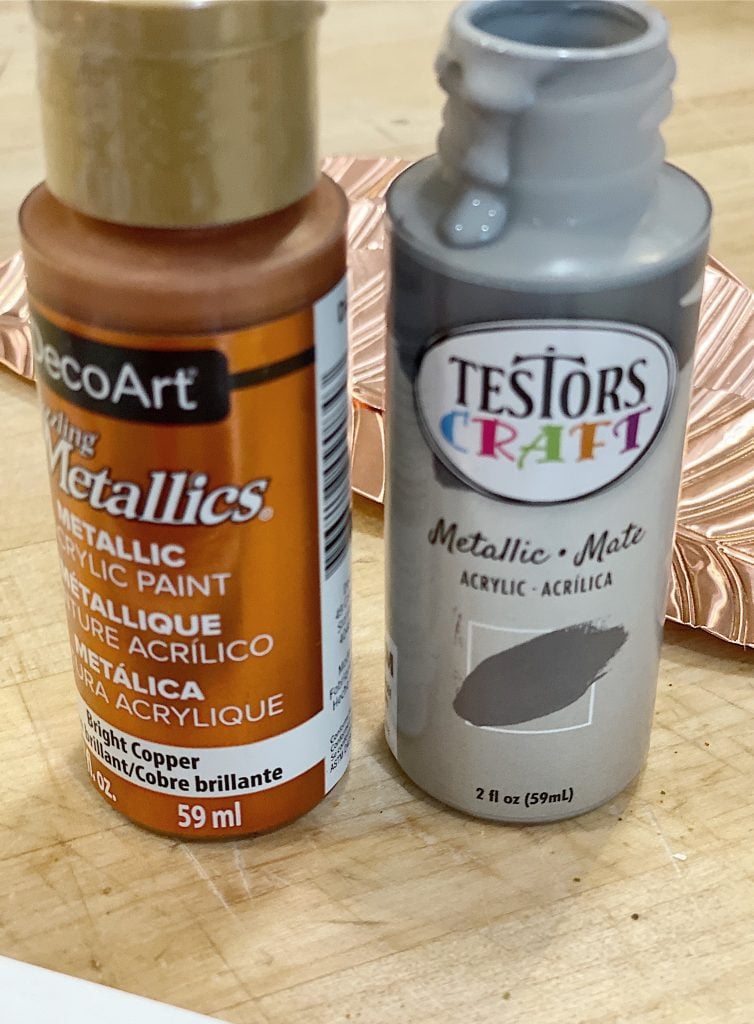
I went through my acrylic paints and found these two metallic colors.
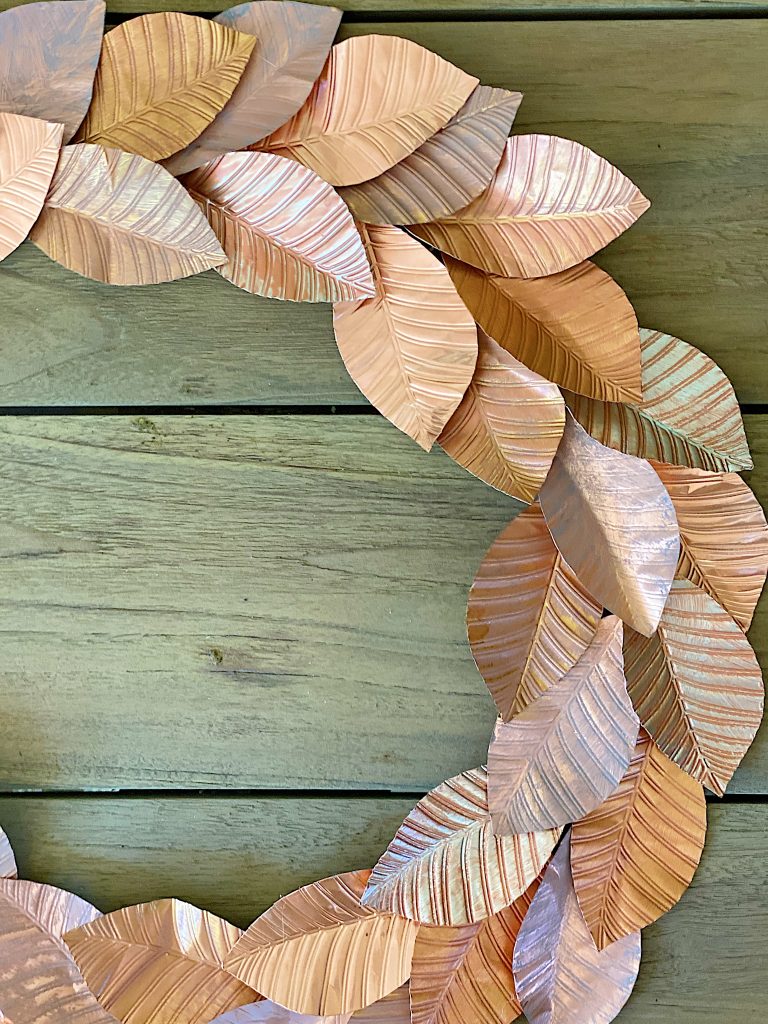
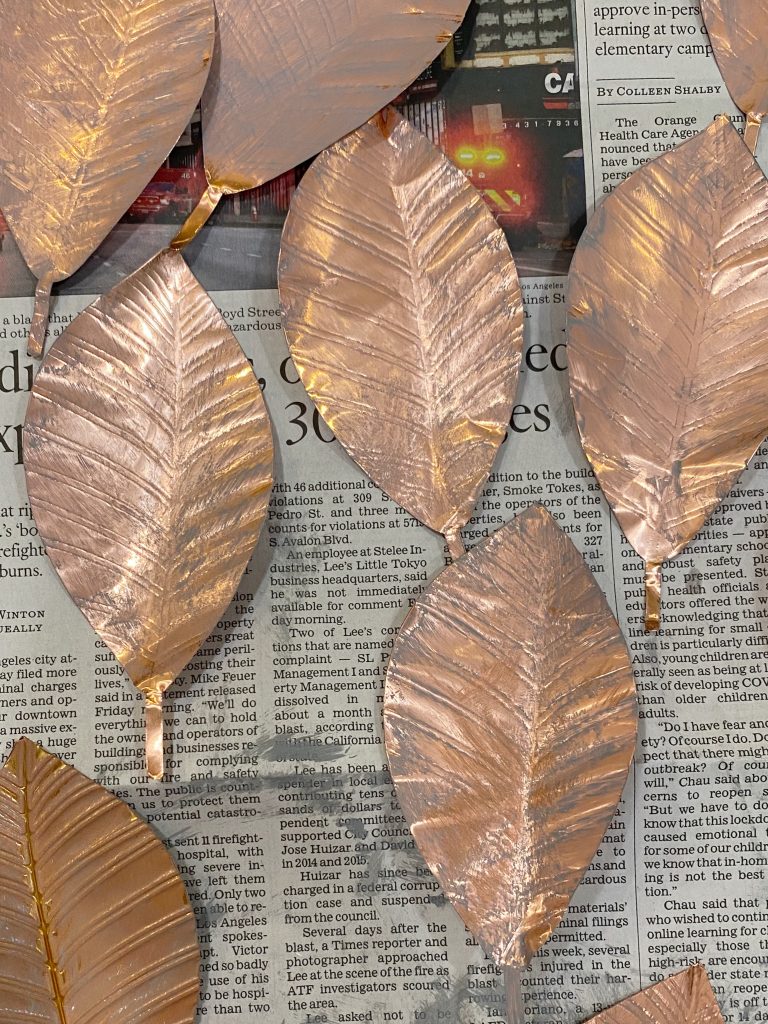
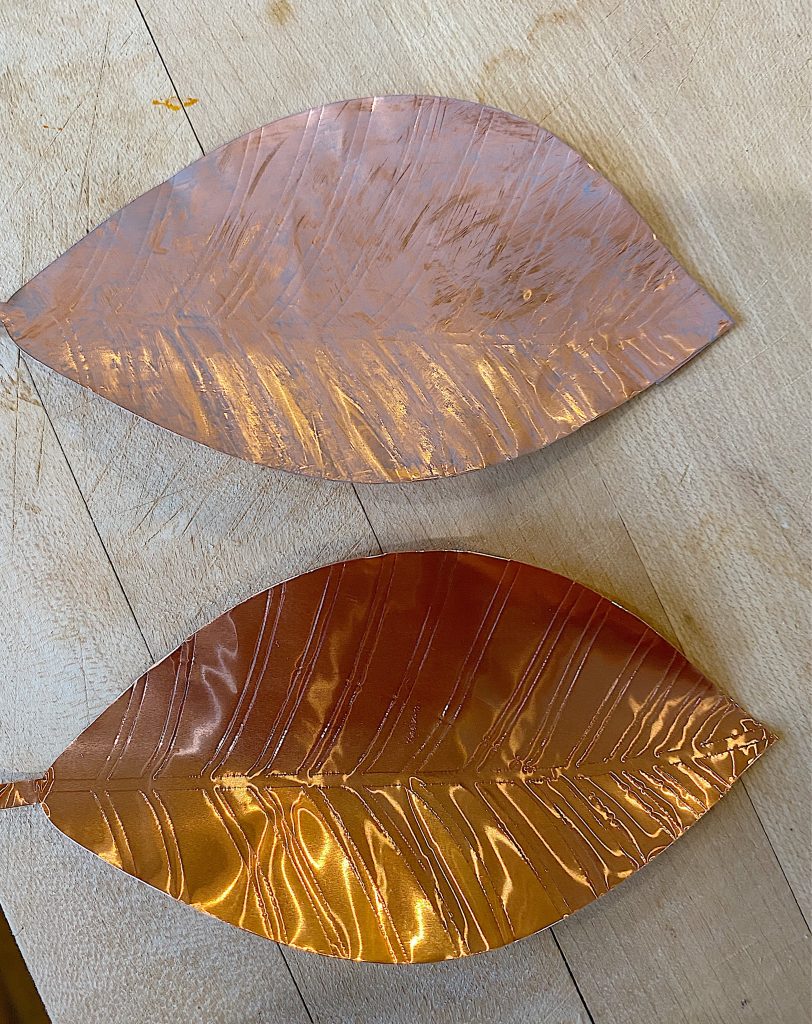
Next, I painted the leaves and I love how they came out.
I even wiped some of the paint off to allow some of the copper to shine through.
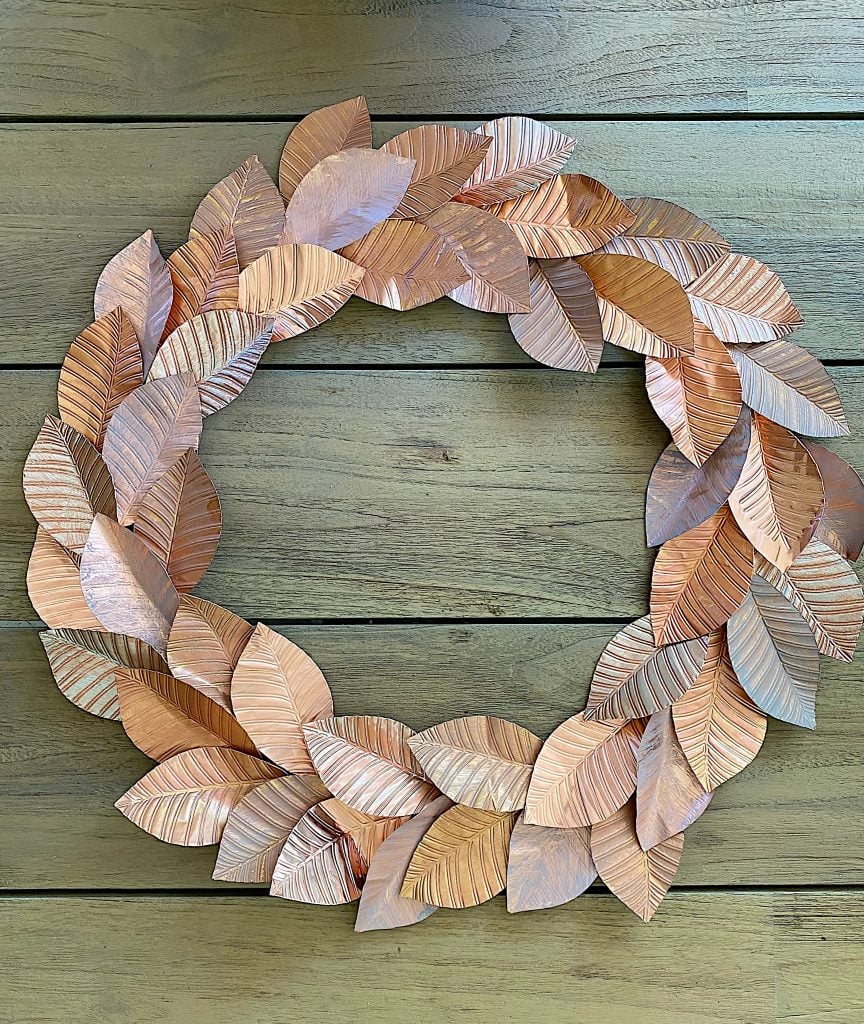
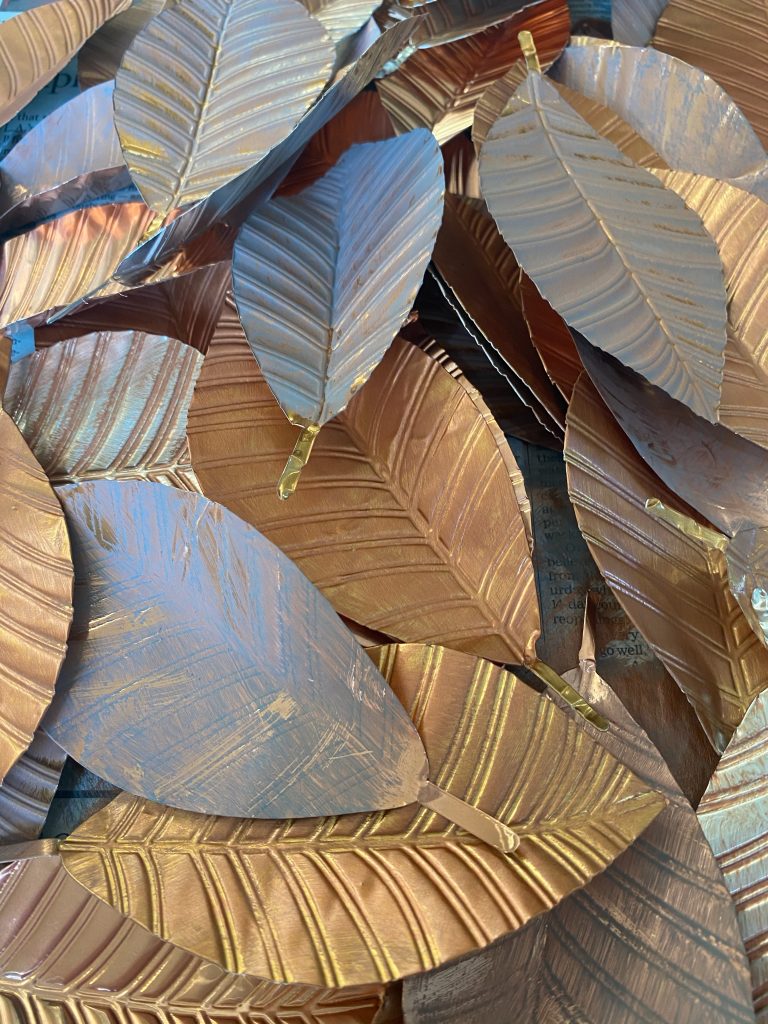
Here is how the leaves looked when they were all painted.
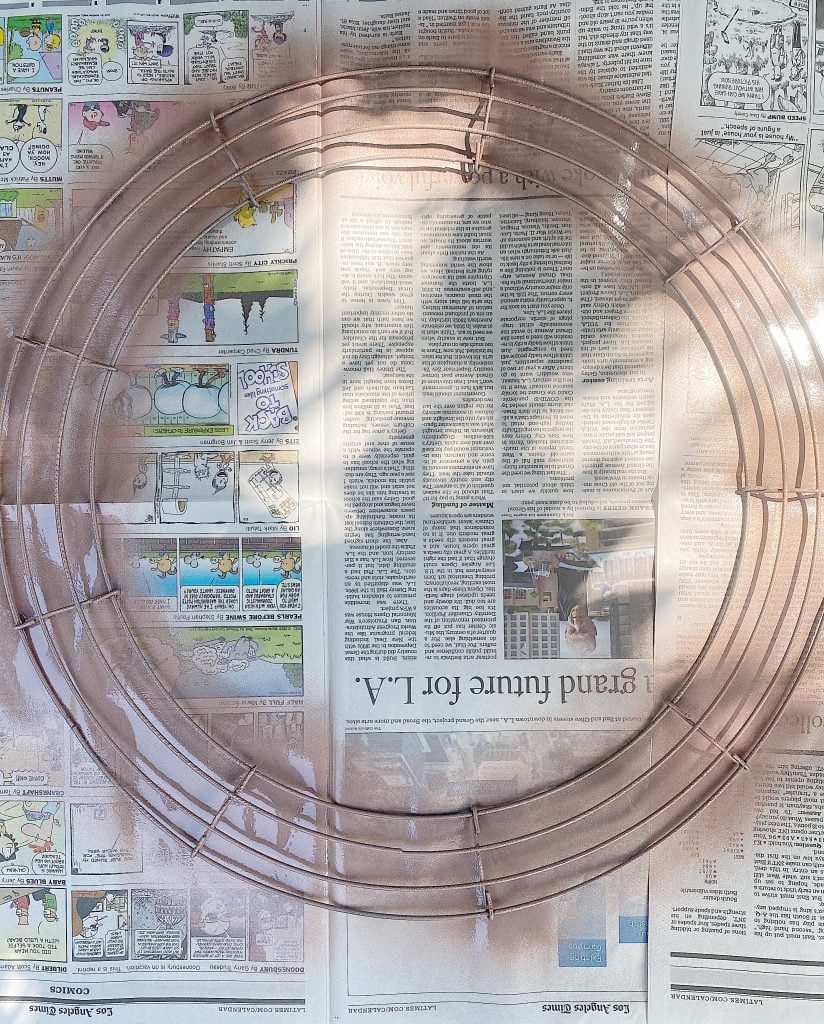
The metal wreath frame was sprayed with some of my leftover copper paint.
There are so many types of glue and I wasn’t sure what kind of glue would work the best with aluminum. I tested a lot of options and of course, my hot glue gun worked the best.
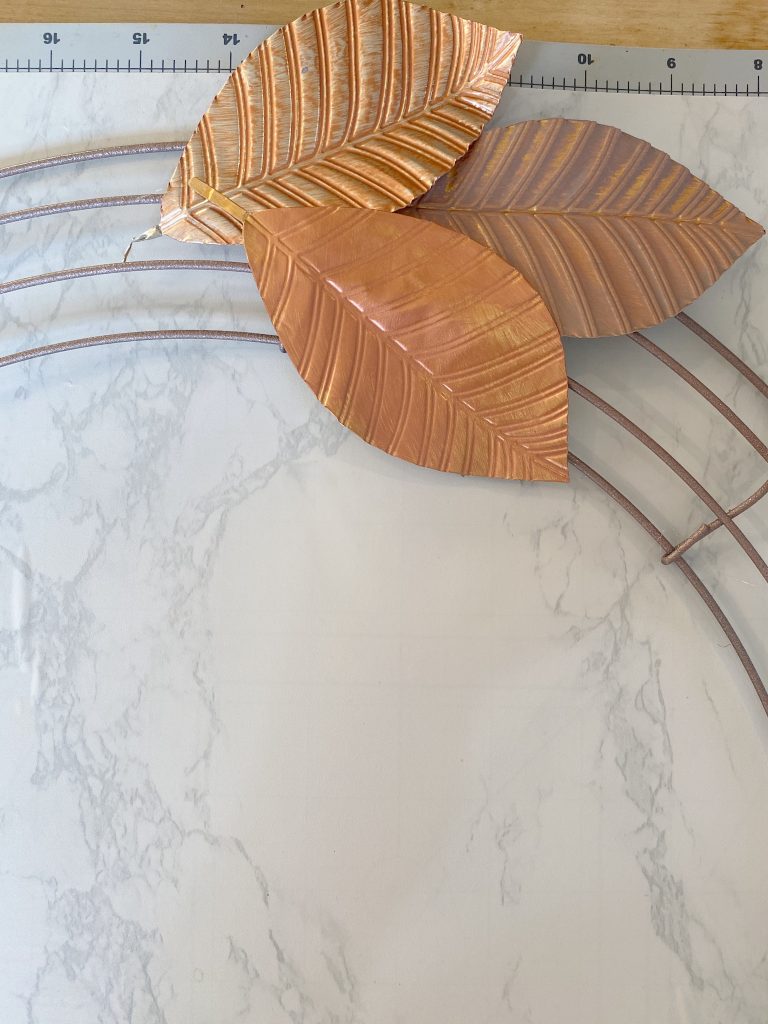
To attach the leaves to the wreath frame, just glue them to the frame, one at a time.
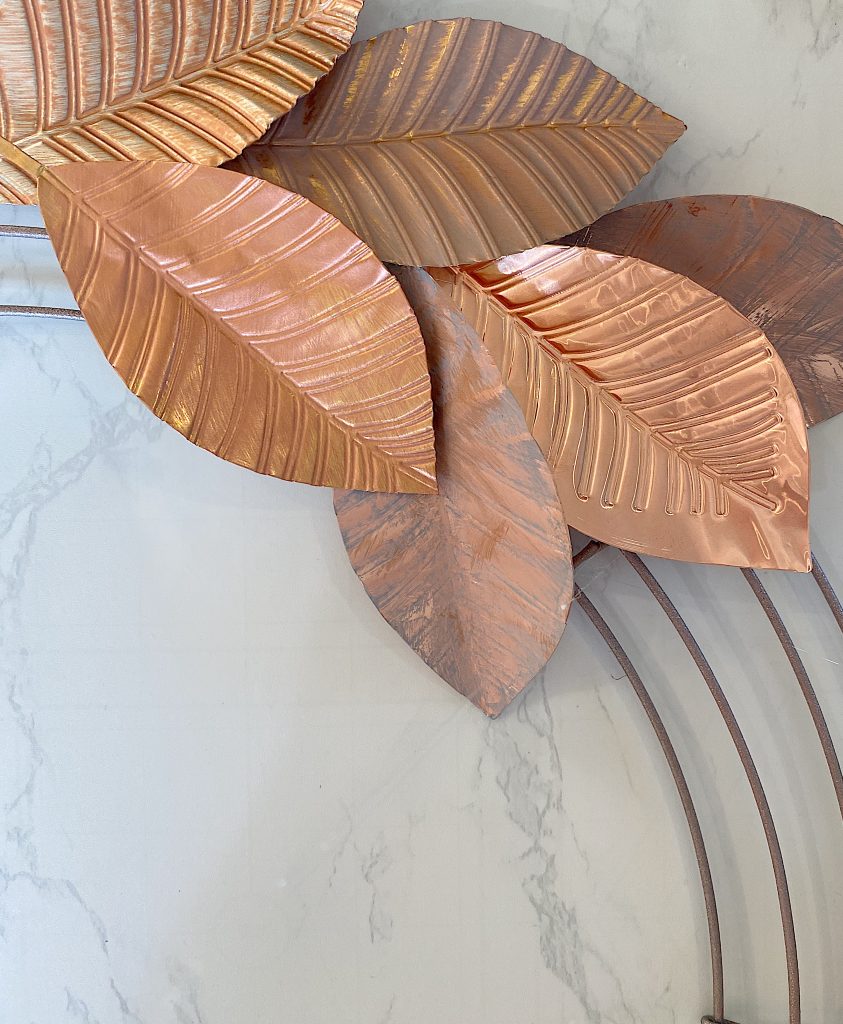
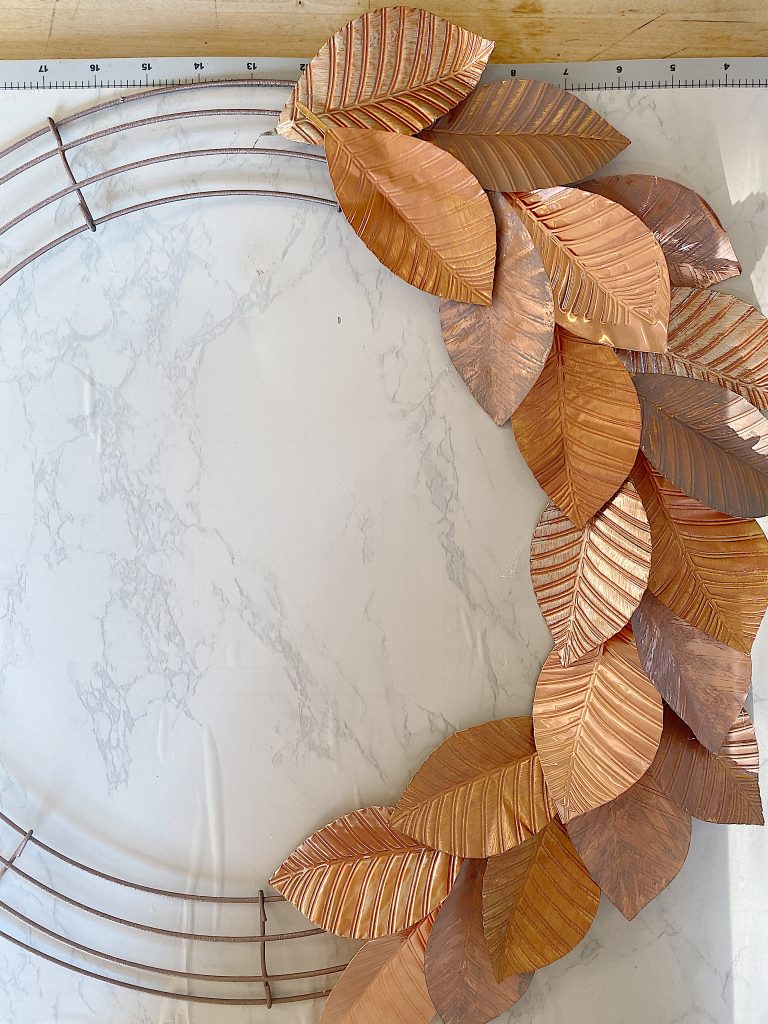
Continue gluing the leaves, being sure to cover the stems as you proceed around the frame.
This does not take long. I promise!
When the wreath was completed, I absolutely loved the outcome.
Aren’t these colors gorgeous?
If you aren’t a DIYer and want some new wreaths for fall, here are my recommendations for the best fall wreaths you can buy right now. They are all from Amazon Home and the prices are very reasonable.
Fabulous Fall Wreath DIYs
Now check out these other beautiful and creative fall wreath ideas. Click the link below the images to visit the posts and see more.
My Favorite Wreaths for Fall – My 100 Year Old Home
DIY Easy Oak Leaf Fall Wreath – My Sweet Savannah
Pampas Grass Wreath – Finding Lovely
Dollar Store Fall Pumpkin Wreath – Tatertots & Jello

How to Make a Fall Wreath Tutorial – Happy Happy Nester
Dollar Store Fall Wreath – Craftberry Bush
Fall Split Wood Bead Wreath – Lolly Jane
Early Fall Wreath – A Blue Nest

Fall Corn Husk Wreath – Sincerely Marie
Pine Cone and Eucalyptus Fall Wreath DIY – Twelve On Main
Dried Floral Fall Wreath DIY – Life Is Better At Home
Fall Yarn Wreath Tutorial – Hallstrom Home

Eucalyptus Fall Wreath – Modern Glam
DIY Romantic Boho Fall Wreath – The DIY Mommy
Faux Eucalyptus Wreath – Maison de Pax
DIY Fall Wreath Ideas – Jennifer Maune
Pin the images below to your Craft or Fall decor boards on Pinterest (just click the Pin button in the top left corner). You can also follow along with me on Pinterest!


For more real-time updates, follow me on Instagram @My100YearOldHome















Thank you so much for this! I was looking at this beautiful copper wreath and thinking how much trouble it would be to cut those leaves out by hand (not to mention painful!) and then, I scrolled down to see you using your Cricut to do the work!! I’m a new Cricut-er and would never, ever would have thought to use my machine for this. I’m so grateful to you for your inspiration and step-by-step instructions. You can also take credit for the beautiful hand designed, free motion stitched pillows I’ve been making! Love your website and gorgeous home. 😊
I am so glad you found it helpful, Maria! I am glad you have been having fun making the pillows. Thank you!
I tried to start making the leaves last night. After my machine did the debossing it prompted me to unload the mat and then reload it. Then it didn’t cut properly. I don’t know what I did wrong??
Hello, where did. you buy the plates?
And how bog are they?
Greetings from Germany
Best Jela
I have been following your blog for about a year and somehow missed this! But I am so glad that I found this. I am a new Cricut user and have been trying to figure out how to do something similar for months. This is such a great tutorial–thanks! I have one question-does the debossing blade also cut the leaves? Also, for all us Cricut newbies out there, we’d love more tutorials! Thanks so much.