Spring Paper Craft Ideas
Spring is the perfect time to refresh your home with light, cheerful, and creative touches, and what better way to do that than with spring paper craft ideas!
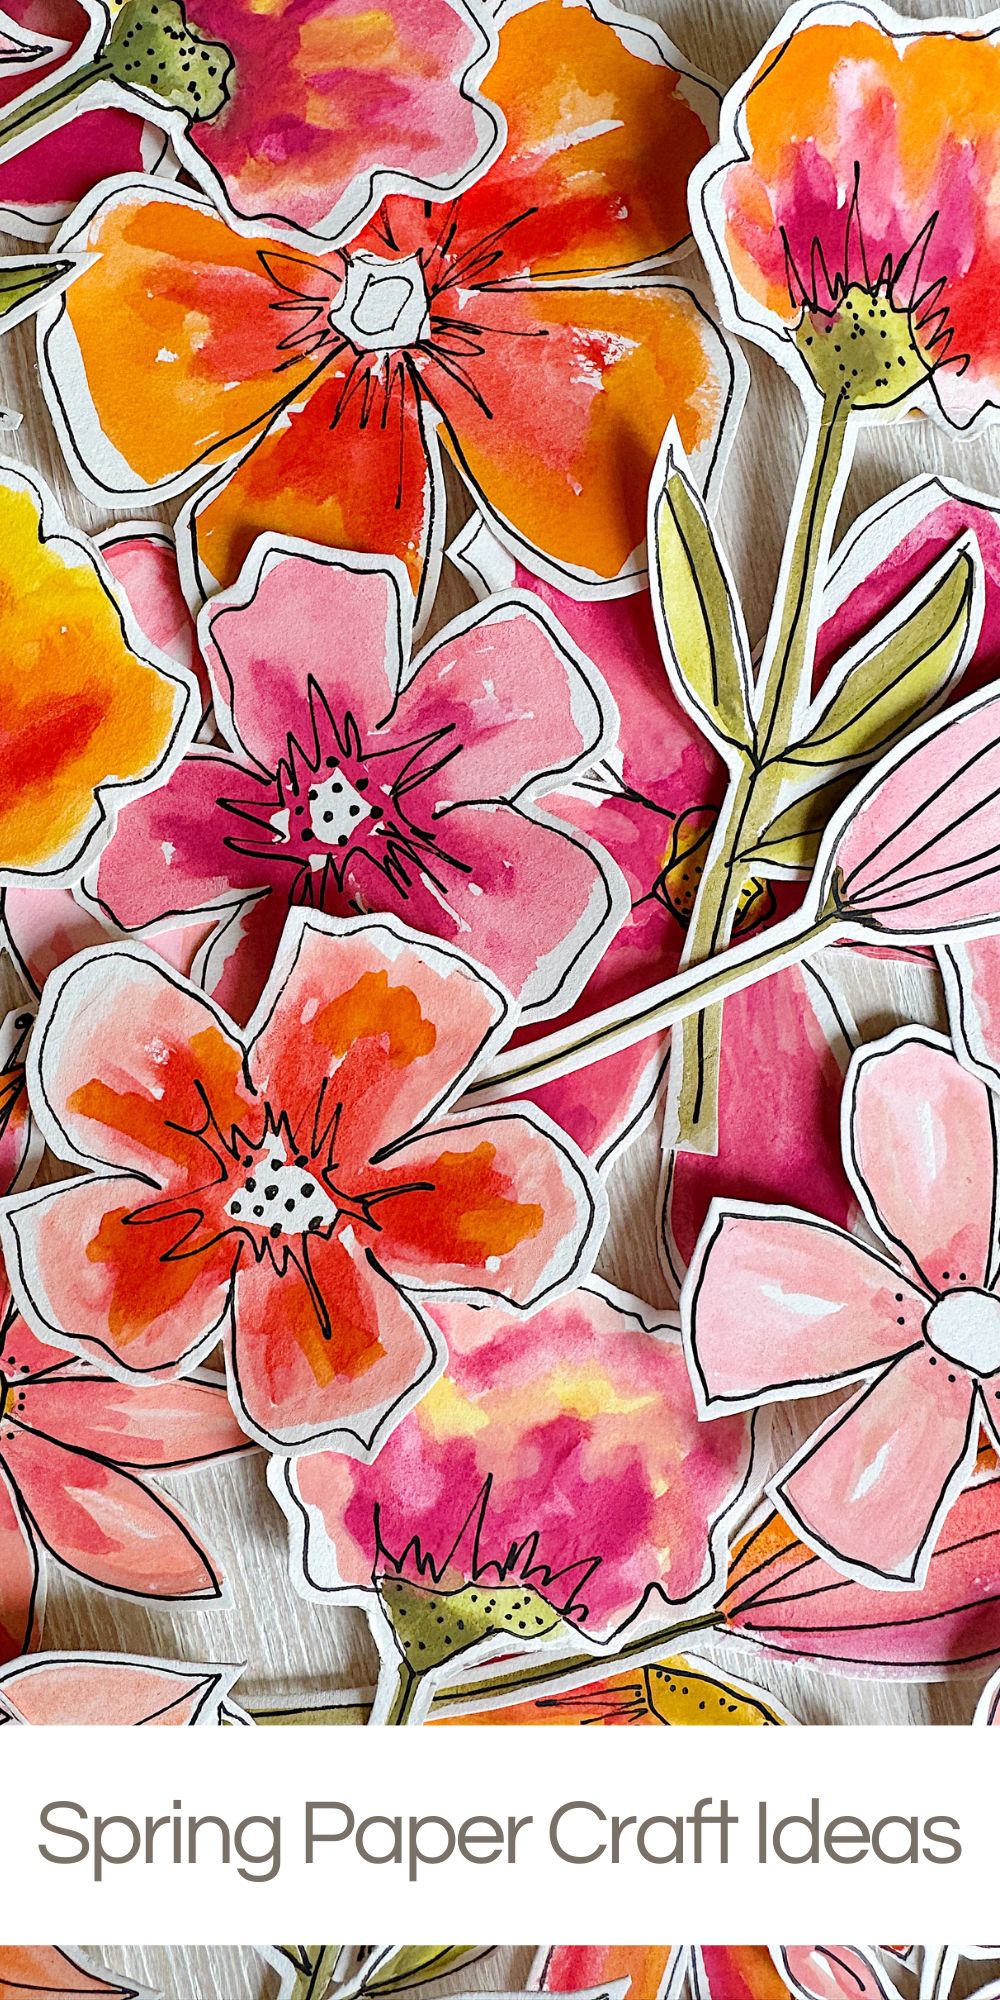
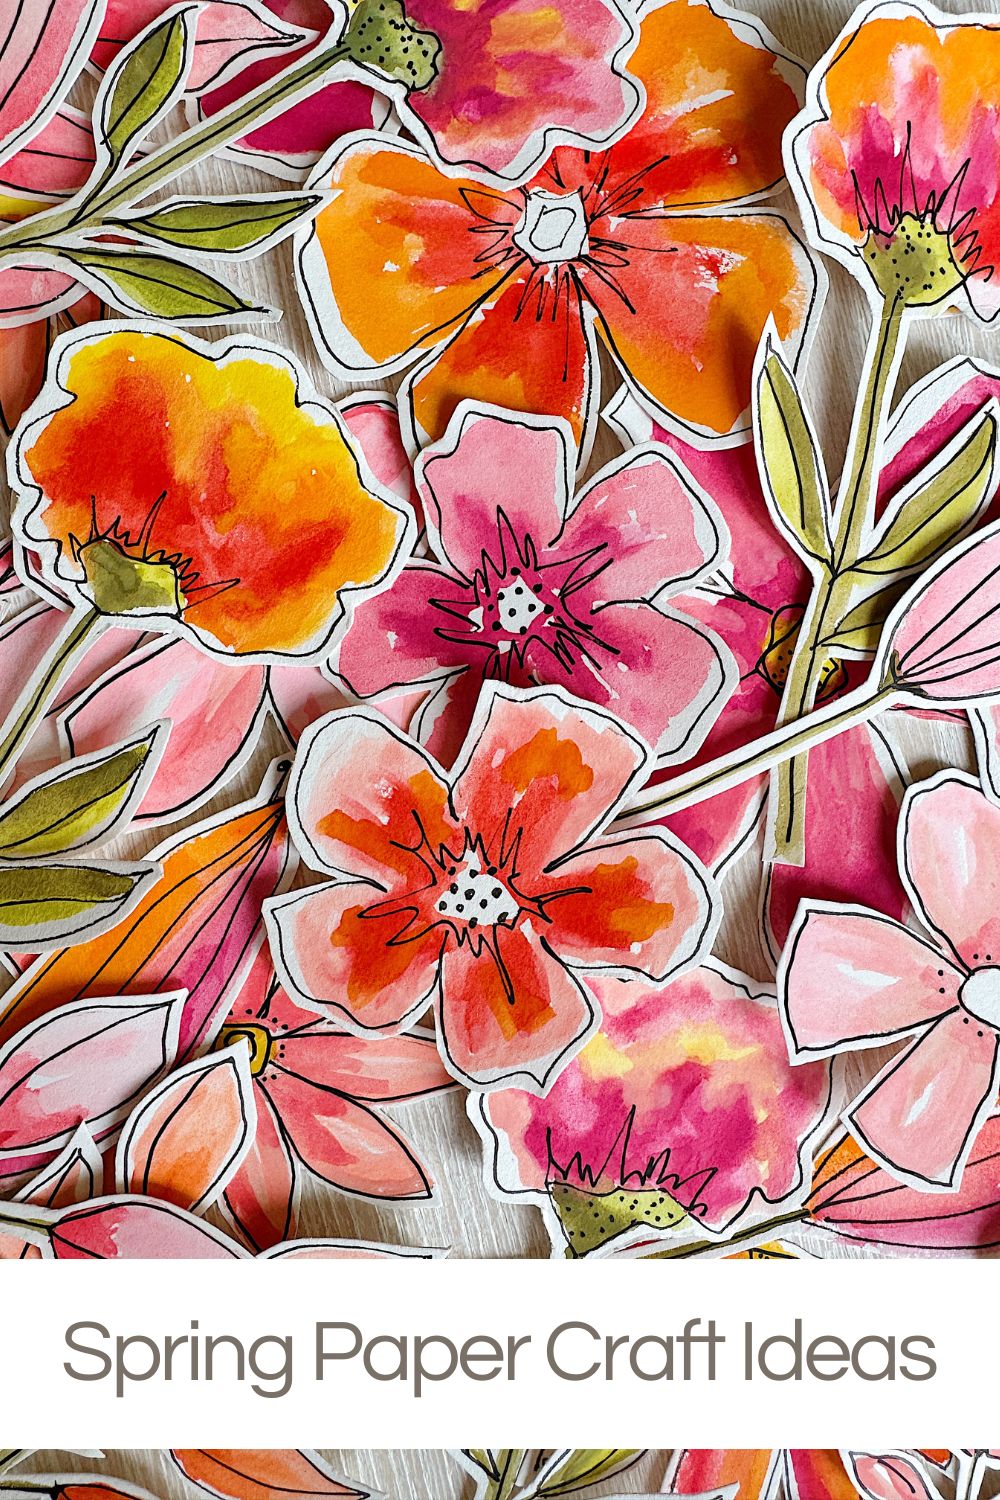
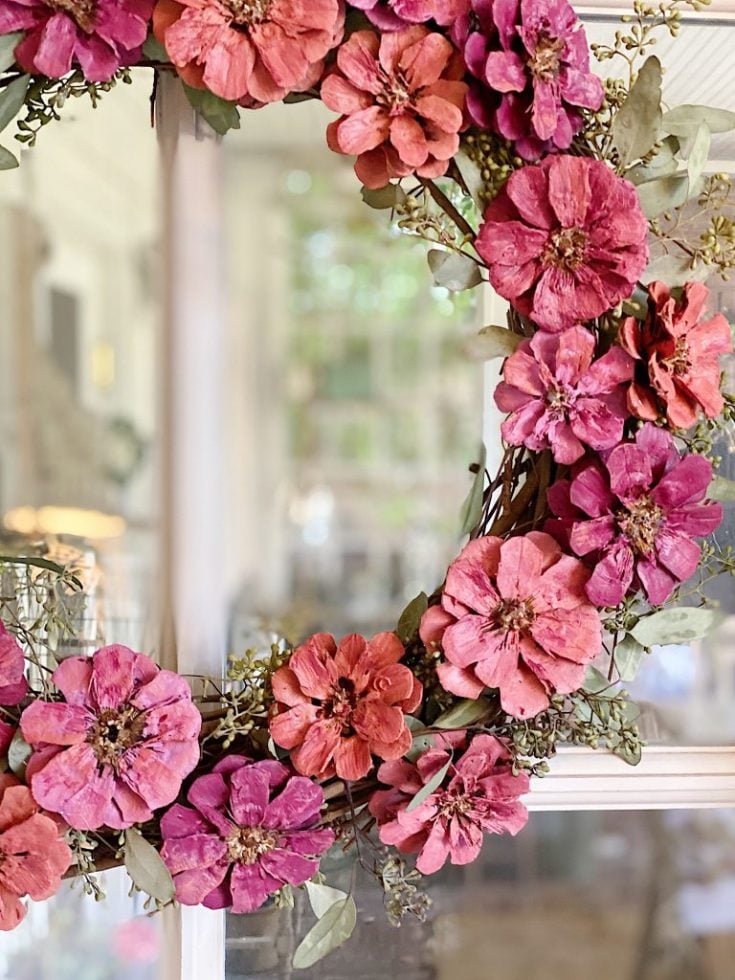
These whimsical and colorful paper flowers were so much fun to make. I have seen these paper blooms everywhere on Pinterest and social media. I’ve even seen them sold on Etsy! But instead of purchasing them, I decided to make my own, and I’m so glad I did.


DIY Hand-Painted Watercolor Flowers: Spring Paper Craft Ideas
The process was incredibly relaxing and fun, but the result was even more beautiful and personal than anything I could buy.
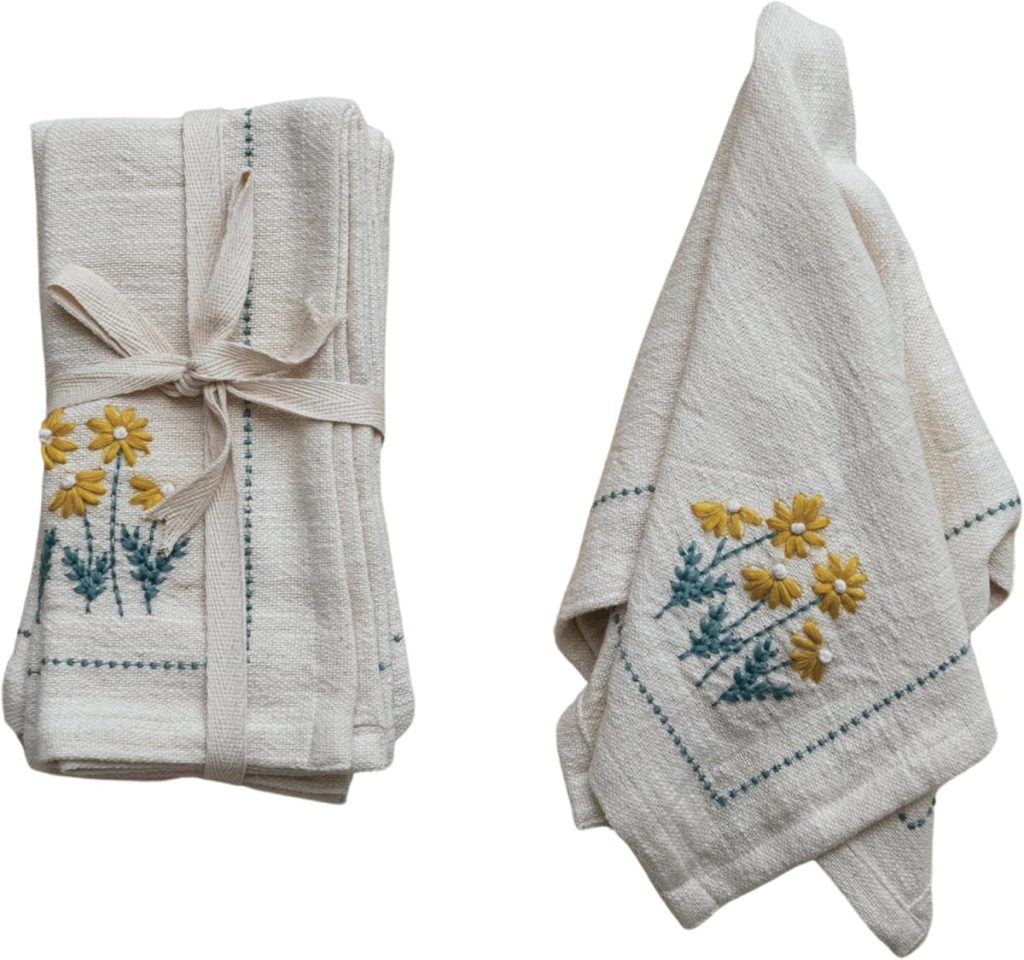
You might think this reminds you of my free-motion stitch embroidery projects. You are so right! I have always suggested that if you don’t have a sewing machine, use a permanent marker instead when making one of my FMSE pillows!
In this post, I’ll share how I made these hand-painted watercolor flowers and how I’ve used them to decorate our home.
If you’re looking for charming spring paper craft ideas that are affordable, customizable, and entirely on trend, this is it!
Why Watercolor Flowers?
There’s something timeless about watercolor. The softness of the paint, the way the colors blend, and the delicate texture of the paper all work together to create something truly special. These paper flowers are whimsical, stylish, and perfect for spring decor.
Whether decorating for Easter, styling a spring table, or creating party favors for a baby or bridal shower, these flowers can be used anywhere. And because they’re made by hand, each is unique and full of personality.
Supplies You’ll Need
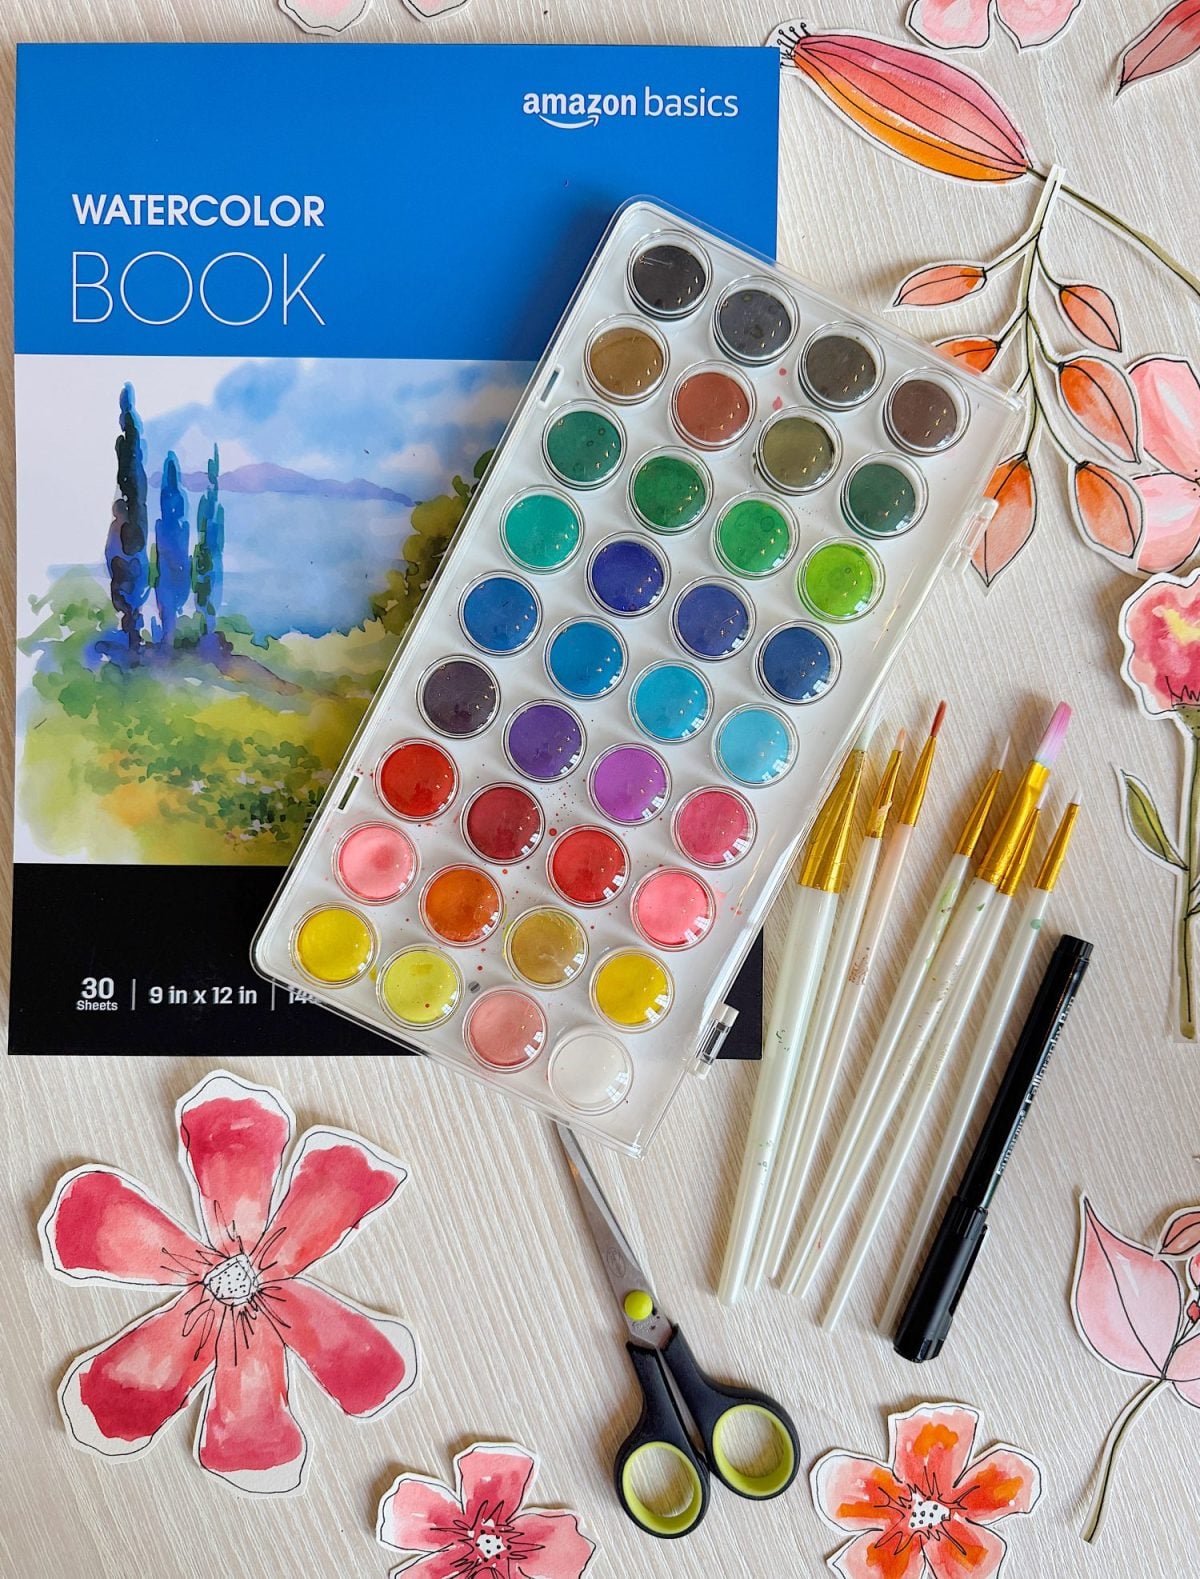
Creating these flowers doesn’t require many materials, but the right tools make a difference:
On this blog, I may use affiliate links, which means I earn a small commission if you make a purchase via the link. The price will be the same whether you use the affiliate link or go directly to the vendor’s website using a non-affiliate link.
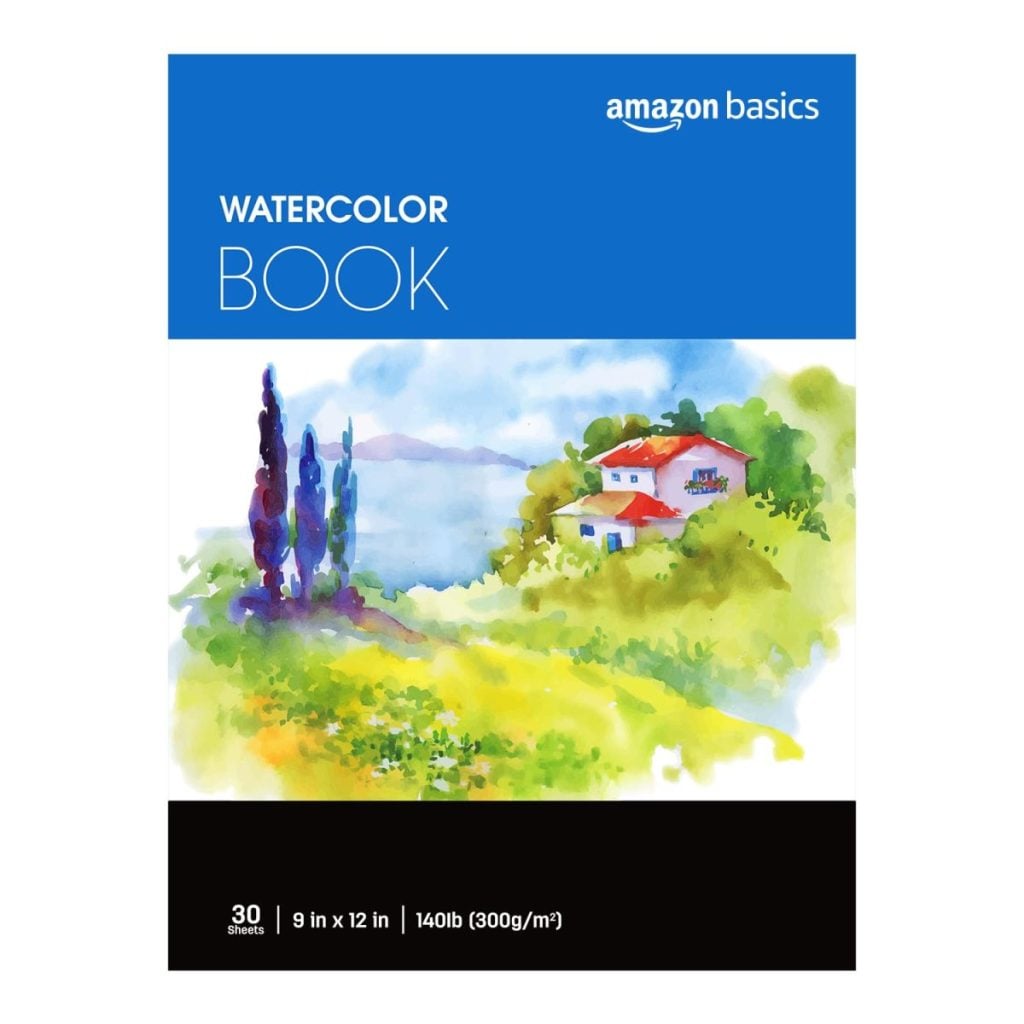
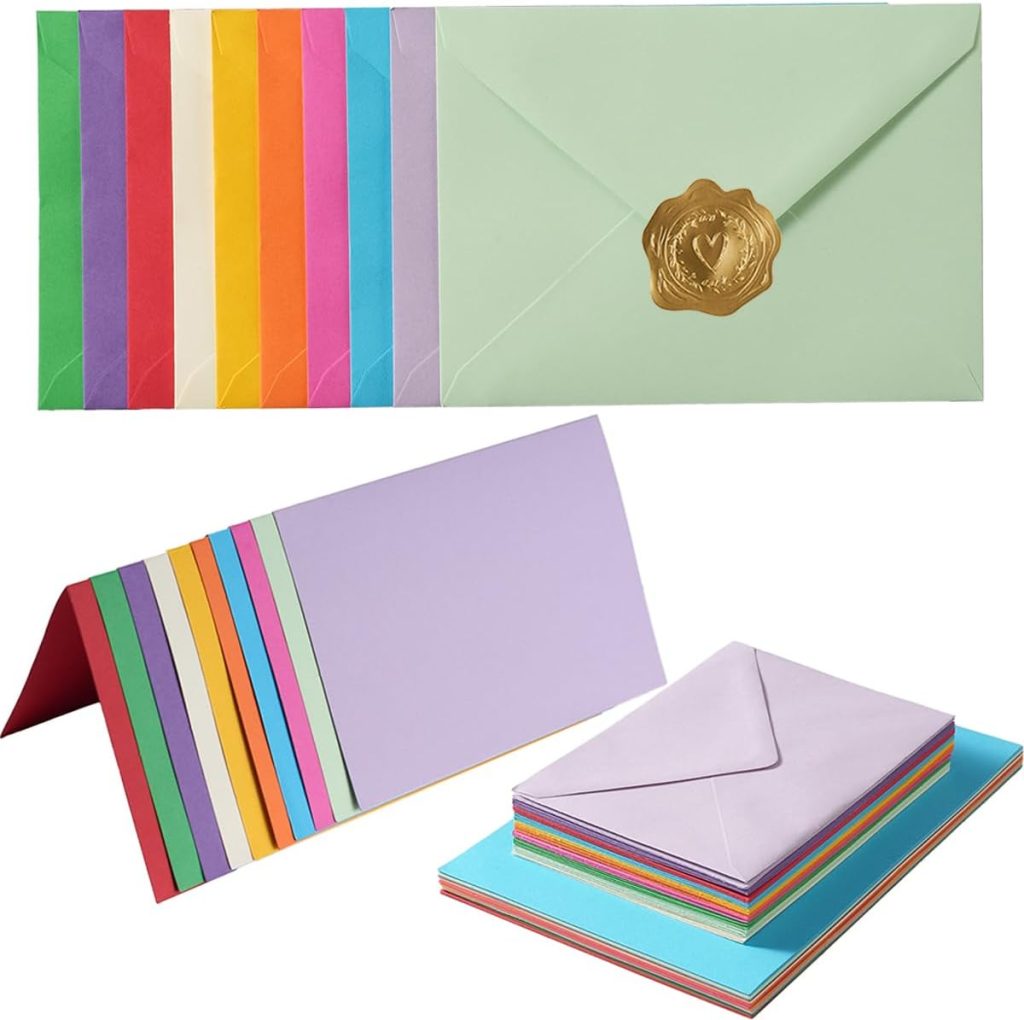
- Watercolor paper (140 lb is ideal)
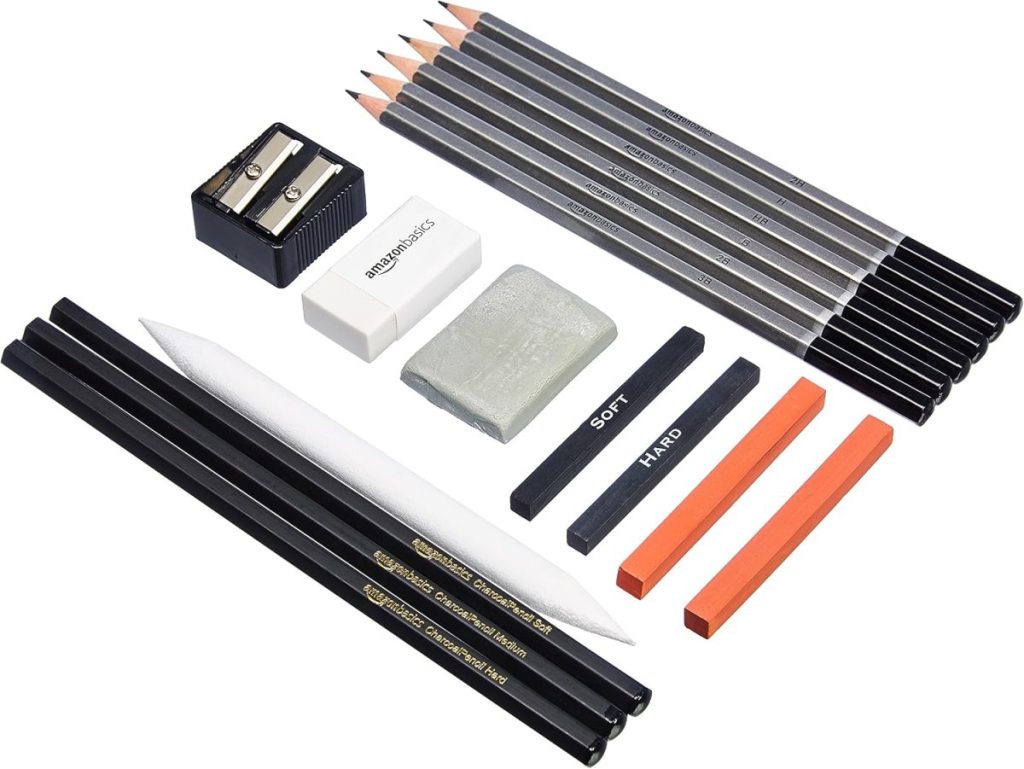
- Pencil and eraser
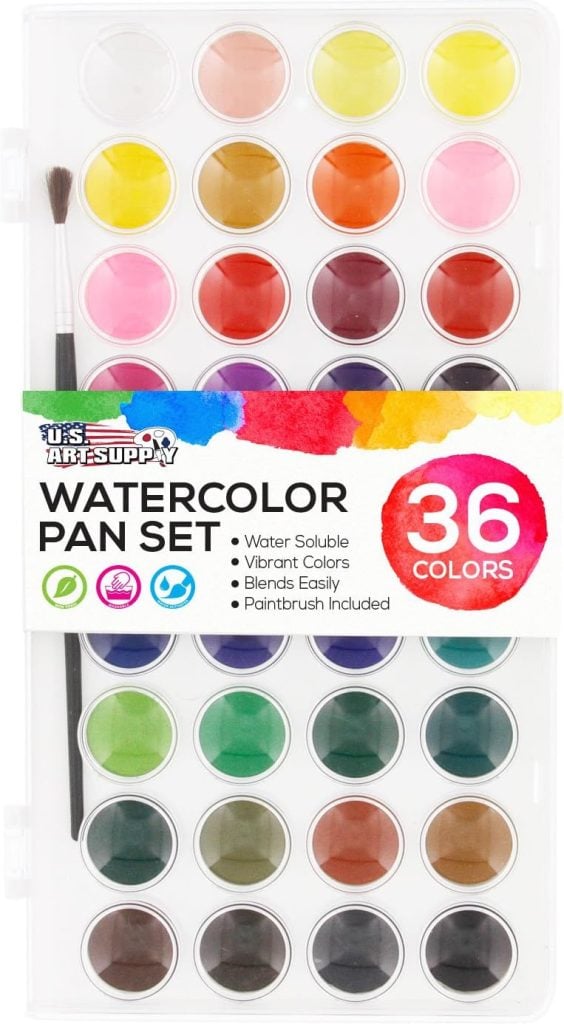
- Watercolor paints (I used a pink and orange palette)
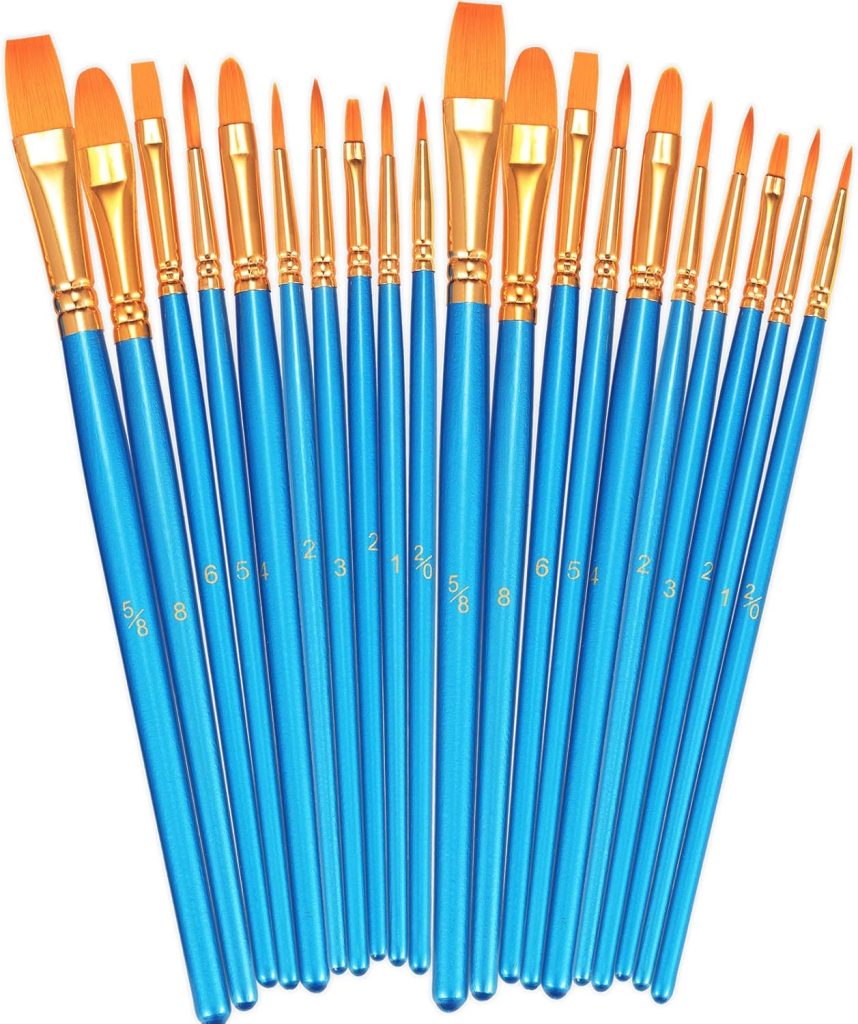
- Paintbrushes (small to medium round brushes work best)
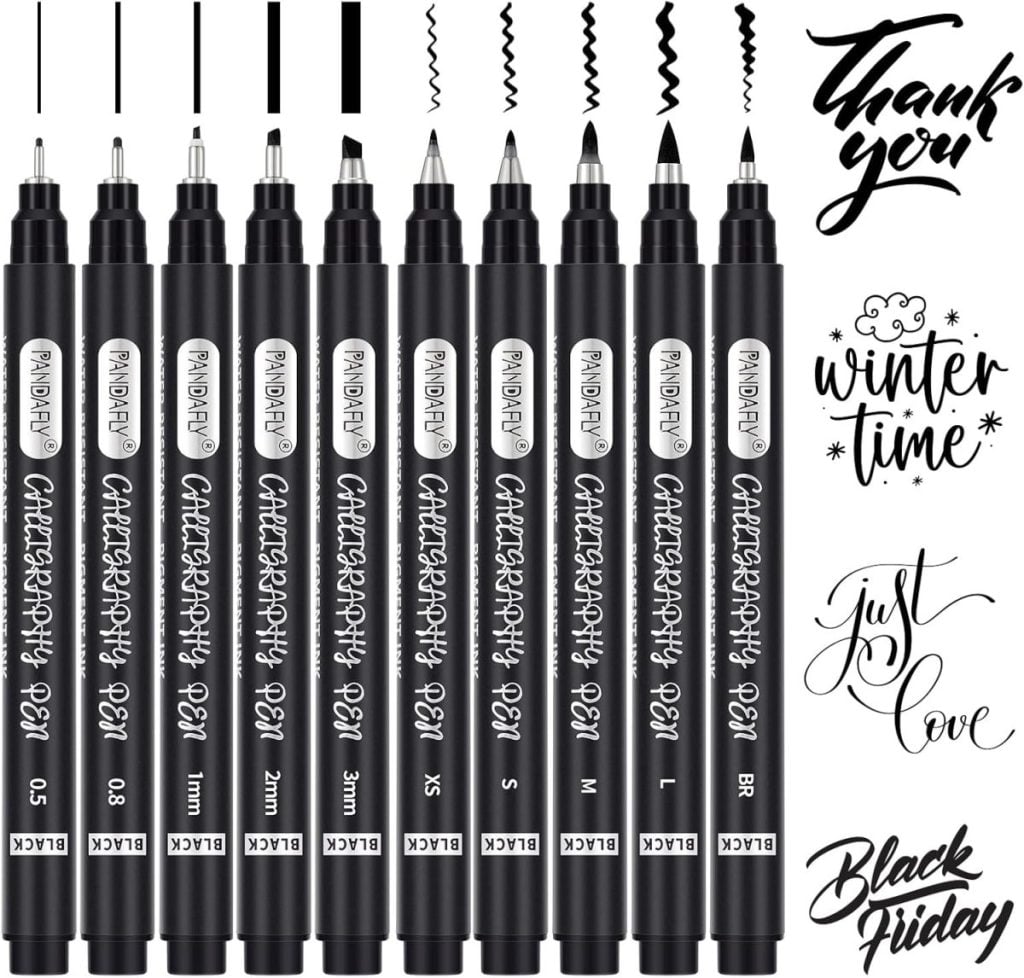
- Calligraphy ink pen or fine-tipped black marker
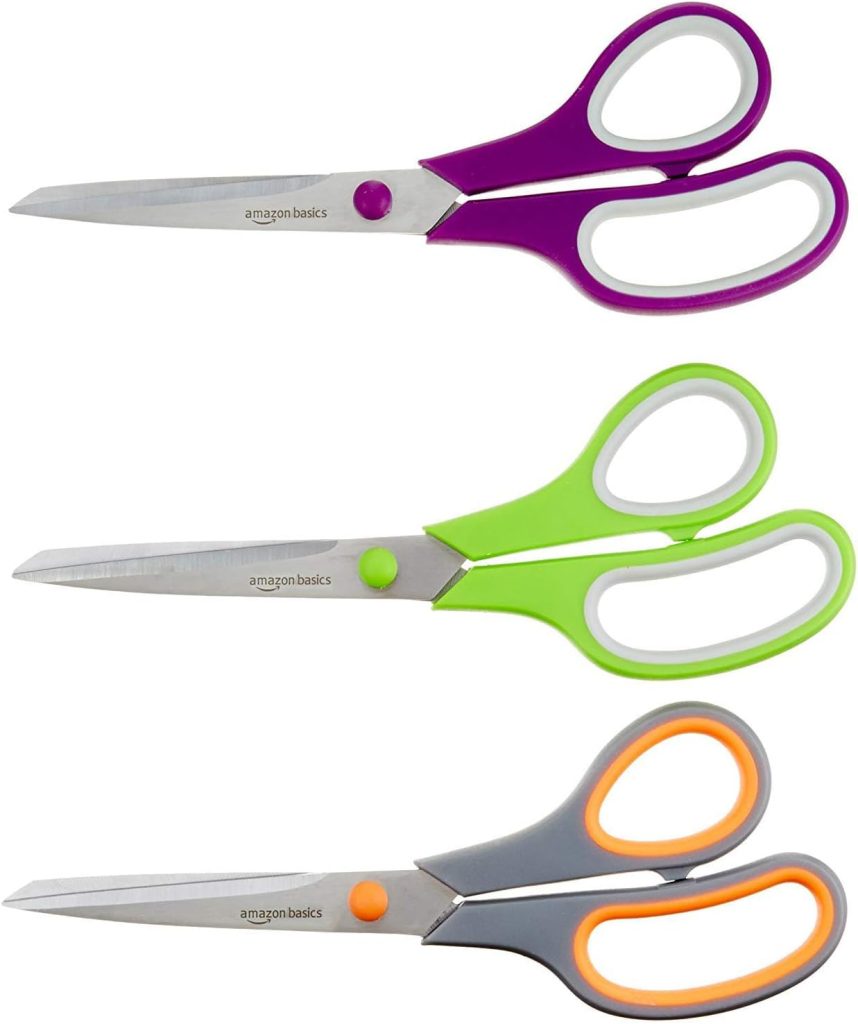
- Scissors
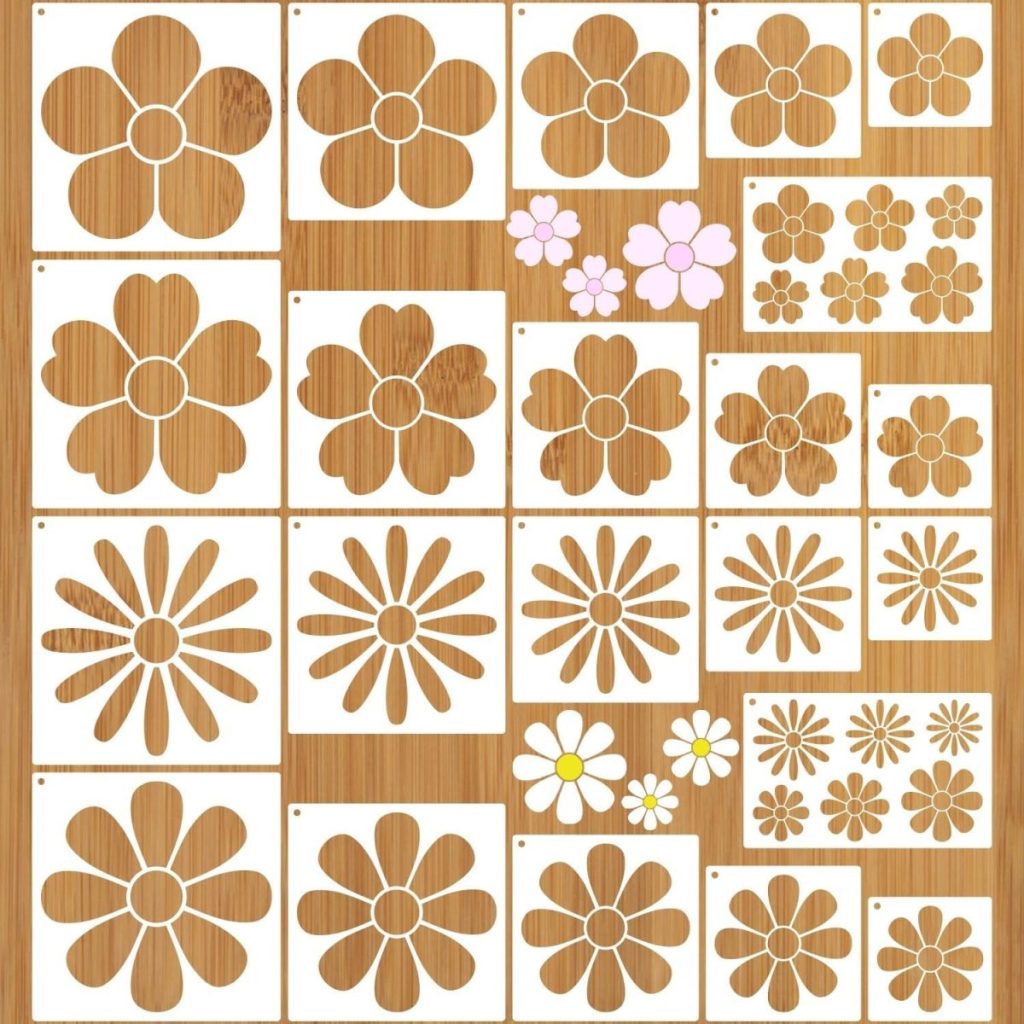
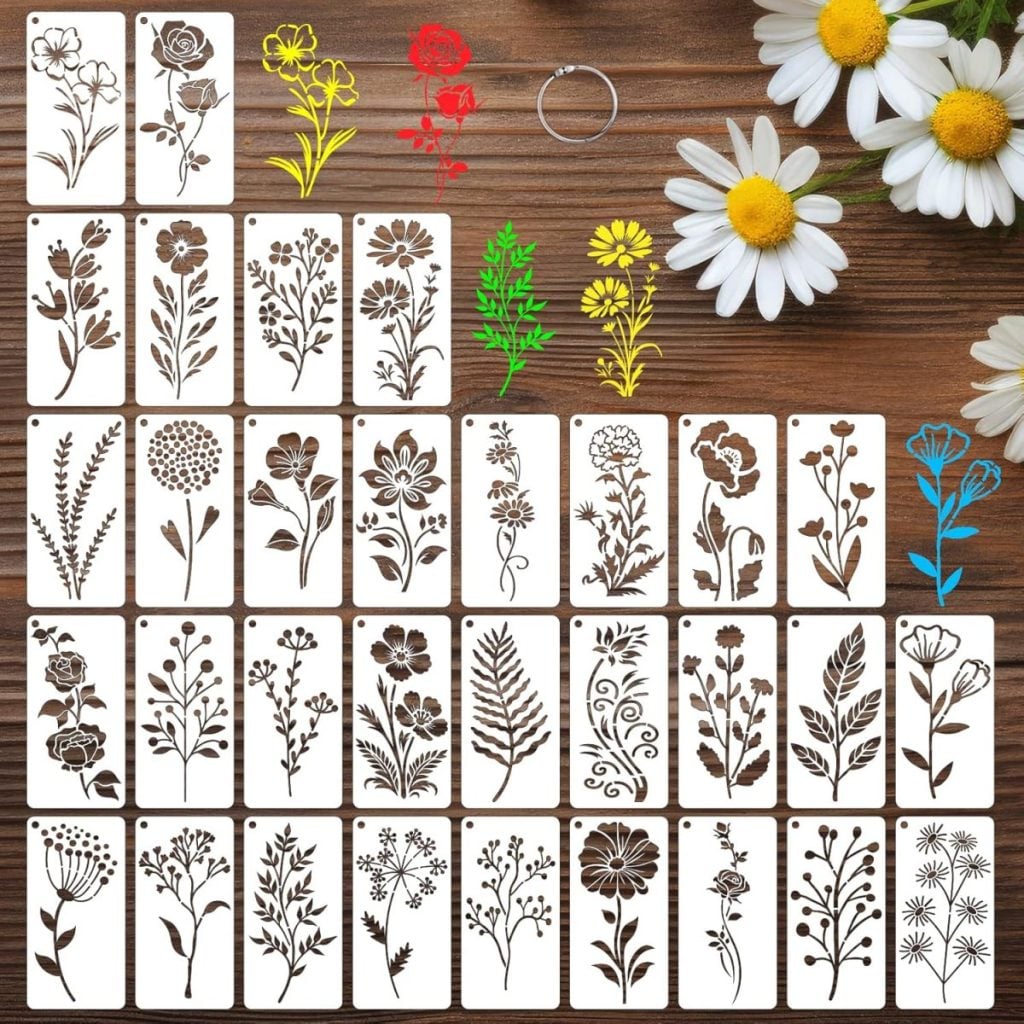
- Optional: Templates for flowers – see below.

How to Make Hand-Painted Watercolor Flowers
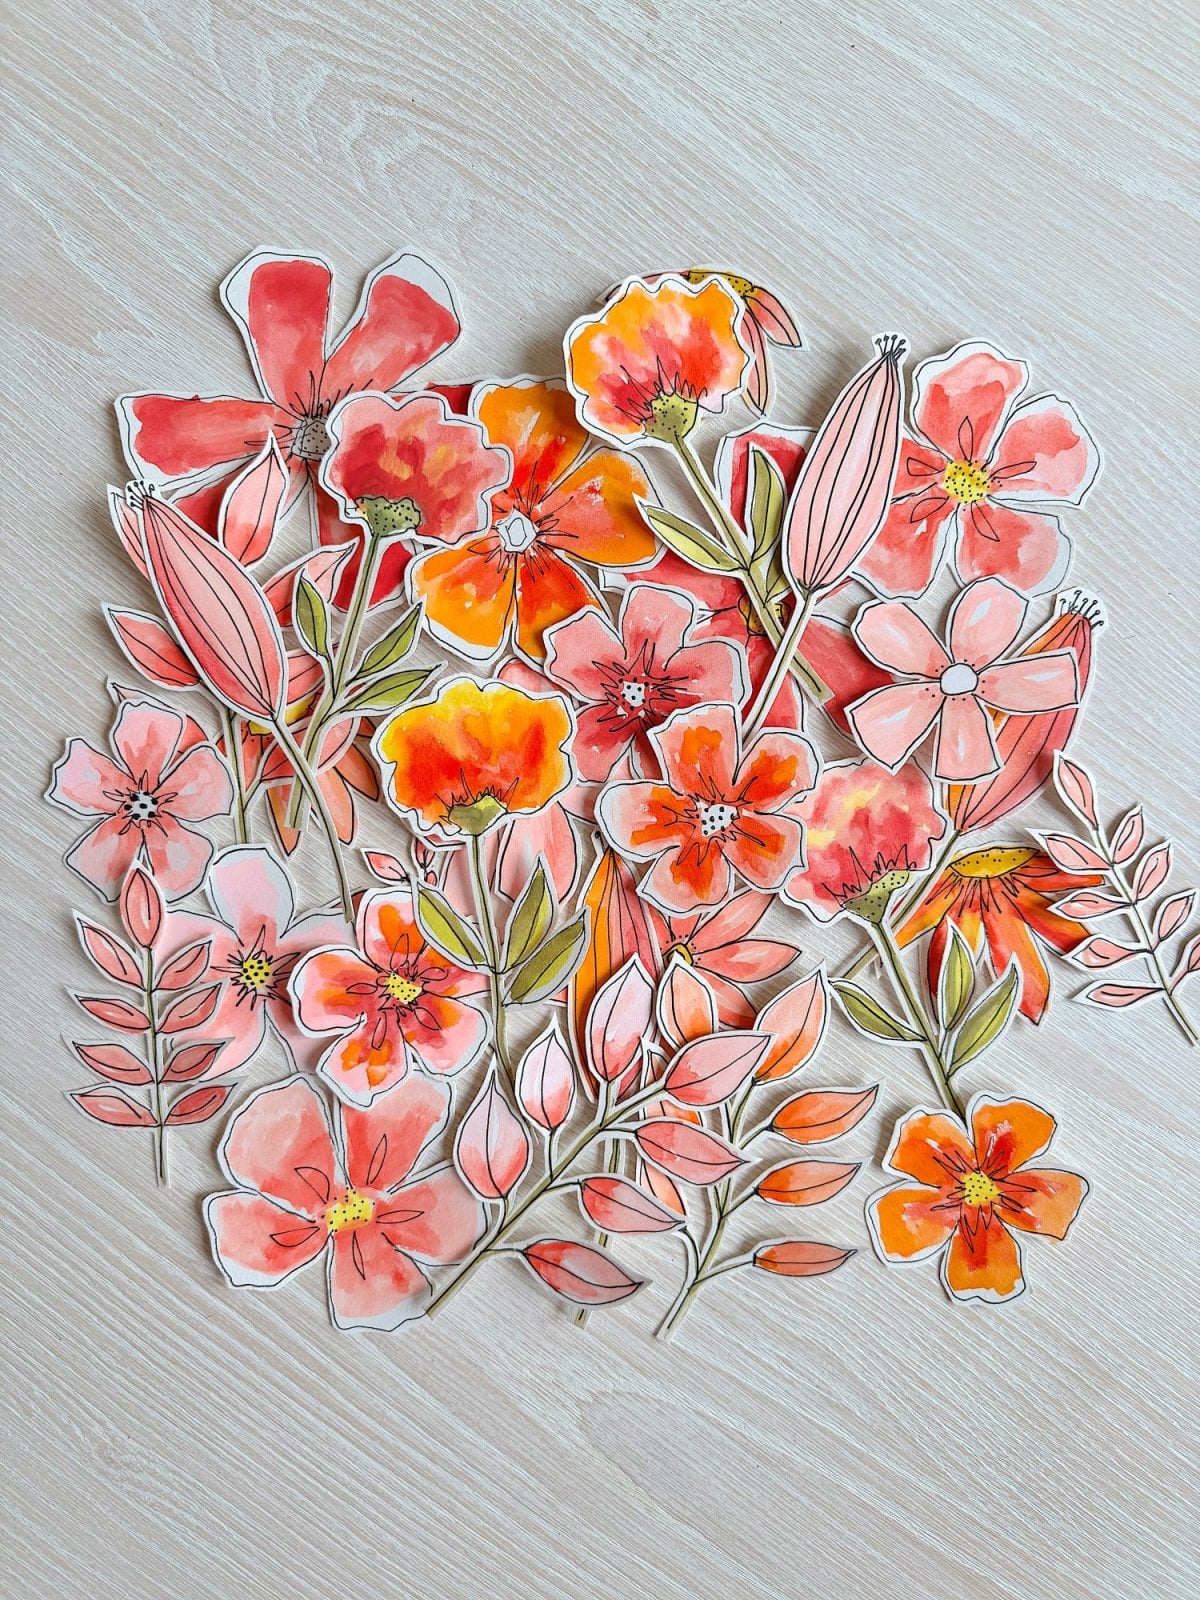
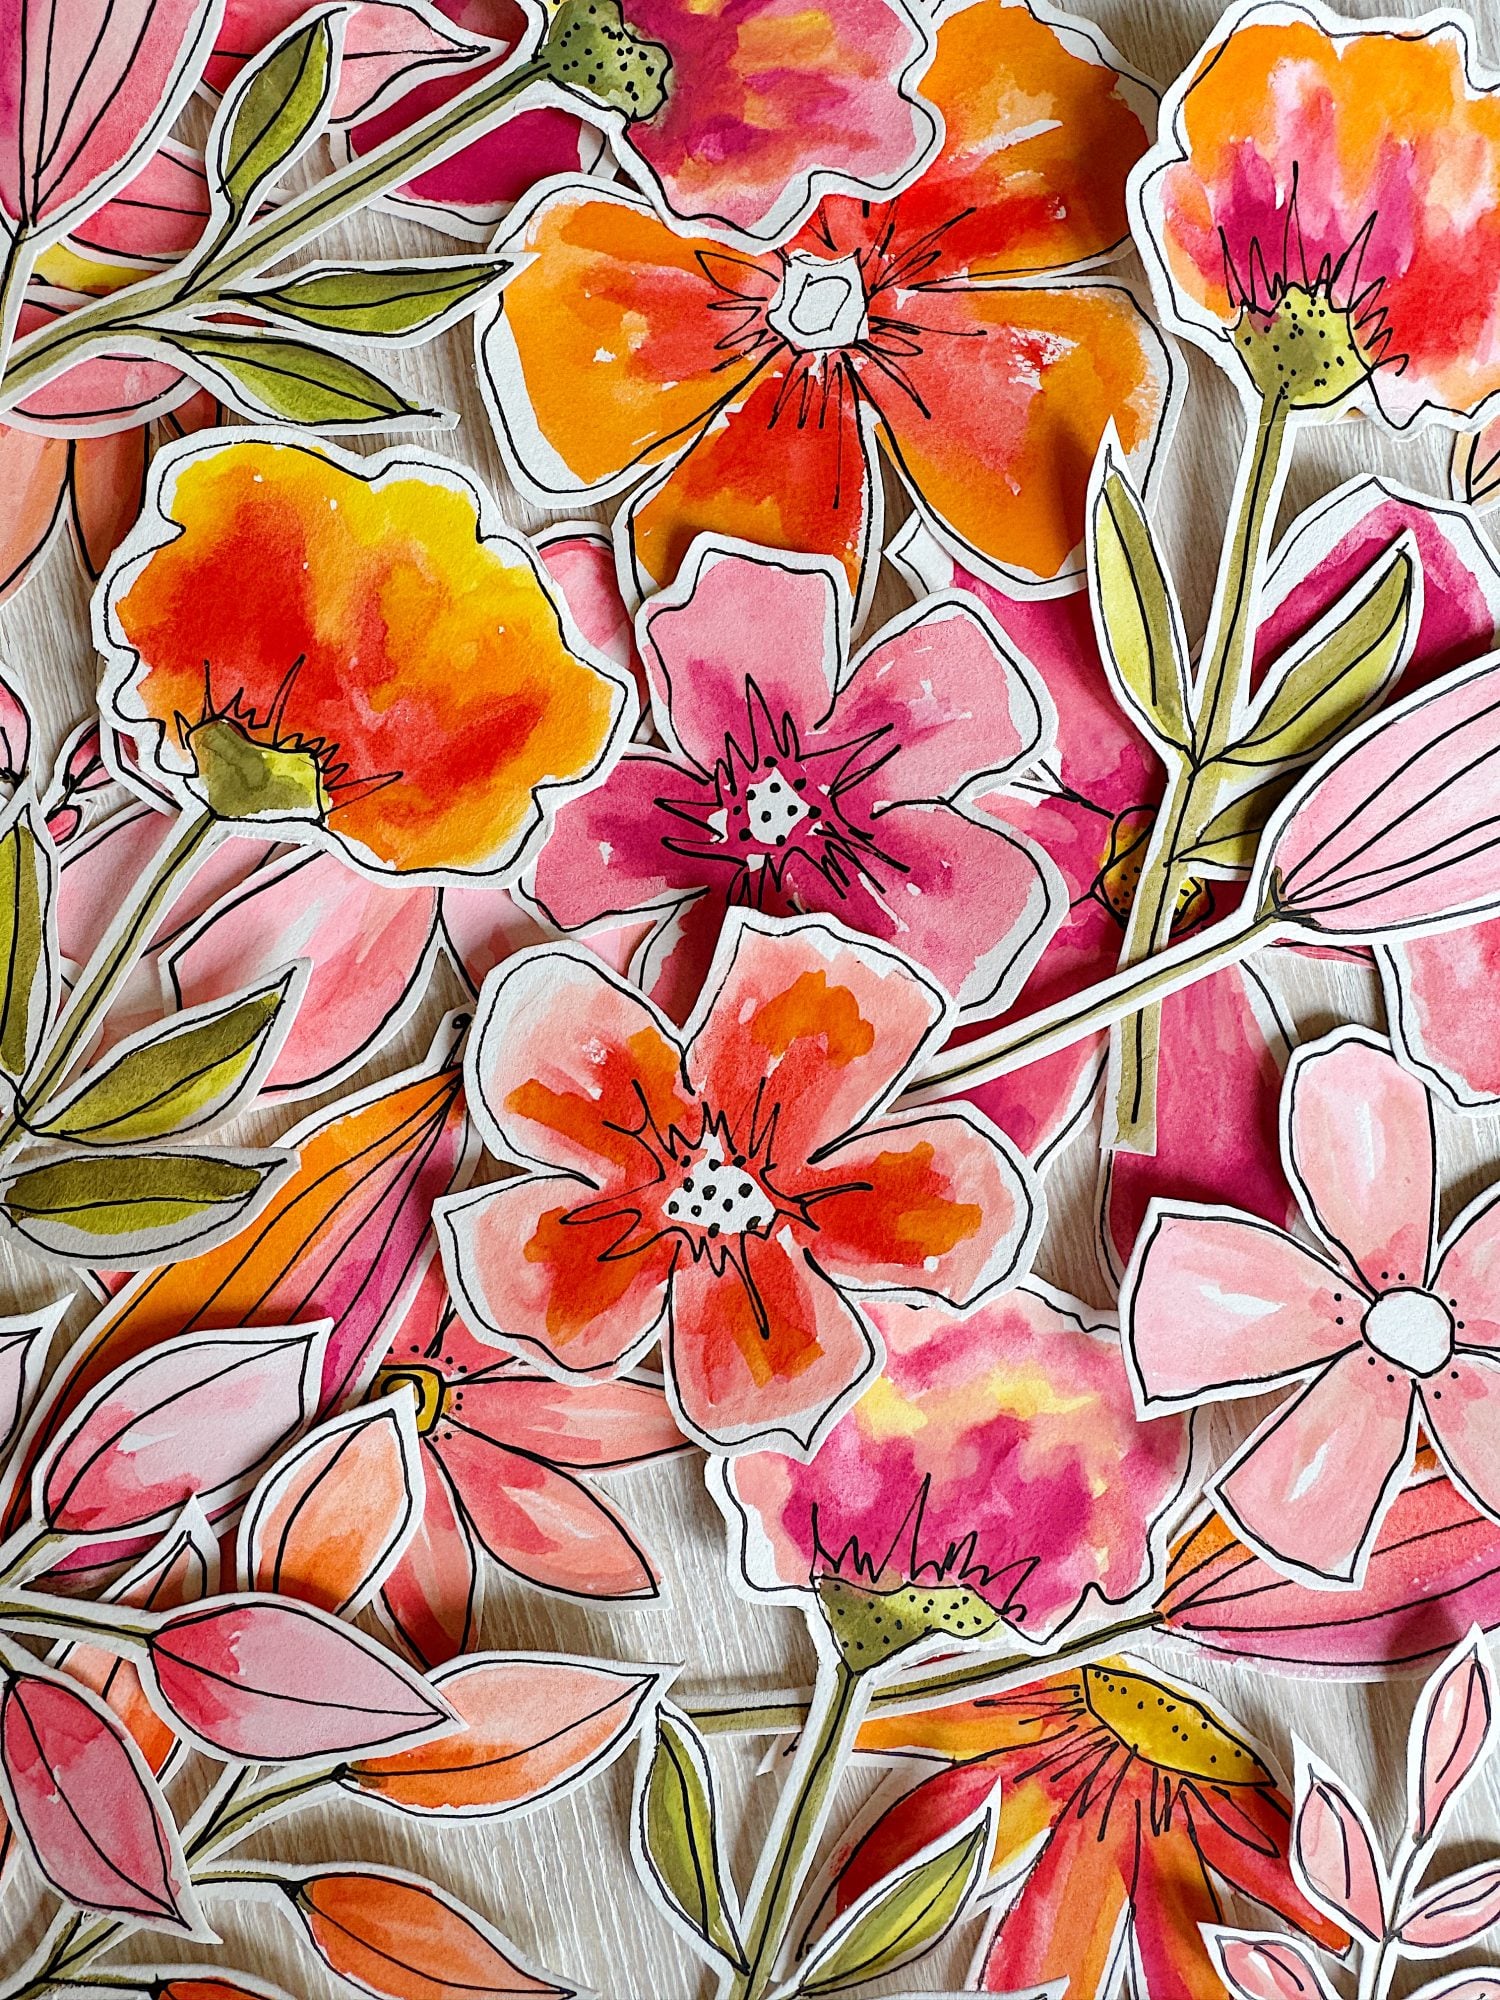
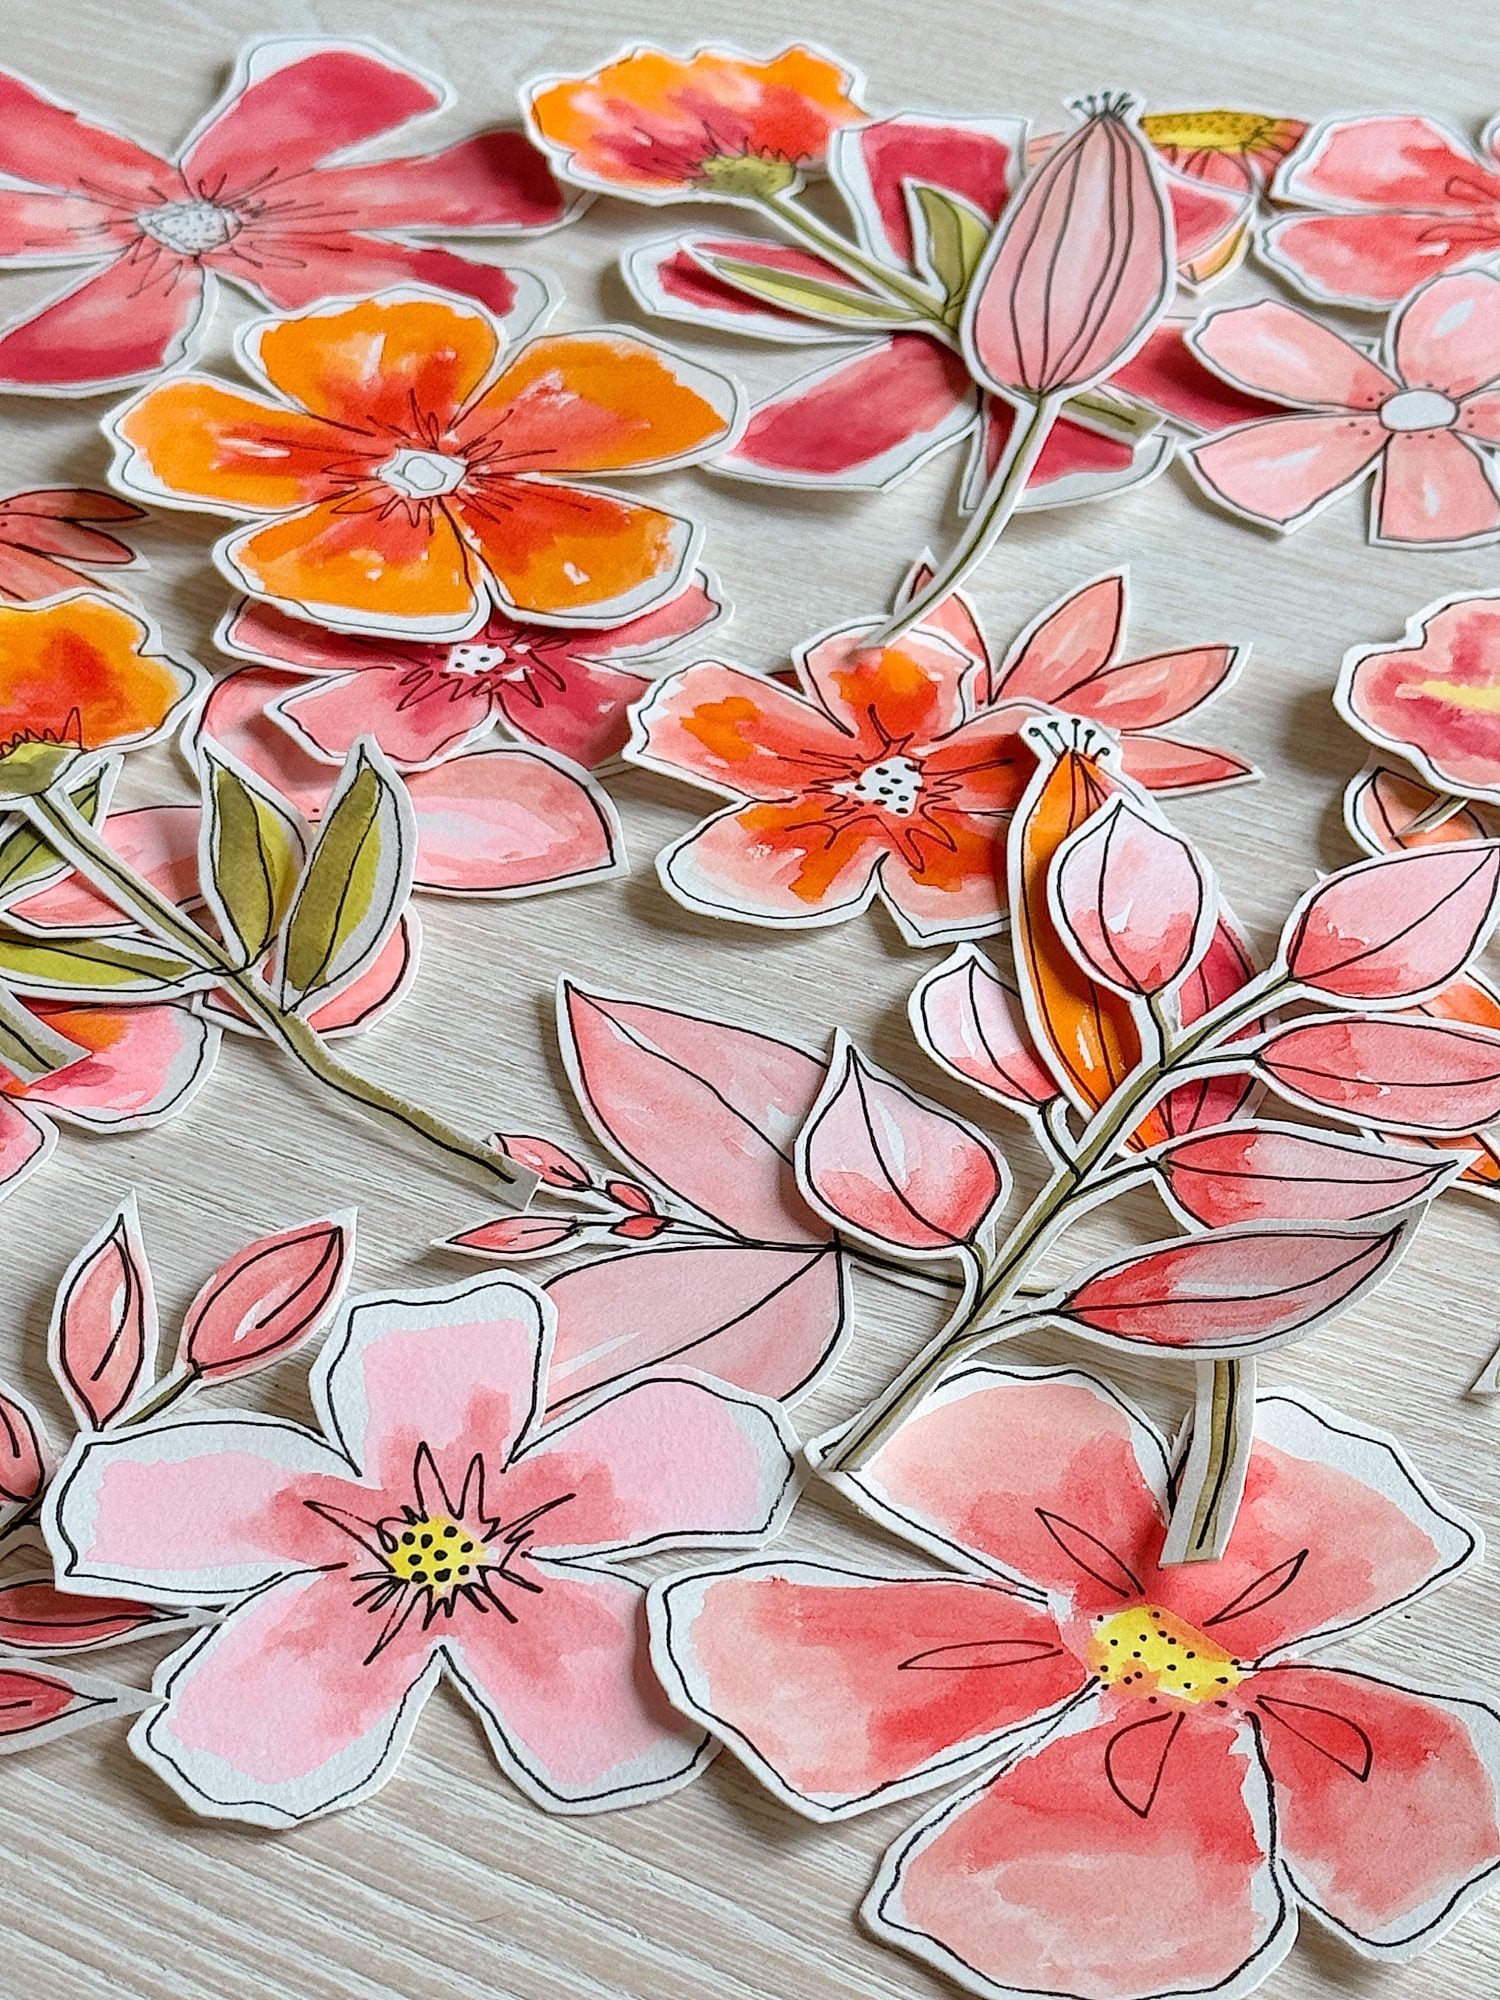
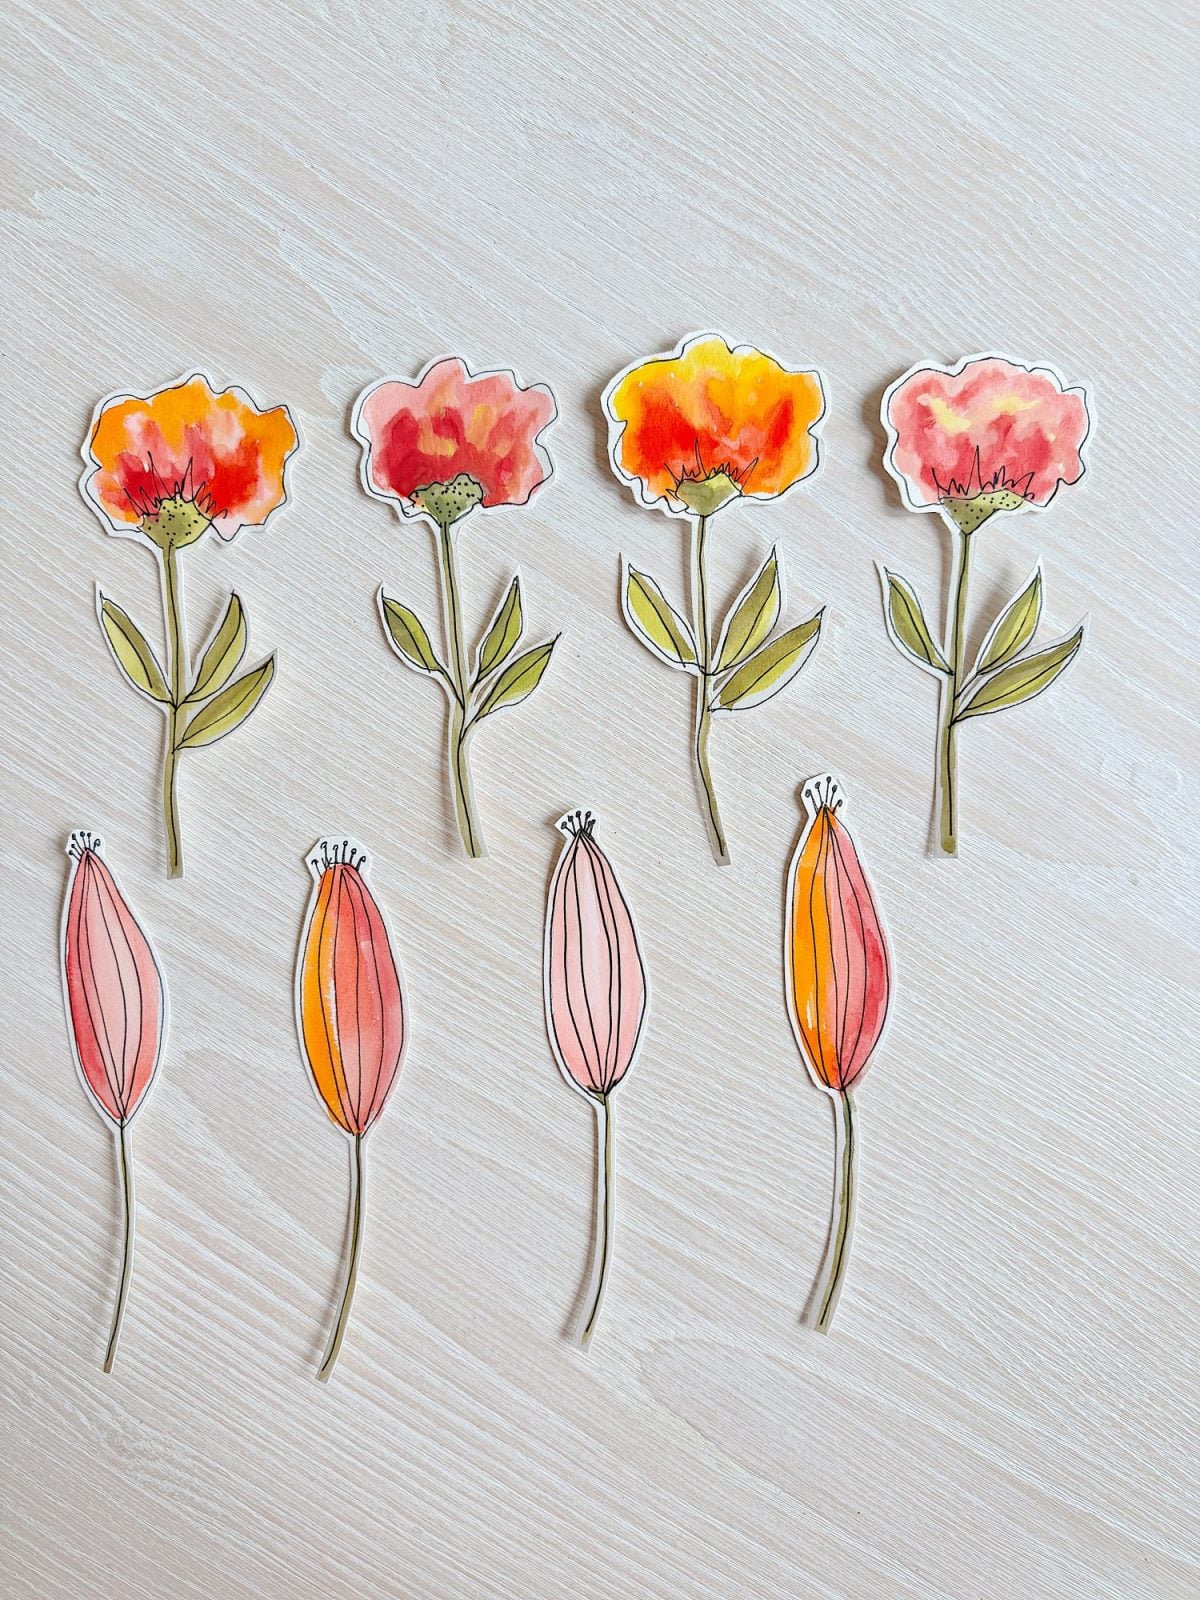
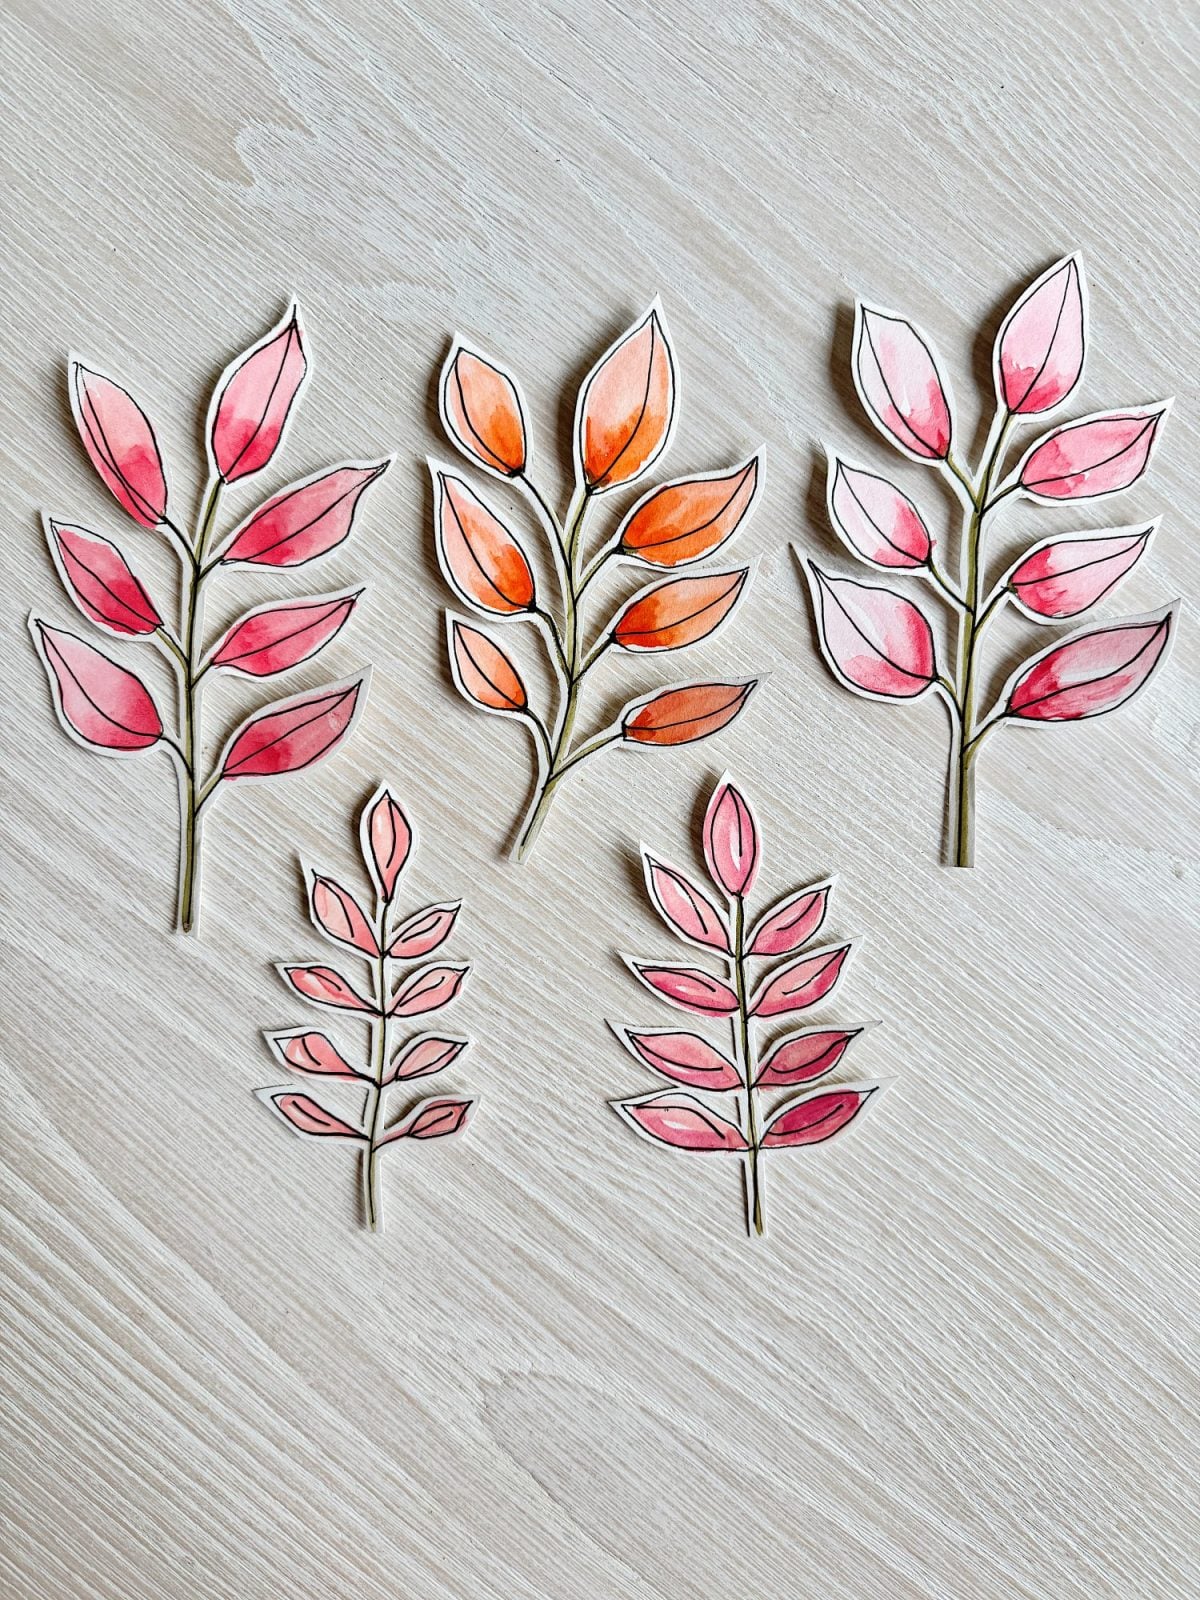
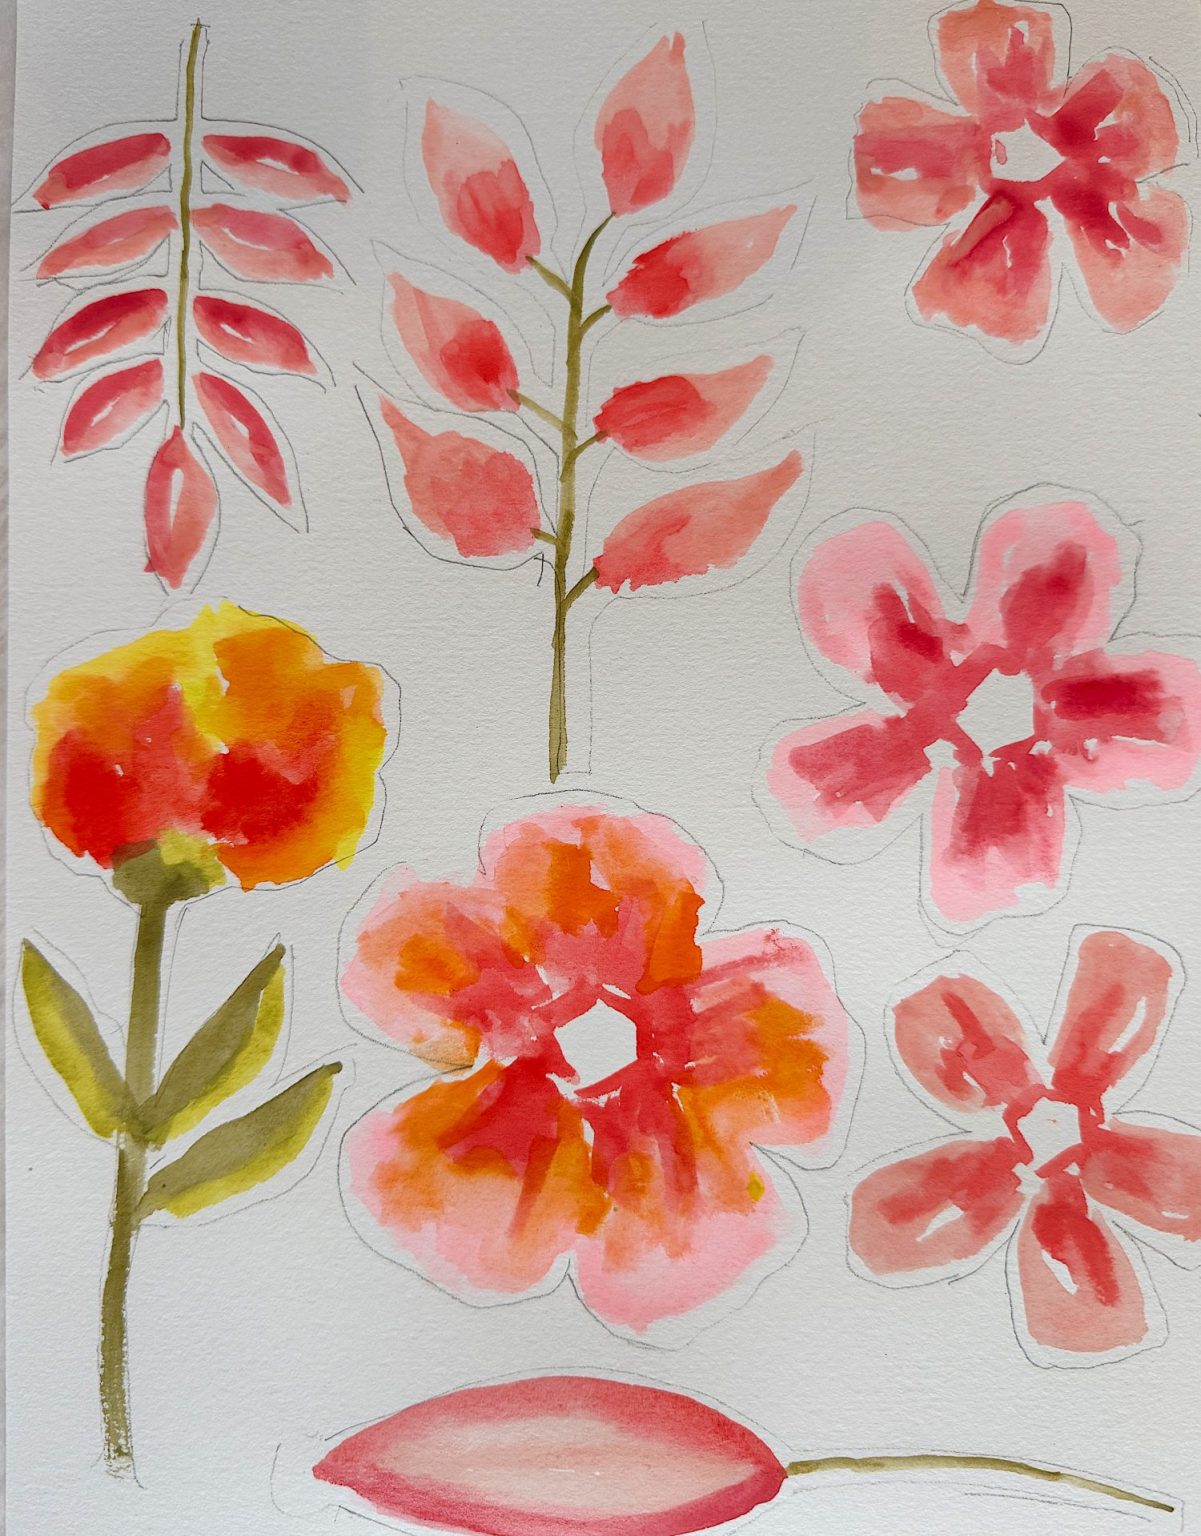
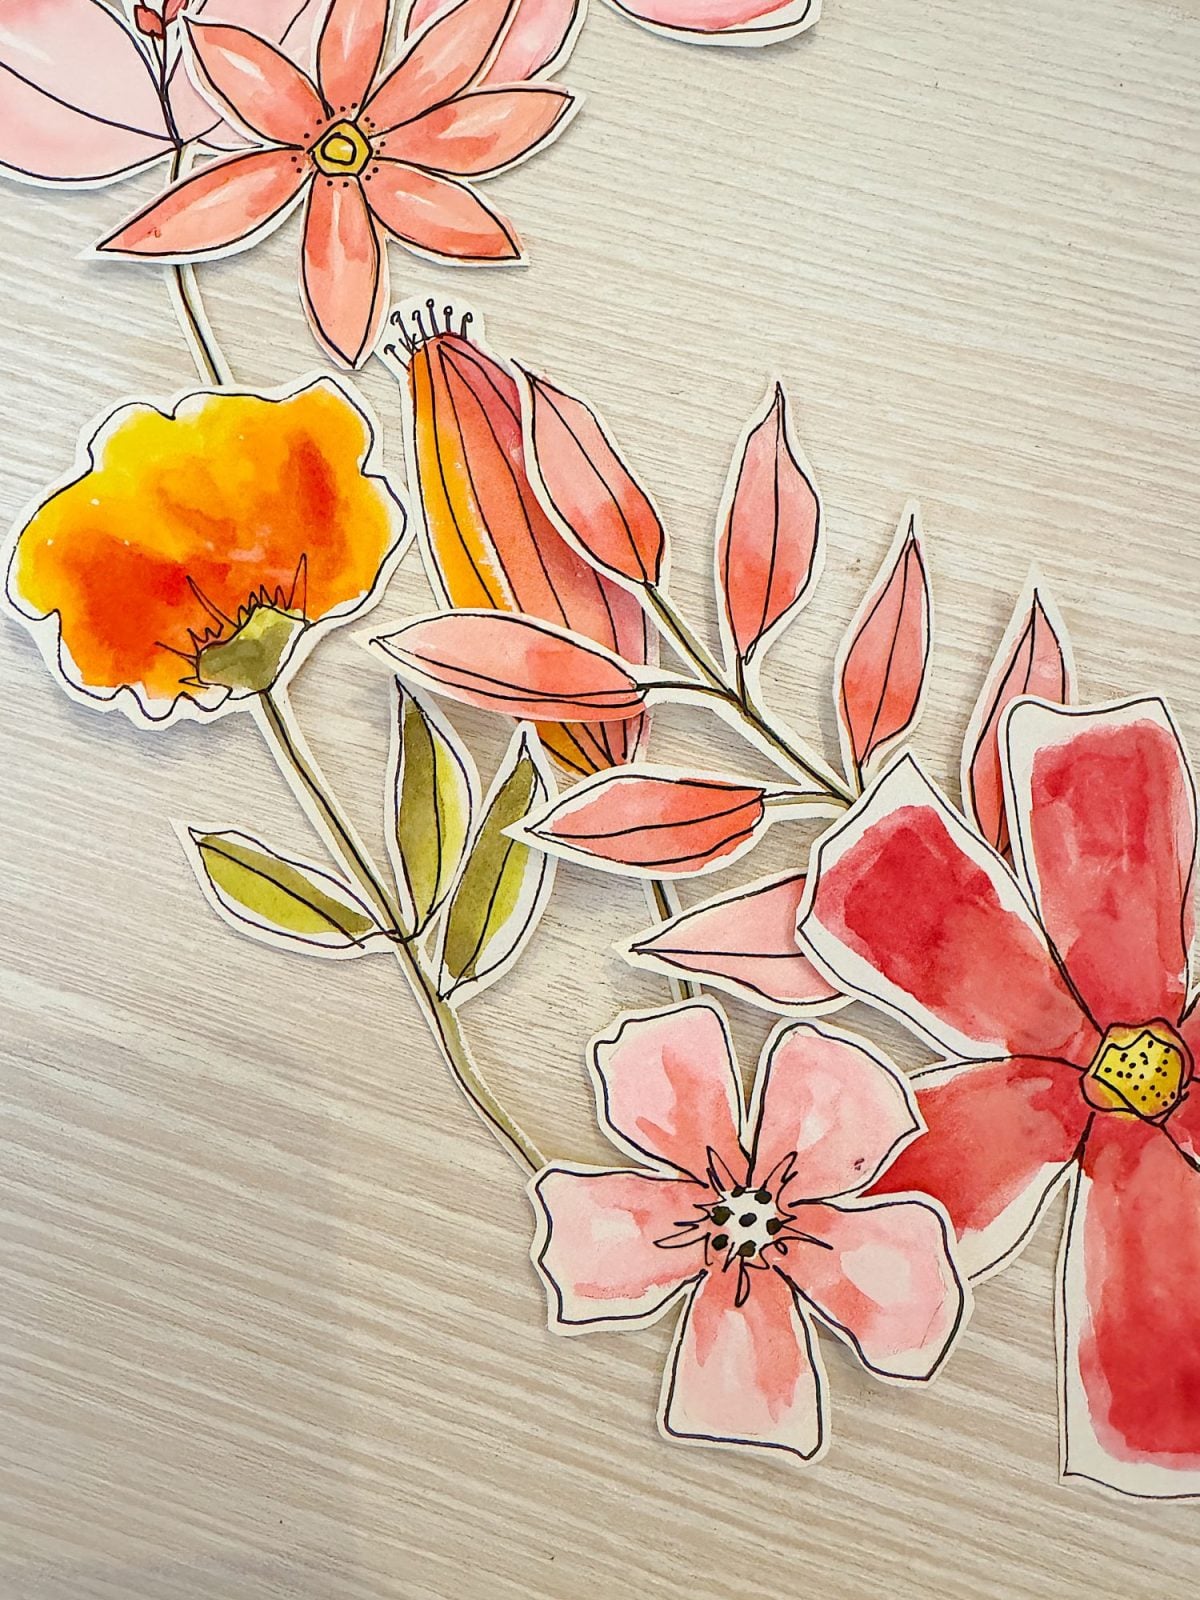
Here are all of the flowers I made for this project.
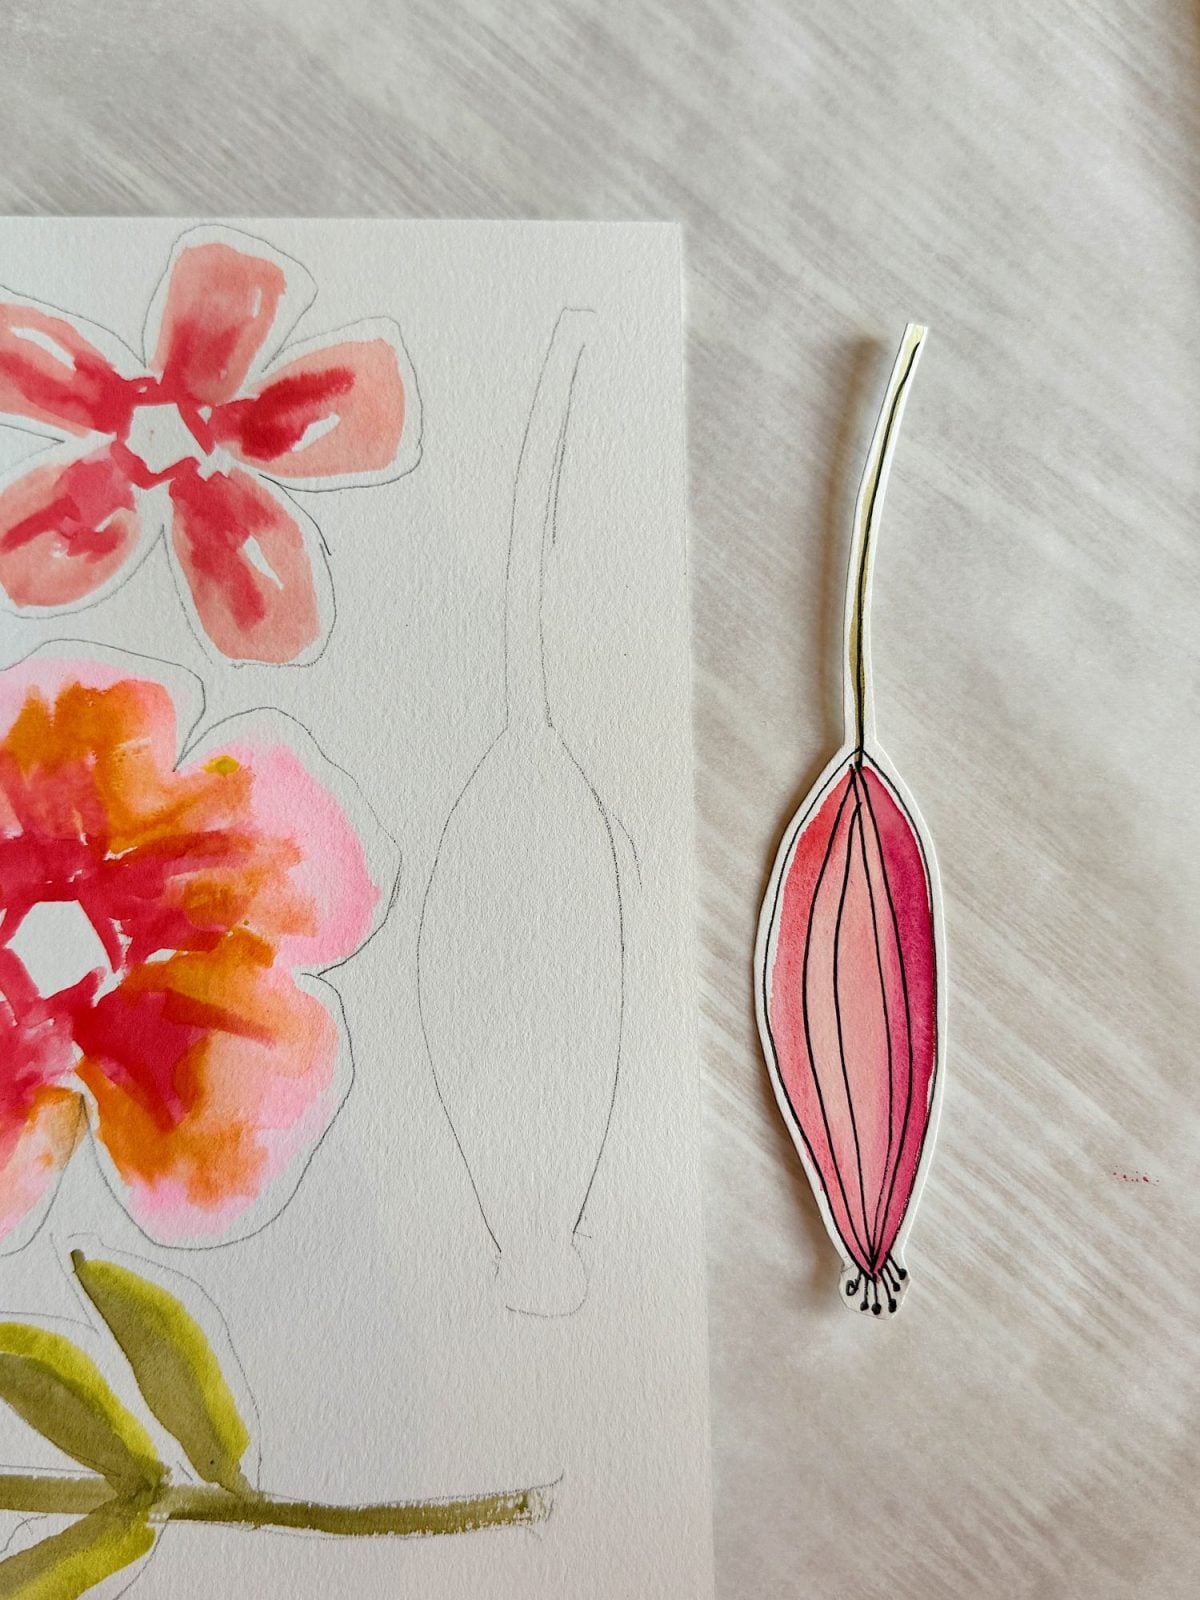
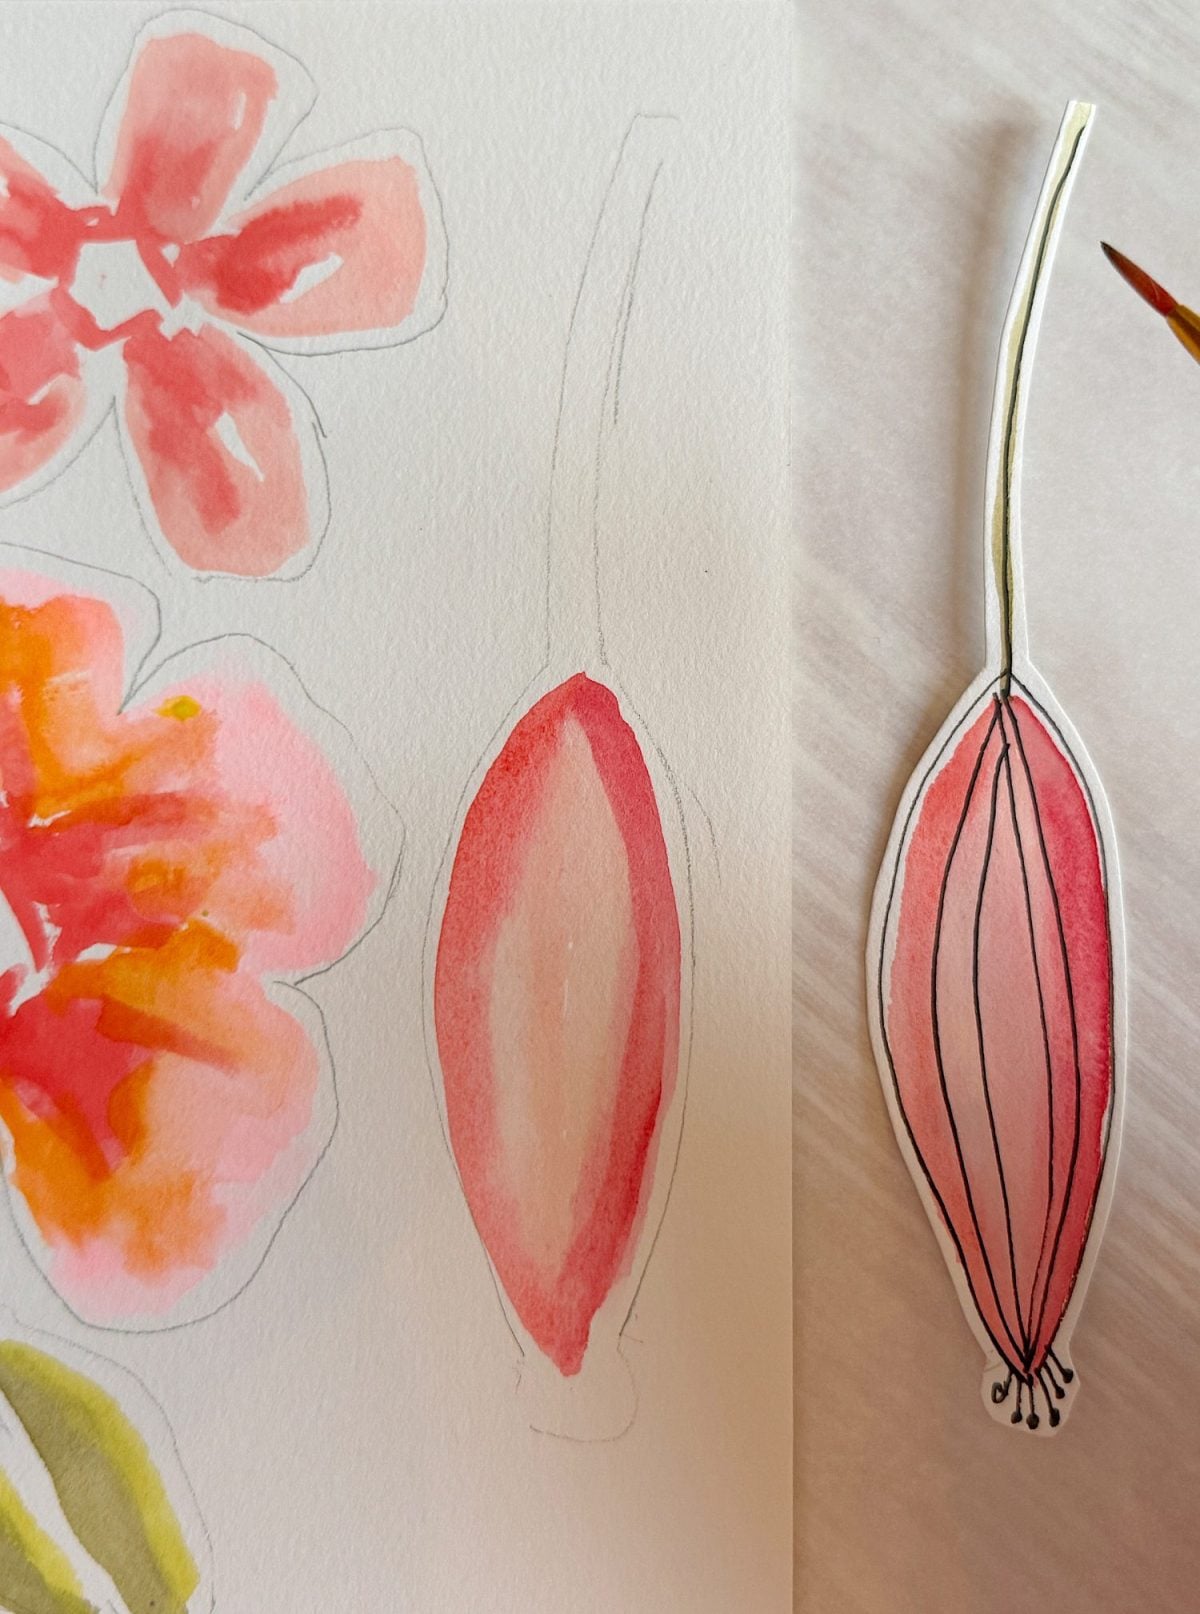
Step 1: Sketch Your Flowers

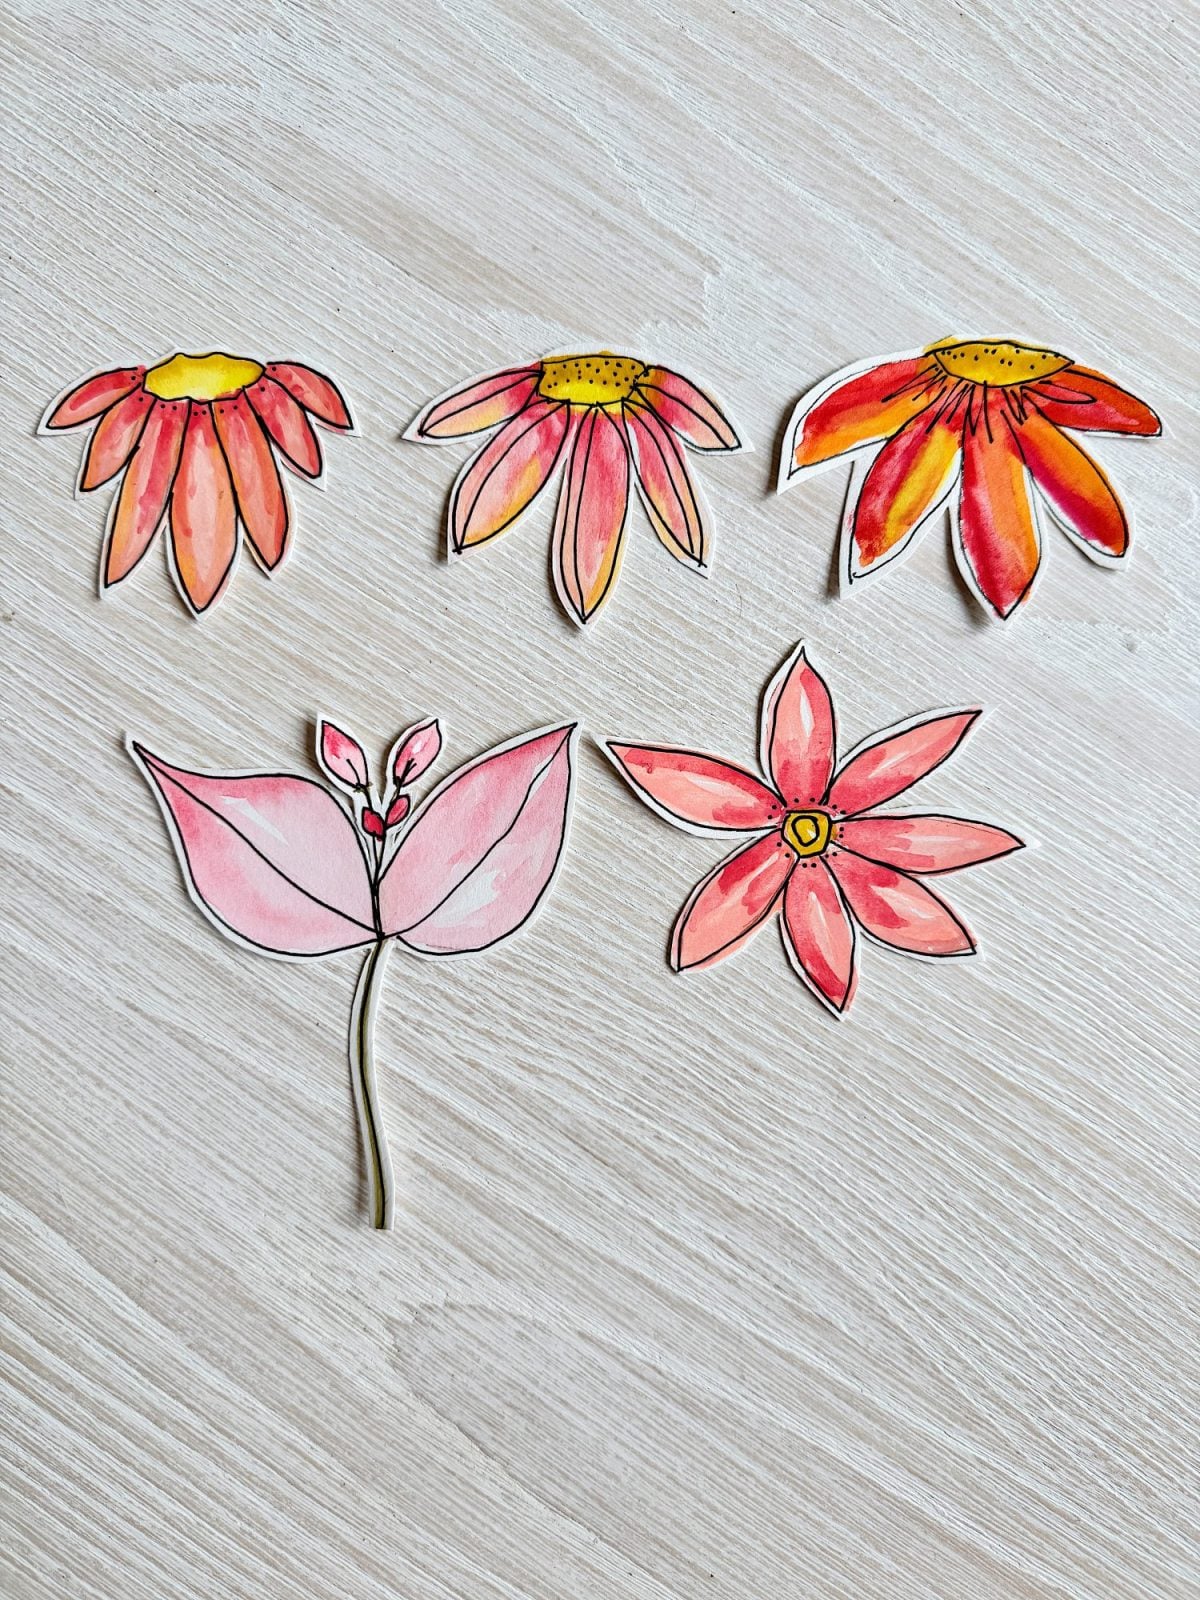
Start with your watercolor paper and lightly sketch your flower designs in pencil. I drew various petal shapes … some round and soft, others a little more pointed and whimsical. You don’t have to be an expert artist to do this. Think simple daisies, wildflowers, or loose peonies. Trust me, imperfections make them even more charming.
Don’t worry about the pencil marks showing through, as they will be erased after the paint dries.
As I made more and more flowers, I discovered a clever trick that cut my crafting time in half: Use your finished flowers as stencils!
Place a completed flower over a new sheet of watercolor paper, trace the shape lightly in pencil, and repeat. This allowed me to mass-produce flowers quickly while keeping the hand-painted charm. You still get all the beauty of a handmade piece, but with far less effort.
Step 2: Paint Your Flowers
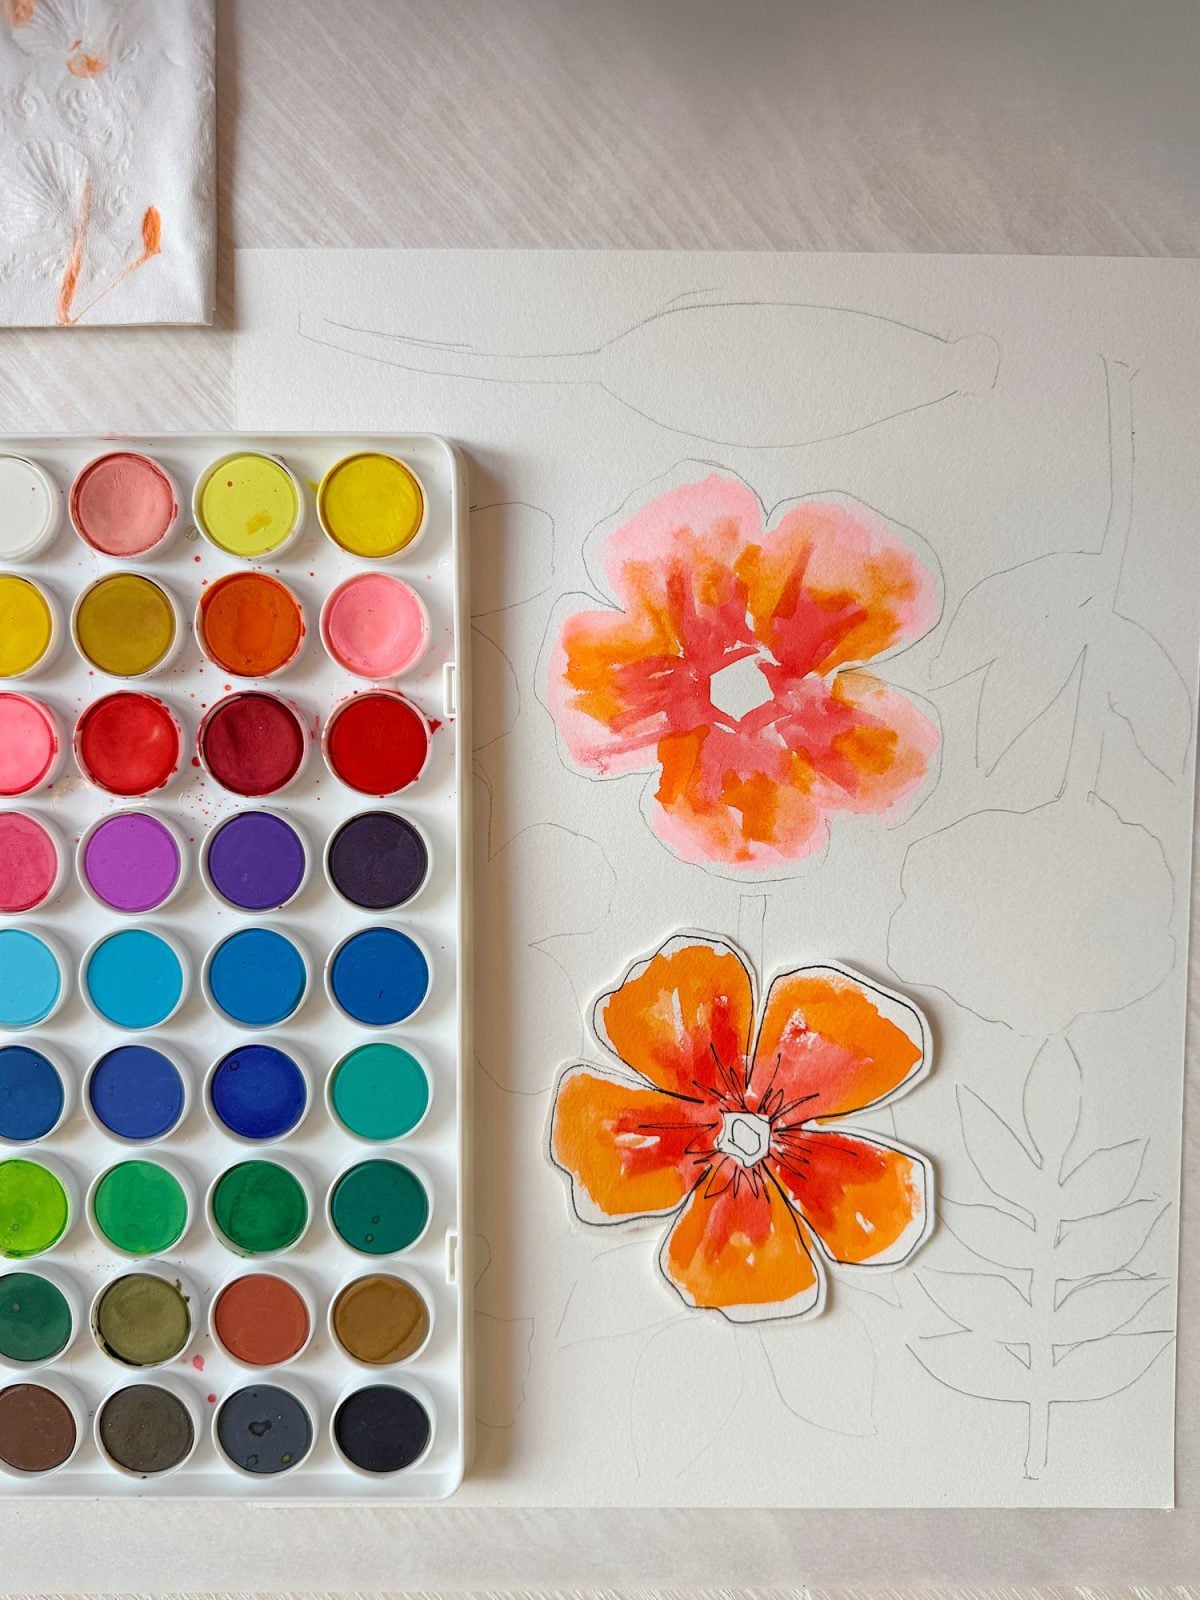
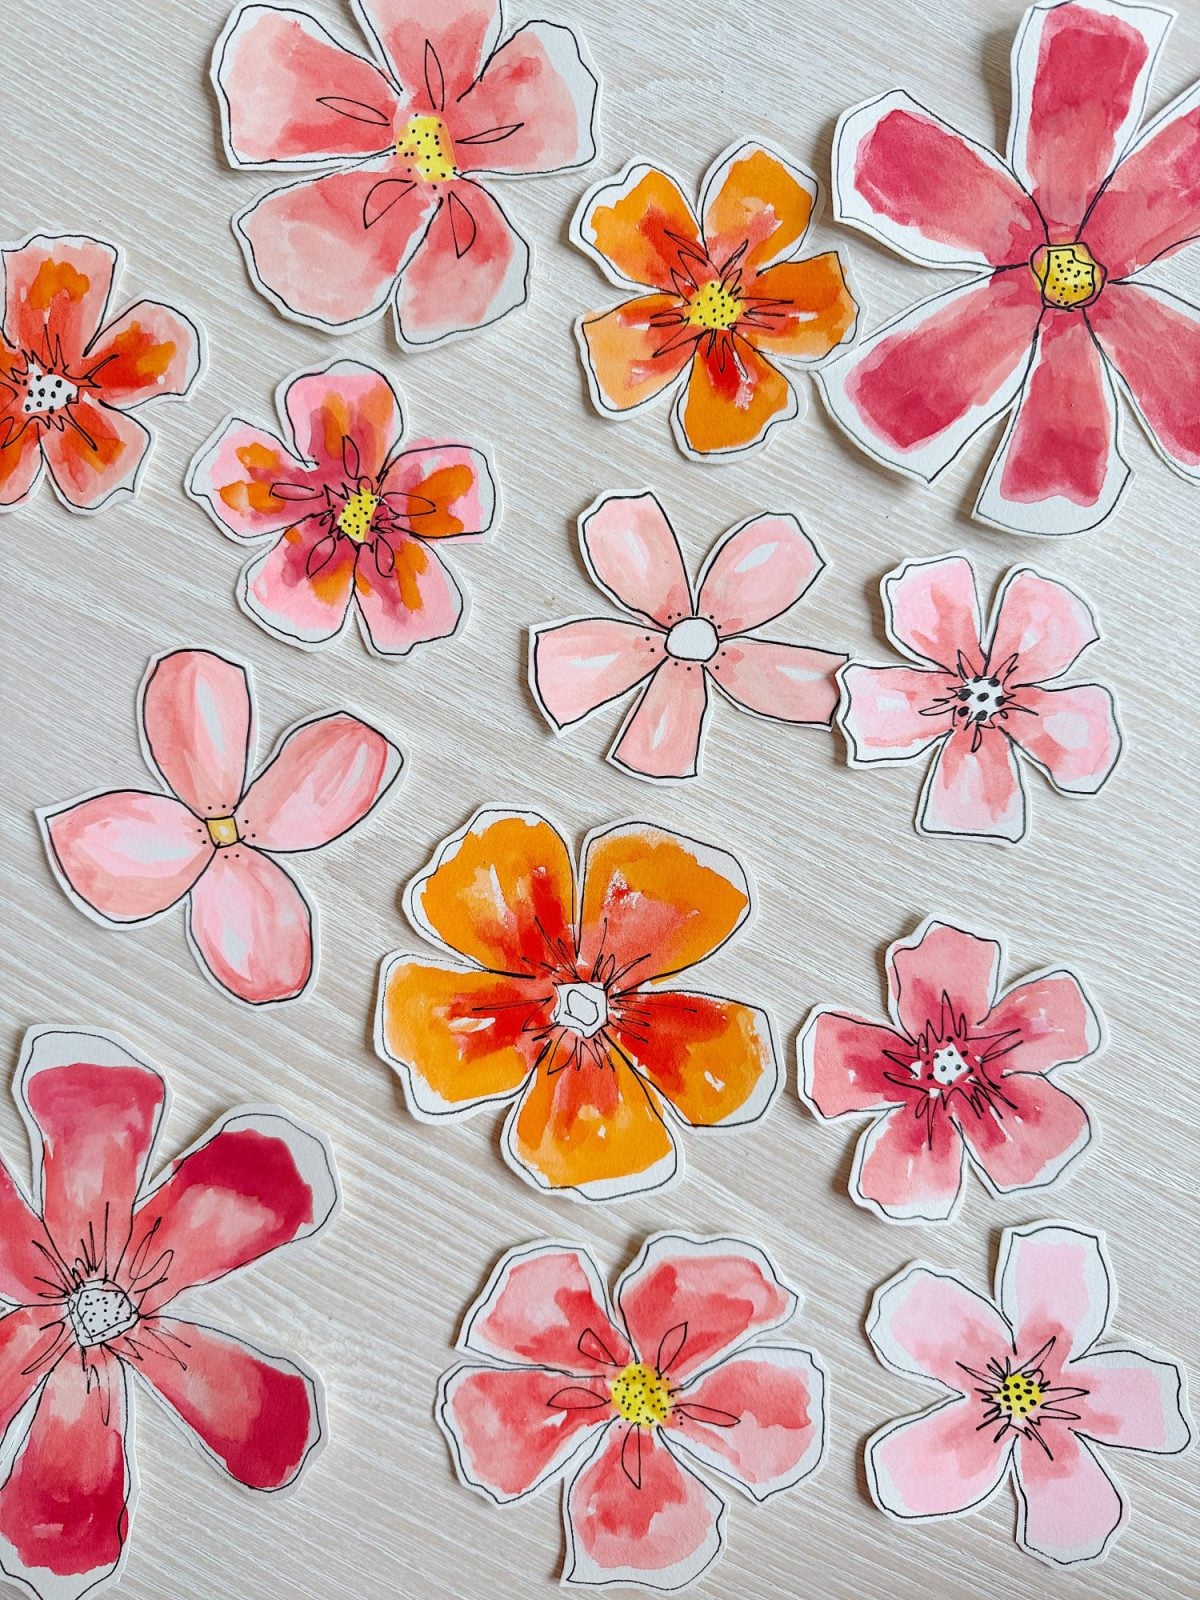
Once you’ve sketched all your flowers, it’s time to paint! I chose a soft, spring-inspired palette of pinks and oranges, with touches of yellow and coral. Watercolor is very forgiving; part of its beauty lies in how the colors bleed and blend.
Be very careful not to paint on the pencil edge. It won’t erase if covered with paint!
Try painting with wet-on-wet (wetting the paper before applying paint) for softer edges or wet-on-dry for more defined strokes. I painted each petal individually and did not paint wet-on-wet, allowing the color to pool slightly in the center for a natural gradient effect.
Let your flowers dry completely before moving on to the next step.
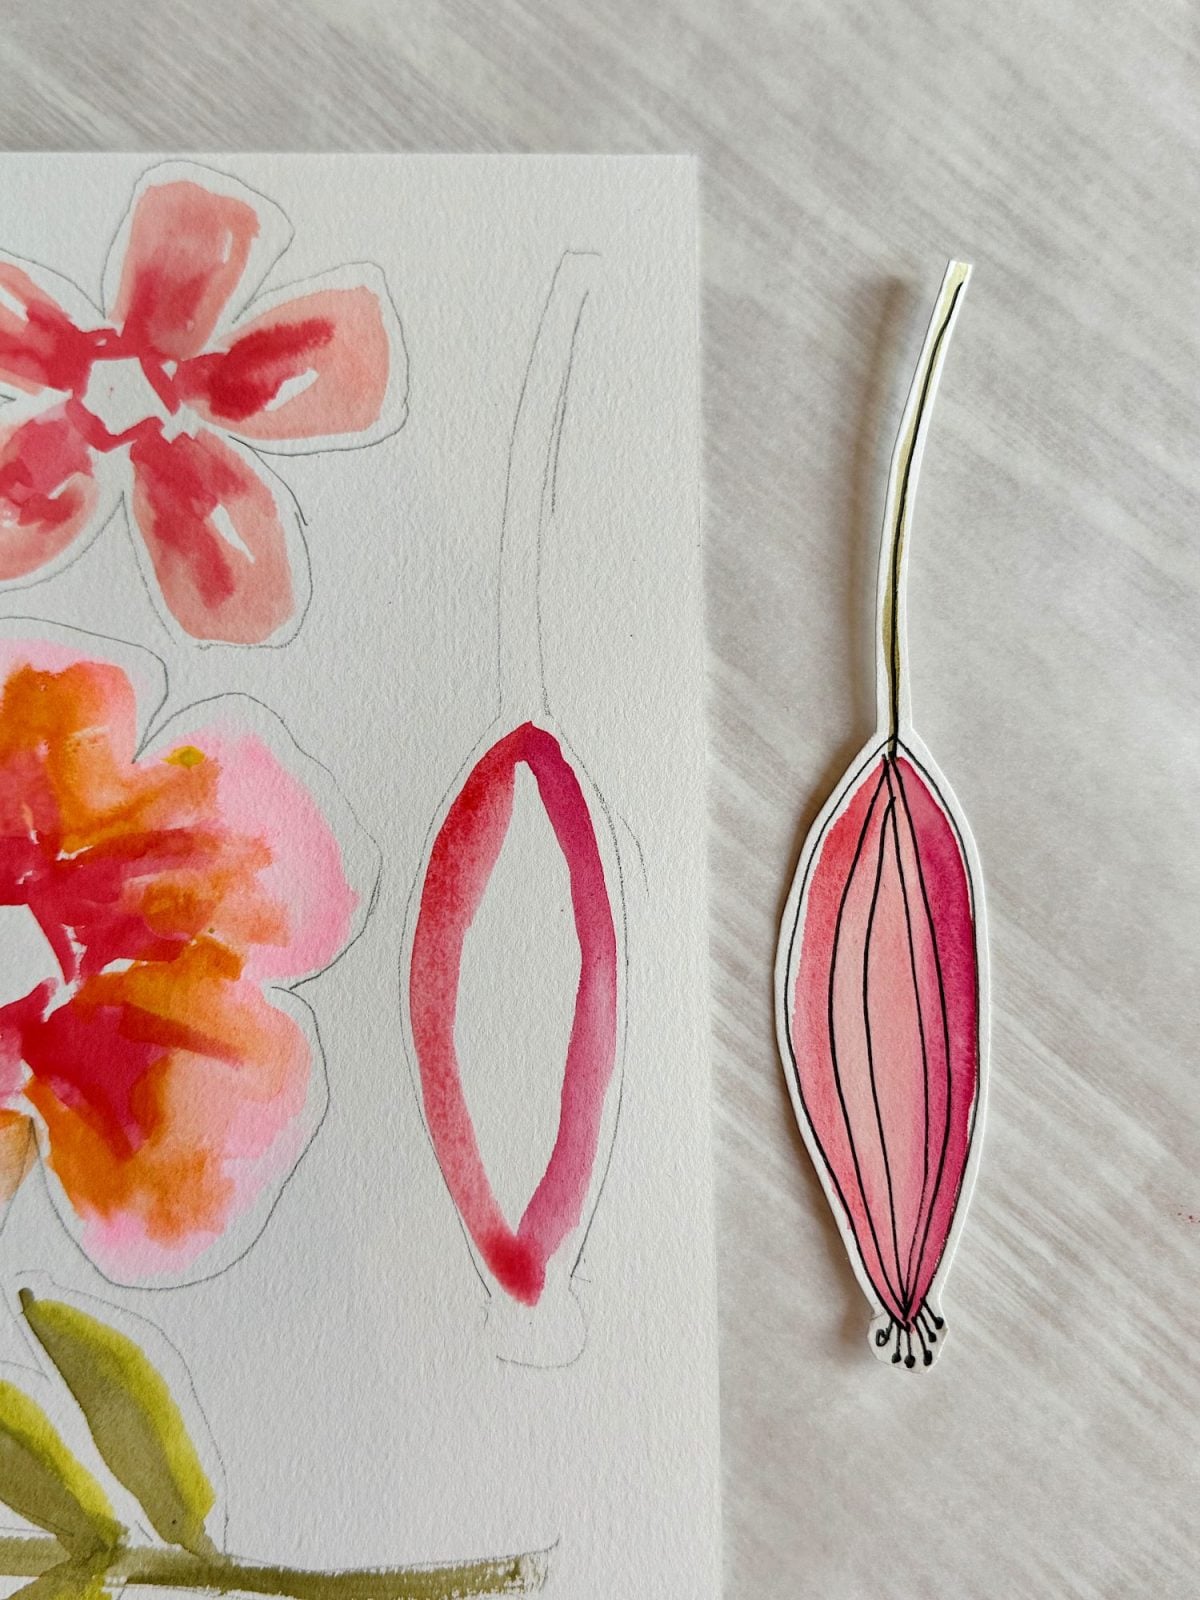
Step 3: Erase the Pencil Marks

Once your paint is dry (and make sure it’s dry), gently erase the pencil lines. This step cleans up the flowers and lets the watercolor shine through. Just be gentle, so you don’t tear the paper.
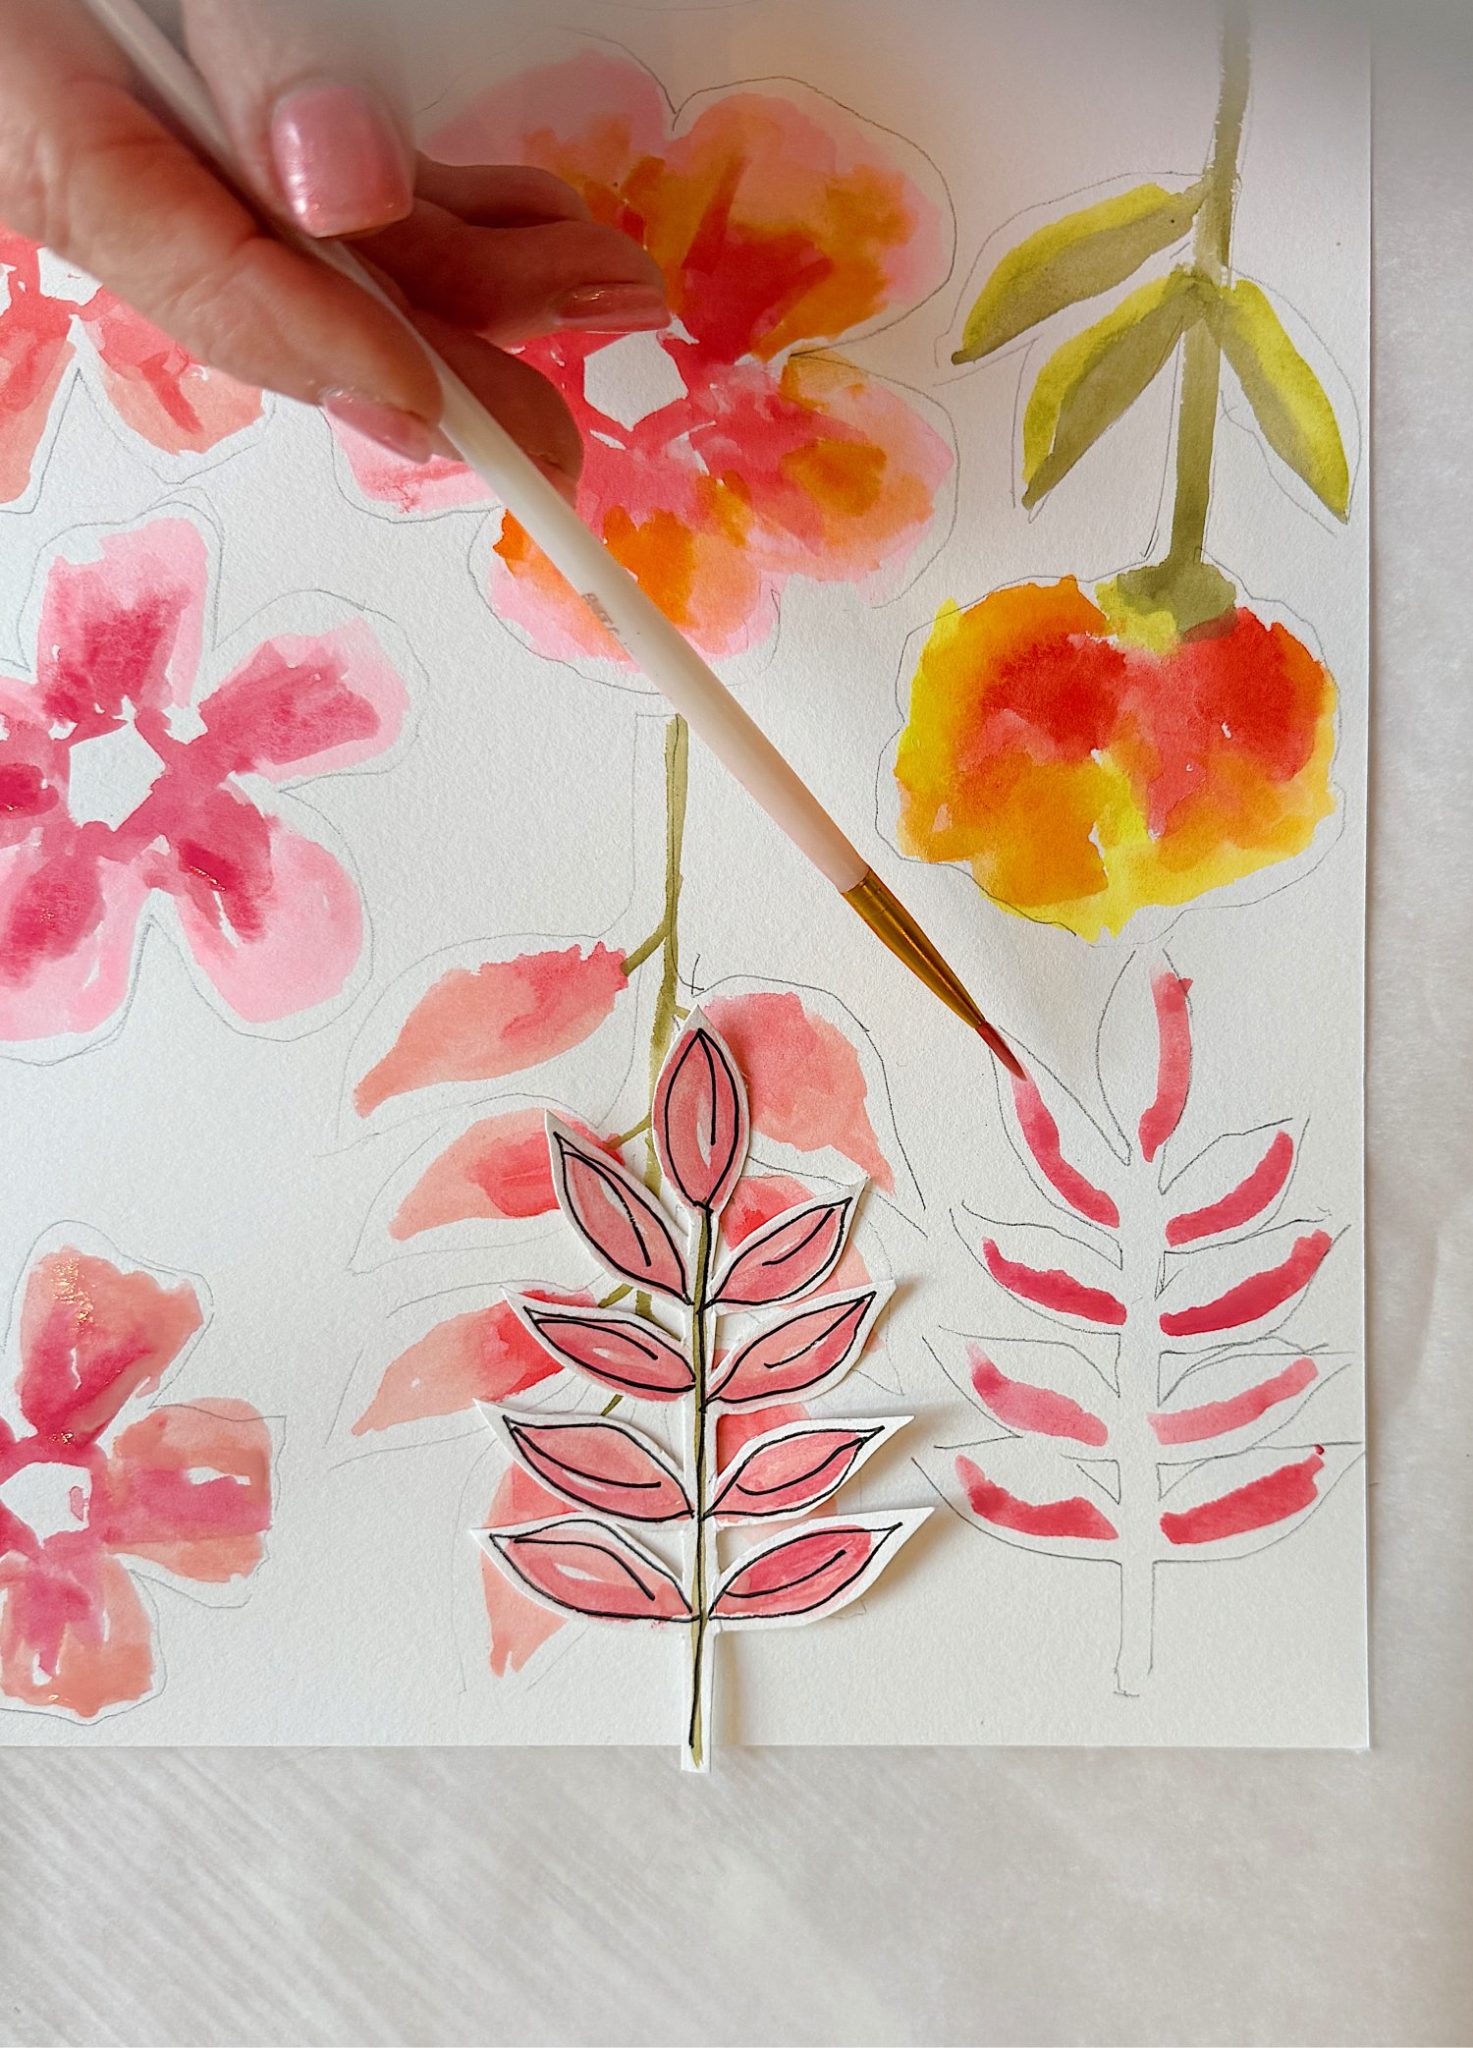
Step 4: Outline with Ink
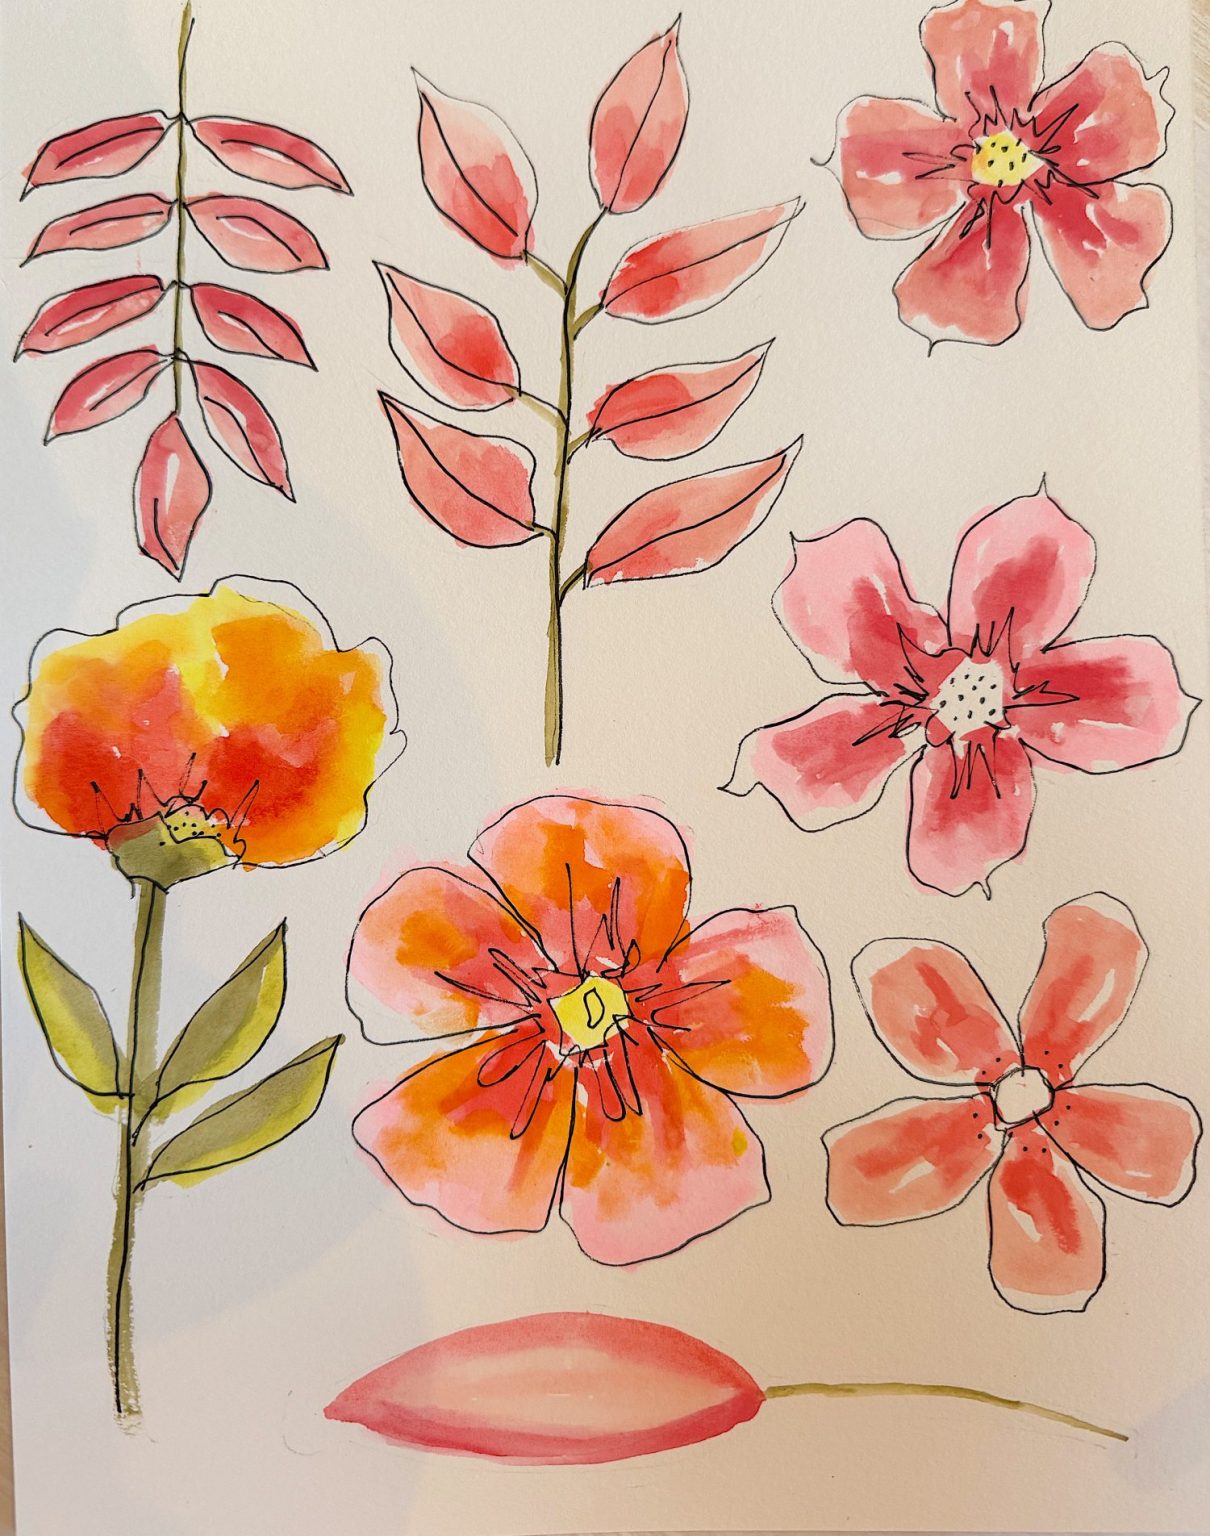
Next, I used a calligraphy ink pen to outline the flowers. You could also use a fine-tipped black marker if that’s what you have on hand. I didn’t trace the shapes perfectly; I kept my lines a little loose and sketchy to give the flowers an artistic, hand-drawn look.
You can add little details here, such as stamens in the center of the flowers, extra veins in the petals, or even some whimsical doodles around the edges.
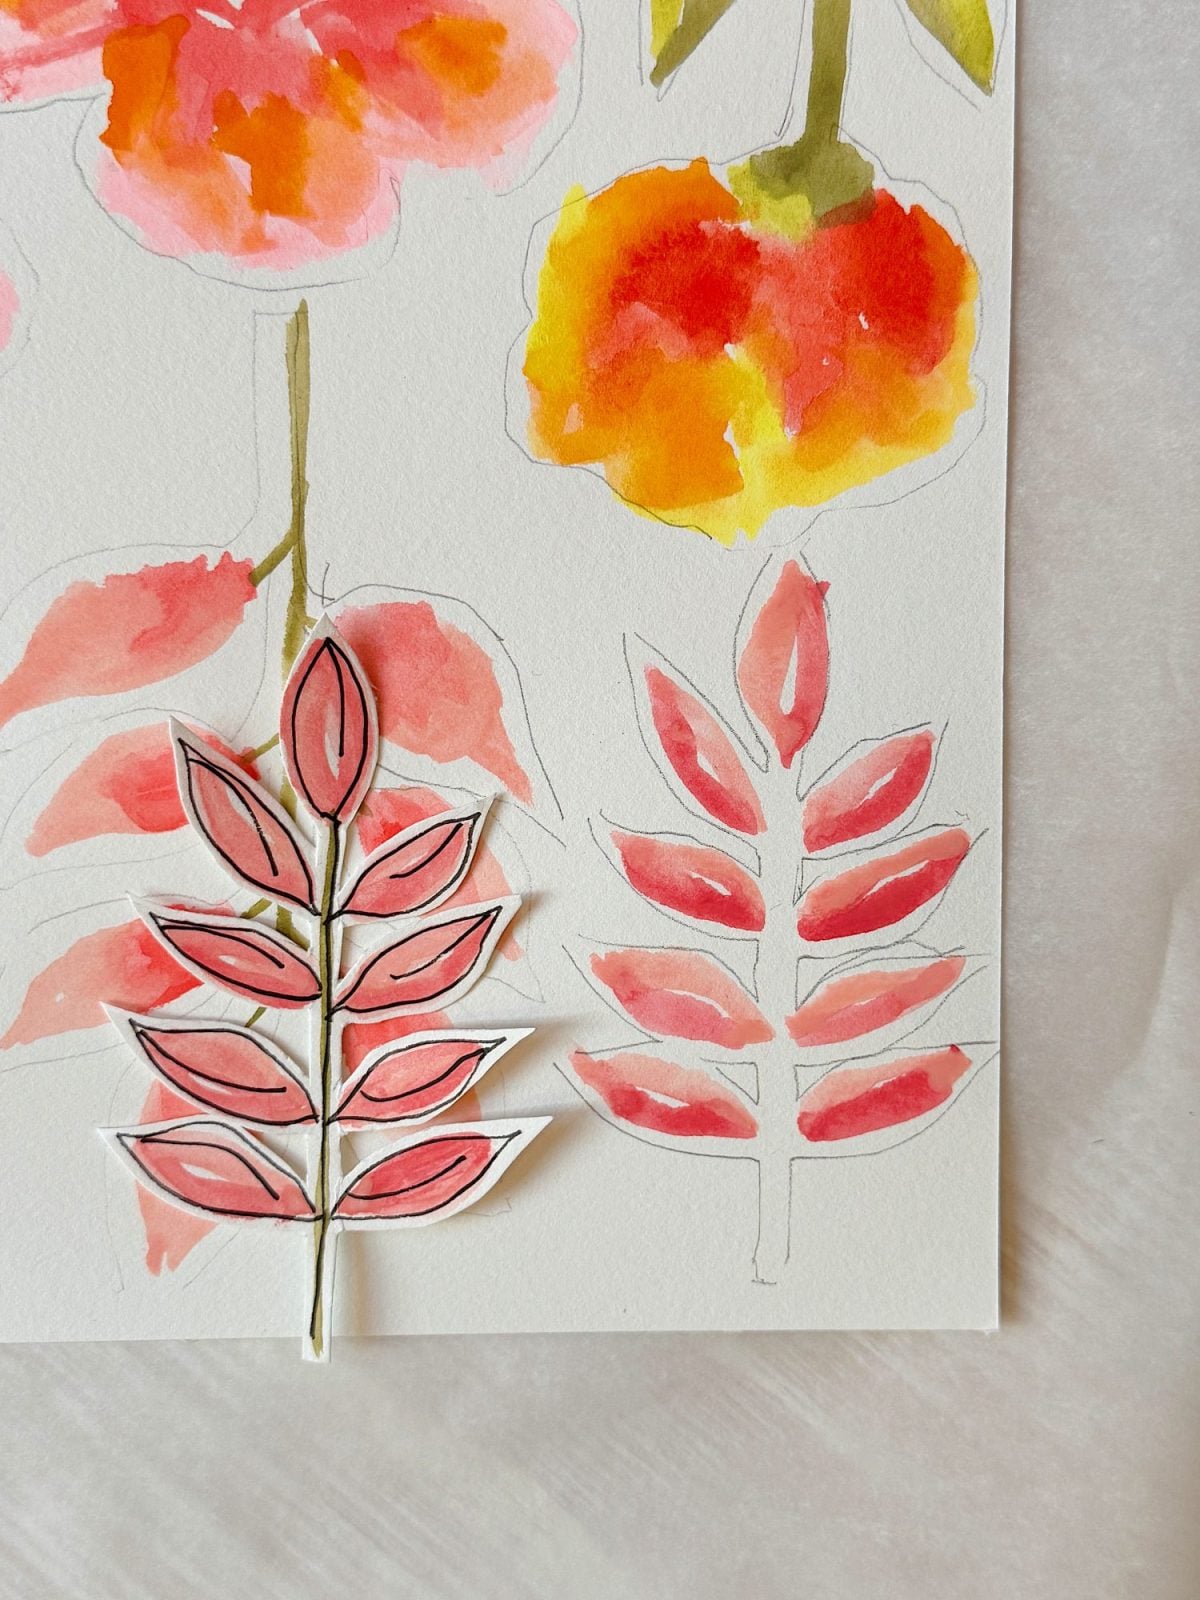
Step 5: Cut Out the Flowers
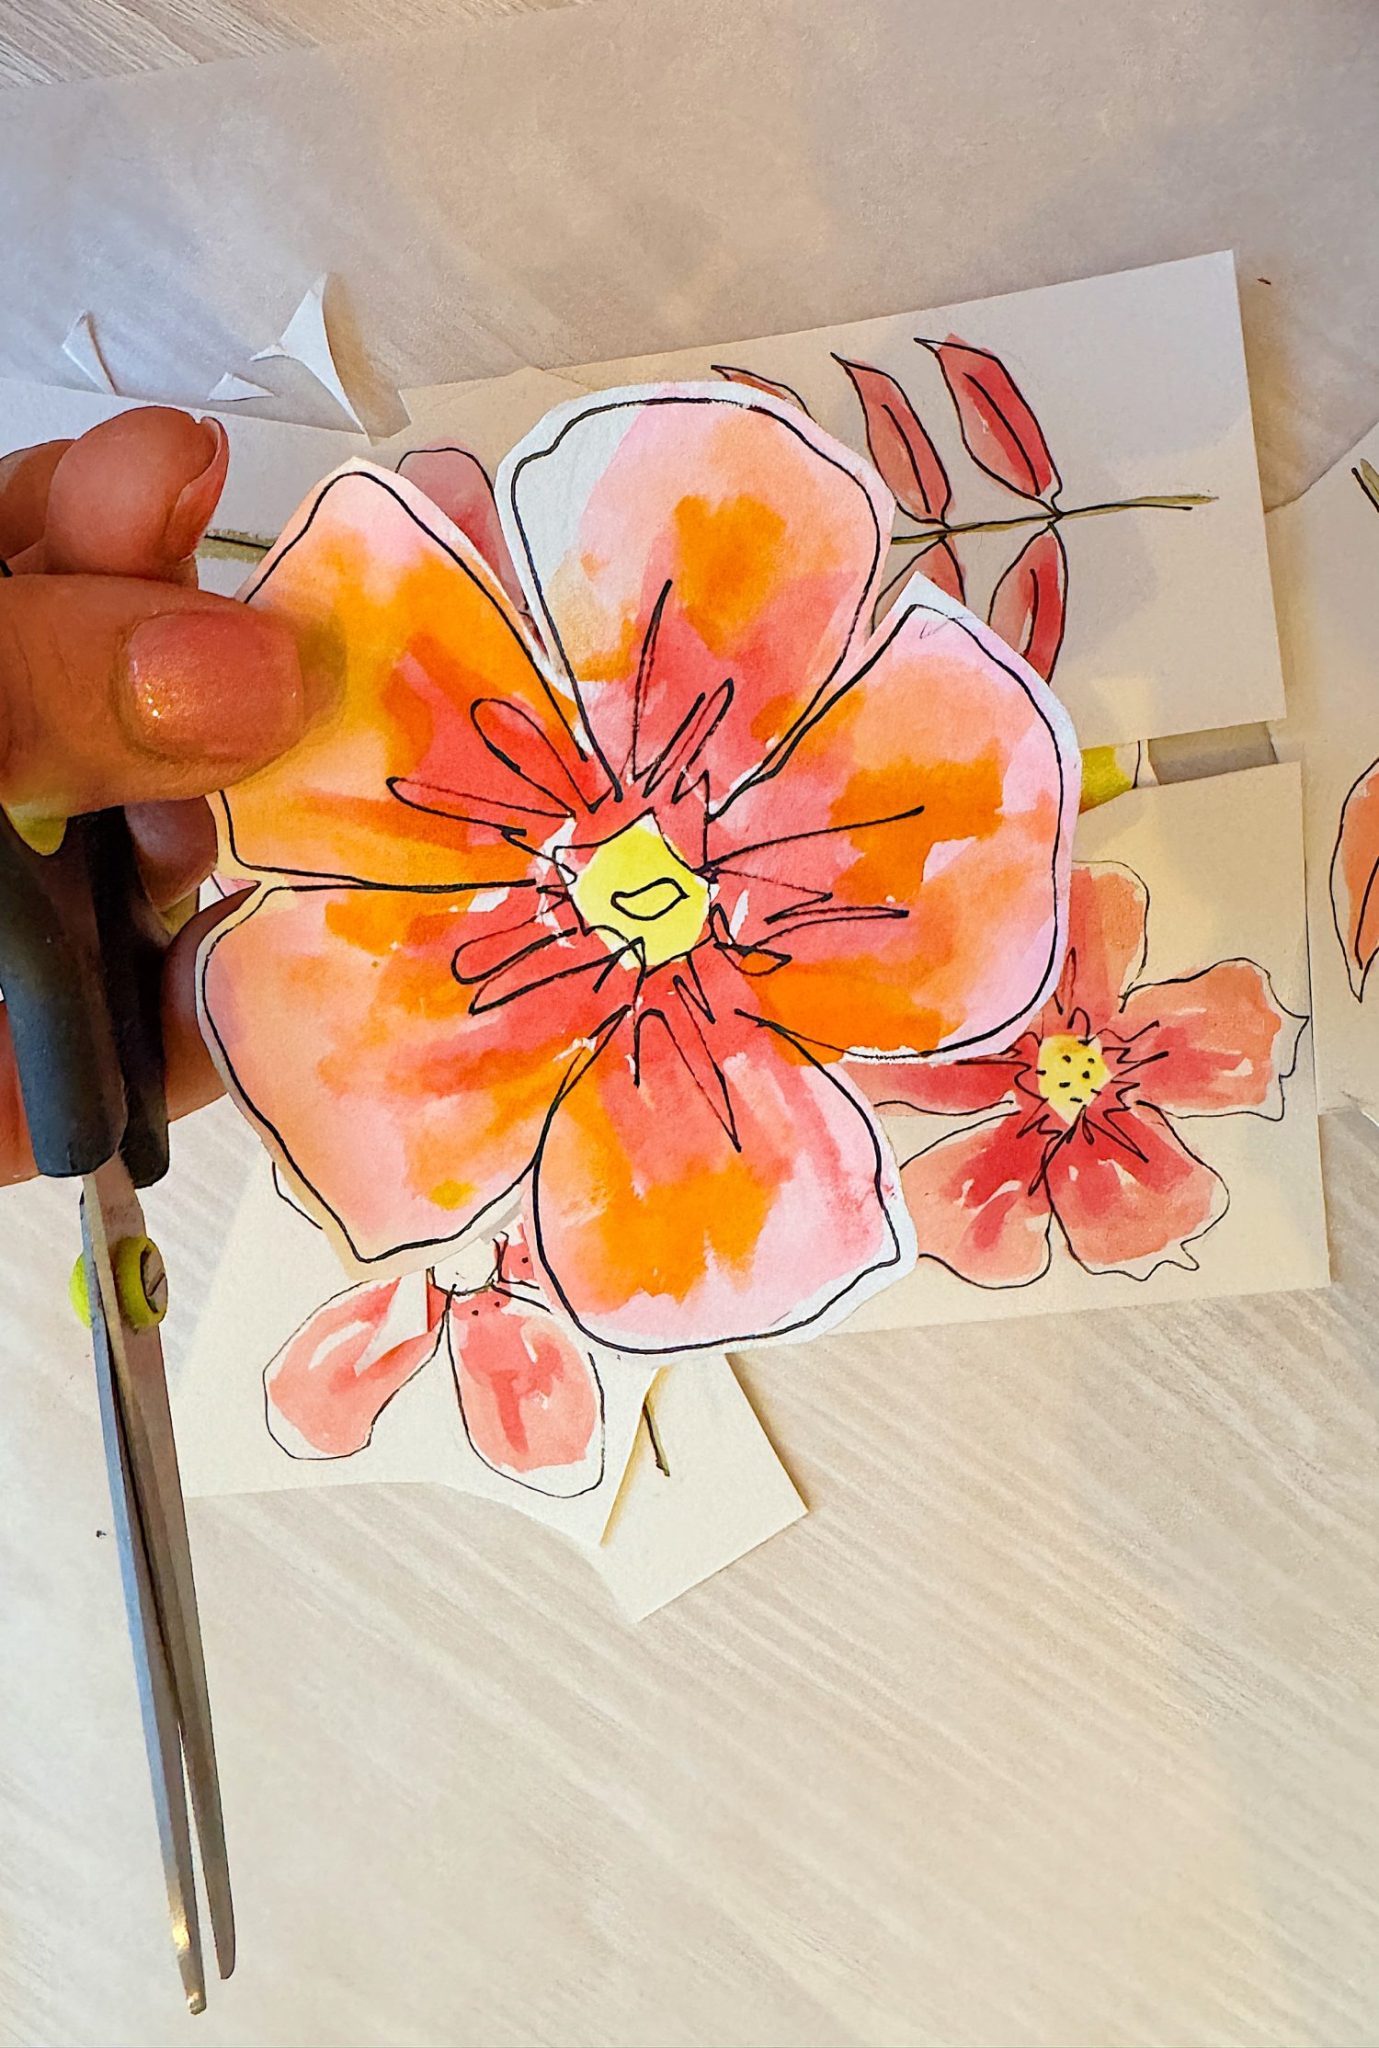
Now it’s time to cut them out! I left a slight white border around each flower to mimic the look of a sticker or die-cut. This gives them a clean, finished appearance and helps them pop when layered against other materials.
Cutting takes a little time, but it’s worth it once you see your beautiful blooms pile up.
How to Use Your Watercolor Flowers
The best part about making these flowers is their versatility! There are so many ways to use them in your home decor or event styling.
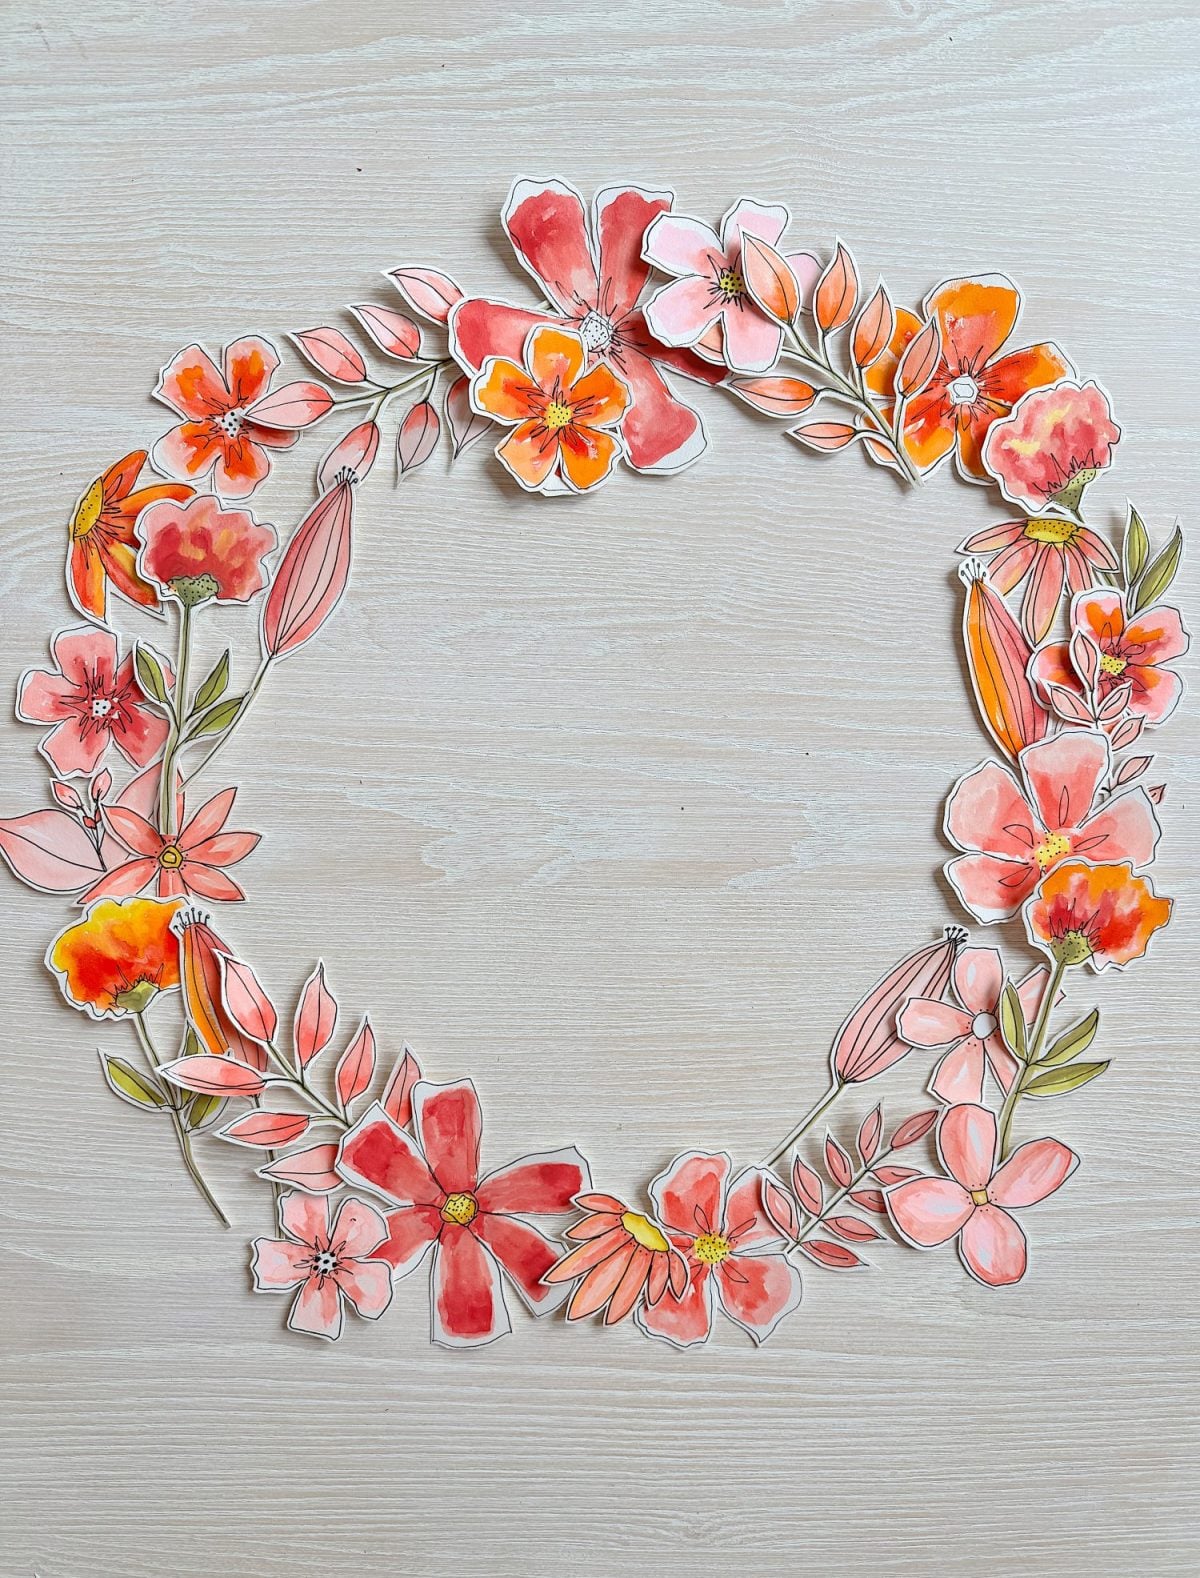
1. A Spring Table Wreath
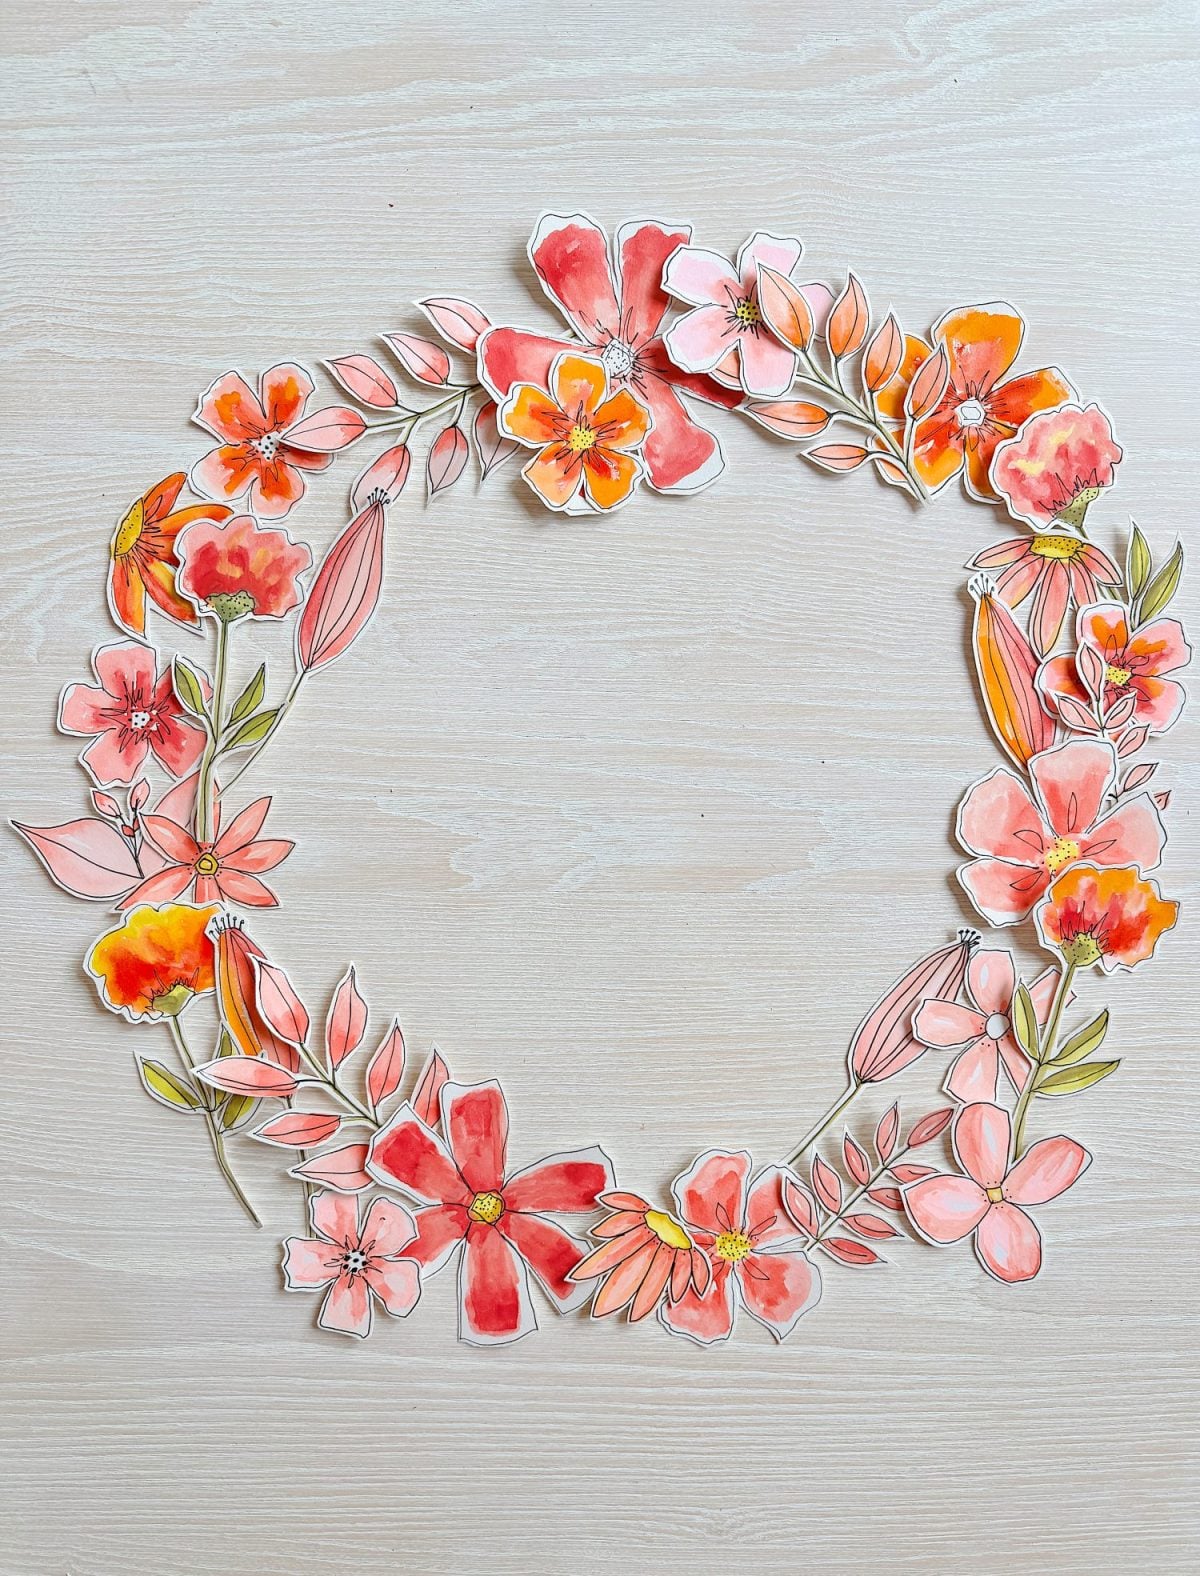
One of my favorite projects was using the flowers to create a wreath centerpiece for a spring table. I arranged them in a circle on a tan woven placemat and placed a glass vase with flowers in the center. It added such a fun, floral touch to the table without needing fresh blooms.
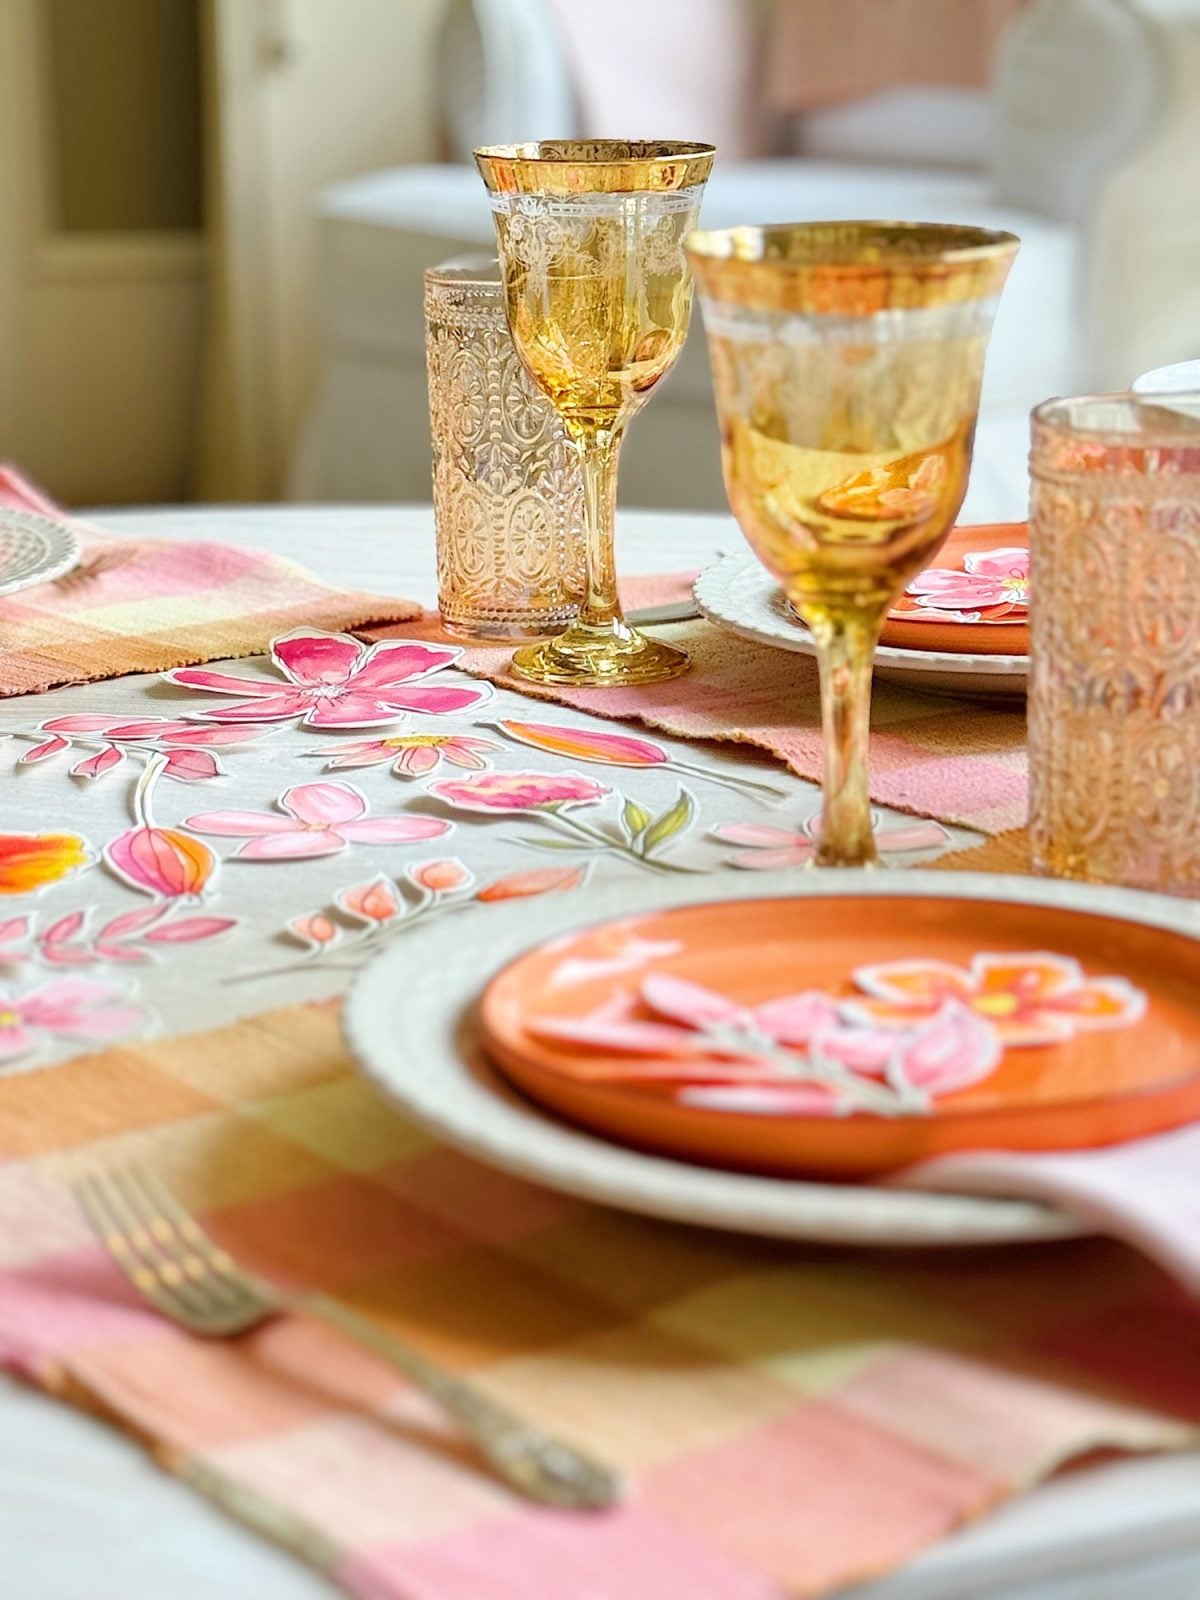
2. Decorate a Spring Table Setting
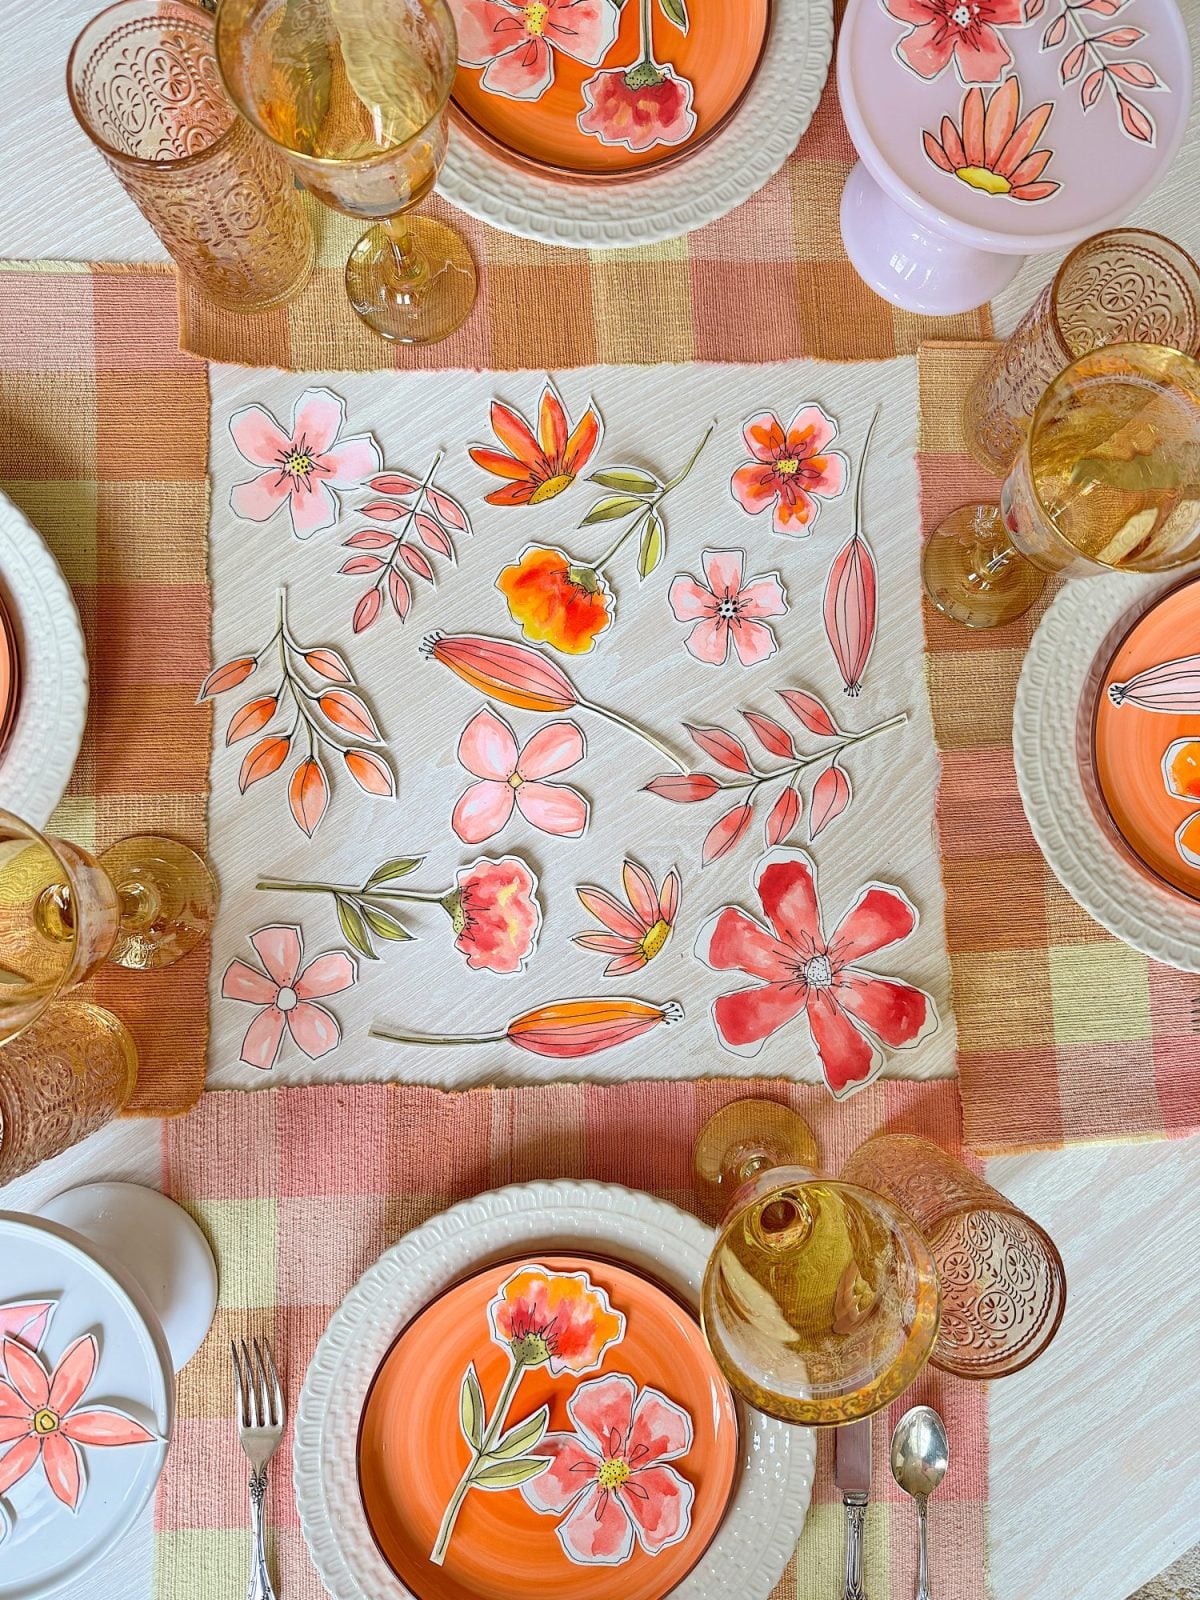
I also scattered the watercolor flowers across a spring tablescape, layering them under place cards and tucking them next to napkins. They looked adorable against neutral linens and added color and personality to each setting.

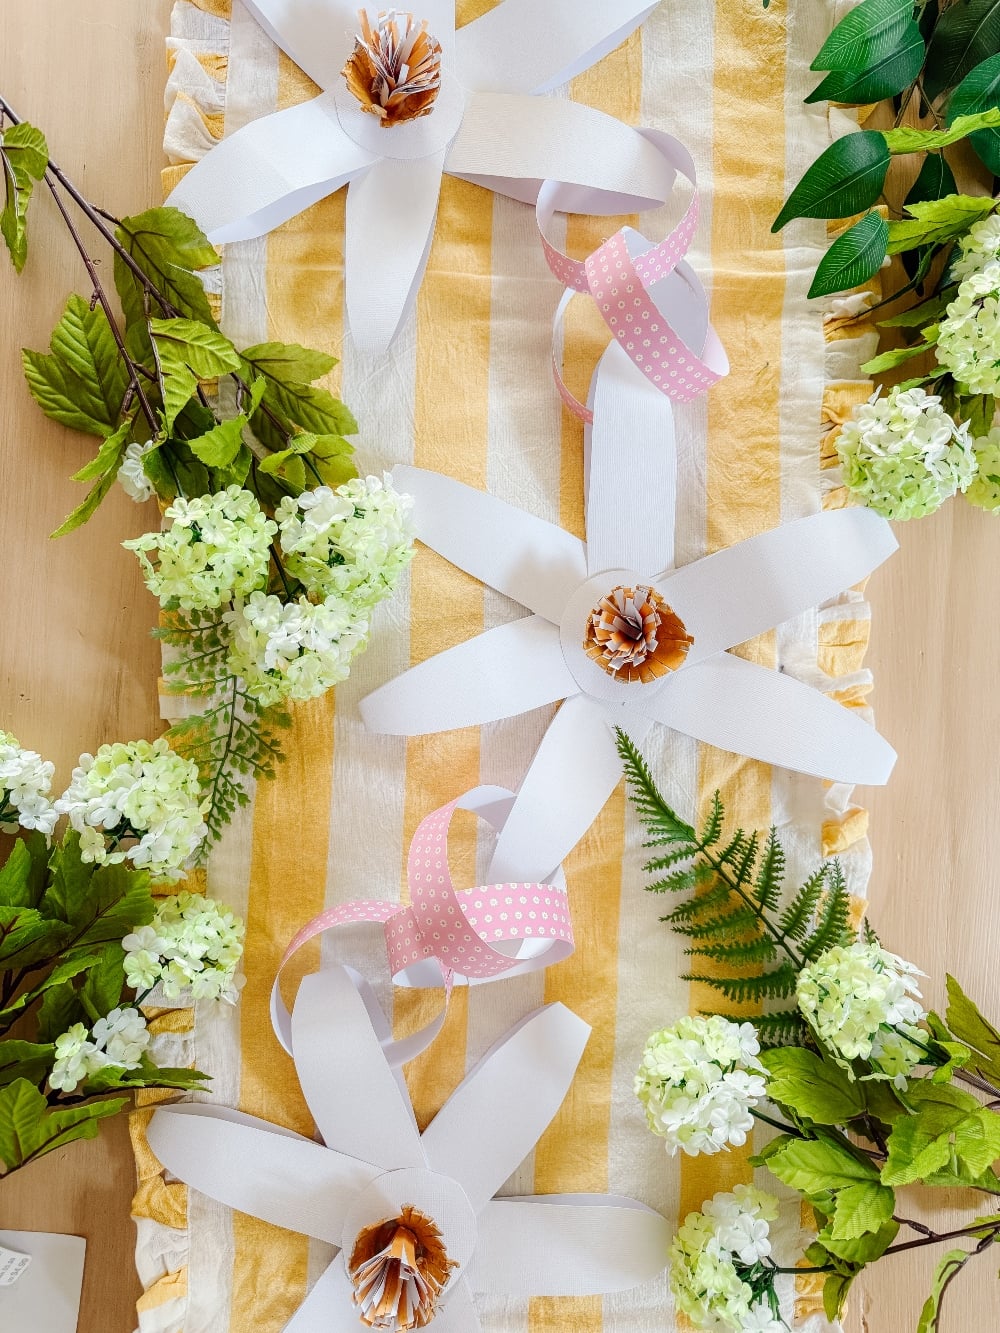
3. Shower or Party Favors
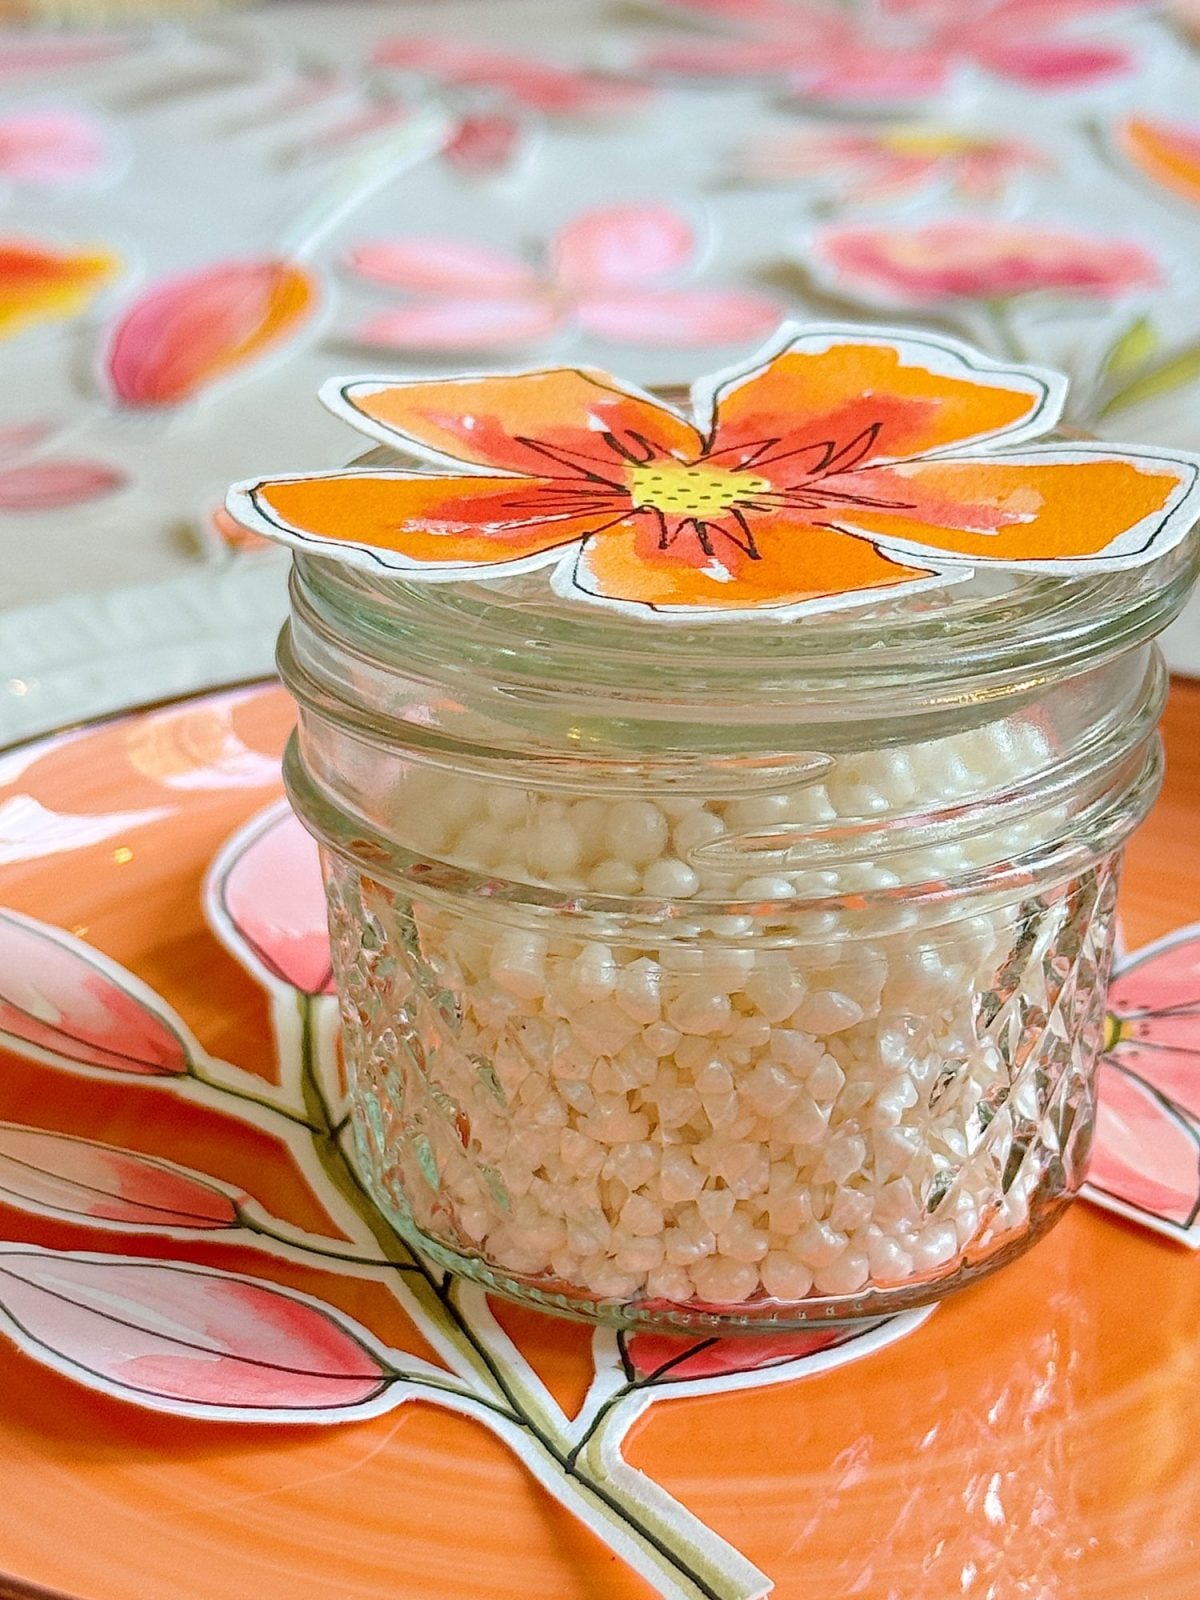
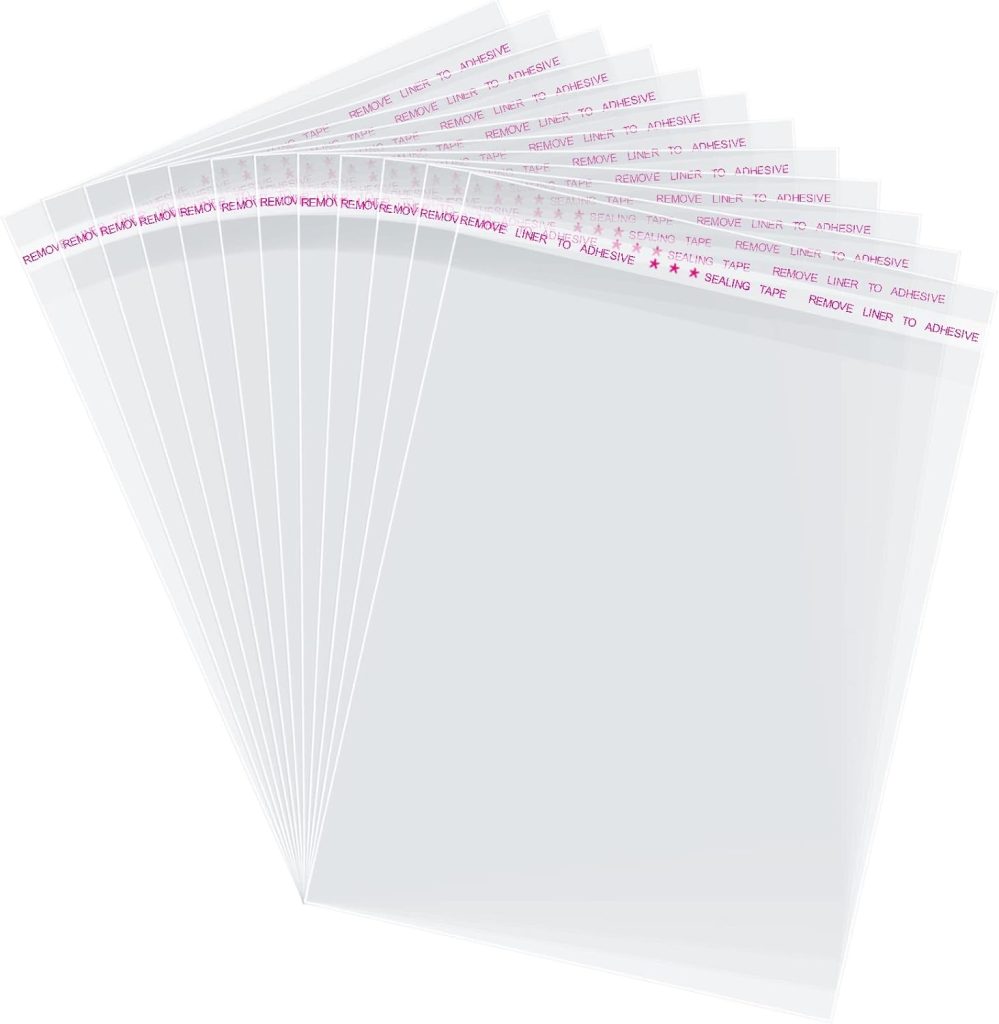
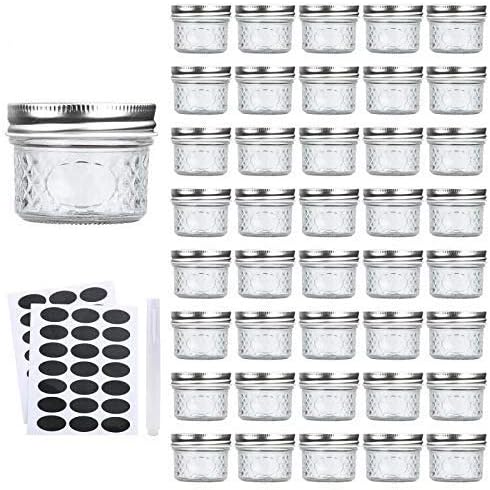
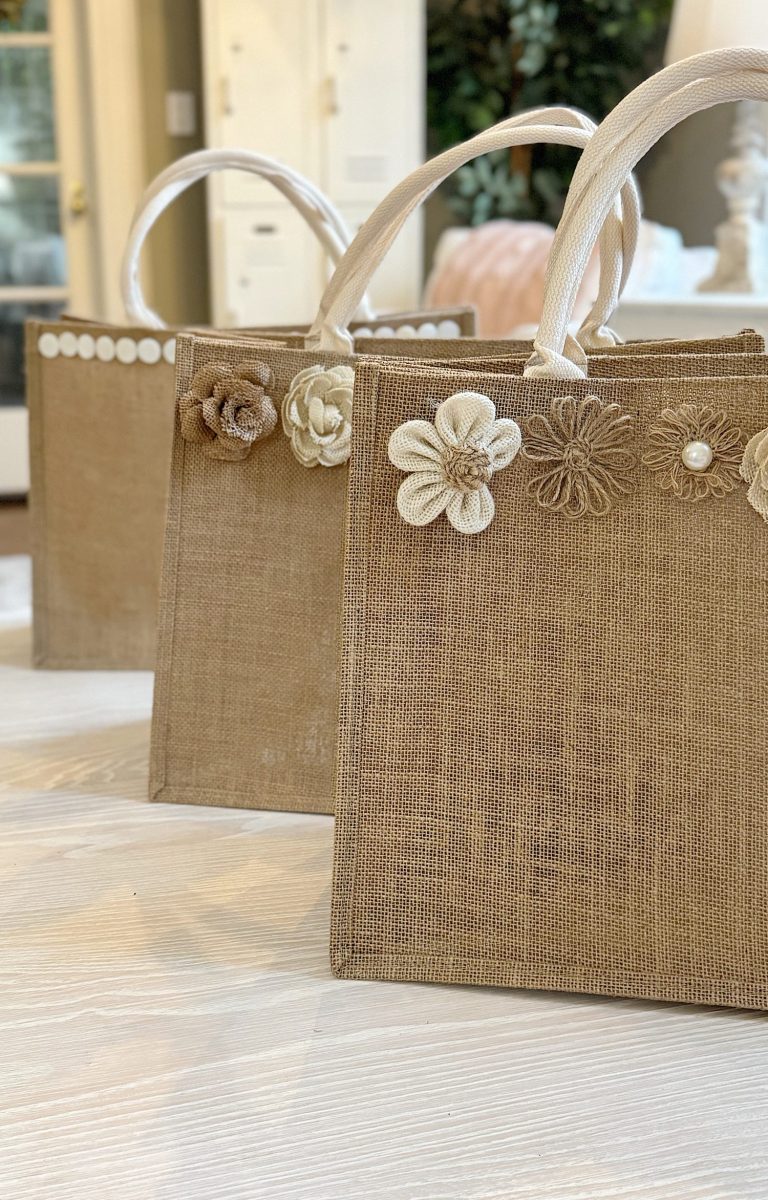
These flowers make the cutest favors for a bridal or baby shower luncheon. You can tie them together with twine and a little tag that says “Thank you,” or use them as decoration on mini jars, favor bags, or handmade cards.
They’re lightweight, beautiful, and look far more thoughtful than something store-bought.

4. Wall Art or Mood Boards
You can also tape them to the wall to create a floral collage or use them on a seasonal mood board or vision board. Try placing them around a mirror or on a bulletin board, or even framing a few for spring-inspired art.
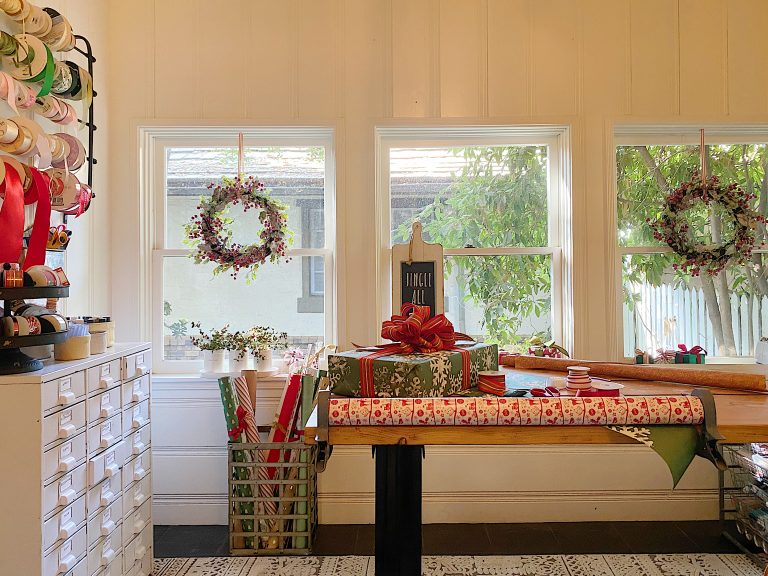
5. Gift Wrapping and Cards
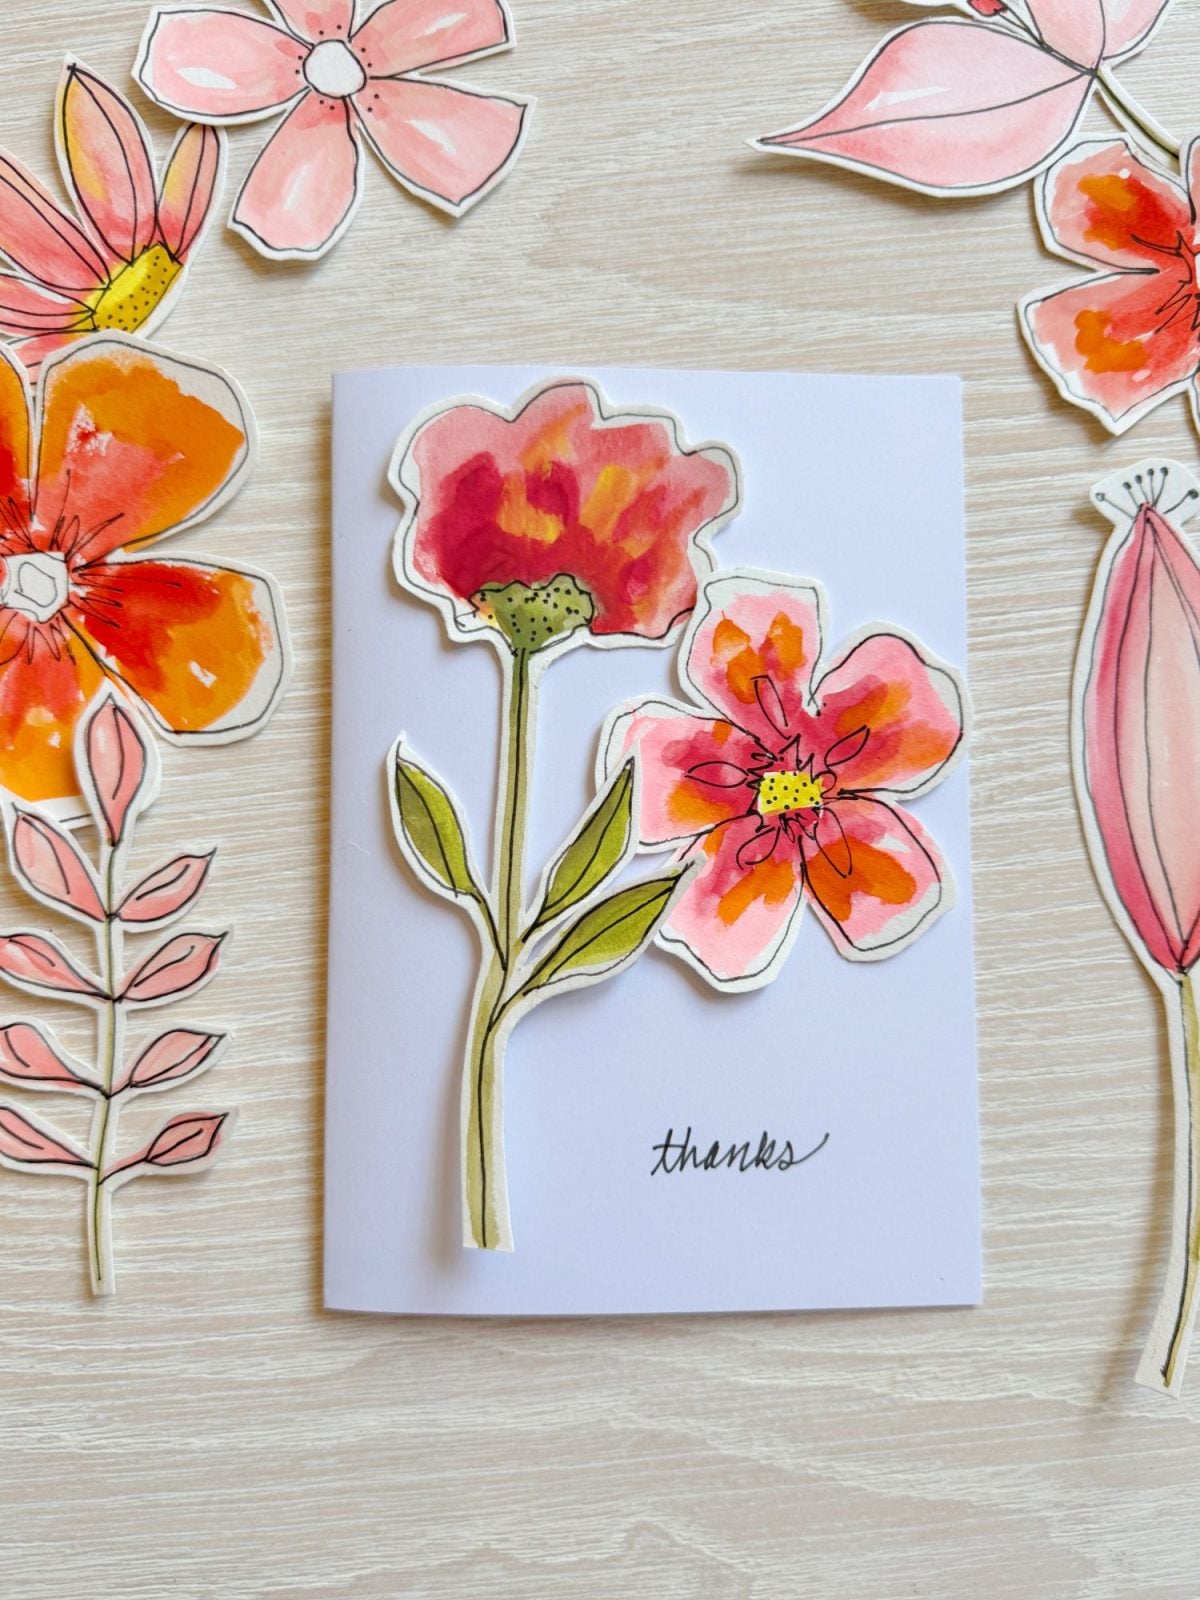
Watercolor flowers make gorgeous additions to gift wrap. Tie one under the ribbon of a wrapped present or glue a few to the front of a blank card. It’s an easy way to make your gift feel extra special.
Why You Should Try This Craft
If you’re looking for an equal parts artistic, meditative, and practical project, this one checks all the boxes. You don’t need special skills or tools, just time and creativity. It’s a craft you can do while listening to music, watching a show, or chatting with friends. And the result is something wonderful and useful.
With watercolor flower decor trending everywhere on Etsy, Pinterest, and Instagram, this project lets you tap into a current design movement without spending a dime on digital downloads or pre-made packs.
Final Thoughts

The transformation of these flowers is simply amazing. They don’t look like much in the drawing and painting stage. You must be patient, knowing they will look great once you add the pen outline.
Creating these hand-painted watercolor flowers has been one of my favorite spring crafts. There’s something so satisfying about making something beautiful from just a few simple materials, and even more enjoyable when you can use those creations in fun and creative ways throughout your home.
Whether crafting a table centerpiece, decorating for a party, or just looking to add spring joy to your space, these paper flowers are a sweet and simple solution. I hope you’ll try this project. And if you do, be sure to share your creations with me!
Happy spring and happy crafting!
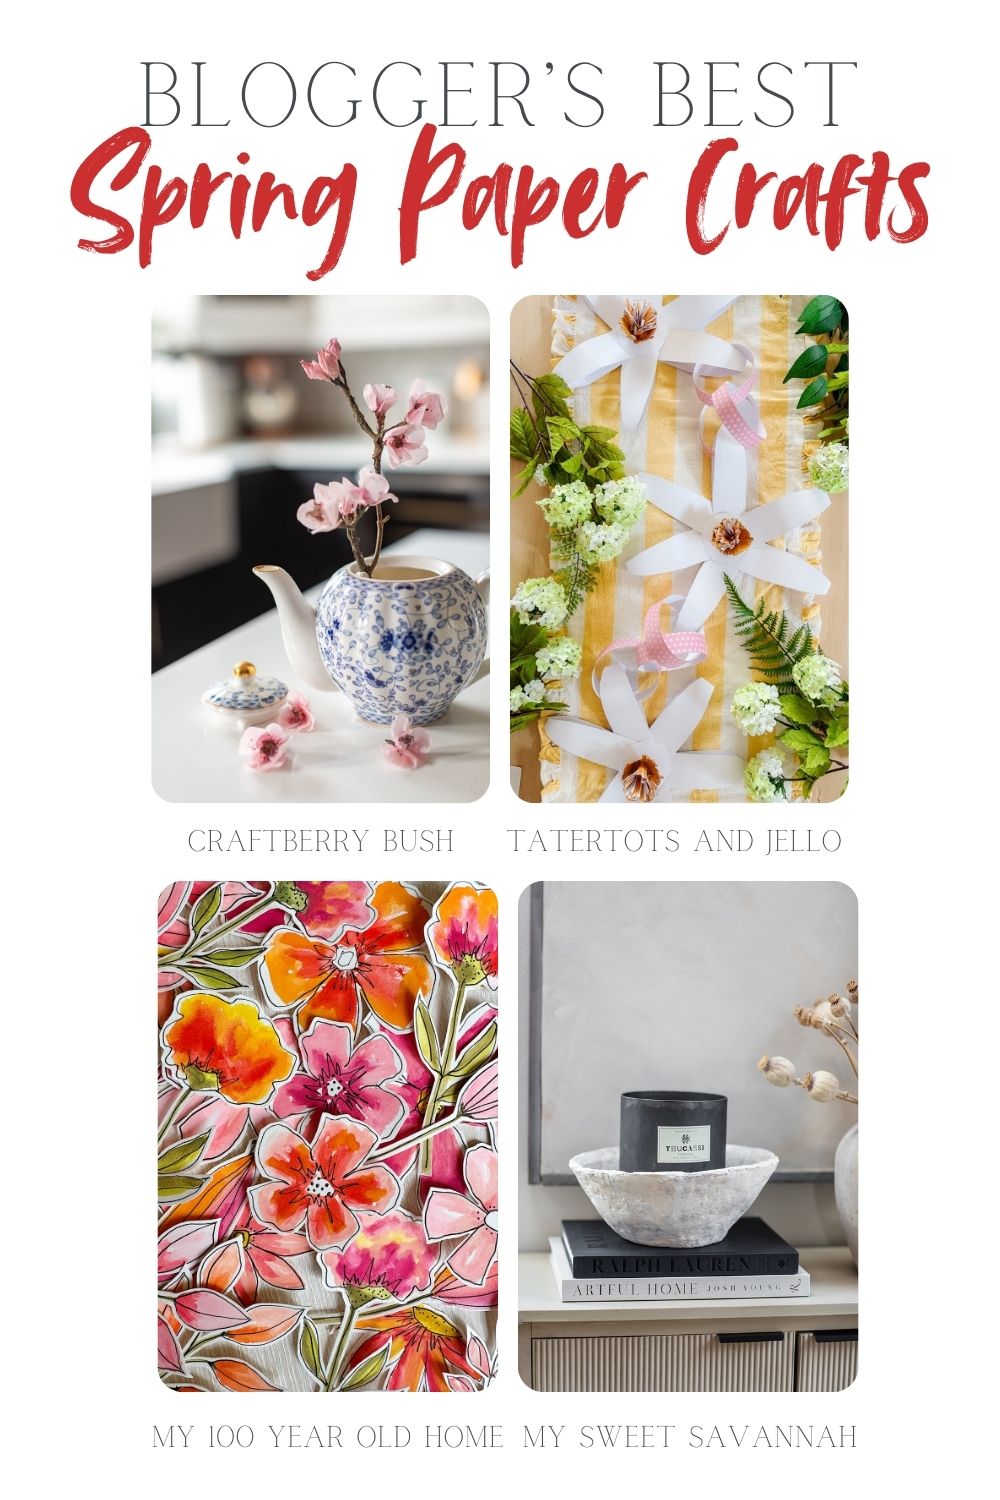
Blogger’s Best Paper Crafts
Craftberry Bush
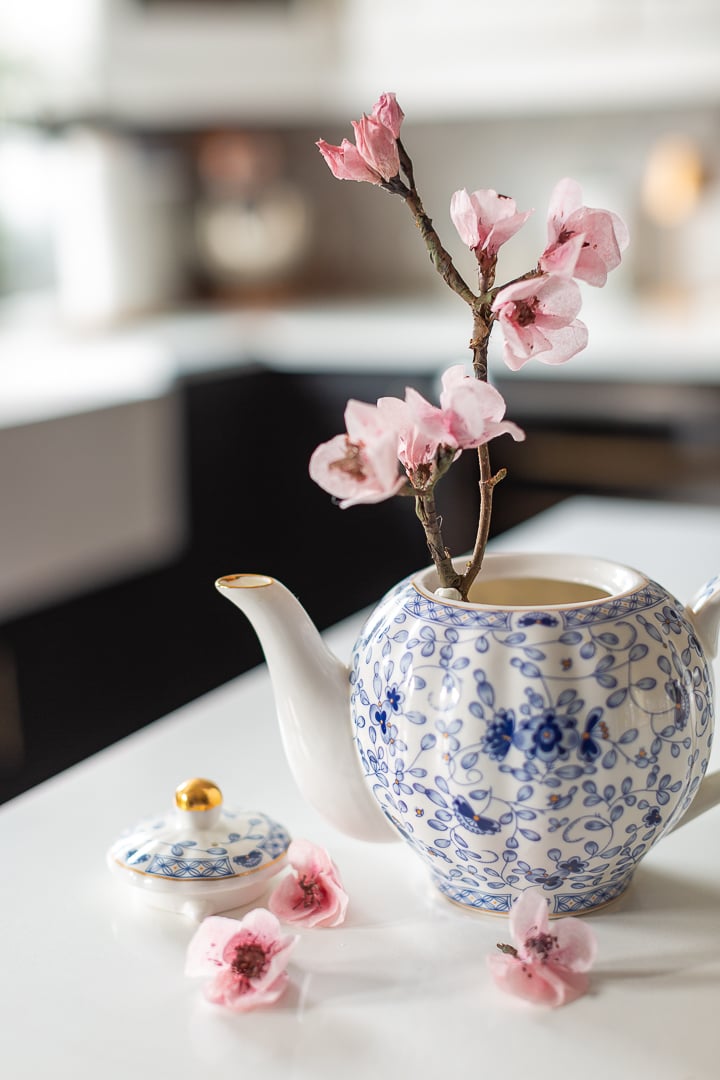
Paper Cherry Blossom DIY
Make these sweet cherry blossoms using dyed coffee filters.
Tatertots and Jello
DIY Daisy Paper Chain Banner
Learn how to make a cheerful DIY daisy paper chain banner using cardstock and hot glue—perfect for spring decor, parties, or brightening up any space!
My Sweet Savannah
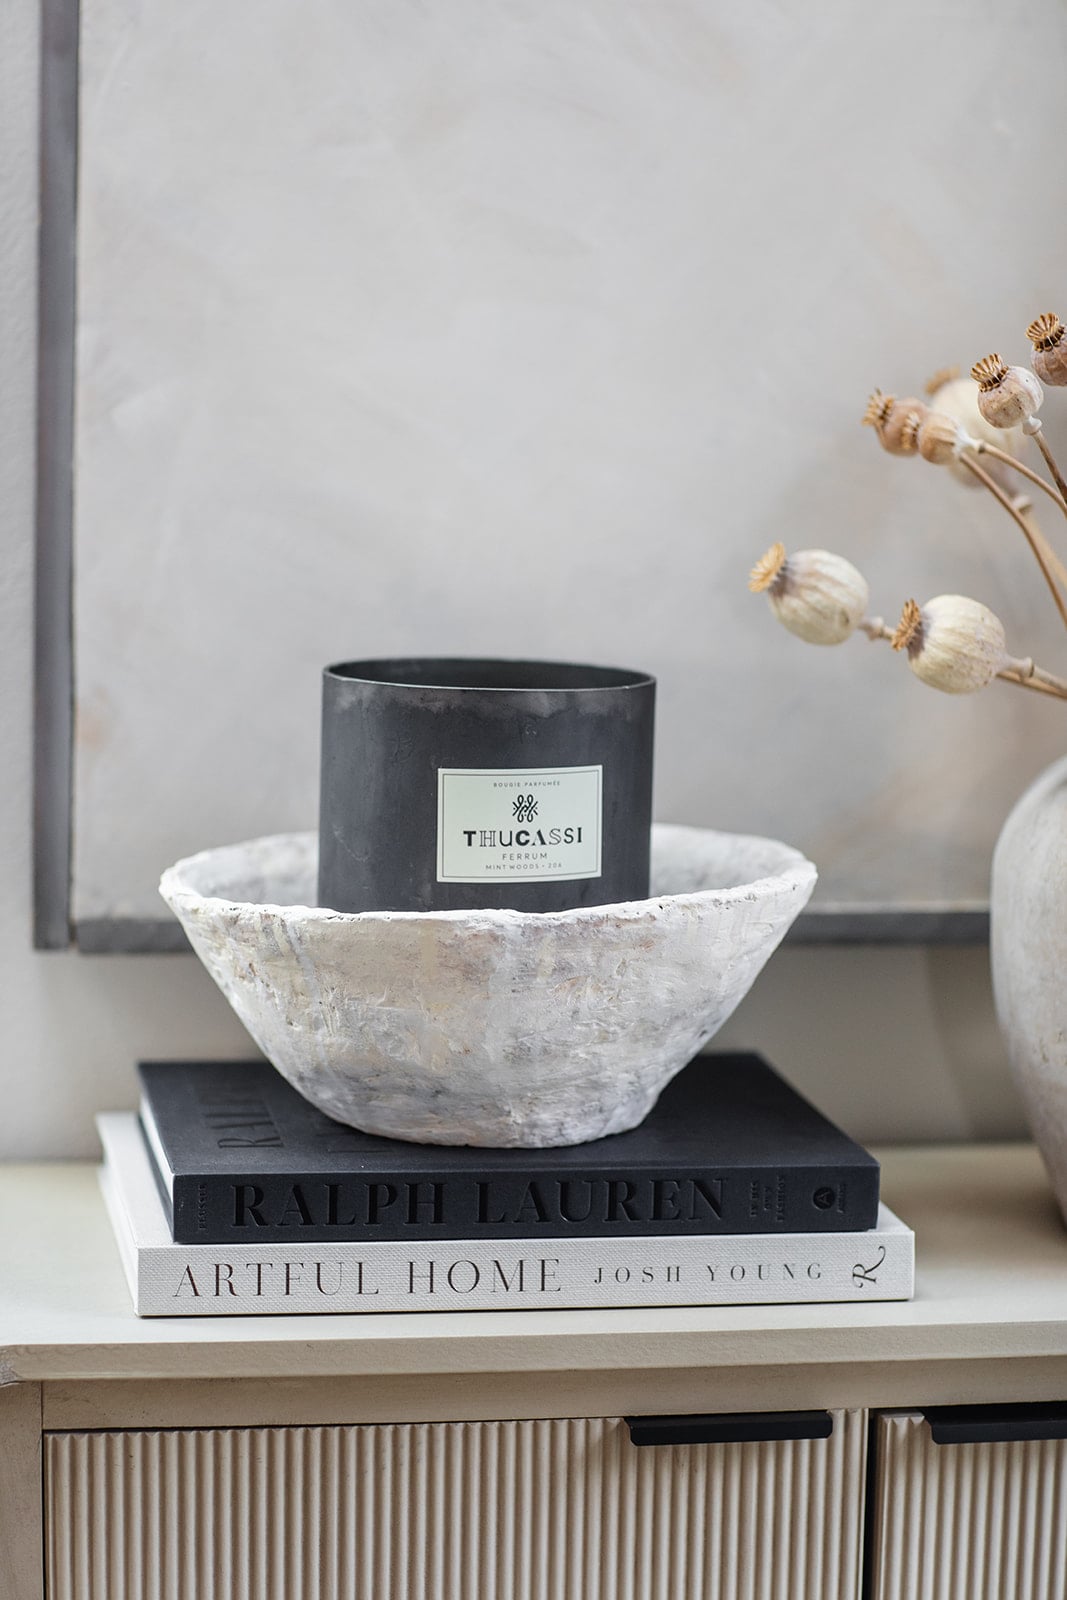
Easy Paper Mache Bowl with Peat Pots
Create a rustic, eco-friendly paper mache bowl using just peat pots and Elmer’s glue. This simple, beginner-friendly craft is perfect for adding a personalized, handmade touch to your home decor.
If you enjoy my blog, you can sign up to receive my updates here.
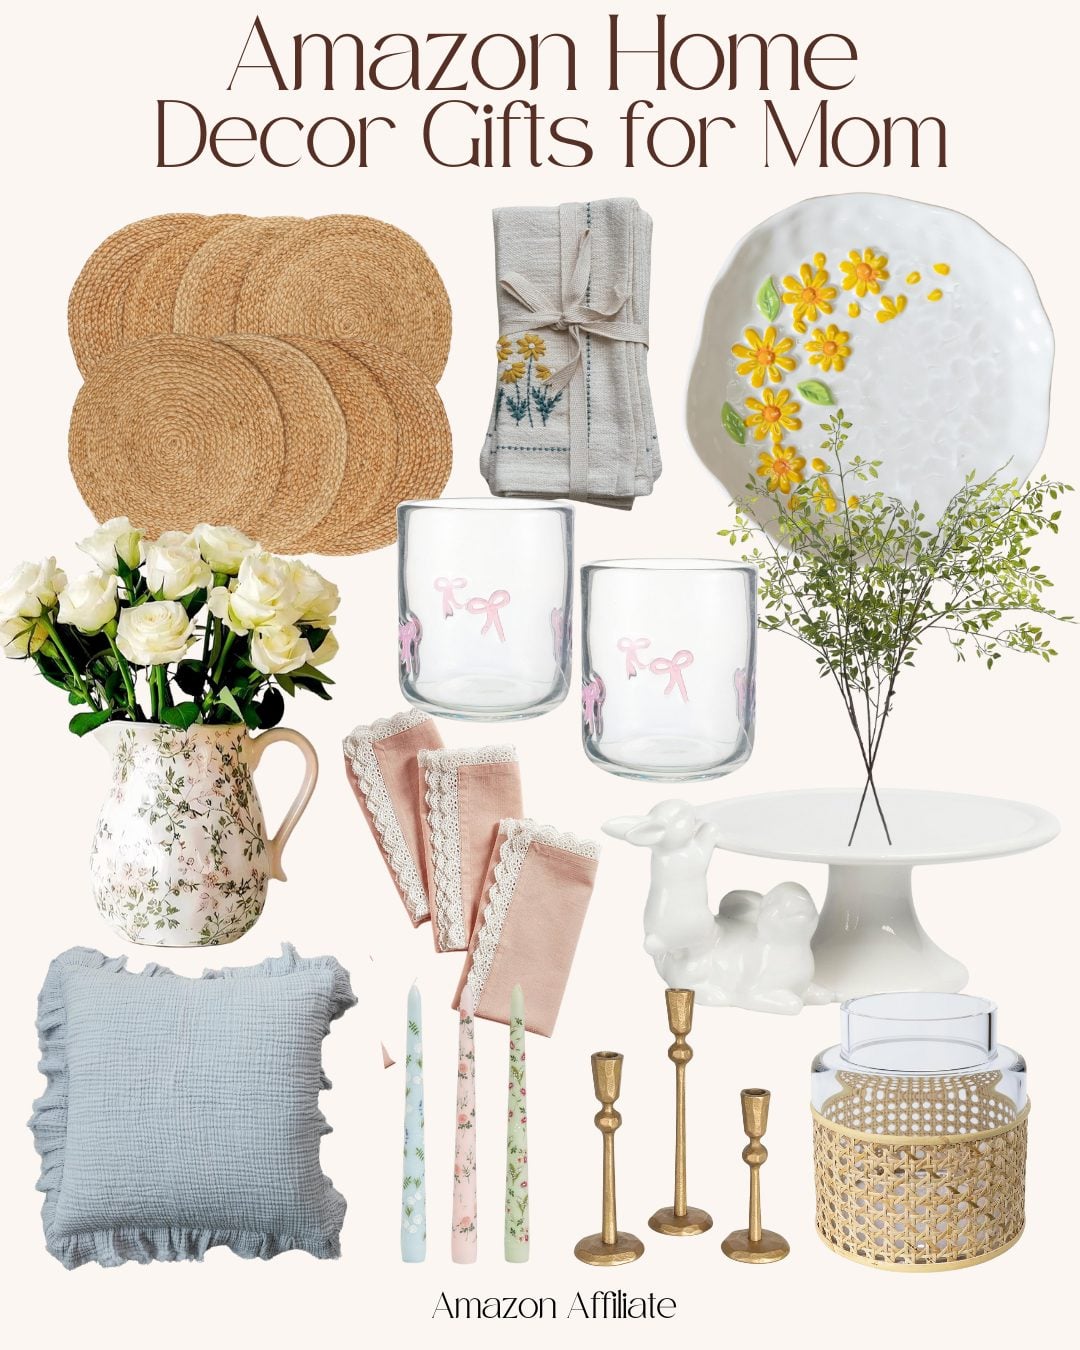
.Decor Gifts for Mother’s Day
Latest Posts
-
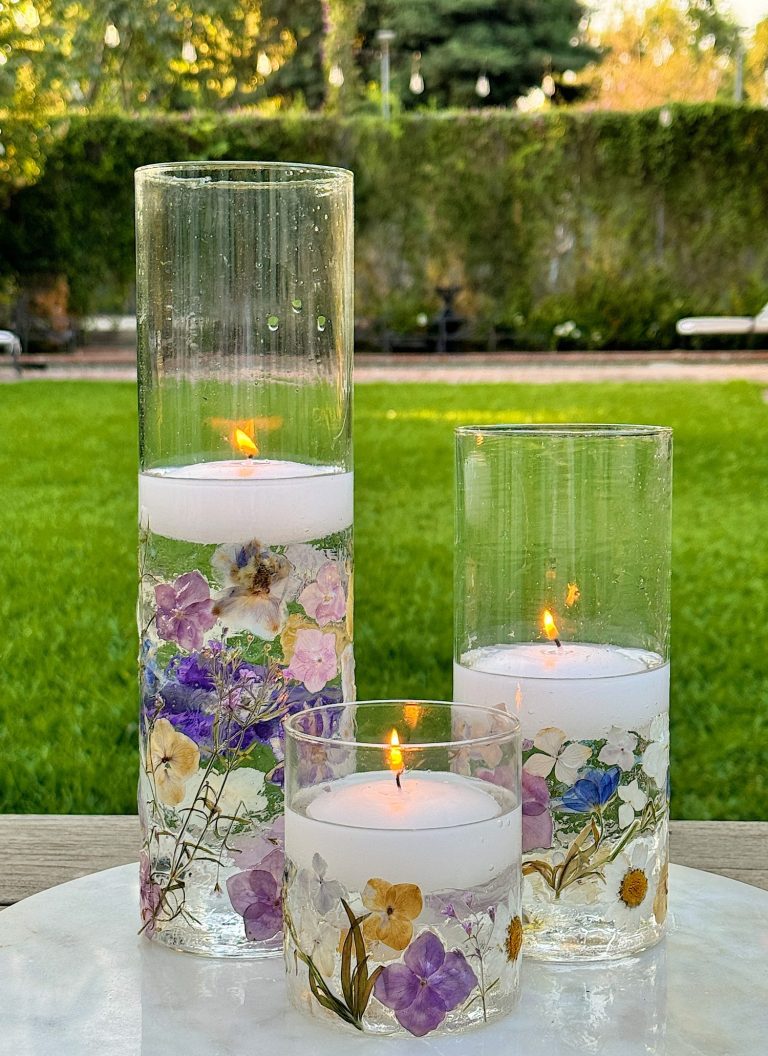
DIY Pressed Flowers
DIY pressed flowers are a beautiful and charming addition to any home decor. When made into candle holders, they are stunning. These delicate creations bring a touch of nature indoors and can be customized to fit any style or occasion. Whether you want to create a romantic centerpiece, a whimsical decoration, or a unique gift,…
-
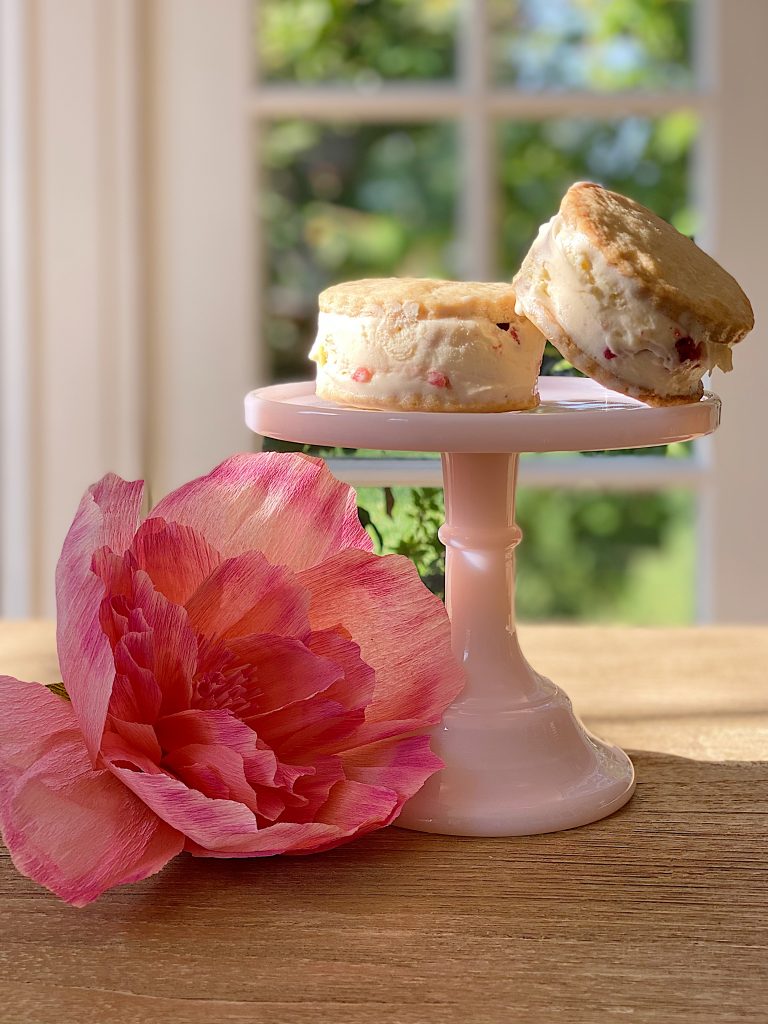
How to Make Strawberry Shortcake Ice Cream Sandwiches
Today, I am sharing my strawberry shortcake ice cream sandwiches. It’s strawberry season, so what could be better? These strawberry shortcake ice cream sandwiches are easy to make and taste amazing. Can you think of anything better for a hot summer day?
-
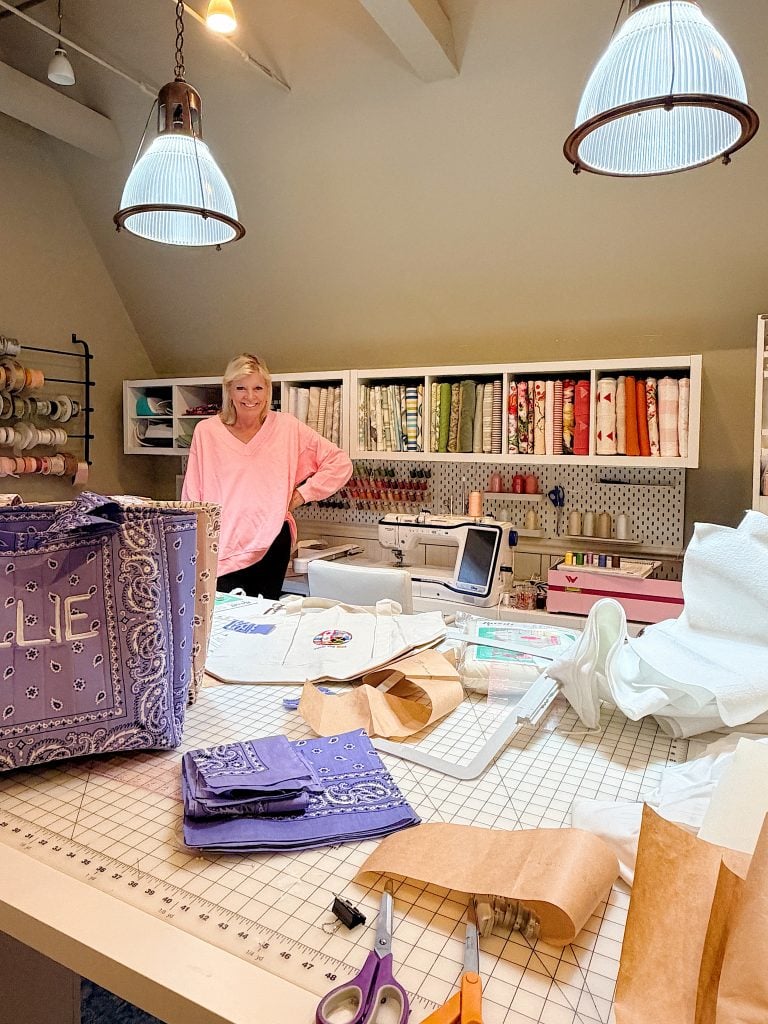
What’s on My Summer Craft Room Table Now – Mondays in the Craft Room
If you’ve ever wondered what my craft room really looks like in the middle of a busy creative season, today is your lucky day. Spoiler alert: it isn’t picture-perfect! Right now I have embroidery projects, sewing projects, and supplies covering just about every work surface, and I wouldn’t have it any other way. Today I’m…
-
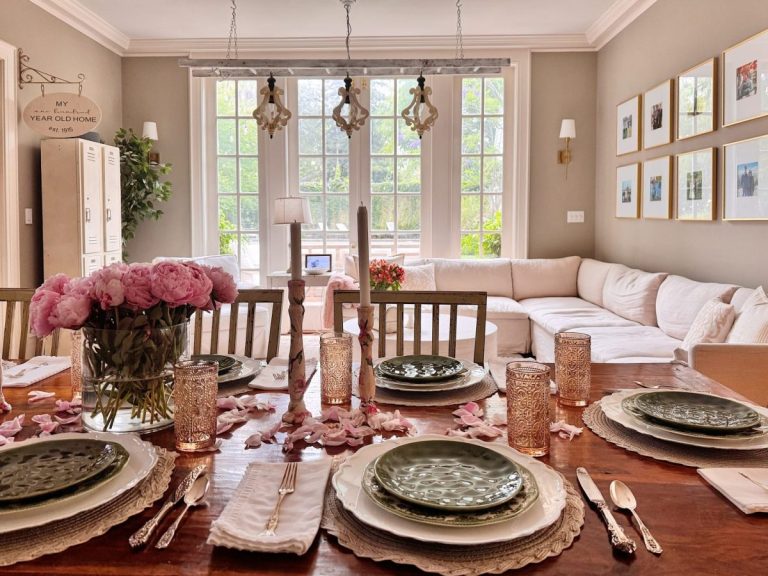
The Best Summer Decor Finds and Sunday Morning Coffee
I have been decorating our home for summer, and I don’t remember having this much fun decorating with summer decor. I love our home’s lighter, brighter feel and have spent days thinning things out to make it more comfortable! We are also celebrating the dads in our family, and I wanted to wish everyone a…
My Recent Instagram Posts

You can pin the images below to your boards on Pinterest (click the Pin button in the top left corner) or follow me on Pinterest!
For more real-time updates, follow me on Instagram @My100YearOldHome
They turned out so beautiful! I kove that you hand-painted them. Pinned 🙂
xoxo
I love this craft idea, so fun!
The idea about paper craft is really interesting
I love your spring paper craft ideas! Making your own paper flowers sounds relaxing and fun. It’s great that you created something personal instead of buying it. I’m inspired to try this DIY project for my home.