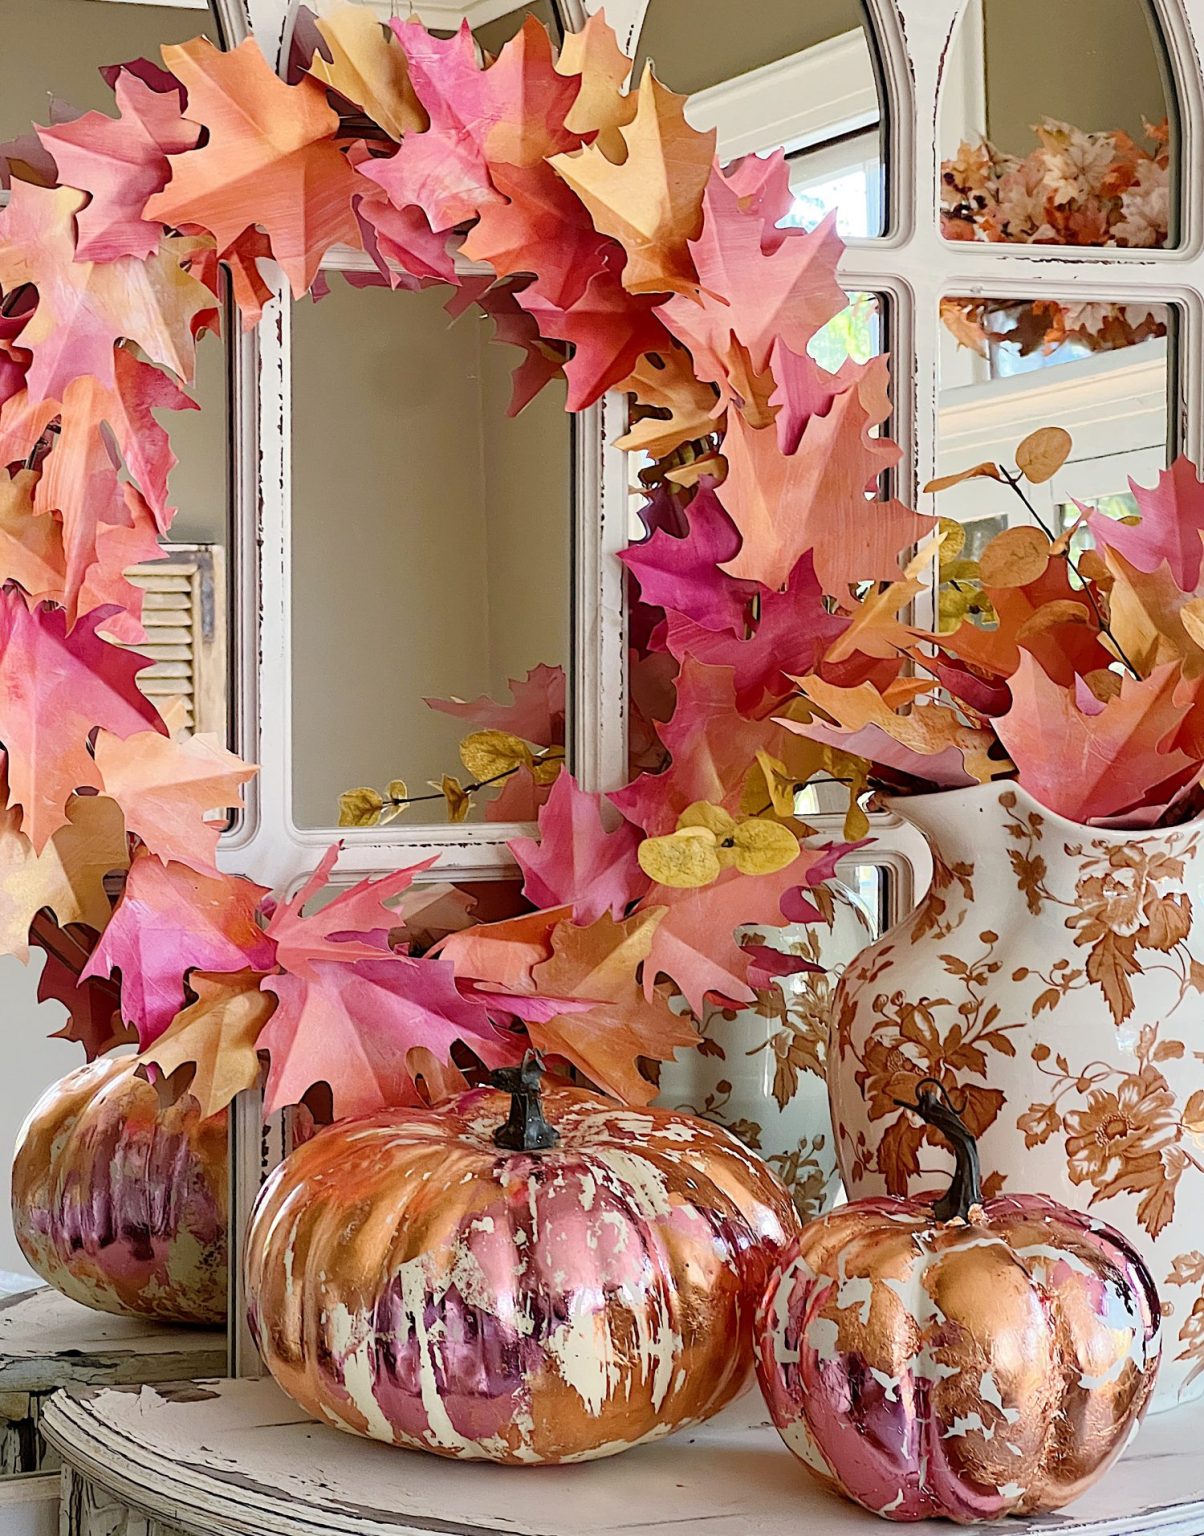
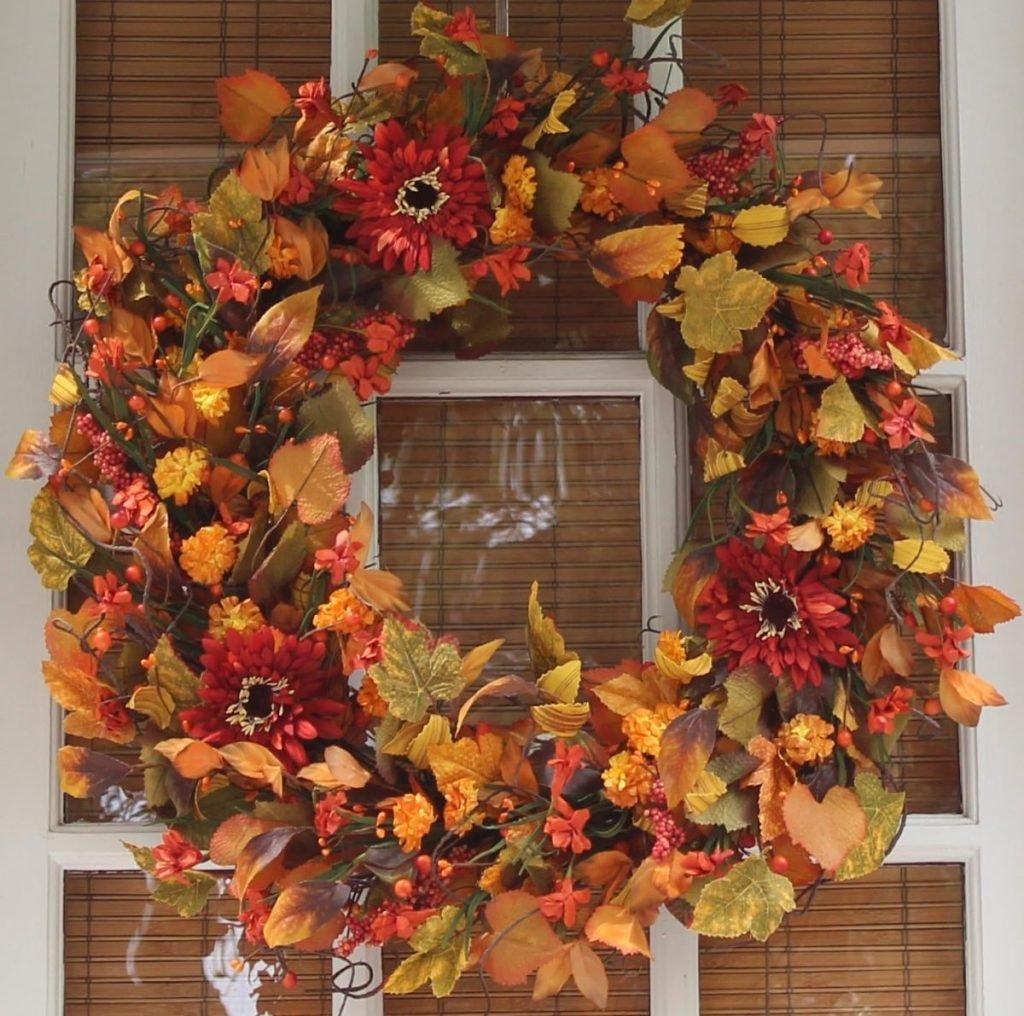
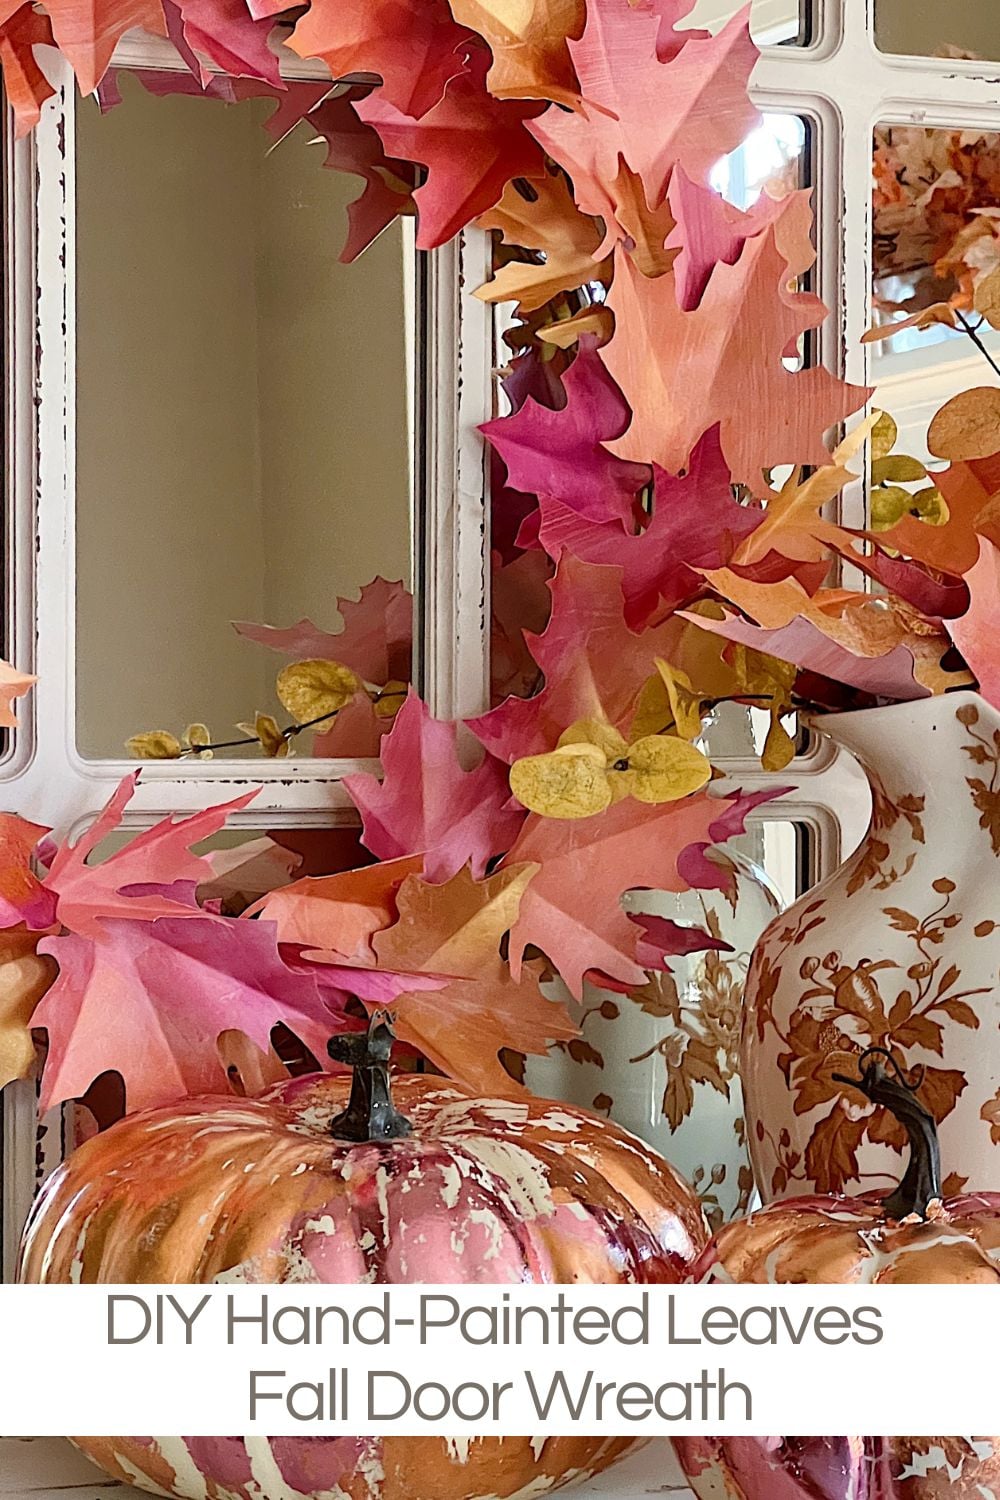
DIY Hand-Painted Leaves Fall Door Wreath
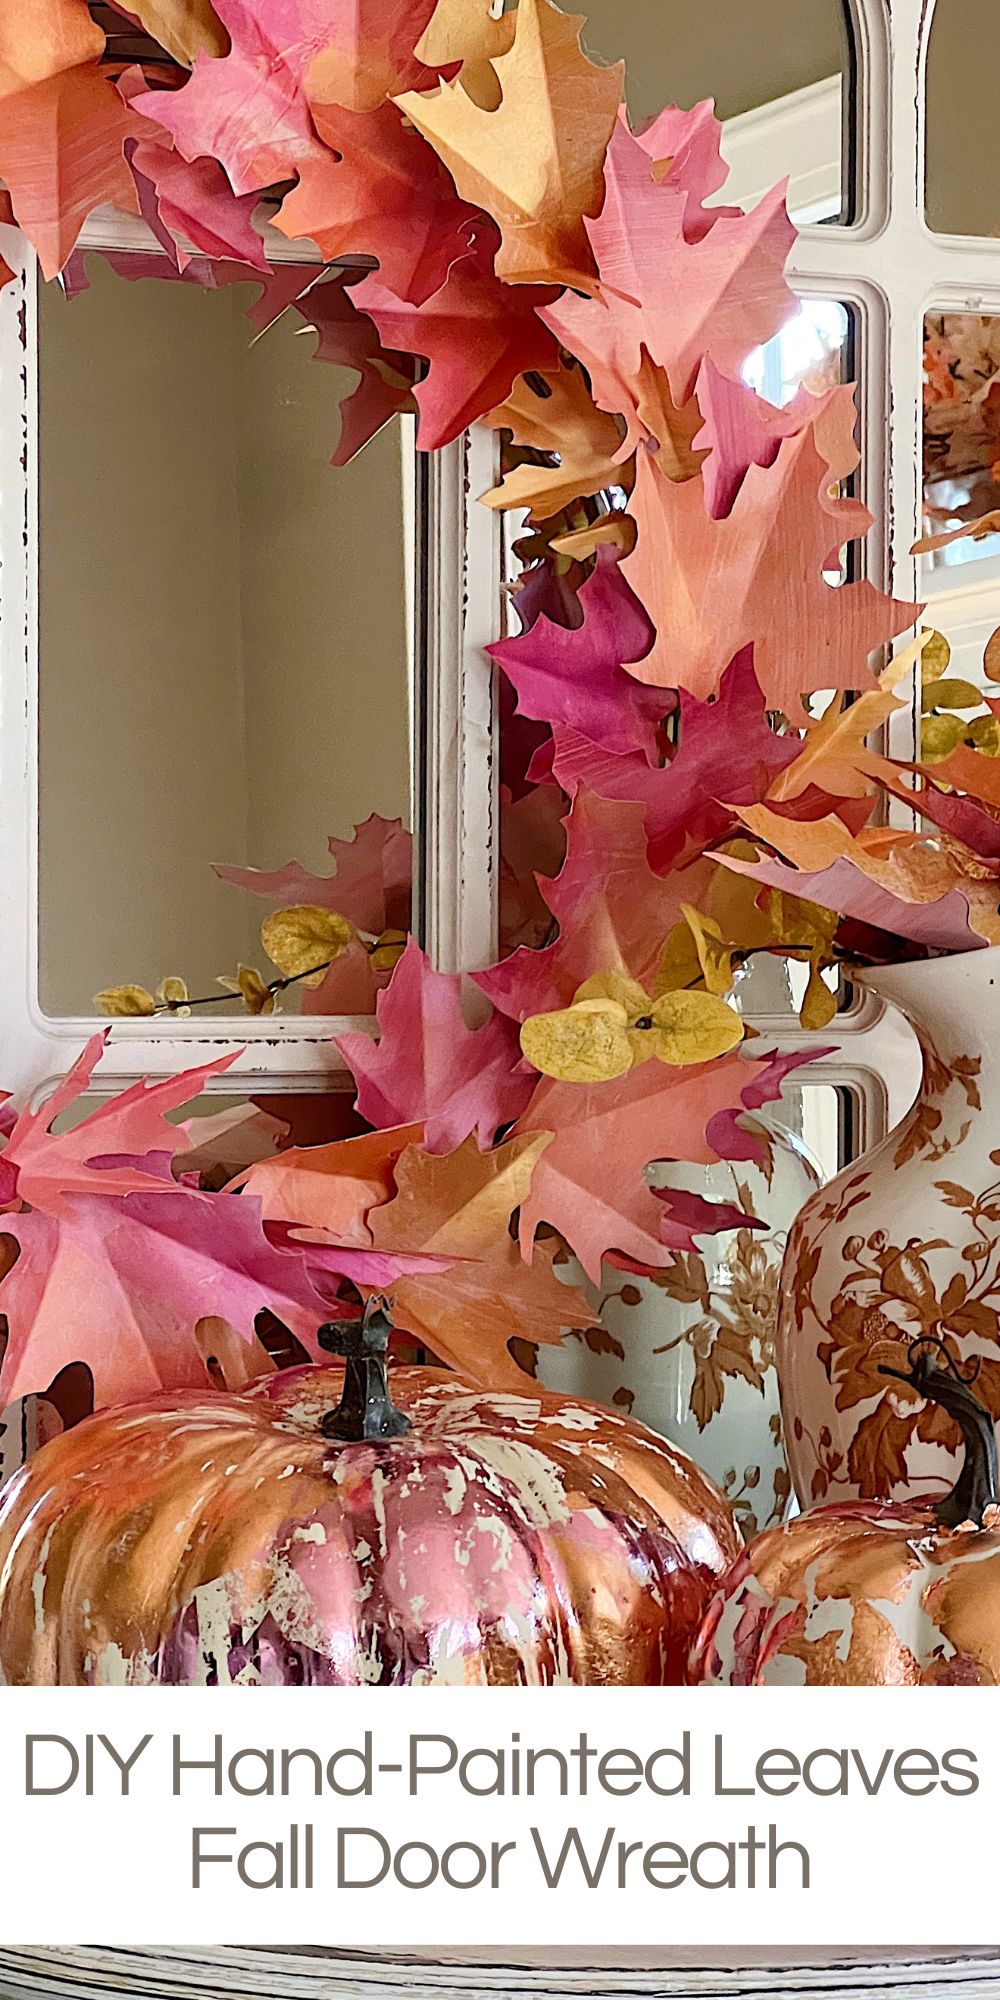

Today, I am combining two of my favorite things: painting and crafting. I made beautiful hand-painted leaves and then a door wreath.
I love metallic paints and was inspired to create a door wreath by using metallic paint on heavy paper and then cutting out leaf shapes using a stencil. This project is kind of like grown-up paper dolls!


This Front Door Wreath Requires Very Little Artistic Ability
You read that correctly; zero artistic ability is required for this project. And this may be the least expensive craft I have ever made. Why?
The cost was minimal because I painted cardstock, traced the leaves, and cut them out.
Are you ready to learn how to make one?
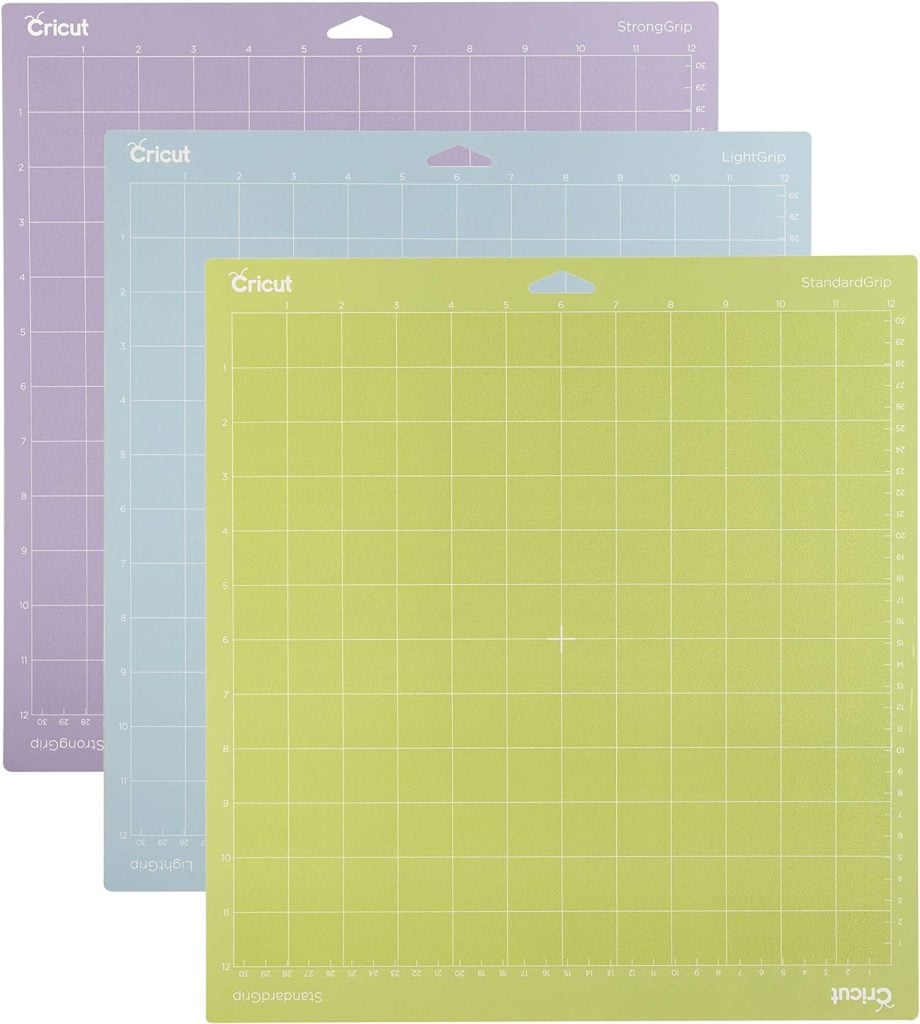
What You Need to Make This Door Wreath

- White Cardstock Scrapbook Paper (12×12) (I used 8 sheets)
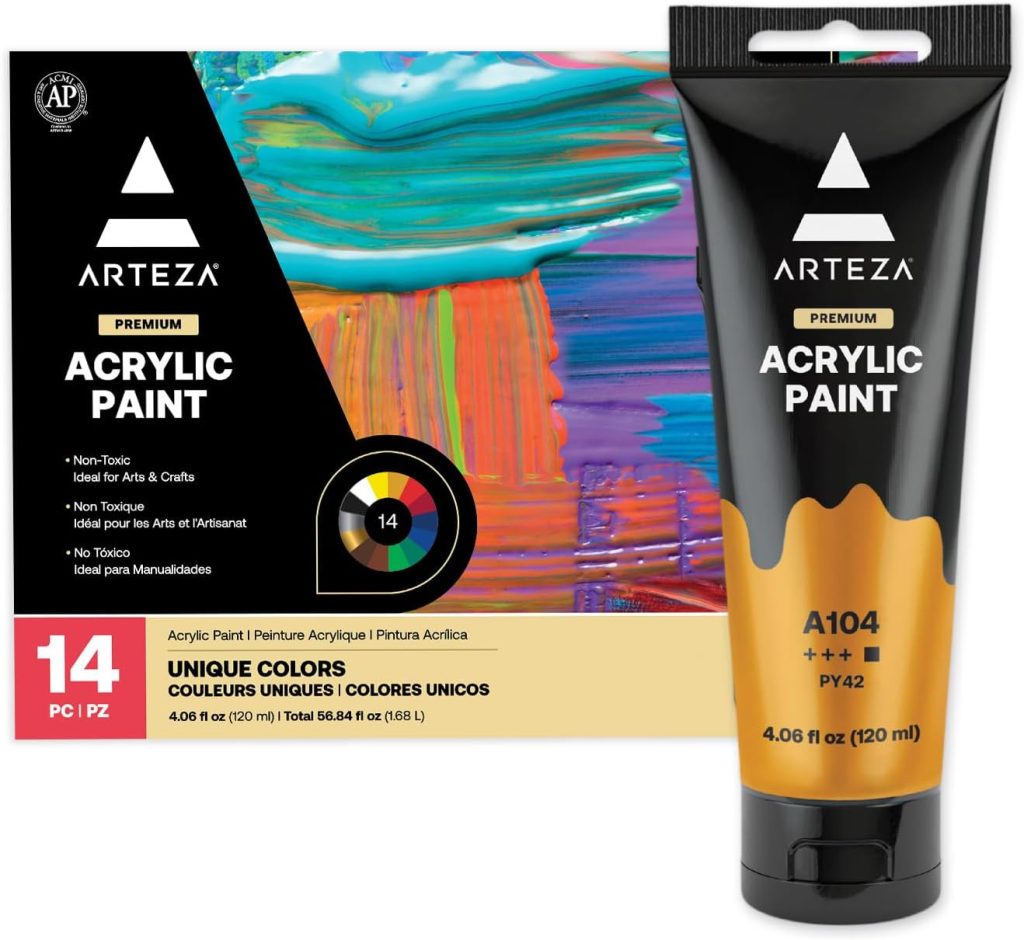
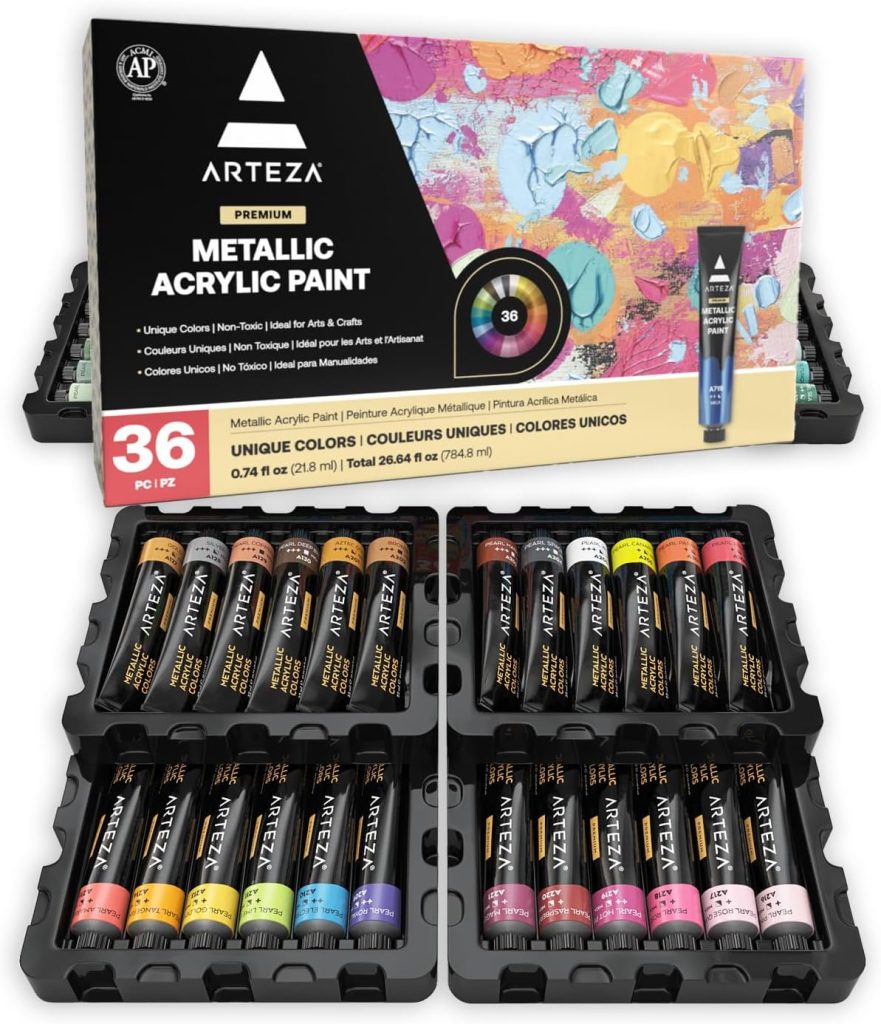
- Aretza Metallic Acrylic Paint Set
- 1-1/2″ Rubber Brayer
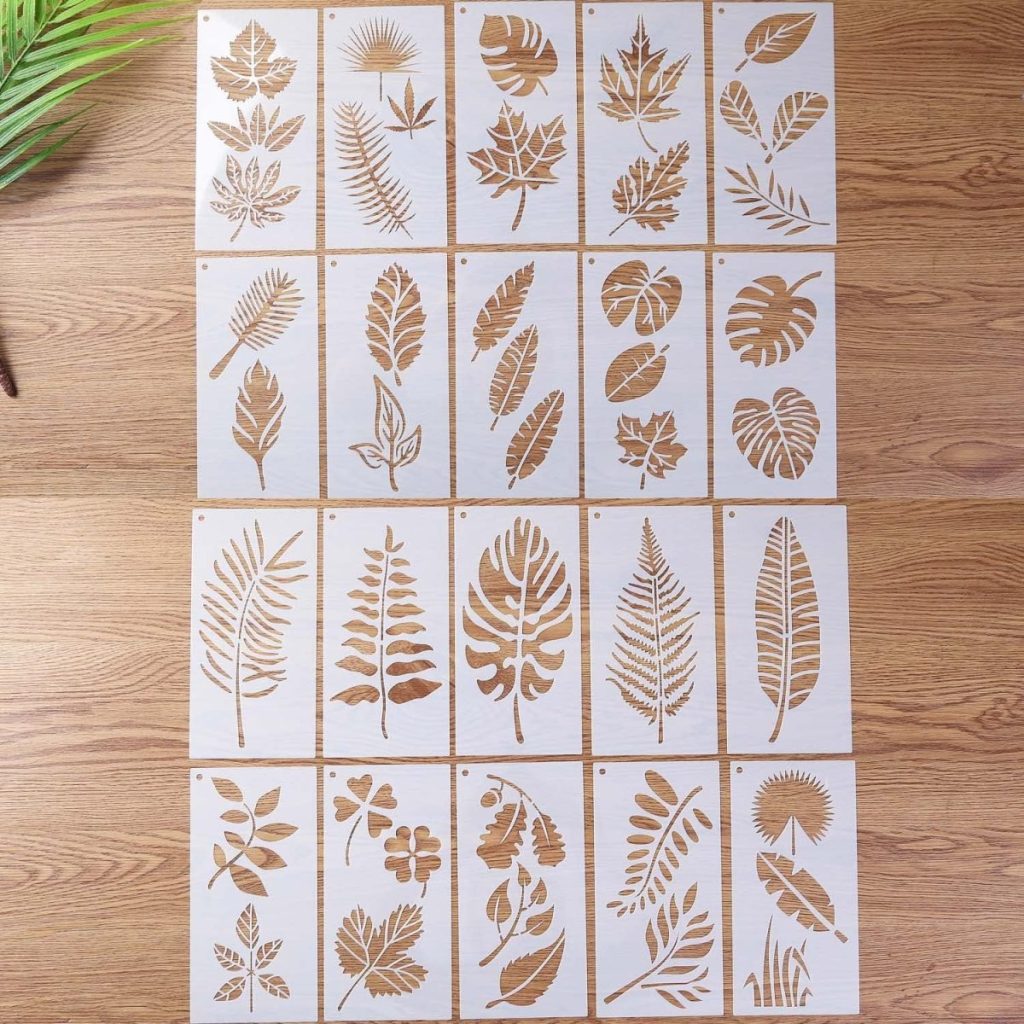
- Leaf Stencils
- Scissors
- Glue Gun
- Glue Sticks
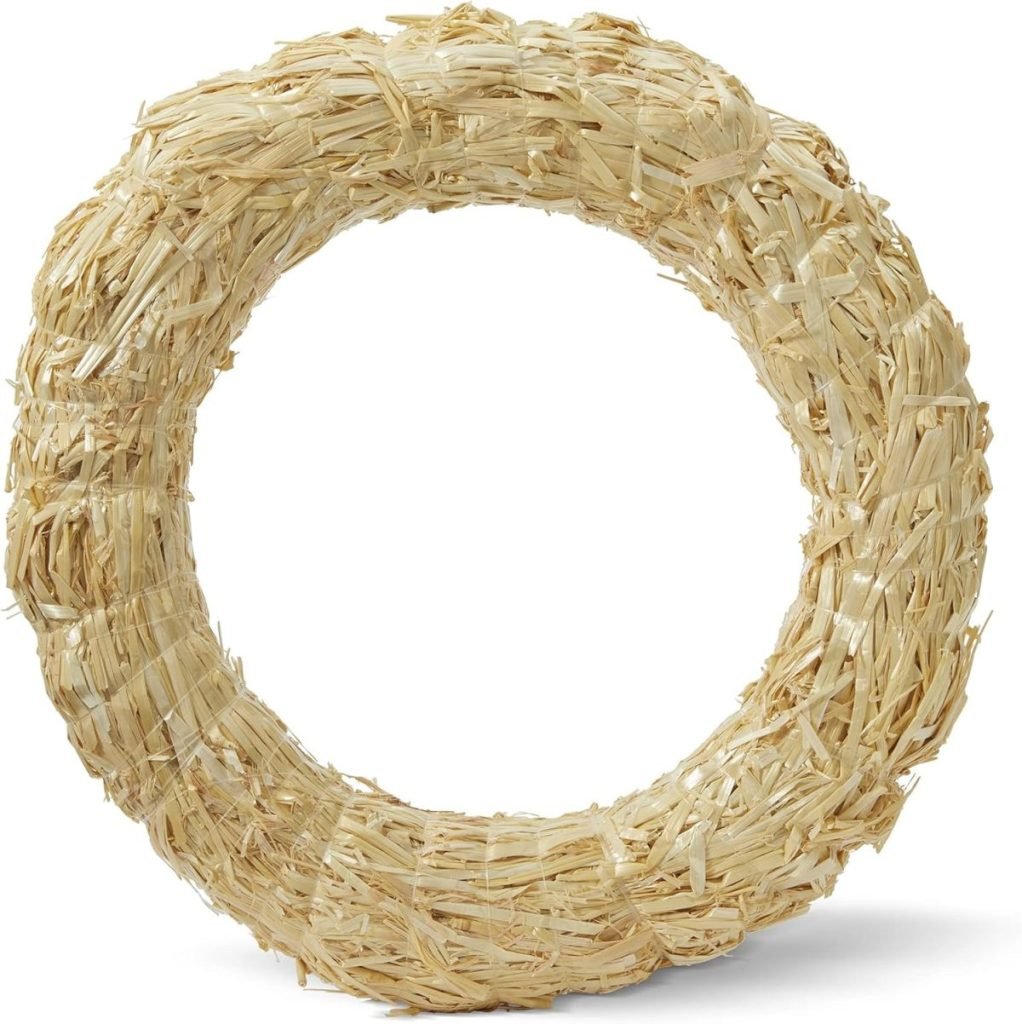
- Metal Wreath Form (I used an 18″ wreath form)
- Metallic Spray Paint
This is one of those projects that I love. I literally had everything I needed to make this wreath already in my craft room and the gorgeous Arteza Metallic Acrylic Paint inspired me set that I have been using lately for a lot of my crafts. The paints are also the ones I used to make this Easy and Gorgeous Fall Tablecloth DIY.
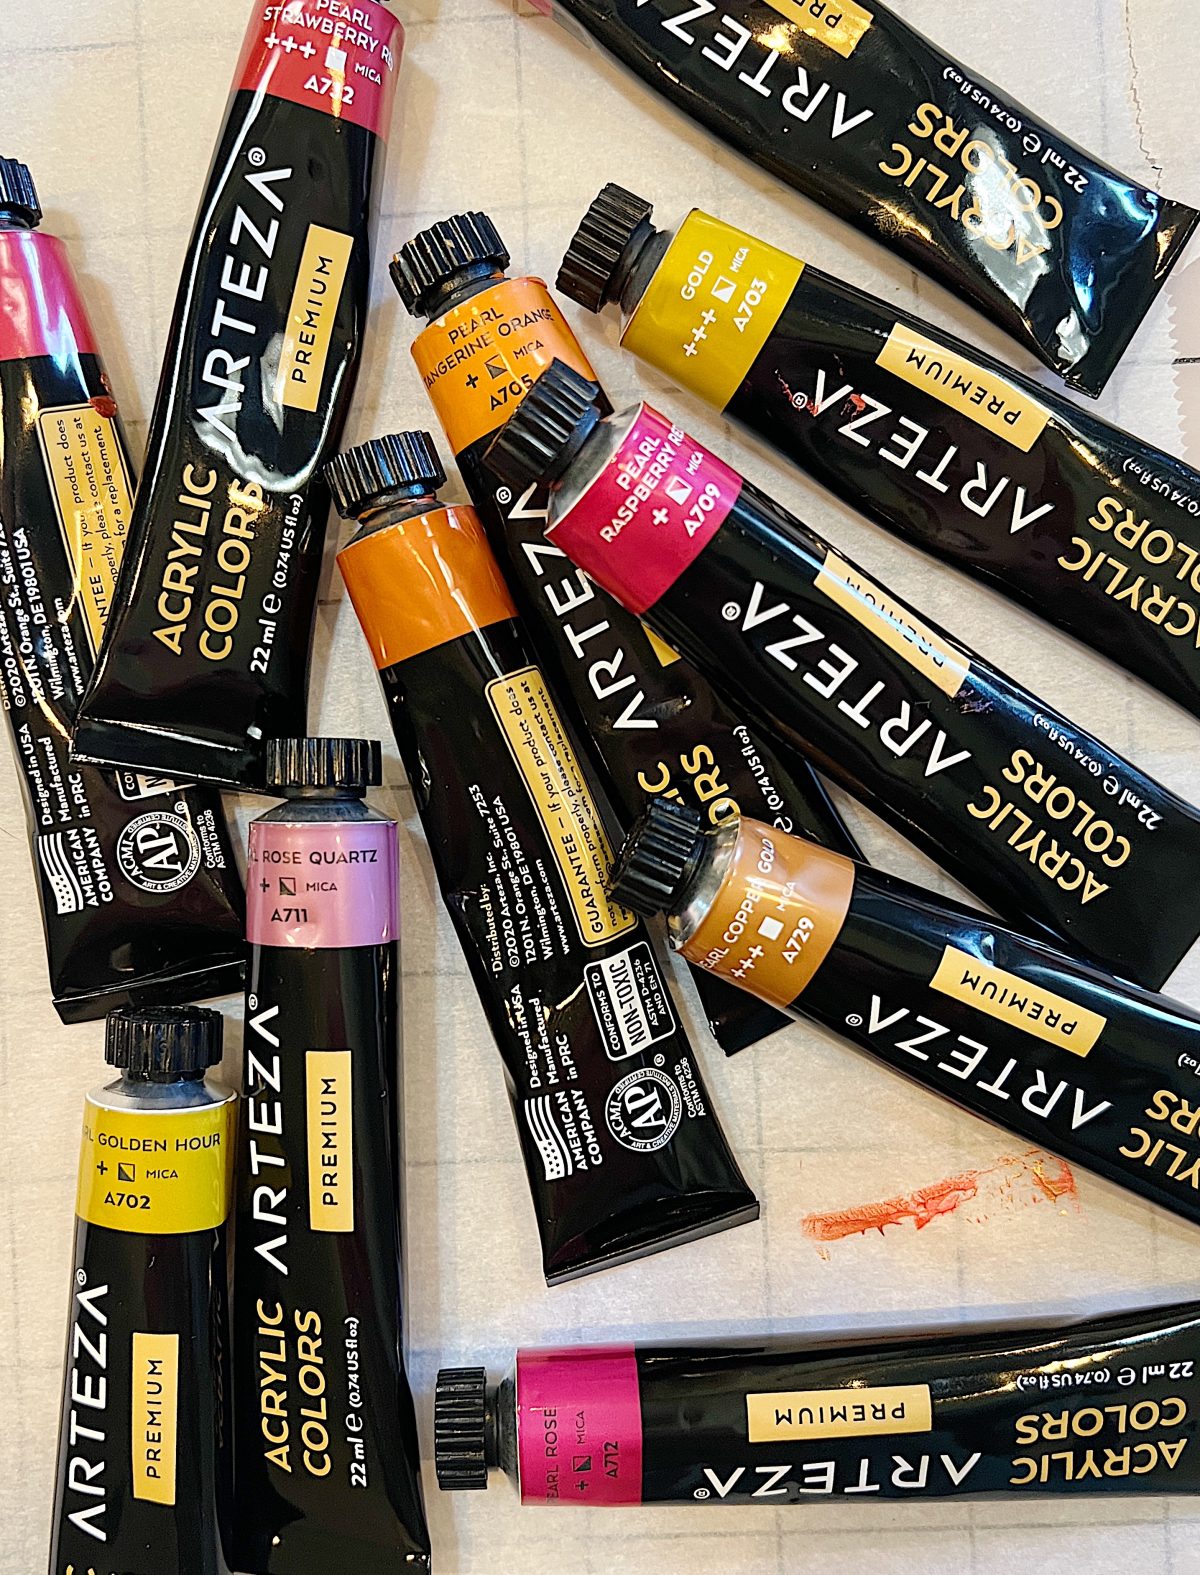
It is perhaps the best paint I have ever used, and I have been a professional artist for many years! The paint is thick and dense, but it dries quickly. The metallic element of the paint has a fantastic sheen, which made this project turn out especially incredible!
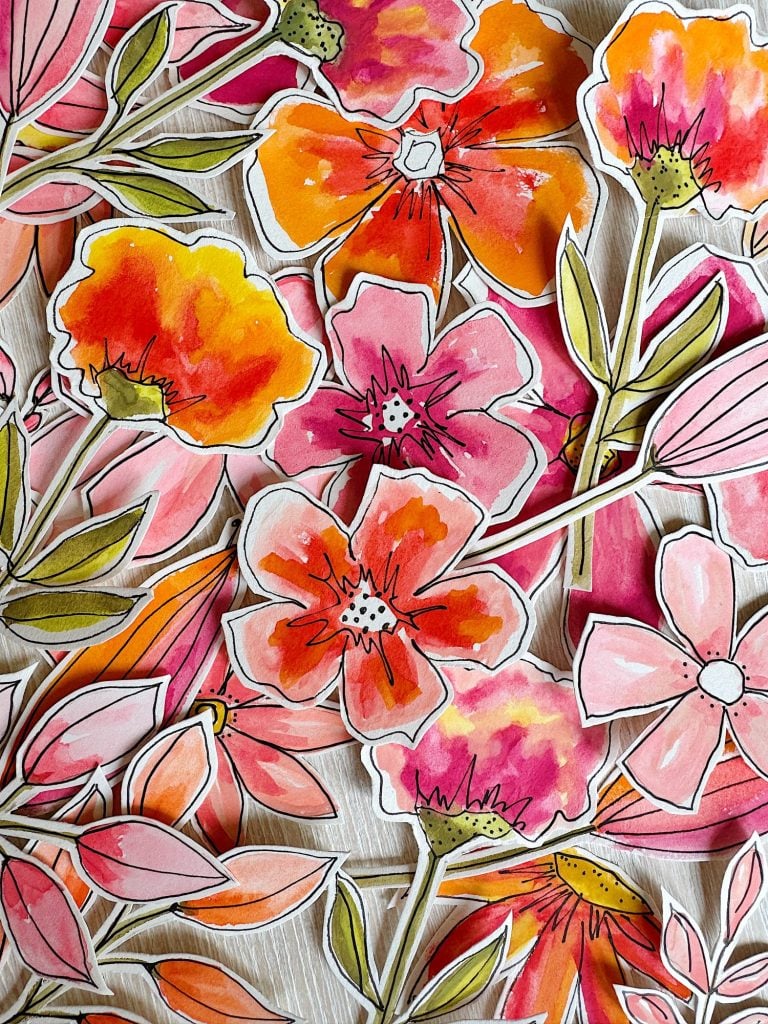
What do you think of my color selection? You must love those pinks, golds, and oranges. Hehe.
I may sometimes use affiliate links on this blog, which means a small commission is earned if you purchase via the link. The price you pay will be the same whether you use the affiliate link or go directly to the vendor’s website using a non-affiliate link.

How to Paint Cardstock with Metallic Paint

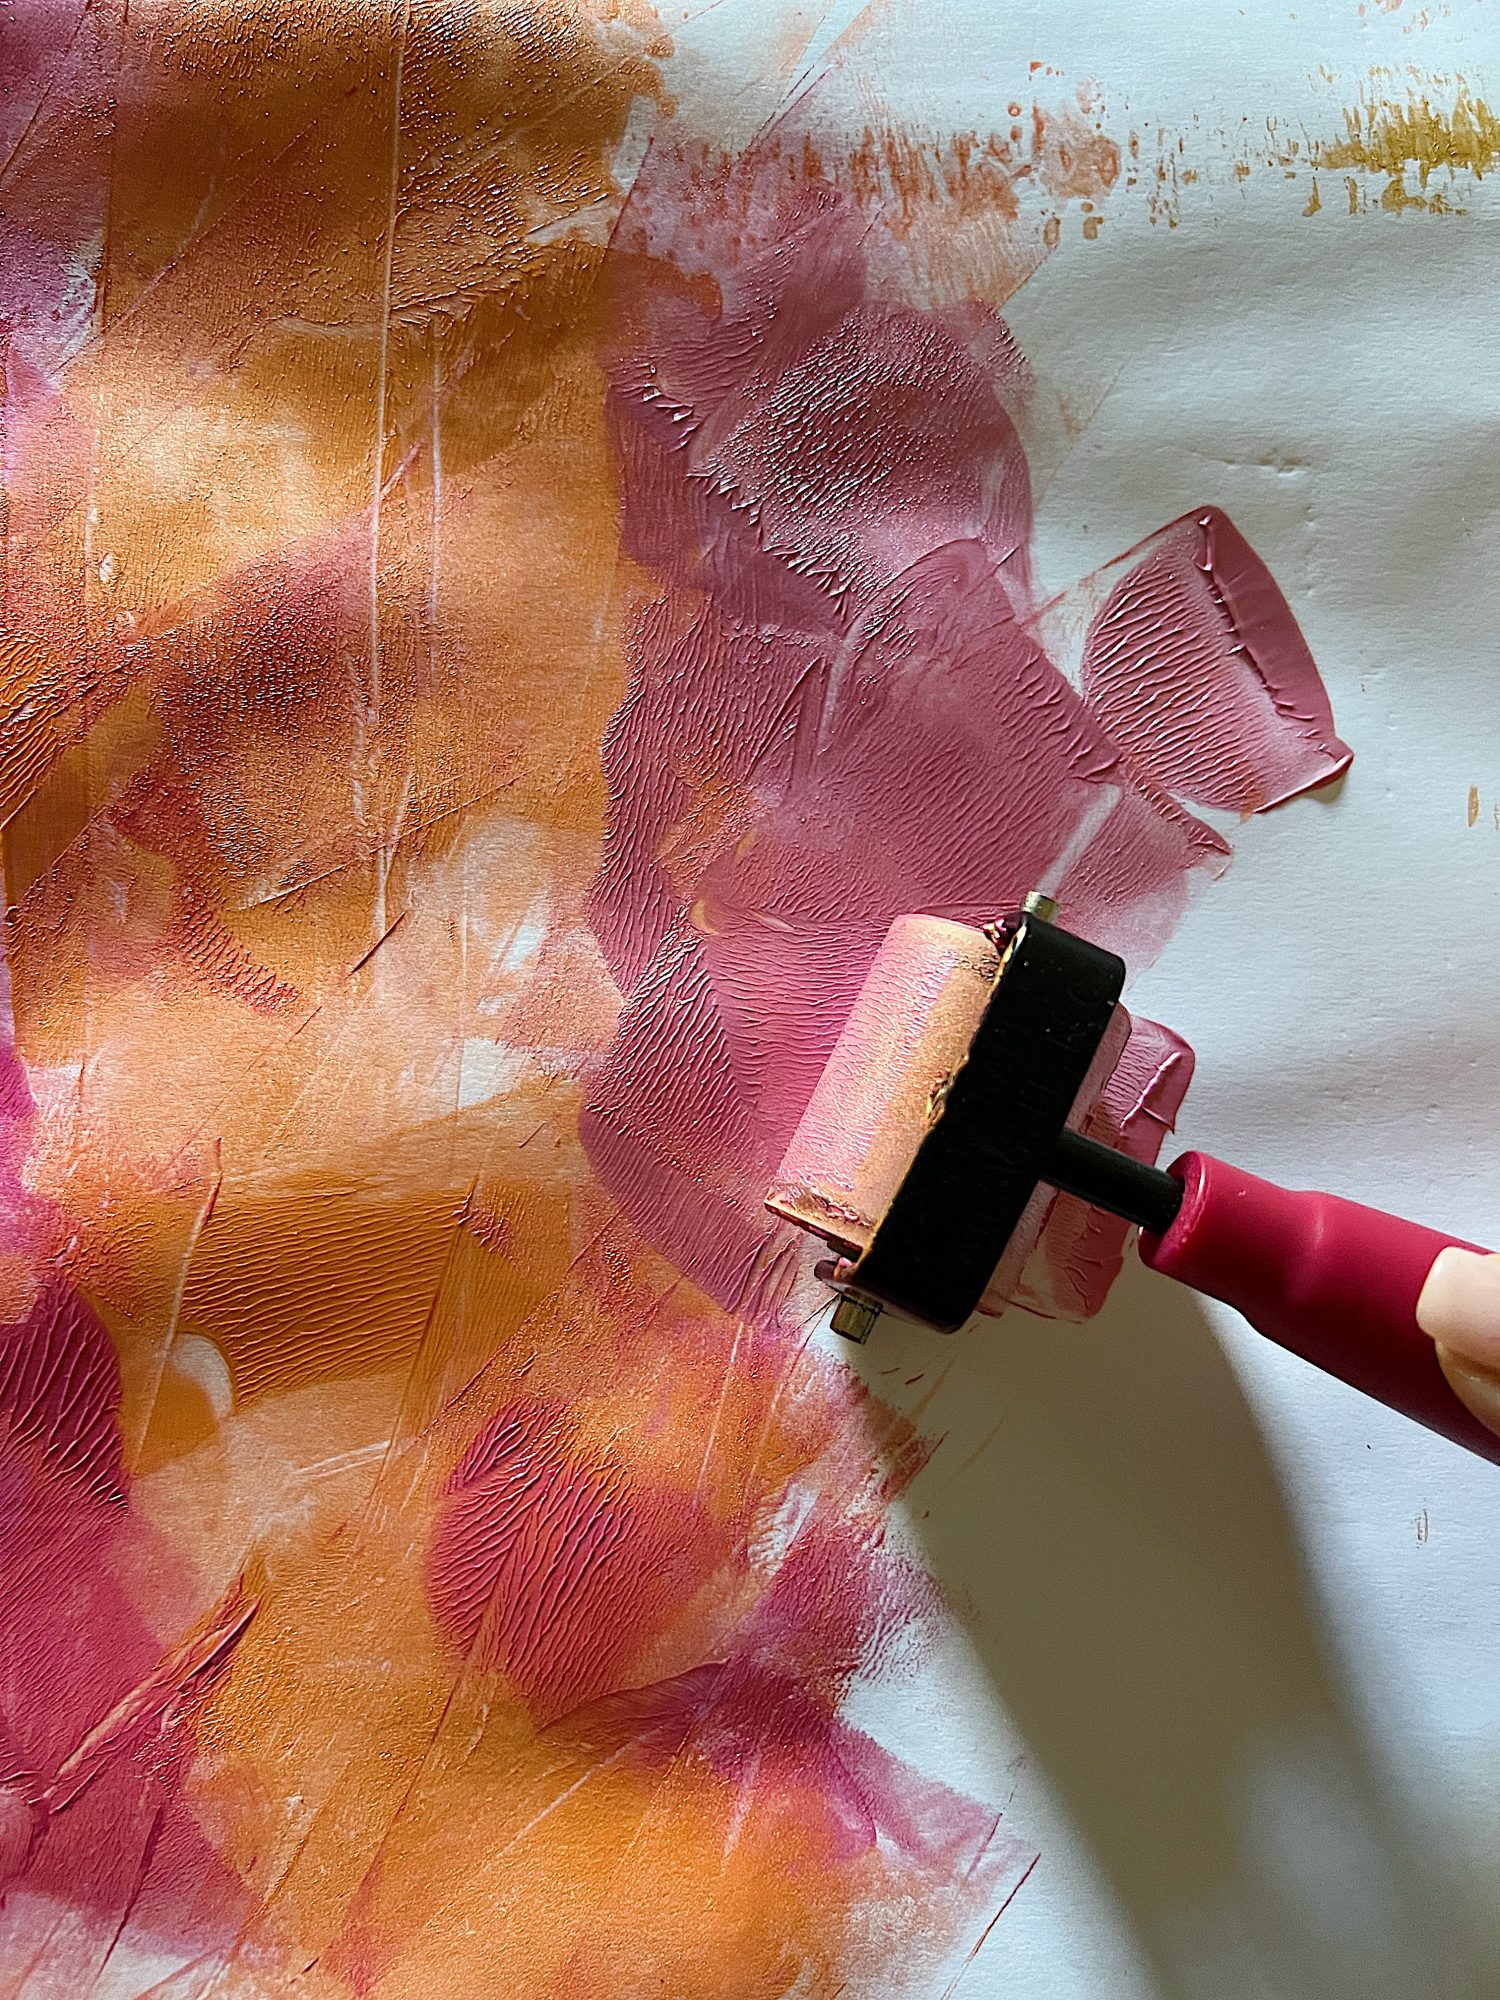
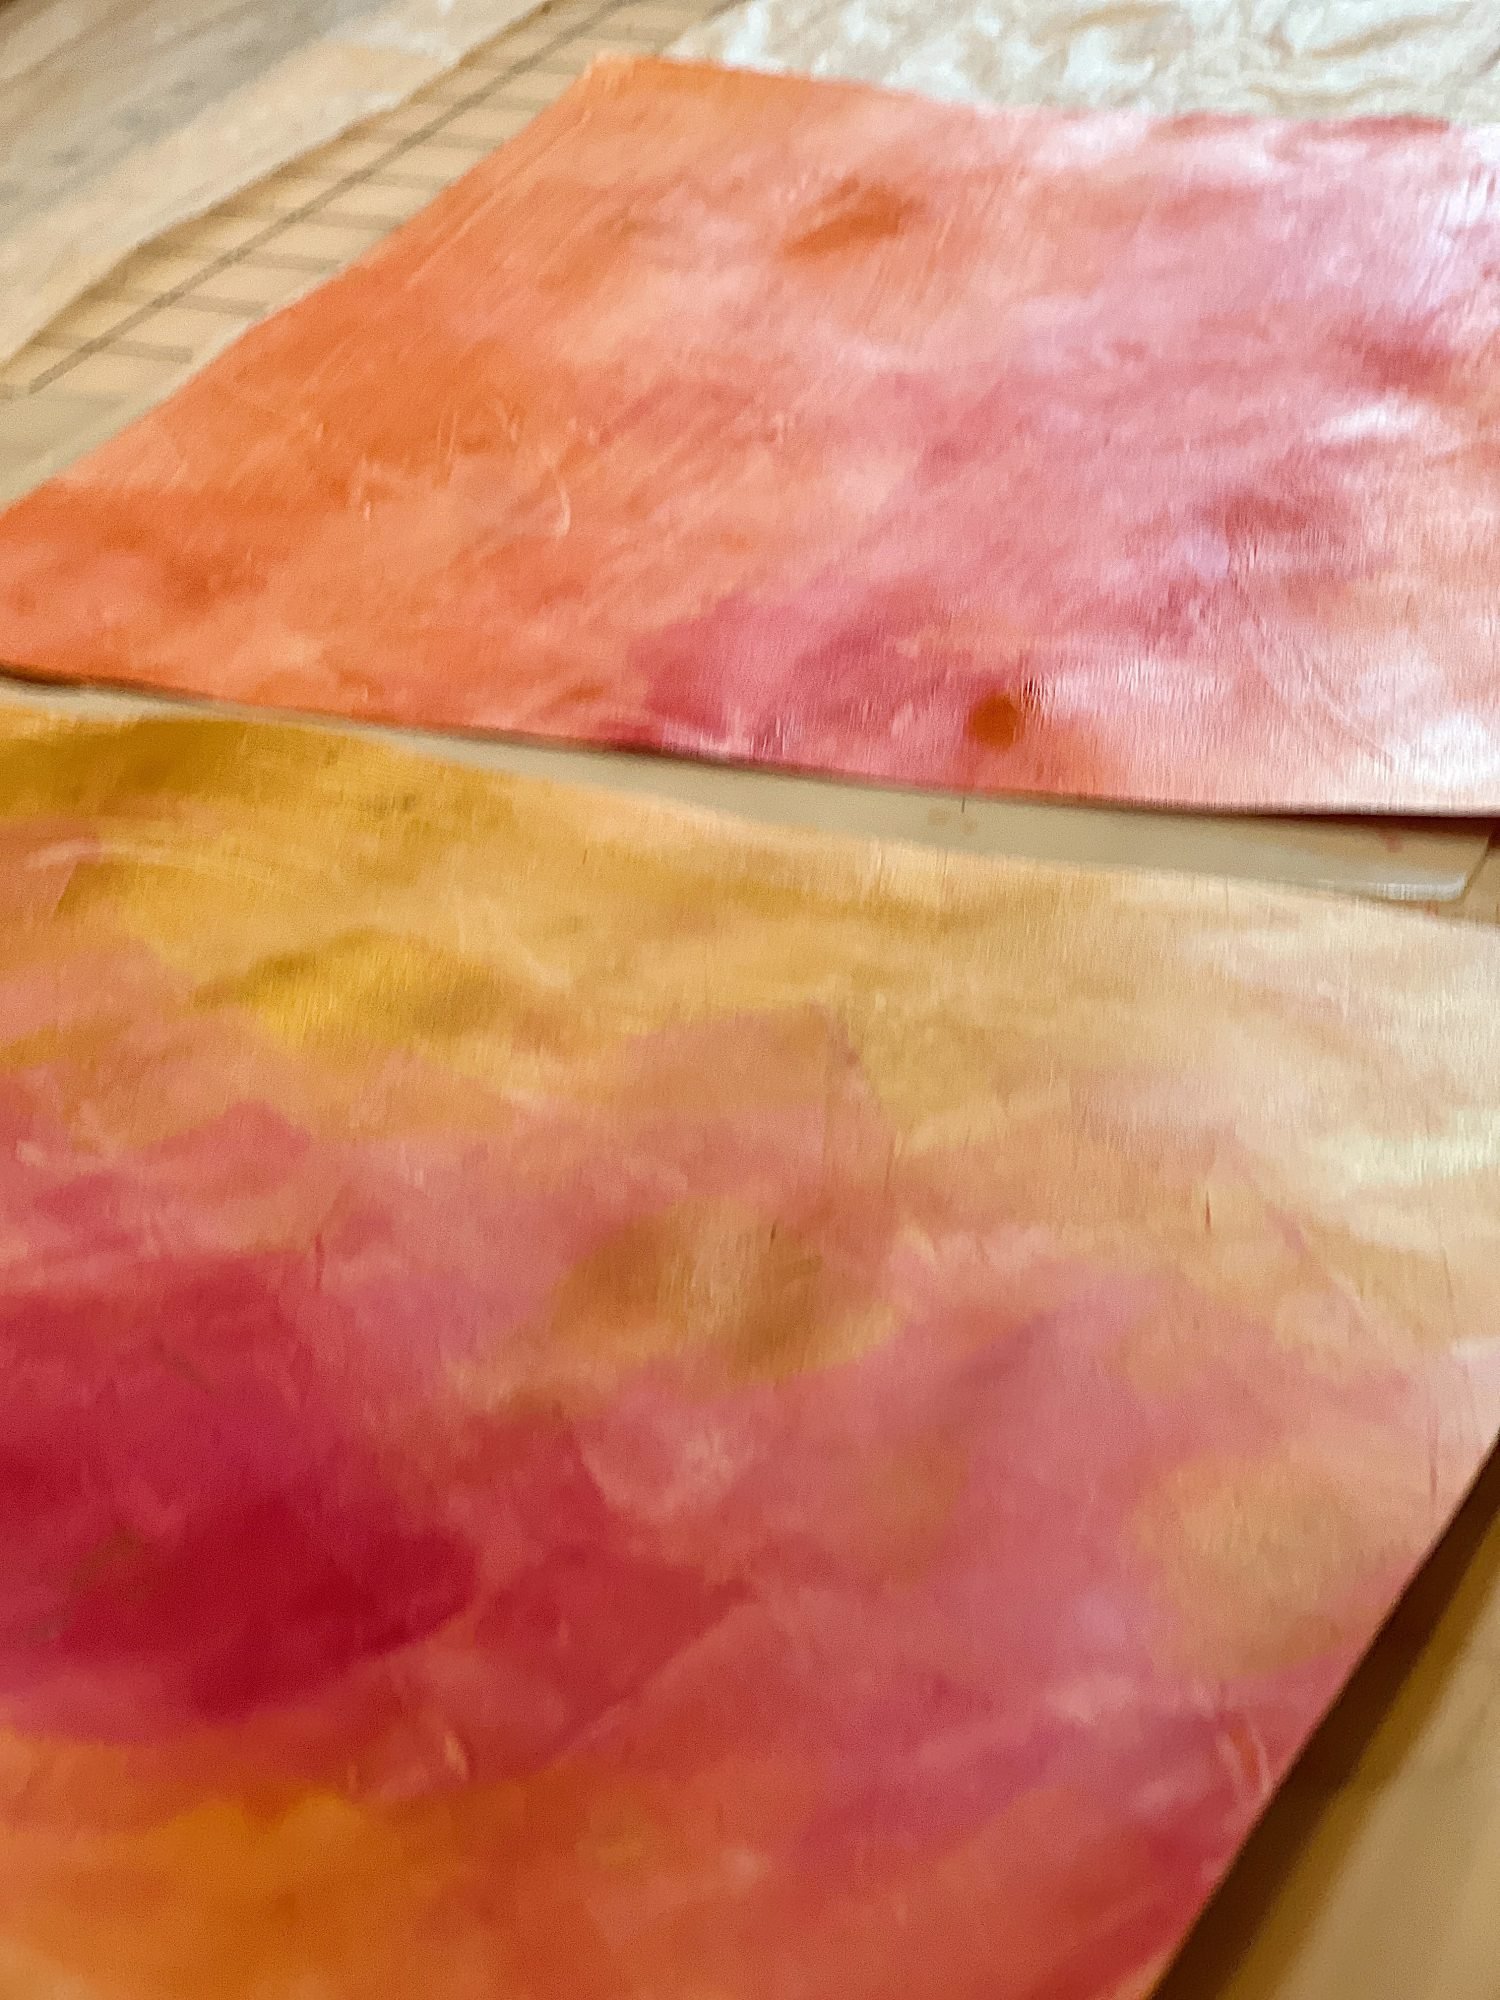
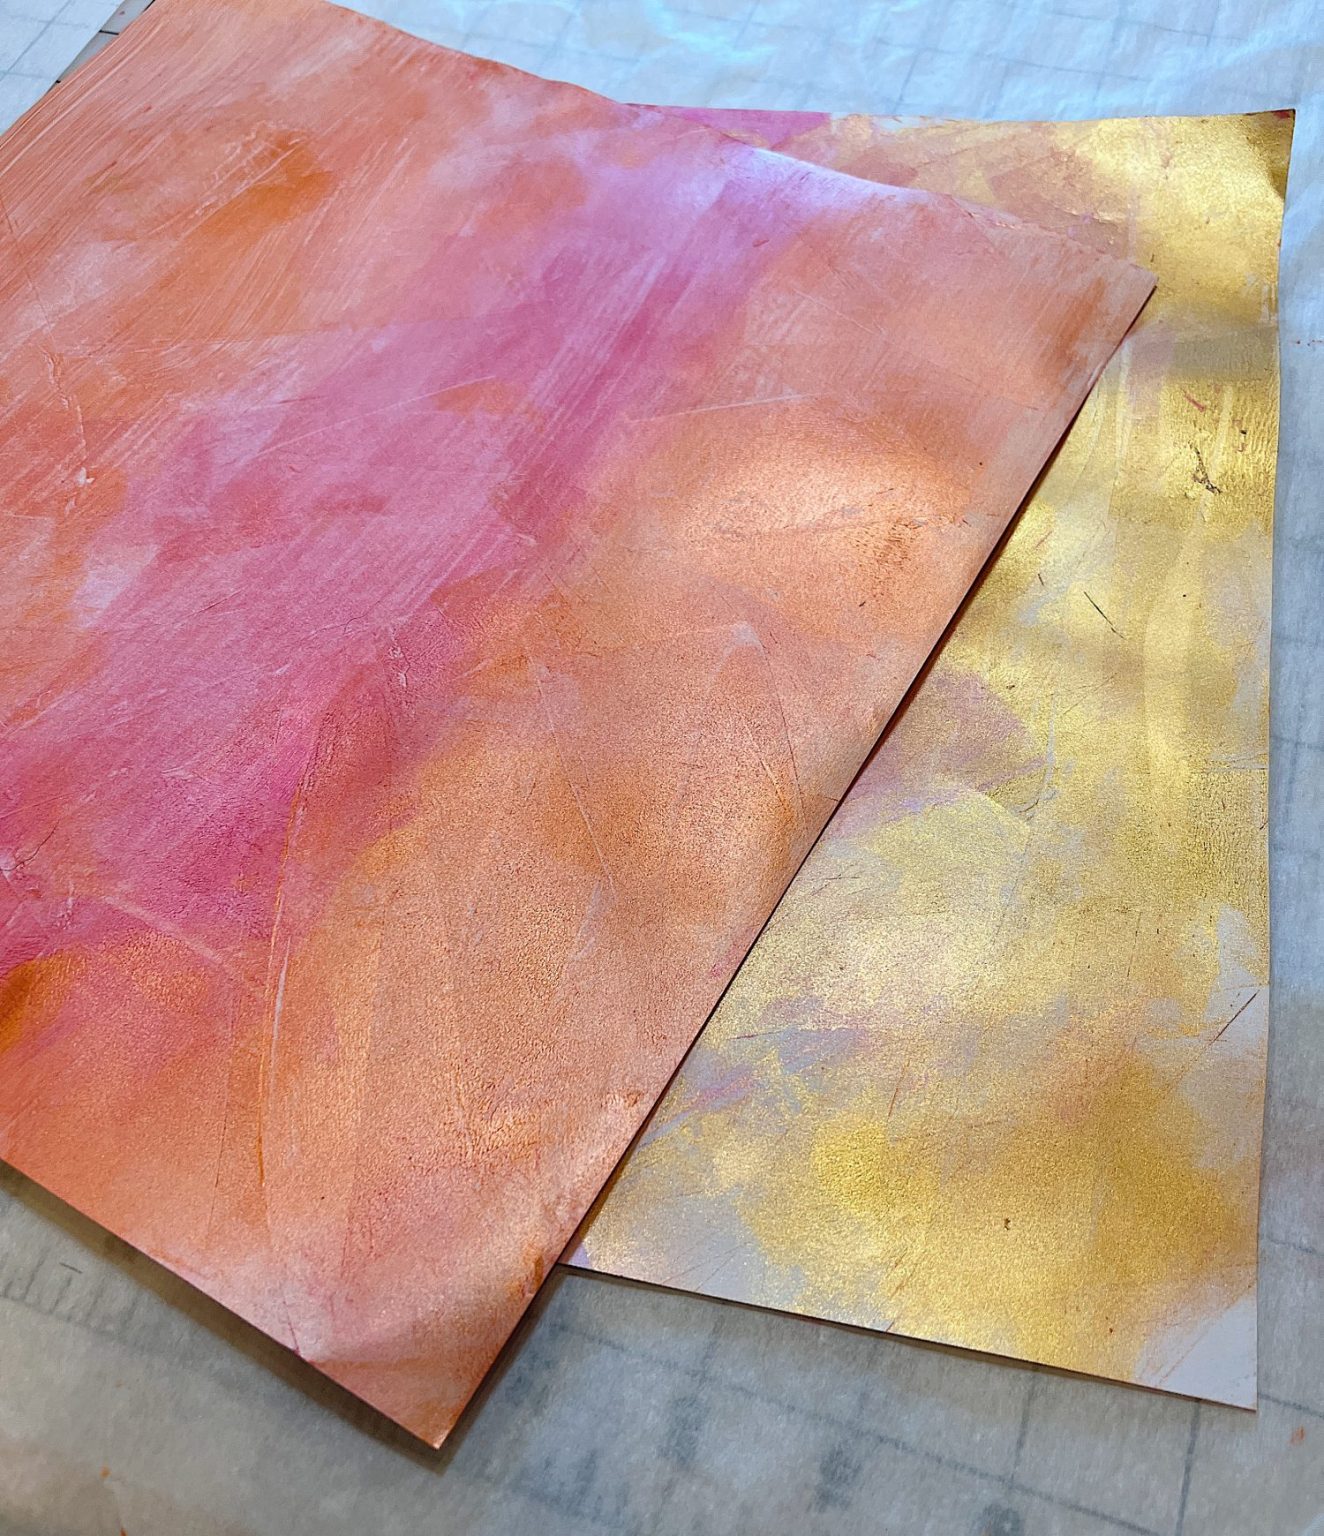
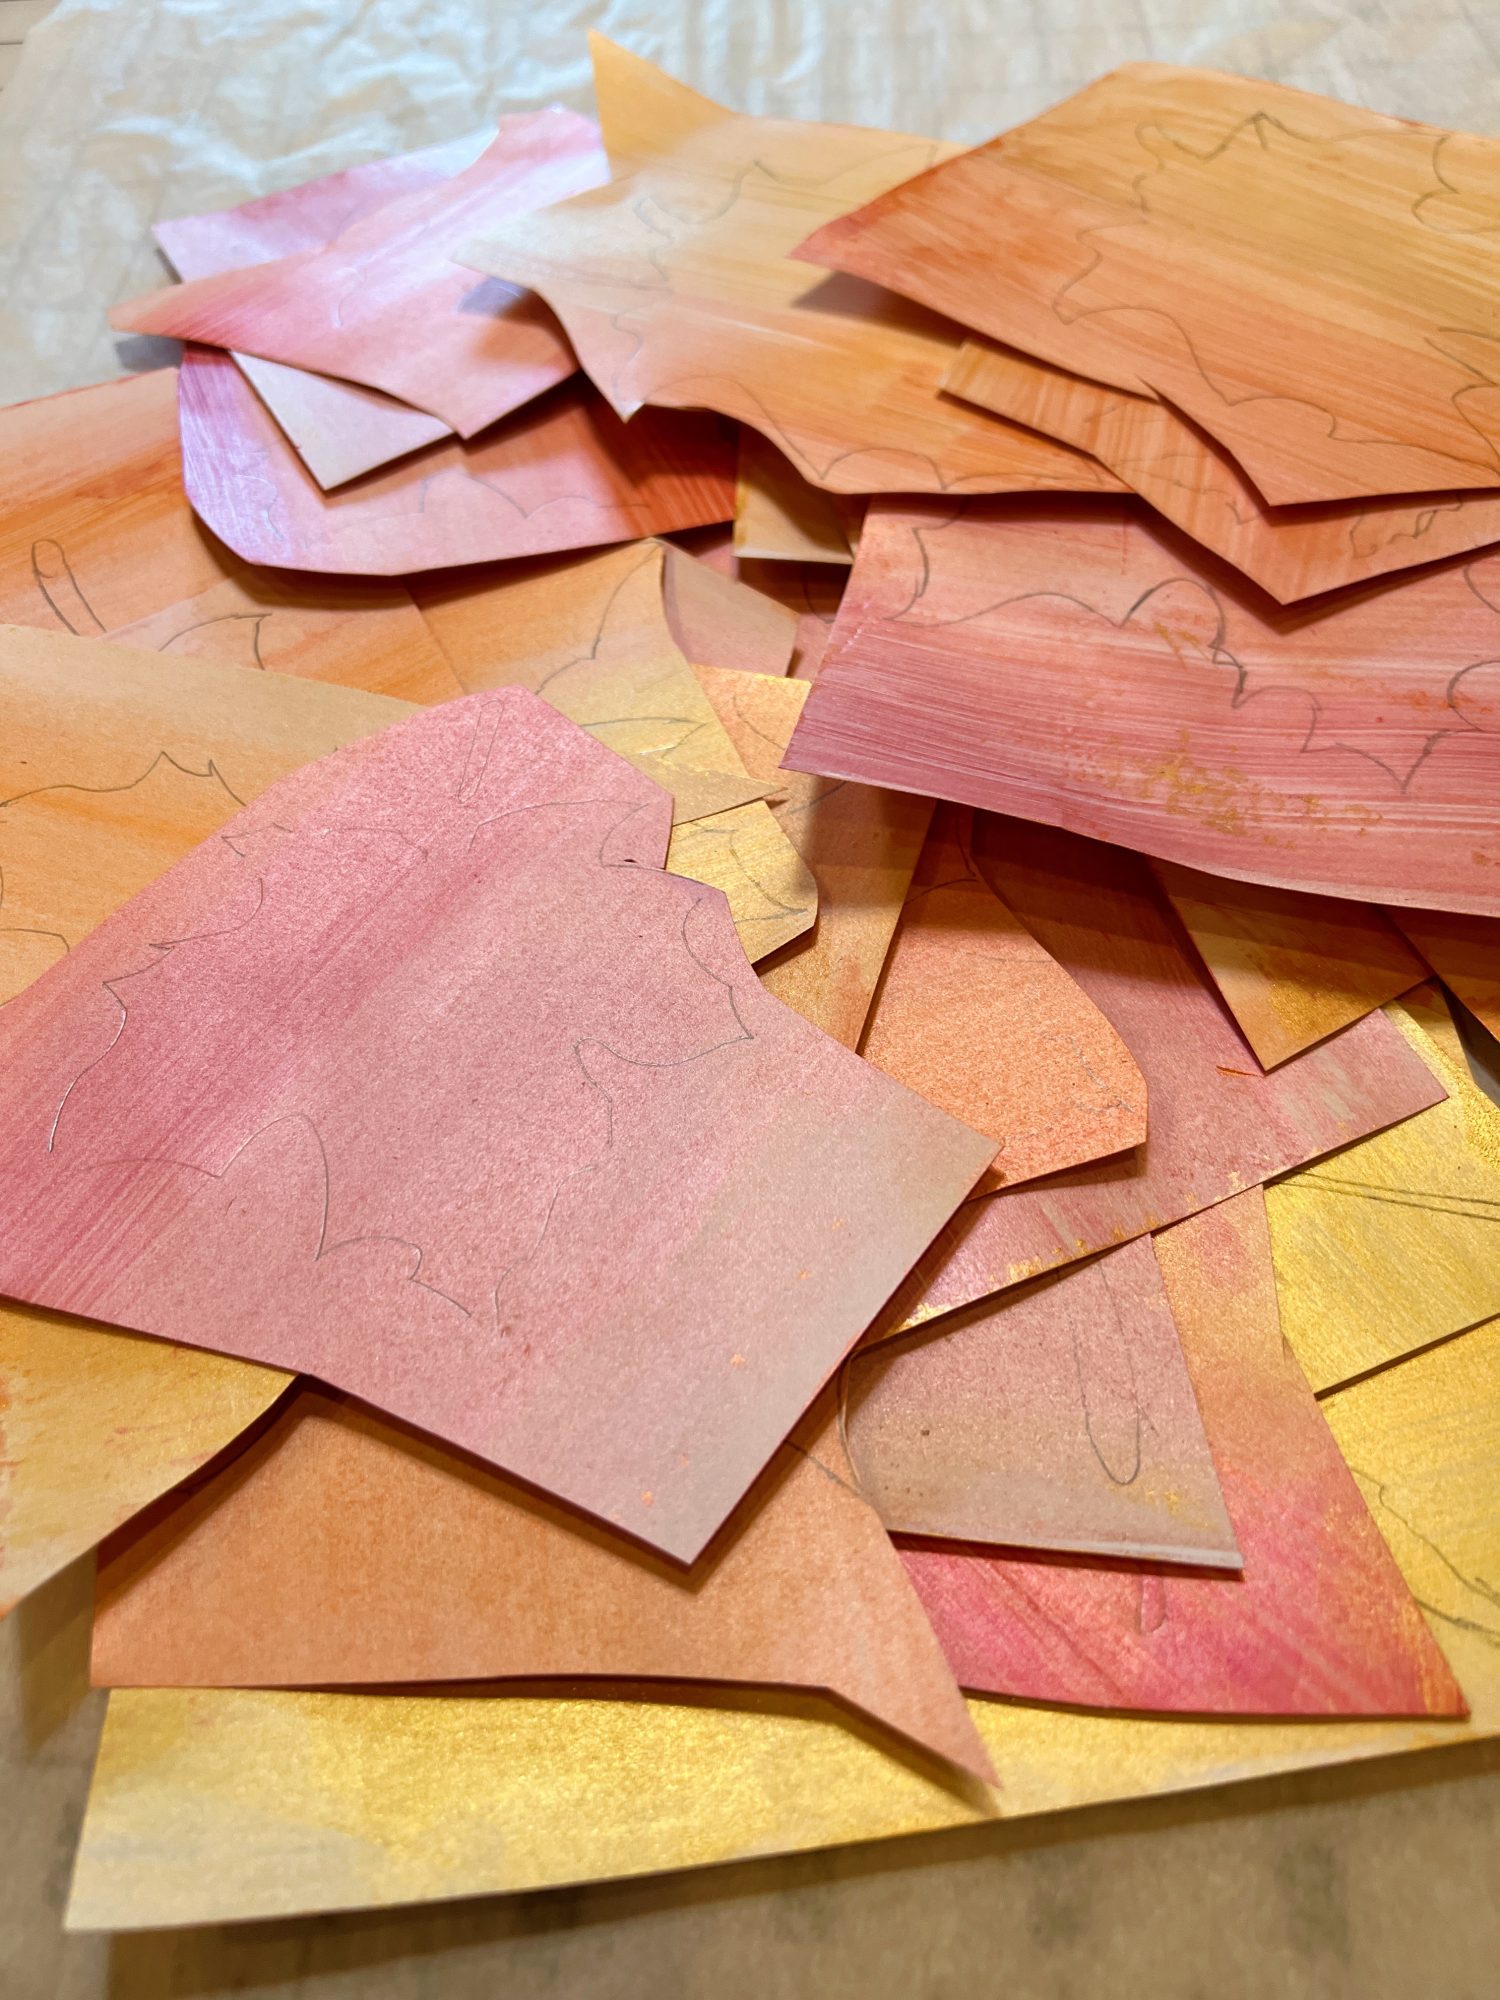
- one – Cover the cardstock with three colors on each sheet using a small paint roller (brayer). Roll it out in all different directions.
- two – Let the sheet dry, flip it over, and use a brush to paint the back side lightly. I watered down the paint a bit. (This is optional.)
- three – Let the sheets dry.


Steps to Stencil and Cut the Leaves
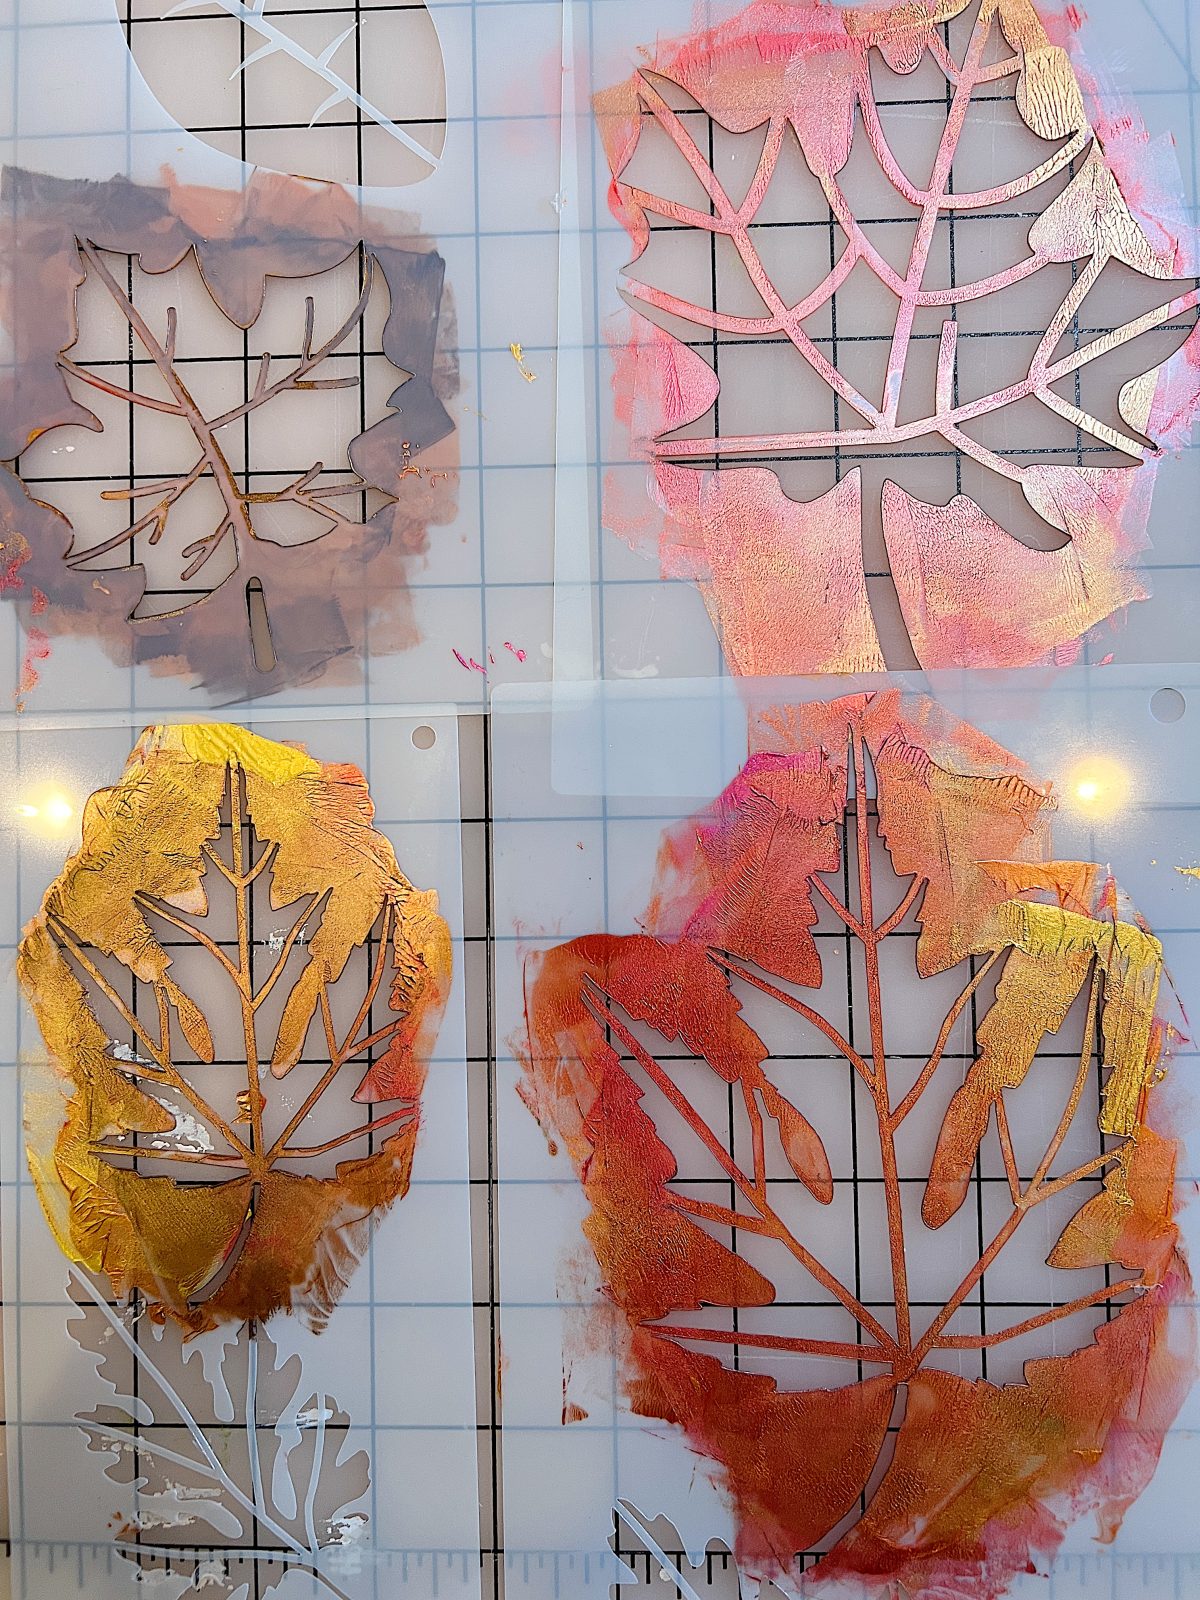
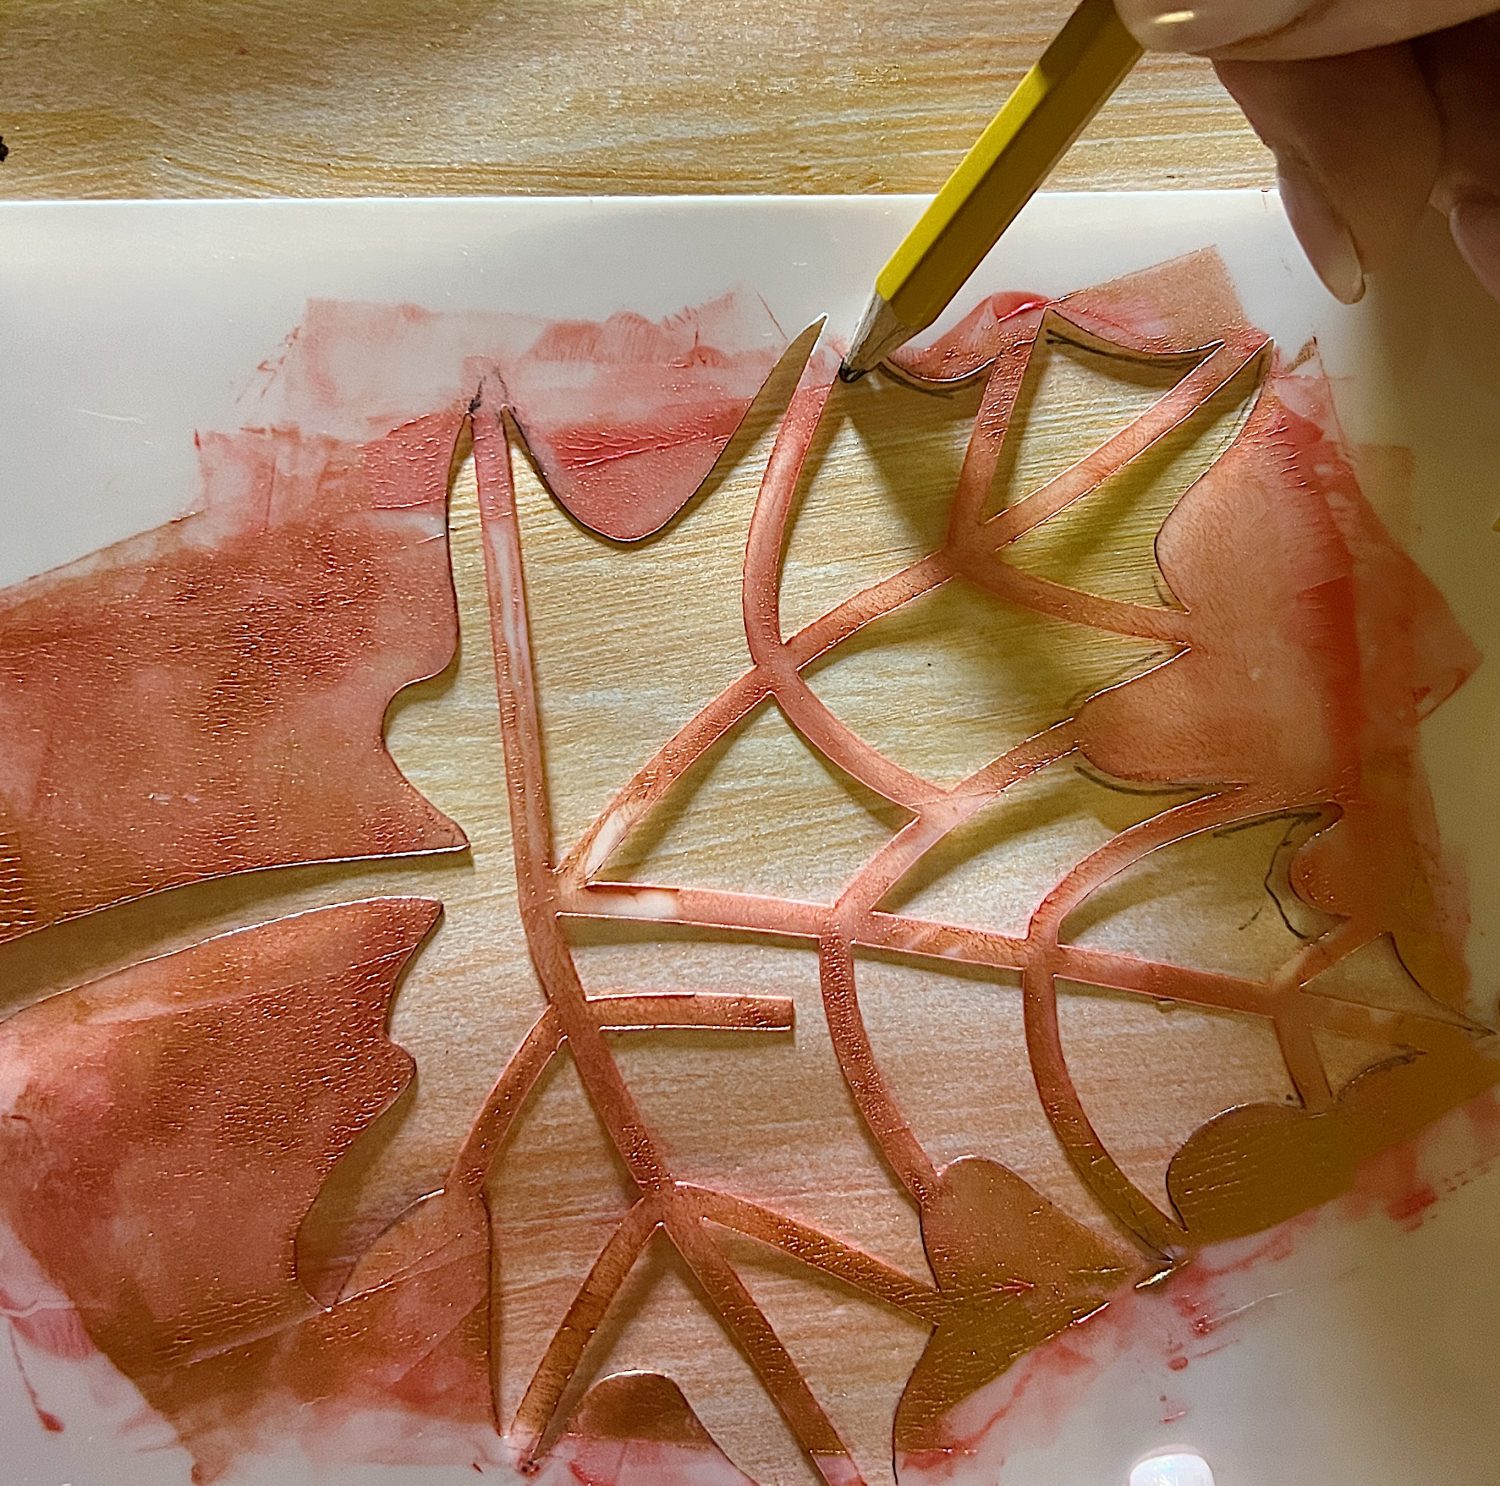
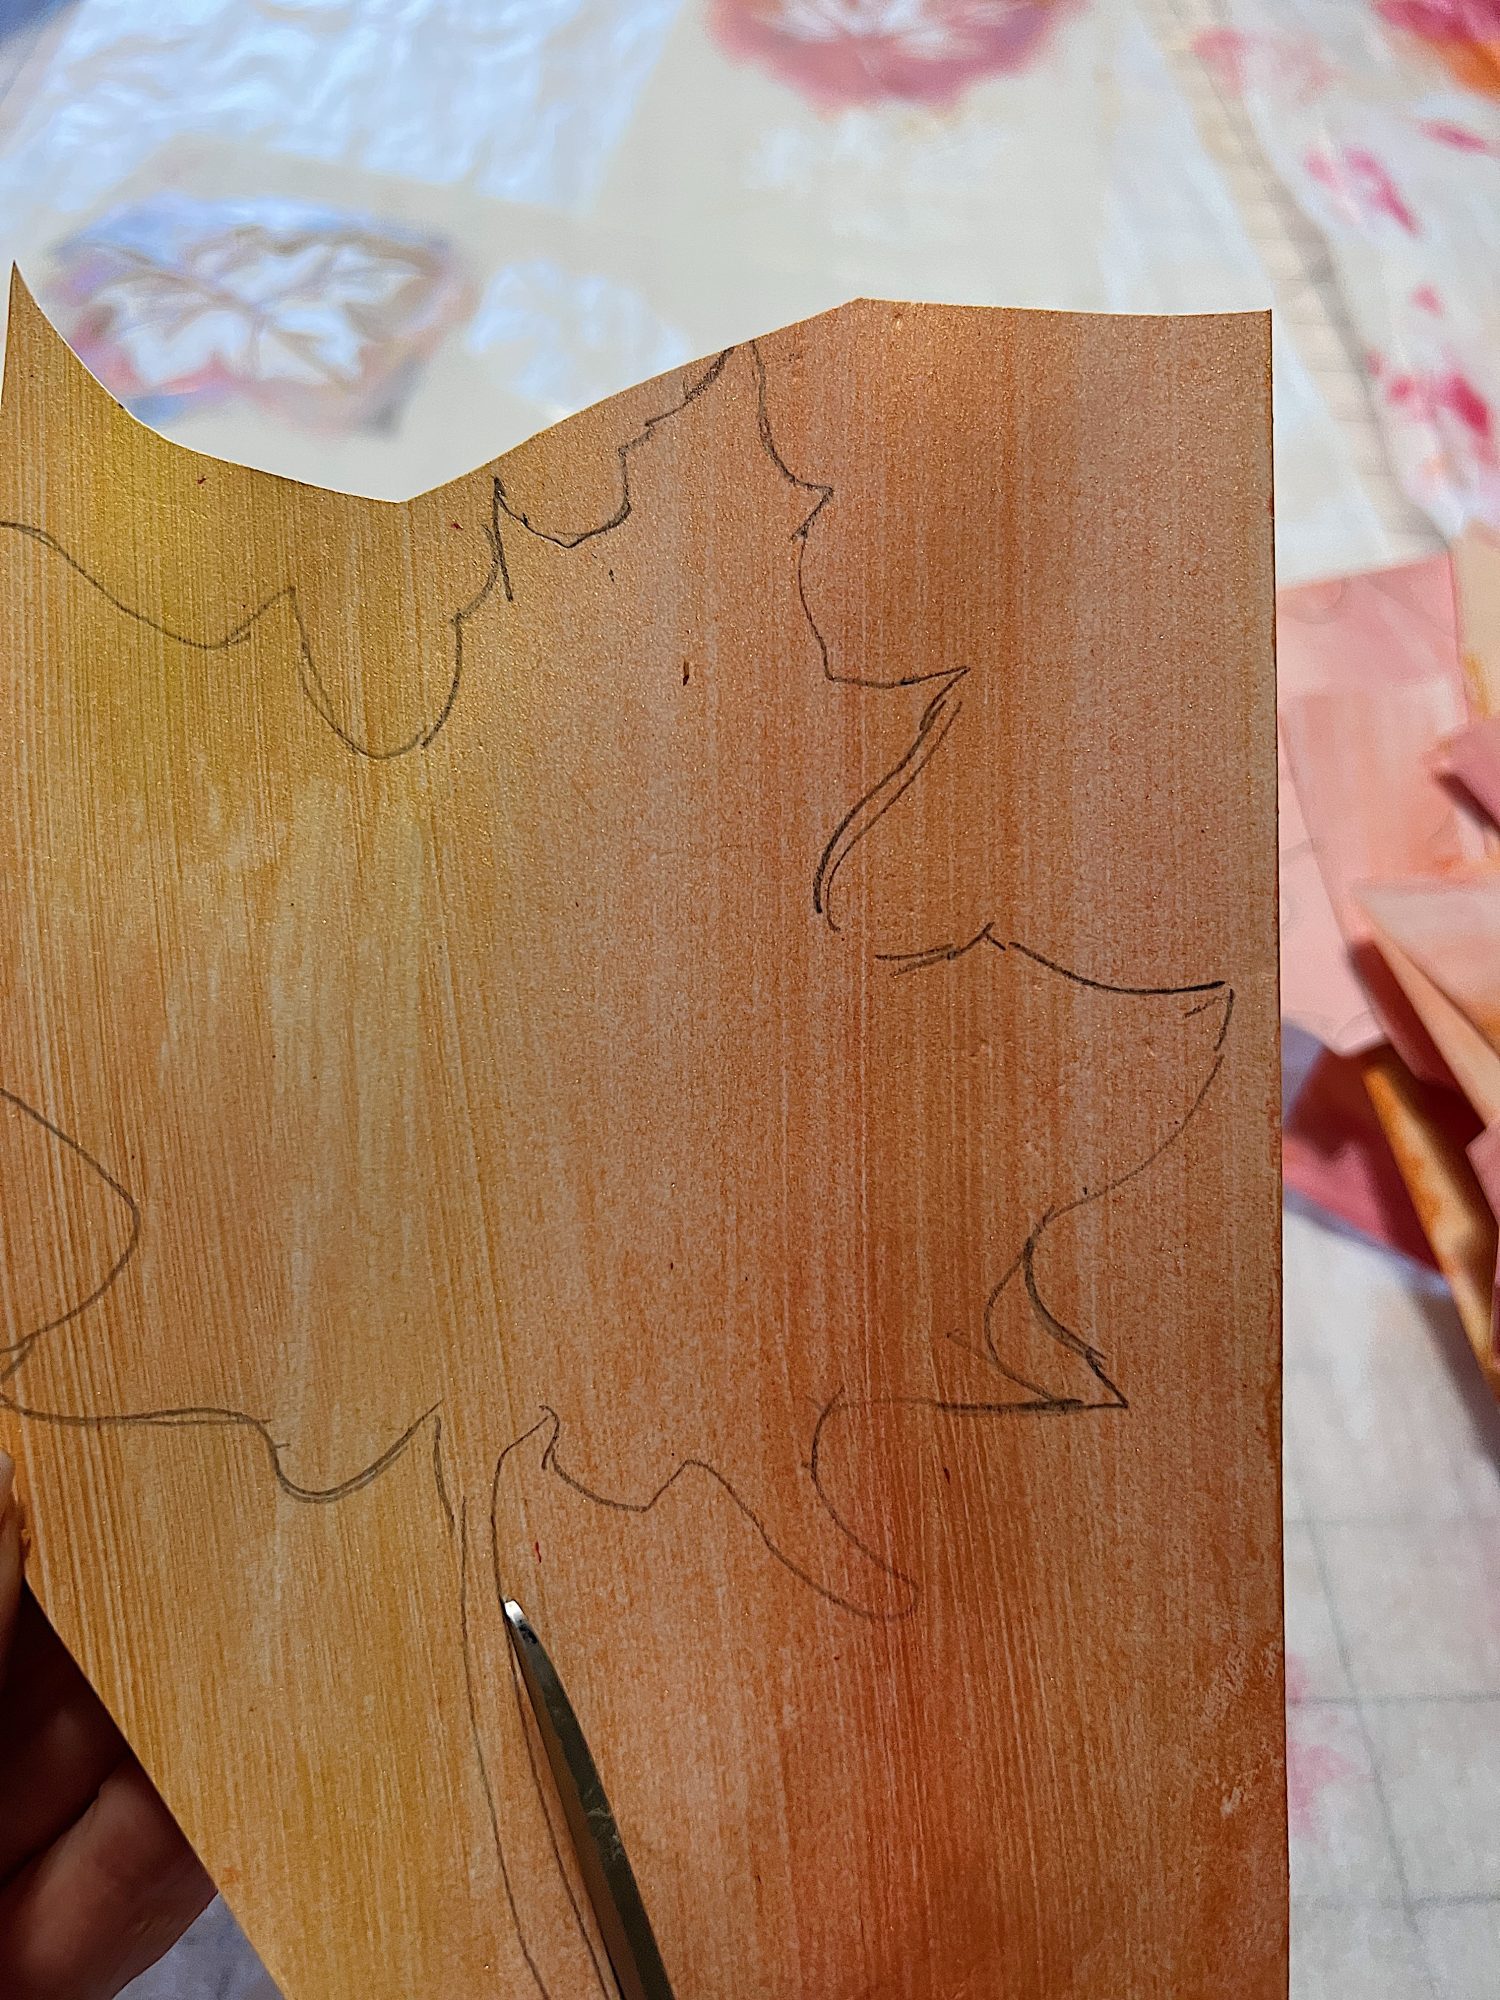
- one – these are four stencils I used for the leaf patterns.
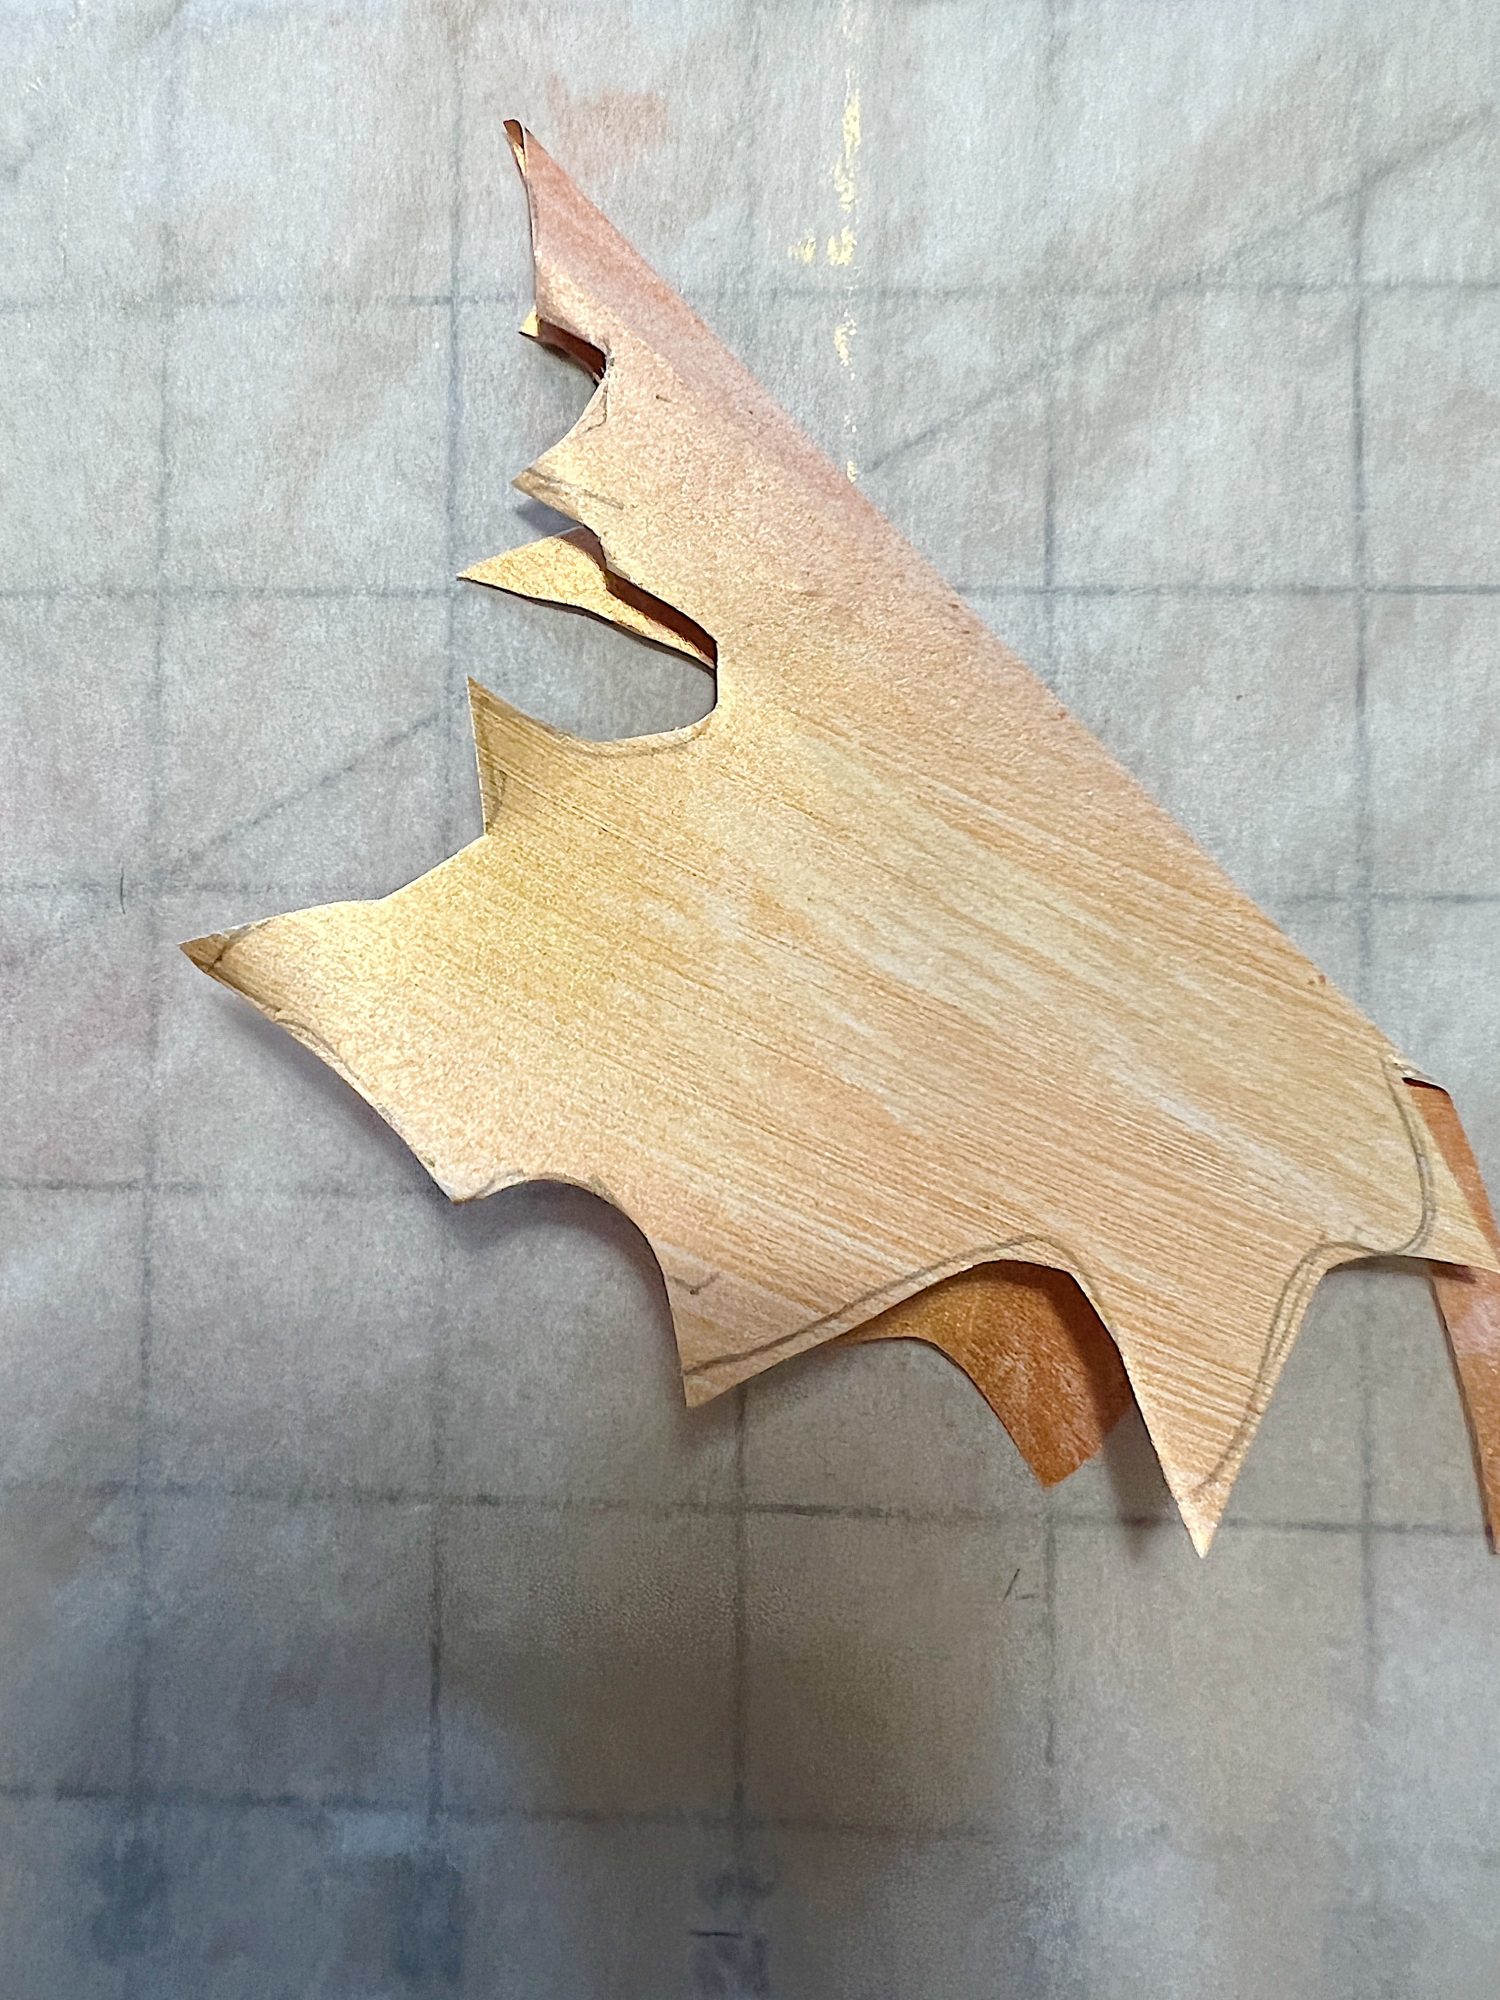
- two – Draw around the outside edges using the stencil (or a leaf print). Be sure to draw the stencils on the back so the pencil marks won’t show. I drew 6 – 7 leaves per sheet, using whatever size fits.
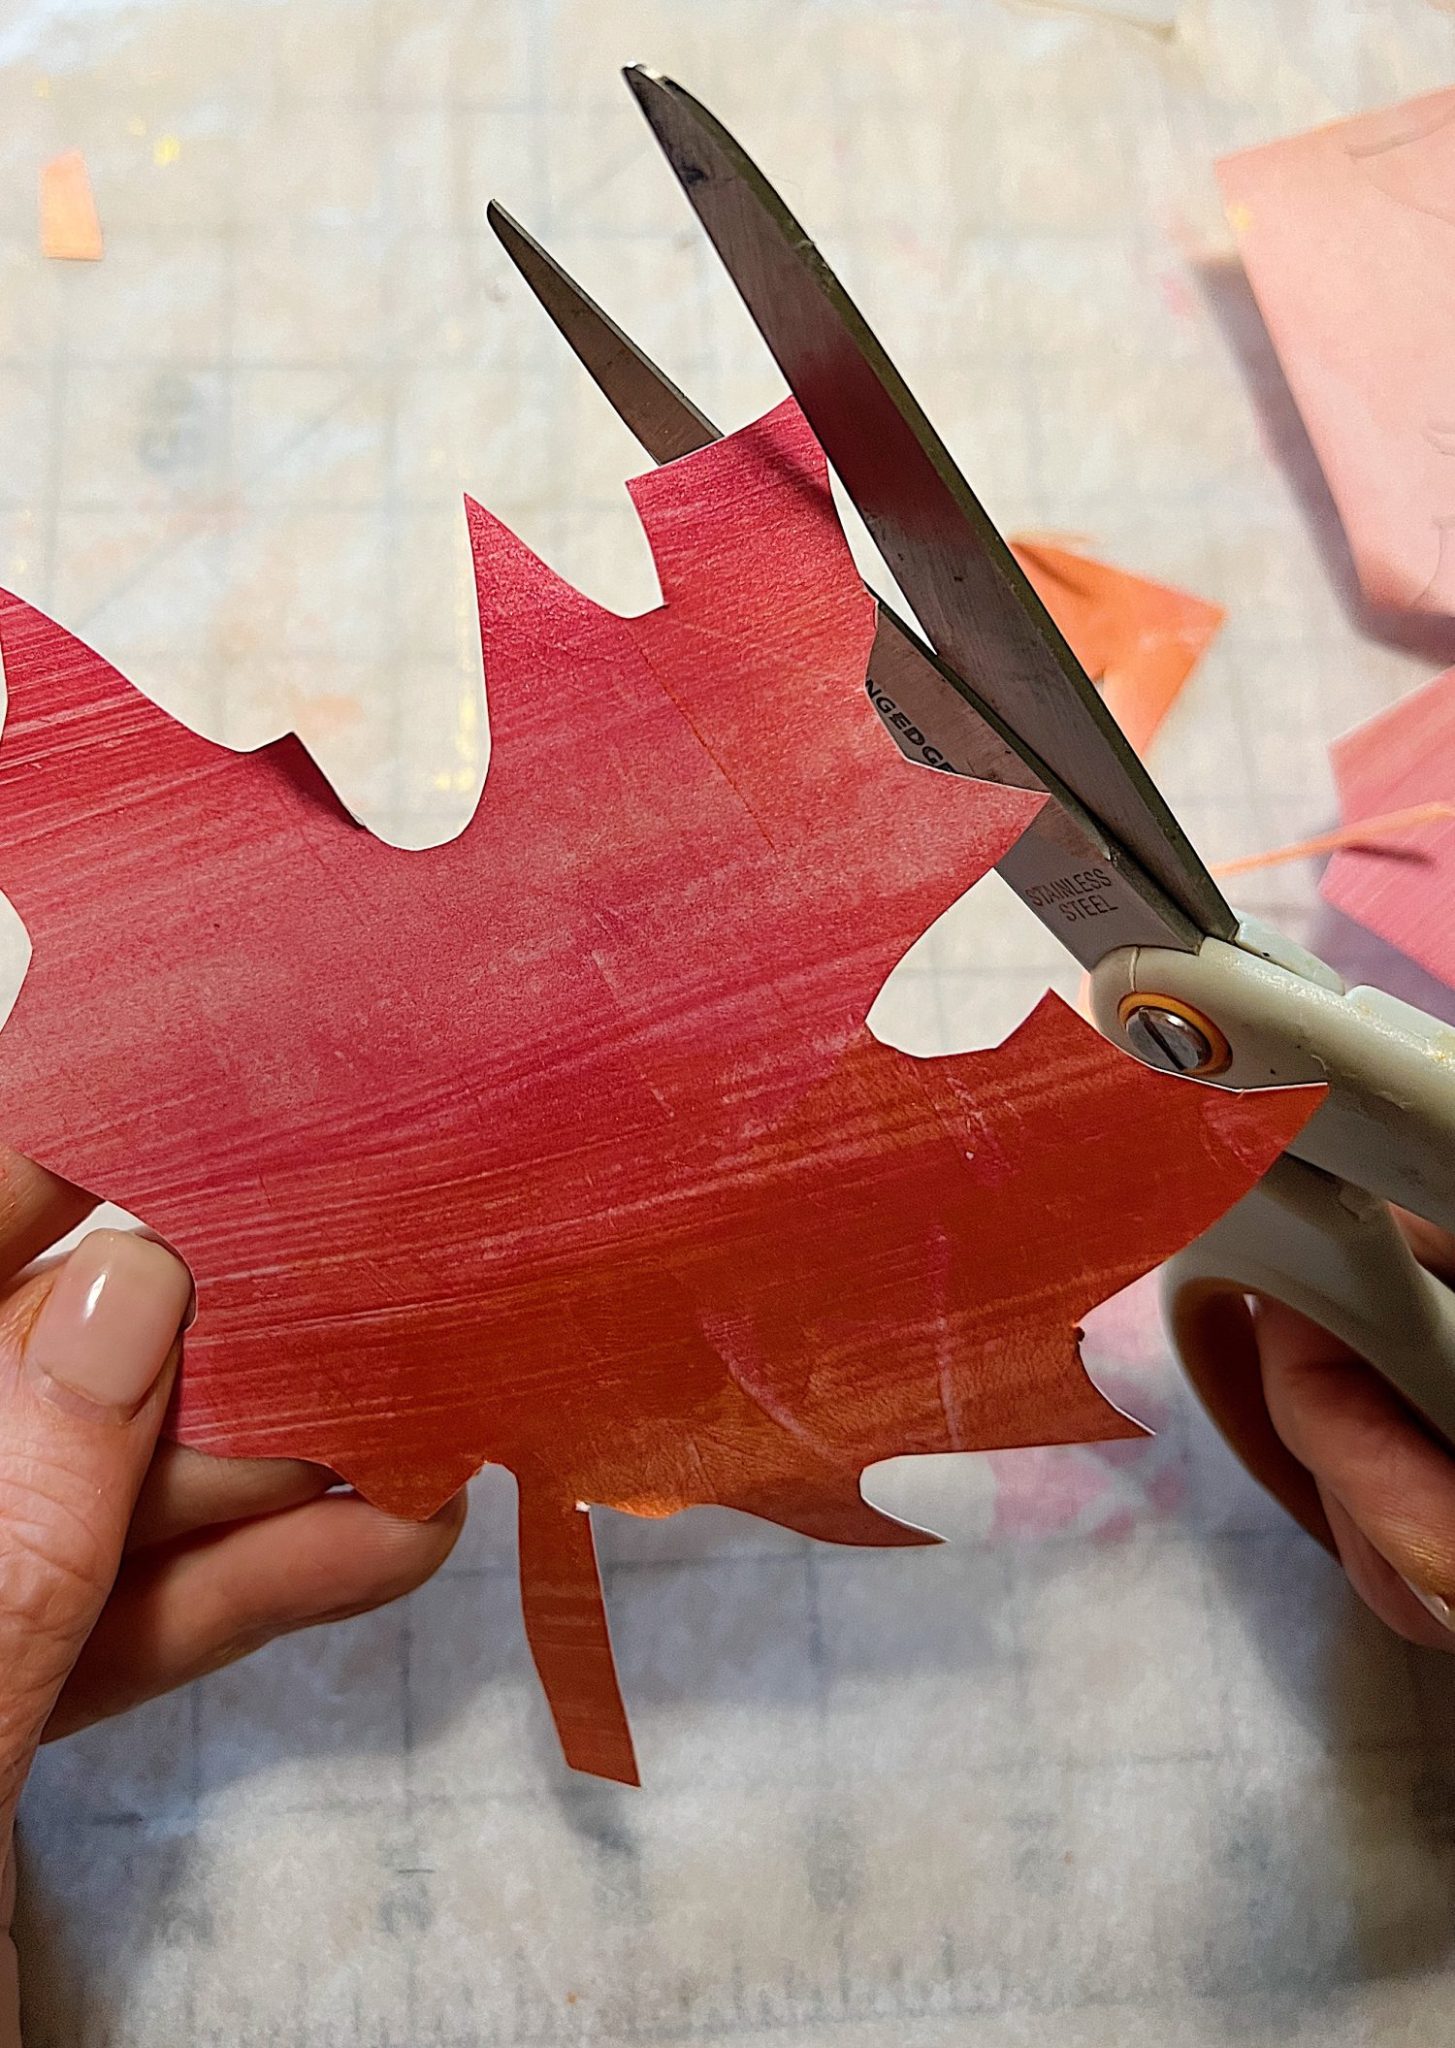
- three – Cut the leaves into smaller pieces so the paper is easier to cut.
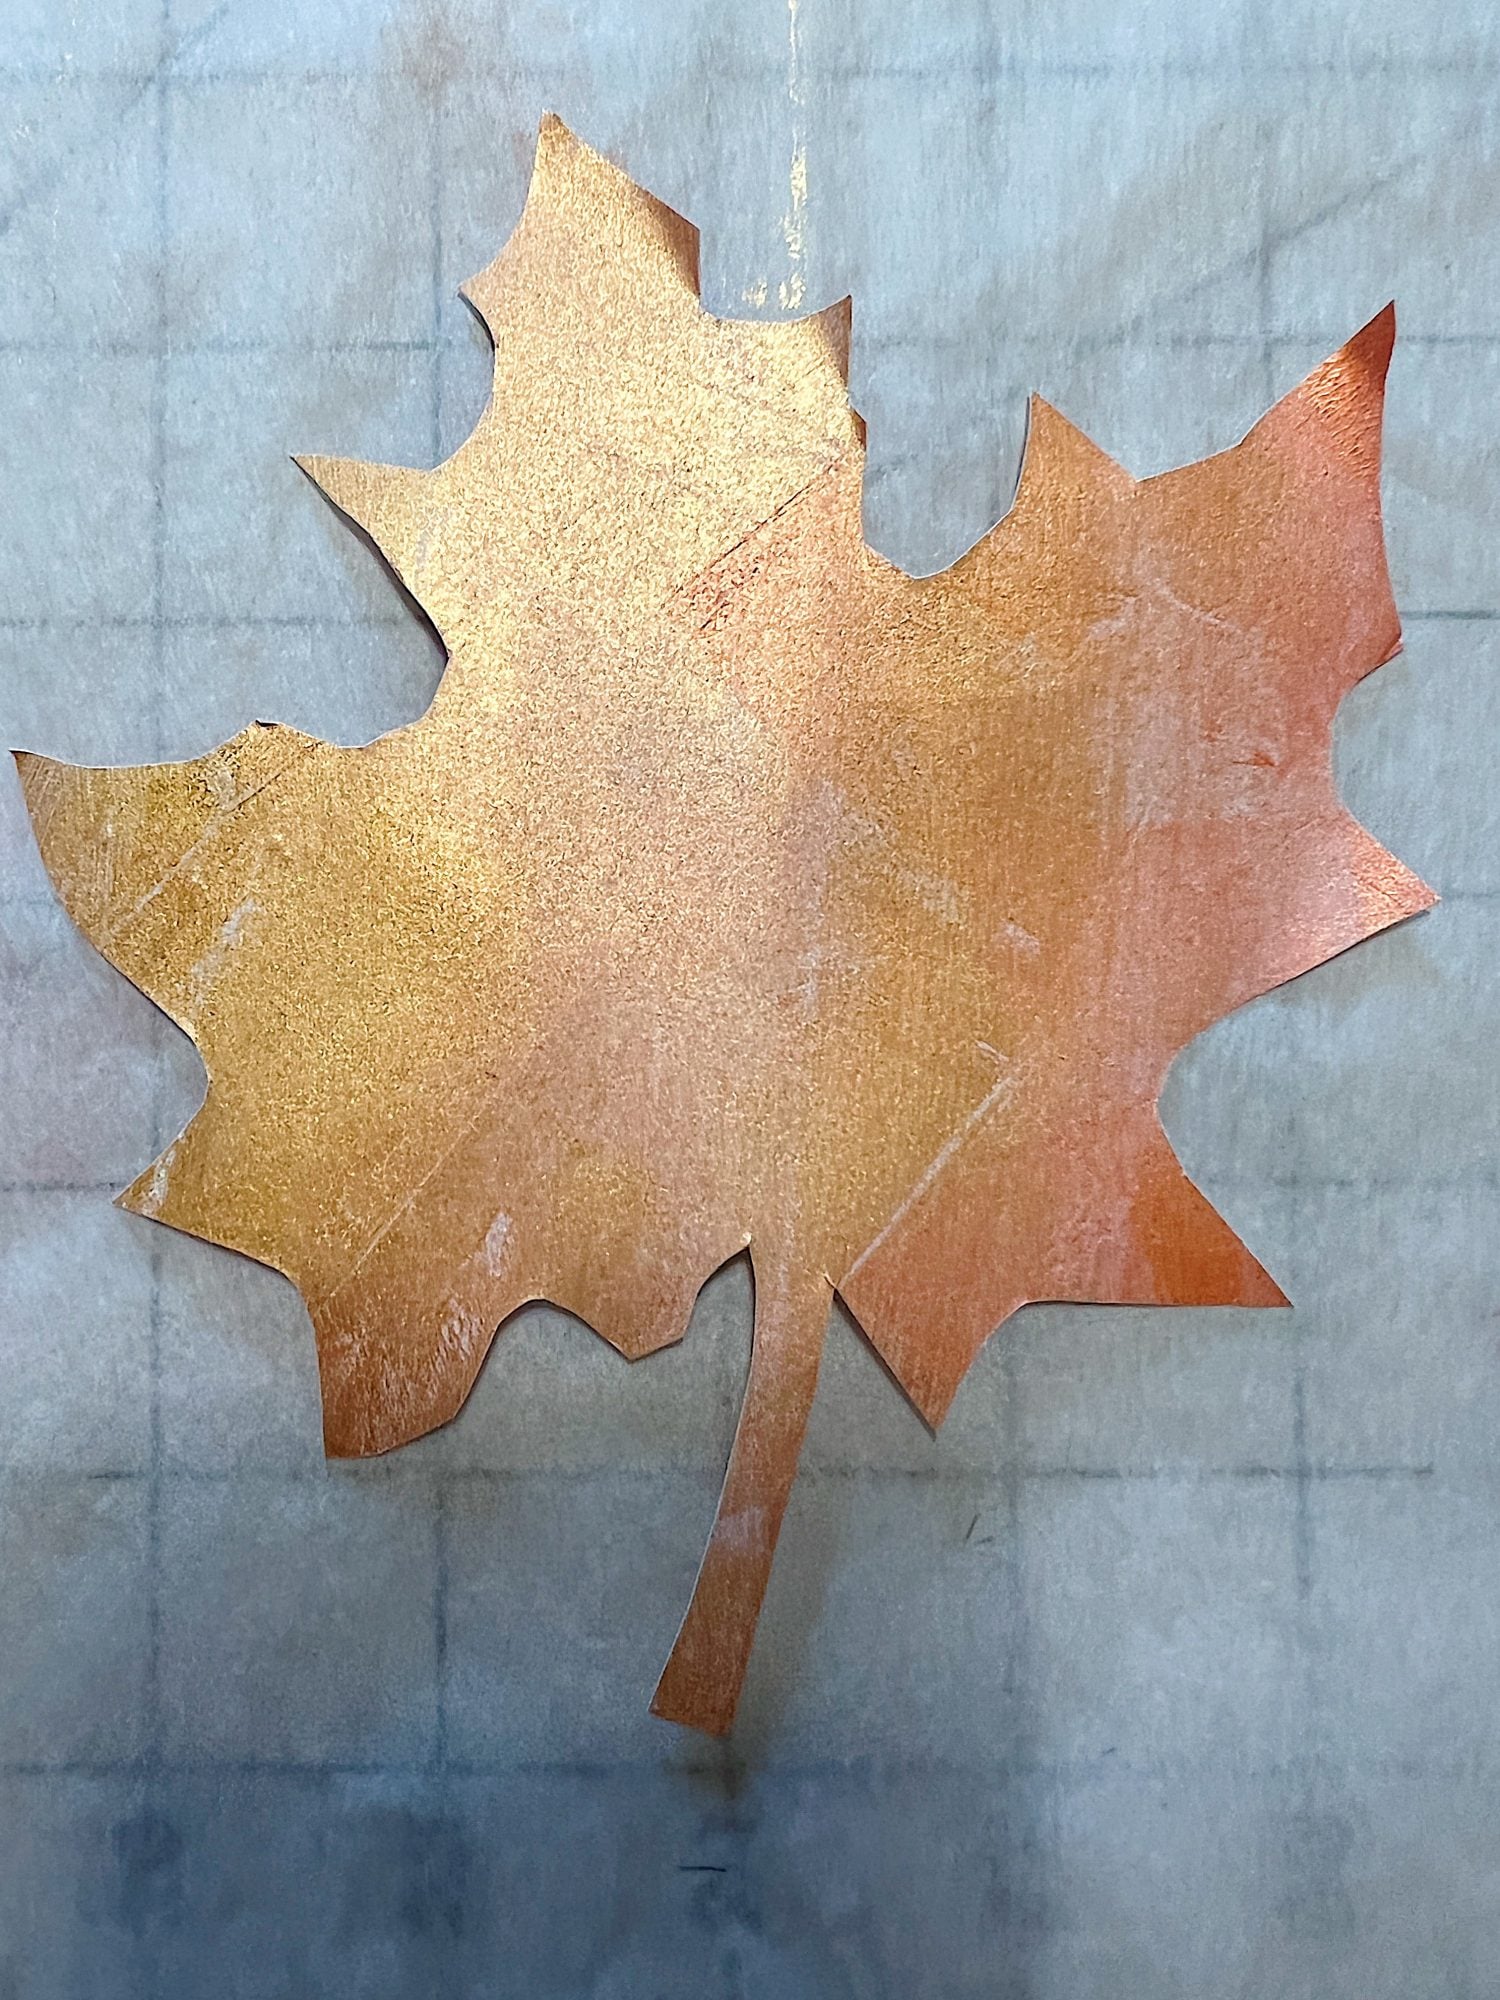
- four – Cut out each leaf.
- five – Each leaf looked like this.
How to Fold the Leaves
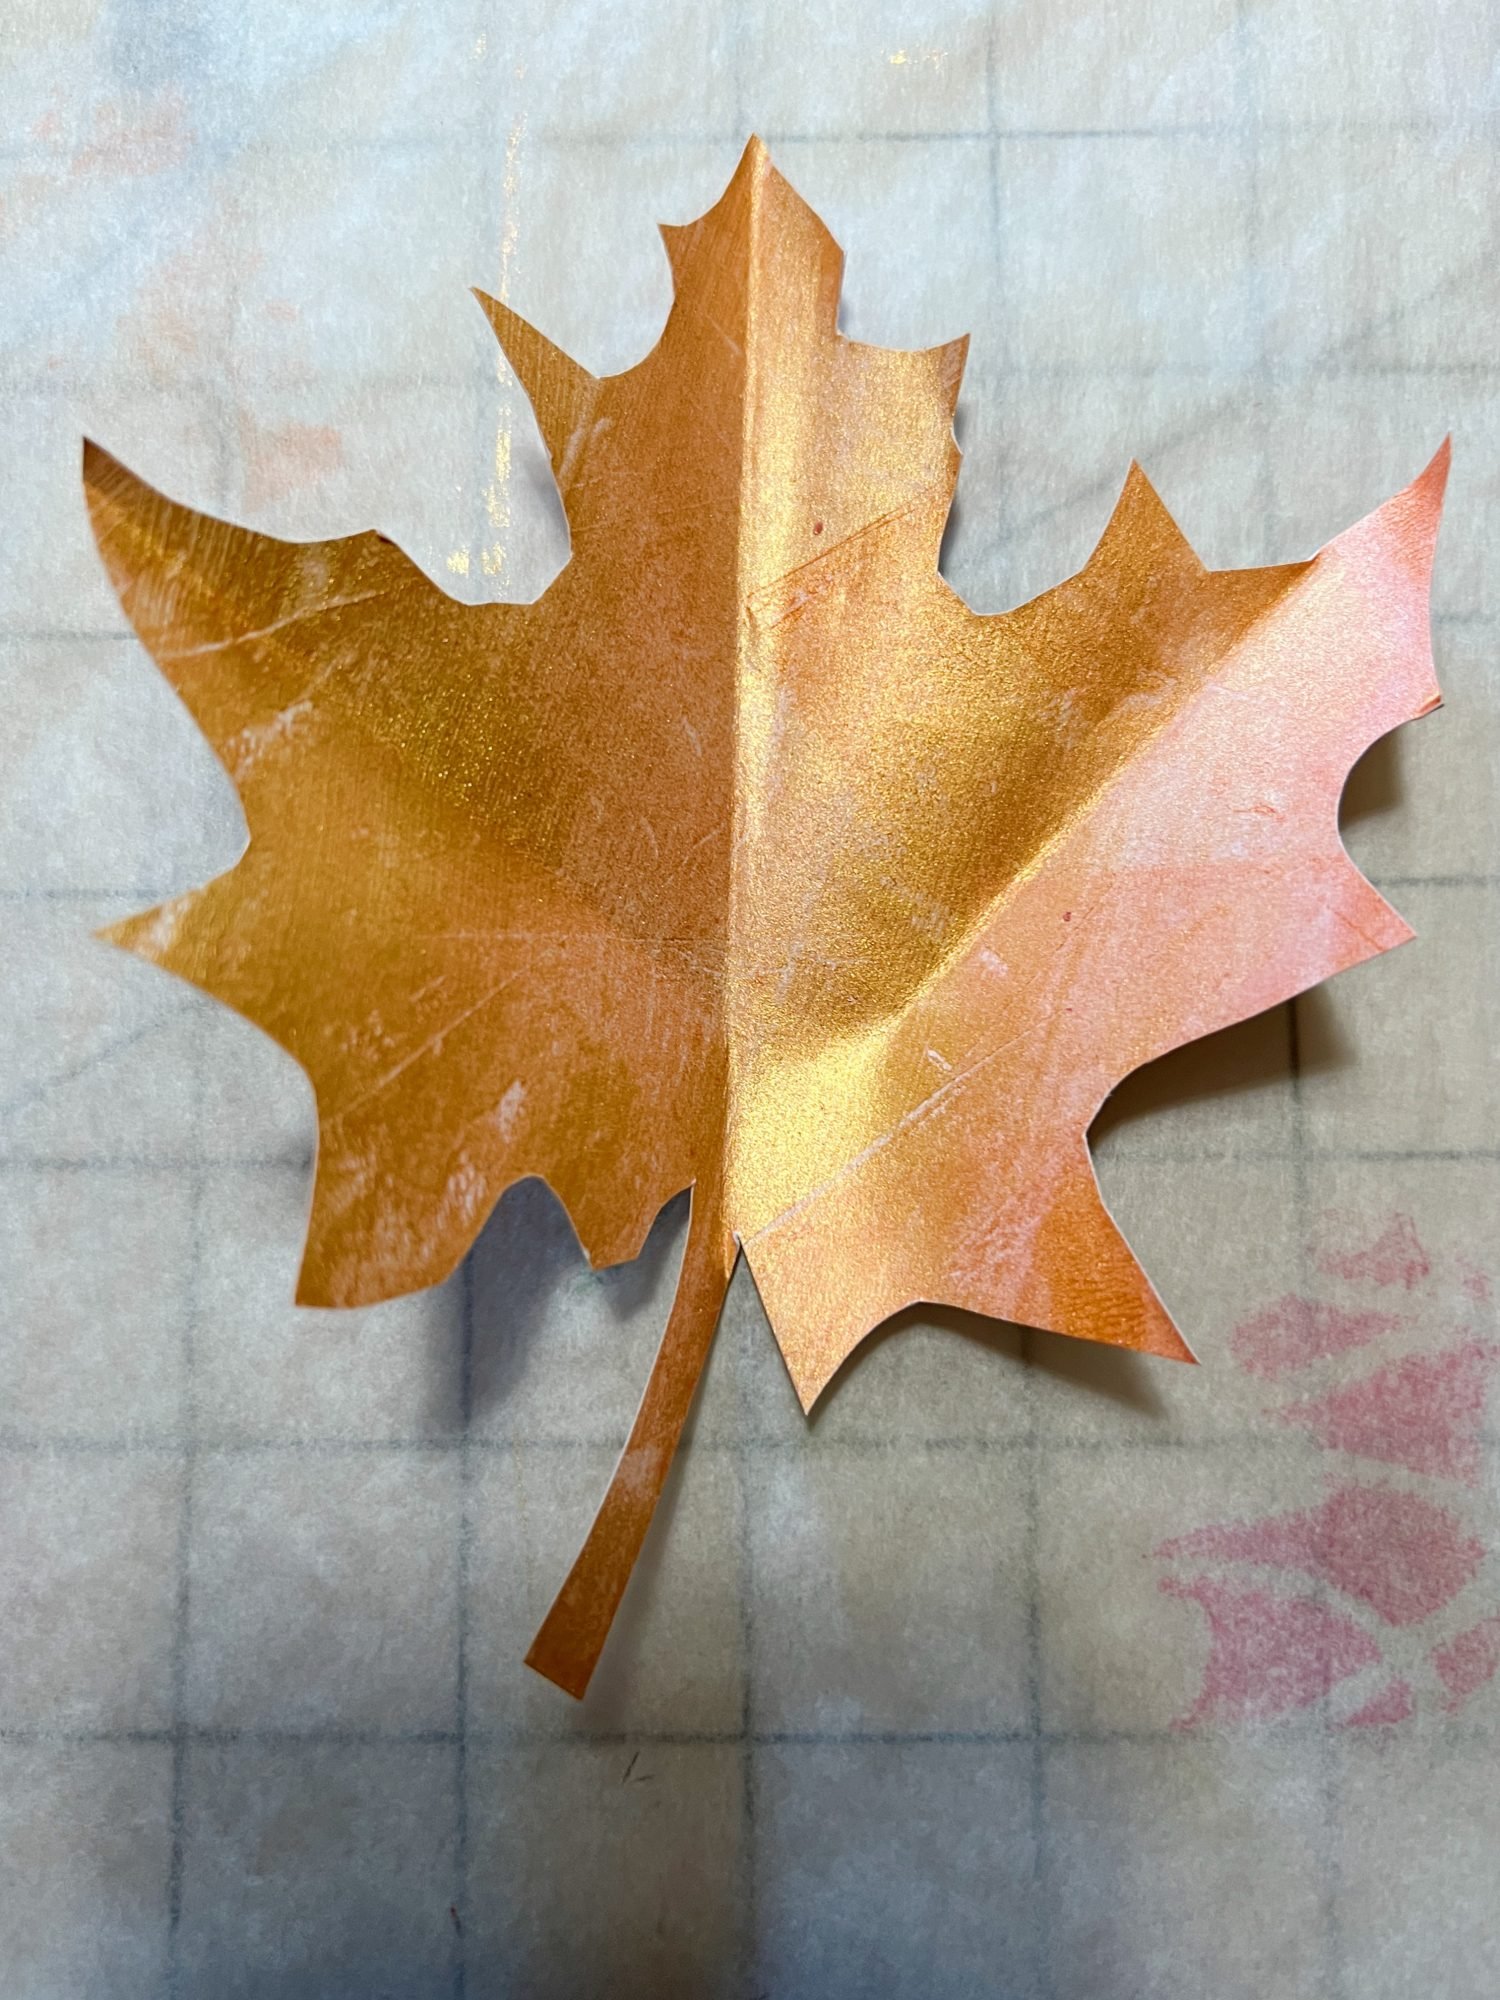
- one – Each leaf should be folded to make it look more authentic. All it takes are three folds to change the look of your leaf dramatically.
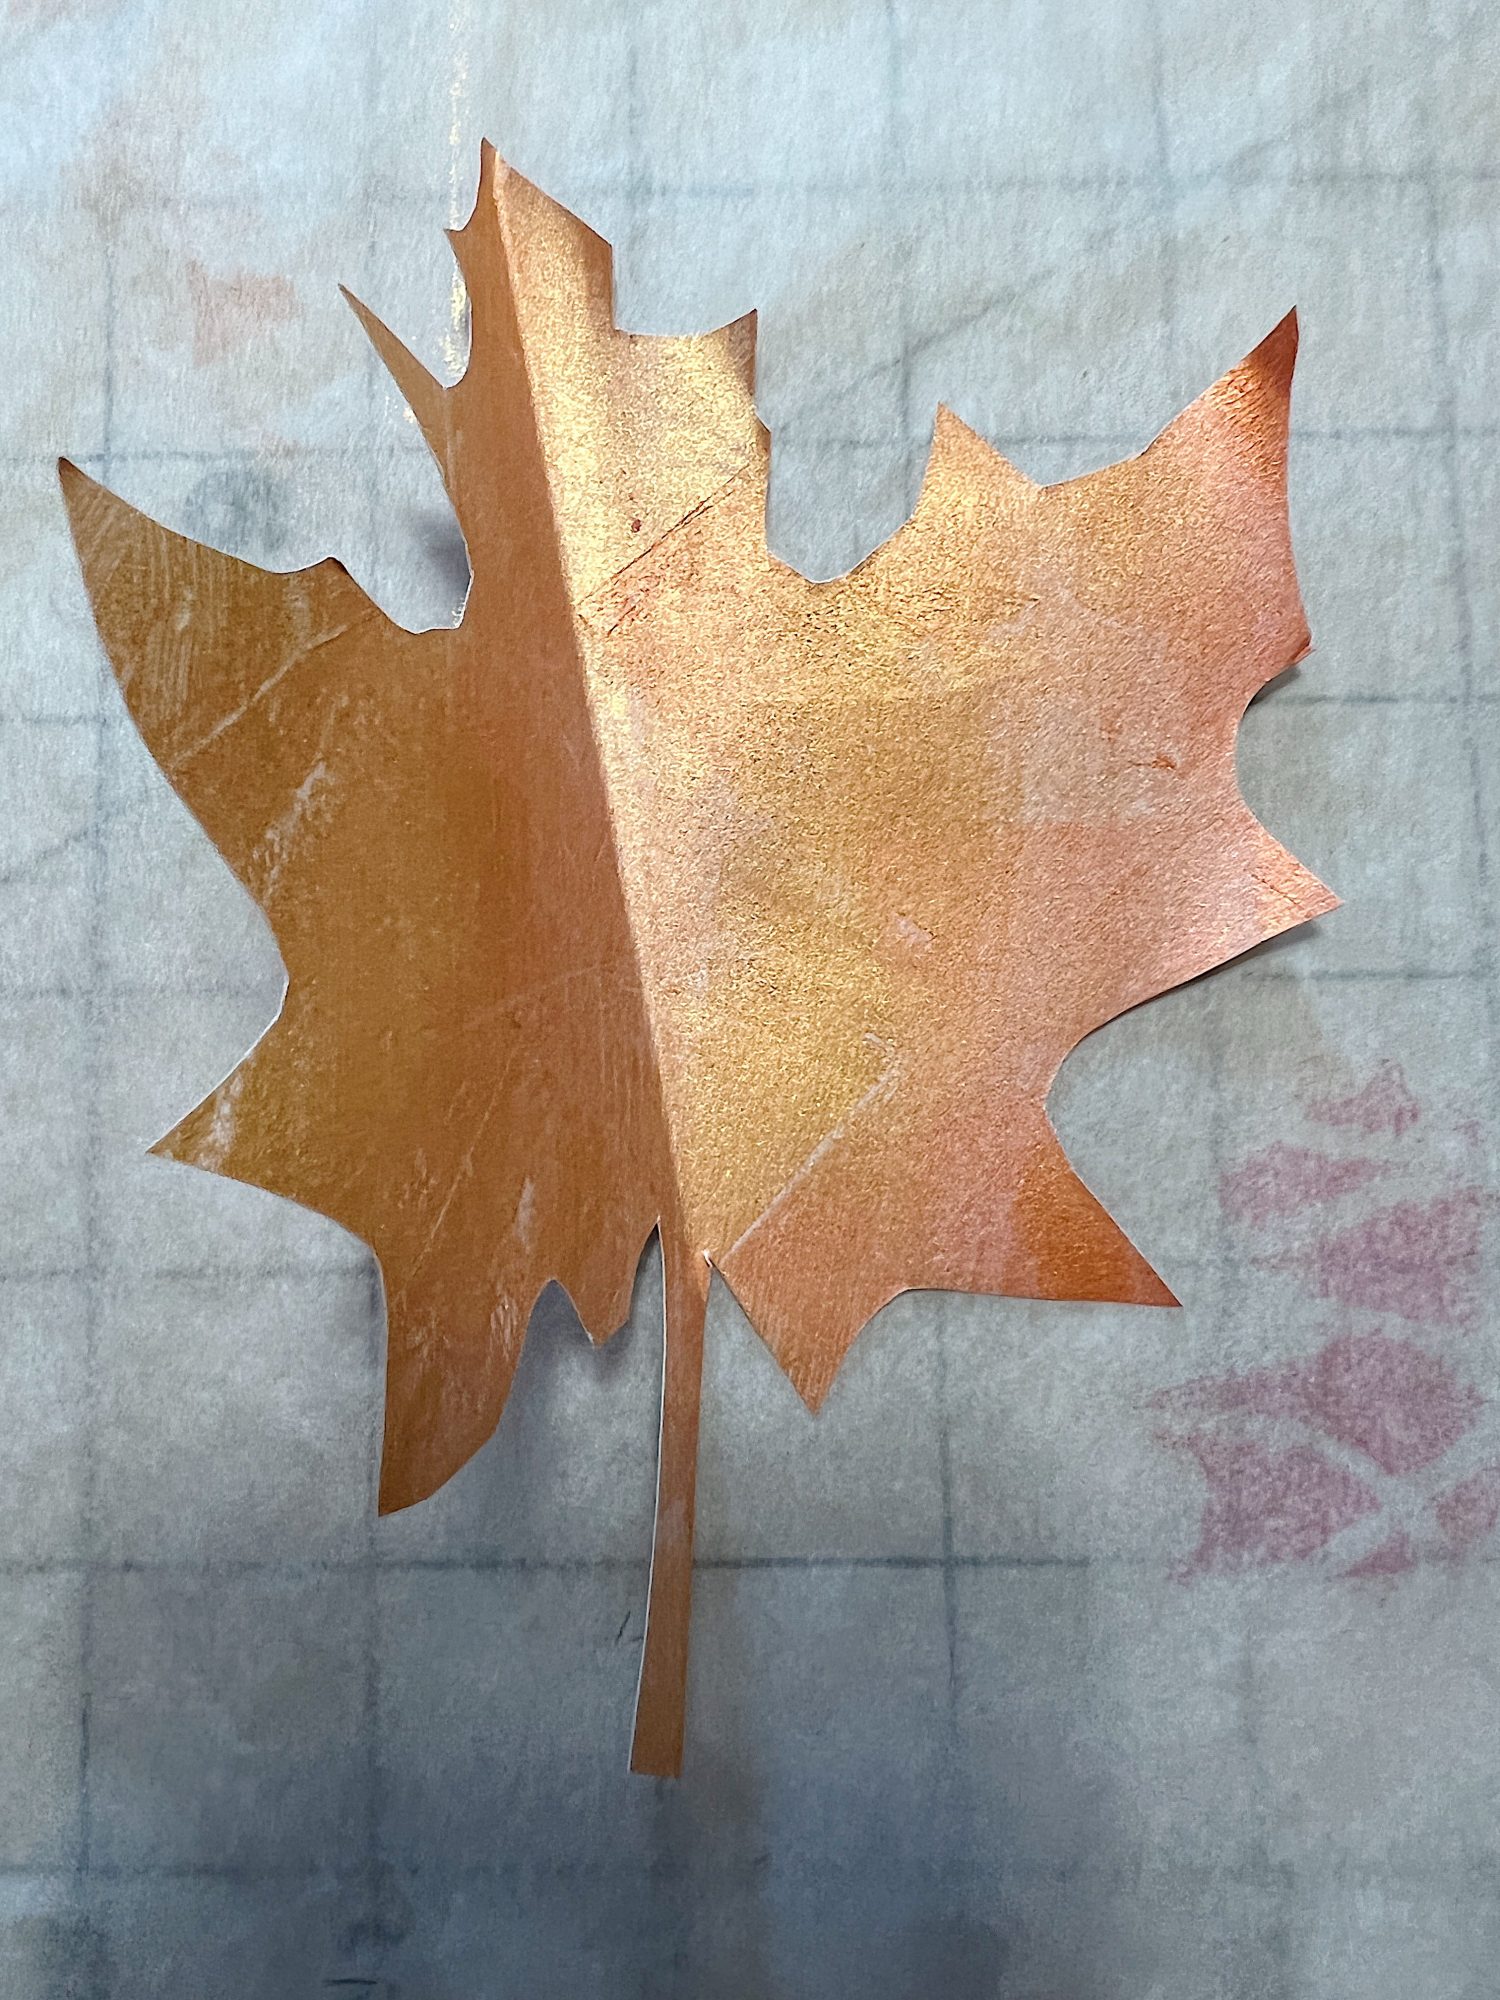
- two – Gently fold the leaf down the middle, with the right sides in.
- three – Open the leaf back up.
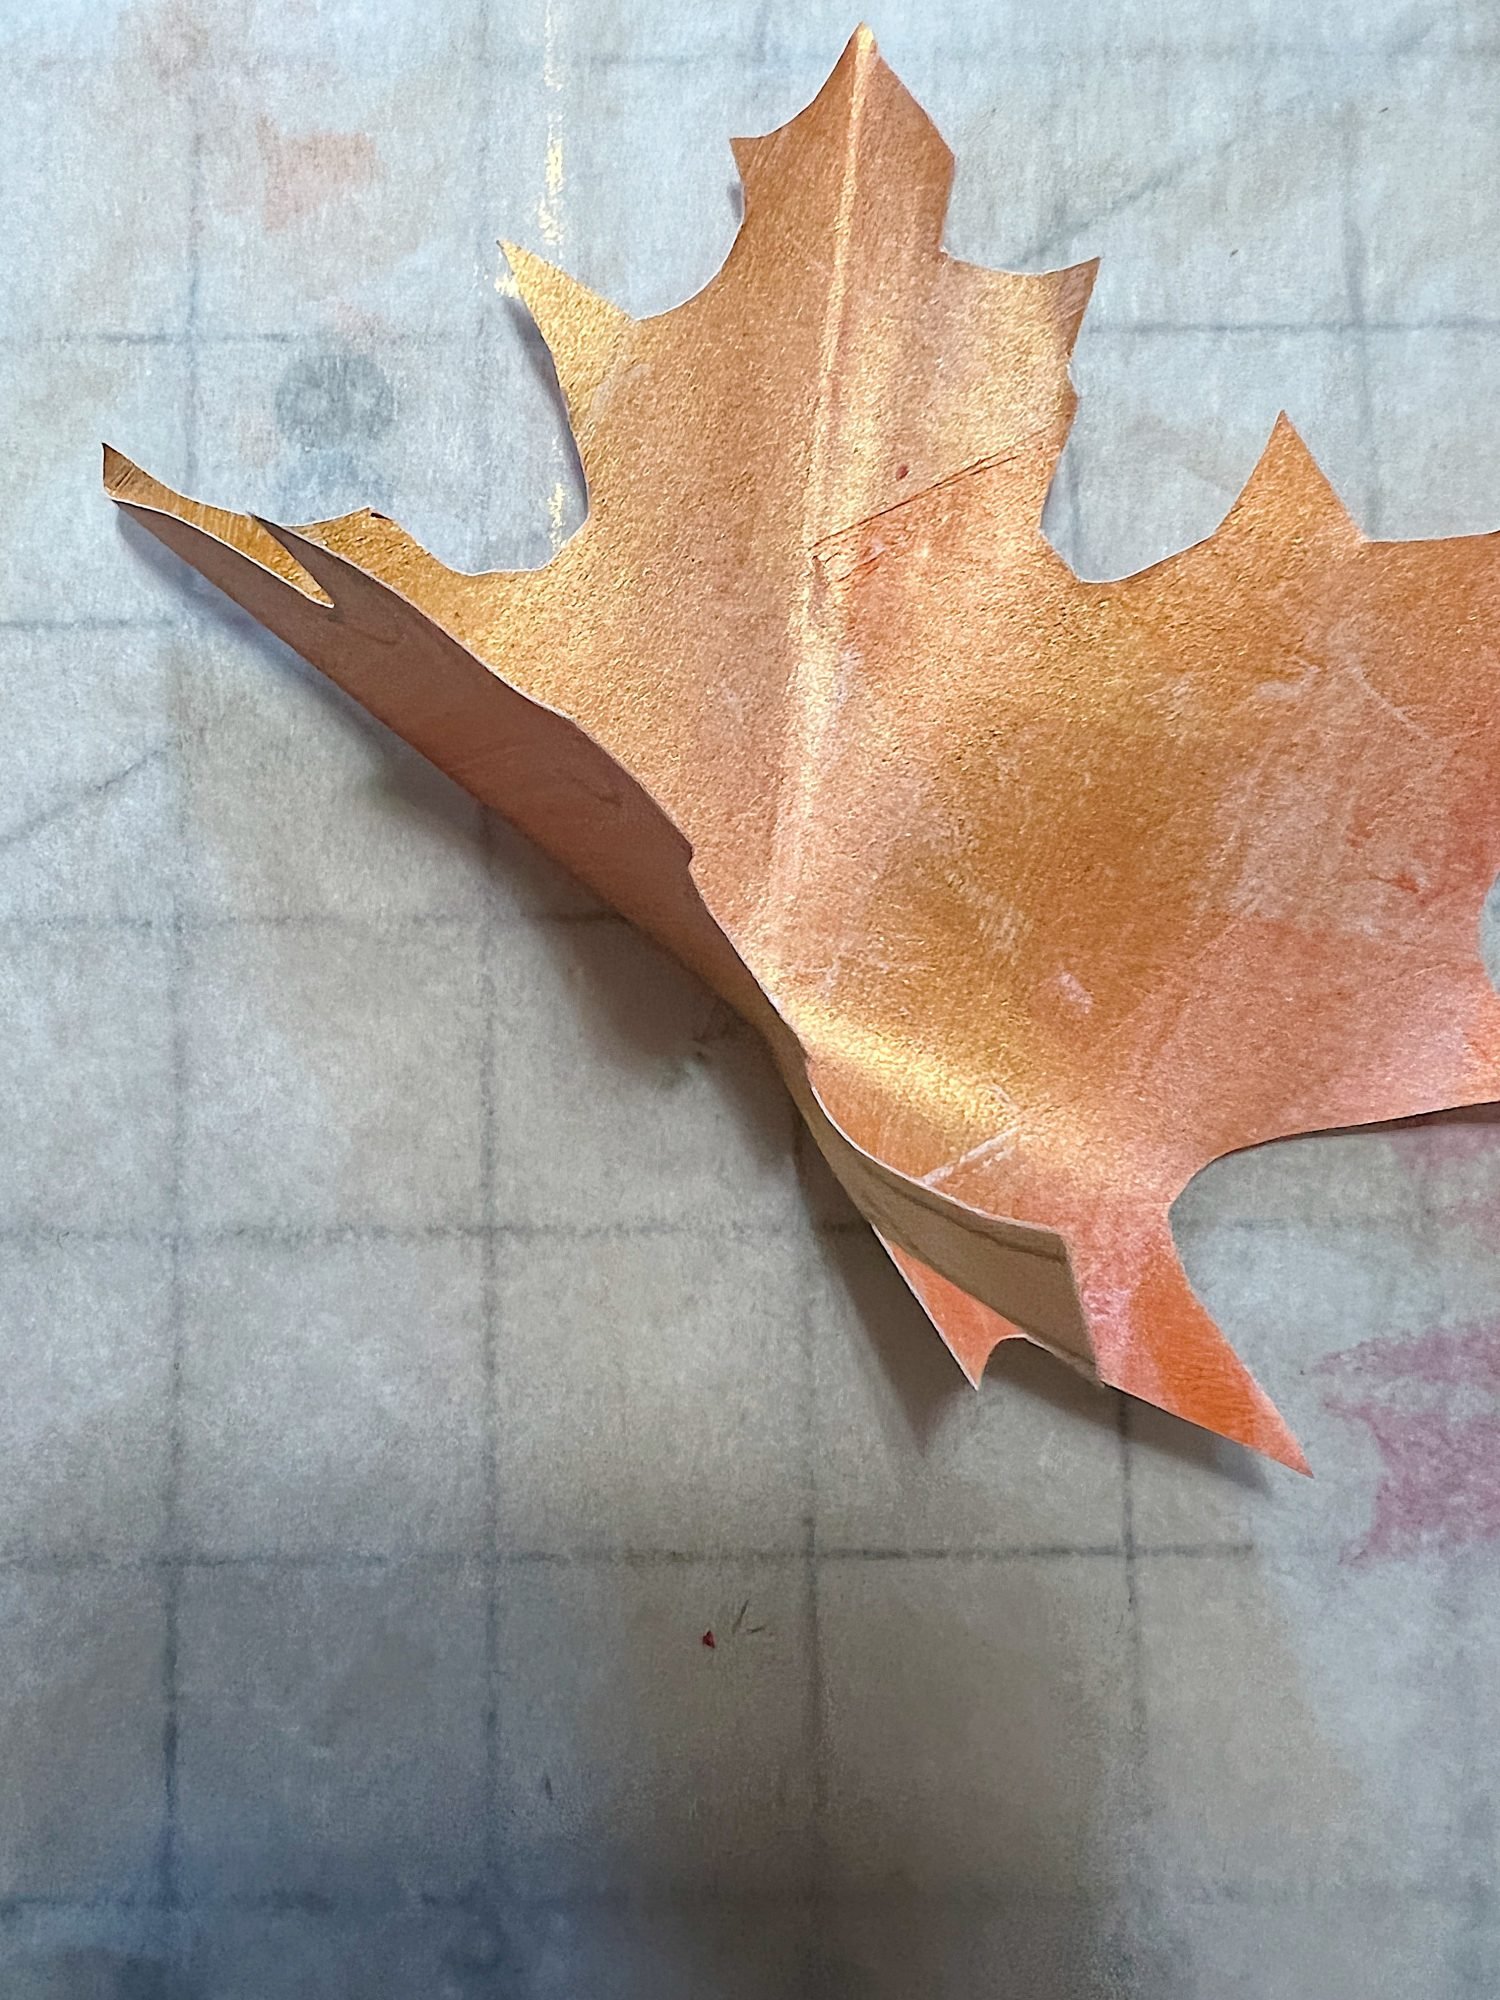
- four – Next, fold each large leaf section toward the center fold.
- five – Open the leaf up and flatten it slightly. You can see the fold lines on this leaf.
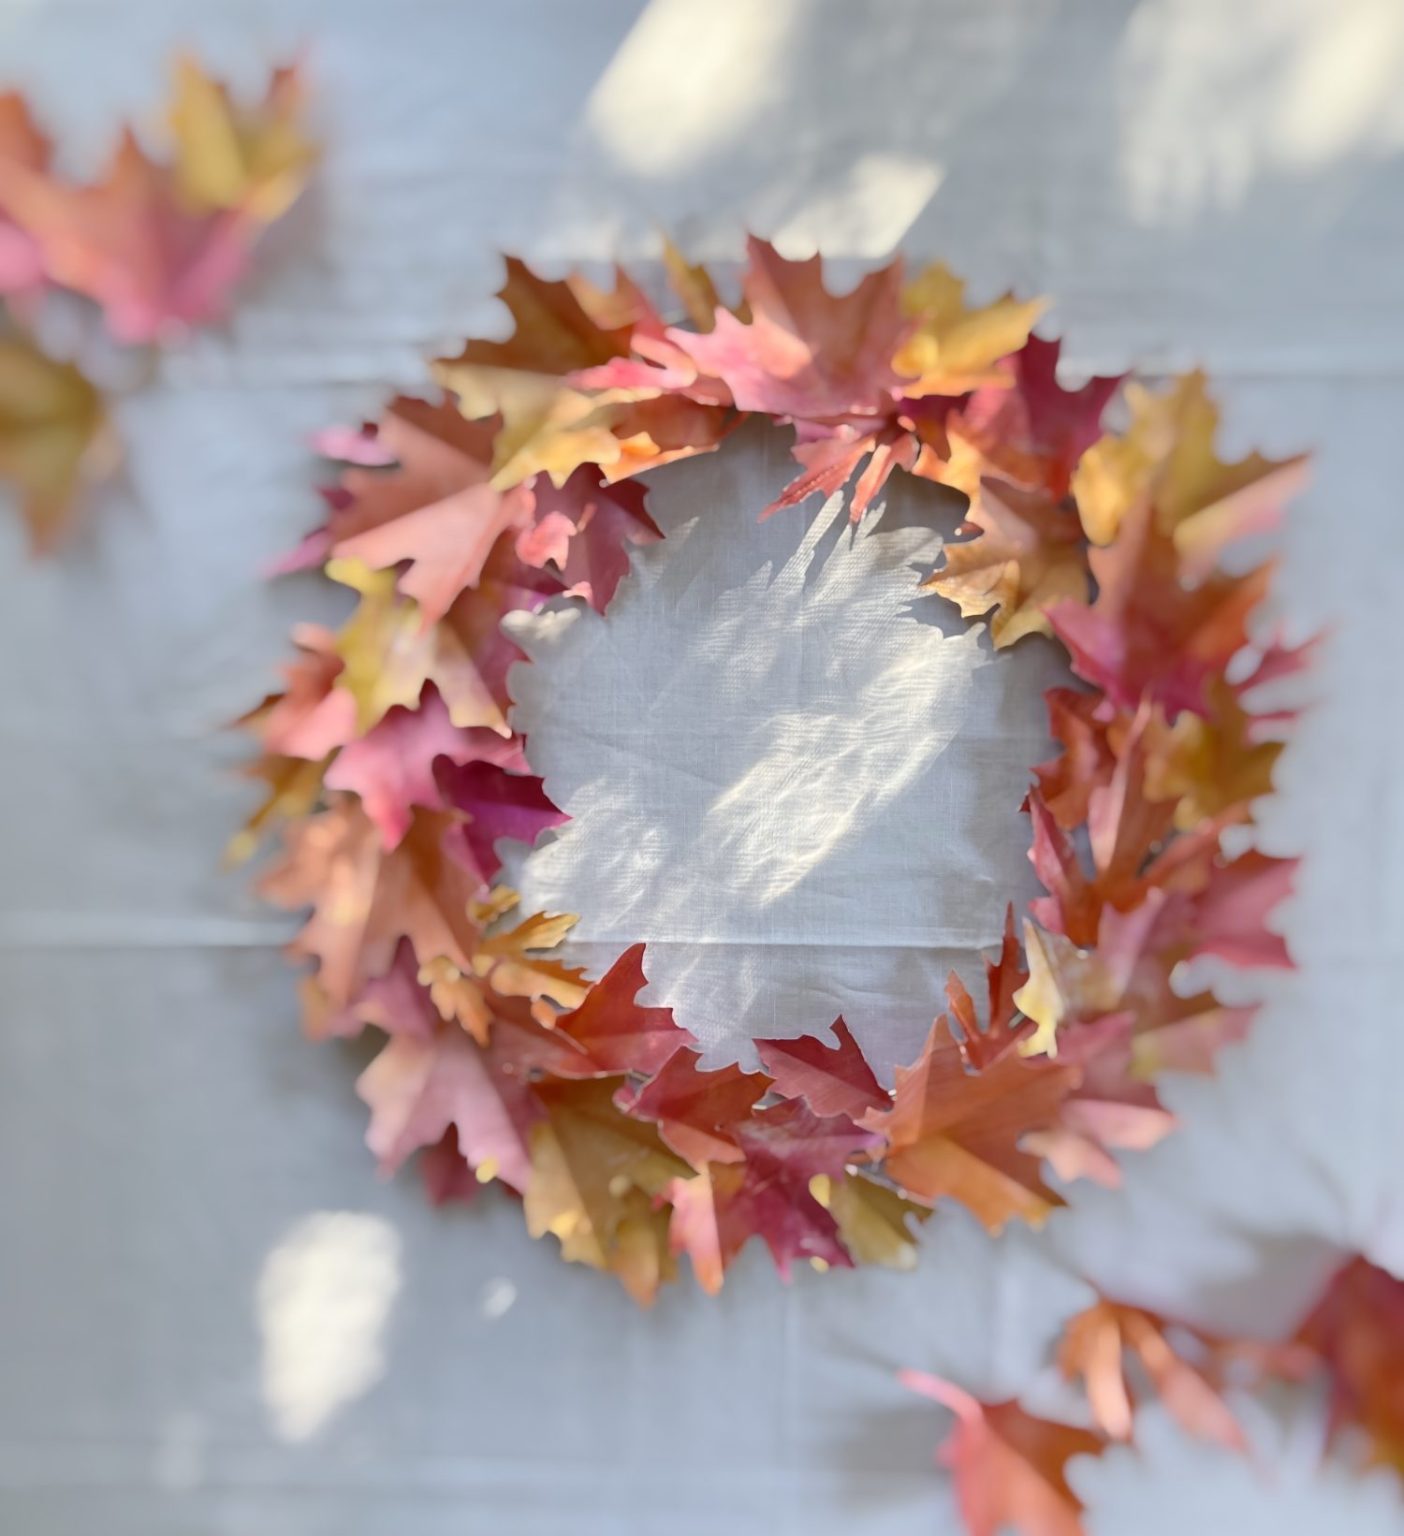
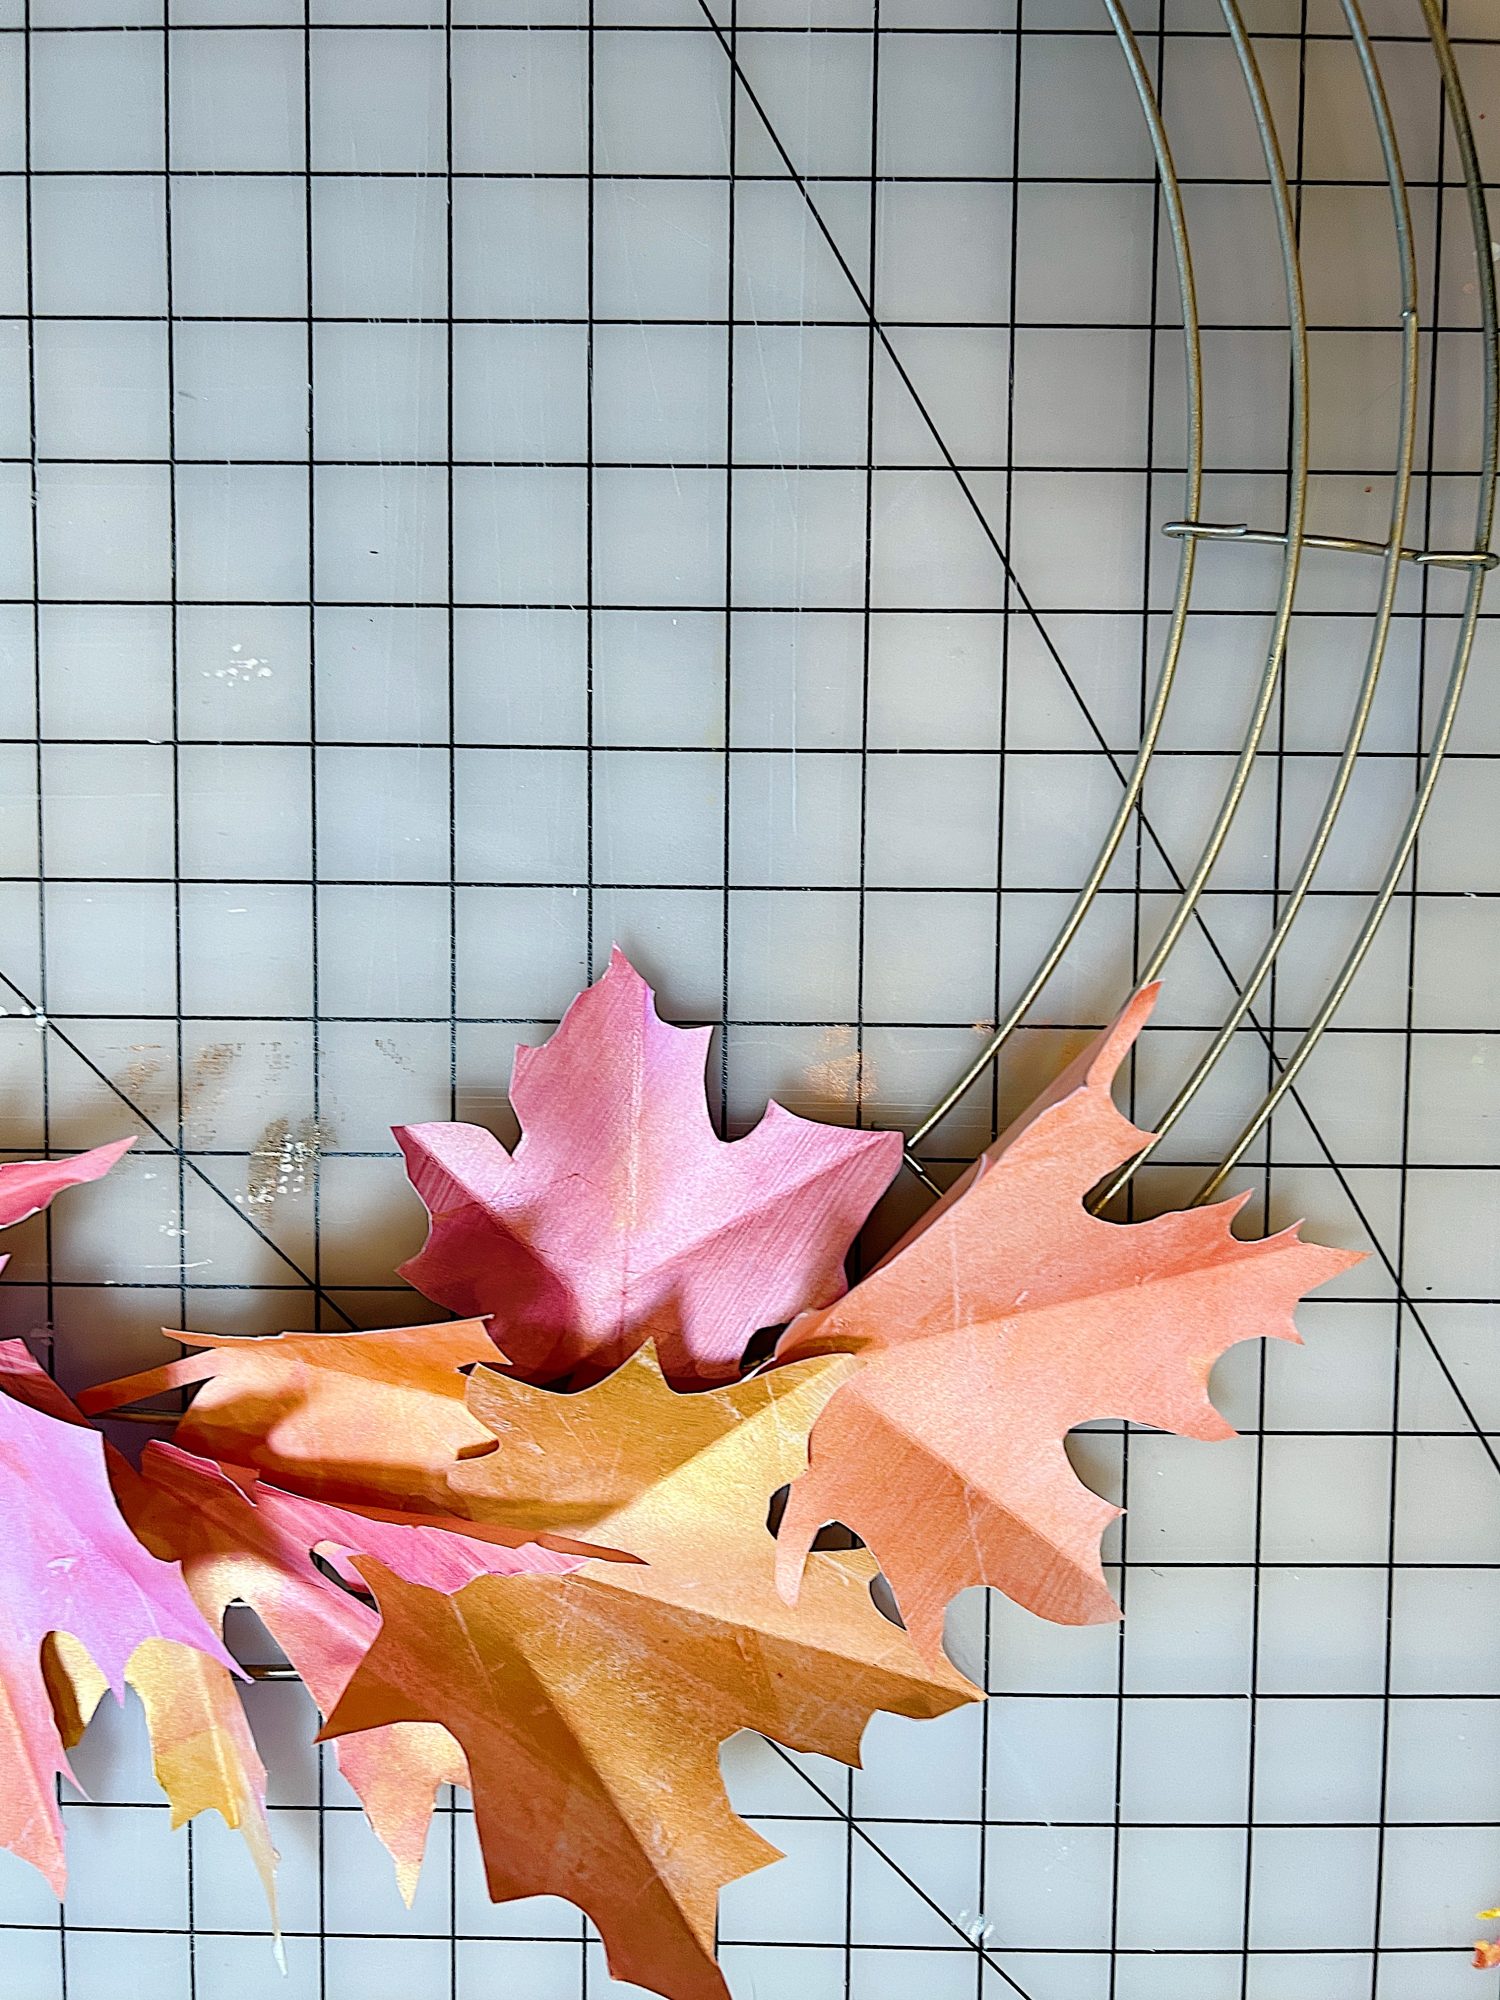
How to Attach Leaves to the Wreath Form
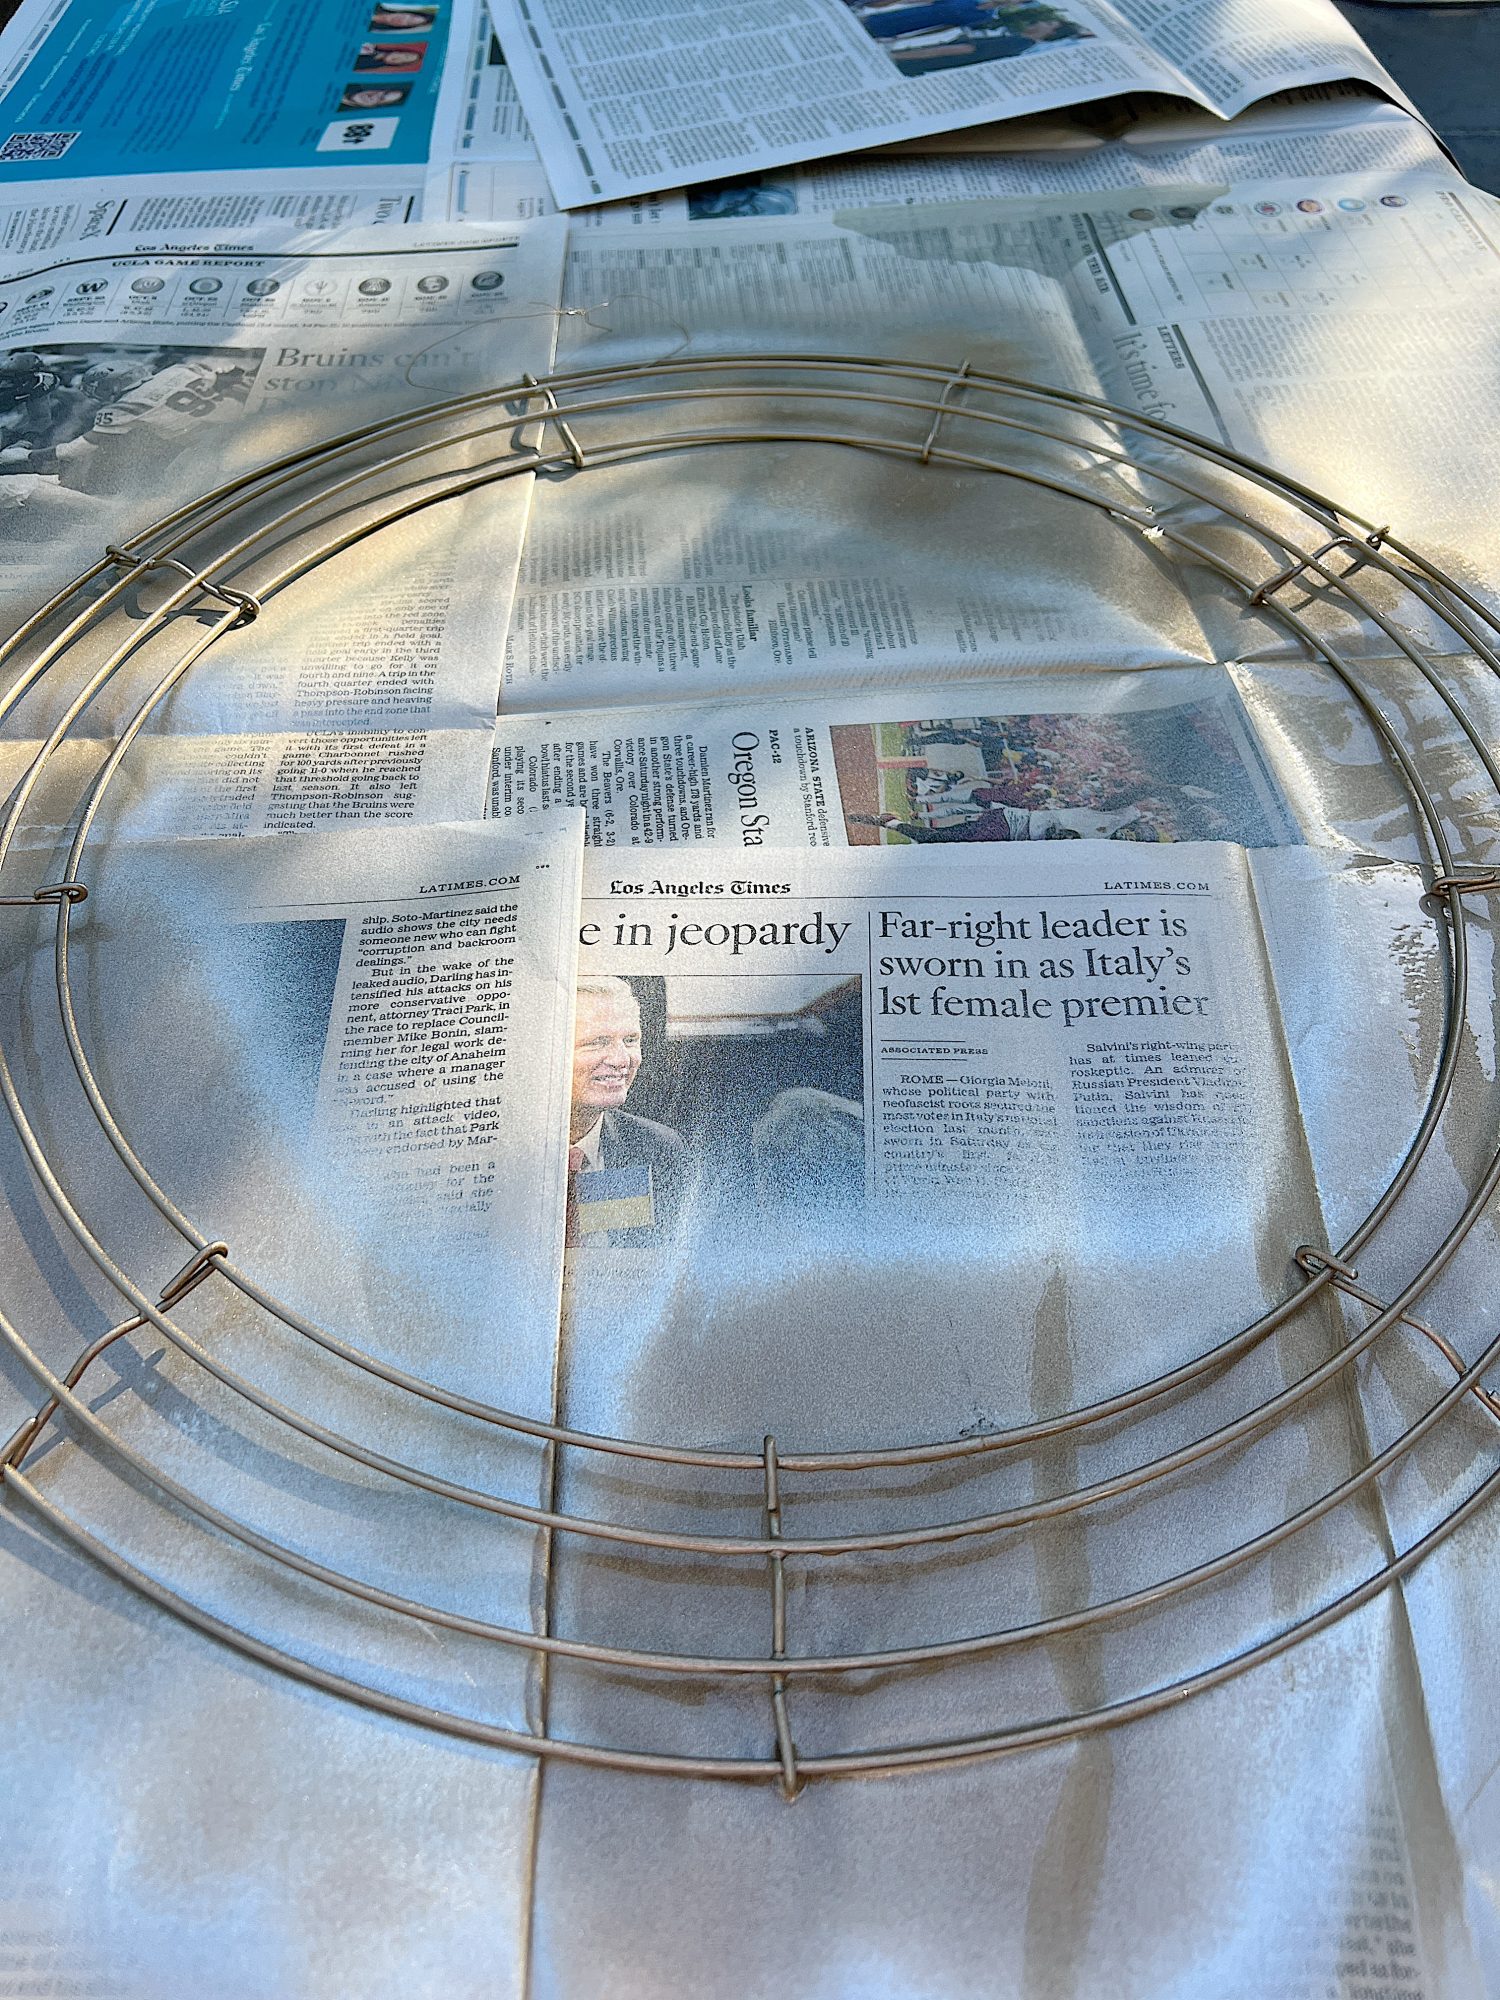
- one – I painted the metal wreath form gold because I knew some of the wire would show through. The green looked terrible, but the gold was hardly noticed.
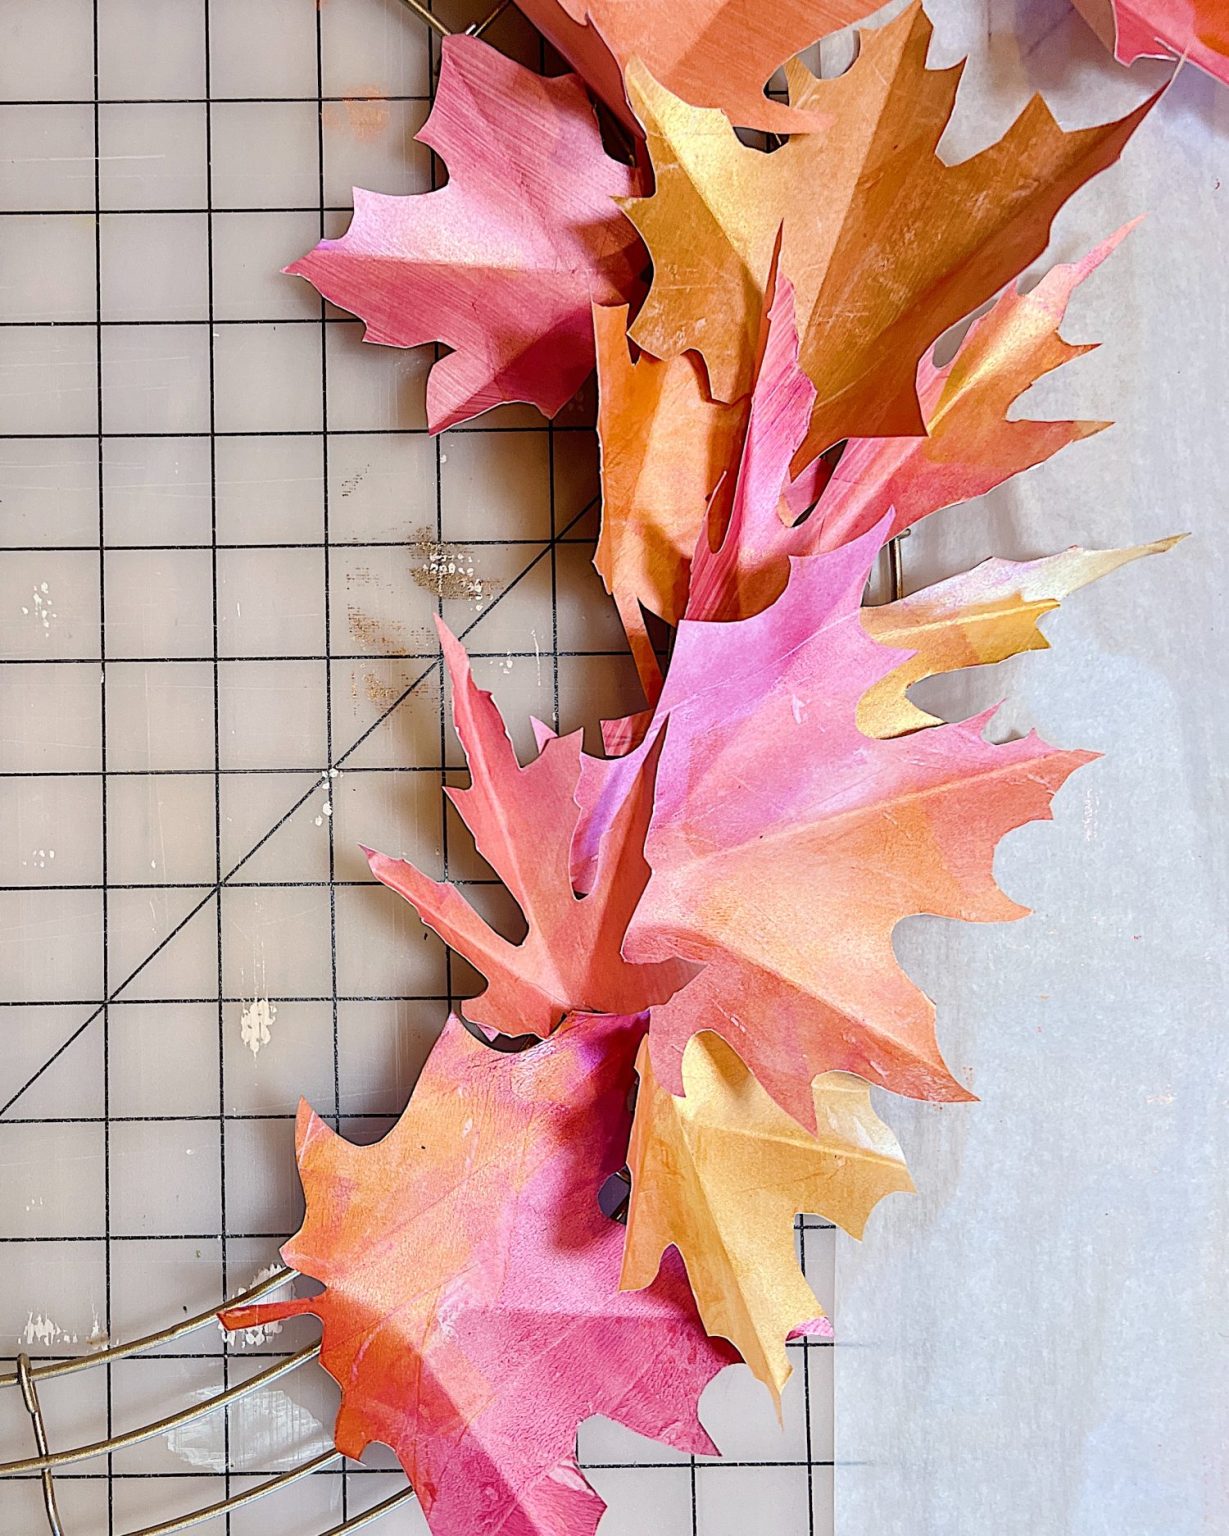
- two – Using a glue gun, attach the leaves around the outside of the wreath.
- three – Continue attaching the leaves until the entire wreath is covered.


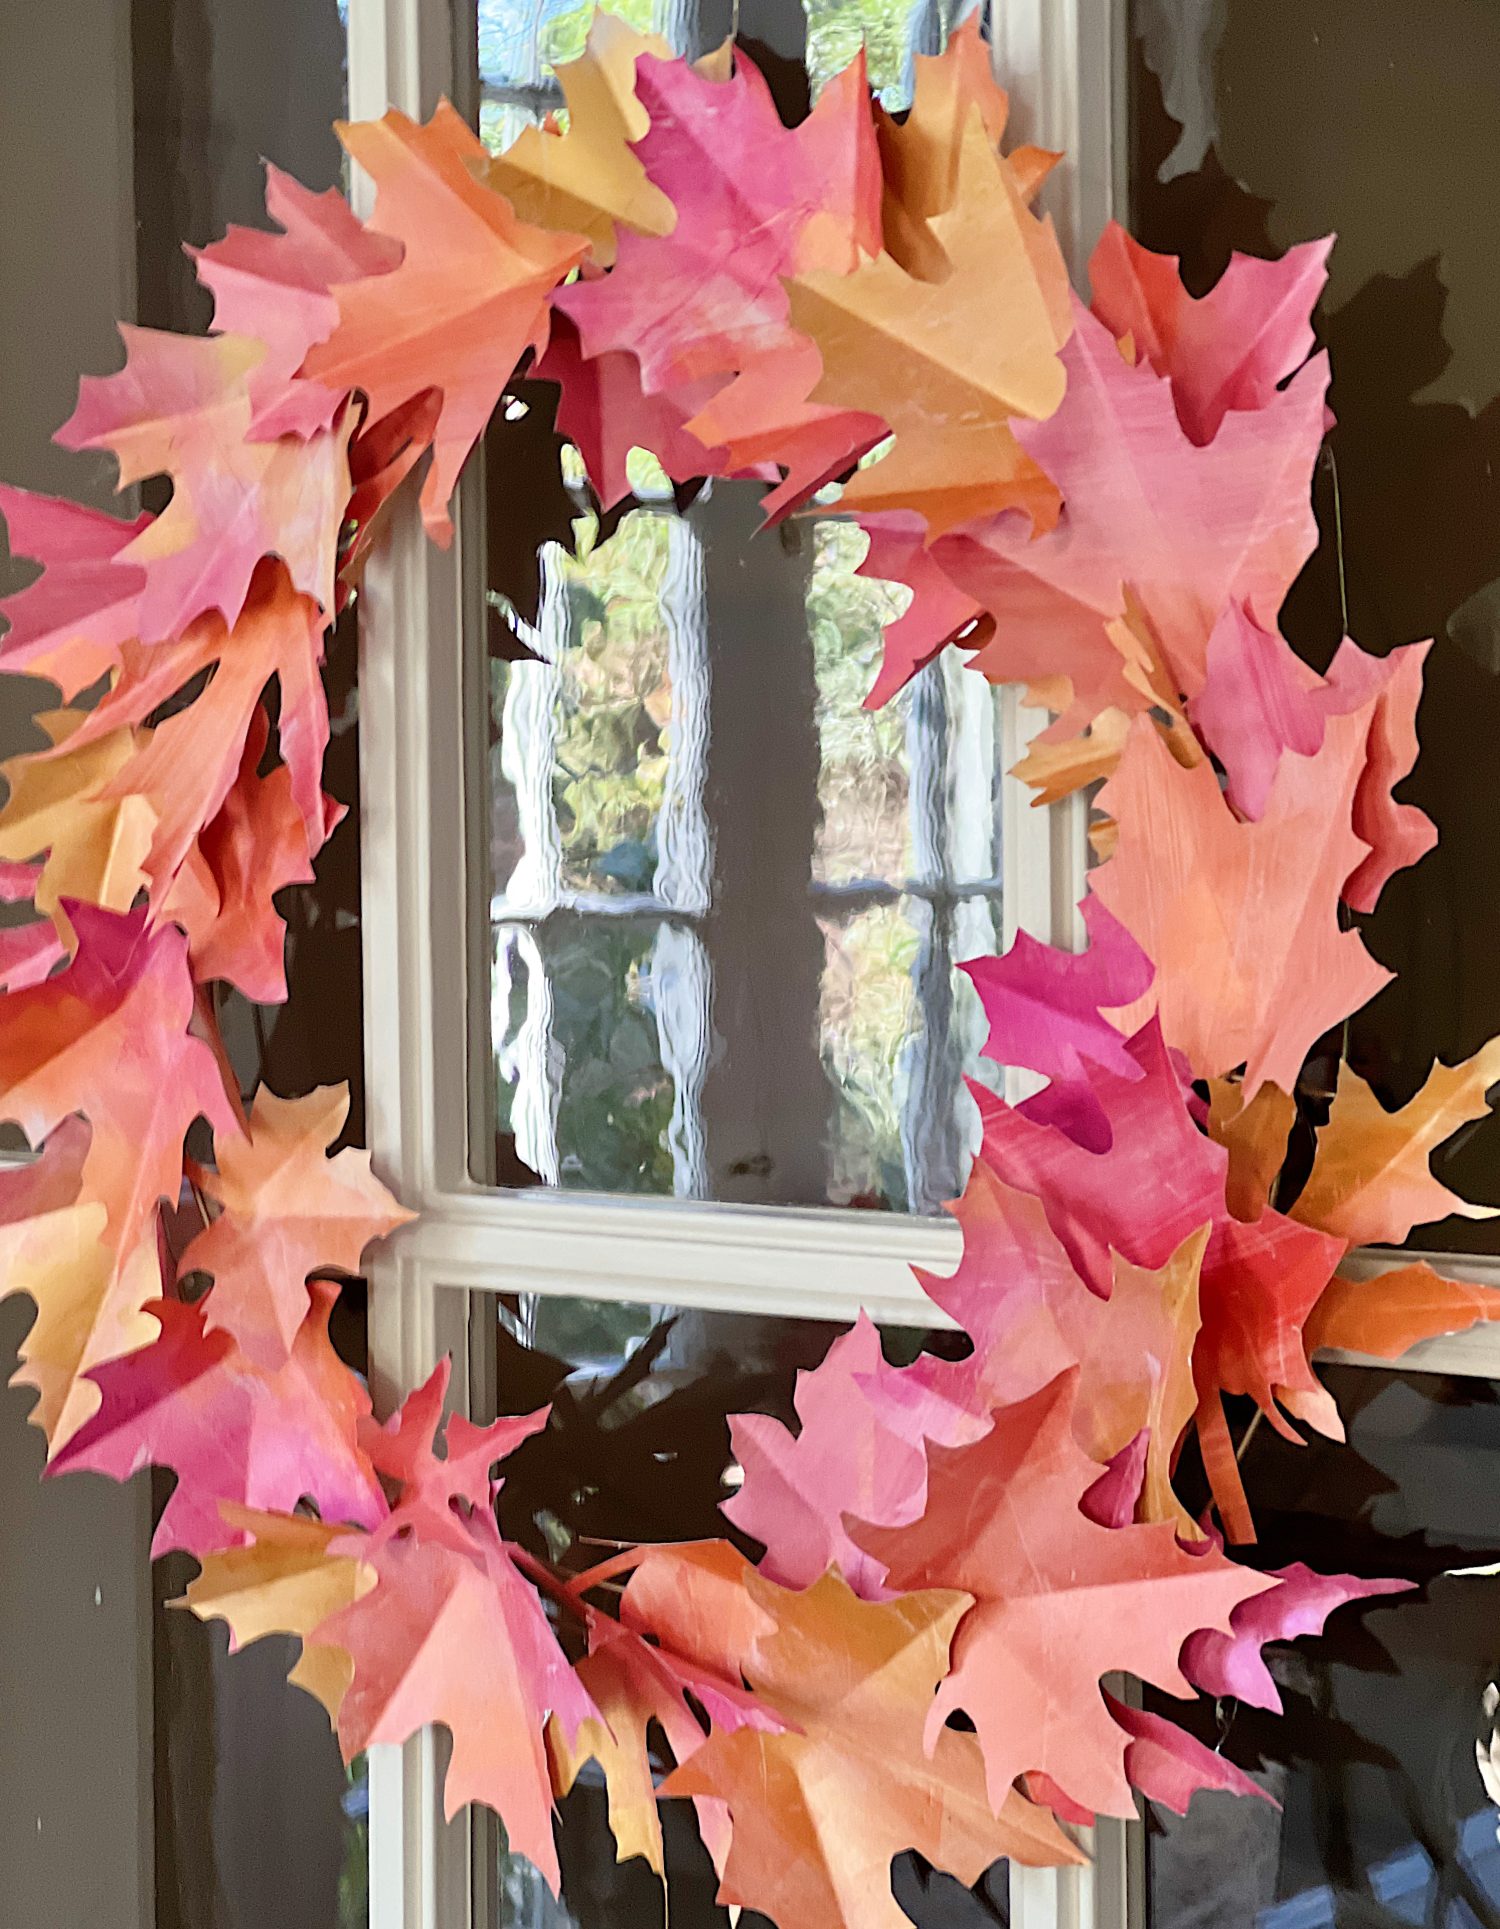
Hanging the Wreath

Iam absolutely in love with this wreath, and it can be hung just about anywhere in our home! Of course, now I want to make more of them because they look so good as a window or door wreath!


If you enjoy my blog, you can sign up to receive my updates here.
.

If you have wanted to try some of my crafts but have been intimidated, then this is the craft for you! It involves imperfect painting, stenciling, cutting, folding, and hot gluing. That’s it!
Let me know if you make one. If you post one on Instagram, tag me, and I will share your photo!
Gorgeous, Bright & Cheerful Fall Decor

You can pin the image below to your boards on Pinterest (click the Pin button in the top left corner) or follow me on Pinterest!
For more real-time updates, follow me on Instagram @My100YearOldHome


Hi Leslie!
Did you use the same leaf stencil/shape for all the leaves in your wreath? Also, which size stencils did you use?
Do we need to buy the 36-tube paint sets in order to get the colors you used or could we get them in any of the smaller sets?
Thanks for your help. As always, I LOVE all your crafts!
Regards,
Laurel
Hi Laurel, I used all different sized stencils for this one, you can do any shapes and sizes you want! The Amazon leaf stencils I tagged in the post work great. Also, there is a smaller paint set I tagged right below that would work! Hope this helps!
That wreath is beautiful. Great job 👏🏼
Thanks so much!
Gorgeous! I love your color choices, and the way the paint looks on the card stock – really lovely! 🍁 Thanks for another great tutorial!
I’m glad you like it Barbara! This is a fun one!
What a beautiful wreath, Leslie! The color combination is just perfect!! I love learning from all of your creative ideas! Thanks so much for sharing!
Thanks so much Kim! I’m glad you like it!
this is beautiful especially combined with the lovely pumpkins. Did you choose colors to coordinate with the pumpkins or did you also paint the pumpkins? I’m really enjoying the color direction you’re going in for fall decor and looking forward to more. But I honestly don’t know how you manage to craft such gorgeous projects in the midst of room switches and repurposing, travel AND of course your beautiful granbaby. Is there more than one of you ;)?
Oh you are so kind, thank you Pamela! I covered the pumpkins with foil leaf ☺️ I’ll be sharing a post soon on how to make the pumpkins- stay tuned 👀🙌🏻
Beautiful wreath Leslie. About how many leaves did you cut out? Im trying to find Live video where you did demo on how to use the Arteza acrylic paints.
Thanks so much Cindy! I shared the video on my Instagram on how to make this wreath 🧡🍁
This wreath is absolutely gorgeous! I can’t believe that it is paper. Hugs to you.
Right! So perfect for fall and such an easy DIY. Thank you Renae 🧡☺️
This is my kind of project, thank you for sharing it! I’ve made some similar things, like light orange/pink-streaked watercolored paper hearts for garlands, and paper shamrocks streaked in green shades; this looks like a really fun autumn wreath to try in that same vein. And yours is so especially pretty!
I’d really love to see a mini video of your 3-color brayer technique on one of the sheets of cardstock. I usually just do swishes of watercolor streaks, and I think I could do something like yours with thicker paint, but it’s always fun to learn/watch new styles from other artists! I hope you’ll give us a peak on that paint method you described here. : )
Happy Friday!
Oh yay! Those sound like great wreaths. Thank you so much ☺️ That’s a good idea I’ll definitely think about doing that!
This post was very informative. Thanks for sharing!
Working on this wreath with my craft group. Love how beautifully the leaves turned out! We were (foolishly) too meticulous about painting the reverse sides of the papers; won’t do that again!
We’re having trouble hot-gluing the leaves to the wire wreath; the wire is too thin to get a good amount of glue to securely attach to the the leaves. Any suggestions?