A Craft Room Planning Guide – How to Design the Best Craft Room

Today, I am sharing a Craft Room Planning Guide. Designing a craft room is about more than organizing supplies. It is about creating a space that supports your work in creating beautiful crafts today.
When a craft room works well, it removes friction, encourages creativity, and makes it easier to sit down and start creating.


How to Design the Best Craft Room For You
A Creative Space That Actually Works
Over time, creative spaces need to evolve. As skills grow, projects become more complex, and multiple crafts overlap, a once-perfect setup can become frustrating. That is usually a sign that it is time to rethink the layout, not because you failed, but because you have grown.
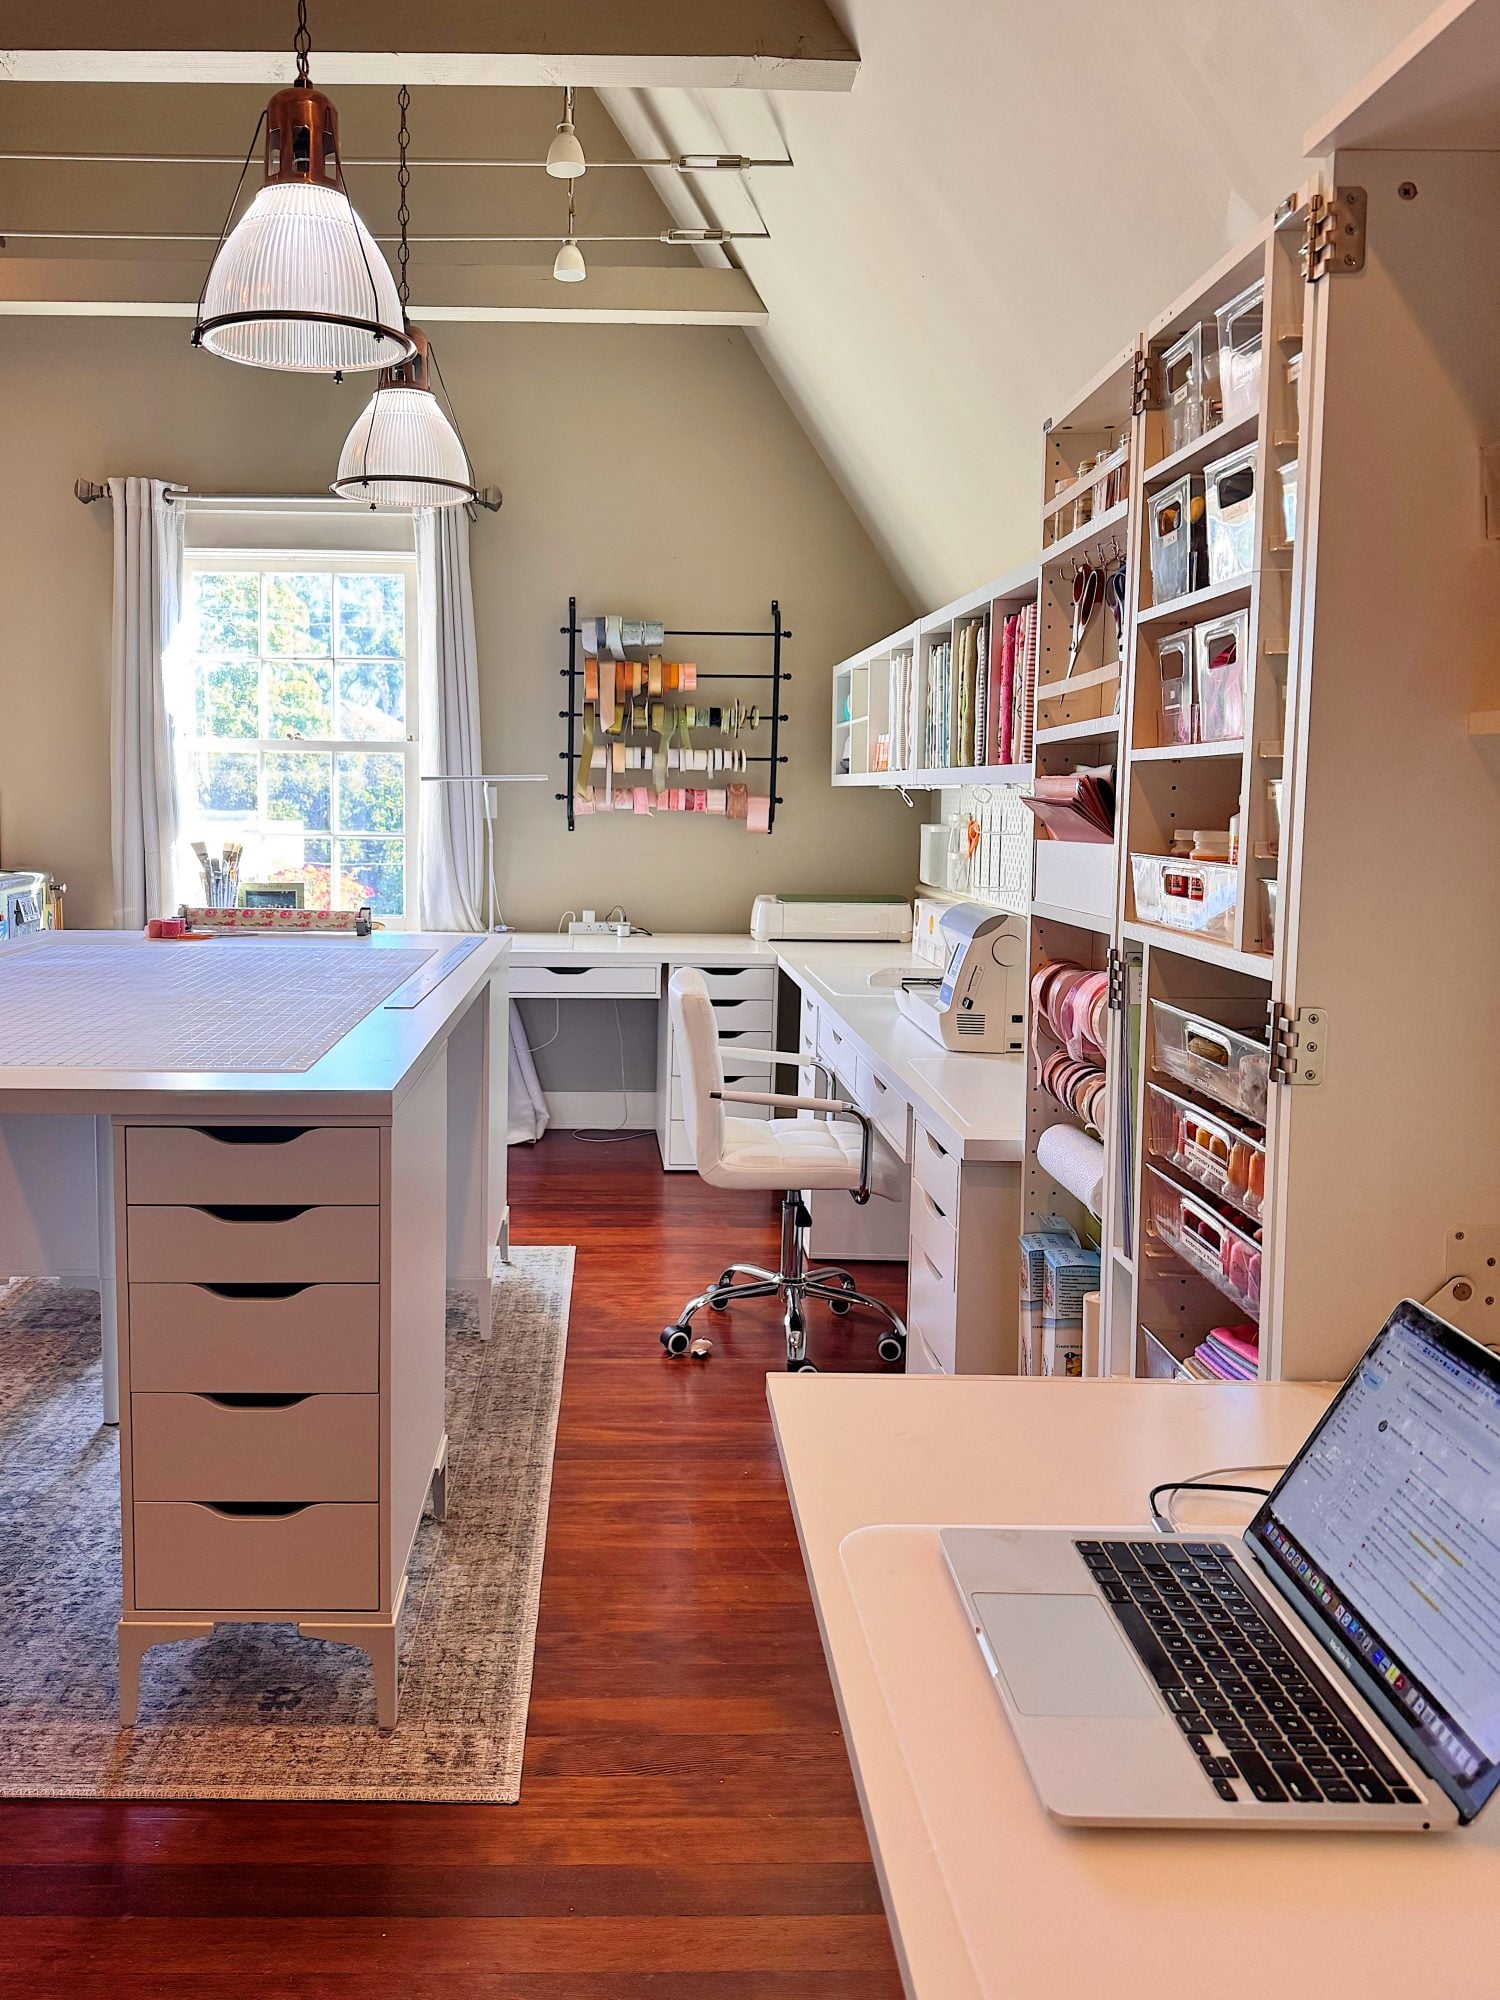
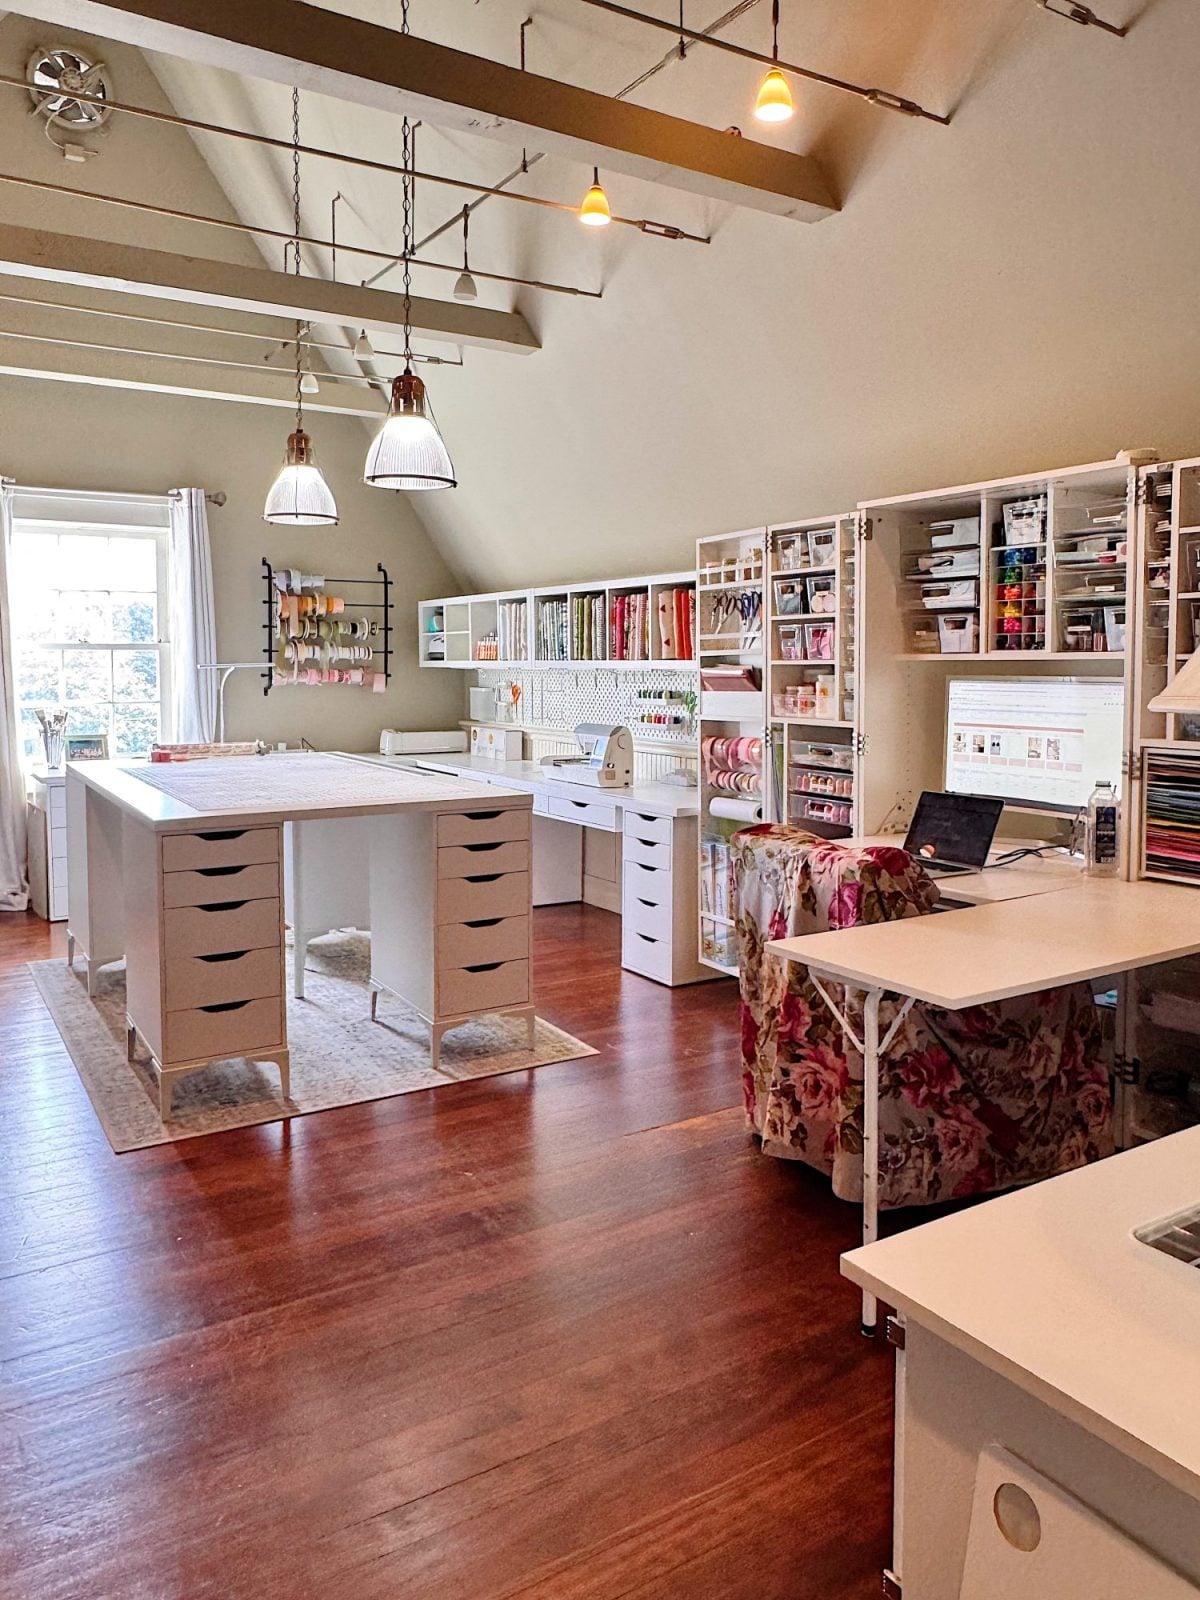
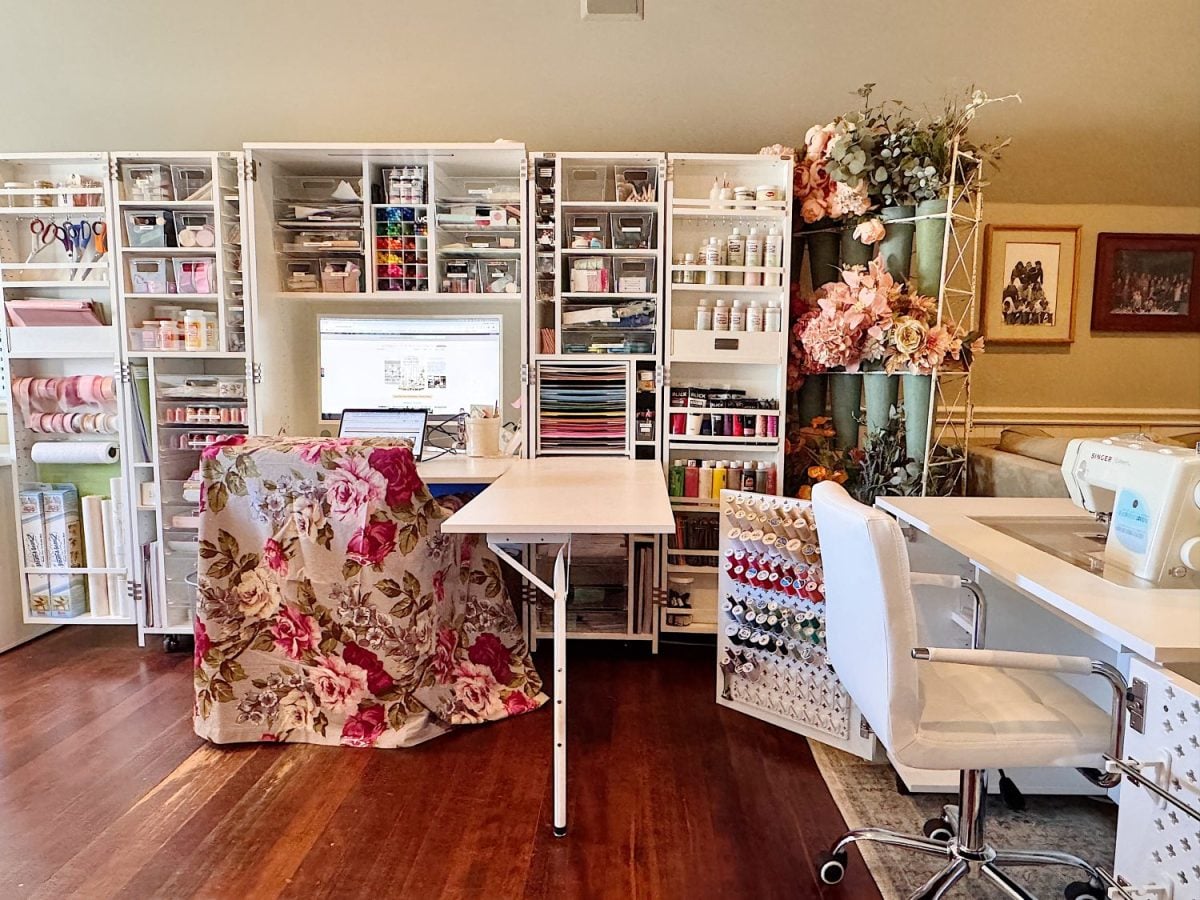
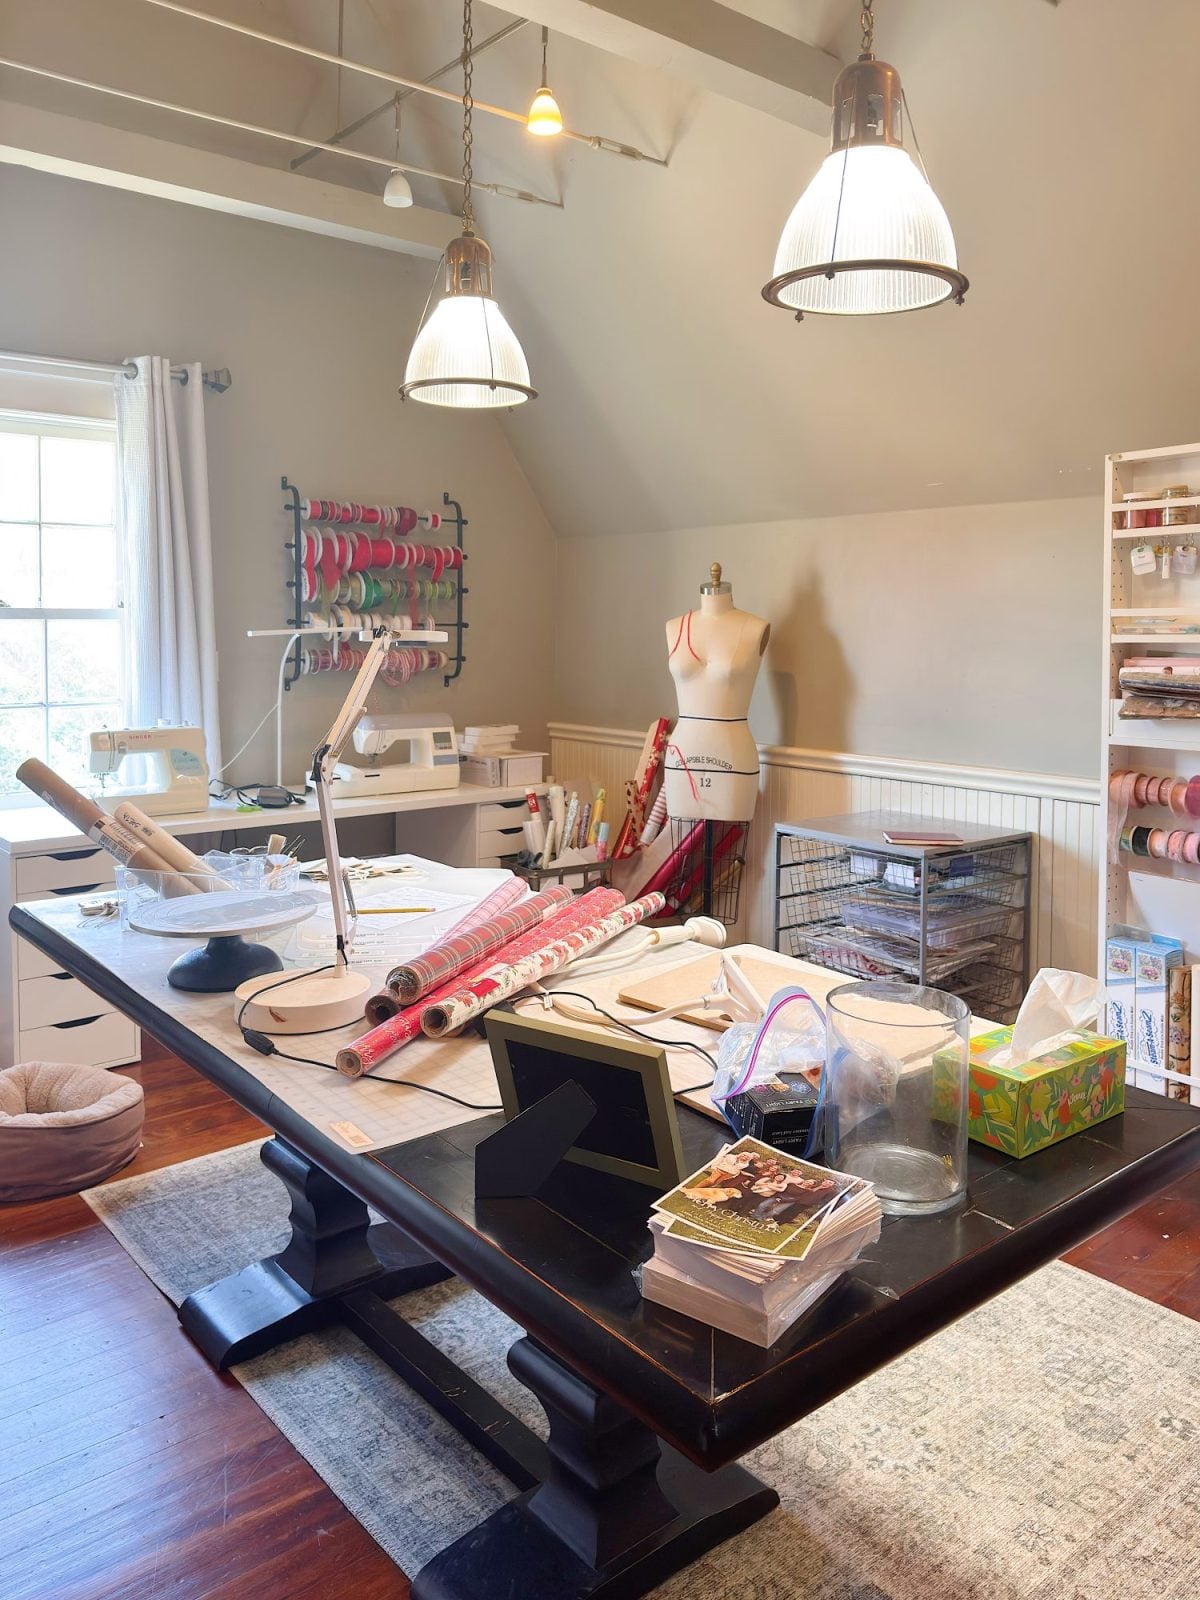
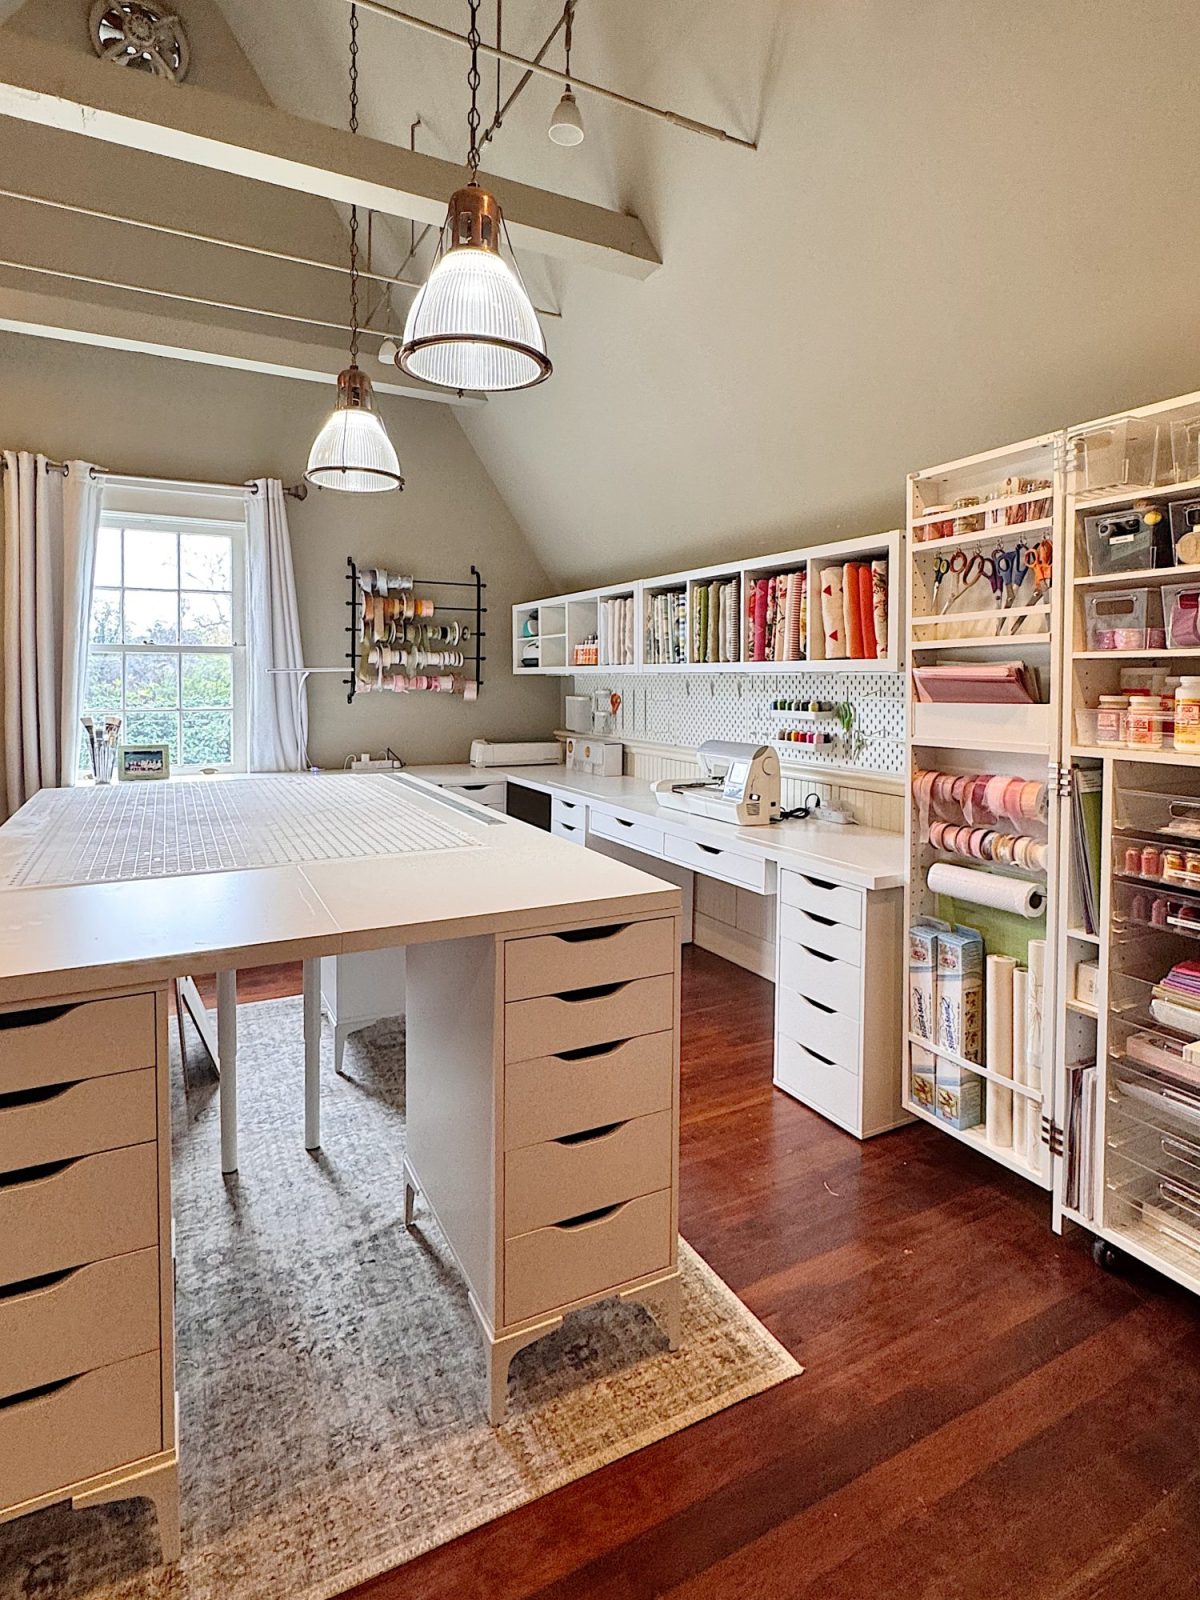
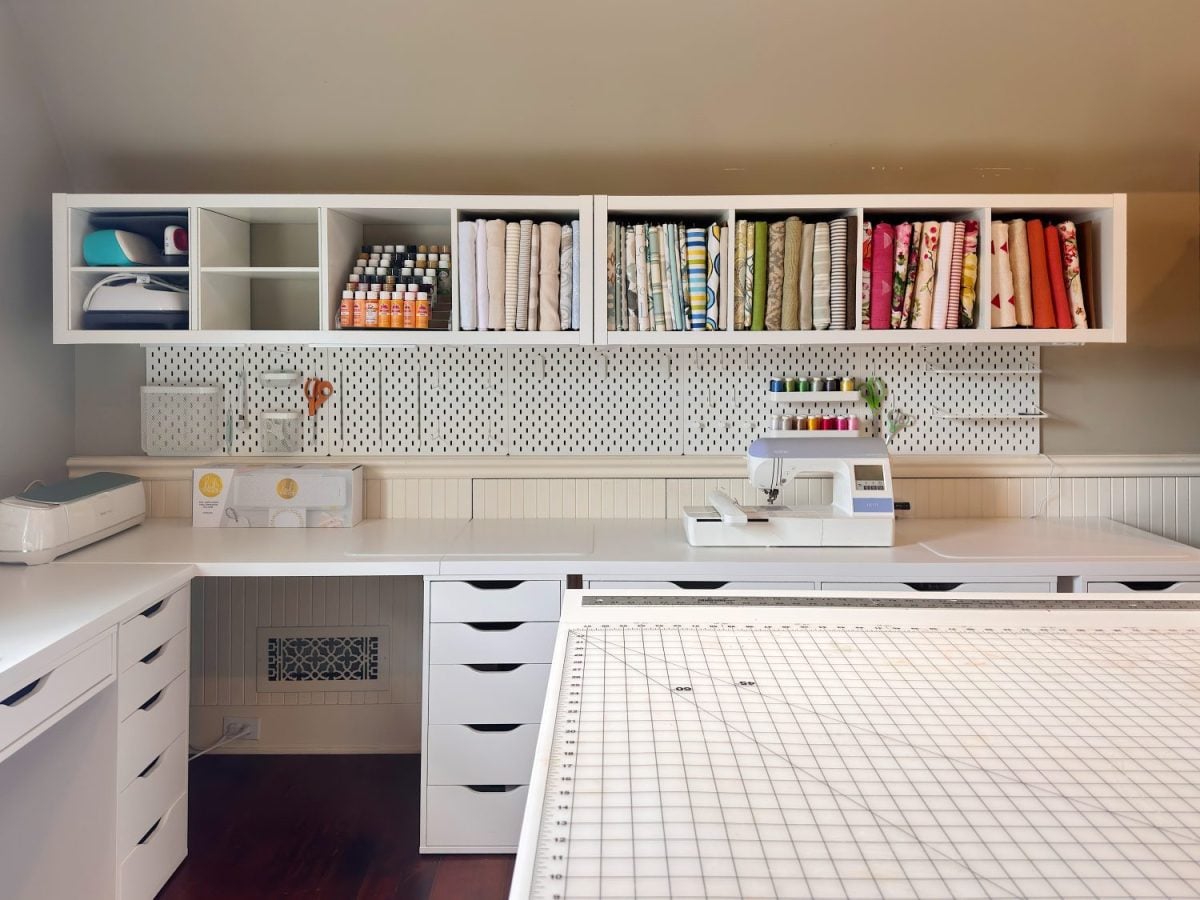
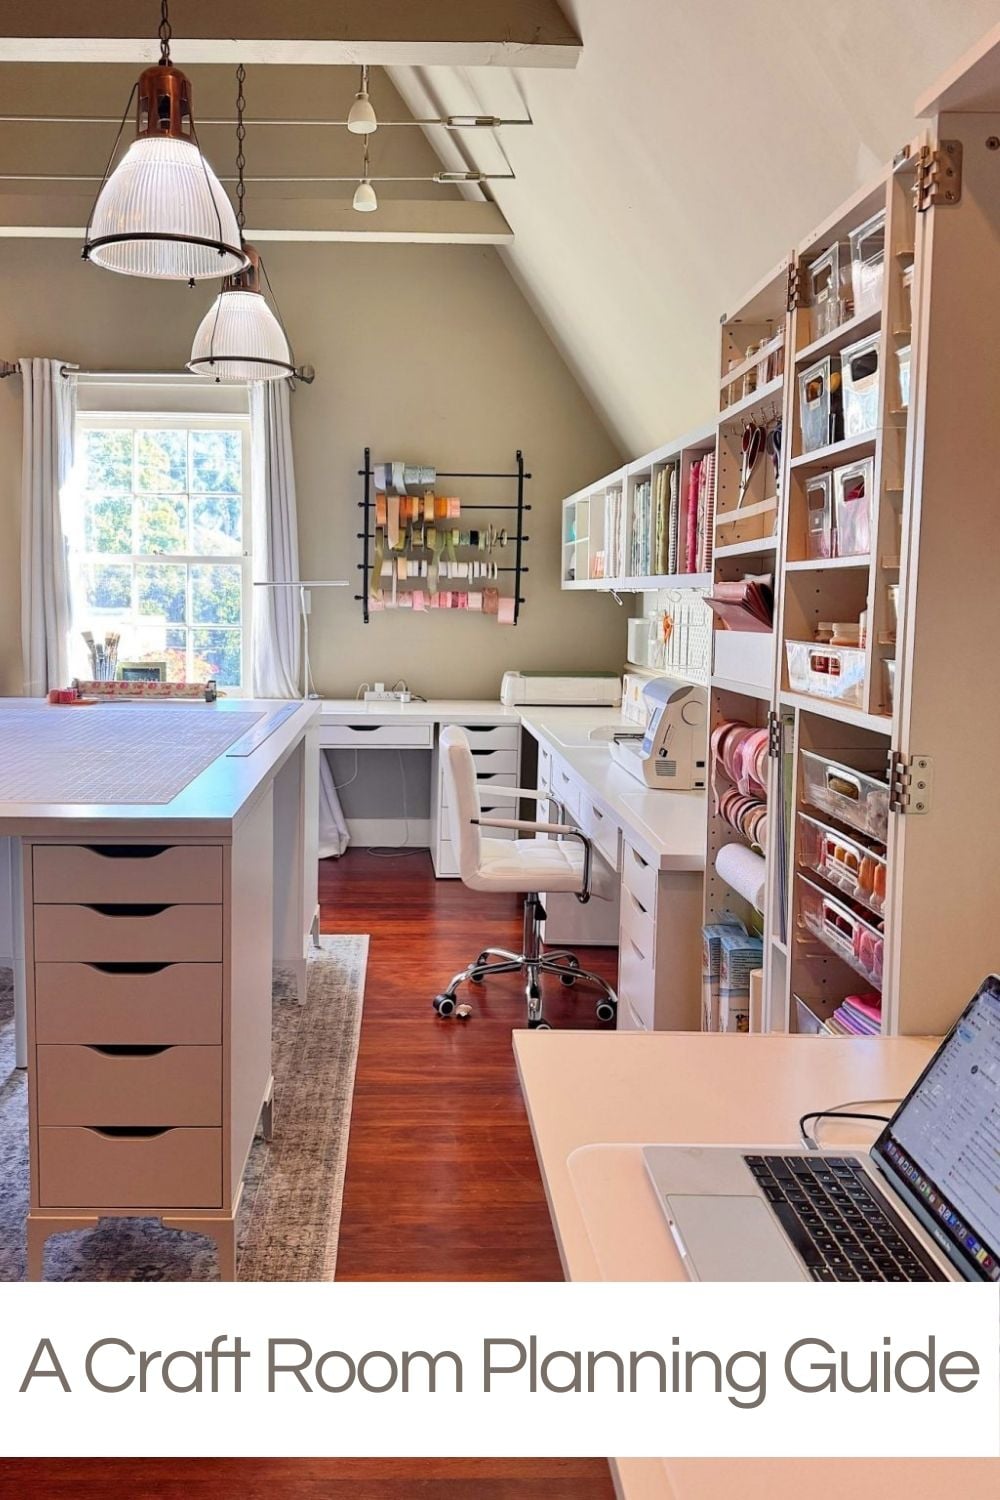
I just completed a major makeover of my craft room. Be sure to read my blog post reveal of the finished room. It was such a great experience, and I want to share how you can do this too.
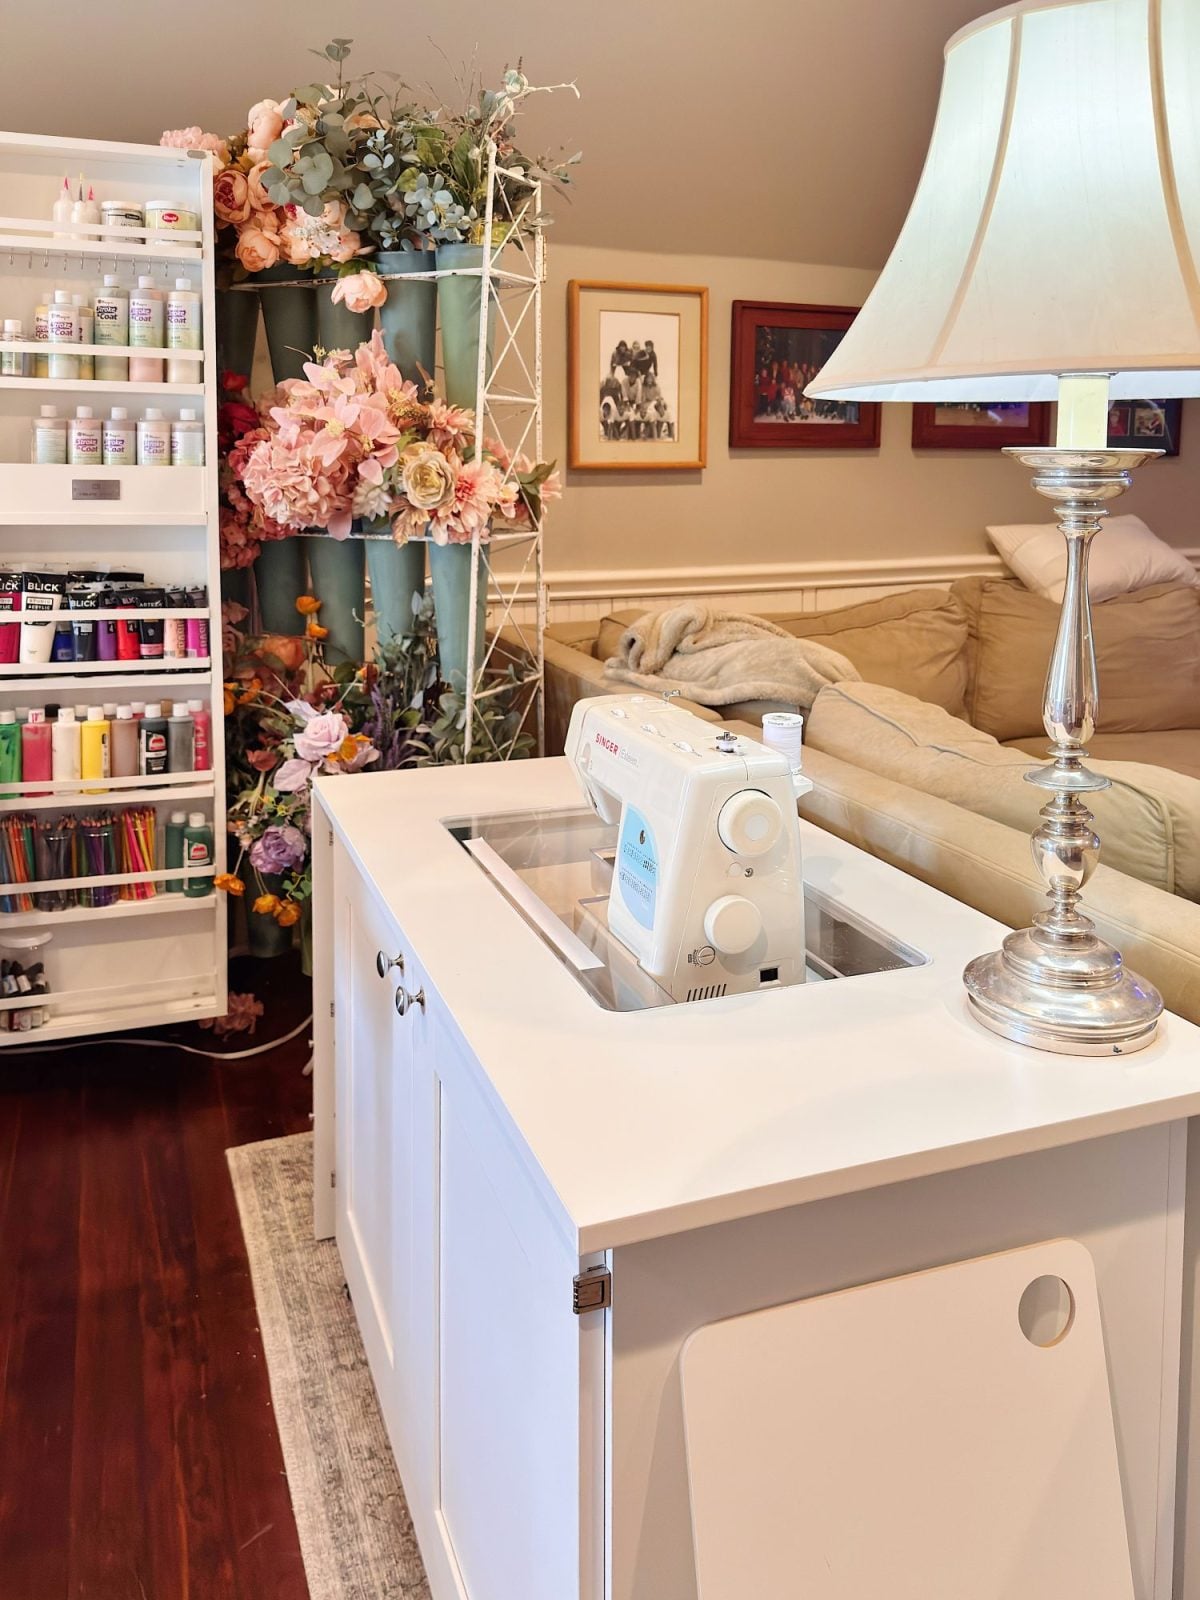
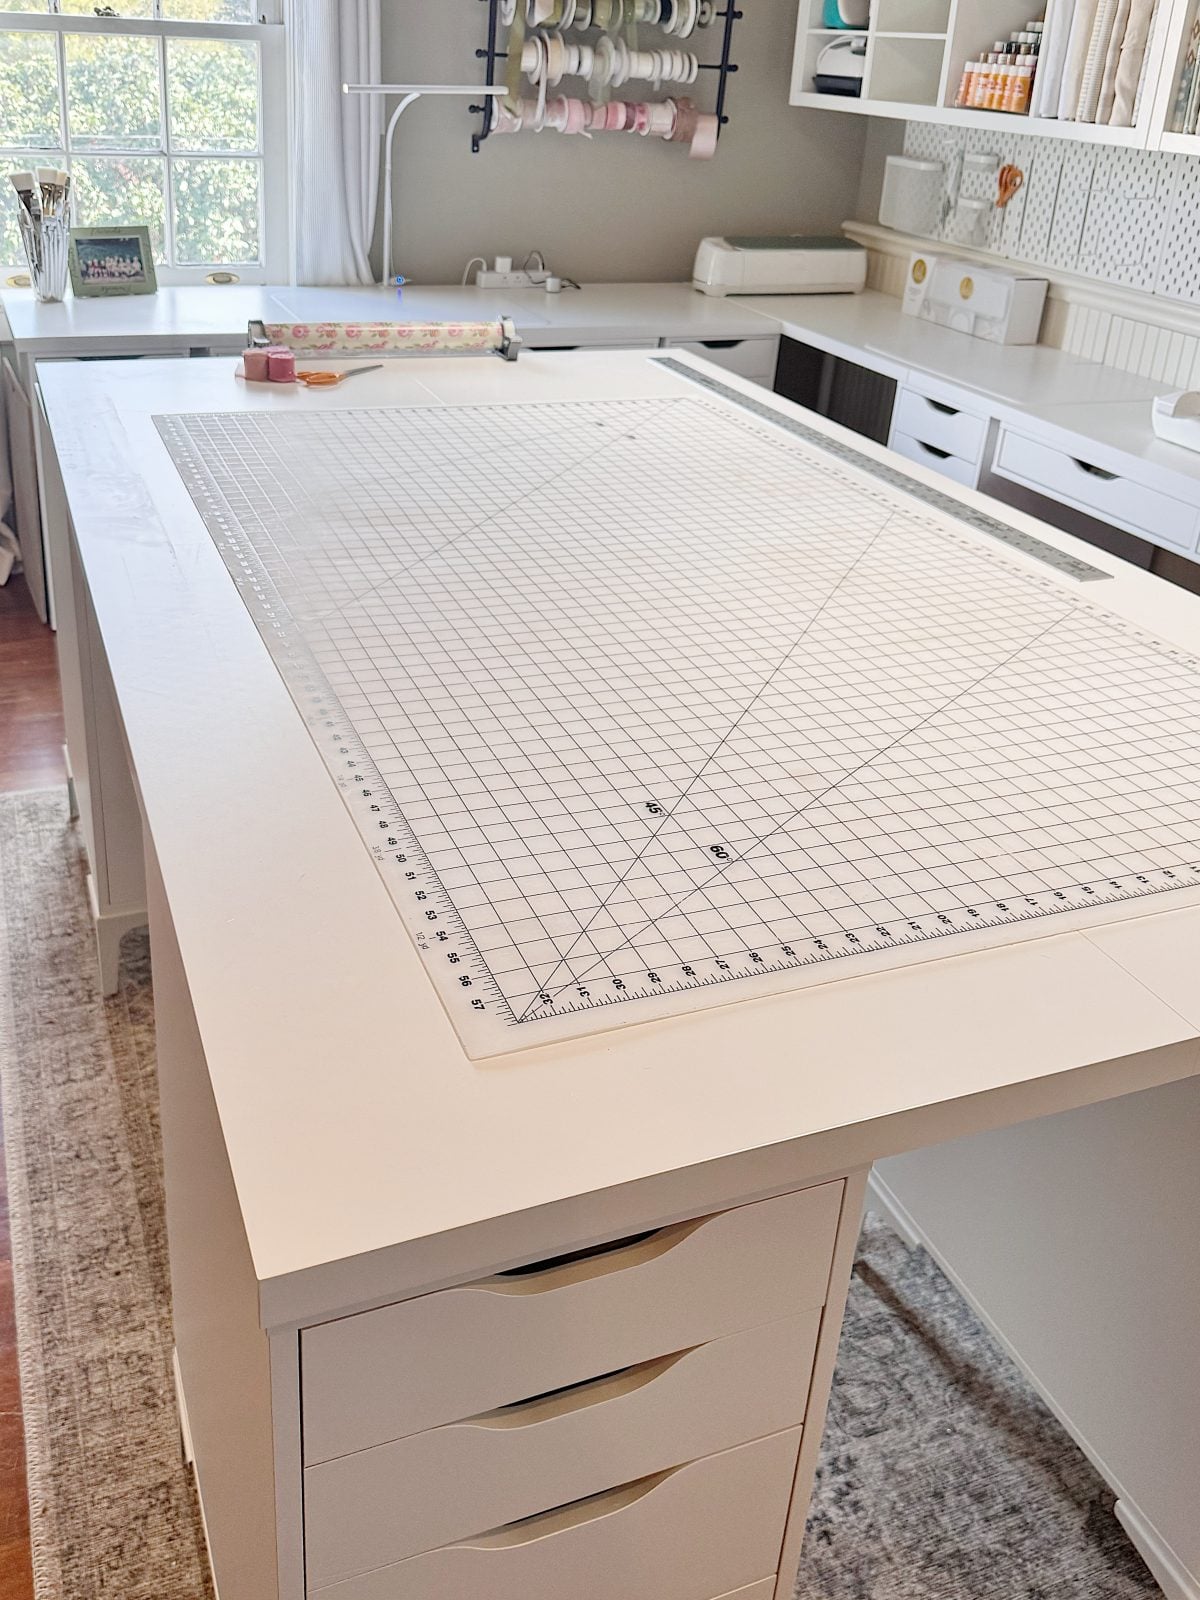
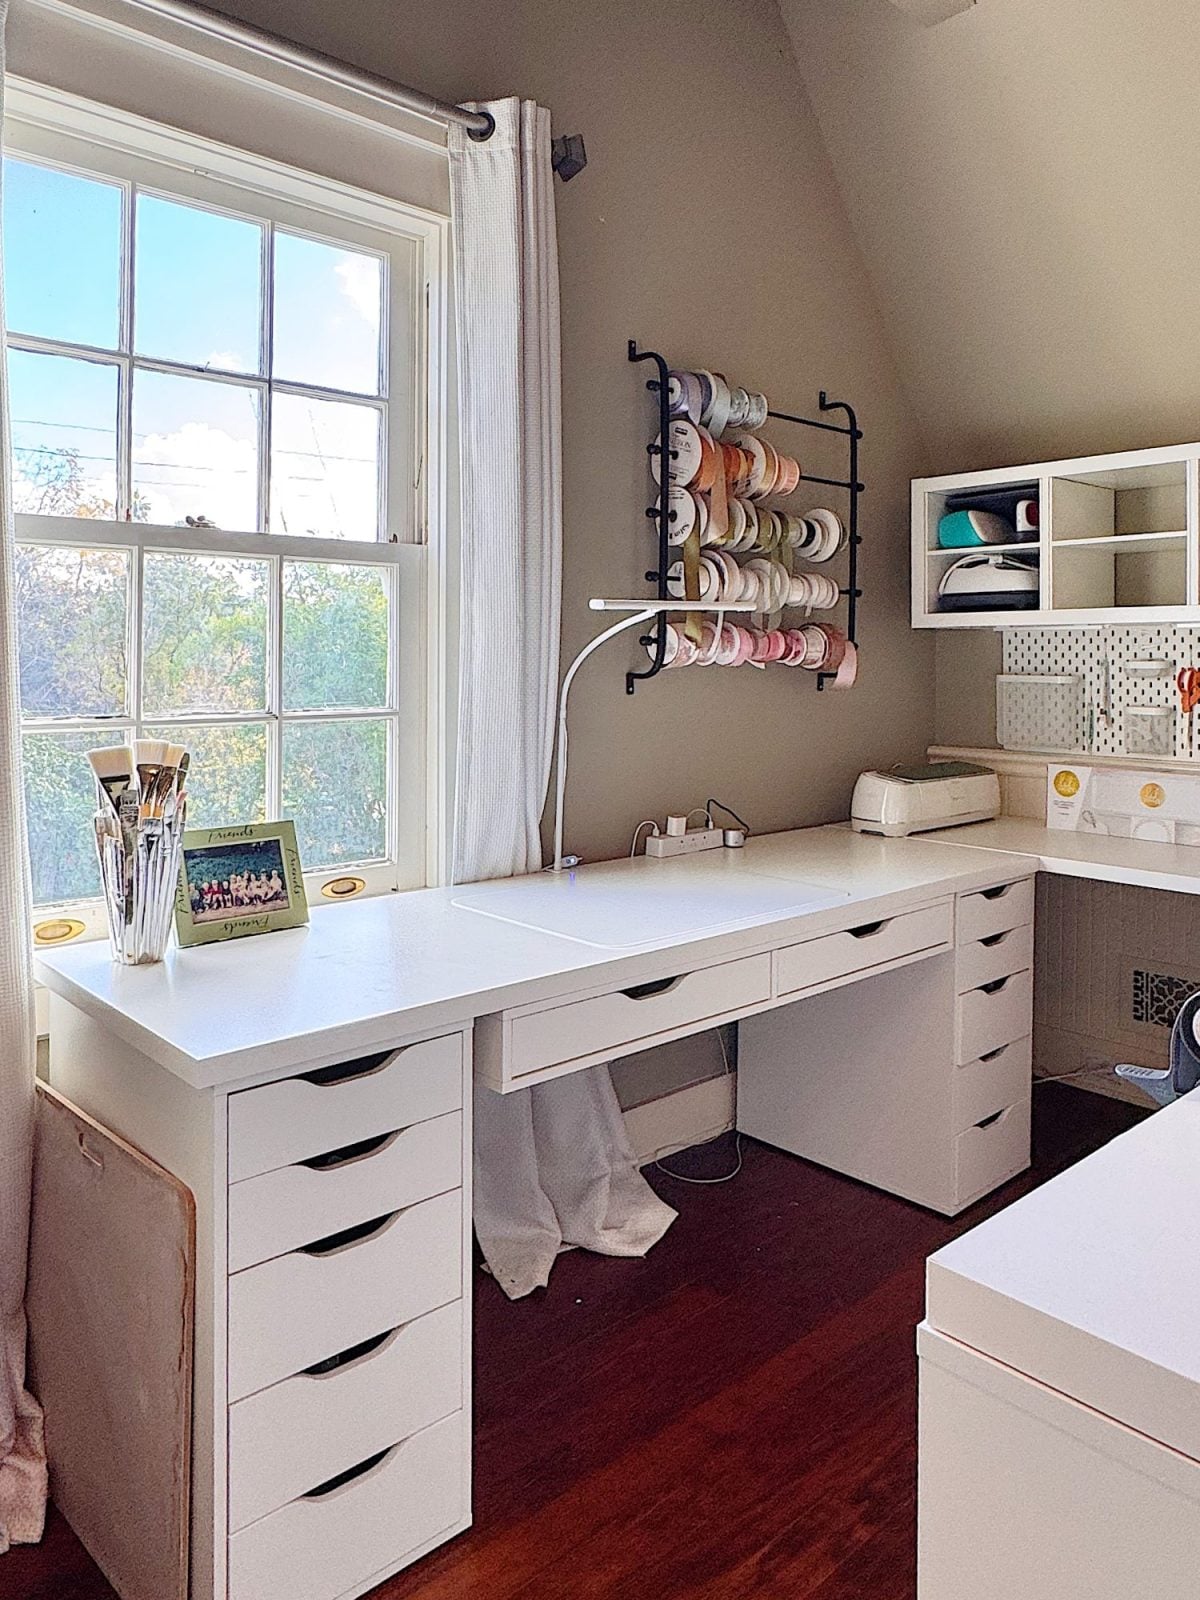
My craft room is on our third floor, and it is spacious (11′ x 22′). But you can use this same concept for any-sized room.
This guide outlines how to plan a craft room intentionally, step by step, so it supports your creativity rather than slowing it down.
Step 1: Design for How You Actually Craft
Before you move a single piece of furniture, take time to understand how you really use your craft room.
Ask yourself:
- How many projects do I usually work on at once?
- Which crafts do I do most often?
- Which activities feel hardest to start?
- What frustrates me the most in my current space?
Your answers matter more than trends or inspirational photos. A craft room should be customized to your habits, not someone else’s.
On this blog, I may sometimes use affiliate links, which means a small commission is earned if you purchase via the link. The price will be the same whether you use the affiliate link or go directly to the vendor’s website using a non-affiliate link.

Step 2: Identify Your Craft Workstations
Instead of focusing on furniture, focus on activities.
A workstation is one type of crafting activity that needs:
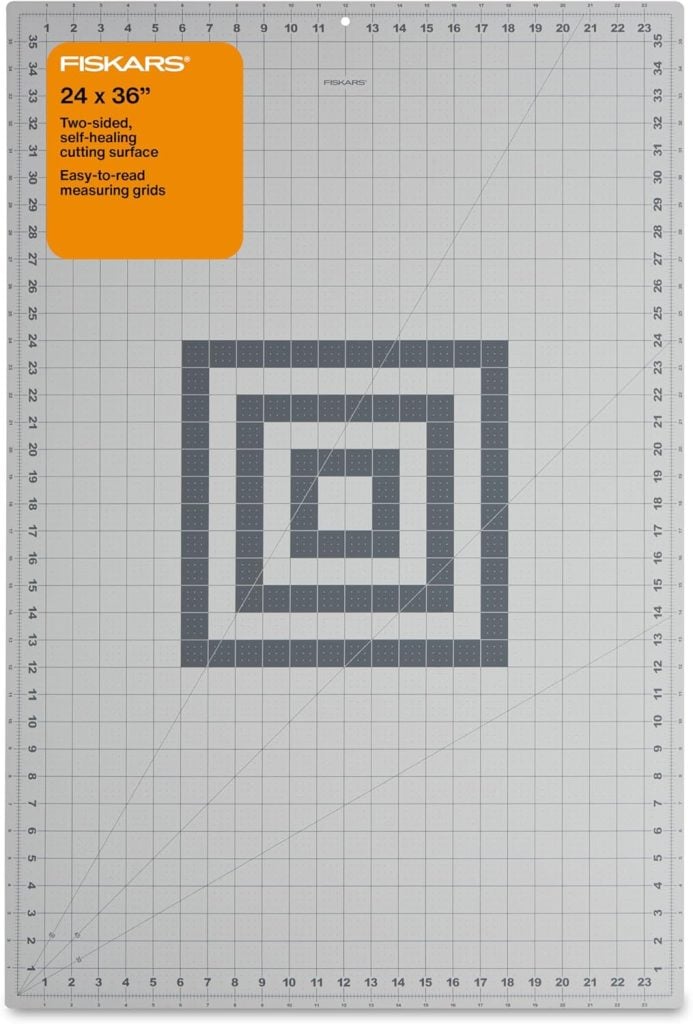
- A surface
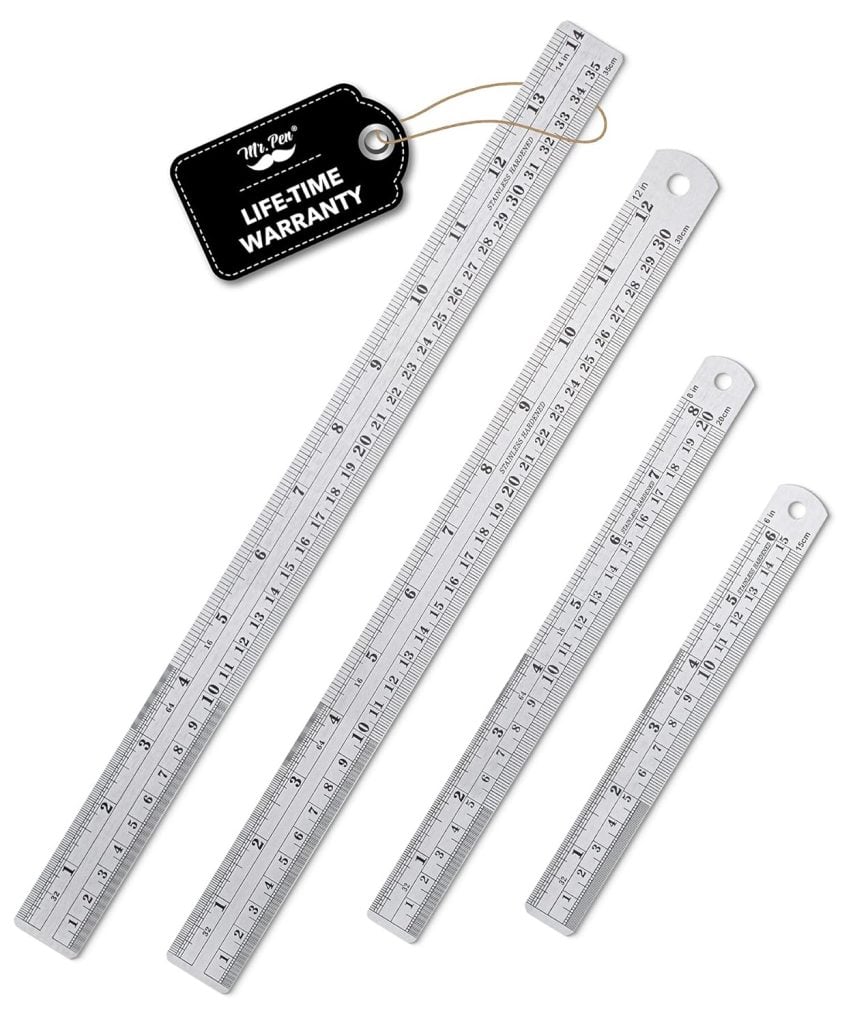
- Tools
- Nearby storage
Examples of common workstations include:
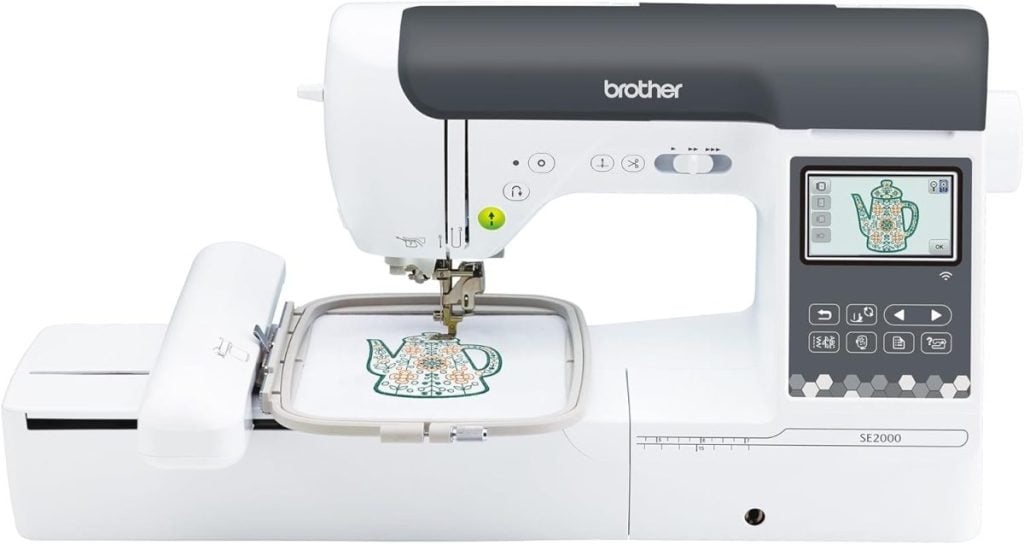
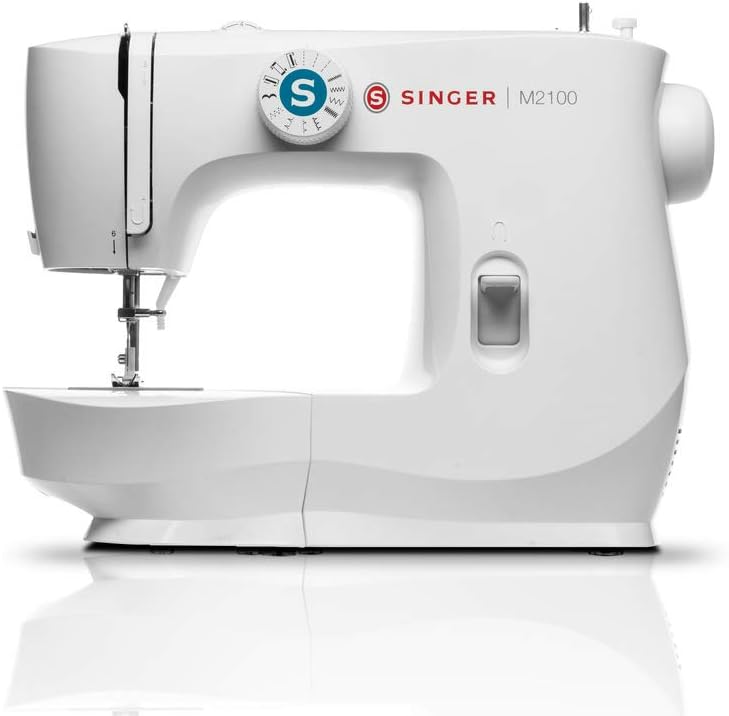
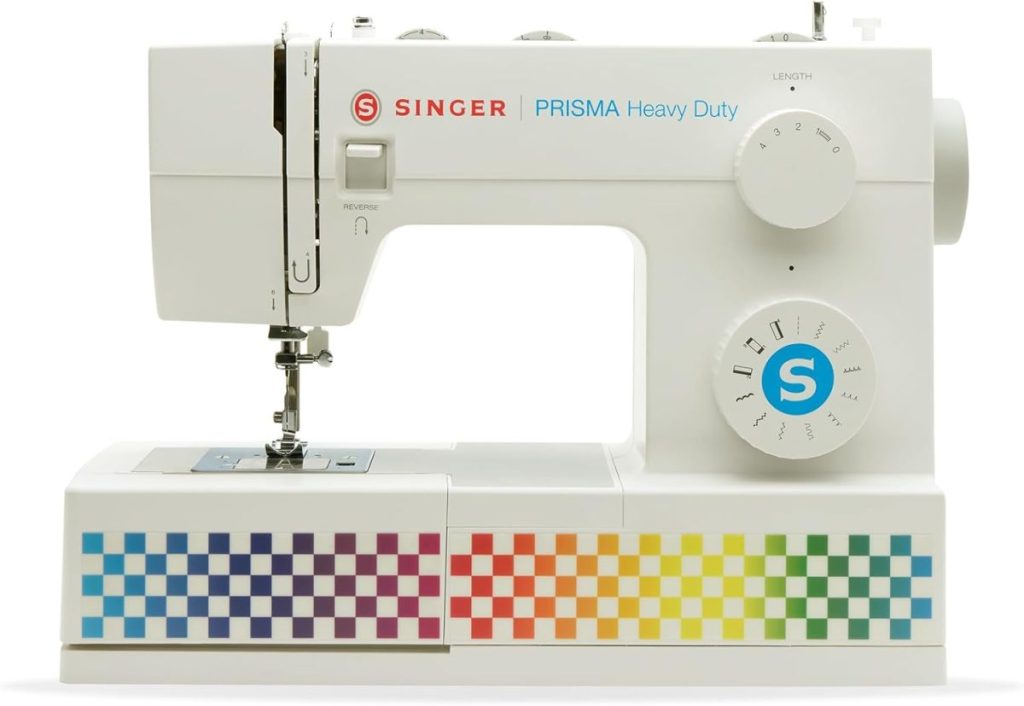
- Sewing
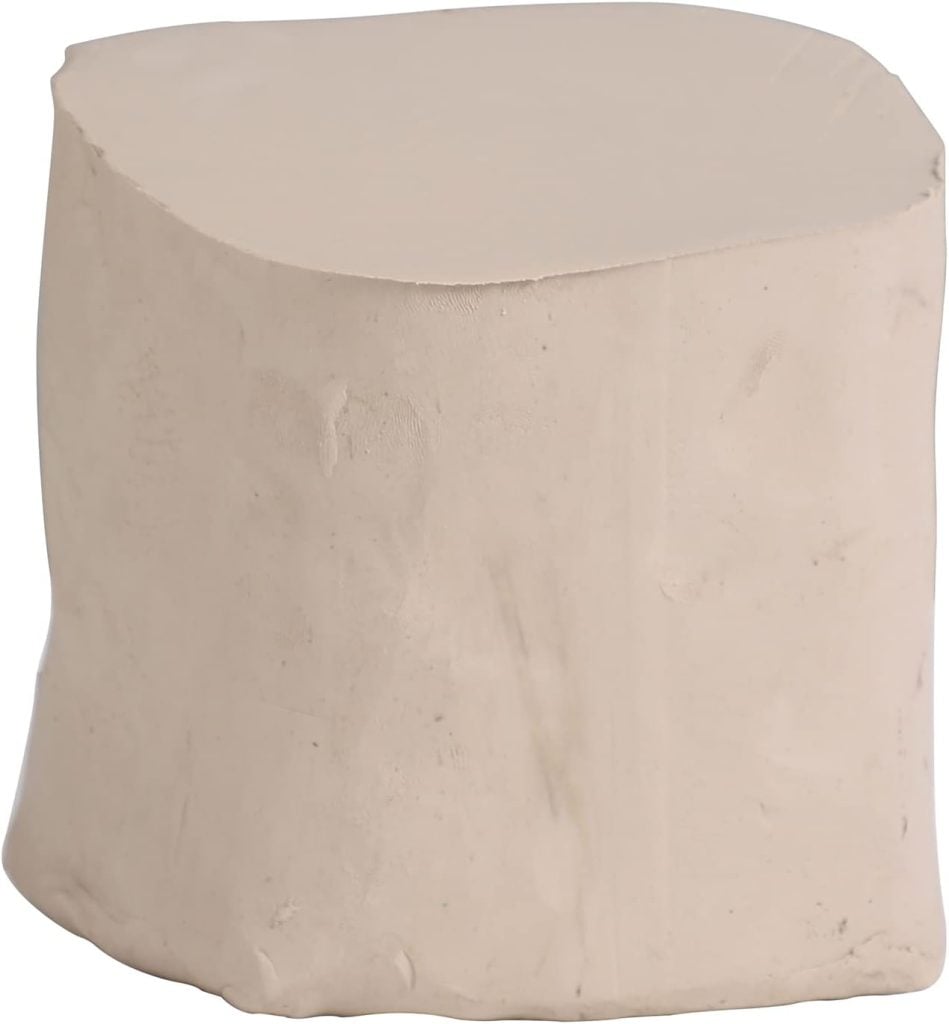
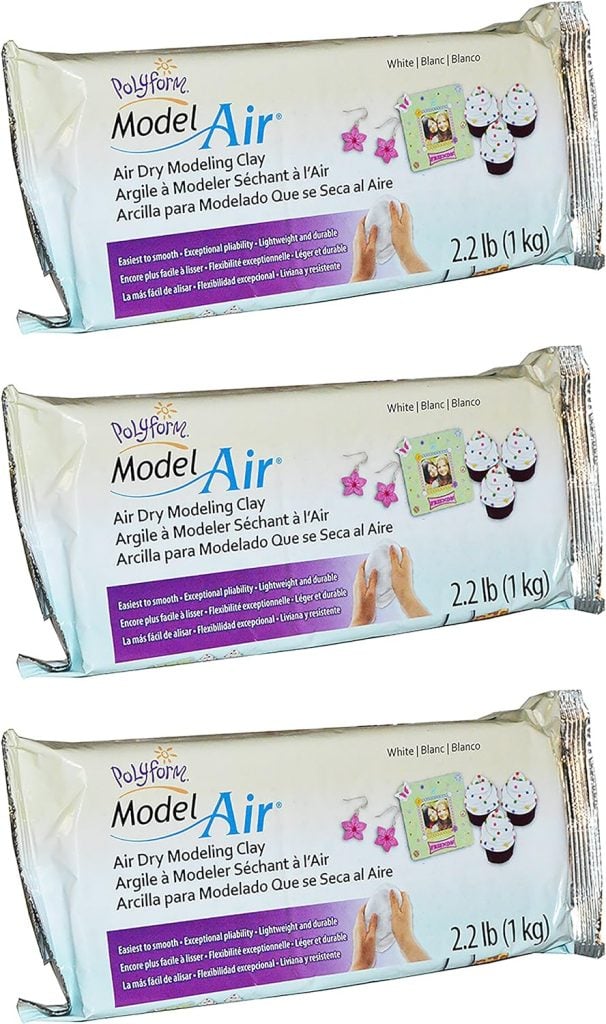
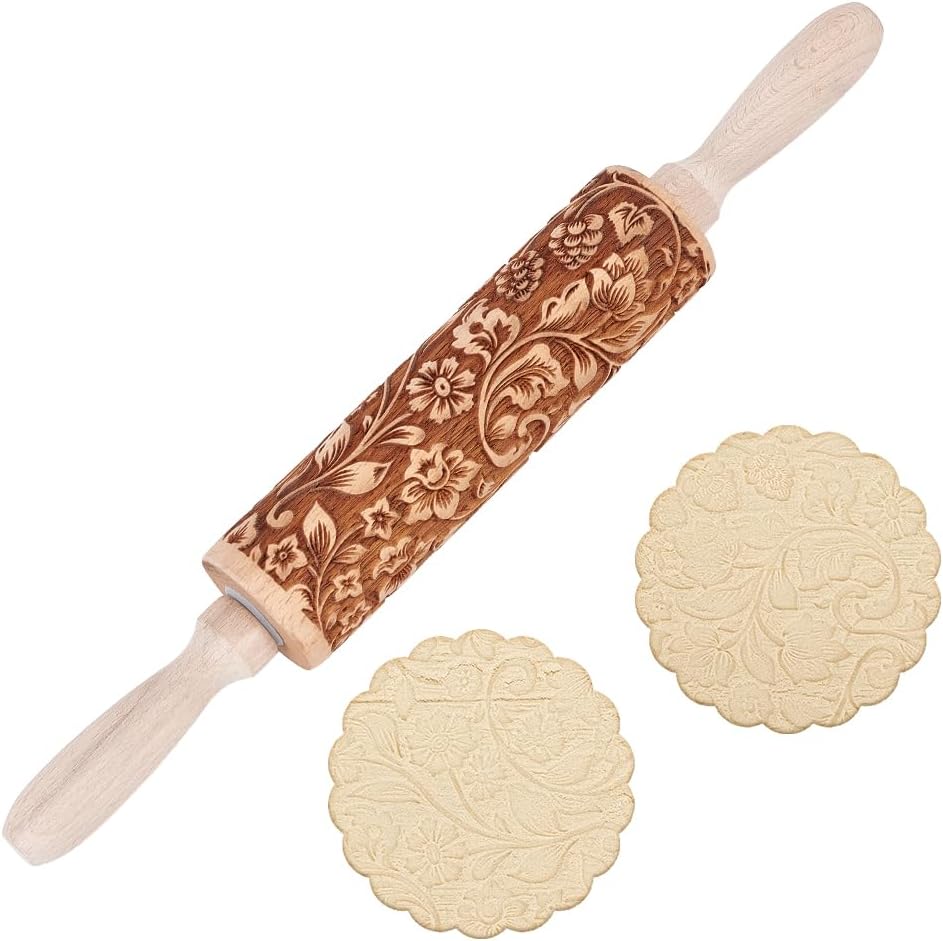
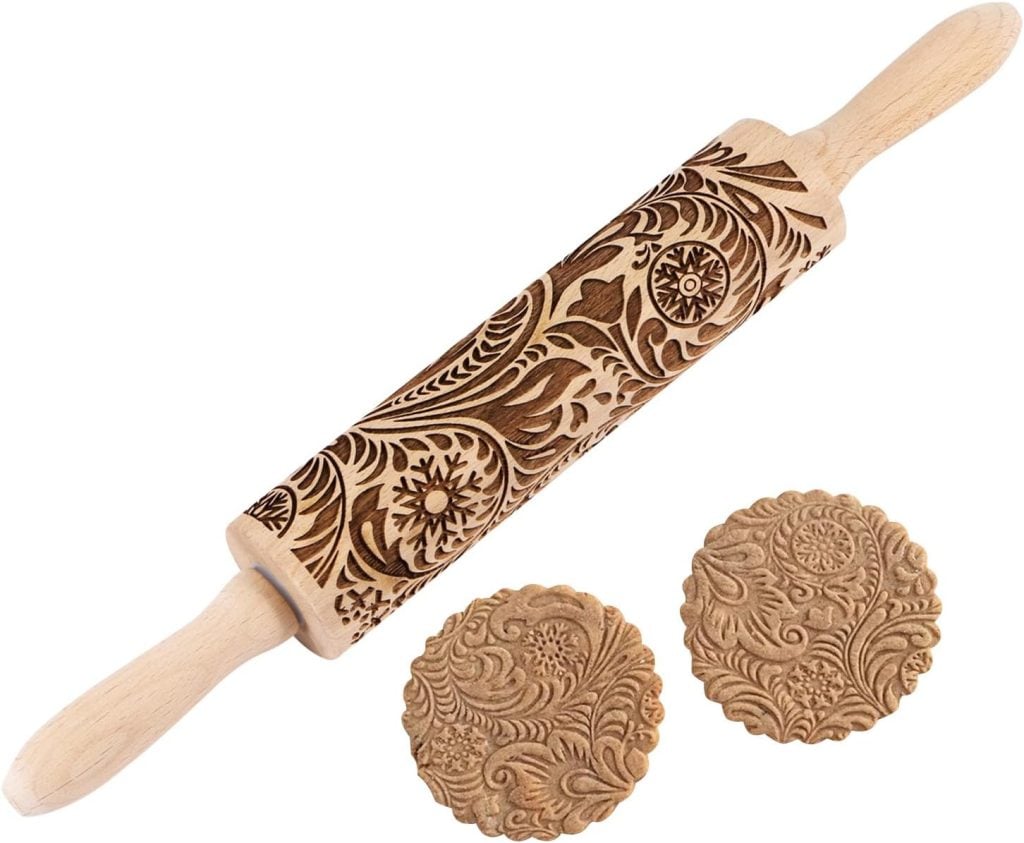
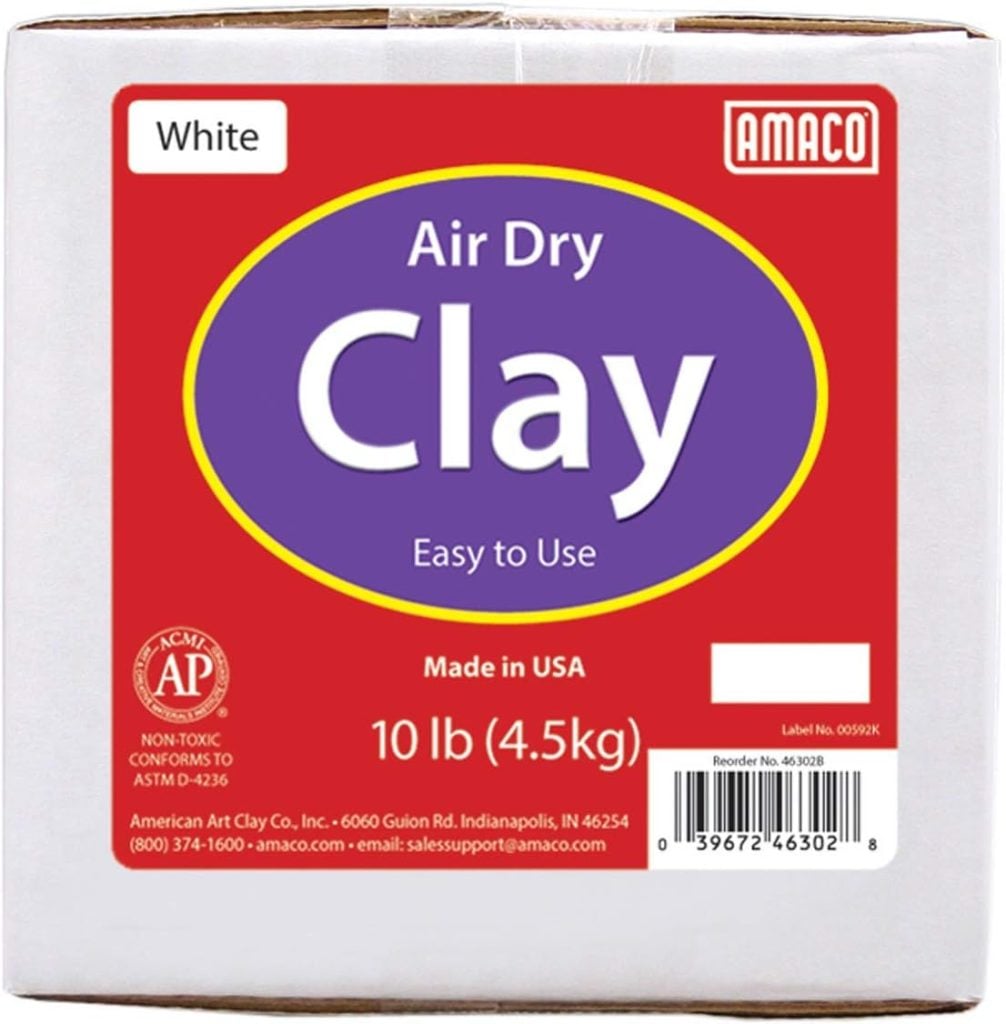
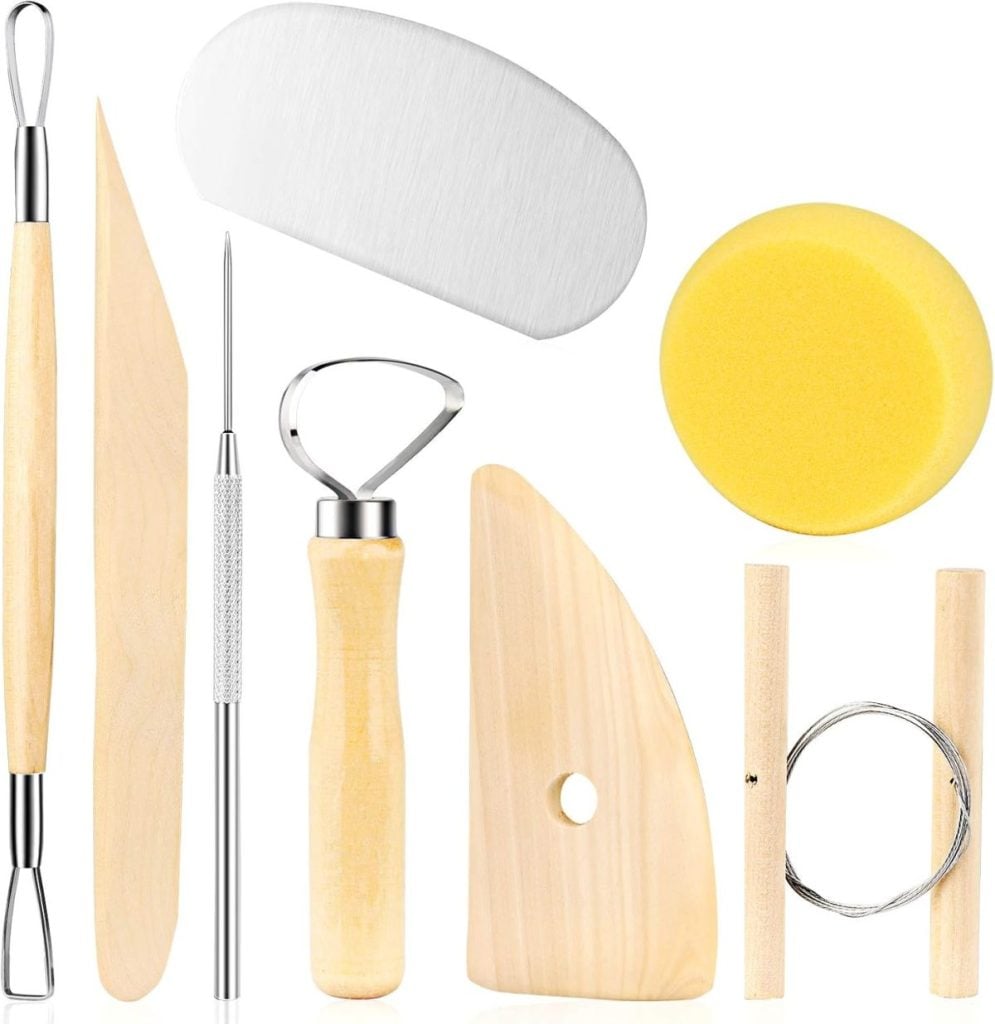
- Pottery or clay
- Cricut or cutting machines
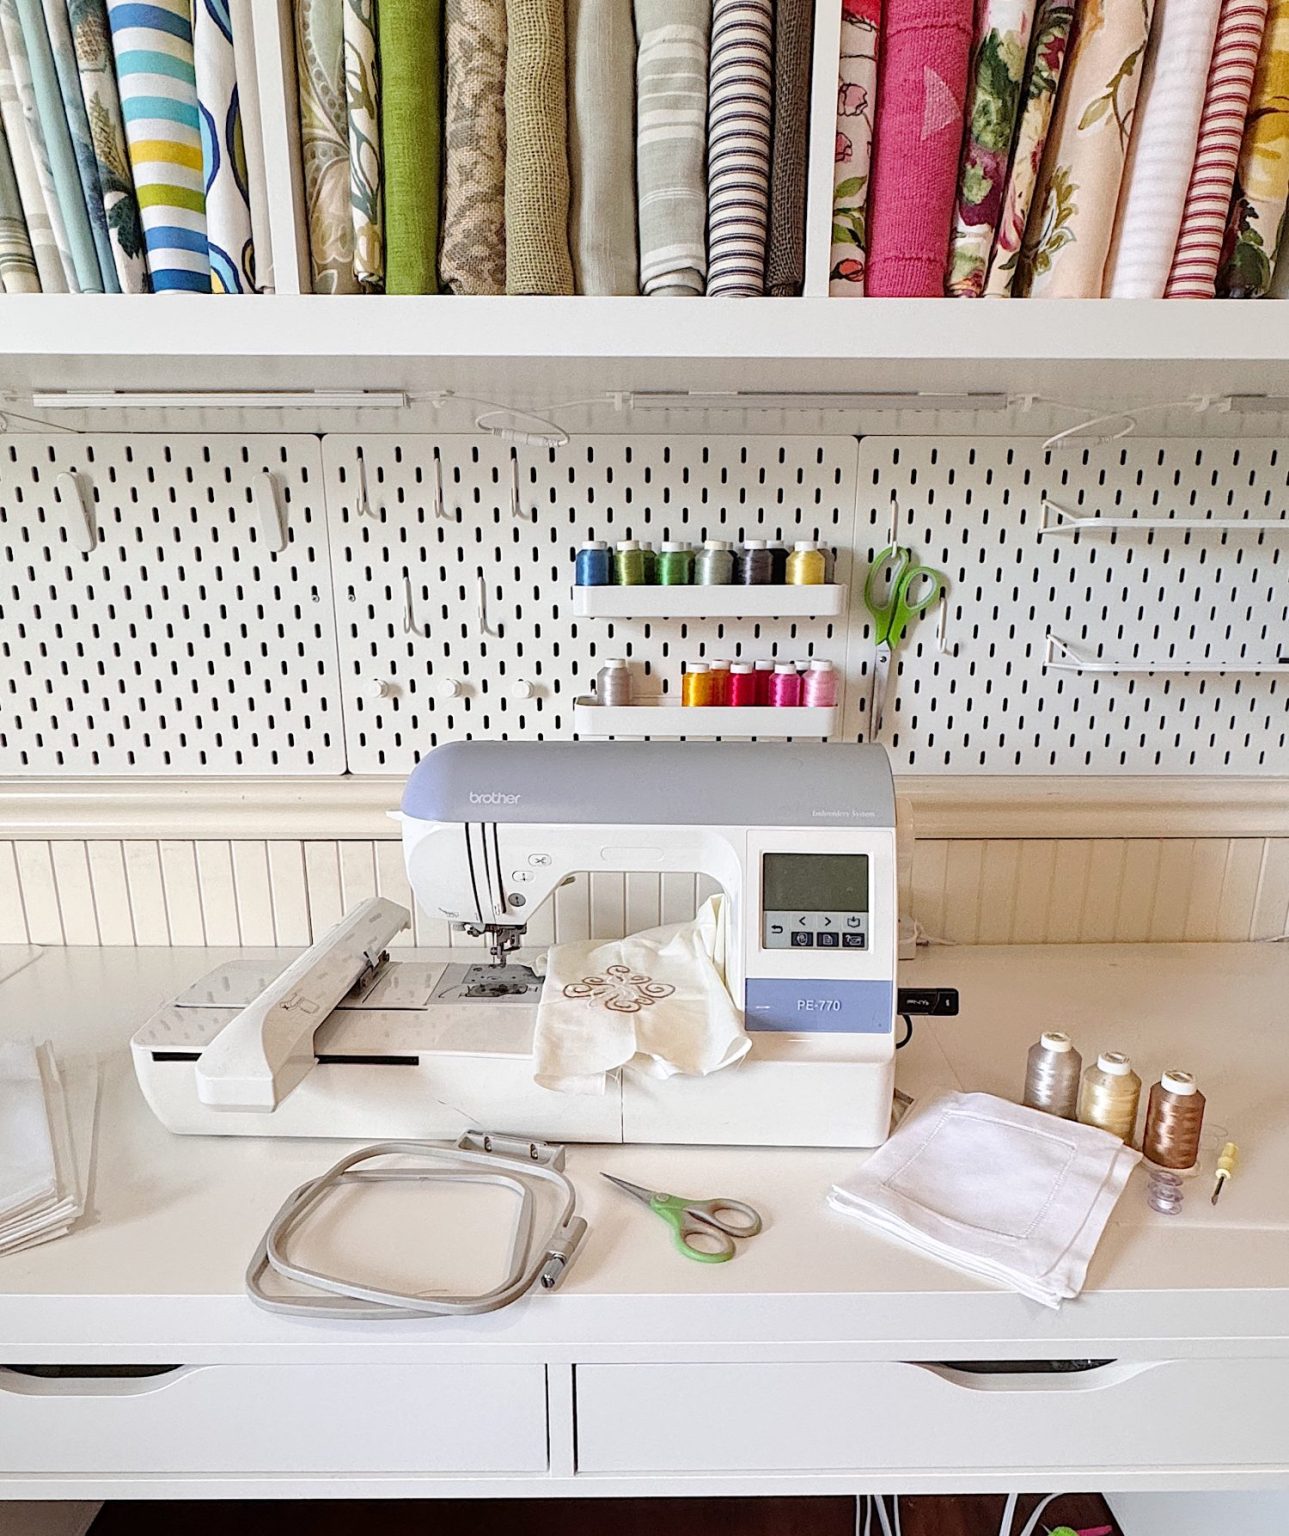
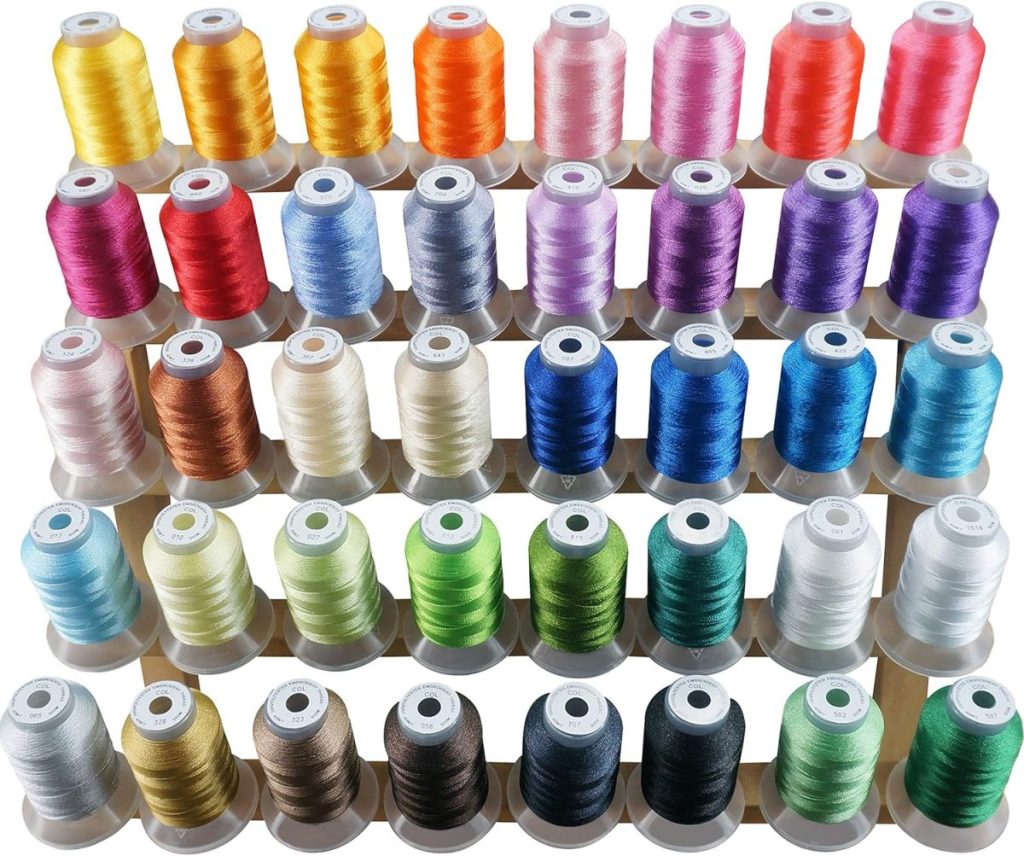
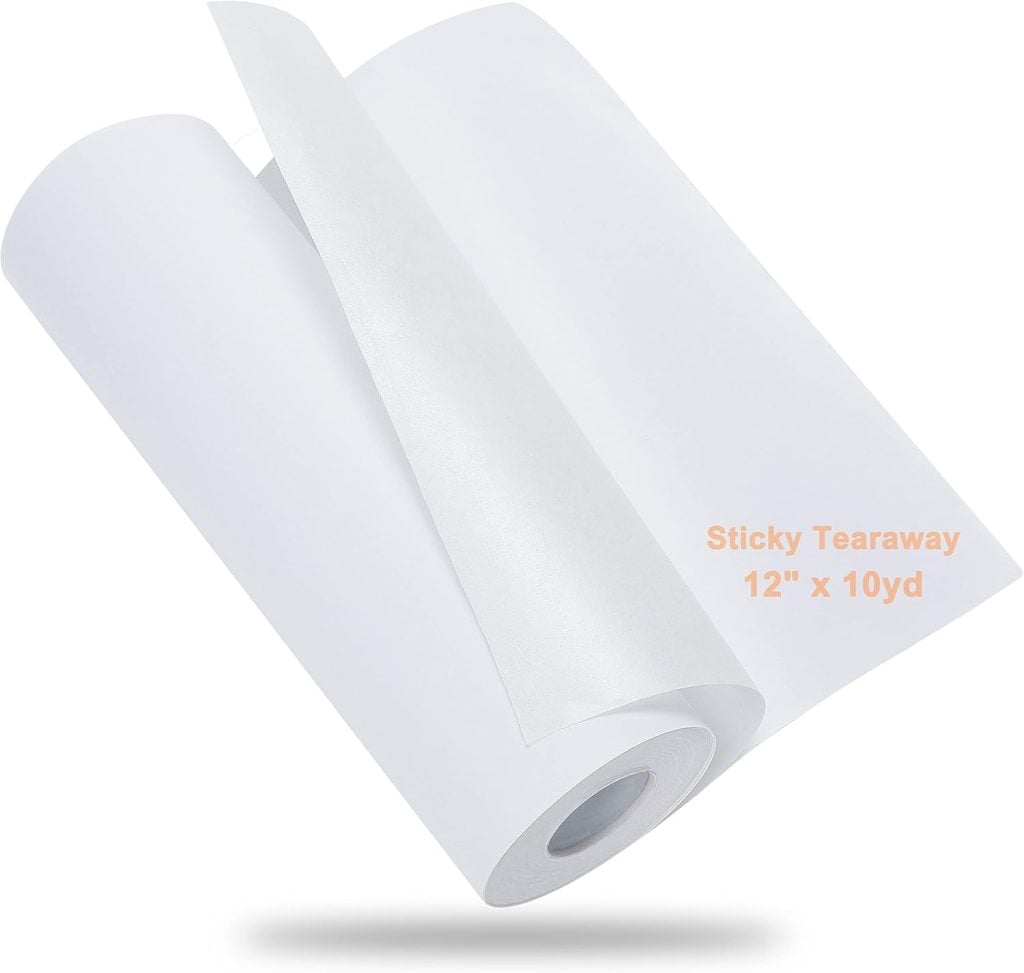
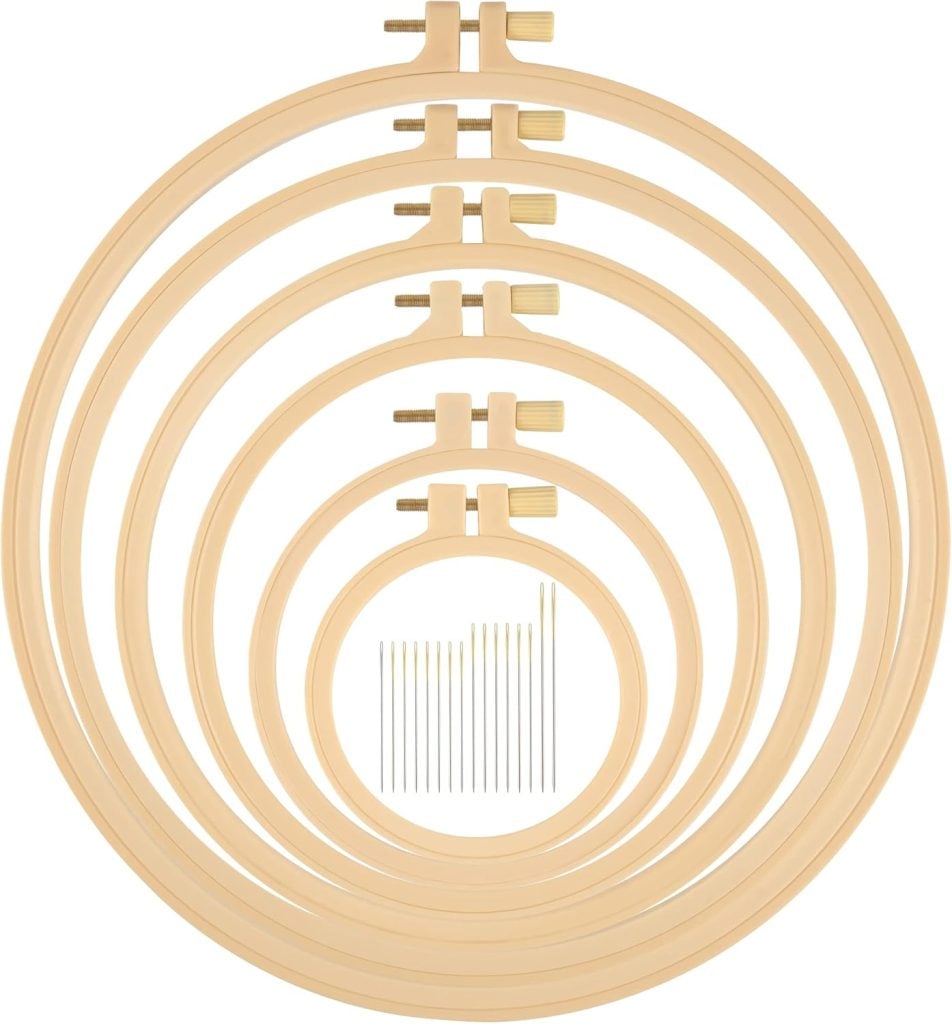
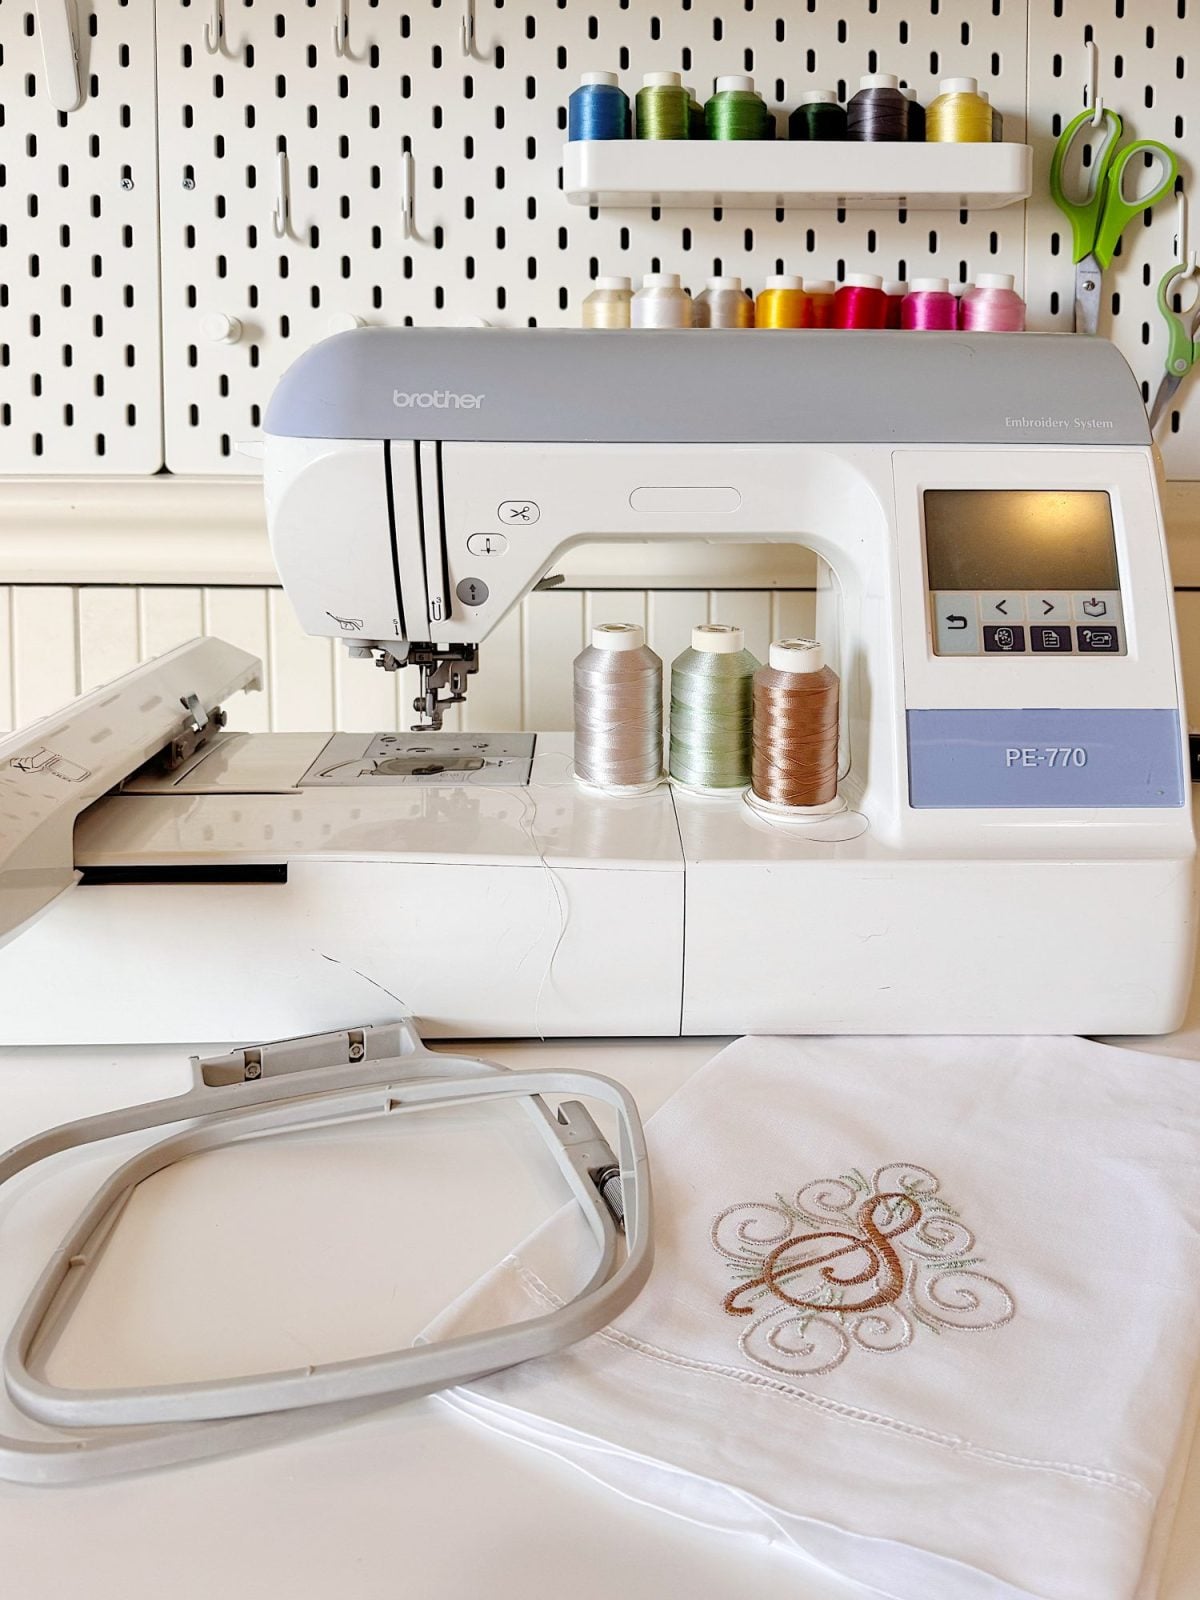
- Embroidery
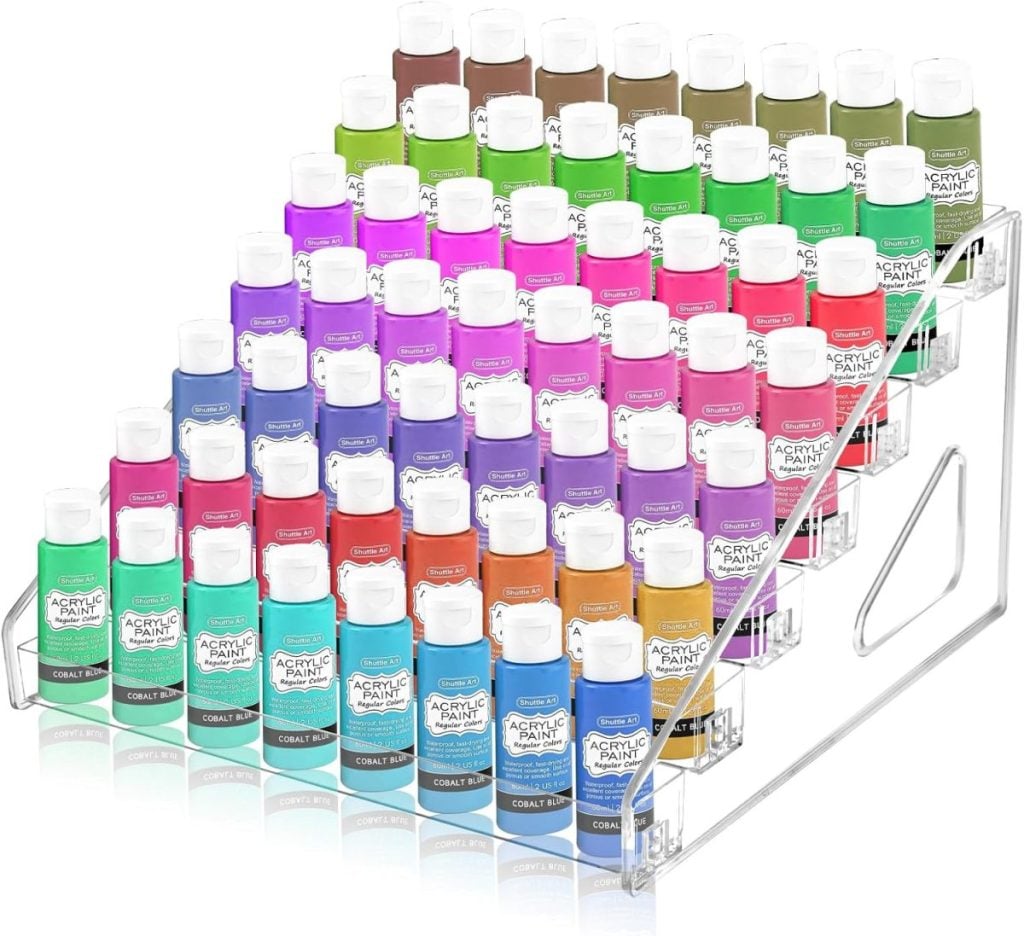
- Painting
- Printing and digital art
- DTF printing
- Gift wrapping
- Photography
- Group crafting
Writing these out often explains instantly why a room feels overcrowded or inefficient.

Step 3: Decide Which Stations Must Be Permanent
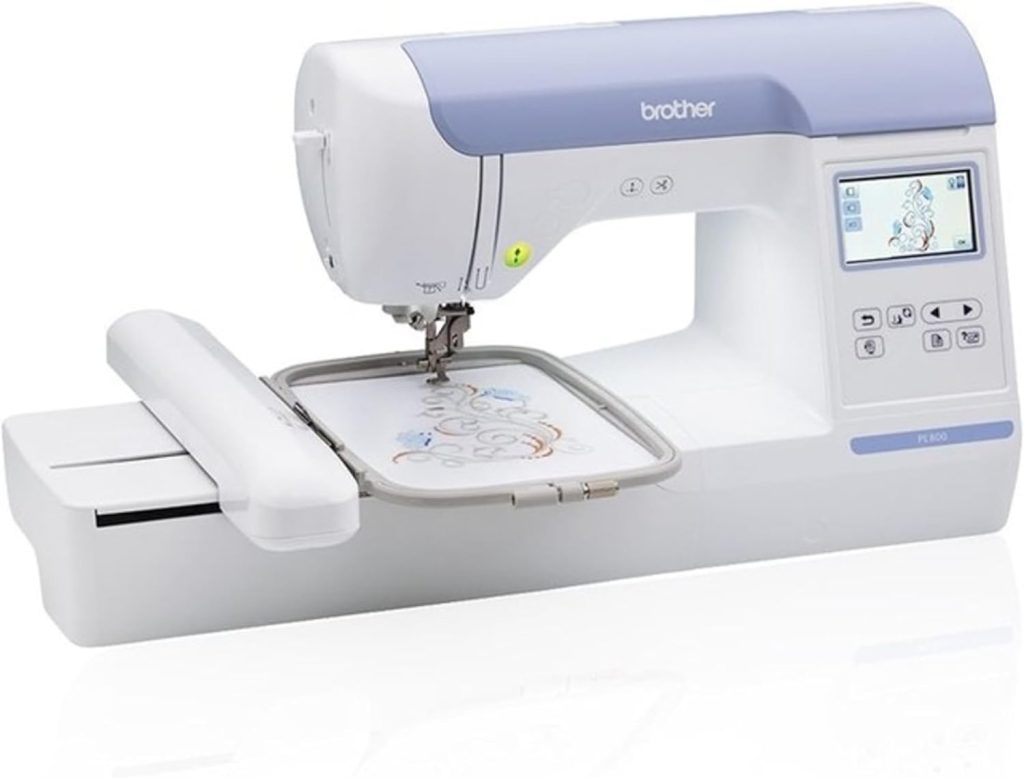
Some stations can remain set up for regular use. Sewing machines, Cricut machines, DTF machines, clay tools, and printers often fall into this category.
If you avoid a craft because the setup takes too long, that is a strong sign it needs a permanent home.
Permanent stations reduce friction and increase creativity.

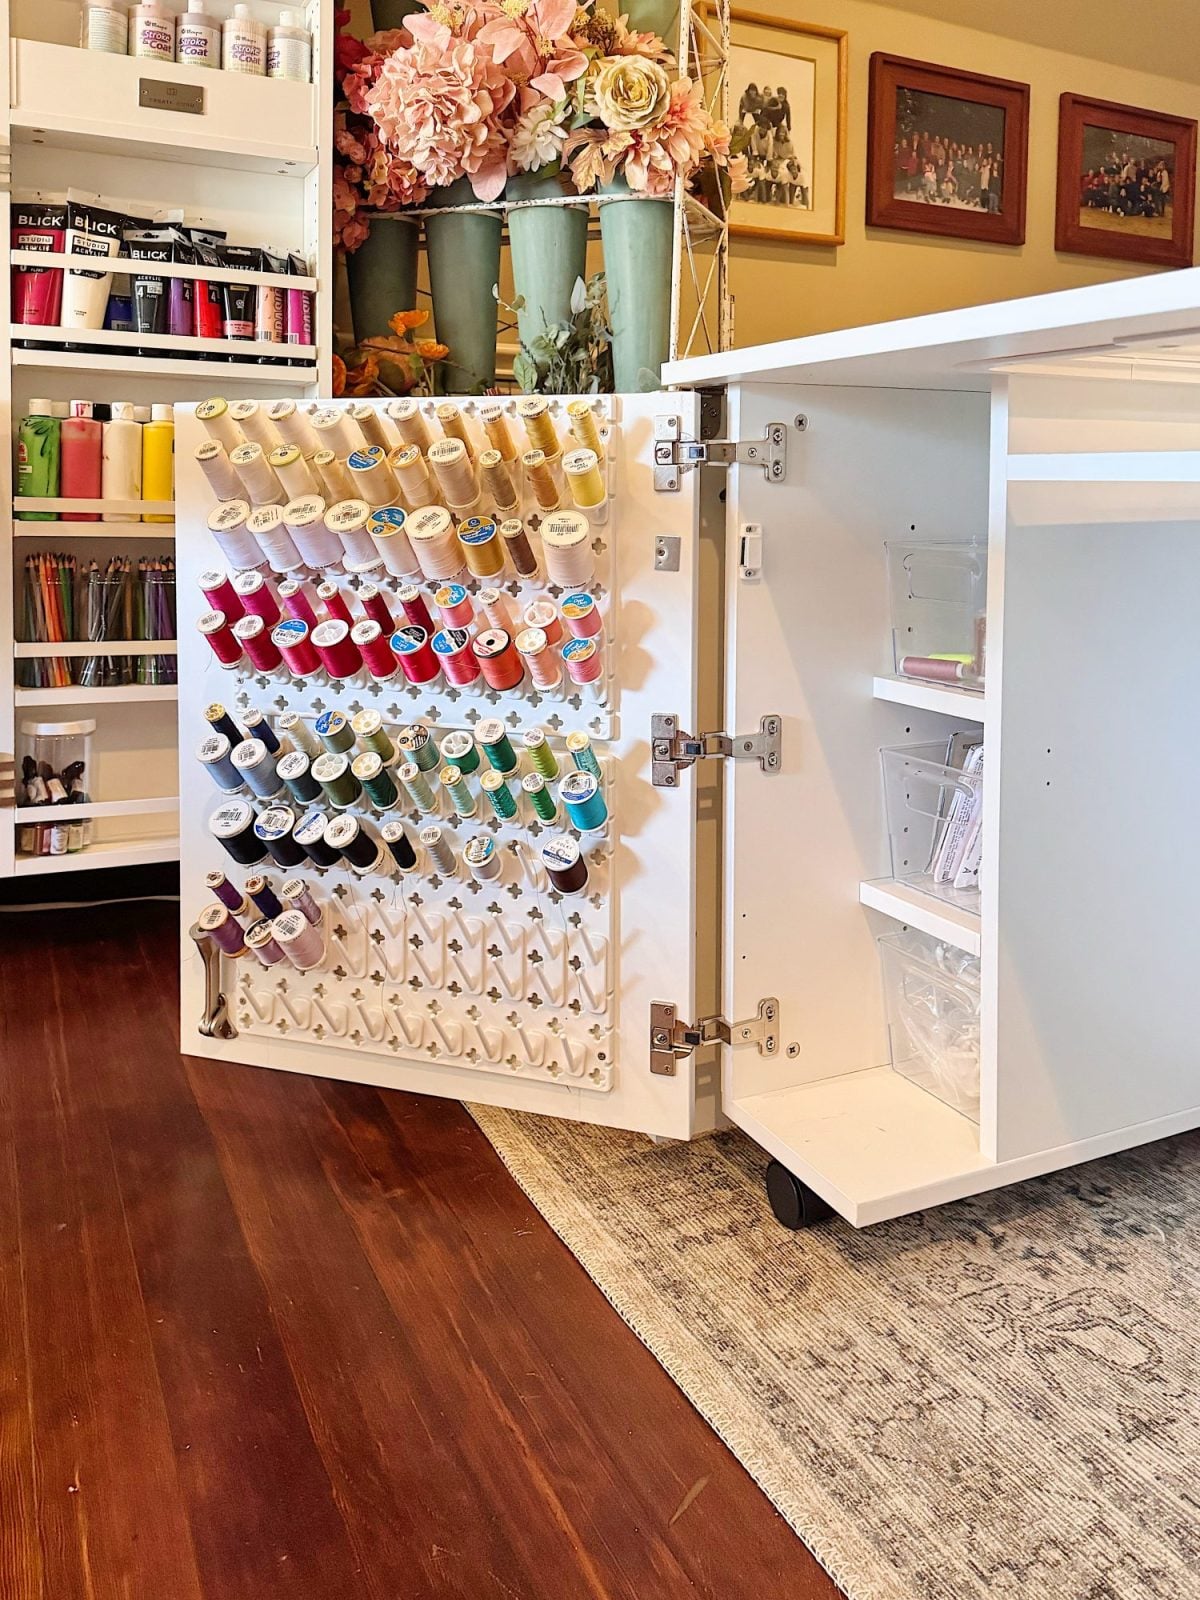
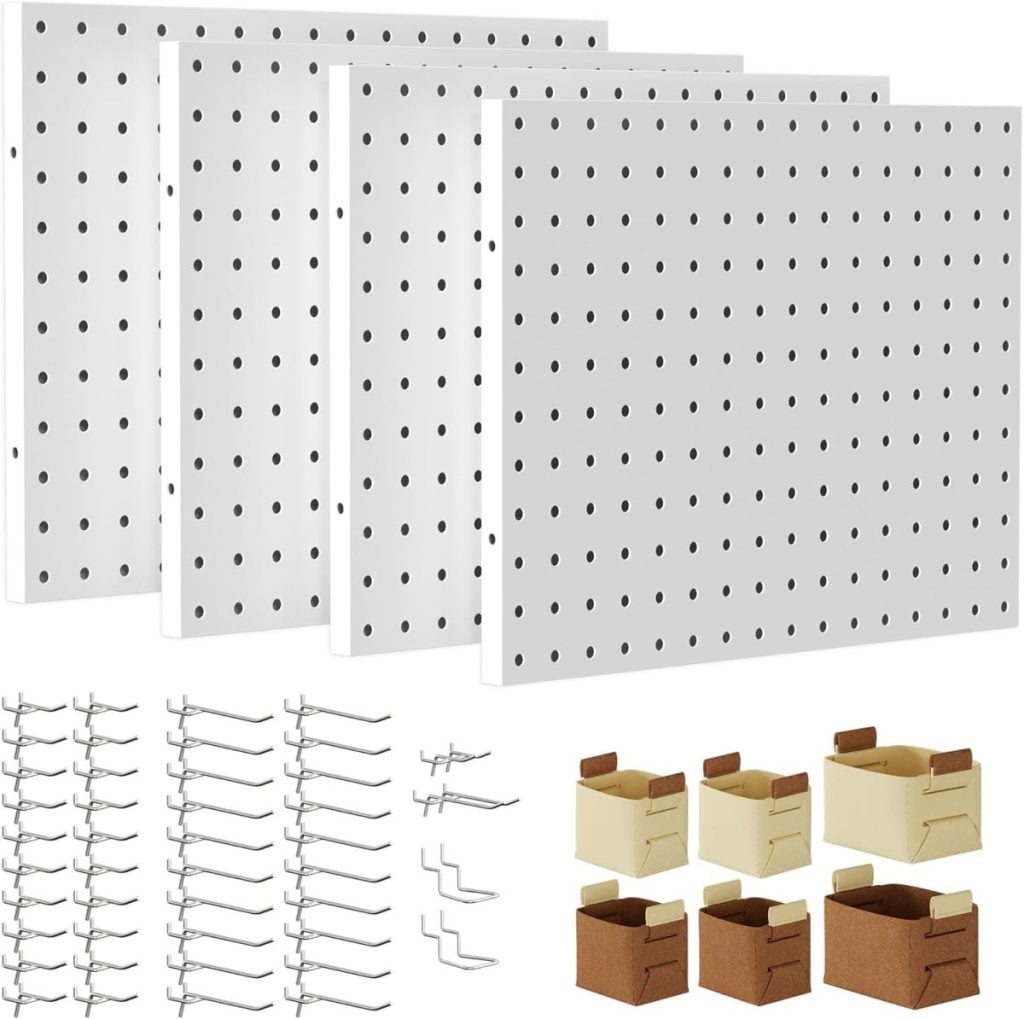
Step 4: Store Supplies Where You Use Them
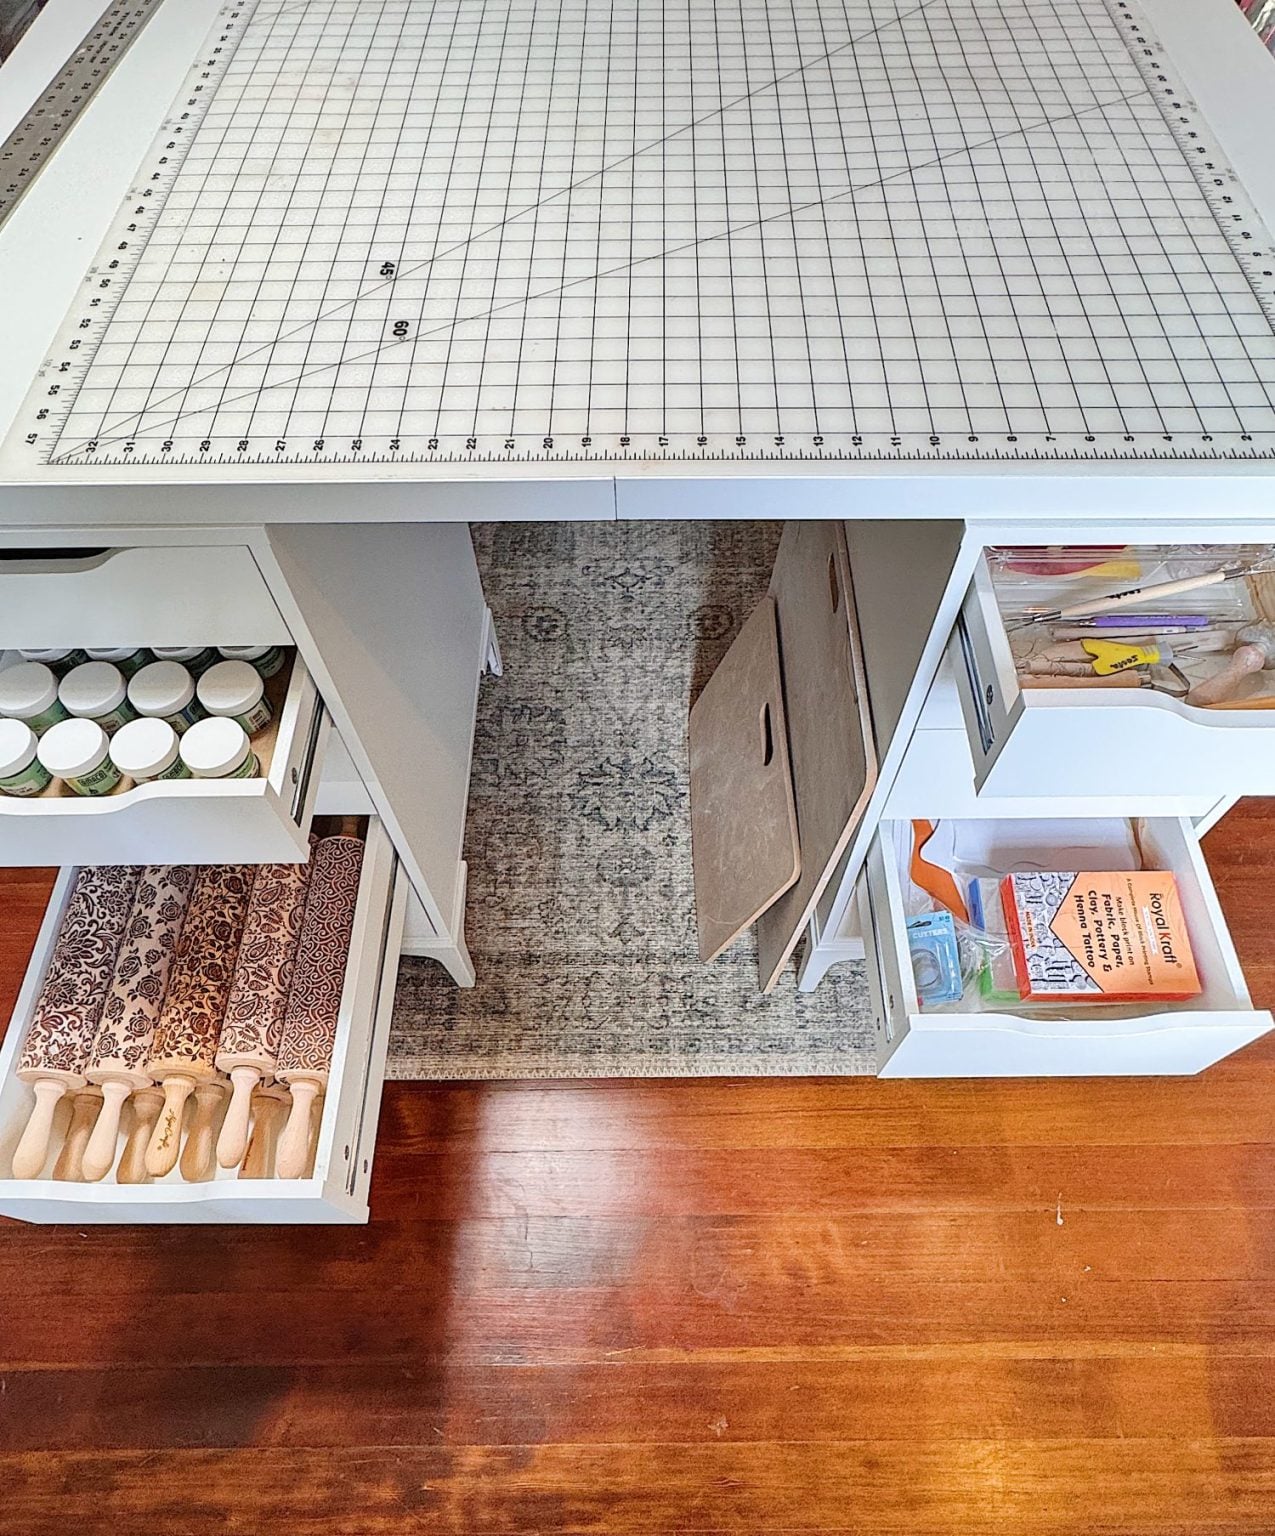
One of the most essential principles of craft room planning is storing supplies near the workstation where they are used.
For example:
- Embroidery floss near embroidery
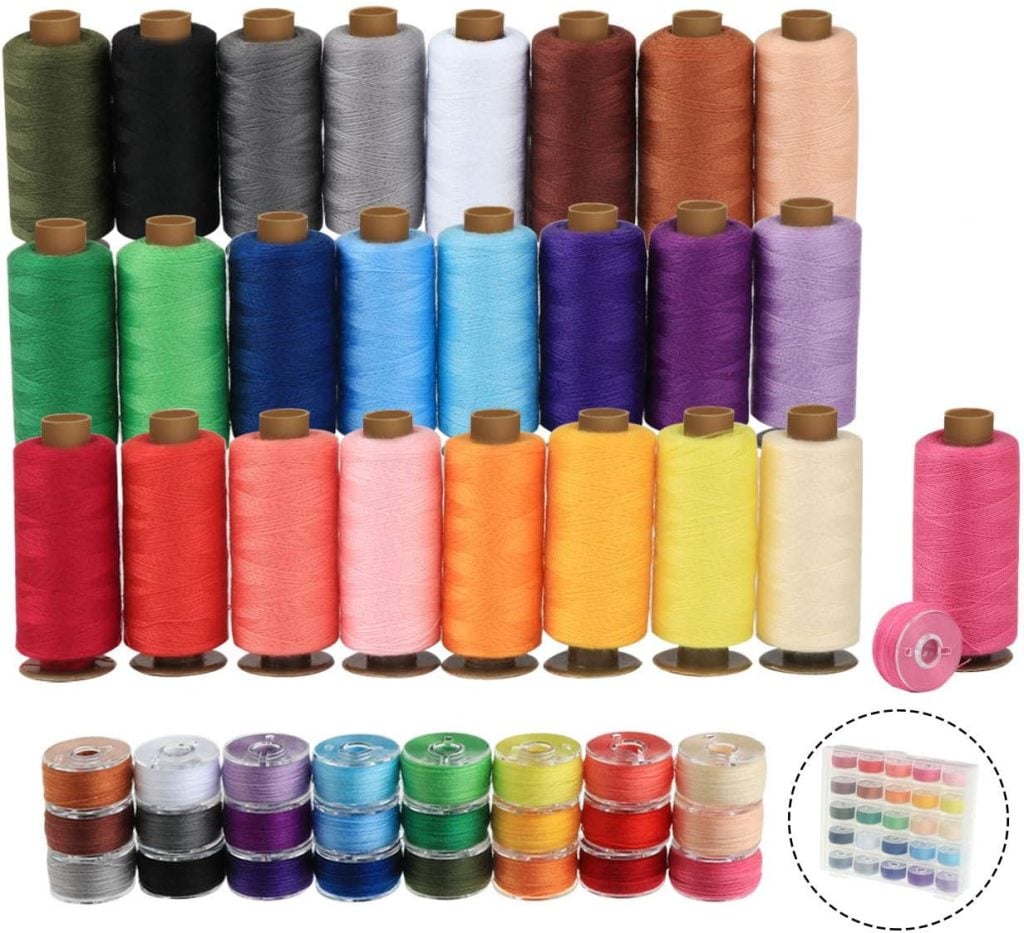
- Fabric near sewing
- Paper near printers
- The tools should all be stored near the workstation where they are needed
This single change can dramatically reduce mess and save time.

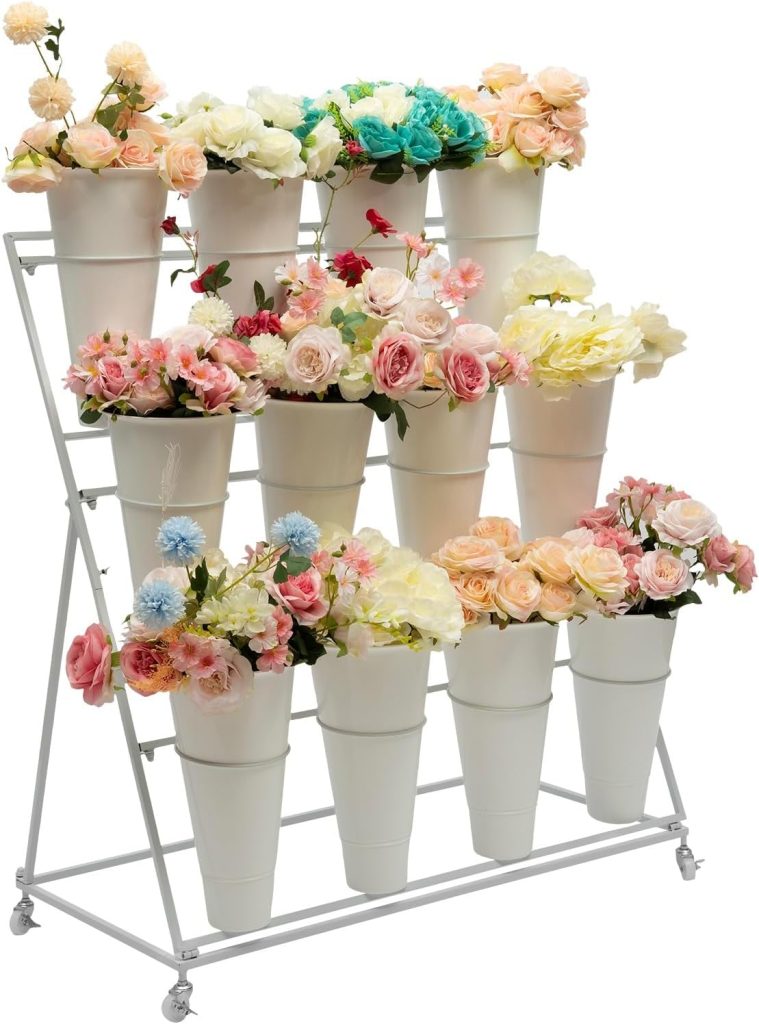
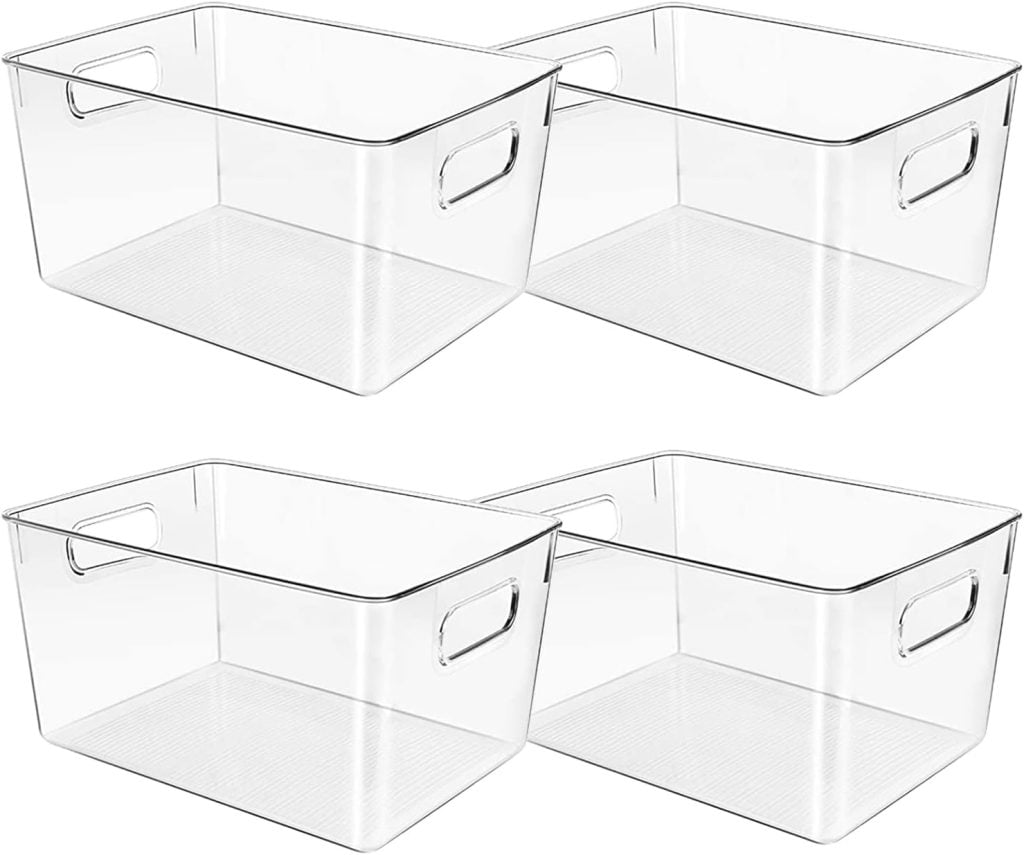
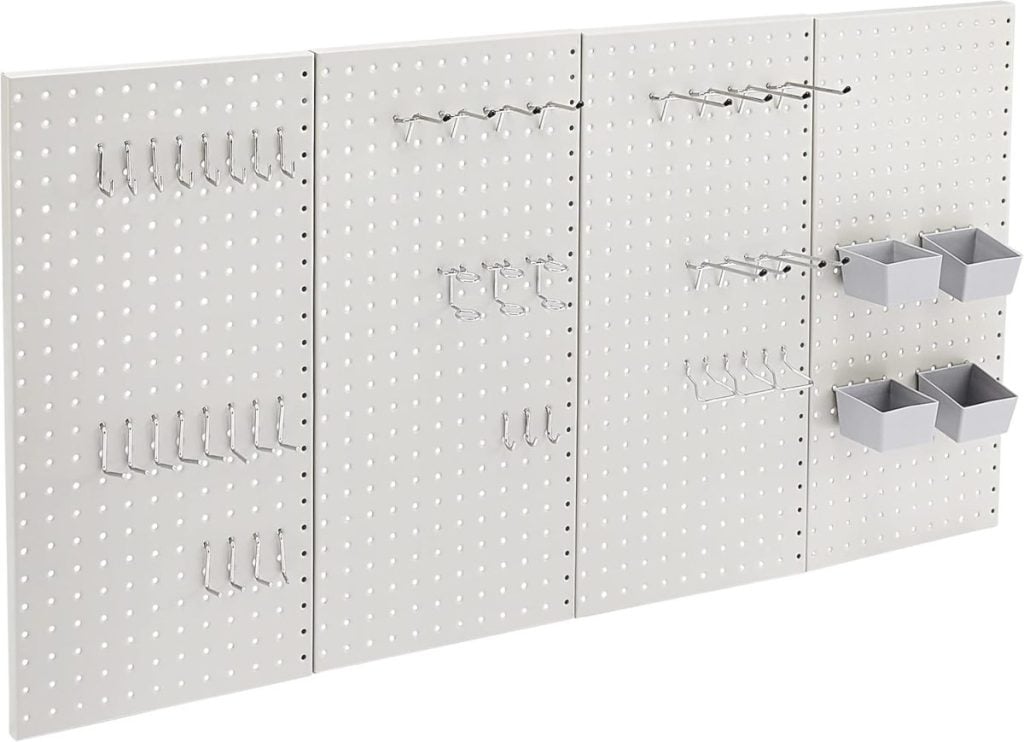
Step 5: Decide What Should Be Visible
Many creative people are visually inspired. Seeing available supplies can spark ideas and prevent duplicate purchases.
Decide which supplies benefit from visibility and which should be stored. There is no correct answer, only what works for you.
A mix of visible and hidden storage usually works best.

Step 6: Plan for Multiple Projects at Once
If you often juggle more than one project, your room must allow that.
This means:
- More than one work surface
- Space to leave projects out
- Clear zones so projects do not overlap
Trying to force multiple projects into a single table quickly creates frustration.
Step 7: Create Clean Zones
Think of your craft room as a series of zones rather than one open area.
Examples:
- Clean zone for sewing and embroidery
- Messy zone for paint and clay
- Tech zone for Cricut and printing
- Styling zone for photography
Zones help contain mess and make cleanup easier.


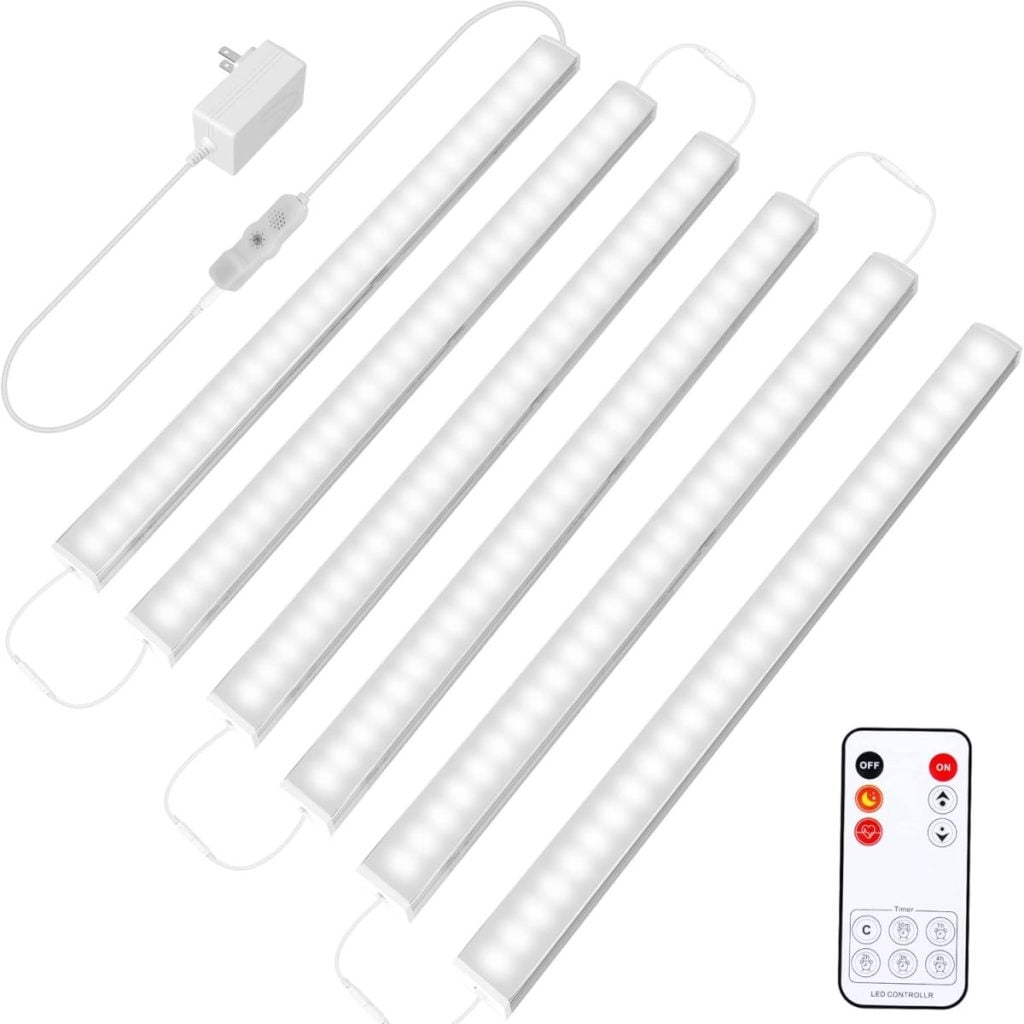
Step 8: Include Content Creation if Needed
If you photograph or film your crafts, plan for that upfront.
A simple setup works beautifully:
- White surface
- Neutral background
- Phone holder
- Good lighting
When content creation is easy, you are more likely to document your work.
Step 9: Start With an Empty Layout
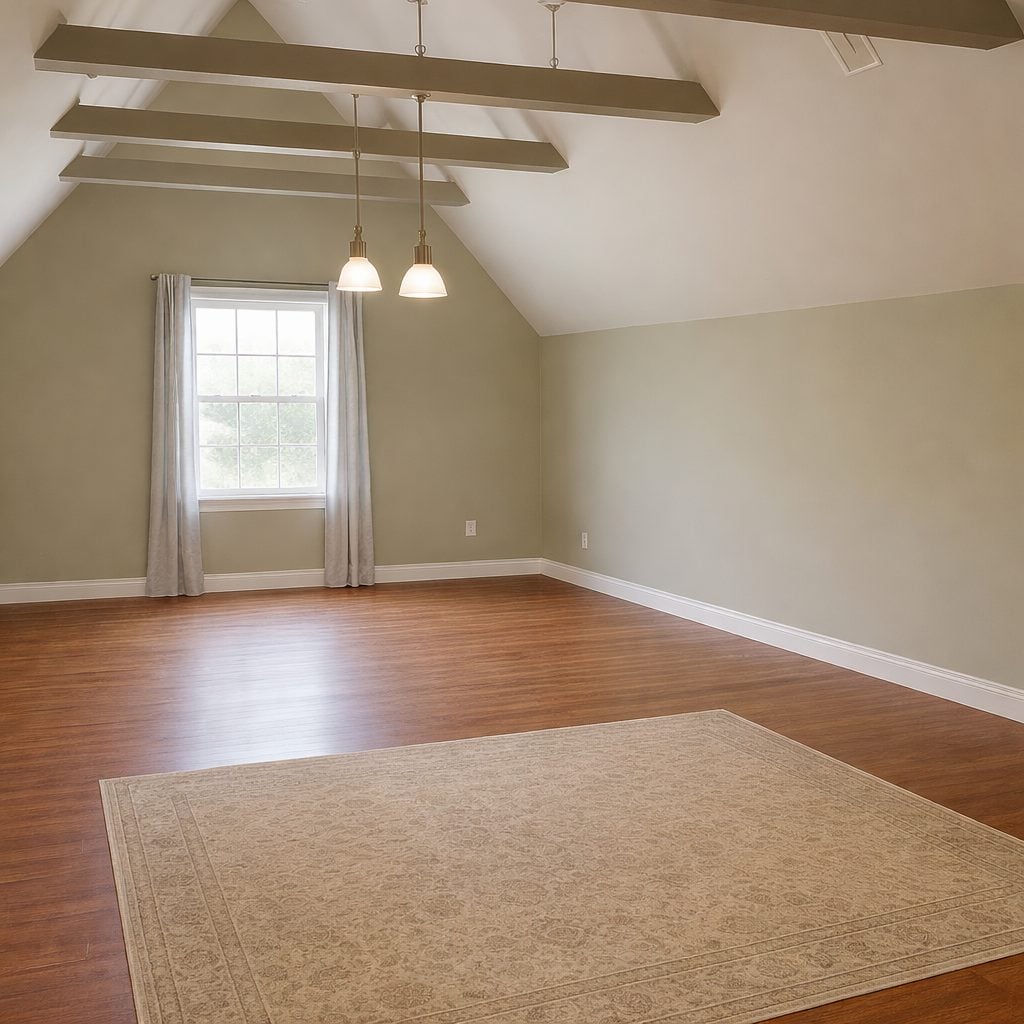
Planning works best when you imagine the room empty.
I uploaded a photo of my craft room to ChatGPT and asked it to recreate the room with no items. It totally worked!
Sketch the space or create a digital layout. Place workstations first, then storage, then refine furniture placement.
This step prevents endless rearranging later.
Step 10: Edit Supplies Before Organizing
A craft room overhaul is the perfect time to edit what you own.
Ask yourself:
- Have I used this recently?
- Do I enjoy this craft?
- Do I own unnecessary duplicates?
Less clutter makes organization easier and creativity lighter.
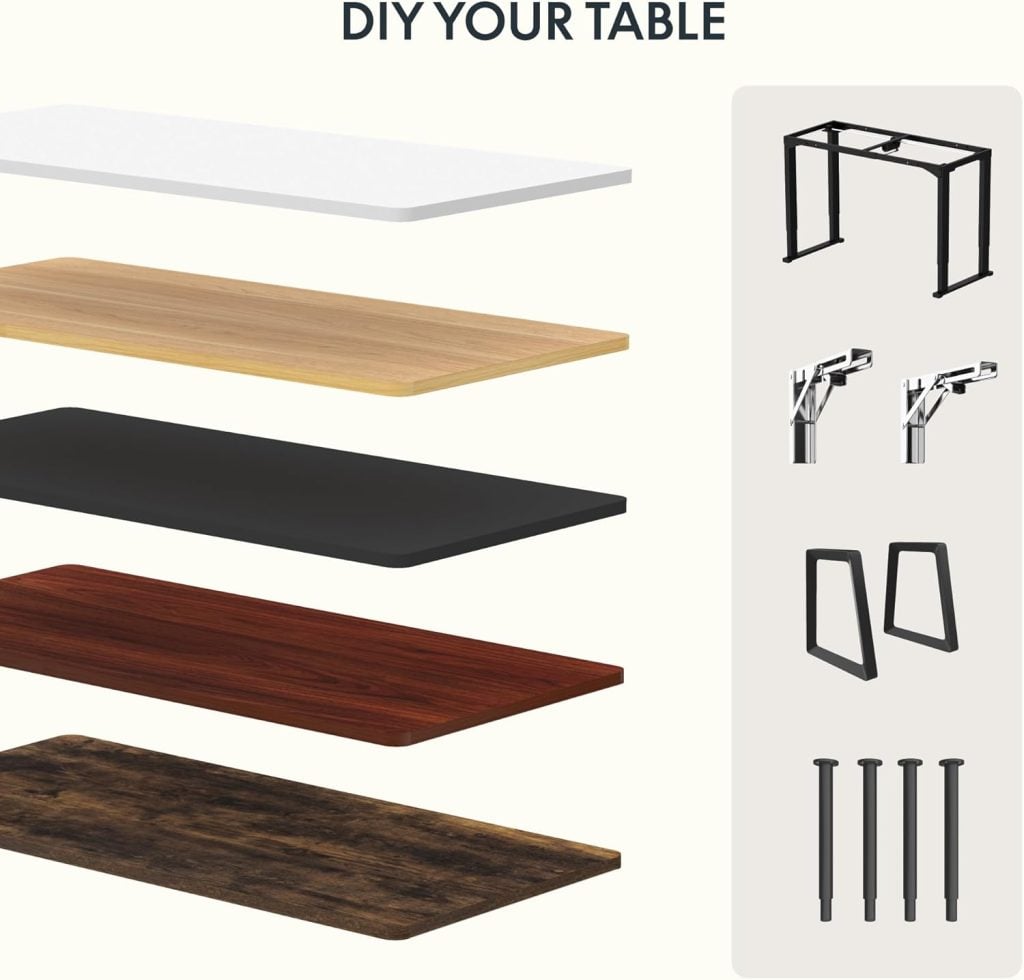
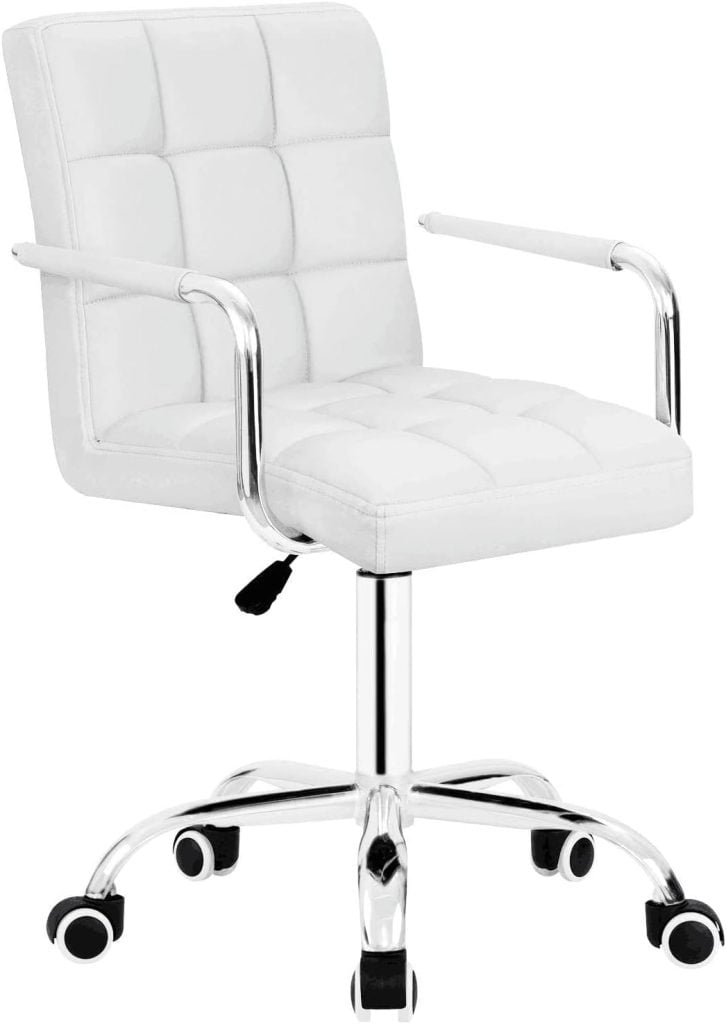
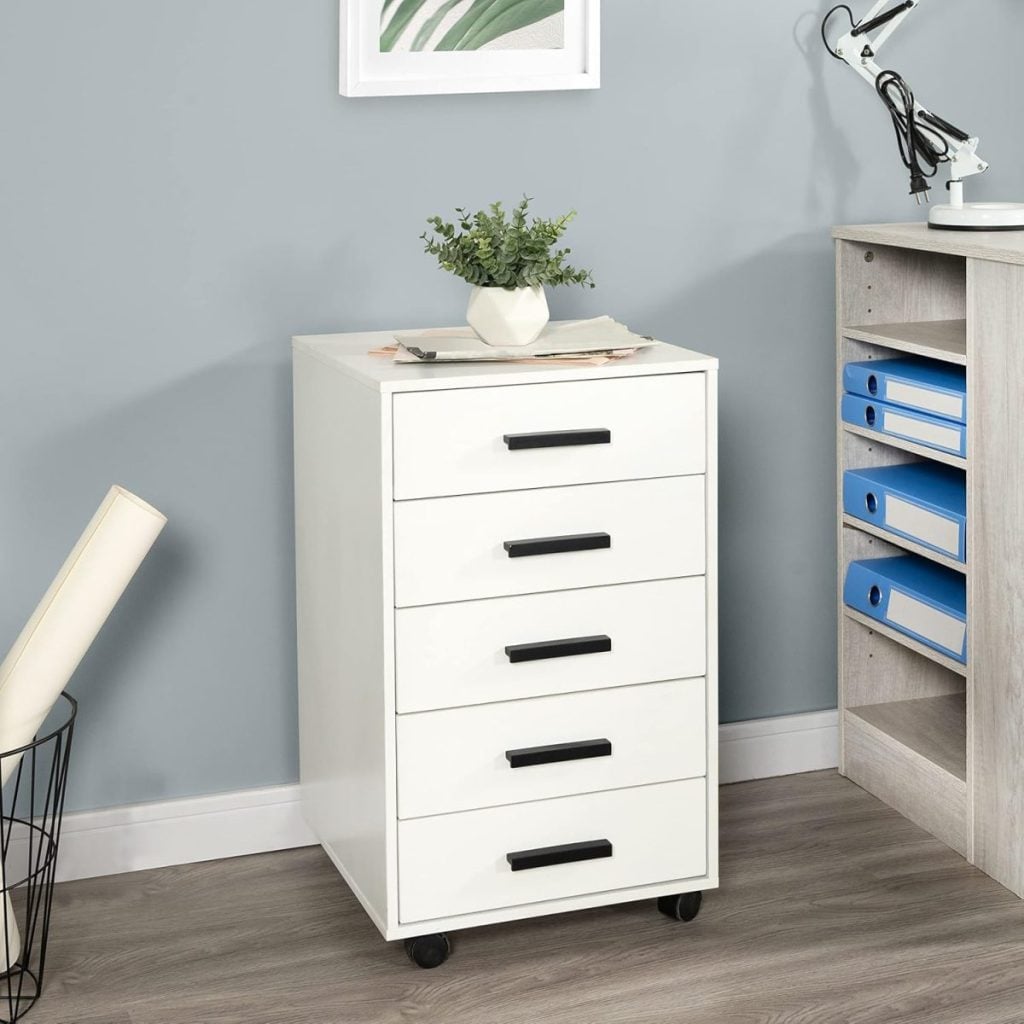
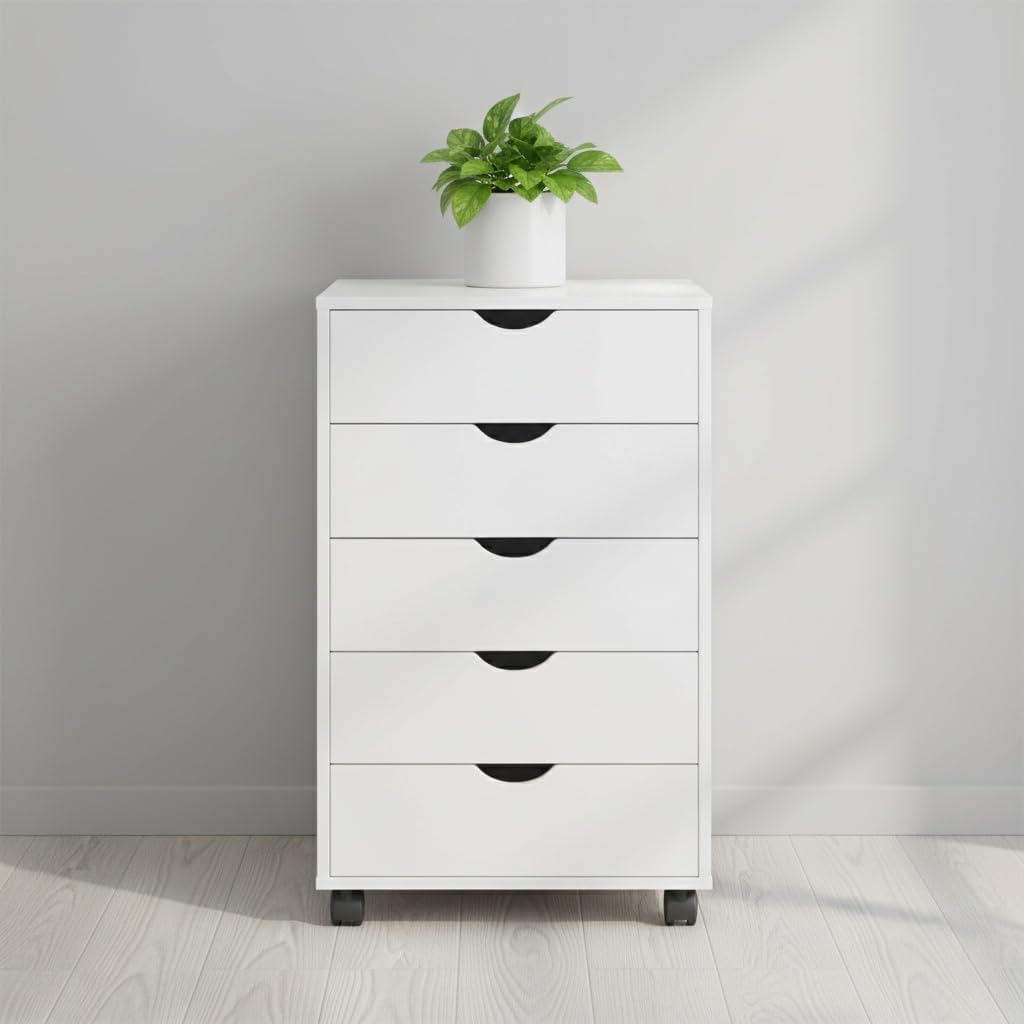
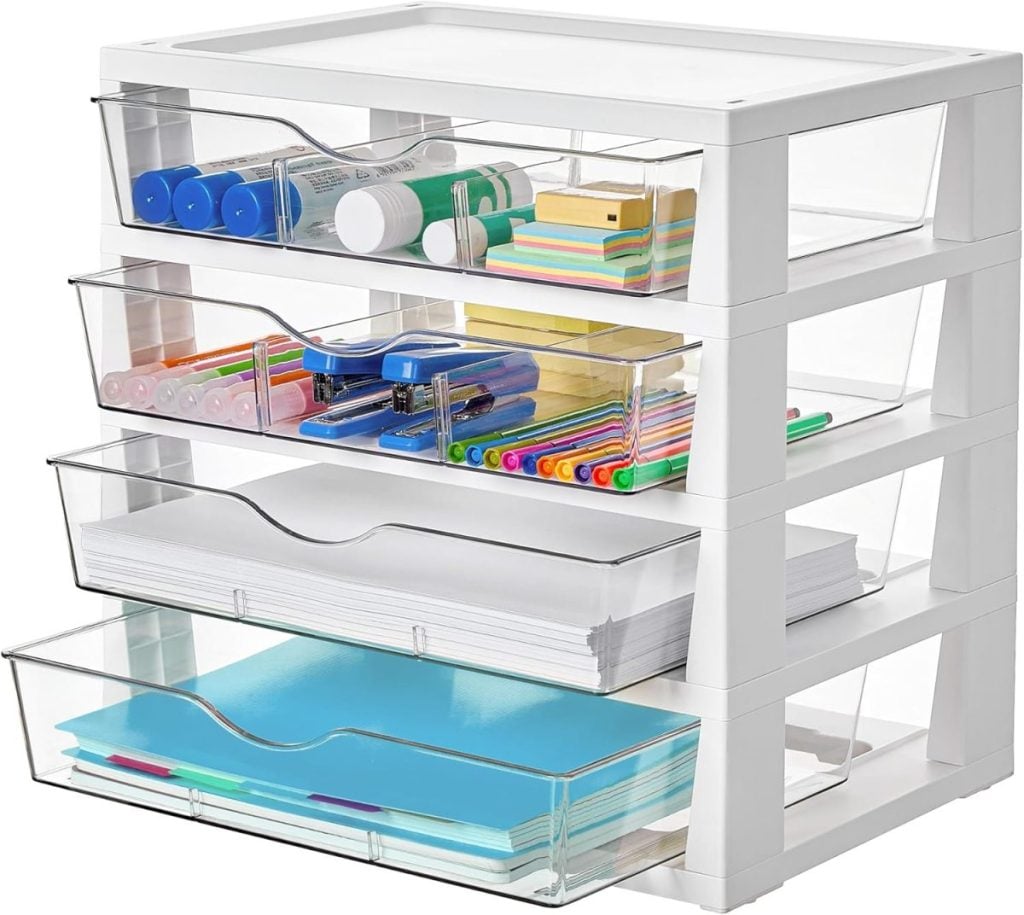
Step 11: Choose Flexible Furniture
Craft rooms change over time. Choose furniture that can adapt.
Look for:
- Rolling carts
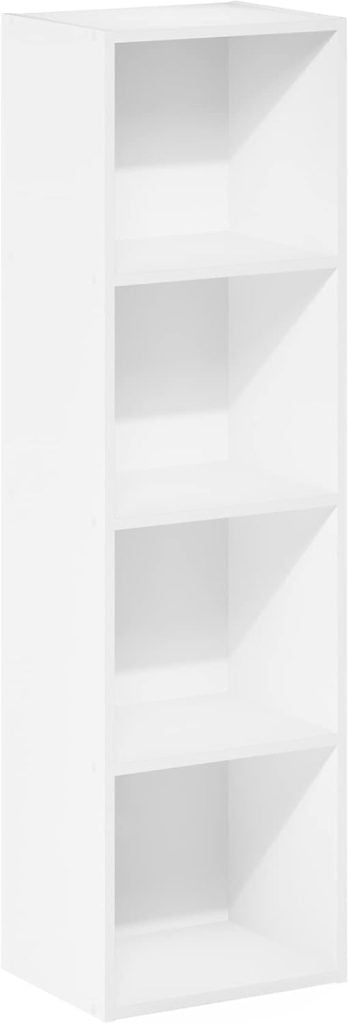
- Drawer cabinets
- Adjustable tables
- Modular storage
Flexibility keeps your room functional long-term.
Step 12: Measure Success by Ease
A successful craft room is not judged by its appearance. It is judged by its ease of use.
If you create more, clean up faster, and feel less frustrated, your room is working.

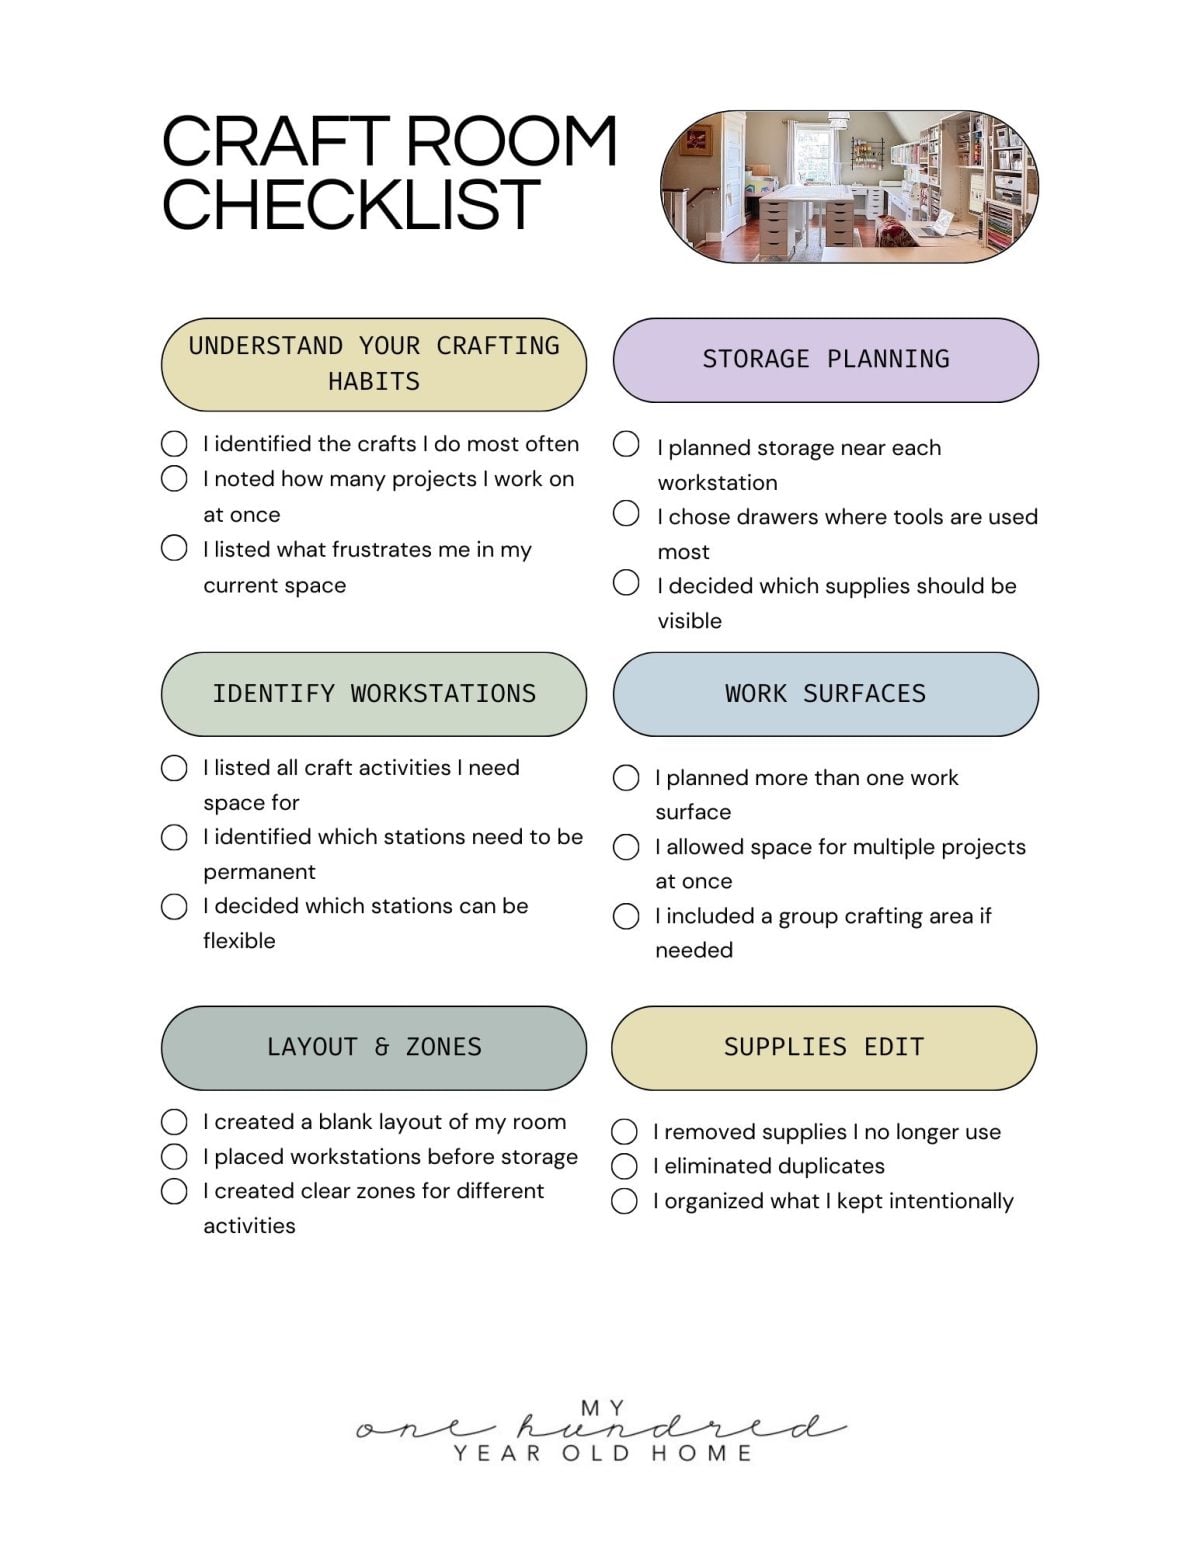
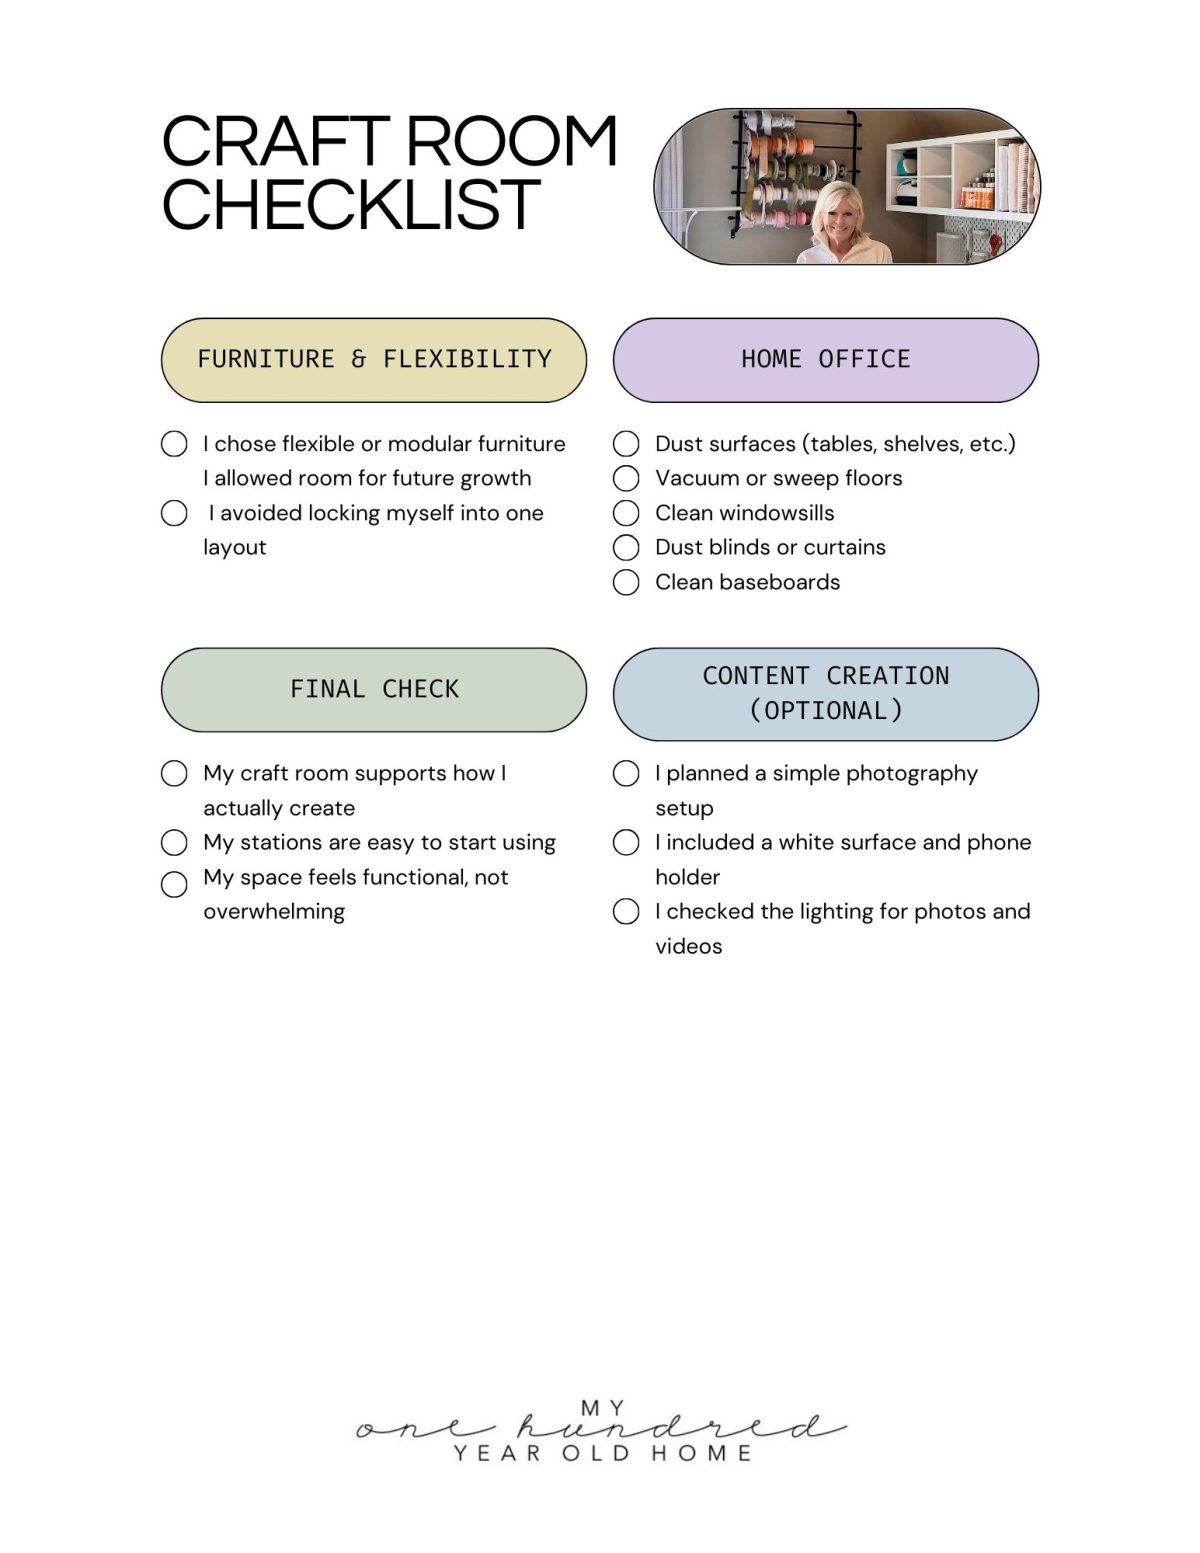
Printable Craft Room Planning Checklist
You can print this checklist and use it as you plan or redesign your craft room.
Craft Room Planning Checklist
If you enjoy my blog, you can sign up to receive my updates here.
.Latest Posts
-
The Best Paper Napkin Crafts – Mondays in the Craft Room
Paper napkin crafts are among my favorite ways to create beautiful handmade projects without spending a fortune or requiring advanced artistic skills. It’s amazing how a simple decorative paper napkin can transform clay, terra cotta, ornaments, pumpkins, and so much more into something that looks hand-painted. Today I’m sharing some of my favorite paper napkin…
-
Weekend Trips and Sunday Morning Coffee
This summer has been one of my favorites, as our weekends have been filled with family, dear friends, and little adventures that have reminded me how wonderful it is to simply get away for a few days. I’m also sharing some of the handmade hostess gifts I’ve been creating in my craft room because nothing…
-
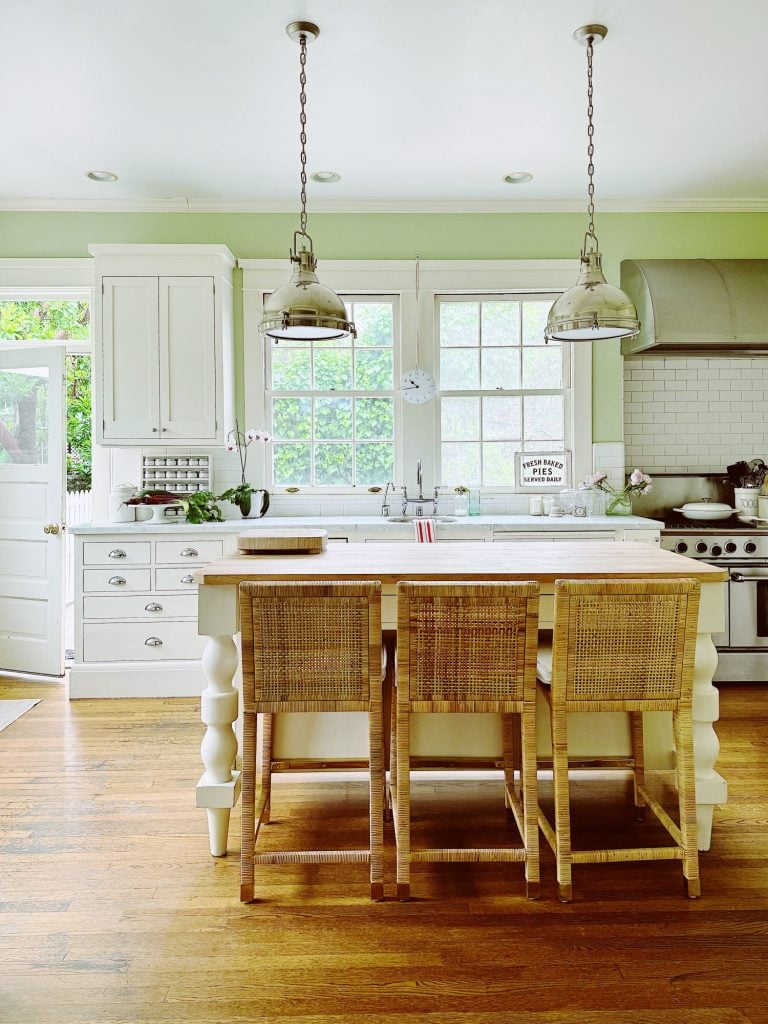
A Top Trend – Rattan Furniture and Accessories
A decor trend taking the interior design world by storm this year is rattan furniture and accessories. These timeless materials bring warmth, texture, and natural beauty to any space. From its historical roots to modern applications, rattan furniture and accessories can be easily incorporated into home decor for a stylish, vintage-inspired look. I have used…
-
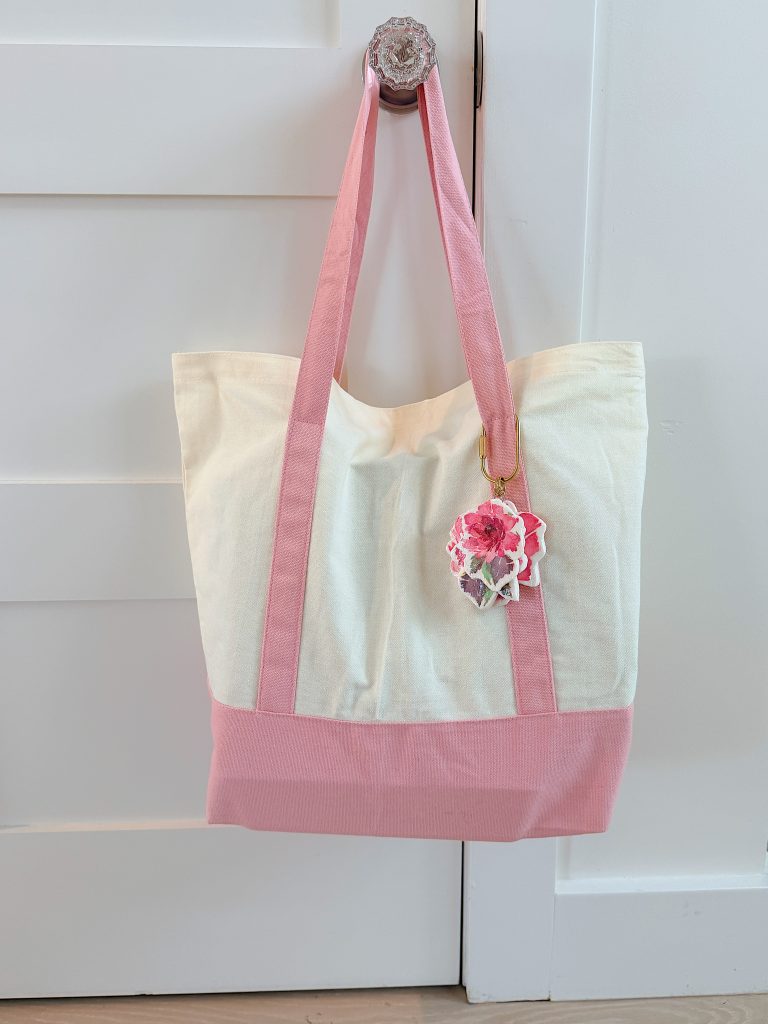
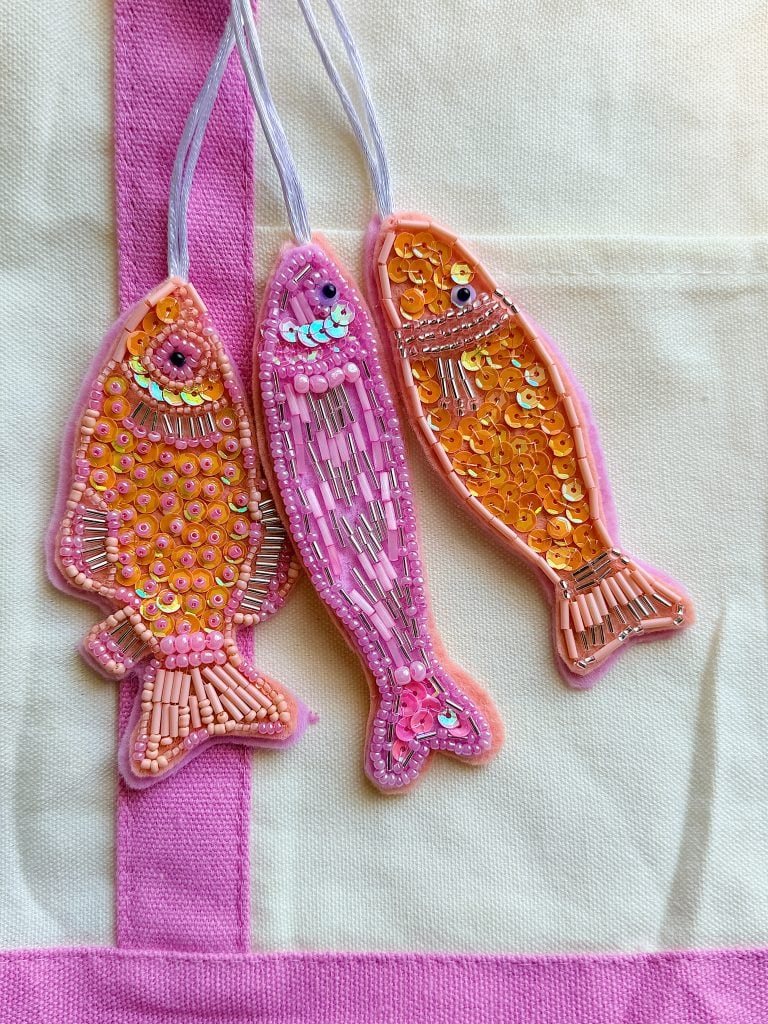
Beaded Bag Charms – A Handmade Summer
If you’ve been looking for a fun way to add personality to your favorite tote bag, you’ll love these Beaded Bag Charms. This colorful project is the perfect combination of creativity and sparkle, using seed beads, sequins, tube beads, and felt to create handmade accessories that look like they came from a boutique. Whether you…
My Recent Instagram Posts

You can pin the image below to your boards on Pinterest (click the Pin button in the top left corner) or follow me on Pinterest!
For more real-time updates, follow me on Instagram @My100YearOldHome
Useful read. A retention popup tool helps bring users back into the flow.
hi Leslie. I enjoy your blog. the update of your craft room organizing plans are helpful. I have over the years edited my book collection. I did not see any in your space. Do you not have any?
I do find mine inspiring, and often comprehensive , easy to refer to.
thank you for your daily inspirations.
Cynthia
My book and collection of Martha Stewart magazines are inside the coffee table in the sitting are of this room. You can’t see it in most of my craft room photos but it’s a great place to relax and get inspired!
Leslie