DIY Polymer Clay Charms – A Handmade Summer
These DIY polymer clay charms are a great summer project from A Handmade Summer.
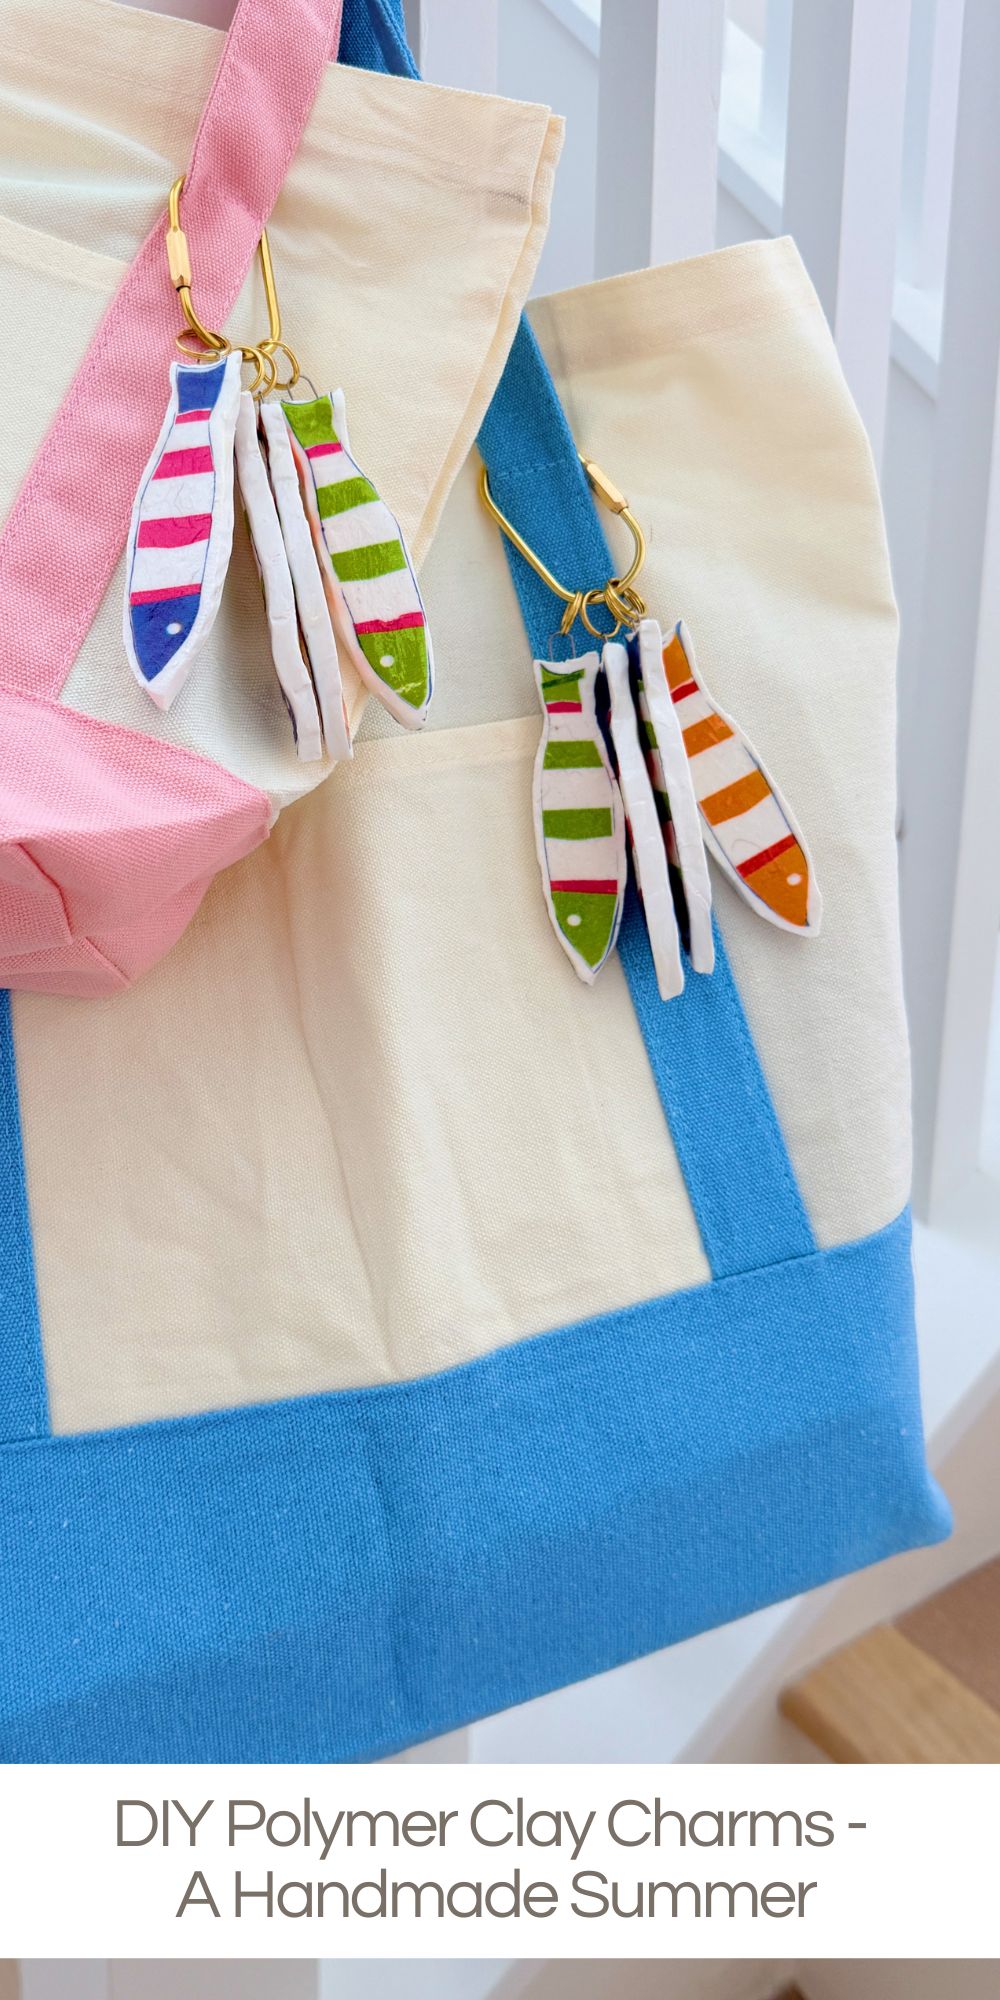
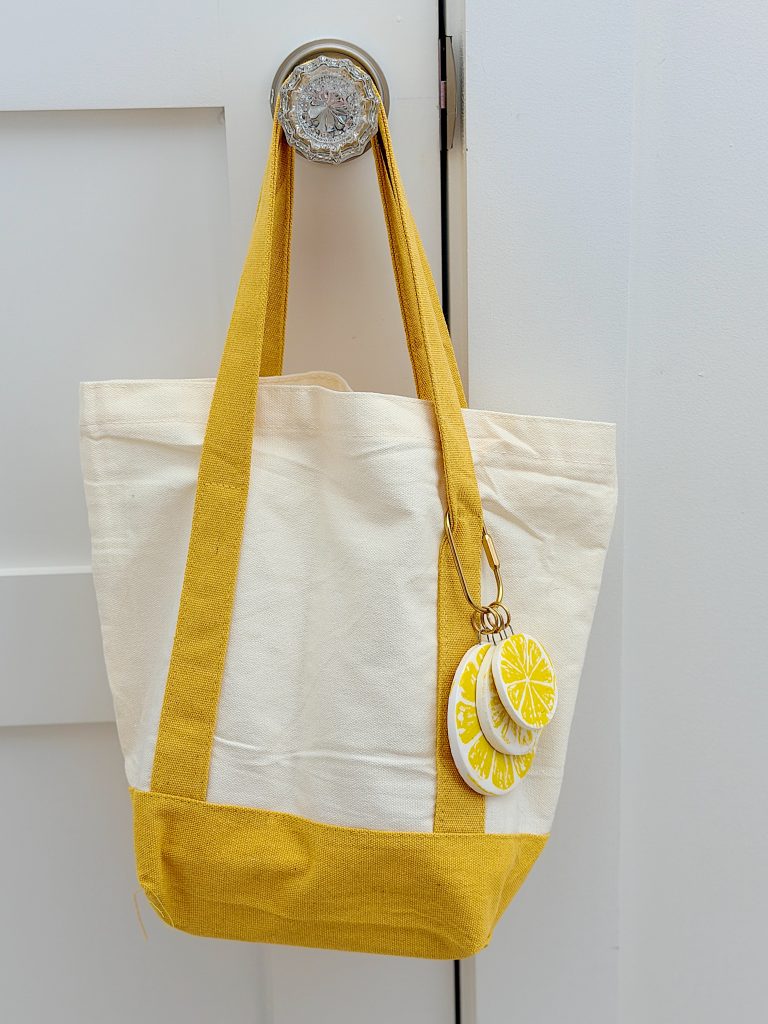
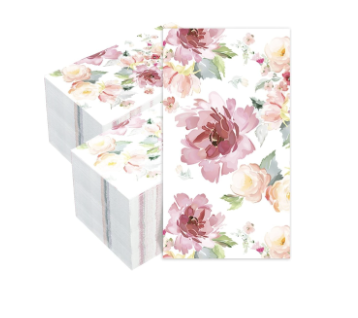
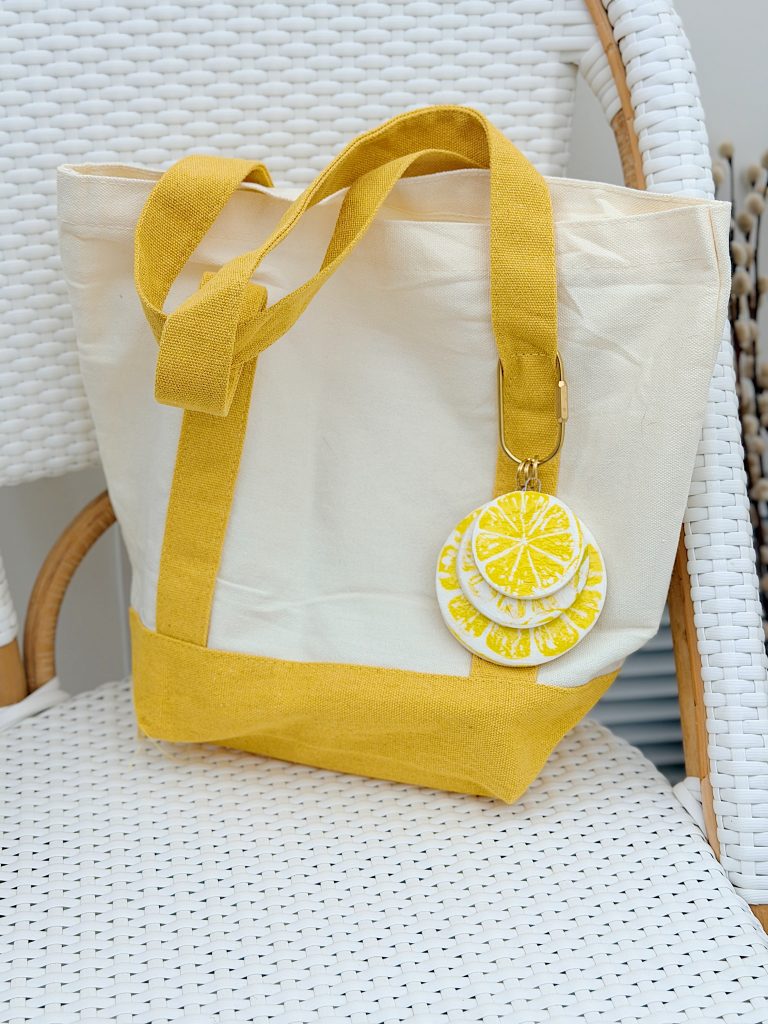
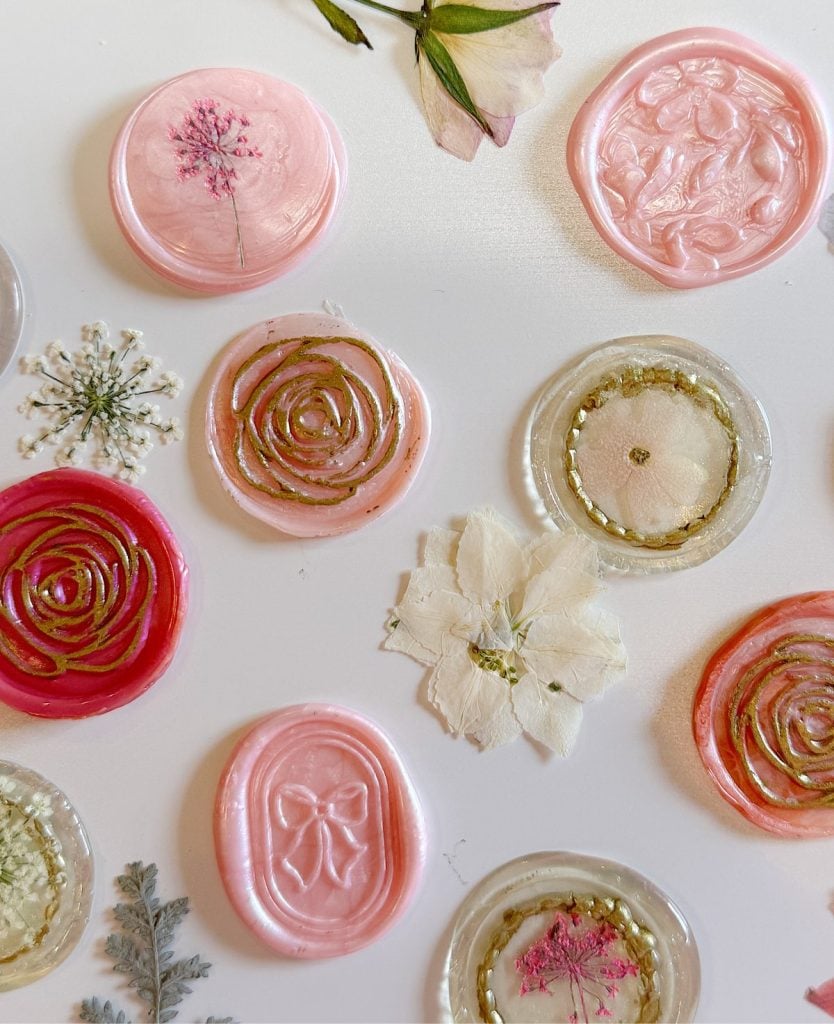
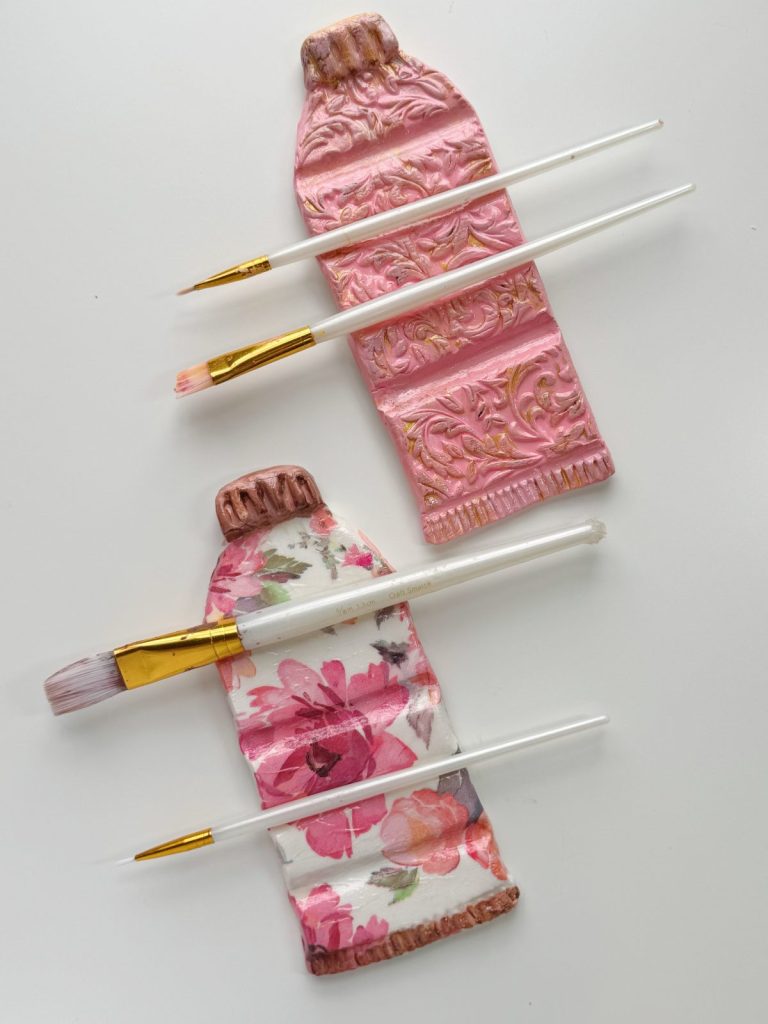
I decorated each charm with colorful paper napkin designs, sealed them with Clay Glaze, and attached them to key rings and clips for the perfect bag accessory. They are easy to make, completely customizable, and a fun way to add personality to your favorite tote, purse, or backpack.


DIY Polymer Clay Charms
A Handmade Summer
One of my favorite things about crafting is discovering a project that is both fun to make and actually useful. I love creating things that don’t just sit on a shelf but become part of everyday life. That’s exactly why I fell in love with these DIY Polymer Clay Charms.
If you’ve been paying attention lately, you’ve probably noticed that bag charms are everywhere. From designer handbags to tote bags and backpacks, charms have become one of the biggest accessories of the year. The more personalized and unique they are, the better. Some people spend hundreds of dollars collecting charms for their bags, while others create their own versions with beads, ribbons, and vintage trinkets.
Naturally, I decided I needed to make my own.
As soon as I started experimenting with polymer clay, I realized it would be the perfect material for creating lightweight charms. It bakes hard, holds its shape beautifully, and can be decorated in countless ways. While many polymer clay projects involve painting after baking, I decided to take a different approach. Instead of paint, I used some of the beautiful paper napkins from my ever-growing collection.
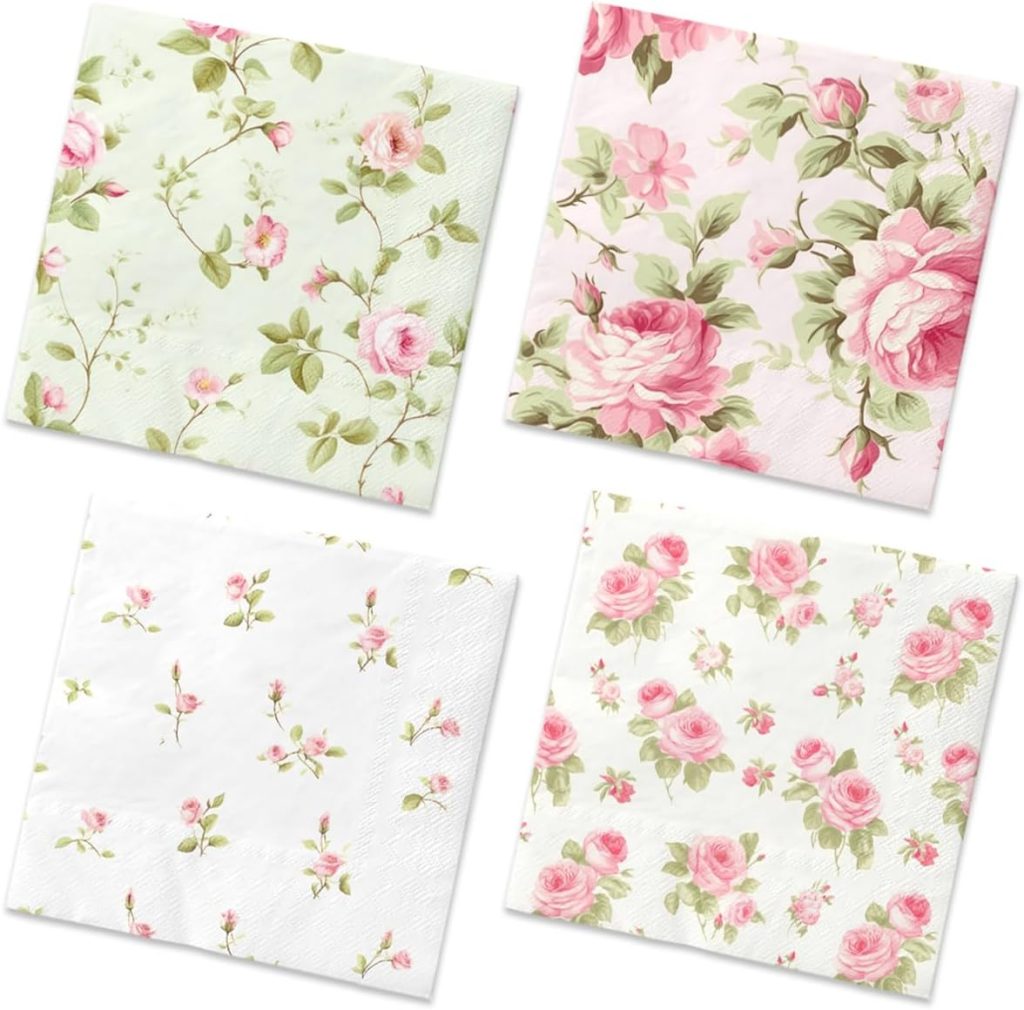
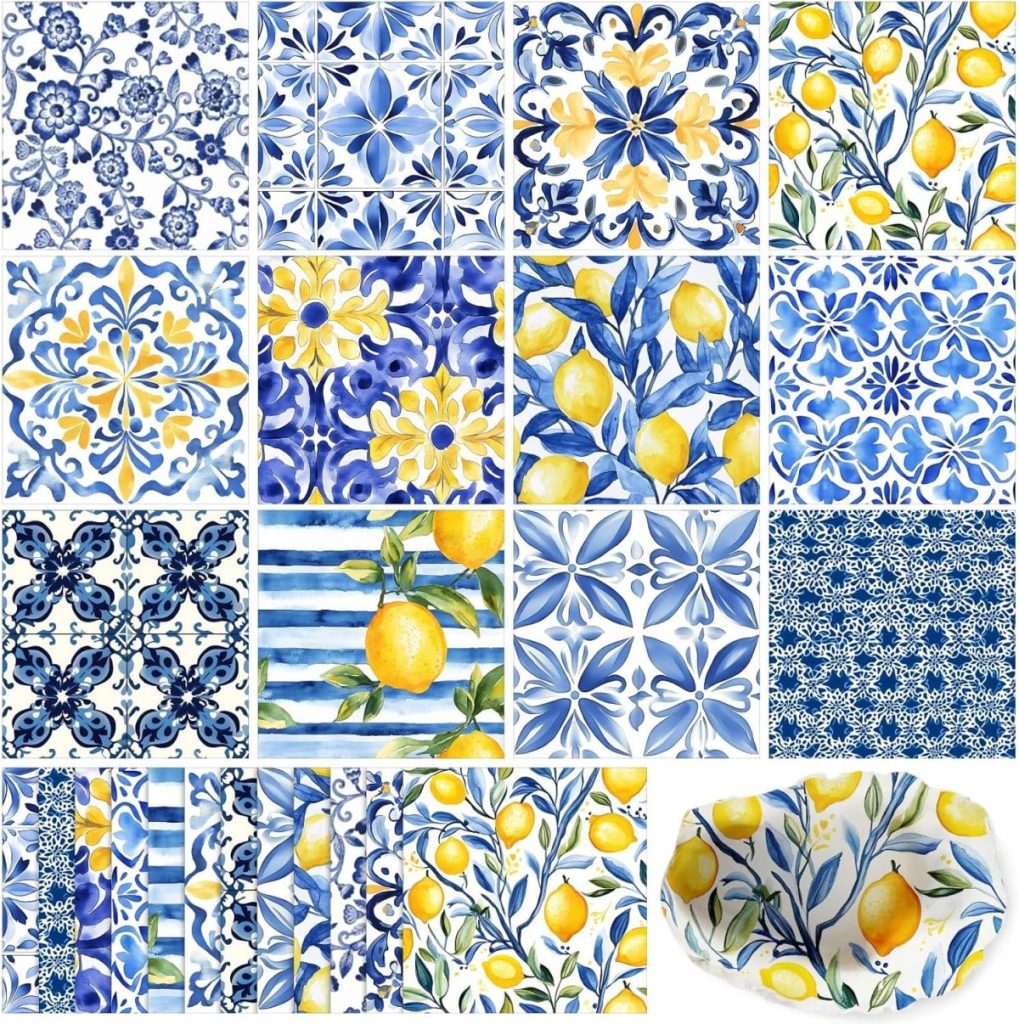
If you’ve followed my A Handmade series, you already know how much I love crafting with decorative paper napkins. The designs are gorgeous, inexpensive, and available in almost every pattern imaginable. I have drawers filled with floral prints, vintage-inspired patterns, botanical designs, and whimsical artwork just waiting for the perfect project.
These polymer clay charms turned out even better than I expected. The napkin designs look almost hand-painted once they’re sealed with Clay Glaze, and the finished charms have a polished appearance that feels much more expensive than they actually are.
Even better, they were incredibly fun to make.
Why I Love Polymer Clay
Over the years, I have experimented with many different crafting materials. Some become favorites, and others quietly disappear from my craft room.
Polymer clay definitely falls into the favorite category.
Unlike air-dry clay, polymer clay bakes in the oven and becomes very durable. It is easy to roll, cut, shape, and customize. It also creates a smooth surface that works beautifully with decorative papers and transfers.
For these charms, I wanted something sturdy enough to clip onto bags and use every day. Polymer clay was the perfect choice because it produces a hard, durable finish without adding much weight.
That’s important because nobody wants a charm that weighs down their favorite tote bag.
Supplies You’ll Need
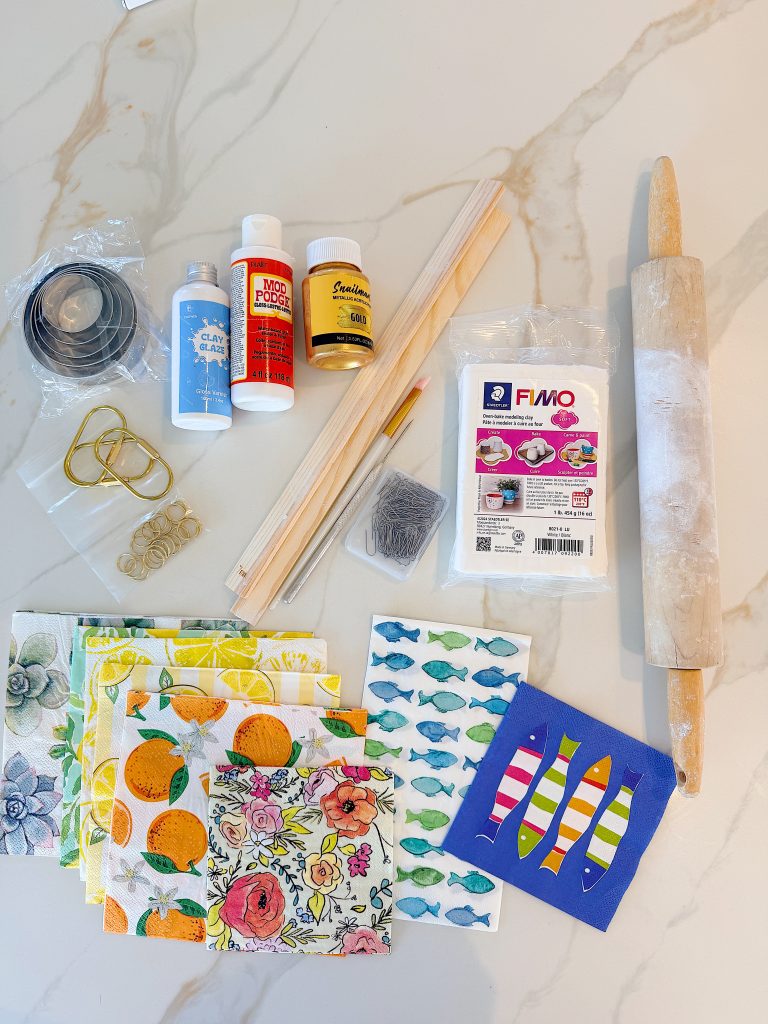
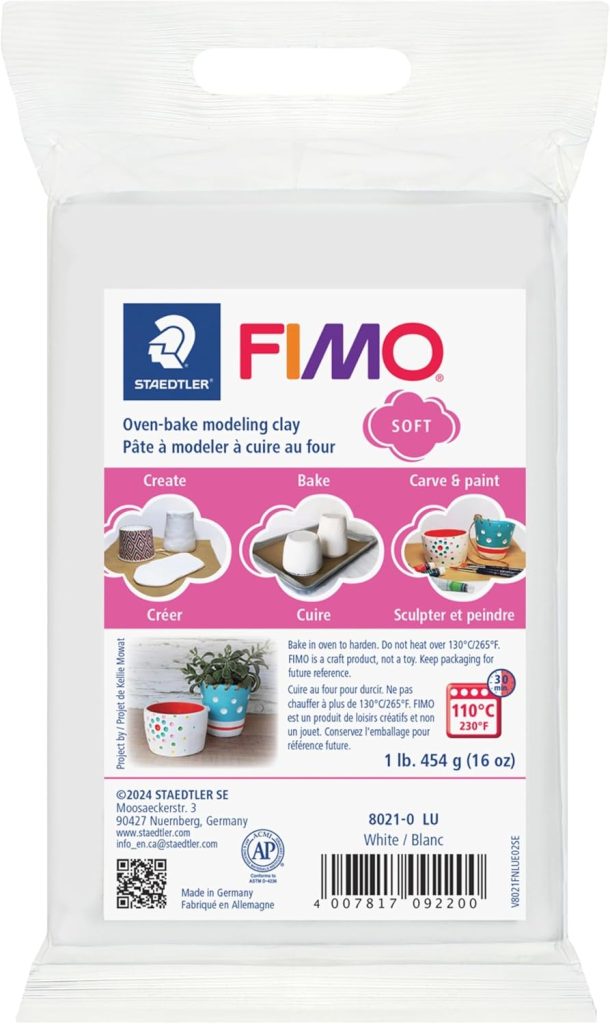
- Polymer clay (white or light-colored works best)
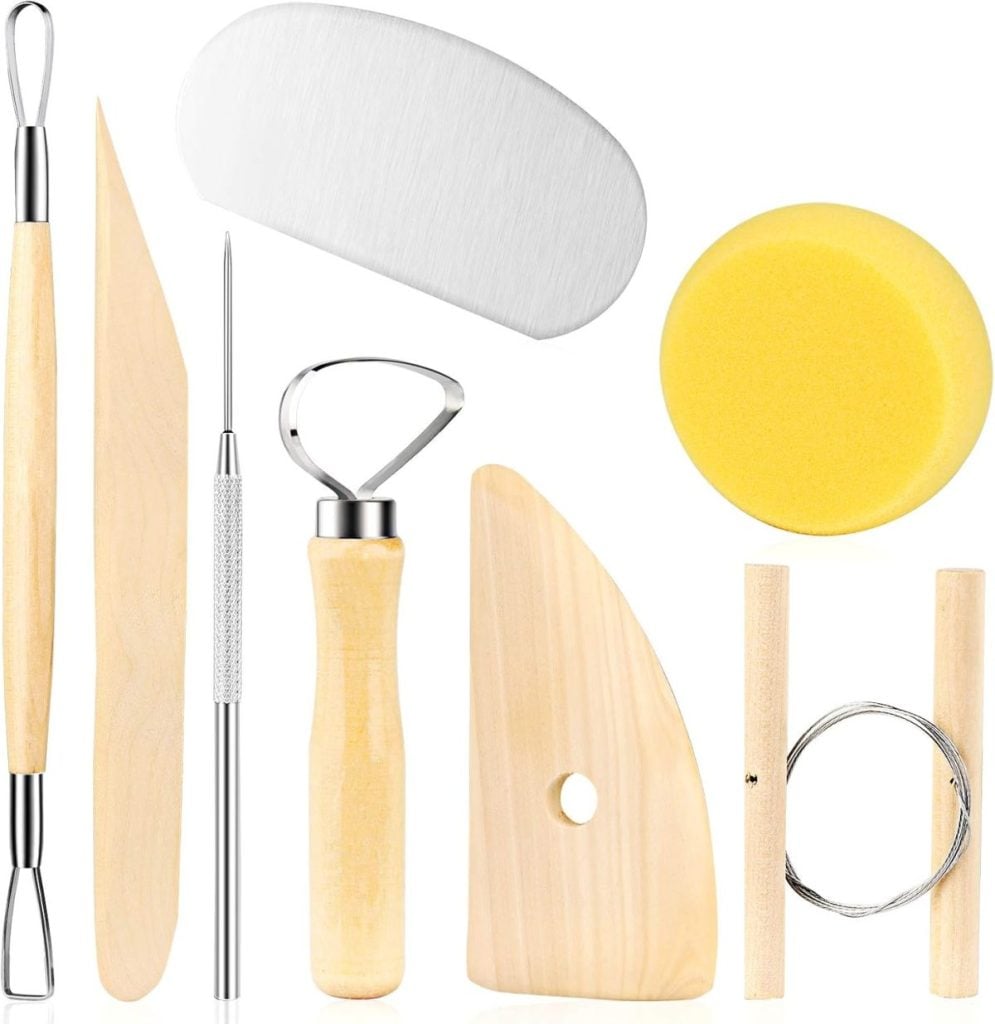
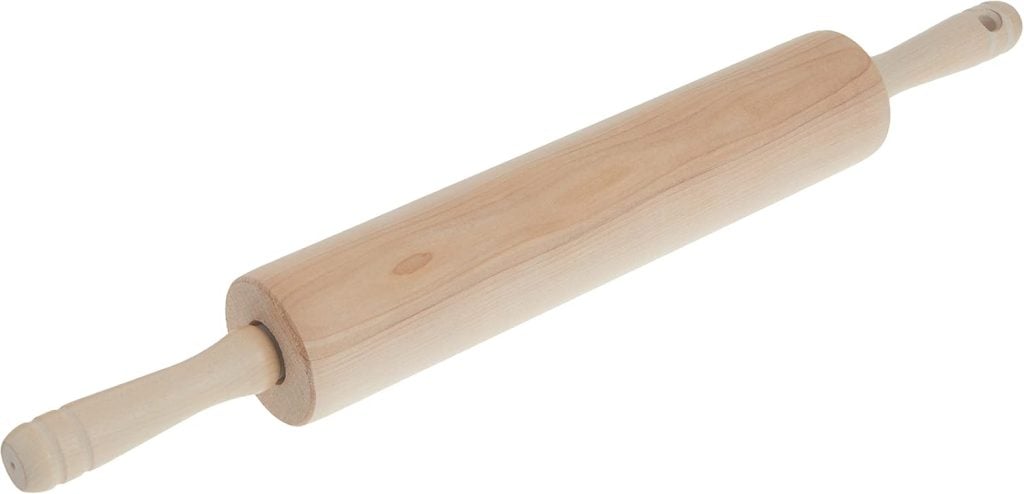
- Rolling pin or clay roller
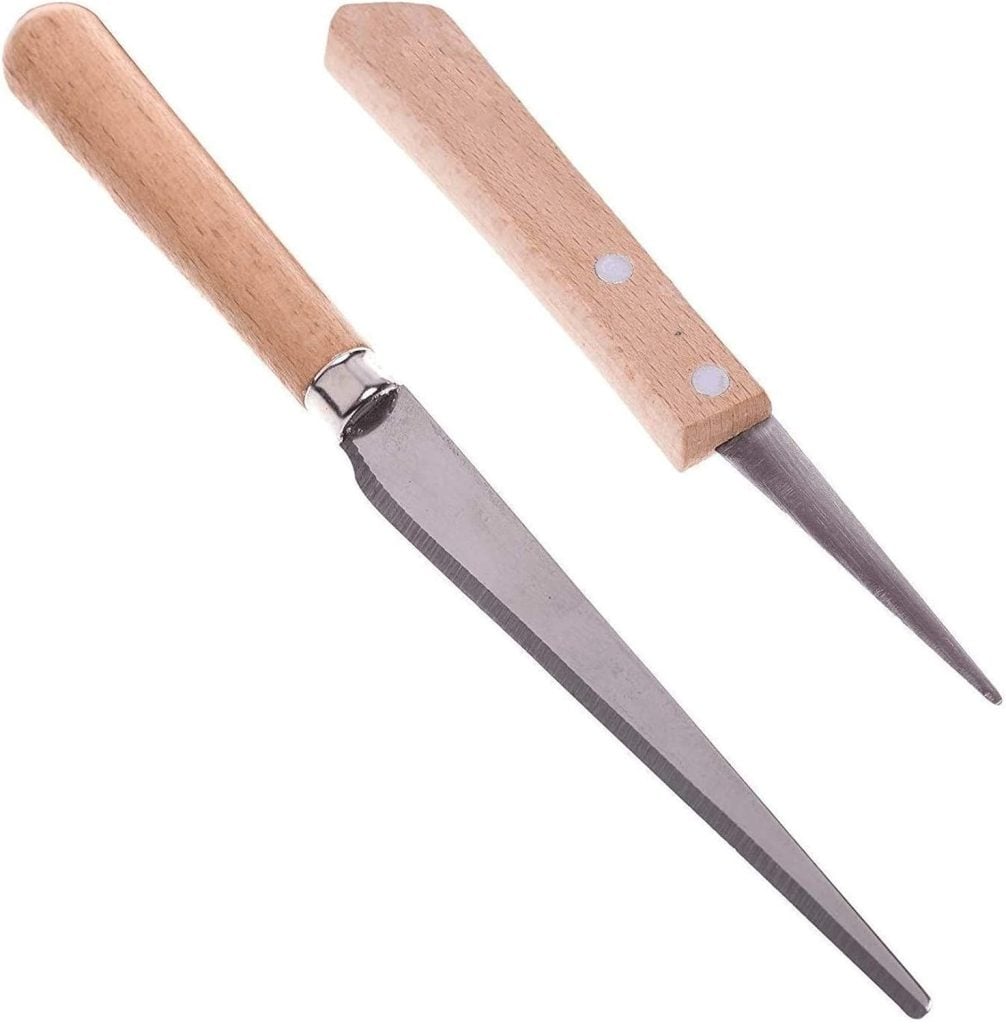
- Clay or utility knife
- Decorative paper napkins
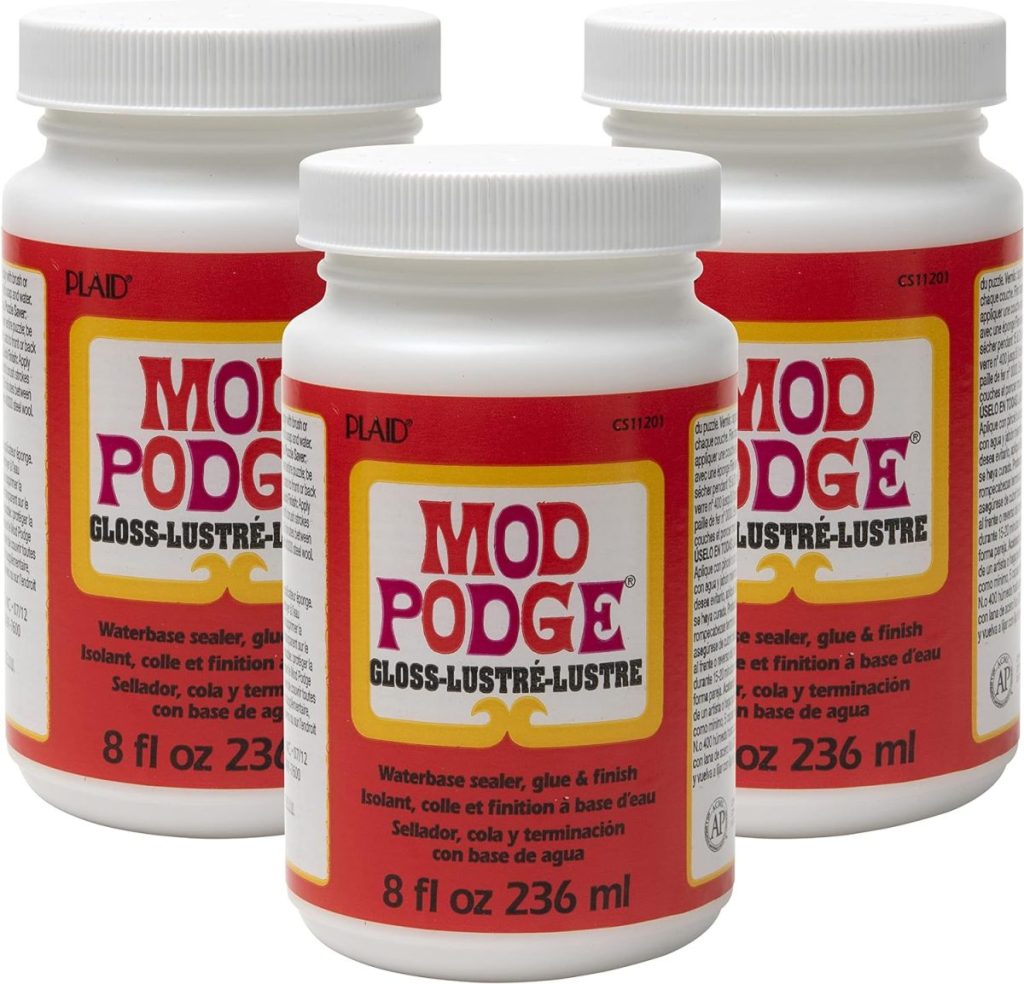
- Mod Podge
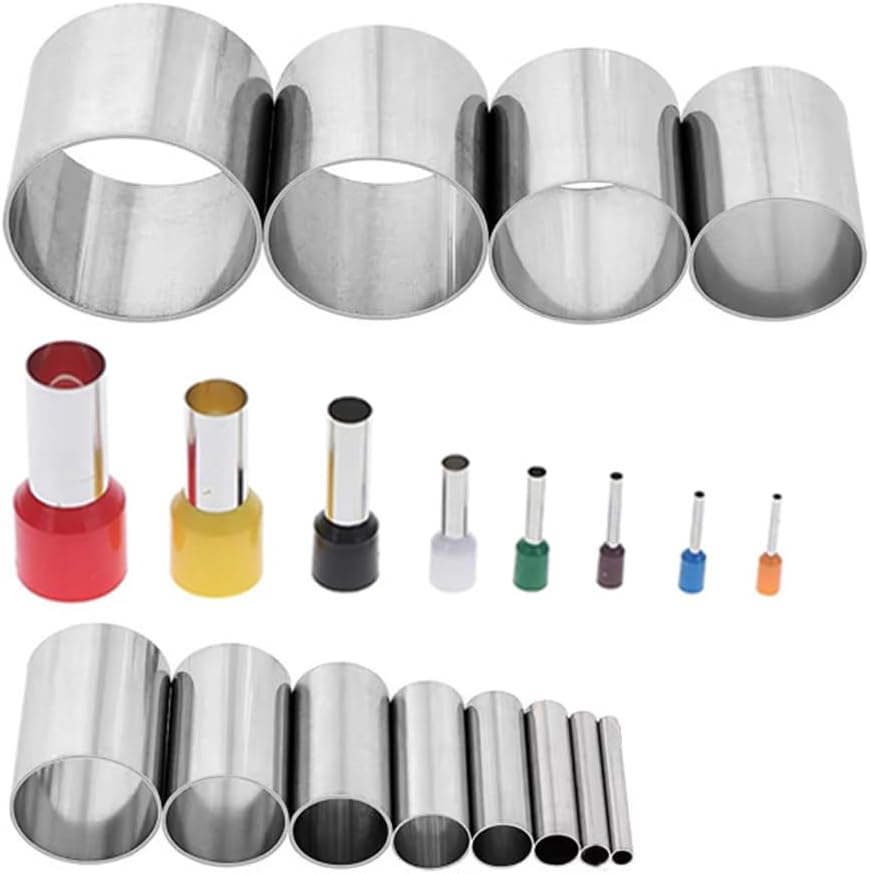
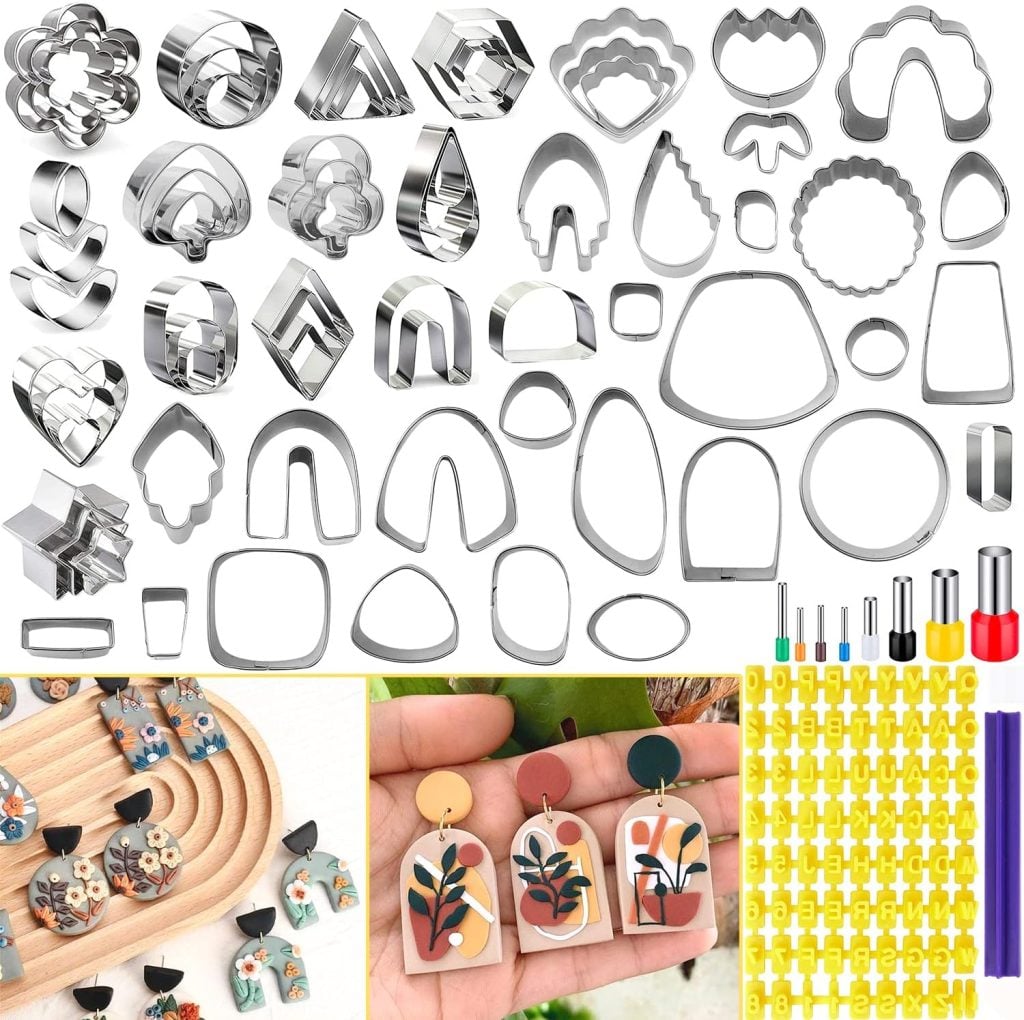
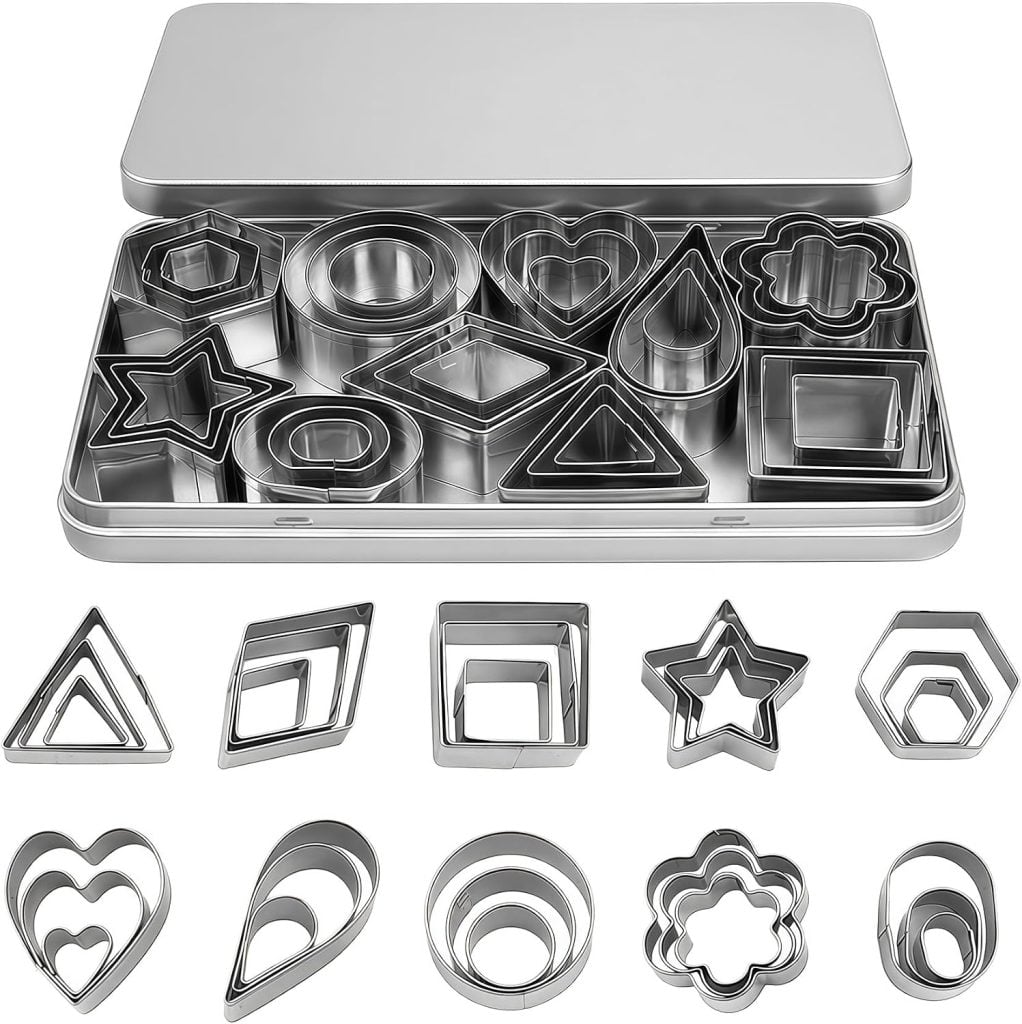
- Clay cutters or cookie cutters
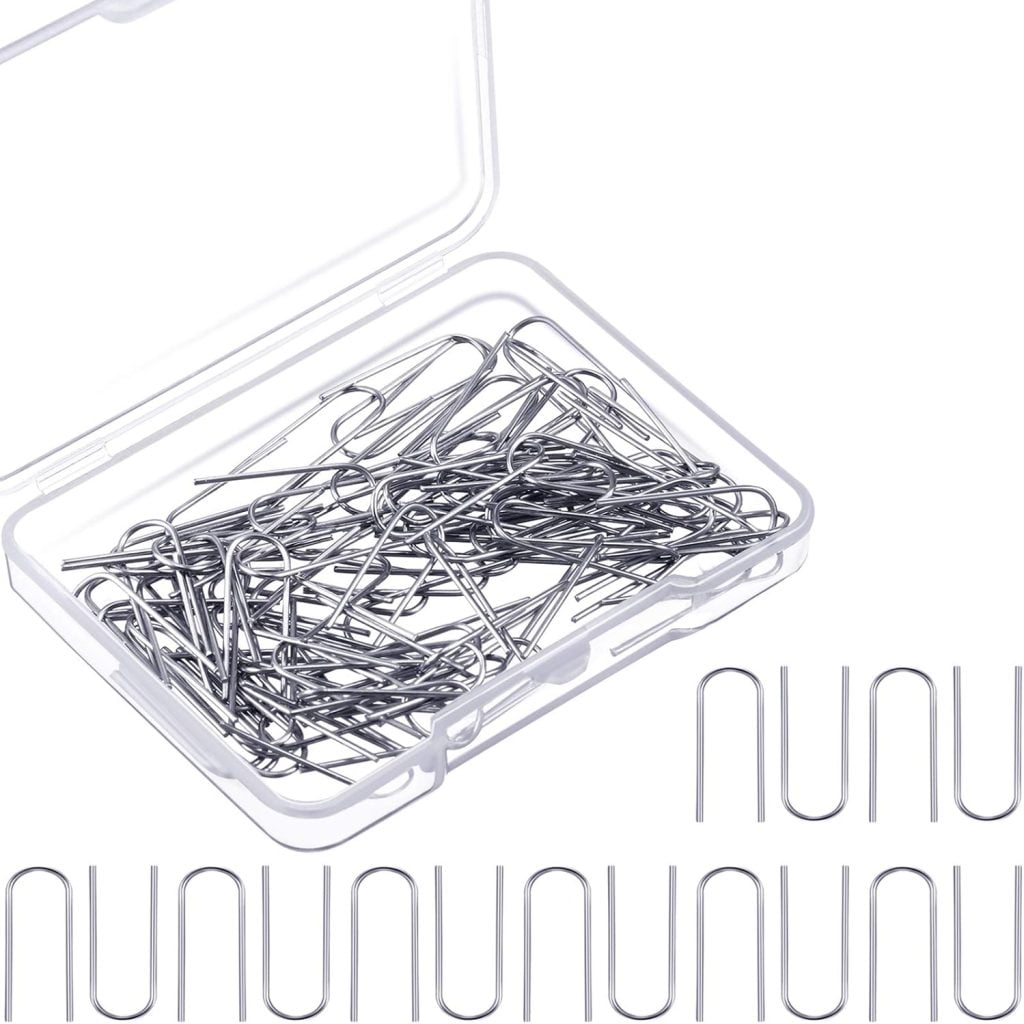
- Wire ornament hooks
- Scissors
- Clay Glaze
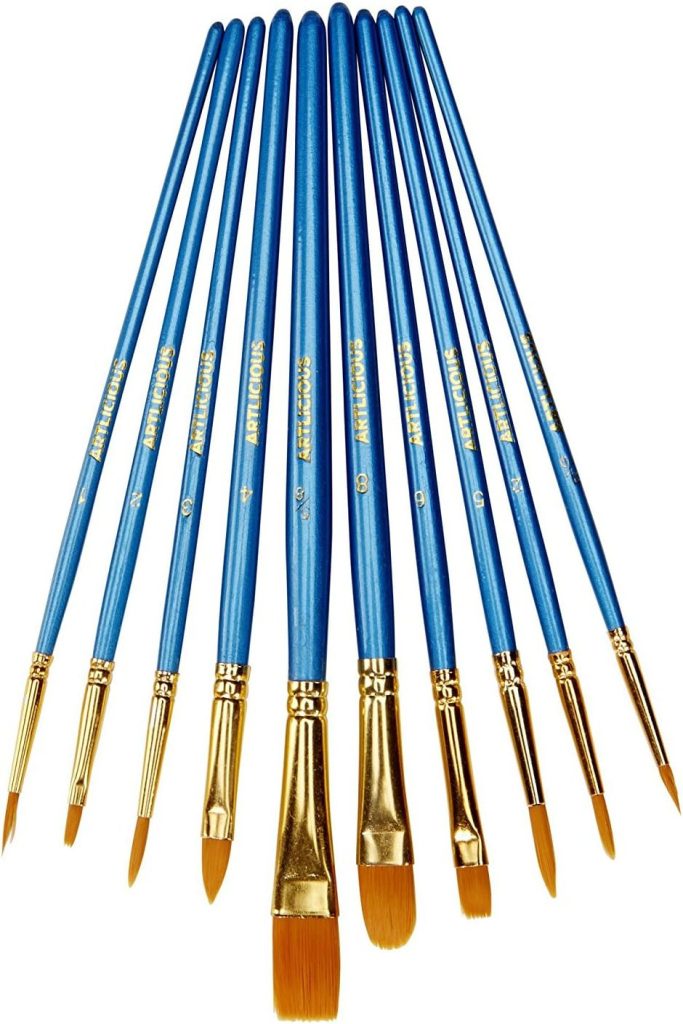
- Small paintbrush
- Baking sheet
- Parchment paper
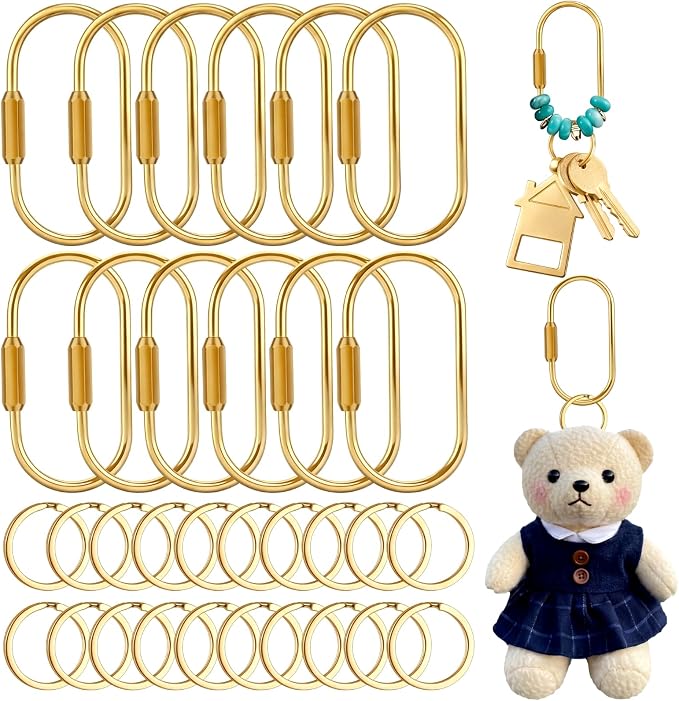
- Key rings
- Keychain clips
I may sometimes use affiliate links on this blog, which means I earn a small commission if you purchase through the link. The price will be the same whether you use the affiliate link or go directly to the vendor’s website using a non-affiliate link.


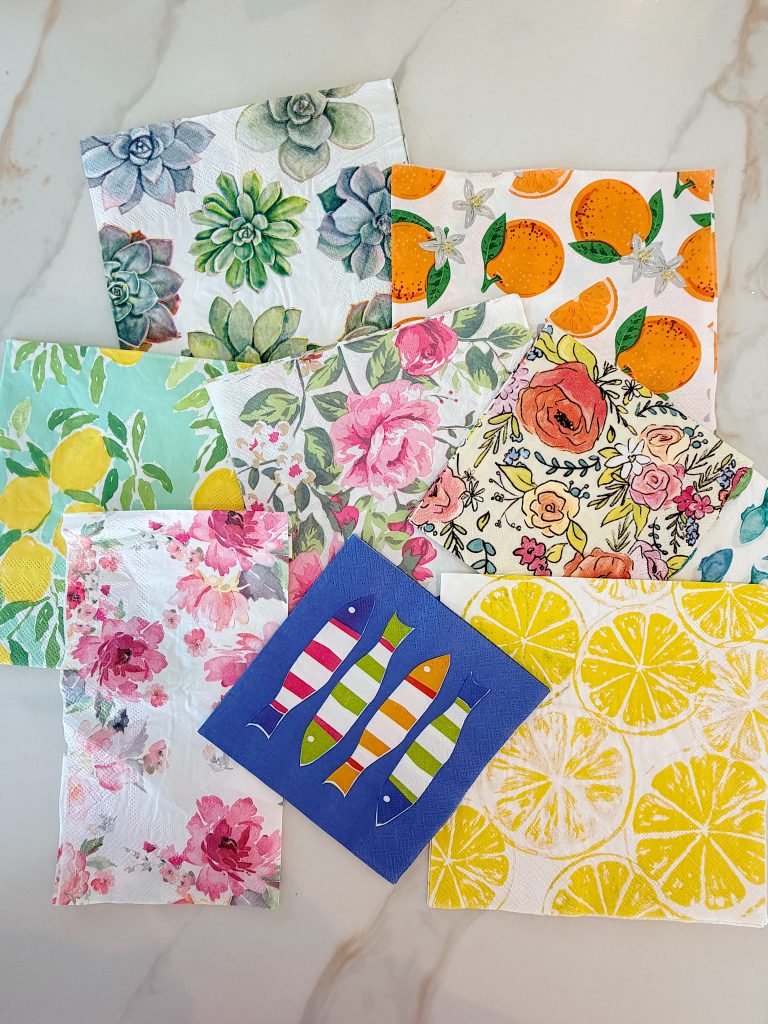
More Napkin Designs
This may have been my favorite part of the entire project.
If you’re anything like me, you probably have a collection of beautiful paper napkins tucked away somewhere in your craft room. I always seem to find designs I love and convince myself I’ll use them someday.
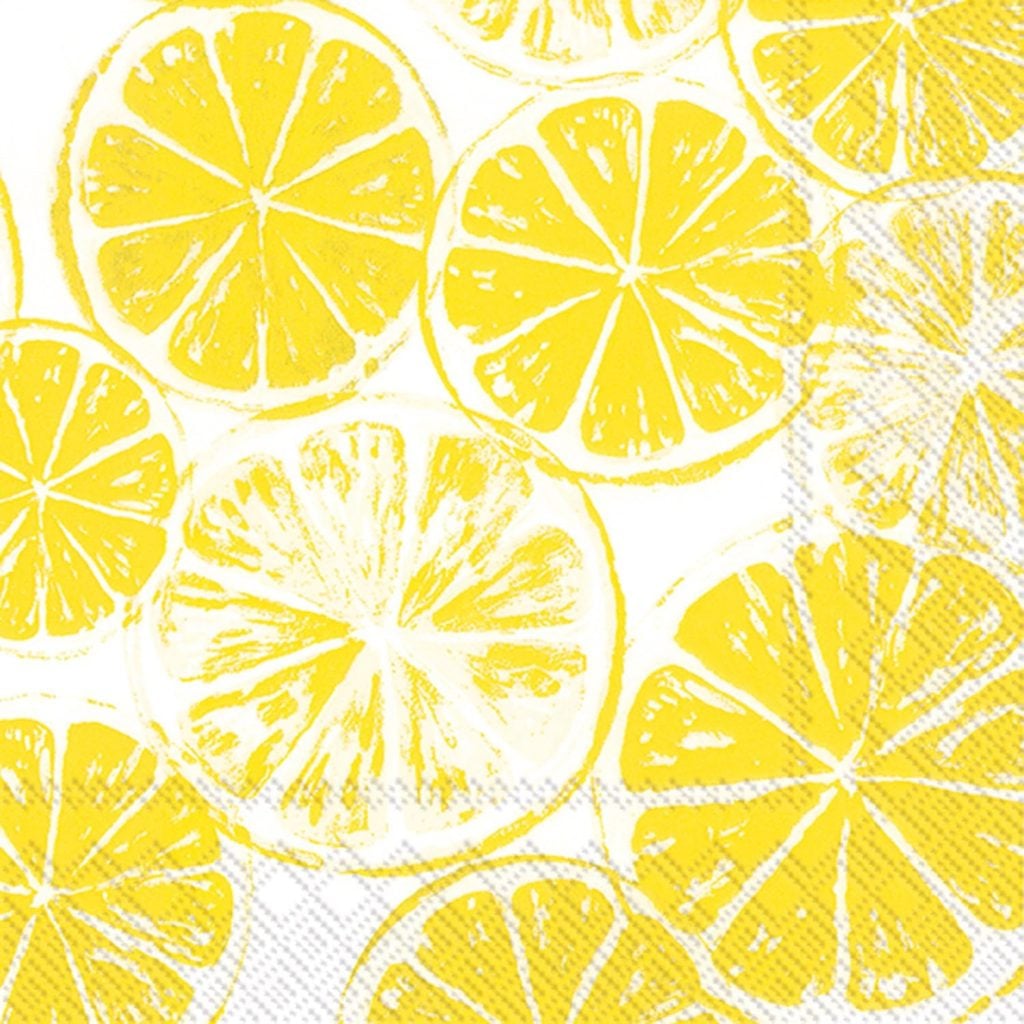
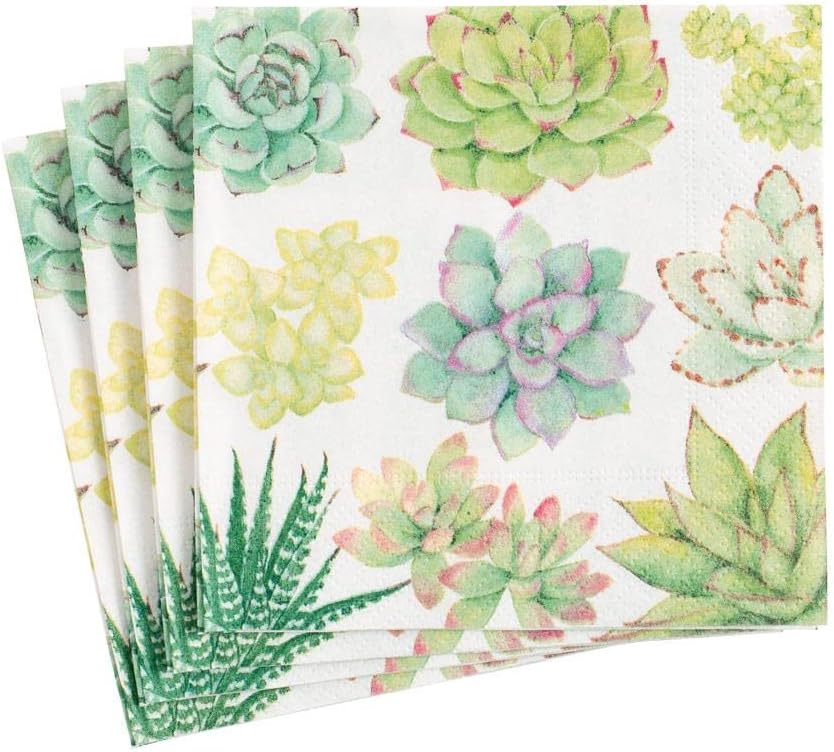
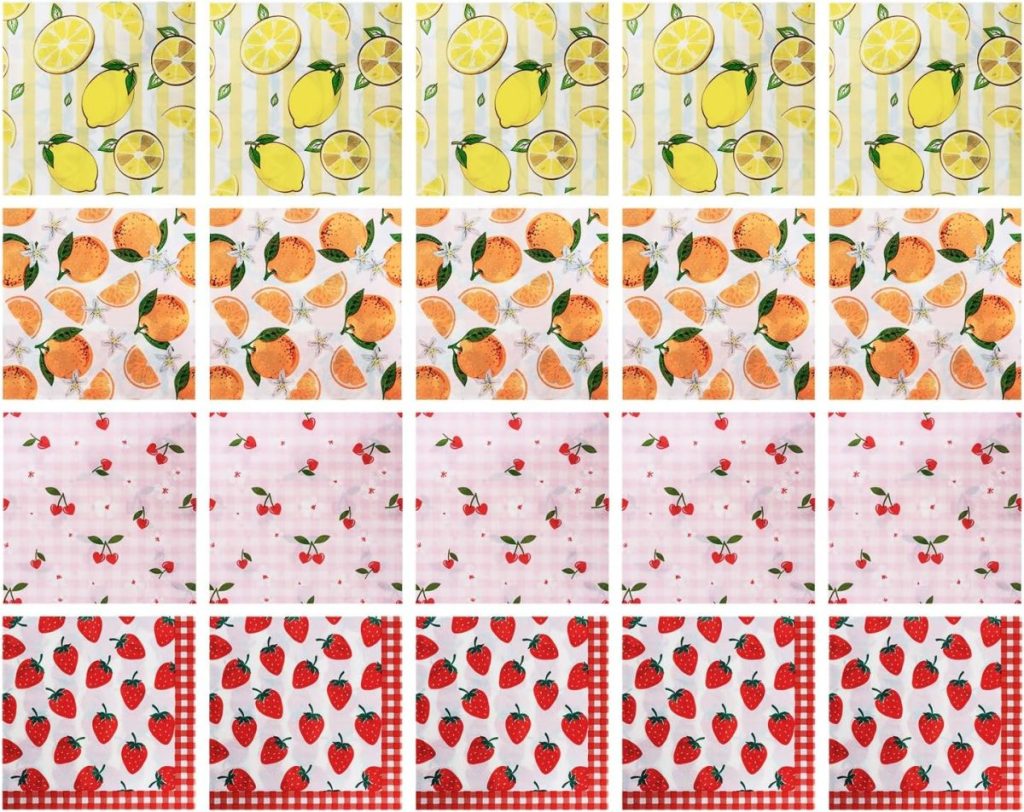
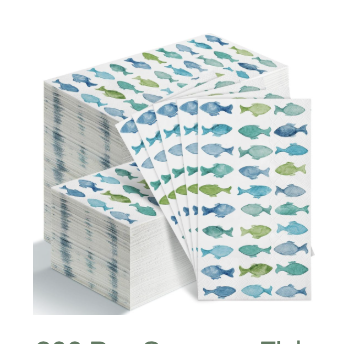
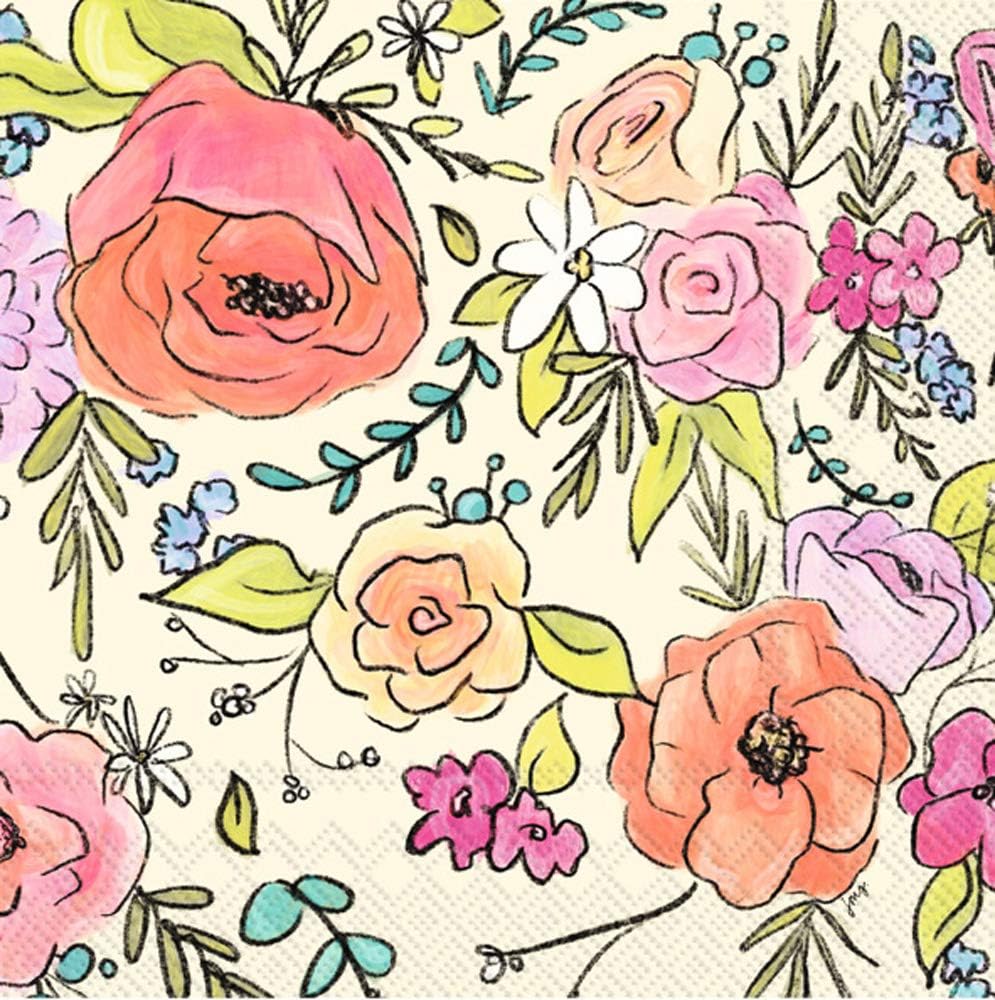
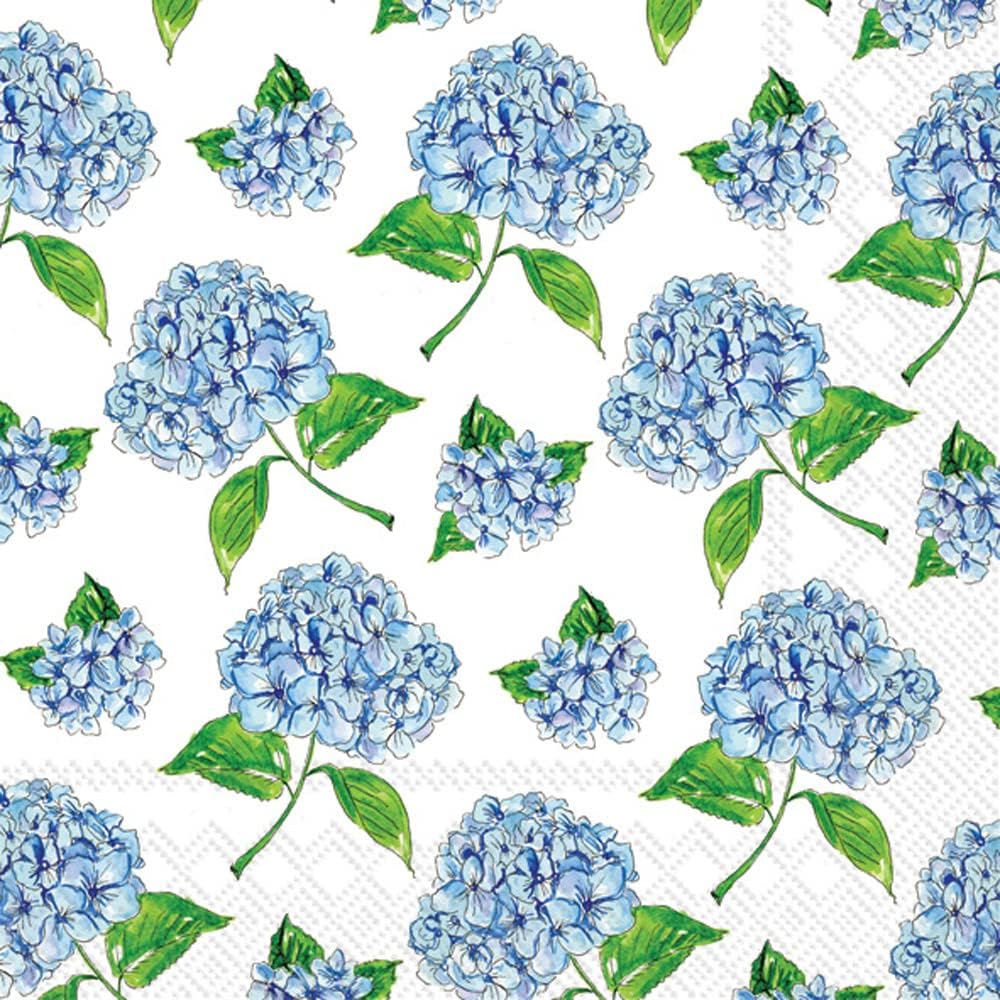
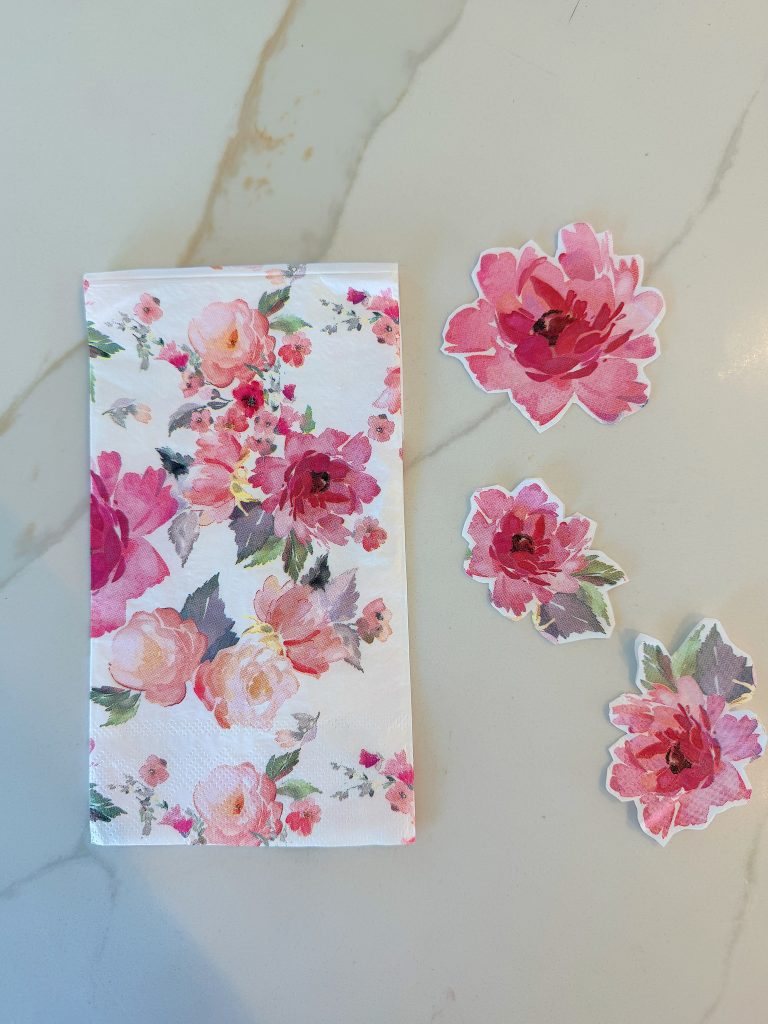
The wonderful thing about decorative napkins is the endless variety. Floral patterns work beautifully. Vintage-inspired prints are charming. Fruit motifs are perfect for summer. Even whimsical designs with bows, hearts, or birds can create adorable charms.
I chose several designs so each charm set would feel unique.
Some looked elegant and sophisticated.
Others felt playful and fun.
Together, they created a collection that looked perfectly mismatched.

Step One: Roll Out the Clay
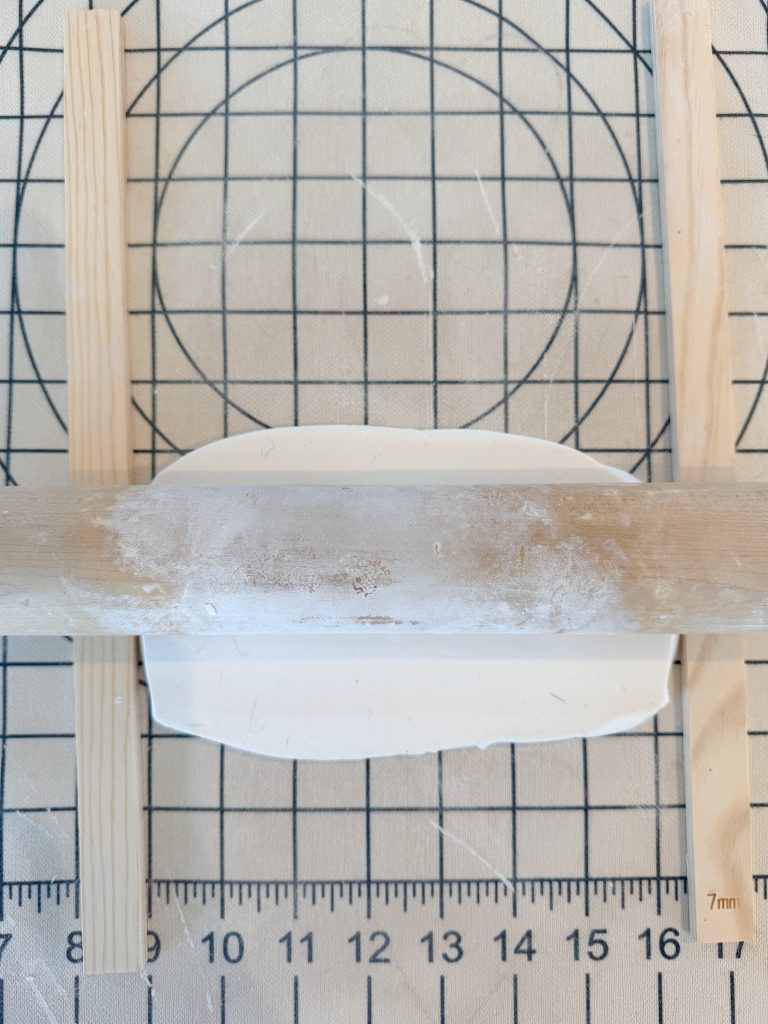
Begin by conditioning your polymer clay according to the package directions.
Once the clay is soft and workable, roll it out on a smooth surface until it reaches your desired thickness. I prefer a thickness of about 1/4 inch because it creates a sturdy charm without becoming bulky.
Try to keep the thickness consistent so the charms bake evenly.
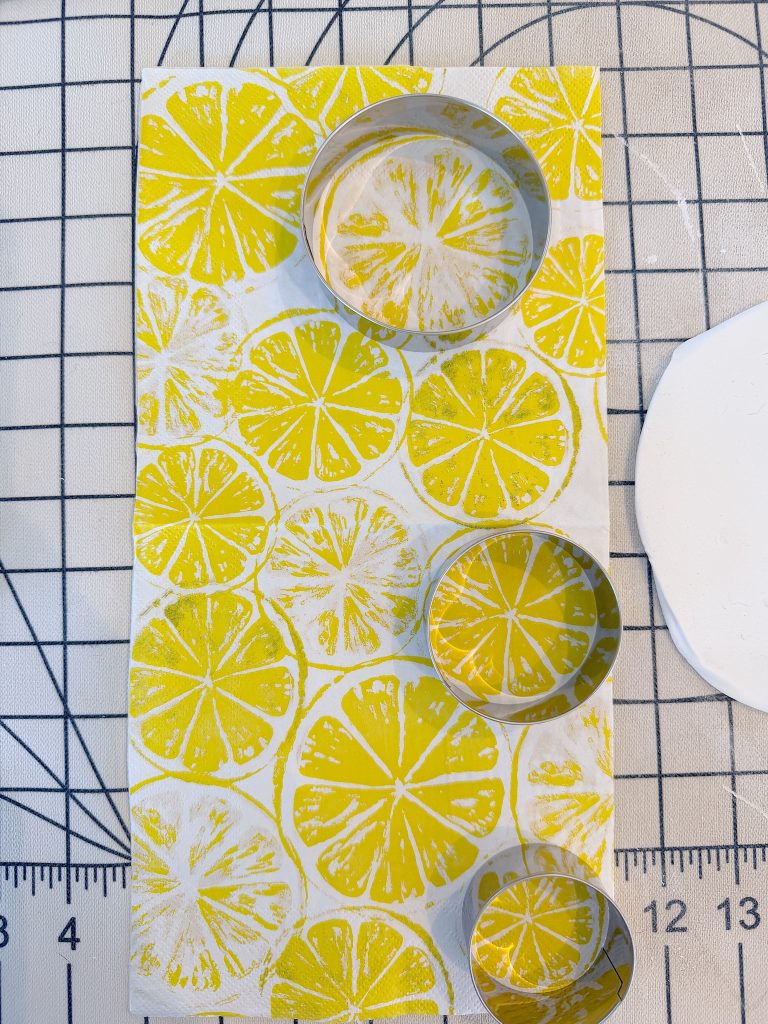
Step Two: Cut Your Shapes
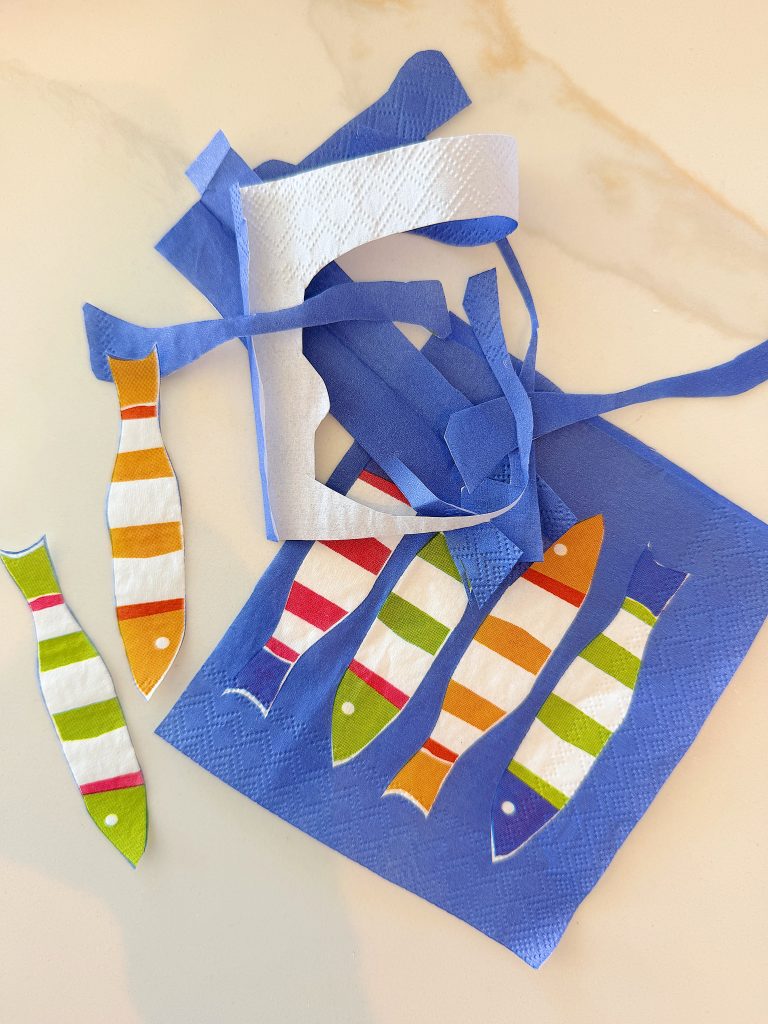
Now comes the fun part.
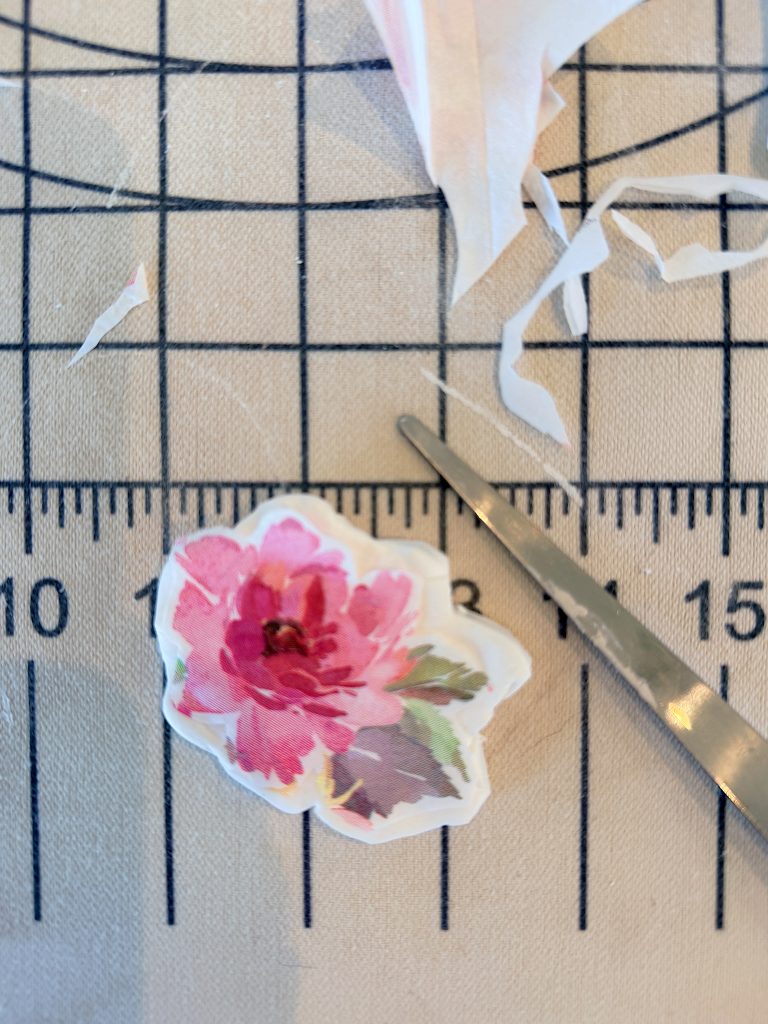
The first step is to cut out the shapes from the napkins. This gives you a pattern to use to cut the clay. Cut two for each, as you will want to add napkins to both sides of the clay. (Don’t worry that for some napkins, you will have to use the backside. The colors still show through, as long as you remove the two-ply napkins attached to the front of the napkin.)
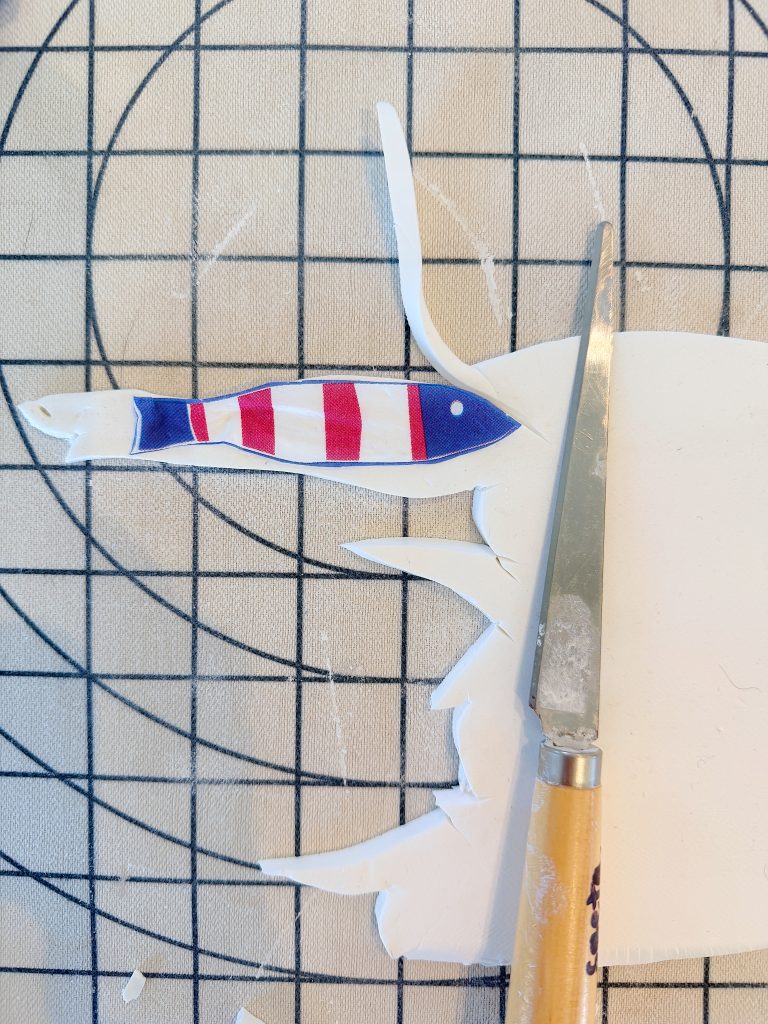
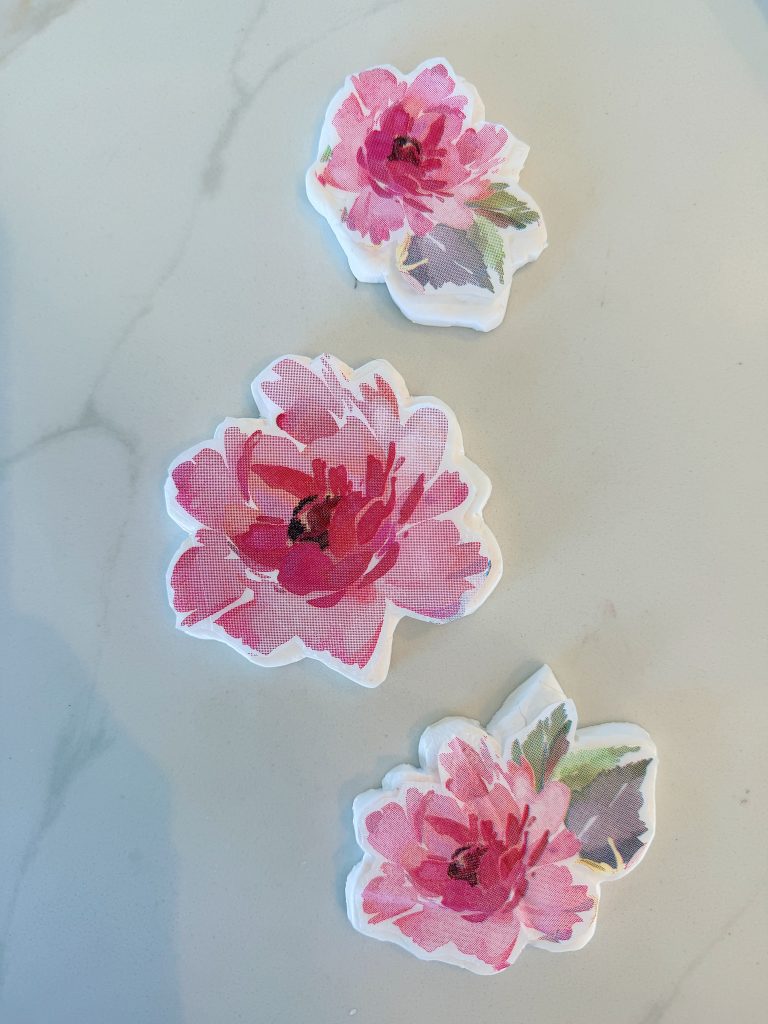
Using clay cutters, cookie cutters, or even simple templates, cut out your desired shapes.
You can create:
- Hearts
- Circles
- Ovals
- Flowers
- Stars
- Tags
- Bows
I experimented with several shapes to ensure the finished collection felt varied and interesting.
The more shapes you create, the more personalized your finished bag charms will feel.
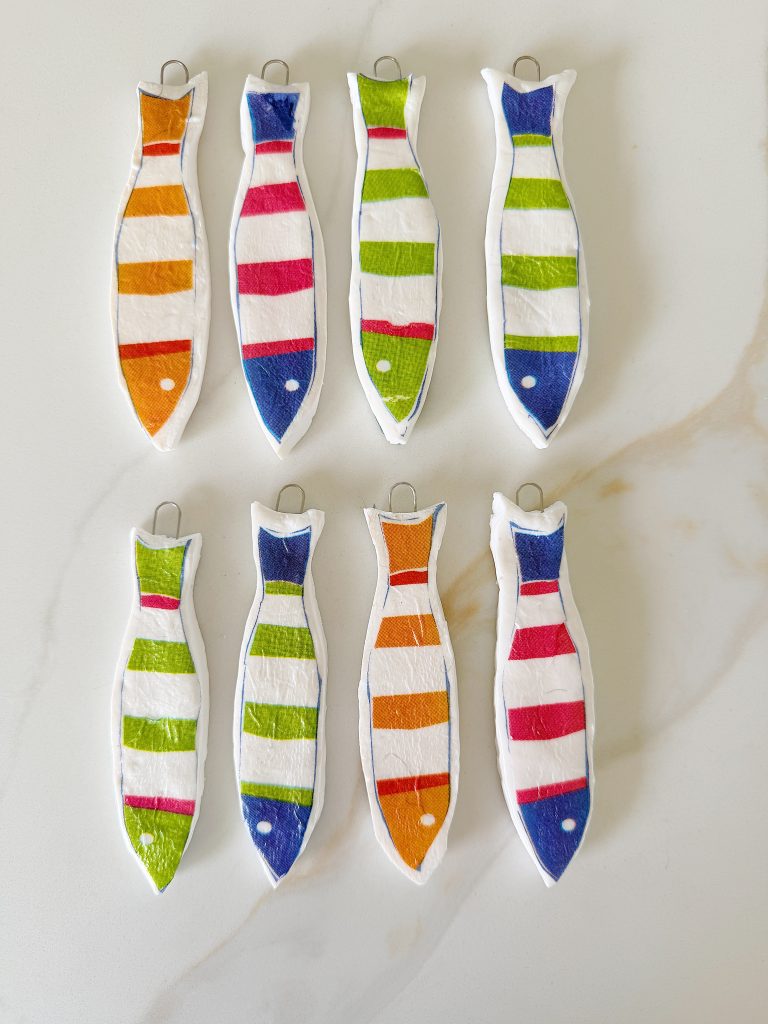
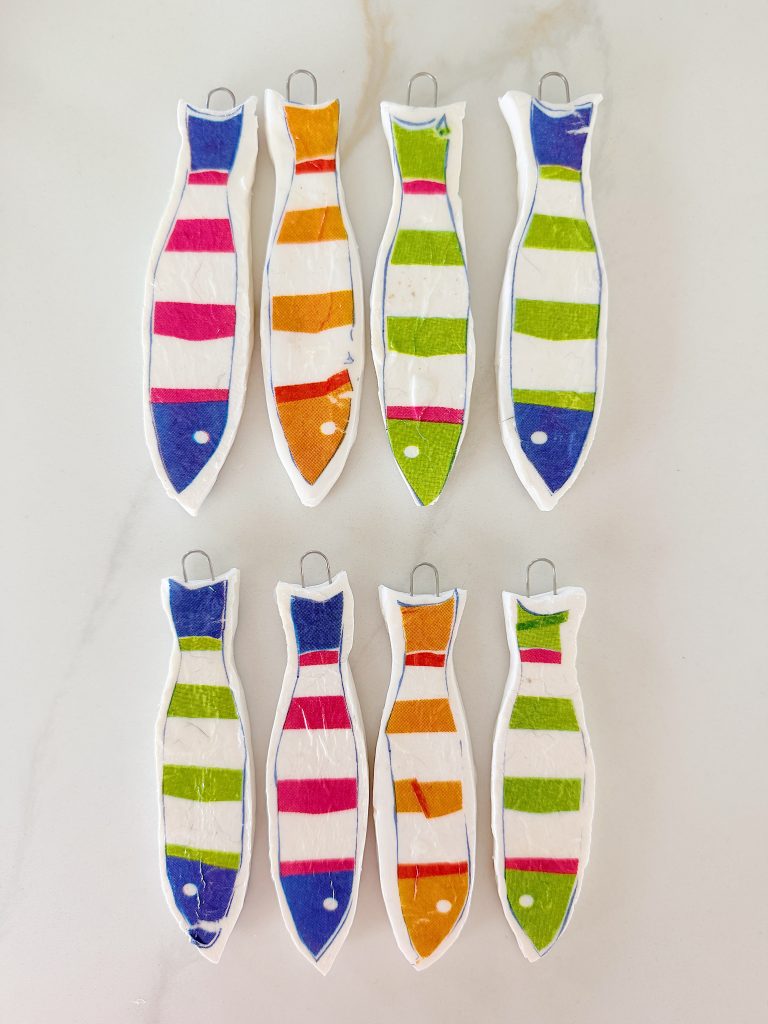
Step Three: Add the Wire Hooks
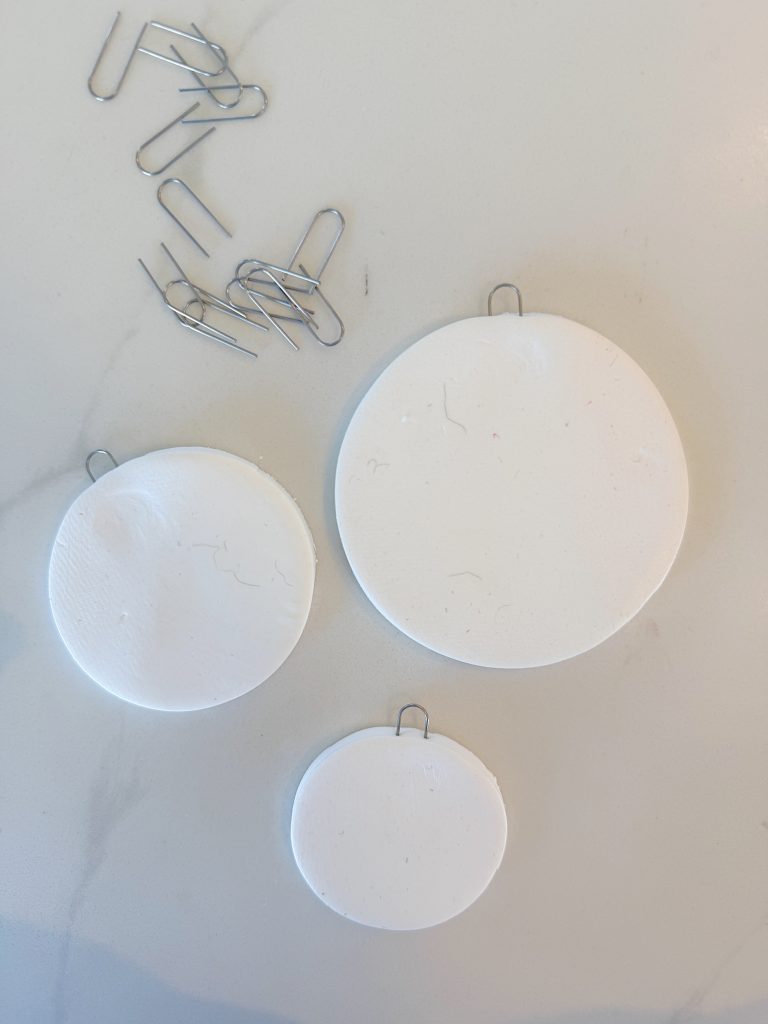
Before baking, insert a small wire ornament hook into the top of each charm.
This step is important because it creates the attachment point you’ll use later when assembling your keychain charms.
Make sure the hook is firmly inserted into the clay but remains visible above the surface.
Once baked, the hook will become securely embedded in the clay.
Step Four: Bake the Charms
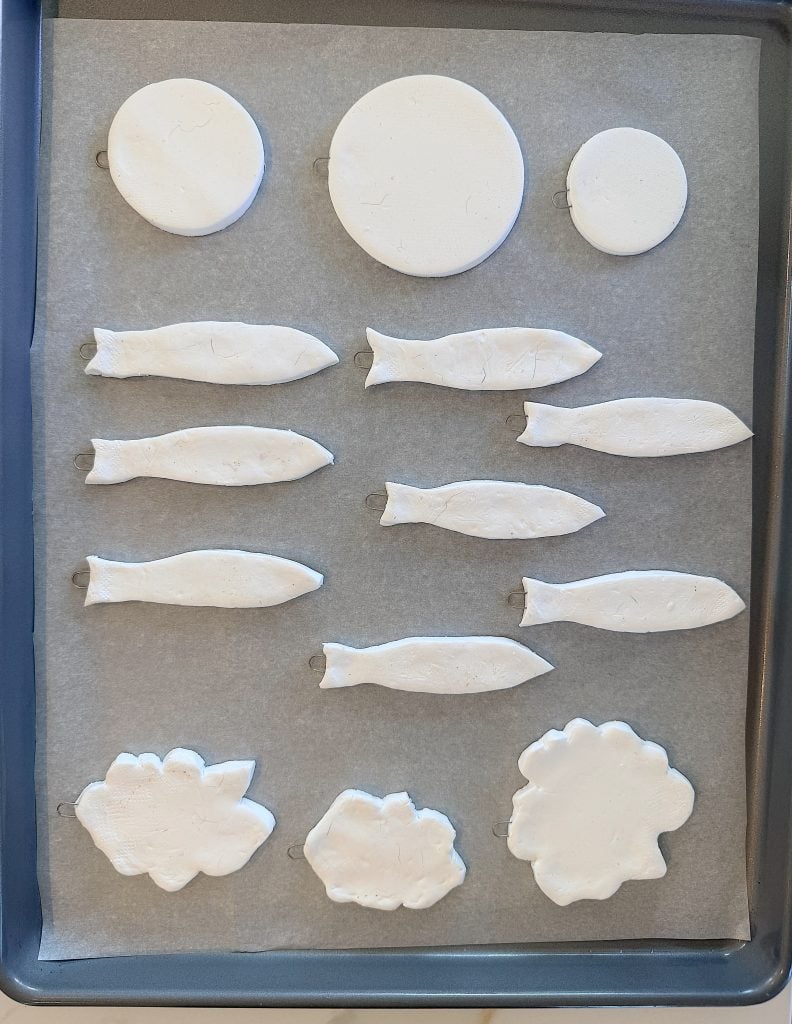
Place the charms on a parchment-lined baking sheet and bake according to the manufacturer’s instructions.
For most brands of polymer clay (including Sculpey Premo, Sculpey III, Fimo, and Cernit), the standard baking temperature is:
- 275°F (130°C)
- 15 minutes per 1/4 inch (6 mm) of thickness
Since we are making polymer clay charms, which should be about 1/8″ to 1/4″ thick, I would bake them for:
- 20–30 minutes at 275°F
One of the reasons I love polymer clay is that it transforms so dramatically during baking.
The soft clay becomes strong and durable while maintaining all of the details you’ve created.
Allow the charms to cool completely before decorating, as they are a bit soft when they come out of the oven.
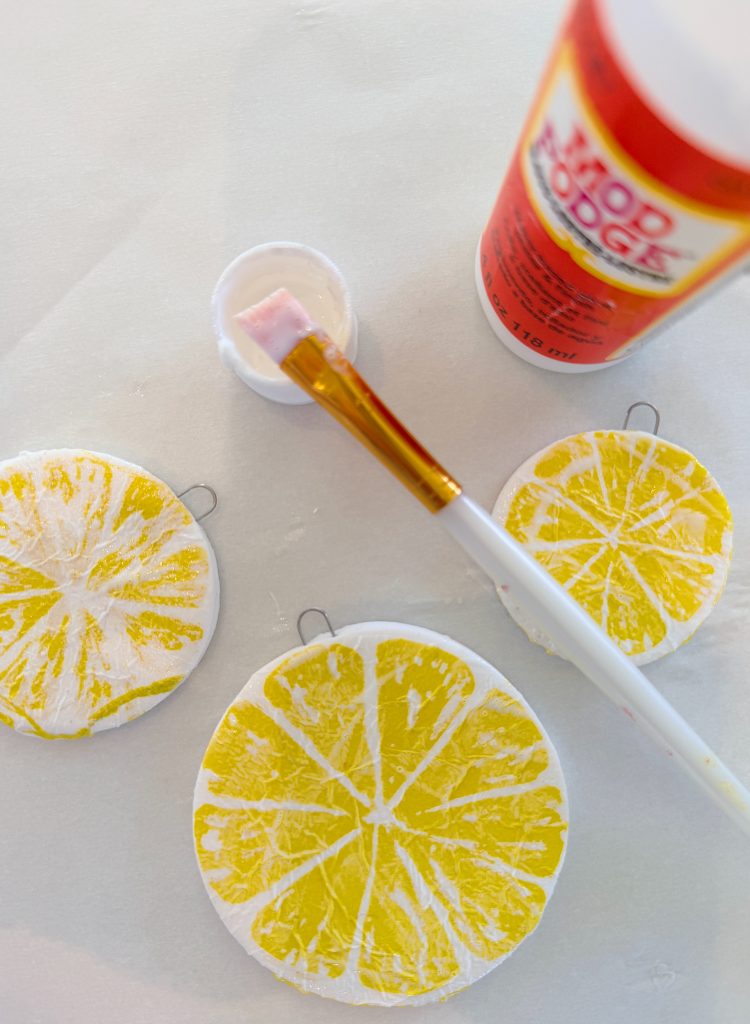
Step Five: Apply the Napkin Designs
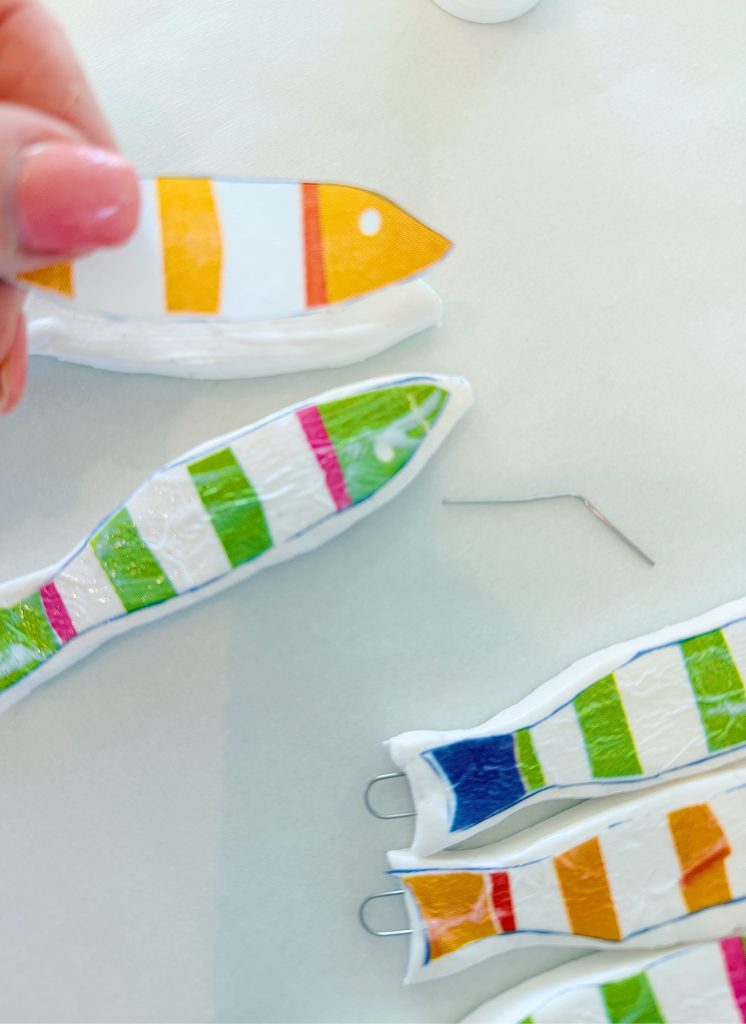
Once the charms have cooled, it’s time for my favorite part.
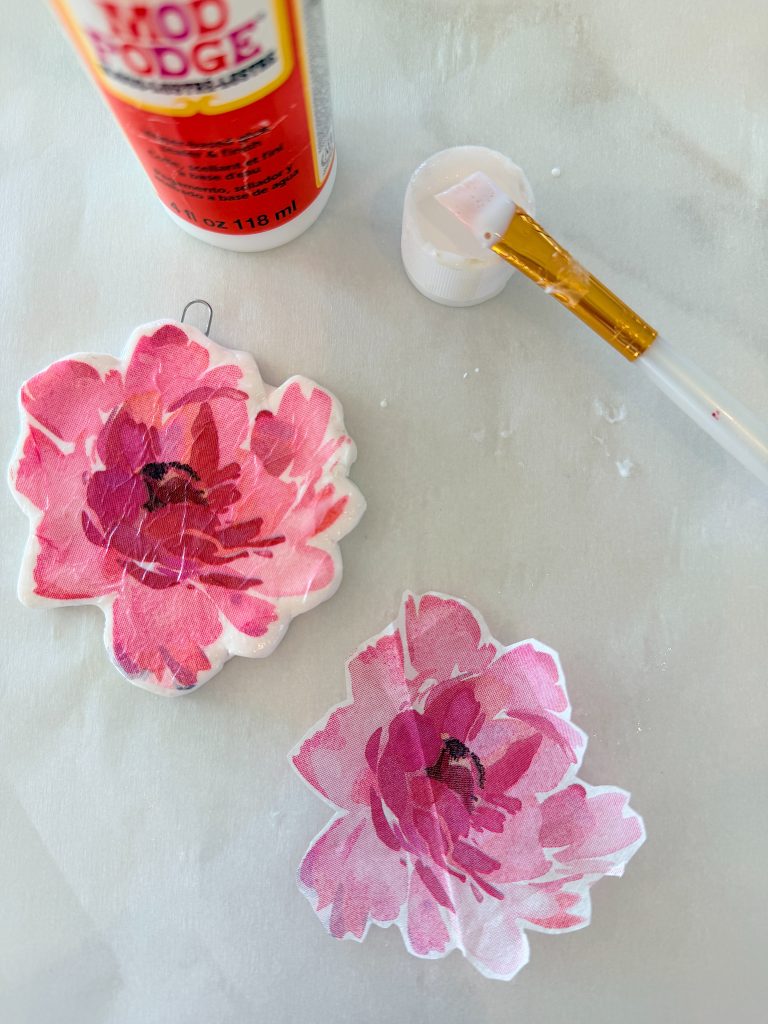
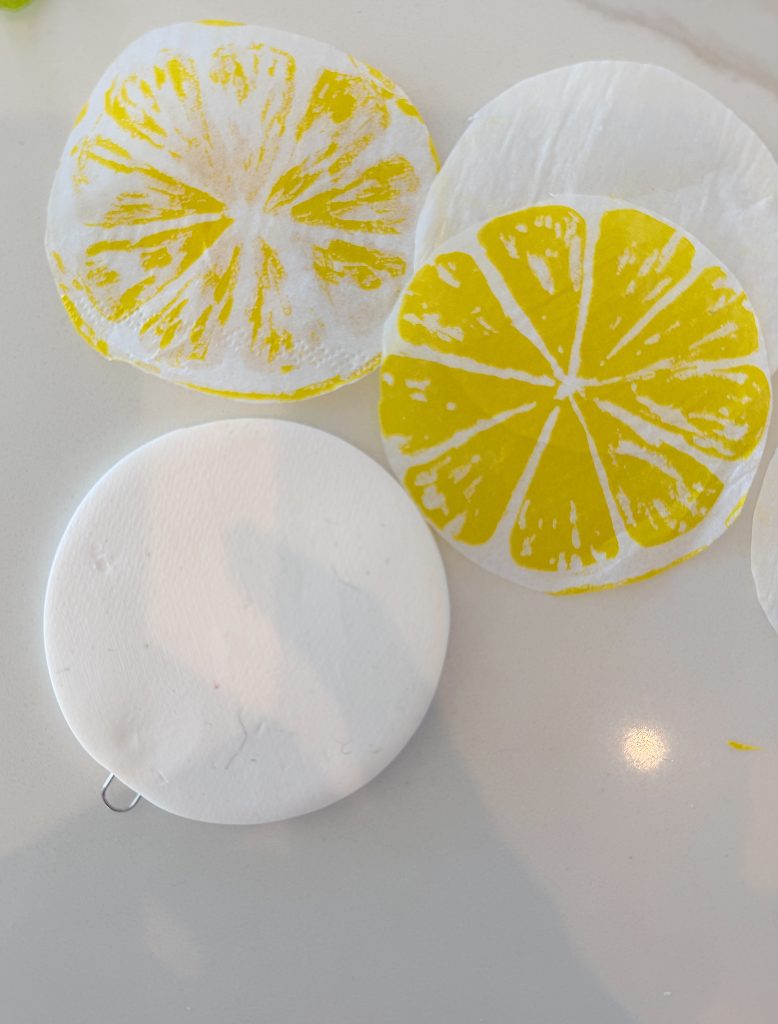
Carefully separate the decorative layer from your paper napkin. Most decorative napkins have multiple layers, but you’ll only use the printed top layer.
Cut pieces slightly larger than your napkins.
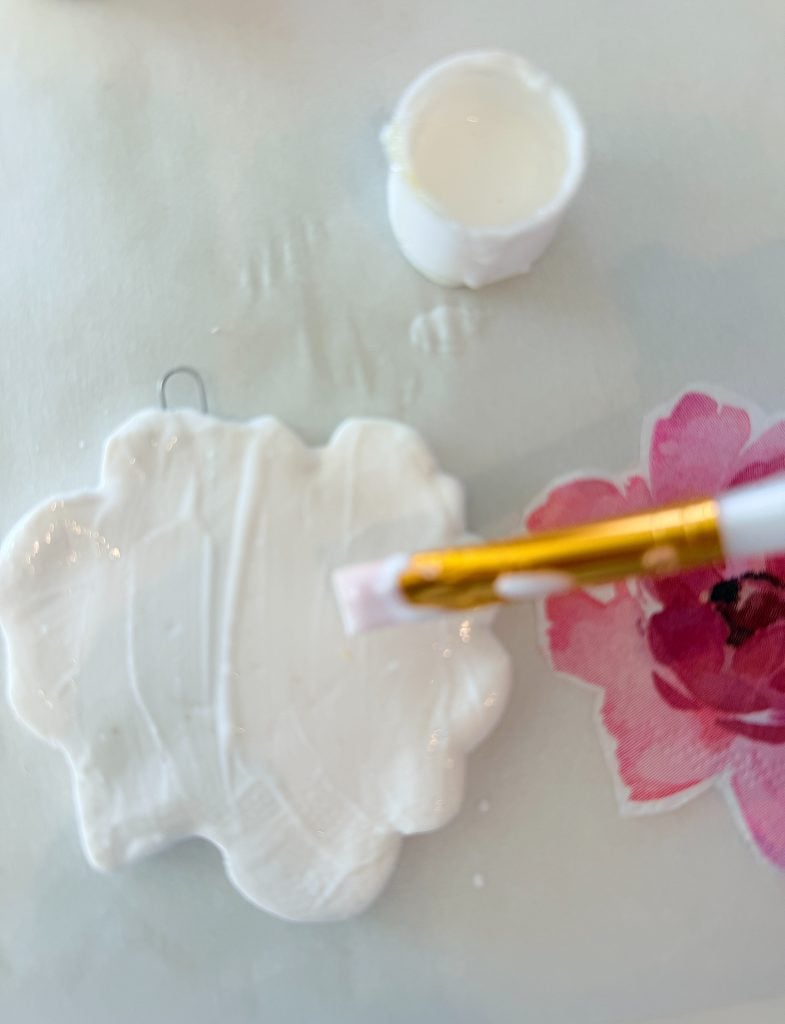
Apply a thin layer of Mod Podge to the surface of the charm.
Carefully place the napkin design on top and gently smooth out any wrinkles.
Work slowly because the napkin becomes delicate once it comes into contact with the glaze.
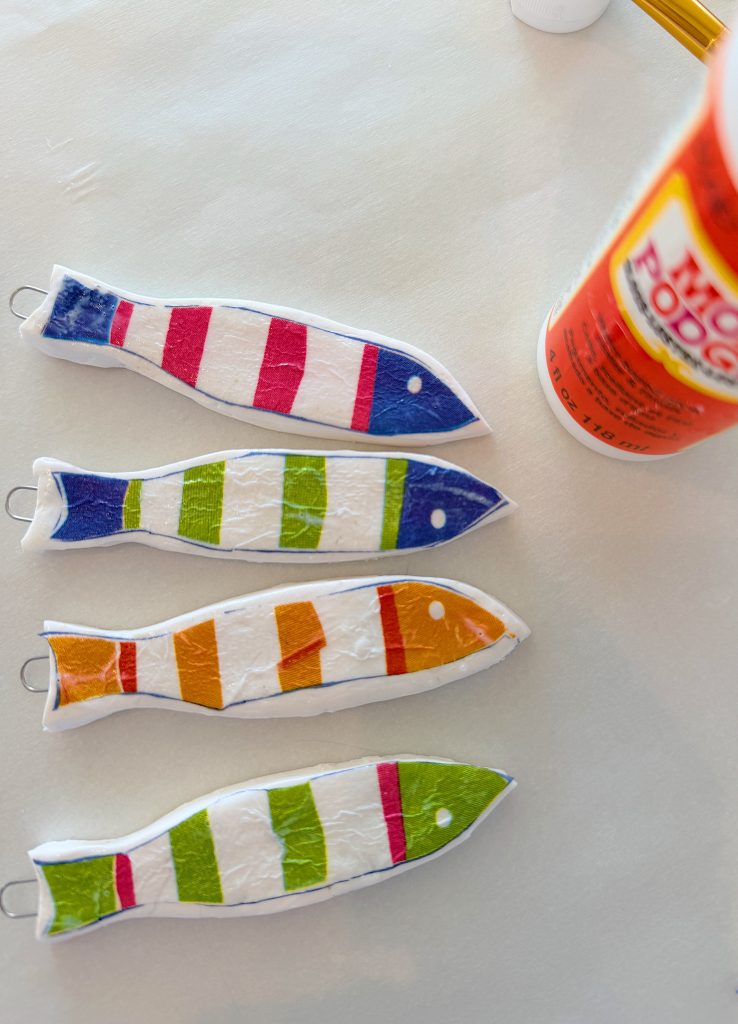
Once dry, coat the entire clay piece with Mod Podge and let dry.
This step reminds me a bit of decoupage, and it’s always magical watching the artwork blend seamlessly into the clay surface.
Next, flip the clay piece over and add another napkin to the back side.
It’s okay if the napkin needs to be turned backward to match the cut-out clay, as the design will show through!
As a final step before glazing, add metallic paint around the edges, if desired, to finish them off.
Step Six: Seal with Clay Glaze
After the napkin design has dried, apply several thin coats of Clay Glaze over the entire surface. Repeat for the back side.
This serves two purposes.
First, it protects the artwork.
Second, it creates a beautiful finish that enhances the colors and gives the charm a polished appearance.
I chose Clay Glaze instead of resin because I wanted something simple, lightweight, and easy to work with.
The finished surface still looks glossy and professional without the extra steps that resin often requires.
Allow the glaze to dry completely between coats.
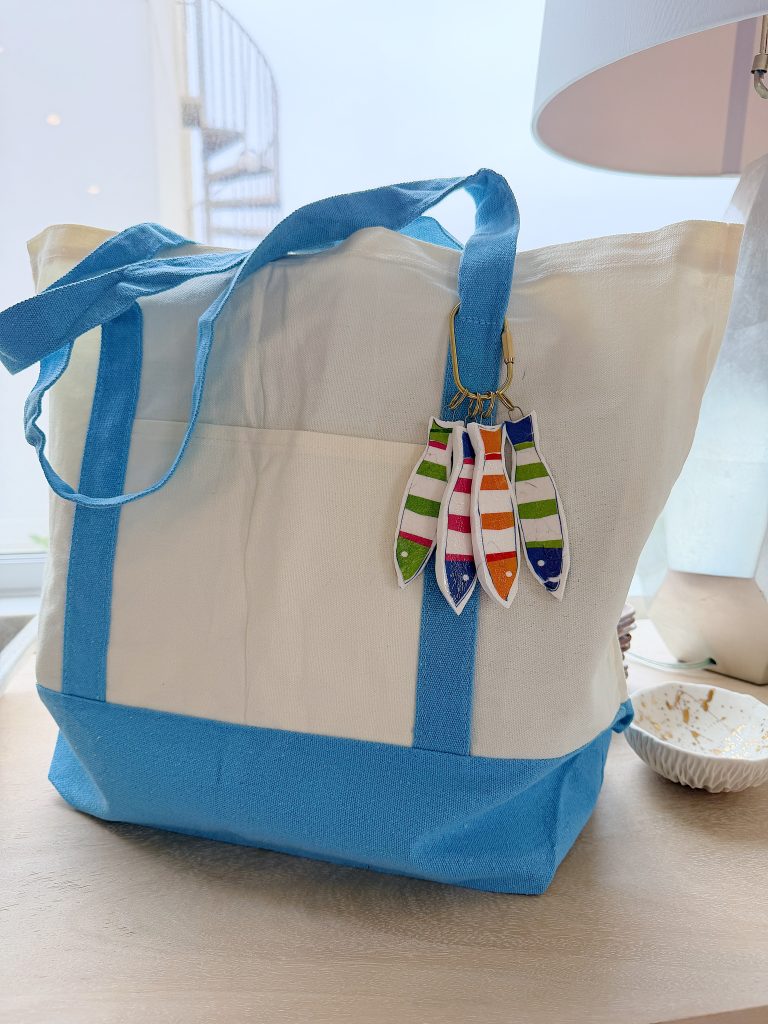
Step Seven: Assemble Your Charms
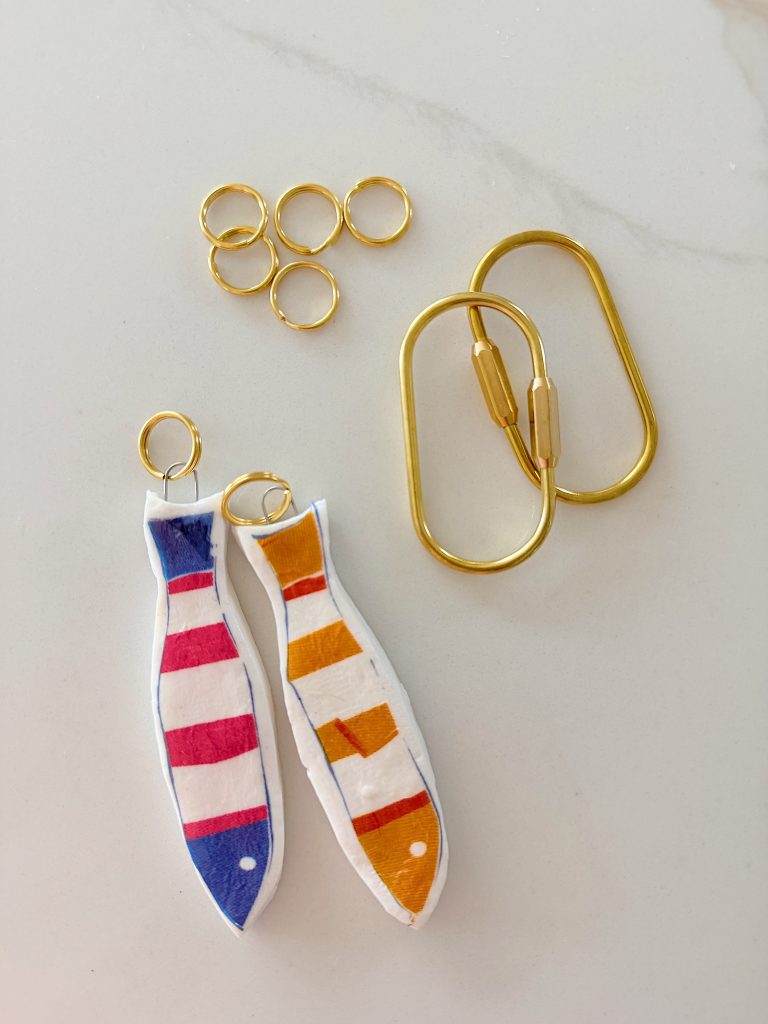
Once everything is fully dry, it’s time to turn your creations into bag charms.
Attach key rings and keychain clips to the wire hooks.
This instantly transforms the clay pieces into functional accessories.
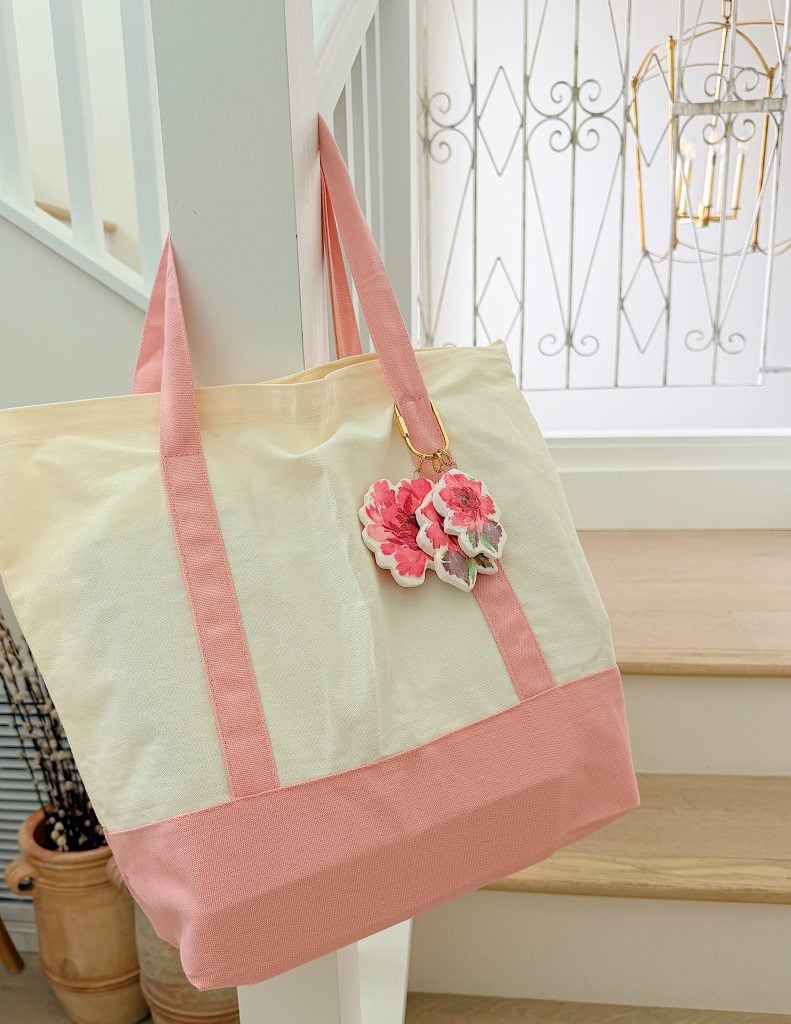
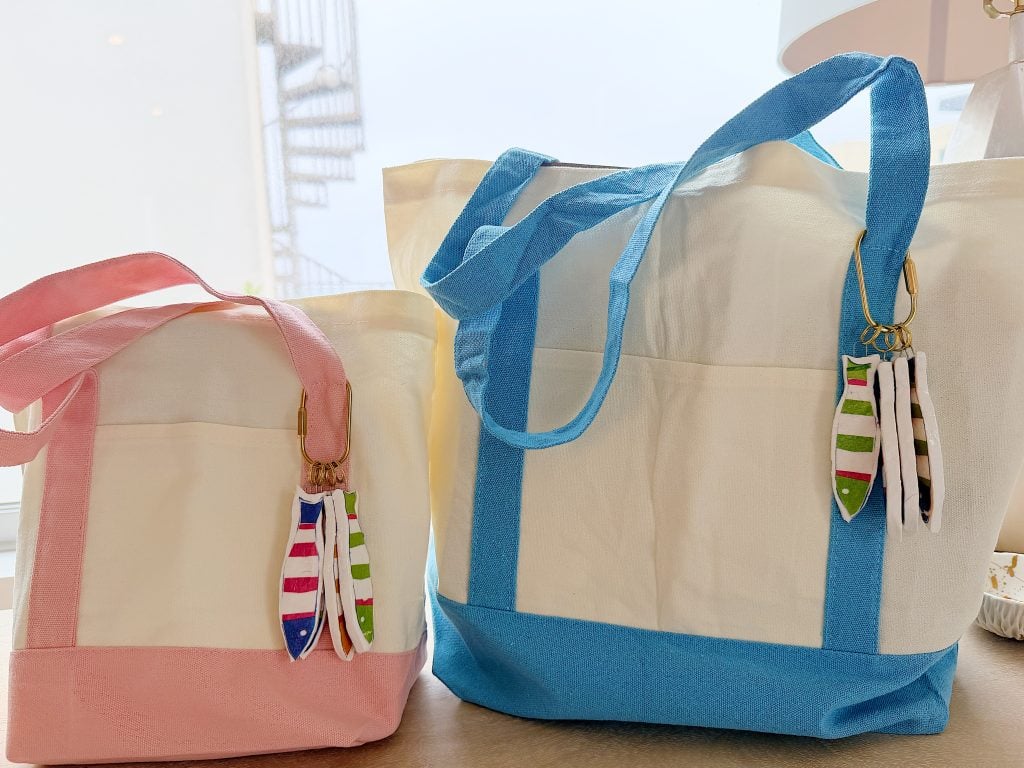
You can use a single charm or combine several together to create a layered look.
I love mixing different shapes and coordinating patterns to create charm clusters that feel collected over time.
The result is stylish, personal, and completely unique.
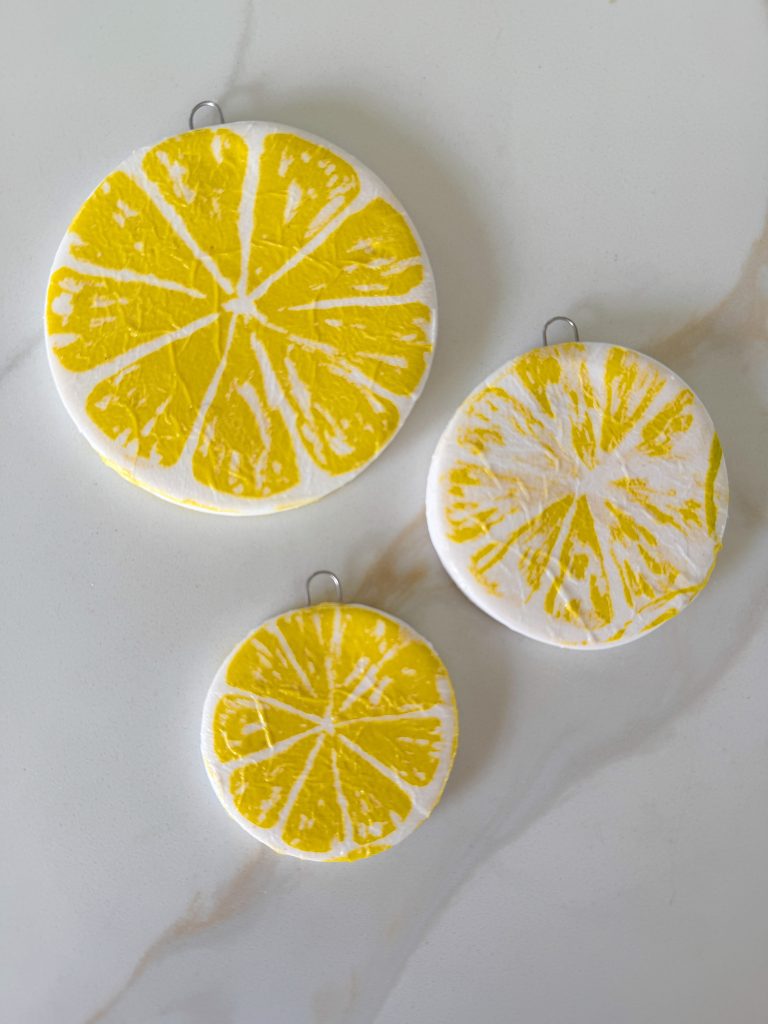
How to Make More Charms
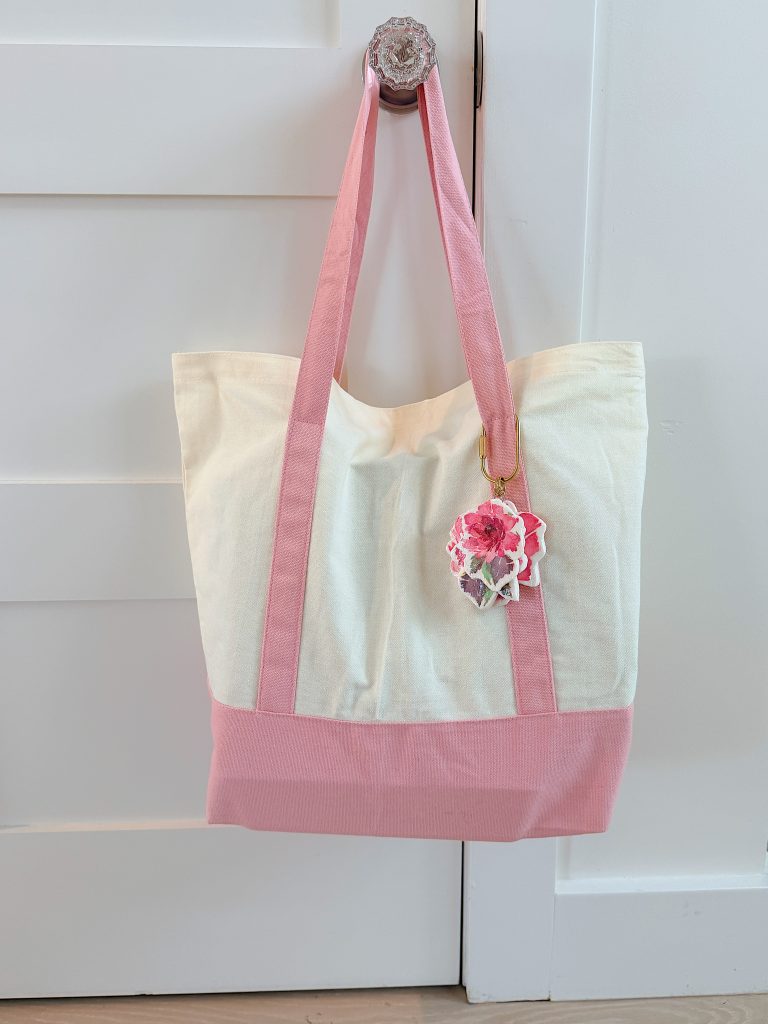
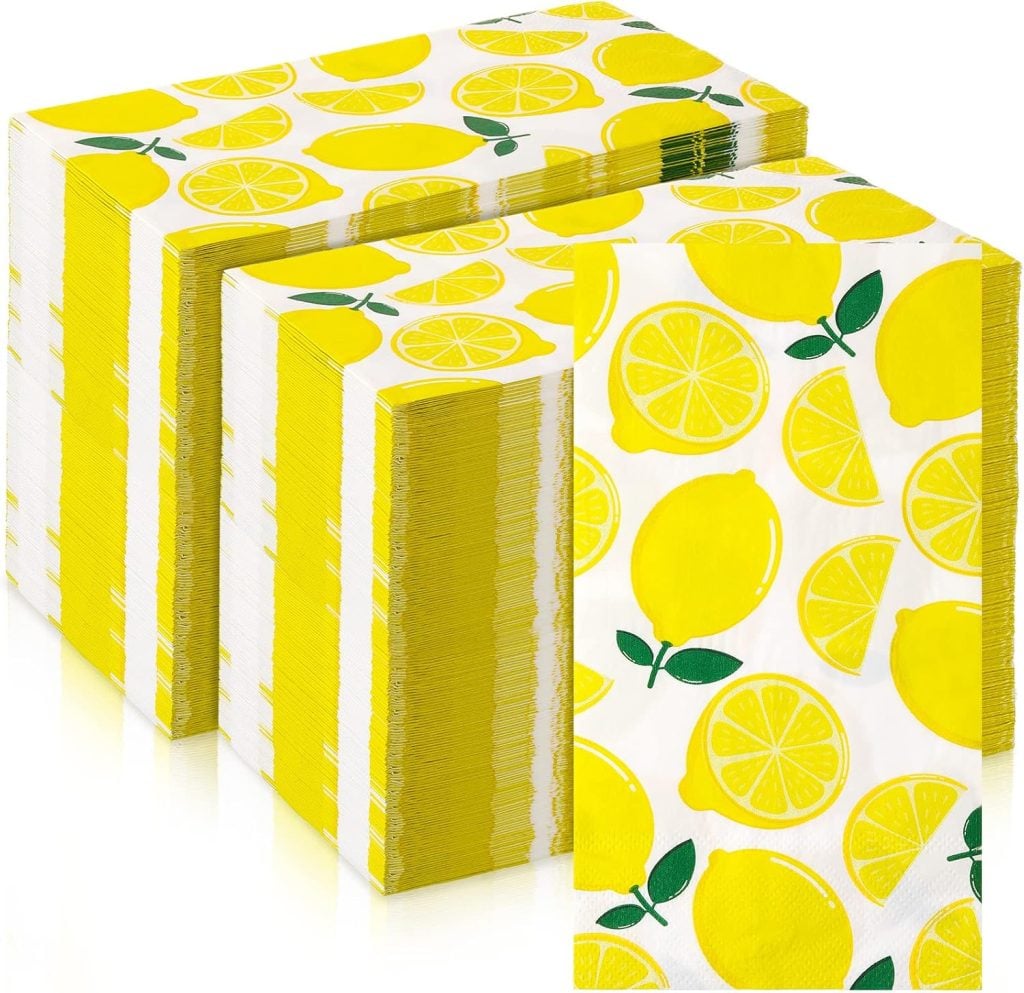
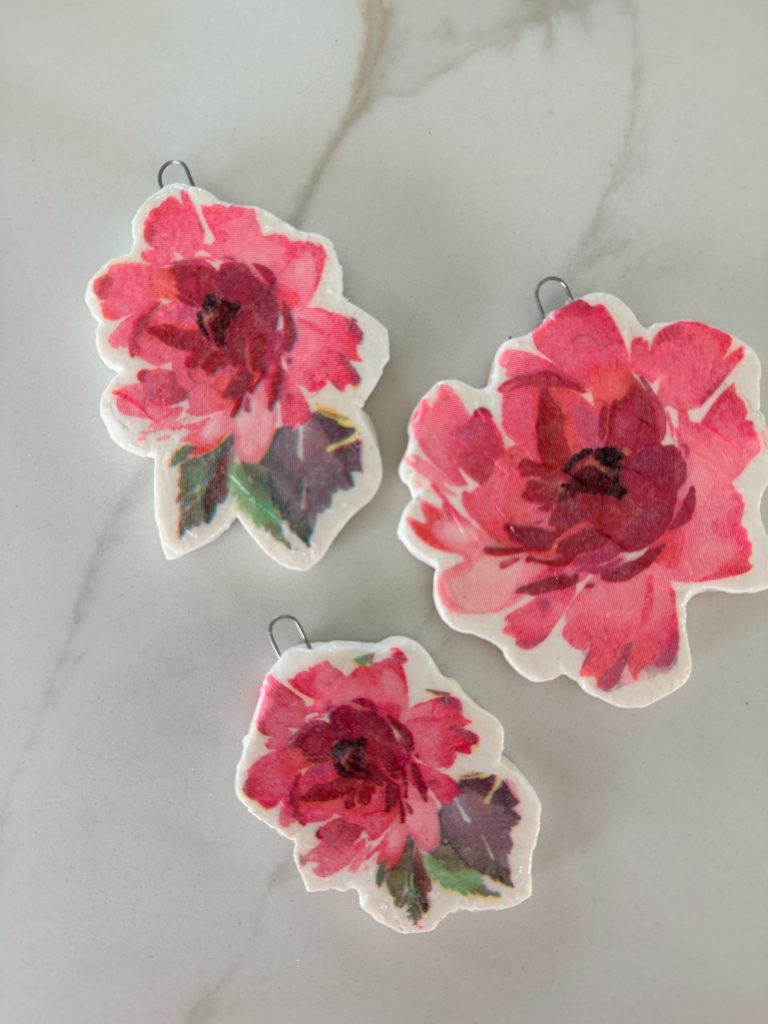
I also made floral and citrus charms.
Floral Charms
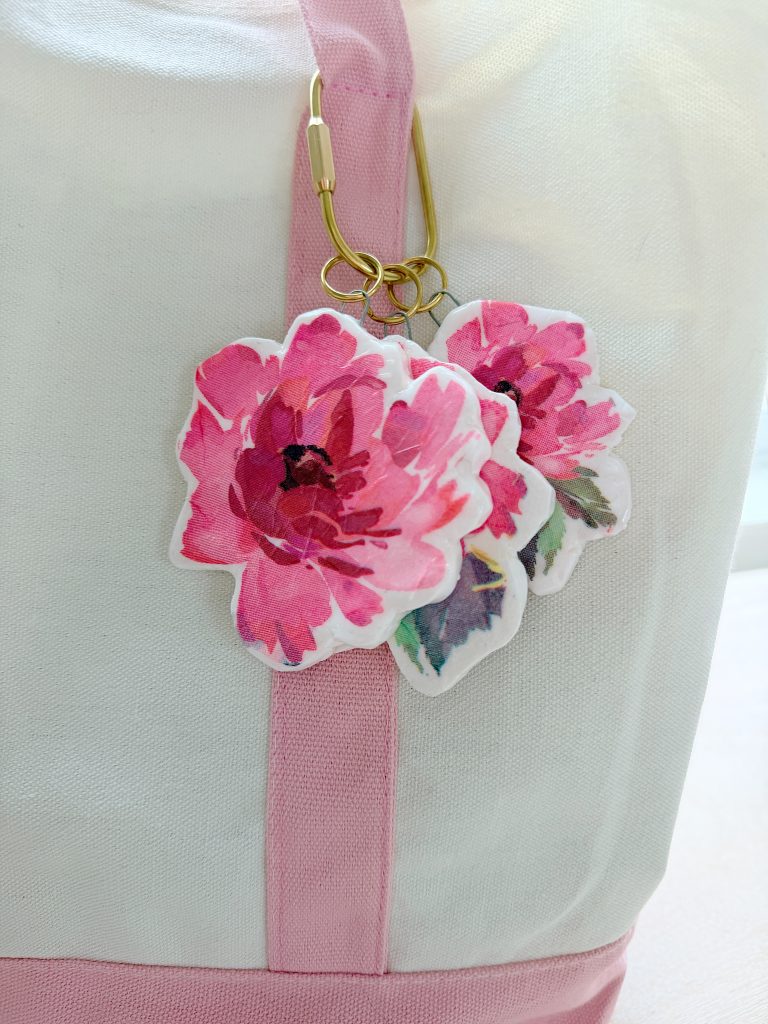
The steps to make these are exactly the same.
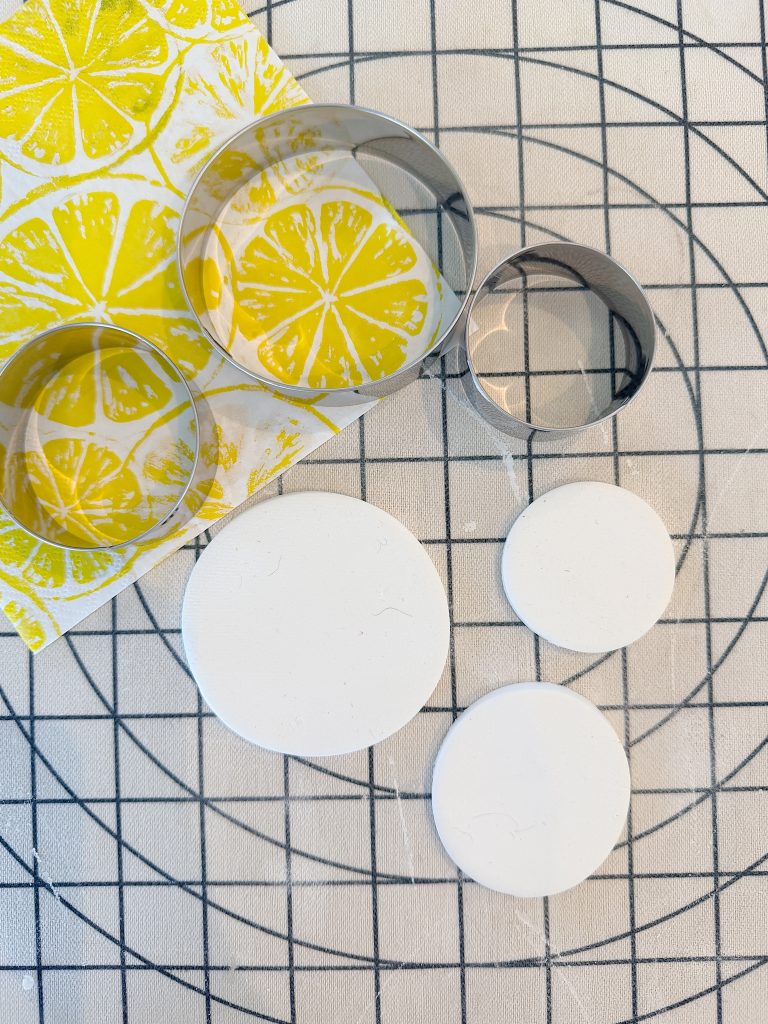
Citrus Charms
Ways to Use Your Polymer Clay Charms
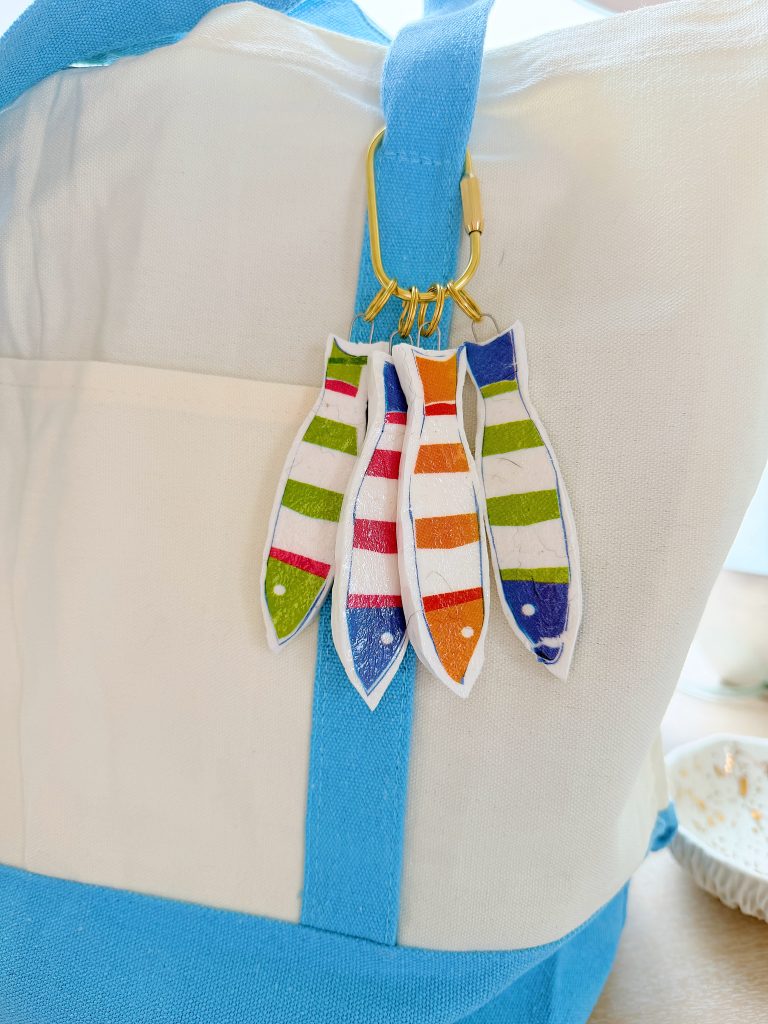
One of the reasons I enjoyed this project so much is that the finished charms are incredibly versatile.
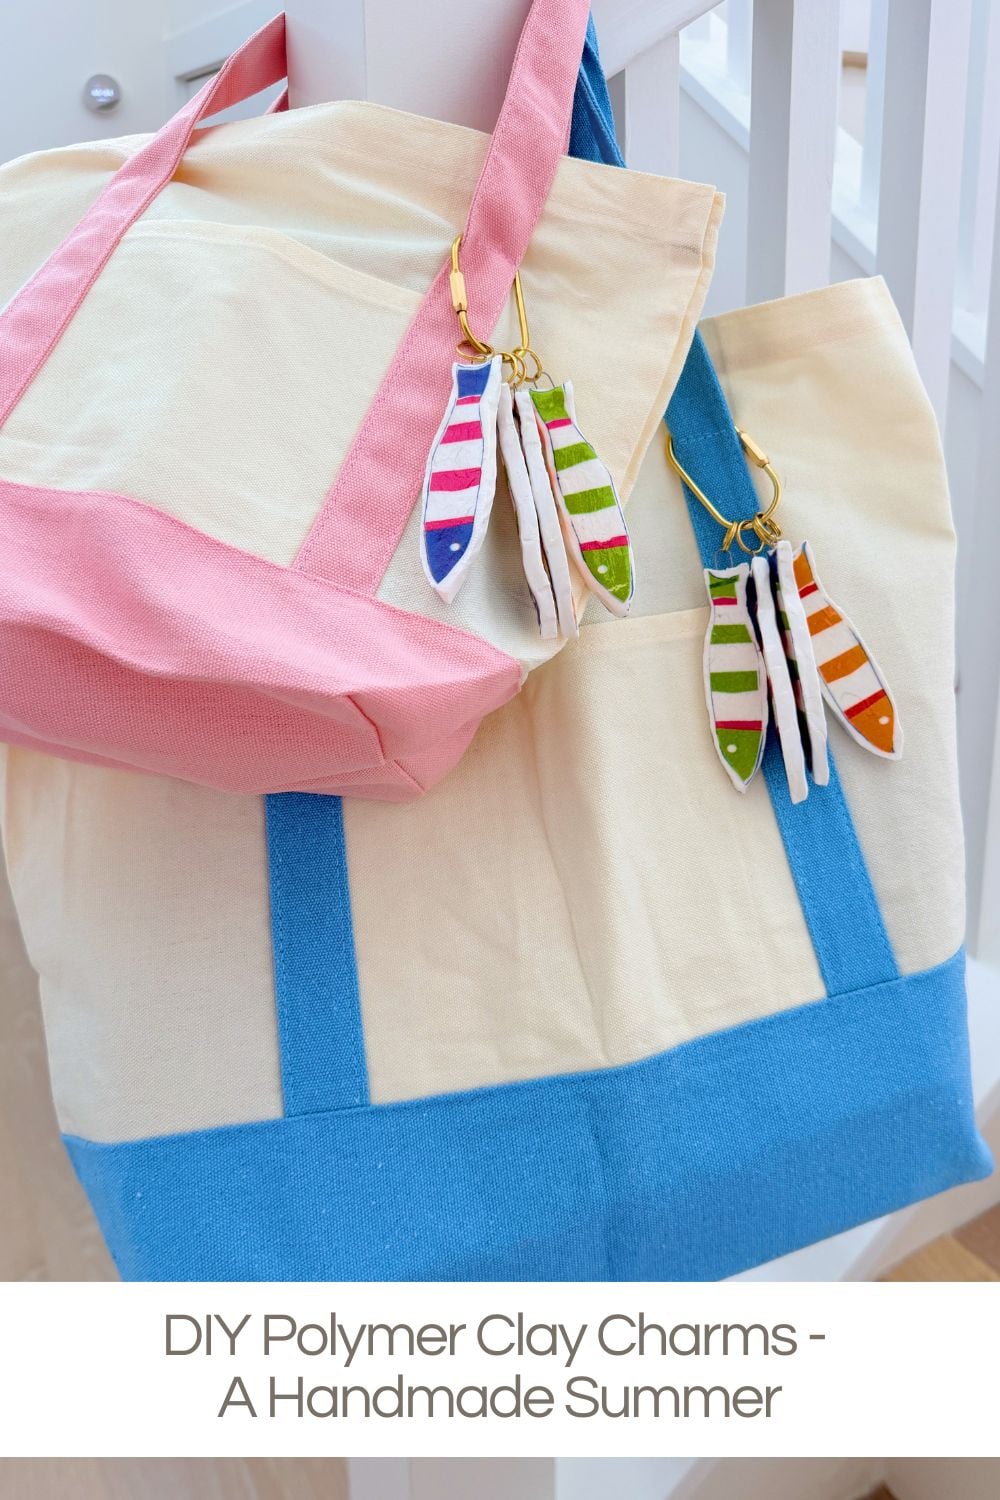
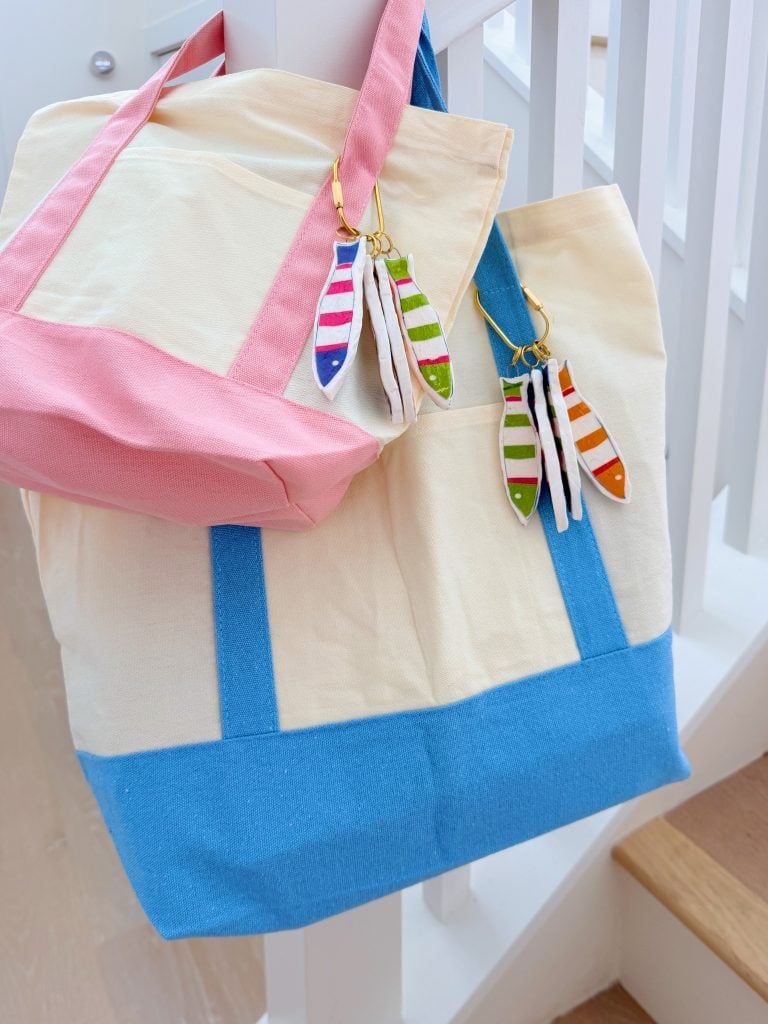
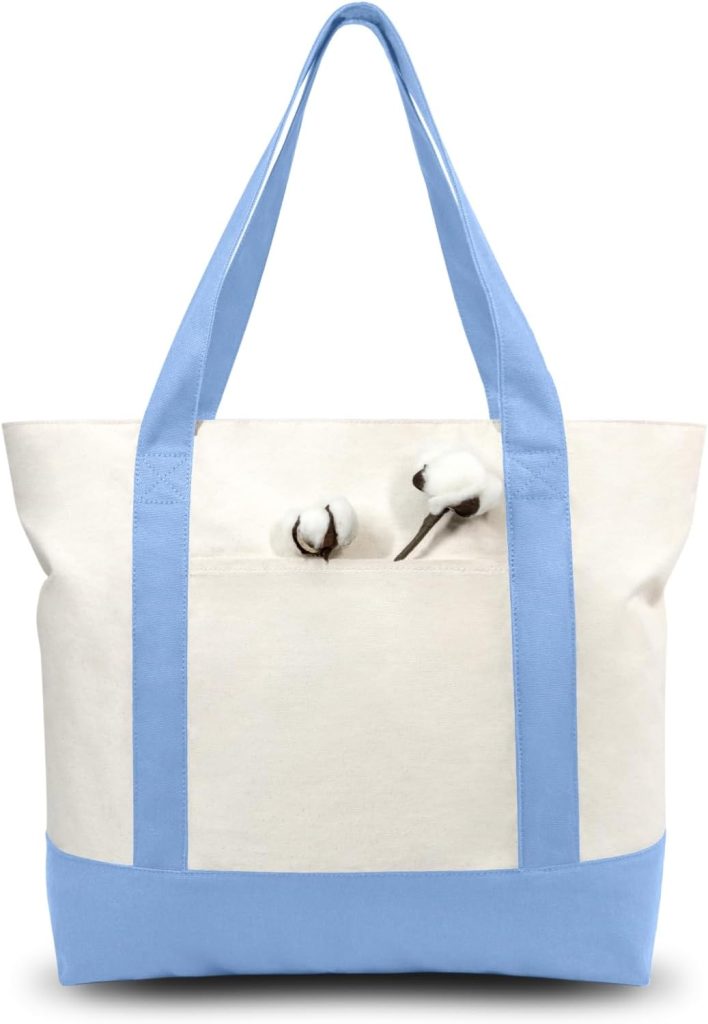
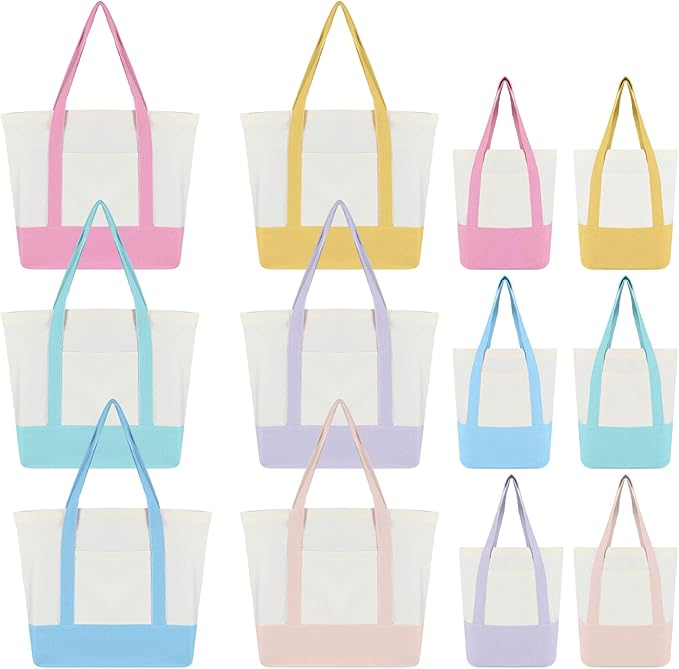
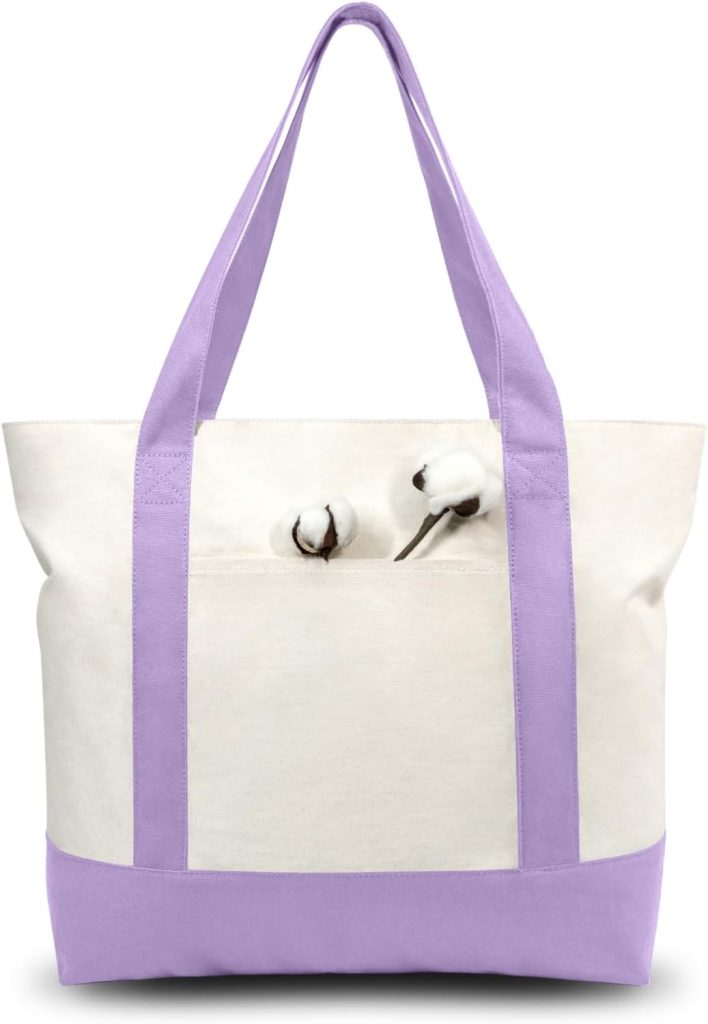
They look adorable clipped onto:
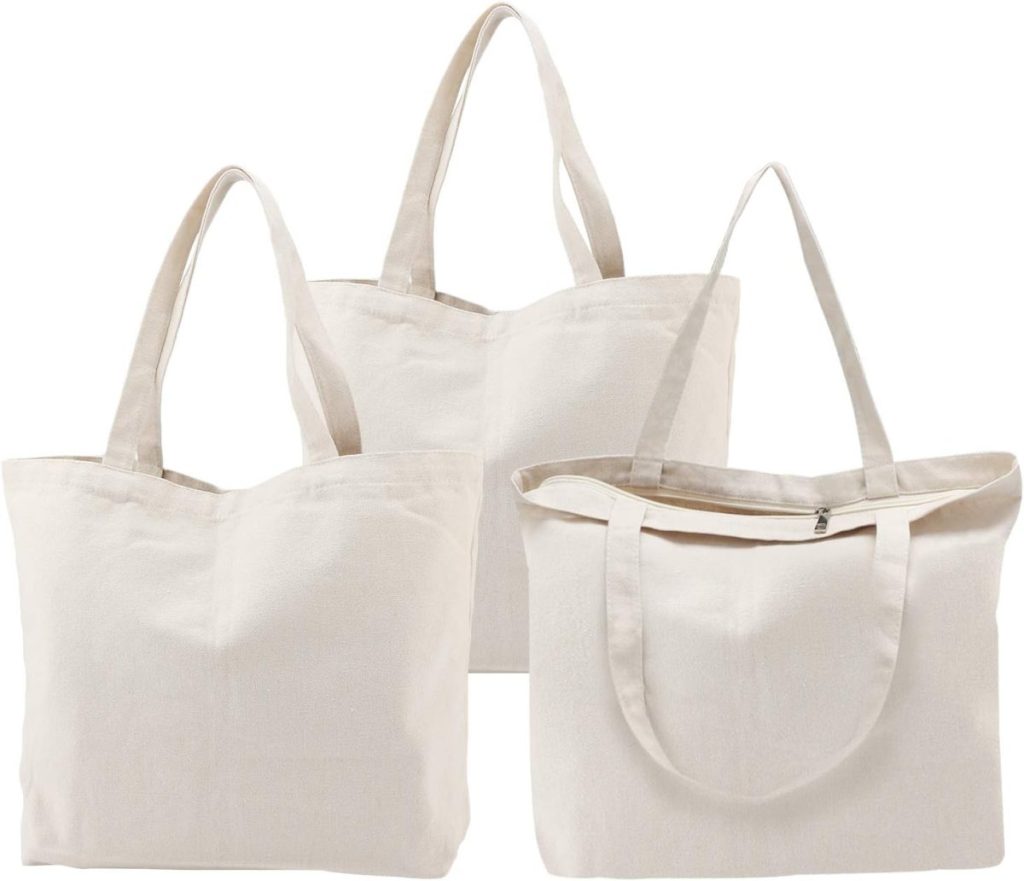
- Tote bags
- Beach bags
- Backpacks
- Purses
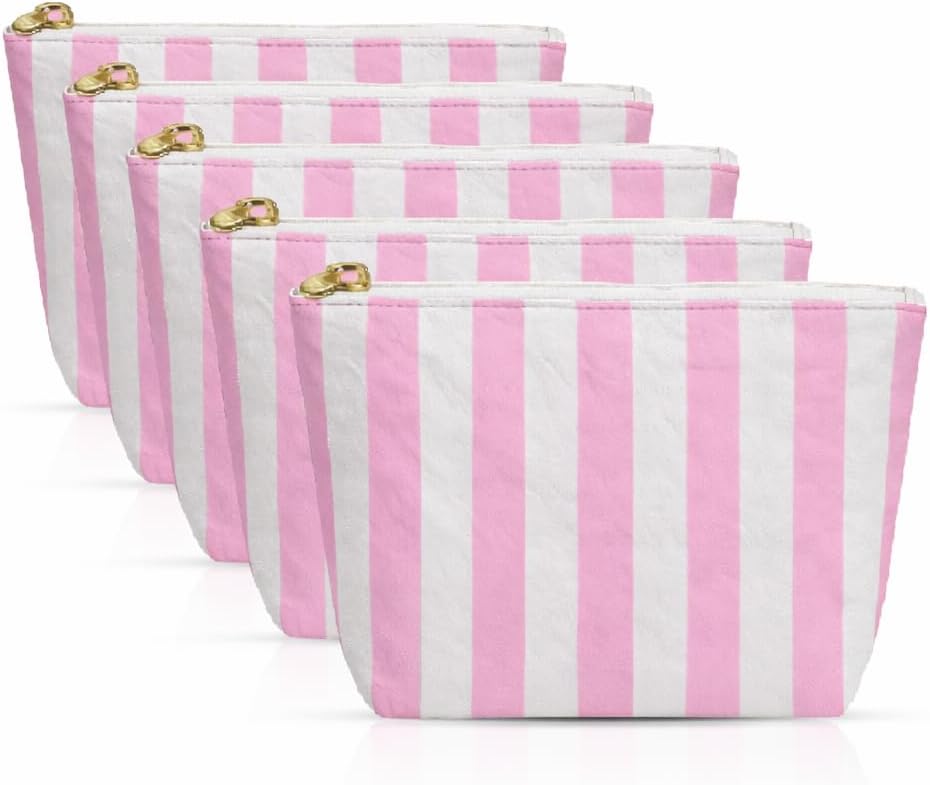
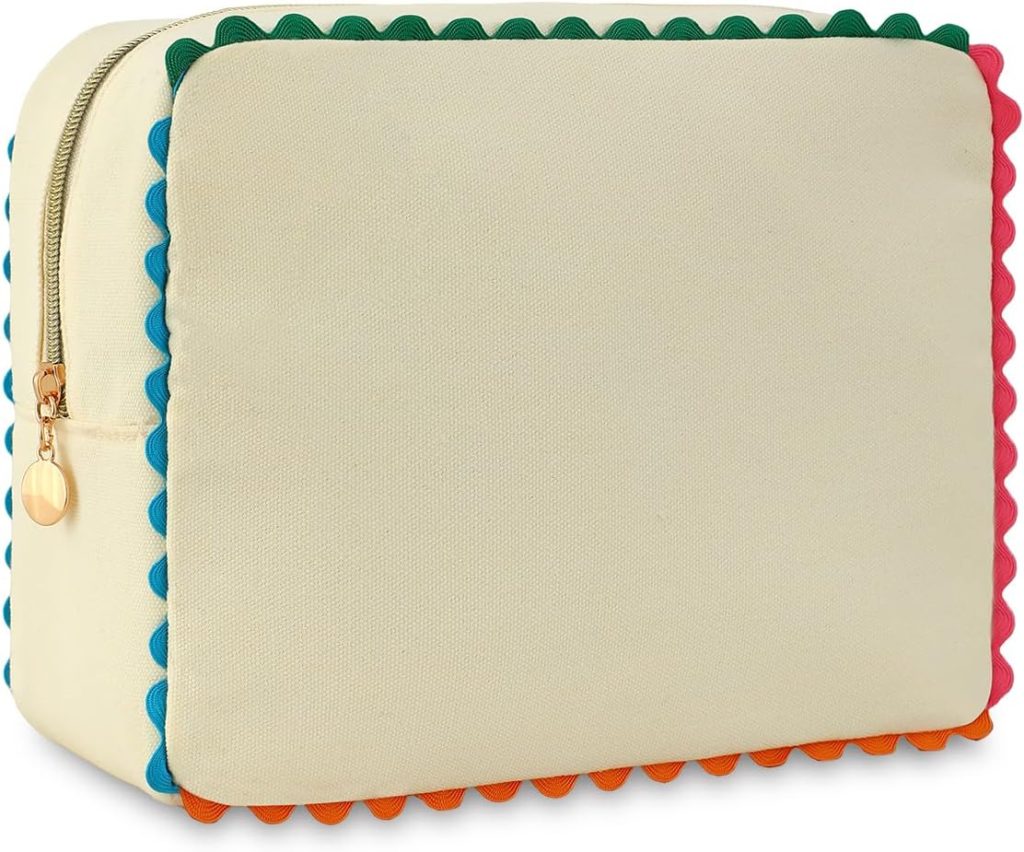
- Cosmetic bags
- Travel bags
- Gift bags
They also make wonderful gifts.
Imagine creating a custom charm using a favorite floral pattern for a friend or family member. It’s thoughtful, handmade, and unlike anything they could buy in a store.
I have already started planning holiday versions.
You know me. It’s never too early to think about Christmas crafting.
Why Handmade Accessories Are So Special
One thing I have noticed lately is that people are craving personalization.
Mass-produced accessories are everywhere, but handmade items tell a story.
Every charm I made looks slightly different.
Every pattern has its own personality.
And every piece reflects the creativity that went into making it.
That’s what makes handmade projects so rewarding.
They’re not perfect.
They’re not identical.
But they’re uniquely yours.
A Handmade Summer
This project perfectly captures what A Handmade Summer is all about.
It’s creative.
It’s fun.
And it’s approachable.
And, it results in something you’ll actually use.
I started with a block of polymer clay, a collection of beautiful paper napkins, and a simple idea. A few hours later, I had a collection of custom charms that add personality to every bag they touch.
Honestly, I already want to make more.
I have a feeling these charming little accessories are going to be appearing on a lot of bags this summer.
And if you’re looking for a fun afternoon project that combines creativity, color, and a little bit of personality, I hope you’ll give these DIY Polymer Clay Charms a try.
Happy crafting!
How to Follow Along With A Handmade Summer
Each week, a new summer craft will be shared here on the blog. I will also be sharing behind-the-scenes moments, progress videos, and finished projects on Instagram so you can see each craft come to life.
You can jump in at any point. There is no need to start at the beginning or complete every project. Choose the ones that speak to you and make them your own.
If you love seasonal crafting, this series is designed to inspire you throughout spring.
Here are all of the A Handmade Summer craft projects so far.
Latest Posts
-
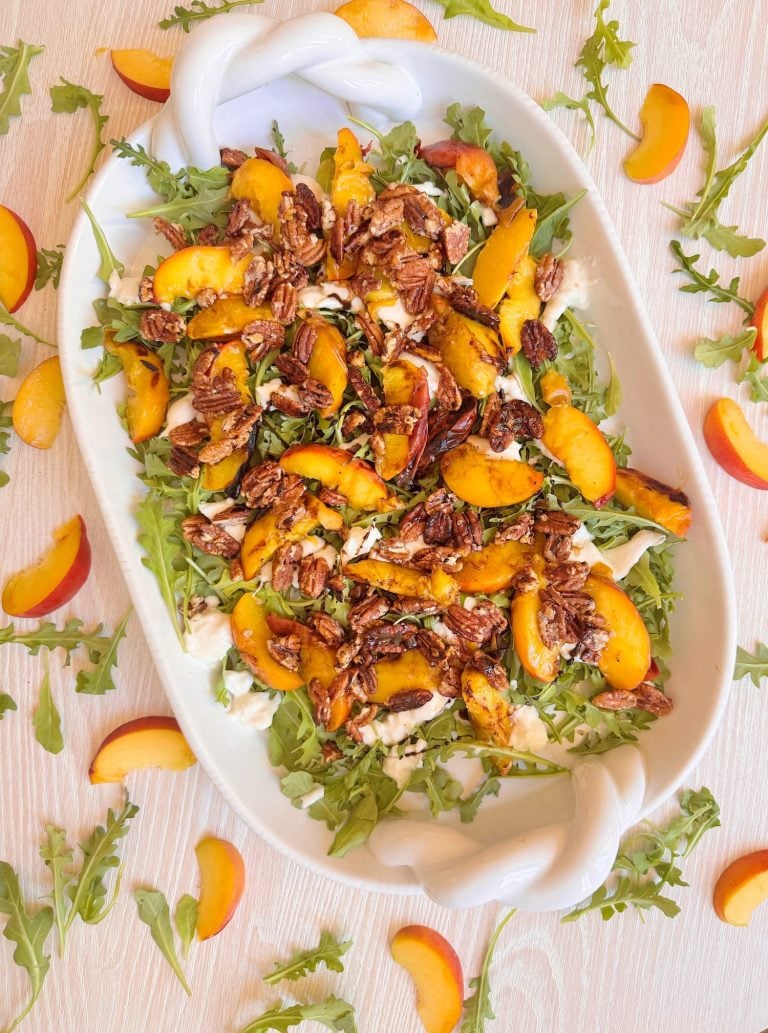
Grilled Peach Burrata Salad with Honey Balsamic Drizzle
Some recipes just taste like summer. You know the kind—fresh, colorful, effortless, and bursting with flavor. One of my absolute favorites this season is this Grilled Peach Burrata Salad with Honey Balsamic Drizzle. It’s everything I love in a summer dish: sweet peaches, creamy cheese, peppery greens, and a drizzle of sweet-and-tangy goodness. It’s elegant…
-
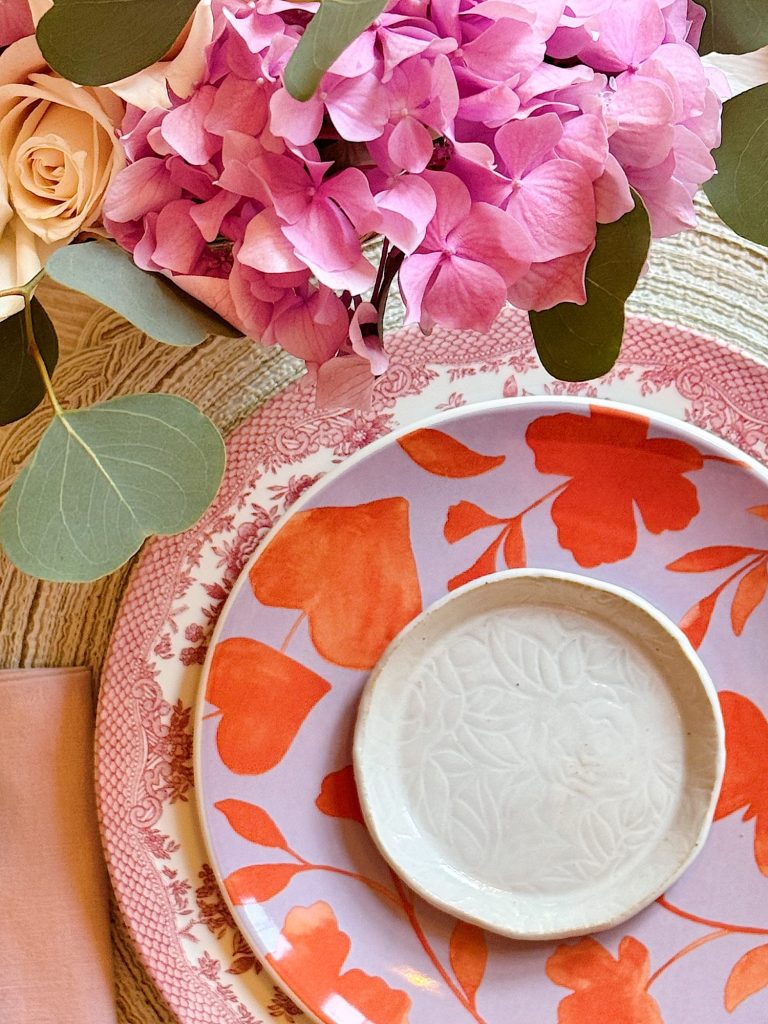
My Obsession with Hand-Building Clay Pottery Ideas
For the past year, I have enjoyed one of the most rewarding creative experiences I’ve had in a long time: hand-building clay pottery ideas. What started as a curiosity quickly turned into a full-blown passion, and I’m thrilled to share the joy, challenges, and surprising things I’ve learned throughout this journey. Let’s just say, I’m…
-
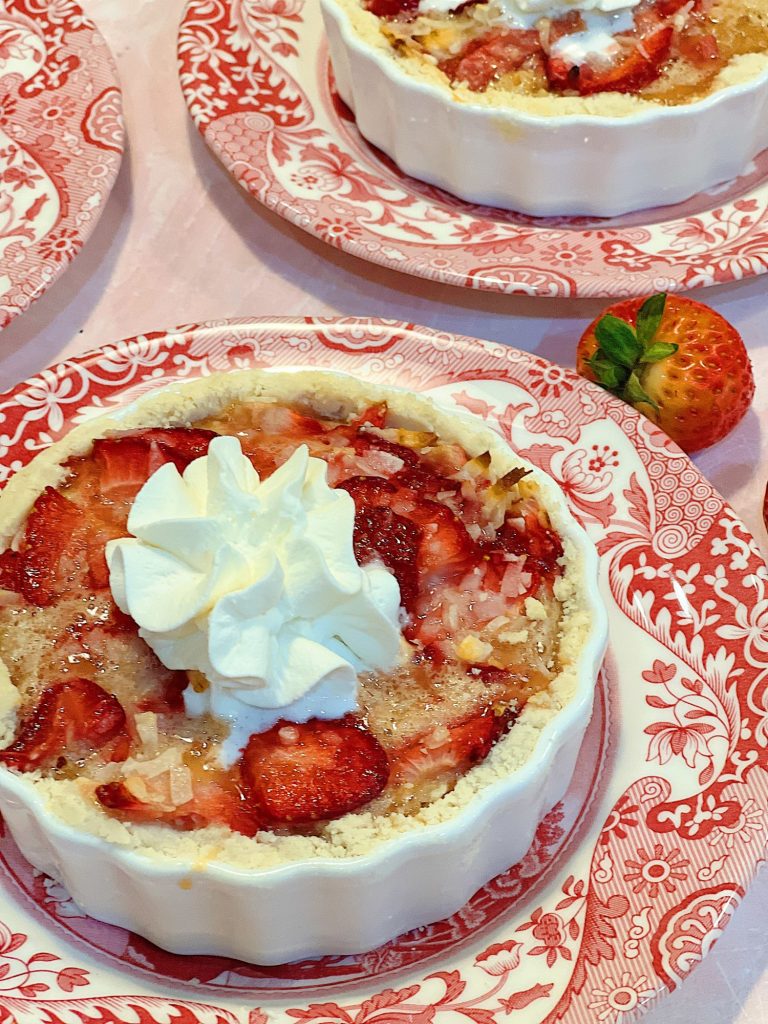
Strawberry Coconut Mini Tart Recipe
It’s time to whip up some summer desserts! And what better way to celebrate than my irresistible Strawberry Coconut Mini Tart Recipe? Ah, summer – the season of sunshine, flip-flops, and the vibrant burst of flavors that only fresh berries can offer. When those juicy, plump strawberries are in season, it’s time to get creative…
-
The Truth About Being “Crafty” – Mondays in the Craftroom
One of the most common things people say to me is, “I’m just not crafty.” But the truth is that creativity isn’t something you’re born with. It’s something you learn. Today I’m sharing why being crafty has much less to do with talent and much more to do with curiosity, practice, and simply being willing…
My Recent Instagram Posts

You can pin the image below to your boards on Pinterest (click the Pin button in the top left corner) or follow me on Pinterest!

For more real-time updates, follow me on Instagram @My100YearOldHome
Wow! Love the charms. You are amazing. You keep coming up with these really great projects that are beautiful and practical. Good combo. Have you thought of doing another book with craft-based items? It’d be a bestseller.
Oh my gosh, thank you! I love crafting so much. I have something in the works that I am really excited about. Stay tuned!