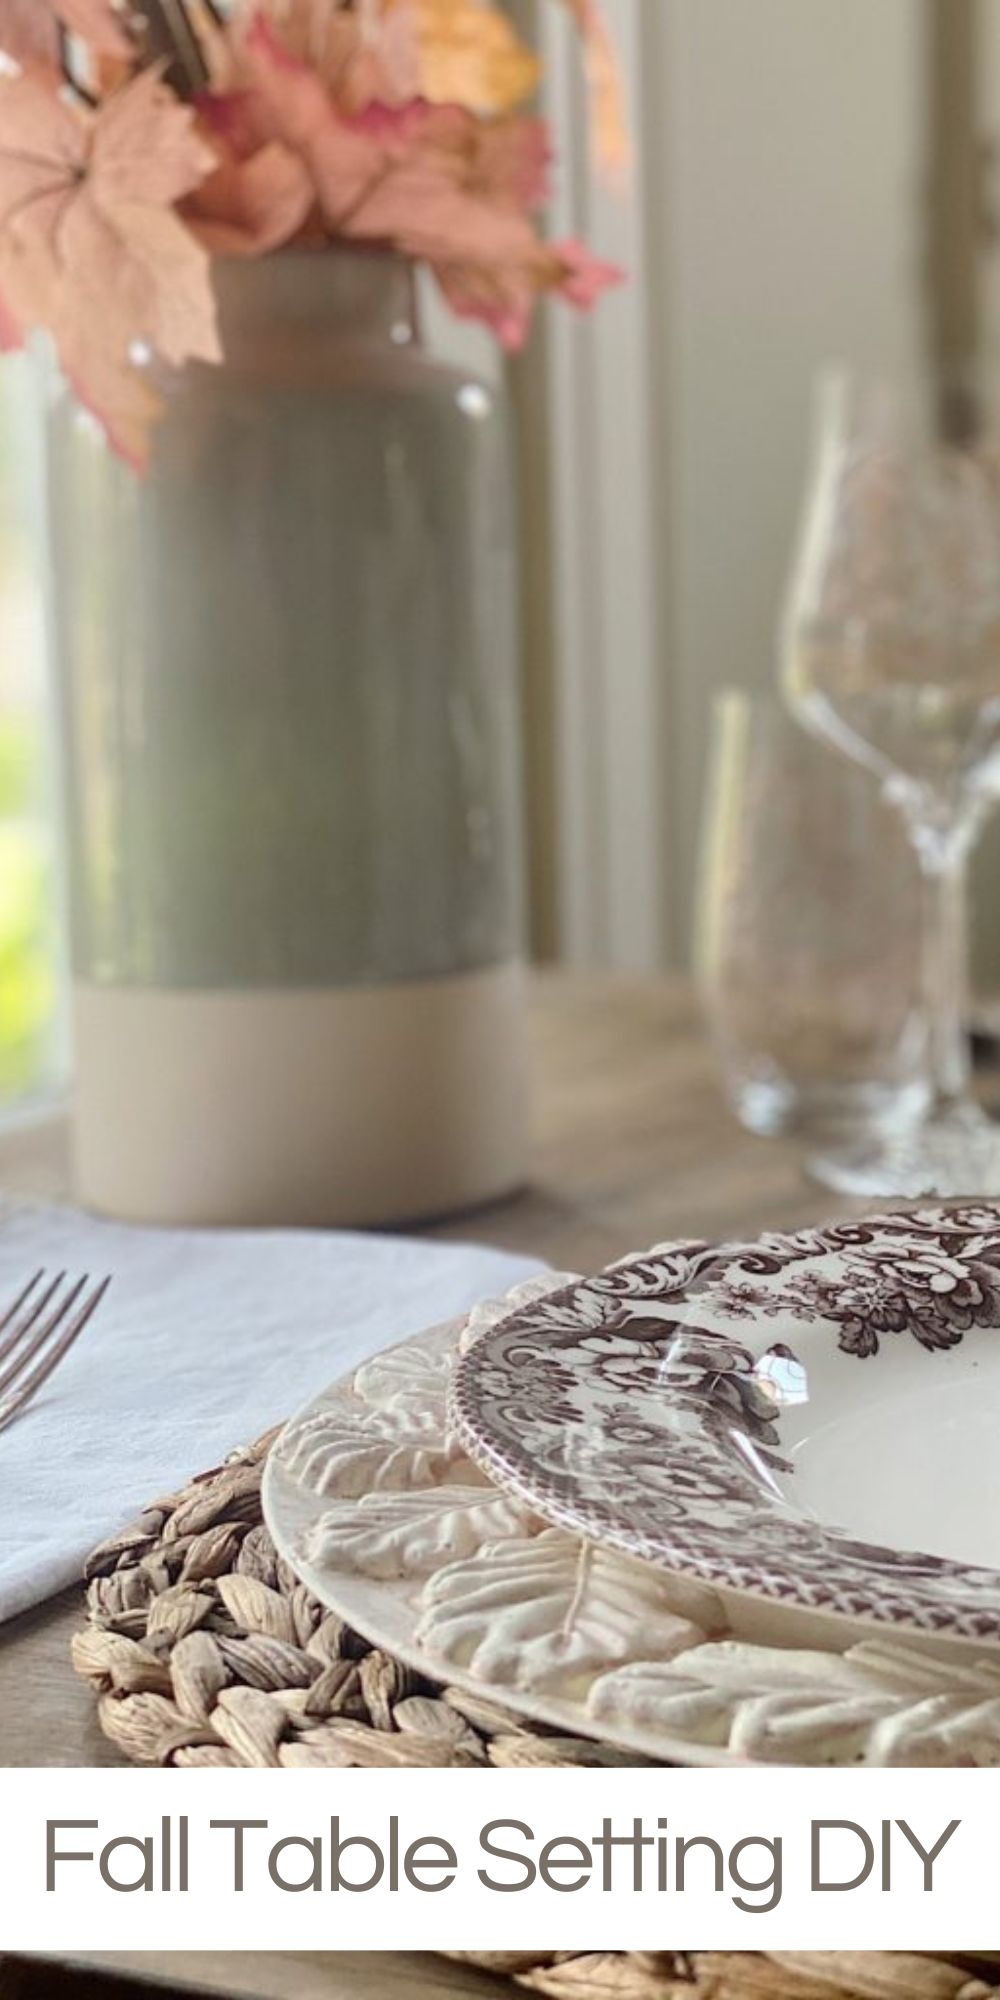
Fall Table Setting DIY
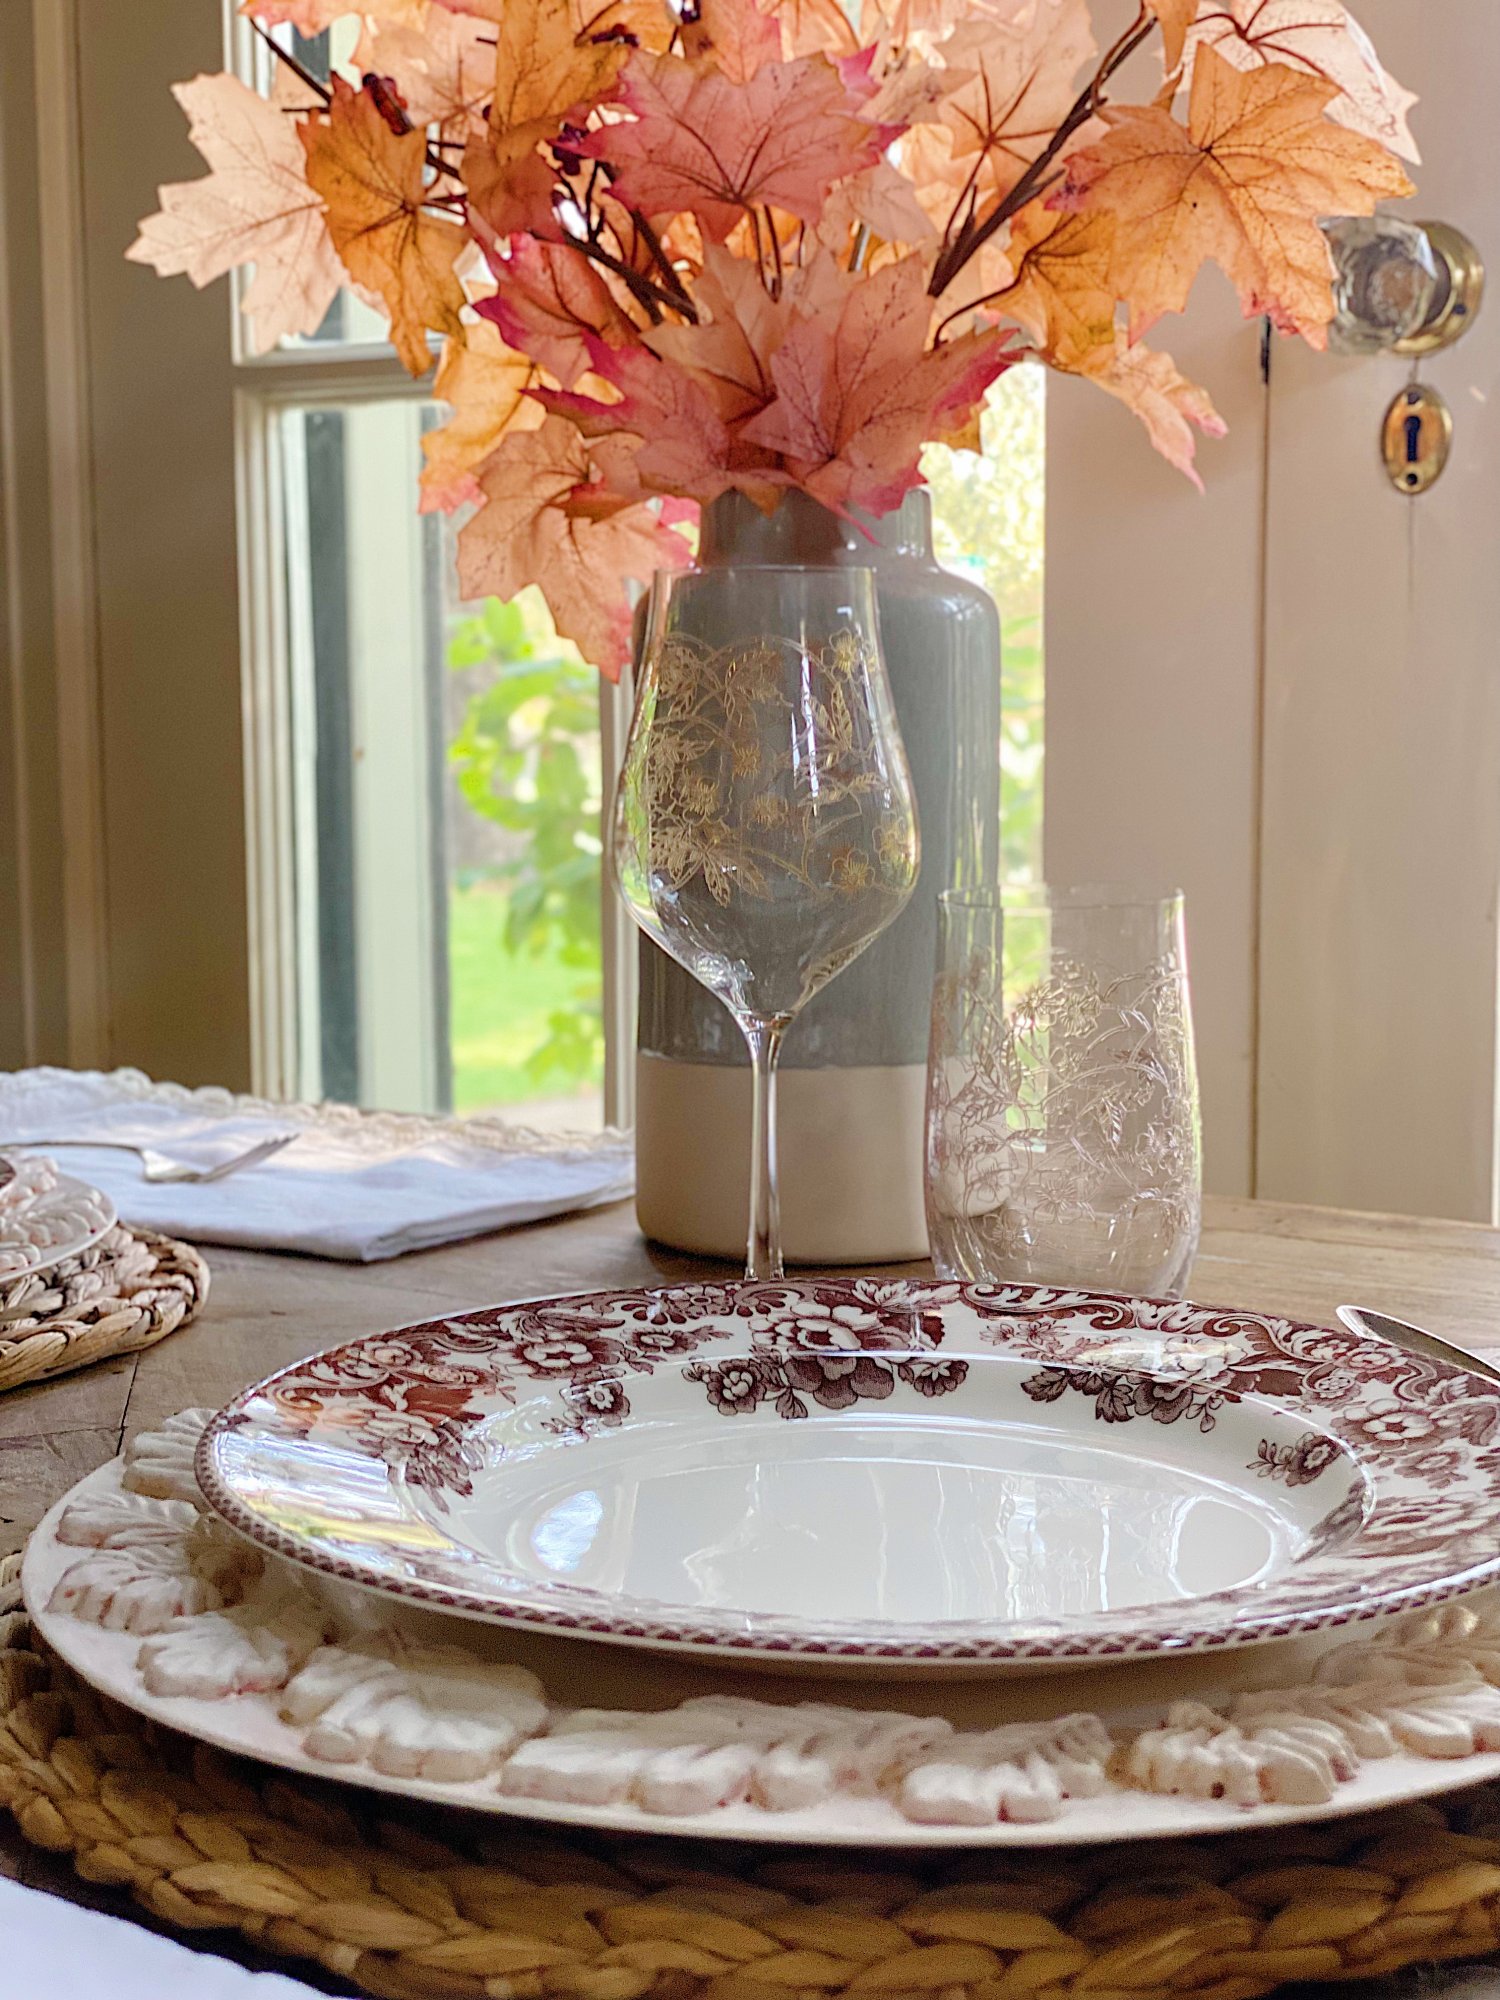
I have always enjoyed working with clay. For my fall table setting, I adorned chargers with clay leaves.
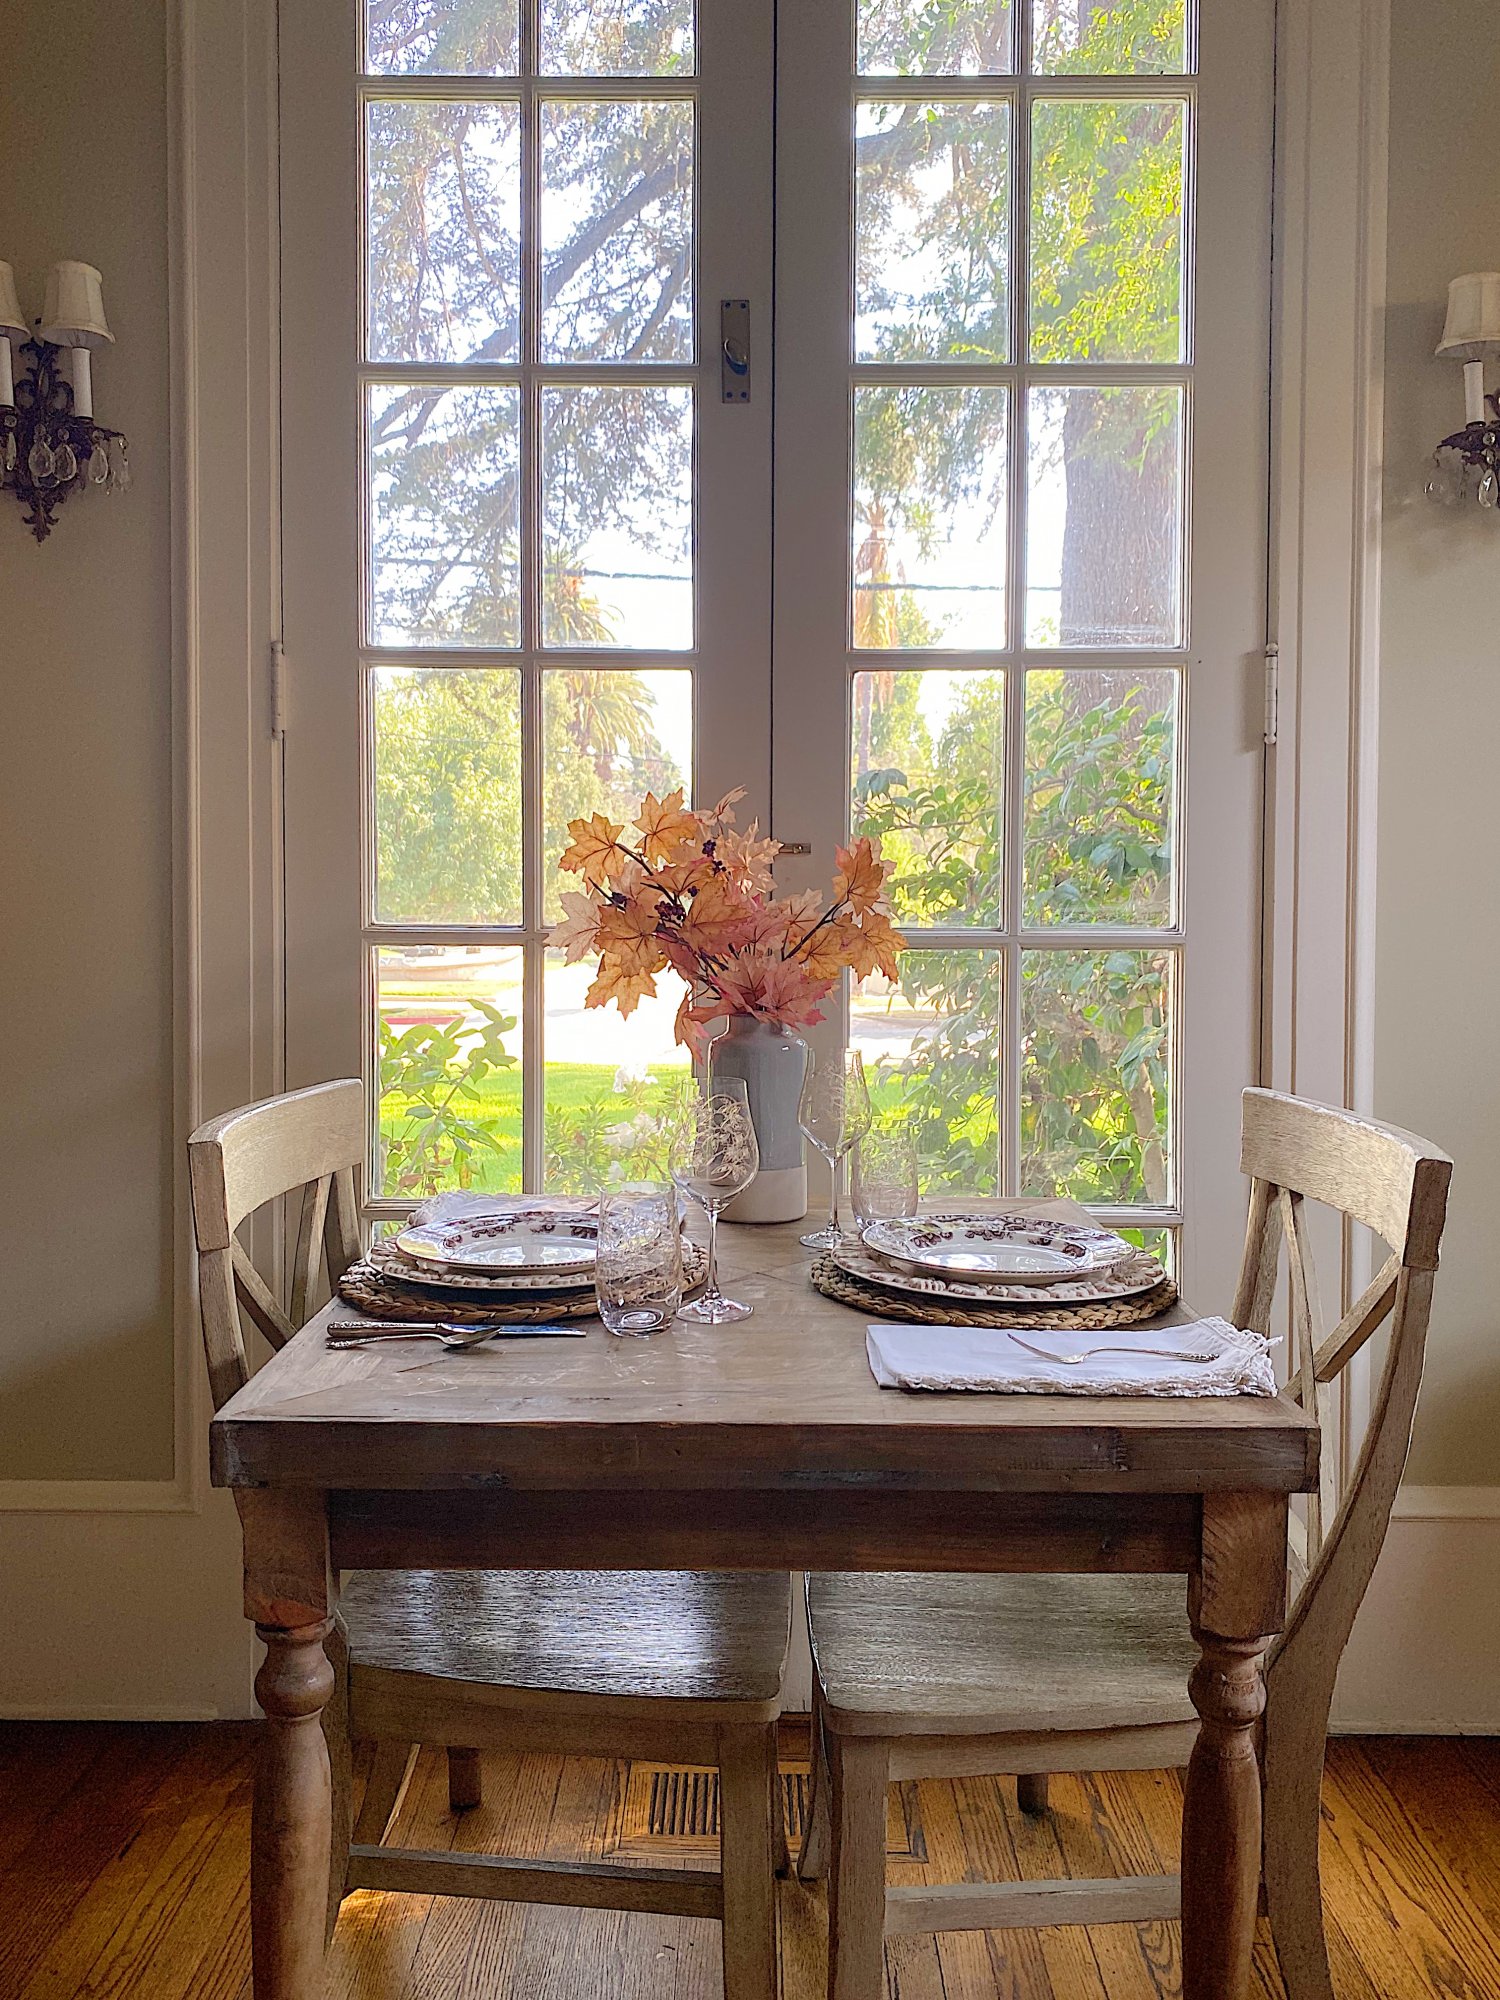
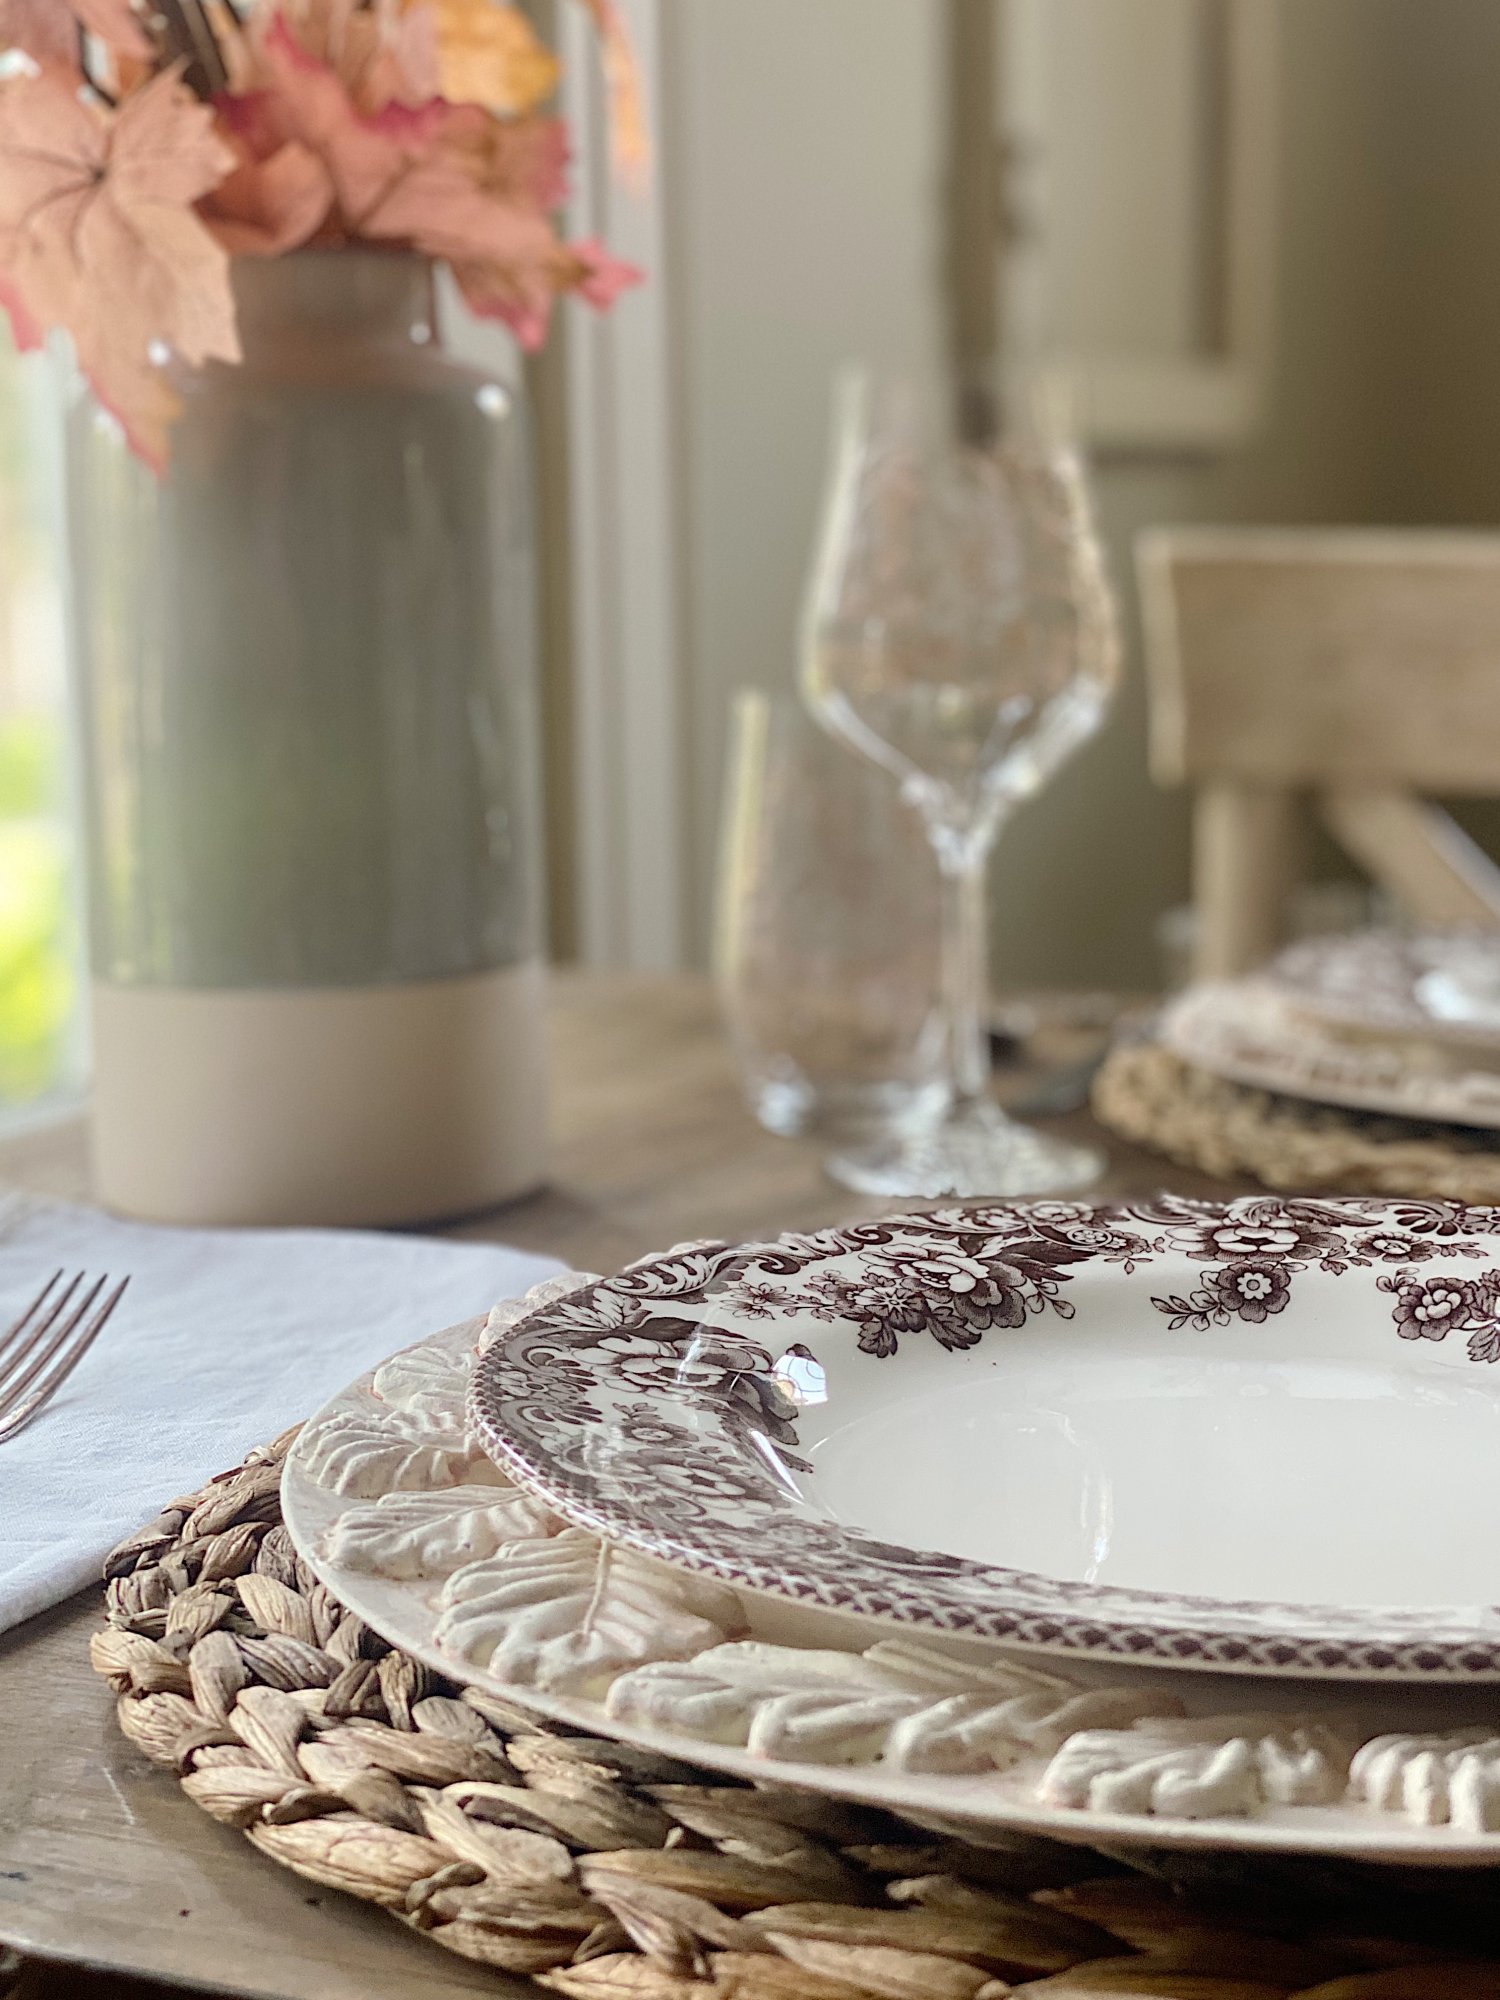
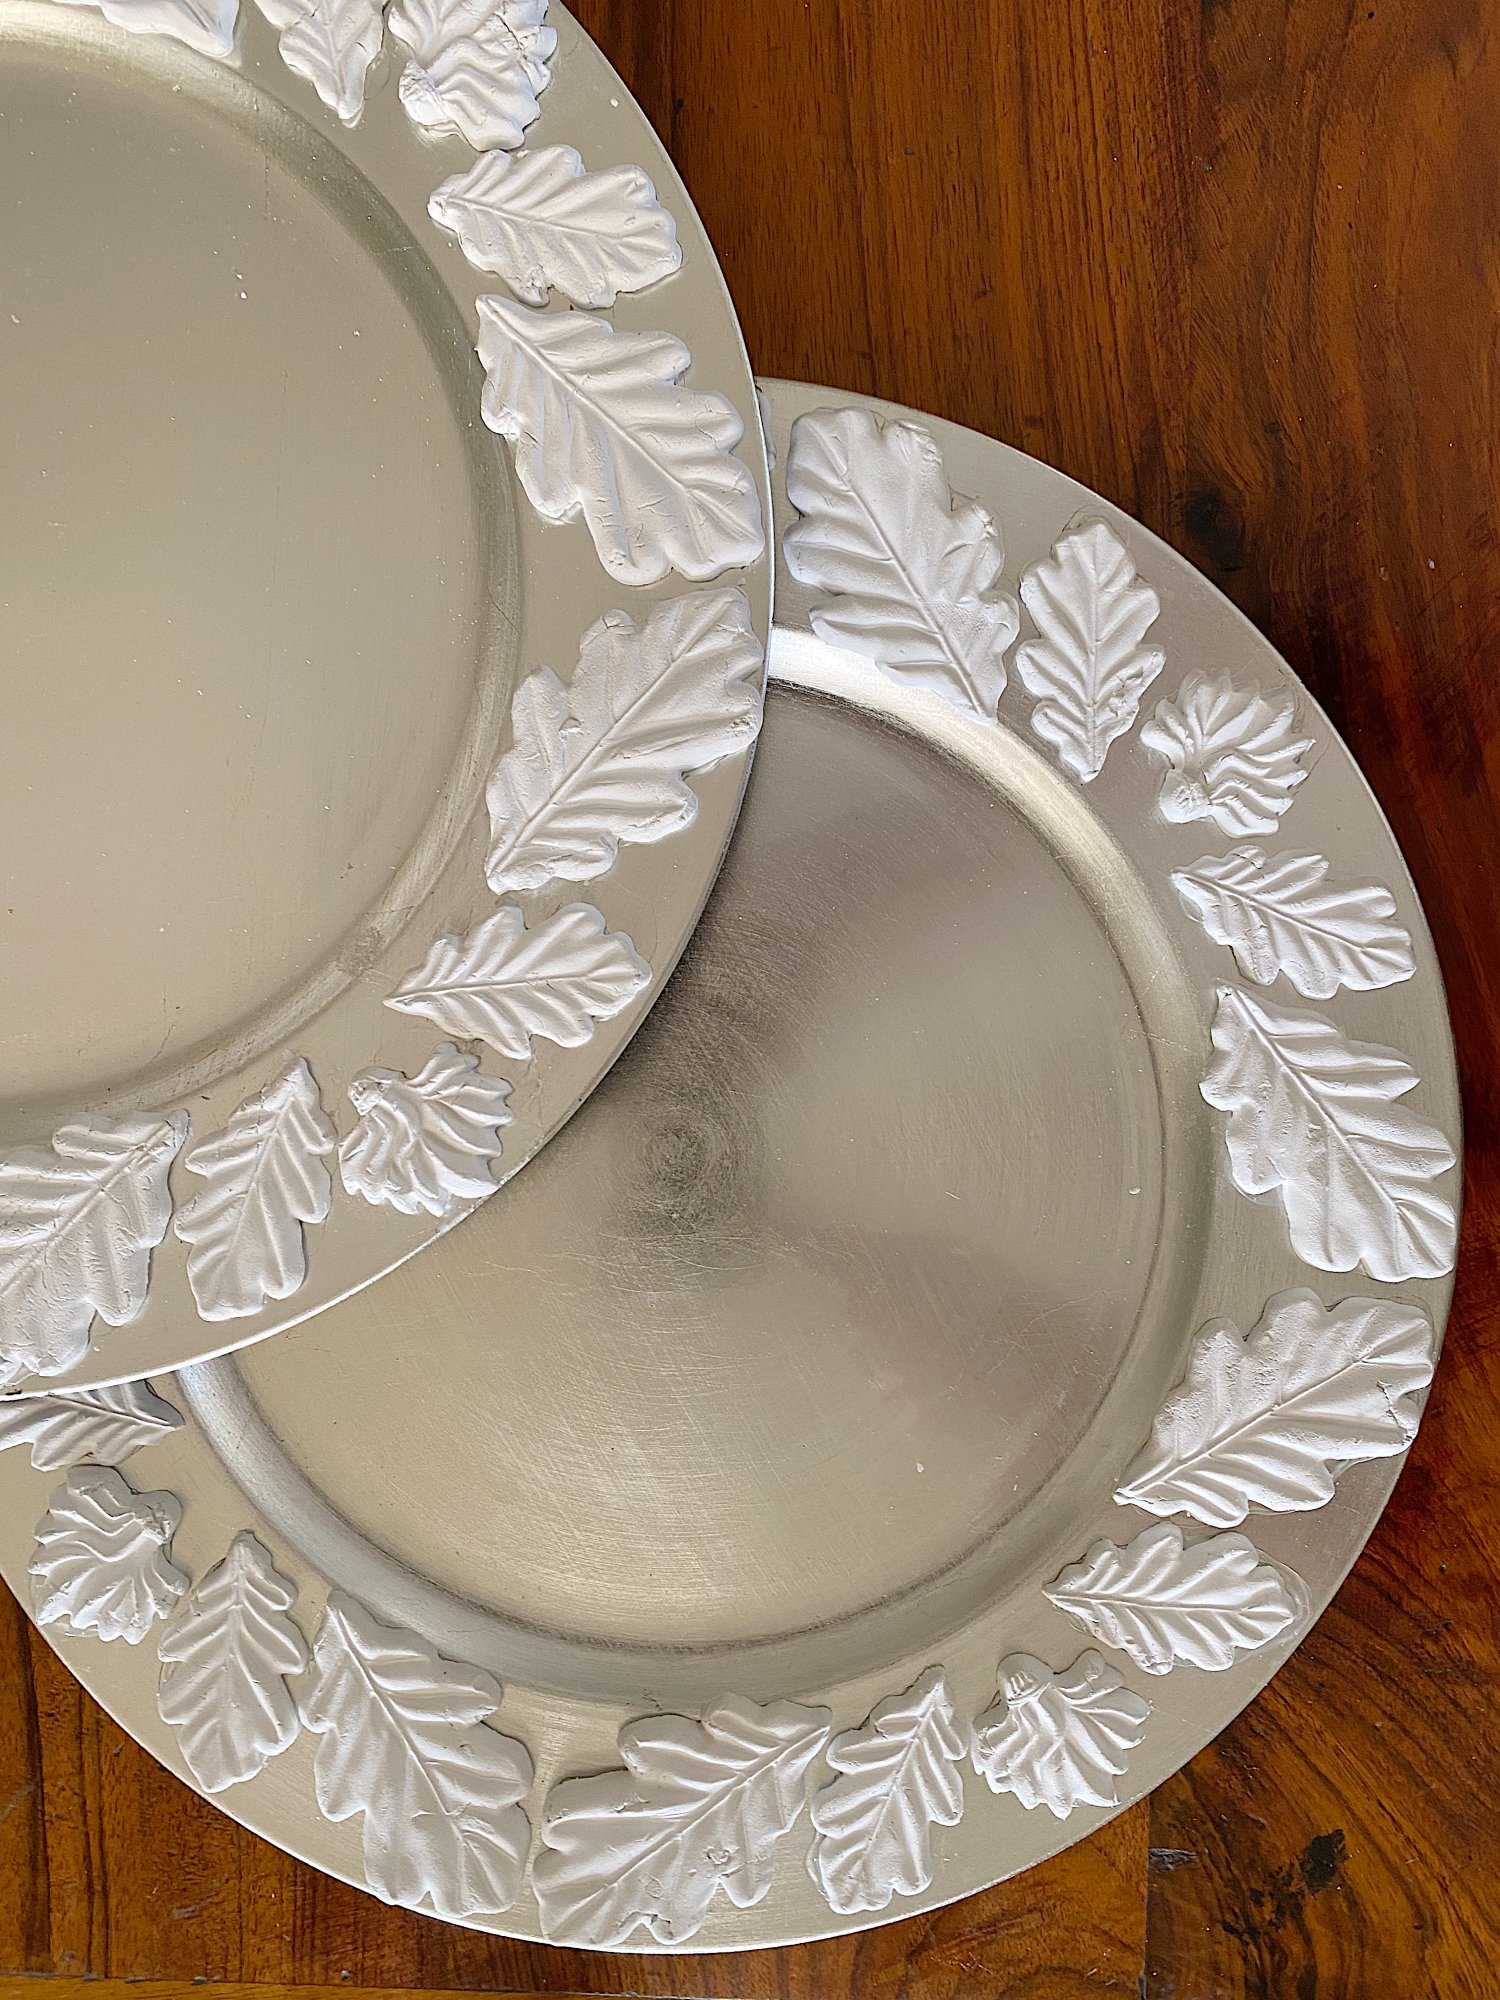
I am so excited because my fall table settings will look so amazing! Aren’t these new chargers fun? I can’t wait to share how easy they were to make.


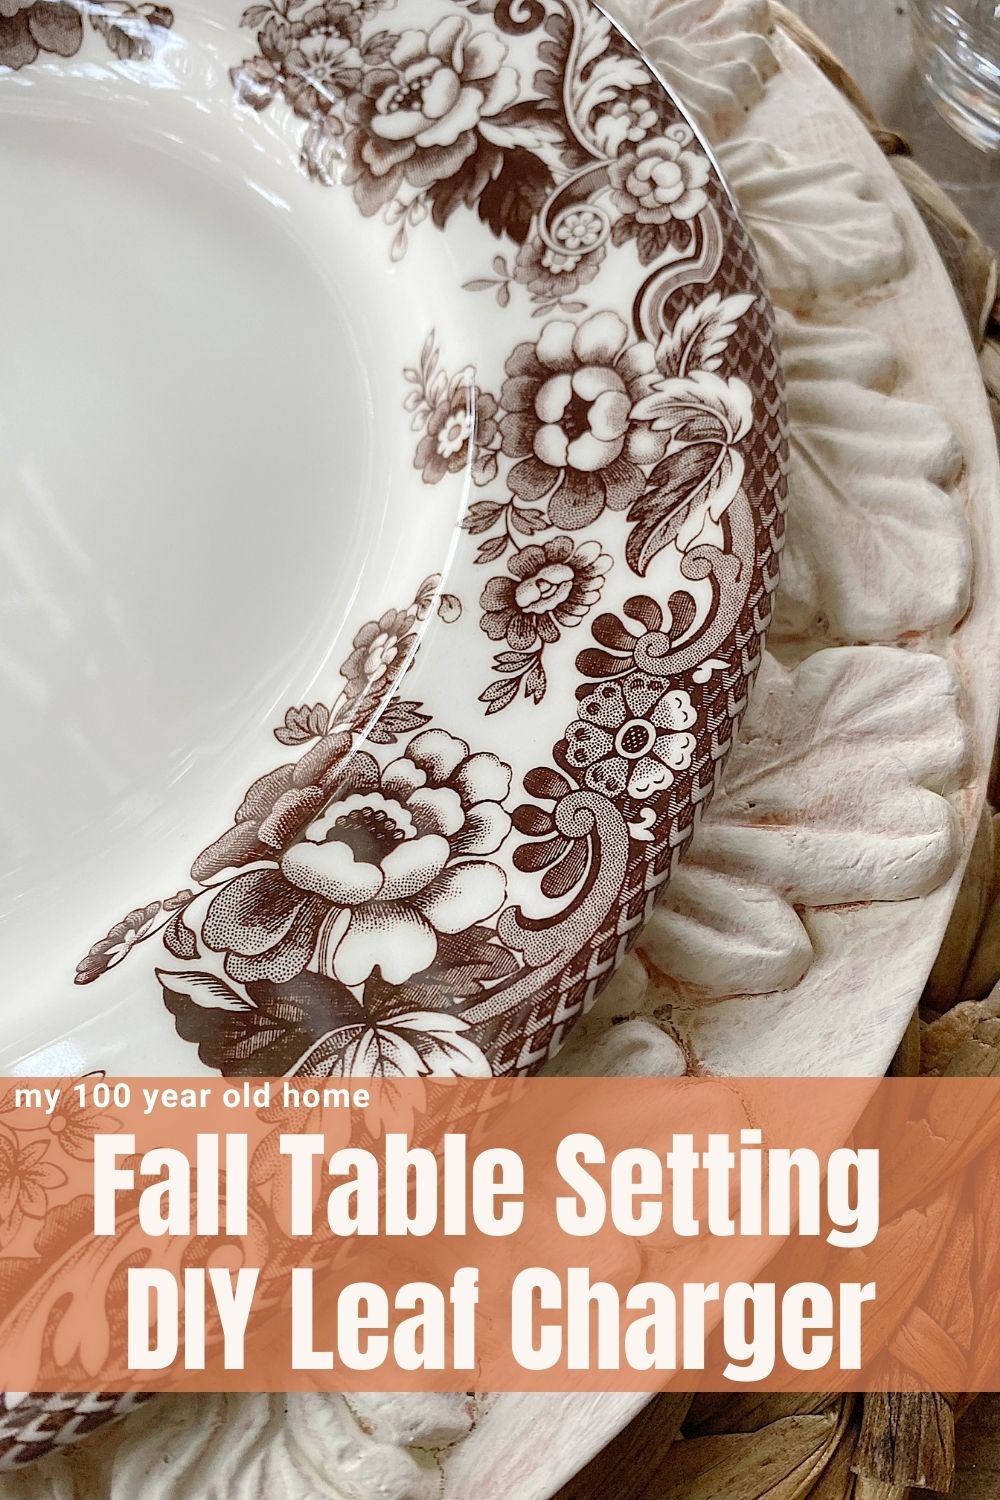
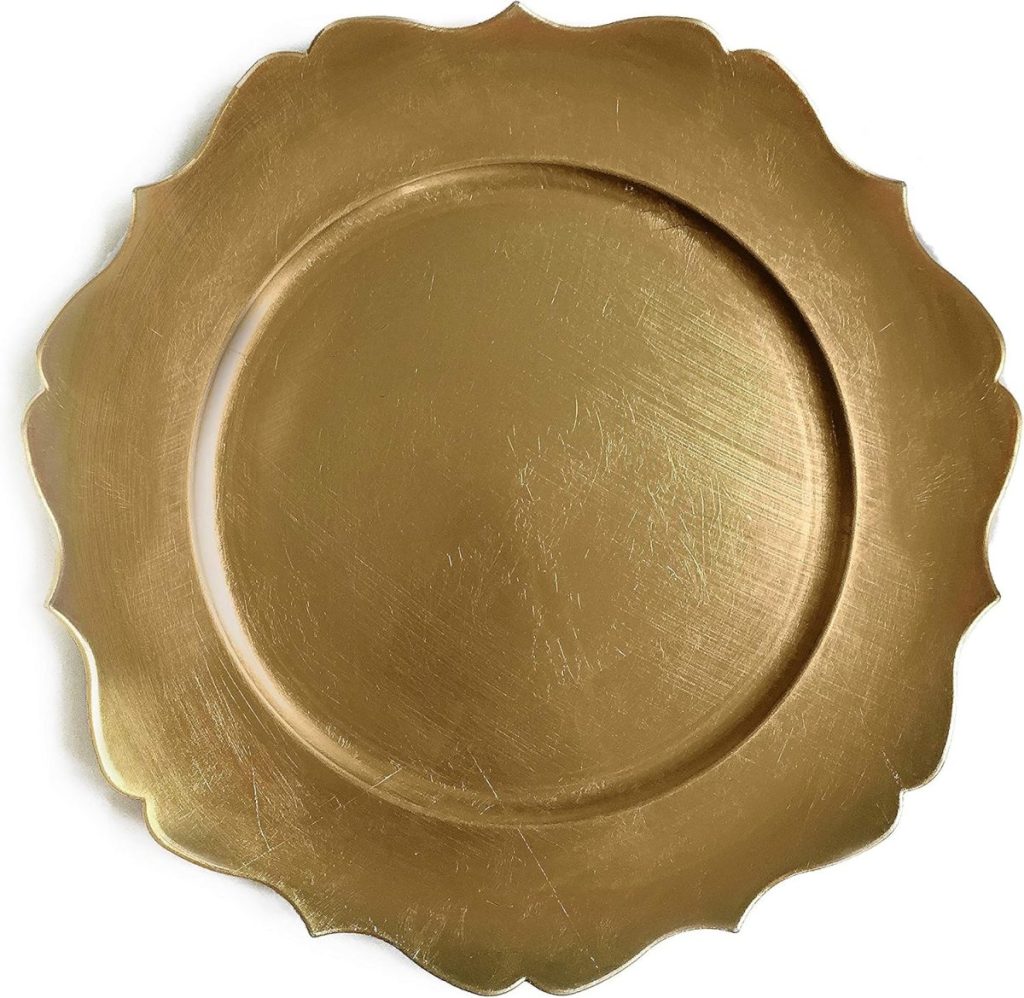
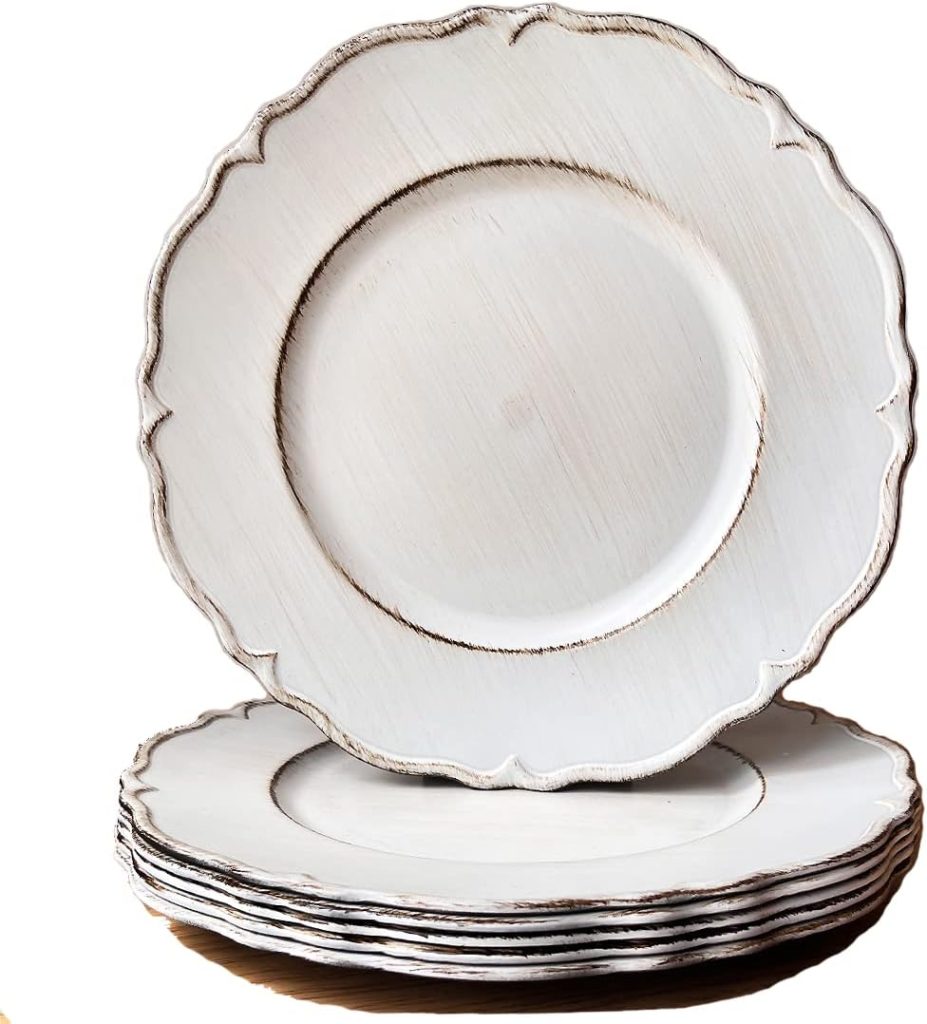
Leaf Chargers
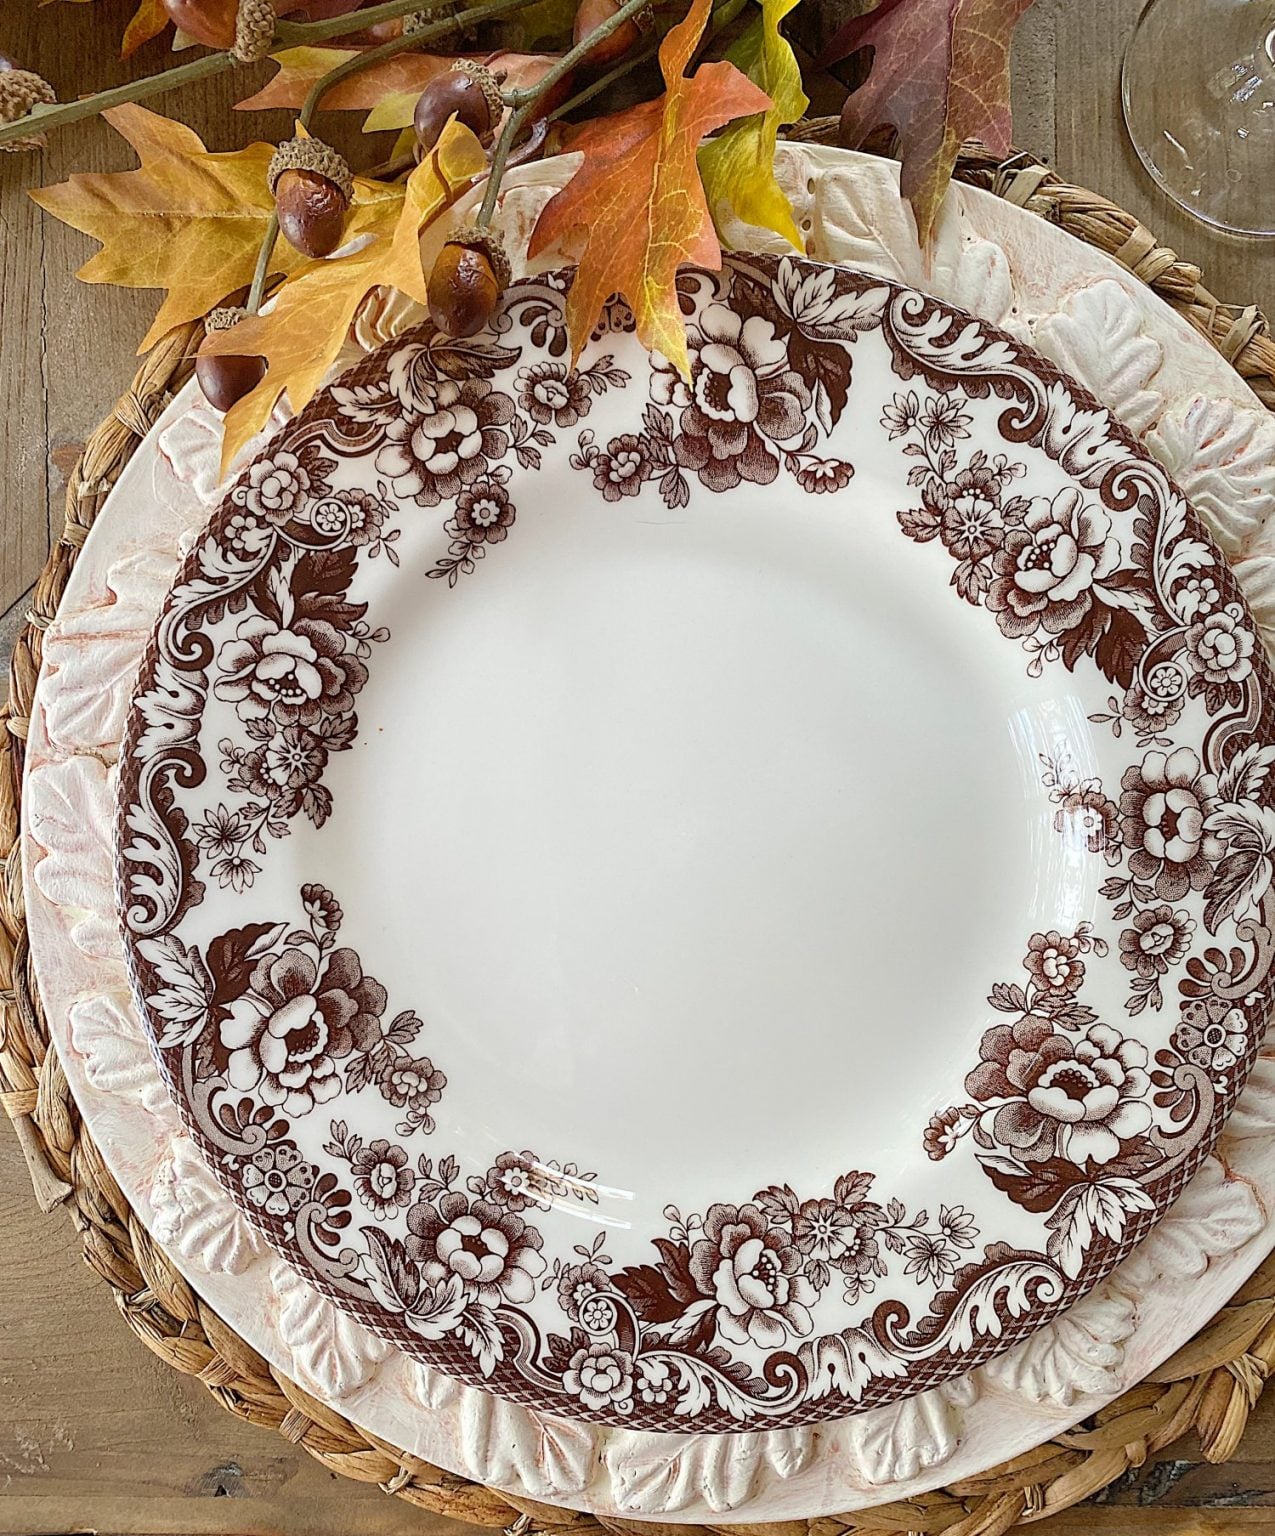
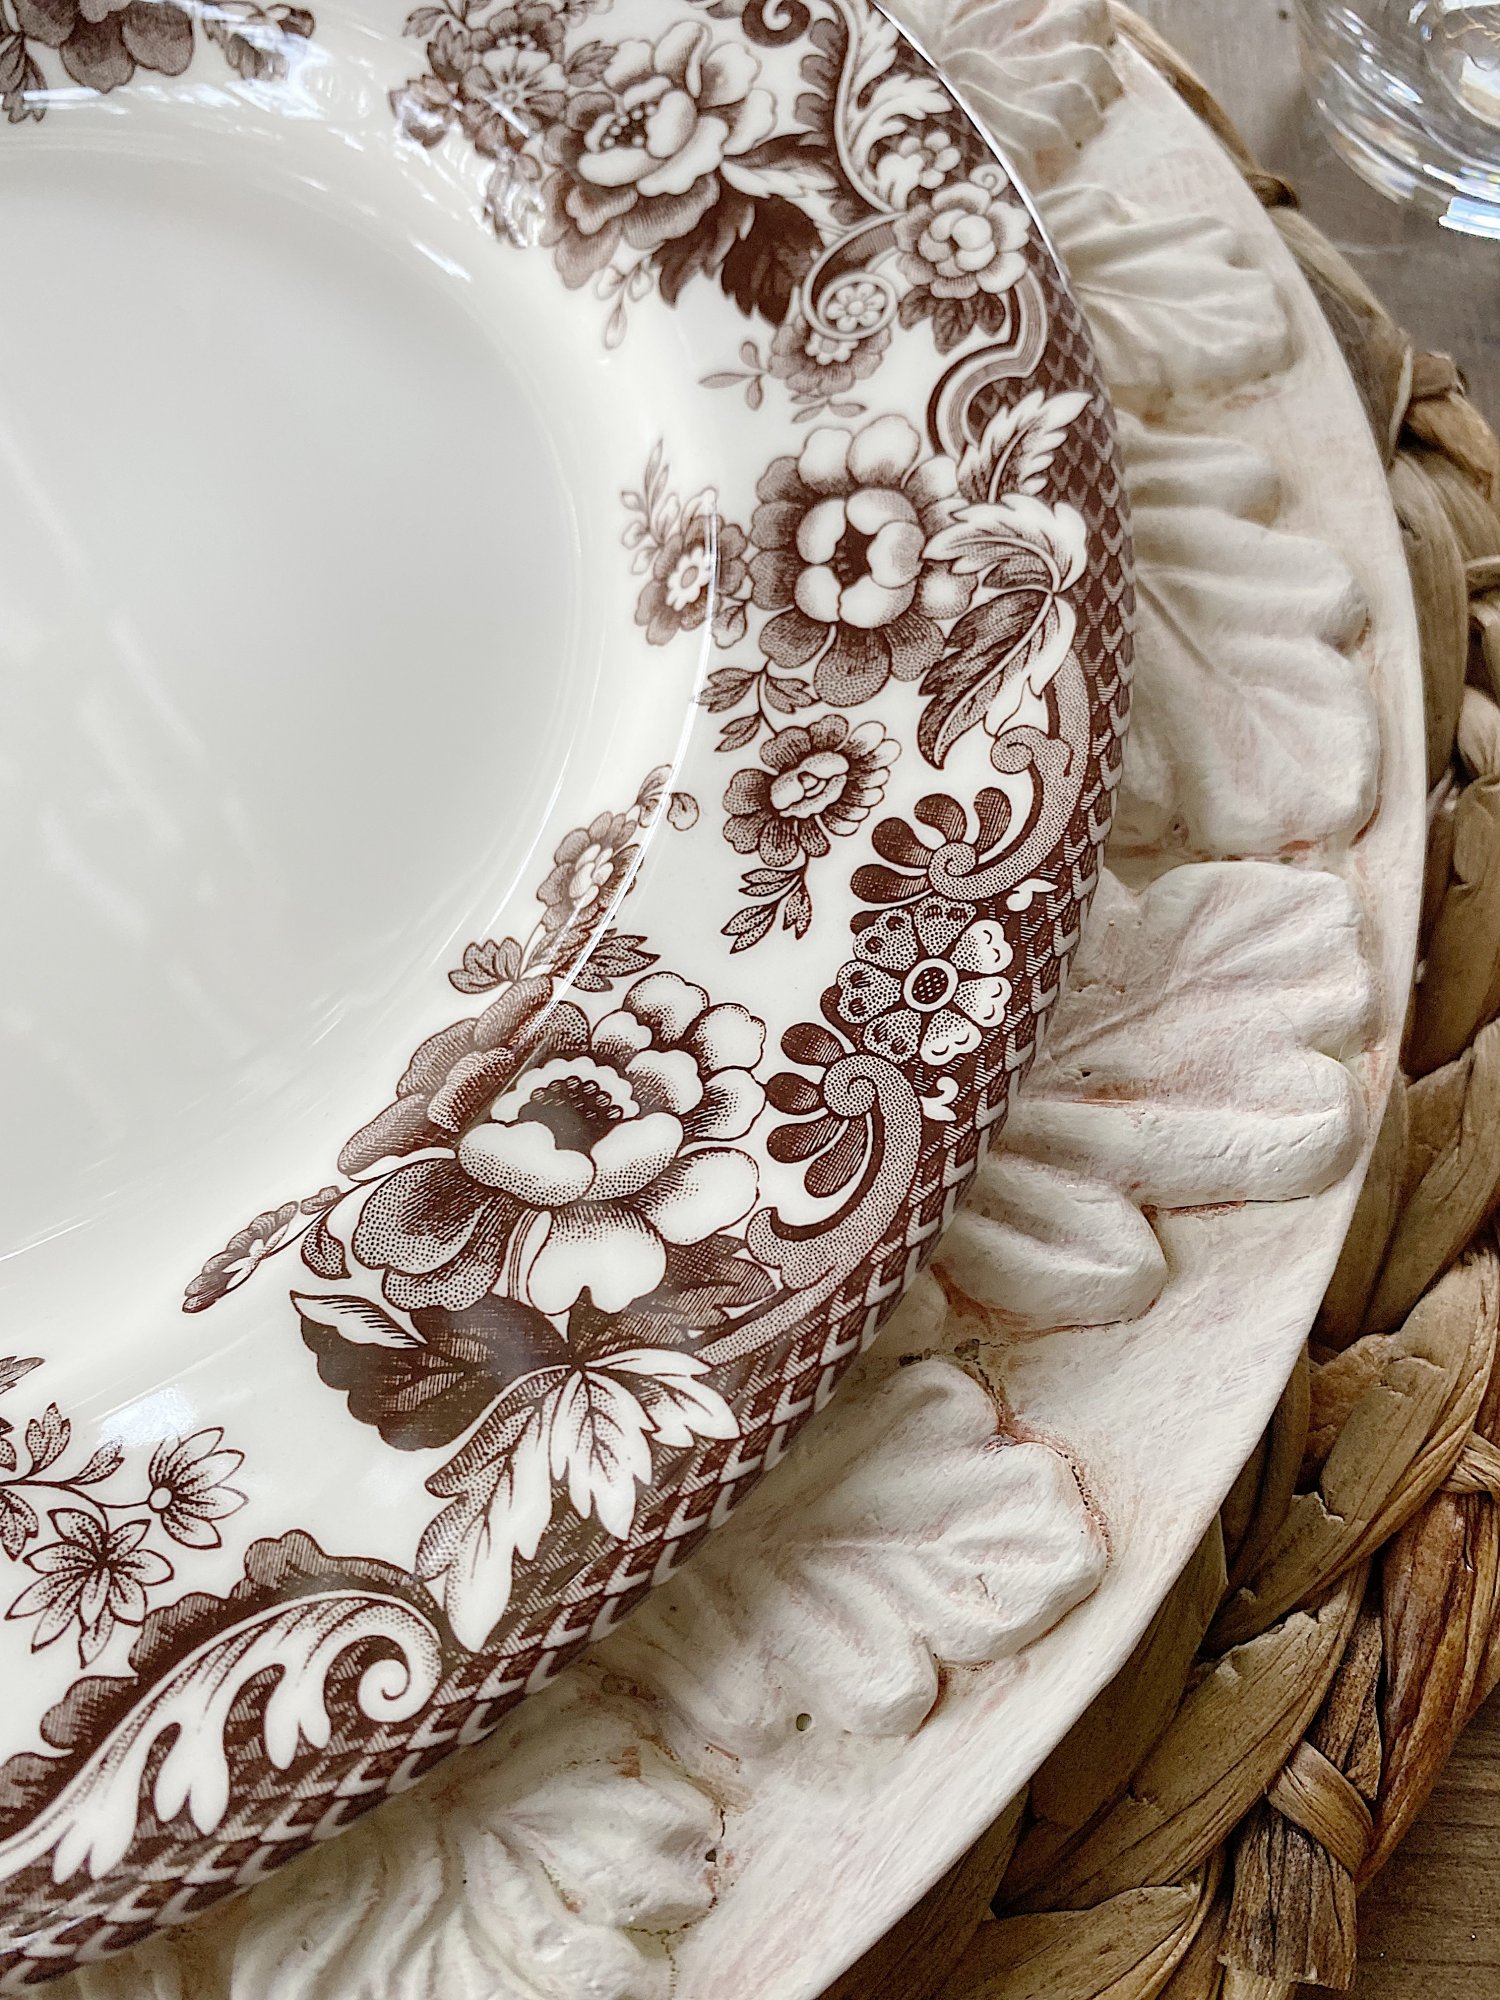
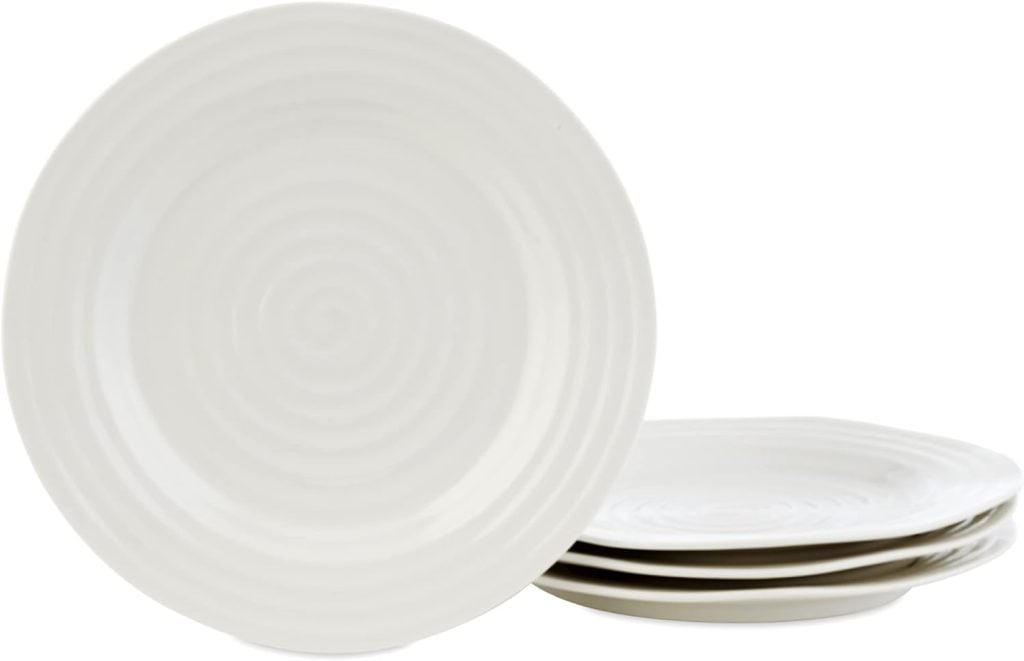
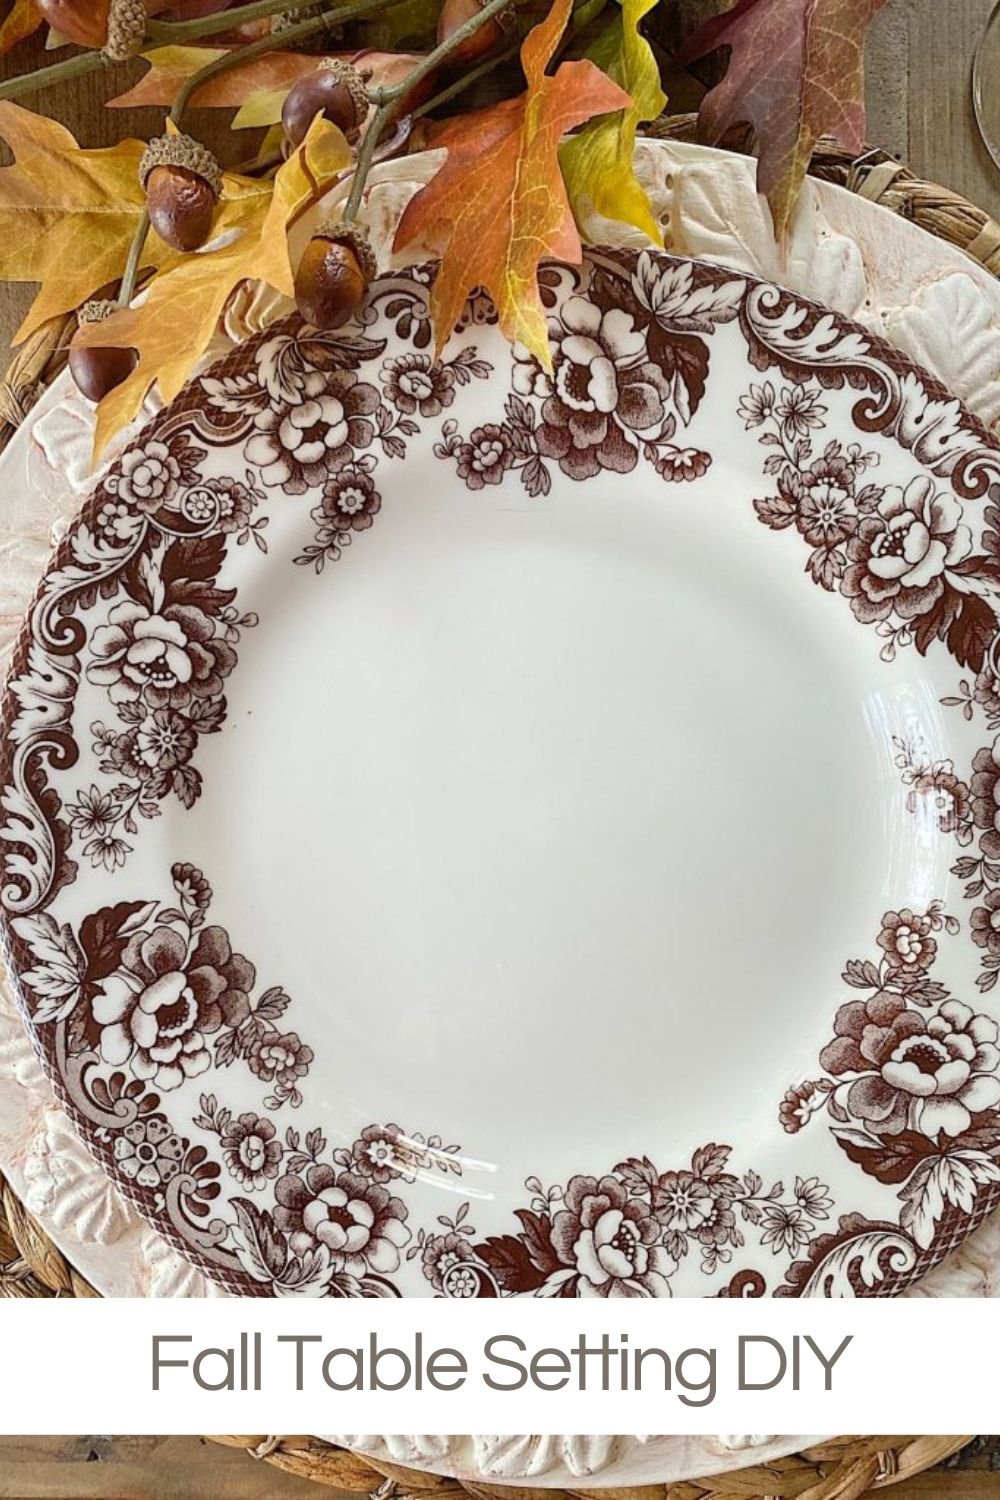
I can’t believe I made these! I love how my chargers look with my favorite Spode Delamere plates.
Now that fall is here (well, almost!), I know I will be featuring a lot of tablescapes here on my blog. Did you know I always have a running list of items I want to make myself for times like this?
One of the items on my list is chargers. I have a lot of basic (aka boring) chargers and some copper ones that you have seen on my blog a gazillion times. But I have been trying to create a design for a charger I can make myself.
When I saw the products from Iron Orchid Designs, I knew exactly what I could do!
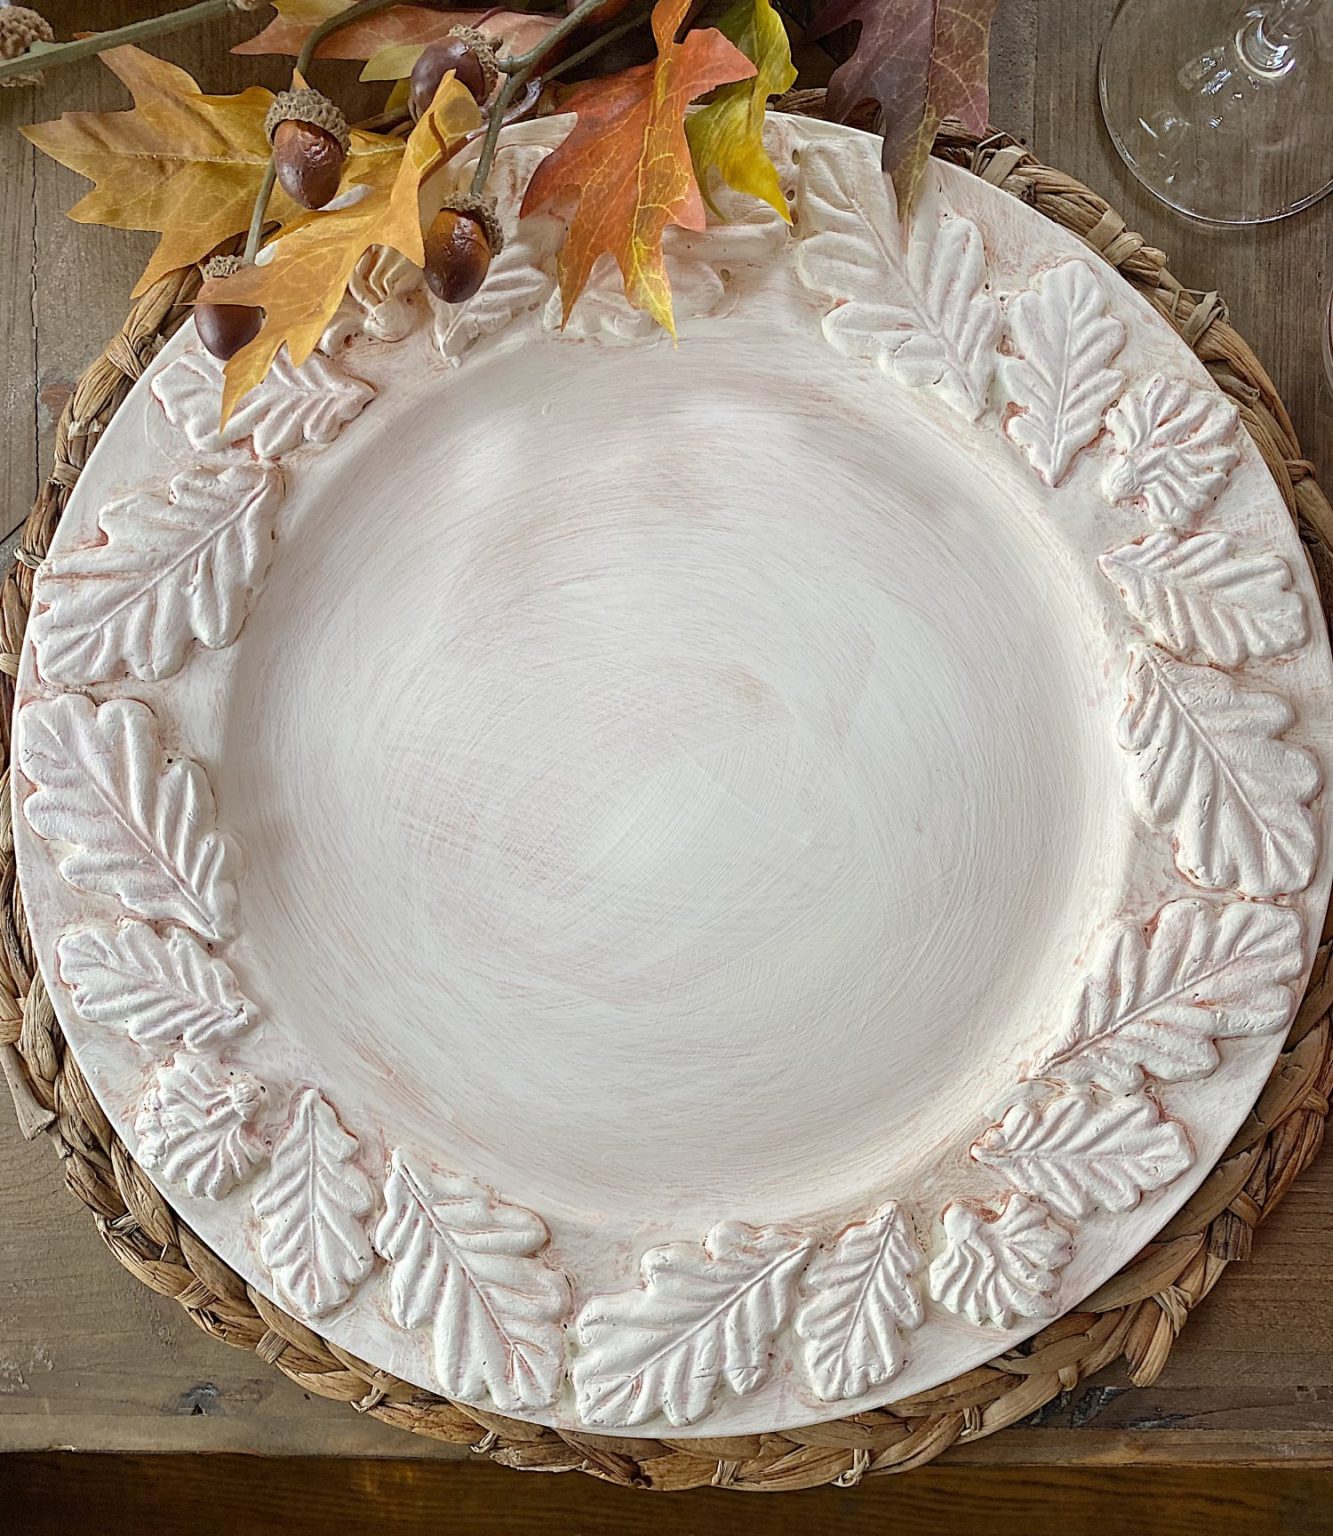
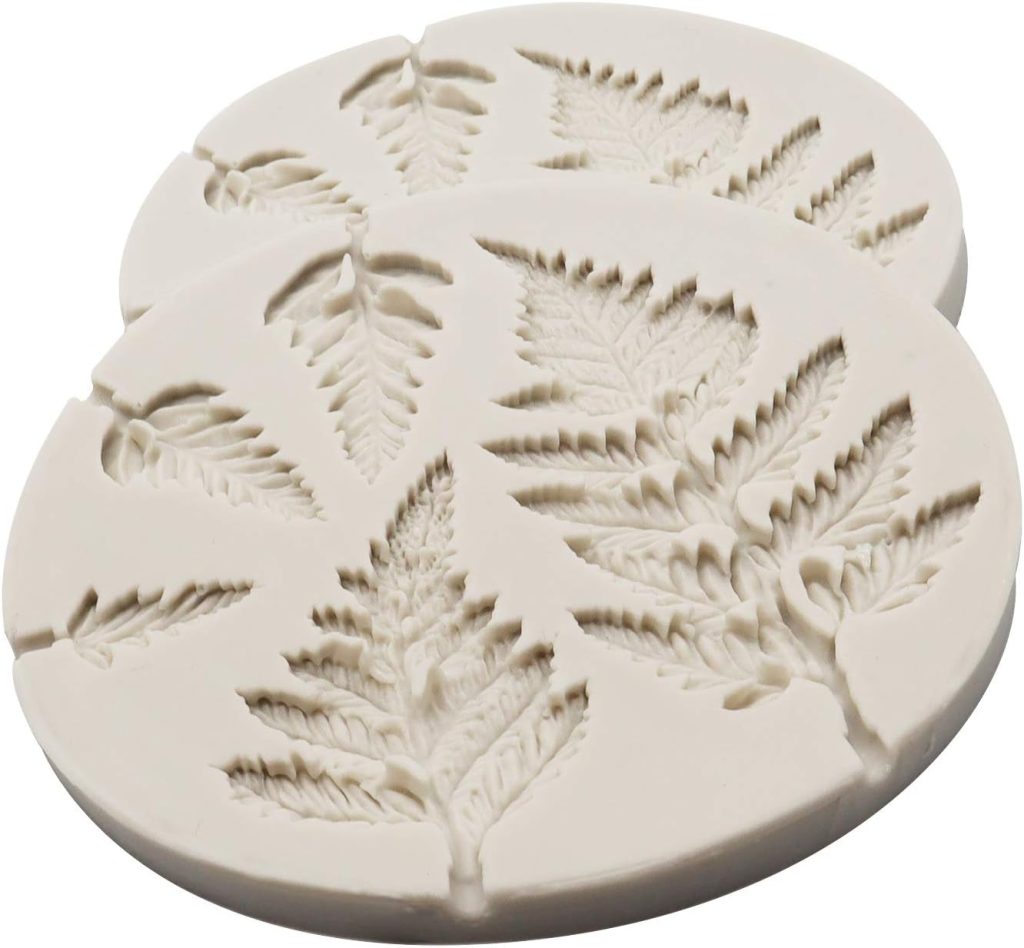
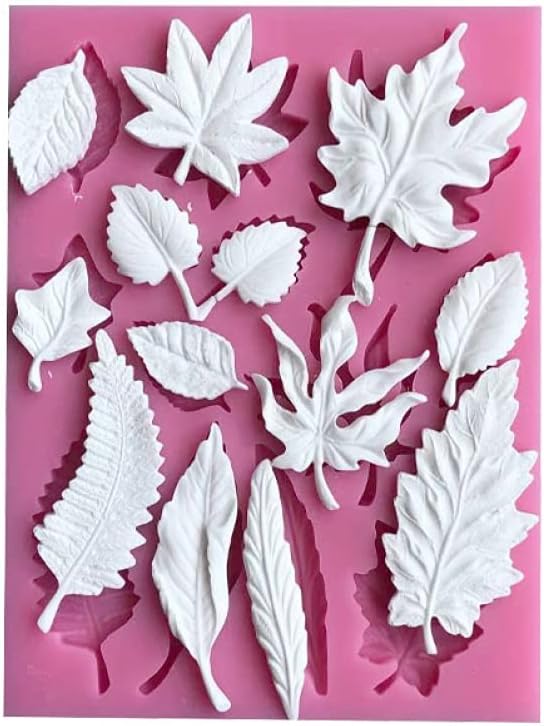
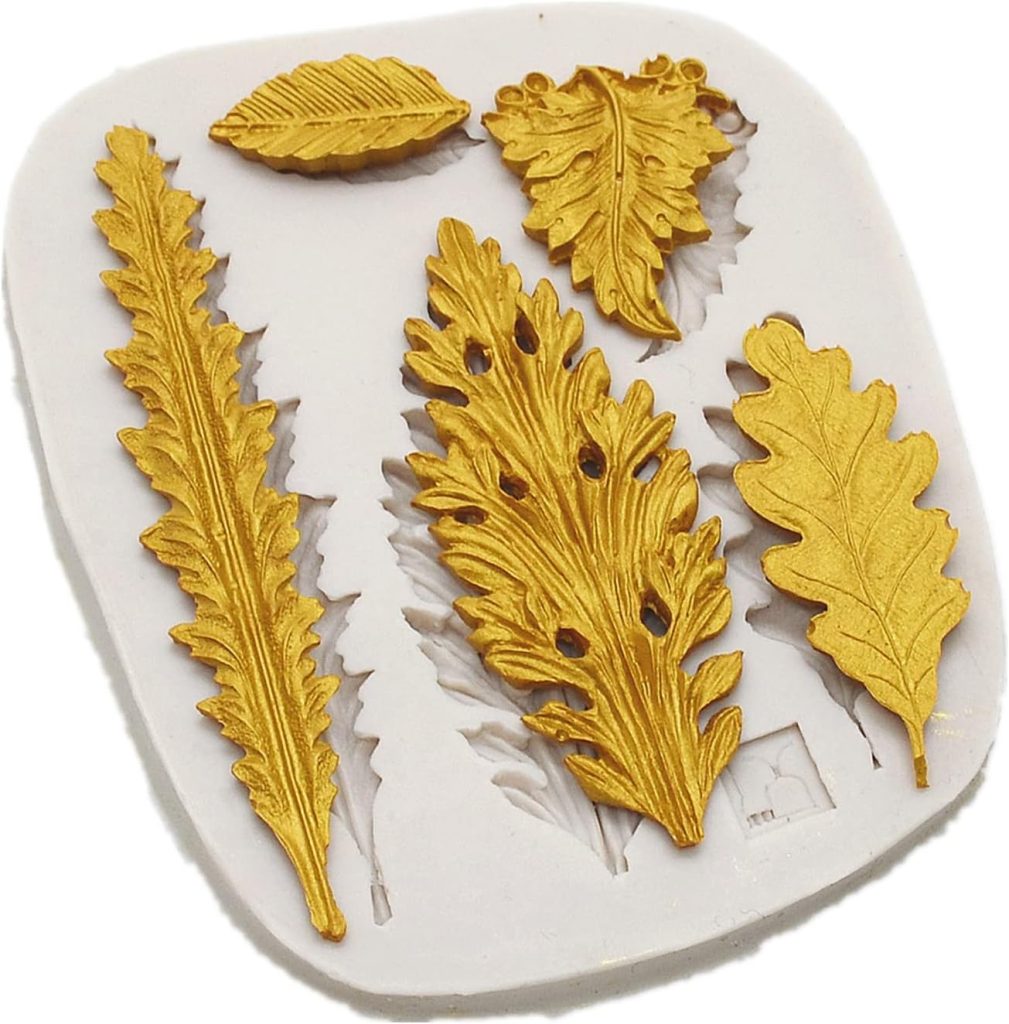
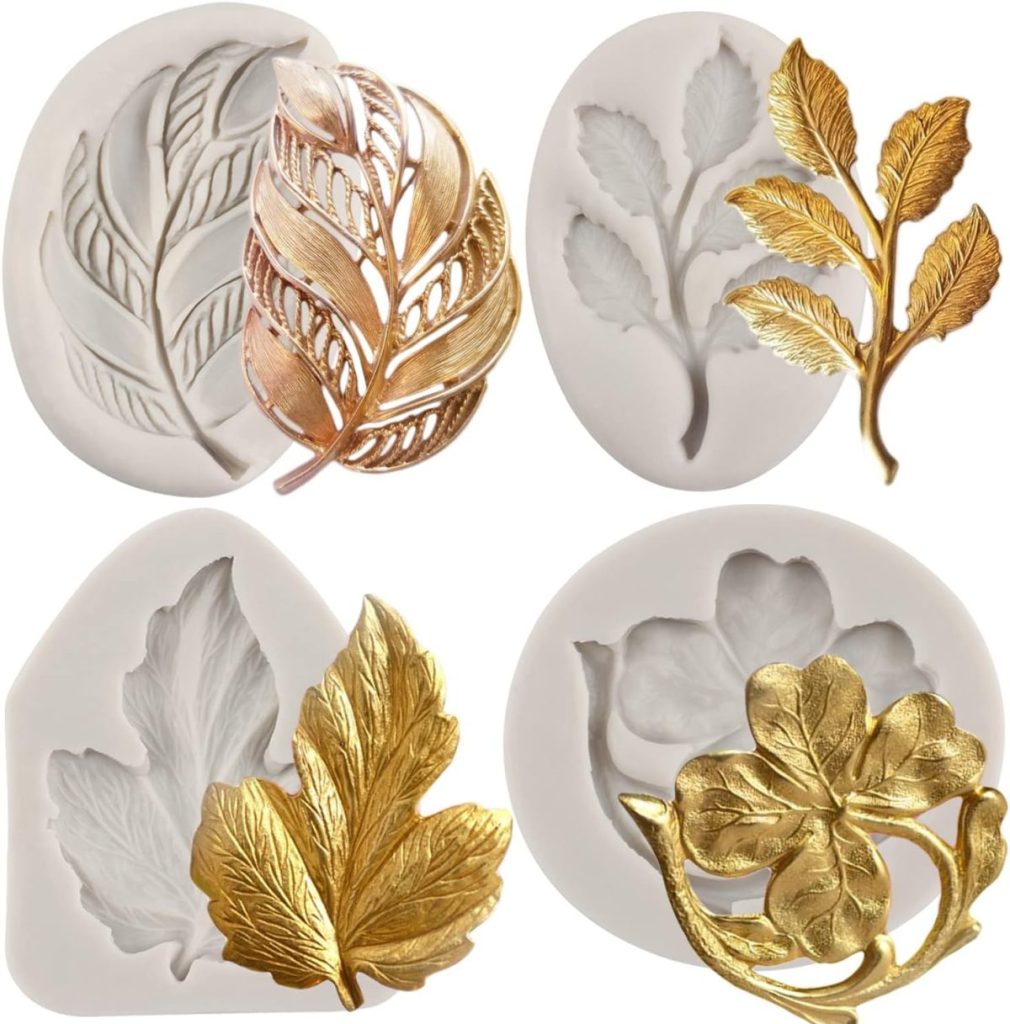
For this project, I used the Iron Orchid Designs decor molds to make leaves to embellish a very basic plain charger. You can also use any shape mold, from just about anywhere, to make this project.
I made the leaves with clay, glued them on, let them dry, painted them, and then sealed them.
They were so easy to make; I think everyone can make them!
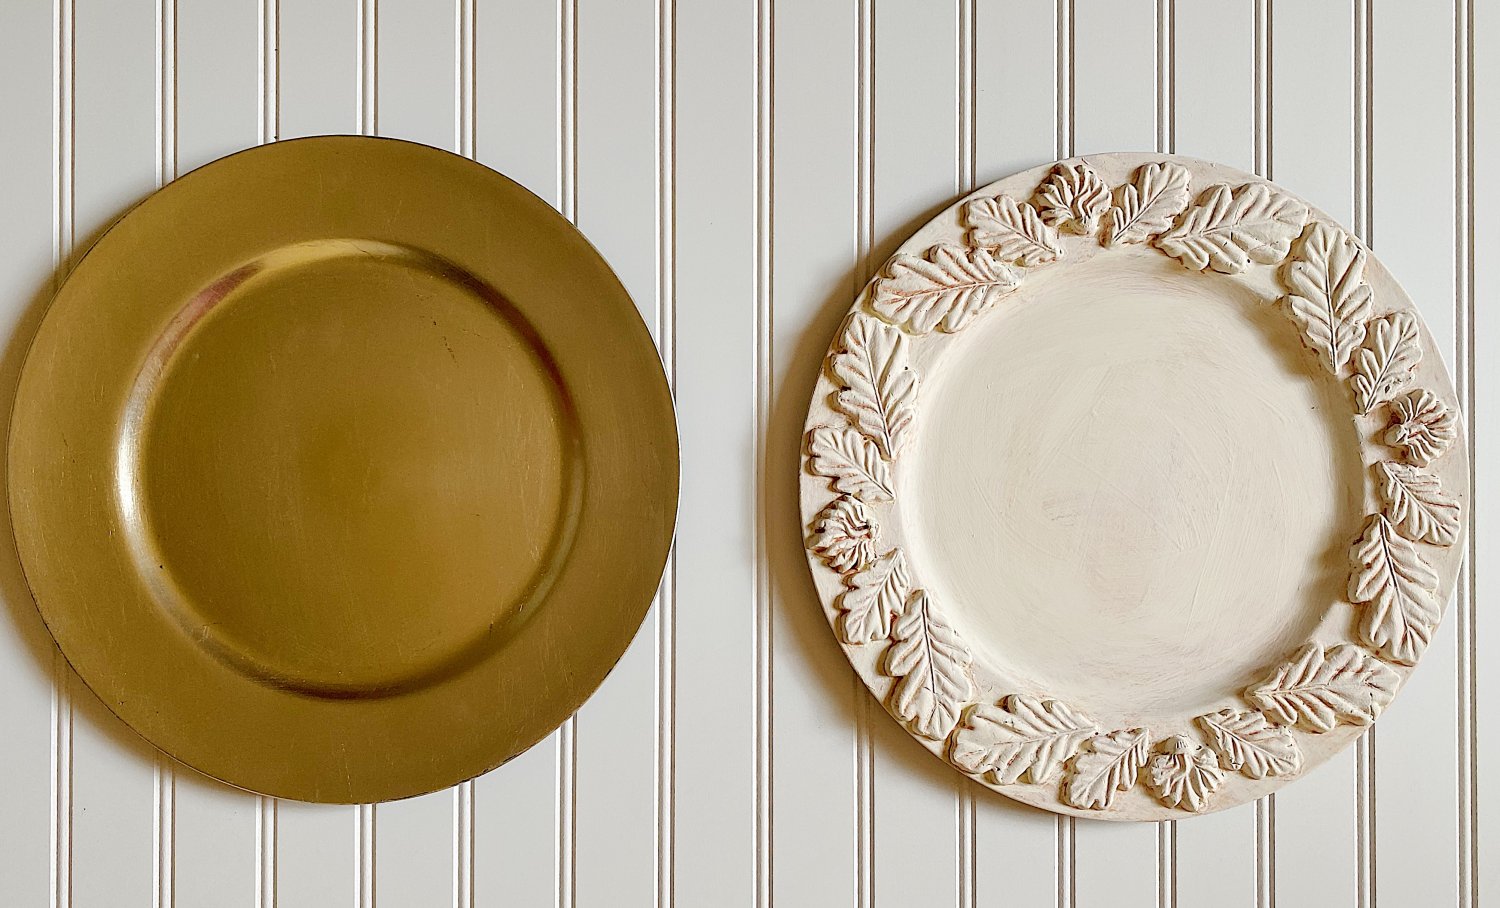
Here is the Before and After.
What do you think?
I may sometimes use affiliate links on this blog, which means a small commission is earned if you purchase via the link. The price will be the same whether you use the affiliate link or go directly to the vendor’s website using a non-affiliate link.


Iron Orchid Designs
I love to craft, and I am always on the lookout for new ideas that look amazing and are easy to do. Iron Orchid Designs has excellent crafts and DIY products.
Where can you buy Iron Orchid Designs products? Just click here to find a retailer near you! (You can also order online from some of the retailers.)
How to Make Fall Table Leaf Chargers
Step By Step Instructions

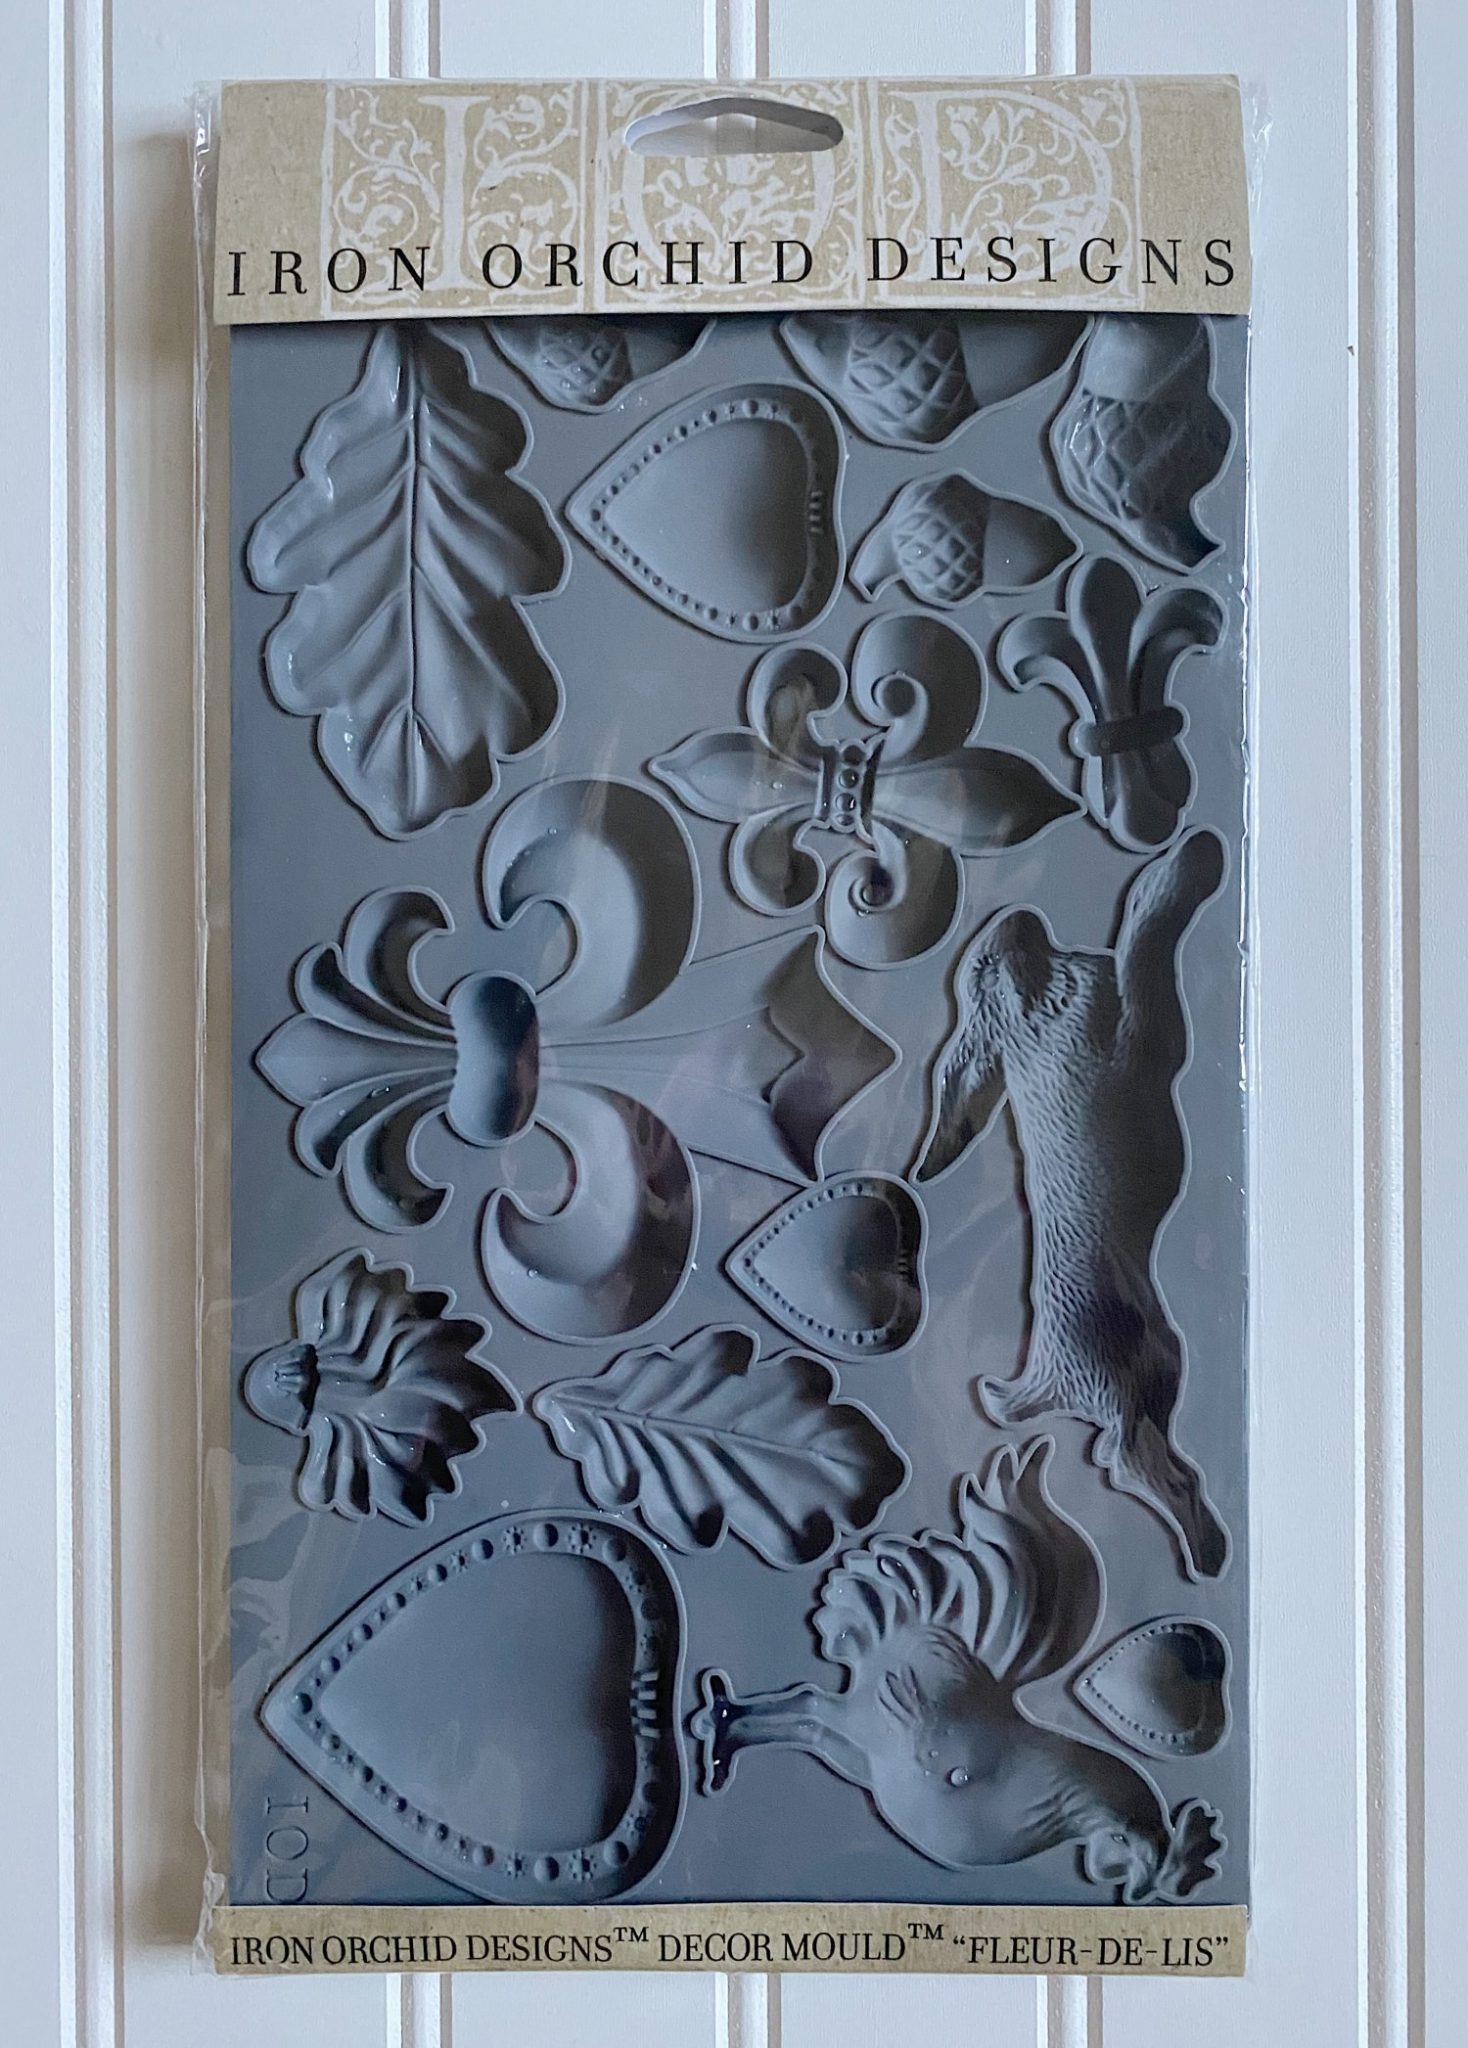
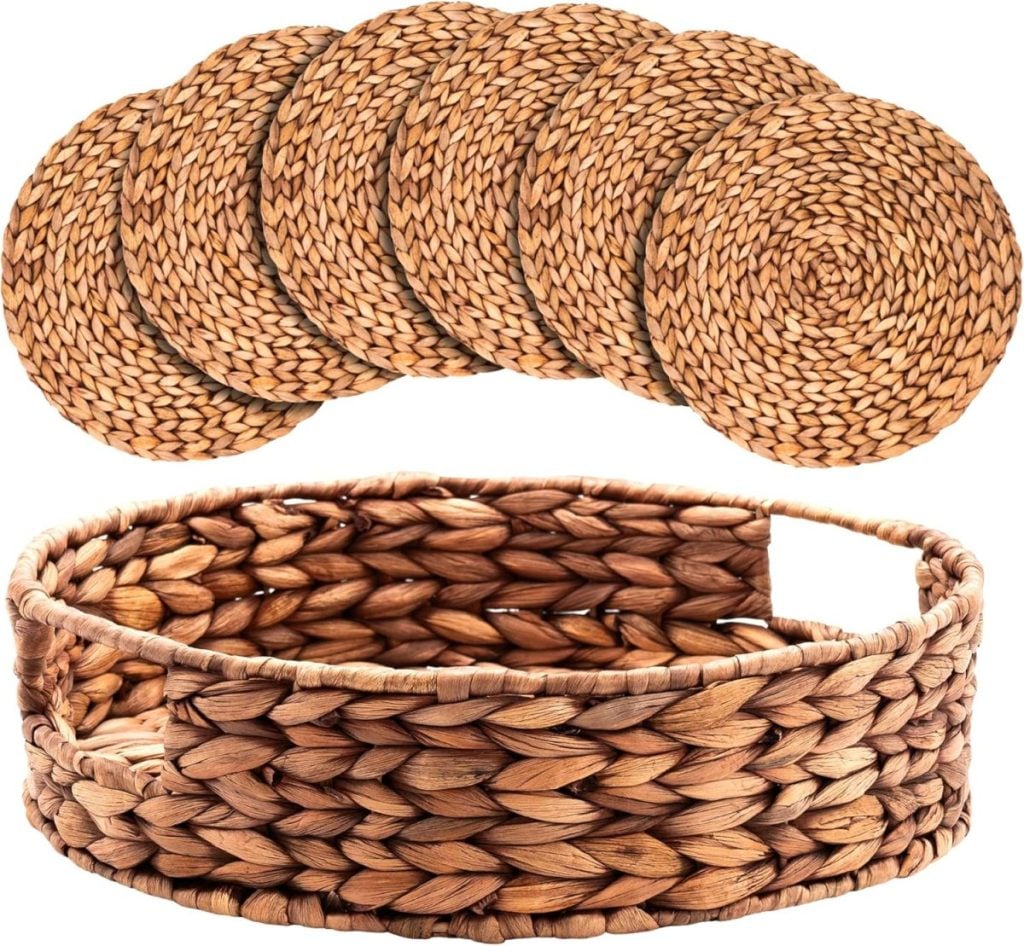
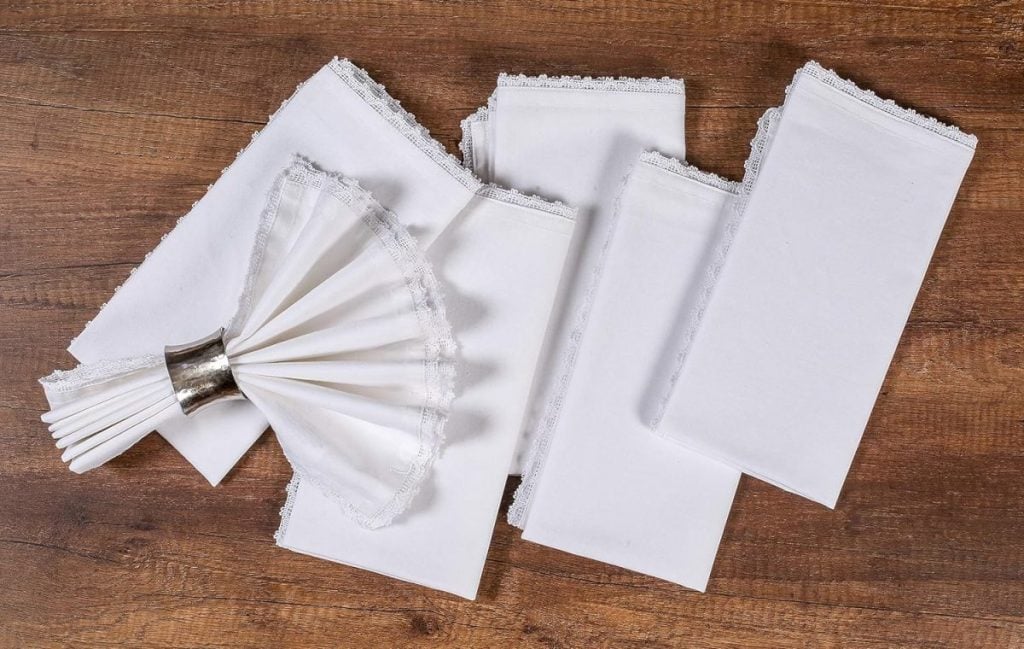
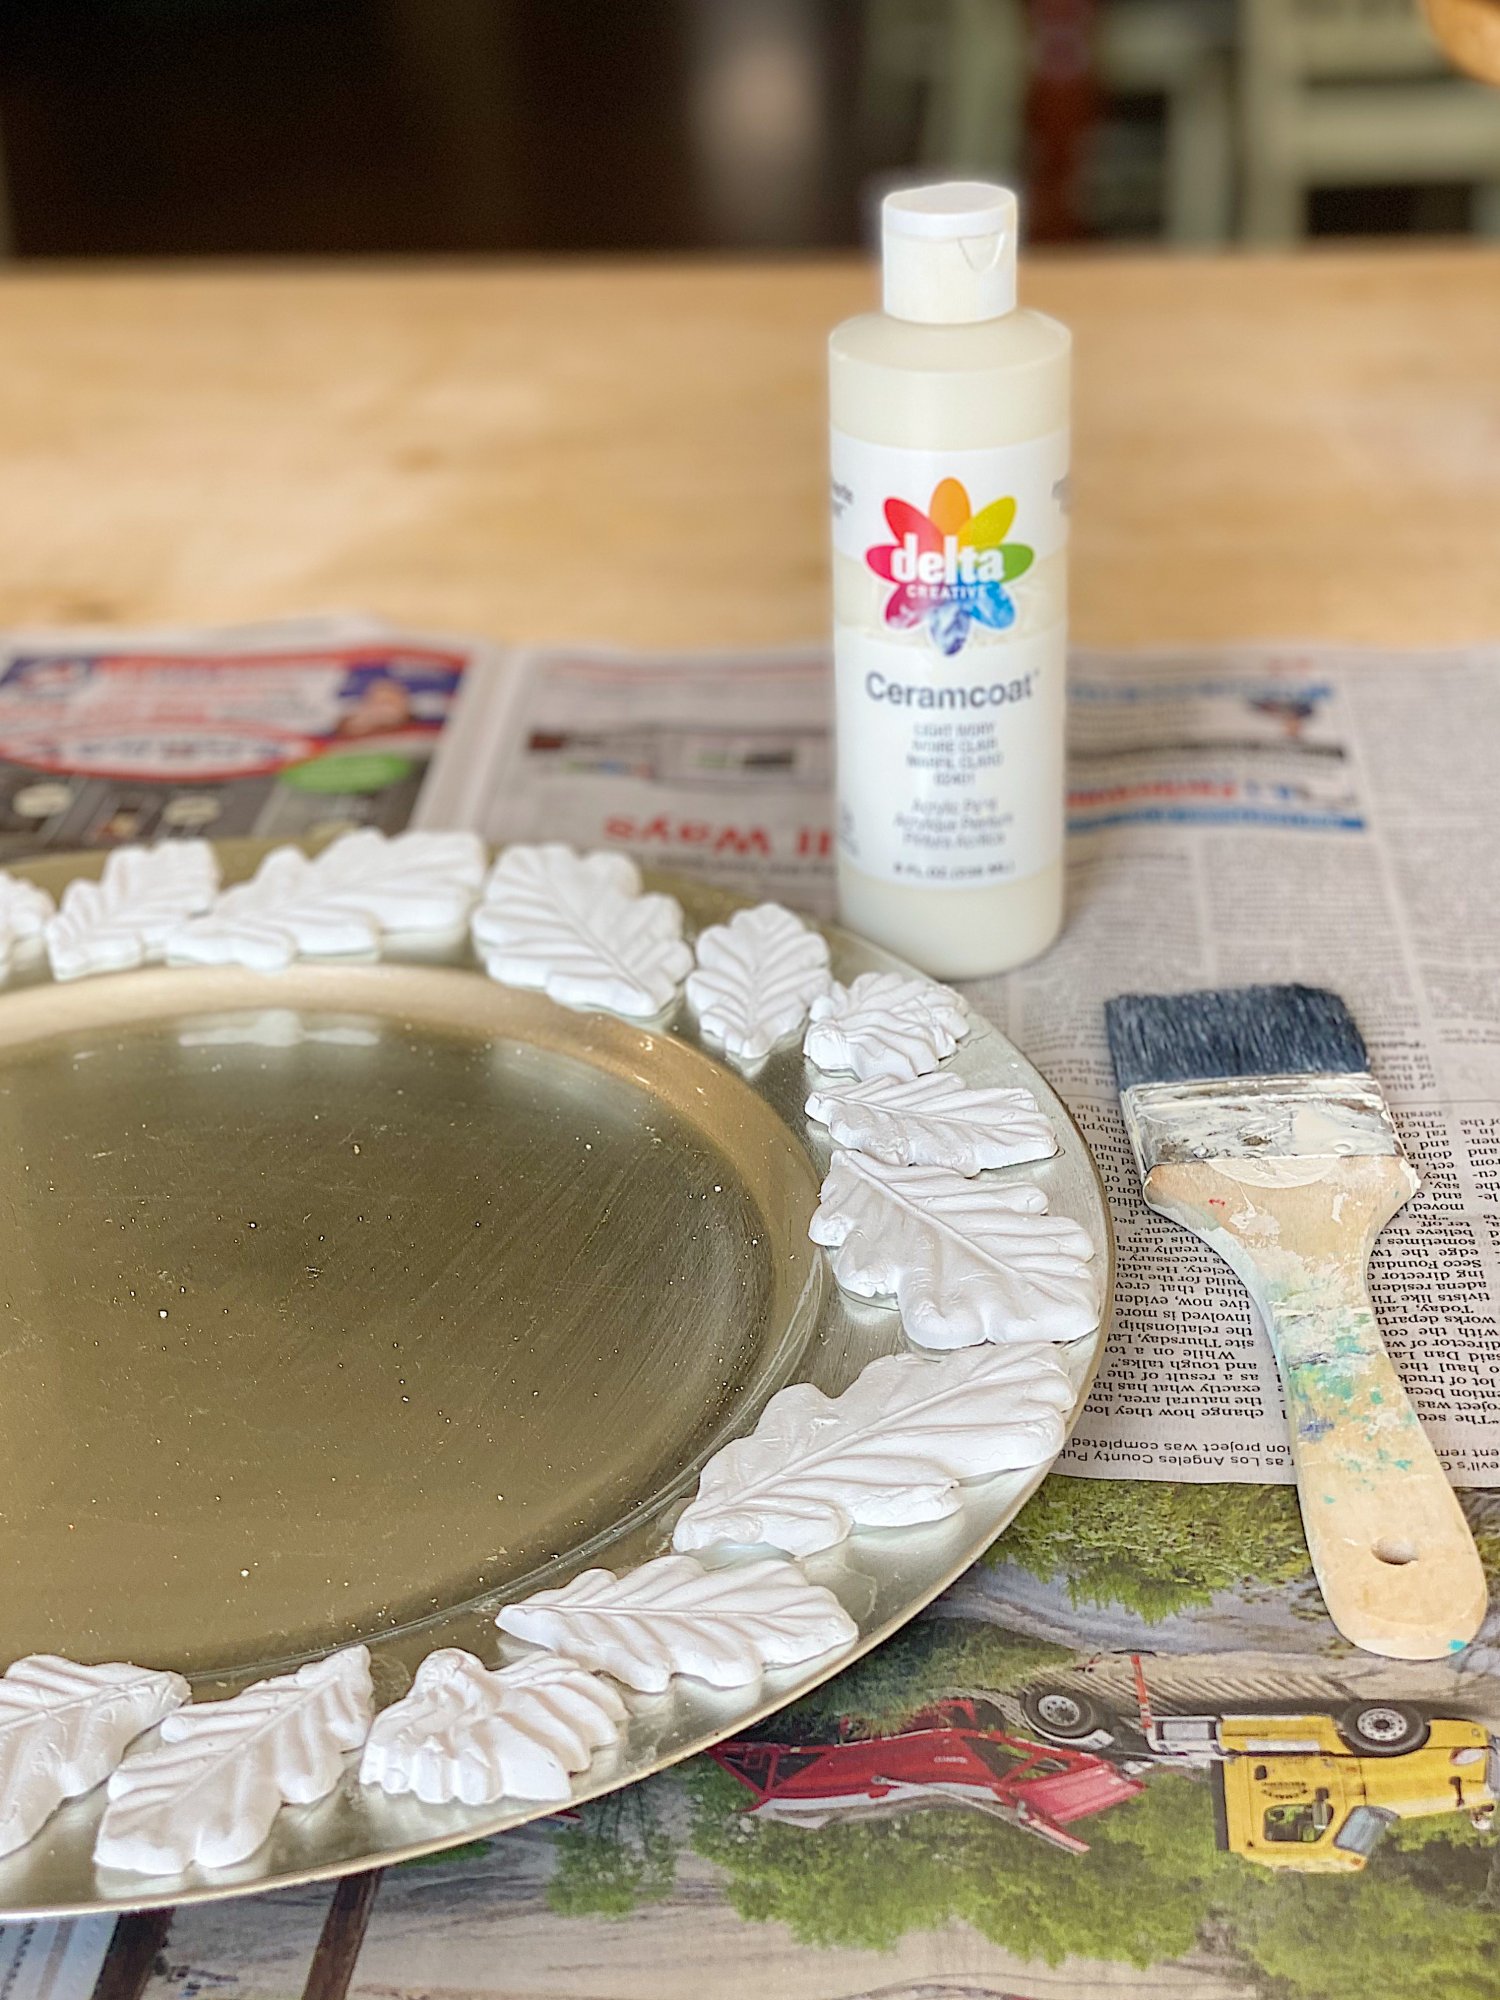
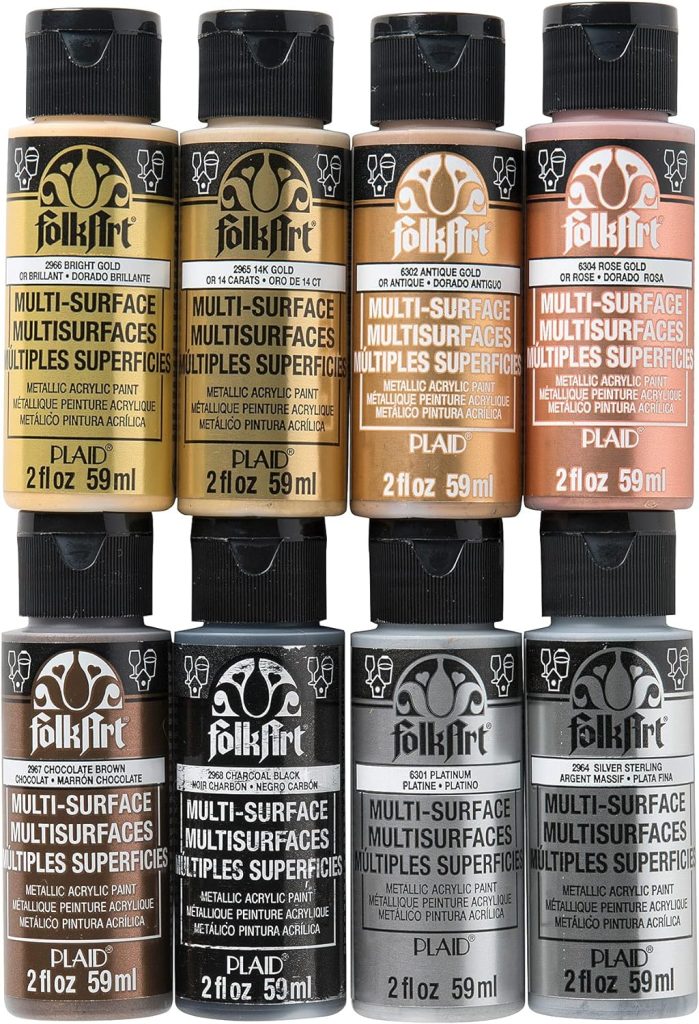
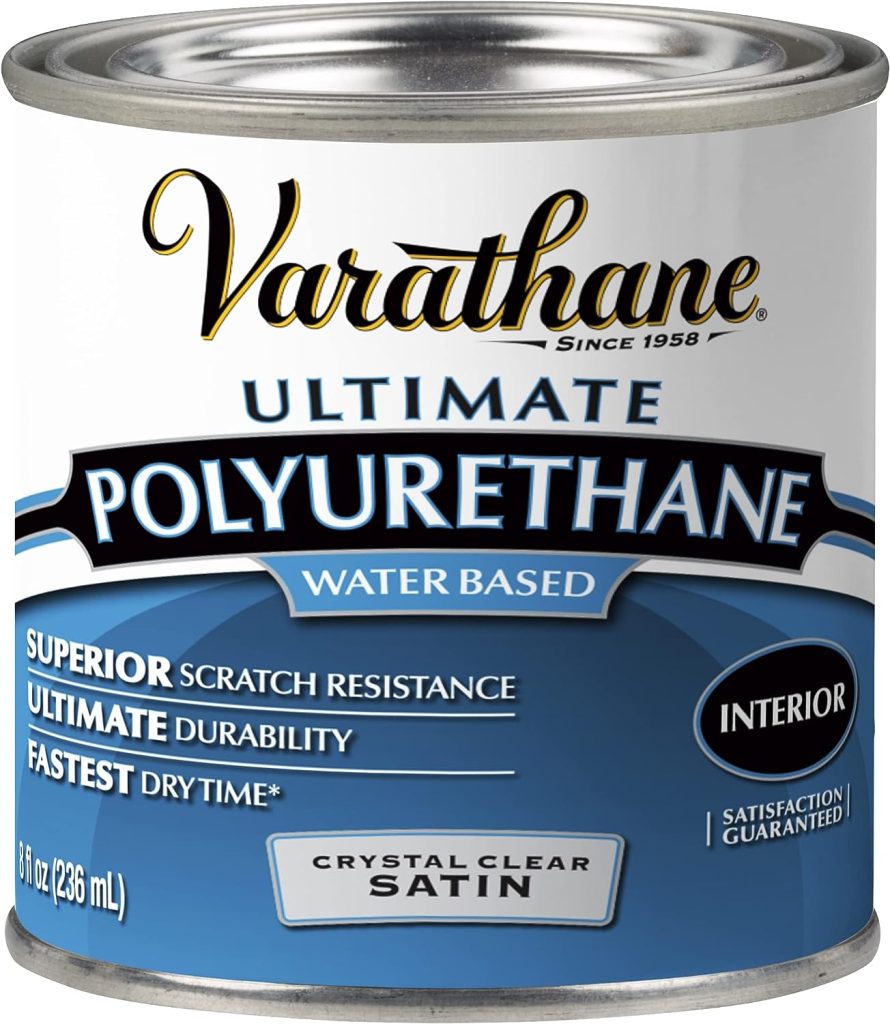
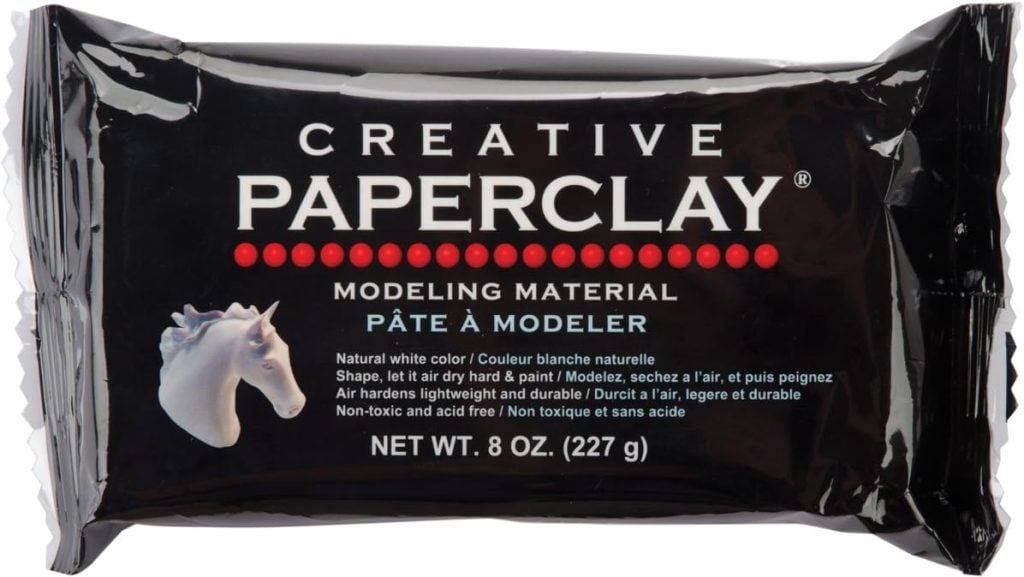
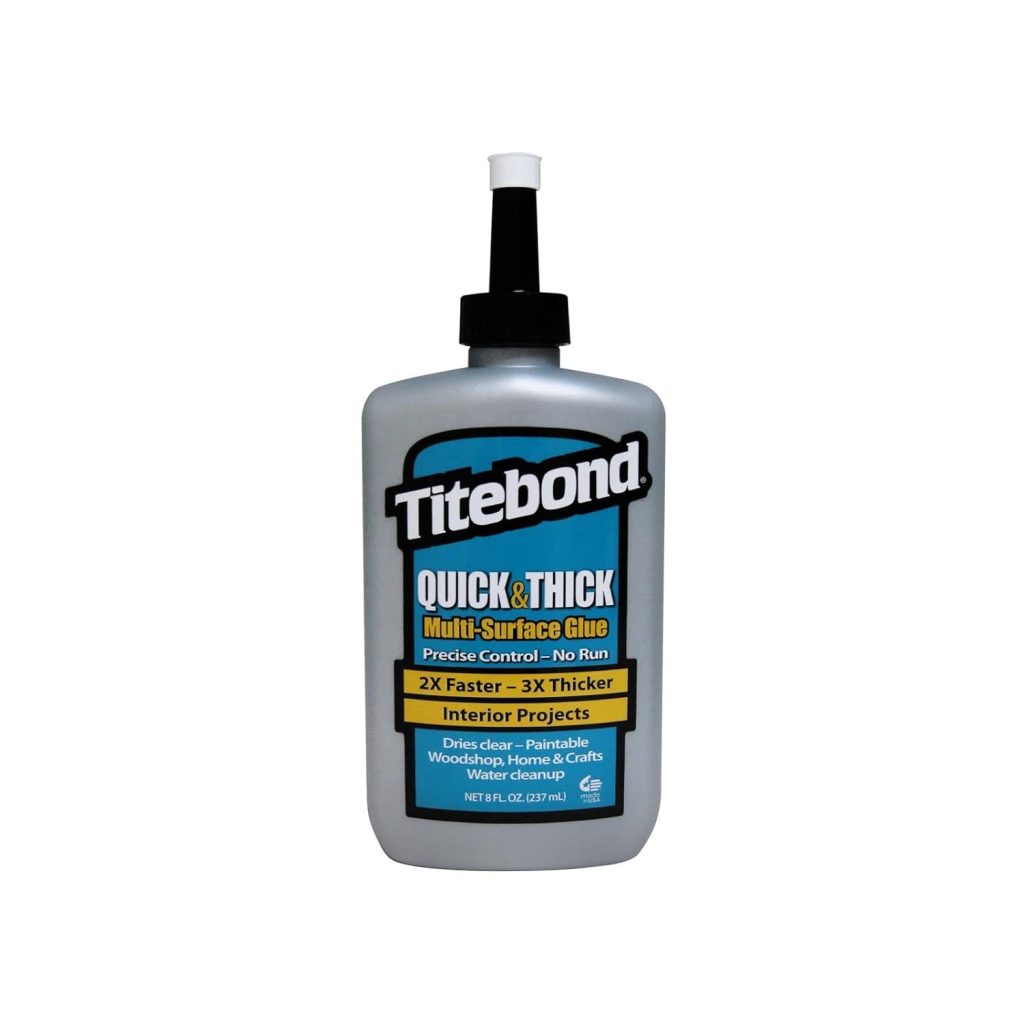
- one – Here is what you need to make these fall table chargers. The Iron Orchid Designs Fleur-de-lis decor moulds or any of the leaf molds linked below from Amazon. Two blocks of air-dry clay, Titebond Quick and Thick glue, four chargers (I used these), cream acrylic paint, copper metallic acrylic paint, paintbrush, clear Polycrylic sealer, and IOD silicone blade.
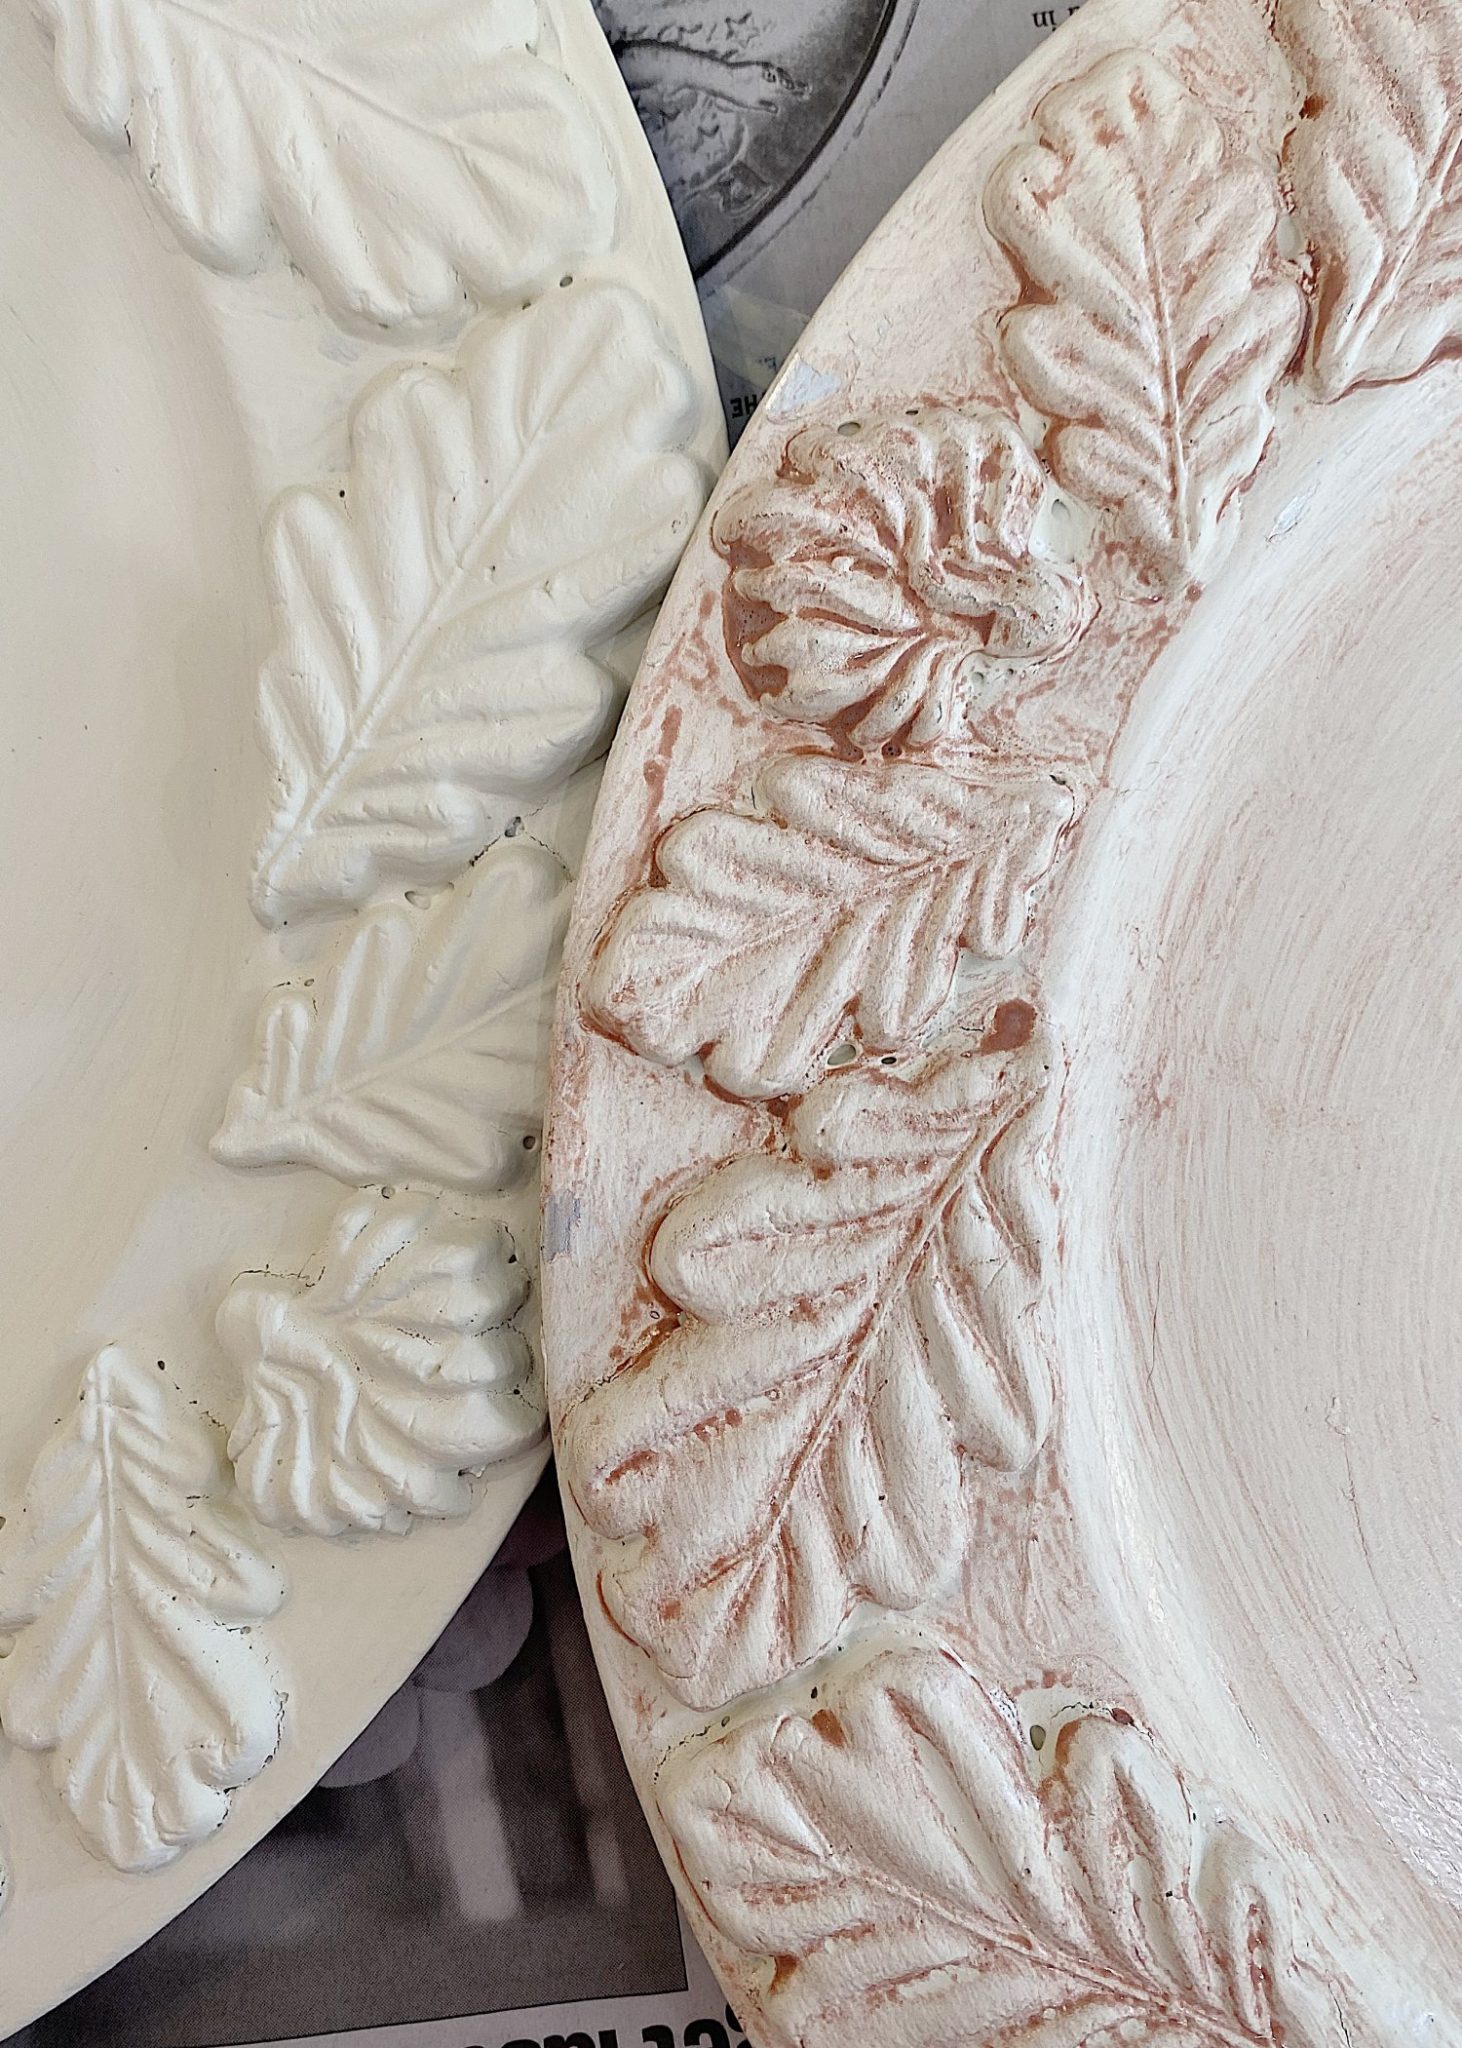
- two – This is the IOD Fleur-de-lis mold I used. I used the three leaf patterns.
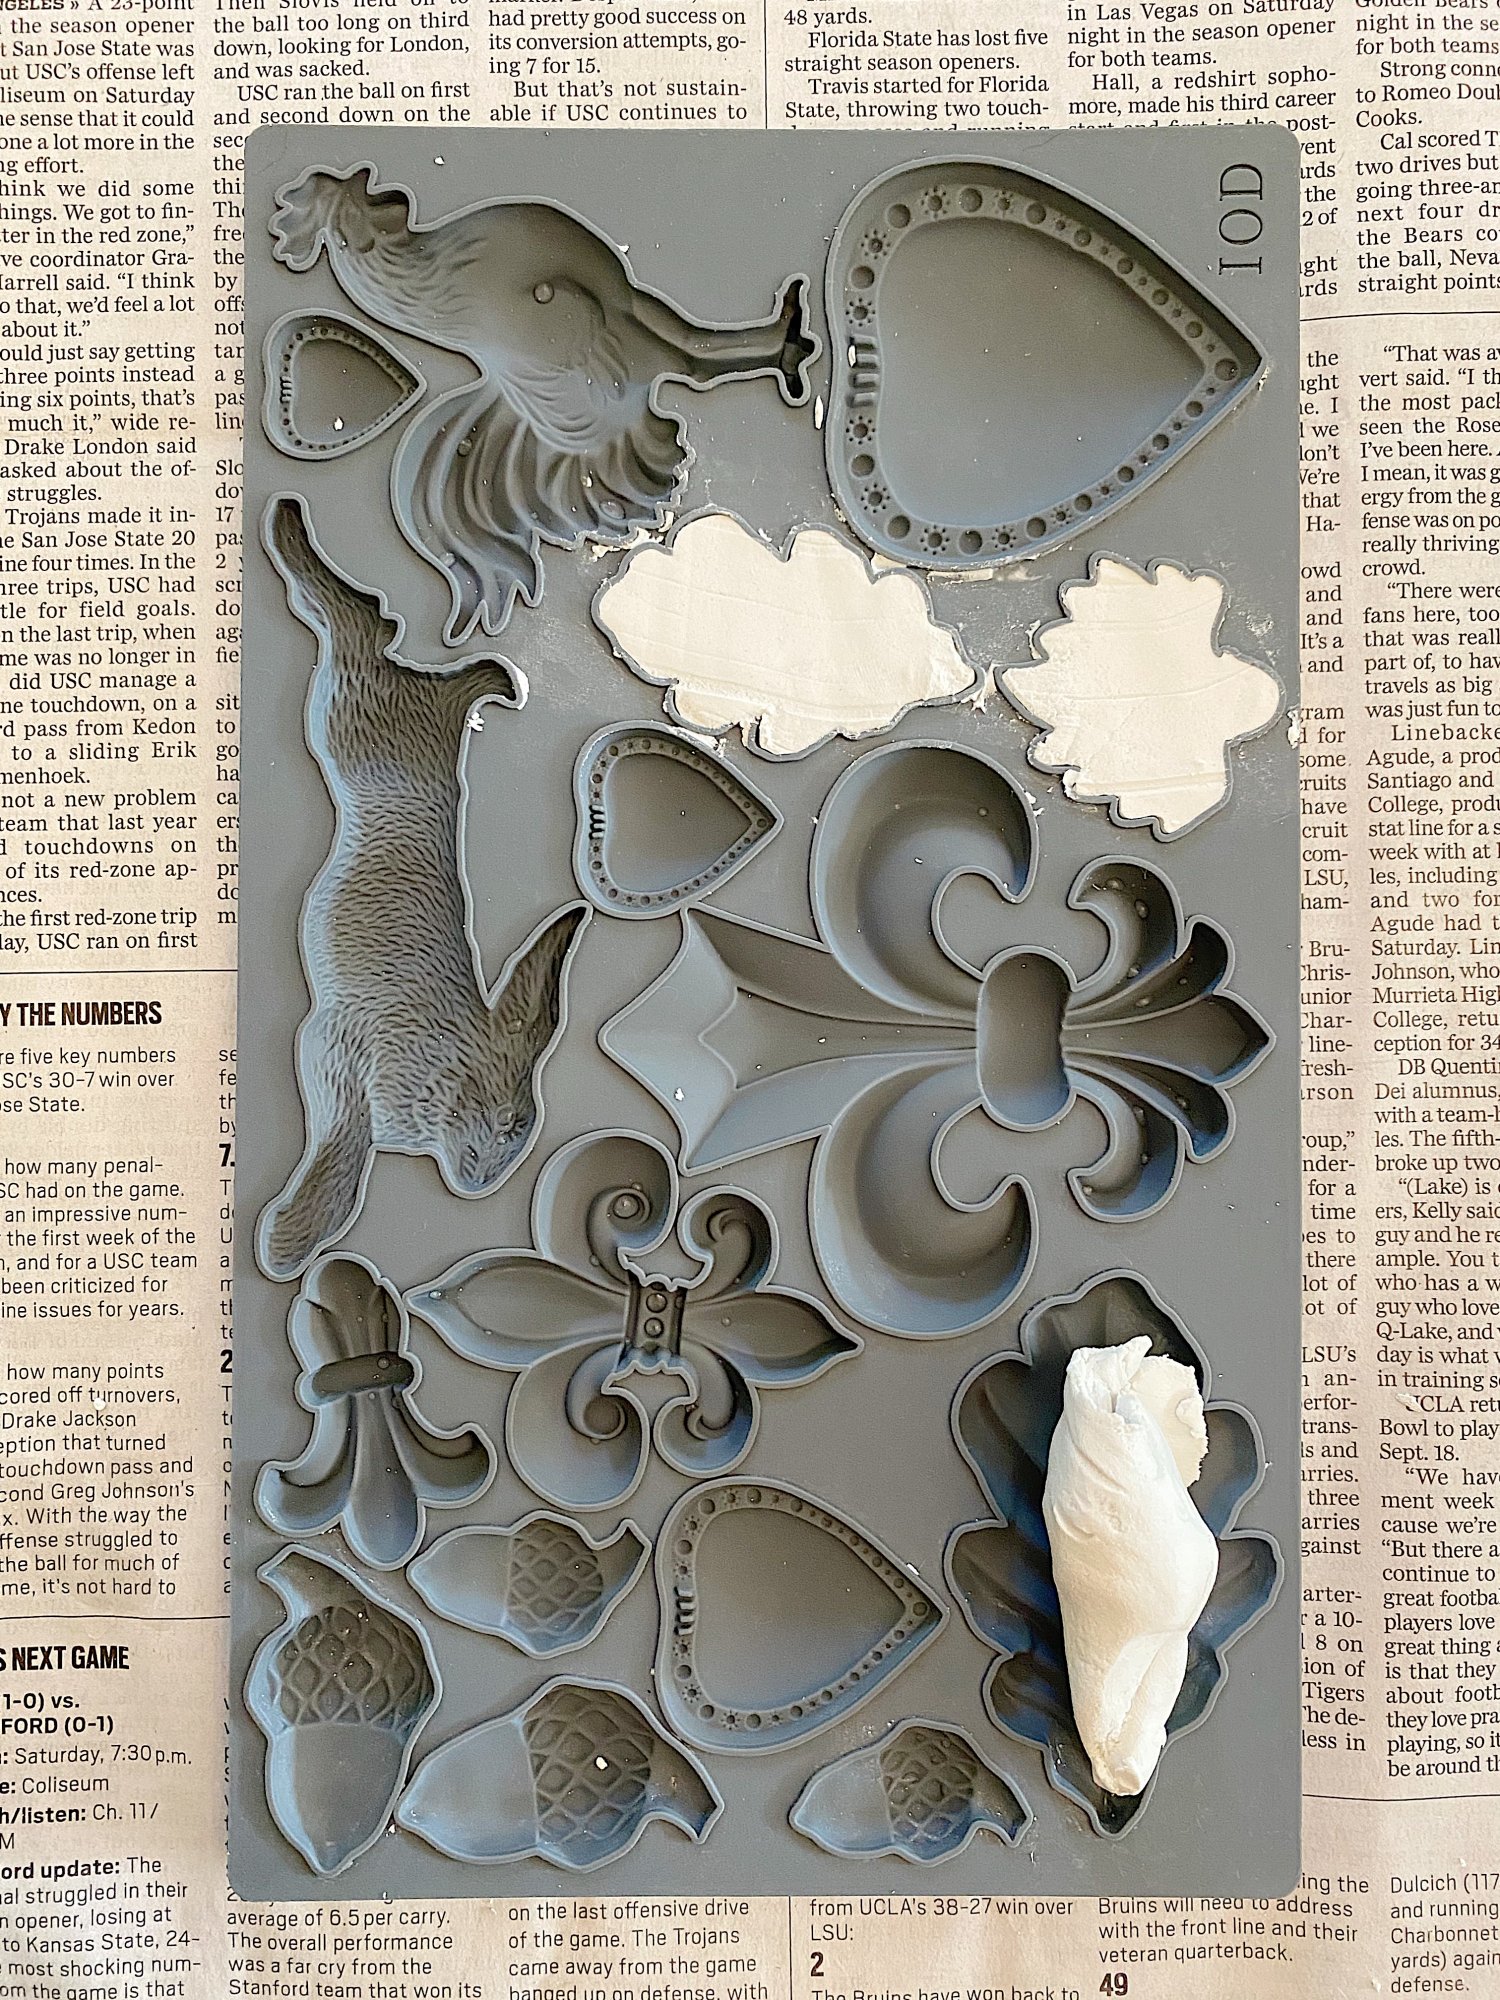
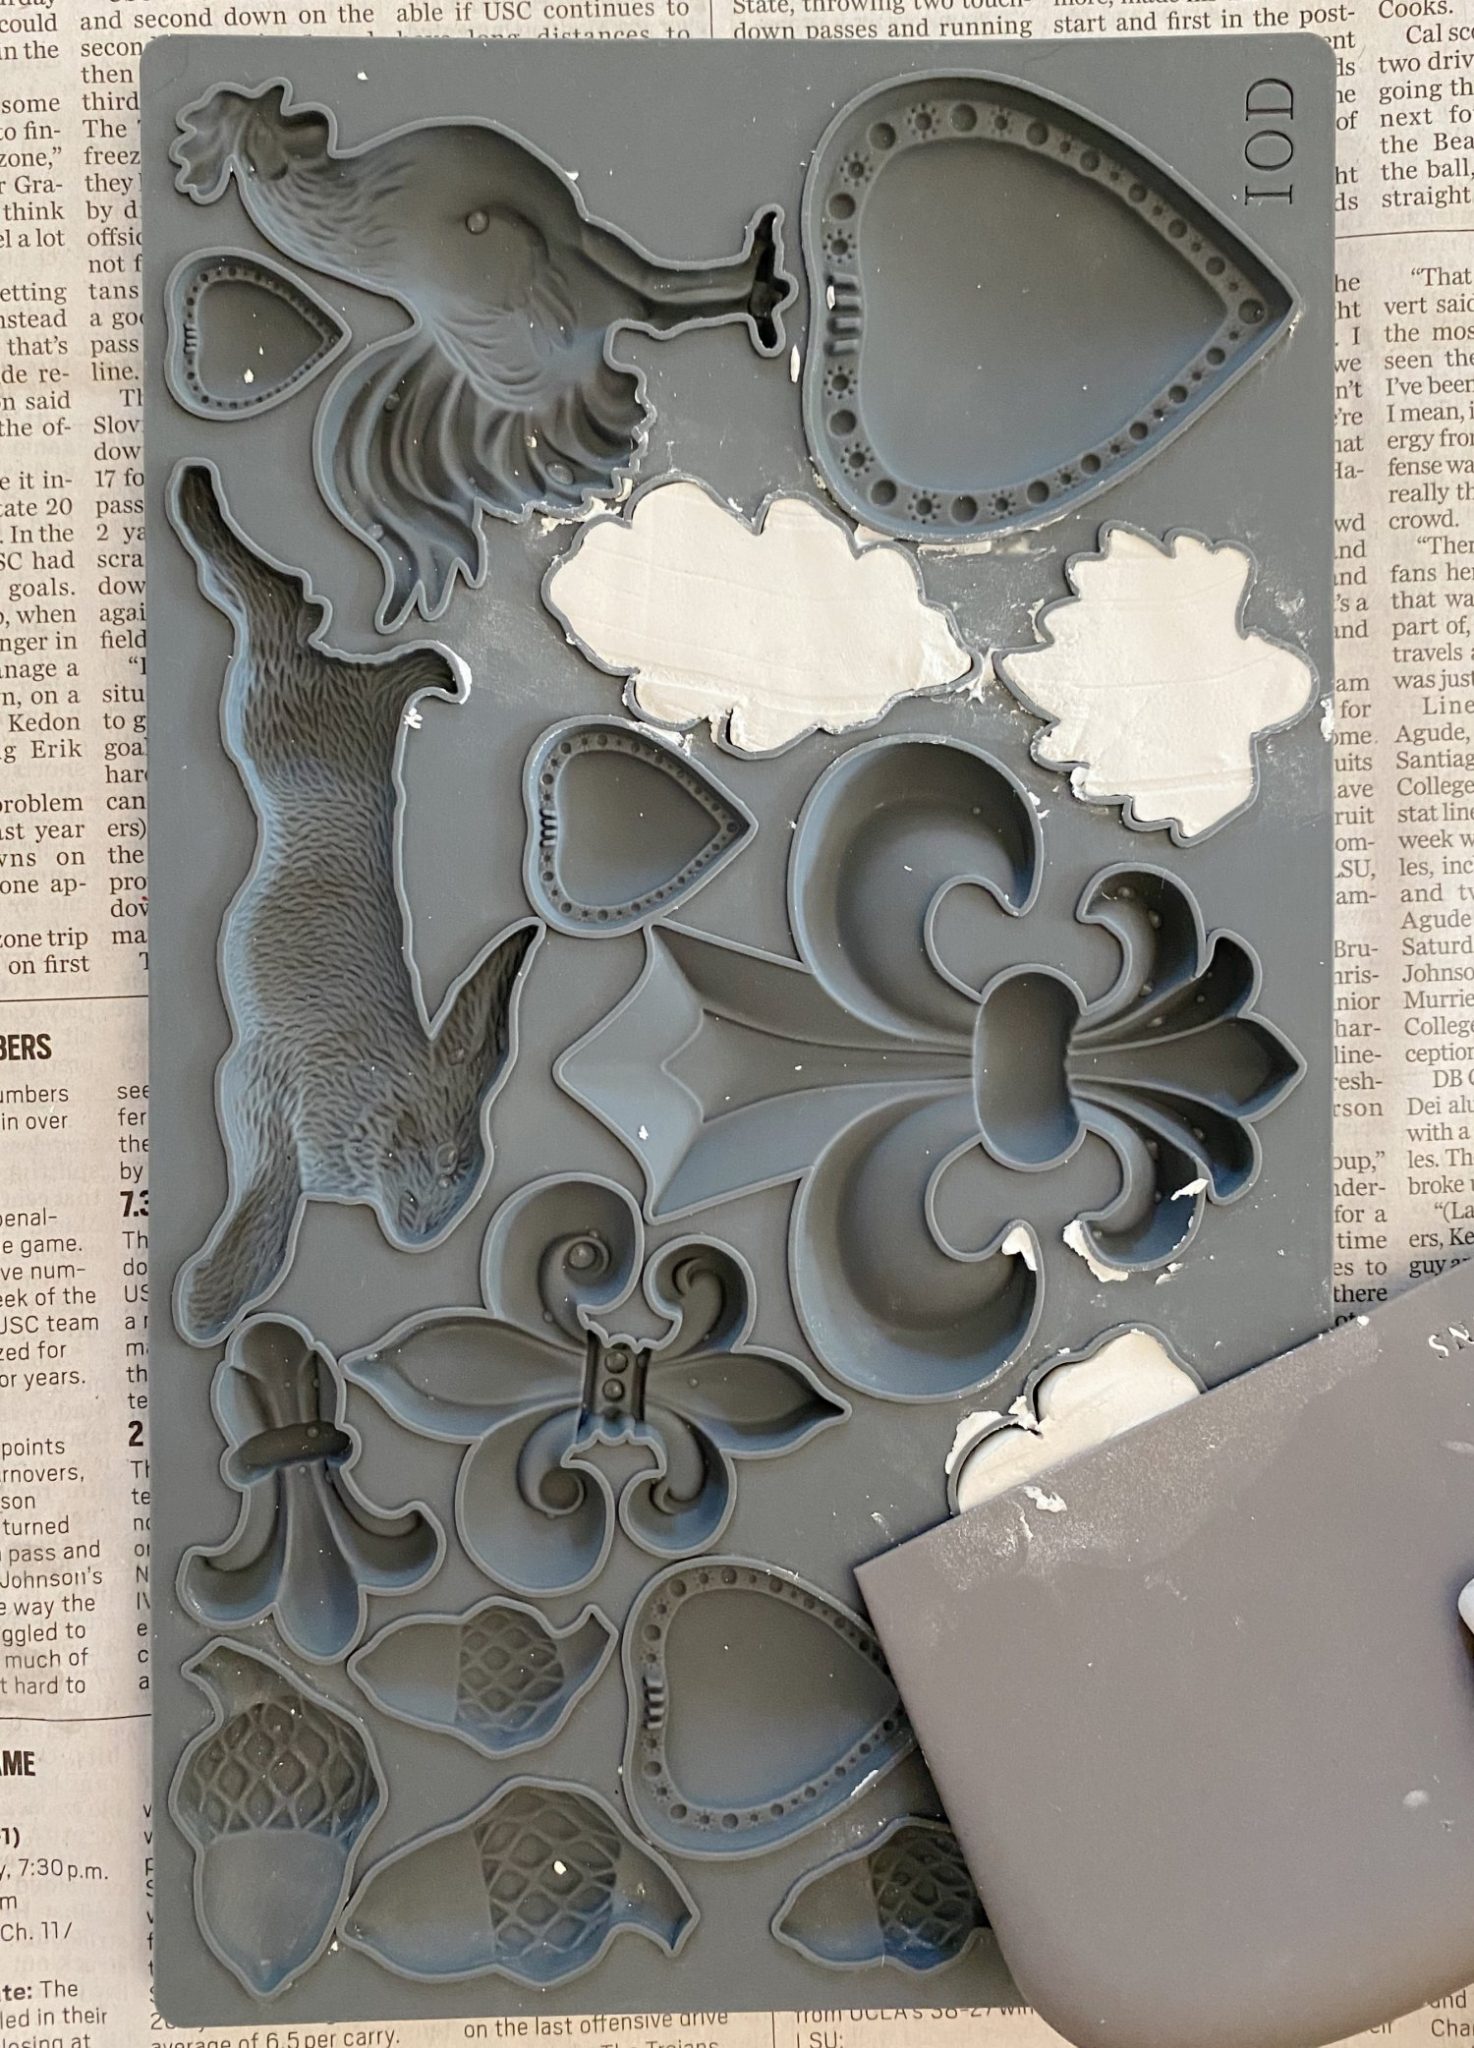
- three – Roll some of the clay in your hand to soften it. Place a generous amount into the leaf mold. Flatten the clay into the mold.
- four – Using the IOD blade or a knife, flatten and scrape the clay until it is flat (as seen in the two molds at the top).
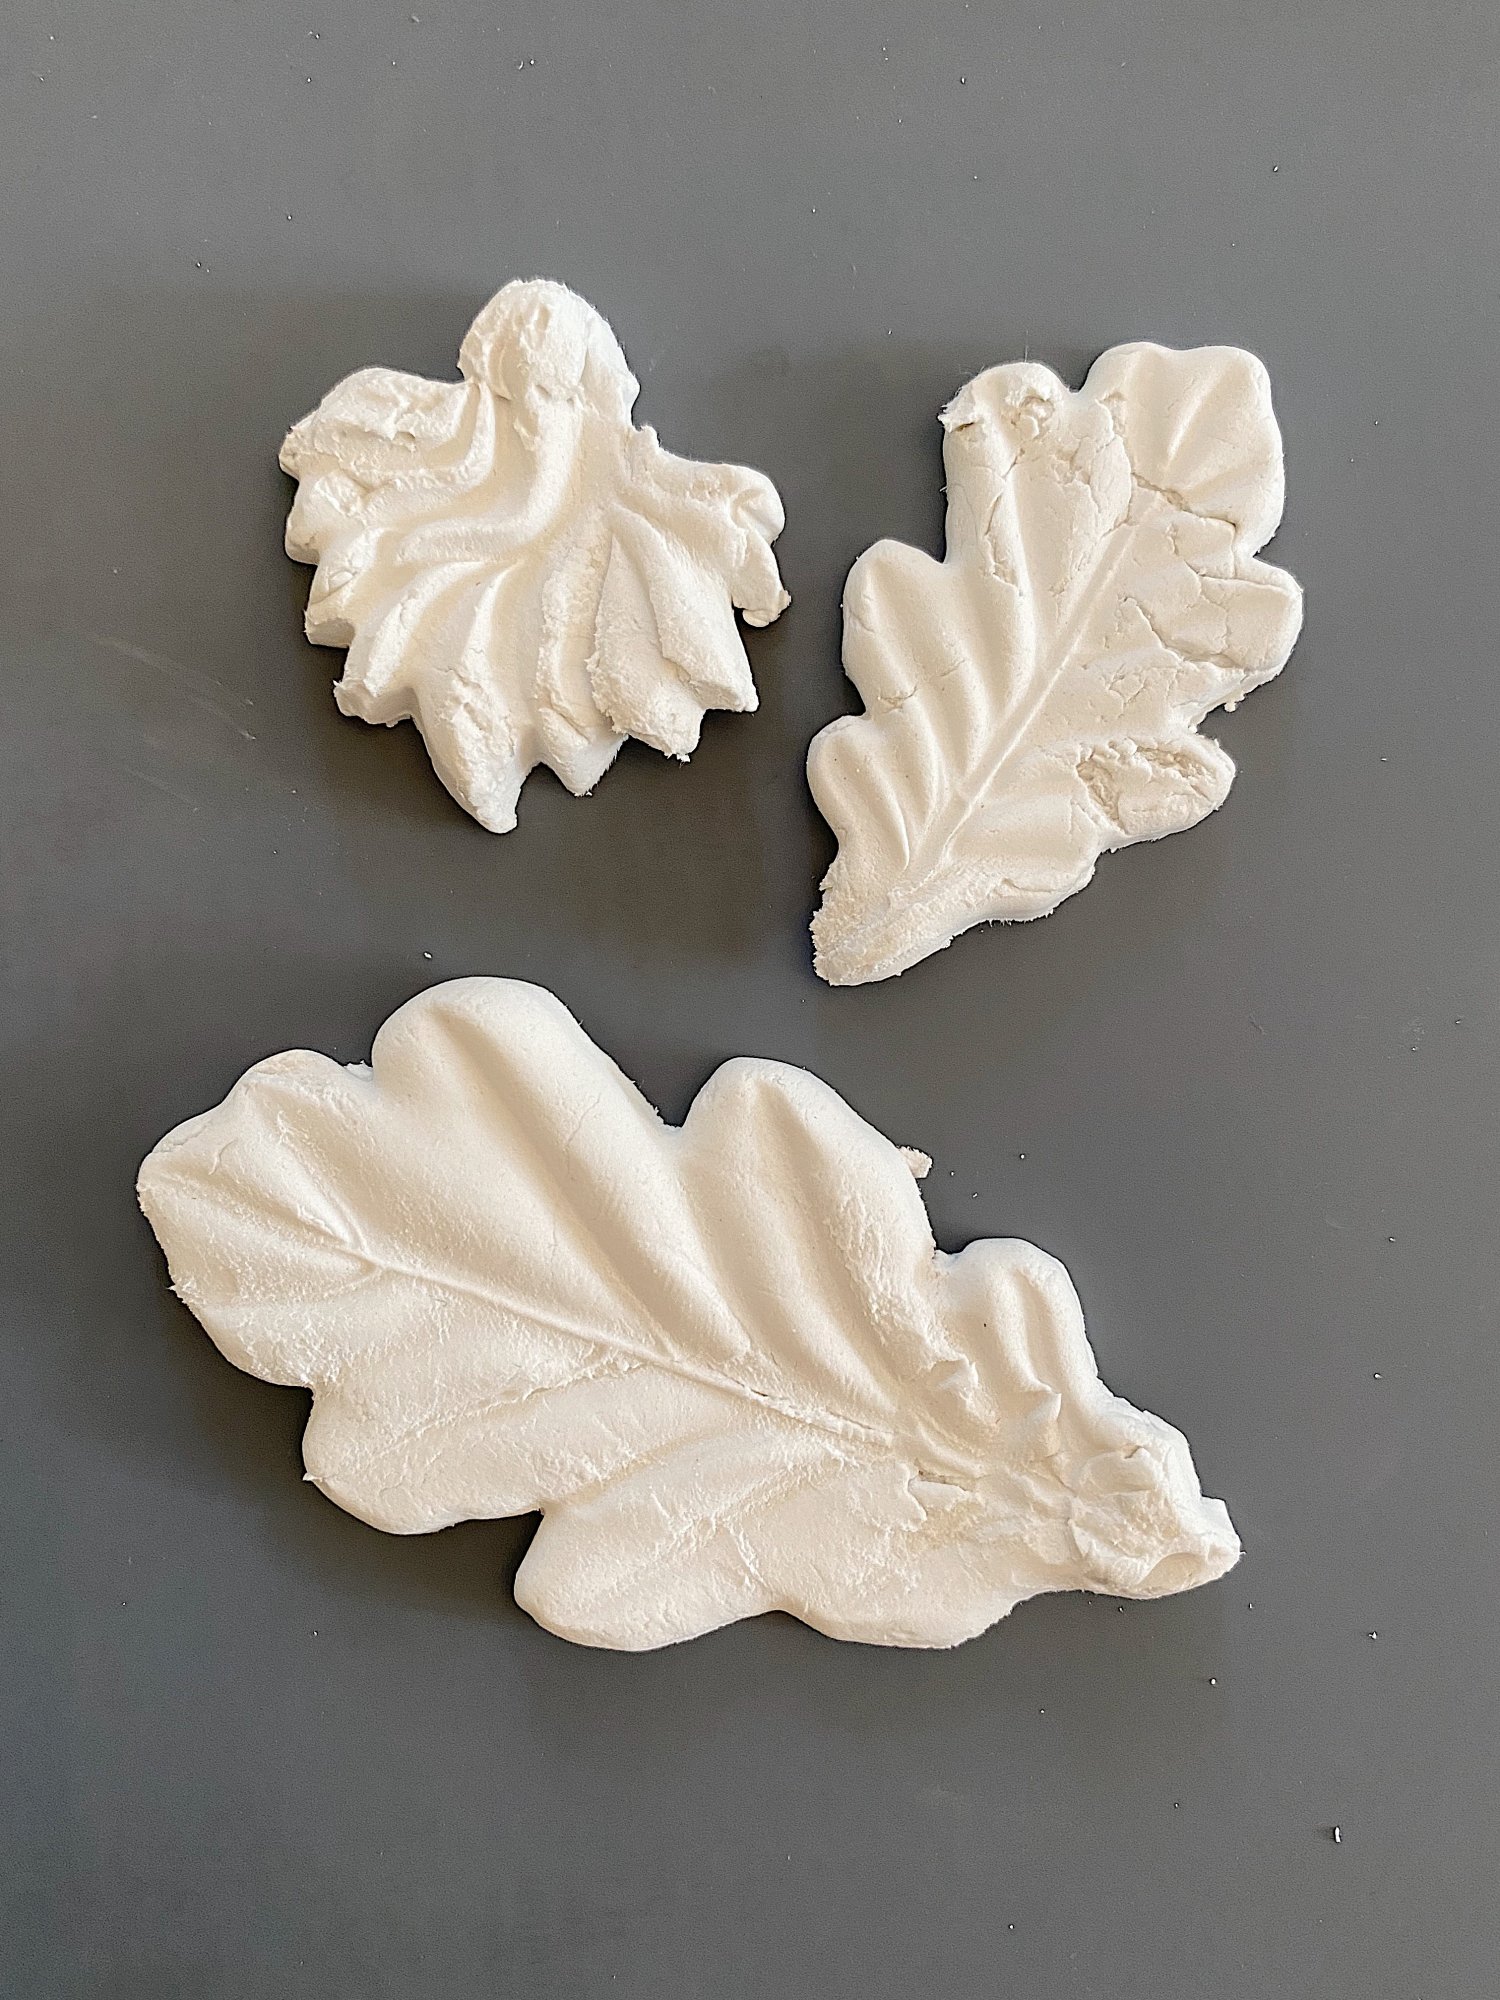
- five – Remove the clay and lay out your design on the charger. I created a few designs before finding one that worked out evenly on the charger. Feel free to copy mine, as it has a repetitive design, and it fits perfectly on the charger.
- six – While the clay is still wet, glue it (with the Titebond) to the outside rim of the charger.
- seven – Glue all of the molds on the charger. Let dry overnight.
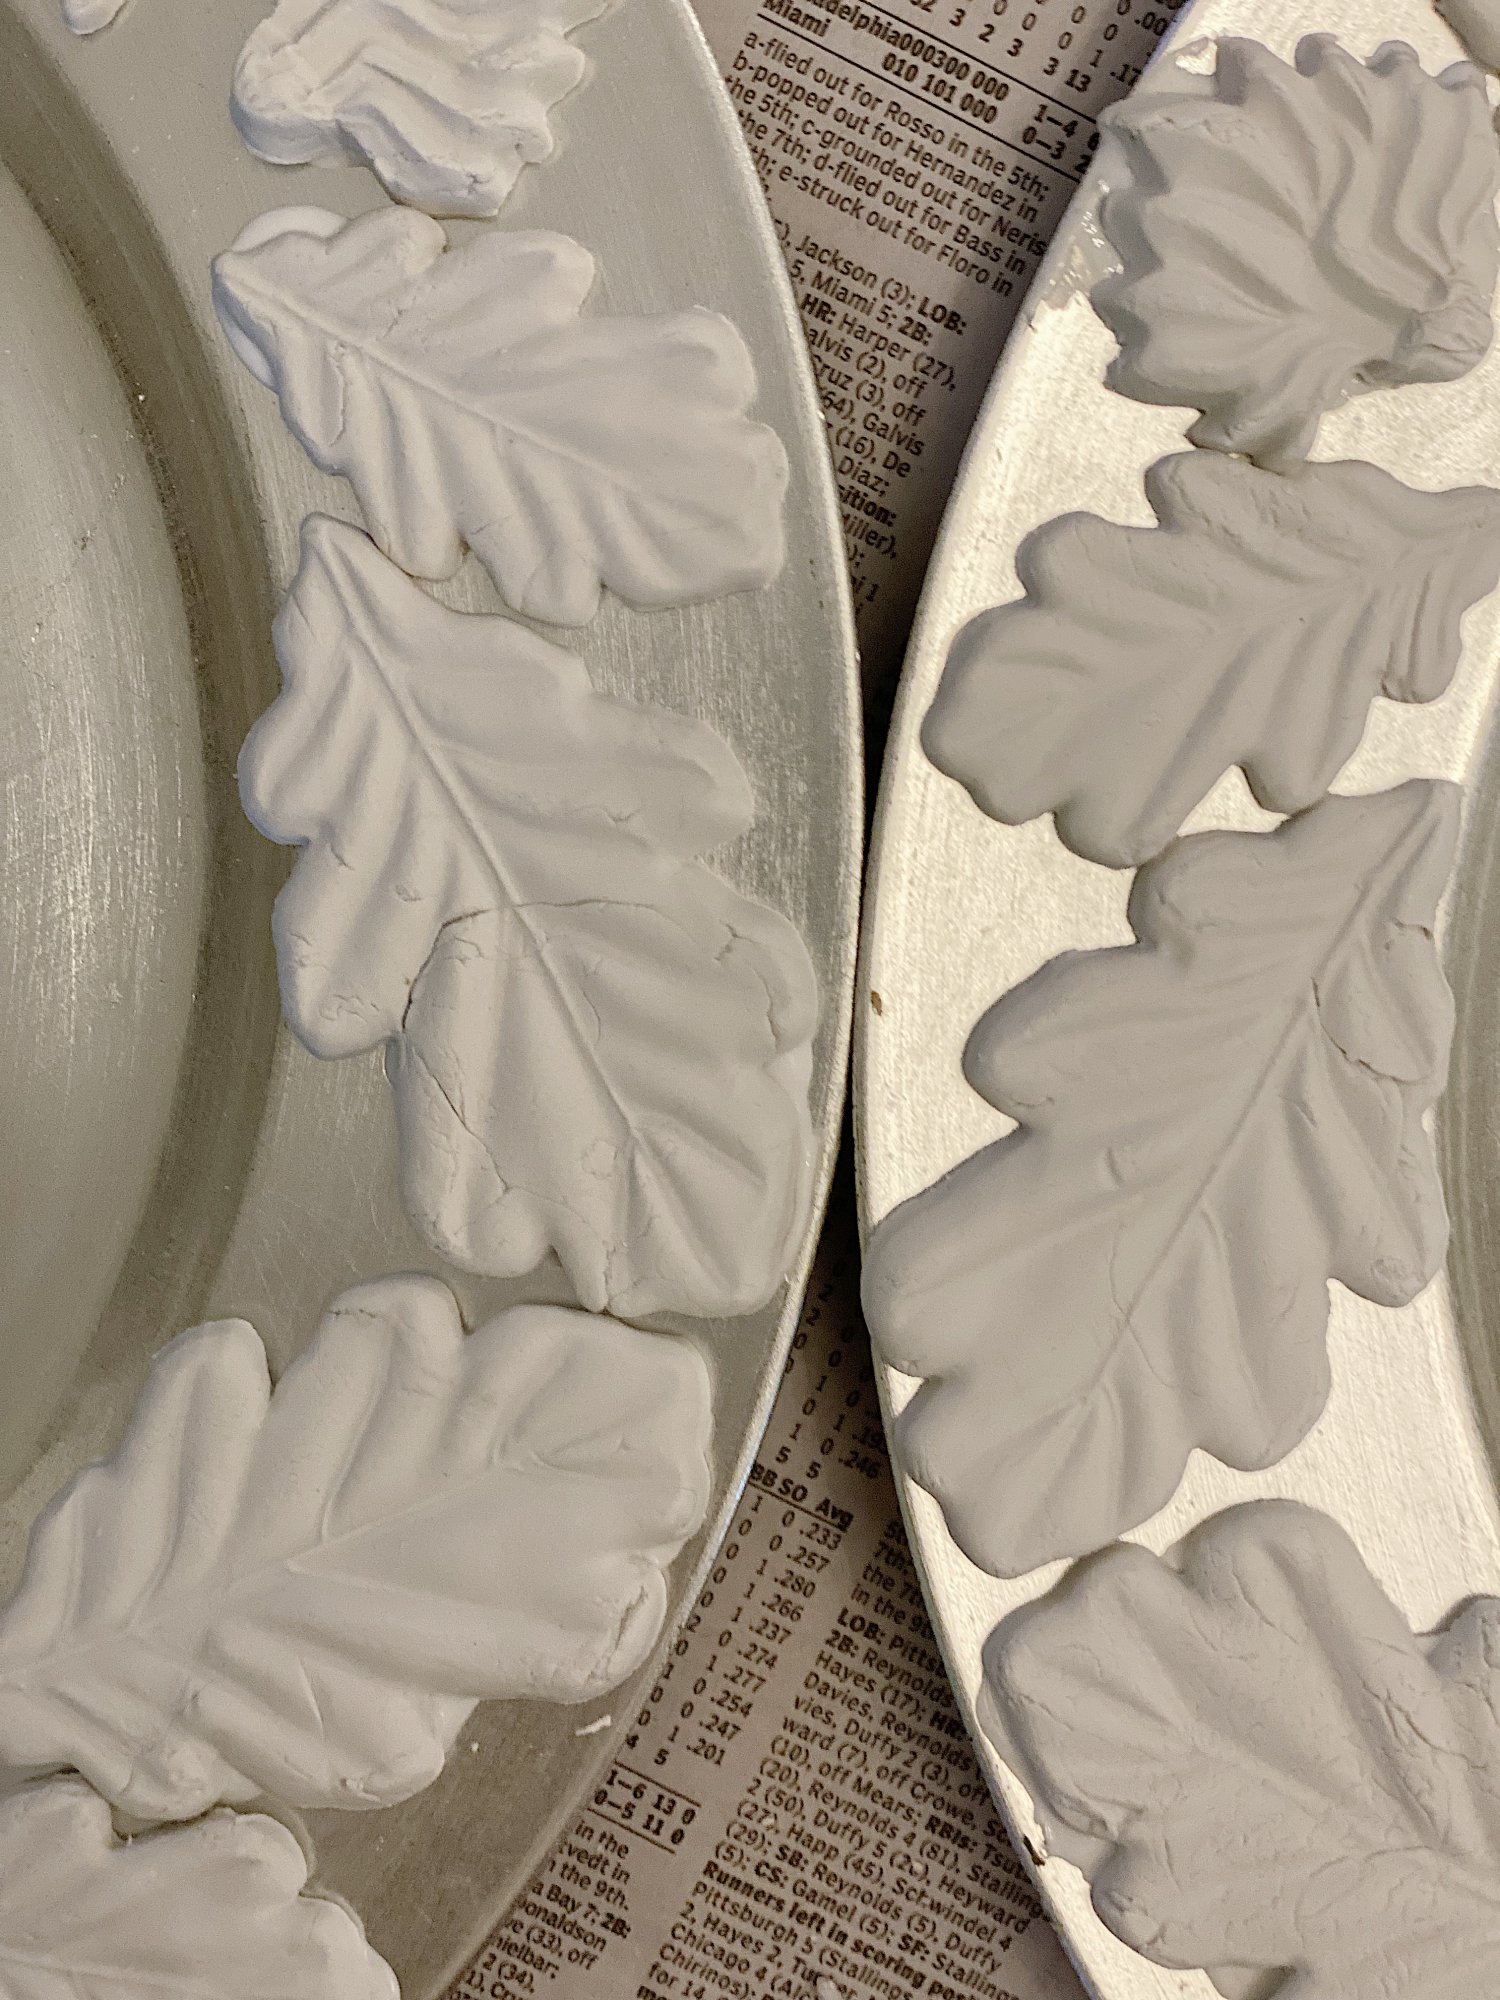
- eight – When completely dry, paint the charger with cream acrylic paint.
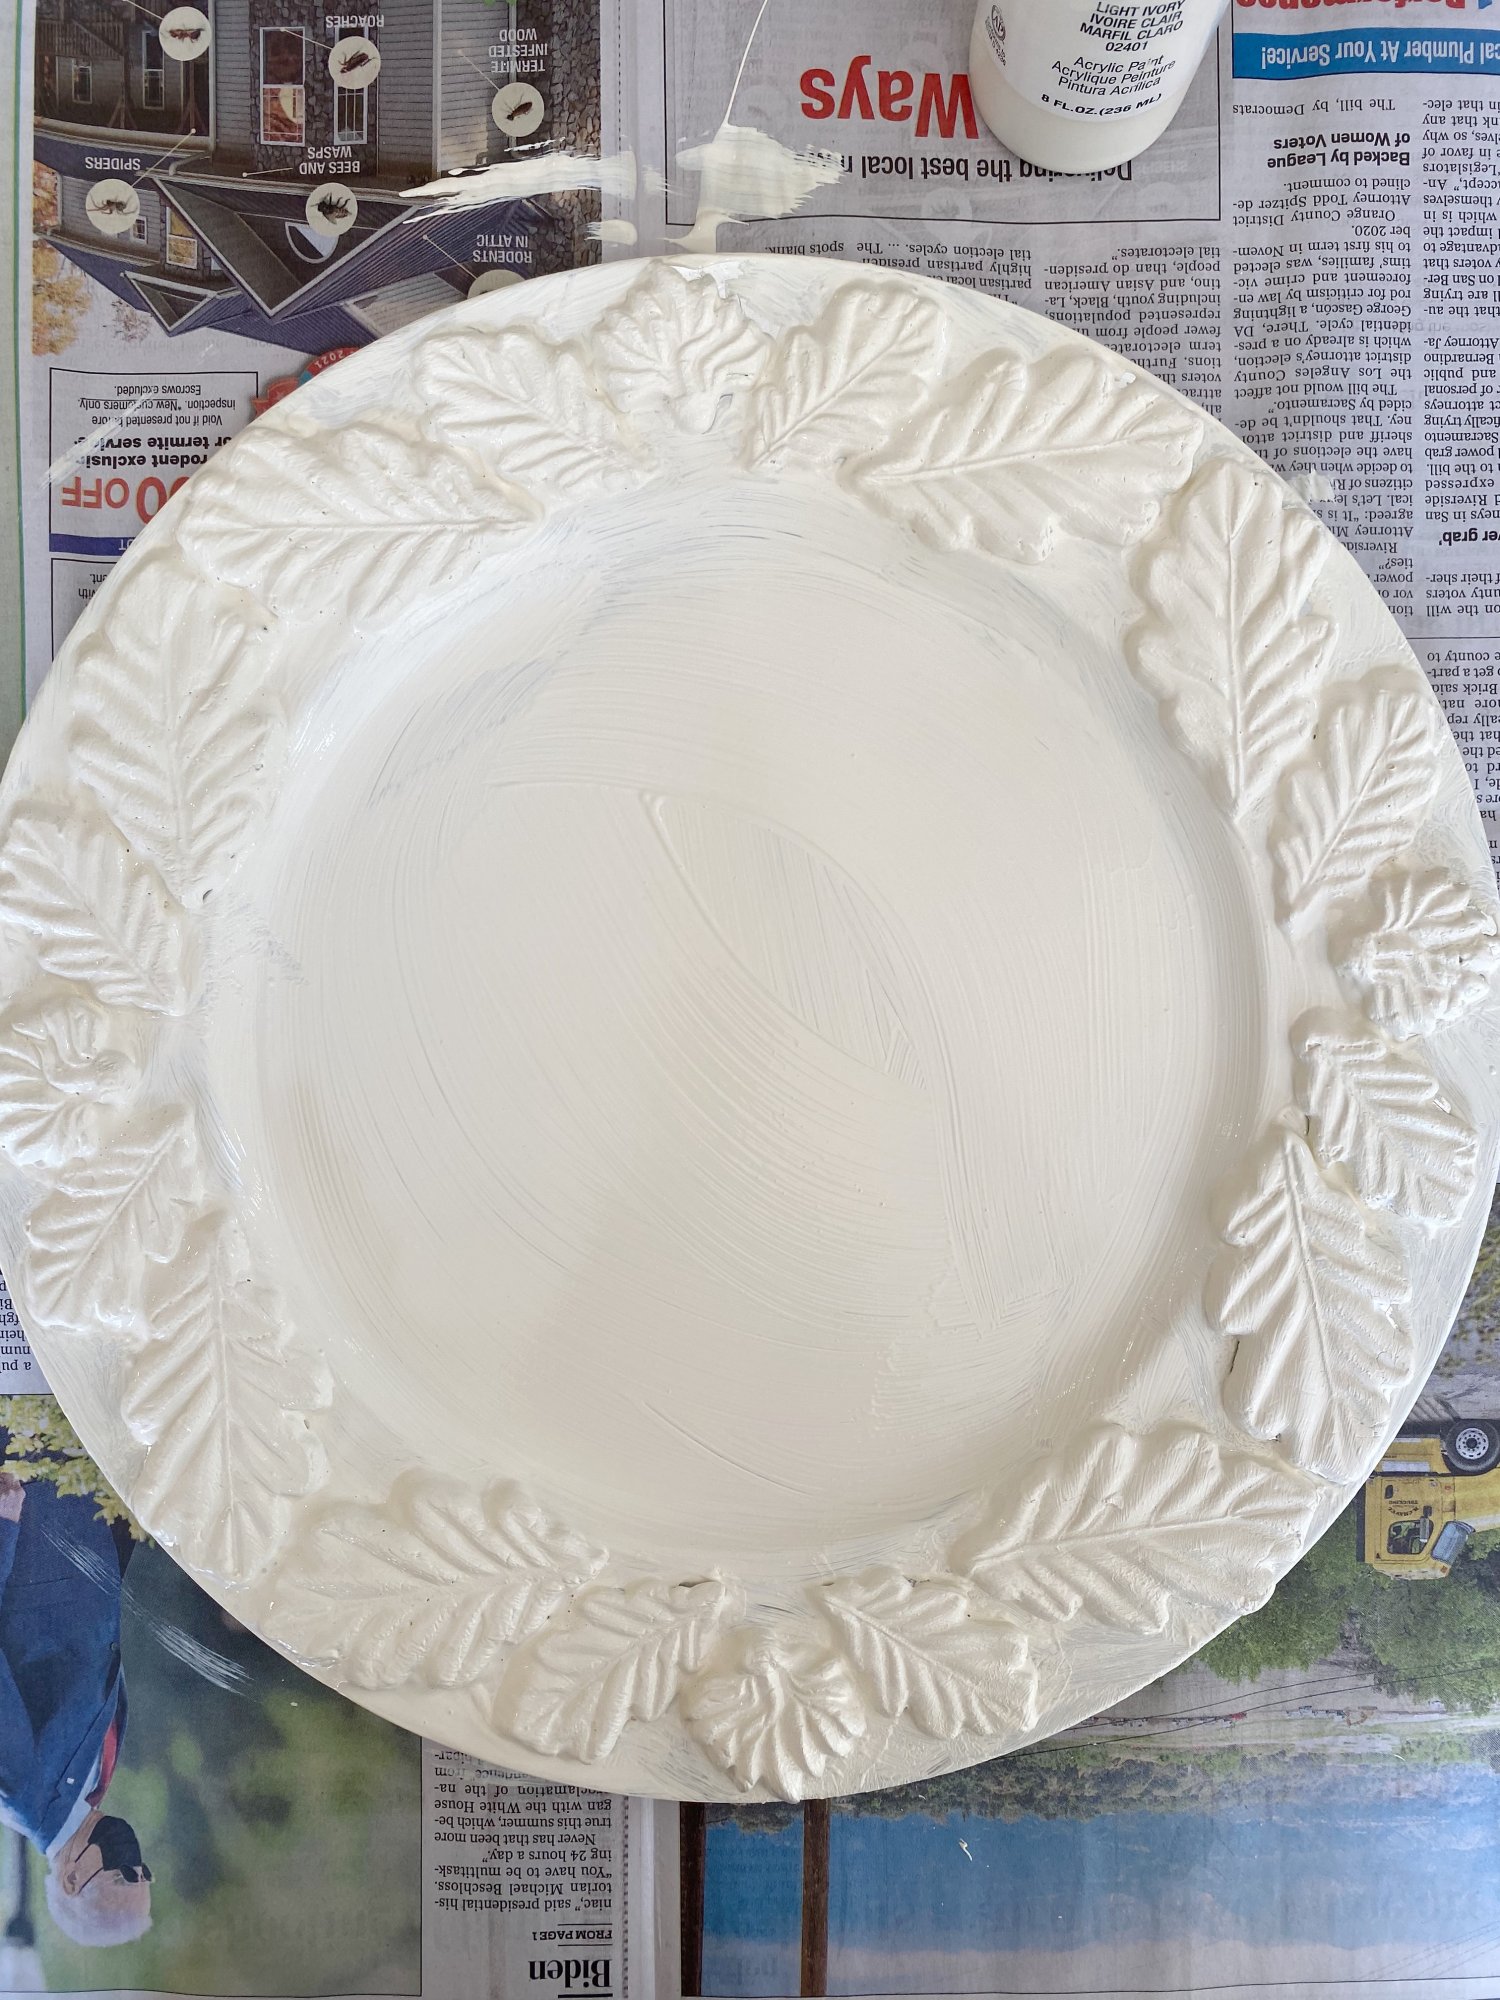
- nine – This is how the painted charger looks. I painted one coat, let it dry, and then painted a second coat with cream paint.
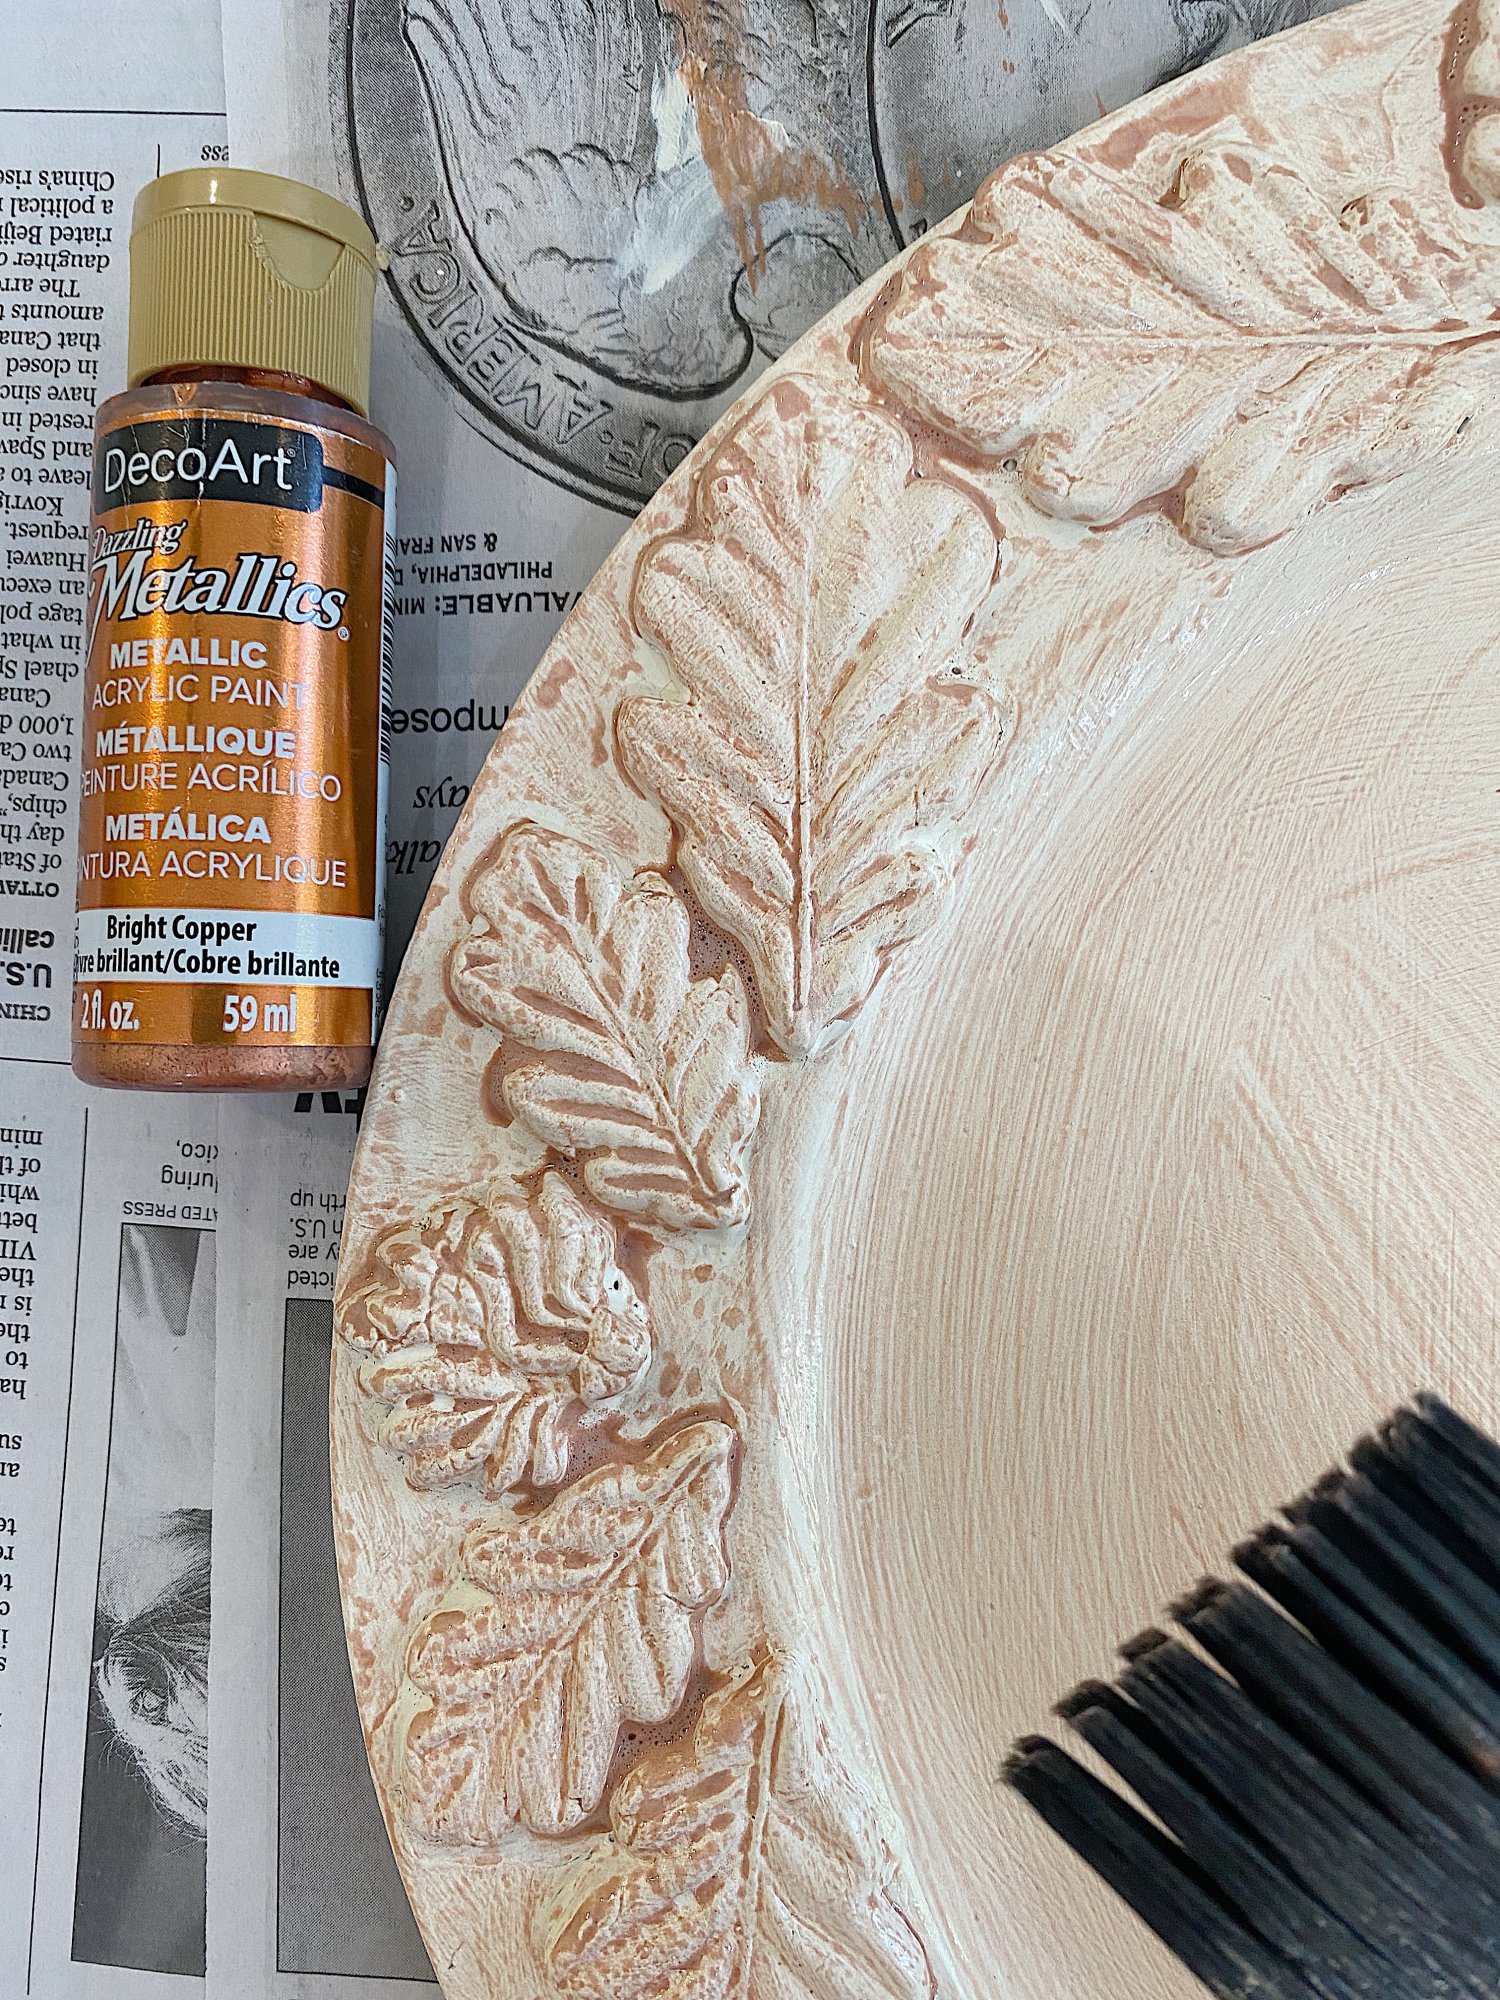
- ten – I wanted to add a copper wash to give the leaves some depth. You can use any color you want, such as brown or grey. Add some water (about one teaspoon) to a generous amount of the paint. (You want the paint to be a wash and not a thick coat.) Apply with a wet brush and then gently wipe away with a towel. Don’t worry if some of the paint comes off as you will fix that in the next step.
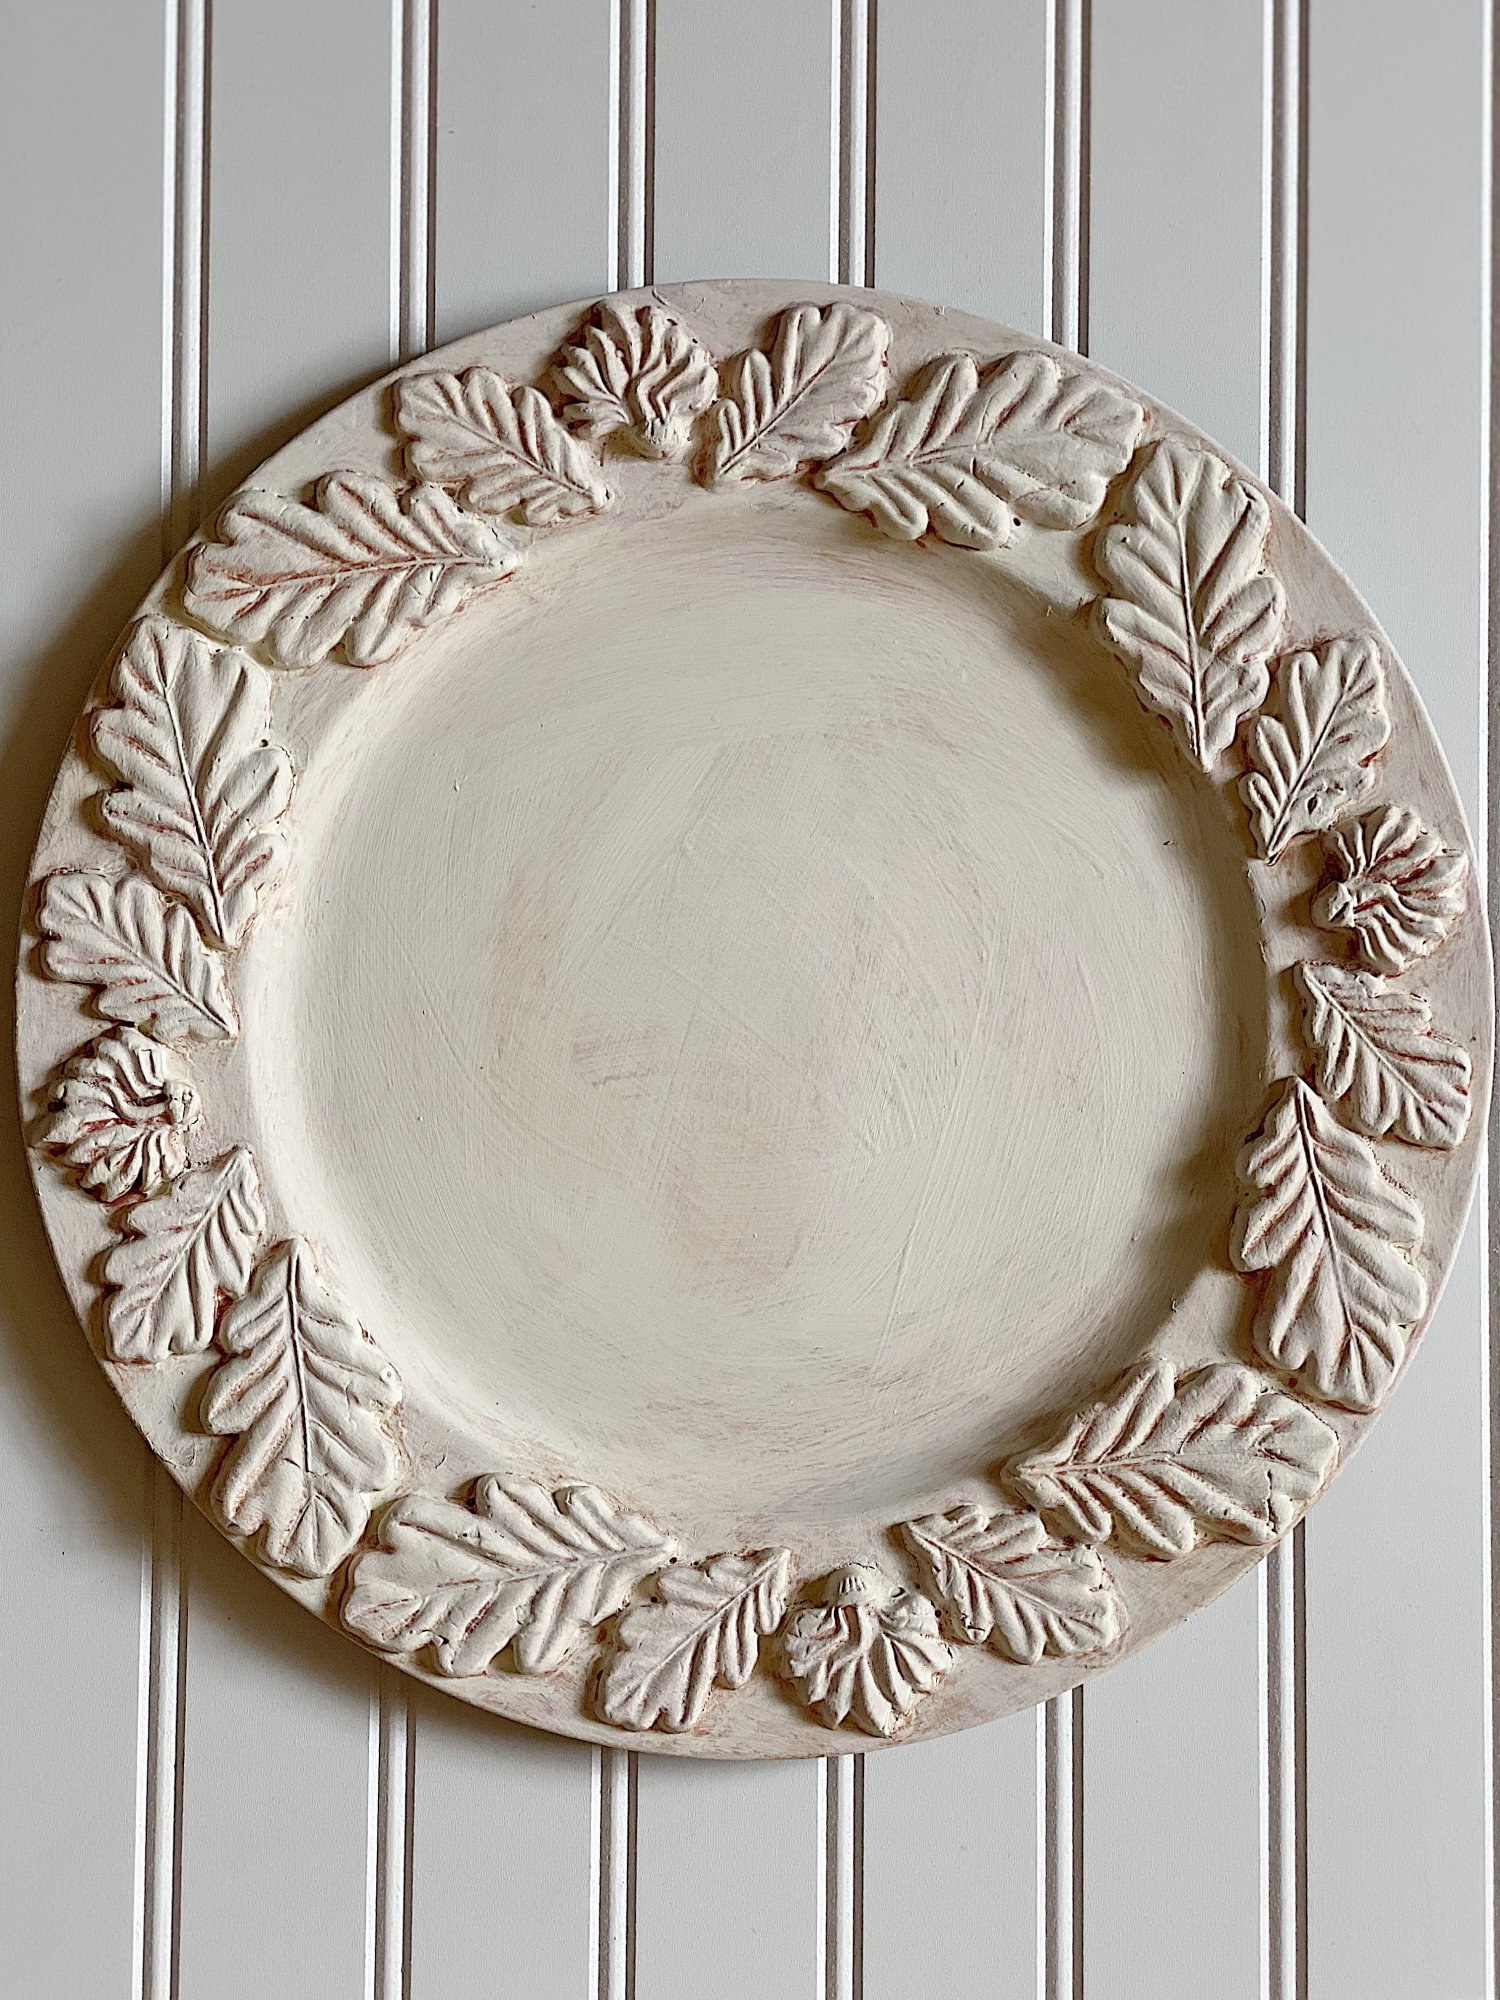
- eleven – Here is the difference between the charger painted white and after the wash is added.
- twelve – I added a dab of the white paint here and there (very lightly) after the wash was dry to fill in some areas where I rubbed too hard and lightened up the leaves. This is how it looked when I was done. Next, I sealed the paint with a matte Polycrylic sealer.
If you enjoy my blog, you can sign up to receive my updates here.
.
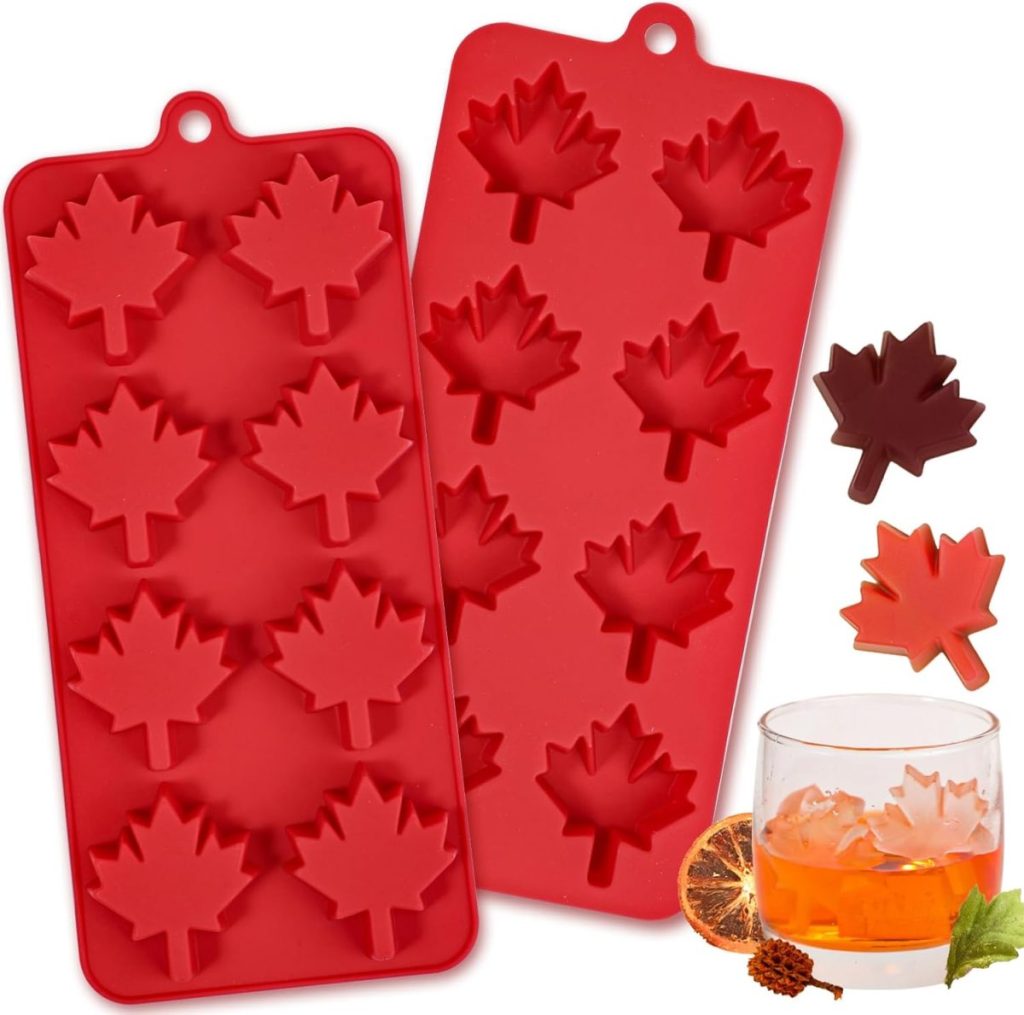
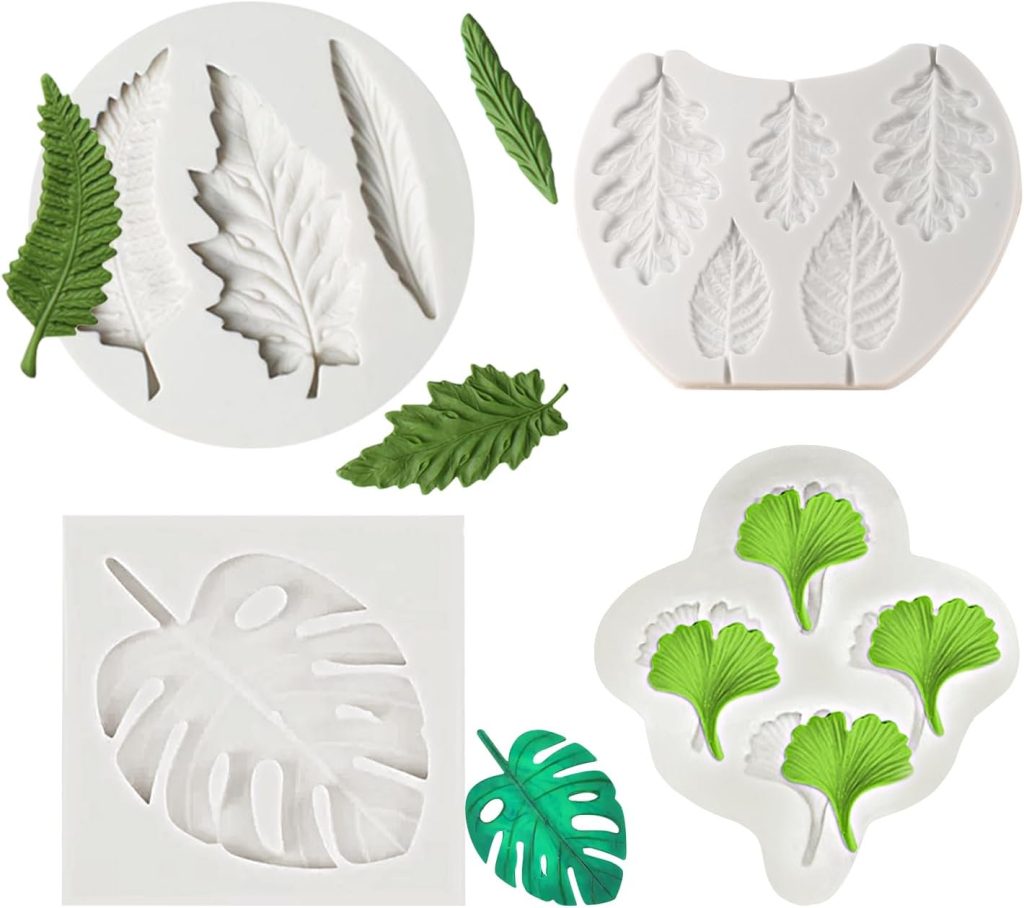
As you know, Amazon also has many clay molds, so you can make many more things. The possibilities are endless, as you can do so many things.


My Favorite Fall Kitchen Decor


Look at these Amazing Fall Leaves Craft Projects
The DIY Mommy
DIY Dough Bowl Fall Centerpiece
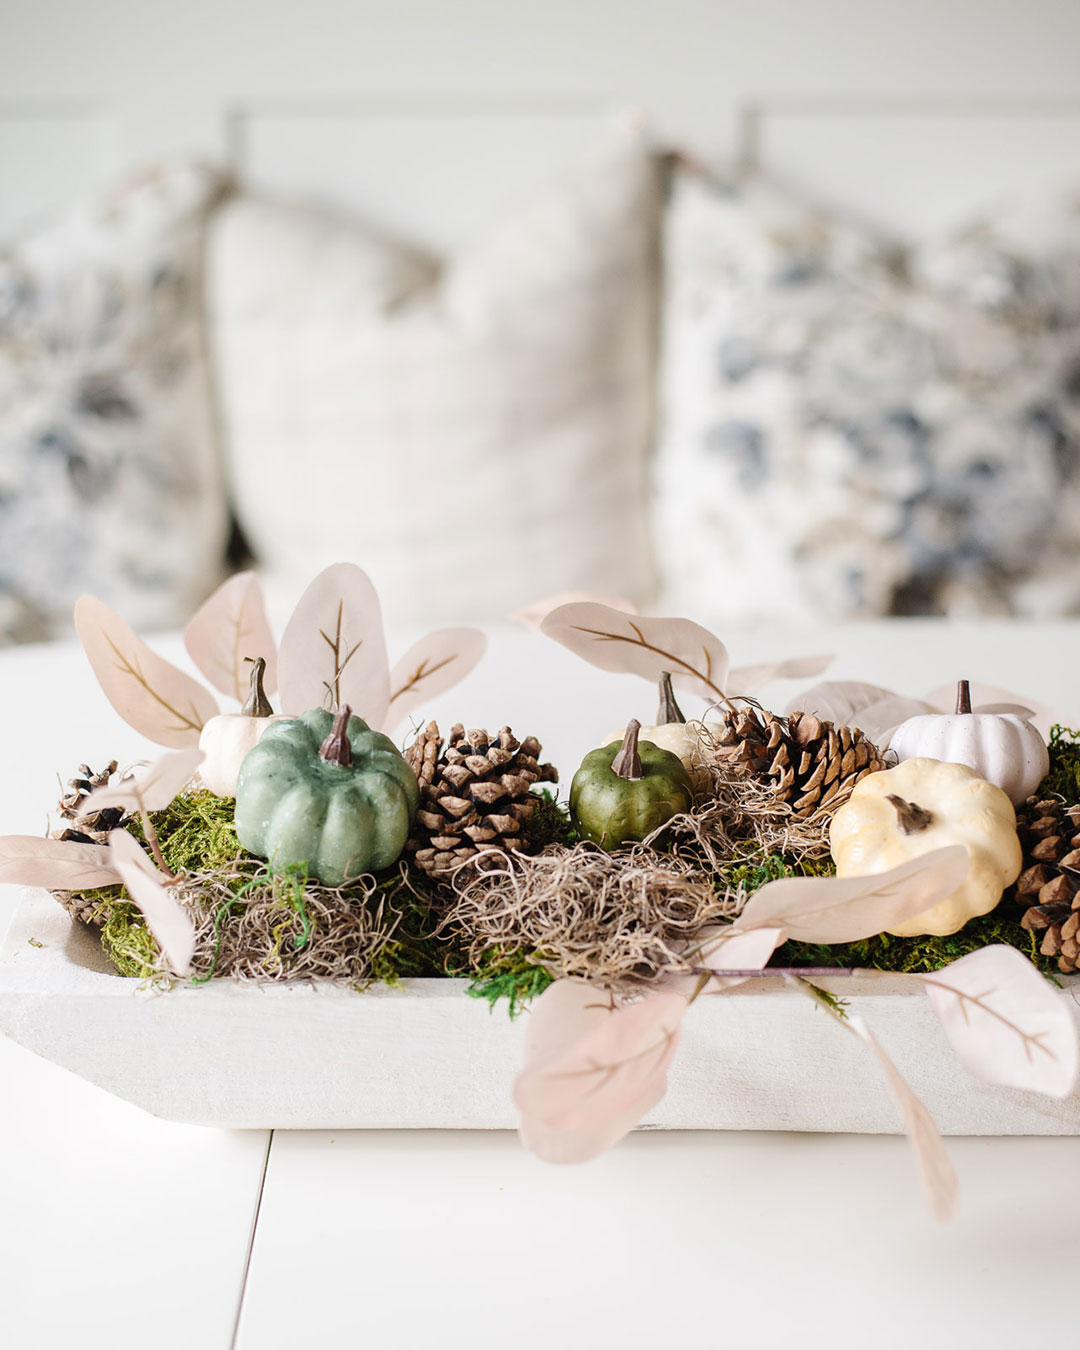
This beautiful Fall centerpiece not only looks lovely, but it takes less than 15 minutes to make! Use a dough bowl, some faux fall leaves, pumpkins, and moss to create this seasonal table centerpiece to decorate your home for autumn.
Happy Happy Nester
How to Make a Bay Leaf Wreath
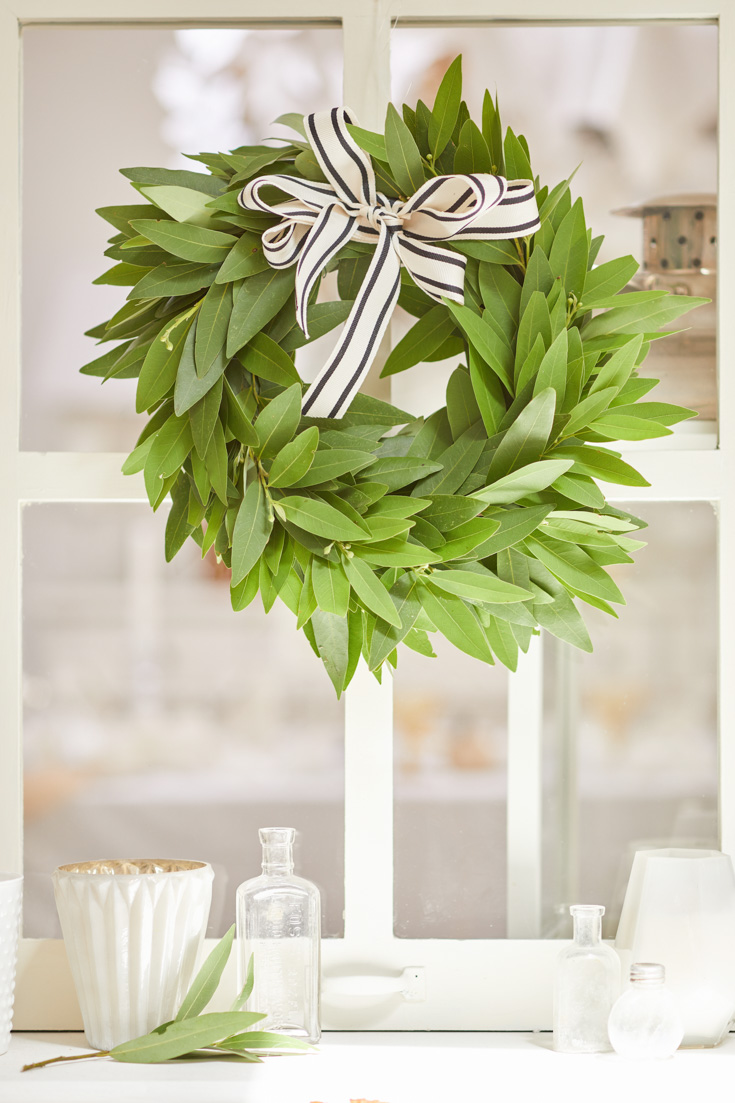
Make sure to check out How to Make a Bay Leaf Wreath. This helpful tutorial has great tips on how to make the BEST bay laurel wreath.
Thistlewood Farms
Creative Leaf Projects for Fall
Are you looking for easy fall project ideas? Here are seven creative leaf project ideas you can make in less than an hour to prepare your home for fall.
You can pin the image below to your decor boards on Pinterest (click the Pin button in the top left corner) or follow me on Pinterest!
For more real-time updates, follow me on Instagram @My100YearOldHome


These were a total success! Thanks for sharing.
Yay! That makes me so happy!