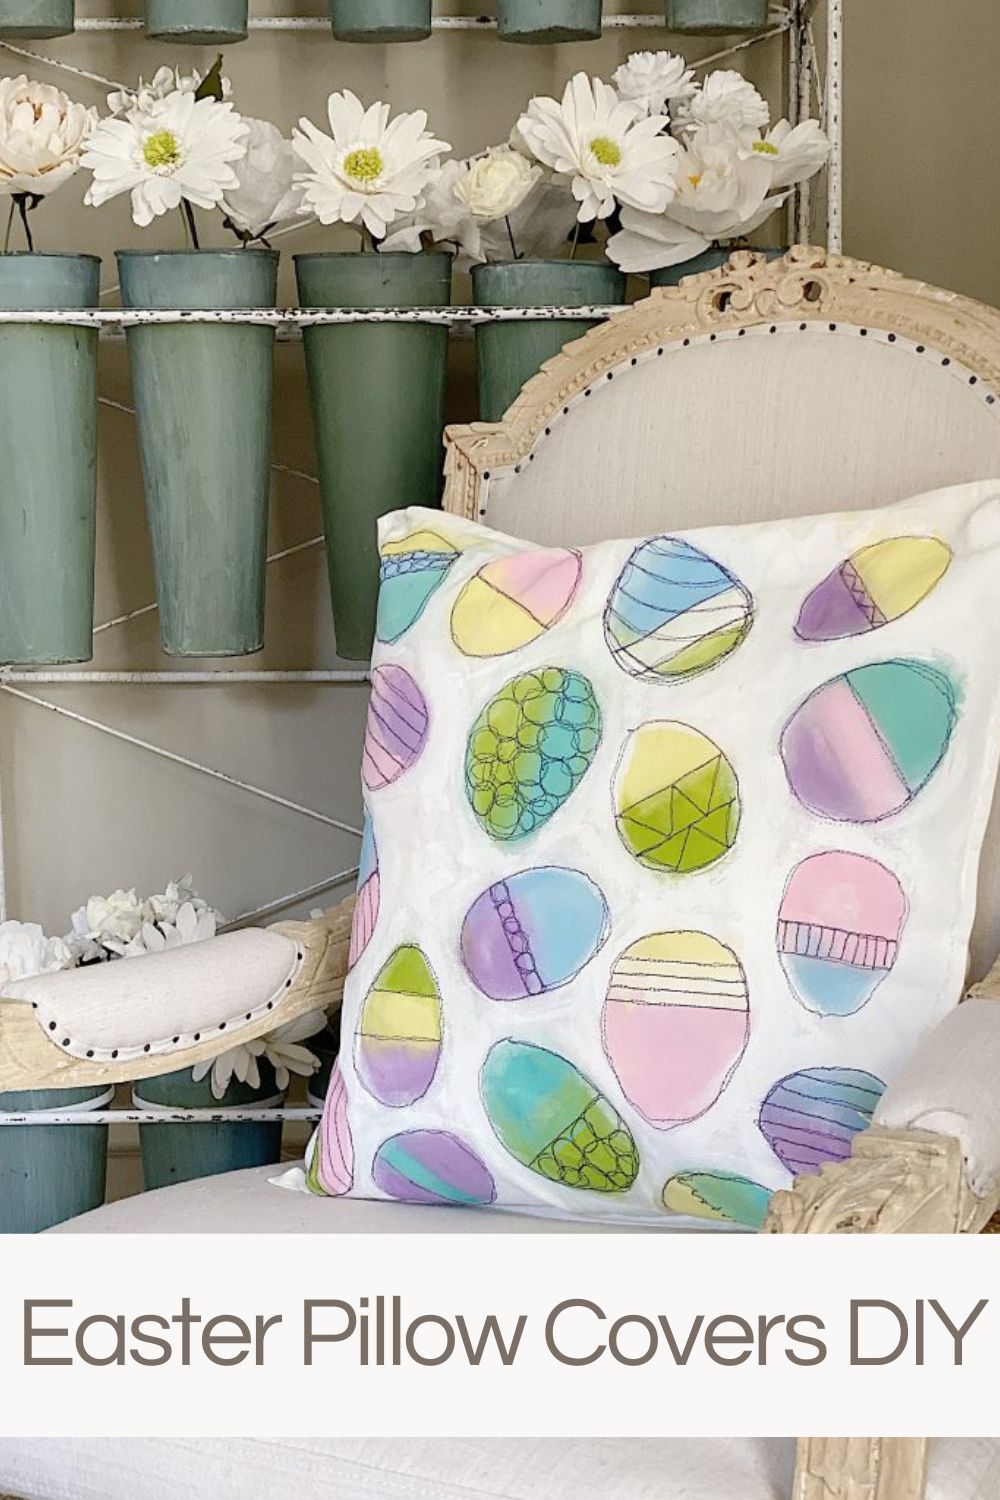
Easter Pillow Covers DIY
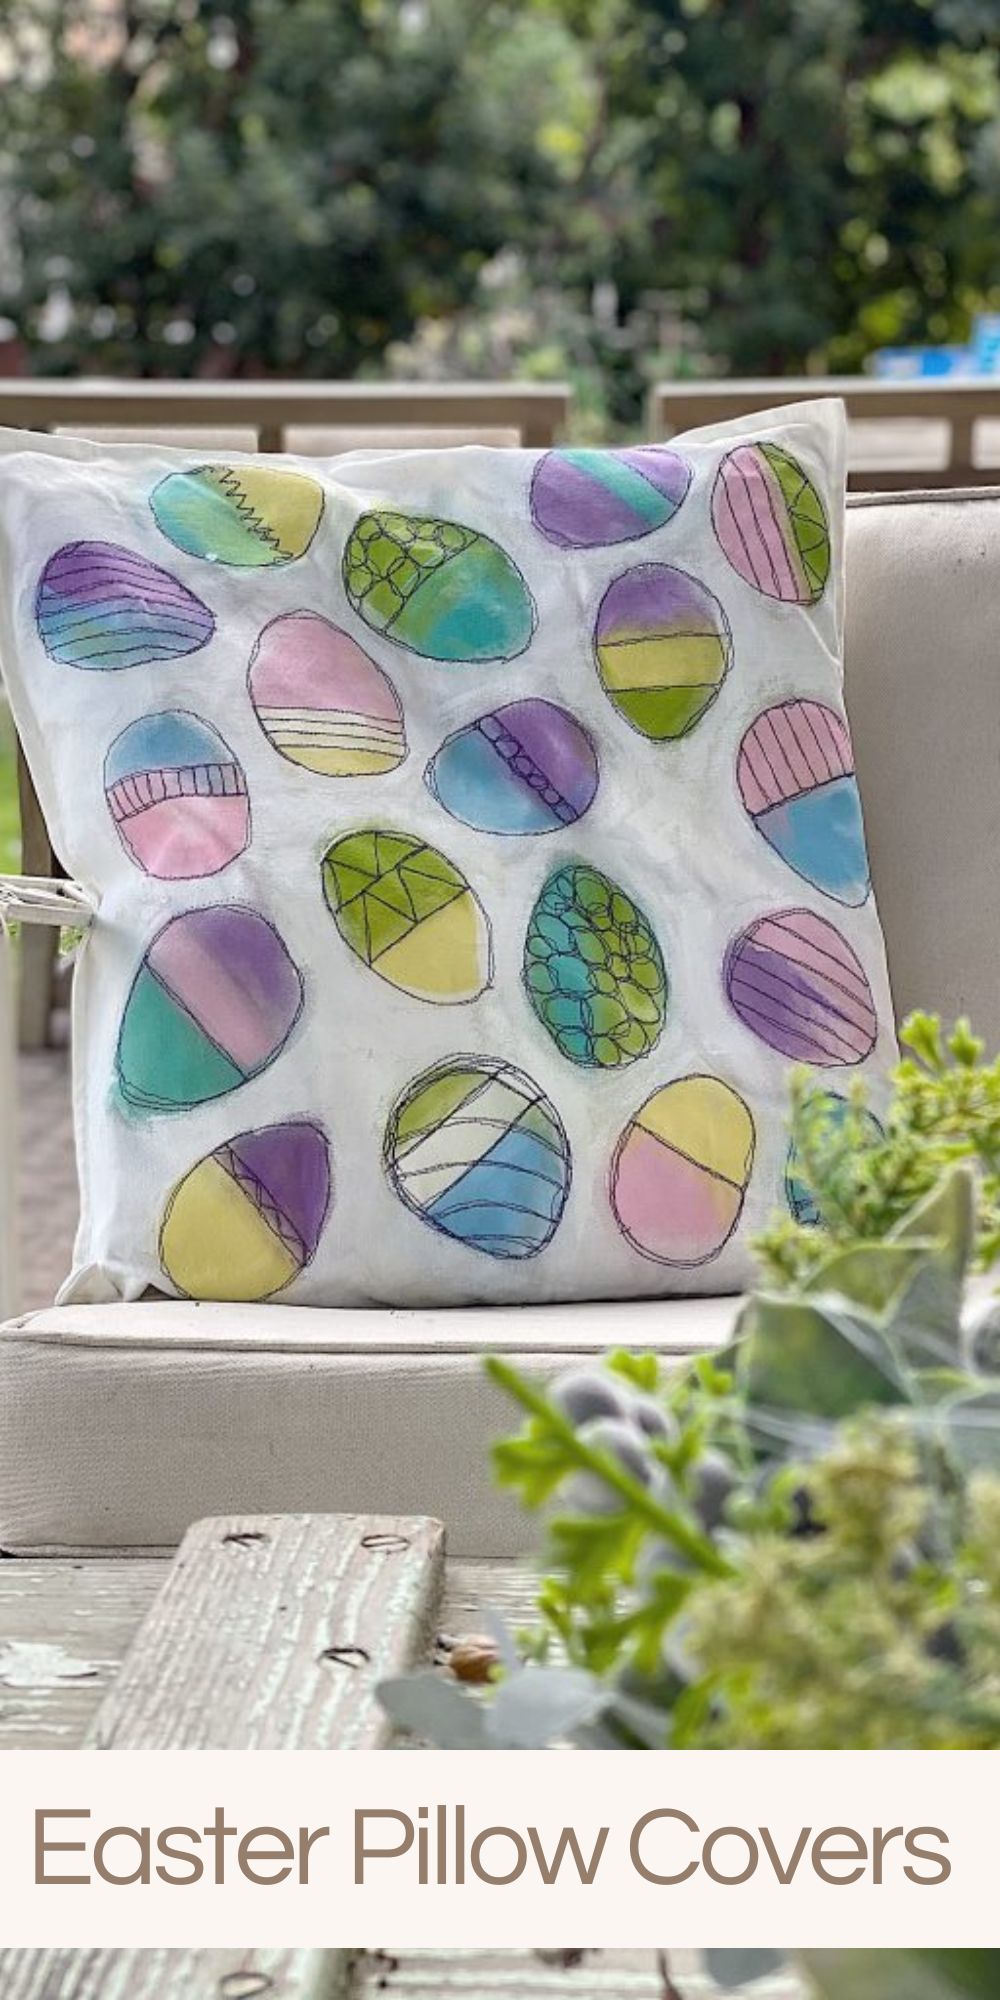
Are you ready for some fun and easy Easter pillow covers? A little paint and a lot of imagination are all you need to make this!
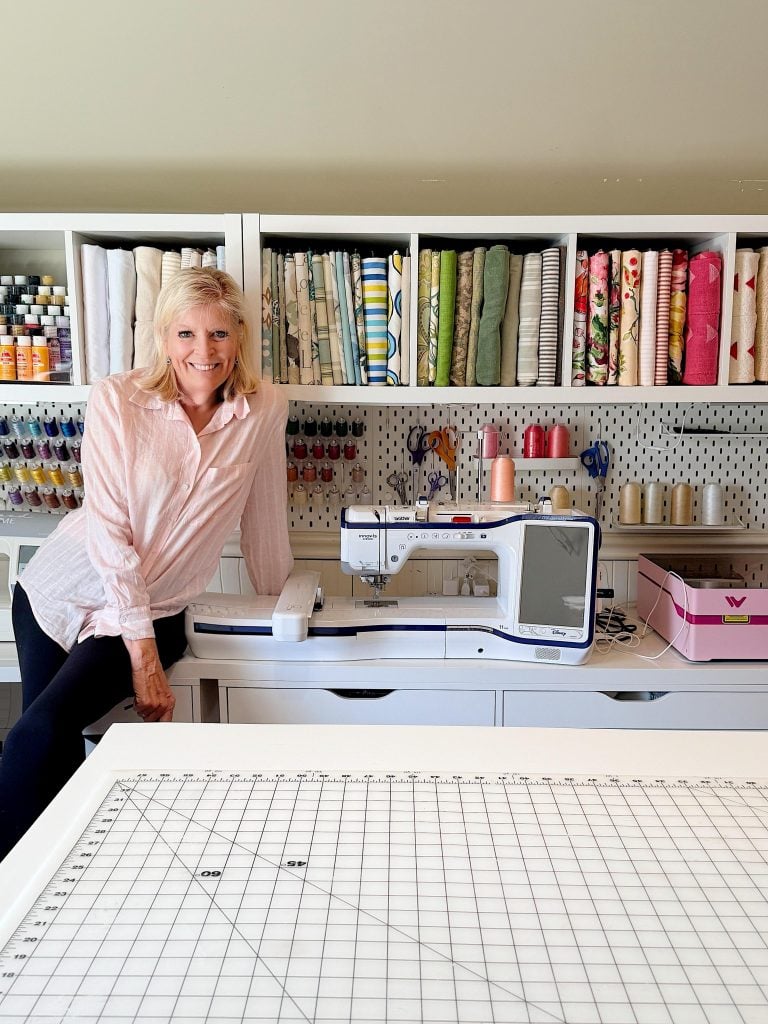
I am obsessed with free-motion embroidery. For this Easter DIY, I combined two of my passions, painting, and sewing. You or you and your kids can paint the eggs on the pillow cover and then you can take care of the stitching around the design to highlight it. How easy is that? Don’t sew? I’ve got a solution for you, so keep reading.

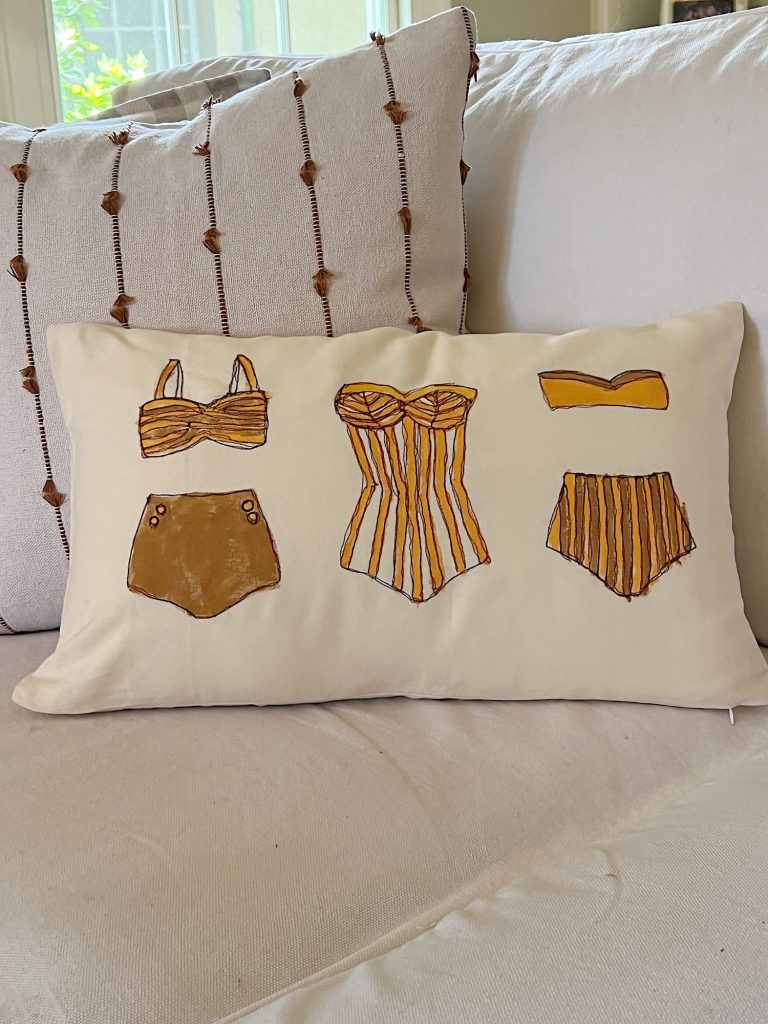
I created this crafting method that combines painting on a plain white pillow cover and then stitching around the dried paint to highlight the design. I have made pillow covers for almost every holiday and today is Easter pillow covers.
Just call them paint and stitch pillows.
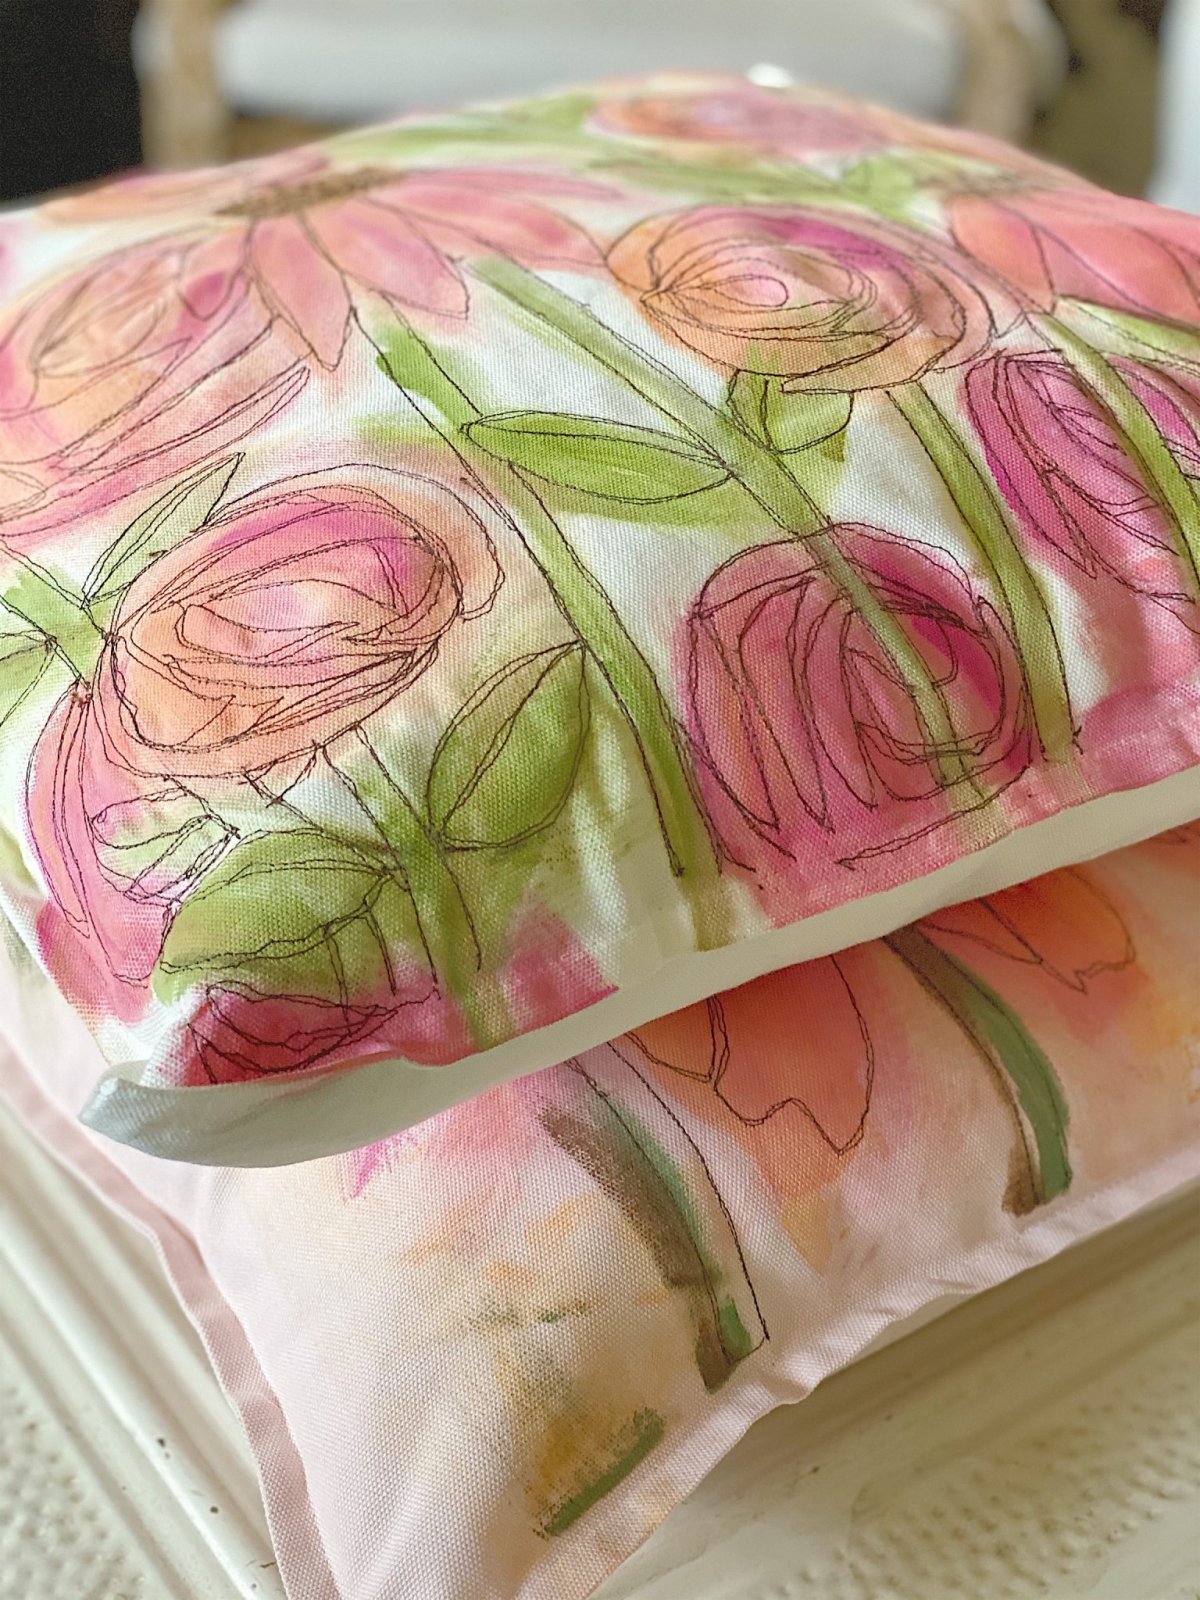
Paint and Stitch Easter Pillows
This is the first paint and stitch pillow I ever made. You can find the blog post here.
An Easter Pillow
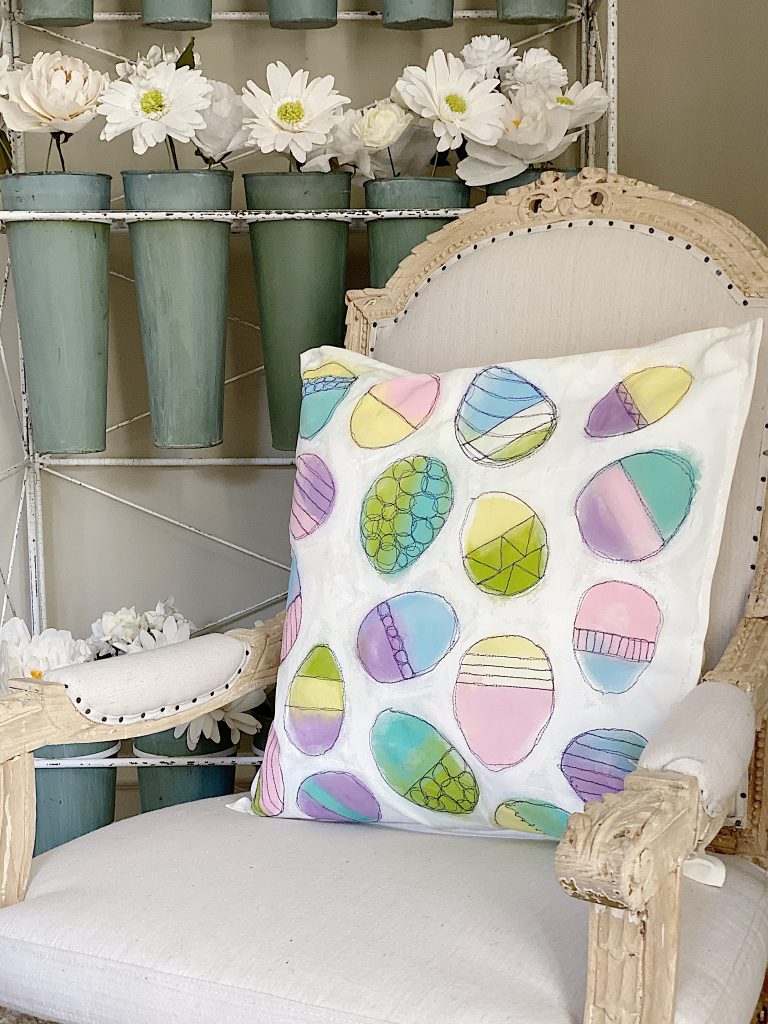
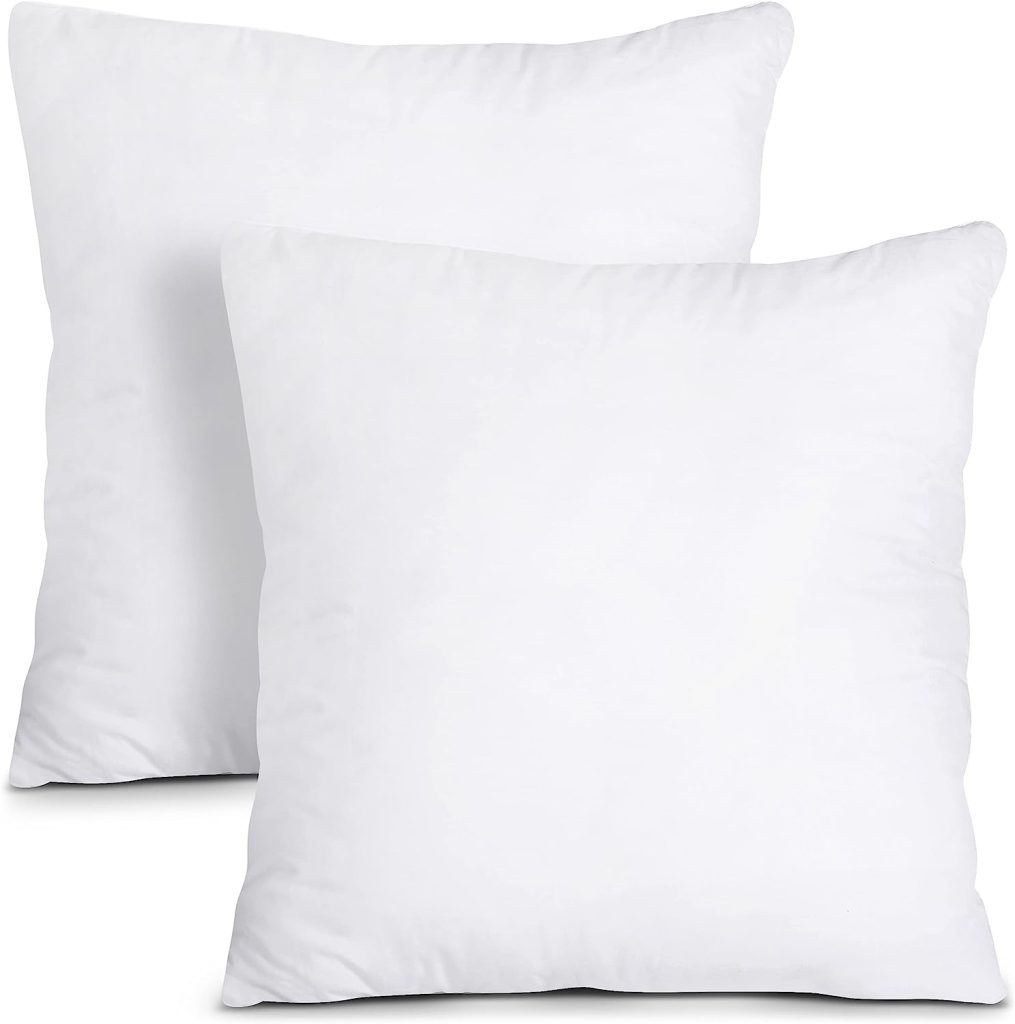
This Easter pillow cover DIY is easy to make. I started with a plain white pillow cover and painted my design with acrylic paint. Then I stitched the detail on my sewing machine using free motion embroidery.
What is free-motion embroidery?
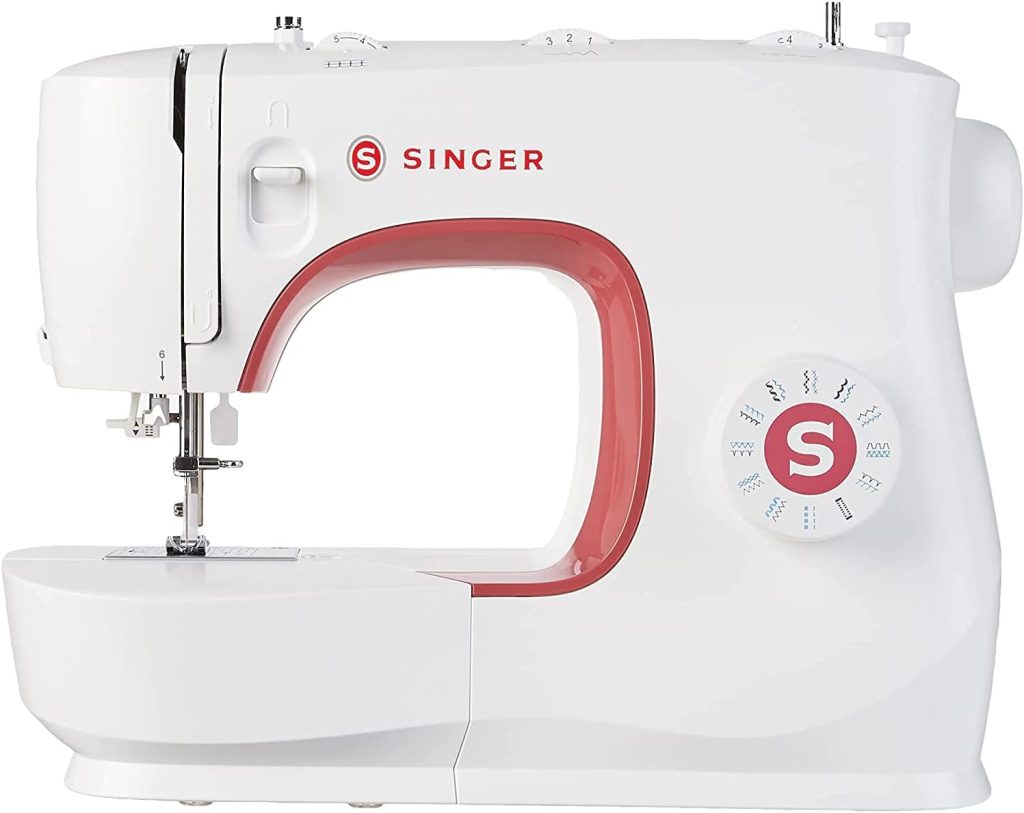
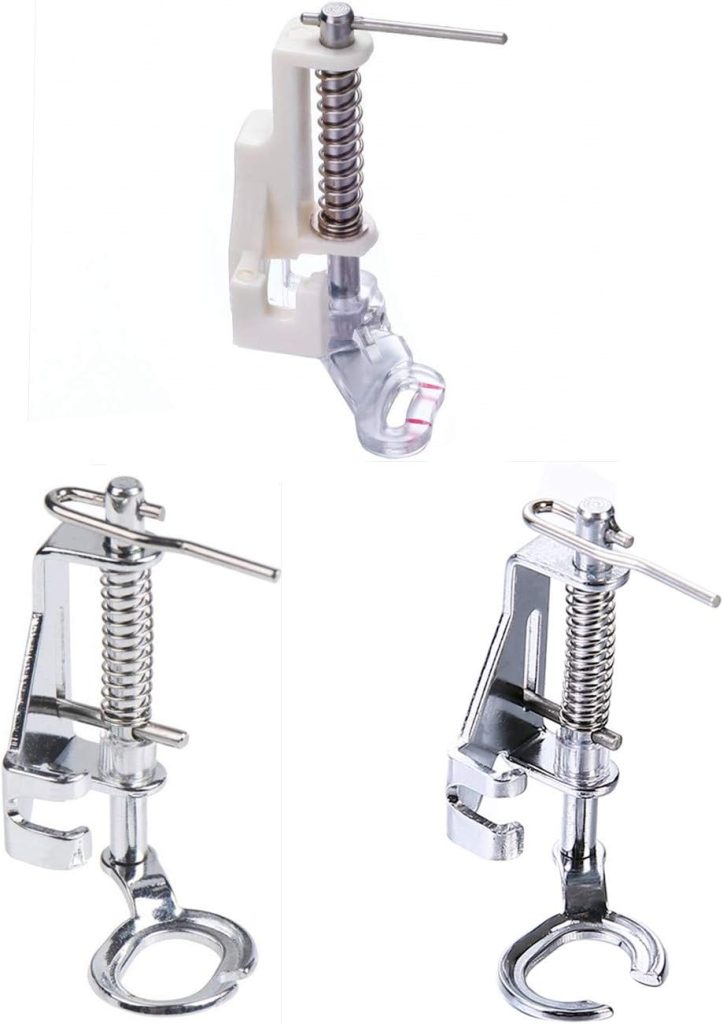
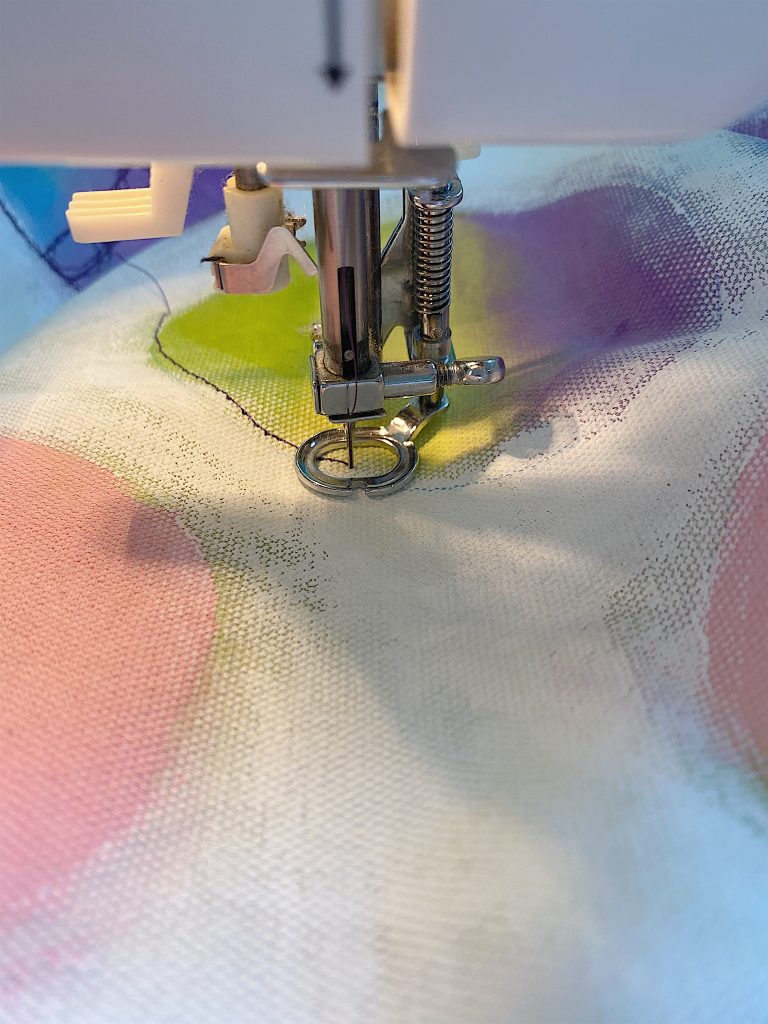
Free motion machine embroidery is a type of sewing that you do on a regular sewing machine but you can move the material in any direction while sewing it on your machine. Usually, when you sew, the machine automatically moves the fabric forward. When you sew free-motion embroidery, you get to move the fabric so you determine exactly where you want to sew. You can move sideways, forward, and backward and create any shape you want. All you need is a free-motion presser foot.
The free-motion presser foot, sometimes called a darning foot, is designed so that the sewing machine needle passes through a small ring on the foot. Instead of hopping, these feet float over the fabric without providing pressure. The foot releases the fabric when the needle is in the up position, allowing you to move the material freely.
All you need is the free-motion presser foot for your machine. This foot may vary based on your type of machine but I linked a “universal” one.
Here is the video that shows how to make a painted free-motion embroidery pillow.
What You Need to Make a Free Motion Embroidery Pillow
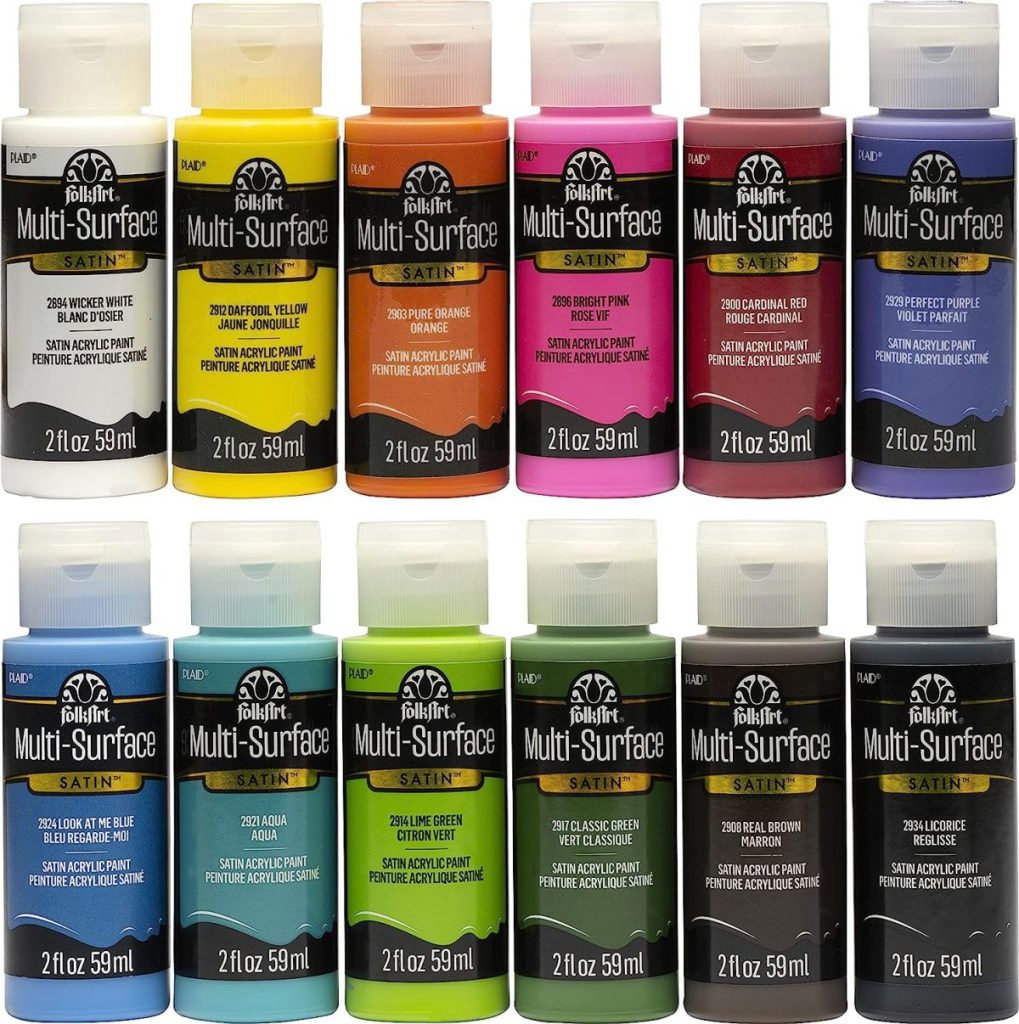
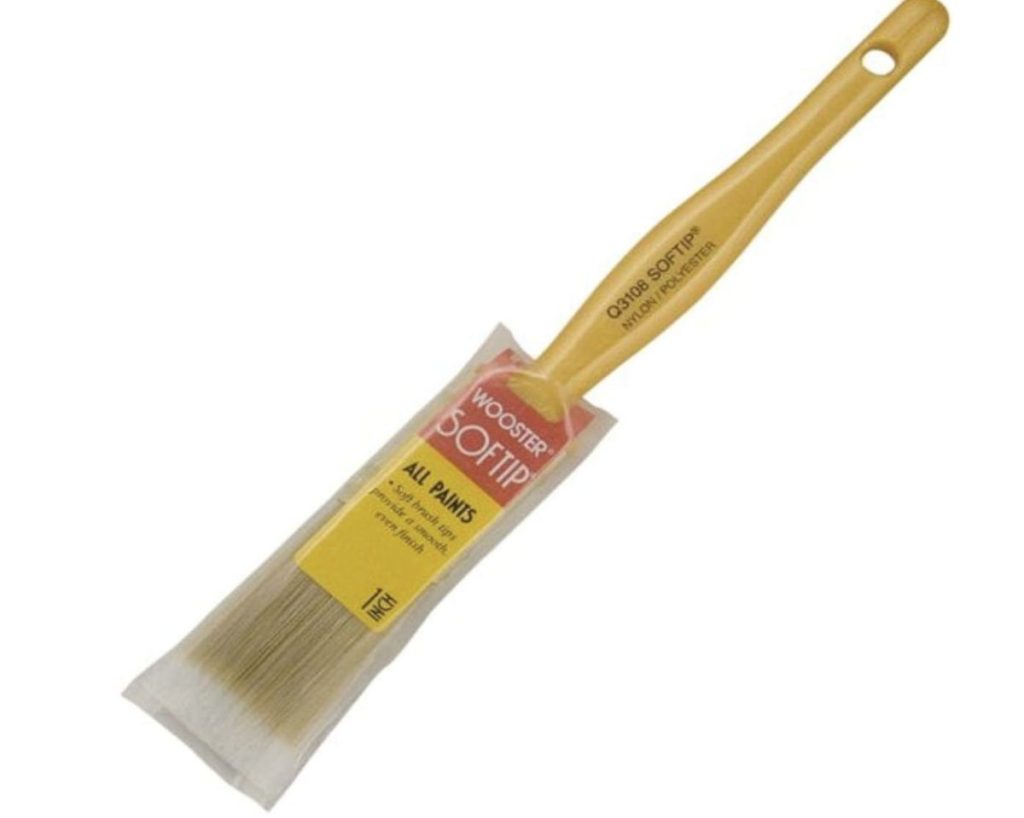
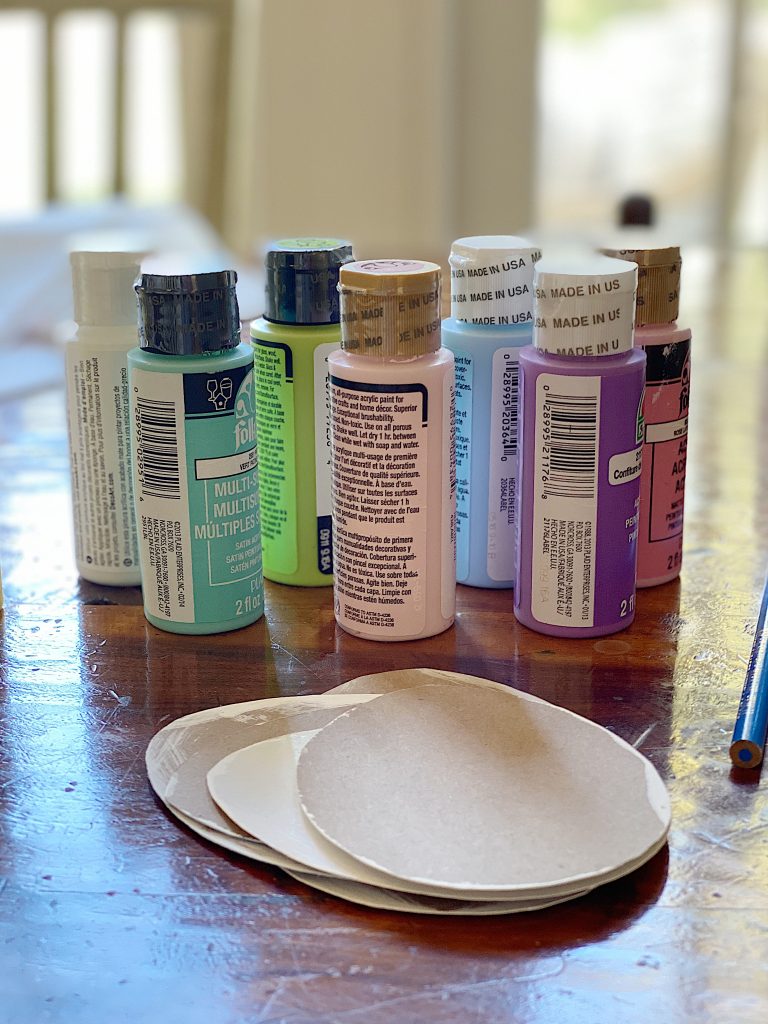
Acrylic paints and brush
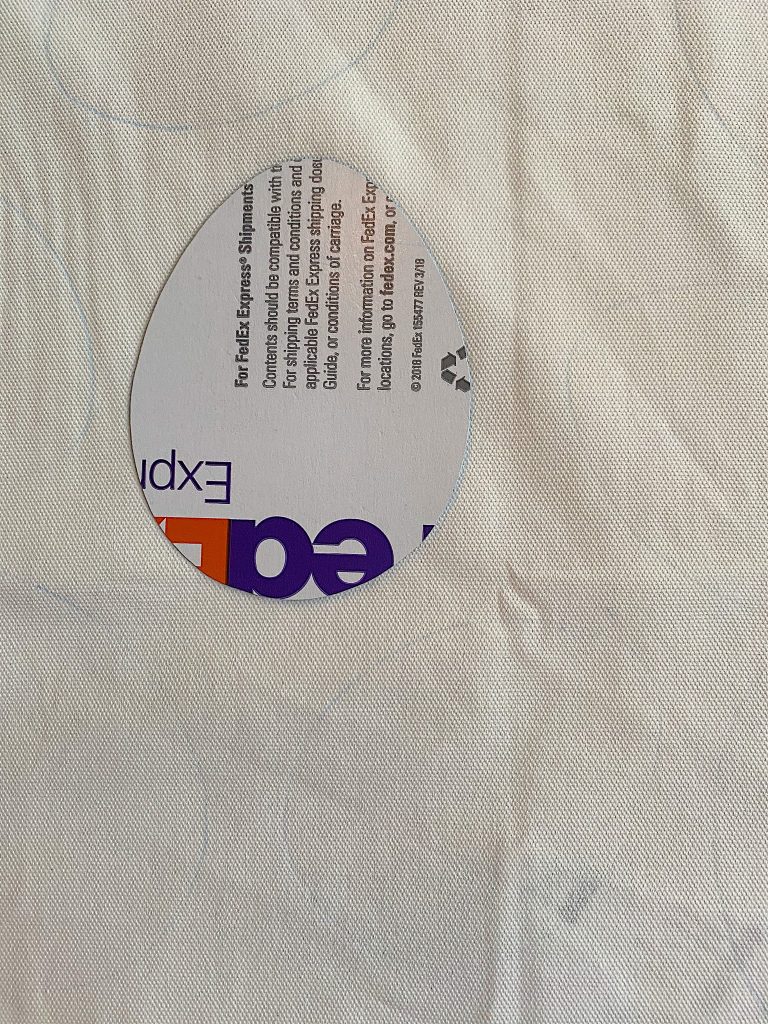
A pattern for two easter eggs (I cut these out from an old FedEx envelope)
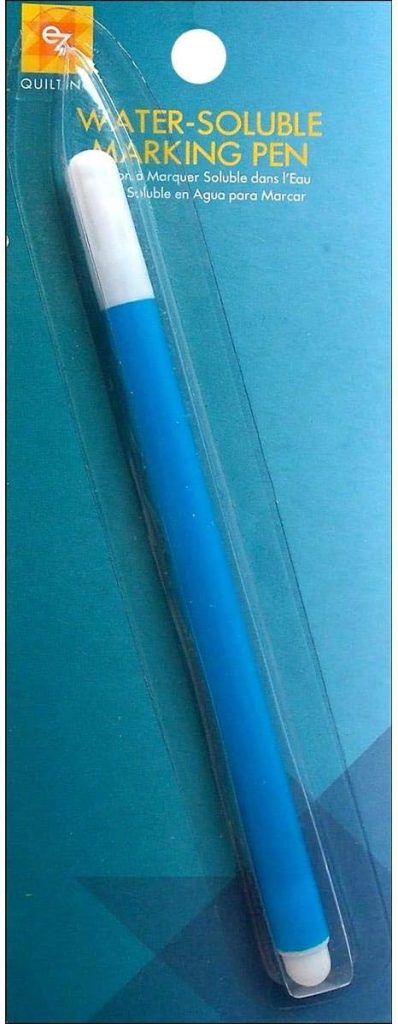
Fabric tracing pin (with ink that erases with water)
Dark Embroidery thread (I used black)
Parchment paper or cardboard to fit inside the pillow while painting.
Free motion presser foot for your machine (varies by sewing machine brand)

I suggest you make a cardboard Easter egg pattern. You can free-hand draw or just size and print an egg from the internet to use as your pattern.
For this project, I am using a 20″x20″ pillow cover.
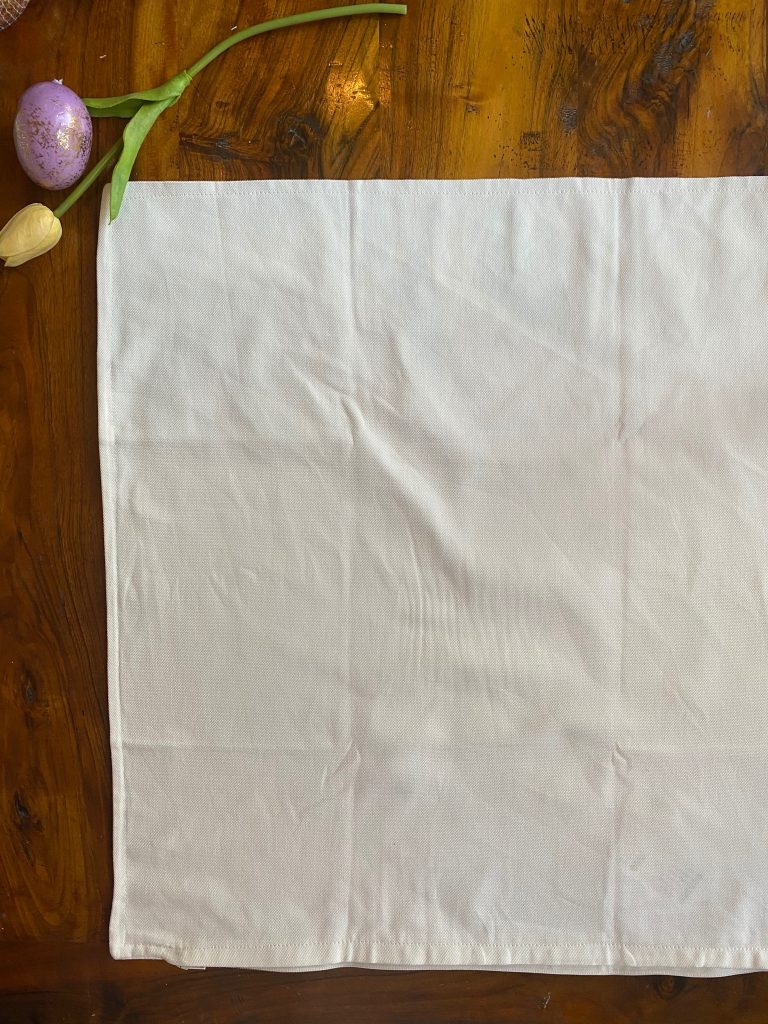
Also, you need to put either cardboard or parchment paper inside the pillow. When you paint it you don’t want the paint to stain the backside of the pillow cover.
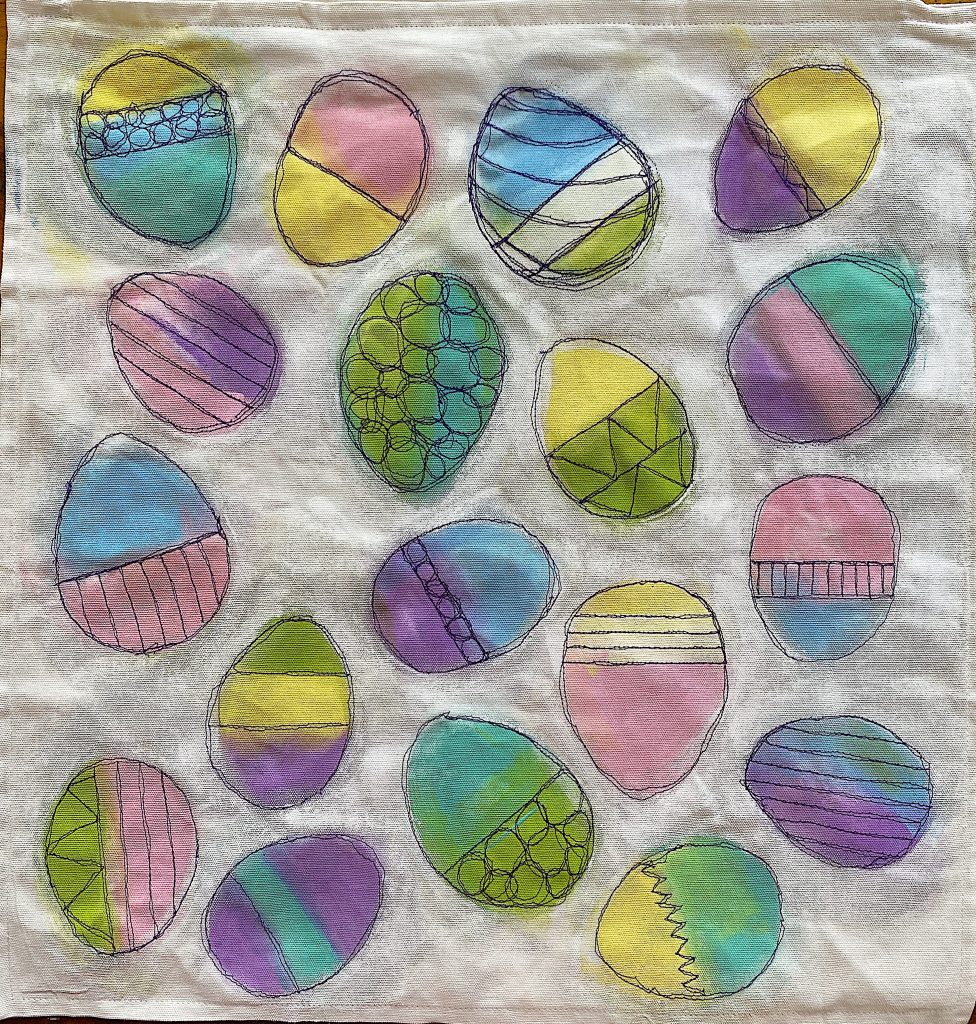
Draw the eggs onto the pillow with the erasable sewing marking pin. Place them randomly on the pillow. Normally I freehand it but I realized an egg will quickly not look like an egg if you don’t get it right!
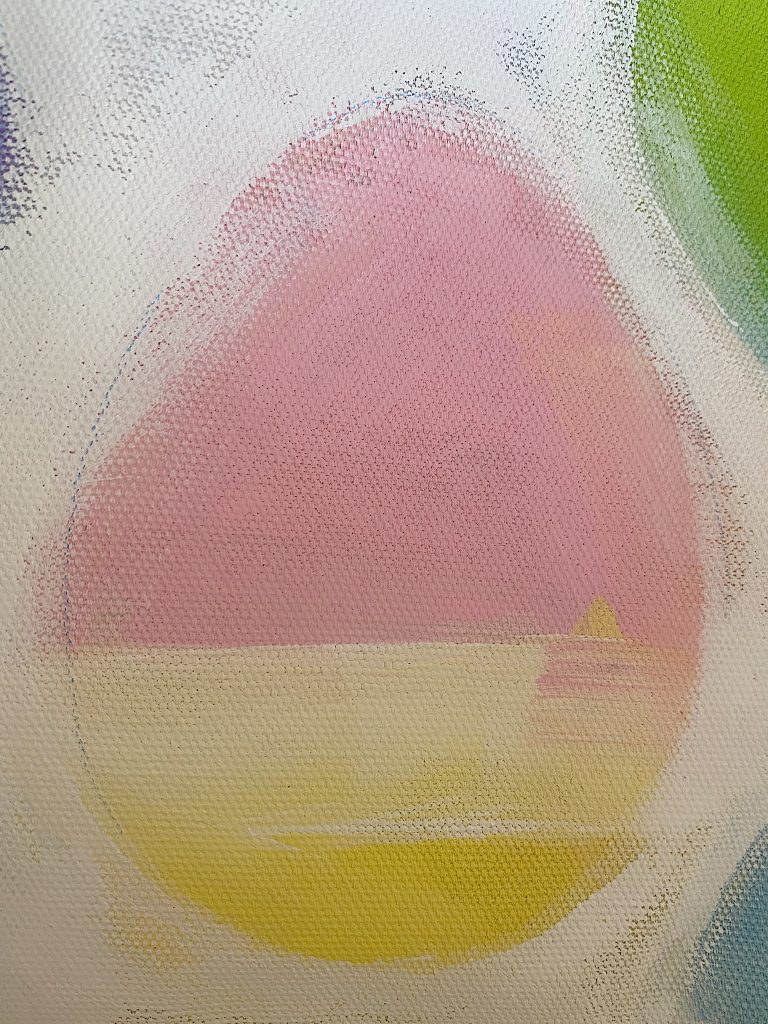
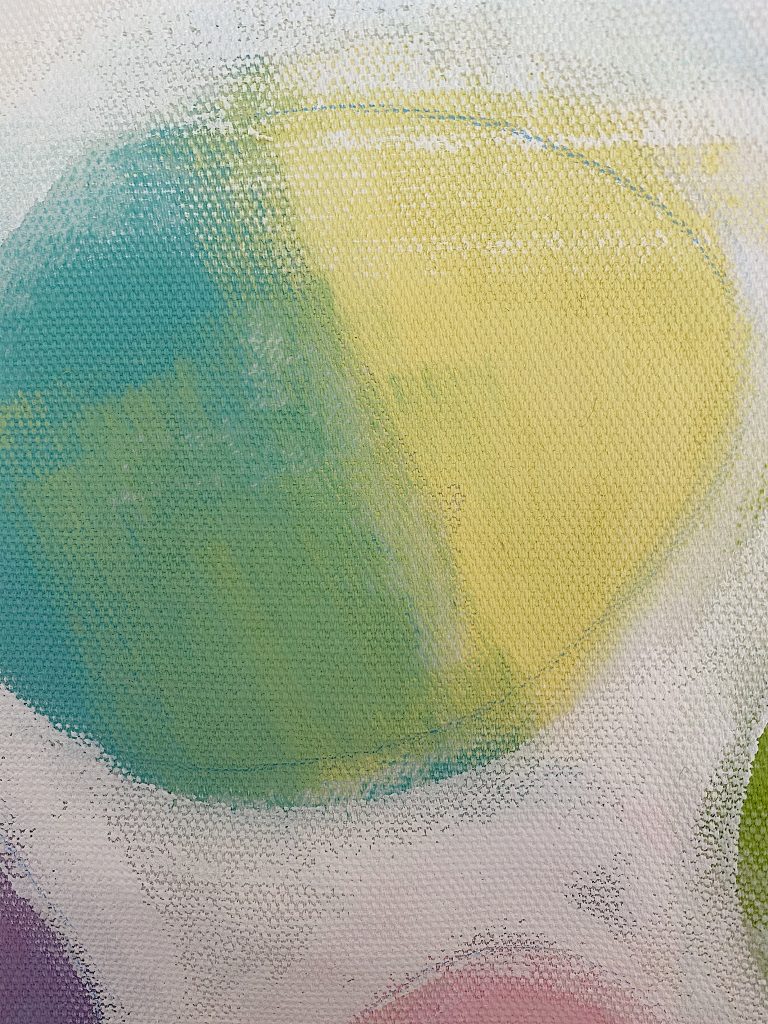
Paint the eggs loosely with acrylic paint.
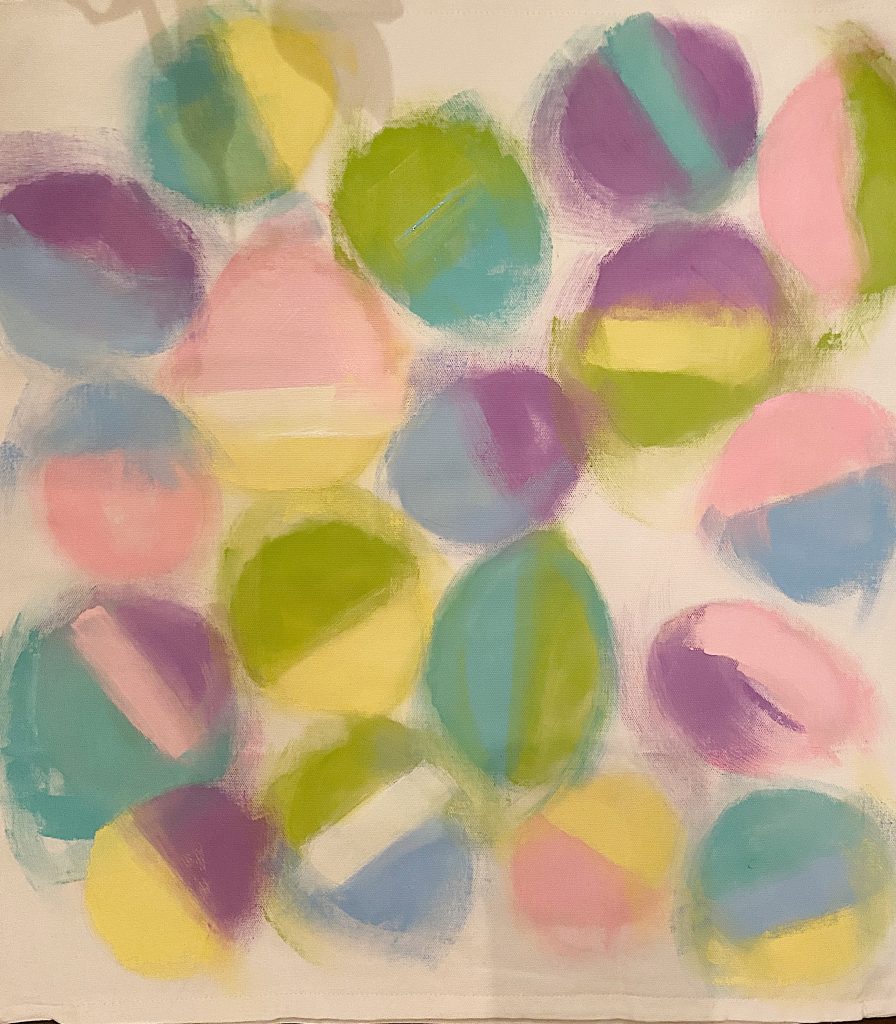
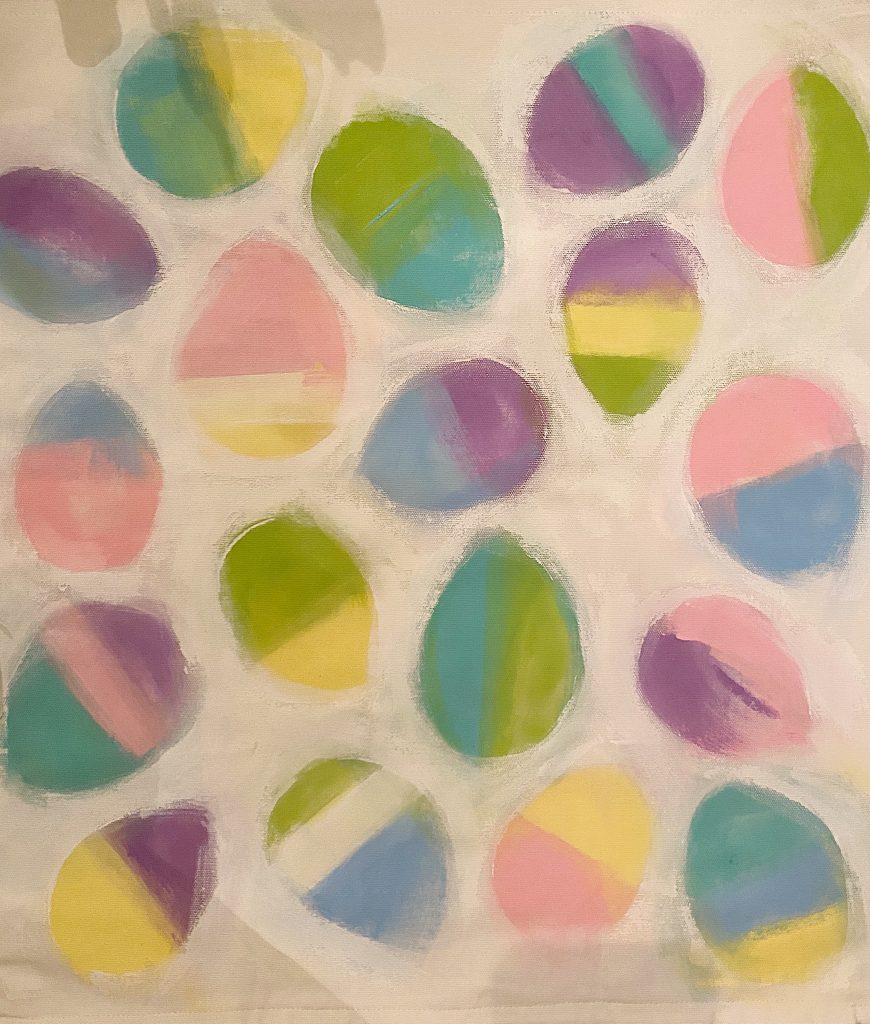
For some reason, I decided to add some white paint to “clean up” the painted eggs a bit. Normally I would leave it loosely painted. I can’t decide which style I like better.
I went back and traced the egg pattern again to help with my sewing.
This is what the pillow looks like with the white paint. I do like how it defined the shape of the eggs.
This is what the presser foot for free-motion embroidery looks like. Free embroidery allows you to move the fabric wherever you want while the machine sews. The best thing about free embroidery is that it doesn’t need to be perfect. It makes it so easy to create the outline by being able to push the fabric wherever I want it to go. I love how it looks when the two layers of stitches don’t match.
Since I had no idea how I was going to stitch the design of the Easter eggs, I just made it up as I went along. And that is the truth!
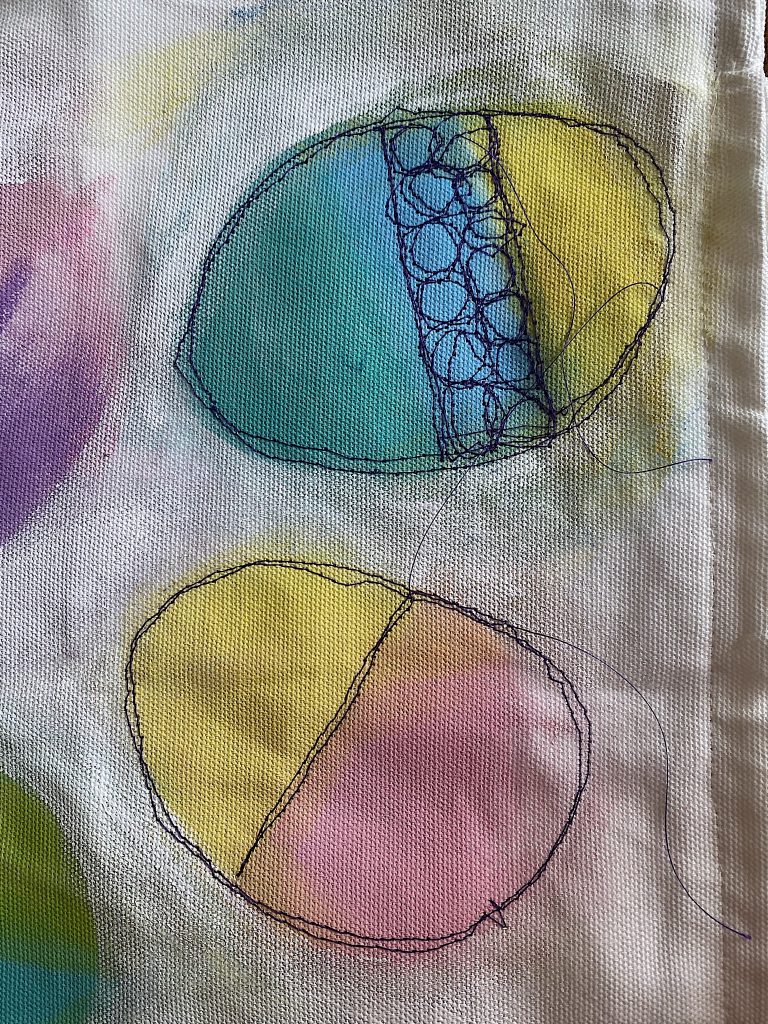
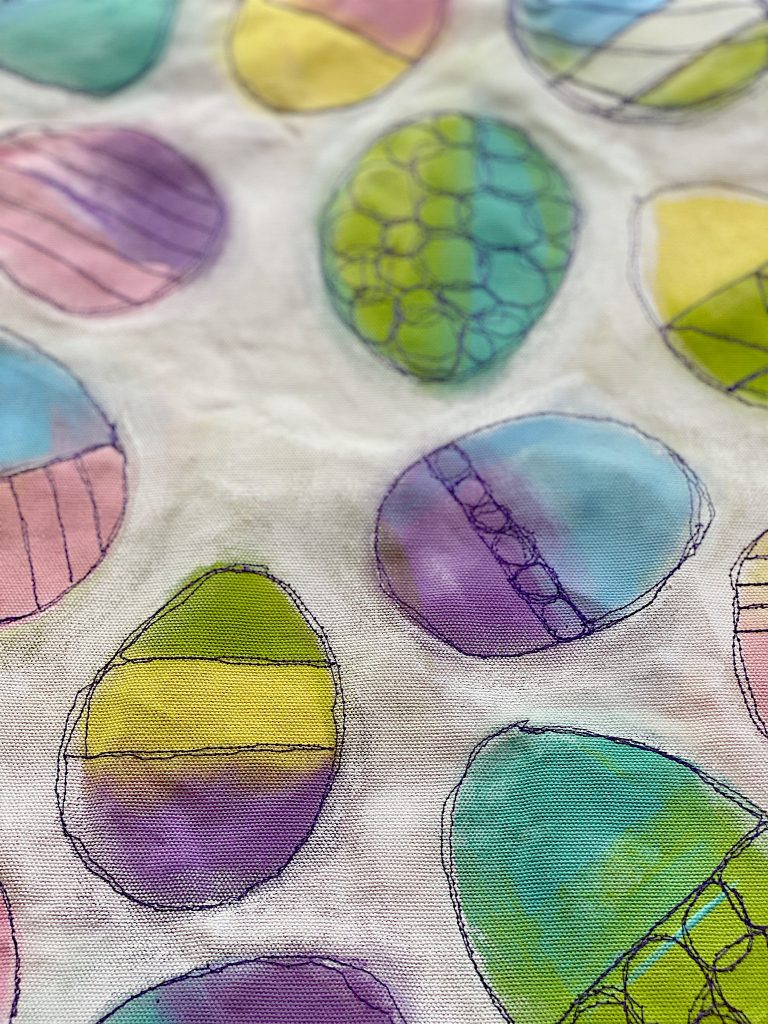
I love how the stitching came out!
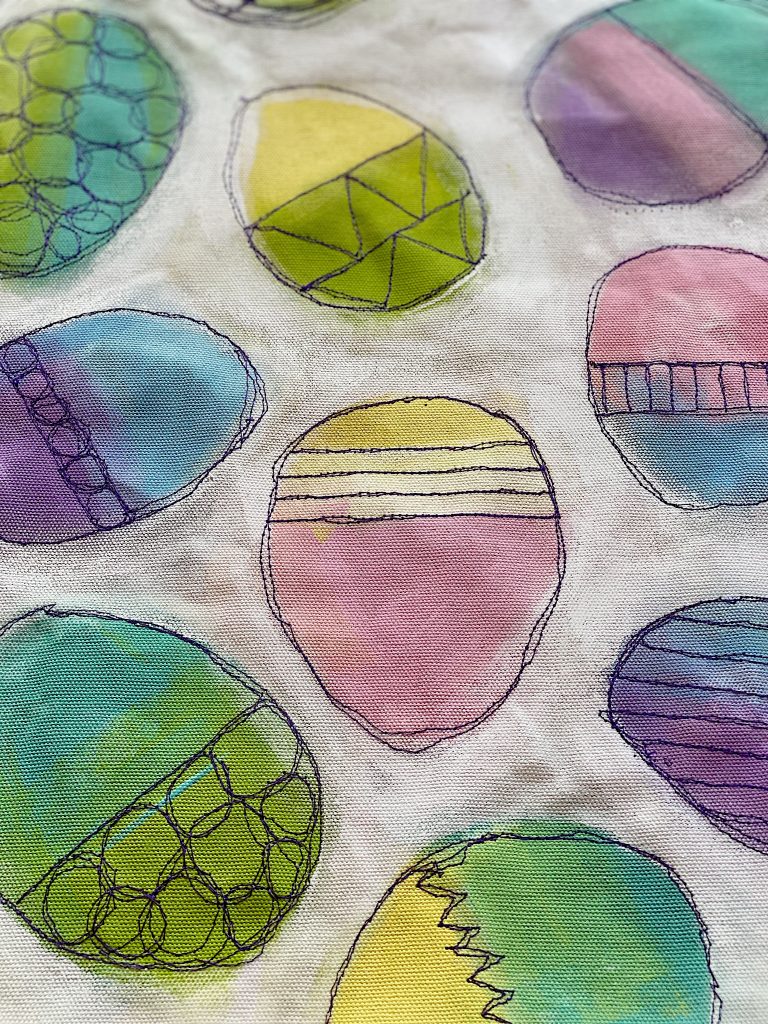
My Easter craft DIY pillow is loose and fun and very colorful. Which is perfect for spring!
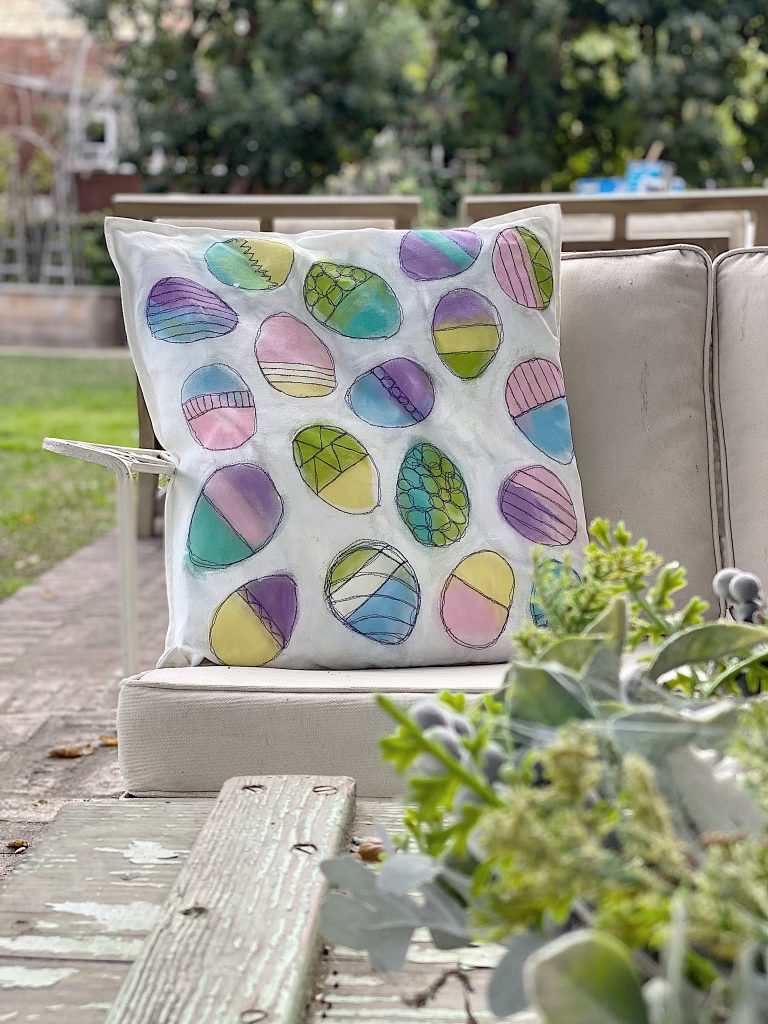
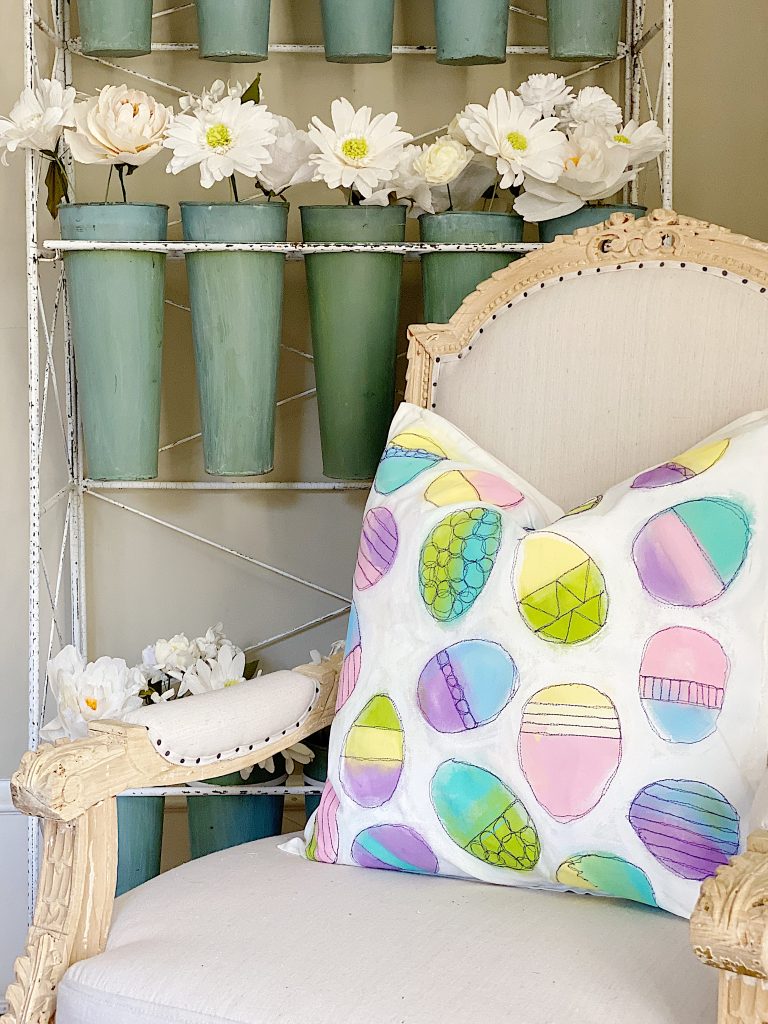
Here is how the pillow looks after it is completed.
Look how cute the Easter craft DIY pillow looks in my home!
What if you don’t sew?
Just use a permanent thin marker instead of a sewing machine!

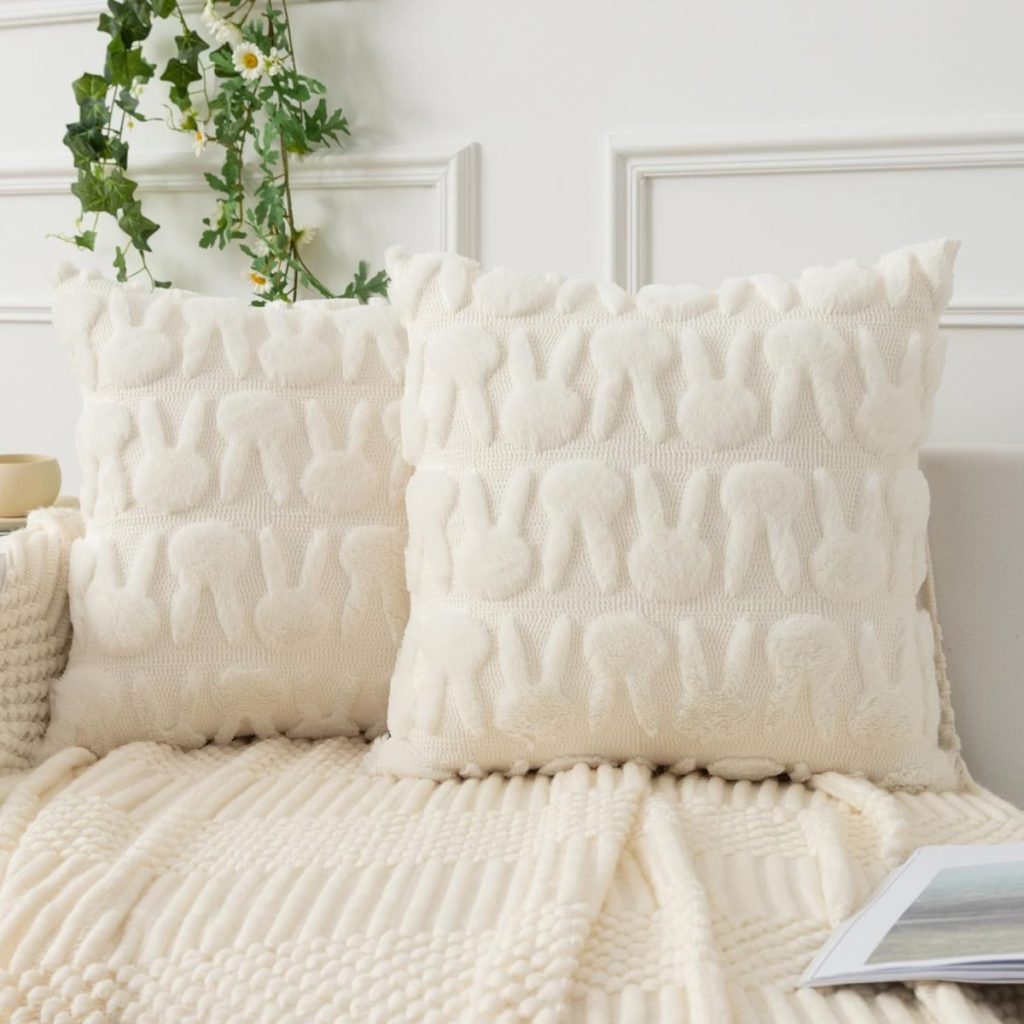
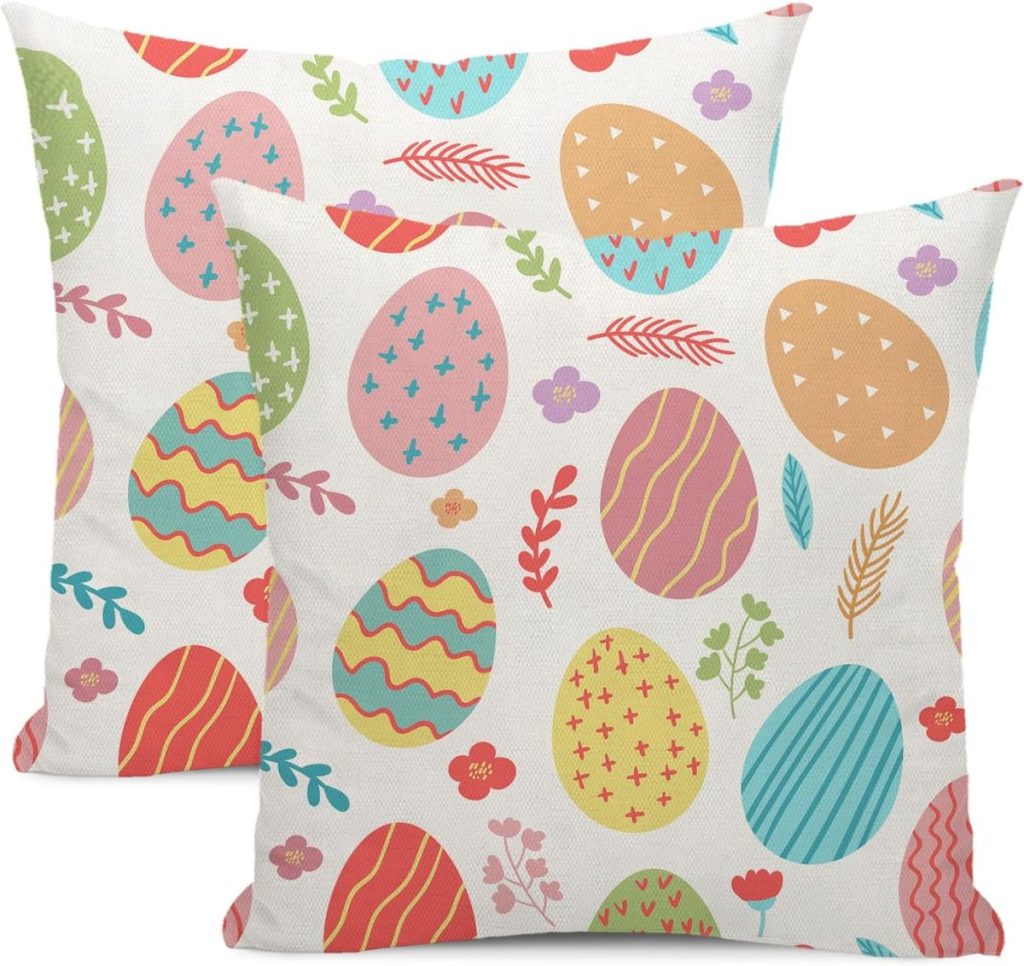

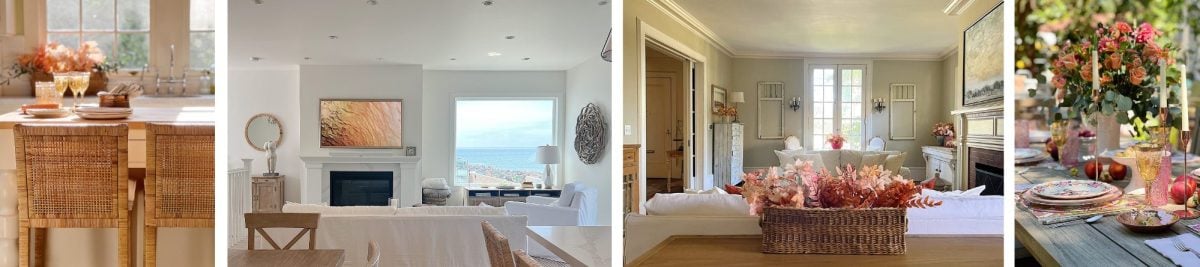
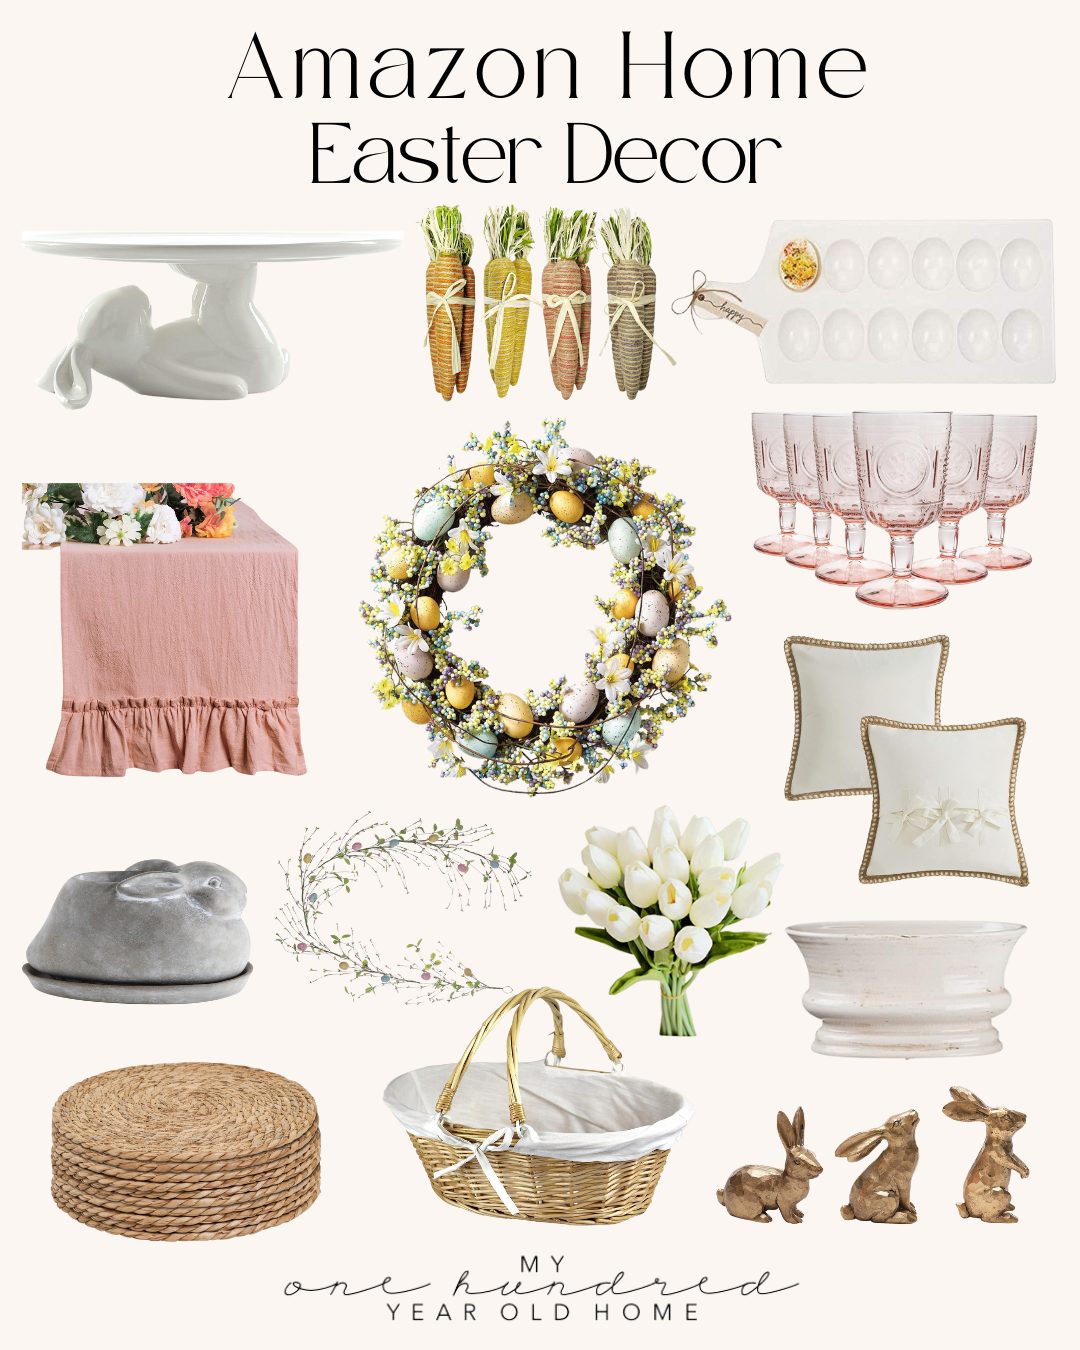
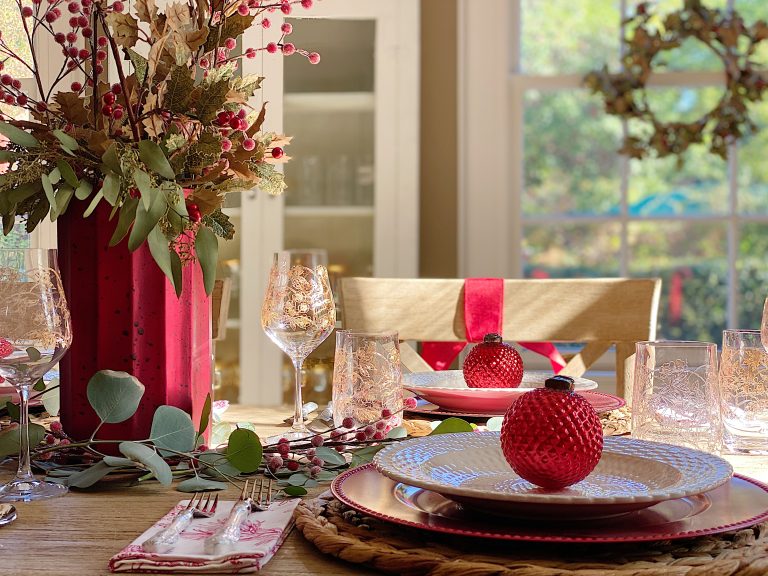
My Favorite Easter Decor!

More Easter Craft Ideas
Look at all of these wonderful spring crafts that are shared by my blogging friends! Tap on any of the links for details on how to make the spring craft.

On Sutton Place | Designthusiasm | Shabbyfufu

Craftberry Bush | Town n Country Living | StoneGable

Rooms for Rent | My 100 Year Old Home
Pin the image below to your Craft or spring decor boards on Pinterest (just click the Pin button in the top left corner). You can also follow along with me on Pinterest!
For more real-time updates, follow me on Instagram @My100YearOldHome


That was absolutely the MOST INSPIRING IDEA!!!! Sooo unique and the concept … the sky’s the limit.
Time to pull out my paints and darning needle for my machine and get going! (Your floral pillows are Outstanding! What great gifts to give )
(PS I’m recovering from gallbladder surgery and have lots of time to play!!!!)
Thanks a million! ❤️
Love the pillow.
This is fabulous, Leslie! I love the loose and free feel to the embroidery technique. Wonderful!!
Wow! What a cool and creative craft!! Great demo, as well.
Just stumbled on this and Wow, I like you…..these are amazing. Getting my paints out now, got it all in my stash….my porch needs a pillow update. Thank you👵💕
So it doesn’t sound like you added and fabric medium…? And I assume when you wash the paints do fine?
I also wondered what fabric you used but using a premade pillow makes it much simpler great idea.. I will look them up as all your pillows are a great seasonal touch. Now for some TIME. 🤔
Another beautiful free-motion sewing pillow!!! LOVE all of these.
Thank you Diane! These are so much fun to make!
Love how cute this is… but… how about some crafts for us that don’t own a sewing machine!?!
So darling! I might have to get the free motion foot whenever I get my sewing machine fixed – not having to go in a perfectly straight line sounds good to me! 🙂 I love the flower one so much! Happy Monday down there!
Love this pillow! I have done free motion quilting before so I understand the directions bit I’m wondering how you were able to sew on a pre-made pillow cover without stitching the front and back together. Is the zipper opening really large so that you can free motion the entire top? Can’t wait to make these!
Yes Patty, I always use a pre-made pillow cover and the opening is large enough to do the free motion embroidery on just the top of the pillow cover. Let me know how yours turns out!
Beautiful pillows Leslie! I always get inspired by your posts, so thank you!! I was thinking about doing something similar on linen napkins for my Easter table. Have you ever done napkins? Do you know if the paint will hold up during washing?
These Easter pillow covers are such a creative and fun DIY project! Combining painting and sewing makes it unique and personal. Perfect for adding a festive touch to your home.
This Easter pillow DIY looks so fun and easy! I love that it just needs a little paint and imagination. Can’t wait to try making my own festive covers for the holiday.