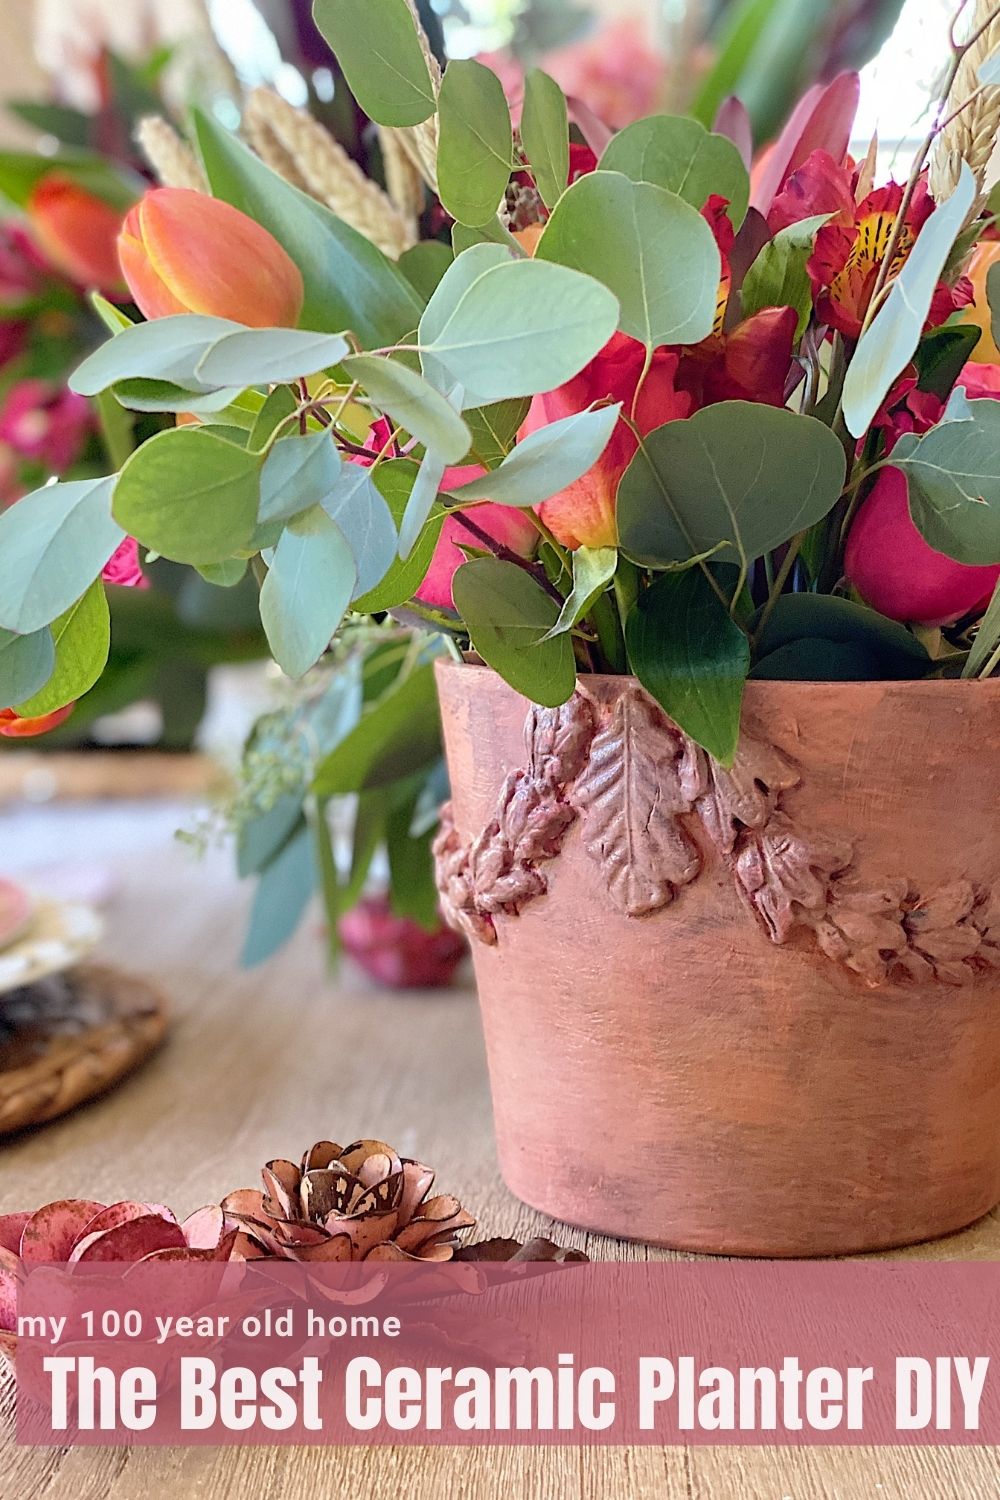
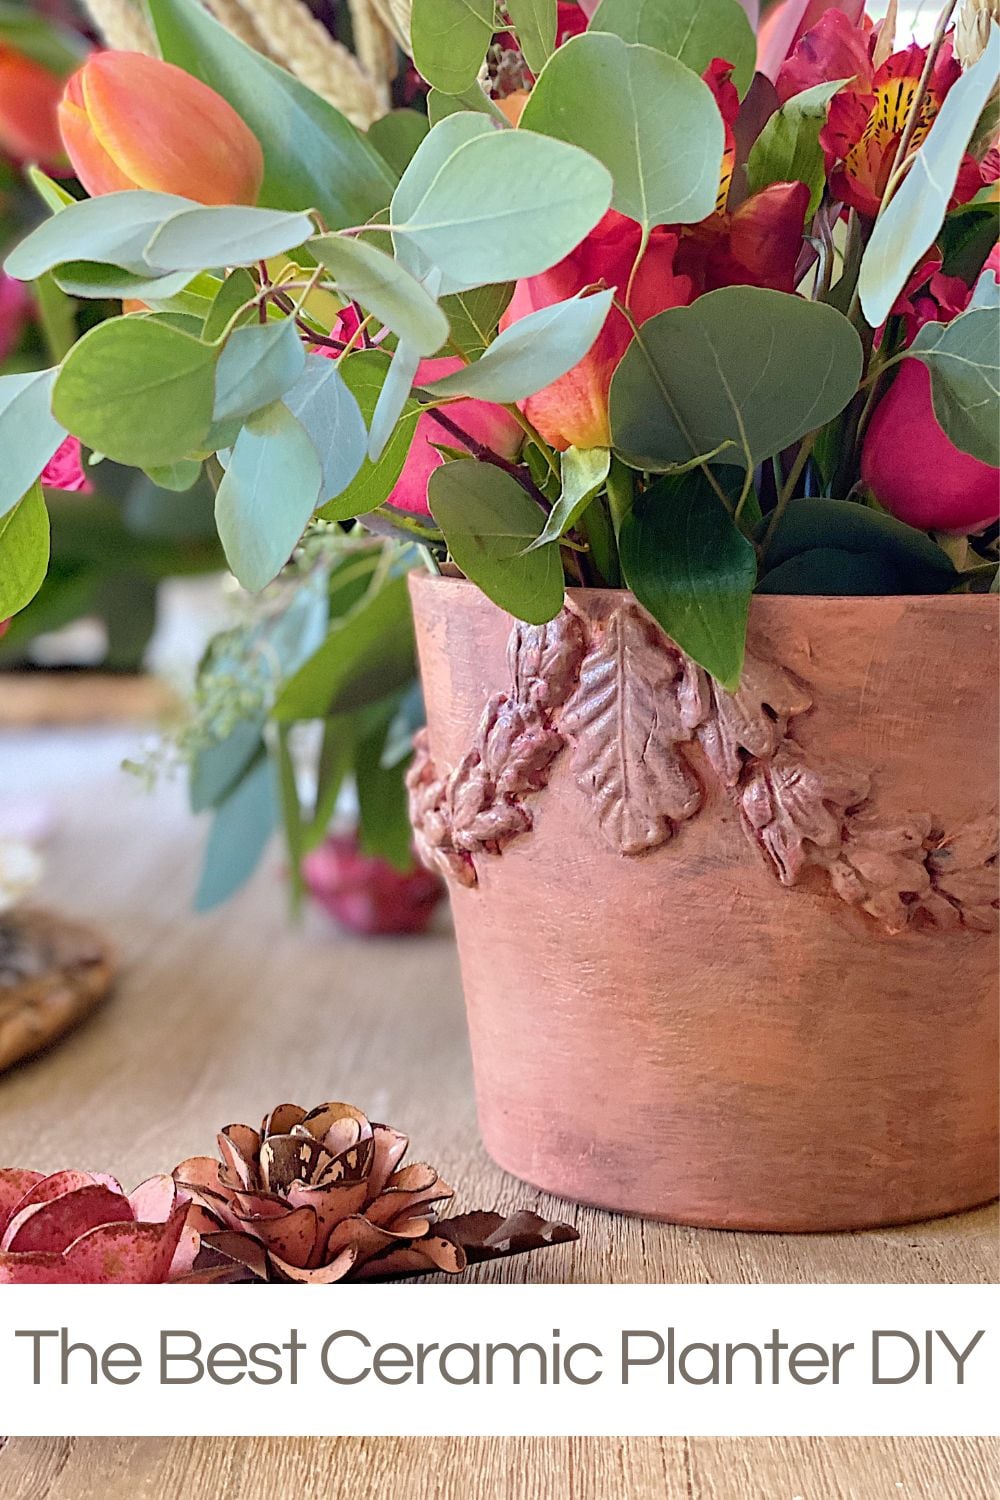
The Best Ceramic Planter DIY
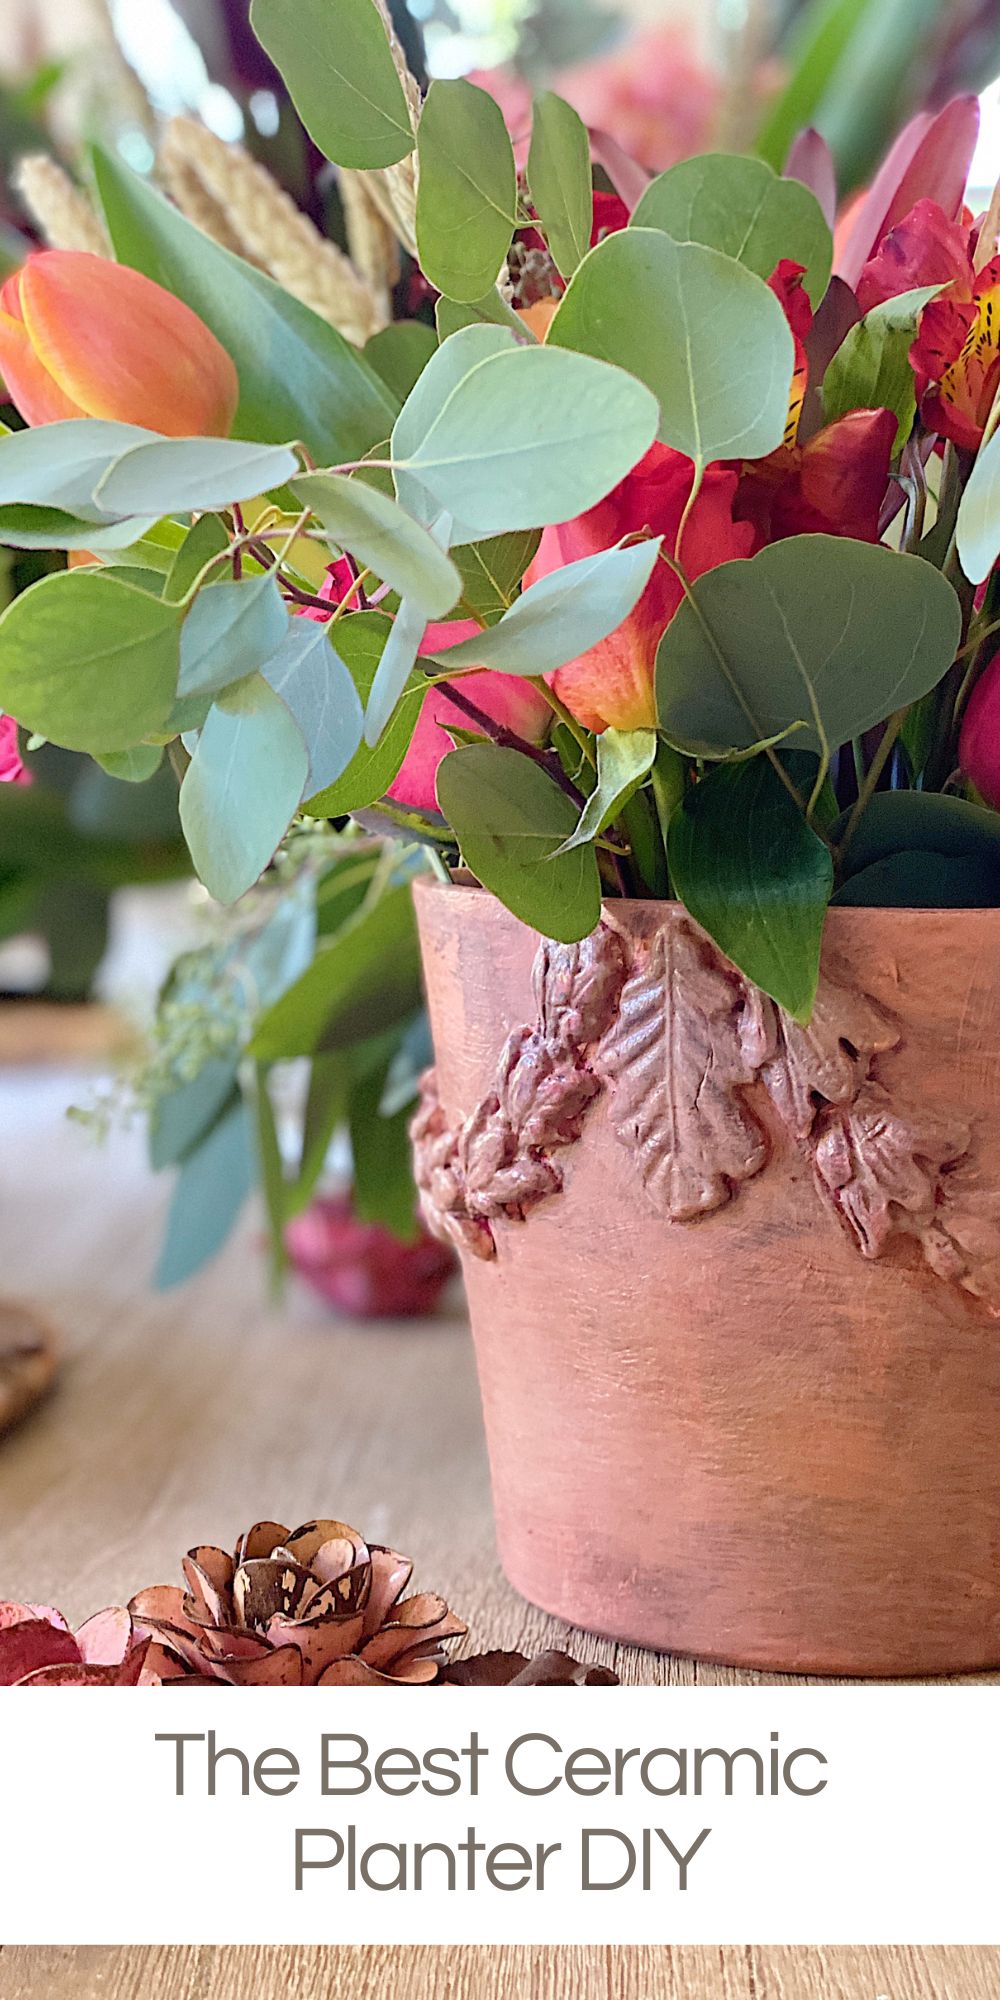
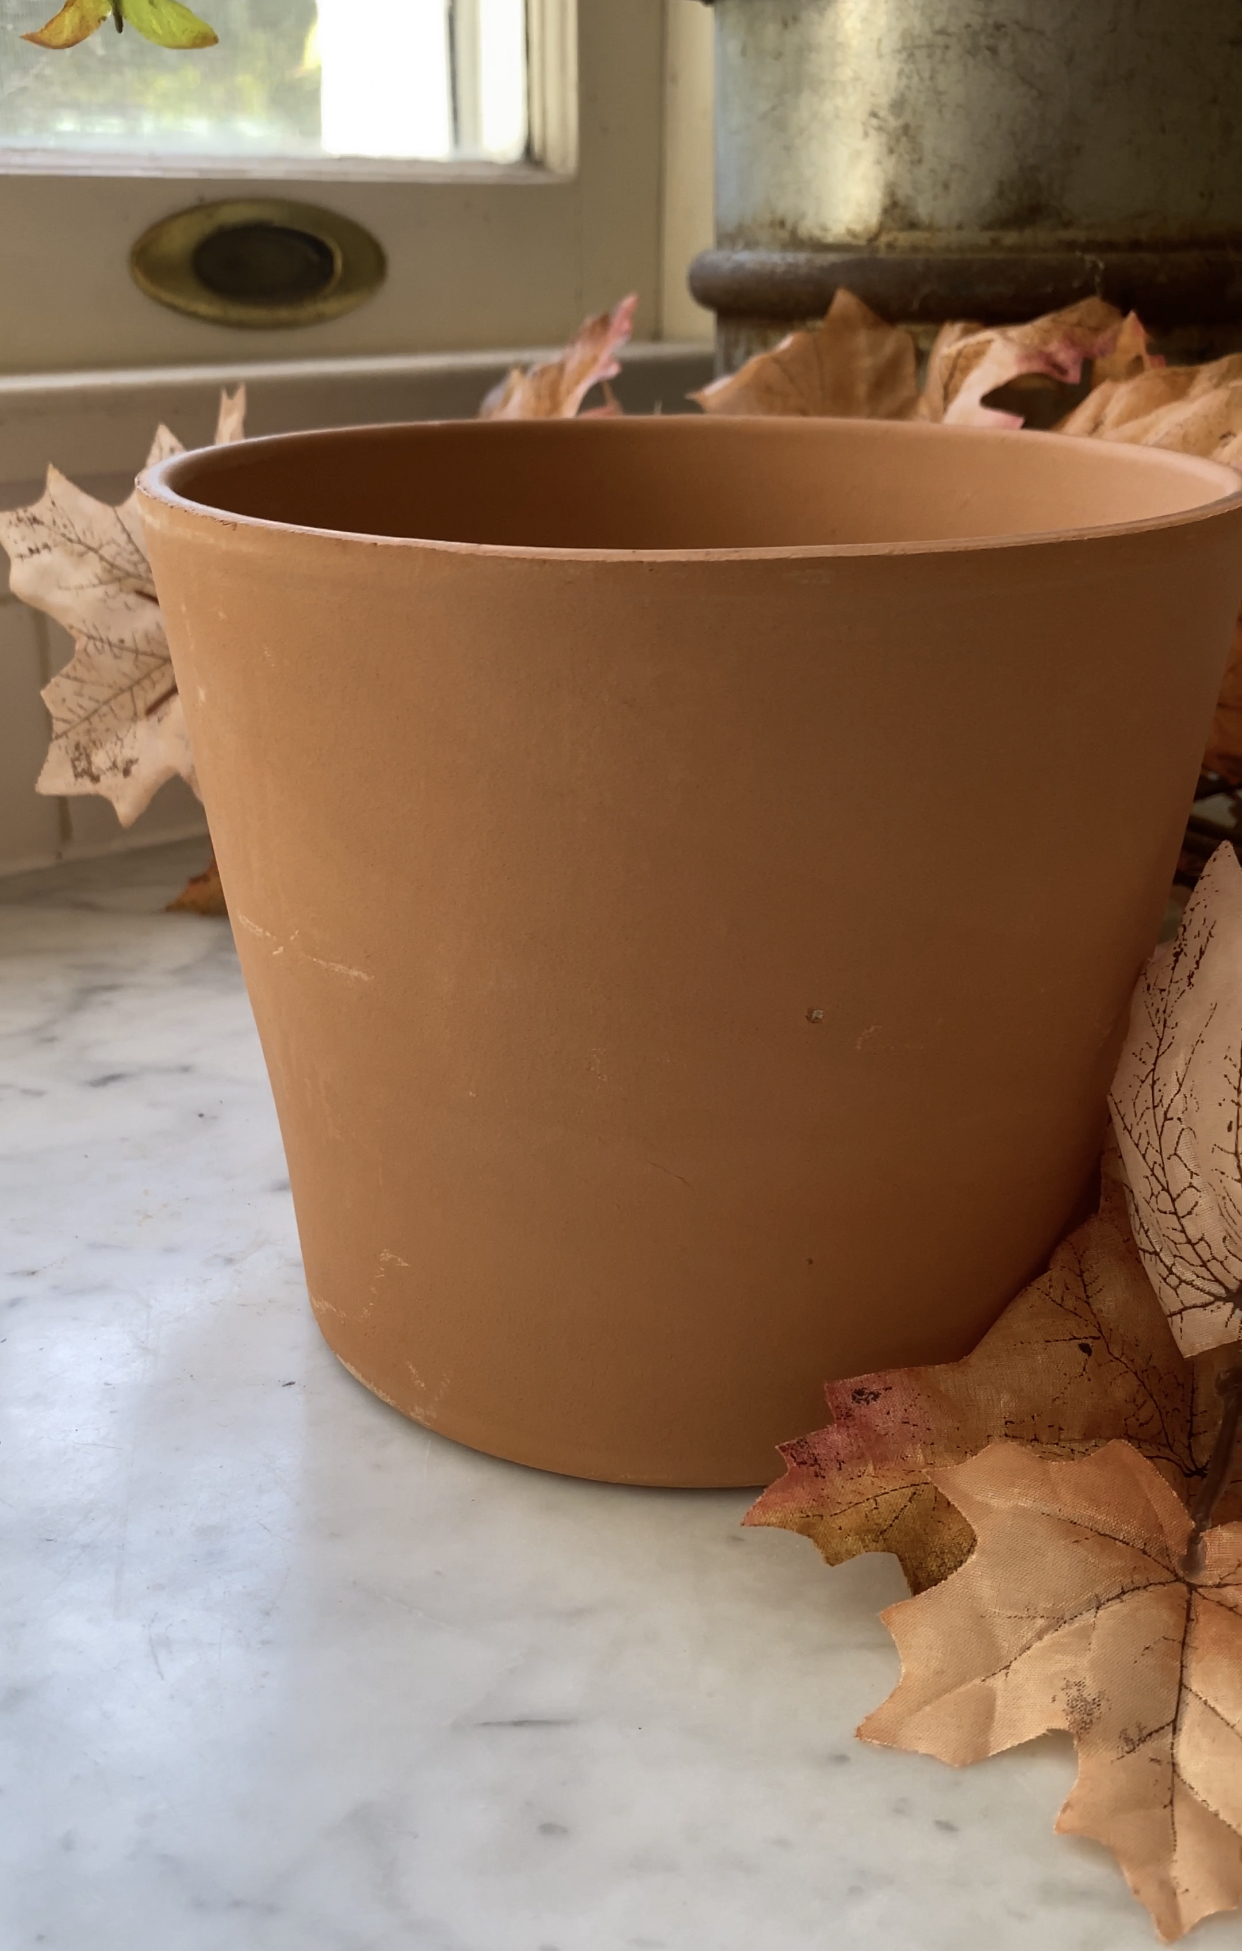
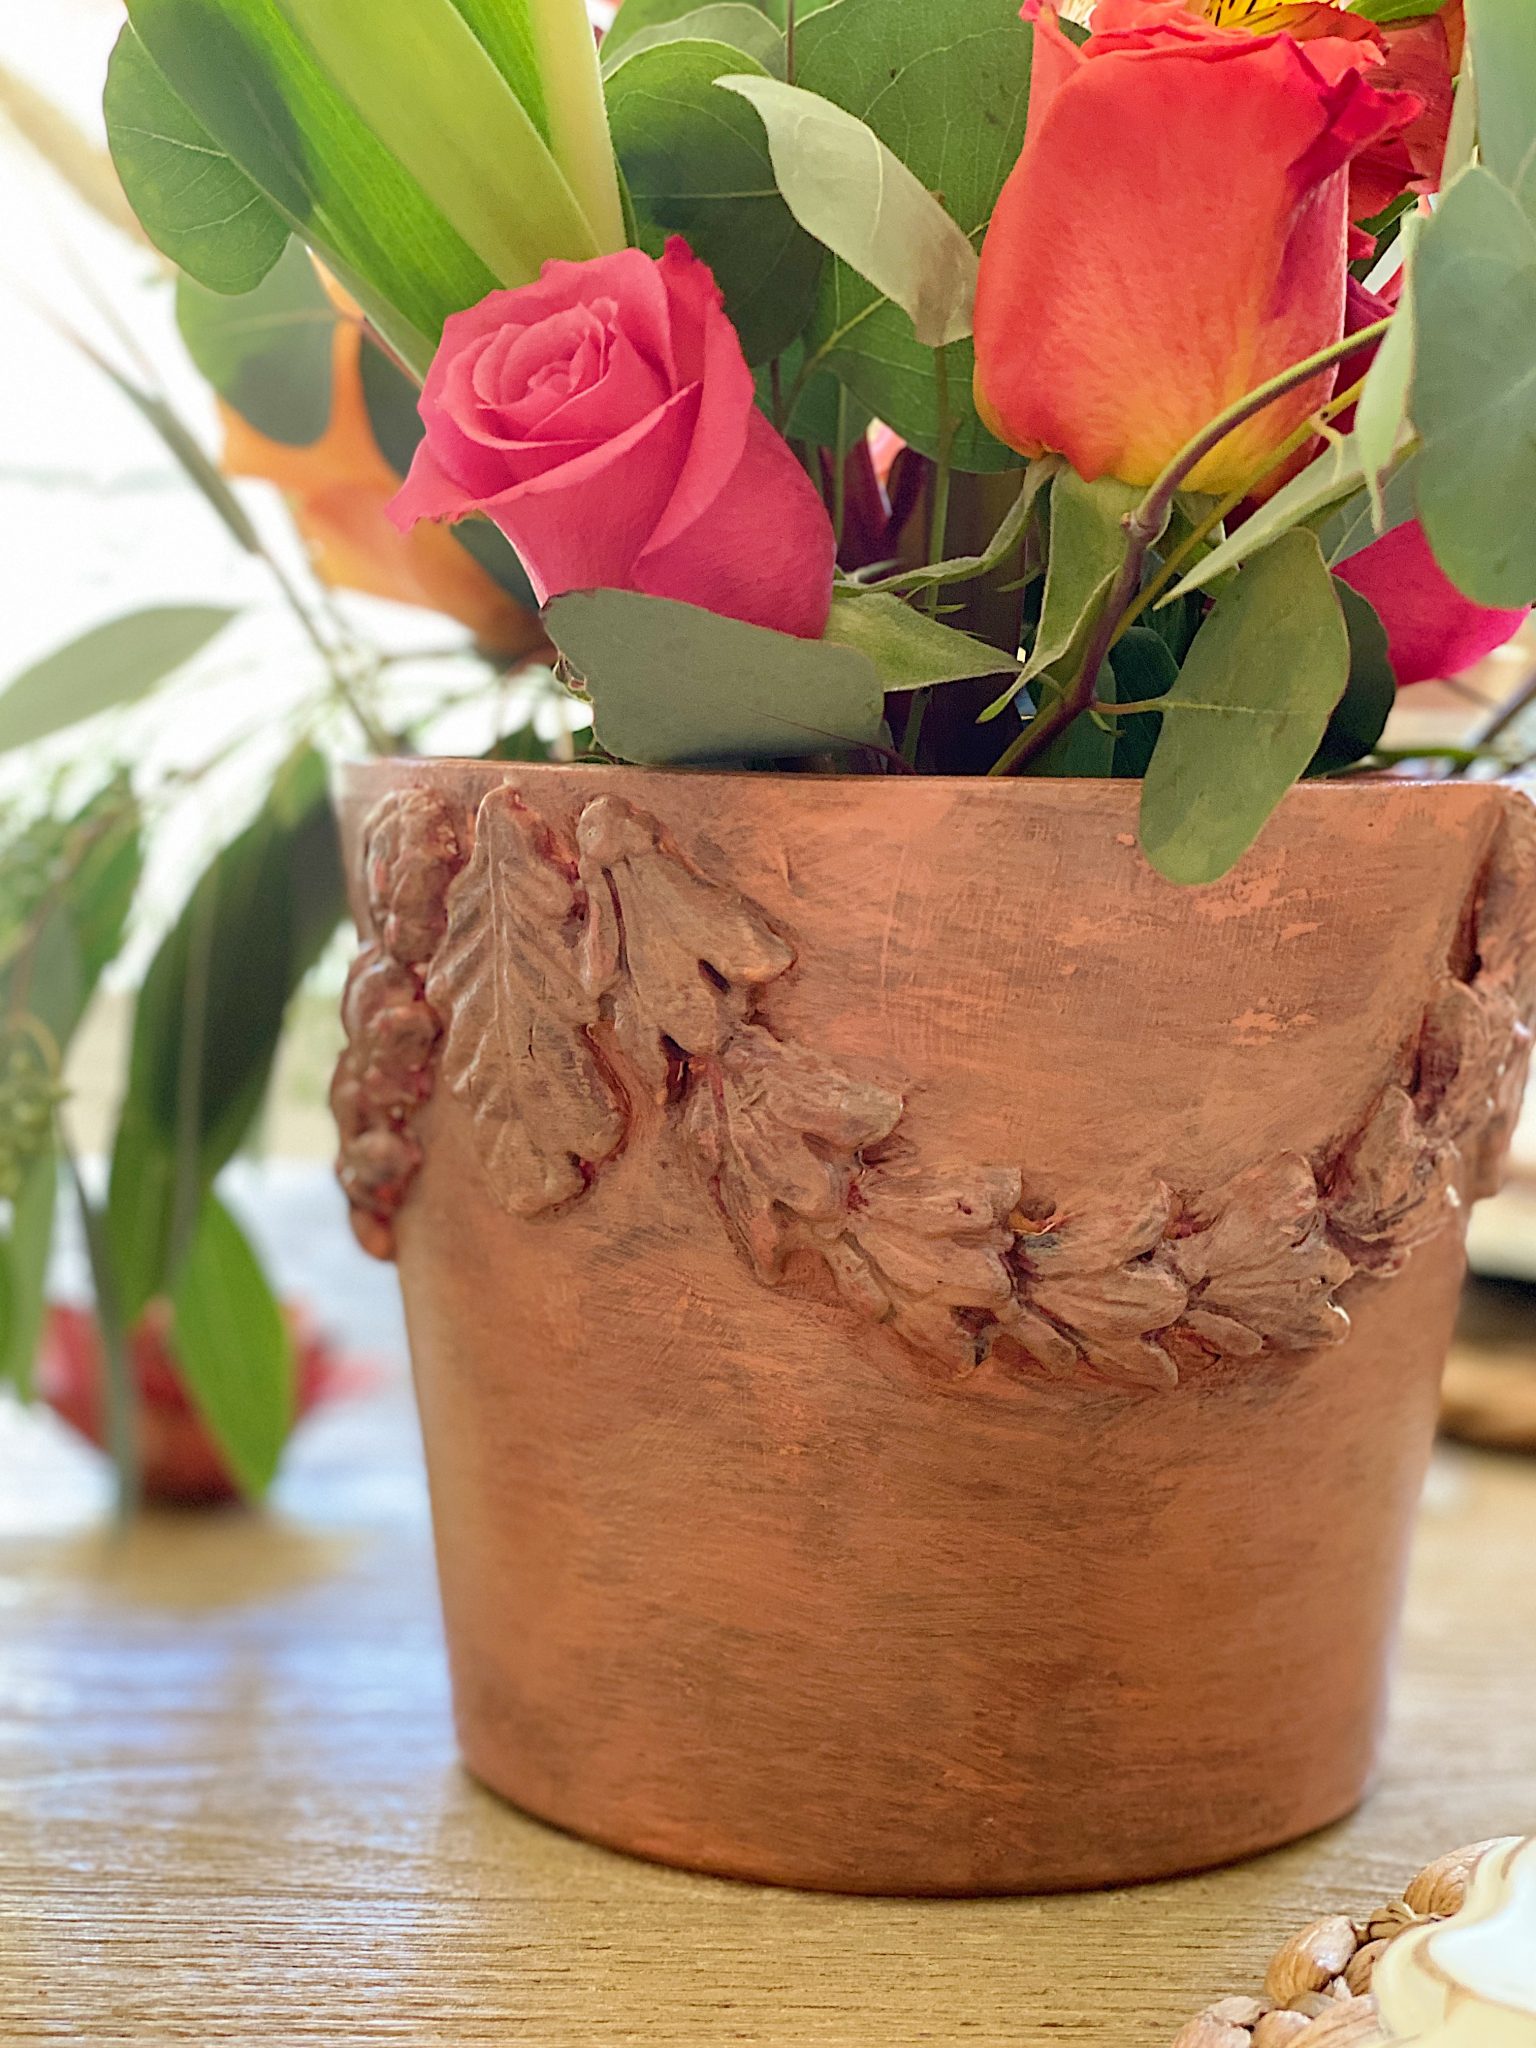
It amazes me that I can start with a terracotta pot, add some molded clay and a few coats of paint, and end up with the best ceramic planter.
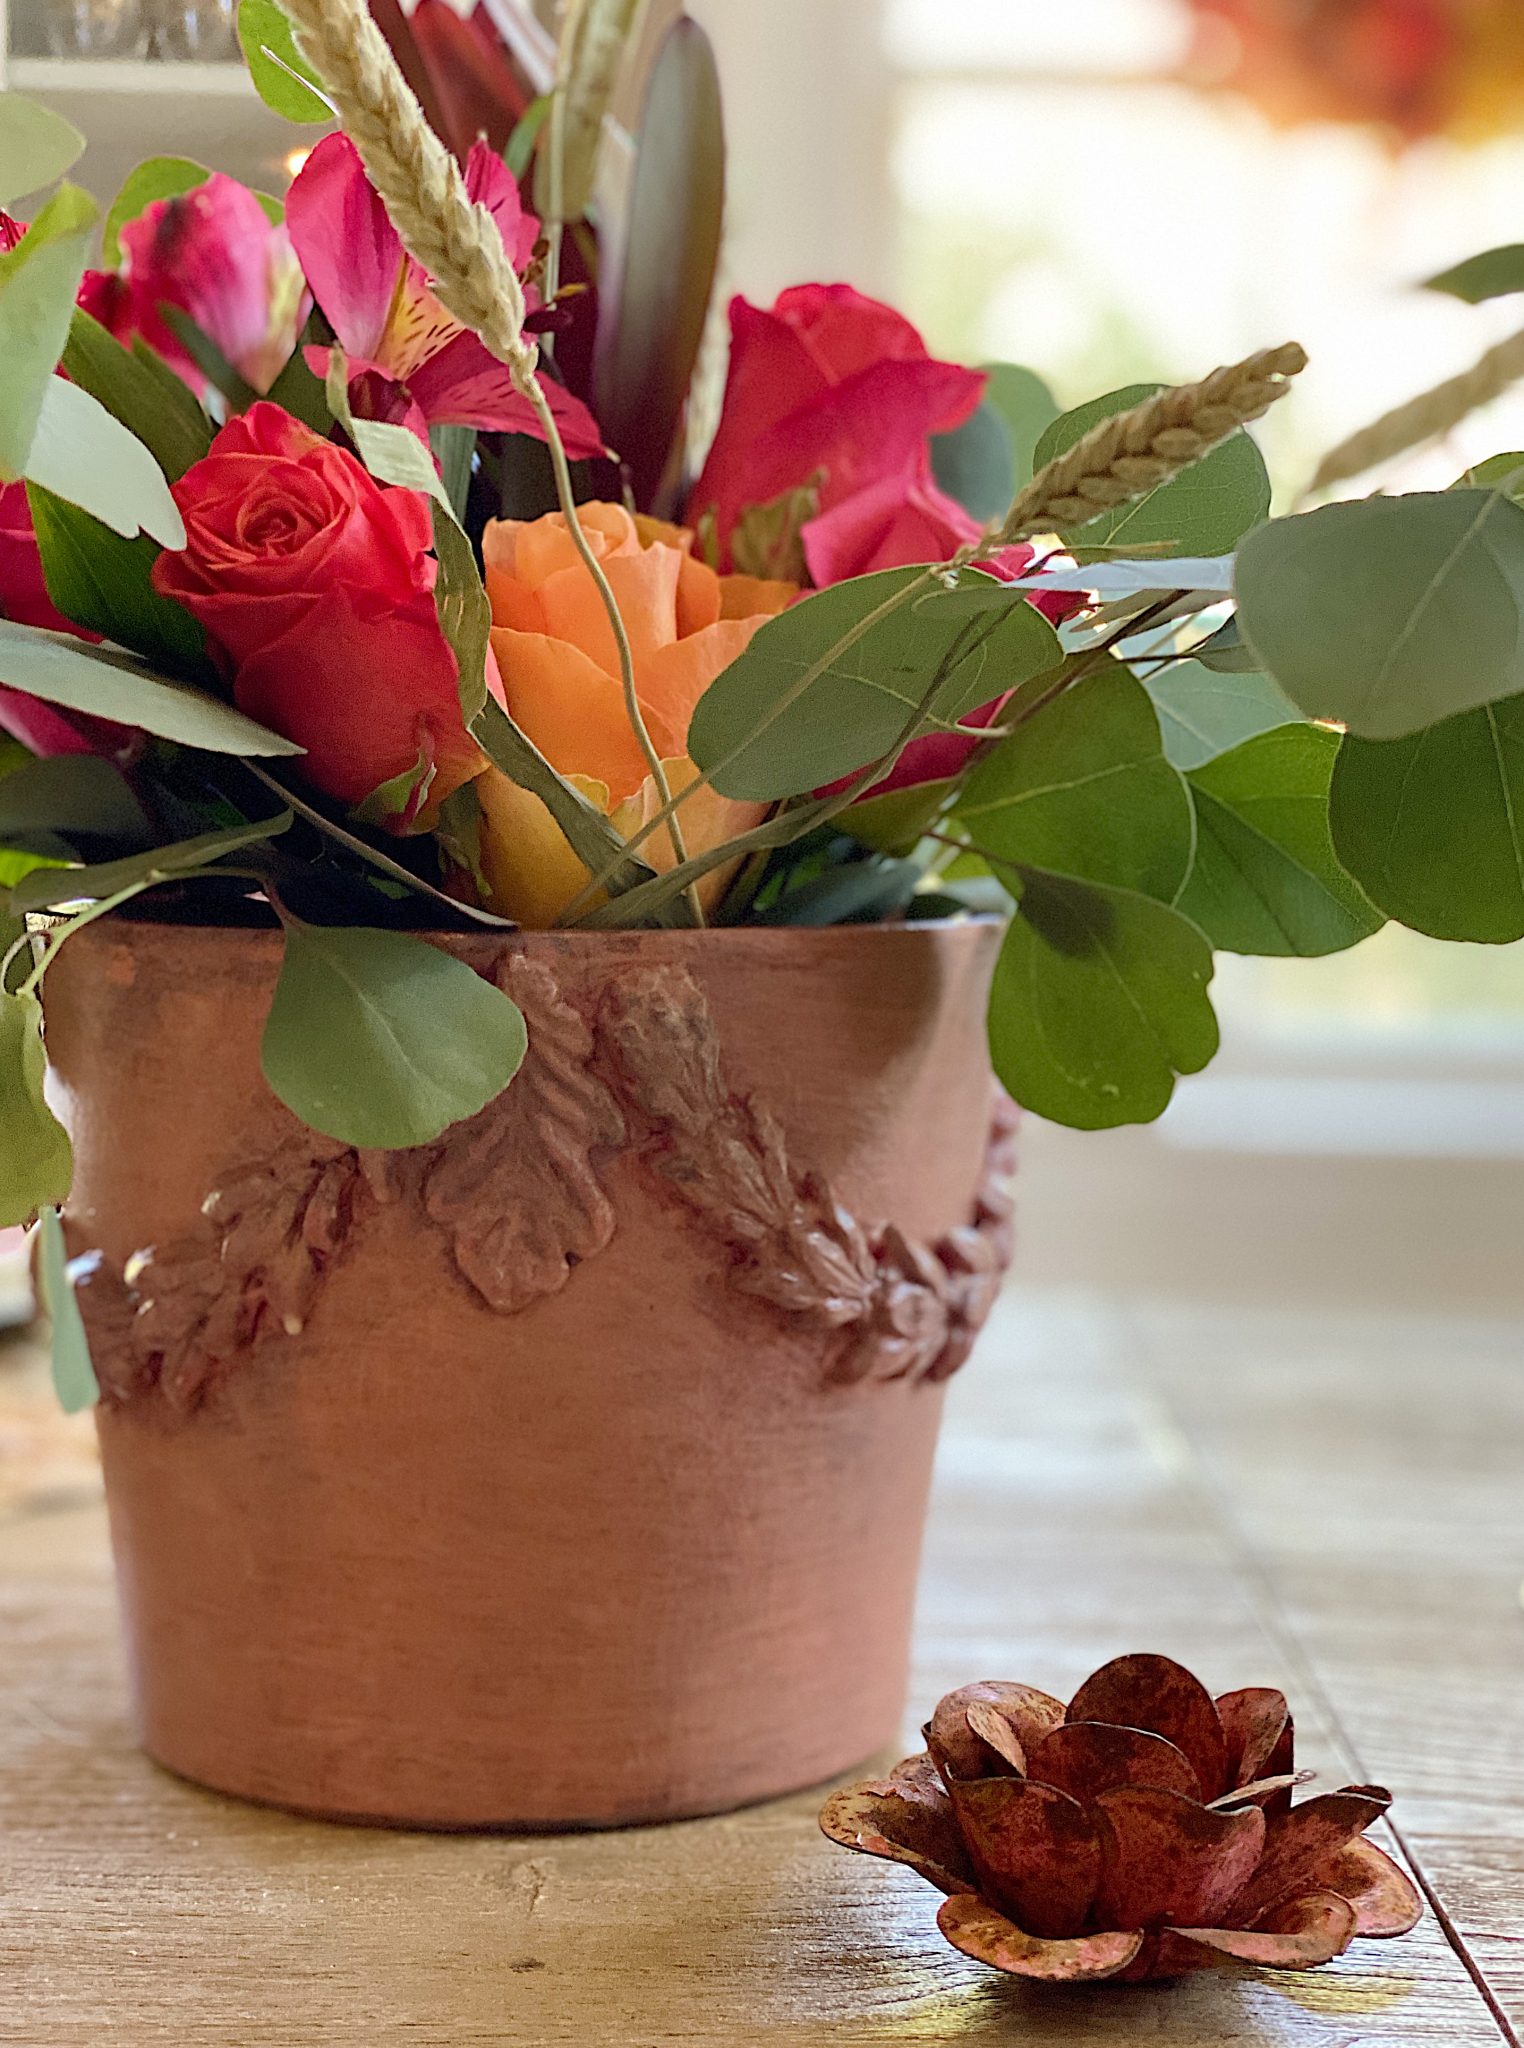
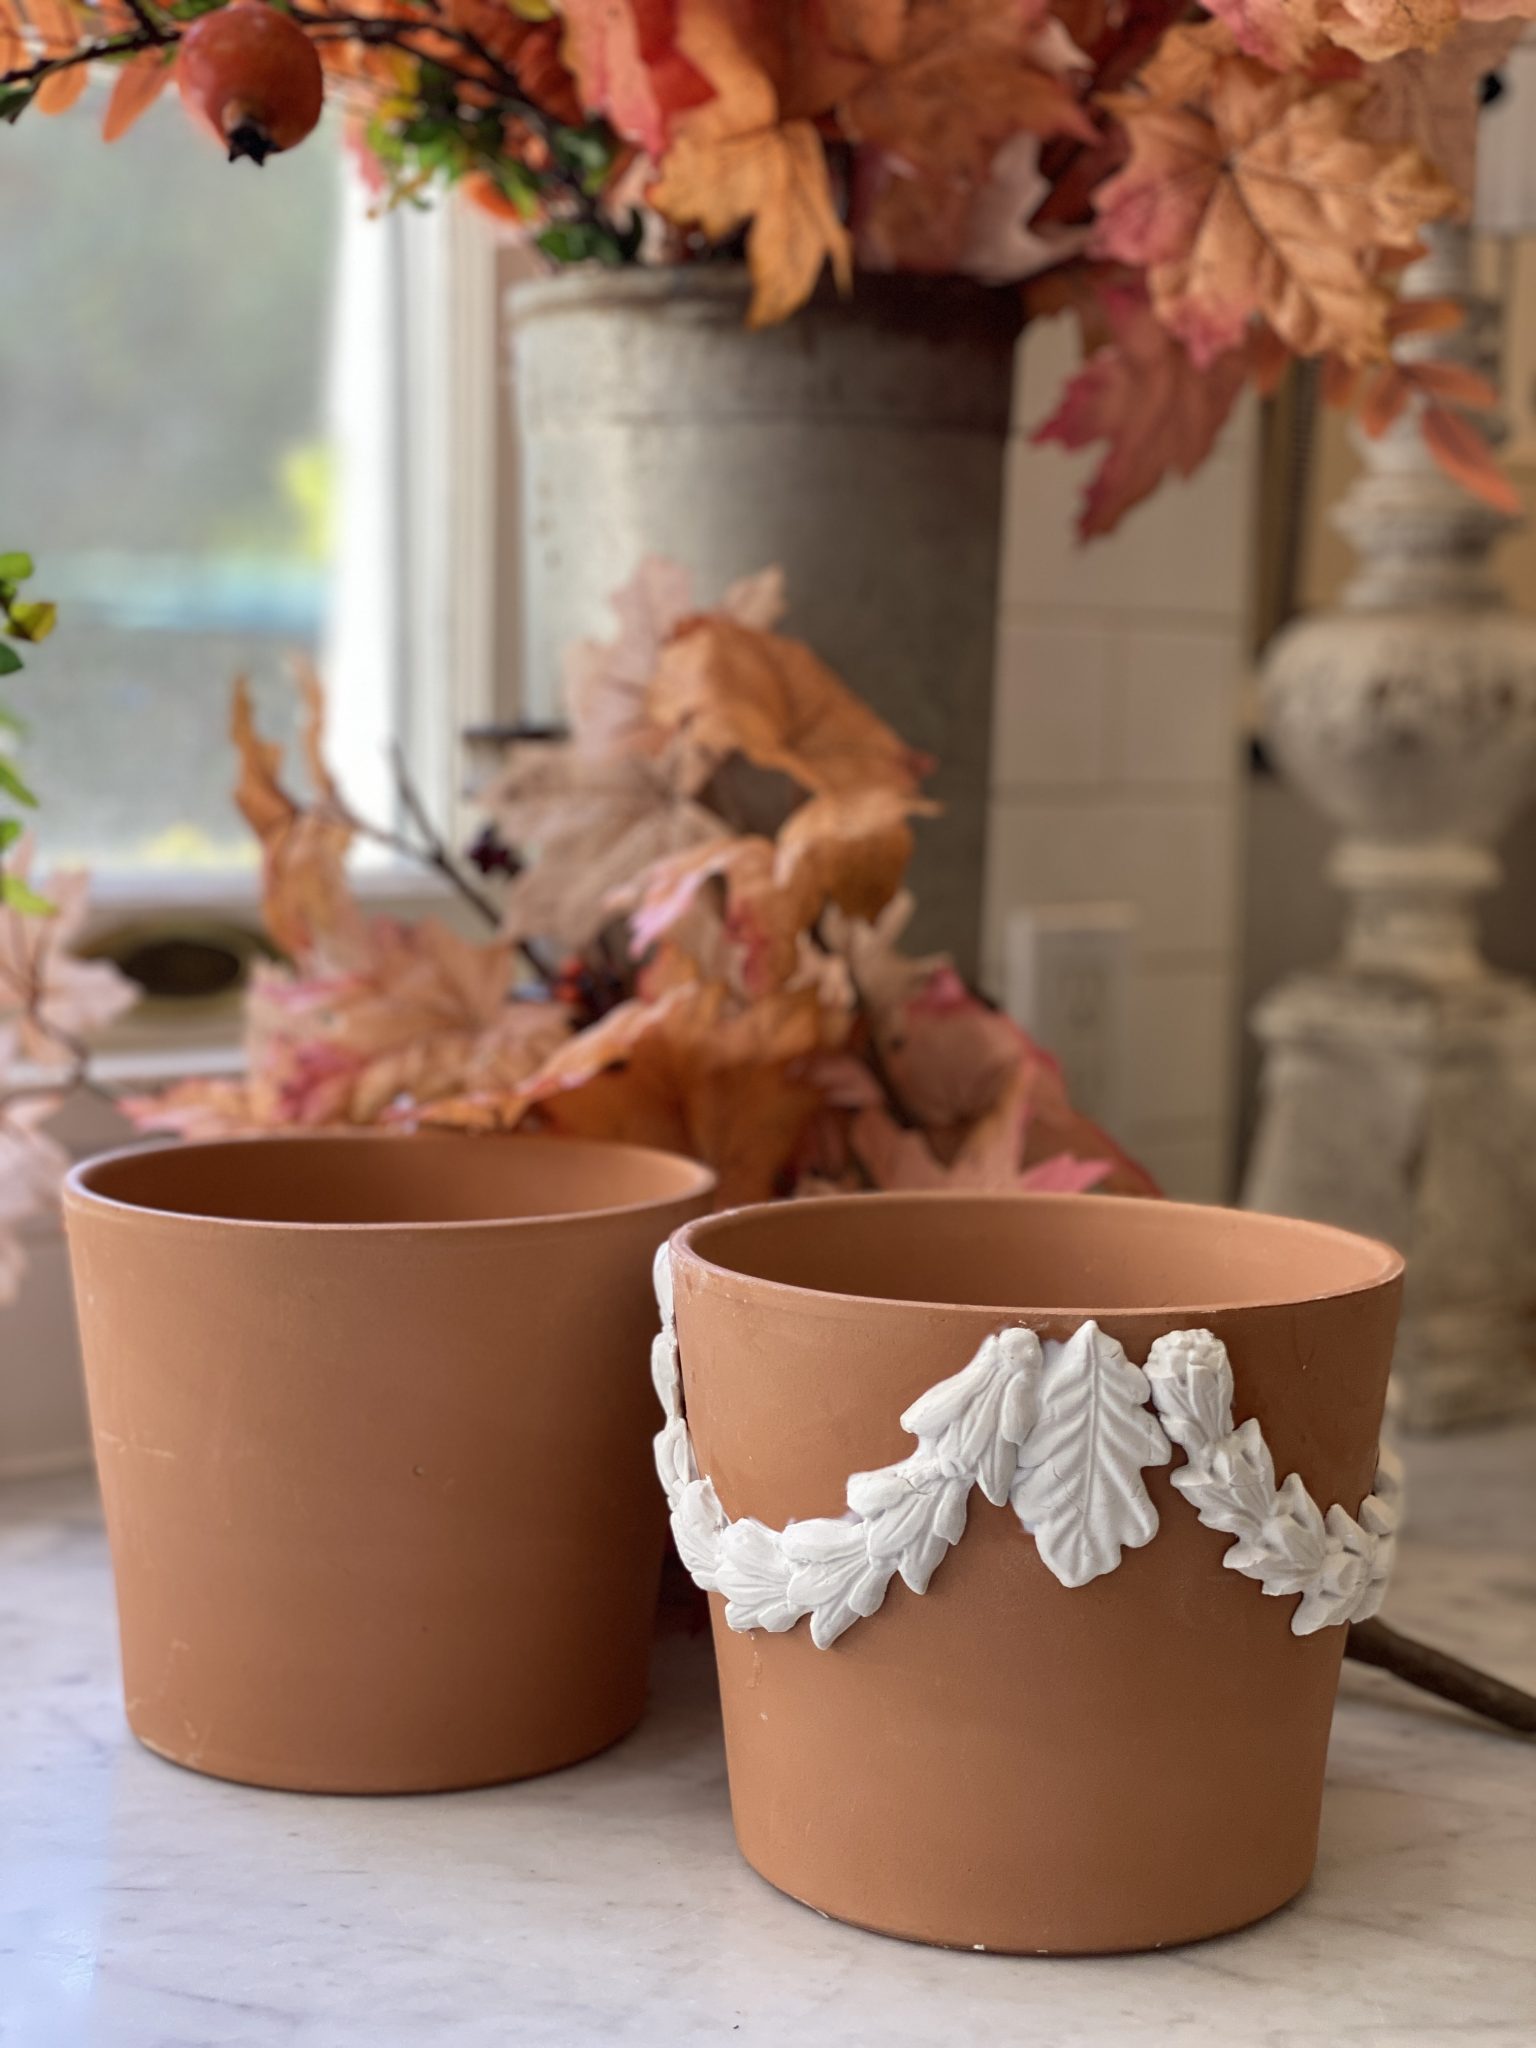
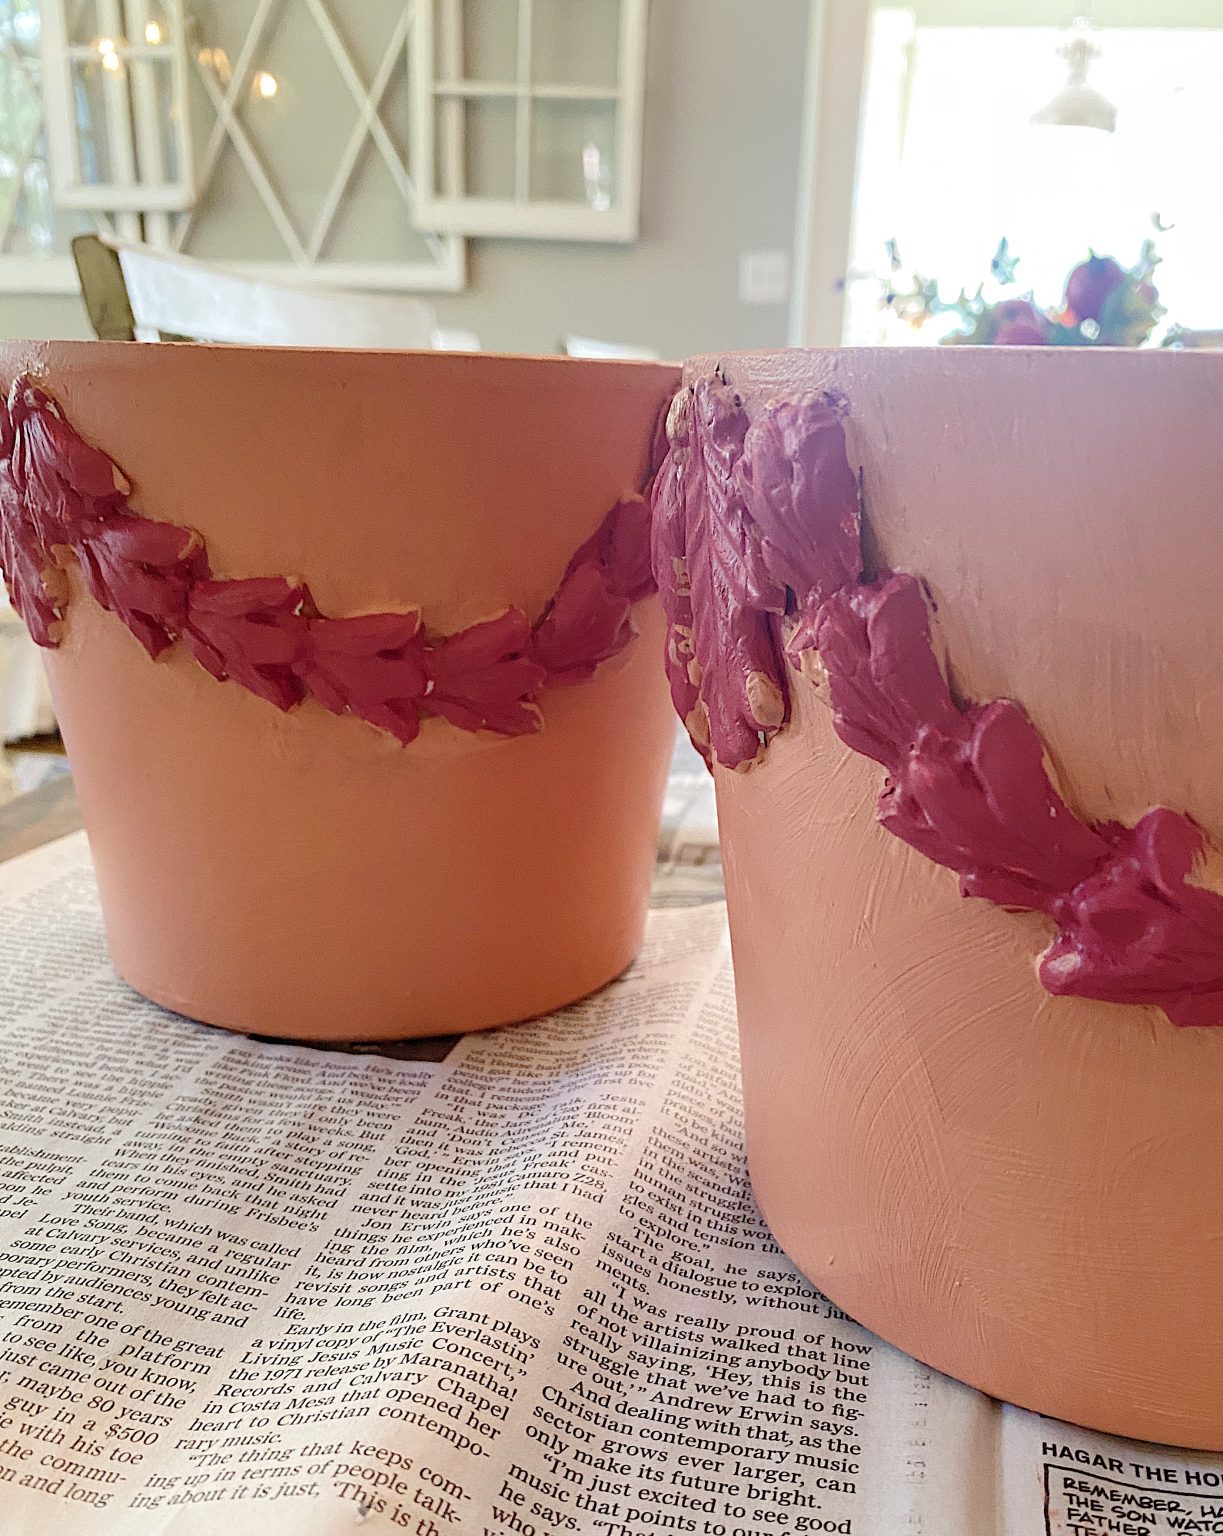
These ceramic planters are going to look fabulous on my fall tables. I love how easy they are to make and how great they look with fall colors.

Why I Love to Work With Clay
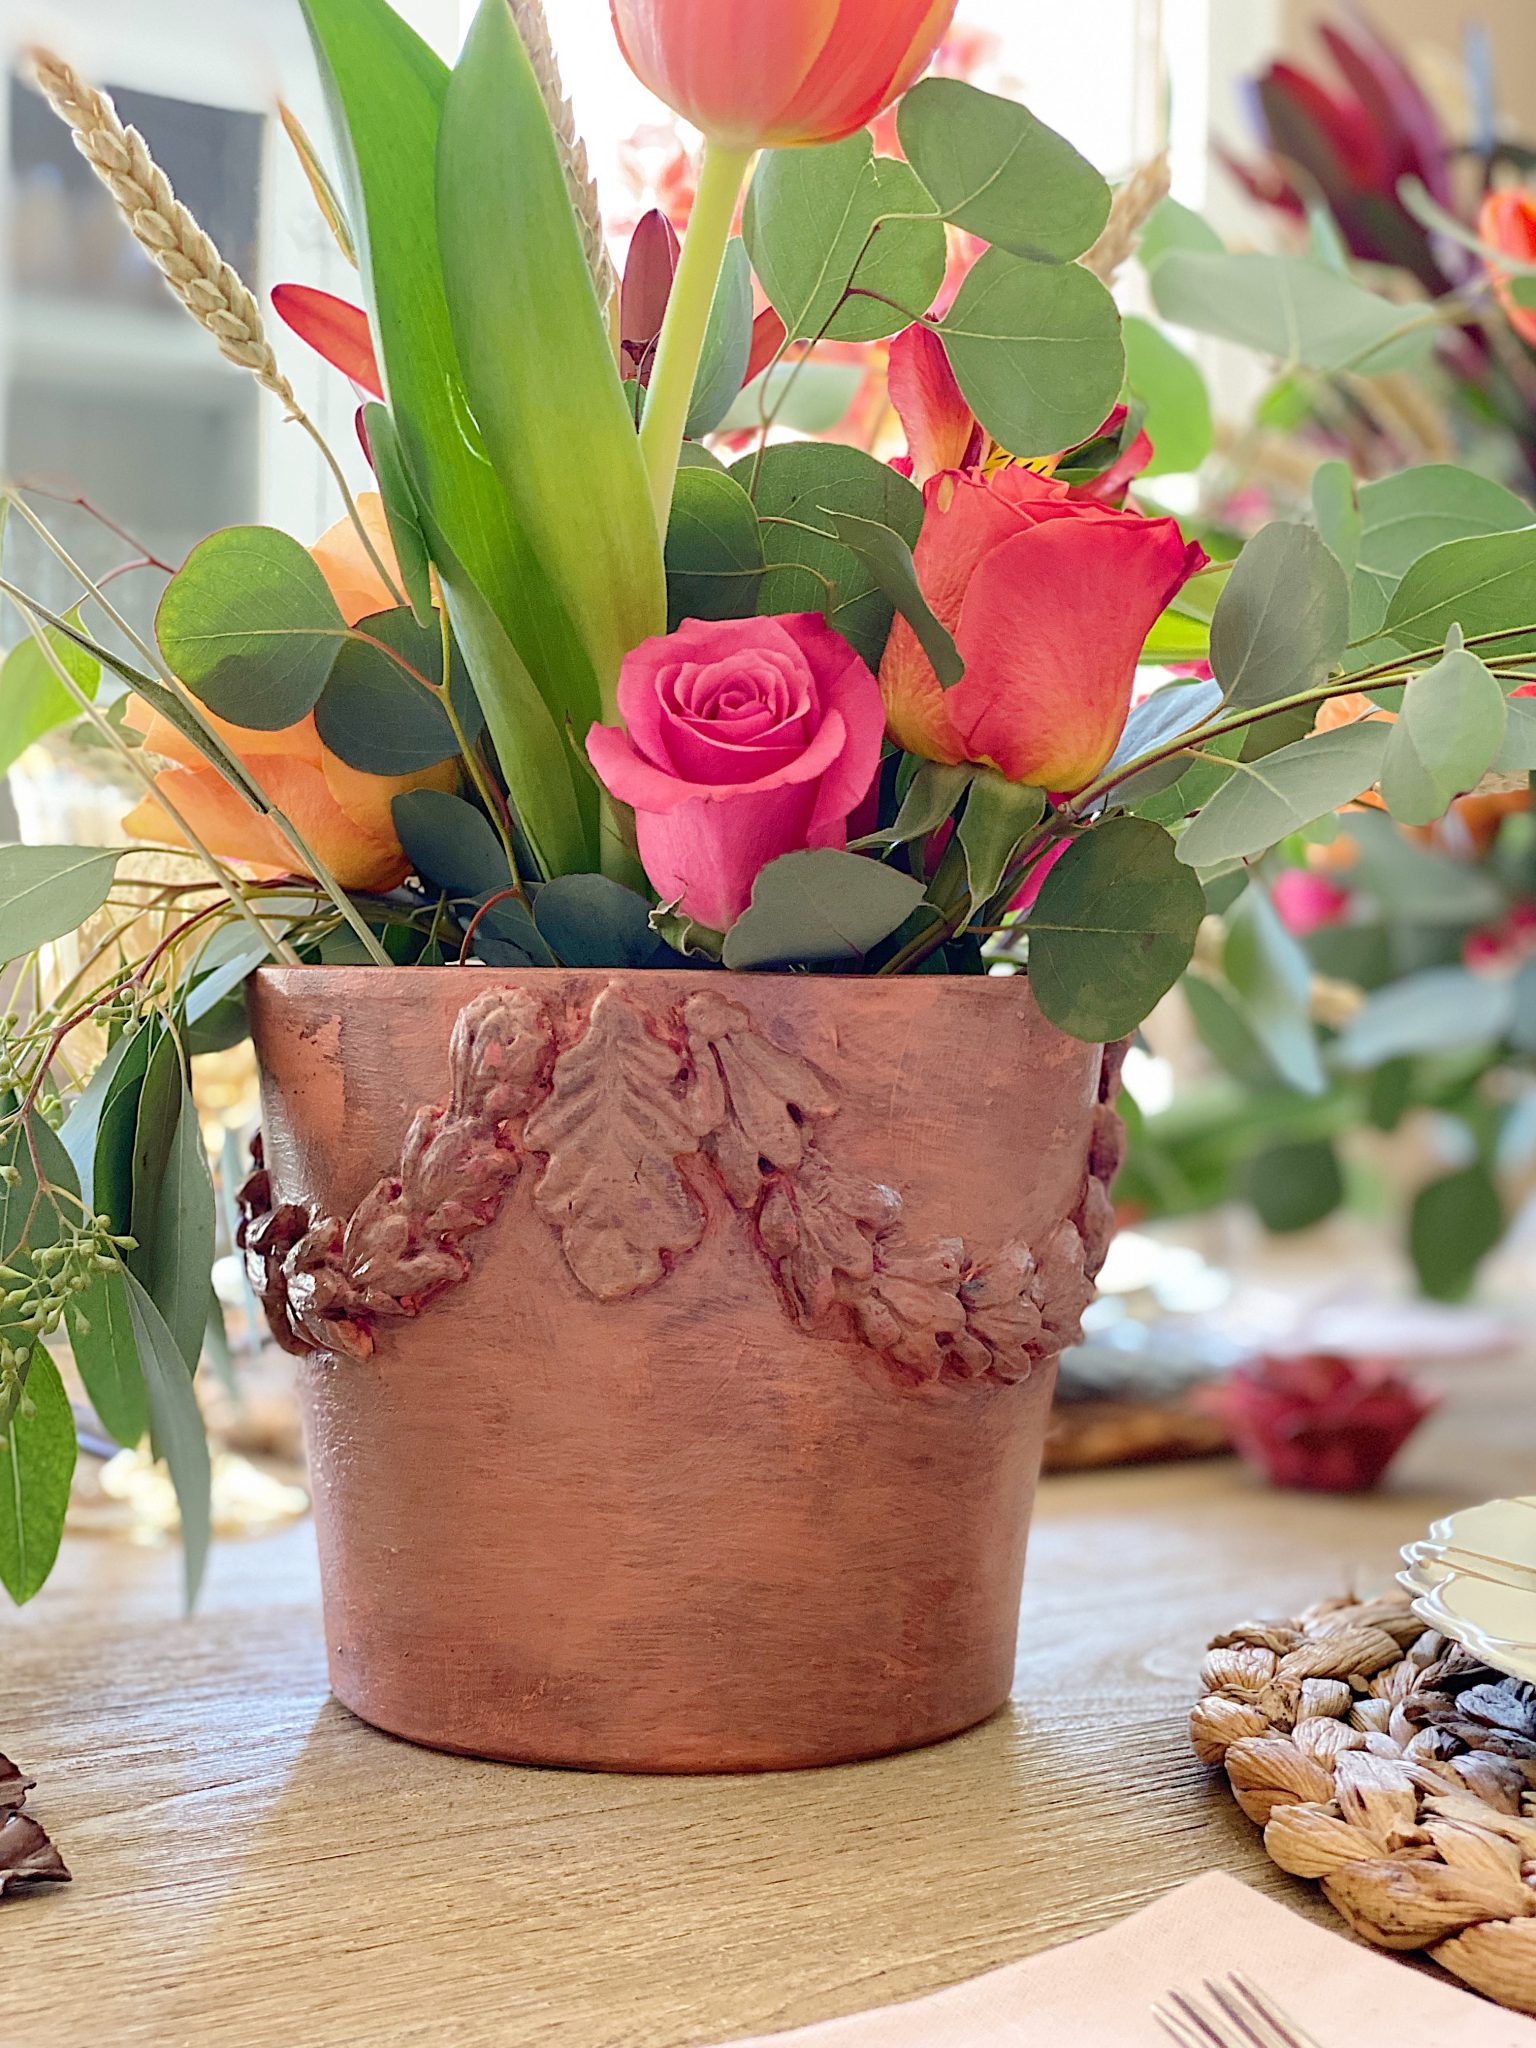
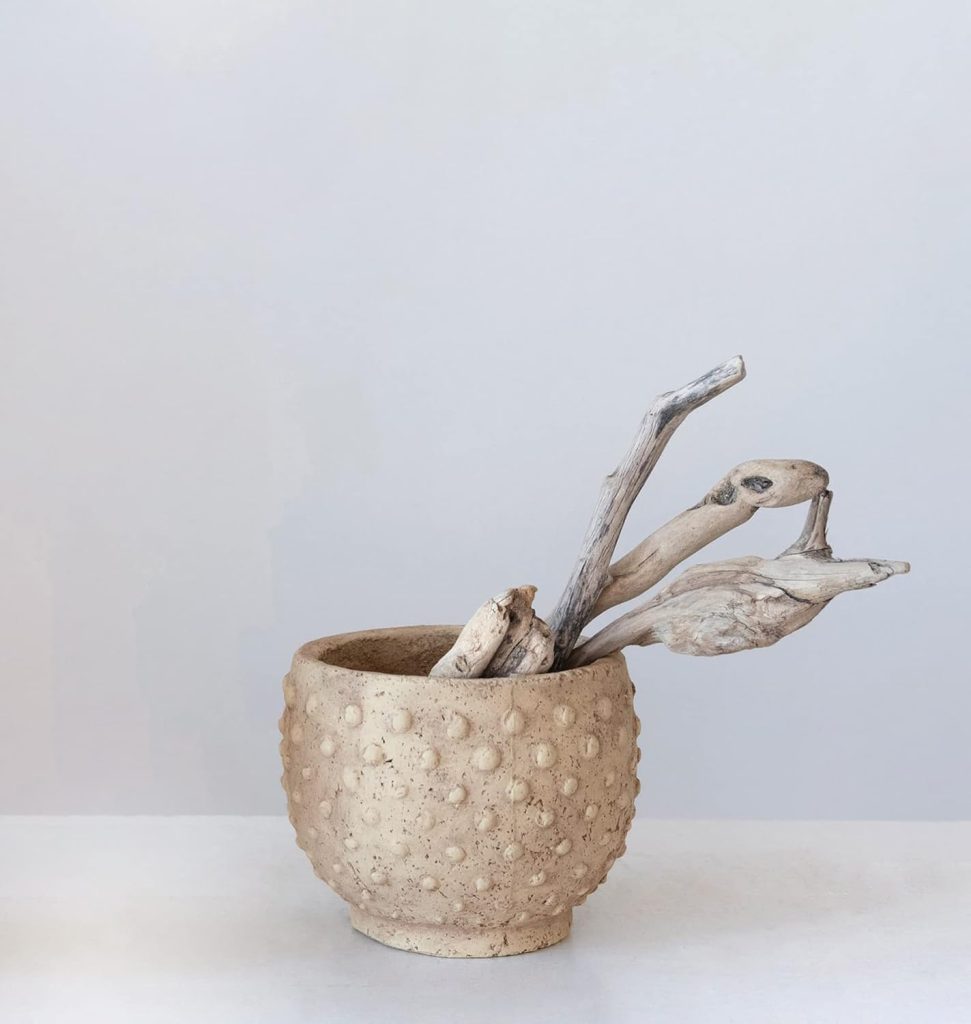
Isn’t this ceramic planter amazing? I love that it looks so unique and yet is really easy to make.
I have teamed up with three other very talented bloggers and we are sharing ideas for your fall tables which includes a DIY, recipe, and table design. Today we are all sharing the DIY’s. Be sure to see their ideas below.
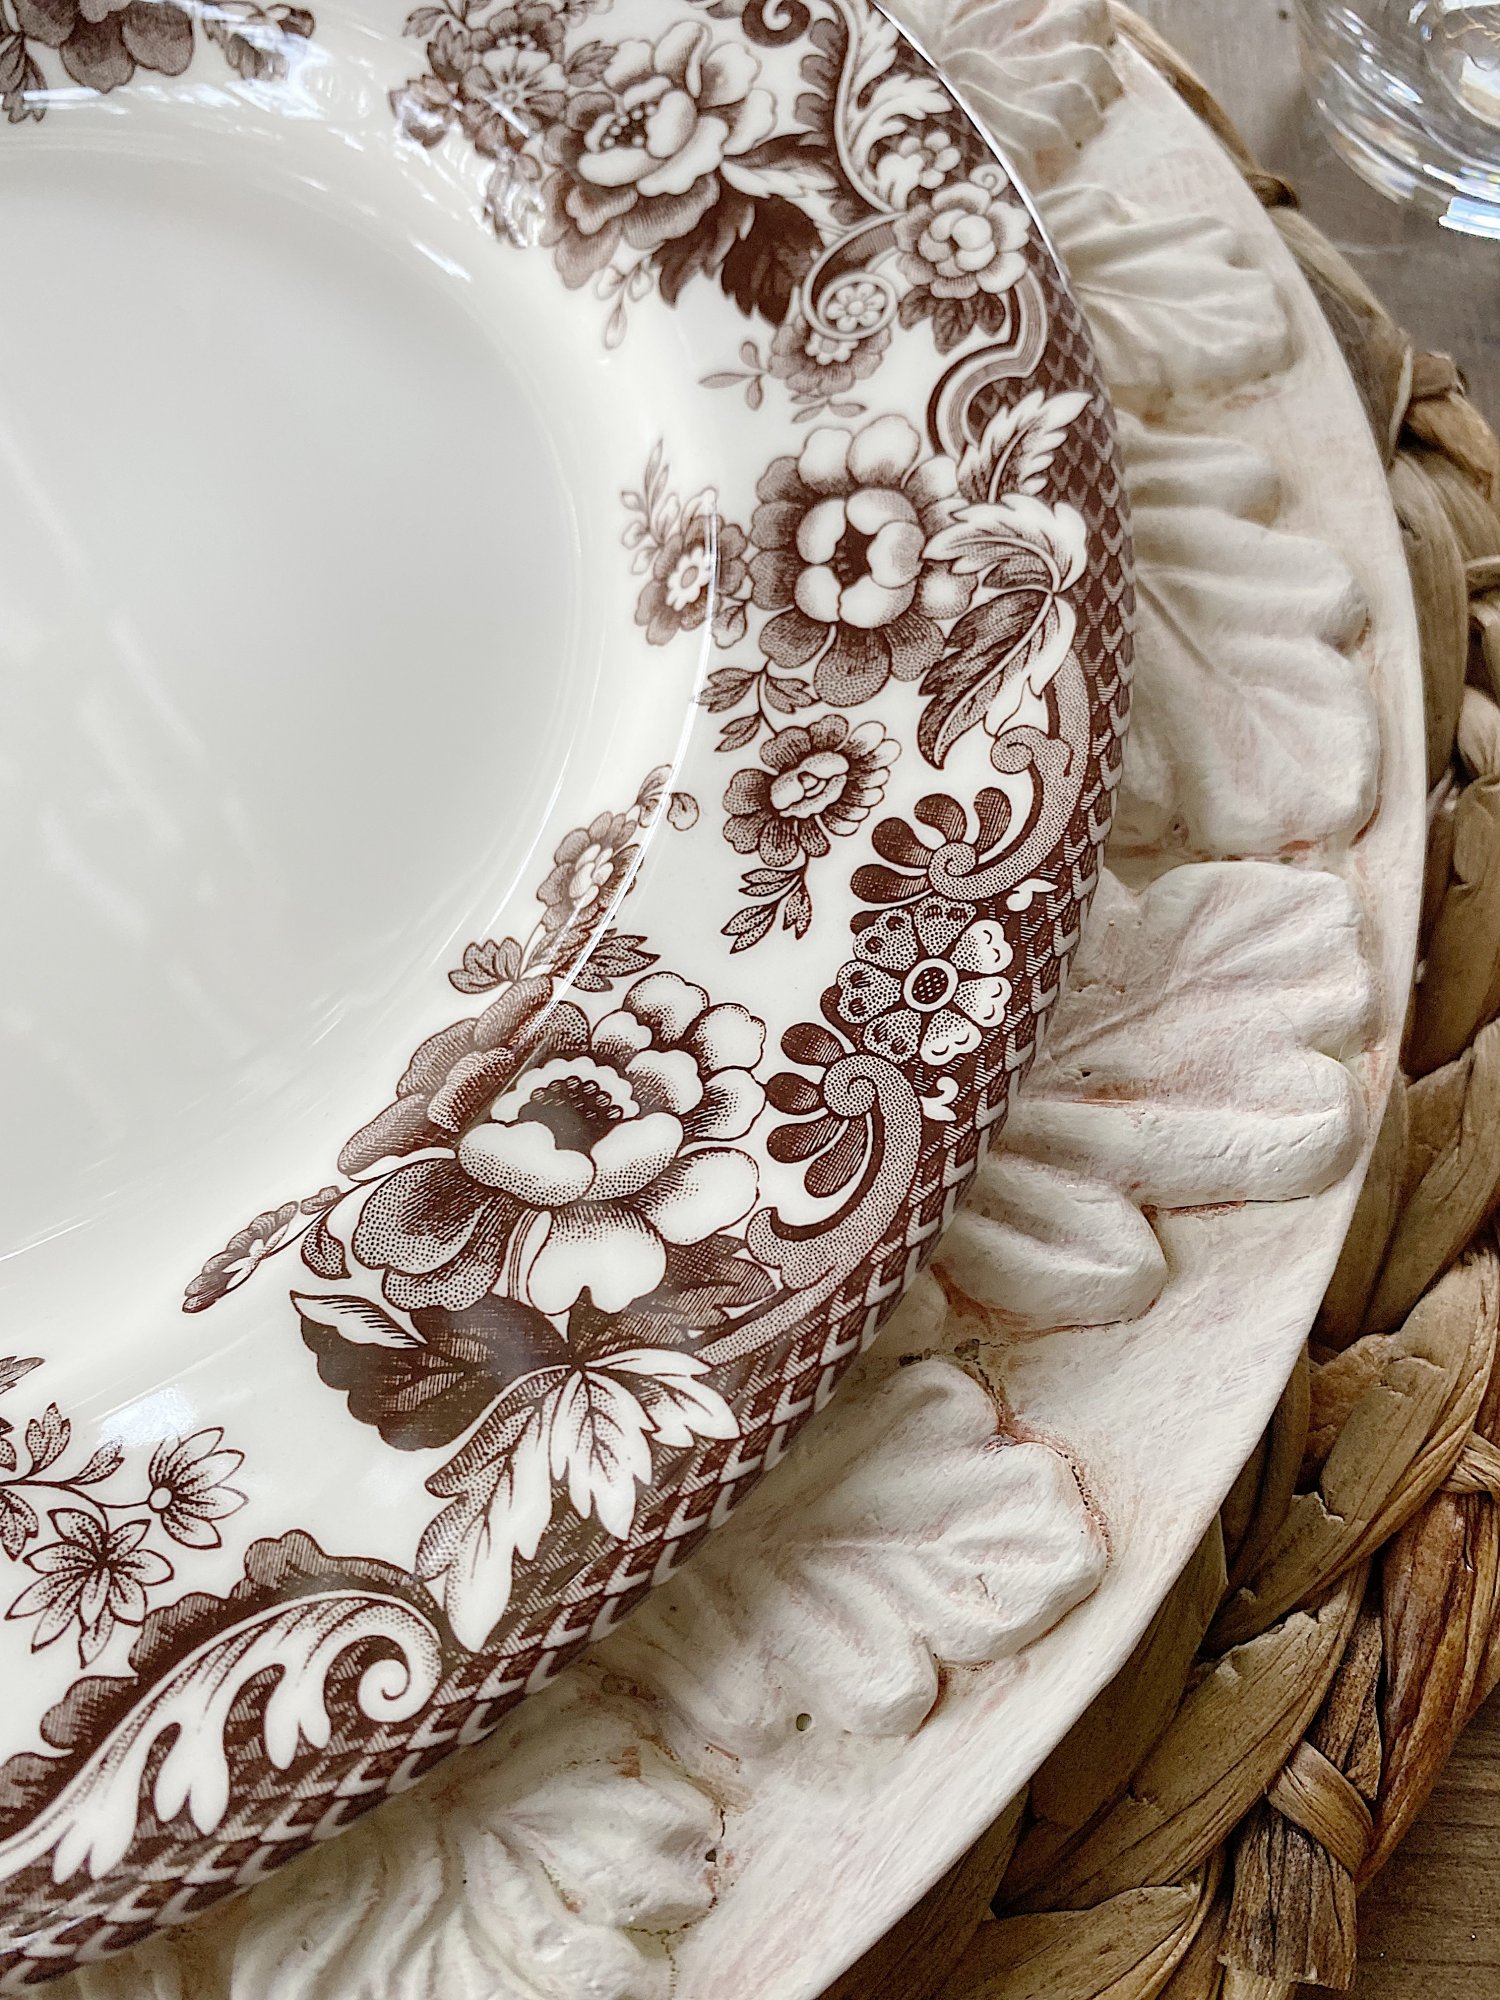
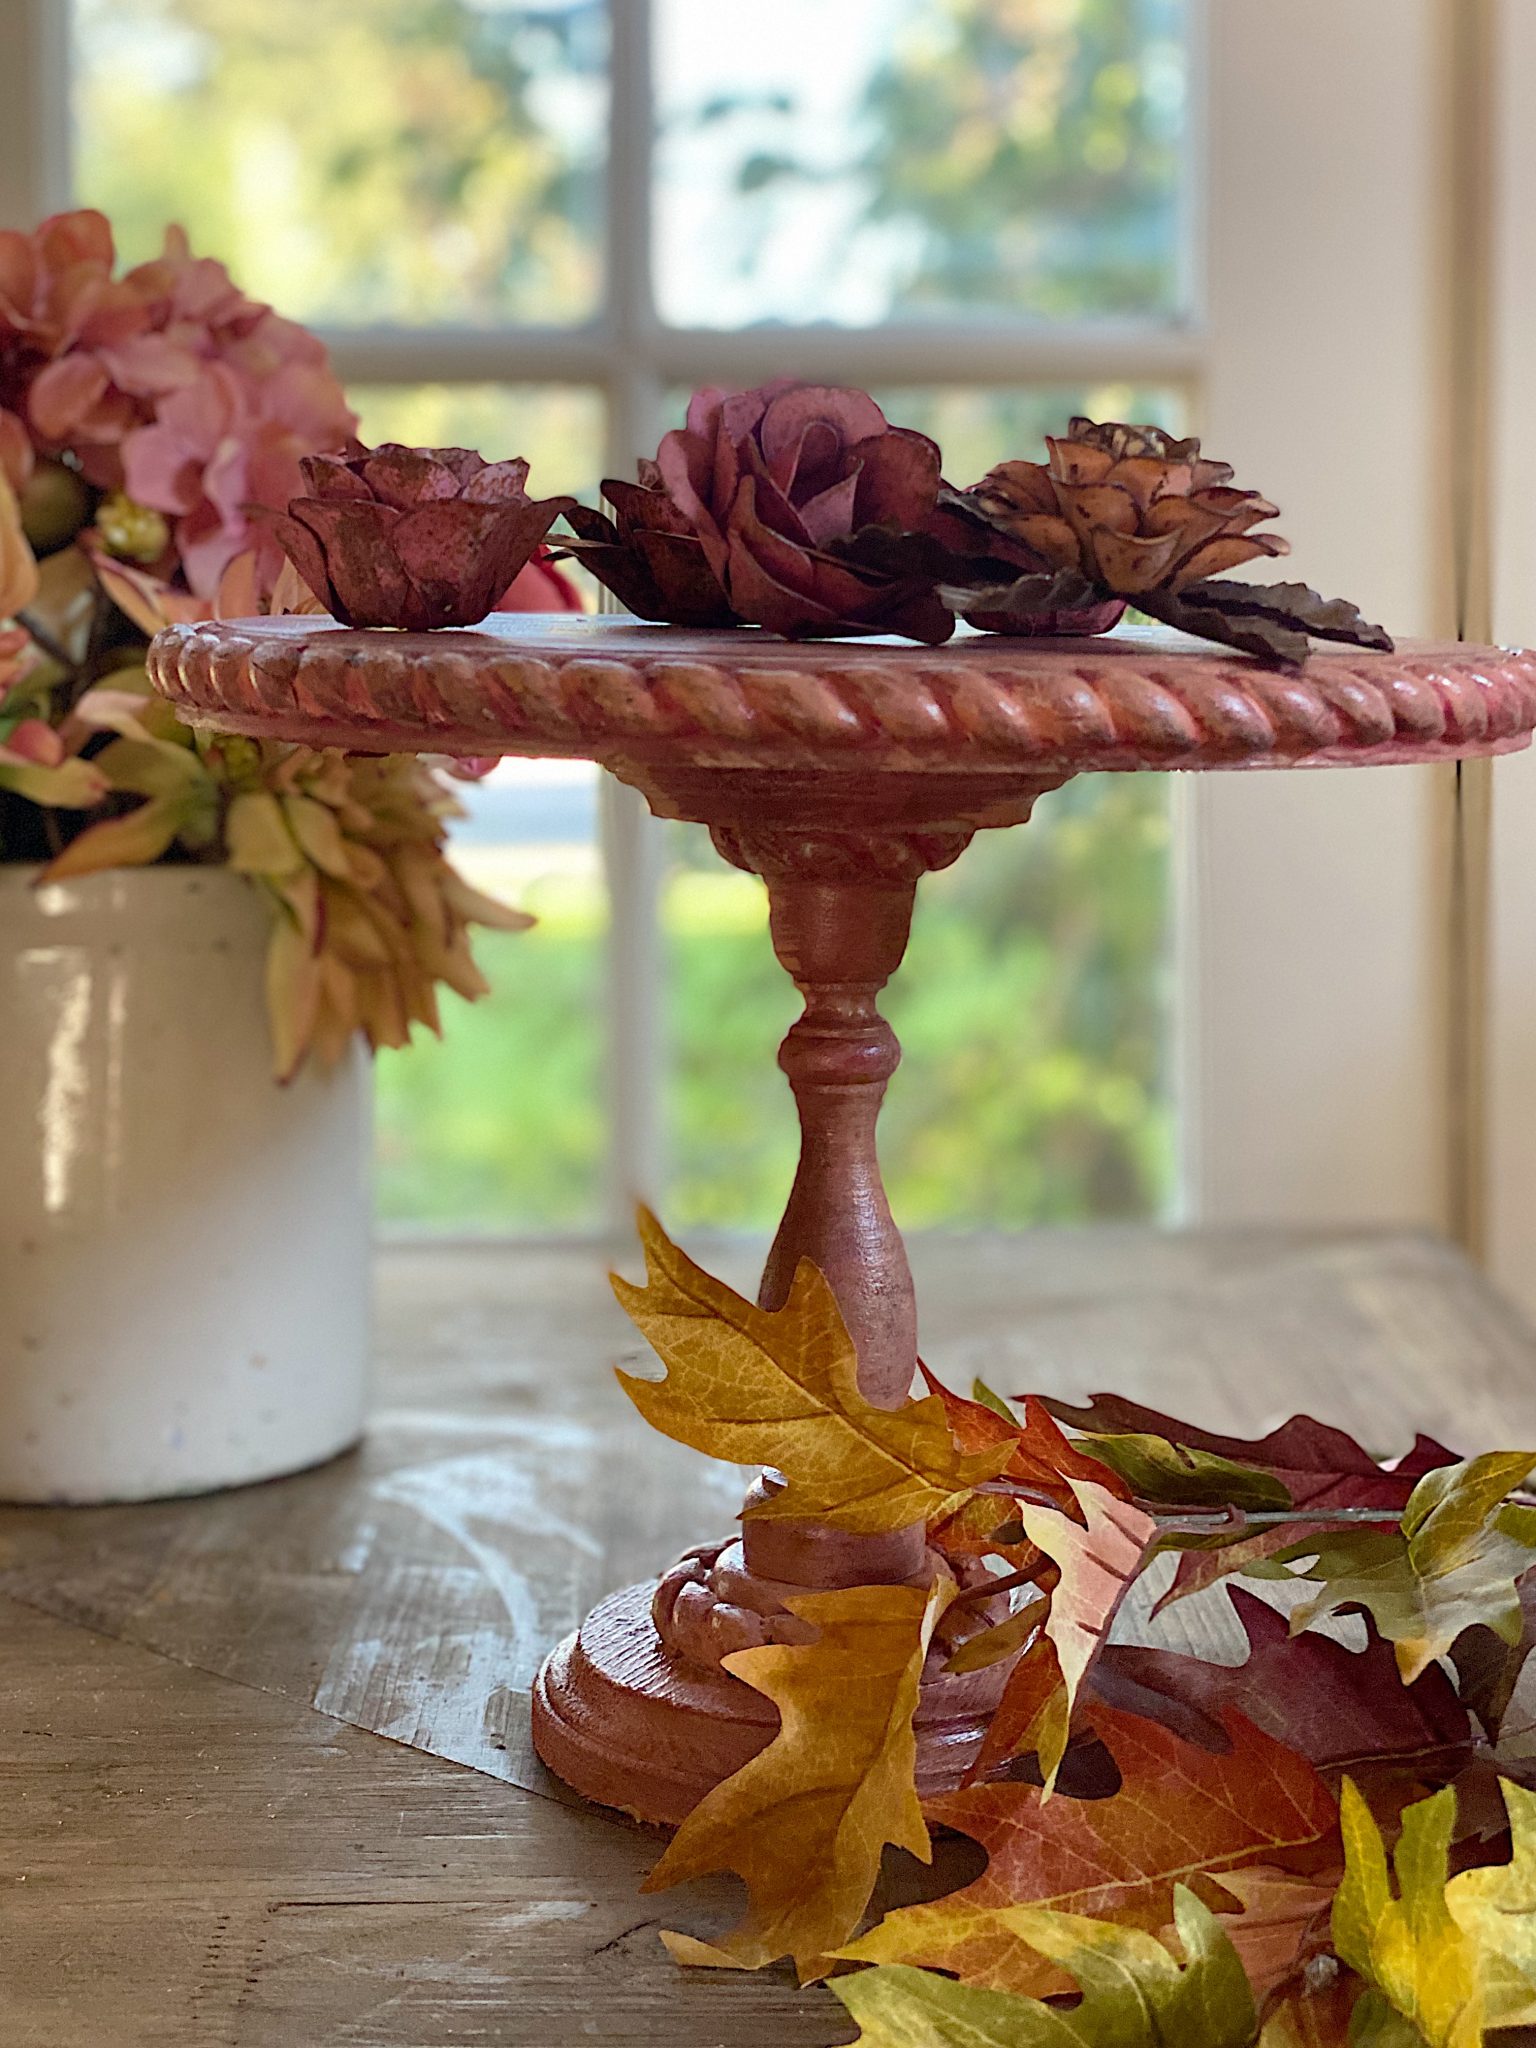
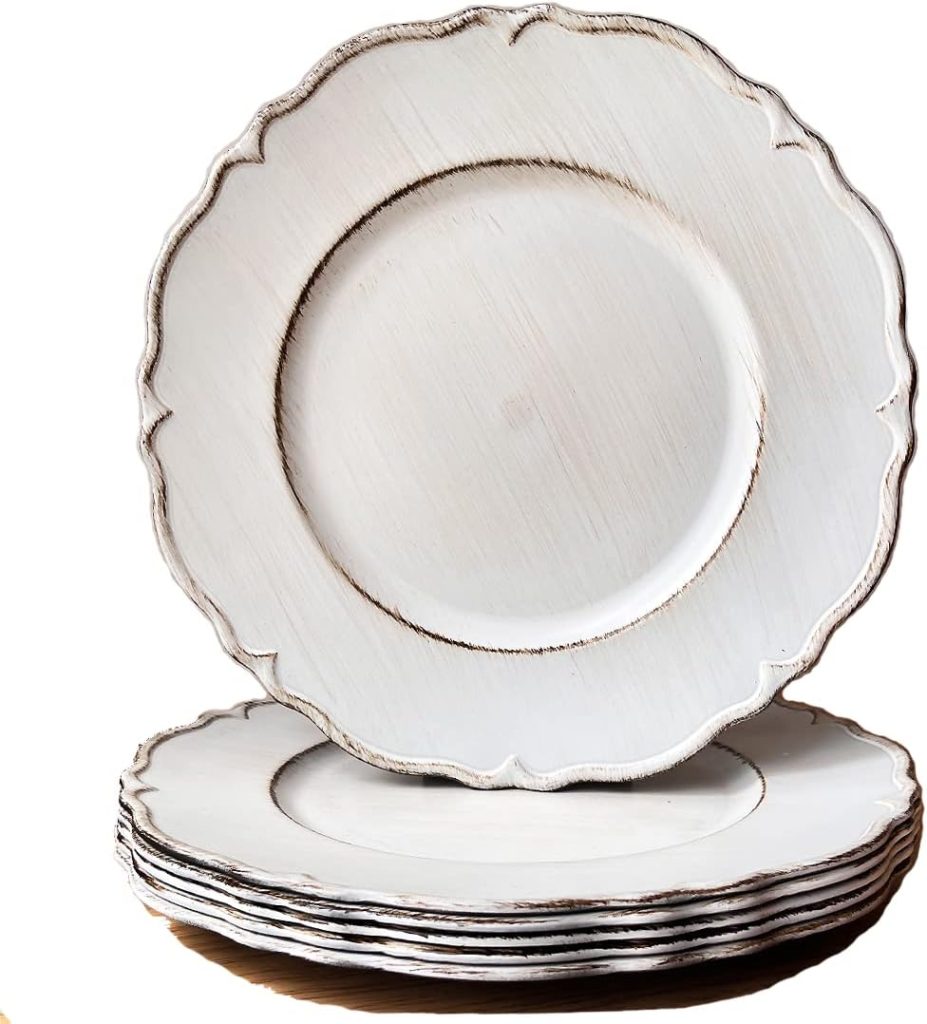
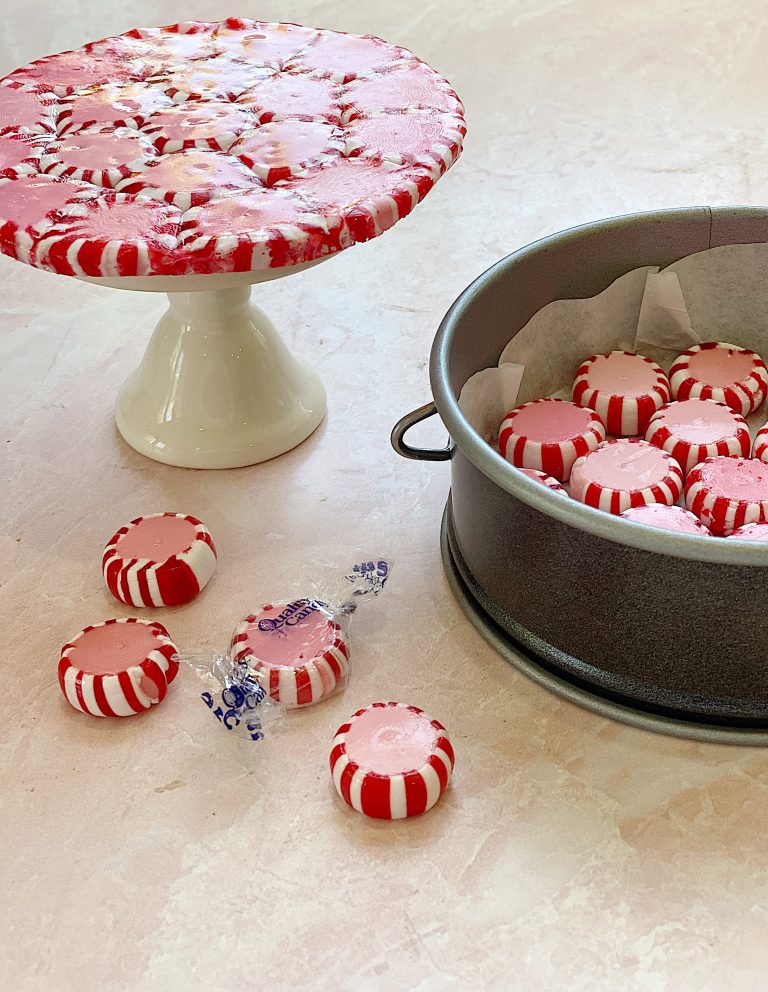
You might have noticed this is the third DIY that I have made with Iron Orchid Design (IOD) products. The first was a Leaf Charger Plate, then I made a Cake Stand, and then I made the Ceramic Pot. Isn’t it incredible what you can make with an IOD design mould?
Iron Orchid Designs has incredible products for crafts and DIYs. Their designs are very creative, and their products will easily help you discover amazing new DIYs and crafts.
If you go to the IOD website you will find “DIY tools and tutorials to inspire your creative soul”. They have decor moulds, decor stamps, and decor transfers to make fabulous items for your home. Today I get to share how I made these chargers for my fall table!
Where can you buy Iron Orchid Designs products? Click here to find a retailer near you. (You can also order online from most retailers.)
Once again, I thought it might be fun to go with the fall colors instead of white. Although I am pretty sure I will be making something similar to this in white for the holidays!
On this blog, I may sometimes use affiliate links, which means a small commission is earned if you purchase via the link. The price will be the same whether you use the affiliate link or go directly to the vendor’s website using a non-affiliate link.


How to Make a Ceramic Planter
Materials Needed to Make Your Two Ceramic Planters
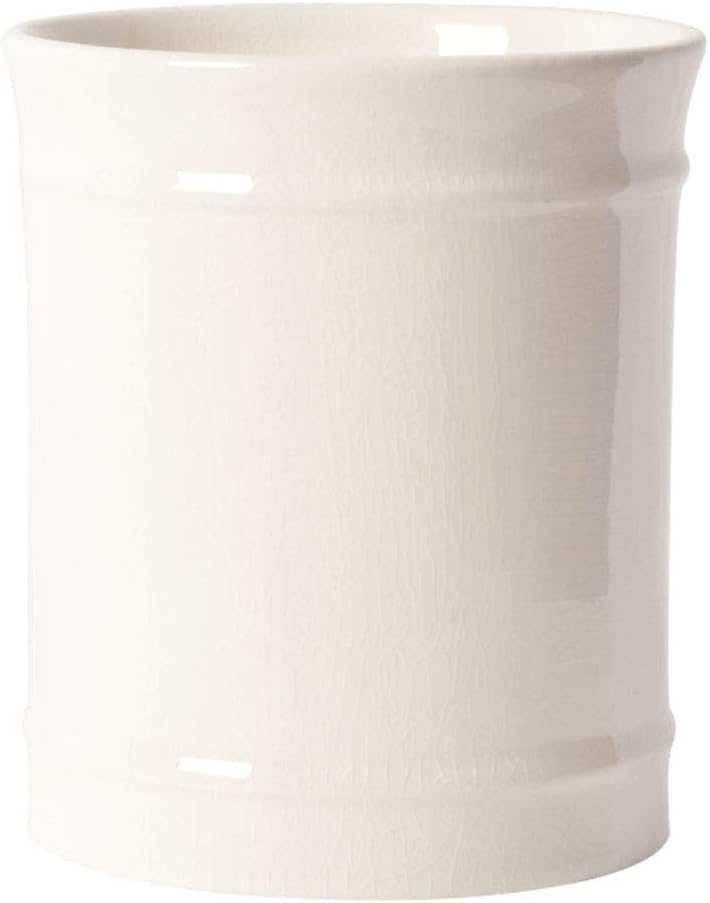
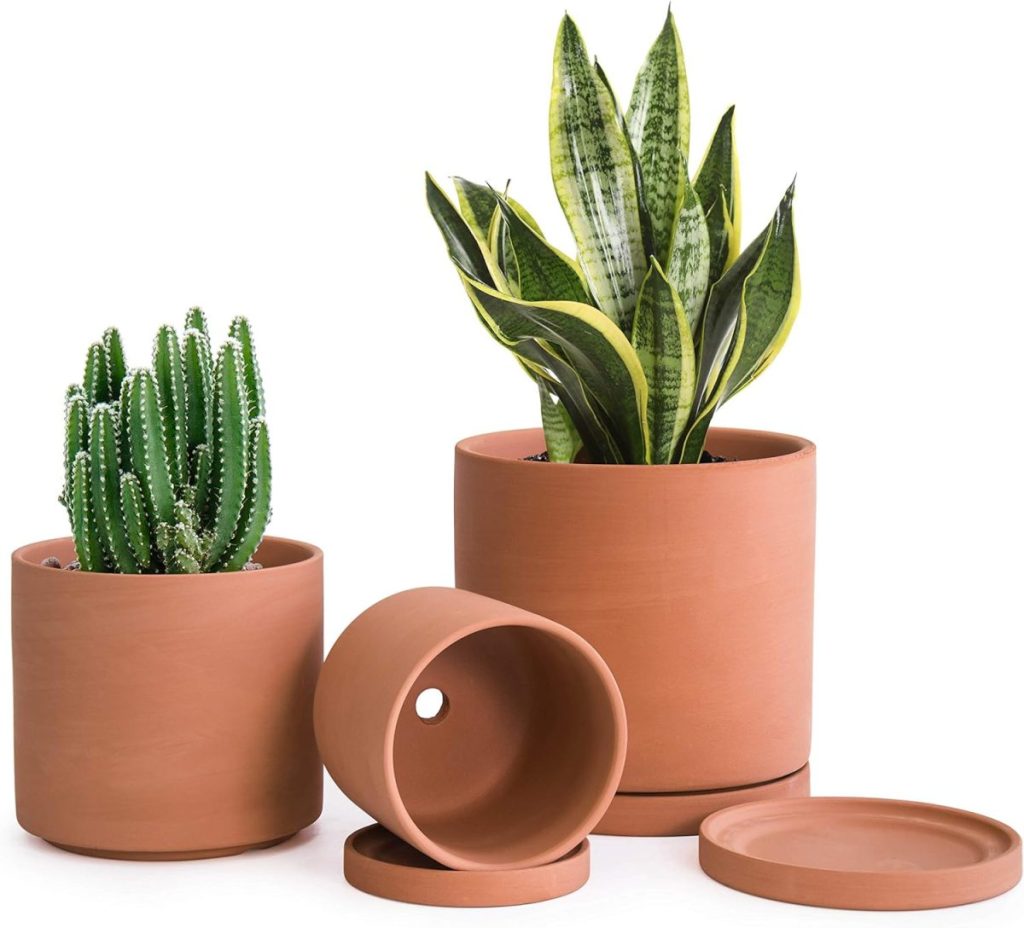
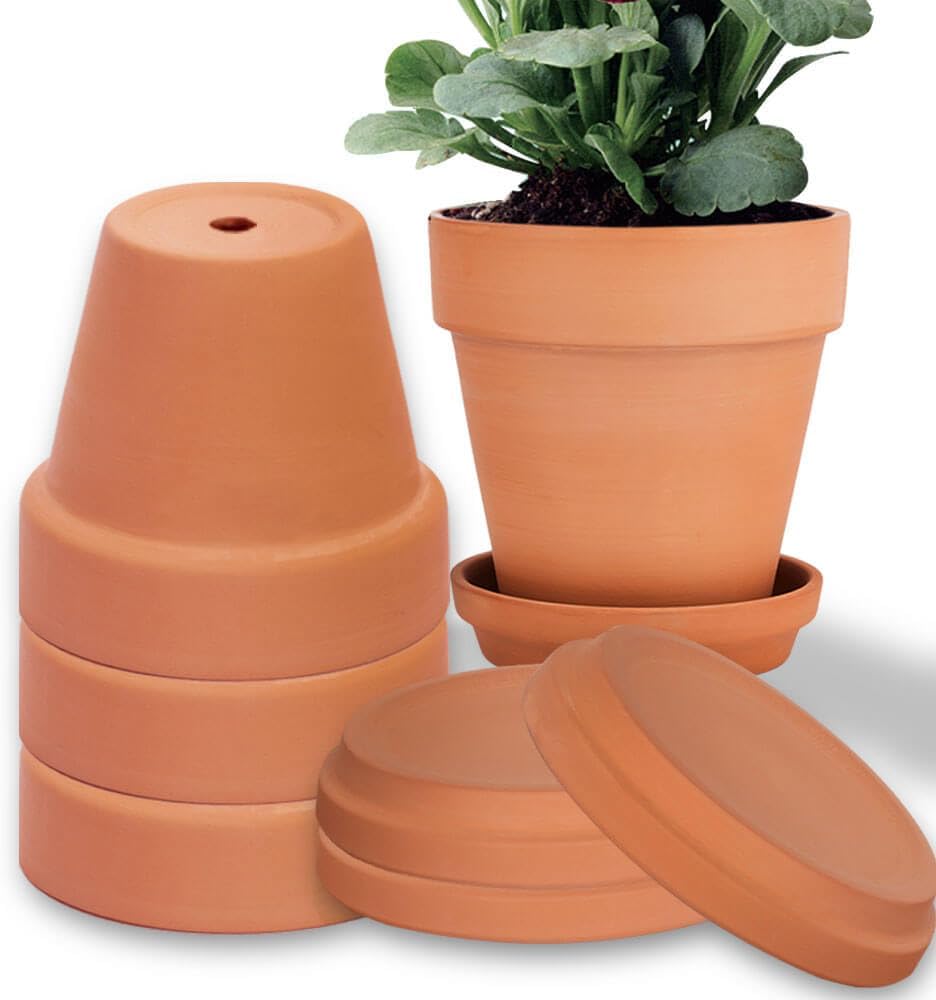
- Terra Cotta Pots (see below)
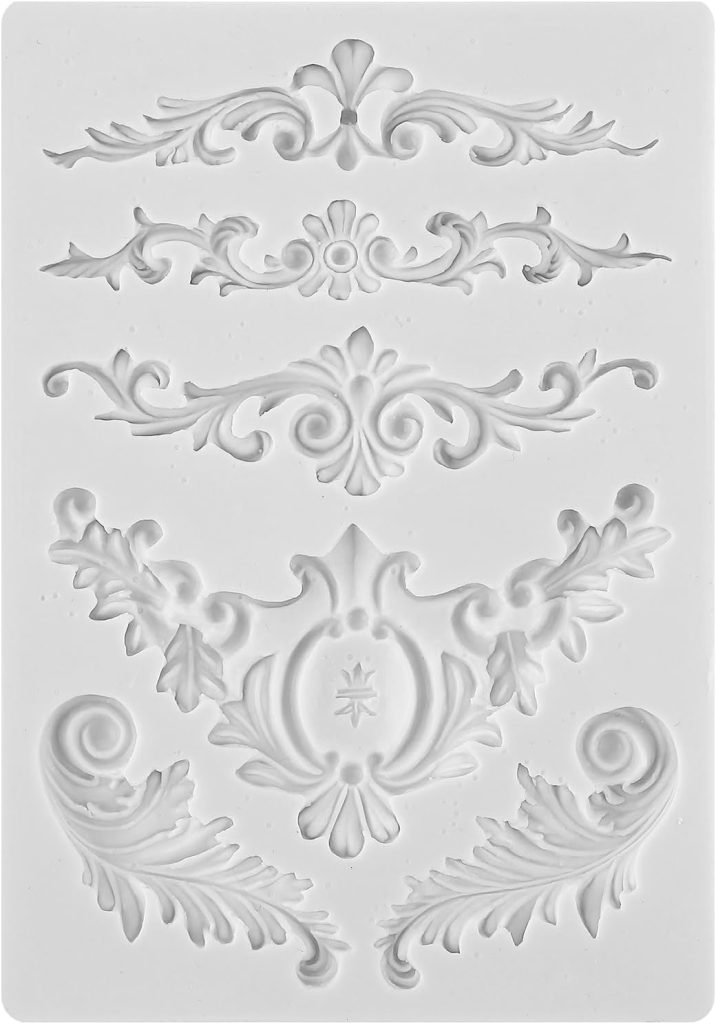
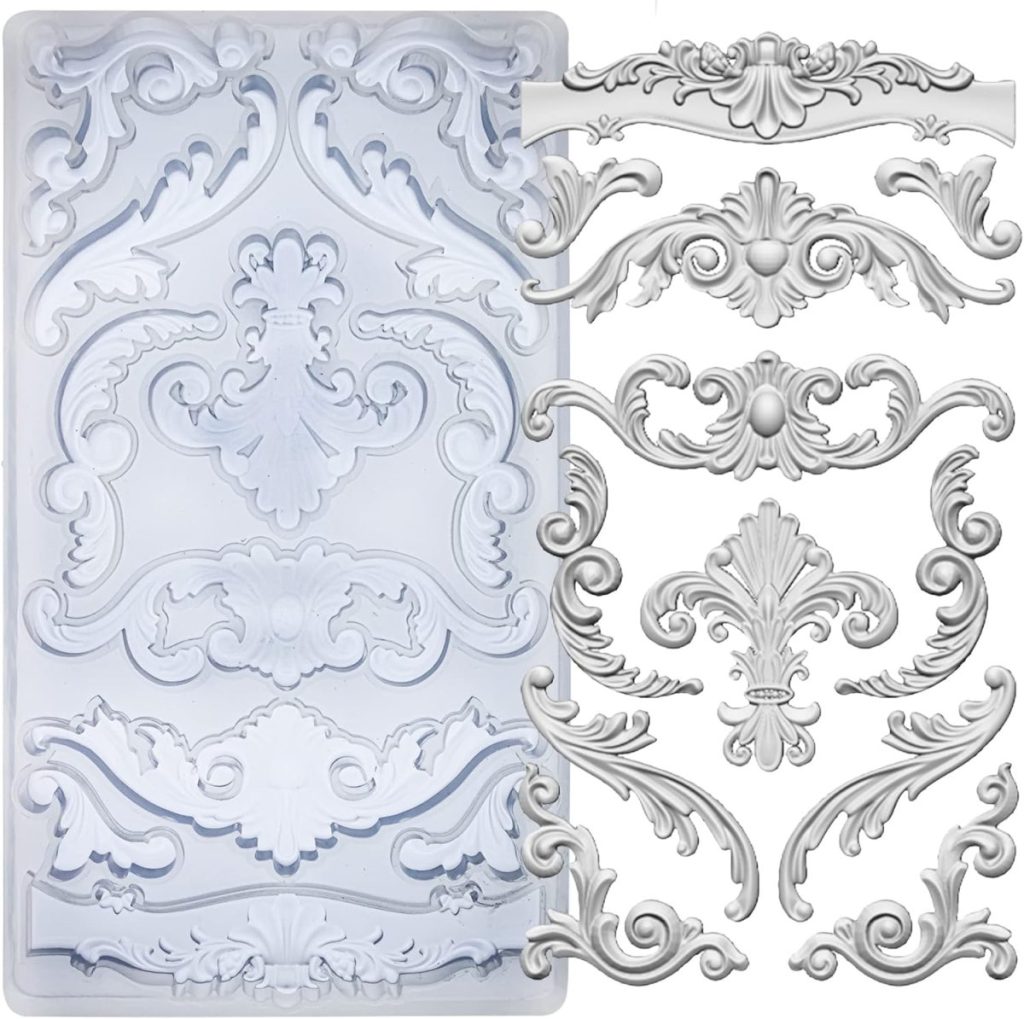
- IOD Fleur De Lis 6×10 Decor Mould (for leaf)
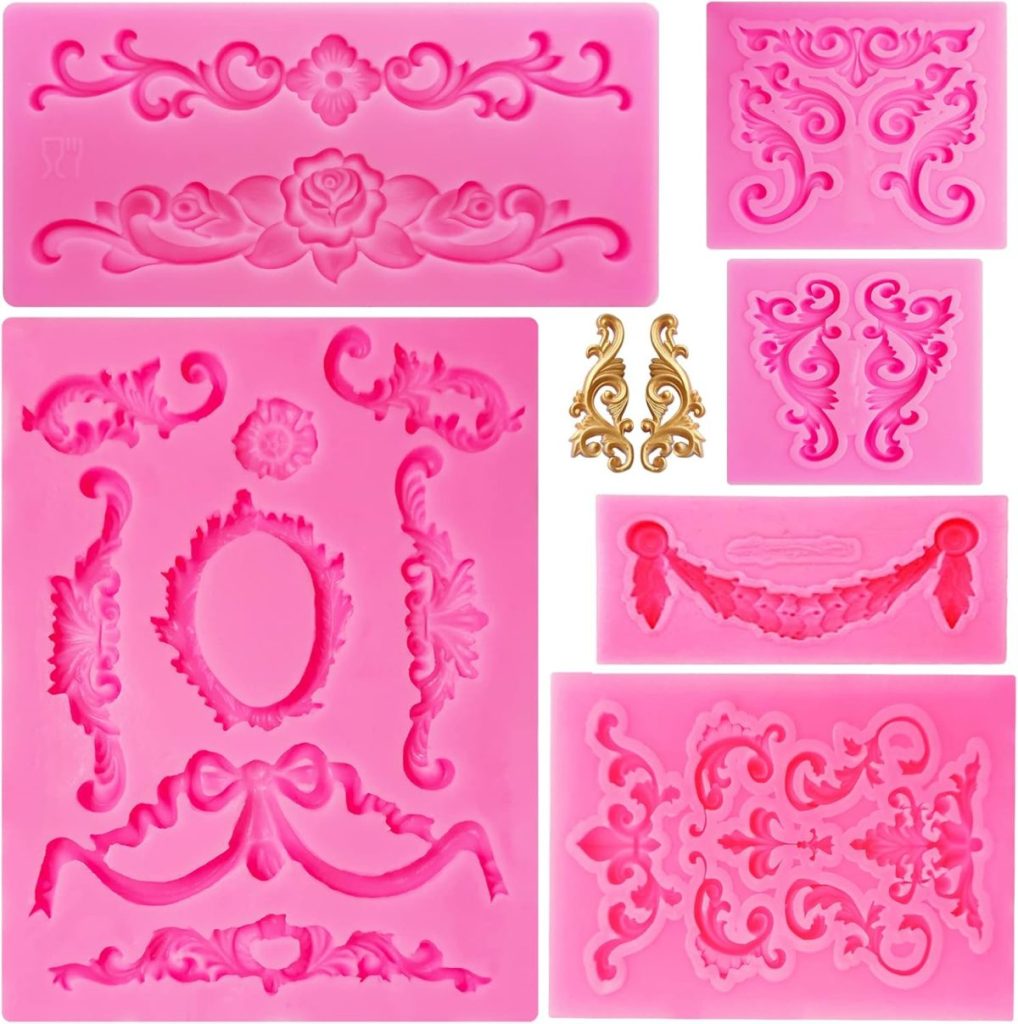
- IOD Laurel 6×10 Decor Mould (for swag)
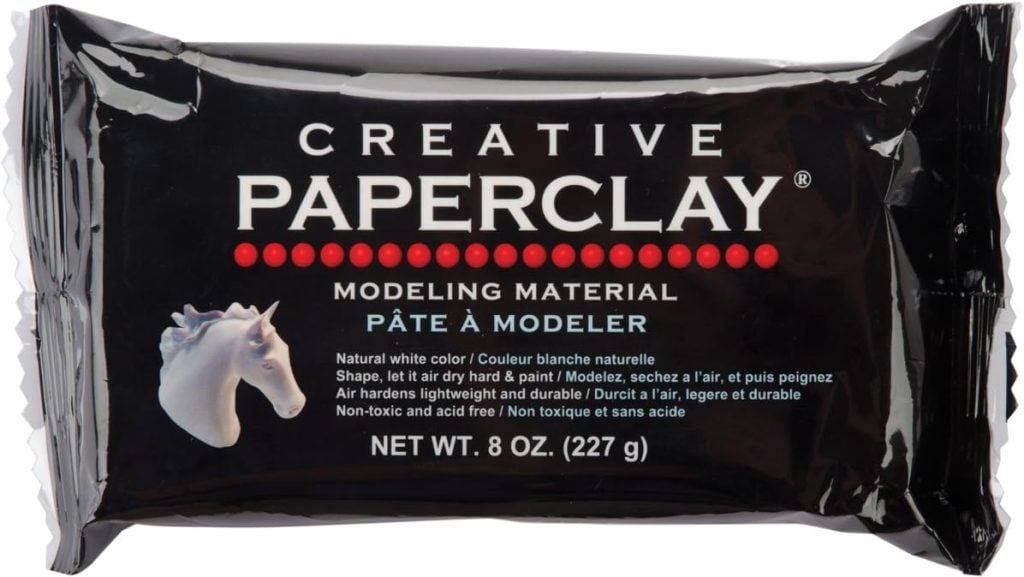
- One 14oz. package of Iron Orchid Clay or Sculpey Model Air White Dry Clay
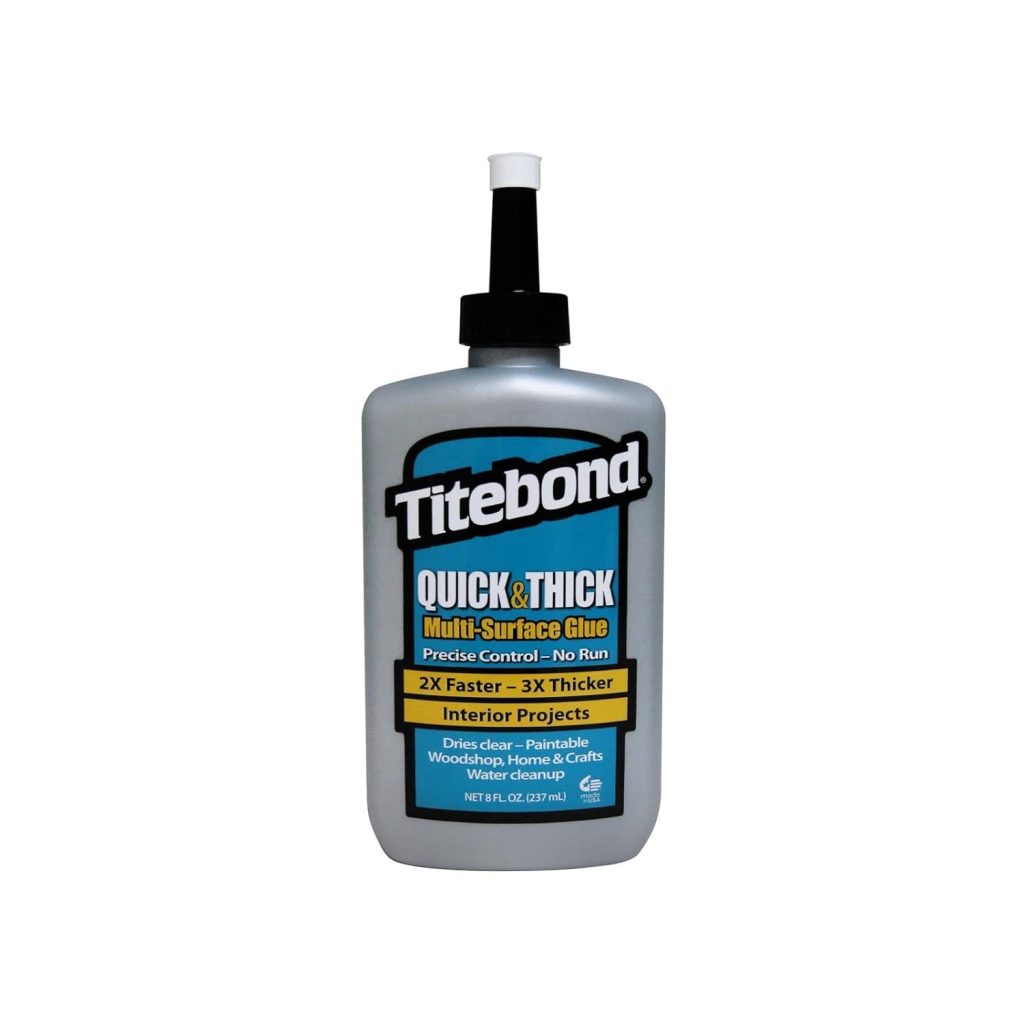
- Titebond Quick and Thick glue
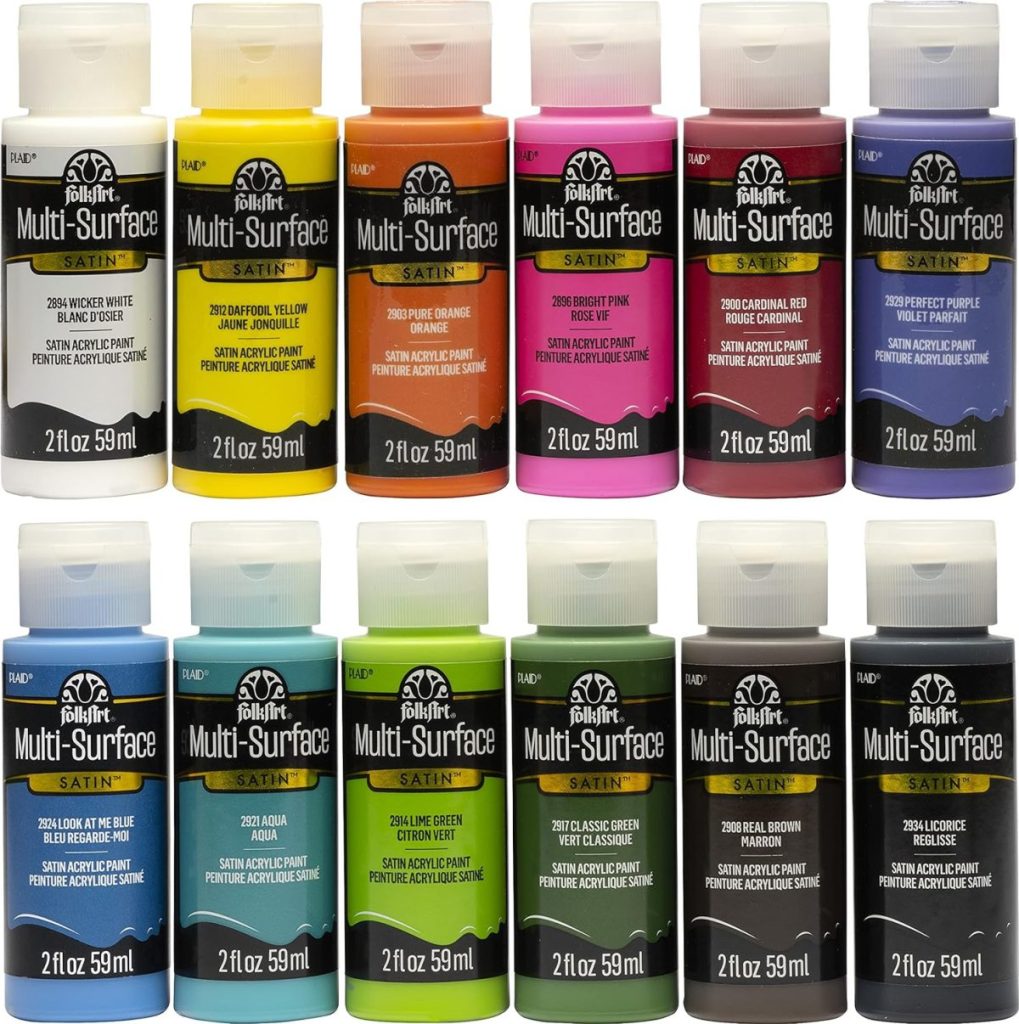
- Acrylic Paint in Yellow, Brown, Light Orange, and Cream
- Paint Brushes
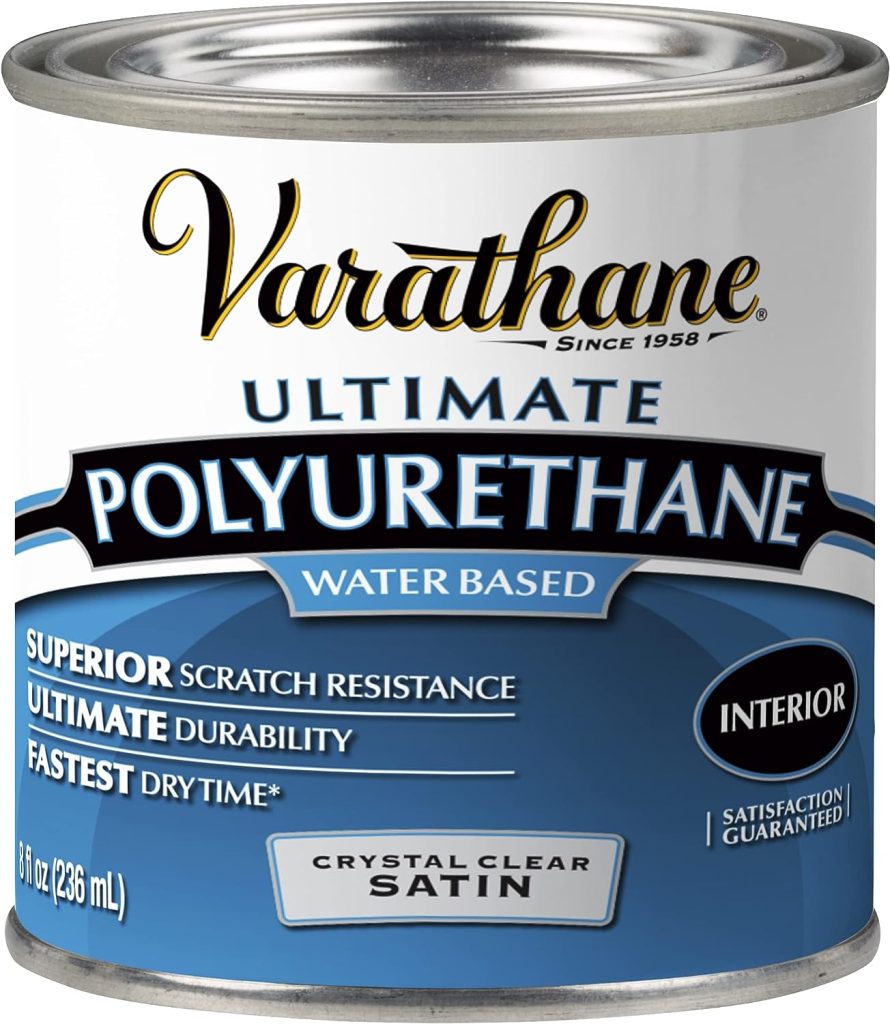
- Water-based satin sealer (I use Varathane Triple Thick Polyurethane)
You can also find swag molds on Amazon.
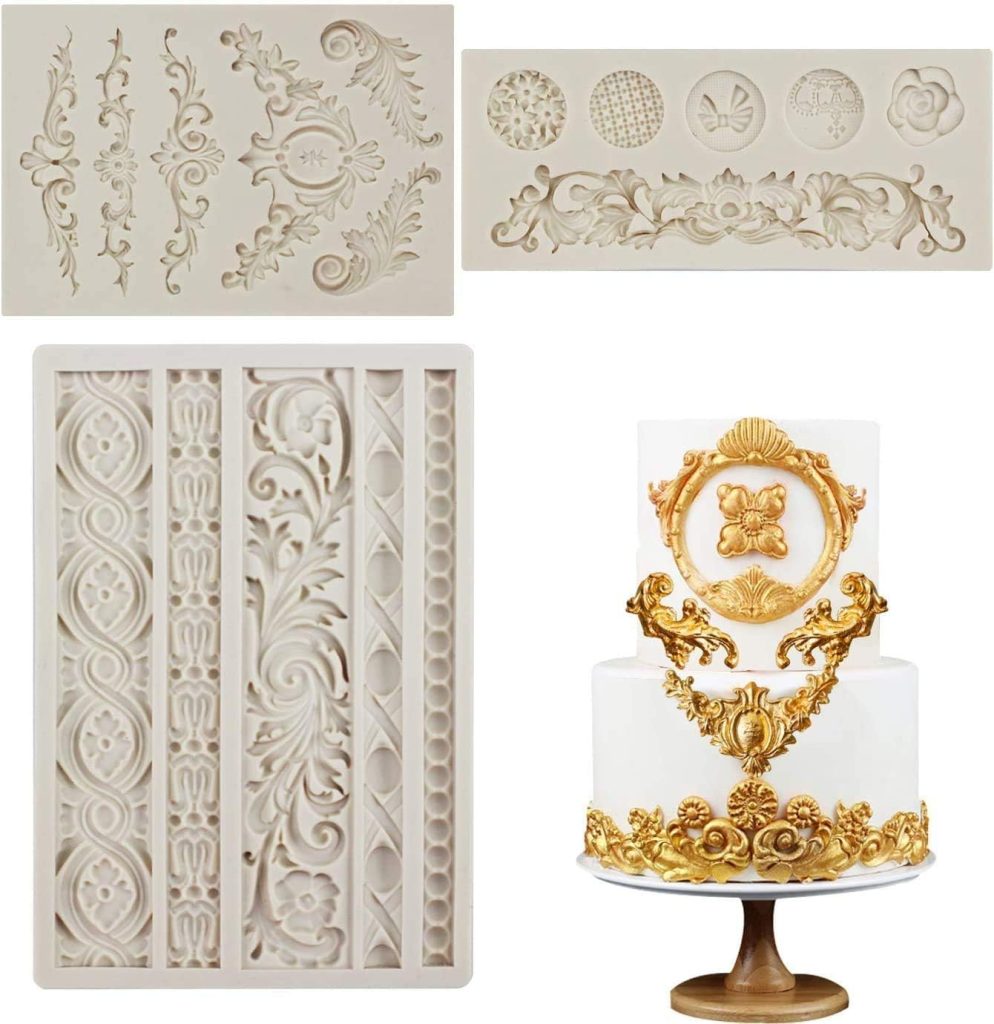

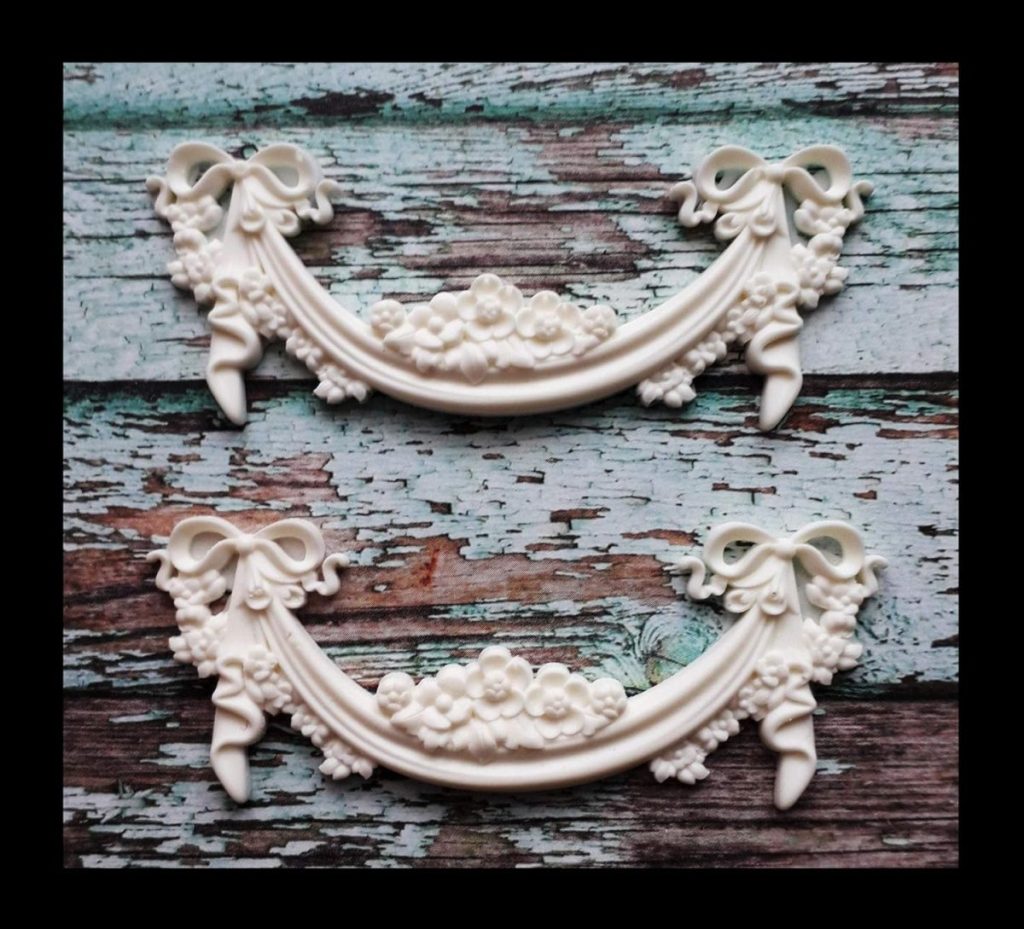
Before you get started, you need to plan out your design. I measured the swag and the circumference of my clay pot and realized I could use three swags and three leaves. Since you will glue the clay when it is wet, you have a lot of flexibility to adjust the “curve” of the swag depending on the size of your pot. You could also use more than one leaf, in between the swags, if needed.
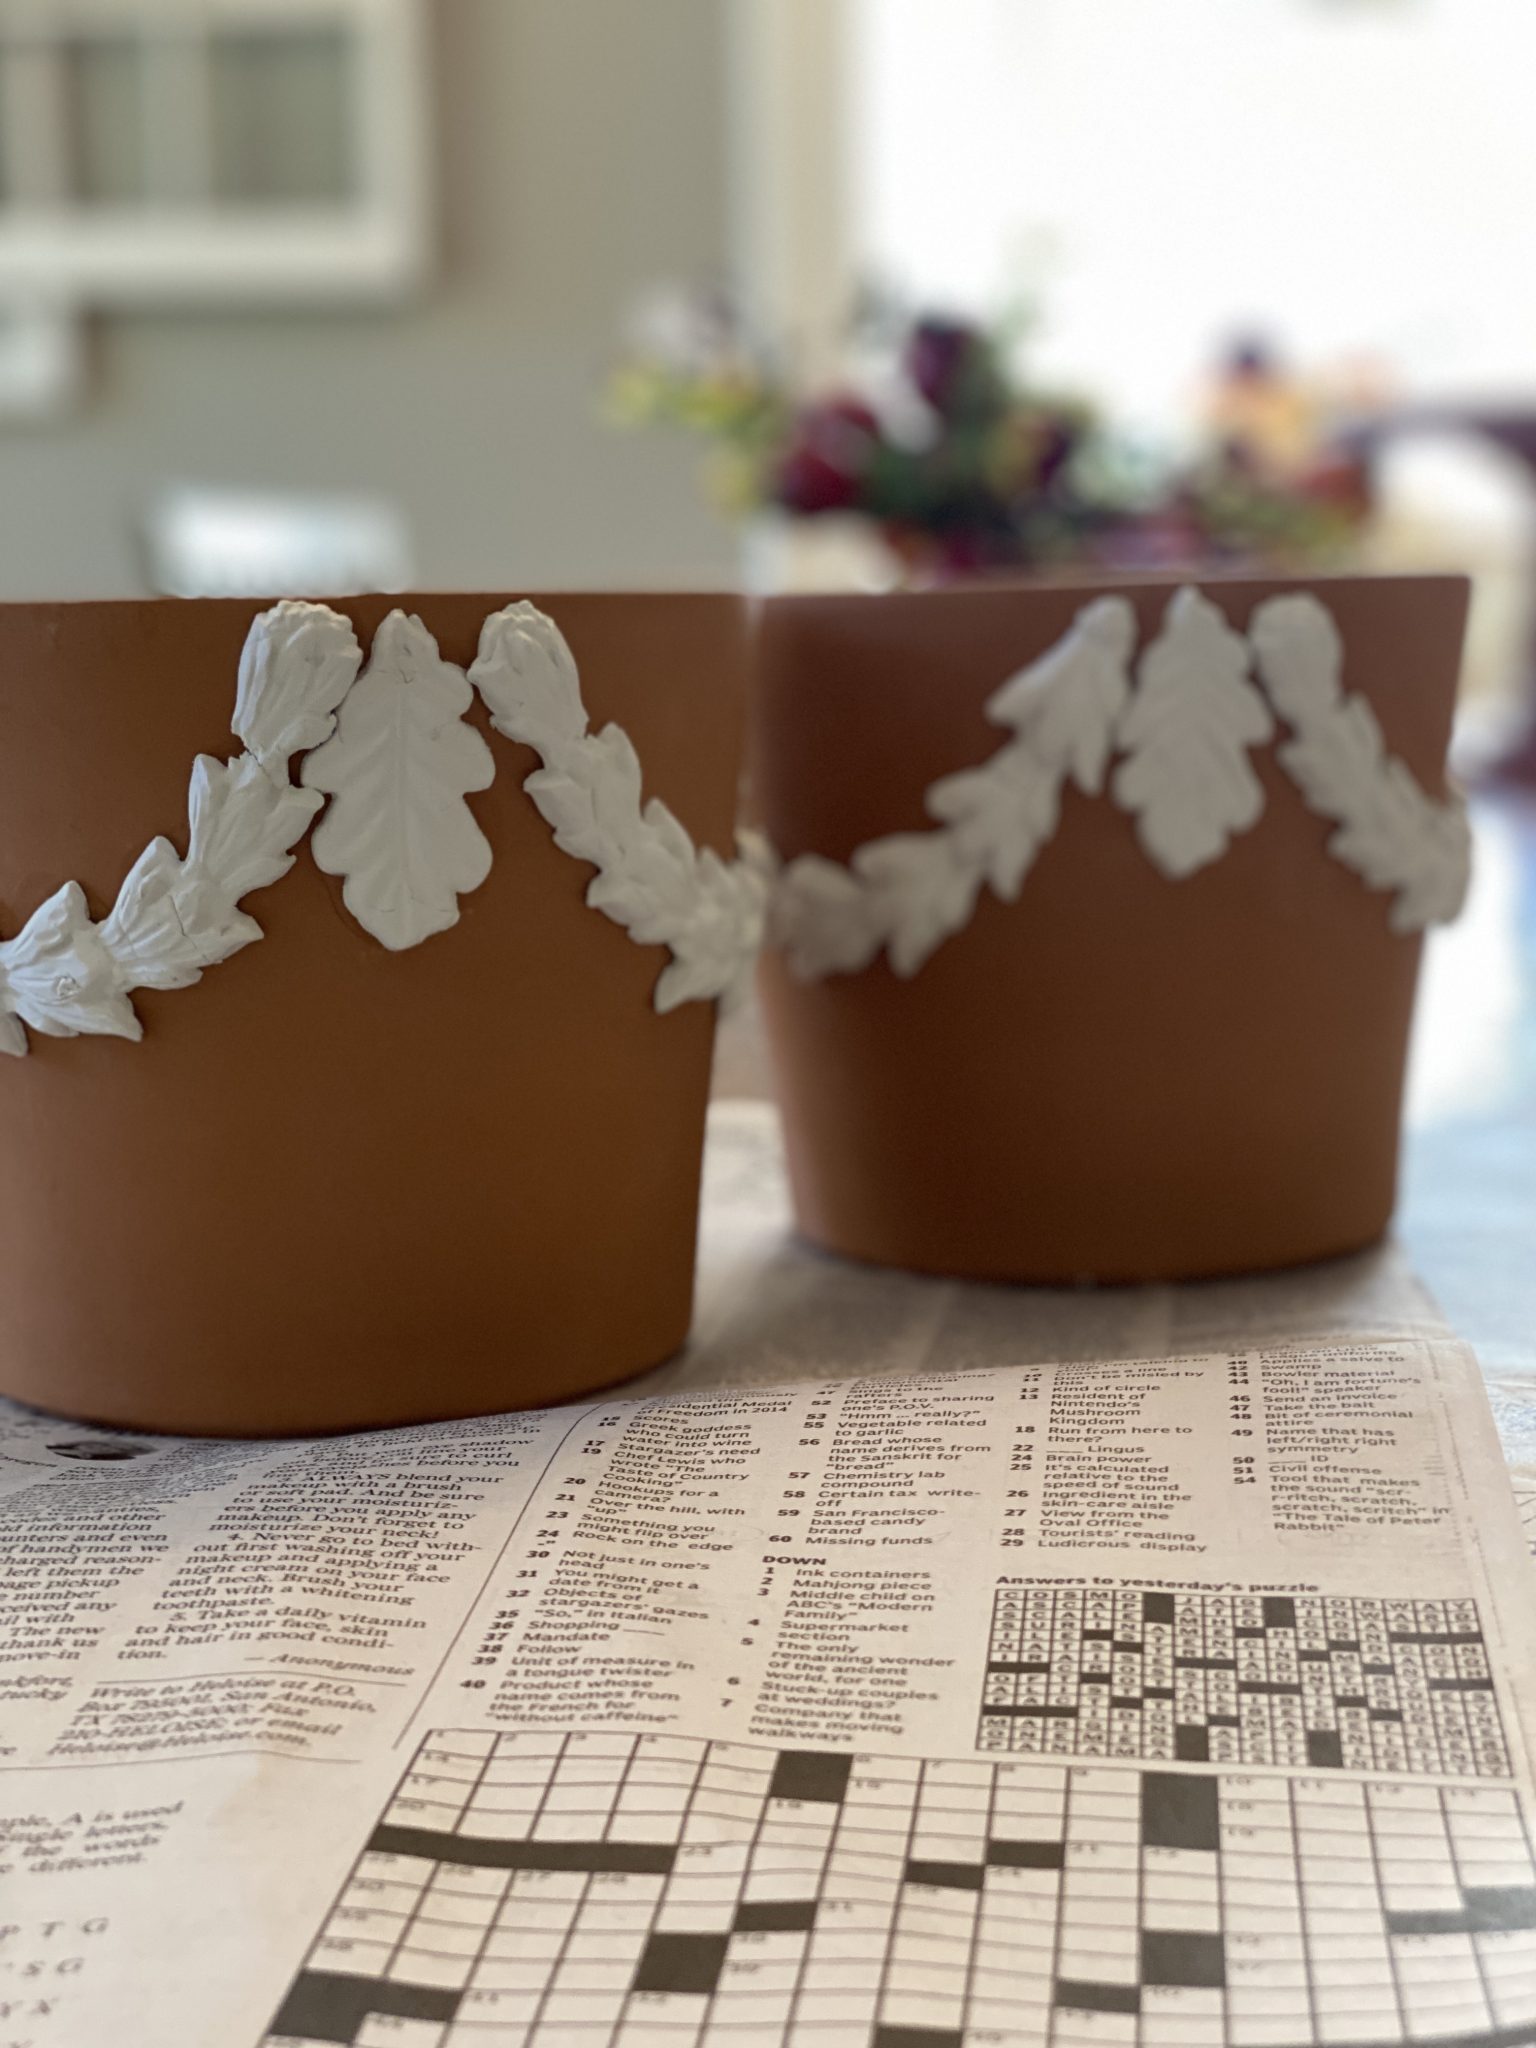
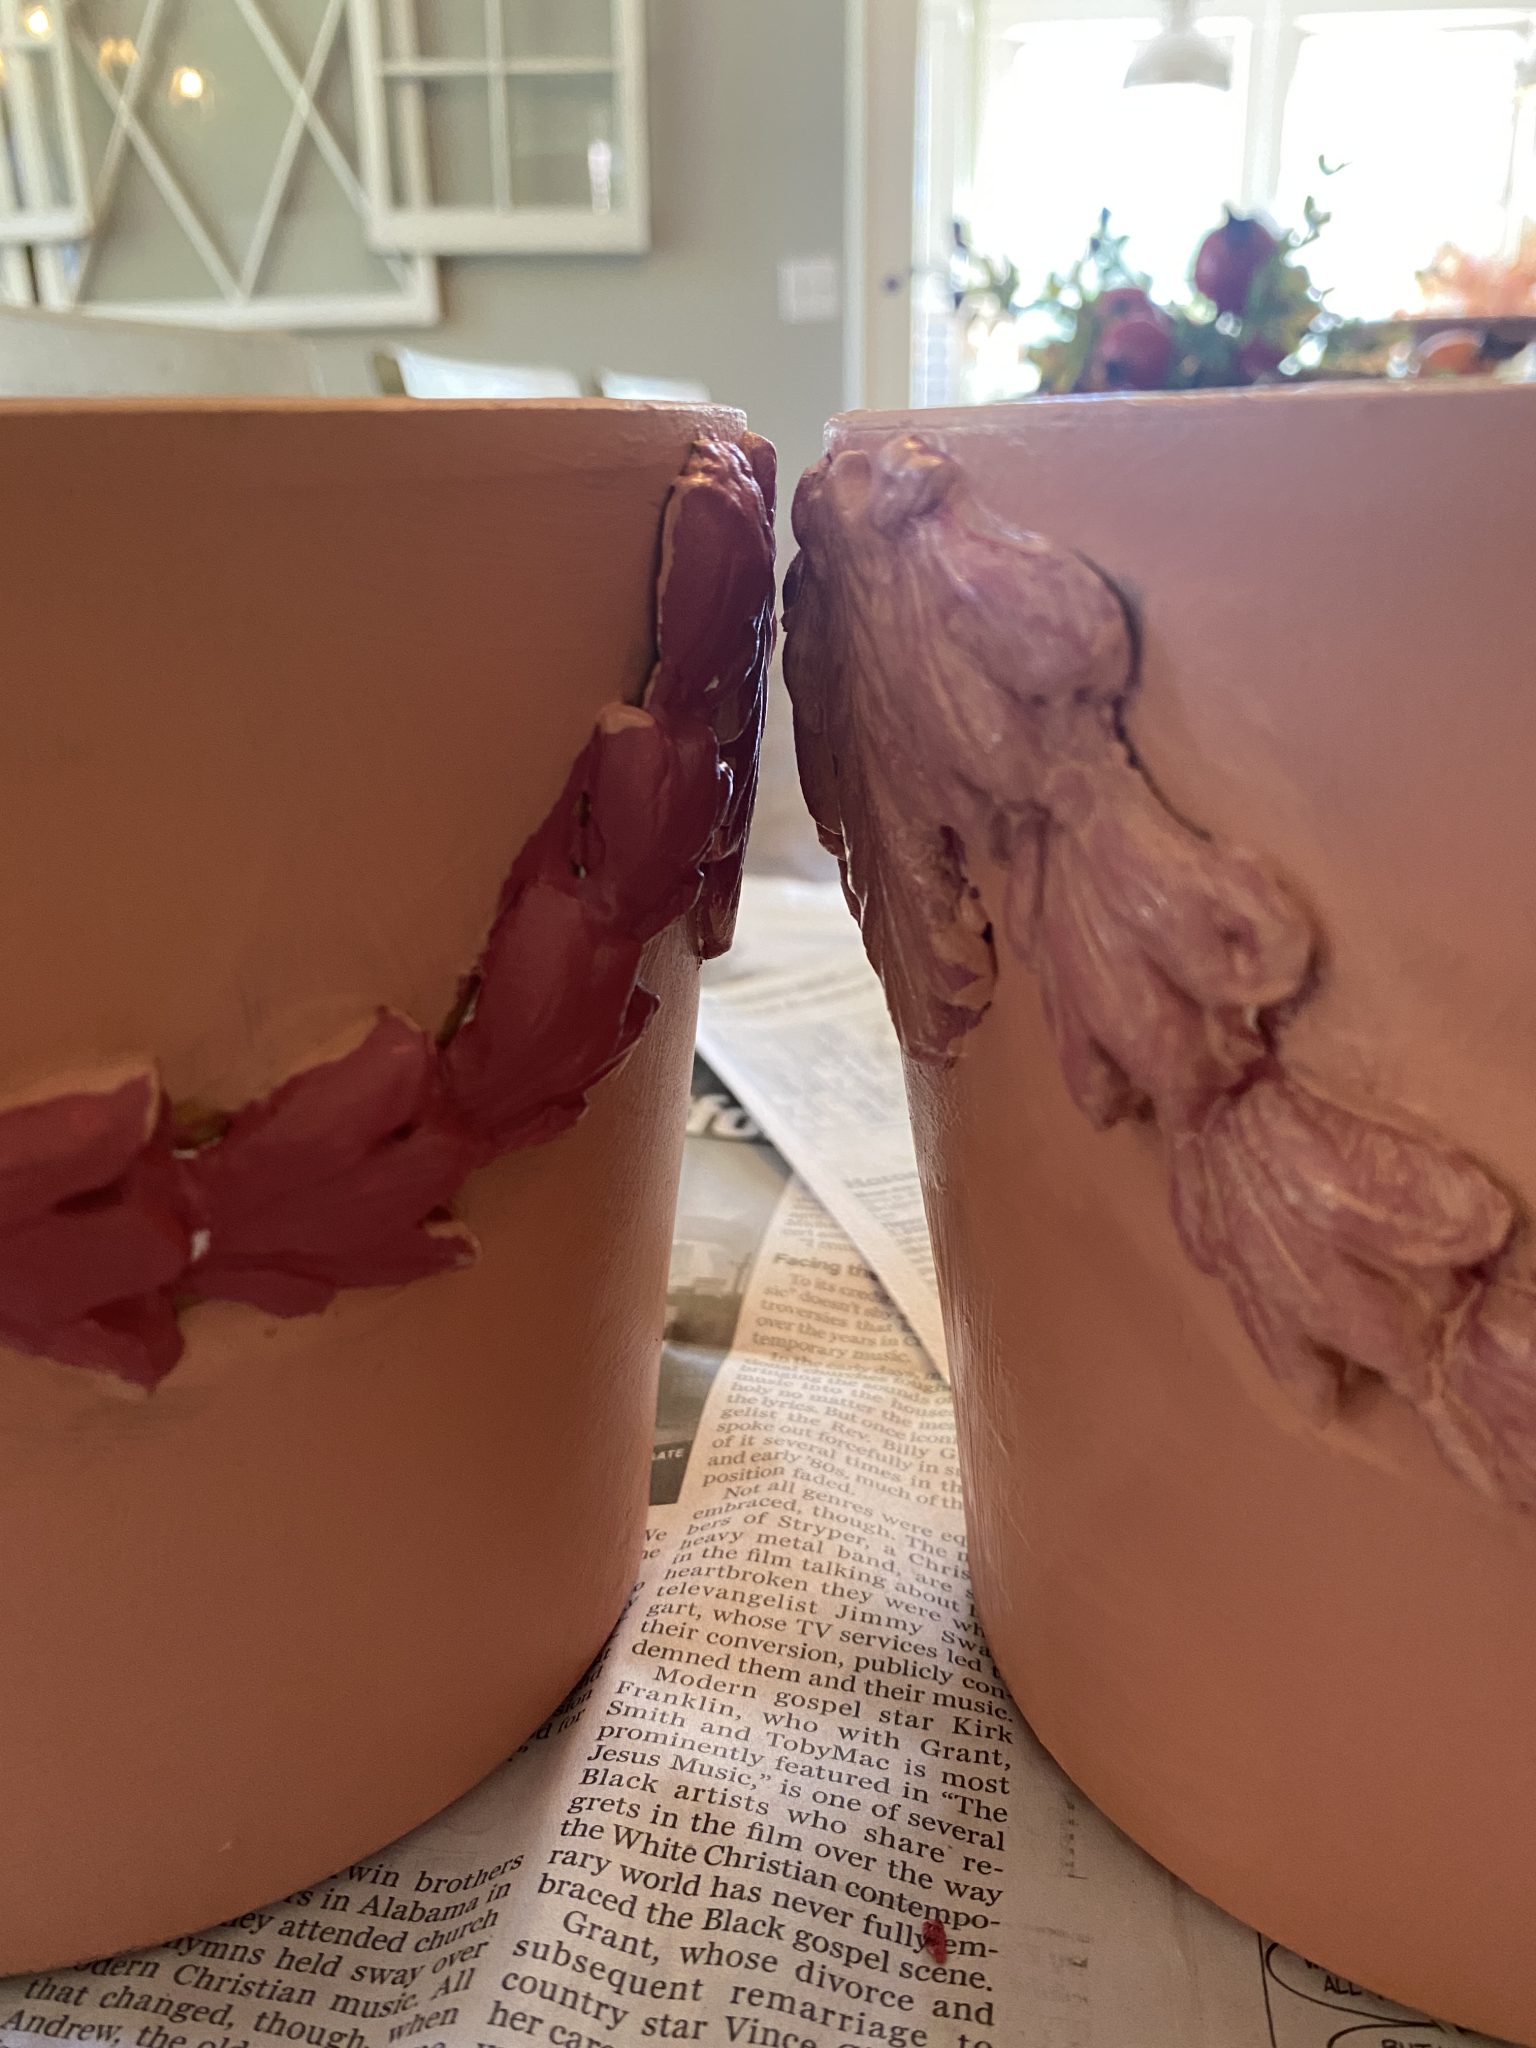
I measured the pot into three sections across the top and drew a pencil mark. I glued on the leaves first (one at each mark) and then added the swag. It was so easy to do!
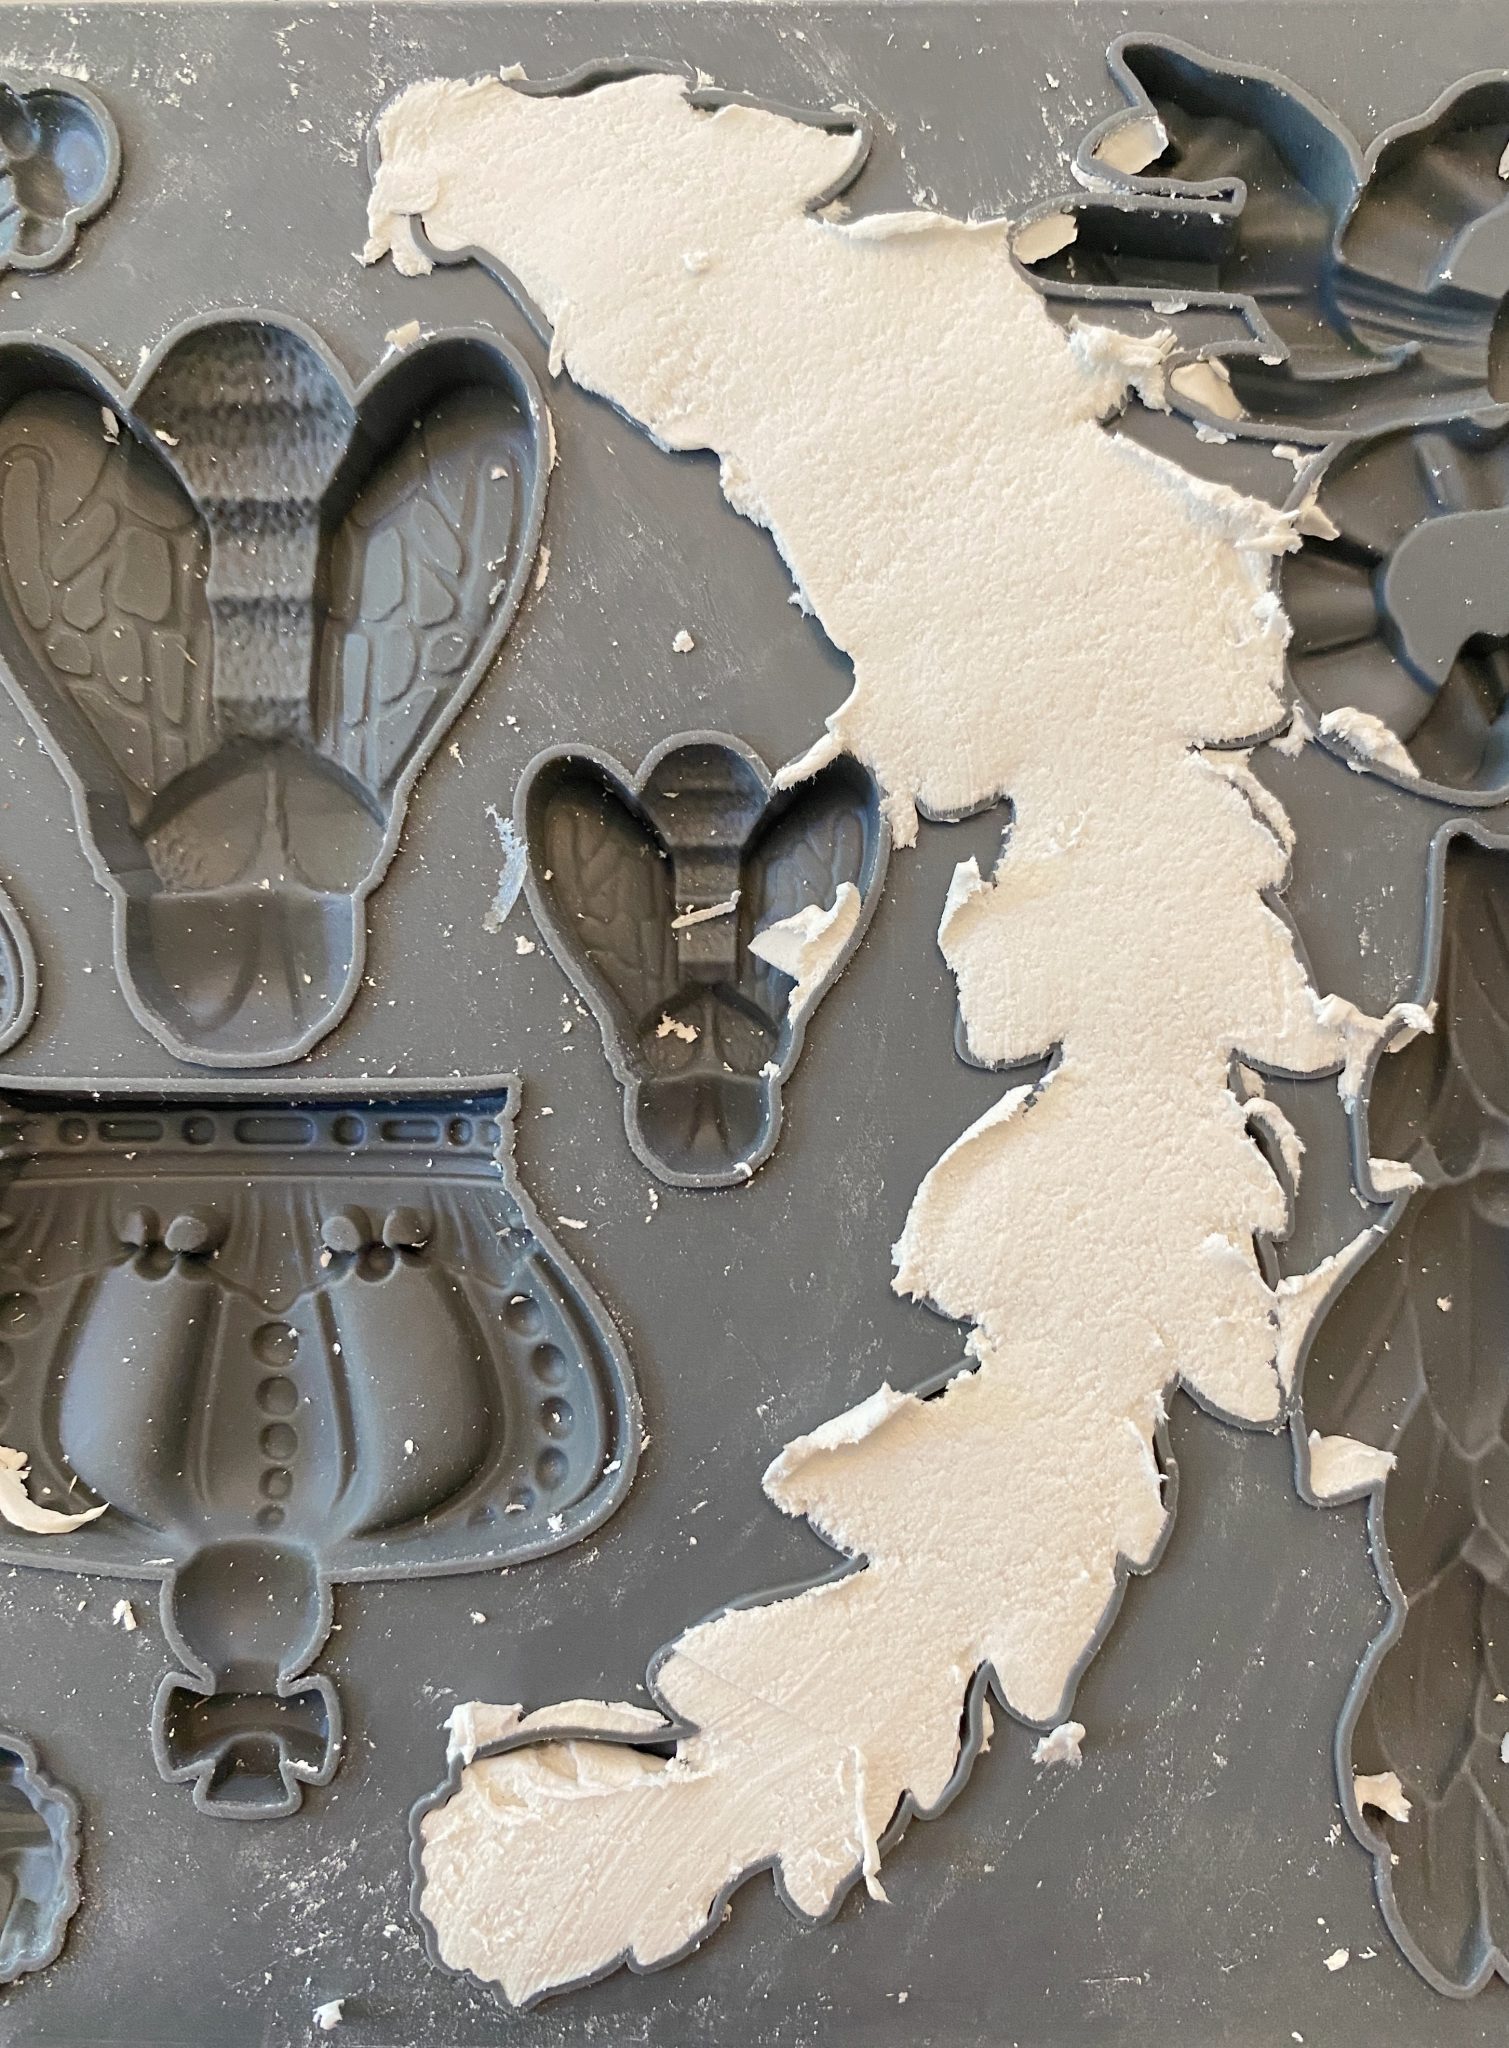
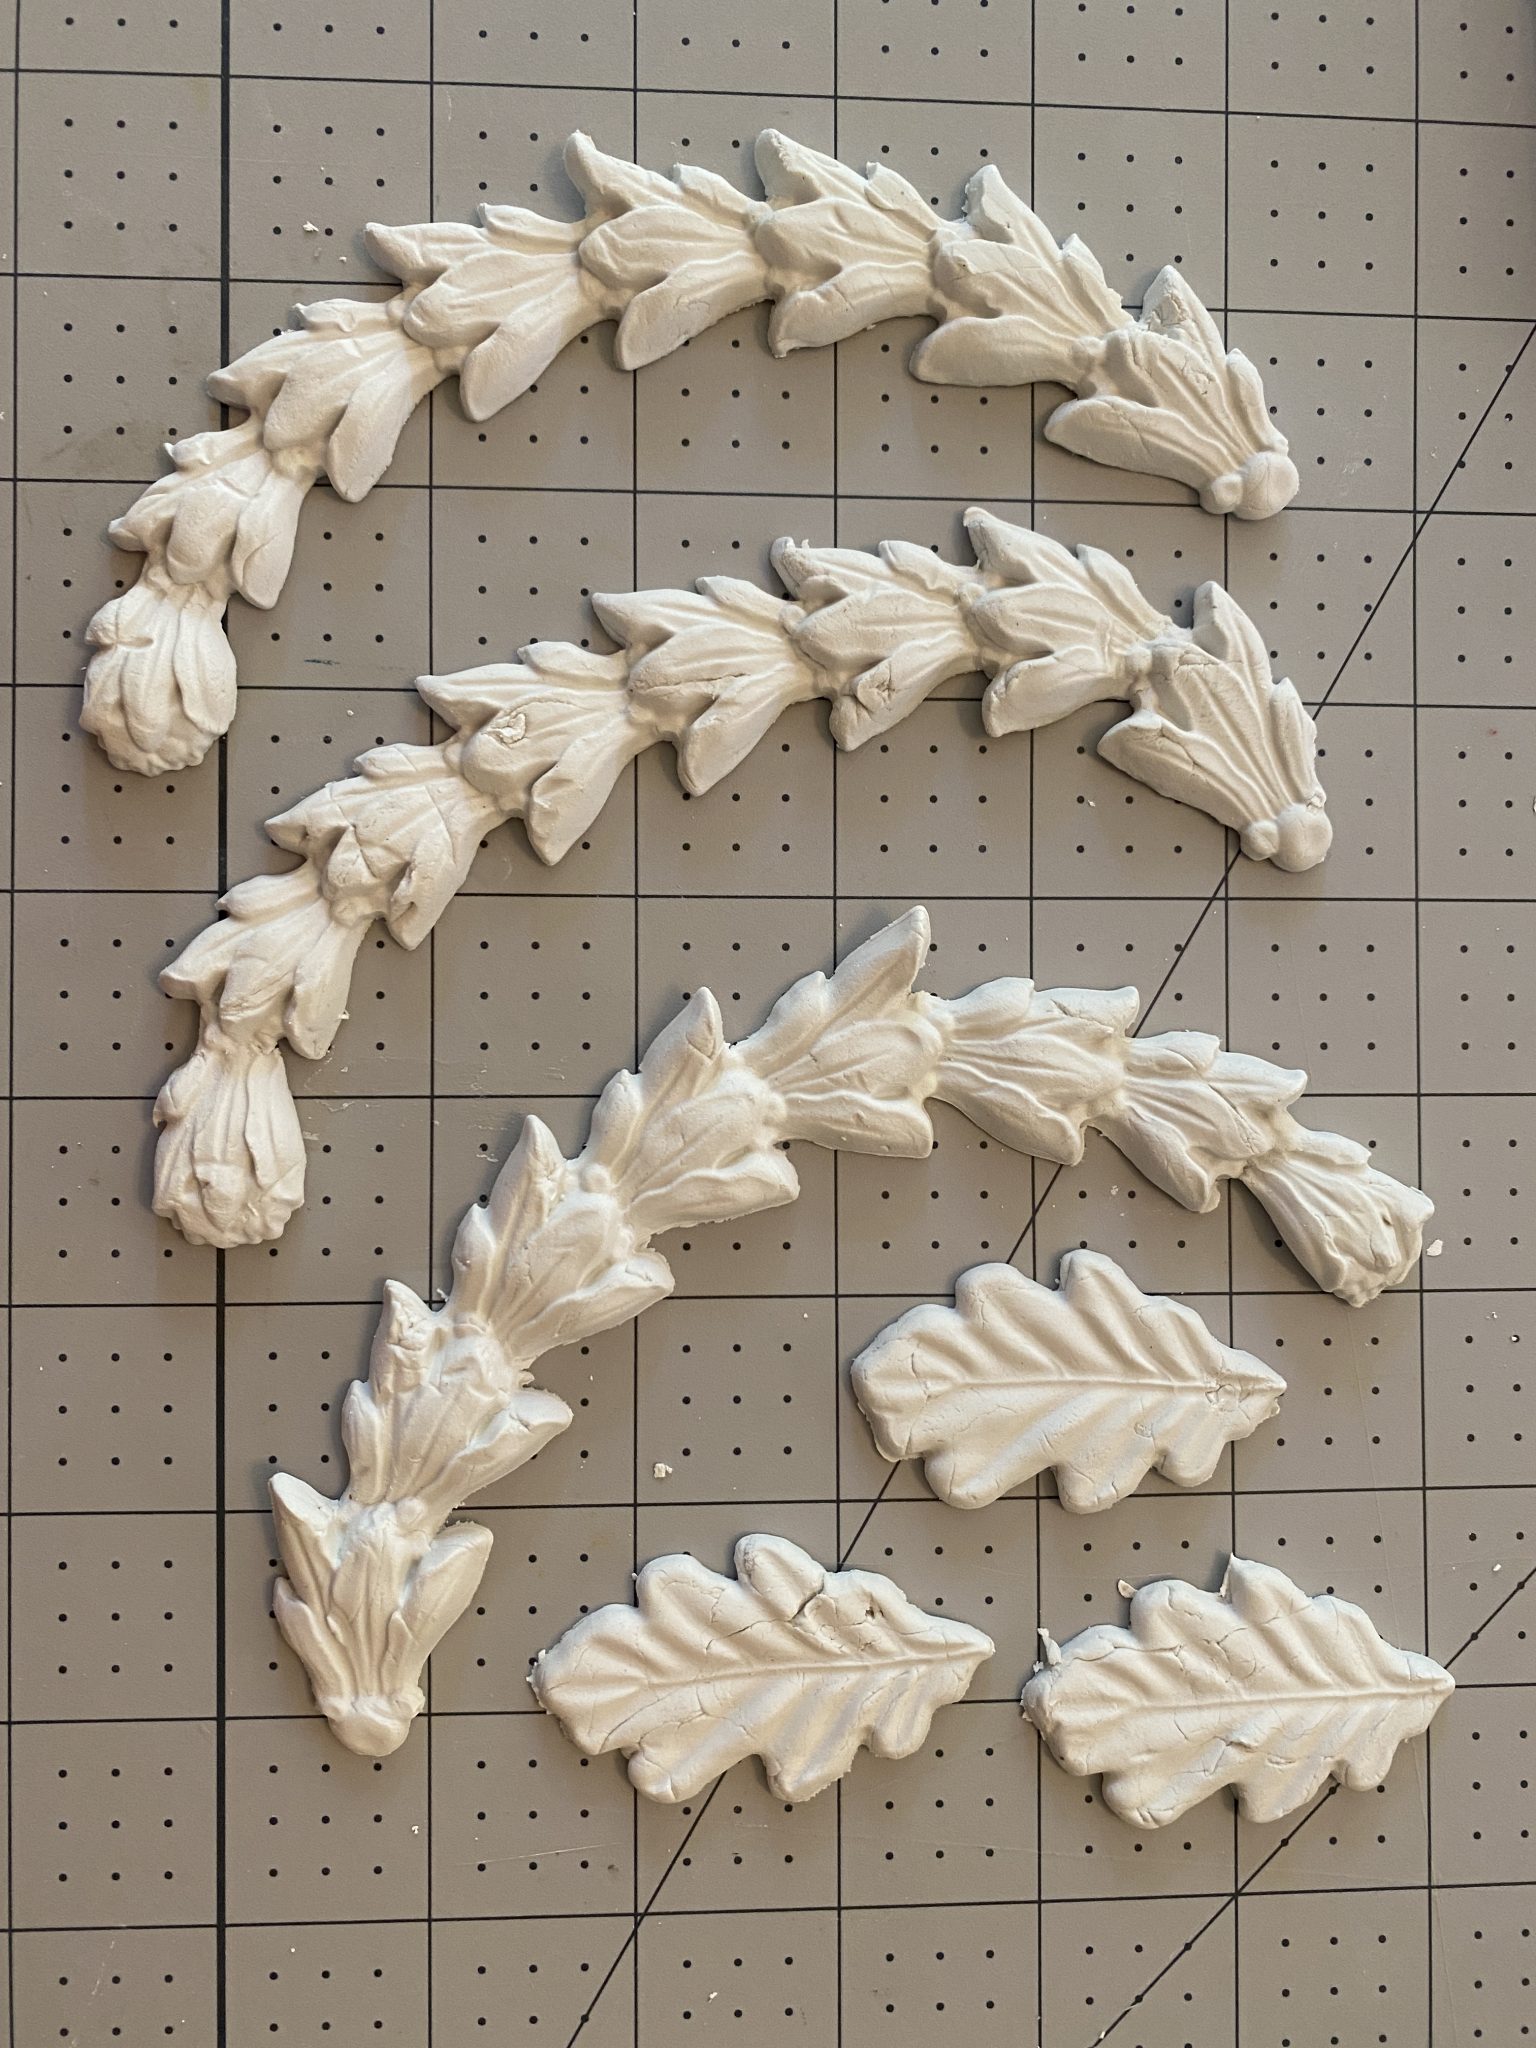
- one – Roll some of the clay in your hand to soften it. Place a generous amount into the mould. Flatten the clay into the mould. Using a scraper, flatten and scrape the clay until it is flat (as seen in the mould at the top).
- two – Lay the moulds flat, but don’t let them dry. You will glue them on while they are still wet.
- three – Apply the Thick and Quick glue to the back of the clay leaf piece and attach to the pot. (I measured the pot into thirds and made a small pencil mark at the top for my guide.) Hold the leaf in place for about a minute until it won’t slide off. Next, glue on the swags. Let dry overnight.
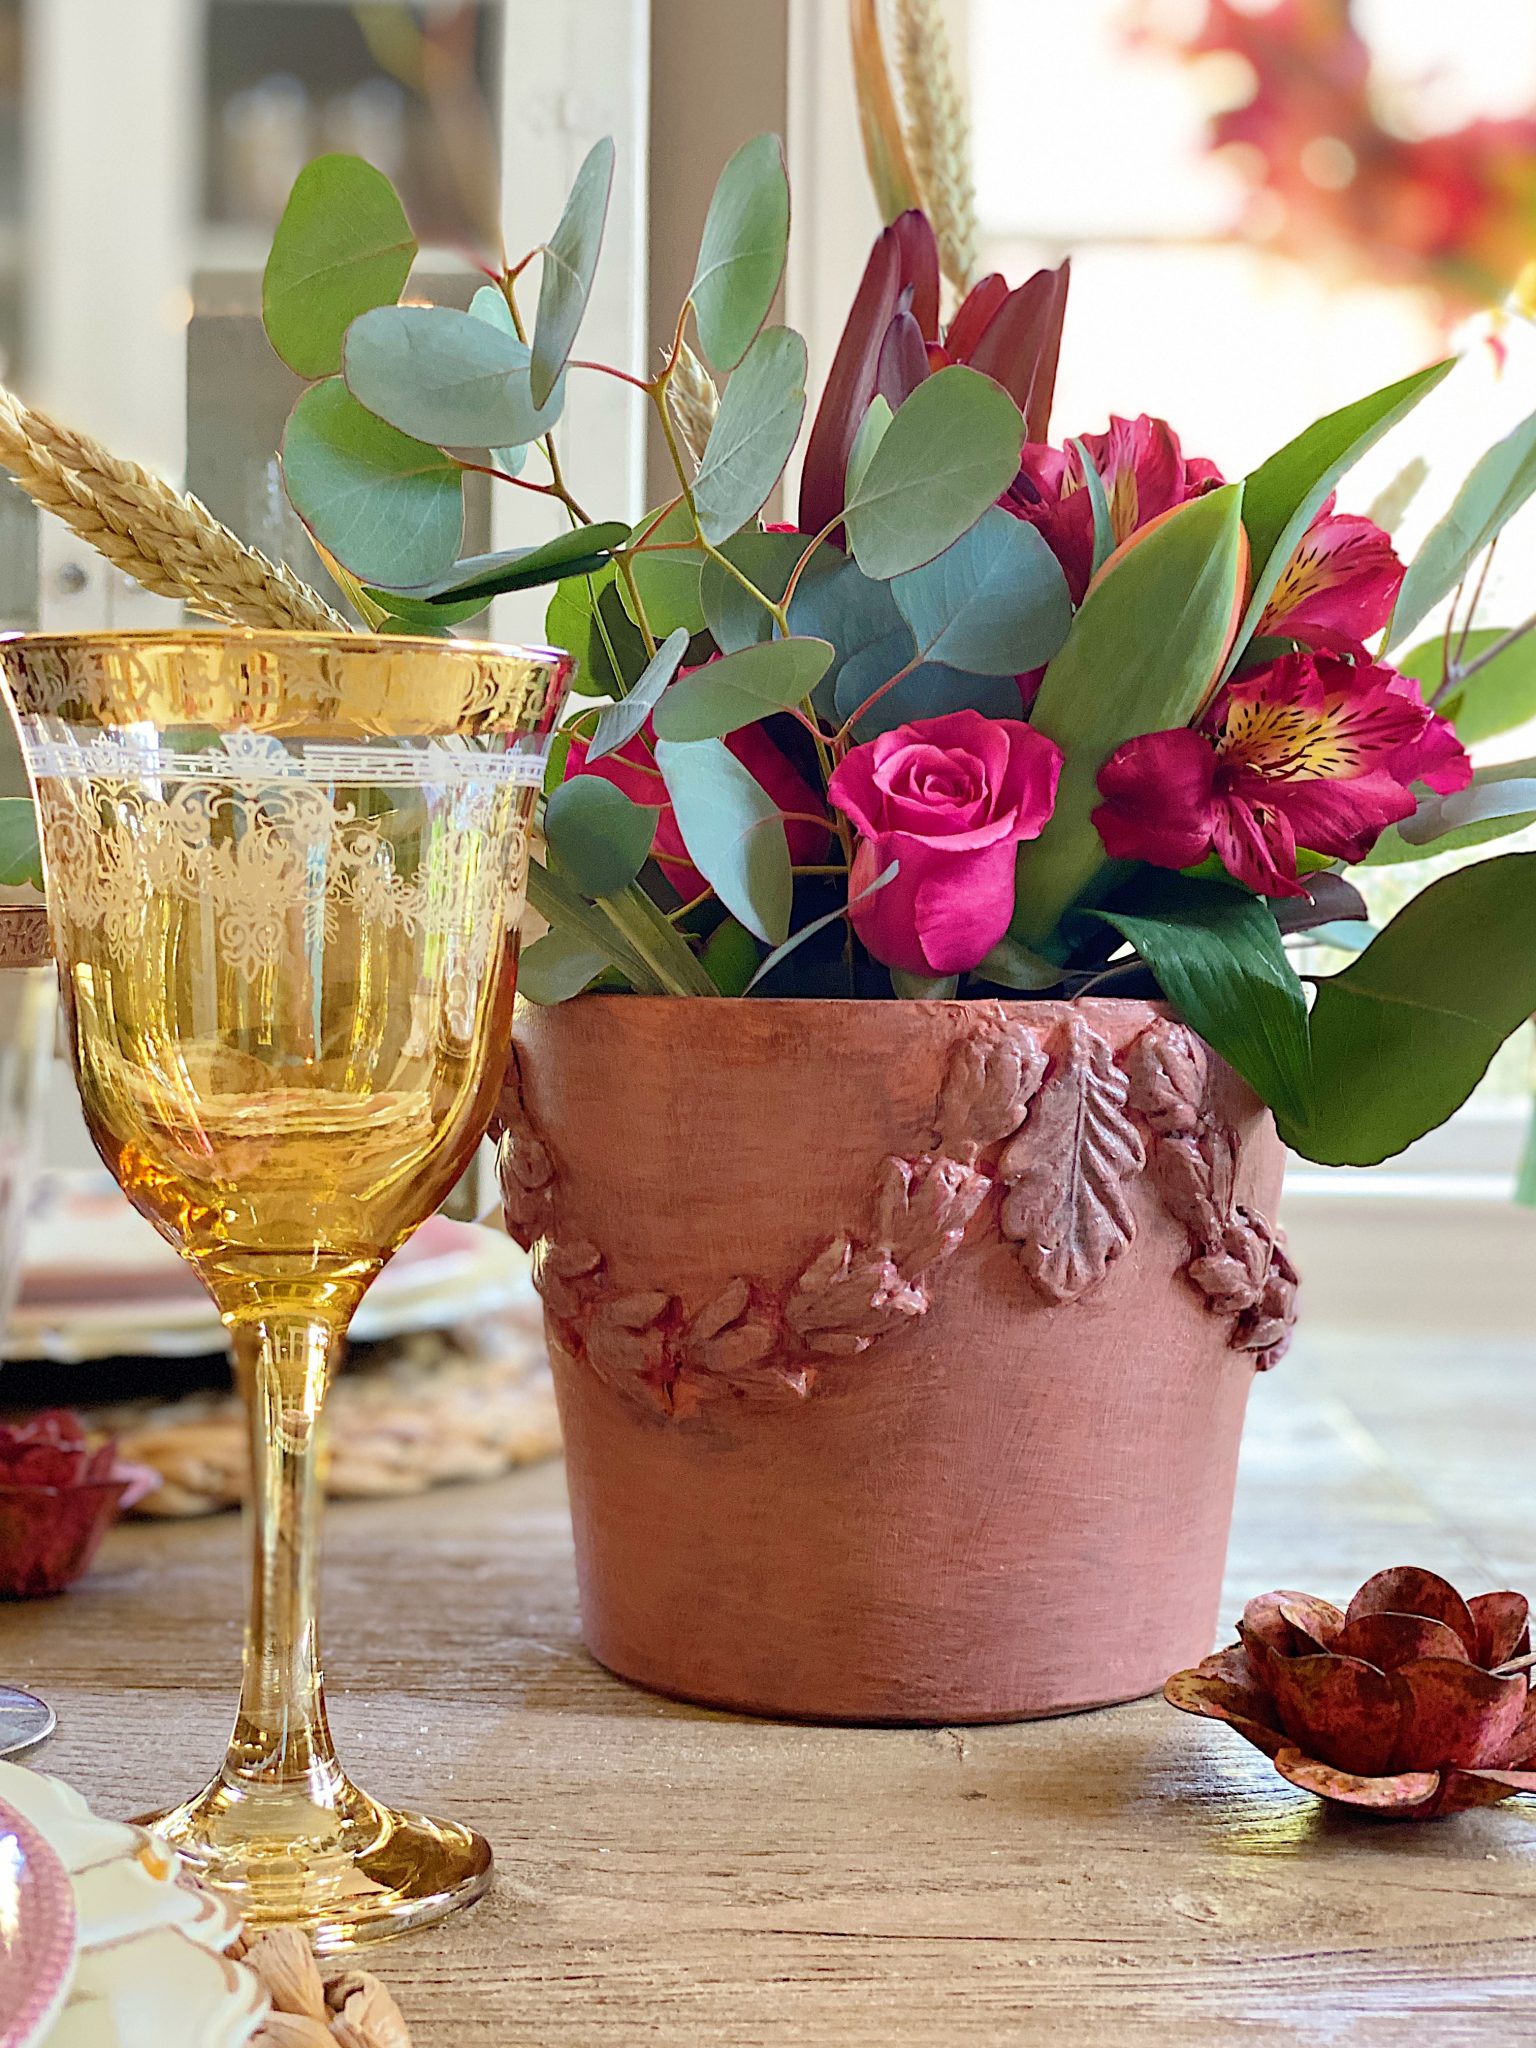
Mix your paints for your pot. It is hard for me to share my paint colors because I mix them. And I keep mixing them as I go along. I used burgundy red, orange, brown, and cream, and came up with these two colors. I used these colors, named Peach and Burgundy, for the cake stand I made and saved them in mason jars.
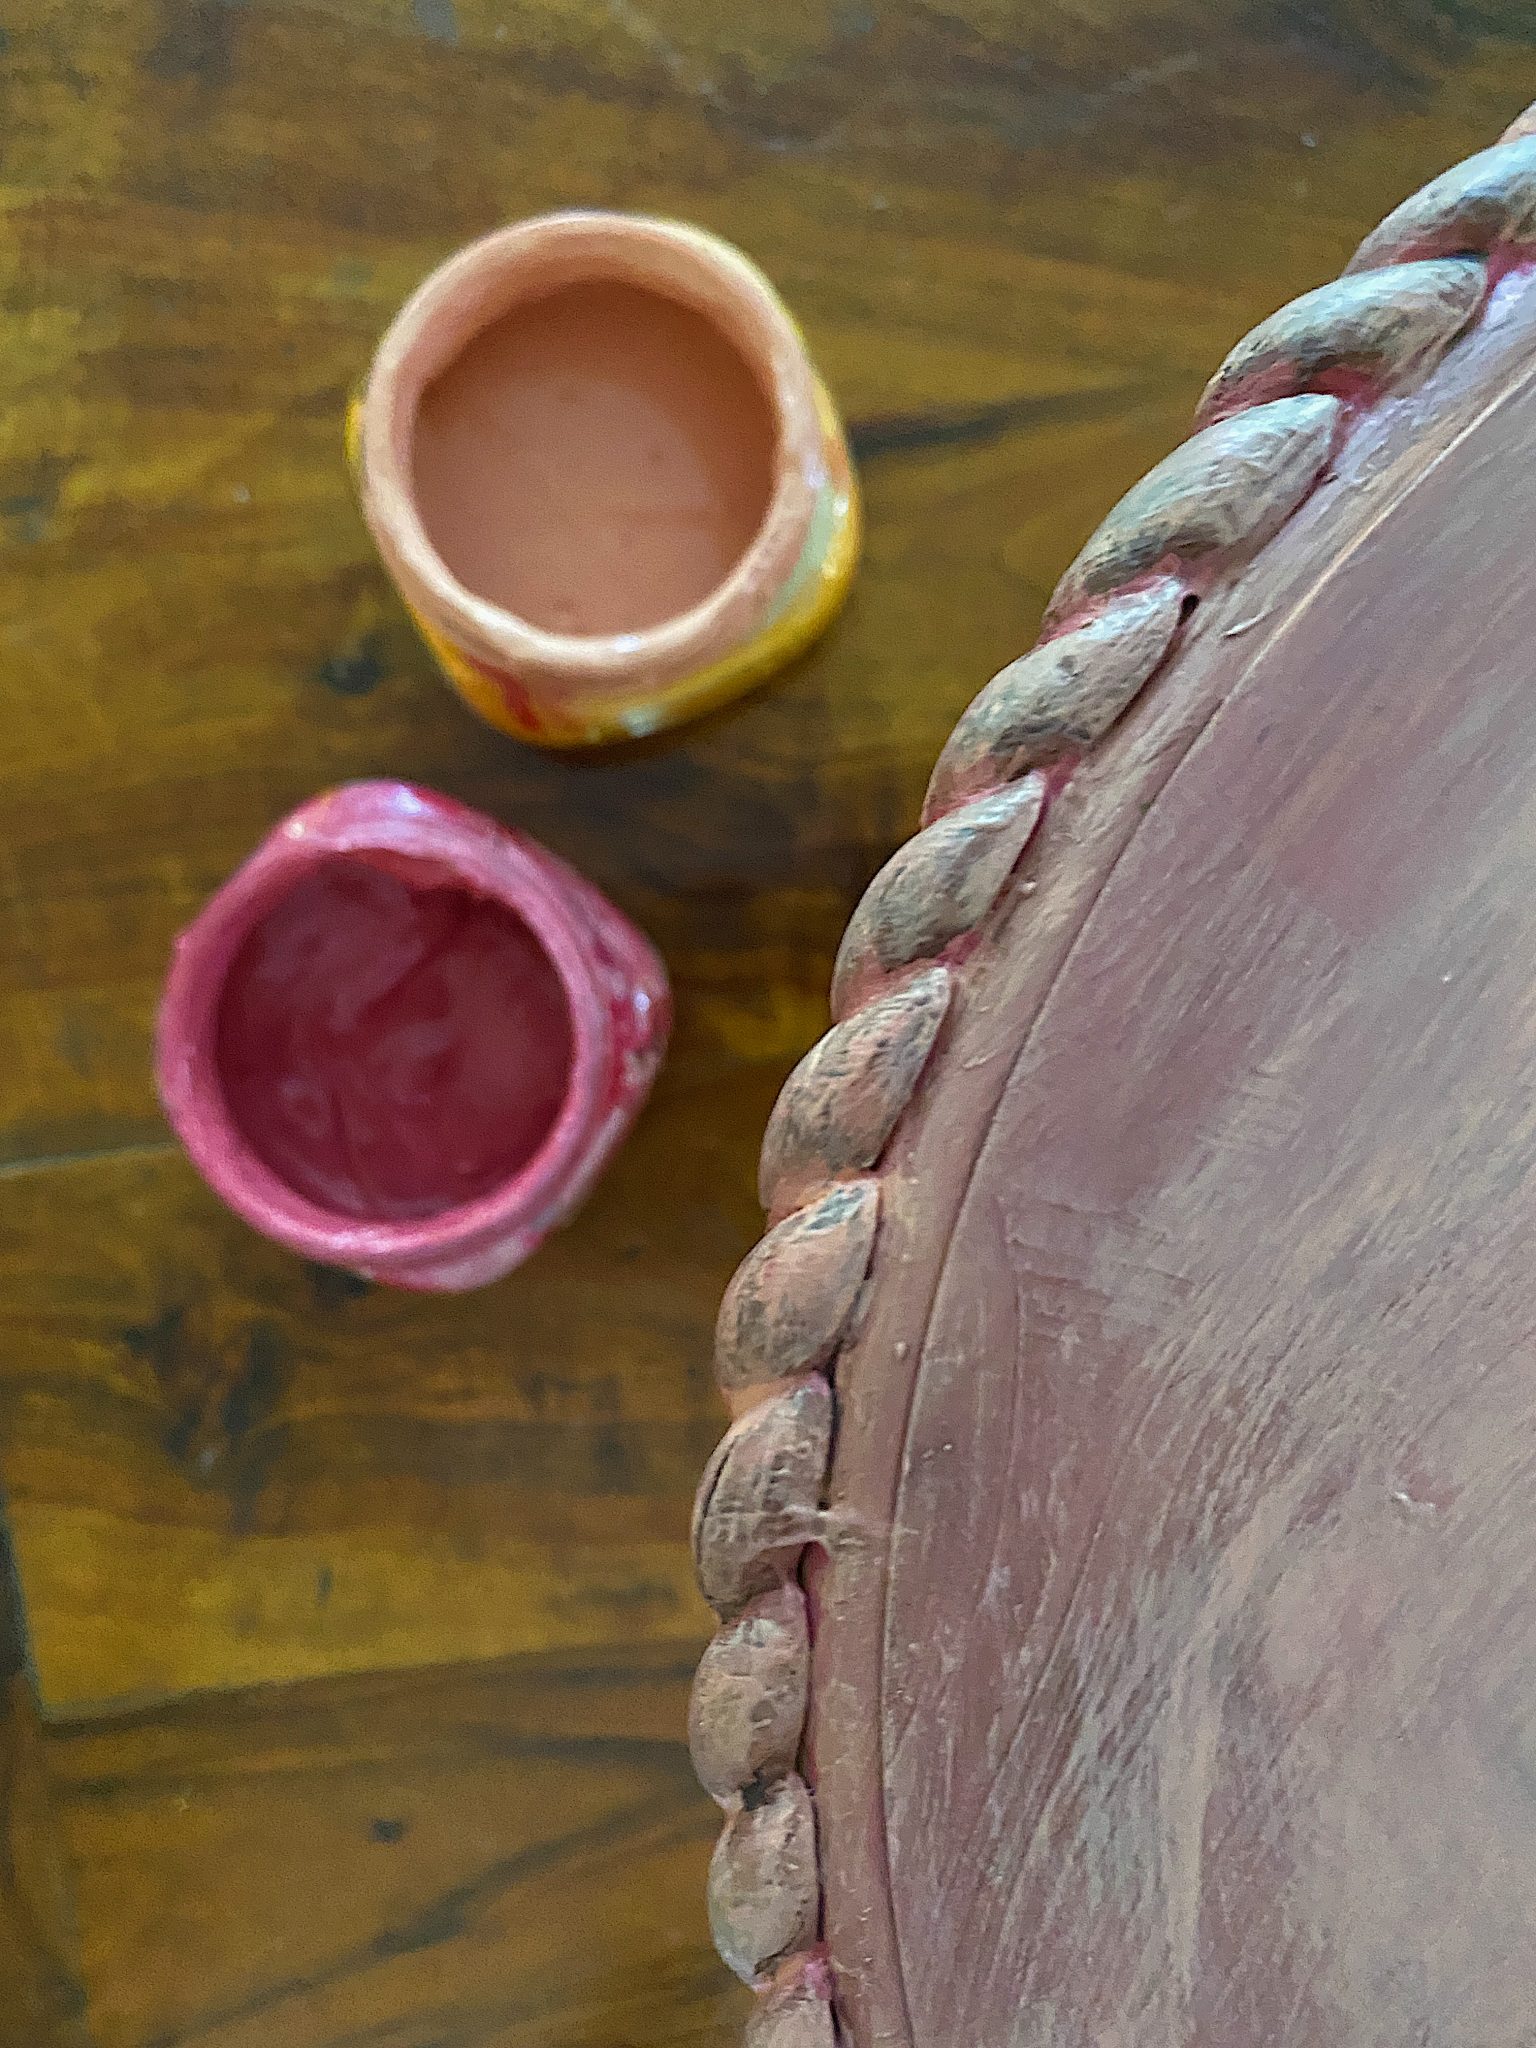
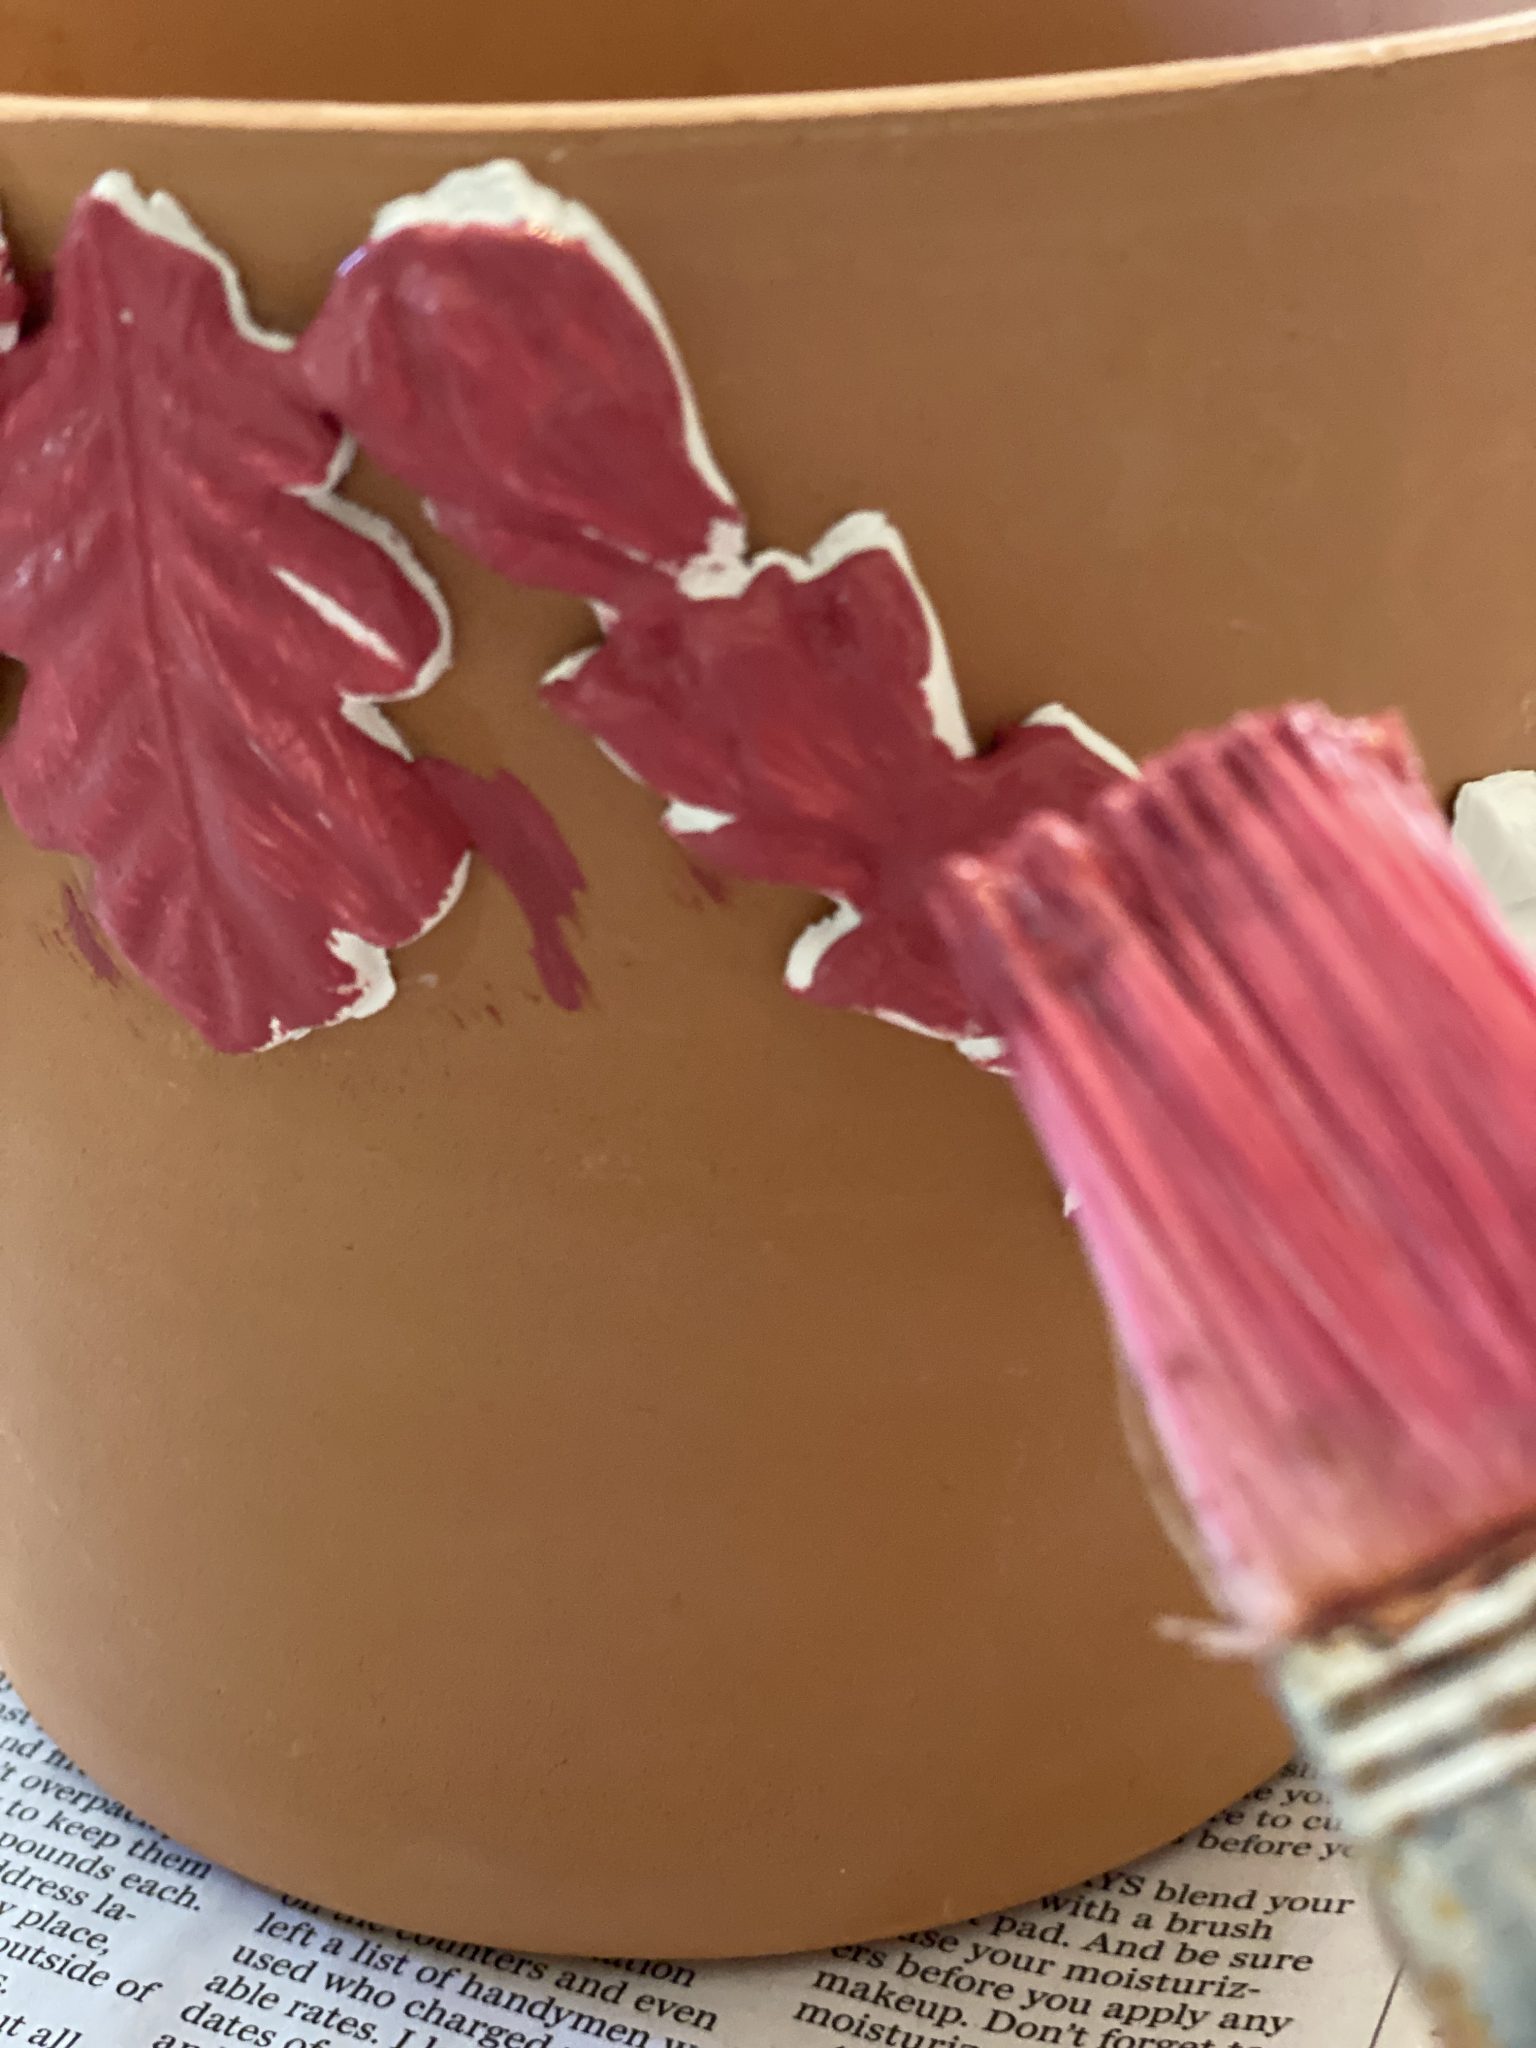
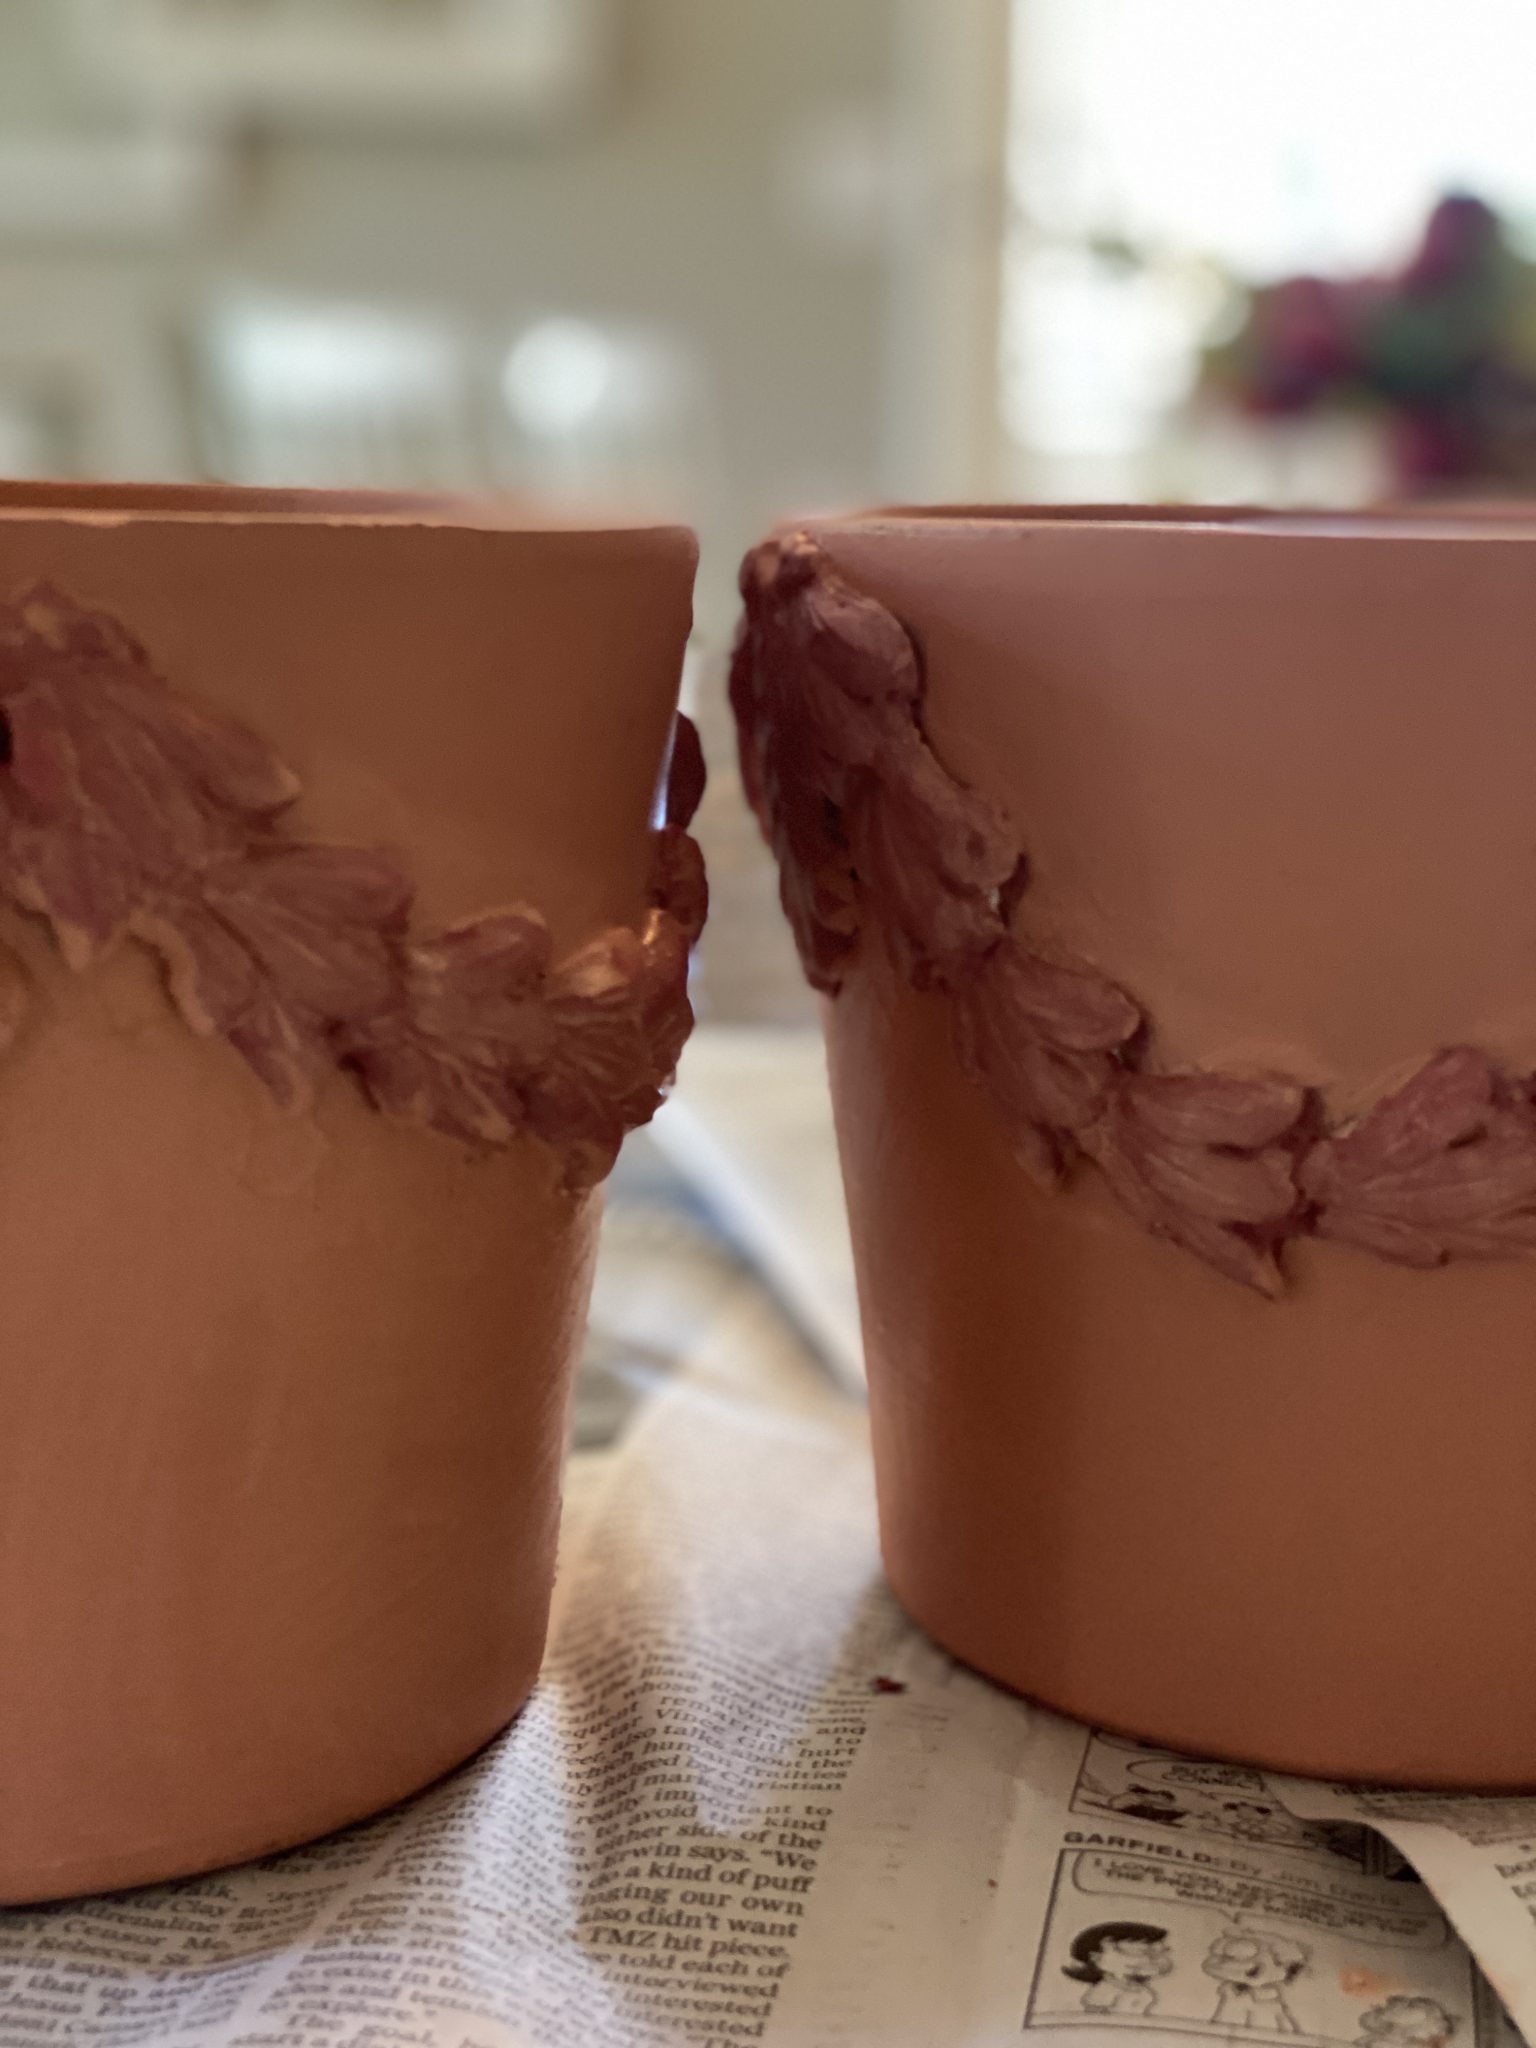
- four – I wanted to highlight the clay moulds, so I painted the clay with burgundy paint first. Let it dry.
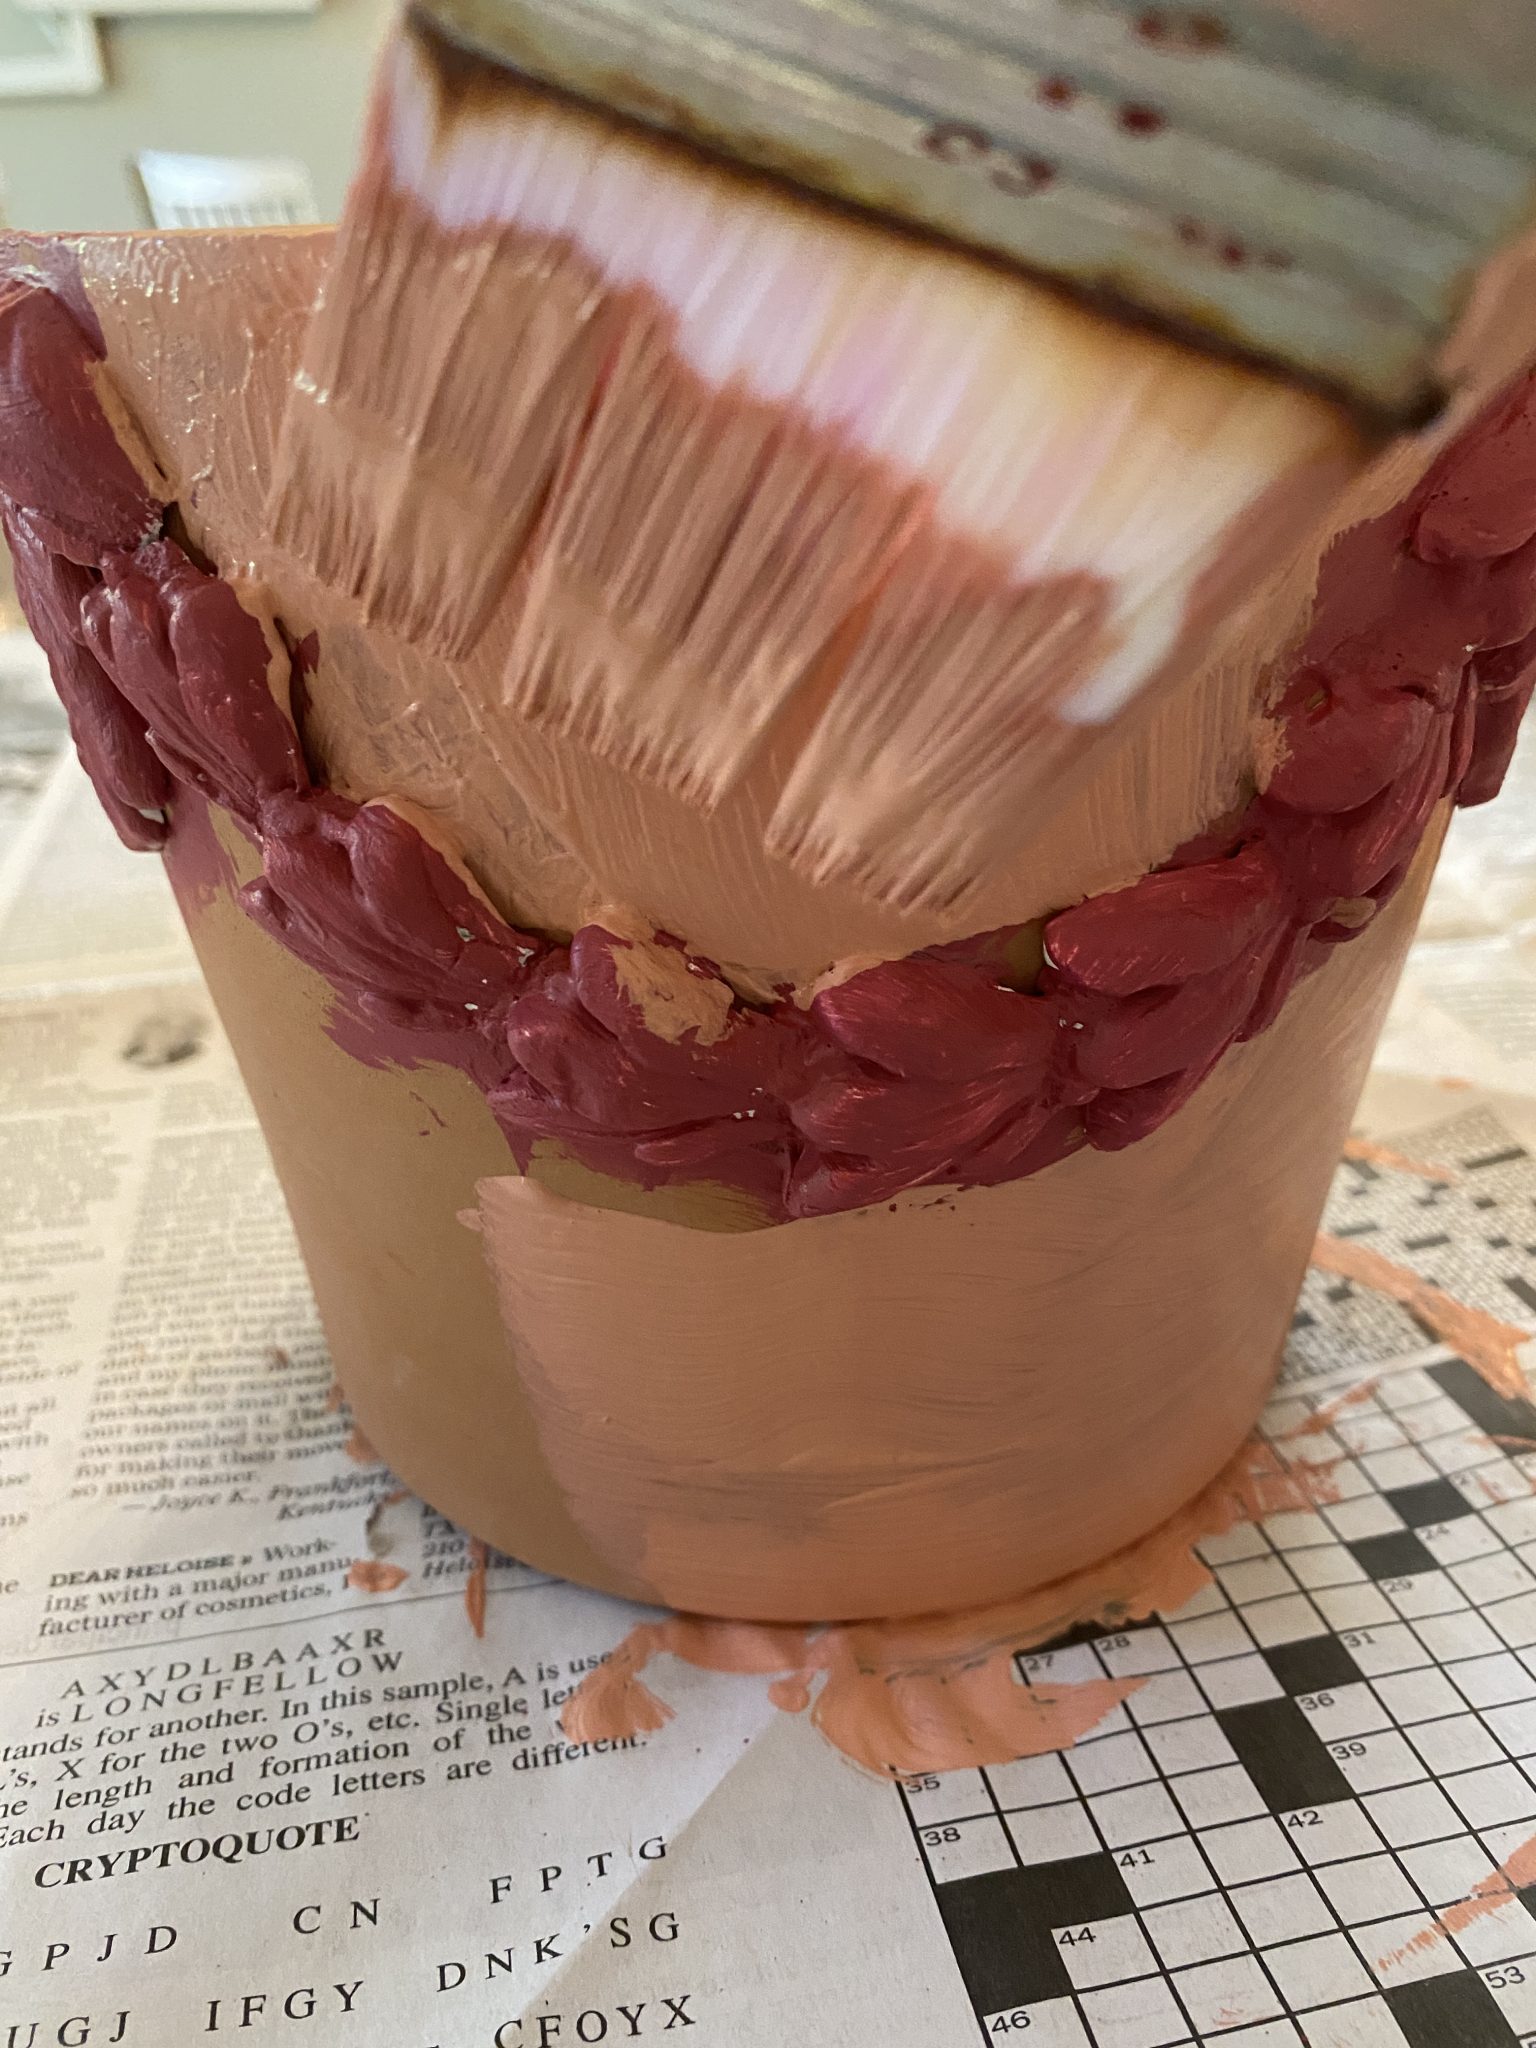
- five – I painted the rest of the pot the lighter peach color. Don’t worry about painting it too perfectly.
- six – Let the paint dry. I placed the pots outside in the sun, and they were dry in about ten minutes.
- seven – Next, I put some peach paint in a cup and thinned it with water. (I call this a “wash”.) You want the wash to be a thin consistency so the under color shows through, but not so thin that it runs all over the place and won’t stay on the pot. A few drips are okay, so use your brush to clean them up.
- eight – Paint over the burgundy paint with the wash.
- nine – Let the pots dry.
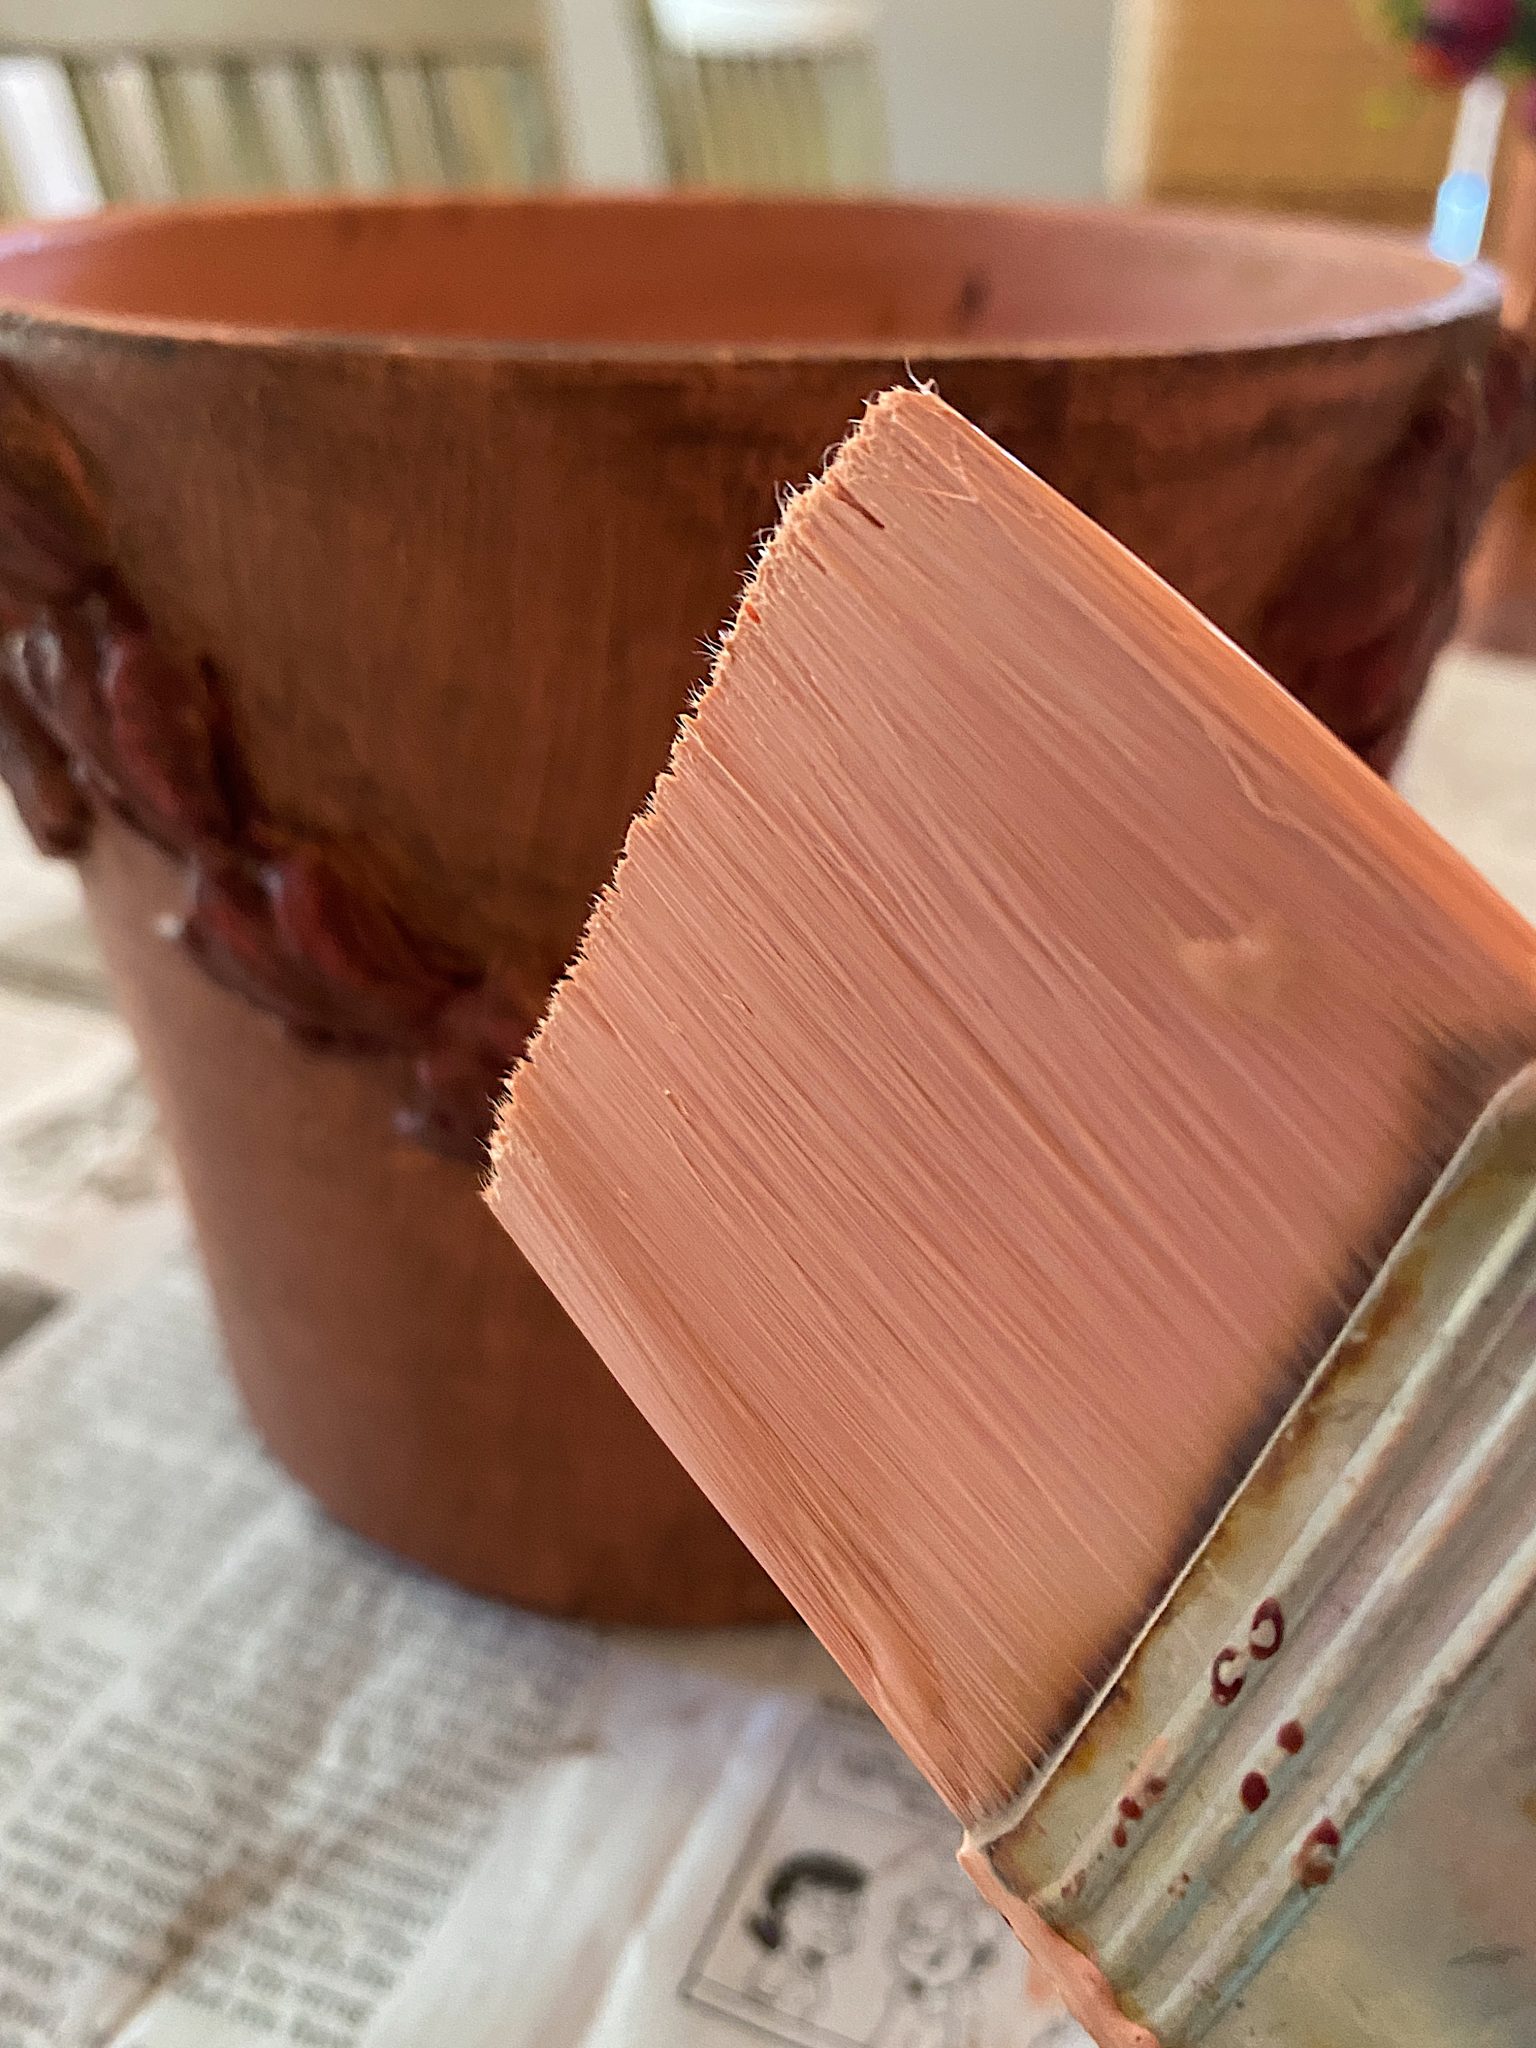
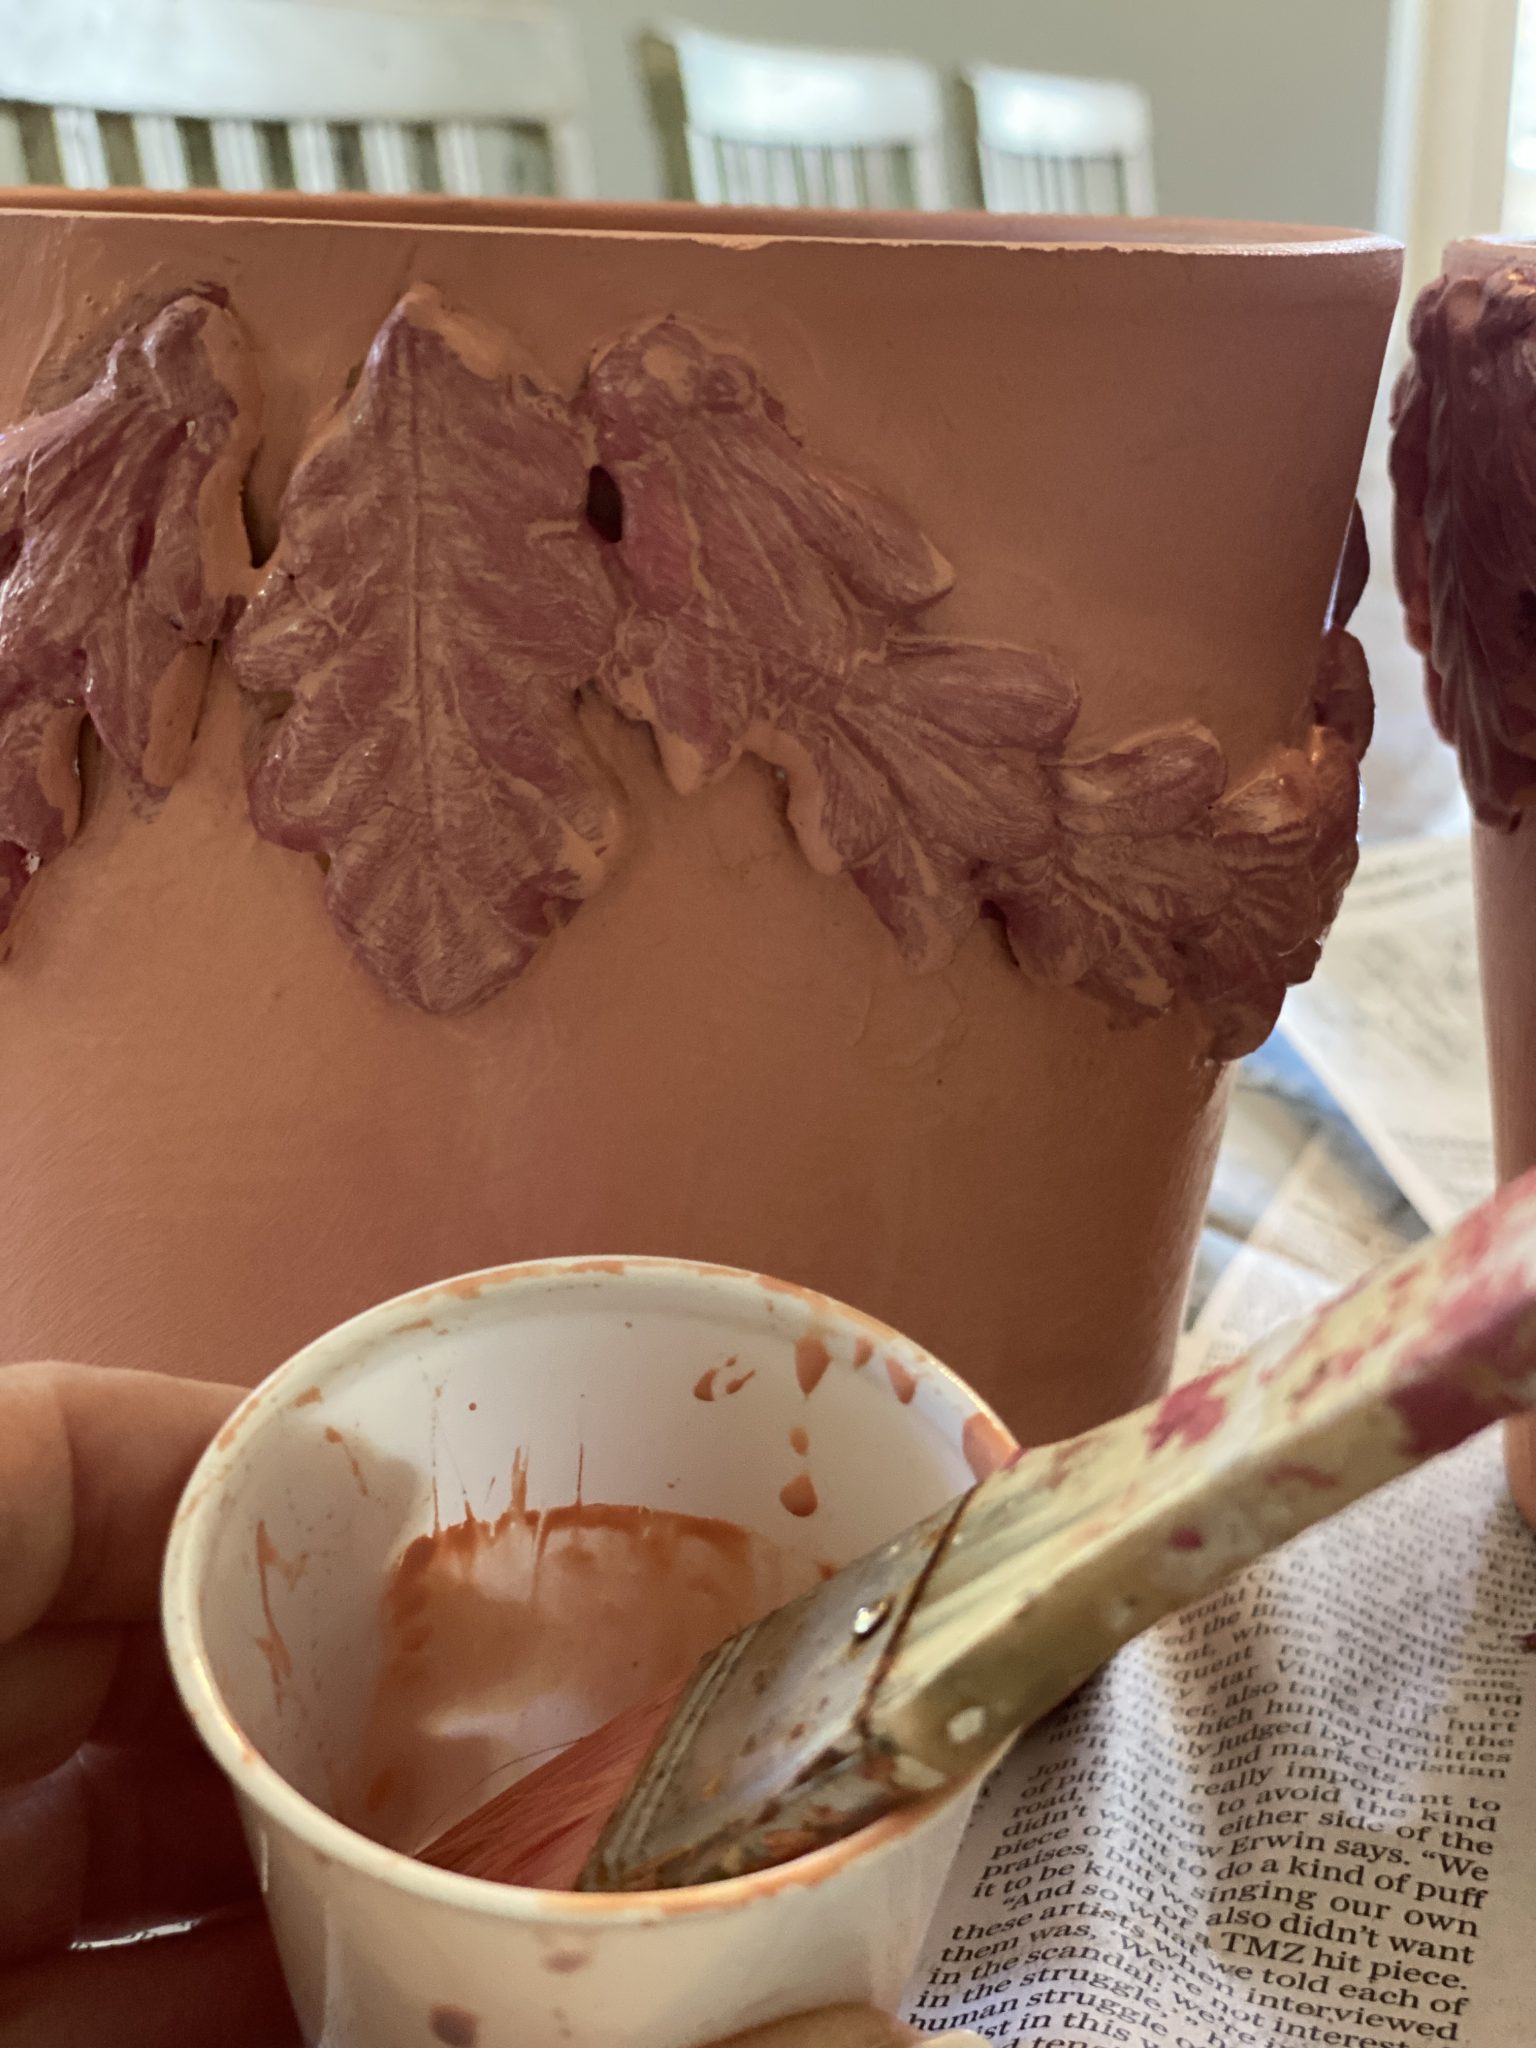
- ten – Next, I made a wash with brown paint. Cover the entire pot with the brown wash. Let dry.
- eleven – Paint the entire pot with the peach wash again to bring out some of the colors. Do not worry about it looking perfect. The more uneven, the better. When dry, paint the pot (inside and out) with a water-based satin sealer.
Doesn’t this look amazing?


If you enjoy my blog, you can sign up to receive my updates here.
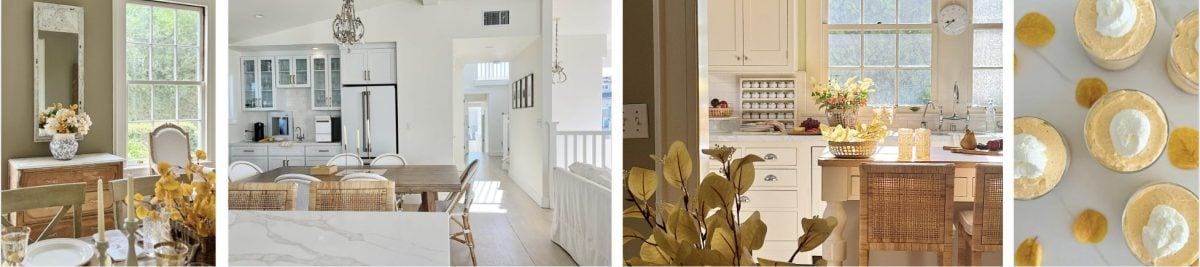
.Gorgeous Fall Decor Favorites!

More Table DIY Ideas
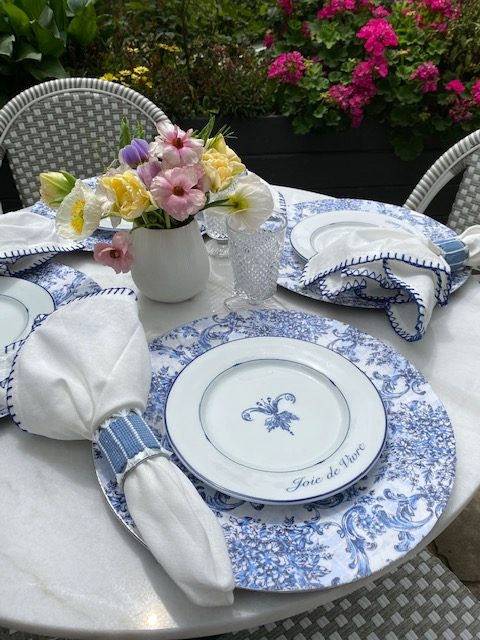
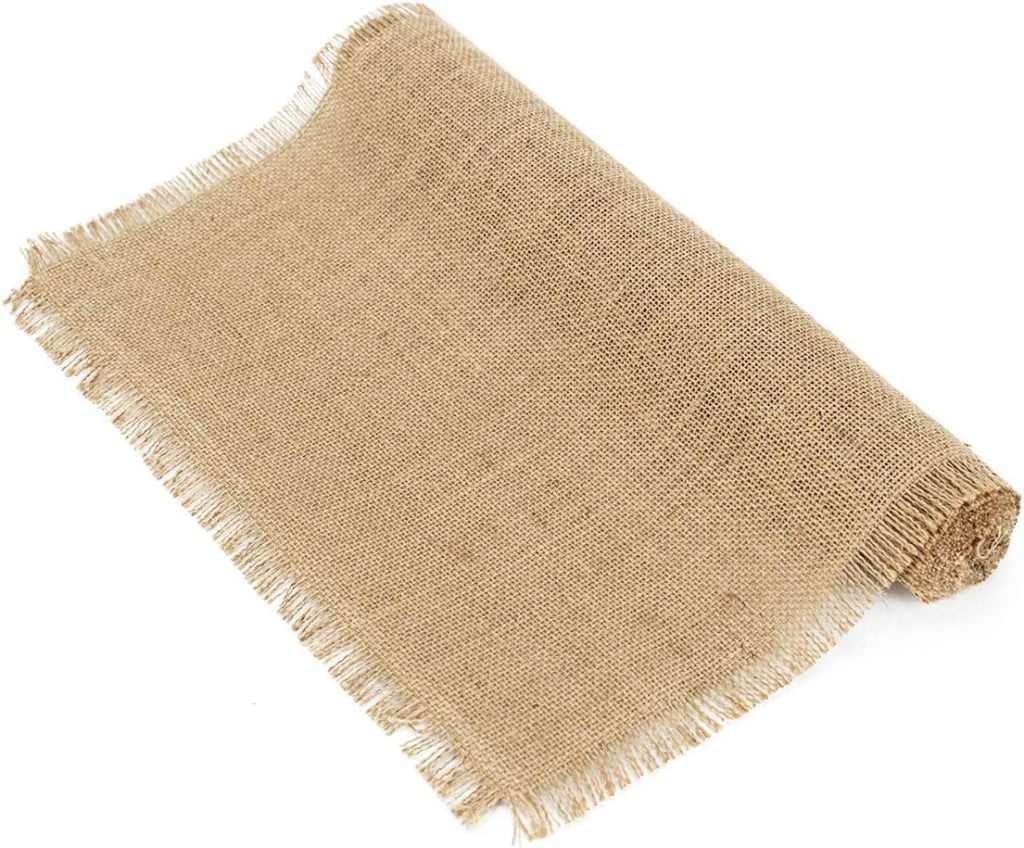
Here’s How to Make Your Own DIY Fabric Chargers | To Have + To Host
A few weeks ago, I was in the mood for a blue and white tablescape, so I came up with an idea for a DIY fabric charger. I’m super excited to use it on my Thanksgiving table—here’s how I did it.
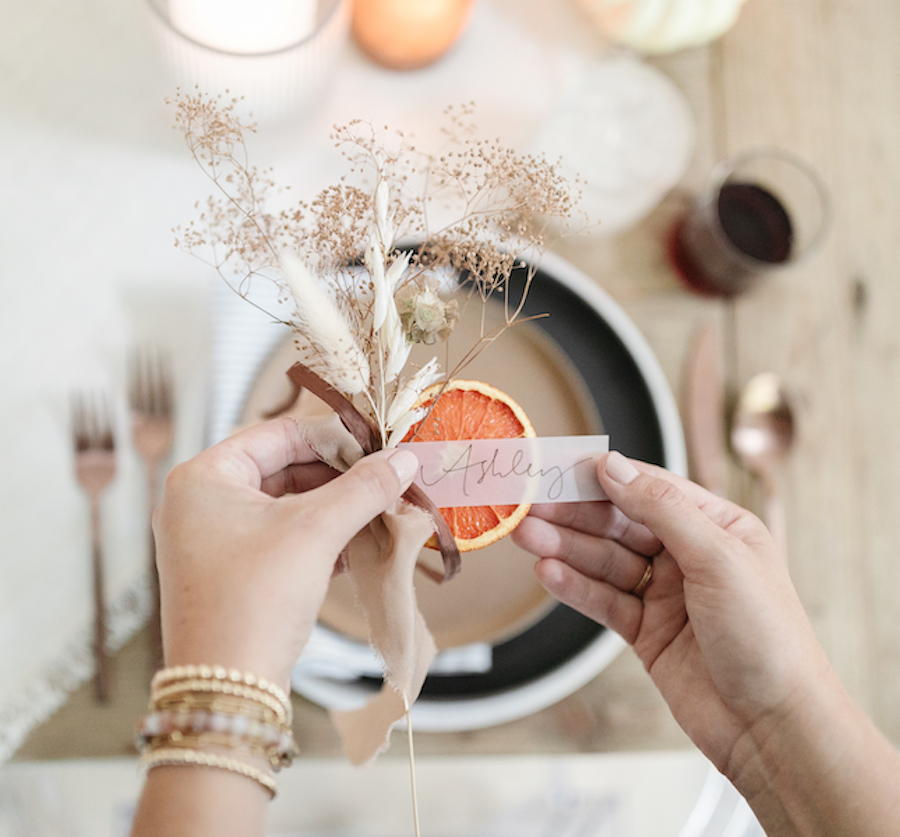
Dried Orange Thanksgiving Place Cards | Modern Glam
These DIY Dried Orange Thanksgiving Place Cards are a beautiful way to add character and personalization to your holiday table. Learn how to make them with me!
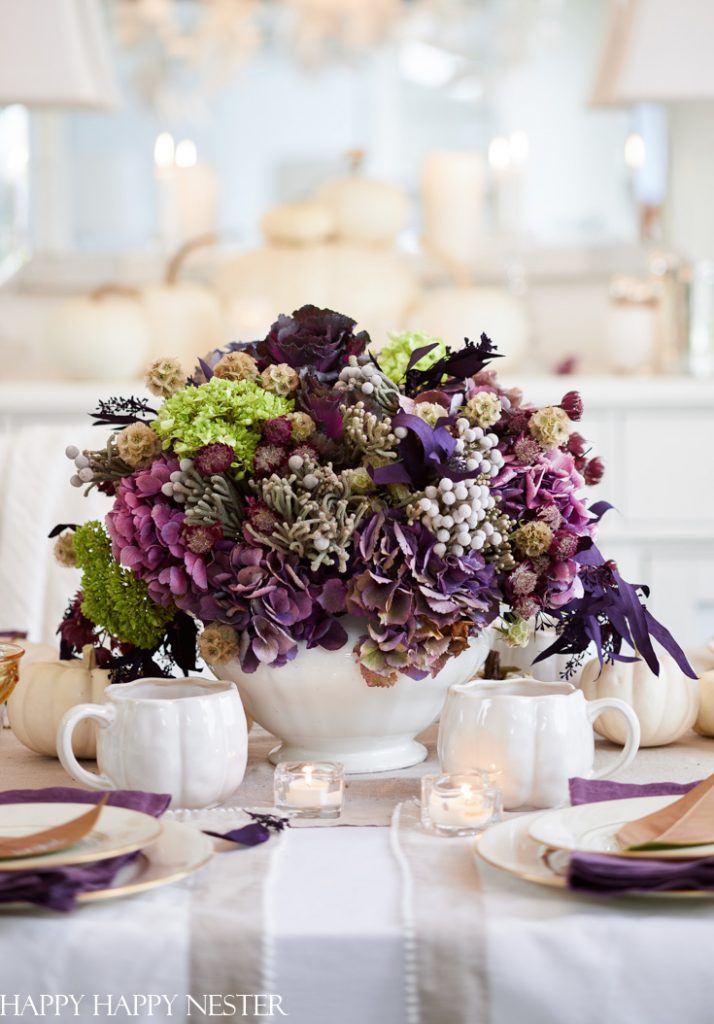
Farmhouse Fall Centerpiece DIY | Happy Happy Nester
Here’s an unusual twist on a Farmhouse Fall Centerpiece. This gorgeous bouquet includes the rich color of purple flowers. I’ll show you step-by-step how I designed this floral arrangement.

You can pin the image below to your decor boards on Pinterest (just click the Pin button in the top left corner) or follow me on Pinterest!
For more real-time updates, follow me on Instagram @My100YearOldHome


Once again, you totally knock my socks off with your creativity. You truly are amazing.
What an awesome project! Definitely falls into the “looks hard but it’s easy” category! That will look gorgeous on your thanksgiving table. <3
Oh thank you for that!
I am always so excited when I see your email in my inbox! Thank you so much for introducing me to Iron Orchid Designs. I am in love. Every project you have created with IOD is just awesome! I have stocked up on their products since you posted your beautiful charger. I am looking forward to lots of amazing projects with the moulds, stamps and transfers! I live just down I35 from your 100 year old house in Salado.
Oh you are so kind! Thank you!
Leslie,
Could you please tell us about the metal flowers on your tablescape? They are cool!
Jill
Gorgeous! I love this project.
Omg thanks so much Renae! Love the IOD products- really brought this planter to life 🥰
Beautiful! I have been experimenting with adding IOD to pots, but trying to make them waterproof, finding it hard to get that info off the blogs and such. Everyone explains the molds and applying them but not how to waterproof them. Does anyone have any ideas?