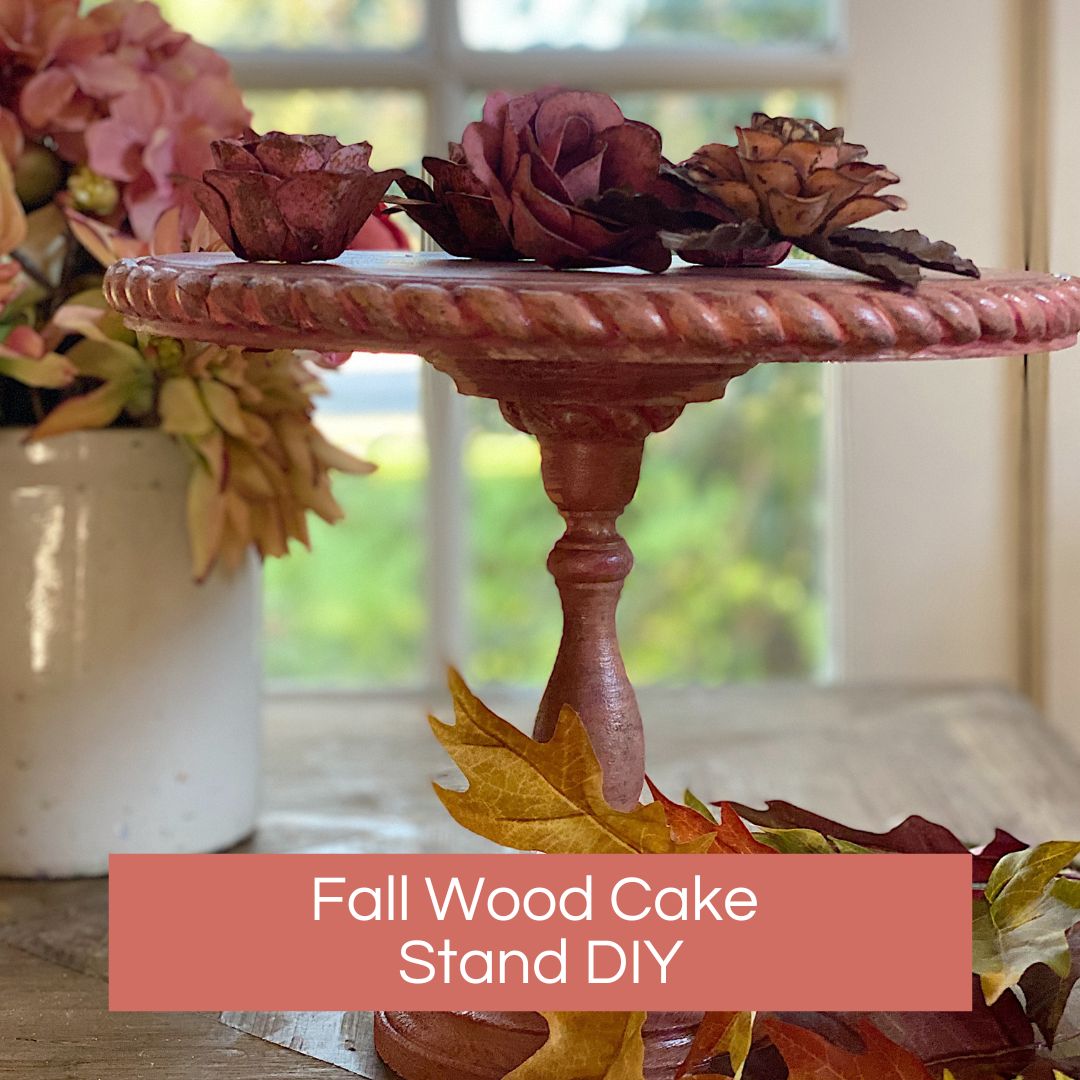
Fall Wood Cake Stand DIY
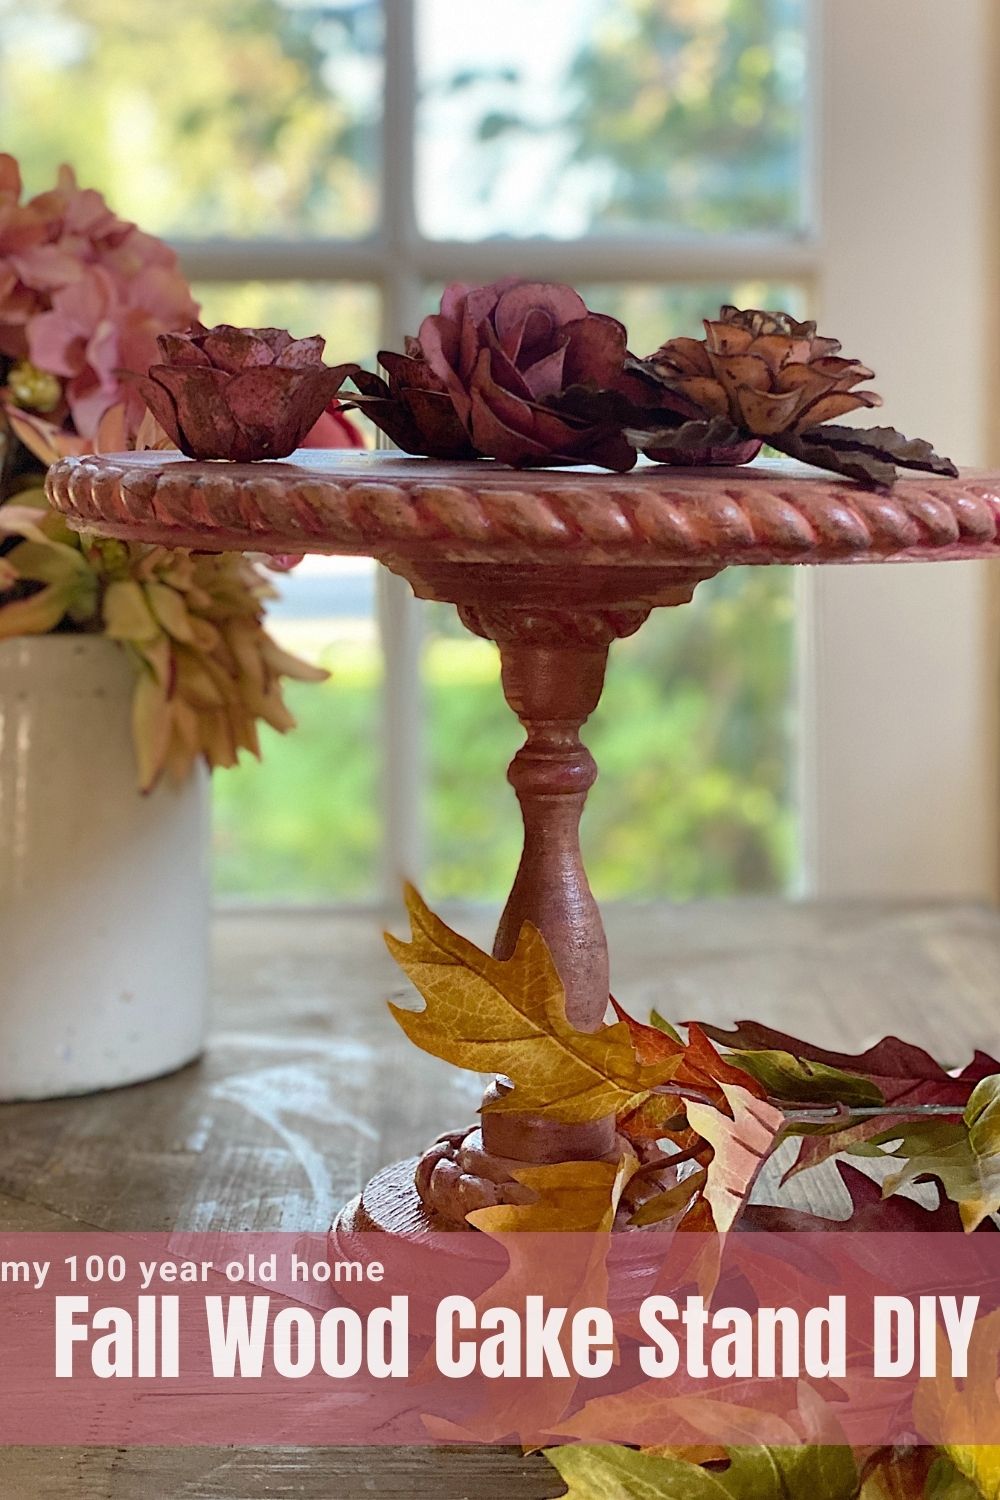
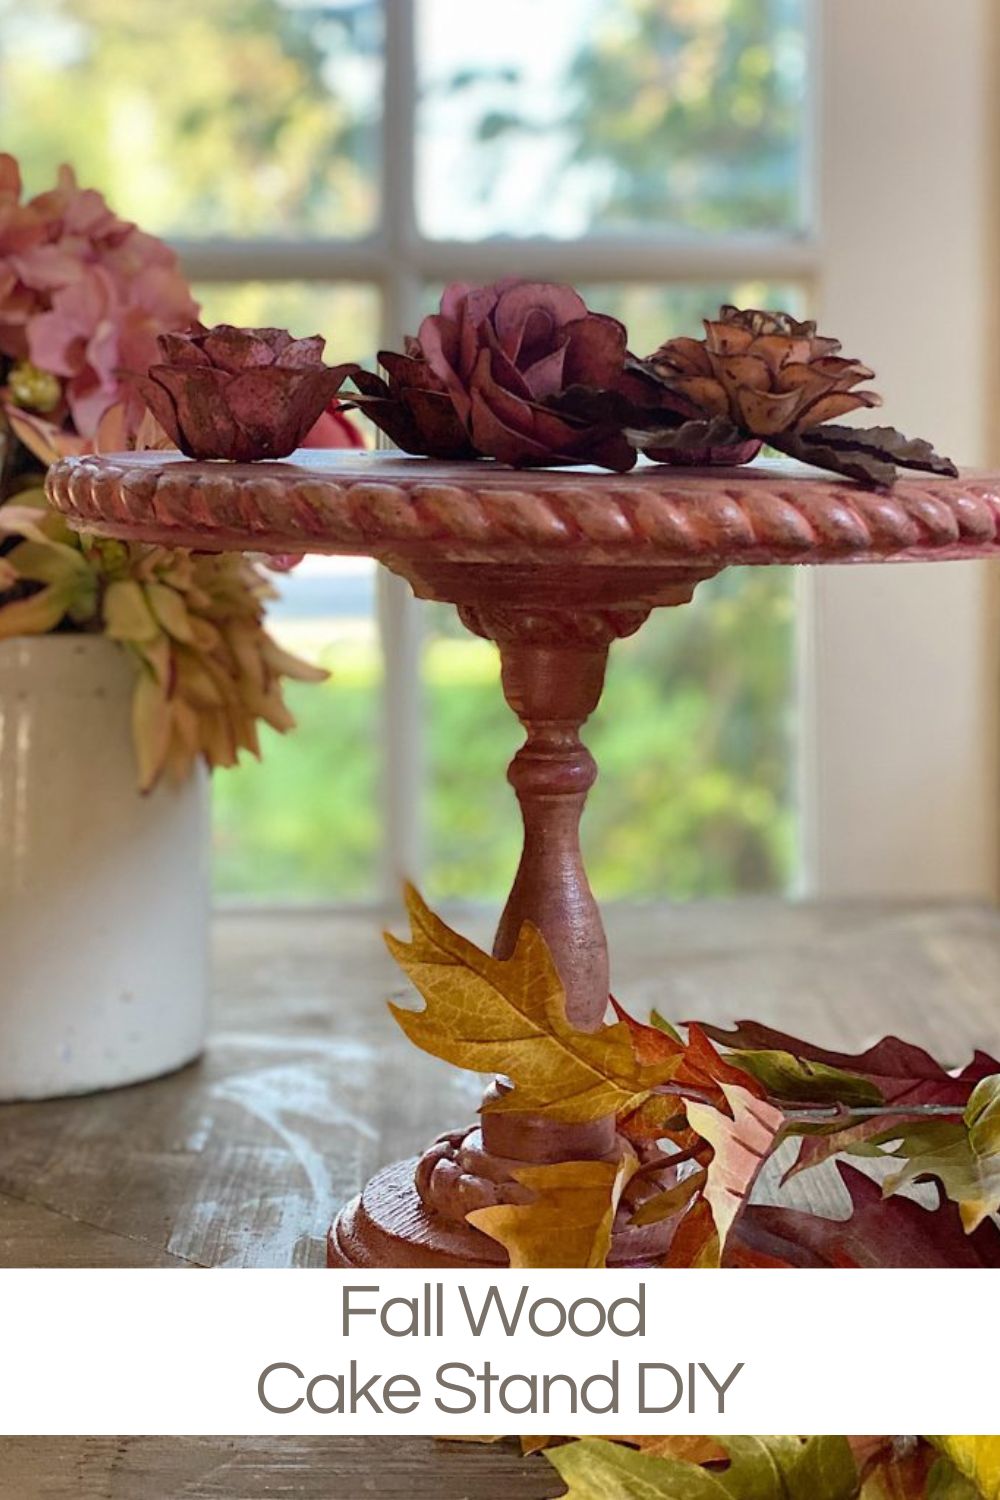
I have been busy making crafts for fall and I love this DIY – a fall wood cake stand. I chose to use fall colors (instead of white) and am so happy I did!
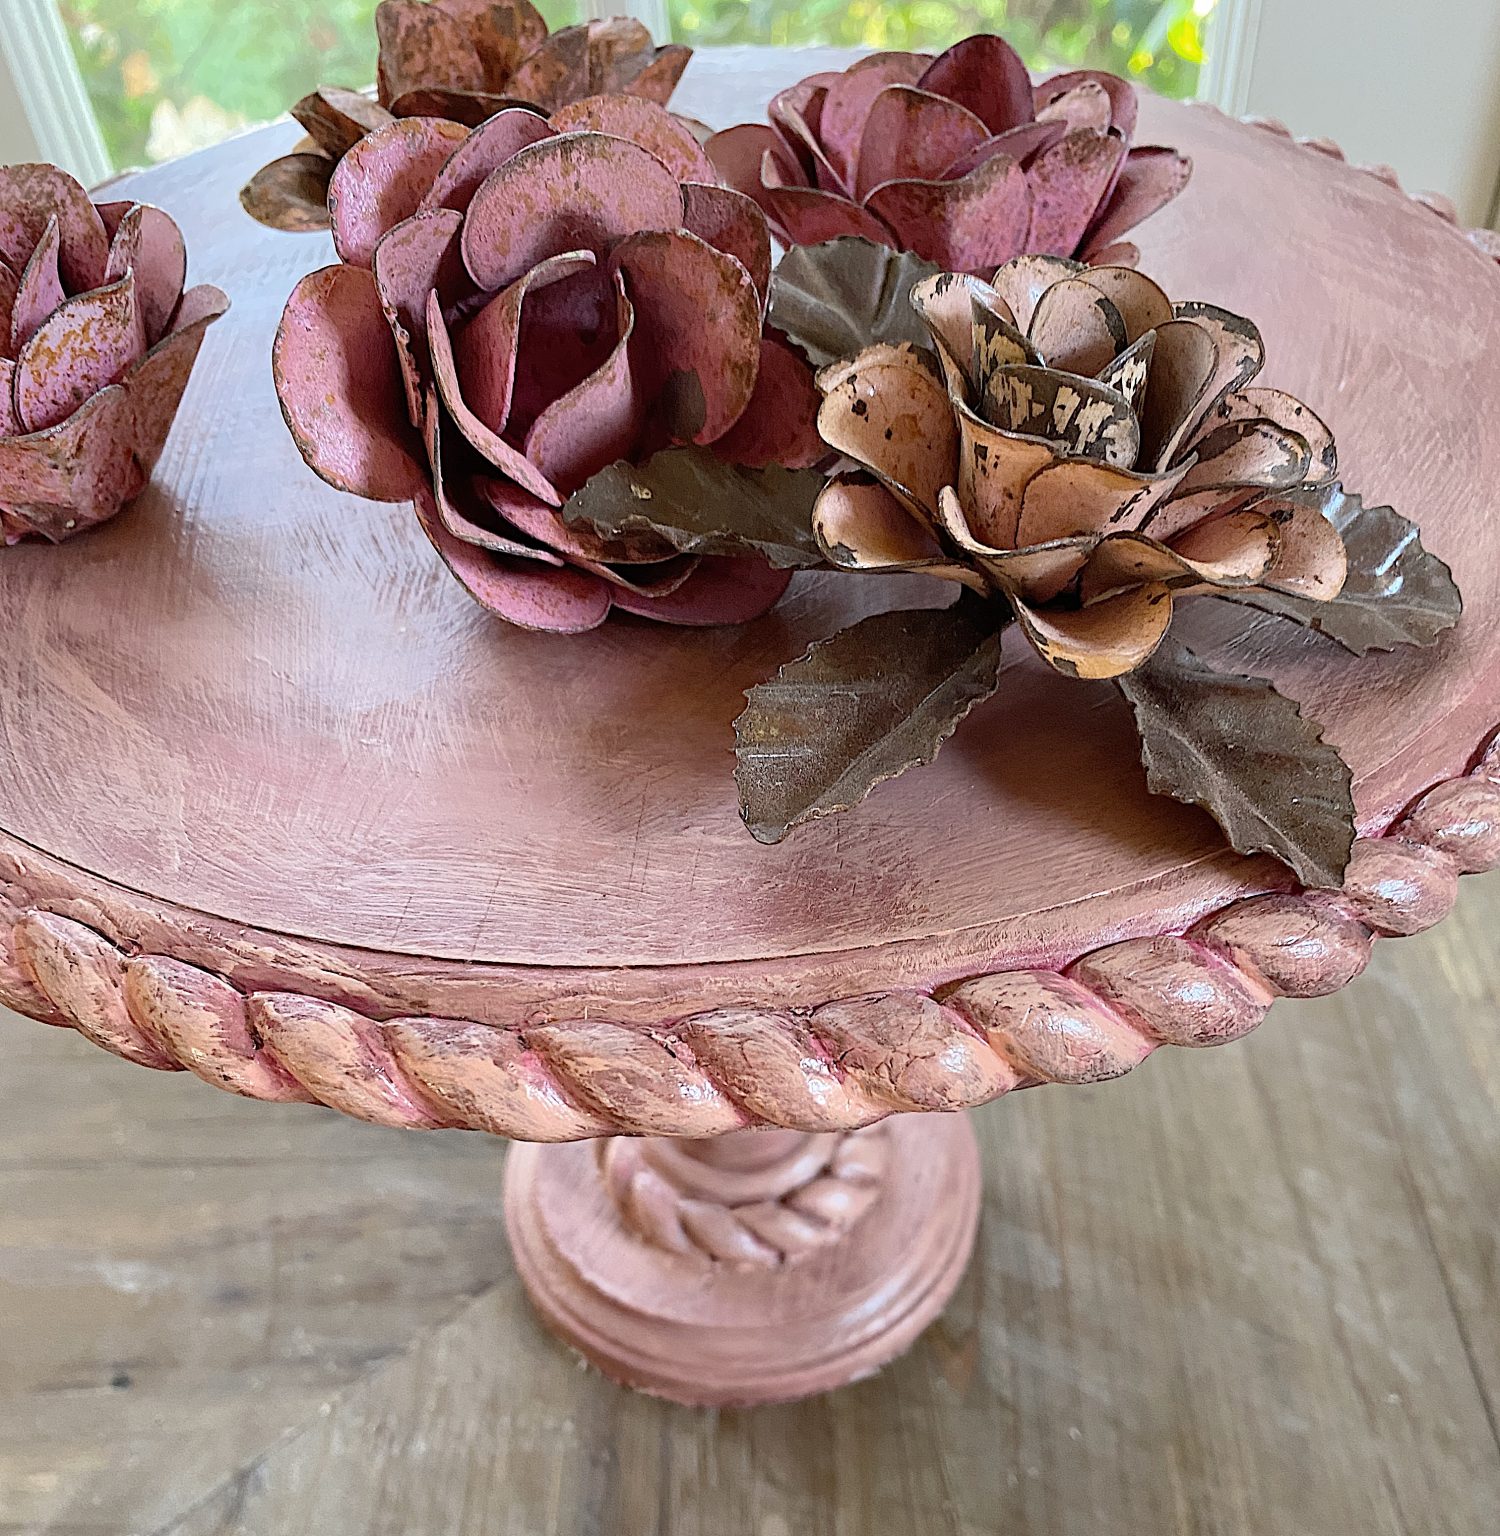
Fall colors fall into a wide spectrum and I think every color in that spectrum might be my favorite. I love orange and pink. The deep burgundies and pomegranate colors. The russet and orangey-browns. Golds and sage green. I literally, love them all! I made this fall craft in some happy fall hues. This is one you will want to make and show off throughout the fall season!
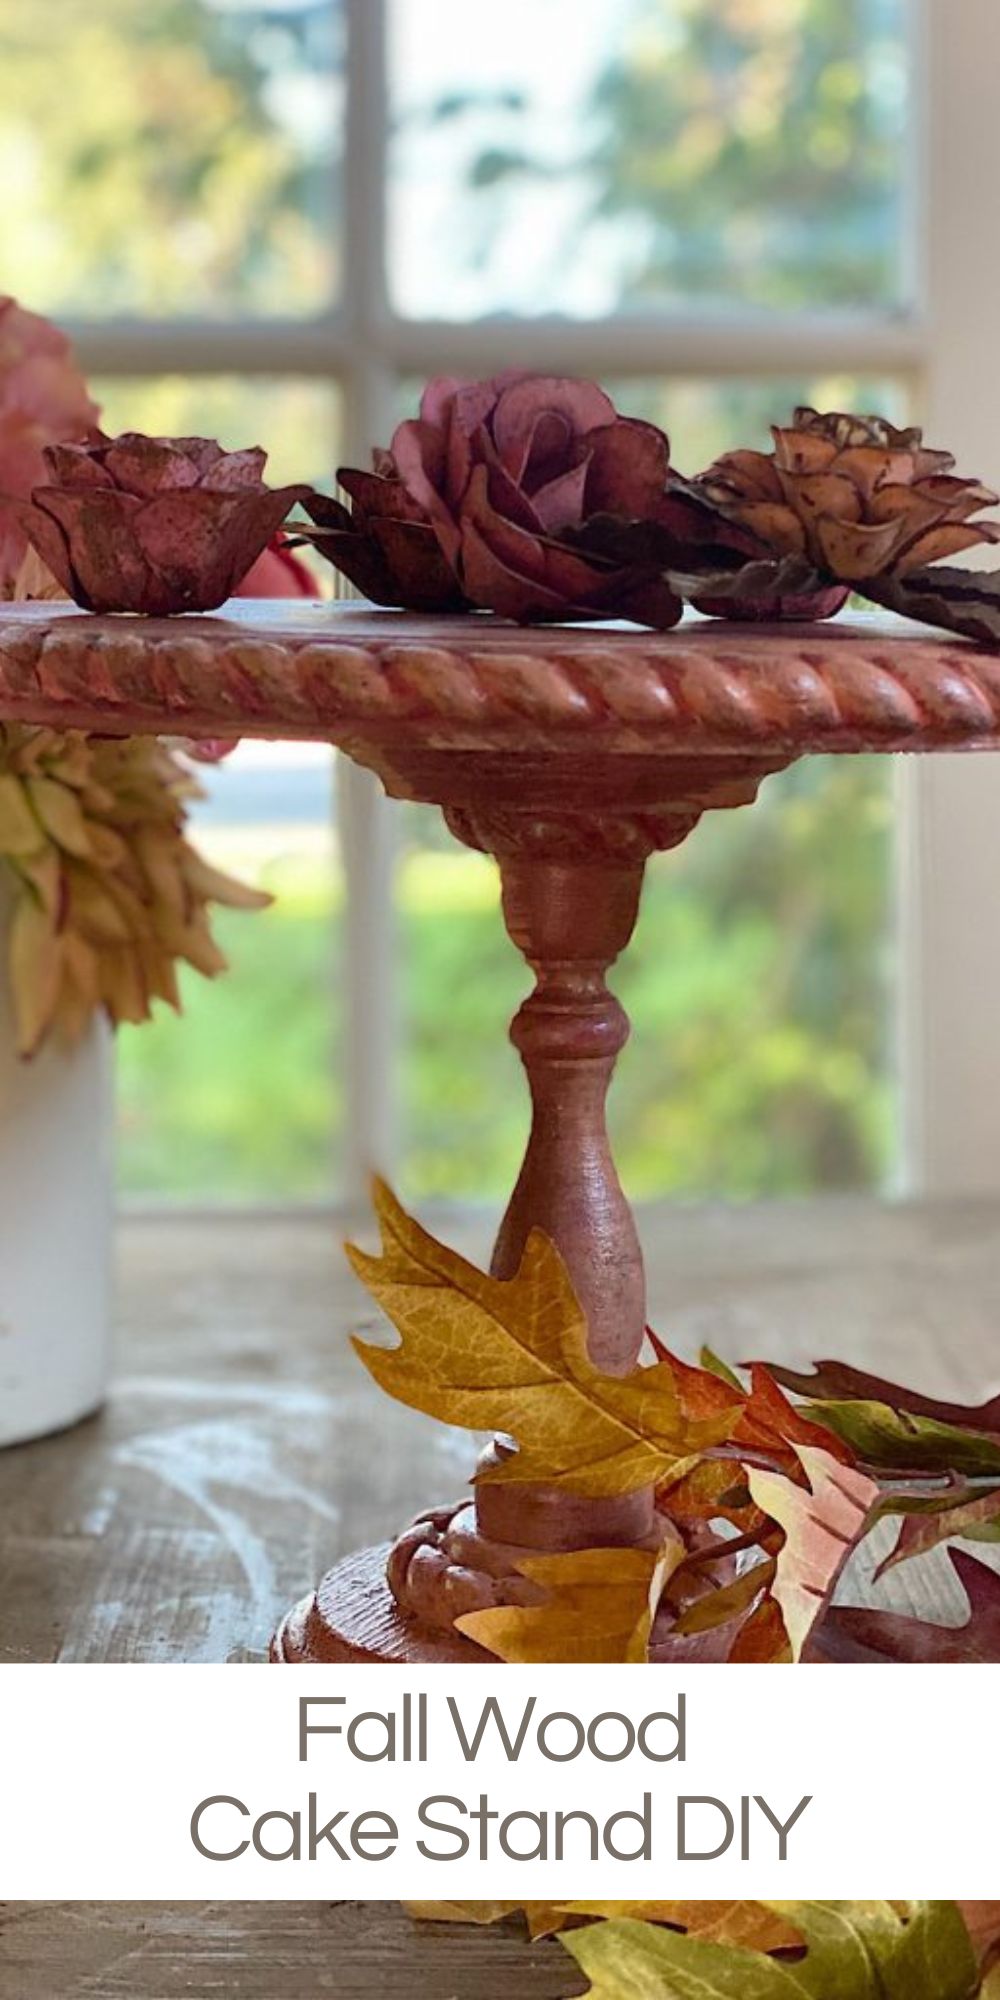
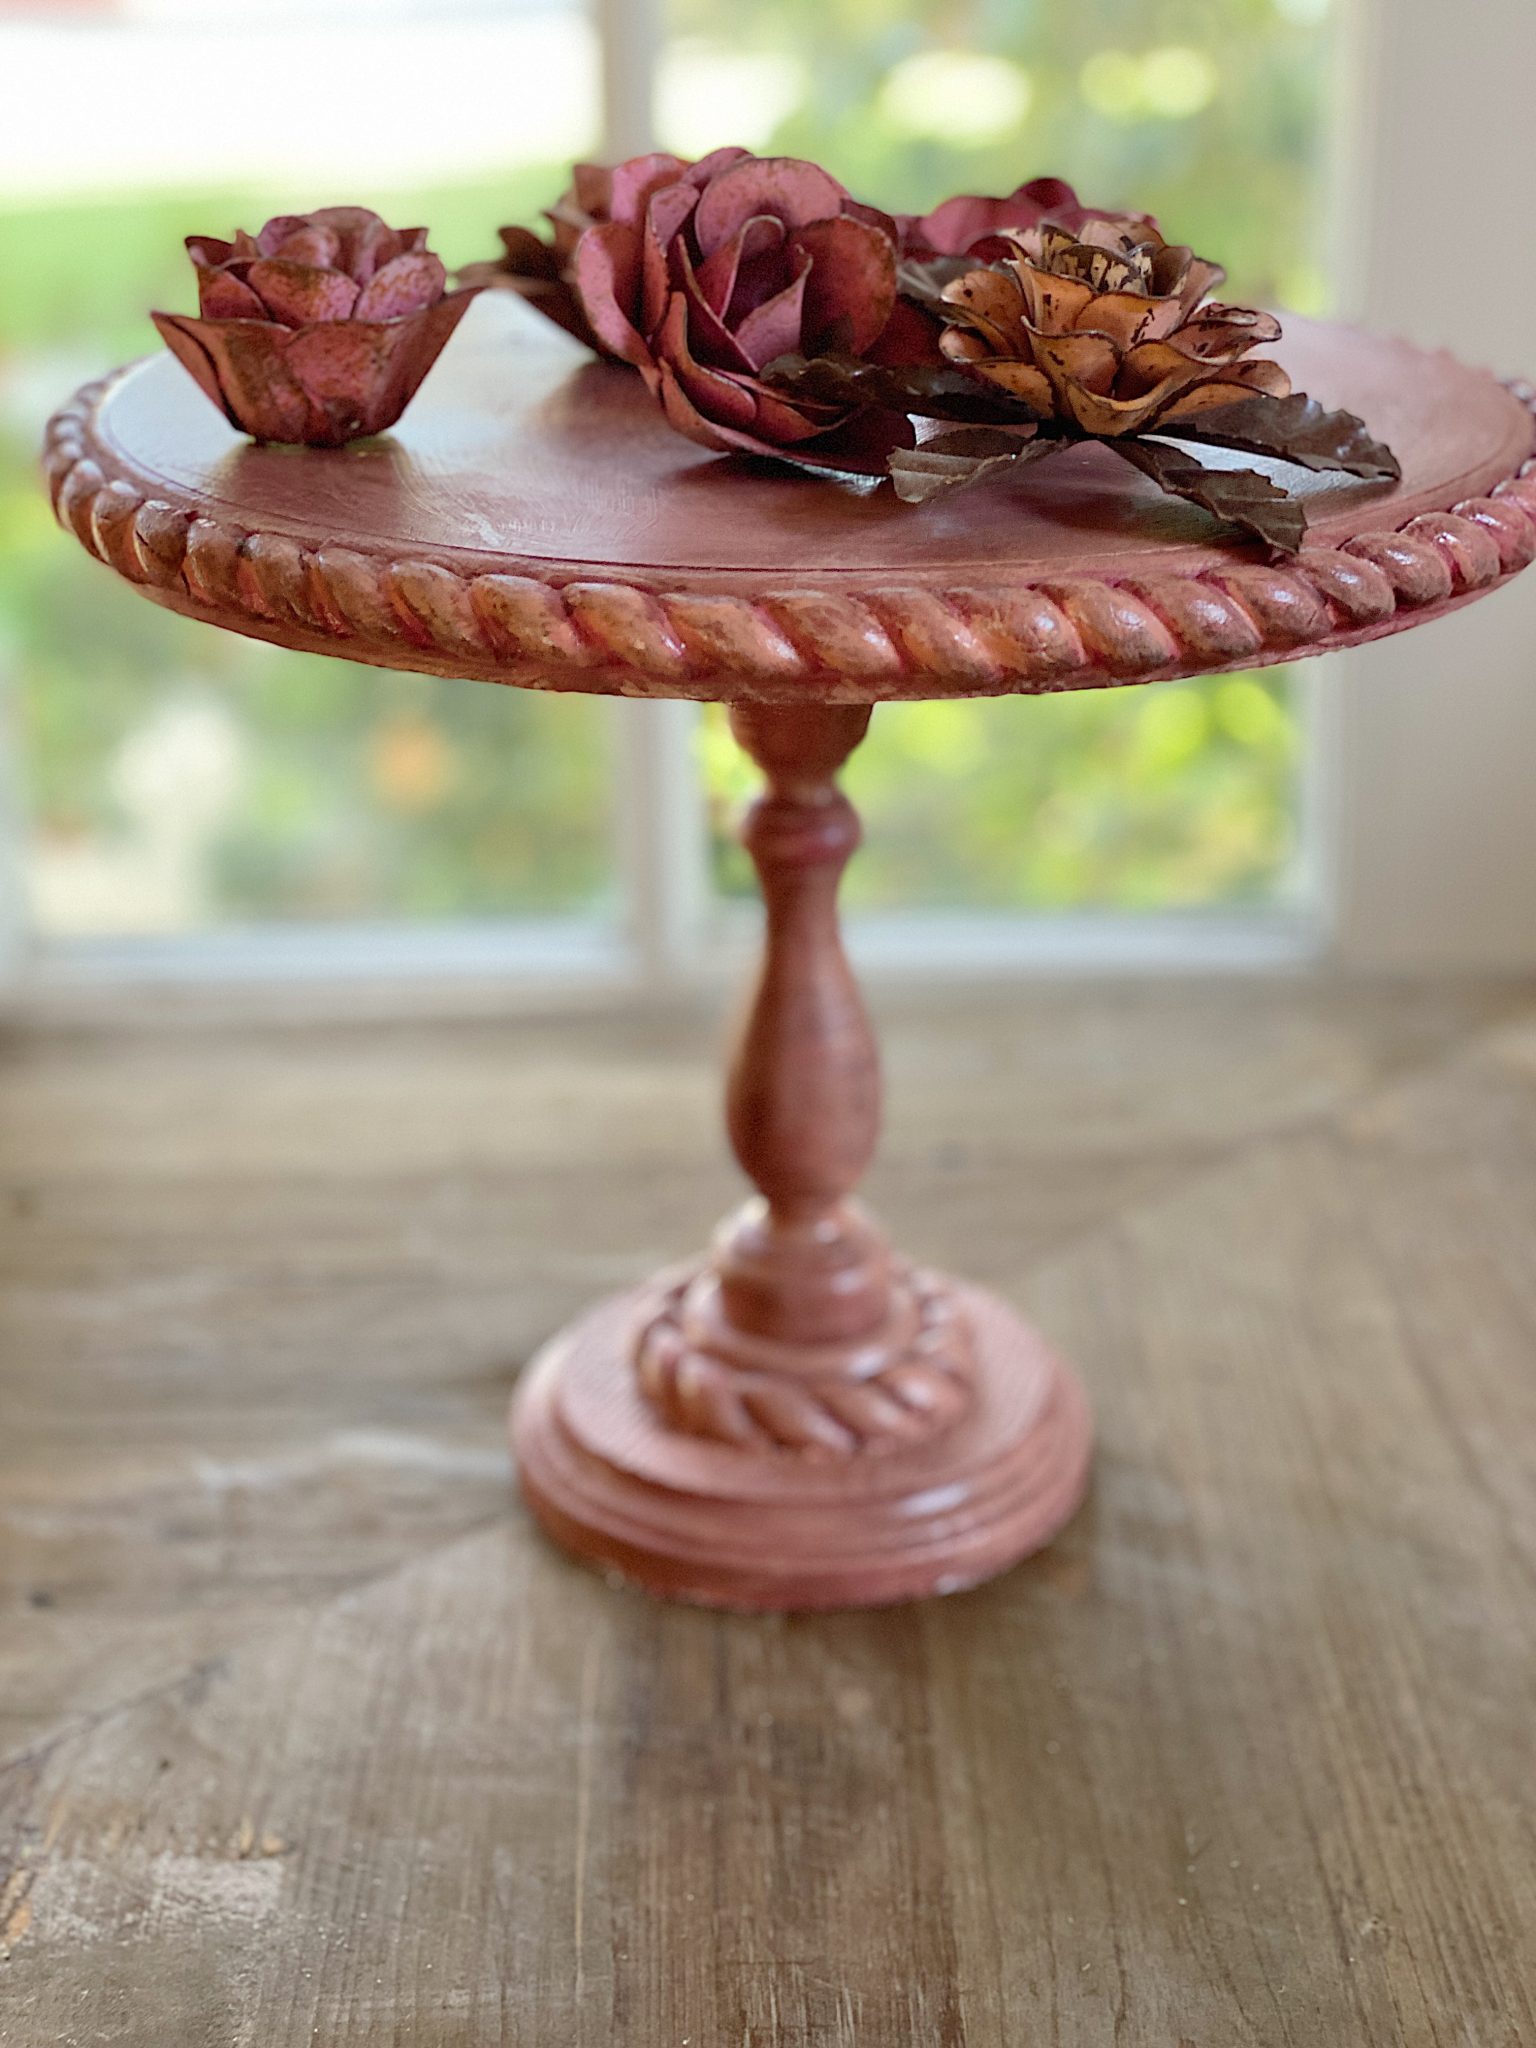
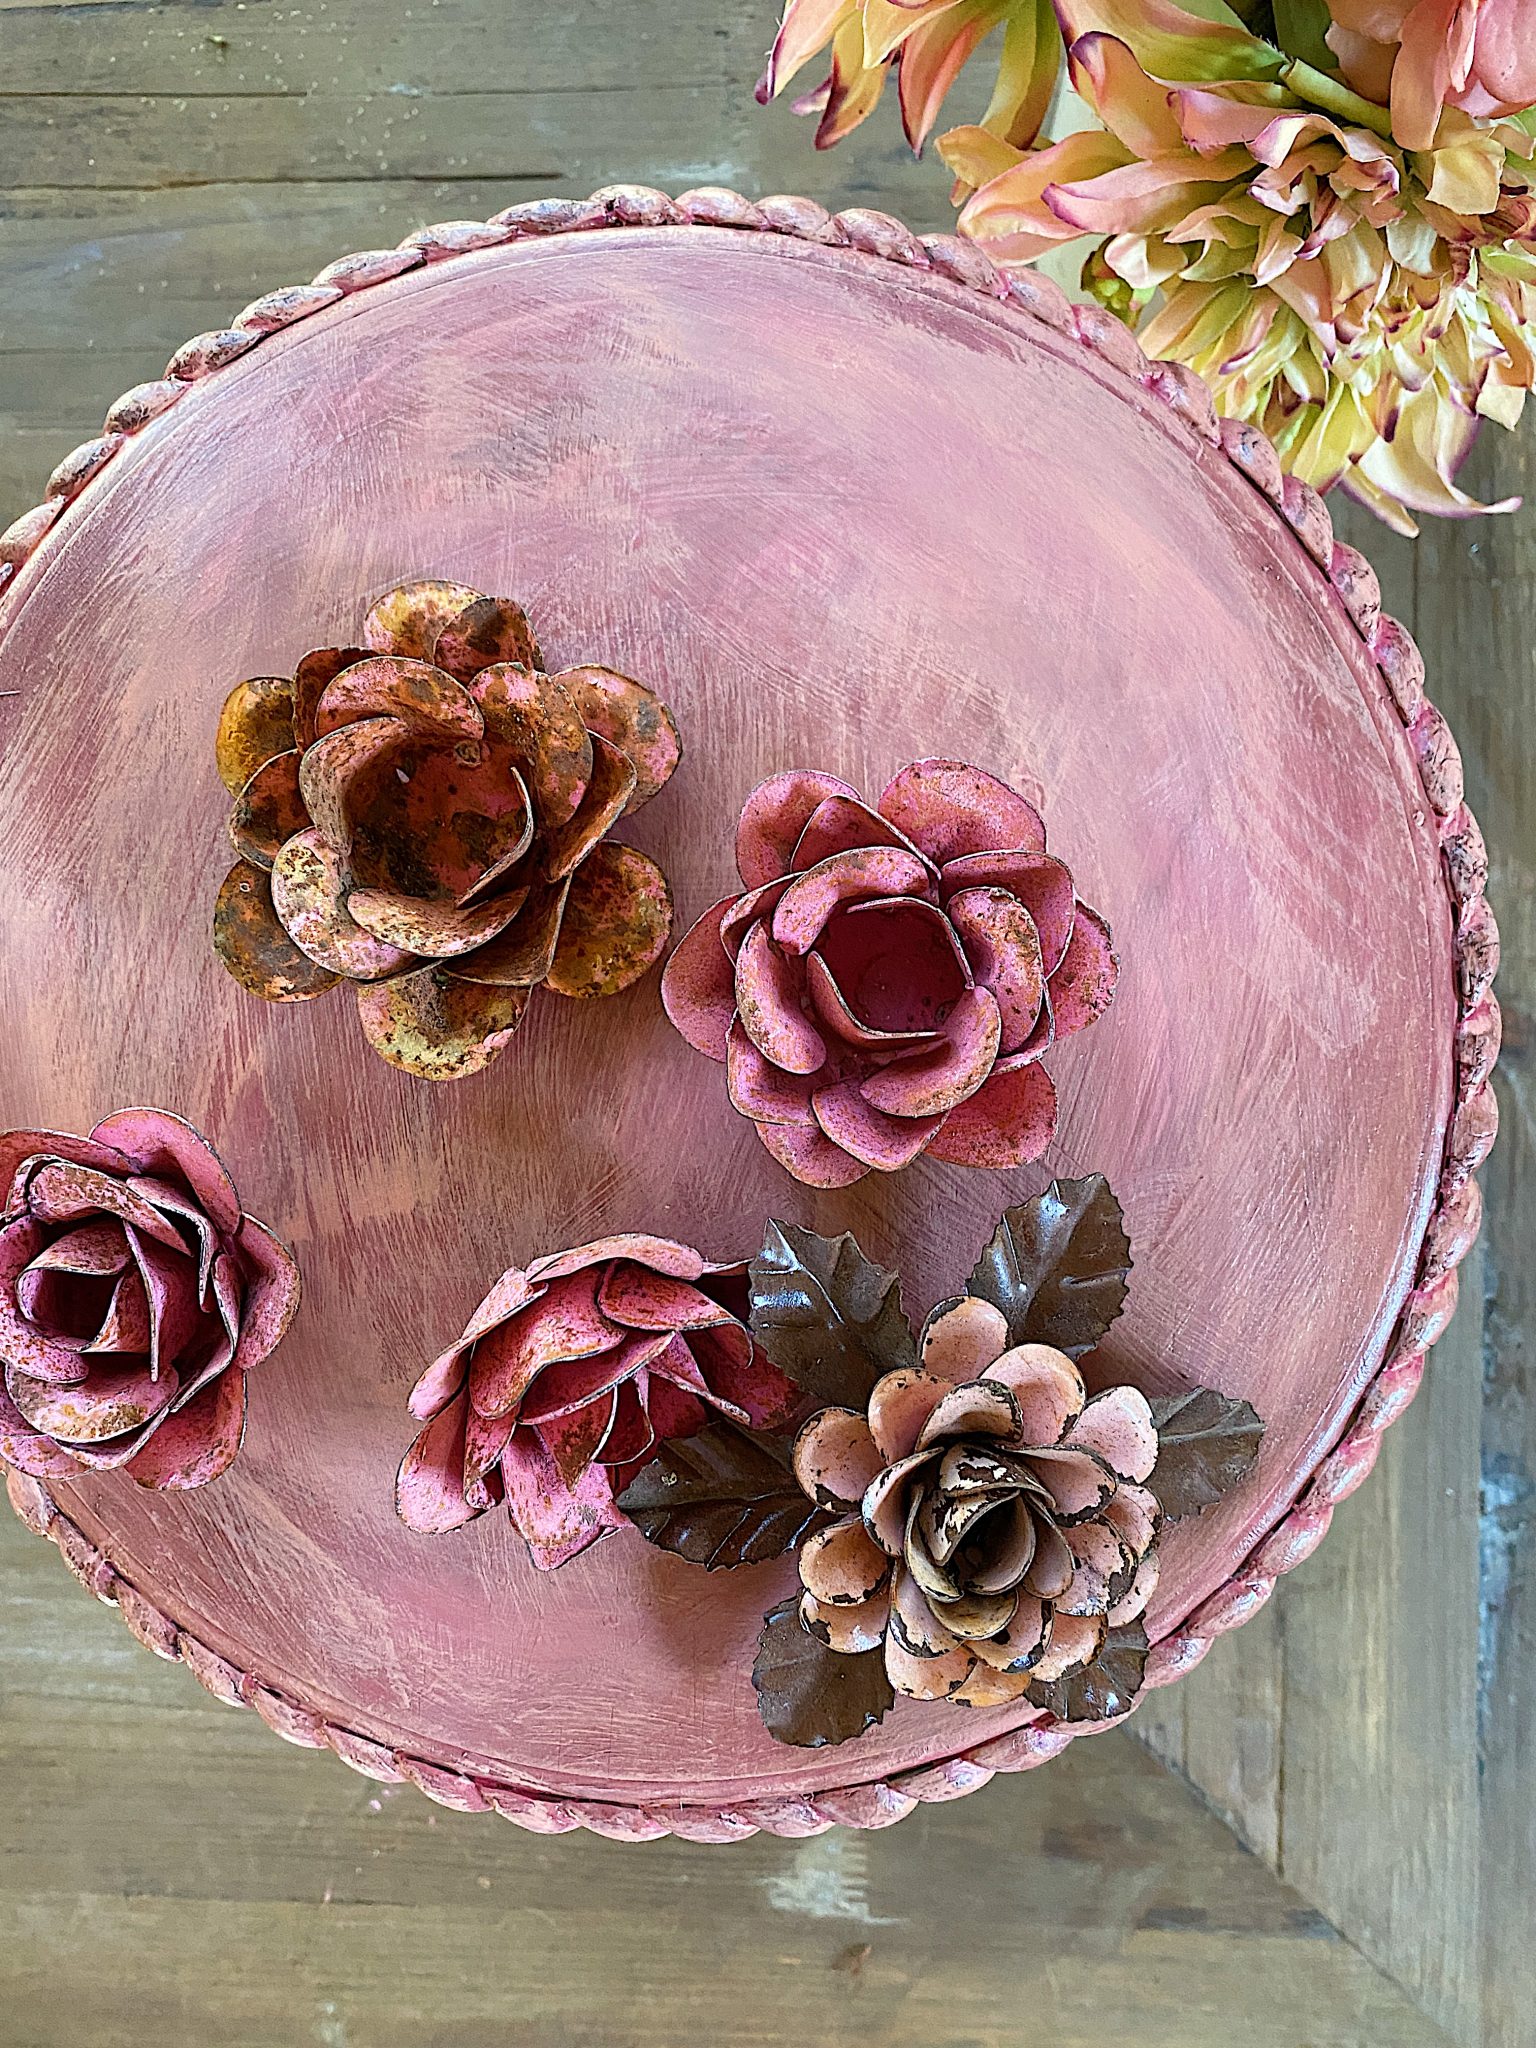
Isn’t this wooden cake stand amazing? It was so much fun to make and I love how it turned out. The color is just magical. This might even be a pink cake stand.

DIY Wood Cake Stand for Fall
Did you know there are five main areas of my blog? They are Entertaining, Decor, Crafts, Recipes and At Home. The different areas of the blog are sort of like my children, I love them all so much!
I try to make sure to share something from each of the areas every week on my blog although I am a creative person um … well … sometimes I get inspired and just share what I love.
Although that’s why I do this every day, right?
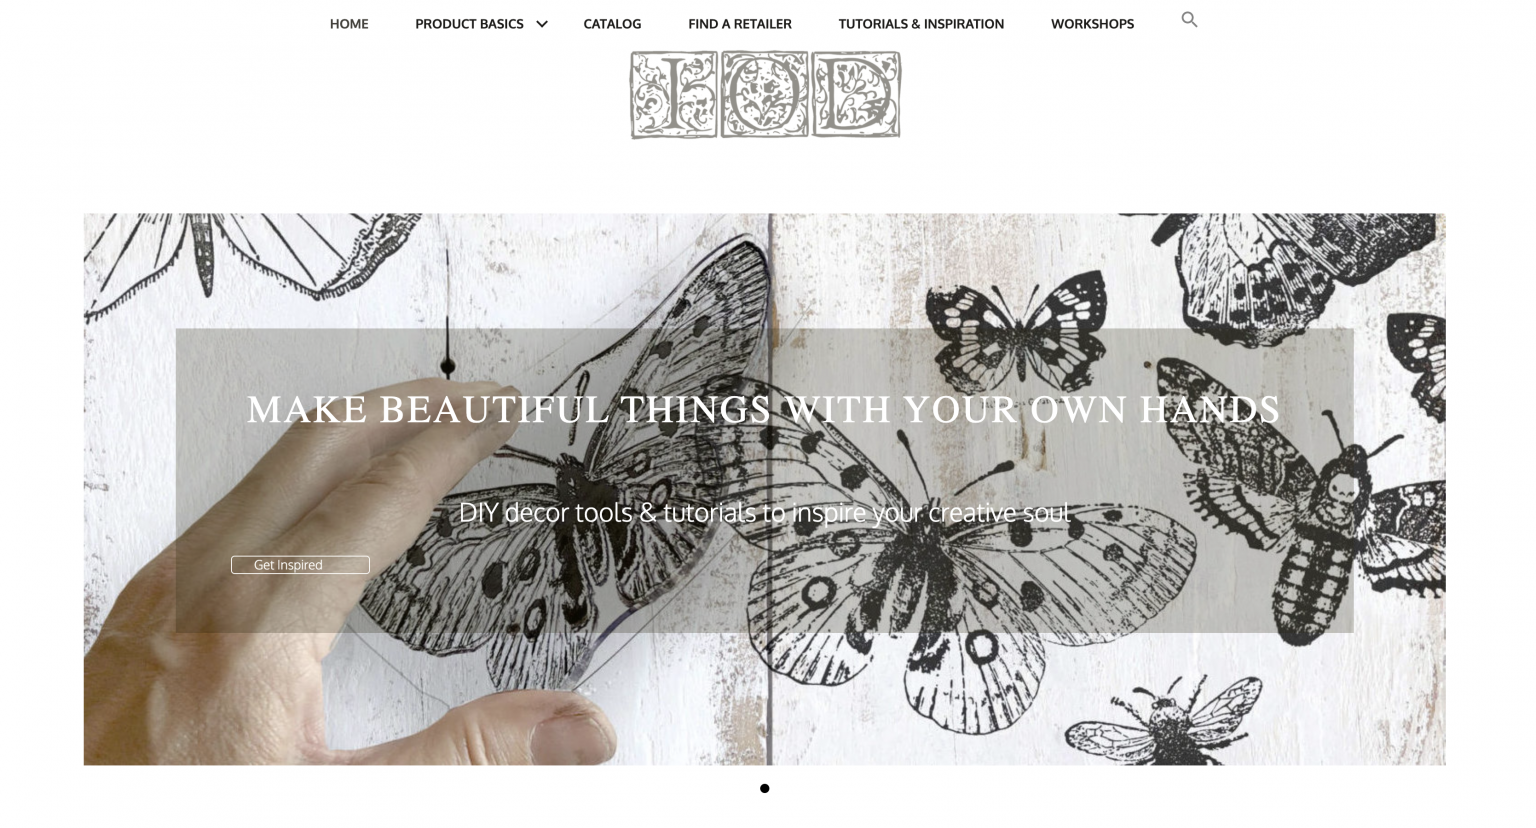
A few years ago, I met some very talented gals at a company called Iron Orchid Design (IOD). They have the coolest products and I am obsessed with everything they do. If you go to the IOD website you will find “DIY tools and tutorials to inspire your creative soul”.
They have decor moulds, decor stamps, and decor transfers and I cannot stop thinking of ways I can use their products to create things for our home. Today I get to share how I made this cake stand for fall.
Where can you buy Iron Orchid Designs products? Just click here to find a retailer near you! (You can also order online from some of the retailers.)
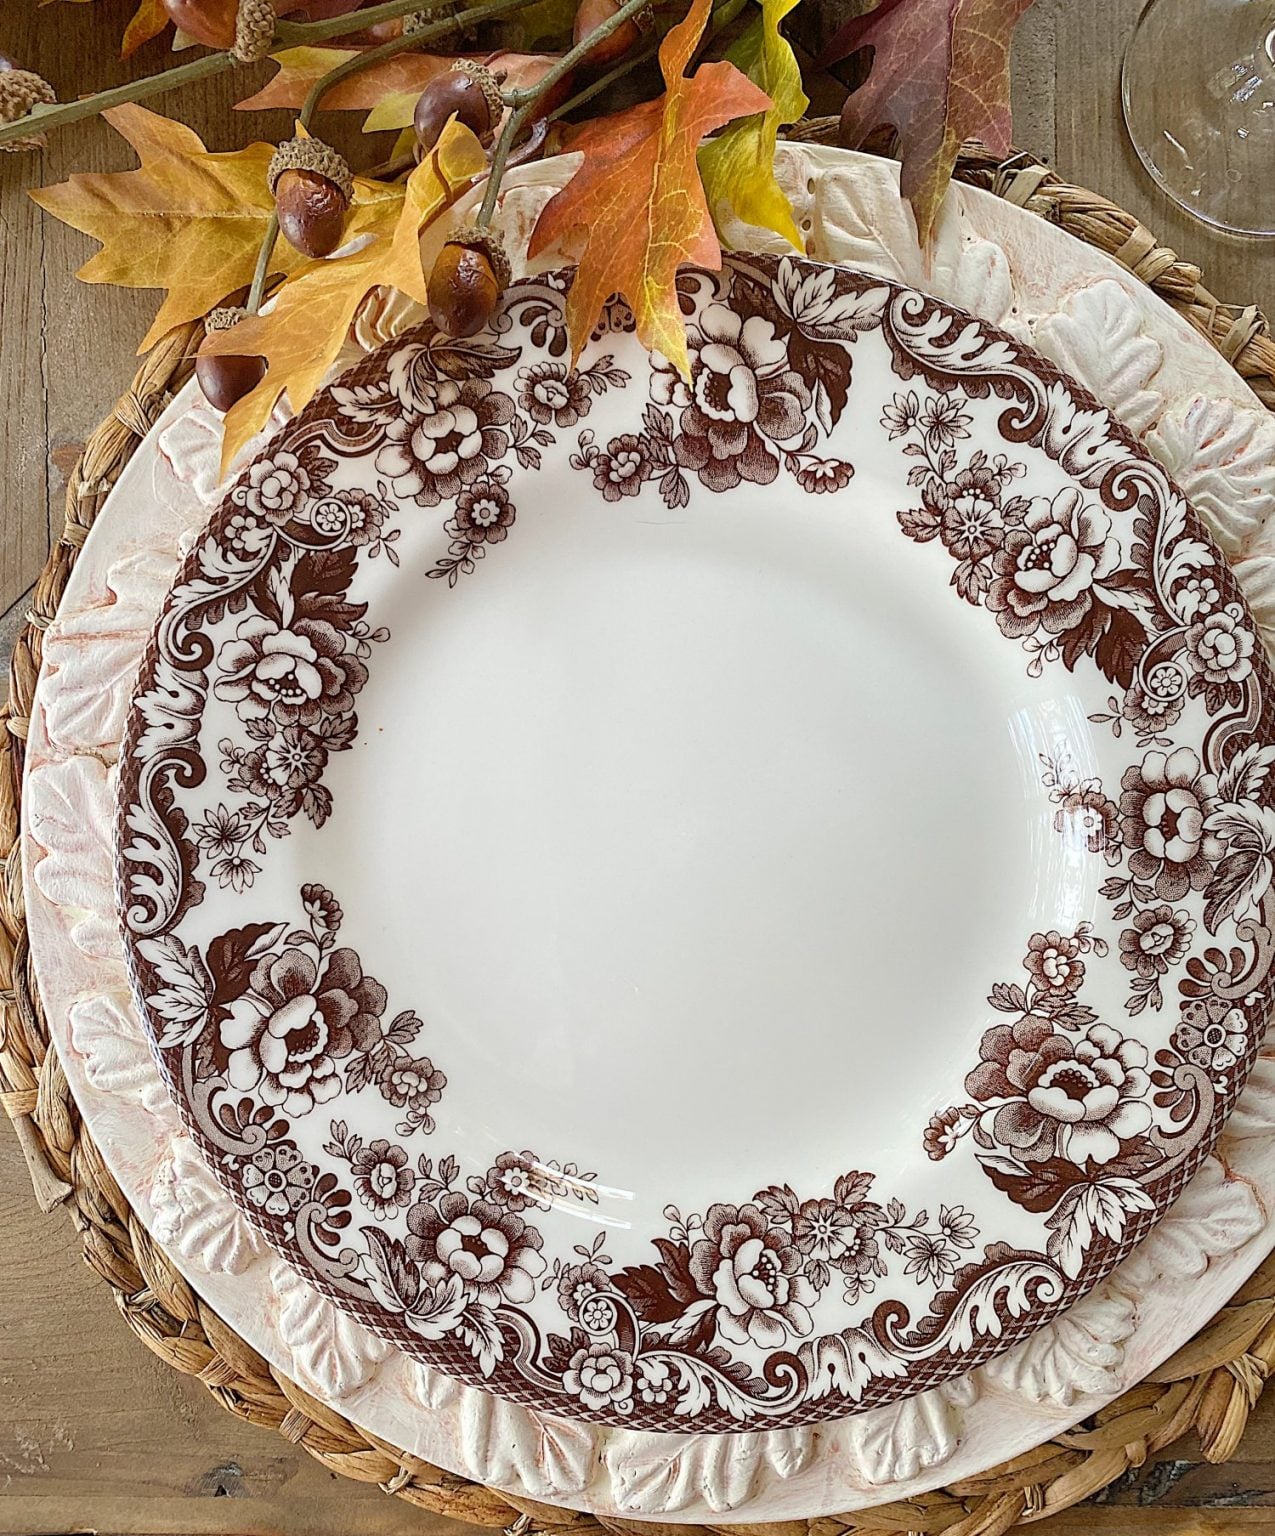
Remember the leaf chargers I made with their moulds? They were easy and fun to make and I still need to make a lot more for our extended family that will be here for Thanksgiving.
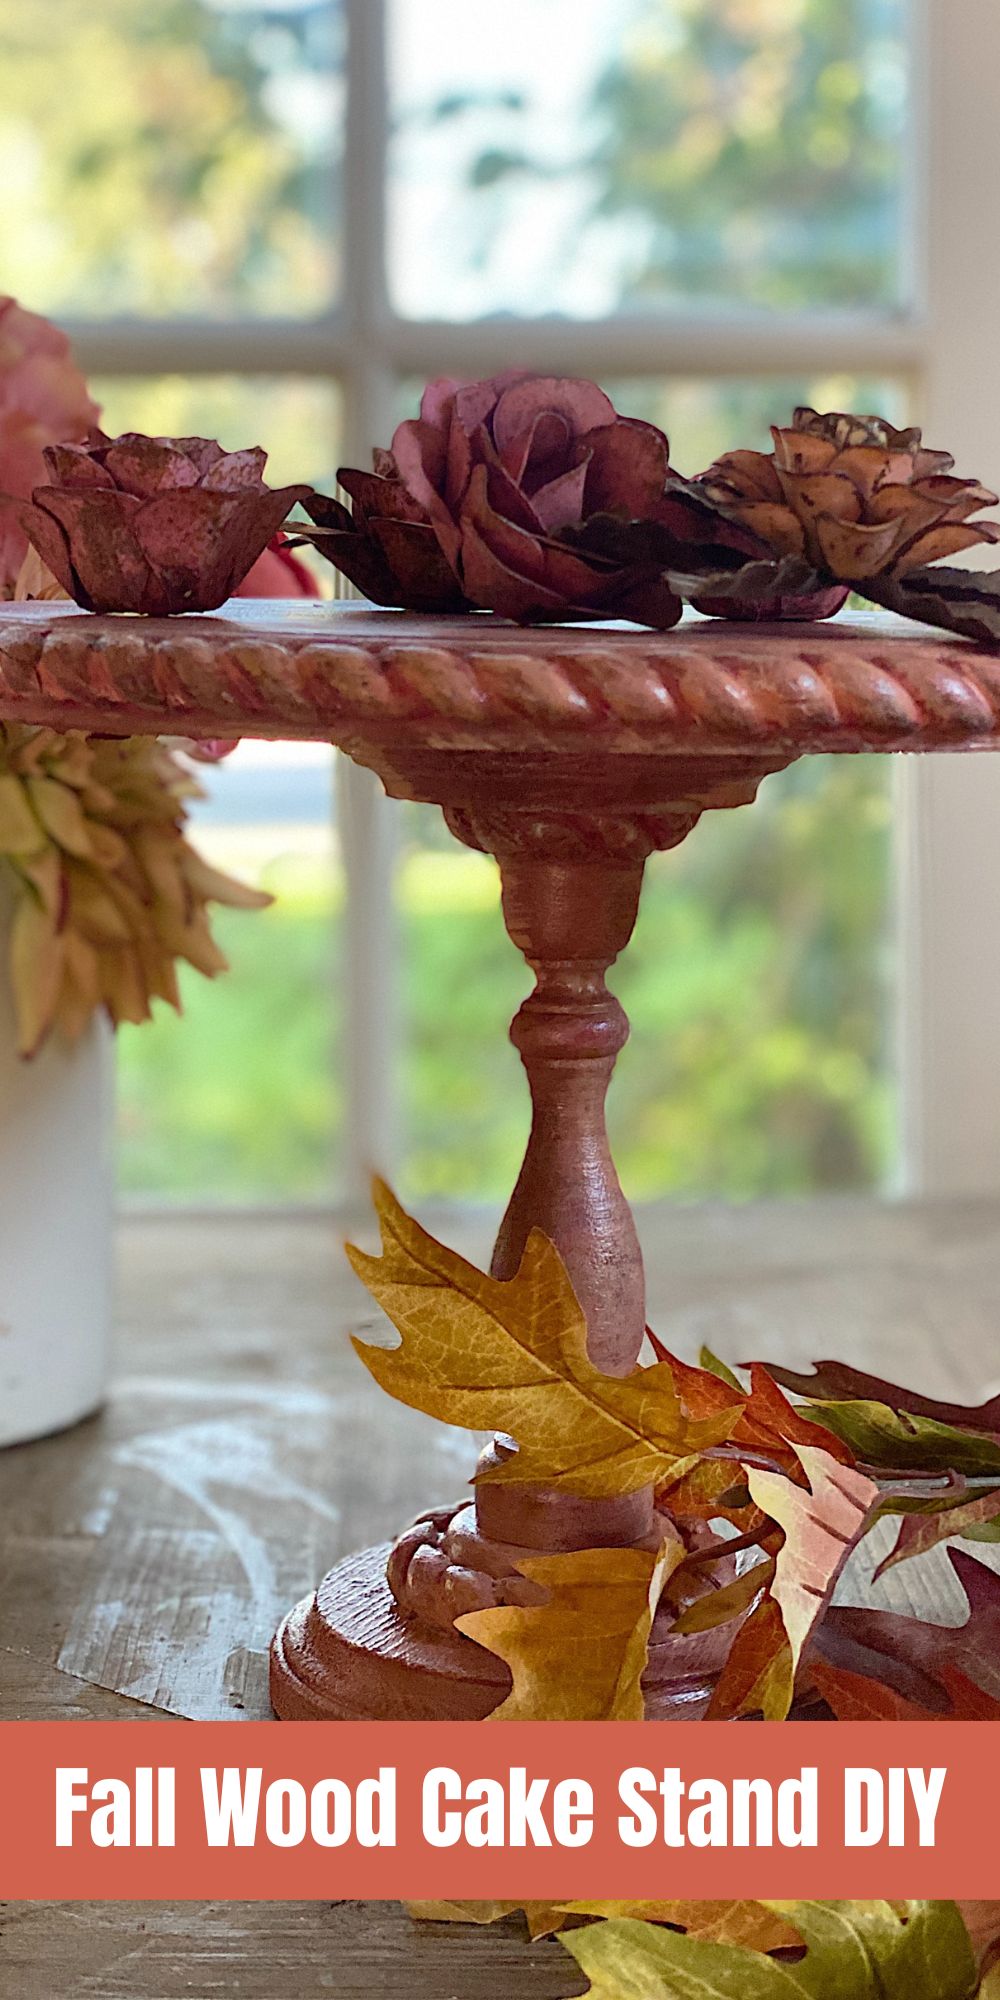
This time I used the IOD Trimmings 2 Decor mould and I made this new wood cake stand. I used their moulds with air dry/paper clay to create the detail around the edge of the top of the cake stand and also on the top and bottom of the stand.
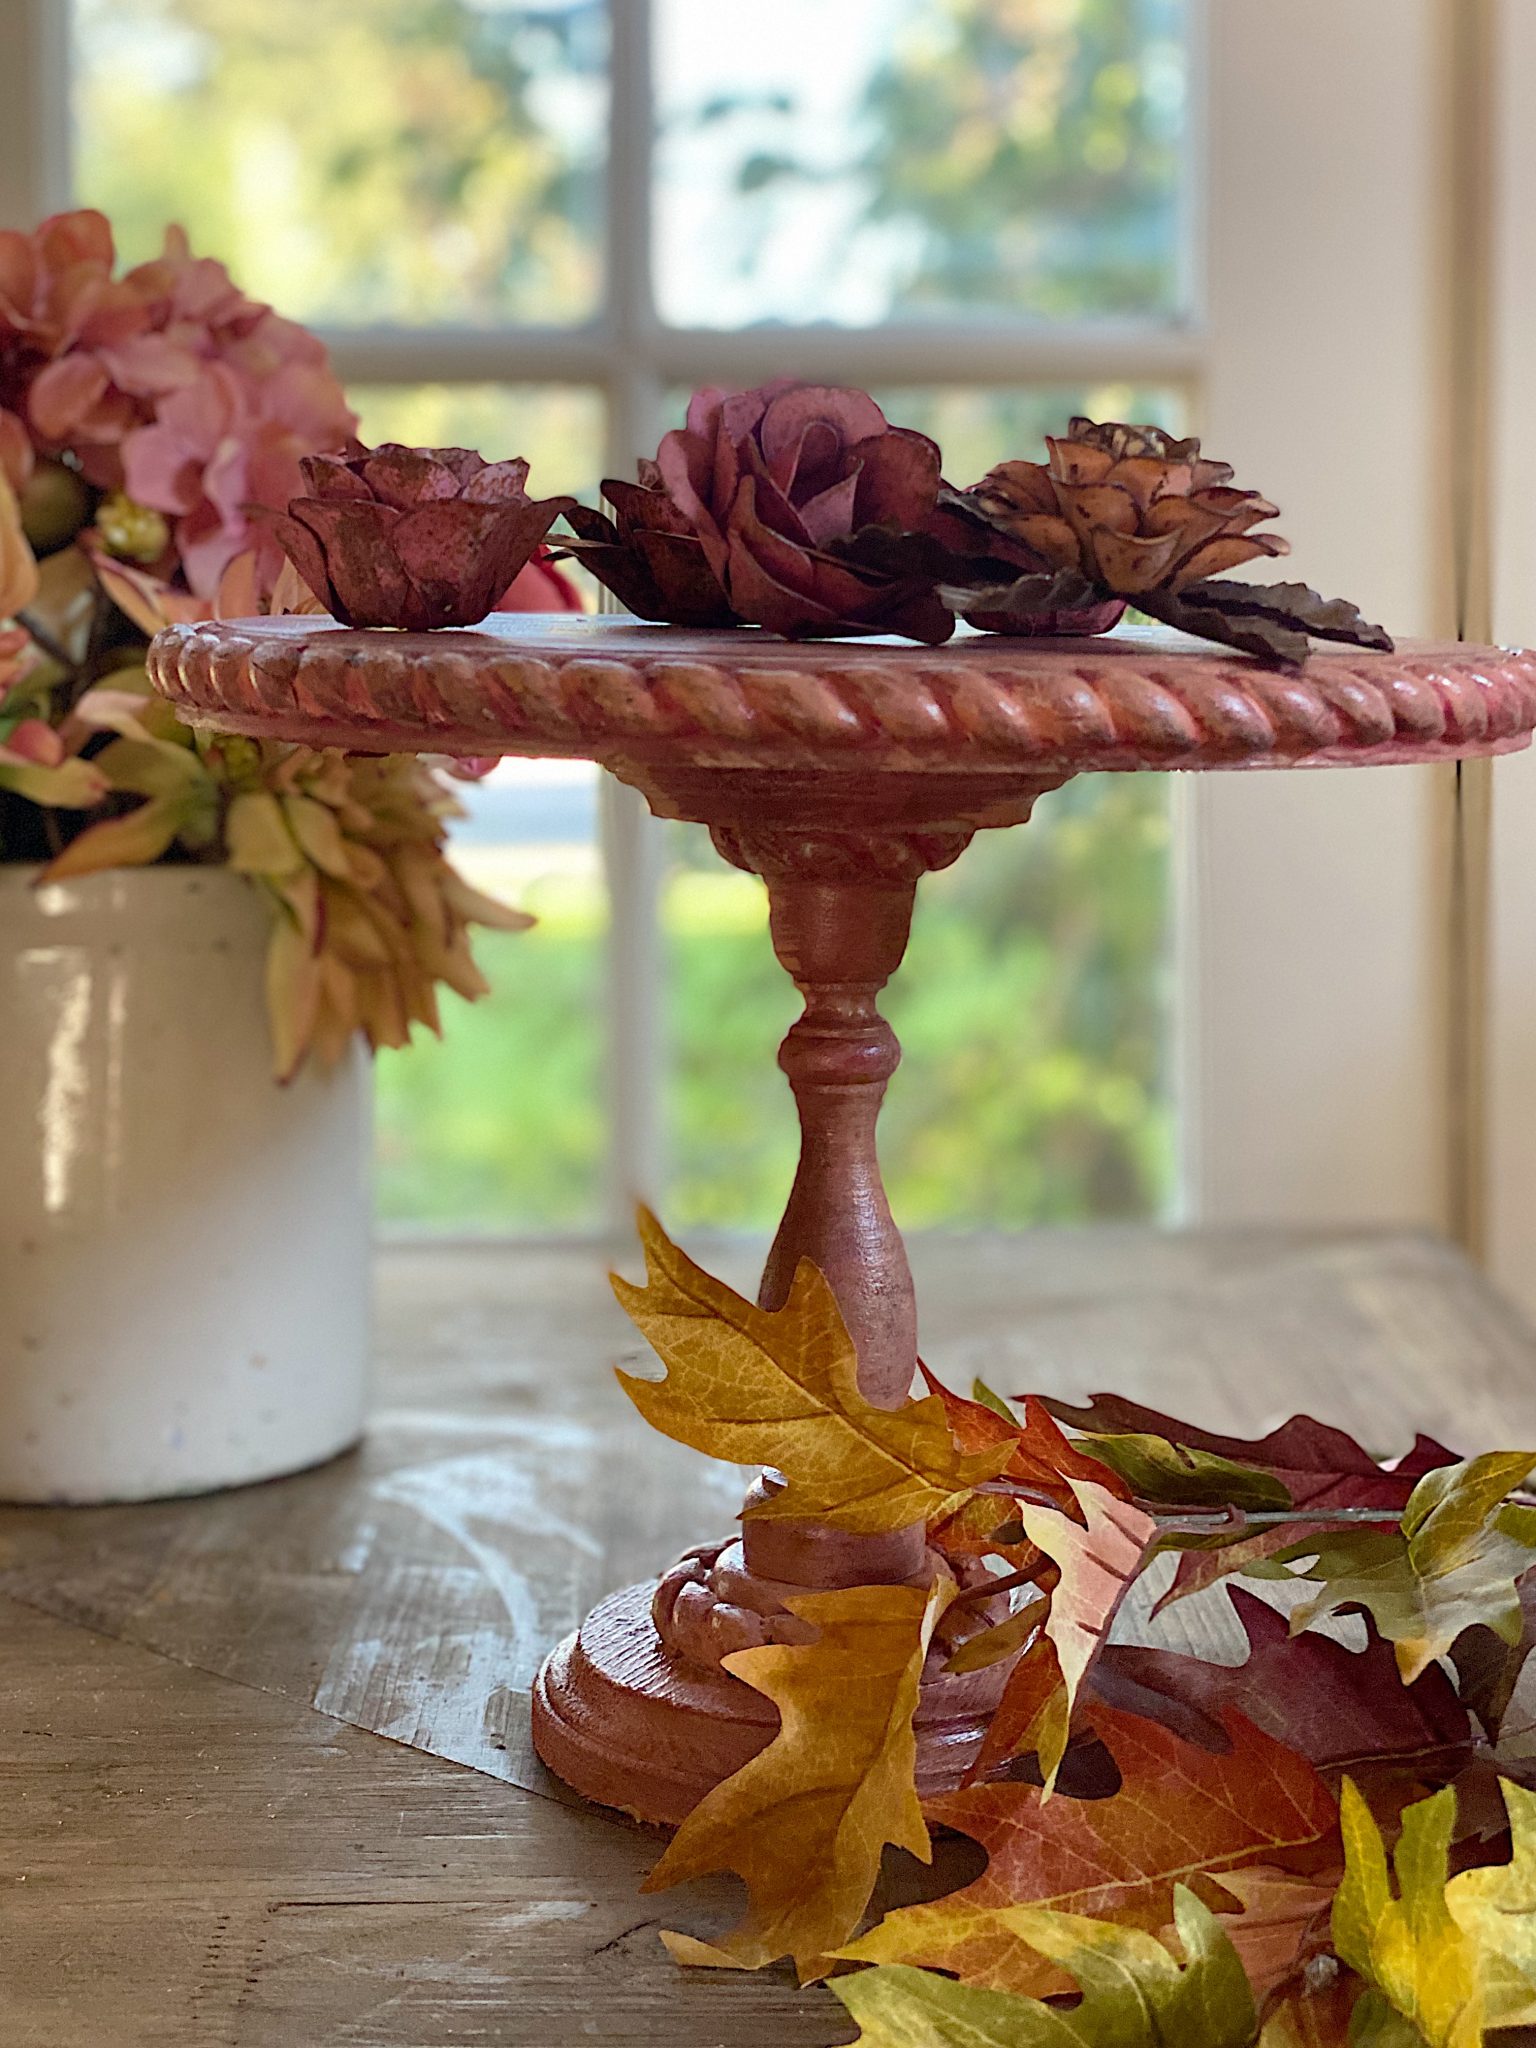
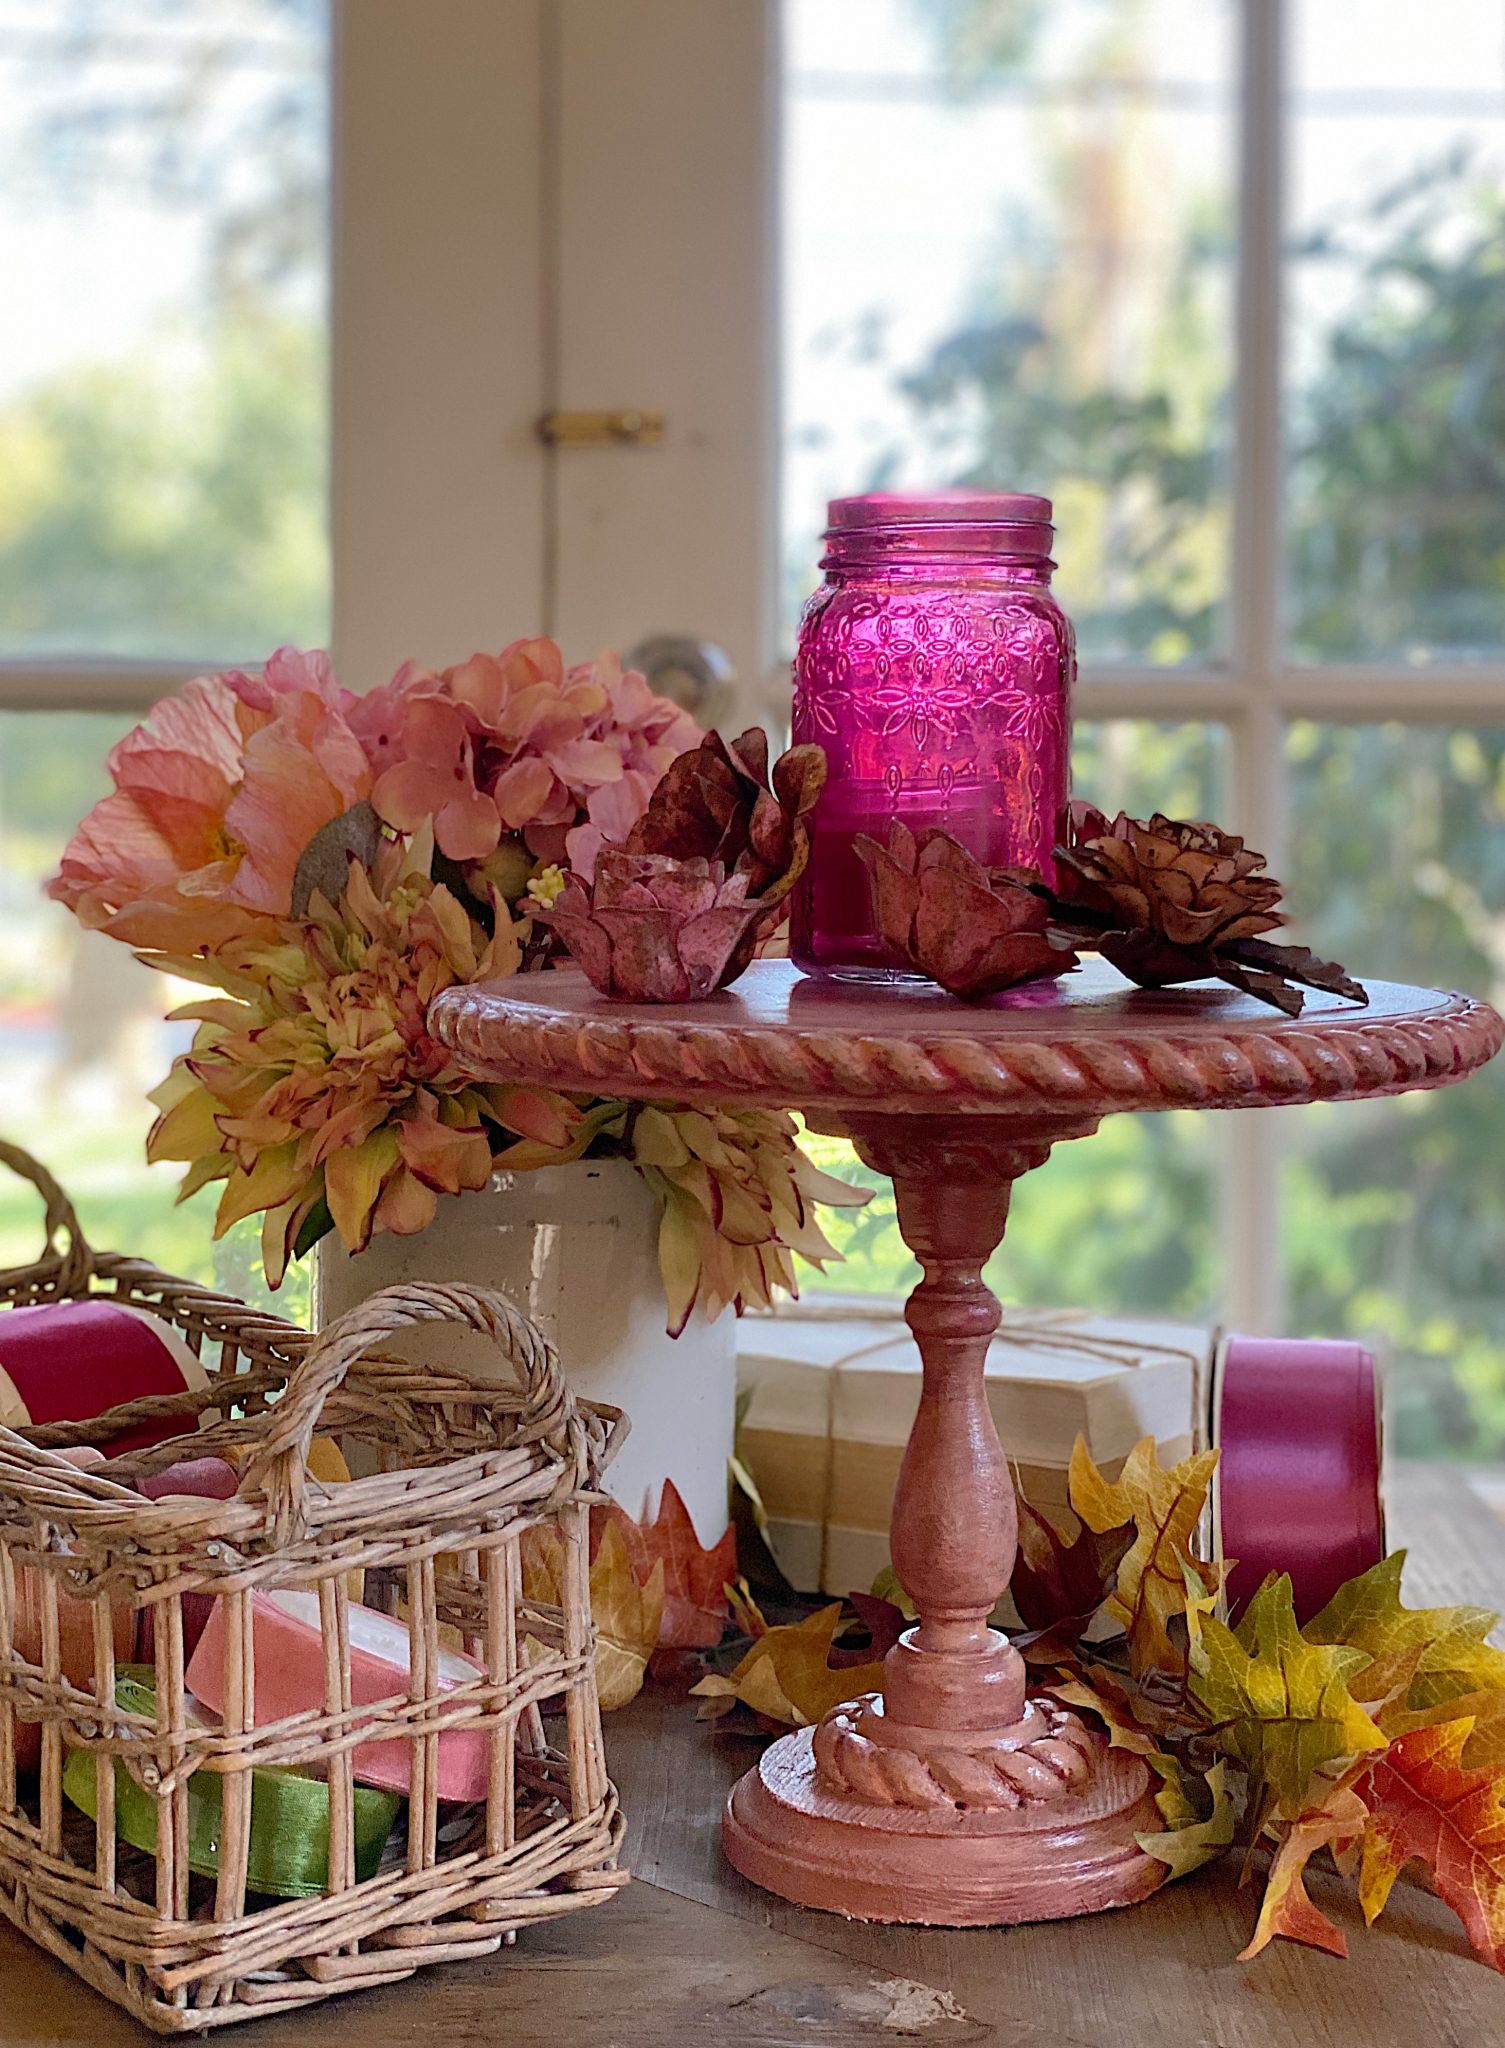
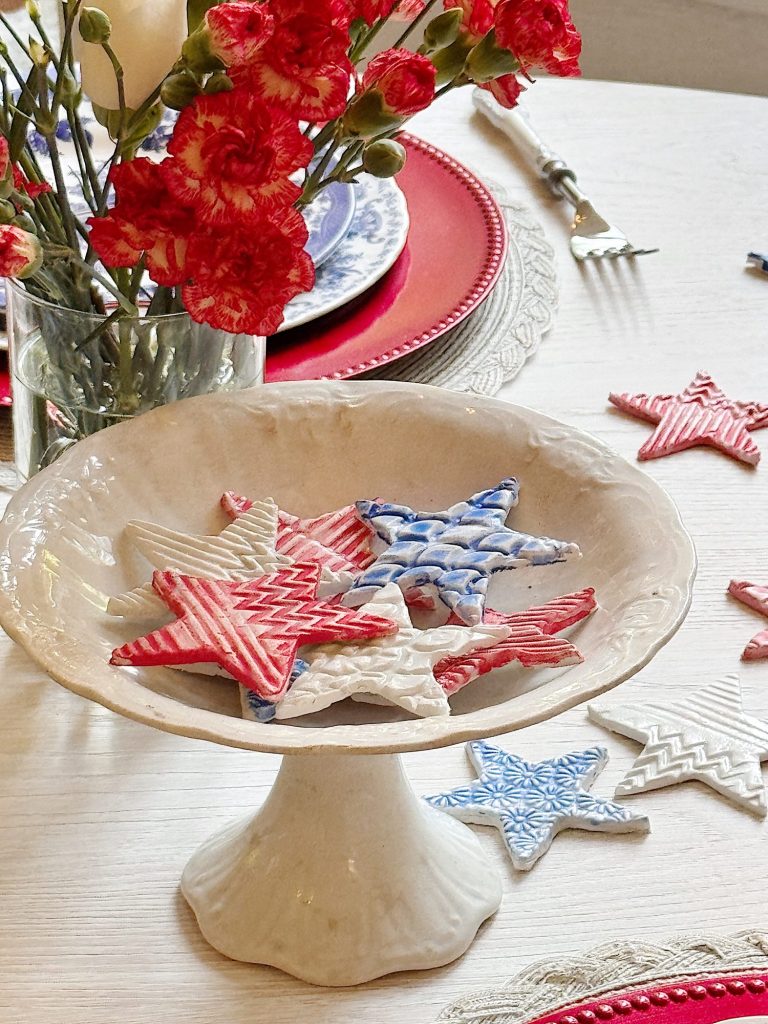
Why do I love making cake stands? They are really just so versatile. I use them for presenting a cake. Or cupcakes. Or donuts. I have mini cake stands that I love to use to prop place cards against. And I also love to create a pretty decor vignette with them. This actually might be my favorite way to use them.
A few months ago I made a white wood cake stand from a wooden candlestick and round wood pieces. I used wooden beads for adornment and you can see how I made that wood cake stand here.

I knew I could make something more amazing using the clay moulds from Iron Orchid. And I love how this turned out.
I have been collecting cake stands for years and I have many different sizes, shapes, and colors. I have a wooden one that I got at Magnolia in Waco and I put a rustic wooden bowl onto the top of it and fill it with whatever is in season; apples, pomegranates, mercury glass Christmas balls, literally whatever is in season.
It might be one of the most asked questions I get on the blog, “where did I get the wooden bowl on the stand.” I always feel badly explaining that they are actually two pieces, one vintage and one from Magnolia years ago.
So what do you think of the color of this cake stand?
Here are the materials that I used to create this cake stand. Follow along to the bottom to find out how to mix the paints to create this gorgeous fall color.
Materials Needed to Make Your Own Wood Cake Stand
- 11″, 5″ and 4″ Wood round disc
- 7″ Wooden candlestick
- IOD Trimmings 2 Decor Mould
- One 14oz. package of Iron Orchid Clay or Sculpey Model Air White Dry Clay
- Titebond Quick and Thick glue
- Acrylic Paint in Yellow, Brown, Light Orange, and Cream
- Paint Brush
- Water-based satin sealer
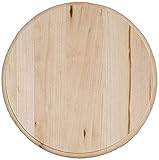


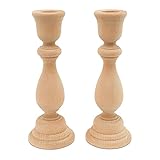


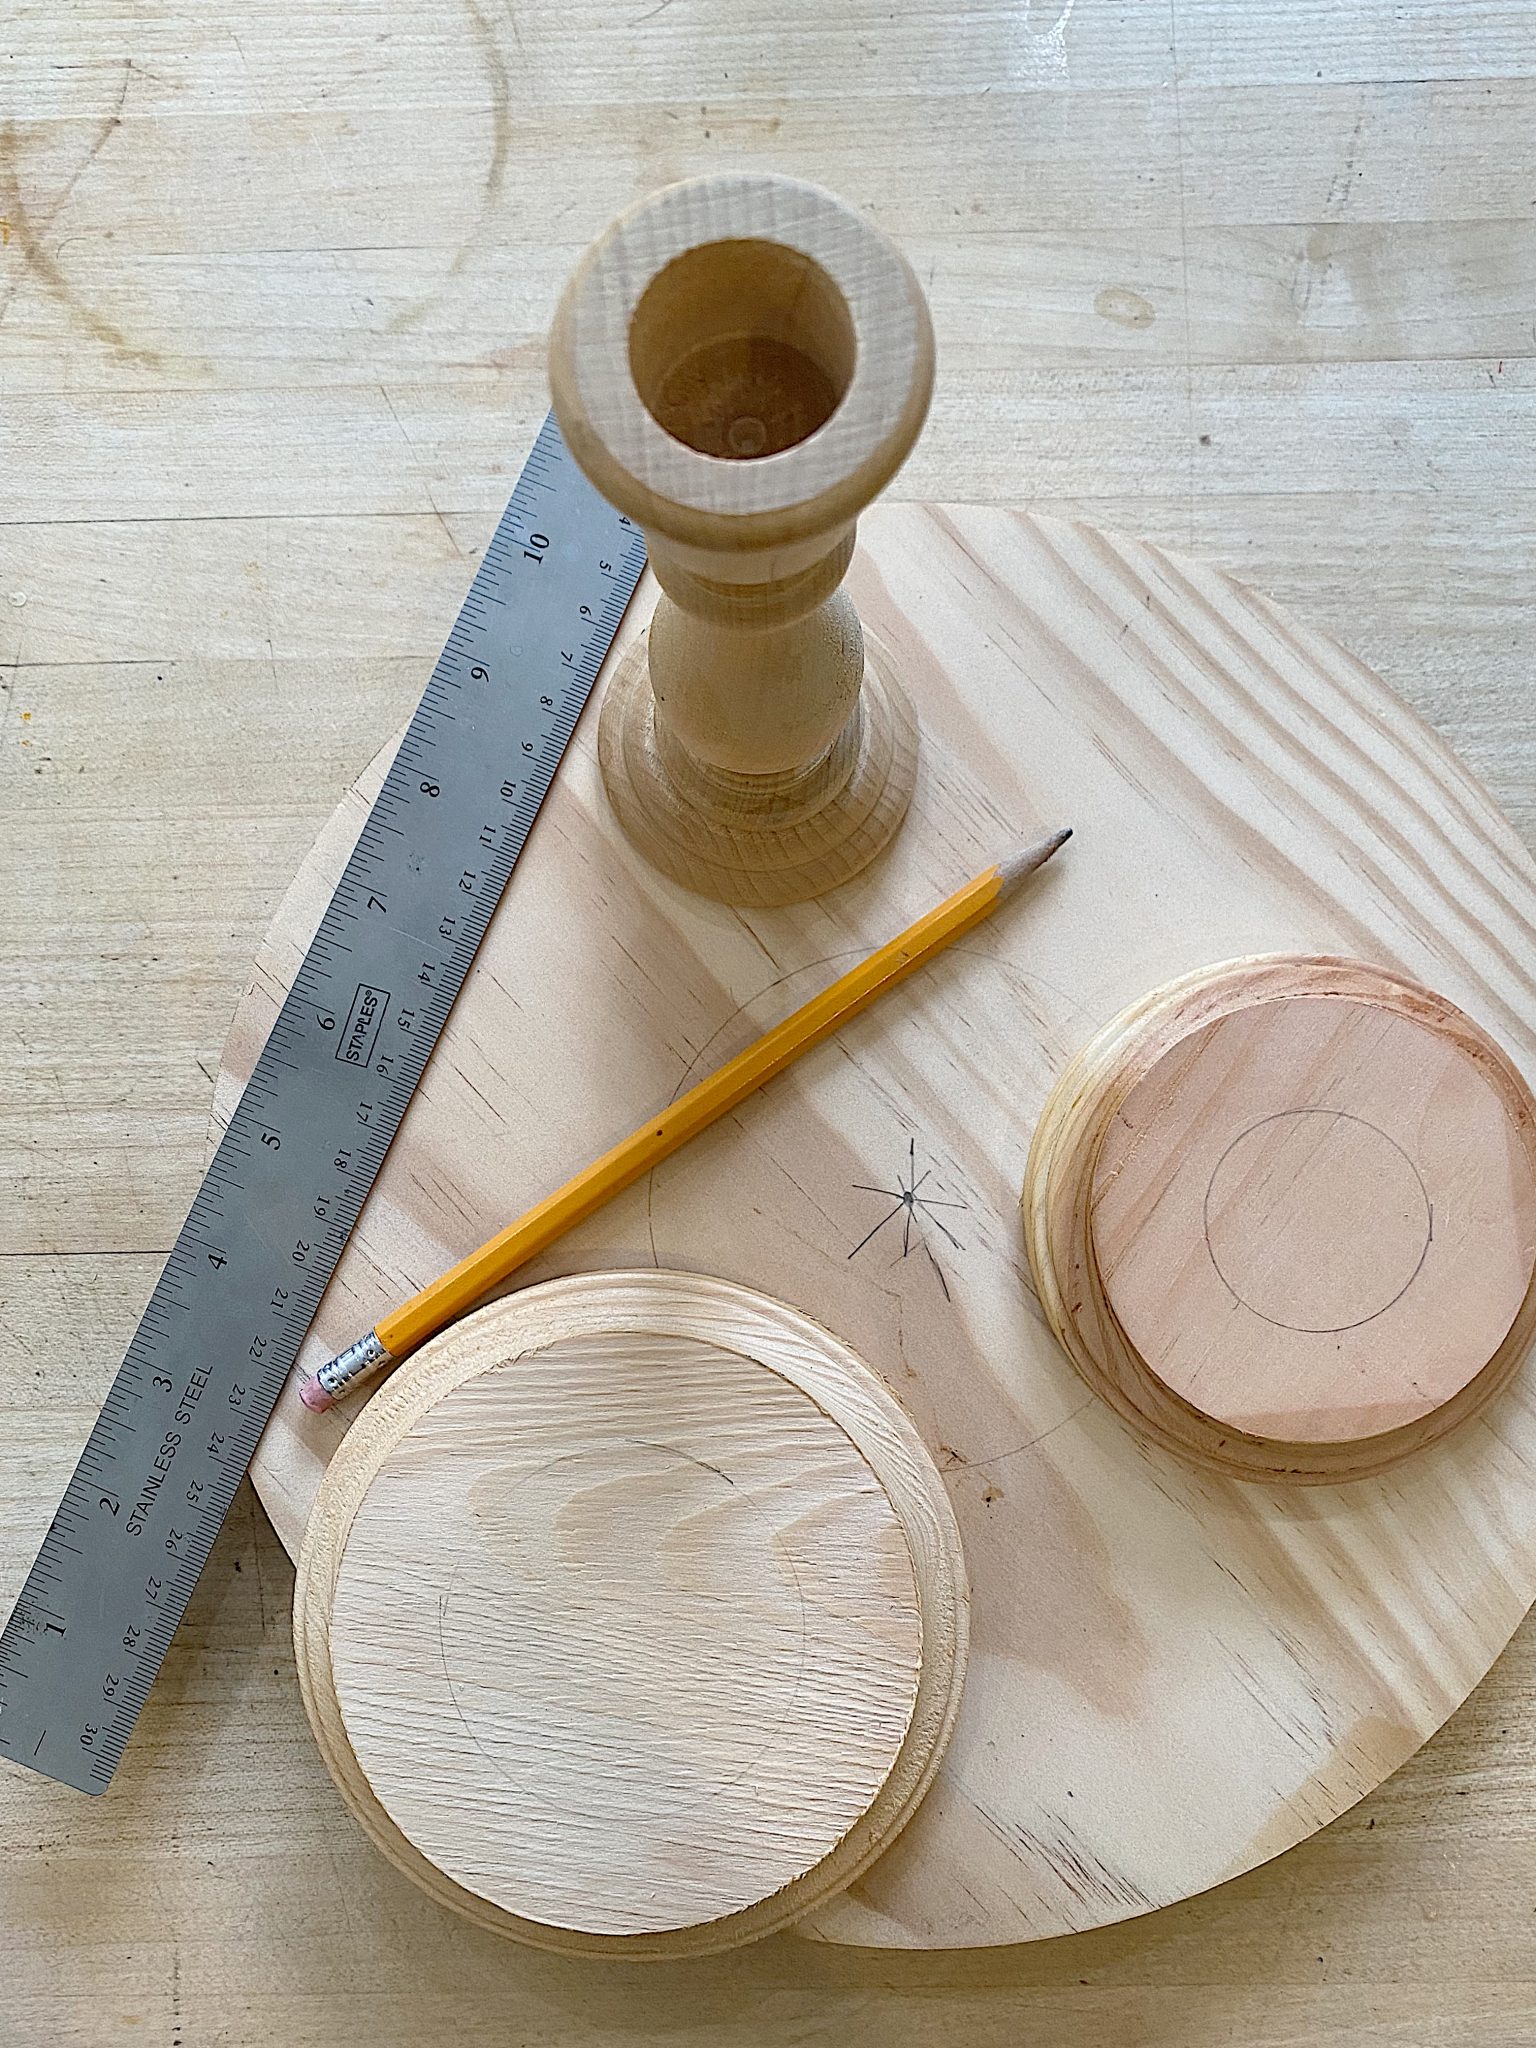
one – Gather your materials, as listed above
two – This is the order of the cake plate – 5″ circle on the bottom (right side up), candlestick (right side up), 4″ circle (upside down), 11″ top large wood circle
three – Stack the pieces and with a ruler, draw circles to line them up on the piece below
four – Glue the 5″ piece to the candlestick and glue the 4″ piece on top. Let dry.
It should look like this.
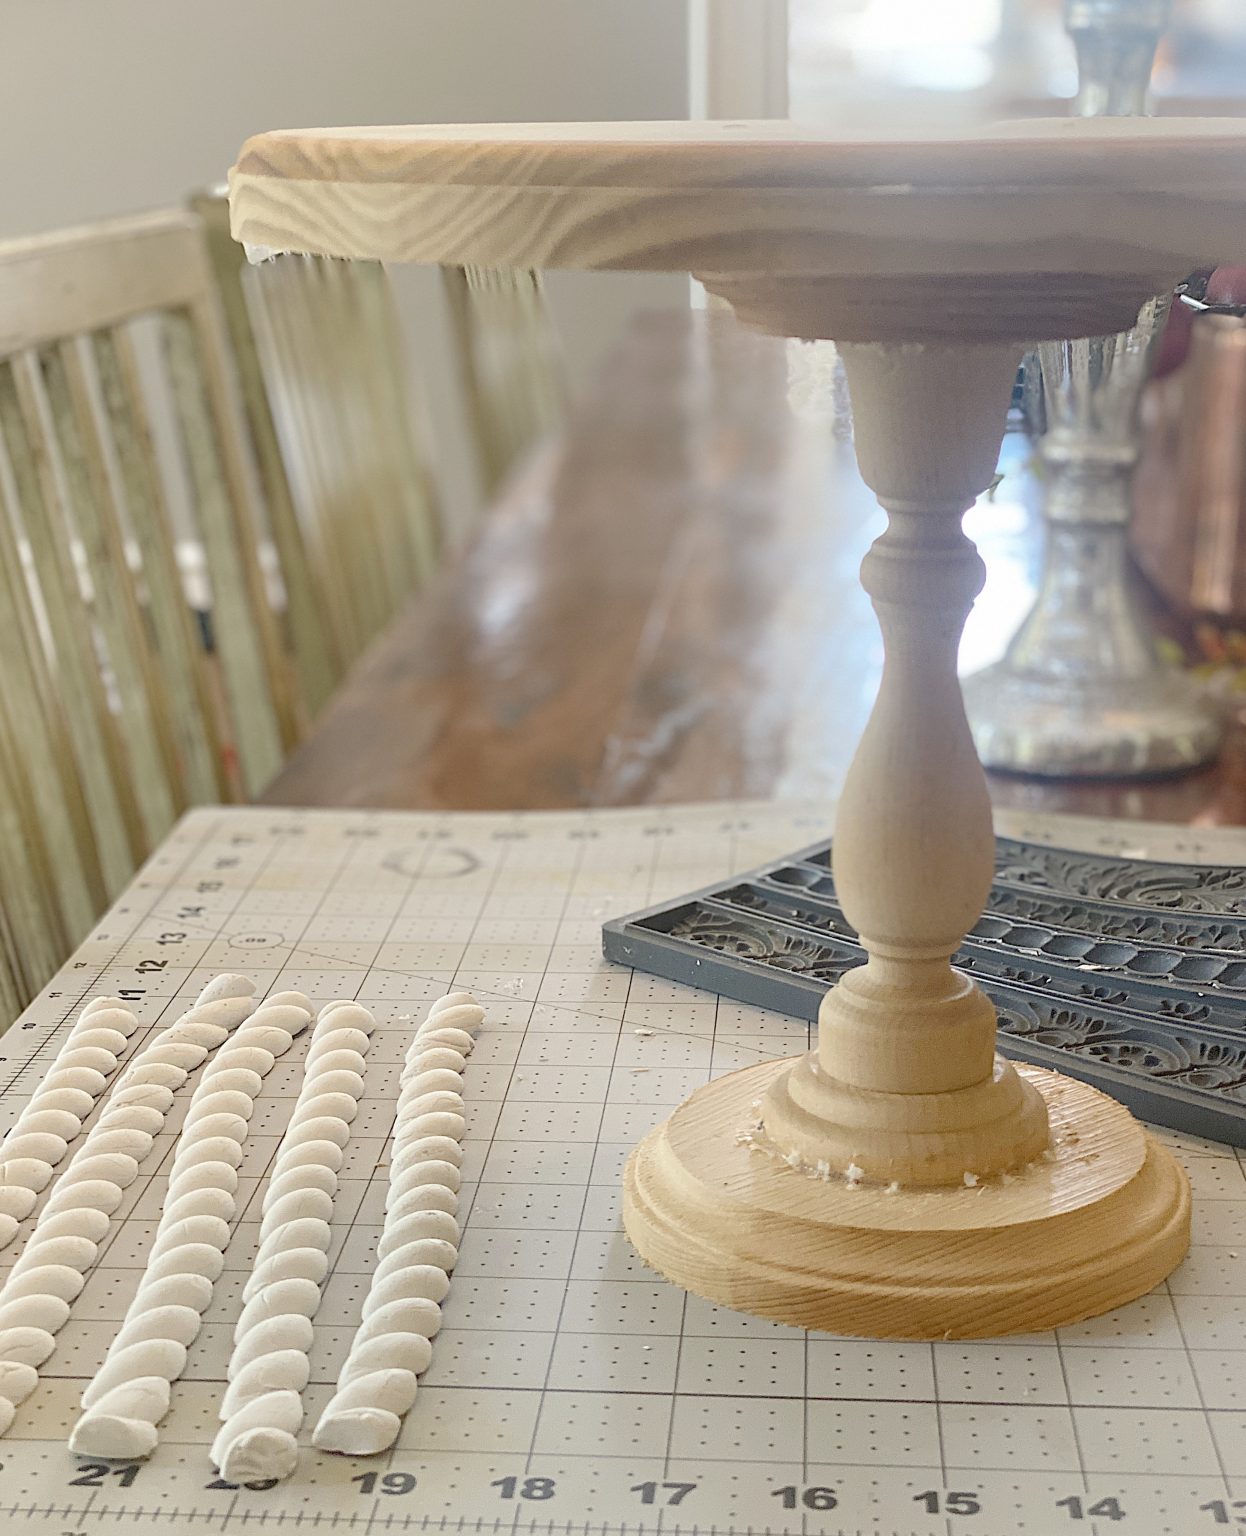
Next, you want to make the moulds. The size of cakestand you make will determine how many moulds you need. I made five.


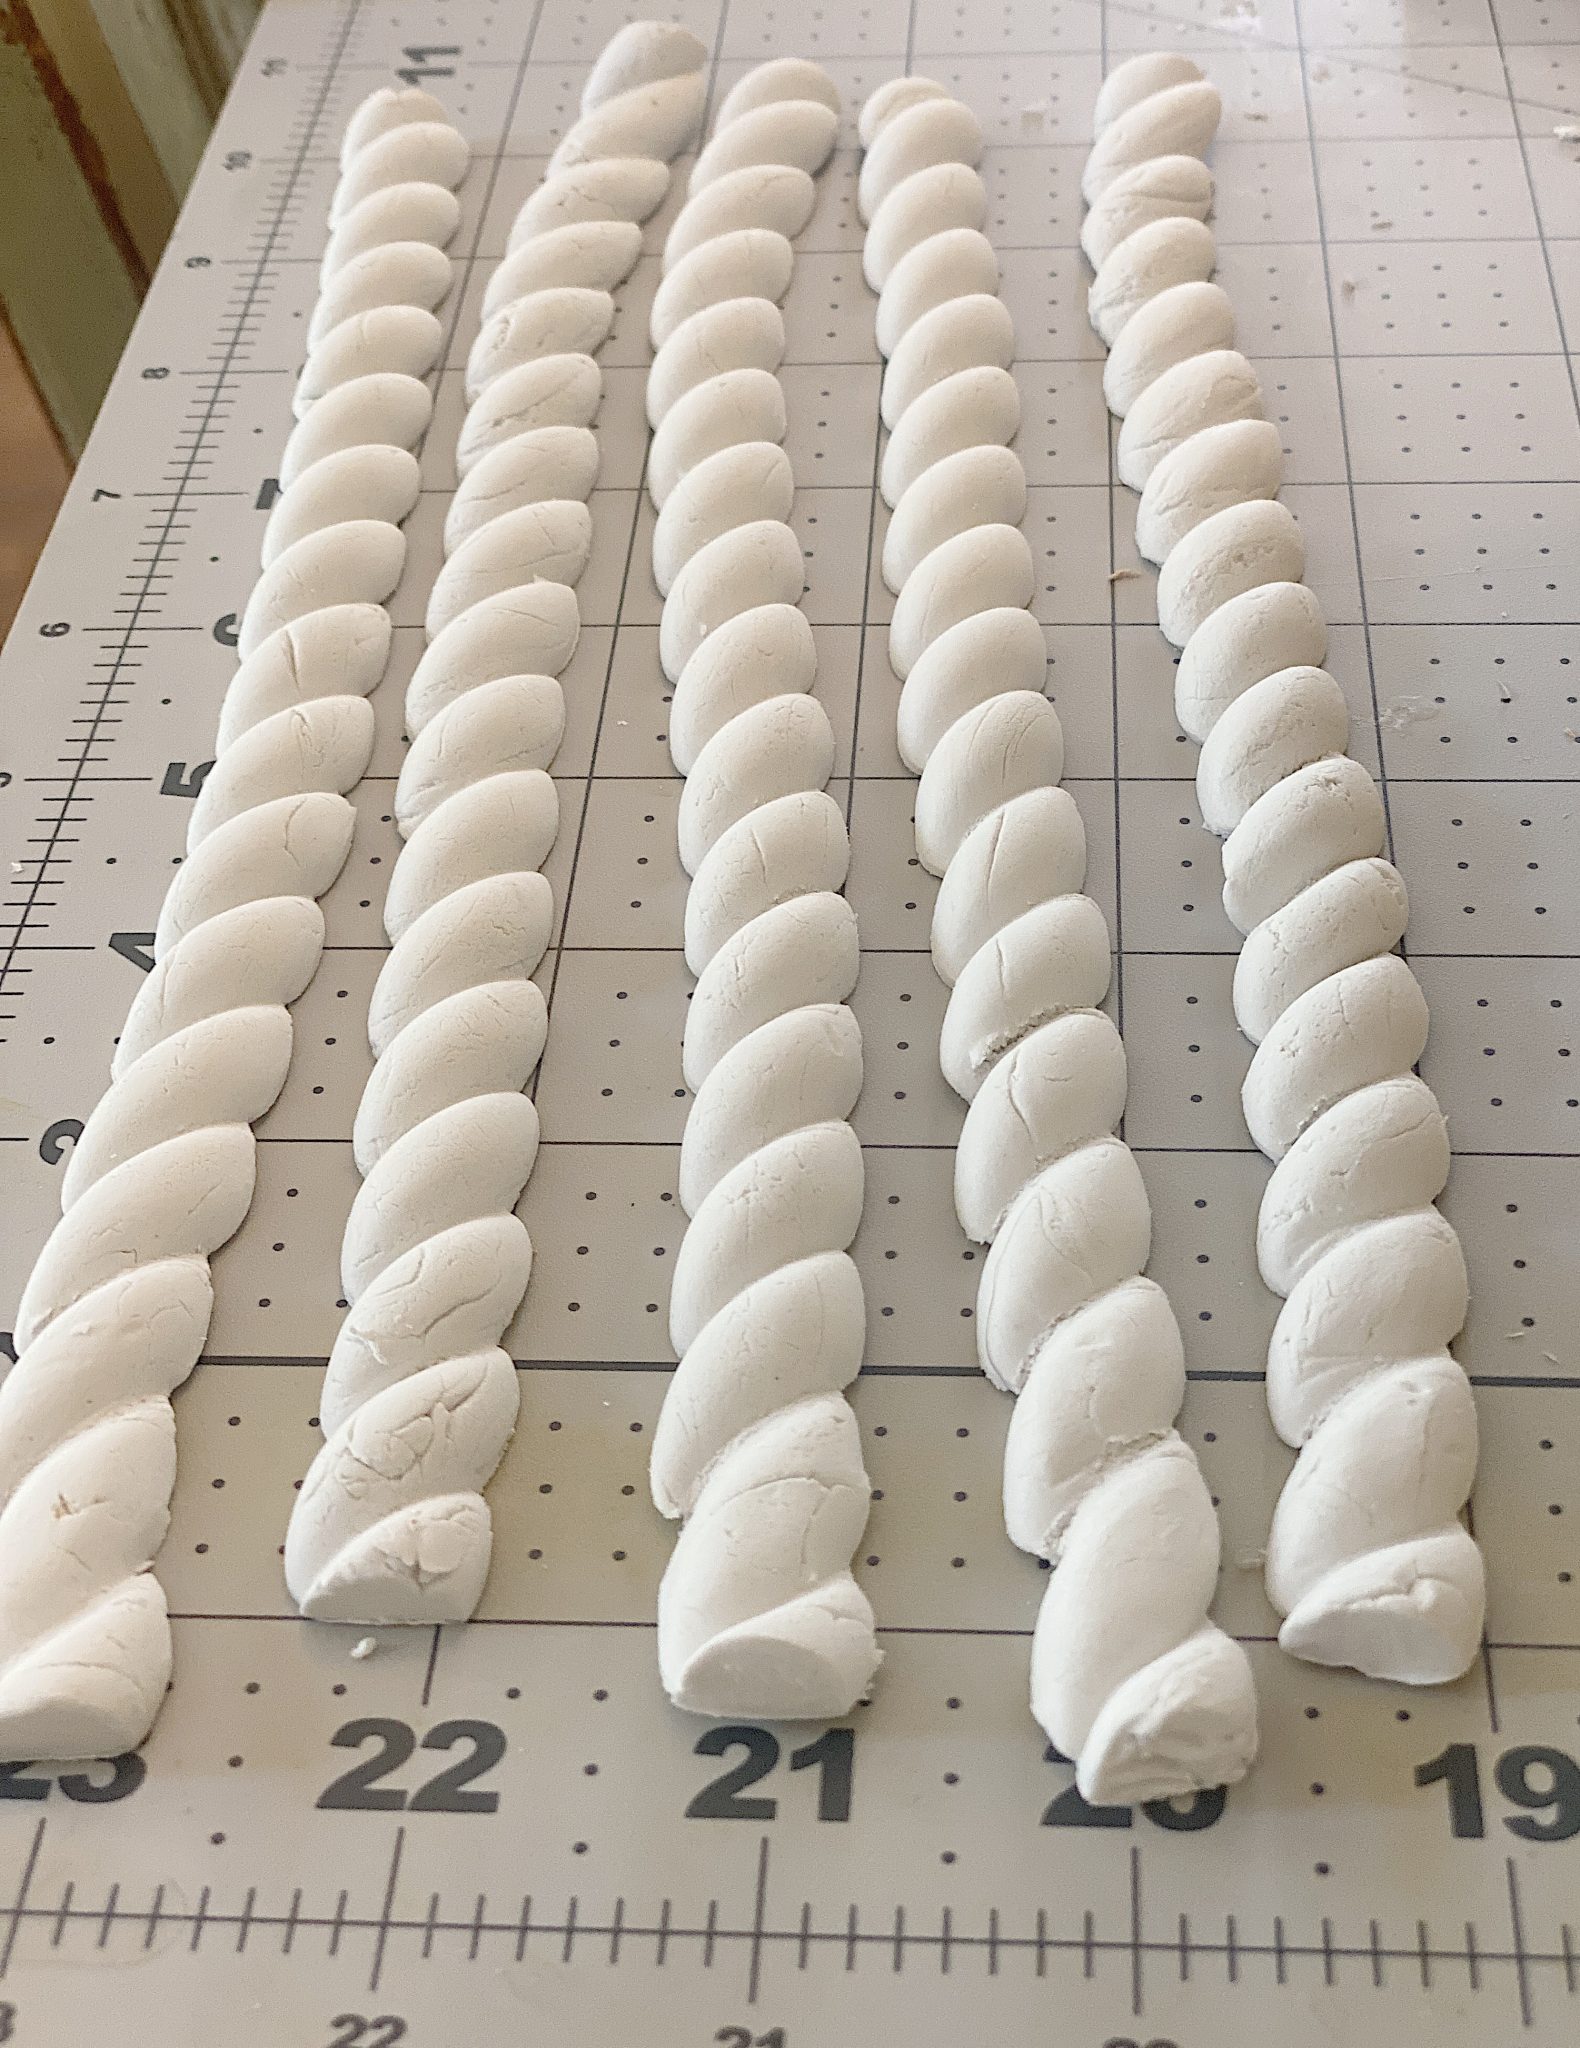
- four – Roll some of the clay in your hand to soften. Place a generous amount into the mould. Flatten the clay into the mould. Using a scraper, flatten and scrape the clay until it is flat (as seen in the mould at the top).
- five – Gently bend the mold and take out the clay piece.
- six – Lay the clay pieces flat. You will glue them on before they dry so be sure you are ready to do so before you start.
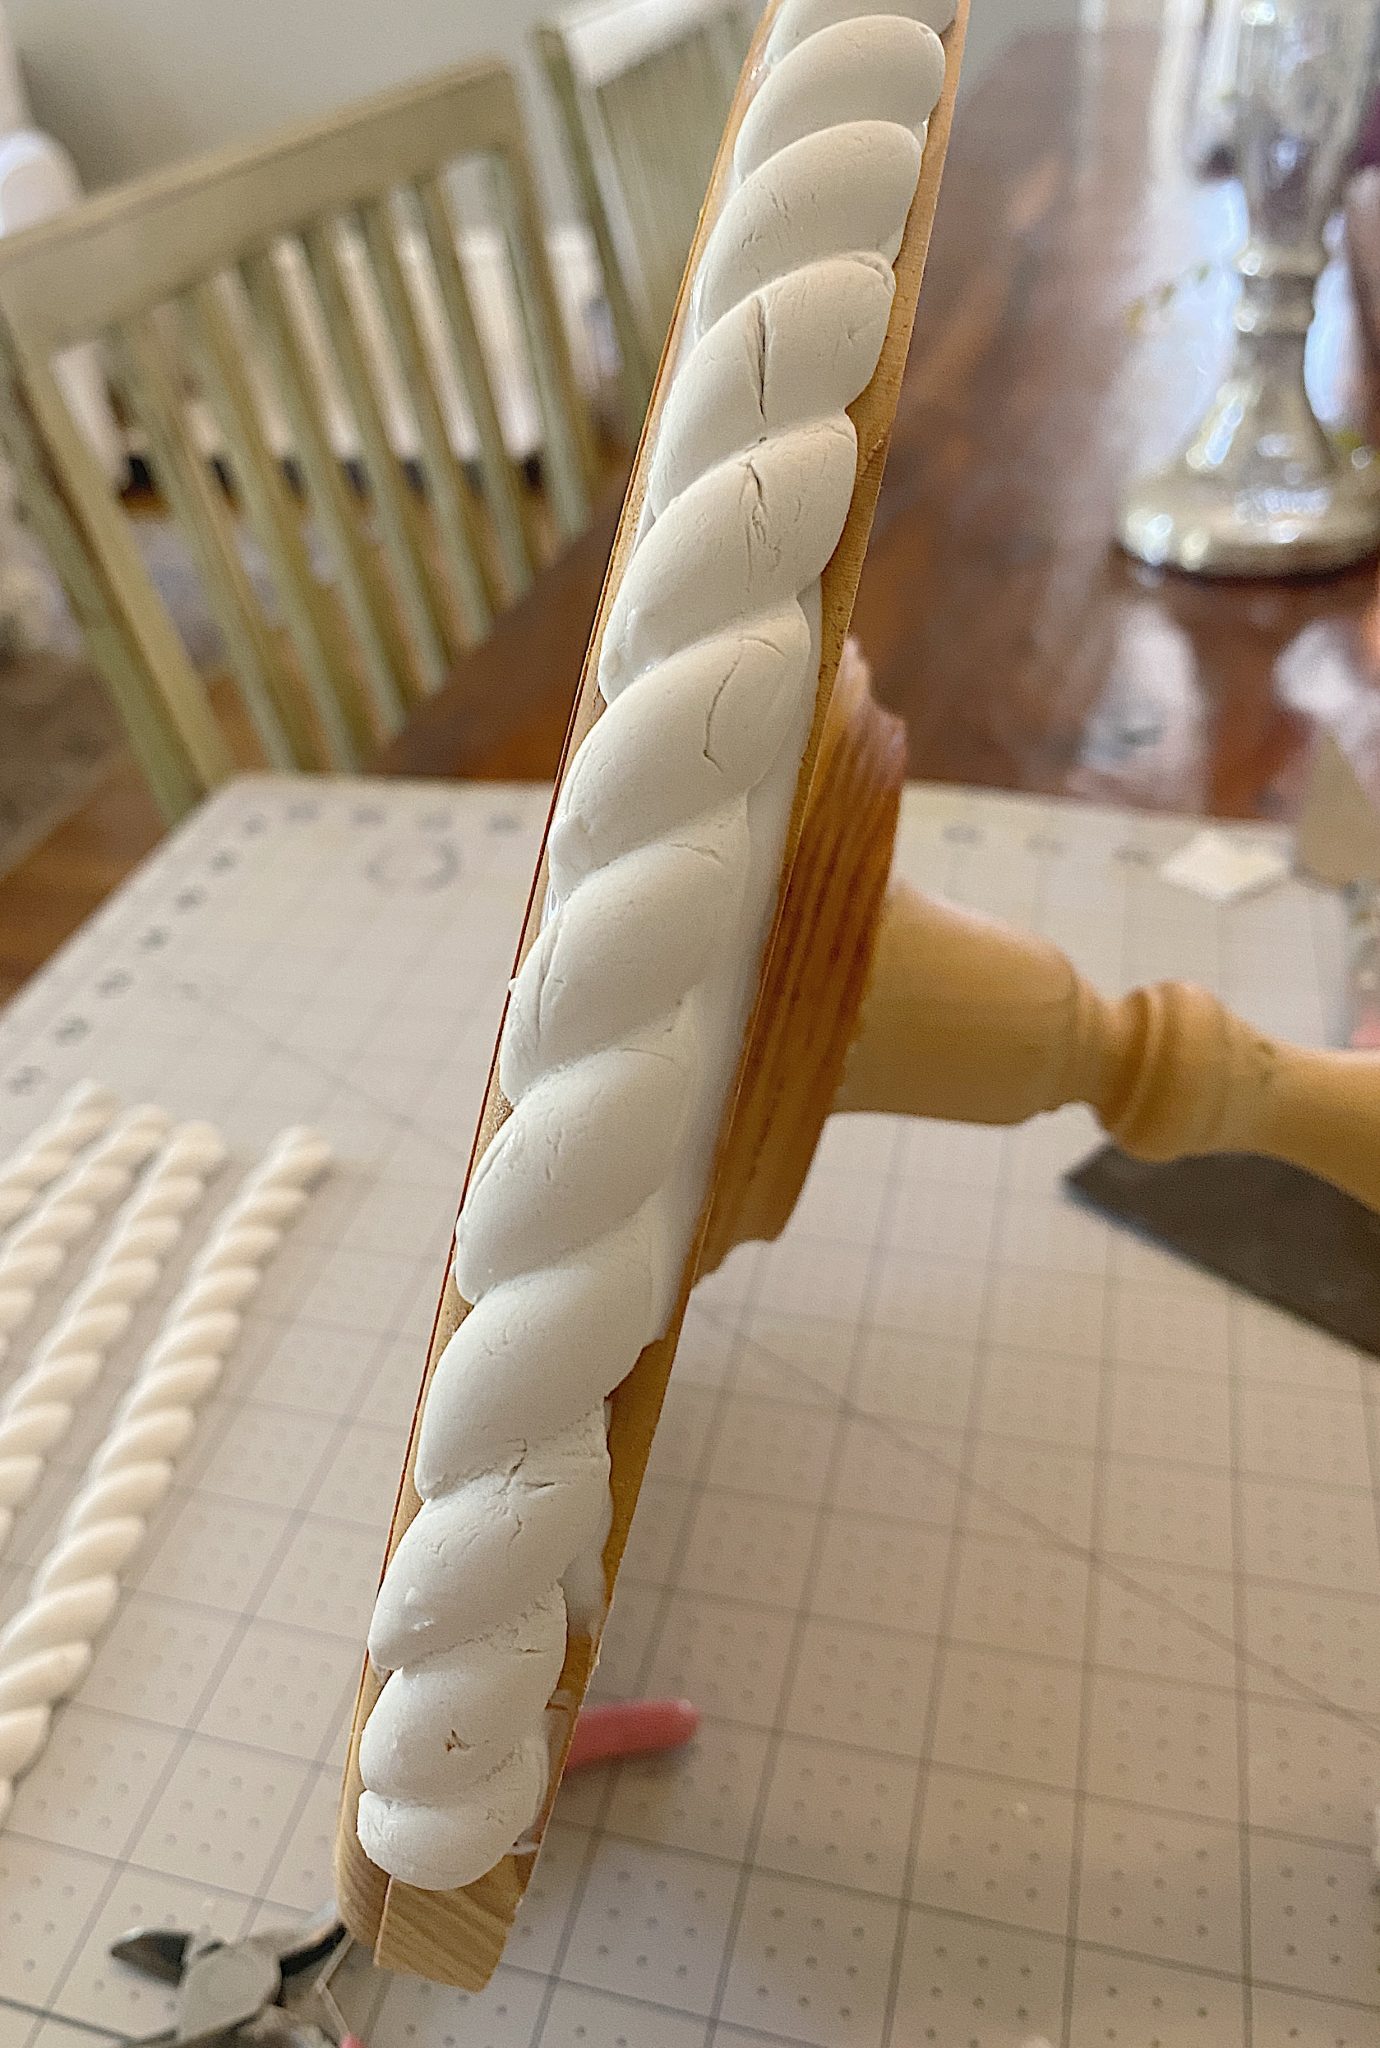
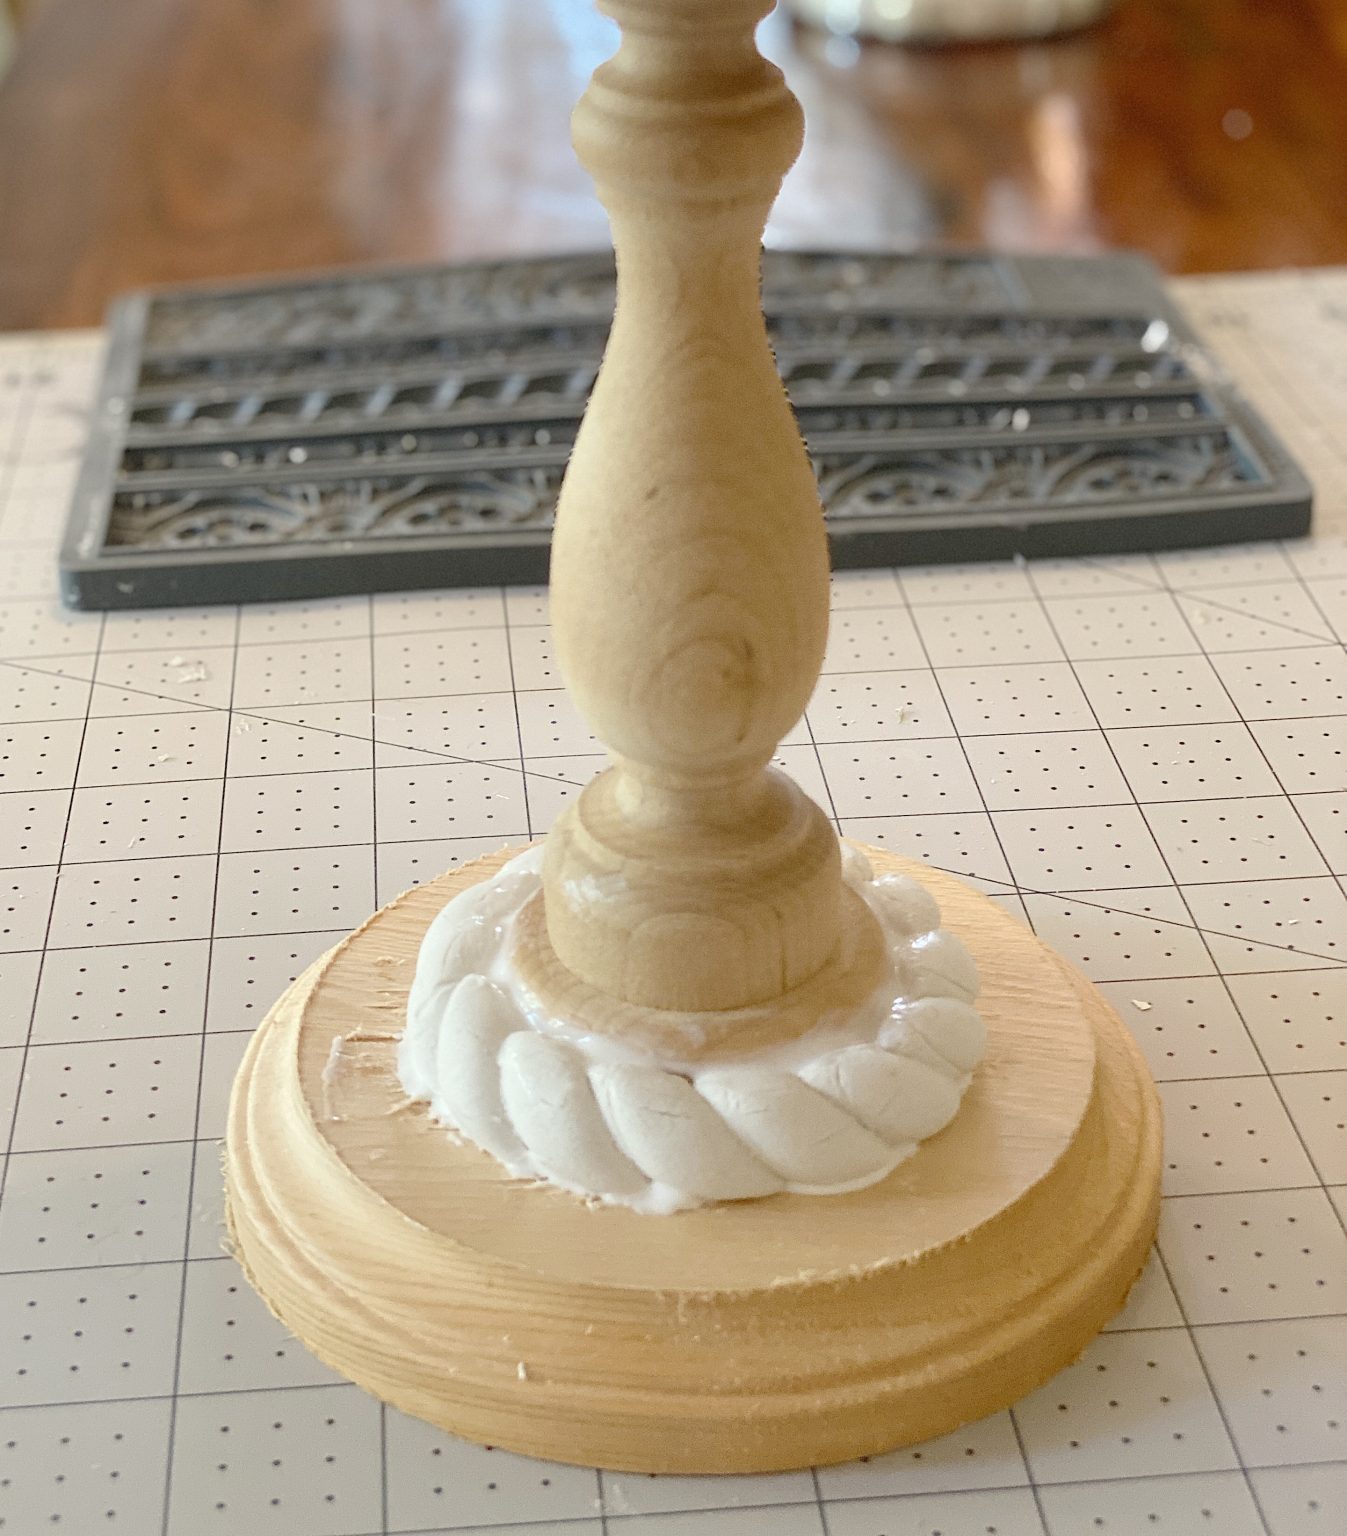
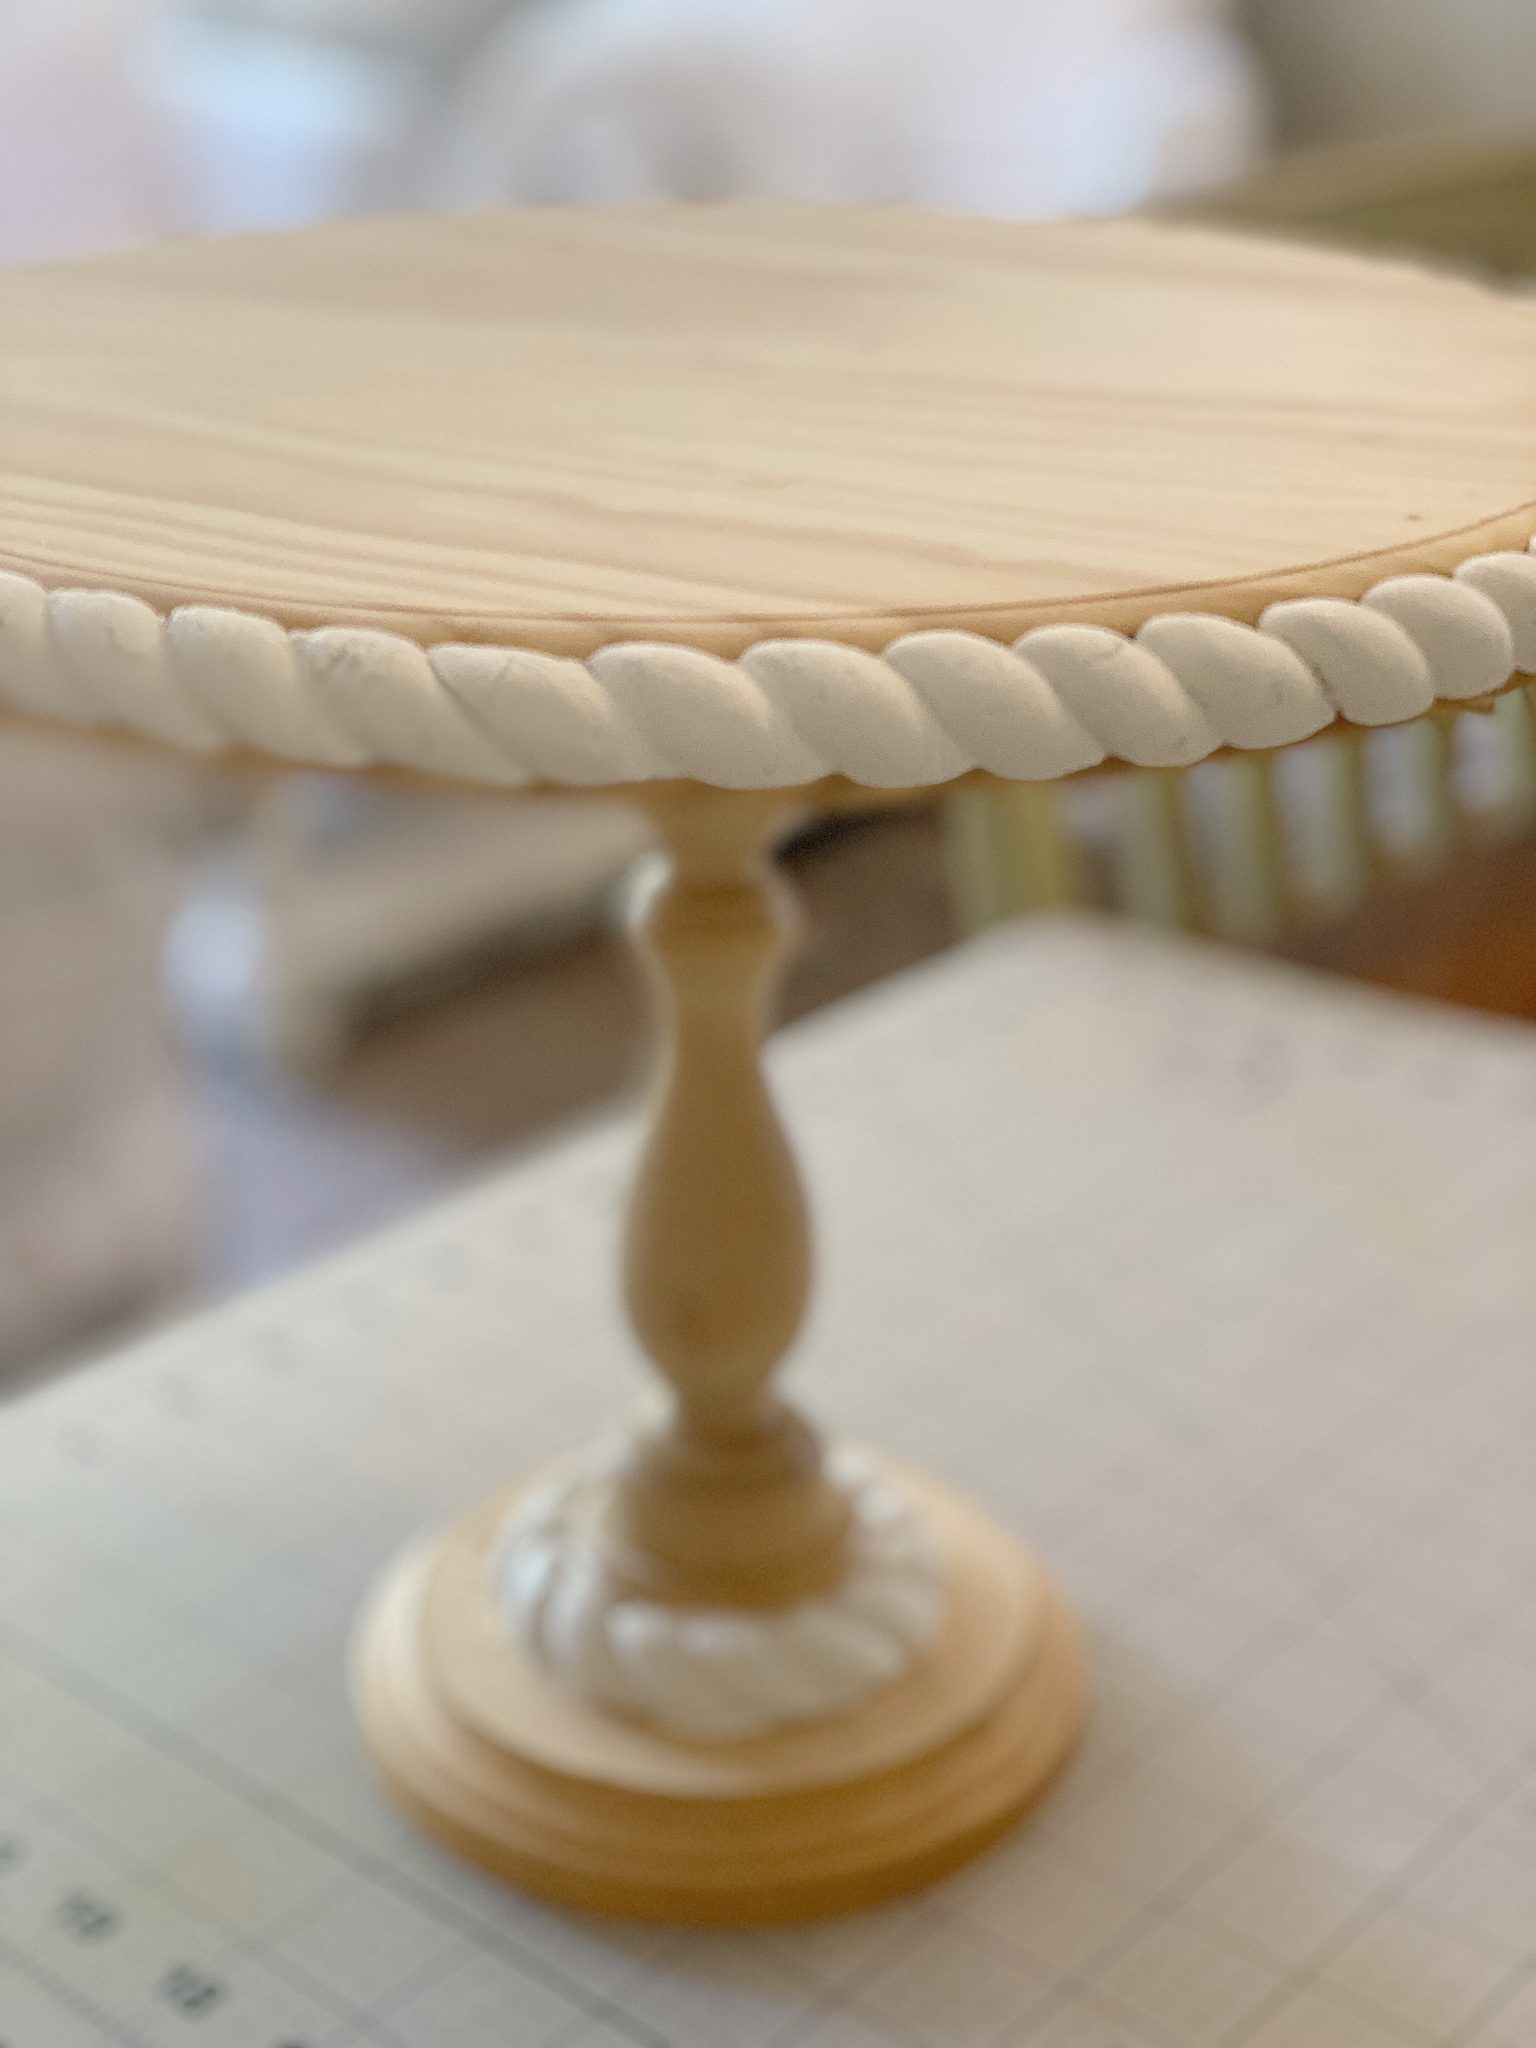
- seven – Place glue on the back of one of the clay pieces and place on the outside of the top wood piece. Hold in place for a few minutes until the clay stays in place.
- eight – Continue all the way around, being sure to not pull the clay. The clay will shrink a tiny bit when it dries, so I always try to leave a little extra clay where the ends meet.
- nine – Continue gluing the clay underneath the top wood round and at the bottom.
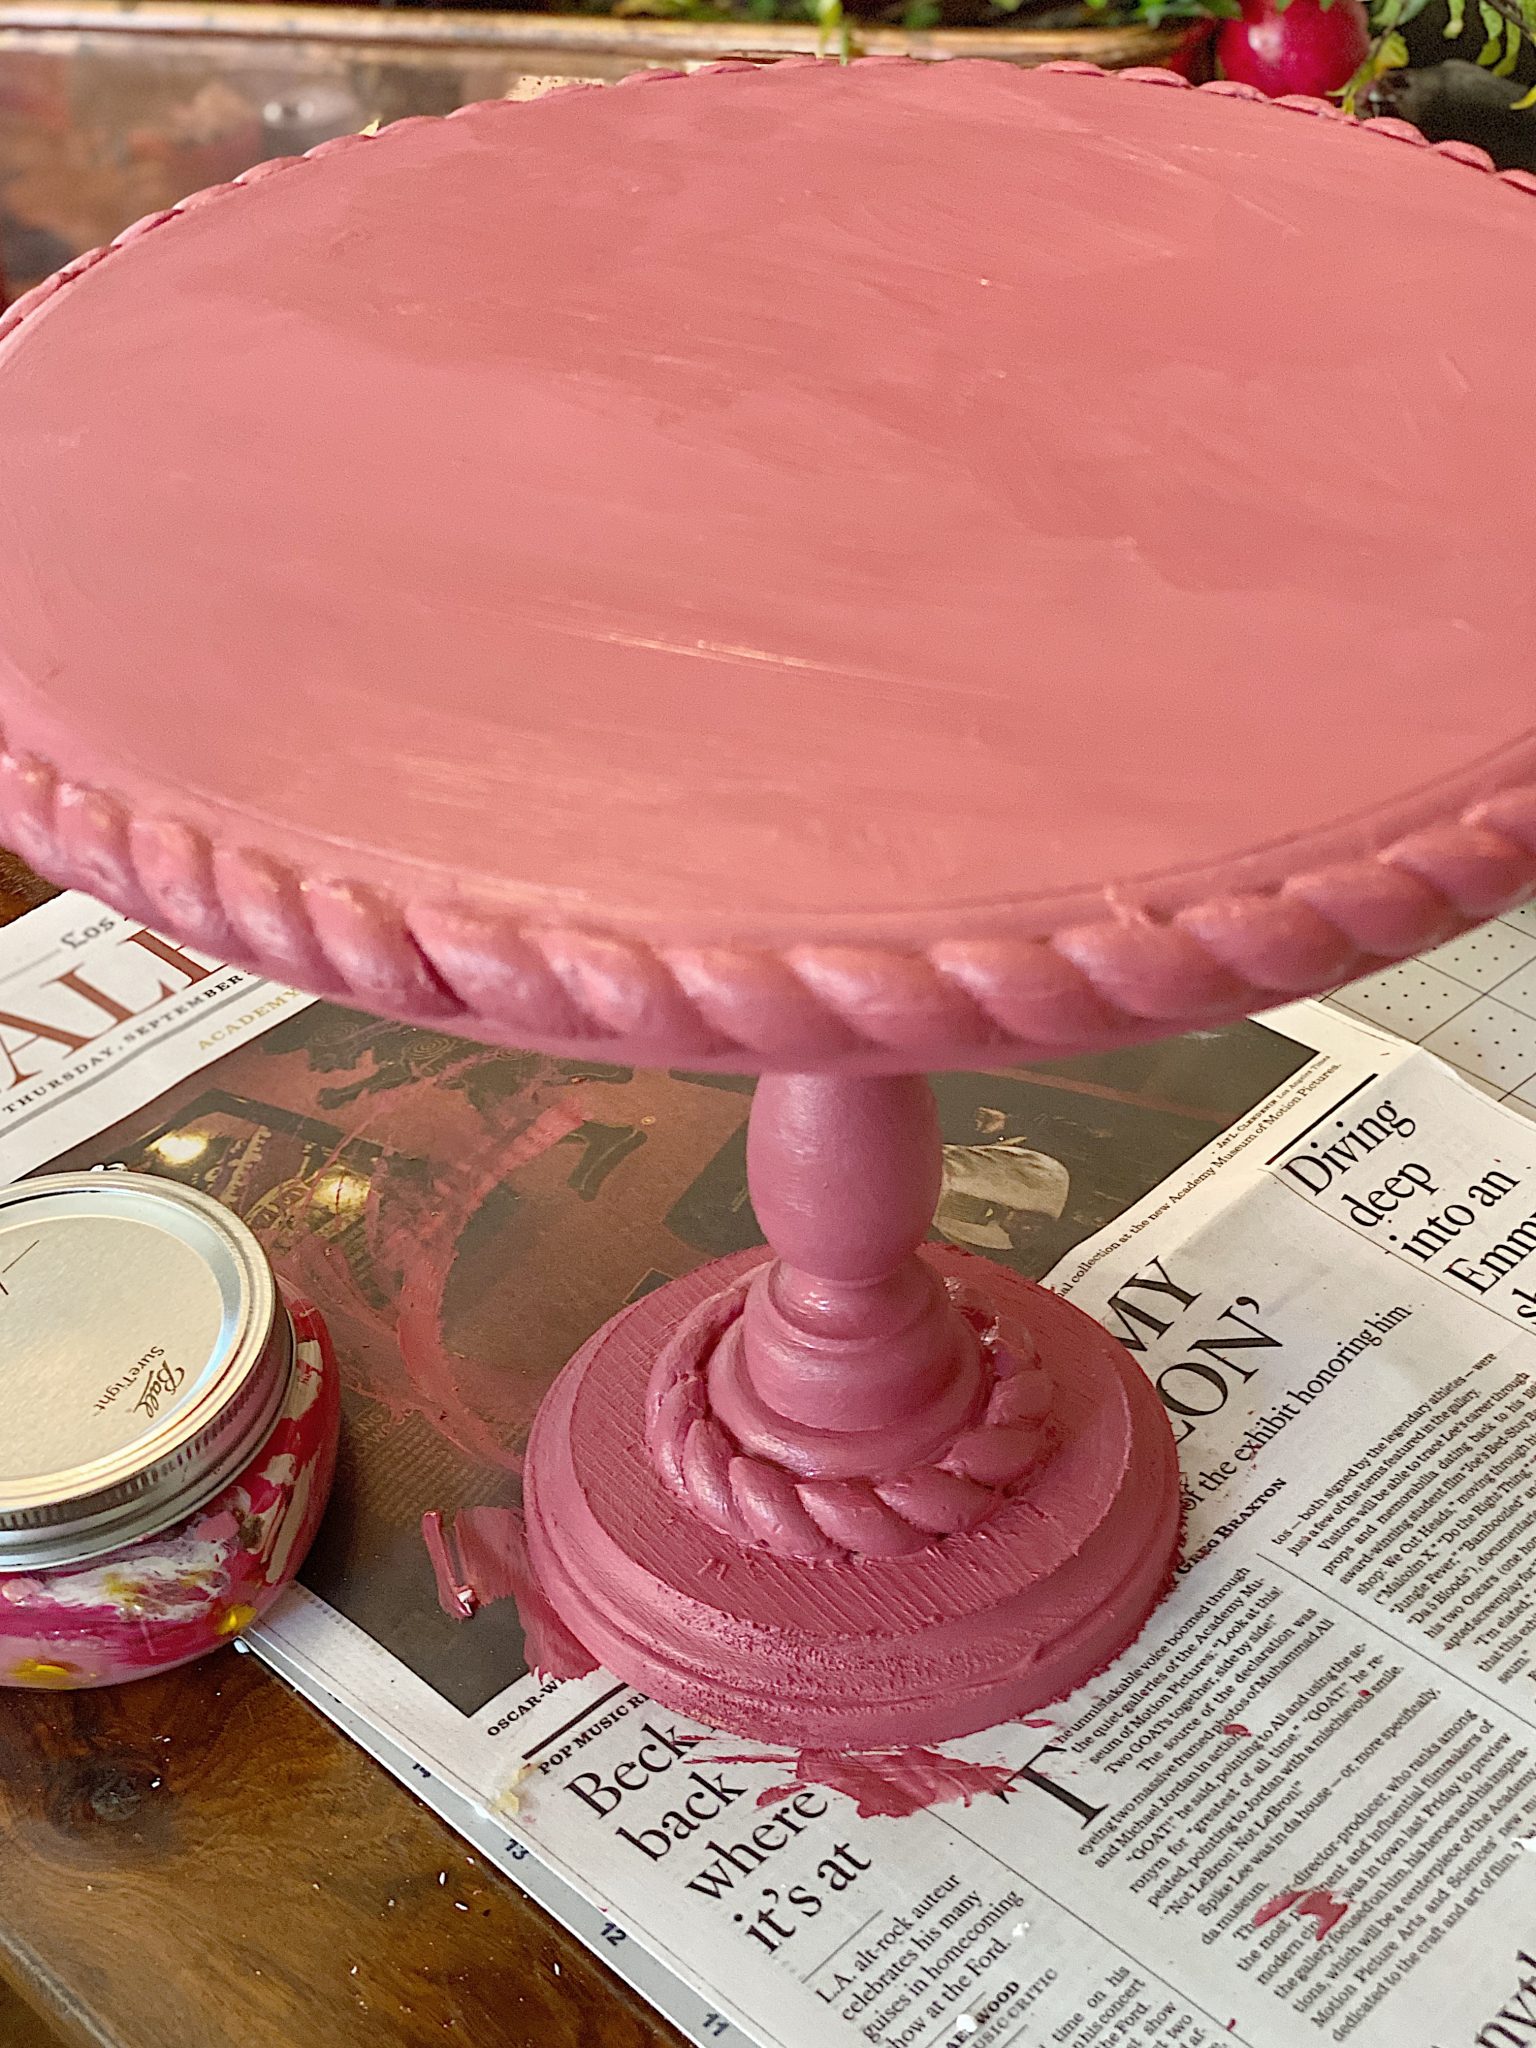
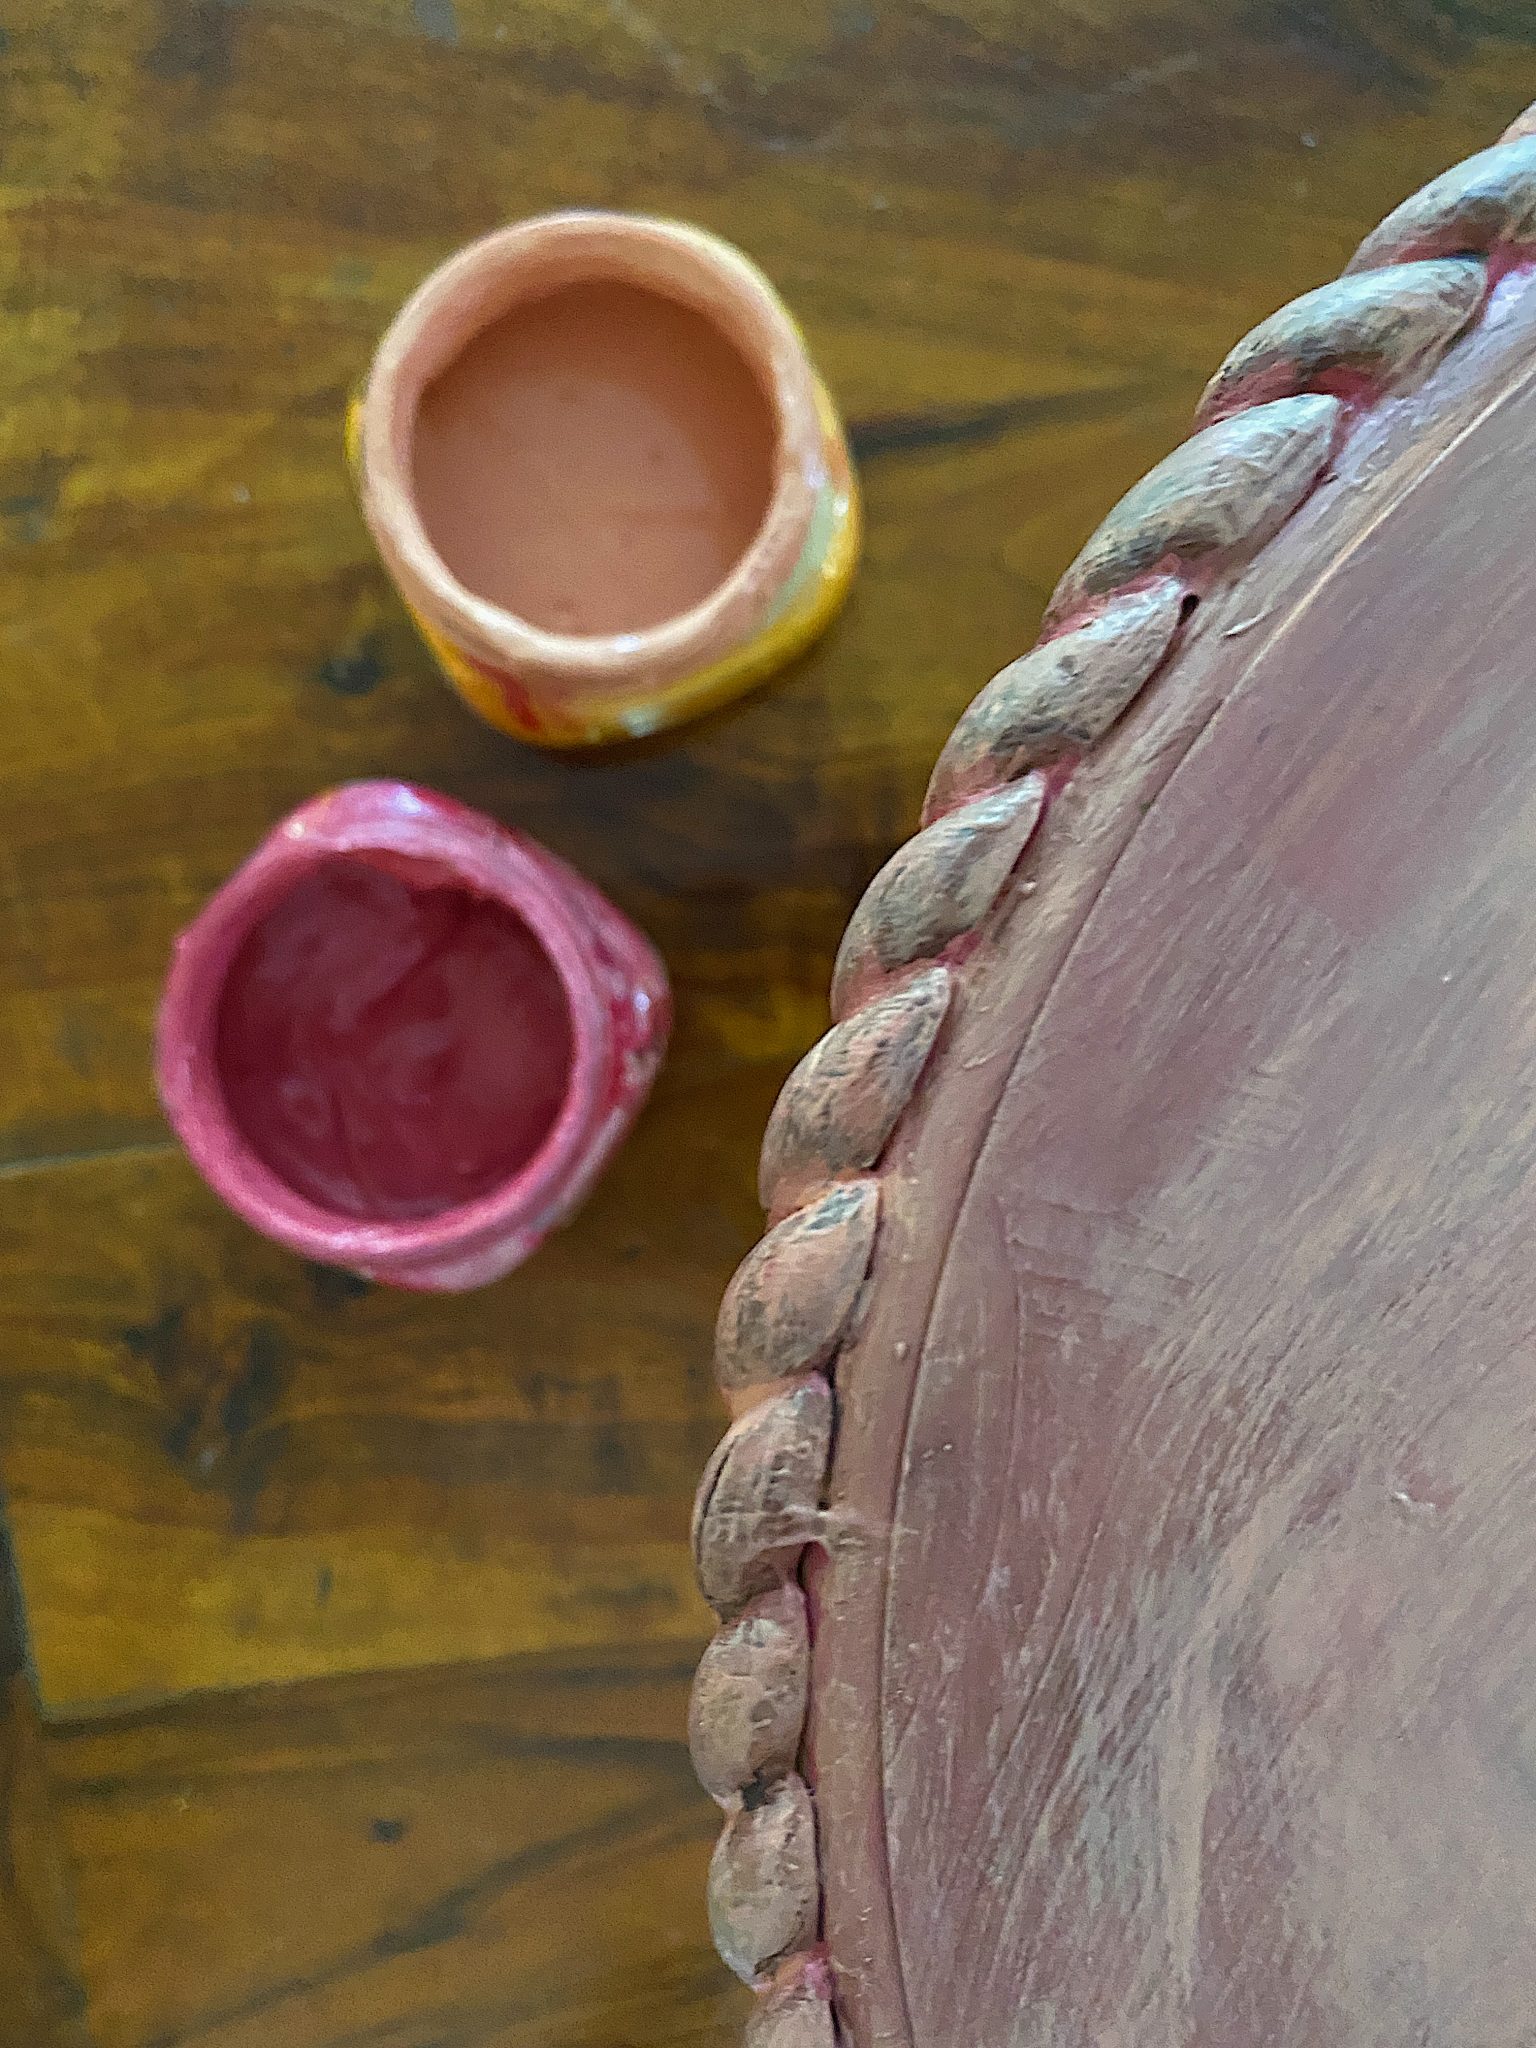
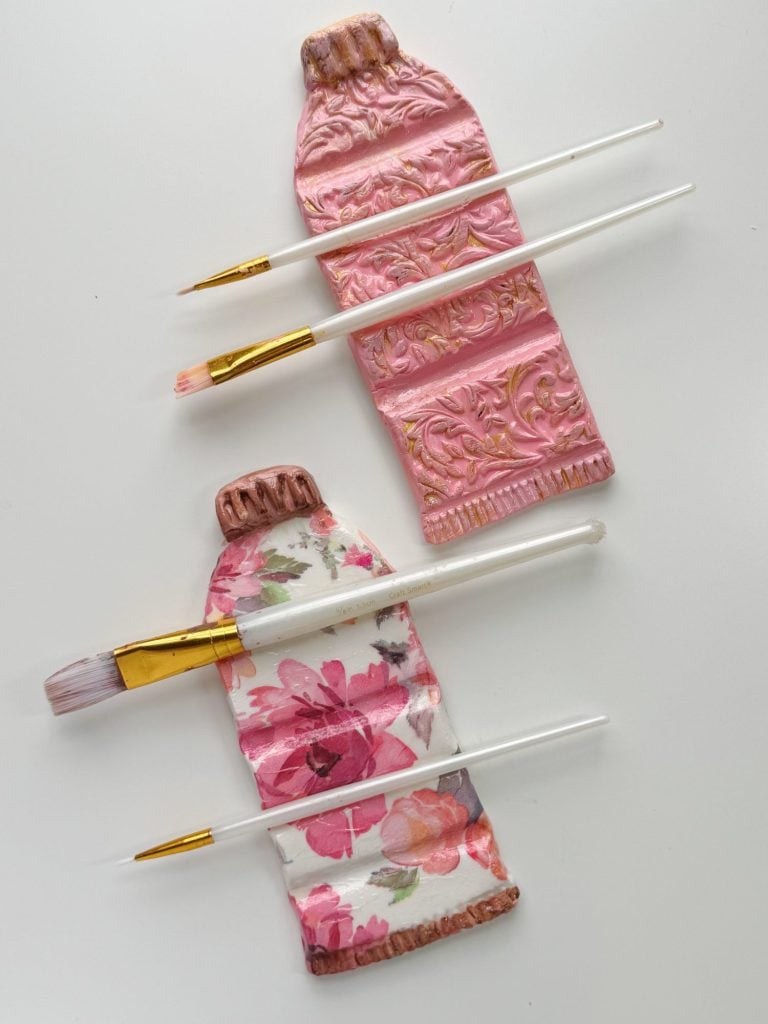
- ten – I mixed two colors of paint to use on my candlestick. The first coat was a think raspberry color that I mixed up, I added a bit of brown to it to dull it, even though it looks quite bright.
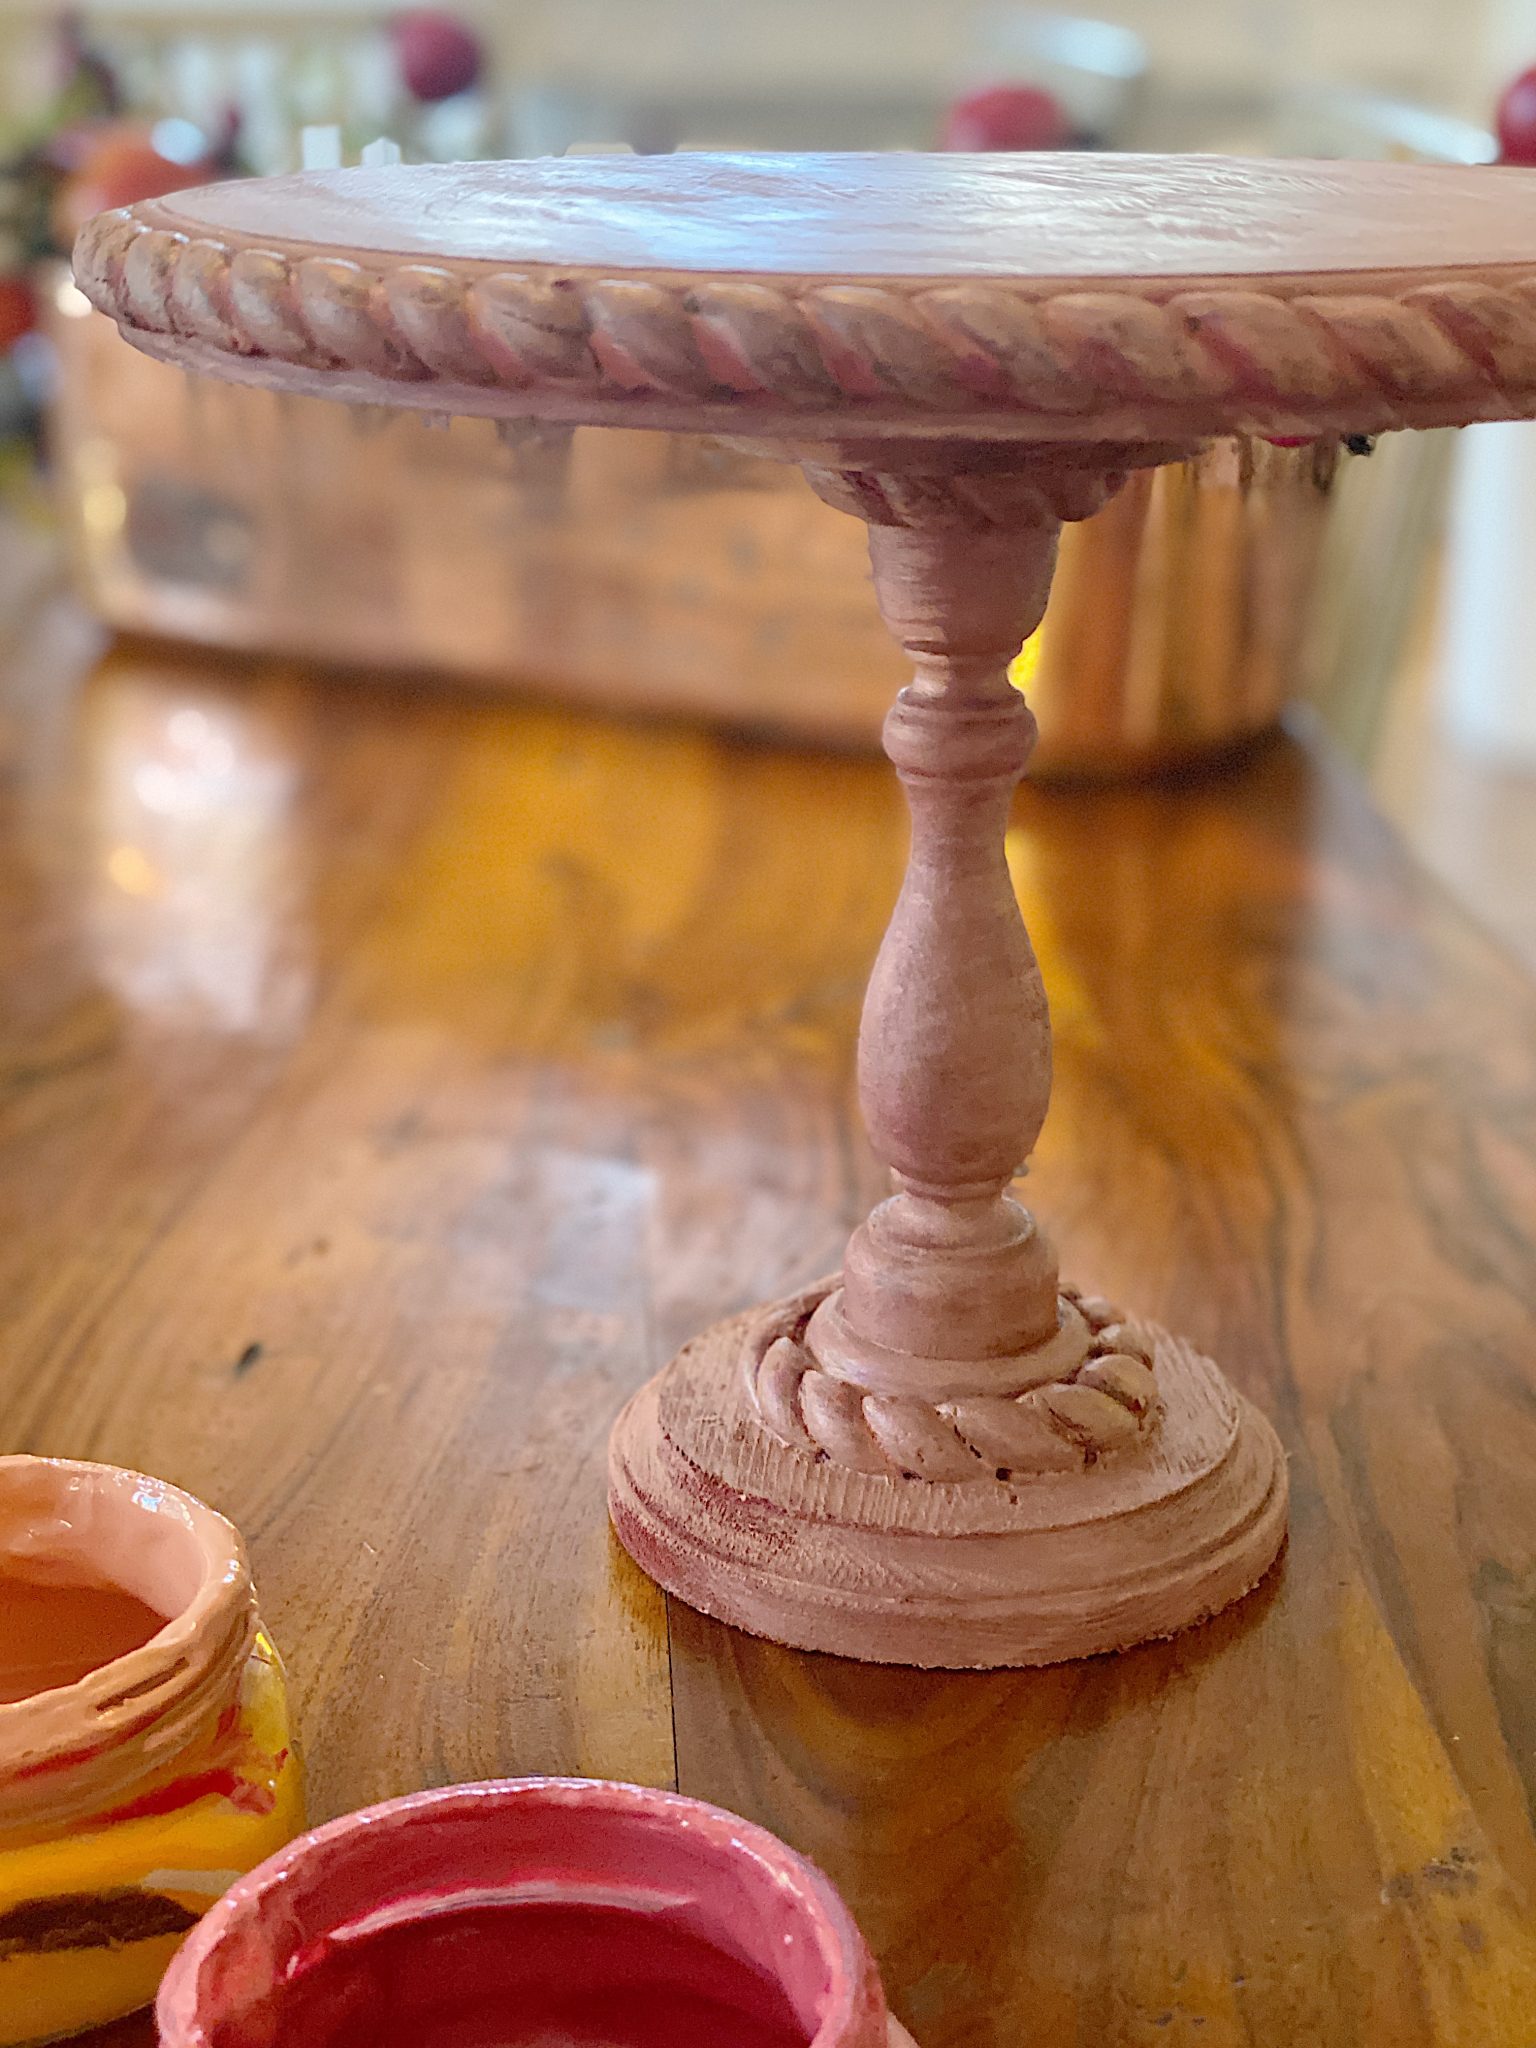
- eleven – Next I mixed up a peachy-orange (with bronze) color and I thinned it with water. I call this a wash. I painted it on top of the first coat.
- twelve – I mixed some brown acrylic paint with water and brushed on a darker wash. I love how it turned out!


If you are enjoying my blog, you can sign up to receive my blog updates here.
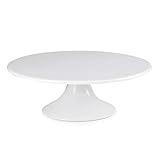
.If you are not a crafter, but love cake stands, I am sharing some of my favorites below!


Pin the image below to your decor boards on Pinterest (just click the Pin button in the top left corner). You can also follow along with me on Pinterest!
For more real-time updates, follow me on Instagram @My100YearOldHome


Leslie…I’m obsessed with this!! I think I have the spare parts clunking around my studio too. I may copycat this!!
You absolutely should make this!
WOW !! Stunning cake stands. Love the colors you chose too.
Thank you for sharing all the details on how to make and where to buy materials.
I always enjoy all you post!! And the recipes……..so good.
Do you have any info. you could also share on the flowers you sat on top of the cake stand? Love those too and the way you did the different colors on those are so perfect!
Thank you!! Ashley
Leslie, you’ve inspired me again! I just finished making all my pompoms . Next project will be the chargers and I guess I’m going to have to try making a cake stand too! My BFF is remodeling her kitchen, what a great gift it would make…..
I am sure she would love it! Thanks Debra!
SO fun Leslie – I’m loving those clay molds! Thanks, as always, for the great tutorial! Happy October!
Thanks Barbara!
I love everything you share with us! You must have boundless energy! I’m really enjoying all your fall projects now that gardening has slowed down with cooler weather coming on. Thank you so much for all the time and and effort you put into your blog and Instagram posts. I’ve so enjoyed every single one. You’re so inspiring! XO
Oh you are so sweet, you just made my day! Thank you, Anne!
Leslie,
This is beautiful!!! I’m going to try my hand at this project. I’ve never worked with the clay product so that will be a challenge. Thanks for all you share with us. You have SOOOO Many Talents!!!!!! Very gifted.
jean
Thank you SO much!
The cake stand is so fun. I love the color!! I also love those metal flowers you staged it with!! Do you have a source for those?
Love, love, love this project! And please do share those beautiful fall roses on top…. they are simply beautiful! But the cake stand is fabulous ❤️❤️❤️
Hi Leslie, WOW!! It’s extraordinary!! I love the arrangement as well!! Just so beautiful and perfect for Fall. Did you make the metal coloured flowers? So pretty with you new cake stand!!
Oh, I love your white one also. My house is a white interior so yes I would love that one!!😊
Thank you so much for working tirelessly on your blog to share so many magnifico ideas and more.
Ciaone, Stacy Eloise
This is just lovely and doable! thank you
I’m so glad!
Can you email me Tater Tots and Jello recipe for the Gingerbread Sugar Body Scrub? I am planning to make some for gifts. Thanks, Heidi
Absolutely stunning! A perfect, but unexpected departure from traditional Fall colours and the shadings are just lovely. I’ve never been into “pinks”, but I hosted a Galentine’s Party in February and the addition of pink elements really worked well in my present décor. And I too love cake stands! Thank you for the wonderful inspiration and a project to have ready for next year’s party. Could you please share where you got the wonderful flowers? They are truly beautiful! Wish we had access to craft stores like our American neighbours…..Many thanks again.
Thank you so much Gwyn! That sounds so like so much fun and the perfect occasion for pink 💕The flowers are vintage- I’d try flea markets or vintage stores for finding some ☺️
Wow, so beautiful! It’s such a doable project. The color is my favorite. I really like your color choices.
Thanks so very much Theda! I’m loving this years palette ☺️🙌🏻
Lovely, where did you get the flowers on top of the cake stand?
Hi Claudine! They’re vintage and I just love them. I would check flea markets and vintage stores to try and find some 🙌🏻☺️