How to Refinish a Table Farmhouse Style
Our family has a long history with this coffee table. Today I am excited to share how to refinish a table while maintaining its character.
This table has been through a lot in our family. It’s been the resting place for five pairs of feet that have grown from tiny baby feet to, in one case, a men’s size 13. It’s been the dining table for thousands of meals as well as a game table, a coffee table, a pub table, and a work table. But there was one thing wrong with this table. I didn’t like that it was so dark and I had wanted to change it for a very long time. I finally decided to change it a few years ago and I can’t wait to share how easy it was to refinish this table farmhouse style.


Refinish a Table Farmhouse Style
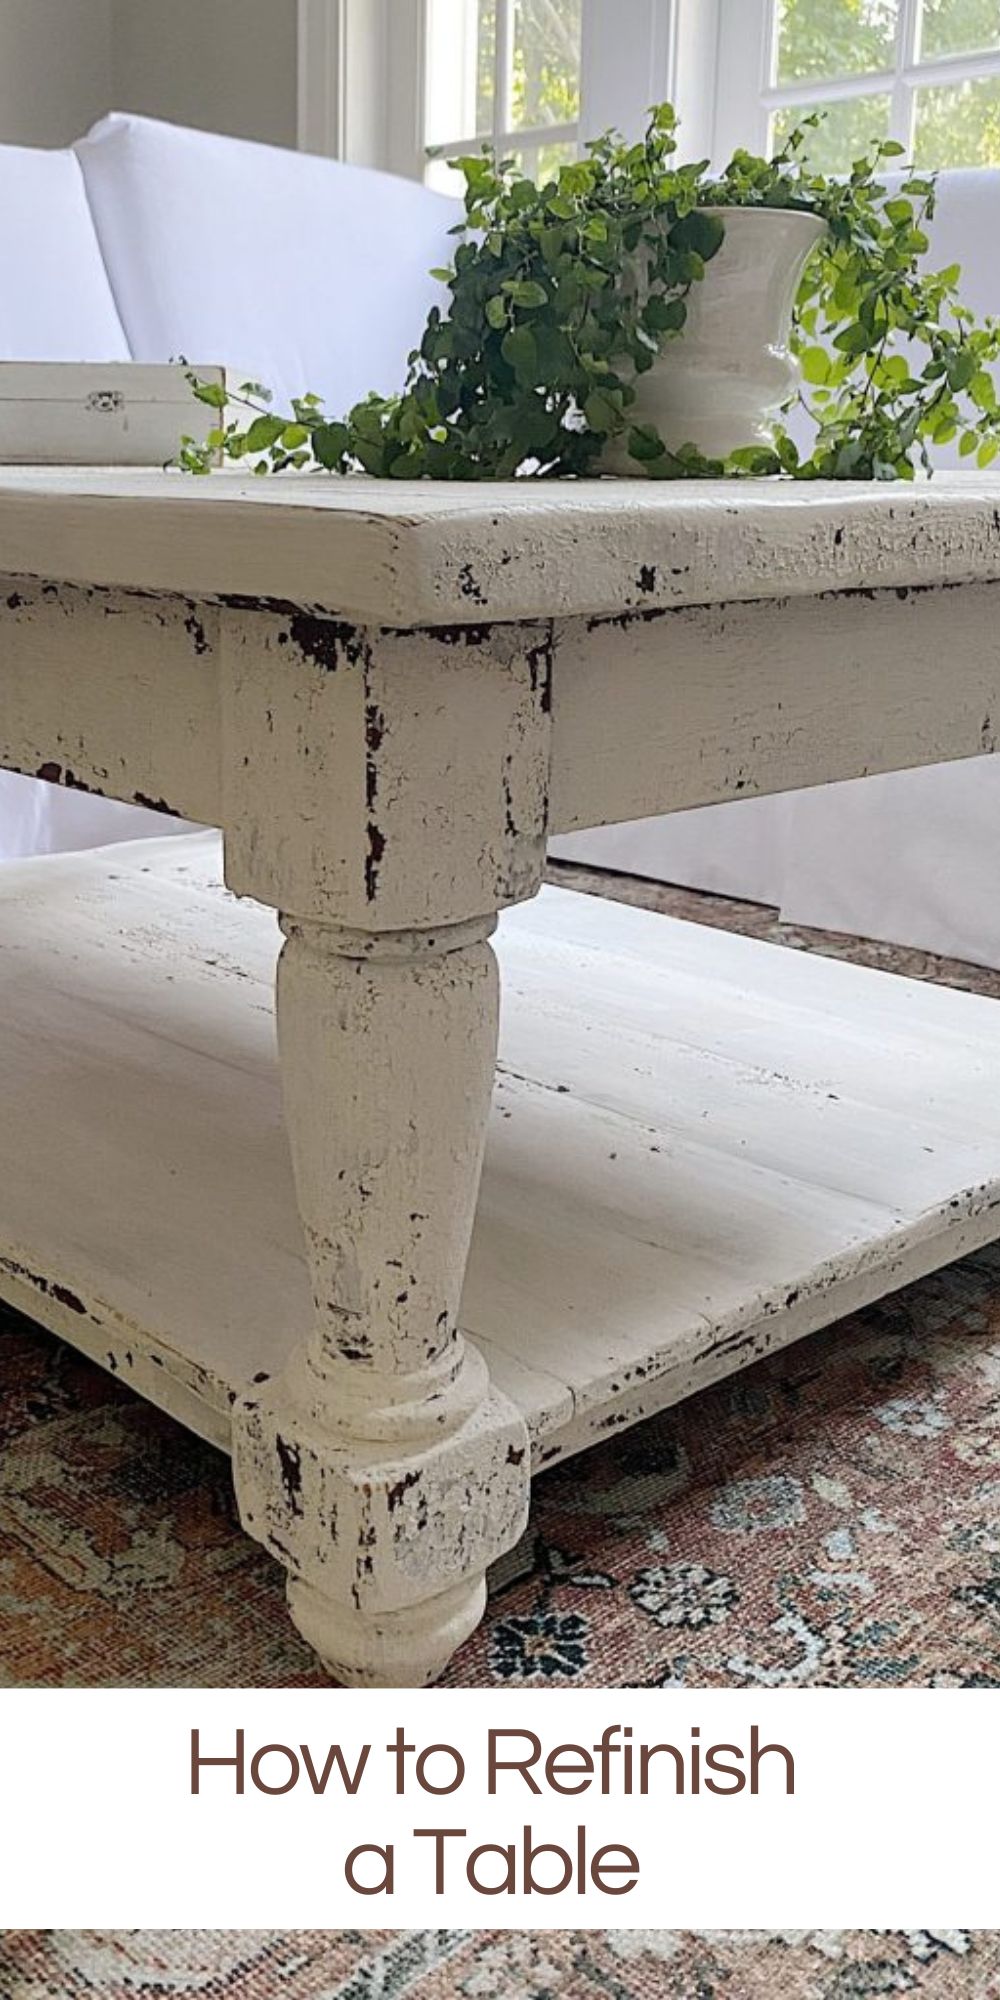
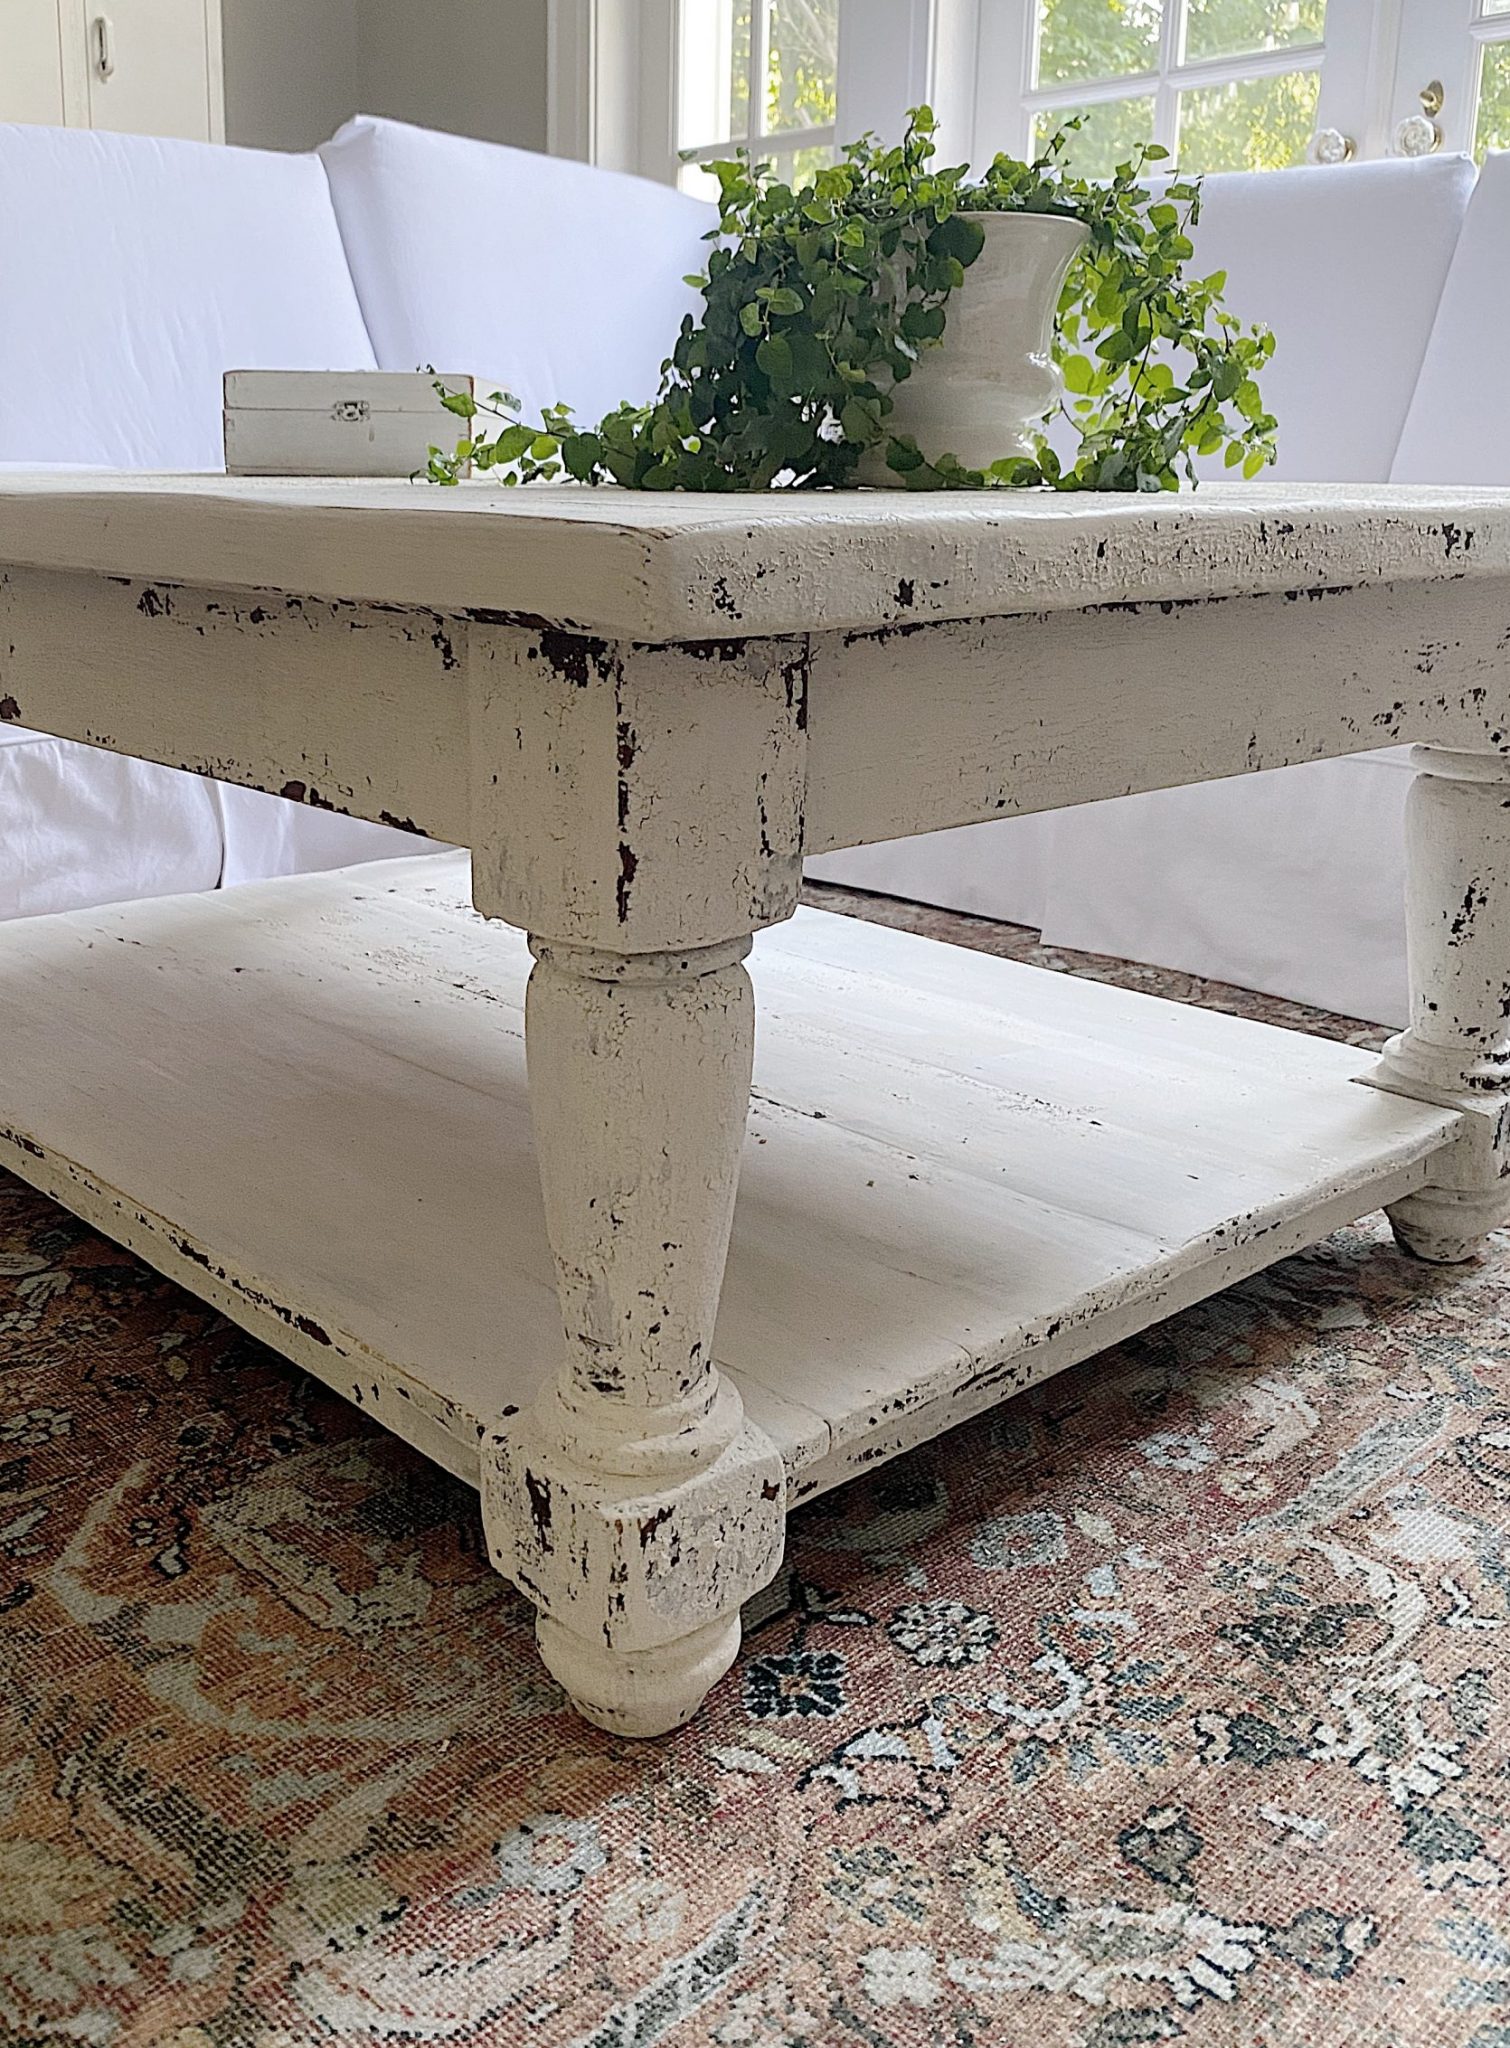
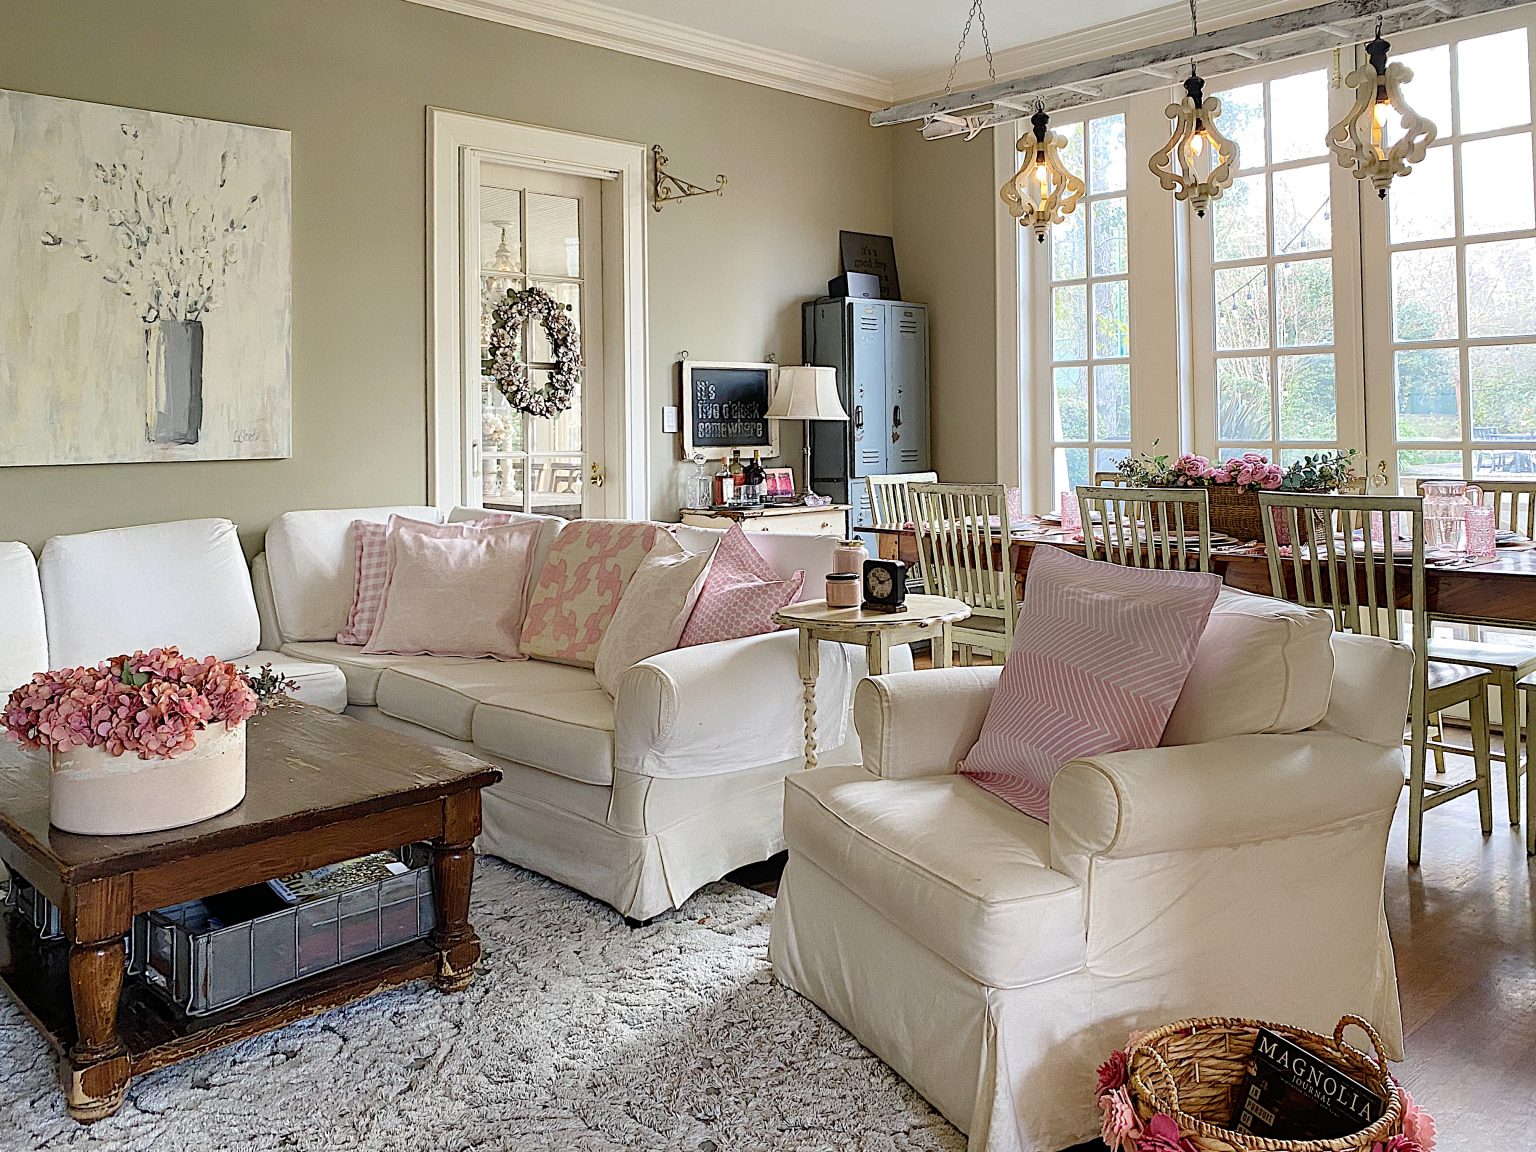
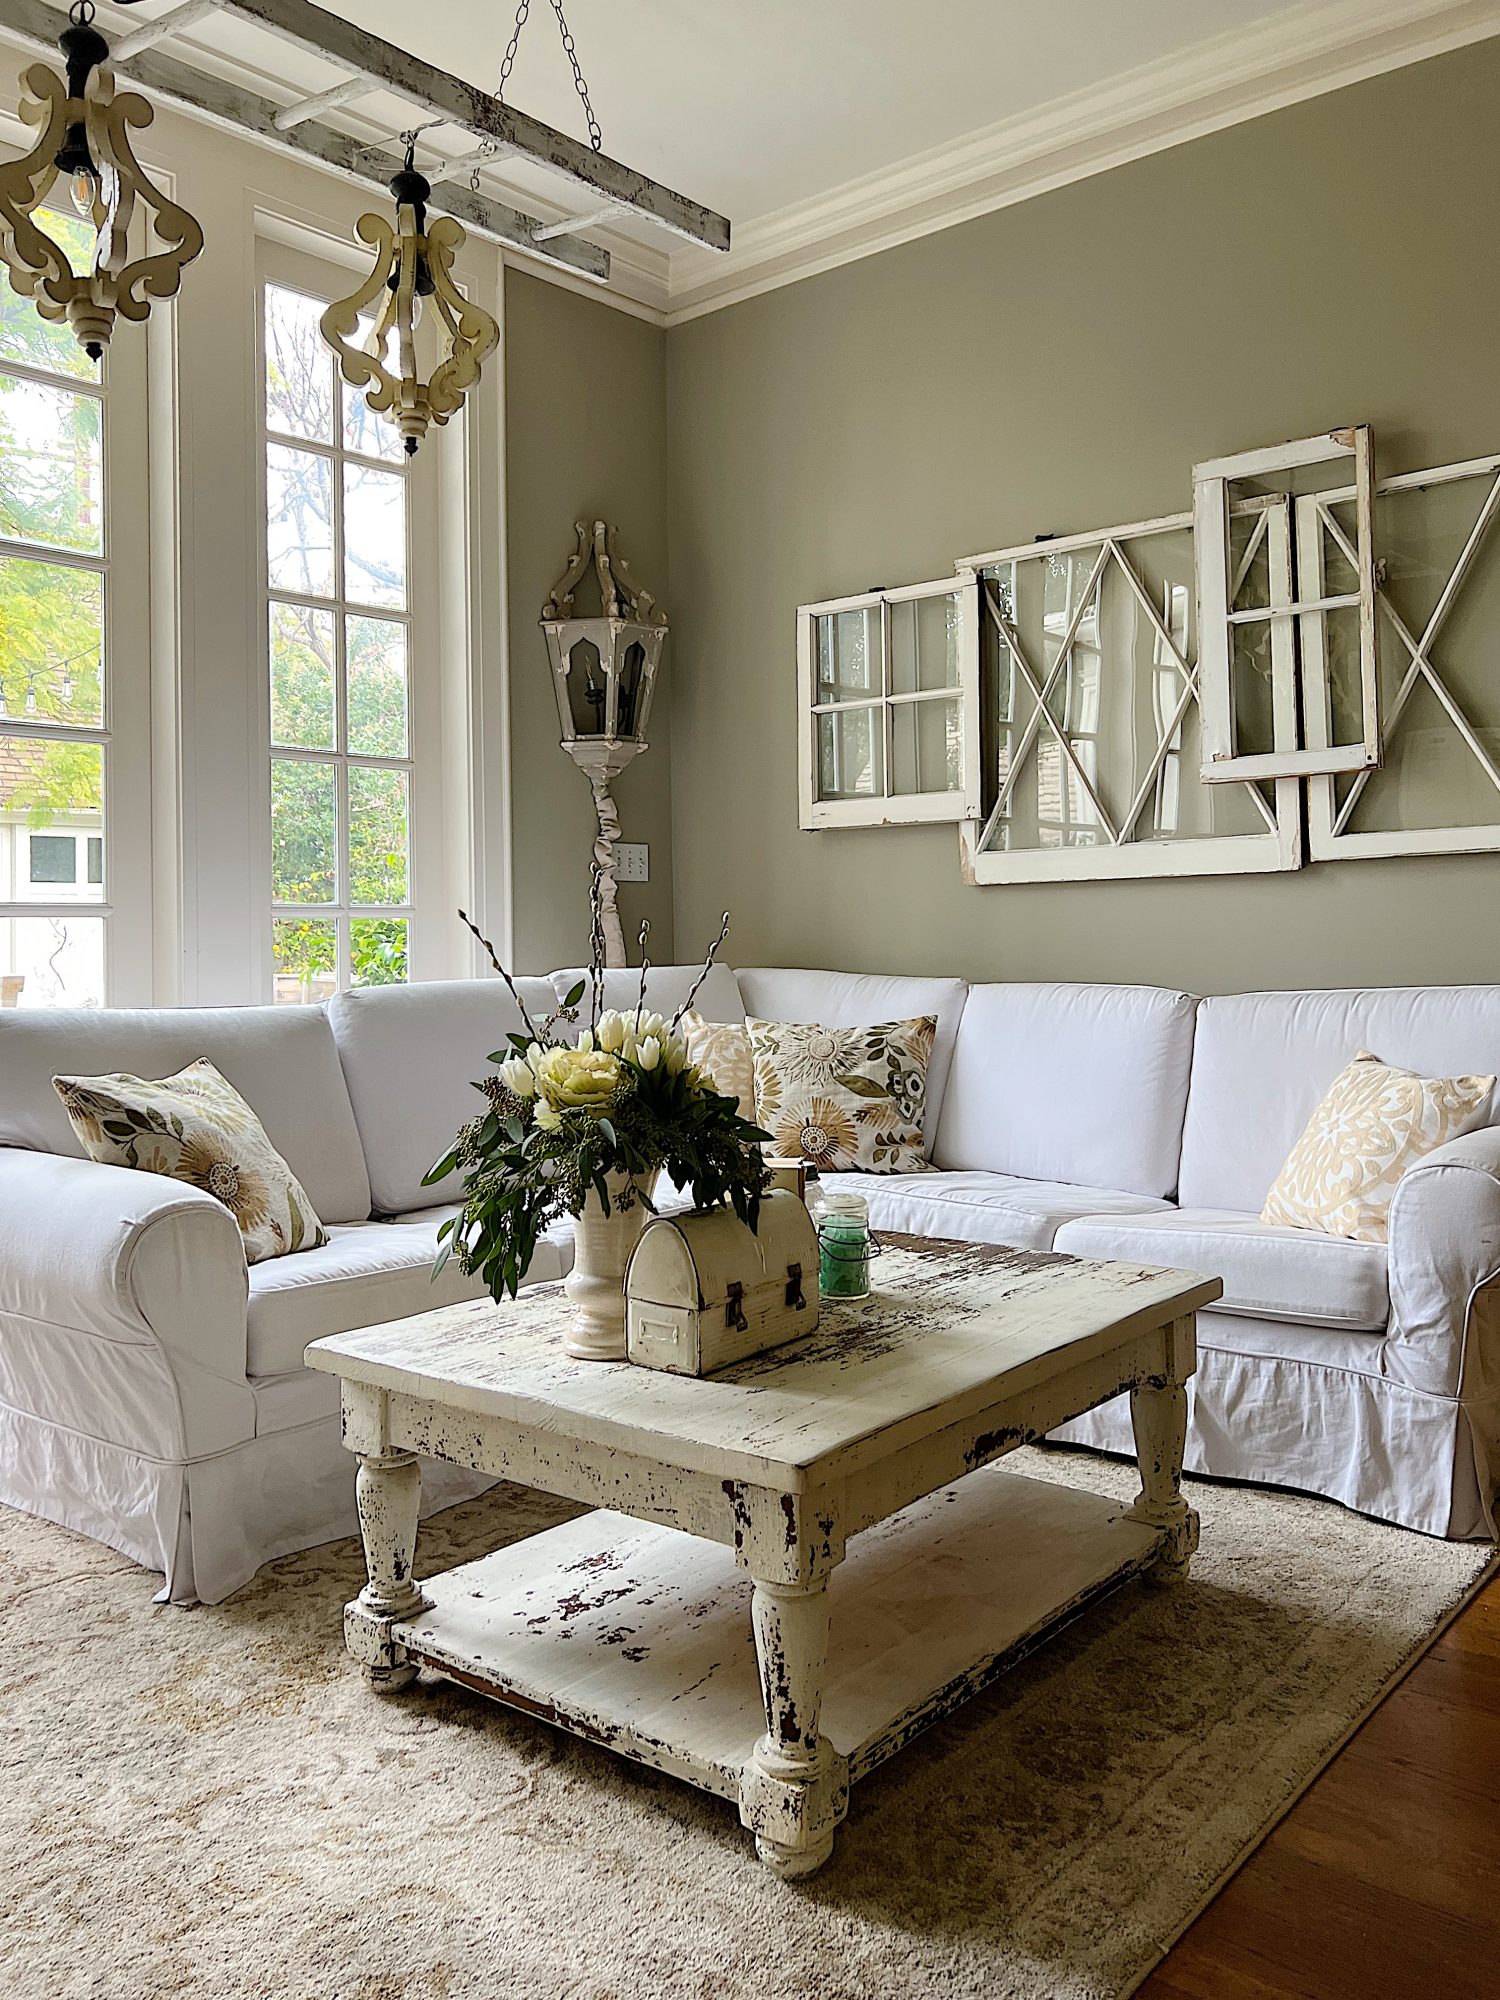
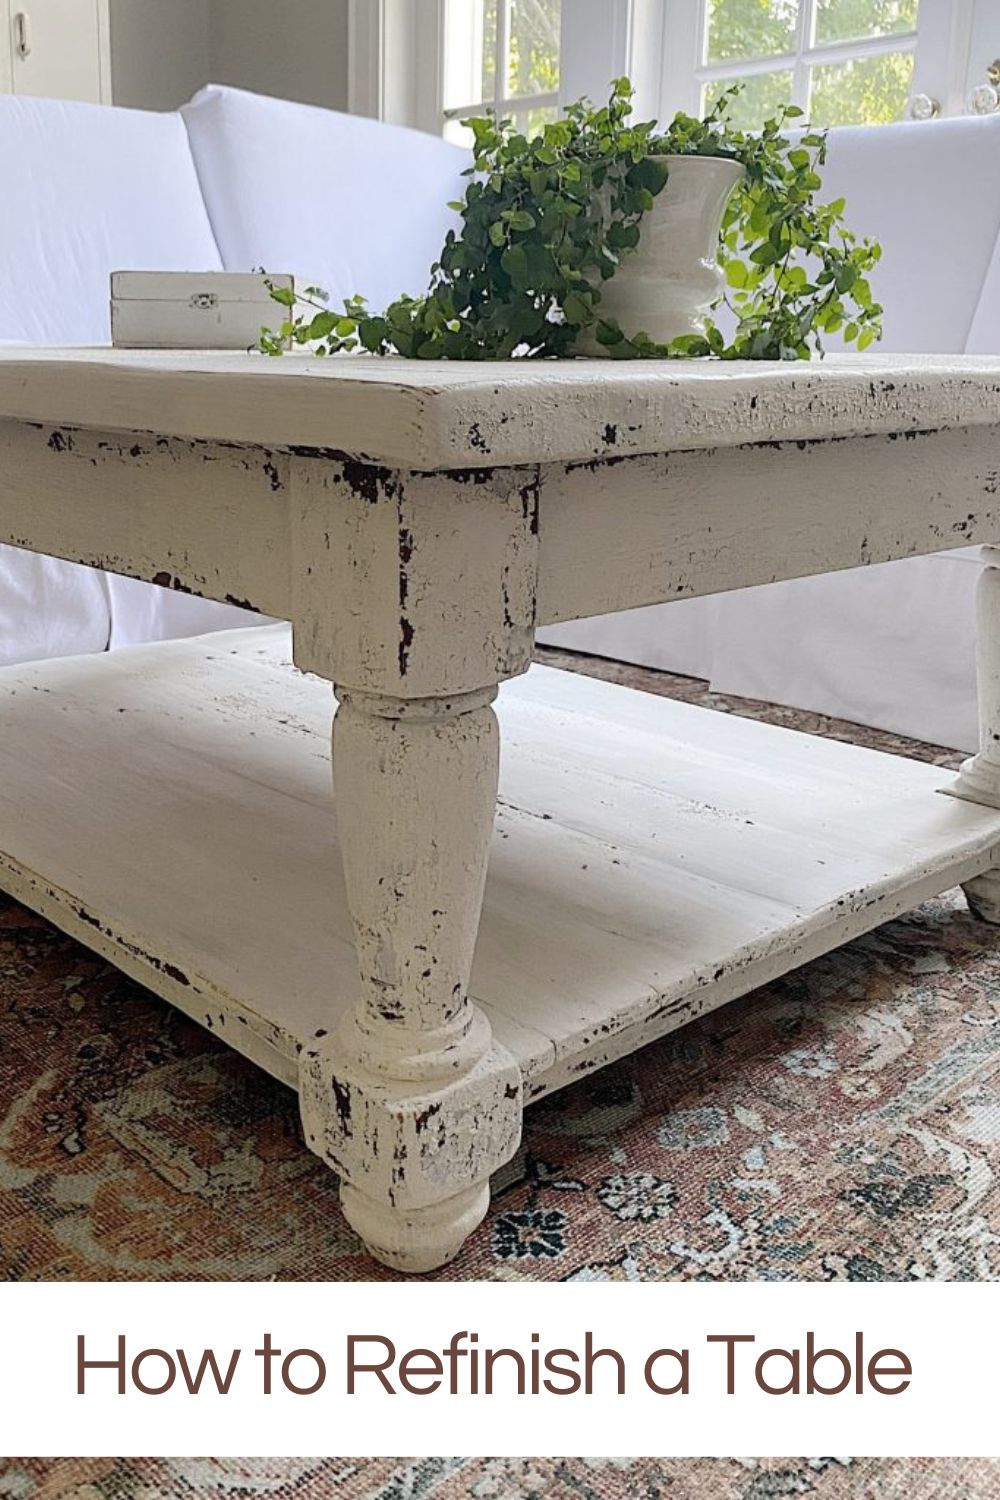
Fast forward a few years and here is the table. It’s aged a bit and lost some of its paint but I love that.
It has even more character.
Painting this table was something I was very nervous about. I didn’t want to lose the chips and scratches that represent our boys’ childhood. Milk paint would allow the chips to stay chippy.
And years later it’s even better.
In case you didn’t remember what the coffee table looked like before, here it is. It’s a very dark brown and kind of didn’t look great in our family room.
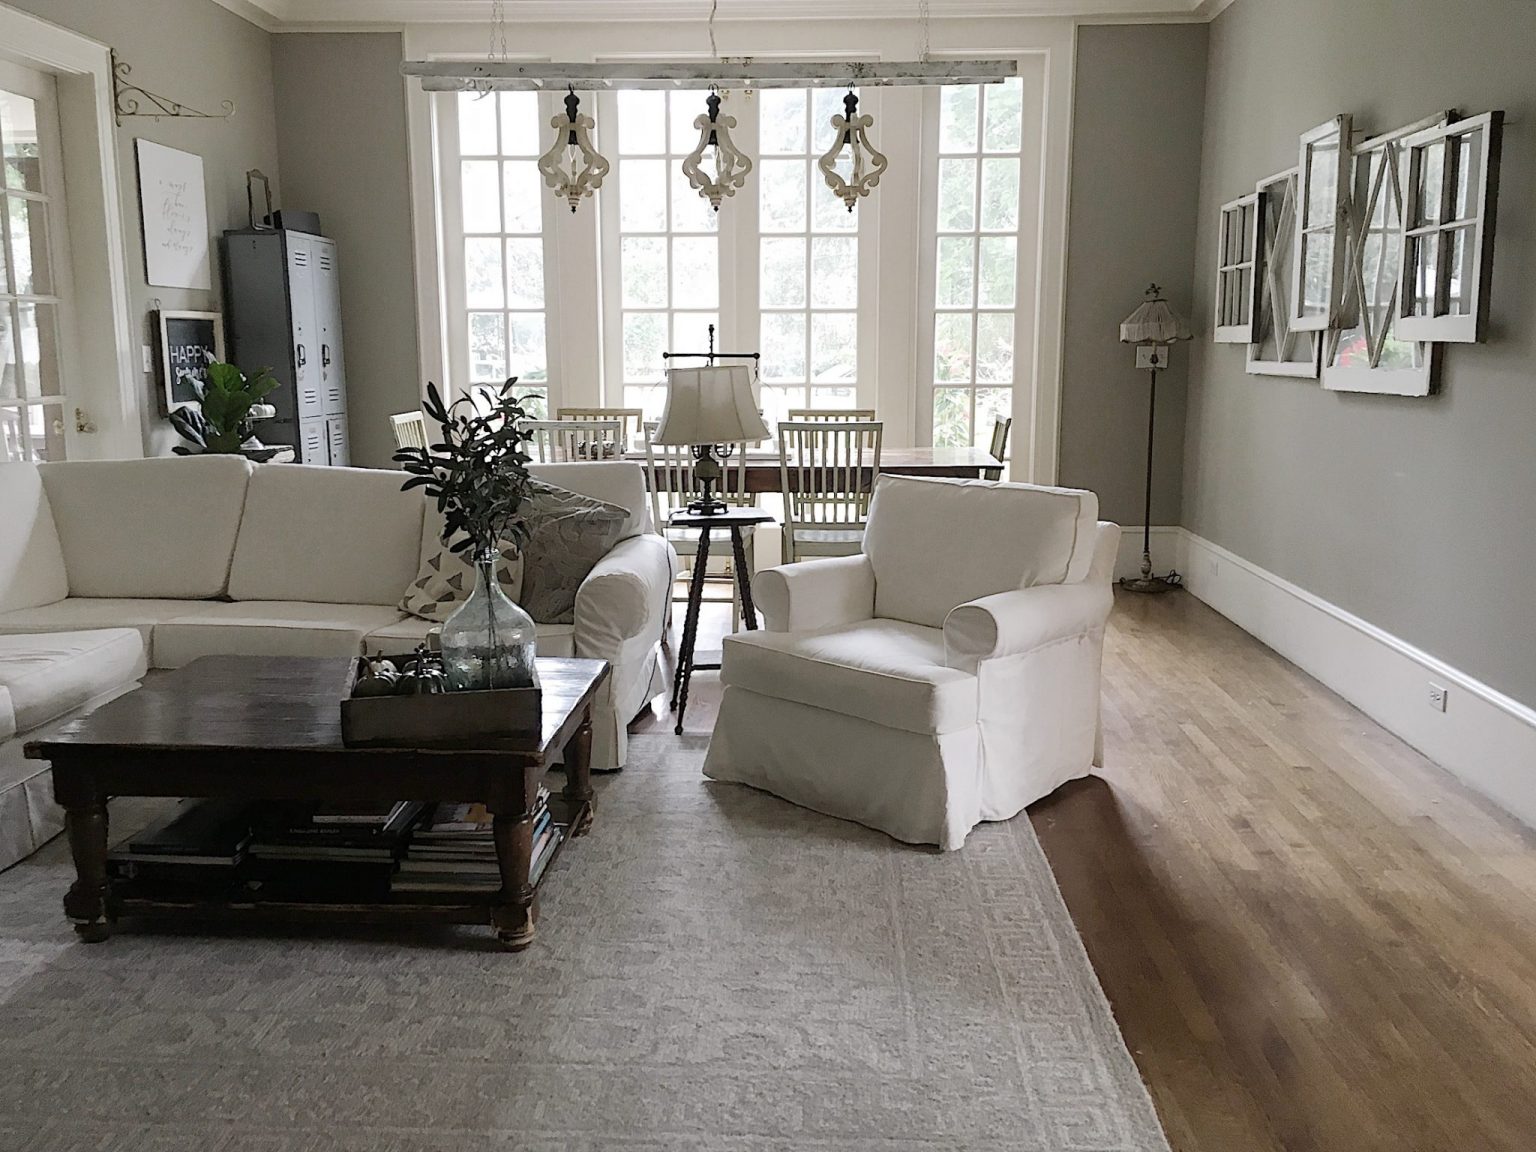
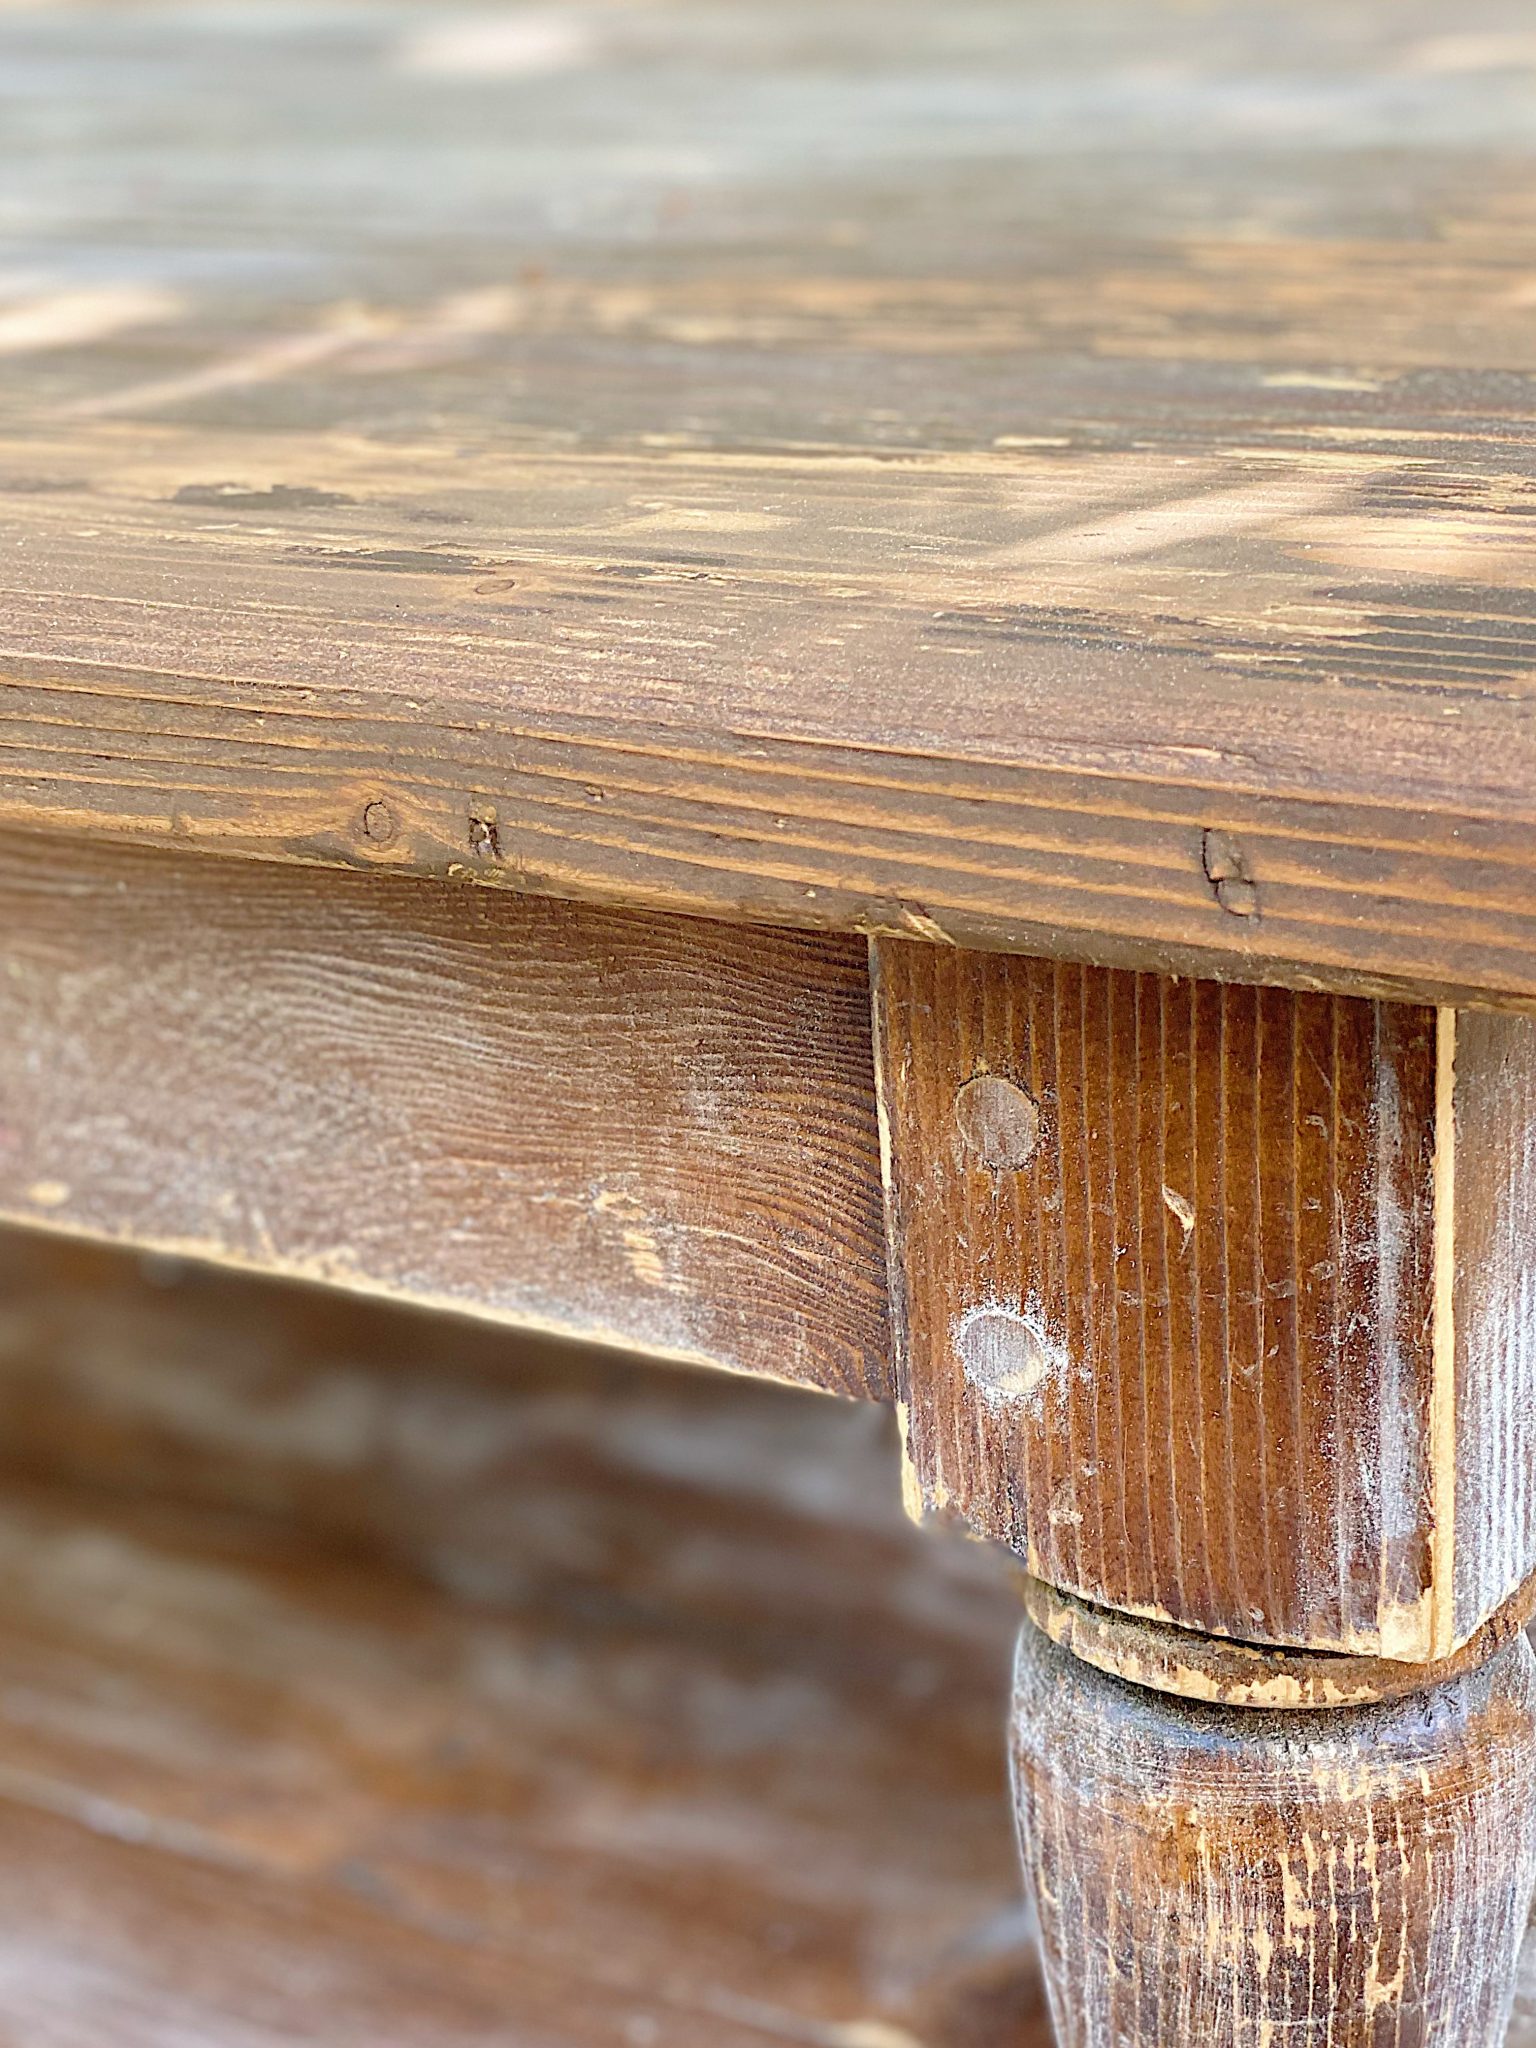
But this was the problem. The table has a history in our family. The coffee table legs have chew marks from when our dogs Speffy and Sport were puppies. The top edge of the table, closest to the couch, has years of scuff marks from the kid’s soccer and baseball cleats.
I didn’t want to refinish our table if it meant I would lose the character of our table. So I decided to sand the table lightly and paint it with milk paint. I was pretty sure I could maintain the scuff and bite marks.
And the result would be a white farmhouse coffee table in our home.
When I finished, I sent my son Michael a text about the project. “I promise I kept all of the character and memories of this table. It also looks so much better and your mom is super happy. I hope you will forgive me for refinishing the table”.
You can guess who didn’t want me to refinish the table. Fortunately, he liked the new look.
If you look at how our coffee table used to look like below, you can see the puppy chew marks on the legs of the table!
How to Refinish a Table DIY
What You Need to Paint a Table with Milk Paint
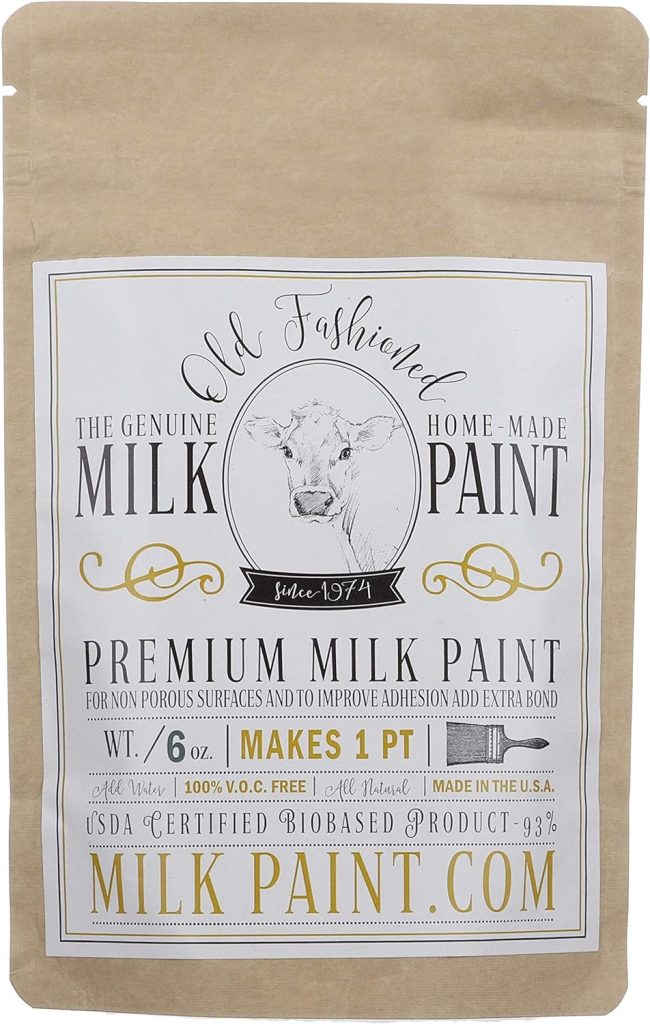
- Old Fashioned Milk Paint – Oyster (I used two packages for the table.)
- Paint brush
- Medium grain sand paper
- Paint tape
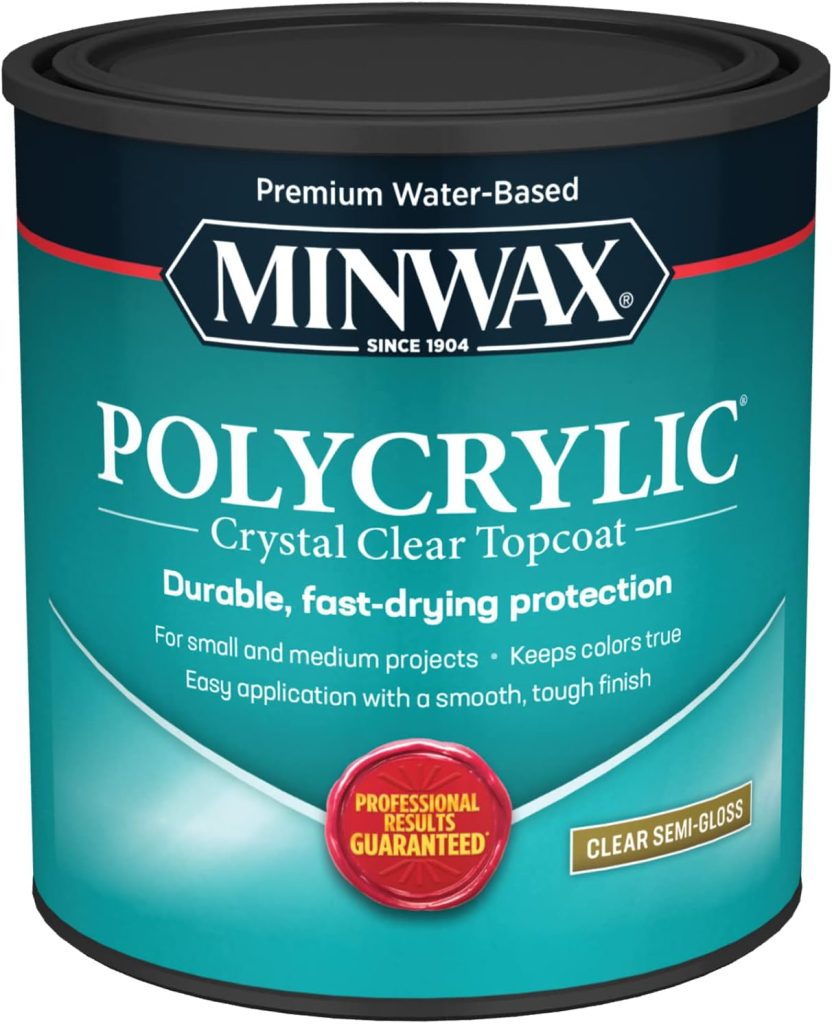
- Polycrylic sealer
On this blog, I may sometimes use affiliate links, which means a small commission is earned if you purchase via the link. The price will be the same whether you use the affiliate link or go directly to the vendor’s website using a non-affiliate link.


Prepare the Table
A light sanding was all it took to get this table ready for some milk paint. You must sand every surface. Pay special attention to areas covered with lots of paint or any type of varnish. You need to sand these areas well. (A smooth surface does not like milk paint and it might peel off in huge chunks if it isn’t sanded.)
If you are enjoying my blog, you can sign up to receive my blog updates here.
.
Once the piece is sanded, wipe it off with a slightly damp cloth to remove all of the dust.
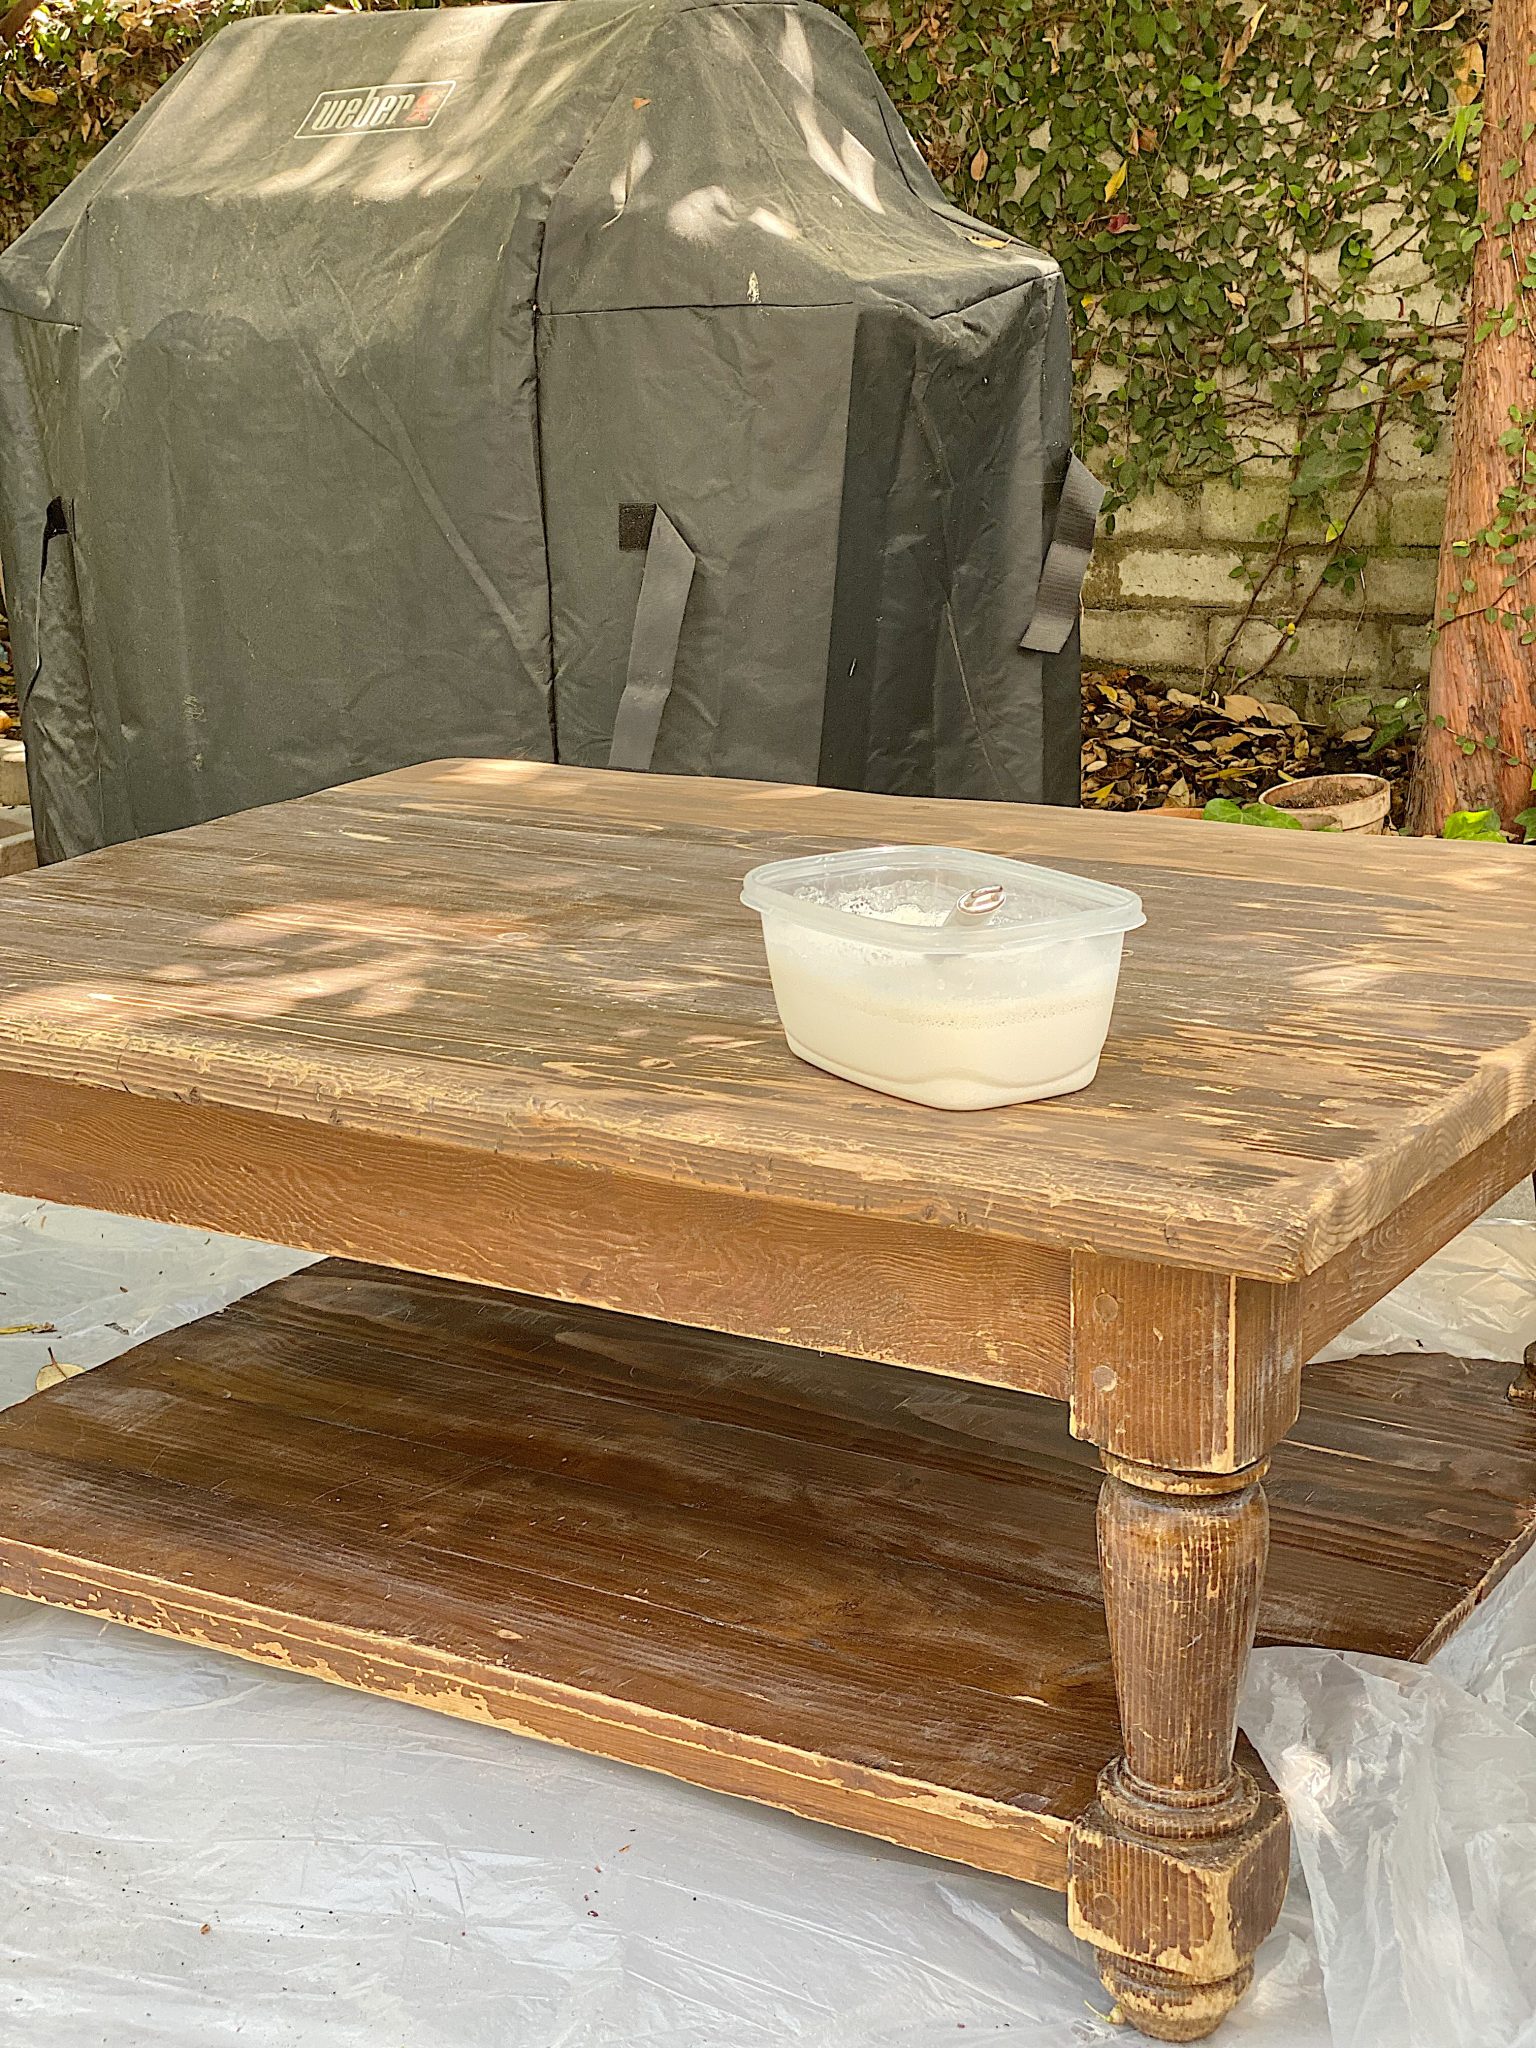
Next, mix the Milk Paint, per the instructions, and begin painting every surface.
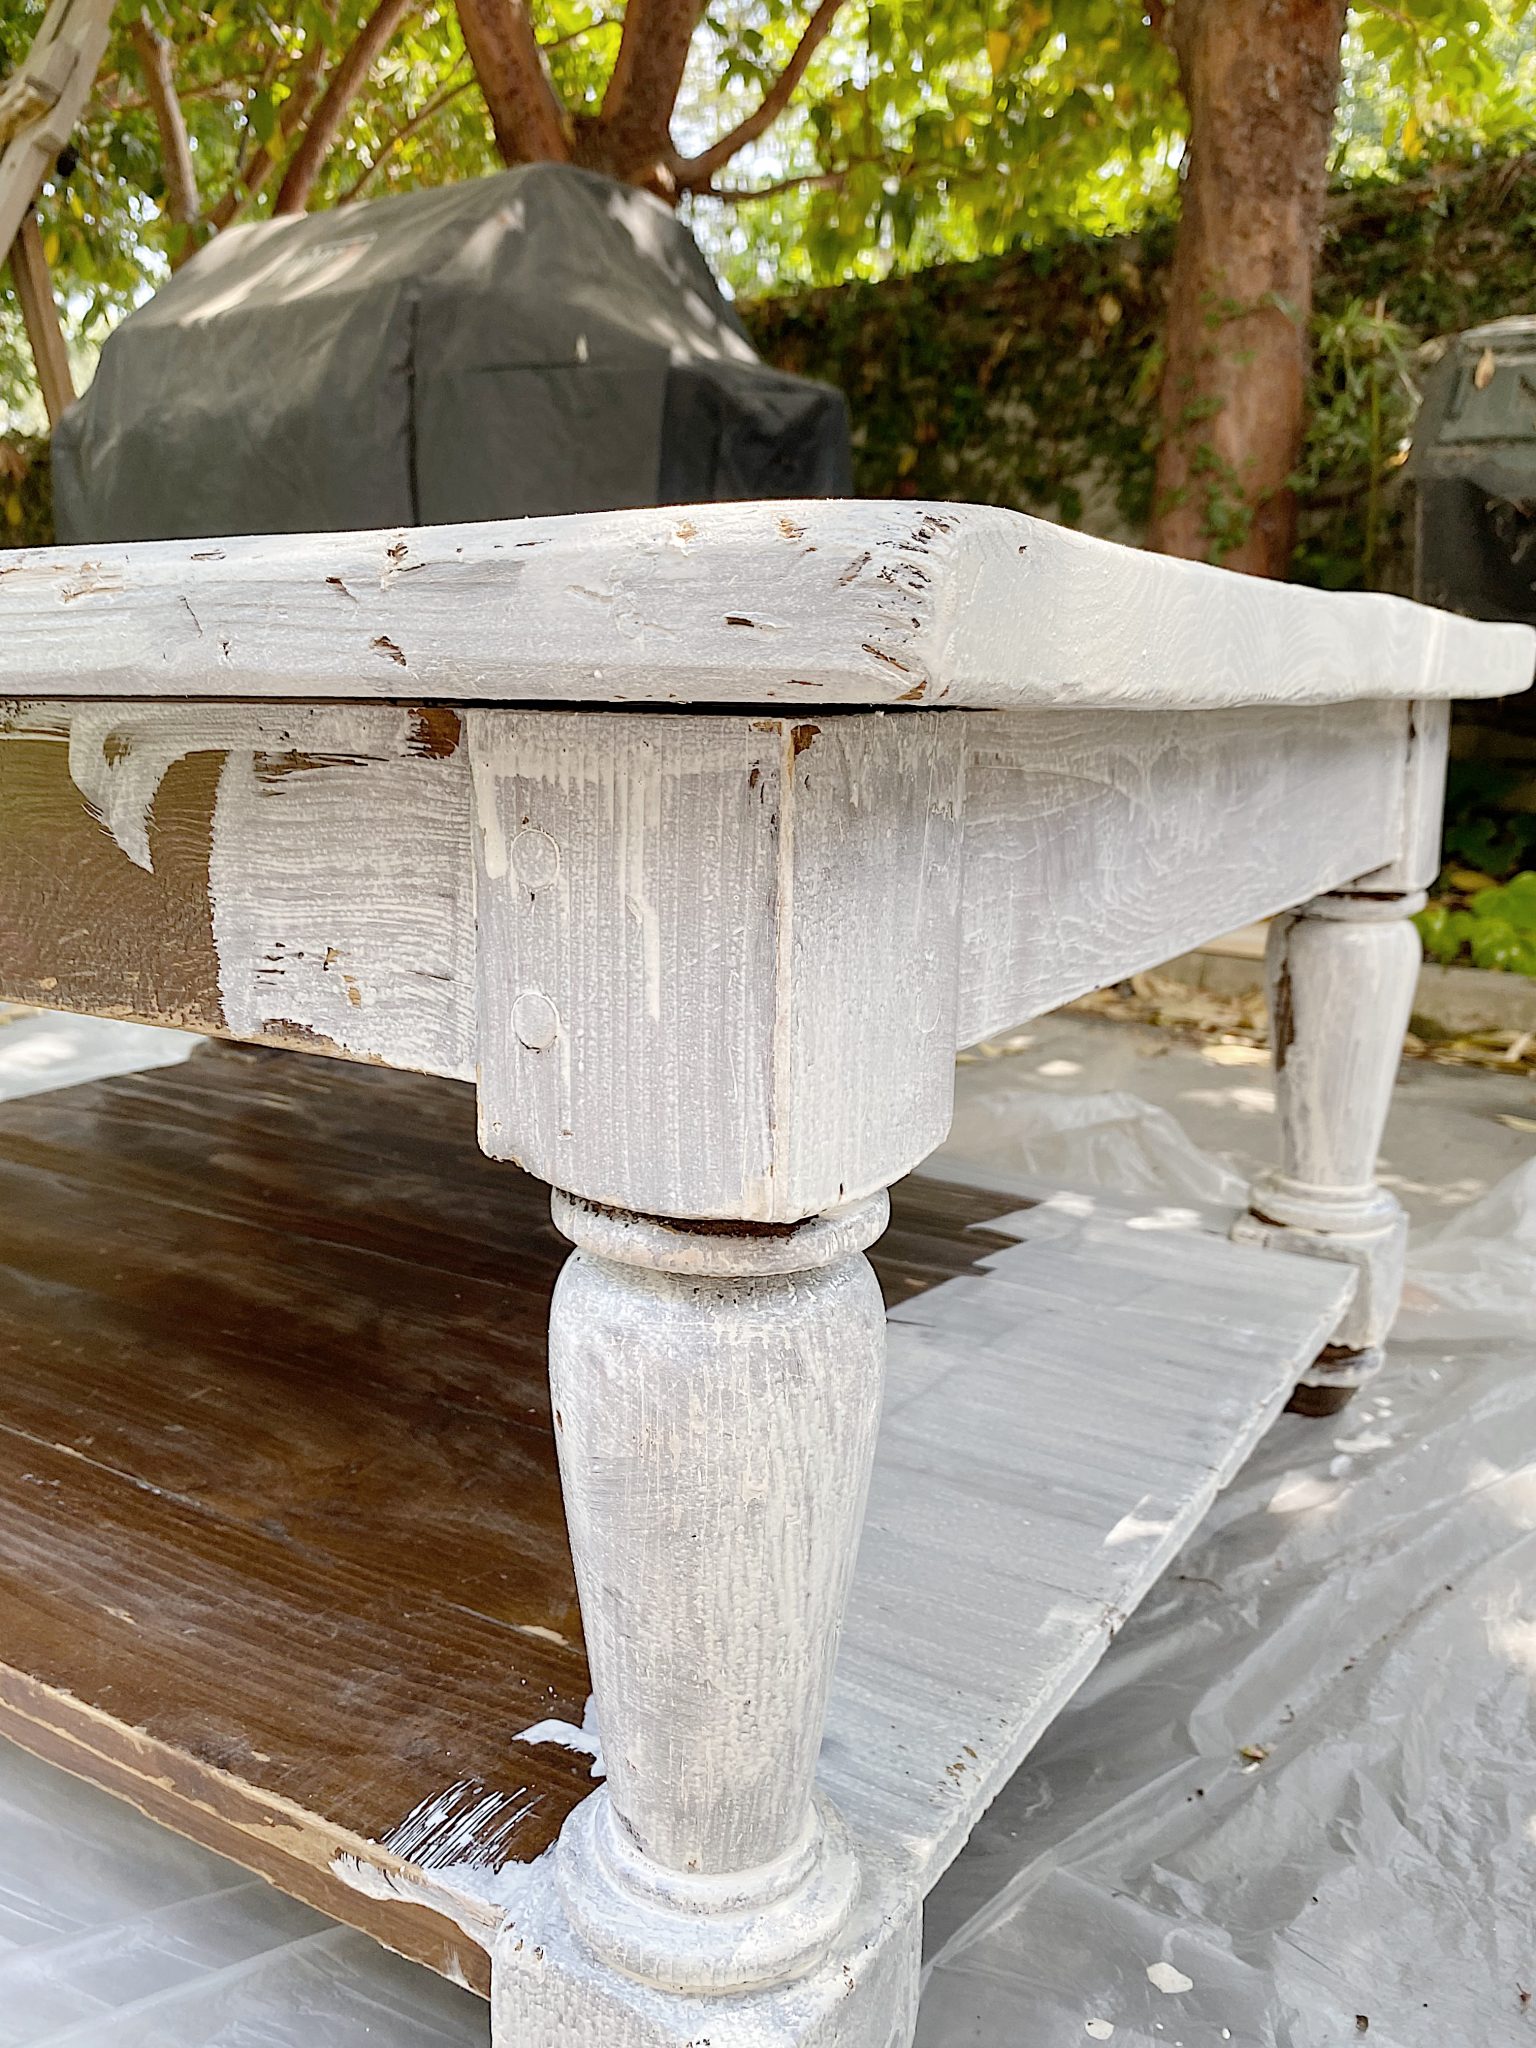
Continue to paint all of the surfaces. it is likely your piece of furniture will take more than one coat. I painted three layers of paint on this table because it just wouldn’t cover the dark wood!
This is how my coffee table looked after two layers.
I love that you can still see all of the cleat marks on the top edge of the table.

There were a few places on the table where I sanded too much. To fix it, I painted more milk paint in the chippy areas and then sanded it very lightly again.
On the flip side, if the furniture doesn’t look chippy enough you can sand the areas where natural wear and tear may have occurred.
The last step is to cover the table with a polyacrylic finish.
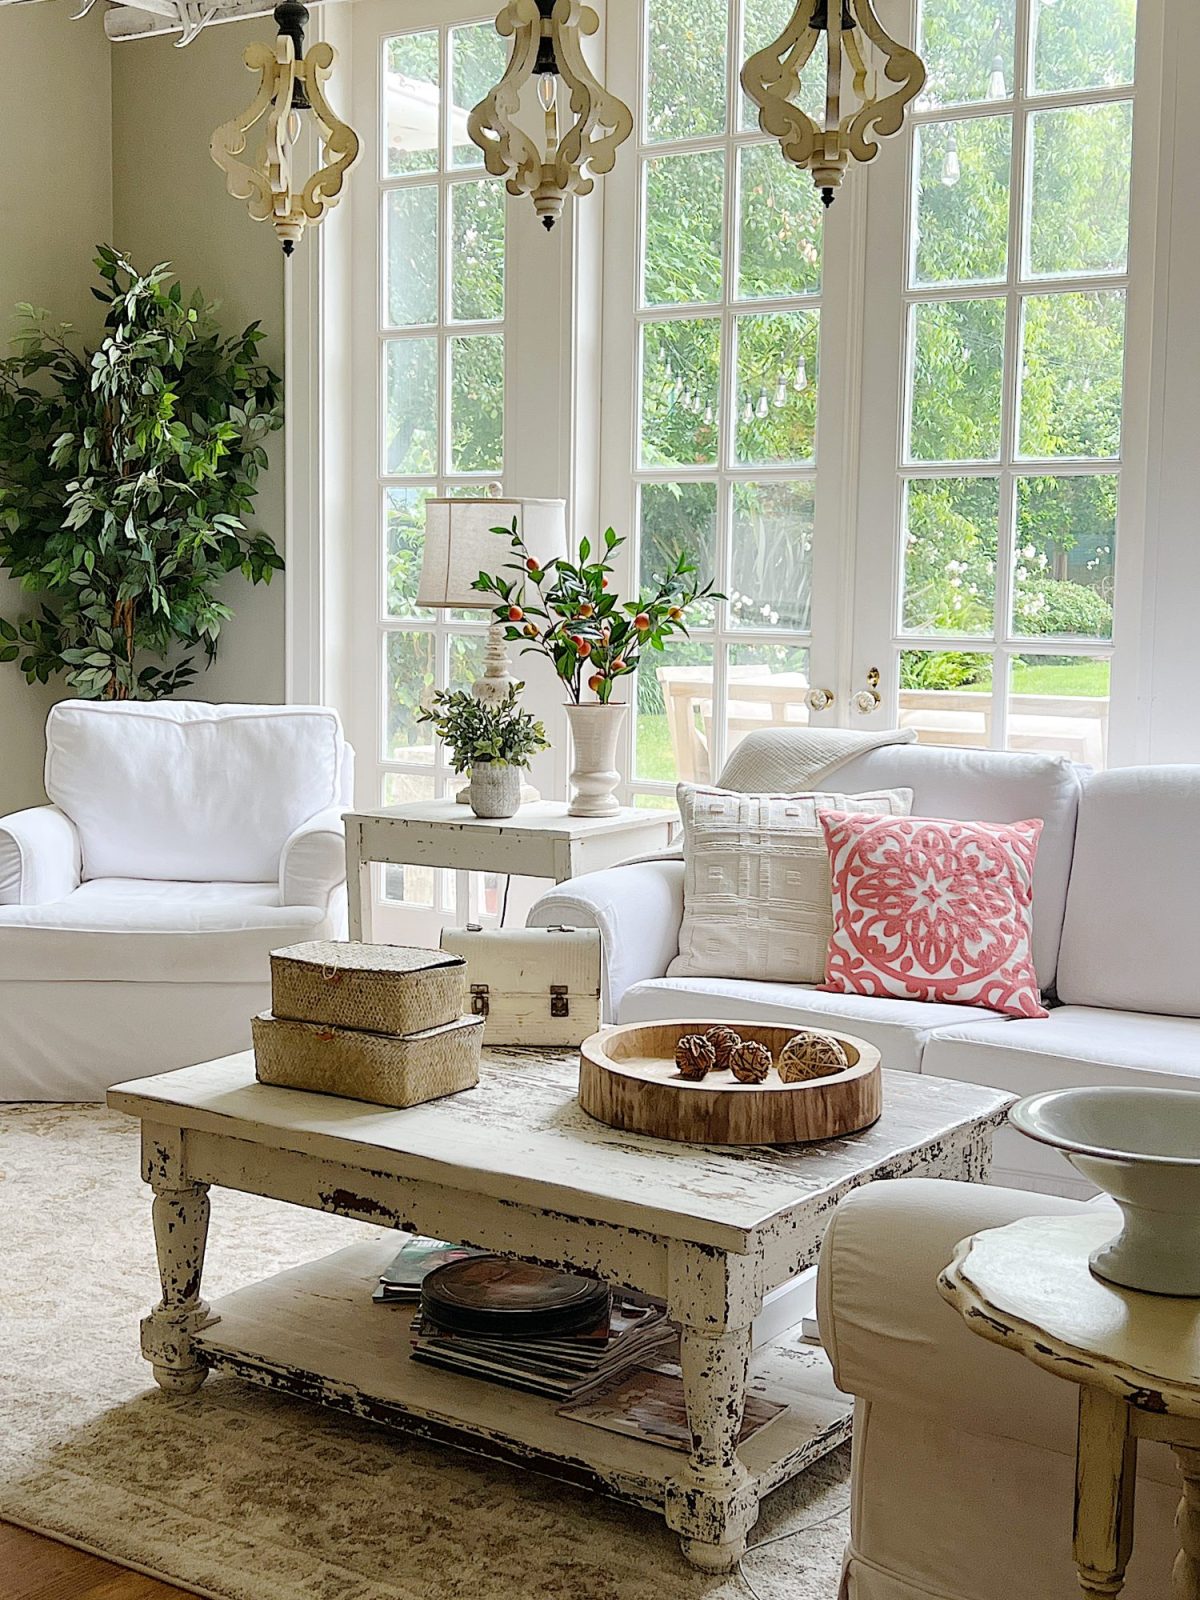
Here is how the finished table turned out. The polyacrylic finish coat also sealed the chippy surfaces so the chips wouldn’t fall off!
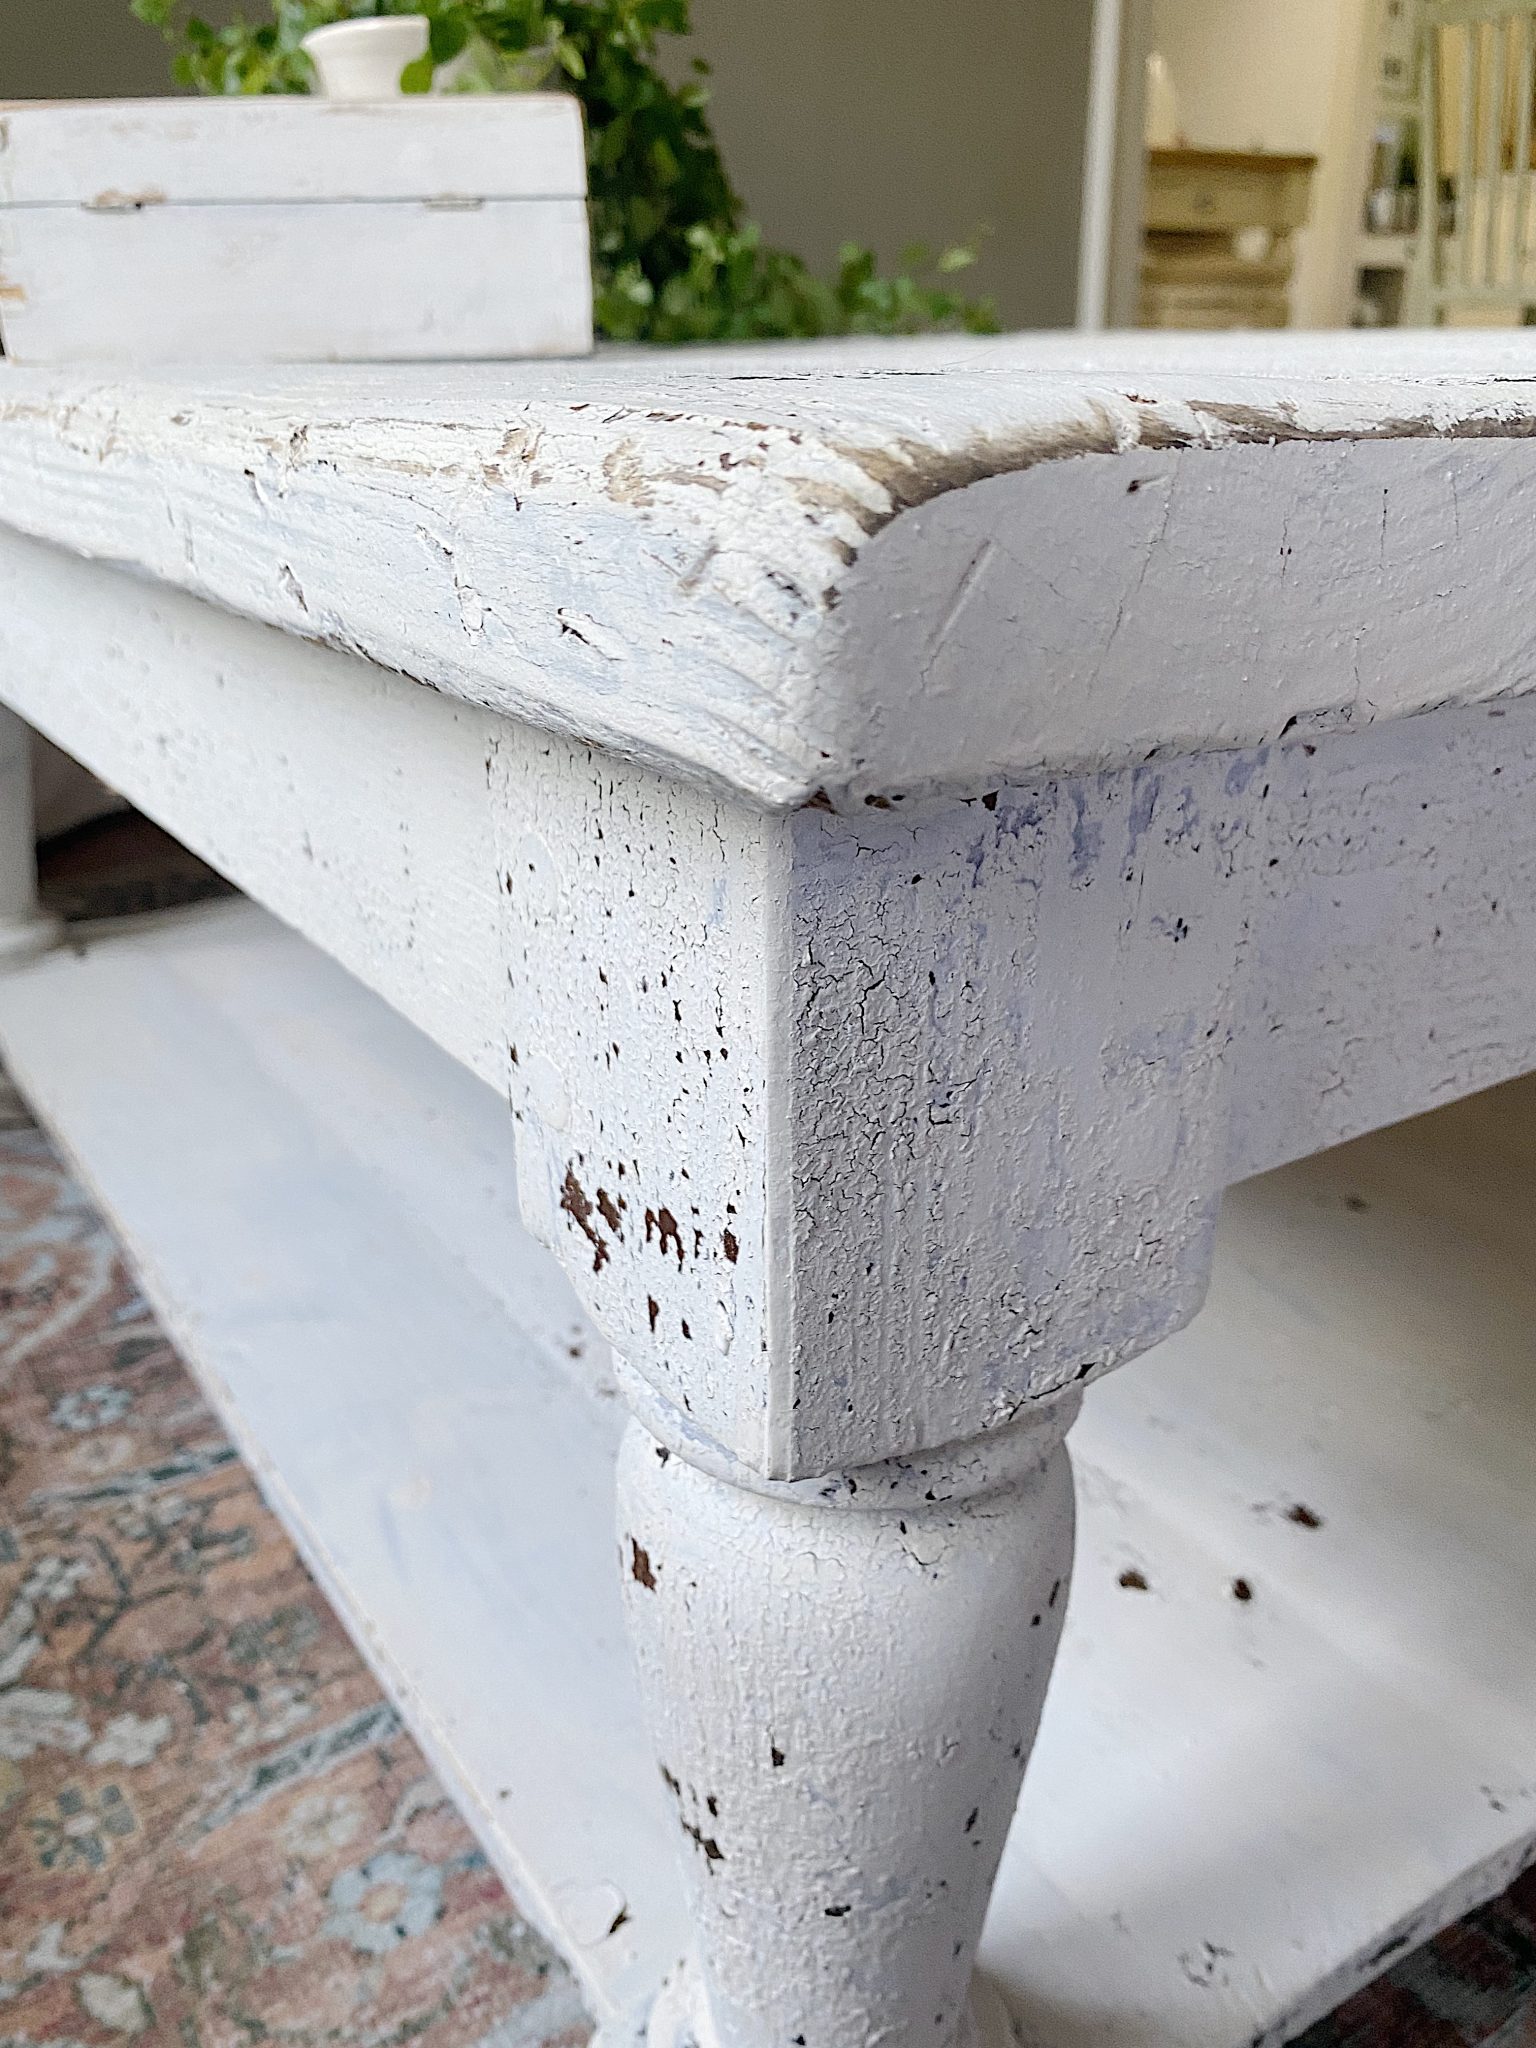
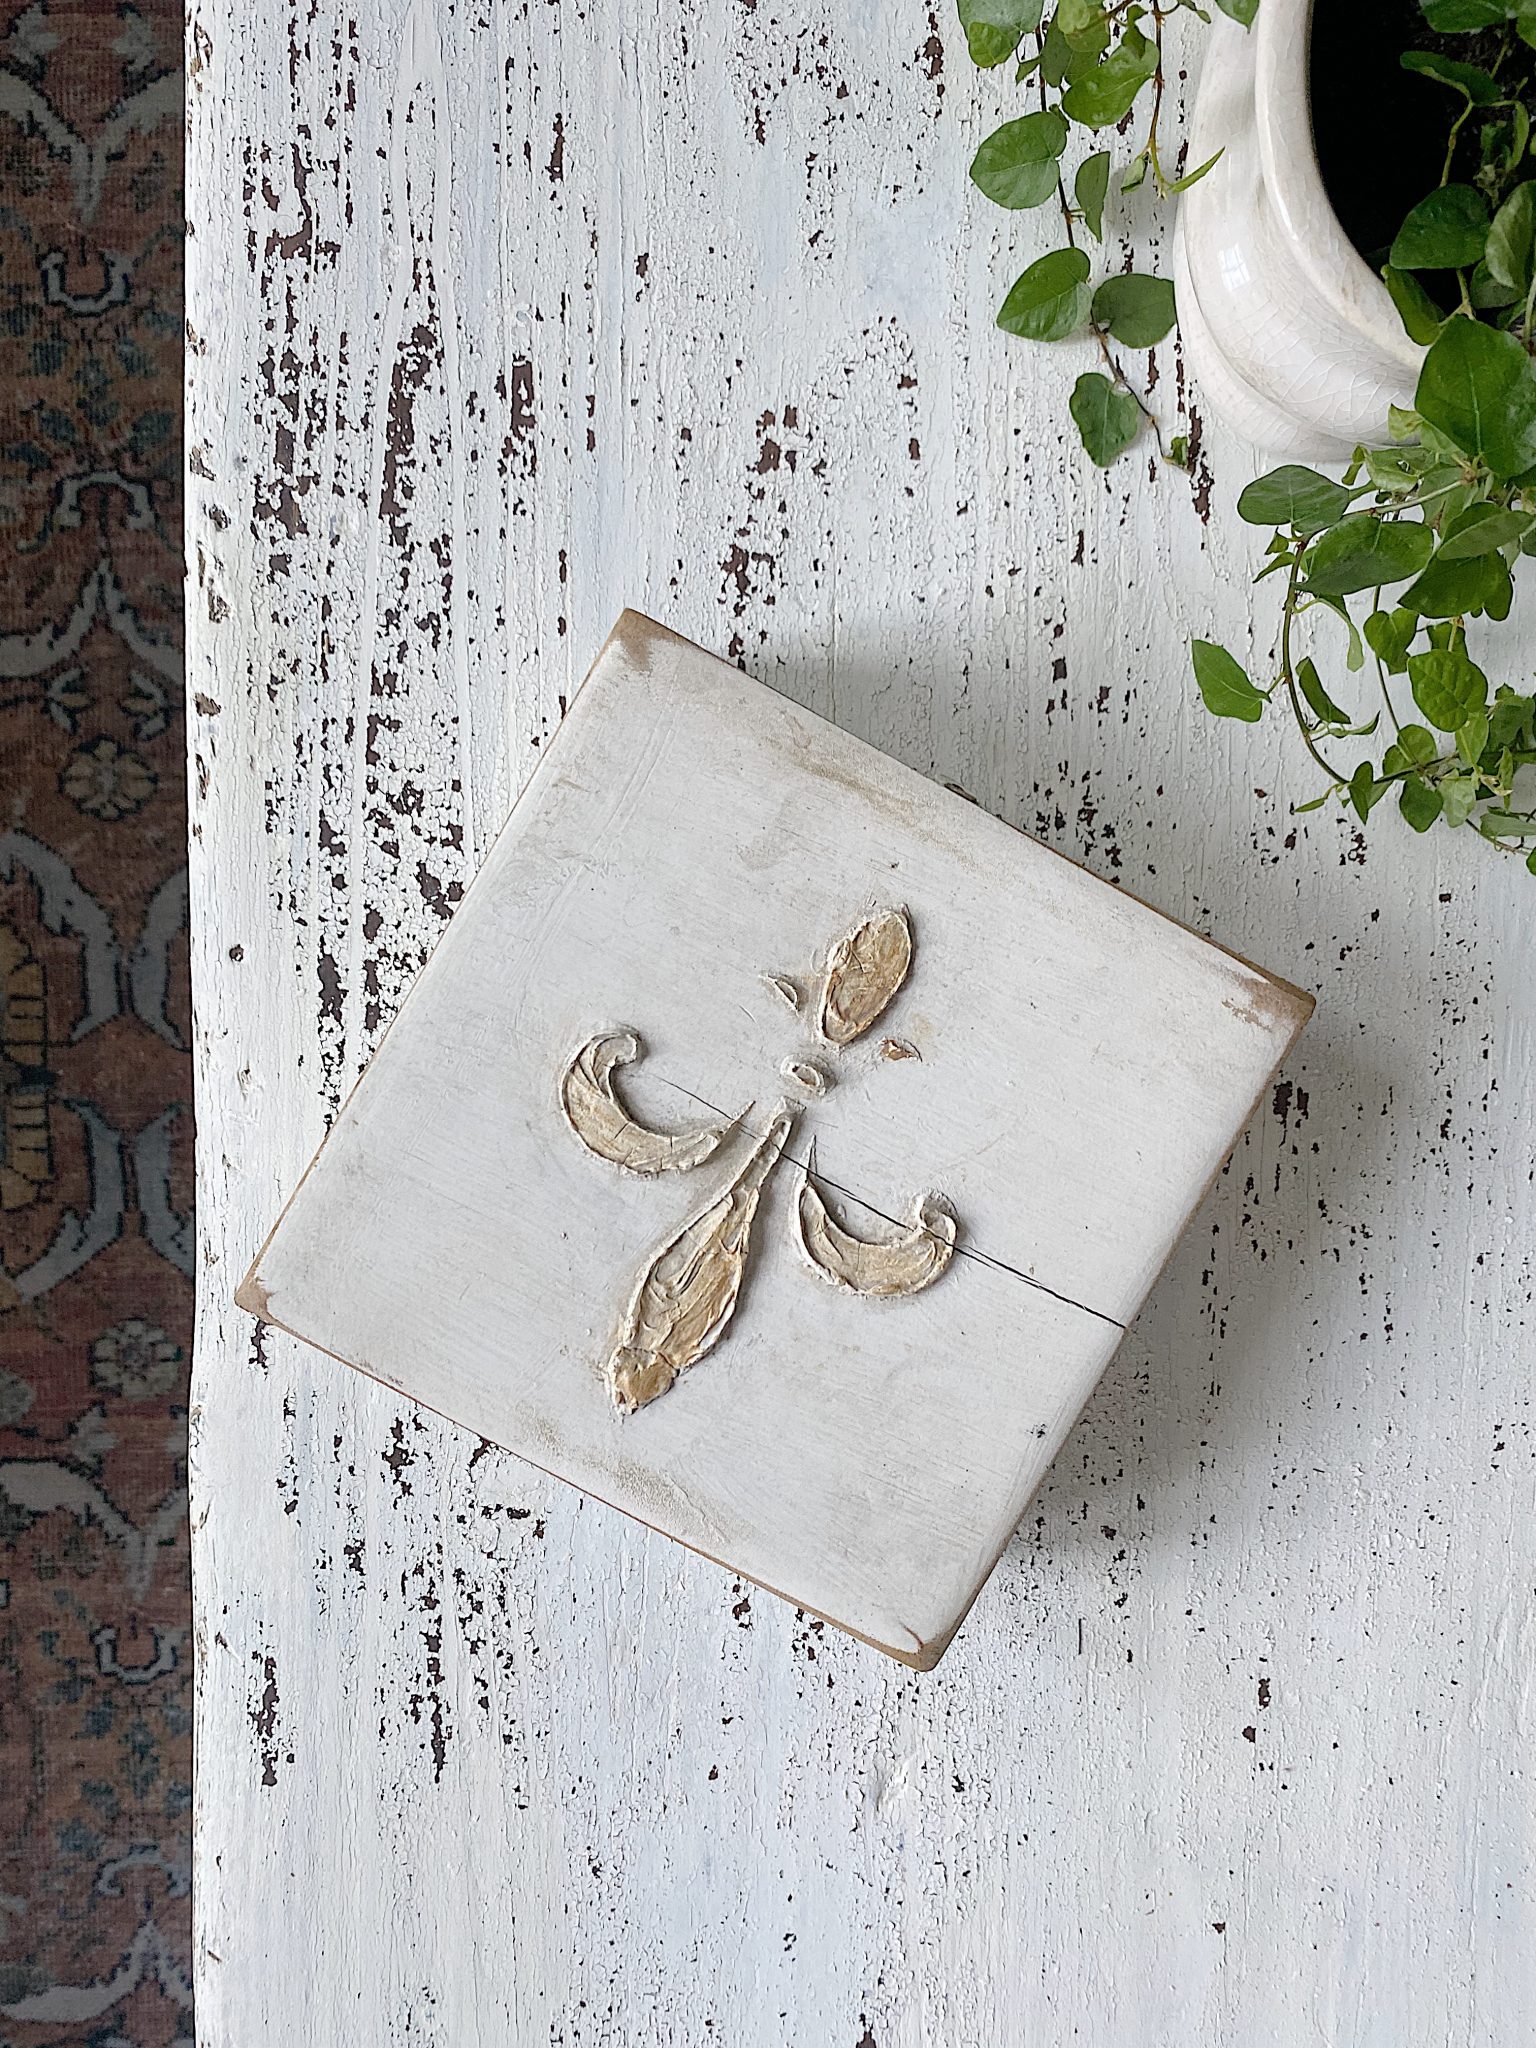
Here is a closer look at the table. I love it!
Frequently Asked Questions
Milk paint automatically produces a bubbly paint texture, which is a perfect “chippy” distressed look. It creates the perfect vintage look for DIY furniture and wood projects.
No. Milk paint comes in powder form and will bubble and create a chippy look when it dries. You also need to sand your wood piece to remove any varnish when using milk paint. Chalk Paint has a heavy smooth finish and you will have to sand it if you want a chippy look.
I love the top of the table and it’s the perfect amount of paint and the dark wood showing through. Plus, you can still see the soccer and baseball cleat marks on the top left side!
It’s been a couple of years since I did this DIY.
What should I do next?
I have an idea but I am not sure. Any thoughts?
Decor Ideas

Similar Posts
Pin the image below to your decor boards on Pinterest (just click the Pin button in the top left corner). You can also follow along with me on Pinterest!
For more real-time updates, follow me on Instagram @My100YearOldHome


I absolutely loved this post! I’ve been wanting to refinish my old table to give it a fresh farmhouse look, and your detailed steps make it feel so attainable. The tips on choosing the right stain color were especially helpful. Can’t wait to get started!
I absolutely loved this post! Your step-by-step guide made refinishing my old table so much easier. The farmhouse style really transformed my space. Can’t wait to see what you share next!
I absolutely love the step-by-step guide you provided! Refinishing a table to achieve that perfect farmhouse look has been on my to-do list forever. Your tips on choosing the right stain and techniques to get that aged appearance are super helpful. Can’t wait to give it a try and hope mine turns out as beautiful as yours! Thank you for the inspiration!
What a fantastic and detailed guide! I love the farmhouse style, and your tips on refinishing the table are so practical. I can’t wait to try this on my own piece. Thank you for sharing your expertise!
This is such a helpful guide! I love the farmhouse style and your tips on refinishing really make it seem doable. Can’t wait to give my old table a fresh look using your techniques! Thank you for sharing!
I absolutely loved this step-by-step guide on refinishing a farmhouse table! Your tips on choosing the right paint and technique are so helpful. I can’t wait to try this on my own table. Thanks for sharing your expertise!
This post has inspired me to finally tackle my old dining table! I love the farmhouse style, and your tips on distressing techniques are super helpful. Can’t wait to see how it turns out! Thank you for sharing!
What a fantastic guide! I love the farmhouse style, and your tips on refinishing really inspire me to tackle my old table. The before-and-after photos are particularly motivating. Can’t wait to try out the techniques you shared! Thank you for the inspiration!
I absolutely loved this post! Your step-by-step instructions made the refinishing process feel so approachable. I can’t wait to try this on my own farmhouse table. Thanks for the inspiration and detailed tips!
I absolutely love the tips you shared for refinishing a farmhouse table! The step-by-step guide made it seem so achievable, and I can’t wait to try it out on my own antique table. Your choice of colors and the distressing techniques are truly inspiring. Thank you for the detailed instructions and beautiful photos!
I absolutely loved this blog post! The step-by-step guide on refinishing the farmhouse table was so helpful. I can’t wait to try out those techniques on my own project. Your tips on choosing the right stain really made the process feel less intimidating. Thank you for sharing your expertise!
I absolutely loved this tutorial! The step-by-step instructions were super helpful, and your tips about selecting the right stain really resonated with me. Can’t wait to try refinishing my own table – I’m inspired! Thank you for sharing your expertise!
I love how you refinished your coffee table! I have a small side table that I’ve really been wanting to give a rustic farmhouse look, but have been stumped as to how to achieve it. You answered all of my questions and gave me the inspiration I need to to do it! Thanks so much for sharing!
Your tips on choosing the right stain really made the process feel less intimidating. Thank you for sharing your expertise!
Thank you for the detailed instructions and beautiful photos!