How to Paint a Coffee Table with Milk Paint
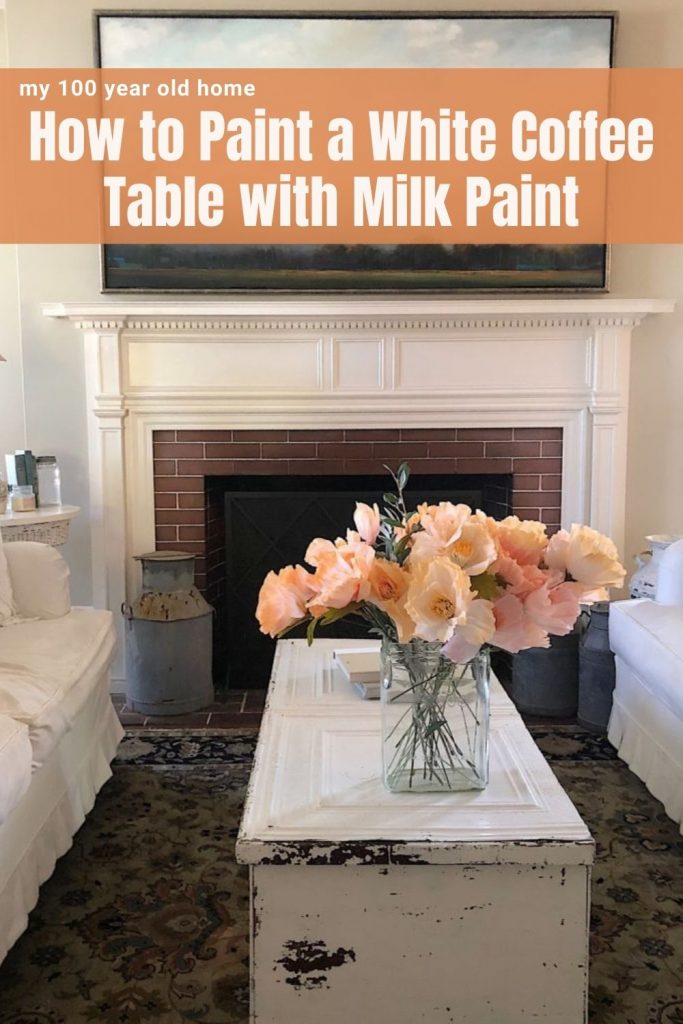
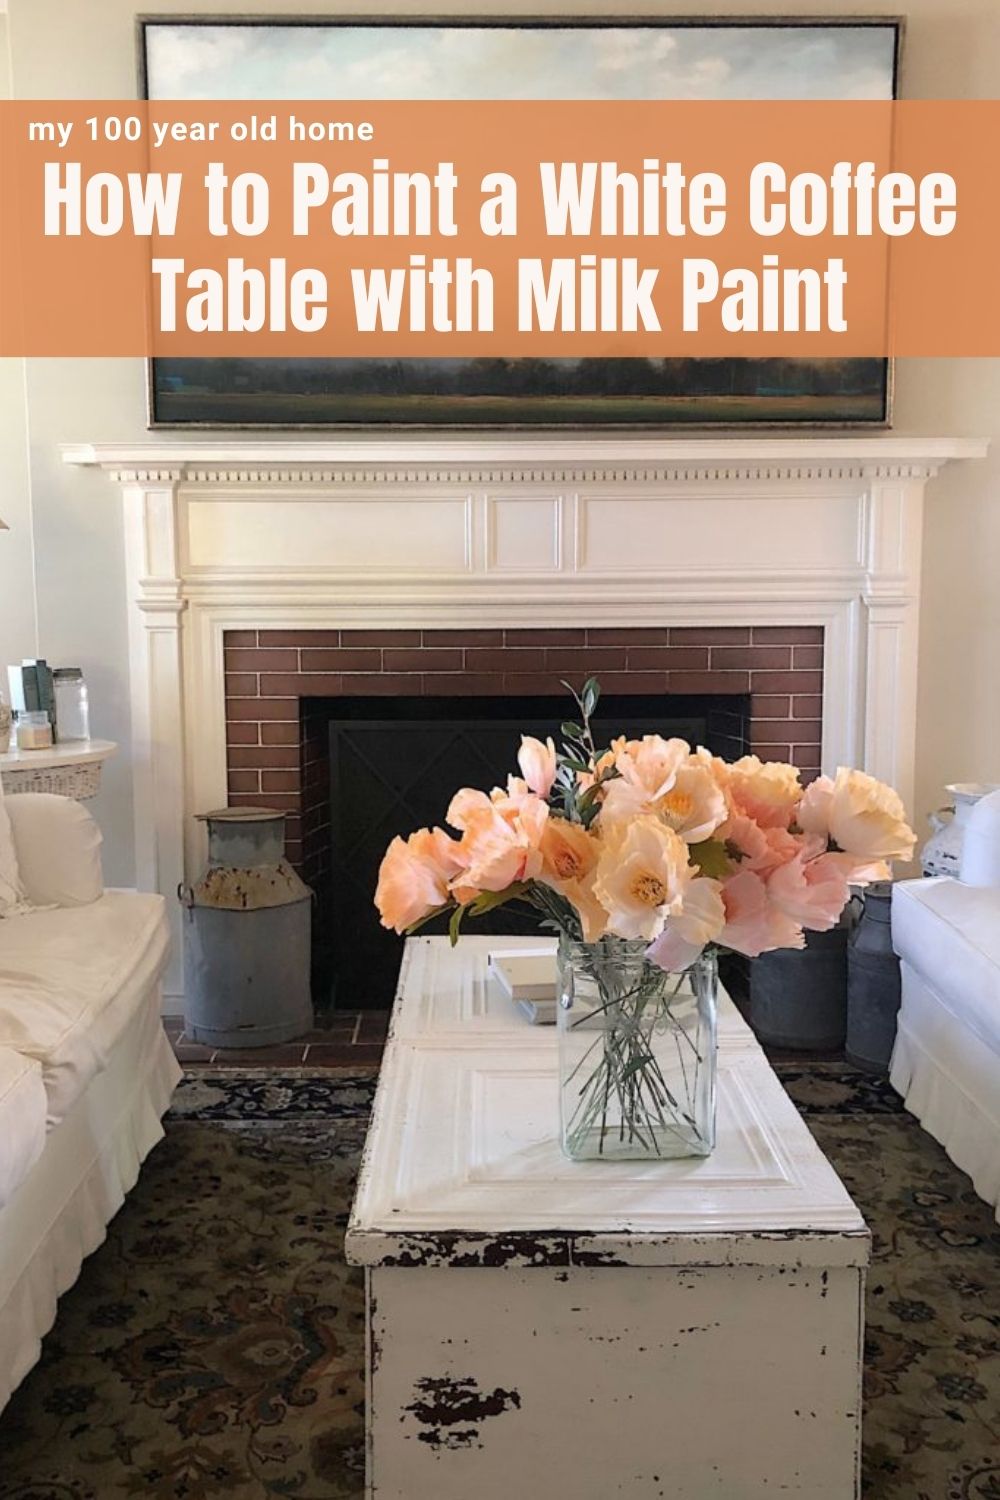
So many of you asked about our white coffee table that I painted with milk paint! I thought it might be fun to share my DIY tutorial.
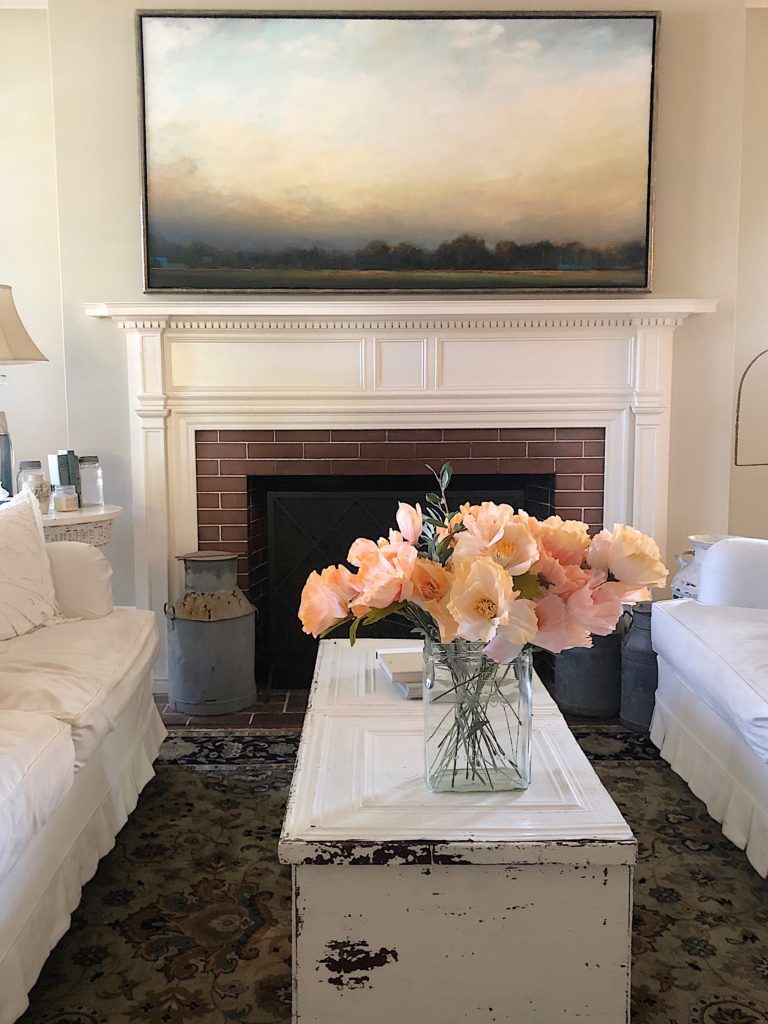
Oh my gosh. You know when you have an idea in your head for a DIY, but you are afraid that it might not work? I had been very nervous about my DIY milk paint coffee table. I found two perfect items (milk paint and tin ceiling tiles) that I truly believed would make a perfect coffee table. Fortunately, the idea became a reality and I absolutely love it.
Today I’m sharing with you a Do It Yourself Milk Paint White Coffee Table Project I made with Old Barn Milk Paint.
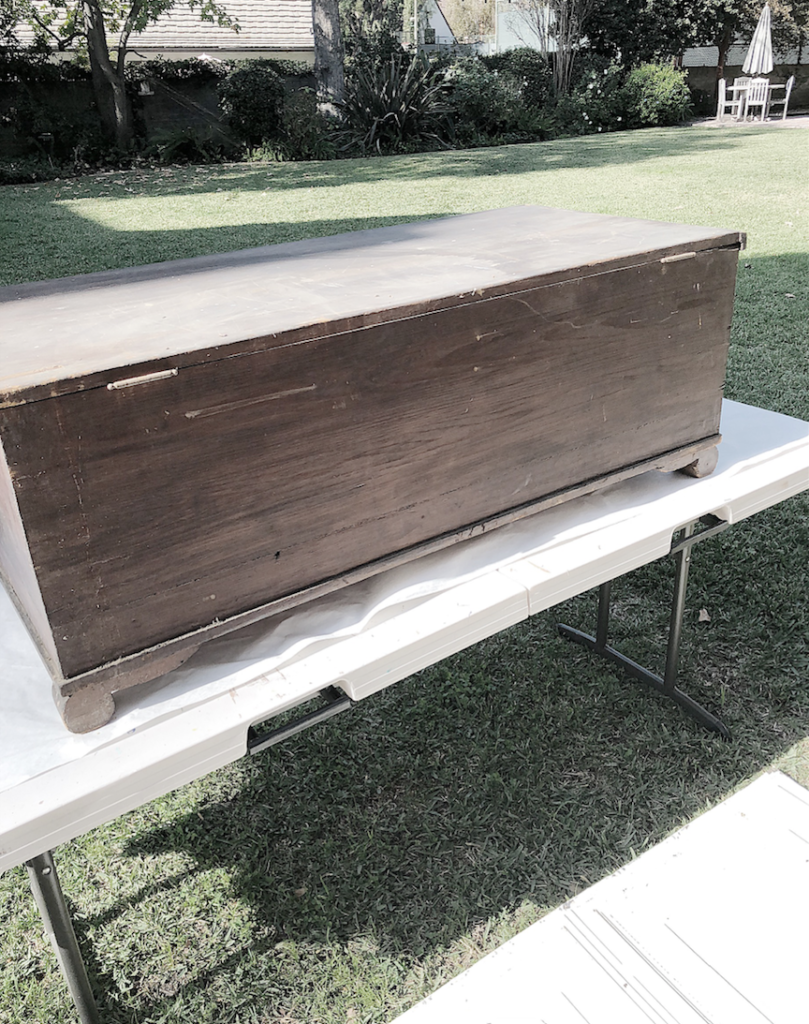
I found this wooden chest at www.vintagejunktionla.com. The size seemed perfect and I not only wanted a coffee table with a lift top, but I also wanted a coffee table with storage.
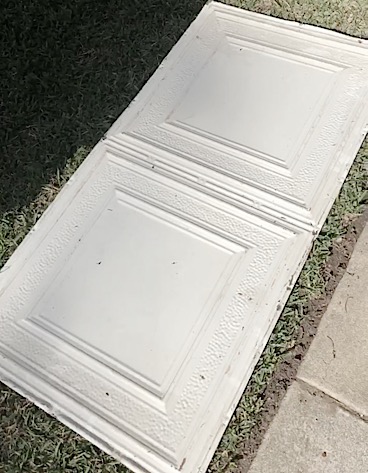
Many months before I found this chest, I bought two of these vintage tin ceiling panels. At the time I bought them I had no idea where I would put them. But for $10 I knew I would eventually find a good use!
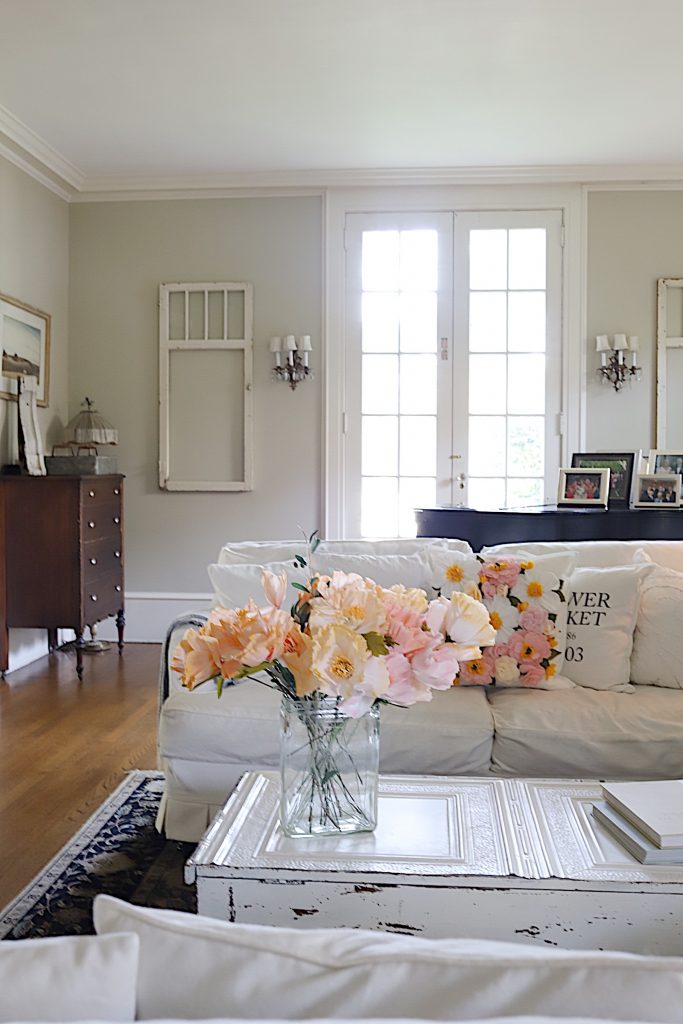
I have wanted a white coffee table in our living room that would look good with our vintage general store counter. The counter has a white chippy wonderful look and I knew the only way I could find something to match it was to make it myself with milk paint. I love to paint with milk paint and this white coffee table project was really easy to do.
What is Milk Paint?
Milk paint is an environmentally friendly paint made from simple, 100% natural ingredients like clay, milk protein, and lime—and is water-based. Milk paint is a non-toxic water-based paint and is commonly sold in powder form.
Are there any advantages of milk paint?
Milk paint adheres to almost all clean, porous surfaces and is environmentally safe, non-toxic, and anti-bacterial. It is solvent-free, non-flammable, and odorless when dry.
What kind of a brush do you use for Milk paint?
Foam brushes are great when applying milk paint, especially if you want a smooth finish without any brush lines. The best size is three to four inches, although foam brushes typically range in size from one to four inches.
What is the Difference Between Milk Paint and Chalk Paint?
Chalk paint can create a wide range of looks; from distressed paint, crackled paint to limewash looks. If you want a ‘chippy’ paint look, milk paint is better. After you apply milk paint, it starts to chip away giving it a very authentic vintage look. It doesn’t need wax or a varnish coat which makes it super easy to apply. It’s the calcium in the milk paint that gives it a chalky finish.
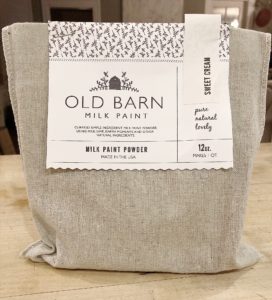
What You Will Need
- A piece of wood furniture
- Old Barn Milk Paint, one 12 oz. bag
- Lukewarm water, 12 oz.
- Old Barn Milk Paint Clear Wax
- Paintbrush, paint scraper, sandpaper
How to Make a Milk Paint Coffee Table
I mixed one bag (12 oz.) of Sweet Cream Old Barn Milk paint with 12 oz. lukewarm water. Mix with a whisk for a few minutes until smooth. Put the bowl aside and let sit for ten minutes. If necessary, add a bit of water if the paint seems too thick.
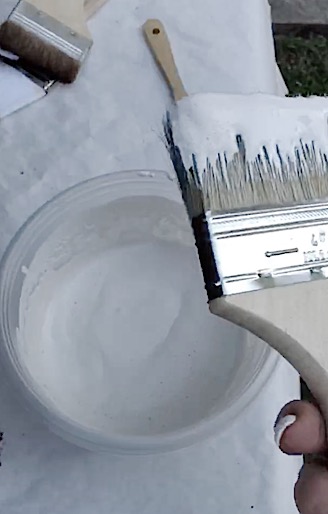
Using a brush apply one coat of milk paint to your piece of furniture.
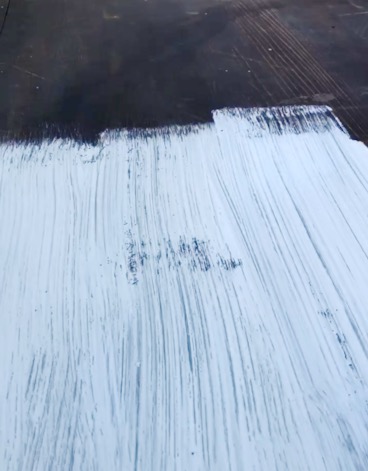
Let it dry for approximately 30 minutes. Next, I applied another coat of paint.
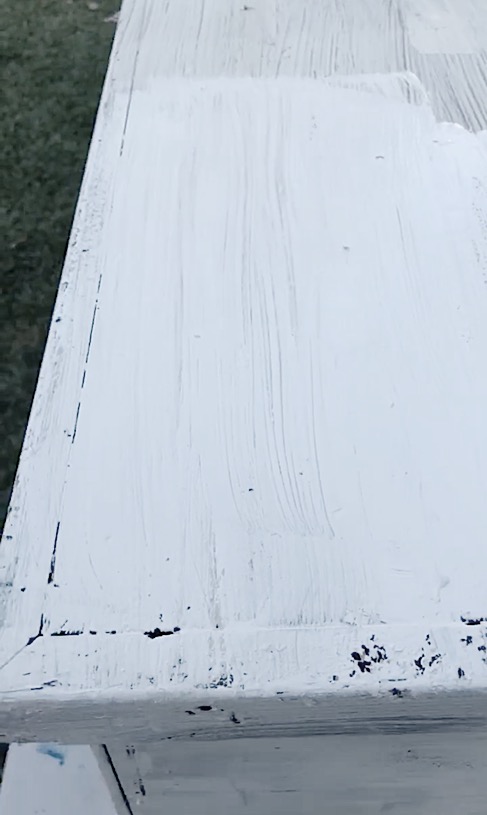
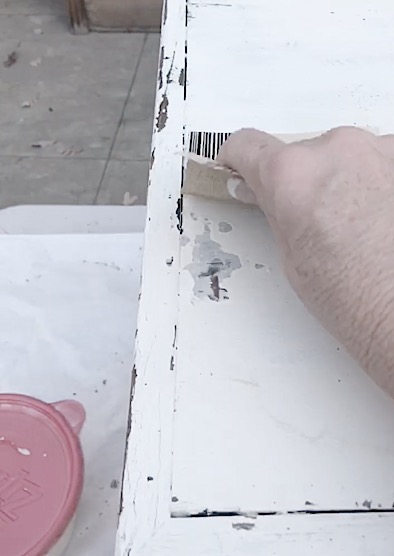
Let the table dry completely for a few hours. Using a paint scraper, scratch-off paint in the common areas, that is, the place where it makes sense that the piece of furniture would wear over time.
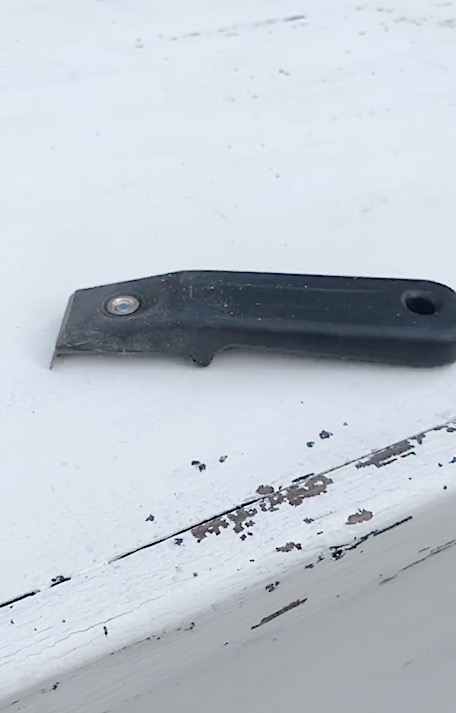
Scrape off as much paint as you want. Then lightly sand the entire piece of furniture.
If you are enjoying my blog, you can sign up to receive my blog updates here.
.
Seal the paint with one light coat Old Barn Milk Paint Clear Wax. You can apply with a large round brush or a soft cloth.
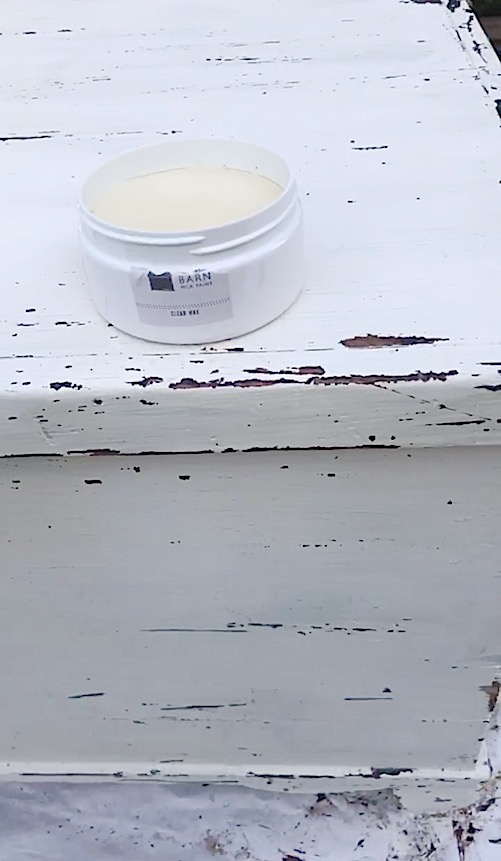
Once I was done painting, scraping, and sealing the chest, I pulled out my piece of tin. I knew immediately it was going to work.
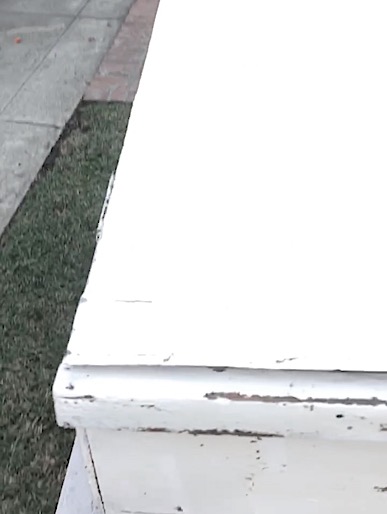
My only concern was that my piece of ceiling tin was about 3″ too wide. So I bought a large pair of tin scissors and carefully cut along a cut line I drew with a sharpie. I cut very slowly to ensure a straight line.
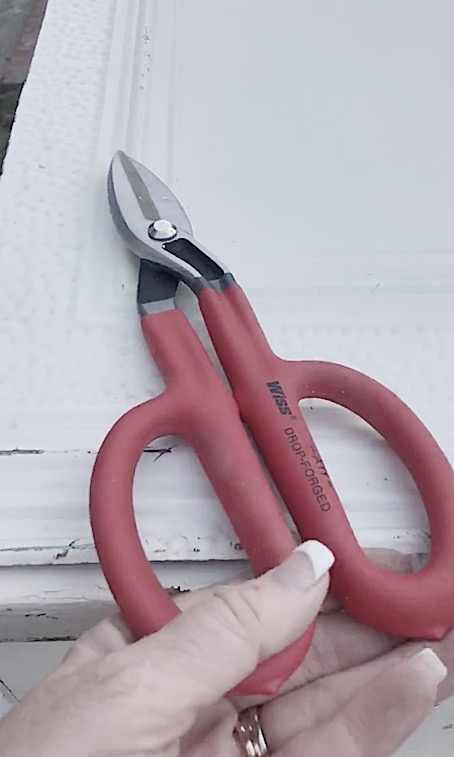
It worked! Next, I made some nail holes in the tin with a medium-sized nail and then hammered in small flat hear nails about every 8 – 10 inches. I then painted the nails white with the Old Barn Milk paint so they wouldn’t show.
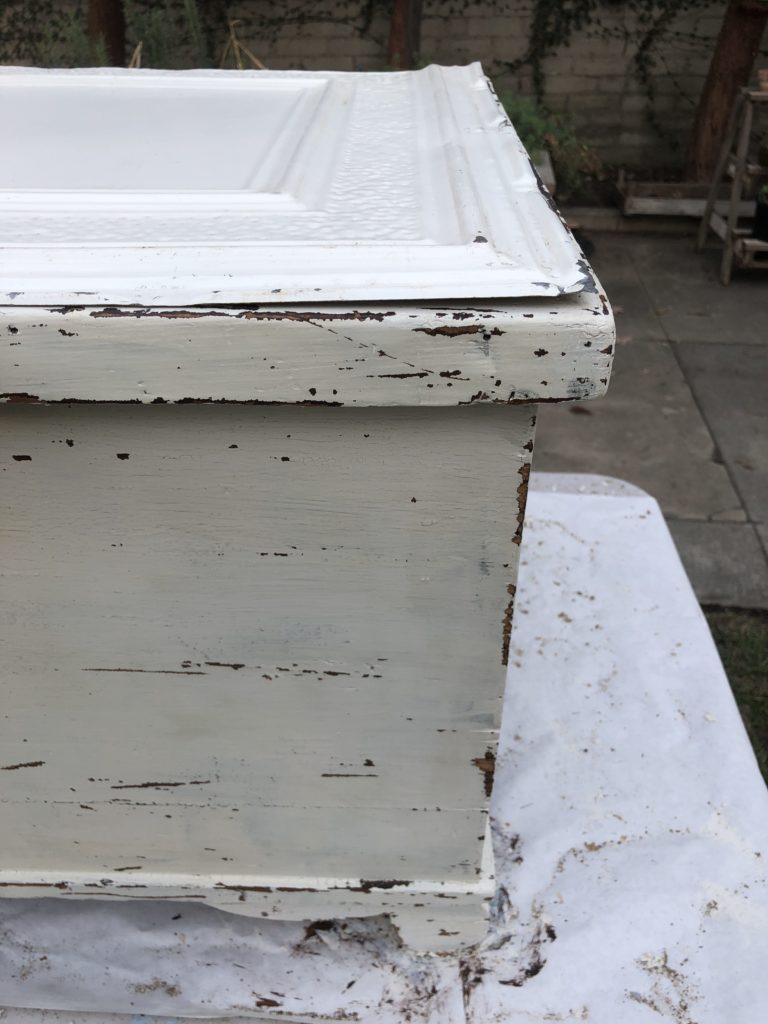
I carried in the table so I could see how it looked. Of course, it was still a bit wet because I just couldn’t wait! And I think the result is amazing!
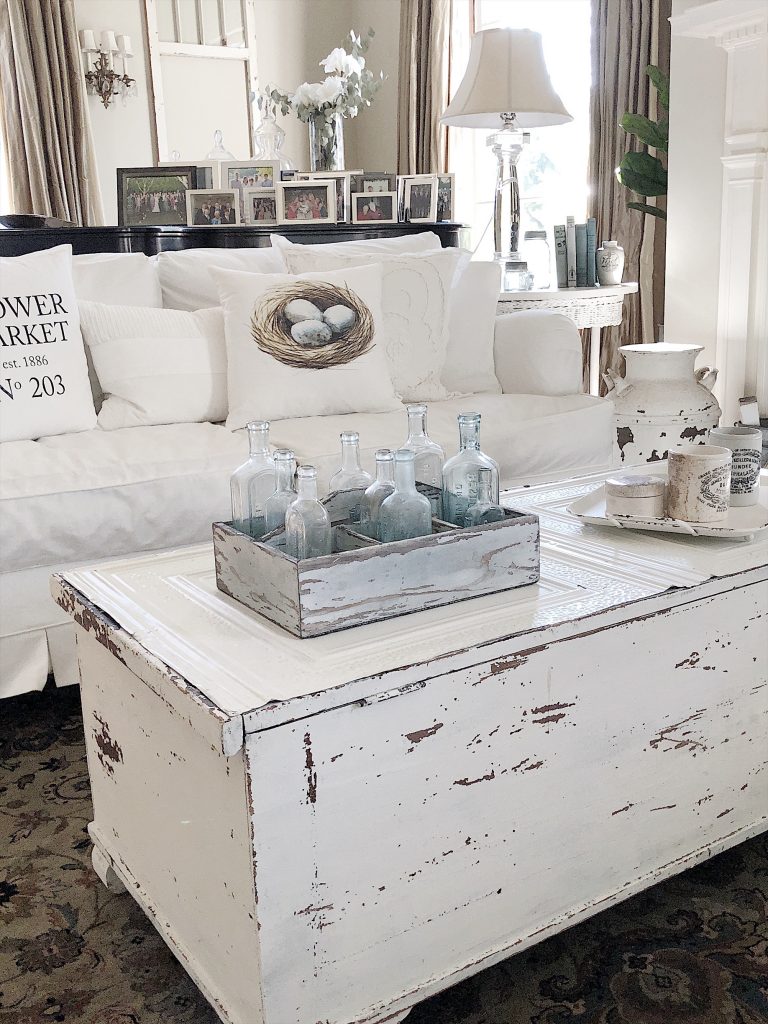
If you don’t have ceiling tiles, you can just paint the top and seal it with wax.
The end result is exactly how I hoped it would look! I absolutely love it.
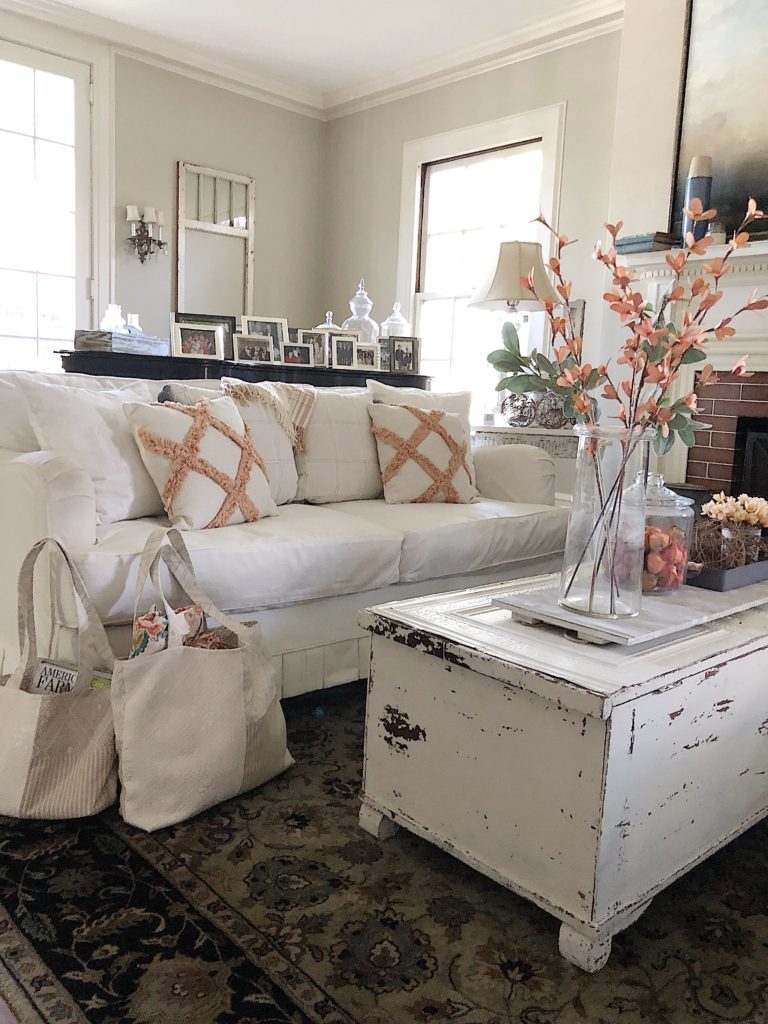
Pin the image below to your entertaining boards on Pinterest (just click the Pin button in the top left corner). You can also follow along with me on Pinterest!
For more real-time updates, follow me on Instagram @My100YearOldHome



You stated one of the differences between milk paint and chalk paint is you don’t have to wax, yet you waxed this piece. Reason for waxing?
I wondered that also?
Super awesome beautiful job! Now Im mad at myself, we had an old cedar chest that I gave away. I could have transformed into a beautiful coffee table like you did.😭
O man! That’s ok, Judy, it happen to the best of us!
LOVE IT 💕
Also wondering, you said foam brush works best, but you used a reg paint brush? I just love your table!
Gorgeous! Now you have my head spinning on how I can do this too. Maybe for my office remodel.
Hugs to you.
You absolutely should. Thank you!
Great idea to add the ceiling tins. I love it.
Thank you!
Just toooo cute! Love !!❤️
Oh thank you, my friend.
I love your table what a awesome project !
Thank you so much!
I LOVE the way this turned out. I have never even heard of milk paint (I have heard of and used chalk paint to refinish an old desk years ago)! I’ll have to give it a try ASAP. Thank you so much for sharing!
Thank YOU. I hope you enjoy!
I love the finished project. It turned out beautiful. I really like working with milk paint. It’s a fun medium to work with. Nice job!!
Thanks Kim!
Beautifully done. Thank you for explaining the chalk paint /milk paint difference.I’ve only used ckalk paint for my DIY’s. Maybe I’ll give it a try .One question can you use it on outdoor furniture pieces?
Yes you can! Thanks Barbara!
I love this! Wondering about the sharp edges of the tiles. I bought tiles at a great price also! I have been waiting for the right project. I just want to make sure little ones don’t get cut. Any suggestions?
Leslie, I tried to sign up for your blog site, but it keeps telling me that my email address is invalid, but it’s the only one I have. Help! Love your projects
I have been an avid follower of you for quite awhile now. I love the art that you have hanging above your fireplace mantle. Could you please tell me the artist. Thanks so much