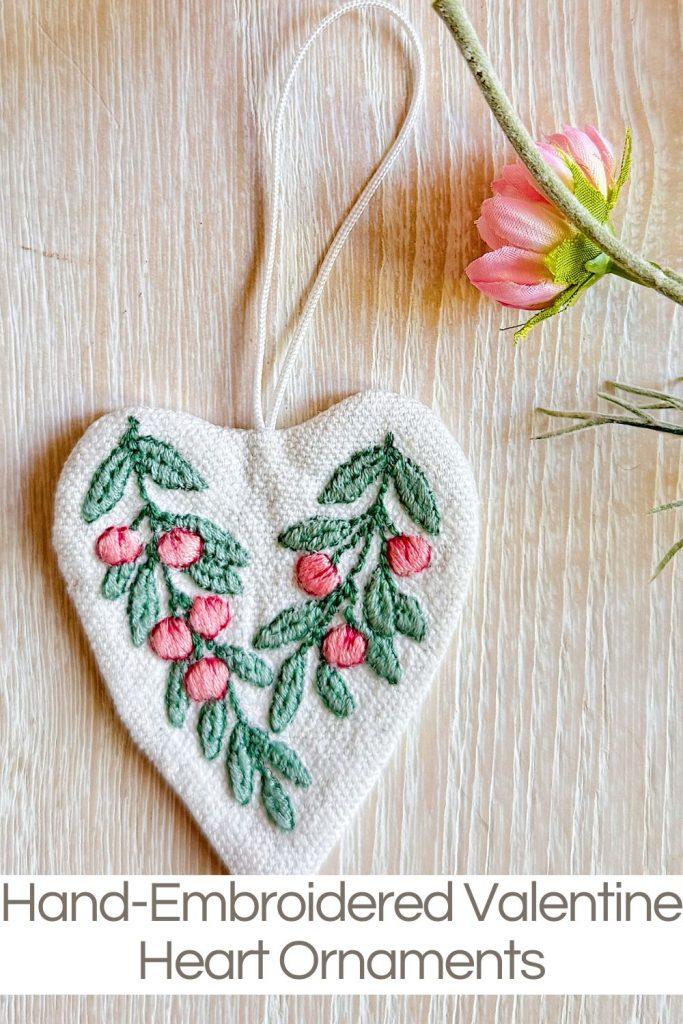
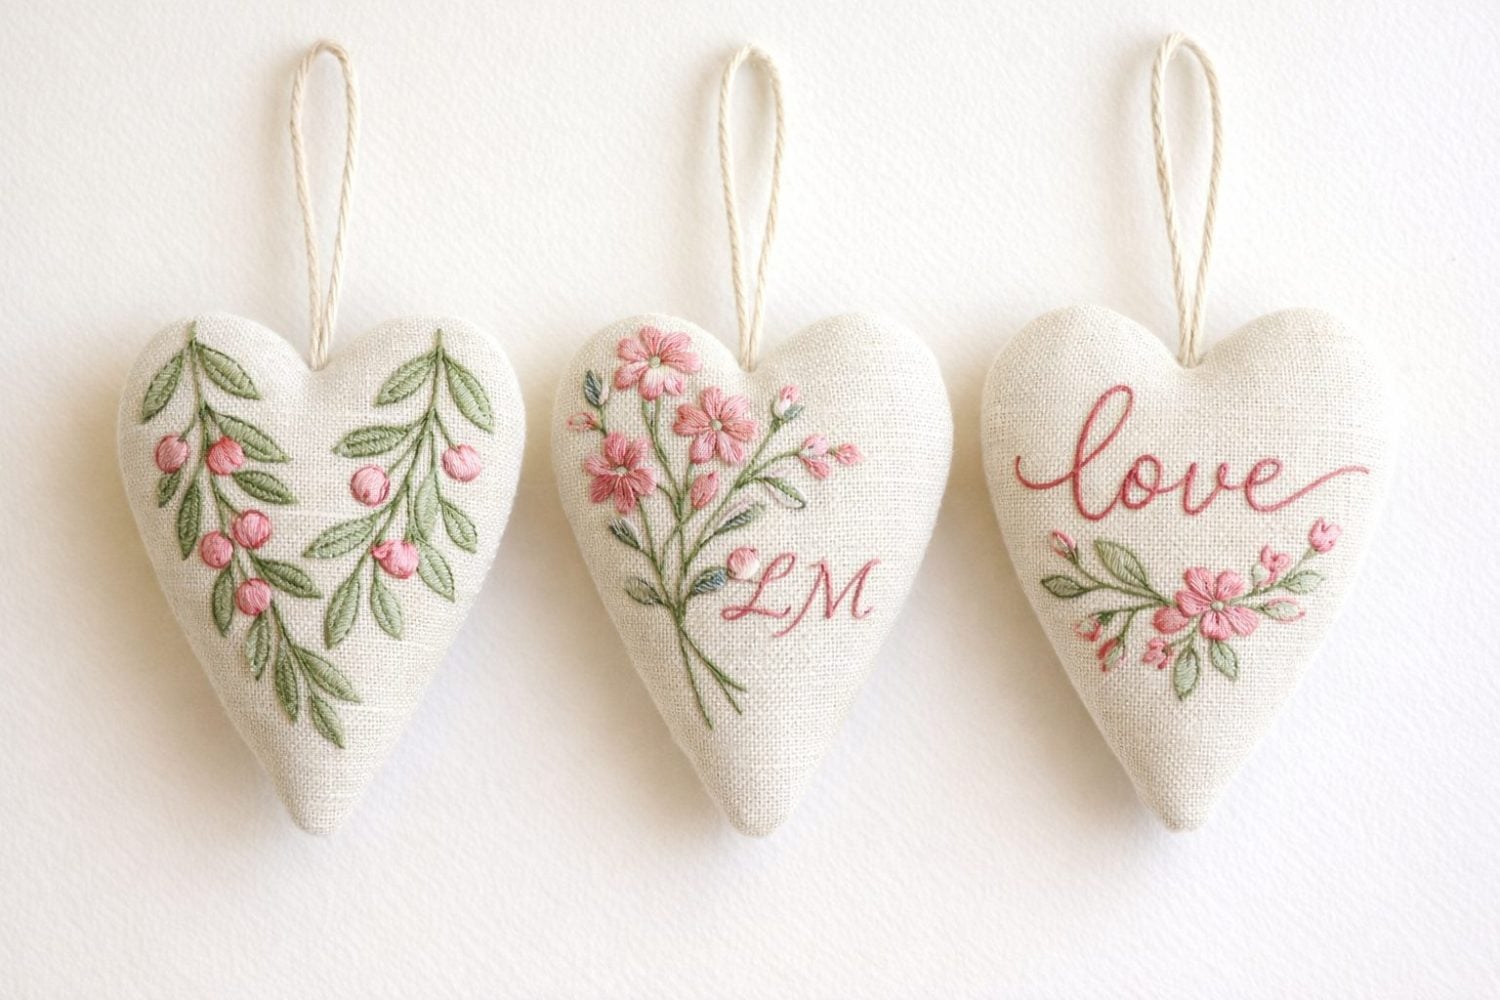
Hand-Embroidered Valentine Heart Ornaments
These hand-embroidered heart ornaments are soft, timeless, and perfect for Valentine’s Day and early spring decorating. Let’s make Valentine Heart Ornaments together.
This is the second week of my series, A Handmade Spring. For twelve weeks, I am sharing new crafts that we can all make. Made with linen, simple embroidery stitches, and gentle shades of pink and sage green, these handmade heart ornaments are meant to feel heirloom-inspired rather than fussy or trendy.


Valentine Heart Ornaments
How to Make Hand-Embroidered Valentine Heart Ornaments

A Step-by-Step Guide
This guide walks you through every step, from transferring the design to linen, choosing stitches, embroidering each heart, and finishing the ornament with batting and hand stitching.
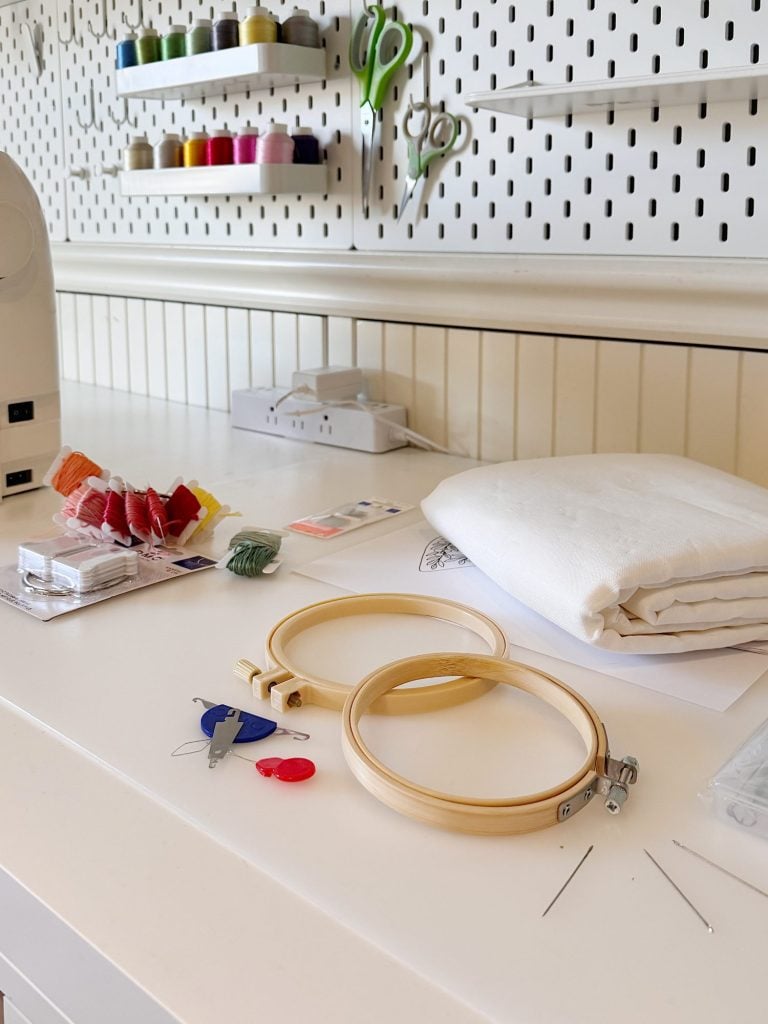
Supplies You Will Need
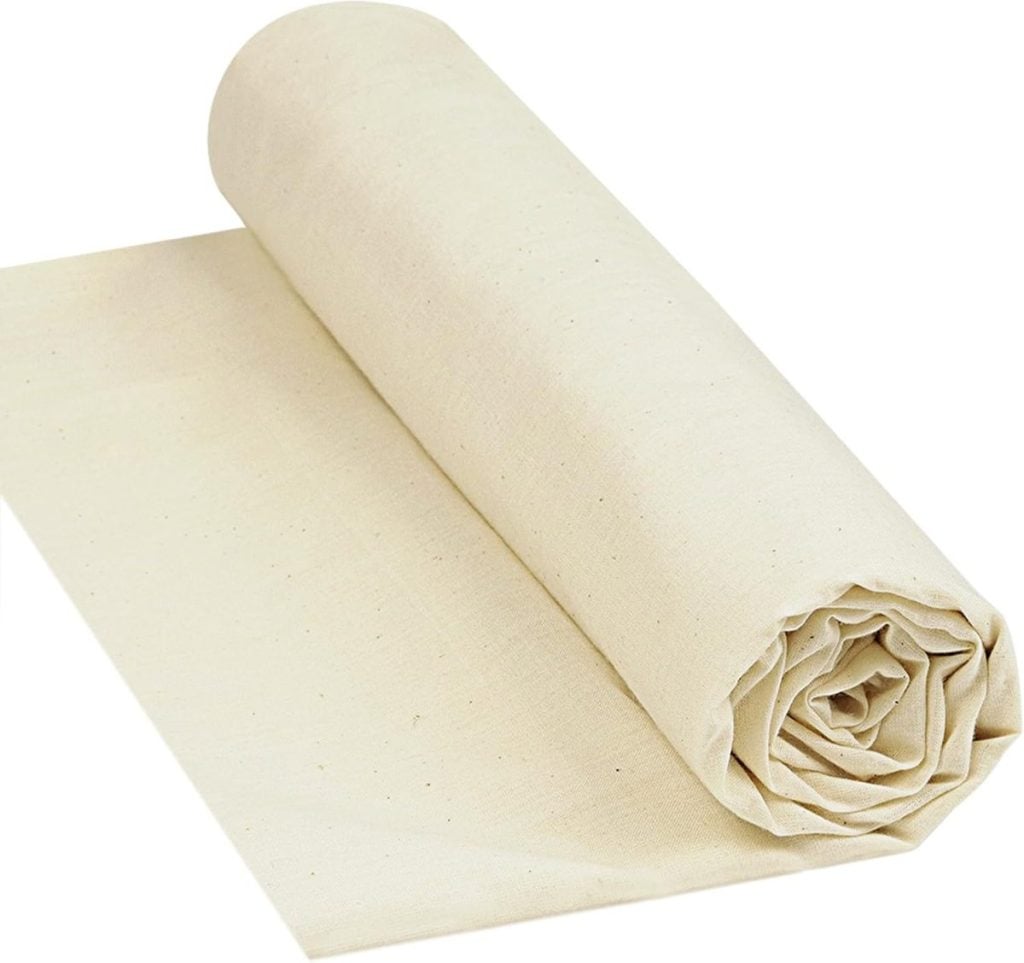
- Linen or linen-cotton blend fabric
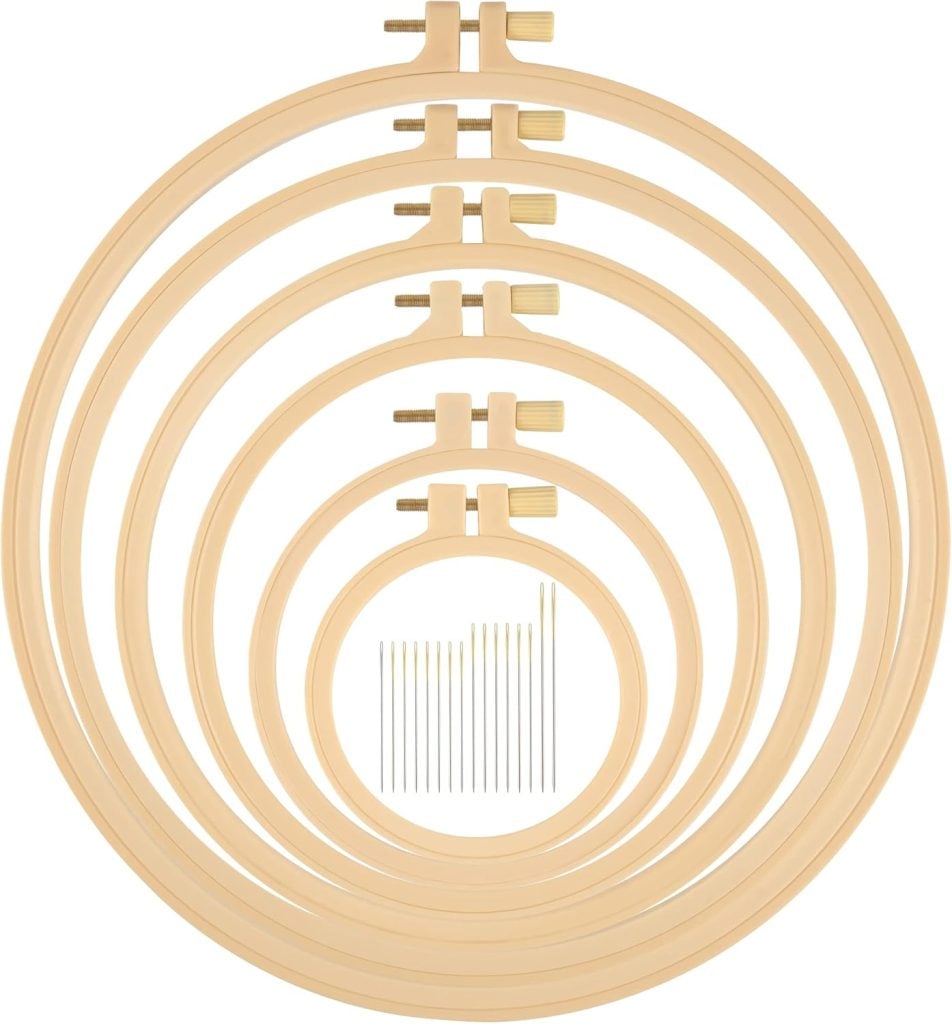
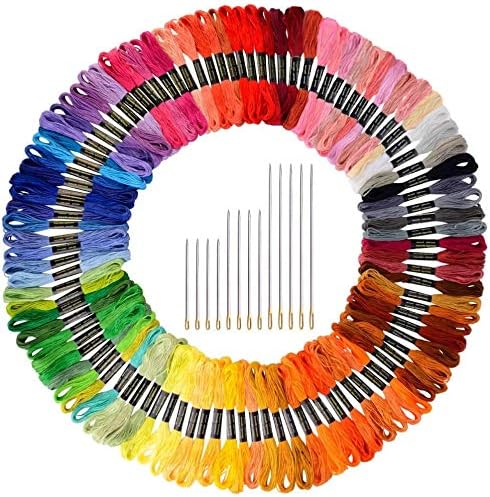
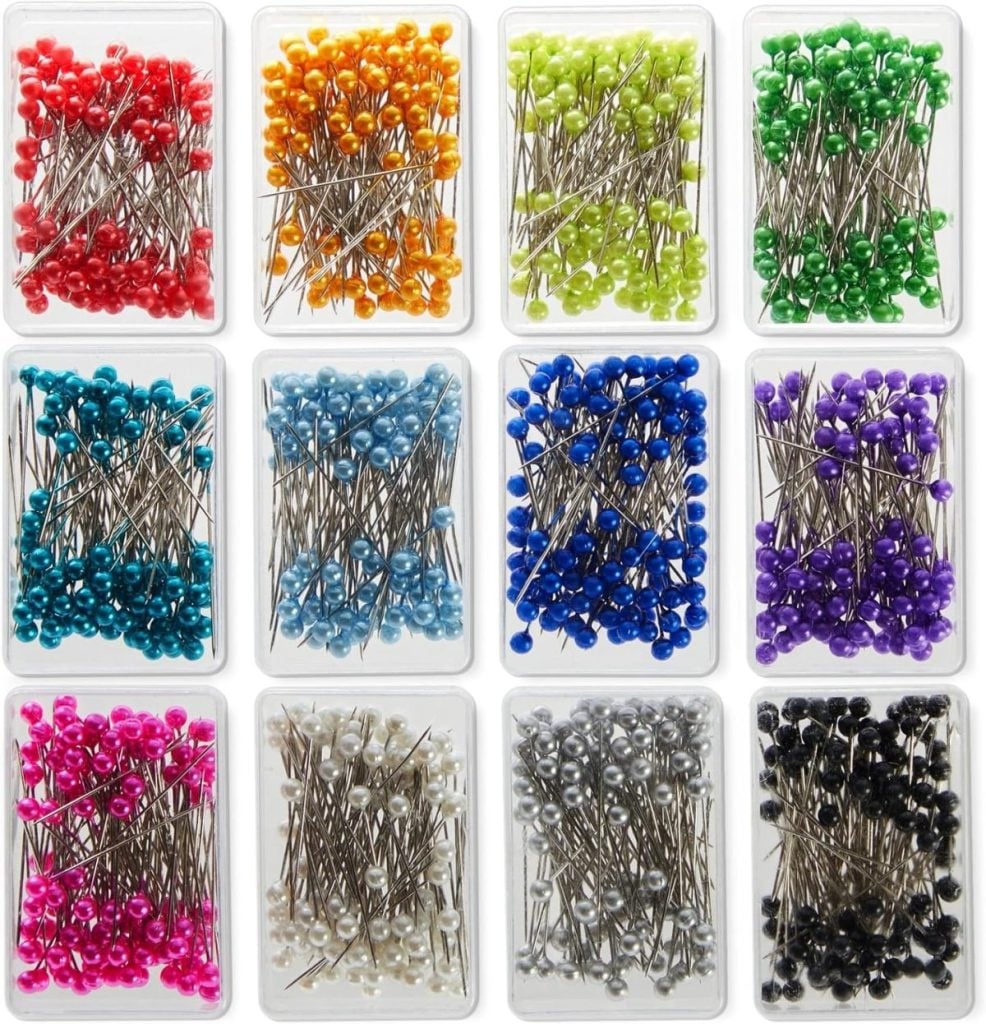
- Embroidery hoop (5″–7″ works well)
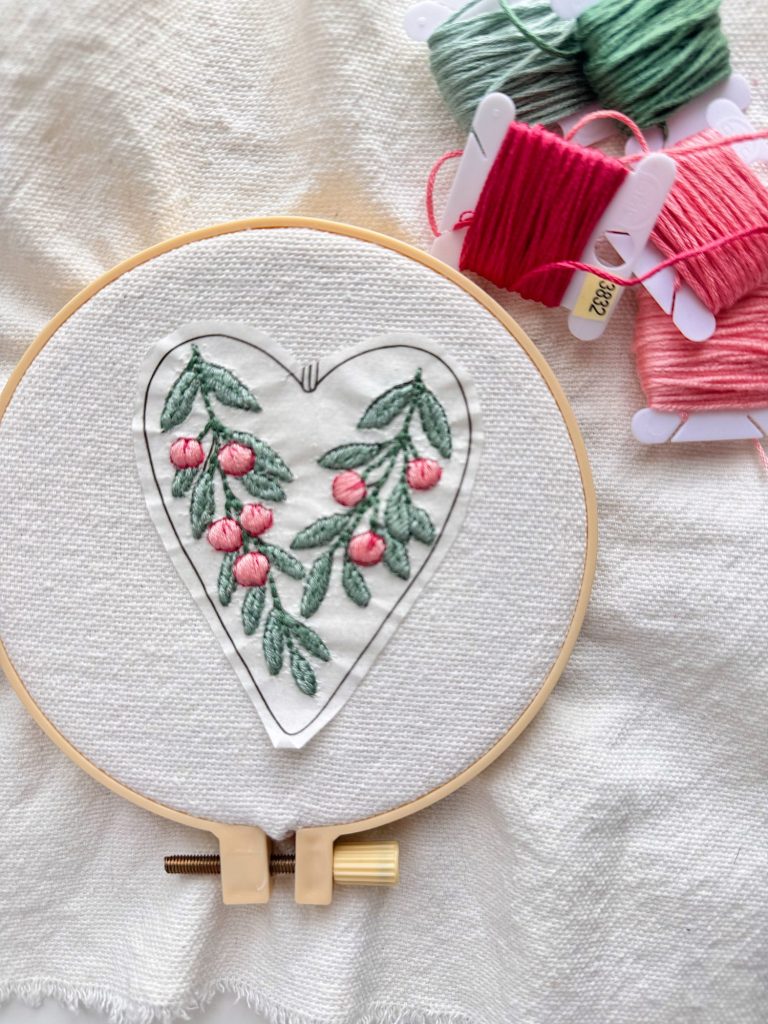
- Embroidery floss in five colors
- Sage green (light and medium tones)
- Soft pink (light and medium tones)
- Optional warm gray or darker sage for detail
- Embroidery needle
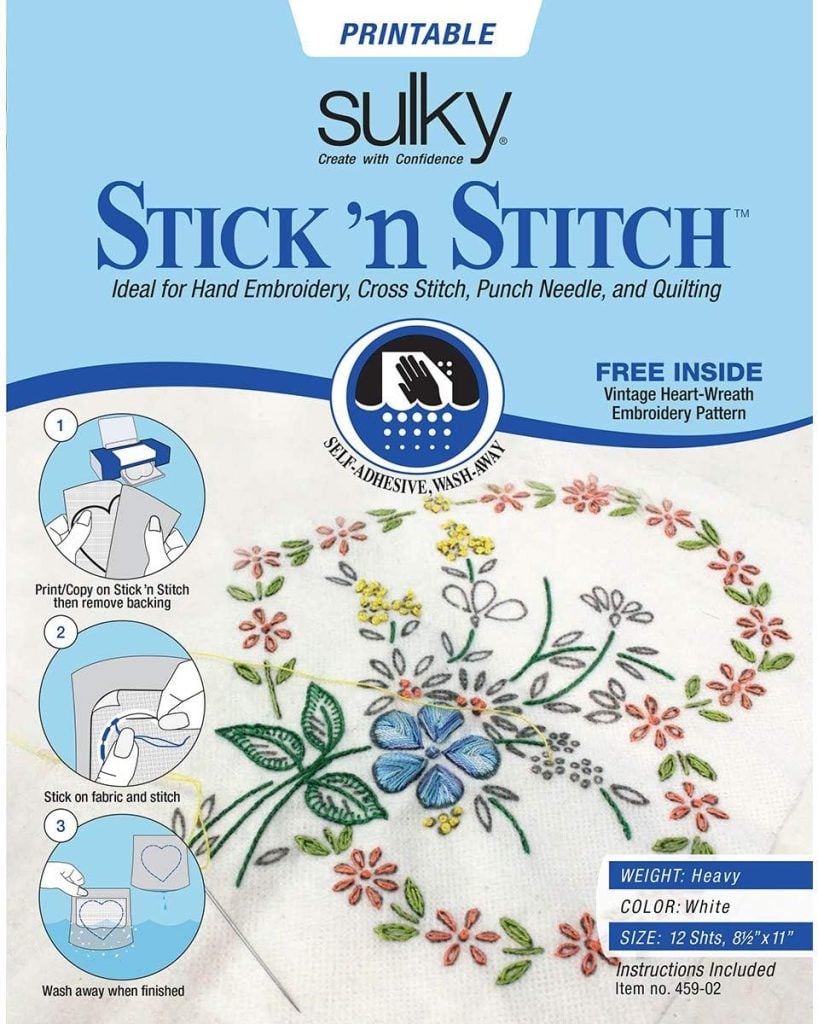
- Print-Stitch-Dissolve embroidery wash-away
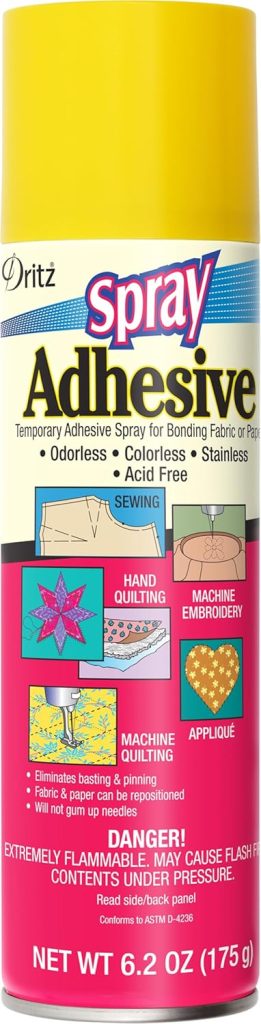
- Spray adhesive
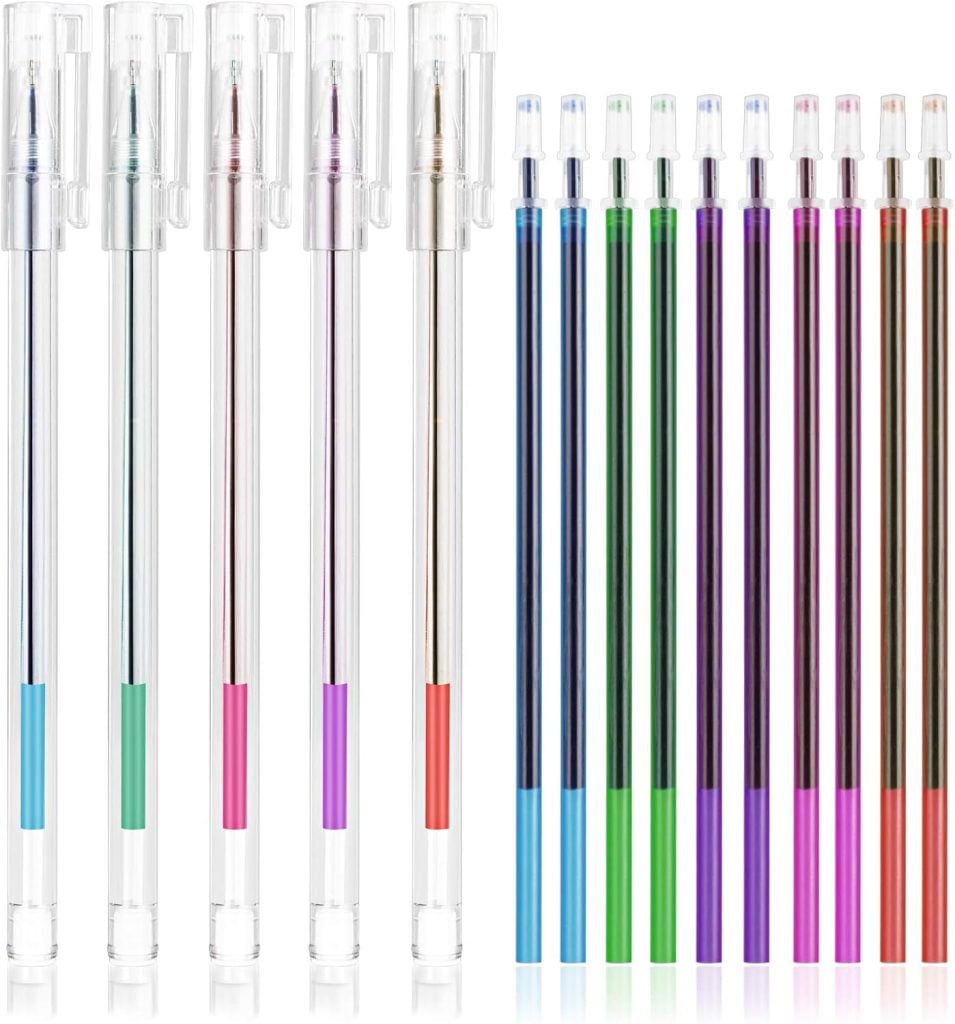
- Water-soluble pen or pencil – optional
- Printed line drawing designs – download mine below
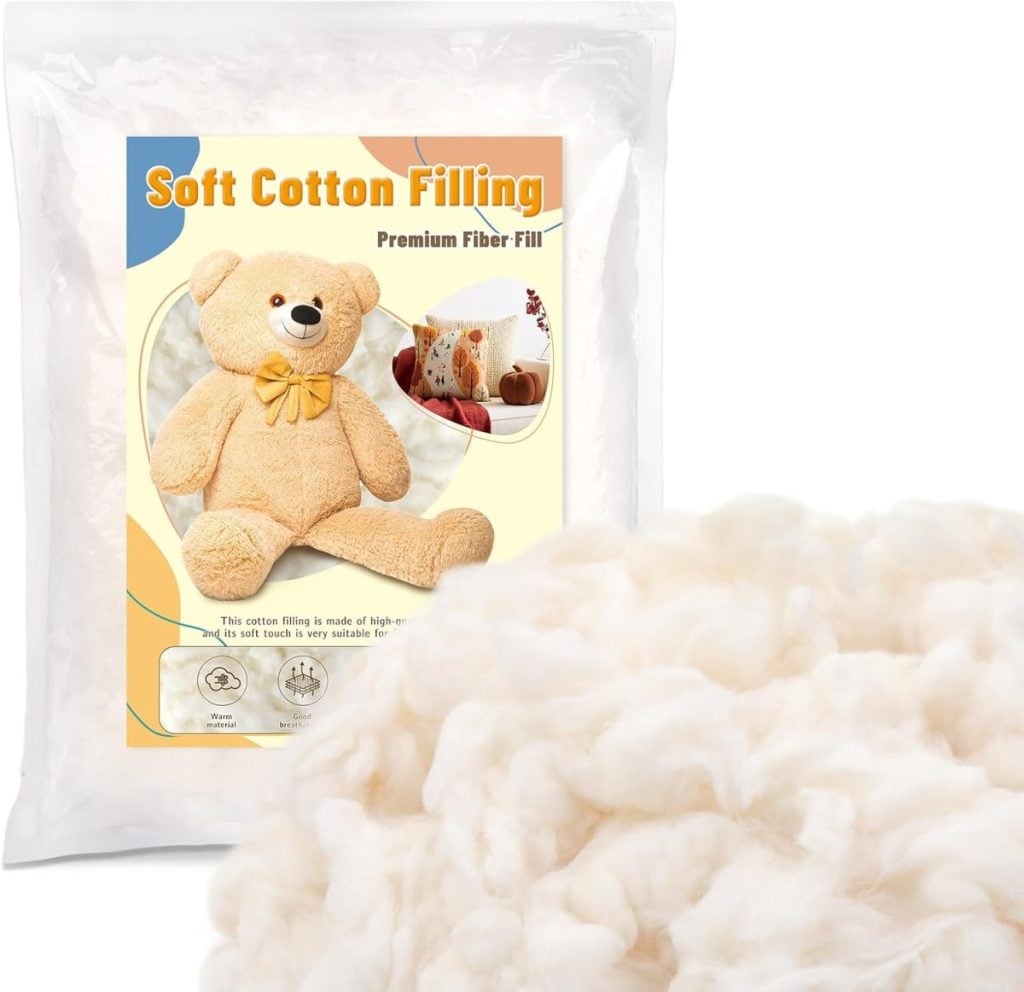
- Batting or cotton stuffing – optional
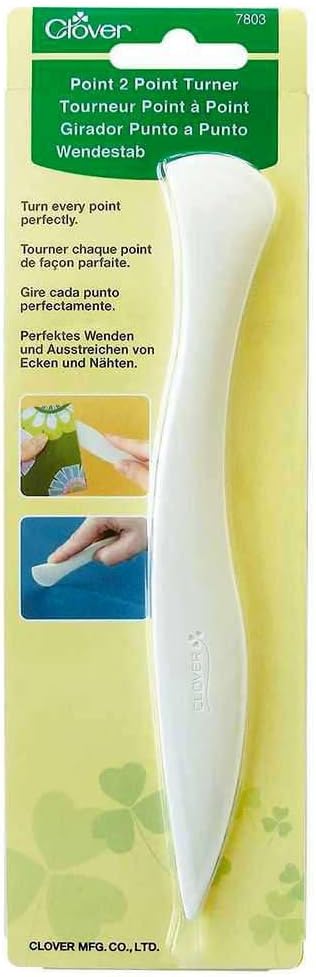
- Point turner
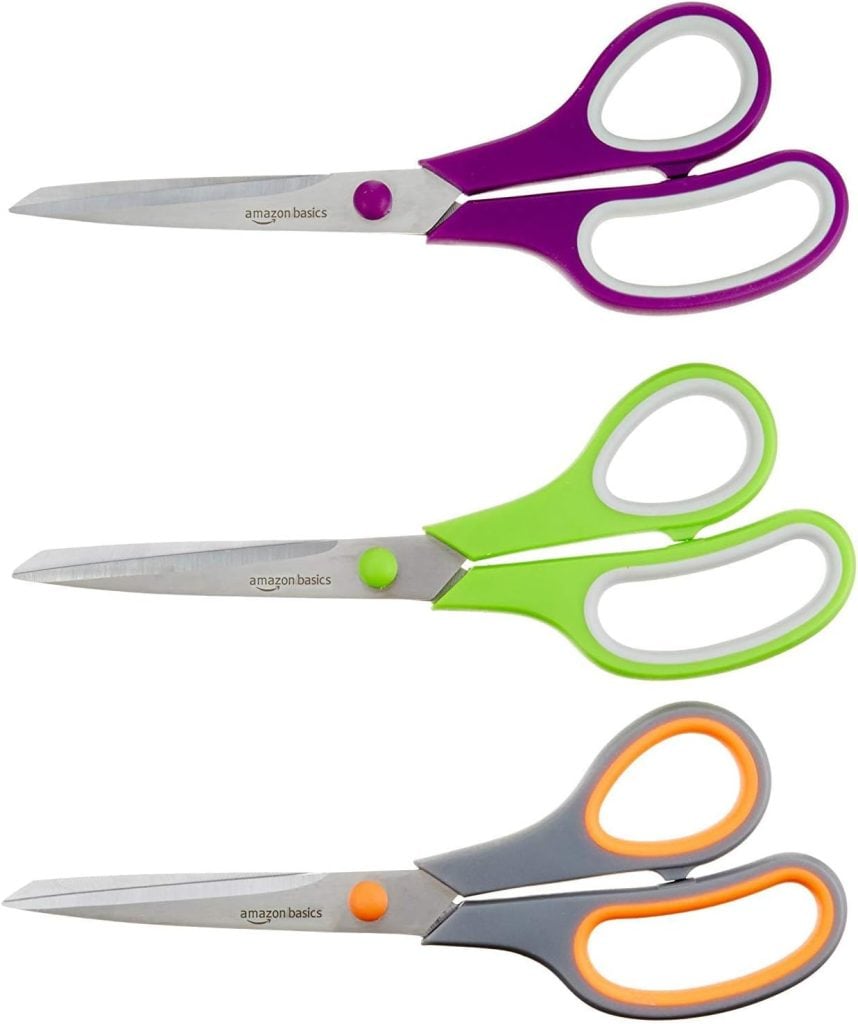
- Scissors
- Pins or clips
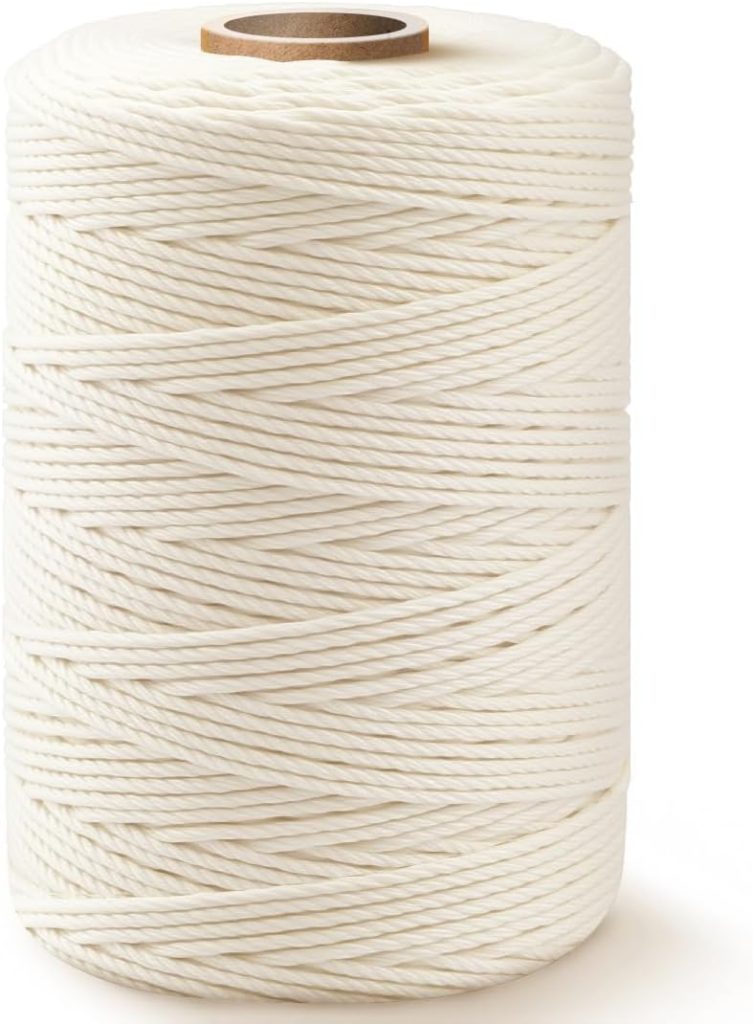
- Cotton twine or thin cording for hanger
On this blog, I may sometimes use affiliate links, which means I earn a small commission if you purchase through them. The price will be the same whether you use the affiliate link or go directly to the vendor’s website using a non-affiliate link.


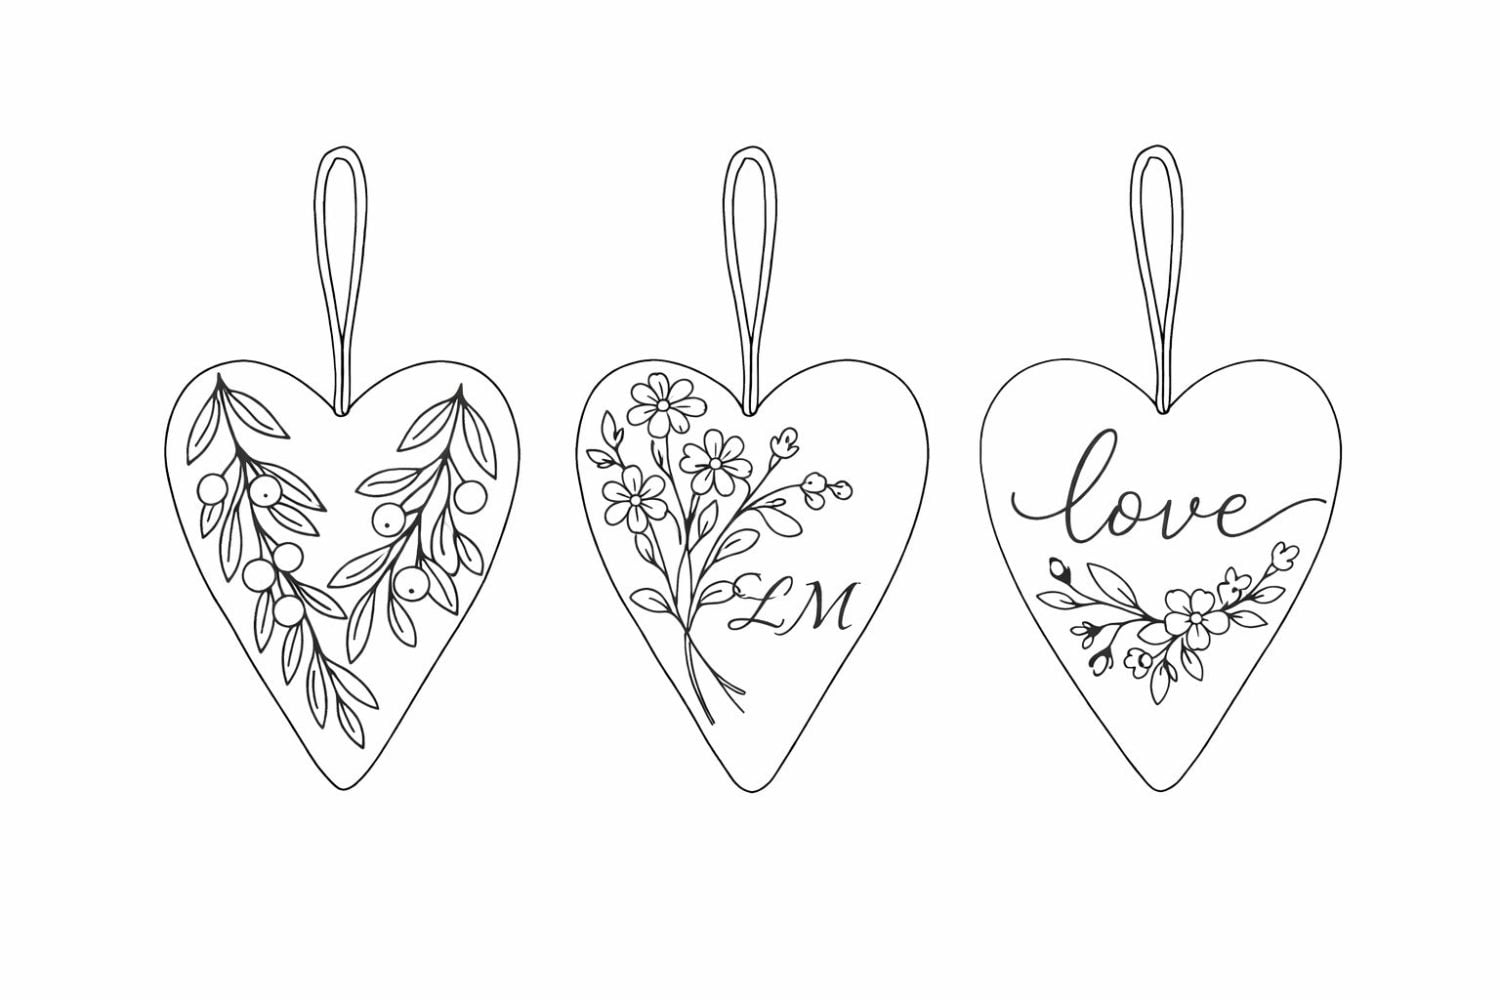
Downloading the Designs
Download the free pattern and the color photo of the hearts to use as a stitch guide.
Step 1: Transferring the Design to Fabric

There are two ways to add the design to your fabric.
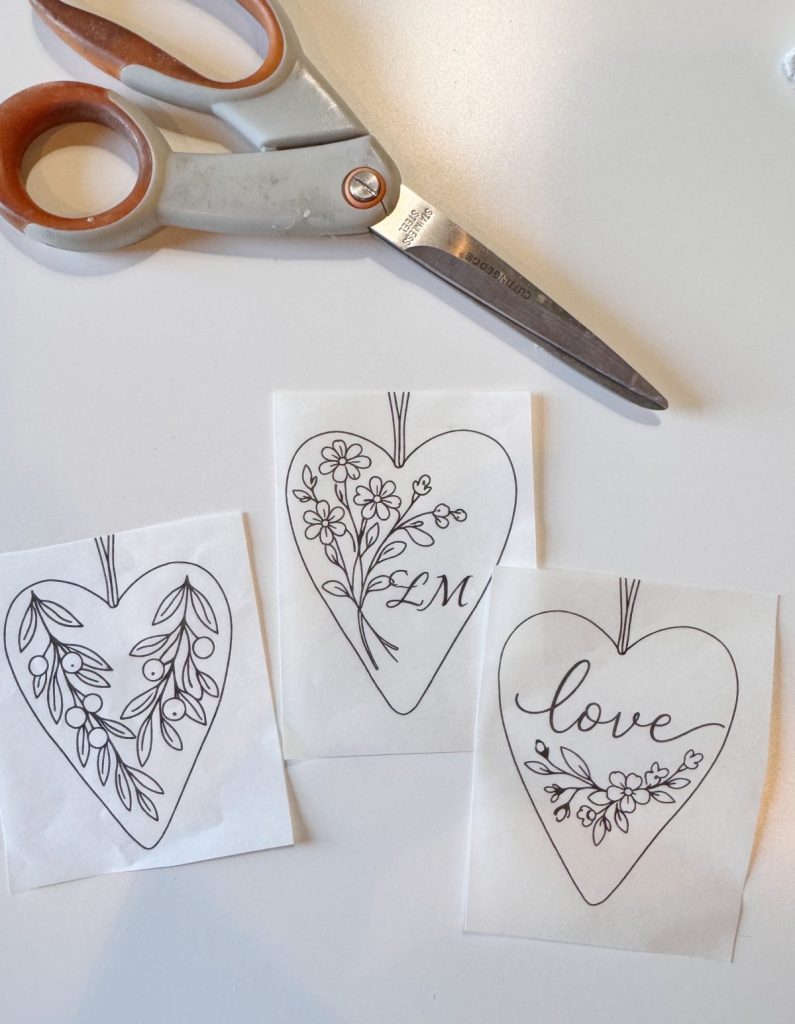
I used Print – Stitch-Dissolve. I think this is the easiest method by far. I printed the design on the Print-Stitch-Dissove, then cut out the design, added adhesive to the back, and attached it to my fabric.
Another option is to trace it using Water-soluble pens or pencils. Start by pressing your fabric to smooth and flatten the surface. Place the printed line drawing underneath the linen. If your fabric is thick, tape both layers to a sunny window or use a lightbox.
Using a water-soluble pen or pencil, trace the design lightly onto the linen. Keep your lines thin and clean. These marks are only guides and should not be heavy or permanent.
Using a water-soluble pen or pencil, trace the design lightly onto the linen. Keep your lines thin and clean. These marks are only guides and should not be heavy or permanent.
Once traced, place the fabric in an embroidery hoop, keeping it taut but not stretched.
Step 2: Embroidery Stitches You Will Use

All three ornaments use the same core stitches, so the set feels cohesive.
Backstitch
Used for stems, lettering outlines, and fine detail lines.
Bring the needle up, take a small stitch forward, then come up again just ahead of the last stitch.
Satin Stitch
Used to fill leaves and petals.
Work stitches closely side by side, keeping tension even for a smooth look.
Stem Stitch
Used for curved branches and floral stems.
Each stitch overlaps slightly to create a soft rope-like line.
French Knots
Used for flower centers and berry details.
Wrap the floss around the needle once or twice, insert close to where you came up, and gently pull through.
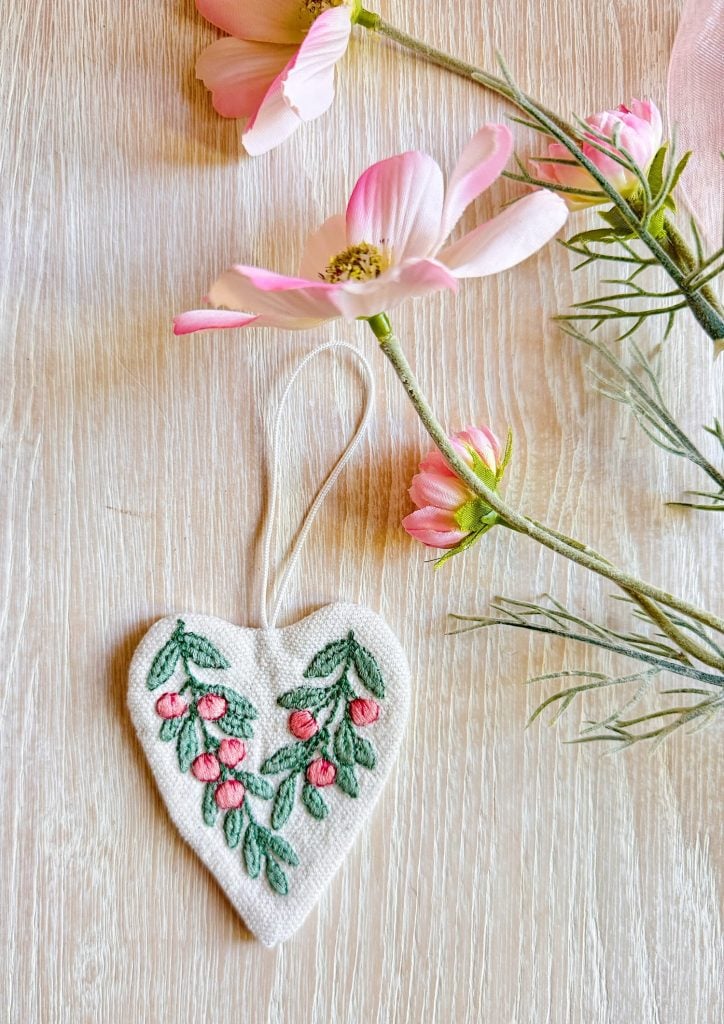
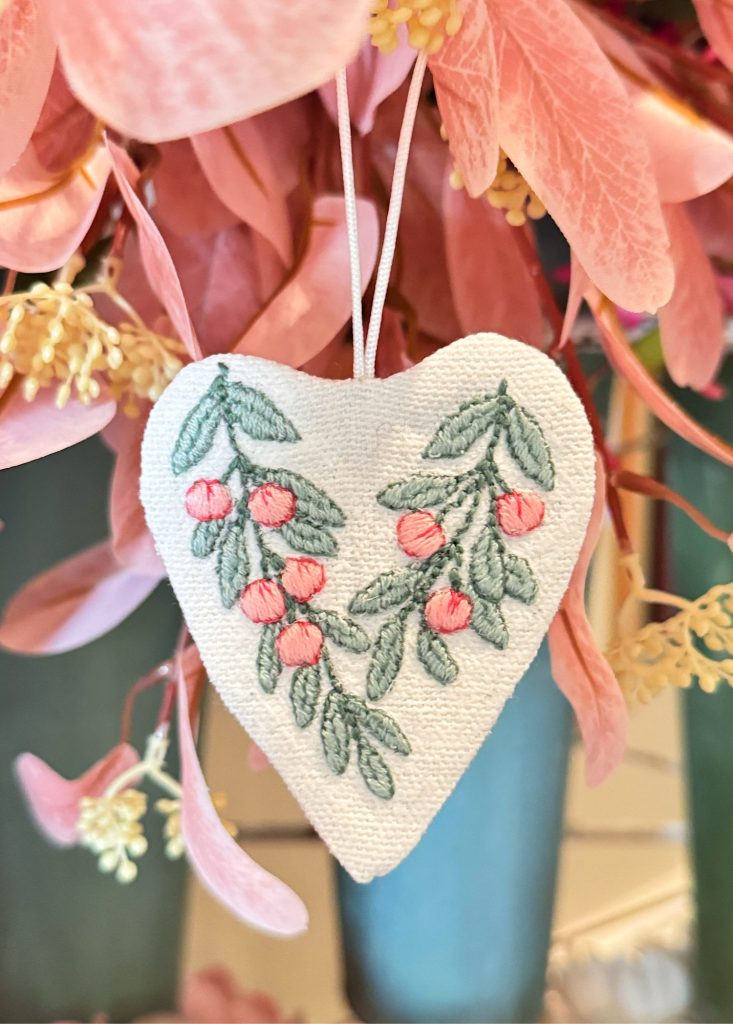
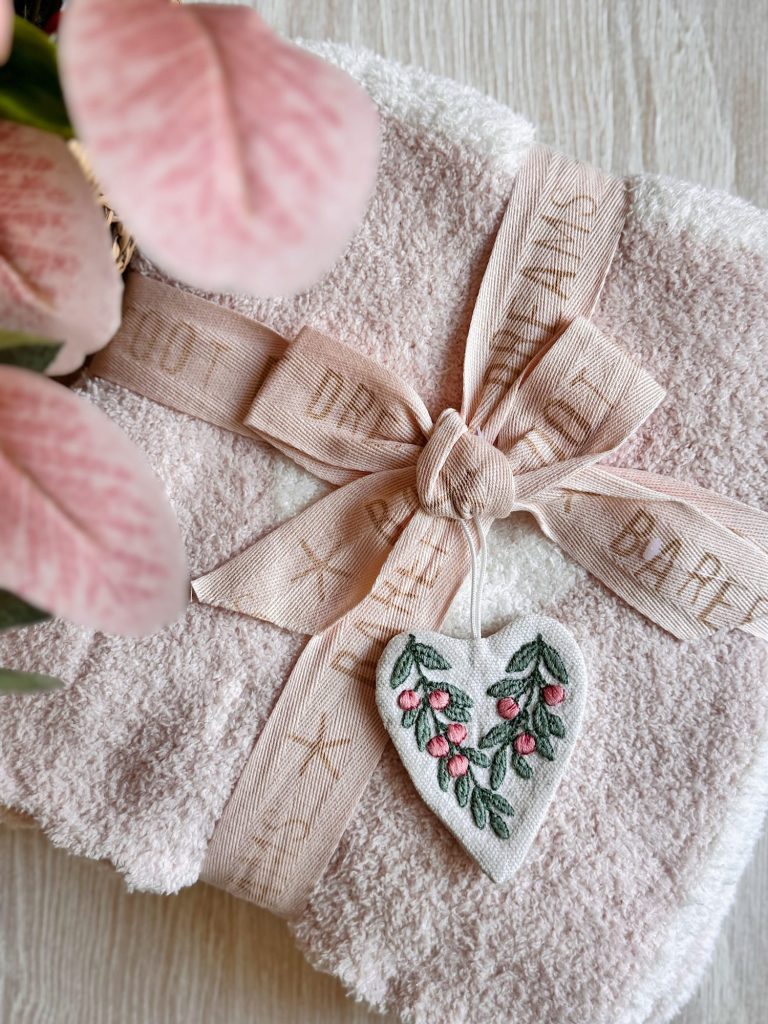
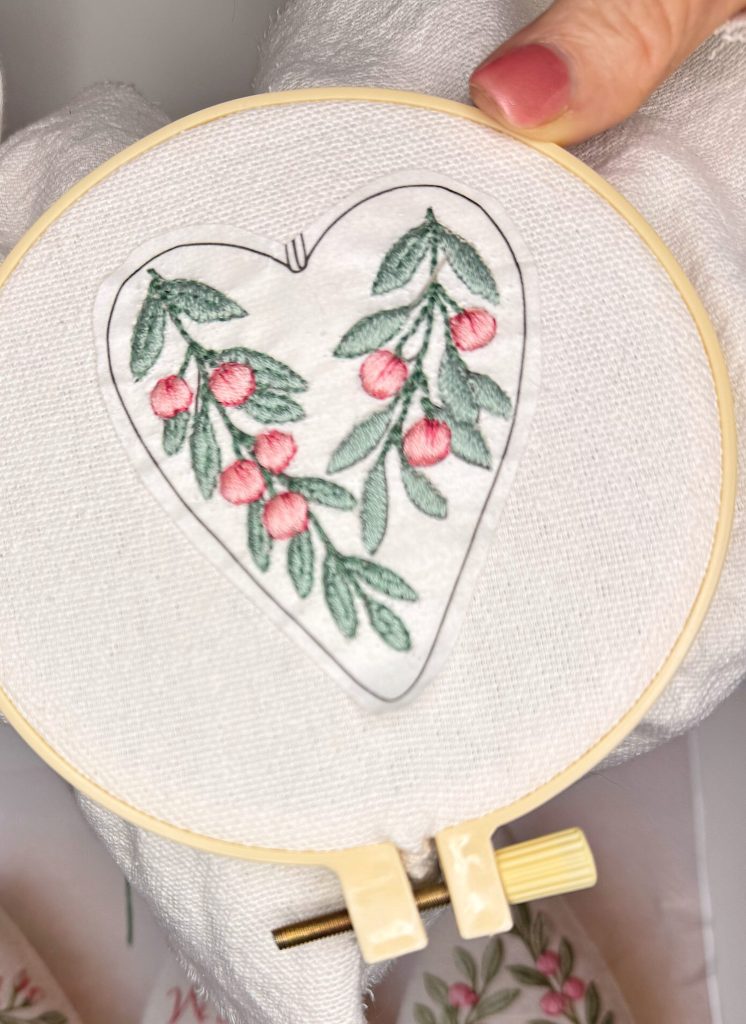
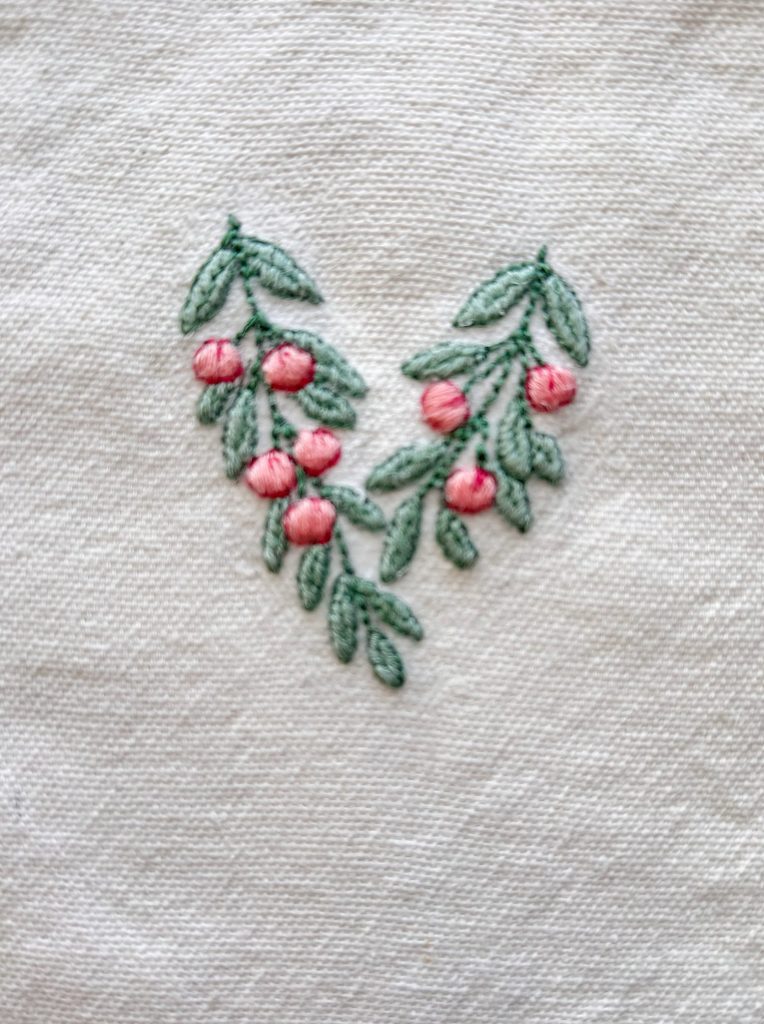
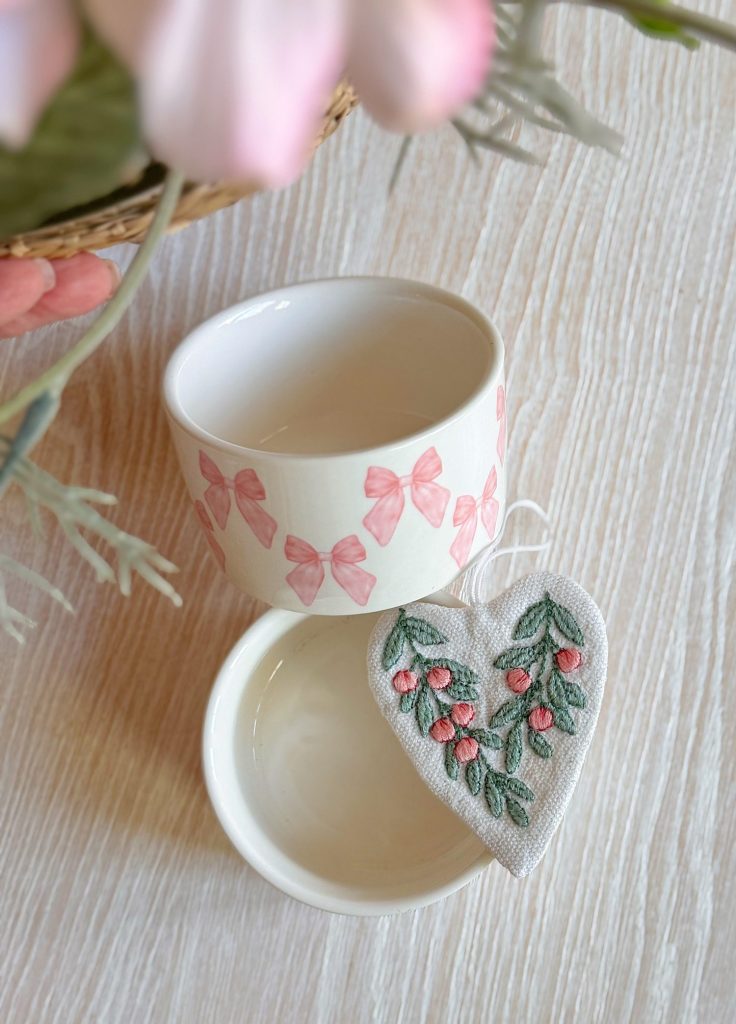
Ornament #1: Botanical Heart
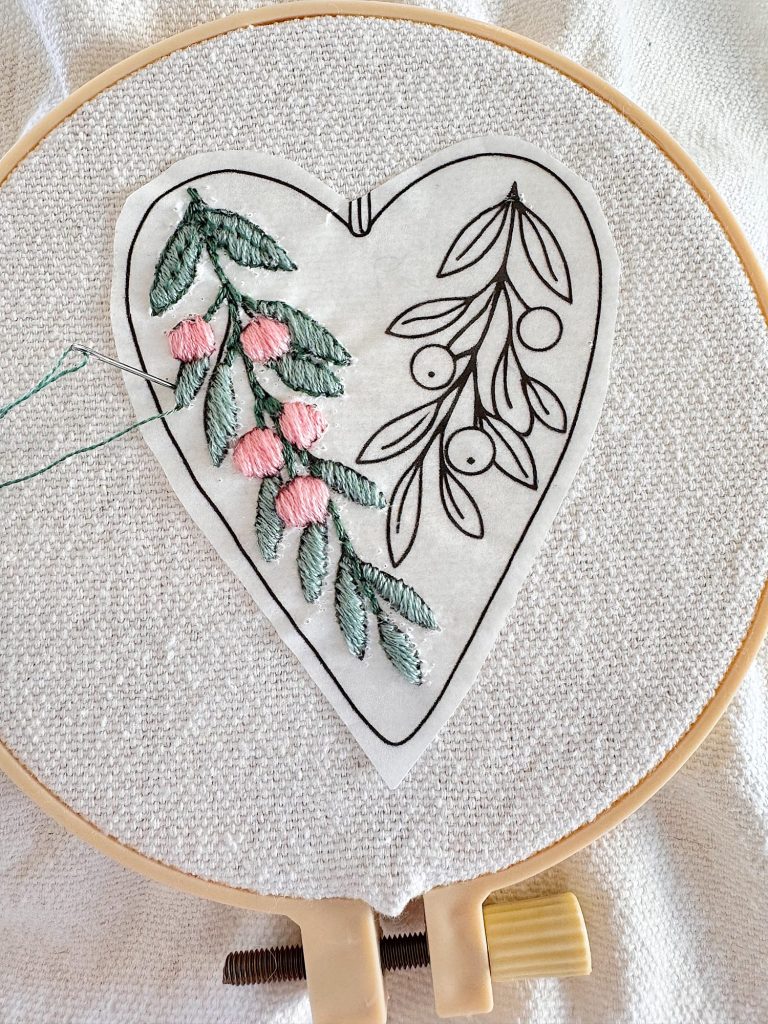
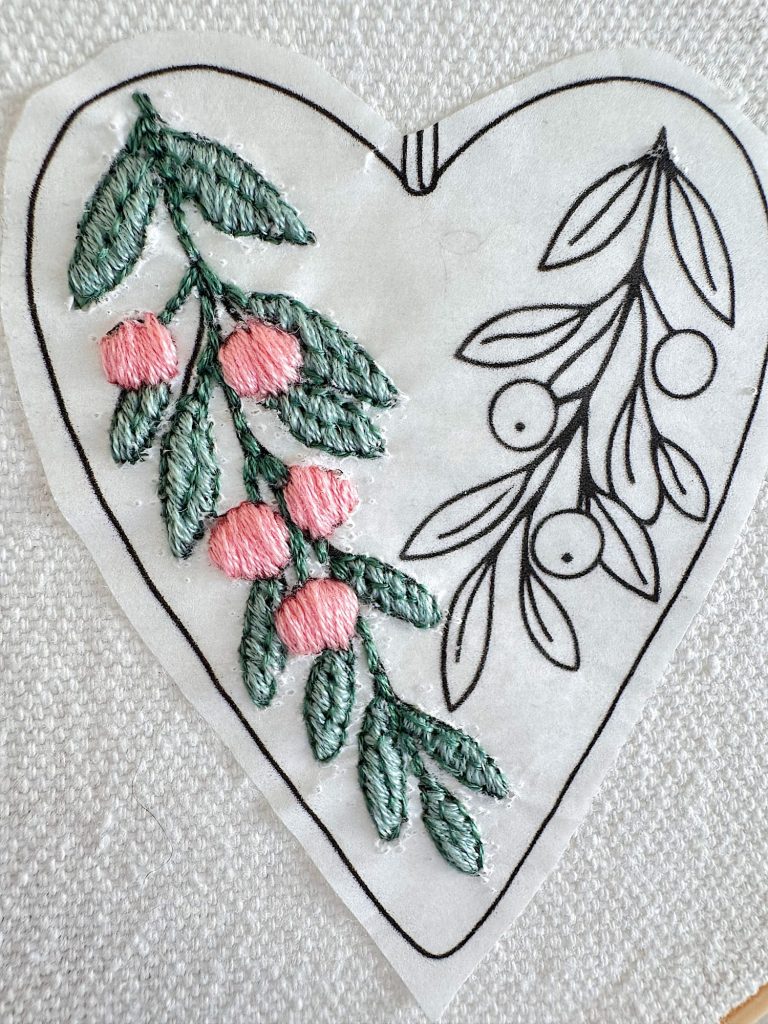
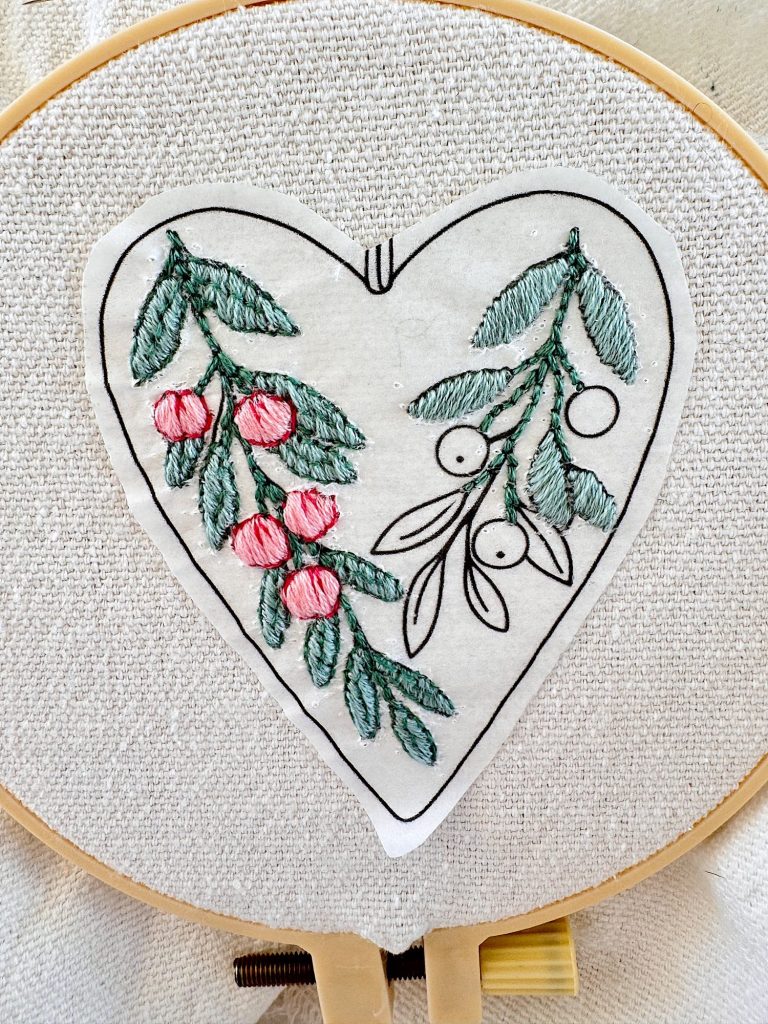
Stitching the Design
- Use stem stitch (3 strands) in sage green for the stems and branches
- Fill leaves with satin stitch (3 strands) using two shades of sage for depth
- Stitch berries using satin stitch (3 strands) in soft pink
- Outline and highlights – Use stem stitch (1 strand) and outline all designs with a darker shade.
- Keep spacing natural and slightly irregular
This ornament feels organic and relaxed. Avoid overfilling areas. Negative space is part of the beauty.
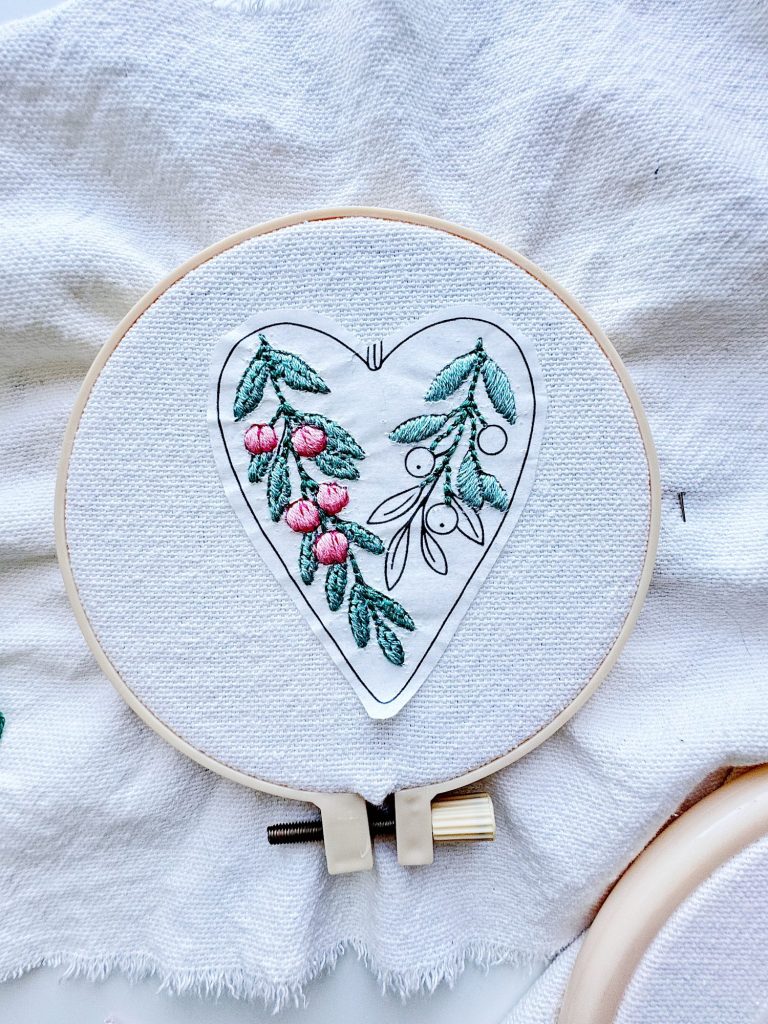
Remove the Print-Stitch-Dissolve
Remove the fabric from the hoop and run water over the fabric until all of the paper dissolves.
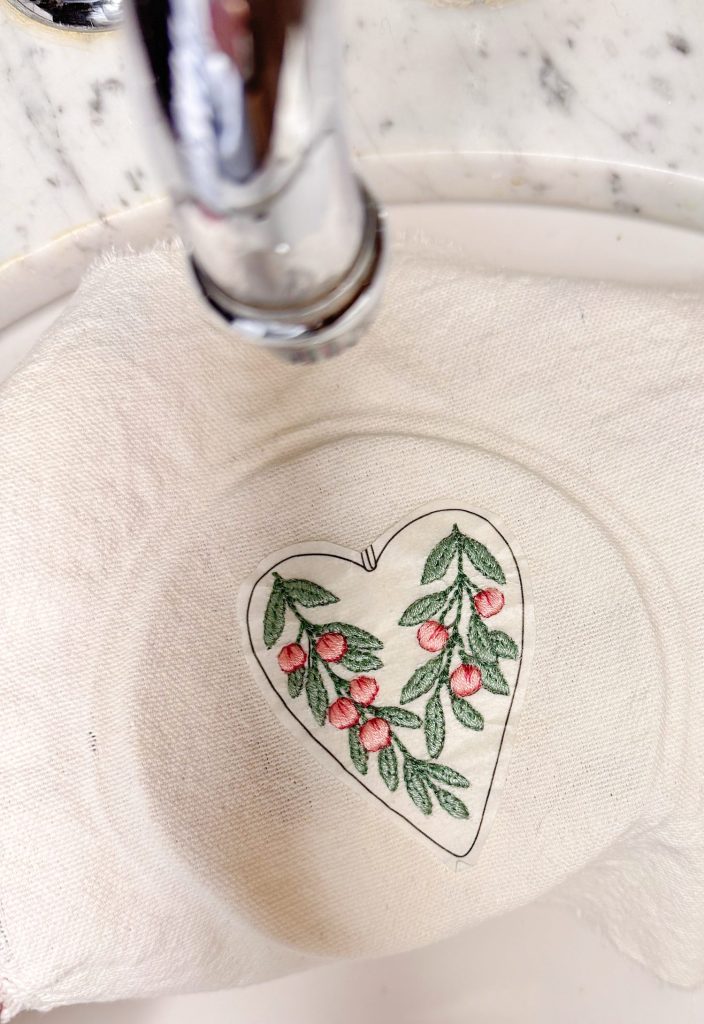
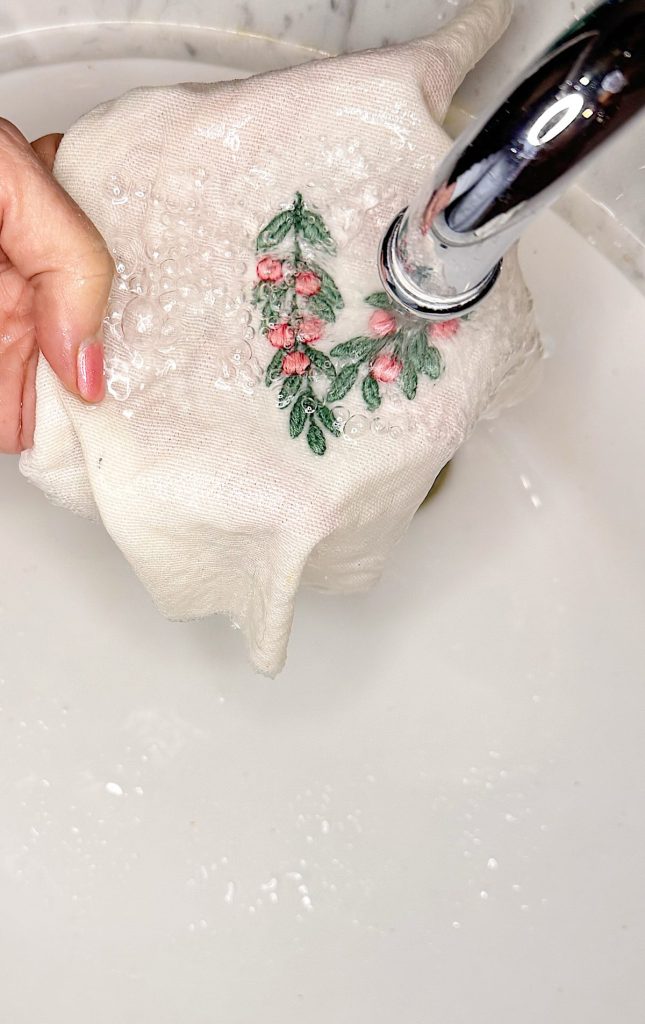
Let the fabric dry.
Assemble the Heart
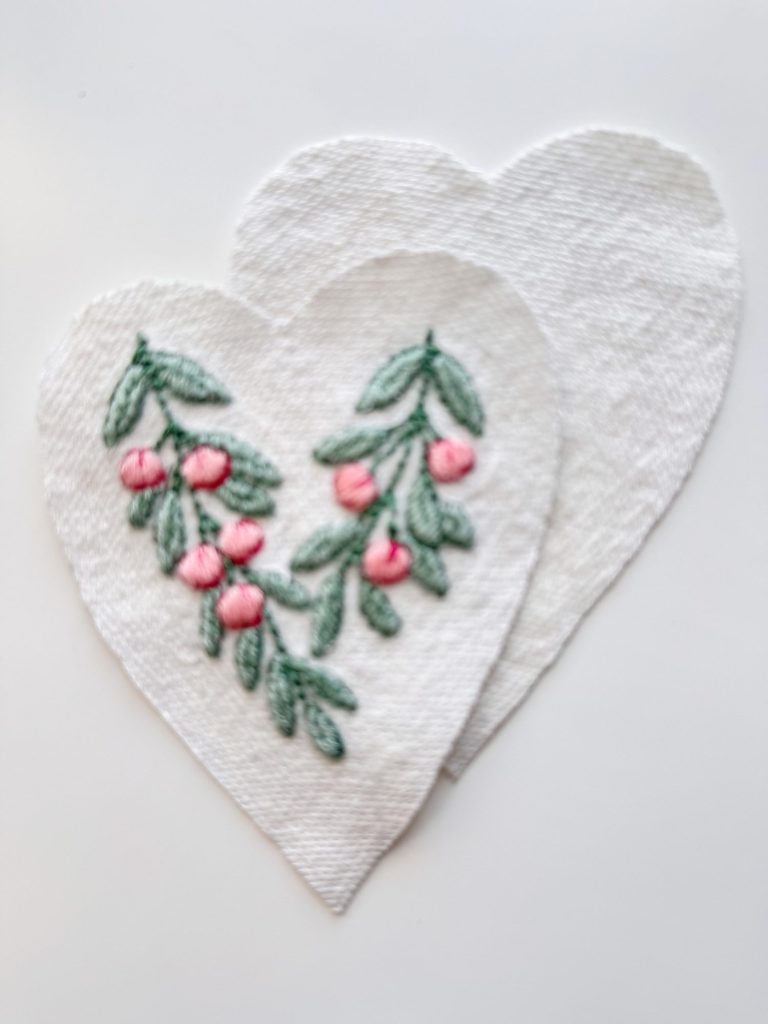
Using the pattern, trace the heart around the design and BE SURE to add a 1/4″ seam allowance. Cut a backside.
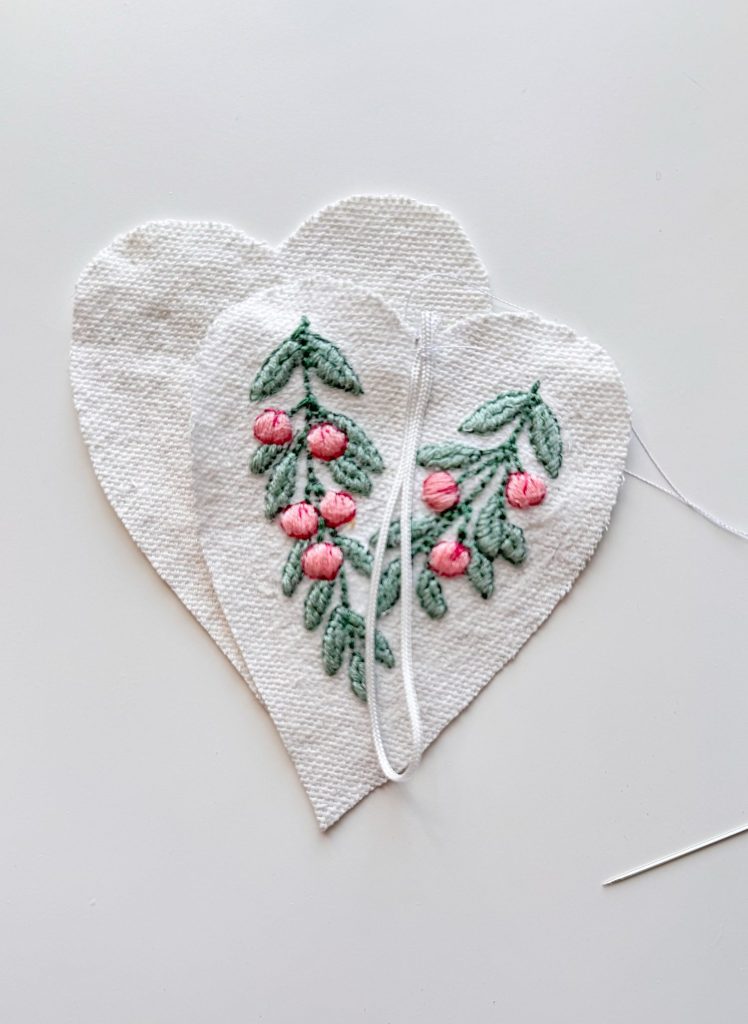
Add the hanging loop at the top center of the heart.
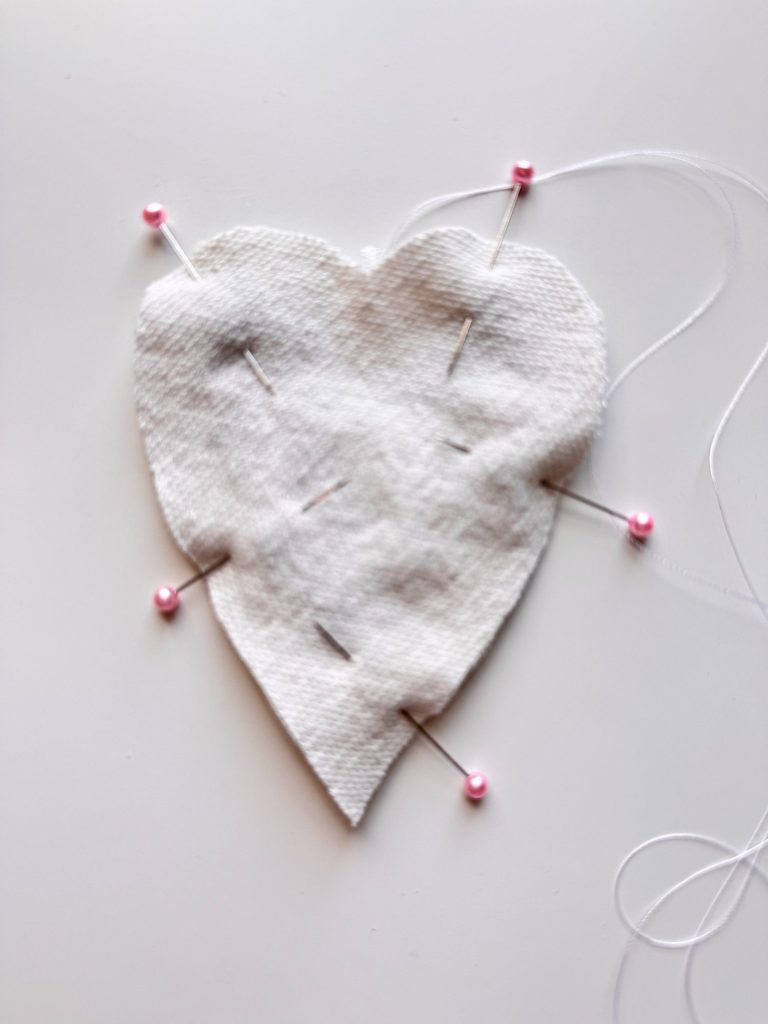
Pin the right sides together, making sure the loop is not in the seam allowance.
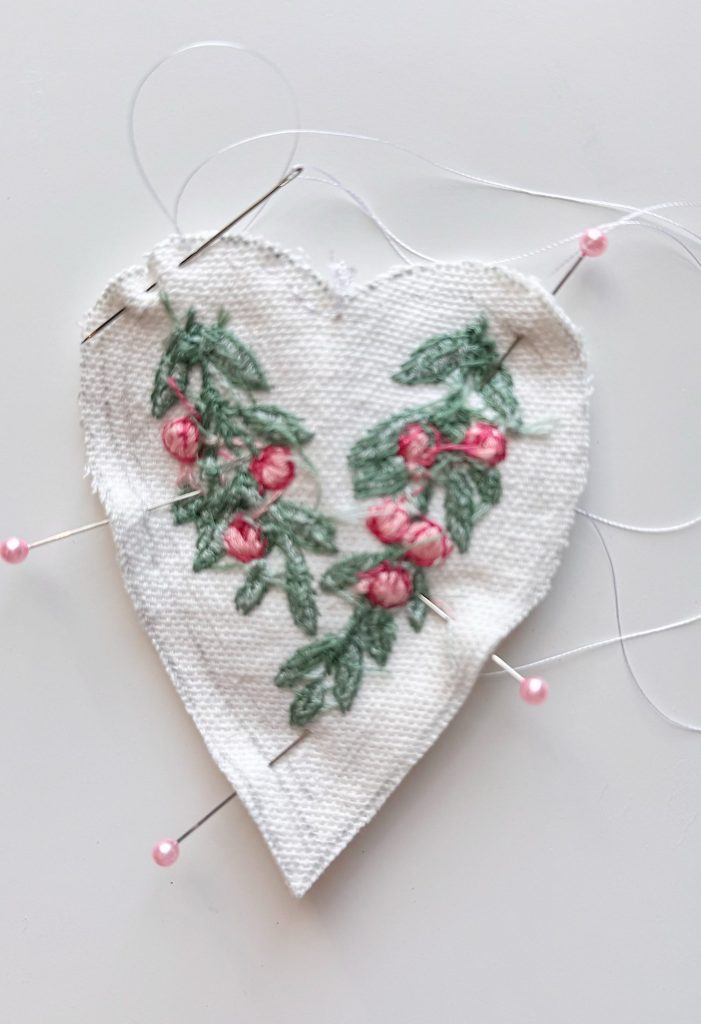
Handstitch around the outside, leaving at least 1″ open to turn the heart inside out.
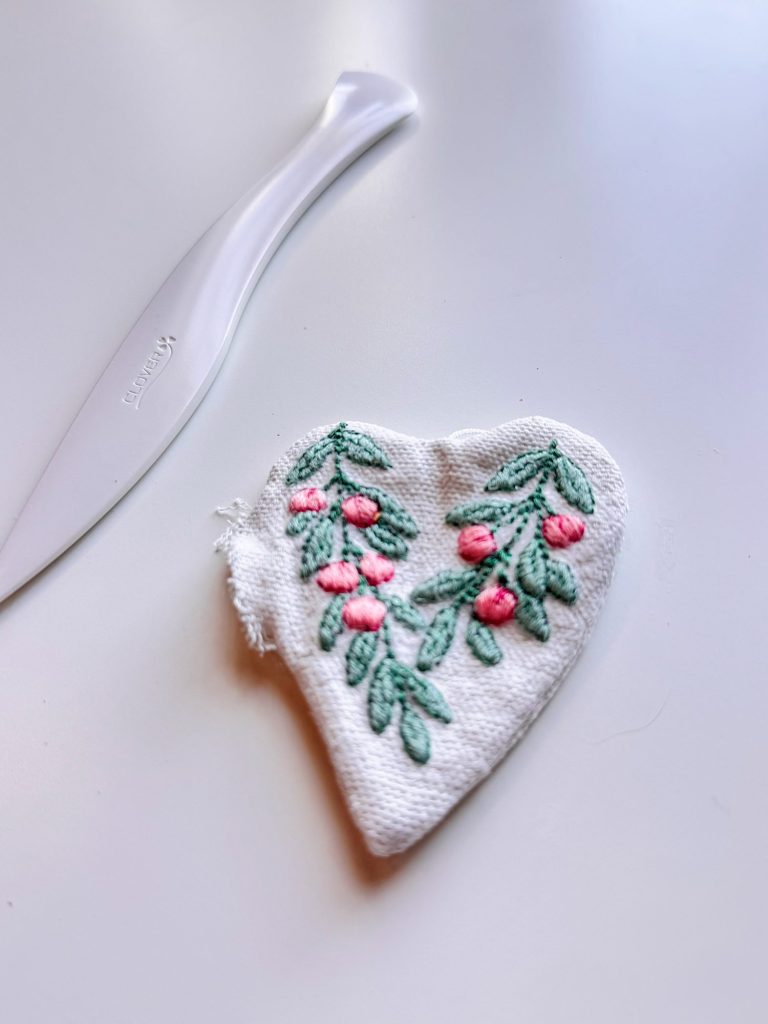
Using a point-turner tool, turn the heart inside out. If you want to add batting, add a small amount to give the heart a 3-D look.
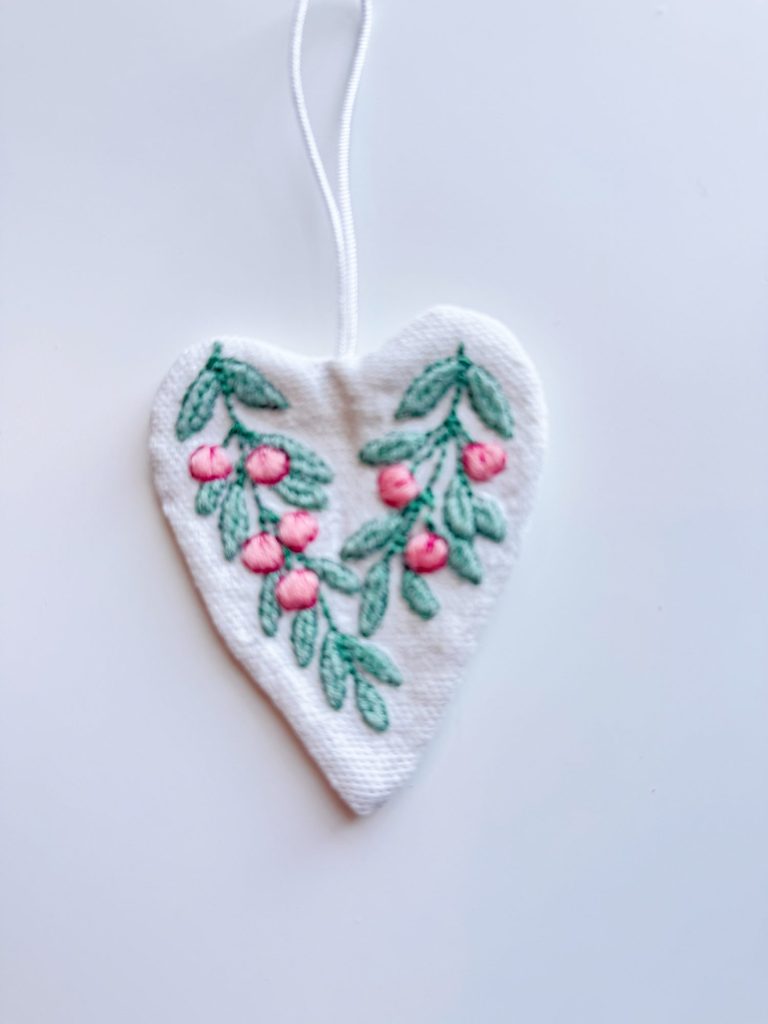
Handstitch the opening closed. Iron the heart flat.
How to Make the Additional Heart Ornaments
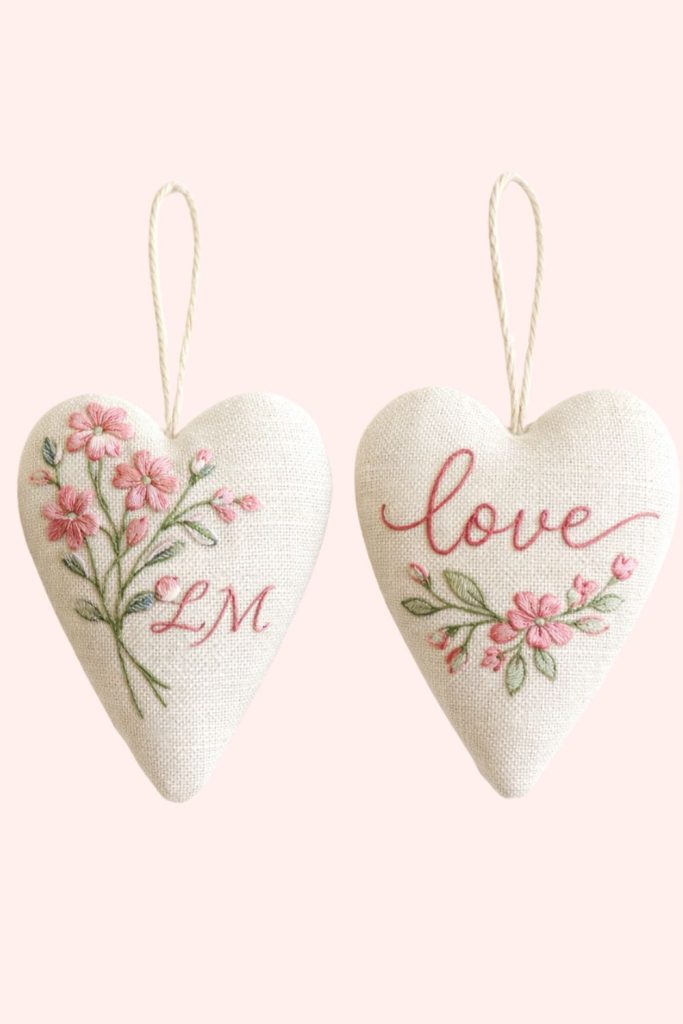
Ornament #2: Floral Heart With Initials
Stitching the Flowers
- Stitch stems using stem stitch (3 strands) in sage
- Create petals with lazy daisy or satin stitch (3 strands) in pink
- Add French knot centers (3 strands) in a slightly darker pink
Adding Initials
If you are using the design with the initials, trace your own initials using this alphabet here.
- Use backstitch or split stitch (3 strands)
- Keep lettering light and airy
- One or two initials only to keep it subtle
This heart feels personal and giftable while still remaining timeless.
Ornament #3: Script Love Heart
Stitching the Lettering
- Use stem stitch or split stitch (3 strands) for the word “love”
- Keep curves smooth and continuous
- Do not pull stitches too tight
Adding the Floral Accent
- Stitch stems using stem stitch (3 strands) in sage
- Create petals with lazy daisy or satin stitch (3 strands) in pink
- Add French knot centers (3 strands) in a slightly darker pink
Final Touches
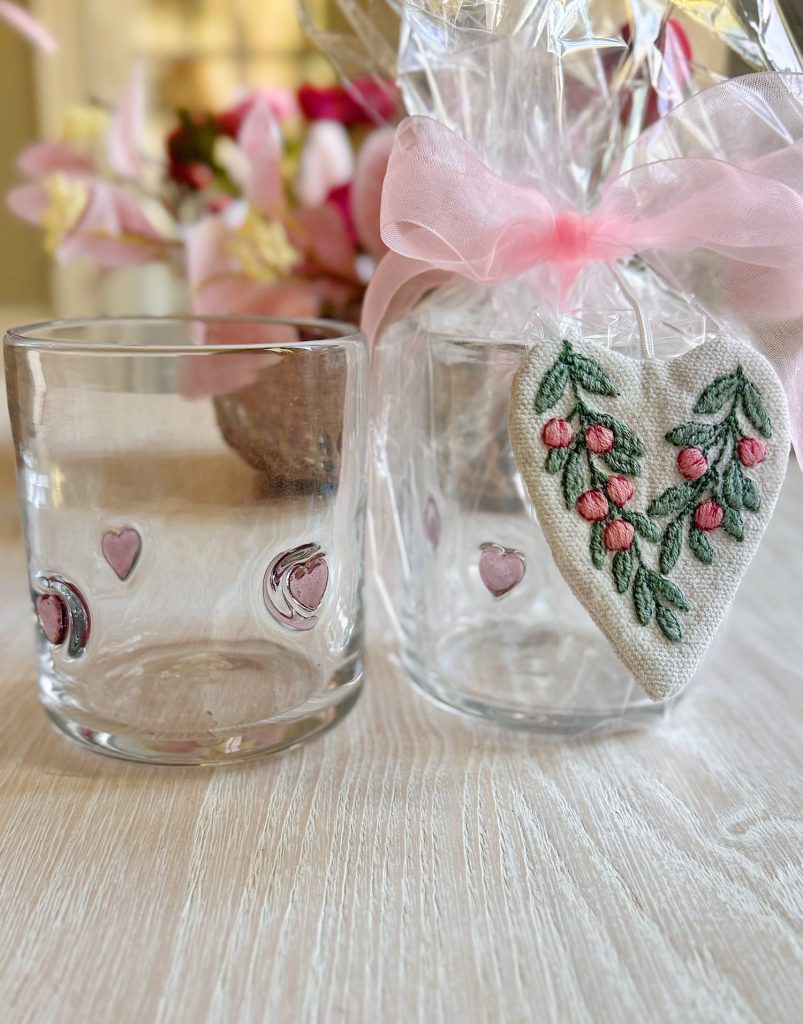
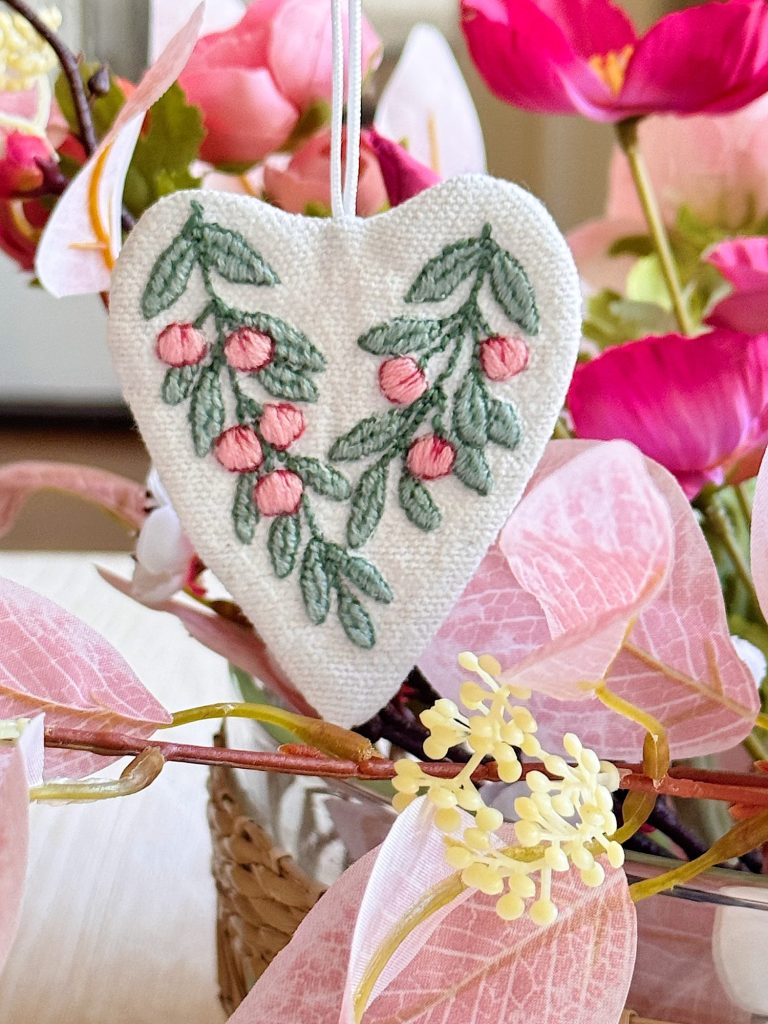
These hearts are perfect as:
- Valentine décor
- Gift toppers
- Keepsake ornaments
- Early spring accents

I may sometimes use affiliate links on this blog, which means I earn a small commission if you purchase through the link. The price will be the same whether you use the affiliate link or go directly to the vendor’s website using a non-affiliate link.

Latest Posts
-
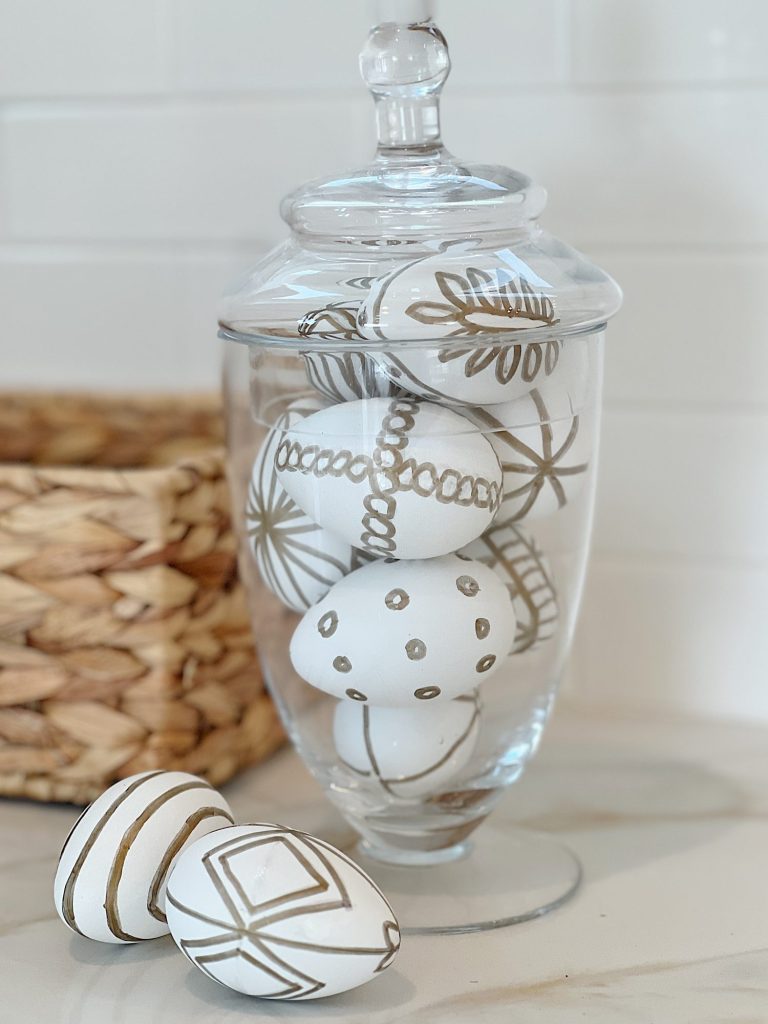
Hand Painted Plastic Easter Eggs DIY
I am so in love with these hand-painted plastic Easter eggs. All I did was paint them with a Sharpie pen! They make the best Easter decor. I was at the Beach House when I made these eggs, so the copper-and-white palette perfectly matched our beach house decor. But you can make these hand-painted plastic…
-
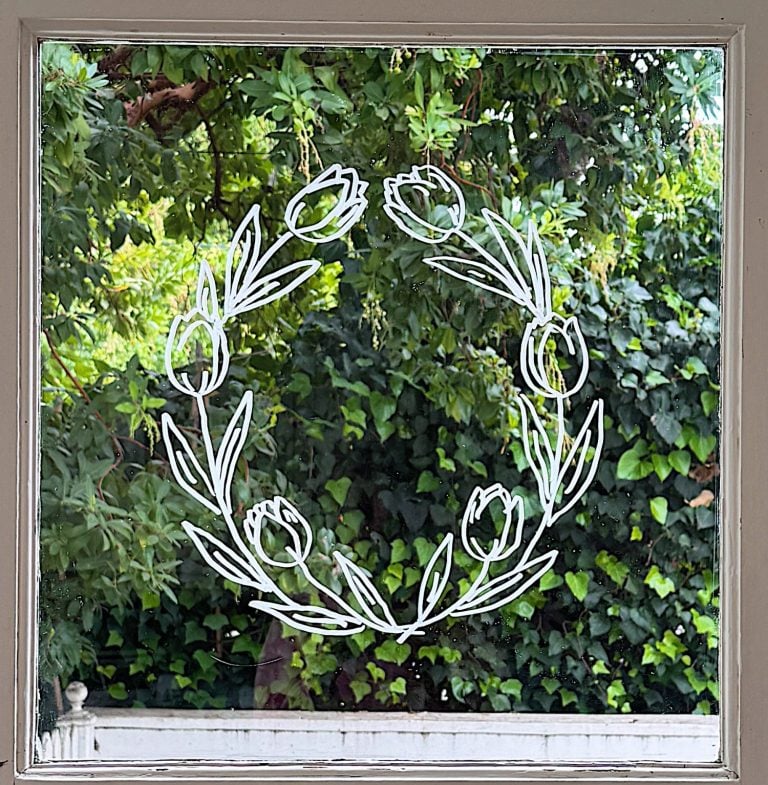
April Window Wreaths
April Window Wreaths mark the fourth release in my year-long window-wreath series, a collection of monthly templates designed to bring handmade creativity into your home. With nine brand-new April Window Wreaths to trace and place on your glass, this collection continues the series’ best: simple techniques, calming creativity, and thoughtfully designed seasonal art. April embraces…
-
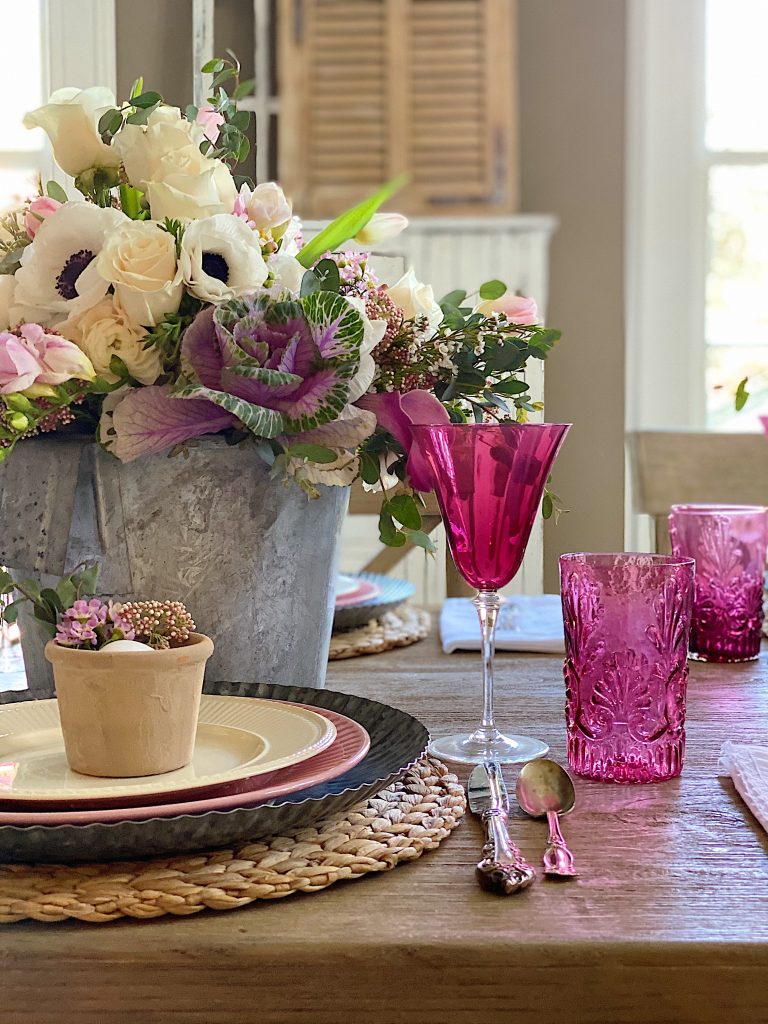
How to Set a Beautiful Table with Easter Colors
I am so excited to share my Easter brunch table ideas. I love the bright Easter colors and can’t wait to share the florals, table setting, and fun glassware. Easter Brunch is one of my favorites. I already shared my favorite Easter Brunch recipes. Today, I set a table and love how these Easter colors…
-
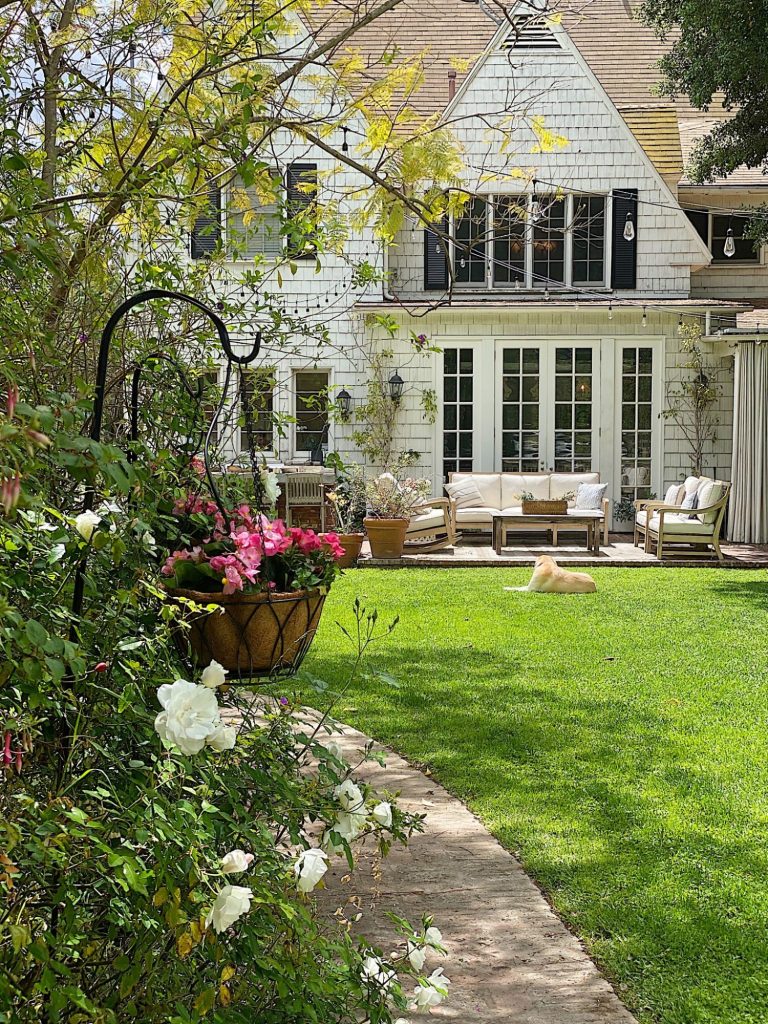
Five Easy Steps to Adding Hanging Planters in Your Yard
Today, I am sharing how I created the hanging planters in our backyard. I love mine so much! Hanging planters look lovely in any yard. My hanging planters have been looking awful all winter long. Here are five easy steps to add (or redo) hanging flower baskets in your yard. Adding hanging planters is a…
My Recent Instagram Posts

You can pin the image below to your boards on Pinterest (click the Pin button in the top left corner) or follow me on Pinterest!
For more real-time updates, follow me on Instagram @My100YearOldHome
this is a really nice project. I hope I can do it.Thank you
WOW WHAT BEAUTIFUL HEARTS AND I LOVE BOTH HEARTS AND WREATHS FOR VALENTINE’S DAYS VERY BEAUTIFUL CRAFTS…..
THESE ARE THE BEST I SEEN IN A WHILE BECAUSE OF THE OLD FASHIONED TAKE ON THEM BUT WITH A MODERN TURN GLASSES ALL IN ONE ….
These are adorable Leslie. Thank you for the download.