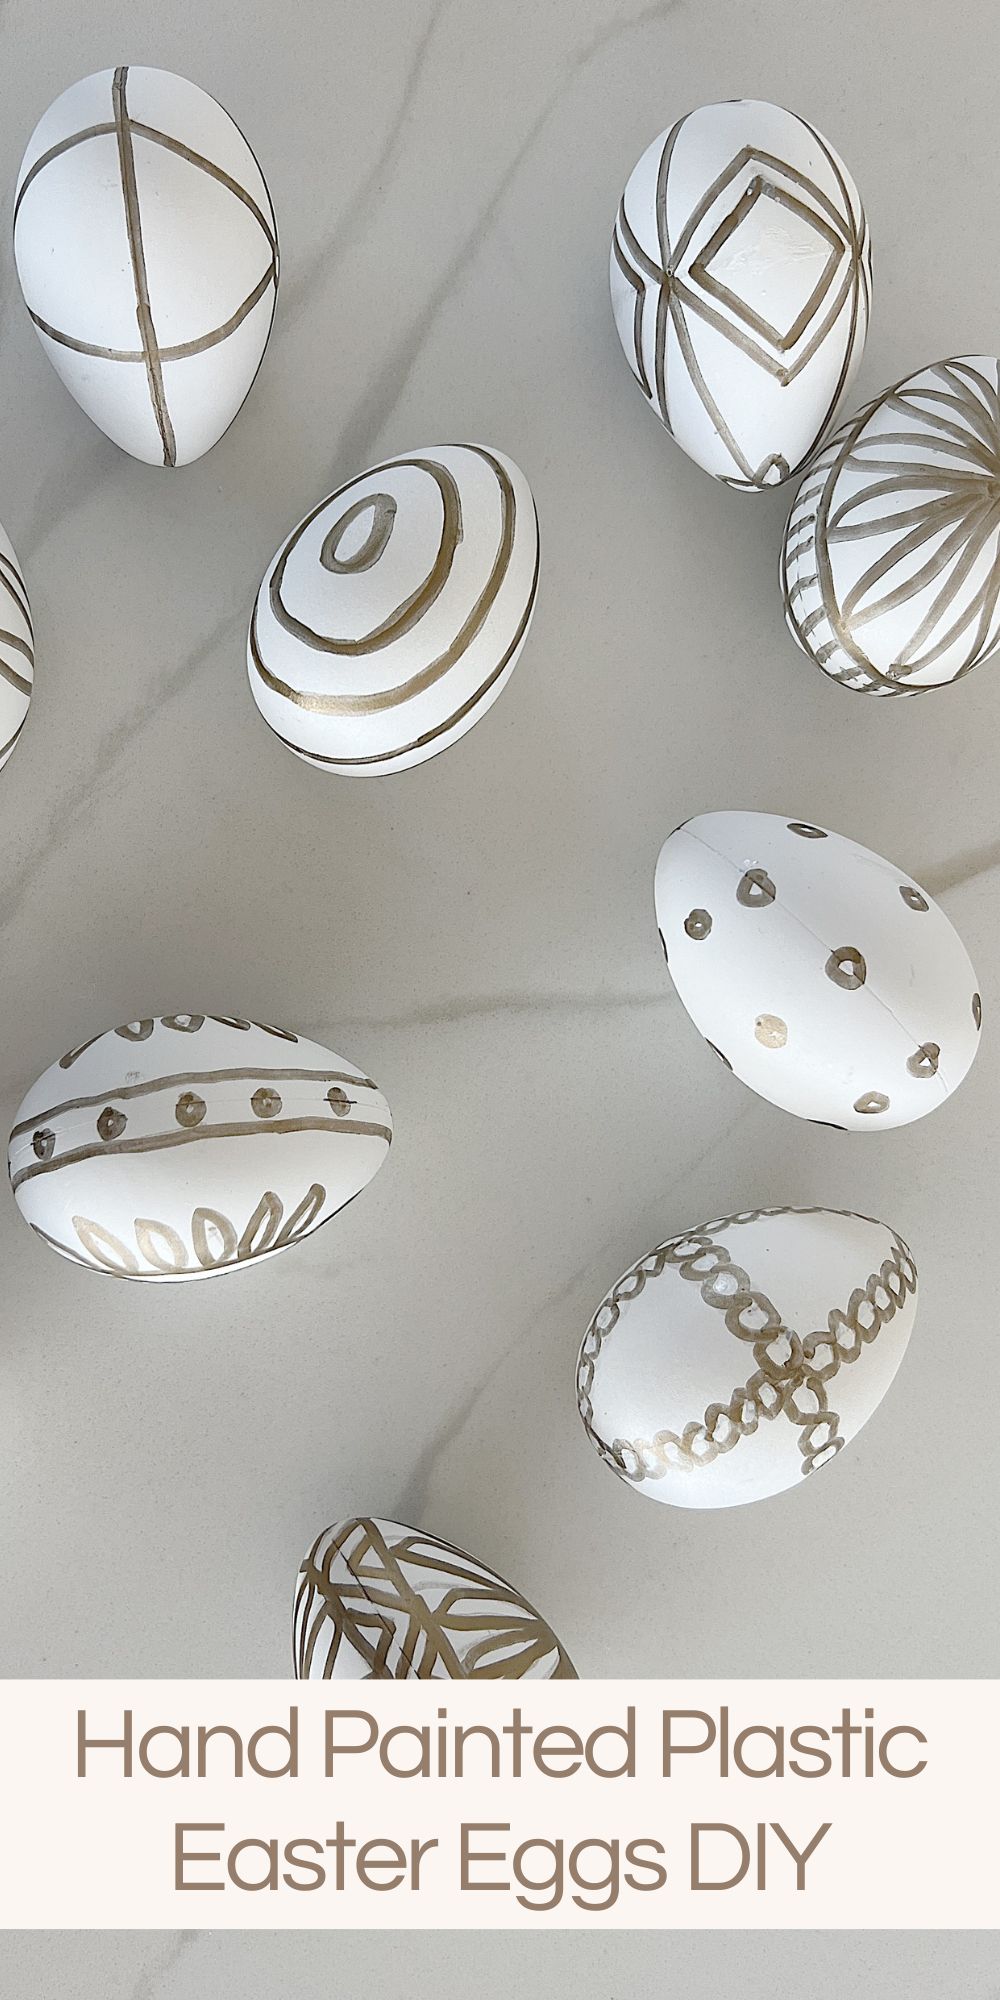
Hand Painted Plastic Easter Eggs DIY
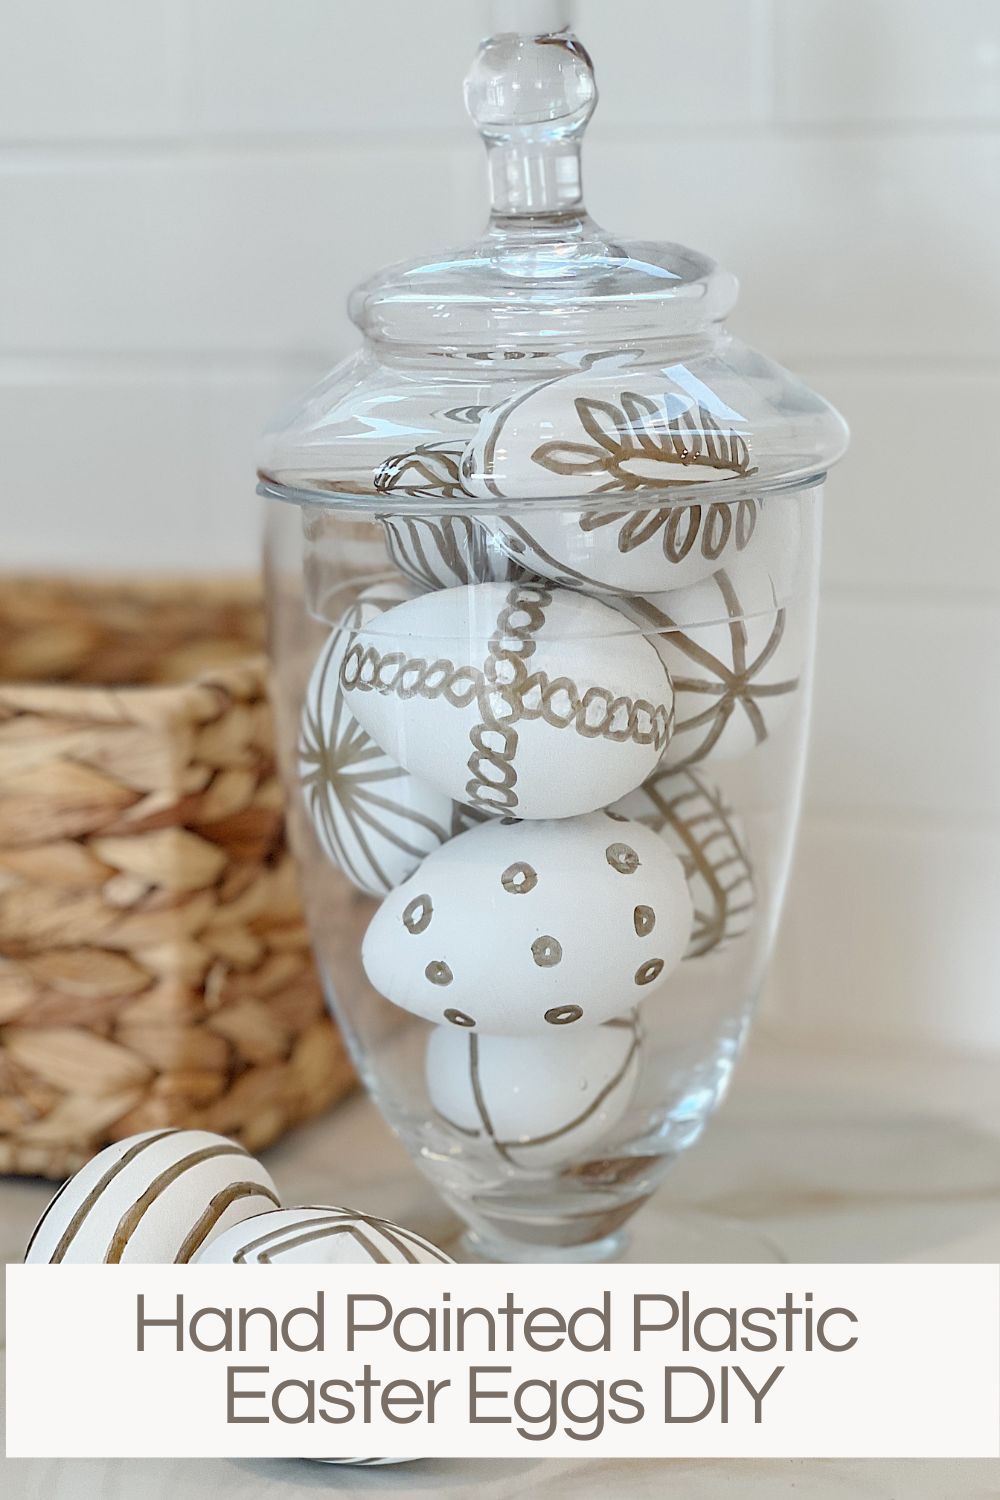
I am so in love with these hand-painted plastic Easter eggs. All I did was paint them with a Sharpie pen! They make the best Easter decor.
I was at the Beach House when I made these eggs, so the copper-and-white palette perfectly matched our beach house decor. But you can make these hand-painted plastic Easter eggs in any color palette. I think pink, blue, green, or yellow would look amazing.


Hand Painted Plastic Easter Eggs
Easter is just around the corner, and it’s time to start thinking about decorating eggs! If you’re looking for a unique way to decorate plastic white Easter eggs, you might want to try using a copper Sharpie pen.
This simple DIY project creates beautiful, one-of-a-kind Easter eggs that will look great displayed in any container in your home.

Pisanki Eggs Inspiration
I was inspired to make these eggs when I saw some Pisanki eggs. Pisanki eggs are a type of Easter egg that originated in Poland. They are known for their intricate and colorful designs, which are created using a wax-resist method.
Pisanki eggs are an essential part of Polish Easter traditions and are often given as gifts or used as decorations. In addition to their cultural and religious significance, pisanki eggs are appreciated for their beauty and craftsmanship.
Pisanki eggs are often created by skilled artisans and can be found for sale in markets throughout Poland and the world. Whether used as decorations or given as gifts, pisanki eggs are a cherished part of Polish Easter traditions and a beautiful example of the artistry and creativity of the Polish people.


How to Make Hand-Painted Plastic Easter Eggs

Gather Your Supplies
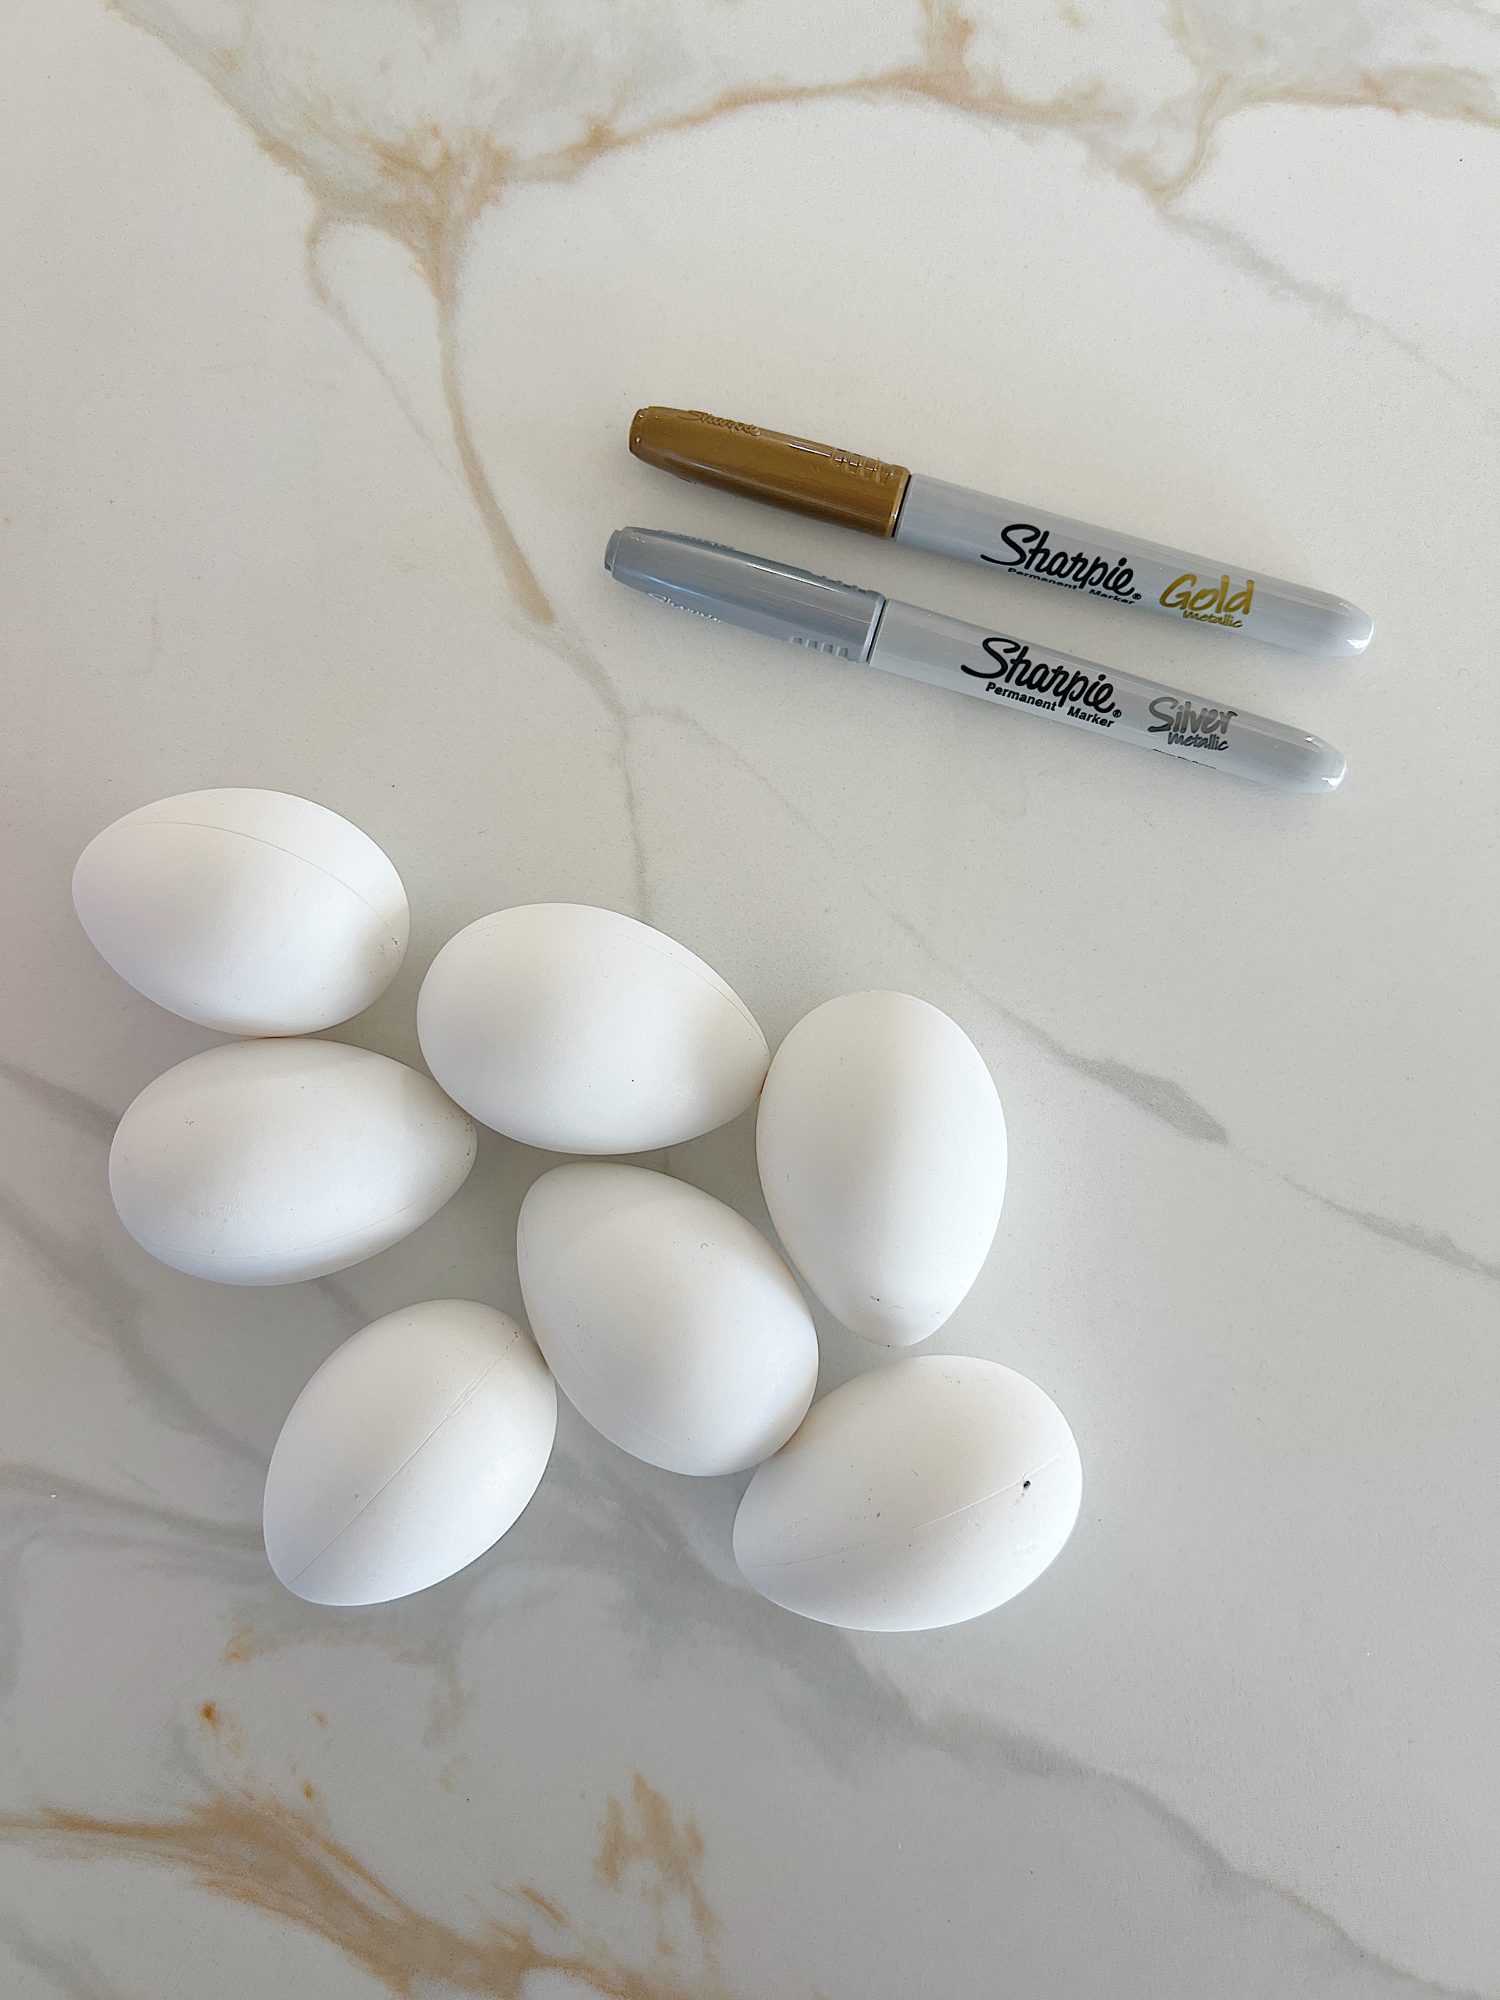
To decorate plastic white Easter eggs with a copper Sharpie pen, you will need:
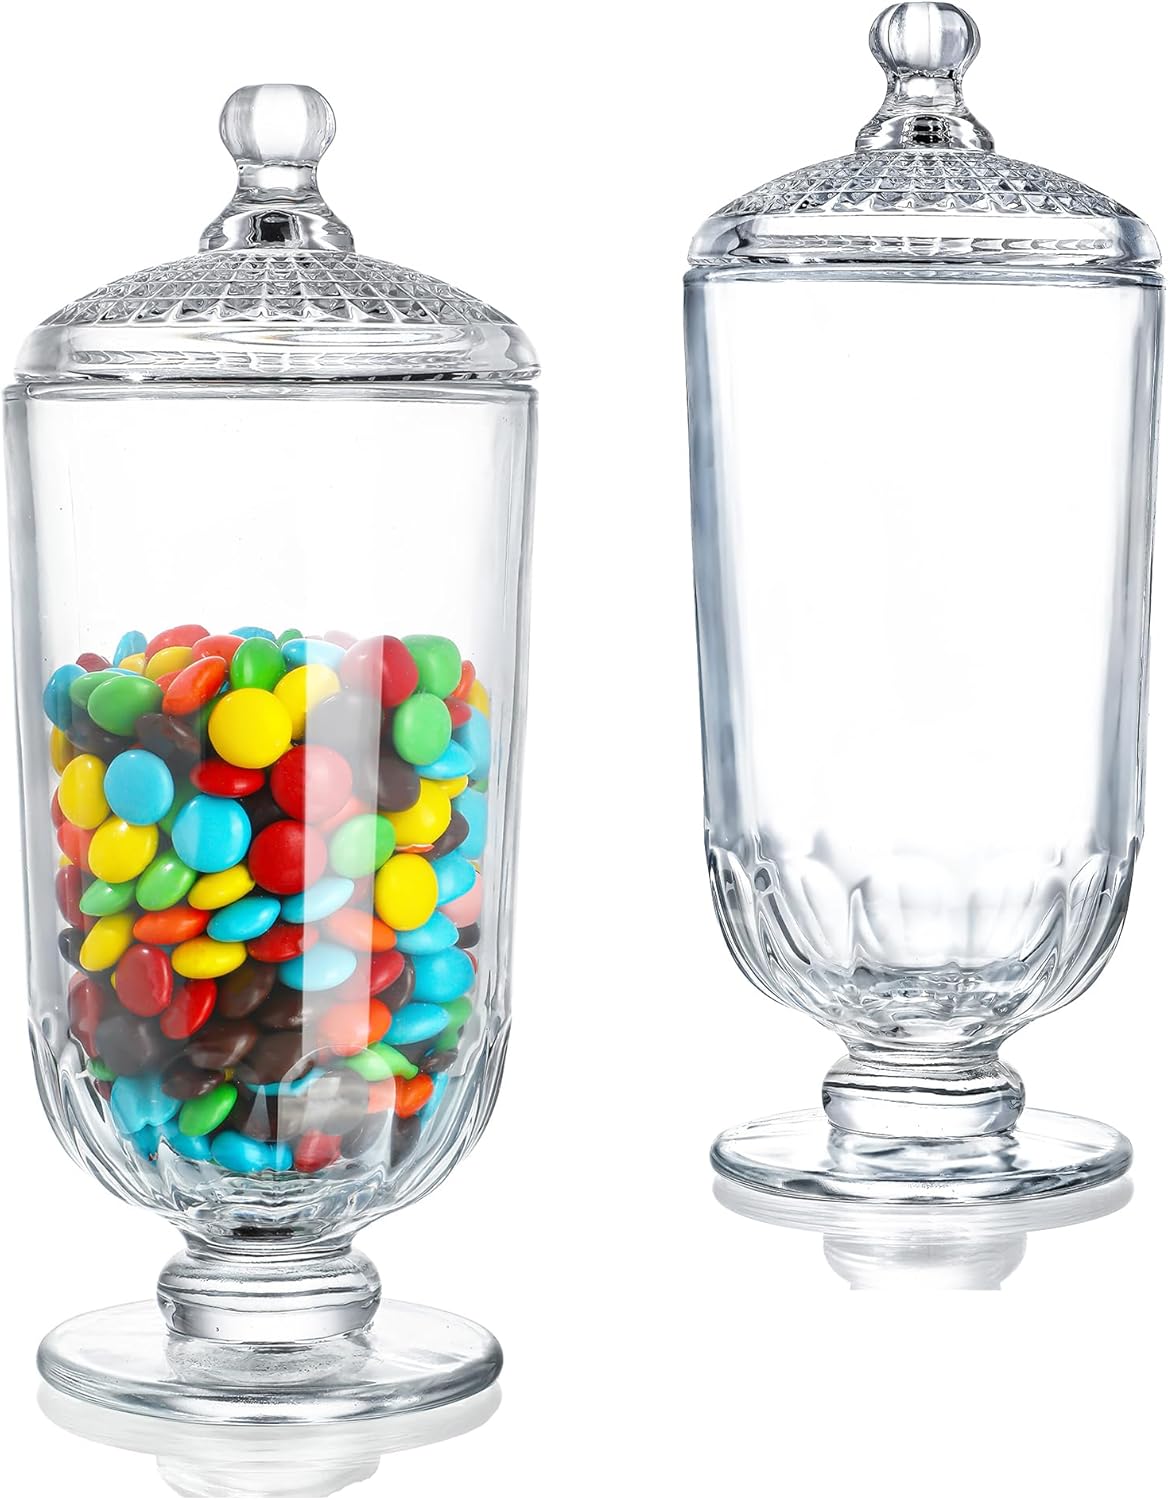
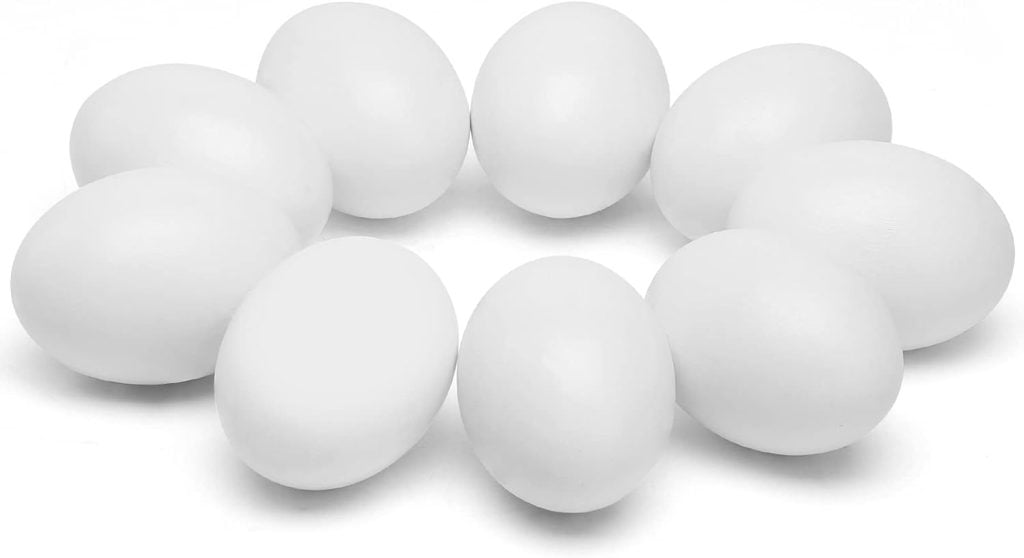
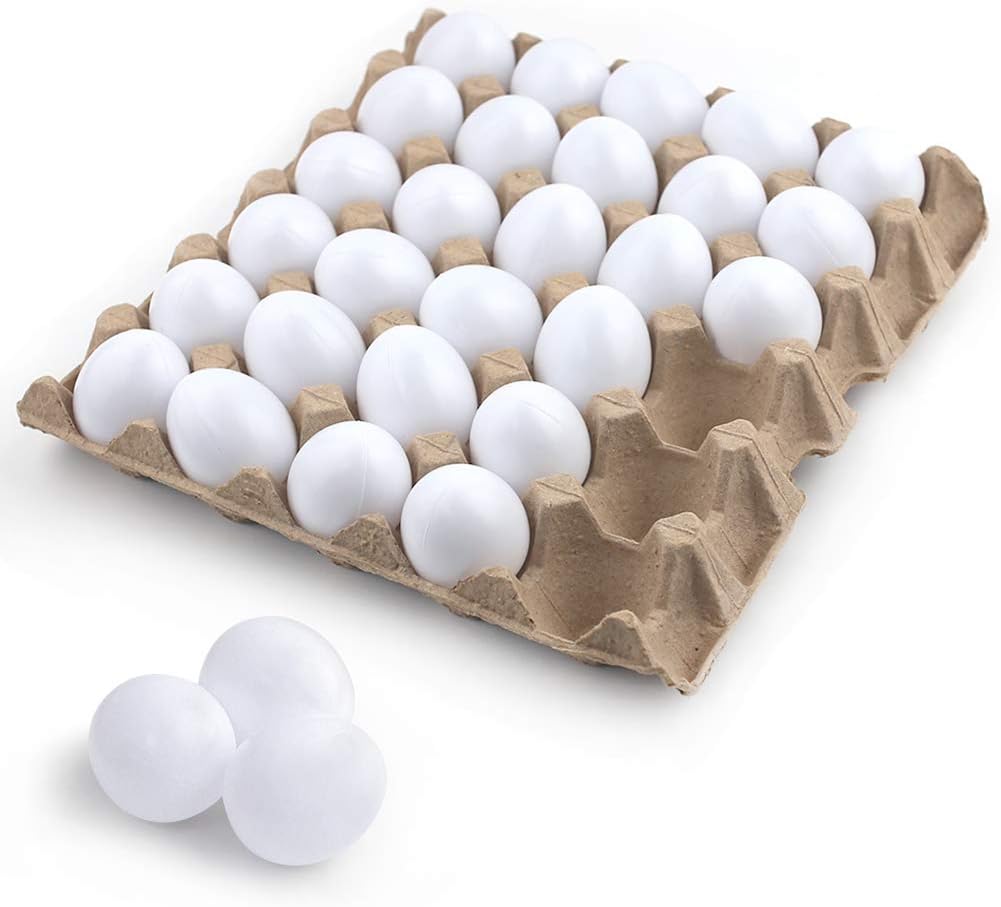
- Plastic white Easter eggs
- Copper Sharpie pen (or any color you want)
- Pencil
- Paper towel or parchment paper
I may sometimes use affiliate links on this blog, which means a small commission is earned if you purchase via the link. The price will be the same whether you use the affiliate link or go directly to the vendor’s website using a non-affiliate link.
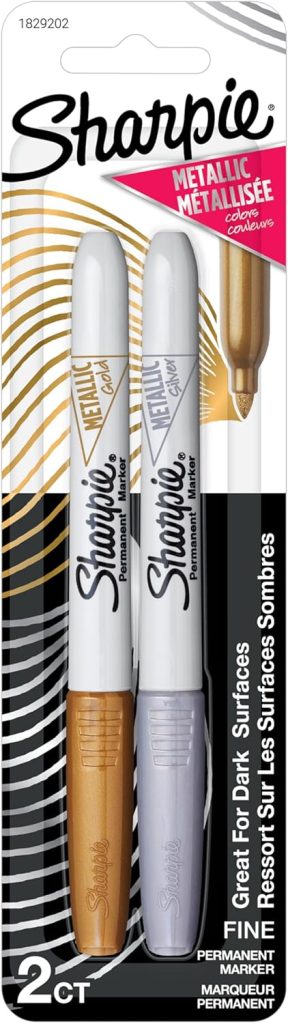
More Color Marker Options


Outline and Draw on the Eggs
Step 1: Prep Your Eggs
Before decorating your eggs, ensure they are clean and dry. You can wipe them down with a paper towel to remove dust or debris.
Step 2: Draw Your Design
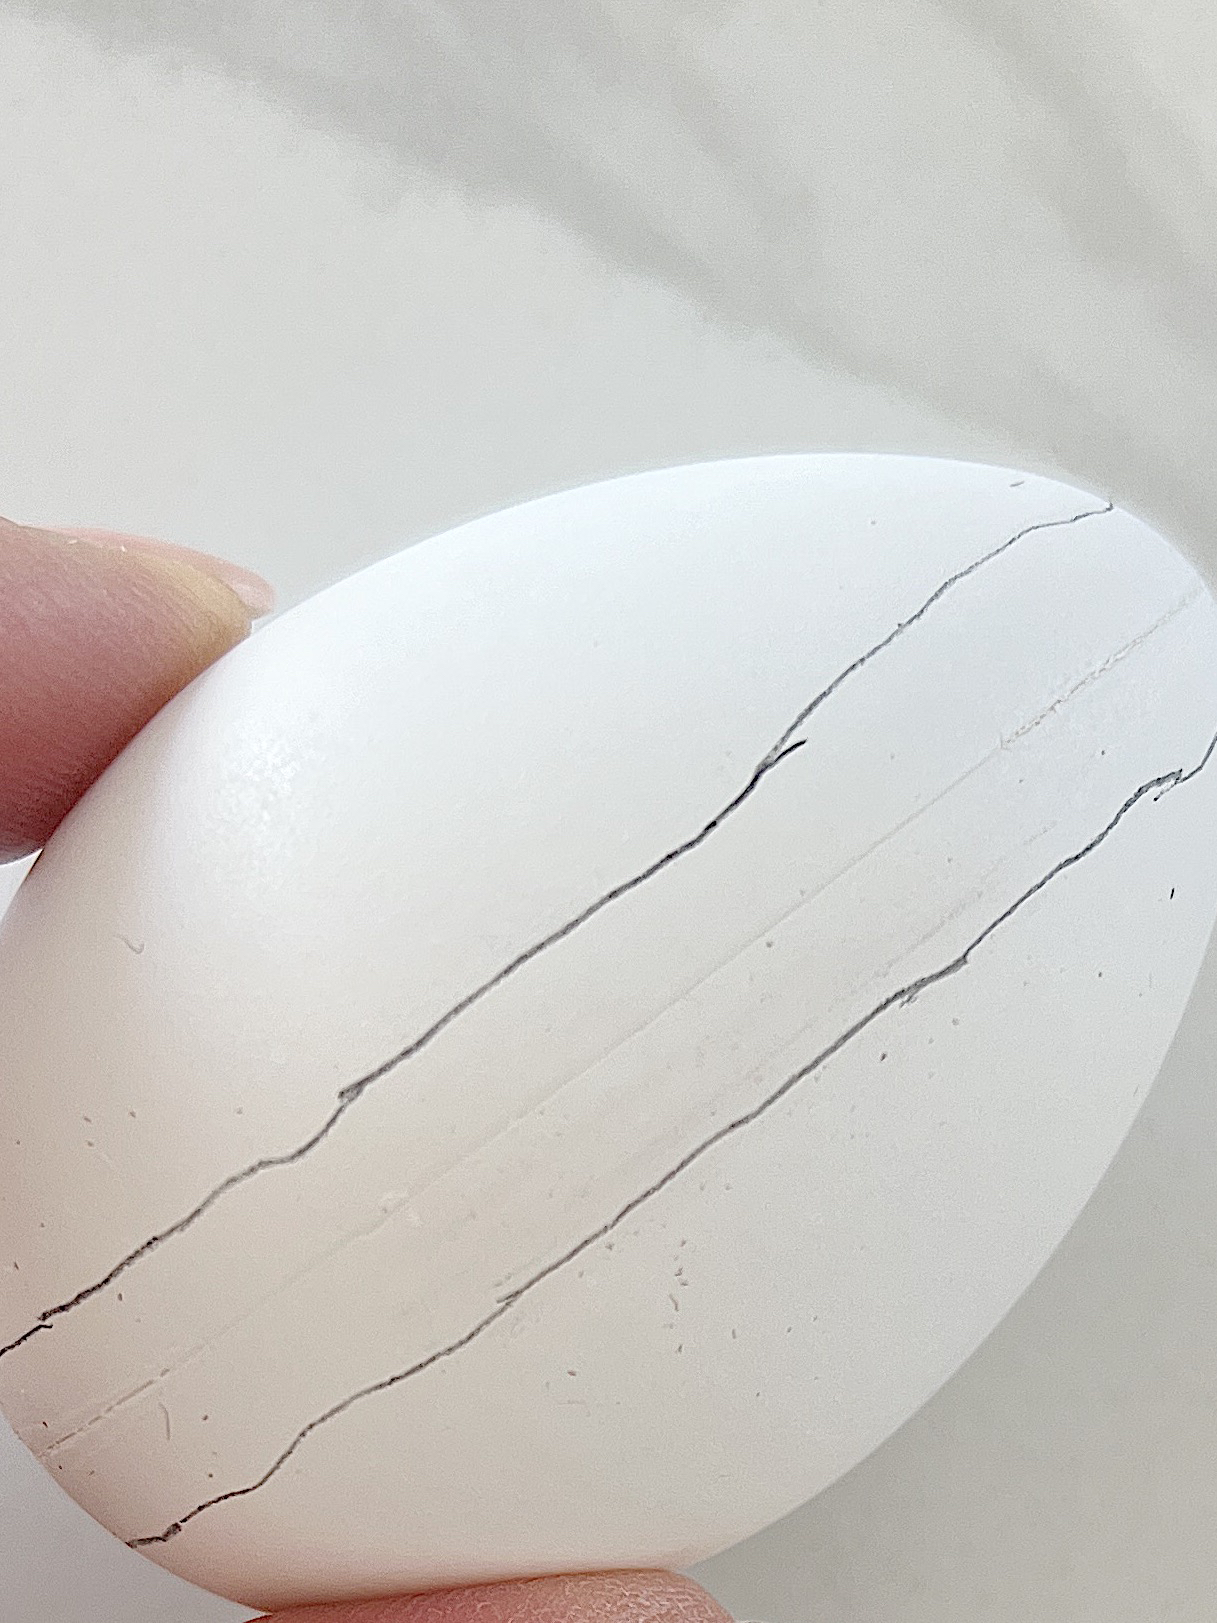
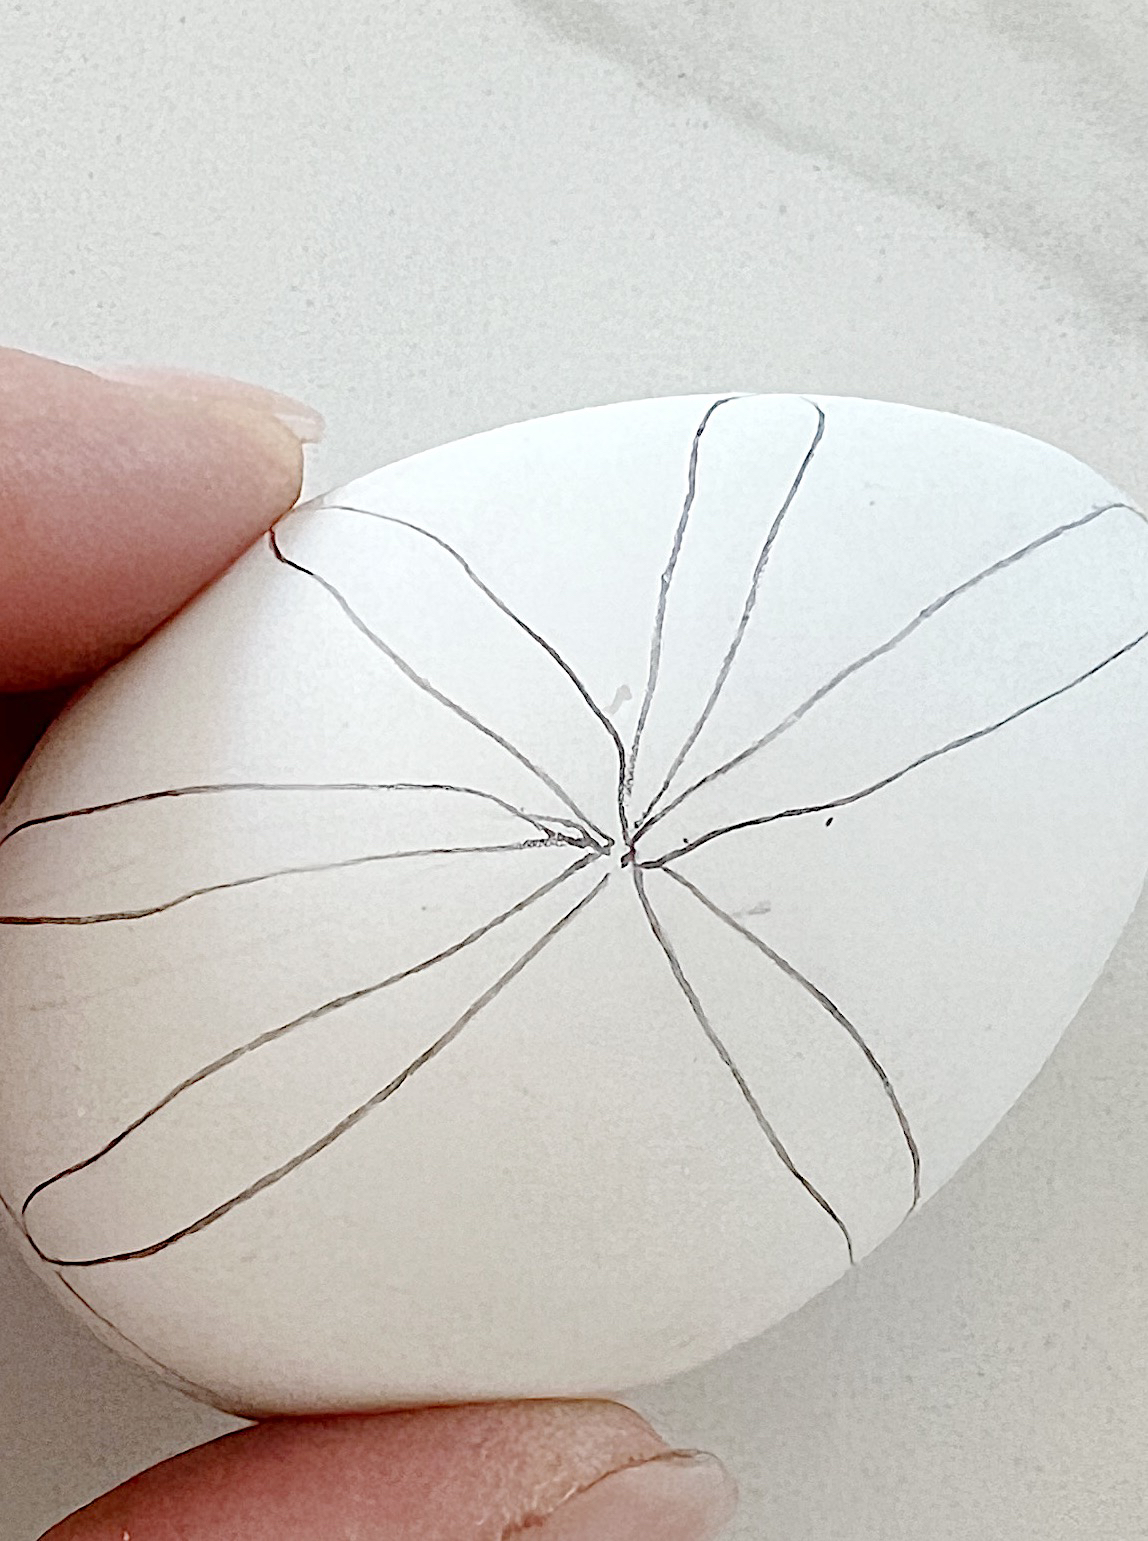
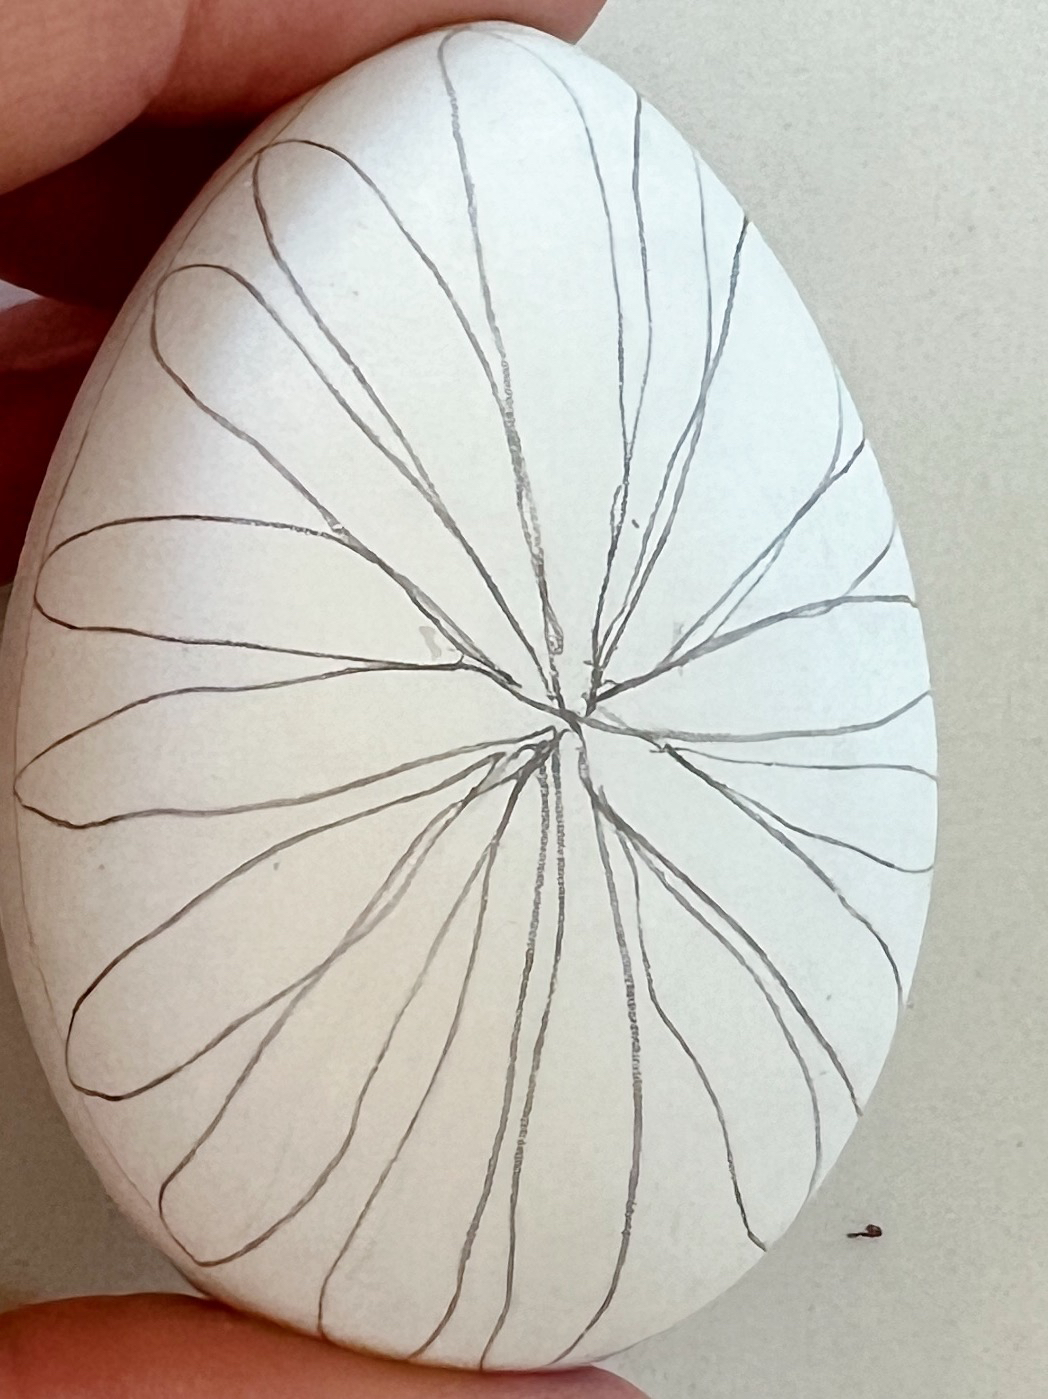
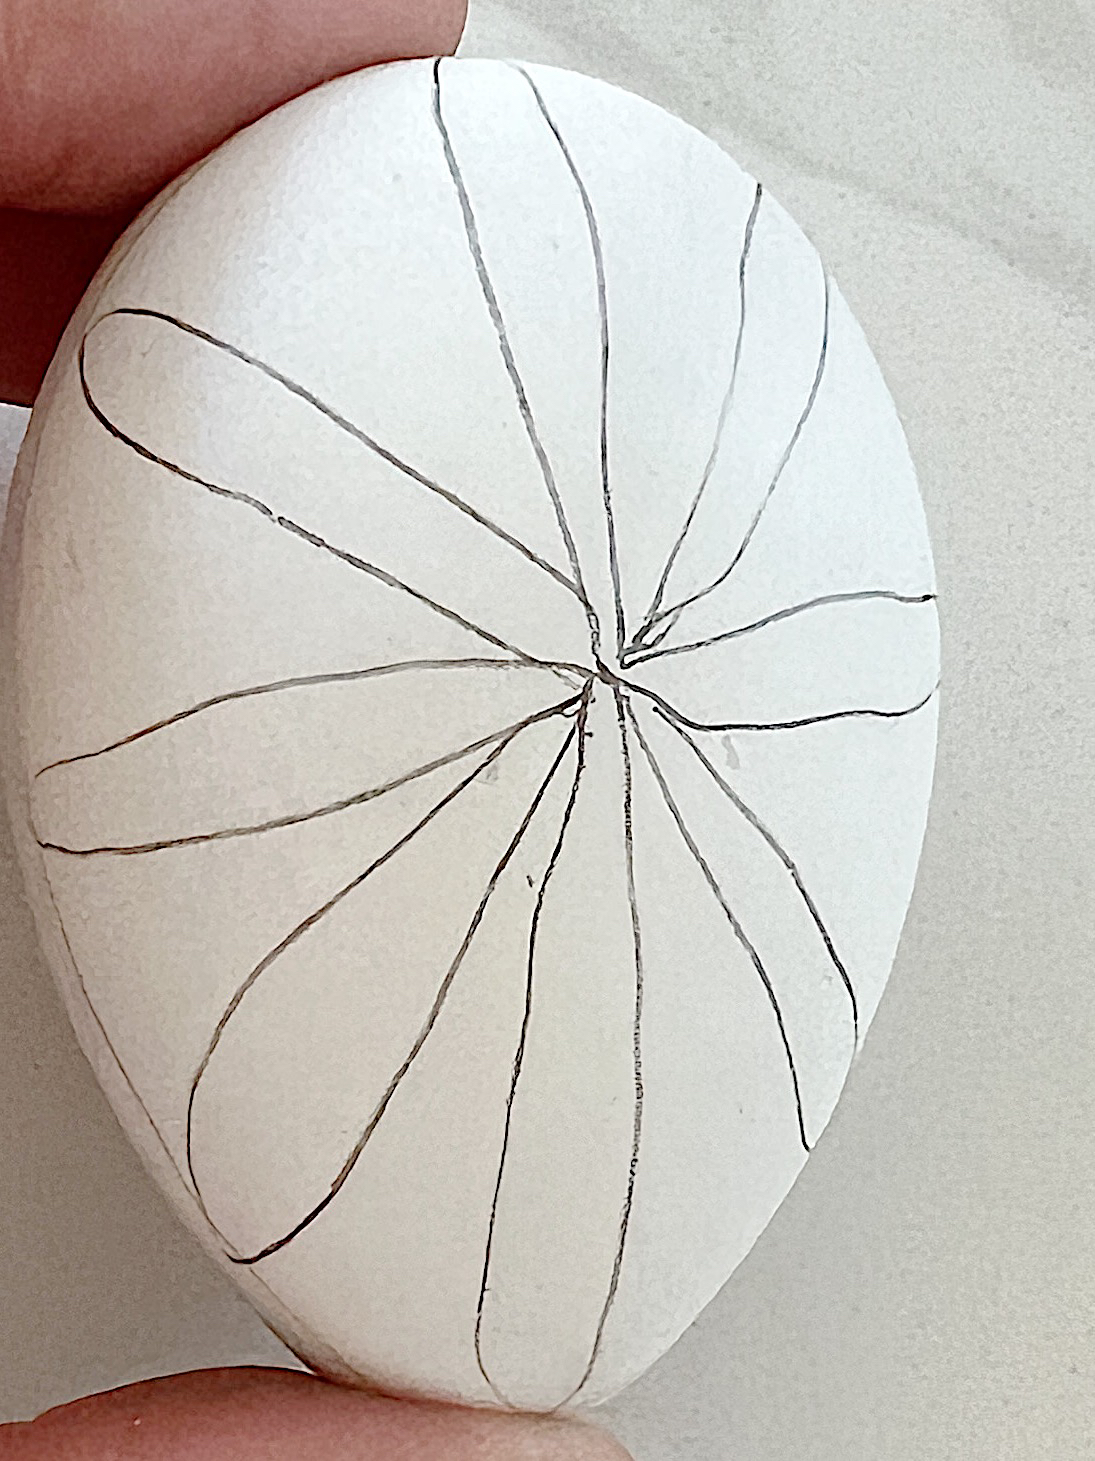
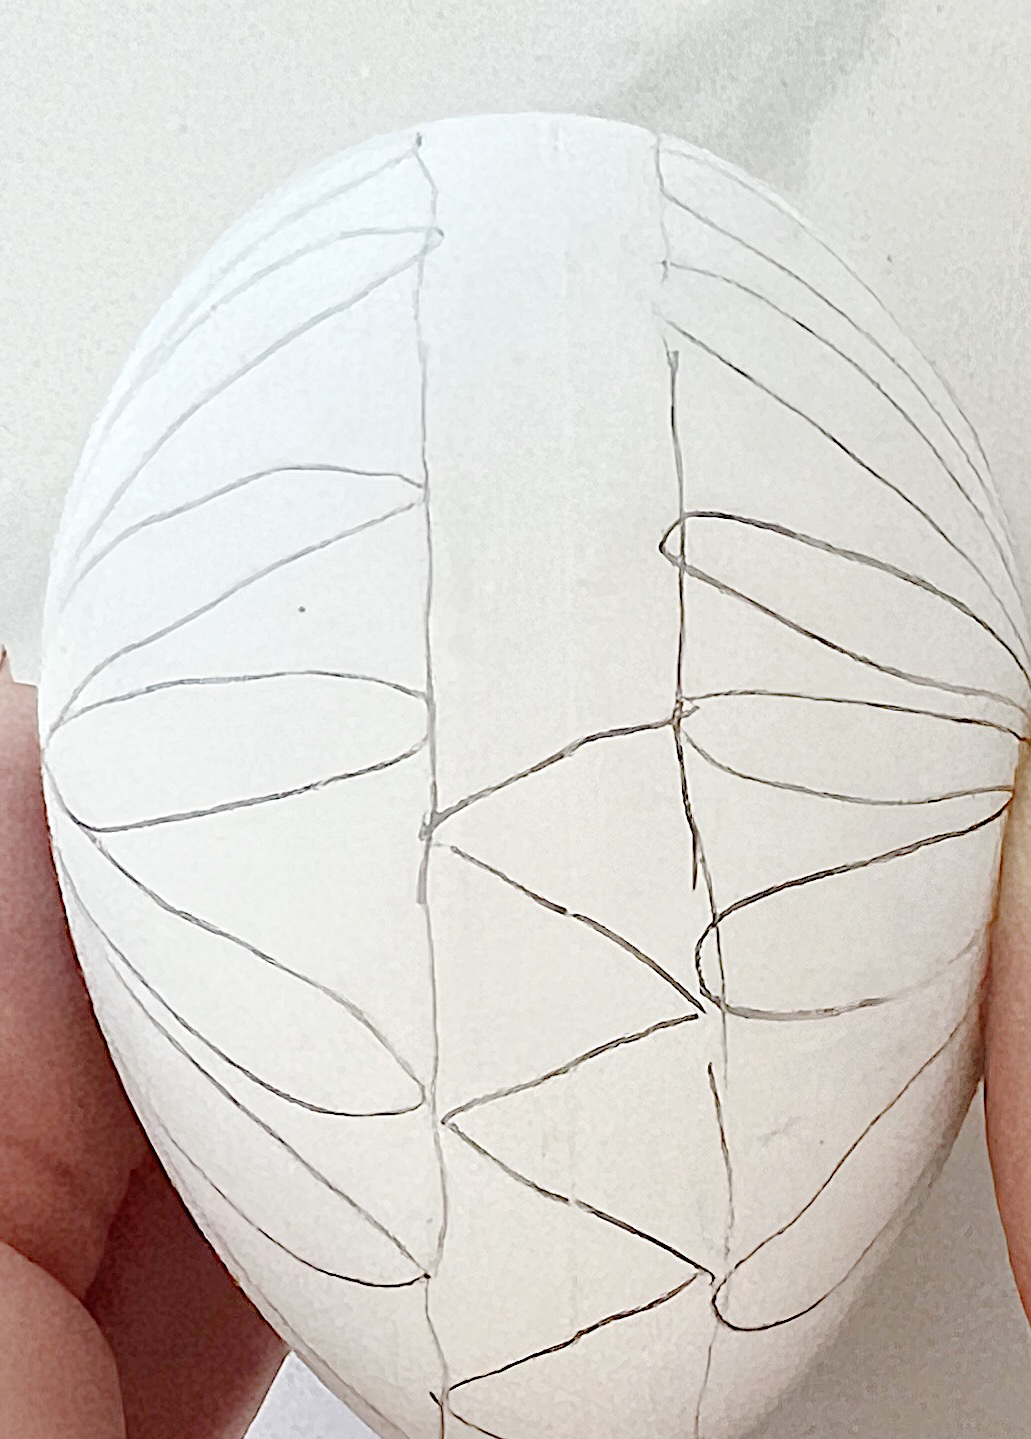

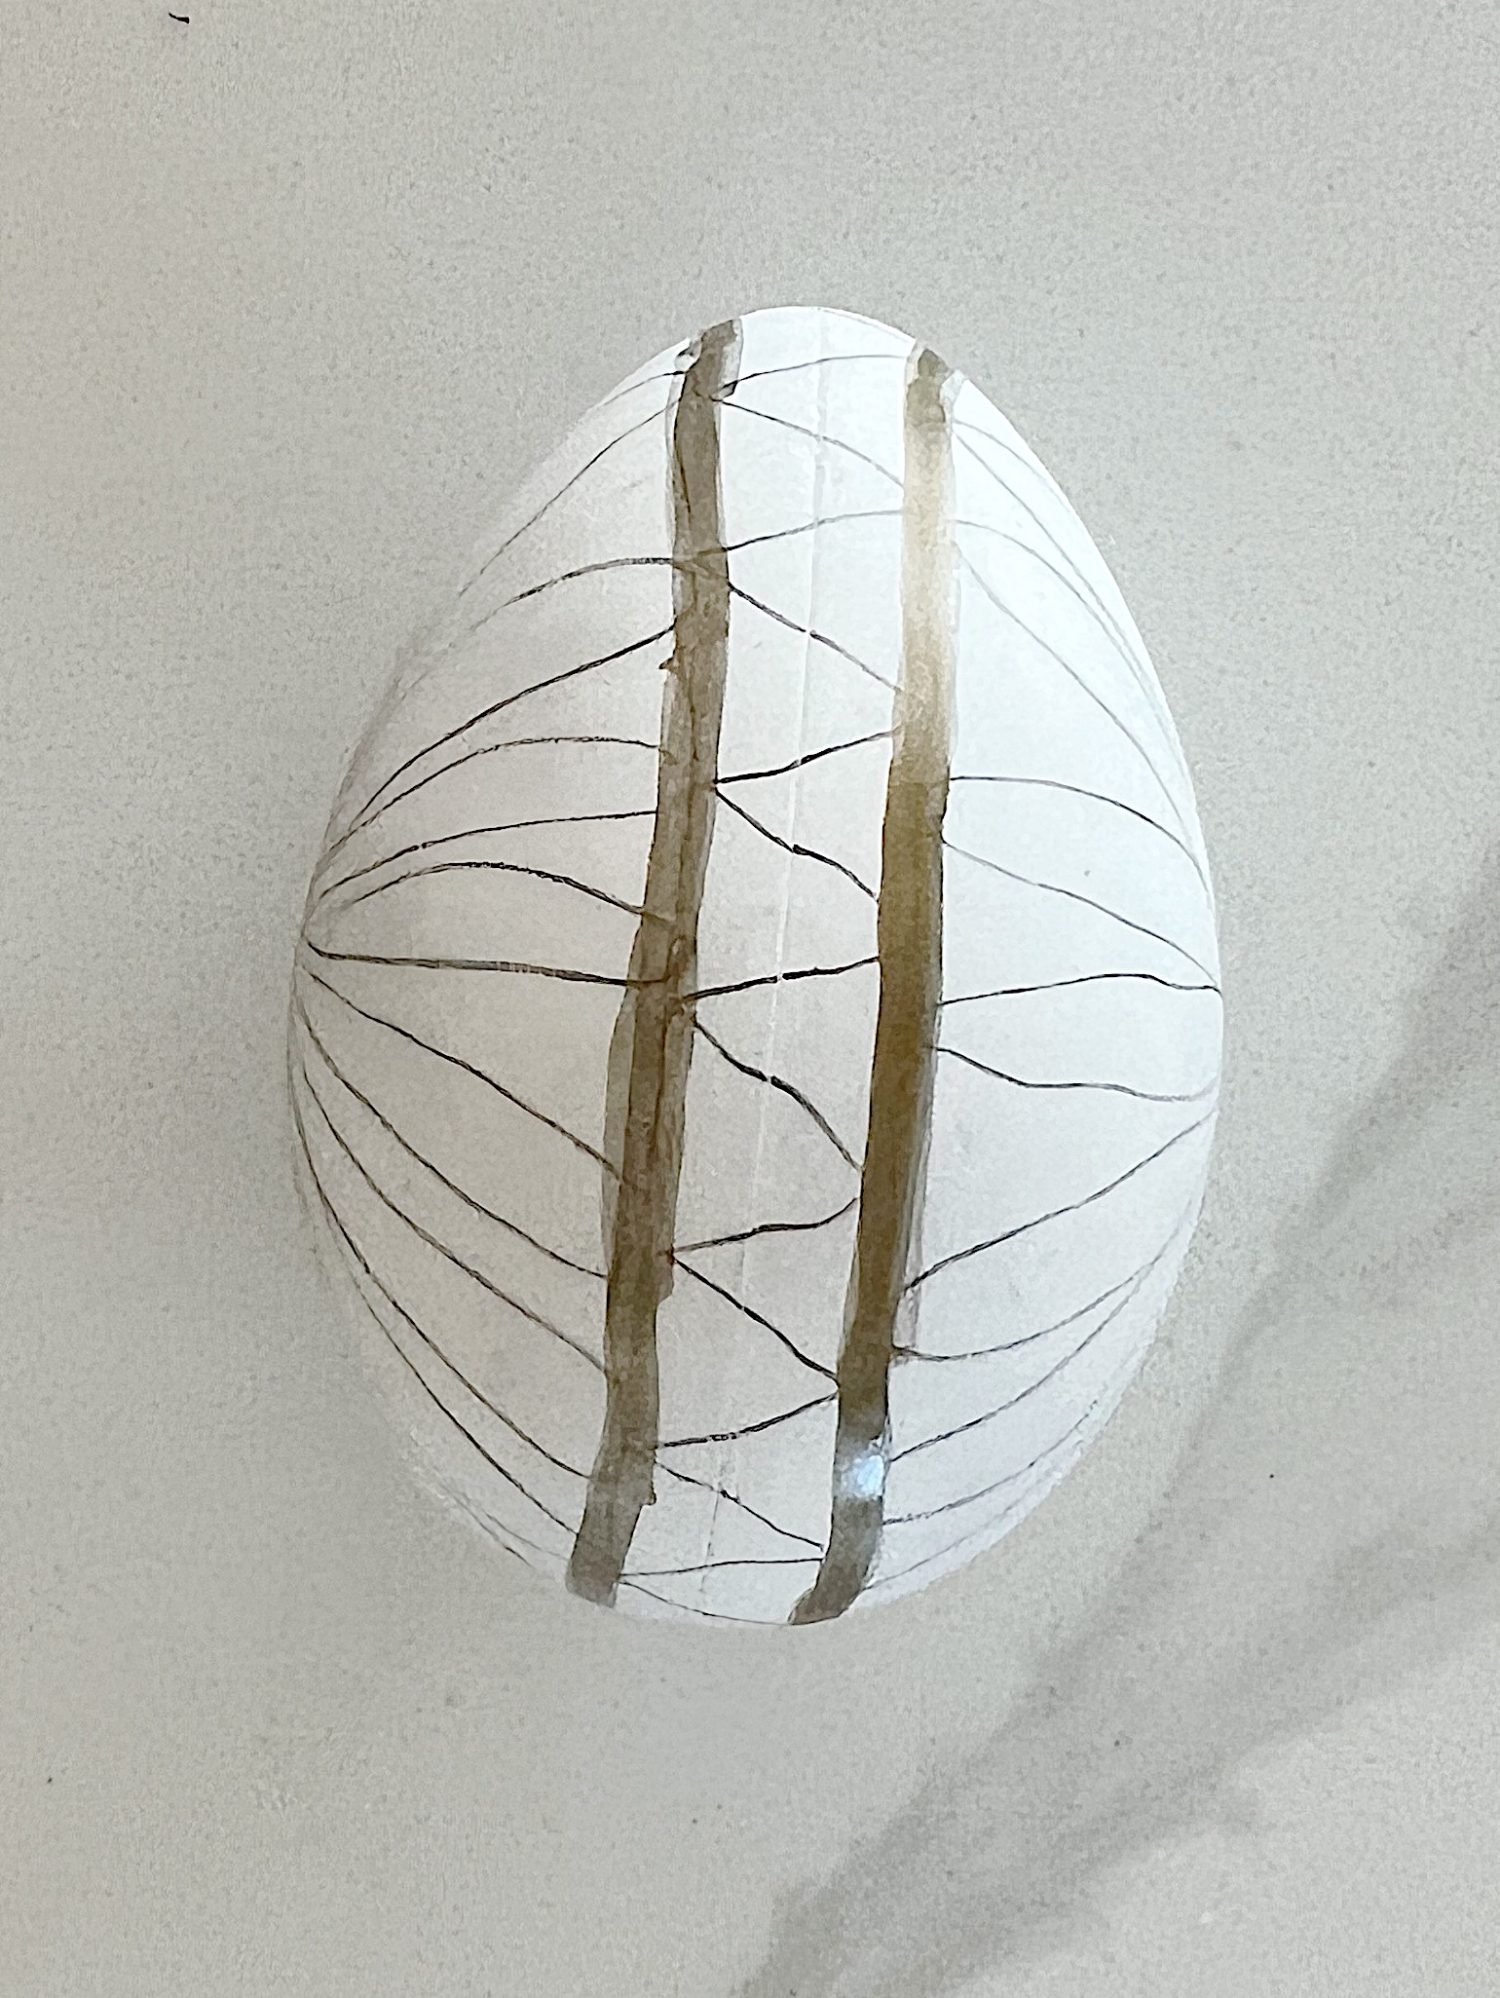
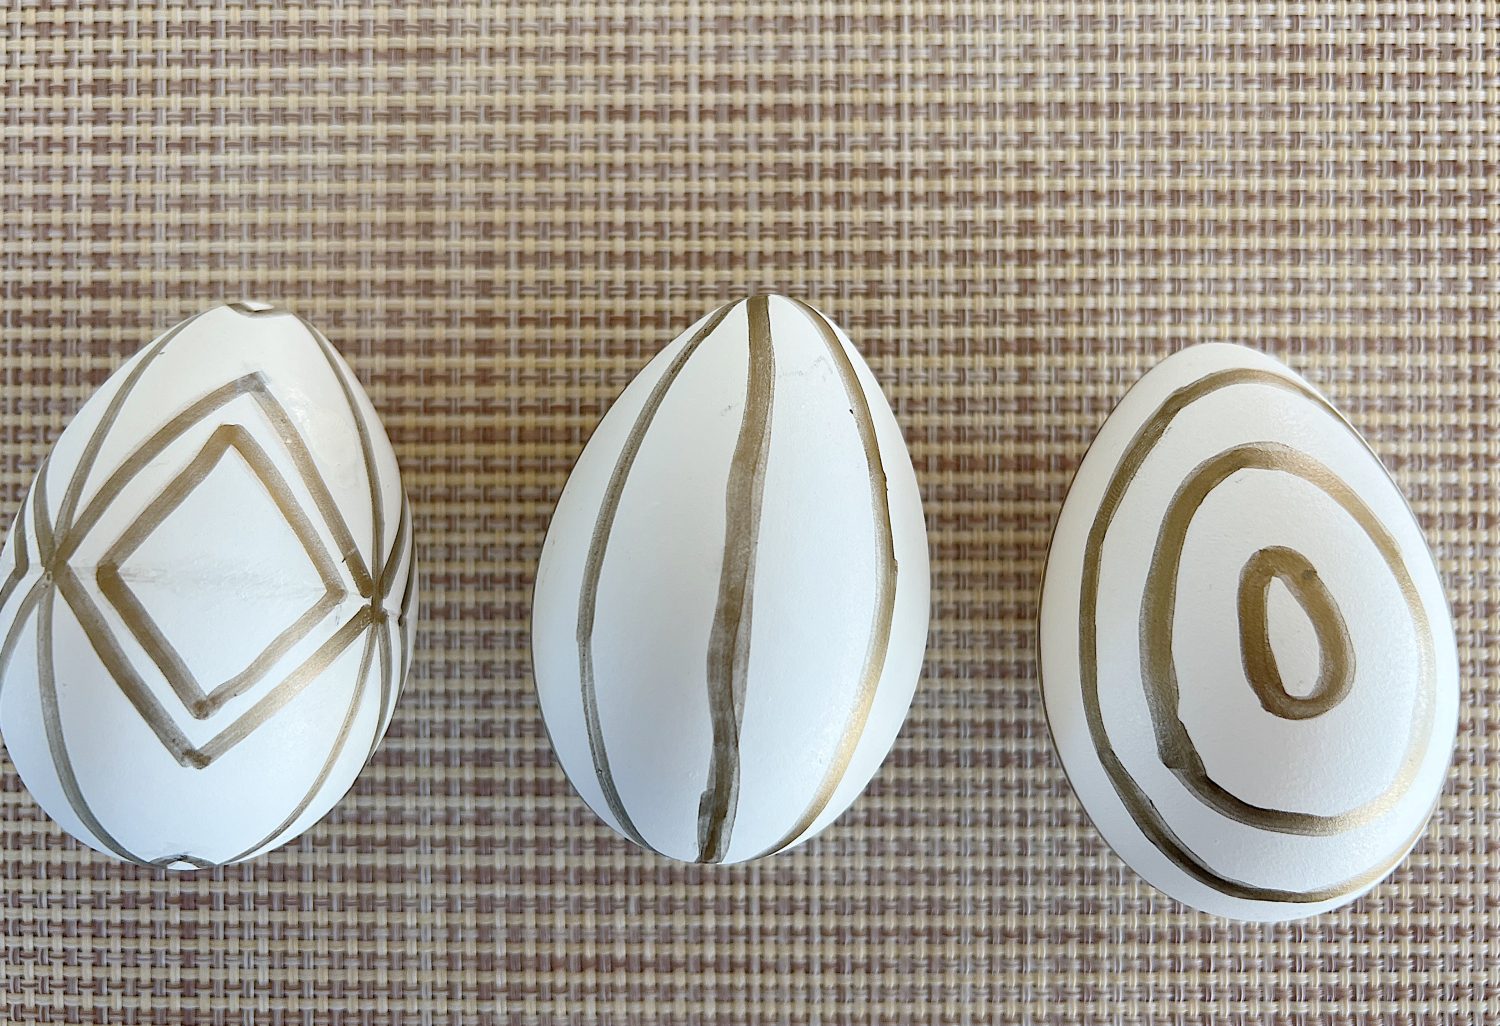
Using a pencil, draw your design onto the plastic egg. This will help guide you when you start using the copper Sharpie pen. You can draw simple shapes or more intricate designs – it’s up to you! Be sure to use the eraser if you draw something you don’t like. Feel free to copy any of my designs.
Step 3: Decorate with a Copper Sharpie Pen
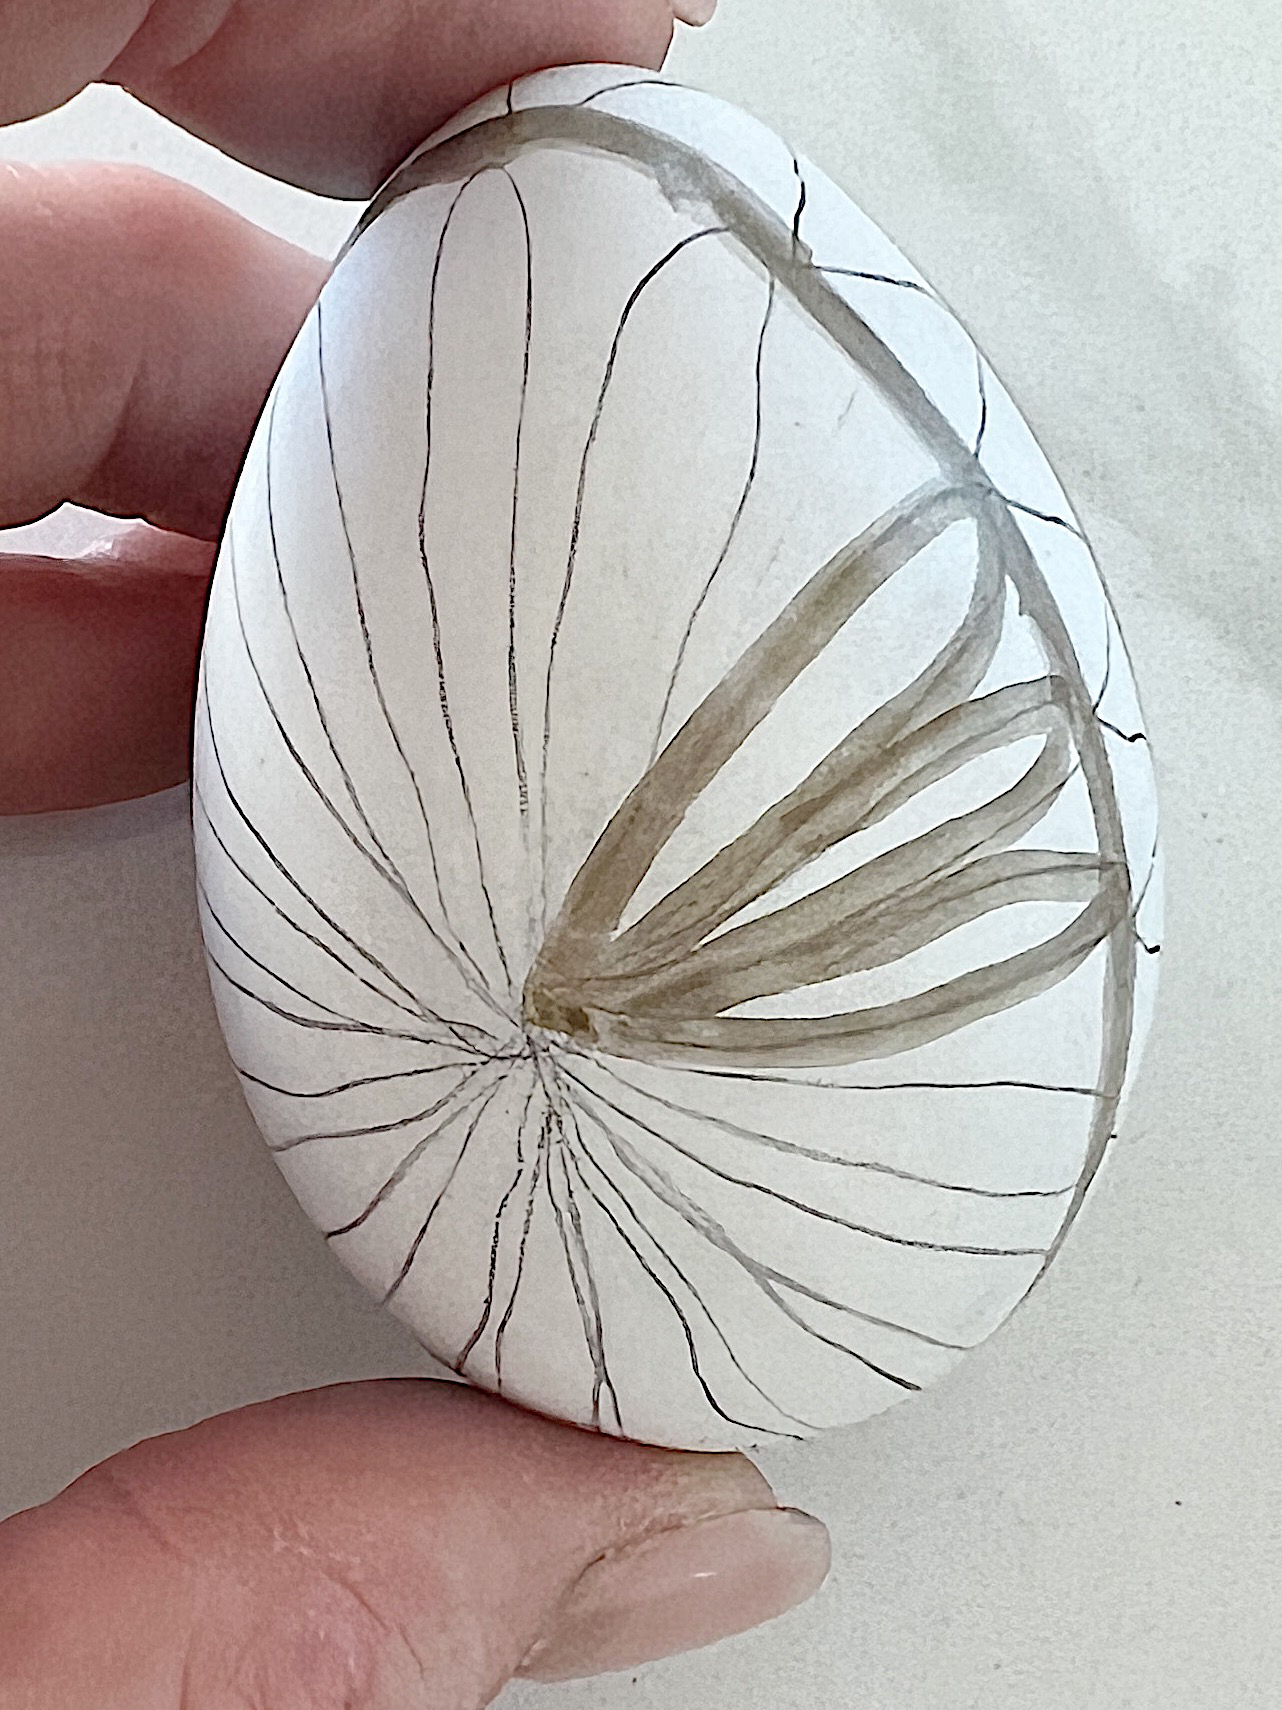
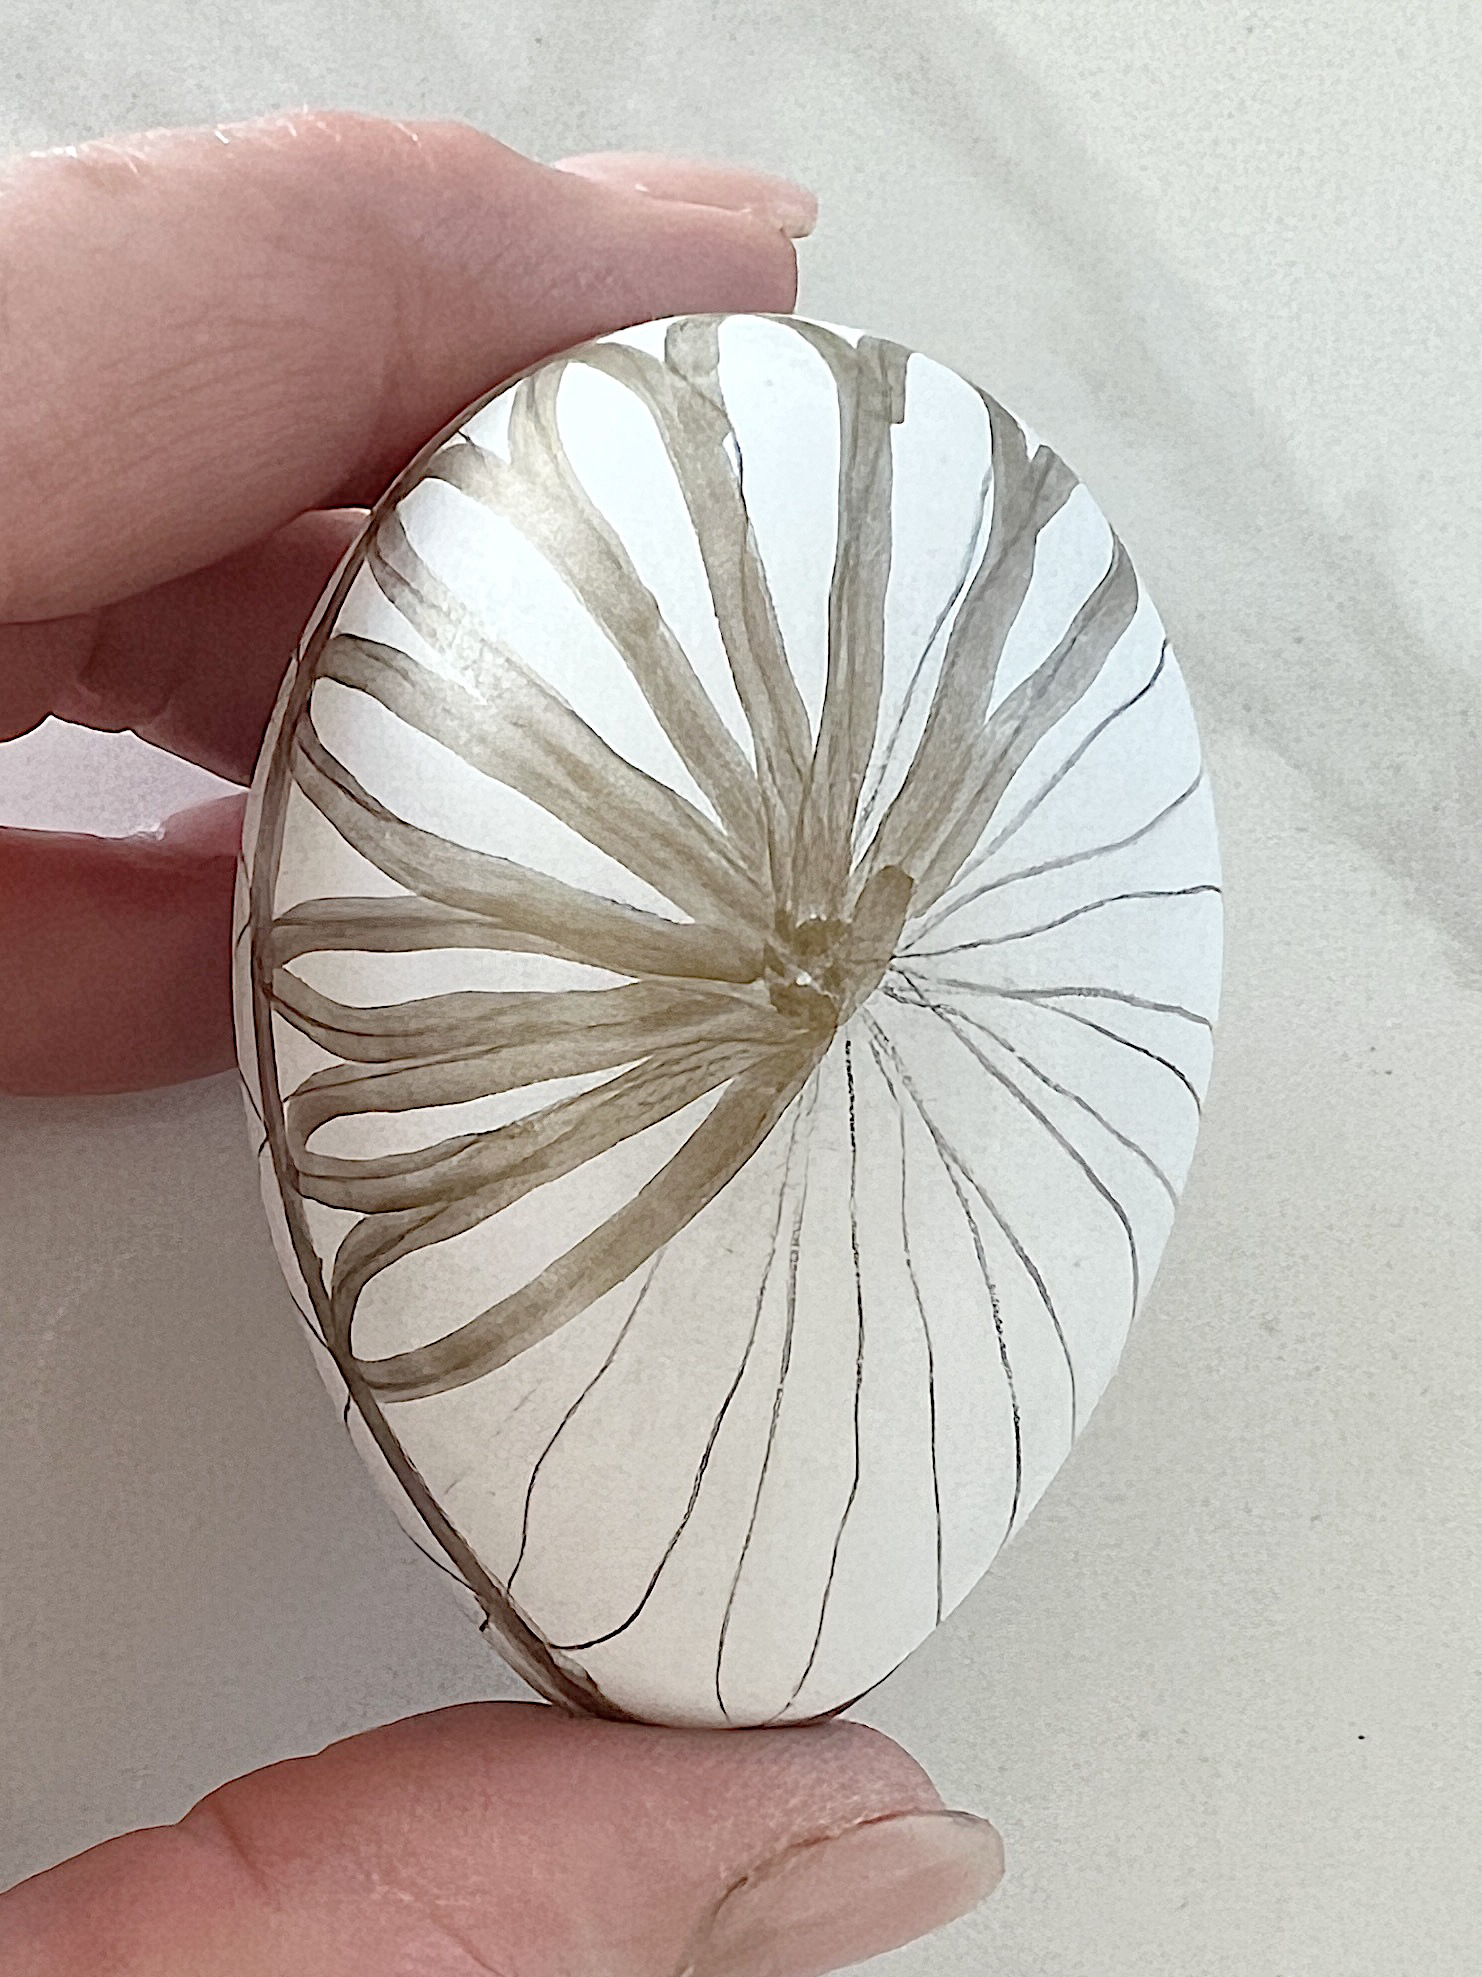

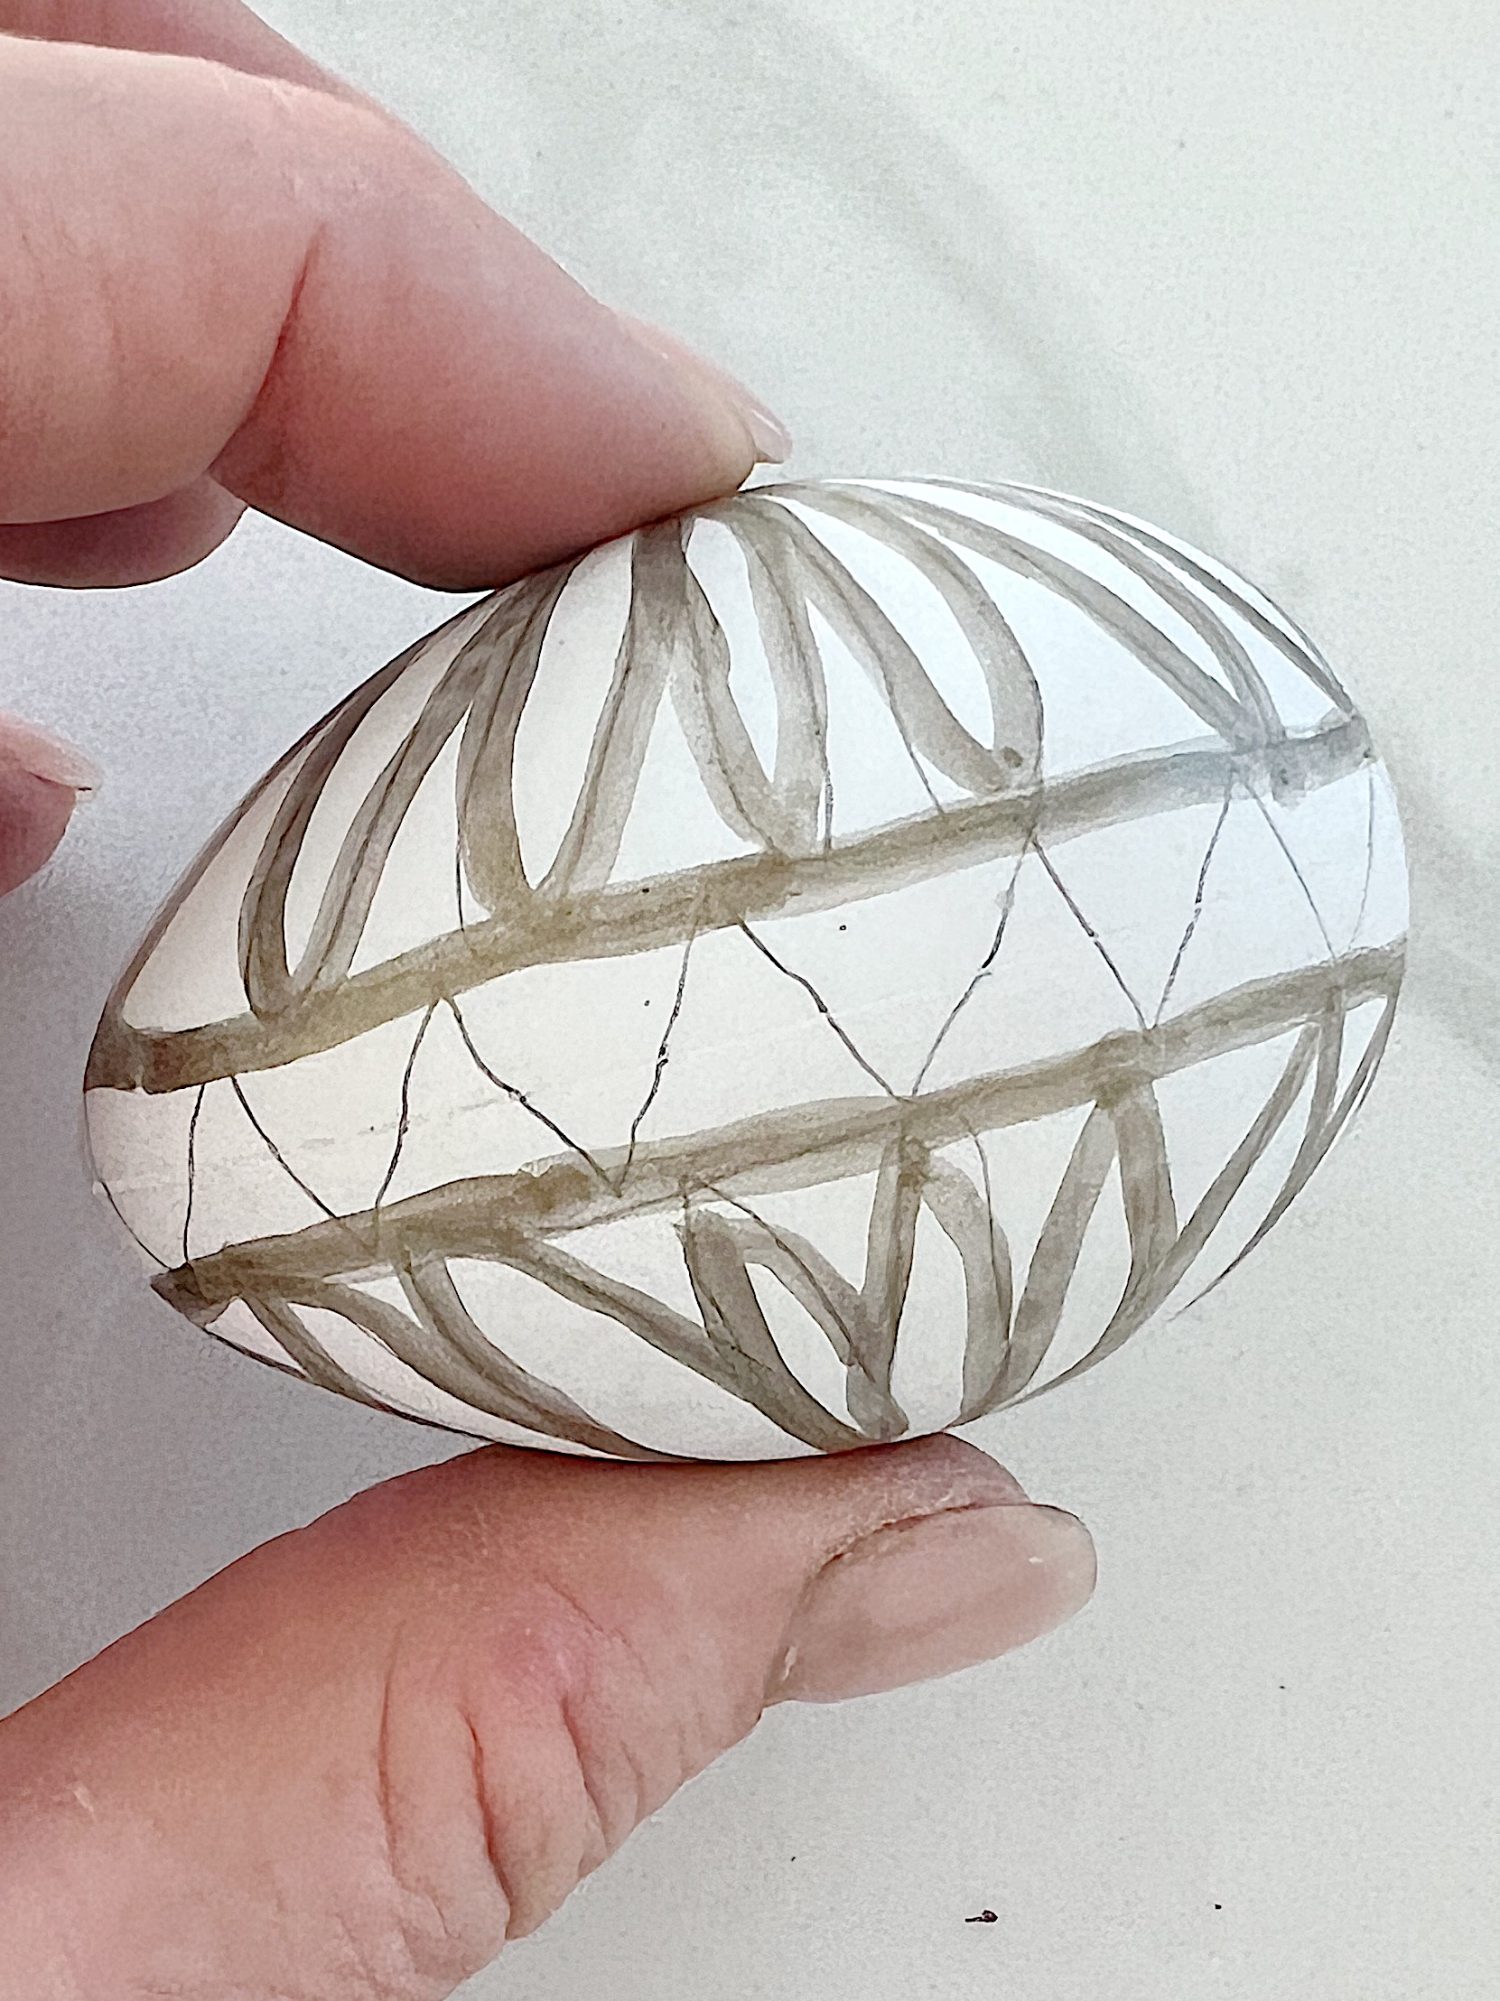
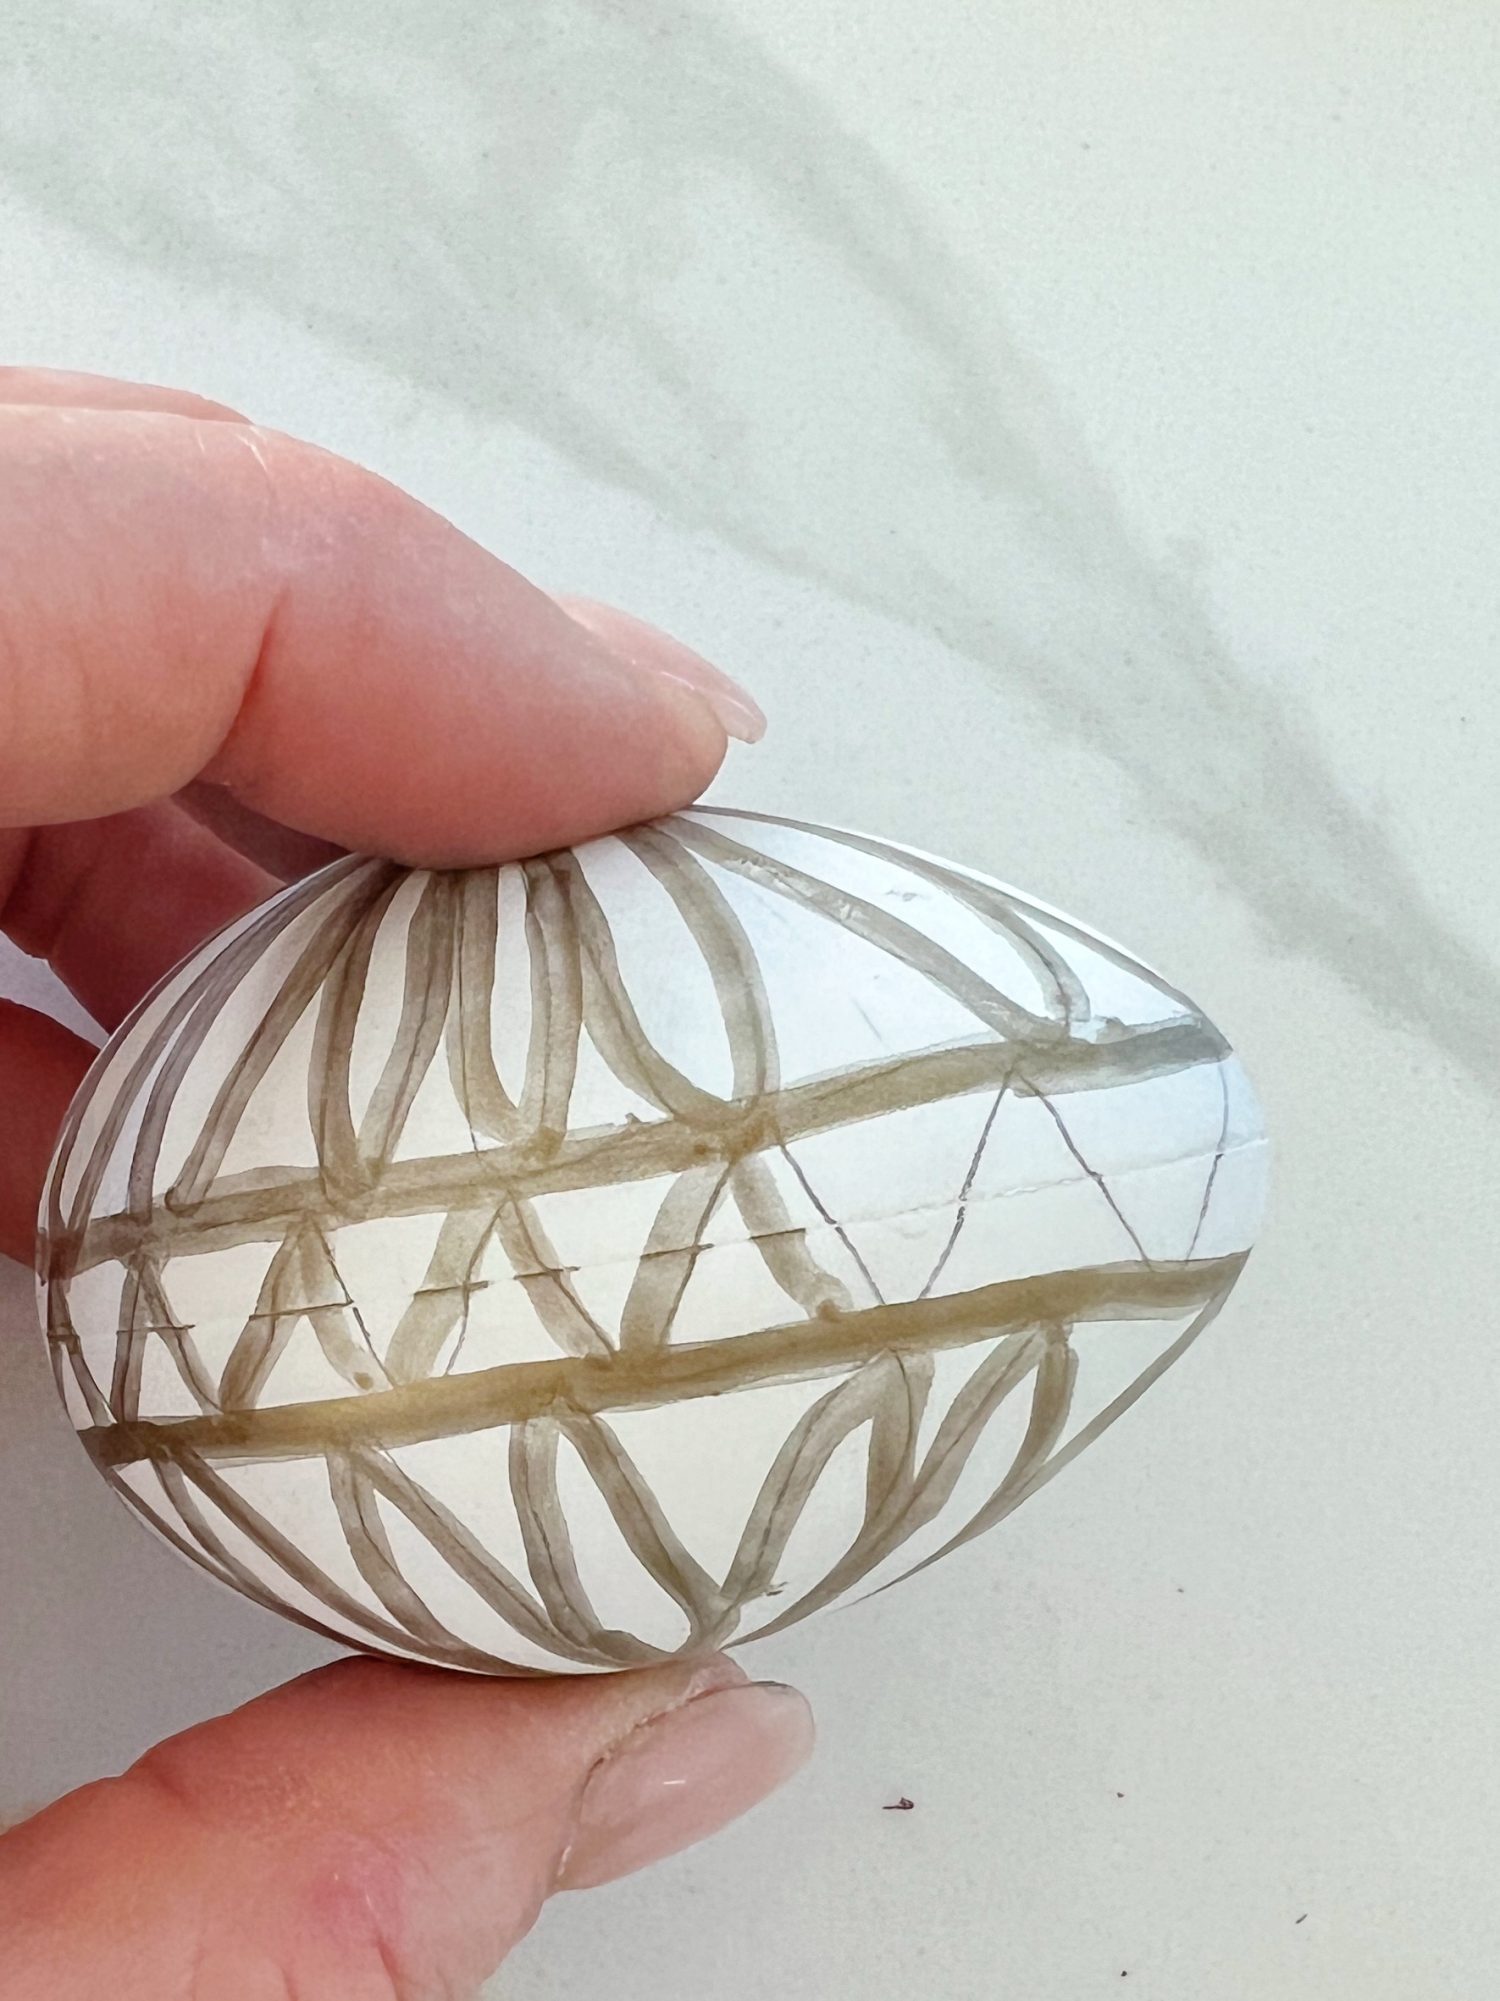
Now it’s time to start decorating! Using the copper sharpie pen, trace over your pencil lines. You can add extra lines, dots, or other designs. Be careful because the Sharpie pens are pretty permanent if you make a mistake.
Step 4: Let the Ink Dry

As you decorate your egg, let the ink dry completely before you turn it and touch the area with your hands. Depending on how much ink you use, this should only take about fifteen seconds.
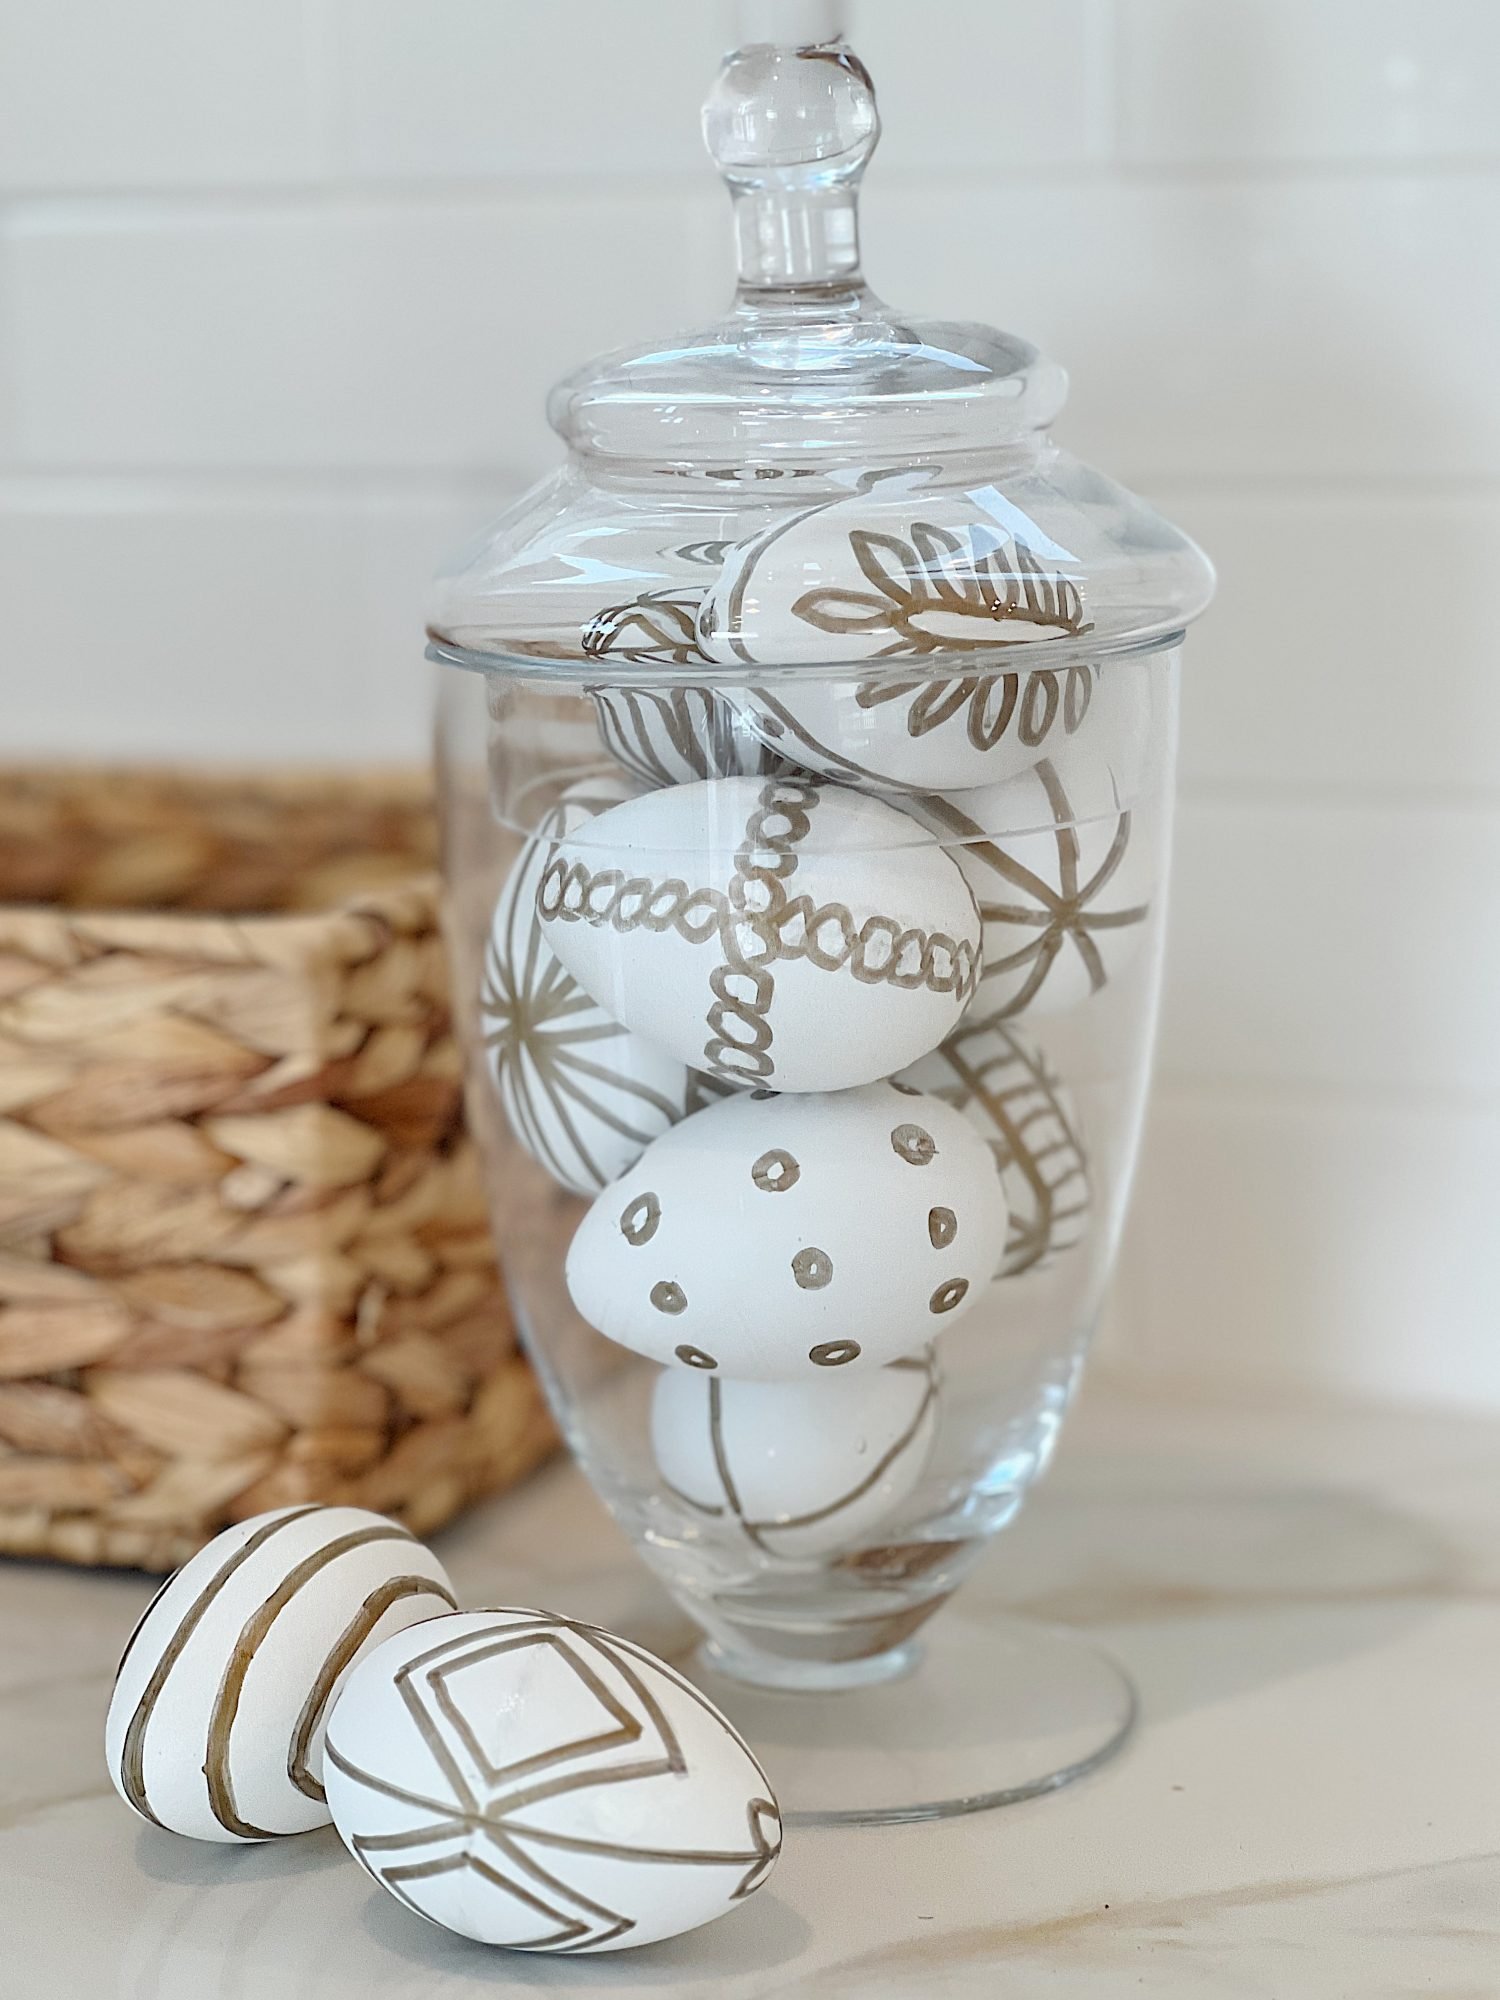
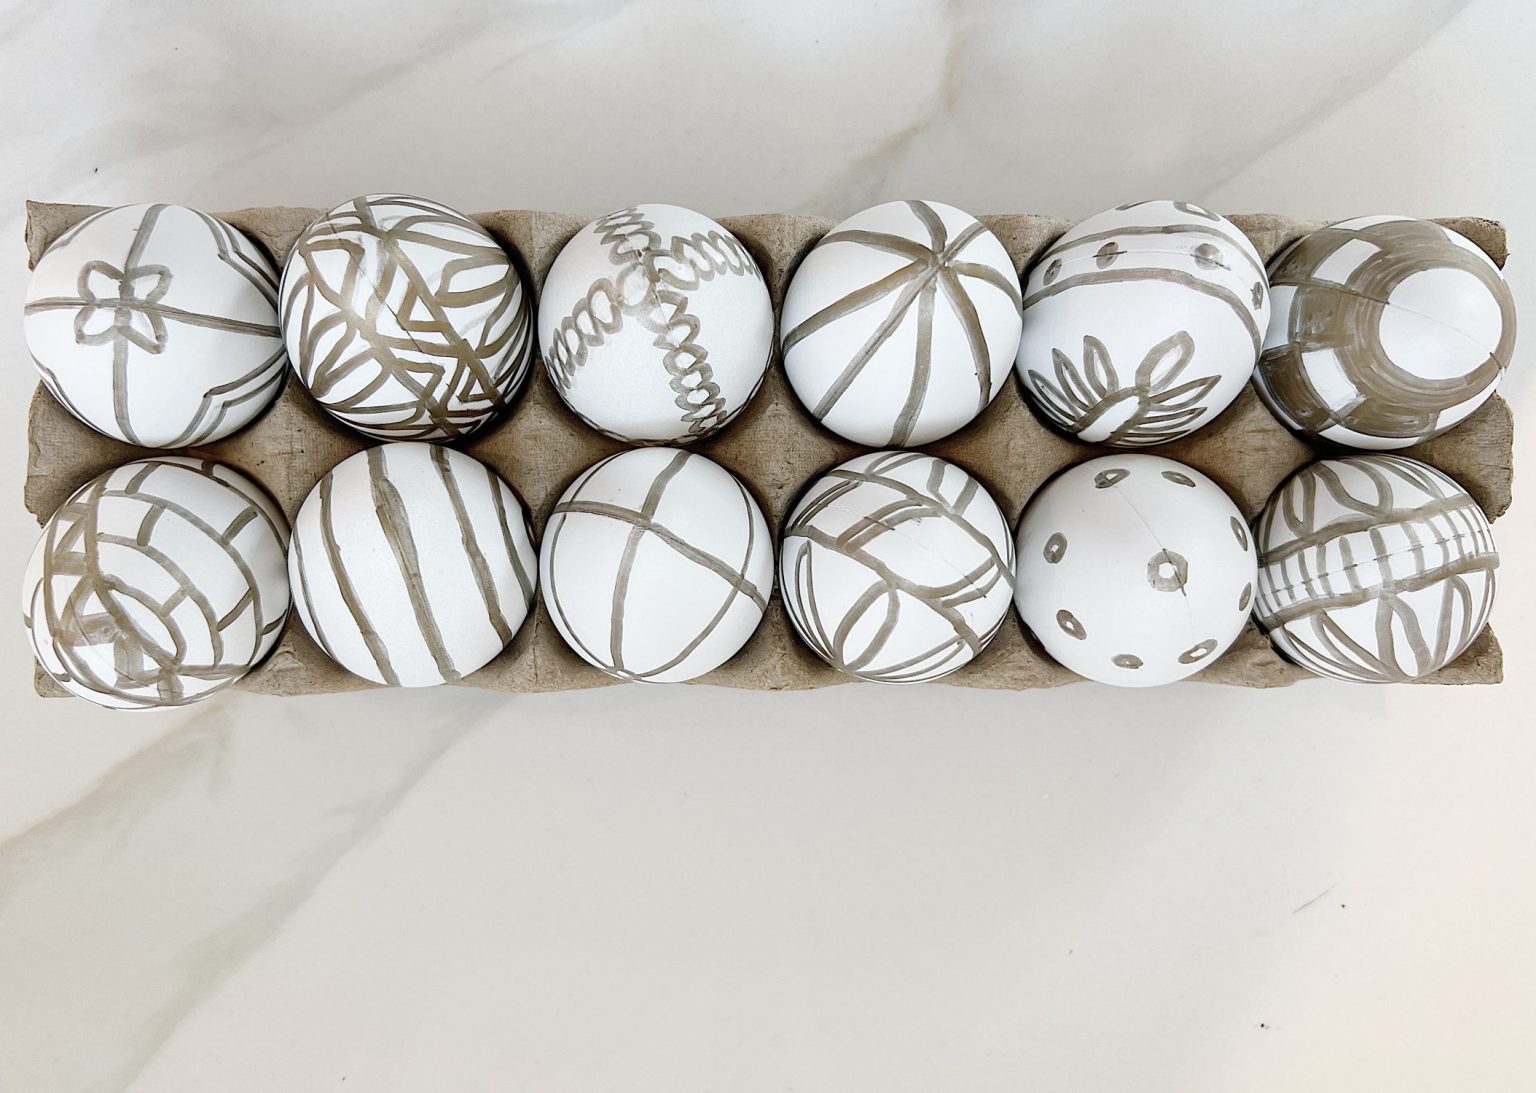
Step 5: Display Your Eggs
Now that your egg is decorated and dry, it’s time to display it! As you can see, I had some fun displaying my eggs at the beach house.
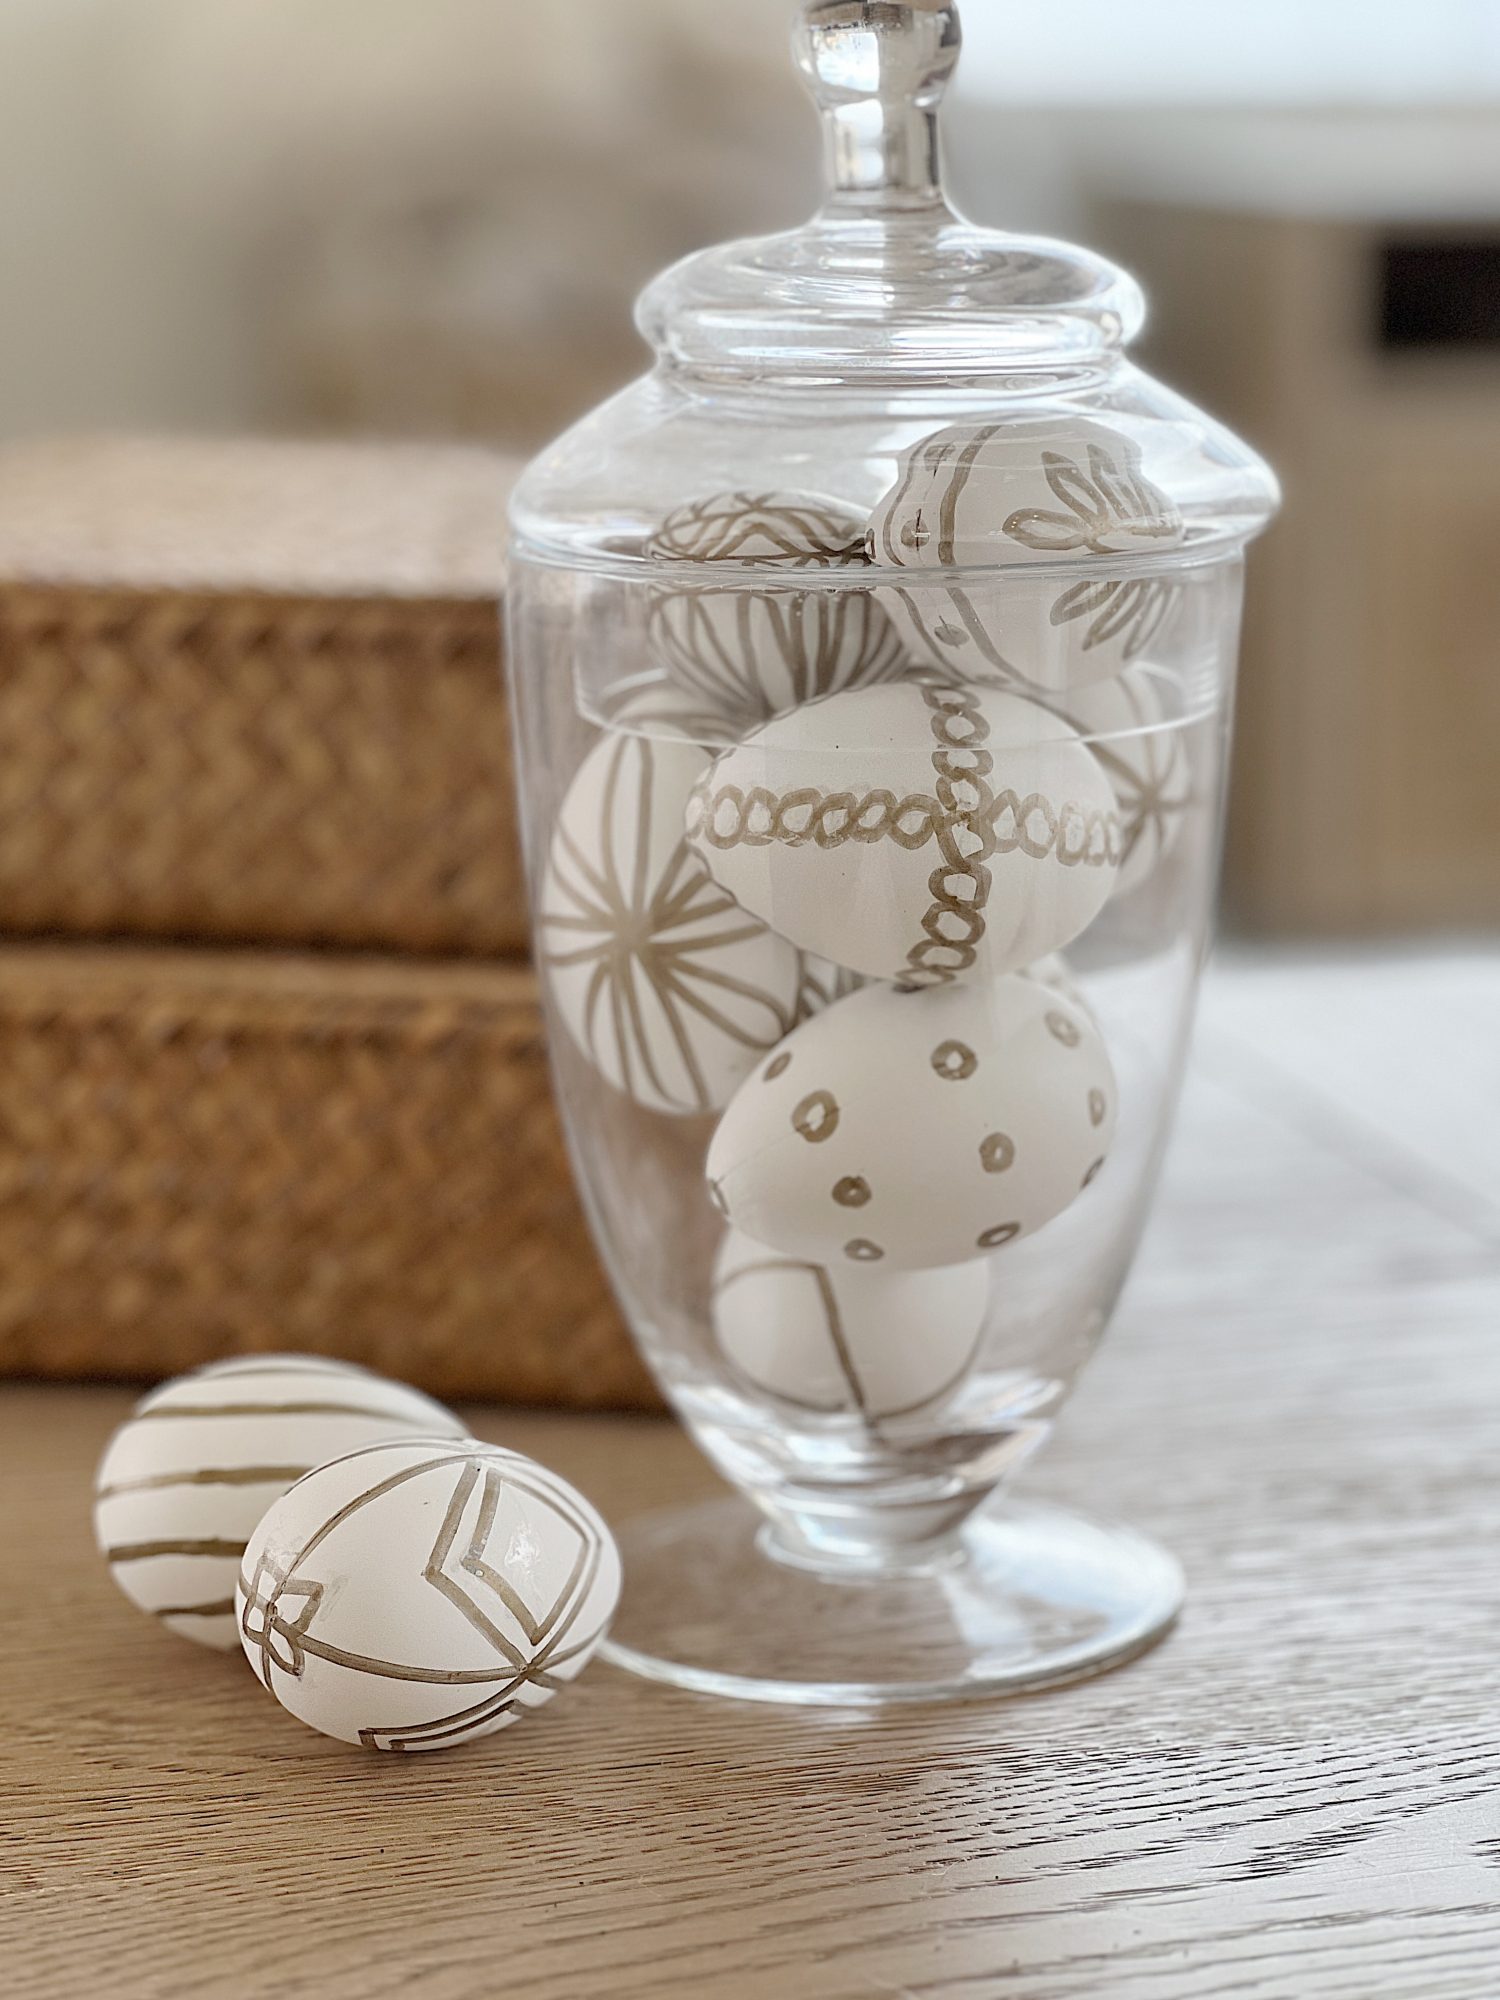
More Hand-Painted Plastic Easter Eggs
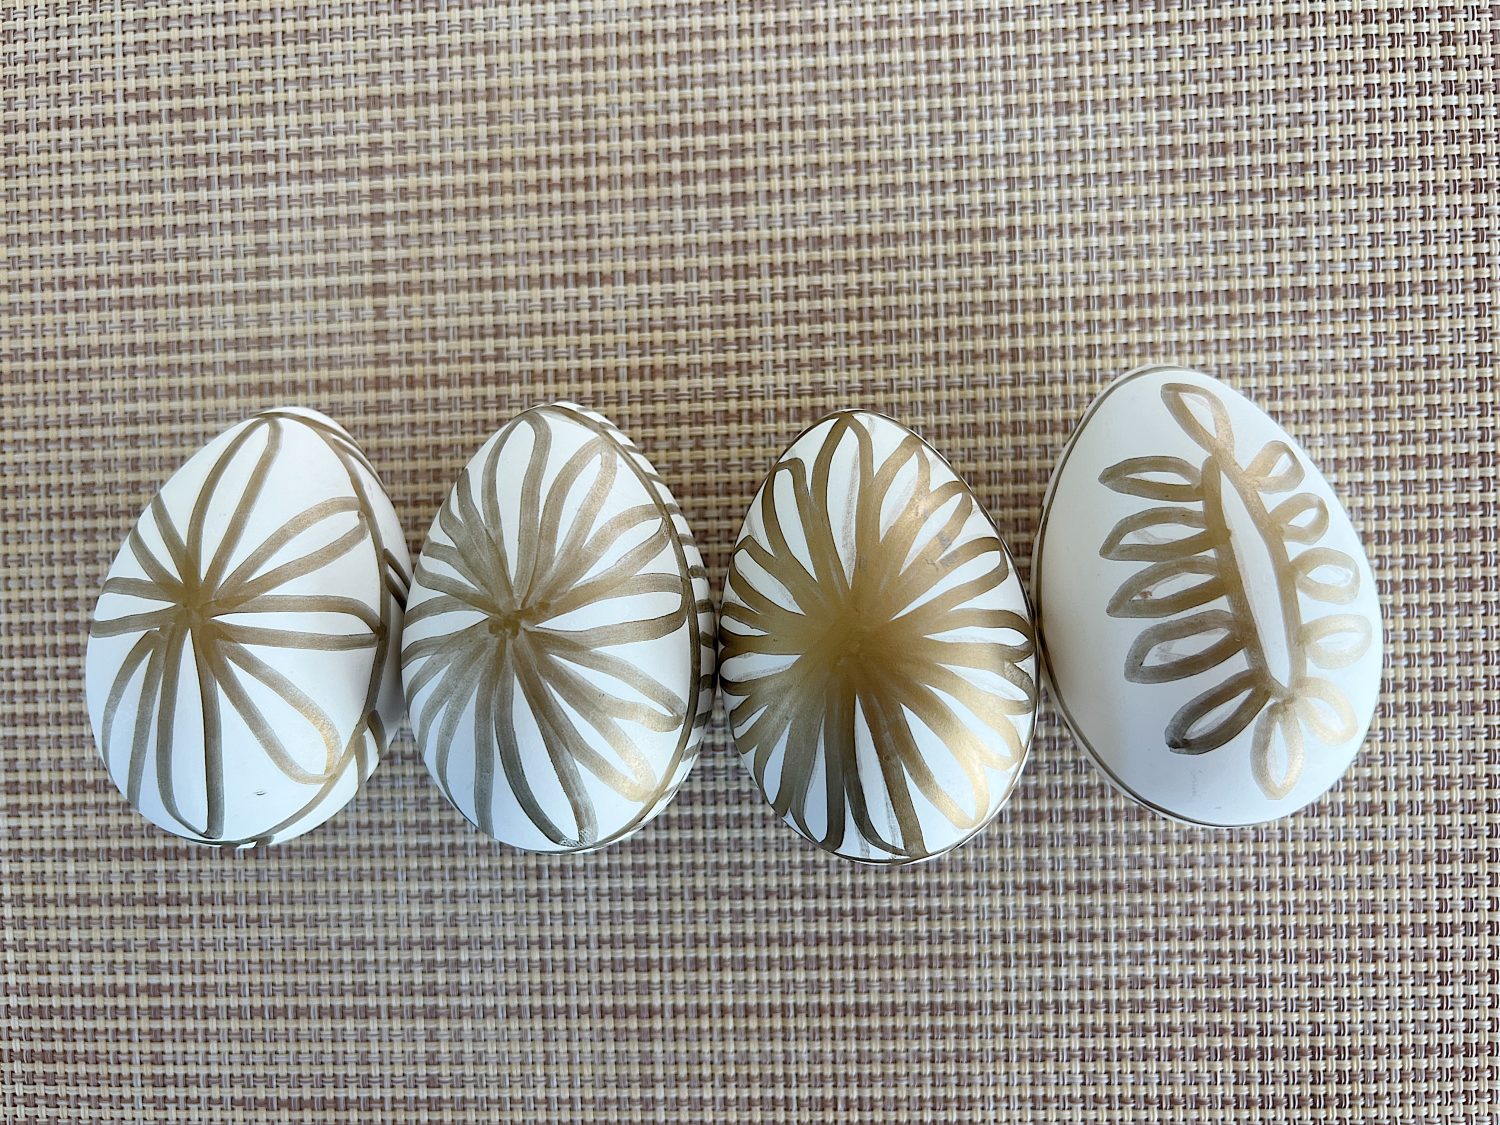
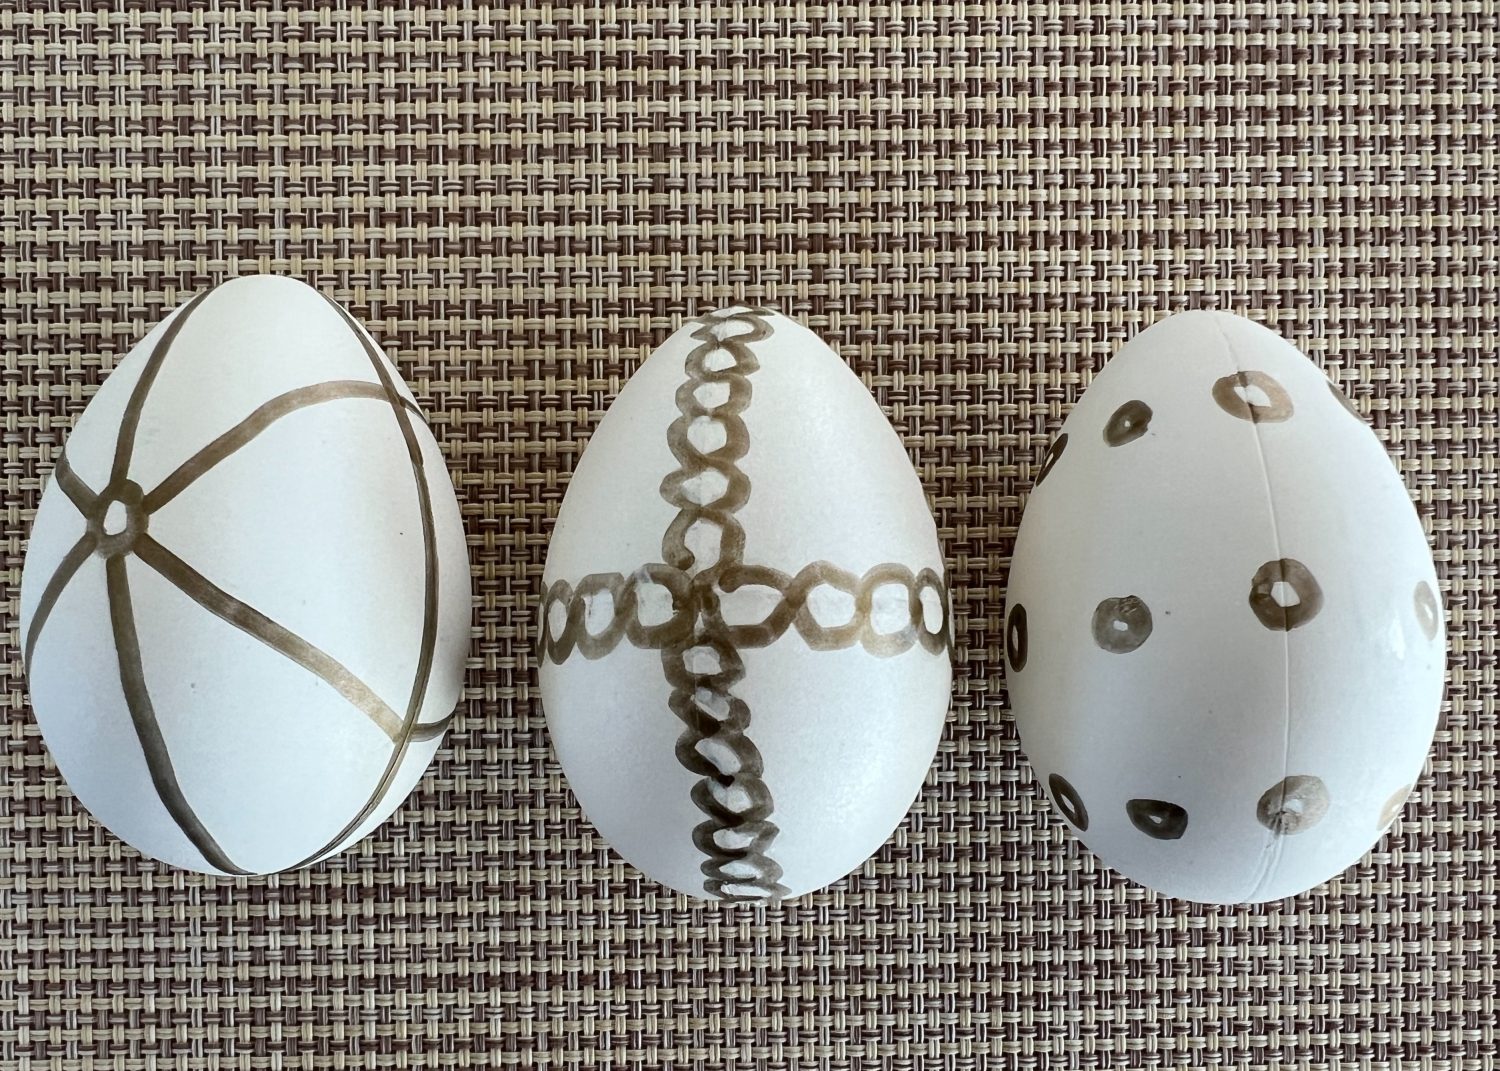
I love the eggs with the thicker side border. Here, you can see both sides of the four different eggs.
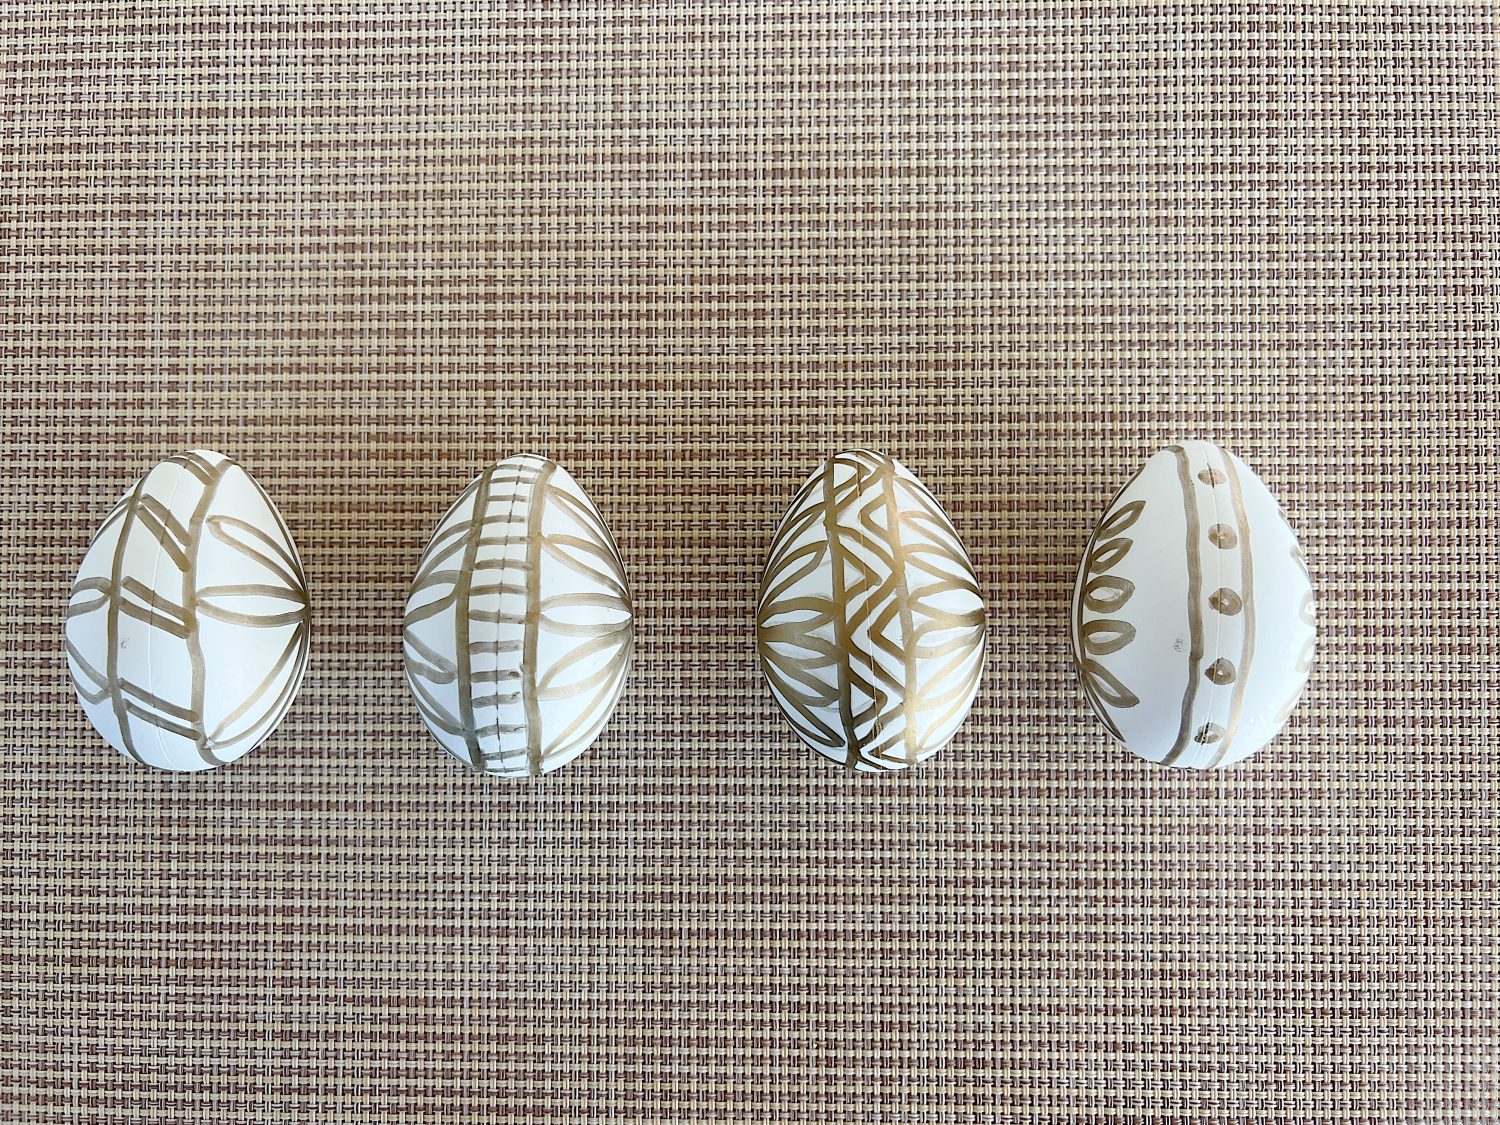
Front
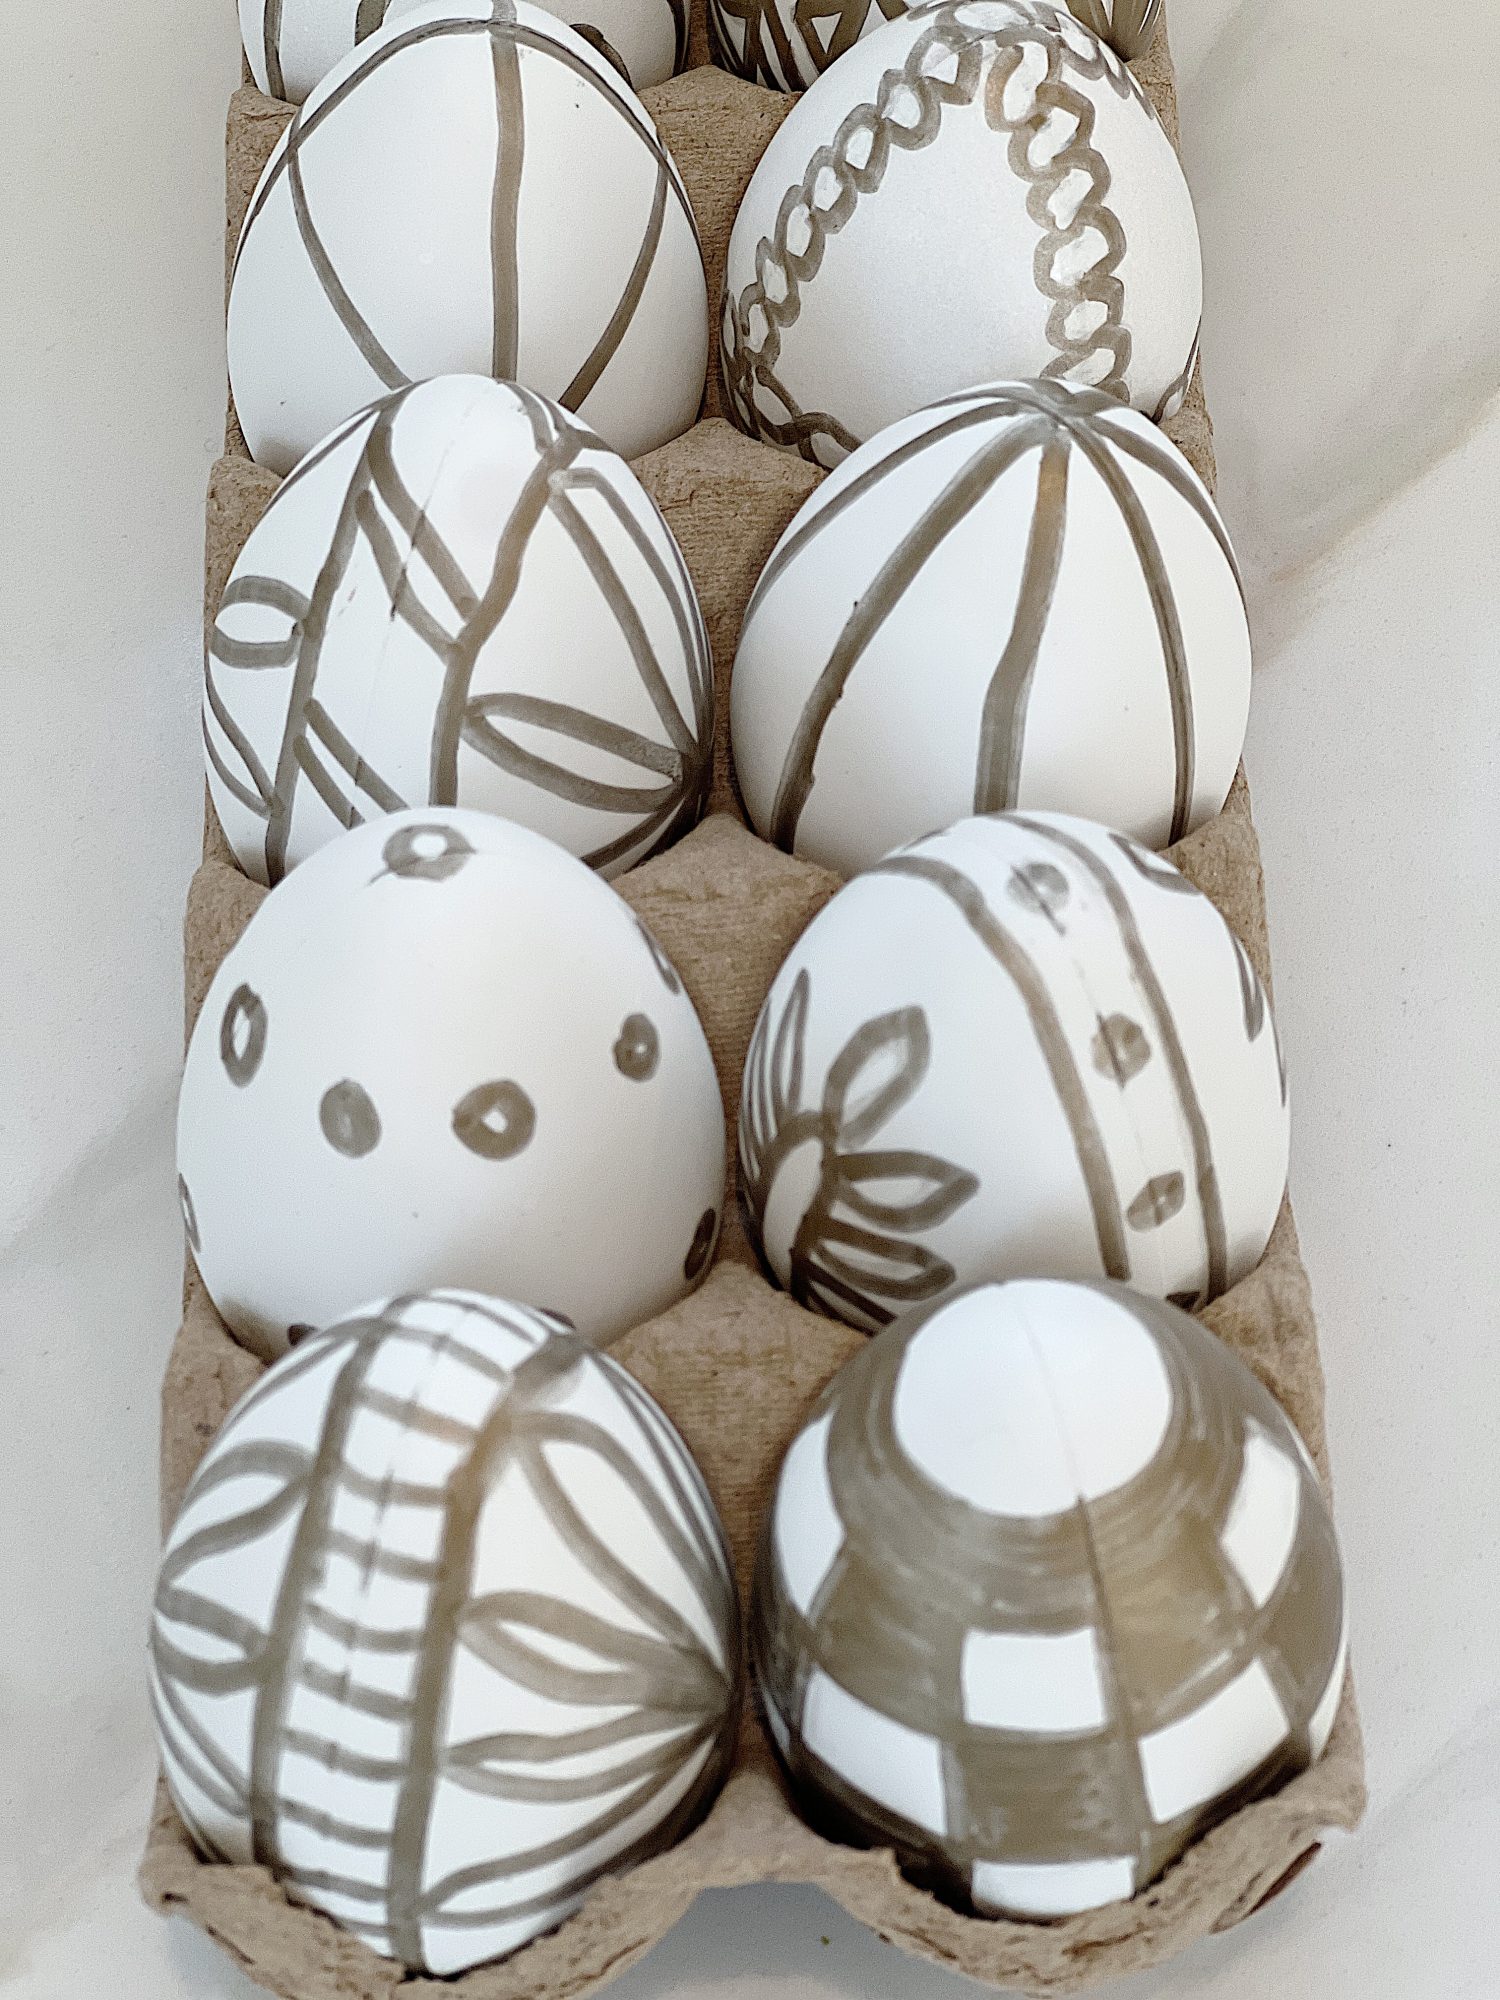
Here are six more eggs that I decorated. I just made the designs up as I went along. Feel free to use any of these ideas!


Easter Egg Decorations
Decorating plastic white Easter eggs with a copper Sharpie pen is an easy and fun DIY project that anyone can do. With just a few supplies and creativity, you can create beautiful Easter eggs that will make your holiday celebrations even more special. Give it a try this year and see what amazing designs you can develop!
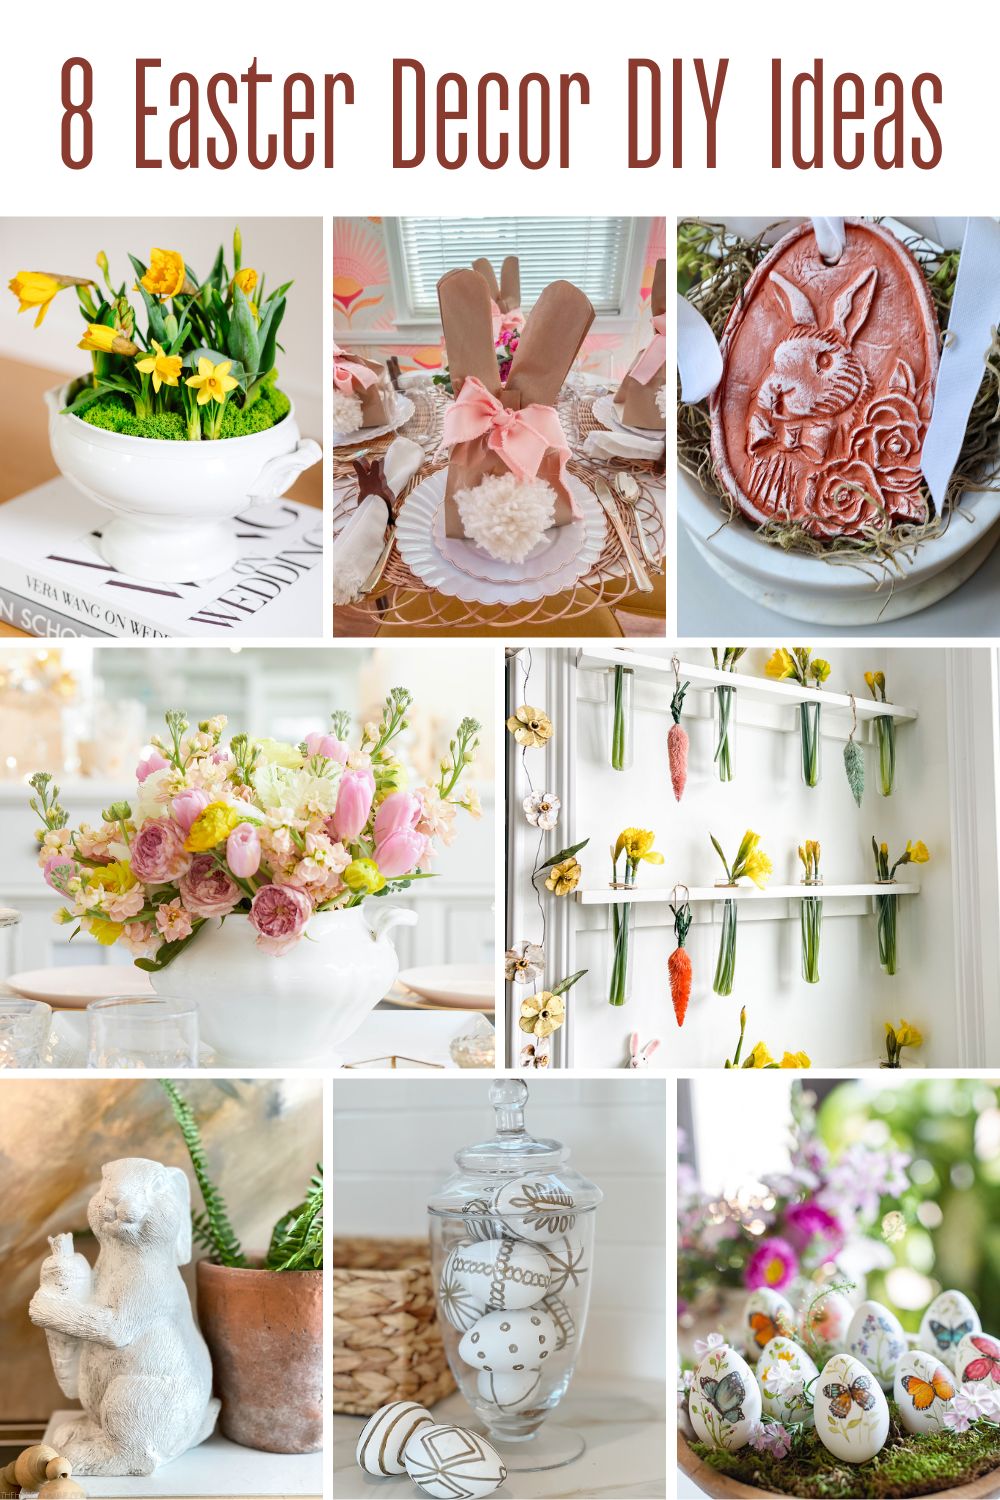
More Easter Decor DIY Ideas

Blogger’s Best Easter Decor DIYs
- Hand Painted Plastic Easter Eggs DIY | My 100 Year Old Home
- Hand Painted Butterfly Easter Eggs | Craftberry Bush
- PB Knockoff Faux Stone Easter Bunny Sculptures from Dollar Store Finds | The Happy Housie
- DIY Clay Rabbits | My Sweet Savannah
- Flowering Bulb Centerpiece In Vintage Ironstone | Modern Glam
- Simple Easter Bunny Treat Bags | Tatertots and Jello
- How to Make a Simple Spring Flower Wall | Most Lovely Things
- Vintage Flower Arrangement (Trader Joe’s) | Happy Happy Nester
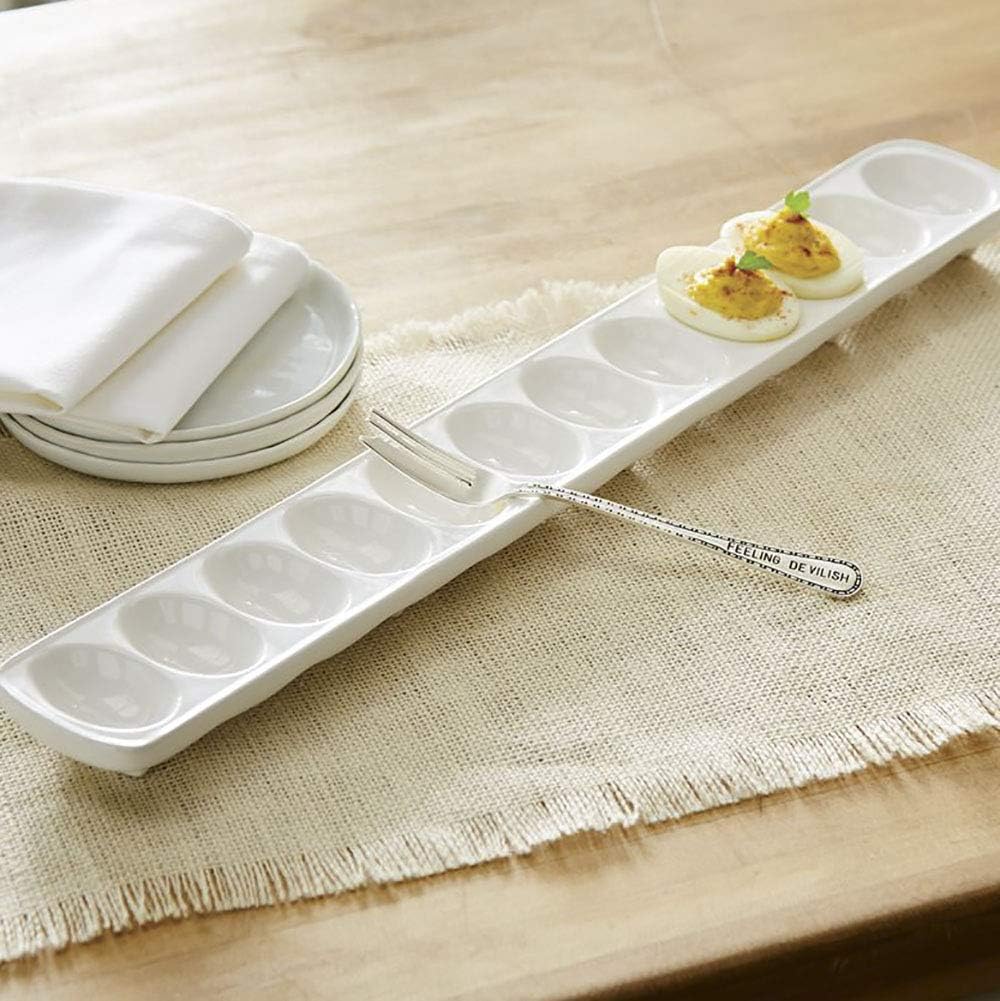

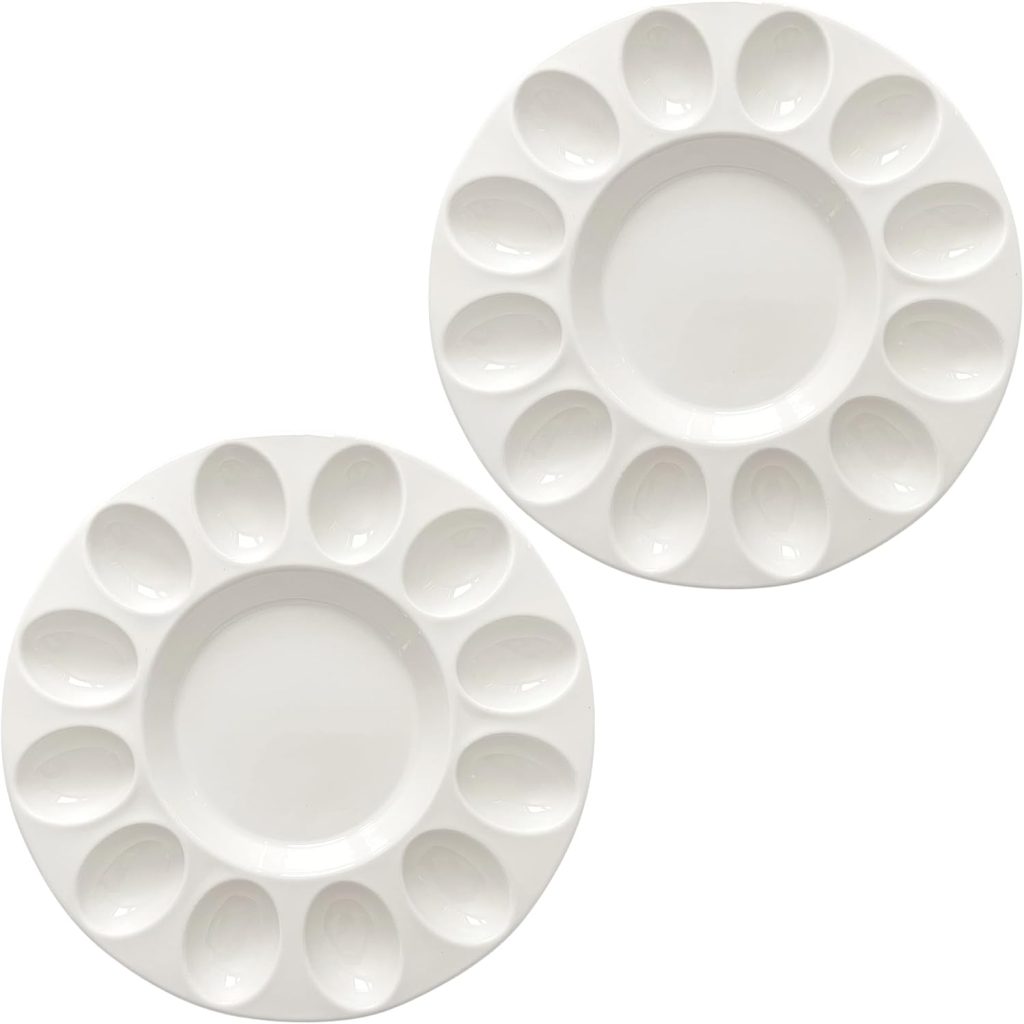


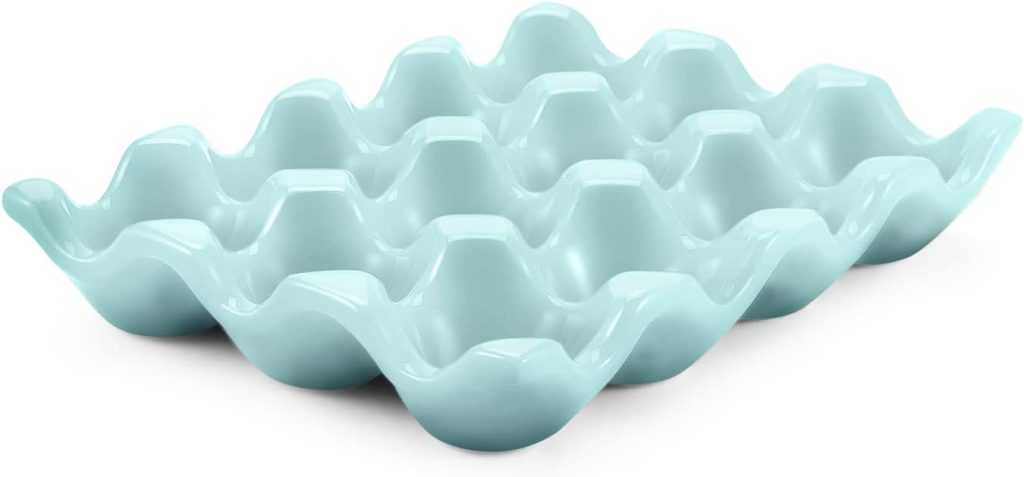
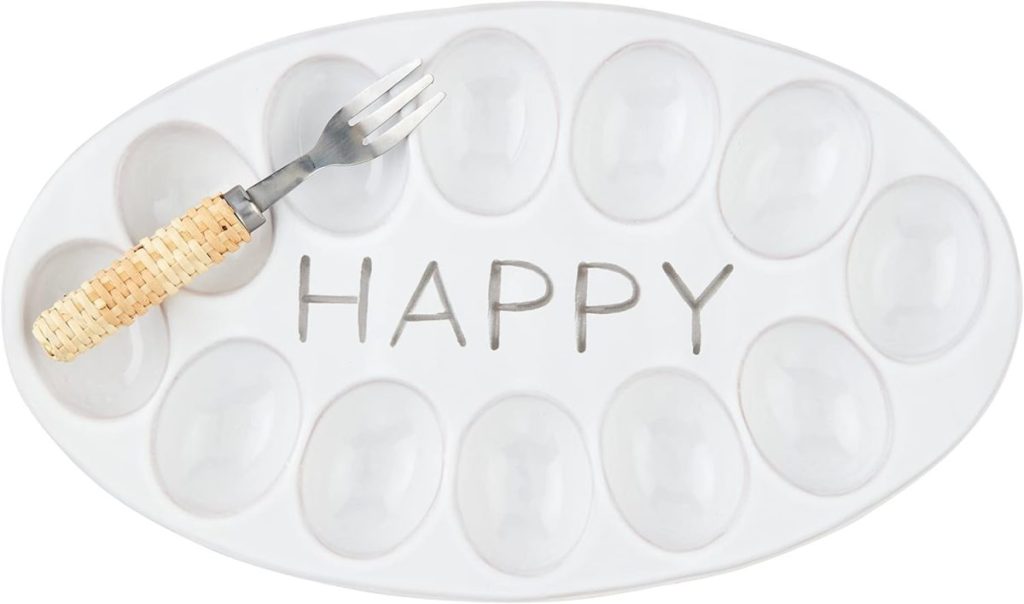
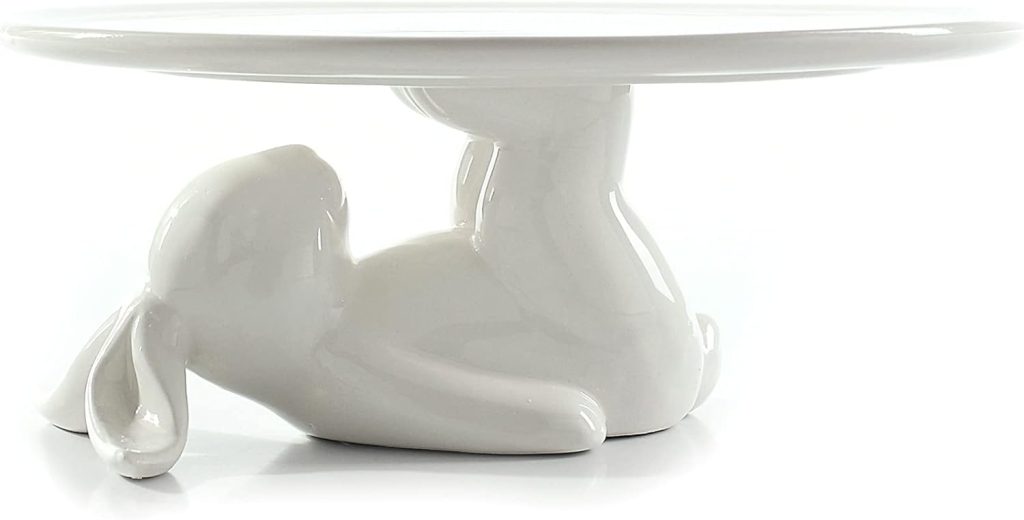
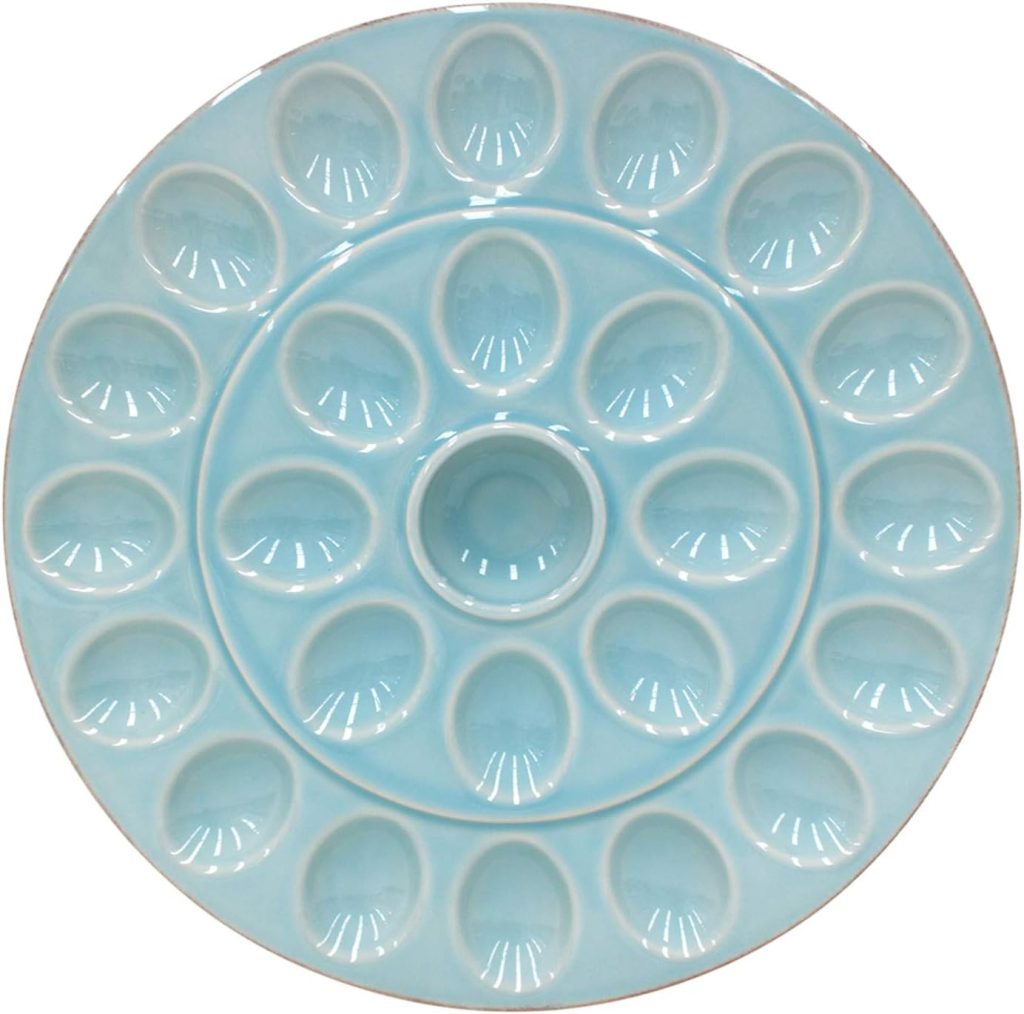
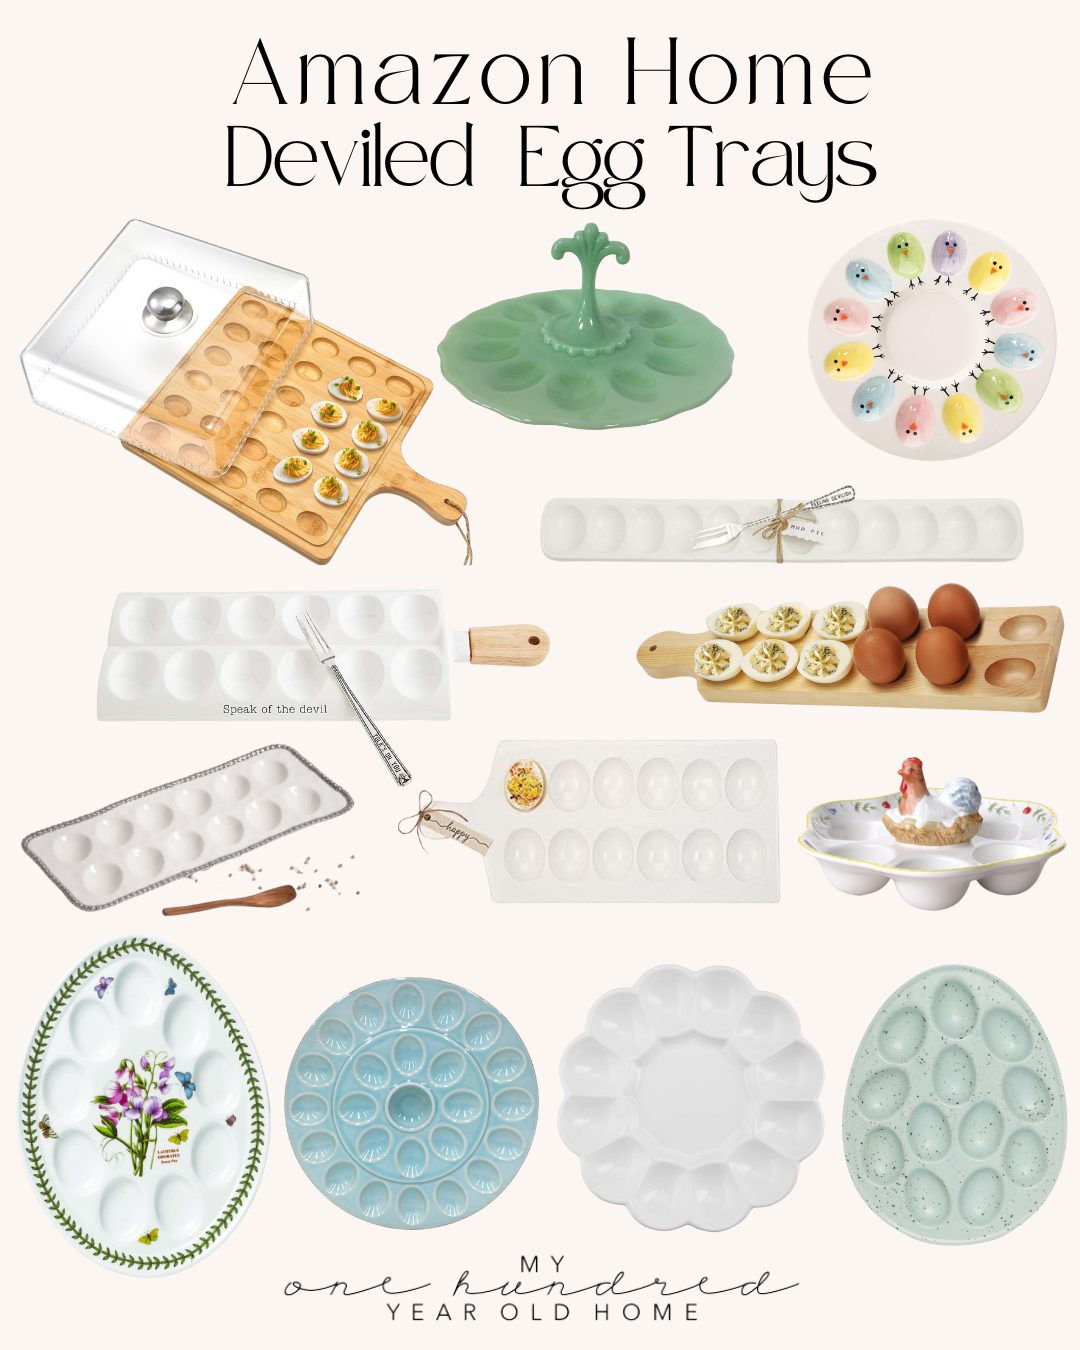
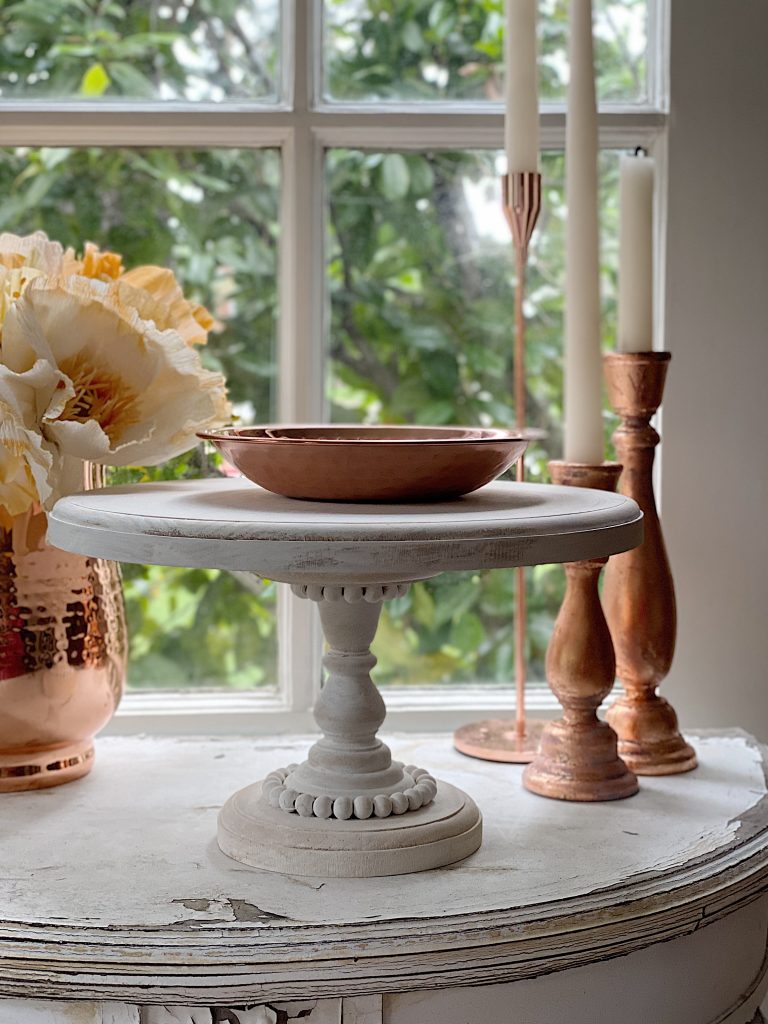
Beautiful Trays to Display Eggs!
Watch My Amazon Live

Click here to watch any of my Amazon Live shows. All shows are recorded.
I want to share this show with you, titled Spring and Easter Table Ideas.


You can pin the images below to your boards on Pinterest (just click the Pin button in the top left corner) or follow me on Pinterest!
For more real-time updates, follow me on Instagram @My100YearOldHome

Those are so cute! What a great idea!
Thank you Melaine! They were so fun and simple to make 🐣☺️
Another great idea
Aw so glad you think so Gail! 🙌🏻🐣
Very cute, Leslie! I did something similar with pumpkins years ago and still love them. The colours you chose are pretty for an elegant Easter!
Oh I love decorated pumpkins- I bet they looked awesome! ☺️🙌🏻 Thanks so much!
So pretty! I love all of your designs! So creative!
Aw thank you Annie! That means so much 🙏🤗
Leslie,
I absolutely love your Easter egg project!!!
Oh my goodness thank you Janine! I love that you do ☺️🐣
Did not receive your blogs for today (Saturday). Please resent