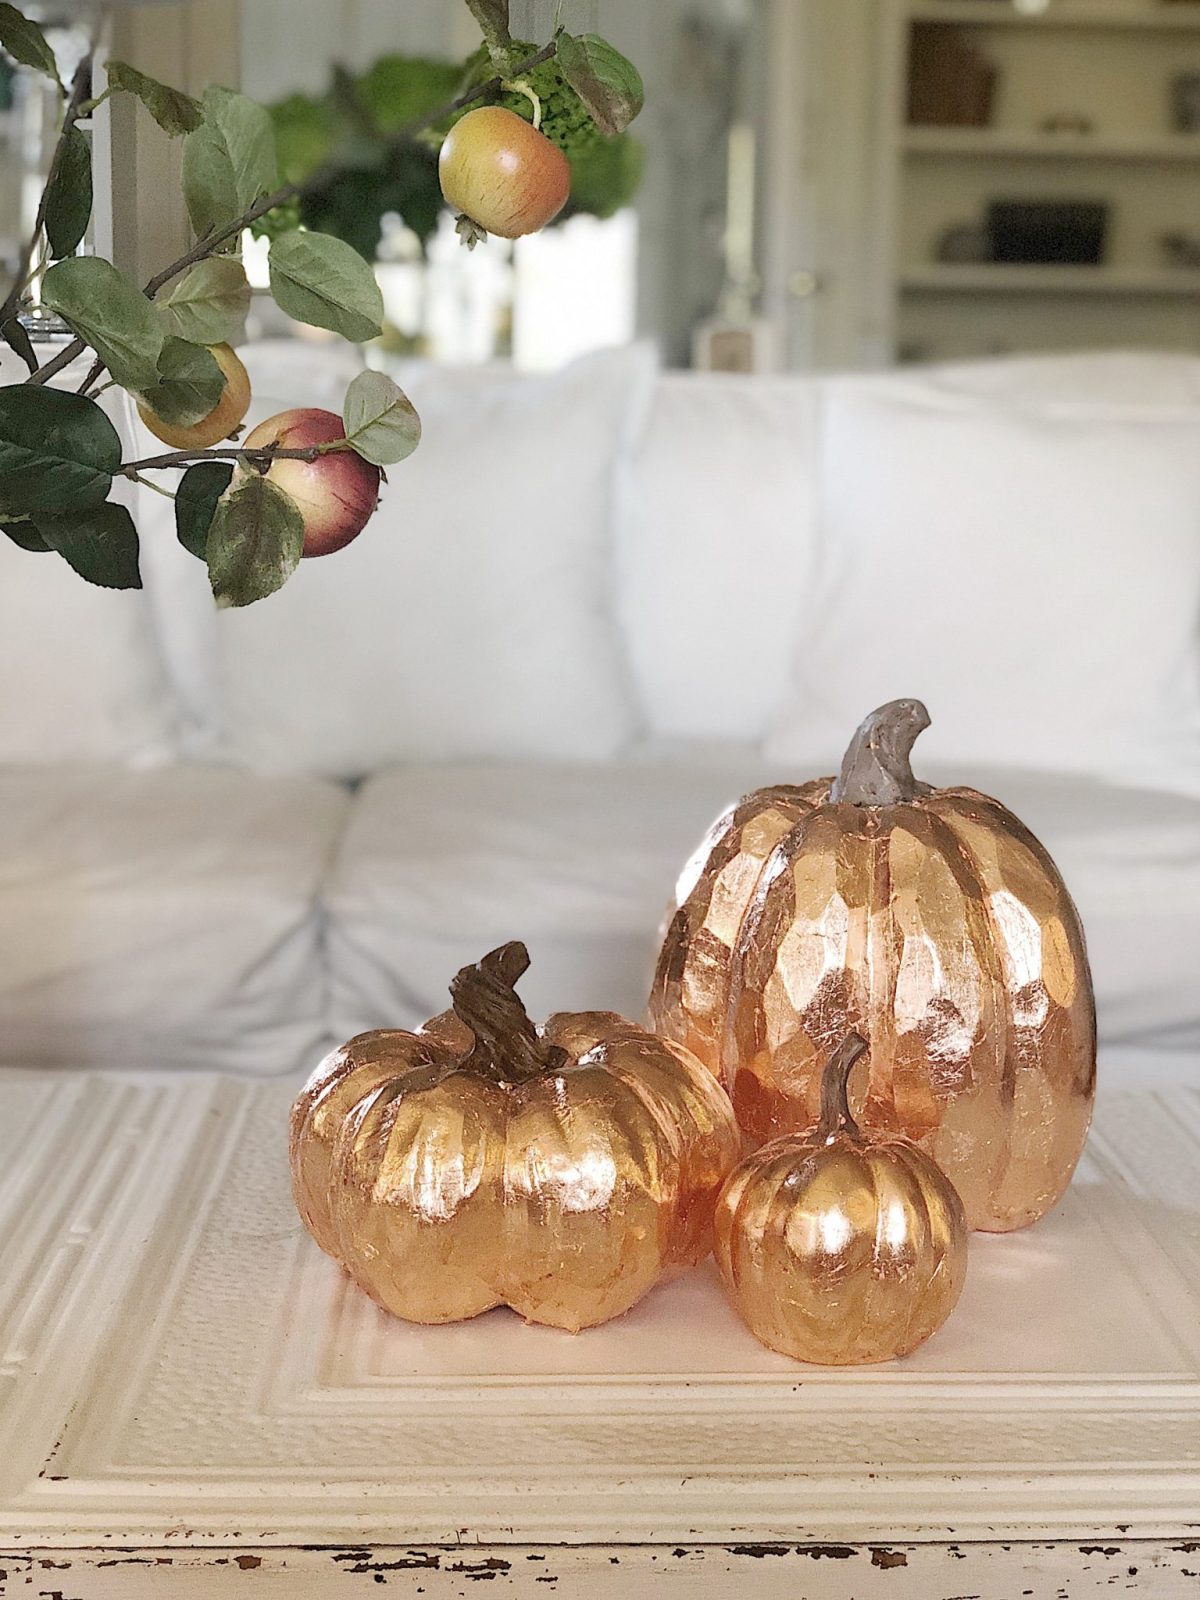
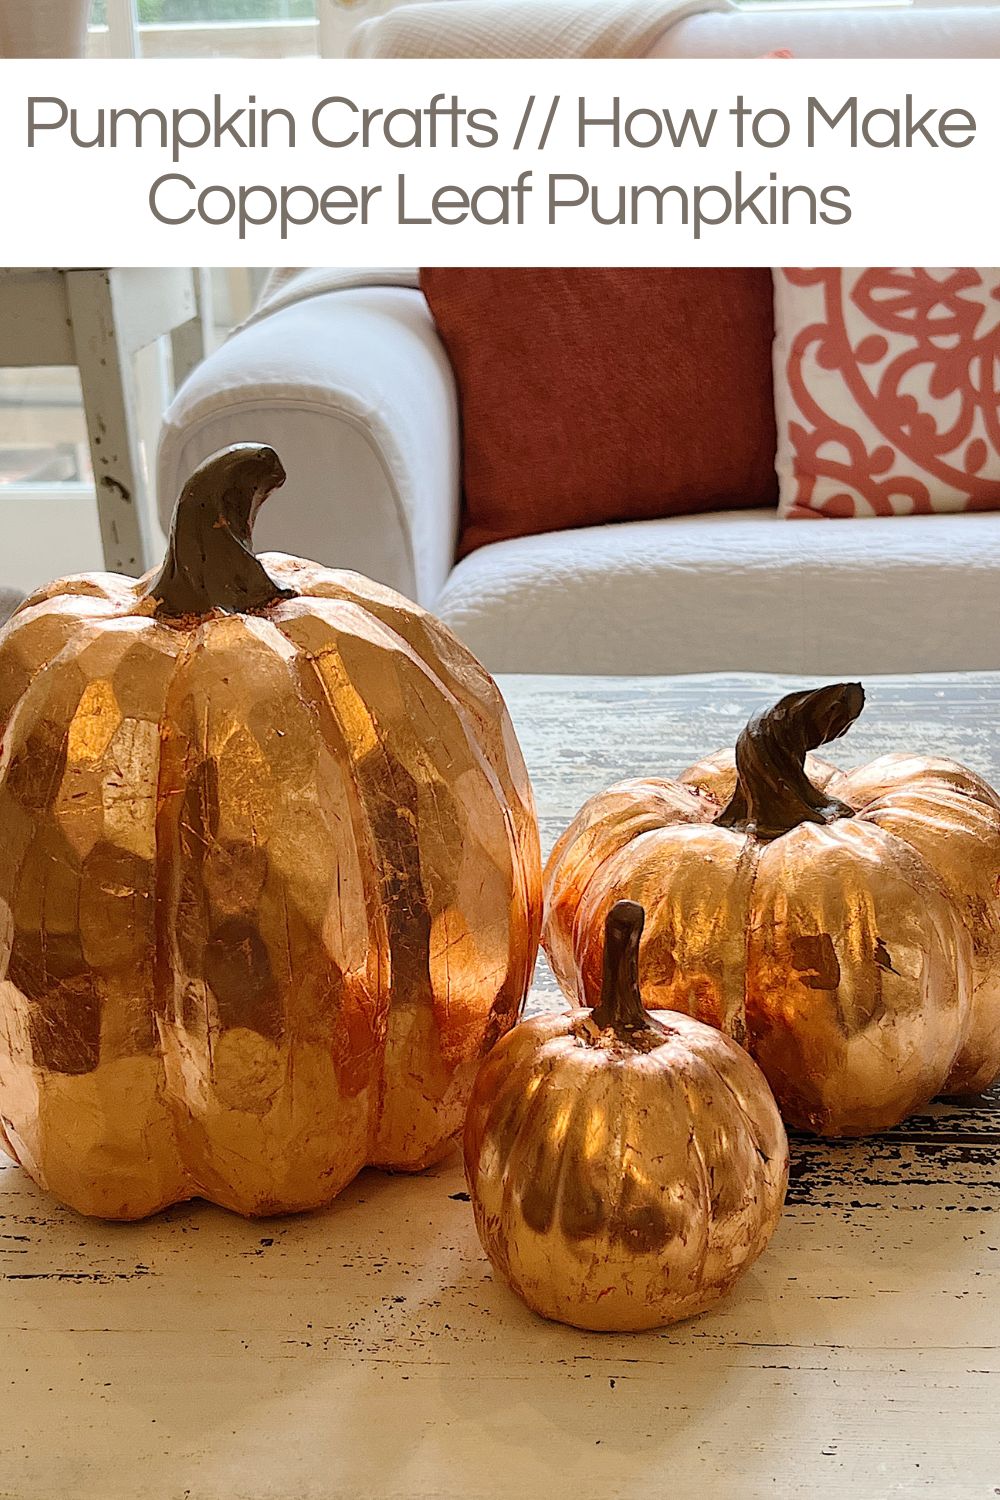
Pumpkin Crafts // How to Make Copper Leaf Pumpkins
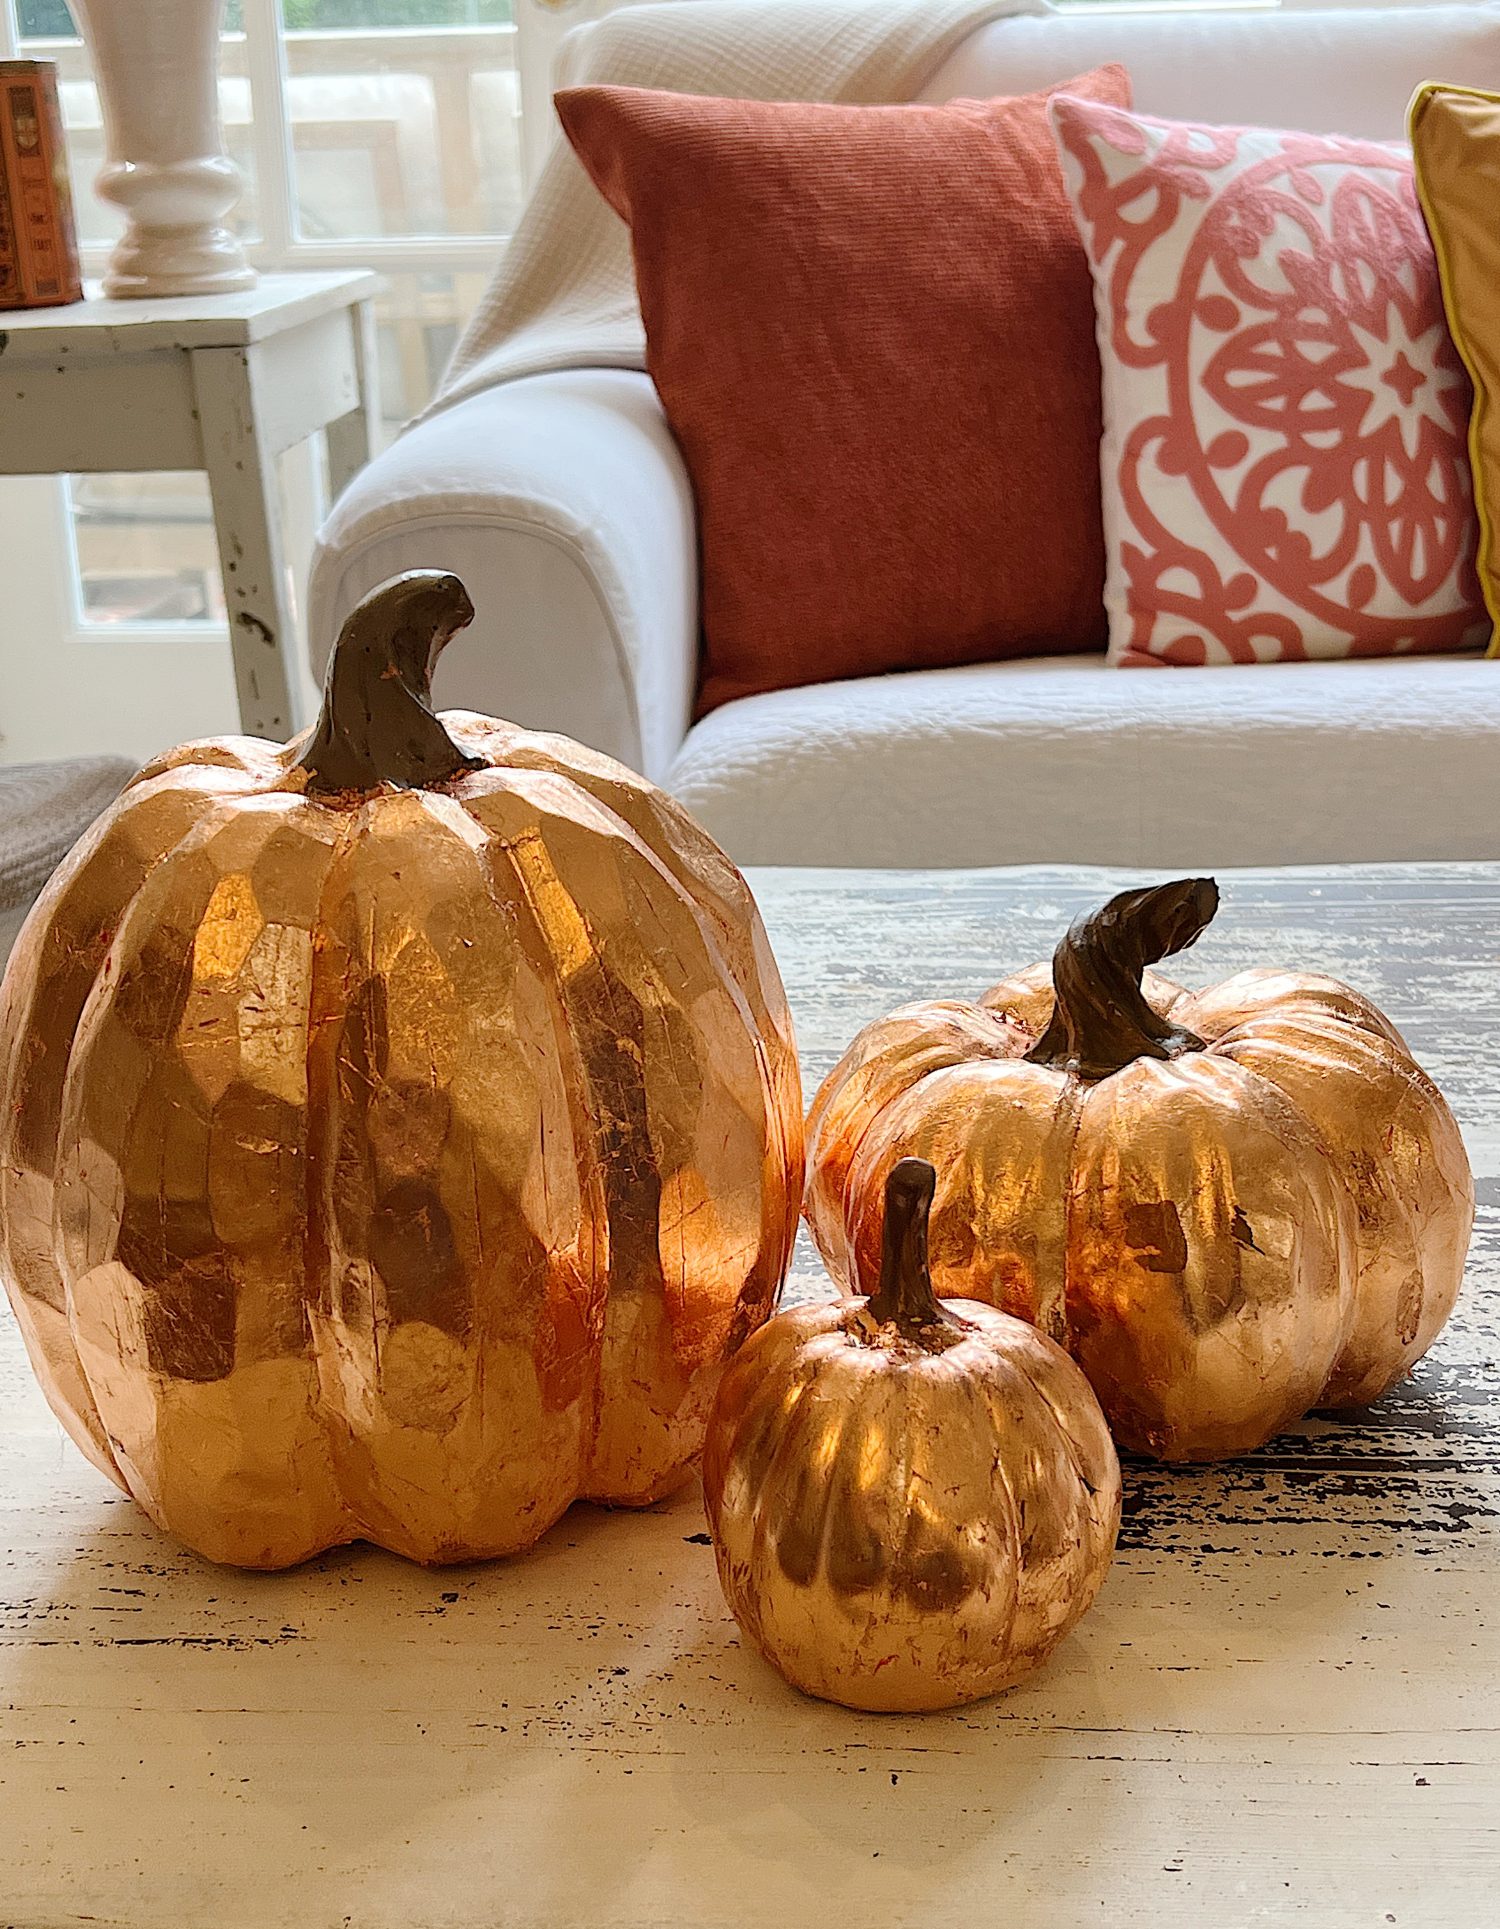
I love to make copper leaf pumpkins. Can I say this is one of my favorite pumpkin crafts DIYs ever?
There is something almost magical about copper mixed with fall colors, and these copper leaf pumpkins are so easy to make. Are you ready to learn how to make one of my favorite pumpkin crafts?


My Favorite Pumpkin Crafts
Why is this one of my favorite pumpkin craft DIYs ever?

I have always loved crafts that involve gold, copper, or silver leaf. I have noticed projects where these super-thin metal sheets have been added to mirrors, frames, and even furniture for years.
For a long time, I imagined myself doing this and ending up with sheets of gold leaf stuck everywhere but on my project. Fortunately, I have worked with metal leaf quite a bit in the last few years, and I have it all figured out!
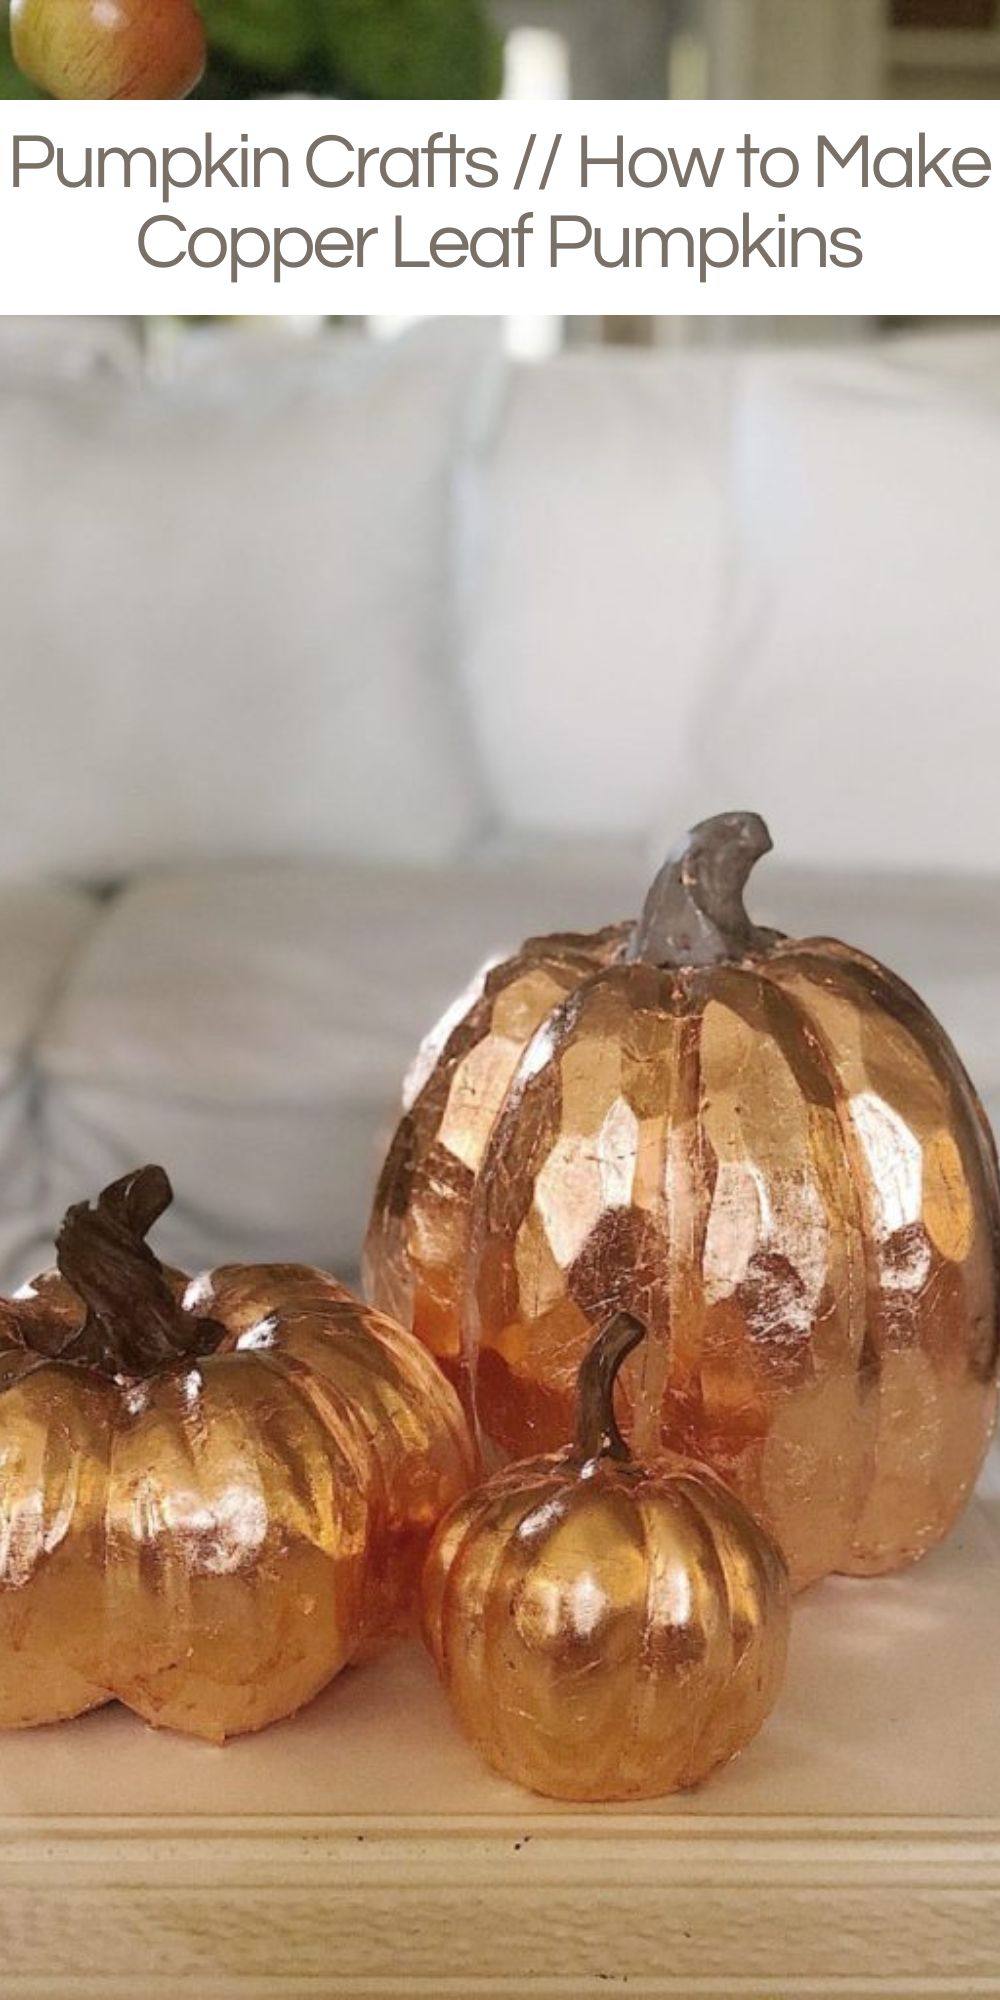
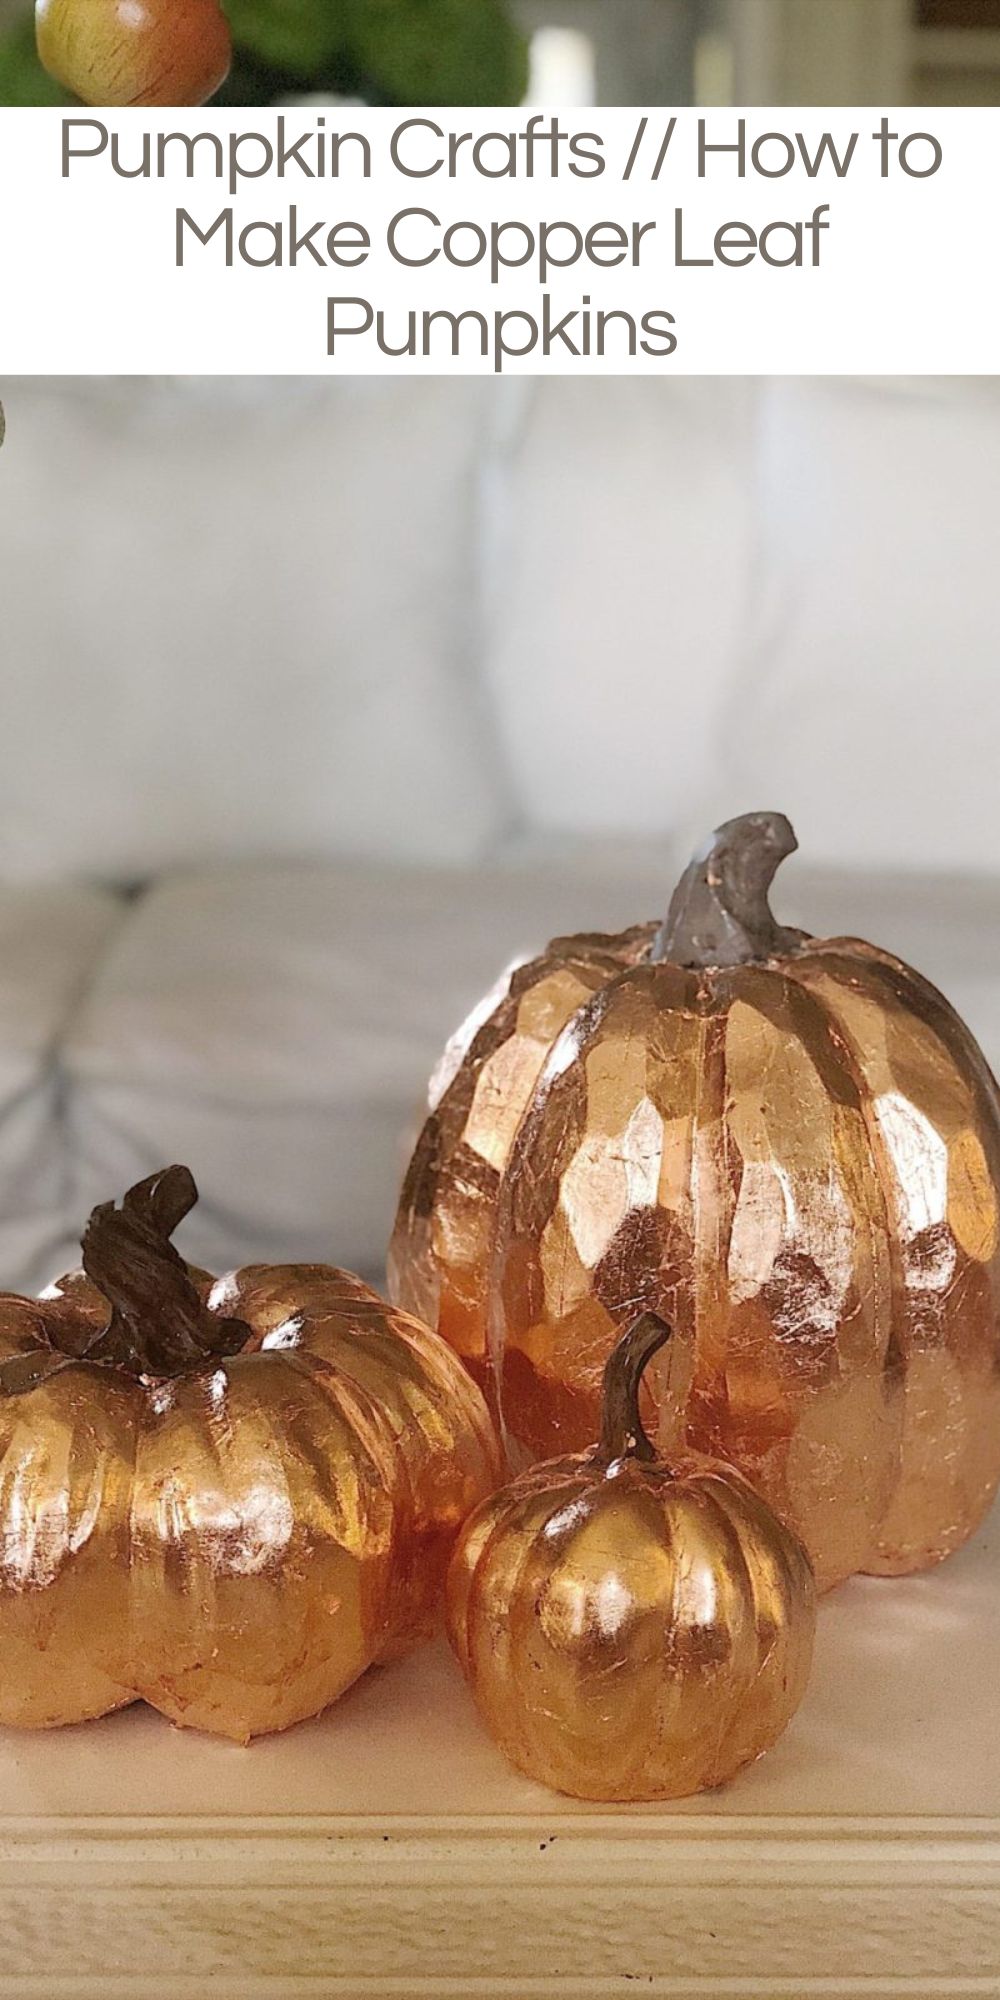
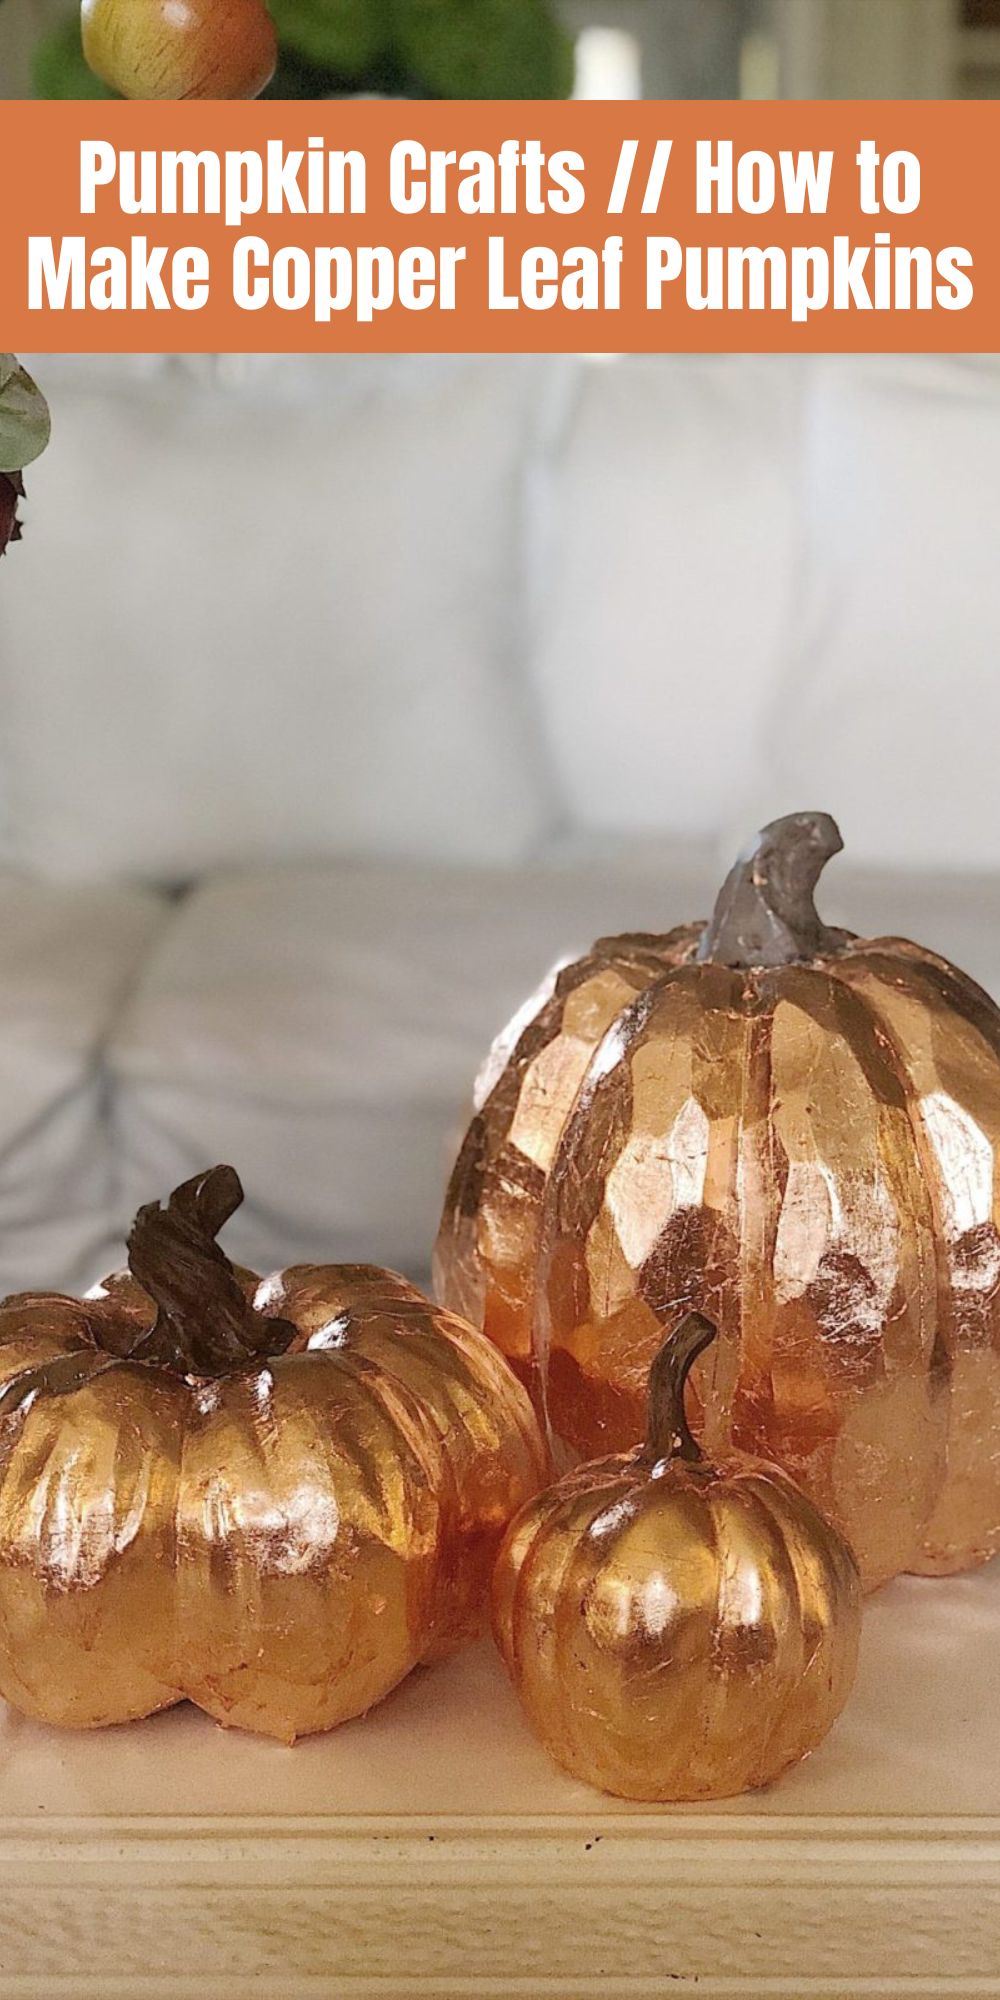
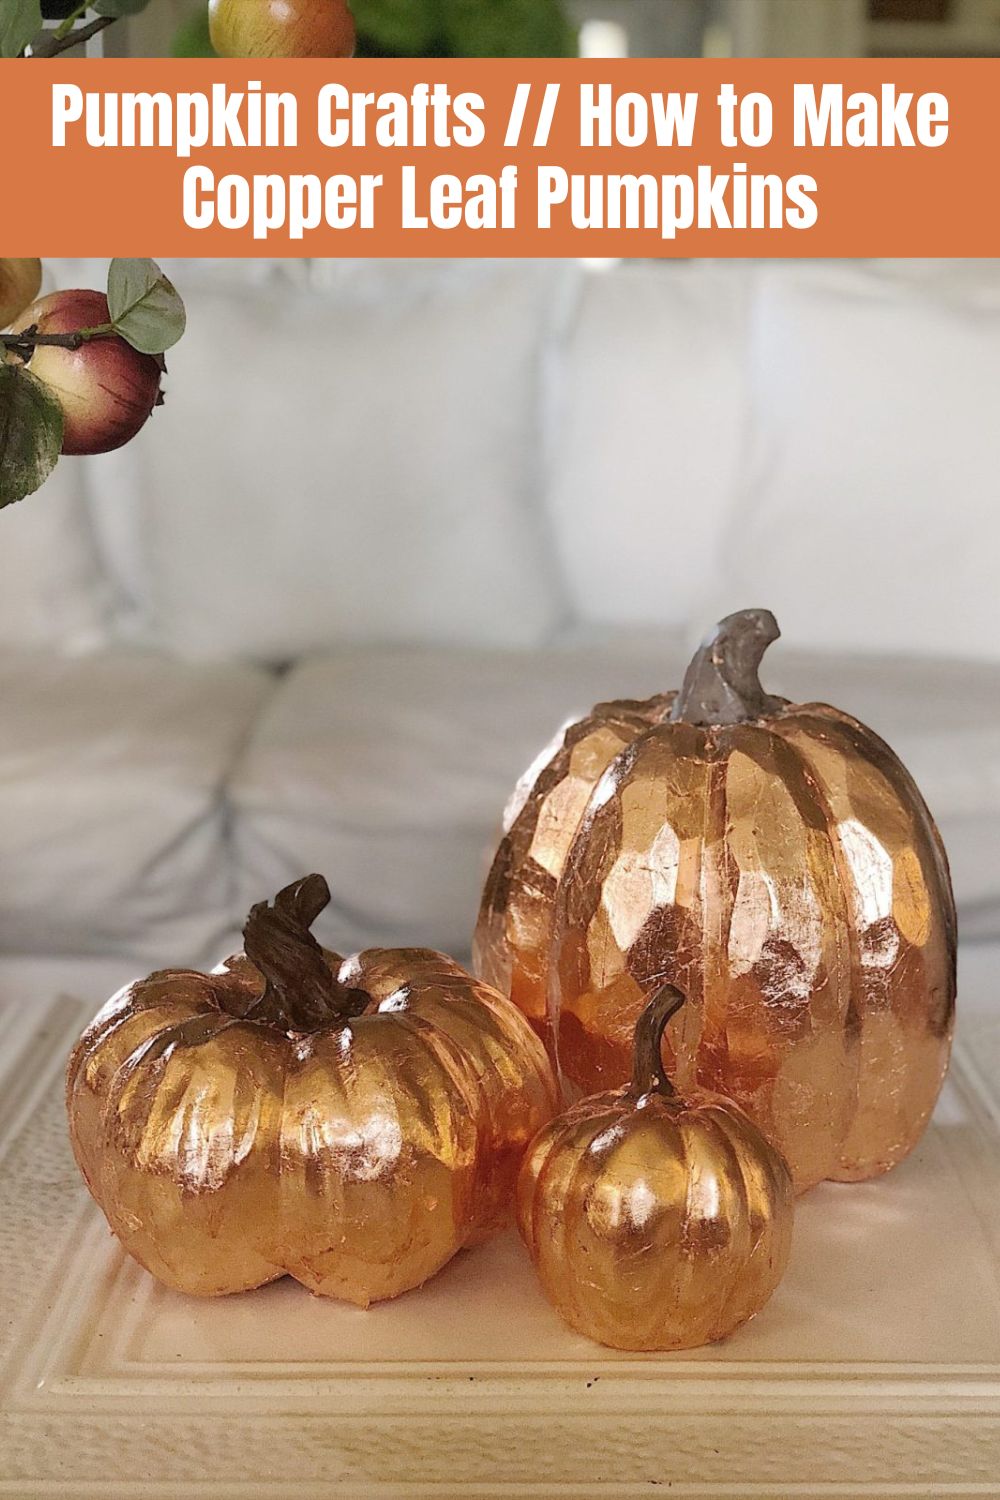
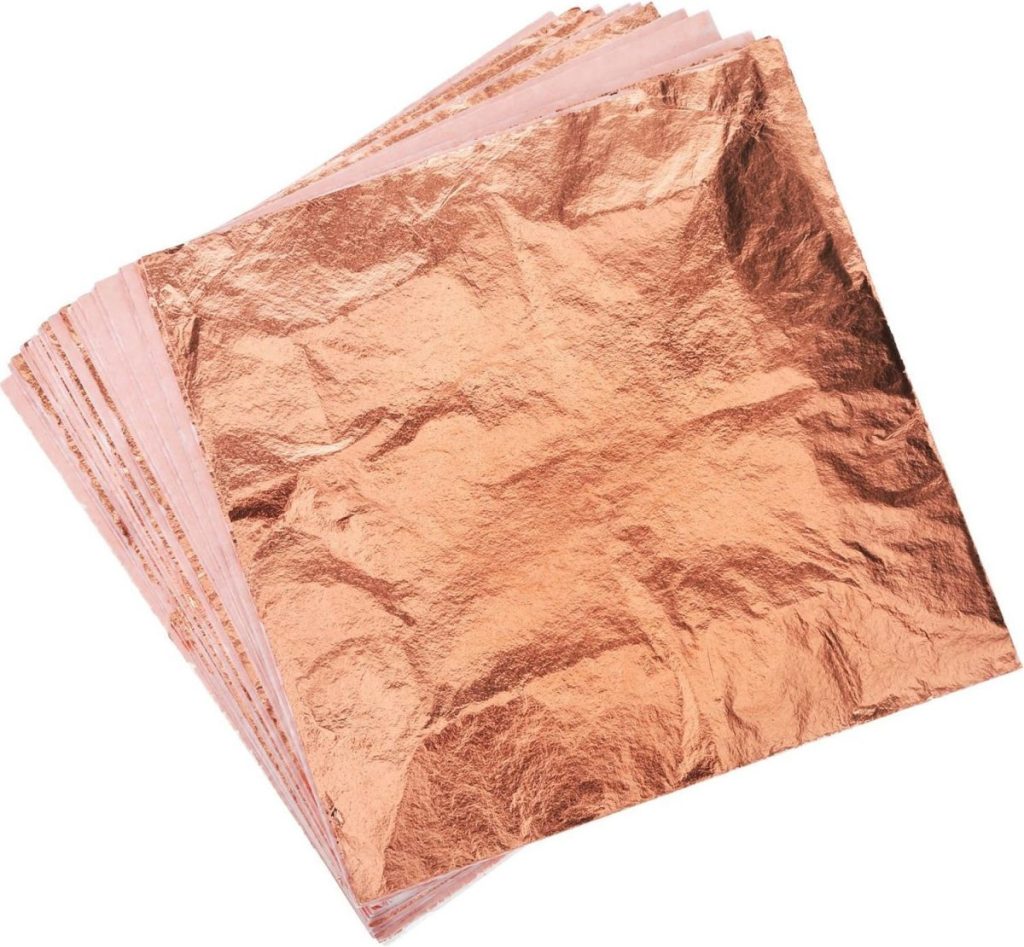
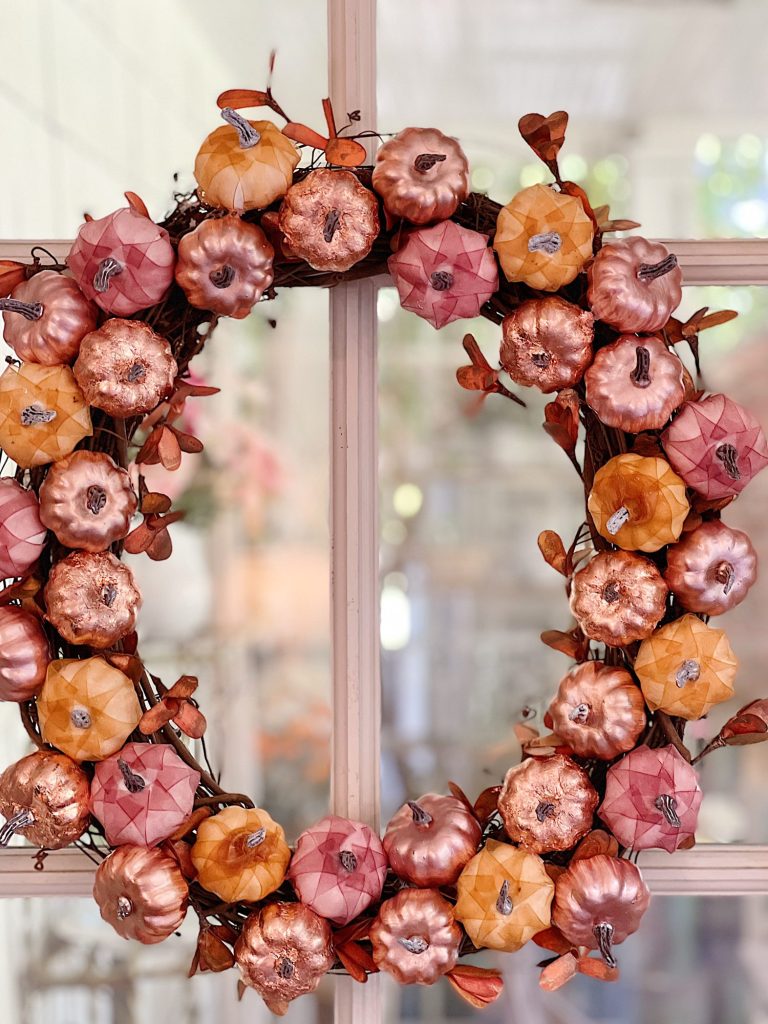
I assumed the copper leaf would be expensive. But I found imitation rose gold sheets for crafting on Amazon and purchased 100 sheets for under nine dollars! I could finish all three pumpkins using less than half of these sheets. The color is perfect, as rose gold and copper appear identical!
How to Make Copper Leaf Pumpkins
What You Need for Pumpkin Crafts // Copper Leaf Pumpkins
One package of Imitation Leaf Gold Rose for Gilding for Crafting (you can also use silver or gold)
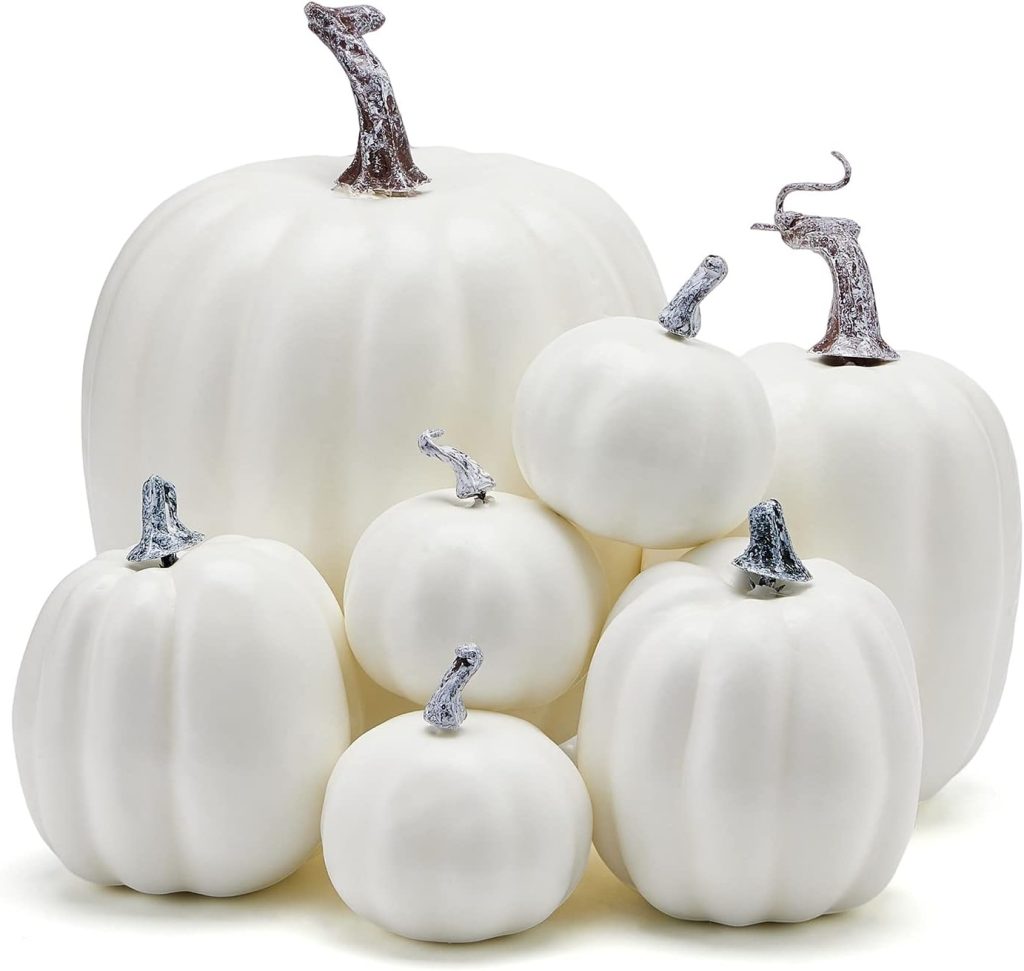
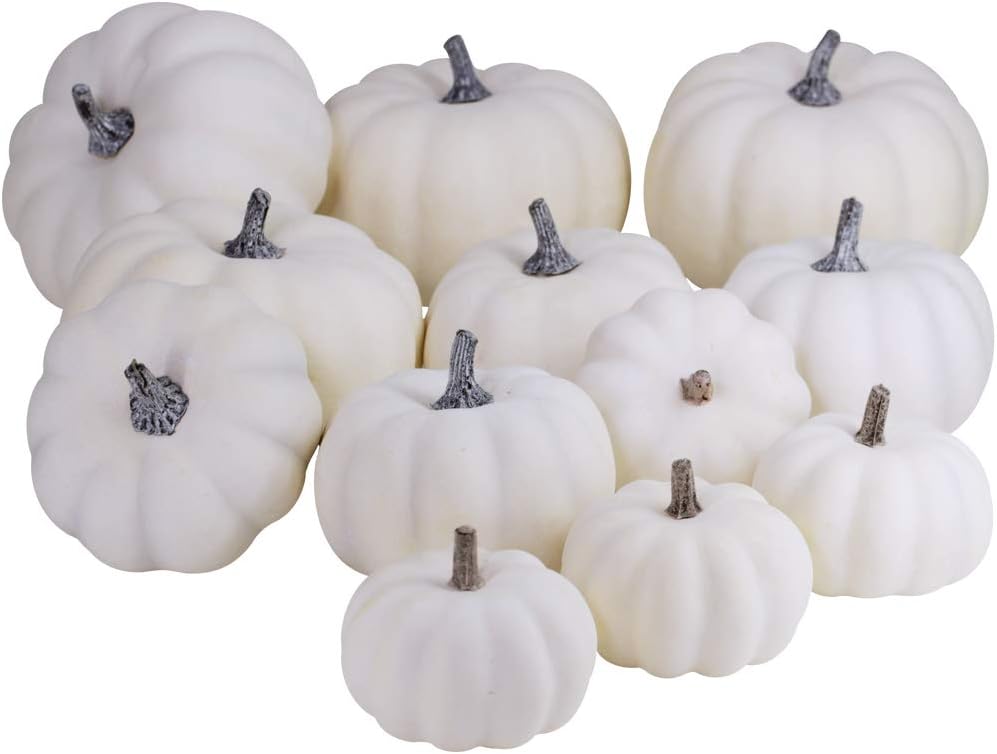
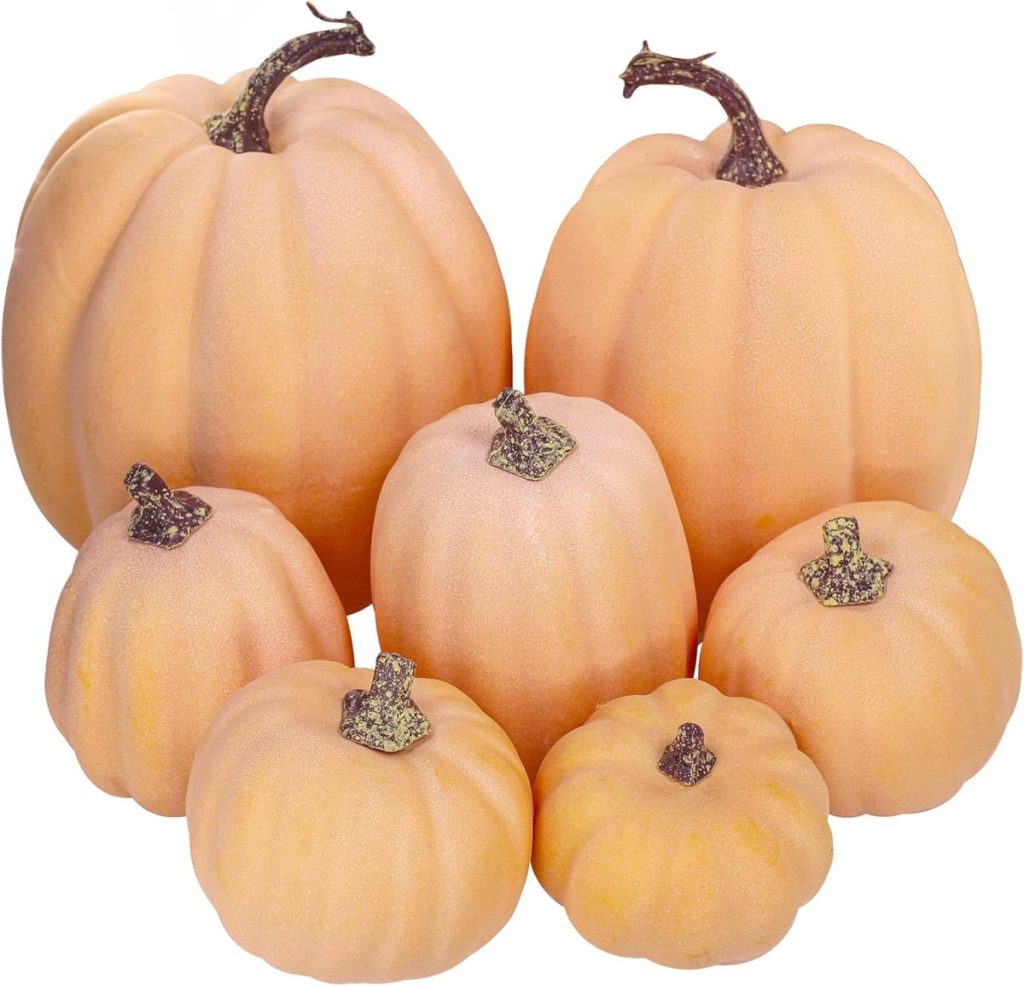
Faux pumpkins in assorted sizes
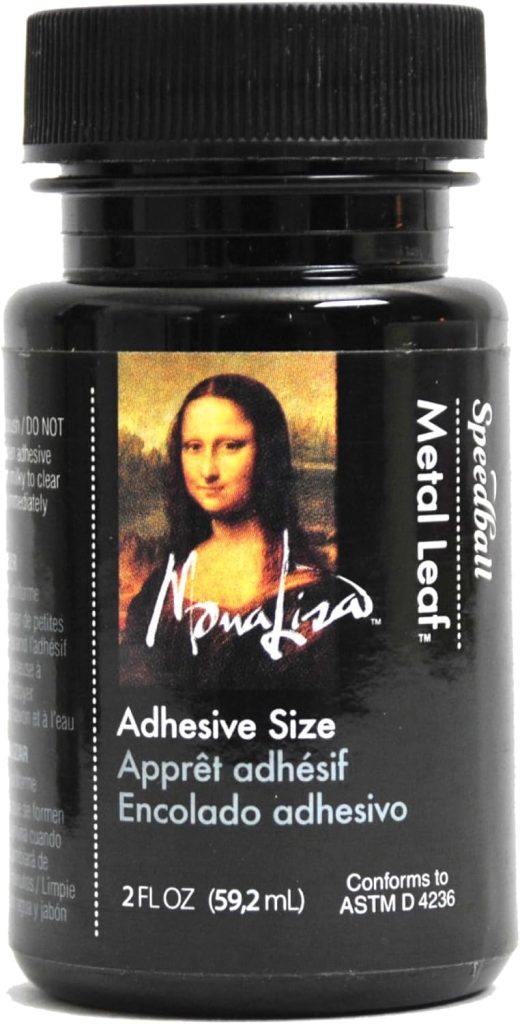
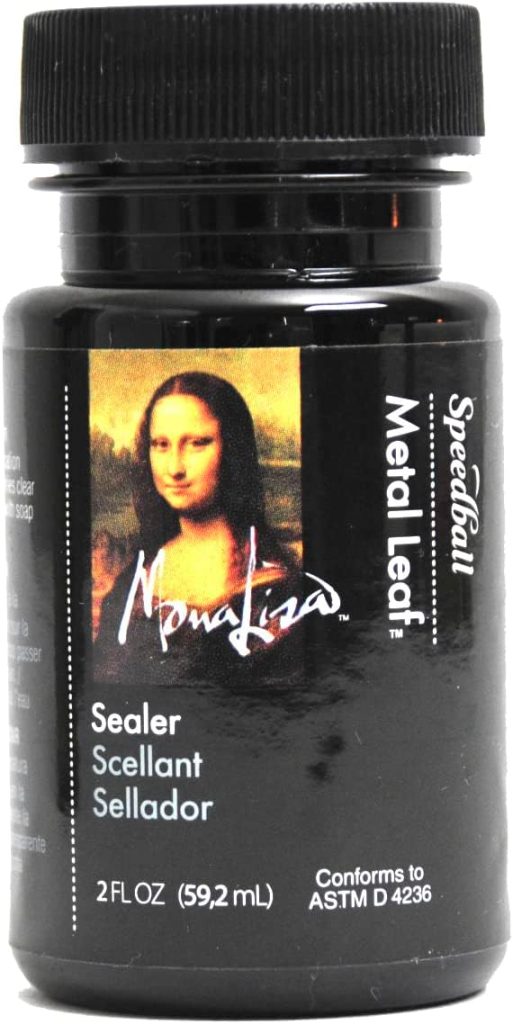
Mona Lisa two-ounce Metal Leaf Adhesive
I may sometimes use affiliate links on this blog, which means a small commission is earned if you purchase via the link. The price will be the same whether you use the affiliate link or go directly to the vendor’s website using a non-affiliate link.
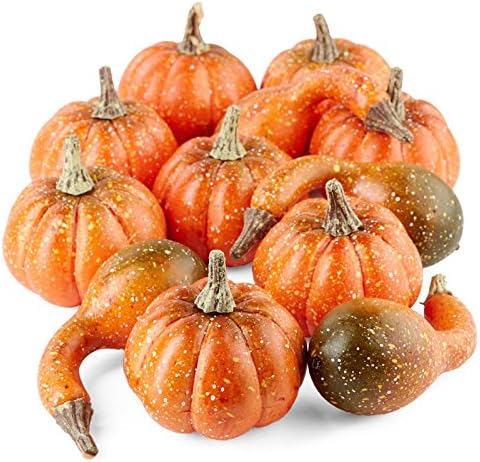
I considered using real pumpkins, but I decided I didn’t want to make these copper leaf pumpkins if they wouldn’t last.

First, I want to mention that I already owned these pumpkins. I love reusing old fall decor!
The metal leaf comes in a stack; you can see how thin it is! You want to wear gloves so you don’t leave fingerprints or stick to the metal. It is much easier to handle with gloves.
When you handle the leaf, use the paper inserts so it doesn’t tear. (And if it does tear, don’t worry – you will use plenty of small pieces, and you have plenty!)

Step One – Apply Adhesive
Use a paintbrush to thinly cover the pumpkins with the adhesive. Be sure to place your pumpkins on a plastic-type surface that won’t stick to the pumpkin. Try to cover all surfaces of the pumpkin with adhesive.

Let the adhesive dry for twenty minutes.

Step Two – Apply the Copper Leaf
Gently lay a piece of the copper metal leaf on the pumpkin. Continue to cover with as many sheets as necessary. Don’t worry about missed spots; you will come back and add more copper later.

Press down on the copper sheets to adhere the metal to the adhesive. I used my fingers (with gloves) and a dry brush to do this.

Continue to lay sheets down on any spots that need covering. Don’t hesitate to pull on the sheet and use the leftover metal for another area.

Step Three – Covering the Entire Pumpkin
Once you have covered as much area as possible, use your dry brush to gently remove any excess copper. As you discover small areas that aren’t covered, add more copper. This is the step that surprised me the most. I could add the tiniest scrap of the copper to the pumpkin, which would cover it. And it didn’t leave visible seams or edges.
This is when I realized I love this process!

At this point, you will discover some areas that need more glue. Gently reapply the glue to the non-adhesive areas and wait twenty minutes.

This was the perfect opportunity for me to start on my next pumpkin. At this point, I was hooked on pumpkin crafts!

My second pumpkin was a lot easier. I had figured out that I didn’t have to be exact, and covering a smaller area was much simpler.

Step Four – Applying the Sealer
Can you believe how these turned out? To finish the copper pumpkins, lightly brush on a water-based sealer.

The morning after I made these pumpkins, I walked into the kitchen to make sure my new copper pumpkins looked as good in the light as they did the night before. And then my sweet husband said, “Last night, I wasn’t sure what you were doing, but today these look great.”
I am still blown away by how easy and inexpensive these pumpkins were to make. I love them and am already thinking of ways to do this again for the Christmas holiday.


Pottery Barn Inspired Fall Decor

If you enjoy my blog, you can sign up to receive my updates here.
.Pin the image below to your Pinterest Craft or Fall boards.


Thank you for sharing these beautiful pumpkins. I love the copper and it’s so pretty for fall arrangements. Jean
Thank you so much, Jean!
Wow, these are gorgeous with a capital G!
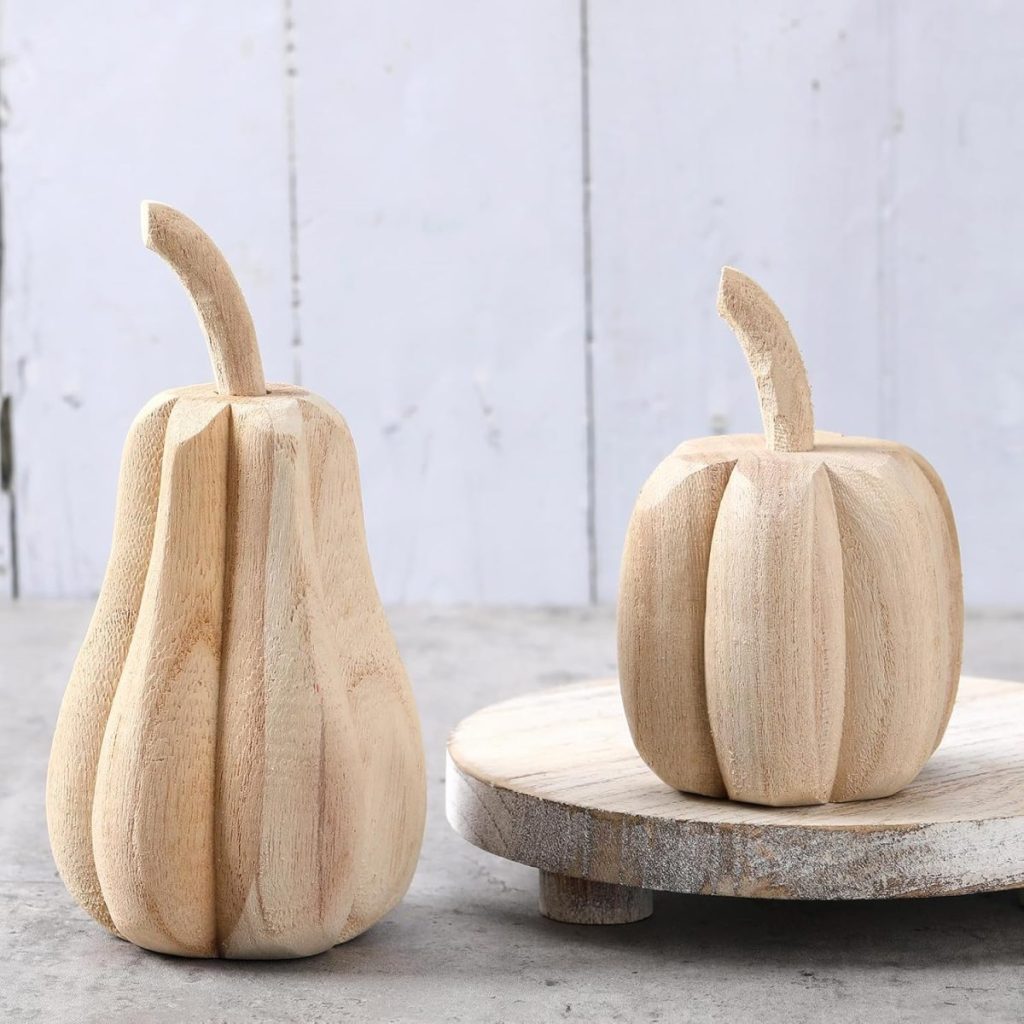
I’m going to give it a try. Where did you find your pumpkins? I like the idea of wooden ones, but difficult to find any. Definitely looks great with the three sizes. Thank you for this article! And how great are the IOD ladies?! That’s how I found you. 🙂
Thank you so much, Veronica! I hope you enjoy making them!
This is one of my favorites! Pinned!
I love the gold leaf and was thinking about using it on a paper mache deer. Do you think the paper mache would hold up to the adhesive or would it get soggy?
Hi Marsha! So you’ll need to apply both adhesive and sealant but there’s not a lot of guidance for use on paper mache. If the items are important to you, I would hold off! 🙏
Hi Leslie! I am so thankful I found your blog. You are a huge inspiration to me. I swear there is not anything you can’t do. I am older but will you adopt me?. 🙃
Haha you are too sweet Cheryl! Thank you so very much for being here! ☺️
These are adorable!
OMGOODNESS!!! These are so cute! I’m terrible at DIY’ing and I’m really old but would you adopt me as well??? 🎃 👻 🎃
So fun and easy to make! ☺️😂
These turned out so pretty! The perfect fall decor!