Air Dry Clay Napkin Rings – A Handmade Christmas

Welcome back to A Handmade Christmas! This is my third project in the series, and it’s one I am so excited to share: Air Dry Clay Napkin Rings.
If you’ve been following me for a while, you know I love creating table decor. Napkin rings are one of those details that make a table setting feel extra special, but they can often be expensive if you’re buying them in sets. This year, I decided to make my own—and the results exceeded all of my expectations.

Air Dry Clay Napkin Rings
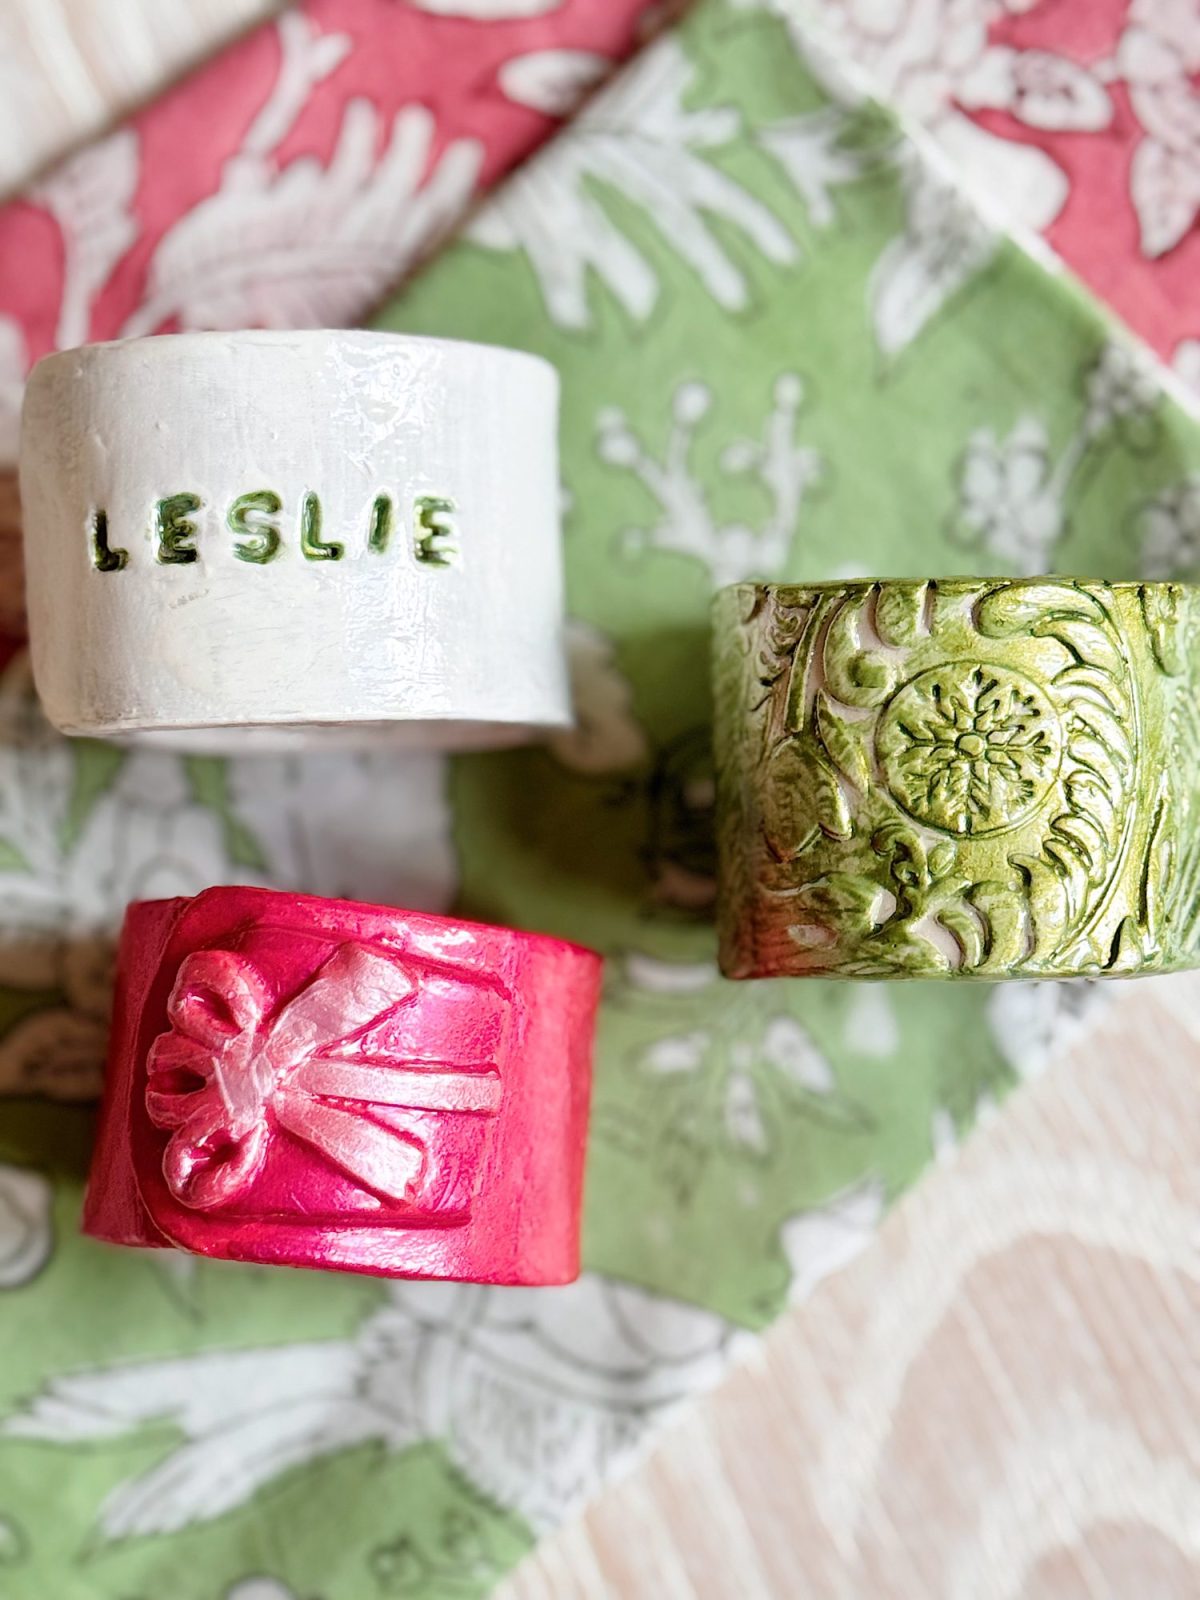
The best part? These napkin rings are made from air dry clay, which means no kiln, no oven, and no special equipment required. Just a little clay, a few household tools, and your imagination.
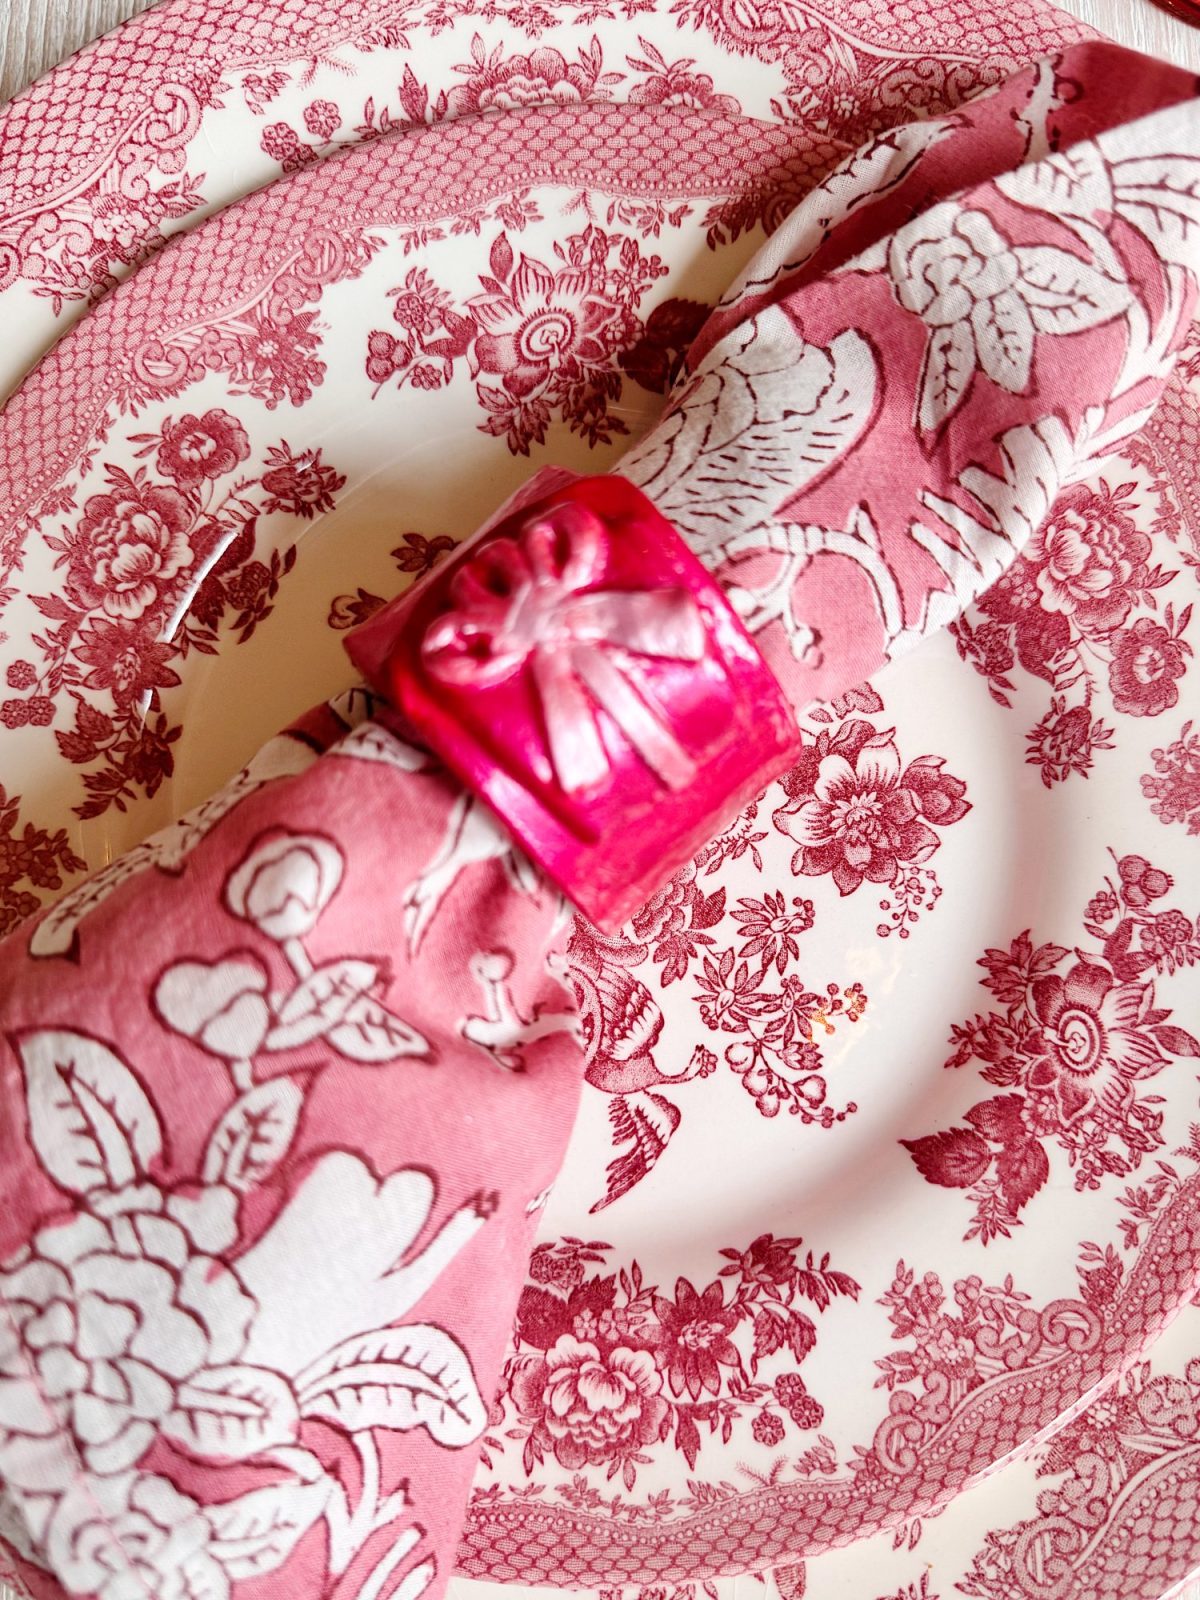
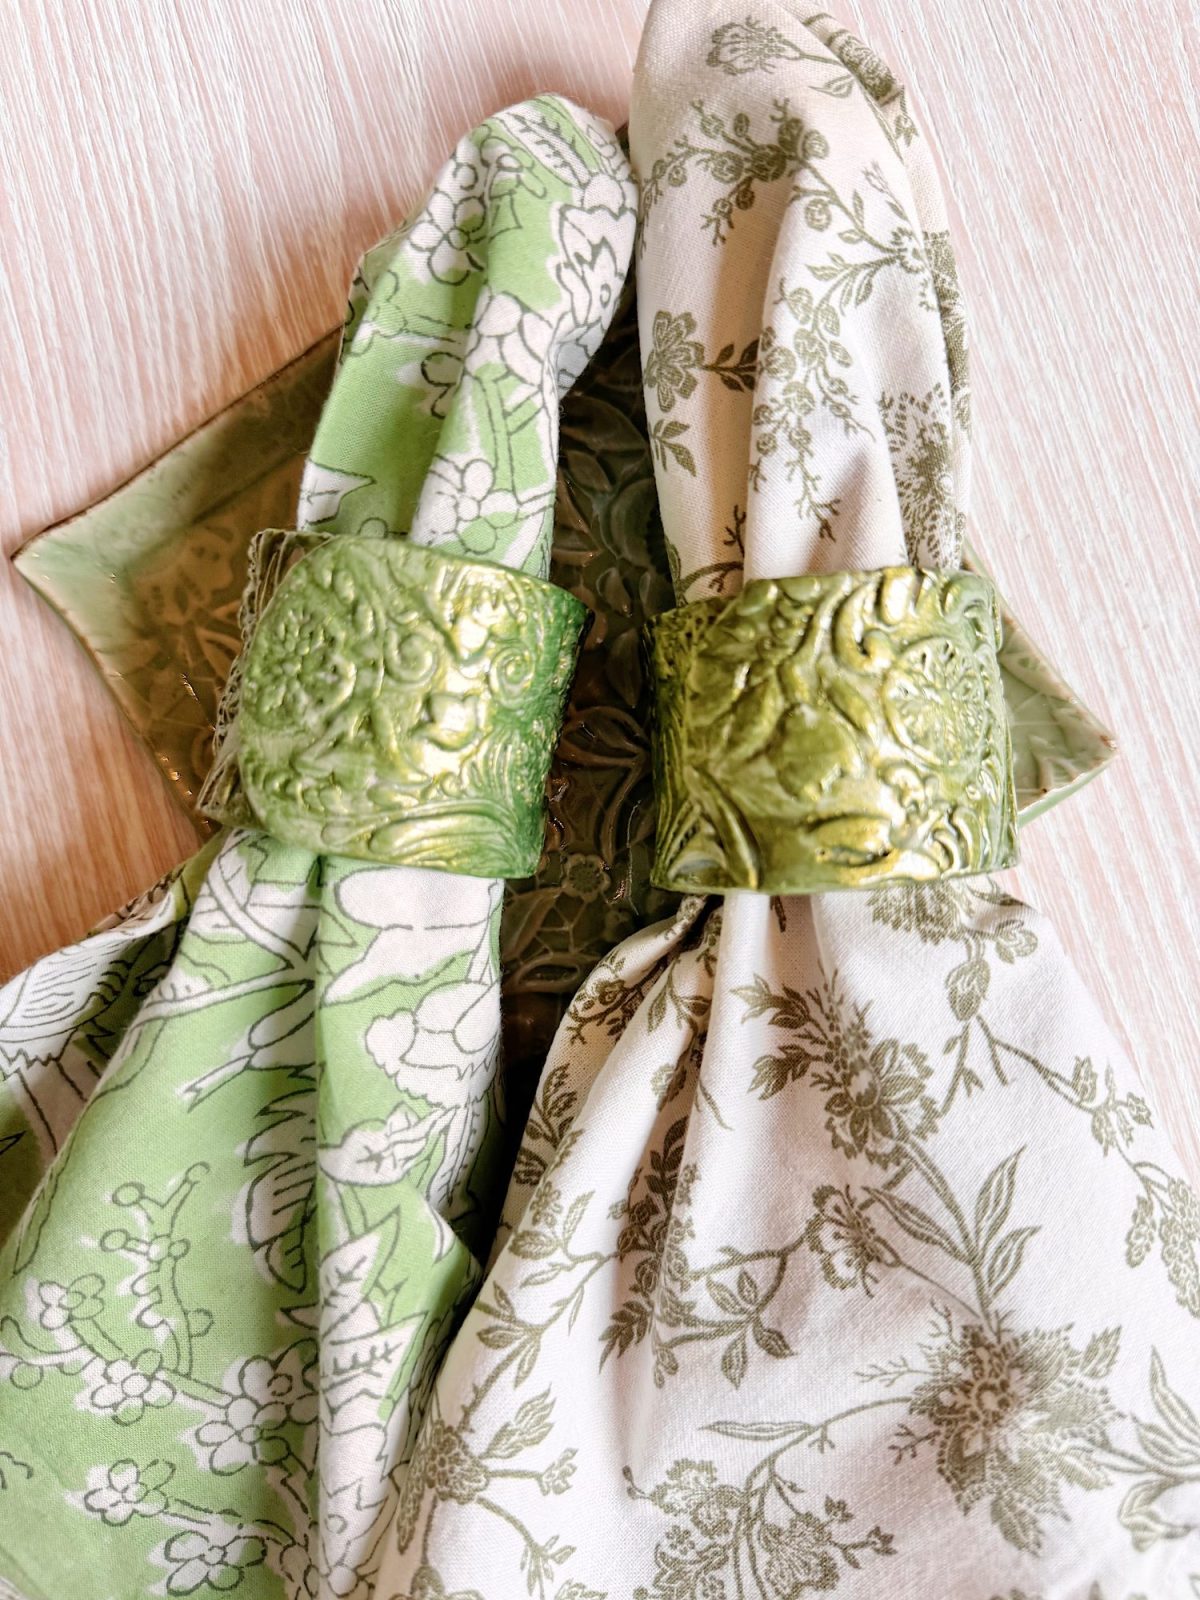
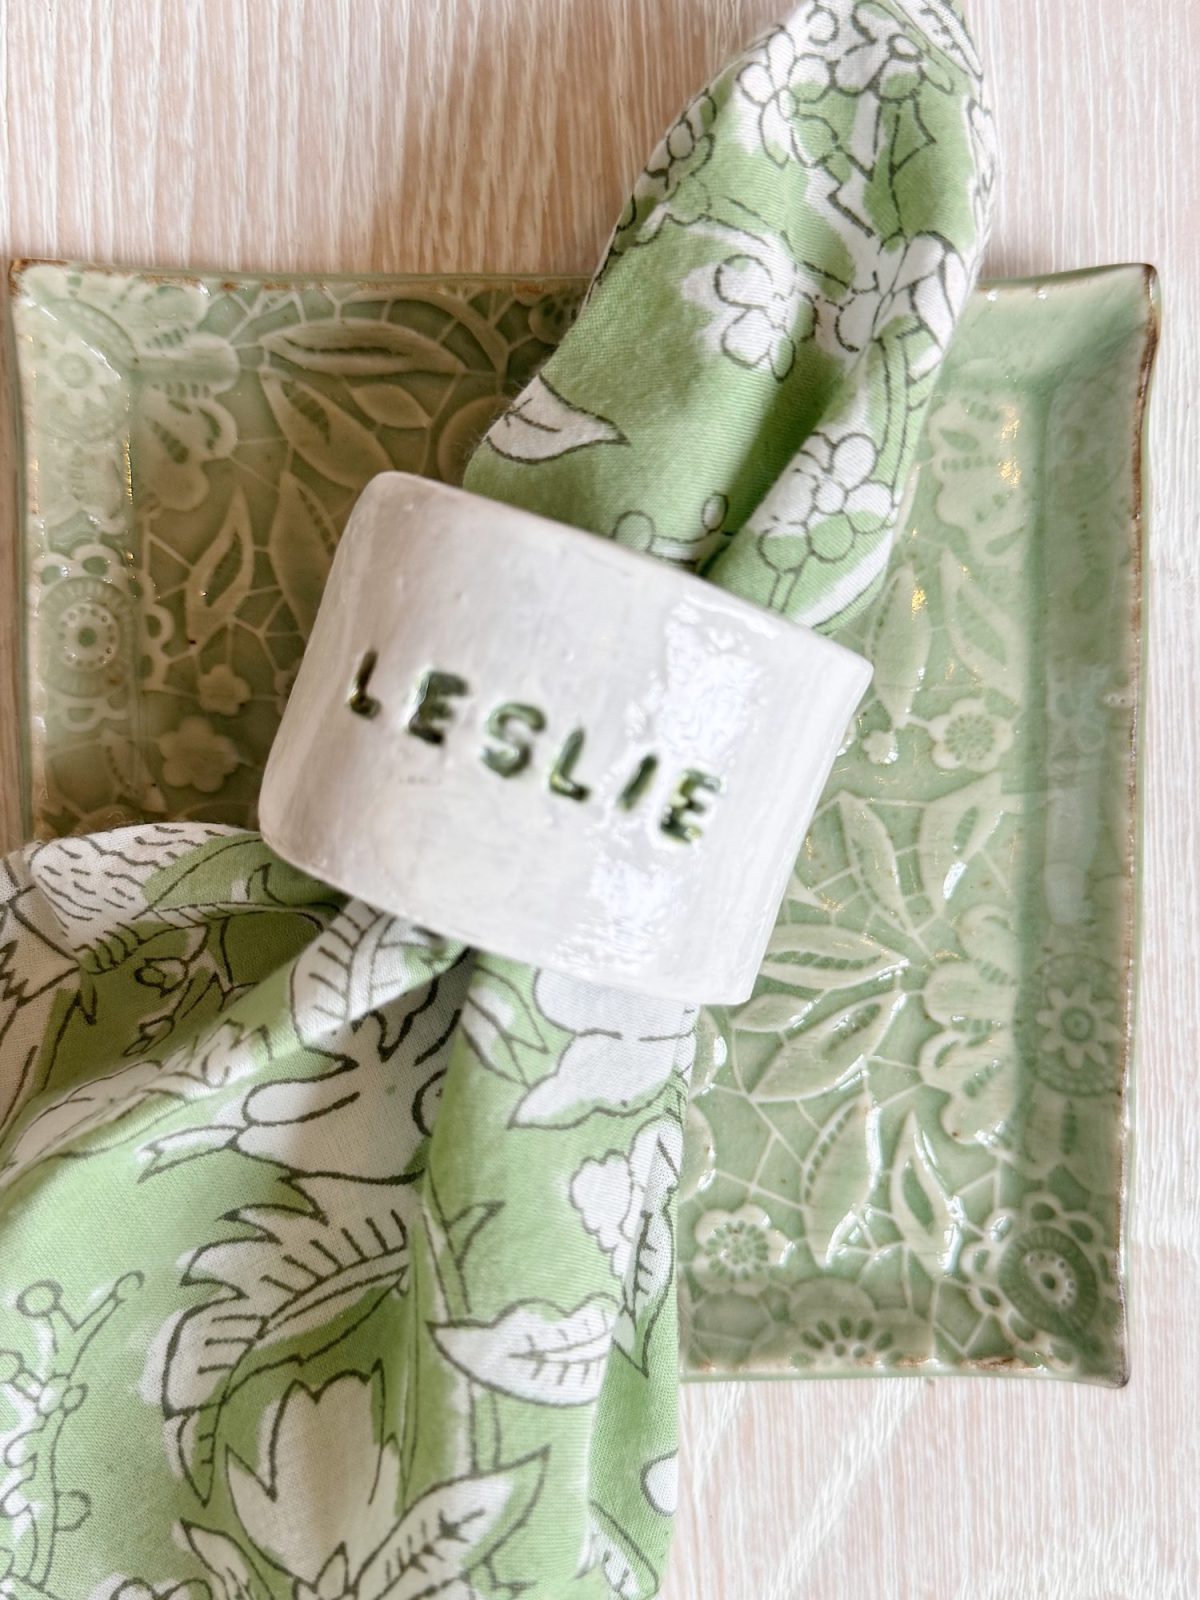
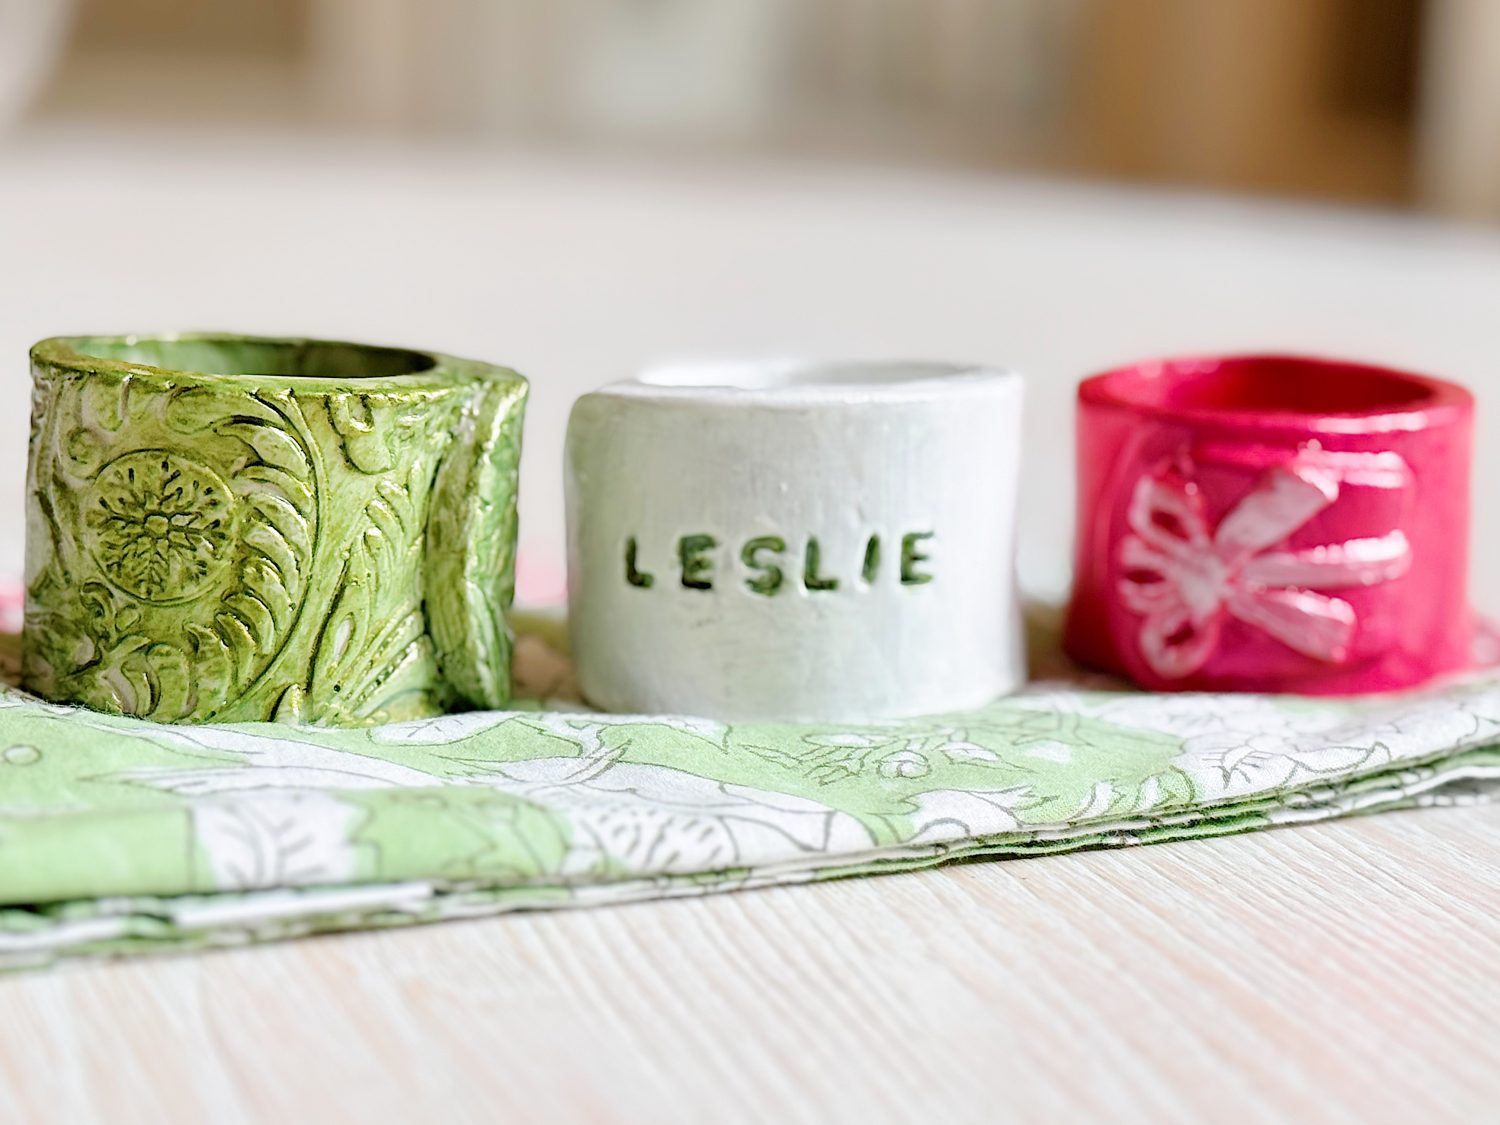
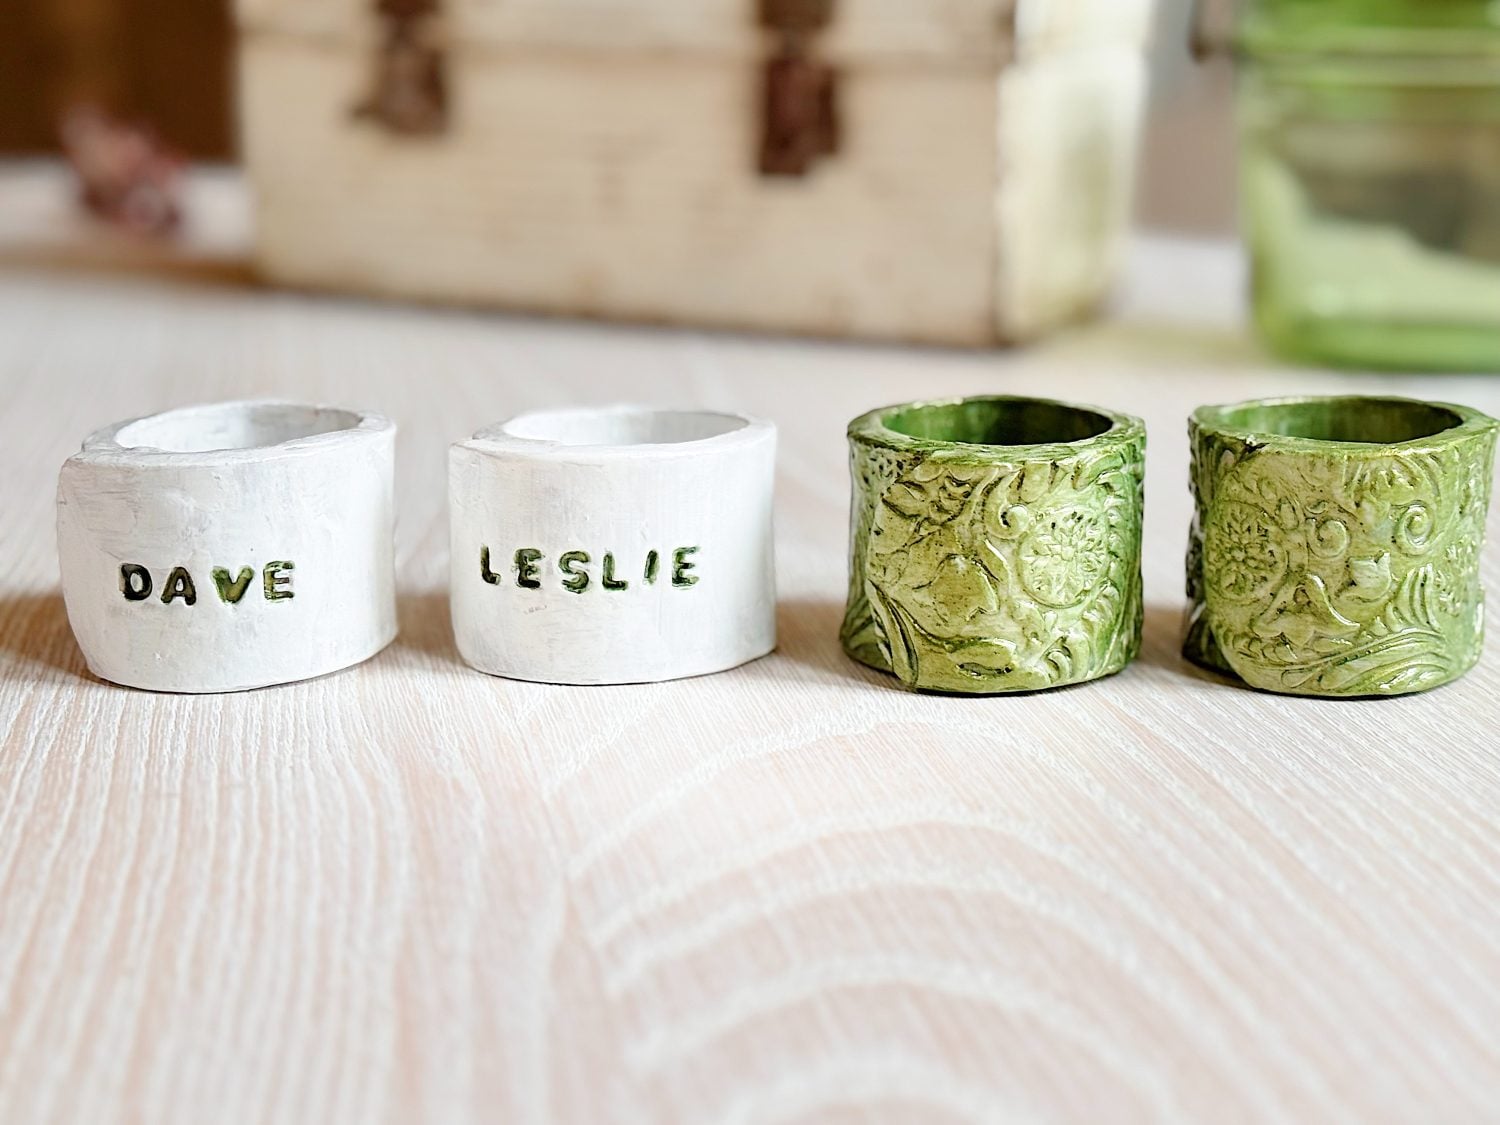
And because I know everyone’s style is a little different, I created three variations of napkin rings: one with a Christmas mold, one with textured surfaces, and one with personalized names. All three use the same process, so once you learn the steps, you can customize them any way you’d like.
Of course, this post would have been a lot simpler craft had I made just one type!
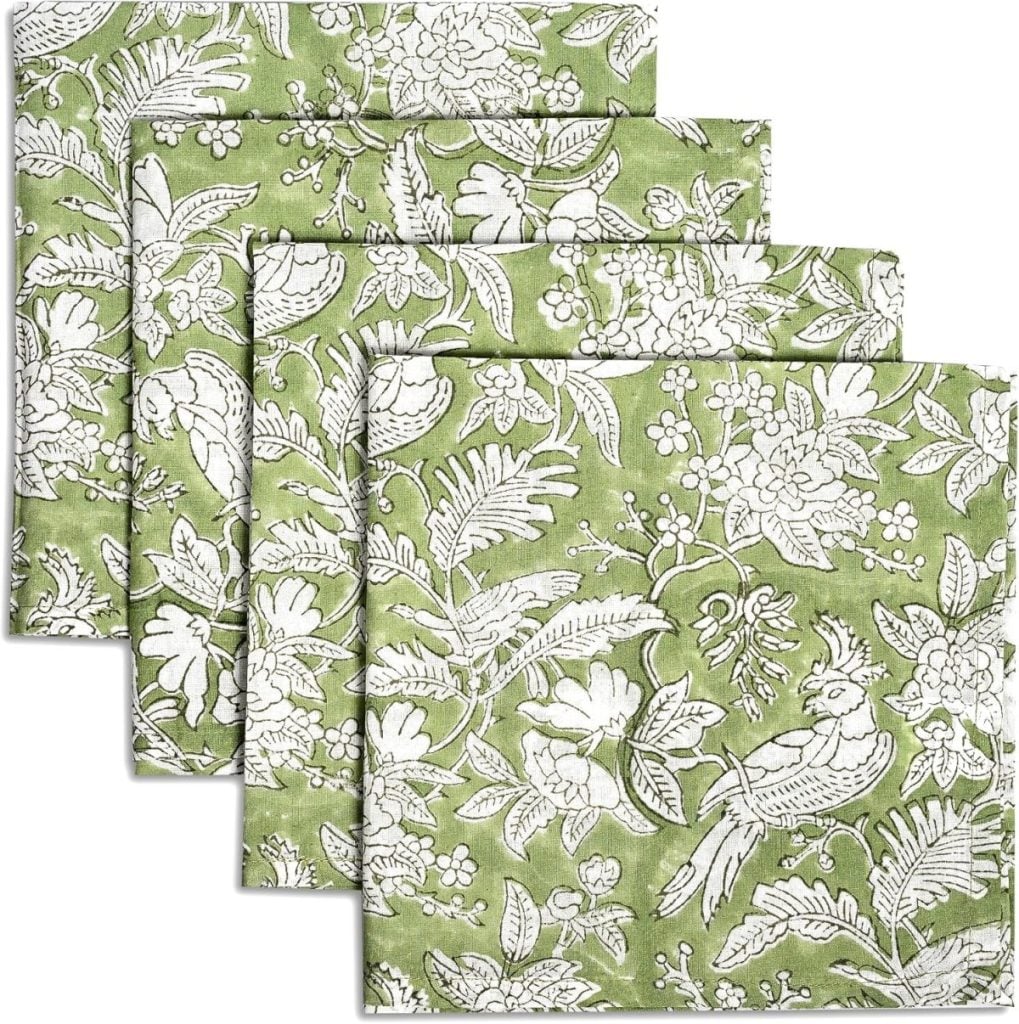
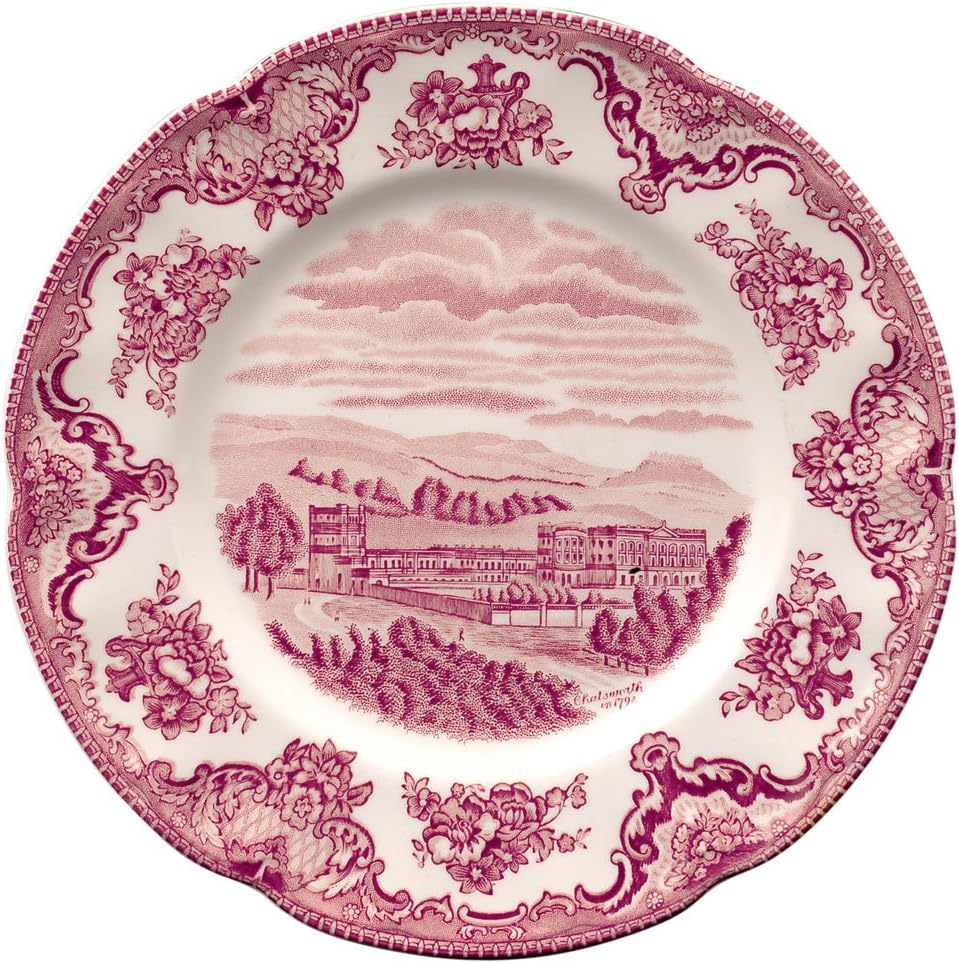

Why I Love Air Dry Clay
Air dry clay is one of my favorite crafting materials. It’s easy to shape, forgiving if you make a mistake, and dries into a solid finish that’s perfect for painting. You don’t need to bake it, which makes it simple and accessible for anyone to use.
It also has such a high-end look when it’s finished. Once sealed and painted, it’s hard to believe these napkin rings weren’t purchased from a boutique. They’re sturdy, elegant, and completely customizable.
Supplies You’ll Need
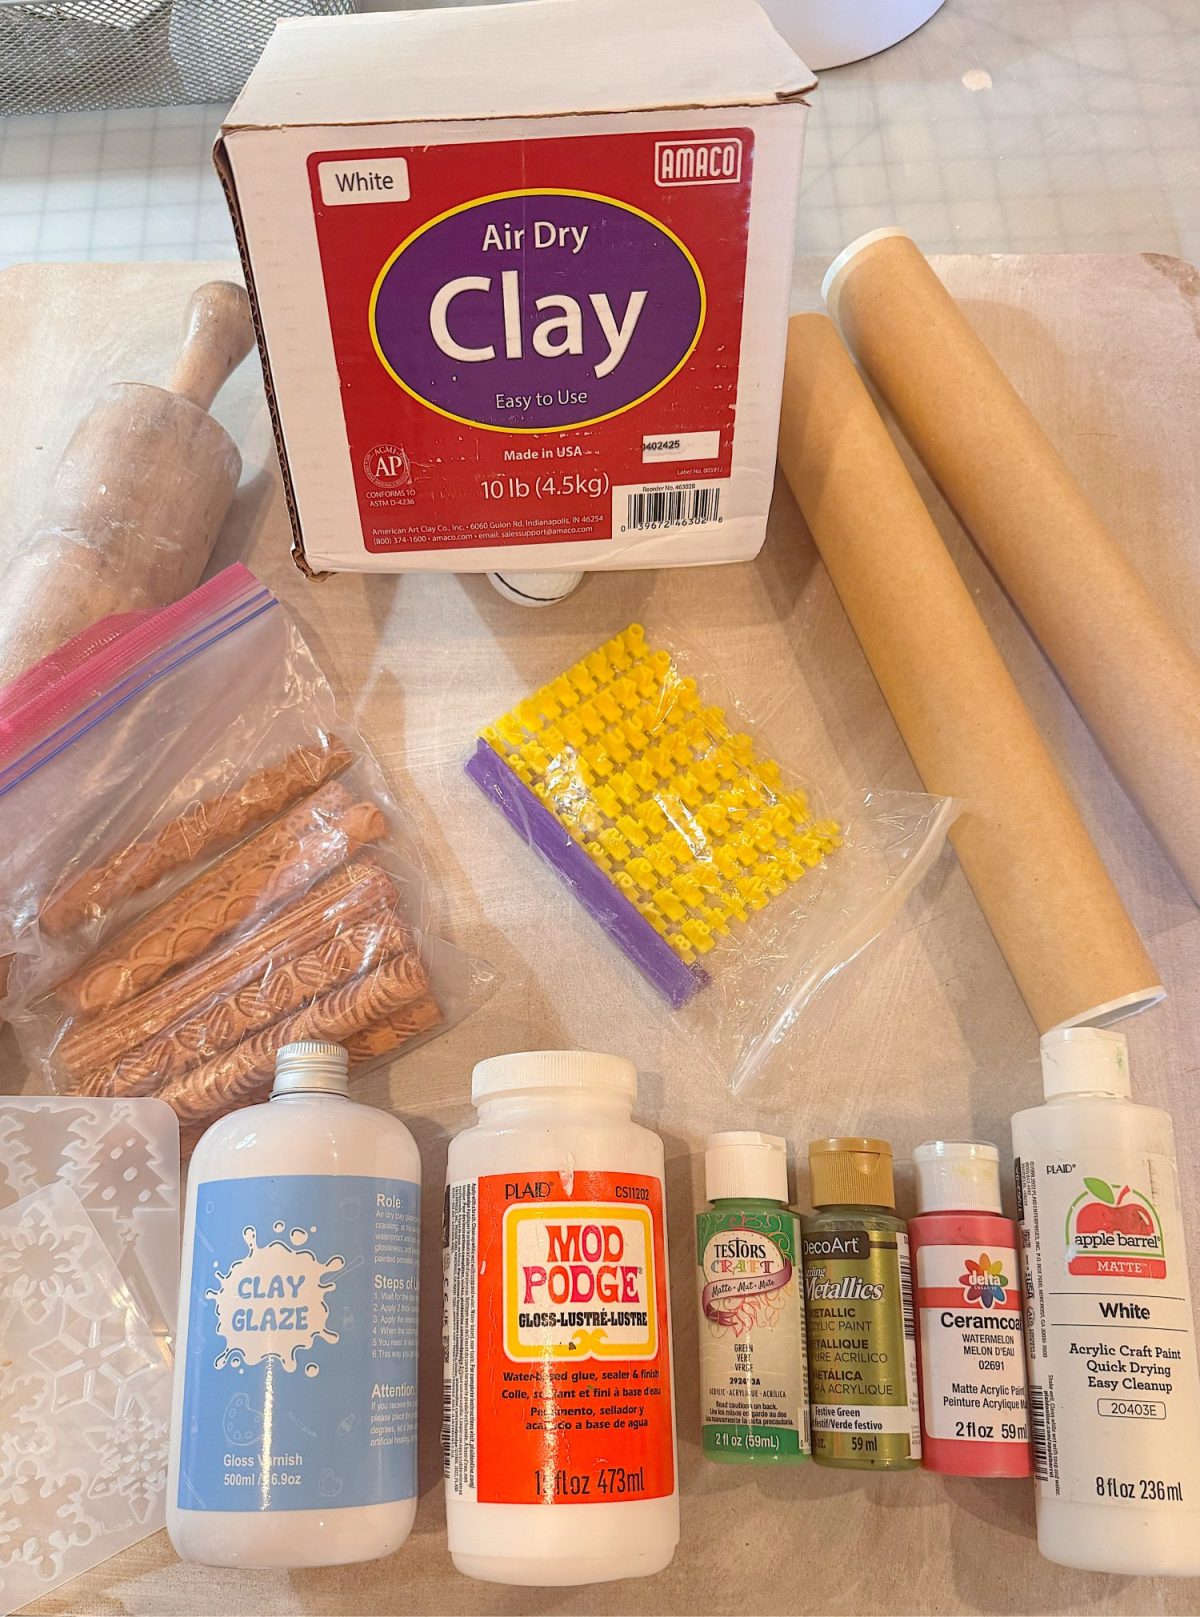
Here’s what I used to make my air dry clay napkin rings. There are additional supplies listed for each of the three variations as indicated with an *.
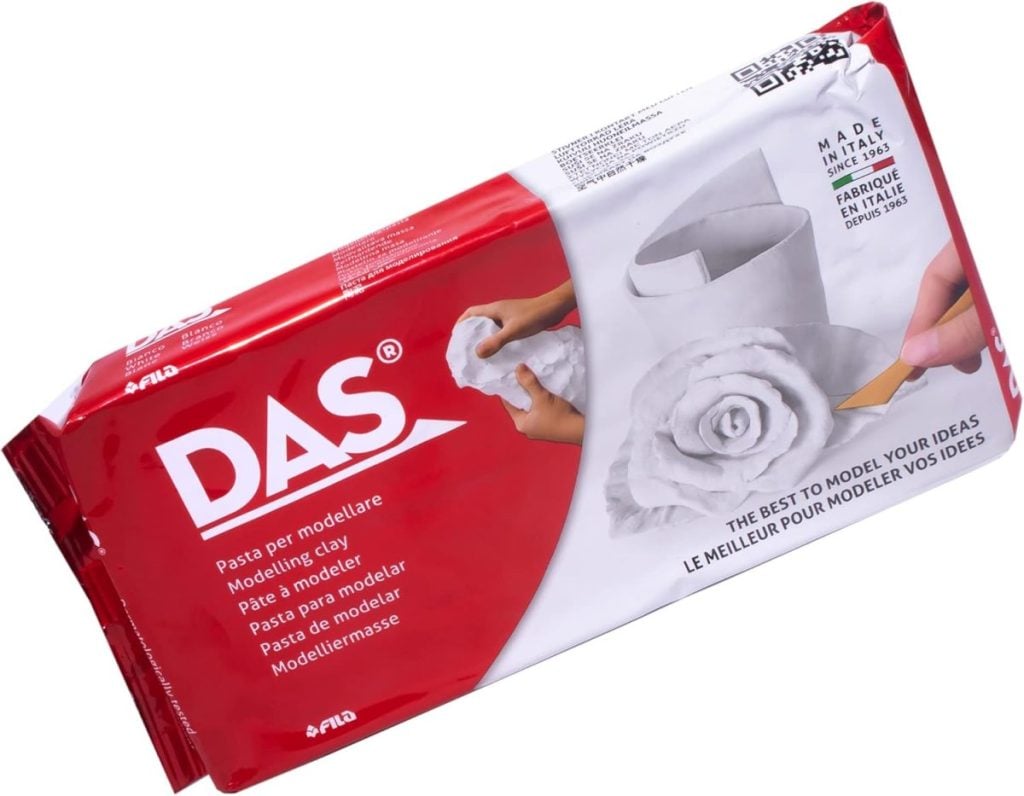
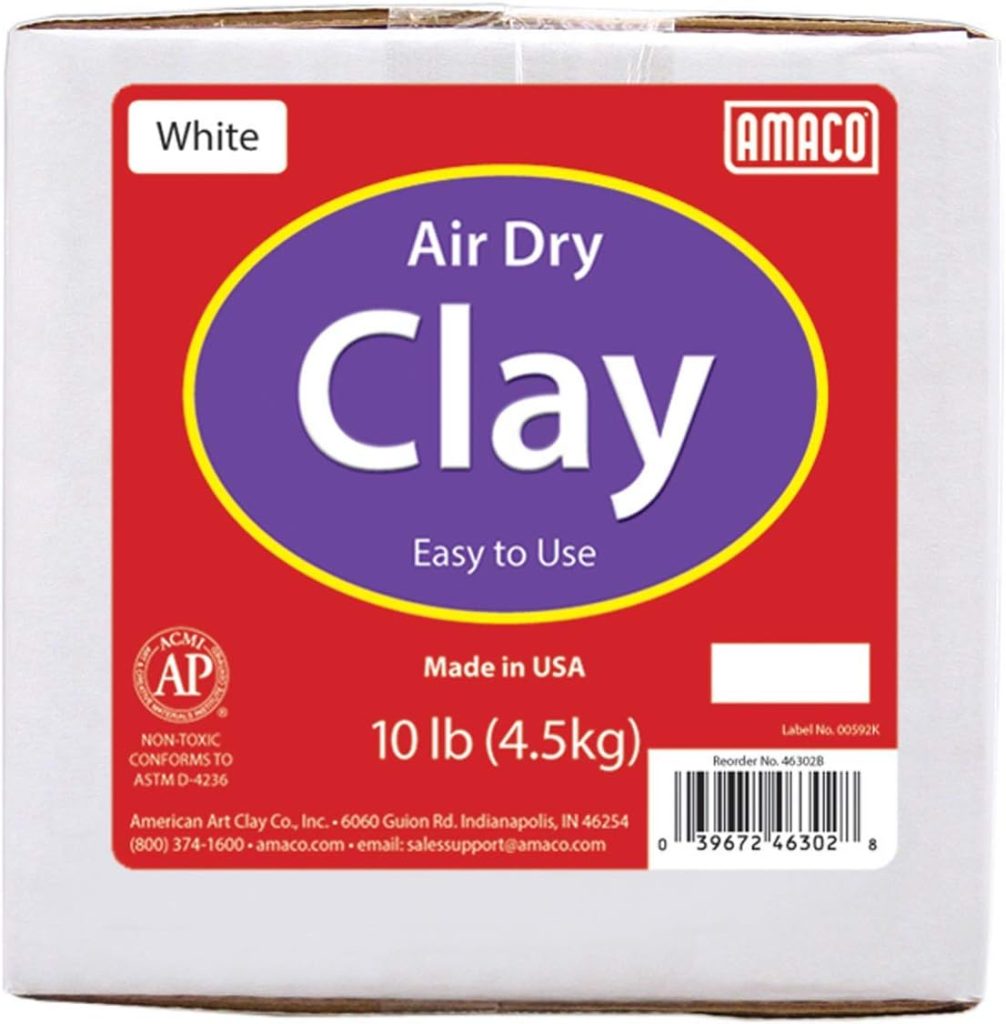
- Air dry clay (white or neutral base works best)
- Rolling pin
- Ruler
- Round cookie cutter (for rounding the ends)
- Sharp knife or clay cutter
- 1.5″ Plumbing tube (from the hardware store, and wrap in parchment paper)
- Parchment paper
- Mod Podge (to seal before painting)
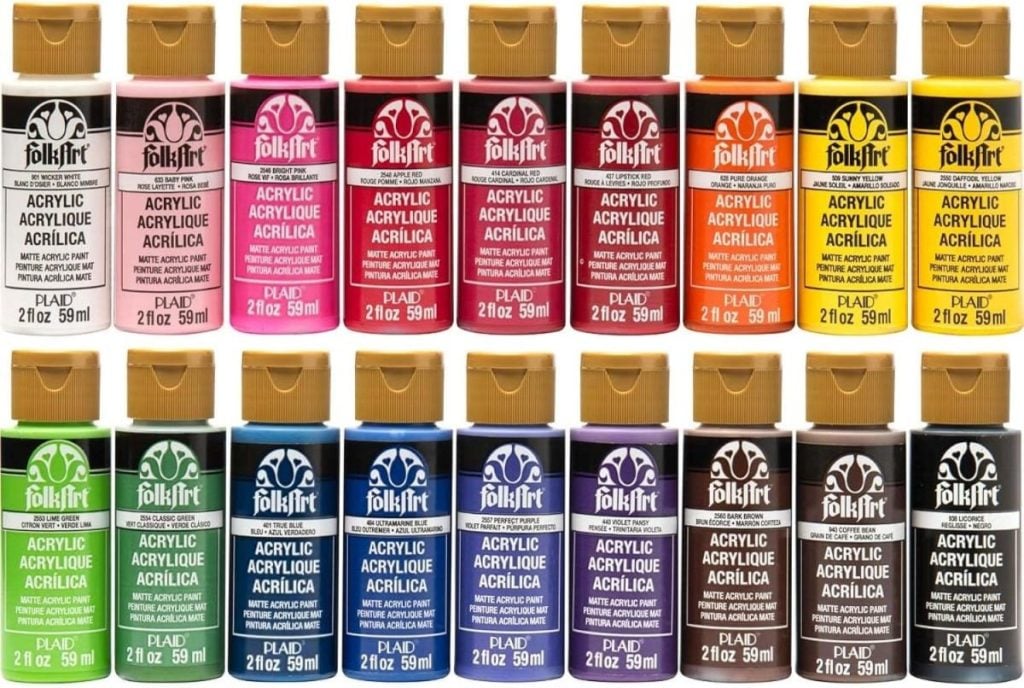
- Acrylic paint (choose your color palette)
- Metallic acrylics
- Clay Glaze (to seal after painting)
- Paintbrushes
- Decorative molds (holiday designs)
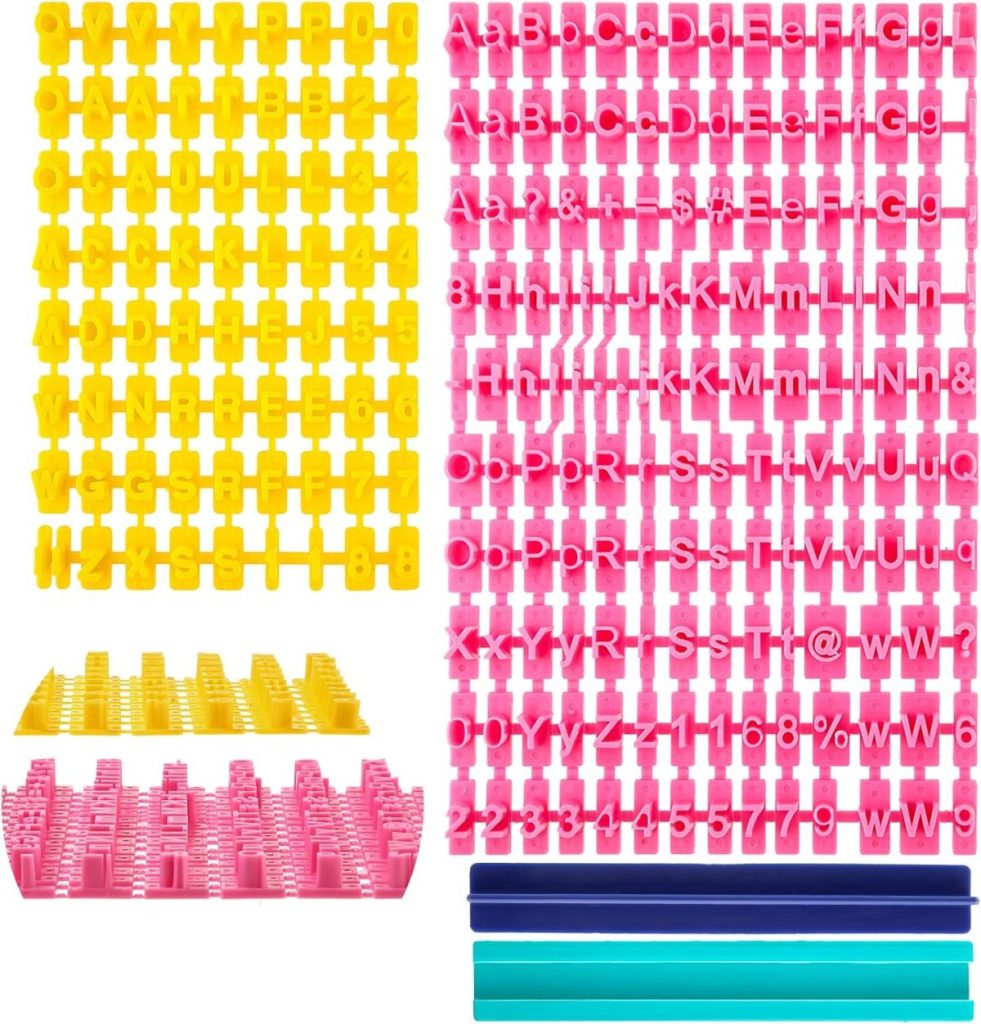
- Letter stamps for clay
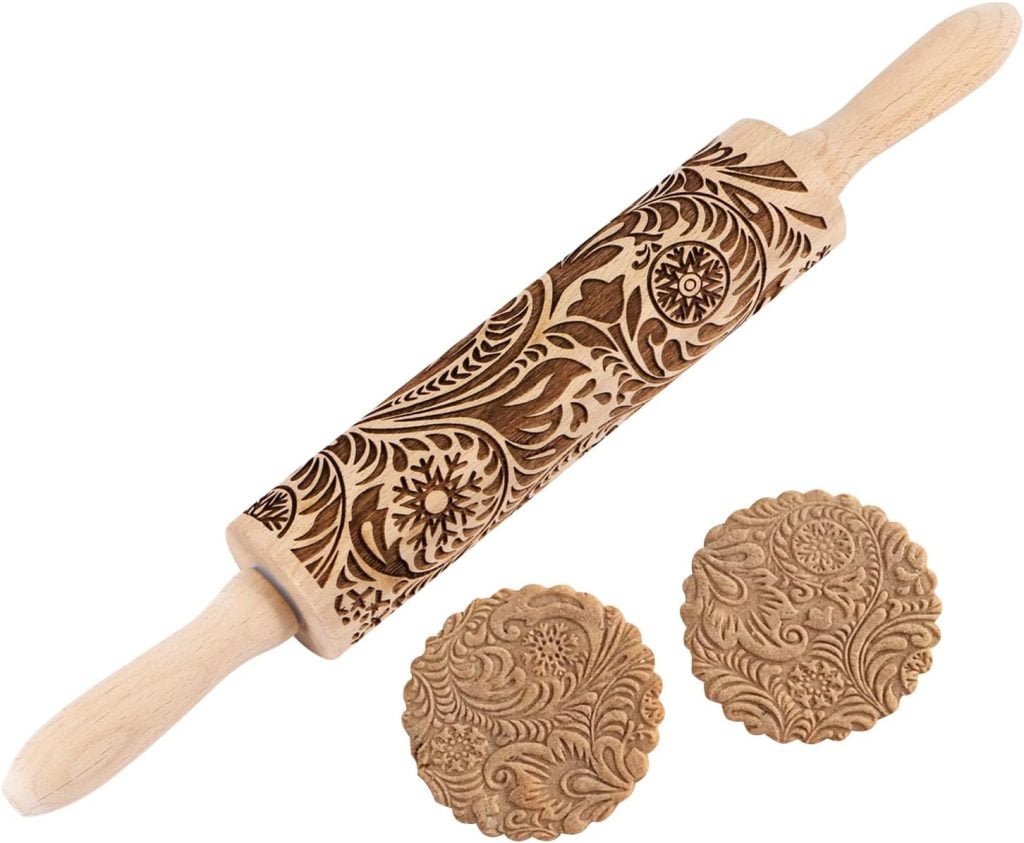
- Clay rolling pin (holiday themed)
On this blog, I may sometimes use affiliate links, which means a small commission is earned if you purchase via the link. The price will be the same whether you use the affiliate link or go directly to the vendor’s website using a non-affiliate link.





Step-by-Step Instructions
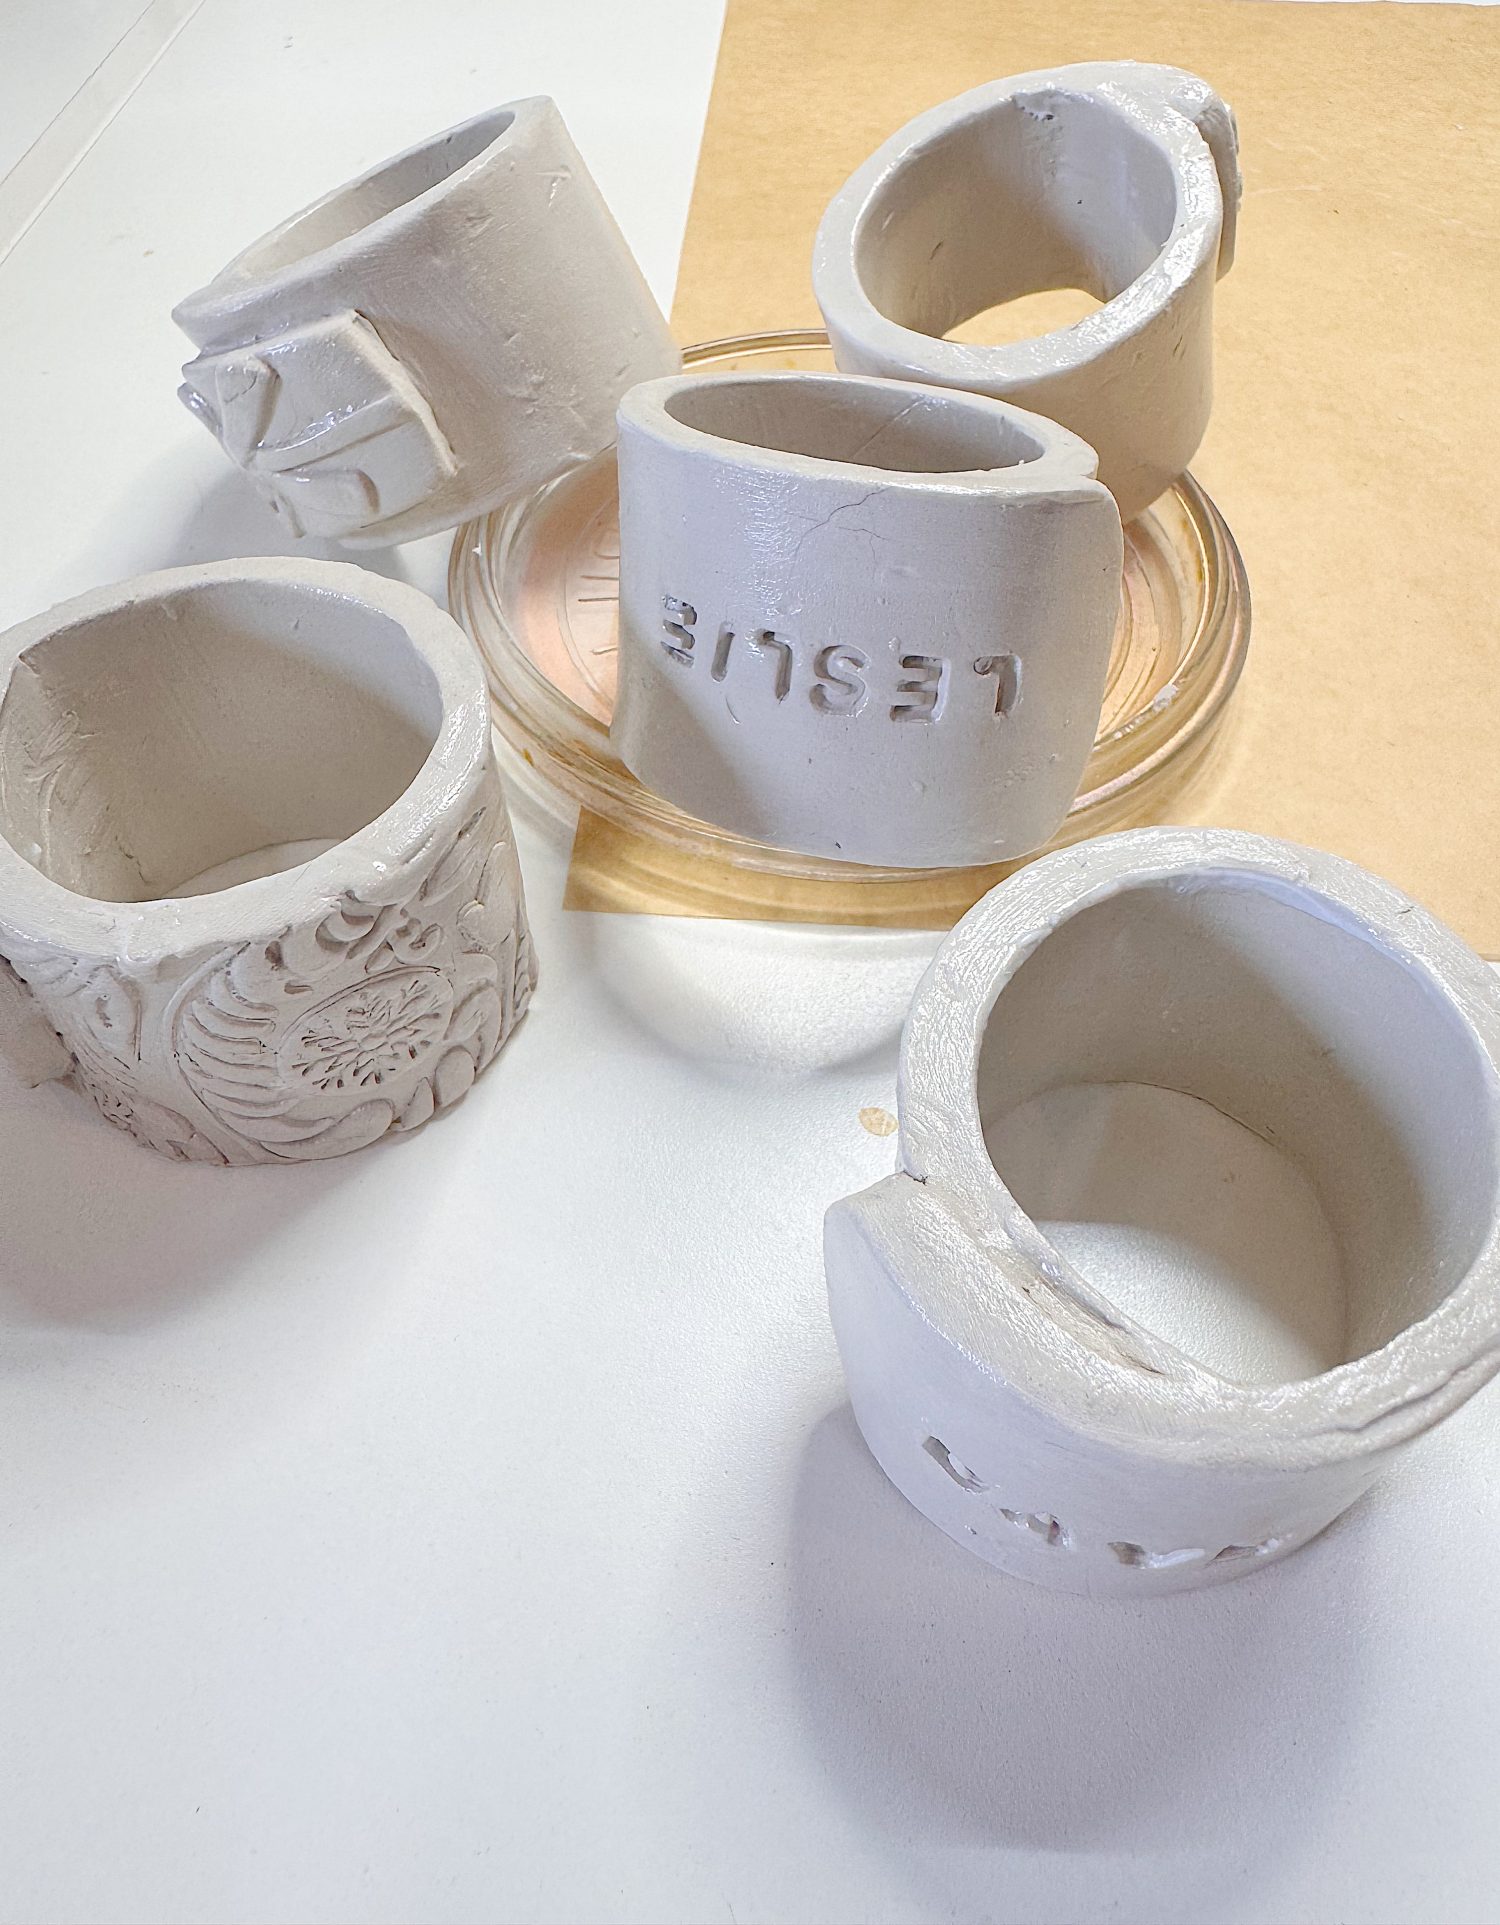
All of the napkin rings were made using the same technique. There were just slight variations for each of the three options.
Step 1: Cut Your Strips
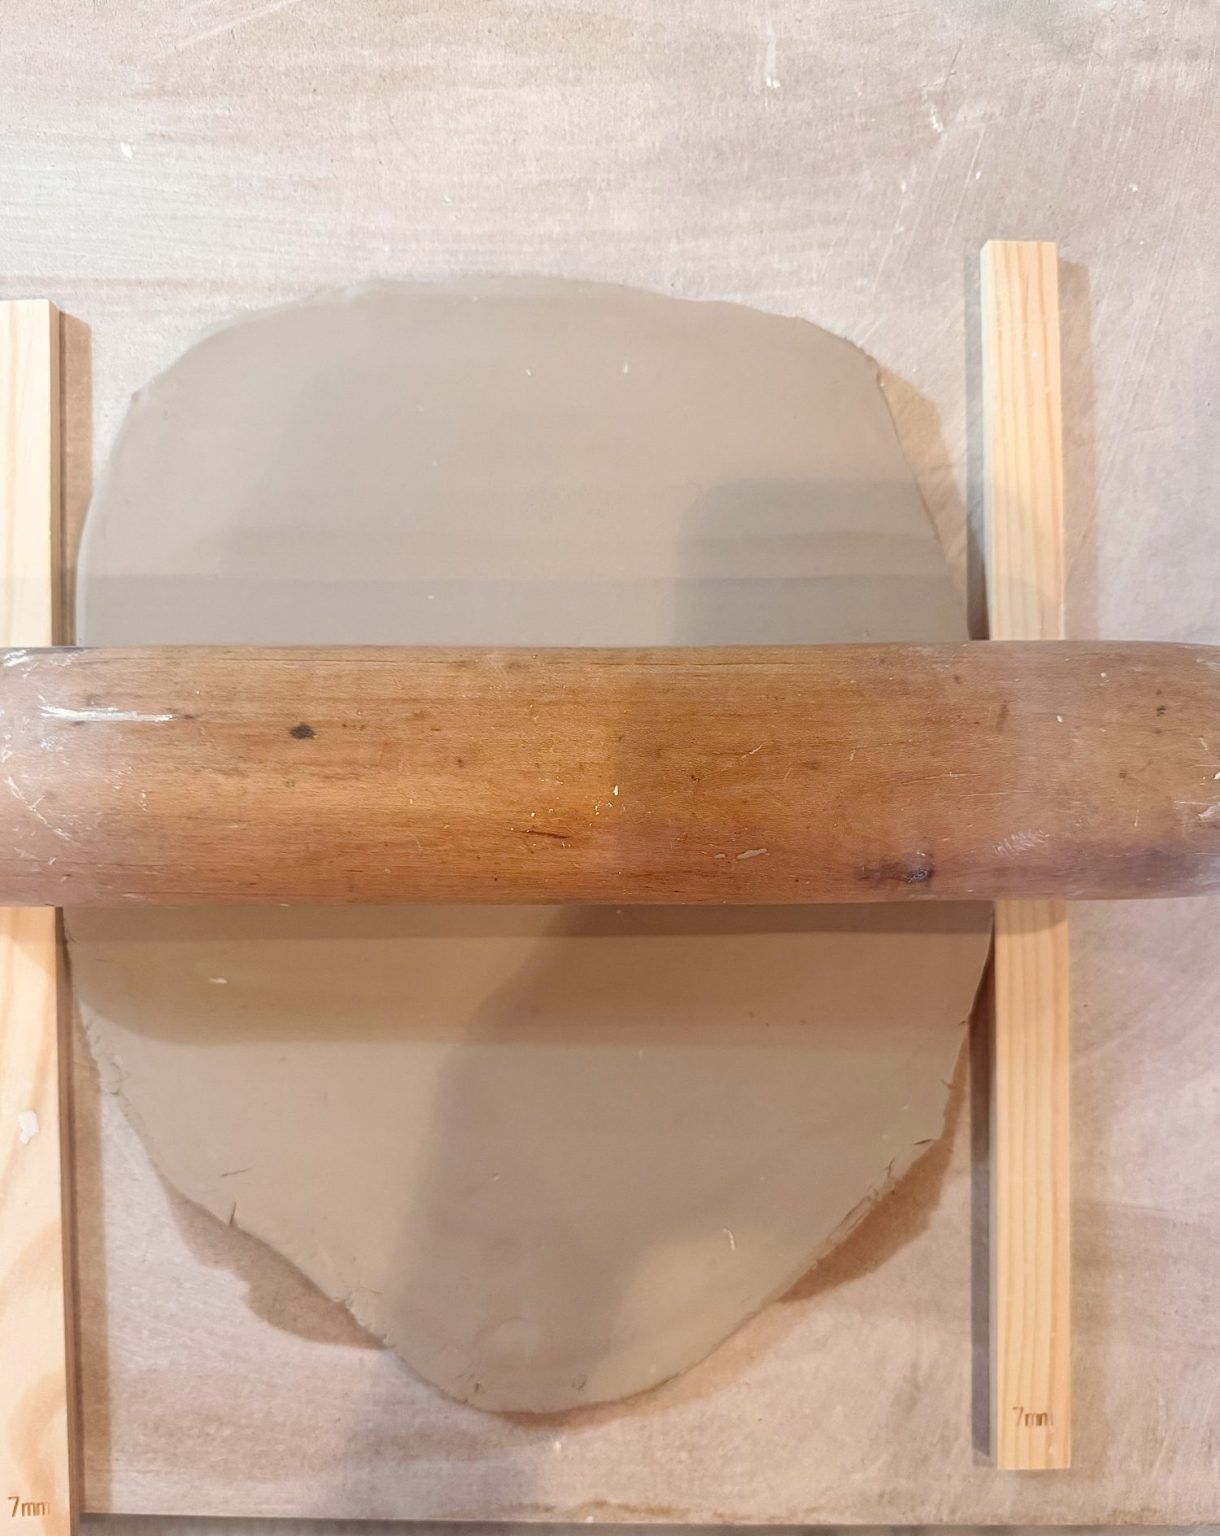
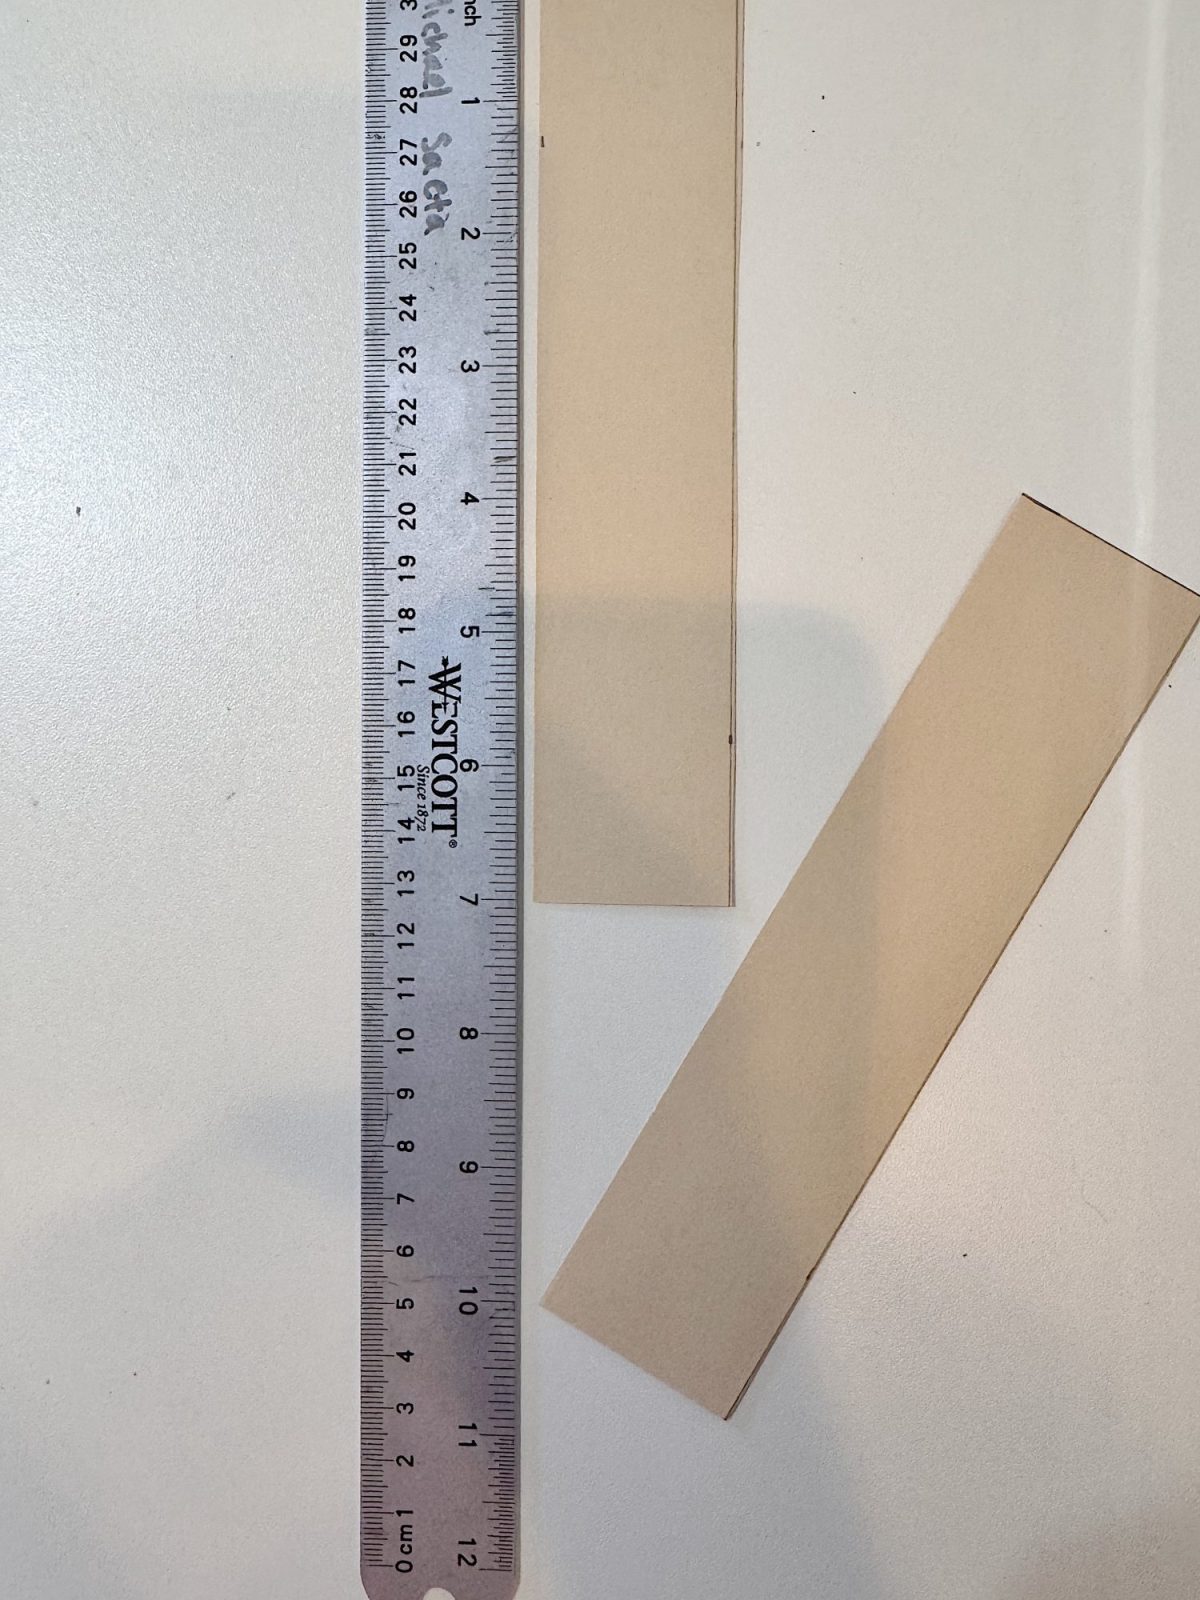
Roll out the air dry clay on a parchment-covered surface until it’s about 1/4” thick. Using a ruler, cut strips that measure 1.5” wide and 7” long.
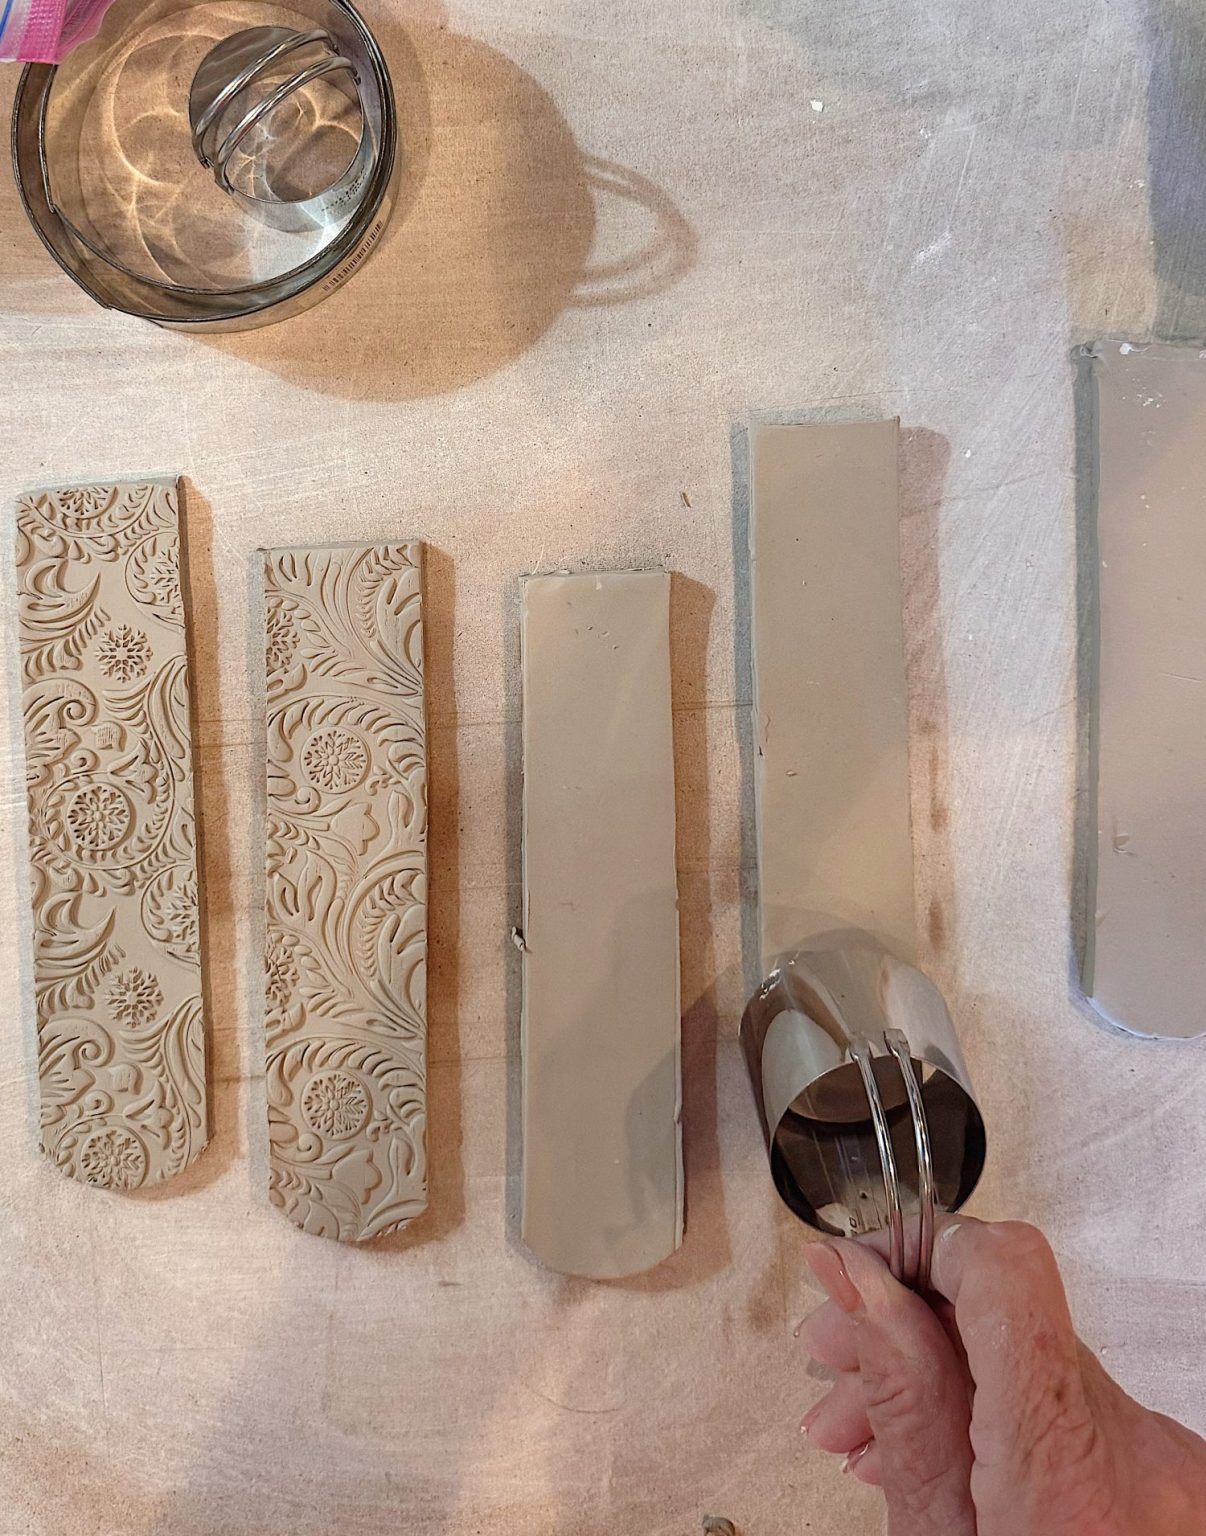
At each end of the strip, use a round cookie cutter to soften and round the edges. This gives the napkin rings a more finished look once they’re formed.
Step 2: Wrap Around the Tube
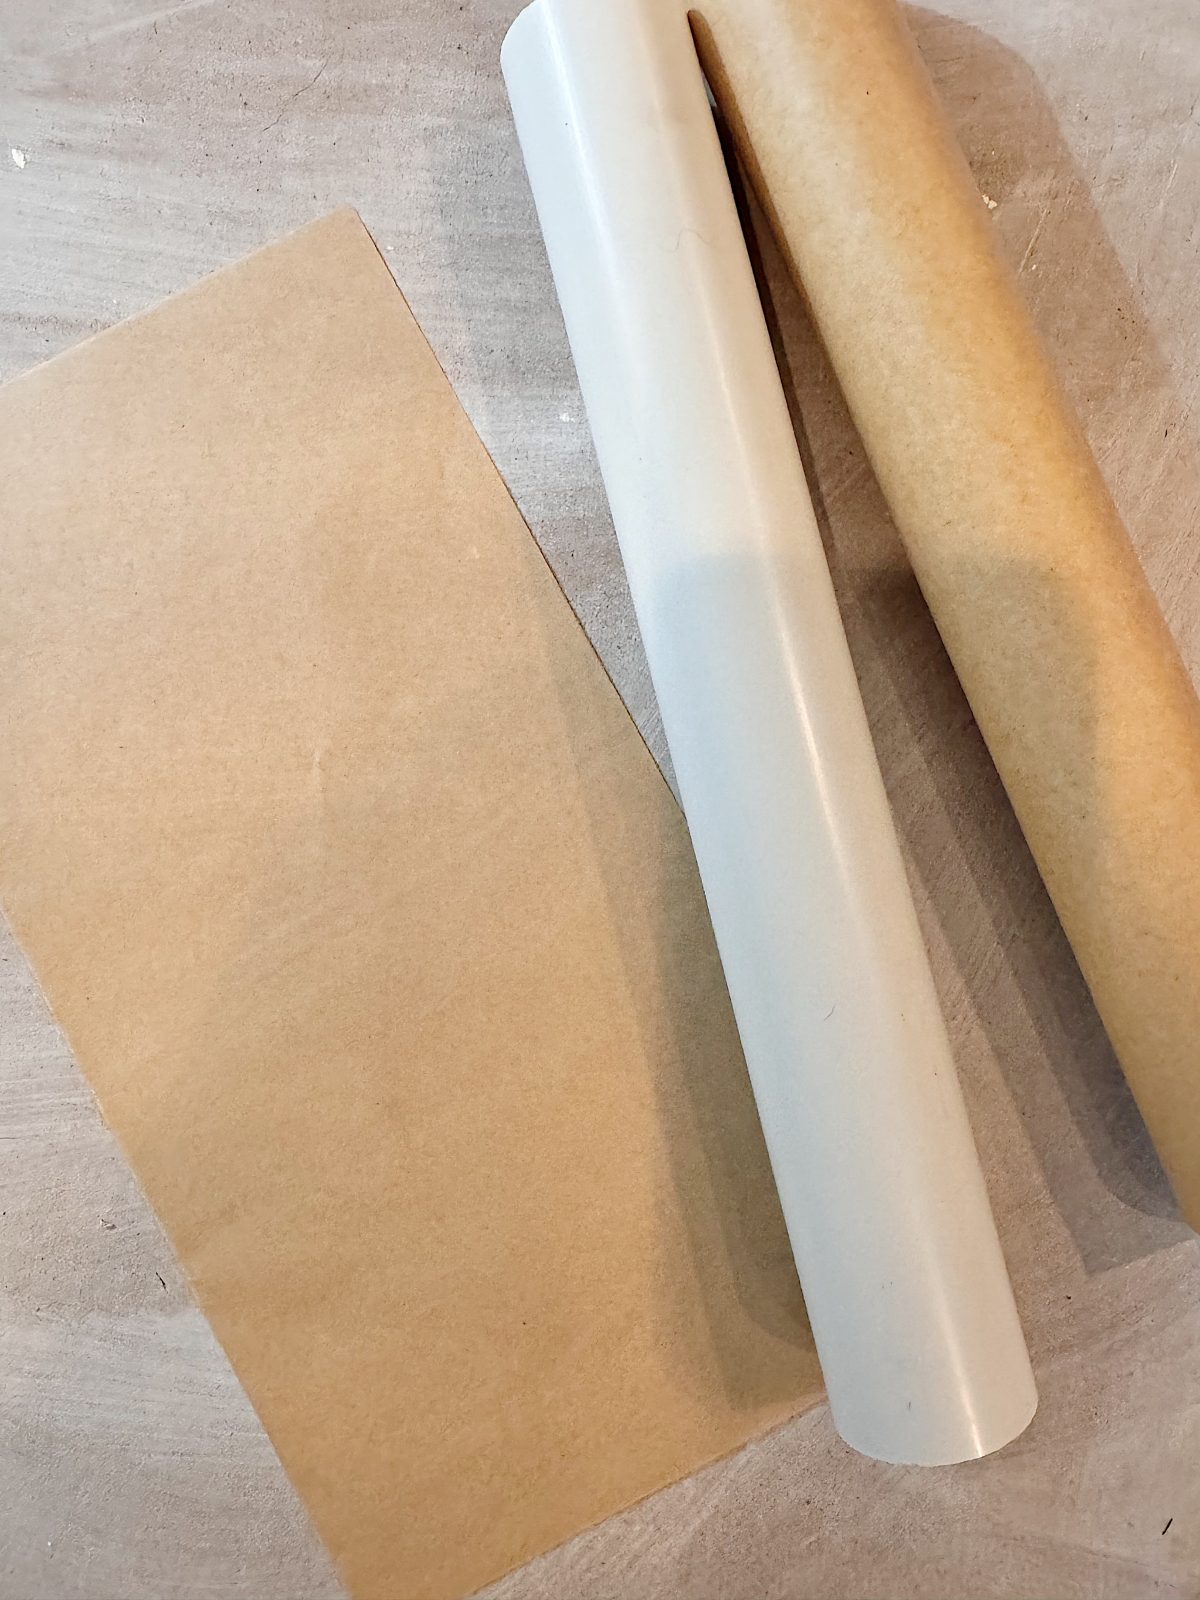
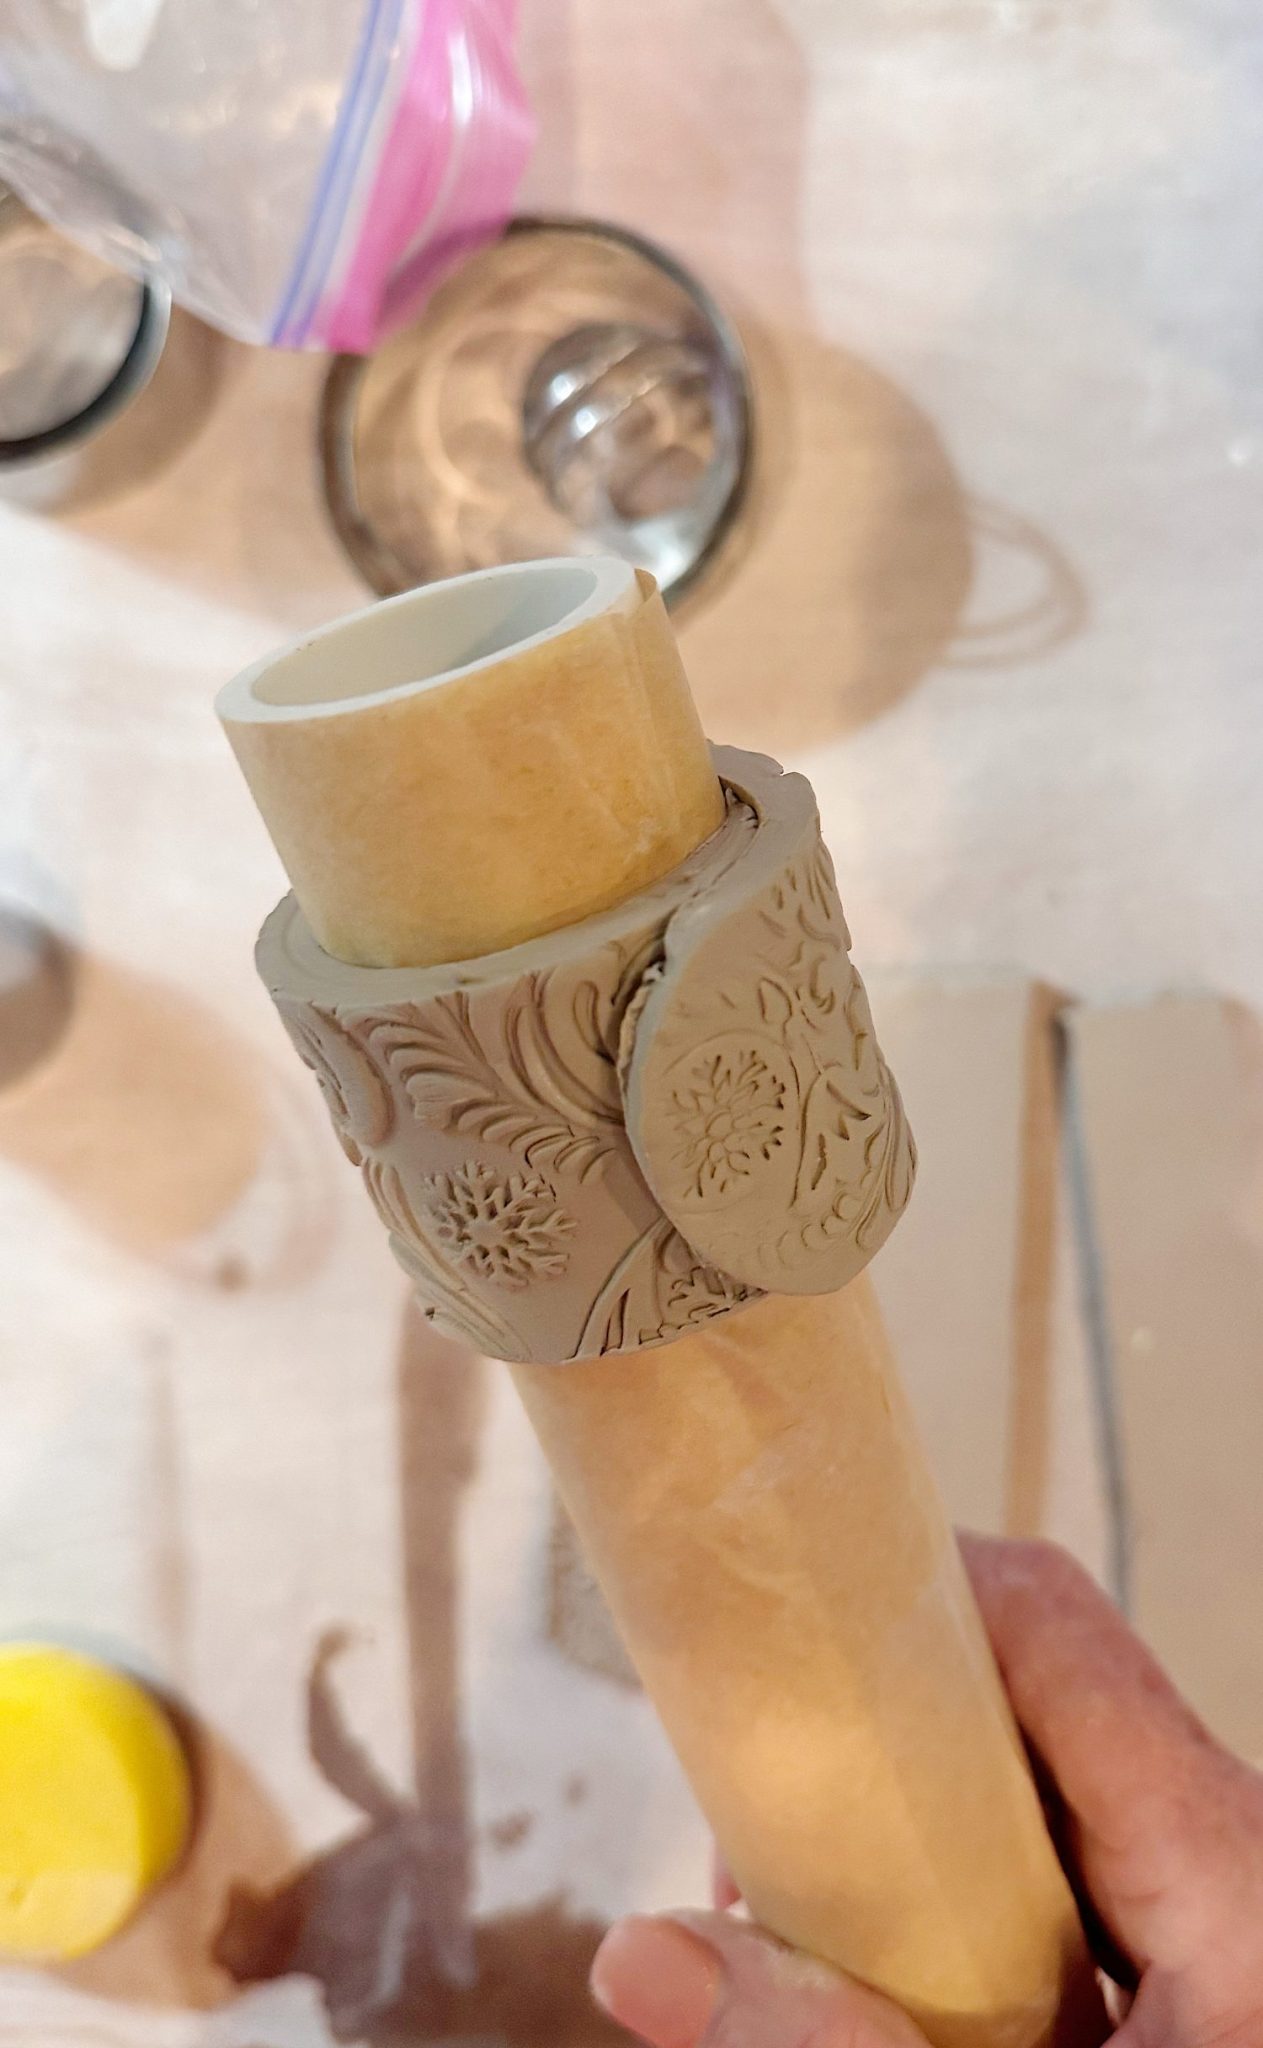
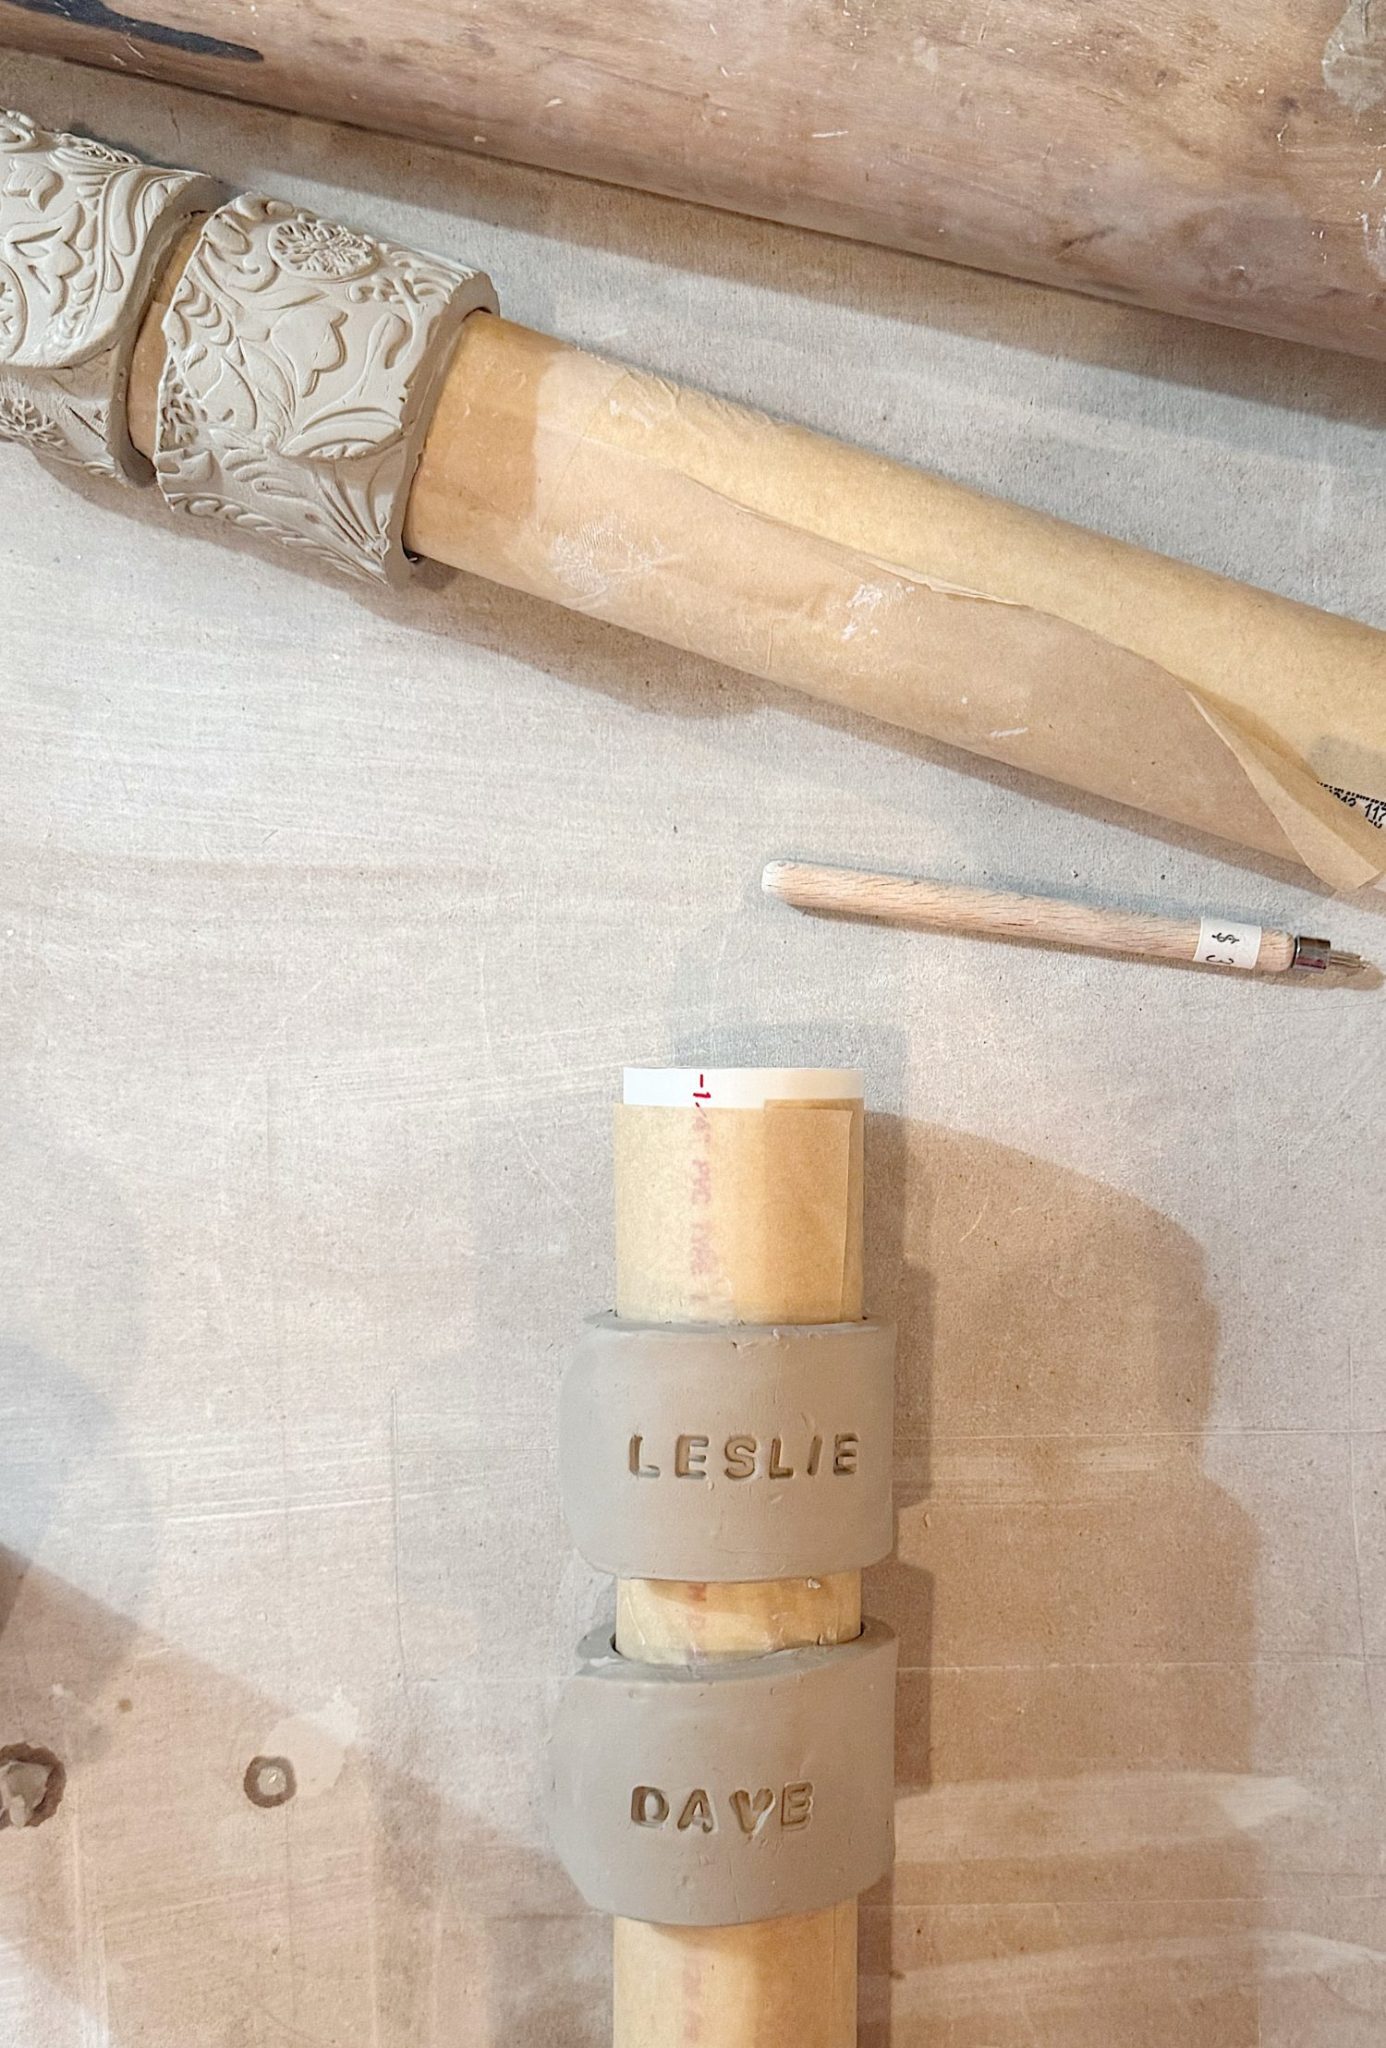
Wrap each clay strip around a plumbing tube that you’ve covered with parchment paper (so the clay won’t stick). I overlap the edges, leaving the rounded edge on top.
Seal the ends of the strip together by pressing gently and smoothing with your fingers. You can also score the ends of the napkin ring with the end of a safety pin and then lightly brush the ends with water before you seal them.
This creates the ring shape that will hold your napkins.
Step 3: Add Decorative Details
Here’s where you can get creative! I made three variations:
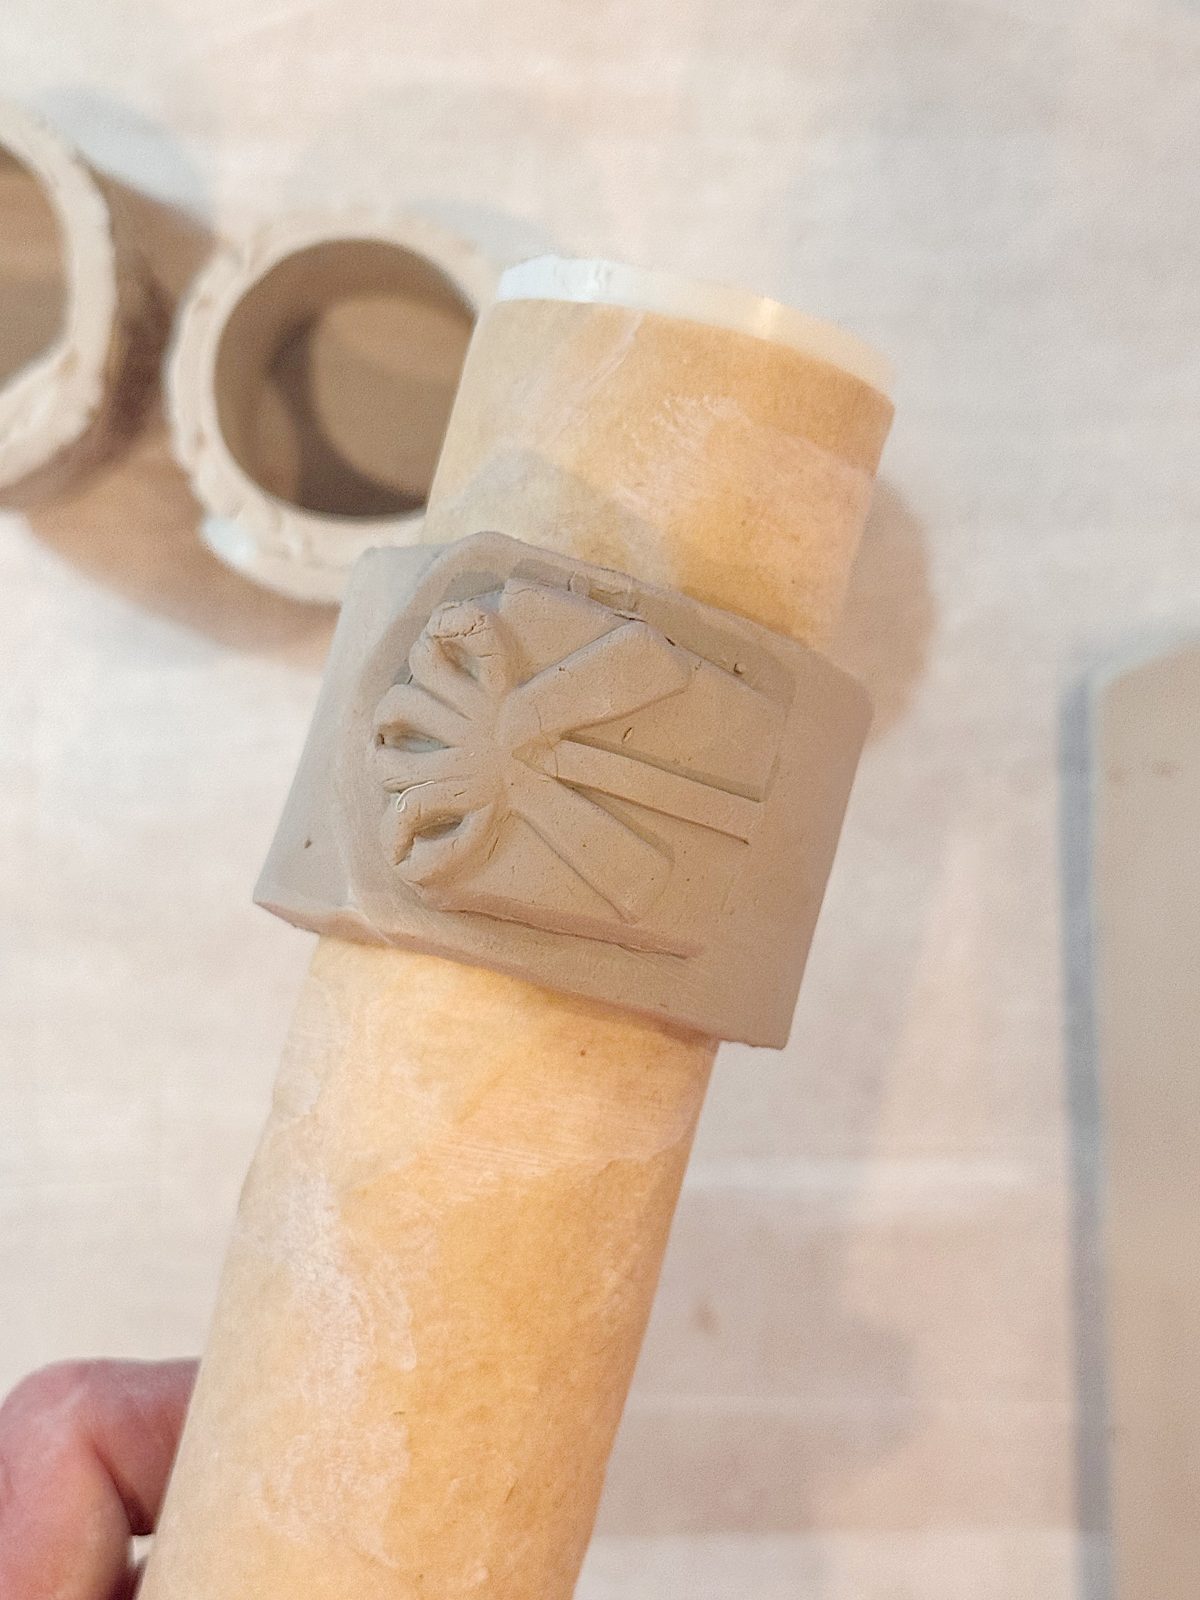
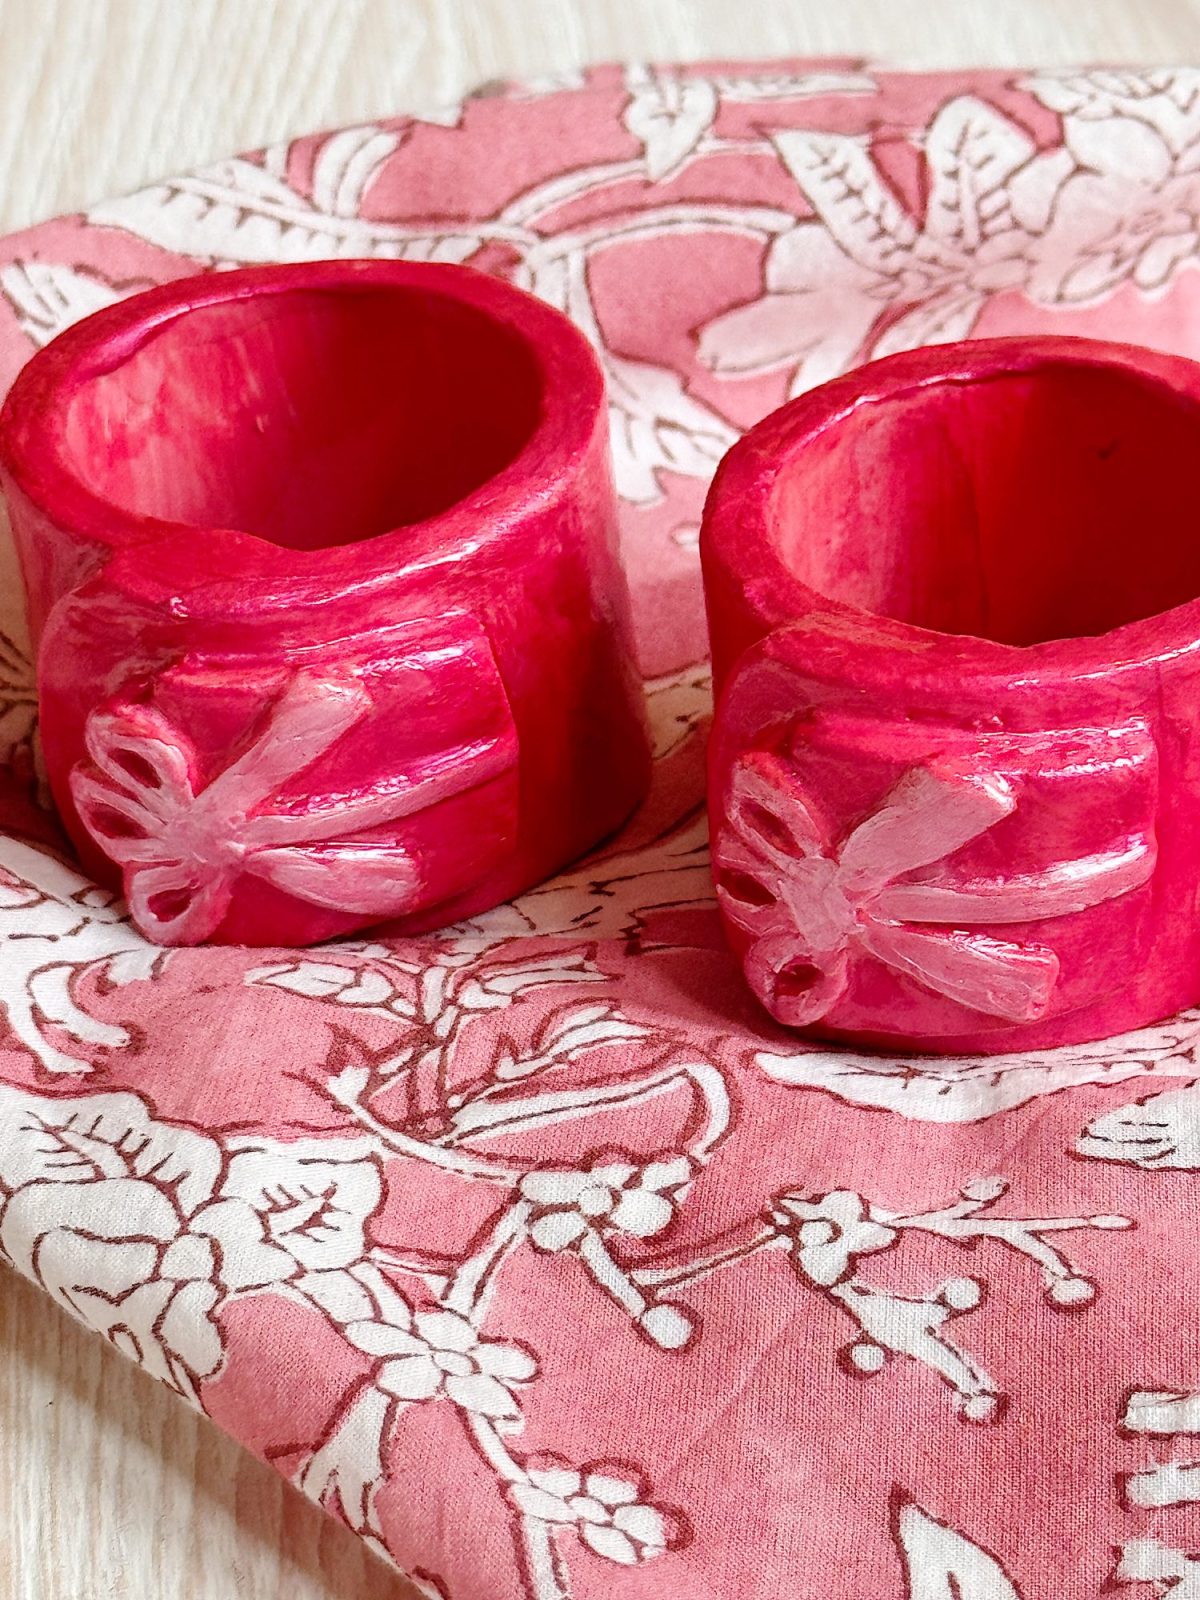
Christmas Mold Napkin Rings: I used silicone molds to create holiday shapes from clay, then pressed them onto the front of the ring for decoration.
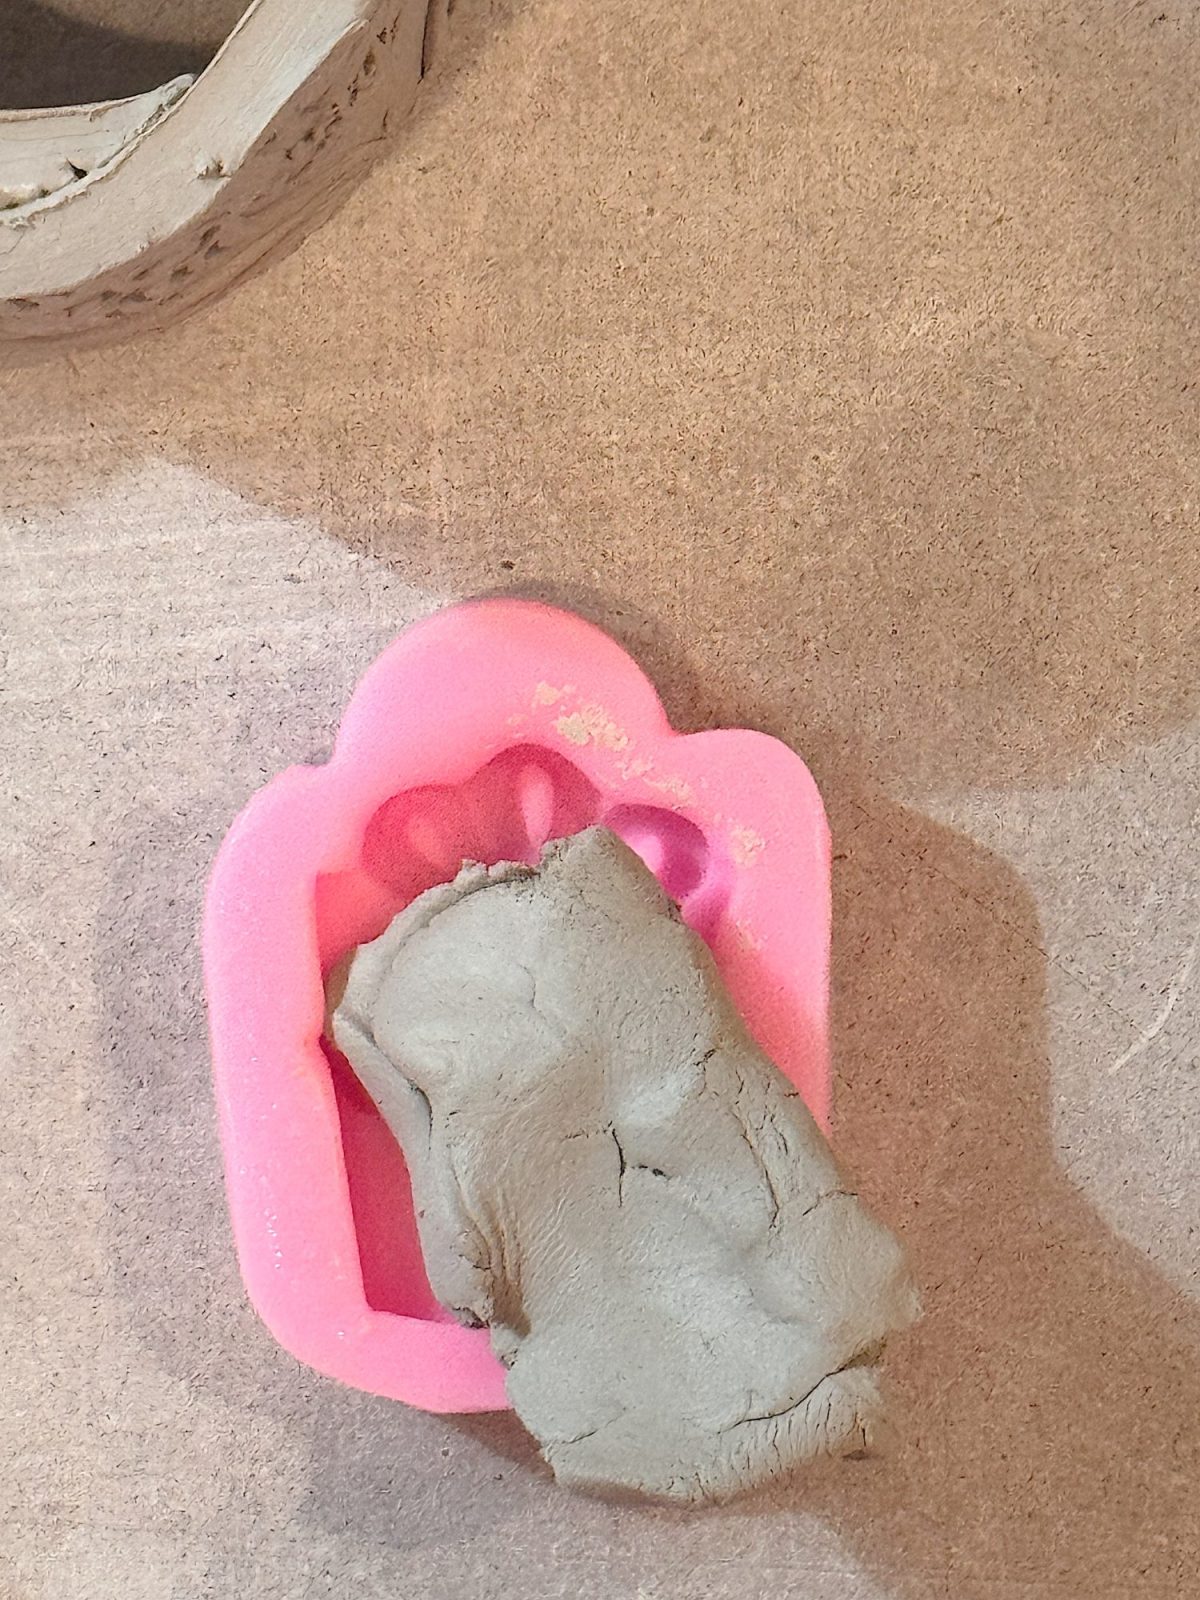
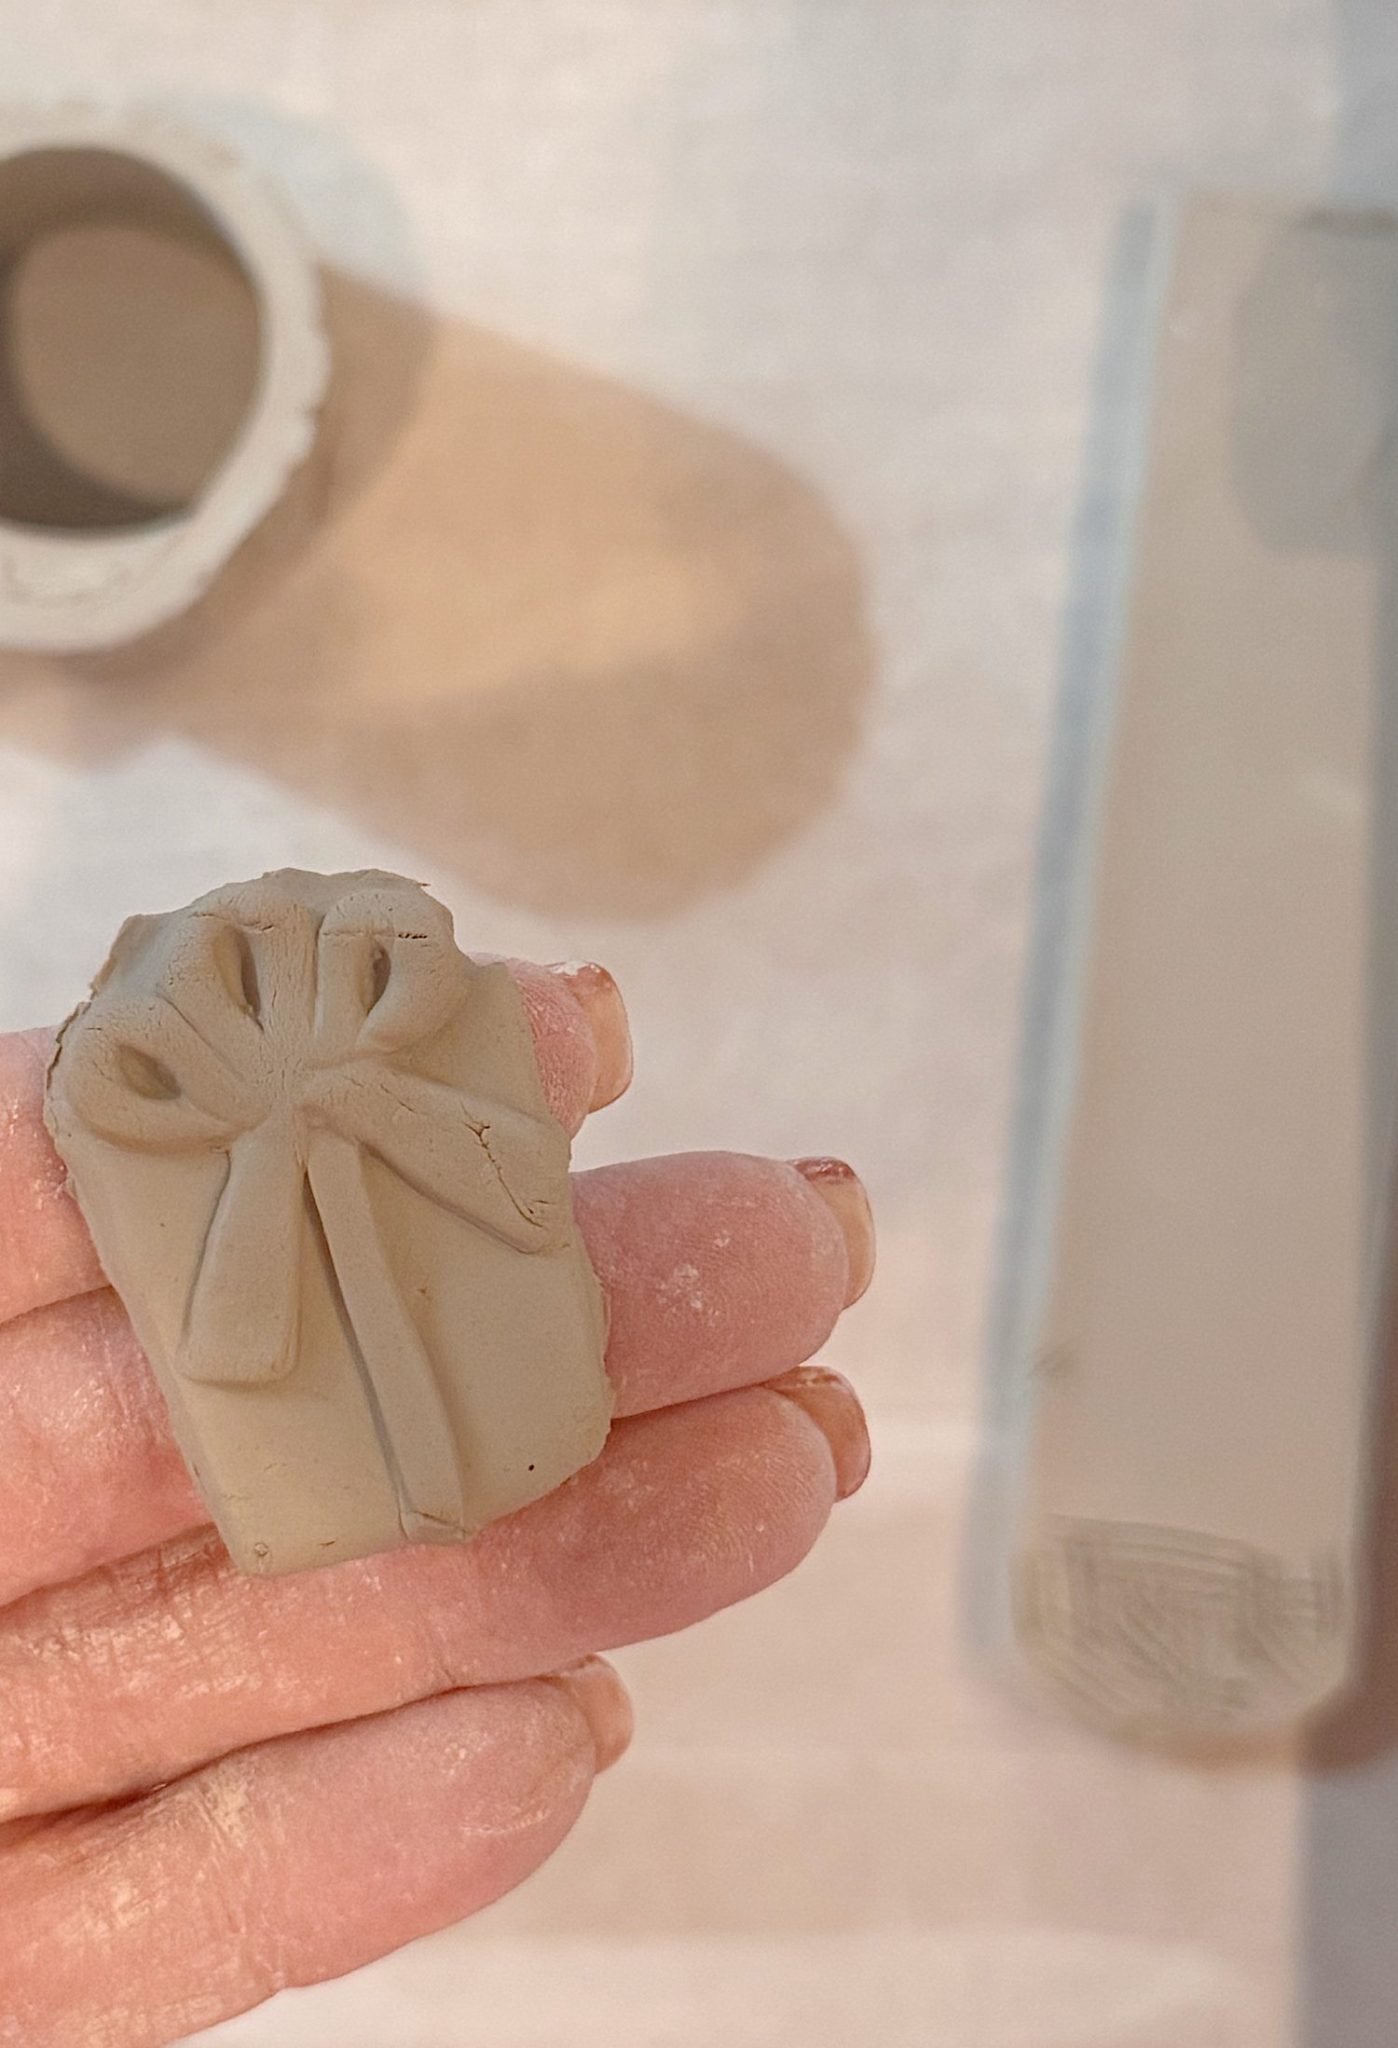
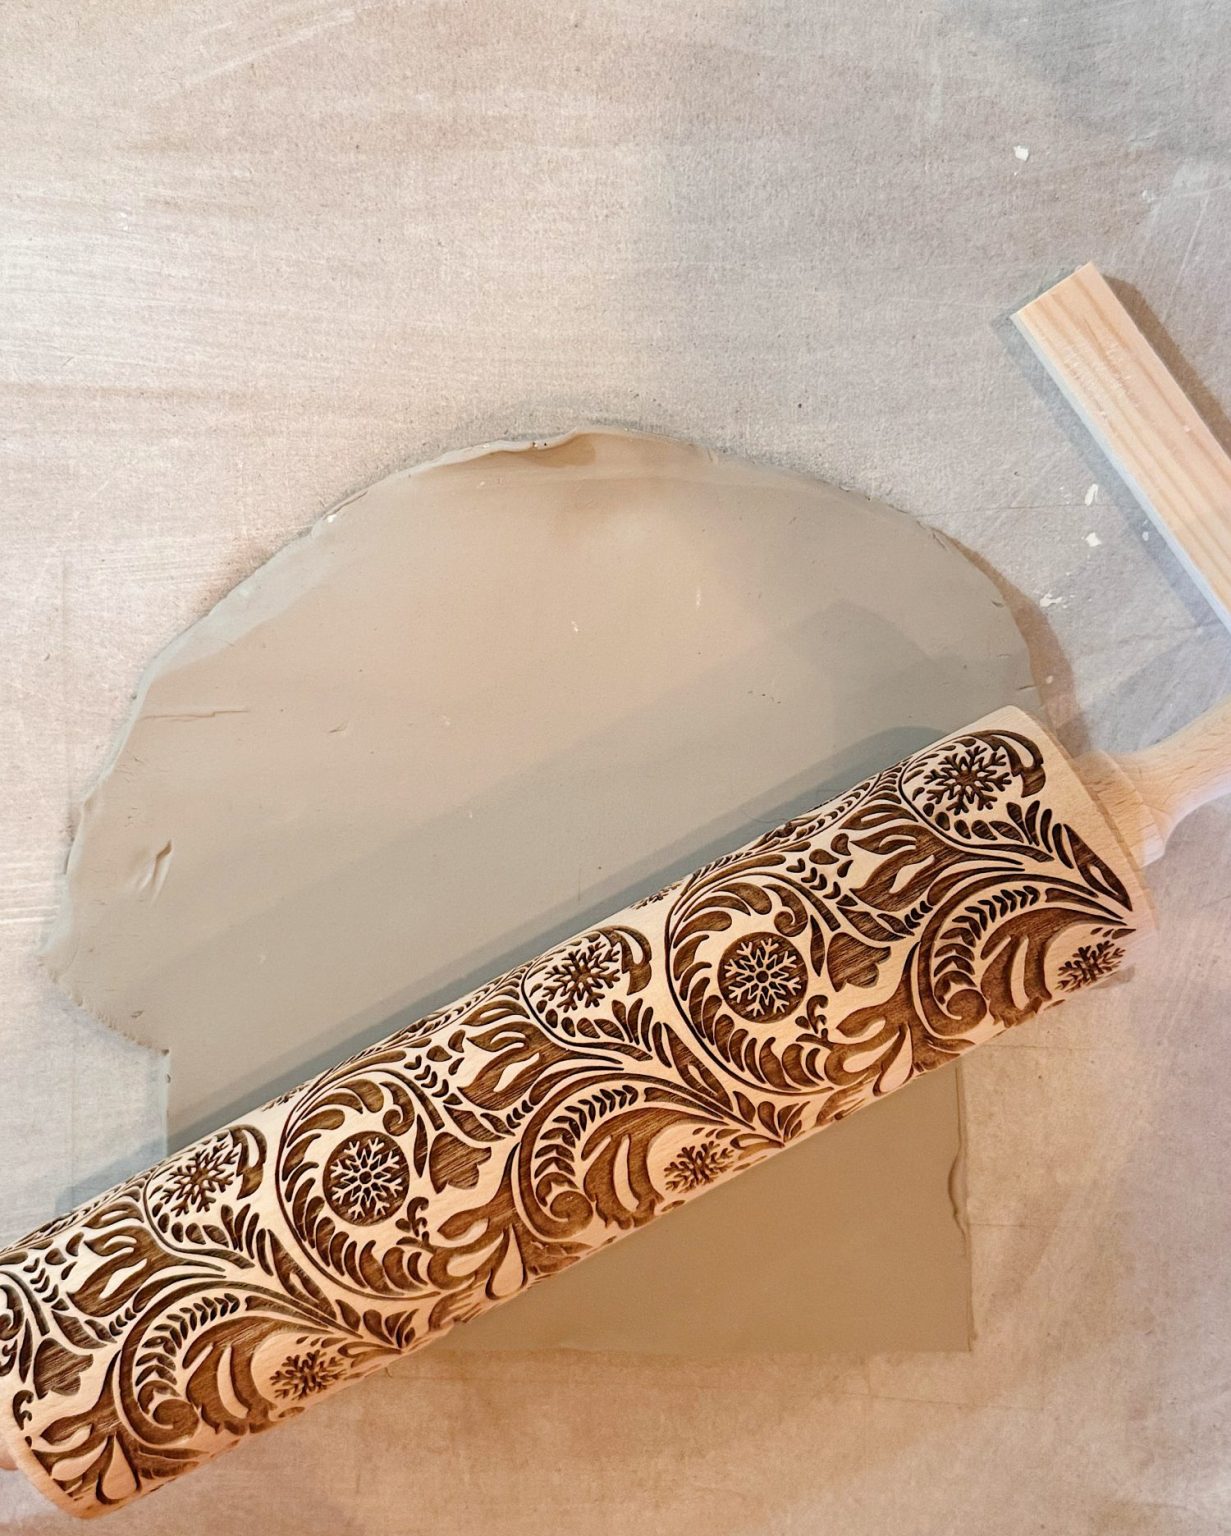
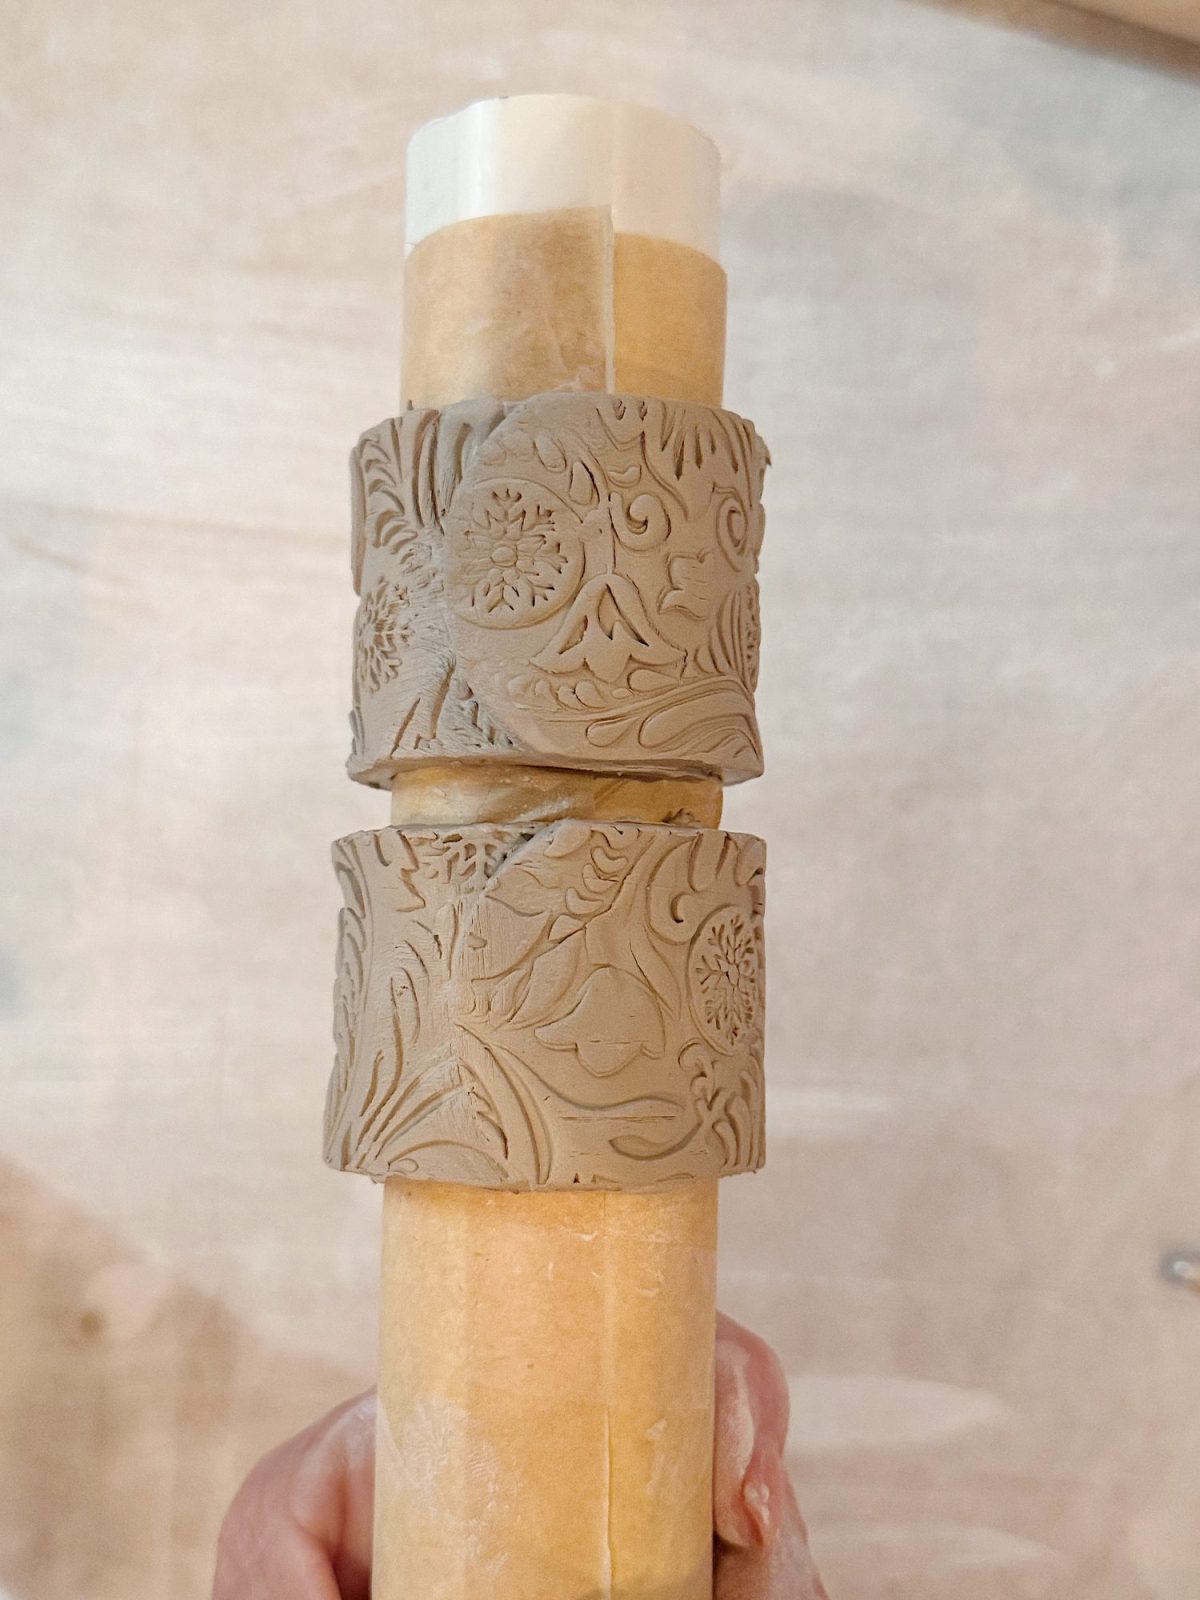
Textured Napkin Rings: I textured rollers onto the clay strips before shaping them, so the surface has a beautiful pattern.
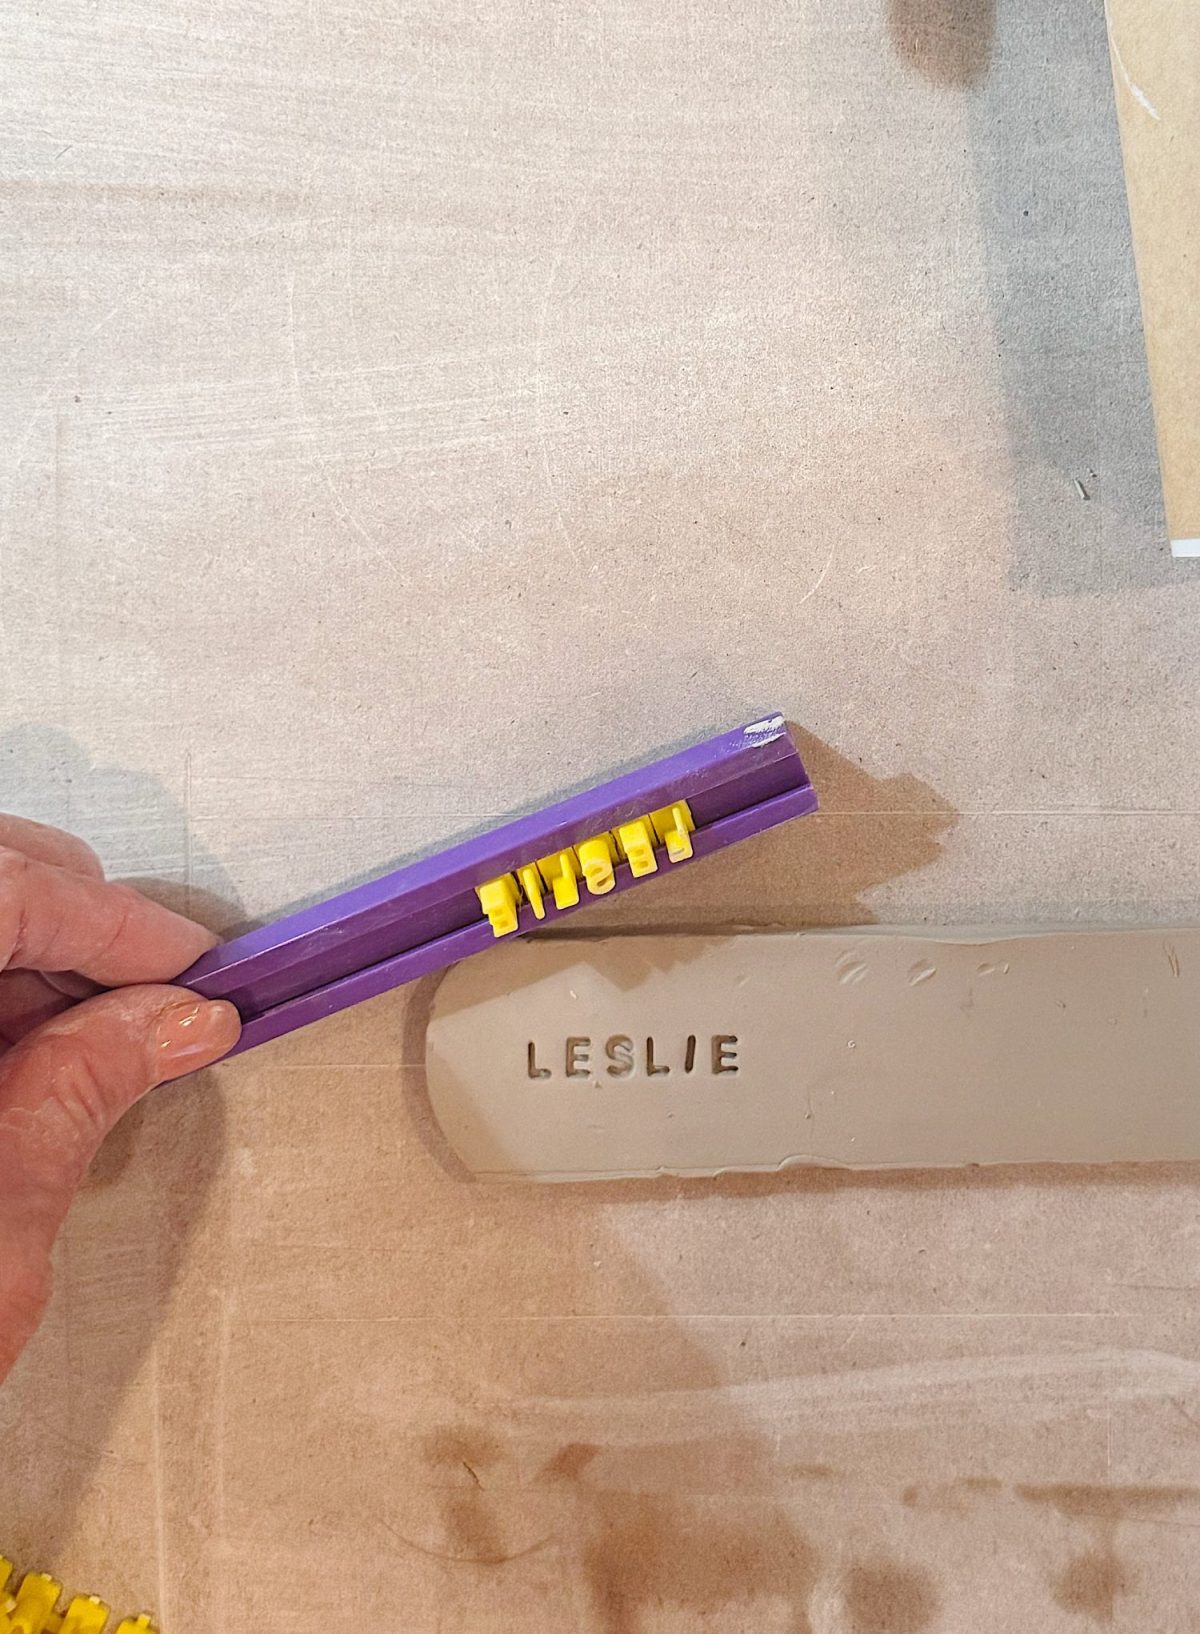
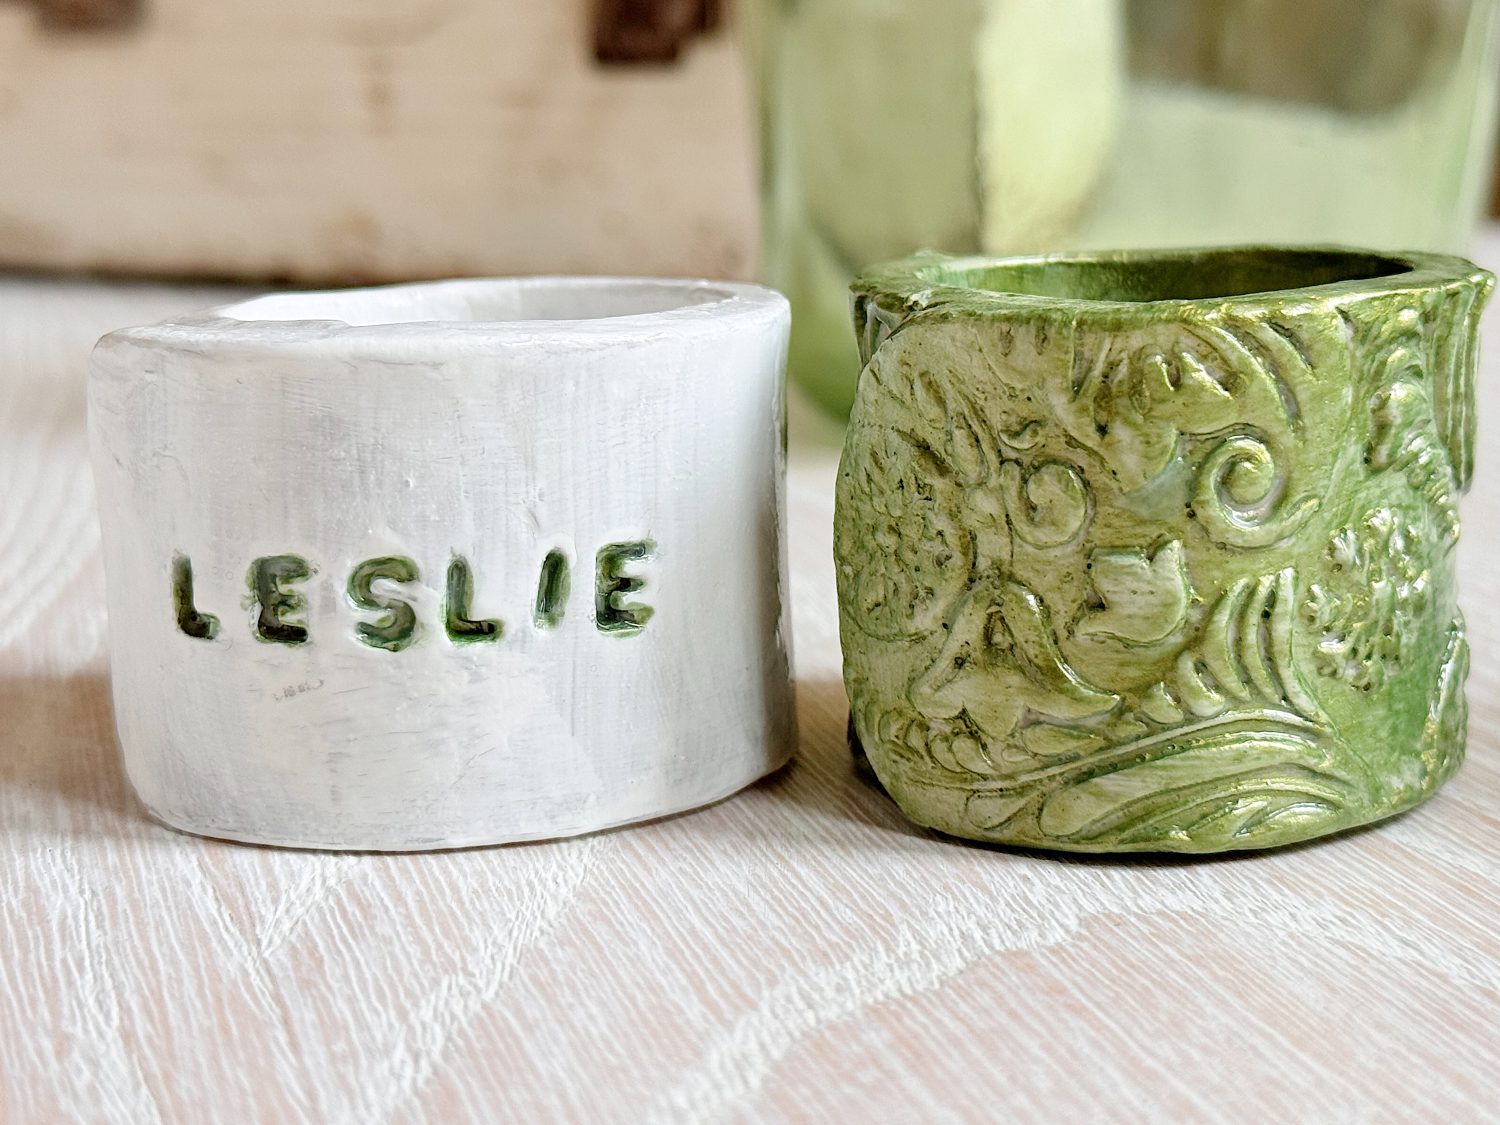
Personalized Napkin Rings: I left these plain, but added names of our family members, focusing on smooth, clean lines for a modern look.
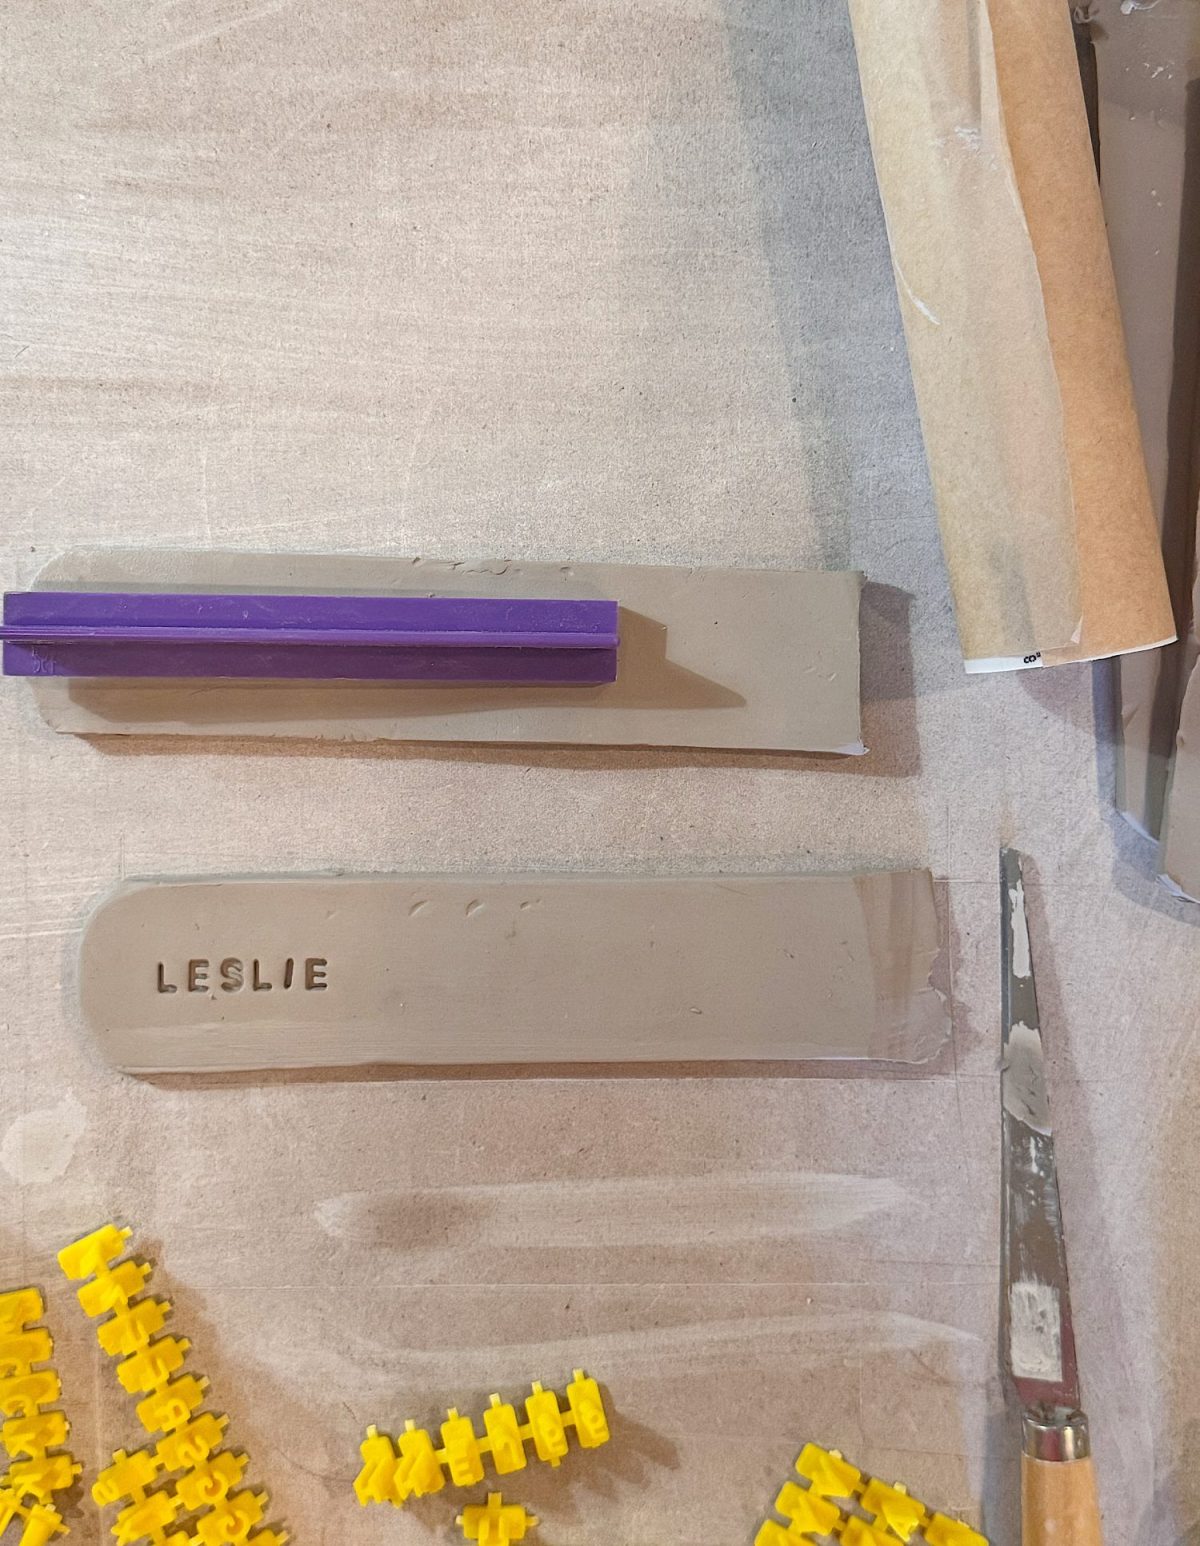
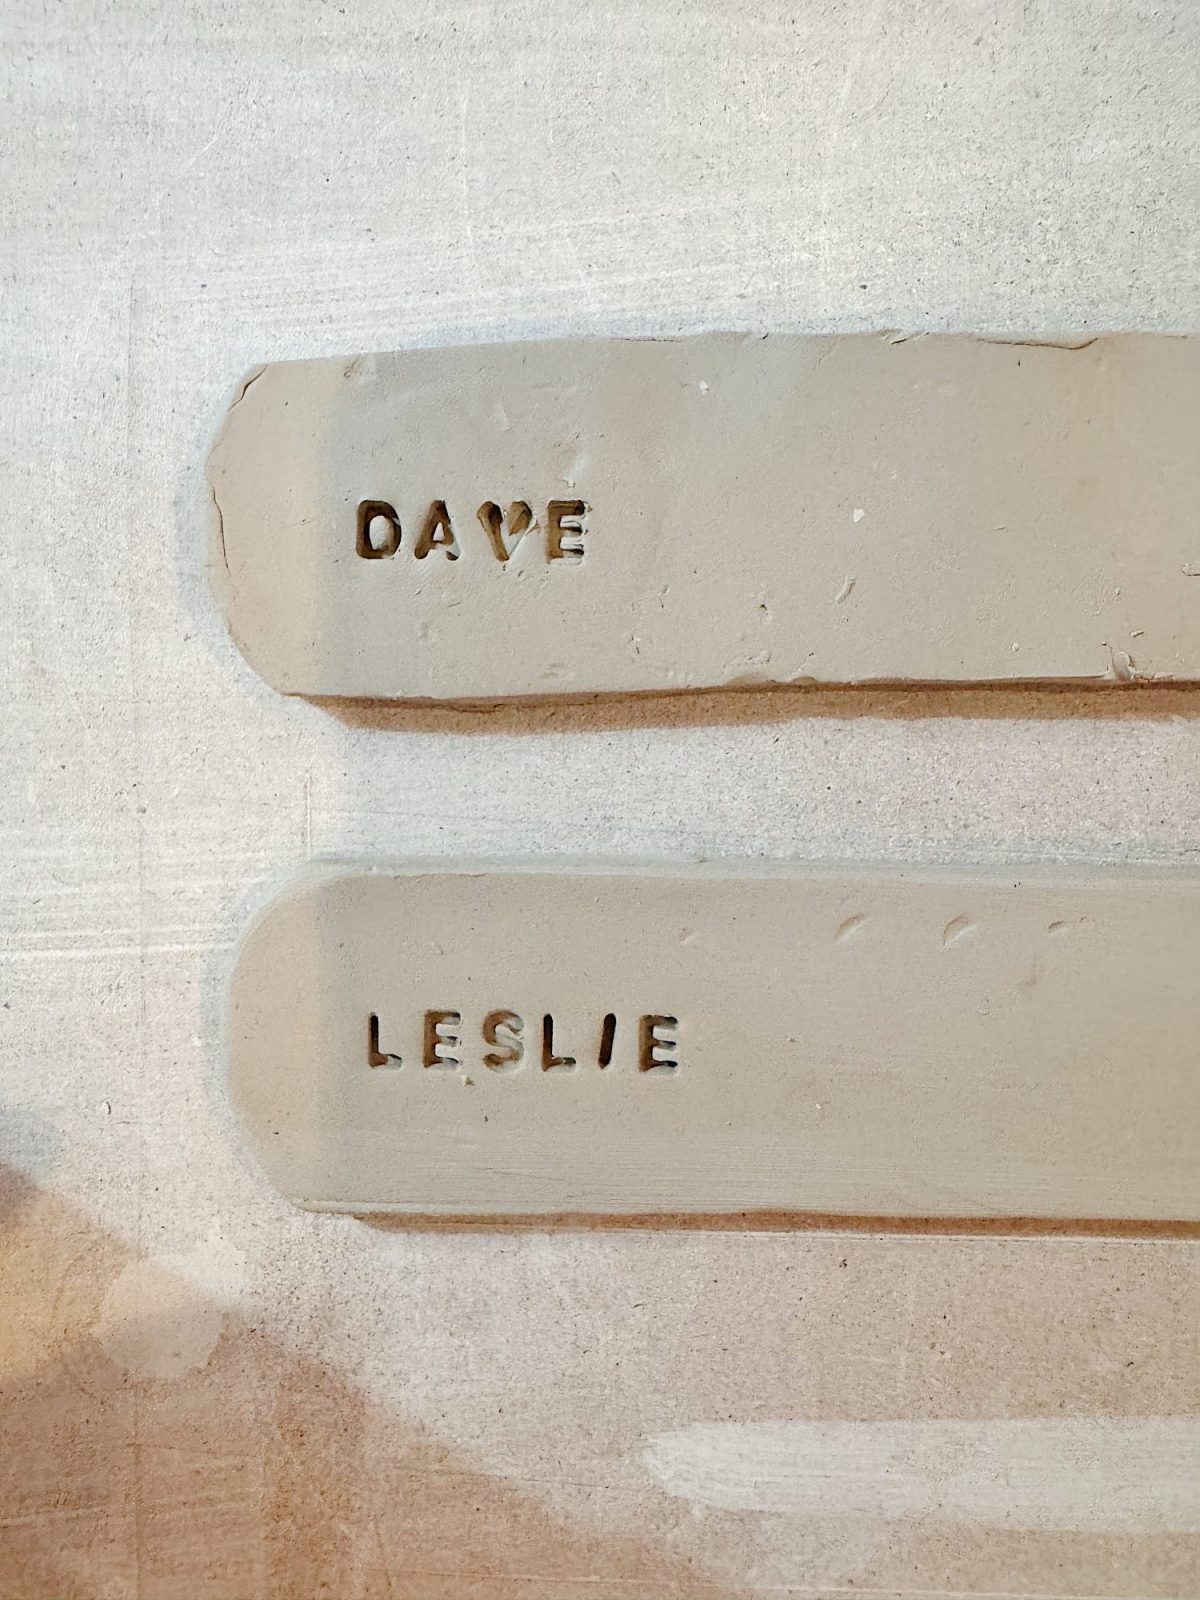
Step 4: Flatten the Base
Once the decorations are attached, gently press down on the plumbing tube to create a flat edge along the bottom of the napkin ring. This ensures the rings will sit flat on your table and won’t wobble.
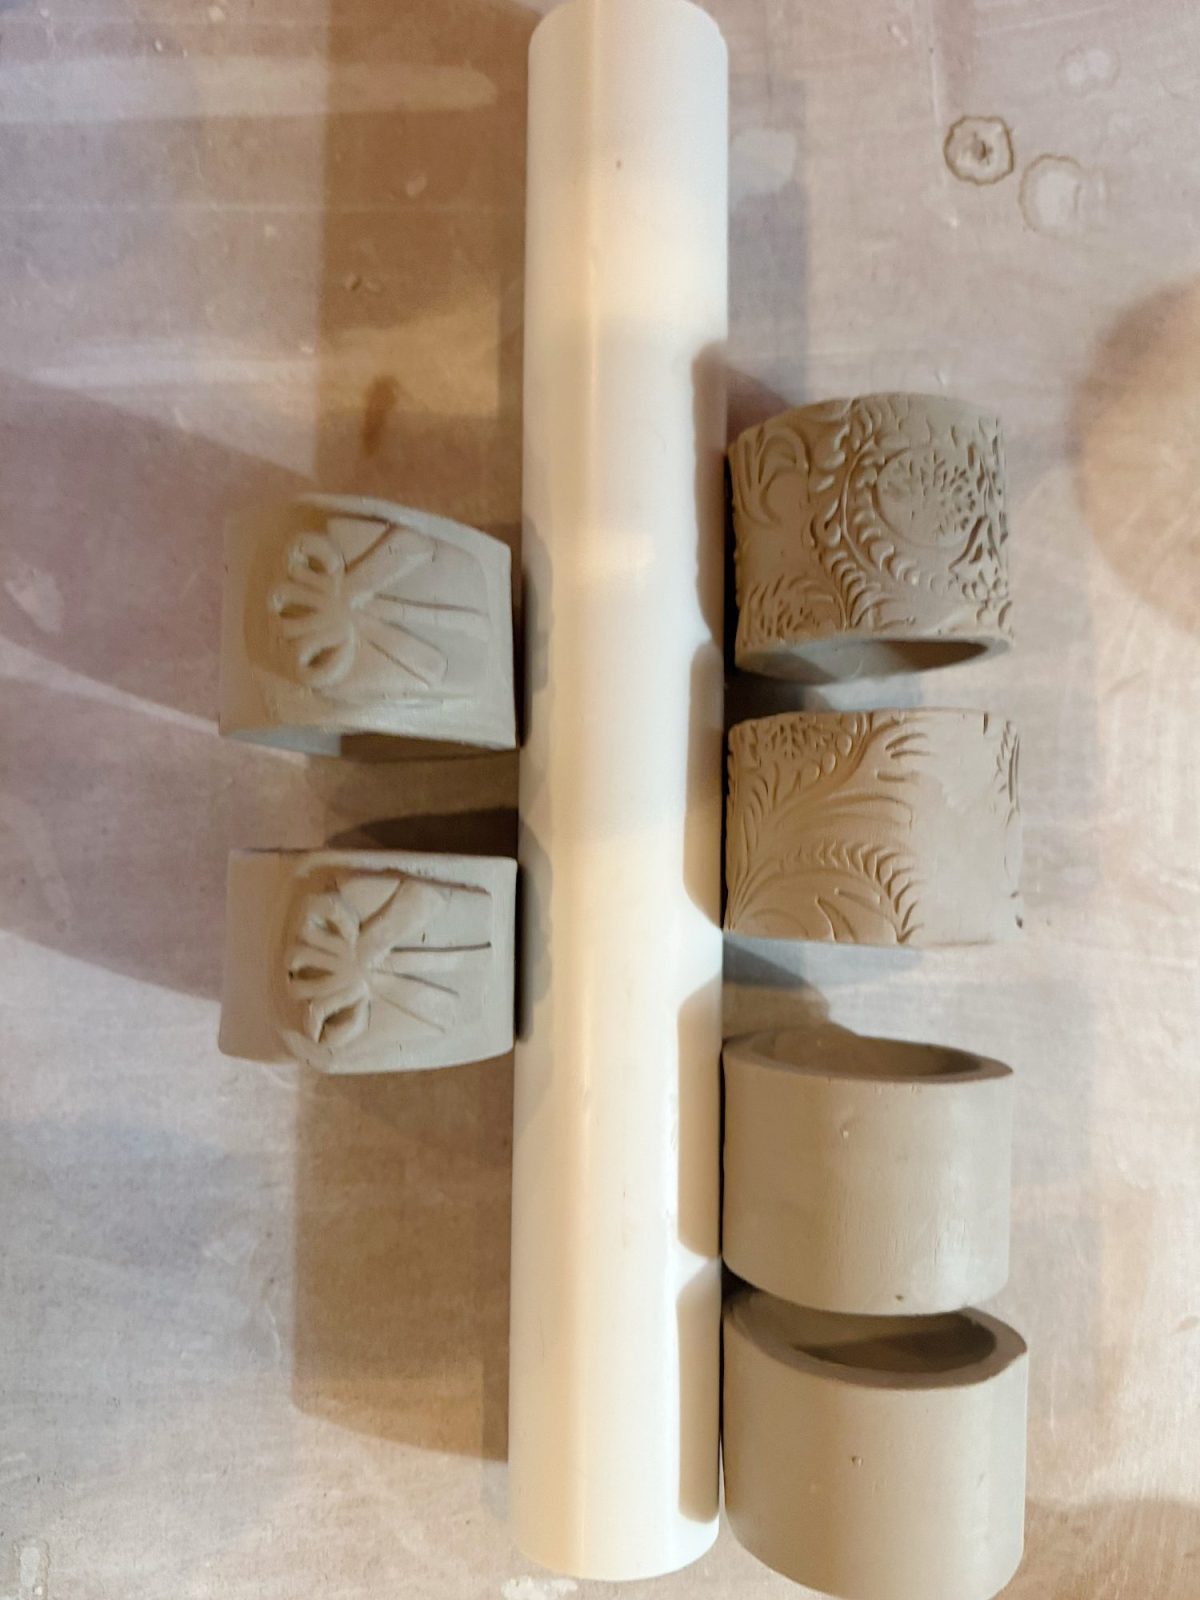
Gently slide the tube from the parchment paper and carefully remove the napkin rings. Since clay shrinks, you must do this step before you let them dry.
Step 5: Dry the Rings
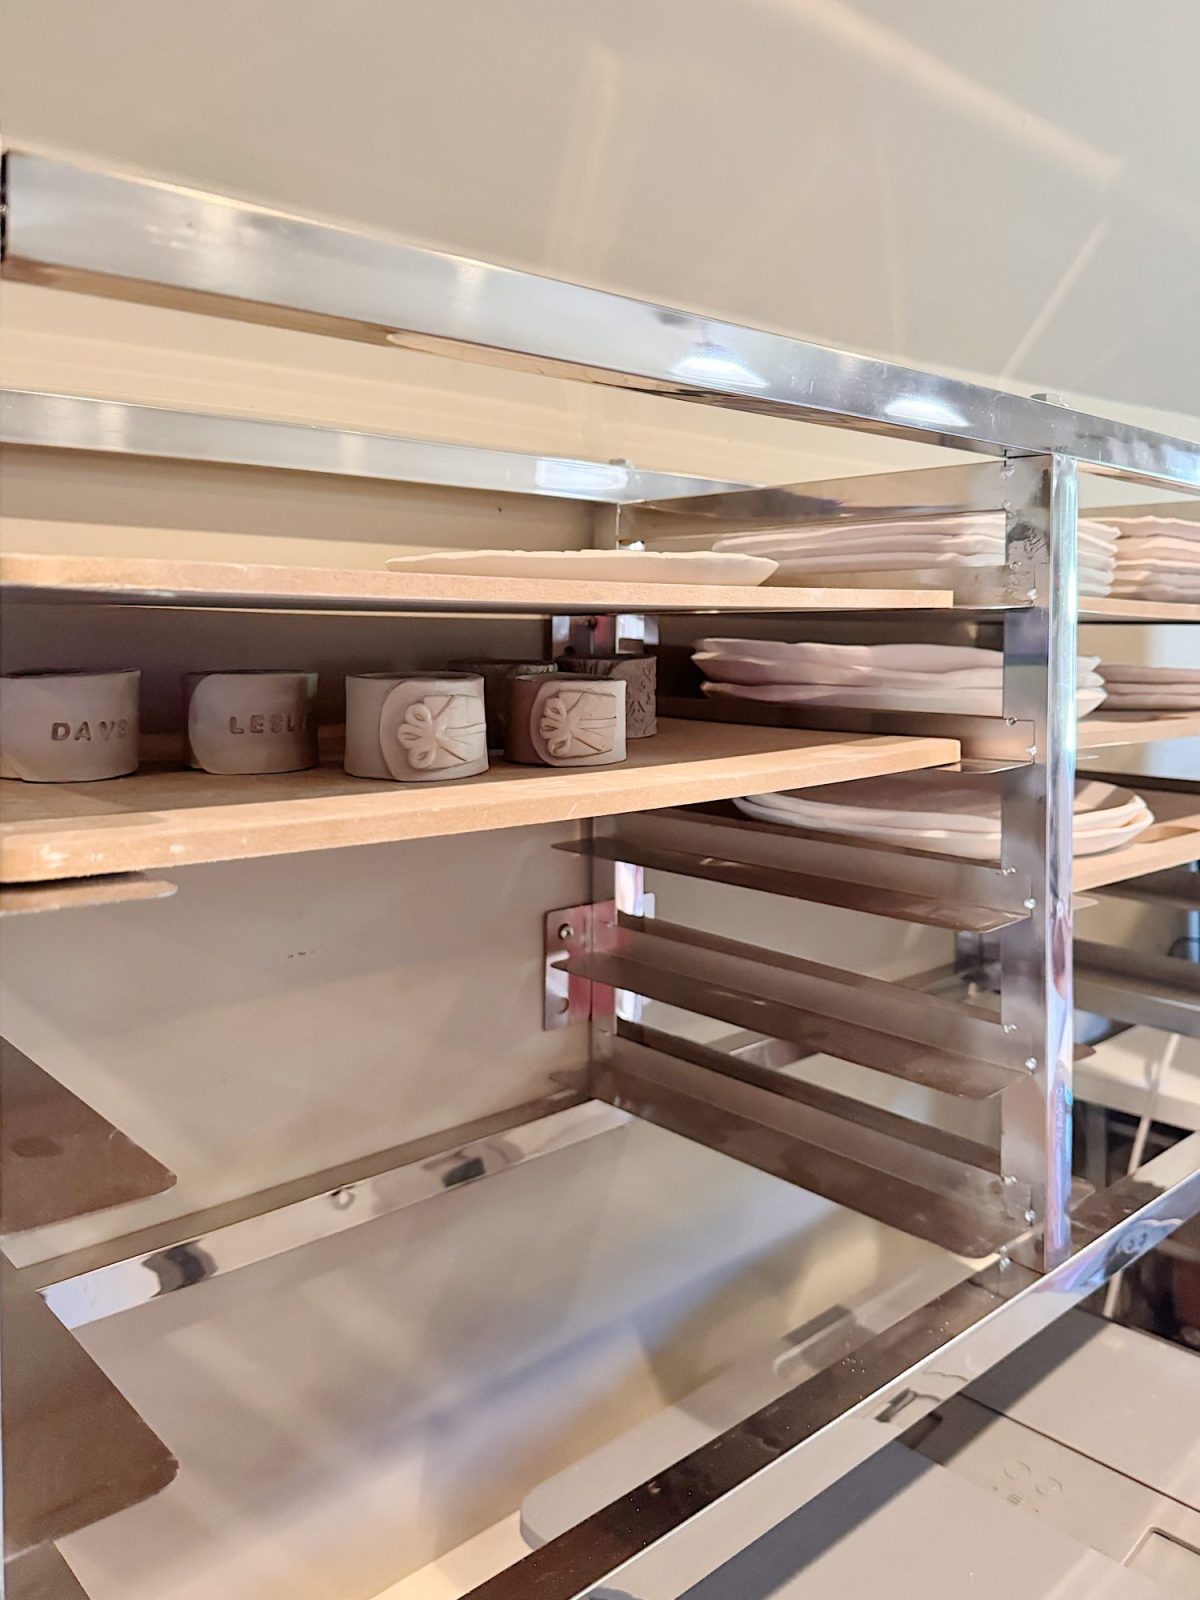
Allow the napkin rings to dry until they are firm to the touch, then carefully slide them off the tube. Let them dry thoroughly for at least 24–48 hours. Turn them occasionally to make sure they dry evenly.
I just purchased this hanging rack for my craft room (it’s supposed to be for freshly baked goods). I needed it for several reasons. Breakage was the main issue, since clay is soft and needs to be stored away from other craft projects and kitty cats. And space is key, because it has 10 racks that can hold all of my pottery pieces waiting to dry or head off to a kiln.
I let mine dry for two days and then put them in an oven at 250 degrees for 15 minutes to make sure they were completely dry.
Step 6: Seal with Mod Podge
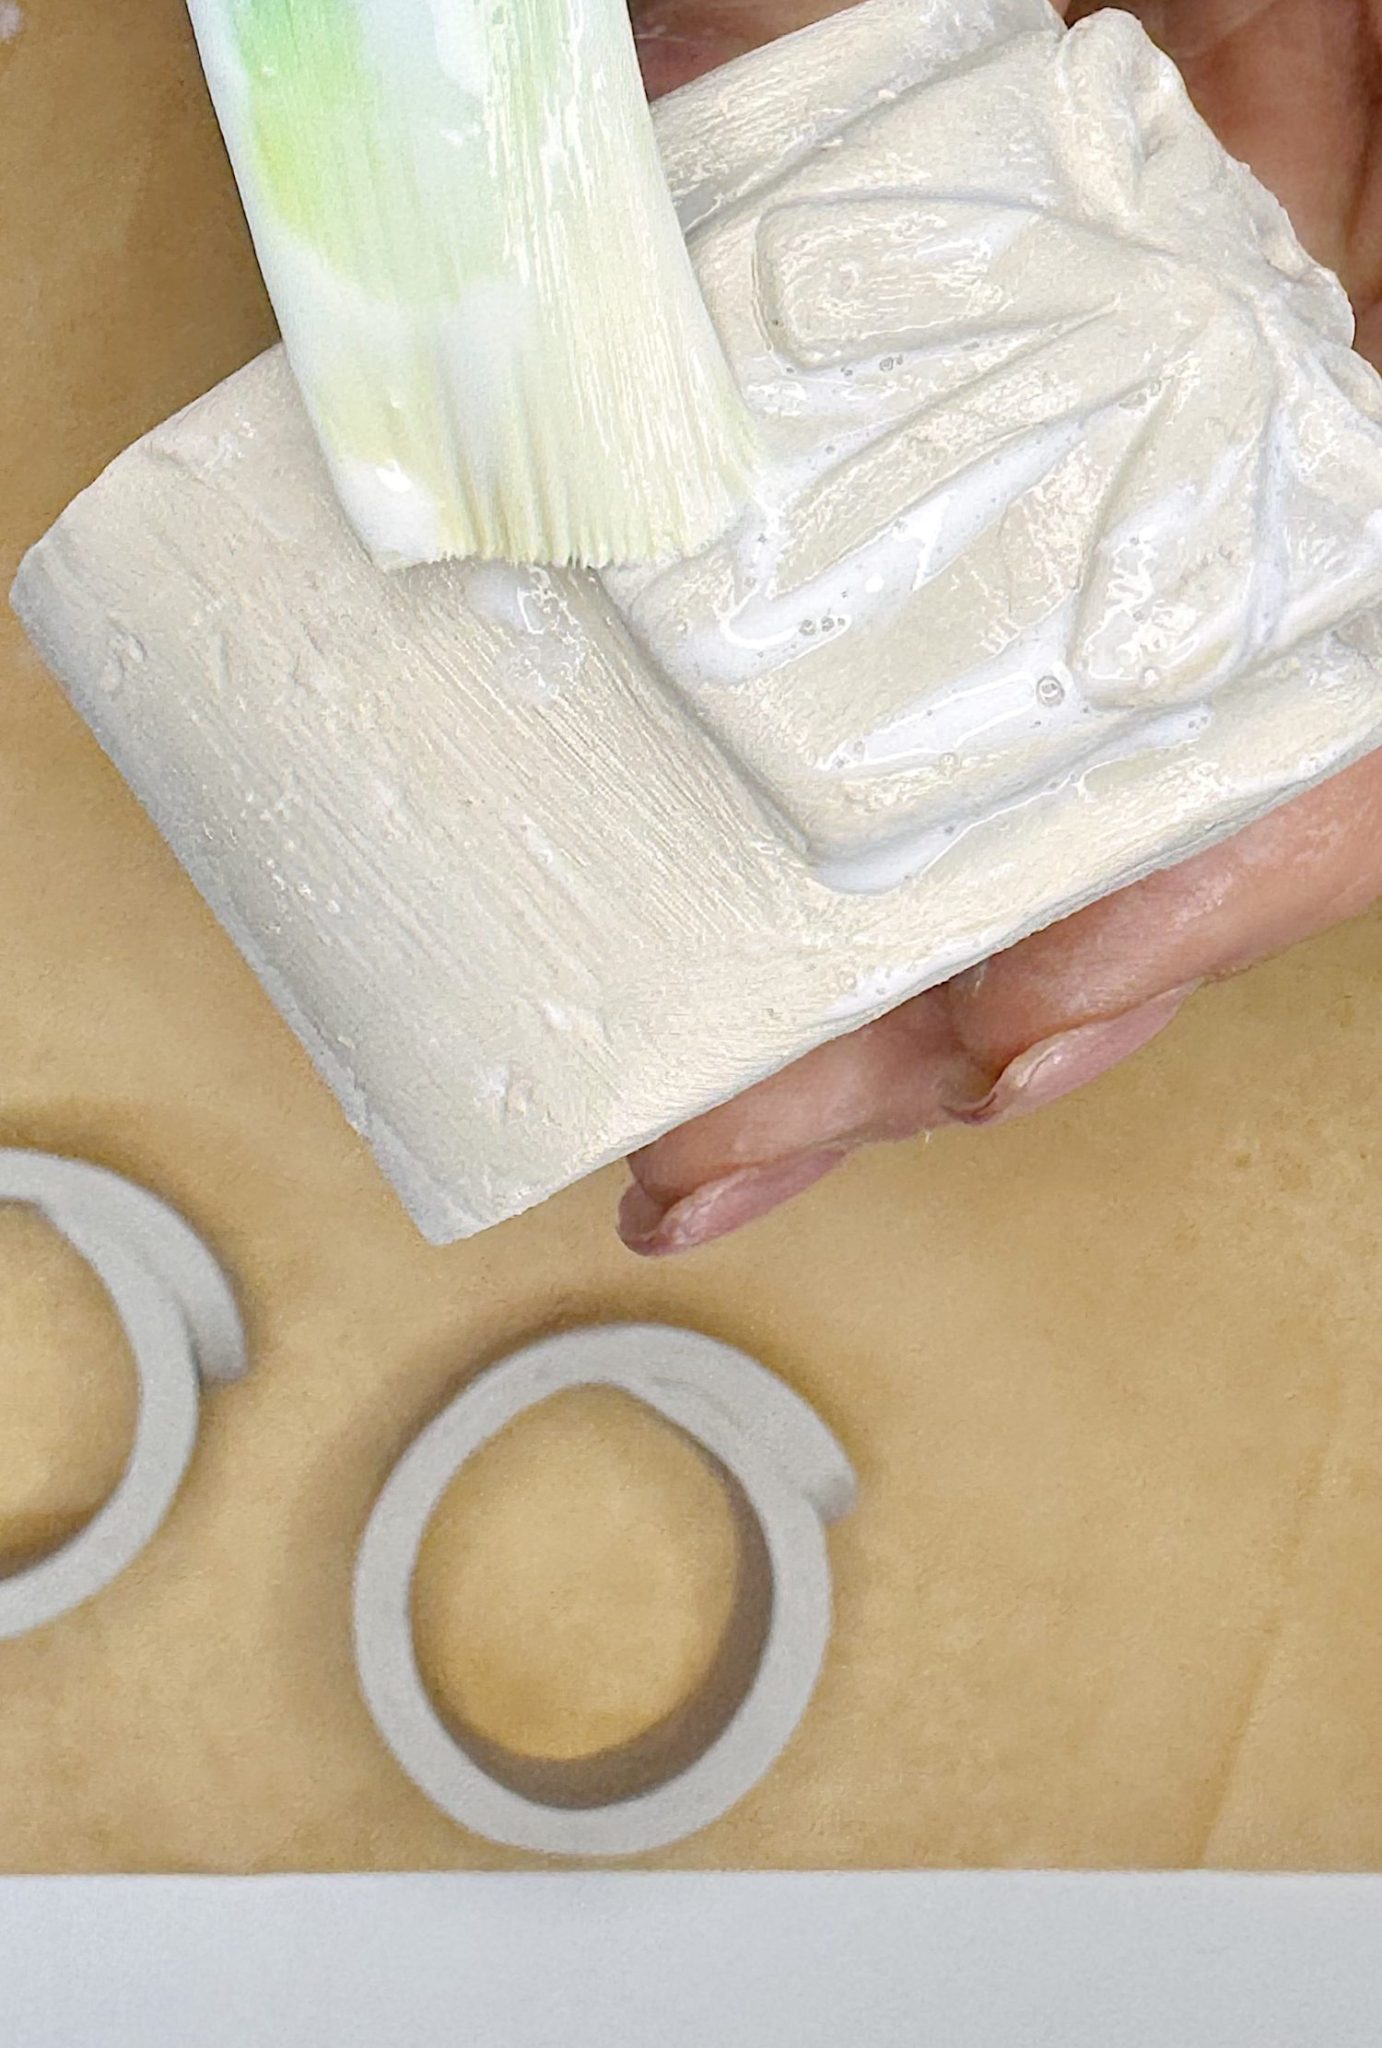
When the napkin rings are dry, brush on a coat of Mod Podge. This helps seal the clay and create a less soluble surface for painting. Let it dry thoroughly.
Step 7: Paint and Glaze
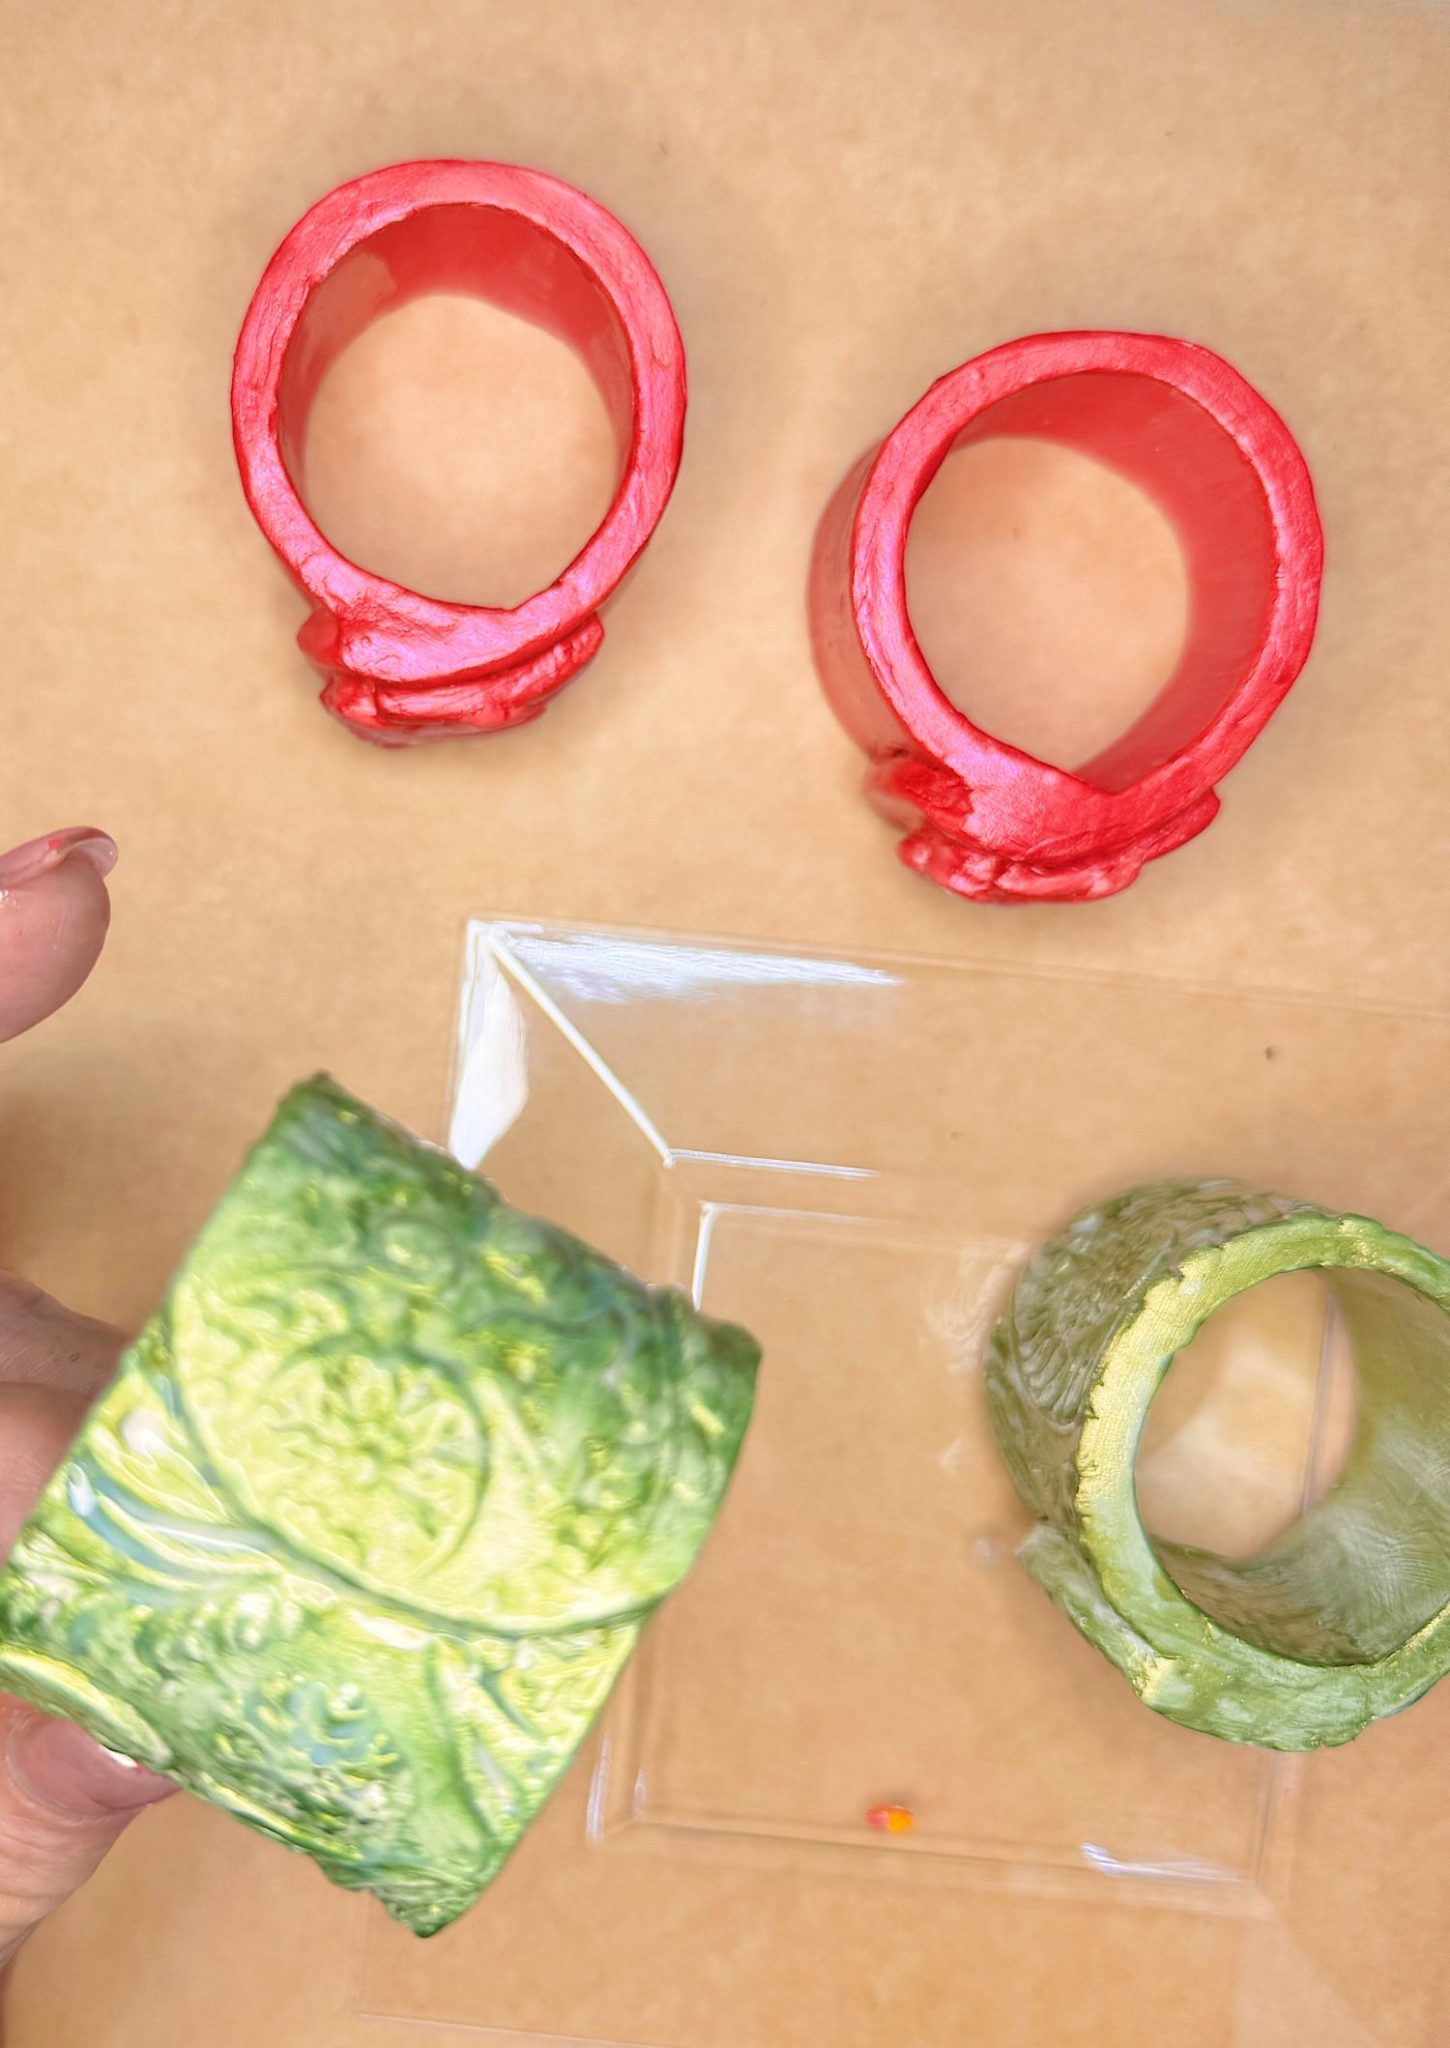
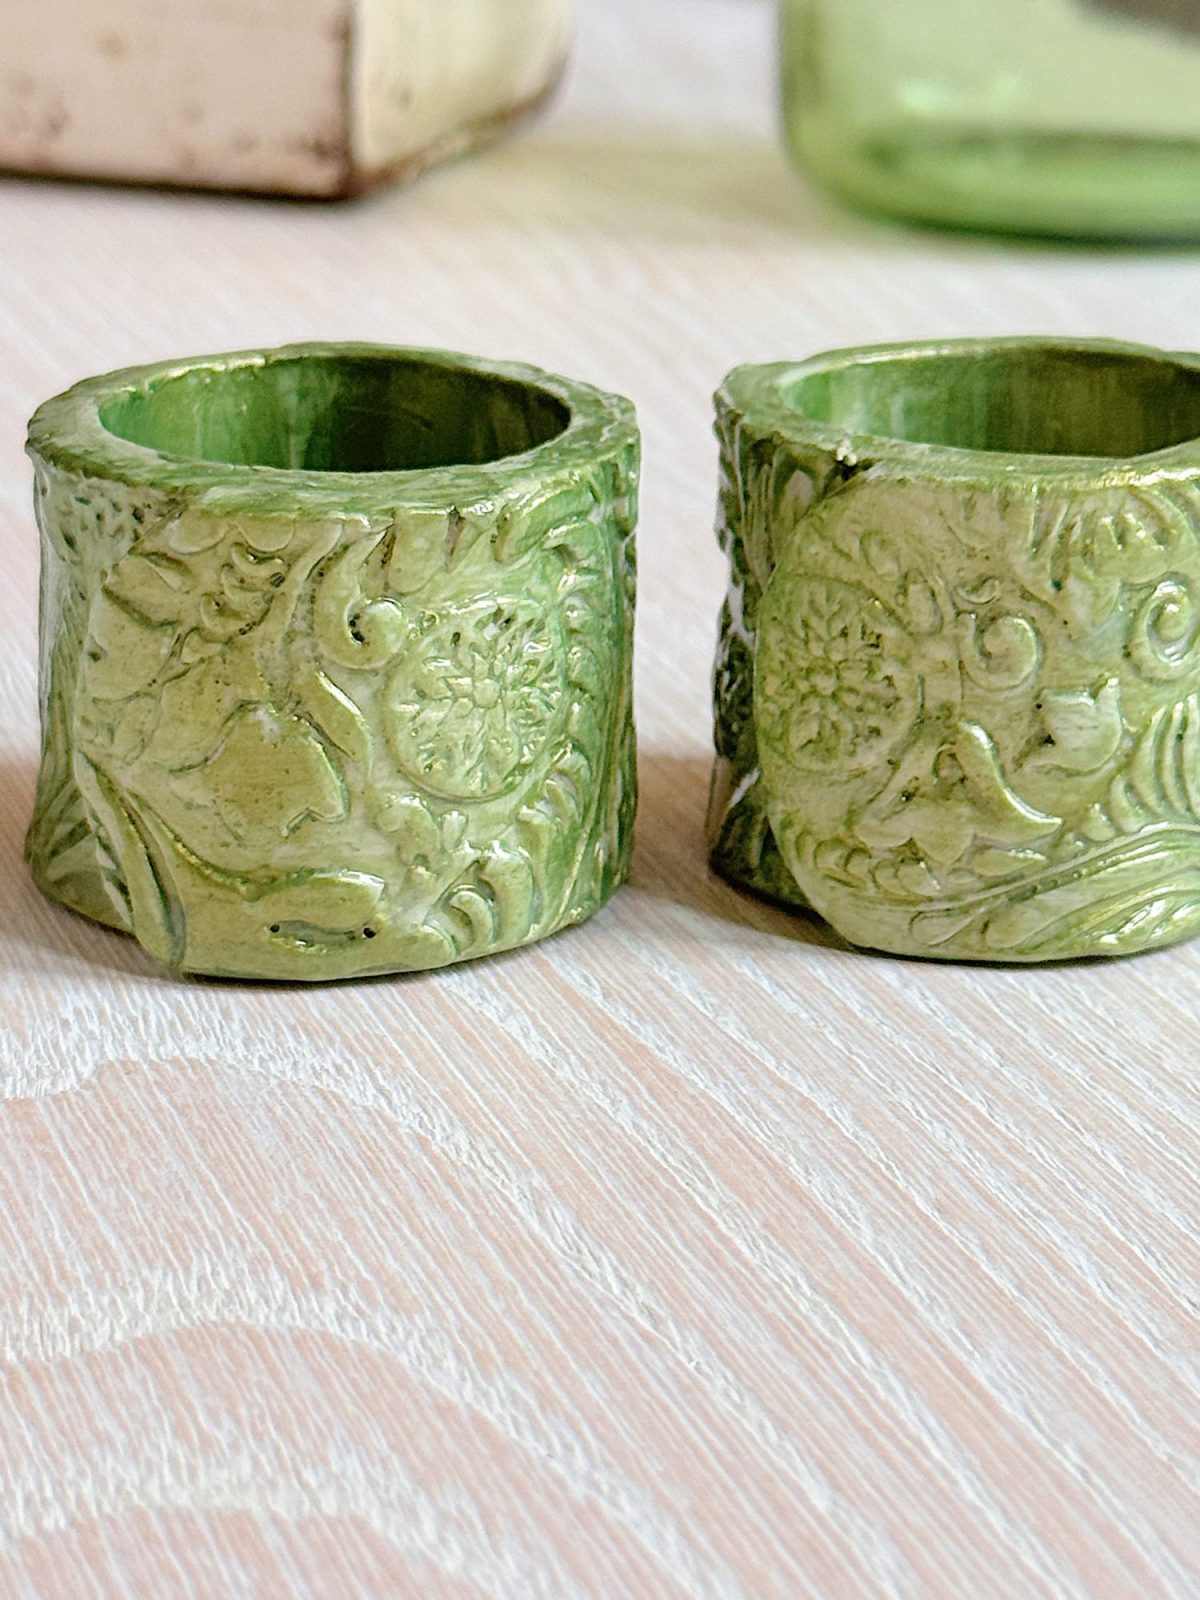
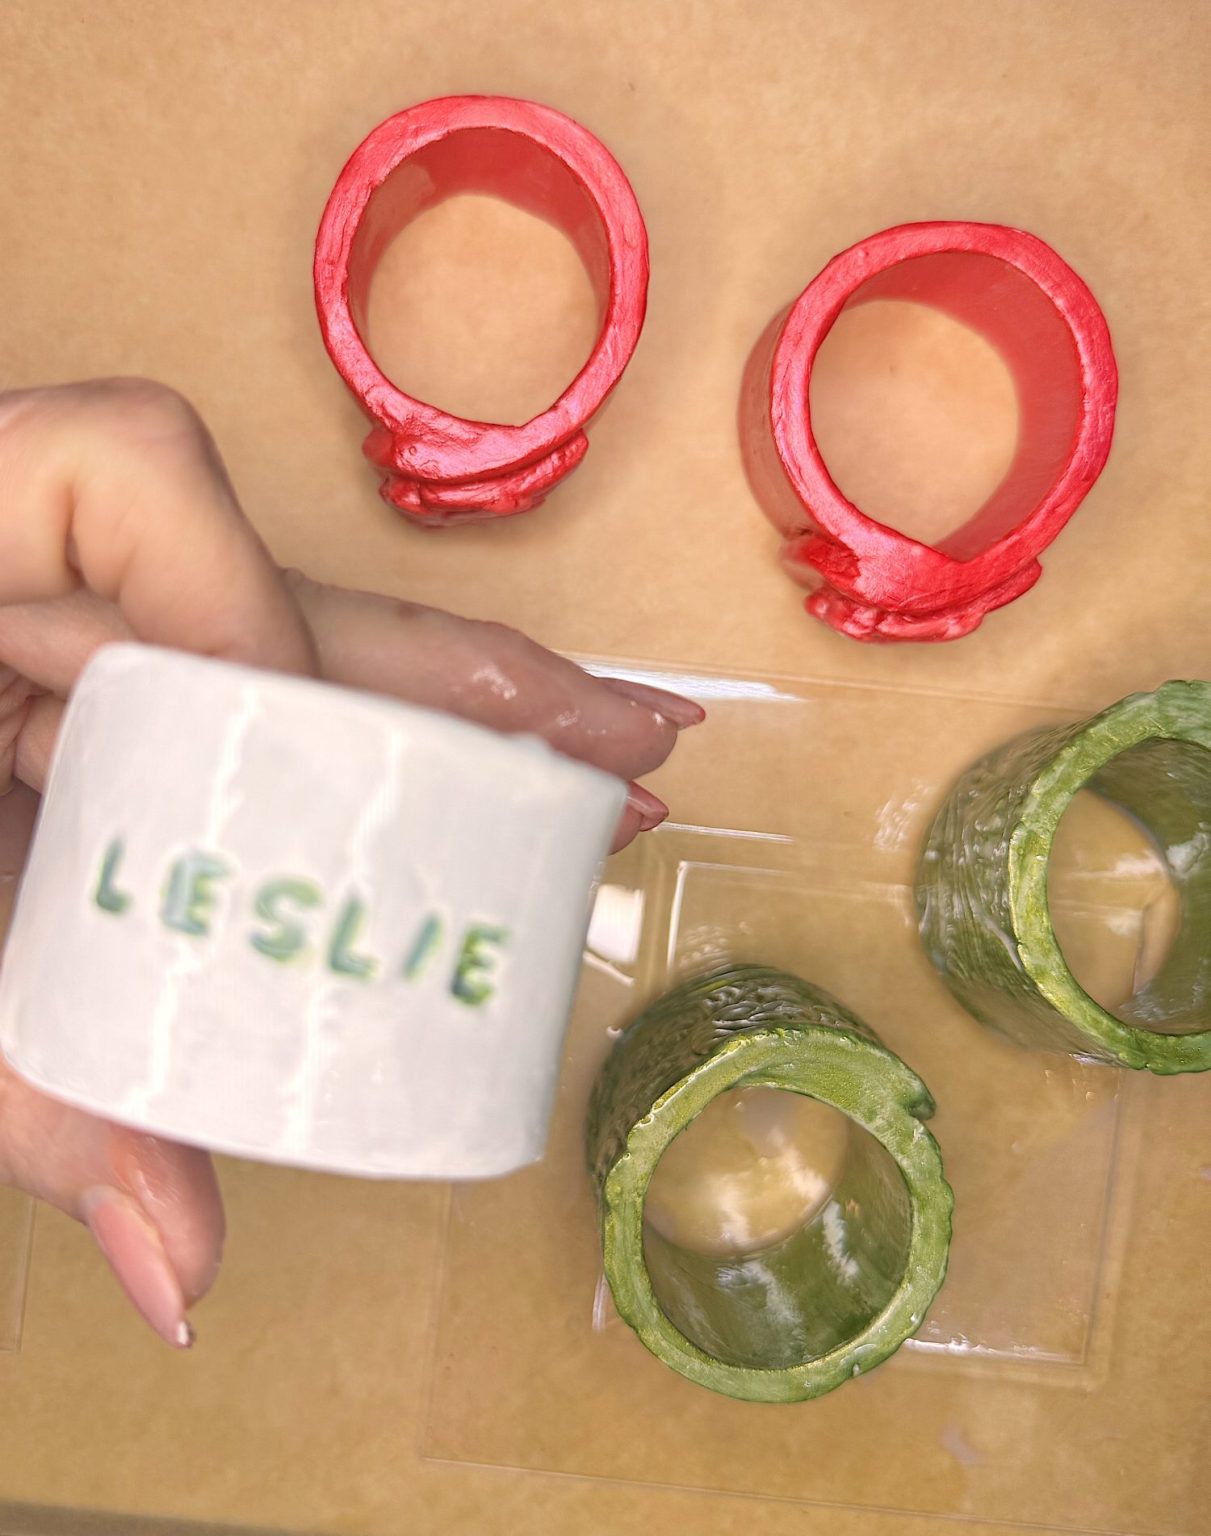
Paint the napkin rings with acrylic paint in your desired colors. For mine, I chose holiday red, white, and a touch of sage green, colors that complement my holiday palette this year.
I used my metallic acrylics for the green textured rings and red gift package rings. I used white and sage green acrylic for the white lettered rings.
Once the paint is dry, finish by sealing the rings with Clay Glaze. This step gives them durability and a subtle sheen, making them look polished and professional.
Styling the Napkin Rings
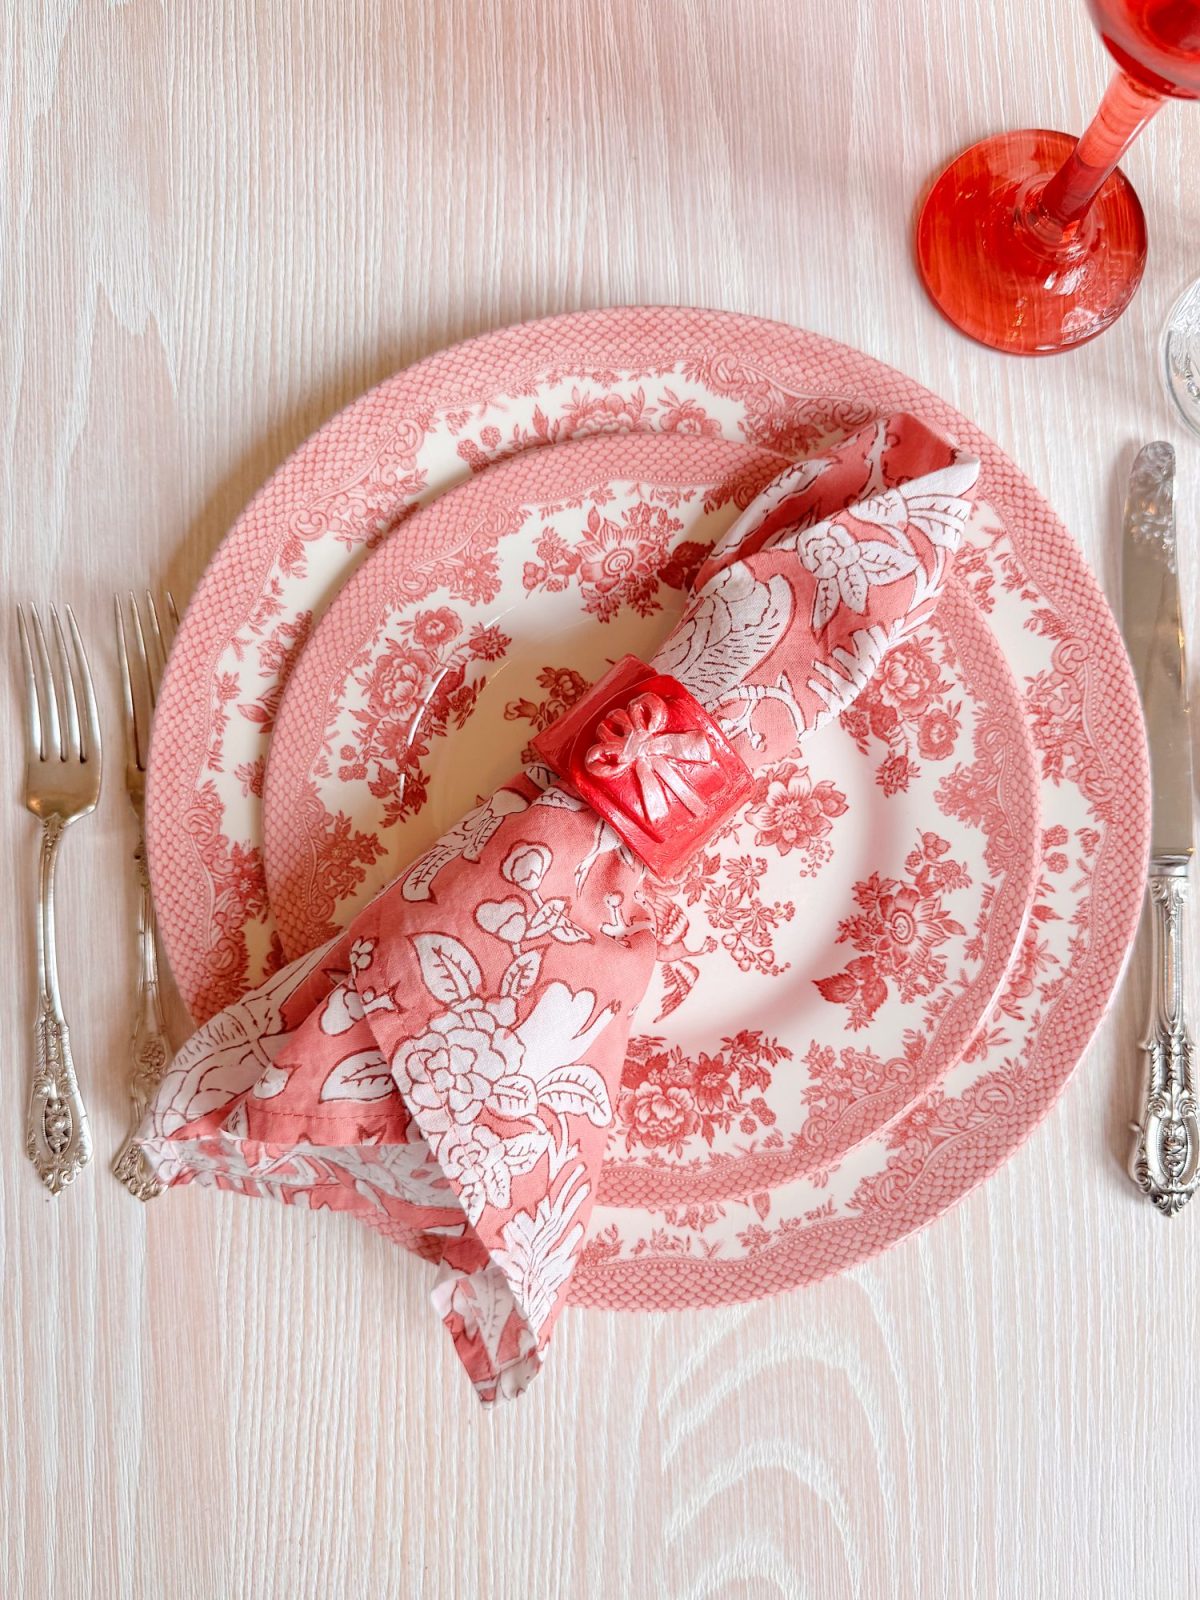
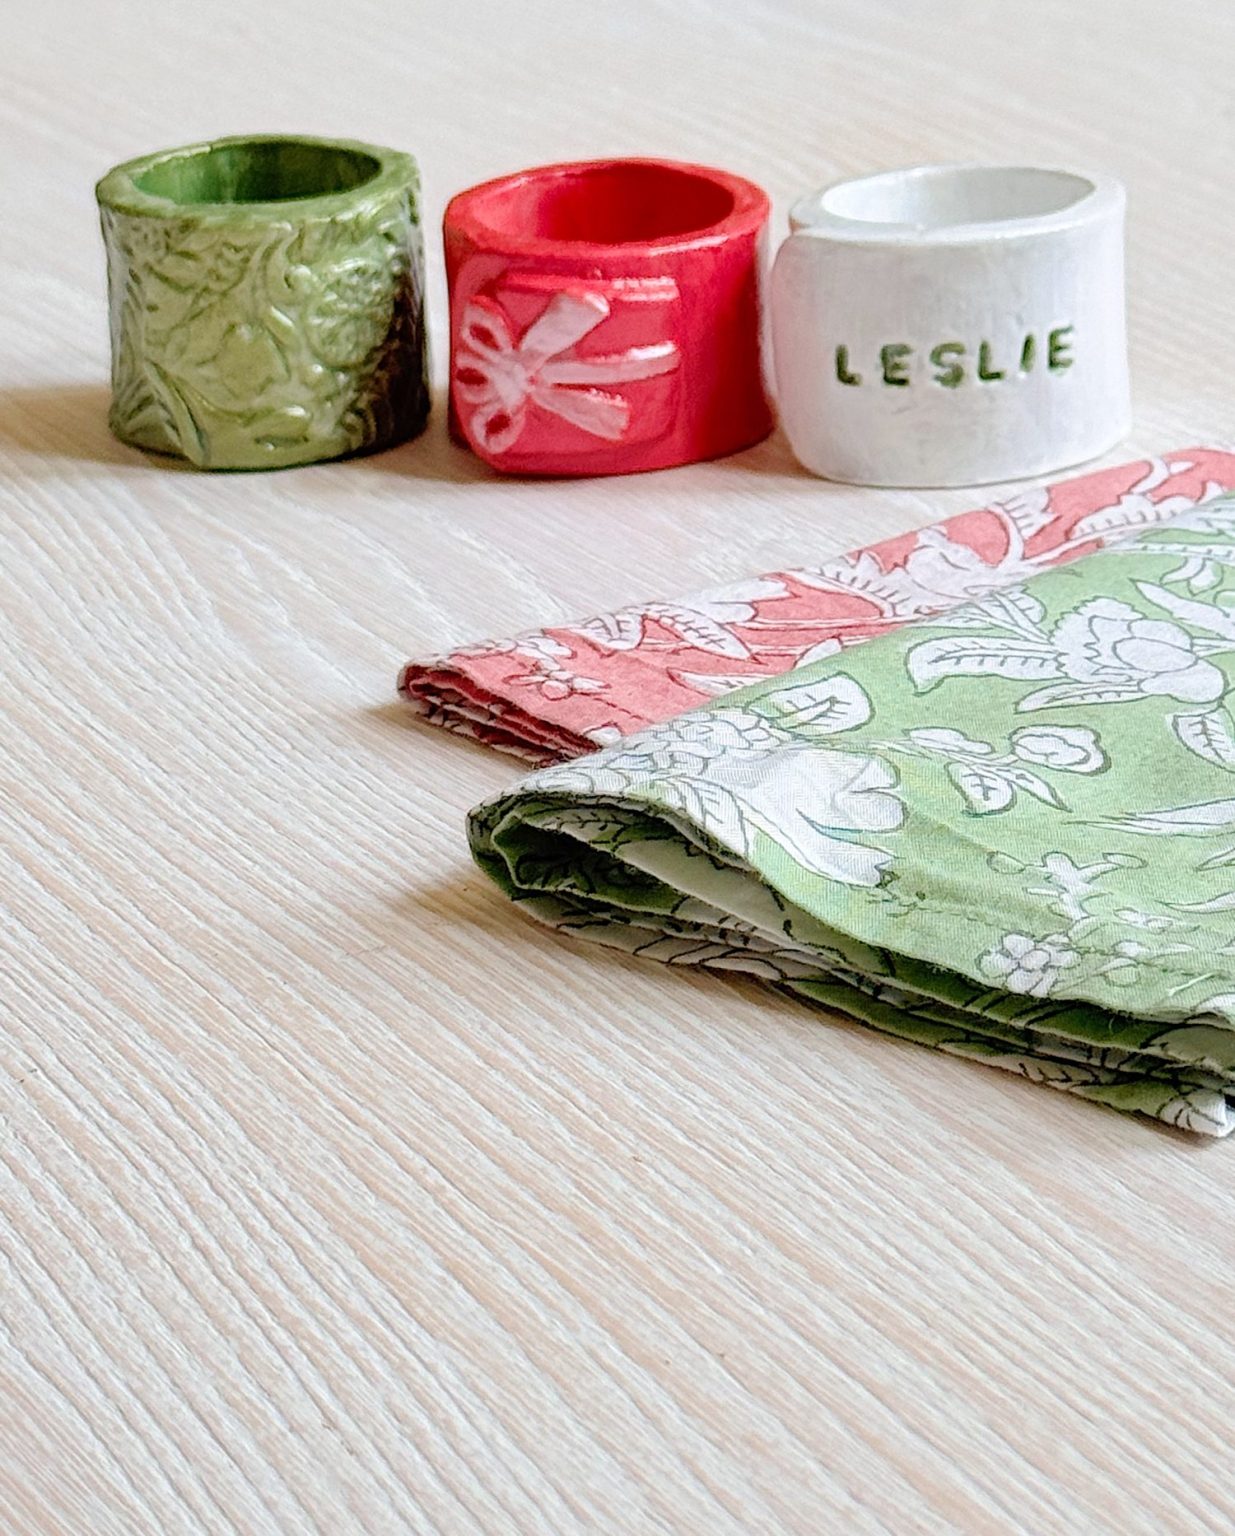
When I set my holiday table, I love adding small touches that make guests feel special. These handmade napkin rings do just that.
- The floral versions pair beautifully with romantic, layered tablescapes full of greenery and candles.
- The textured versions add visual interest and work well with simple linens.
- The plain versions are perfect for modern, minimal tables where you want understated elegance.
You can mix and match all three styles in one table setting, or create a cohesive set of one style. Either way, they’ll look gorgeous.


Tips for Success
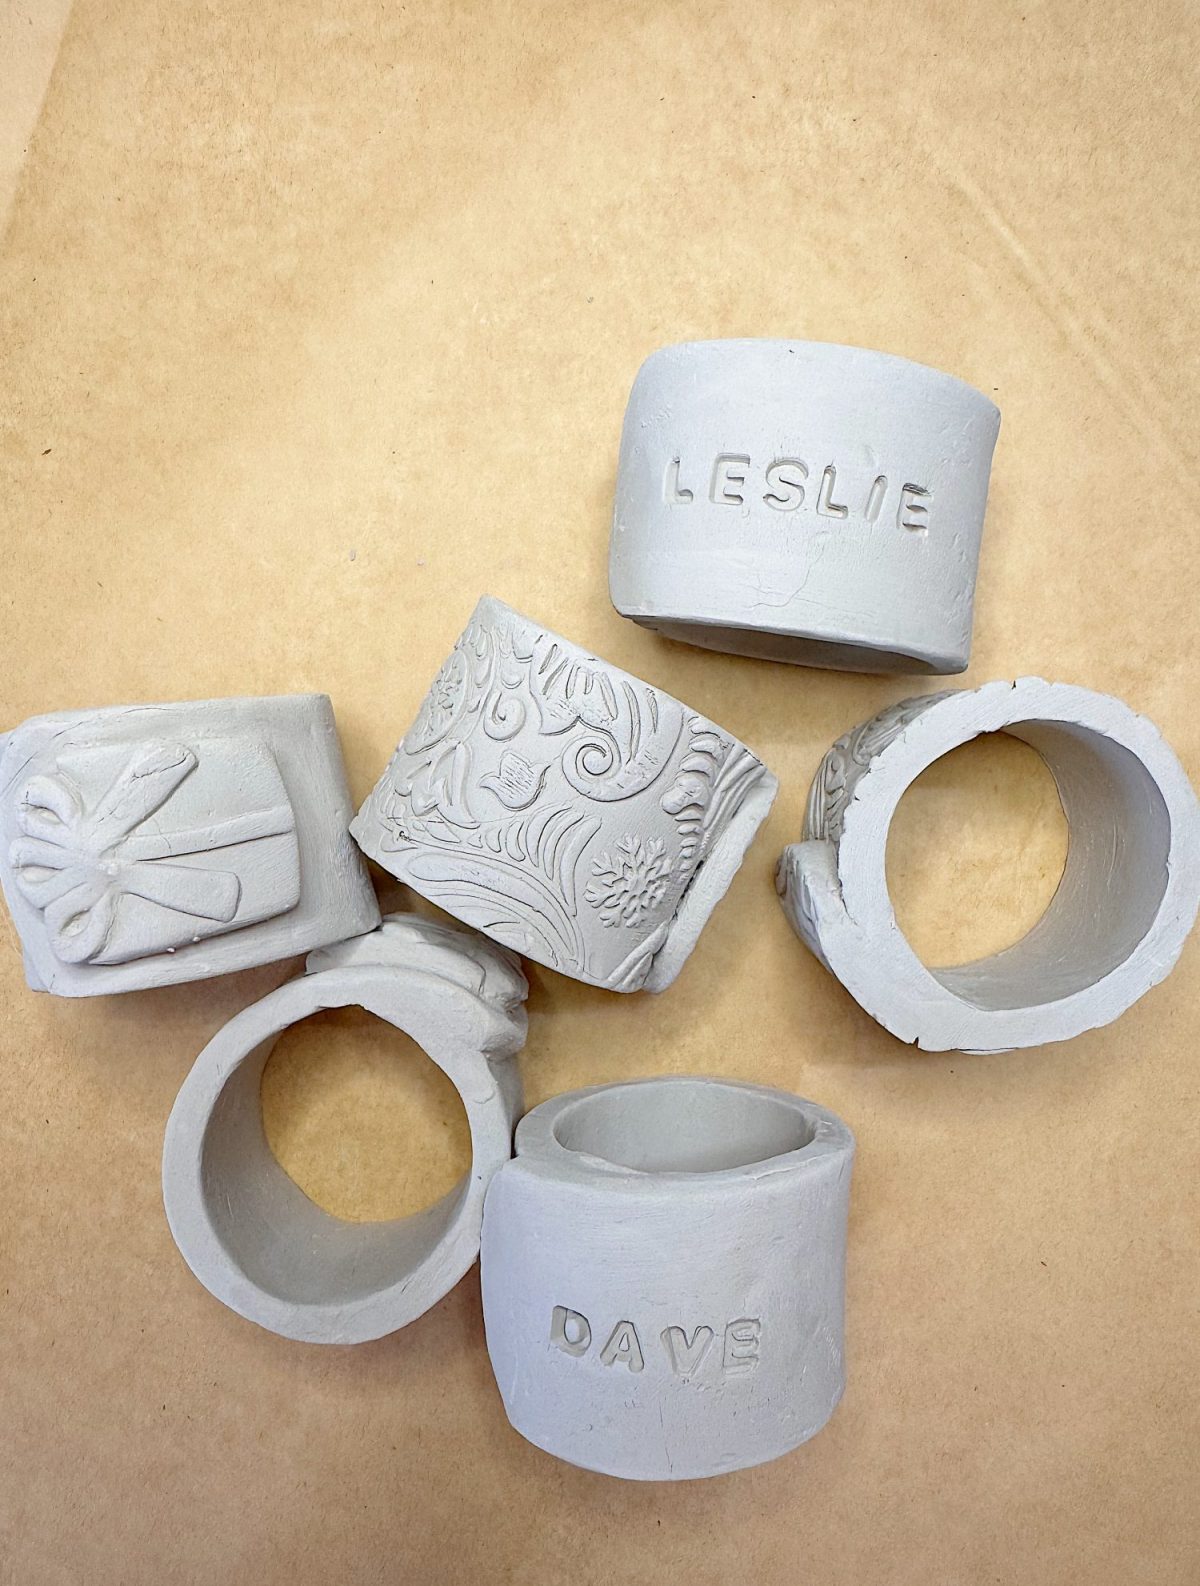
- Work in batches: Cut, shape, and decorate several strips at once so they dry consistently.
- Keep clay moist: If your clay starts to dry while working, mist it lightly with water.
- Smooth edges: Dip your finger in water and run it along the seams to create a clean finish.
- Paint in layers: Two or three thin coats of paint will give you a richer color than one thick coat.
Why This Project Is Perfect for A Handmade Christmas
One of my favorite things about A Handmade Christmas is creating projects that are both beautiful and functional. These napkin rings fit that perfectly. They’re practical, easy to make, and they instantly elevate your holiday table.
Plus, they’re the kind of craft you can personalize. Use metallics for a glamorous table, bright reds and greens for a traditional Christmas look, or neutral tones for a farmhouse vibe. You can even paint them to match your dishes or linens.
And because they’re handmade, they also make wonderful gifts. Imagine giving a set of custom napkin rings to a friend or family member as a hostess gift—it’s thoughtful, personal, and something they’ll treasure.
Final Thoughts
These Air Dry Clay Napkin Rings are a wonderful craft for this year’s A Handmade Christmas. They’re easy to make, endlessly customizable, and they look absolutely stunning on the table.
The process is simple: cut strips, shape them into rings, decorate, dry, seal, paint, and glaze. The results are polished, professional-looking napkin rings that no one would guess were handmade.
I love that I was able to create three variations, holiday stamped, textured, and personalized, so there’s something for everyone’s style. Whether you’re hosting a holiday dinner, setting a cozy family table, or looking for a handmade gift idea, these napkin rings are the perfect craft.
Air dry clay has once again proven to be my go-to material for easy, beautiful holiday projects. I hope this inspires you to try making your own napkin rings this season.
Which One Do I Think You Should Make First?
So, if you want to know which one I think you should make …
The textured green ones. They are easiest and look so good!
✨ Here’s to another week of A Handmade Christmas! Stay tuned, as there are so many more handmade projects to come.


Sixteen Weeks of A Handmade Christmas
If you enjoy my blog, you can sign up to receive my updates here.
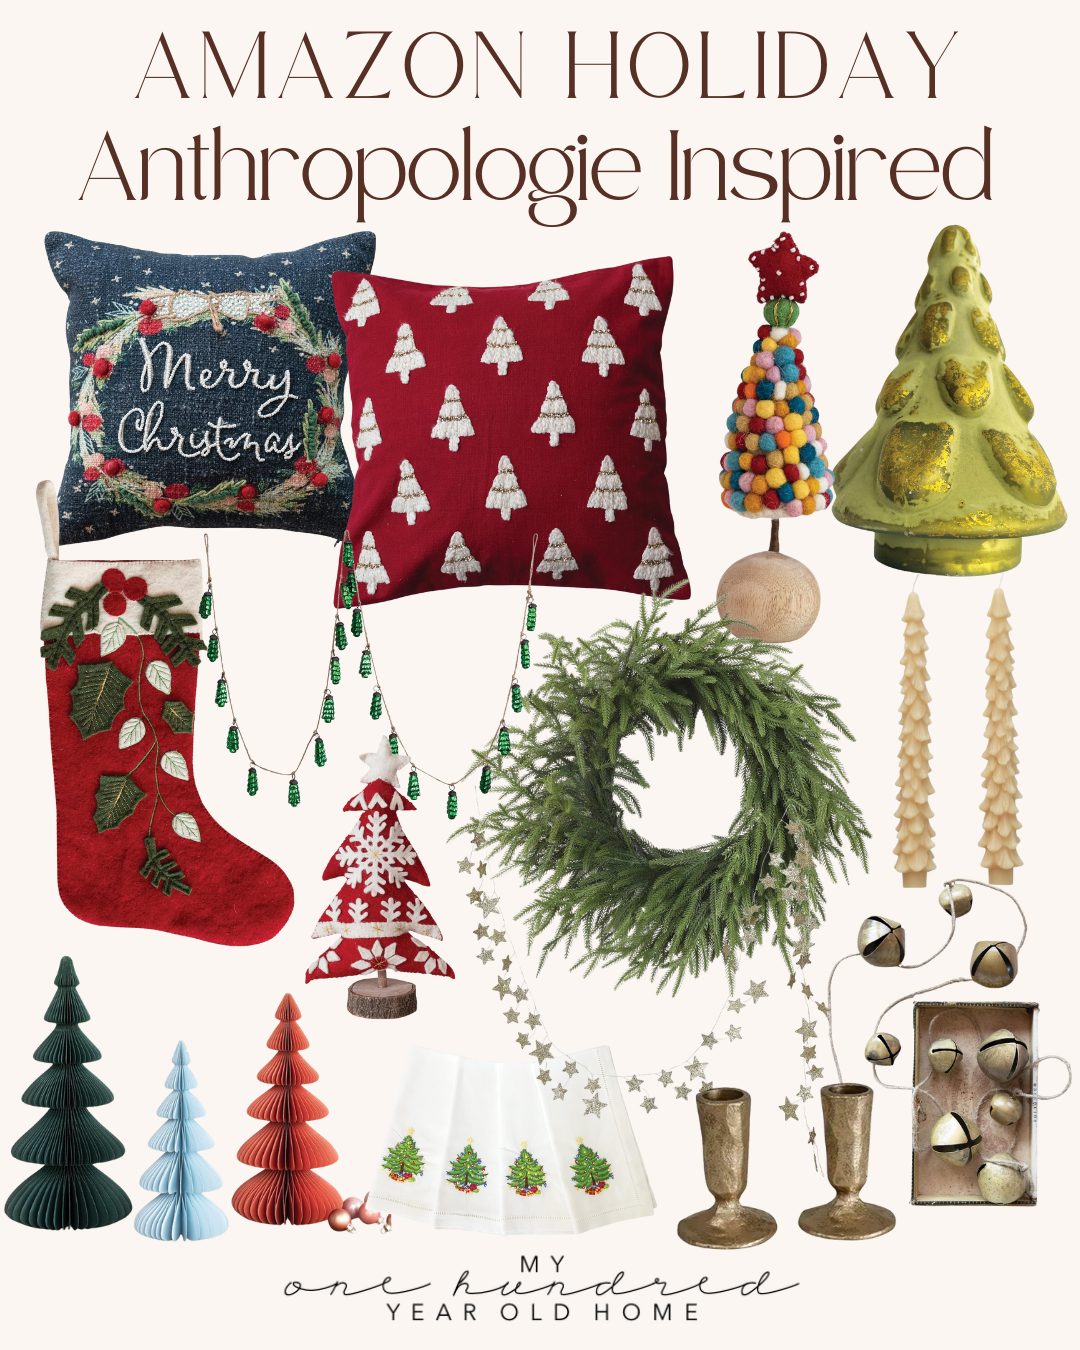
.Anthro Inspired Christmas Decor
Latest Posts
-
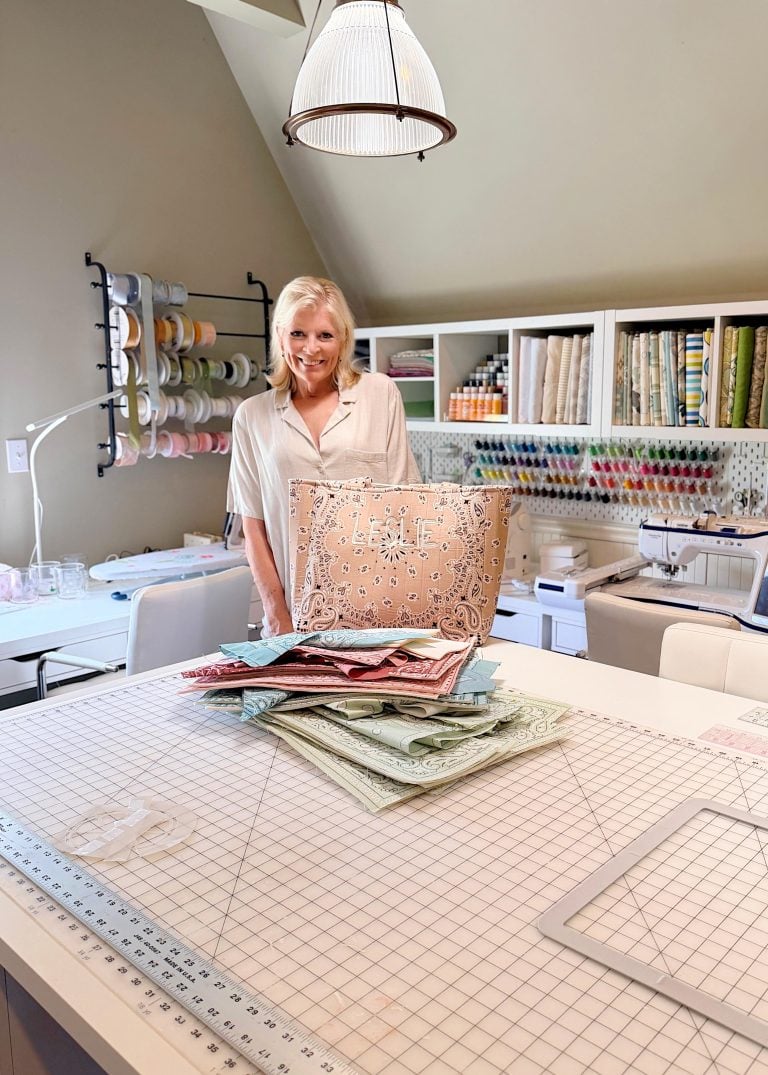
The Truth About Being “Crafty” – Mondays in the Craftroom
One of the most common things people say to me is, “I’m just not crafty.” But the truth is that creativity isn’t something you’re born with. It’s something you learn. Today I’m sharing why being crafty has much less to do with talent and much more to do with curiosity, practice, and simply being willing…
-
Summer at the Beach and Sunday Morning Coffee
Welcome to another Sunday Morning Coffee! Summer is flying by, and I have to say, it has been the busiest and happiest summer at the beach we’ve had in a long time. We’ve spent nearly every weekend at our beach house with family and friends, which is exactly why we bought and remodeled it all…
-
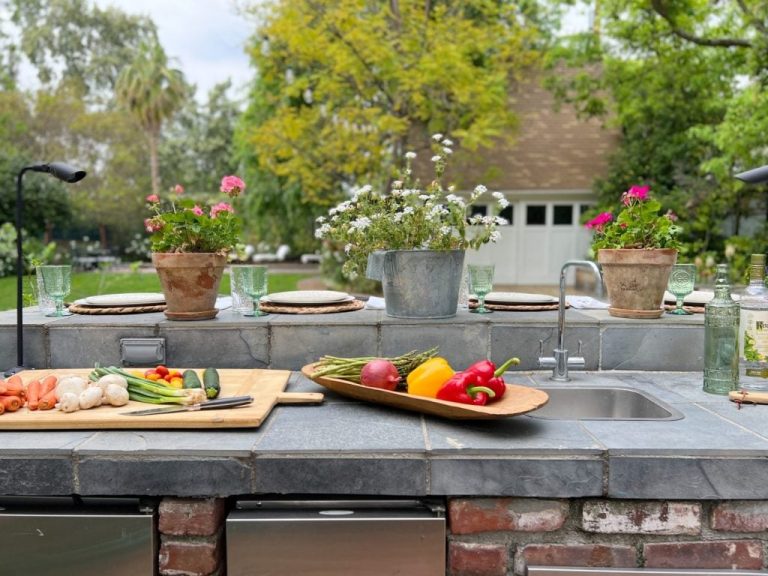
Grilling Perfectly and Tips to Use Your Outdoor Grilling Station
It’s time to fire up the grill and embark on a flavor-filled journey of outdoor cooking! It’s time to have fun with your outdoor grilling station. Planning a successful BBQ cookout is an art that combines culinary skills, creativity, and a dash of hosting finesse. I have crafted The Essential Summer Grilling Guide to help…
-
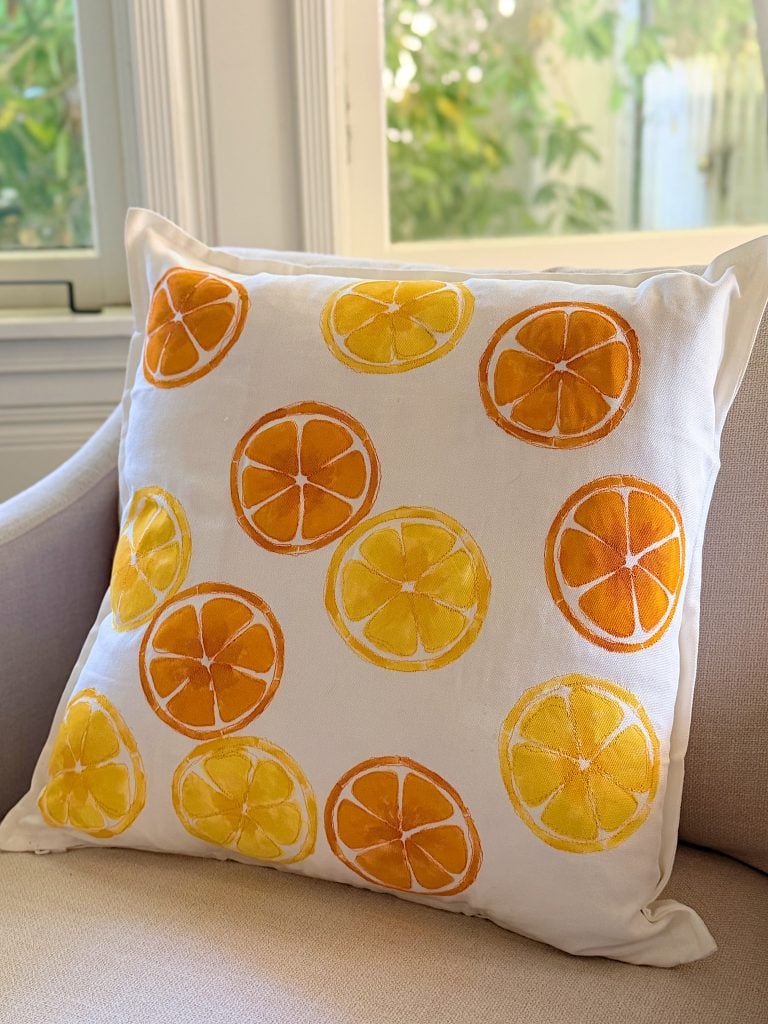
A Citrus Pillow – A Handmade Summer
A handmade pillow is one of the easiest ways to add a fresh, custom touch to your home, and this cheerful citrus design is perfect for summer. Using a simple white pillow cover, a citrus stencil, acrylic paint, and a little free-motion embroidery, you can create a one-of-a-kind accent pillow that looks boutique-made without spending…

My Recent Instagram Posts

You can pin the image below to your boards on Pinterest (click the Pin button in the top left corner) or follow me on Pinterest!

For more real-time updates, follow me on Instagram @My100YearOldHome