Water Color Painted Paper Gift Tags – A Handmade Christmas


Welcome back to A Handmade Christmas! Today, it’s week four, and I am sharing how I made watercolor-painted Paper Gift Tags.
This is a simple, creative, and budget-friendly way to bring a handmade charm to your holiday season. It’s the fourth project in my weekly handmade holiday series, and it may be one of the most versatile crafts yet.
Water Color Painted Paper Gift Tags

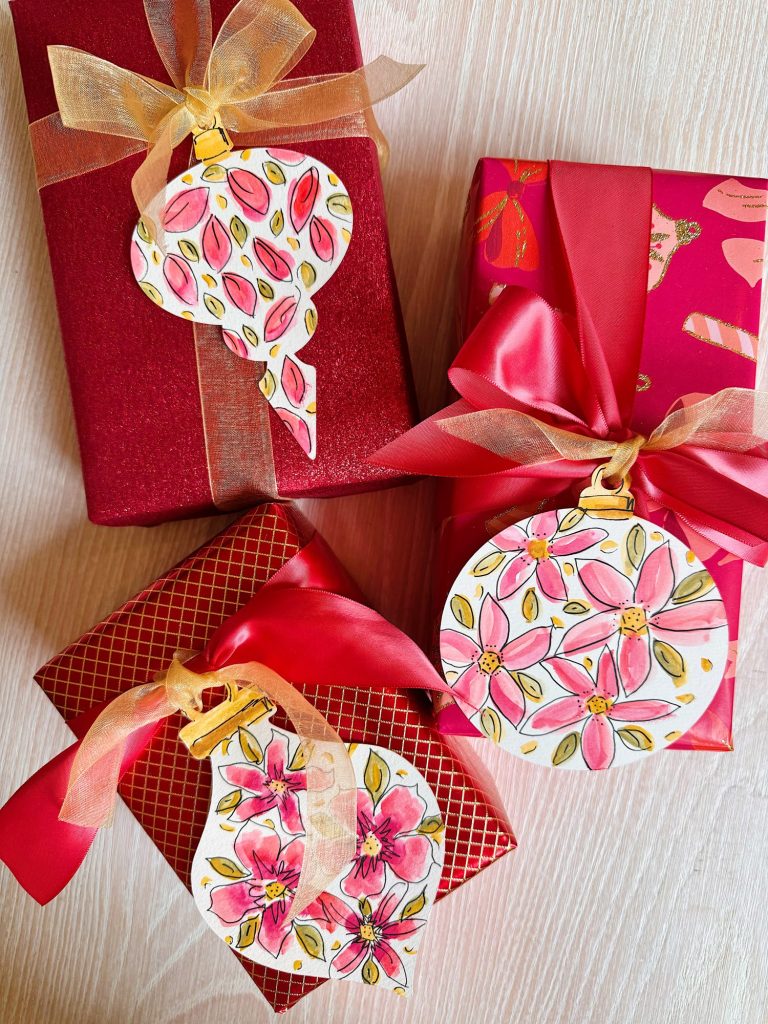
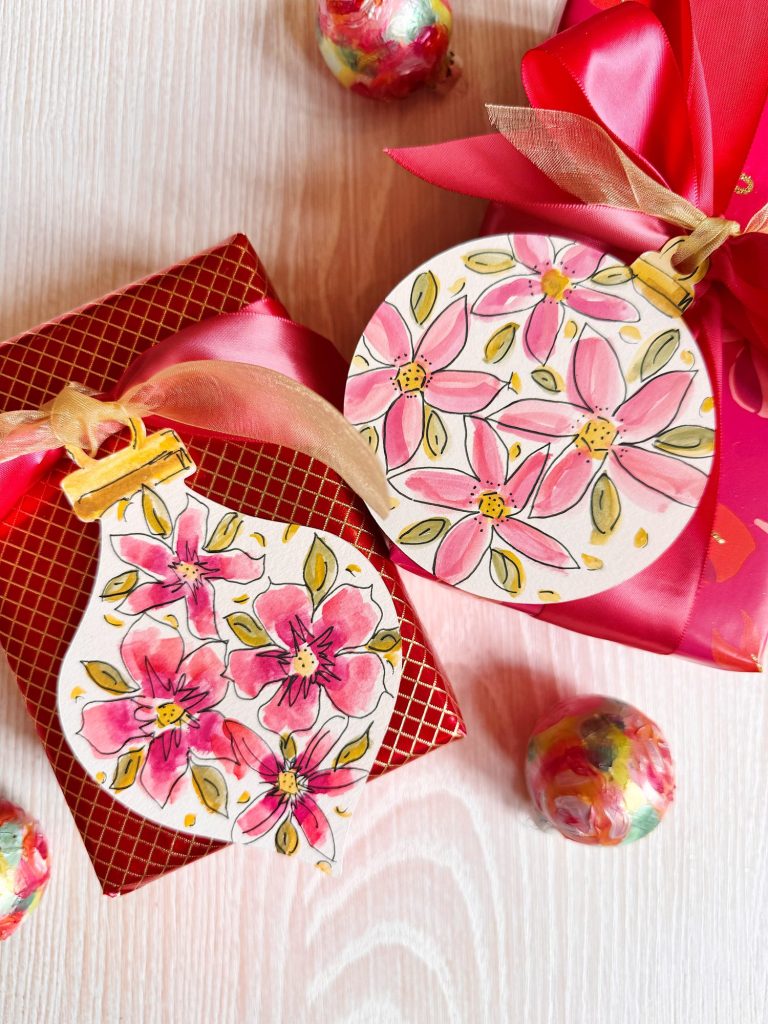
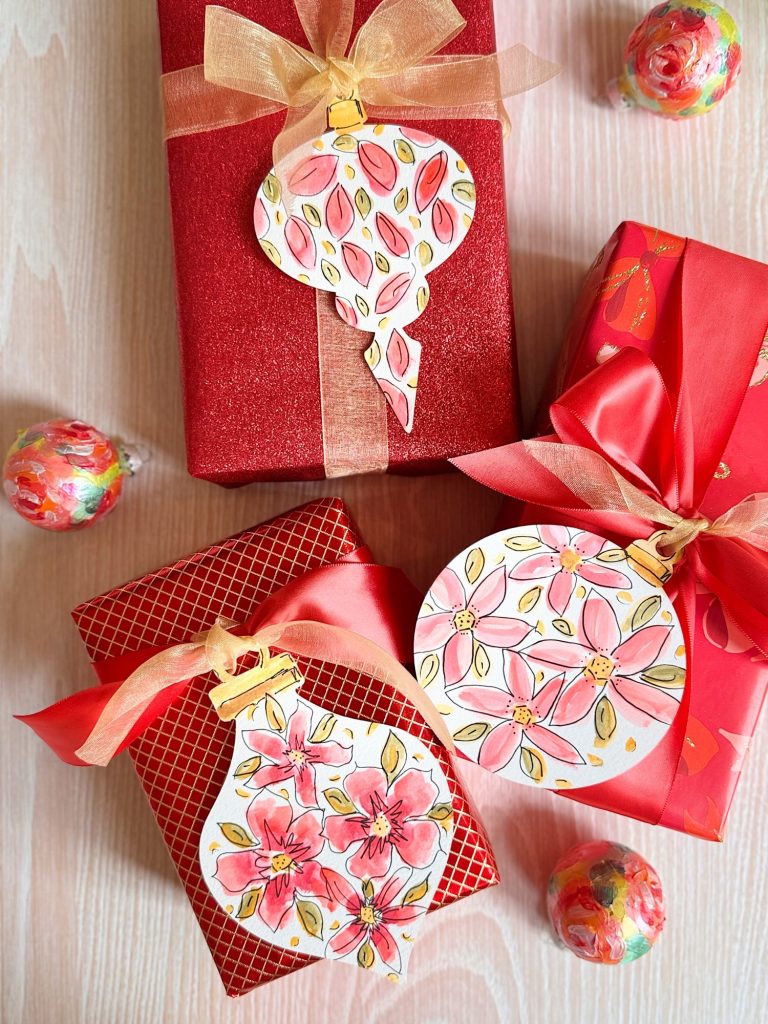
I love painting with watercolors, and for this project, I cut them into festive ornament shapes, painted abstract shapes in a holiday-inspired palette, and outlined them with a thin black pen.
The results are whimsical and playful, and I look forward to using them on wrapped gifts, tied to napkins on my holiday tables, or even as part of a centerpiece.
This project was inspired by one of my favorite past crafts, Spring Papehttps://my100yearoldhome.com/spring-paper-craft-ideas/r Craft Ideas, which I used the same process for. The only difference is the shapes and colors—this time, everything has a Christmas twist!
Why I Love Handmade Paper Decor

One of the things I love most about handmade projects is that they allow me to add a personal, thoughtful touch to the holidays. Handmade doesn’t mean complicated—it means unique, meaningful, and filled with joy.
These watercolor gift tags are a perfect example. They’re quick to make, require just a few supplies, and can be customized for any holiday style. If you prefer traditional red and green, you can lean into those. If you love neutrals, stick to tans, sage, and gold. I chose a palette that mirrors the one I’m using for this season’s decorating: soft sage greens, light warm reds, pops of tan, and touches of metallic gold.

The best part? These little cutouts are multifunctional. They’re not just gift tags—they’re also decor accents for tables, ornaments for mini trees, or even wall art when arranged together in a frame.
Supplies You’ll Need

Here’s what you’ll need to make these watercolor tags and decor pieces:
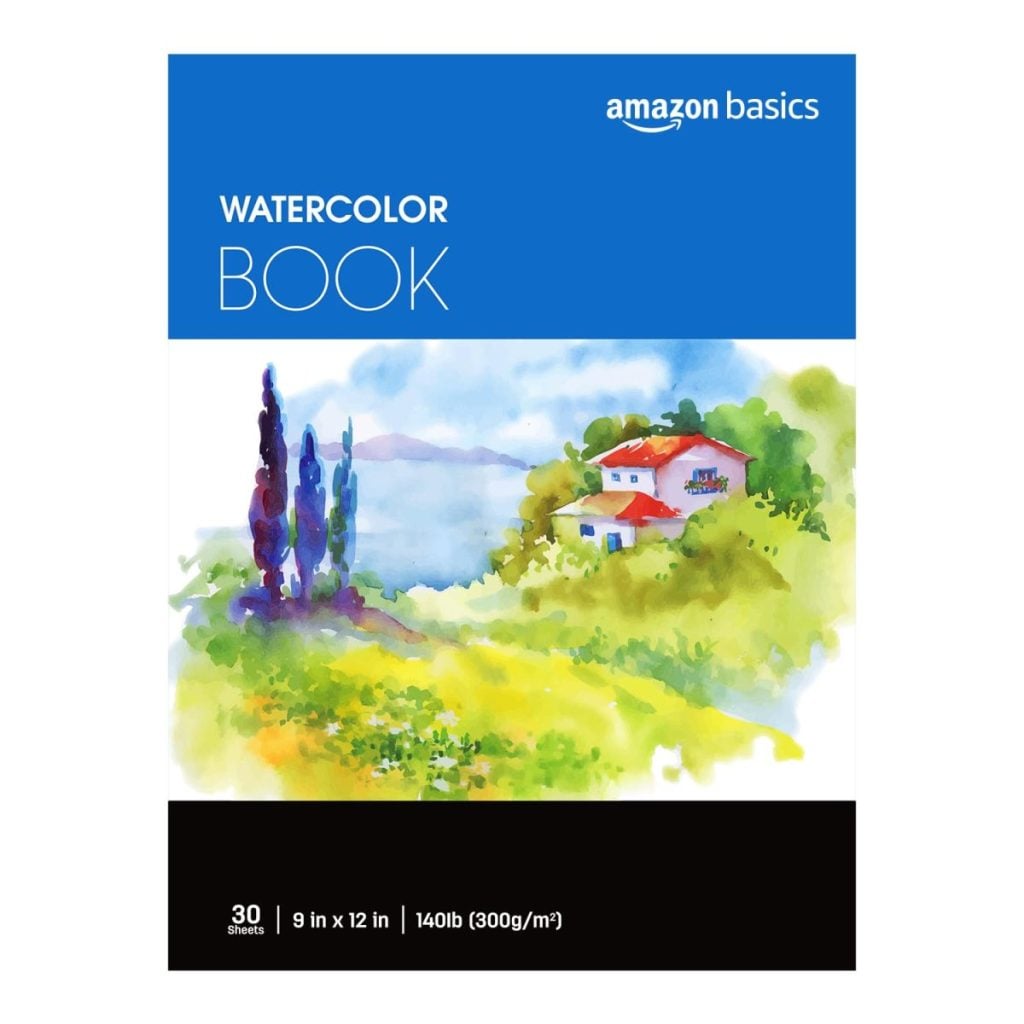
- Watercolor paper – heavyweight works best
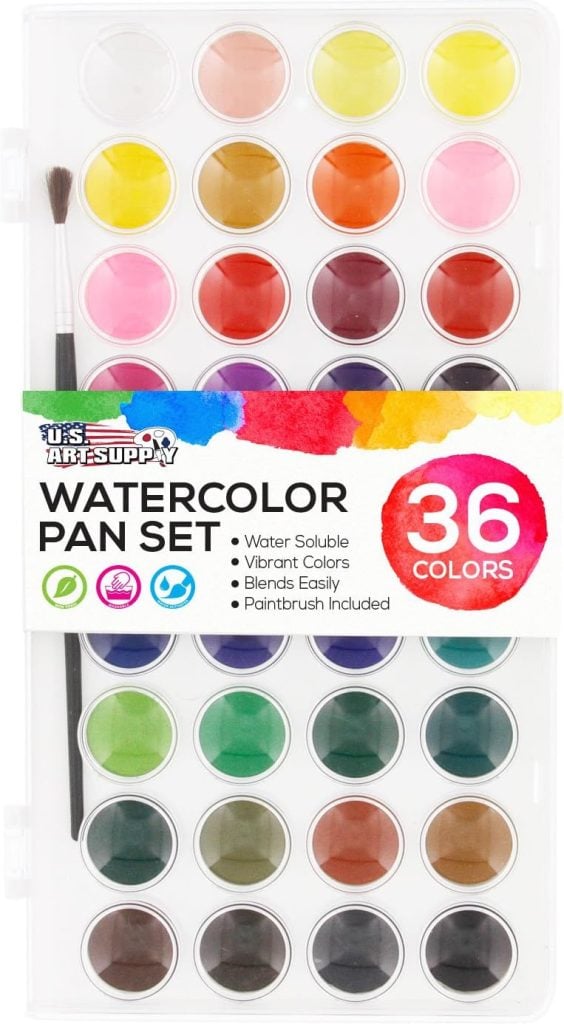
- Watercolor paints – in your favorite holiday palette
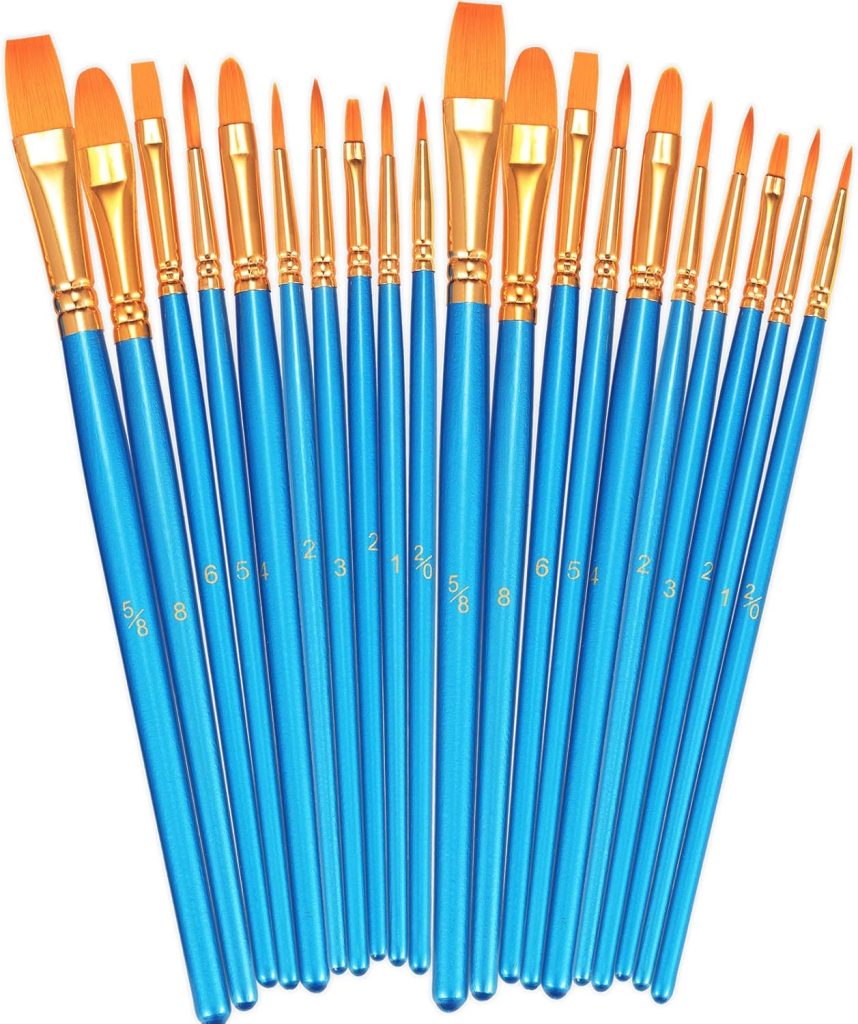
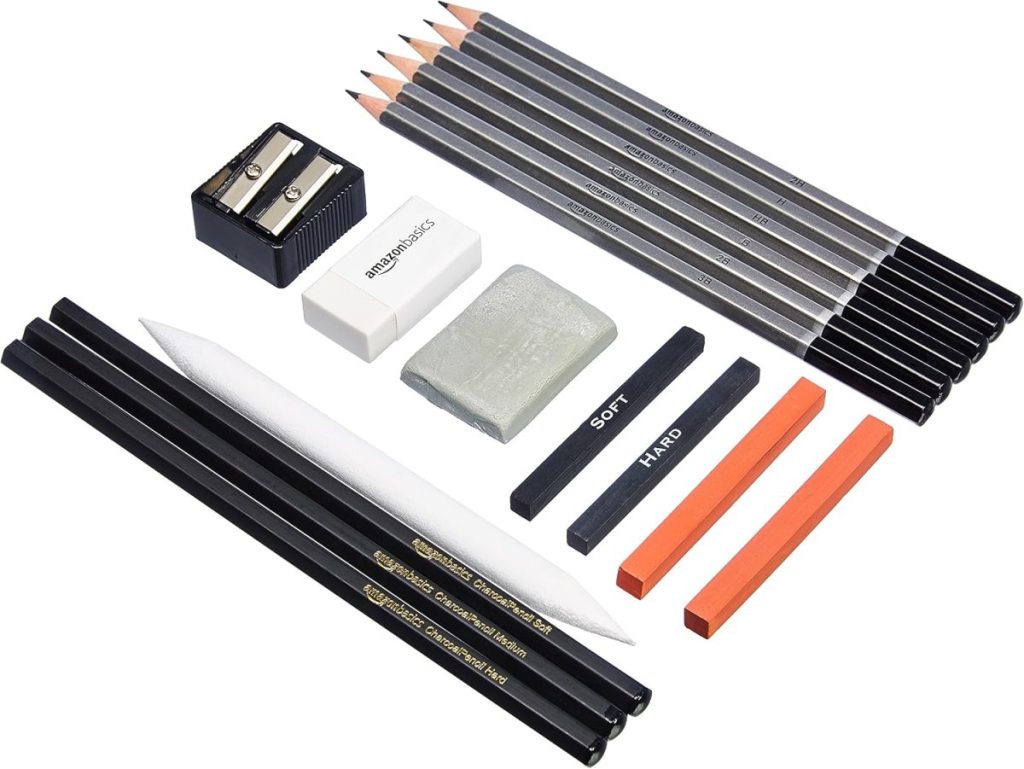
- Paintbrushes – a medium round brush for washes, and a fine detail brush for edges
- Cup of water + paper towel – for rinsing brushes
- Thin black pen – waterproof, so it won’t smudge on the paint
- Scissors – for cutting out shapes
- Pencil – for sketching outlines before cutting (optional)
- Ribbon, twine, or string – for tying tags onto gifts or napkins
I may occasionally use affiliate links on this blog, which means I earn a small commission if you purchase through one of these links. The price will be the same whether you use the affiliate link or go directly to the vendor’s website using a non-affiliate link.


Step-by-Step Instructions
Step 1: Cut Them Out

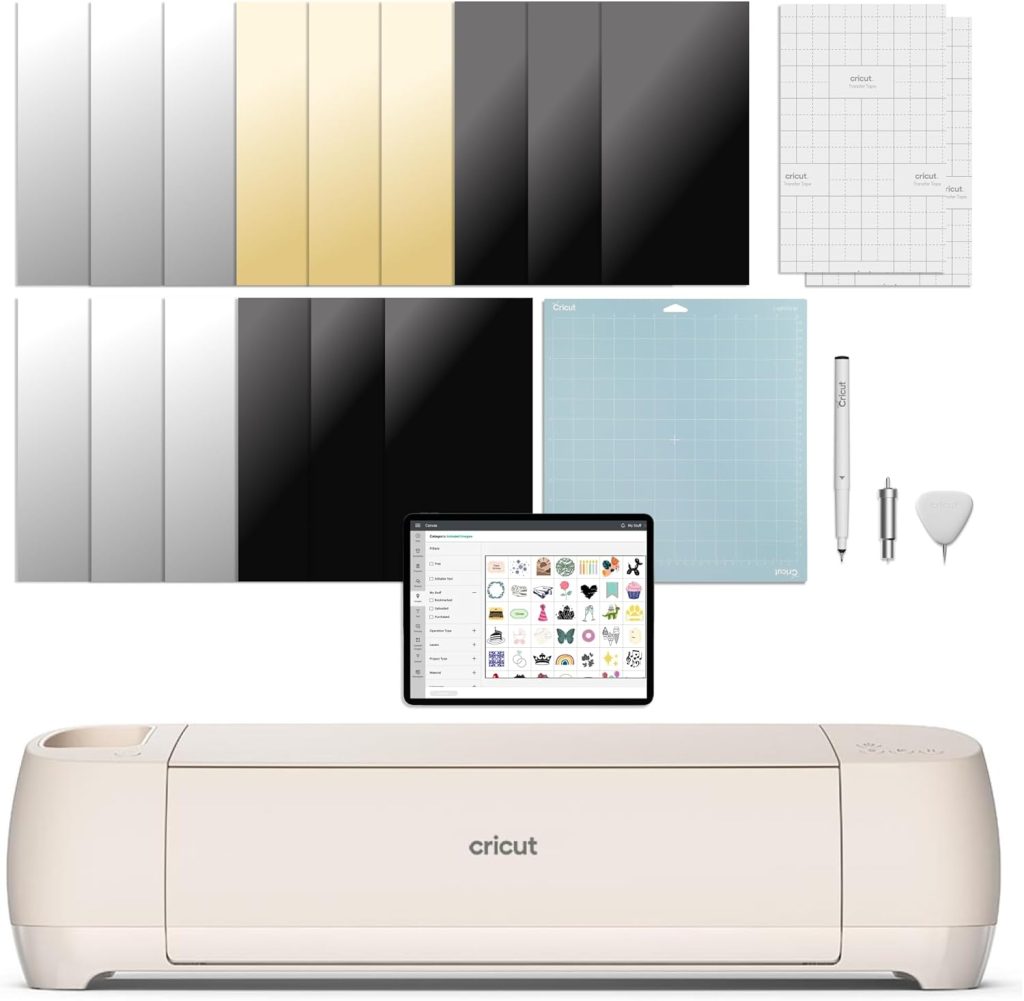
I went on Cricut and designed some ornament shapes, which I downloaded for free. You can either cut out the shapes on watercolor paper using your Cricut or use these as a stencil and trace and cut them out by hand.
You can also use this stencil.
If cutting by hand, carefully cut out each shape. Don’t worry about perfect edges; the hand-cut look adds to the charm. If you want a more polished look, you can trace around a template before cutting, but I personally love the organic, slightly imperfect shapes.
*Important Tip – After making these, I realized how I could have made so many more without any work. After you cut them out, trace the ornaments on one page and paint all the gift tags on a single sheet of cardstock or watercolor paper. When you are done, make color copies of your project on cardstock and cut them out! How easy is that!
Step 2: Paint Your Watercolors


Start by painting blocks of color on your watercolor paper. Don’t worry about making them perfect as watercolors are meant to be fluid and playful.


I painted washes in green, orange, tan, and gold, incorporating some wet-on-wet blending for added interest and texture.
These are five-petal flowers that have two colors in the petals and a bright yellow center.
Let your brushstrokes be loose and natural. I painted some areas darker and others lighter to create variety. These washes will become the base for your cutouts.
Step 3: Add Pen Outlines


Once the paint is dry, use a thin, black, waterproof pen to sketch the outlines of your shapes.
It always surprises me how much better these look with the pen outline!


The outline is effortless to do. Just use a whimsical approach and have fun.
You can also copy what I did.


The black pen gives each shape definition and makes them pop against the soft watercolor backgrounds. I love the contrast of loose watercolor with the crisp black lines—it feels modern yet handmade.


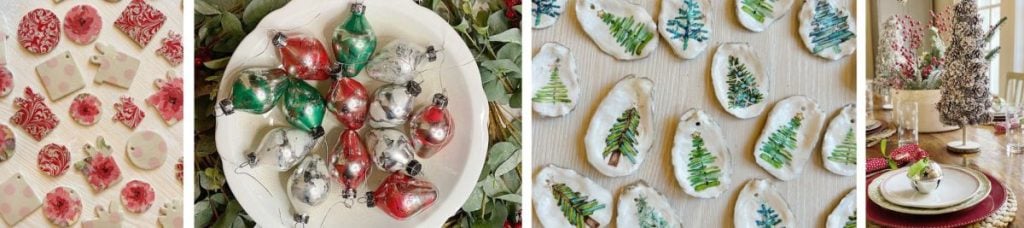
There are also a lot of other shapes you can make.
- Christmas packages with bows
- Whimsical Christmas trees
- Stars, hearts, and other festive shapes
Step 4: Use Them as Gift Tags and Decor

Now comes the fun part: using your paper cutouts! Punch a hole in the top of each one and thread with ribbon or twine to create gift tags.
You can also leave them as-is and tuck them into napkins for a Christmas table, scatter them on a runner as part of a centerpiece, or even hang them on small trees as ornaments.
Creative Ways to Use Watercolor Paper Cutouts
These little pieces of art are so versatile. Here are some of my favorite ways to use them:
Gift Tags

Attach them to wrapped gifts with ribbon or twine. Write the recipient’s name on the back for a personalized touch.
Table Decor
Tie them around napkins as place settings, scatter them down the center of your table as confetti-like accents, or even write names on them to use as place cards.


Ornaments

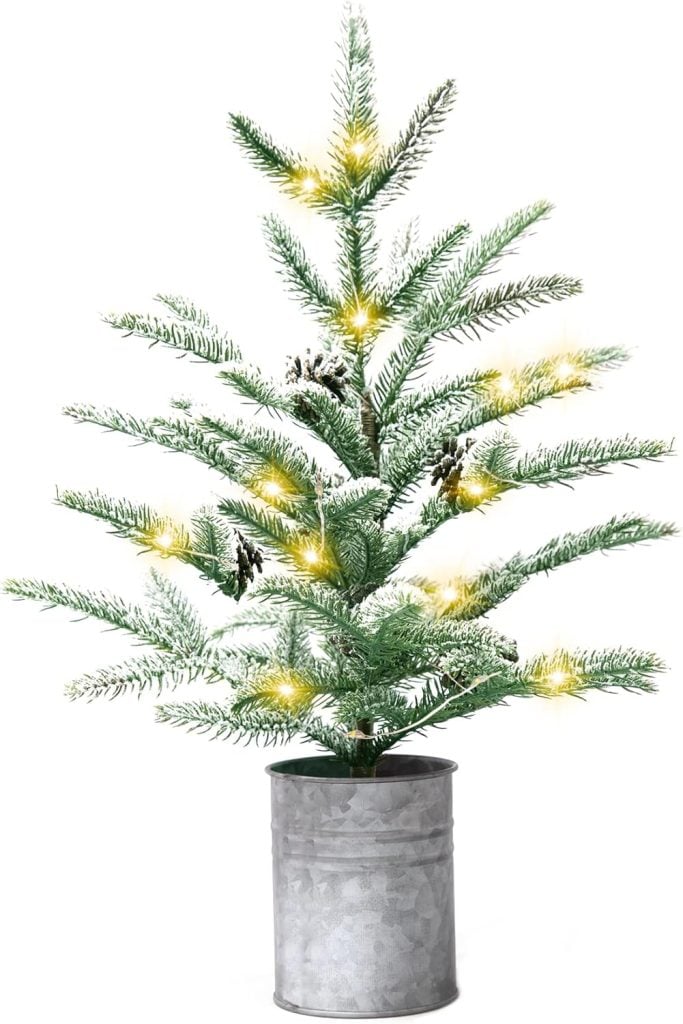
Hang them on a mini tree for a playful, lightweight ornament option.


Art Displays
Frame a group of them together for an inexpensive piece of holiday art.


Stationery
Tape one onto the front of a plain card for a unique handmade holiday card.

Tips for Success
- Use plenty of water: Watercolor is all about flow. Don’t be afraid to let colors bleed into each other—it creates beautiful effects.
- Work in layers: If you want bolder colors, let the first layer dry and then add another wash on top.
- Choose waterproof pens: A non-waterproof pen will smudge on watercolor, so ensure your outlining pen can withstand it.
- Mix colors for interest: Try blending green with gold or orange with tan for unexpected results.
Why This Project Belongs in A Handmade Christmas
One of the things I love most about this series is that each project is simple, affordable, and customizable. These watercolor paper tags are no exception.
They cost almost nothing to make, as you may already have the supplies at home, and yet they add such a thoughtful, personal touch to the holidays. Handmade gift tags show your loved ones that you put in extra time and care, and using them as table decor makes your home feel curated and creative.
And because the process is fun and forgiving, it’s also a great craft to do with kids or friends. Everyone’s shapes will come out differently, and that variety adds to the charm.
Final Thoughts

This week’s project, Water Color Painted Paper Gift Tags and Decor, might just be one of the most versatile crafts I’ve shared in A Handmade Christmas. They’re easy to make, endlessly customizable, and valuable in so many ways, from adorning gifts to decorating holiday tables.
I love the mix of watercolor softness with the crisp black outlines. I love that each cutout is unique. And most of all, I love how these little handmade touches elevate the holidays in such a simple, approachable way.
If you’re looking for a quick, creative project to add personality and charm to your holiday season, I hope you’ll try these watercolor gift tags. Trust me—they’ll make you smile every time you use them.
✨ Here’s to another week of A Handmade Christmas! I can’t wait to share what’s next.

If you enjoy my blog, you can sign up to receive my updates here.
.Sixteen Weeks of A Handmade Christmas

Anthropologie Inspired Christmas Decor

Latest Posts
-
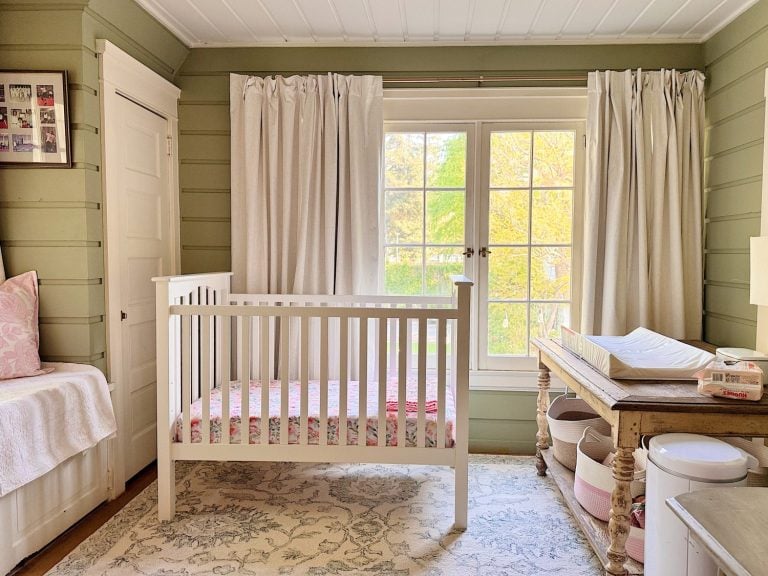
Spring Cleaning and Sunday Morning Coffee
I don’t know about you, but every spring I feel this strong pull to refresh something in our home, and this year I started in a place that might surprise you. It’s Spring Cleaning time! The very first room on my spring-cleaning list was our nursery. And yes, I know that sounds a little unexpected,…
-
Best Easter Brunch Egg Dish: Loaded French Onion Frittata
Easter brunch is one of those special meals where the table is complete, the laughter is loud, and the food is nothing short of spectacular. If you want to wow your guests with something savory, cheesy, and unforgettable, let me introduce you to your new Easter brunch hero: a Loaded French Onion Frittata.
-
The Best Spring Pillow DIY – A Handmade Spring
There are certain projects that start as an idea and quietly turn into something you love far more than you expected, and this Spring pillow is exactly that. As part of my A Handmade Spring series, I wanted to create something soft, beautiful, and full of texture, and this pillow checked every box. This pillow…
-
DIY Clay and Metallic Foil Easter Eggs
With Easter just around the corner this week, I decided to create something special and truly unique for my spring décor … handmade clay and metallic foil Easter eggs. These little works of art are soft, pastel, and subtly shimmery, and they’re a beautiful way to add a handmade touch to your Easter celebrations. While…


My Recent Instagram Posts

You can pin the image below to your boards on Pinterest (click the Pin button in the top left corner) or follow me on Pinterest!

For more real-time updates, follow me on Instagram @My100YearOldHome
