Updating This Years Fall Decor // Painting Pumpkins
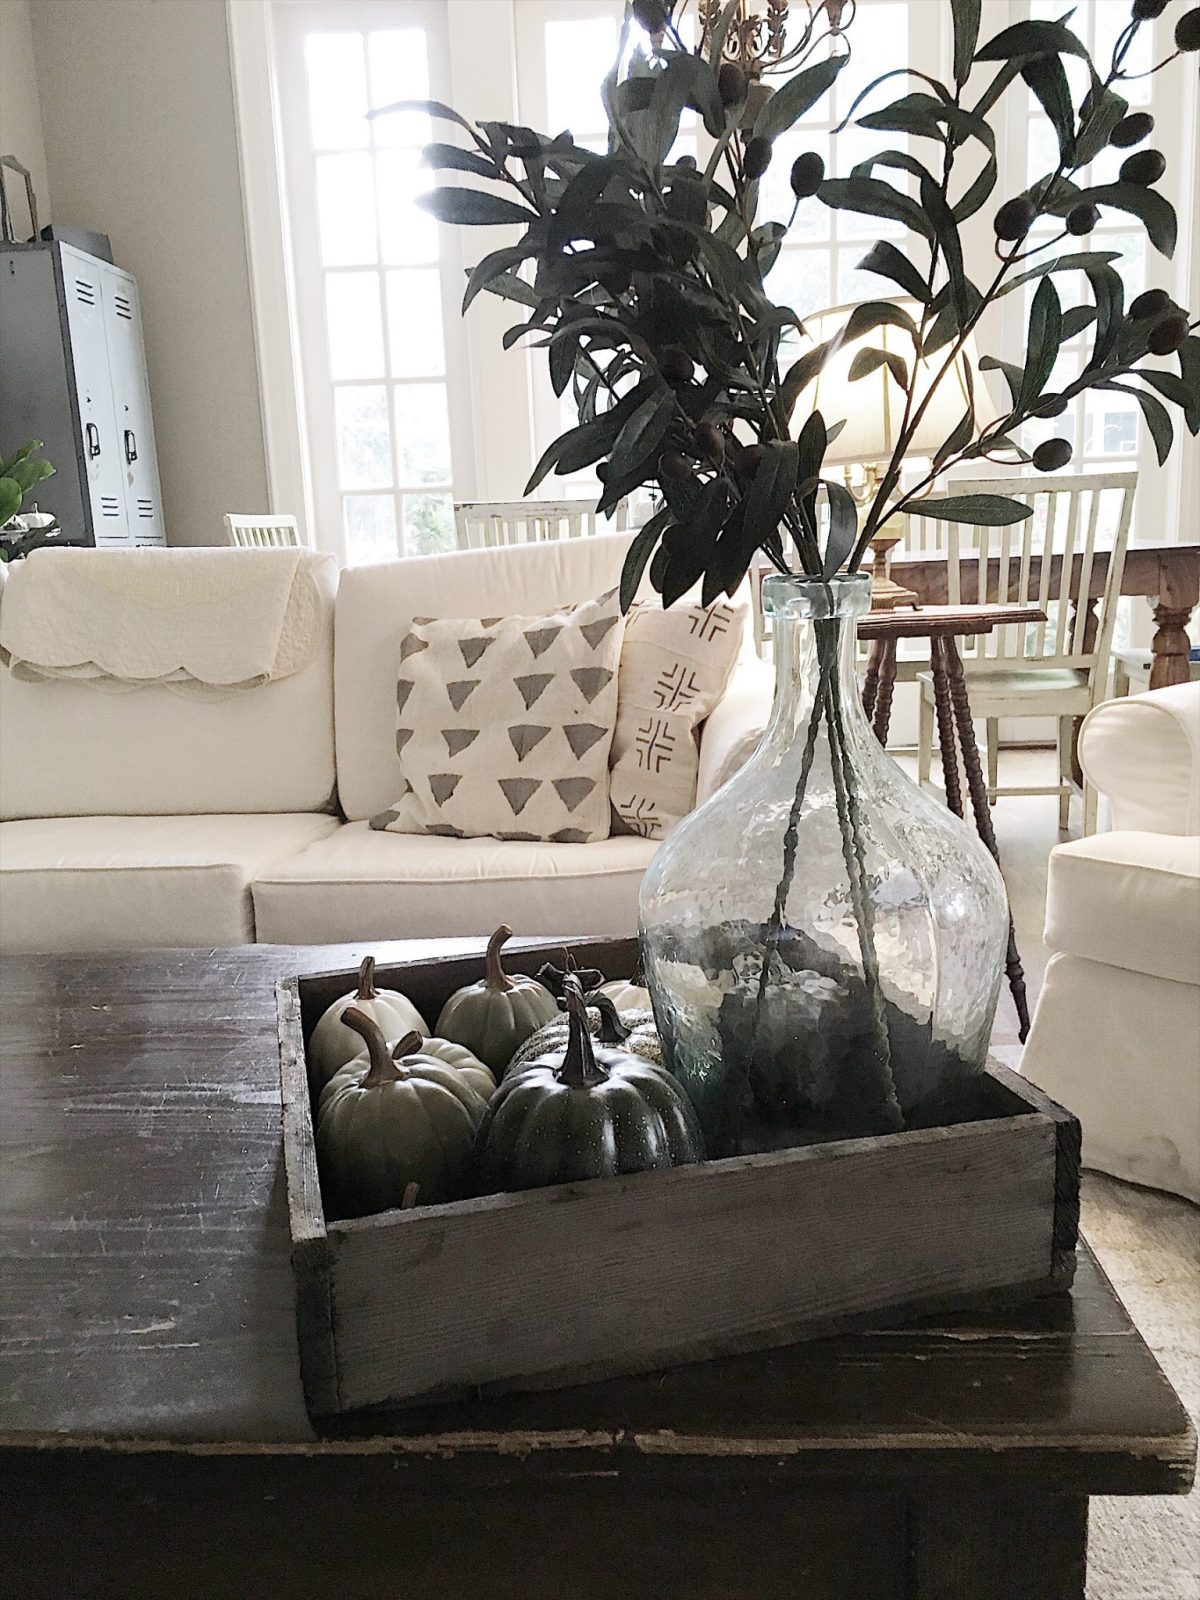 When I was going through my “Oh my gosh, I don’t have any fall décor” crisis a few weeks ago, I got a little carried away when ordering pumpkins online. I also hadn’t selected my color scheme, which was a really dumb thing to do before ordering a bunch of pumpkins.
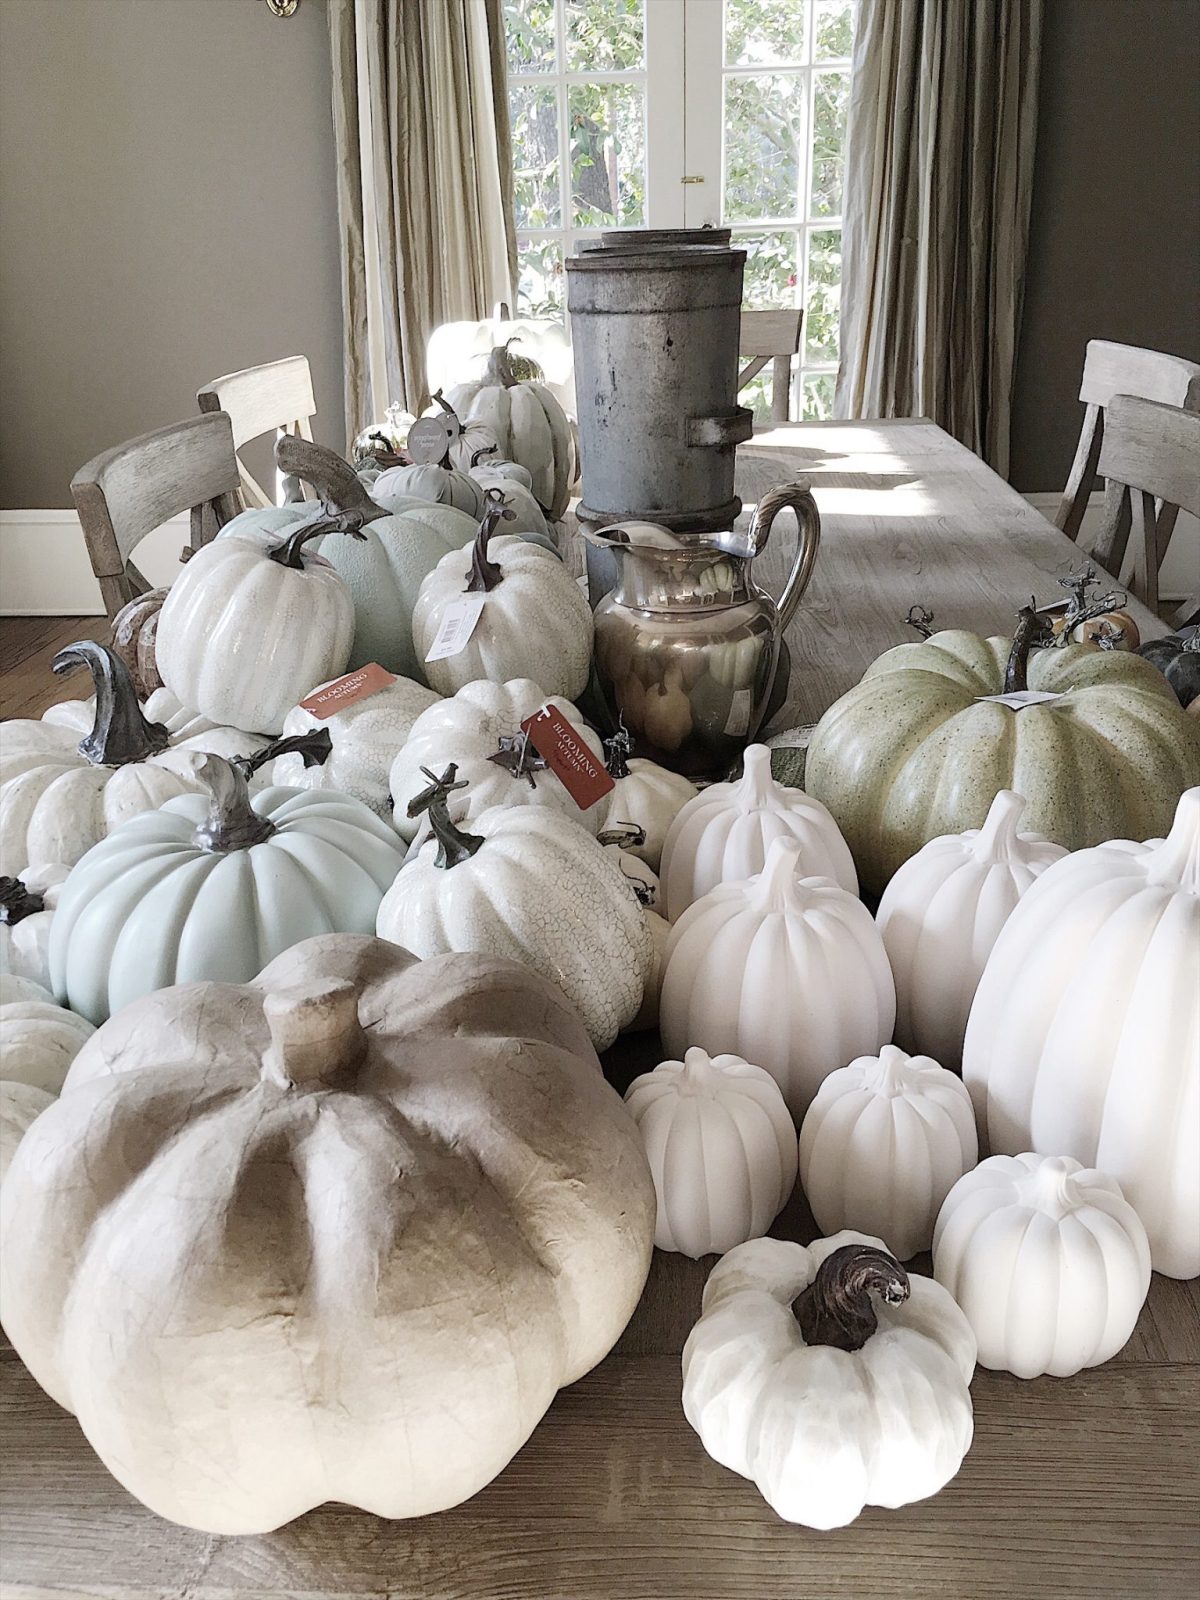 So I ended up with some pumpkins in the wrong color and other with shiny gold stems, which I do not like. So today was pumpkin painting day. I assumed it would only take me an hour or so. Instead, it took forever!
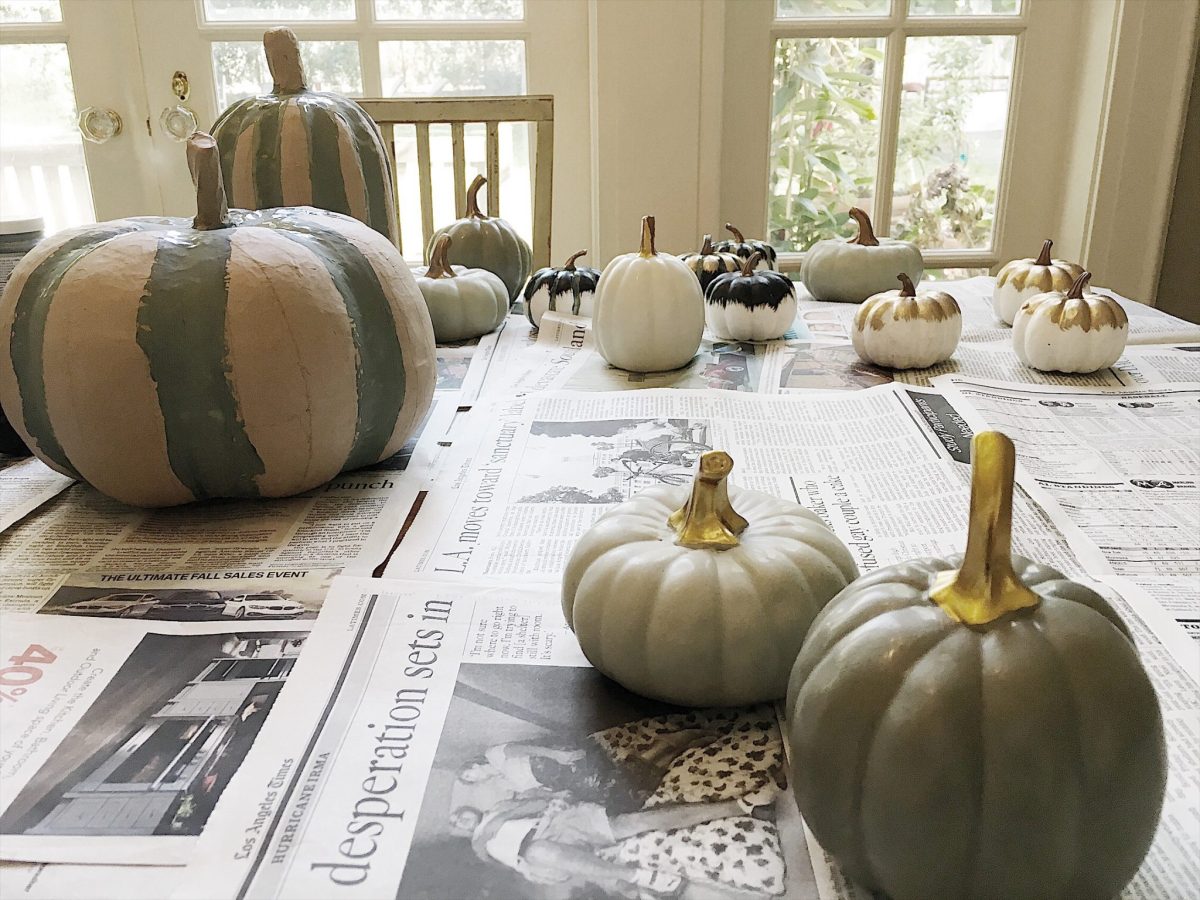
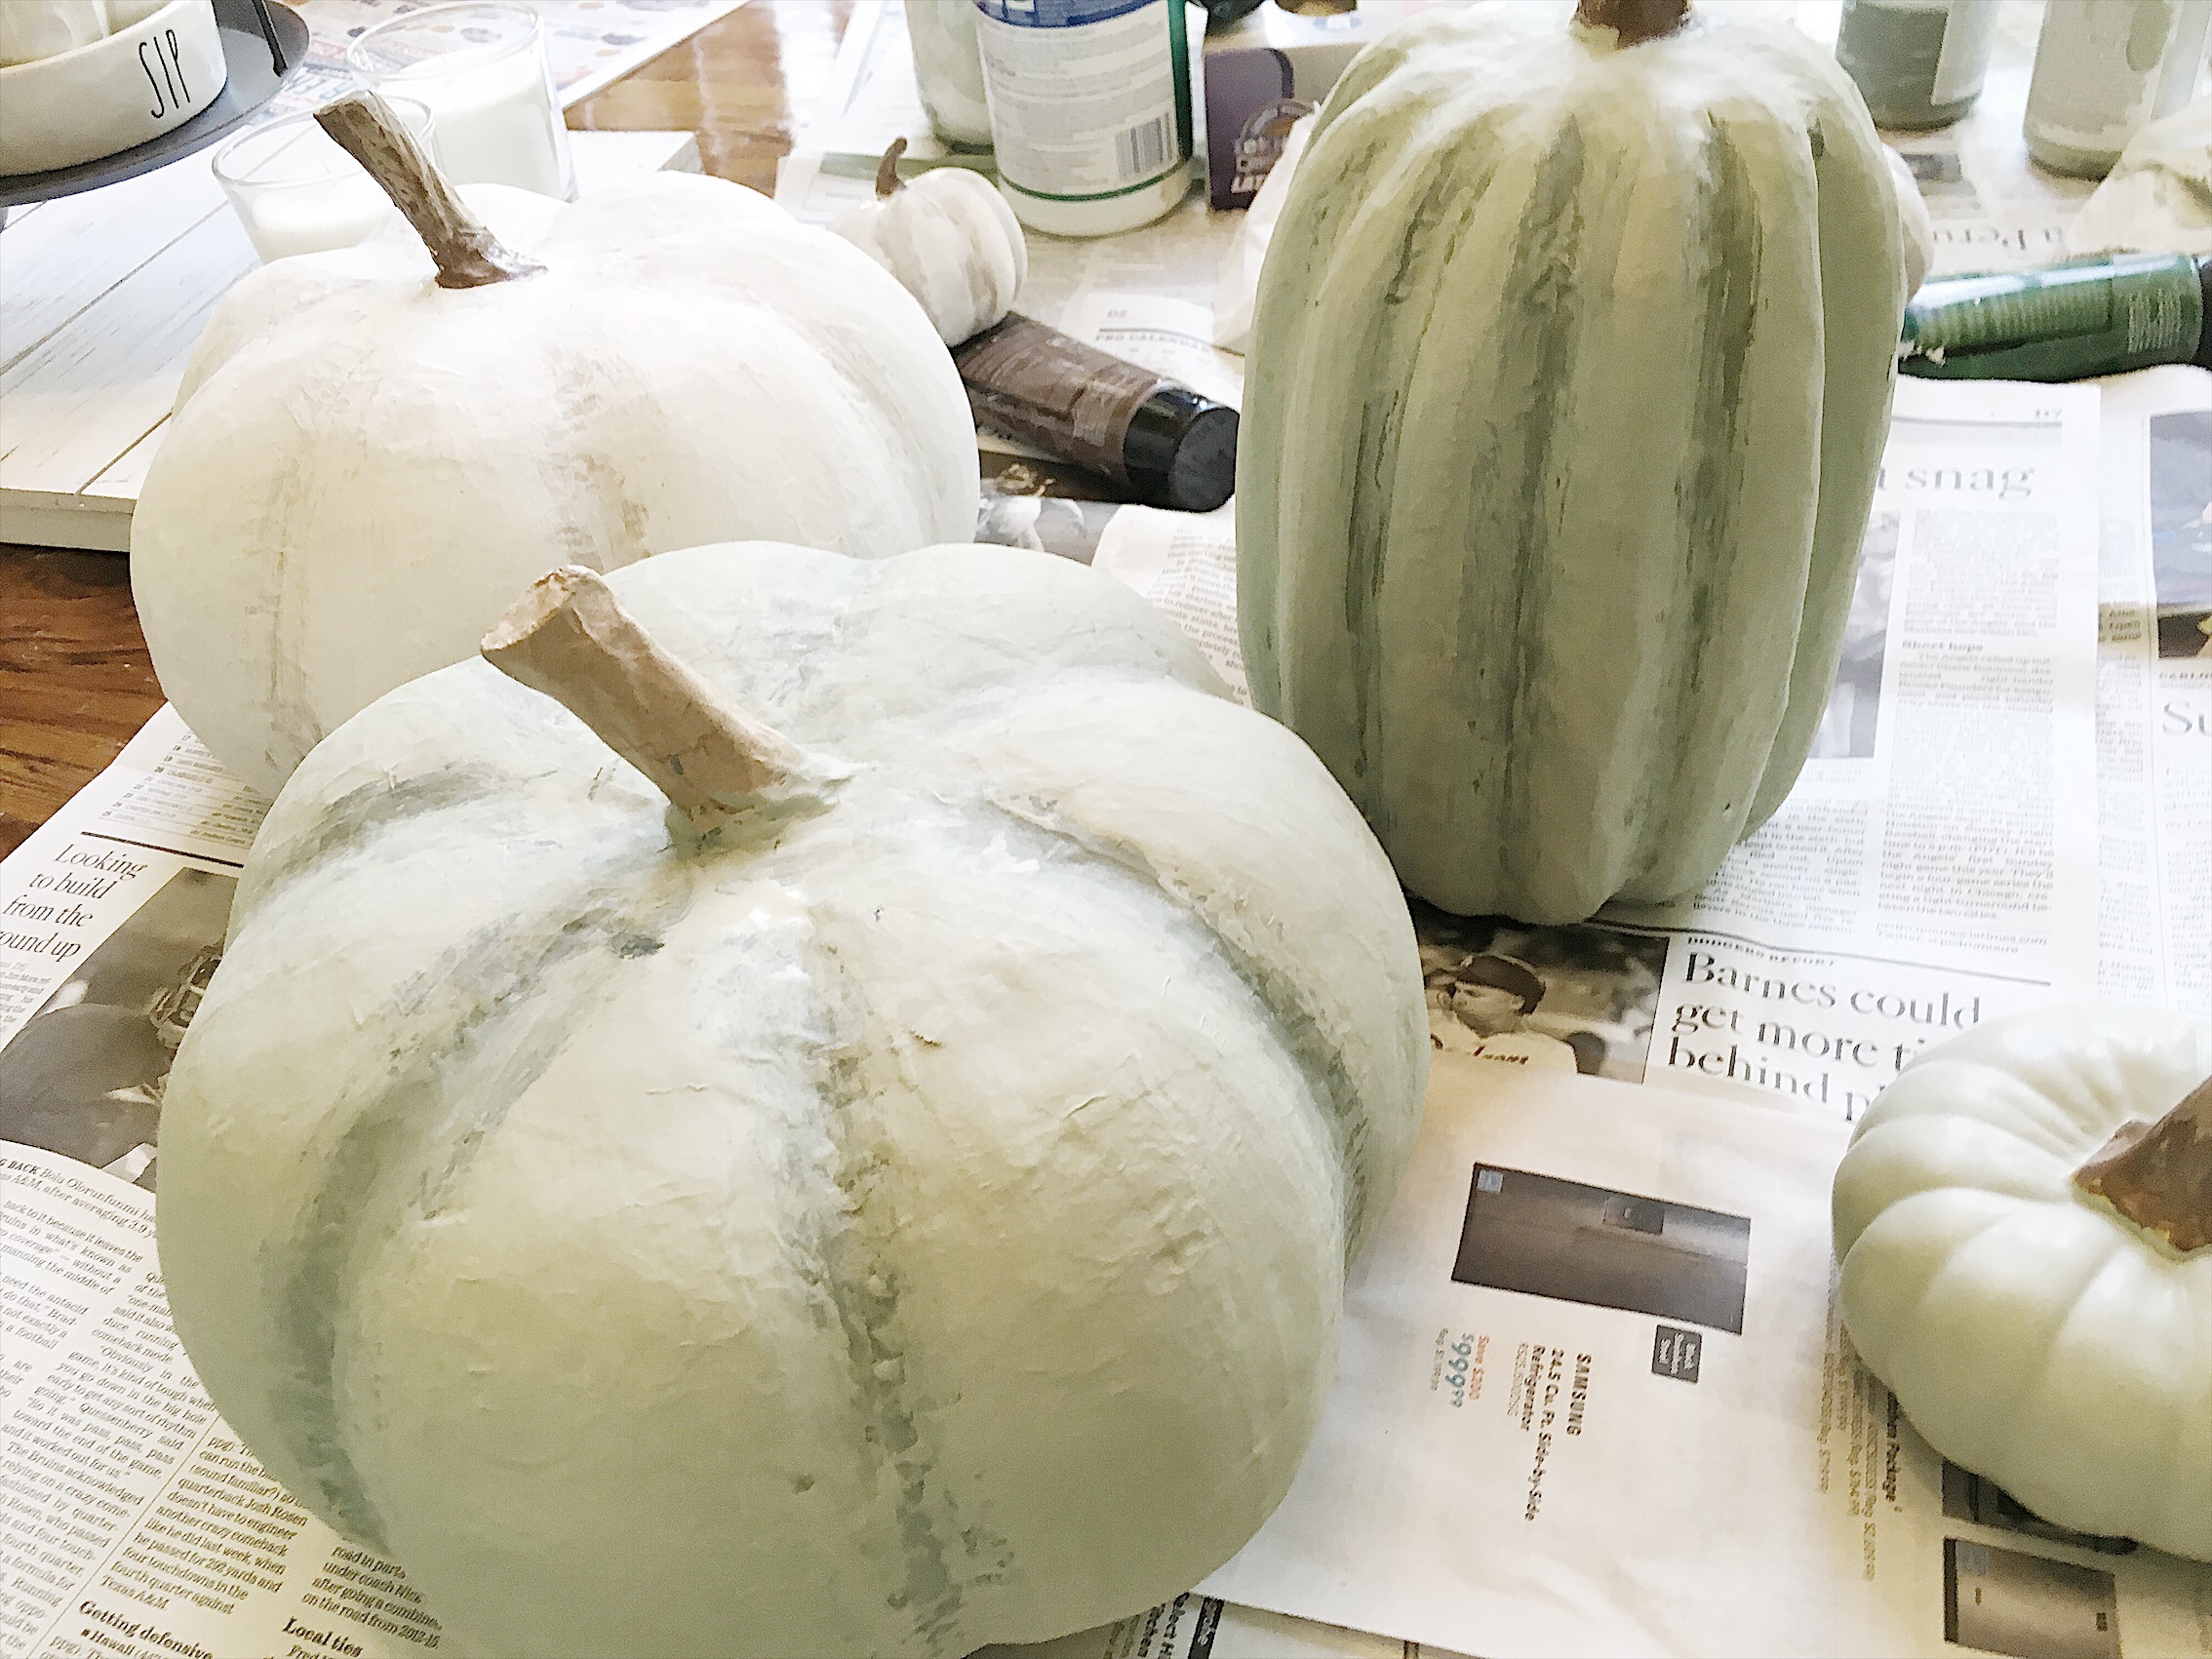
As you can see, I had a few pumpkins that needed some TLC. And just so you know, this did not include all of them. I found more once I got started.
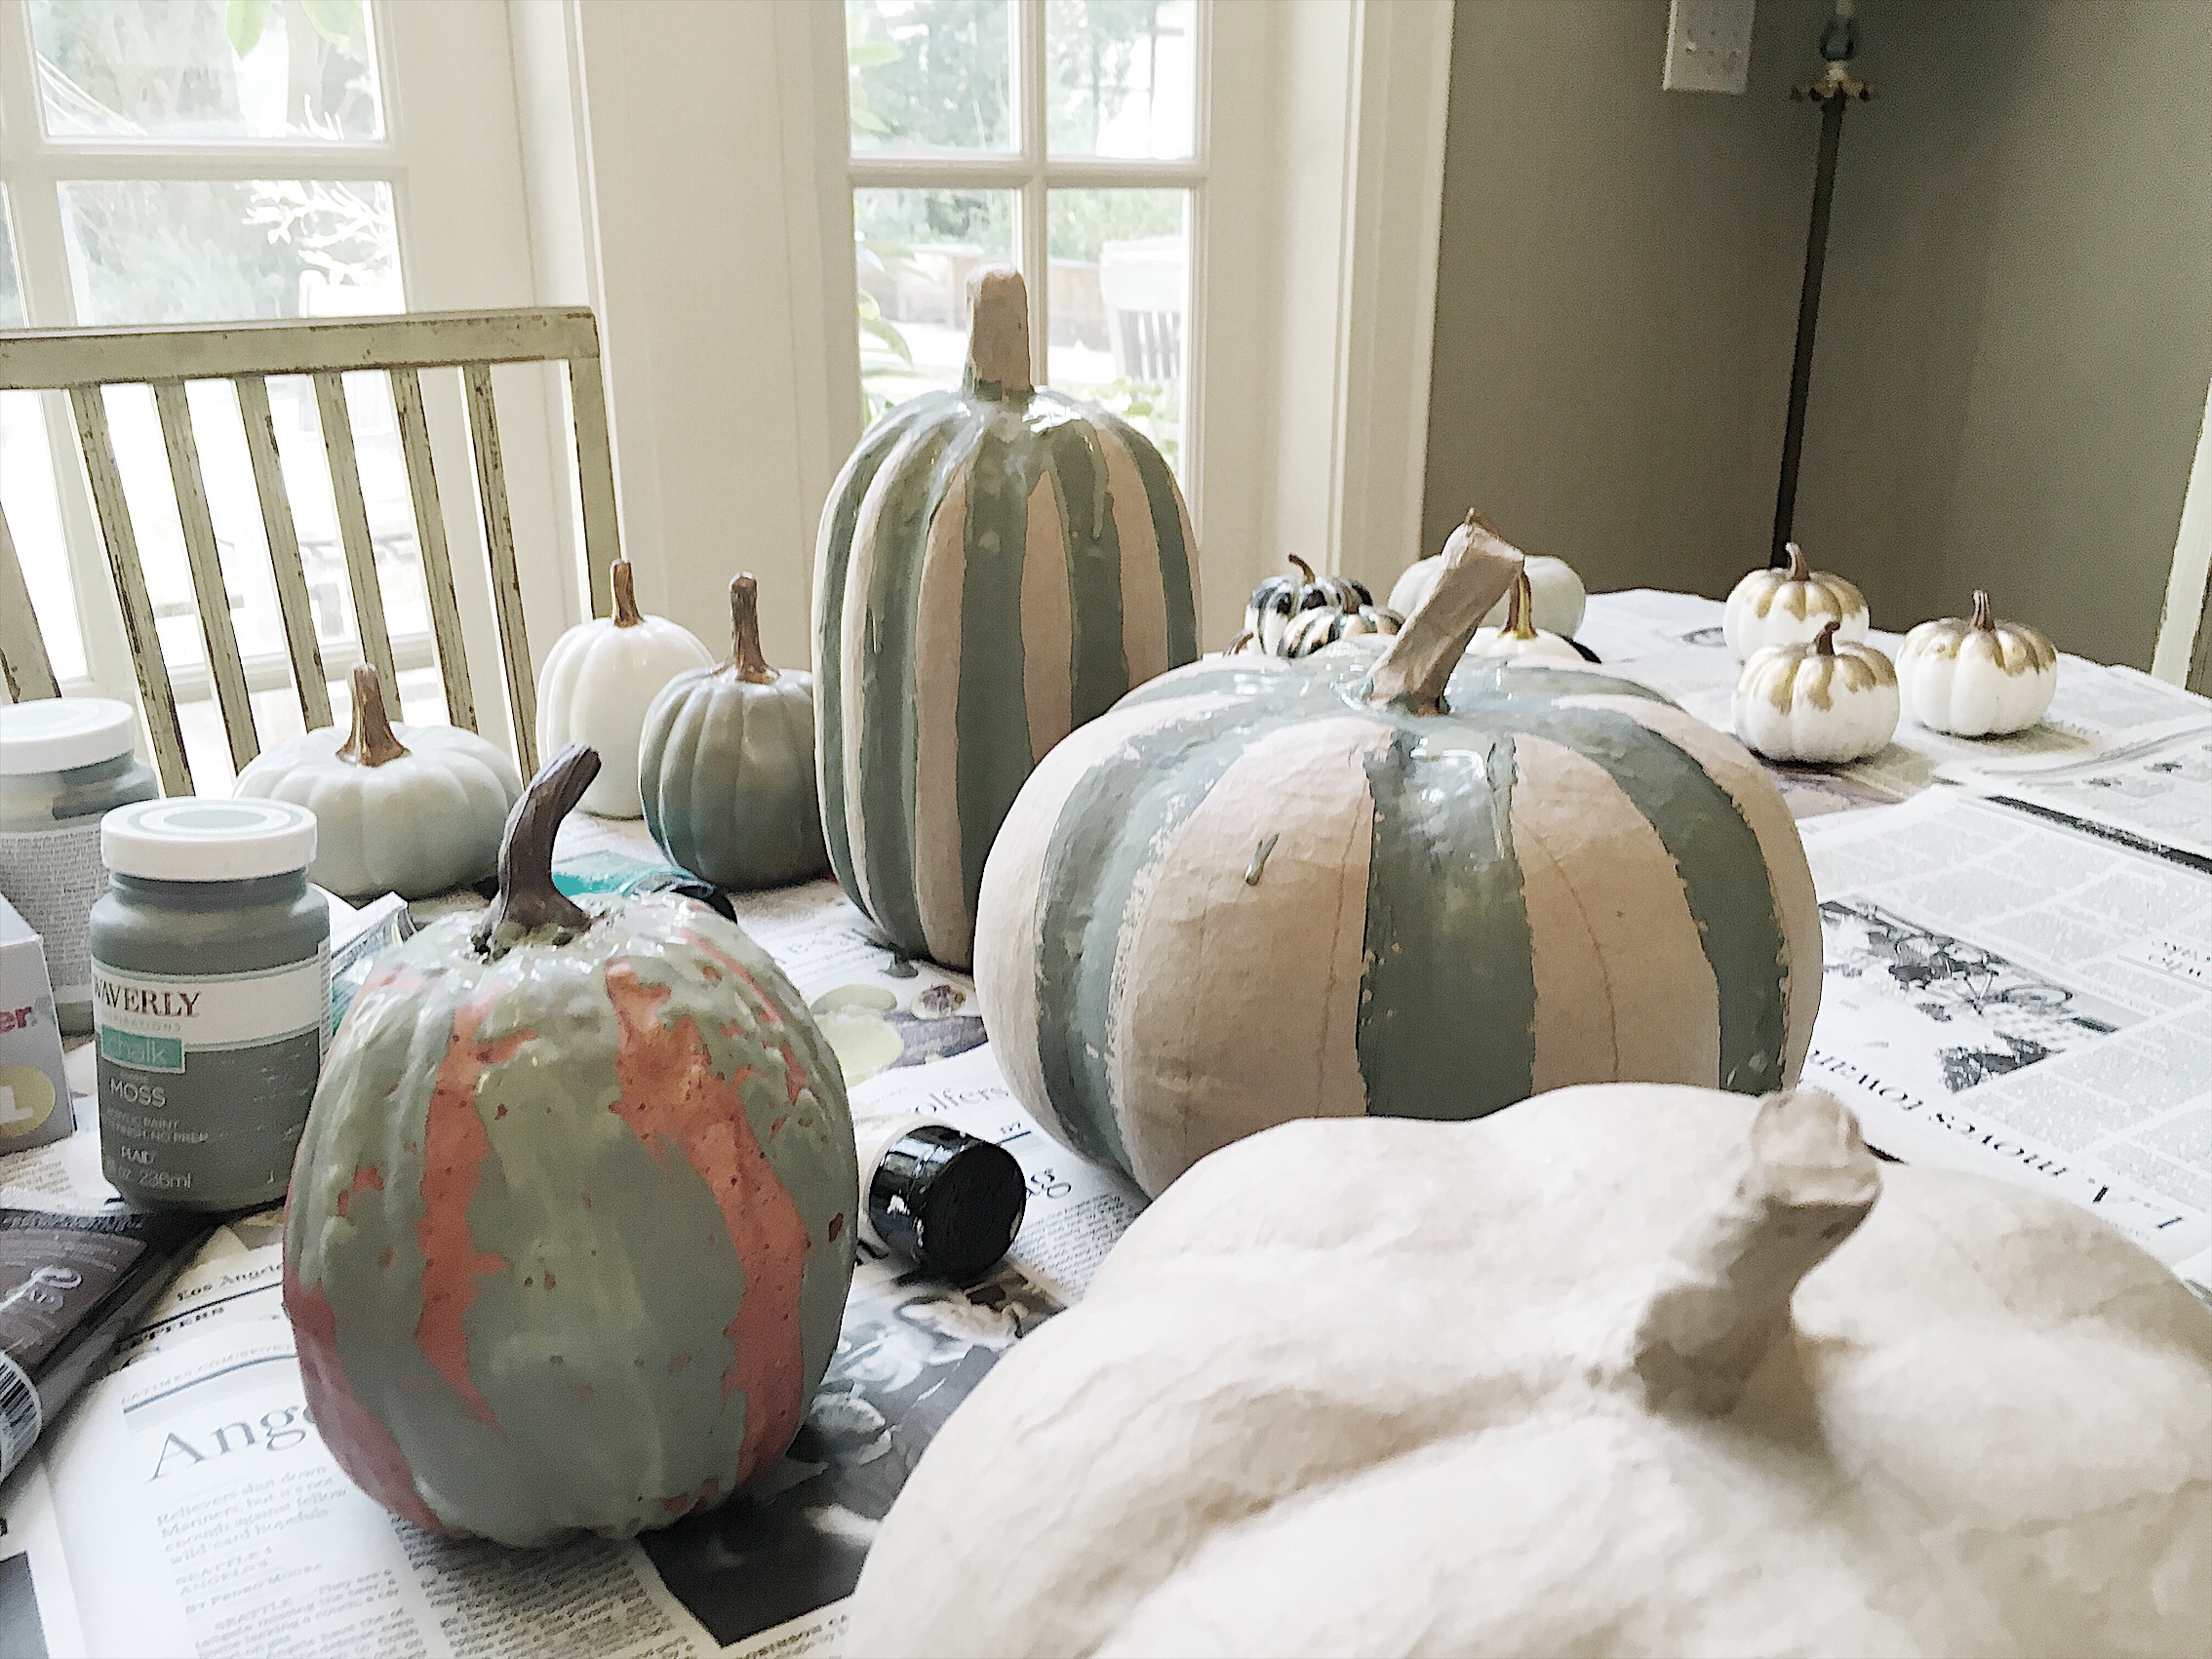
I used the two-color concept – darker paint in the crevices and lighter paint everywhere else. I painted the darker parts first which worked ok. It probably doesn’t matter which paint you put on first. All you need to do is paint the darker areas, let it dry and then come back and add the lighter paint. Very simple. Just tedious.
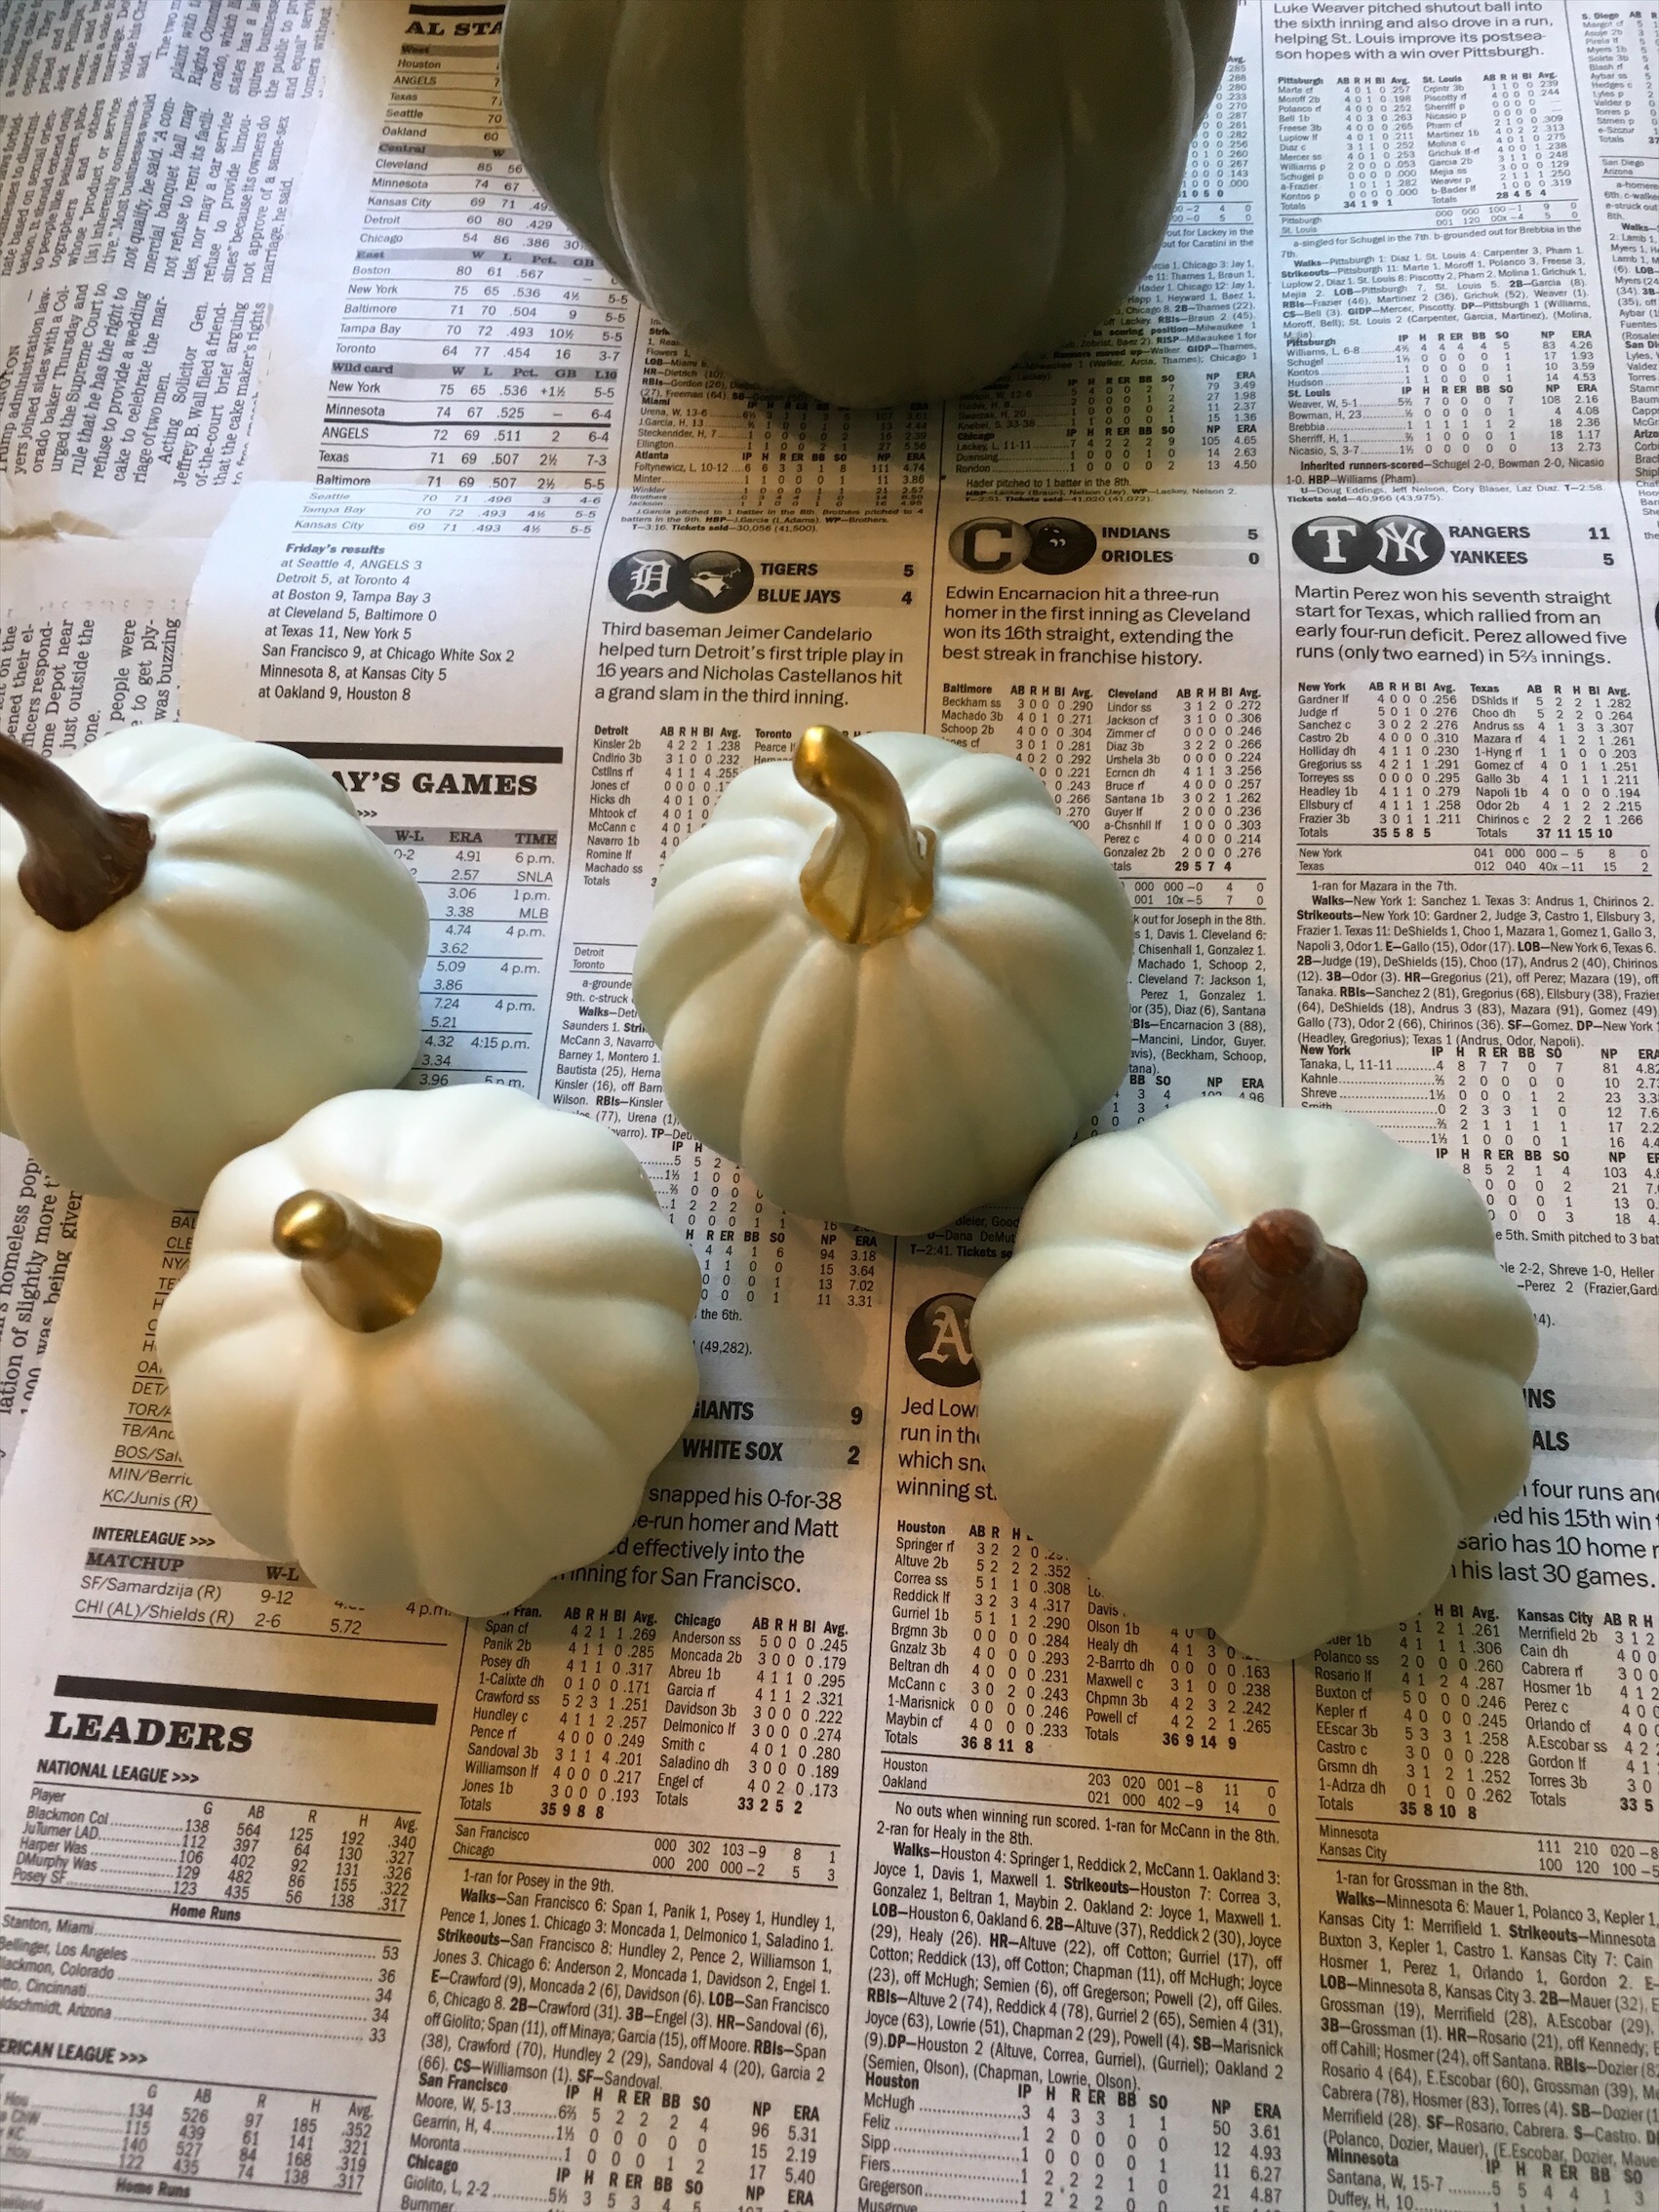
Some of the pumpkins only needed the stems painted brown. (I don’t like shiny gold!)
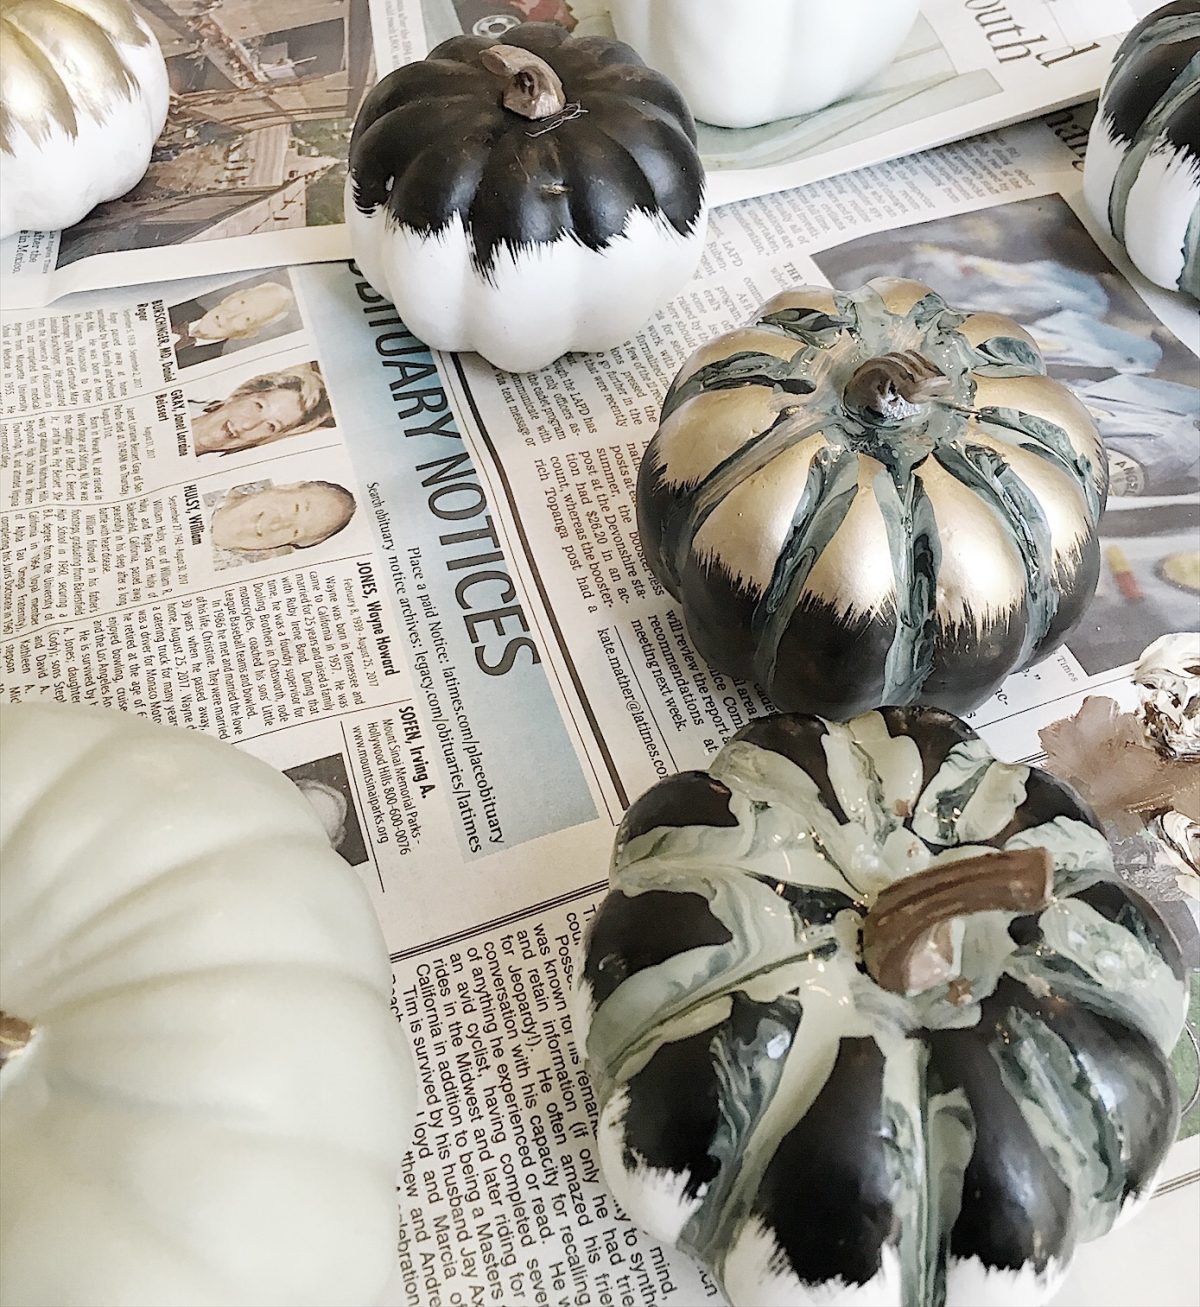
Once I had all of the pumpkins painted then I had a lot of fun styling them in my house.

Check back in the coming weeks to see how else I’ve styled them!
For more real-time updates, follow me on Instagram @My100YearOldHome



did you use chalk paint and did you varnish them. looks sort of like the colors of magnolia market sells. let us know. great job!!! joyce dodd harcharik