The Craft Project That Failed
I decided to do an unusual thing today. I am sharing a craft project that I was really excited about. But it failed. I think it is just as important to see the projects that fail, as it is to the see the ones that work.
So here’s the thing.
I love creating craft projects and sharing them with you. Ninety-nine percent of the time they end up looking amazing. But every once in a while one of my wonderfully creative thought up projects ends up being a dud. This was definitely one that didn’t work. It was a craft project that failed.
Usually, the project ends up in the trash or back into my scrap craft bin. It’s put away, never to be spoken about, or shared.
But today is different. I decided that I wanted to share my craft failure. I blog almost every day about my life. I think it’s time my failures became just as important as my successes.
I also am also thinking that one of you might have an idea of where to go from here. You know, kind of like “you can be the hero and save the project” kind of thing? Once you see the project, and where it ended up, I am hoping some of you might have some good ideas.
The Failed Craft Project
Let’s start with where I got my inspiration.
A few weeks ago I made this glue gun stencil and stenciled paint on some napkins. Each one turned out great.
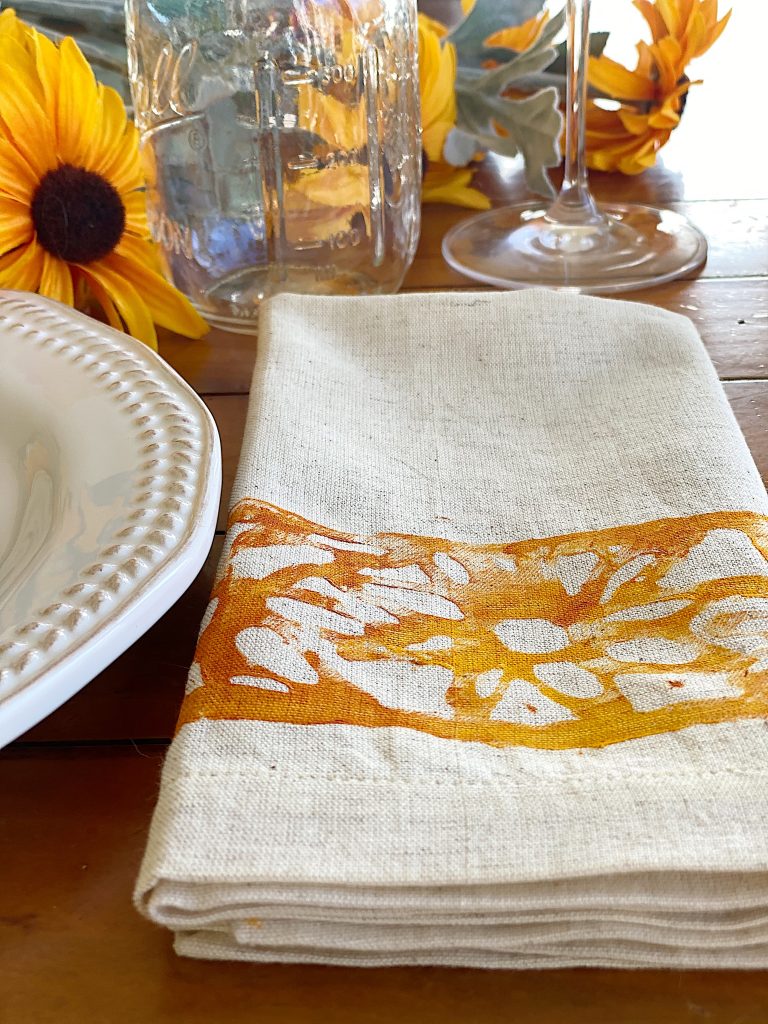
And the stencil I made is awesome!
I really enjoyed this project and decided I wanted to do another one and make a glue gun stencil. So I decided to make a large stencil for a pillow.
I chose an assorted leaf pattern.
I found this pattern on the Cricut Design Store. You can also find a pattern for just about any design just by googling it.
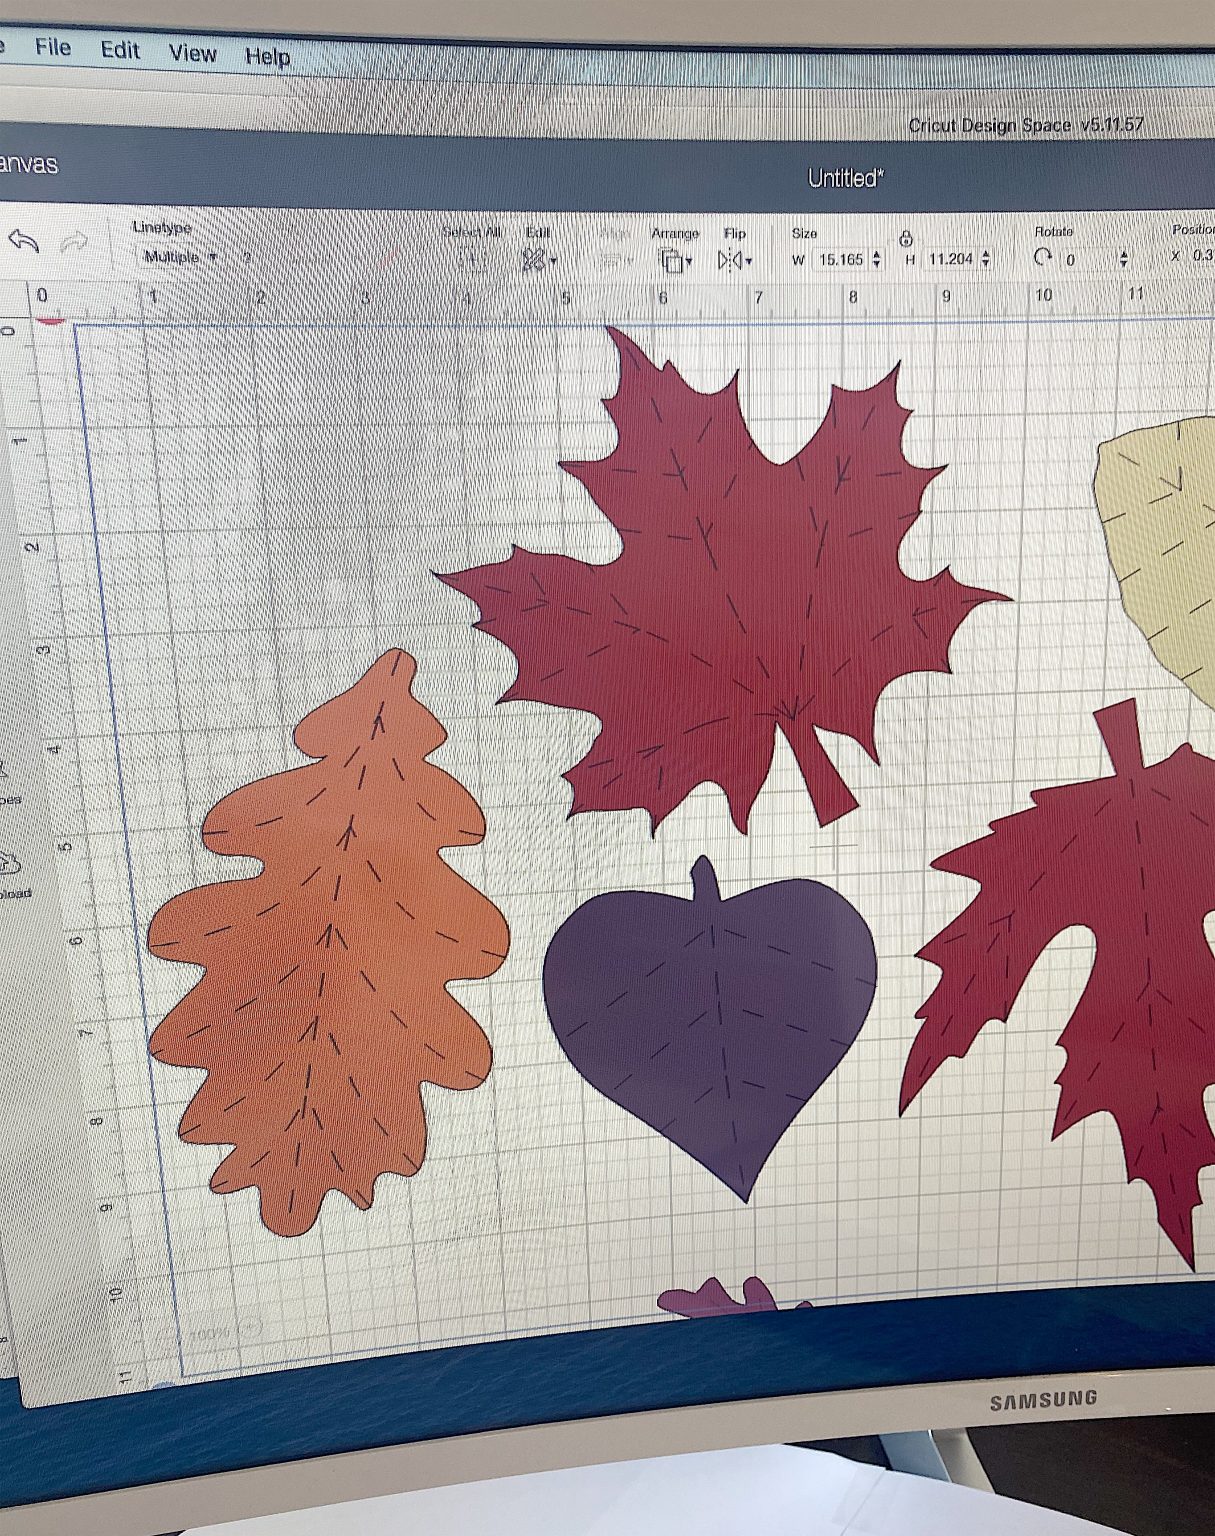
I have a big computer screen and traced the leaves in a haphazard pattern on to parchment paper. I traced them right on my computer screen!
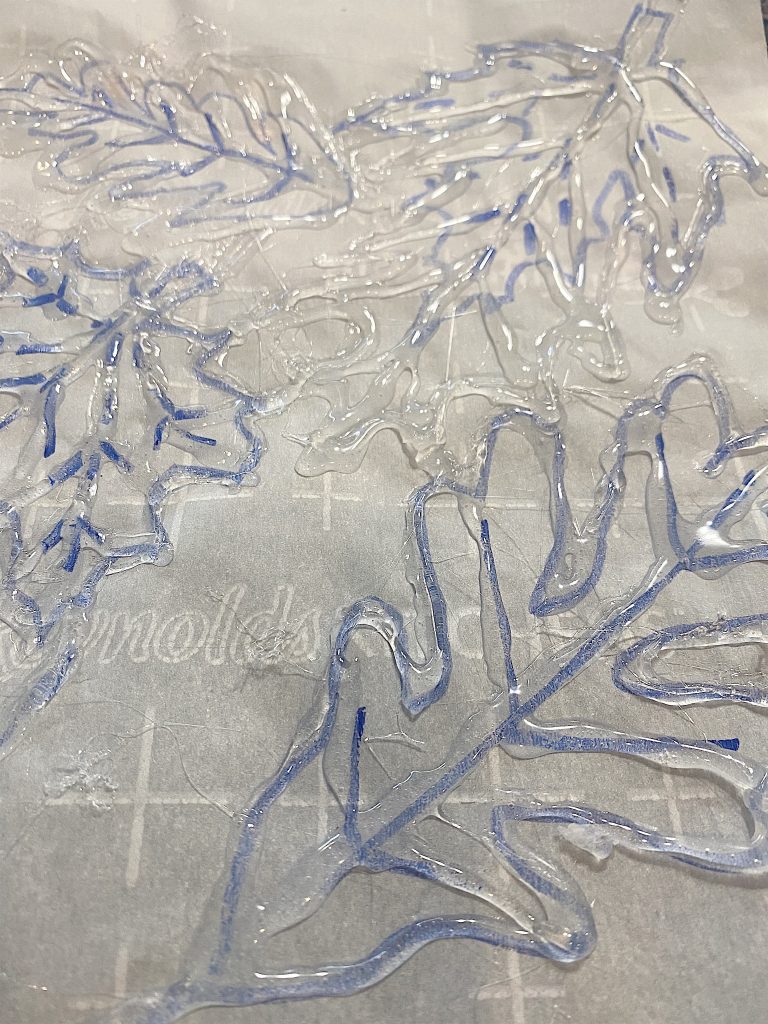
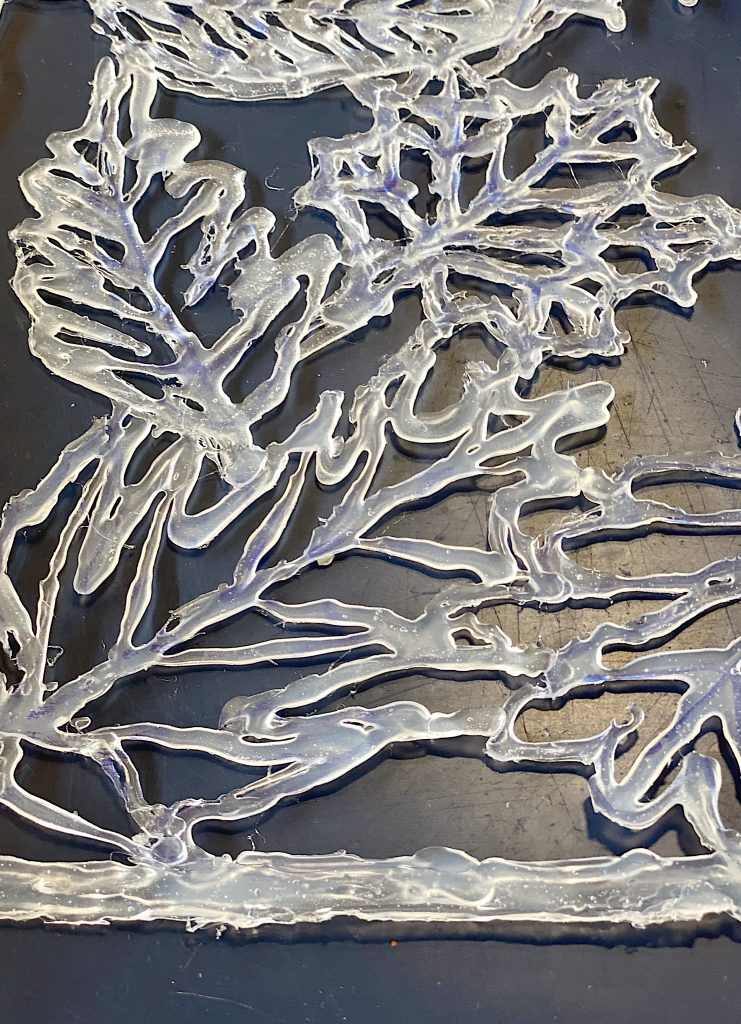
When I was done, the pattern looked like this.
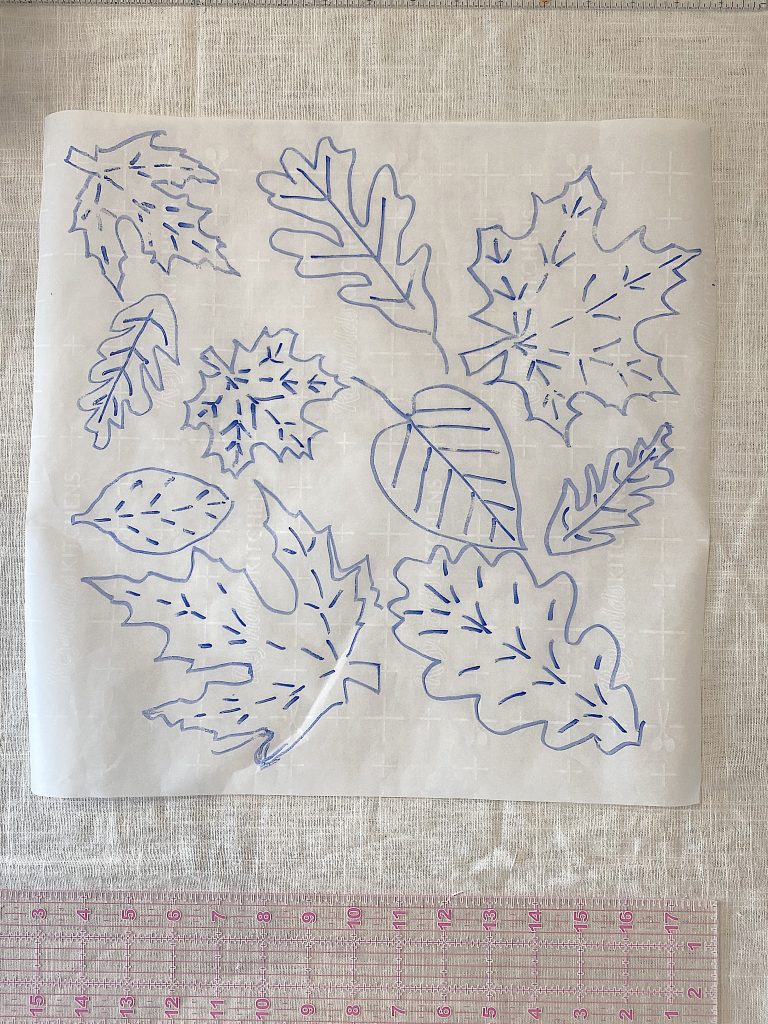
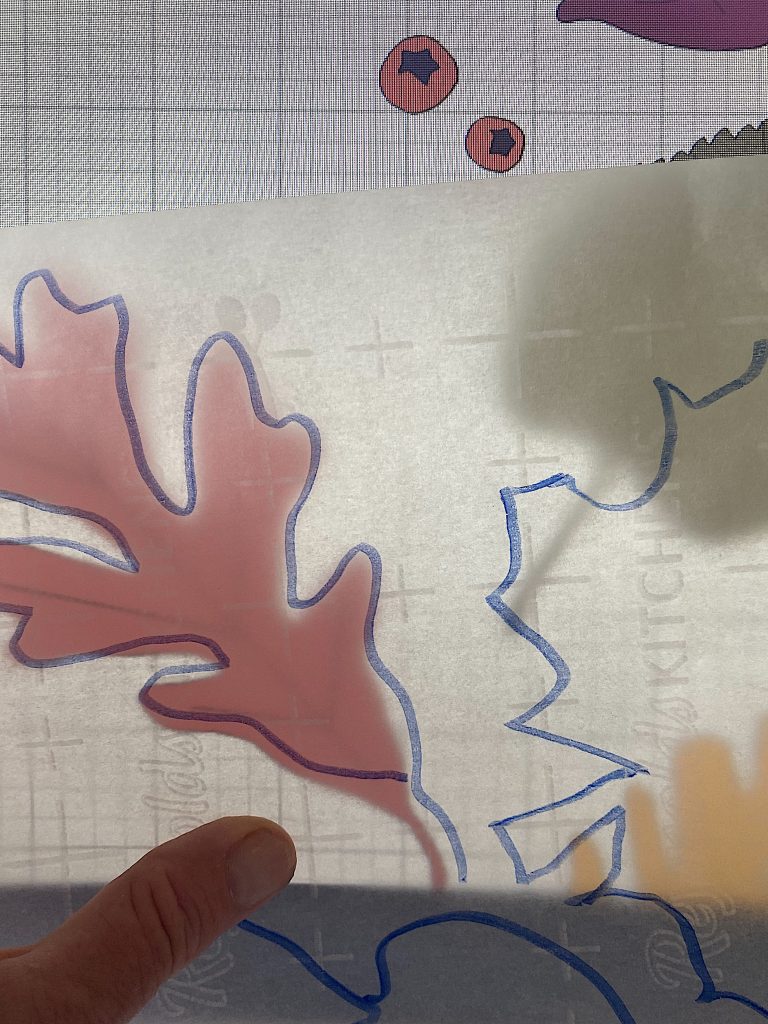
At this point, I should have realized I made my first mistake. When making the stencil, all of the leaves needed to be attached to one other. In my design, the leaves were kind of floating in the middle of the design. So I tried to attach them all in a haphazard way.
It kind of worked. But it really didn’t. After I added the paint, the stencil was so floppy that it was almost impossible to lay it flat on the fabric.
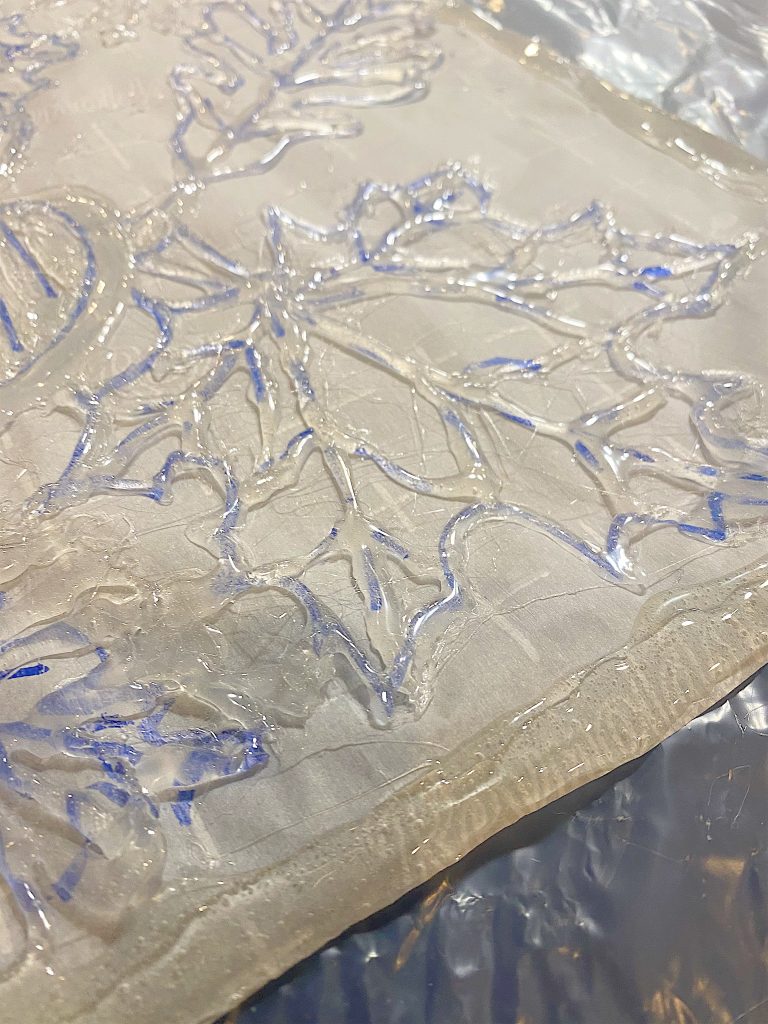
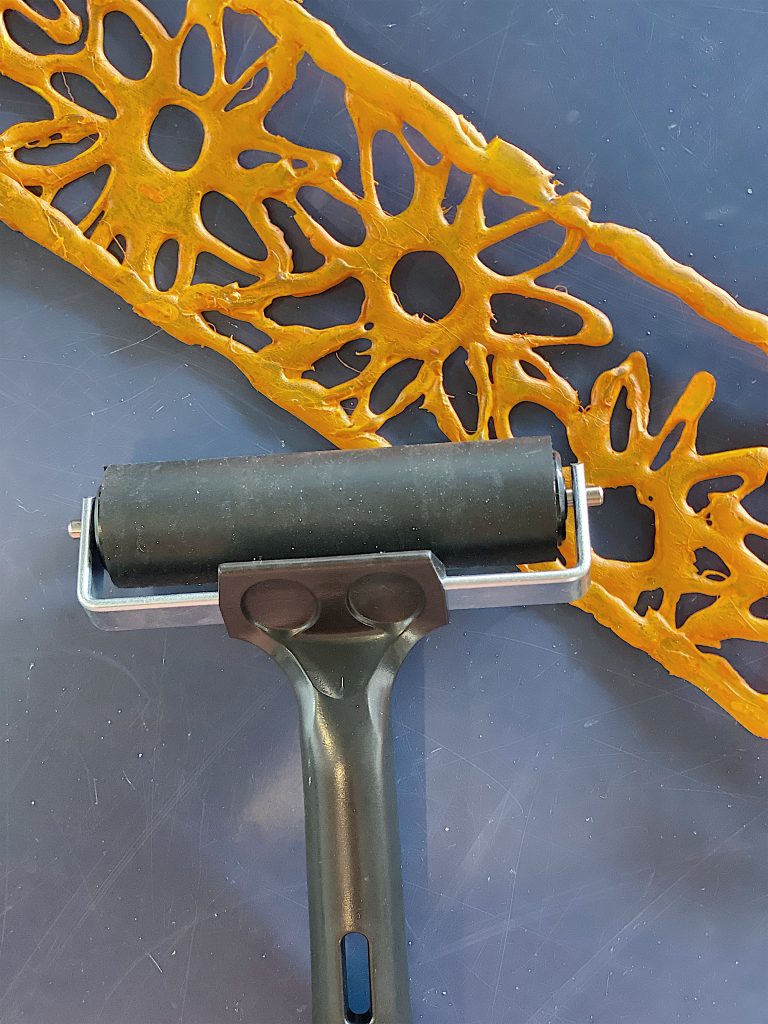
Making the stencil is easy. All it takes is a glue gun, a lot of glue sticks, a pattern, and some parchment paper.
The underneath side is actually the side that you use for the stencil. It’s flat and normally works great when you add the paint.
Or so I thought.
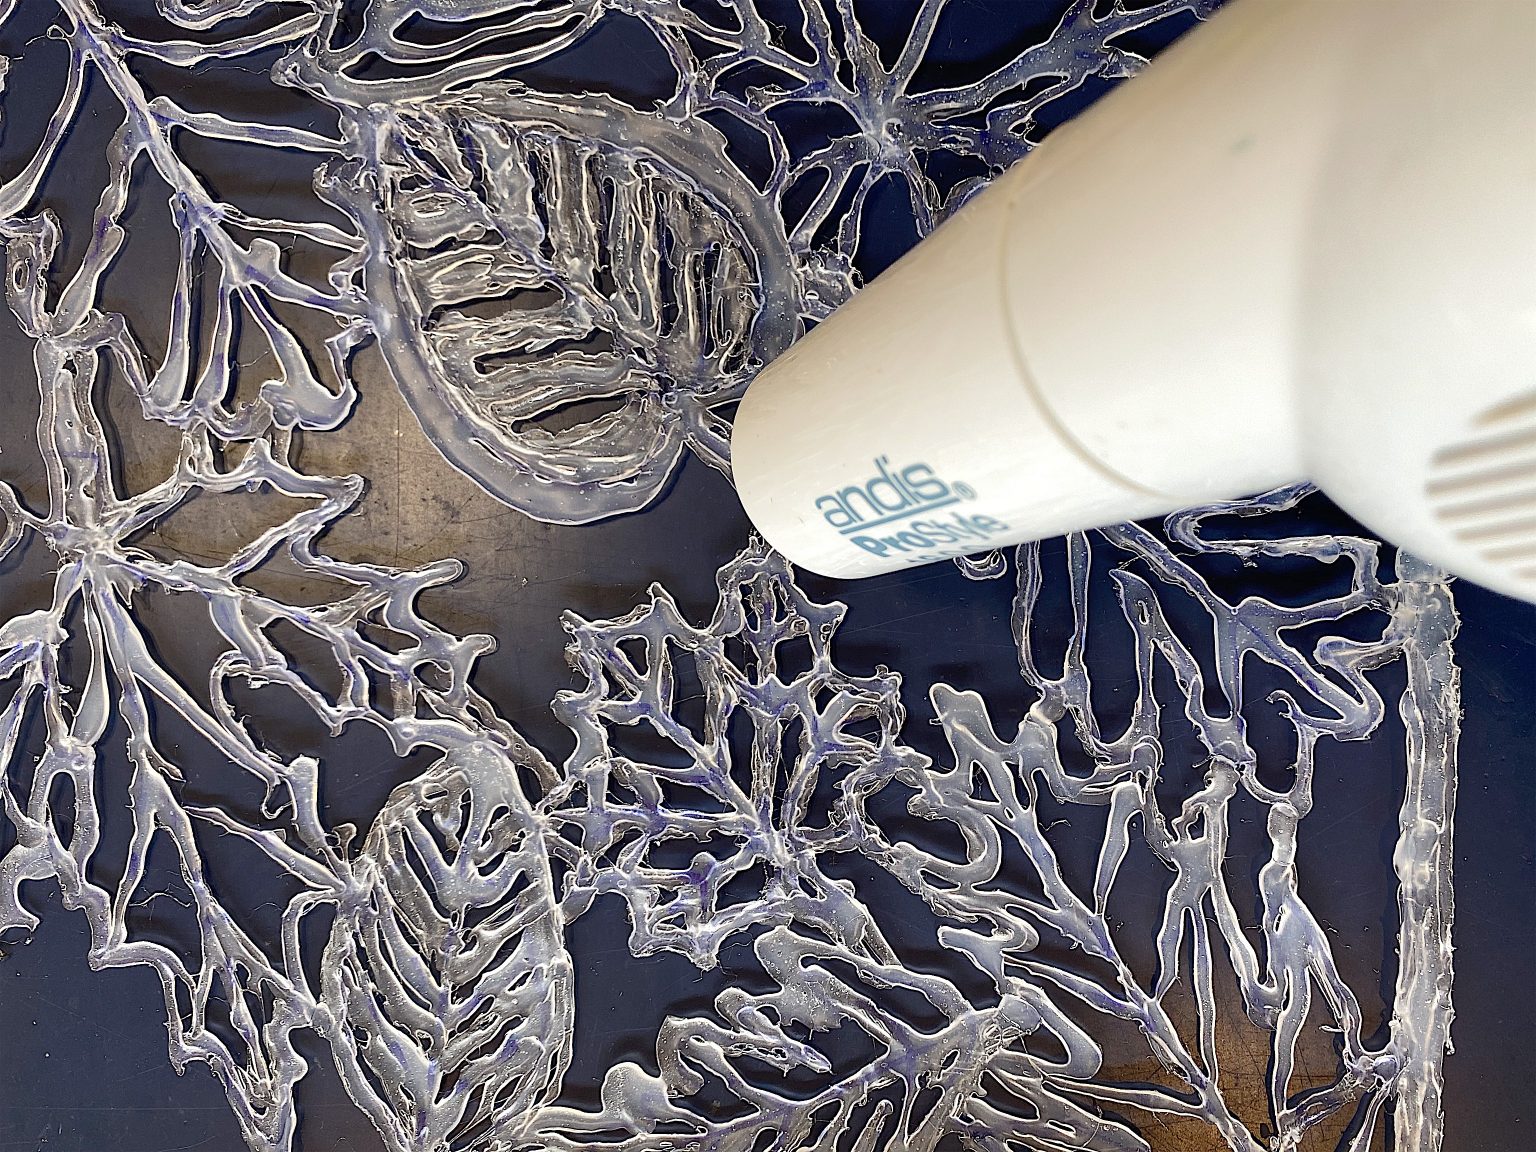
Here’s a little tip. Do you know those really irritating thin strings that are always everywhere after you use a glue gun? Take your hairdryer and quickly blow the hot air over your stencil. Be careful you don’t melt your stencil. But most of the glue strings will disappear.
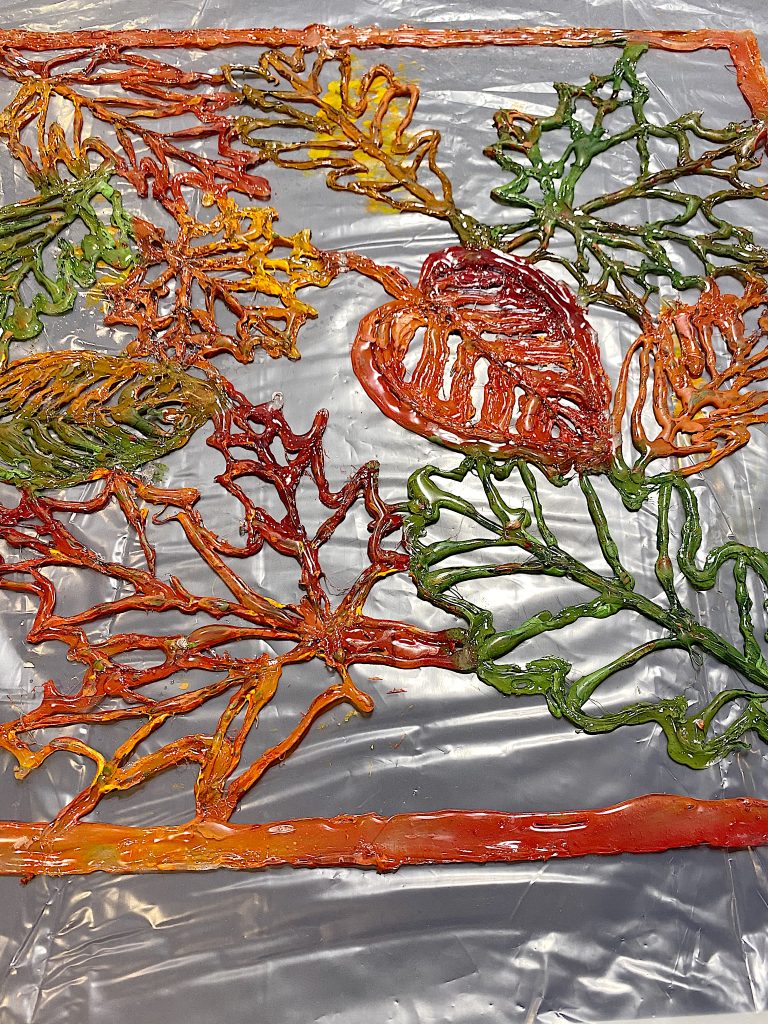
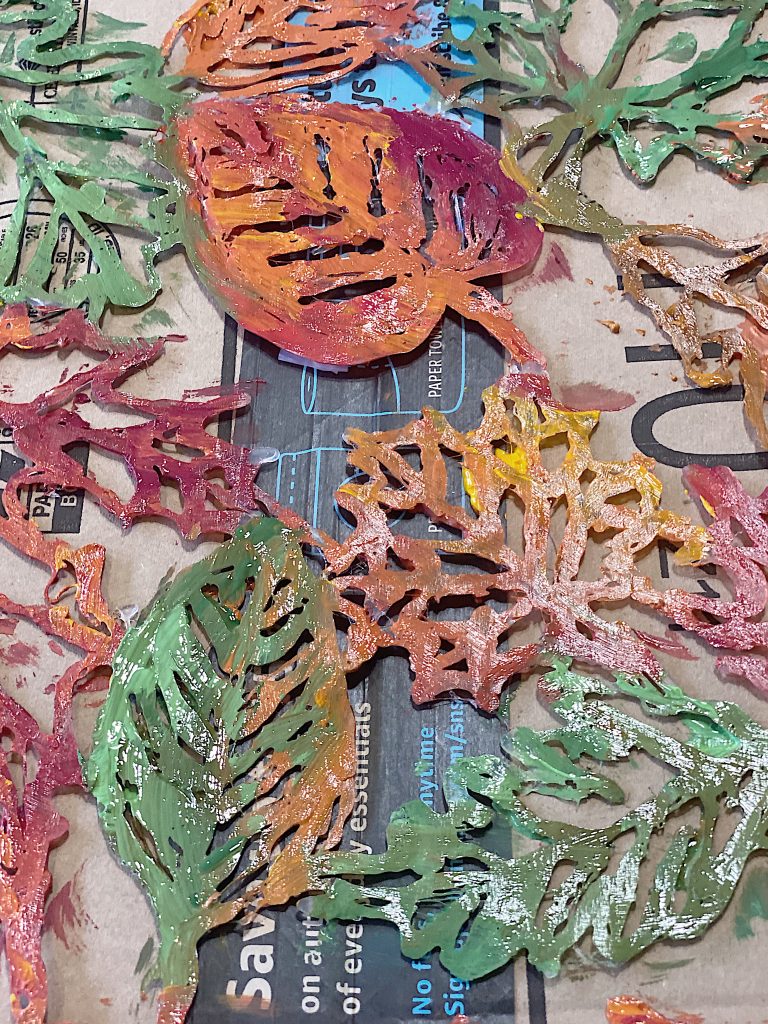
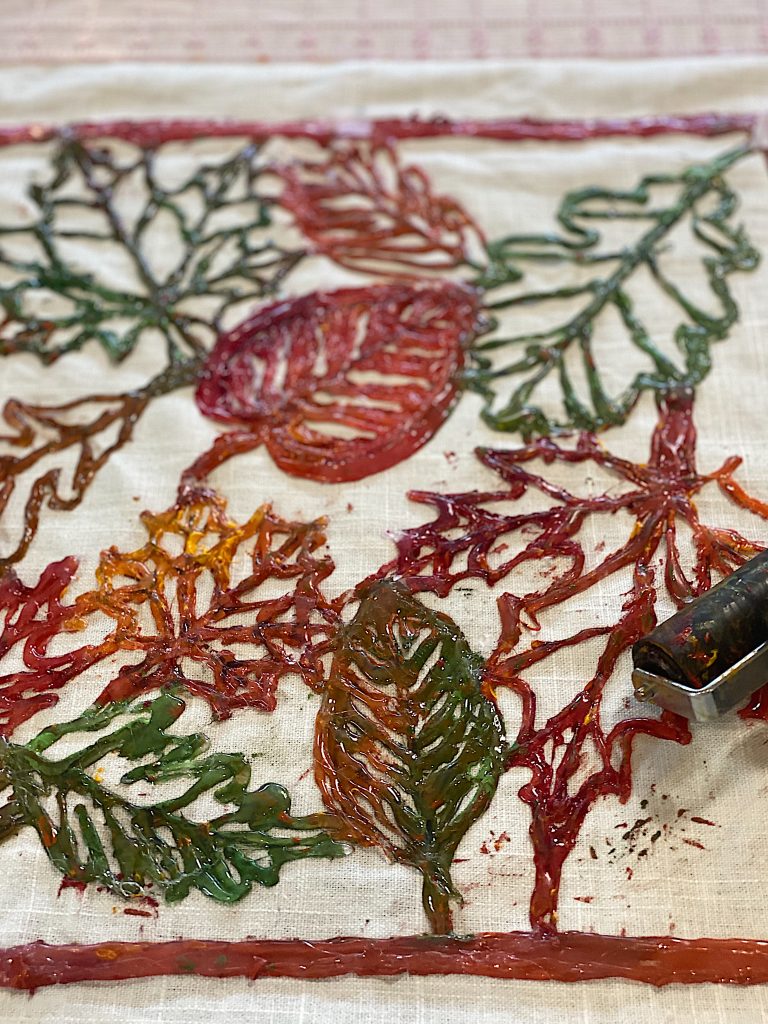
Here is the finished stencil. I thought it was attached enough. (What I forgot is that once I add paint on one side, I still need to flip it and put it on the fabric.)

The next step was to add the paint to the flat side of the stencil.

I chose fall colors and actually love this stencil so much.
Next, I carefully laid the stencil, paint side down, on to my pillow. The amount of paint that ended up on me was likely more than what was on the stencil. And this large 16″ stencil was floppy and did not want to lay down flat without getting paint everywhere. It was a disaster.
I used the brayer to push the paint onto the fabric and gently removed the stencil.
This is what it looked like. Aaaarrrgghh!
It didn’t work.
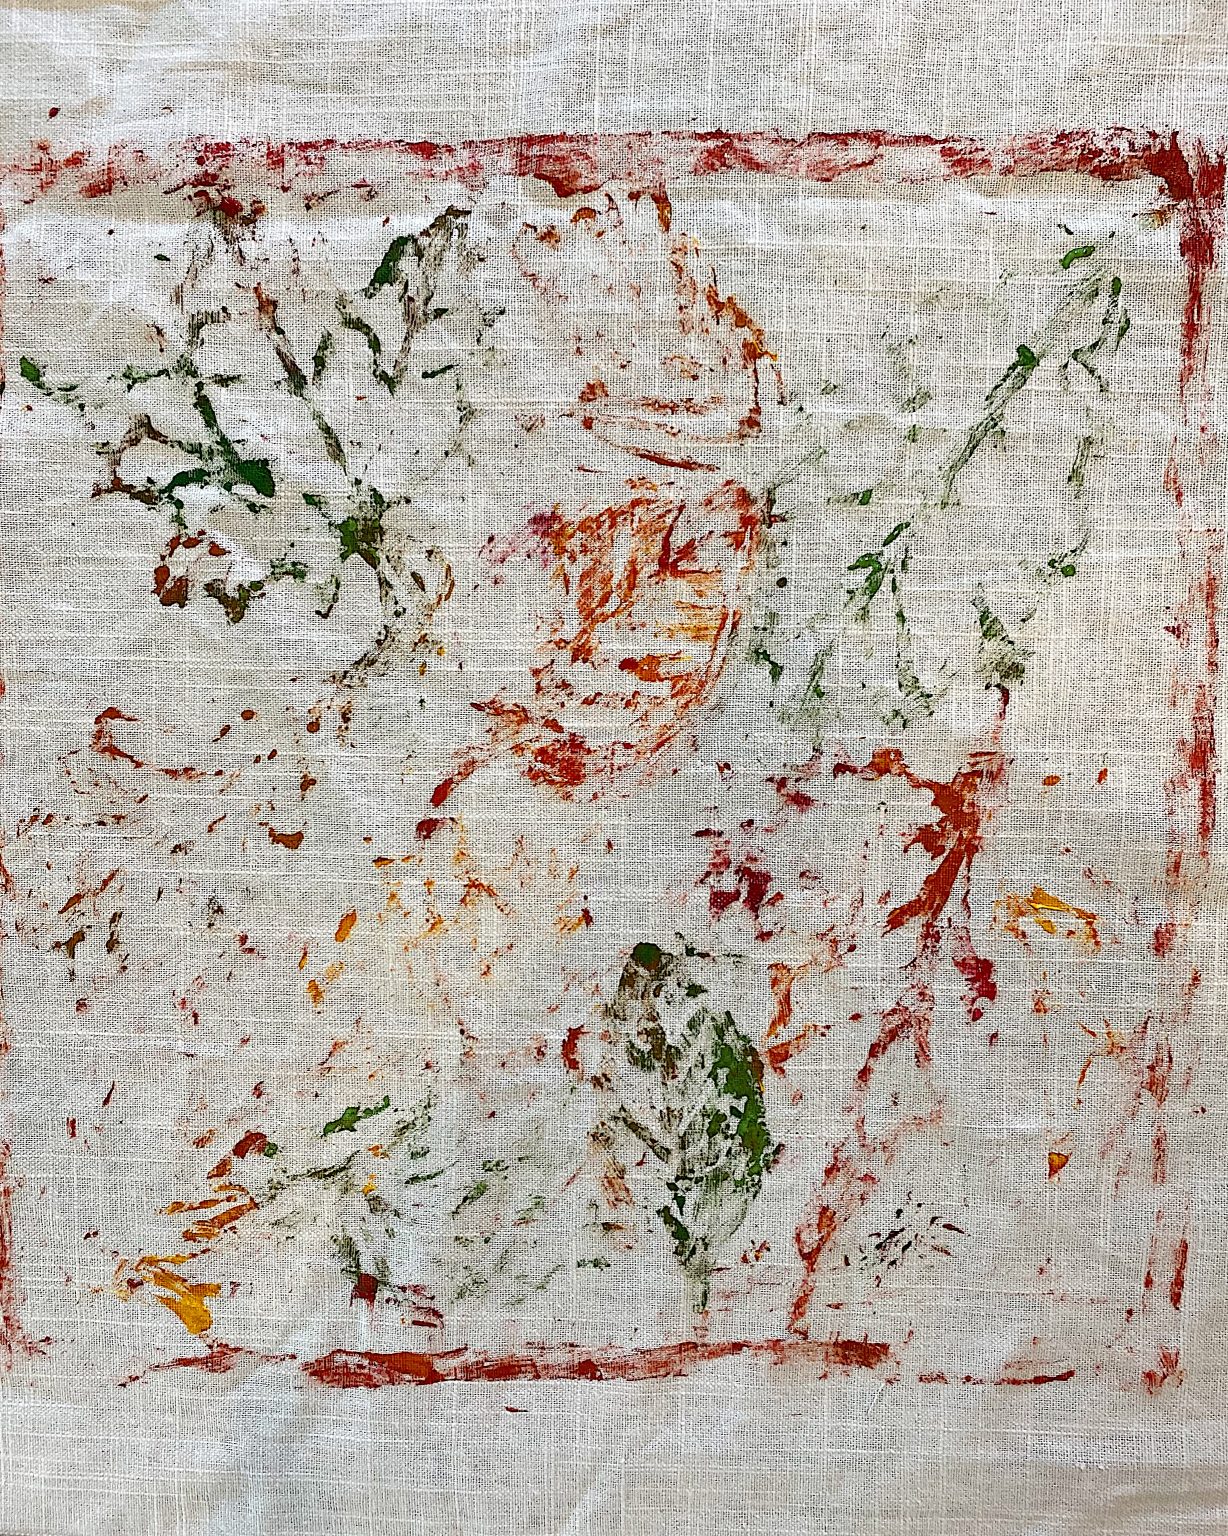
And at this point, I knew this craft project was a failure.
There is no doubt that anyone looking at the pillow would have no idea what it was. It just didn’t work.
So what are my options?
- Add more paint to the stencils, and try again. (There are so many reasons why this may not work a second time. It’s hard to add the paint and then flip it over onto the fabric. You also can’t put too much paint on the stencil or else the paint will end up everyt=where you don’t want it.)
- Just paint the pillow again but in leaf shapes and then maybe use free stitch embroidery. (Which means not using the stencil.) Like this.
- Come up with a creative way to use the stencil for something else. It is pretty cool.
So now you know. This project didn’t really work. And I don’t really know what to do next.
Your suggestions and comments are greatly appreciated.


Try using the stencil on an old window glass. If the paint smears you just clean around the design. As for the pillow make one flower with a connecting leaf and do it piece by piece.The smaller the stencil the better it is to work around it. That’s all I can think of. Good luck and don’t be discouraged all of your post projects are absolutely amazing XOXO from Corfu Greece
Thank you so much for the feedback, Barbara!
Why couldn’t you load your stencil and just place the fabric on top of it rather than trying to flip the stencil? To me the less movement you have to do with the stencil the better. It was beautiful when all loaded with paint. I love the inspiration behind it and sorry it didn’t work.the first round. Cant wait to see if you try it again.
Amazingly talented person you are. Stay well.
Thank you so much for sharing. I have had failures too and I think it is great to share and see what others think would work. I see a sun catcher, a center piece for your many beautiful tables you decorate. It could lean up on a shelf in the background that would add a pop of color to your room. If it is flimsy you could add something to the back for support that was hidden…..like a painted dowel rod. I think it is very creative and it would be hard for me to throw it away…….you are very creative and I am sure you will find a great way to display it. Can’t wait to see what you do !
Thank you so much for the encouragement, Robin. I so appreciate it!
Leslie, would it work to add your paint to the stencil, then lay your fabric down on top of the stencil and press firmly, instead of flipping the stencil over onto the fabric? Just a guess. Thanks for sharing this with us.
That sounds like it could work!
I agree with this suggestion. My question is also- how long did it take you to “ink” or paint the stencil? It may be drying on you since you have to cover so much territory and using different colors. This could be causing the stencil to not print in a satisfactory manner. Just thinking out loud.
One other suggestion, could you mount the stencil to cardboard so that flipping might be smoother?
Probable so, Kay! I will keep on trying, thank you for following along!
Maybe just use it like a regular stencil. Don’t paint it, just lay it on the fabric and apply paint with a stencil brush. The would be in reverse of what you originally intended, but it could be cool.
This sounds like a potential winner!
That is what I thought, Julie!
Possibly! Thank you for your feedback, Jean!
Great post showing us what we can do ourselves and not rely on shops or stores.
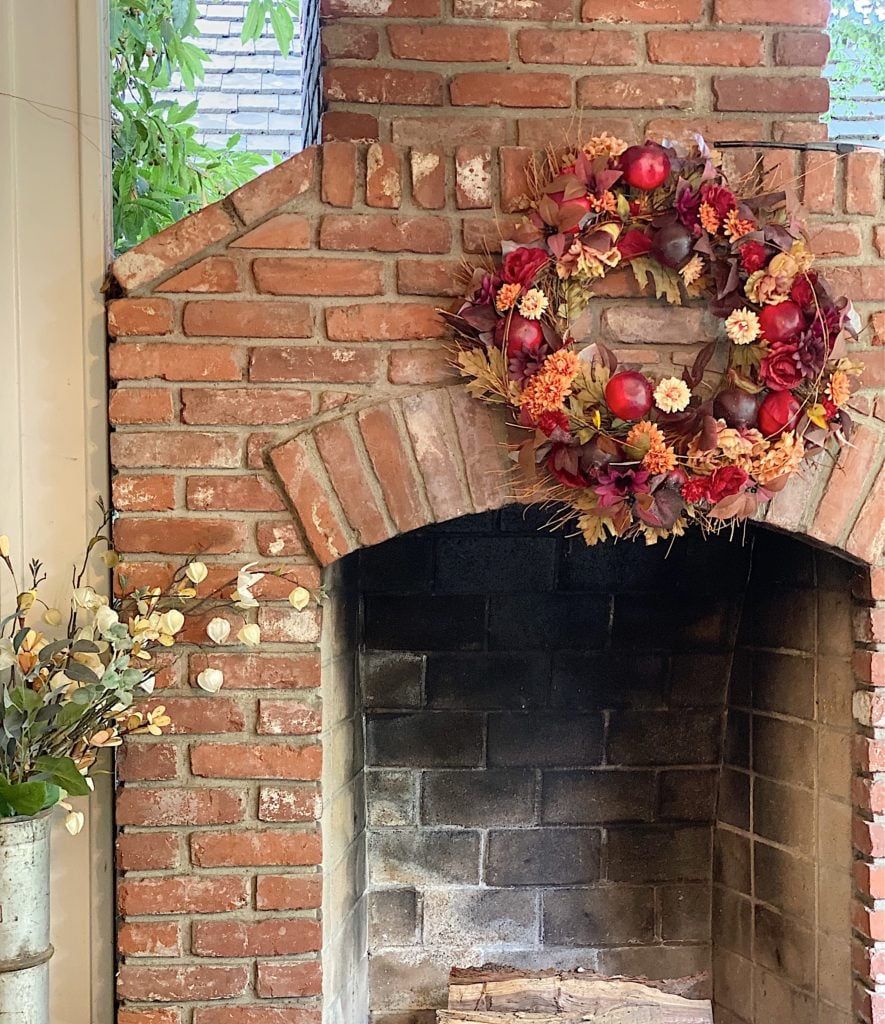
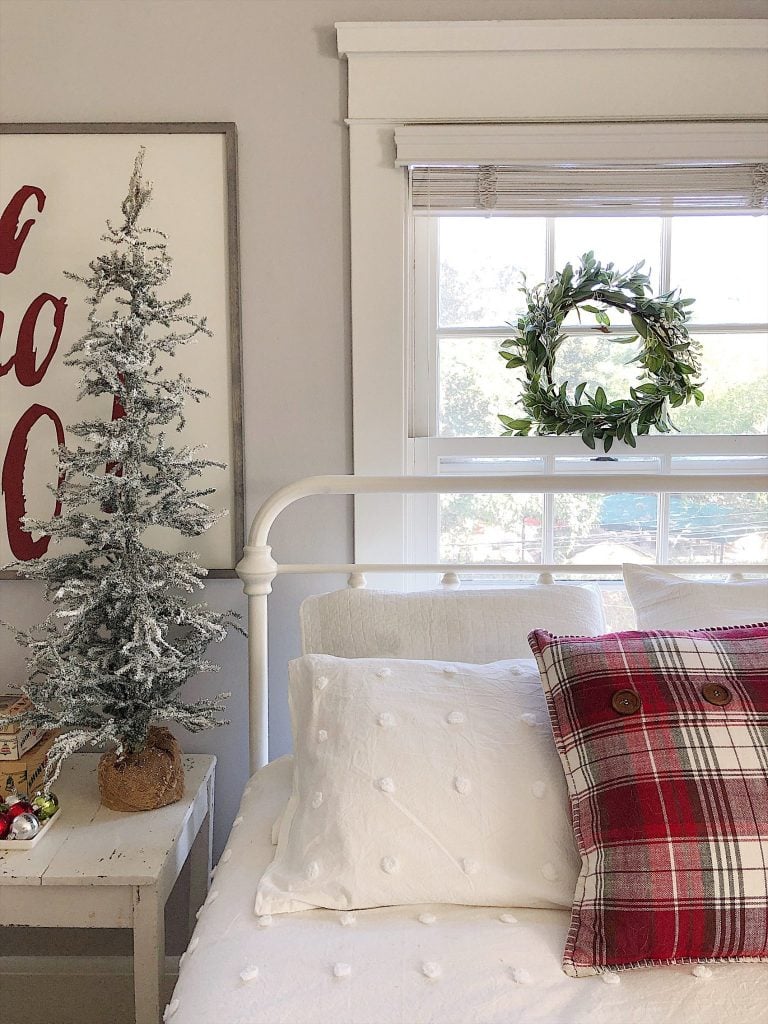
I’m a wreath person and loved your wreath on the fireplace
I always have wreaths on outside doors and a couple hanging inside that all get changed with the season
Thanks for sharing that all our projects aren’t perfect
Thank you, Diane! Wreaths are so fun to mix up year round, I agree. Thank you for following along with my successful and failed projects, ha!
i would cut out the leaves and do it again but using one or two leaves at a time until you have a pattern of the leaves you like. I think that would maybe make the stencil lighter and less floppy. Thanks for sharing the fails so we can all learn from it.
Definitely try placing the fabric on the stencil, rather than flipping the stencil and placing it all floppy. You might also run a brayer over it — or an empty wine bottle would work too, just saying.
And I like Niki’s idea of one or two leaves at a time, that will help keep some of the paint drying out before you get it all done.
Your leaf design is beautiful and your colors so fall. I think Barbara has a good idea. You could even hot glue your stencil to a piece of glass or cardboard to give it some stiffness. Then use a brayer to transfer the design better. Your idea is great. Before ditching your piece of cloth try stenciling over it not matching up the design. It may or may not look three dimensional like faint leaves behind the others. Whatever you do, it will be lovely.
I agree with the other gals. Cut it apart. I can see it working then. Can’t wait to see what you do.
The stencil with the paint on it is so pretty! My two cents – add more glue on top of the rough side to make all the leaves sturdier, and add some smaller leaves in between to make the connections sturdier. When you stamp it, do it over a slightly giving surface like a terry towel (like you would to iron embroidery on linen). I hope that might help.
I actually like the way it is. You can see leaves, and love the colors. I have a deep love for the arts no matter what. Continue on!! Love the stencil. Endless possibilities.
I think the stencil is beautiful as it is. I’d mount it, mat it (recessed – but not as deep as a shadow box), and frame. Hang it, lean it, whatever…. it should be seen for fall.
Your stencil is a piece of art in and of itself. I could see it sandwiched in one of those two sided clear frames, or framed classically, and it becomes window or wall art.
The idea of placing the pillow cover over the stencil is a great one and seems like it might be workable. If you cut it, the enduring beauty will be gone — so please don’t.
Your creativity is inspiring and something I aspire to. Thank you.
This is wonderful Leslie! I also love your stencil and if you’re not sick of looking at it, it would be great on its own! 🙂 Thanks for sharing all this with us – it’s fun to see your thought process!
I love the colors on that stencil. I wonder if you could frame it between 2 pieces of glass.
That is a great idea, Beth!
How about using a paintbrush with a “paint-by-numbers” technique? You have a great outline that could allow you to hand paint.
Thanks for sharing one that didn’t work. It sure makes me feel better knowing I’m not the only one this happens to!
O yes, it happens to all of us. Thank you, Denise!
Go in and finish the leaves by hand. Use light strokes just to make solid lines within the stenciled lines that are already there for you! It will be beautiful!
Thank you, Kathie!!
So fun to see the process. I thought the same things as some of the above ideas. Either flip the fabric onto the stencil & use brayer or cut stencil into small manageable pieces. Good luck and thanks for sharing.
XO- MaryJo
Thank you! And thank you for following along with this project 🙂
I seem to try all your projects! They are all so interesting and fun! As I listened to your dilemma, I was thinking what others have suggested-make your leaves manageable. I think they would be beautiful done one at a time. You could even keep them feee floating that way, no strings attached!! 🙂 I love the free stitch embroidery! Having so much fun with it!! Than you!
Thank you so much, Kim! You are so encouraging.
Hi , how honest and lovely to read through this. I love your stencil and I actually really like the effect on the fabric too!! it looks quite vintage and shabby chic. !! Would stippling product through the stencil work rather than rollering? or a spray paint of some sort .
Those are great ideas, Angela. Thank you very much!
Well, there are a lot of good stencil sites that may have pre-made stencils that you could use for your project. Royal Design Studio, Cutting Edge Stencils, etc. You went through a lot of work that may not be necessary. Do a google search!!!
Very true, Diane! Thank you for following along with me in this project.