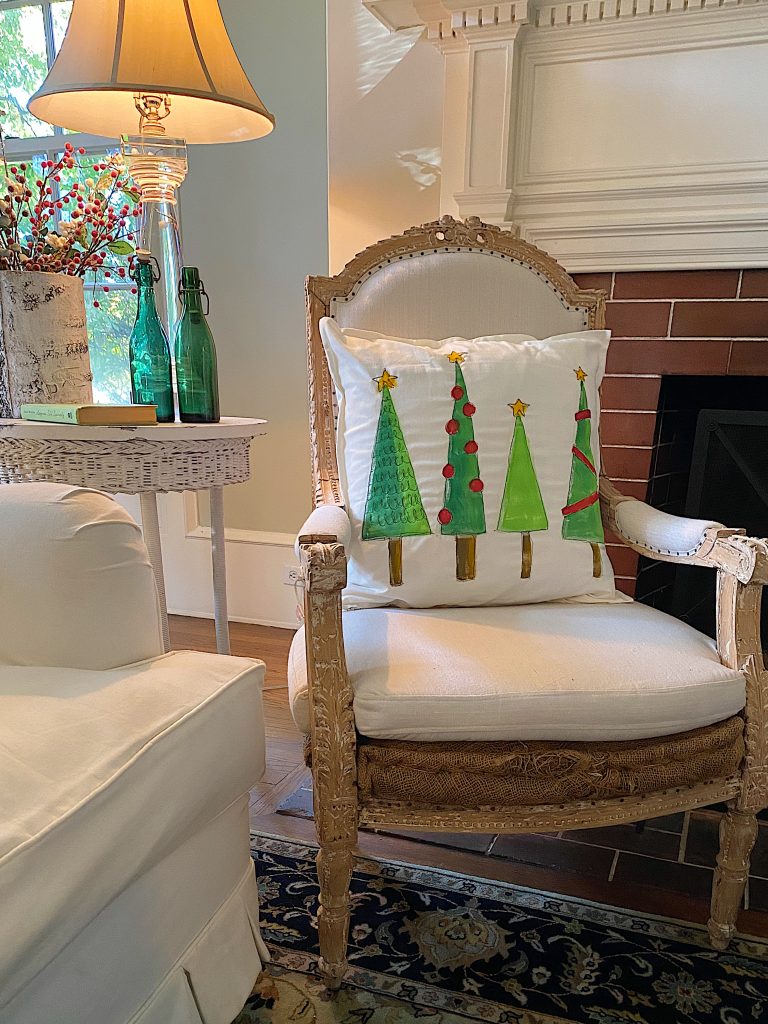
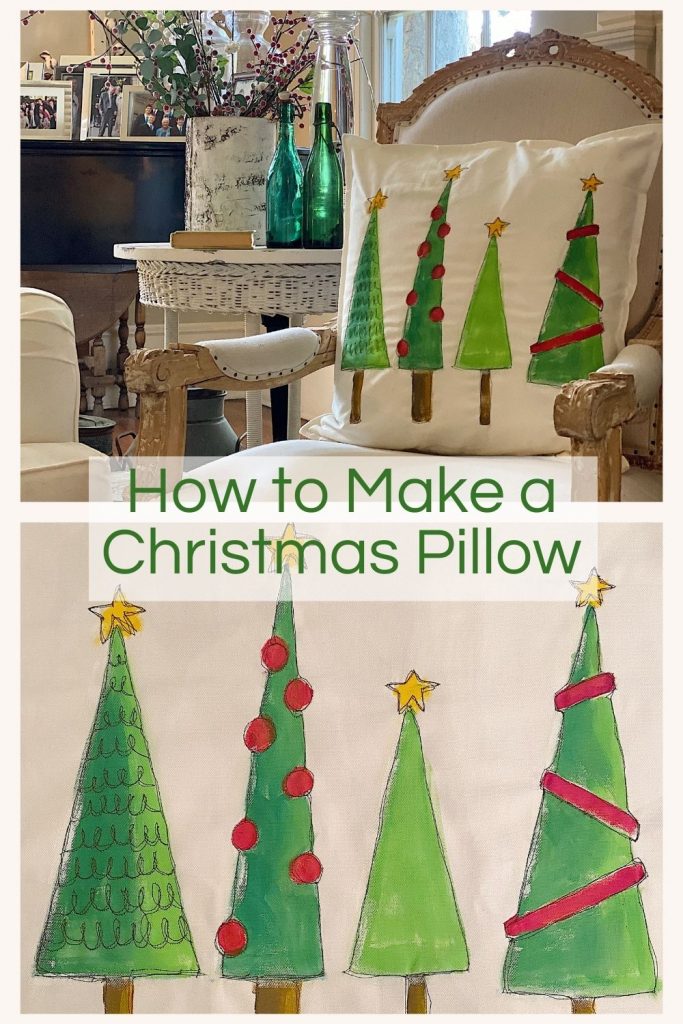
The Best DIY Christmas Pillow

This is one of my favorite Christmas craft DIYs: my Christmas Tree Pillow. It’s easy to make and looks store-bought, but it’s handmade.
Shapes and colors are the key to this easy DIY Christmas pillow. Are you ready to see just how easy this is to make?
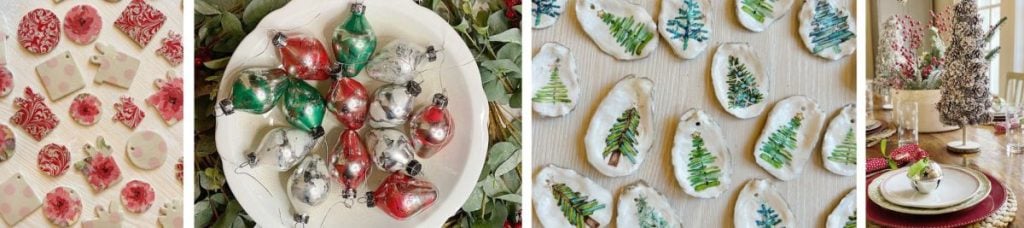

There is no doubt that I love to craft. Now that December is finally here, I am having so much fun enjoying all of my crafts! Some of my favorite crafts I made last year are a tree skirt, a wooden centerpiece with hanging mason jar candles, mercury glass ornaments, gift tags, a ribbon wreath, a cookie wreath, silver and gold leaf pears, and clay tags.
This year, every single craft I have made for my new series, A Handmade Christmas, has been fun to make. And I love them too!
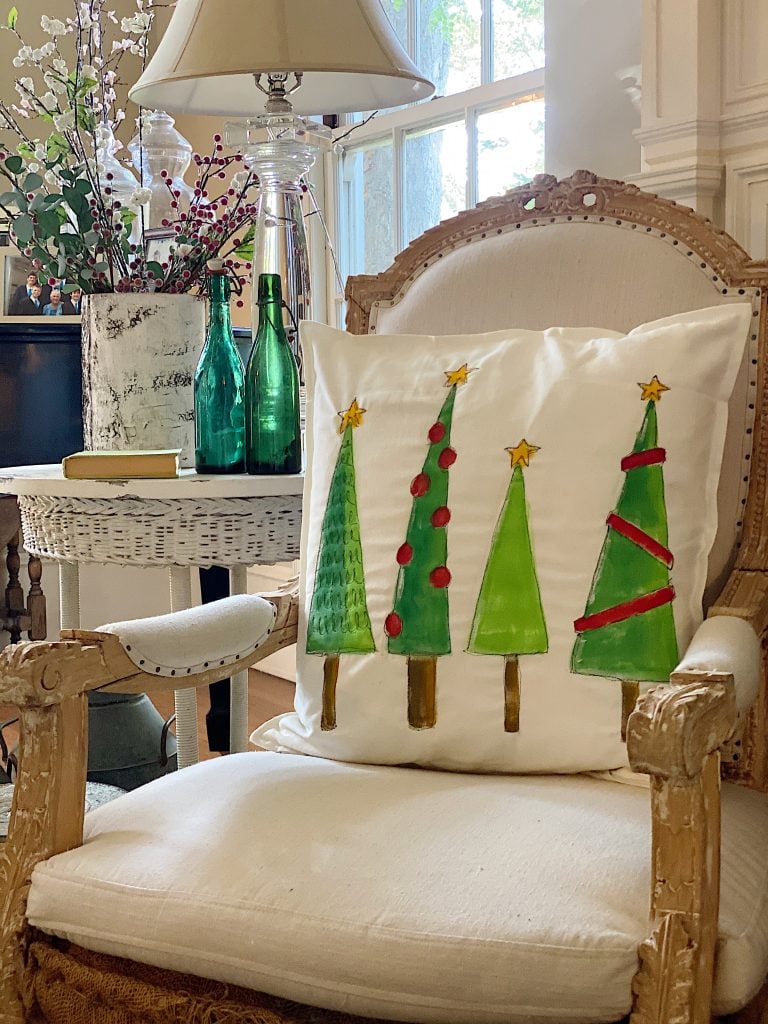
However, one of my all-time favorite Christmas crafts is this Painted and Free-Stitch Embroidery Christmas Pillow.
CYBER MONDAY IS HERE!
Click a category below to shop the best deals for Cyber Monday!
CYBER MONDAY by lsaeta
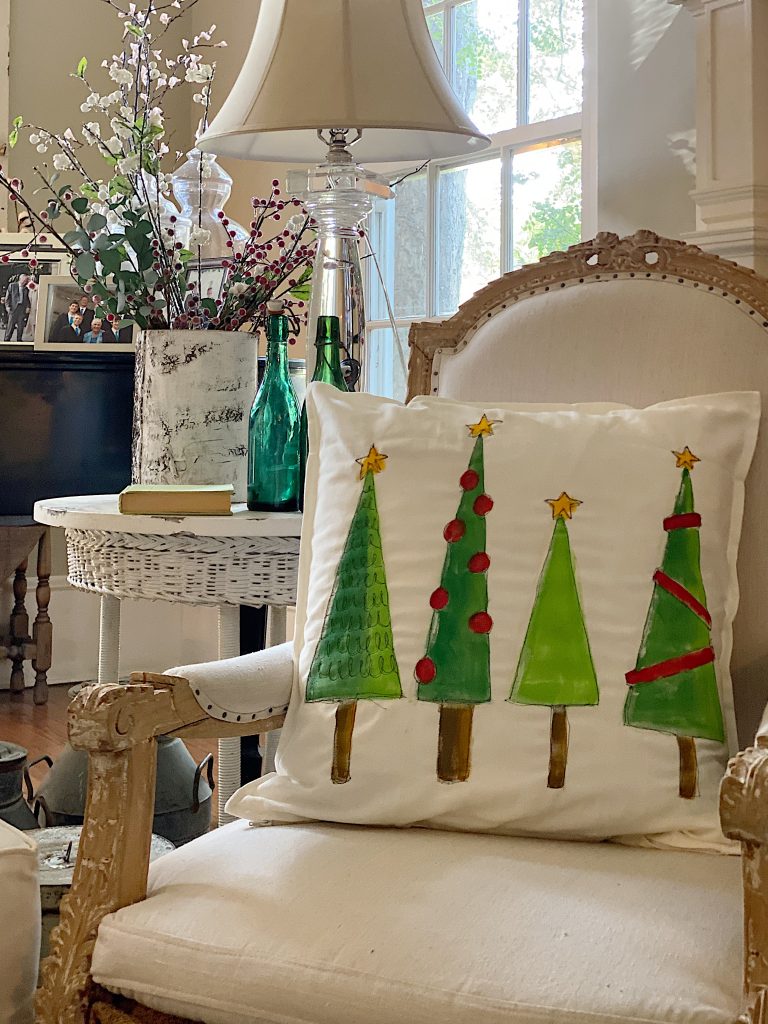
Christmas Pillow DIY
Isn’t this just the cutest Christmas pillow ever? It is straightforward to make, and I love how it came out. If you are not a sewer, you can use a permanent marker to draw in the same level of detail I created with my sewing machine.
How easy is that?

I want to make more of these, which shouldn’t be a problem. But first, I need to finish the last three of my Christmas crafts for this year’s A Handmade Christmas.

On this blog, I may sometimes use affiliate links, which means a small commission is earned if you purchase via the link. The price will be the same whether you use the affiliate link or go directly to the vendor’s website using a non-affiliate link.


What You Need to Make a Christmas Craft Tree Pillow
One pillow cover, 18″ x 18″ or 20″ x 20″ (or fabric if you want to make your own pillow)
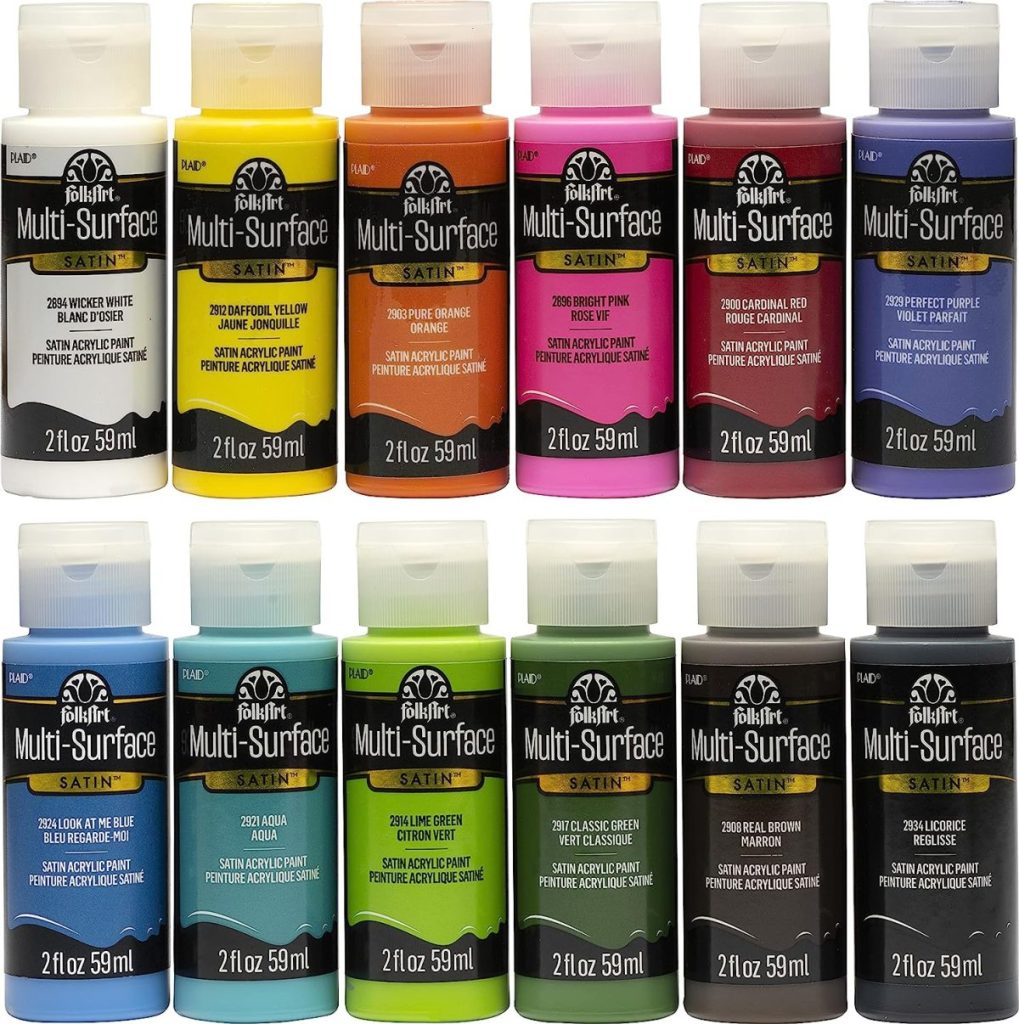
Acrylic craft paint (2 oz. bottles): two reds, two greens, and one brown (such as Folk Art Hunter green, Bright Green, Lipstick Red, Barnyard Red, and Real Brown)
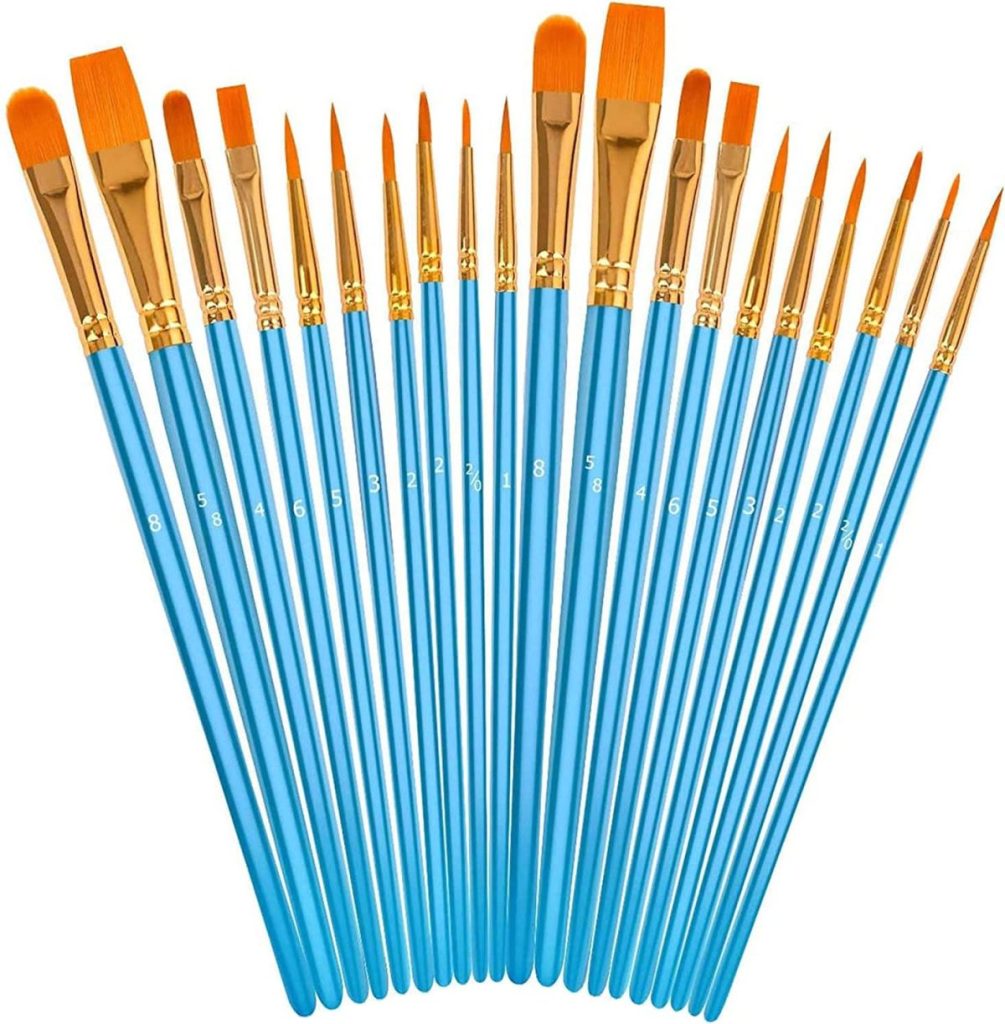
Paint brushes, 1/2 and 1″
One spool of Machine Embroidery Thread in Black or Brown
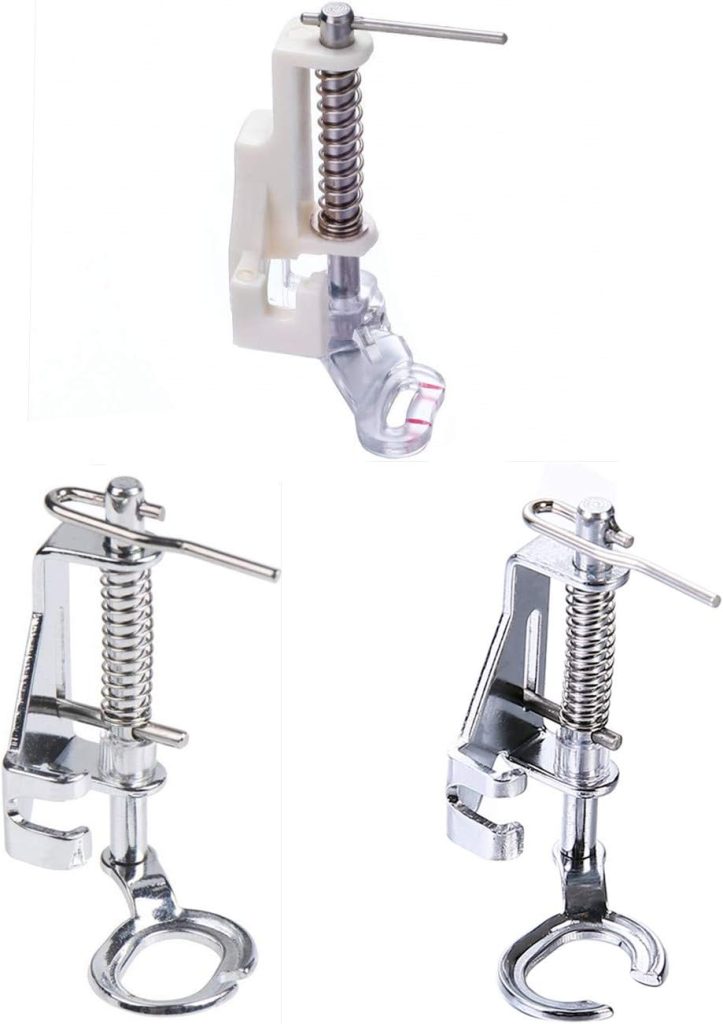
Darning (Free Motion Embroidery) Foot – Make sure it fits your machine (see below).
Washable Fabric Marker – Mark Be Gone


How to Make the Christmas Craft Pillow
Start by finding inspiration for your pillow. I googled “doodle Christmas trees” and came up with this! There are so many right here that you can use!
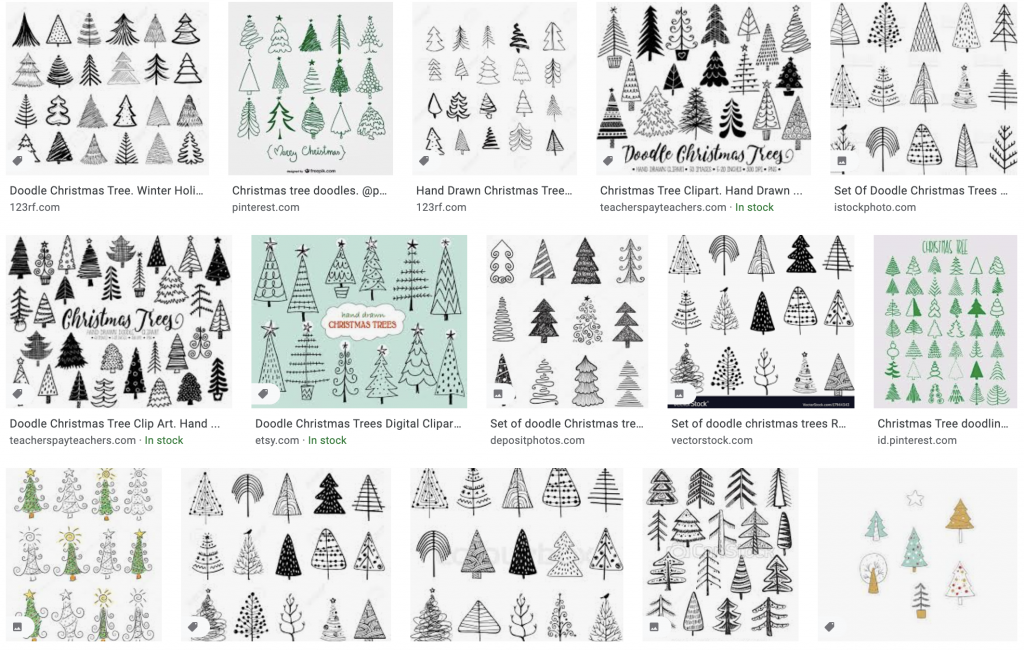
You can also Google any other Christmas items. As long as you use “doodle” in your description, you will find many hand-drawn and inspiring designs.
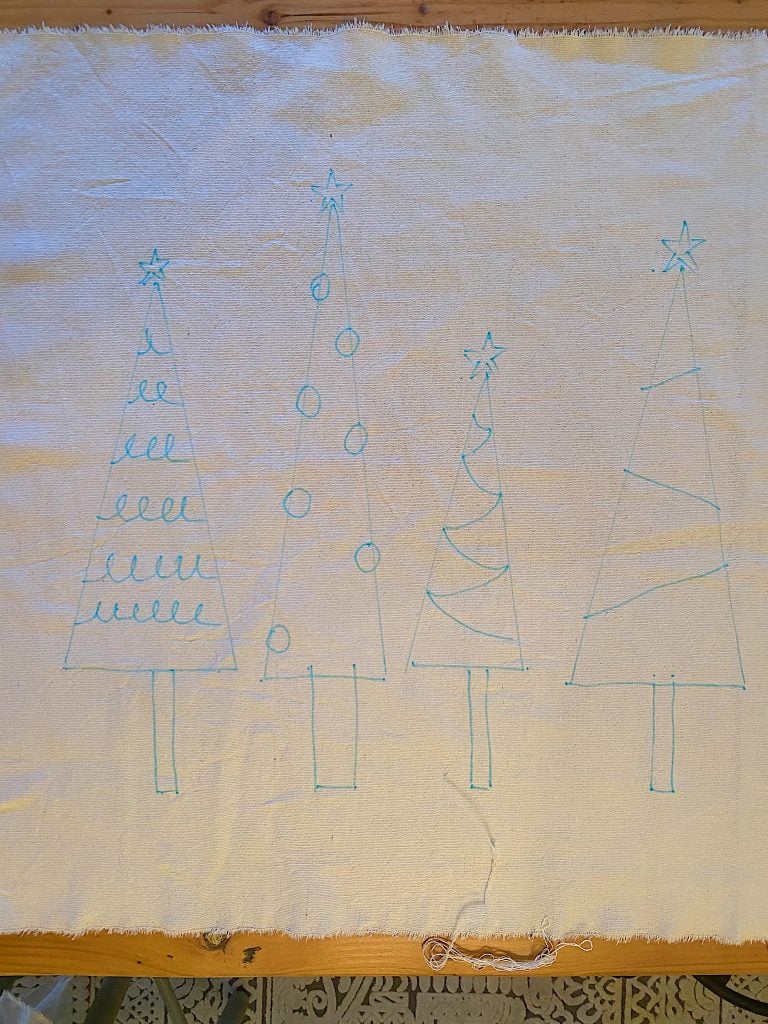
Next, you need to draw a pattern for painting.
This is the one I drew for my pillow. I used a washable fabric marker.
I drew this pattern and included the stitching lines. You don’t need to include those. All you need to do is outline any areas that will be painted in different colors.
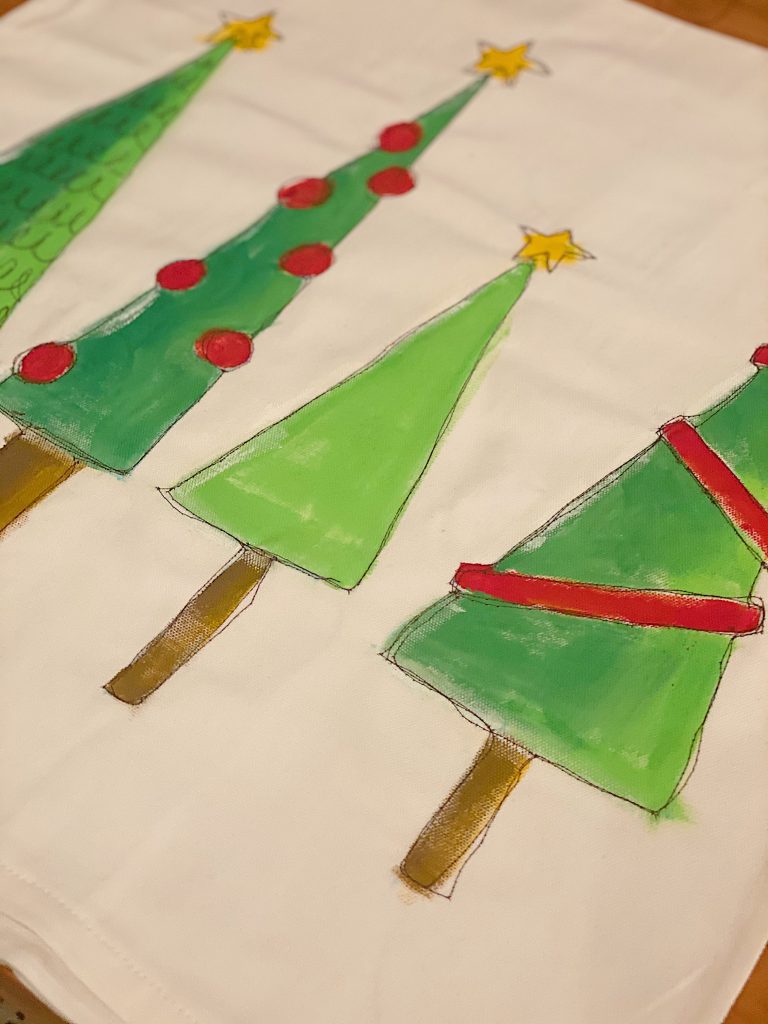
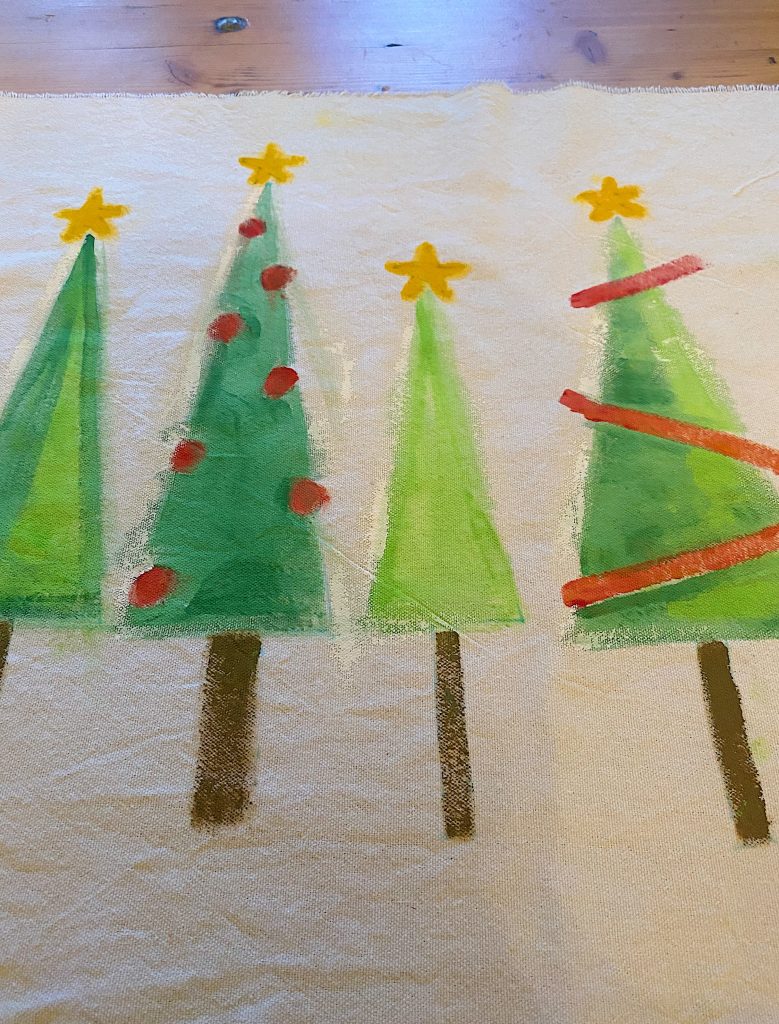
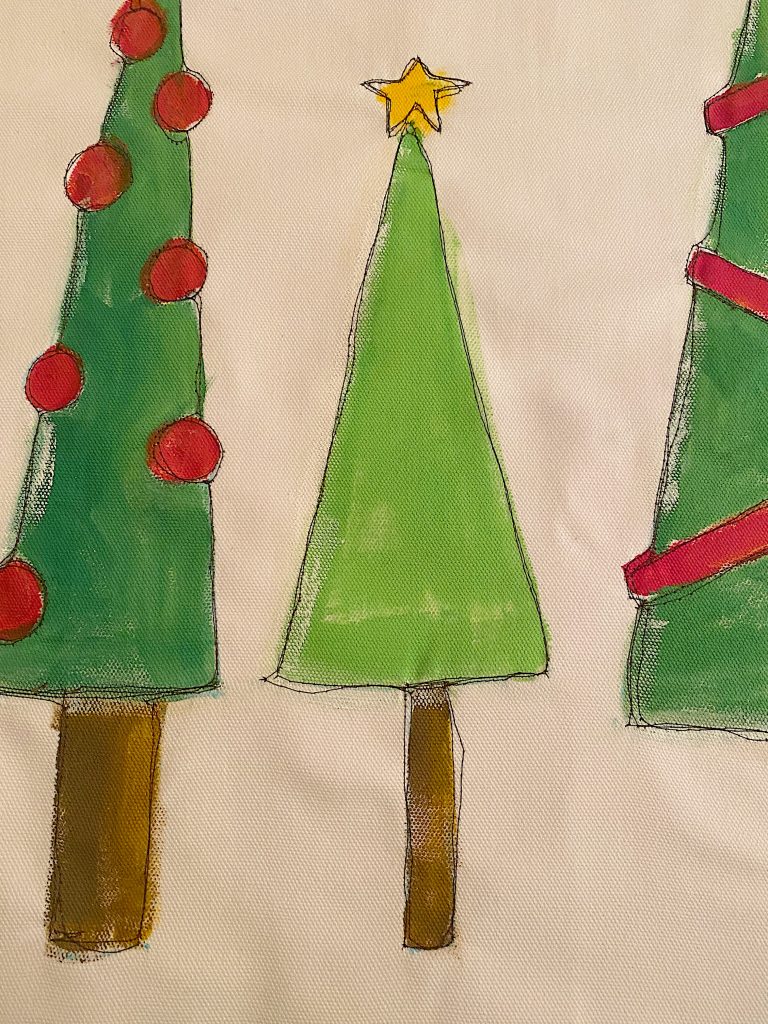
Next, I used acrylic paint and painted the trees. It doesn’t have to be exact. If you paint outside of the lines, it doesn’t matter. That is because the embroidery will define the lines. So have fun painting.
You can see below that I didn’t paint any colors on top of others. Take care to outline the colors so you won’t have to do that.
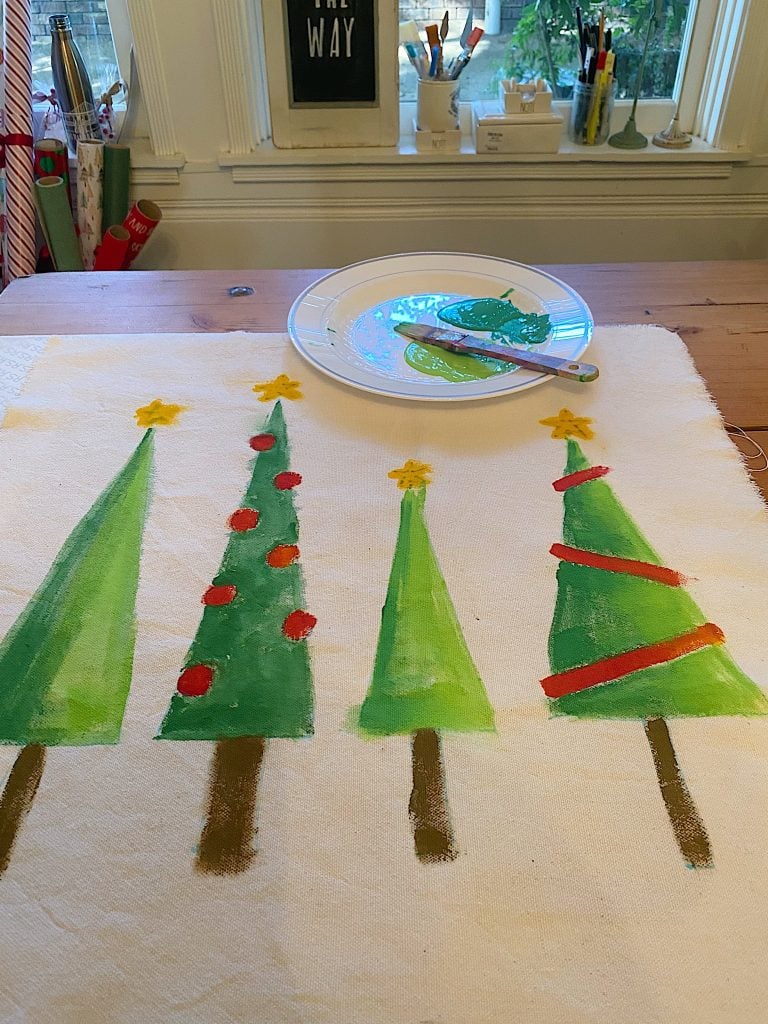
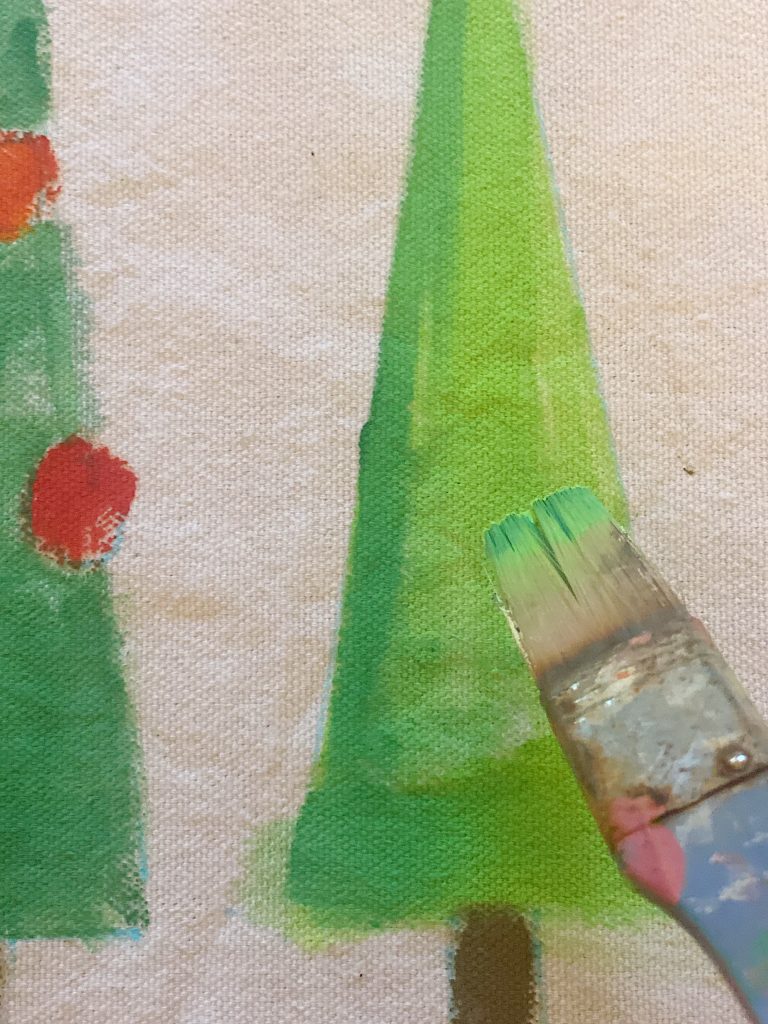
I did a bit of shading in my painting and used a lighter/warmer color on the right side of the trees to depict some light. (That’s the artist in me. You do not need to do this!)
When you paint, be careful not to drip paint on the fabric. If it happens, don’t panic. You can try to wipe it up, but you can also add some white paint, as I did below. I dripped paint in two places and added white paint around all the trees to balance it.
What is free-motion embroidery?
Free-motion machine embroidery is a type of sewing done on a regular sewing machine. However, you can move the material in any direction while sewing it on your machine. Usually, when you sew, the machine automatically moves the fabric forward. When you sew free-motion embroidery, you can move the fabric to determine precisely where you want to sew. You can move sideways, forward, or backward and create any shape you want. All you need is a quilting or darning foot.
The free-motion quilting foot, sometimes called a darning foot, is designed so that the sewing machine needle passes through a small ring on the foot. Instead of hopping, these feet float over the fabric without providing pressure. The Foot releases the fabric when the needle is in the upper position, allowing you to move the fabric freely.
All you need is the free-motion foot for your machine. This foot may vary depending on your machine type, but I linked it to a “universal” one.
I read a lot about lowering the “feed dogs” on your machine when stitching free-motion embroidery. Feed dogs are the little teeth on your sewing machine that feed your fabric evenly through the machine. These teeth are essential because they help us produce perfectly spaced, even stitches whenever we sew garments, piece quilts, or applique shapes on our machine.
You ned to lower the feed dogs for free-motion embroidery. This is what allows you to move the fabric in any direction you want. In fact, you have to move the fabric as that’s the only was it will move!
I have a very inexpensive Singer machine, and it’s not fancy. lowered the feed dogs with the feed dog lever on my machine. If your machine doesn’t have that option, you can use a Supreme Slider instead.
How to Sew Free Motion Embroidery
The best thing about free embroidery is that it doesn’t need to be perfect. I love how it looks when the two layers of stitches don’t match. And I love pushing the fabric wherever I want it to go.
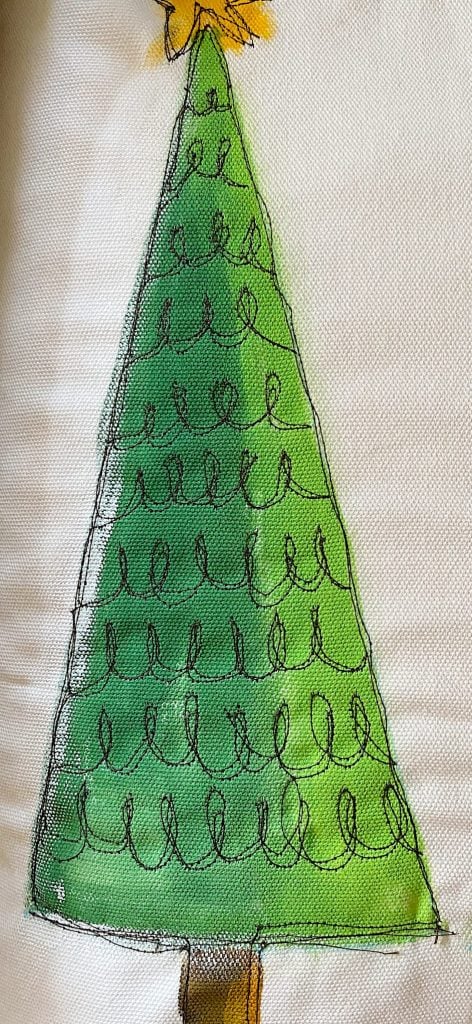
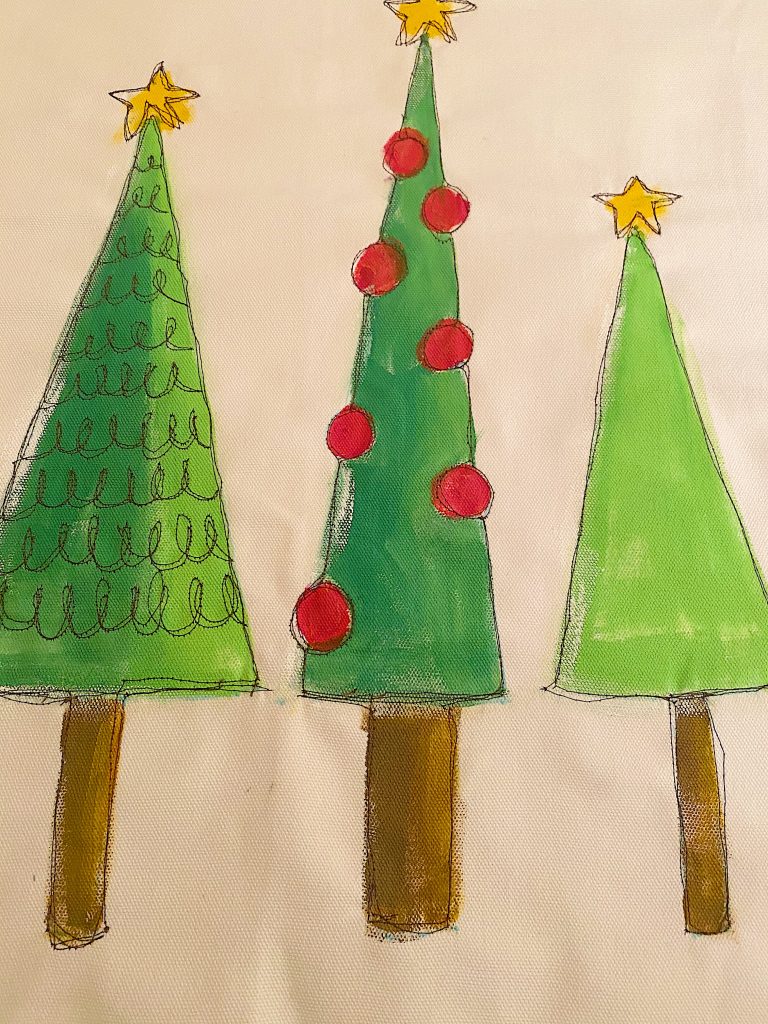
I loved making this tree. I had no pattern, and all I did was sew a lot of “loops.” It was “free-handed” and not perfect, which is why I like it so much. As you can see, I roughly stitched over the painted shape, not worrying whether the shape was covered or if I stitched outside the lines.
Stitching the Trees
If you look closely, you can see how “free and loose” my stitching is. I try to stitch everything about two to three times.
My stars are pretty funny-looking, but as long as you know what they are, I do not care!
Also, make sure when you stitch the pillow that you stitch between the pillow cover layers as you don’t want to sew both layers! Open up the pillow cover, slide the front side over your sewing machine foot, and start sewing. That’s it!
So what if you don’t sew?
You can use a permanent fabric marker instead of sewing. Just use a skinny tip and outline the design exactly as if you were sewing it.
It’s that simple. And easy.
If you enjoy my blog, you can sign up to receive my updates here.
.

Thanks so much for visiting my blog. I hope you like this craft as much as I do!
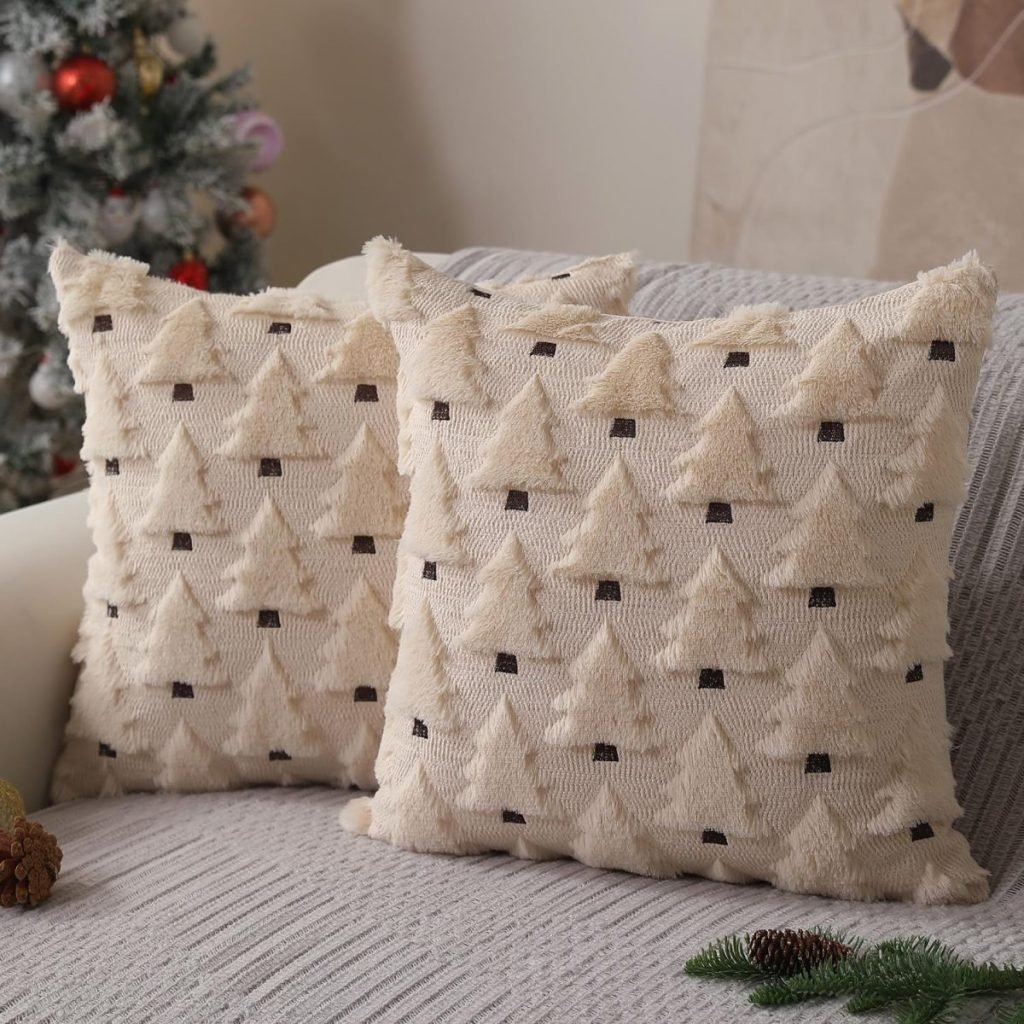
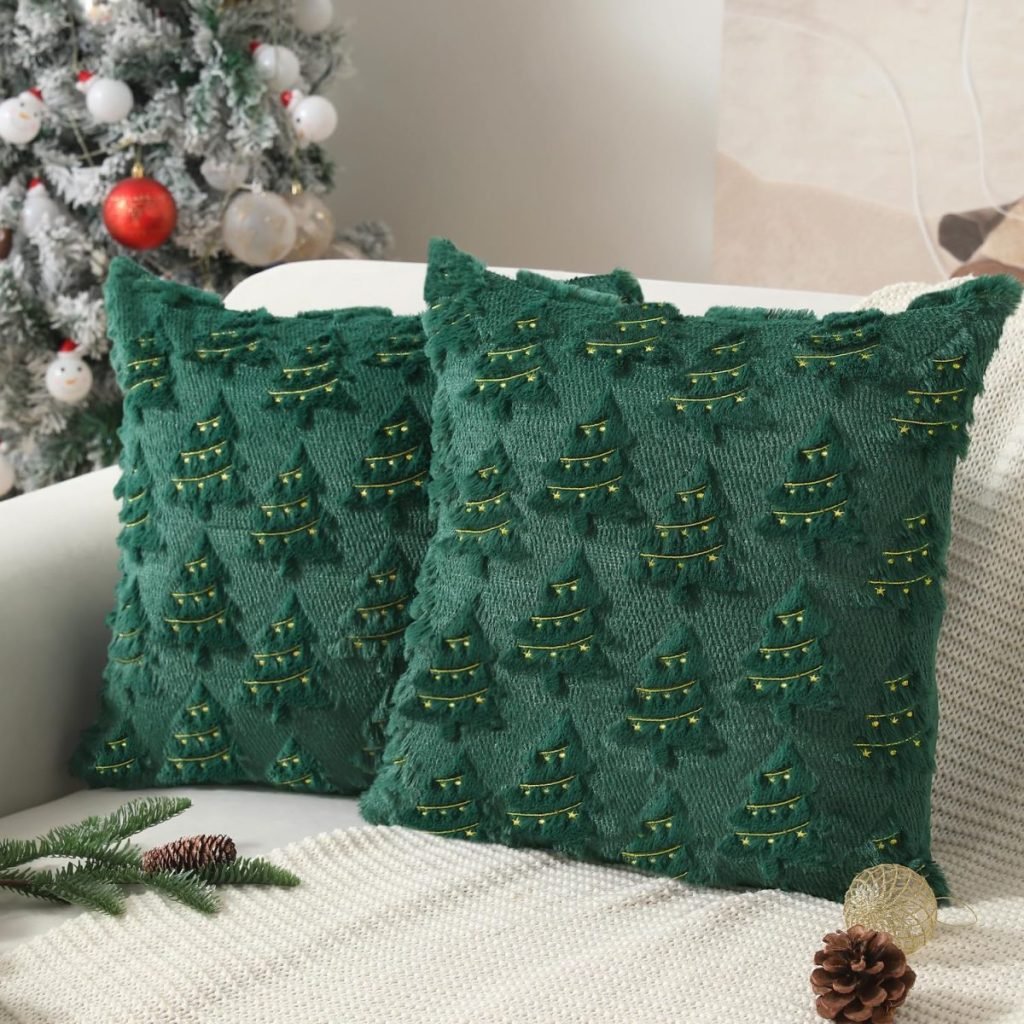
Beautiful Sage Green Christmas Decor
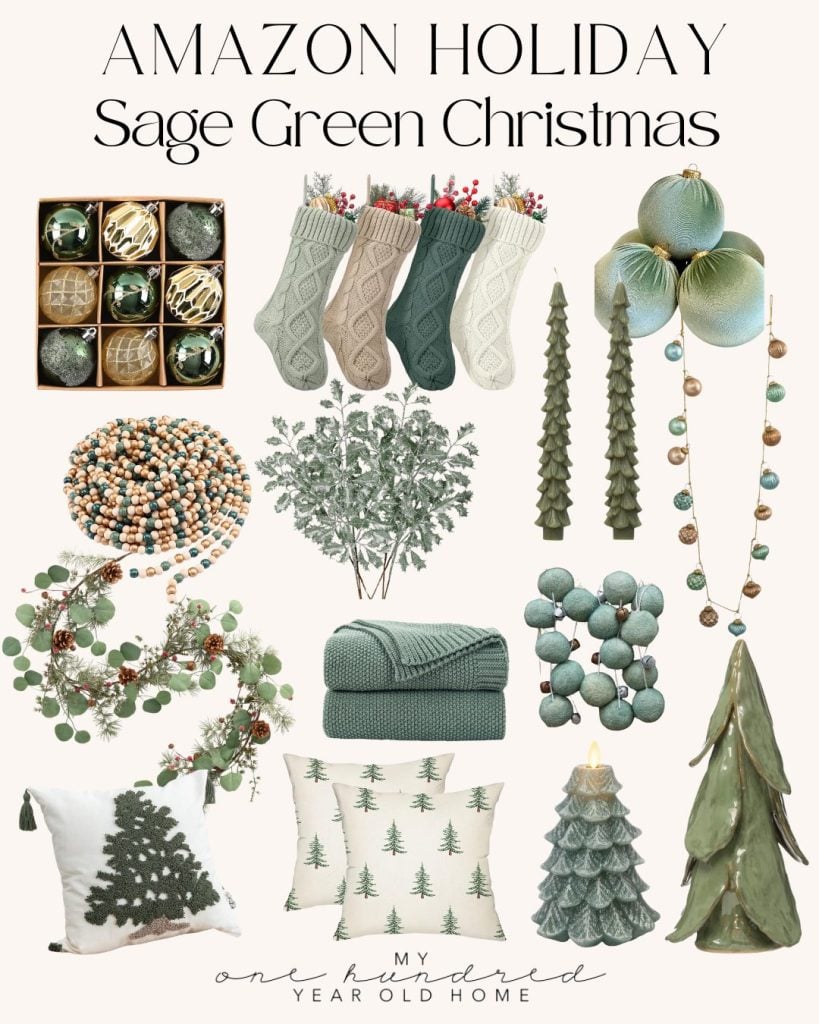
You can pin the image below to your Craft or Christmas decor boards on Pinterest (just click the Pin button in the top left corner) or follow me on Pinterest!
For more real-time updates, follow me on Instagram @My100YearOldHome

Awesome idea, but I have one even easier. I buy seasonal or plain or what matches my decor towels. I hot glue three sides, add in Poly-fill or even cotton balls depending on the size of the towel, then I hot glue the 4th side. Done.
Thank you so much for your Christmas painted pillow. I made your fall painted pillow and loved it. This is a project my granddaughter and I are doing together.
Adorable and Pinned!
Really cute! I have to tell you, I was looking forward to your free motion embroidery Christmas idea!
It’s adorable. Thank you for sharing.
This is so cute! How are you sewing without it going through both sides of the cover? Maybe I missed this in the video.
cute cute!
I’m obsessed with Christmas and really want to make the tree pillow including the grand stitching. I called Joanne’s but she doesn’t carry the darning foot(or quilting foot). Amazon has two
1. Sew link. Echo Quilting $65.
2. Metal open Toe Free Motion Quilting Embroidery Foot. $6.99.
My question: which is the right one? A big difference in price. But getting away with needing the less expensive one isn’t the way I usually roll (getting to buy the cheaper one). After several calls to several shops. I realize nobody knows what I’m talking. I guess you are the appointed one! I could go a little crazy with this (much like it seems you have). Please tell me the $6.99 is the right one. I don’t want to get the wrong one, but if the small one doesn’t do the job it’t useless. Love good looking crafts and this one I of those. Thanks and I’m hoping you have the answer.
PS. I requested the recipes from your big party (Christmas?) but never get them. Please??
Sorry this is so long
Want to try your painted carrot pillow and have a question about the thread. I know you use embroidery thread and think I read one place you were having trouble with thread breaking. Do you use embroidery thread on the bobbin also or just regular thread. Thanks for all the inspiration you provide. I can hardly wait to see what is coming the next day.
I love the free motion embroidery look. I am going to try it!!
Yes you should!
Leslie- I love this! As an avid sewer, I can’t believe I have never tried (or even knew about) the free motion embroidery foot, but it’s now on its way from Amazon! The pillows are great ways to really incorporate holiday decorating into the entire house. Thanks for sharing and adding to my diy goals! xx
I am planning on taking ready made IKEA pillow covers with me when I visit family for Thanksgiving. I think it might be easier to paint with flat fabric as you did here, but I have already ordered the covers, so wish me luck with all 5 grands, each one will paint a tree.
Good luck! I’m sure they will turn out great!
I so want to try these Christmas 🎄 pillows! Thank you so much for sharing! ❤
I love that this Christmas Tree Pillow looks store-bought but is handmade! Shapes and colors really do make it pop. I’m curious about free-motion embroidery – is it difficult to learn? I’m definitely going to try this DIY this December!
Awesome read. I like how you mentioned the importance of breathable Bed sheets for better sleep quality and overall comfort.
Excellent article. Your suggestions on choosing a long-lasting Duvet cover are very practical and easy to apply.