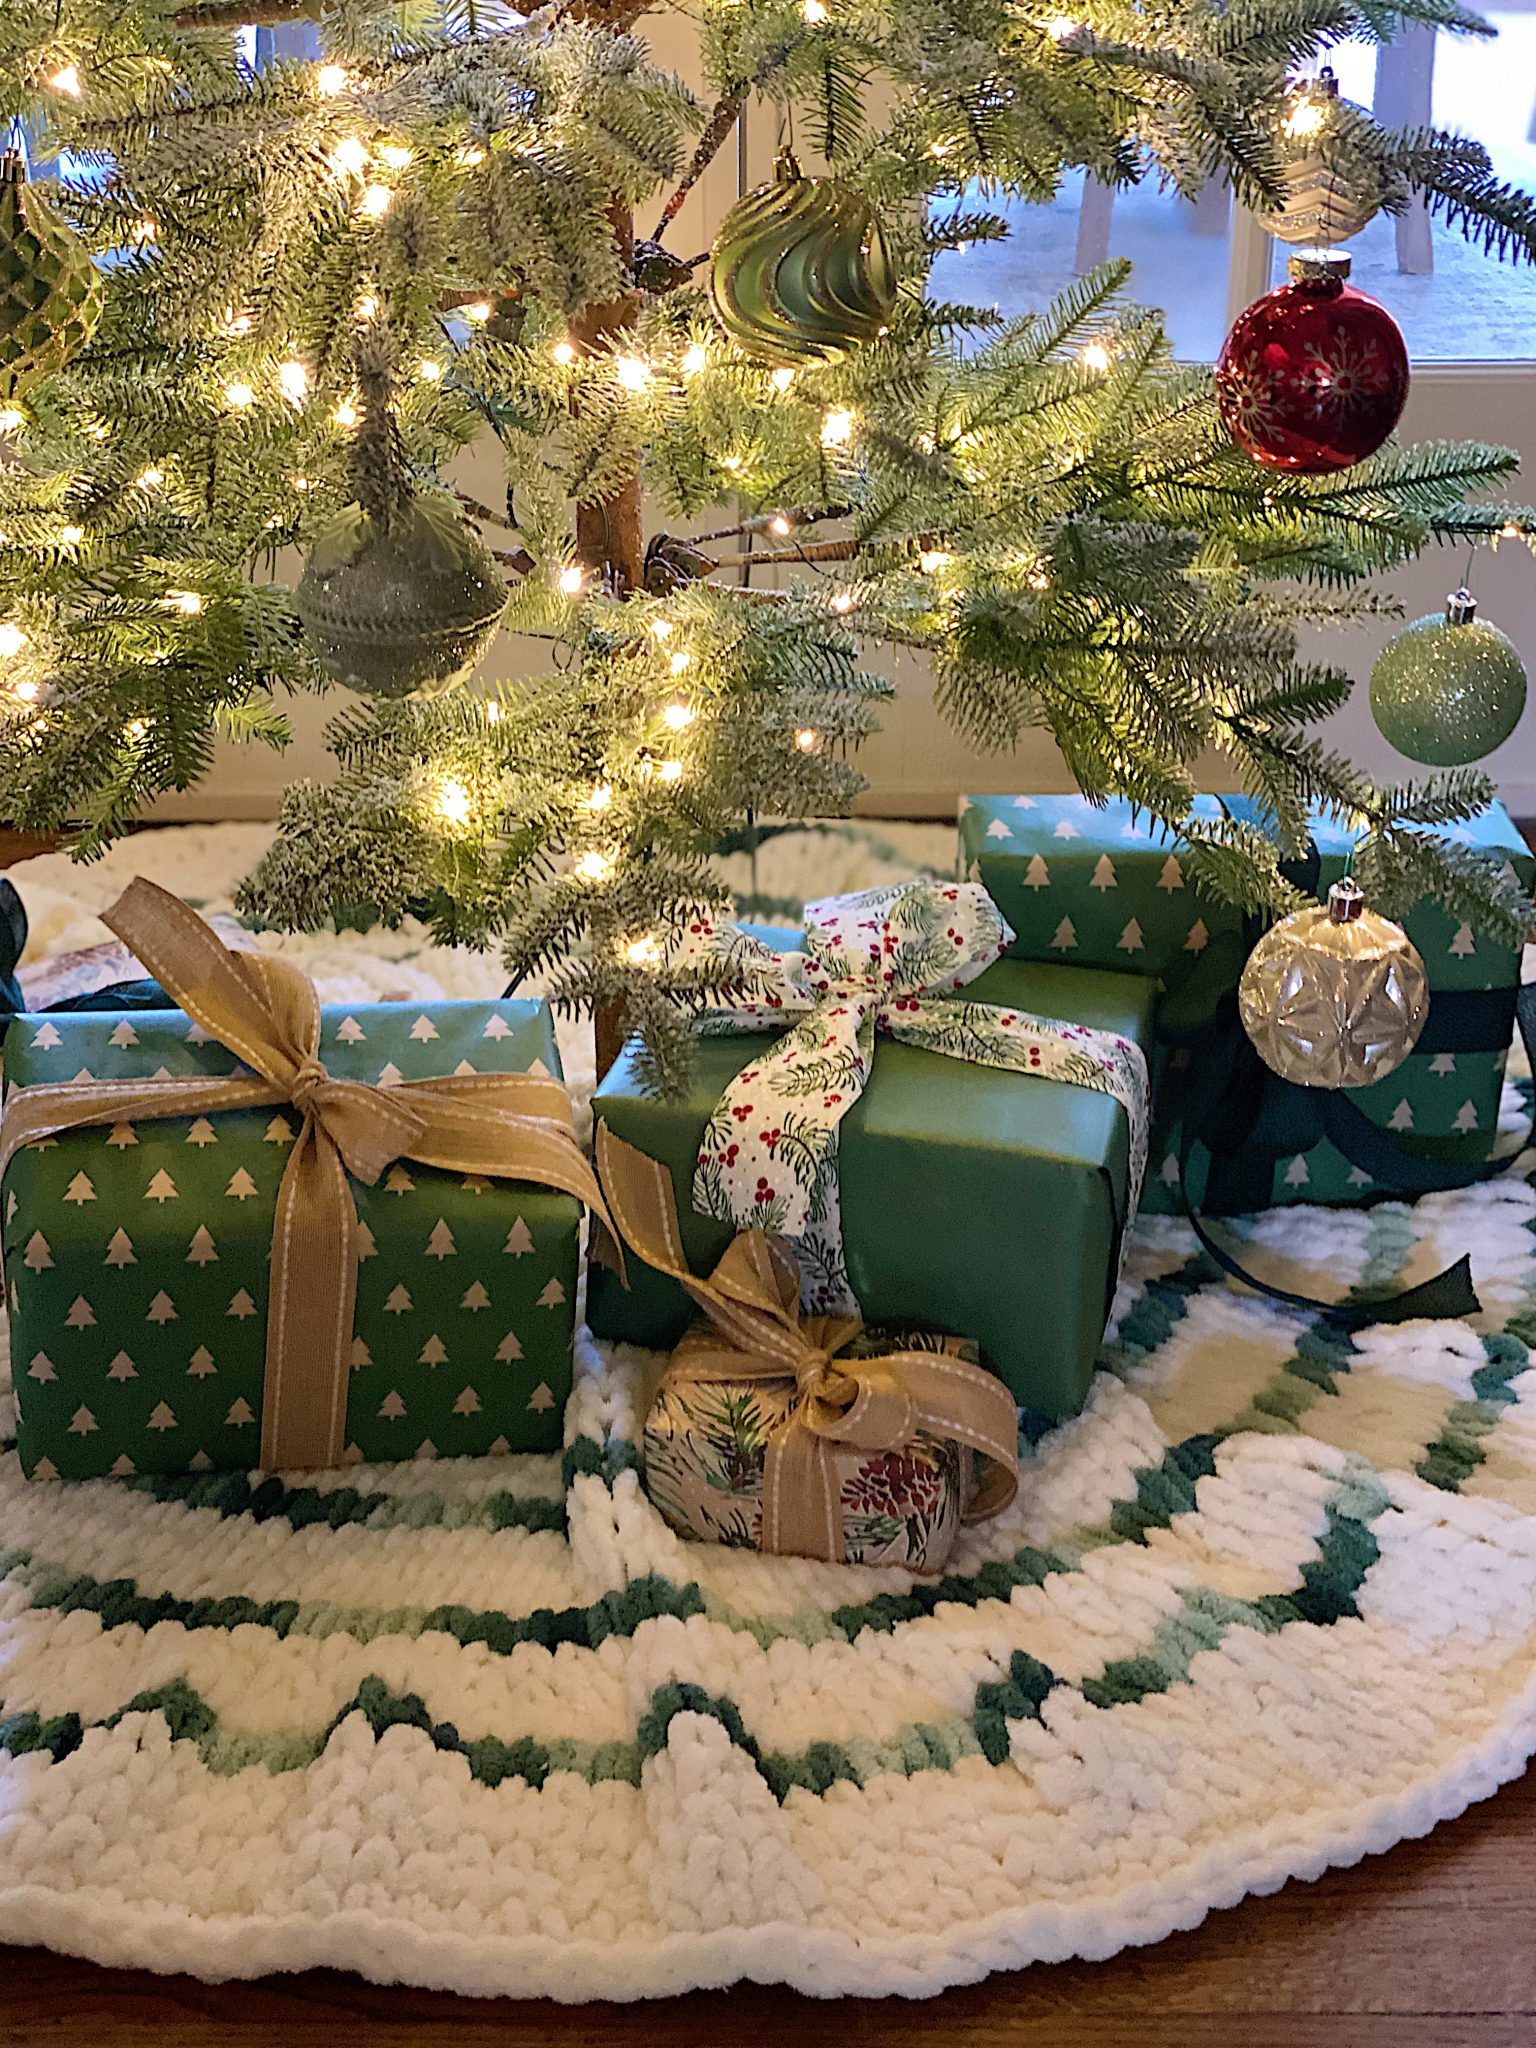
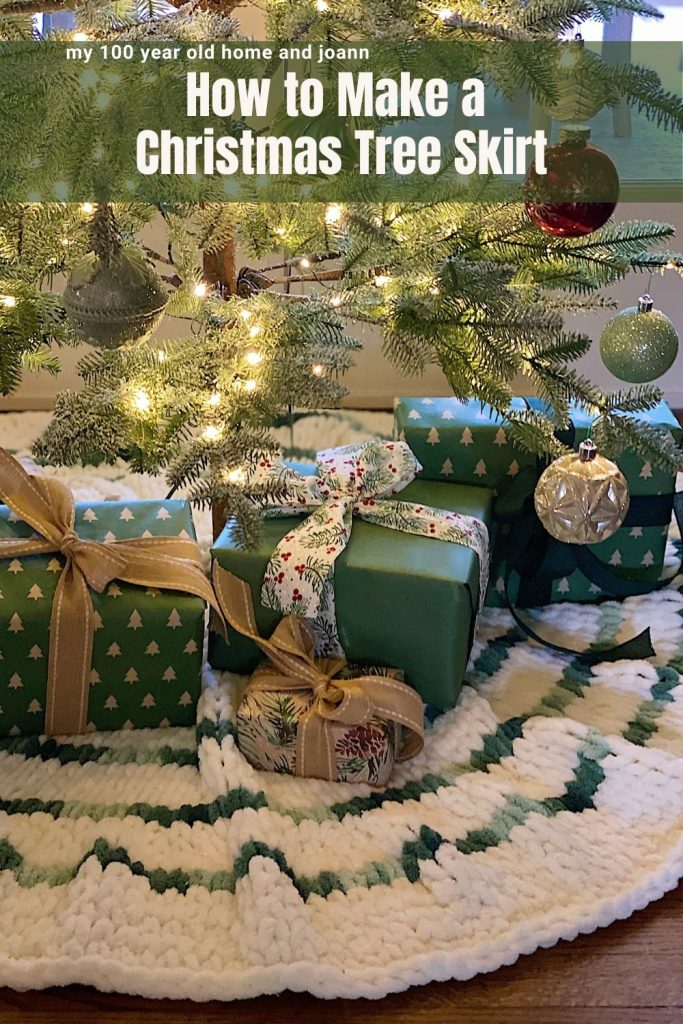
How to Make a Christmas Tree Skirt
Today I am sharing how I made a Christmas tree skirt with Bernat Alize yarn. I absolutely love this tree skirt!
This tree skirt was easy and so fun to make, no knitting needles were necessary! Want to know how it is made?
For years I have used vintage blankets, baskets, wood boxes, and old tablecloths to hide the tree stand under our Christmas trees. When I was given the task to create something with Bernat Alize yarn (which I refer to as loop yarn), I knew exactly what I wanted to make.
A Christmas tree skirt!
Before I get into the “how-to”, I wanted to make sure you are familiar with Bernat Alize yarn. This is the coolest and most fun yarn I have ever worked with. Why? Because you don’t use a crochet hook or a knitting needle. You use your fingers. The yarn is also incredibly soft and thick, and the “finger knitting” goes really fast.
The yarn, is called Bernat Alize Blanket-EZ Yarn. The yarn is already looped and all you do is put the loops inside the loops to knit a blanket. You do not use any needles! It is the softest yarn I have ever worked with and I can’t even begin to tell you how much I loved making this! I love pom poms on everything so I bought a pom pom maker that makes four different sized pom poms. I used the pom poms to close up the opening. (It was very easy.)
These are the two colors I used to make my tree skirt.
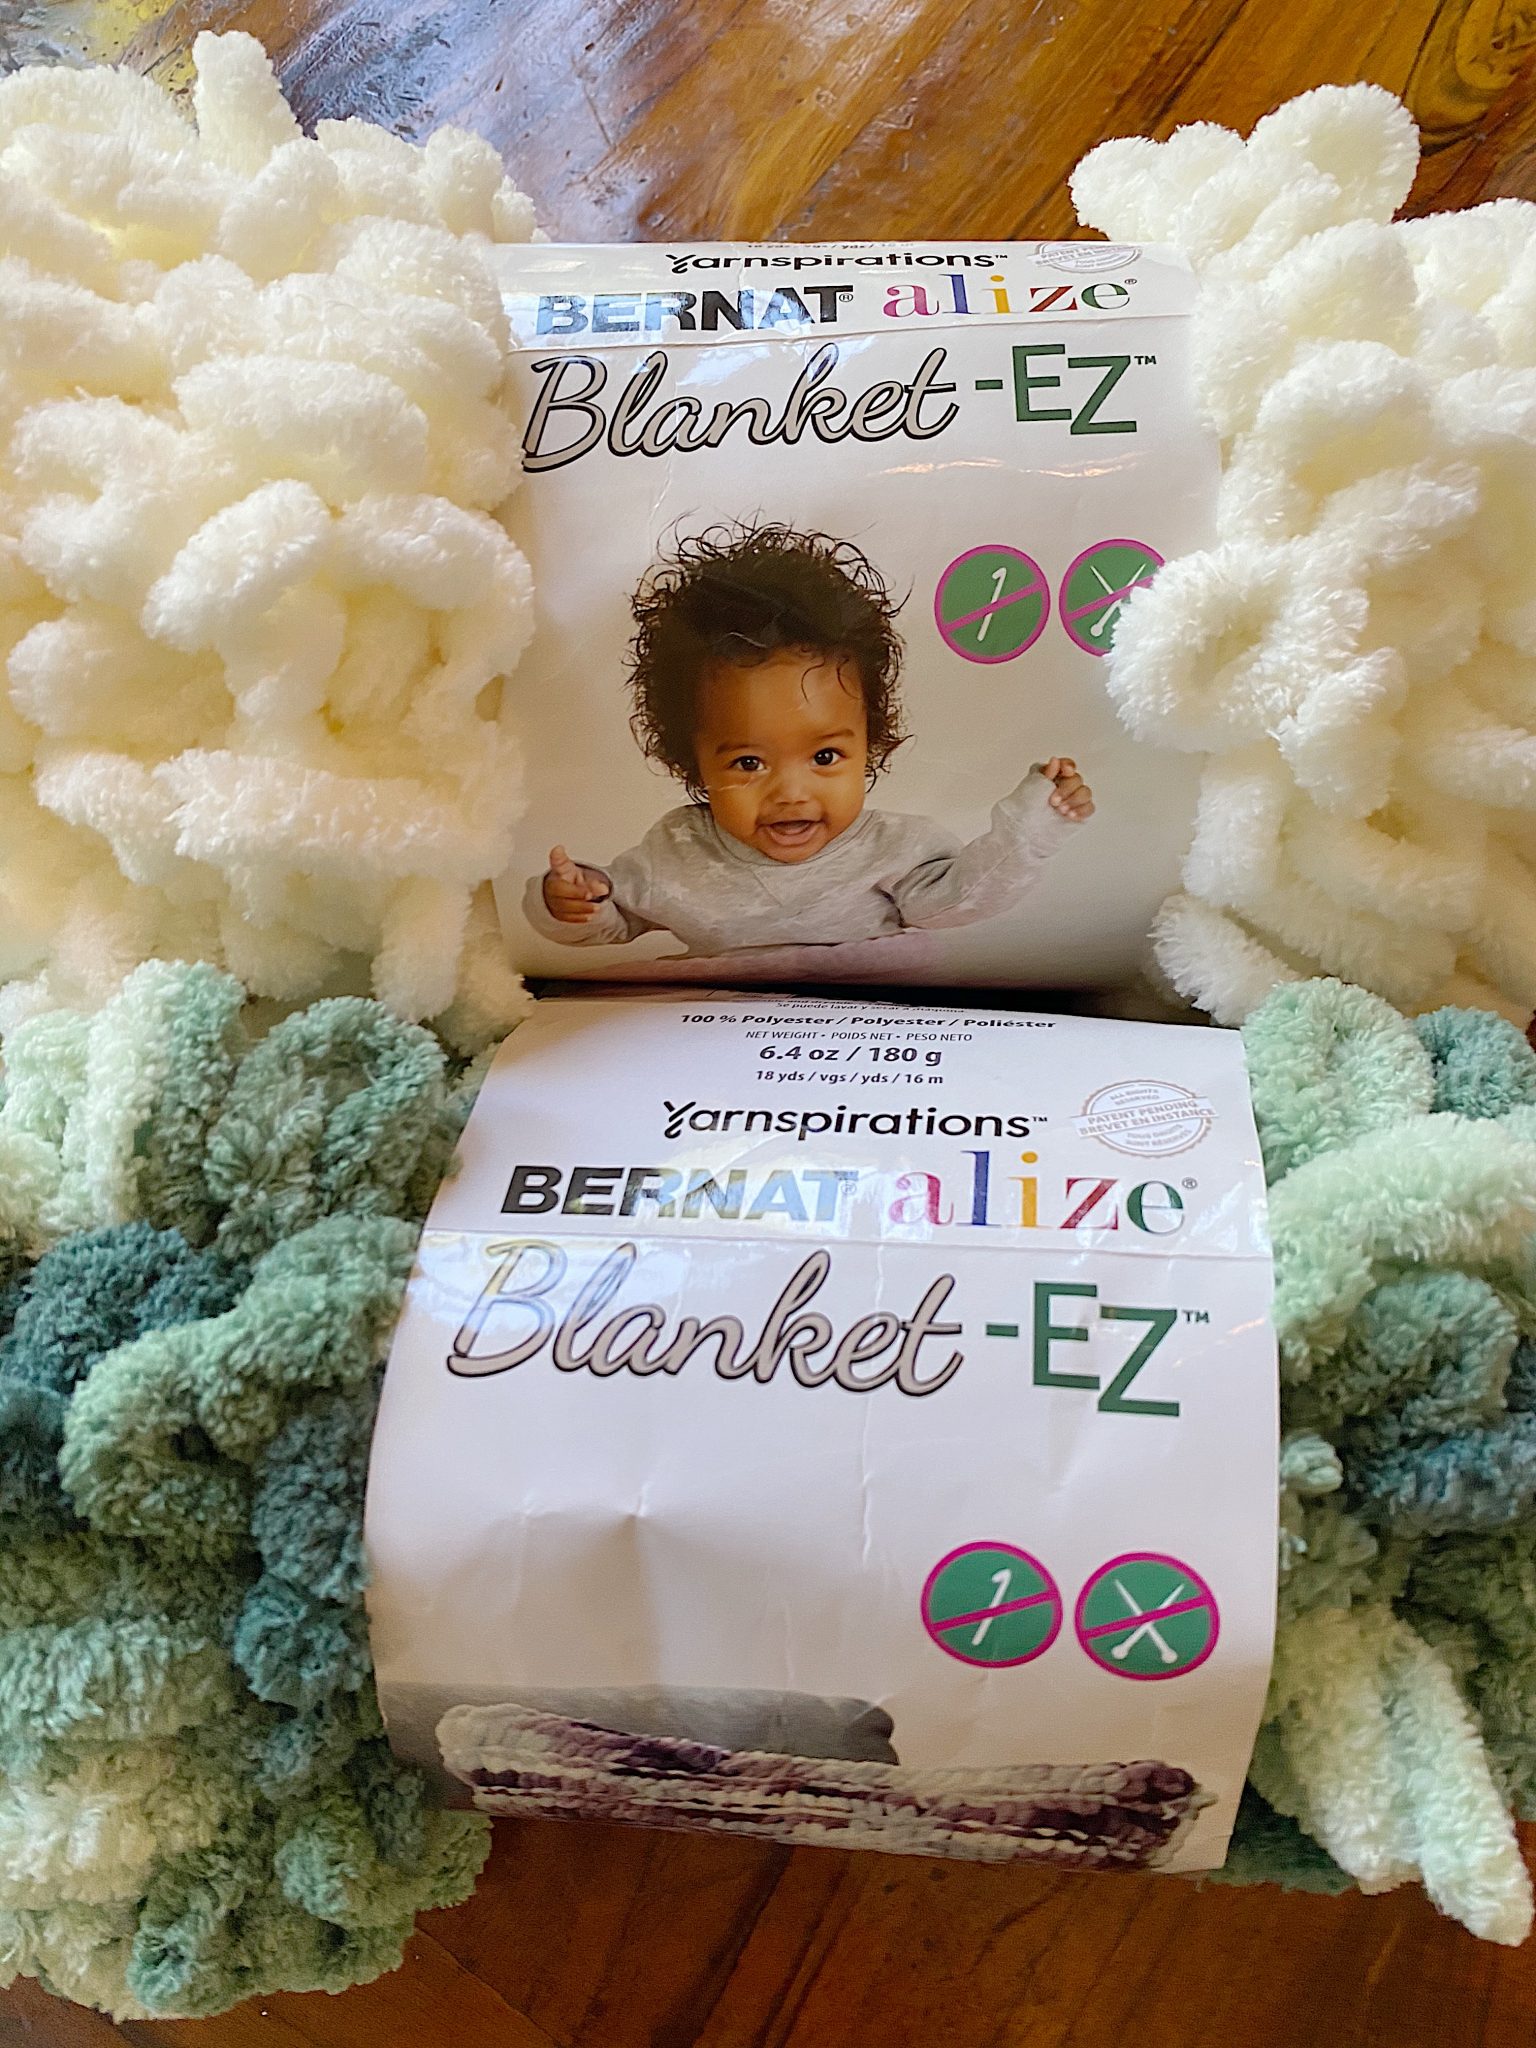
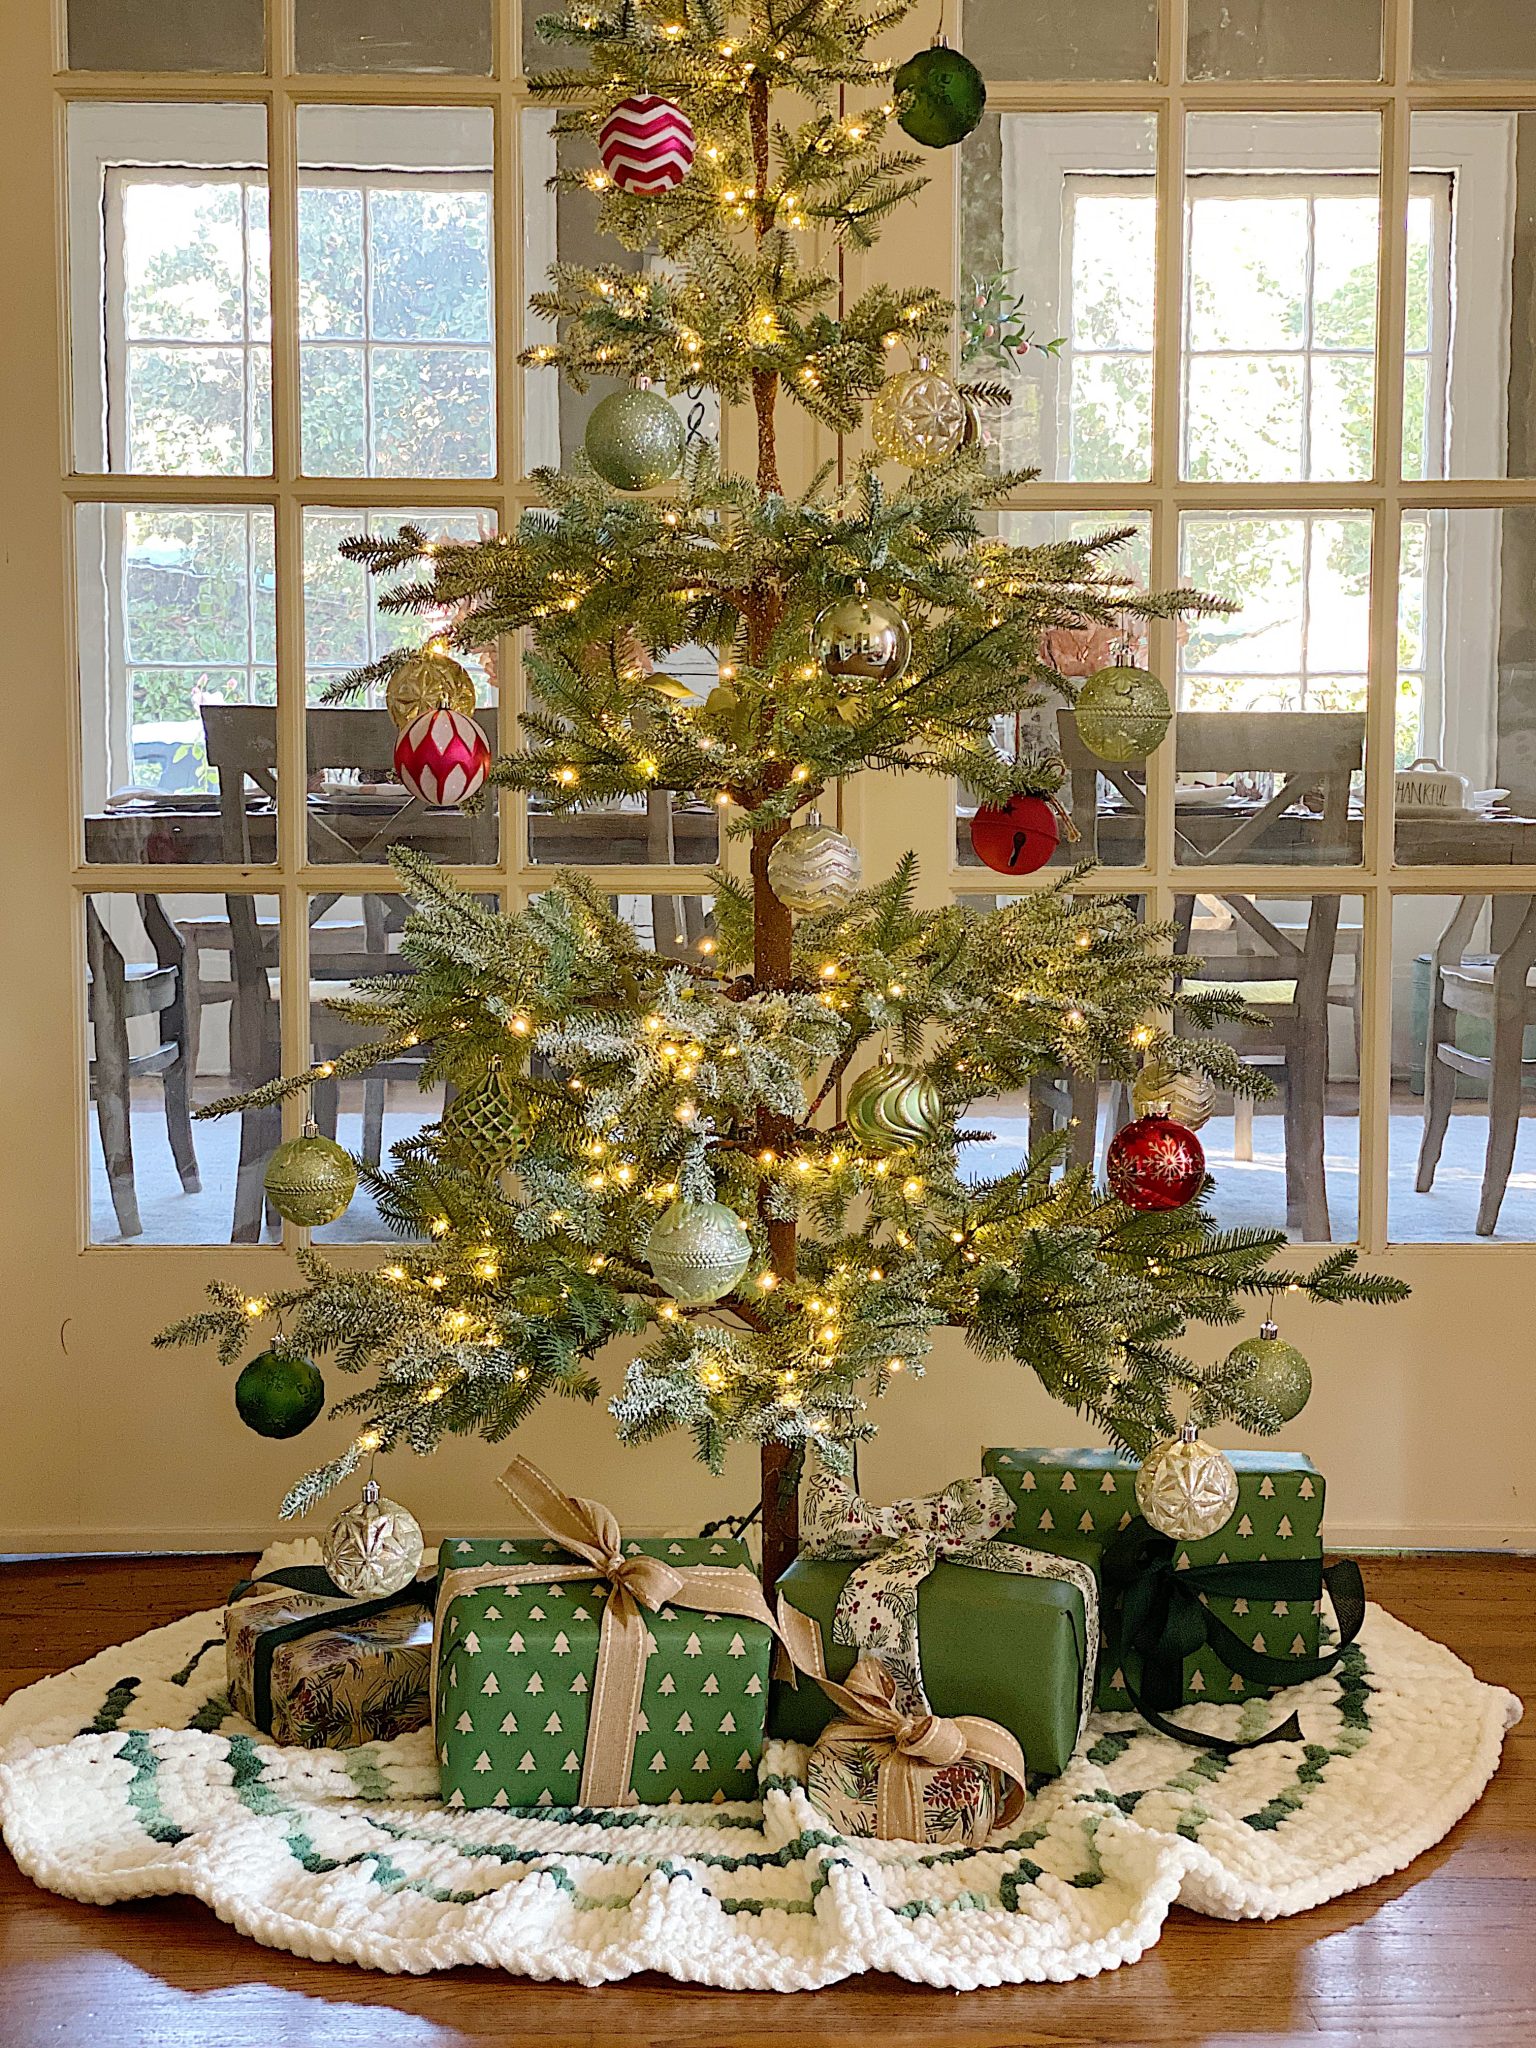
I used five skeins of the Cream Bernat Alize Blanket EZ Yarn and one of the Hedge Green Bernat Alize Blanket EZ Yarn. I also used the small portion of one skein of Bernat Blanket Big Ball Yarn for the pom poms. You could certainly make a smaller tree skirt. Mine measures 36″ deep by 168″ on the outside circumference.
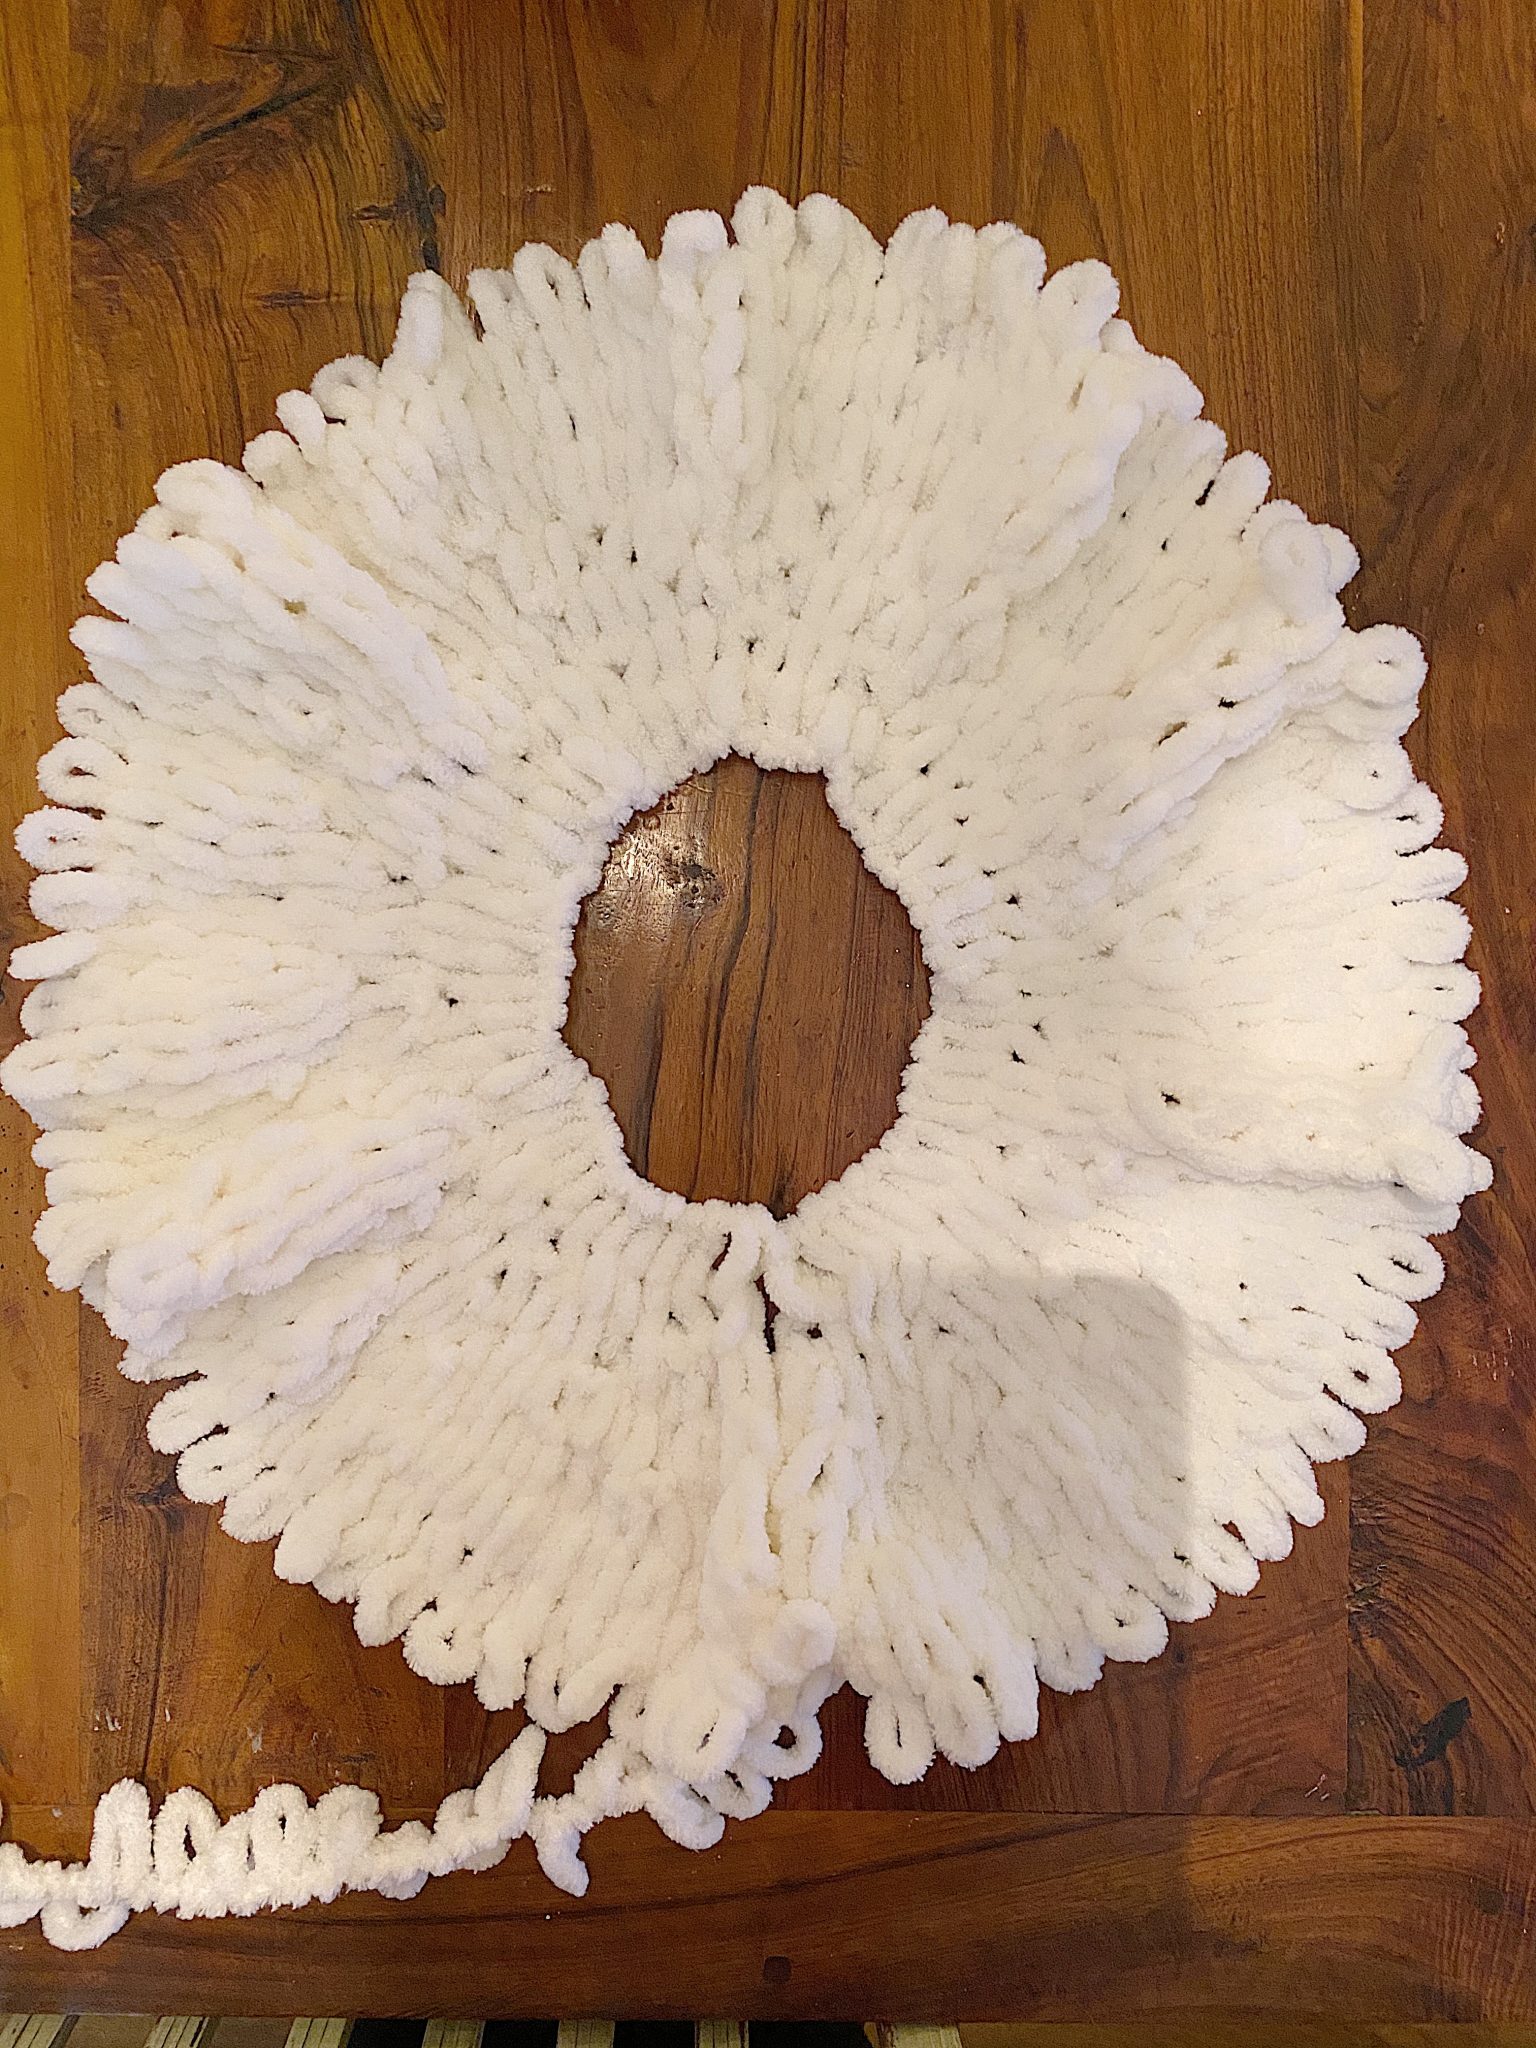
Here are some progress shots of how I made the tree skirt. I started with thirty loops and finger knitted each row, using only two stitches. I used the single stitch and a stitch where I did one stitch followed by another where I used two loops instead of one.
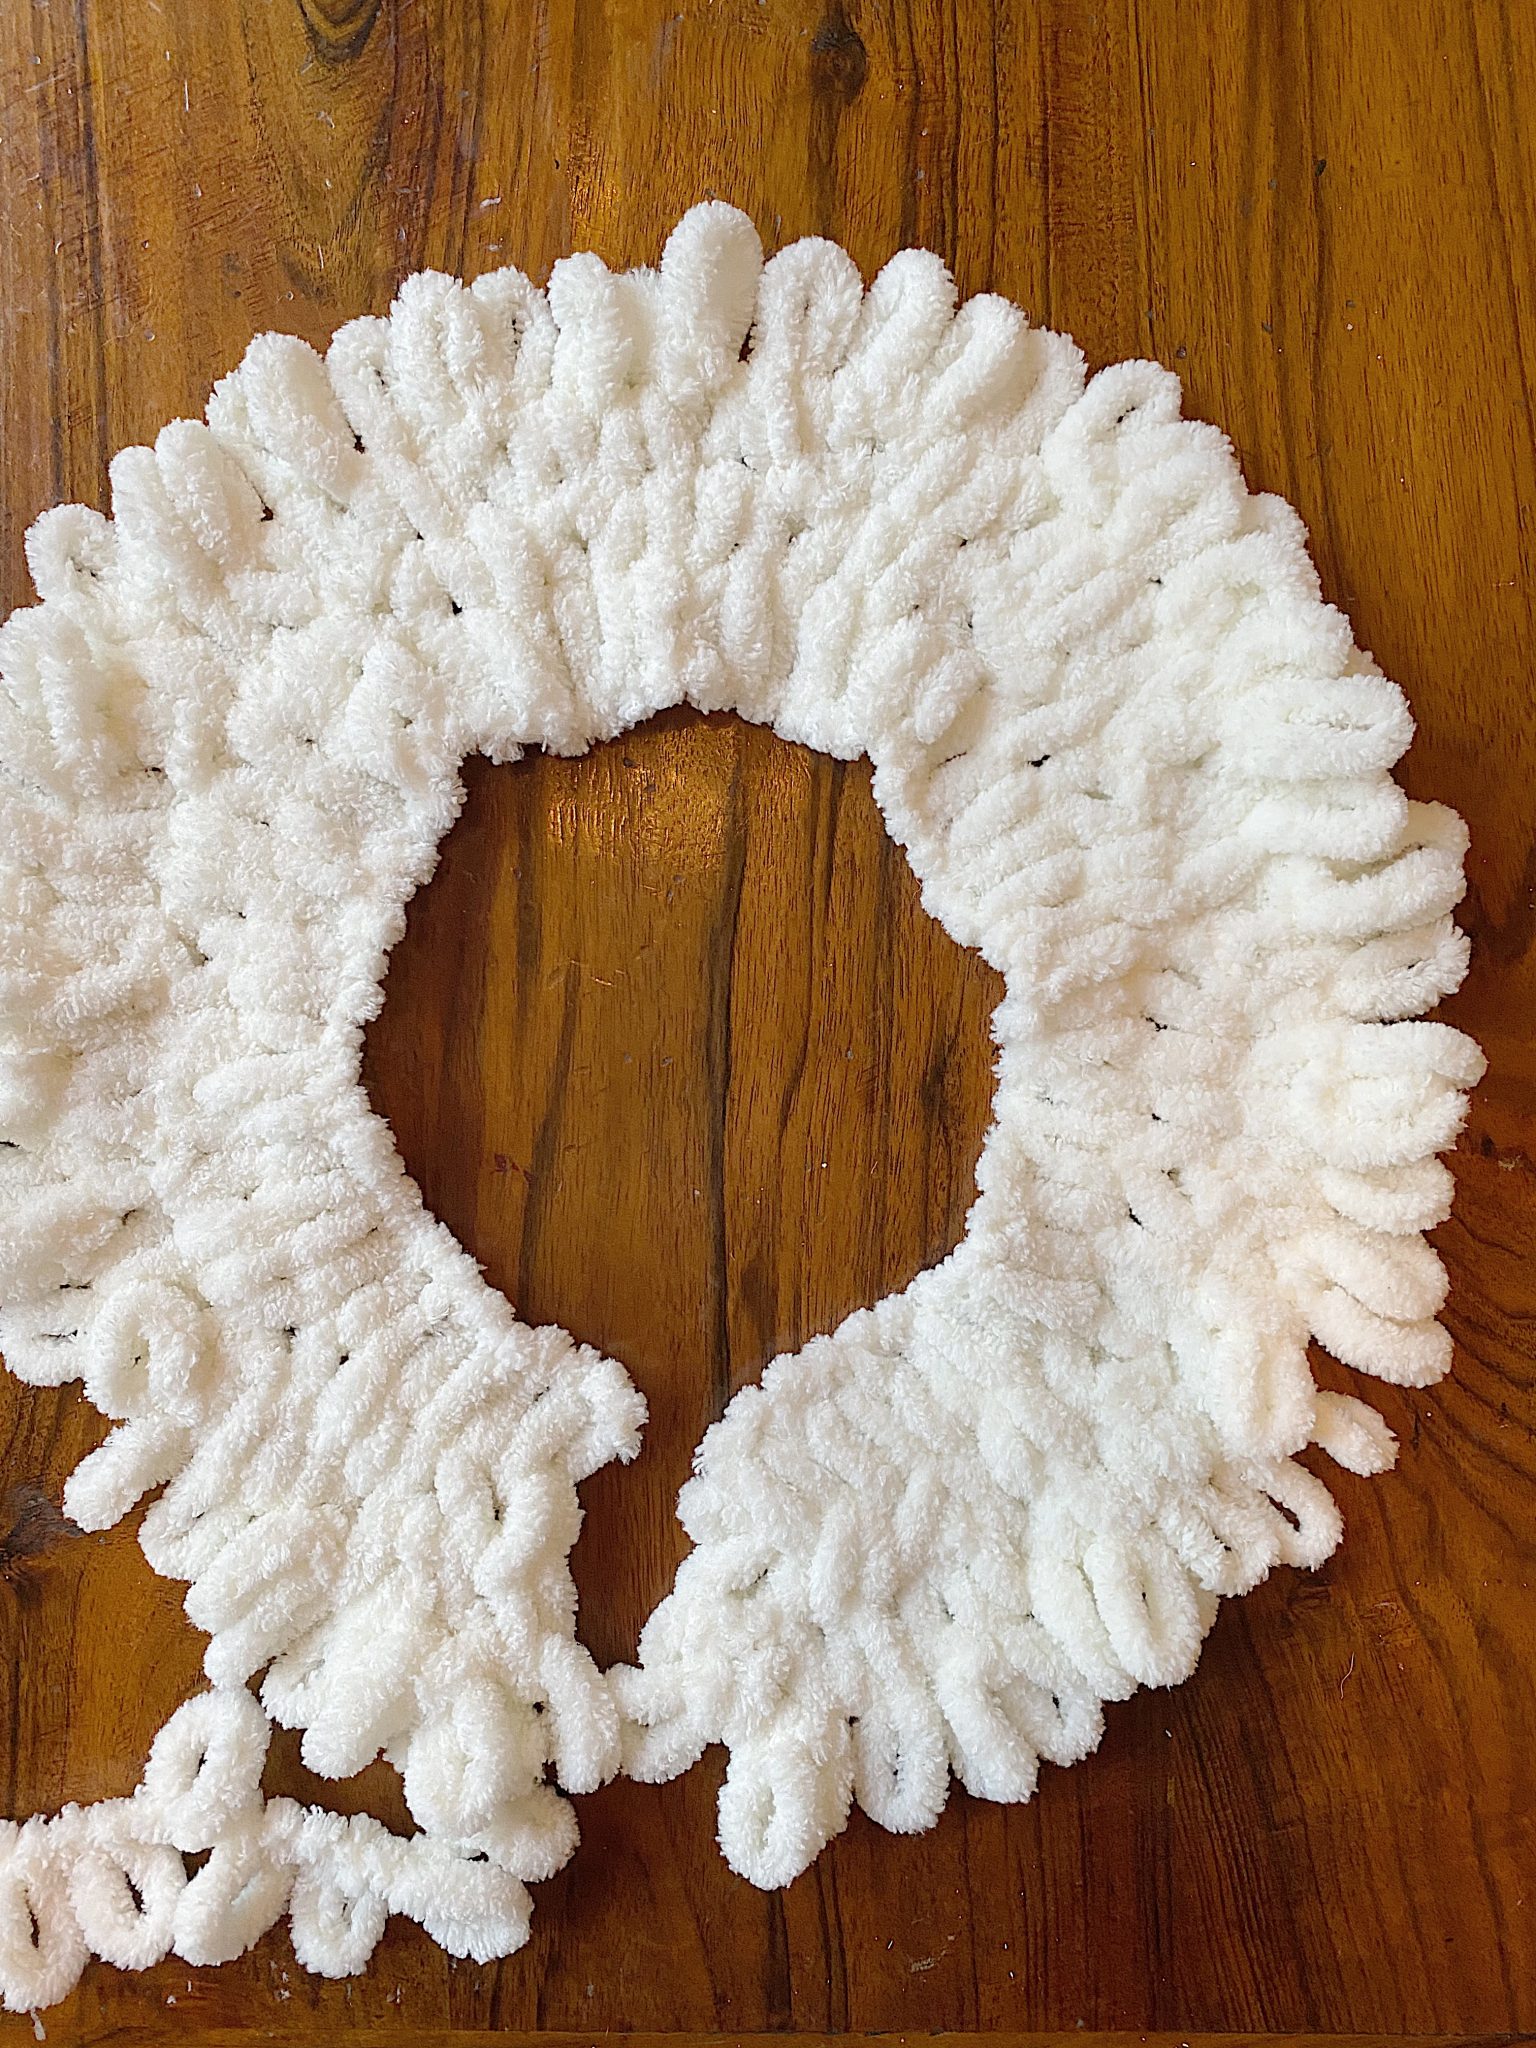
Using this yarn is fun and so easy. (There is a video below to show you how to do it!)
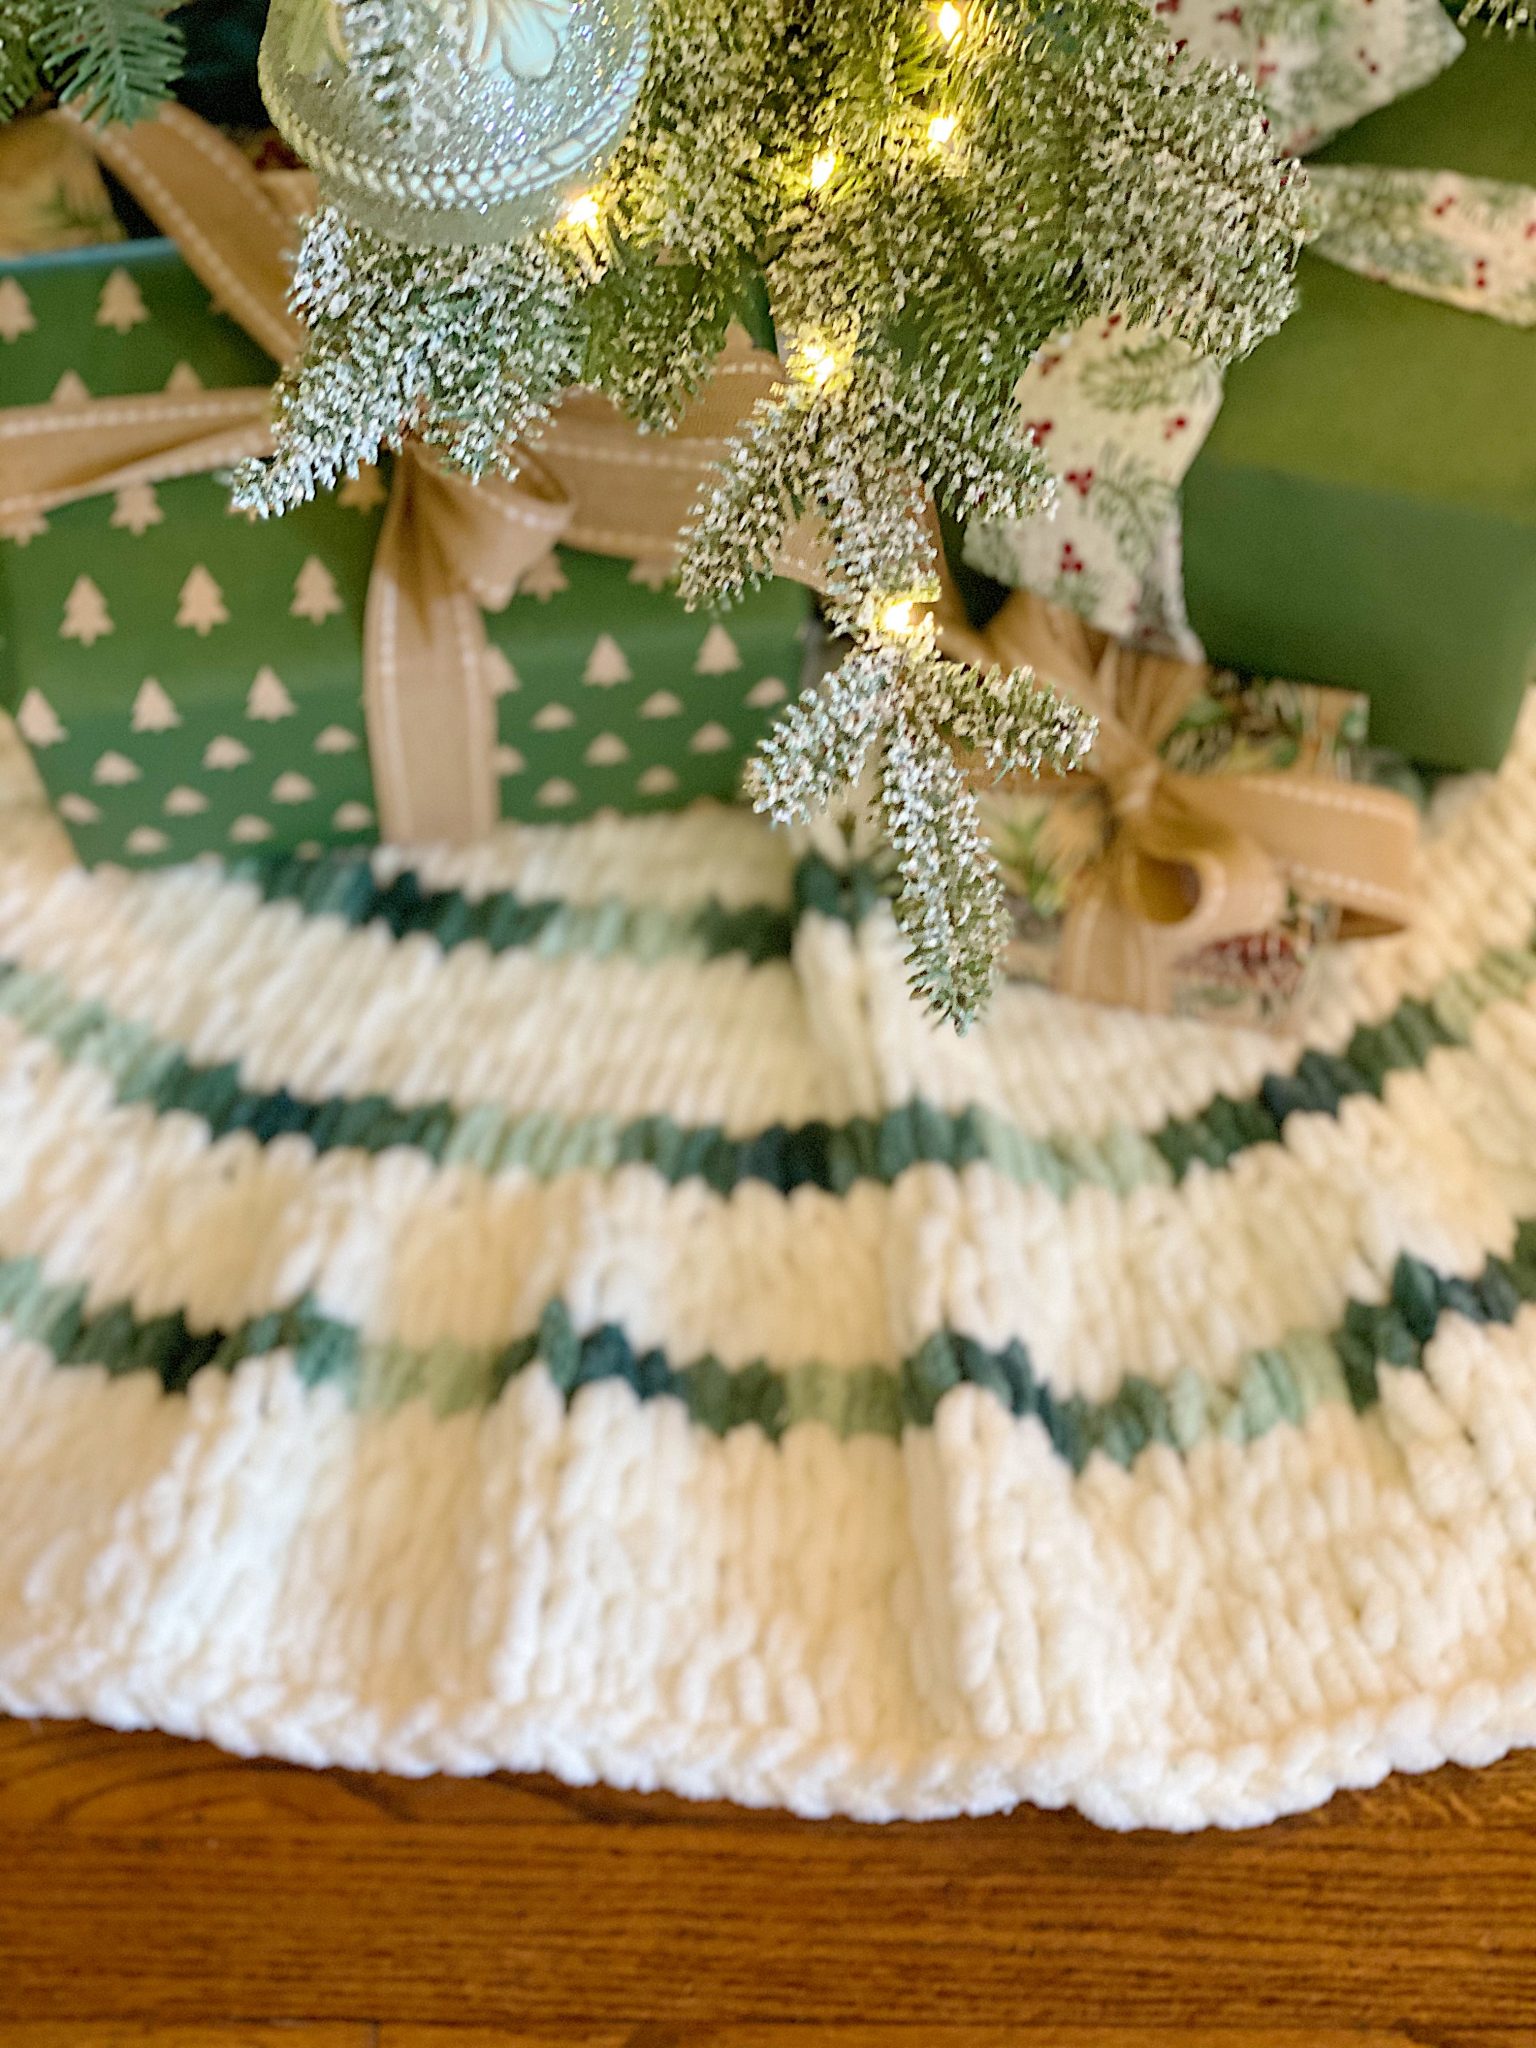
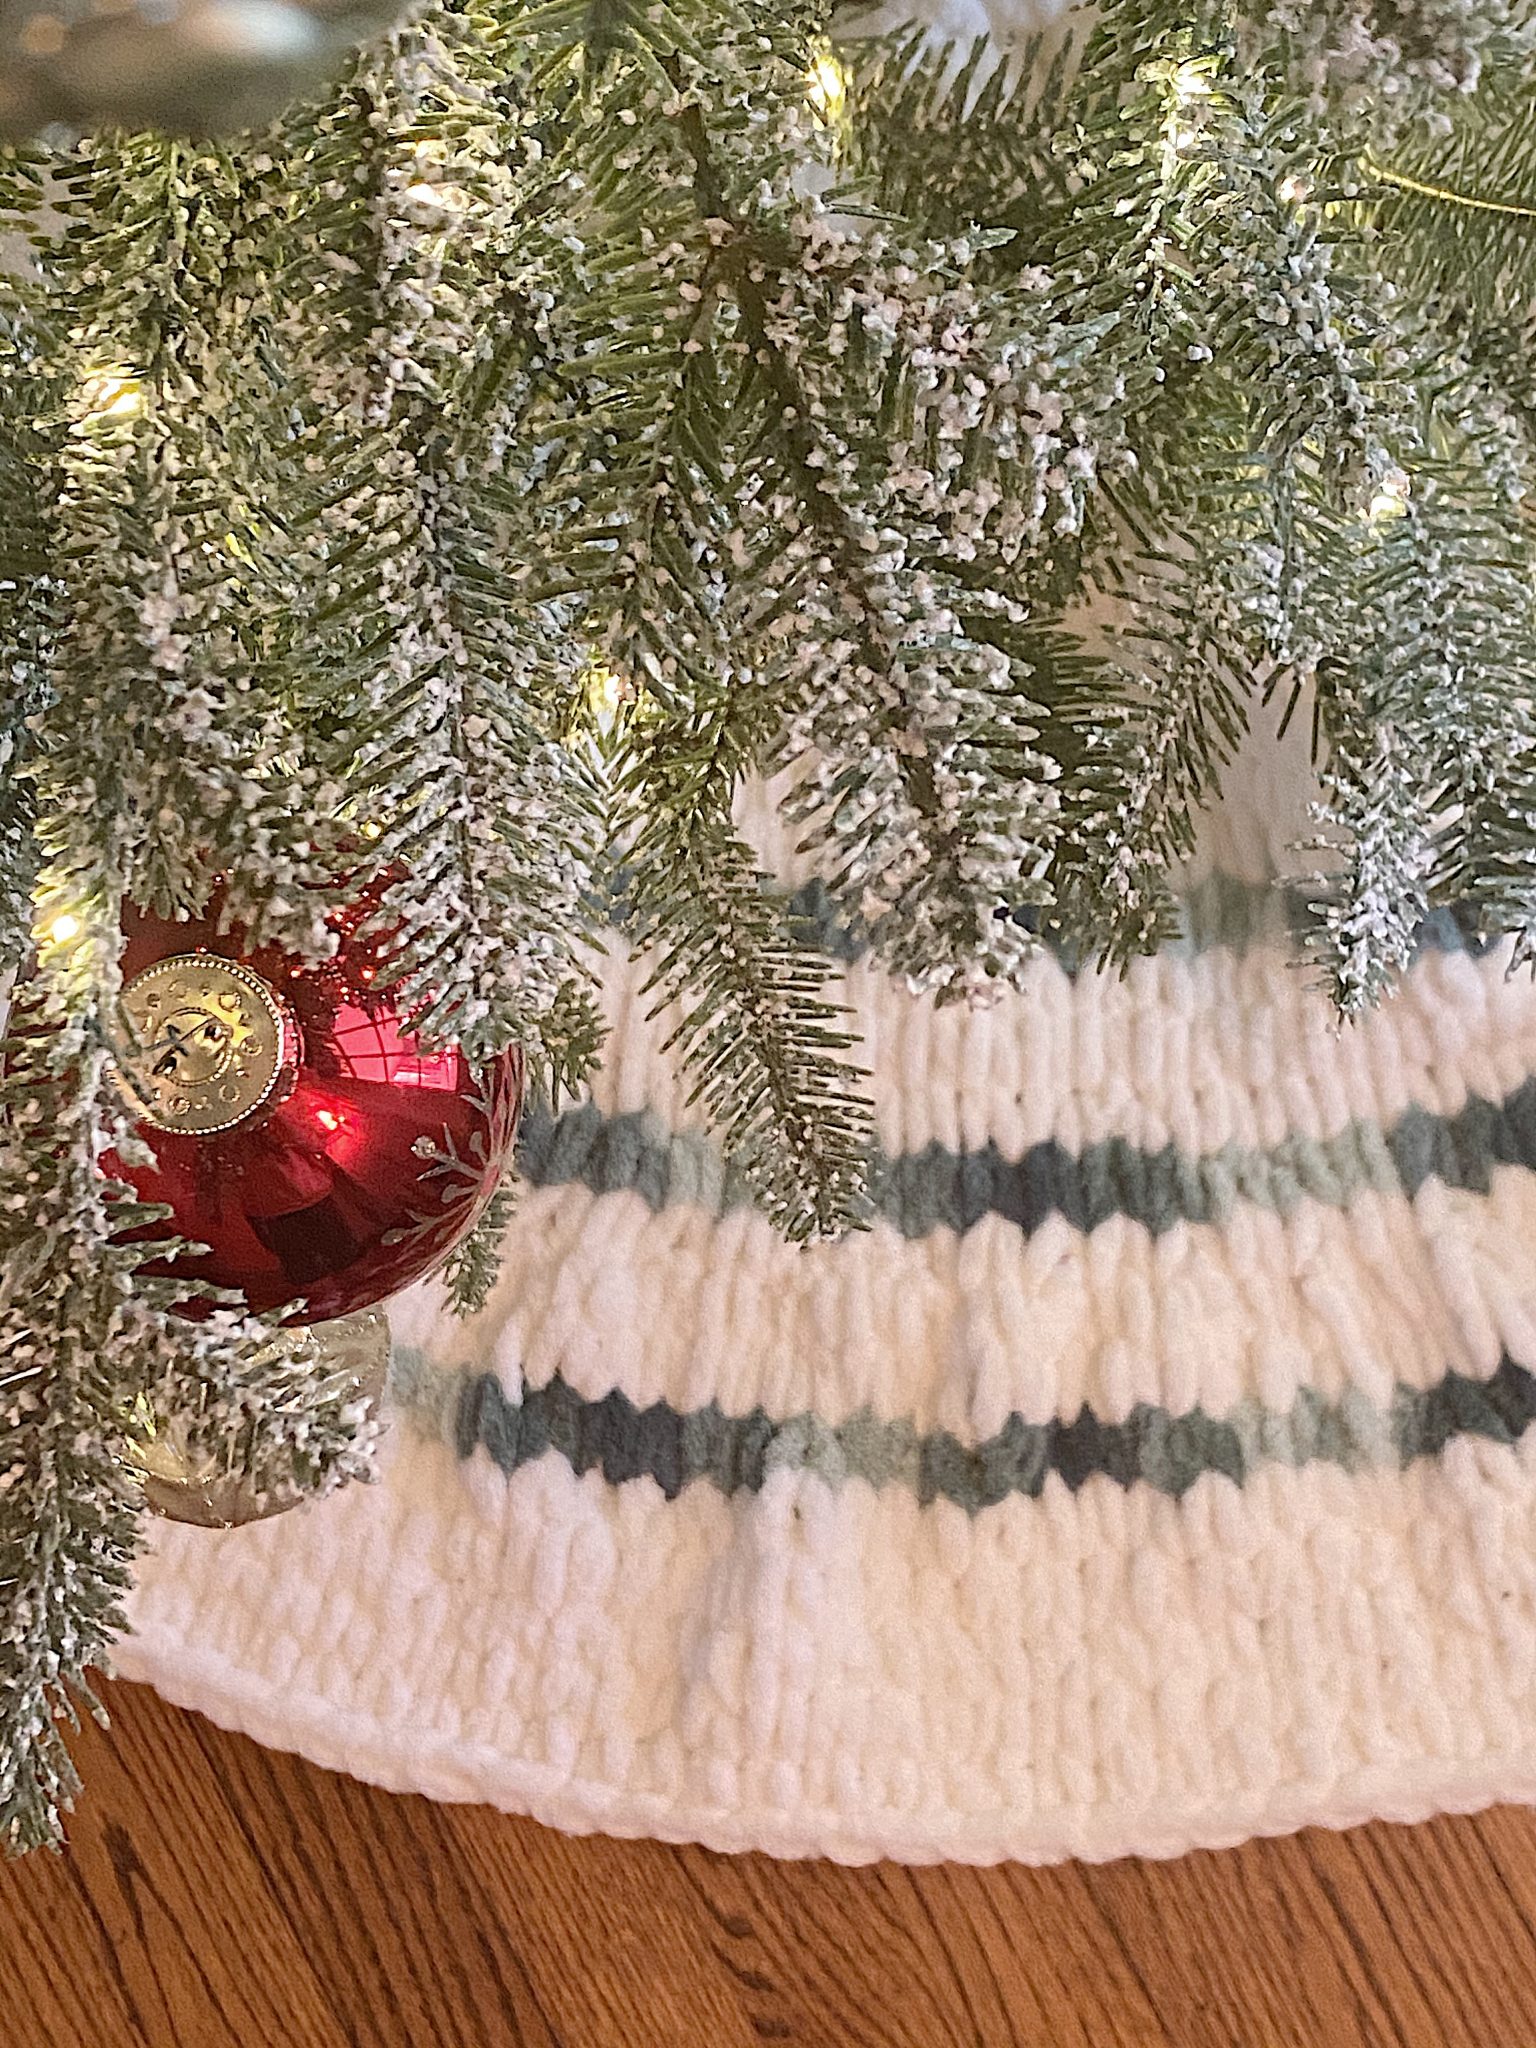
I decided to use an alternate color, Green Hedge, for my tree skirt and I love it!
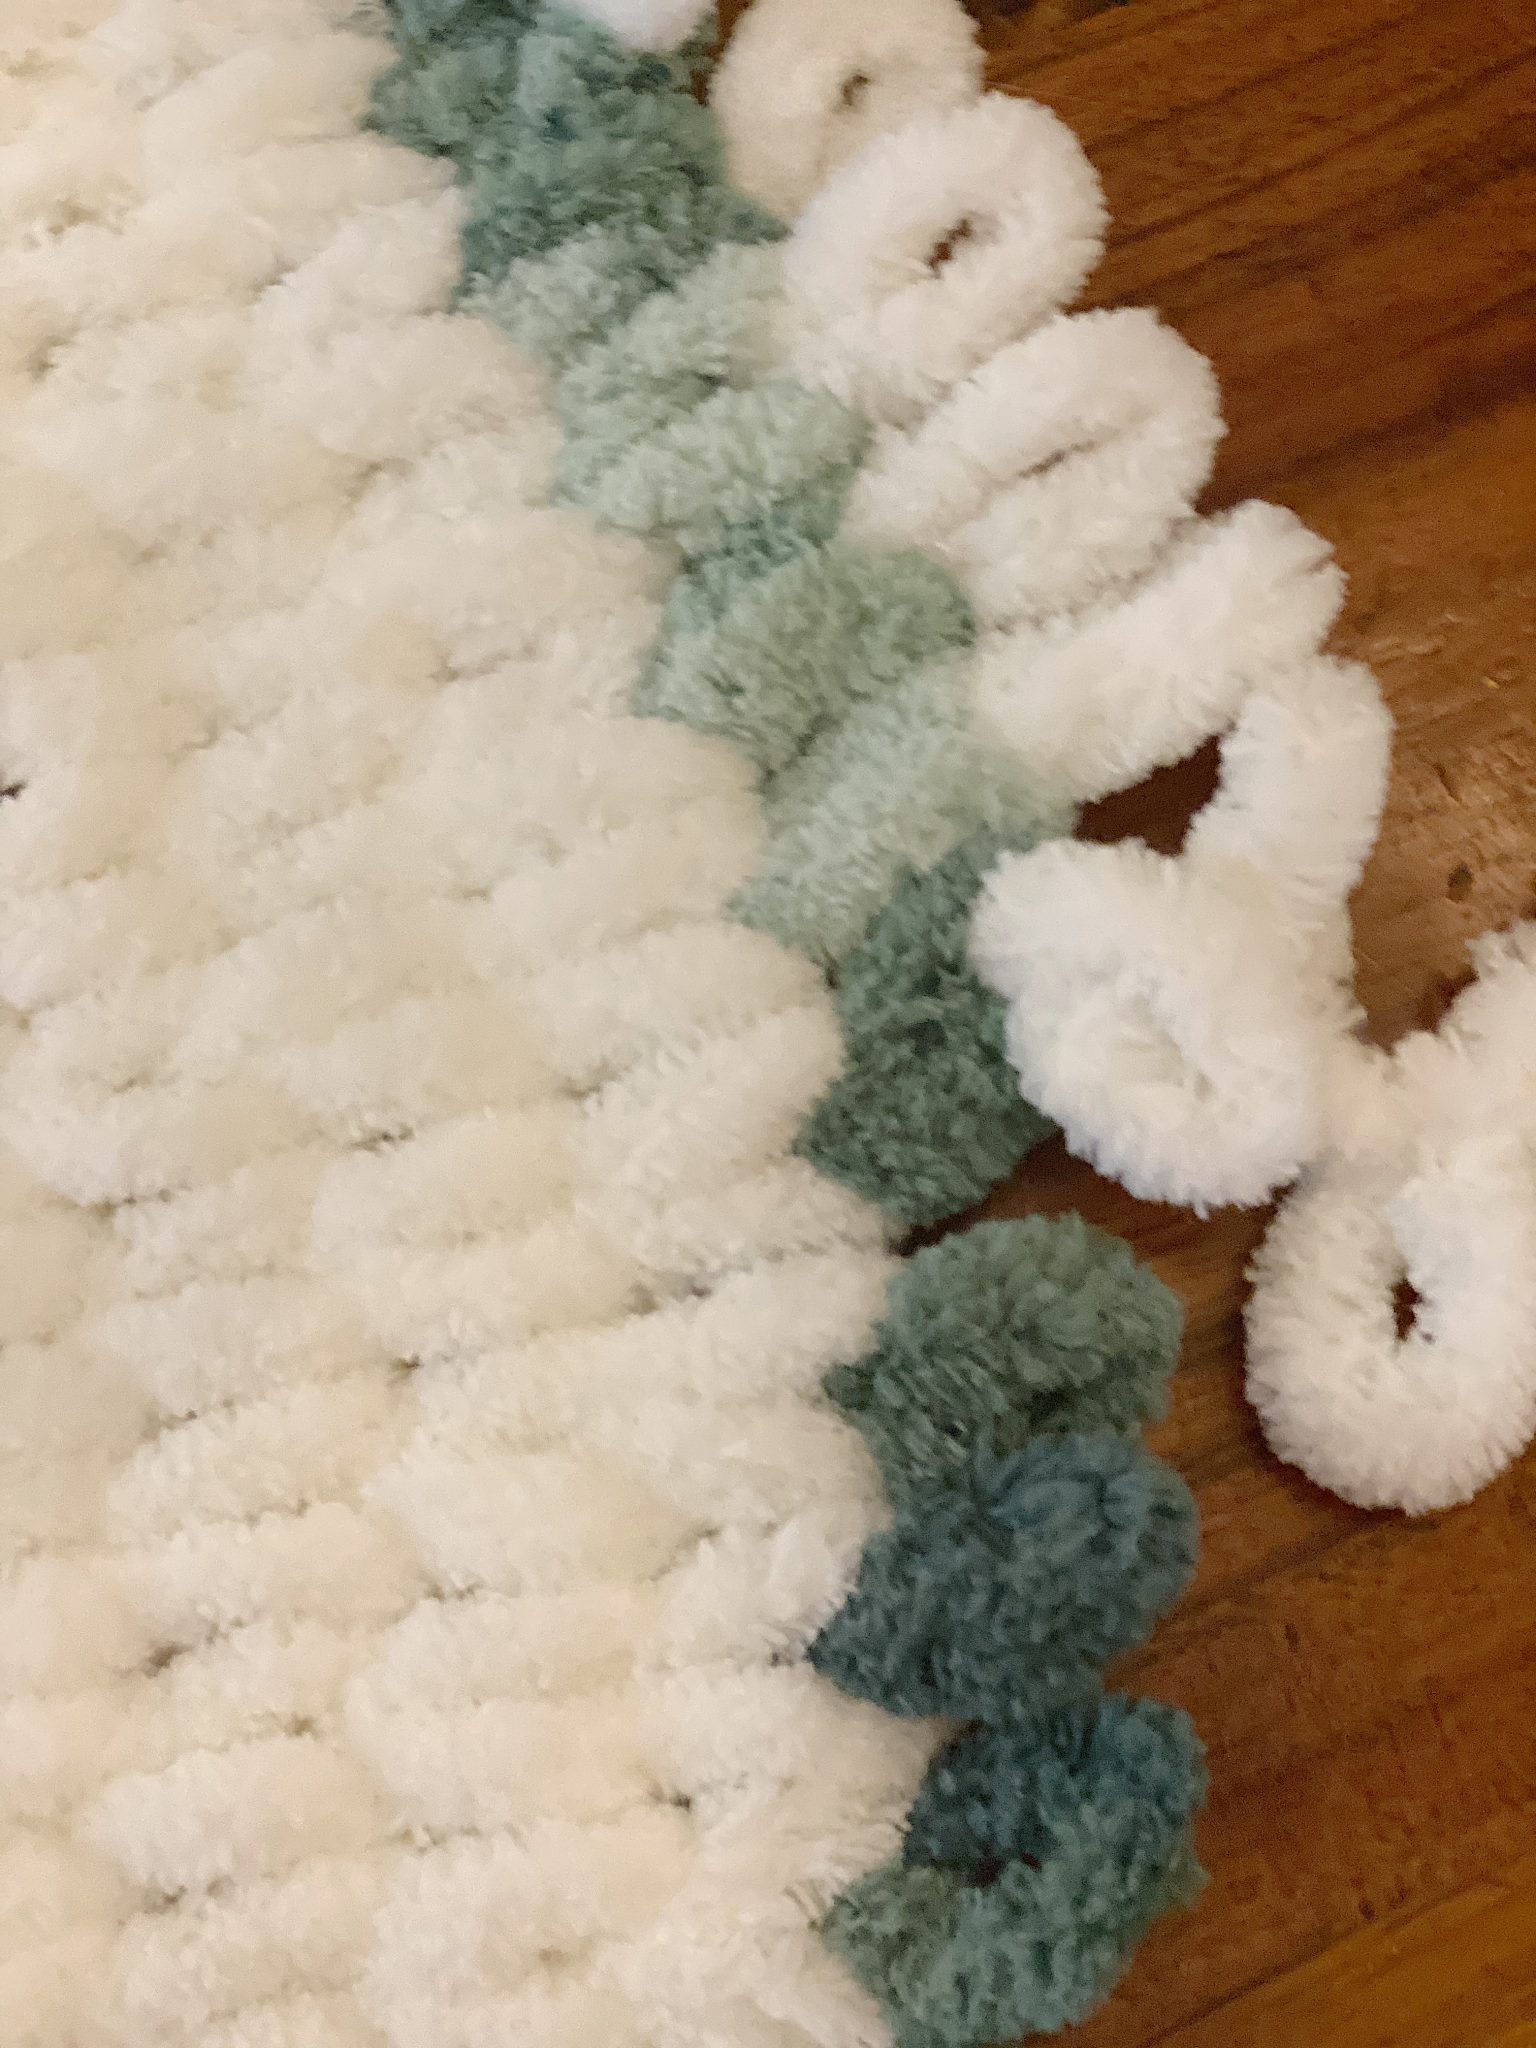
I ended up adding three rows of green to the tree skirt.
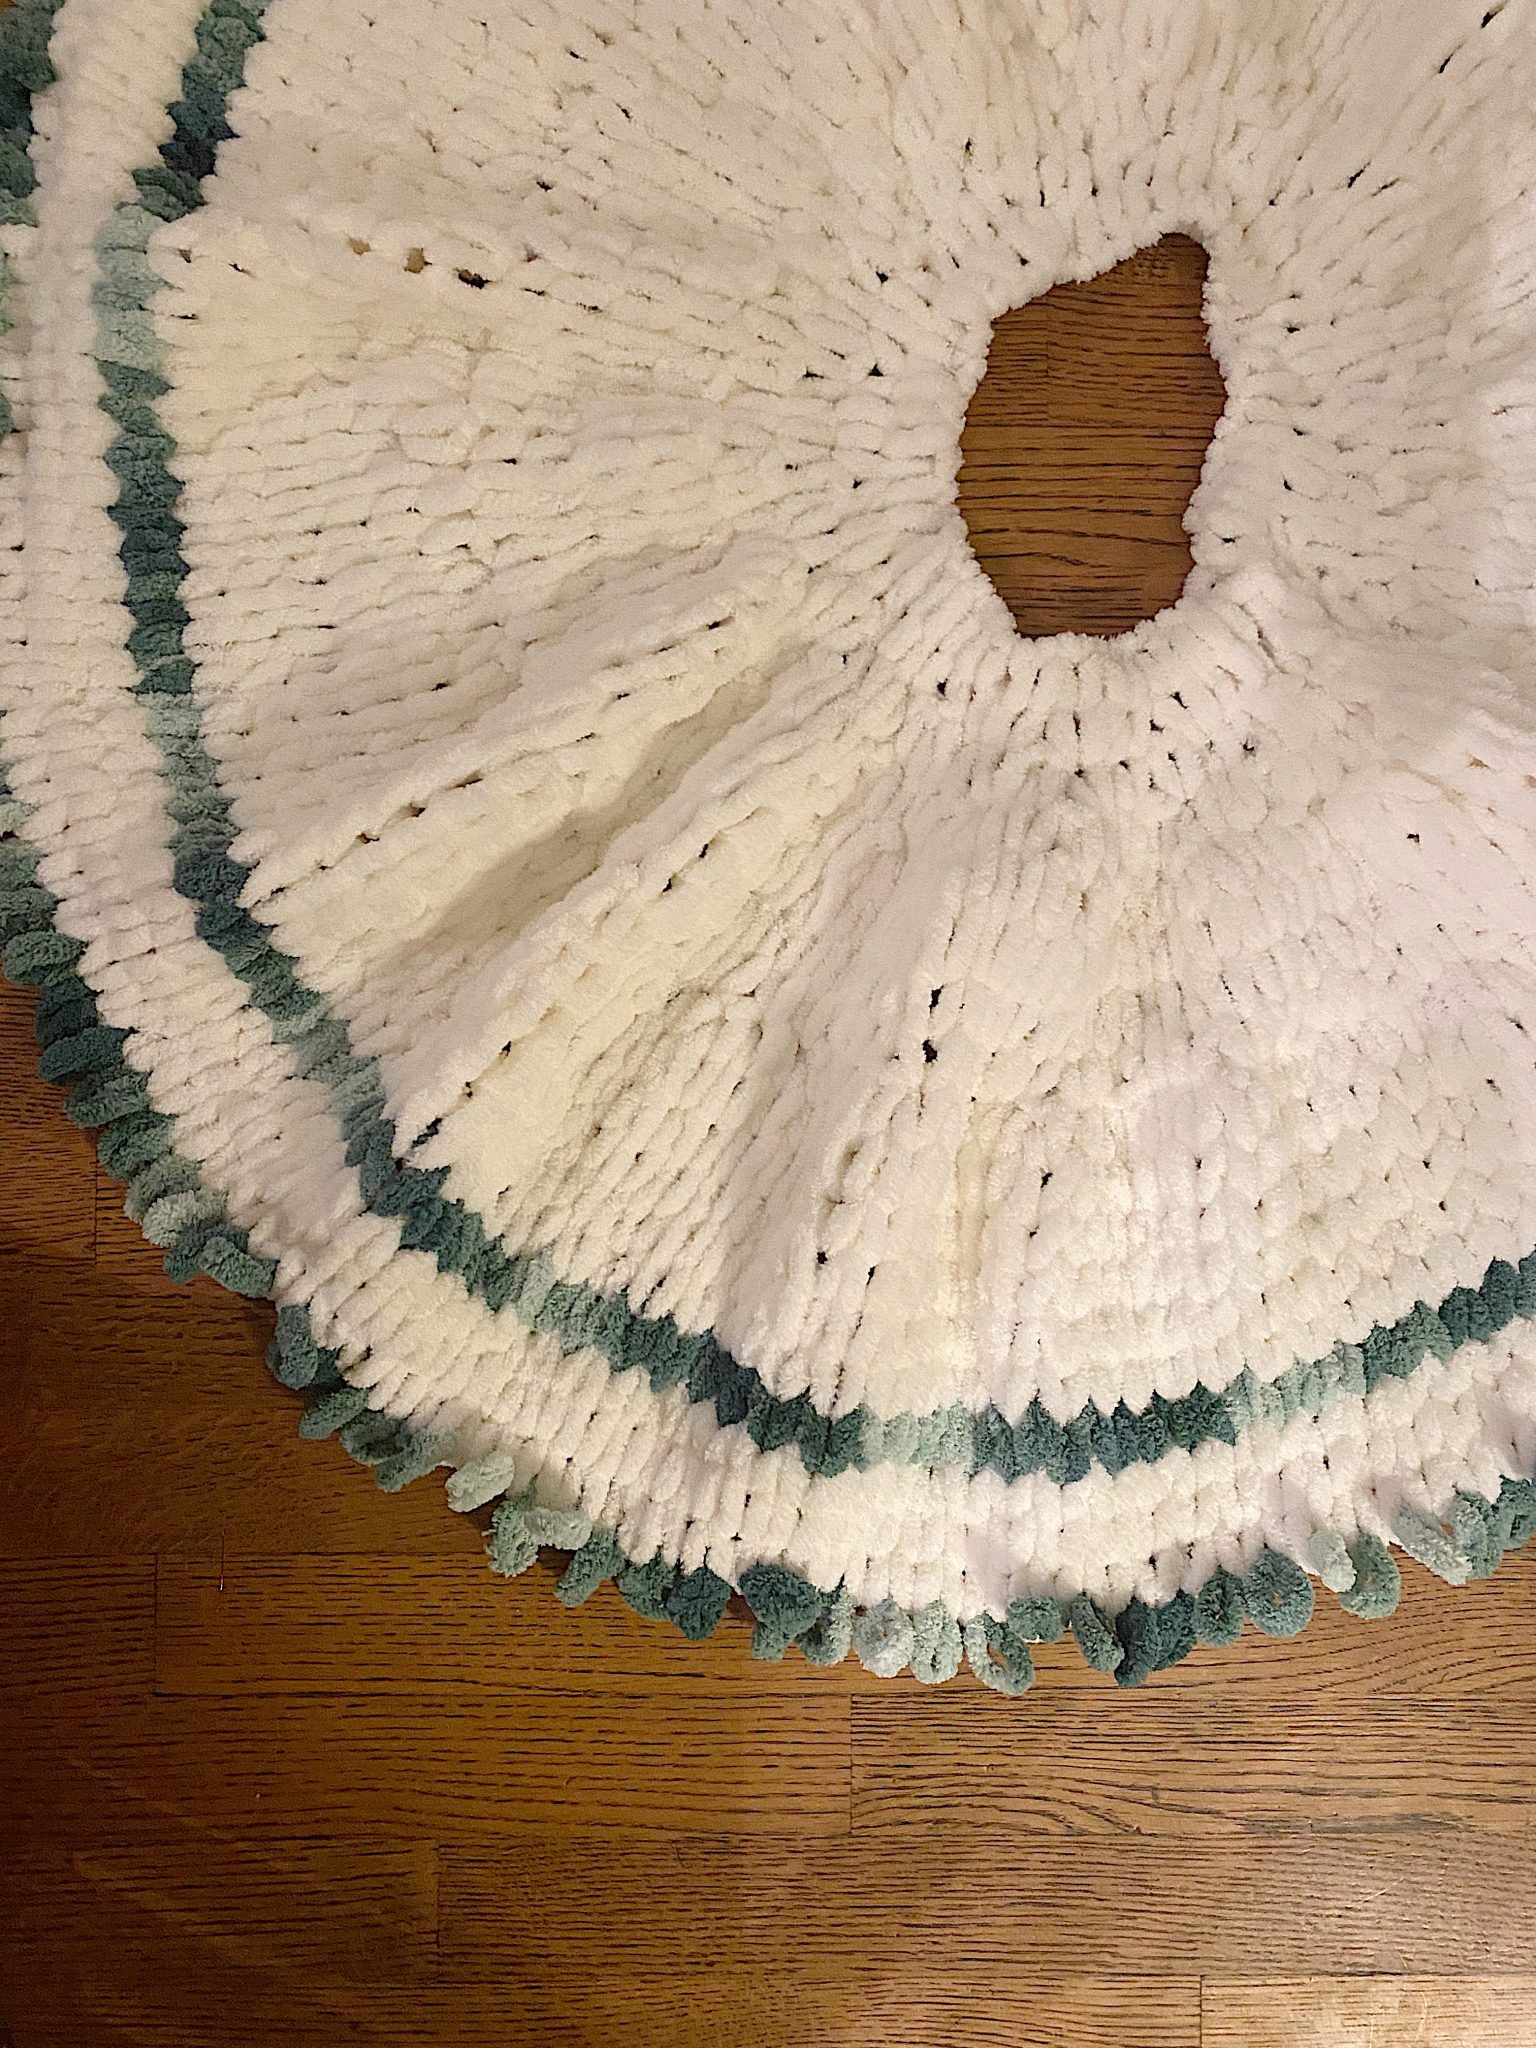
Finishing off the last row is so easy to do and I just love how it came out.
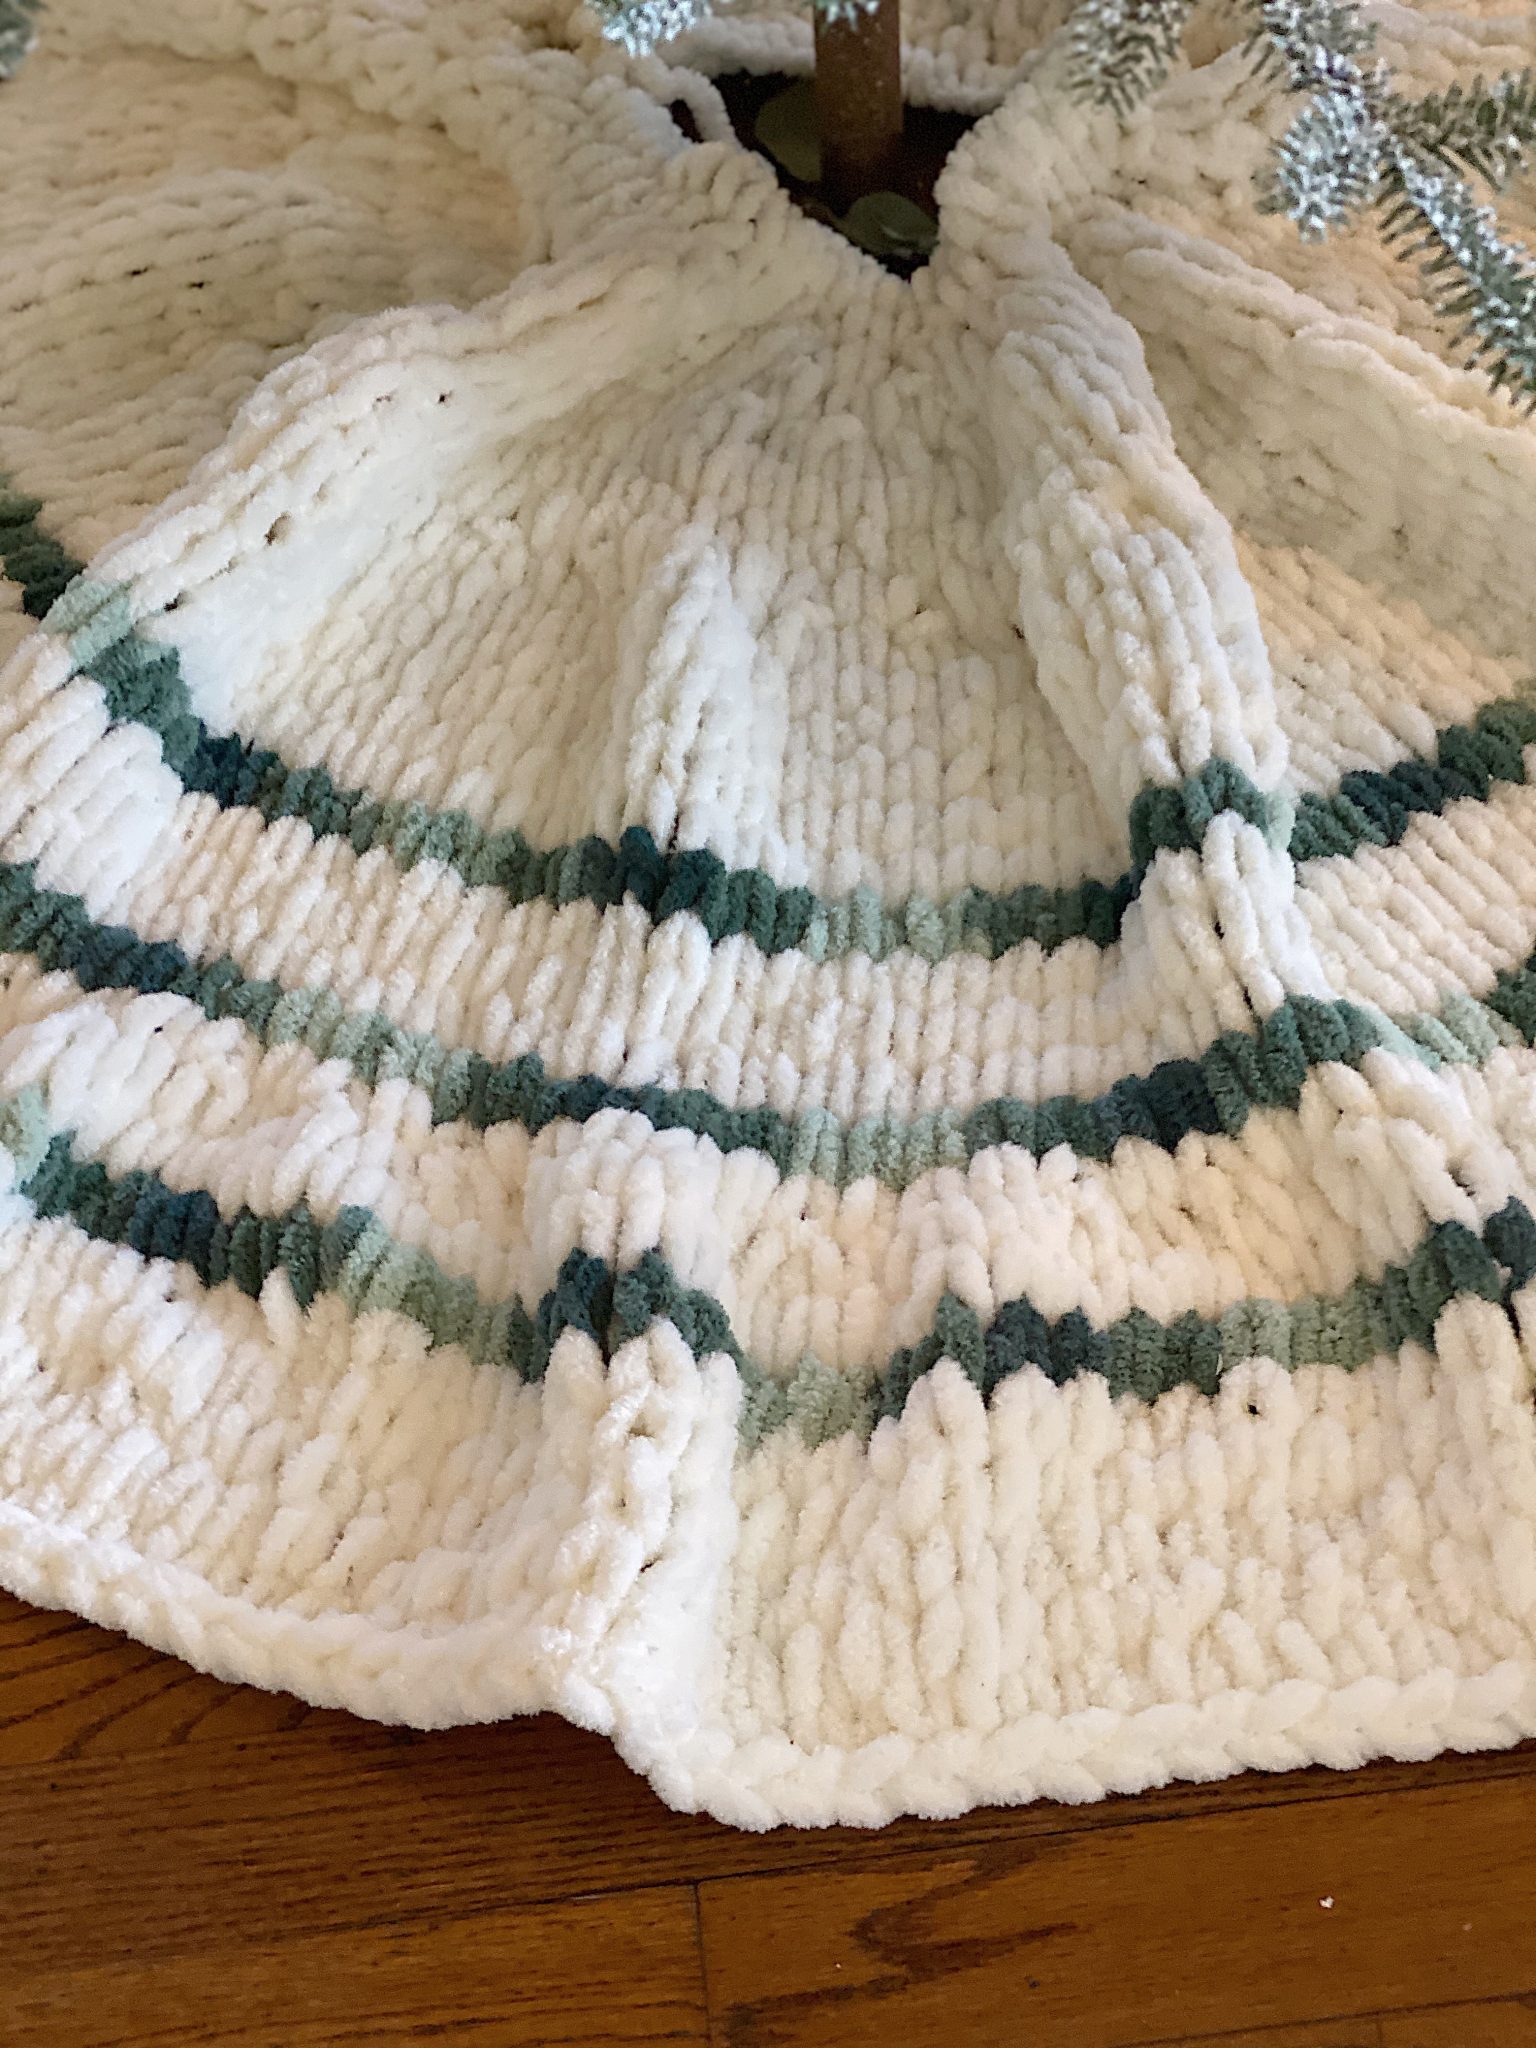
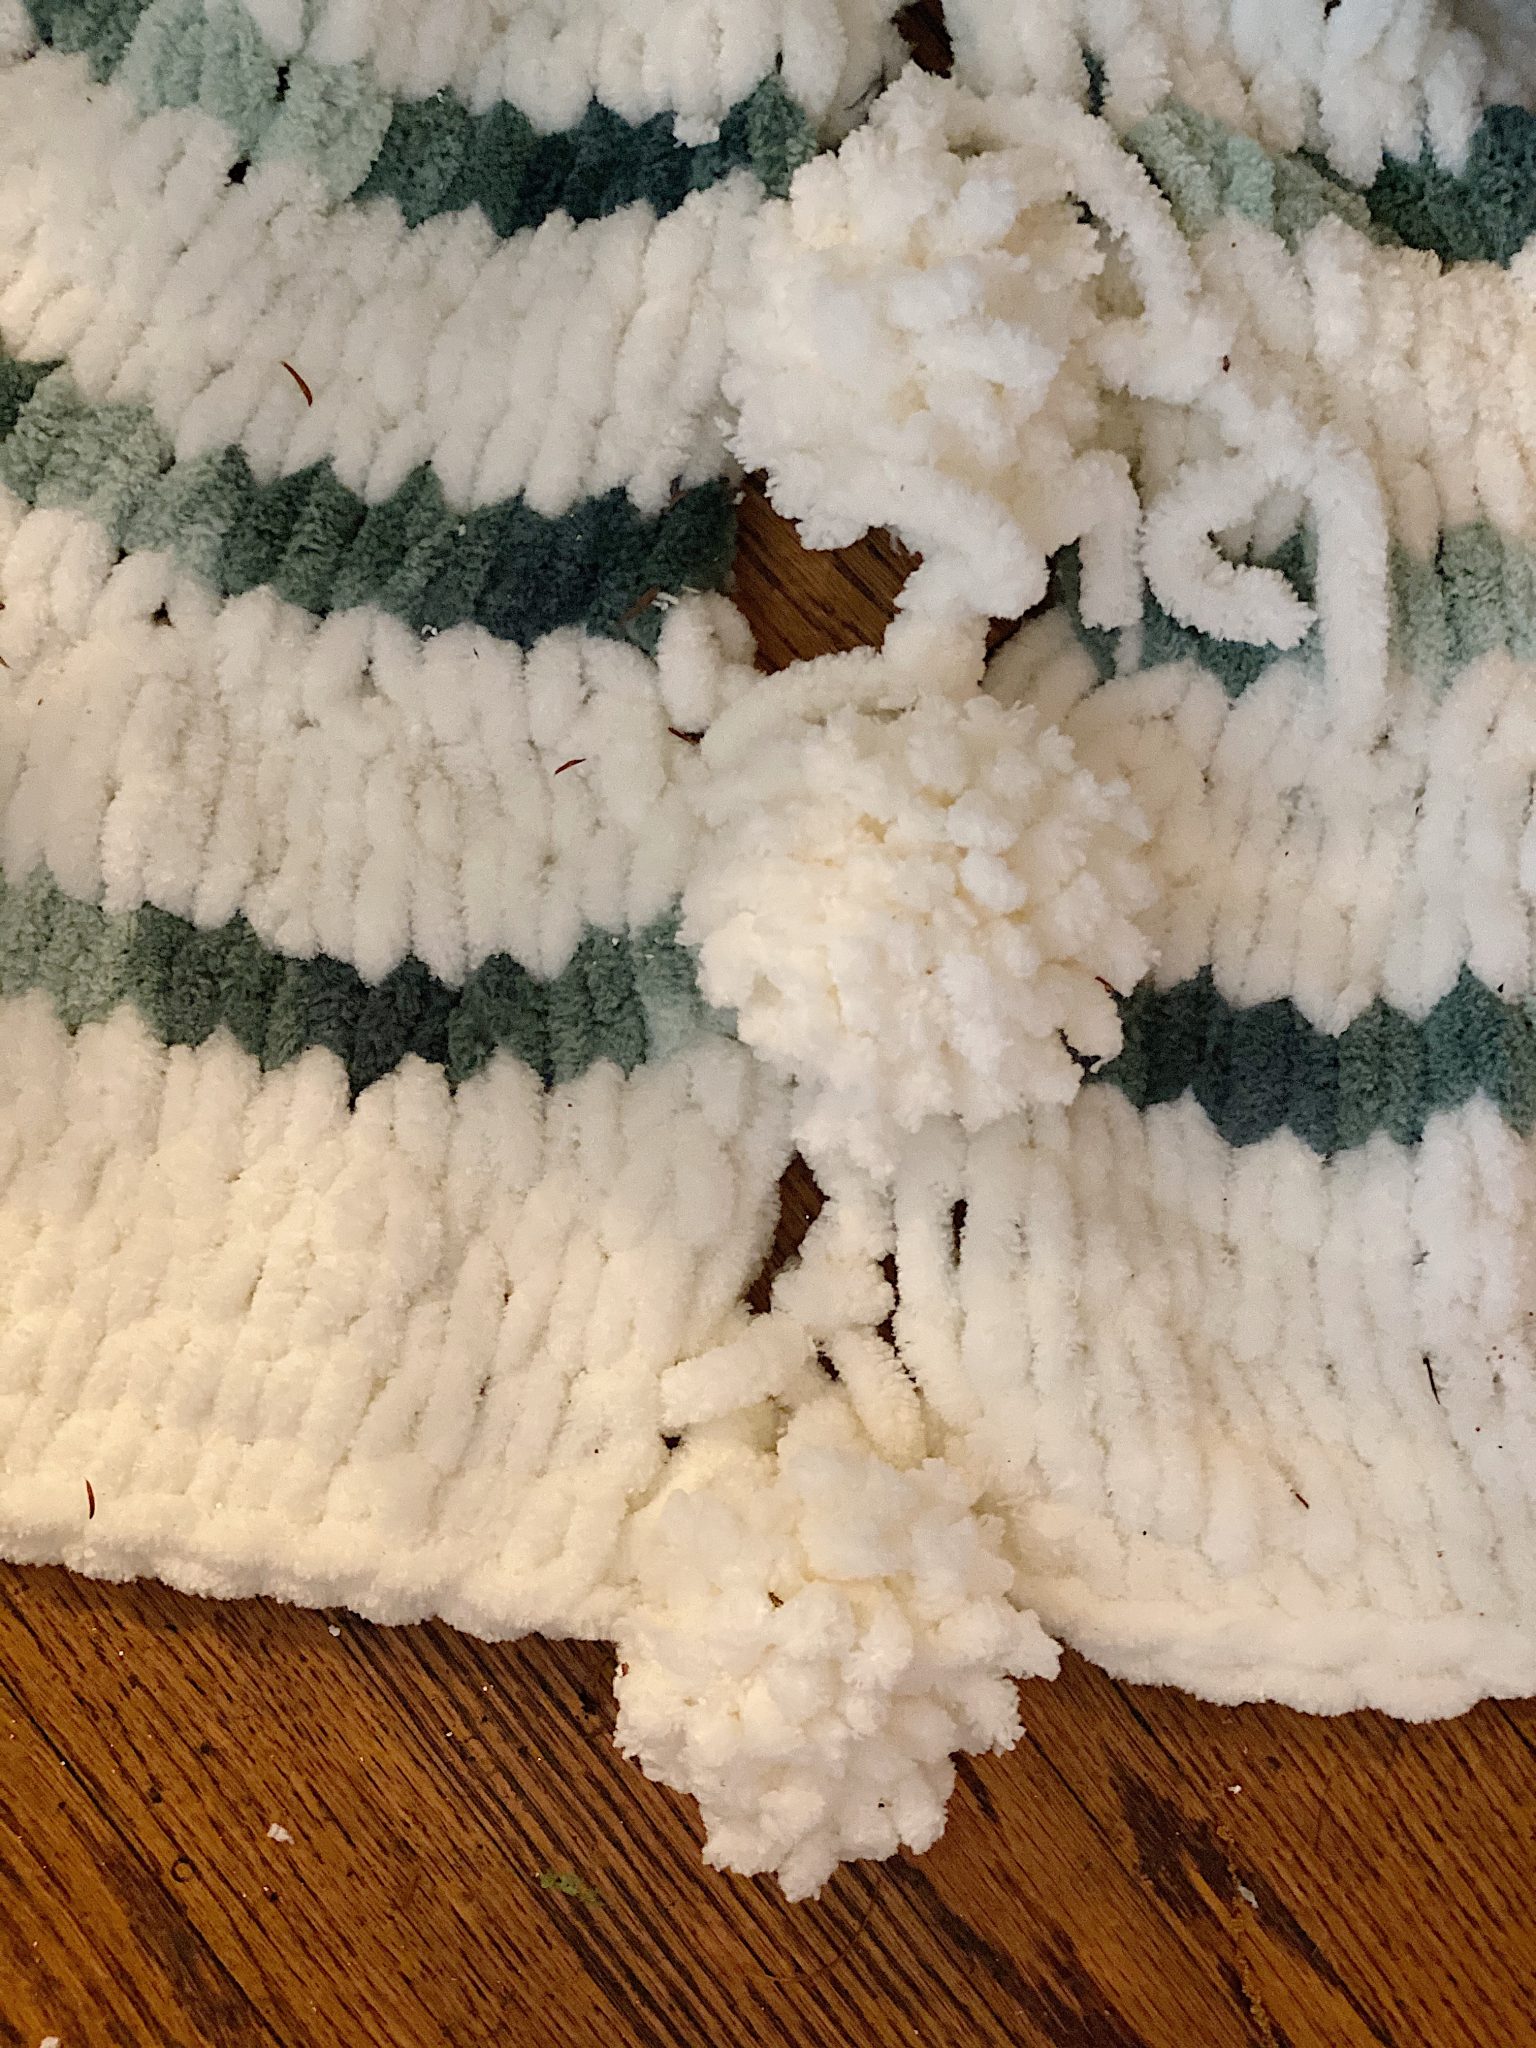
To close the back, I made five pom-poms with the Bernat Blanket Yarn and made sure to leave a long tail of yard on each one (approximately two 5″ strands of yarn). I looped the end of the yarn through one of the stitches along the edge and pulled it over the pom-pom to hold it into place.
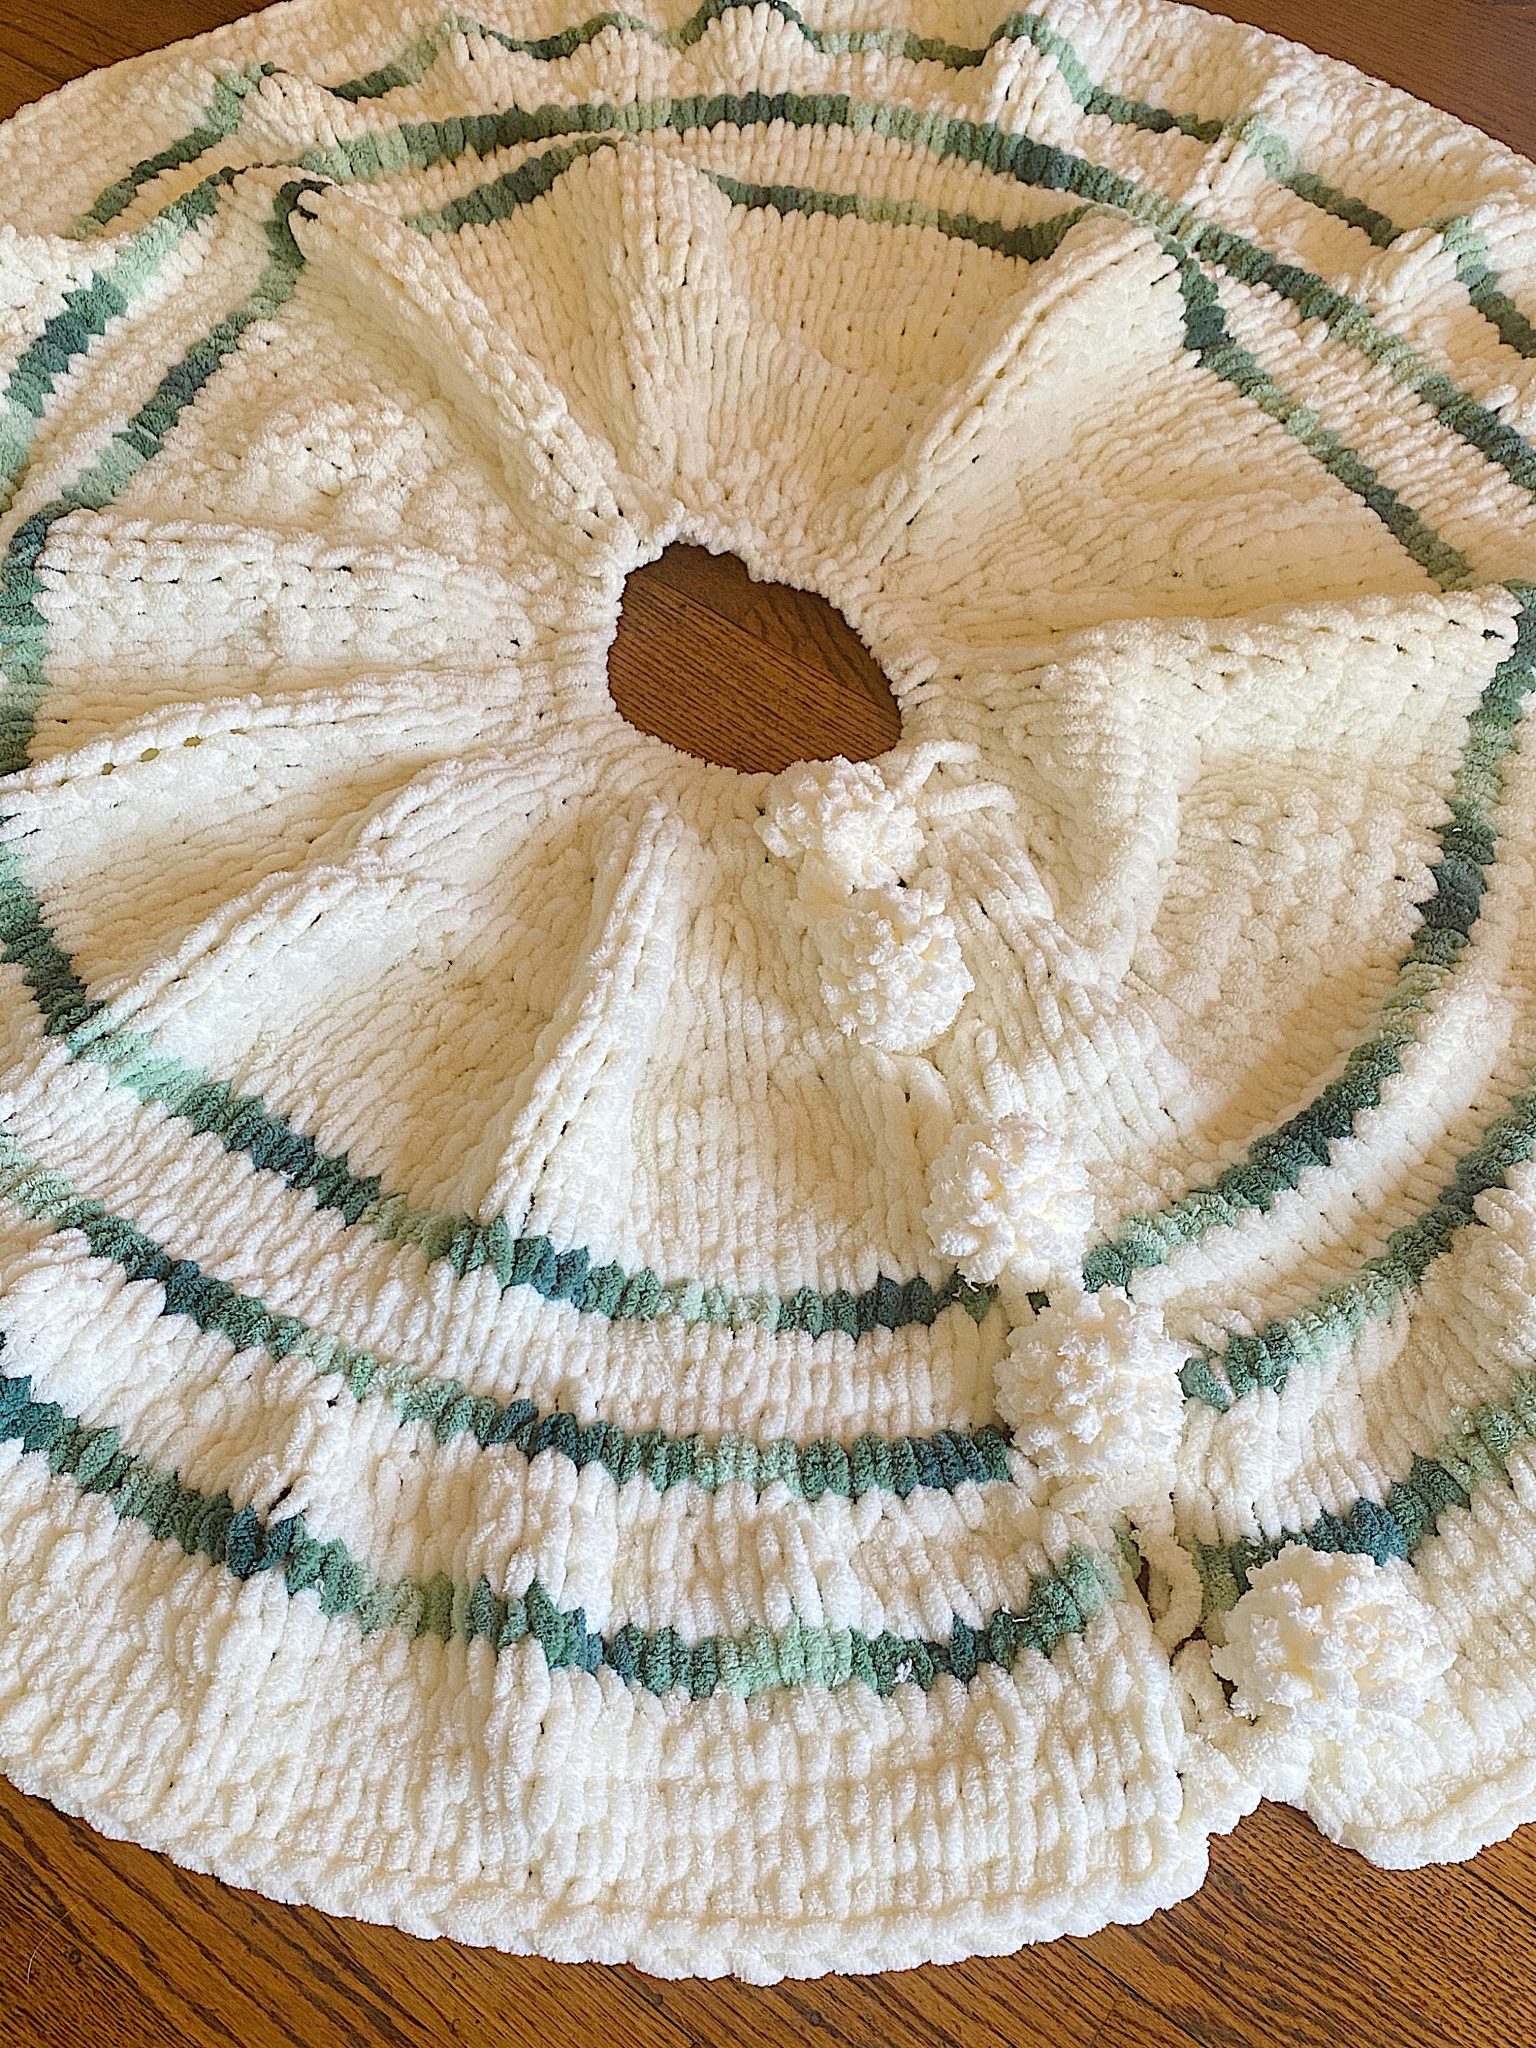
I think the pom pom closures look great!
How to Make a Christmas Tree Skirt

Materials
- Five skeins of the Cream Bernat Alize Blanket EZ Yarn
- One of the Hedge Green Bernat Alize Blanket EZ Yarn
- One skein of Bernat Blanket Big Ball Yarn for the pom poms.
Tools
- one pom pom makeer
Instructions
Remember, the right side of the tree skirt should always be facing up. When you "knit" the loops always pull the back loop through the front loop.
Row 1 - Count out 30 loops
Row 2 - Do a single switch, pull the back loop through the front loop, and continue to do the same for the entire row.
Row 3 - Pull the first loop through the front loop, then pull two new loops from the working yarn and pull through the next loop, repeat for the entire row.
Row 4 - Pull the first loop through the front loop, then pull two new loops from the working yarn and pull through the next loop, repeat for the entire row.
Row 5 - Pull the first loop through the front loop, then pull two new loops from the working yarn and pull through the next loop, repeat for the entire row.
Row 6 - Do a single switch, pull the back loop through the front loop, and continue to do the same for the entire row.
Row 7 - Do a single switch, pull the back loop through the front loop, and continue to do the same for the entire row.
Row 8 - Do a single switch, pull the back loop through the front loop, and continue to do the same for the entire row.
Row 9 - Do a single switch, pull the back loop through the front loop, and continue to do the same for the entire row.
Row 10 - Do a single switch, pull the back loop through the front loop, and continue to do the same for the entire row.
Row 11 - Do a single switch, pull the back loop through the front loop, and continue to do the same for the entire row.
Row 12 - Pull two loops through the first loop, one loop for each of the next two loops, repeat for the entire row.
Row 13 - Do a single switch, pull the back loop through the front loop, and continue to do the same for the entire row.
Row 14 - Do a single switch, pull the back loop through the front loop, and continue to do the same for the entire row.
Row 15 - Pull two loops through the first loop, one loop for each of the next two loops, repeat for the entire row.
Row 16 - Switch to the green yarn and do a single switch, pull the back loop through the front loop, and continue to do the same for the entire row.
Row 17 - Switch back to the cream yarn, do a single switch, pull the back loop through the front loop, and continue to do the same for the entire row.
Row 18 - Do a single switch, pull the back loop through the front loop, and continue to do the same for the entire row.
Row 19 - Do a single switch, pull the back loop through the front loop, and continue to do the same for the entire row.
Row 20 - Switch to the green yarn and do a single switch, pull the back loop through the front loop, and continue to do the same for the entire row.
Row 21 - Switch back to the cream yarn, do a single switch, pull the back loop through the front loop, and continue to do the same for the entire row.
Row 22 - Do a single switch, pull the back loop through the front loop, and continue to do the same for the entire row.
Row 23 - Do a single switch, pull the back loop through the front loop, and continue to do the same for the entire row.
Row 24 - Switch to the green yarn and do a single switch, pull the back loop through the front loop, and continue to do the same for the entire row.
Row 25 - Switch back to the cream yarn, do a single switch, pull the back loop through the front loop, and continue to do the same for the entire row.
Row 26 - Do a single switch, pull the back loop through the front loop, and continue to do the same for the entire row.
Row 27 - Do a single switch, pull the back loop through the front loop, and continue to do the same for the entire row.
Row 28 - Do a single switch, pull the back loop through the front loop, and continue to do the same for the entire row.
Row 29 - To bind off, you always start to bind off in the same direction as your last row (the end without the tail of loops). Slip the second loop into the first loop and pull it through. Slip the third loop into the second loop and pull it through. Continue to the end.
With the last loop, carefully cut the loop open. Thread the yarn on a tapestry needle and weave the tail through the thickest part of the stitches.
Next, I made five pom poms and attached them with yarn loops, and thread the loops through the edge of the tree skirt and then over the pom pom. See the photo in the blog post for specifics.
It took me two evenings of finger knitting (in front of the TV) to make the tree skirt.
I am so happy with the way this came out!
Pin the image below to your Craft or Christmas boards on Pinterest (just click the Pin button in the top left corner). You can also follow along with me on Pinterest!
For more real-time updates, follow me on Instagram @My100YearOldHome

Would like to download the video link but am not able to. Is it on YouTube? If so, I can’t find it. Also, in your video, your hands are out of picture to be able to see what you do at ends to change to green yarn. I see some have asked questions but I am not able to see your replies to them. Pls help so I can get started. Thanks in advance!
Hi Jeanne! In the post there are row by row instructions, including switch from white to green to white! Hope that helps 🤗
Beautiful Christmas tree skirt. I’m not sur how easy it is but it makes a statement. Thank you for the tutorial.
It’s much easier than it looks! Thanks so much for being here ☺️
Hi Leslie,
I had some Bernat blanket yarn in my stash. I am trying to knit (convert) the pattern for the loop yarn. What would I need to do to make the skirt a little wider than 53”? Would I need to increase the number of stitches (loops) again? Or should I repeat certain rows? How would you advise?
I would appreciate your advice and suggestions.
I know this isn’t hard once you figure it out but I cannot follow it! I’m a visual learner so the video is great but your hands are cut off and some of it and I’m just confused. I don’t feel like I’m doing it correctly. I did it exactly the way you did it and it just does not look right and I’m frustrated so I had to stop😭😭 I guess I’ll just keep watching the video over and over and maybe it will click in my brain eventually😞
How many rows would you make for a slim tree