Summer Handmade Clay Pottery Projects
This summer, I embarked on a creative journey I’ve dreamed about for a long time. I took two Handmade Clay Pottery classes.
I have taken the classes at Green and Bisque Clayworks in Pasadena. To say I’m loving it would be an understatement. Working with clay is therapeutic, exciting, and incredibly rewarding, especially because I’m creating functional tableware for our home.

Handmade Clay Pottery Projects
What is Handmade Clay Pottery?
Handmade clay pottery is crafted entirely by hand rather than on a pottery wheel. While wheel-thrown pottery is beautiful and often perfectly symmetrical, hand-building pottery has a uniquely rustic charm and personal touch.
Several methods of handmade pottery exist, including pinch, coil, and slab techniques. In my class, I primarily use the slab method, which involves rolling out flat sheets of clay and forming them into various shapes.
On this blog, I may sometimes use affiliate links, which means a small commission is earned if you purchase via the link. The price will be the same whether you use the affiliate link or go directly to the vendor’s website using a non-affiliate link.
My Experience with Slab Clay
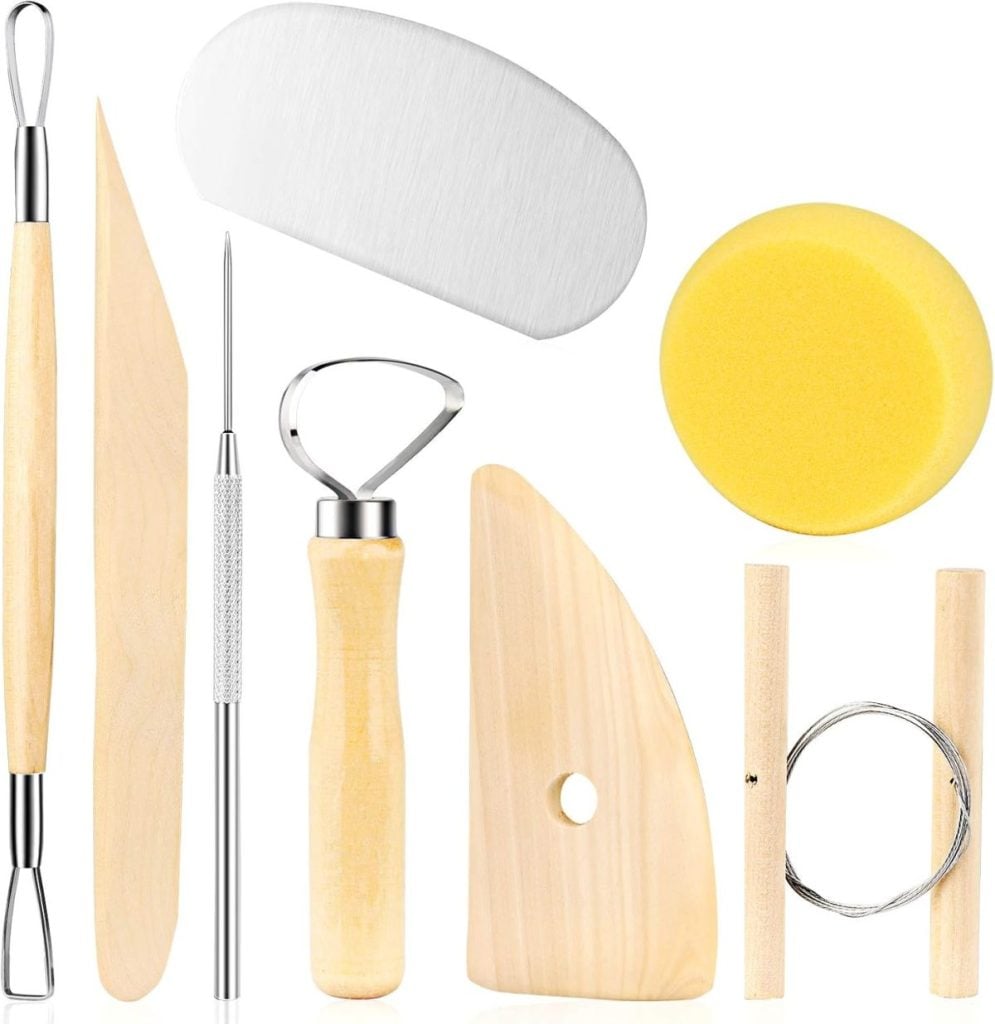
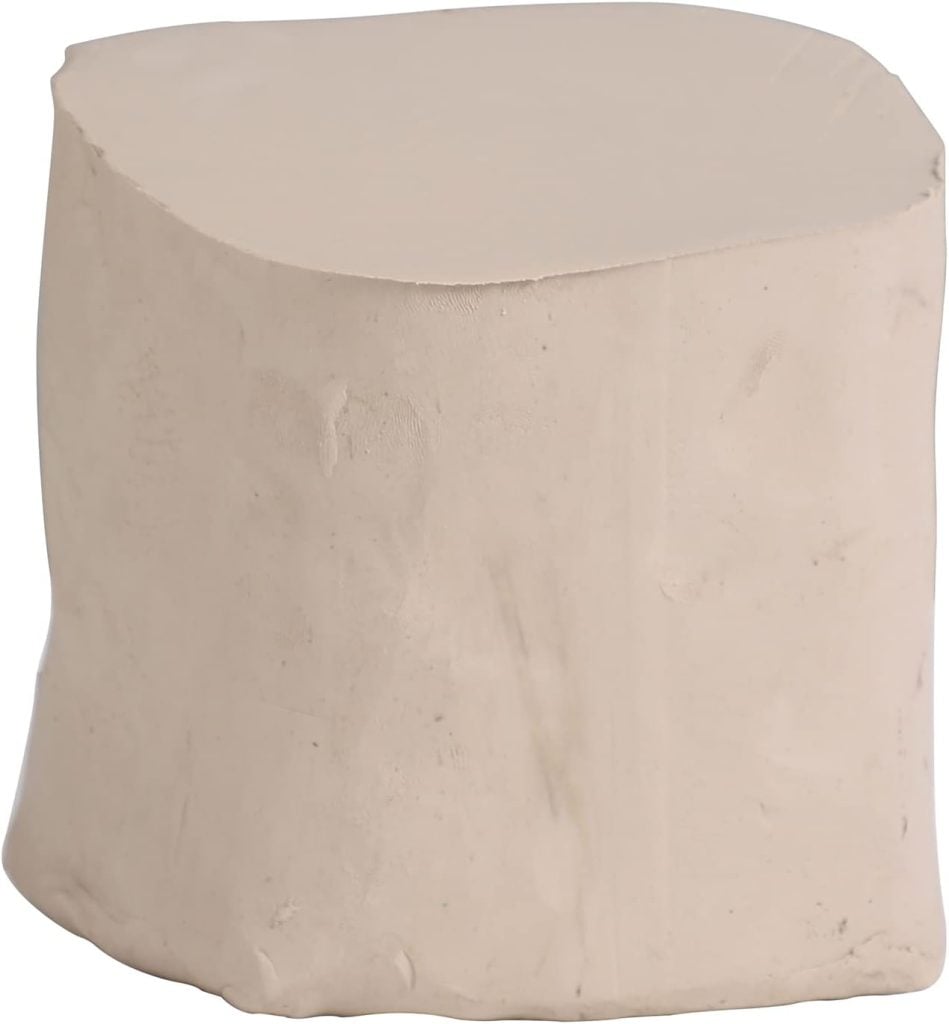
The slab clay method is approachable and incredibly versatile. It starts by rolling out a sheet of clay, typically about 1/4 inch thick, and then cutting or molding it into different forms. You can use simple tools like rolling pins, knives, and cutters to shape the clay precisely to your liking.
At Green and Bisque, we have access to an excellent slab roller. This machine allows us to easily roll out larger, uniformly thick sheets of clay, perfect for making matching sets of plates, larger serving trays, or even platters.
Projects I’ve Created So Far
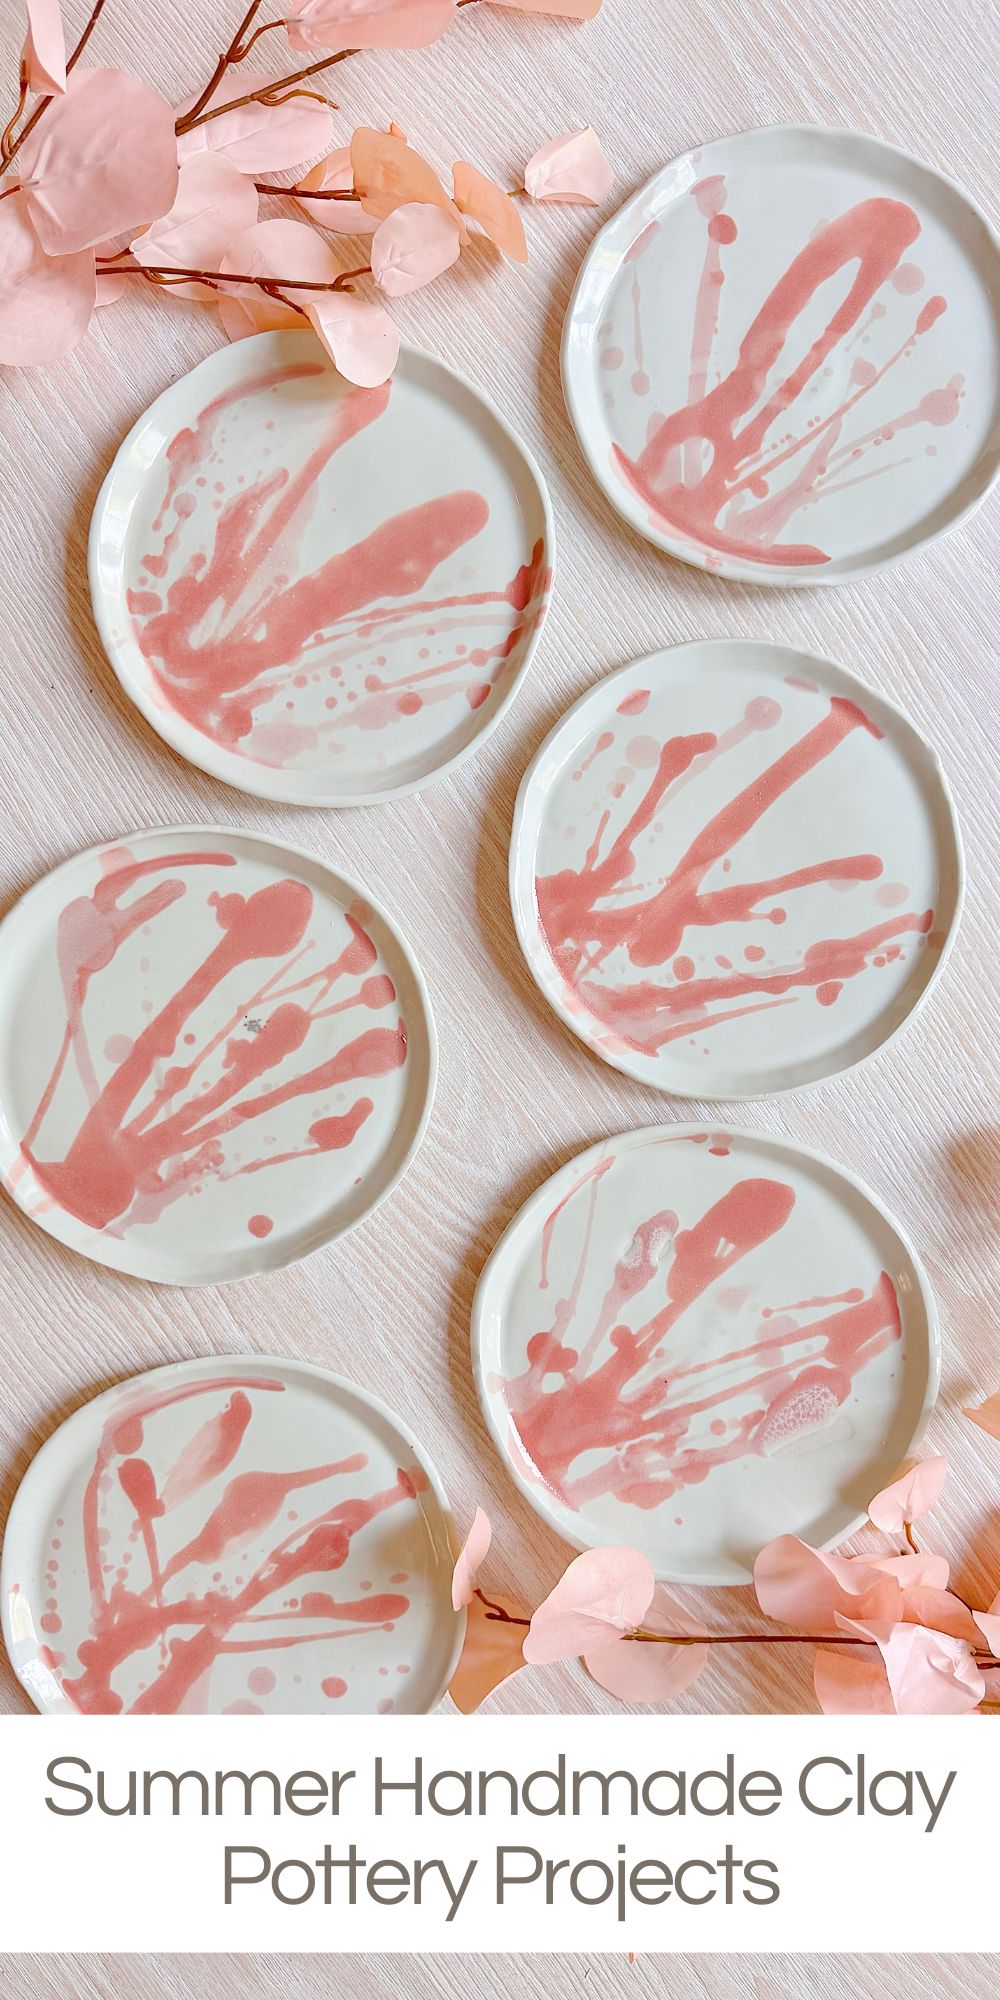
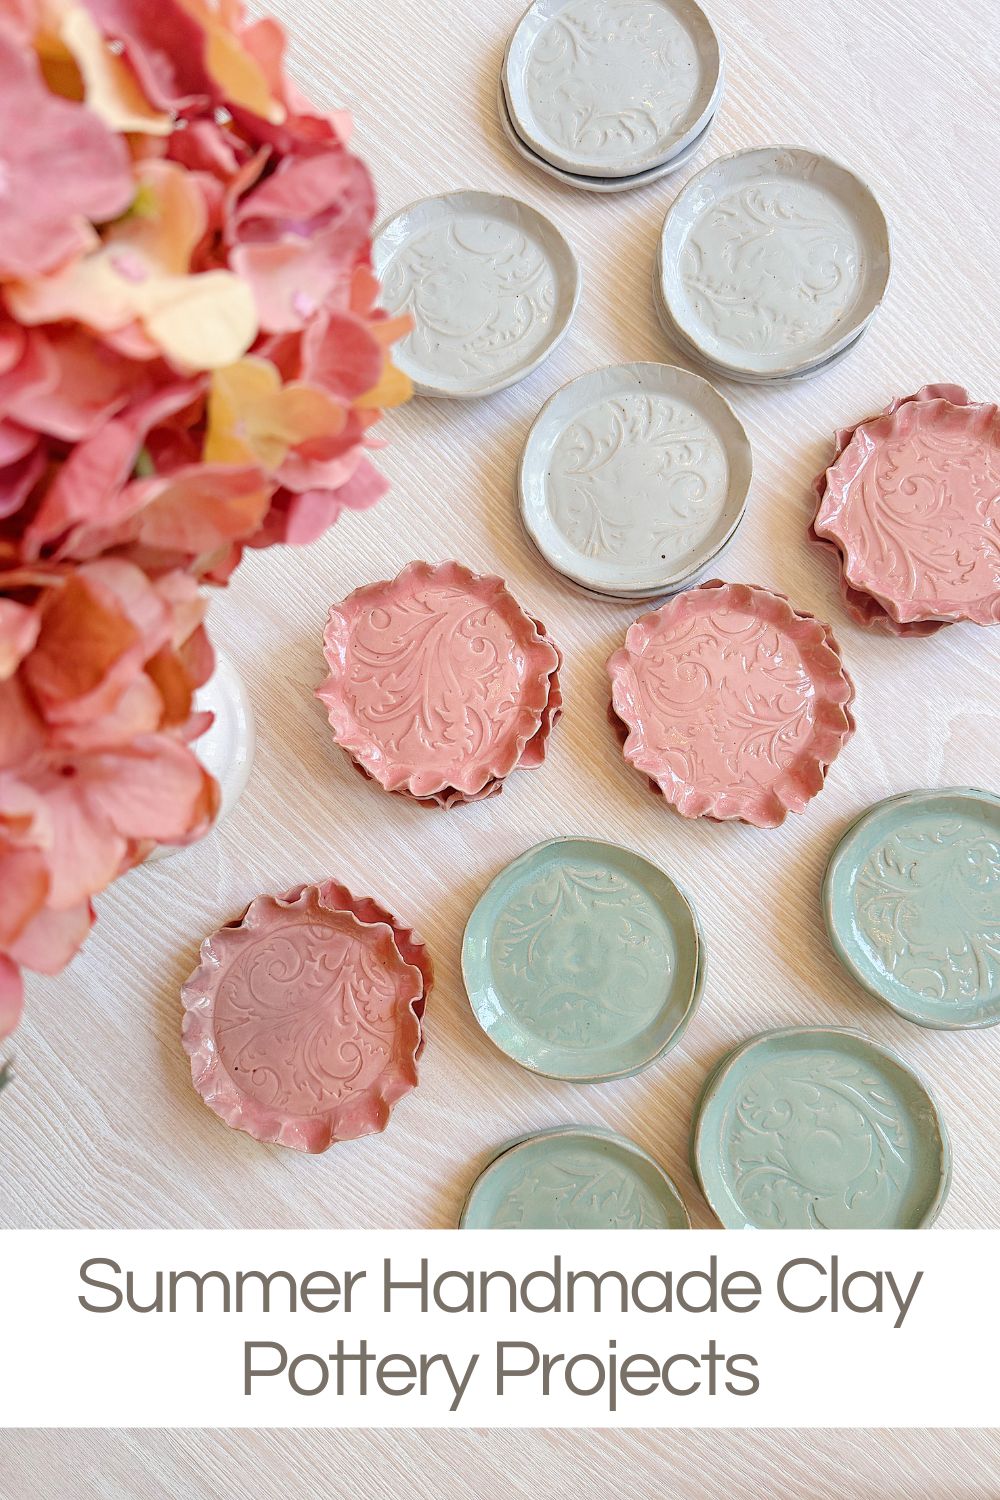
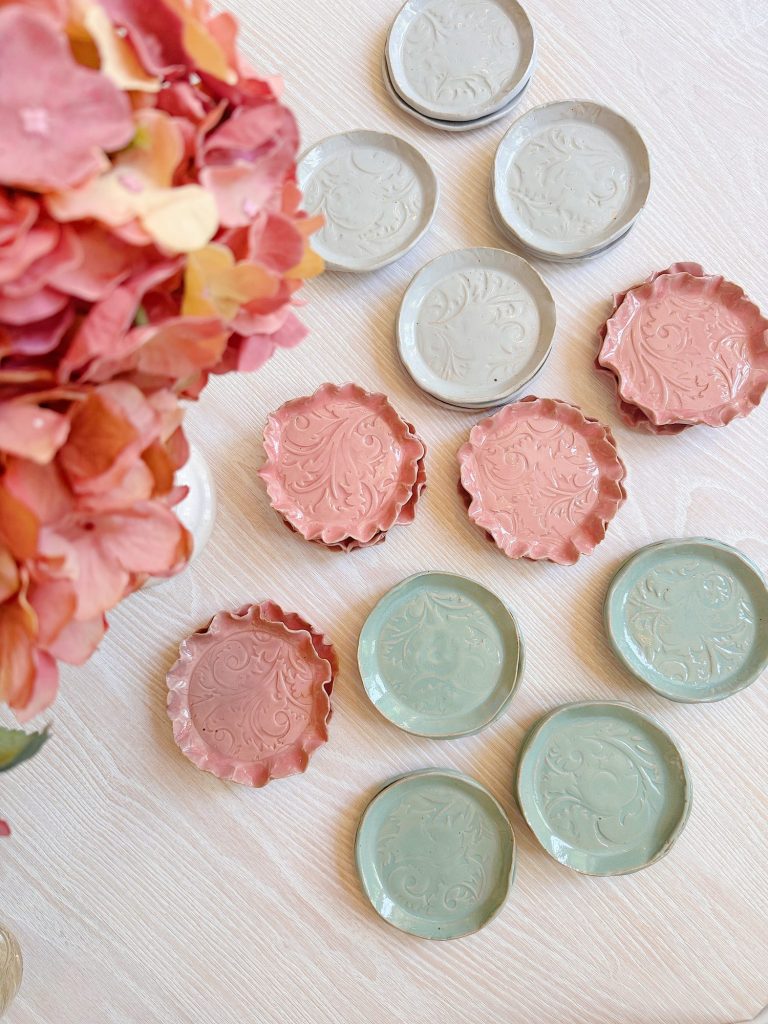
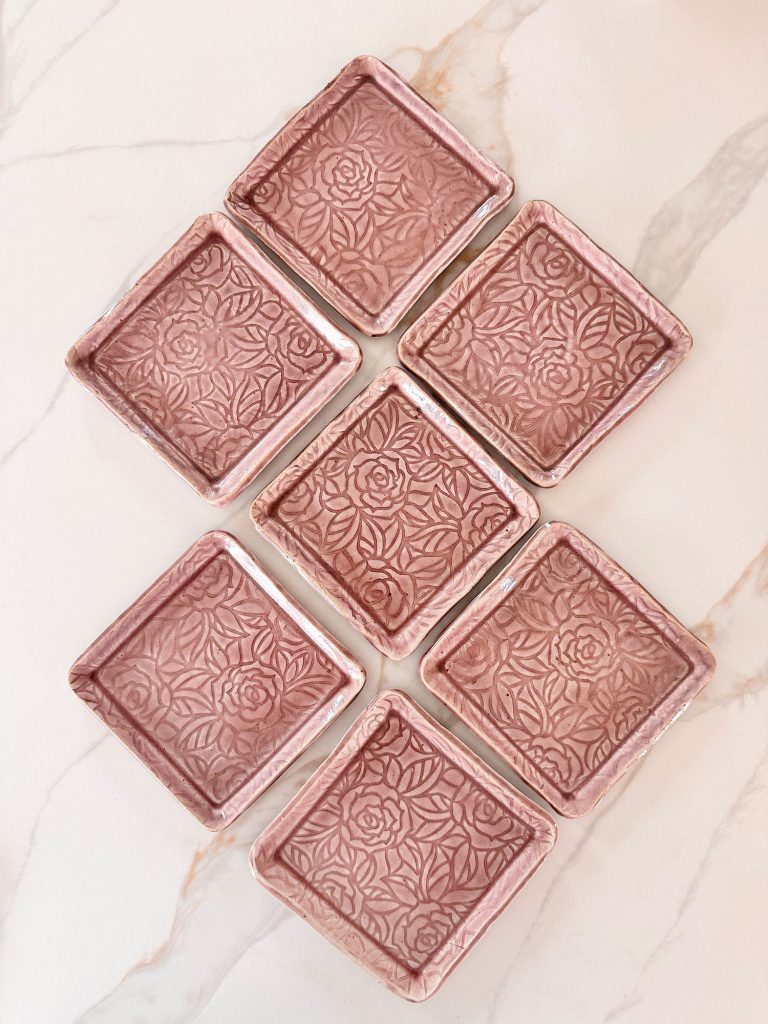
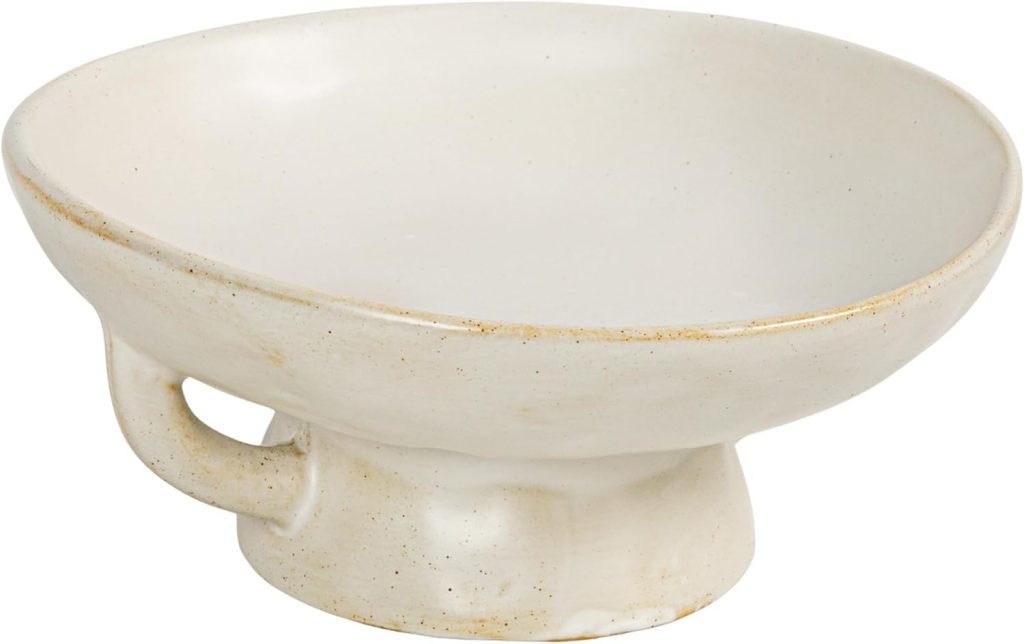
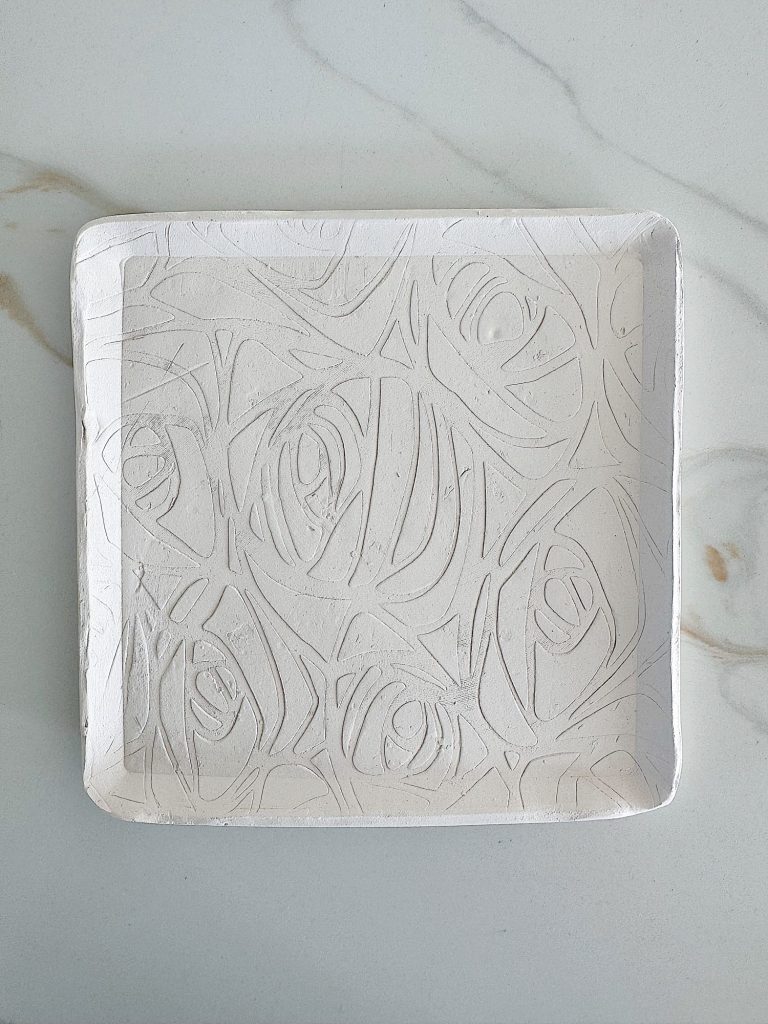
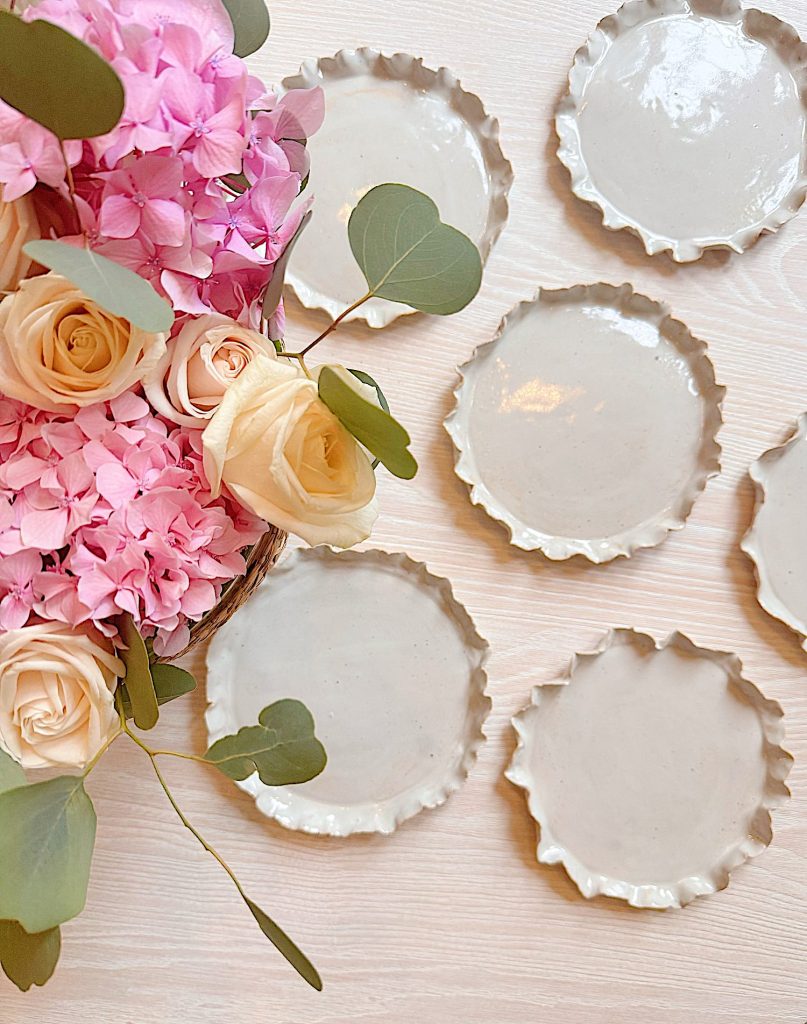
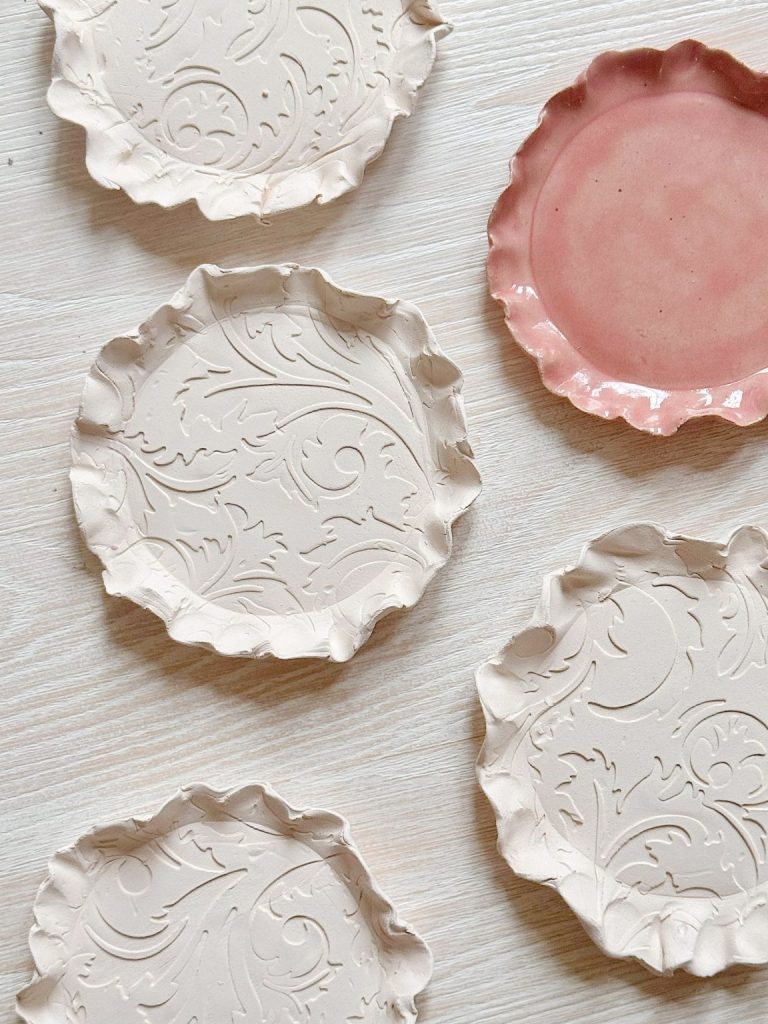
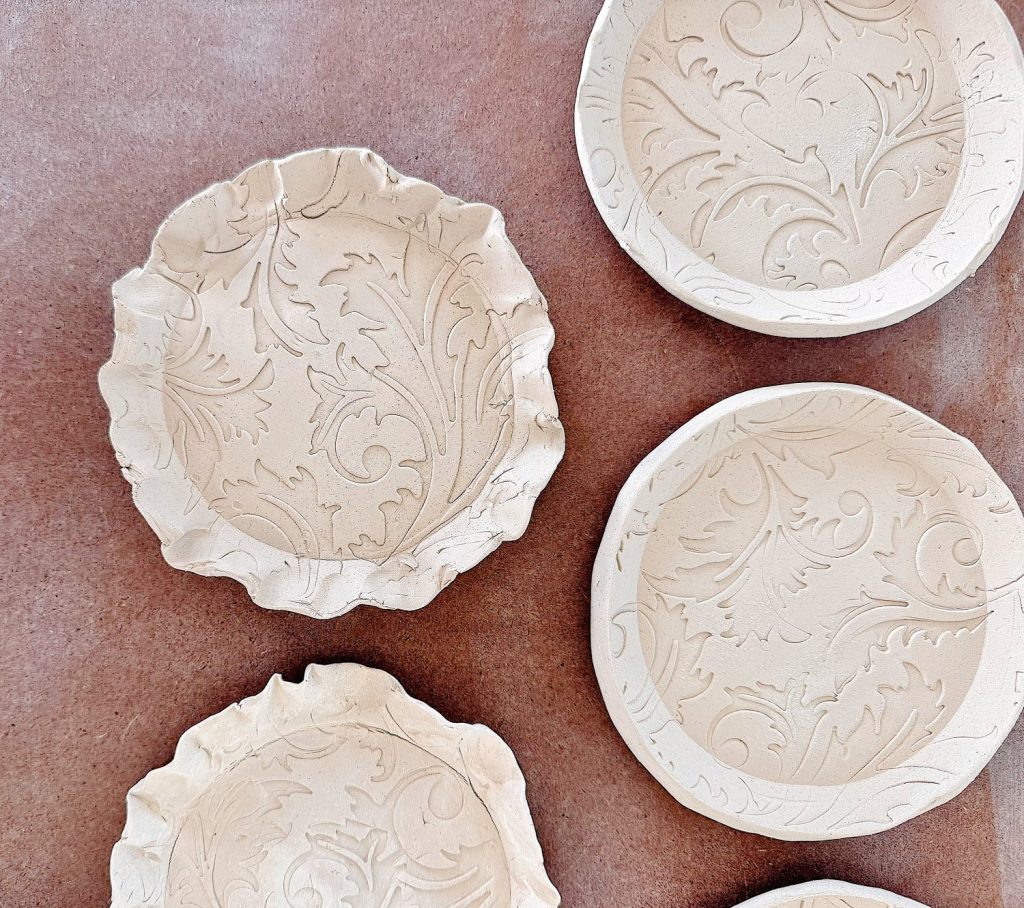
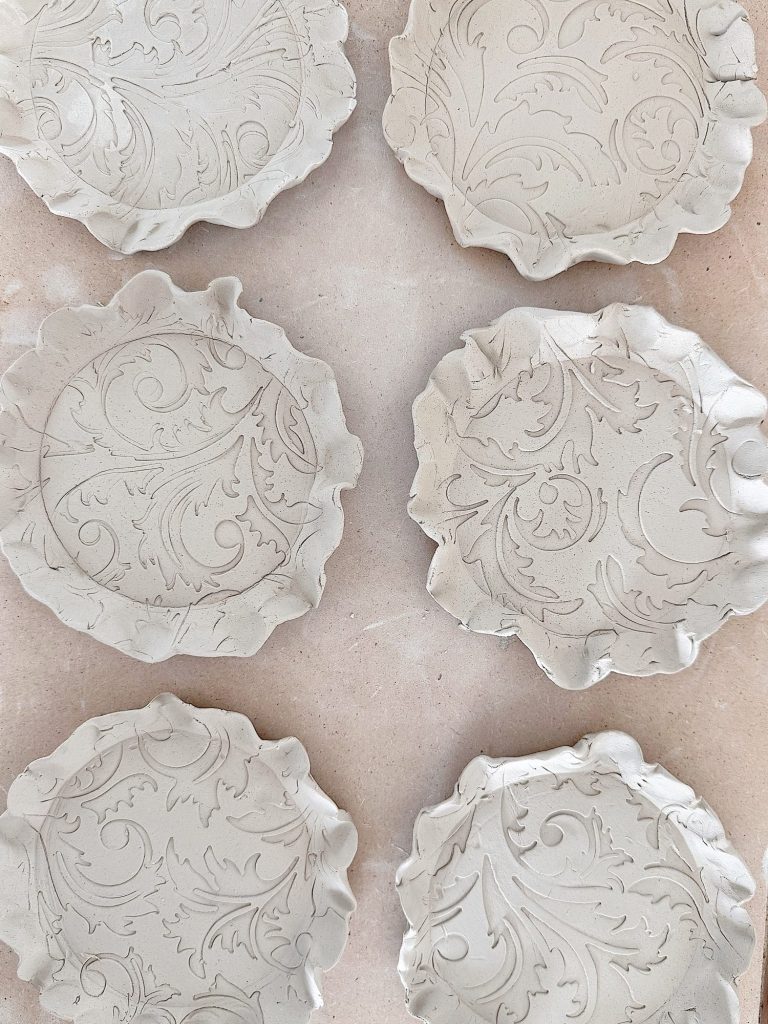
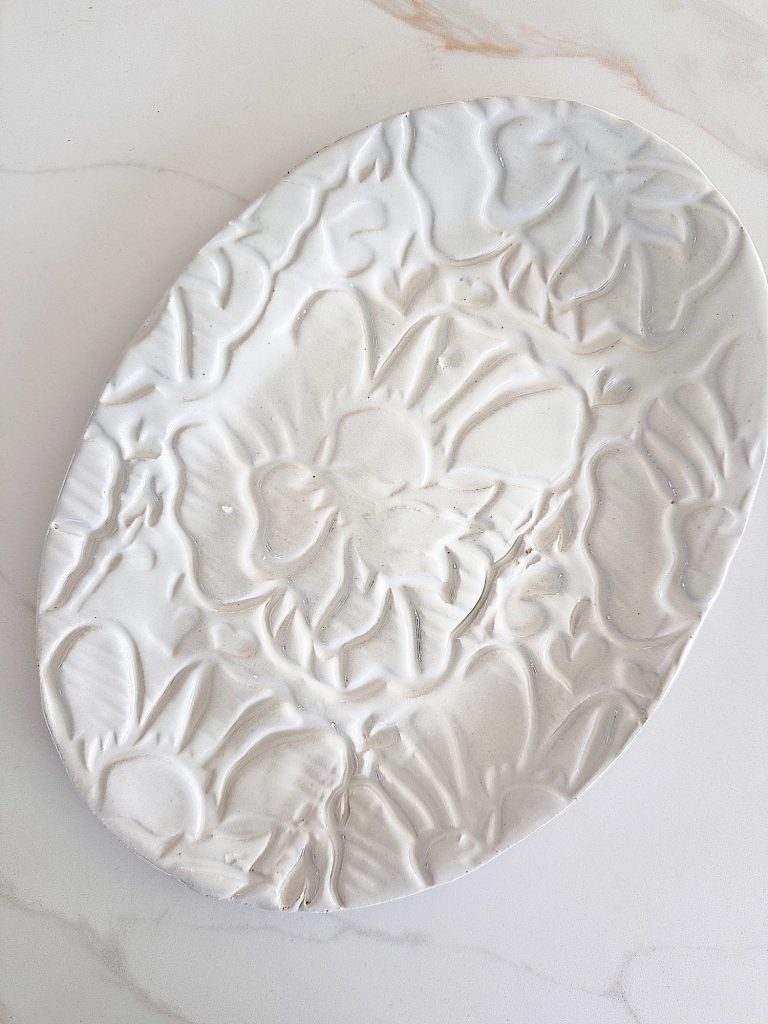
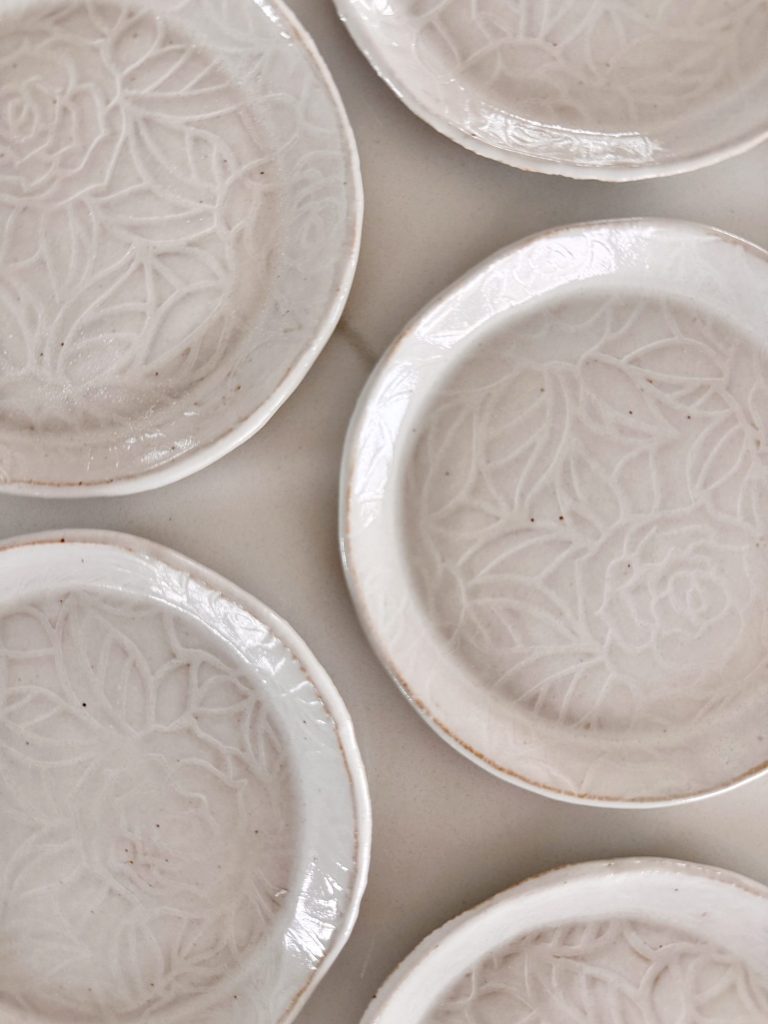
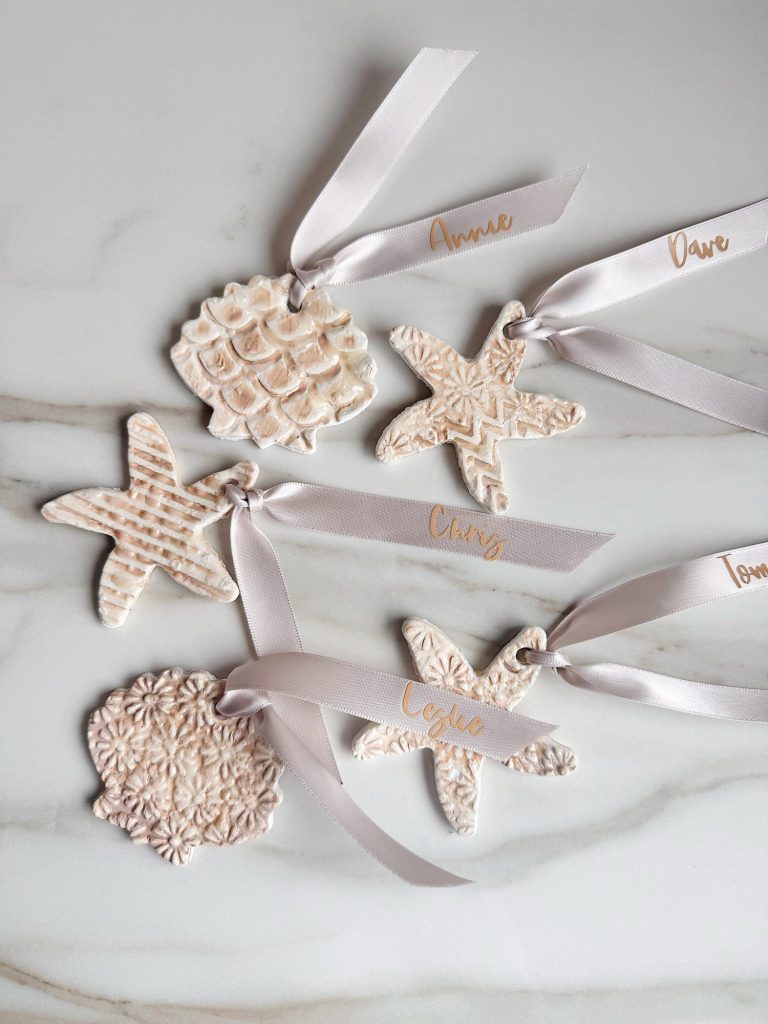
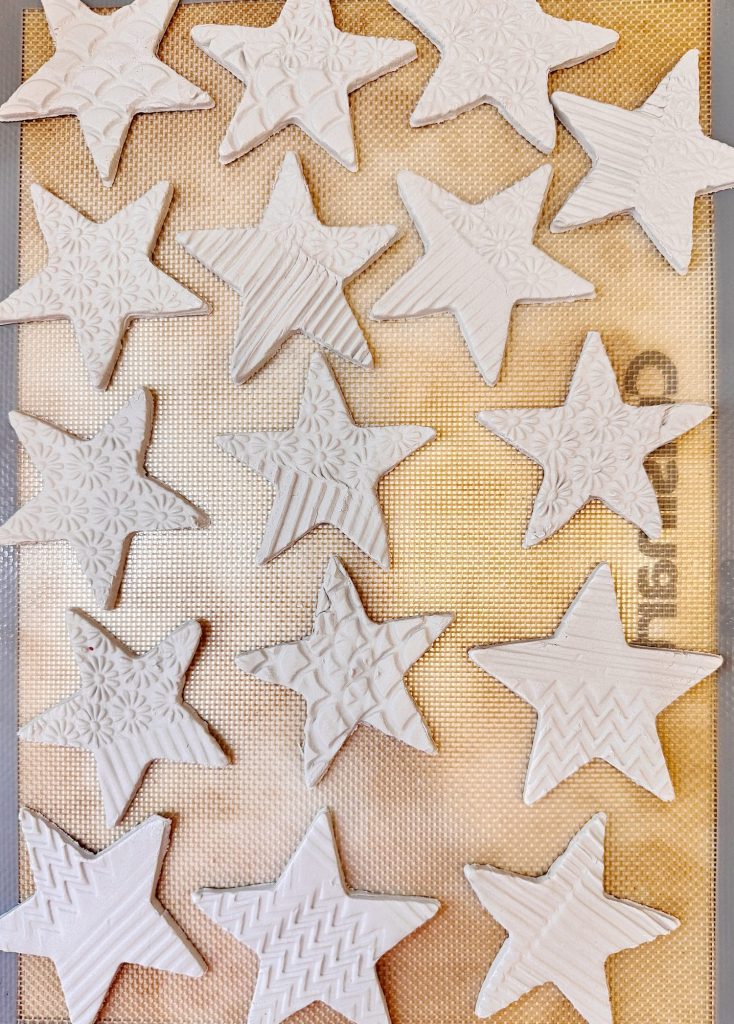
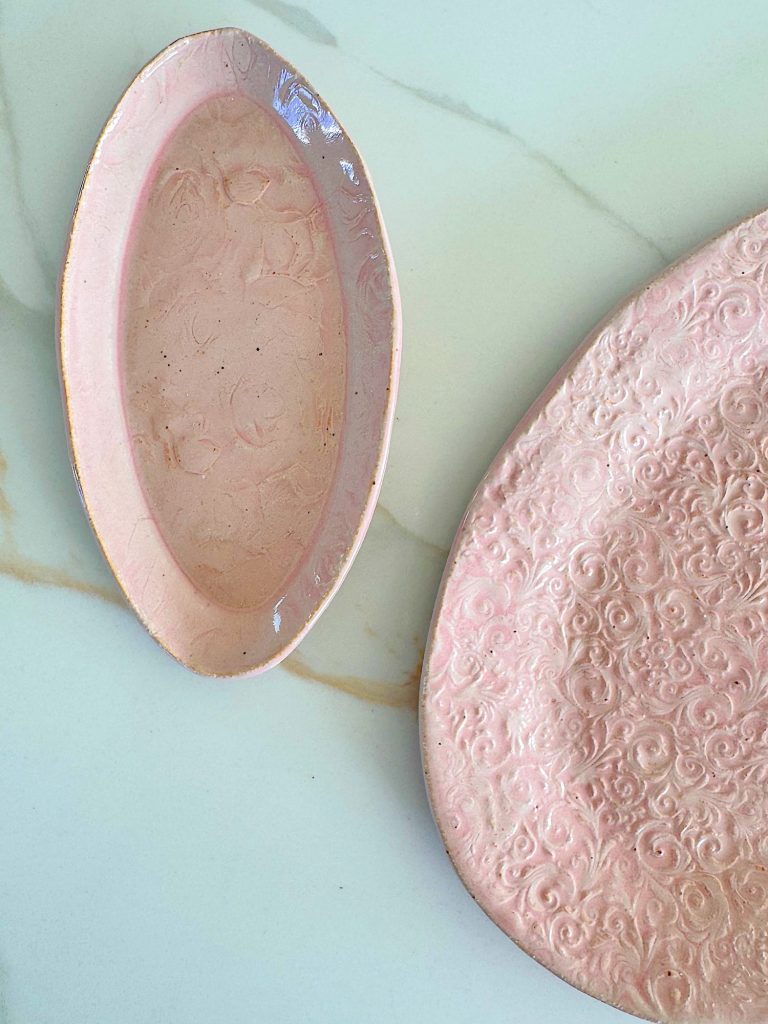
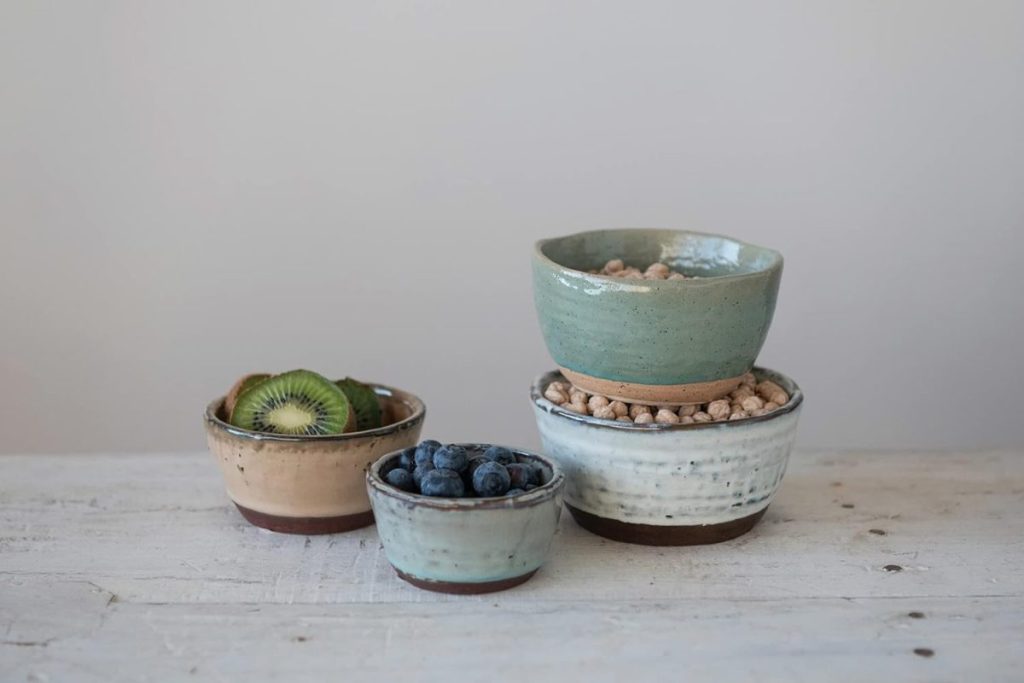
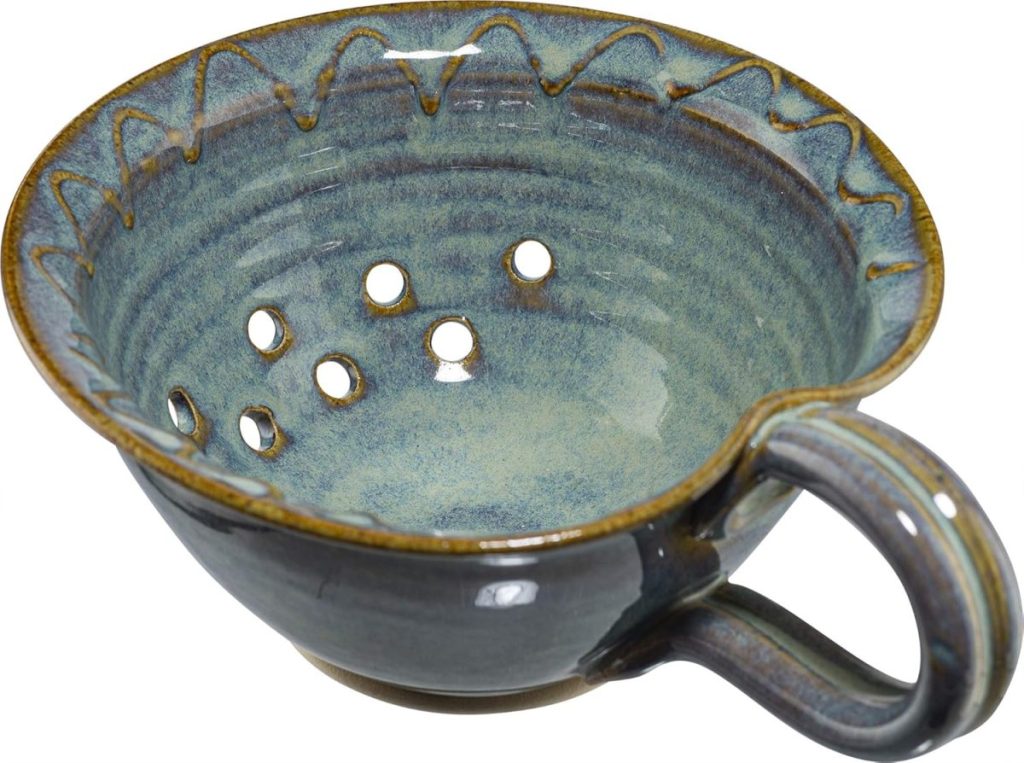
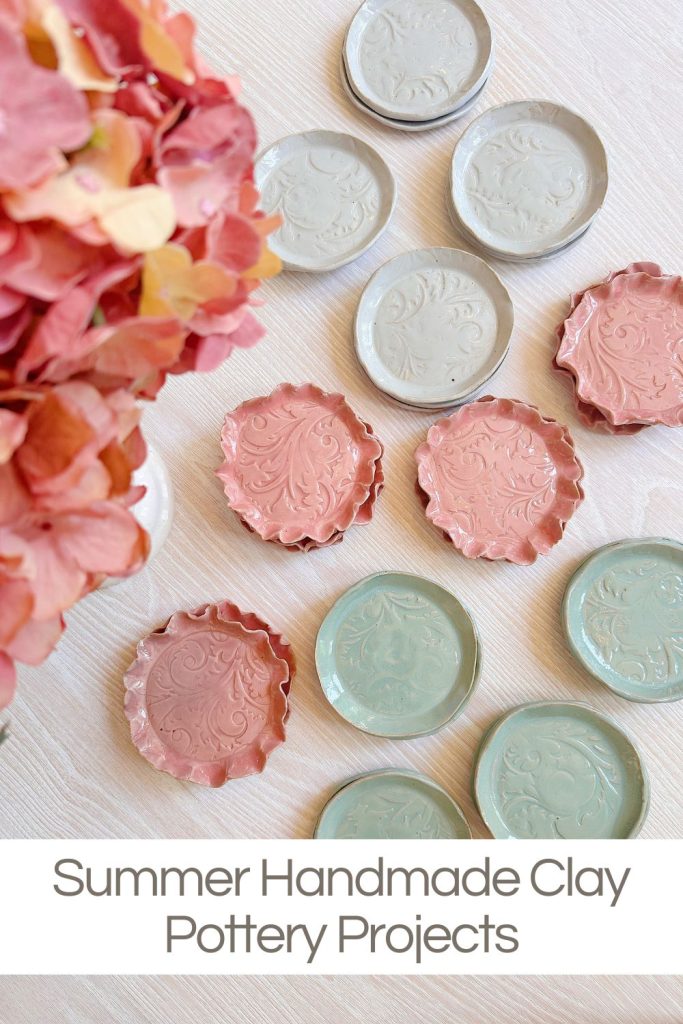
So far, I’ve made various functional pieces like trays, bowls, and plates, which feature beautiful textured surfaces. Adding texture to clay makes each piece unique and enhances the finished look after glazing and firing.
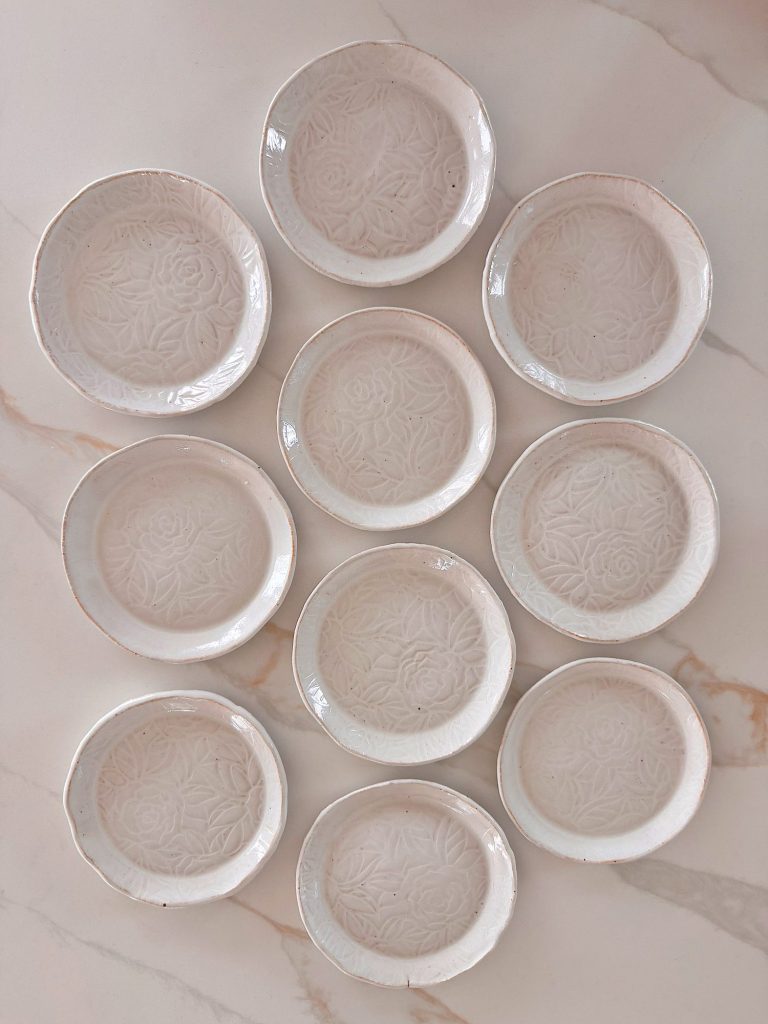
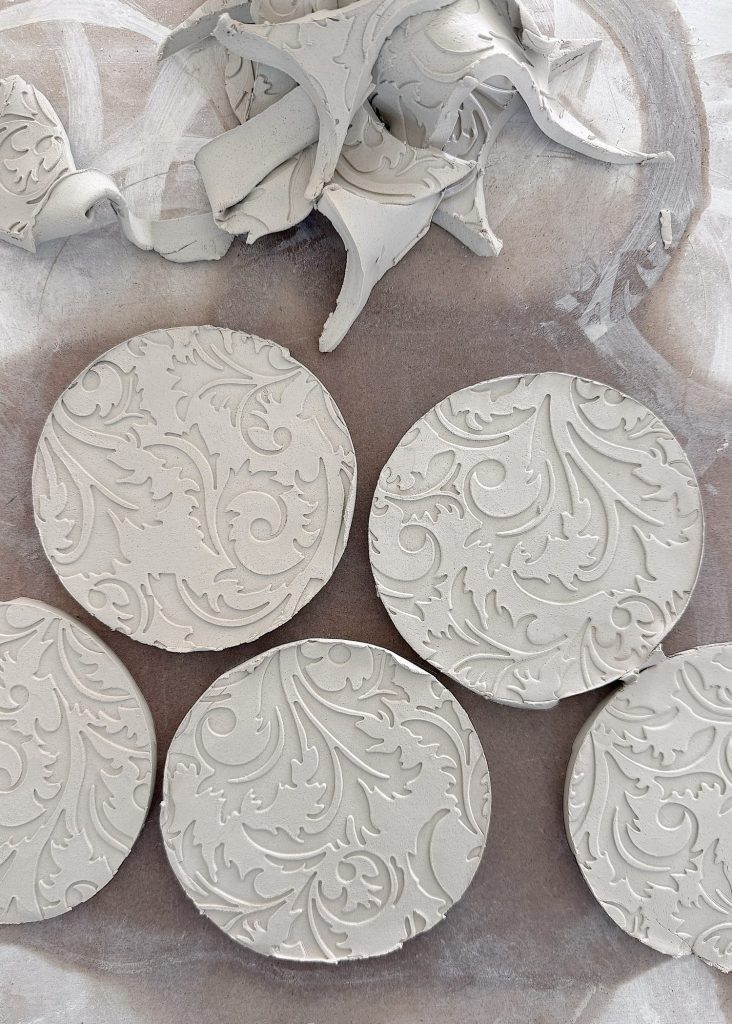
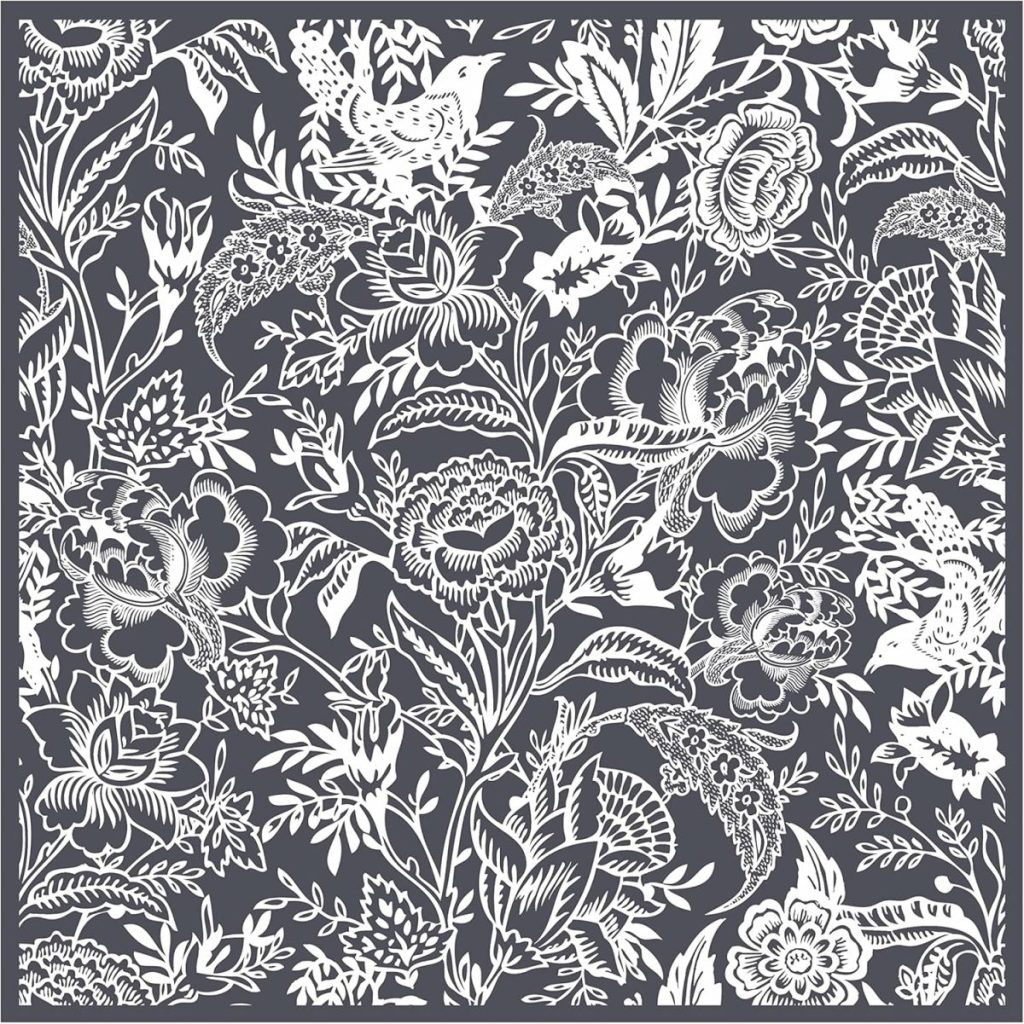
One of my favorite ways to create texture is using textured rollers and stamps. These rollers have various patterns carved into them—florals, geometric shapes, and delicate lines—that, when rolled across the clay surface, effortlessly imprint stunning designs.
Stamps are another easy way to add charming, repeated motifs to your pottery.
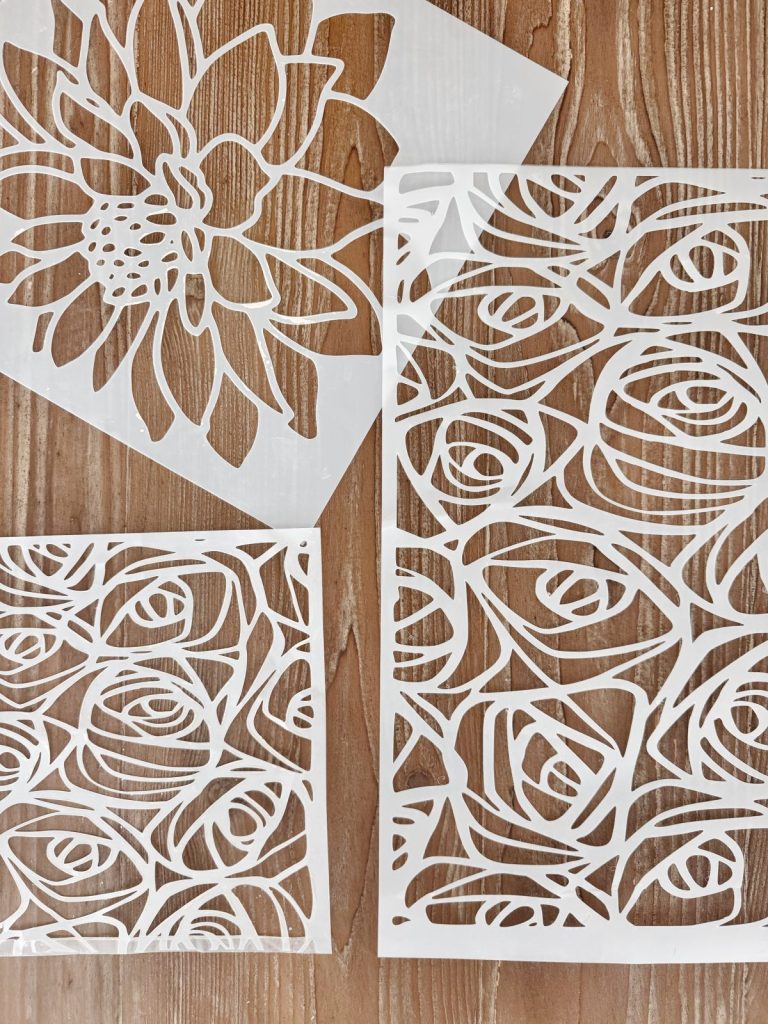
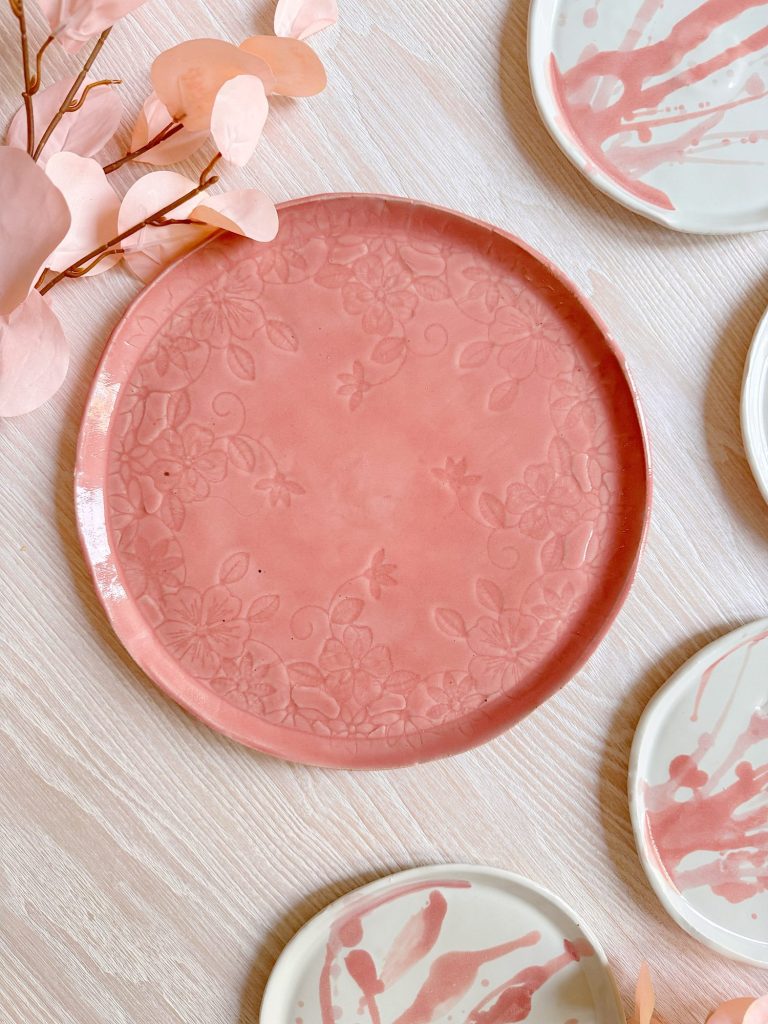
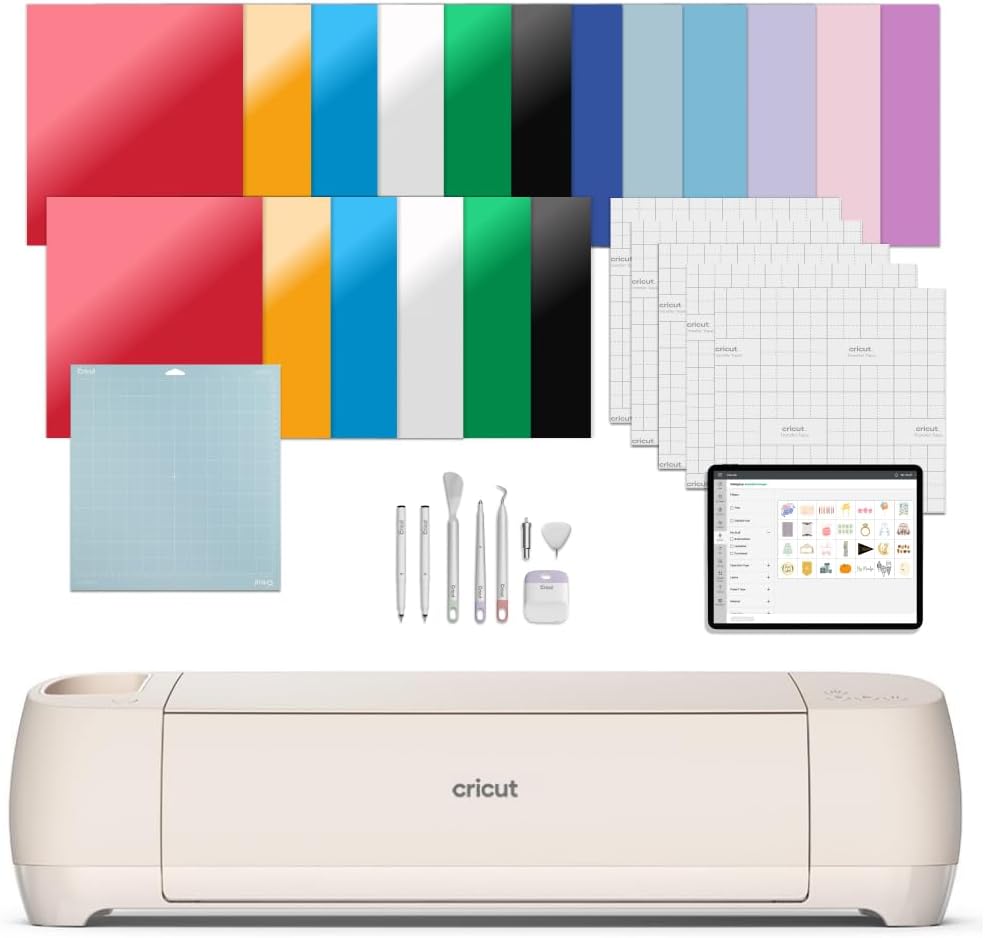
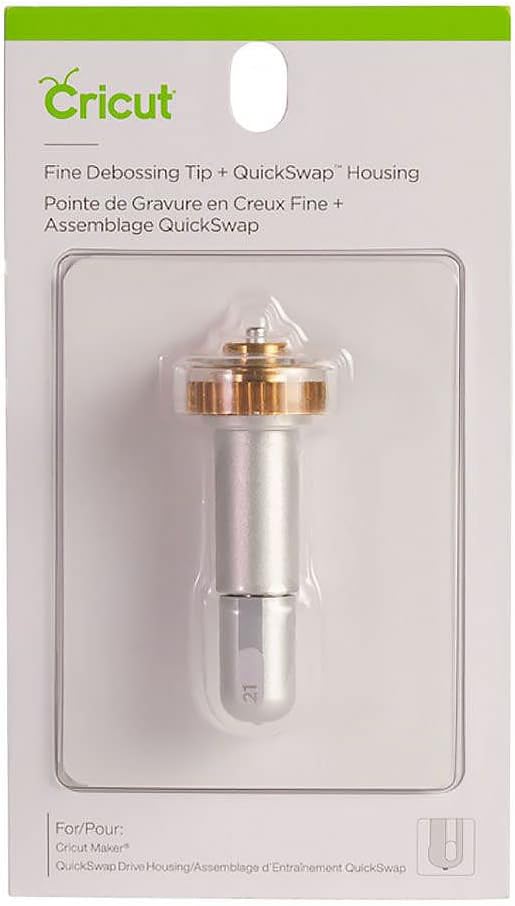
Recently, I took texture-making a step further by creating my own stencils on my Cricut machine. The Cricut cuts precise designs out of stencil material, which I place onto my rolled-out slab.
I gently press the stencil into the clay using a regular rolling pin, transferring the design beautifully. This method has opened up a whole new world of custom design possibilities, allowing me to create personalized trays and plates with intricate patterns.


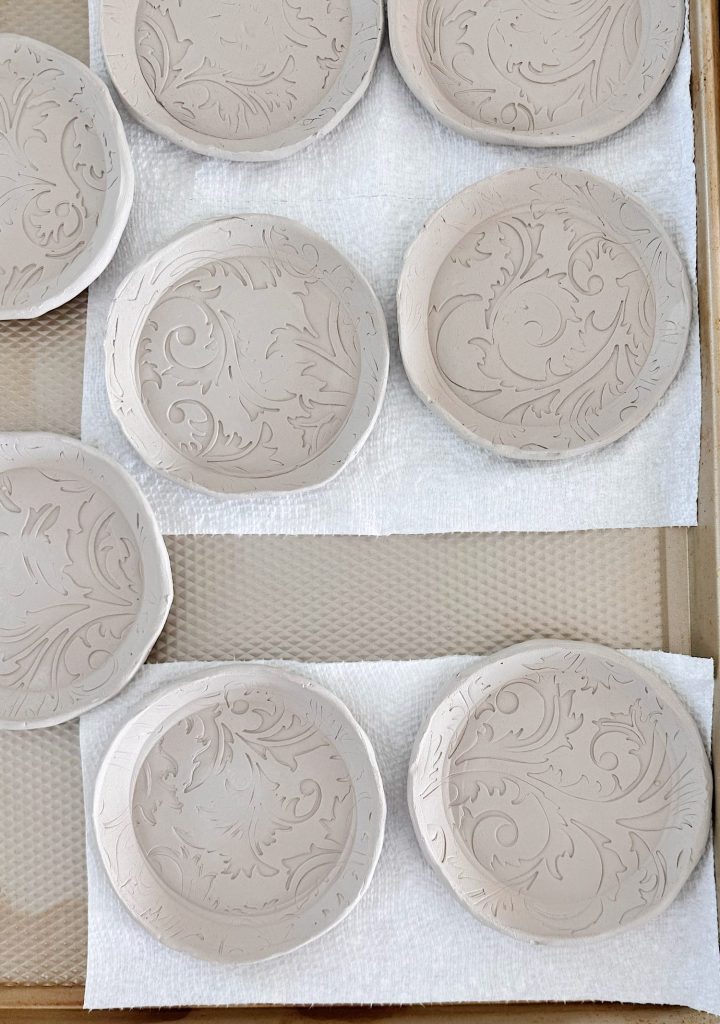
How to Make a Slab Clay Small Dish
If you’re curious about how to make a simple slab clay tray, here’s a step-by-step guide based on how I’ve made mine in class:
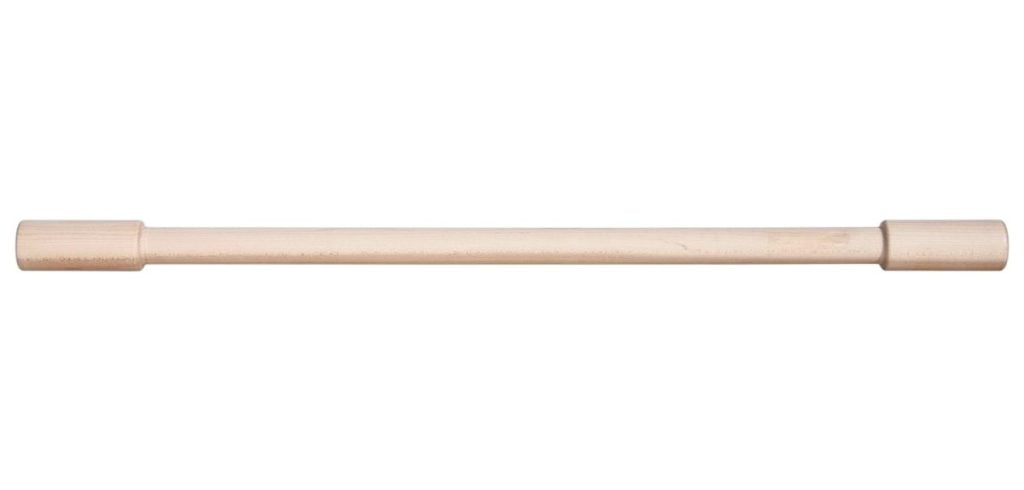
- Roll out your clay: Use a rolling pin with 1/4″ guide sticks or a slab roller to roll your clay into an even sheet about 1/4 inch thick.
- Add texture: Lay textured fabric, a stencil, or a textured roller across the surface and gently roll or press to imprint the design.
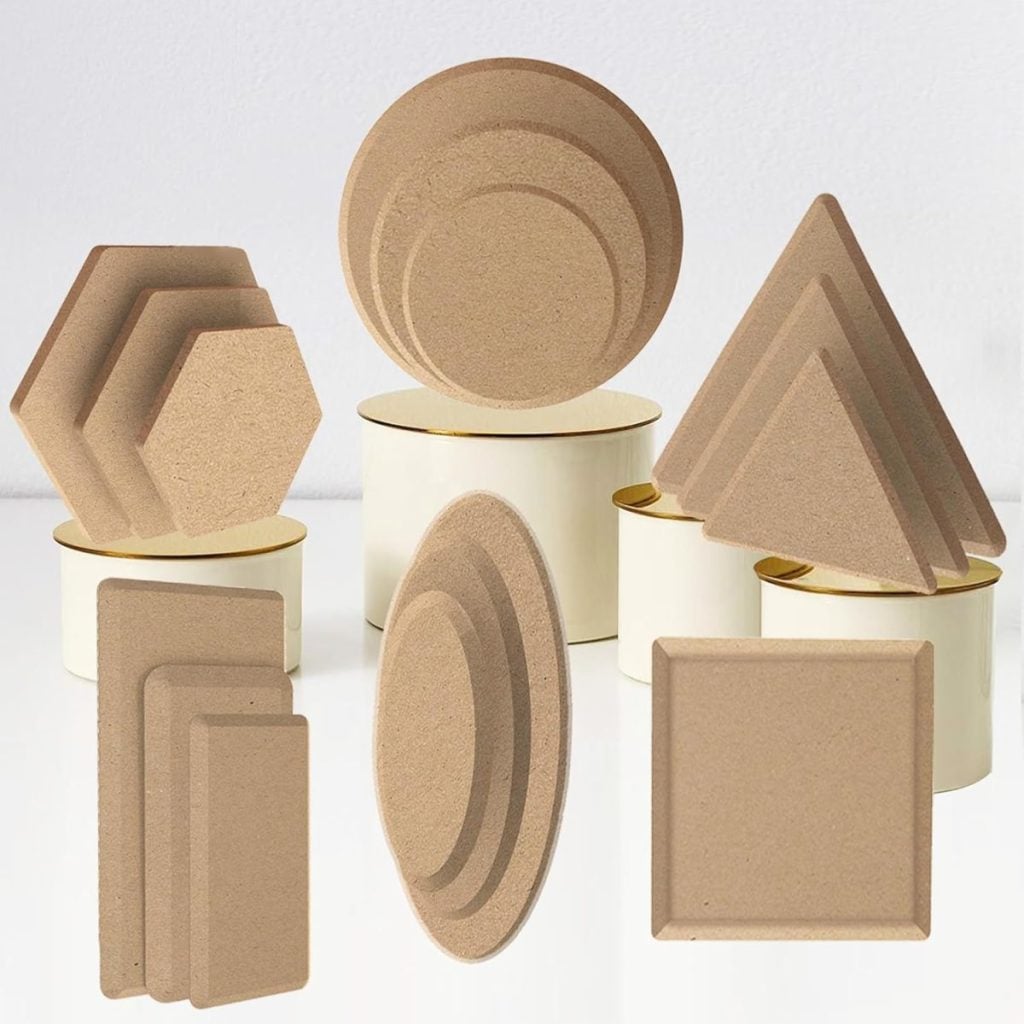
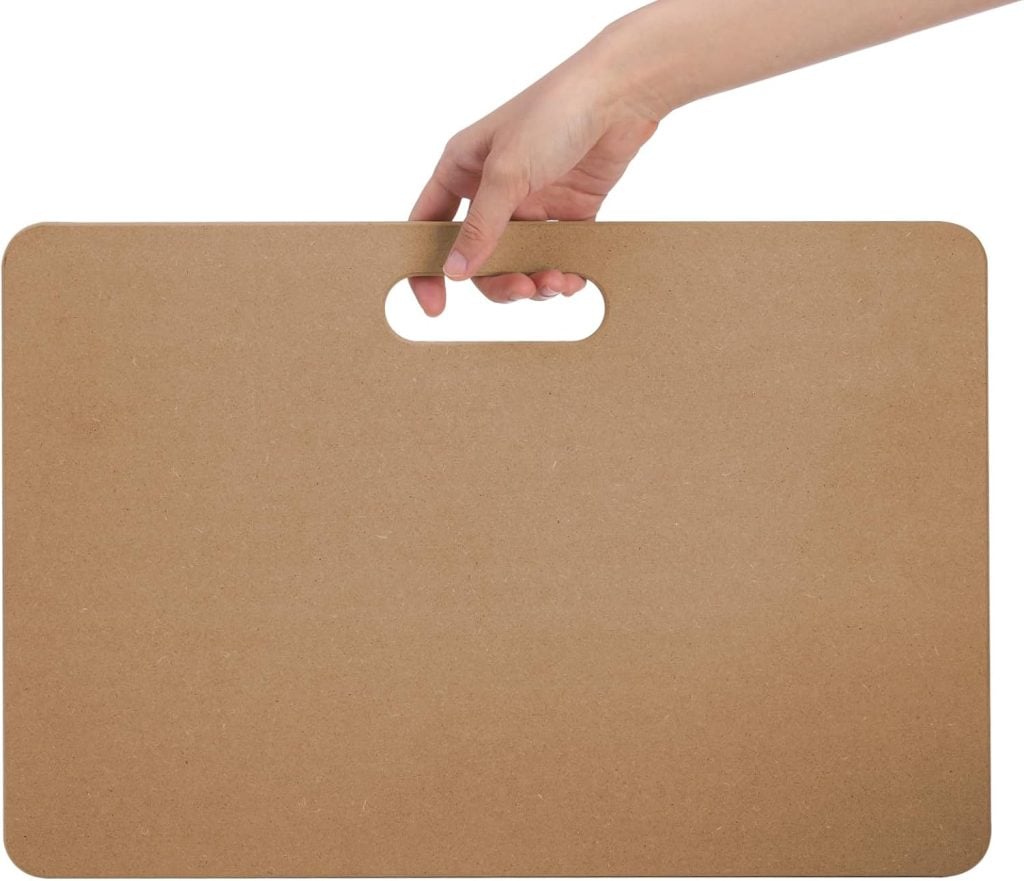
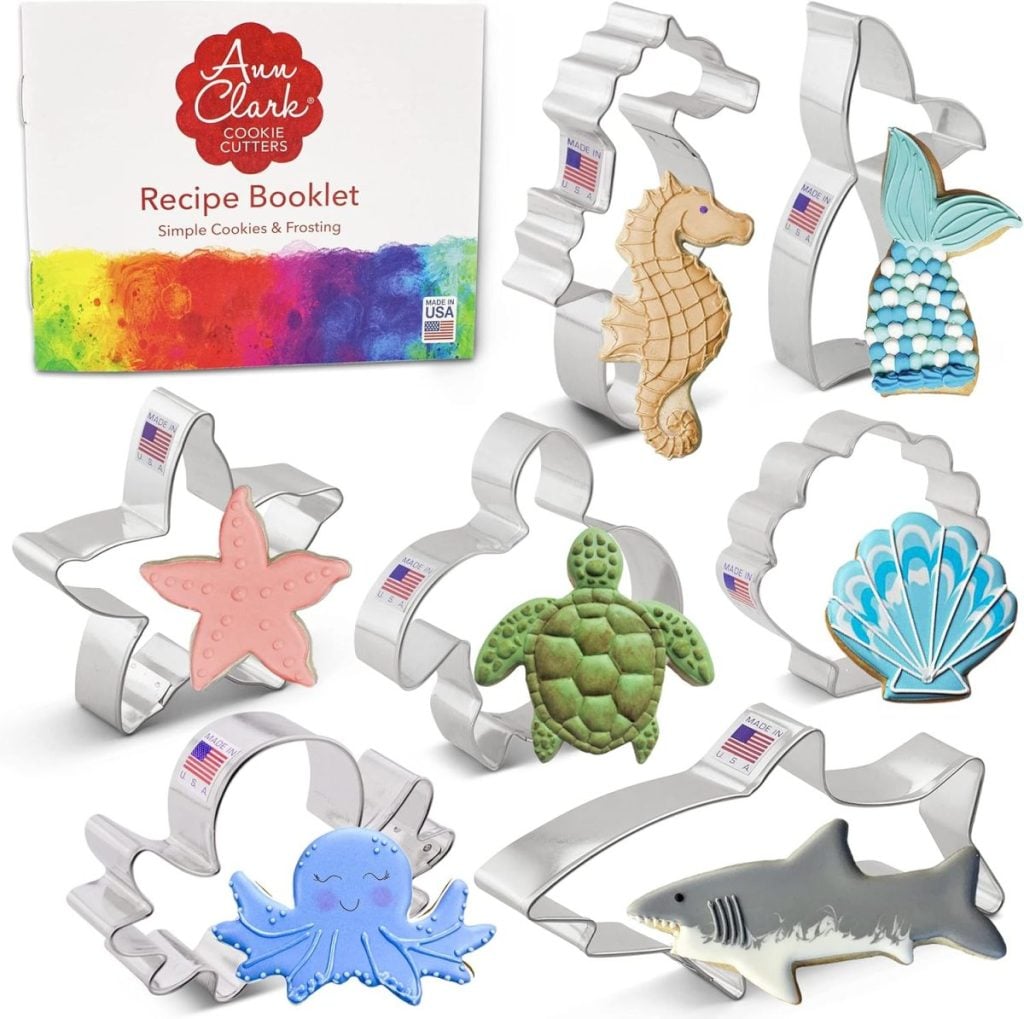
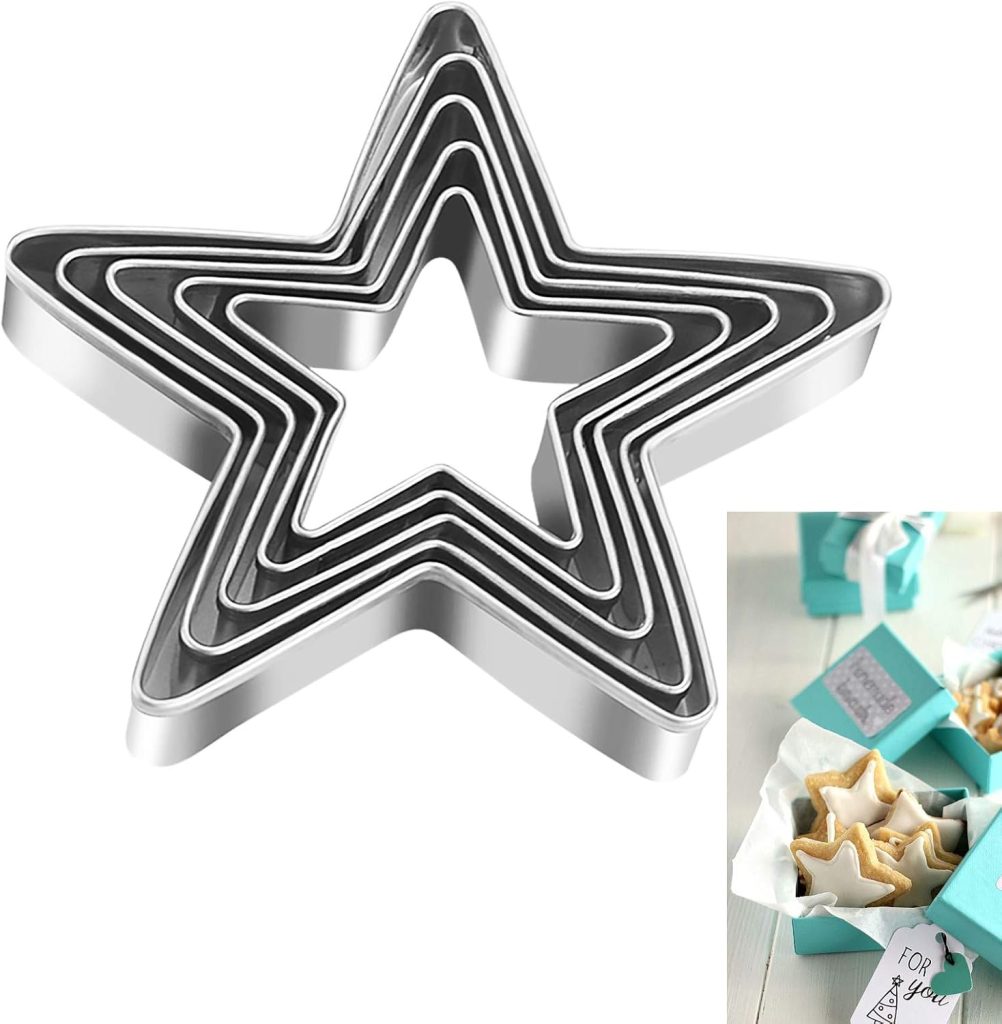
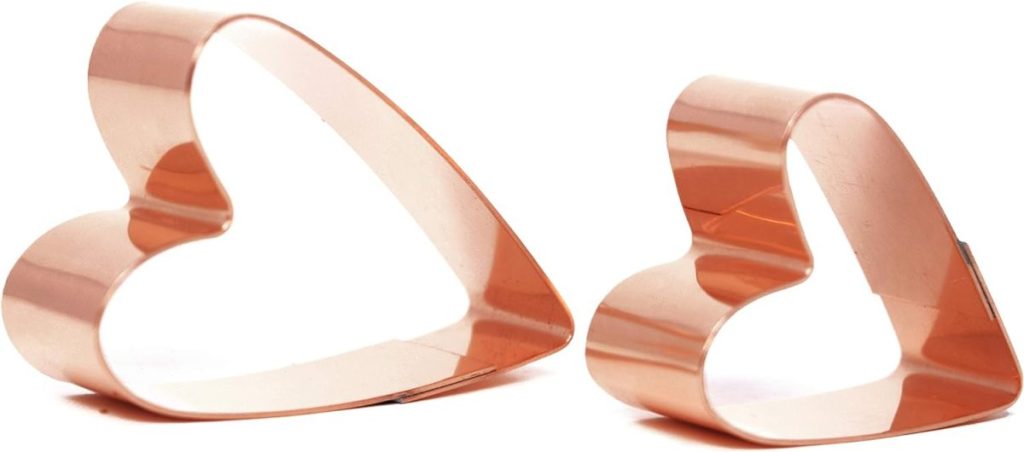
- Cut your shape: Using a circle or clay mold as your pattern is the easiest way to start. Turn the mold upside down and use a clay knife to cut out the shape – but about 1/4″ larger.
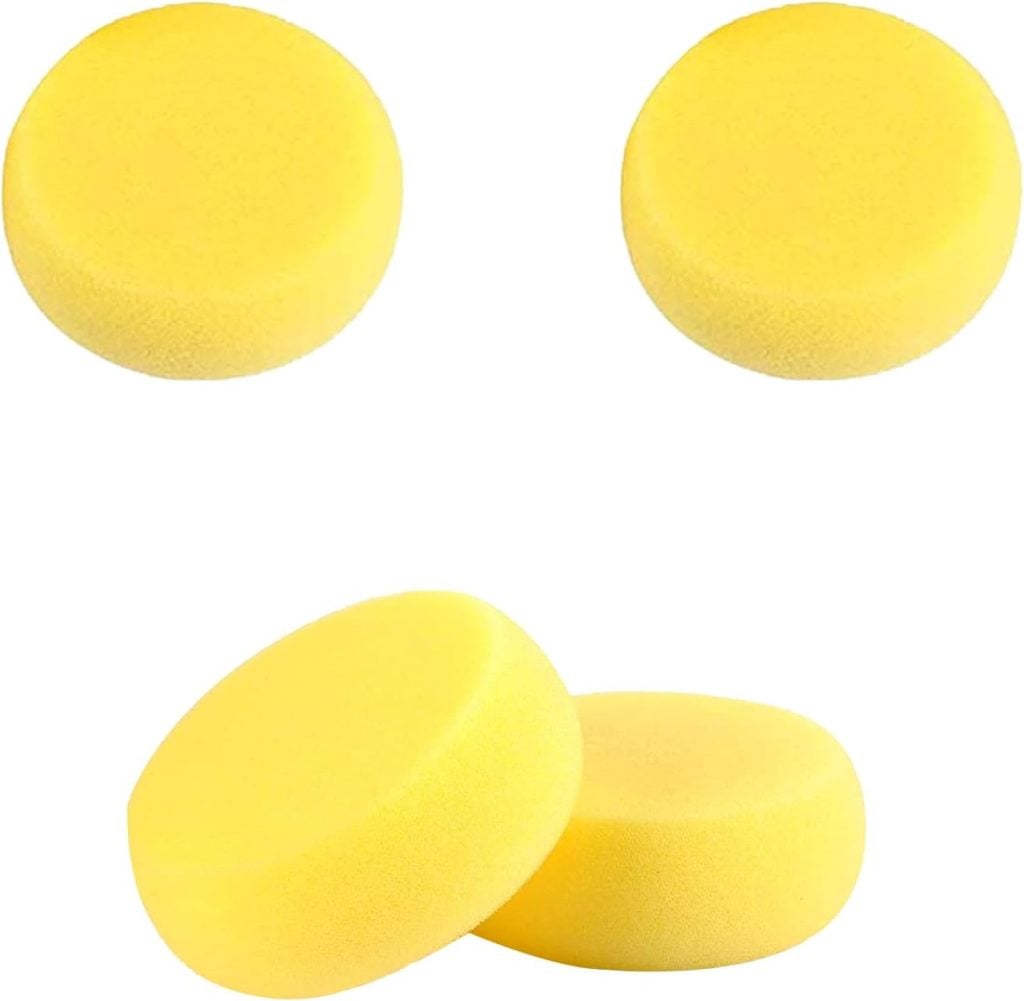
- Form the dish: Carefully place the clay on top of the mold (with the textured side facing up inside the dish). Using a clay sponge, gently press the clay into the shape of the mold.
- Smooth and refine: Use a damp sponge to soften corners and clean the surface. Let it dry slowly under plastic to prevent warping.
- Once the clay is partially dry and the shape of the dish can hold its own, remove the clay from the tray and let it completely dry.
- Bisque fire, glaze, and fire again: Once dry, your tray will be bisque fired, glazed in your chosen color, and fired a final time to finish!
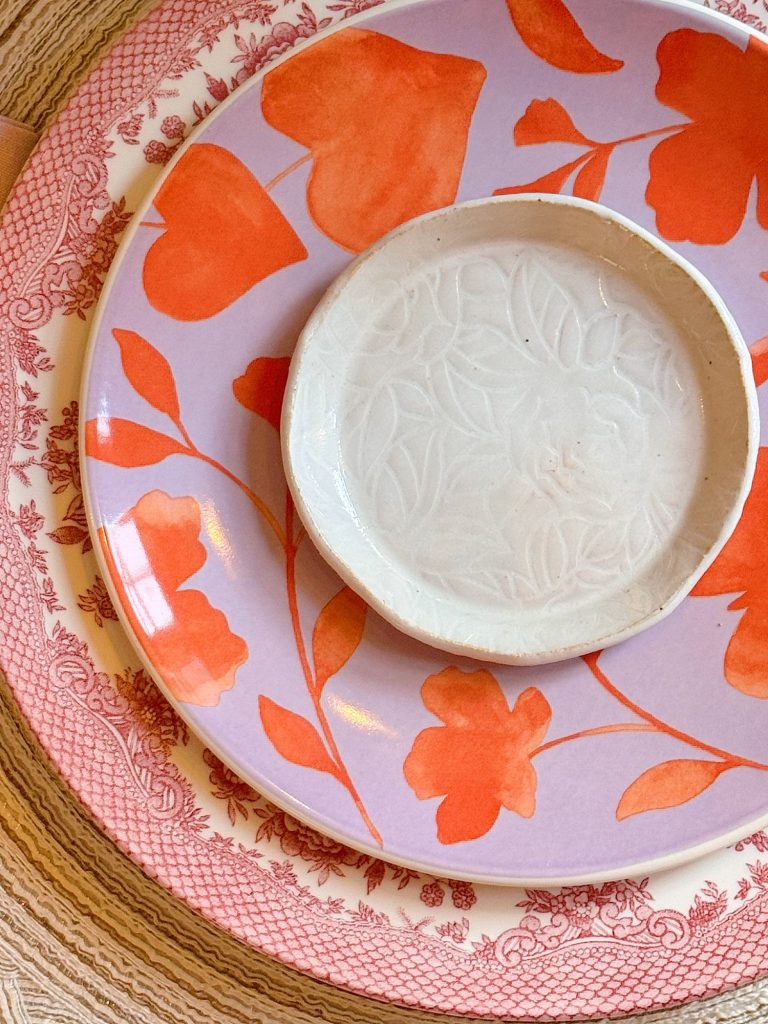
Why Texture Makes Pottery Special
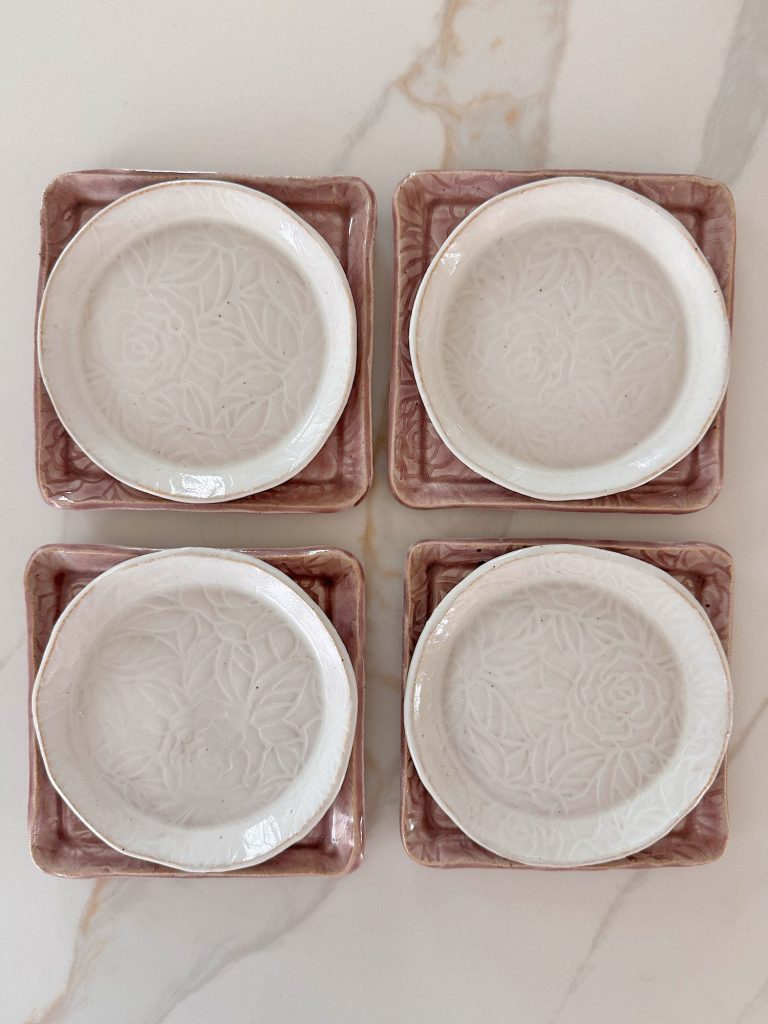
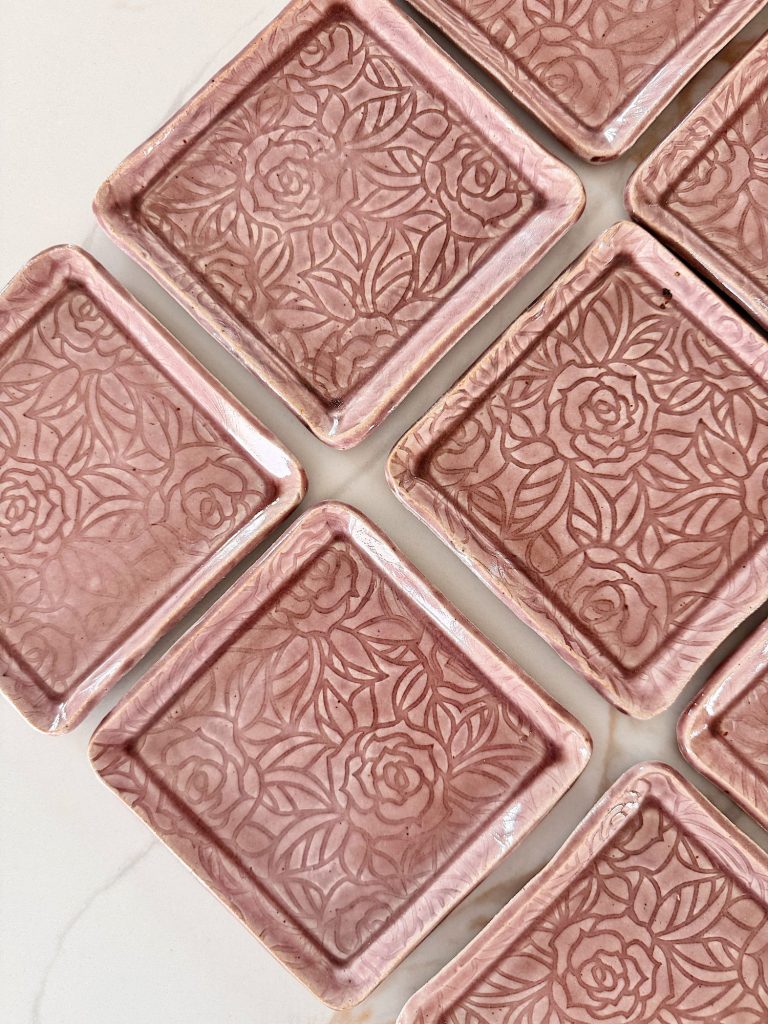
The beauty of textured pottery lies in its visual and tactile qualities. When you glaze a textured piece, the glaze pools differently in the imprints, creating depth and highlighting the details of your design.
It’s fascinating to see how different textures interact with various glaze colors—each kiln firing is a delightful surprise.
In-Progress Projects
There are still a few items that aren’t quite done.
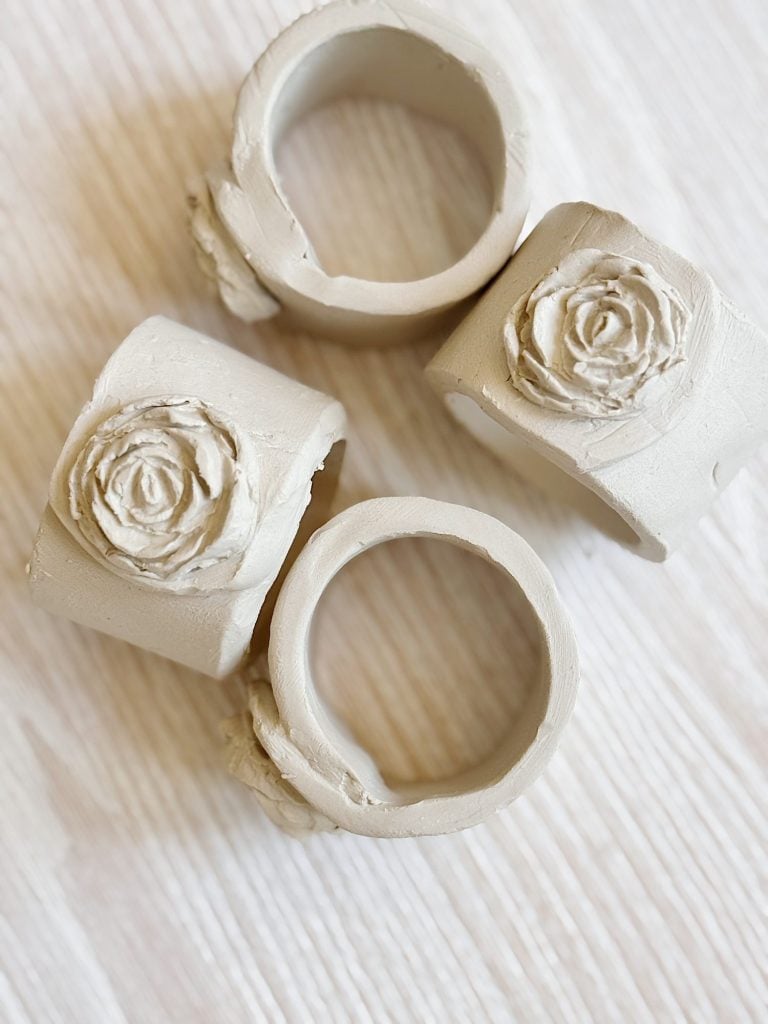

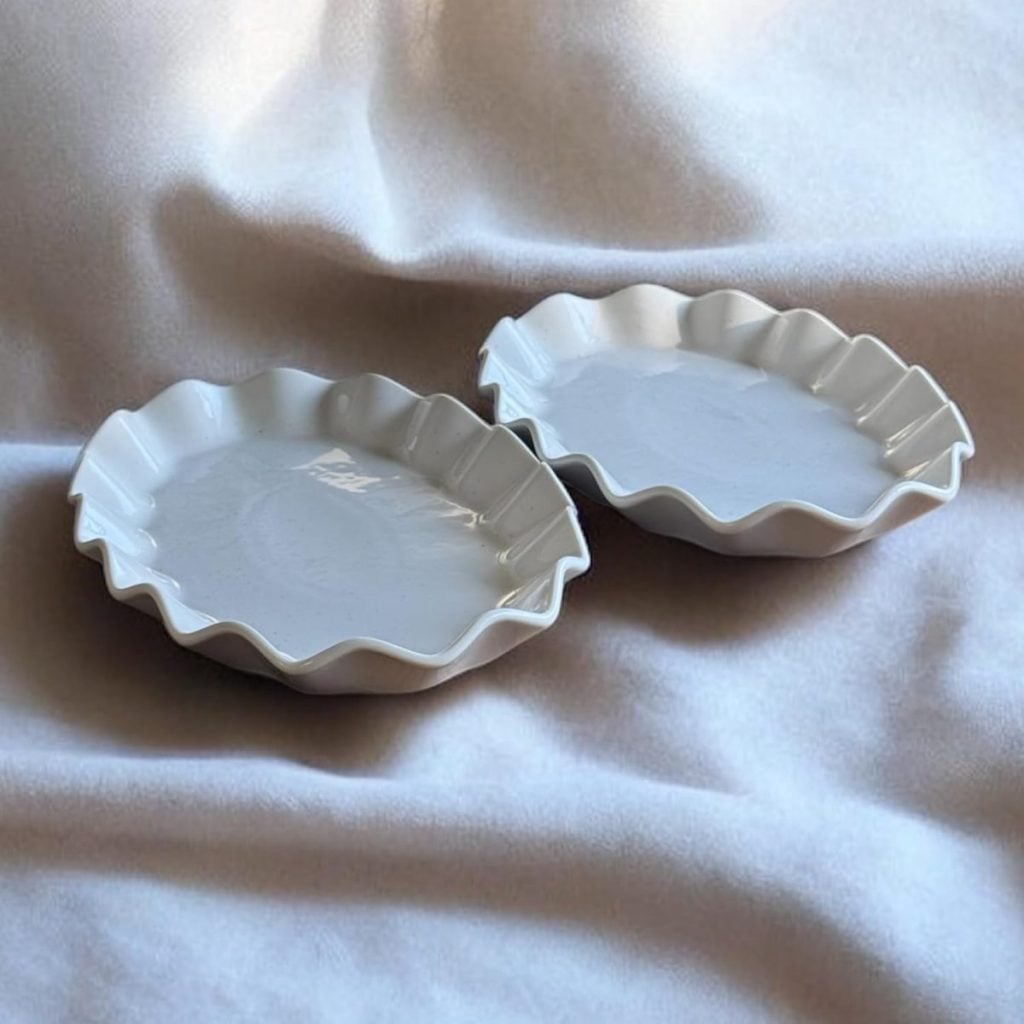
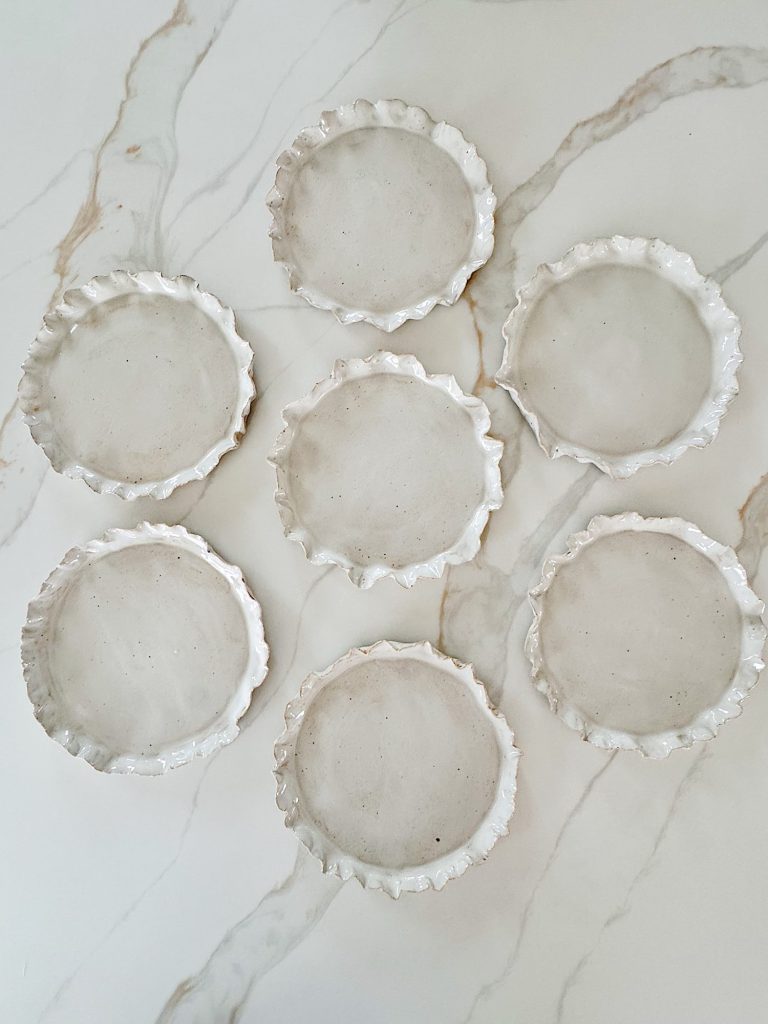
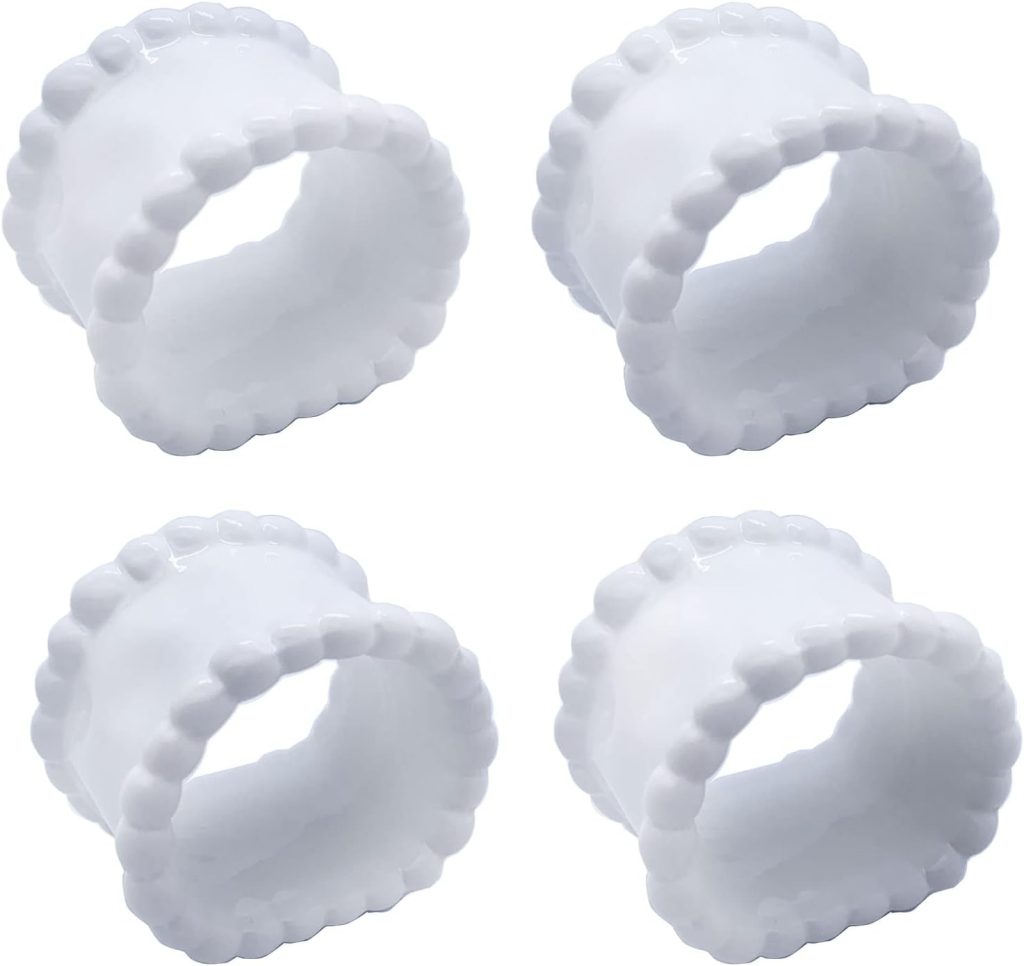
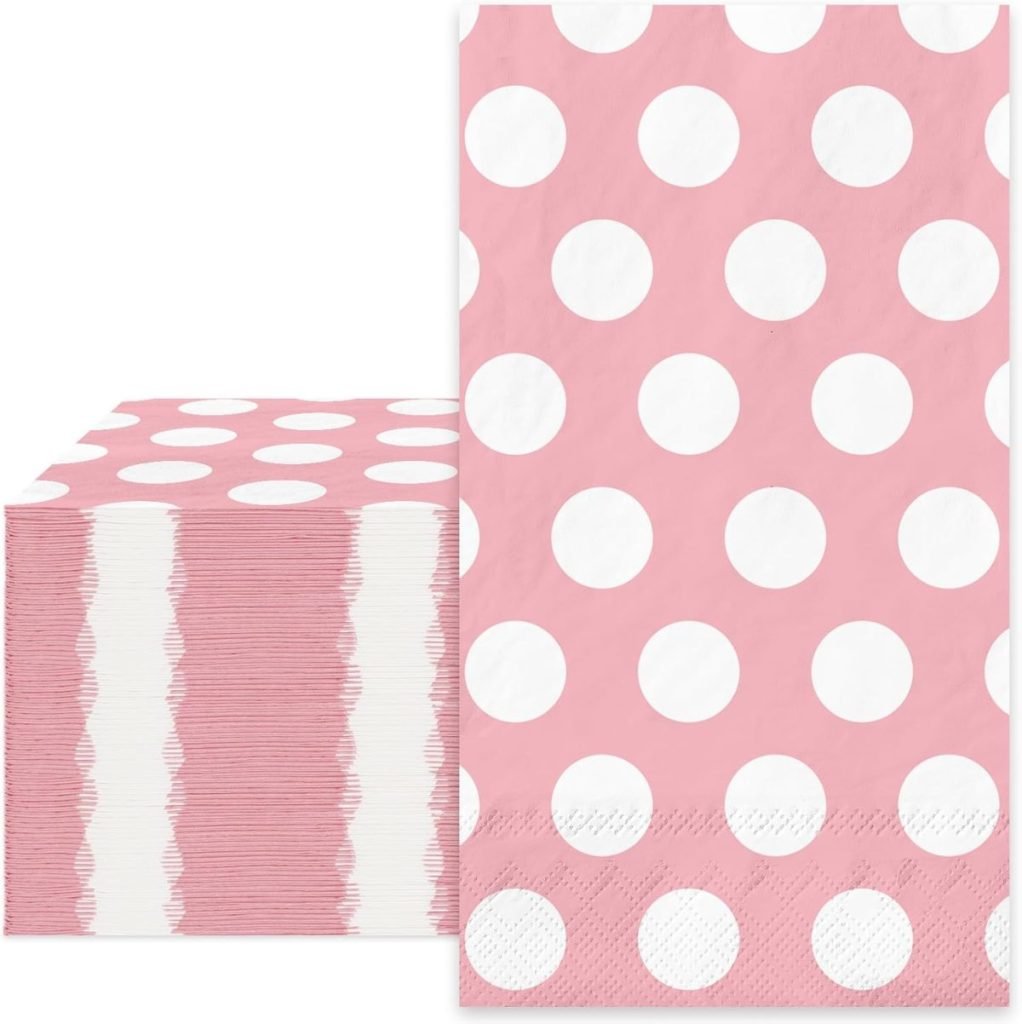
These napkin holders (20 of them to be exact) were so much fun to make, and I can’t even begin to express how much I love these! I need to choose the color glaze for the upcoming baby shower, and I’m torn between white and pink.
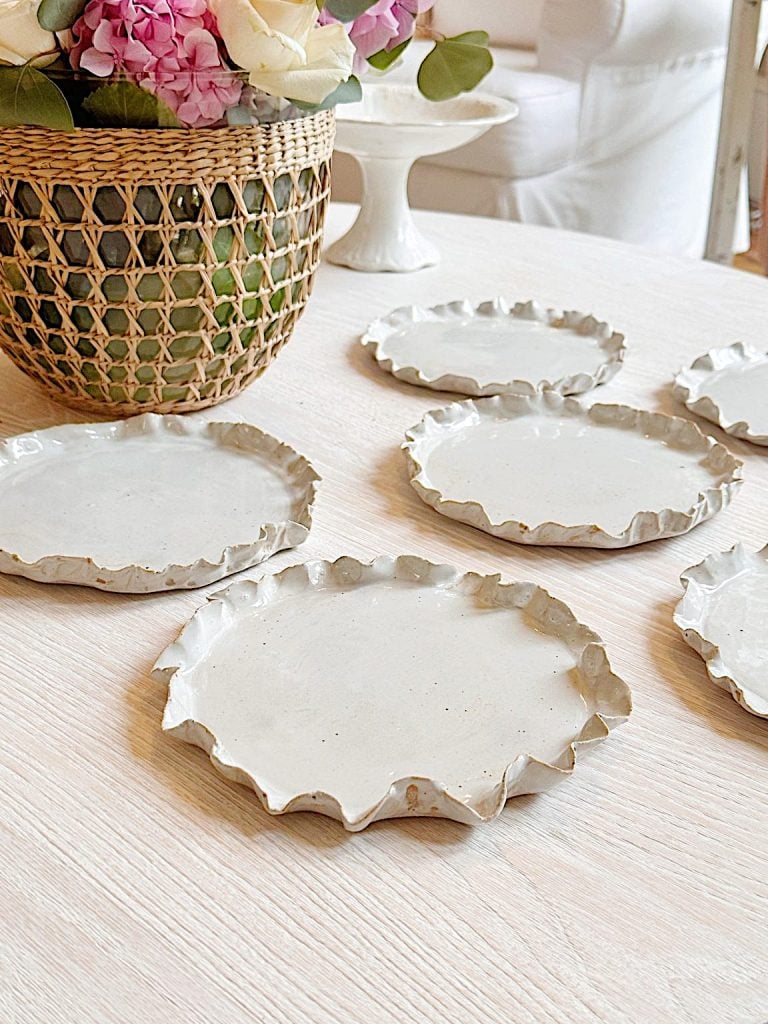
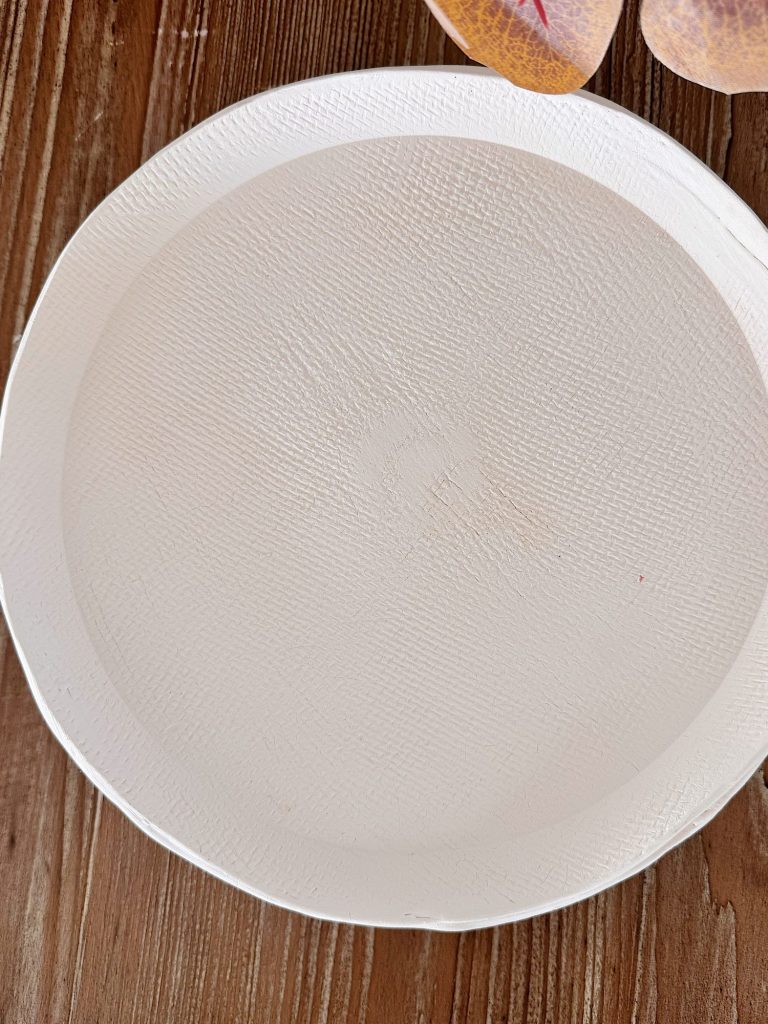
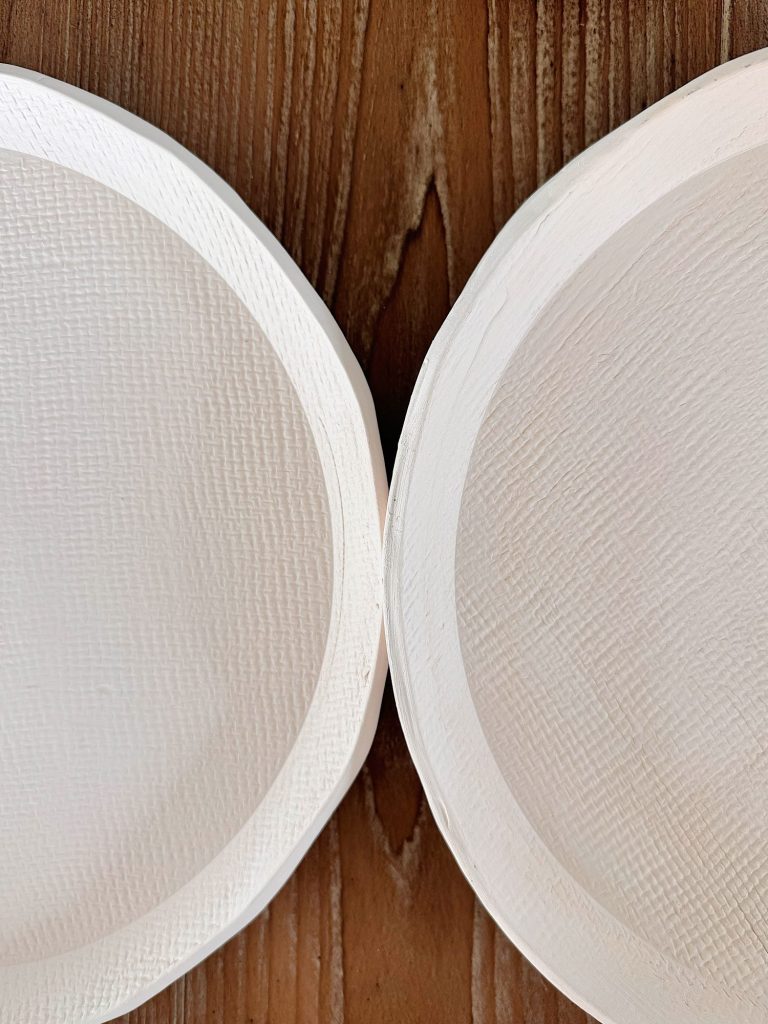
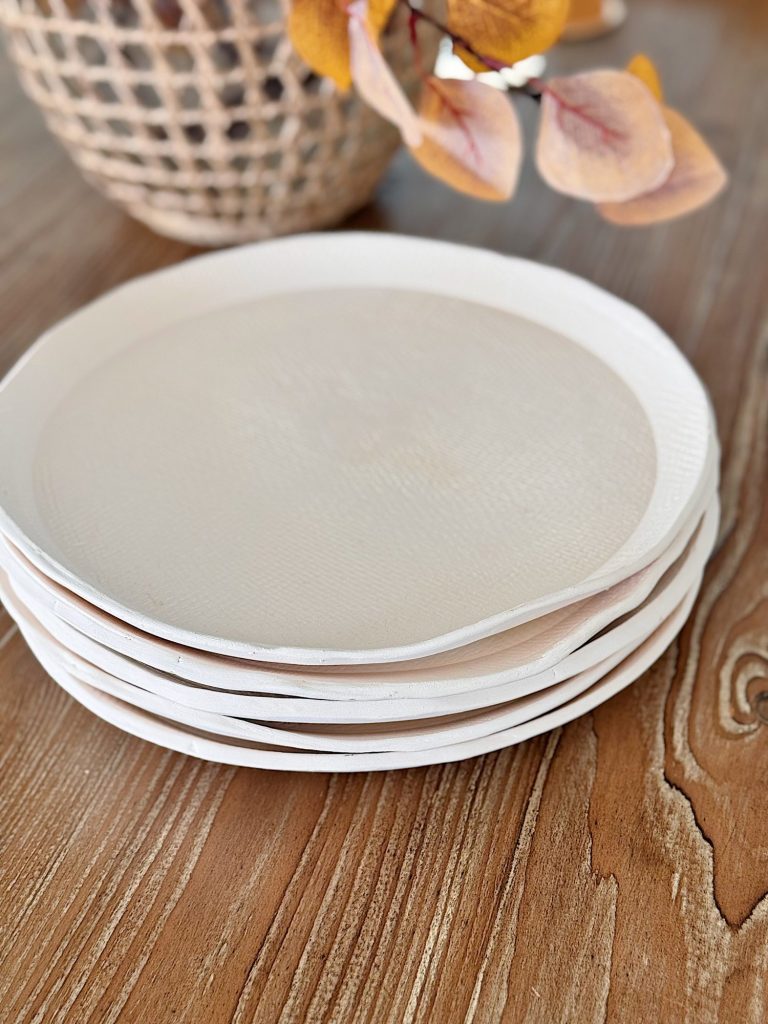
For the first time, I made these dinner plates and used burlap to create a unique texture. I love that they are each a bit different, and I cannot wait to glaze them. Any ideas for the color glaze for these rustic plates?
Tips for Beginners: Start With Air-Dry Clay


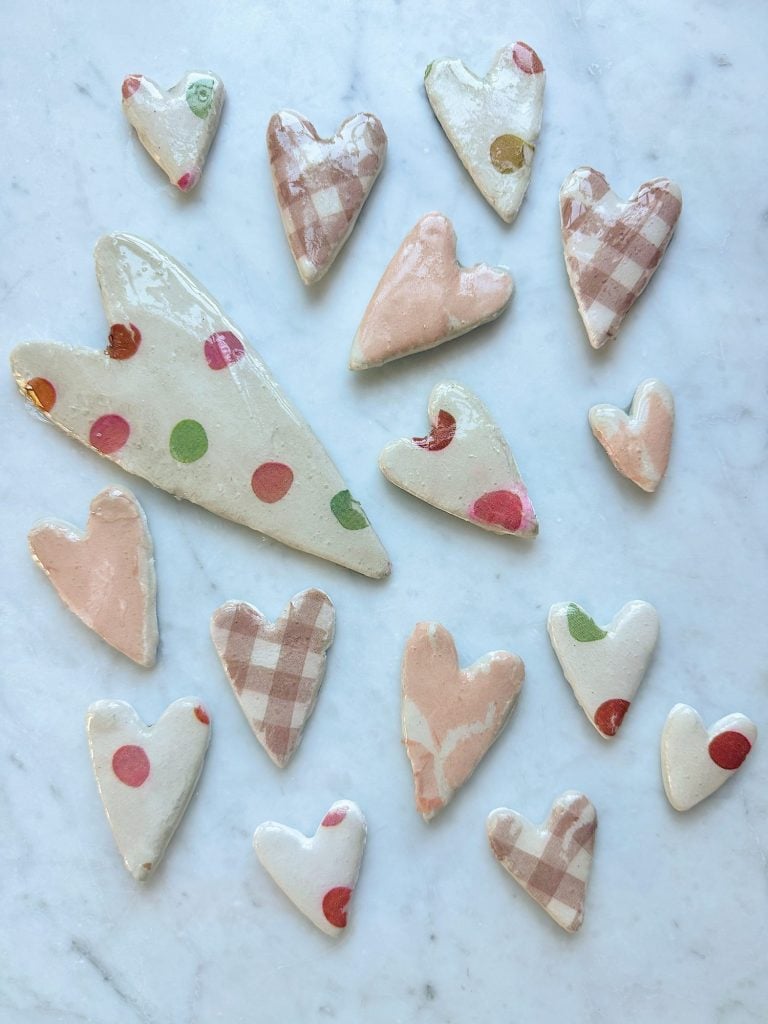
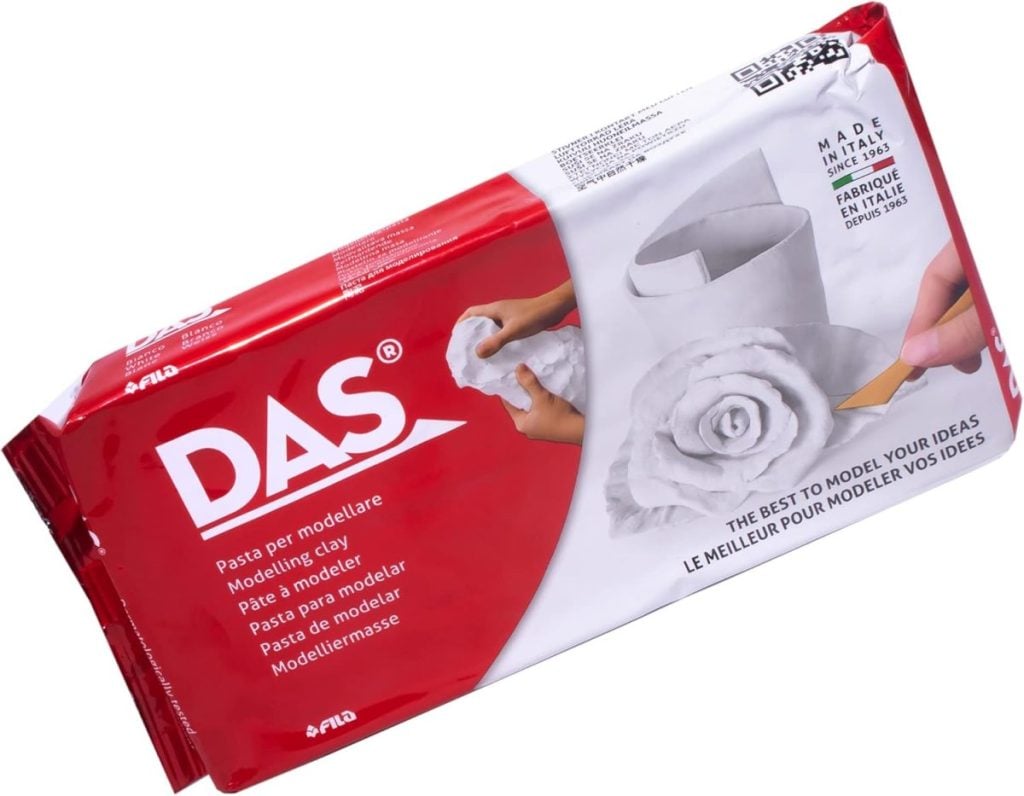
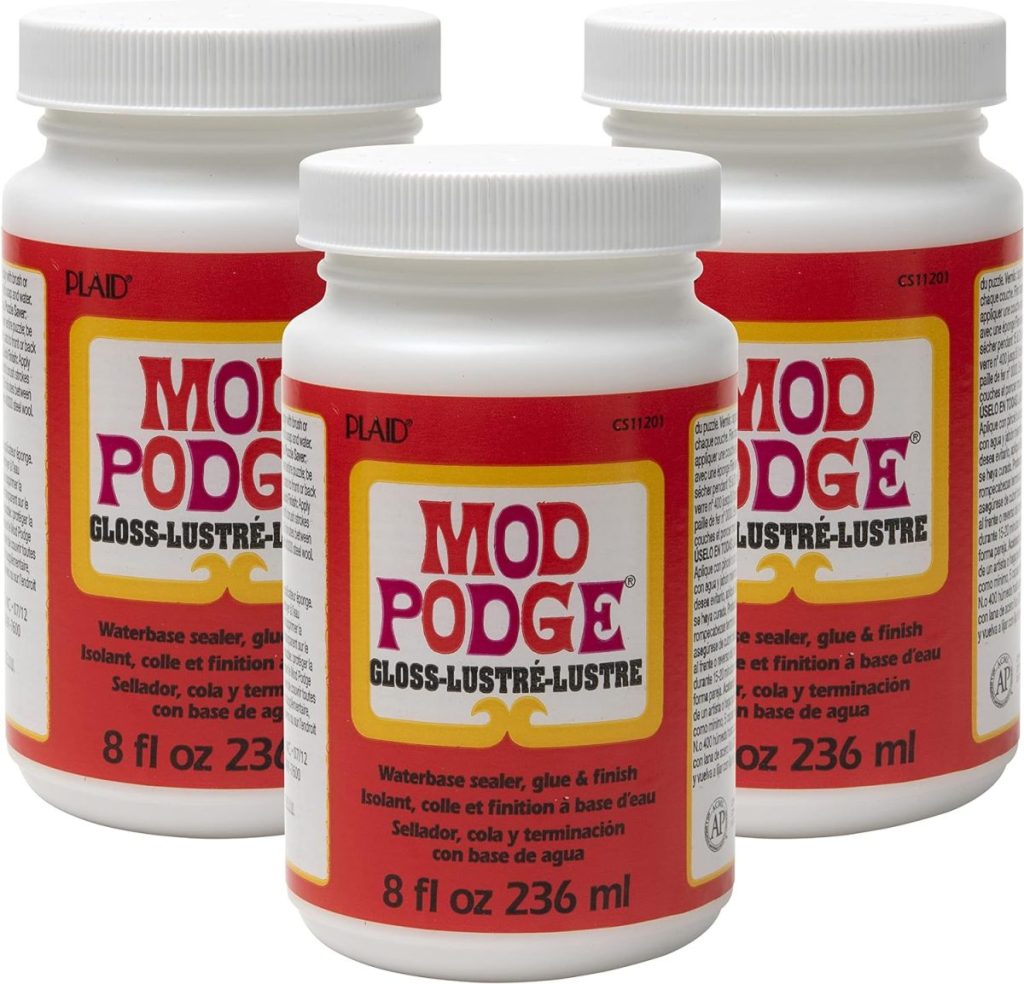
If handmade pottery piques your interest but feels daunting, I highly recommend starting with air-dry clay. I’ve been crafting with air-dry clay for years, and it’s a fantastic entry-level material because it doesn’t require access to a kiln. You let your creations dry naturally, and afterward, you can seal them with a clear gloss or acrylic sealer that mimics the glossy finish of kiln-fired pottery.
I have a lot of tutorials on the blog for my air-dry clay projects, and you can find them here.
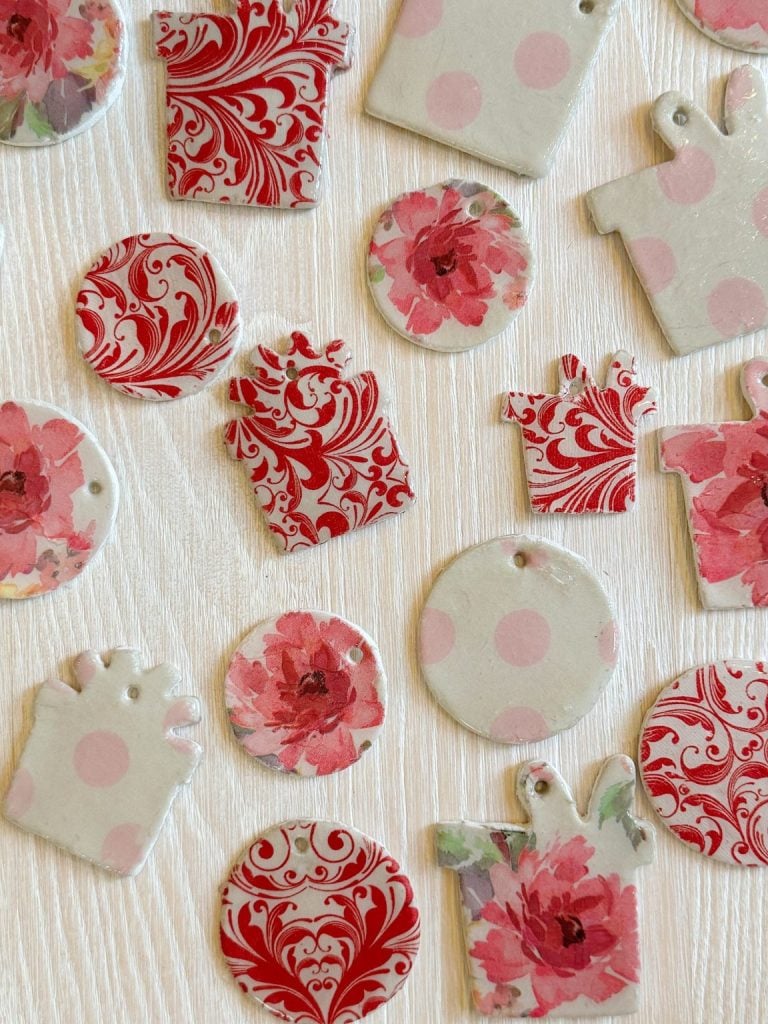
Air-dry clay is perfect for small decorative projects like ornaments, jewelry dishes, flower pots, and personalized gifts. Its ease of use allows you to practice shaping and texturing without the pressure of professional equipment.
Air-dry clay is not waterproof, so you must remember this when deciding what to make.


Transitioning to Kiln-Fired Pottery
Once you feel confident and excited about clay, look into local pottery studios and workshops in your area. Many studios, like Green and Bisque Clayworks, offer beginner-friendly classes that guide you through pottery-making—from forming and decorating to glazing and firing. These studios provide a supportive and inspiring environment to meet fellow pottery enthusiasts and share creative ideas.
I am thrilled that a new pottery studio is opening soon in South Pasadena. It’s called Nick’s Ceramics Studio and is only about four minutes from our home.
Why Handmade Pottery is Worth Trying
There’s something incredibly satisfying about creating pottery by hand. Each piece reflects your creativity, patience, and skill, making it wonderfully personal and meaningful. Unlike mass-produced ceramics, handmade pottery carries the subtle marks of its maker—the slight irregularities, unique textures, and even the occasional fingerprint add character and warmth.
Moreover, handmade pottery pieces make fantastic gifts. Everyone loves receiving something unique and thoughtfully crafted; pottery ticks all these boxes. Whether it’s a beautifully textured tray or a customized set of plates, the recipients will appreciate the care and creativity you’ve poured into every detail.

Embrace Your Creativity This Fall

Fall is the perfect season to try something new, and pottery is an excellent way to explore your artistic side while creating beautiful, functional items for your home. Whether rolling out air-dry clay on your kitchen table or enrolling in a local pottery class, the experience will undoubtedly enrich your creativity and bring you joy.
I can’t wait to see my latest glazed pieces after they come out of the kiln—I know each tray, bowl, and plate will have its charming personality. I encourage you to dive into handmade pottery, experiment with textures and designs, and experience the simple pleasure of turning clay into beautiful creations.
Happy crafting!
If you enjoy my blog, you can sign up to receive my updates here.
.Anthropologie Inspired Christmas Decor

Latest Posts
-
Best Easter Brunch Egg Dish: Loaded French Onion Frittata
Easter brunch is one of those special meals where the table is complete, the laughter is loud, and the food is nothing short of spectacular. If you want to wow your guests with something savory, cheesy, and unforgettable, let me introduce you to your new Easter brunch hero: a Loaded French Onion Frittata.
-
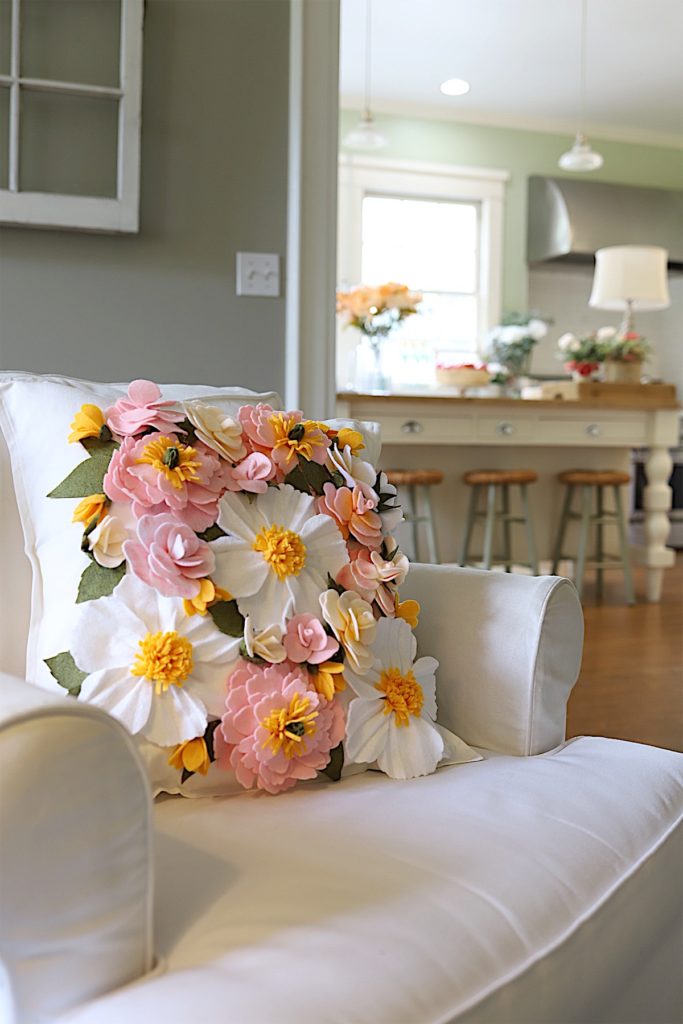
The Best Spring Pillow DIY – A Handmade Spring
There are certain projects that start as an idea and quietly turn into something you love far more than you expected, and this Spring pillow is exactly that. As part of my A Handmade Spring series, I wanted to create something soft, beautiful, and full of texture, and this pillow checked every box. This pillow…
-
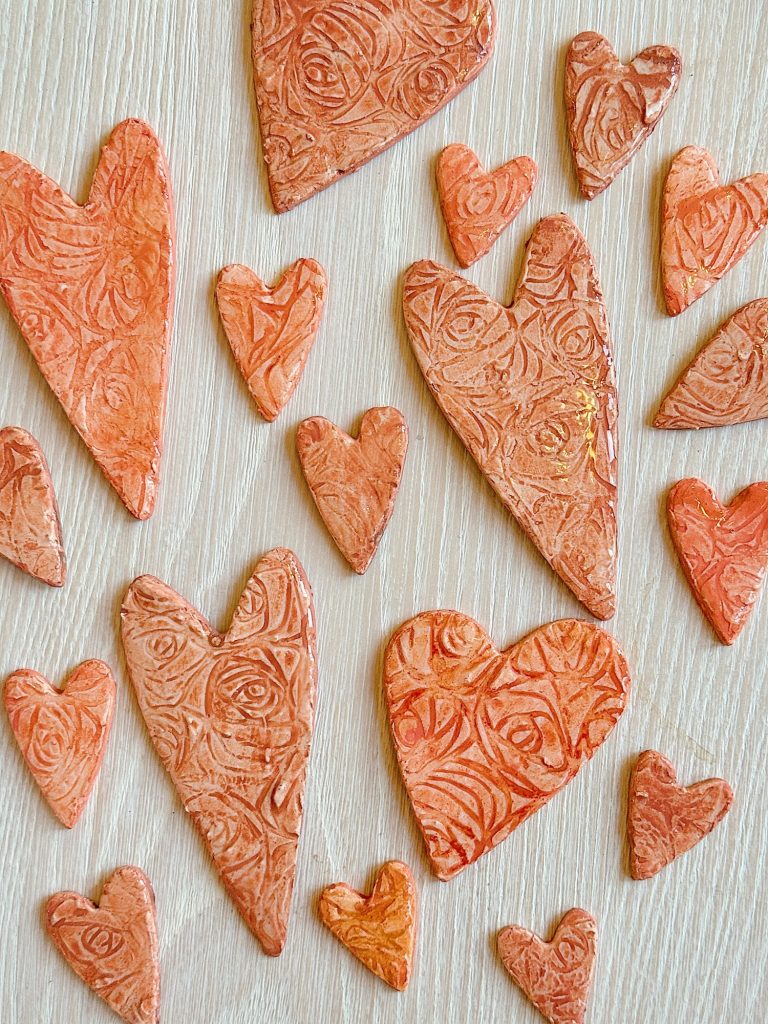
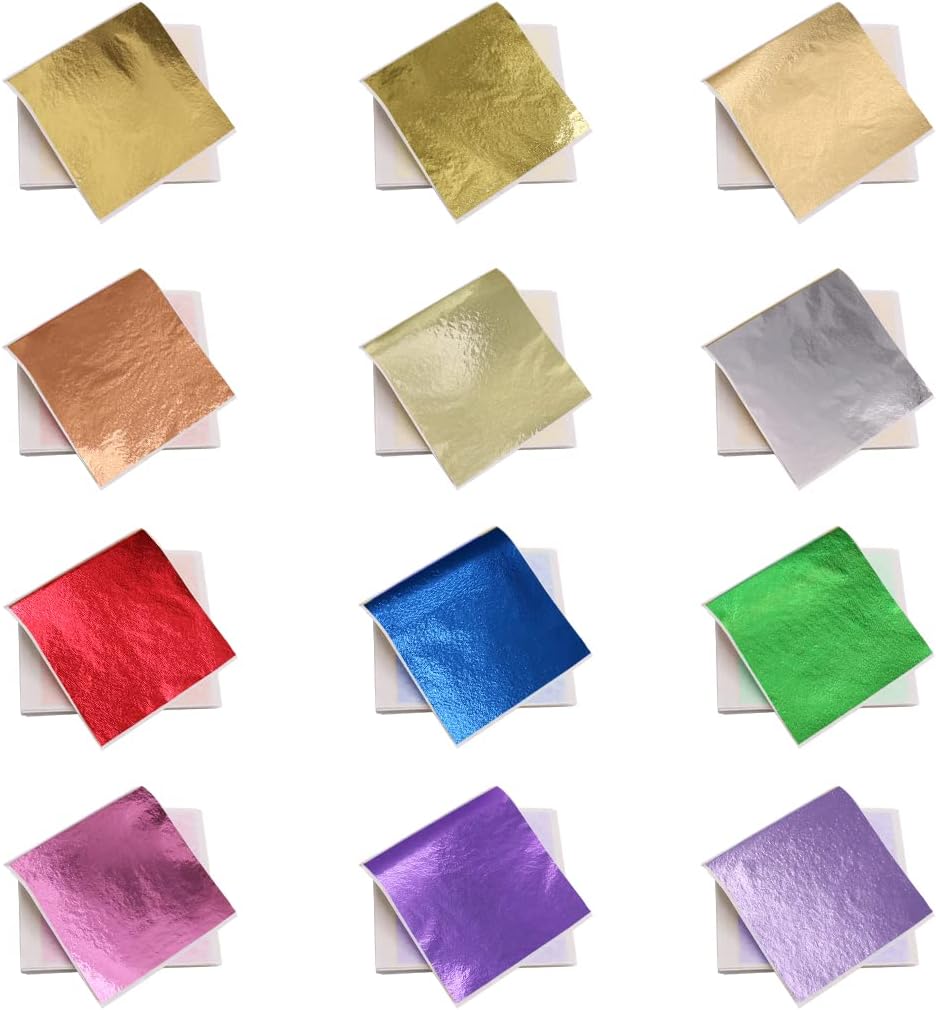
DIY Clay and Metallic Foil Easter Eggs
With Easter just around the corner this week, I decided to create something special and truly unique for my spring décor … handmade clay and metallic foil Easter eggs. These little works of art are soft, pastel, and subtly shimmery, and they’re a beautiful way to add a handmade touch to your Easter celebrations. While…
-
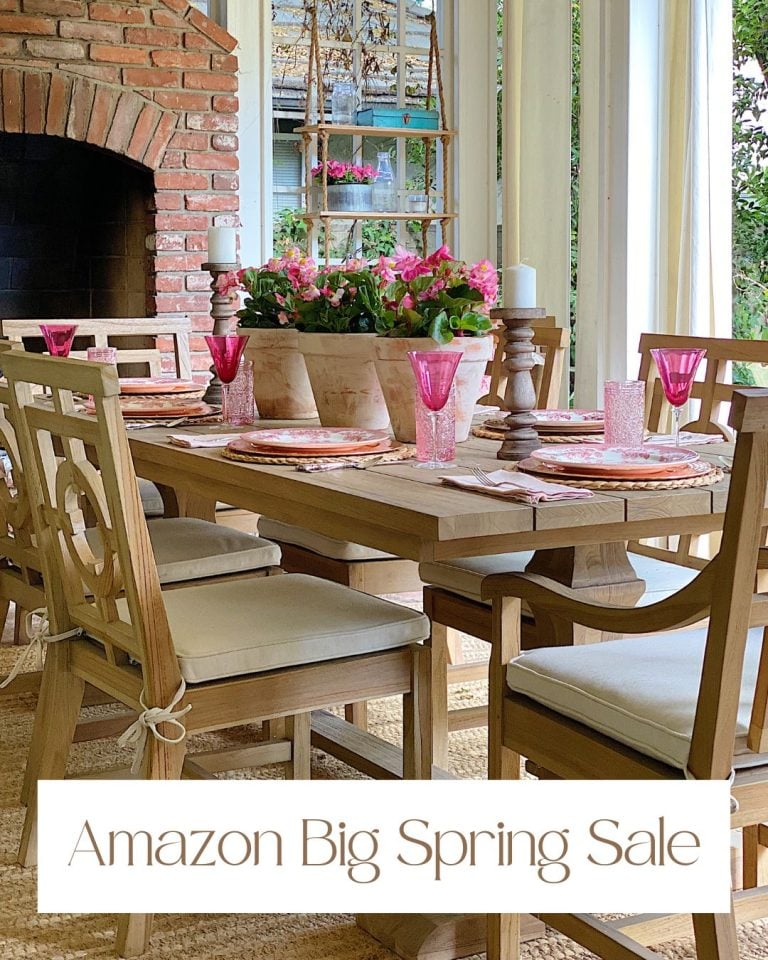
The Amazon Big Spring Sale is Here!
The Amazon Big Spring Sale is here! It runs from March 25th (today) through March 31st, and here are some of the best Amazon Deals ever! There are millions of deals available, and today I will help you find the best ones for everything you need. Now is the perfect time to shop for Spring.


My Recent Instagram Posts

You can pin the image below to your boards on Pinterest (click the Pin button in the top left corner) or follow me on Pinterest!
For more real-time updates, follow me on Instagram @My100YearOldHome

Hi Leslie! You have made some beautiful pieces!! I love the plates. Did you purchase a kiln to fire the pieces your self? Im in love with all of this.